


Abarth
-
Posts
885 -
Joined
-
Last visited
Posts posted by Abarth
-
-
Sounds pretty much the same lol, maybe a bit more deeper sounding but still loud. Fk it loud pipes save lives.
-
 2
2
-
-
Been running this round a bit, not too far from the house but just enough to get the motor warmed up. Runs better and better as the engine breaks in.
Its loud and sounded a bit tinny so I cracked open the supertrapp and found an ok amount of baffle packing wrapped in masking tape.
Brought some new packing which was a bit more like a cloud than a blanket so I packed that inside and wrapped it in the OG packing. The result was a much more bulkier baffle also upgraded the strapping with steel zip ties to hold it tighter.
Since these are a Supertrapp style exhaust they have a heap of exhaust rings which are spaced with washers, the space between the rings lets the exhaust out. I ended up removing 3 to reduce the noise. Quite cool how adjustable it is. Anyways I’ll see what it all sounds like tomorrow as it got too late to fire it up.

-
3
-
-
-
Think I’ve found it’s sweet spot, needle 2 turns down the carb slide. Seems to make the most power.
Raised the motor too which I think helped running but is slides down the stem as you steer.
All was going well until it got some rope caught in the prop as it was going along bringing the prop to sudden halt with the motor still running full steam. Made a huge grinding sound followed by a bang.
Thought it lunched the gearbox initially but on closer inspection the prop spring driving it had done its job and snapped protecting the prop.
-
6
-
 1
1
-
-
Hmmm seems like there is a bunch of sediment in the tank that keeps blocking the main pilot jet as it steadily ran worst and worst in rough conditions and eventually broke down lol.
Rowed back to shore and drained the tank. Ran out of light so I’ll clean the carb tomorrow.
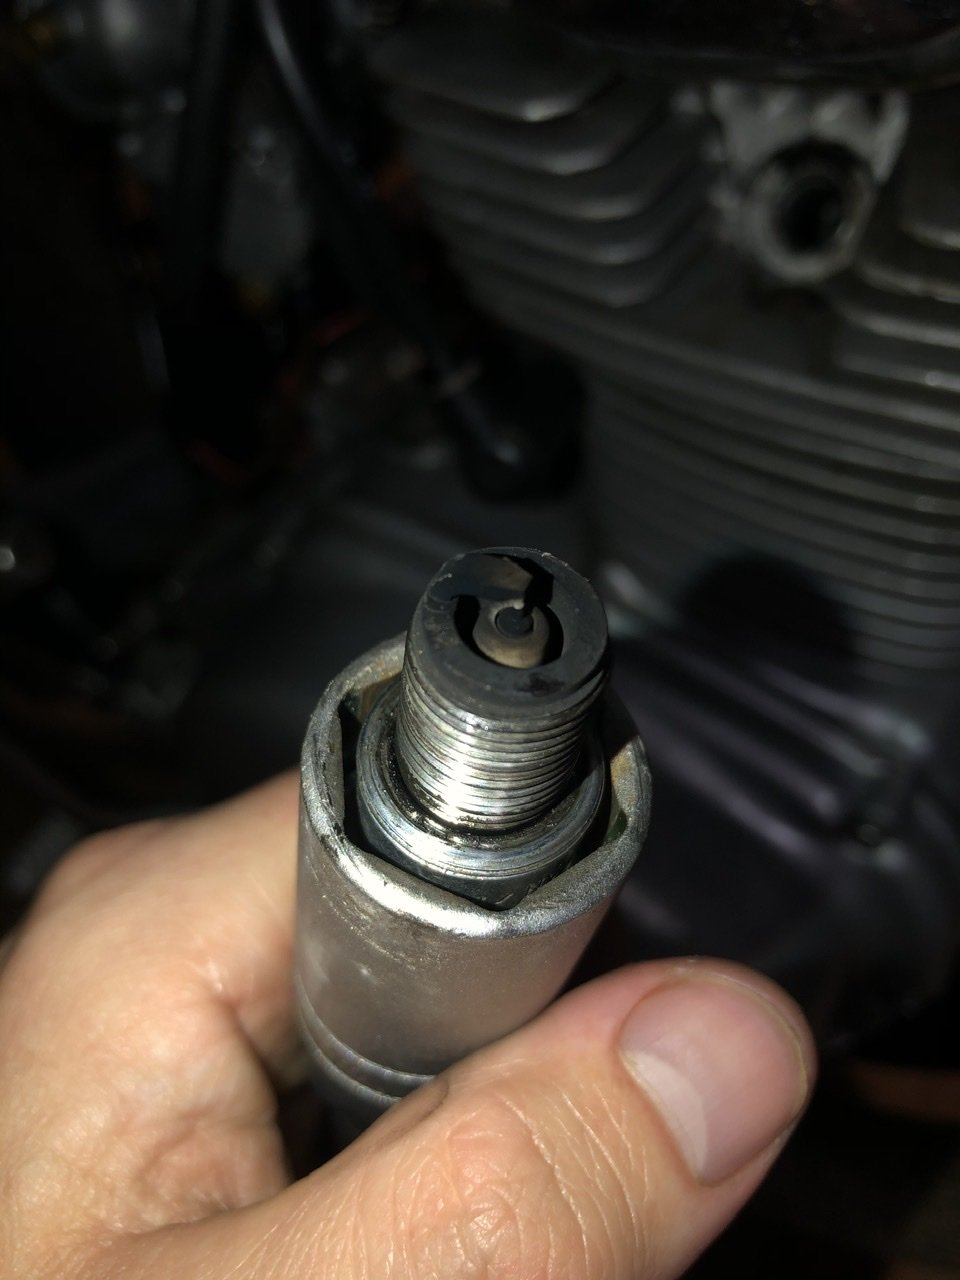
Also noticed it has the worst possible spark plug cap so Ill pick up a rubber one from the auto shop down the road.
-
3
-
-
- Popular Post
- Popular Post
Finally got Sparkels out on the water to test the new carb.
Super easy to start now, first pull and she’s away. It’s running a mix of 1:20 ish, probably closer to 1:15 as I poured slightly more oil in.
Anyways out on the water it ran great at 3/4 throttle. Full throttle it bogged down a bit and seemed like it was running out of fuel. Adjusted the needle height a couple times out at sea to try let in more fuel which slight fixed it not fully.
Want to adjust the height of the prop as it sits low in the water and apparently fills the exhaust tube with water making it smaller and less effective with the 2 stroke pulses.
Sea trials will continue tomorrow.....
-
14
-
I remember I was walking to work in London once and a guy drove past over London Bridge with his cafe BMW with a yellow tank, looked awesome.
-
1
-
-
Installed and set the points gaps.
Gave it a quick tune with the glass plugs and took it for a ride.
So much better now, throttle is crisp and no stuttering under acceleration.
I was worried as a lot of people have trouble running CV carbs with trumpets but everything seems fine. Eventually I’d like to get it on the dyno.
Came back and pulled the plugs. They lookish, one is running a bit leaner than the other but I think I can tune that out with the air/fuel mix.
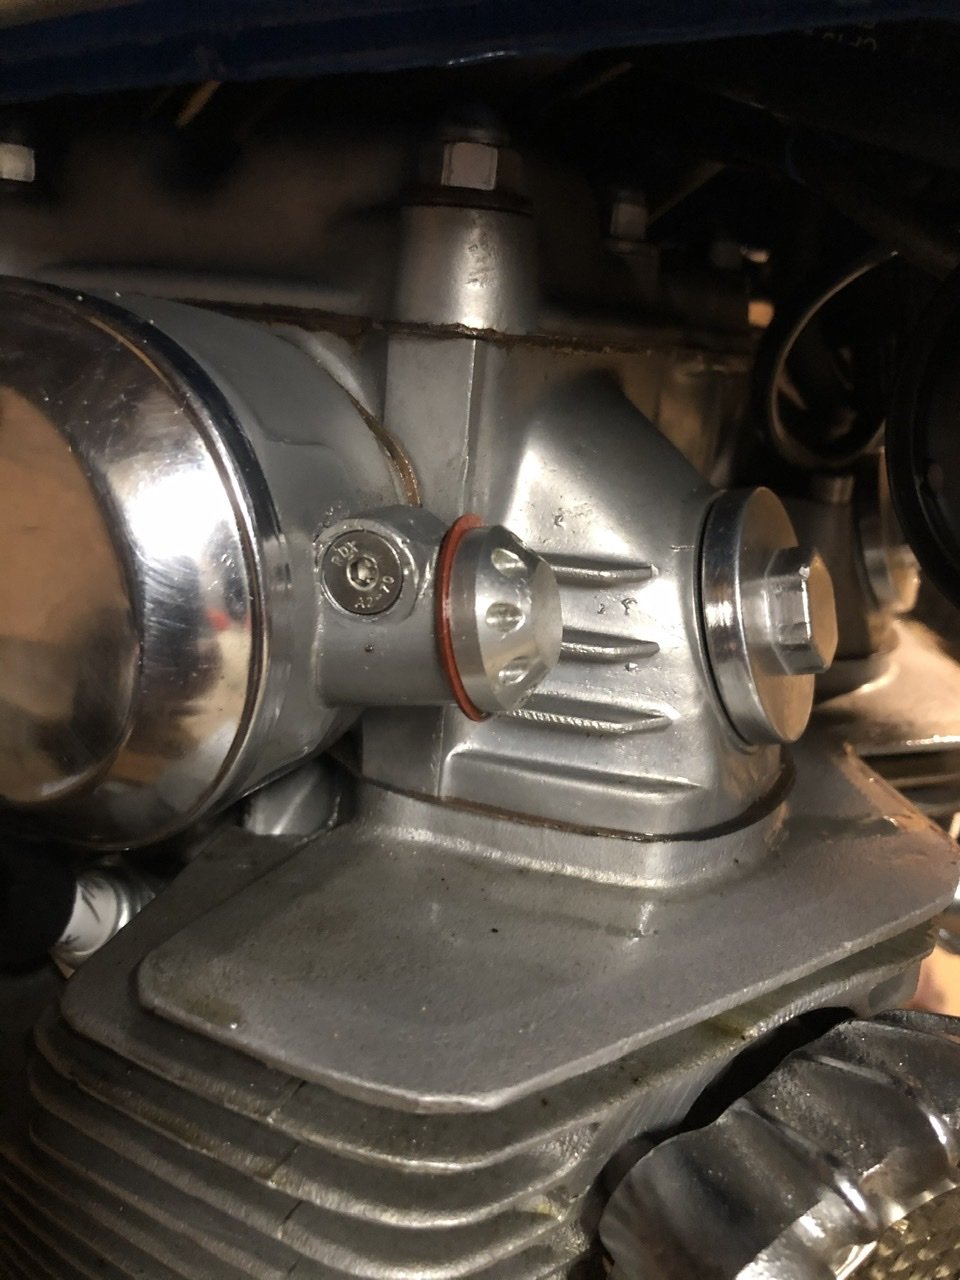
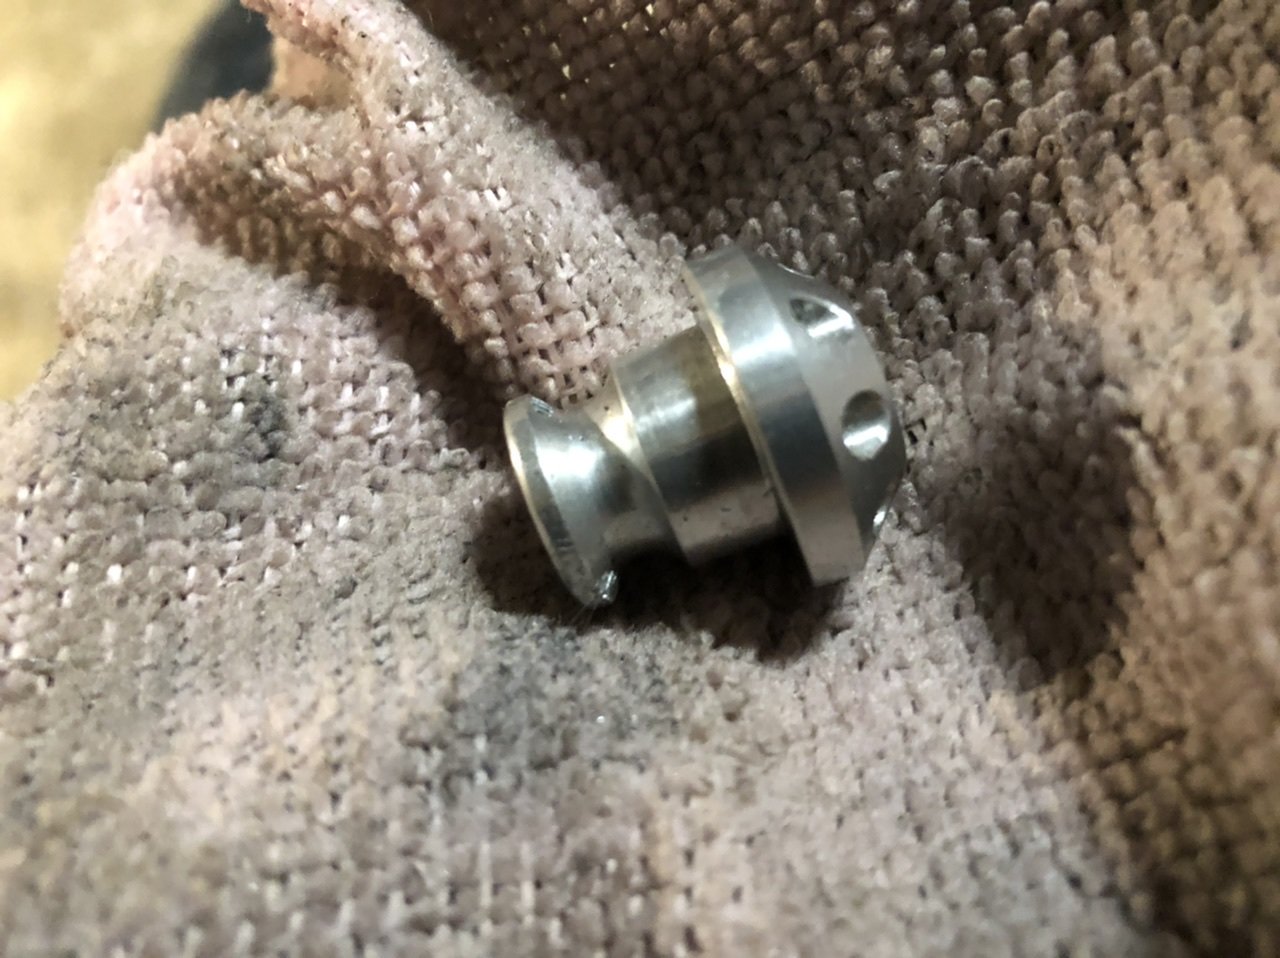
Had an issue with the Joker Machine tachometer blanking plug as it has no O ring to seal off oil which lead to a massive oil leak. Bunged in a fibre washer which did nothing. I’ll have to buy an o ring kit and try a few.
-
7
-
-
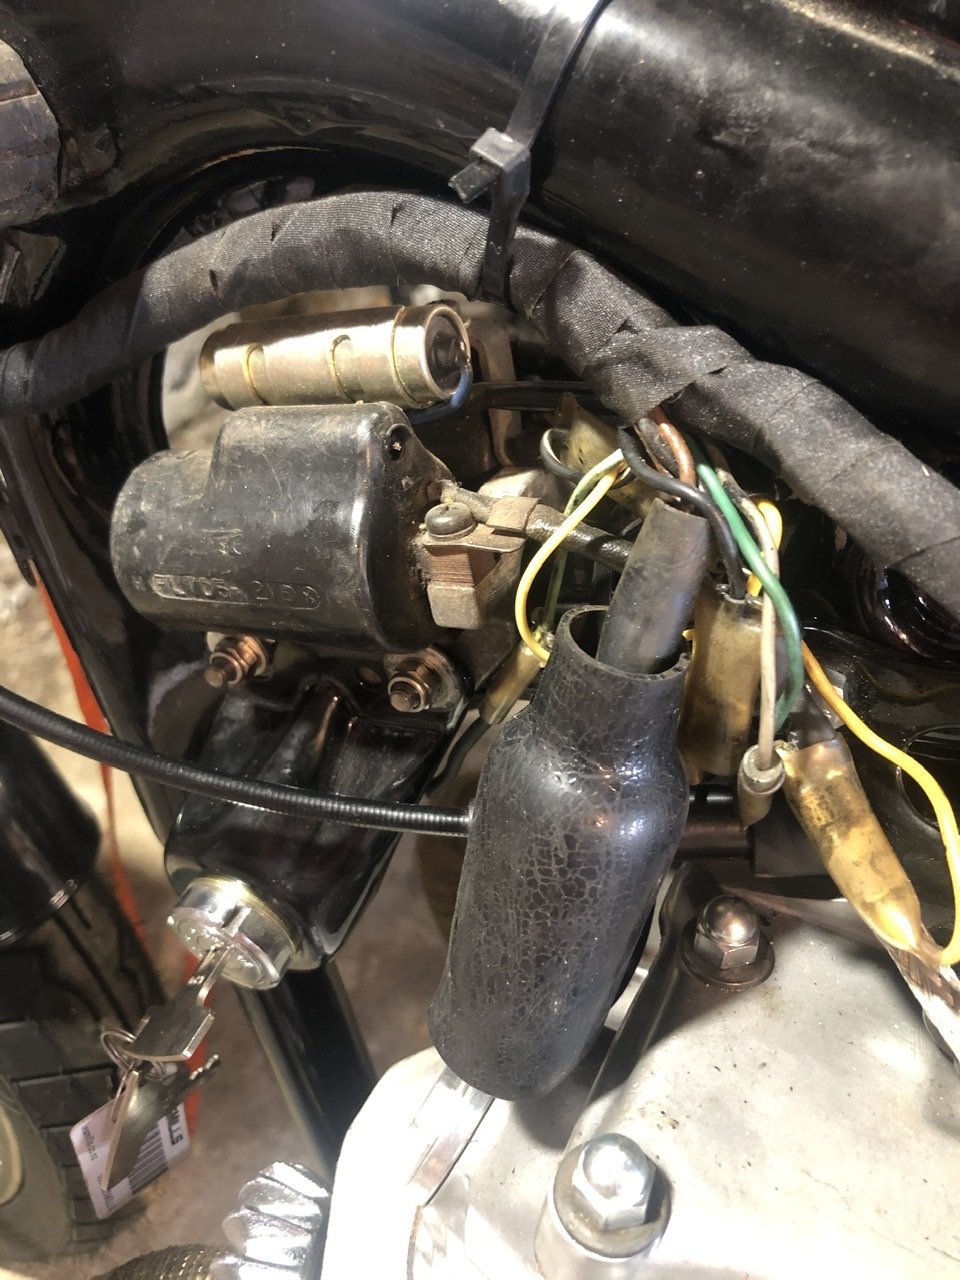
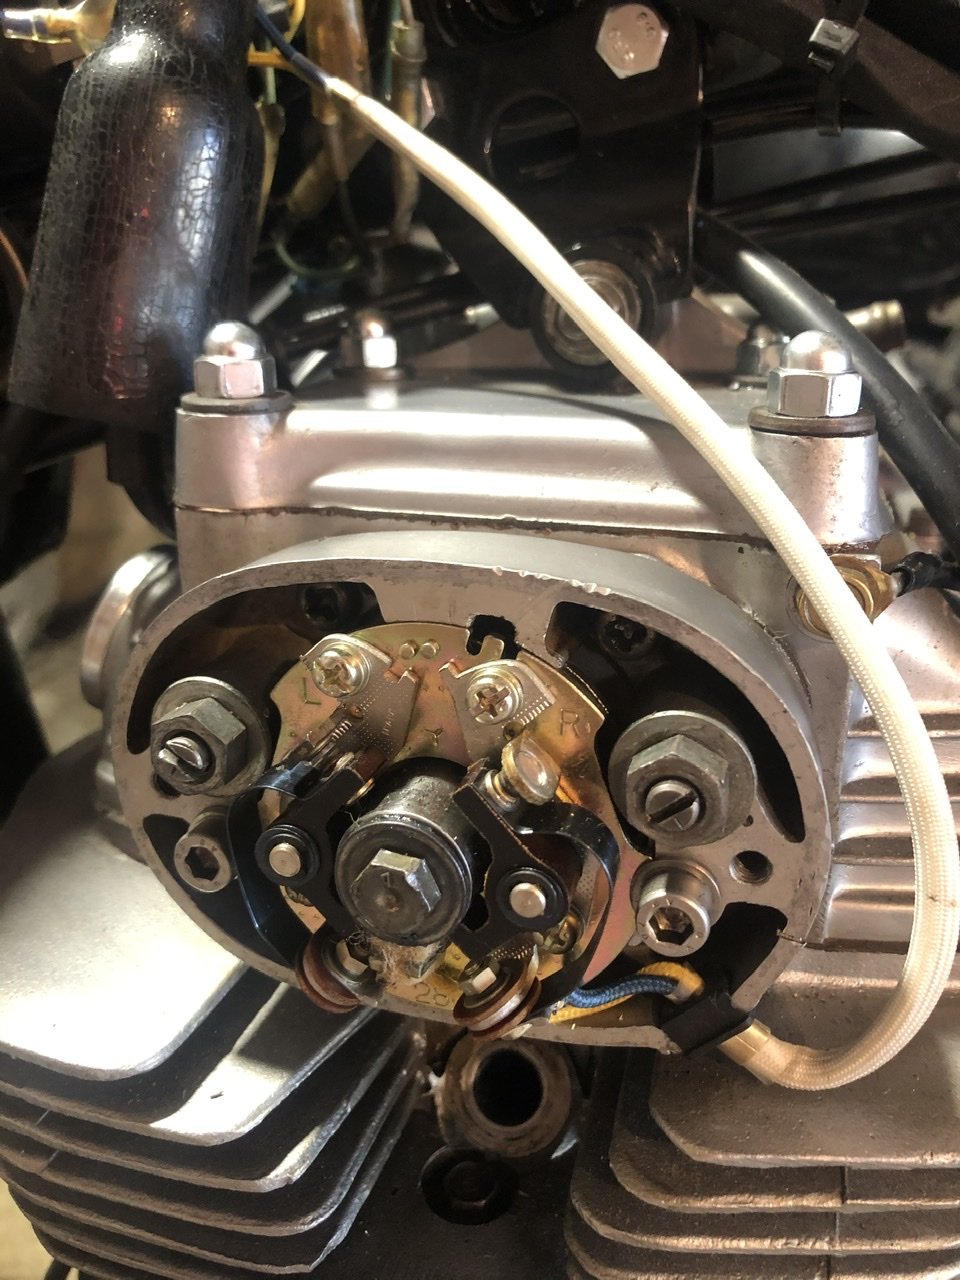
Continuing on with most things being fkd on this bike it was having spark issues.
Setting the points was an issue where the old points plate was so bent and threads stripped that after a 5 min ride it was all out of tune again.
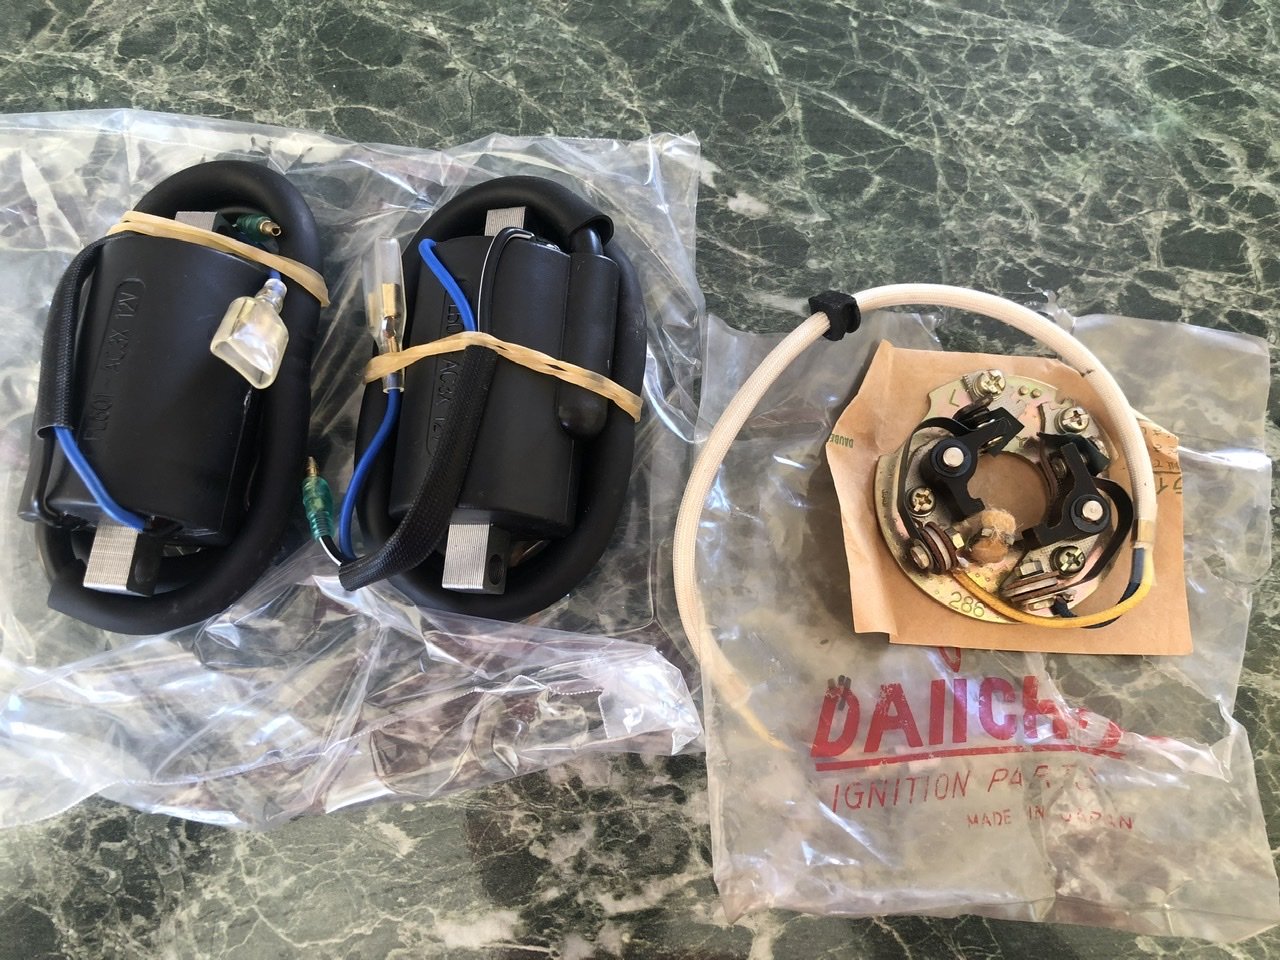
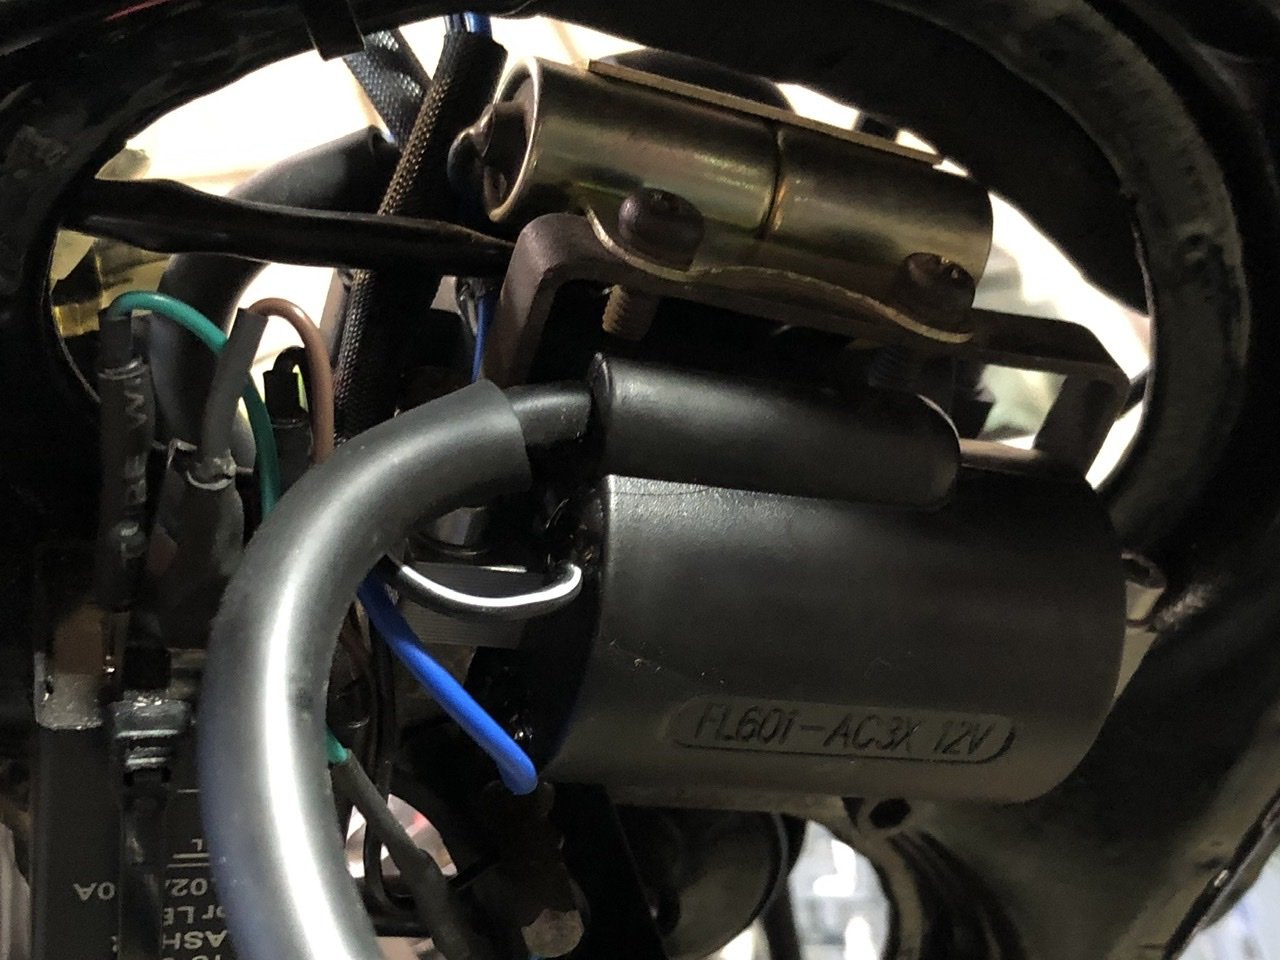
Also the HT leads from the coil was broken in multiple places and these factory coils have the lead built into them.
Ordered a brand new aftermarket coil set and a complete genuine points plate.
While I did that I swapped out the air fuel mixture adjustment screw to a cone type as I was having trouble adjusting it to get it lean enough to not blacken the plugs
Progress pics
-
6
-
-
5 hours ago, Westernstar said:
This guy been posted yet?
Man that guys got skills! Sounds so good!
-
1
-
-
So the seagull didn’t even get an outing this summer. Disappointing.
Problem was that the banjo bolt going into the carb was stripped and leaked fuel everywhere.Finally got another carb for it, this one is in exceptionally mint condition compared to the old one. It’s actually off the newer model which has the 25:1 premix instead of 10:1.
A few guys run 25:1 on the older series but at the risk of the older style brass bearings. I’ll give it a go at probably at 20:1 or 15:1 ish.
This time I’ll get some marine grade mineral two stroke as I found the synthetic motorcycle oil oiled up the spark plug a lot. Most likely due to the 10:1 premix and a low operating temperature.
Also opened the head and checked the water passages. Sprayed CRC through out to stop and rust in the iron block. Then gave the block a dose of Matt black extractor paint to tidy it up.
-
9
-
-
- Popular Post
- Popular Post
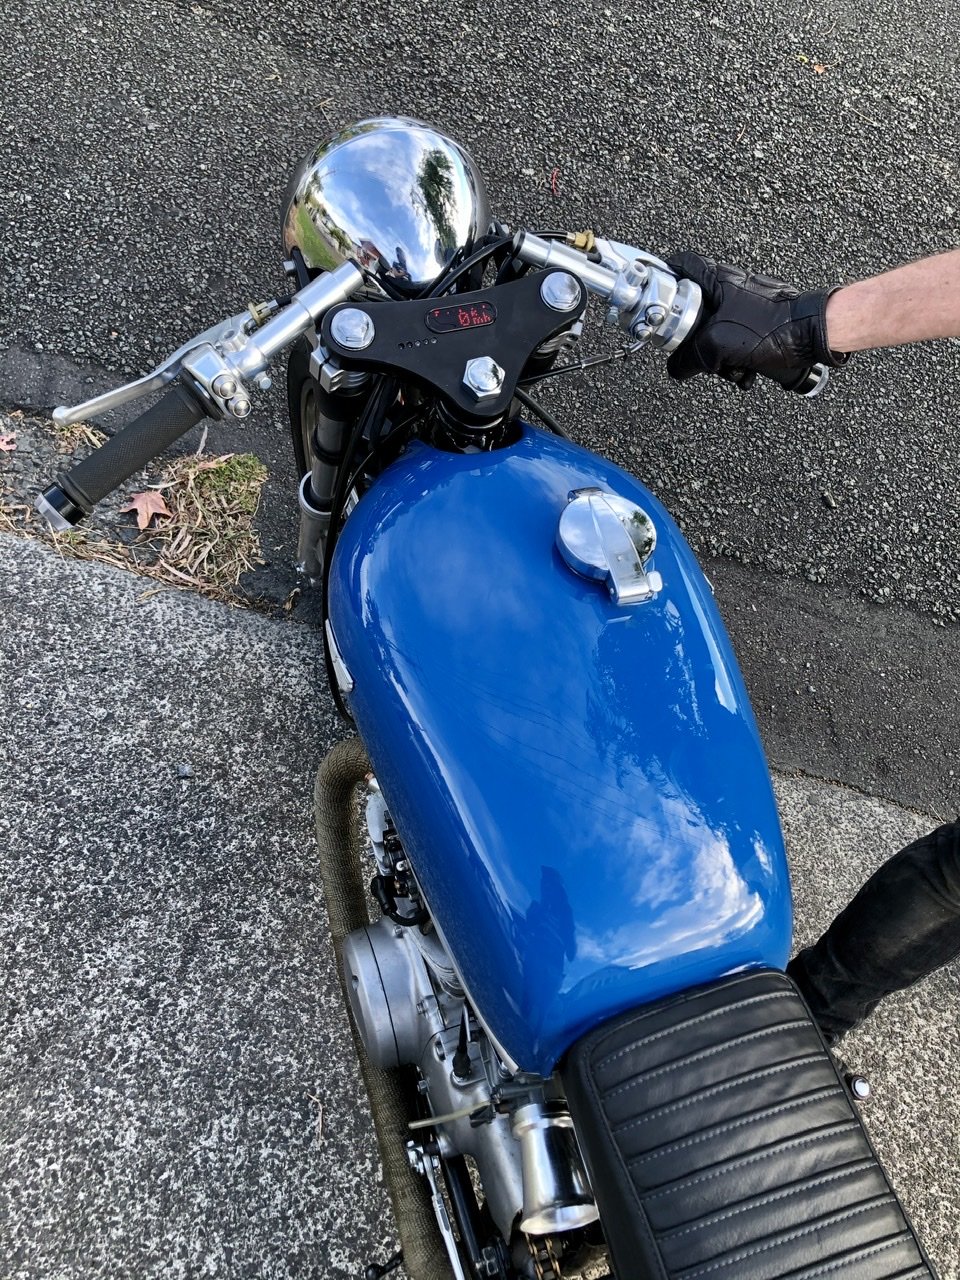
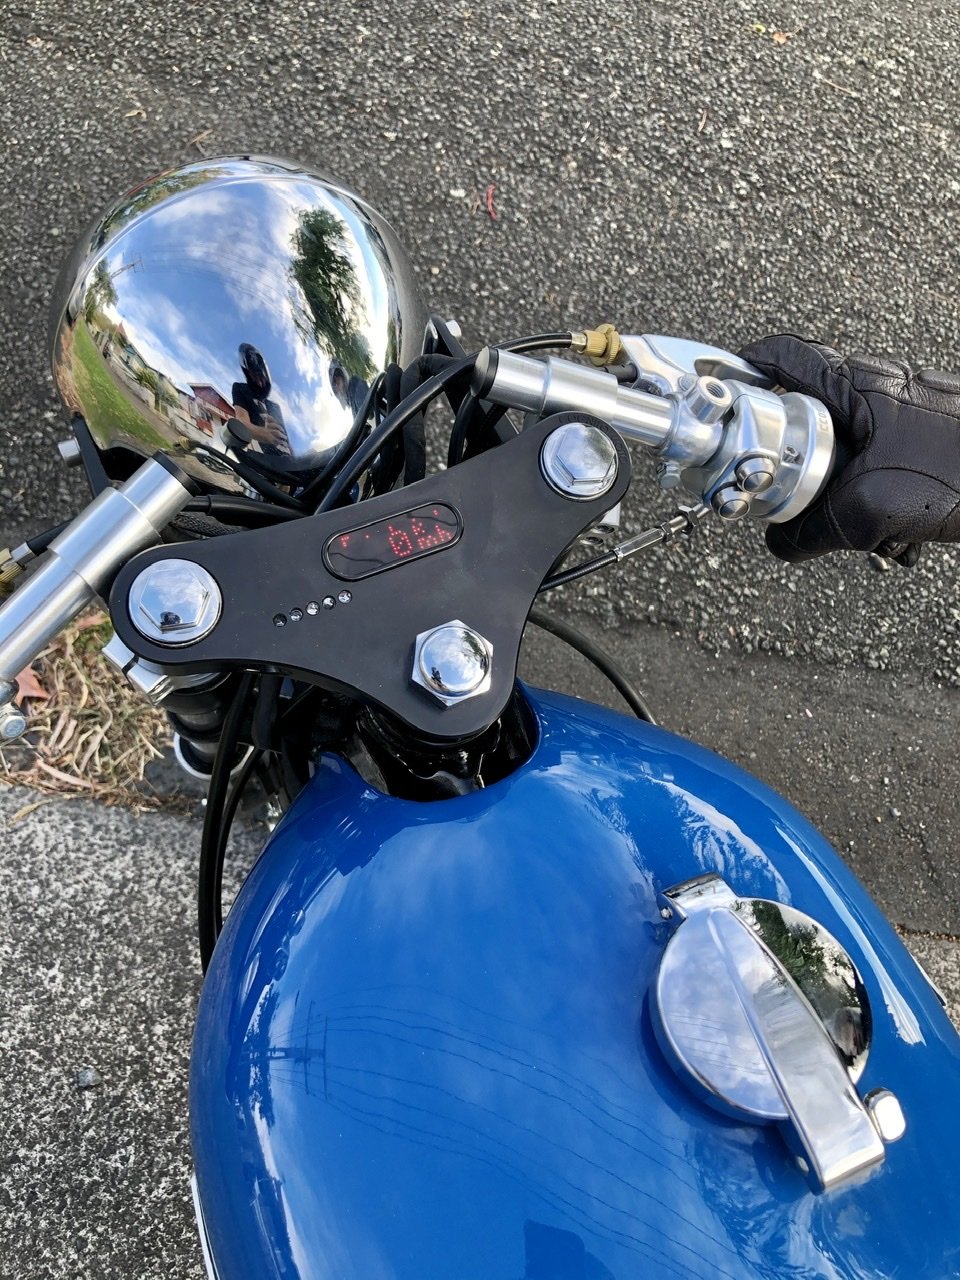
Gave it a tune, ran good then bad, points seem to keep adjusting themselves so I’ll let it settle over night then give the valves clearances a check and hit the points again.
Had the regulator/rectifier wiring in the wrong way so the battery would run flat. Lame. Unpicked the electrical connector and rewired it correctly and now have a good voltage charging the battery now.
Heres a few close up of the Motogadget dash, favourite part of the bike tbh.
-
11
-
3 minutes ago, Shakotom said:
Man that’s pretty.
reading your thread again makes me really wanna get my cb360 back on the road
Thanks man, a fair bit of work and a stupid amount of coin went into it.
Old Hondas are pretty sweet so definitely worth getting that CB360 going.
-
1
-
-
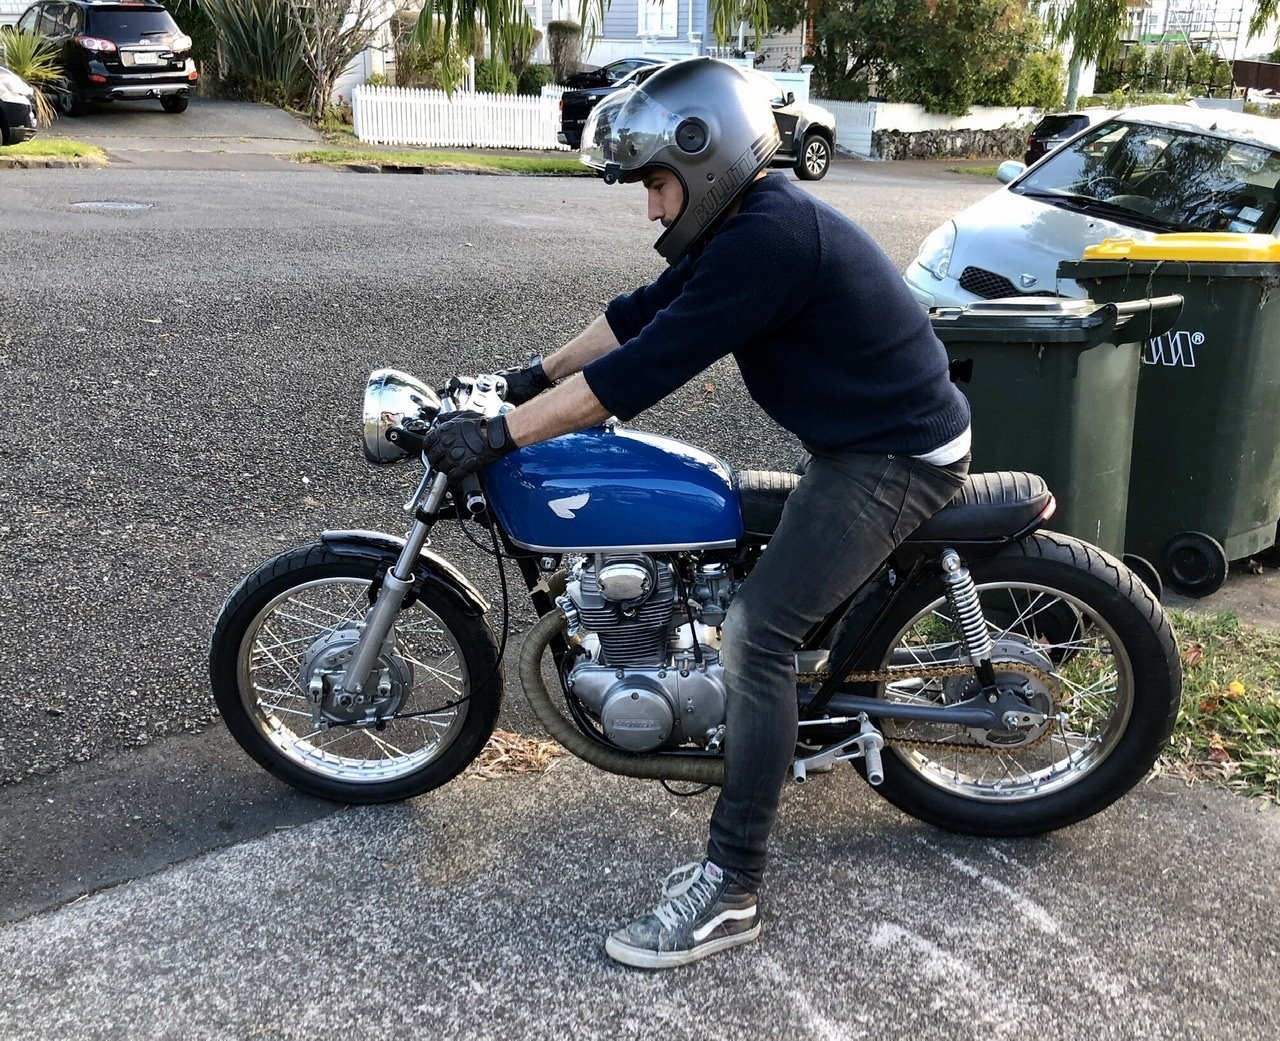
Yip, bike felt really good.
Had a bit of trouble getting it to go into second gear and at one point I was a bit worried something in the gearbox wasn’t right. But it freed itself up after a few laps up and down the street, was eventually able to get it up to 3rd.
The motor feels much torqueyer than my CB250. Happy with the position of everything, clip ons and rear sets work well together.
Next its to do a tune on the carbs with the glass spark plugs and balance them up.
-
4
-
 1
1
-
-
- Popular Post
- Popular Post
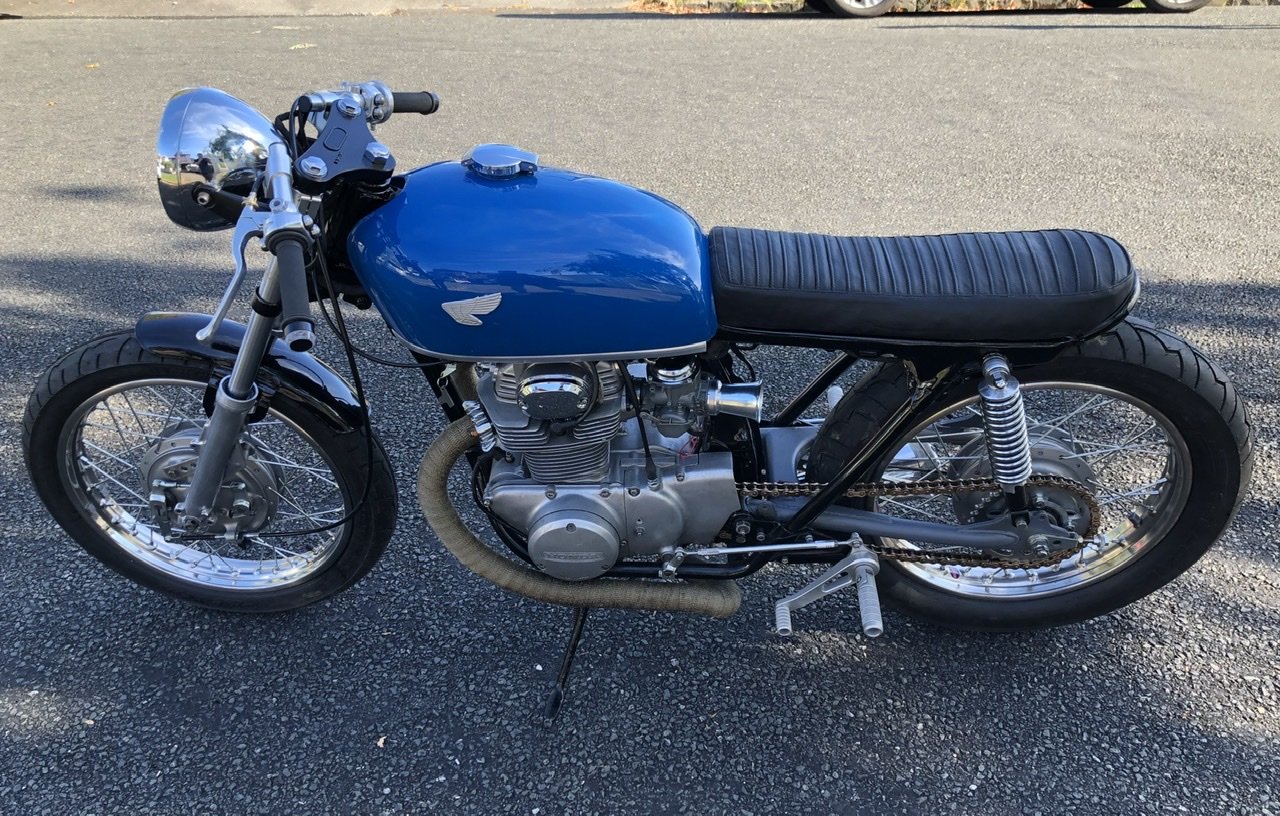
Finished off the rest of the electrics and fired it right up.
Did a spanner check and tightened up all the remaining lose bolts.
Finally finished!
-
9
-
1
-
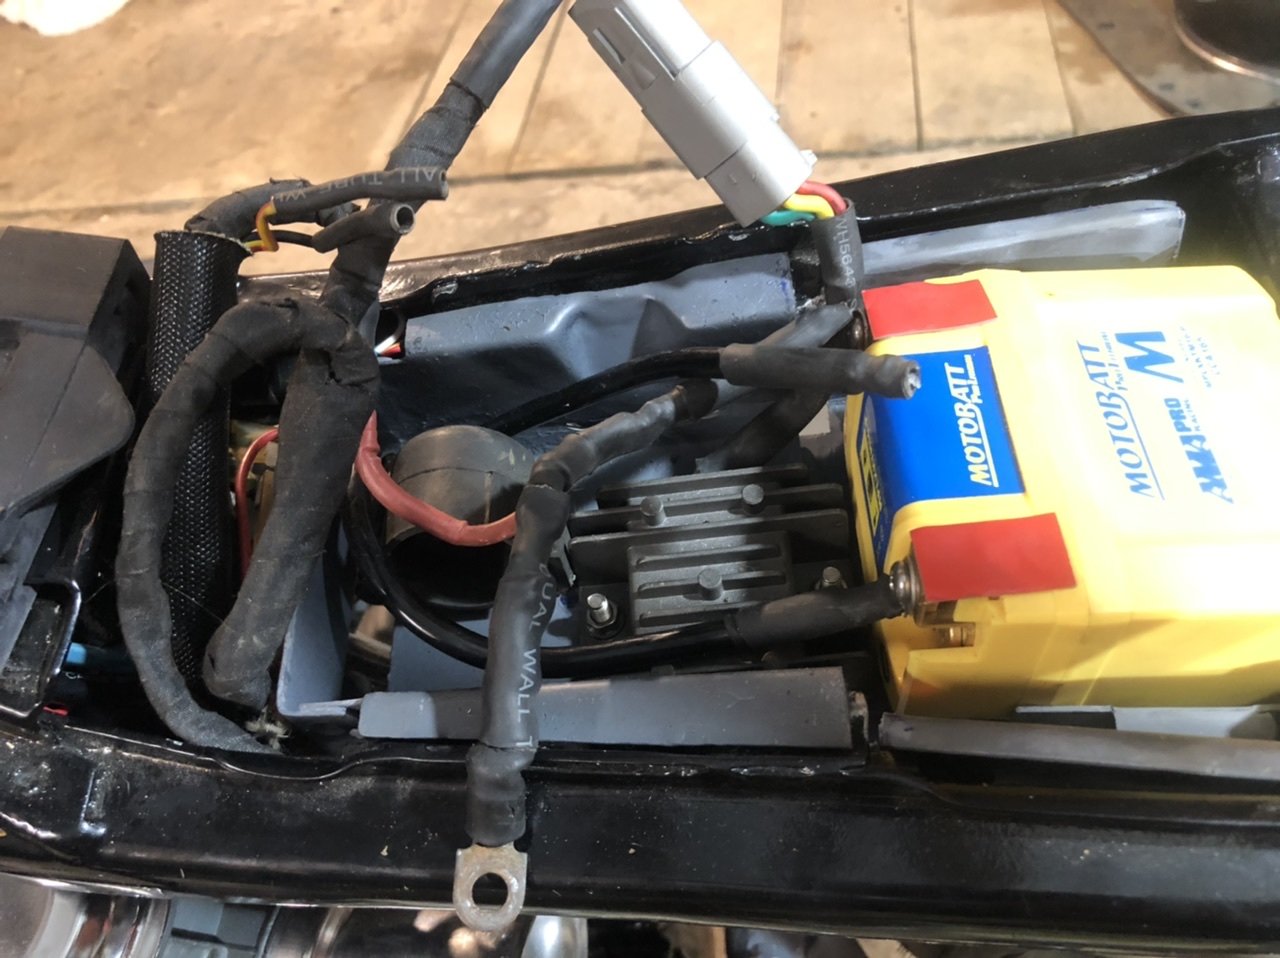
Been working on this, the swing arm and battery box are now in iso primer but all good that can stay like that till lock down ends
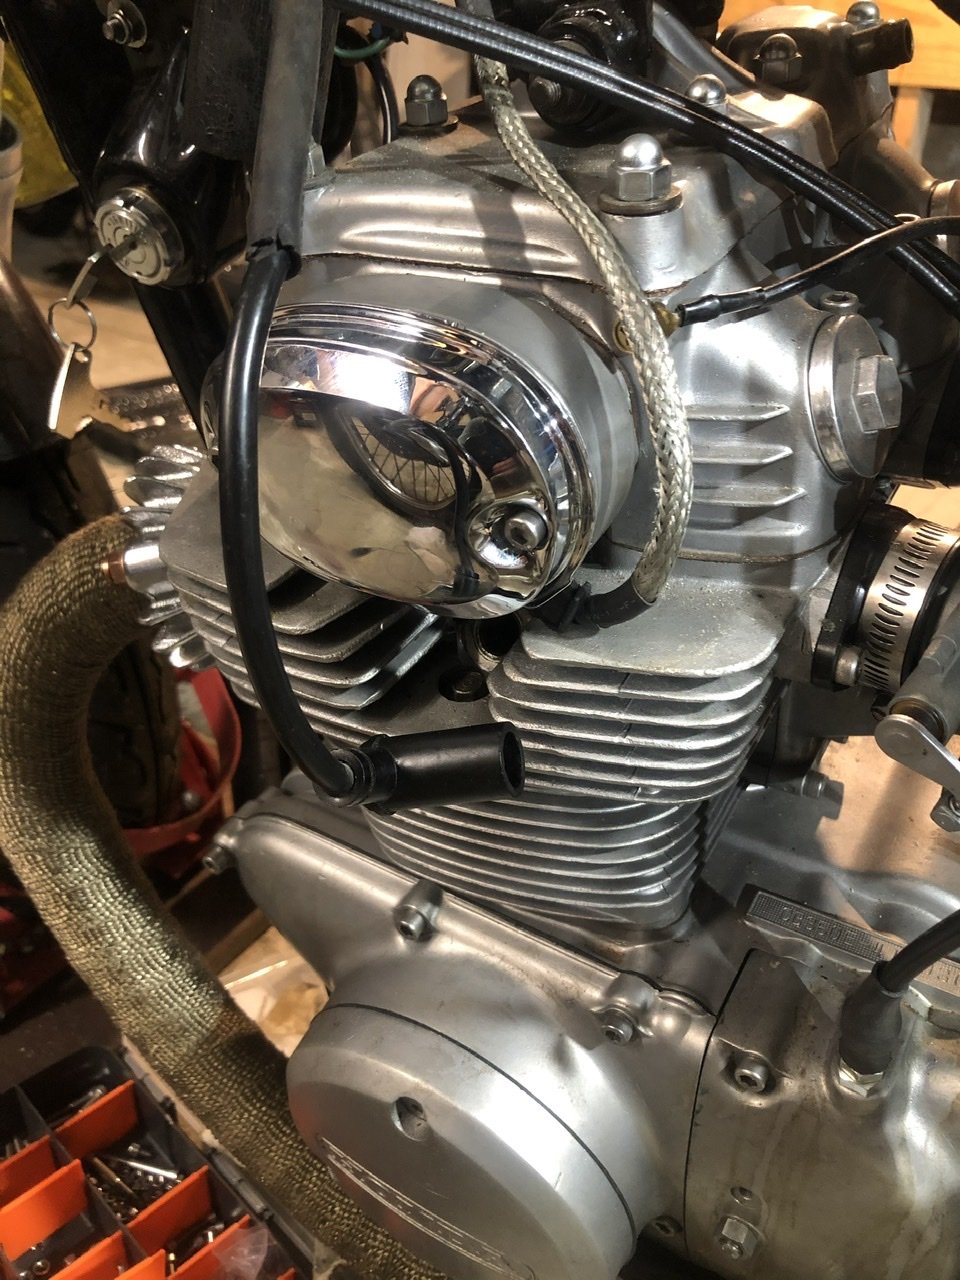
Did the final timing tune with the points, replaced all the screws which were all rounded from years adjustment and tidied it up in there. Fitted the new chrome cover too, so bling!
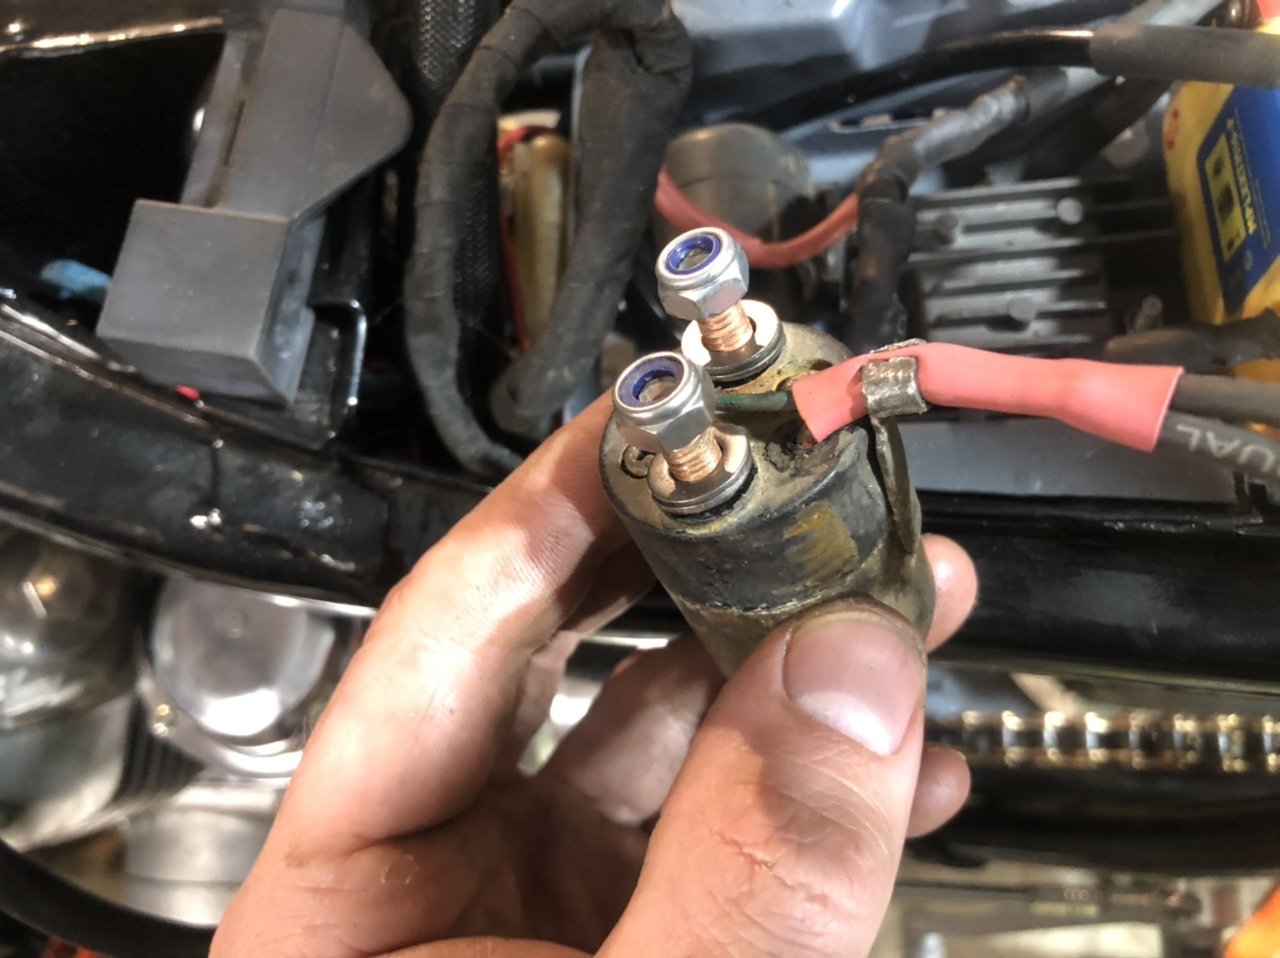
Next job is the starter solenoid, continuing the theme of most things being fkd on this bike the solenoid was no different. Took the solenoid apart and cleaned it all inside with contact cleaner and vola works perfect.
Everything that has push button electronics is working as it should. Only speedo sensor for the motogadget to go.
-
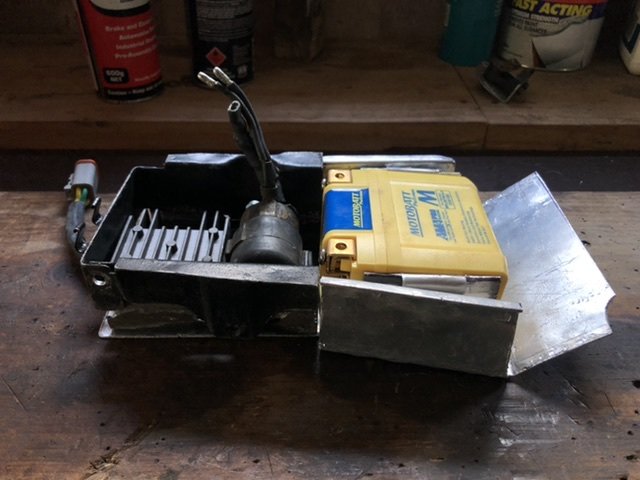
Slowly making progress with the battery box. Tricky to make everything fit. Got some Alloy sheet metal and bent it into shape.
Made some little brackets for a strap which hold the battery down.
-
6
-
-
That means the rollers aren’t heavy enough to squeeze the belt high enough on the pulley at high rpm to get it into a high gear.
You can draw a line with a marker on the face of the pulley to see how high the belt is going at max speed. As the belt lifts the marker pen is rubbed off.
When I tuned mine I had a dyno chart of the powerband which showed power vs RPMs. So I fitted an rpm gauge (like the cheapest digital one off Trademe) to work out the ideal RPMs at top speed.
Those cheap rpm digital displays are good for setting idle RPM too.
-
2
-
-
If it’s staying 50cc I’d go with 5 - 4.5g rollers. This will keep the rpm’s up while it goes up hills and it’ll still do 70kph on the flat.
To test it out you can add only three 9g rollers evenly spread which would have similar total weight as running 5g rollers. 9x3 = 27g vs 5x6 = 30g.
-
1
-
-
12 hours ago, Bellicose said:
I'm interested in these if Naoks isn't.
Sweet man, I’ll have a look and if I find the parts I’ll PM you.
-
1
-
-
Nice project man! I’m 99% sure I have a Koso Variator, 5 gram rollers, Koso clutch, Koso clutch bell housing, Koso clutch centre spring.
ill have a look on Sunday to check for sure as they’ve been sitting under my house since uni days and I’m now never going to use them.
let me know if your keen?
-
1
-
-
Ok so it was the swing arm that was bent.
Got a second hand one and banged it in for a test fit, sat perfect!
Stripped off all the old paint and surface rust then brushed on some rust converter to kill all the rust in the corners. Here is as it sits now. Next is stripping again back to bare metal and hit it with the etch prime then in the 2k black. Easy.
-
7
-
-
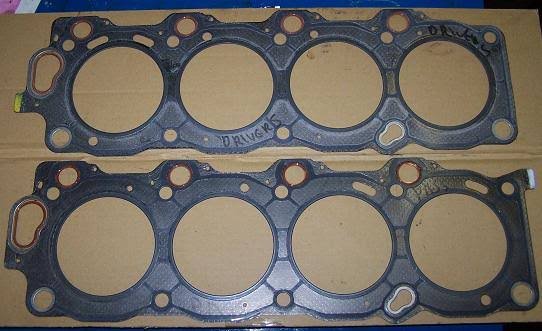
Can you check the head gasket sides are right with the end tabs sticking out between the head and block?
-
3 hours ago, xsinclairx said:
Might just be the camera angle but it does look like the swing arm is quite far to the left.
Even when bolting the bottom of the shock to the swing arm the mount is slightly offset.


Daves Scooter thing (The Meth Ped)
in Two Wheels
Posted
The Supertrapp style mufflers are all good, I added more baffle and took some rings out to quiet it down a bit.