


~Slideways~
-
Posts
1,606 -
Joined
-
Last visited
Posts posted by ~Slideways~
-
-
I've been thinking about this for a few years, my garage has a reasonably tall ceiling at around 3.3m (maybe more... it was a few years ago that I needed to measure) but the concrete isn't he best quality from 1972.
Does anyone know what the story is with the concrete, because depending what I read its 100mm (@ 3000psi...how ever you determine that), 150mm and 200mm etc.
Who determines that the floor is ok?
If its not up to standard, can you cut out a section and pour it again rather than the whole floor?
Are there options like a steal base plate?
Will it need council consent?
Any other experiences?
Also how vulnerable are they to earthquakes?
It would go where the white car is here, the orange steel beam is roughly centred so the hoist would need to be closer to the garage door for maximum lift height.

Cheers guys.
-
 1
1
-
-
SUCCESS!
My initial thought about there being air in the lines was right, I've lowered the the high area and with the pump running I was getting big air bubbles and kept topping up till they stopped.
Test drove it hard up a hill hitting 18psi, definitely pulls better in higher revs. Pulled over and felt intercooler outlet, much cooler! Then the intercooler / water jacket tank and one side was cool to the touch, other side 'warm' then after maybe 20sec the whole thing was cold.
18psi will be some HOT air.
Happy with that!
Meth injection next!
Lowered rubber hose by firewall, shortened brass tube to lower the high point:
-
1
-
-
Weird it won't delete those last few photos with an edit?
EDIT: sorted, seems to automatically insert photos I've uploaded even if I didn't select them.
-
Intercooler radiator and water pump install.
Kind of hard to tell from these crappy photos but I've mounted the water pump behind the passenger head light, this is the lowest point I could fit it in the engine bay:
Then the hoses go through holes I hole sawed into the front panel, nice and discreet.
This is behind the front grill going through to the pump:
Intercooler radiator from an ST205, had to trim and modify some stuff to get it to fit:
Hoses from pump to the firewall then to intercooler, will be redoing the rubber hose by firewall to make it neater as well as probably lower:
That brass (?) tube is left overs from our old gas hot water jobby haha, just happened to be the right size.
Quick test drive and its better, but not as good as I thought. The intercooler is still pretty hot (it is running 1.2bar), I was thinking maybe there is an air pocket since the rubber hose (temporary) by the firewall might be too high. It started pissing down with rain but I checked it a few times and both brass tubes are hot/warm, then when I got home one was cool (while IC itself is still pretty warm verging on hot).
So either its working and I over estimate how much cooling it can do. Or there is an air pocket or not enough water volume?
Wiring wise, the pump is 12v and the system is 24v, so to do it properly it needs an inverter/reducer.
I plan on also installing a water meth injection set up, which is also 12v so planning for this to be in the back I also install the 24-12v reducer in the back. Which meant running a heavy gage cable from the batteries under the carpet/trim to the back then another wire back to the engine bay for the 12v feed to the pump.
It was a pain in the arse running so much wire basically to apposite ends, but it made sense for using the reducer jobbie for future 12v stuff in the back.
Also, I cut off the ST205 pump plug because it over complicates it, now it's just the two wires.
Wiring:
24v cable from battery > 50AMP fuse > through firewall > down under side trim > Reducer in back > wires for 12v positive and negative output > 15AMP fuse > back up under side trim > through Firewall > 24v relay (switched by ign) > water pump.
Seems to work well and all fused etc.
-
- Popular Post
- Popular Post
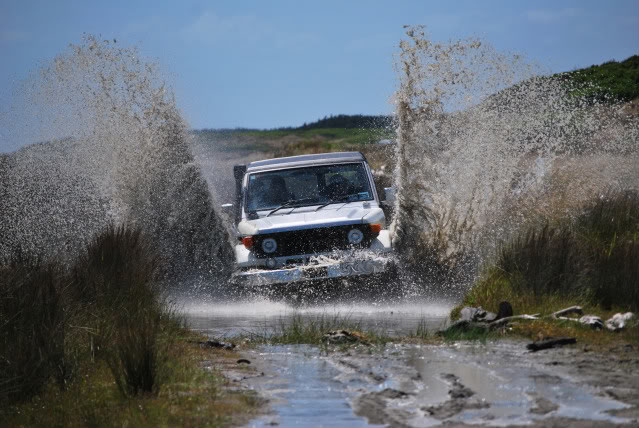
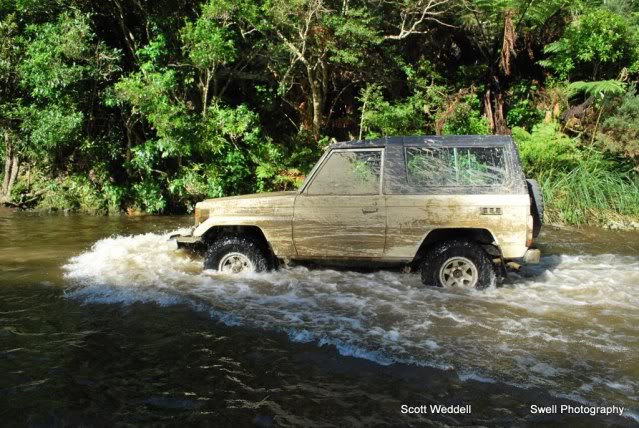
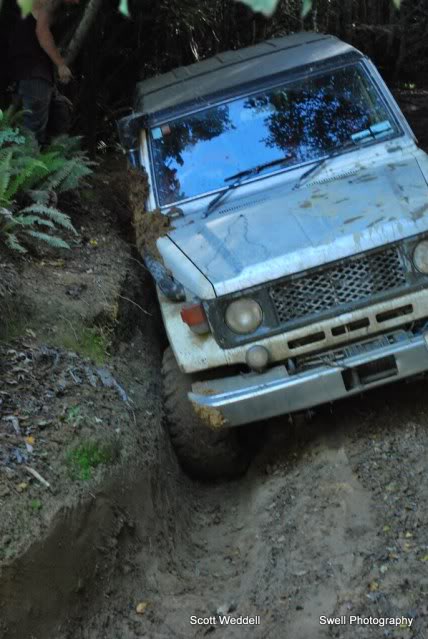
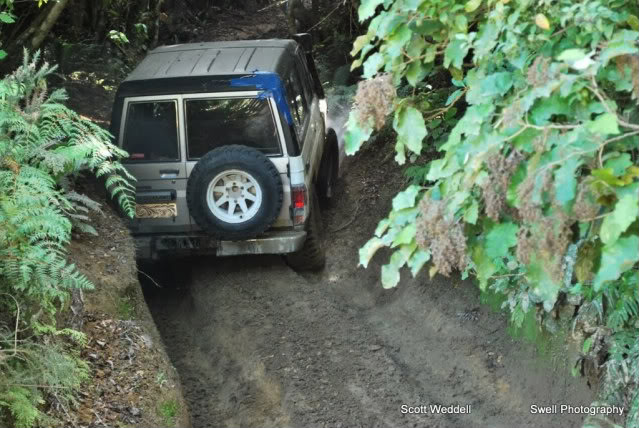
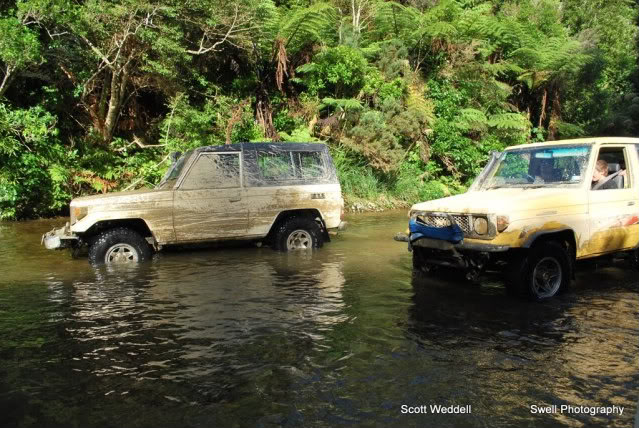
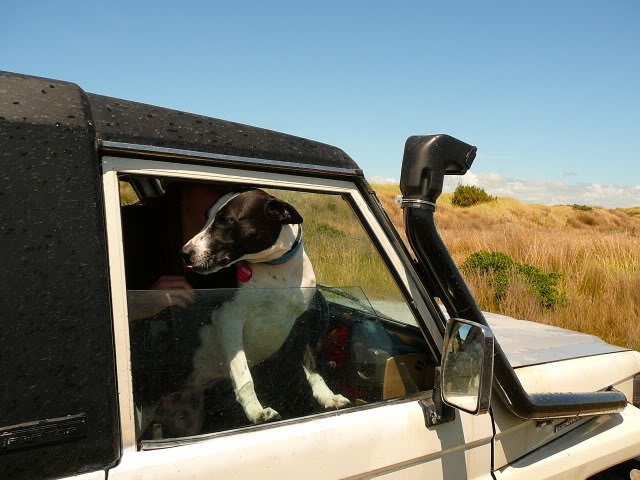
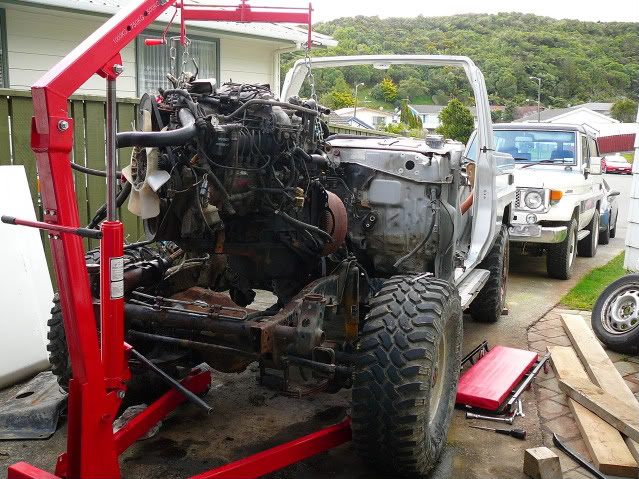
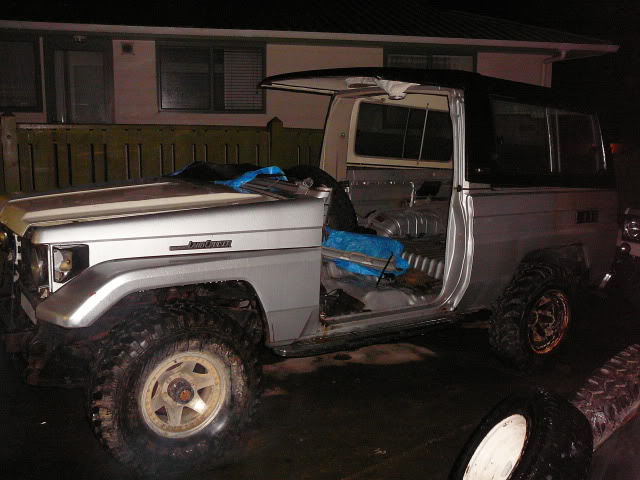
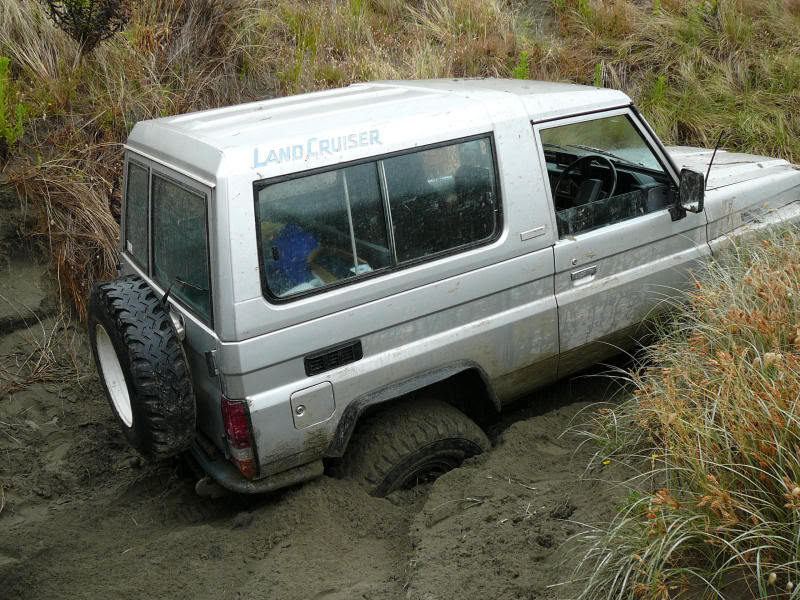
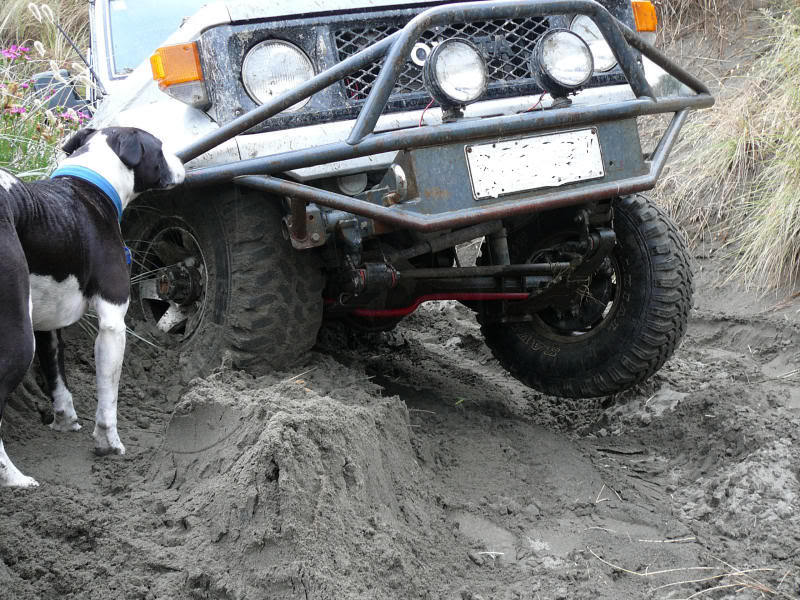
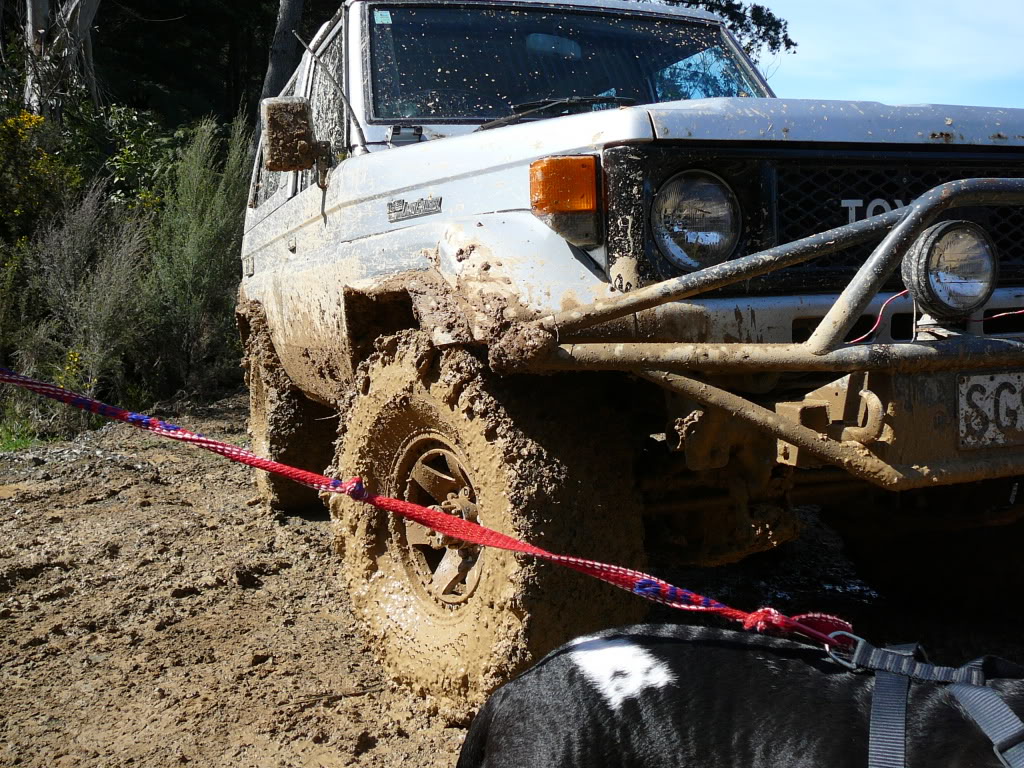
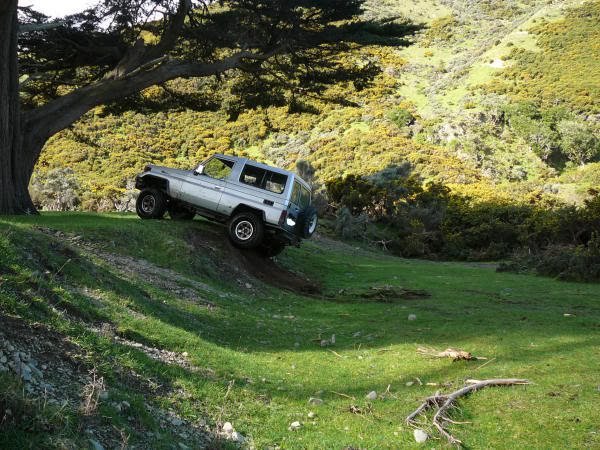
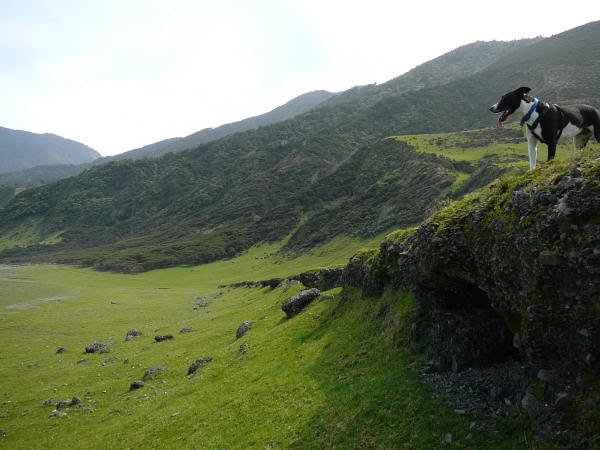
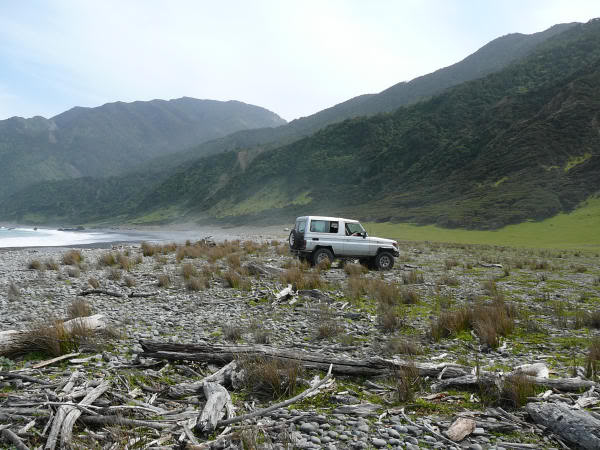
Here are some photos of previous exploits with my old Landcruisers:
OLD LANDCRUISERS which lead to the Safari I now have:
-
12
-
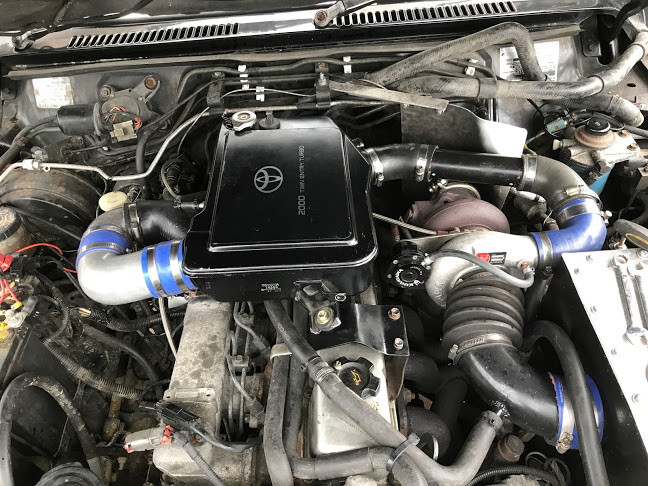
Now for air filter things, when I bought it, it had a K&N 'cold air intake' which is a sort of sealed unit which the previous owner had fit 'inline' between the turbo and snorkel.
Problem was it really wasn't water tight, which makes it pointless for water crossings.
So I sold that and fitted a spare pod filter on a 3" bit of tube temporarily.
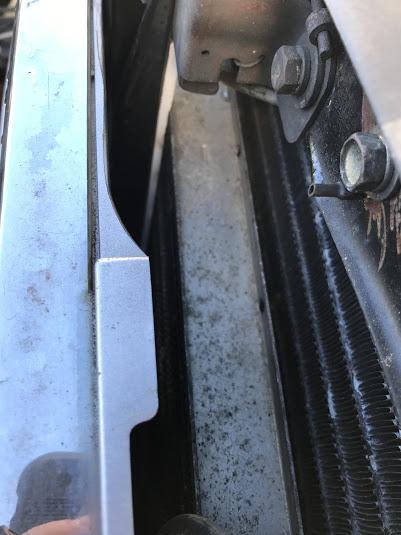
Then I finally got round to (a few years) making a sealed air box with a nice big K&N filter inside.
What I ended up doing was removing the second battery (24v system), and fitting two smaller batteries where the other battery was. Then used the empty space to fit an air box.
I made it out of steel (because that's what I can weld), then a bolt down lid made of aluminium, sealed with rubber foam.
To test it I blocked the top of the snorkel with my hand and it's perfectly sealed, so much so that it compresses the silcon joiners (see photo) then stalls the engine.
-
2
-
-
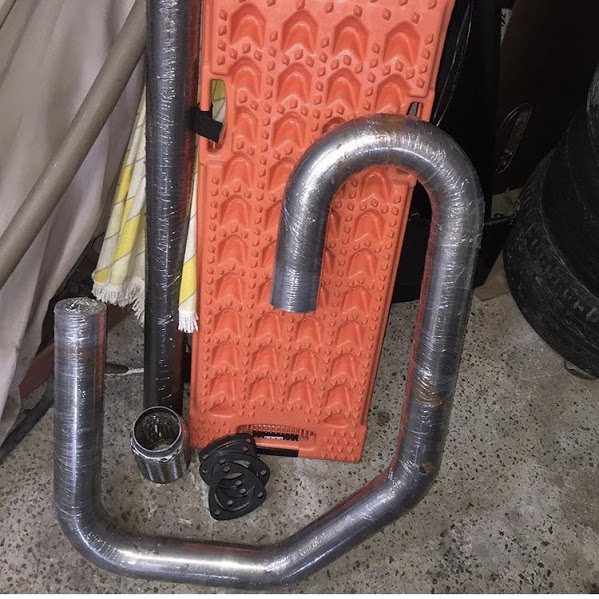
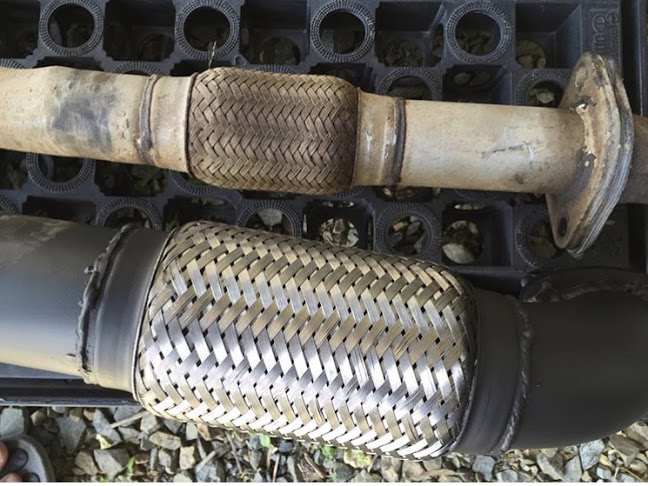
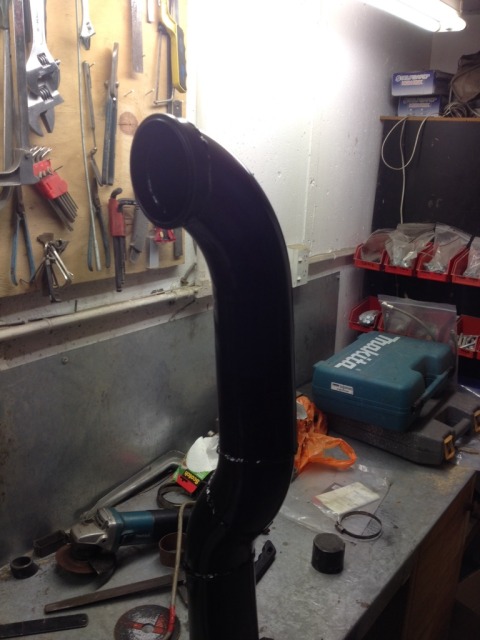
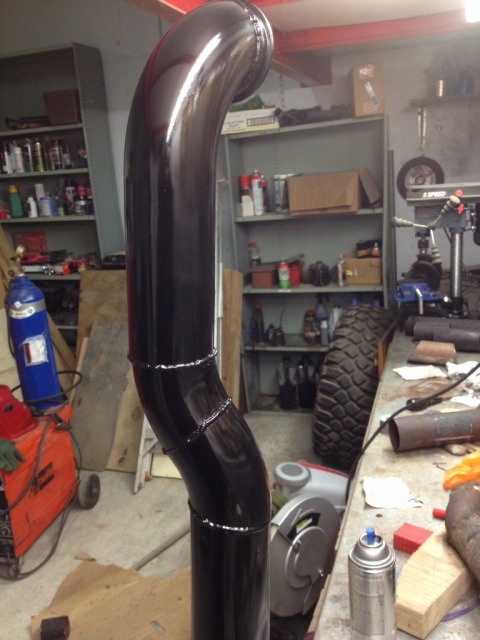
Next up, exhaust time!
The original exhaust, even after the previous owner had turbo charged it (not very well...) was still the standard tiny press bent one. In the area over the rear solid axle it was about 1.5" in the bends!!
So buy some 3" bends and a flexi:
Weld some stuff:
Spend hours and hours getting it to curve around stuff and be out of the way.
Finish and paint:
Old versus new:
-
4
-
-
Old photo on South Coast:
-
3
-
-
Also fitted some EFS extreme extended shocks and steering damper, can't see any photos though.
-
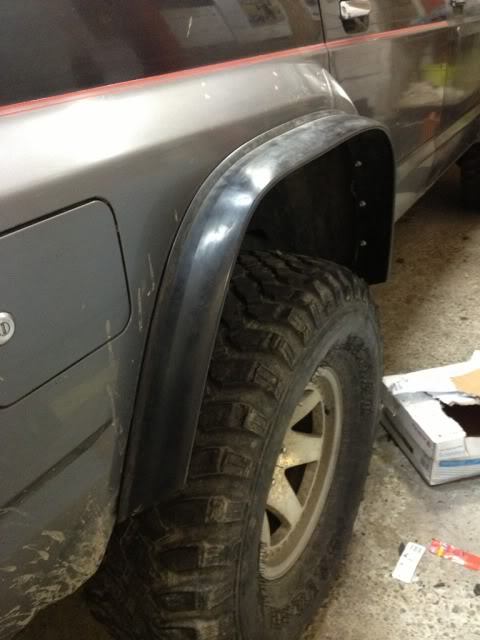
It needed some wheel arch extension jobbie for cert/wof:
-
1
-
-
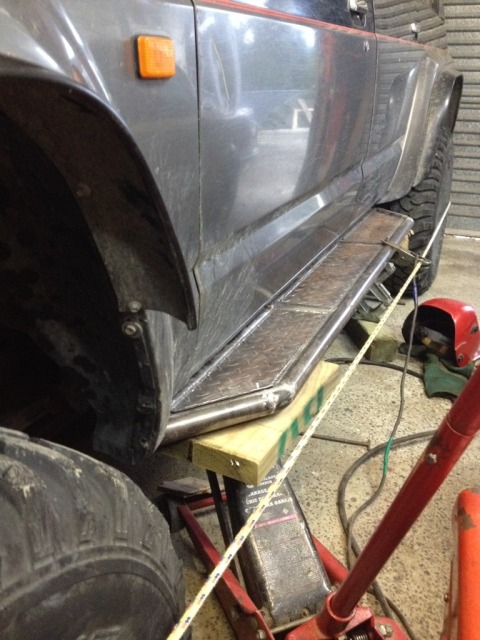
It's pretty tall with the suspension lift, my wife complained about climbing into it lol.
So I made some side step, for stepping...and for body protection.
SUPER heavy duty, made from 4mm wall tube and 8mm plate for backets.
-
4
-
-
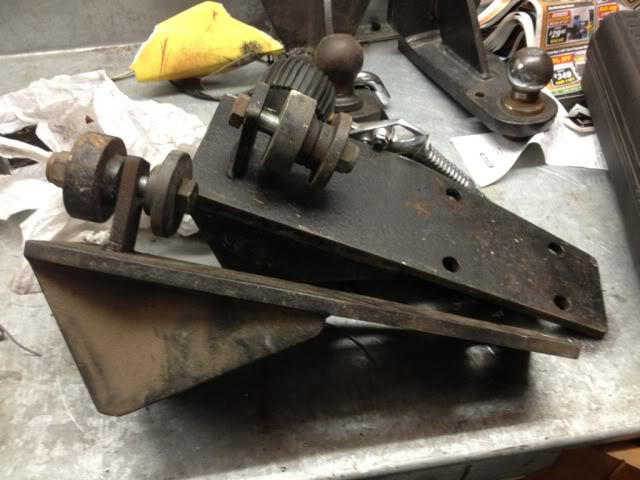
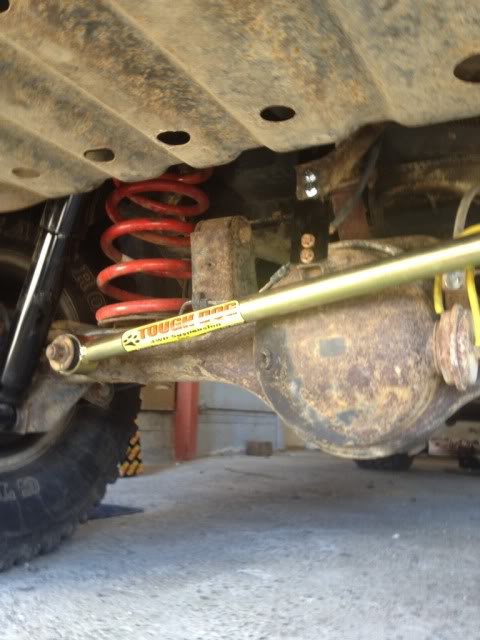
Bought and installed some 'drop boxes' to fix the radius arm angle, which was making it walk all over the road:
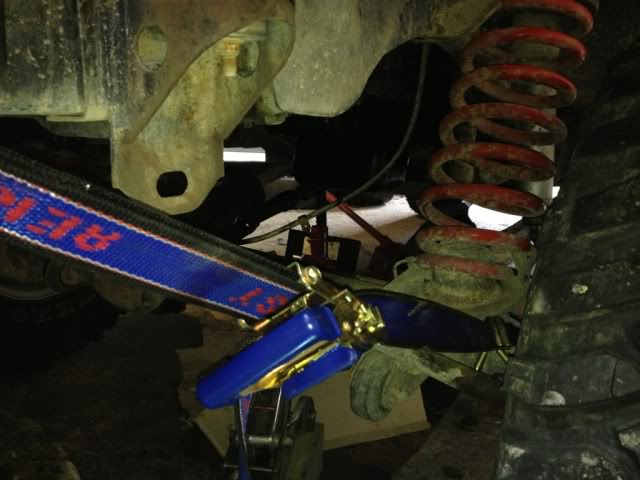
Ratchet straps to pull the axle backwards:
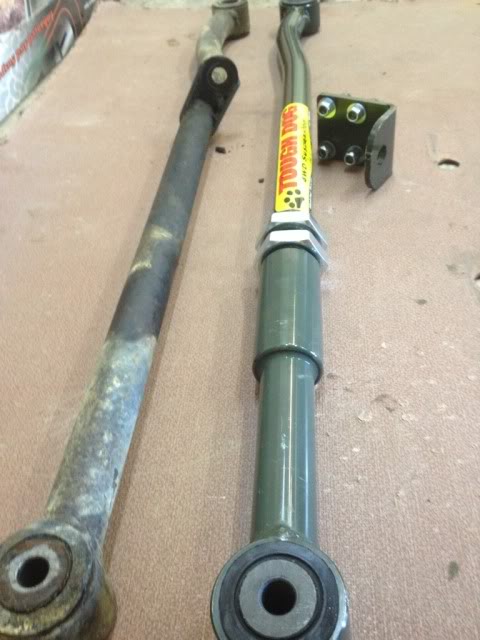
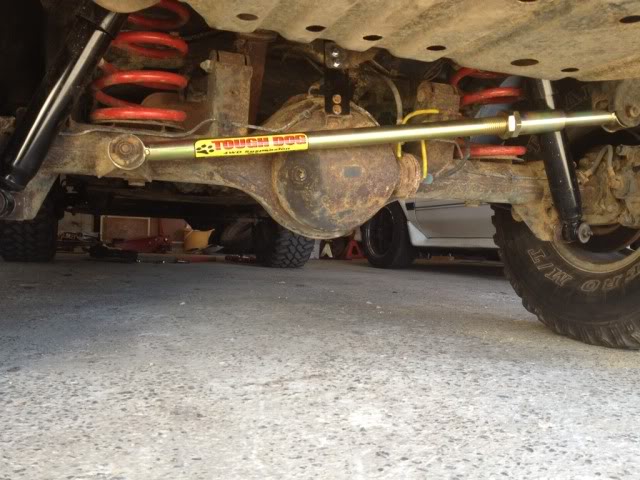
Heavy duty adjustable front Panhard rod / drag link, to cente axles after lift:
Heavy duty adjustable rear panhard rod, to cente axles after lift (was about 1" off centre):
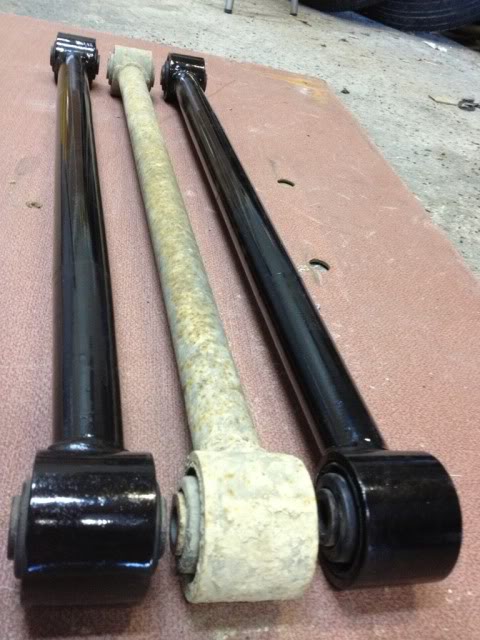
Extended trailing arms to correct diff angle:
-
2
-
-
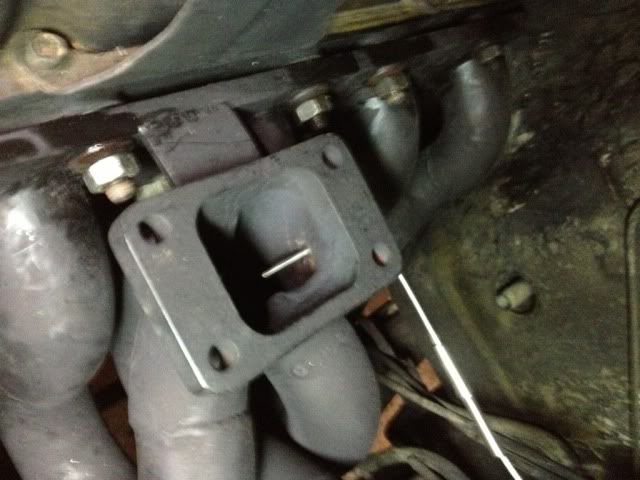
Before turbo upgrade, I found the manifold was slightly warped and leaking, so had it skimmed and I cut the flange to reduce stress:
Cut lines and also welded up external pipe:
Sanded:
Coated:
Installed EGT probe:
New metal gaskets:
-
3
-
-
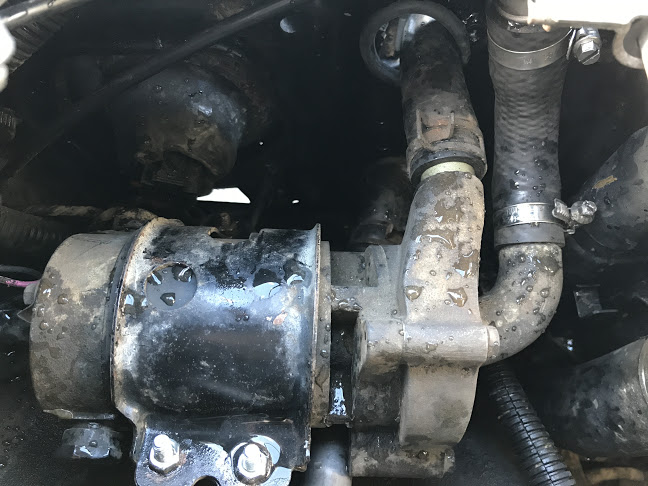
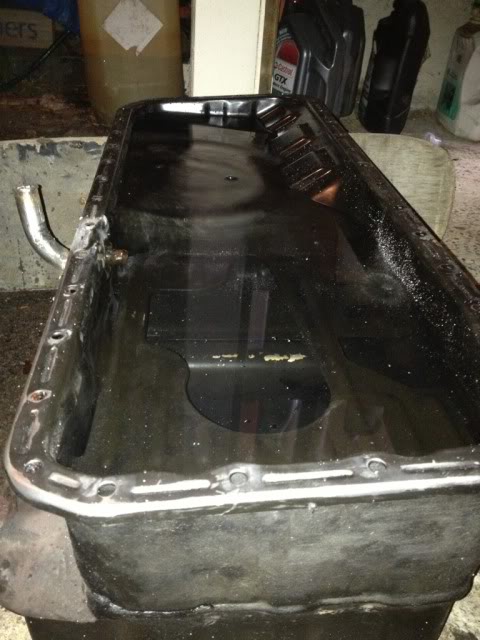
Turbo return leaked, it was a brass fitting mounted below the oil leave so I welded a drain above the oil level:
Too low versus higher point;
Testing for leaks:
-
1
-
-
Changed the cross over pipe to this nice aluminium jobbie from a Volvo (Pick a Part):
The original Downpipe was TERRIBLE, it was too small a diameter and was even worse because they hammered the tube to clear the manifold so the inside diameter was tiny. Surprised it worked at all.
So I made a 3" mandrel jobbie, it really opened it up:
-
4
-
-
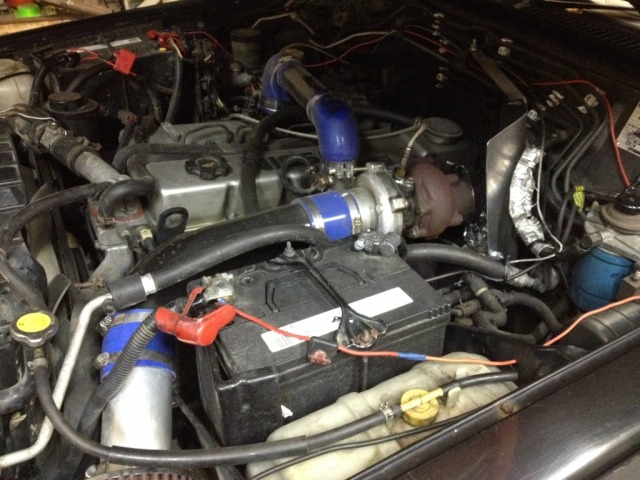
Old terrible turbo set up when I got it.
- Turbo too big, didn't spool till well after the appropriate peak power rpm.
- cross over pipe tiny.
- Turbo also a cheap Chinese piece of carp.
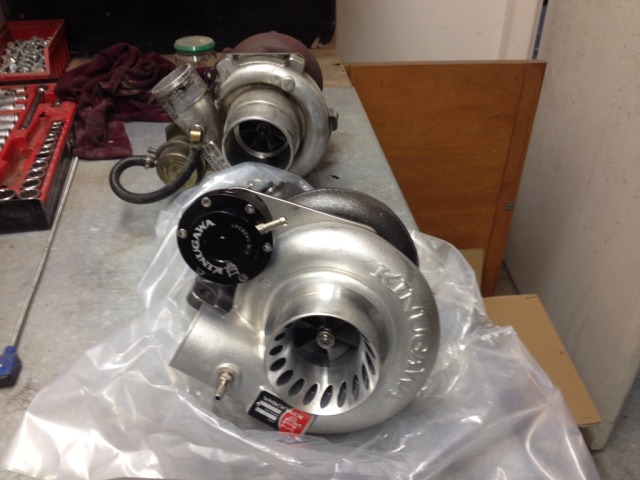
Upgraded to this:
- Kinugawa TD05-16G with T3 housing. Huge improvement in spool, would 'chirp' 33" muds now.
Old turbo on the right, exh housing far too big.
-
4
-
-
I've had this about 4 years now, previously I had three (well two and a half) BJ73's Landcruisers that got bash to hell off road. Awesome fun. They were, in order powered by VN V6, then a 3B diesel, then a 13B-T diesel of non-rotary spec.
I then bought a modified 1990 Nissan Safari, because I wanted something with coil springs.
I then proceeded to redo almost everything on it and got it certed.
Everything as in: Changed springs, changed shocks, changed turbo, remade downpipe, fixed exhaust manifold, made 3" exhaust, fixed seats, fitted drop boxes to fix steering, fitted extended trailing arms to fix shit, changed tyres, changed wheels, rewired lights, rewired relays, fixed locker solenoid, replaced terrible cross over pipe, made steel sidesteps, basically to do everything properly!
I'll post up some historical photos later, currently I'm working on fitting this ST205 w2a intercooler:
-
2
-
-
testing...
-
2
-
-
On 6/21/2017 at 18:23, Mark_Fleming said:
Not that it helps you now......but Youshop works very well for bringing stuff in.....
Last I brought something in via youshop it was an insta-gst. Although it was over $400.
-
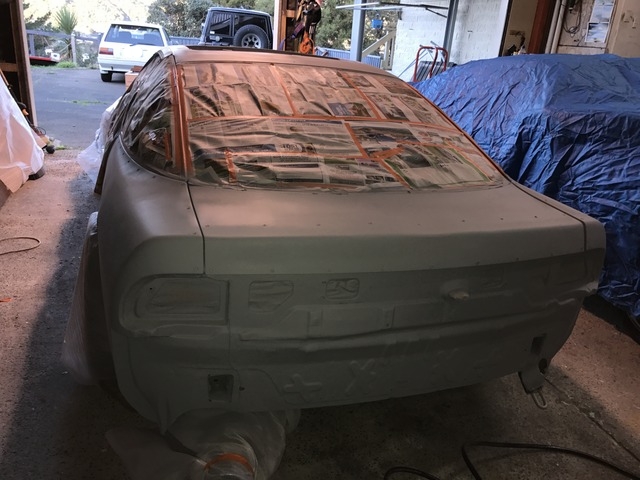
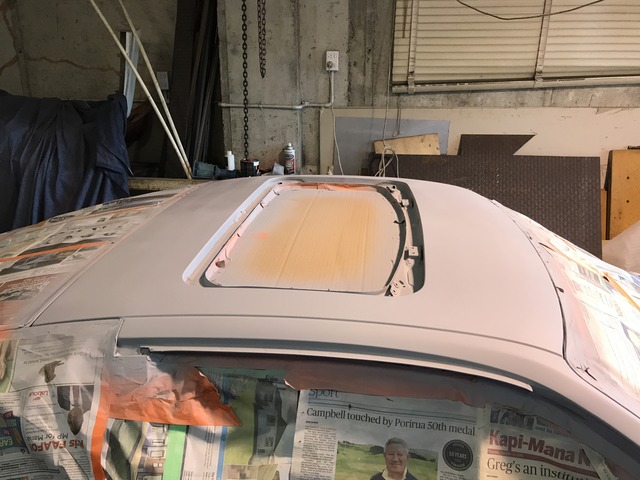
High fill primer:
Getting there!
-
5
-
-
6 hours ago, Bellicose said:
Fuck me. Who ever came up with that idea needs shooting in the face with a ball of their own shit.
I'd bet my left one any one that does that WILL rub through.
Just use a very small bit of wood with some 800 wet then 1500 wet. Could do 2000 then hand cut area with some good compound.
Be sure to rub the top of the run and slowly bring it down to level.
Sounds like the exact same thing though, except maybe that he started with 320? And without the fine filler to stop sanding through.
Looks to work well in the video so are you saying the filler isn't necessary or will some how make it worse? If so, the 'gunman' needs to be told of the poo to face punishment.
-
This one:
-
There is a way to sand down runs by covering the whole area with body filler. Then when you sand the filler away, the run is the high spot under the filler, so once you sand through the filler you should get to the run and it should evenly sand down to the rest of the paint.
It would still be pretty easy to sand through the paint accidentally though.
Disclaimer: saw it on youtube.
-
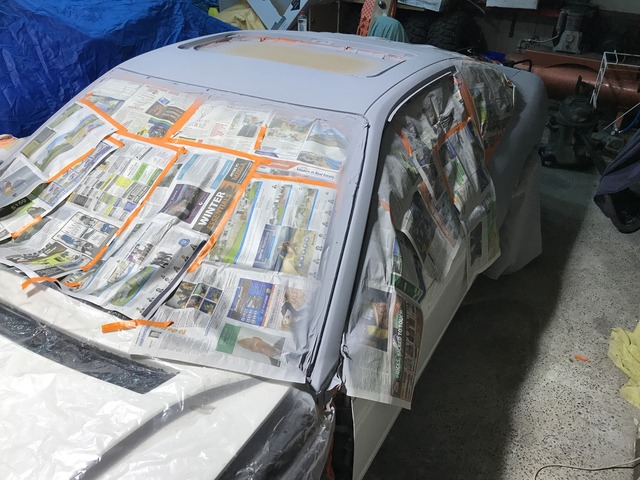
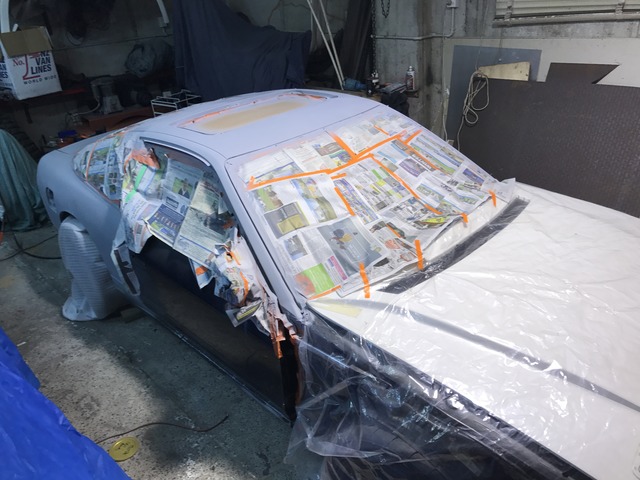
More removing of crappy roof paint, its like rubber but doesn't peal off. You can kind of see it on the edge where where I was using paint stripper.
Gone:
Lots of shallow dents here:
Factory weld/braze:
Looks less finished the more I work on it!
These 'Dura Block' sanding blocks with stick on sanding paper is an awesome combo:
-
3
-


Two post hoist in home garage (questions).
in General Car Chat
Posted
If you provide the money yes.
Your garage would be perfect. I need to finish and sell some cars first.