
- Popular Post


ThePog
-
Posts
5,615 -
Joined
-
Last visited
-
Days Won
6
Content Type
Forums
Downloads
Events
Gallery
Posts posted by ThePog
-
-
- Popular Post
Id just replace all the bad nuts and bolts and call it a day, nothing else looks like a problem.
-
 11
11
-
 1
1
-
- Popular Post
- Popular Post
I did the bottom mount, that was piss easy.
It then got a clean sheet Wof (apart from a side repeater not working), so that was extremely pleasing.
Unfortunately the new stiffer mounts has meant that vibration coming from the motor that was pretty effectively masked by the soft mounts, has become noticable to the point where I kindof dont want to drive it.
Its bad enough that I want to pull the engine down and have a look.
This is kindof ok, because I should have two gearboxes arriving shortly from Auckland, this means I will have 4x boxes to build one good one out of. Apparently they are straightforward to repair and plenty of the wear items are readily available which is good.
This means i can drop the drivetrain, sort the gearbox and have a squiz at the engine all at the same time.
I did notice that one of the idle circuits wasnt doing anything when the screw was adjusted, I dont think thats the problem but I bought a cheap ultrasonic cleaner so I can give the carbs some loving, if the gods are smiling it might just be that, but I am not counting on it.
Meanwhile I drew up a center console in CAD to tidy things up. Back in the day I removed the factory one so I could actually use the clutch, but it left things looking a bit raggedy. Clearly time to sort it with some cool shit that still gives me legroom.
It took 3 iterations and I will probably print it again in a nicer/stronger/more uv resistent material, but it came out so nice anyway.
V1

V3
Clearly my aesthetic heart lies somewhere in the last century, cos that looks the tits.
I urge everyone to learn some cad and buy a machine, there is so much goodness awaiting...
-
35
-
14 minutes ago, tortron said:
My machine would does 30 min cycles. I'd usually do 2 of them. Good to agitate/rinse as the ultrasonic doesn't really do that
My normal mix is a good squirter of dishwash, 70ish degree heat, 30 min. Twice
*you can use naughty never to use stuff like petrol or aggressive thinners to help shift varnish. I have never had one explode yet. Usually in a smaller covered jar or similar.
What is this jar situation? I don't understand..
-
So I am about to pick up that Jaycar unit, mostly because the carbs on the Fiat have issues, ie one of the idle mixture circuits does not appear to work so is probably clagged up, plus they are dirty as fuck anyway.
From what I have read on here a few squirts of dishwashing liquid and clean water is safest? And how long to run it for?
Chur
-
On 12/11/2024 at 12:13, GARDRB said:
Is this as good a deal as it looks??
https://www.jaycar.co.nz/1800ml-80w-ultrasonic-cleaner/p/YH5416Fuck I am getting one on general principle at that price.
-
1
-
 1
1
-
-
Might not be the thread for it but can someone tell me if the squabs on Recaro Fishnets individually replaceable?
A cheap set came up with ripped bits, but then another single came up with the other bits ripped.
If I can swap them it might be worth it...?
-
On 06/11/2024 at 22:00, Rhyscar said:
Great work so far! Such a cool project, and I am definitely partial to a camper build. Following with my popcorn.
Be prepared to eat a lot of popcorn...
-
2
-
-
Just buy a flexi flue brush, you can do it from the burner, not on the roof.
-
- Popular Post
- Popular Post
Oh yea dredge time.
I have been pretty broken for a while with ongoing gall bladder issues, +10x ER visits and 3x ops but I am kindof cured now. All of which is my excuse for why this shit is dragging.
But the last couple of months have been pretty productive, although i was chipping away when I could muster the energy over the last year.
The belt lift mech was a bit shit, jumping teeth under load etc, I tried linear actuators but no joy, then finally went to a cable setup which appears to work pretty well. Altho the ATV winch motor is pretty noisy, I will find a reduction box and a better motor at some point.
After considerable detailing and tidying up i got the frame zinc arc sprayed
And started assembly with the water tanks
All the steel bits I got zinc plated
Installed the seats after a couple of coats of polyurethane.
Made a frame underneath that holds the batteries and started wiring things up, this has gotten a lot messier so may be taken out and redone once everything is in there
Then I had to remind myself how the router worked so i could make the kitchen
The bed is set up on some long linear servos so it lifts out of the way during the day, once this was working ok I made a ply base, altho it was kindof heavy so I reamed a bit of weight out of the parts on the router with a pretty blunt 25mm Mitre 10 bit.
So this is where it sits right now, nearly time to sort the panels and bolt them on. The fridge/water pump/bed lift/roof lift are all wired up and live, I just need to remember to wire in the solar panel and charge the system up every week or so.
It is so nice to work on it from the outside TBH, makes things a shitload easier.
Still so much to do IRL.
-
22
-
- Popular Post
- Popular Post
I have been collecting some maintenance parts cos the side and bottom mounts are a little floppy and the cambelt tensioner bearing looked dodgy and seemed to me making little sqeaky noises.
The last of it arrived this week so I thought I had better do some of it at least.
The side mount and cambelt stuff seemed the most important, but doing this was a bad decision cos the mount was a right cunt to get off. Two of the three bolts were a right bitch, and the third was significantly worse than those. I ended up making a tool to get to that, but the undoing and redoing up of these three bolts was about 2 hours of effort not including making the tool.
Im still not sure that top one is tight enough, but the gearbox will be coming out at some point soon so I will sort it properly then.
The bearing fell apart when I gently tapped it off the hangar;
The new one is appropriately shiny tho.
The cambelt was a breeze in comparison, although I did have to pull the rocker cover to check the valve positions as I stupidly decided to seat the belt using the the starter without properly tightening the bearing first and it all jumped some teeth, fucking twat. I was kinda tired at that point tho.
So the bottom mount will be another day.
-
24
-
Looks exactly like the tach sensor on a td42.
-
1
-
-
Yea that looks tidy.
Might have to sell my wee dc tig first ..
-
1 minute ago, 440bbm said:
a new xcel arc is 2100 inc gst so would want to be well under 1k.
may as well just buy a new one
Thats the info I need ta.
It just came up on marketplace when I was looking but I'd want pretty decent for 1k second hand, so I guess its a pass.
I have to swing by Proline soon so I might have a squizz while I am there.
-
1
-
-
2 hours ago, 440bbm said:
Would think the amount of work you do and quality you would want a decent machine.
I only want it for ally tig, and im pretty shithouse at that.
I can probably get it for a grand second hand.
-
Weldtech protig 200ac/dc
Yea or na
-
43 minutes ago, MightyJoe said:
Has anyone made their own dimple die(s) ? I only need 1 size, I need some speed holes in the escort. I've seen a few YouTube videos on how to make your own but if anyone done it got any tips/tricks? Is it cost effective or should I just pay the $150 for one. I assume once I buy one I'll find holes to swage with it.
3d printed ones work pretty good I hear
-
1
-
1
-
-
42 minutes ago, GregT said:
Did you get the rear suspension arms from the wreck ? Always handy to have one to send away for balljoint when you've failed a WOF on that.
No spare means car immobile on hoist while you wait for the arm to return. Been there. Would avoid if possible.
Yea I have all of that and pretty much every bit of trim/steering rack/glass/etc. just no driveline stuff.
-
- Popular Post
- Popular Post
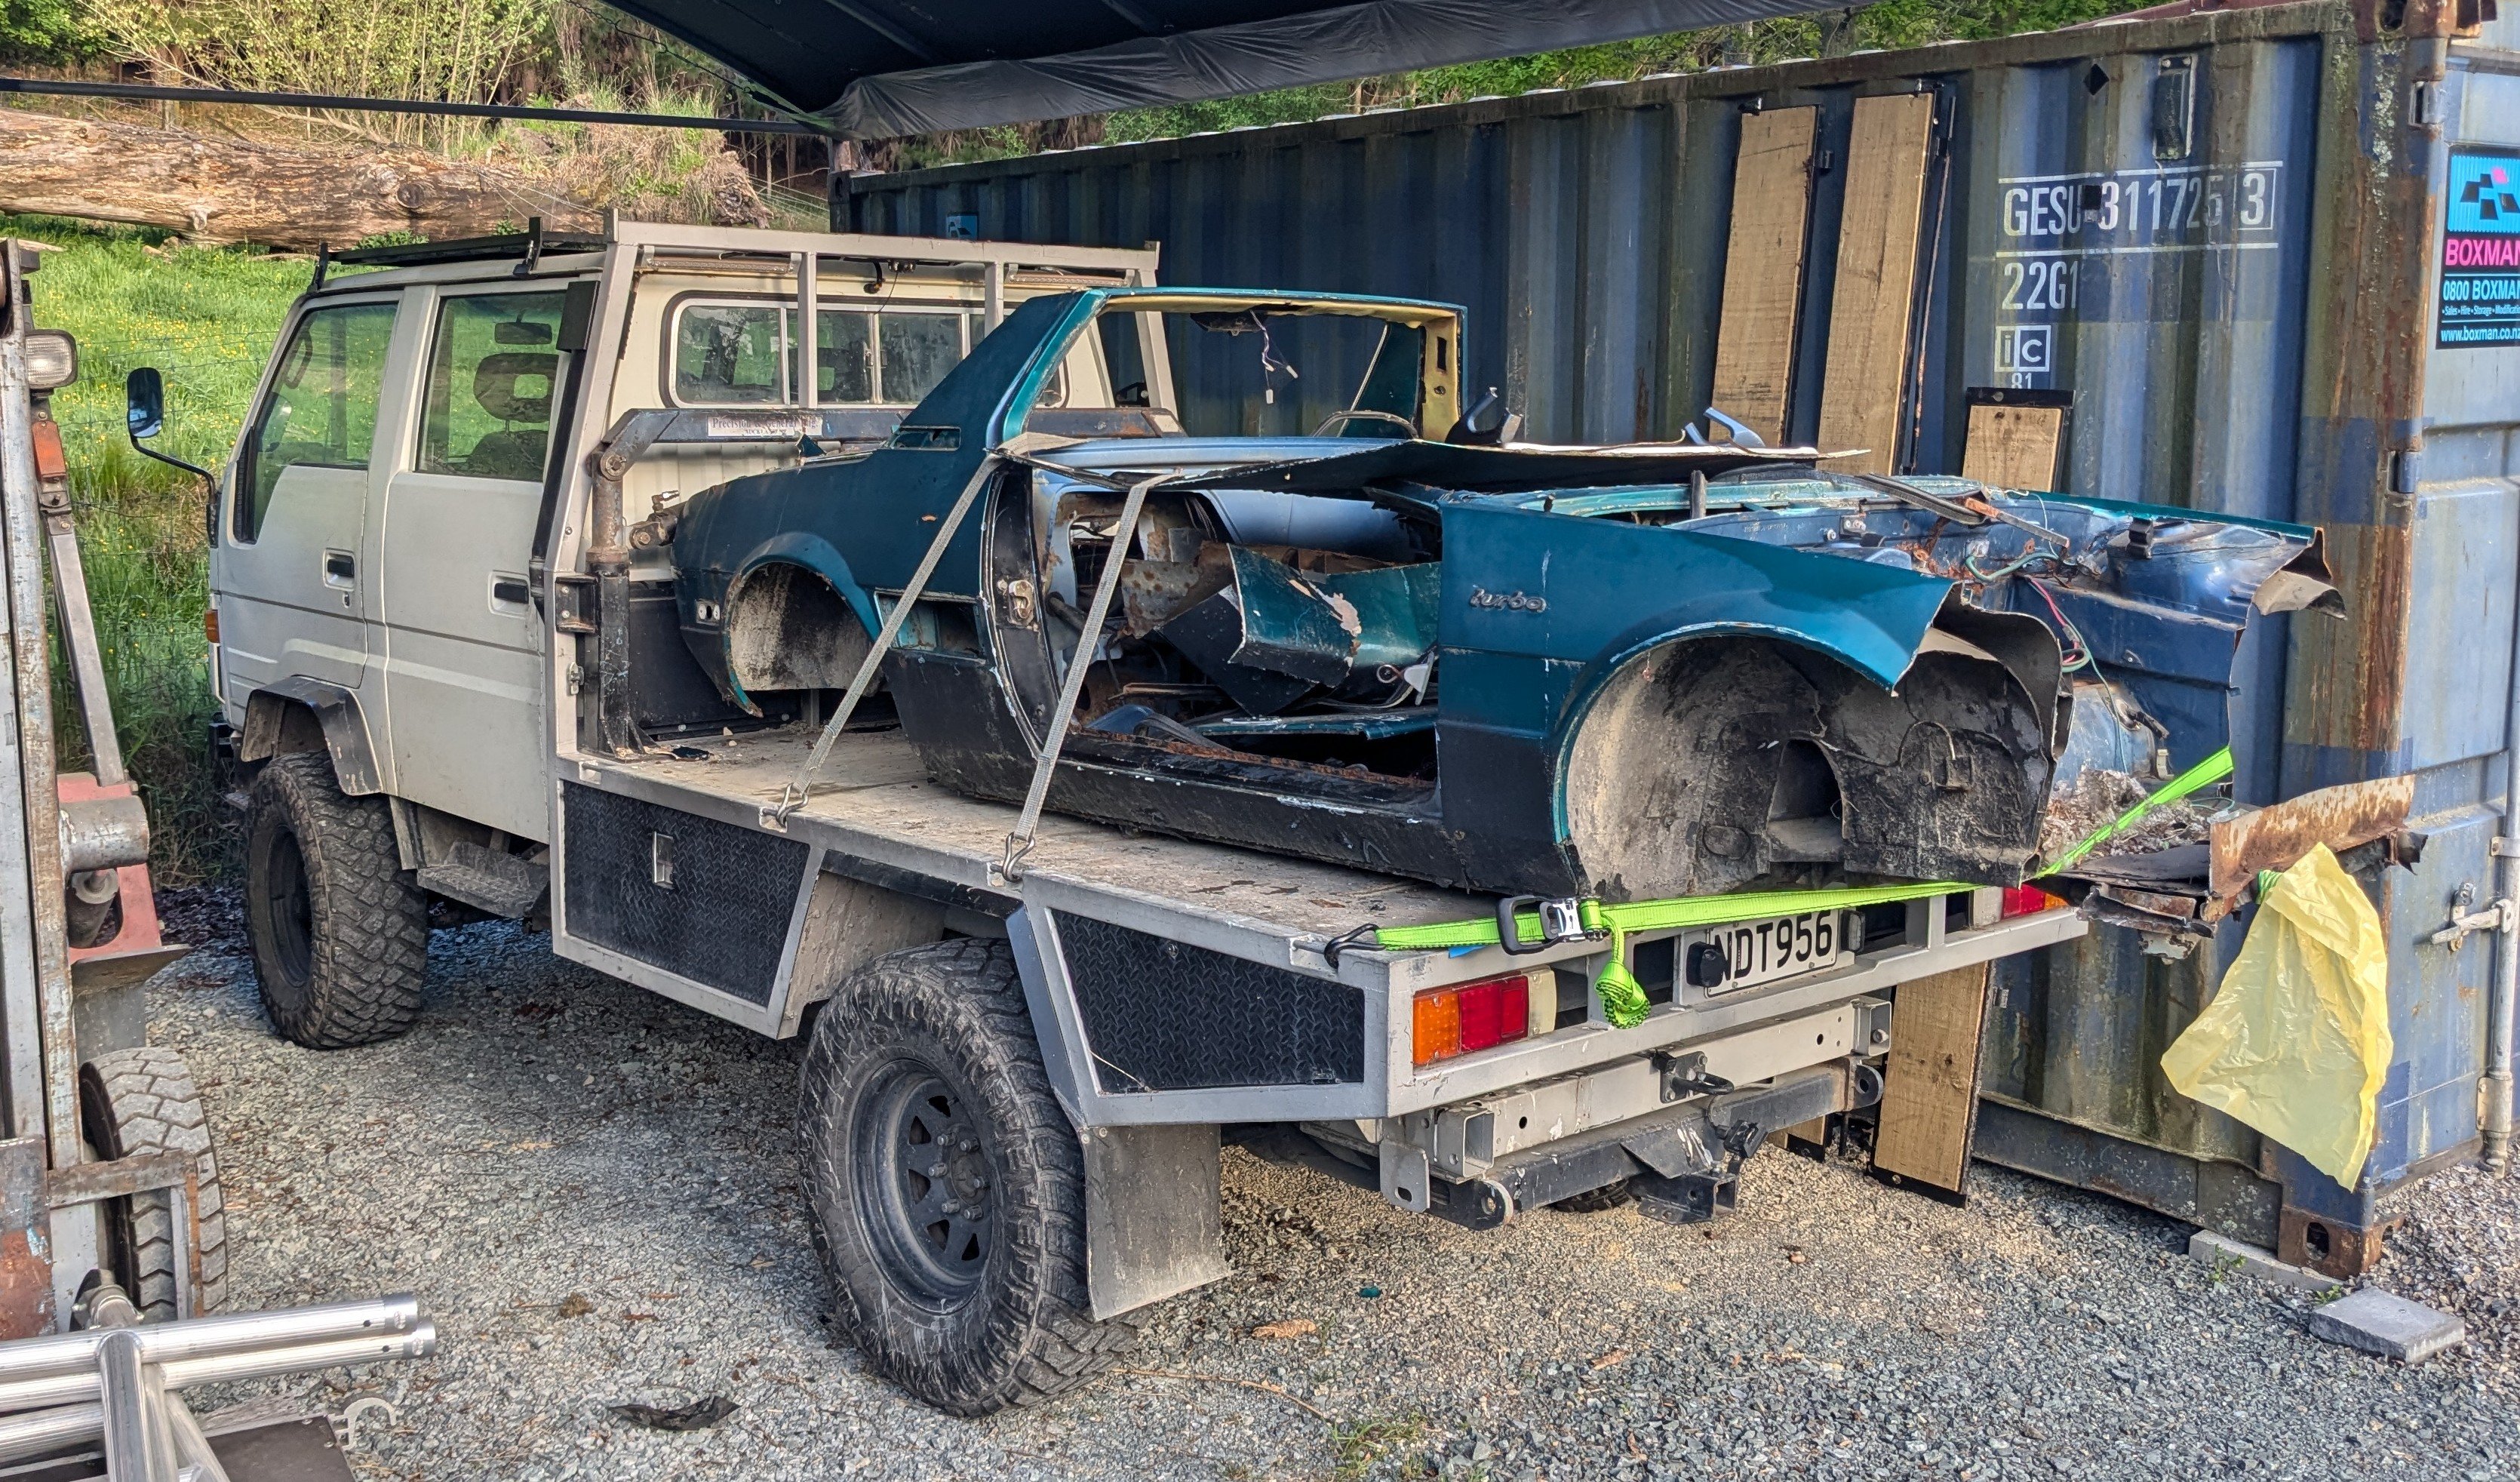
Taking out the trash, but at least I got paid for it.
$7.55 grand total

-
18
-
 3
3
-
15 minutes ago, felixx said:
I went past yesterday and it was gone

-
8 hours ago, felixx said:
Anything u want me to go ask him.for??
The two bertone badges on the rear door pillars (two small phillips head screws and they pop off) and the engine cover if it isnt too rusty, but given the rest of it that's extremely unlikely..
Oh and the front and rear badges maybe.
Chur..
-
Those are some particularly odd spots for rust holes.
-
50 minutes ago, h4nd said:
Ah, run your relay off the NC terminals of the limit sw for the first stage parallel to the motor, so it switches off with the motor at the limit, then you have the NC terminals on the relay will relax closed, to drive the next thing. You'll have those NAND/NOR/1 bit sadder gates going in no time!
This is so obvious I am smacking my forehead.
-
1
-
-
22 minutes ago, NickJ said:
Can you substitute a different switch in?
Not really, it has a limit switch that breaks the circuit once in position. I need to use the break as the ok go signal for the next thing.
-
I want to activate a relay, but I only want it to close the circuit when another circuit is broken.
ie I only want the second circuit to run when a limit switch has disconnected the first.
But I dont necessarily want the second coil to be energised all the time.
Is there a devious way to achieve this passively?


ThePogs Fiat X1/9 - strutting
in Projects and Build Ups
Posted
Well the ultrasonic cleaner seems to do something. I only used hot water and washing up liquid, 1/4hr at a time cos I didnt want the corrosion thing plus I am more interested in the holes being clear than showcar.
Still it looks better.