


Petes mk2
-
Posts
64 -
Joined
-
Last visited
Posts posted by Petes mk2
-
-
- Popular Post
- Popular Post
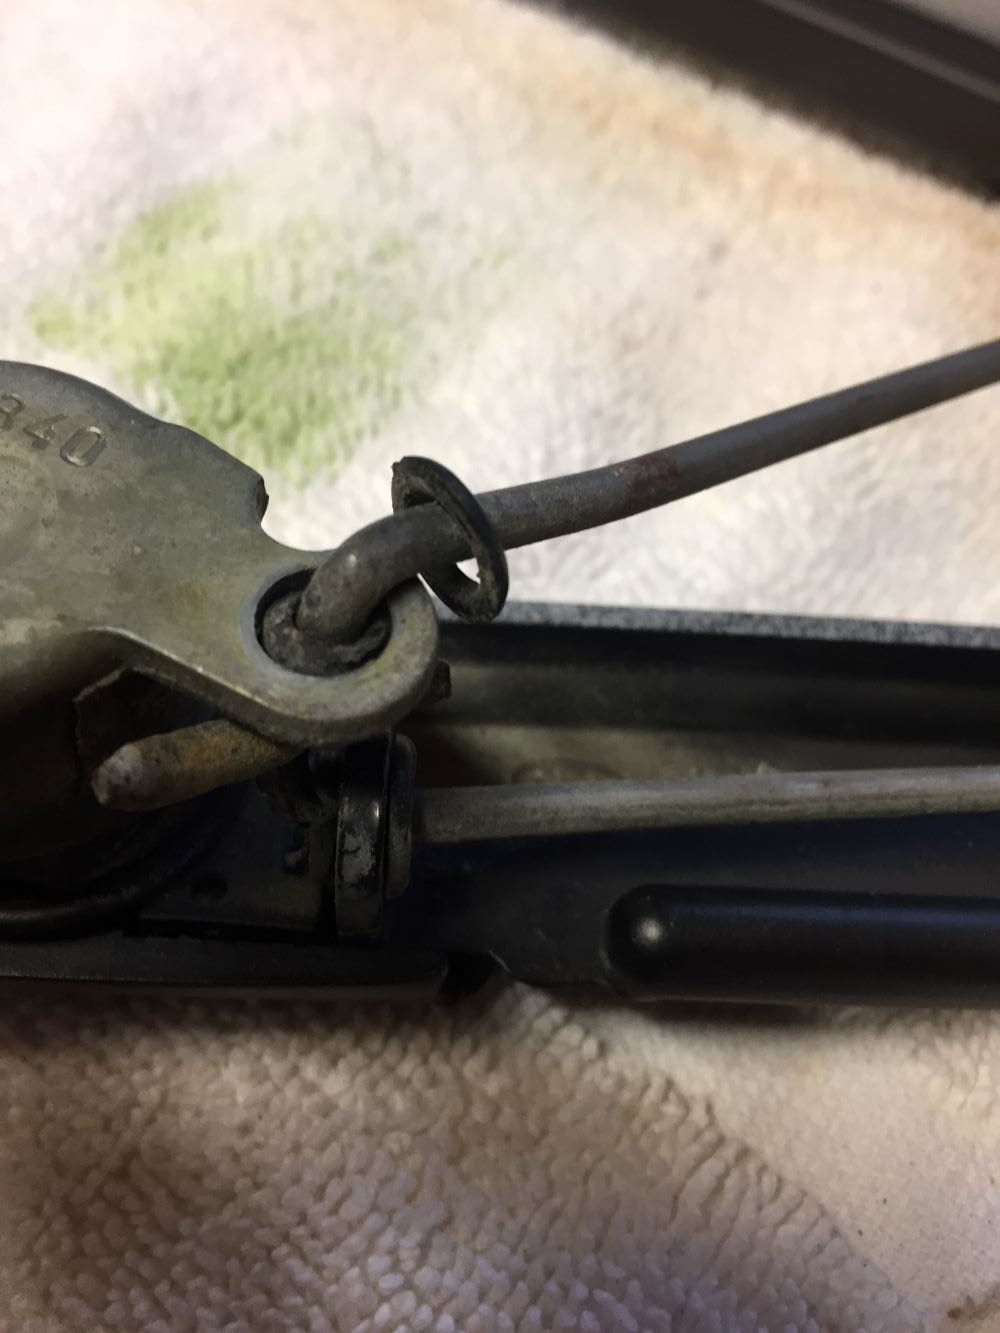
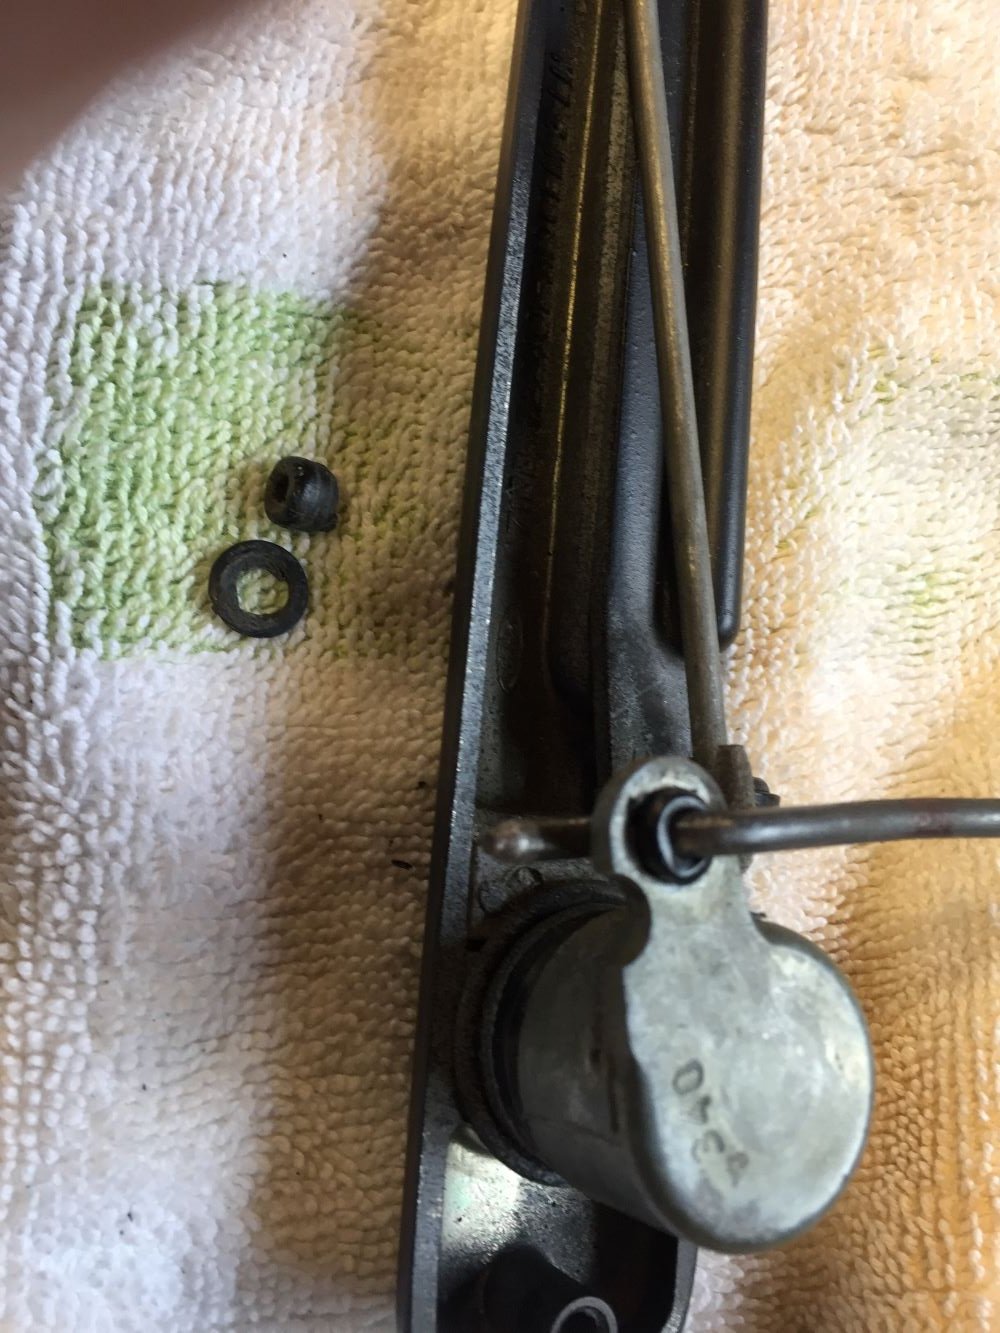
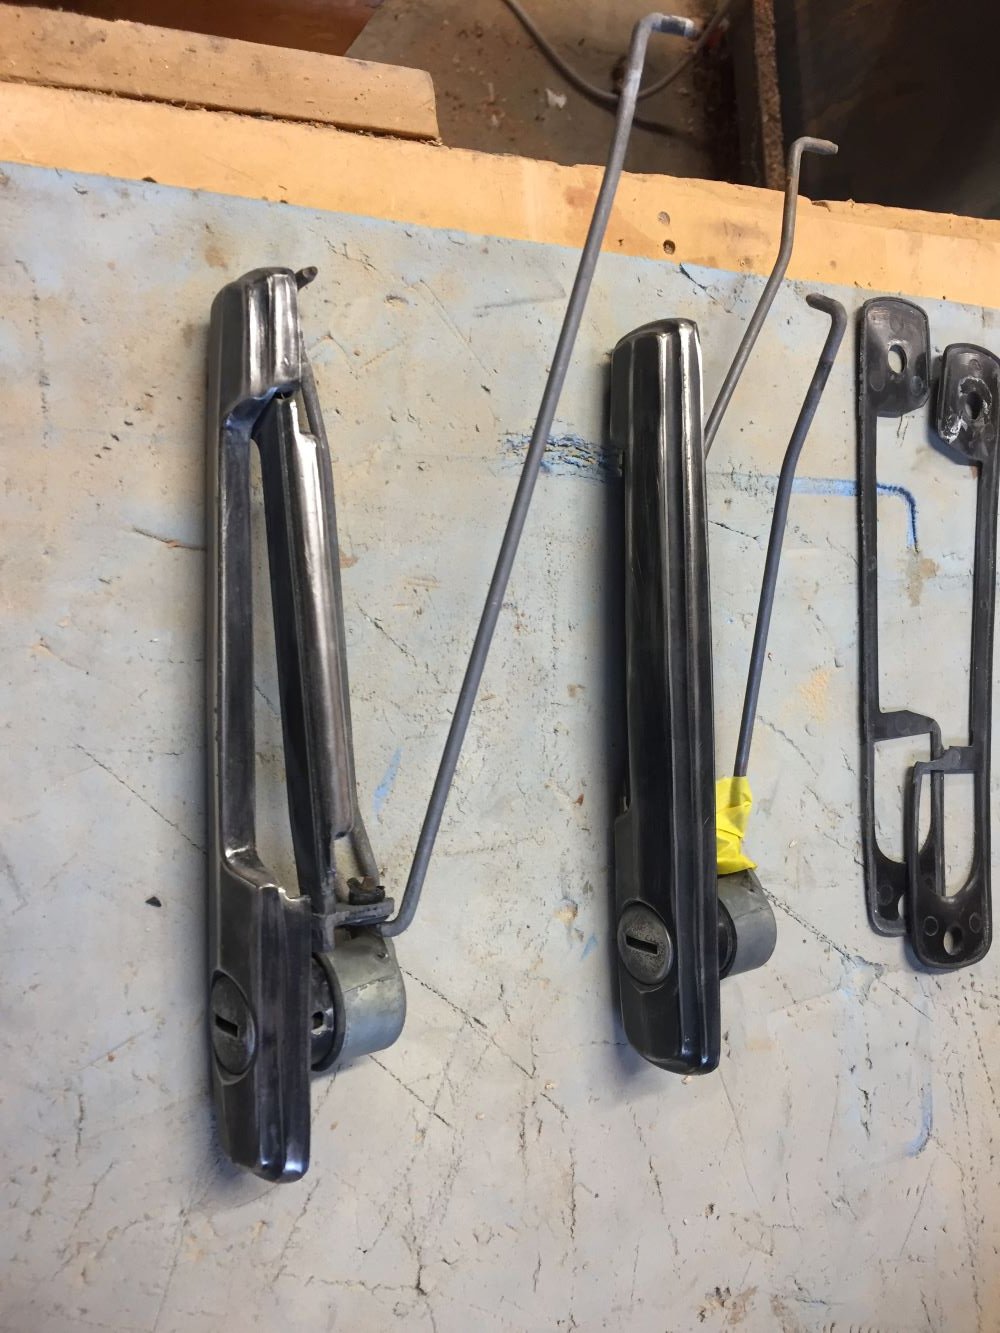
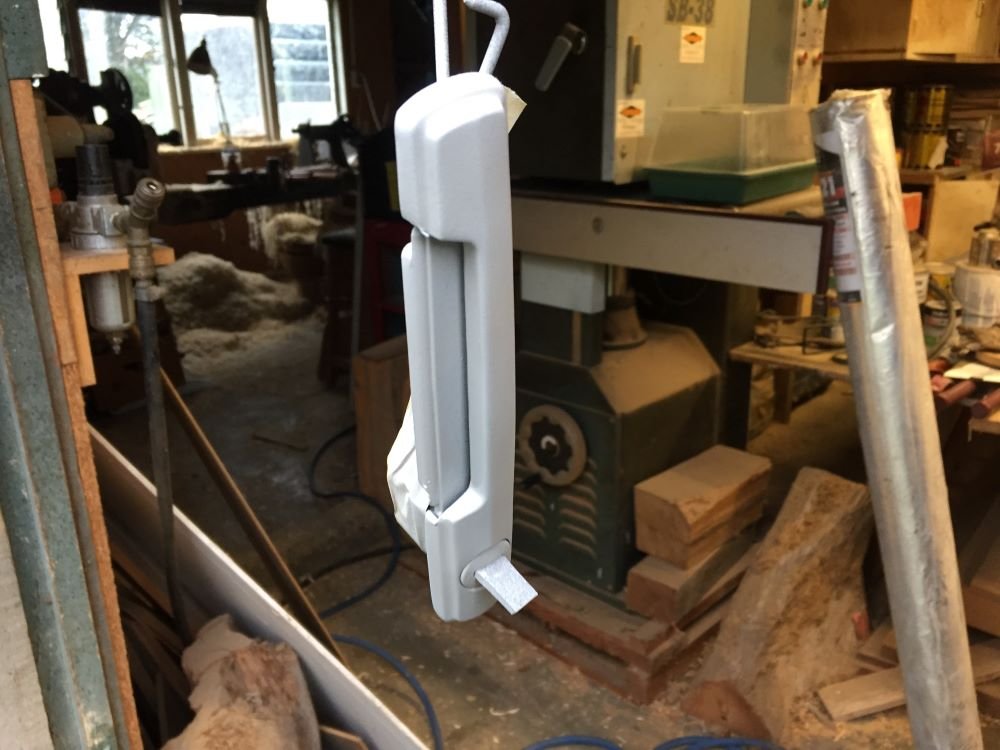
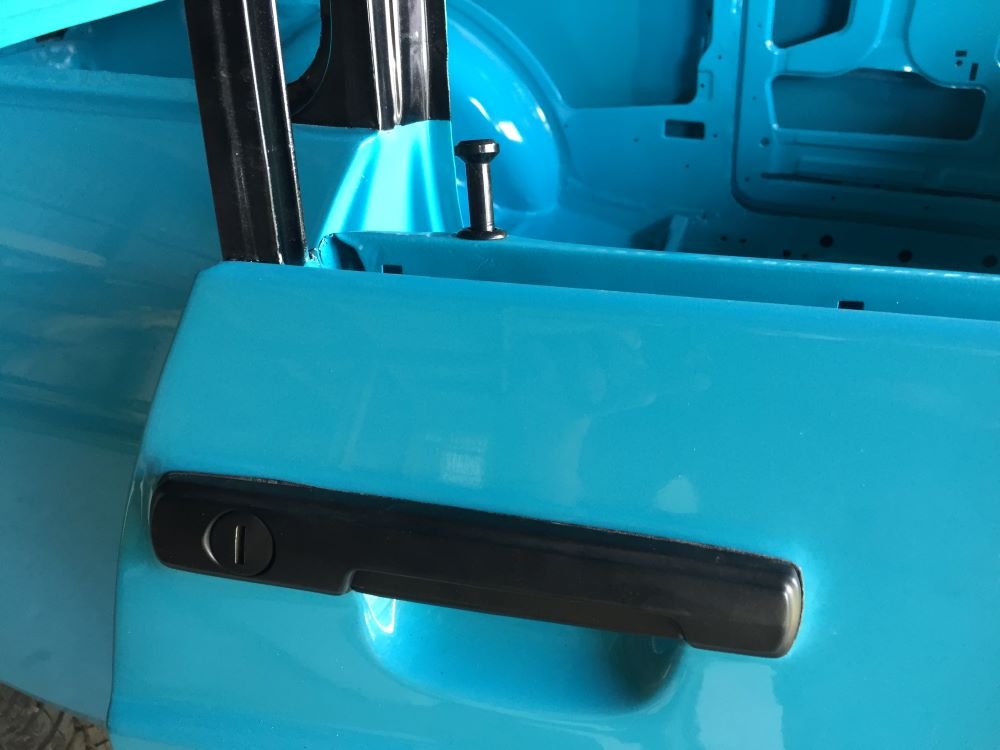
Now onto the external door handles. One of the linkages had a broken bush that needed to be replaced. Hunted around until I found a hard irrigation riser that was the perfect size to make a new bush. Cut off a small piece, heated it up so I could get around 90 deg angle on linkage arm. With a bit of shapeing, it looked like a new one. Sand blasted, primed and painted. Fitted and working well.
Project Discusssion https://oldschool.co.nz/index.php?/topic/84912-petes-mk2-escort-1600-sports/page/2/

-
 12
12
-
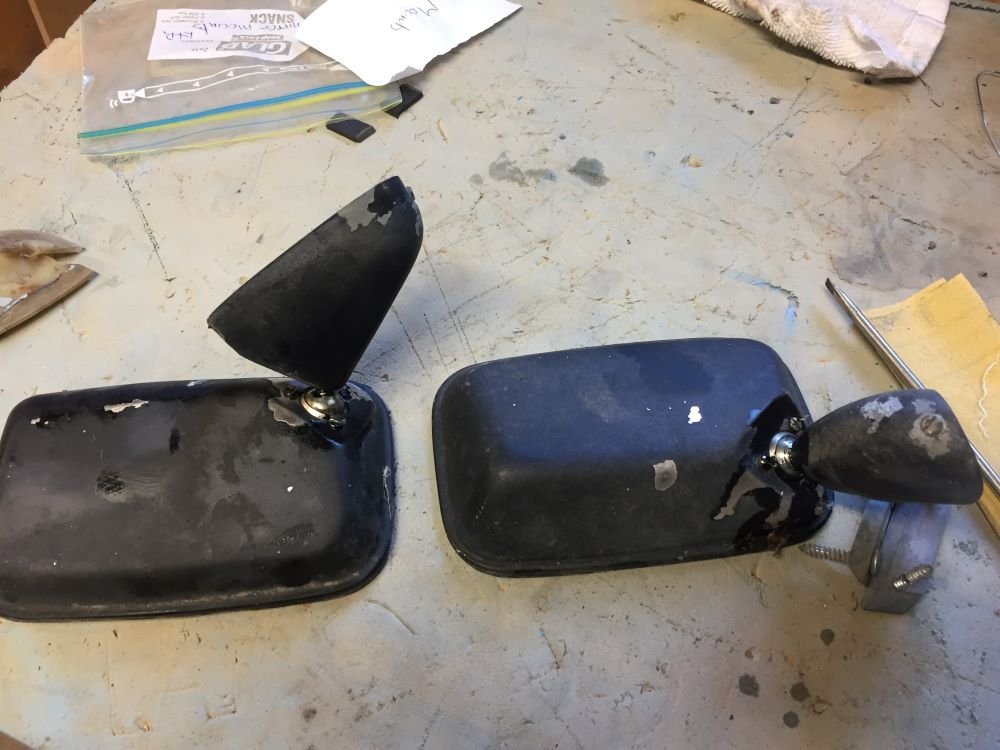
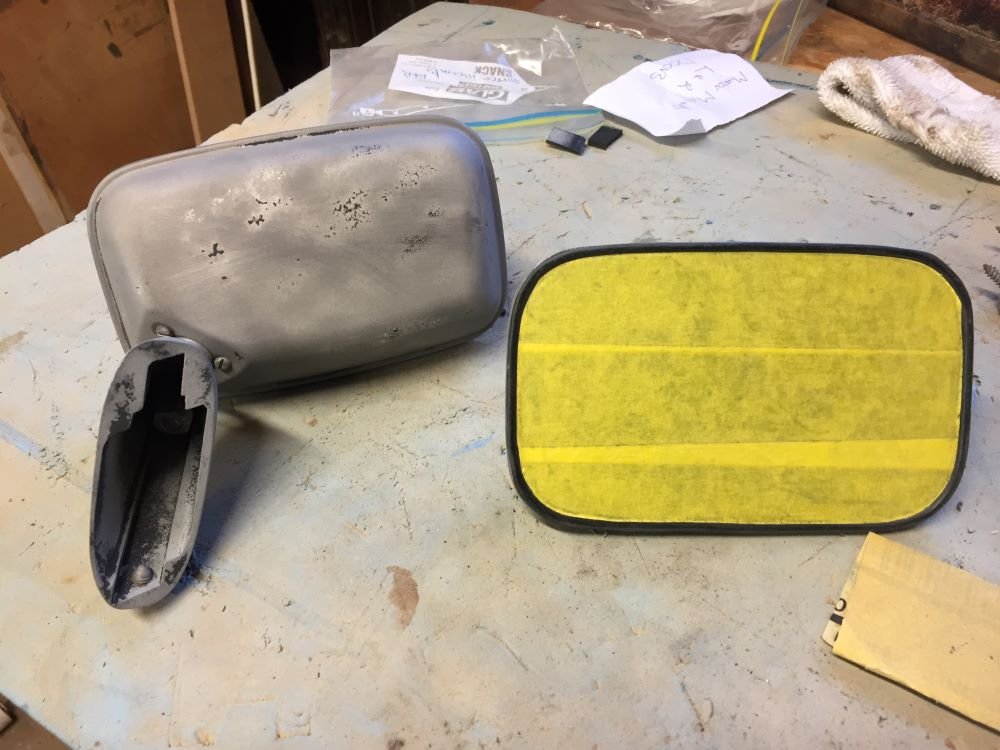
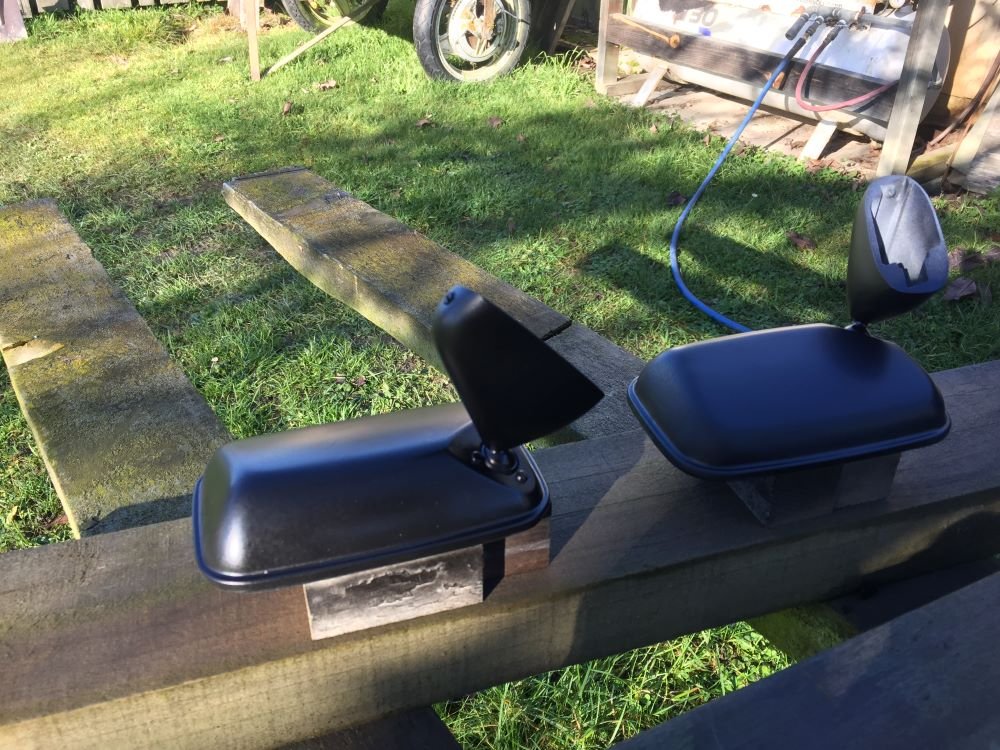
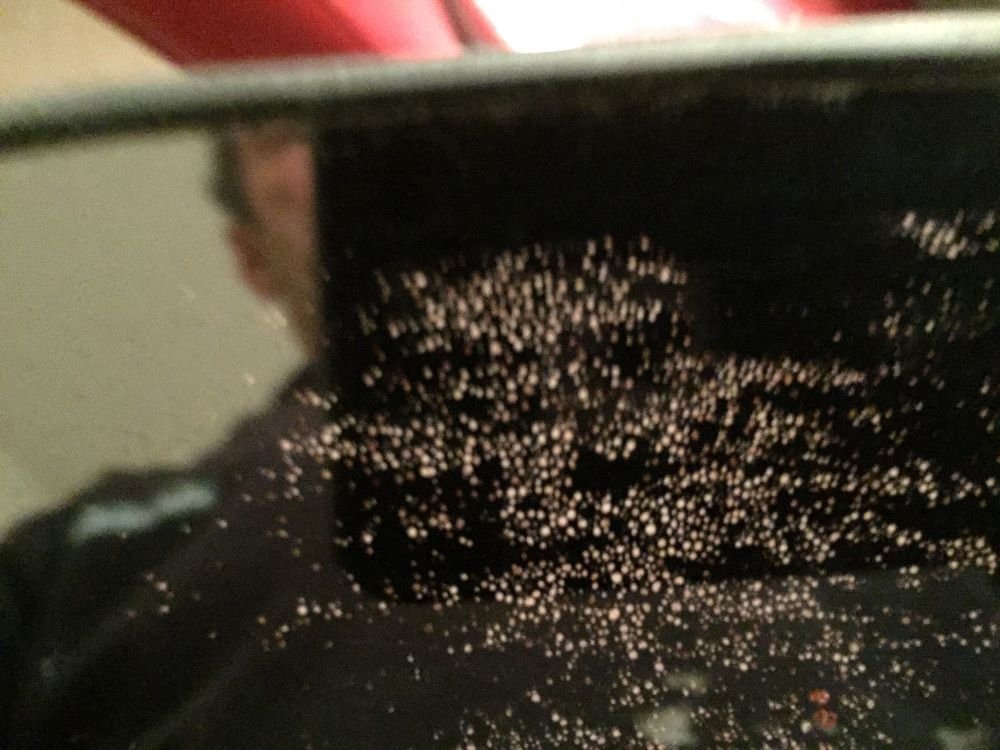
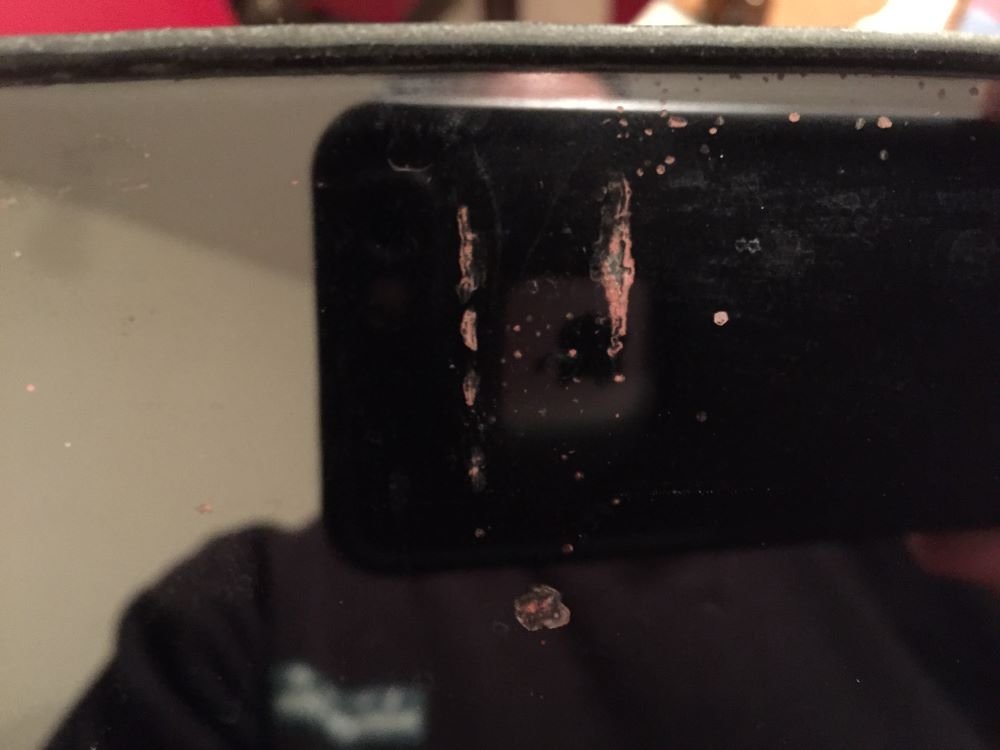
Decided to refurbish door mirrors so masked up glass fronts and sand blasted. With a bit of sanding they where ready for primer, followed with two coats of satin black enamel. Looked pretty good until Itook masking tape off front and looked more closely at mirror fronts. Quite a bit of possible water damage to back of glass as seen in photos. Result being very poor image. Not sure whether this will affect getting wof or if the mirror glass can be relpaced. Would I be better off getting new replacement ones.
If anyone has any suggestions, could they leave comments on Disscusion page, Cheers
Project Discussion https://oldschool.co.nz/index.php?/topic/84912-petes-mk2-escort-1600-sports/#comment-2573328
-
4
-
-
- Popular Post
- Popular Post
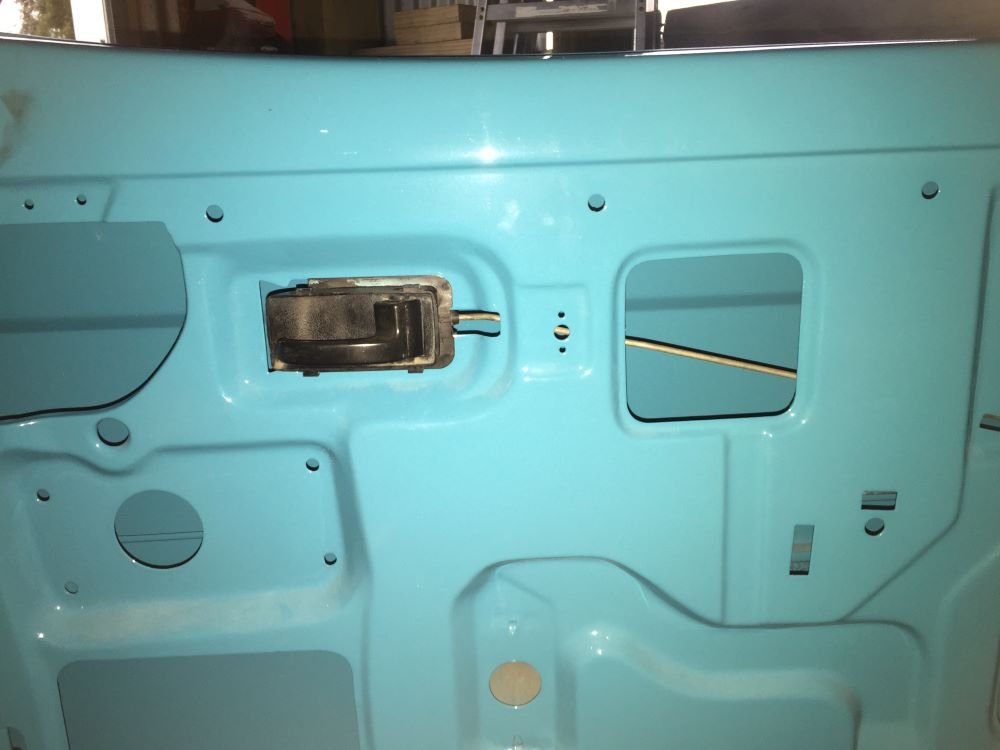
Time has come to start puting back together. Started with a few small things like fit the bonnet bump stops and bonnet stay. To easy. Lock assenbly was already fitted so next was internal door pull. Once I had figured out how to pull apart, fitting the linkage was easy. One side worked perfectly but the other side came up short. Ended up shorting rod linkage by making kink greater with pliers.
Project Discussion https://oldschool.co.nz/index.php?/topic/84912-petes-mk2-escort-1600-sports/#comment-2573328
-
14
-
- Popular Post
- Popular Post
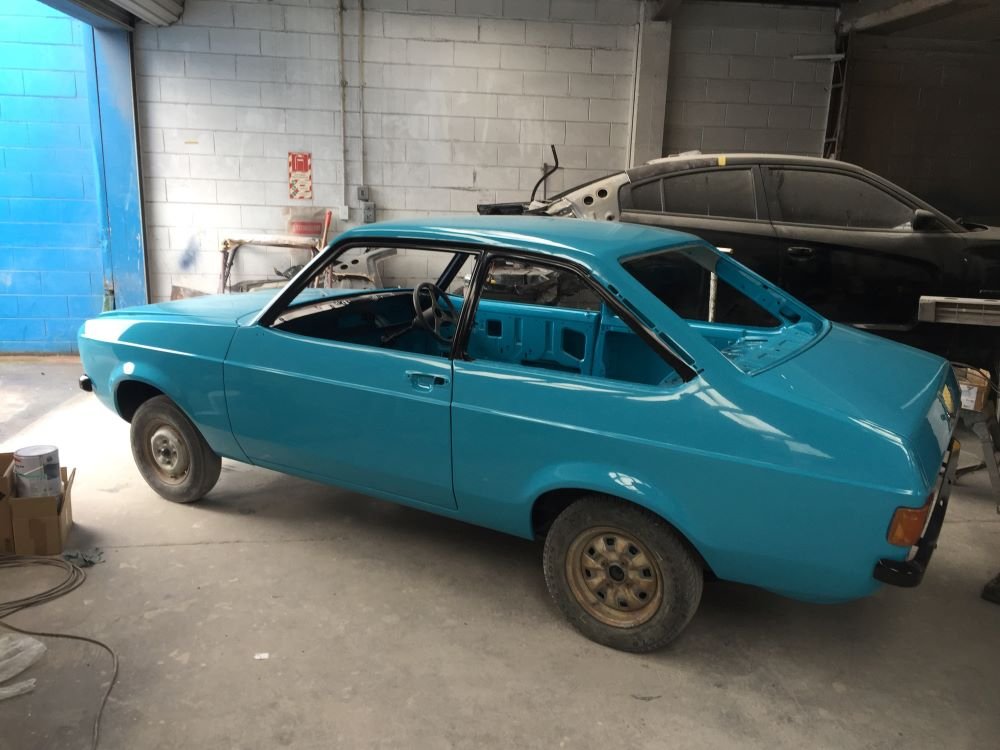
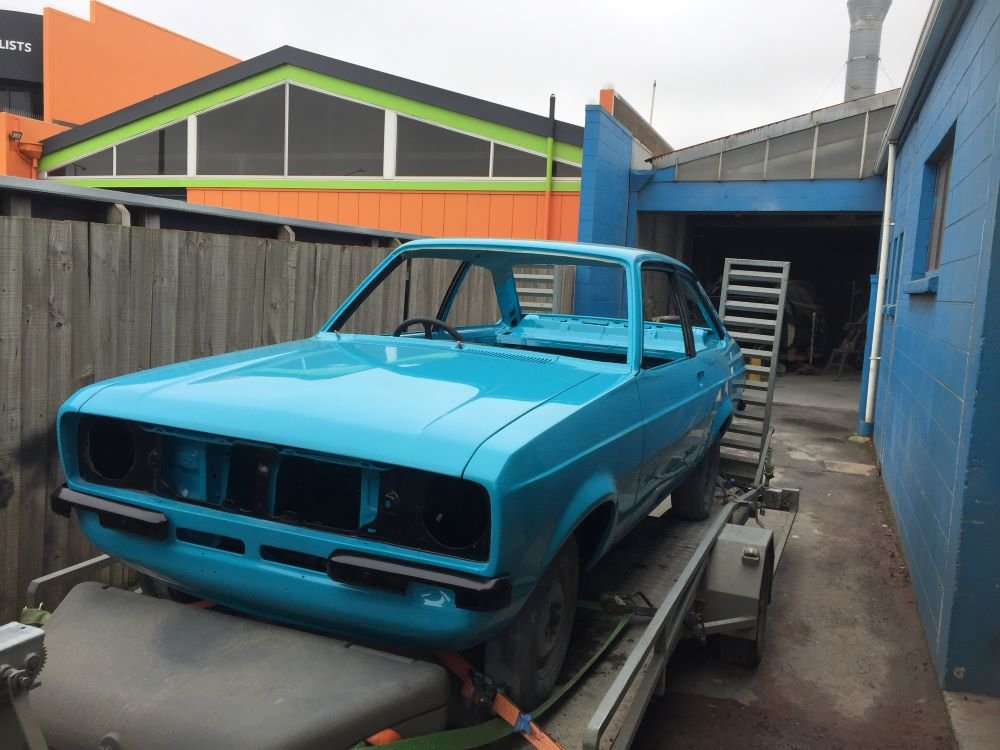
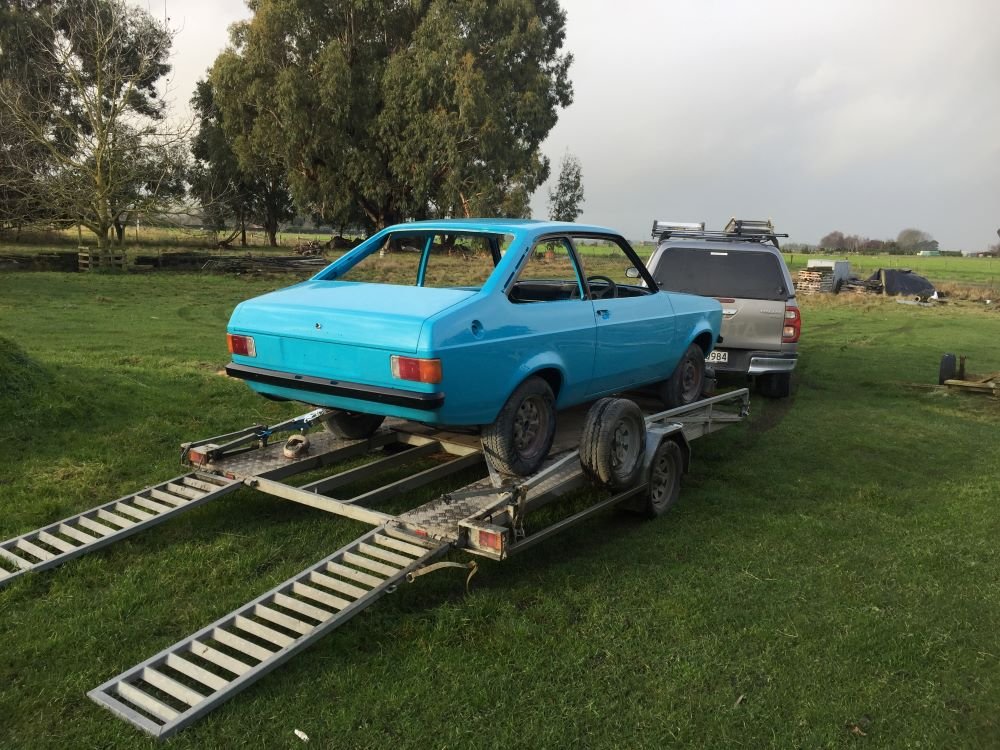
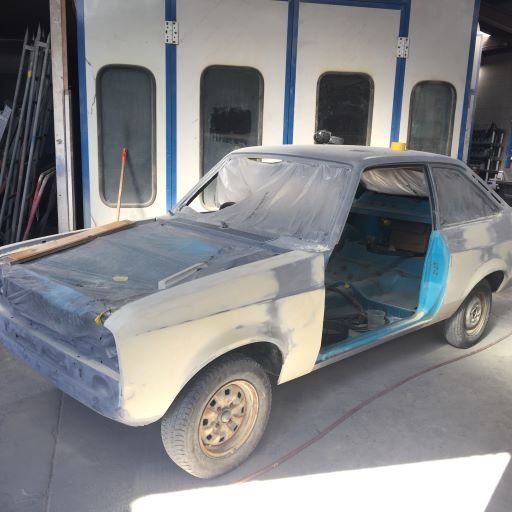
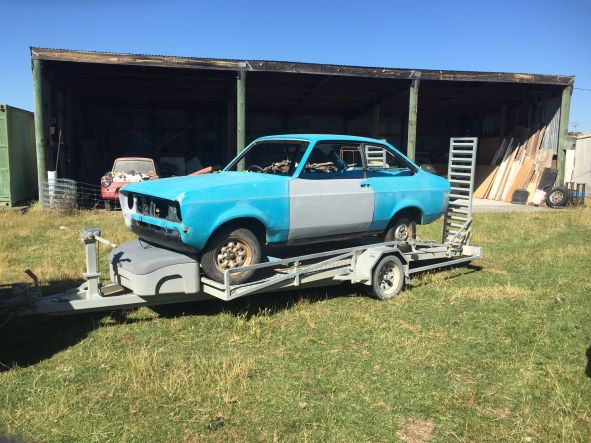
All finished. Time to come home. Special thanks to Steve, Neil and team for the great job removing rust, straighting panels and painting. Just hope I can finish reassembly to the same high standard.
Project Discusion
-
29
-
- Popular Post
- Popular Post
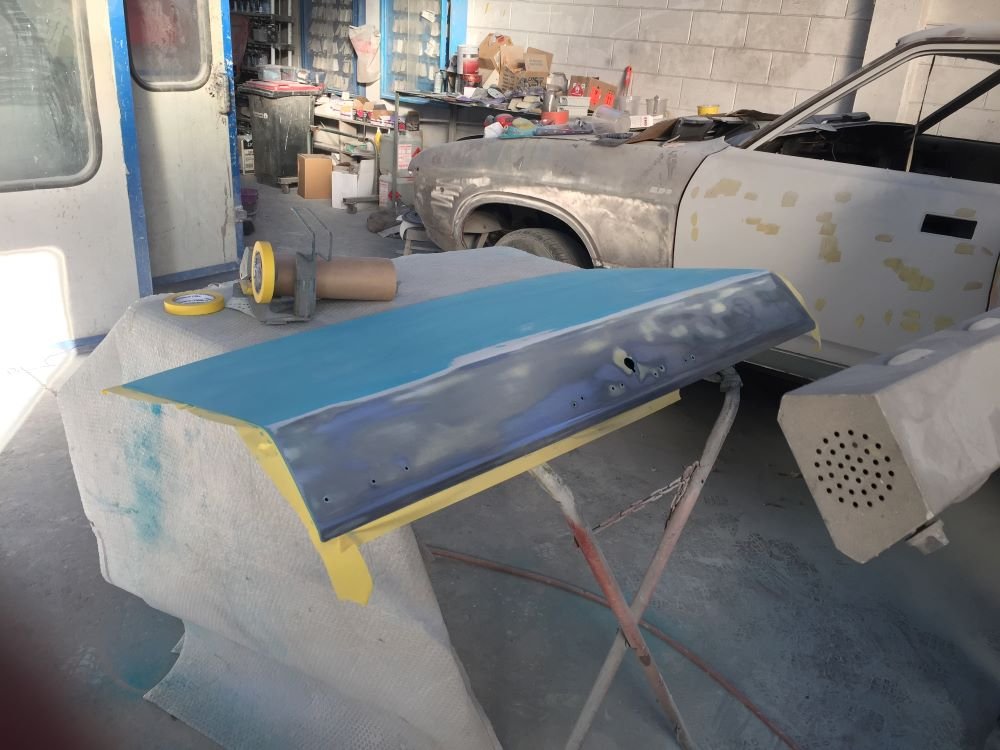
Nearly there, Just finishing off the black accents and bonnet ,boot lid and should be ready to come home. New home is ready, just hope it is starling proof.
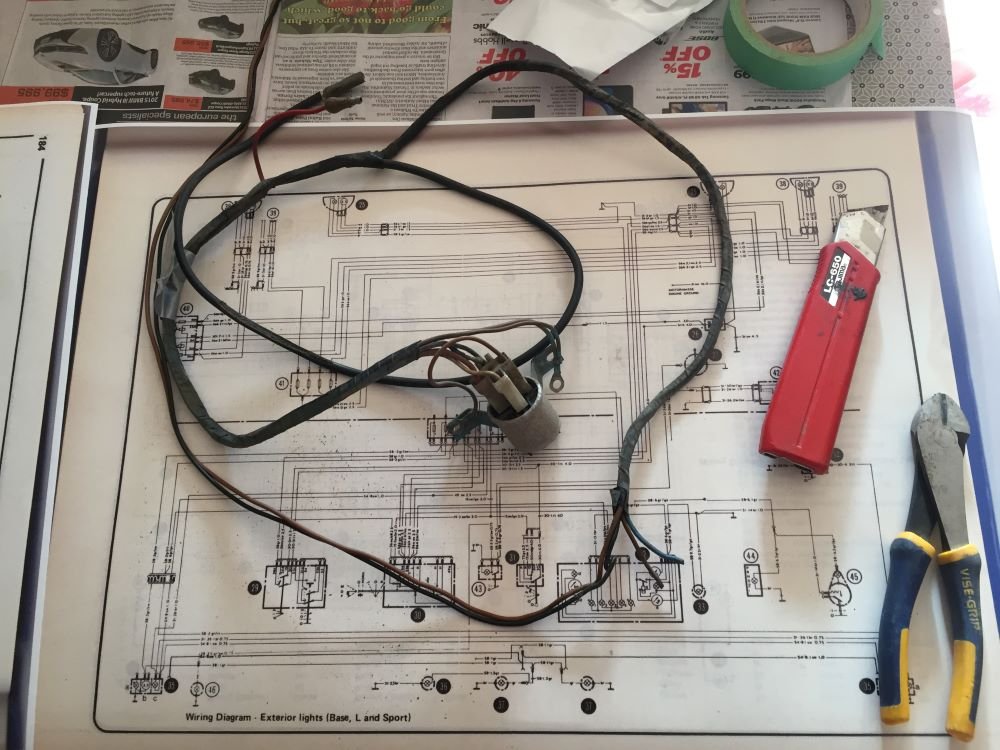
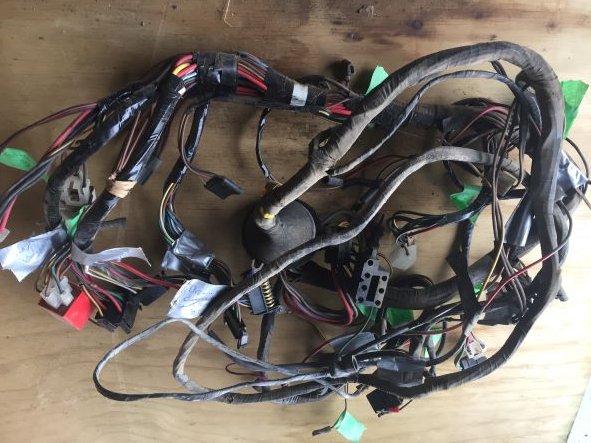
Have made a start on refurbishing wiring loom. Had large sheets printed of wiring diagrams out of Hayne Manual so my poor eyes could read them. Starting on spotlight harness but have a few question needing an anwser. Can't find this diagram in Haynes book. If anyone has knowlegde I have a few questions on Project Discussion page.
Cheers Peter
Project Discussion https://oldschool.co.nz/index.php?/topic/84912-petes-mk2-escort-1600-sports/#comment-2571142
-
17
-
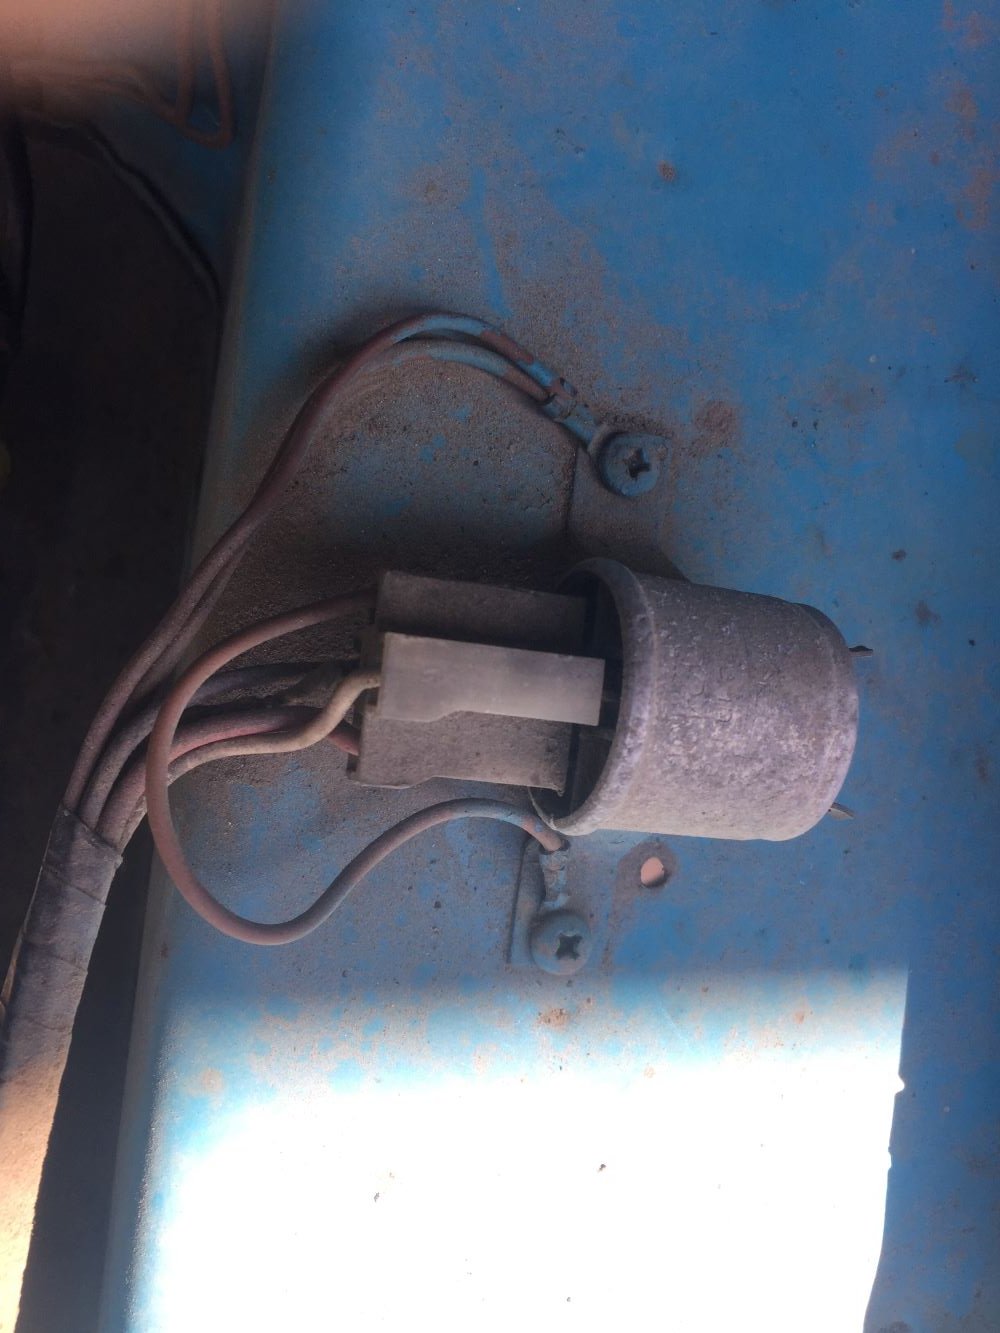
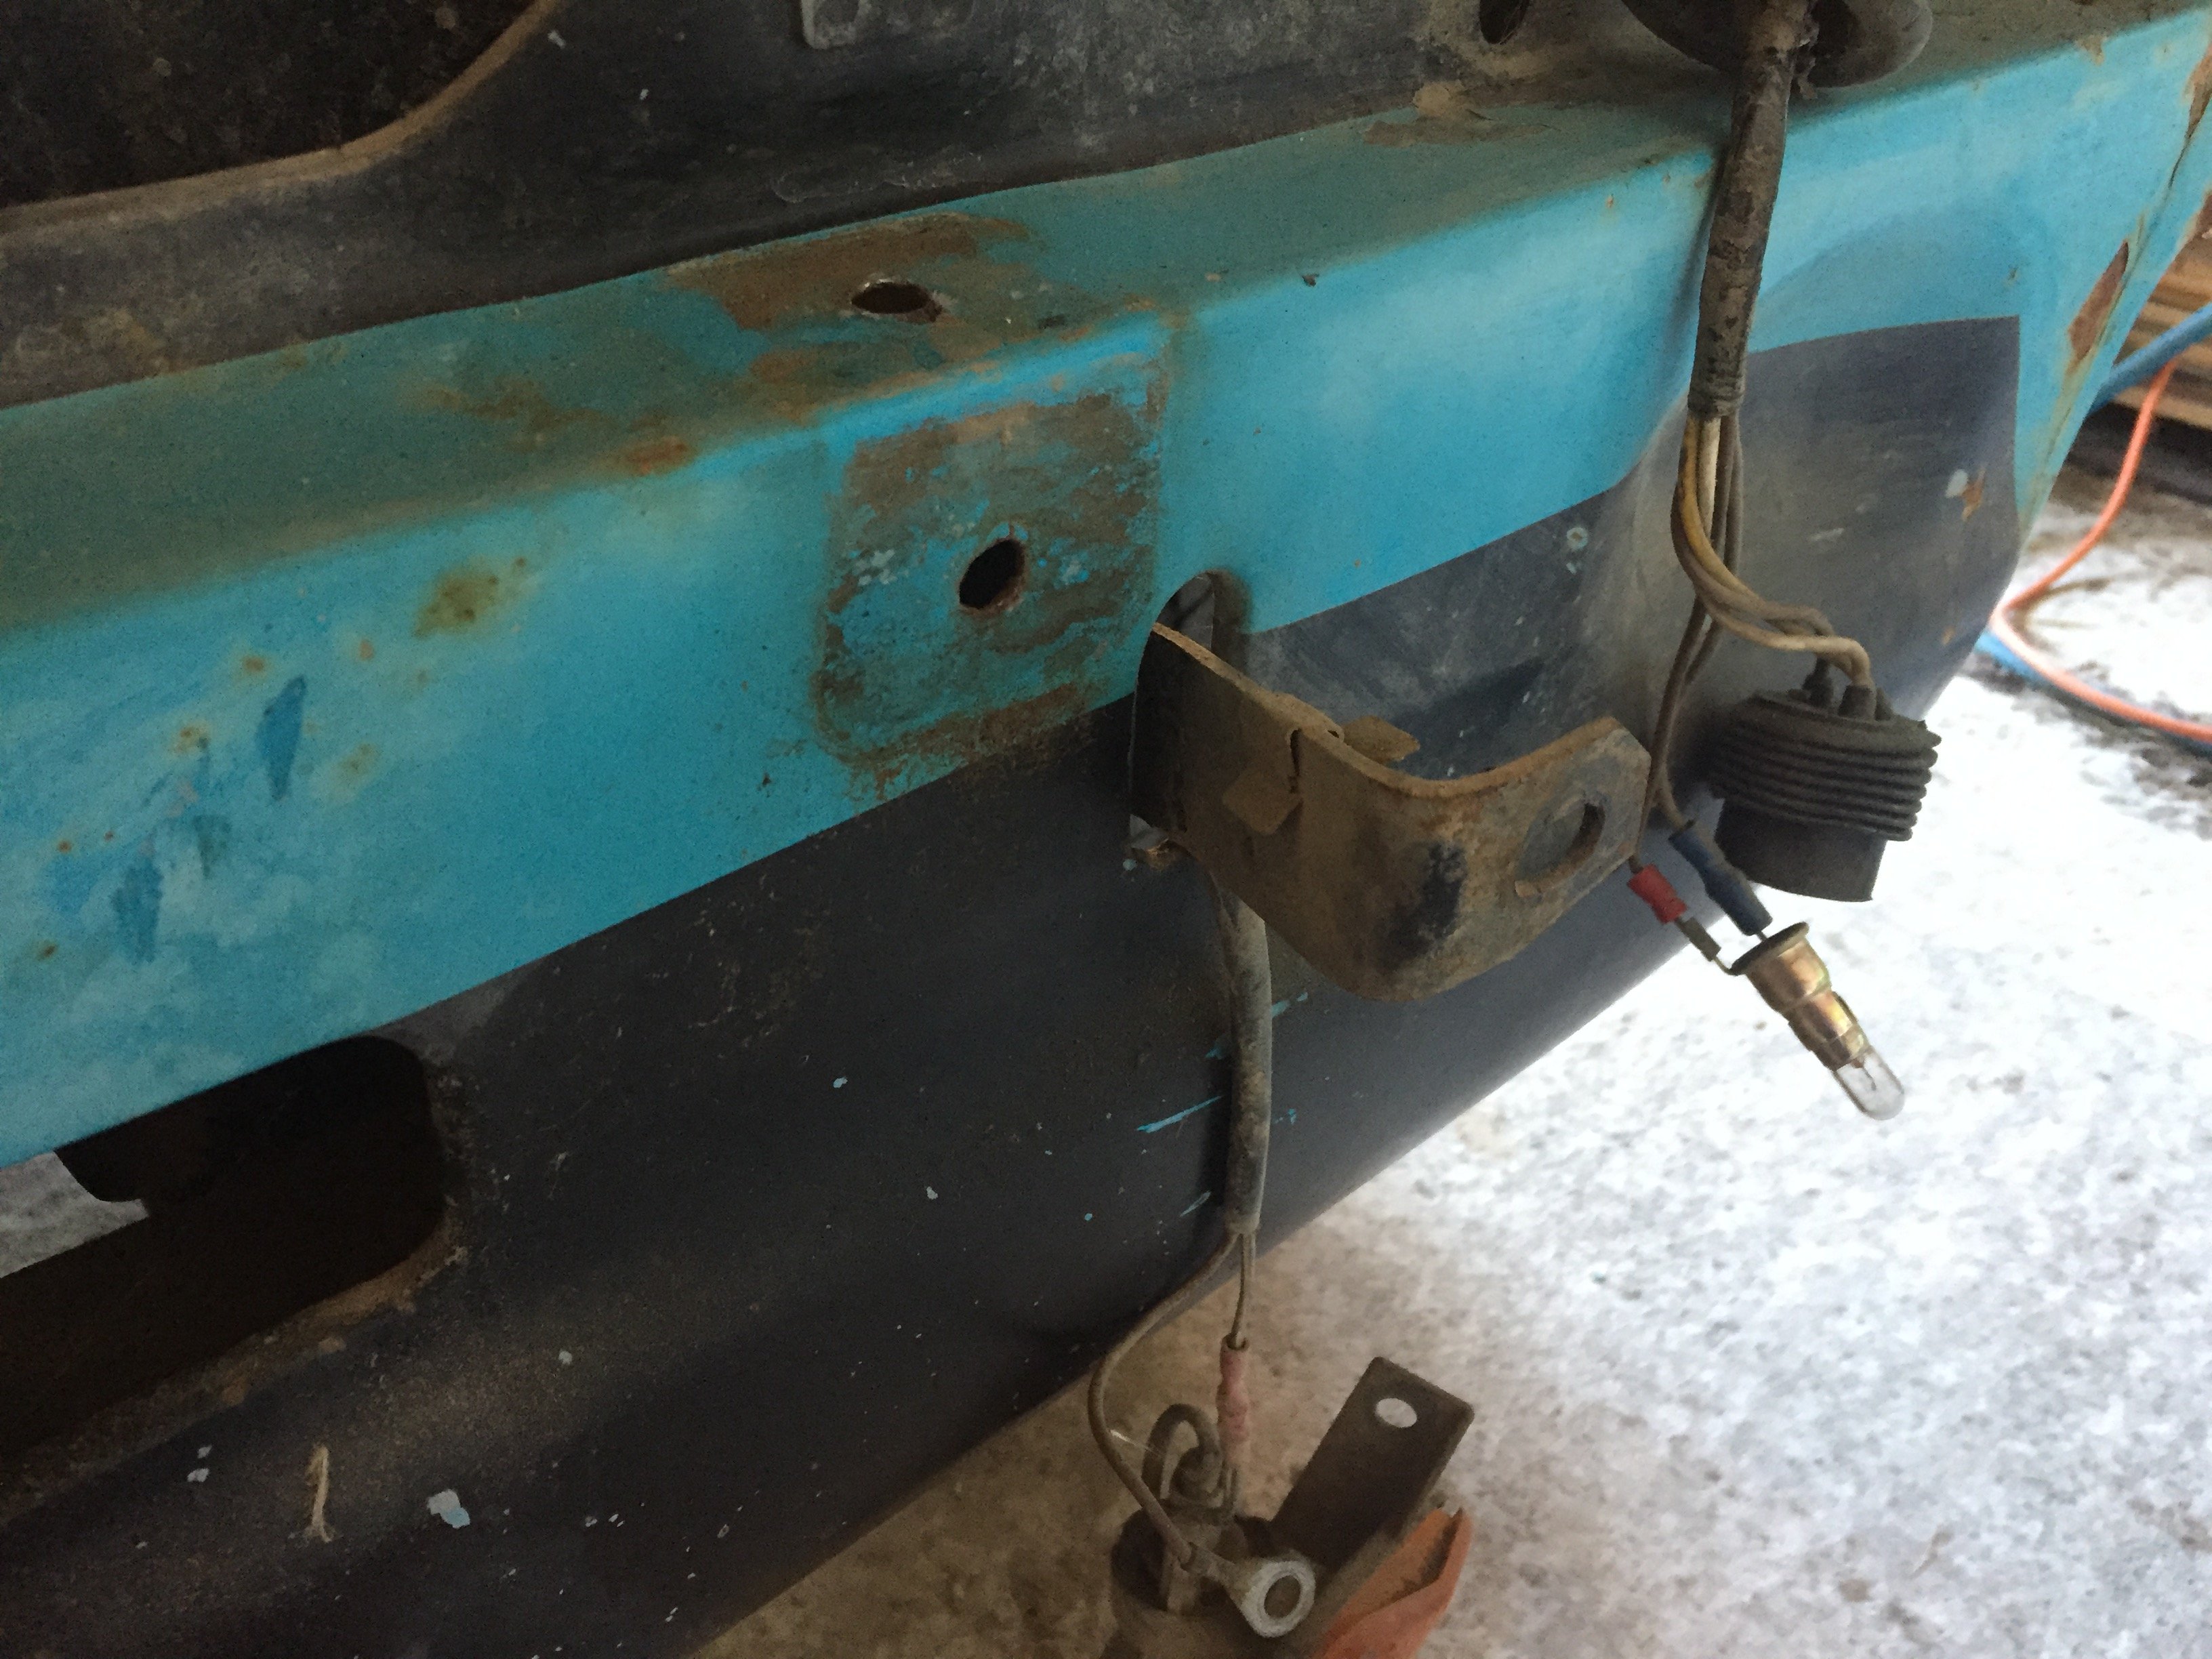
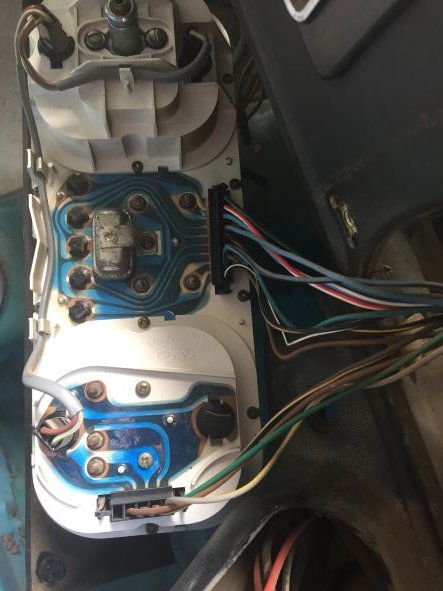
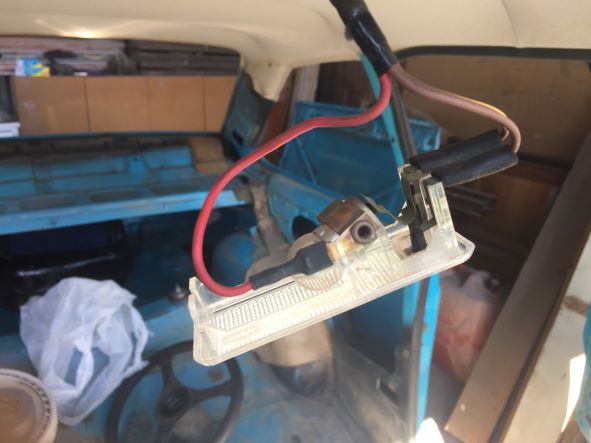
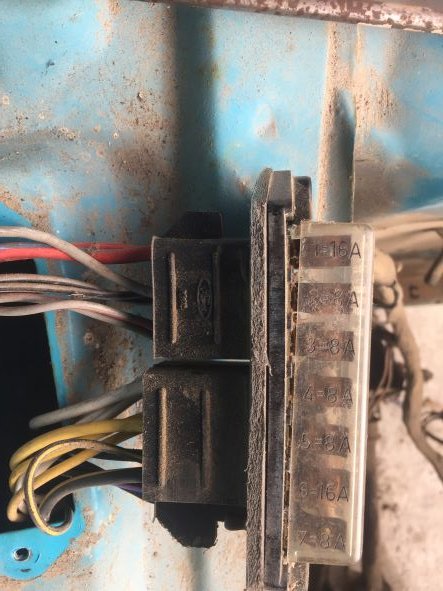
Have been making a start on wiring loom, If anyone has knowledge of Sports wiring and can confirm this is the loom for spotlights . There is a relay mounted on the inside of guard with two earths. Further down there is red wire for positive power, Next a white wire comes off with a connector unknown ?. At the end there are two pairs of wires, (brown and black) (brown and blue) which I think must go to spotlights which didn't come with car. Is this correct. What is the white wire for and I presume there is a switch connected to other side of relay. Should I replace relay as looking a bit shabby ?
Cheers Peter
-
- Popular Post
- Popular Post
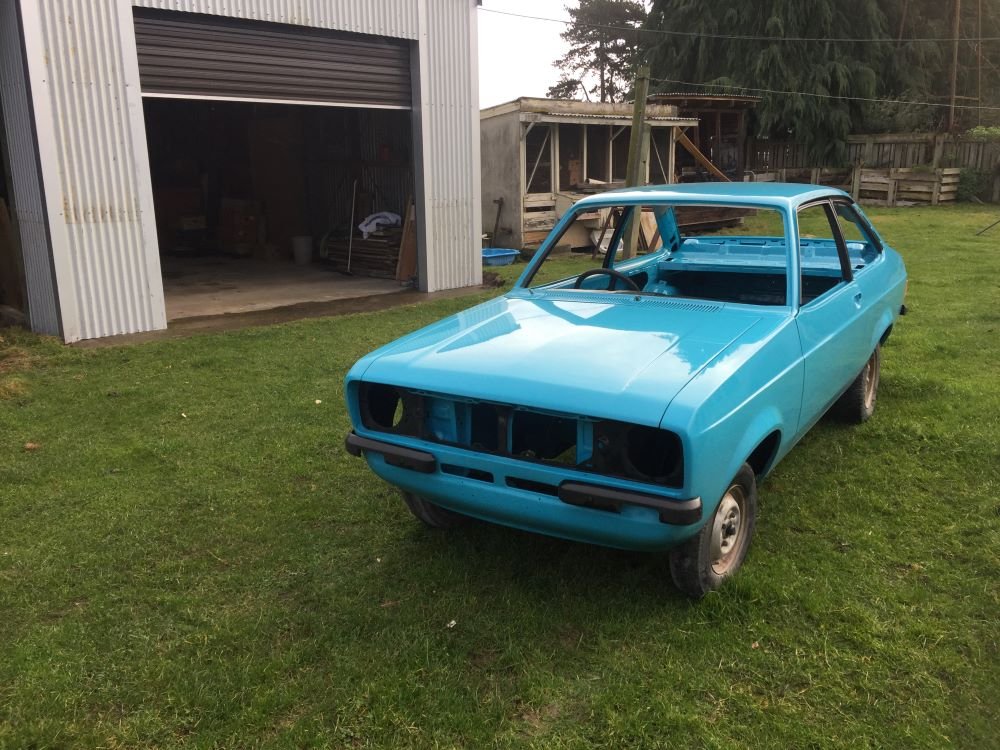
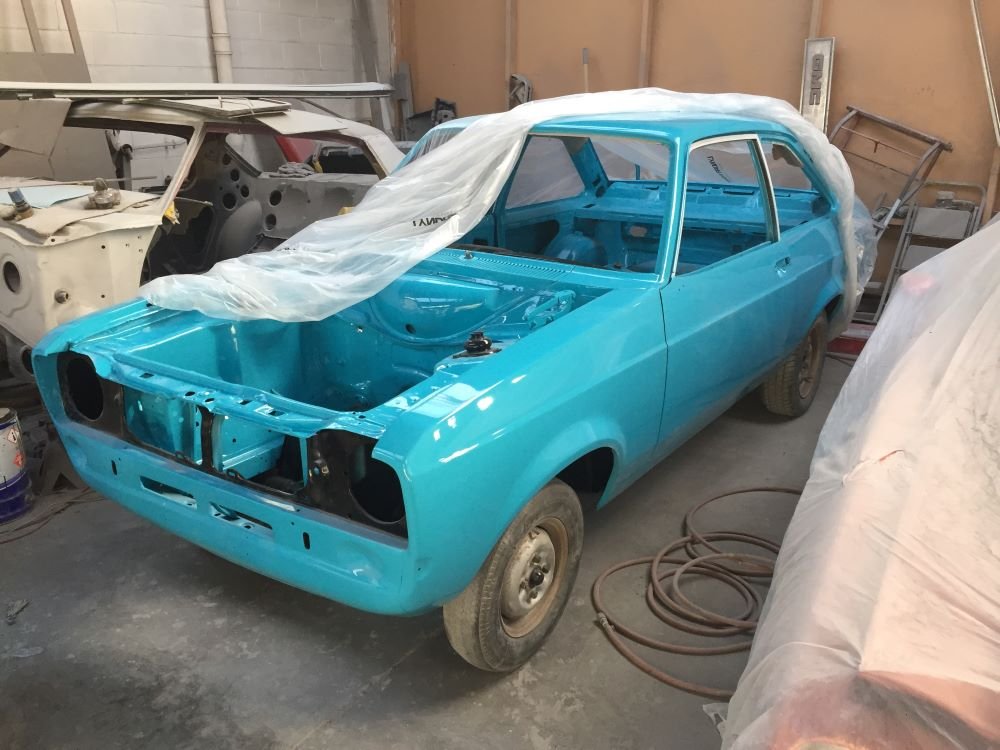
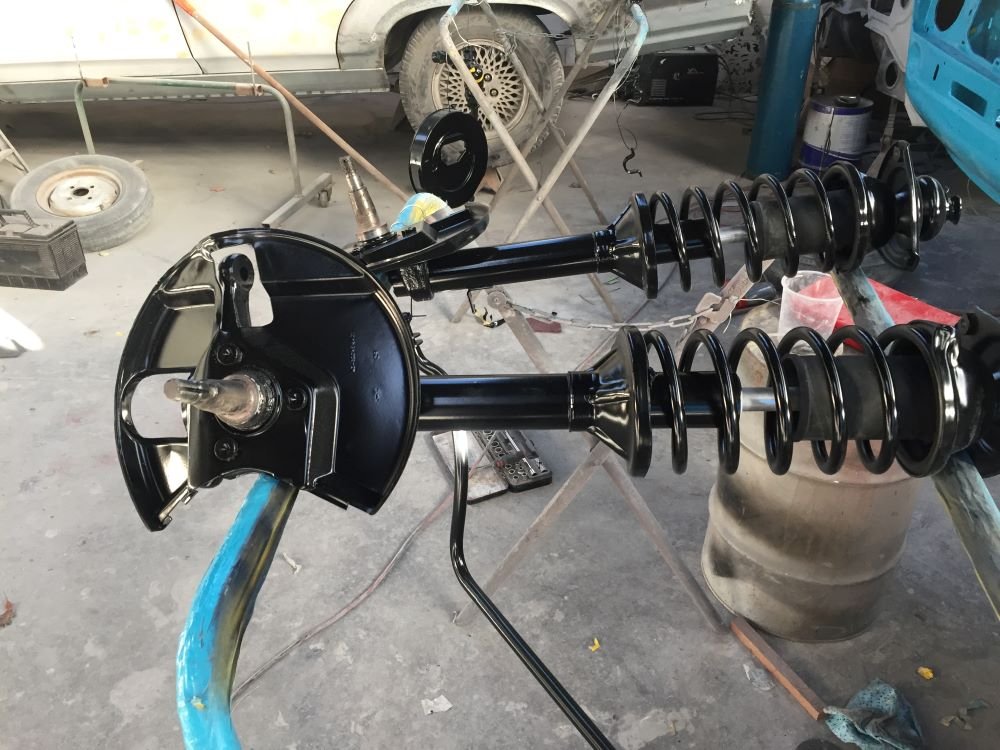
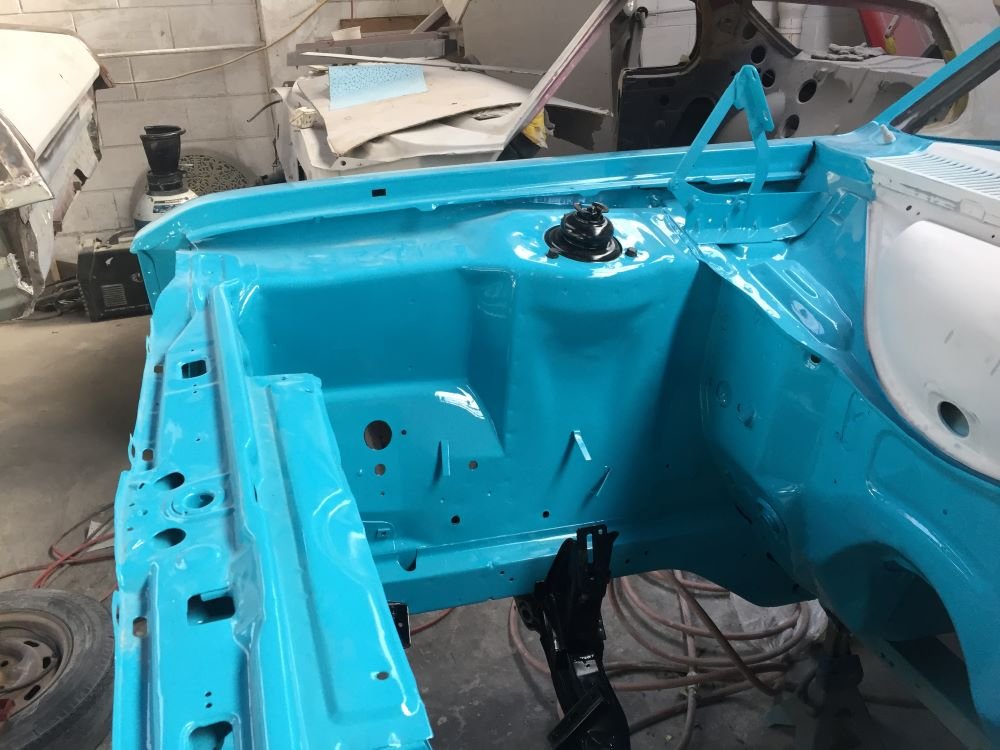
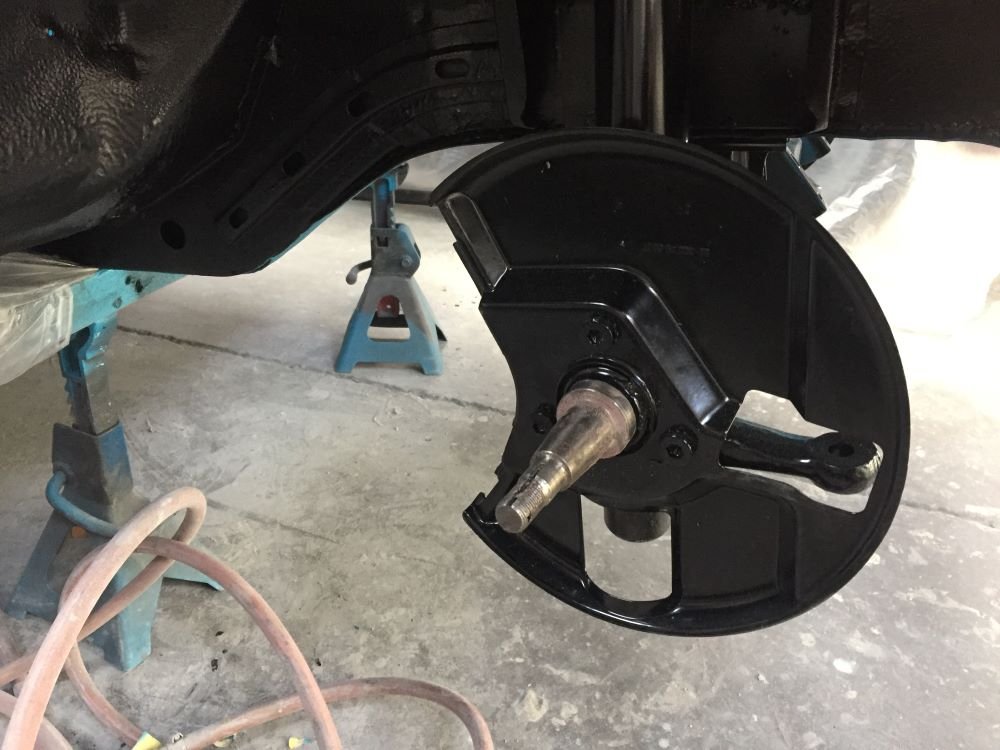
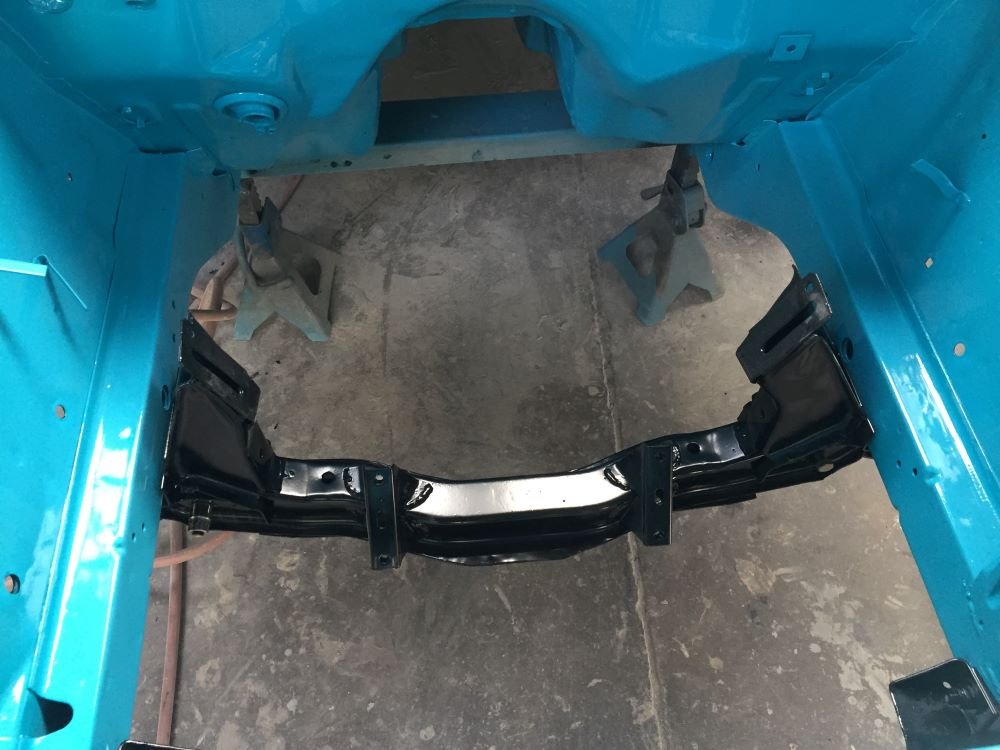
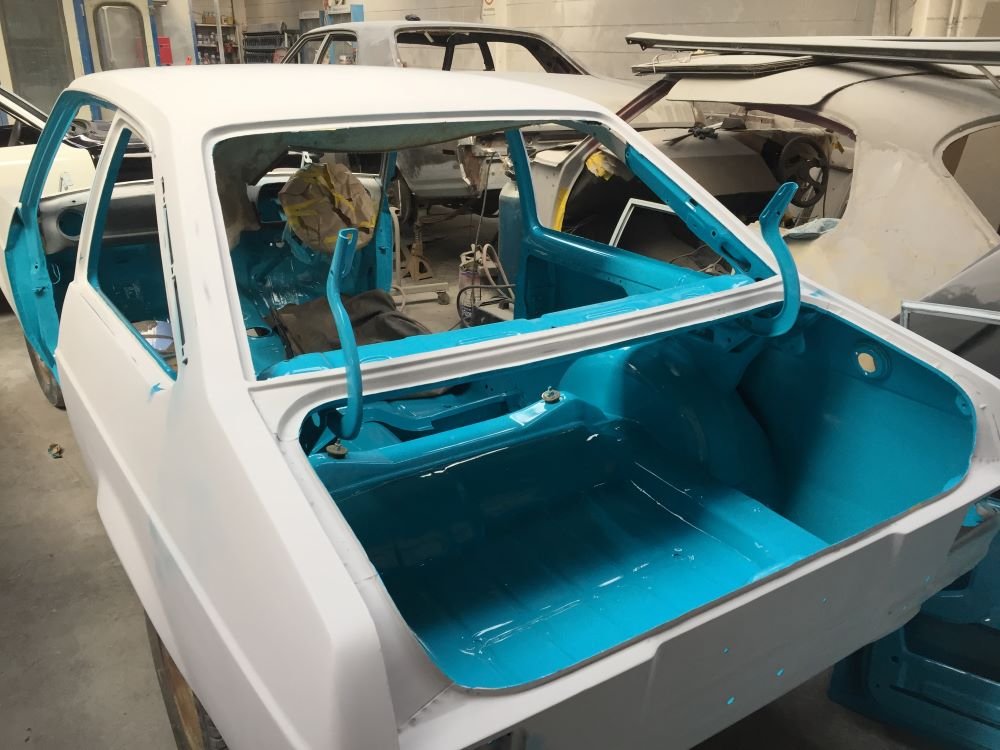
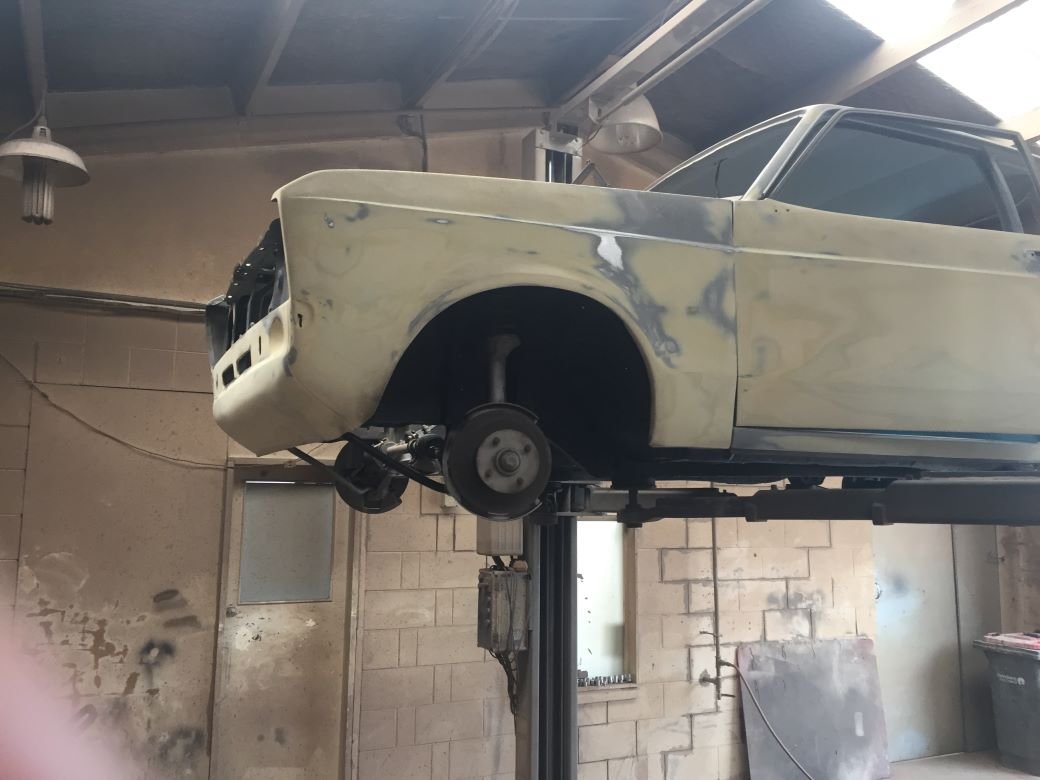
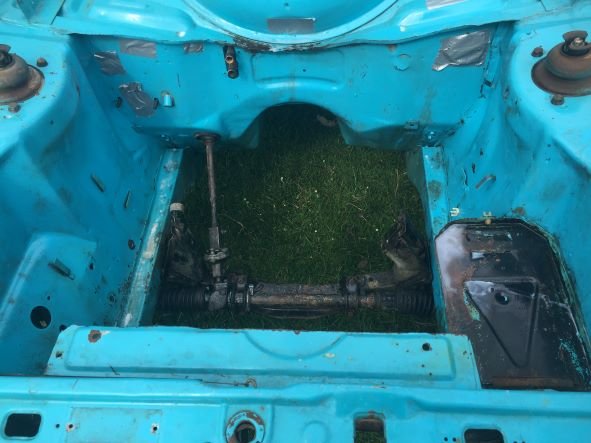
Getting closer to coming home. Took out front running gear, sand blasted cross member, tension bar and brackets. Cleaned up other parts ready for painting. Reassemble with new rack bushes and boots. Also replaced track control arms. Now one last trip into spray booth to paint heater bubble and top vent area. Painter said he has left this area to last as it is really hard to get all the dust out. Car is looking very bright and love it. Pleased I decided to keep it the original colour.
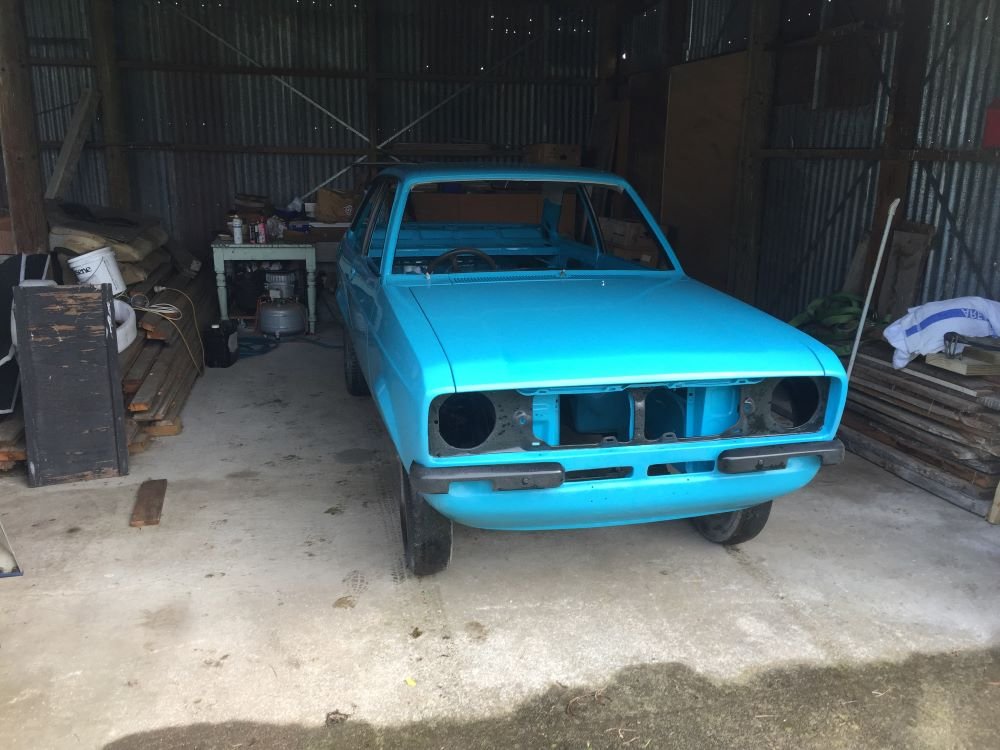
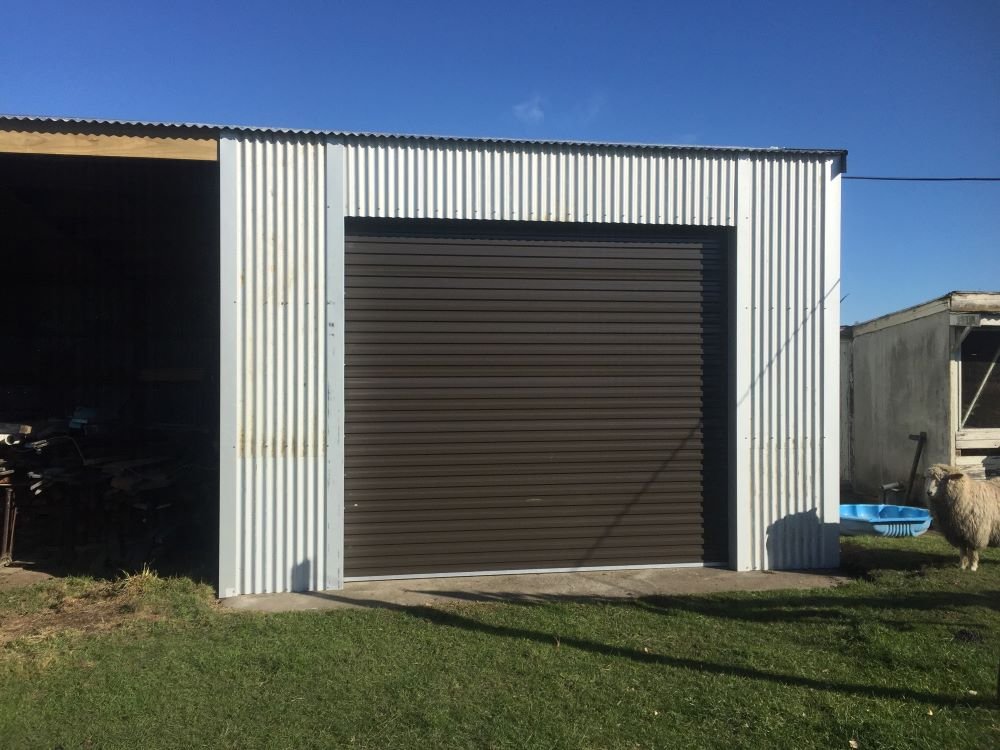
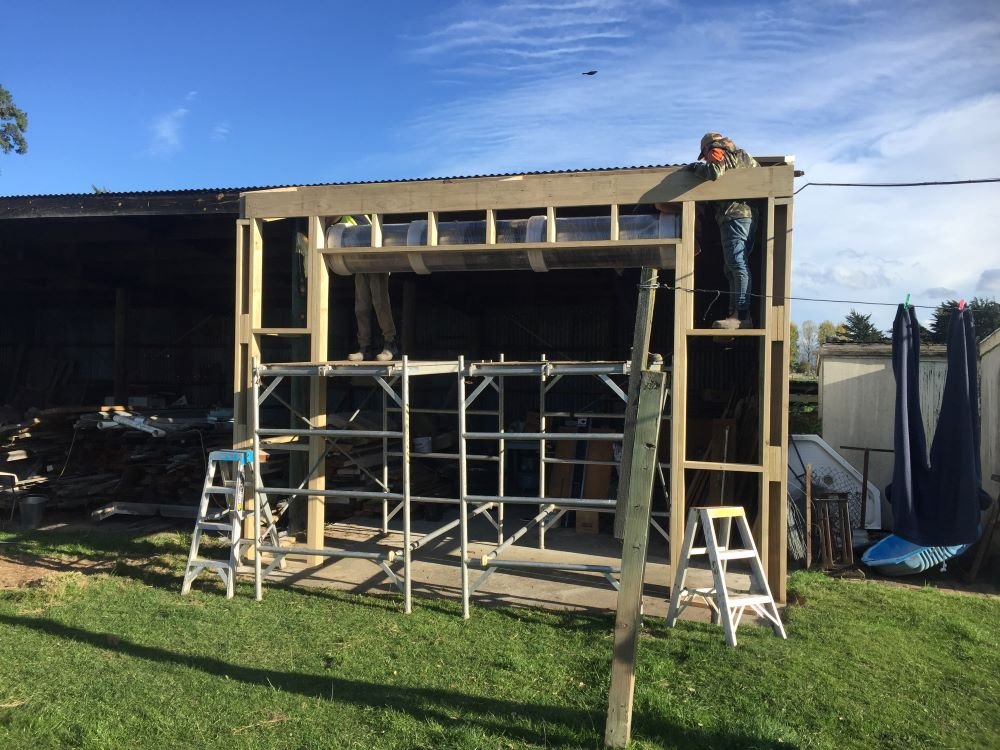
Should be coming home next week so decided I needed to close in open shed for a bit of protection from the elements. Can't wait
Project Discussion https://oldschool.co.nz/index.php?/topic/84912-petes-mk2-escort-1600-sports/
-
22
-
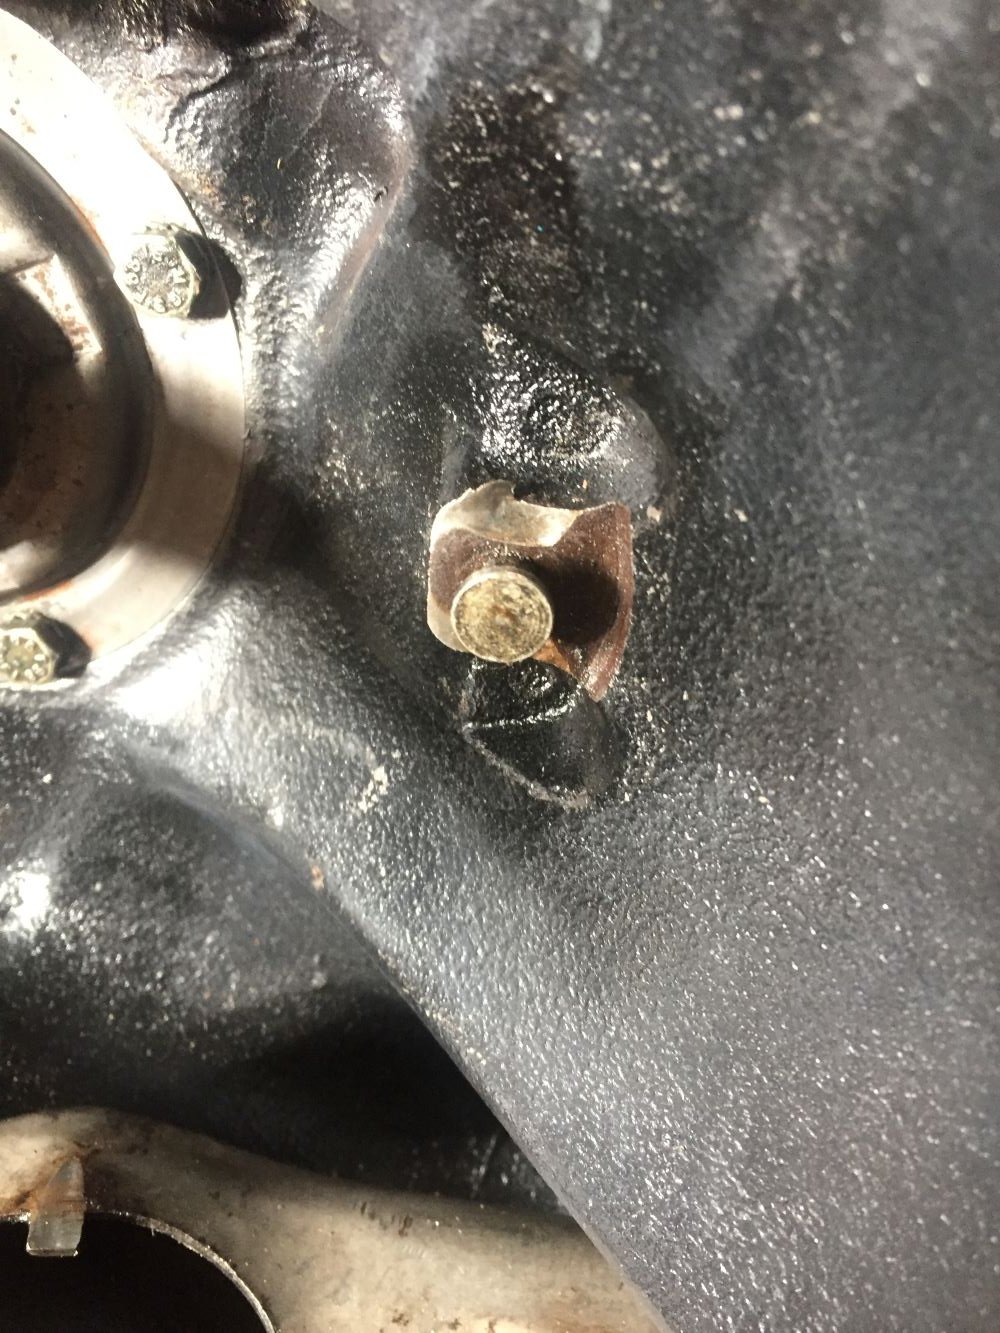
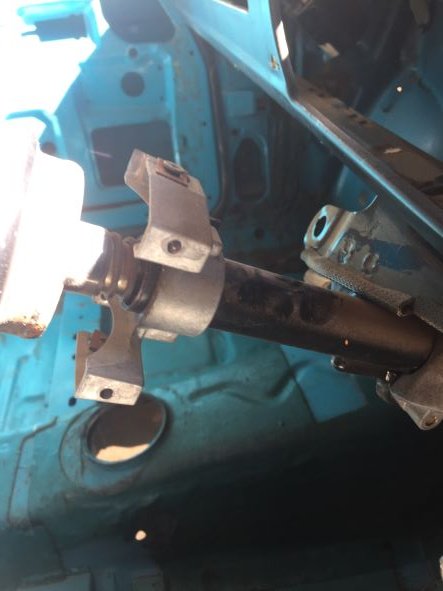
Have been replacing clutch release bearing and have noticed that anti rattle bush is missing of pivot post. just wondering what is the best way to fix this . Can you remove post to replace. Have found a replacement part on Burtons site but there must be a local way of fixing this. Any ideas would be appricated.
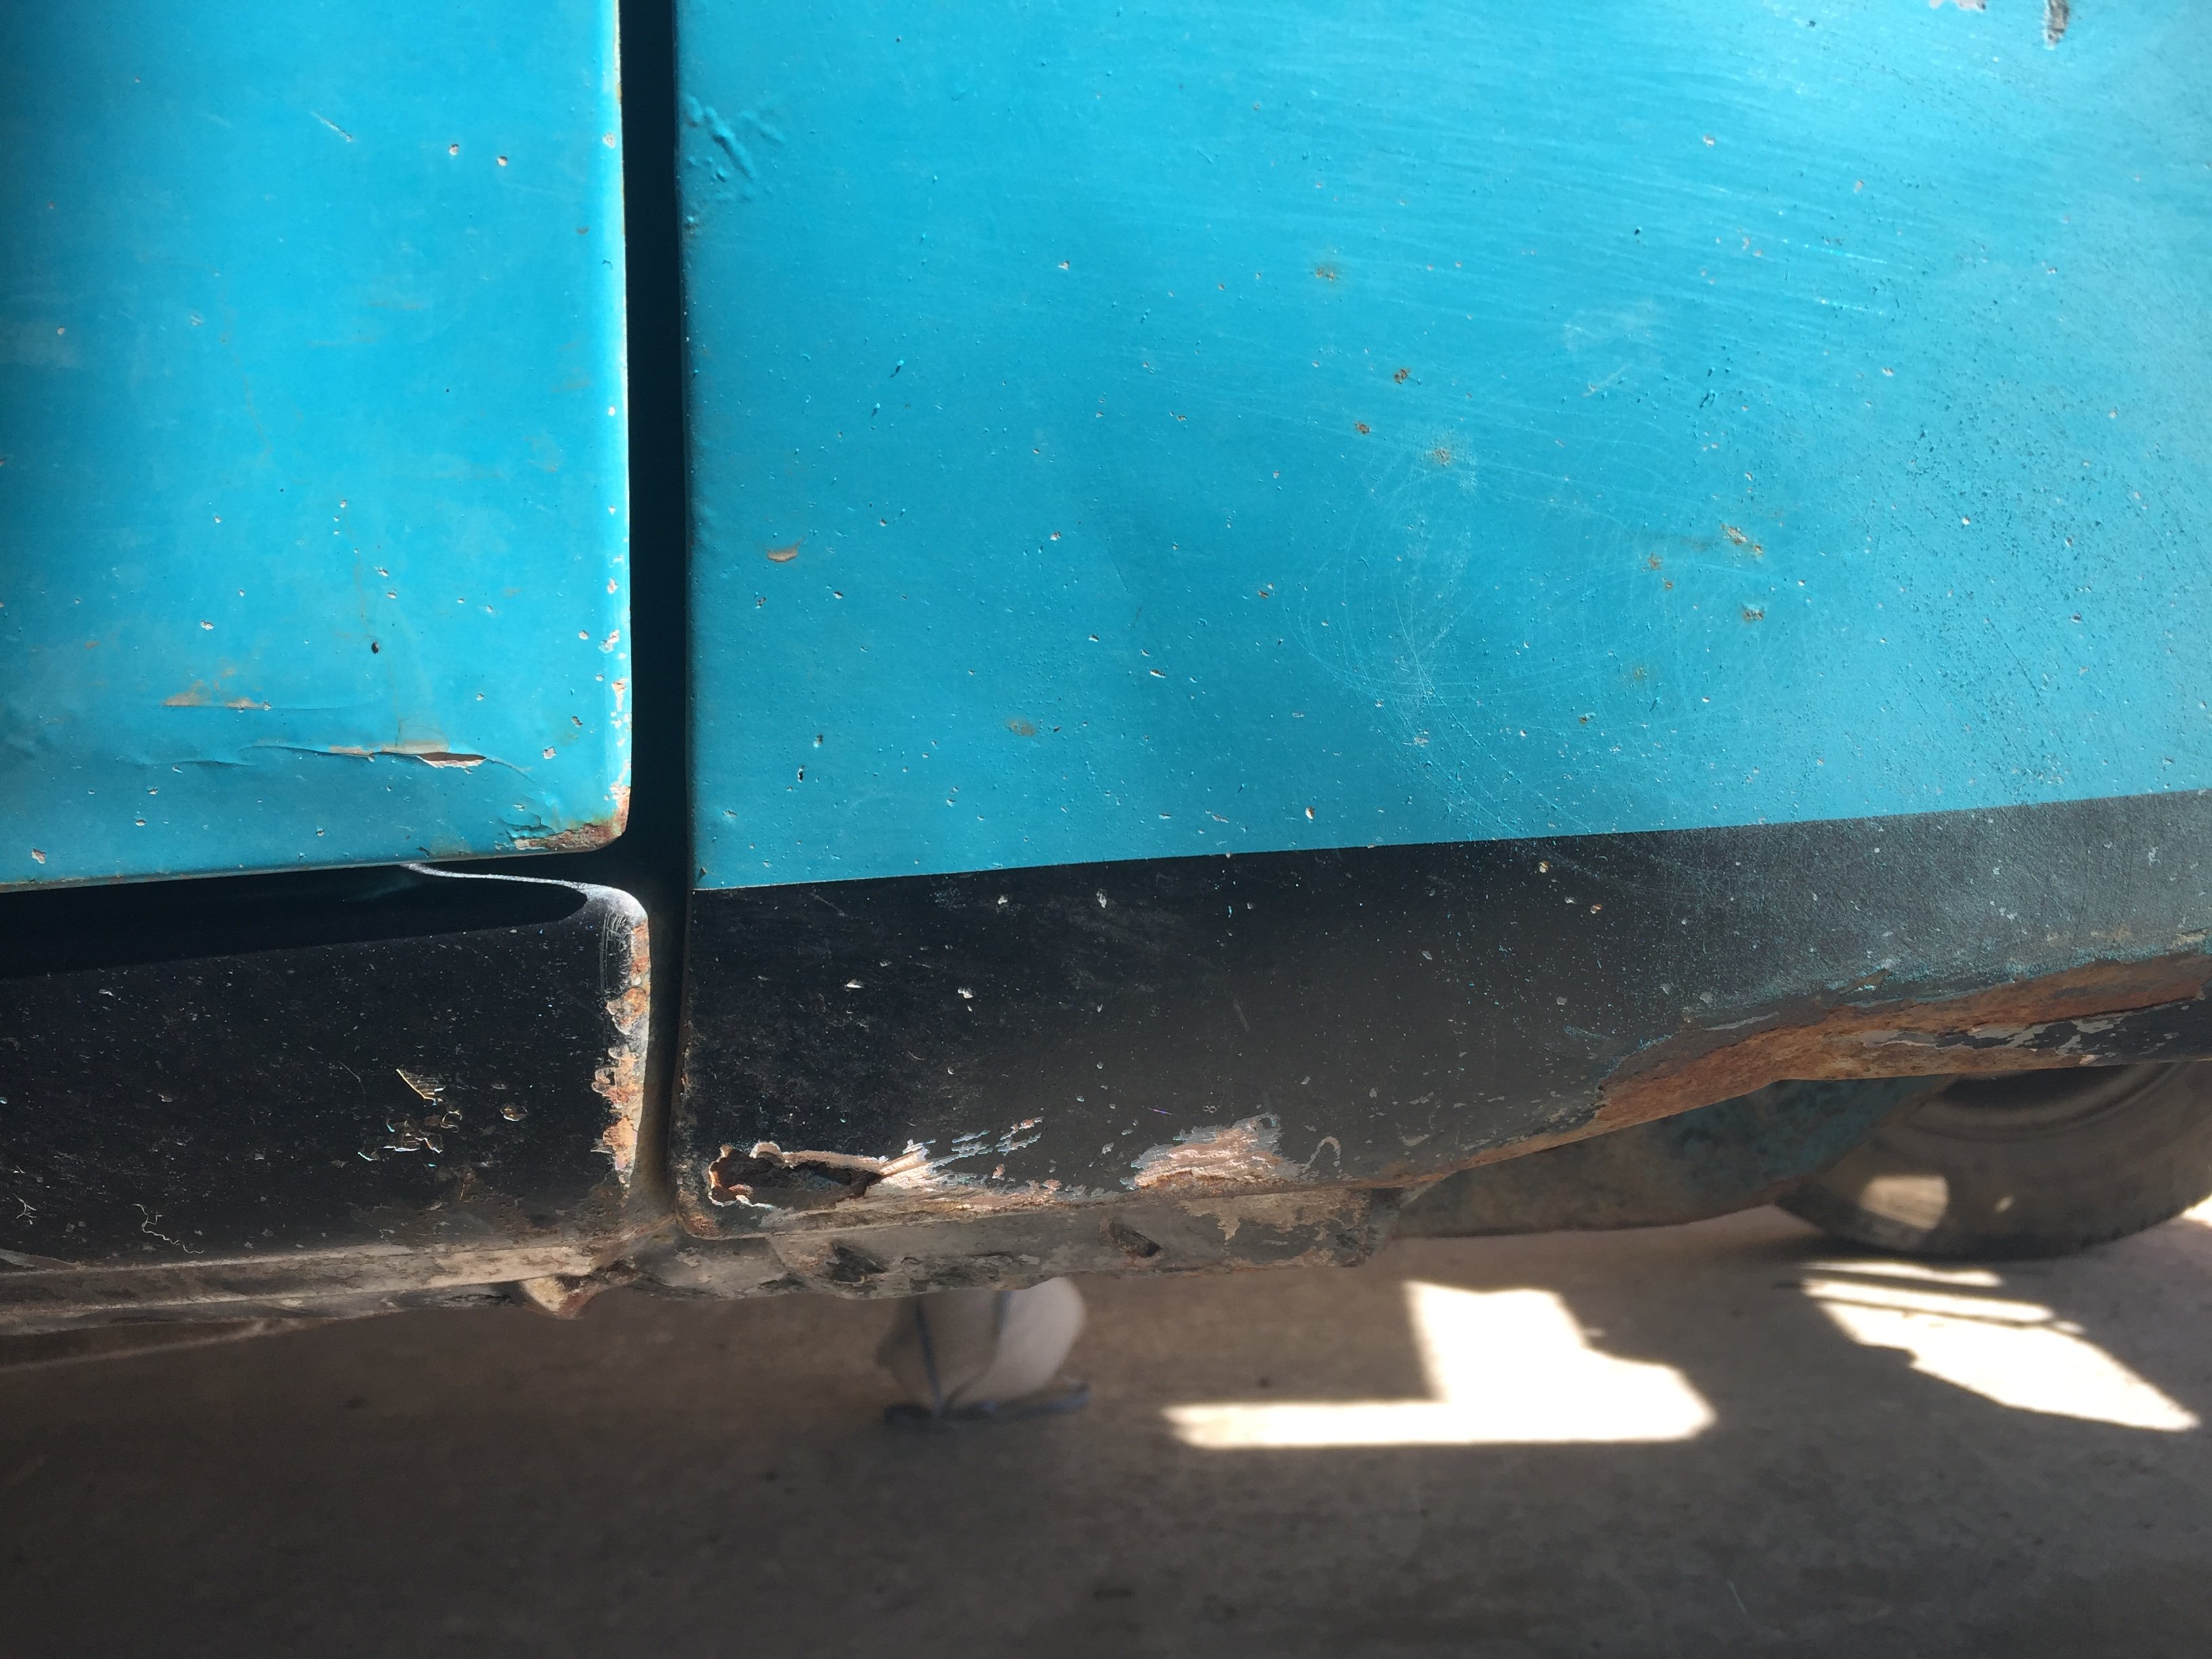
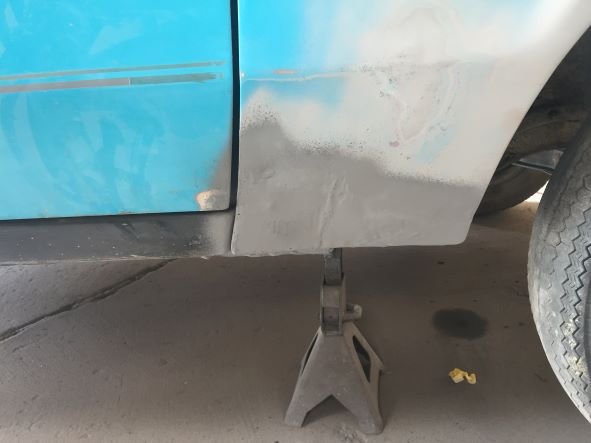
Also any thoughts on painting sills and front valance back verses leaving them blue.
Cheers
-
- Popular Post
- Popular Post
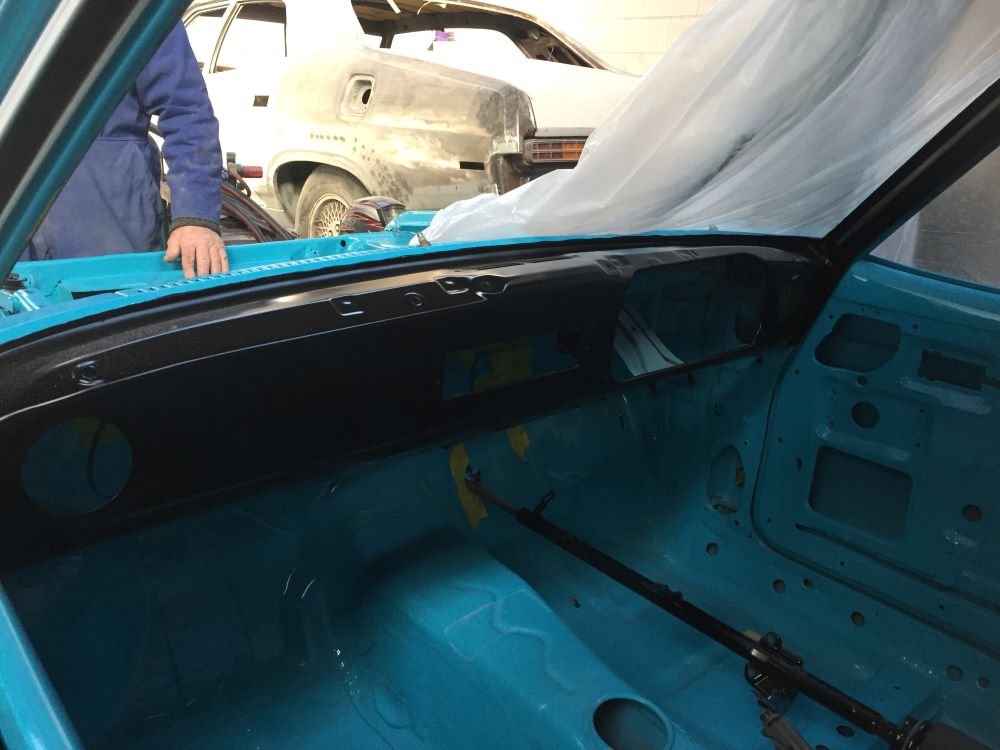
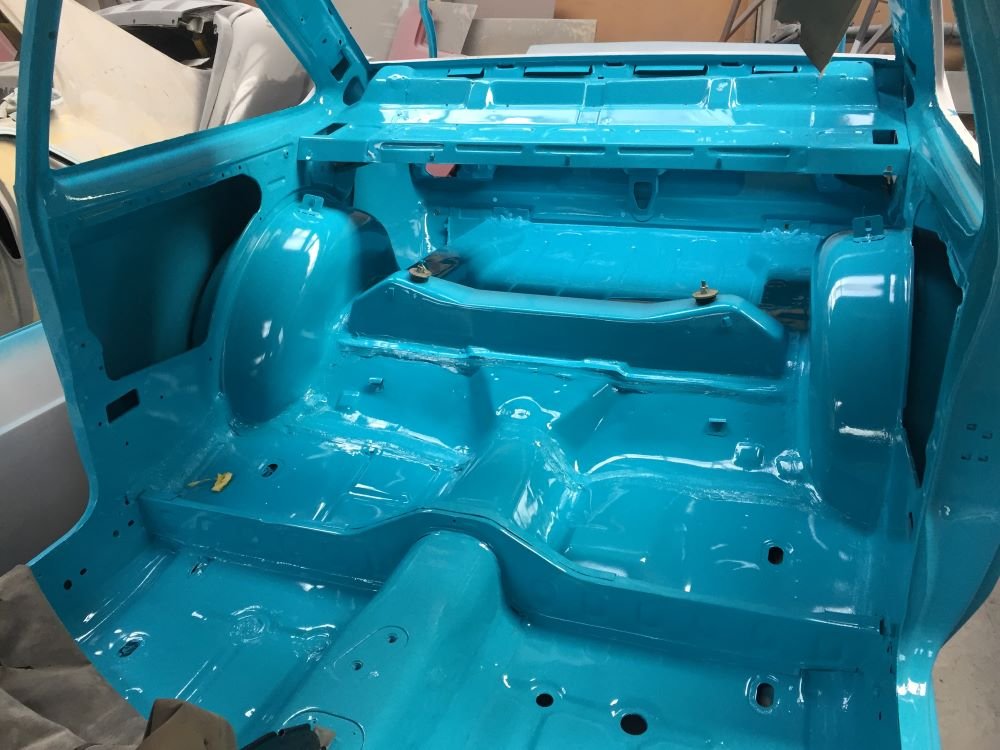
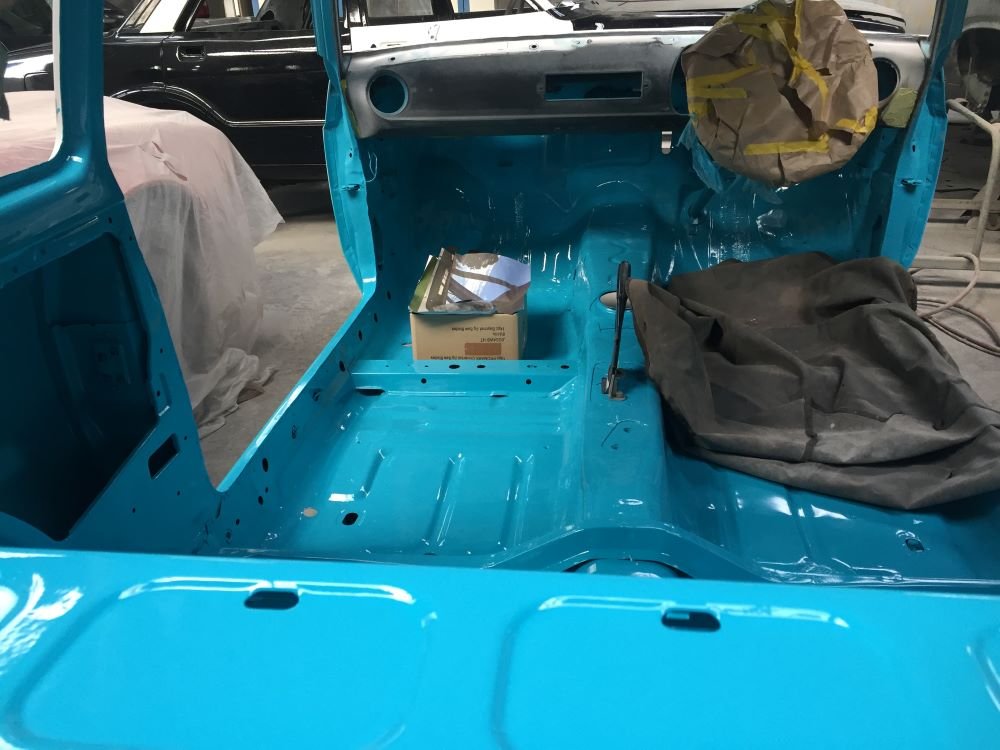
Escort is starting to look a bit brighter now that some colour has been applied. Interior has been painted and looks really good compared to the old oxidised paint. Colour is Olympic Blue. Painter thinks he will do the black accents around window frames, dash and front grill area. Old paint job had the sills and front valance painted black as well. Undecided if I will paint these black but if anyone has any ideas about this, leave a comment on Project discussion page.
Have also been replacing the clutch release bearing and notice the anti rattle bush on release arm pivot post is missing. If anyone has a fix for this, leave message on discussion page where there is a picture.
Thanks.
Cheers till next time when I hope car is all painted
Project Discussion https://oldschool.co.nz/index.php?/topic/84912-petes-mk2-escort-1600-sports/
-
26
-
 1
1
-
- Popular Post
- Popular Post
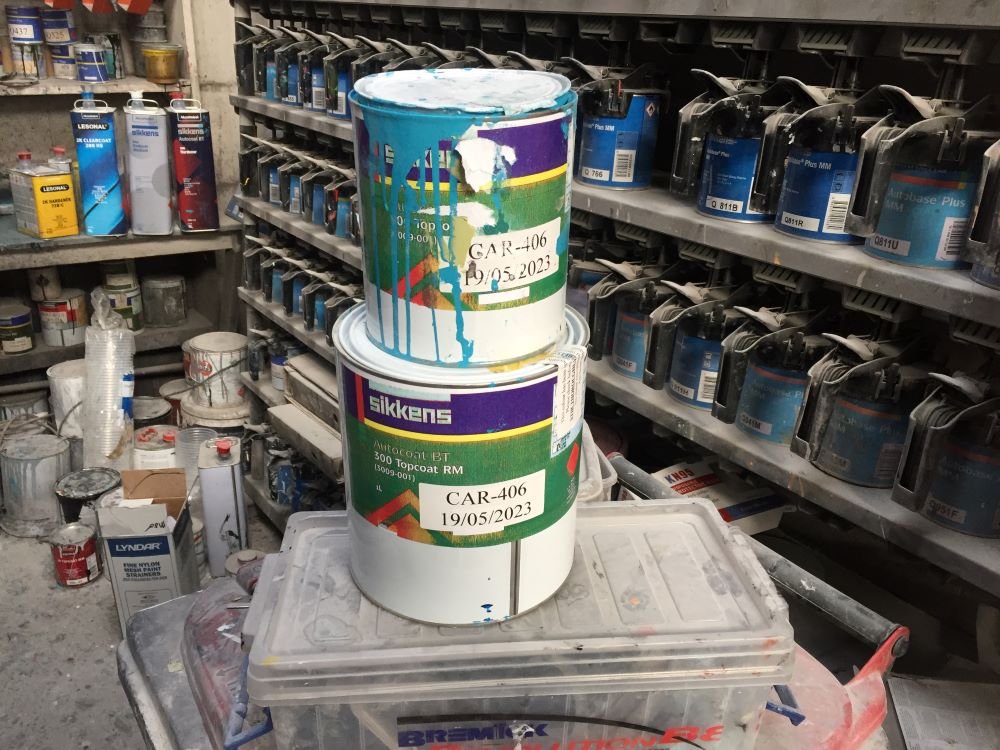
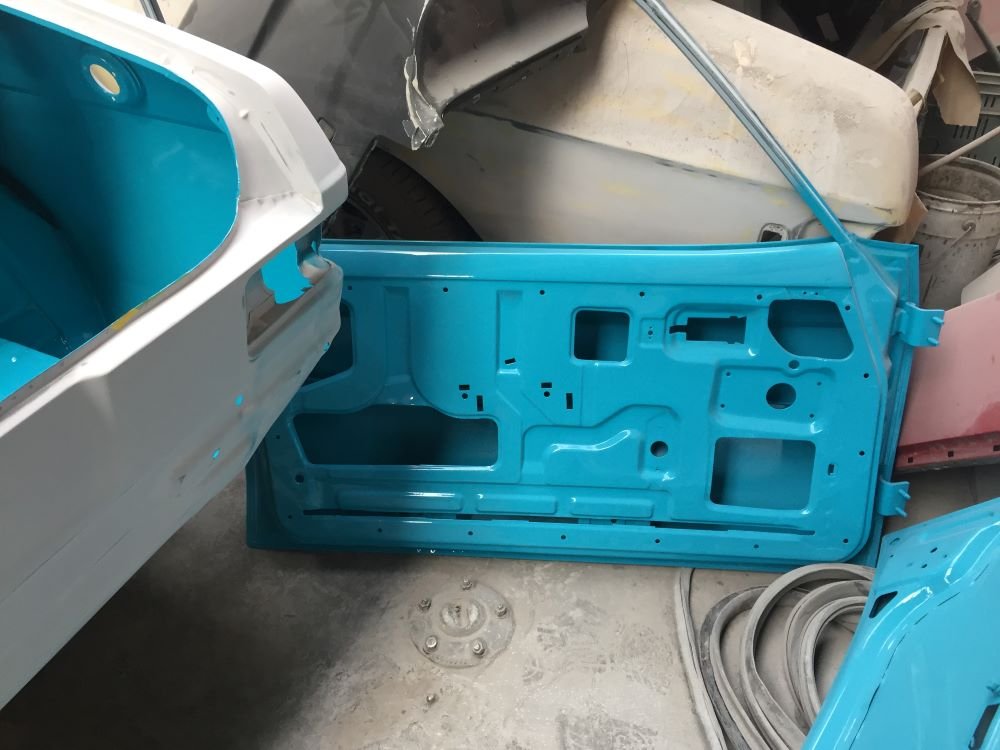
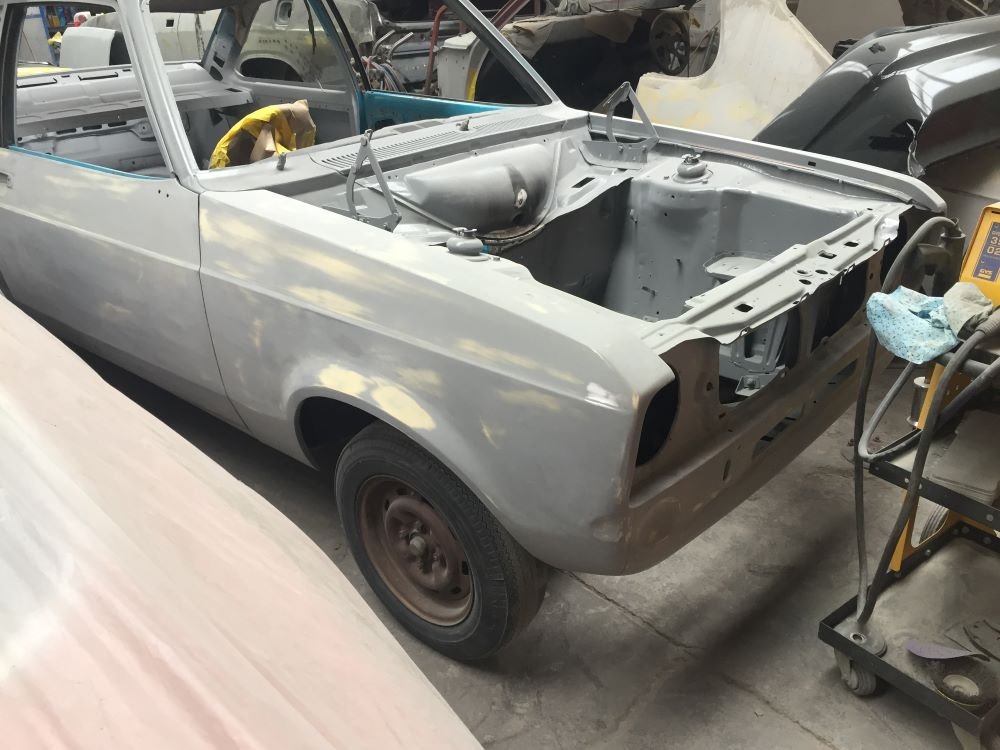
Body work nearly finished. Small repair to heater bowl done. Still some work to do on passenger door which is not closing properly after having roll pins replaced. May have had some impact damage in the past. Have also had the colour matched for final paint colour before all original colour was covered up with primer. Getting closer to paint booth all the time.
At home have been going over parts and getting ready for reasembly and also decided that my open shed needed to be closed in for when car comes home so working on that.
Project Discussion https://oldschool.co.nz/index.php?/topic/84912-petes-mk2-escort-1600-sports/
-
14
-
- Popular Post
- Popular Post
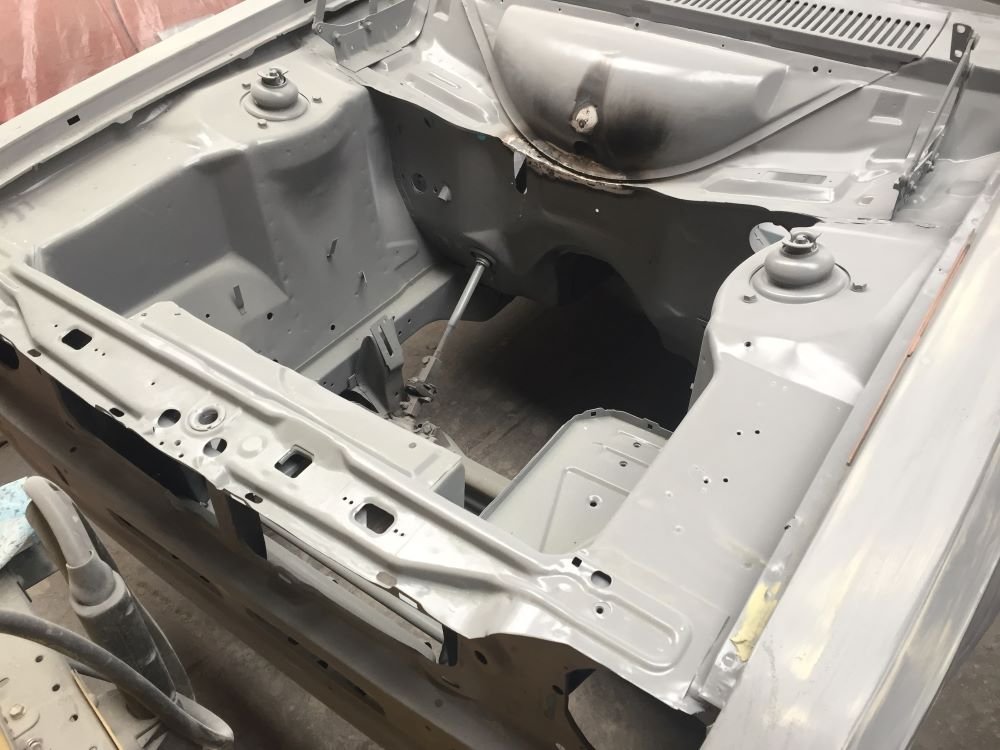
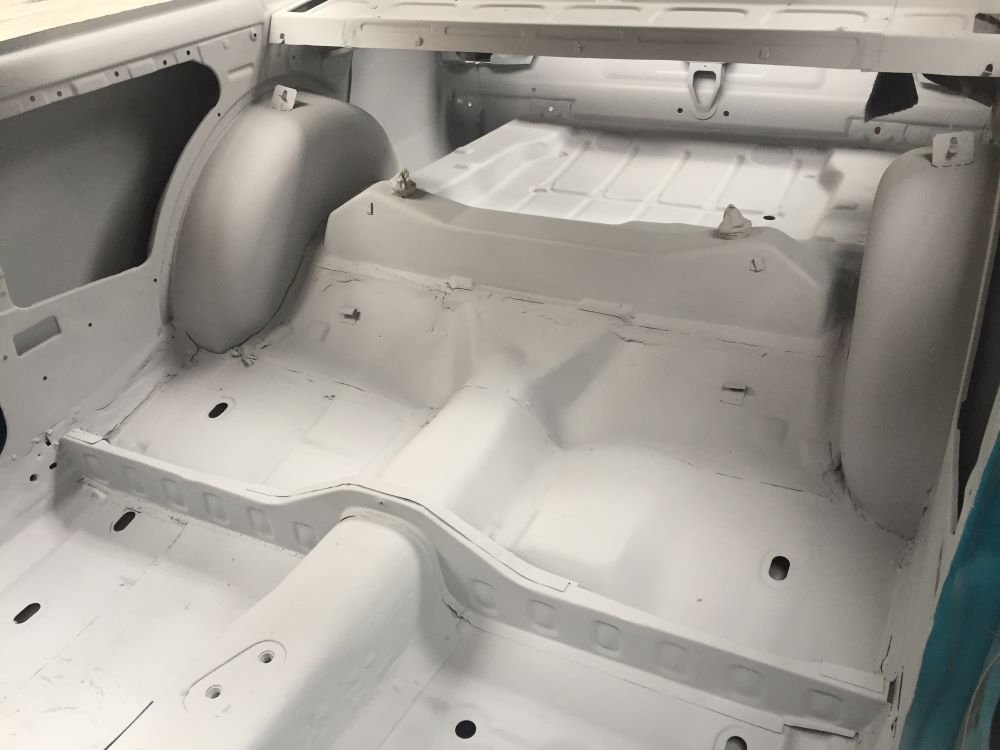
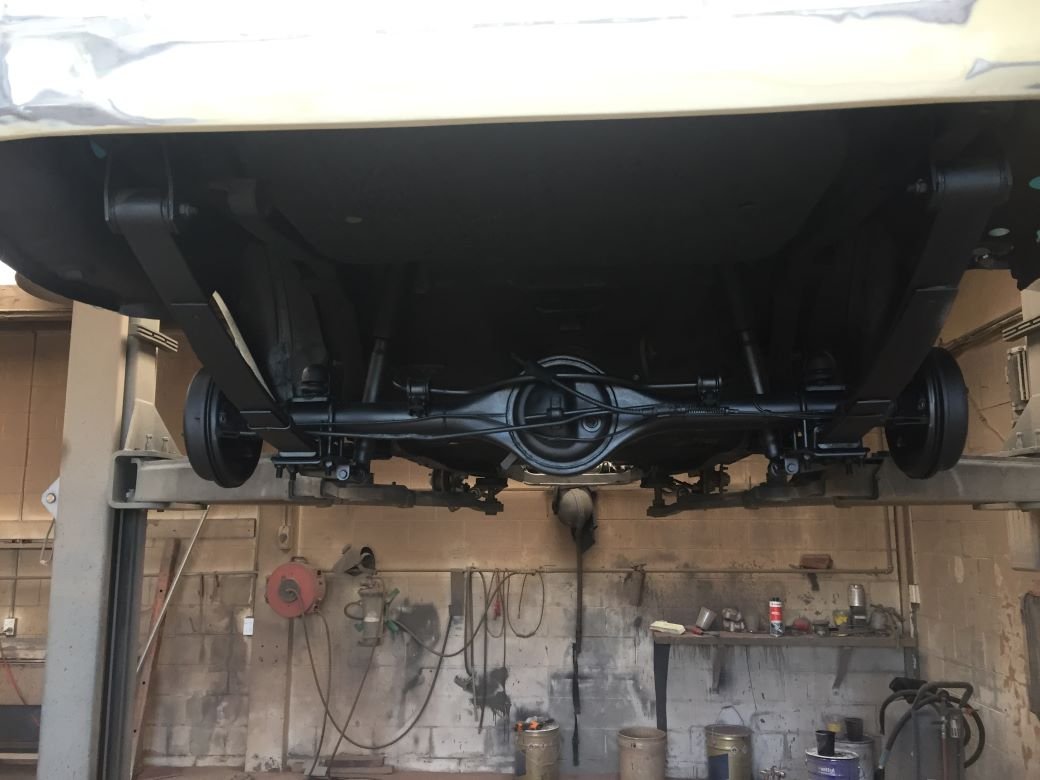
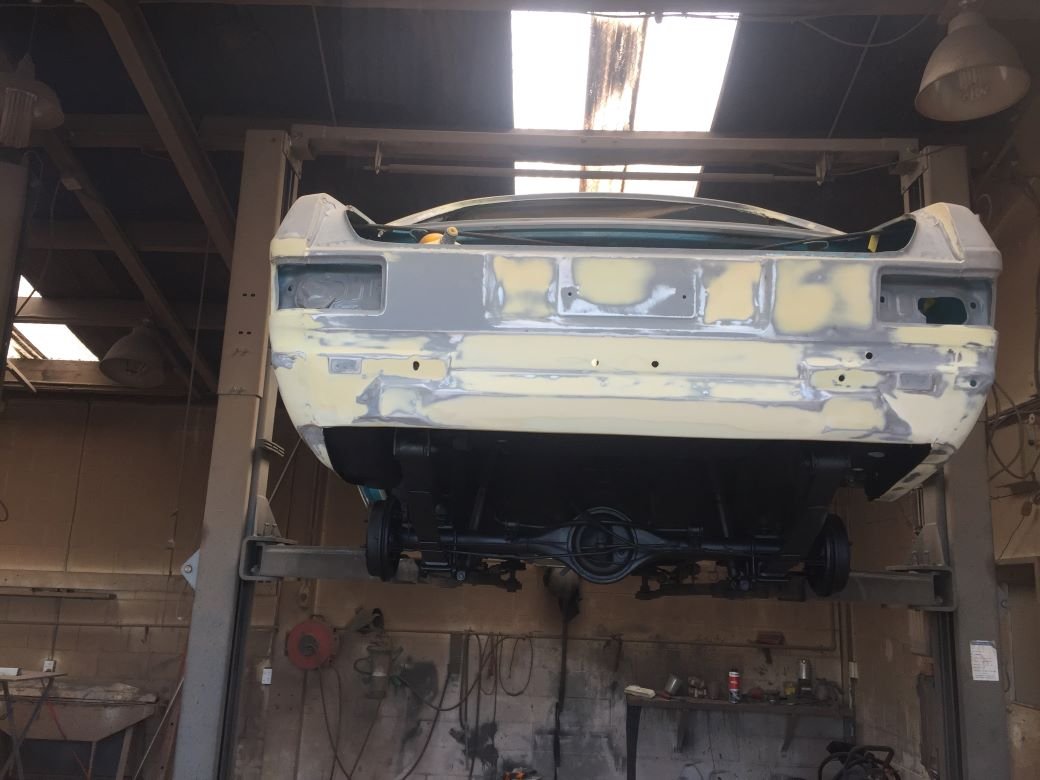
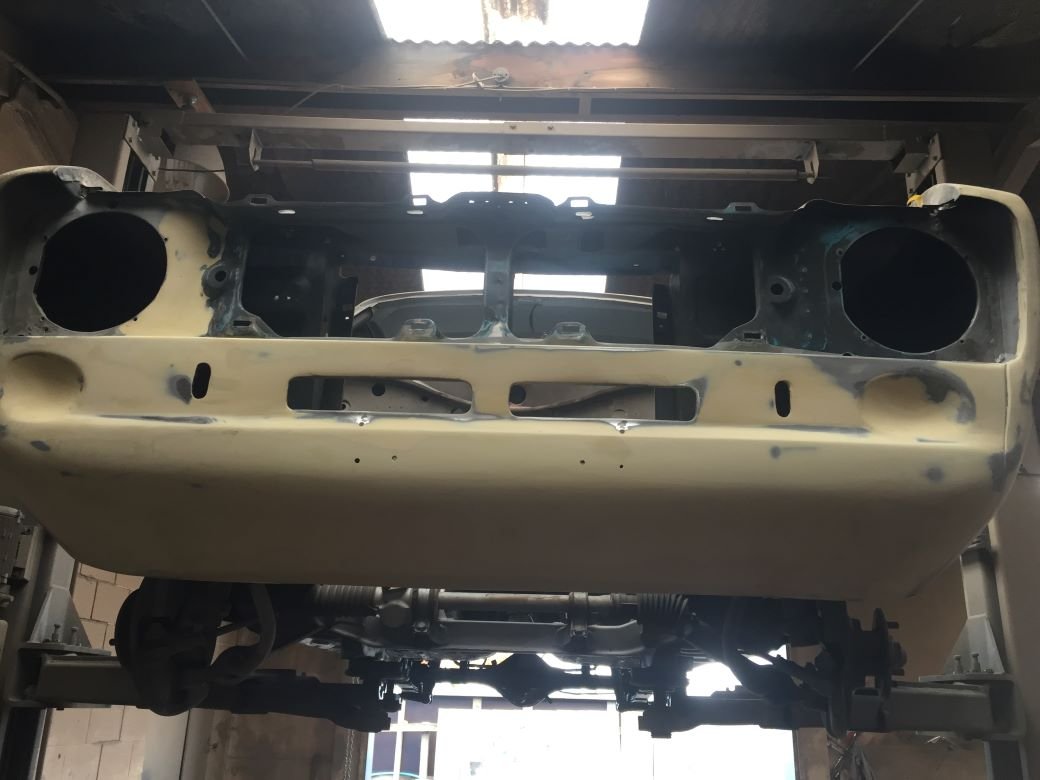
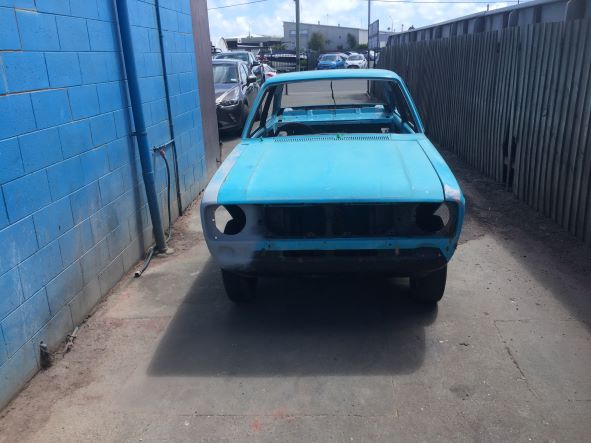
Its been a while since I called in to see how panel beater is getting on with removing rust and sorting out panel work. Car is looking good. They have sand blasted underneath the car which found a couple of rust areas in chasis which need a repair. Underneath has then been 2k primed and is ready to have a stone guard coating applied.
Engine bay has been sand blasted and is waiting to be primed along with the rest of outside of car. After much debate I have decided to keep car the same colour, Olympic Blue. Really starting to like this colour. Still a bit of work to be done on inside of car but painting can't be to far away
Project Discussion https://oldschool.co.nz/index.php?/topic/84912-petes-mk2-escort-1600-sports/

-
23
-
1
-
- Popular Post
- Popular Post
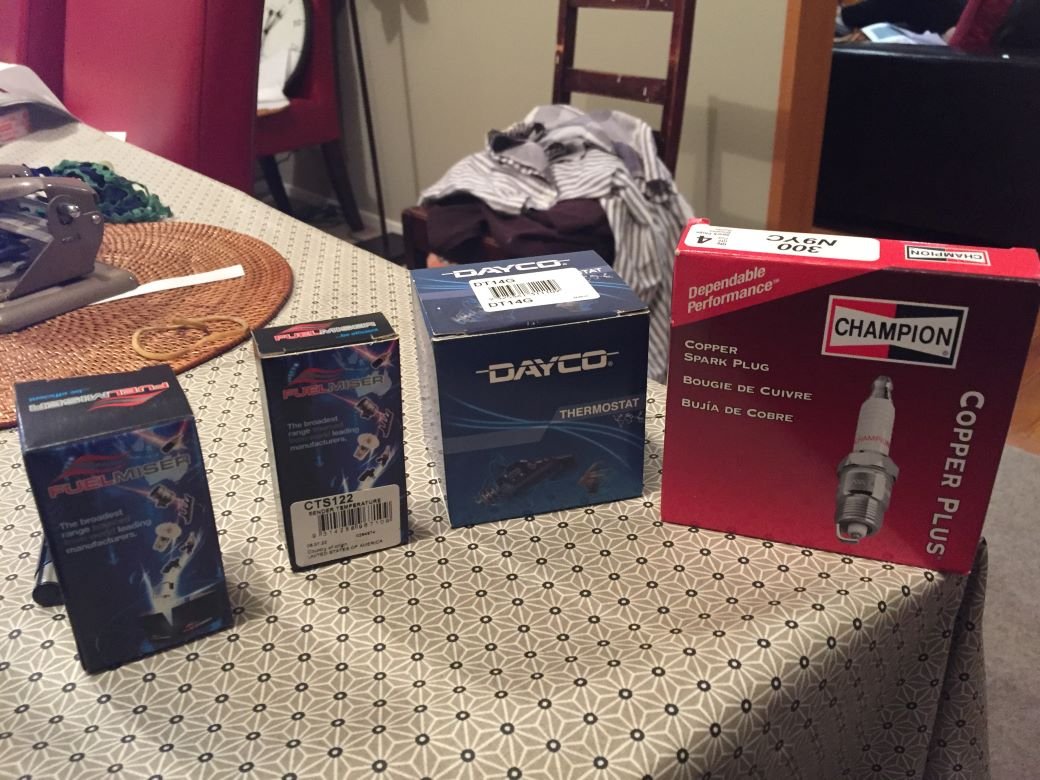
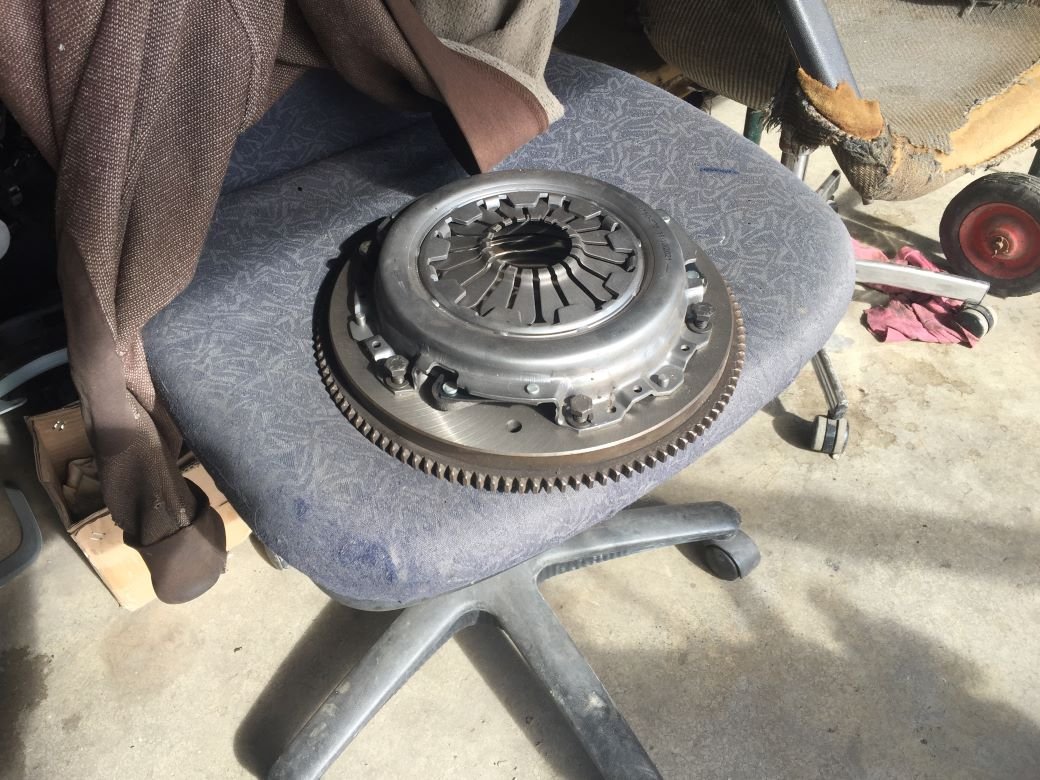
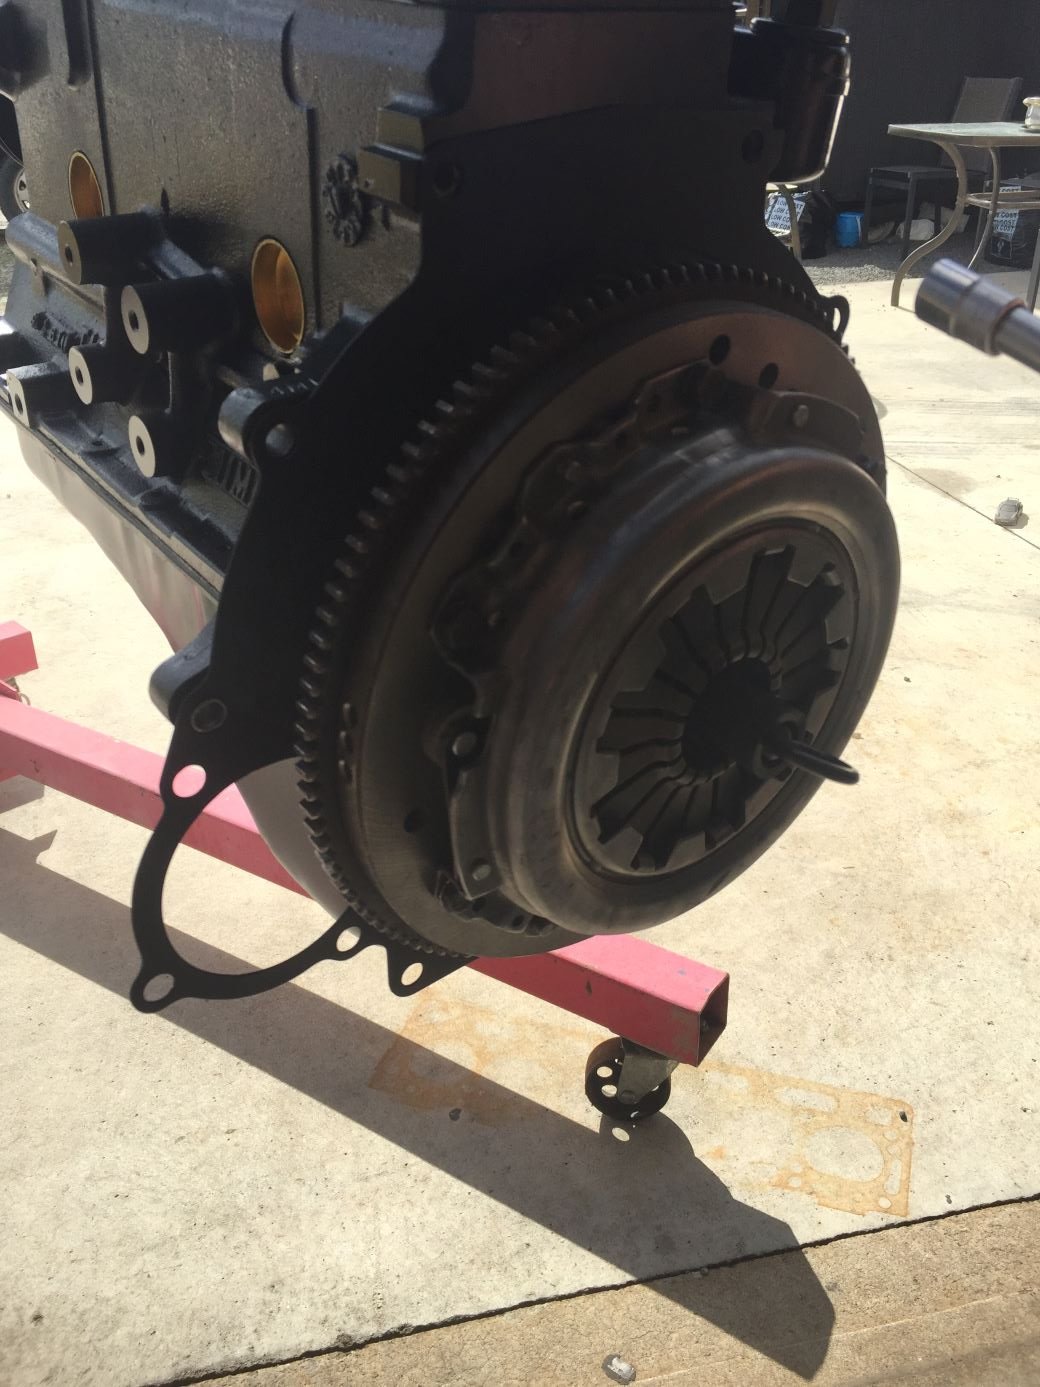
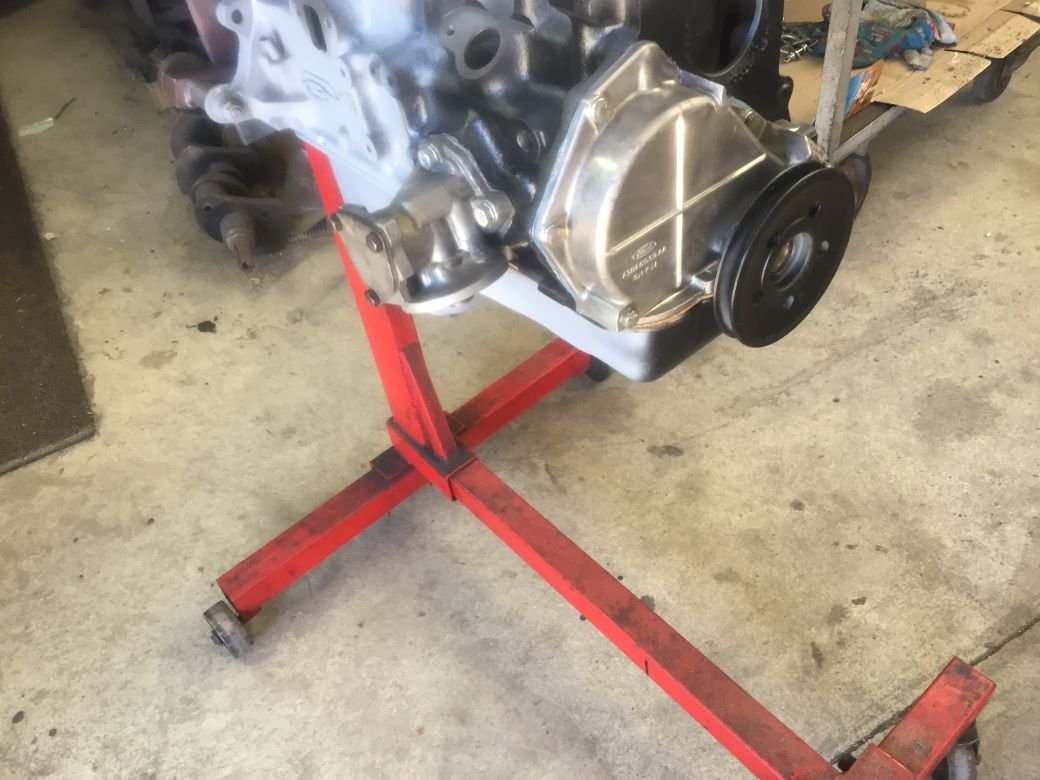
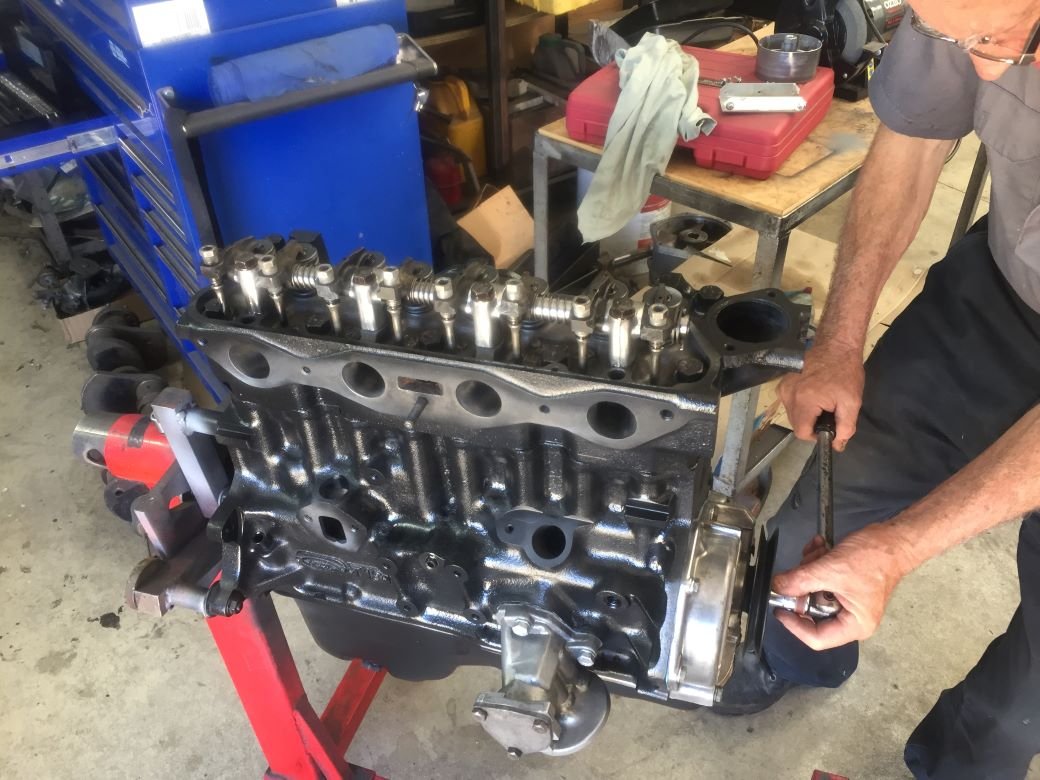
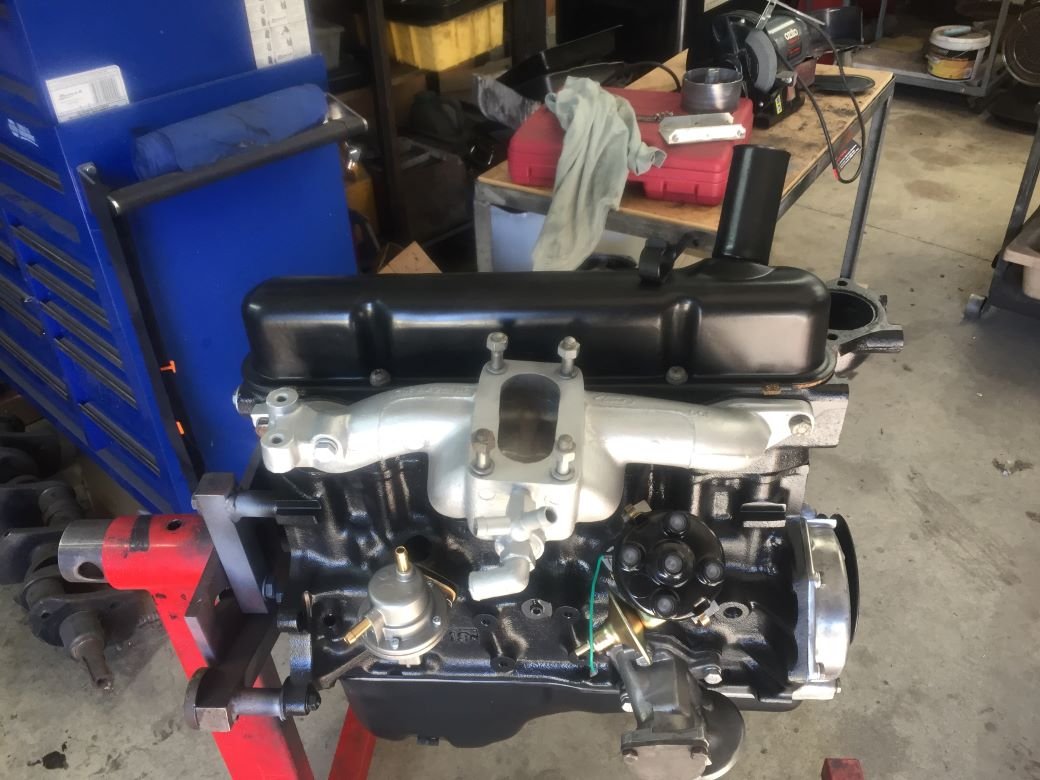
Motor pretty much finnished. Brought all of the small parts and a selection of nuts and bolts. Was quite surprised at the price of things, especially spark plugs which I haven't bought in a while. Fitted water pump and pully, spark plugs,temp sensor, oil pressure sensor. Next installed thermostat and housing. Half filled oil filter and screwed on. Was told I needed to use and oil that contained zinc to minimise cam ware and possible failure. Pushed emission control valve system into place. Just have to find a dip stick.
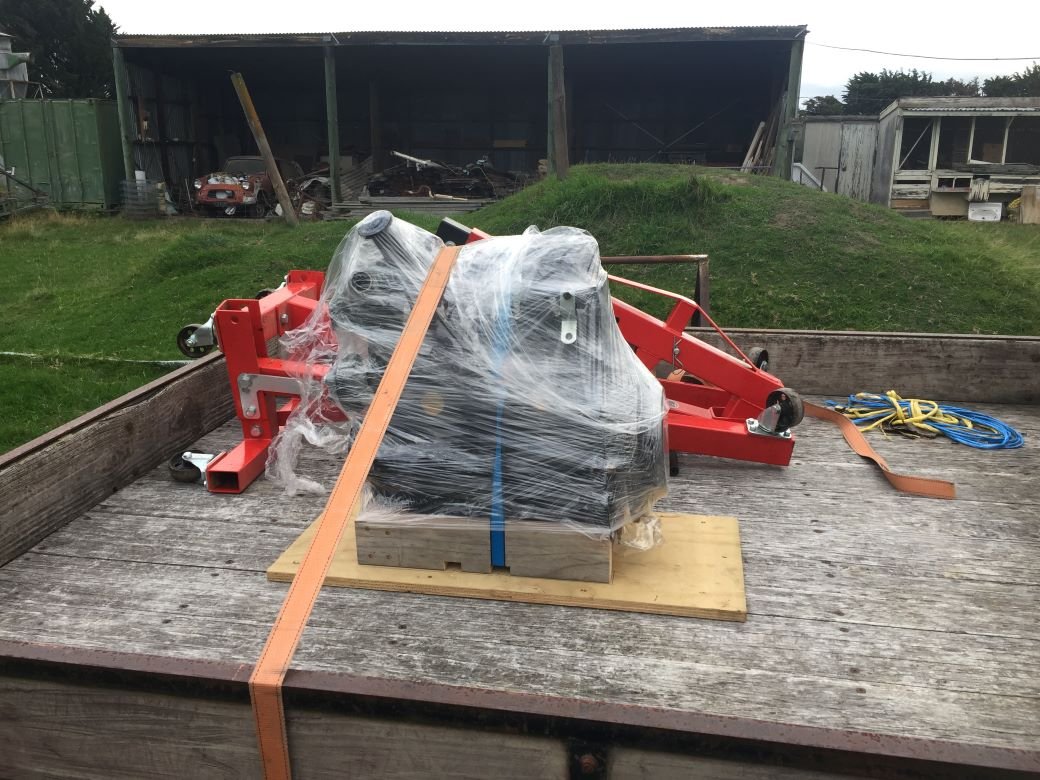
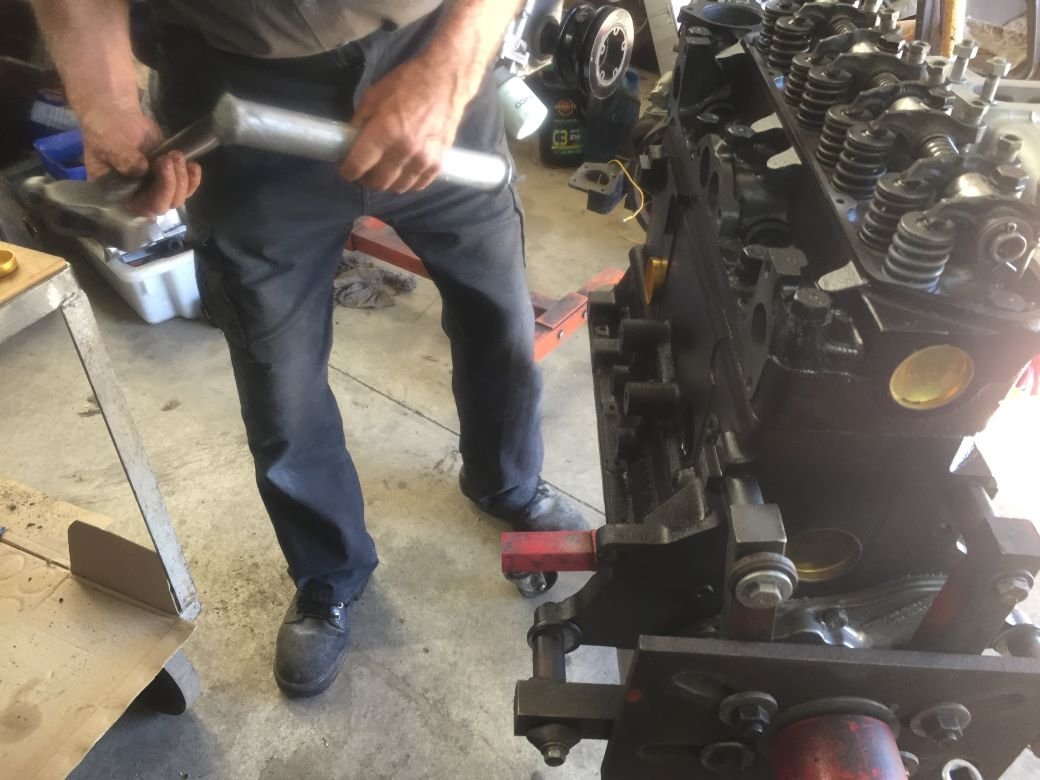
Removed engine from stand with crane and fitted lightened fly wheel. Almost forgot engine plate. Torqued up. On with the clutch disc and pressure plate after making sure we had put some grease around spiggot bearing. About as much that we can do at the moment. Onto the ute, wrap up for trip home.
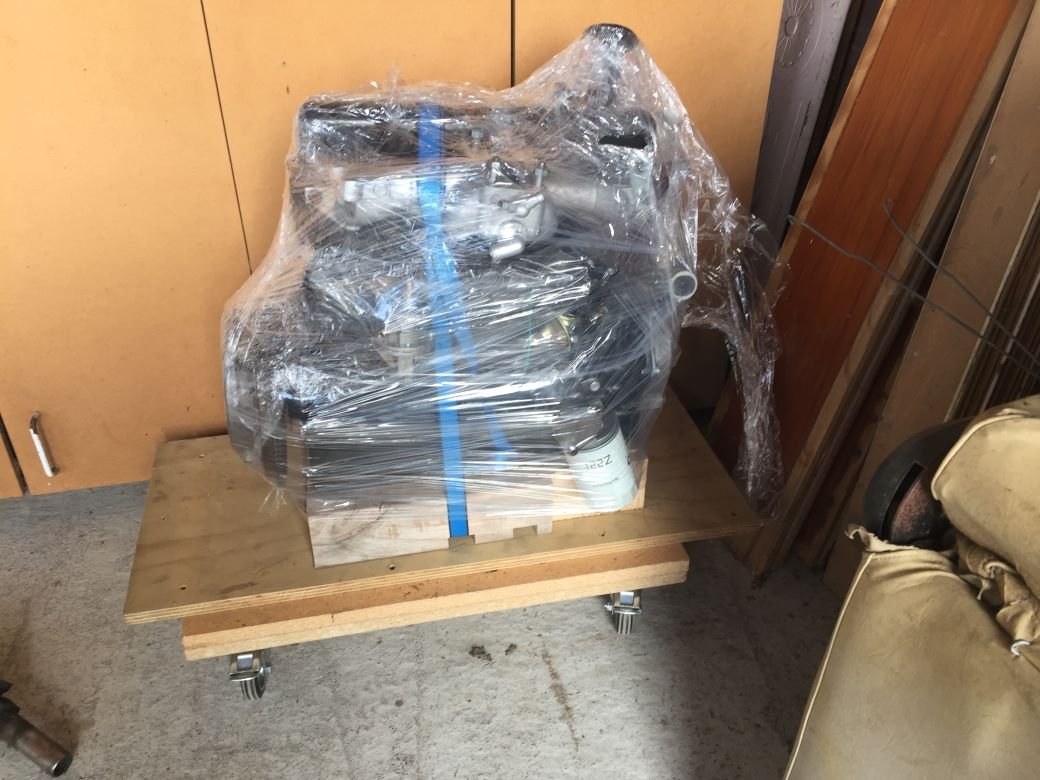
Safely in the back of shed waiting for return of car. Much thanks to Rod Clark from Ashley for helping me build this motor. A weaith of knowledge.
Project Discussion https://oldschool.co.nz/index.php?/topic/84912-petes-mk2-escort-1600-sports/
-
14
-
- Popular Post
- Popular Post
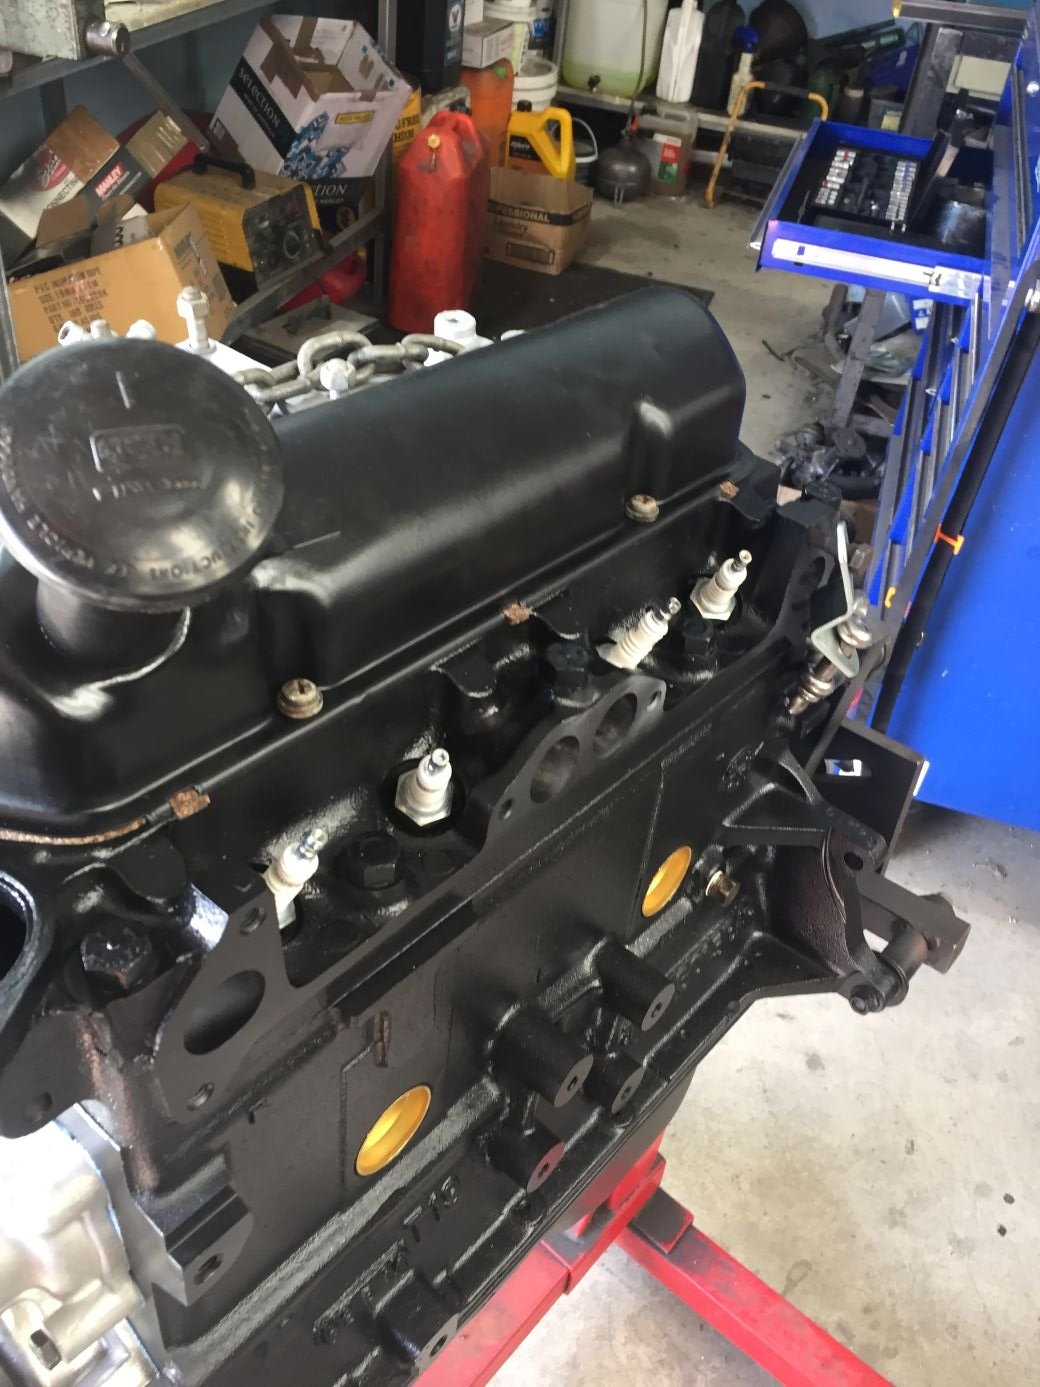
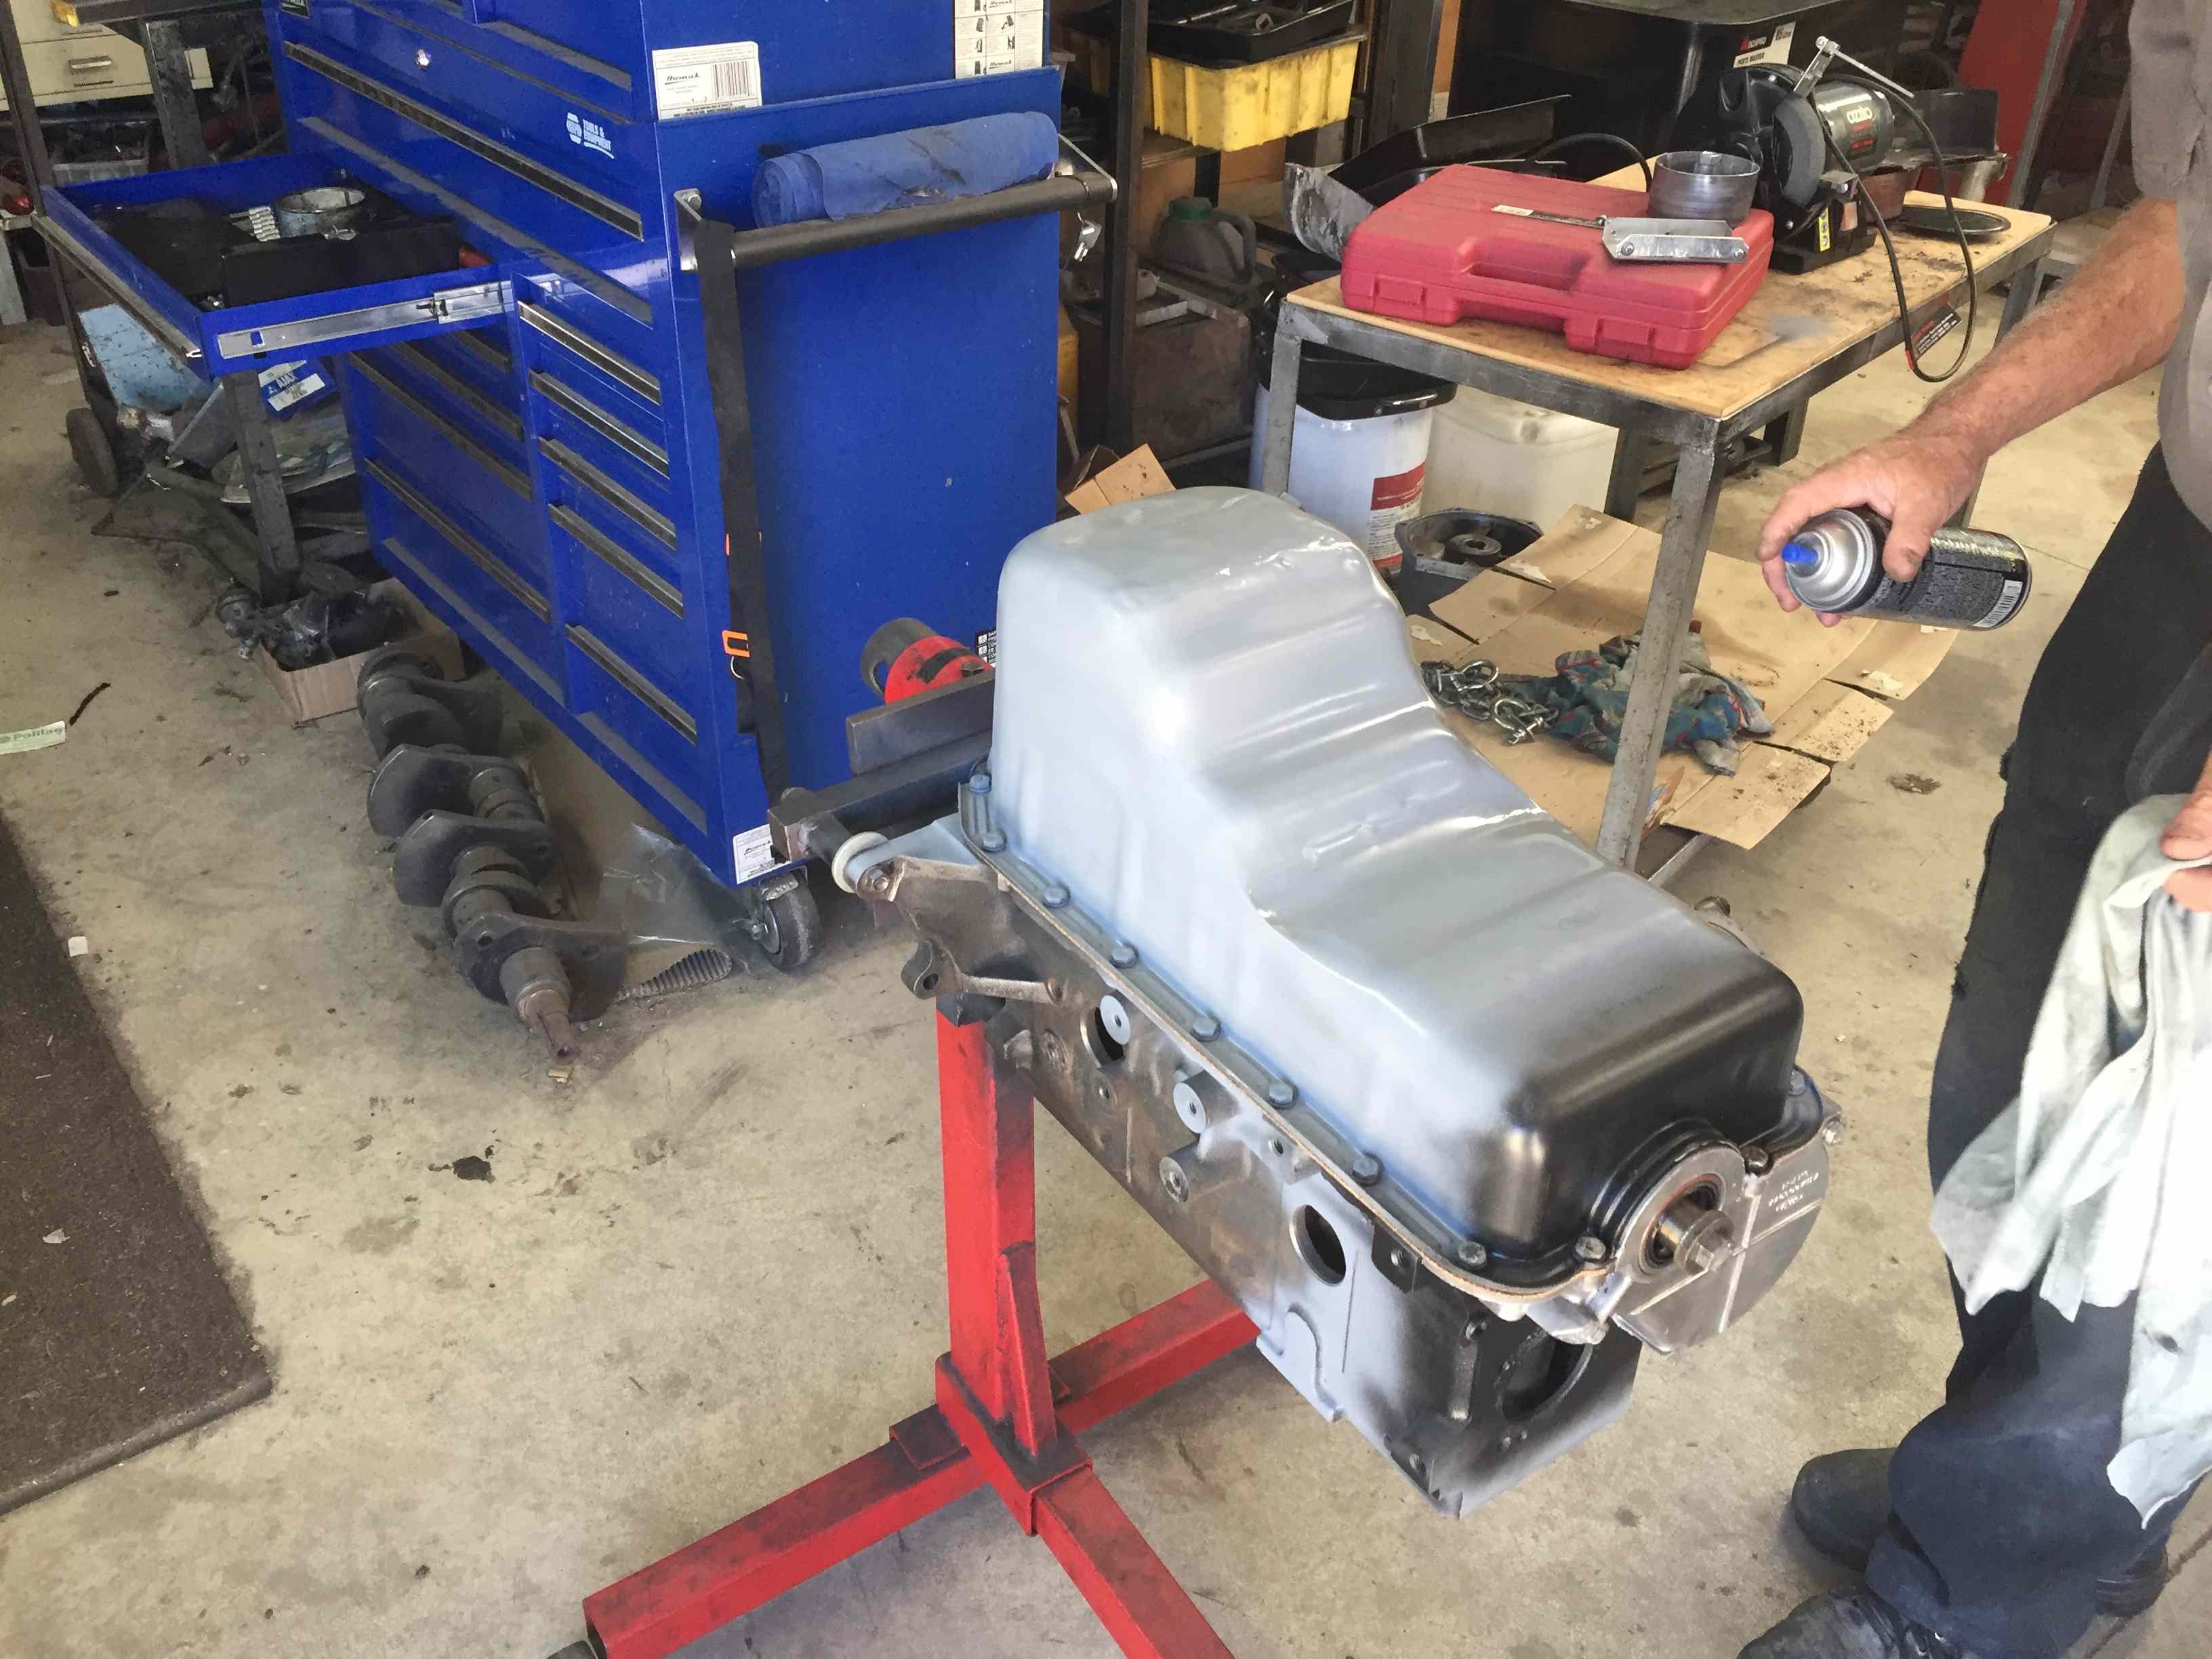
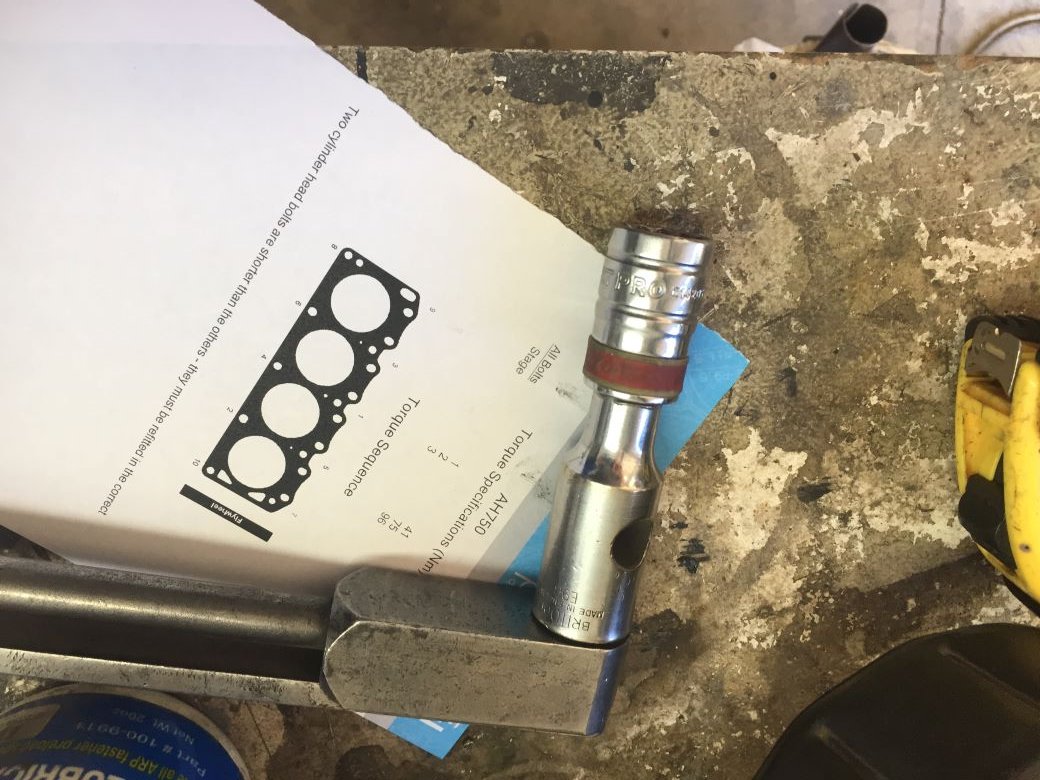
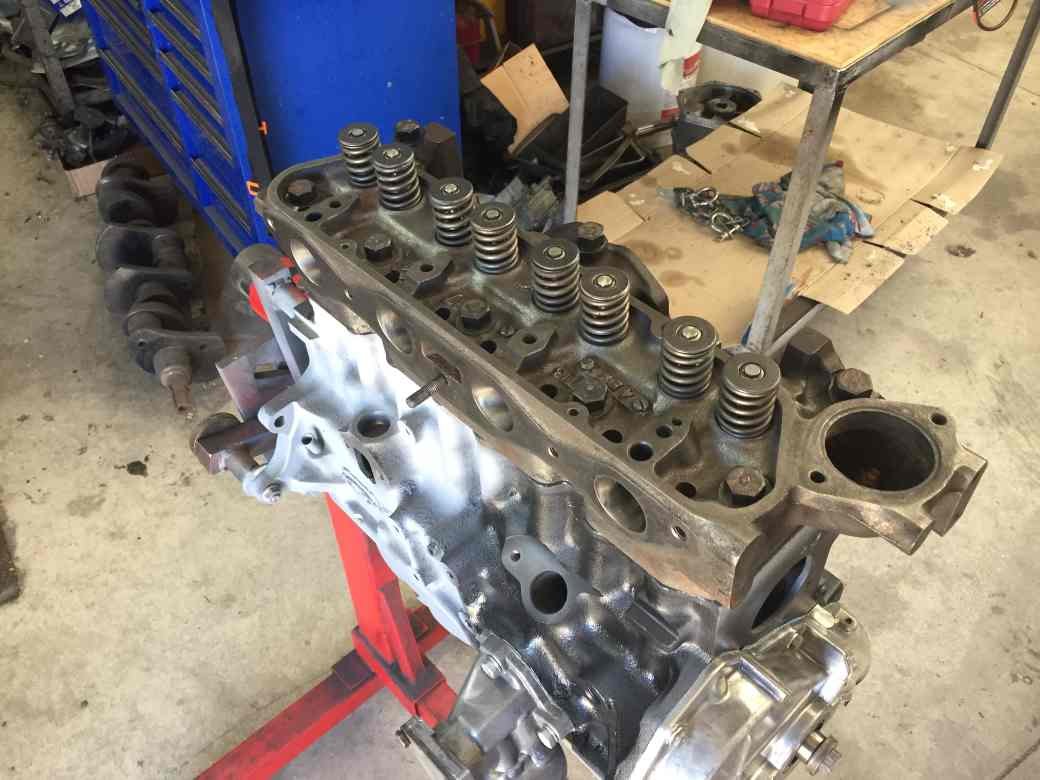
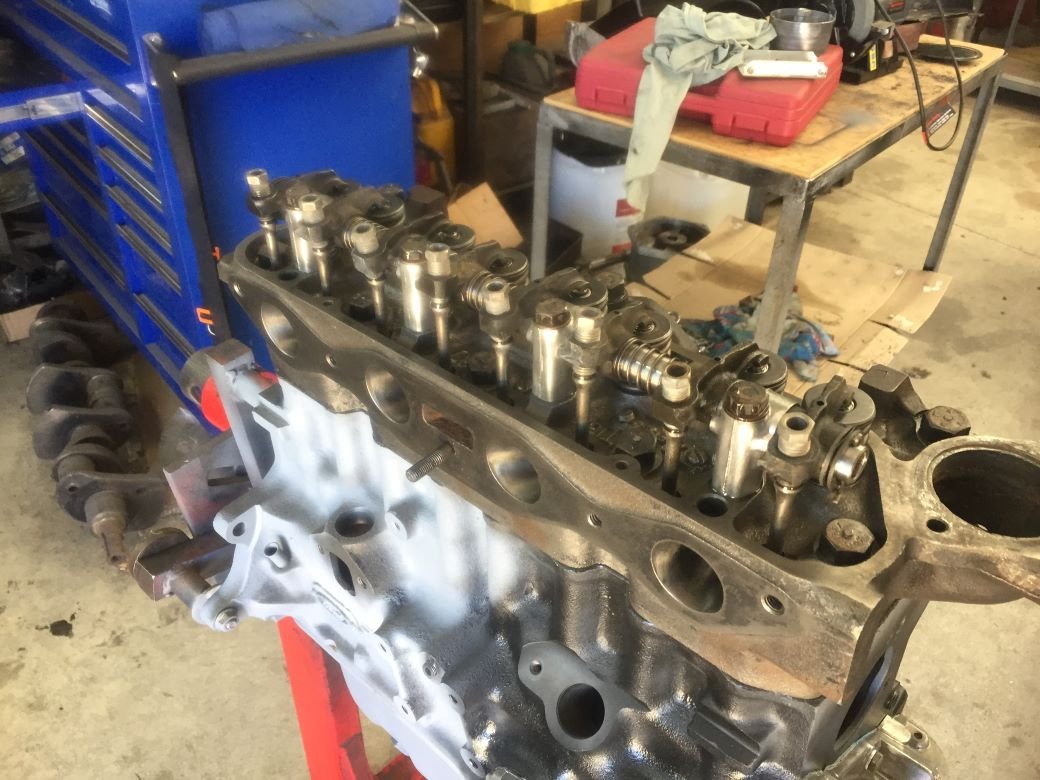
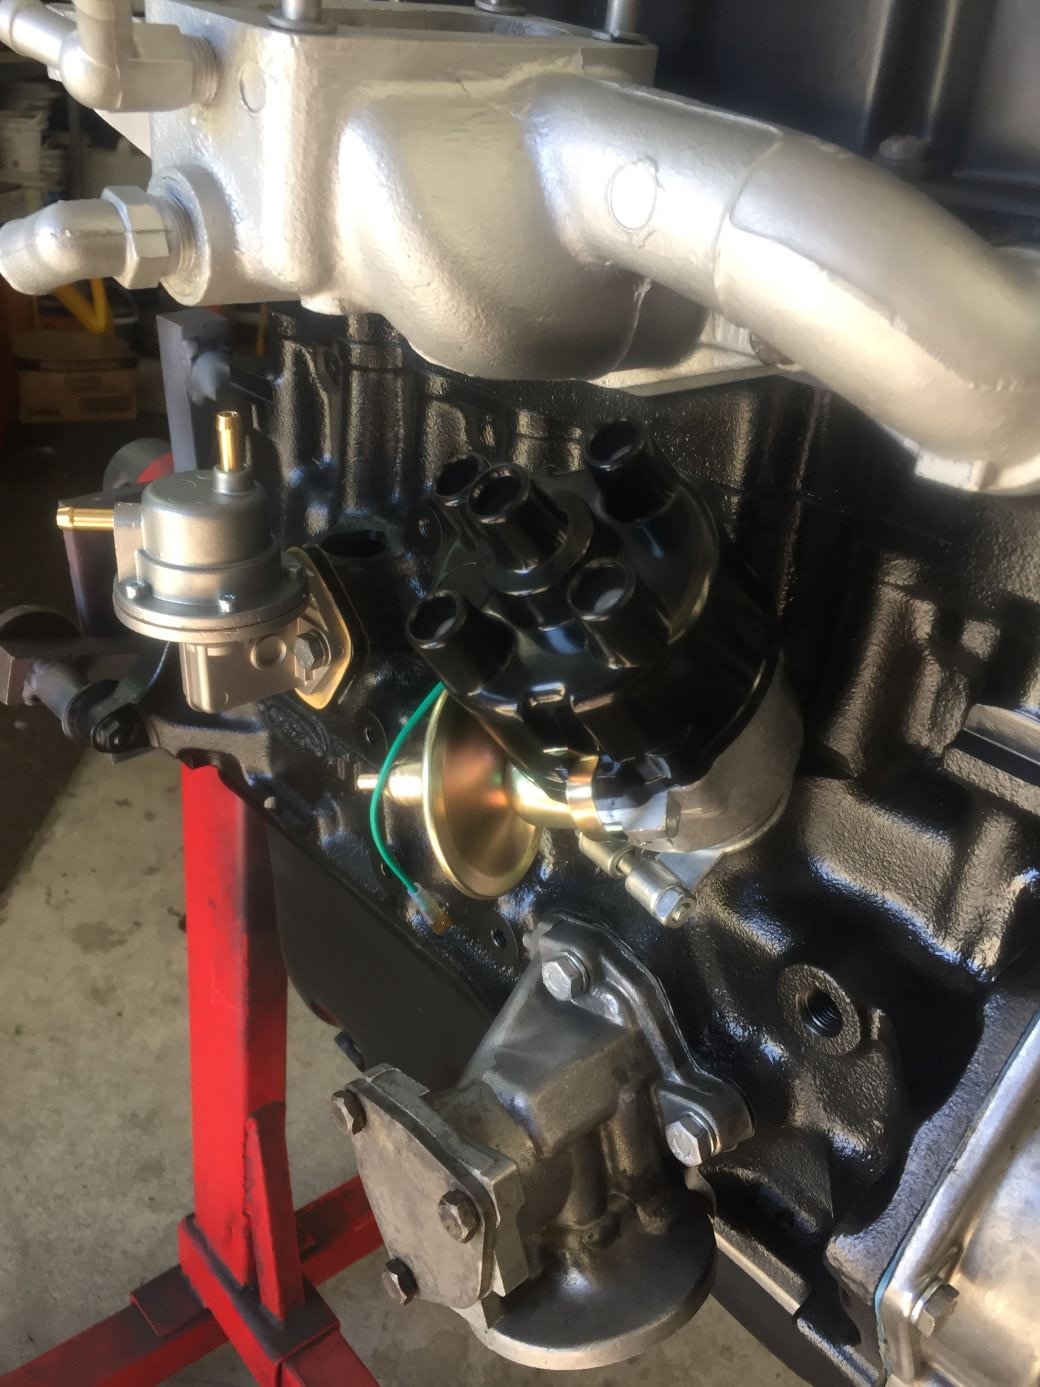
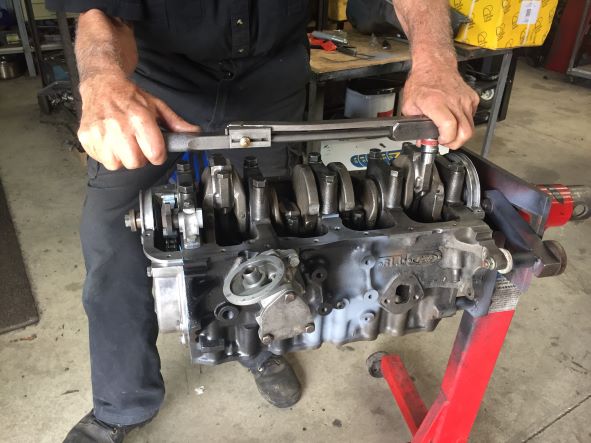
Finally got back to working on engine. Installed oil pickup and then sump. Have been painting engine as we go trying not to paint aluminium parts or frost plugs. Next fitted the head and torqued down. Had to check that I had the right pushrods so did a temporary fit of rocker shaft. All good so finished fitting pushrods and rocker shaft.
Next we fitted the front pully so we could turn the motor over and set the valve clearance. Once that was done the intake manifold, which has been ported, was fitted. Then onto putting in the two remaining frost plugs. Finally with the number one cylinder at TDC and following the instruction we fitted the distributor. A new fuel pump also in place and tappet cover on.
Not looking to bad. Just a few more small thing to buy and fit such as temp sensor, oil pressure senor, themostat and of couse spark plugs.
-
22
-
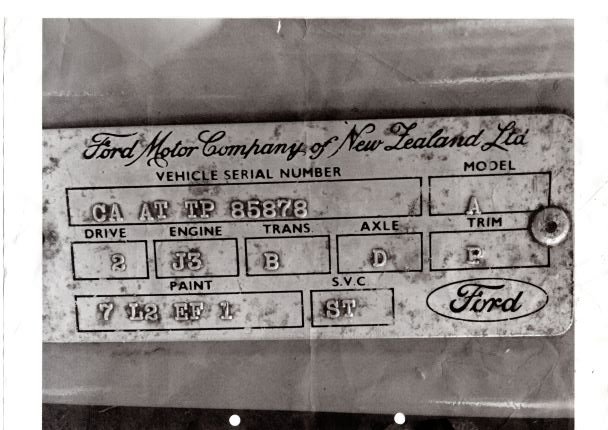
Thanks for that Marty. More than I could find out on net. All makes sense as I have paper work that says motor was changed when car had only 15000km on the clock. Has beige vinyl door cards. For your interest a new 1600 motor cost $2013 in 1986
-
1
-
-
Thanks for the link to video. It was very interesting and sure he would have used a similar technique to repair guard.
As mentioned I need to start thinking about what colour i'm going to paint her. Have been told present colour is Olympic Blue but not sure. Can anyone help with deciphering tag. Someone else said present colour is not a 1600 Sport colour. What do you think?
-
2
-
-
- Popular Post
- Popular Post
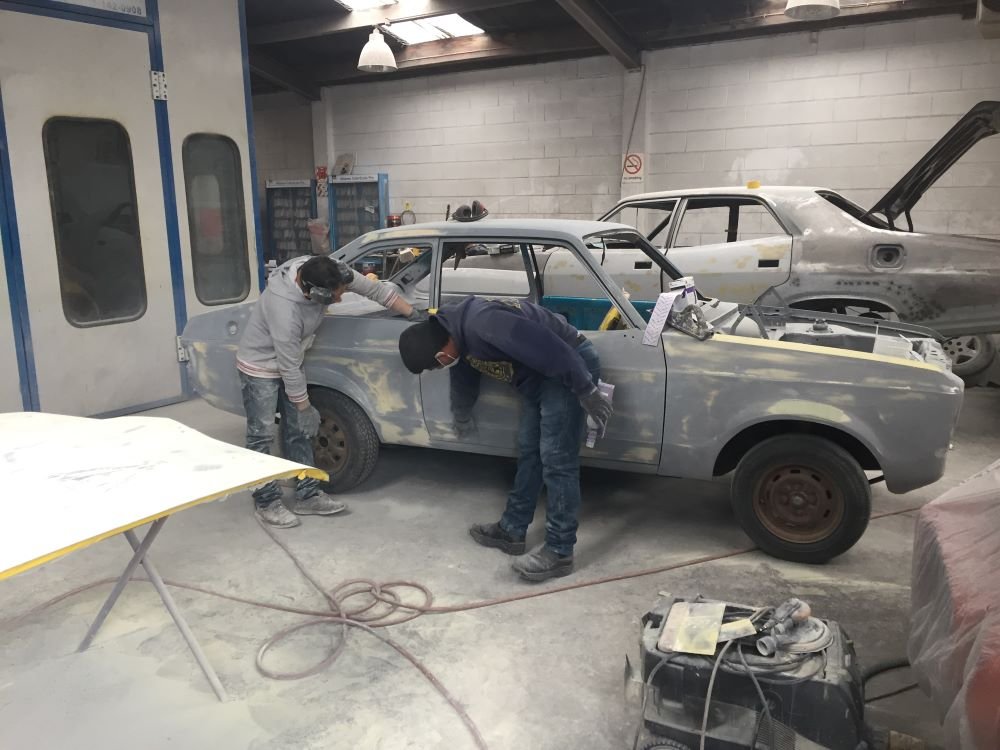
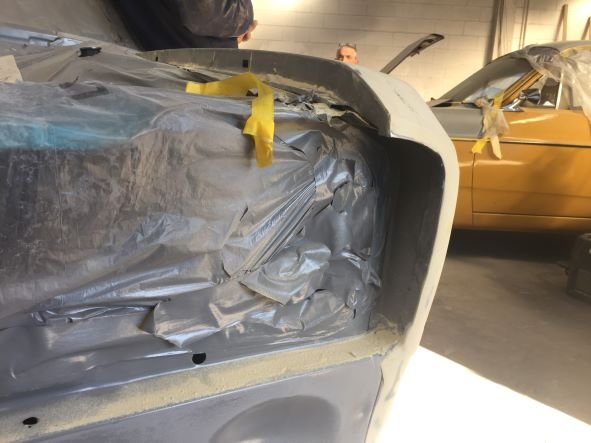
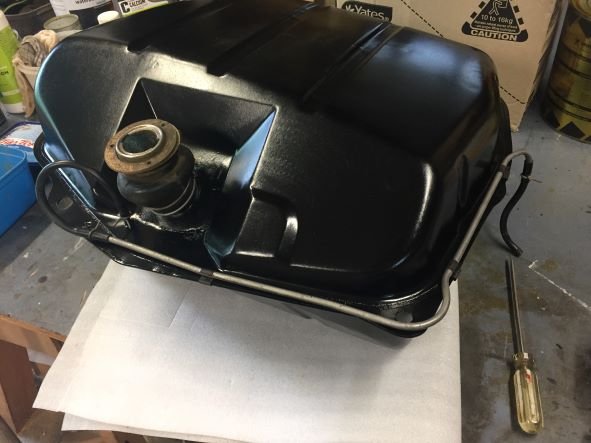
Went back to see panel beater and see what progress has been made on rusty areas. The front right guard has been fixed, front vallance has had all the dents taken out. The rest of floor pan has been repaired. When it came to the doors, there was a lot of rust on the inside that was progressing to the outside so he has cut the bottom off outside skin and repalaced. I need to start thinking about what colour i'm going to paint her. Have been told present colour is Olympic Blue but not sure. Have left a photo of vechile tag on discussion page if anyone can help with deciphering tag. Someone else said present colour is not a 1600 Sport colour. What do you think?
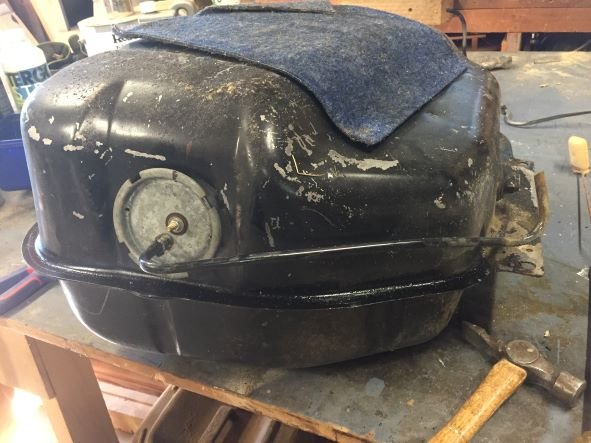
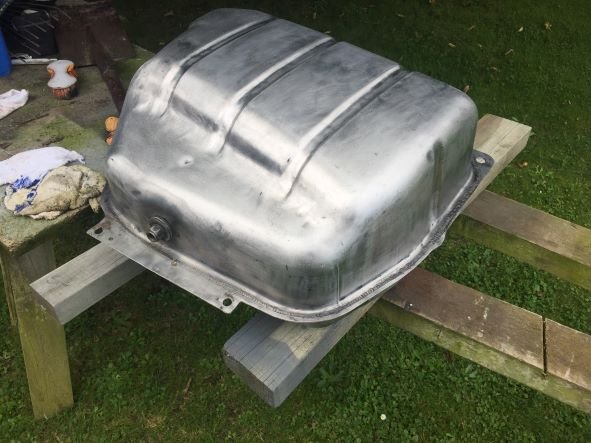
Have also refurbished petrol tank which was in really good condition inside.
Project Discussion https://oldschool.co.nz/index.php?/topic/84912-petes-mk2-escort-1600-sports/
-
16
-
- Popular Post
- Popular Post
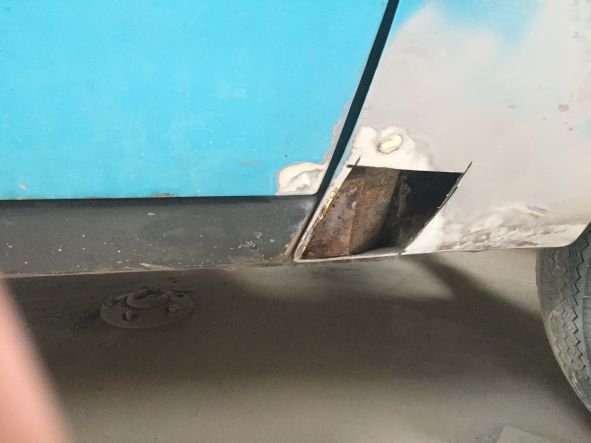
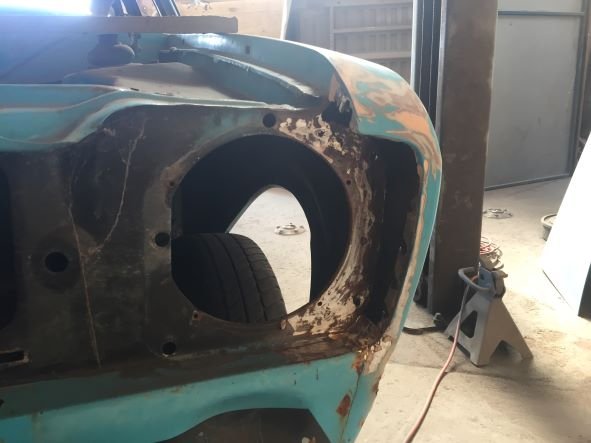
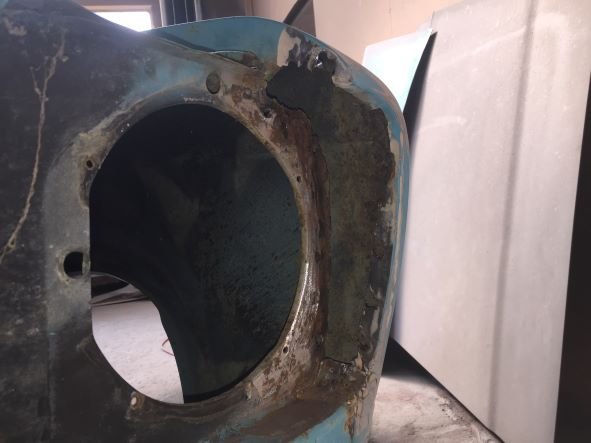
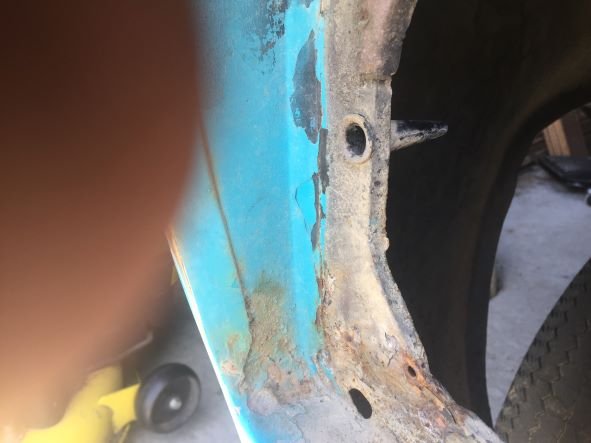
Called into the panel beaters for the first time afher droping car off to see what progress had been made. He has fitted the two patch panel i supplied to fix the wheel well area which was badly rusted. Panels didn't quite cover area of rust so had to do a bit work. Has repaired areas of rust around window edges and also ends of sills plus floor pans. Has removed rusted section from front guard, headlight area. Will be intersting to see how he repairs this area as there is quite a bit of rust.
Project Discussion https://oldschool.co.nz/index.php?/topic/84912-petes-mk2-escort-1600-sports/
-
15
-
- Popular Post
- Popular Post
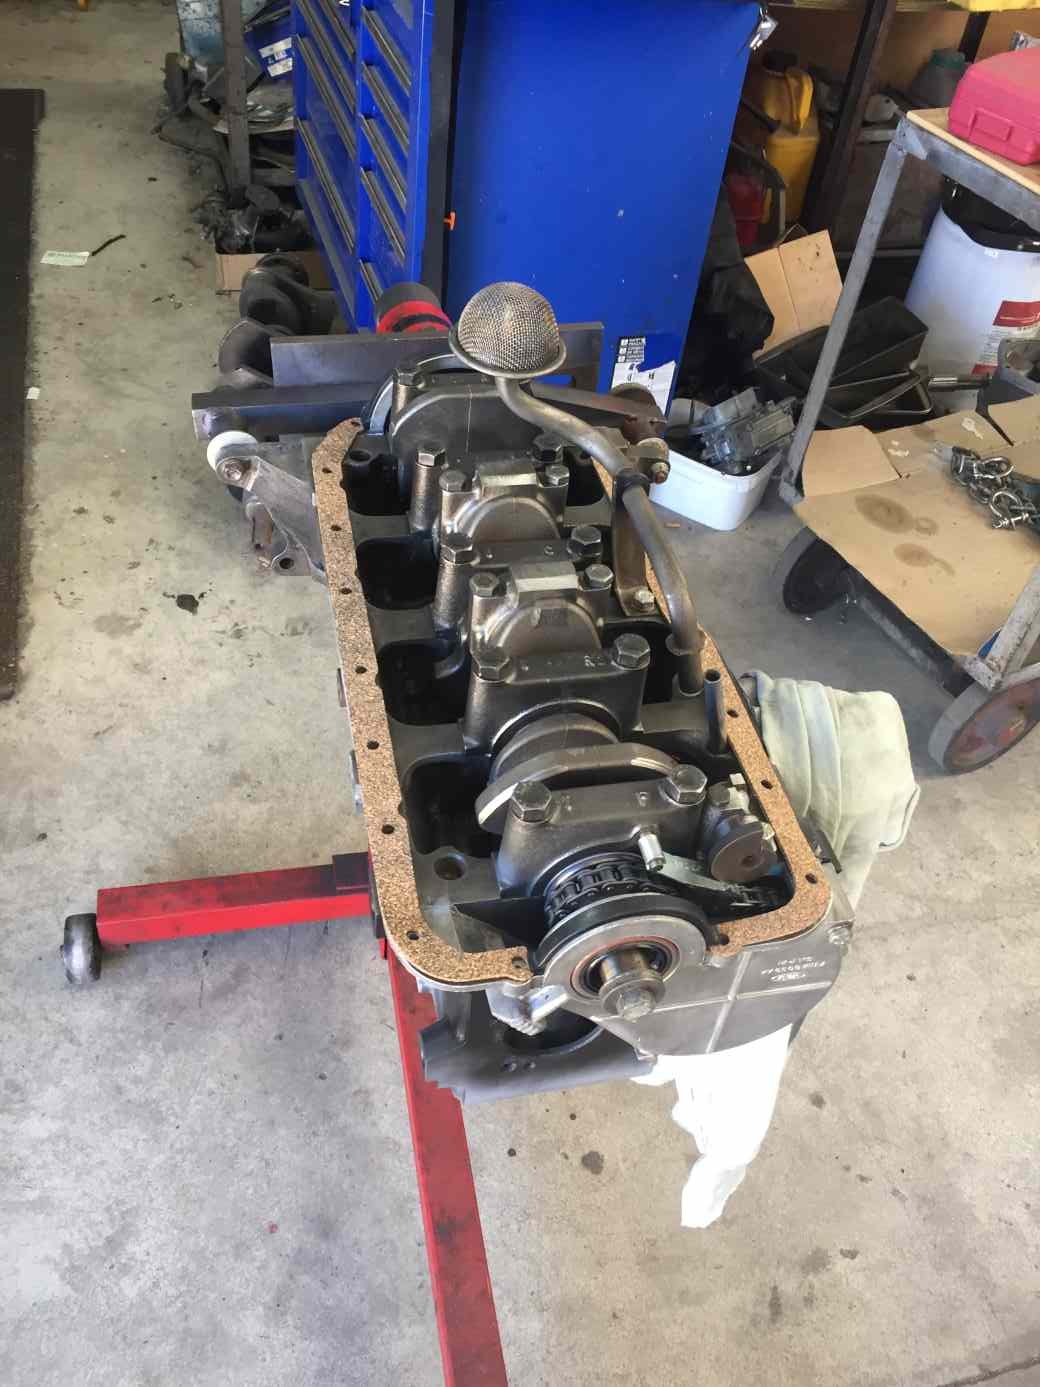
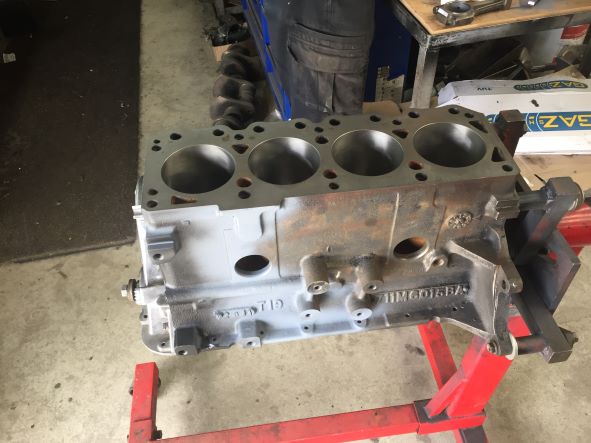
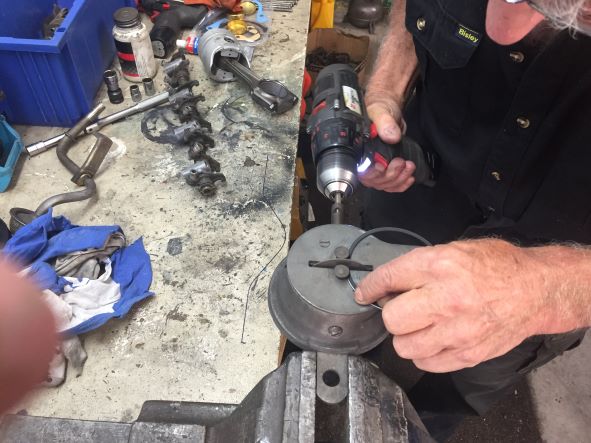
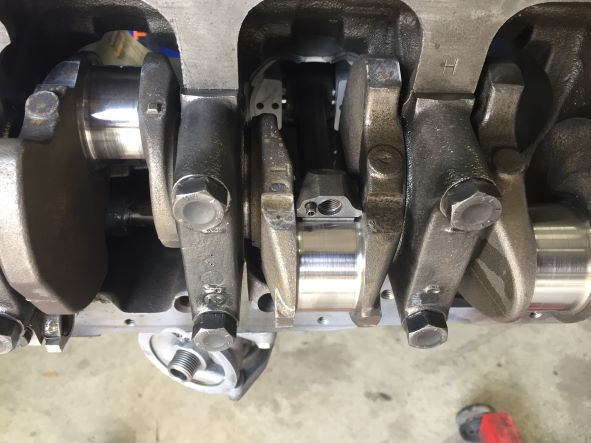
Have been getting some work done on the motor that came in parts with the car when I bought it. Block has been bored out 40" and planed. Crankshaft just needed polishing and put back in with new bearings and seals. Next put in cam followers which have had a surface grind. The cam has had a light sports grind and put back in. With all timing marks lined up new timing chain is fitted along with new tensioner. Timing cover and oil seal fitted. Looking good
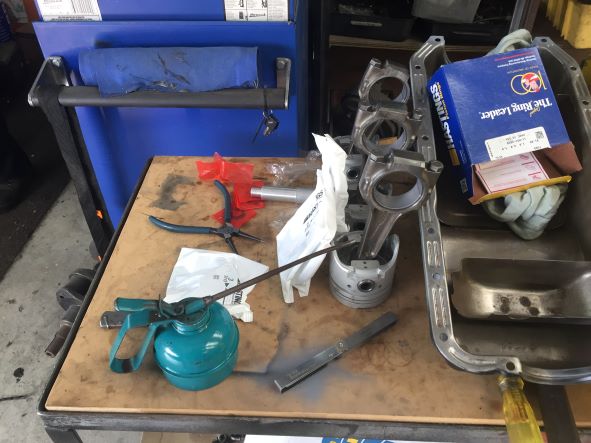
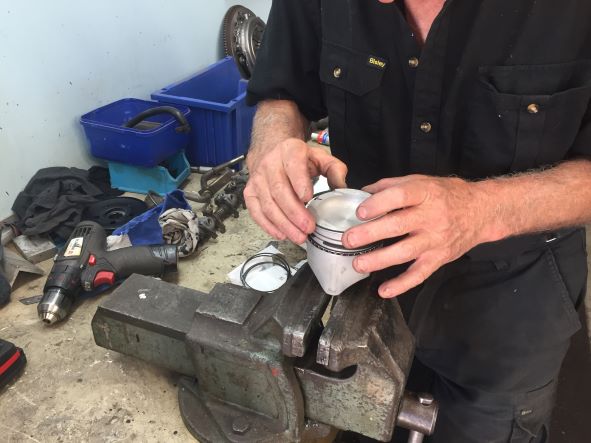
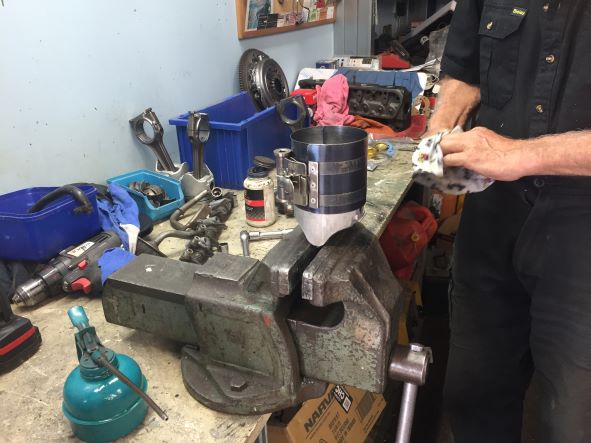
Next we fitted bearing shells to conrods and caps. Followed by fitting new pistons to conrod. Then we gapped the rings and fitted to pistons. Next pistons inserted into block and and caps put on, all with plenty of oil. Torque down all bolts and we are done.
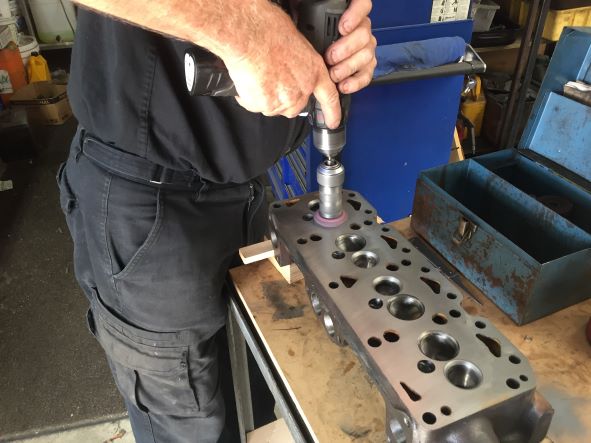
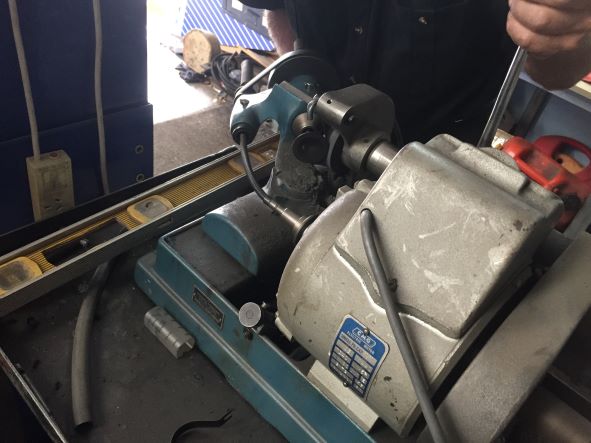
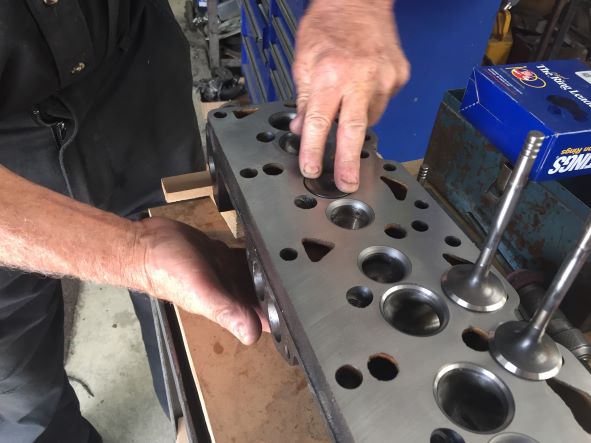
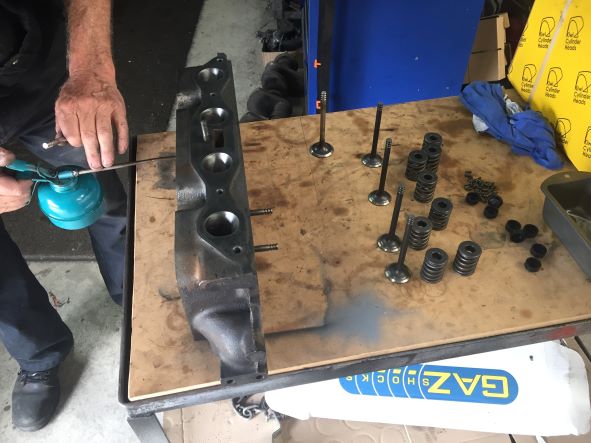
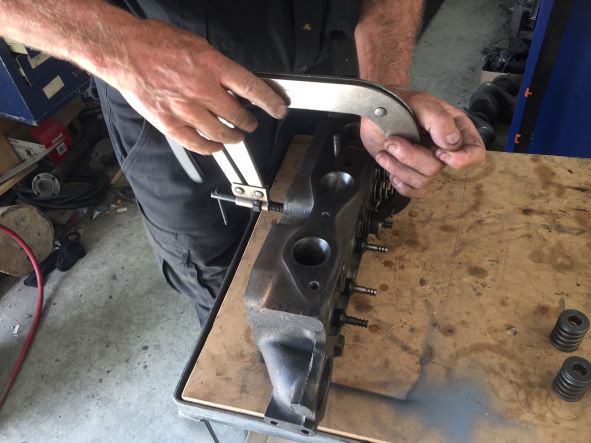
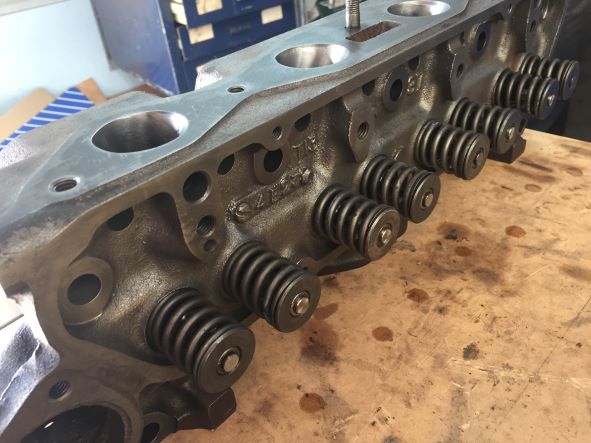
Next onto the head which has been planed and had new hardened valve seat put in. We then ground valve seat and valves ( needed 4 new exhurst valves) and checked fit. All good so fit stem oil seal, springs and collets. Head has been ported so just have to match to intake manifold.
Oil pump has been refurbished but need to get a new water pump, petrol pump and distributor. Also need a set of head bolts which ar hard to find in NZ.
Good to be putting things back together. Should be a nice motor when finnished
Project Discussion https://oldschool.co.nz/index.php?/topic/84912-petes-mk2-escort-1600-sports/
-
20
-
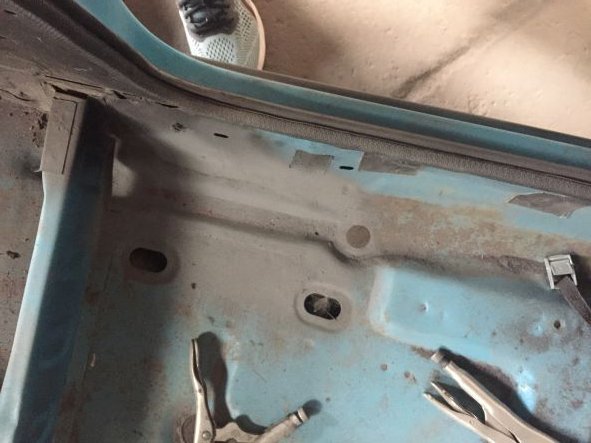
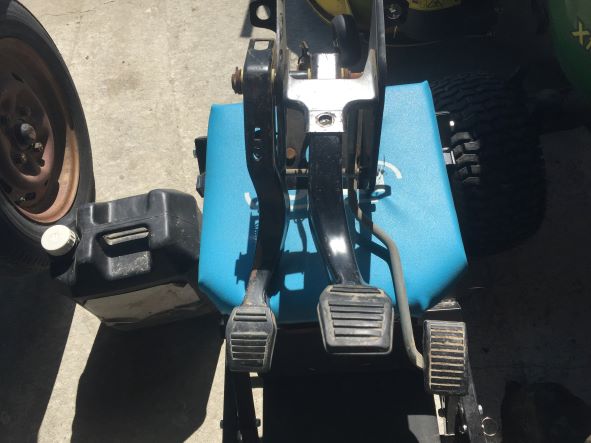
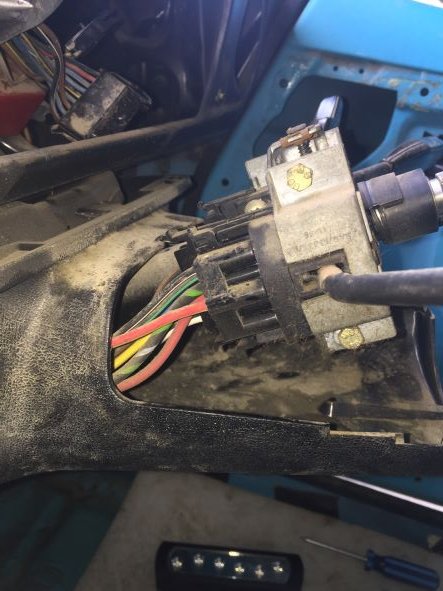
Have got a bit done since last post. Removed heater unit and dash vents. Removed pedal box which then allowed me to take out the insulation up against fire wall. This is not in very good condition so not sure what I can use to replace it. Any ideas, let me know in my Project Discussion. Next removed indicator storks an ignition-steering lock. Decided to leave window wiper assembly in place.
Ready for he panel shop. Took photos of all black paint areas for reference when getting it painted. Also photo's of all rust-dent areas that require work. Its going to take a while I think. Onto the triler and off to Christchurch. Had to unload onto footpath and then push across four lanes of trafic but finally there.
https://oldschool.co.nz/index.php?/topic/84912-petes-mk2-escort-1600-sports/
-
7
-
-
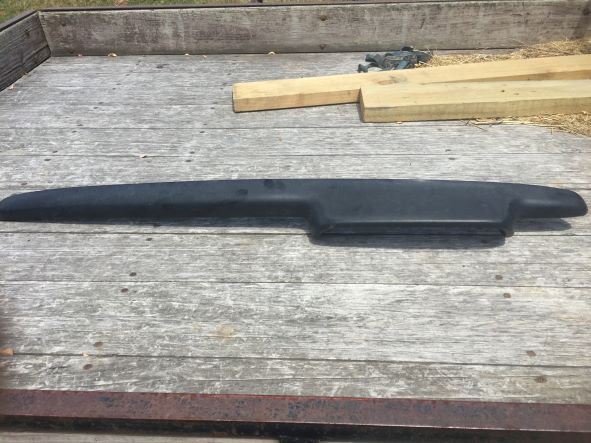
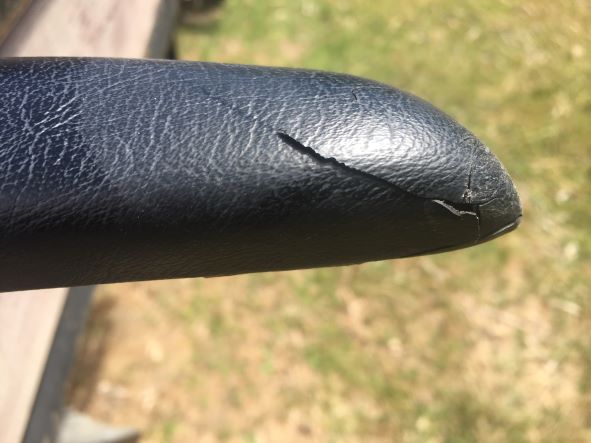
The dash pad has a few cracks in it. If anyone can suggest the best way of repairing this that would be great. Also looking for someone to check over my manual gearbox in Christchurch. Cheers
-
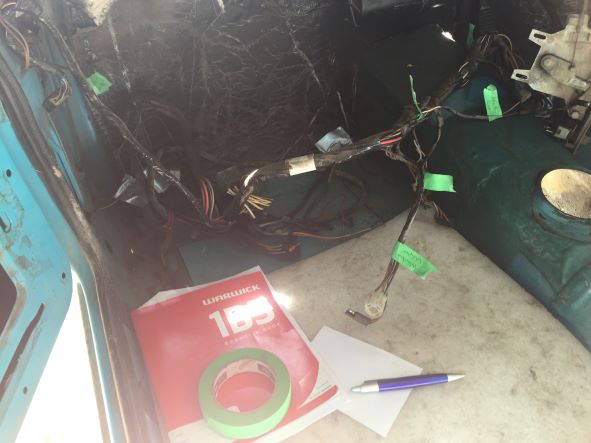
Now onto the interior, under the dash. Took off all plastic covers and started unpluging everything and labeling as I go. One or two loose wires without a home but i'm sure I will be able to sort out later. Finally got loom out except wires running to interior light. Taped a pull wire to the end but unable to pull through so must be clipped on under head linning which is still in place. Finnally just cut them off and will put a connector on when it all goes back together. Next took off the dash pad which has a few cracks in it. If anyone can suggest the best way of repairing this could they leave a reply in the Project Discussion secton listed below. Also looking for someone to check over my manual gearbox in Christchurch. Cheers
https://oldschool.co.nz/index.php?/topic/84912-petes-mk2-escort-1600-sports/
-
5
-
-
- Popular Post
- Popular Post
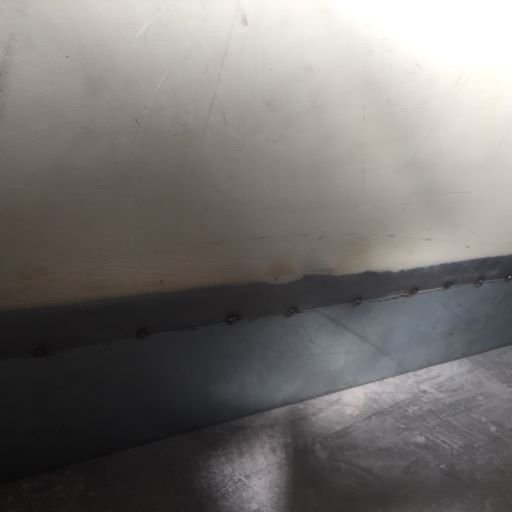
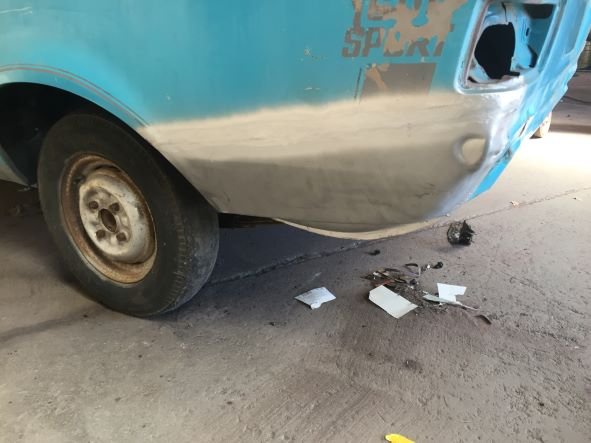
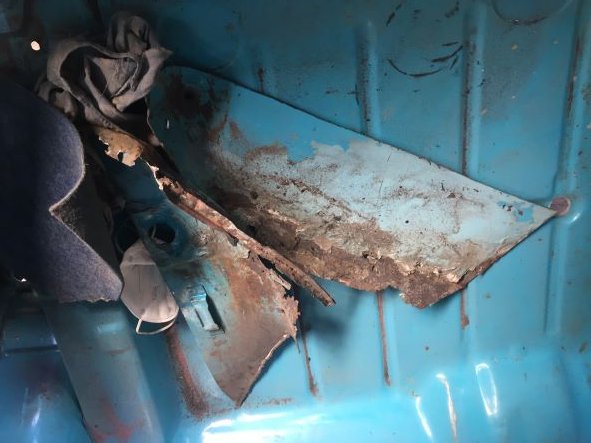
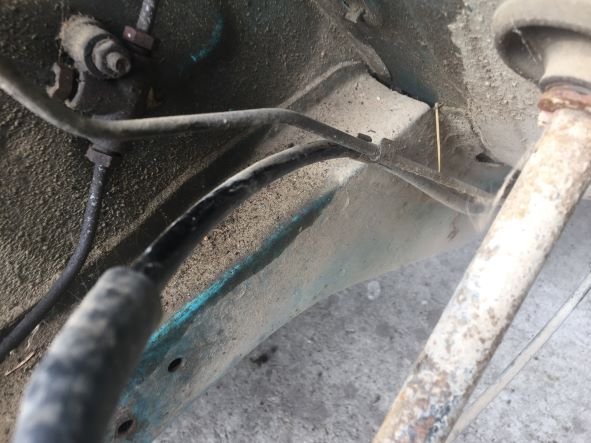
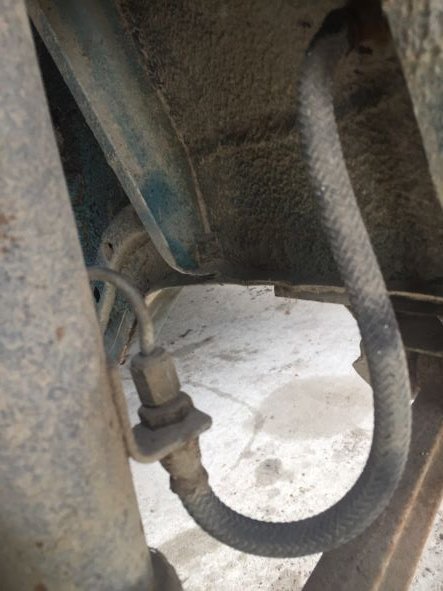
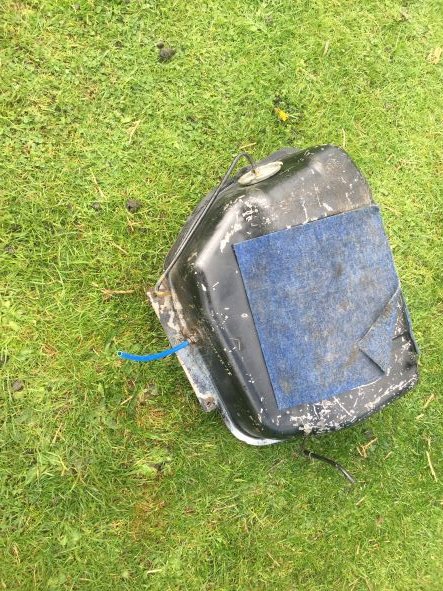
Still on the job just taking a bit longer due to other projects. Have removed all the brake lines and calipers along with the dual fuel lines, one return line. Documented all attachment points. Will replace as a bit smashed up.Thinking of using 10 mm truck air hose which is a similar type of hard plastic. Will have to check if can be used with fuel. Remove fuel tank on which you can see blue truck air line which I used for a repair when I cleaned out tank. Had great trouble getting old fuel line out of tank when I cleaned it.
Degreased and cleaned engine bay. Not looking to bad
-
11
-
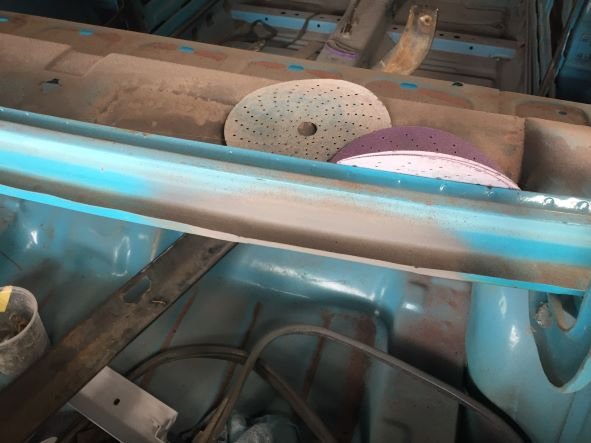
Would like to remove Stabiliser bar so I can clean up the mounting bracket. Can I take it off and still be able to move car around without causing any damage?
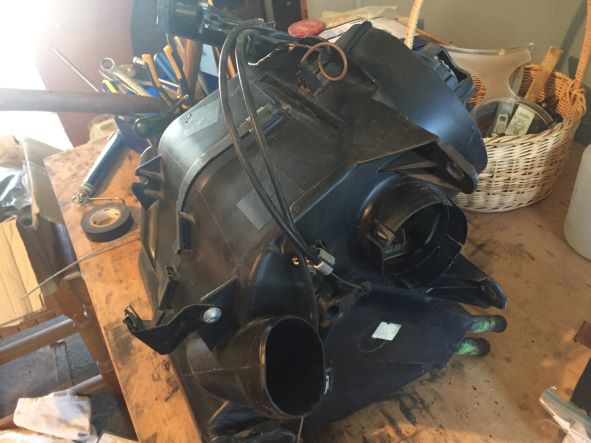
Also could someone tell me what the cones are for in the headlight bucket?
Cheers
-
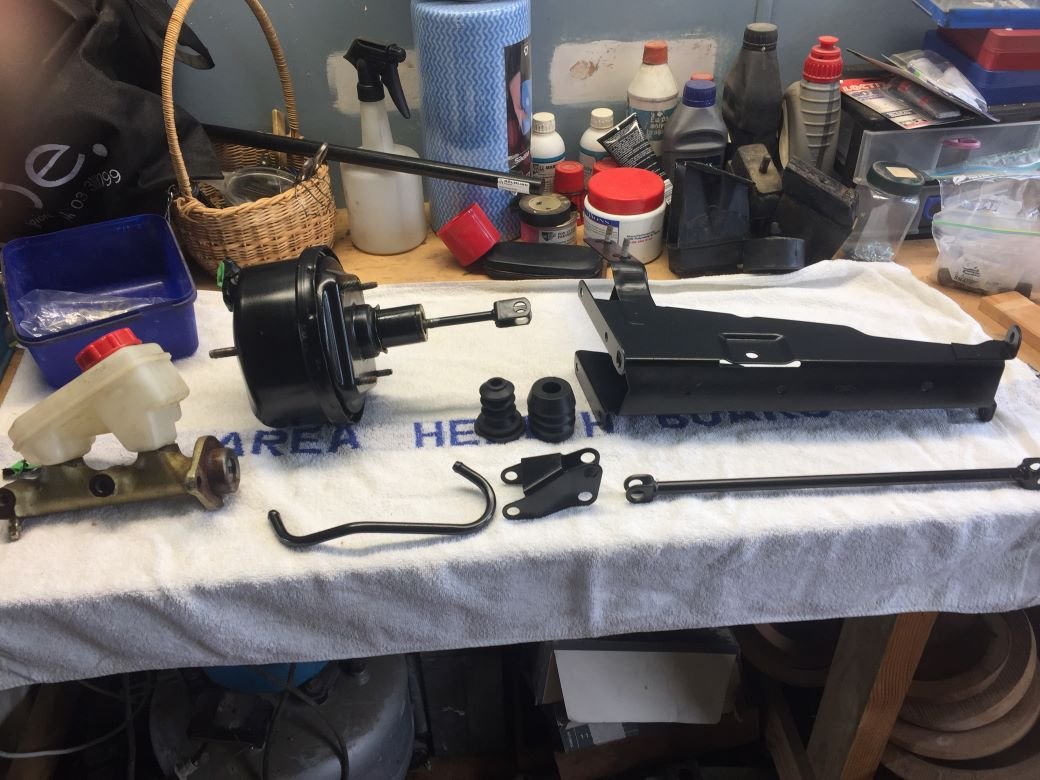
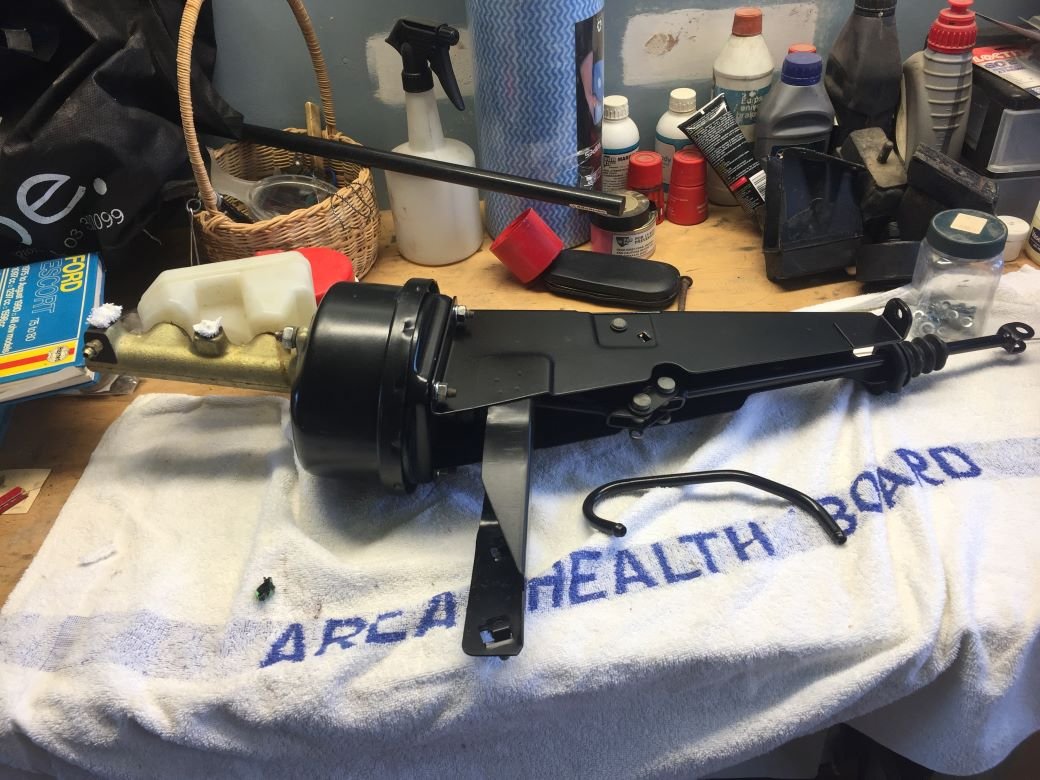
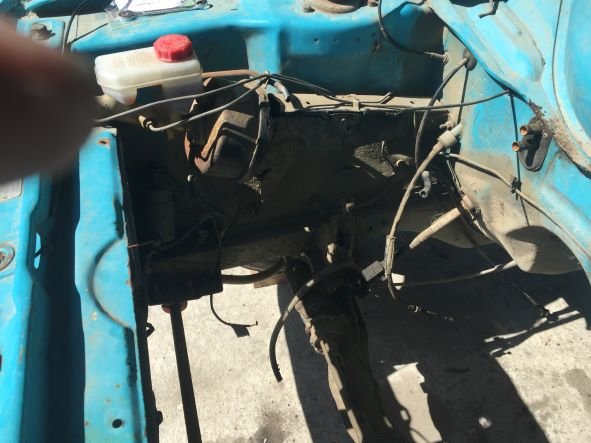
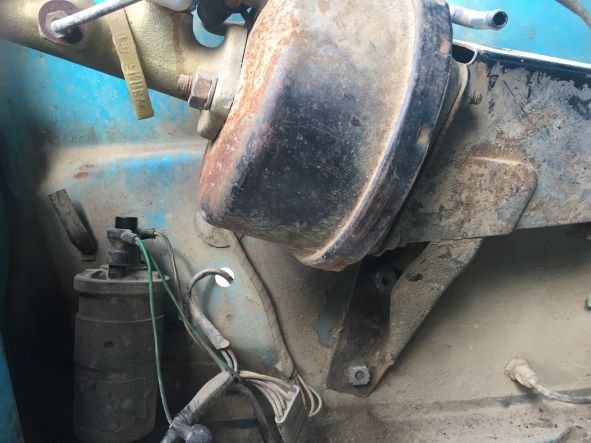
Slowly catching up with where I'm at now. Should have posted more regularly.
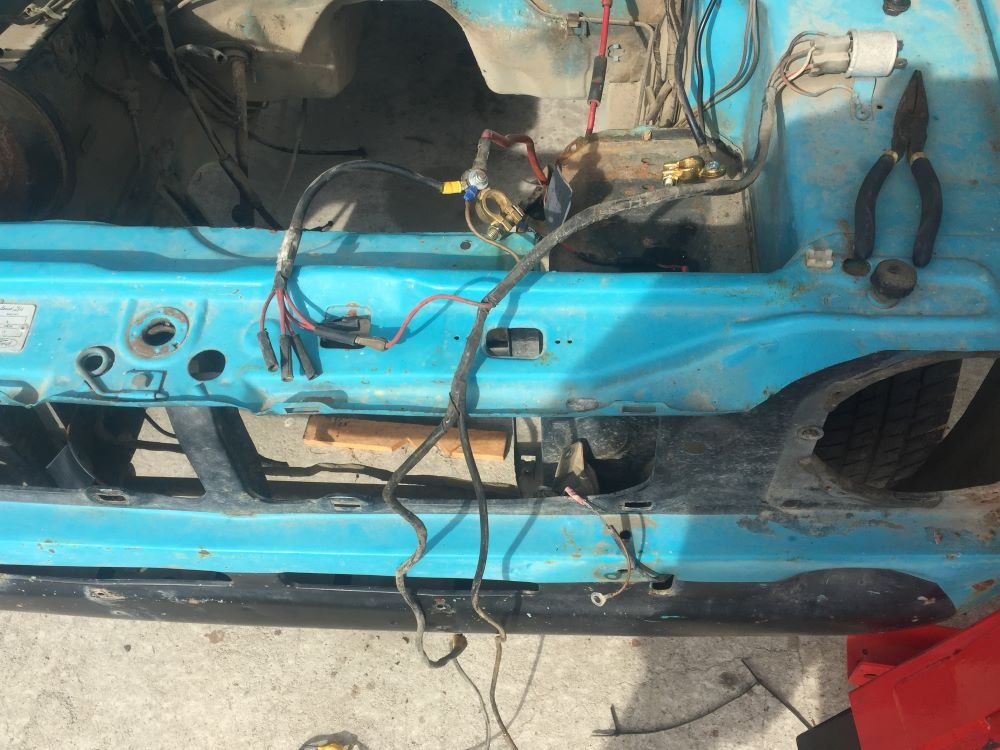
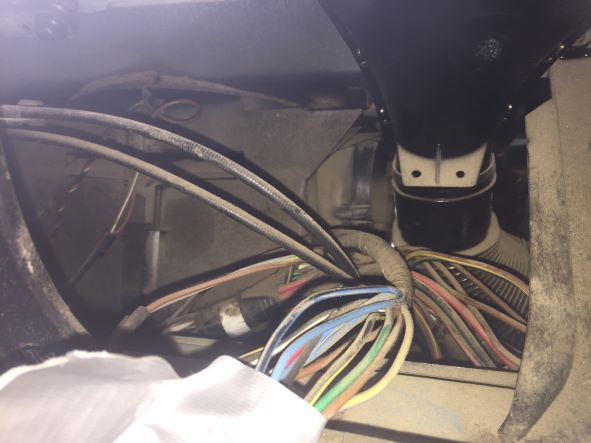
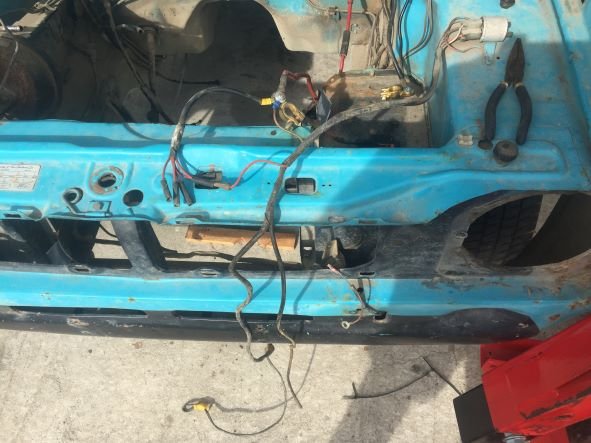
Next to come out was the speedo cable and clutch cable. not to hard once you figured out how they are attached Brake booster was next. Everything looks to be in reasonable condition. Booster will need a good clean and paint. Now to remove the front loom. Have labeled all the ones I know but there seems to be a lot of wires with no home. Some may be for the spotlights. I'm sure it will fall into place if I lay it out on a table and clean it up.
While doing this I've got a couple of queries that I will put on my Project Discussion page. Any help will be appreciated
Cheers
https://oldschool.co.nz/index.php?/topic/84912-petes-mk2-escort-1600-sports/
-
4
-


Petes Mk2 Escort 1600 Sports
in Projects and Build Ups
Posted
After fitting door handles I fitted window track extensions. Next, cleaned up 1/4 window rubber seals and class which had some old paint on them. Once in place I was able to fit bailey channel. Also sprayed in some cavity protection in the bottom of doors where it had rusted before. Next will clean window and fit along with regulator. Not sure if I need to add any grease to regulator or what type. Any suggestion can be put on Discussion Page. Cheers Peter
Discussion Page https://oldschool.co.nz/index.php?/topic/84912-petes-mk2-escort-1600-sports/page/2/#comment-2574963