

Vk304
-
Posts
346 -
Joined
-
Last visited
Posts posted by Vk304
-
-
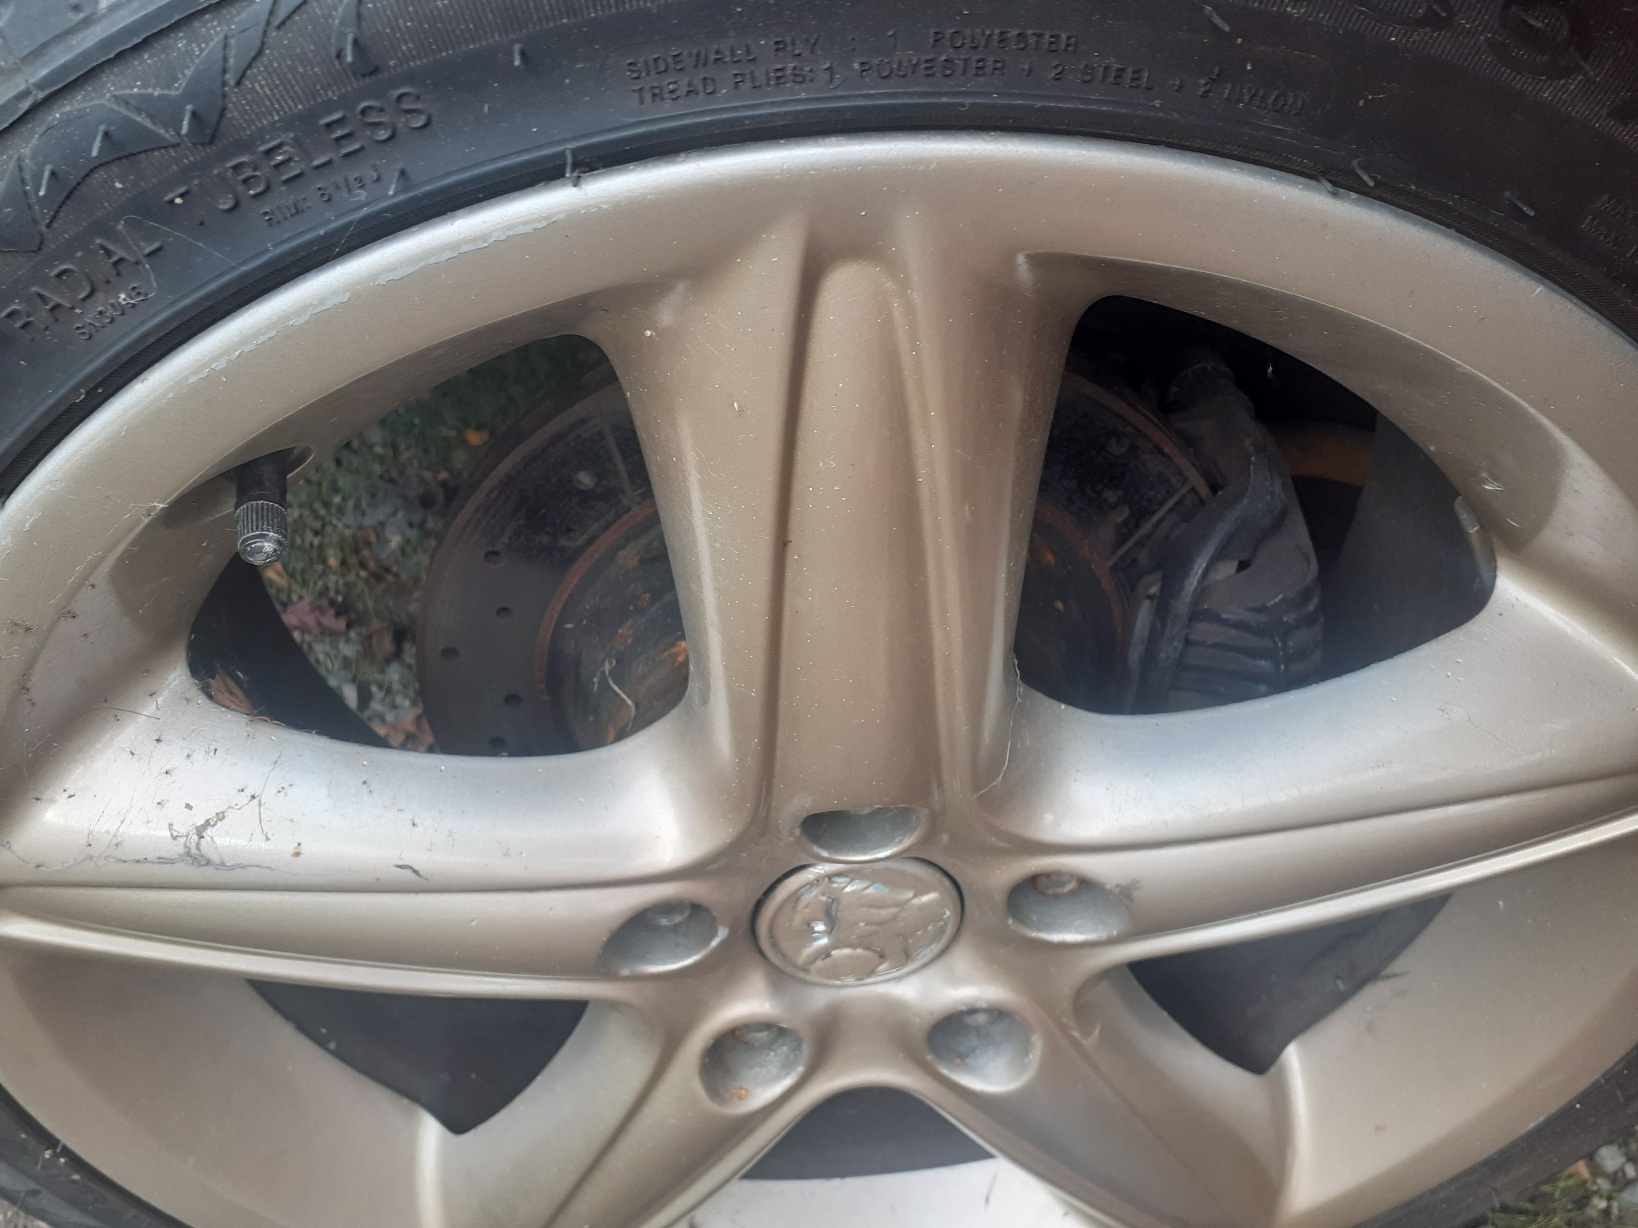
Very loose wheel nuts on left front wheel lol luckily diddnt damage anything too bad ,
and yes im trying to come up with a better setup, its the biggest diff that came on these, h190 in theory should be able to hold the power with it being rated to 285 lb. Ft., the engine in stock form is 220 lb.ft.
I dont like the setup though and am improving it

-
 1
1
-
-
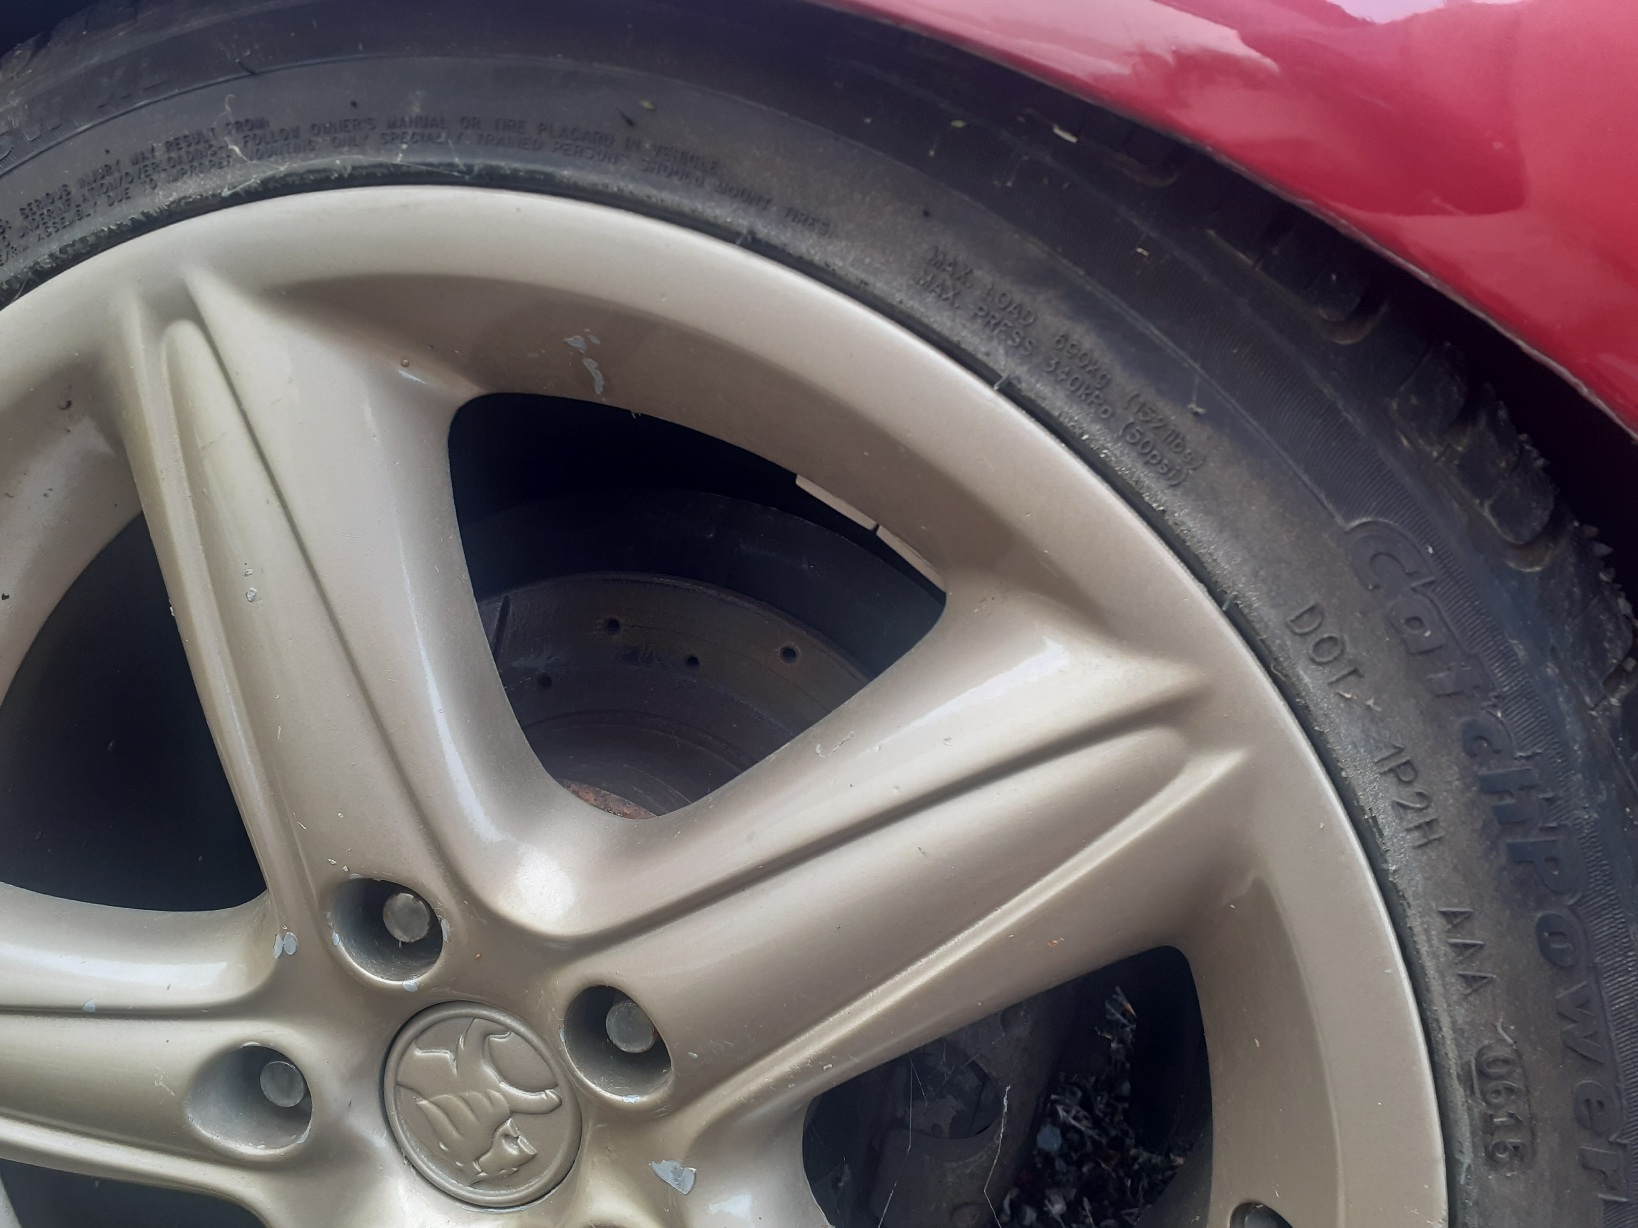
Turns out it was loose wheel nuts on the front, anyone got any u bolts and or 2 inch lowering blocks to sell?? It sits a bit lower in the front.. Around te Awamutu ways
-
 5
5
-
 1
1
-
-
 might be time for a lsd
-
1
-
1
-
 1
1
-
-
Yea man thanks! Hopefully more time now
-
Overall not too bad, painted the stripes same colour, gave them all a polish and tidy up, and some silicone spray .. that parts done onto painting

-
9
-
-
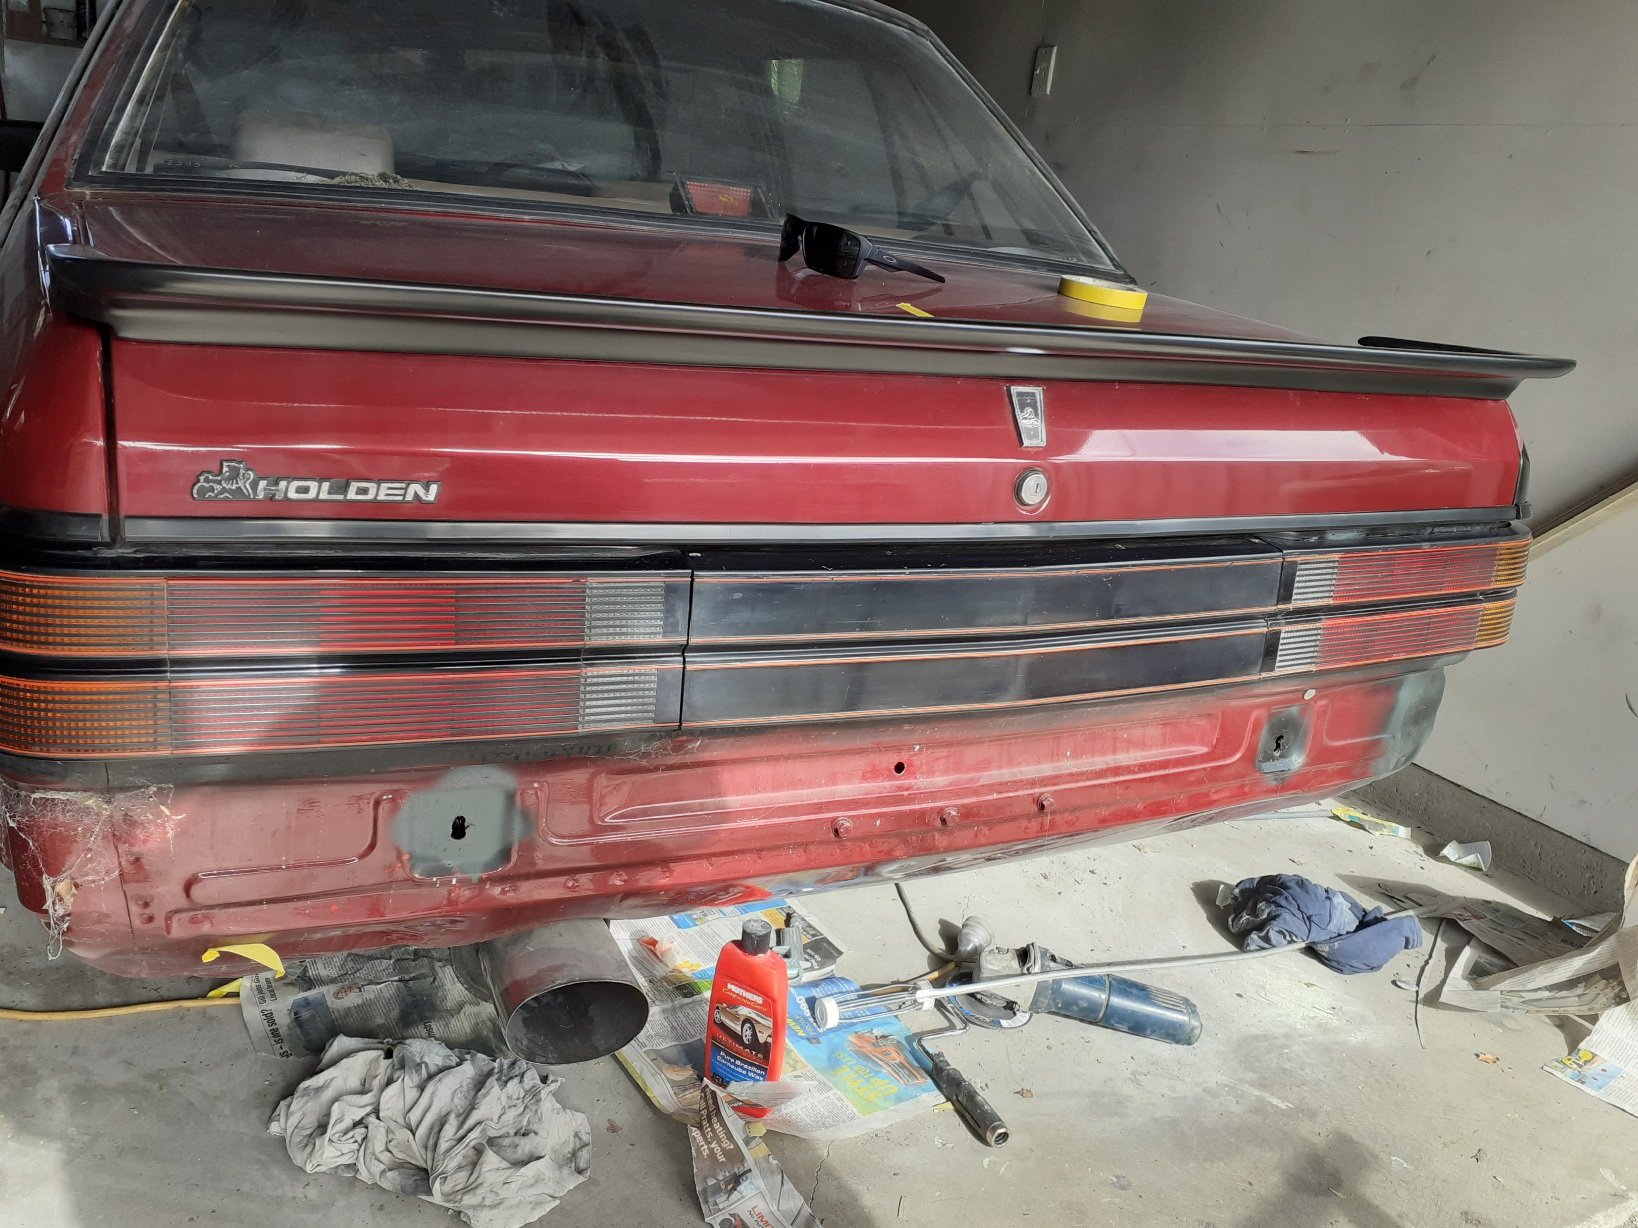
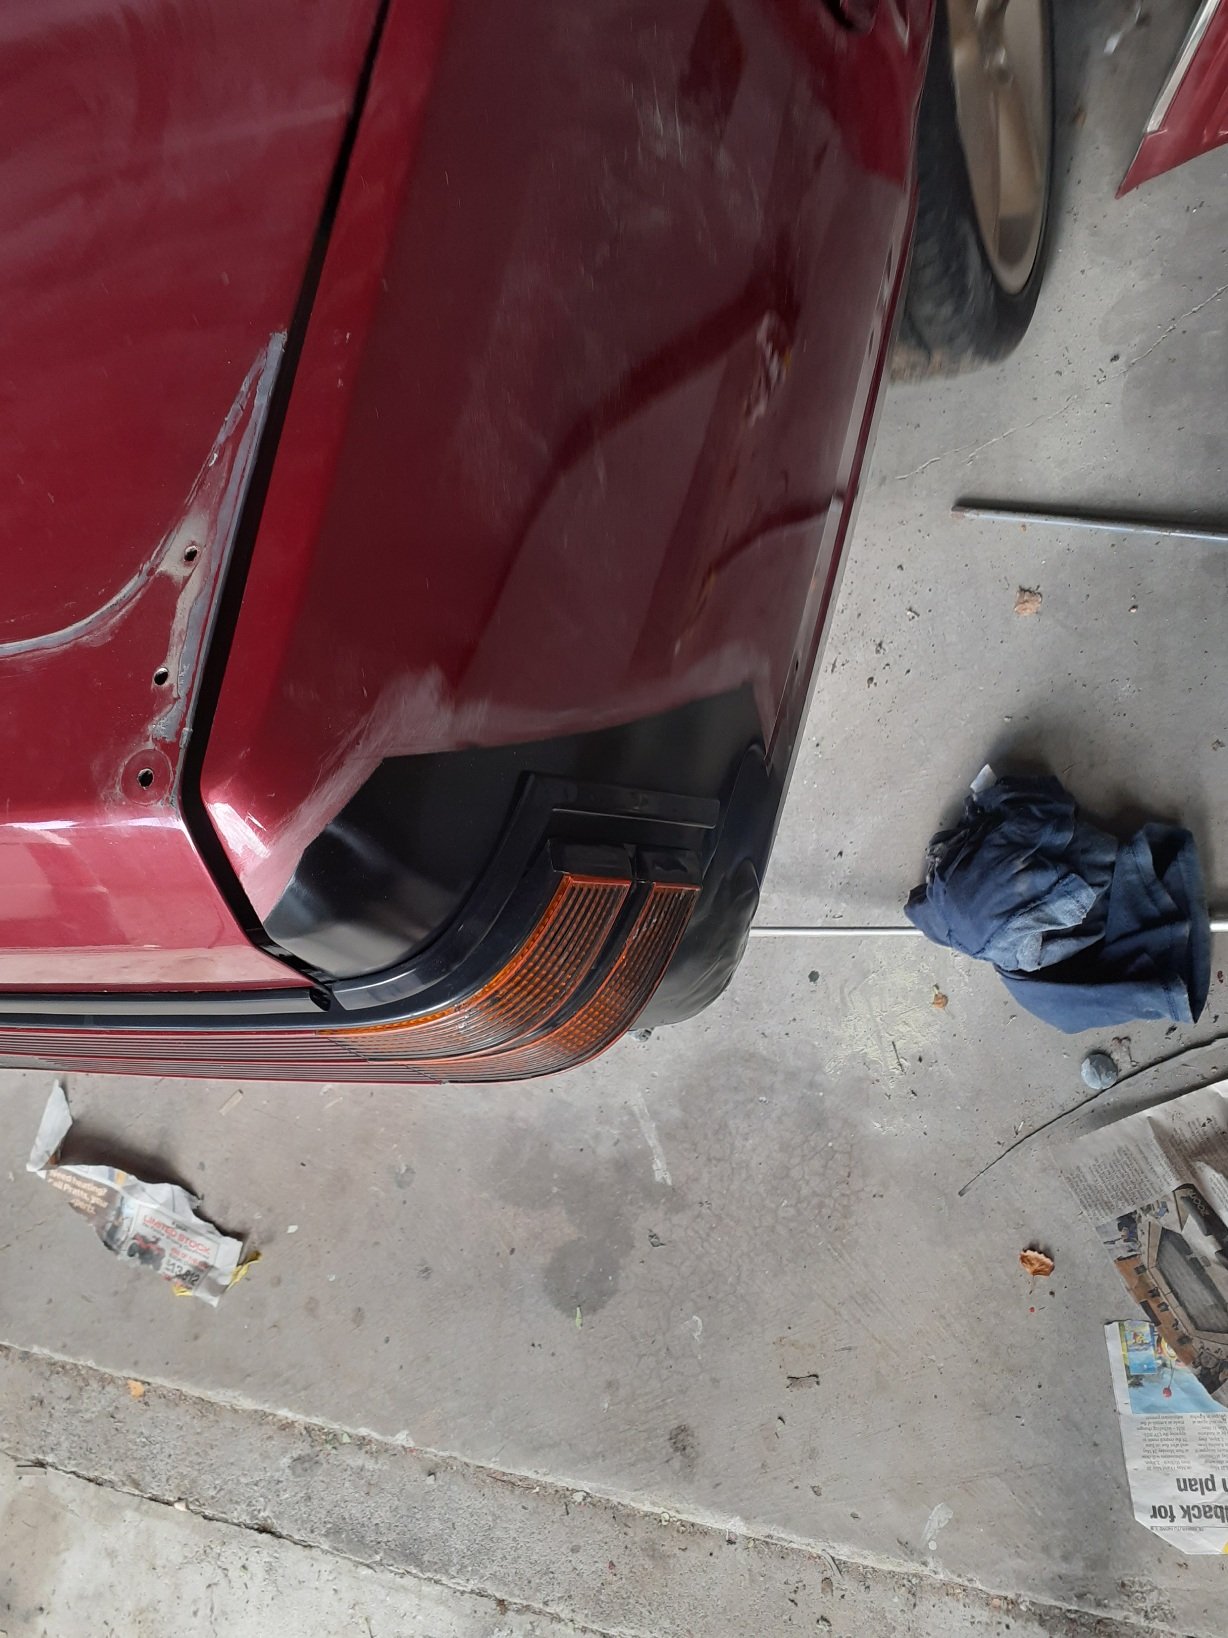
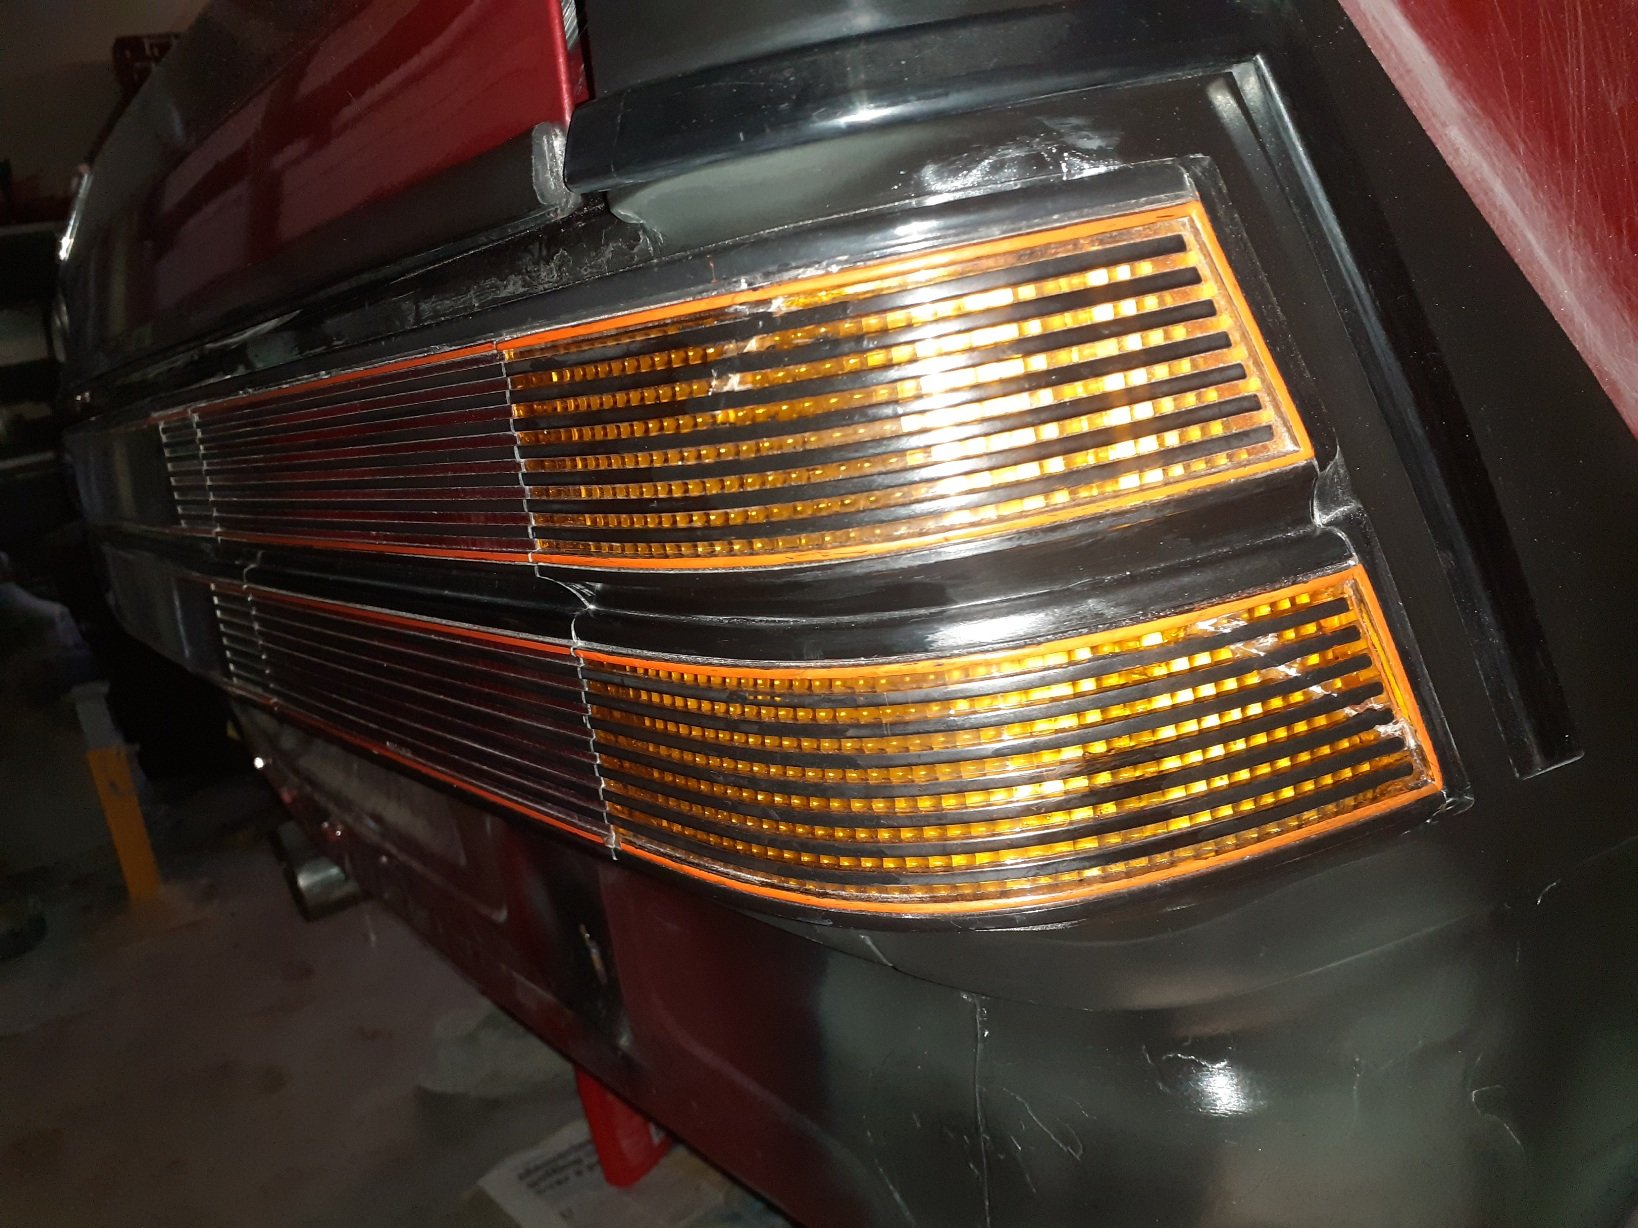
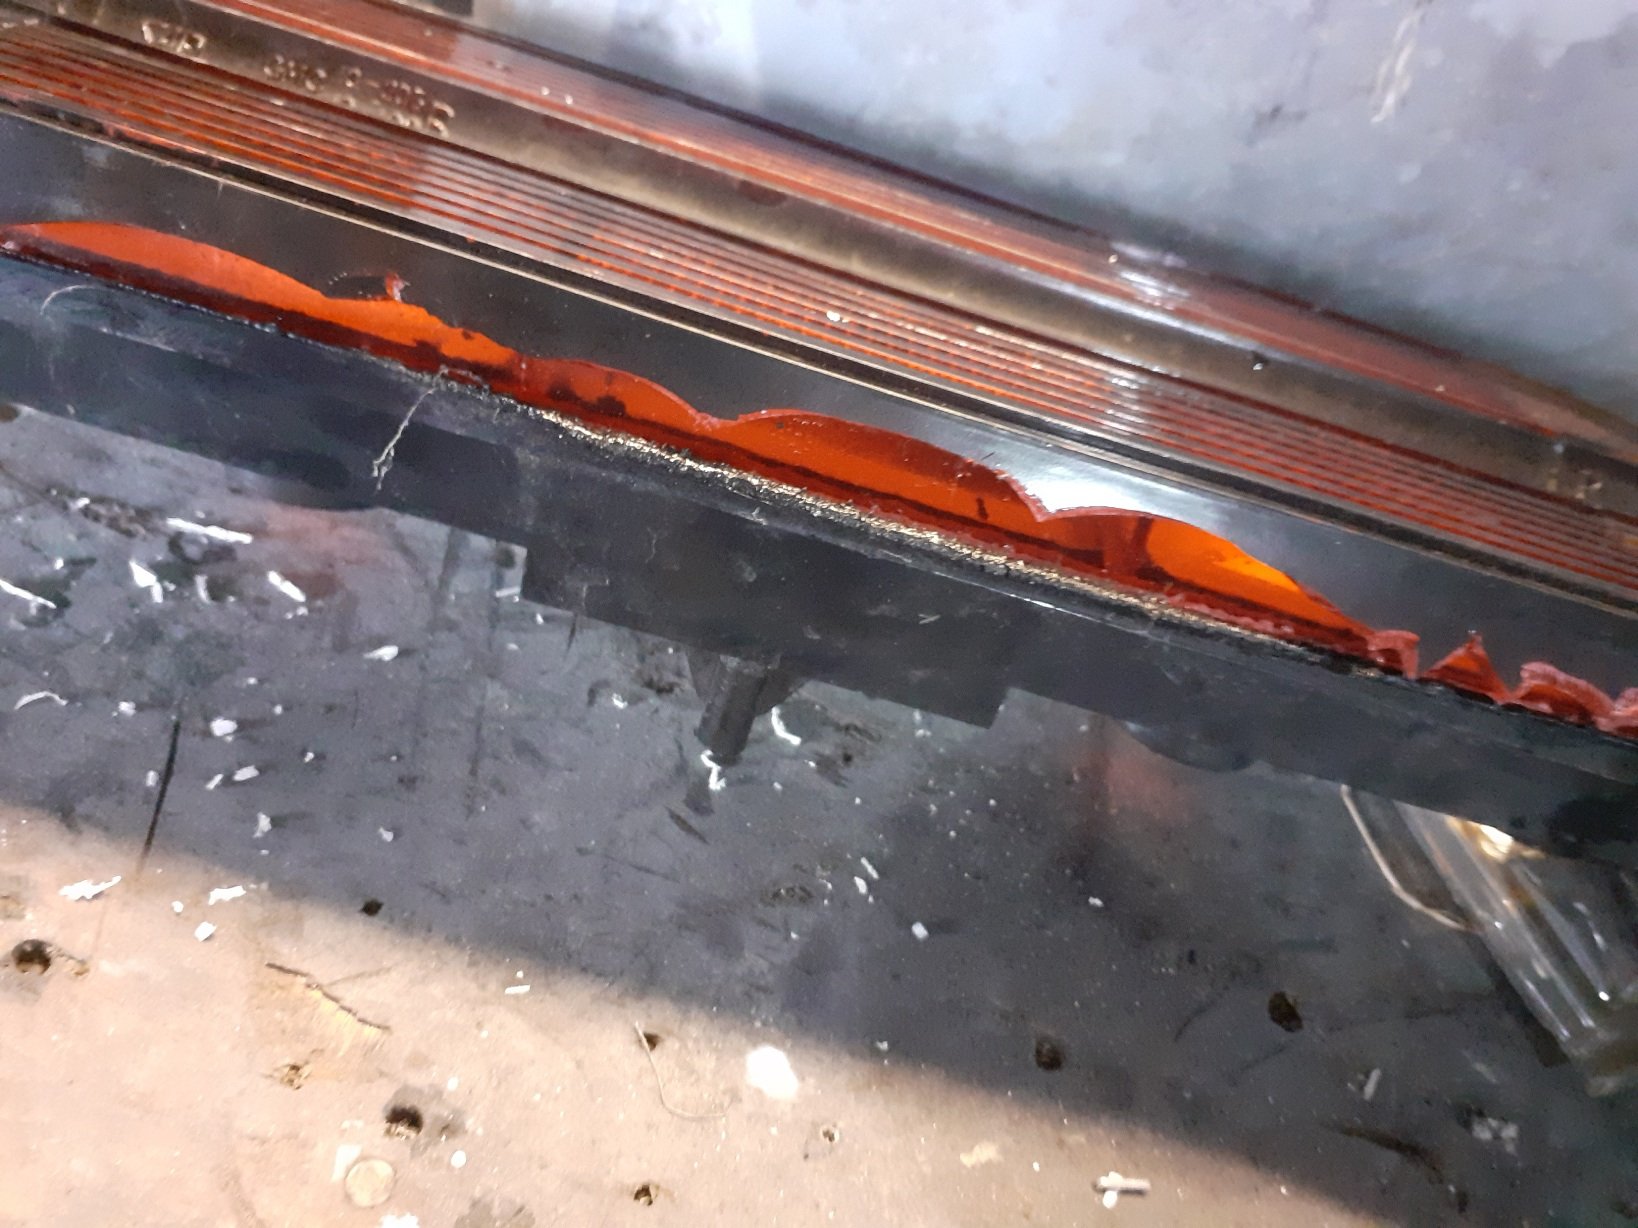
So yeaa i backed it into my fence
 because akward garage exit, non attention and caved the rear quater corner in, broke a light and munted a bumper side, i was pretty gutted put it back in garage, diddnt take pictures hoping it would fix itself, but the next weekend i had regained some motivation, soo off to aussy spares to get some bits and try to make it nice again...
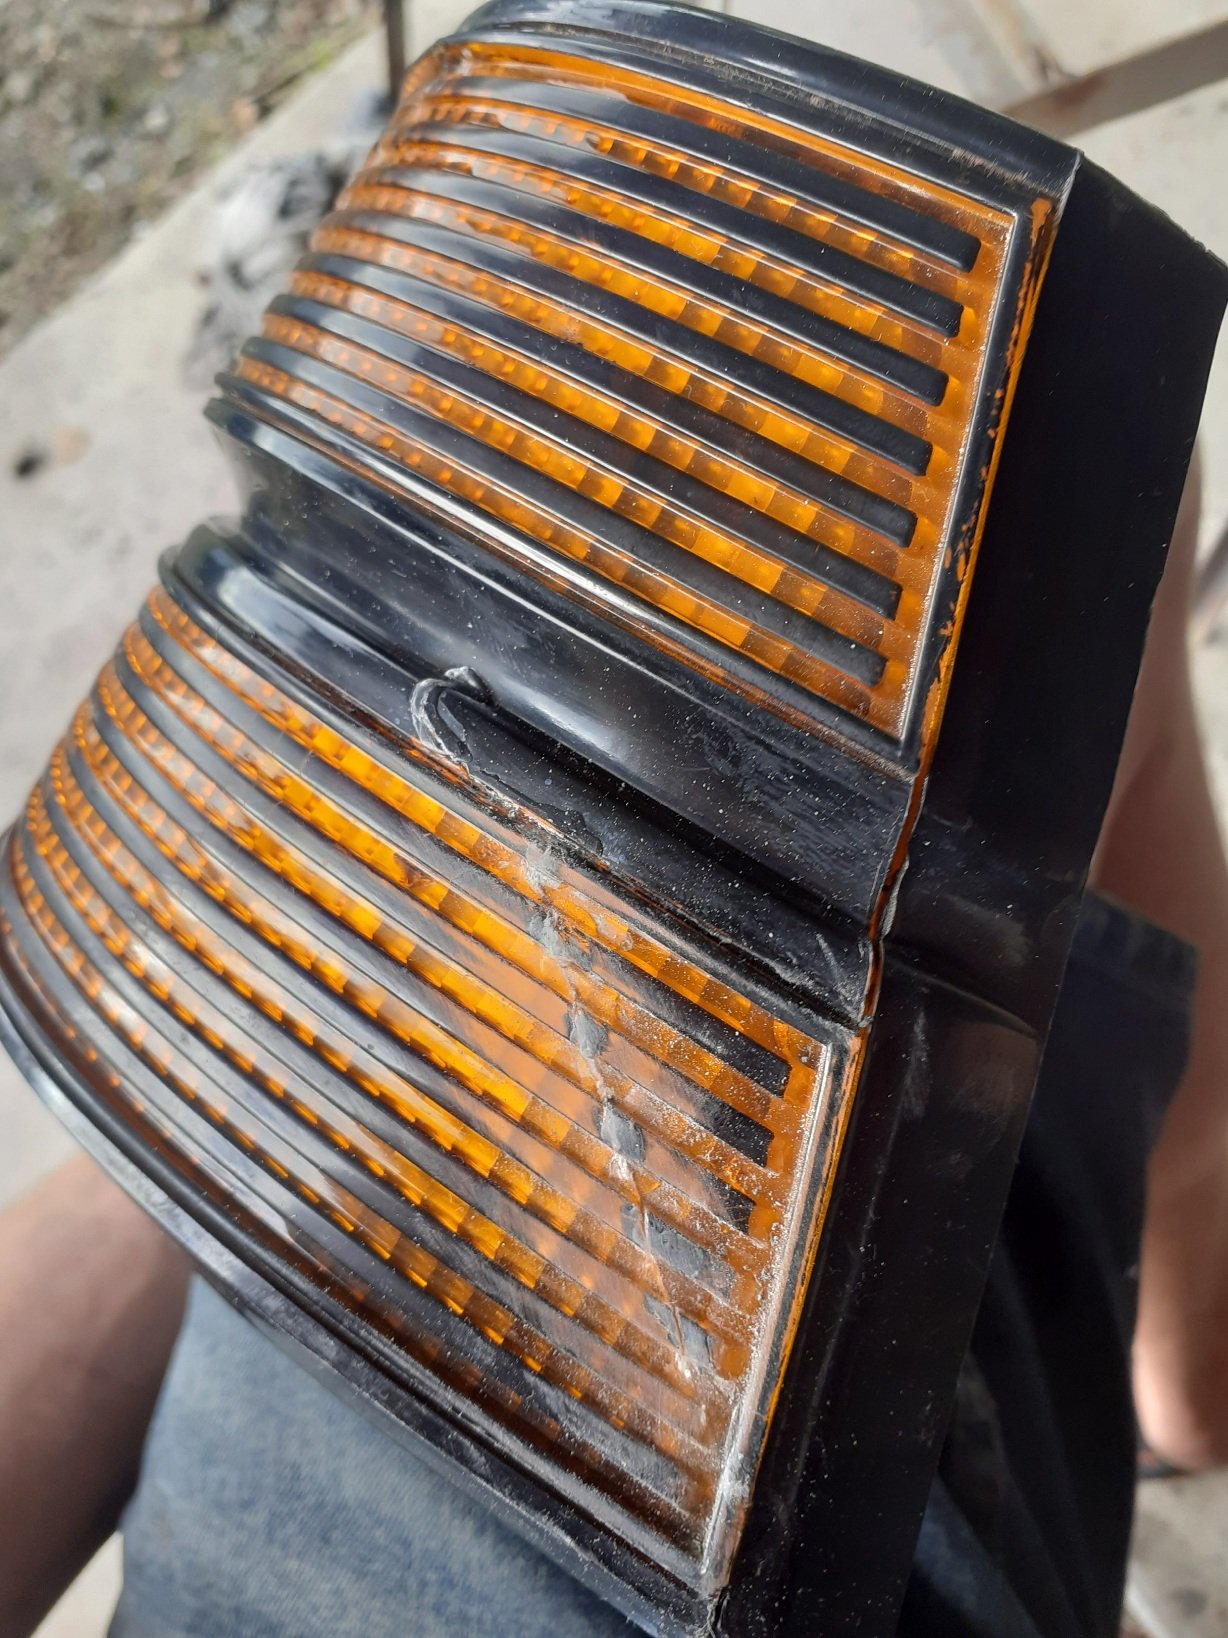
I put in quite a few hours popping the corner back out, took bumper side off to work on getting the new one ready sprayed some black on it to protect the metal and left it for a while so i could get paint bits ..
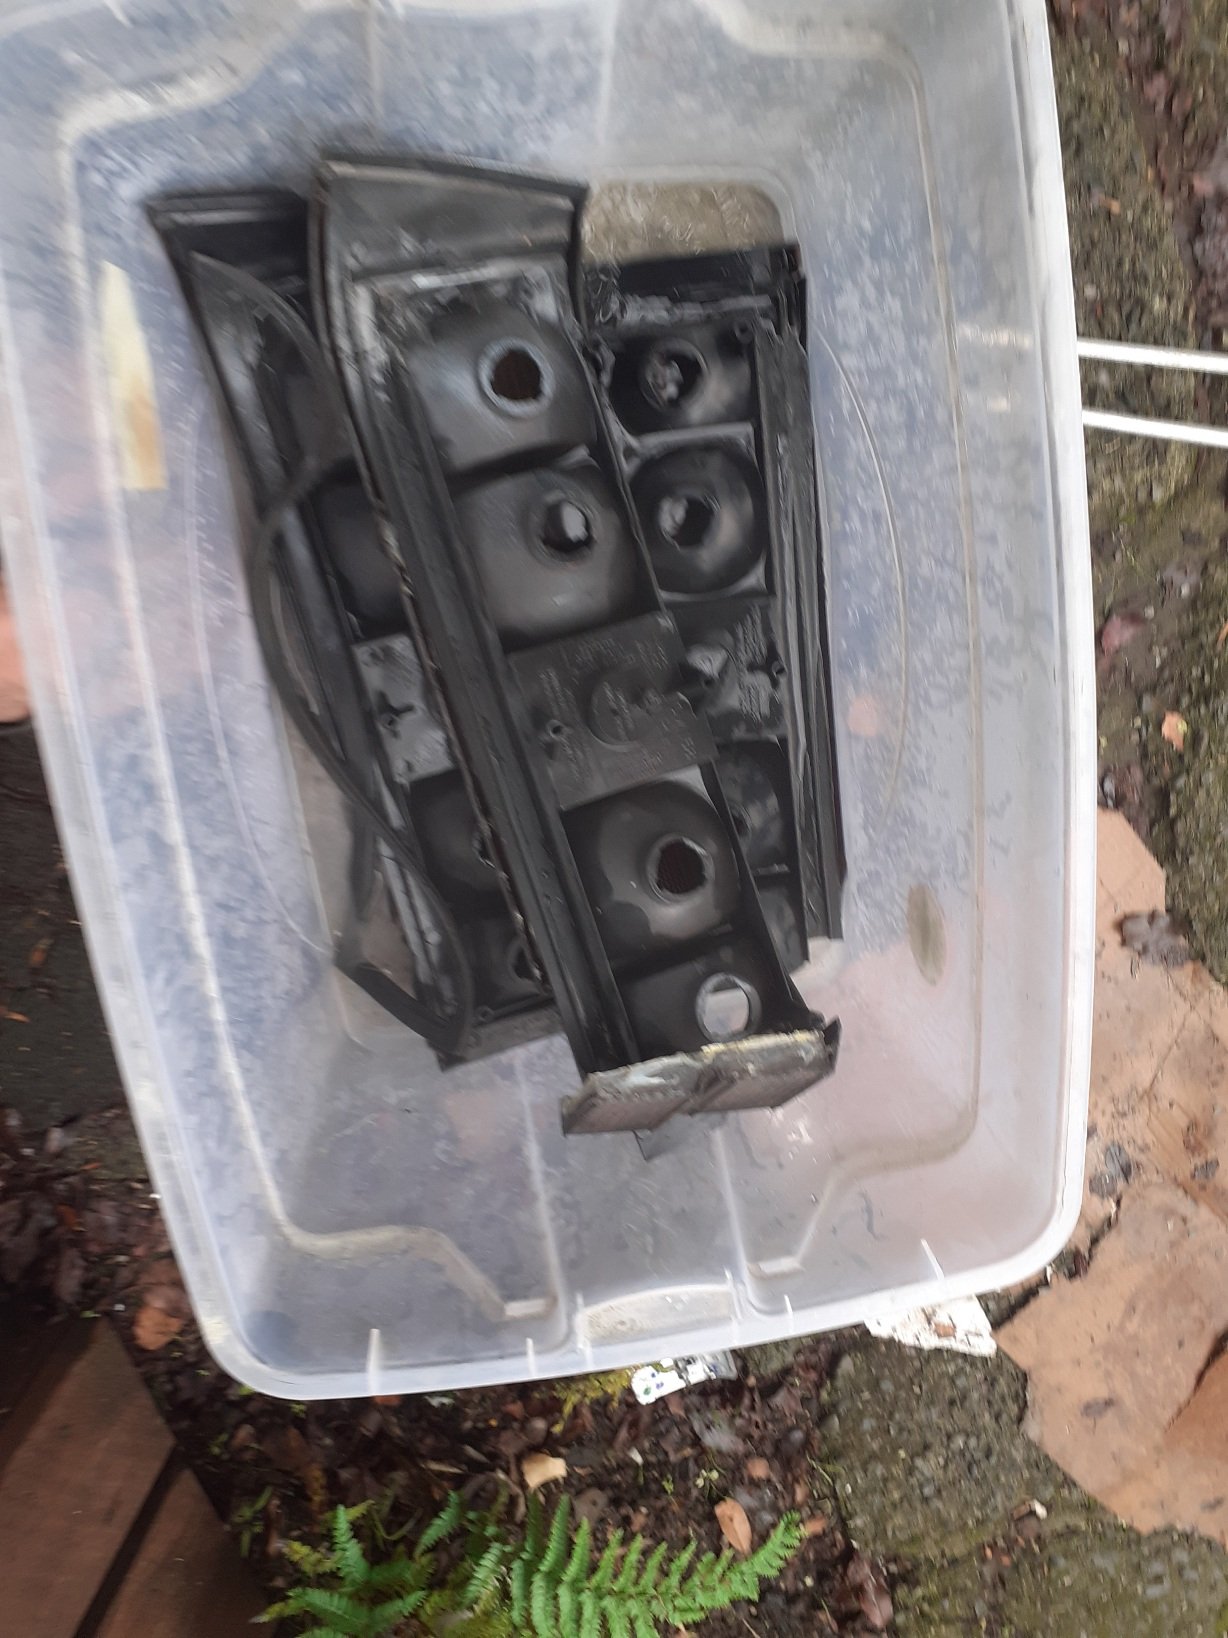
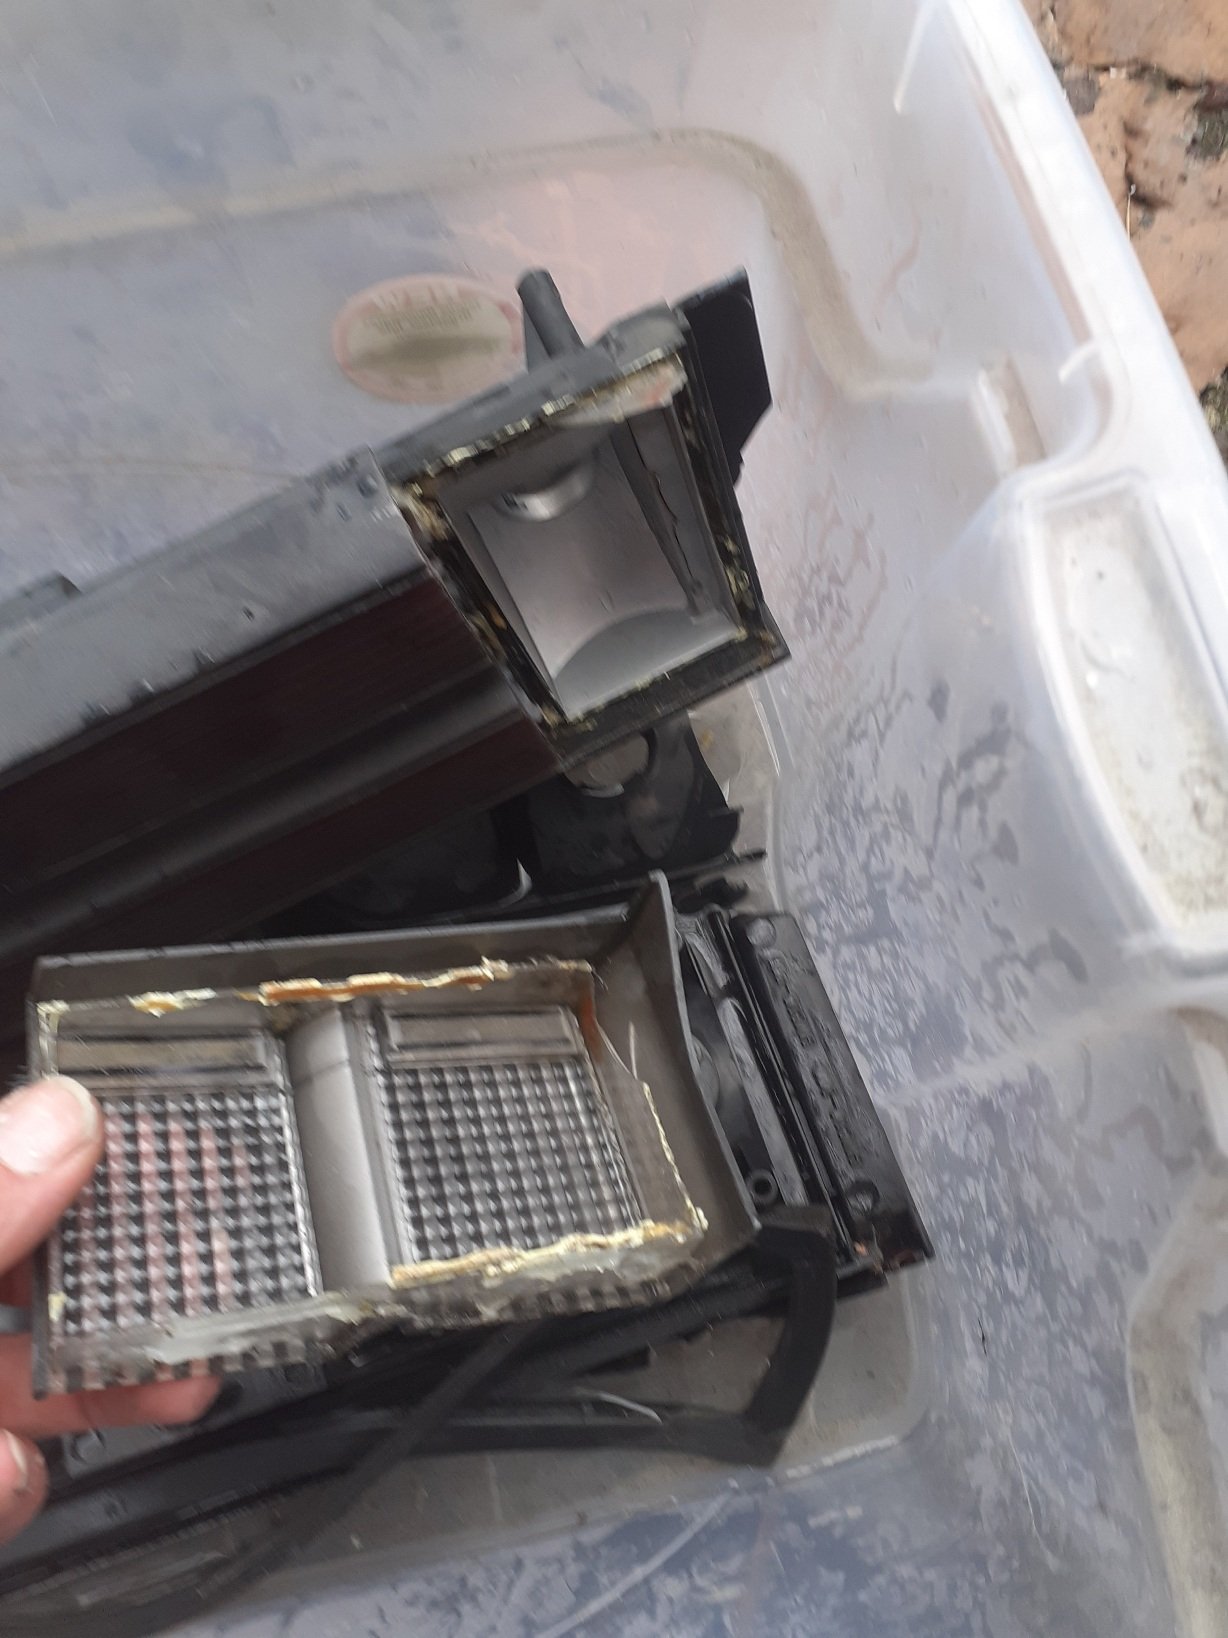
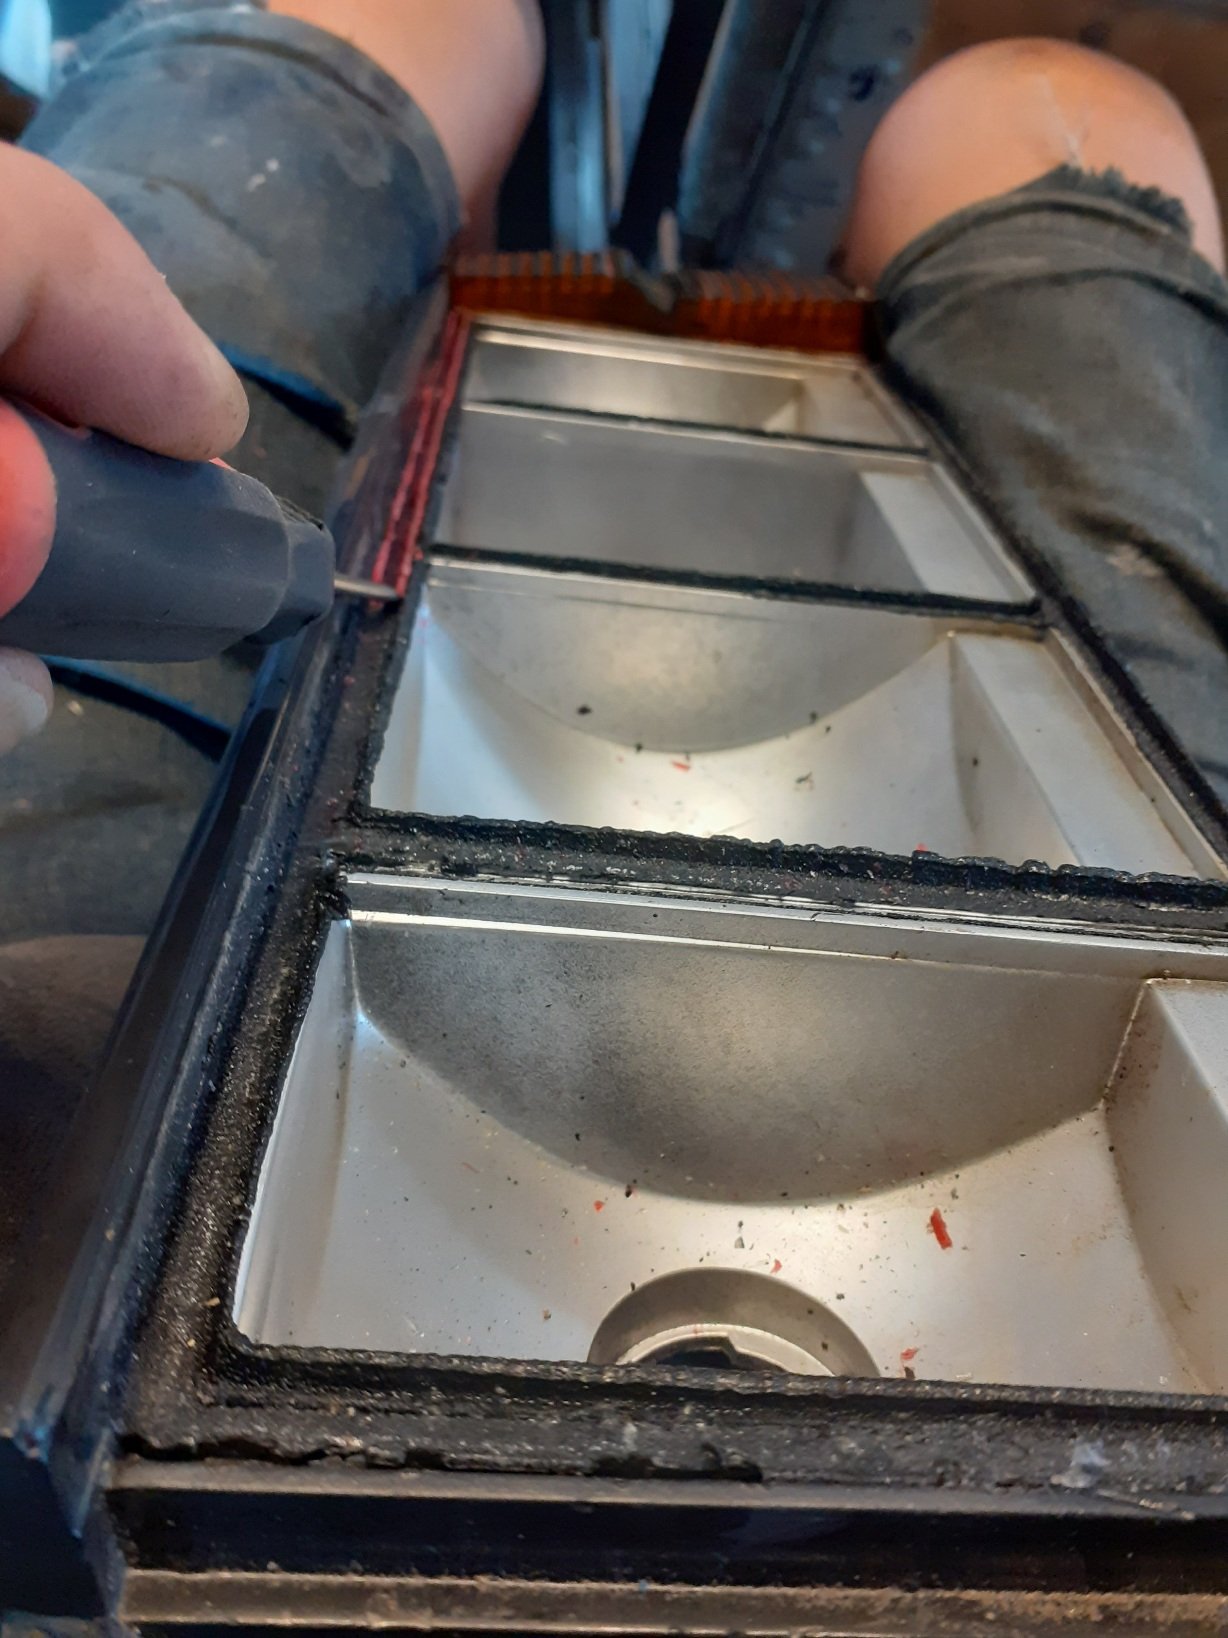
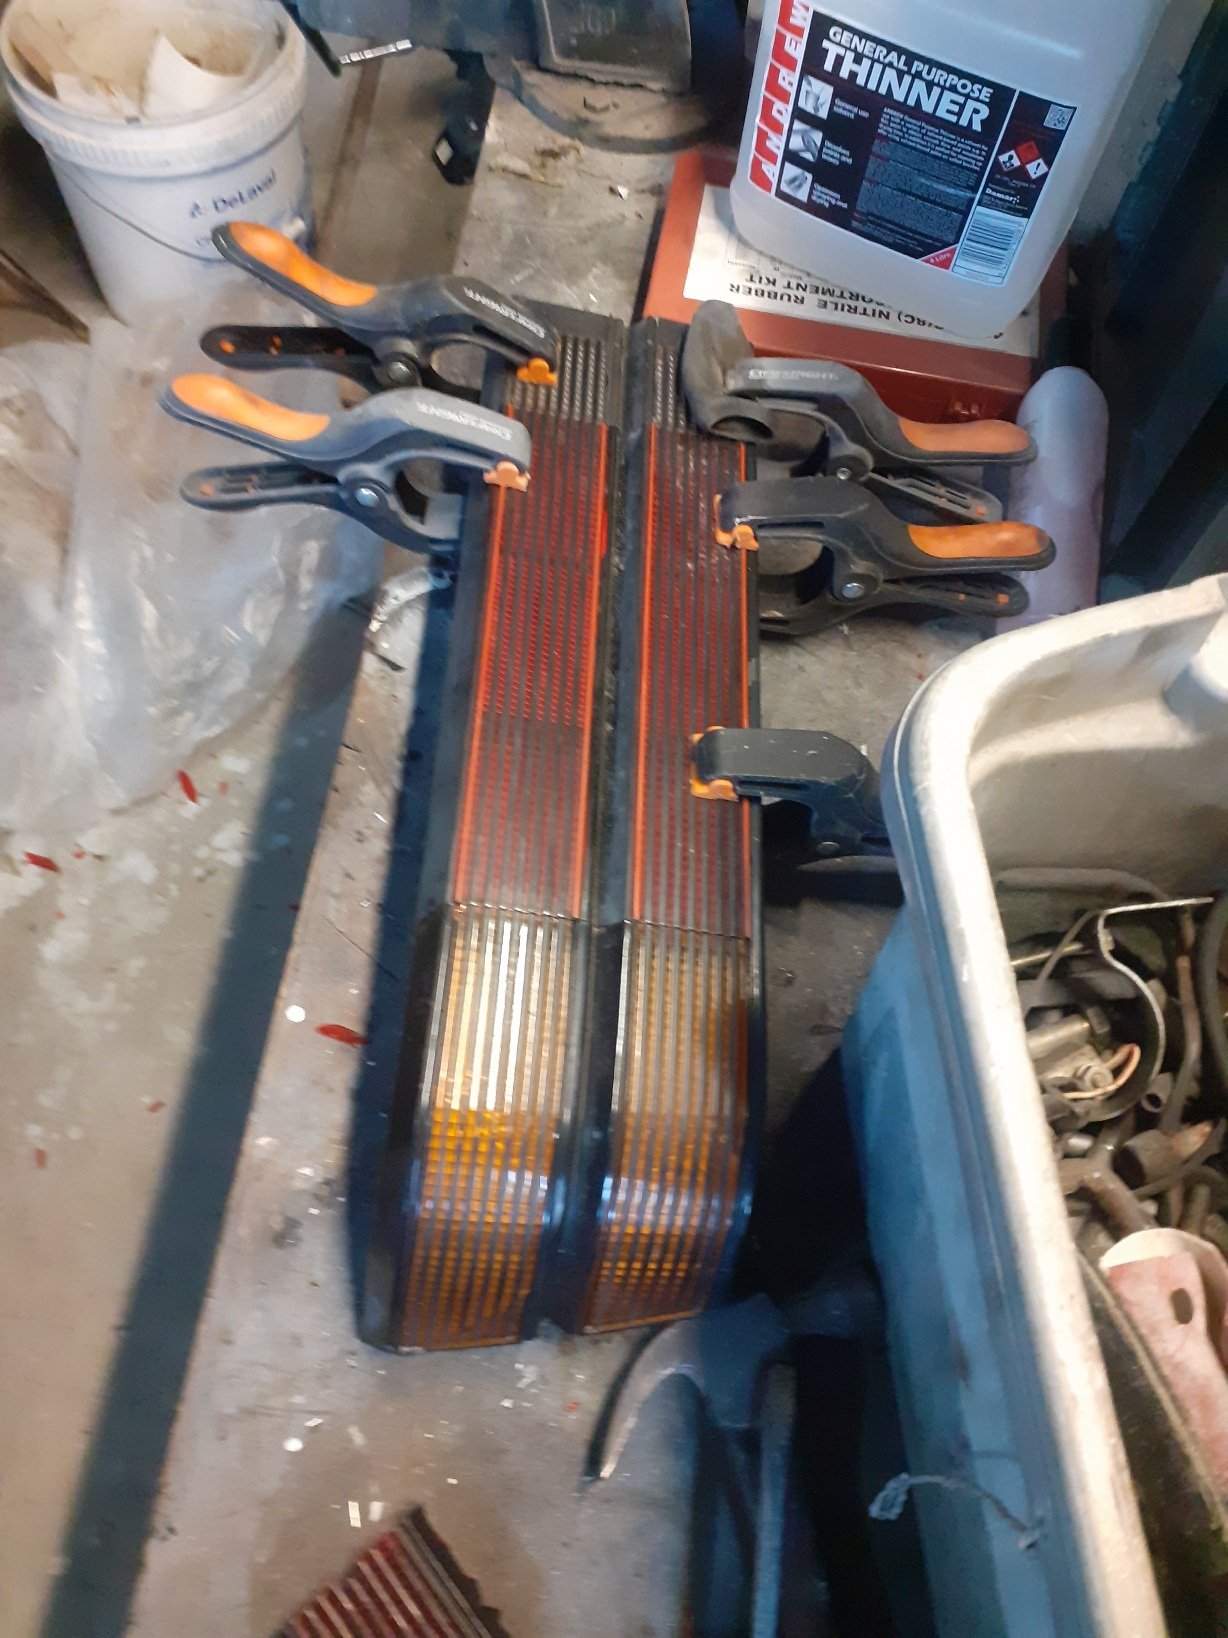
There were no lights with no damage so brought the least damaged one, along with 2 i had to make one good light lol
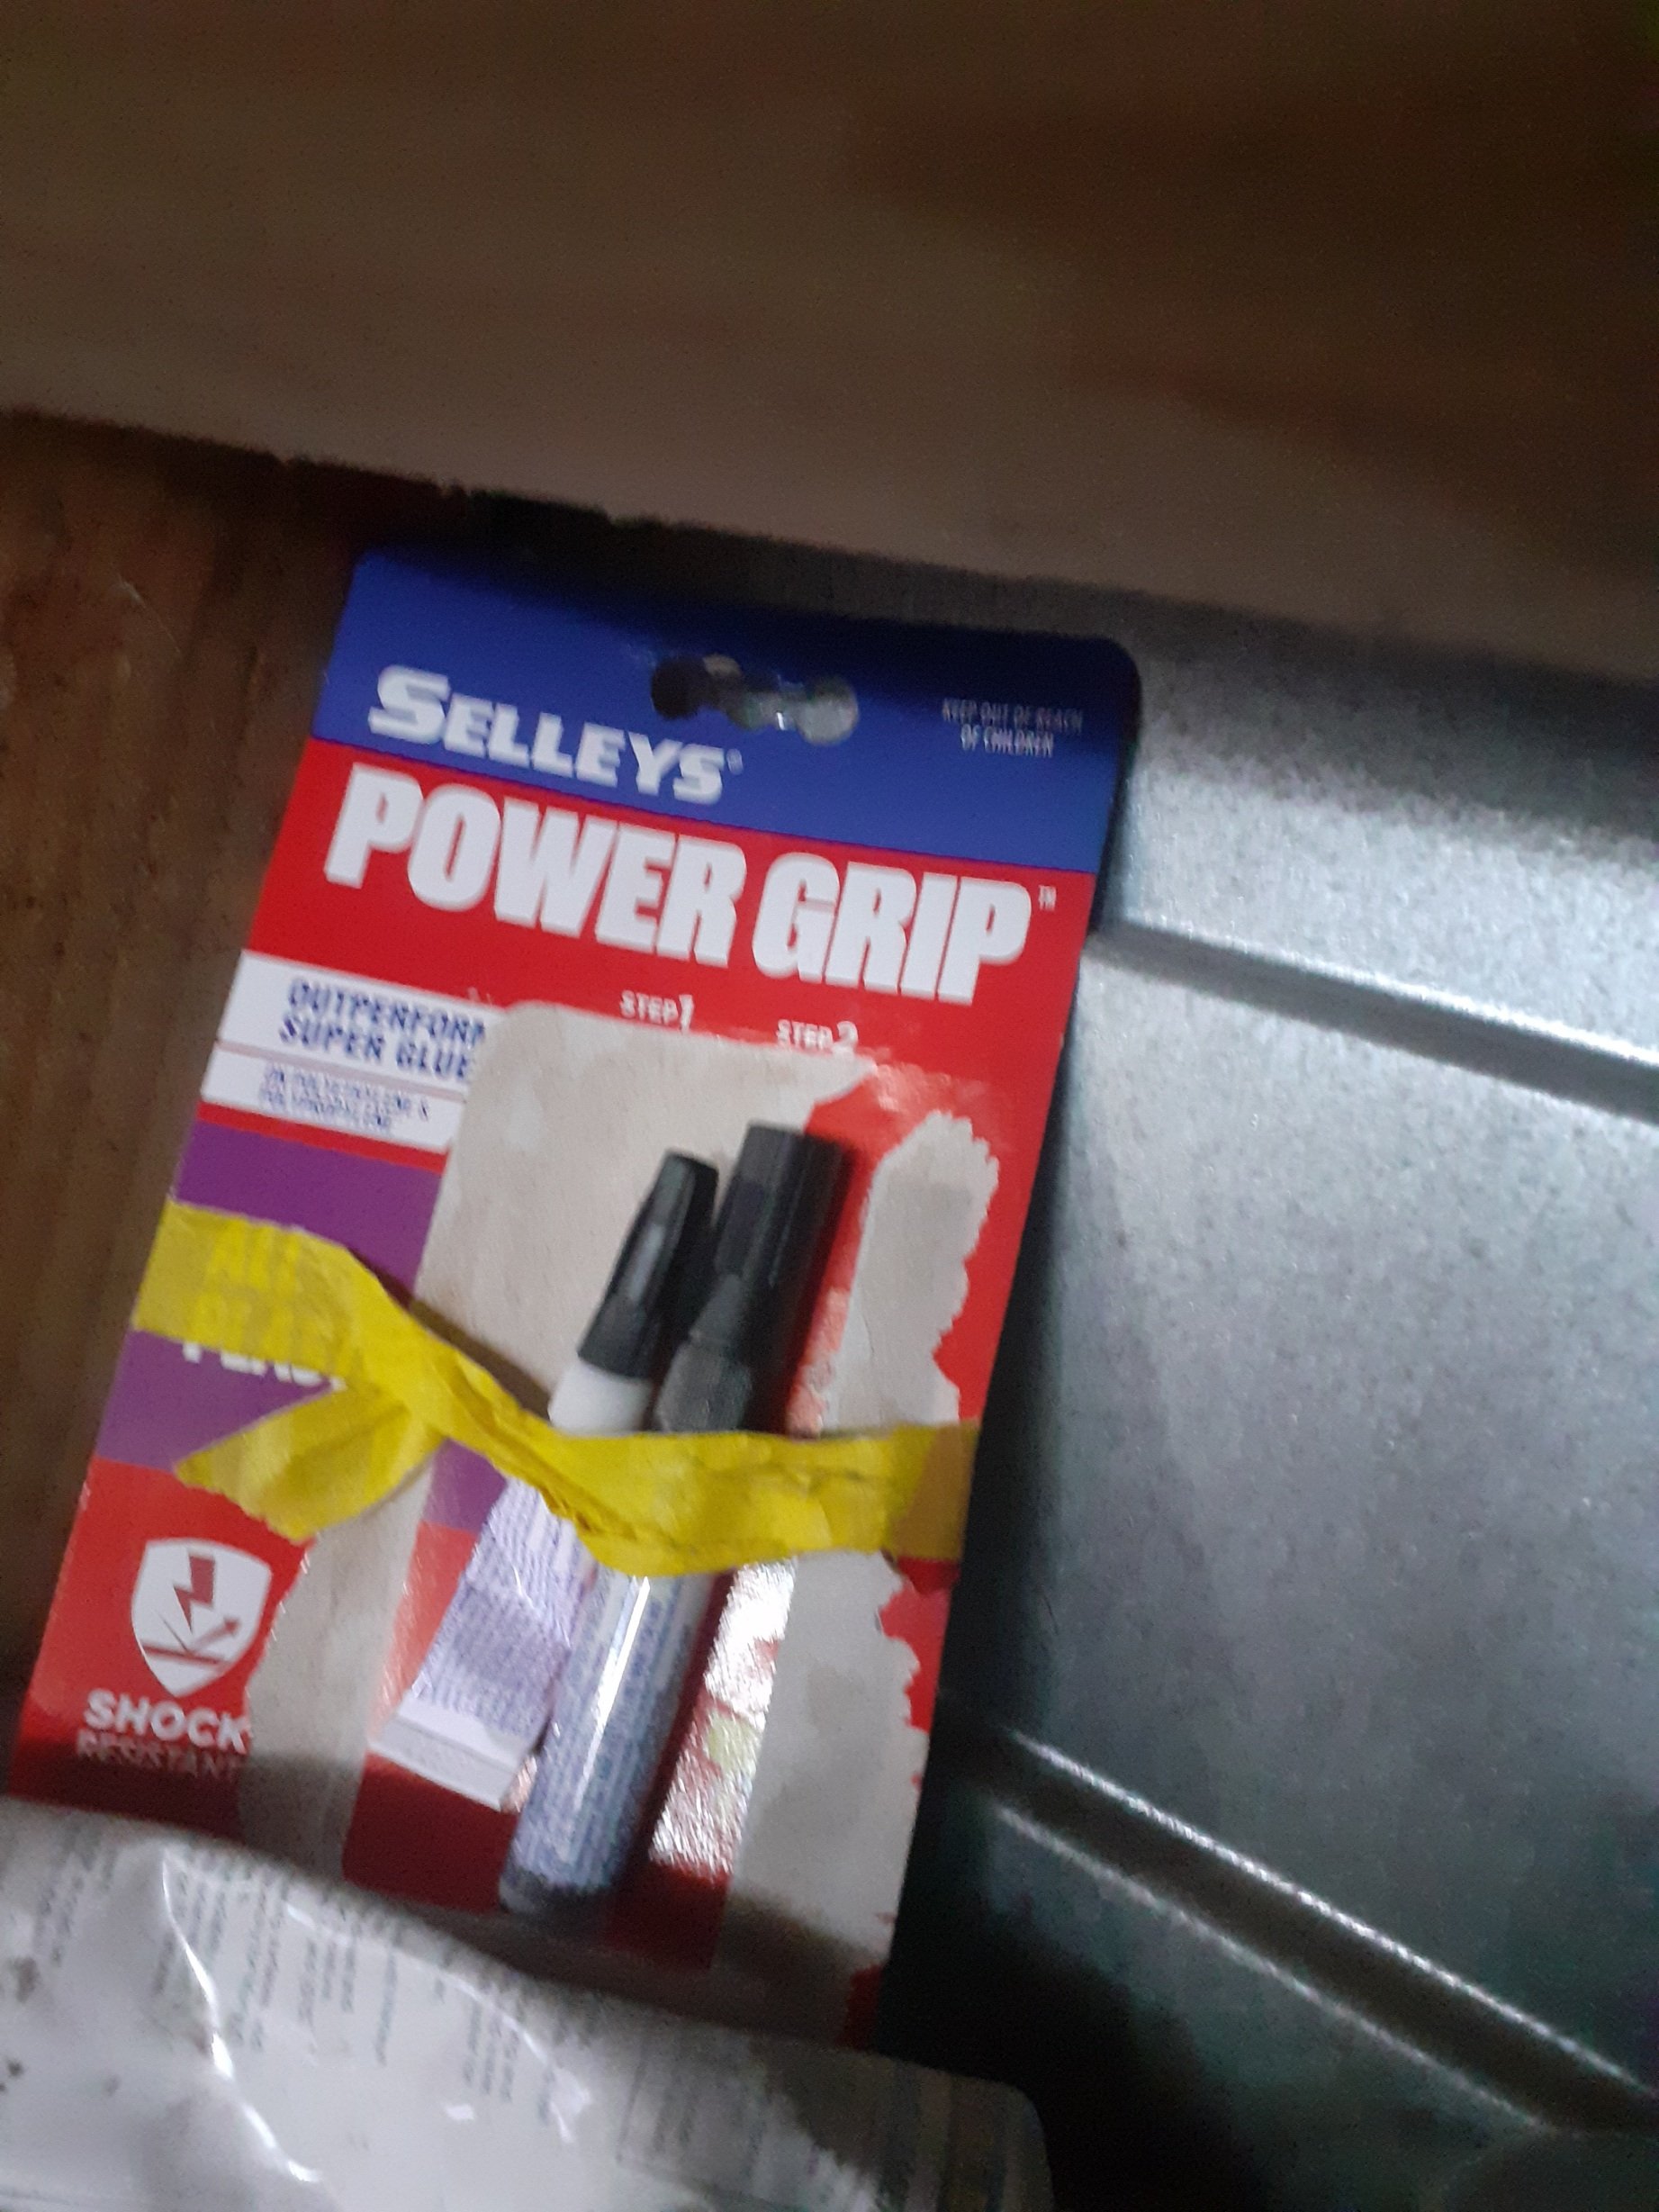
This included digging out plastic panels and using some pp/pe plastic glue (worked great), non hardening sealer to seal it, and made it presentable
-
2
-
-
- Popular Post
- Popular Post
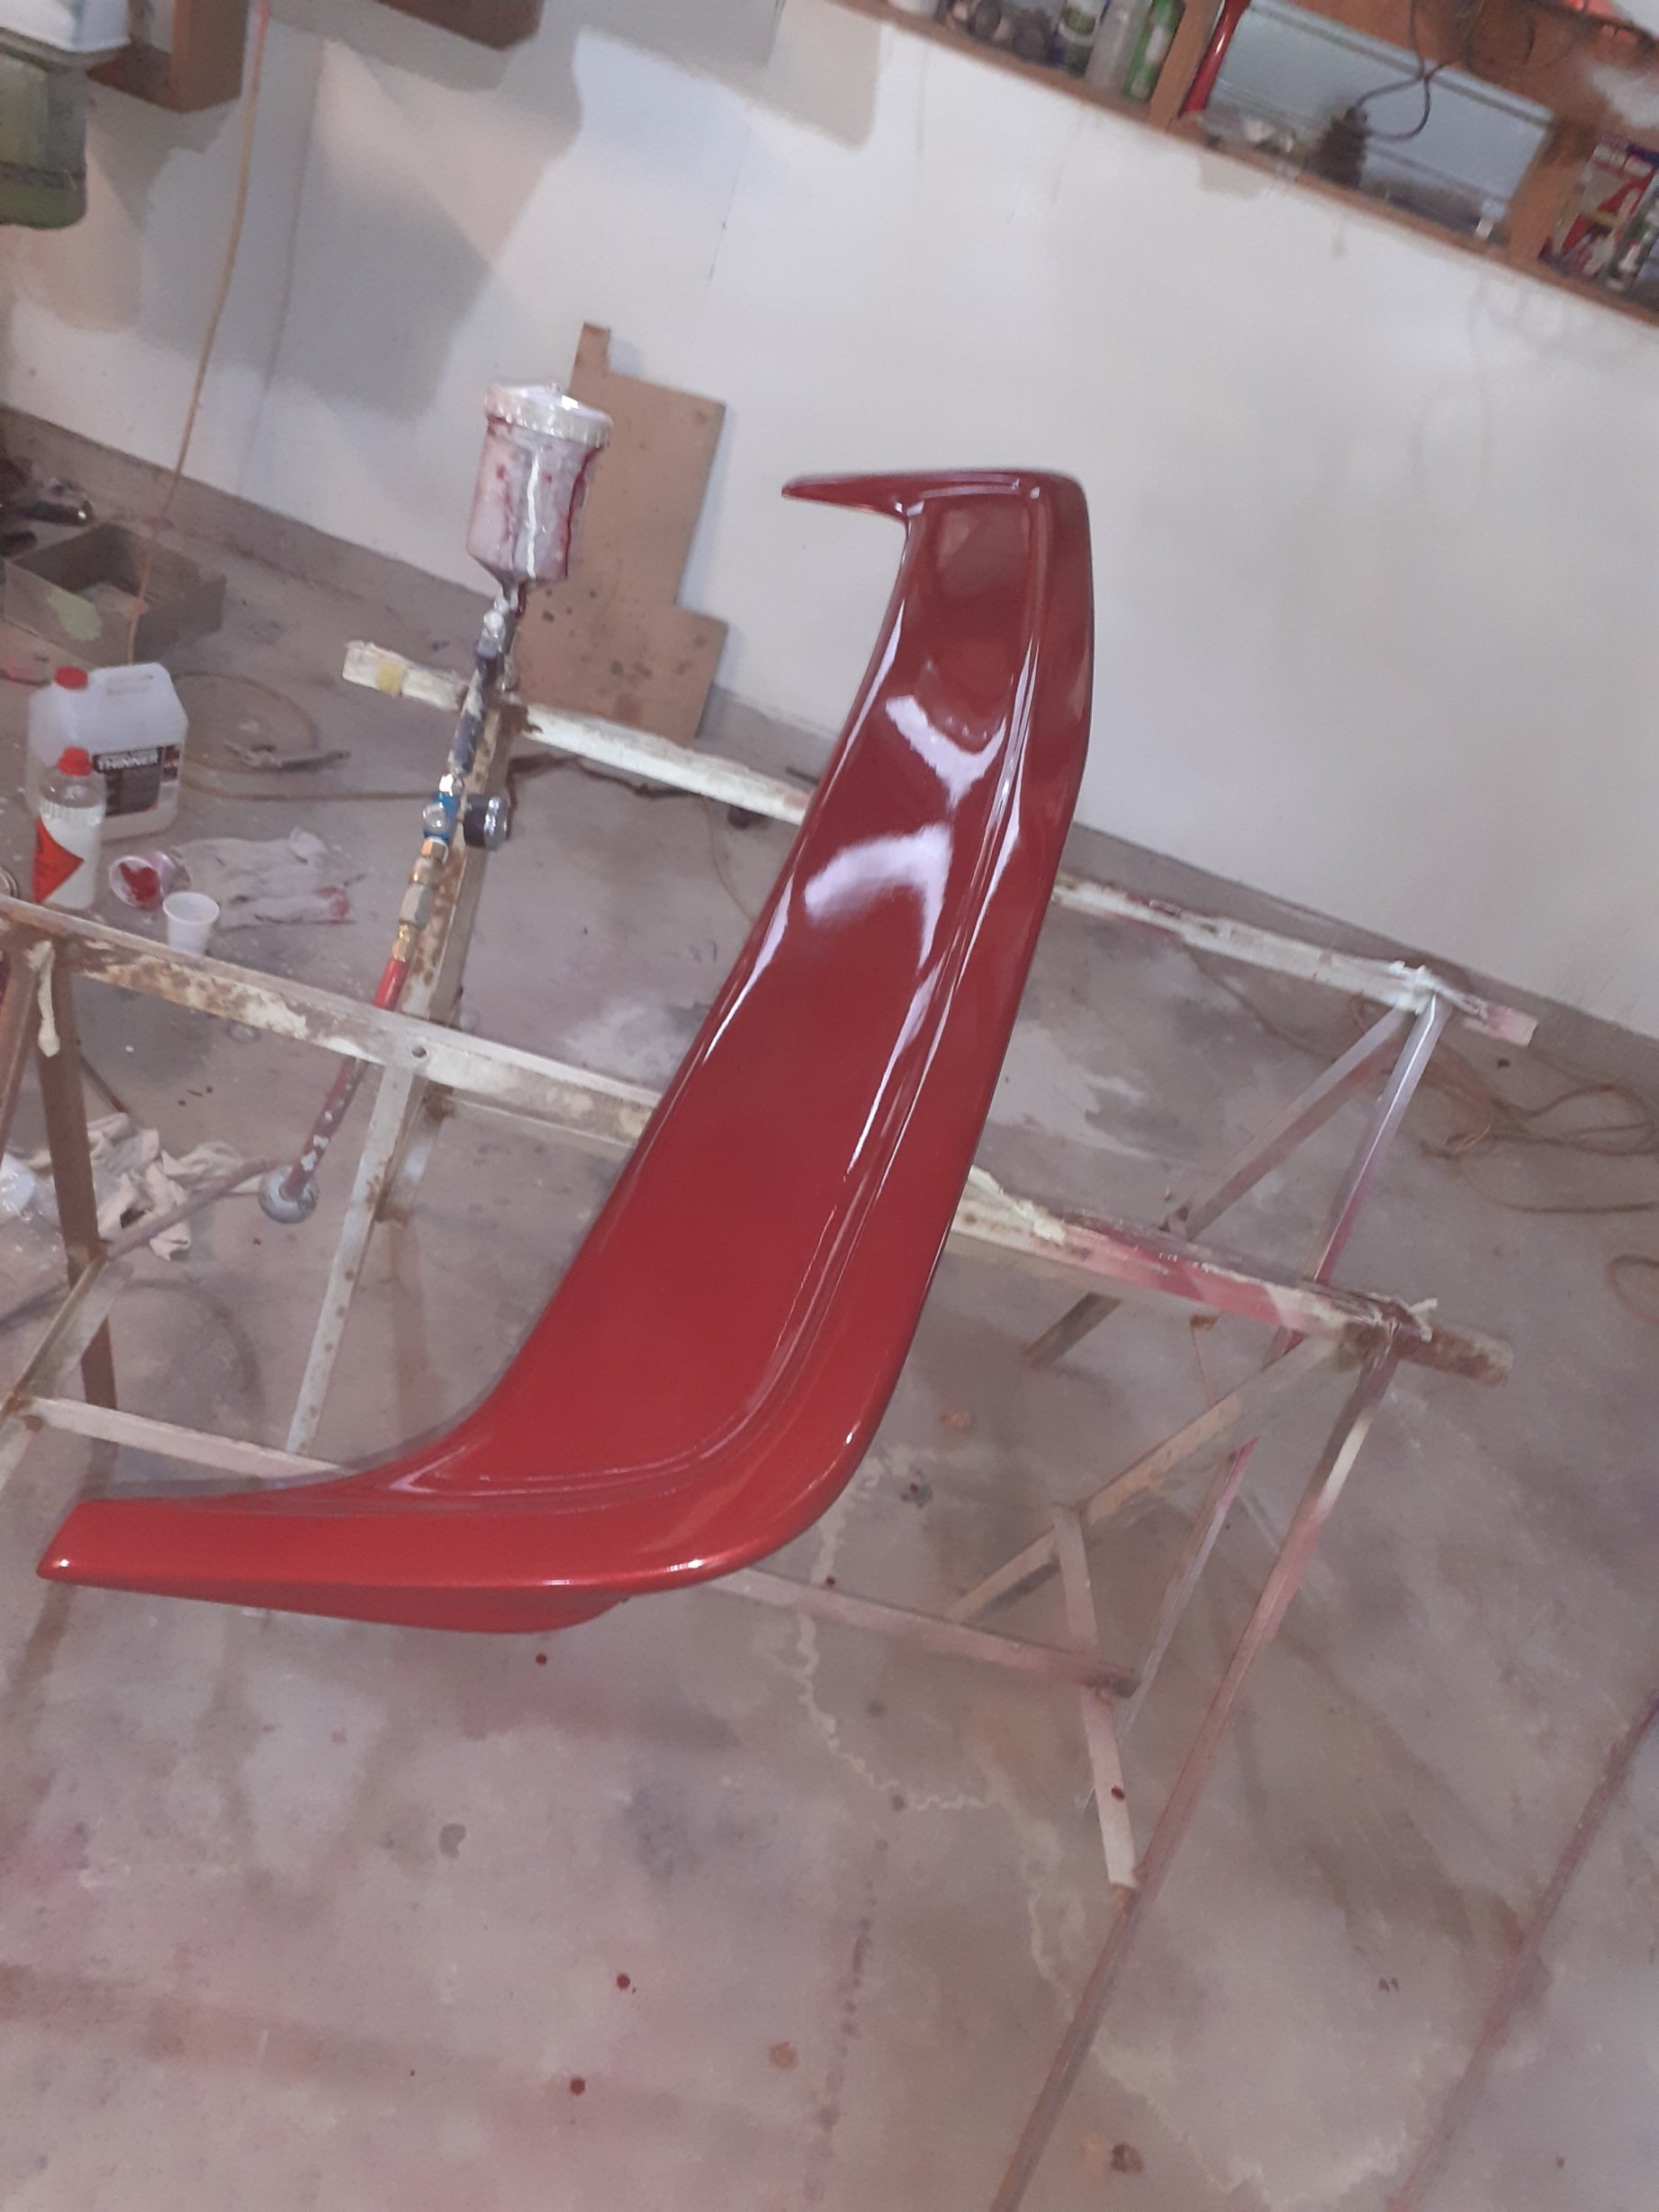
Painted in a garage with no fancy equipment, and cost me maybe 50$ in materials, about 2000$ in labour though

-
17
-
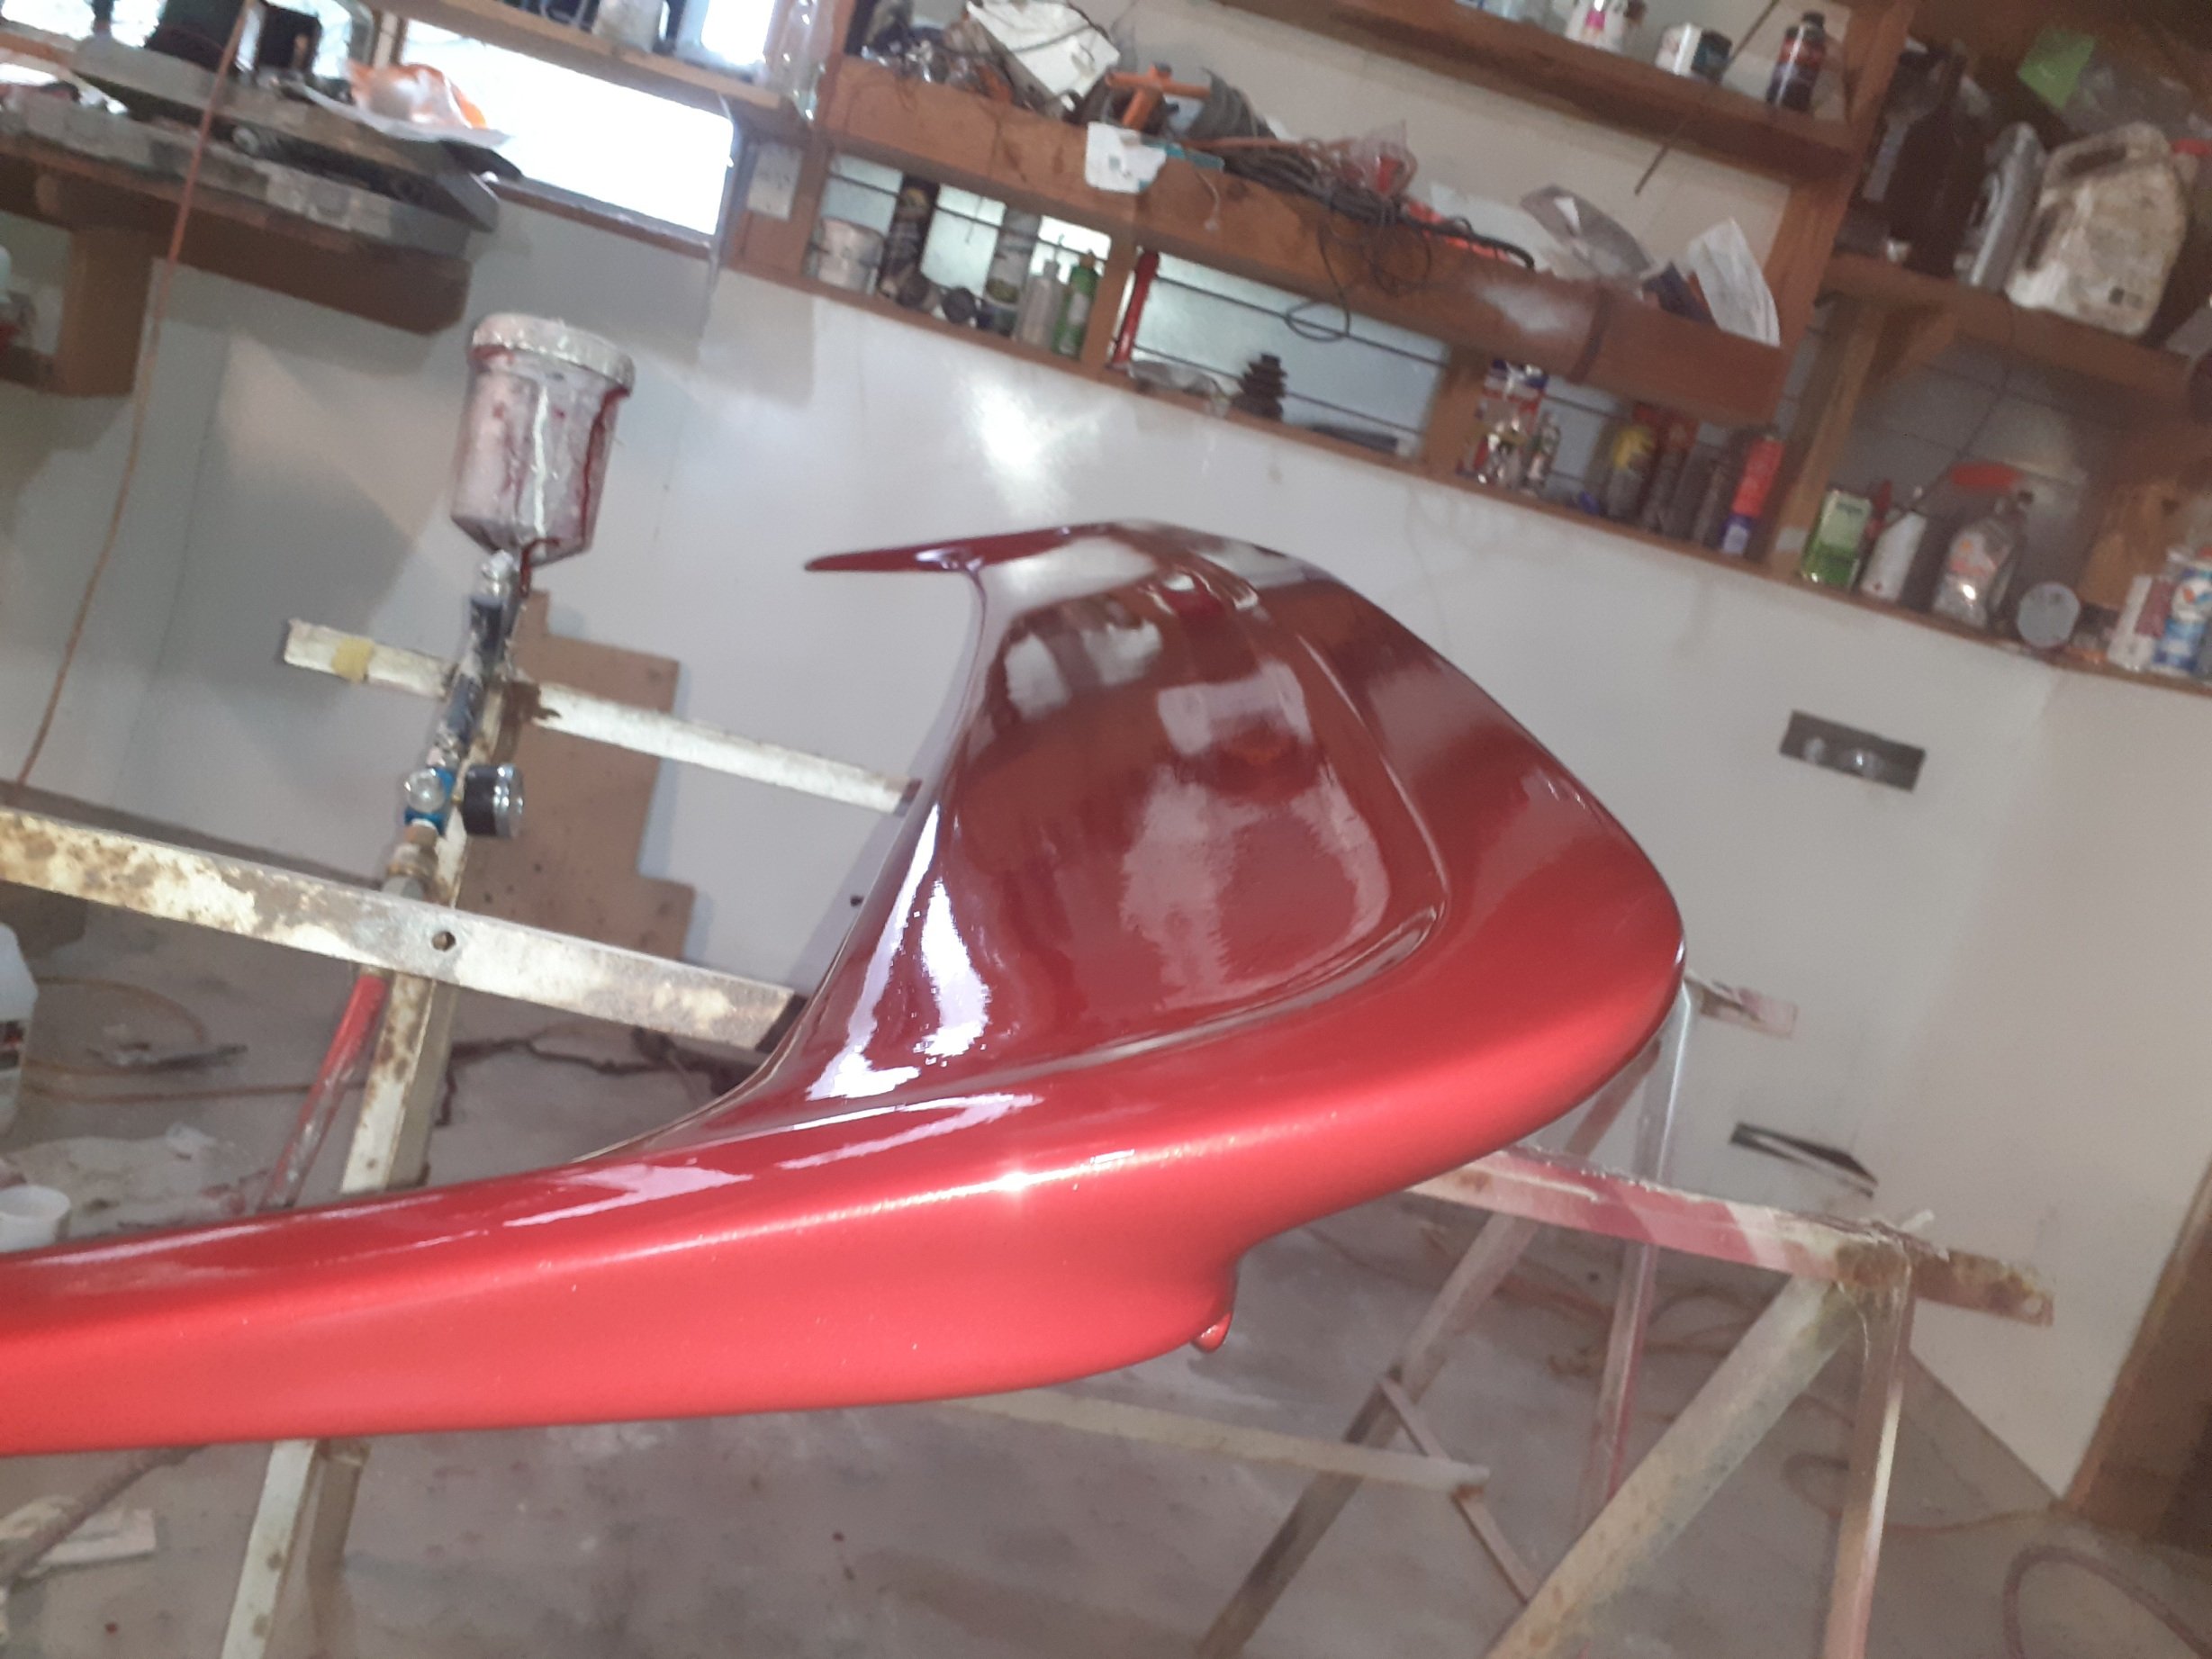
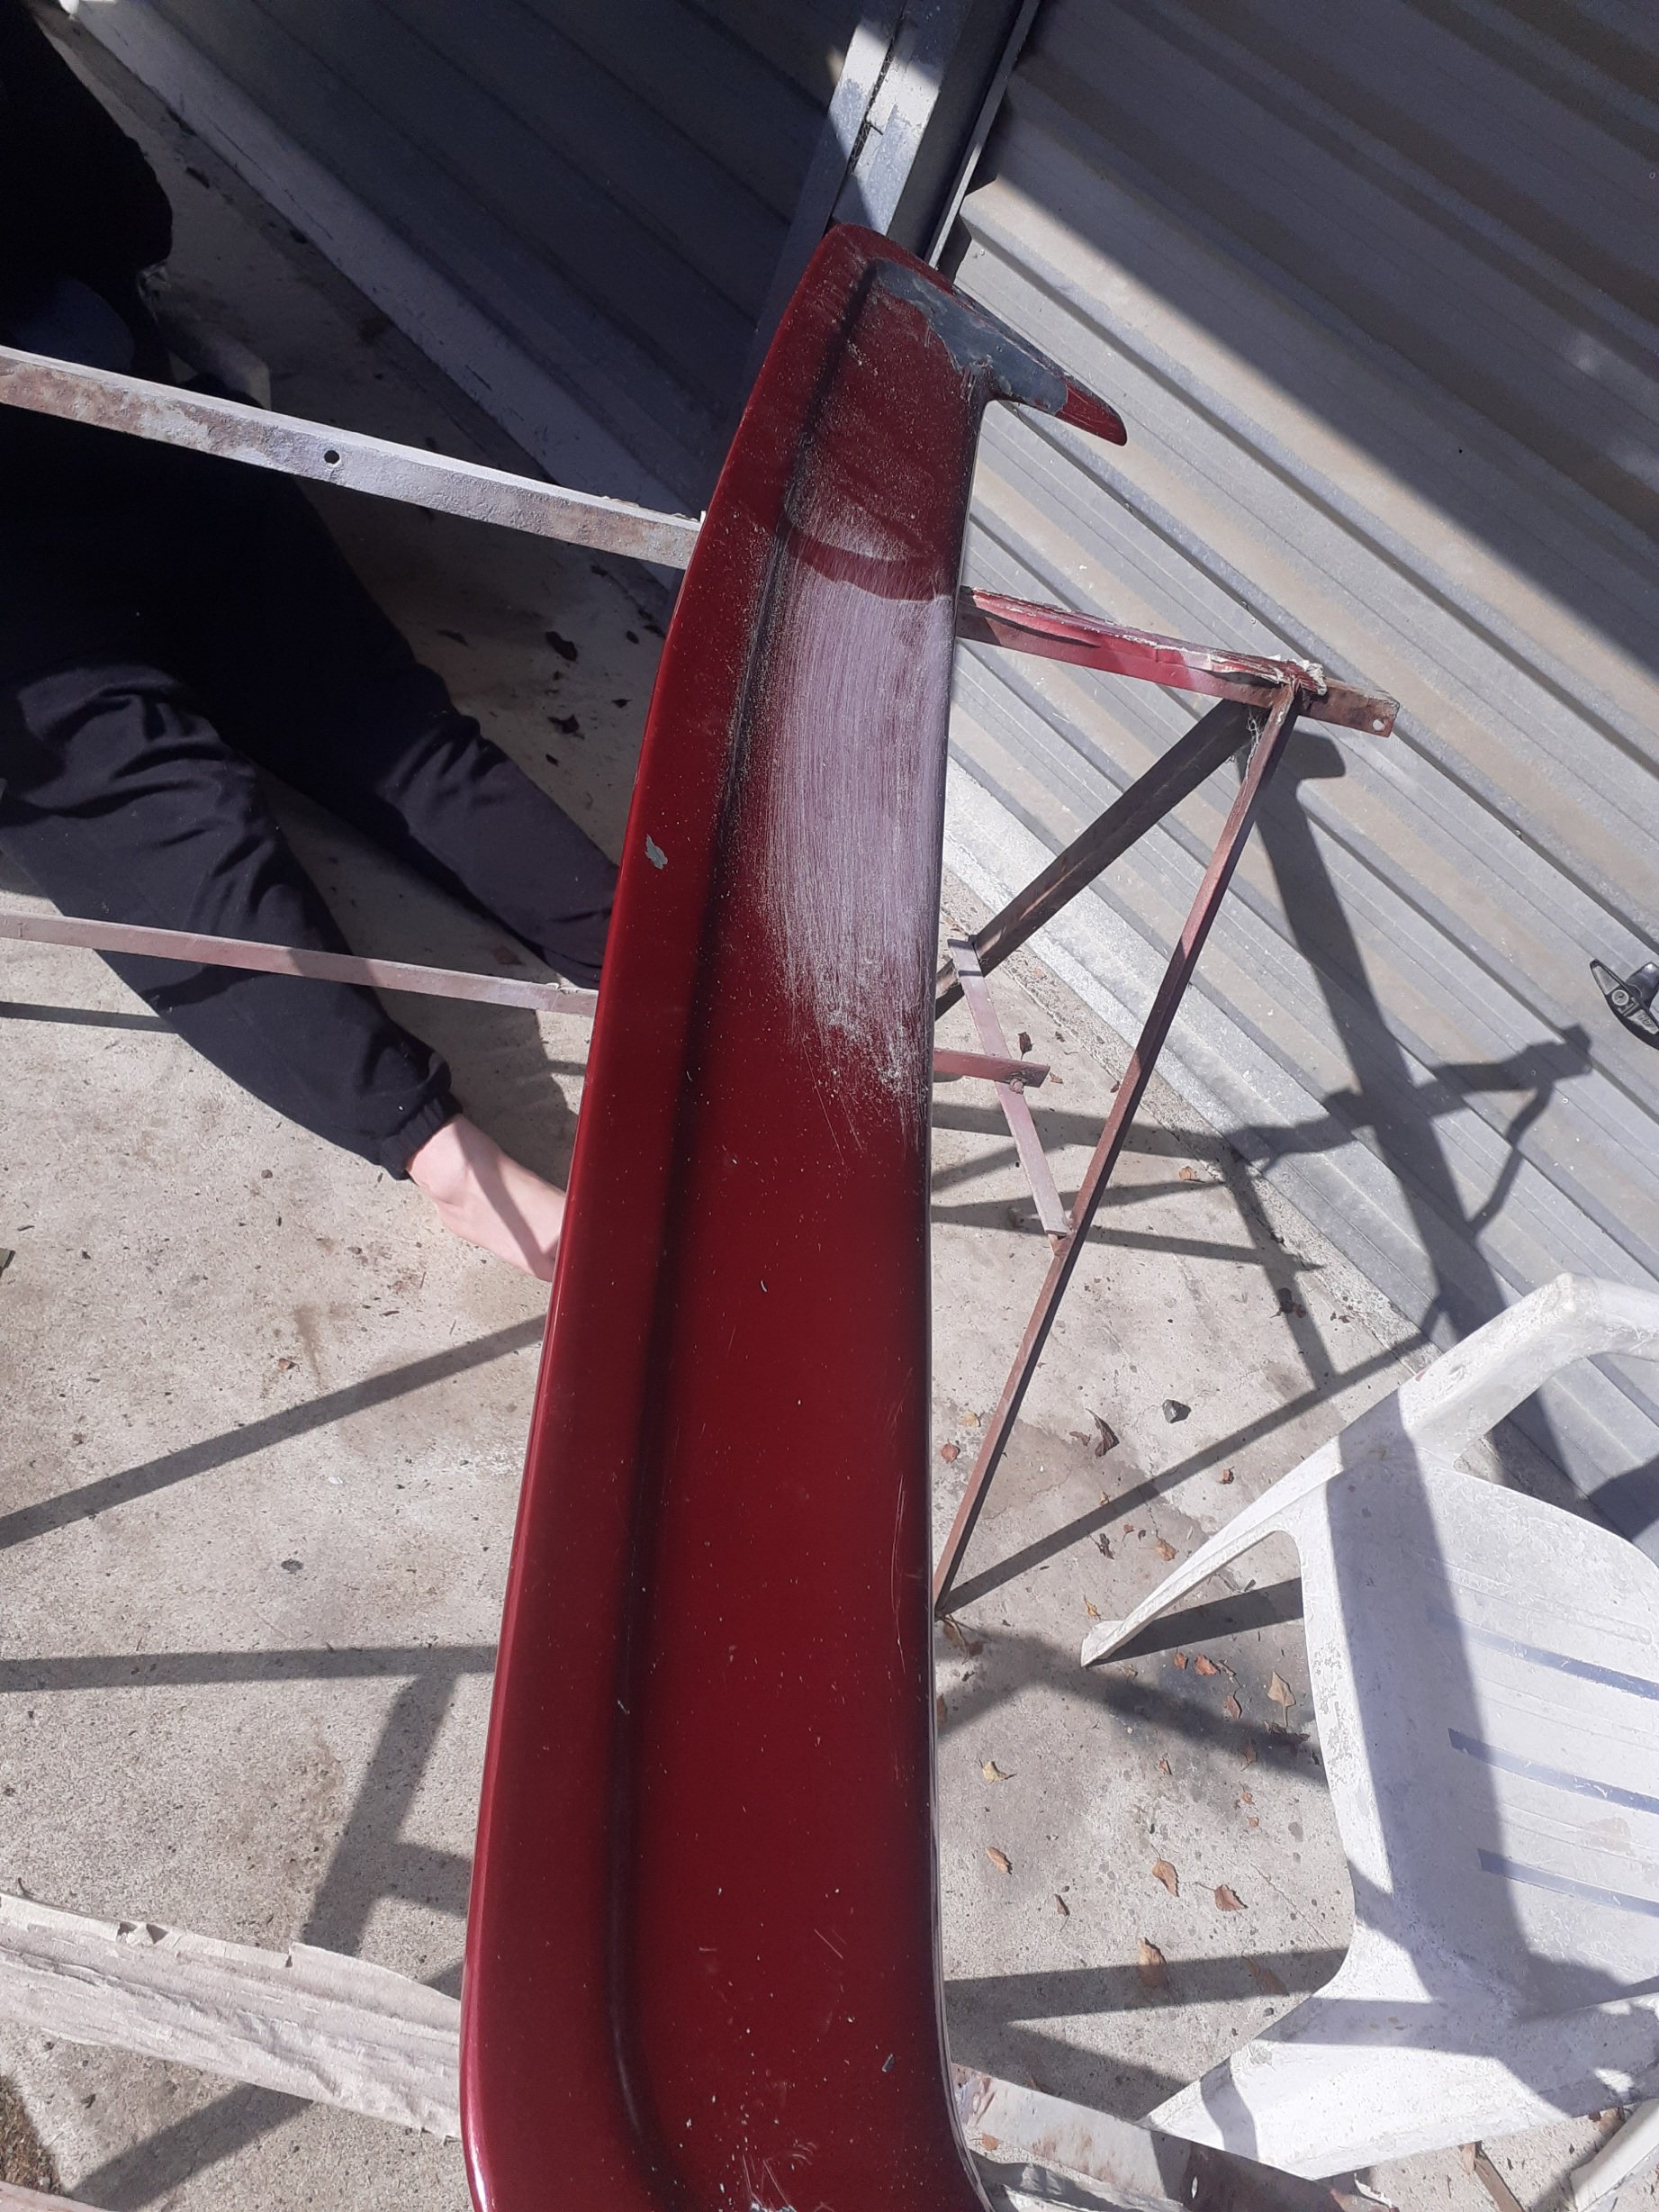
Keeping in mind i did not know how to paint with anything other than a rattle can as of a year ago, im pretty happy with the result
Its sealed on front edge and where bolts come through boot with some quality sealer with gaps to let water through, still have to cut and polish lightly but overall the ss wing looks good
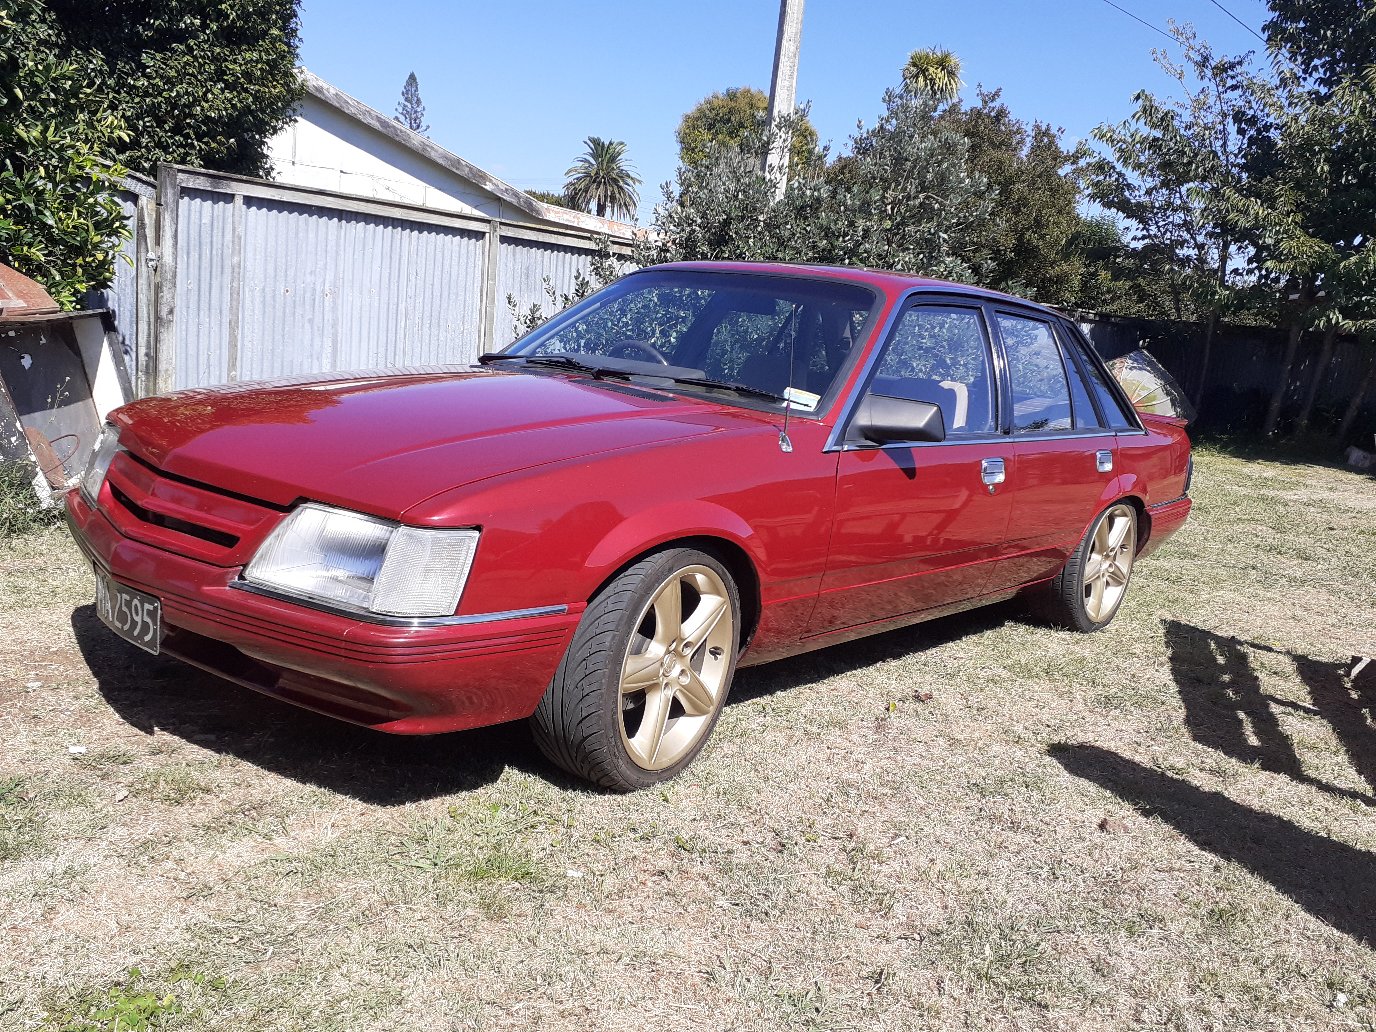
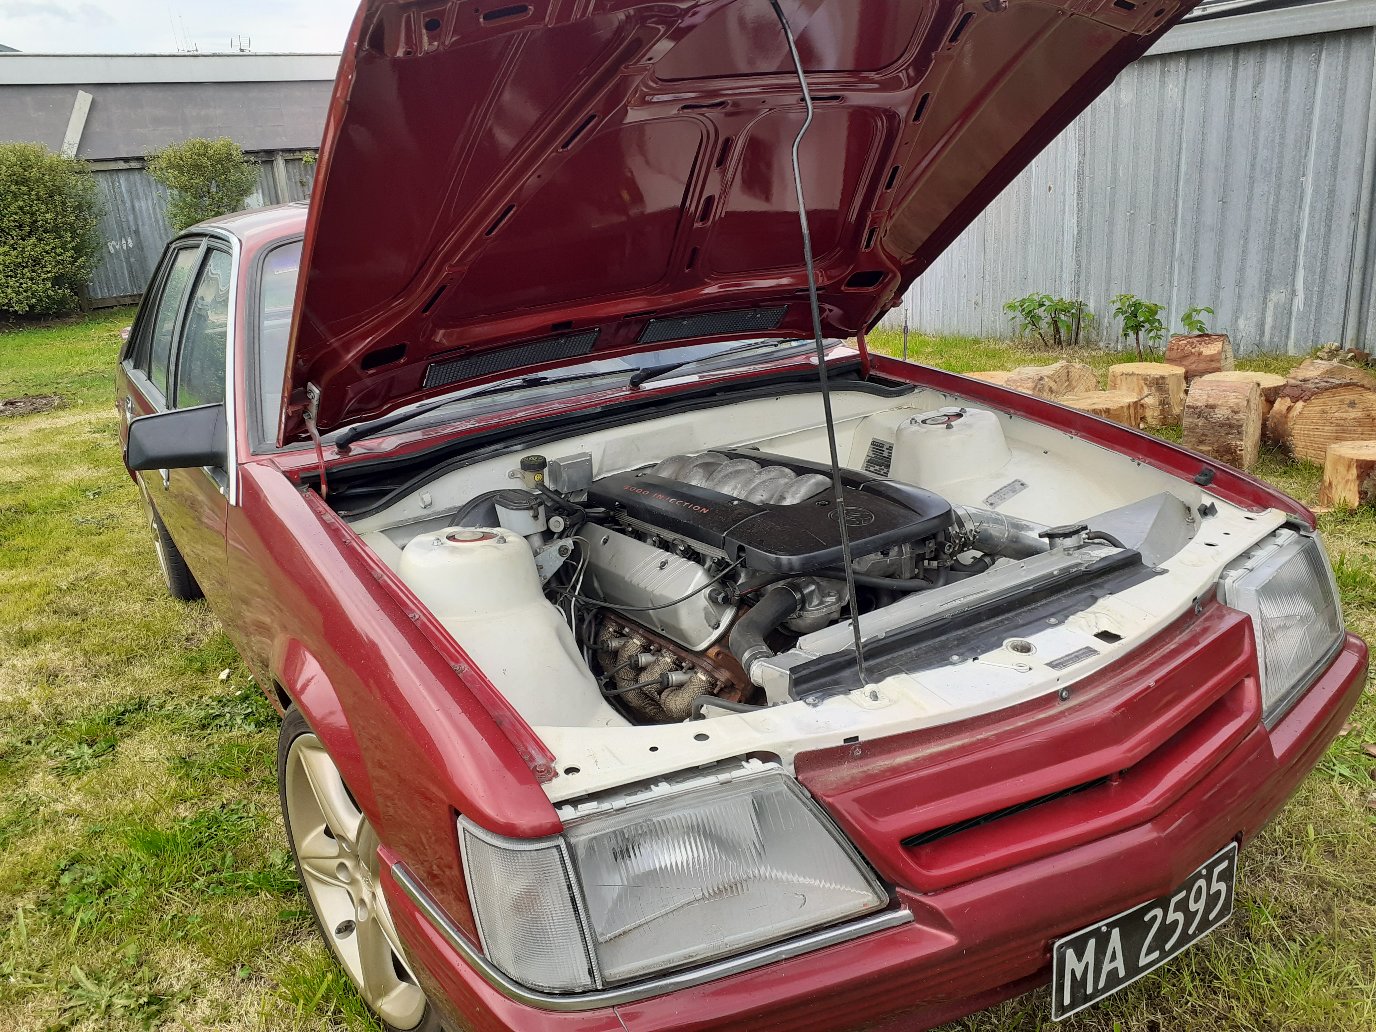
Yea and i decided this is gonna be a hdt ss rep ( not group a or group3) its got the basic trim, 5l v8 manual, wing, and with a stripe kit, some ss decals front and back it should be pretty close to what the base ss models were . . Well not exact but thats what i want it to be . .
-
9
-
-
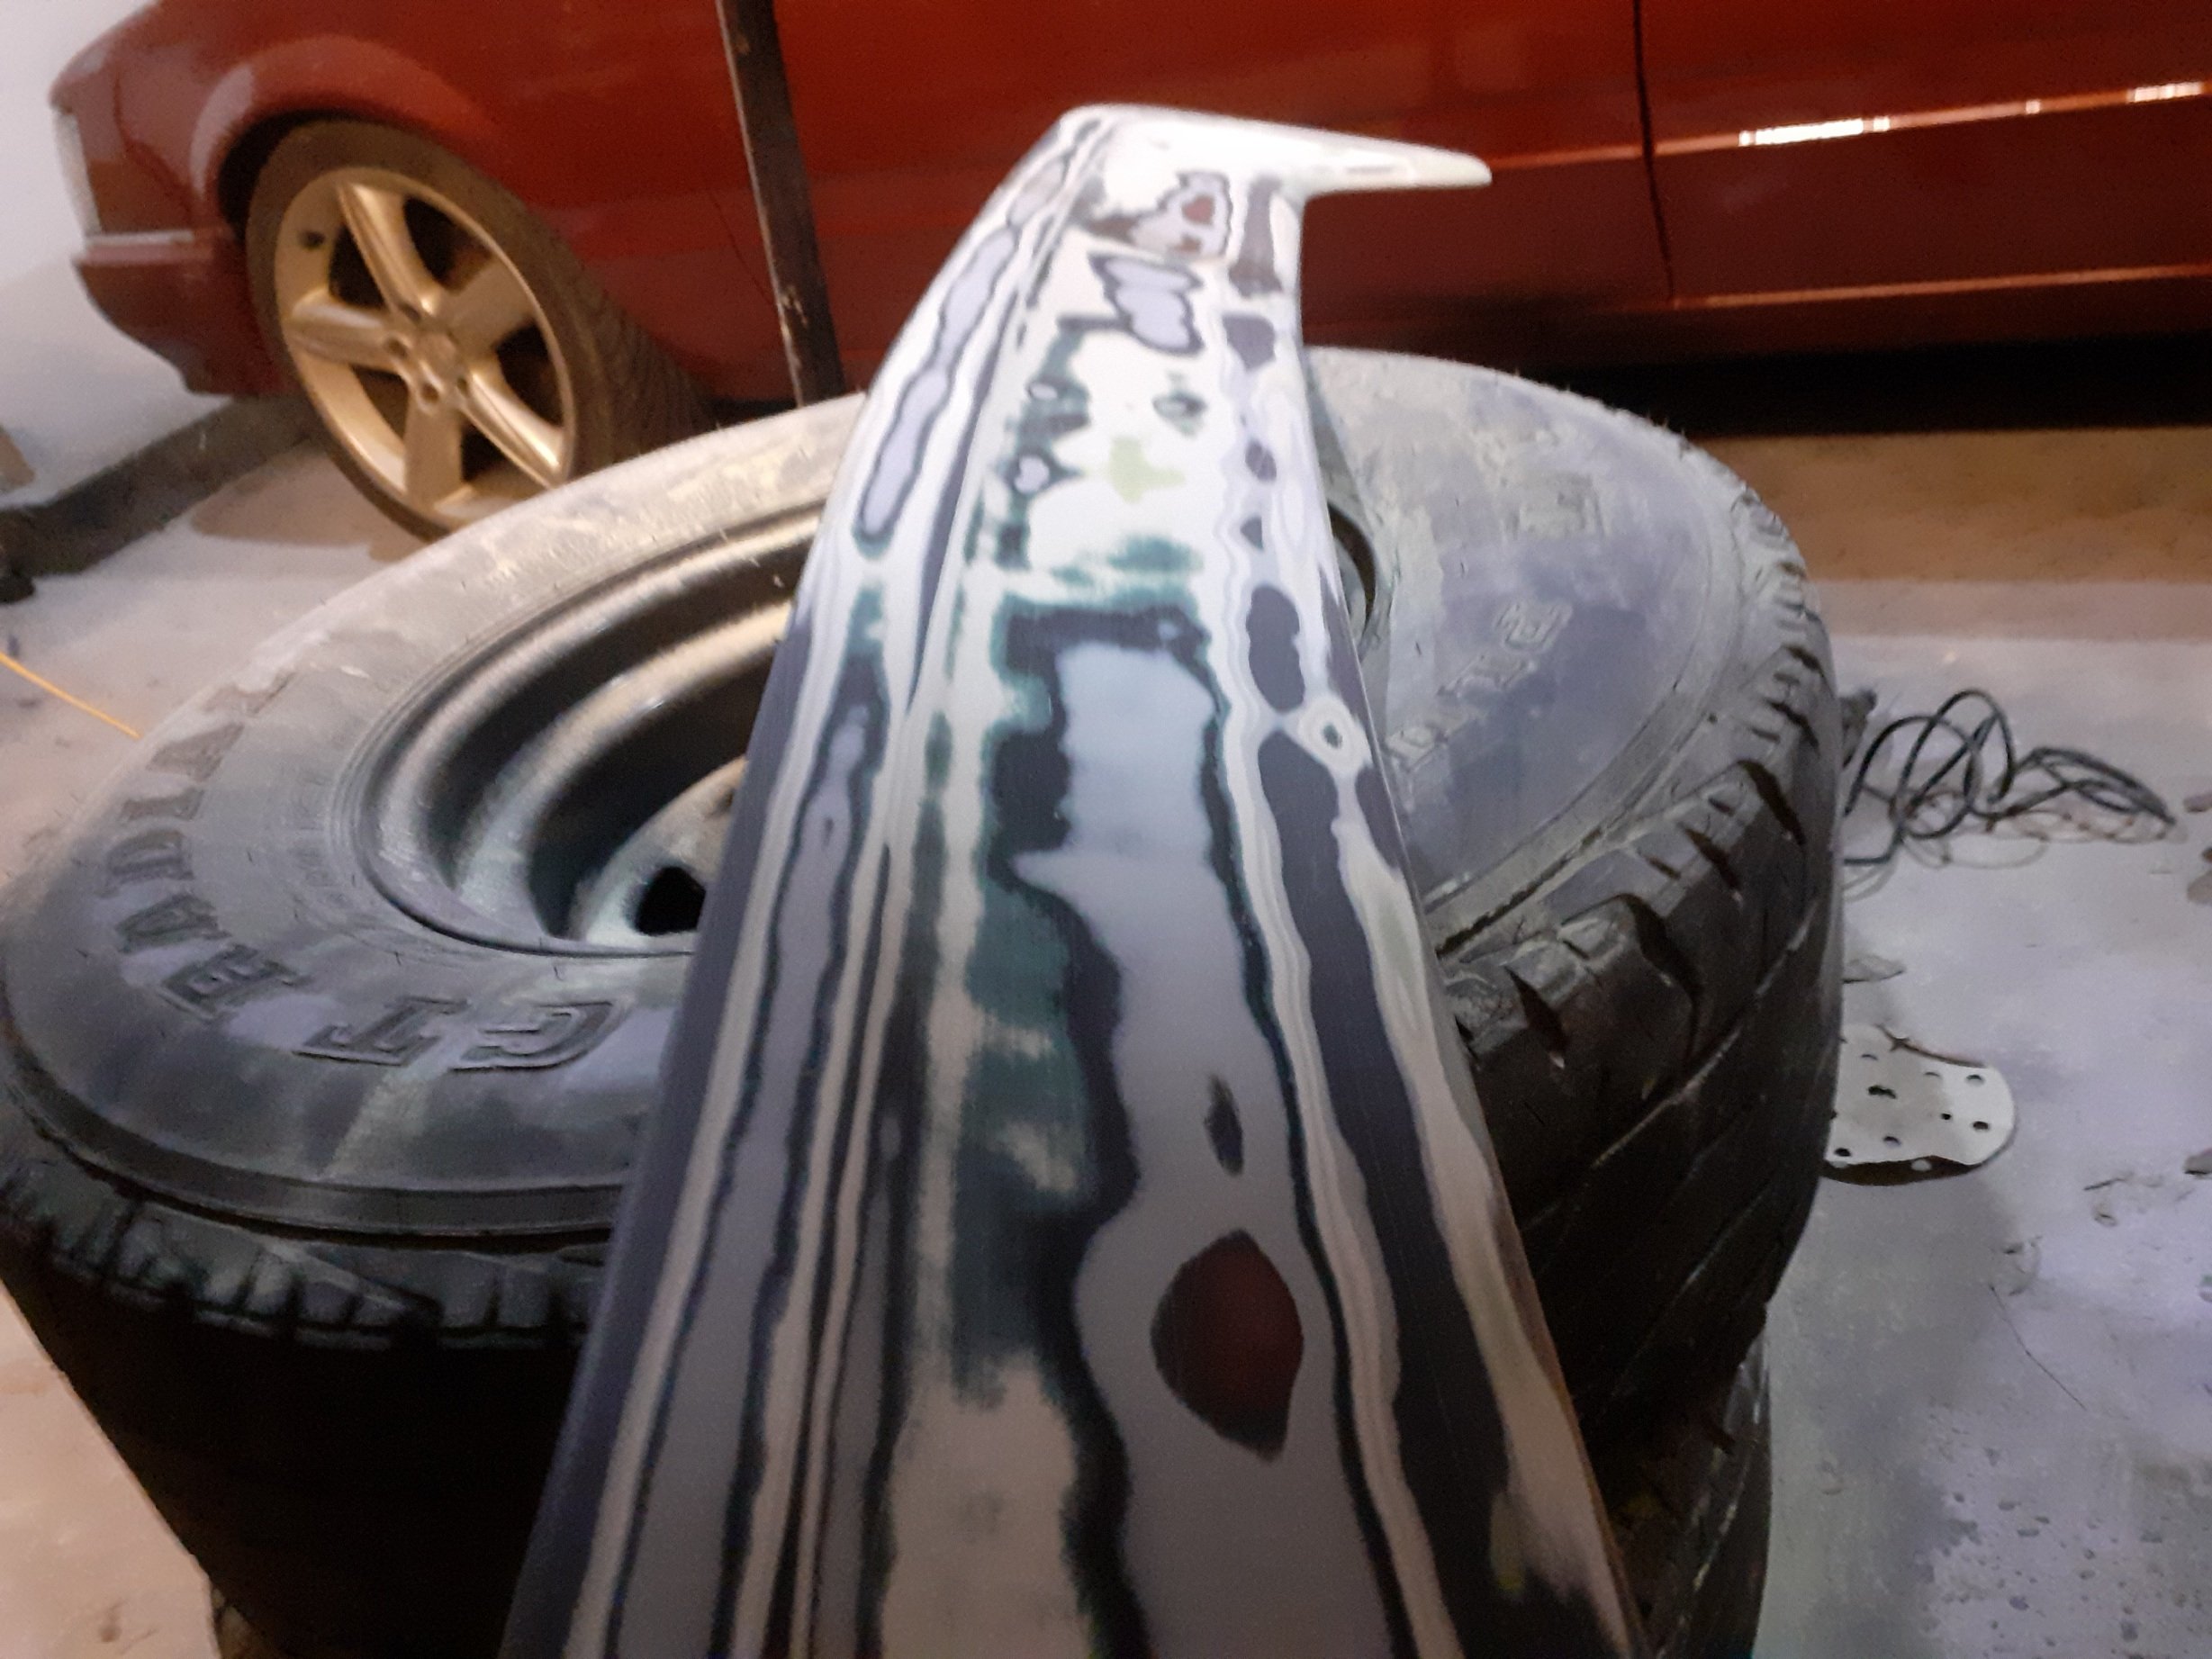
Some black base, and final fitment check before spraying it with 3 coats red and 3 clear to really make sure it doesnt wear as easy and a little cut and polishing can be done without burning through
")
-
3
-
-
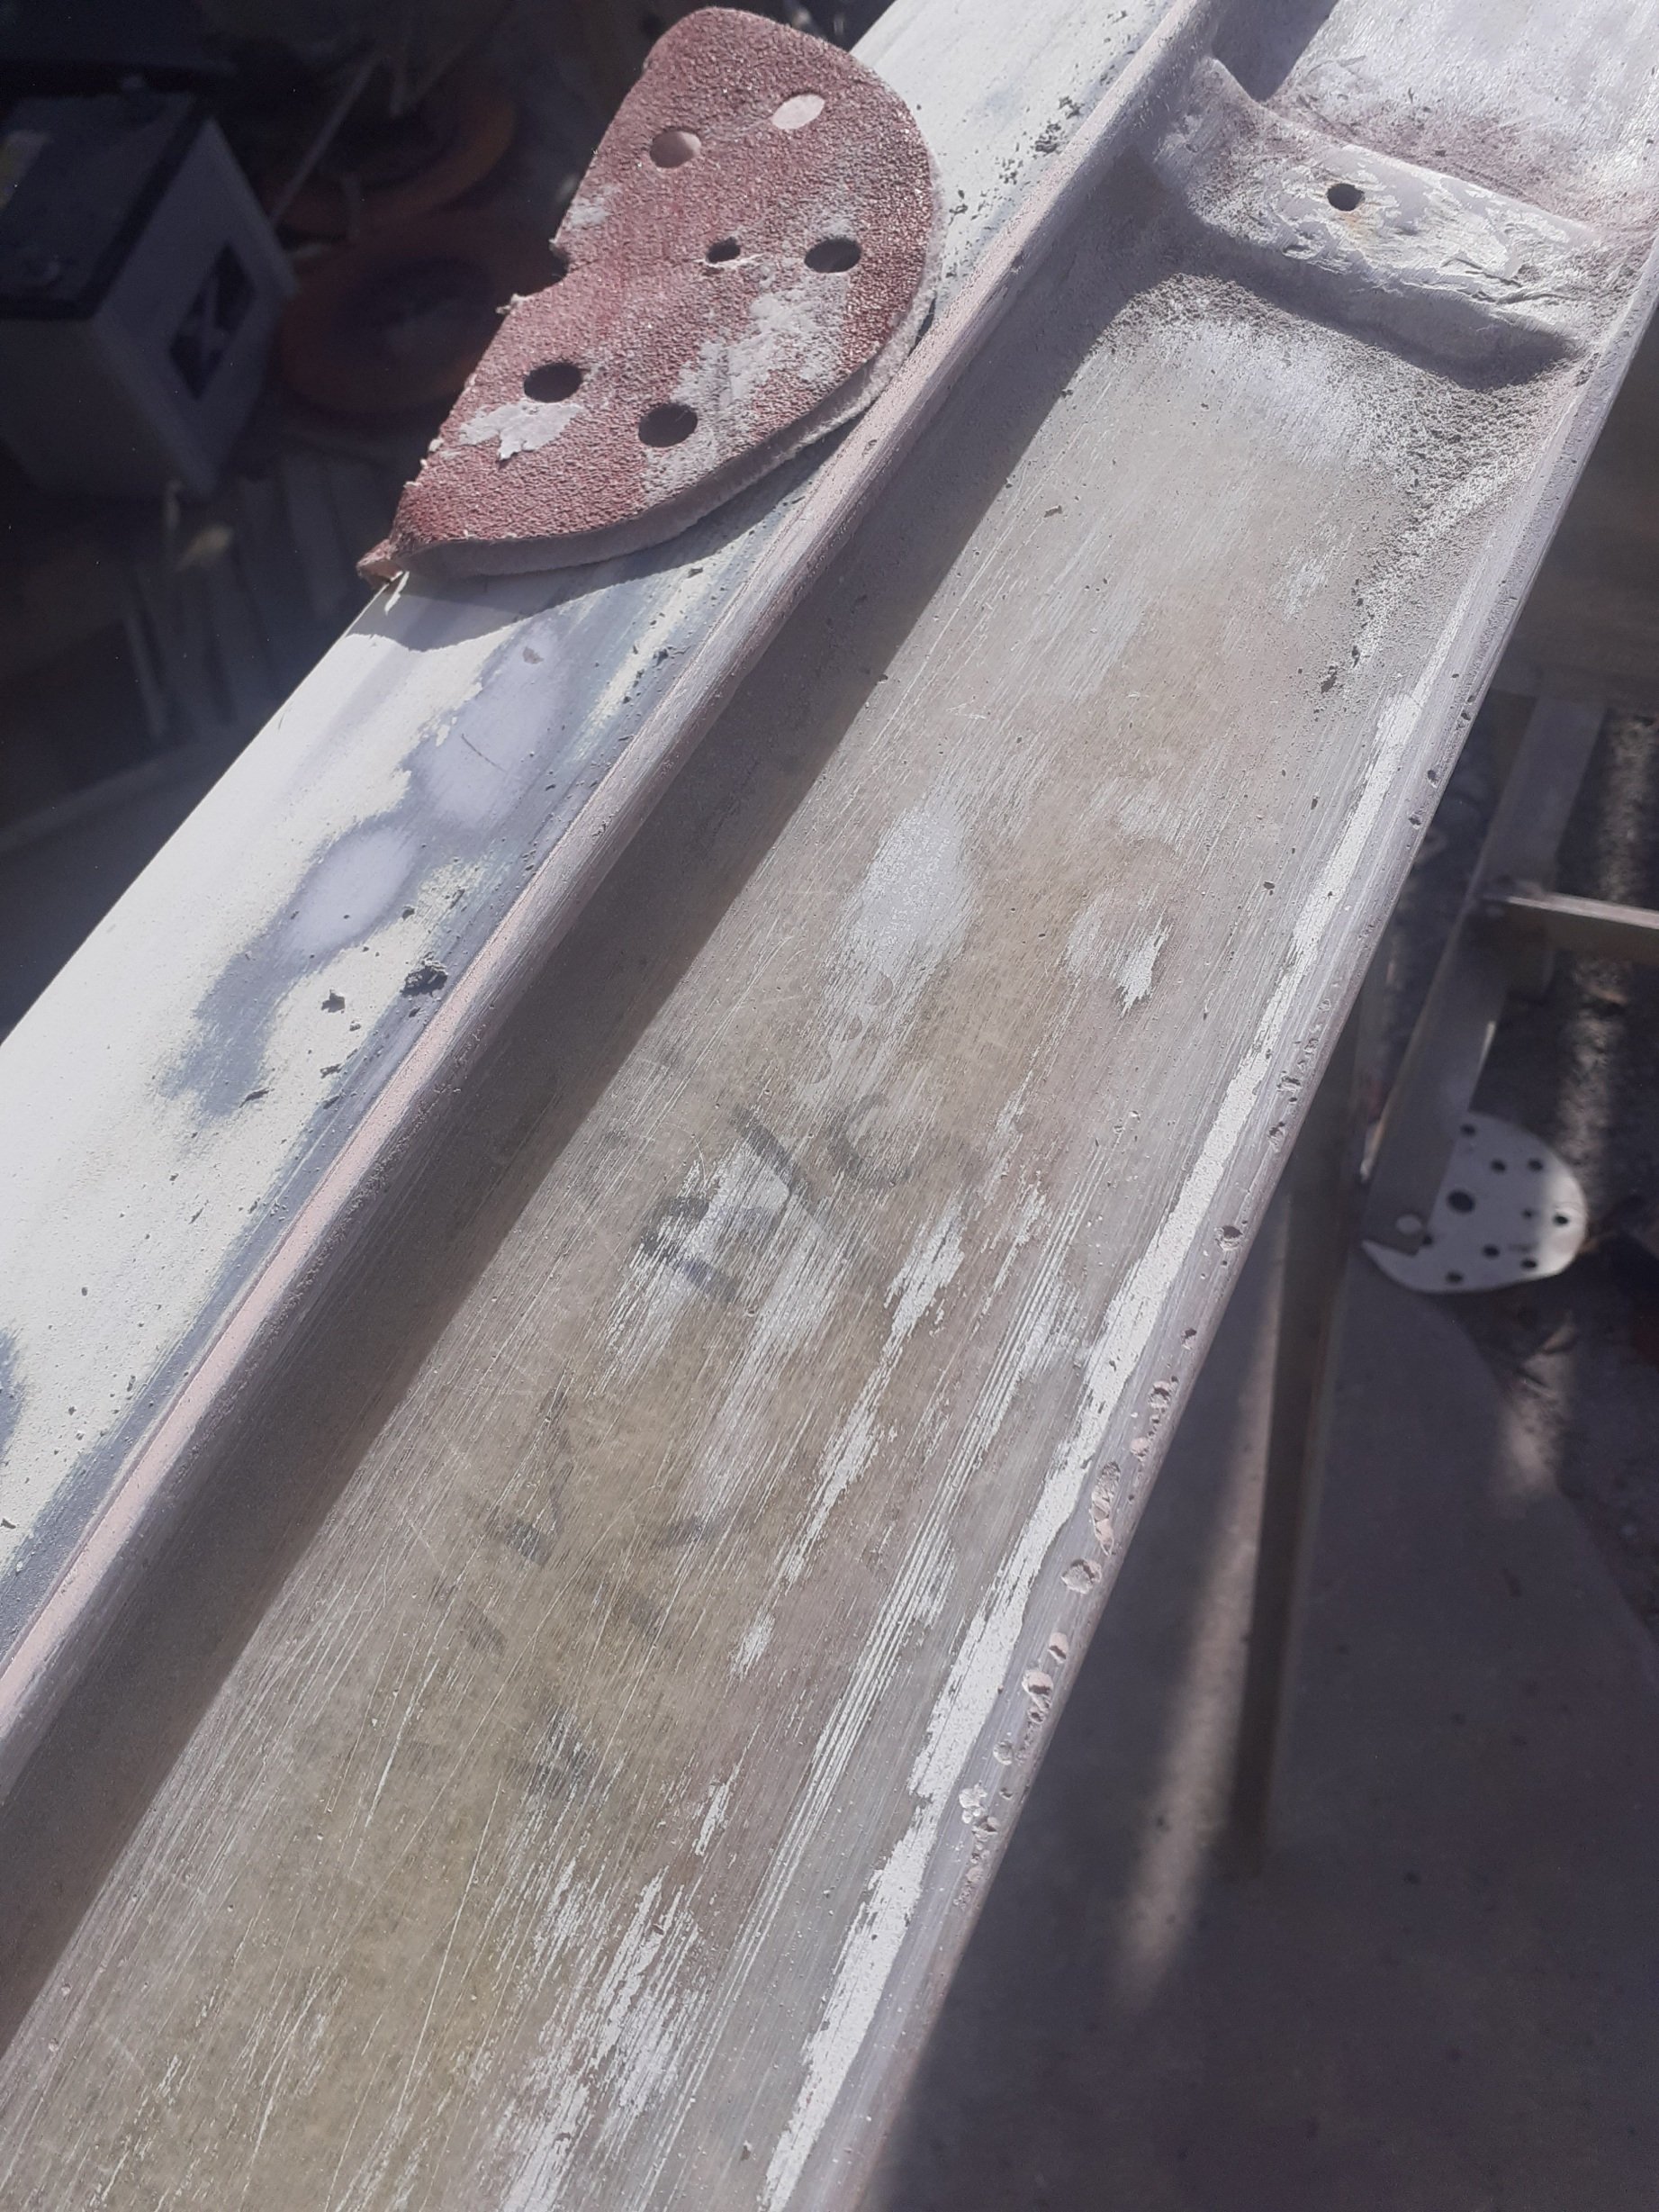
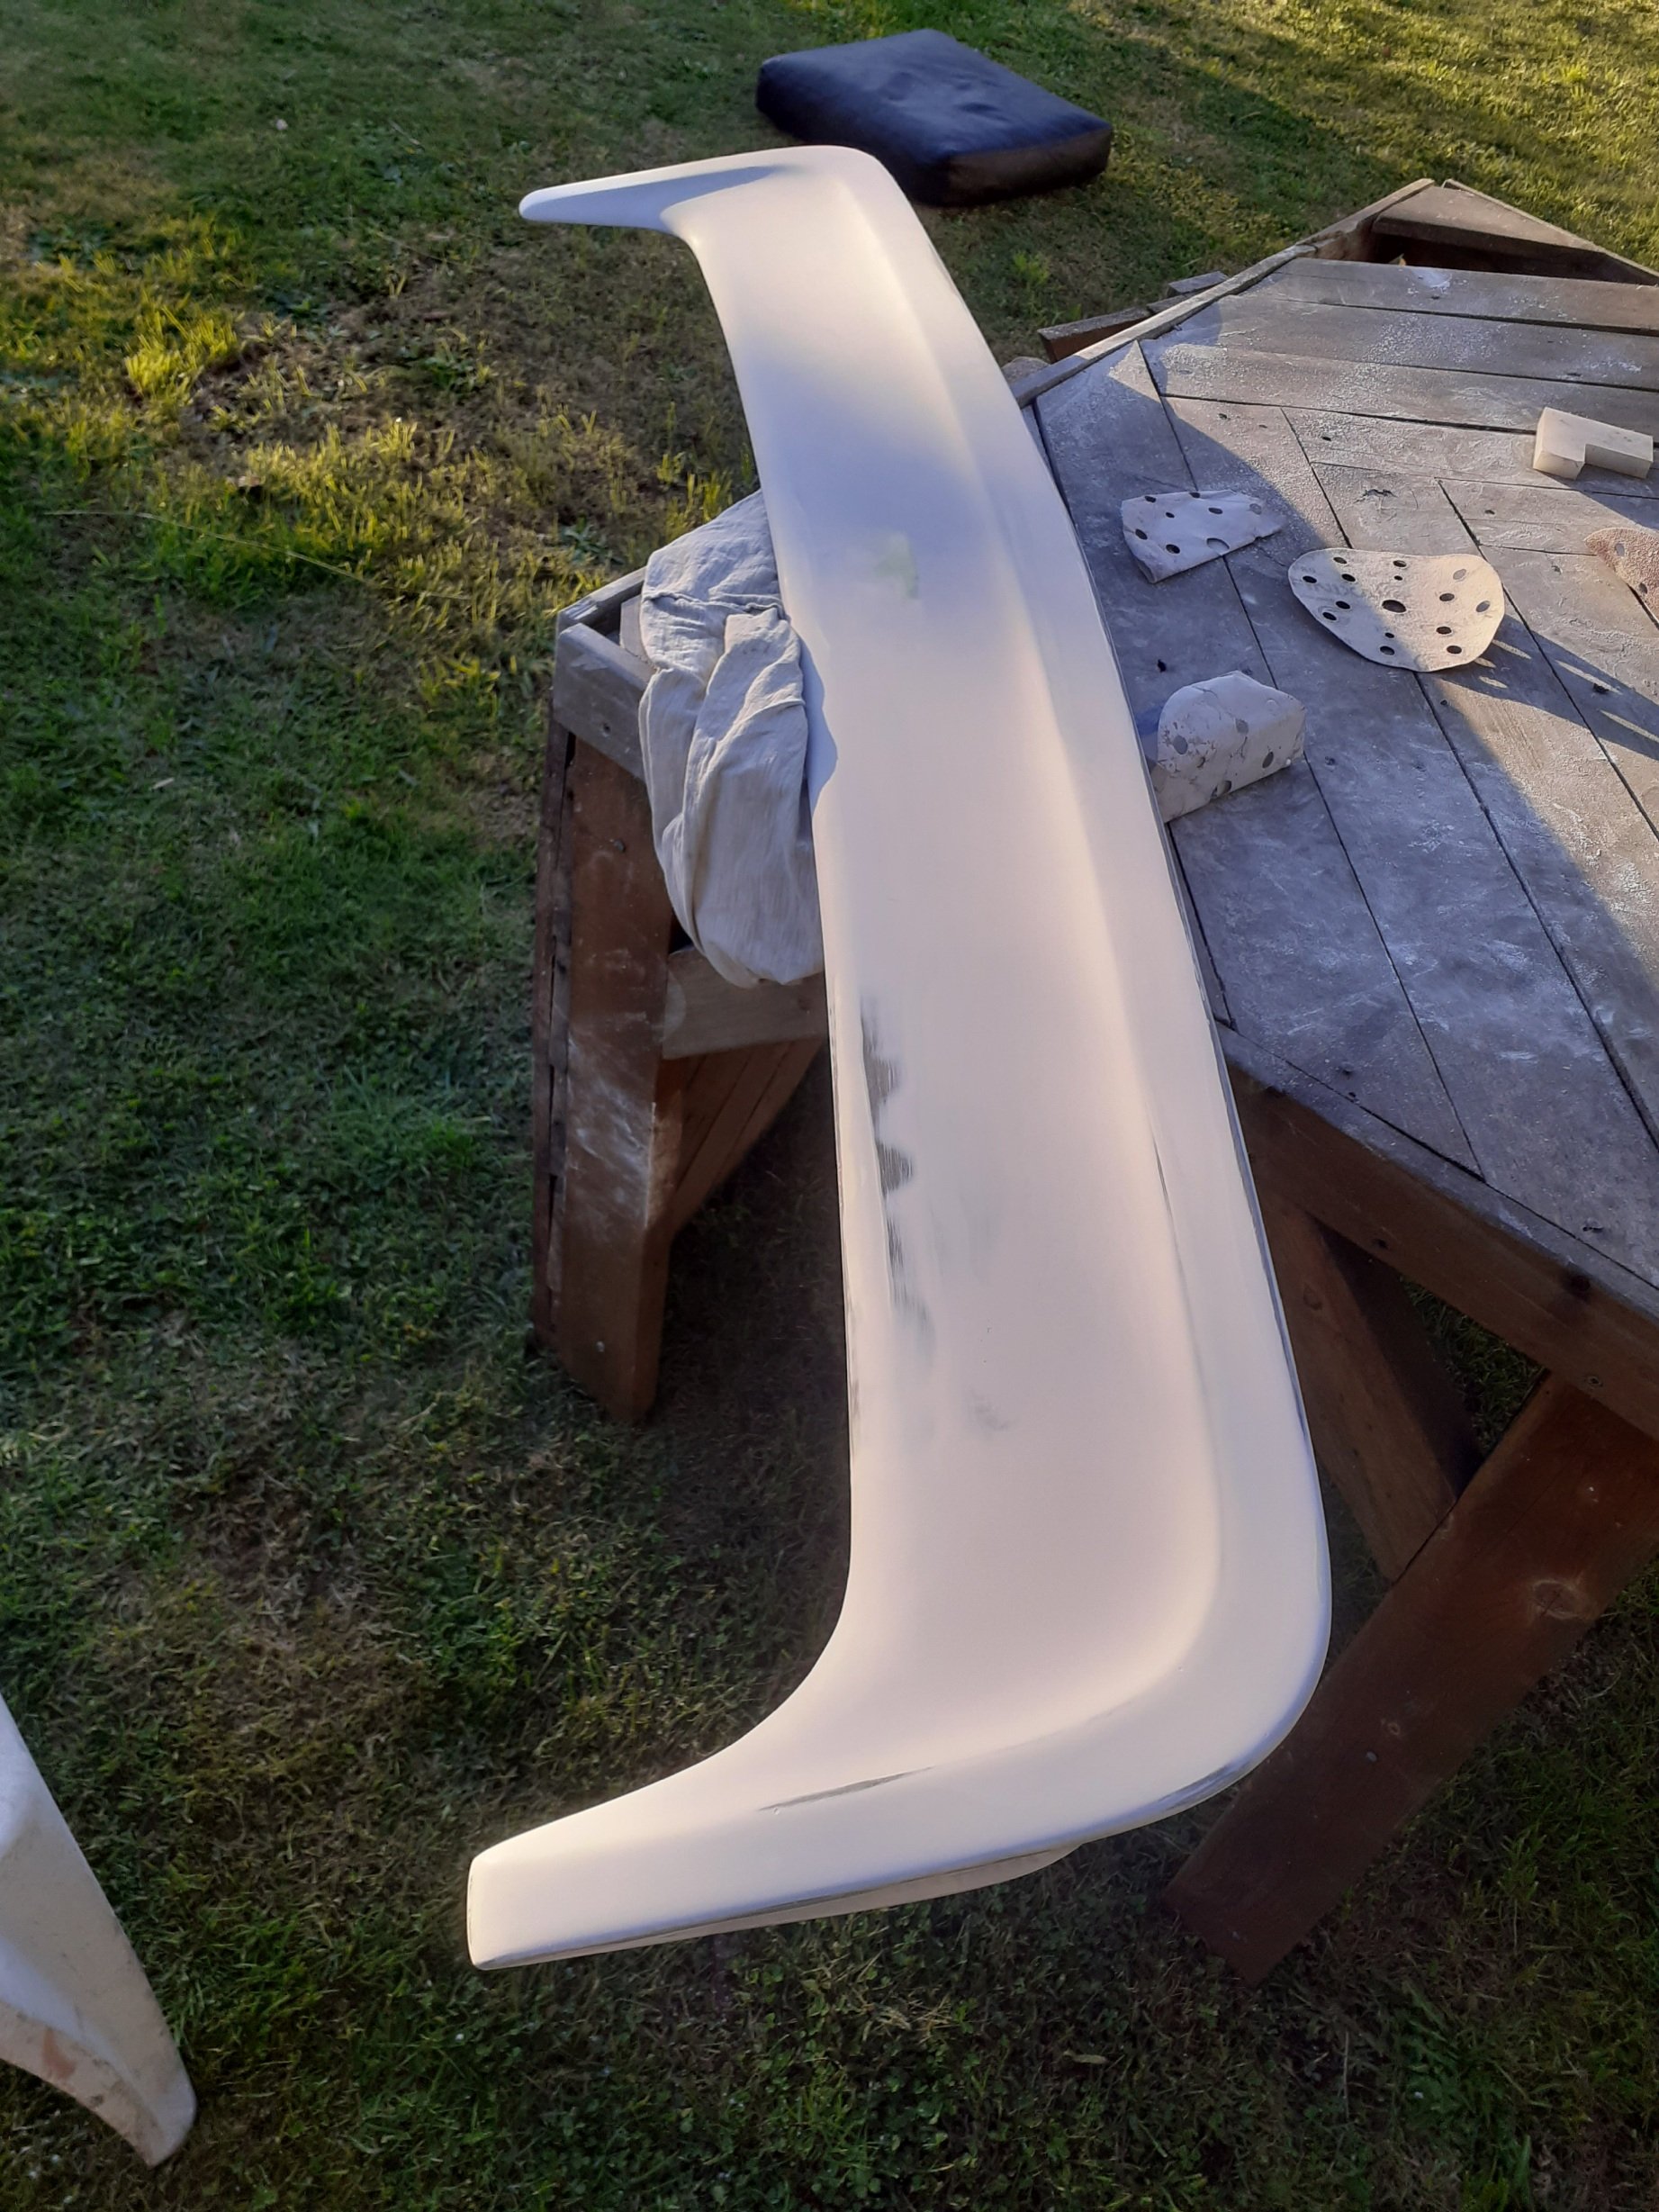
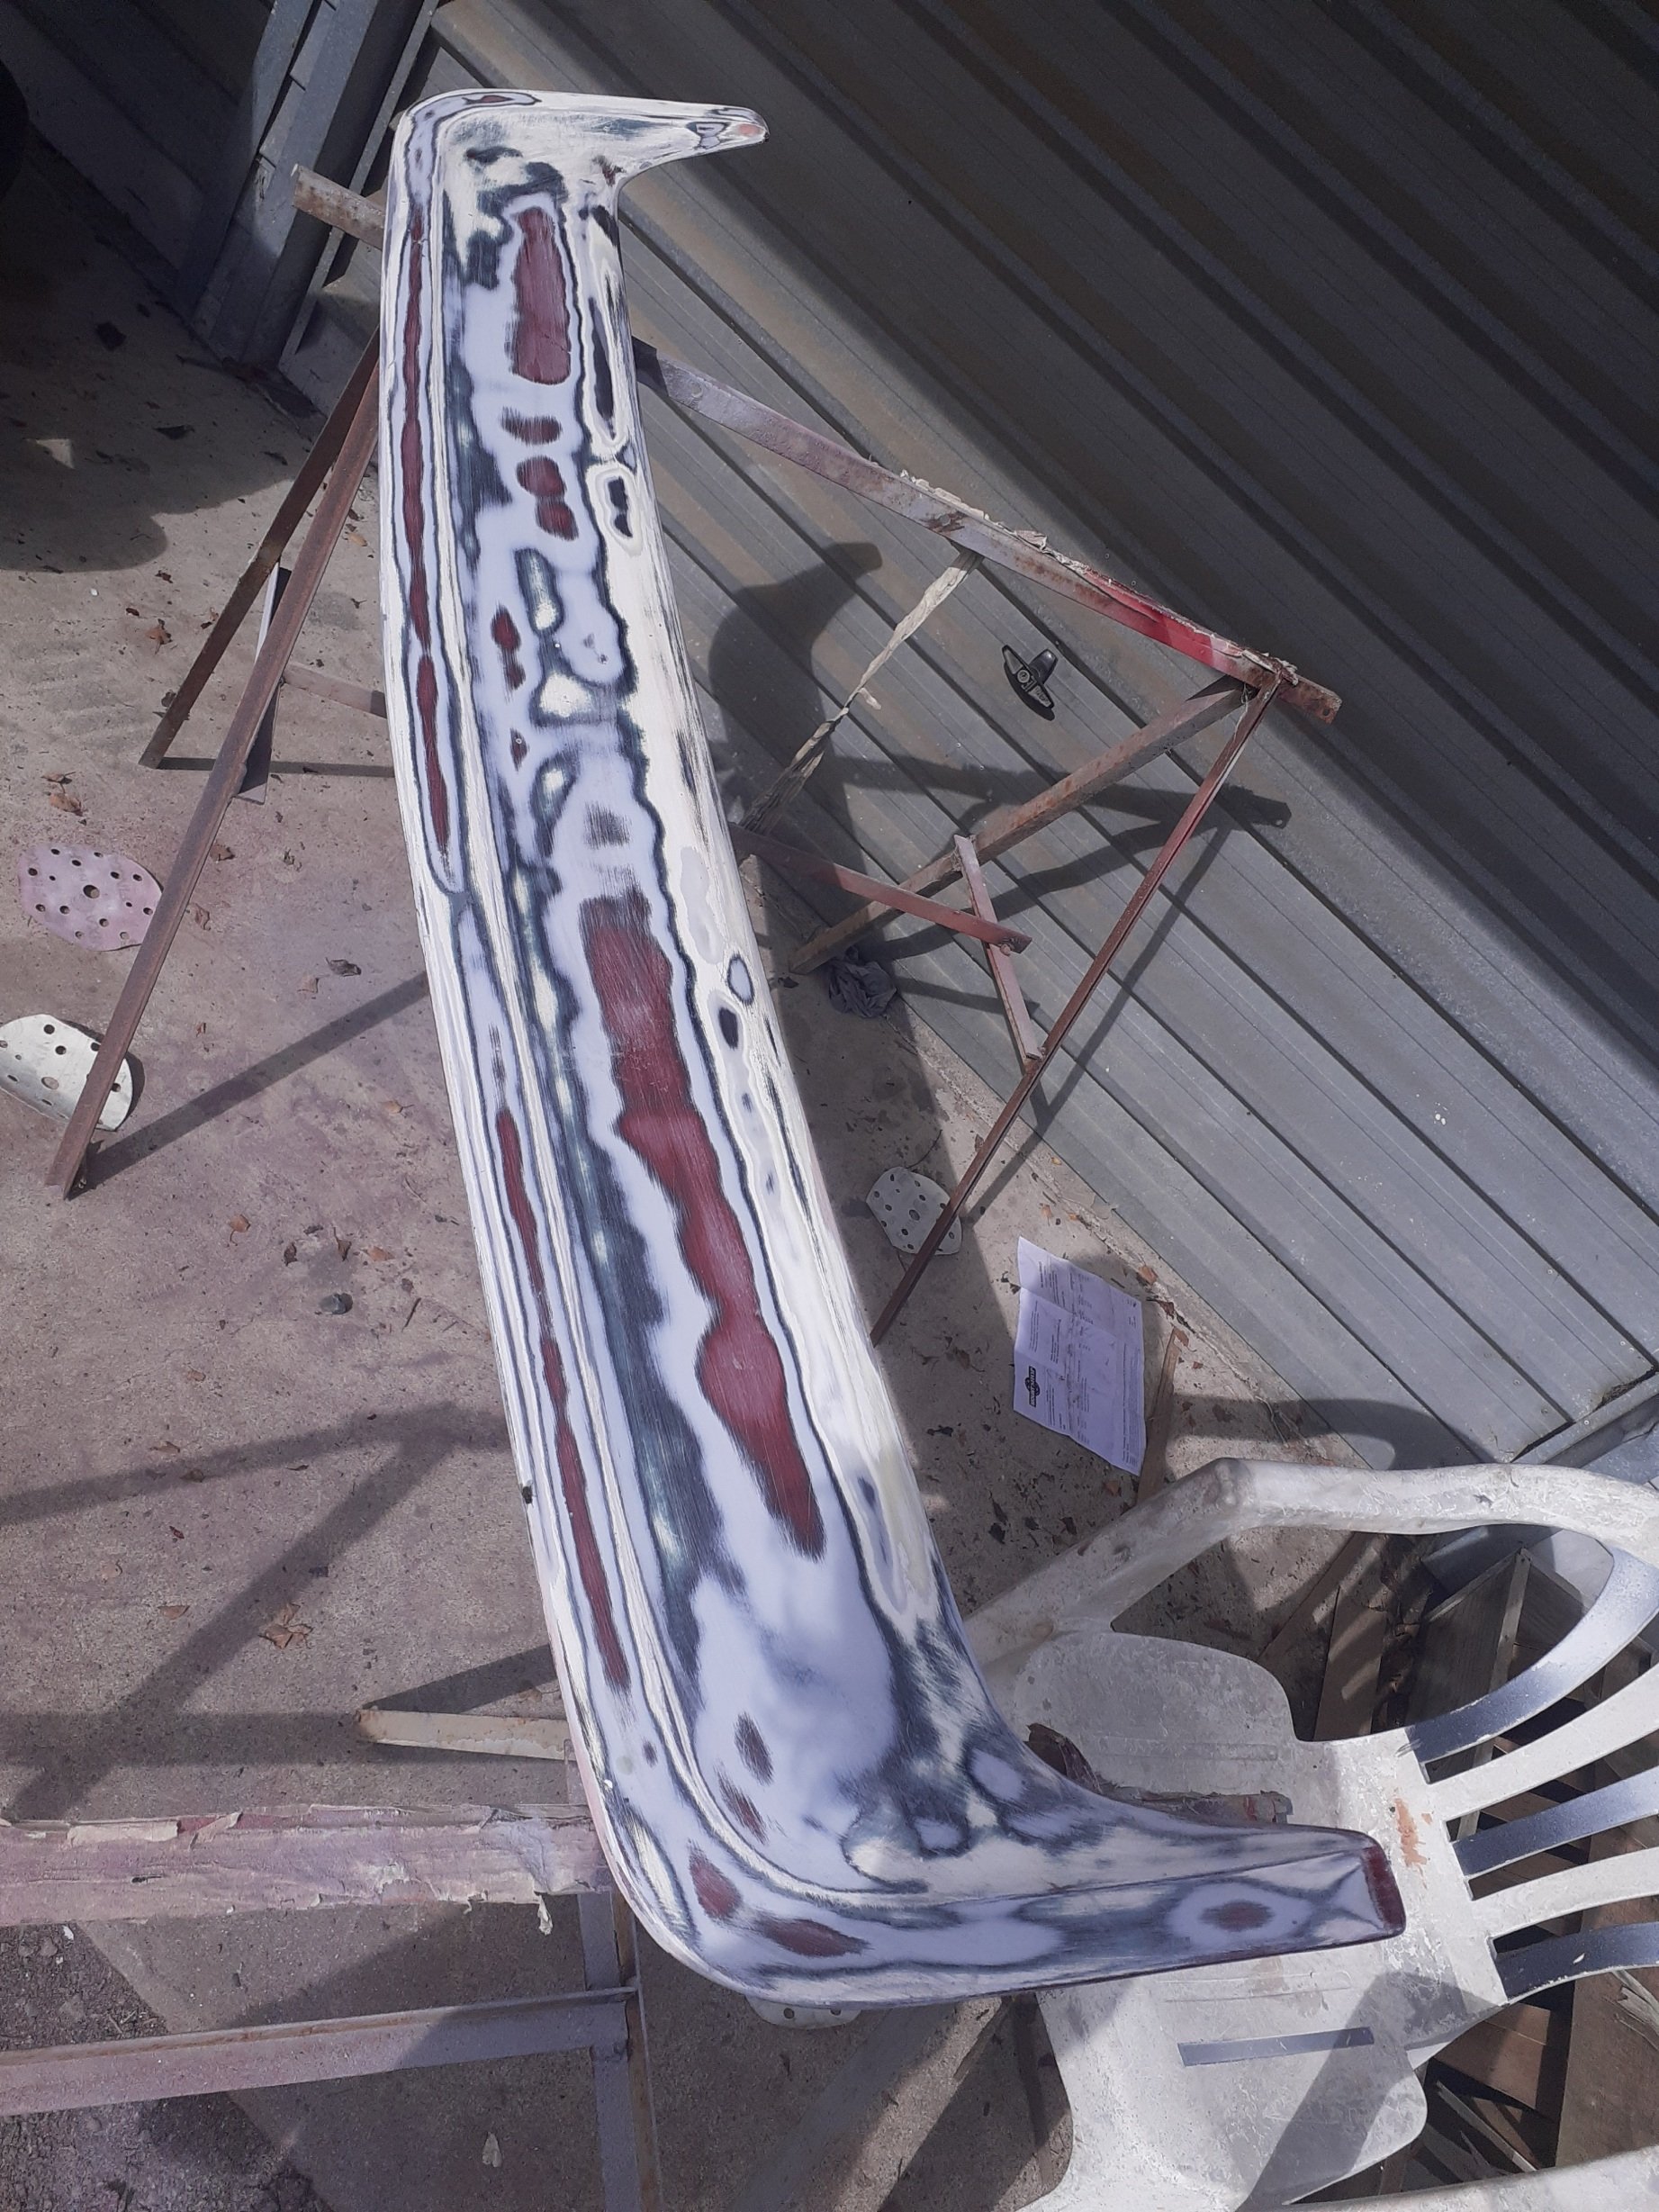
A lot of sanding, skim fill, primer and repeat to get it straighter
-
2
-
-
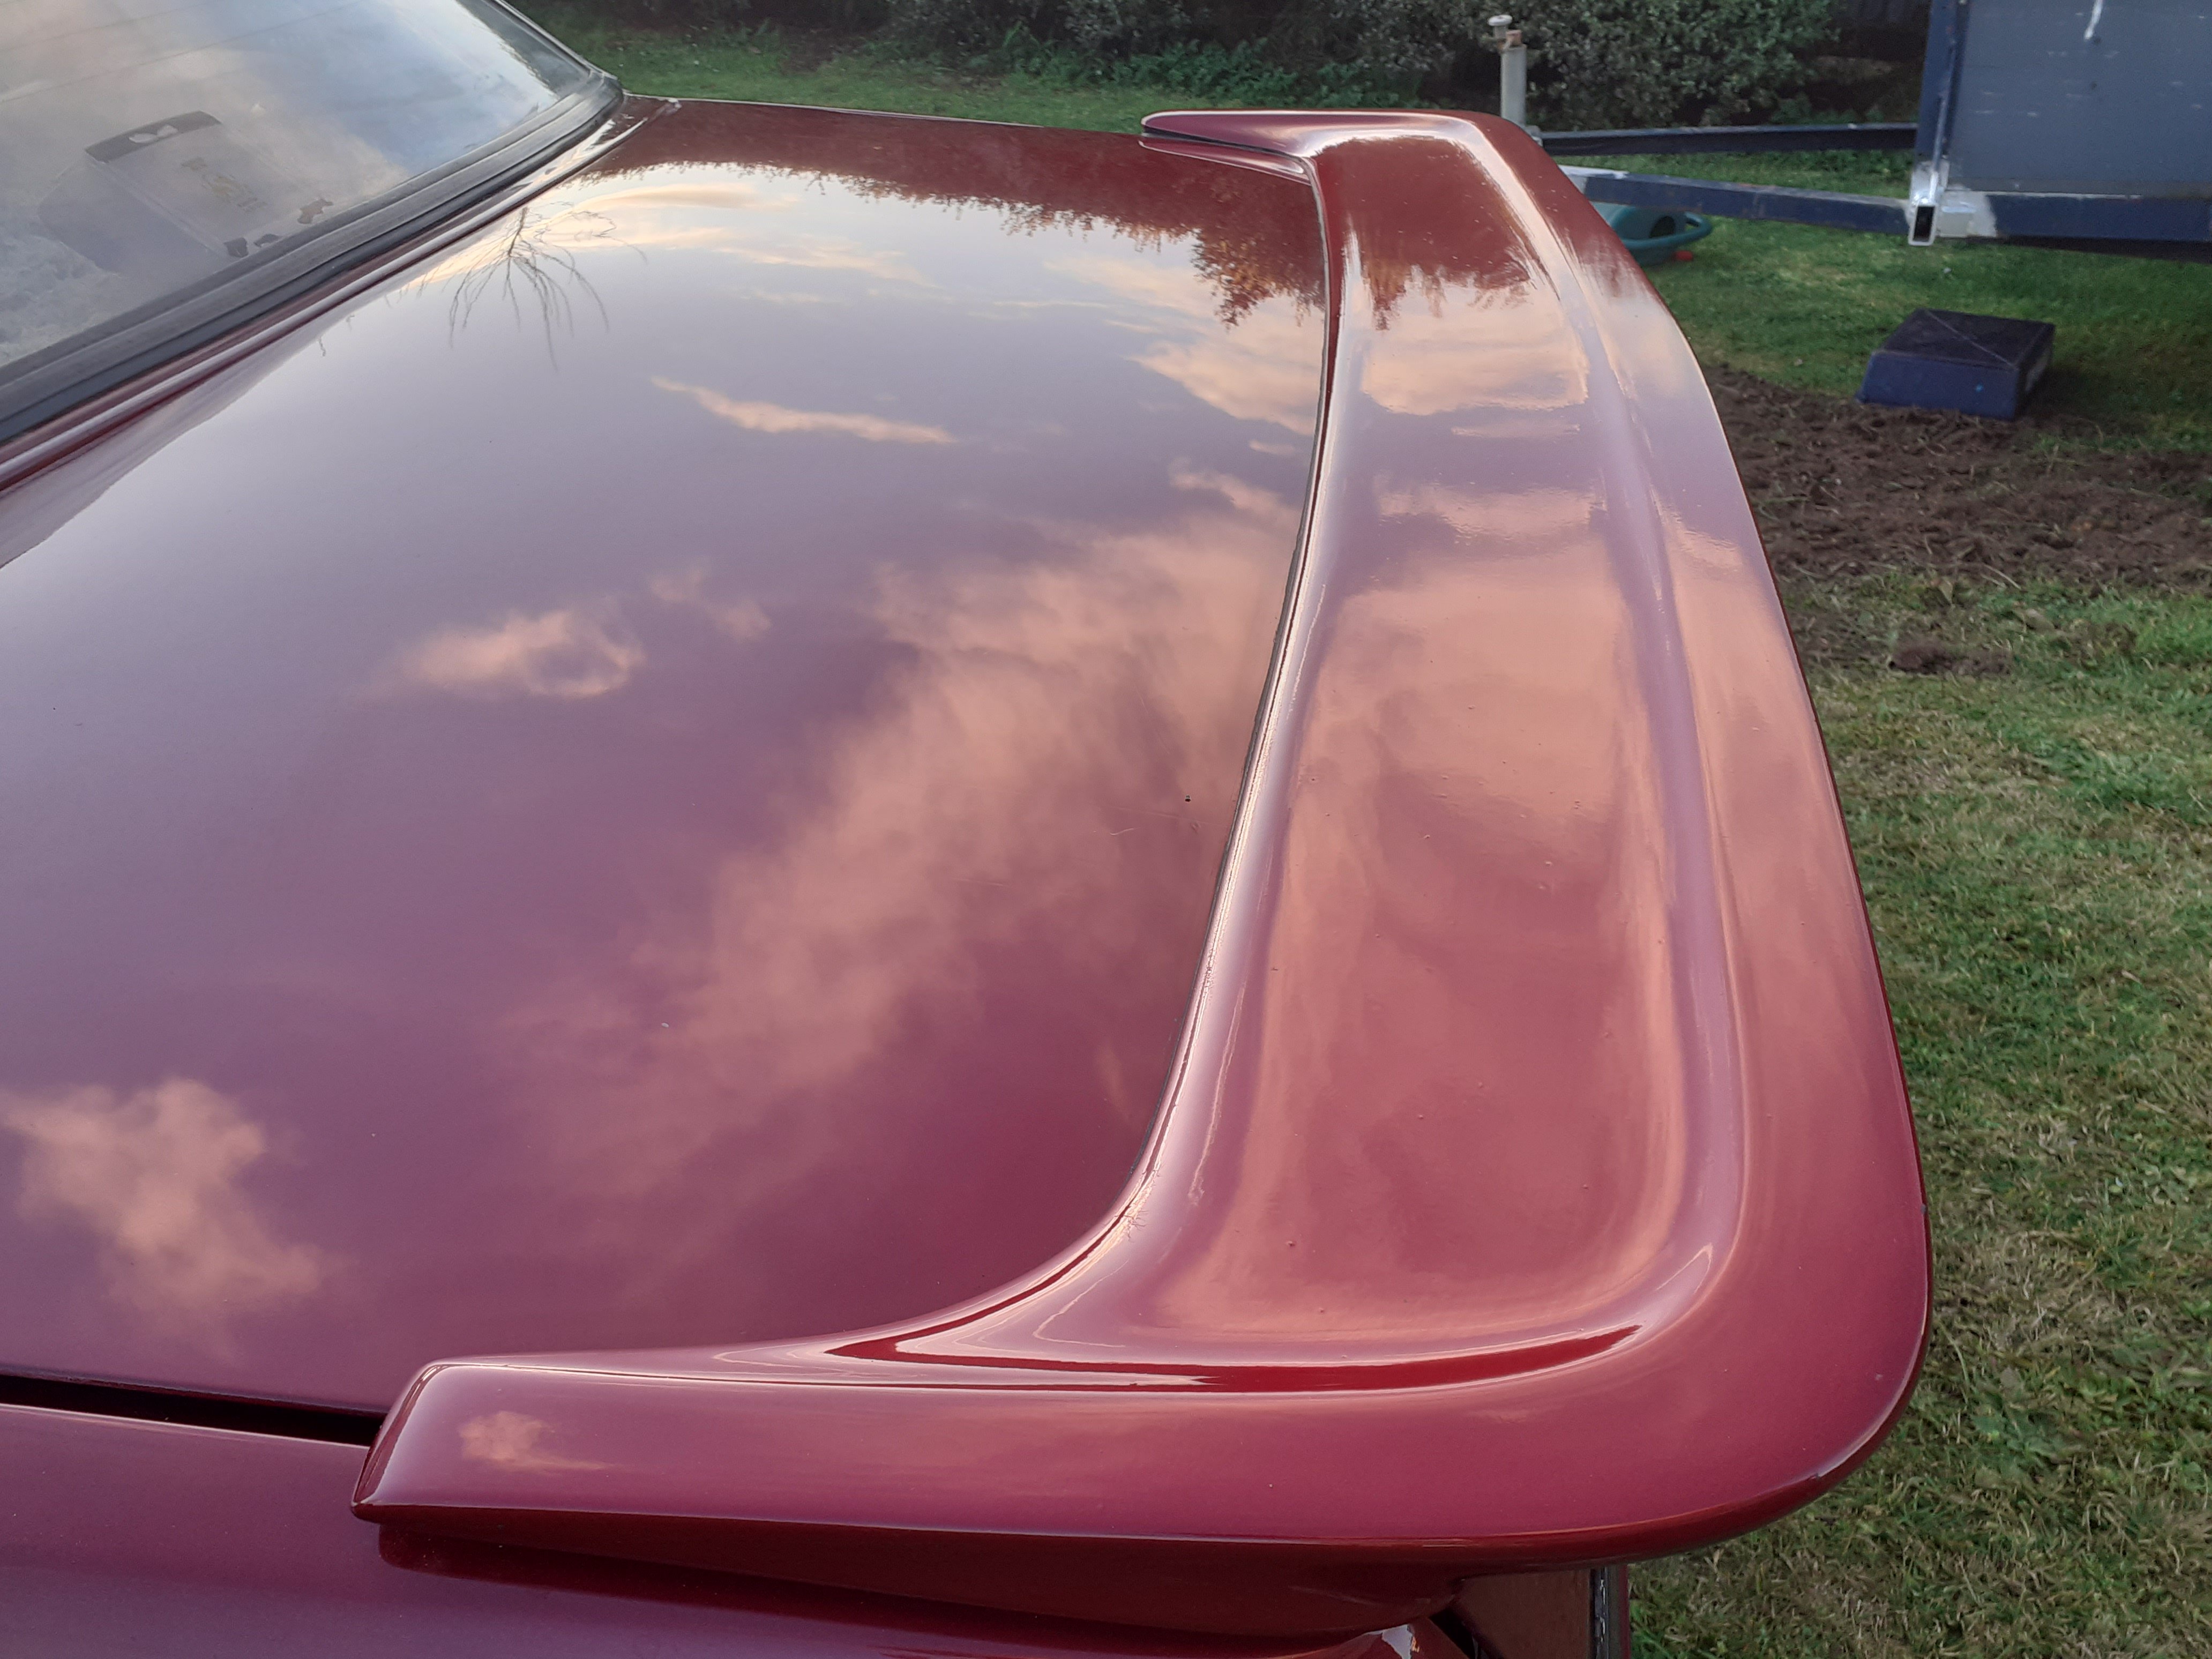
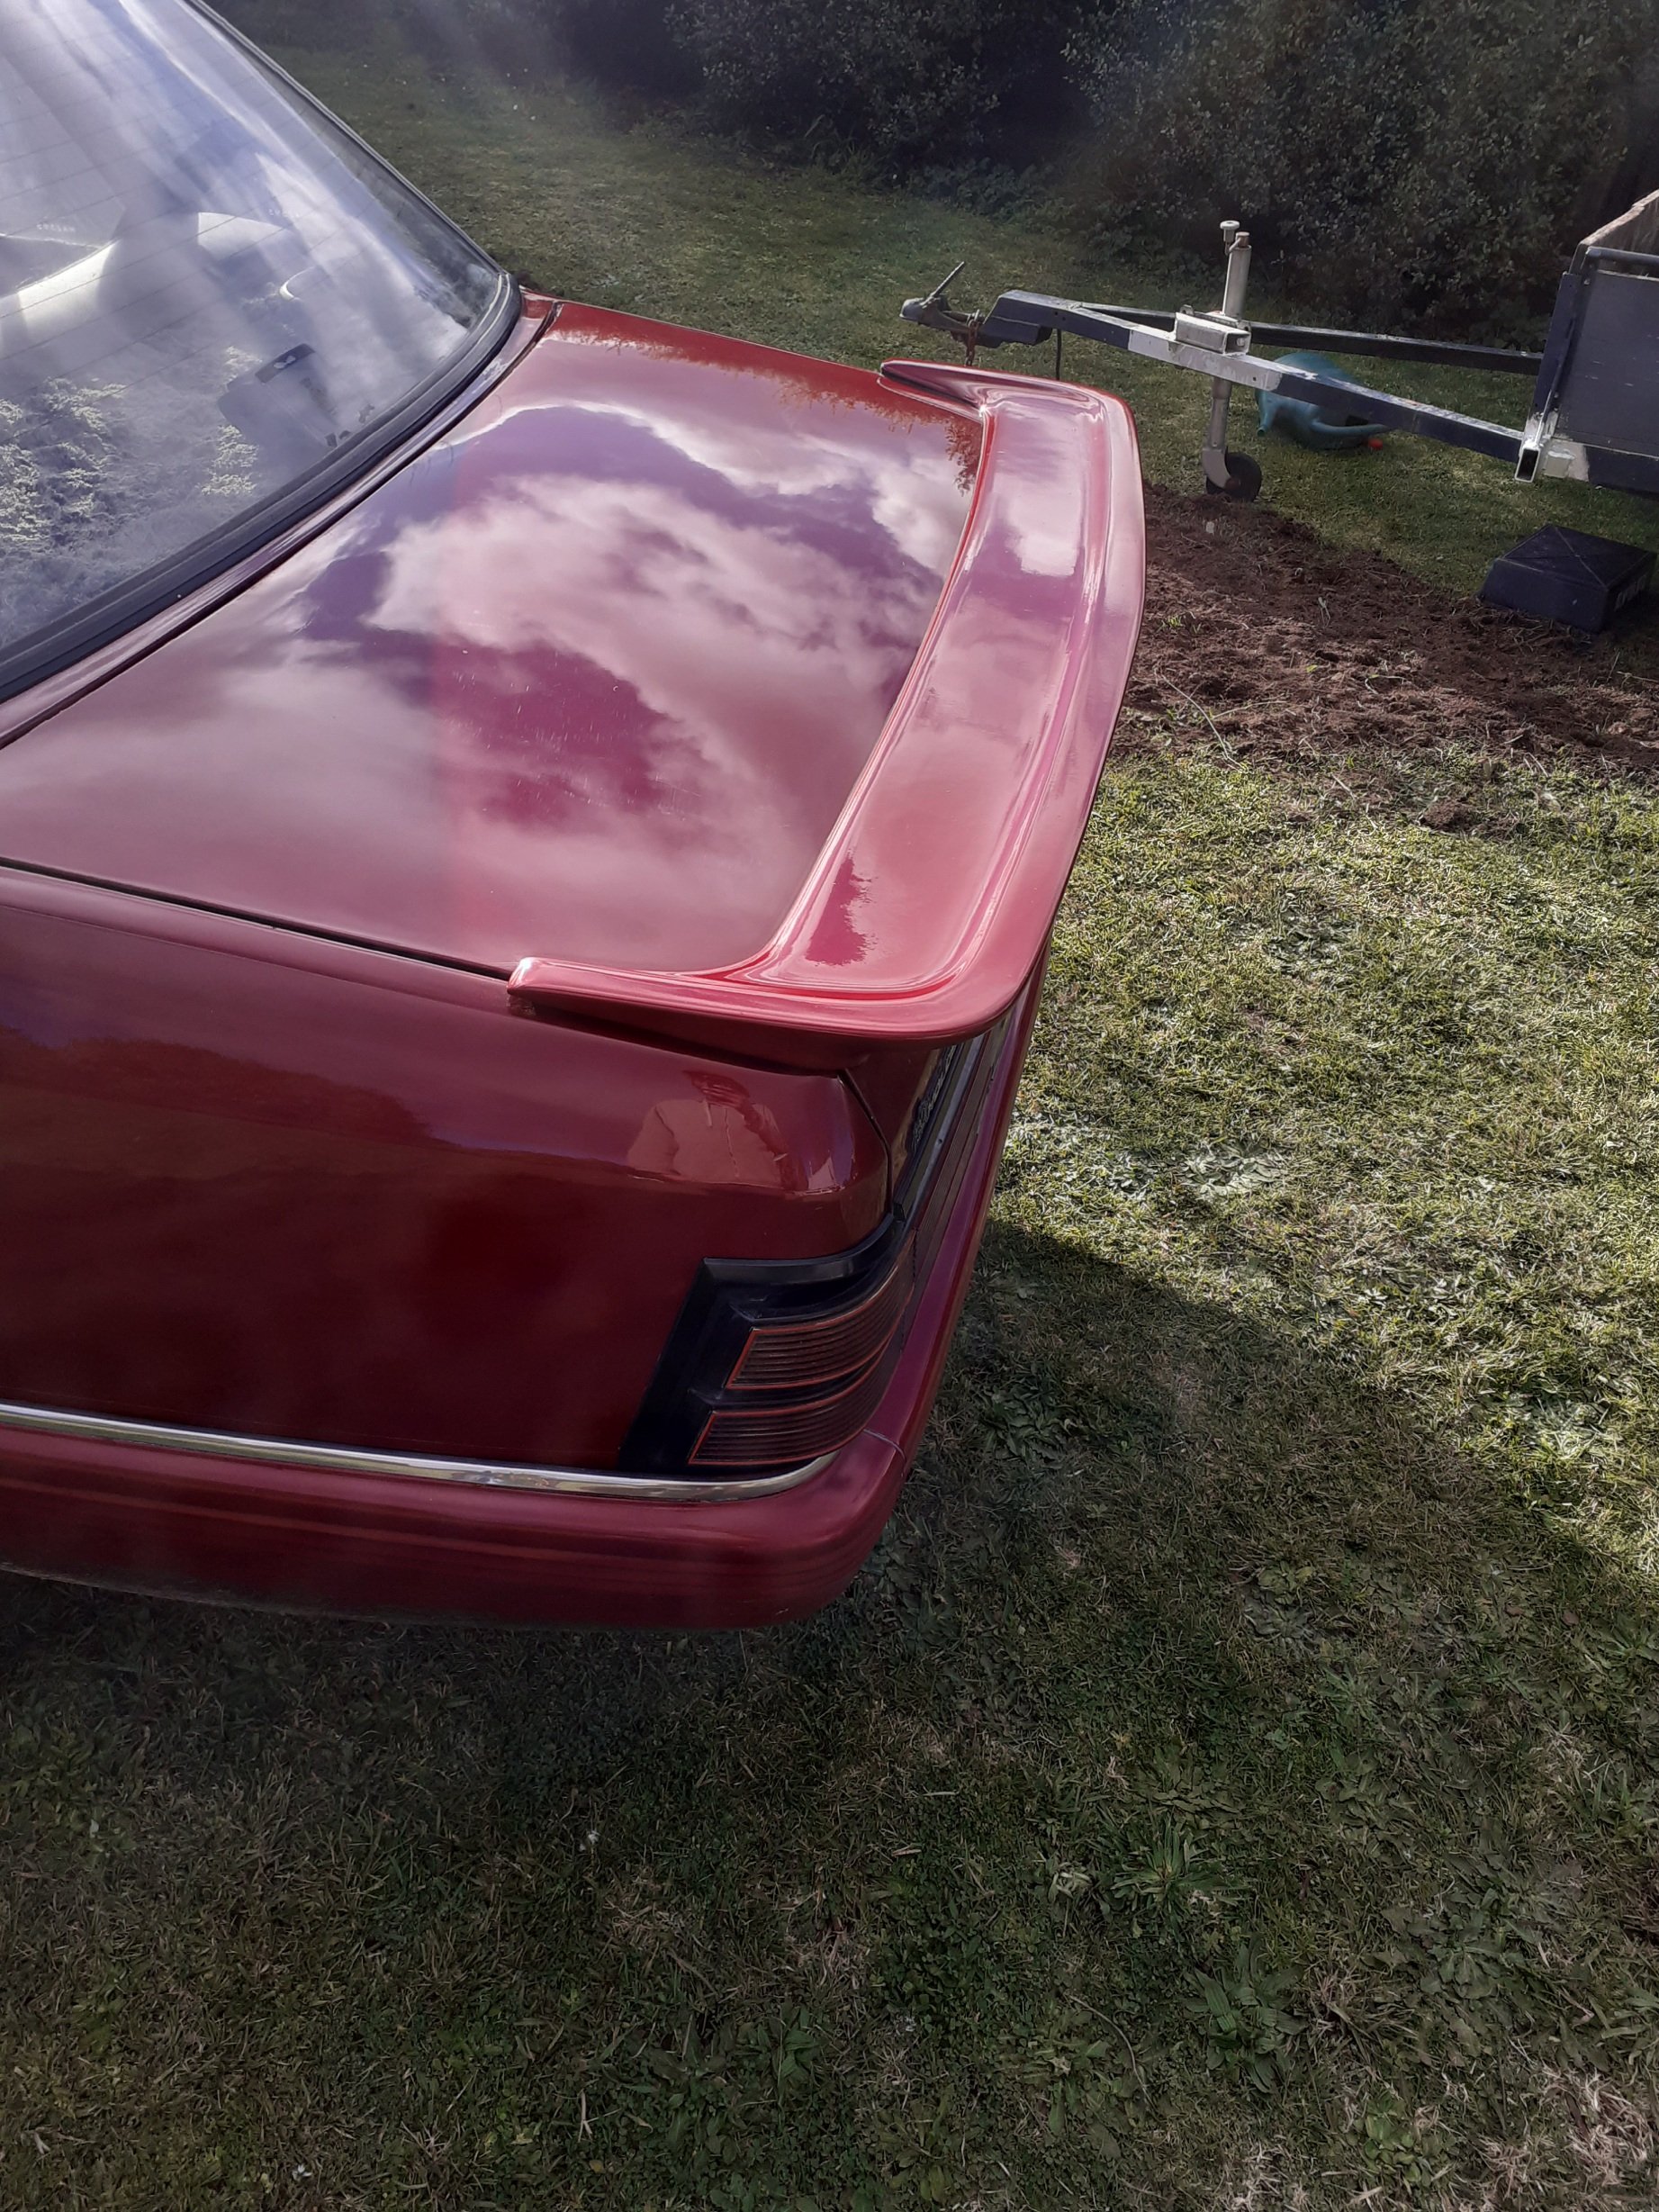
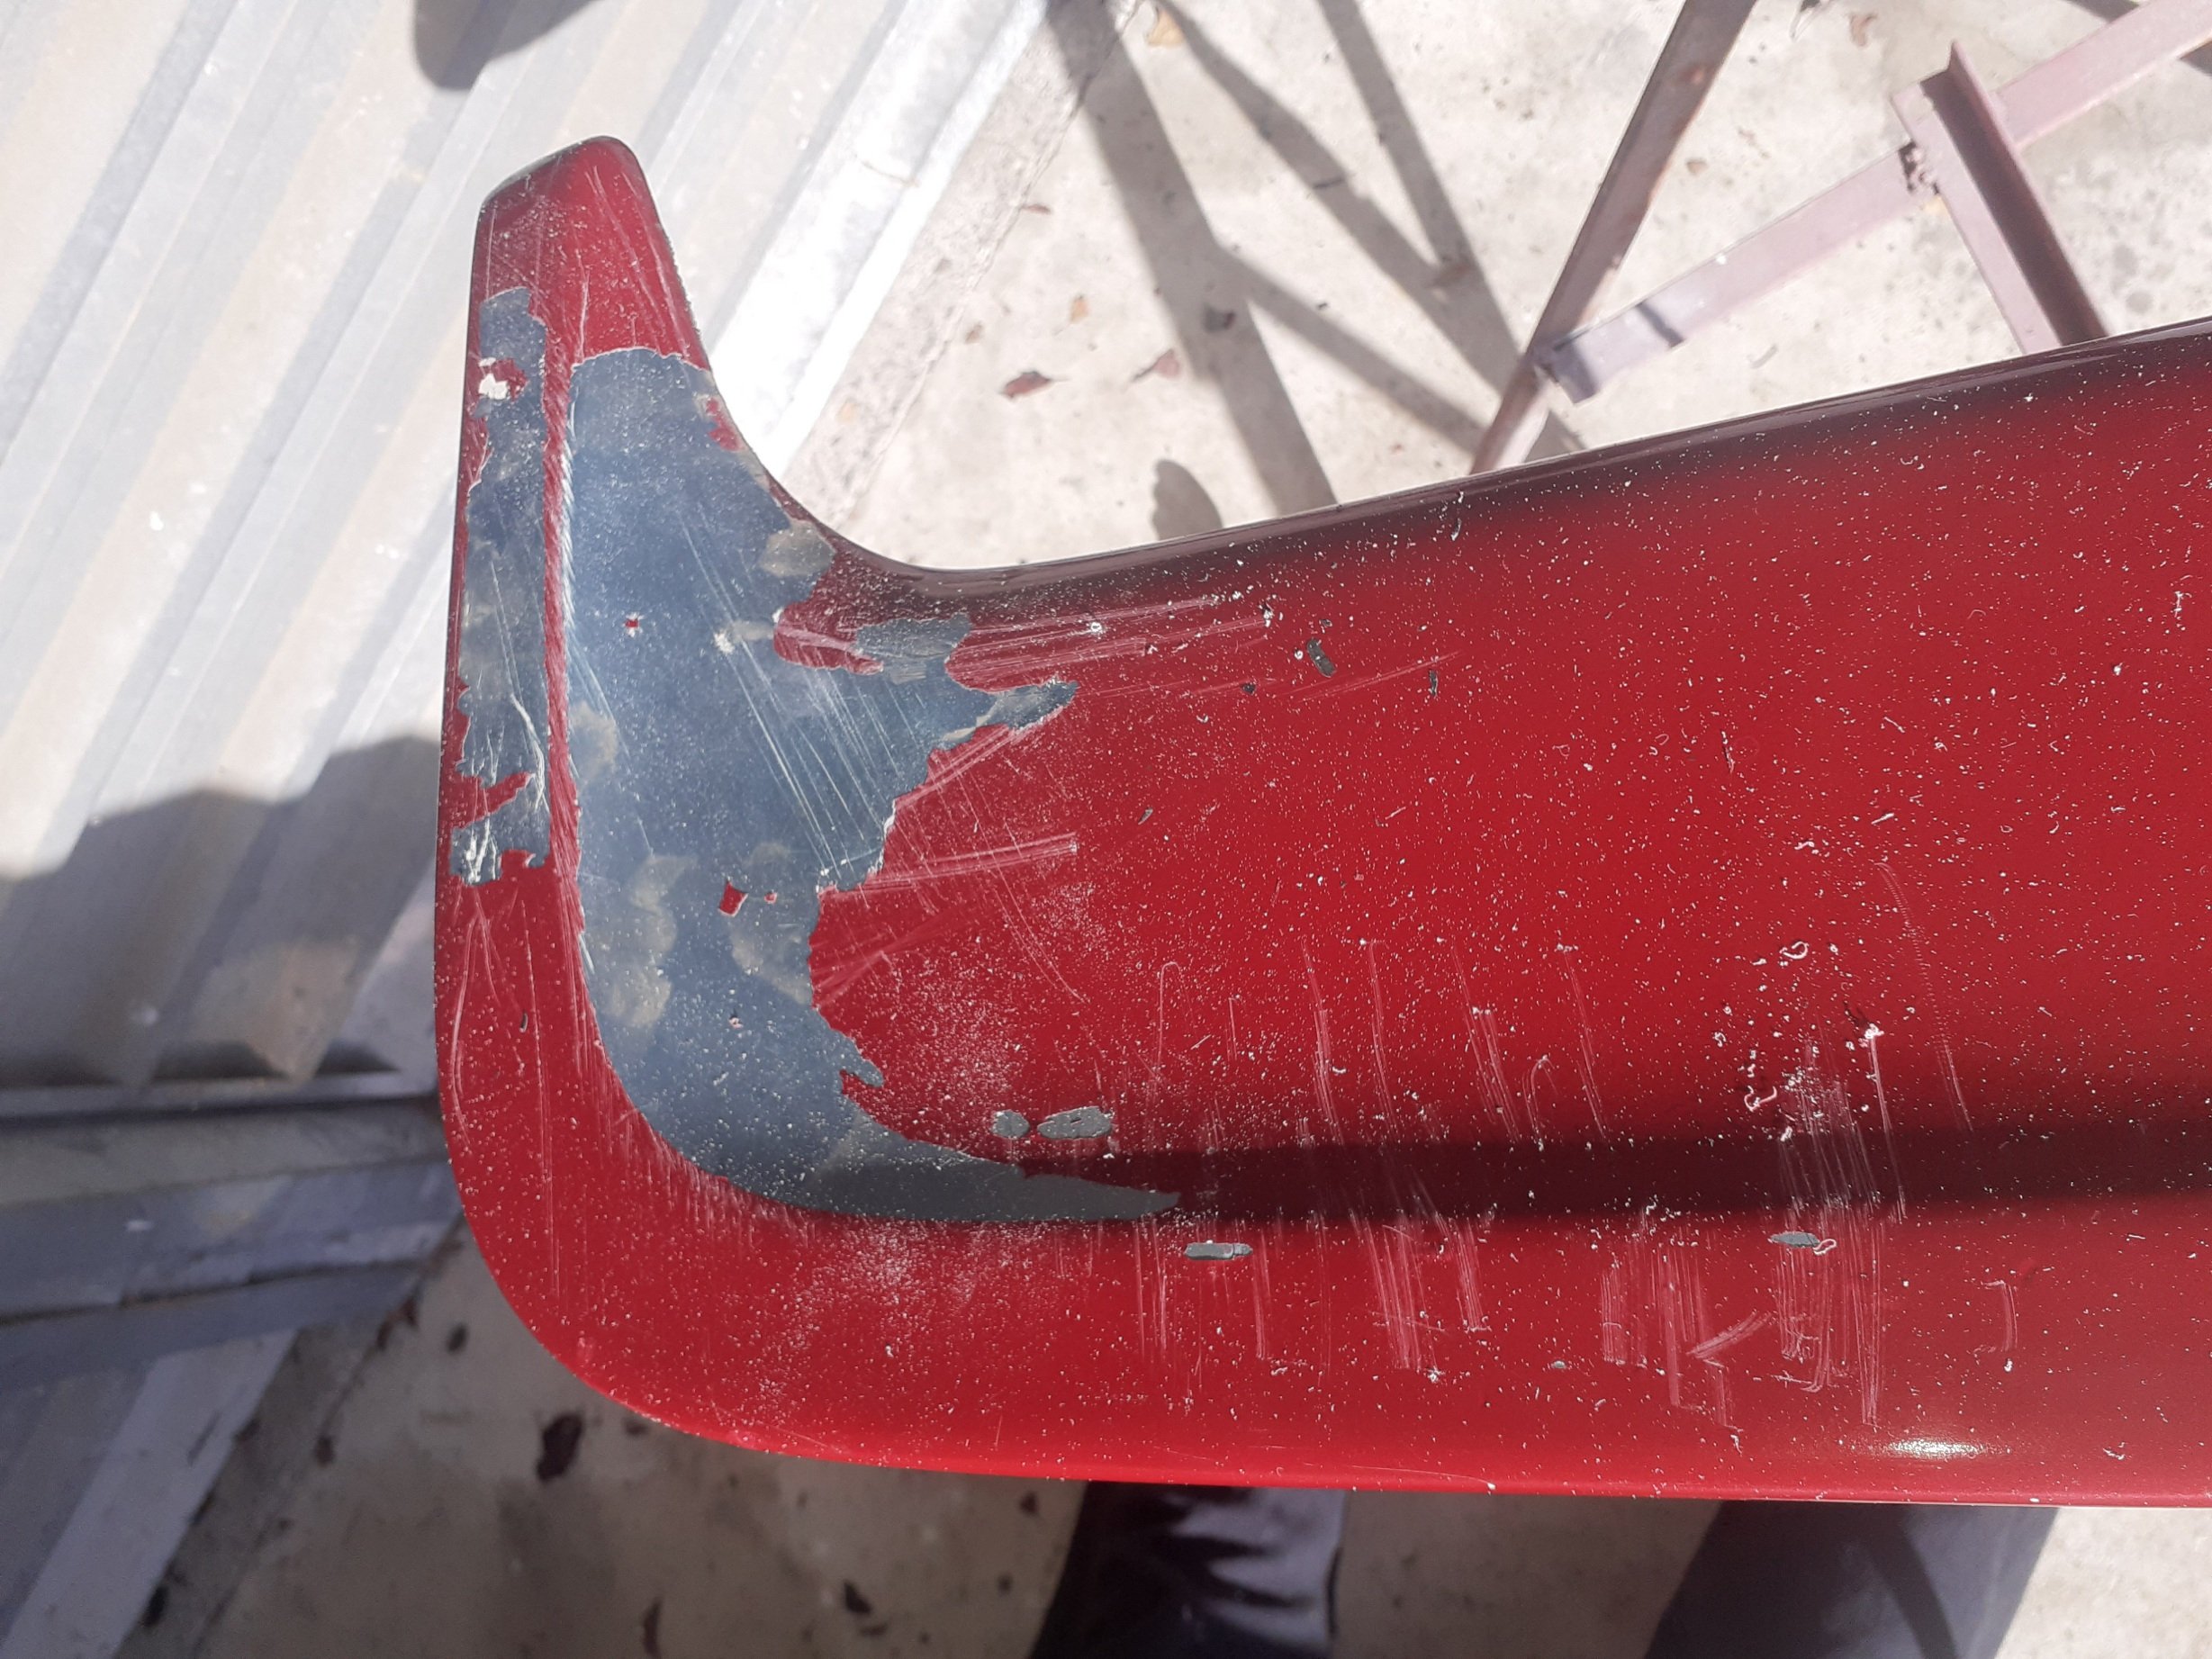
Throughout the time ive had this car painted ive always stored it inside, the last year ive put it outside a few times, and instantly the wing started to bubble, turns out the sun and rain with bad paint prep on fibreglass took a toll on it, but no other parts of the car, it still looked good, but had some scratches and the bubbles got bigger and bigger.
So i decided to paint it and another part which ill detail later, together
-
- Popular Post
- Popular Post
-
17
-
 1
1
-
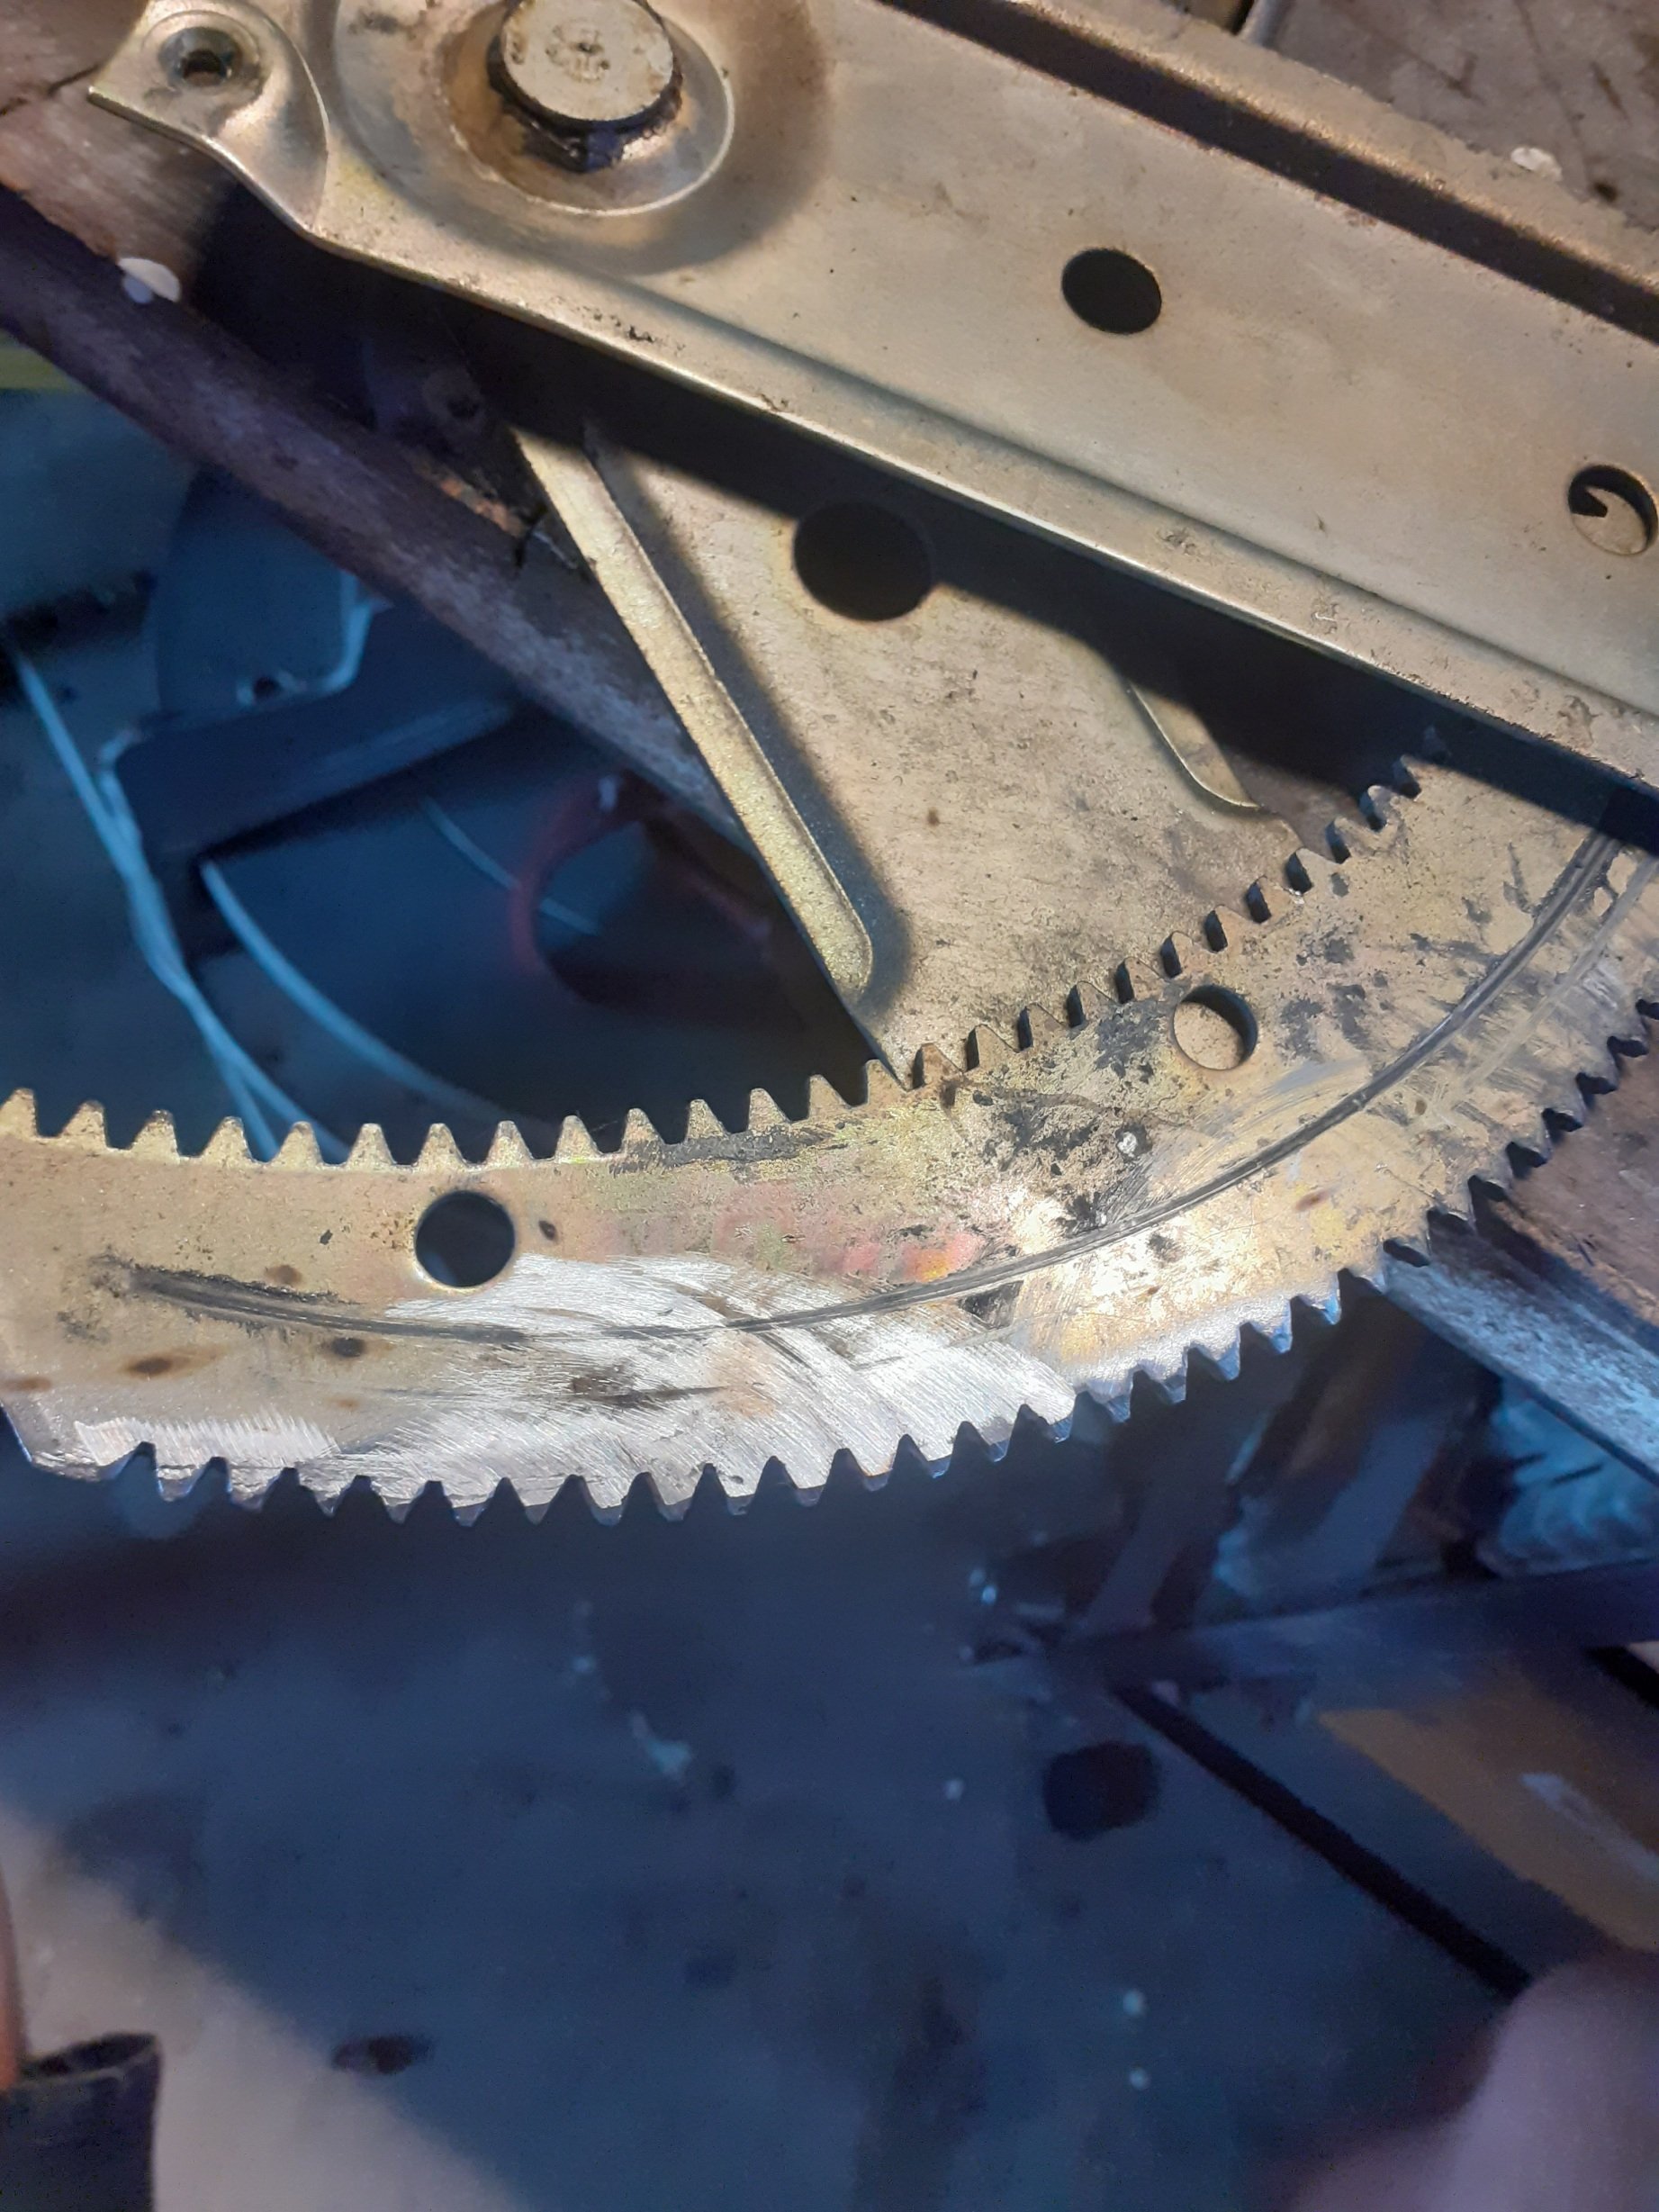
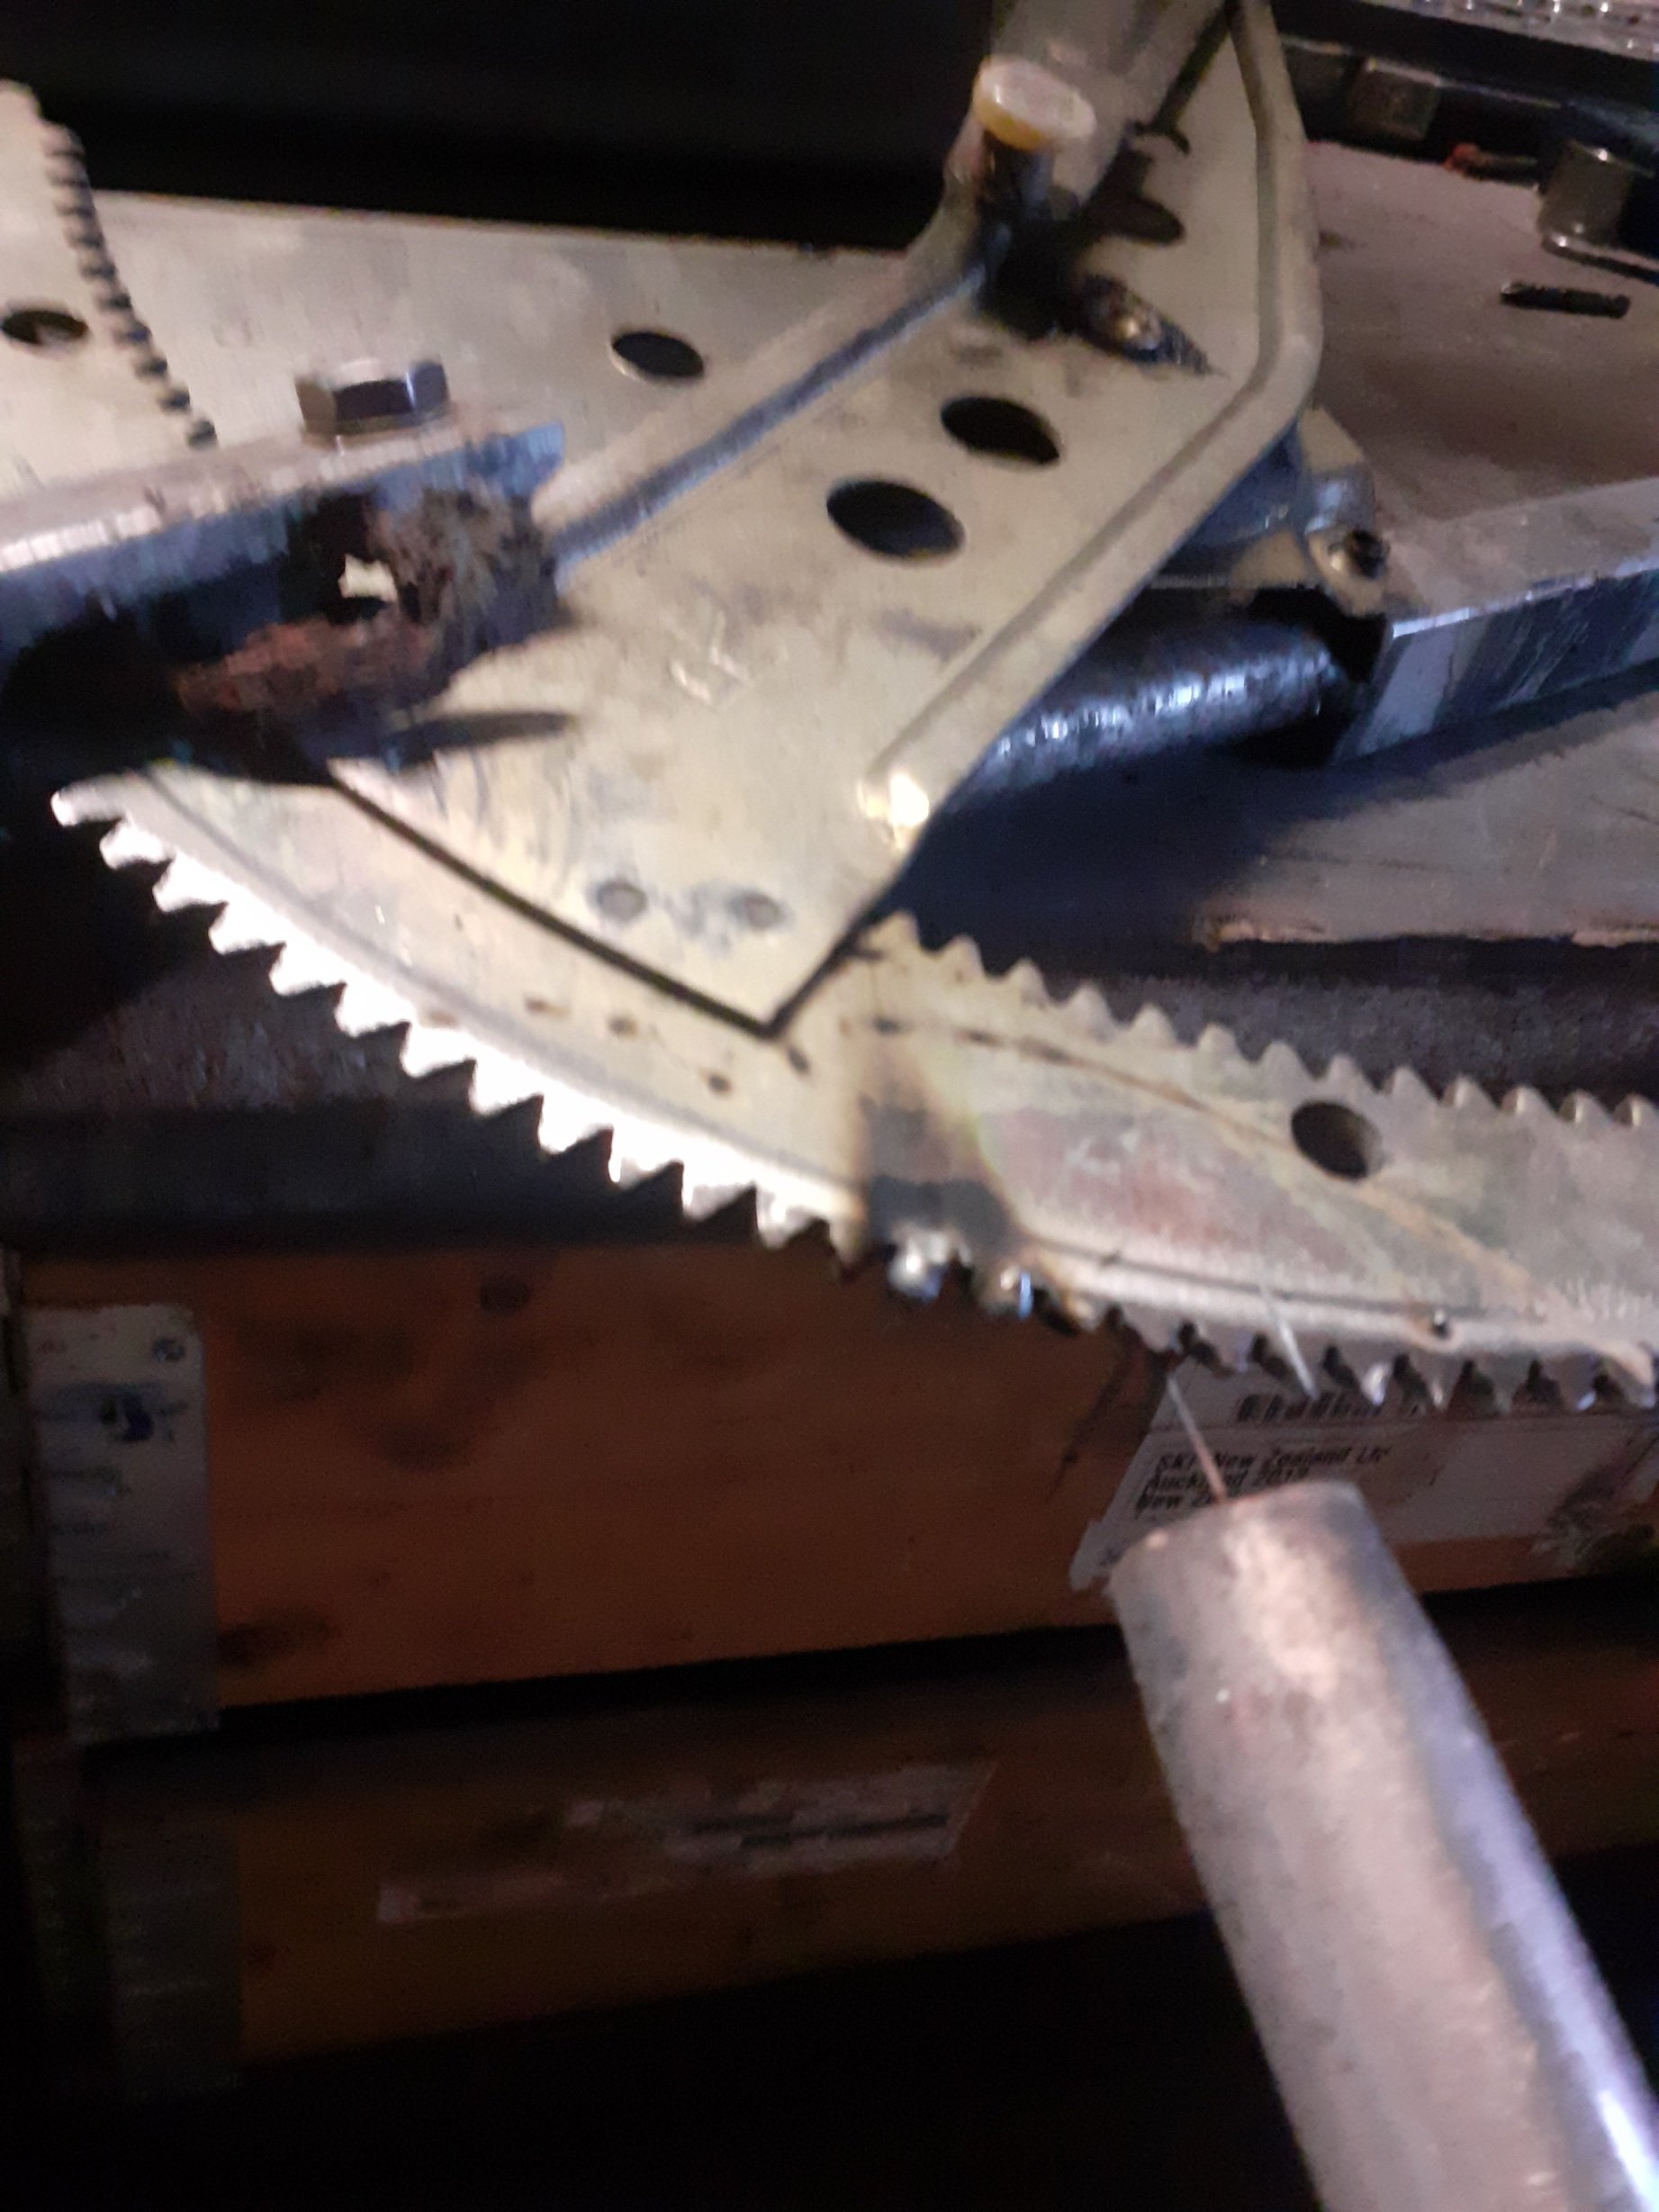
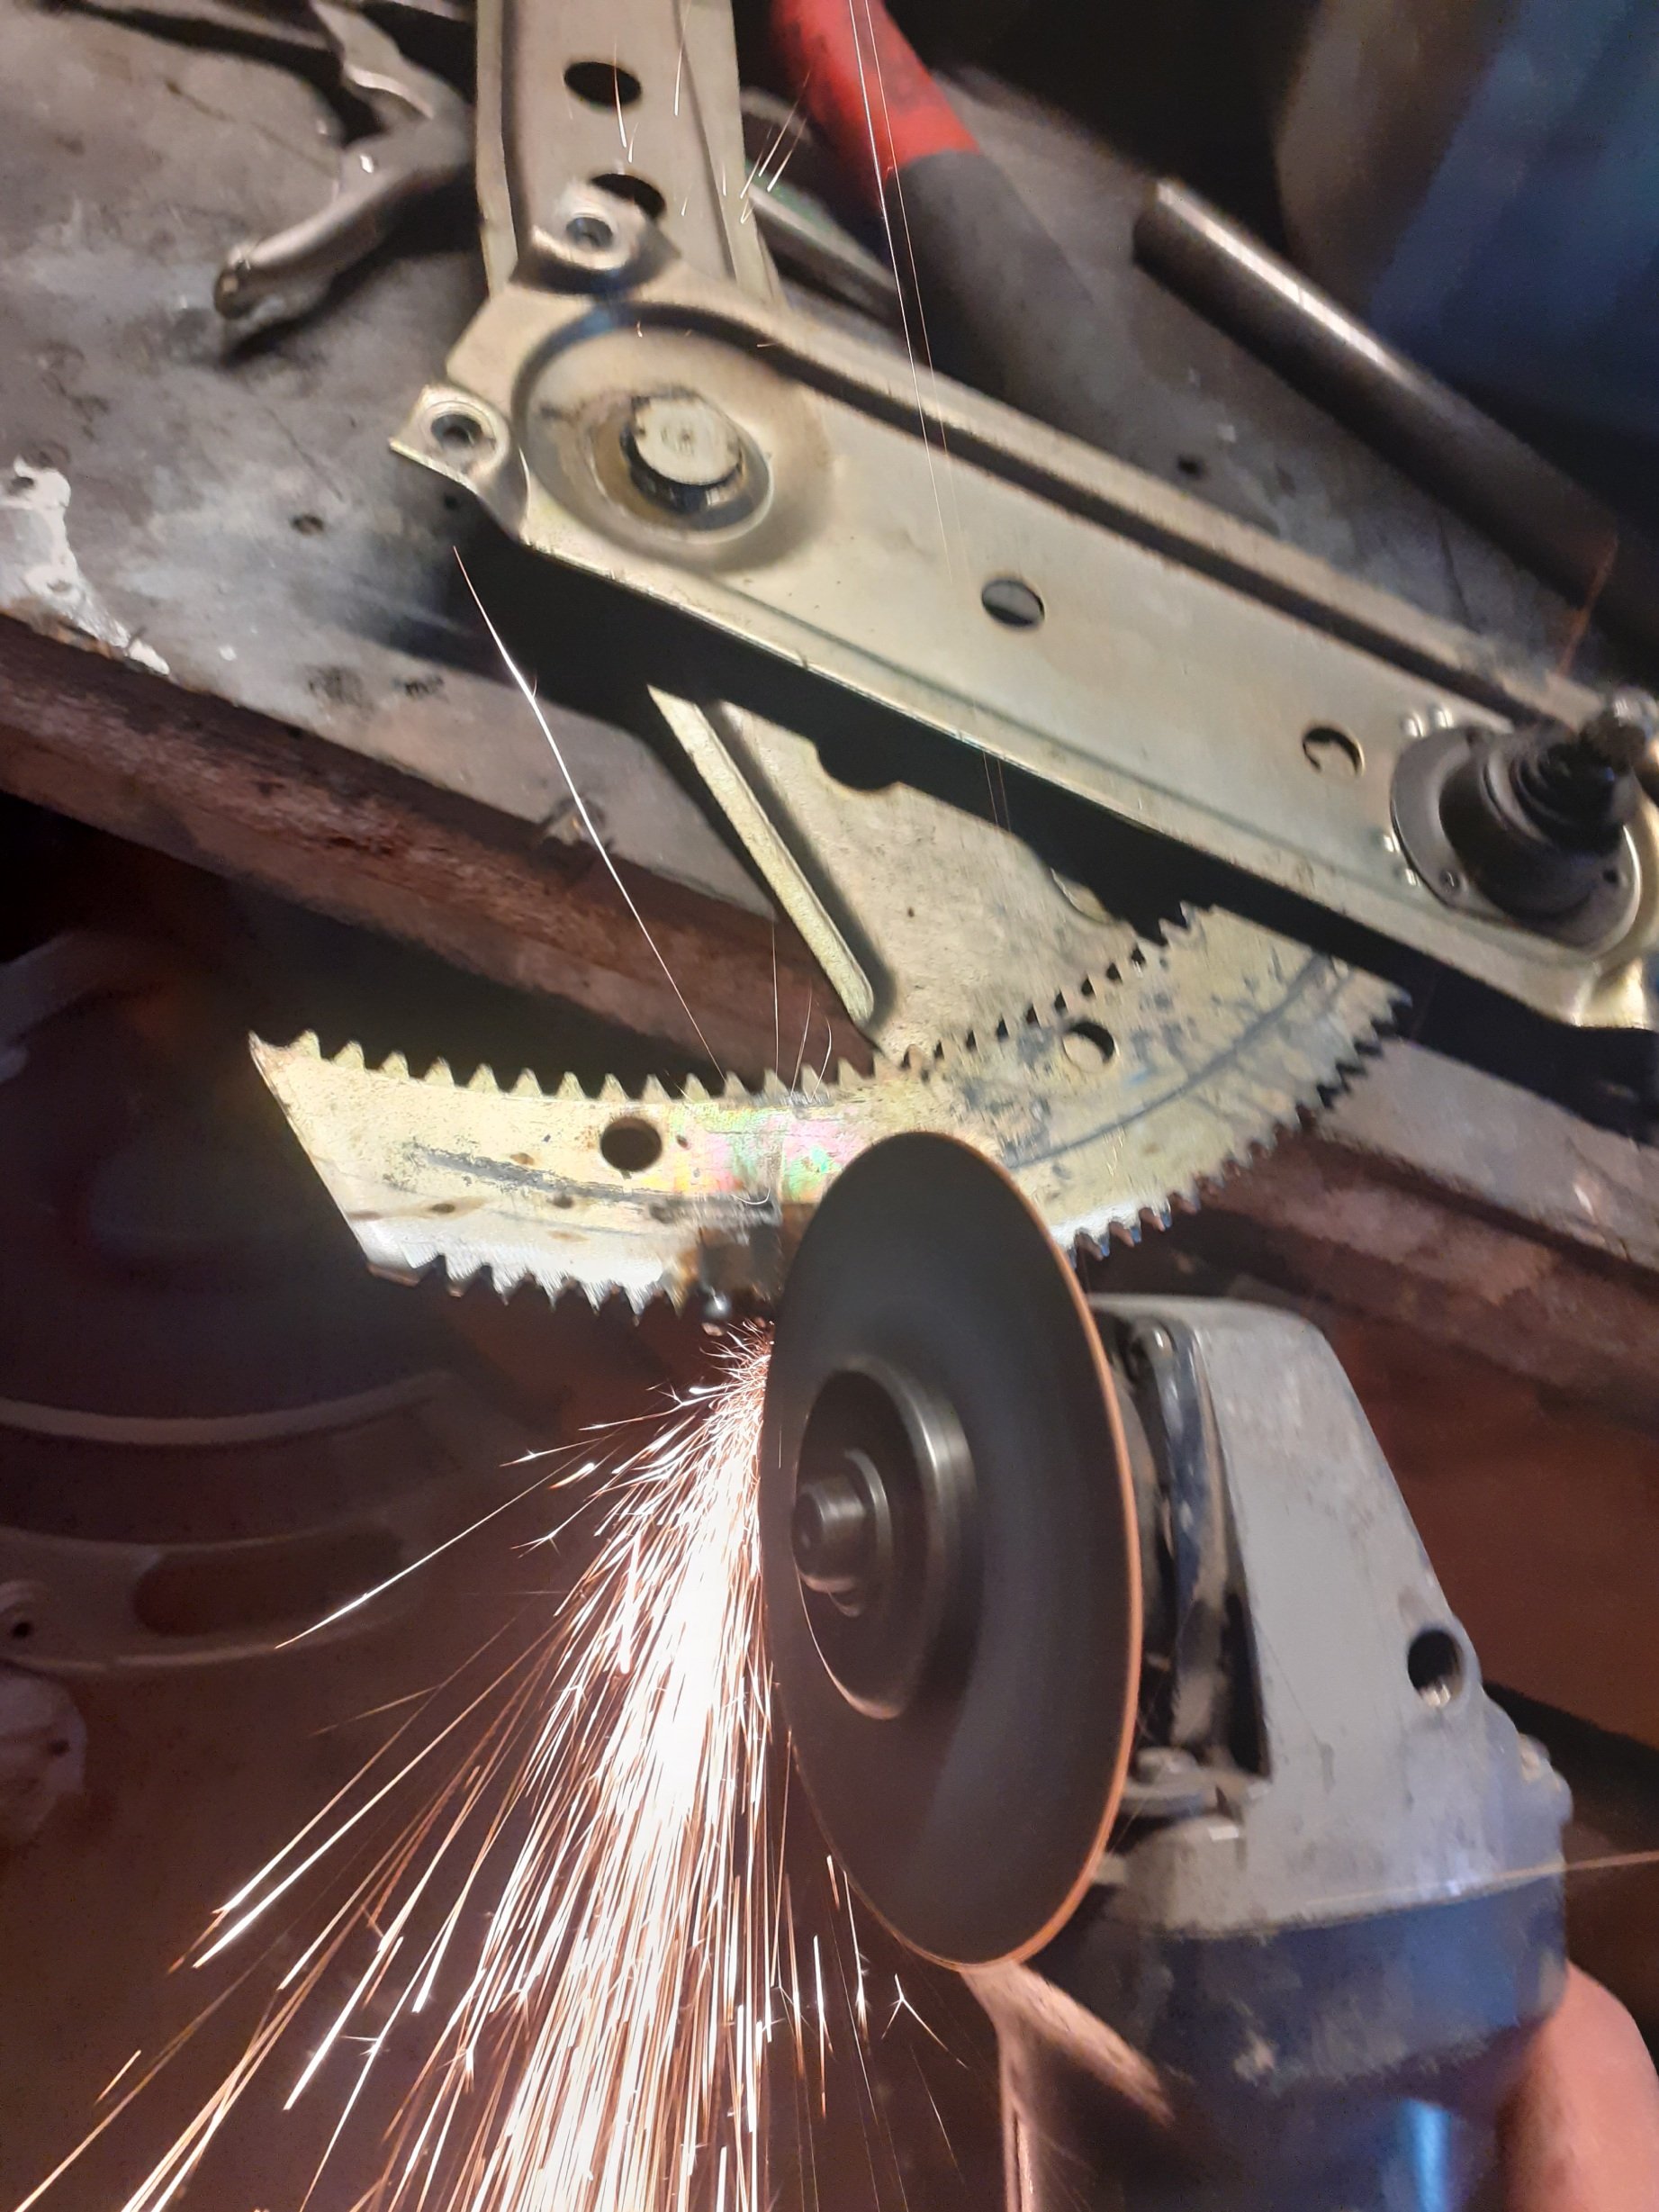
Window wouldnt wind up all the way, so i pulled mechanism out of the door and welded the teeth up, re-created a bunch of them and sanded, it works now, for how long i dont know, i guess we will see.
-
3
-
-
- Popular Post
- Popular Post
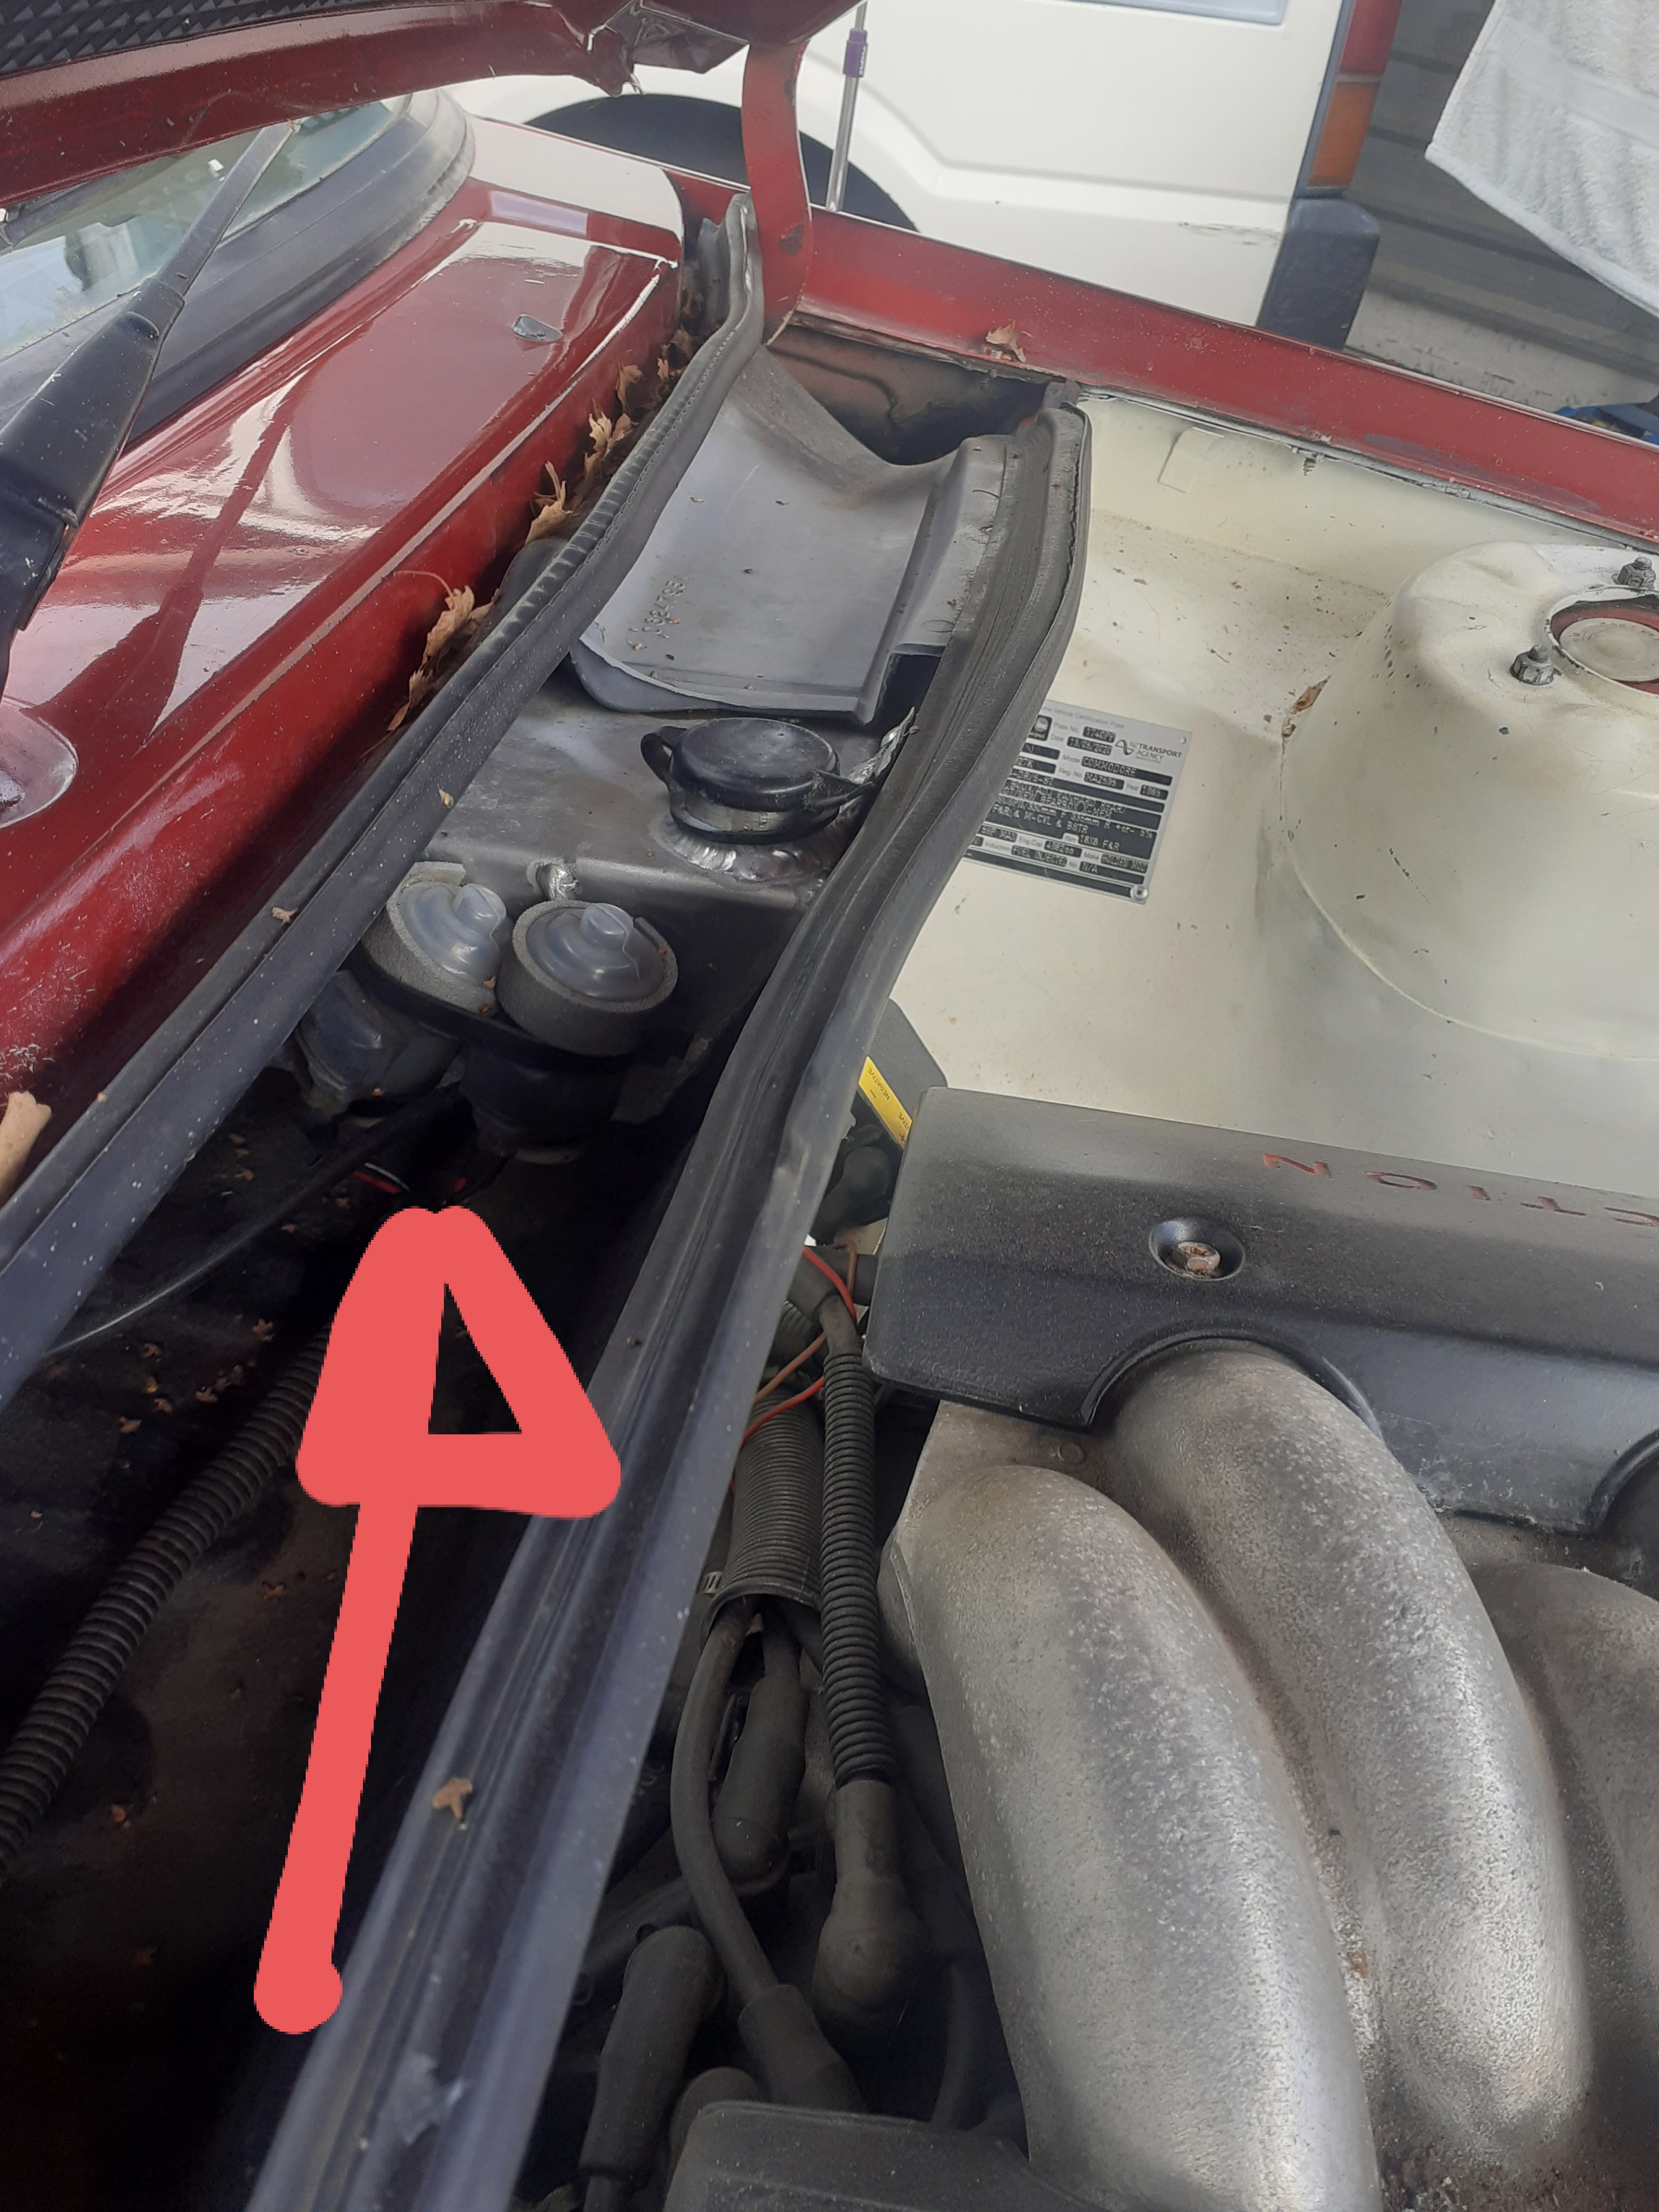
So im back from hibernating, the van hasnt run untill recently, new job as well as a side job , made a goal to get it running and fix a few things before i left my last job with 3 days to go i threw it back together welded some fittings and moved some hoses including routing the fuel vent hose to in front of airflow meter, crankcase ventilation from welded fitting on plenum, out into behind airflow meter as not to introduce unmetred air into system.
Cut exhaust as it was rubbing on a shock, clocked it a bit better and welded some extra rubber hangers on to support it and stop vibration.
And moved the old shell out of the middle of the lawn with some interesting manuevering including 4wd a tow rope and no wheels
Couple late nights but will not have to work as many days now so should have some more time and money for projects!
-
15
-
- Popular Post
- Popular Post
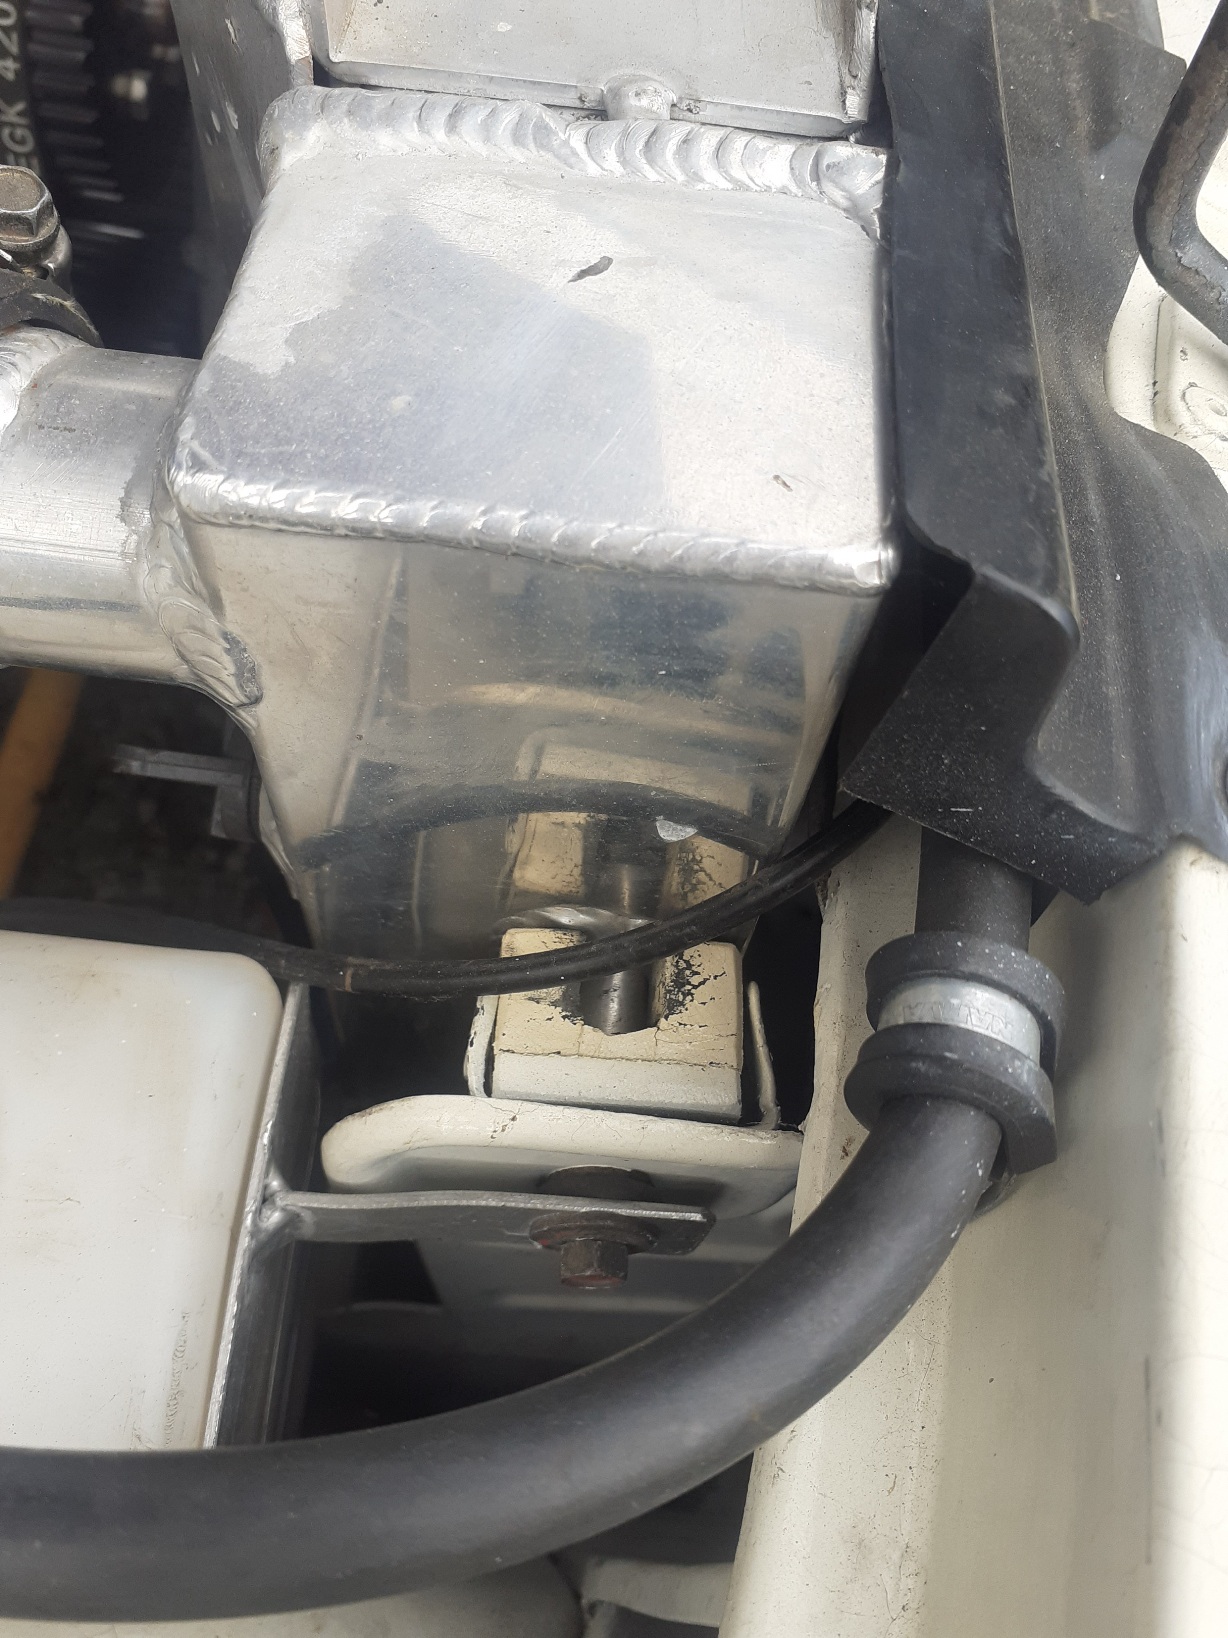
Made a washer resiviour with a twin water pump setup rather than the weak original vk one shitty pump which only powered one windshield nozzle while the other just dribbles , welded up a custom tank, fitted some pumps and it works 10 times better than factory as well as removing the old washer parts from the engine bay for a cleaner look
-
10
-
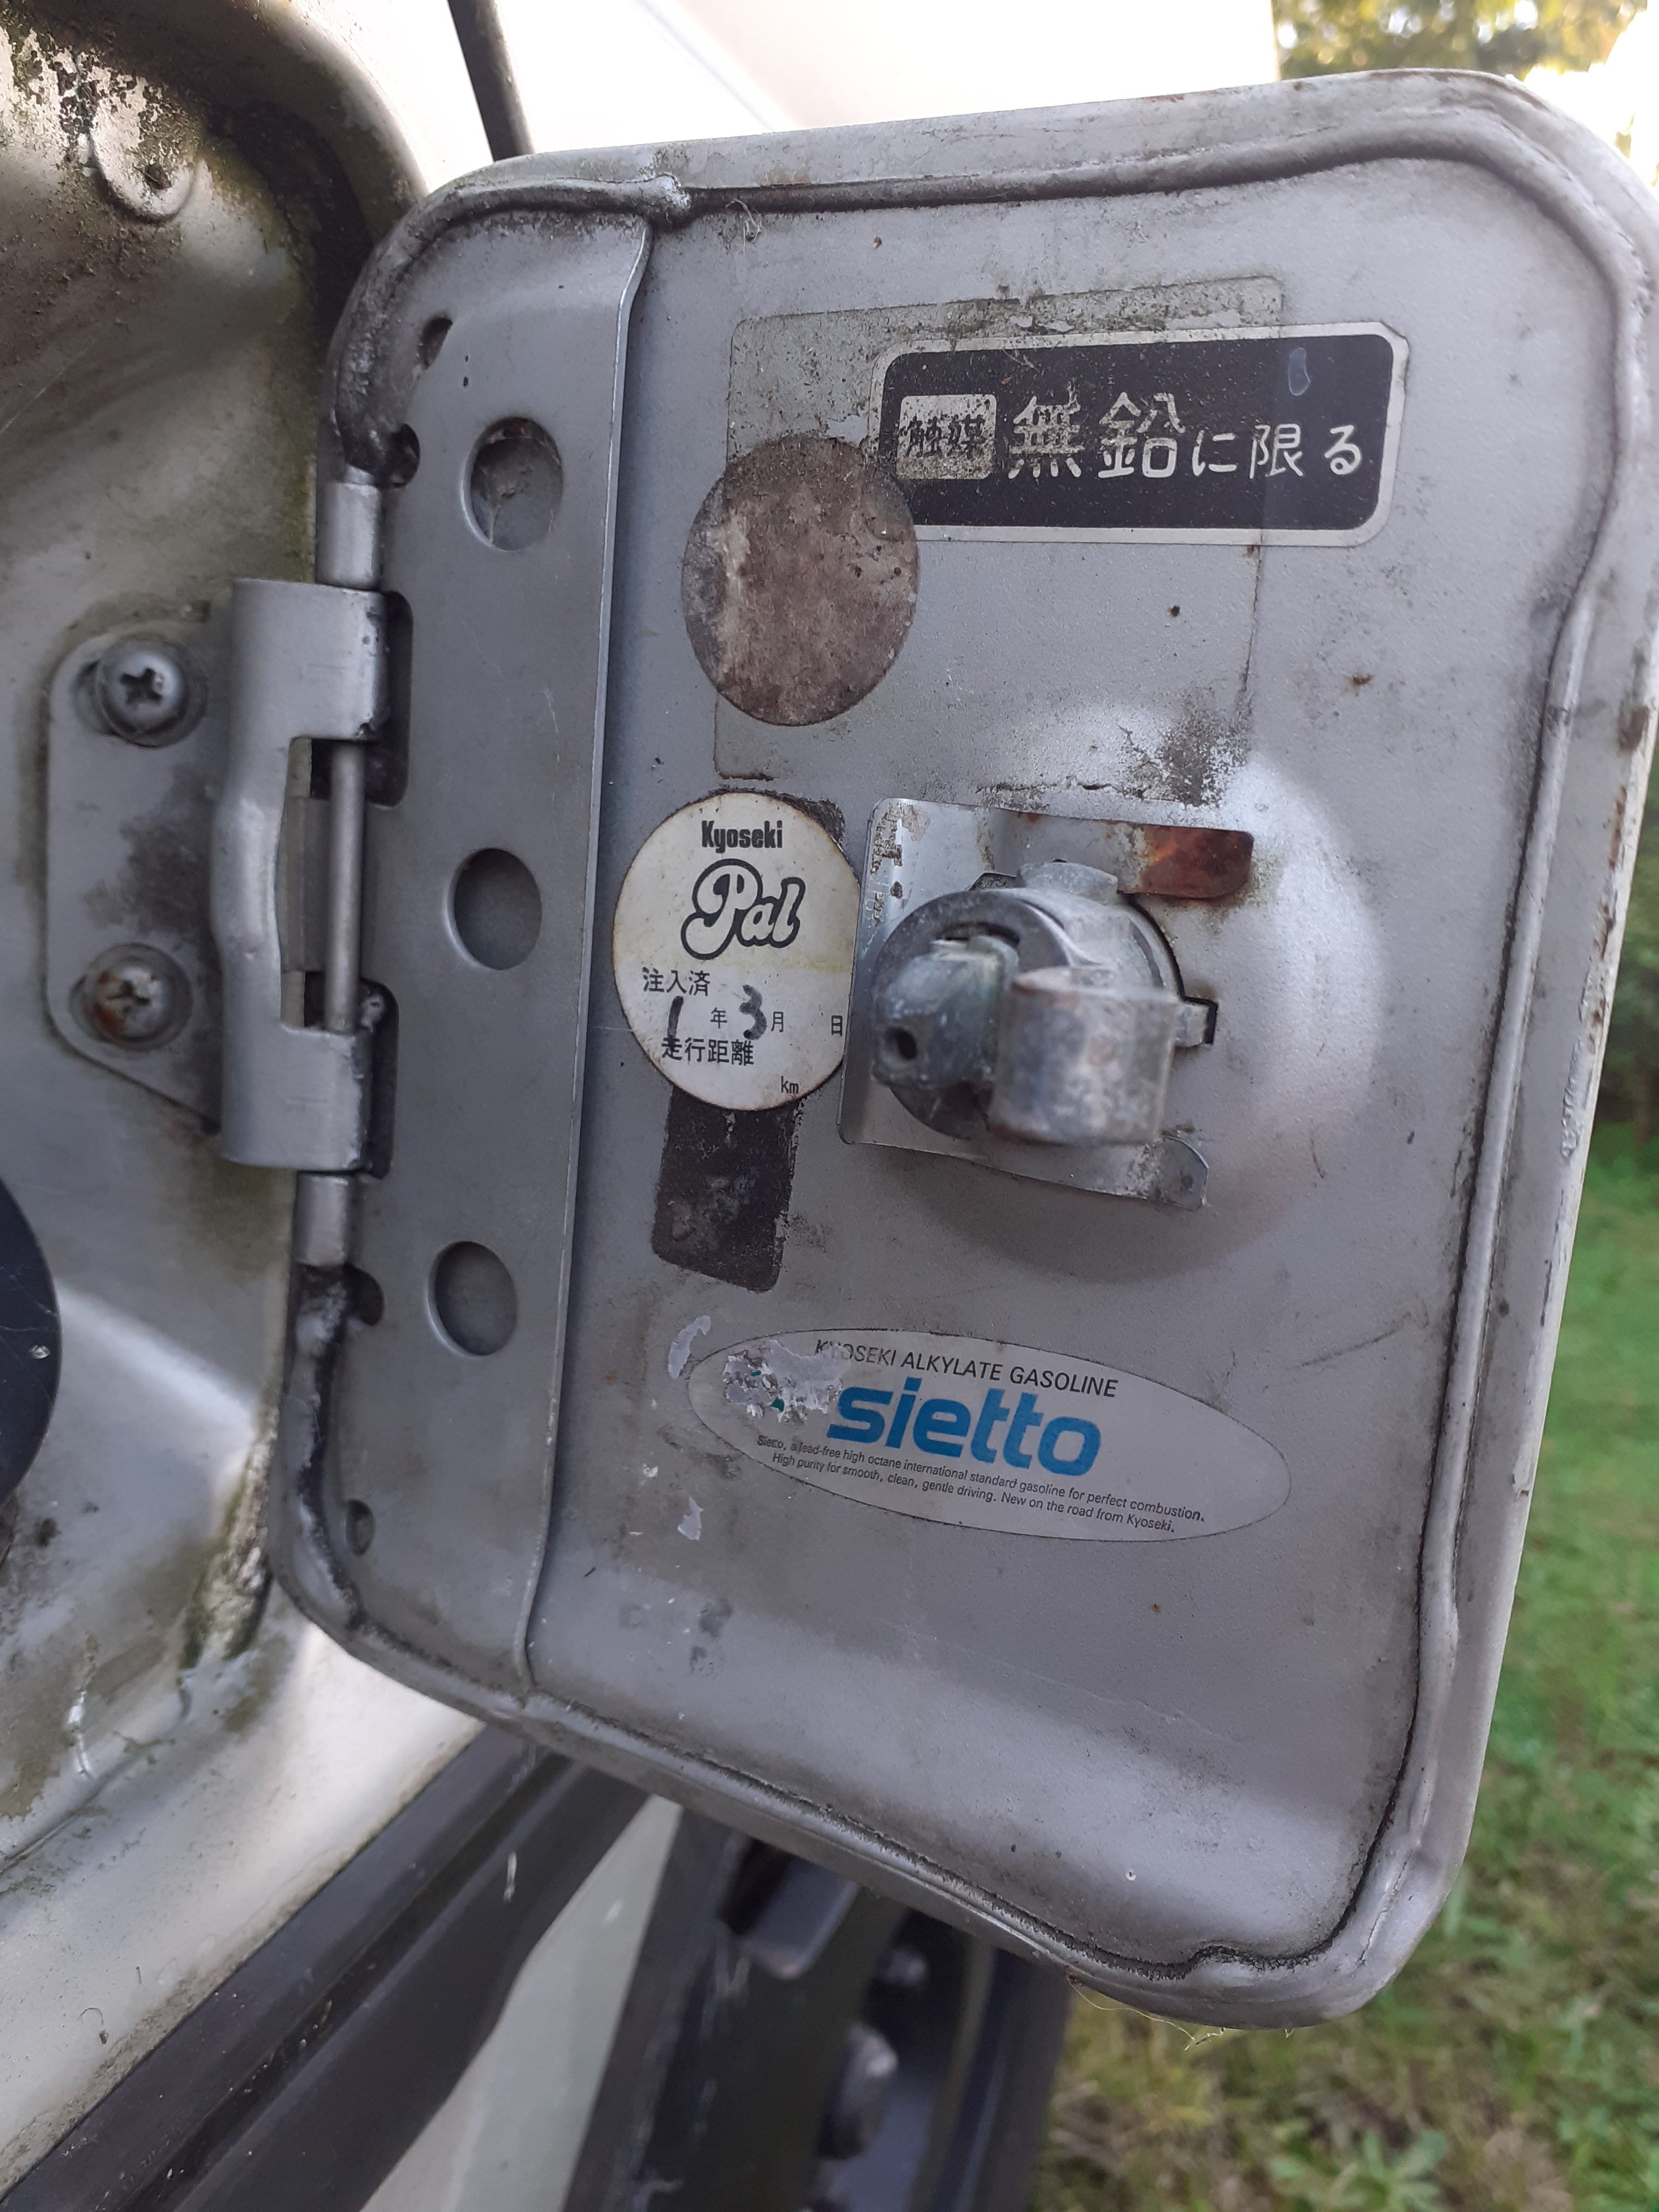
Well, 2nd sons arrived now, waiting on some funds to come through to buy argon for my tig, hopefully soon, in the mean time here's a picture of a gas cap with Jdm stickers on the old van lol
-
3
-
-
- Popular Post
- Popular Post
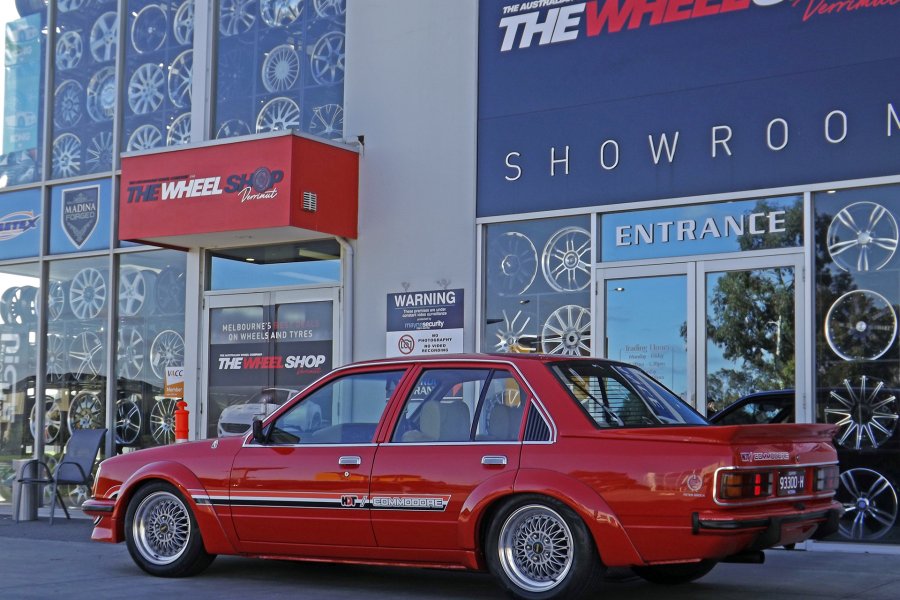
When funds permit I'll get some v5 simmons or similar
-
16
-
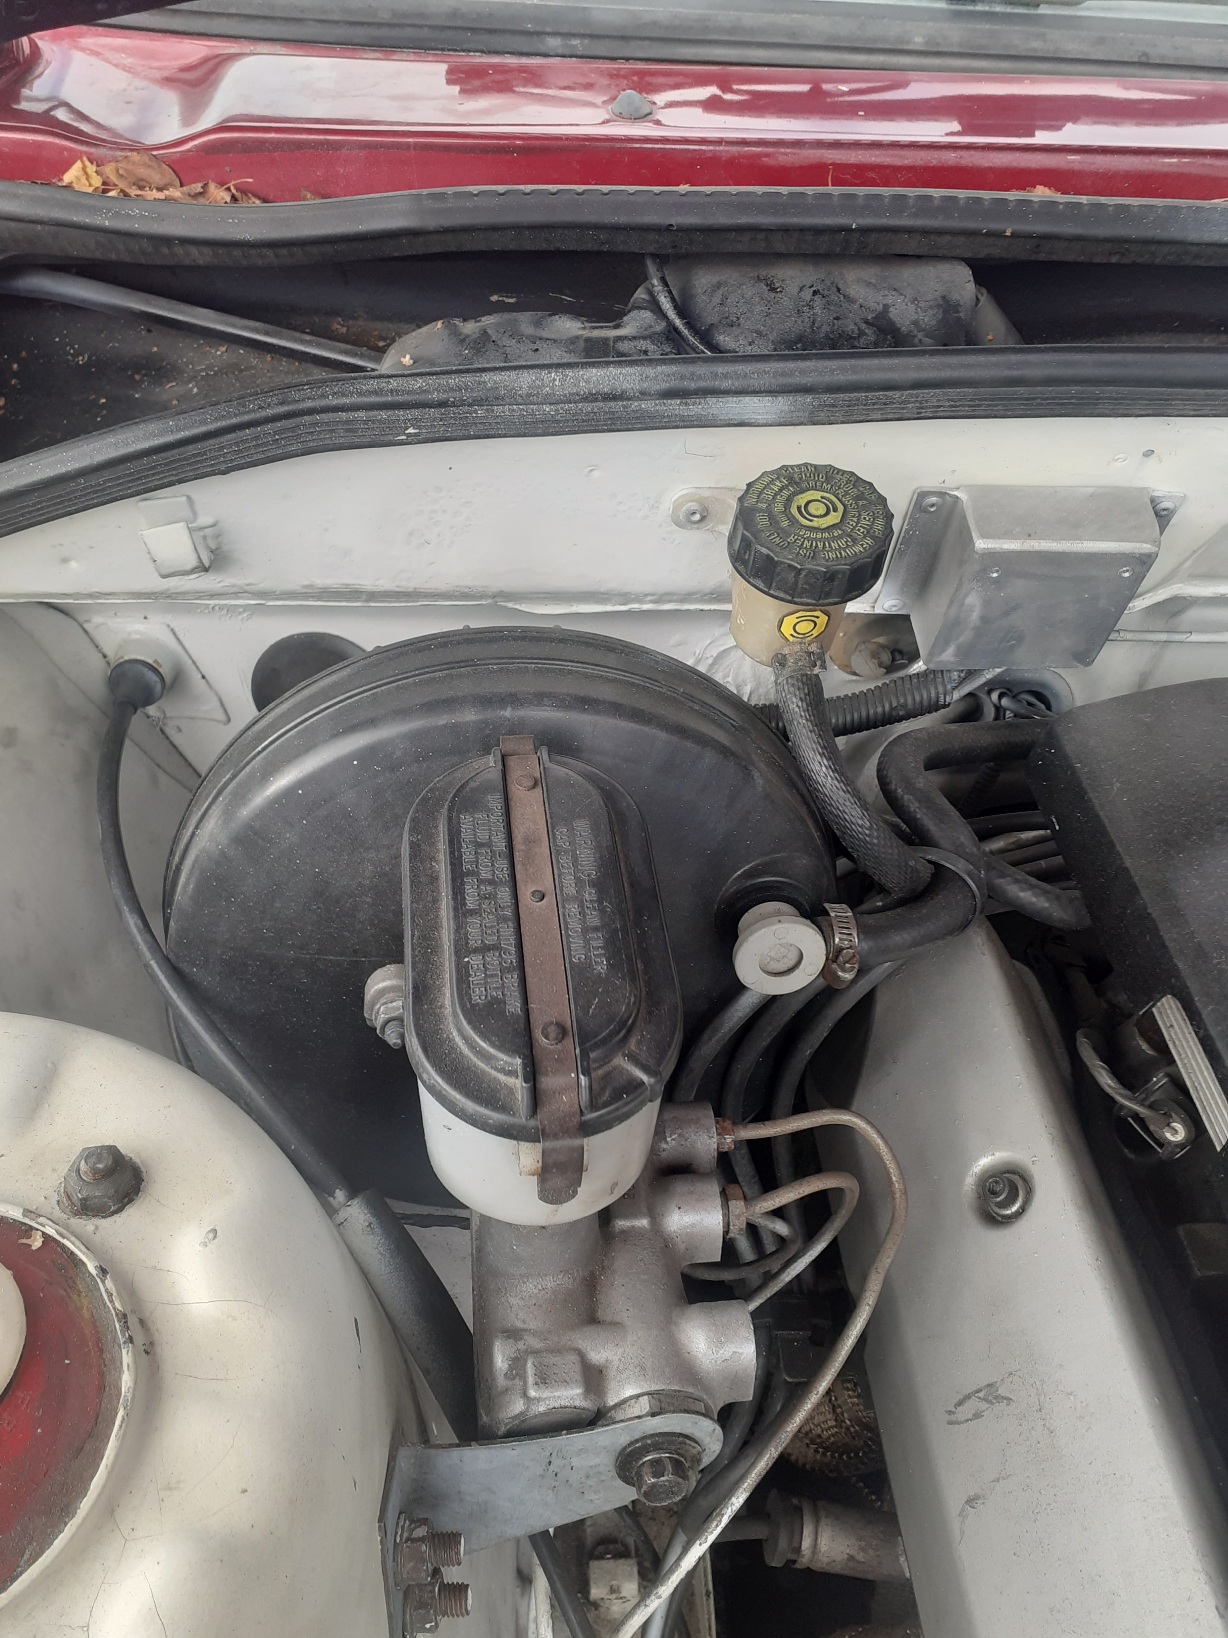
I had a set of brakes from the vs ute, slotted drilled rotors and master cylinder etc, had to buy hub adapters to make it work as well as a spacer for the booster, and now works great, the rotors are a bit bigger, calipers finned, rotor no longer house wheel bearings, mate at work skimmed the front rotors to make for a nice brake setup, that can still have small wheels go over I believe.
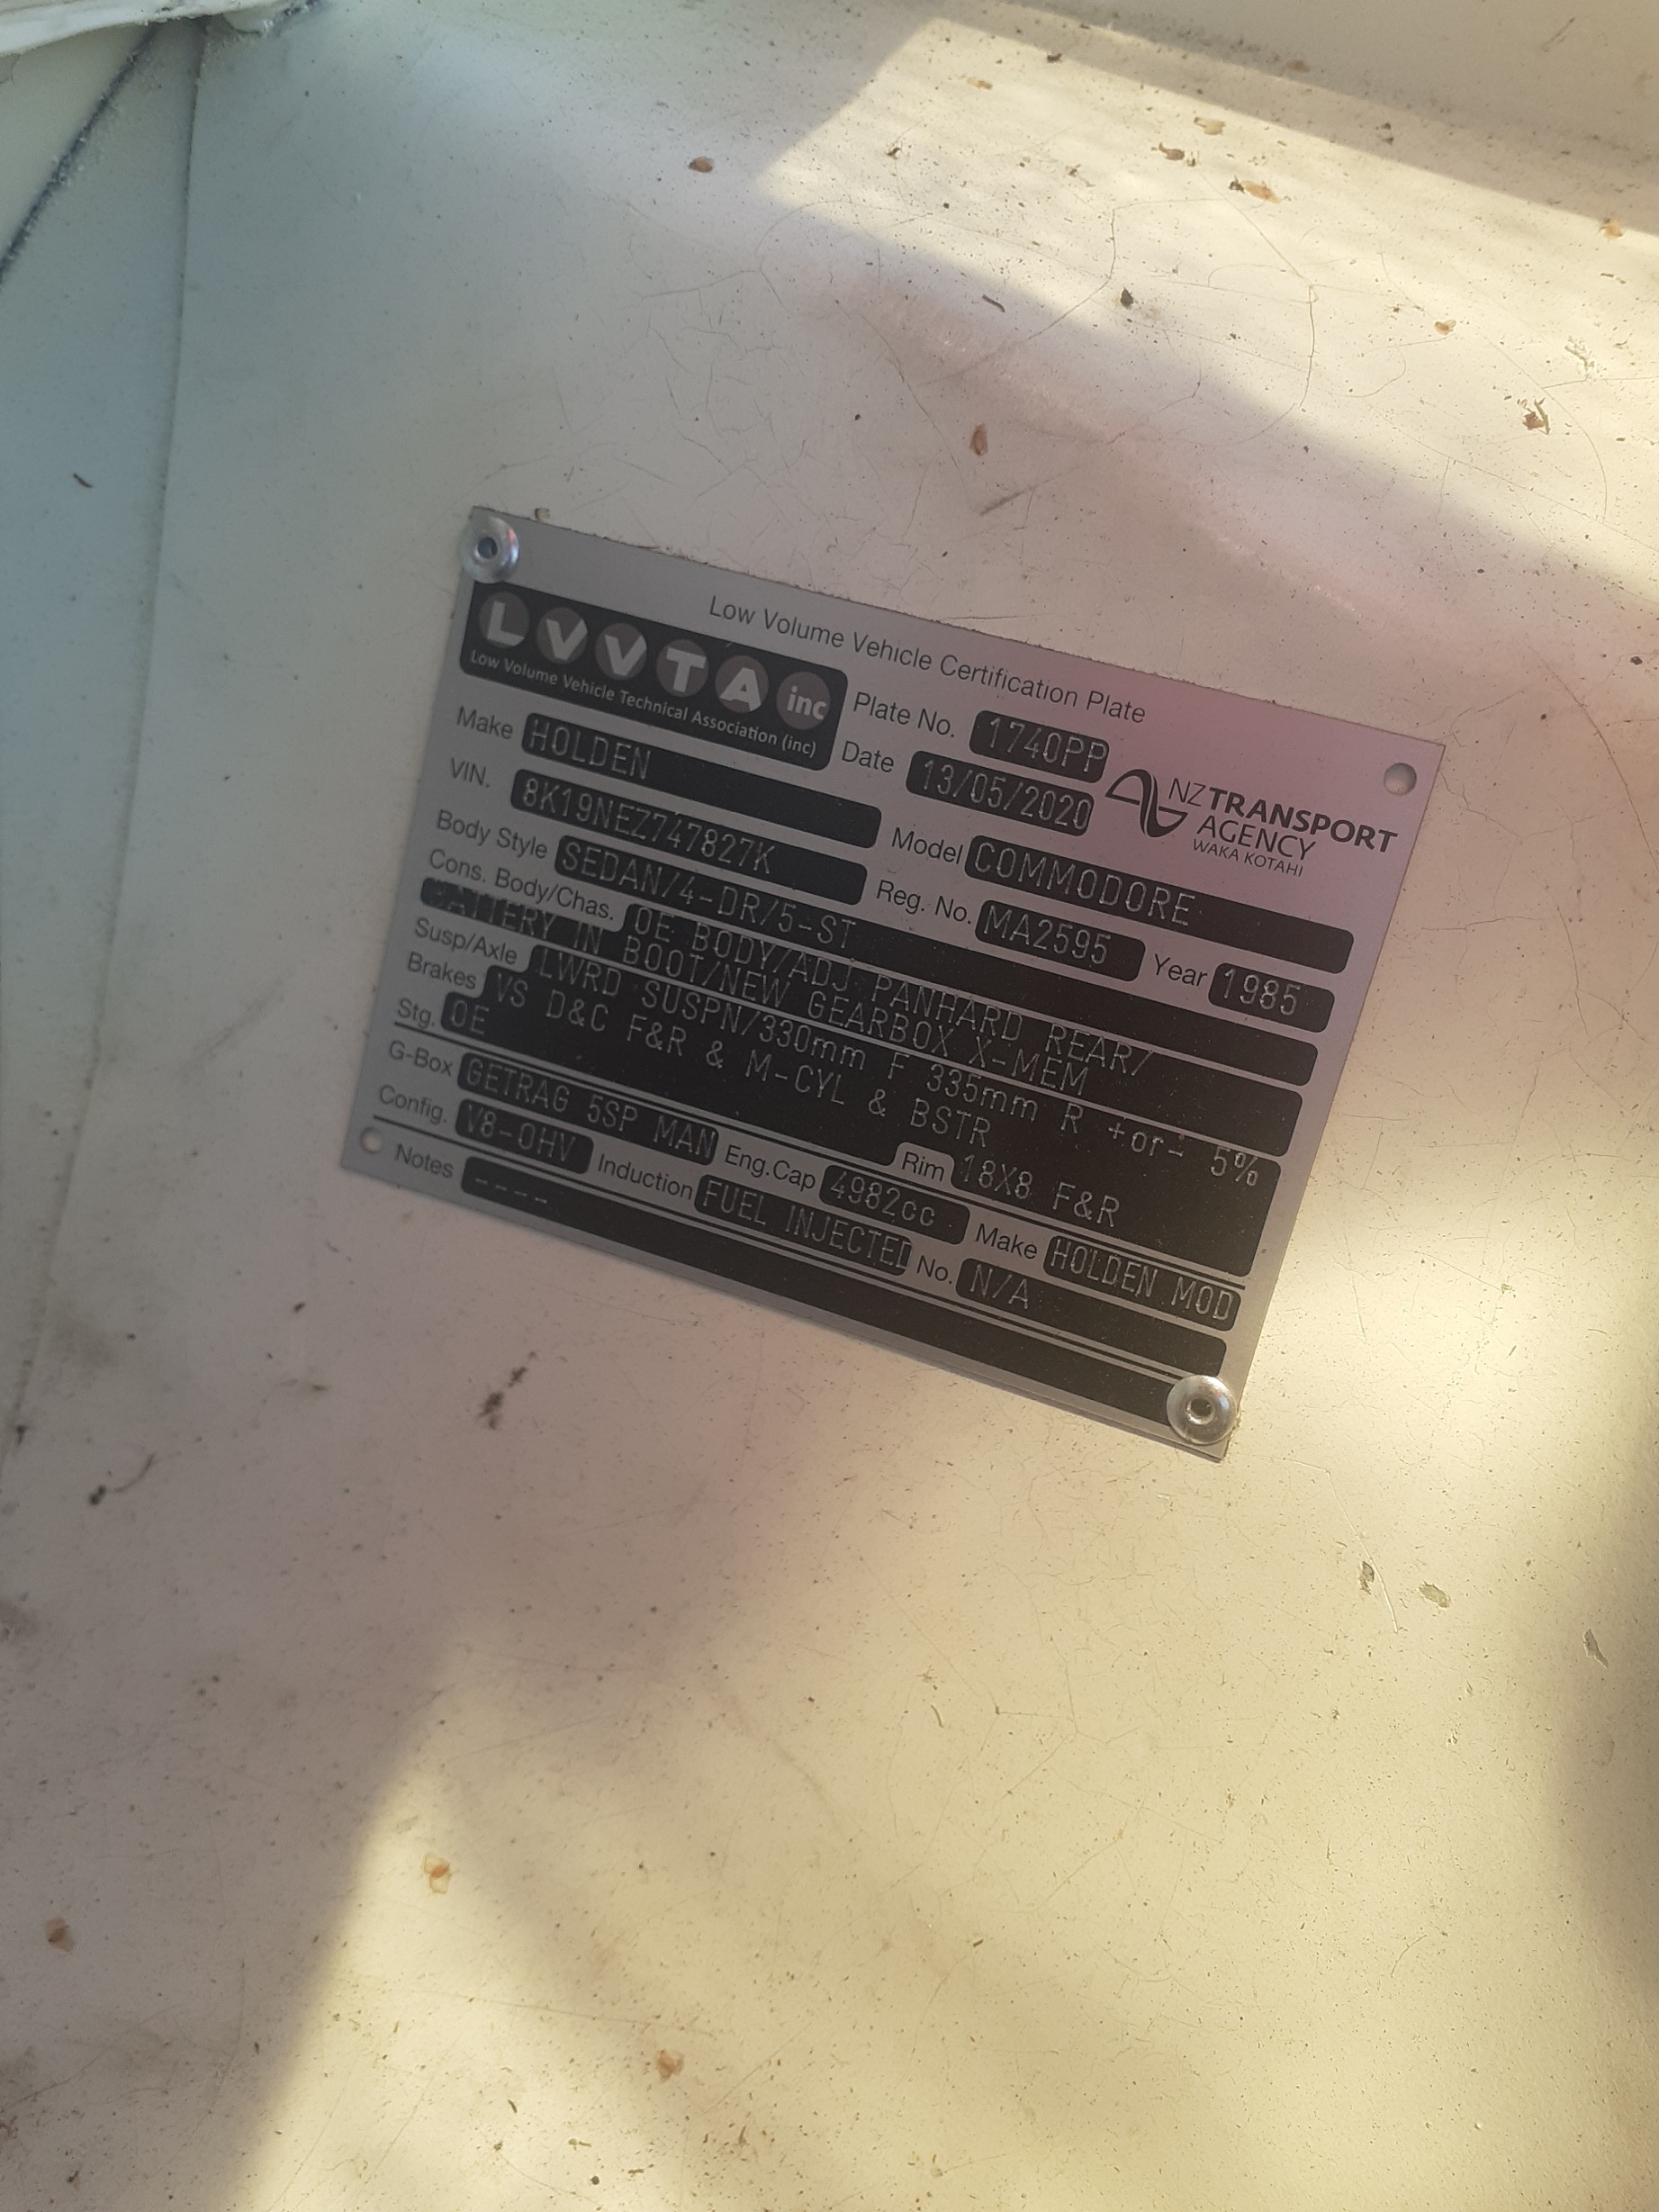
And got certified, first time around was a fail on speedometer out and a fuel line fastener in one spot, not bad! Fixed those things and all done !
-
8
-
-
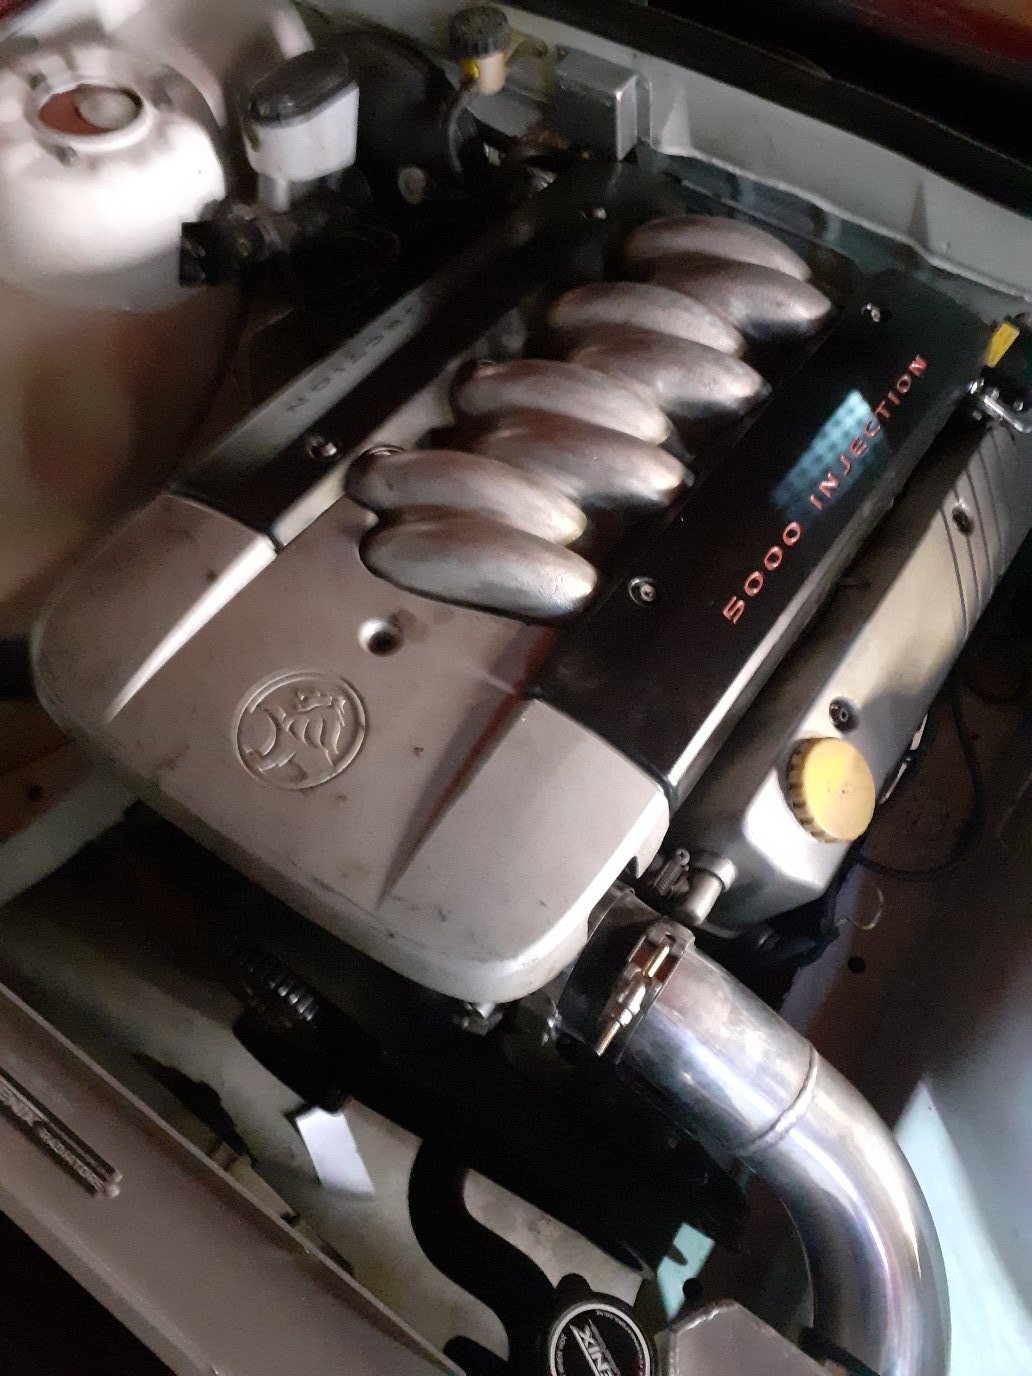
Paint problems, and havent cleaned the engine bay in a while lol
-
3
-
-
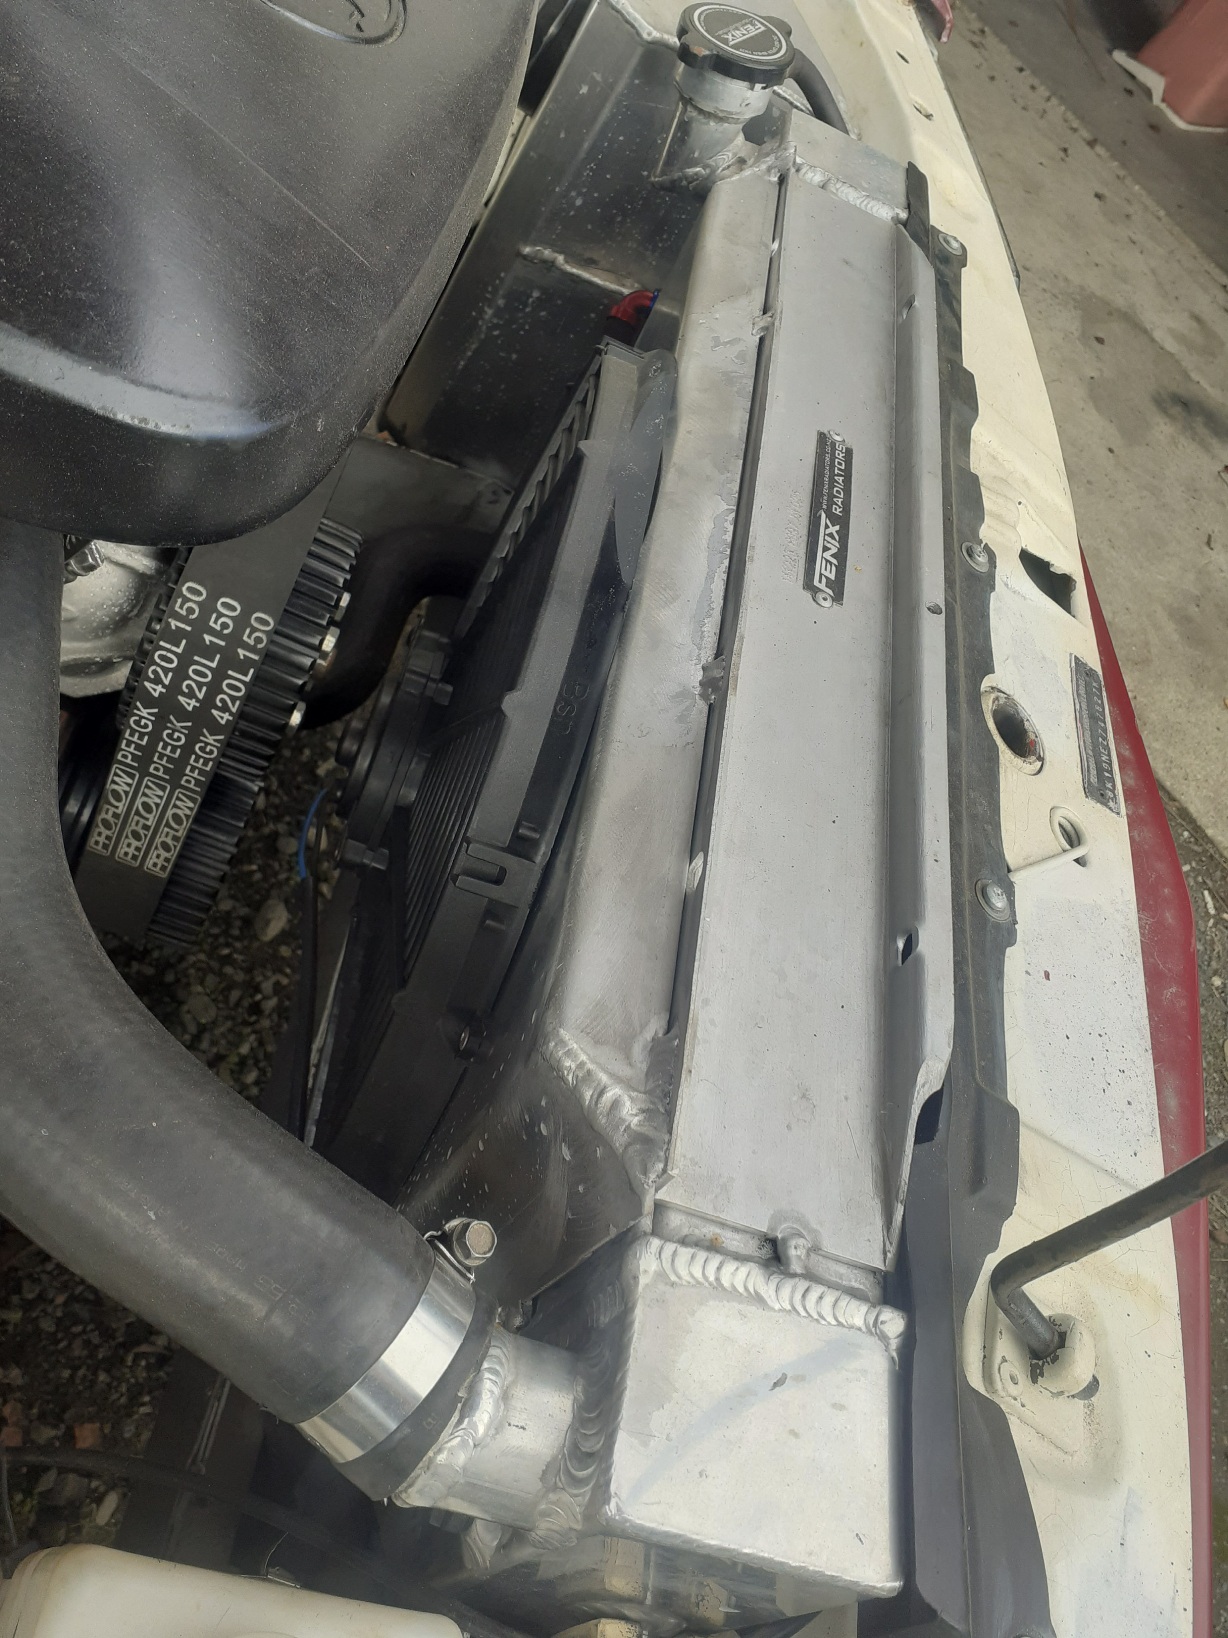
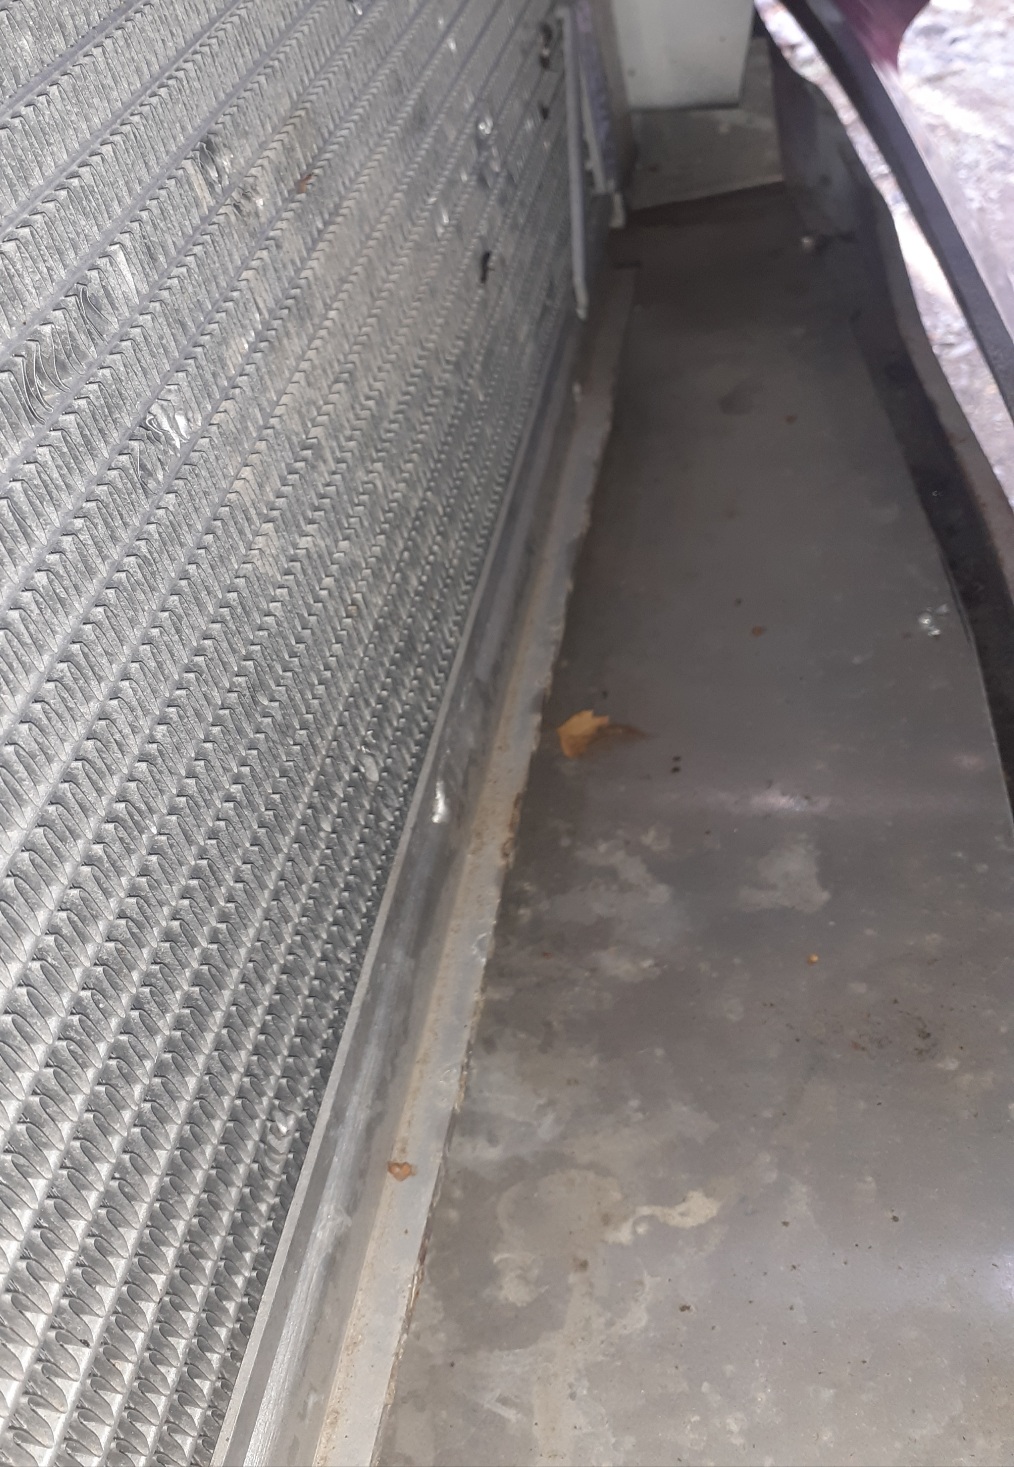
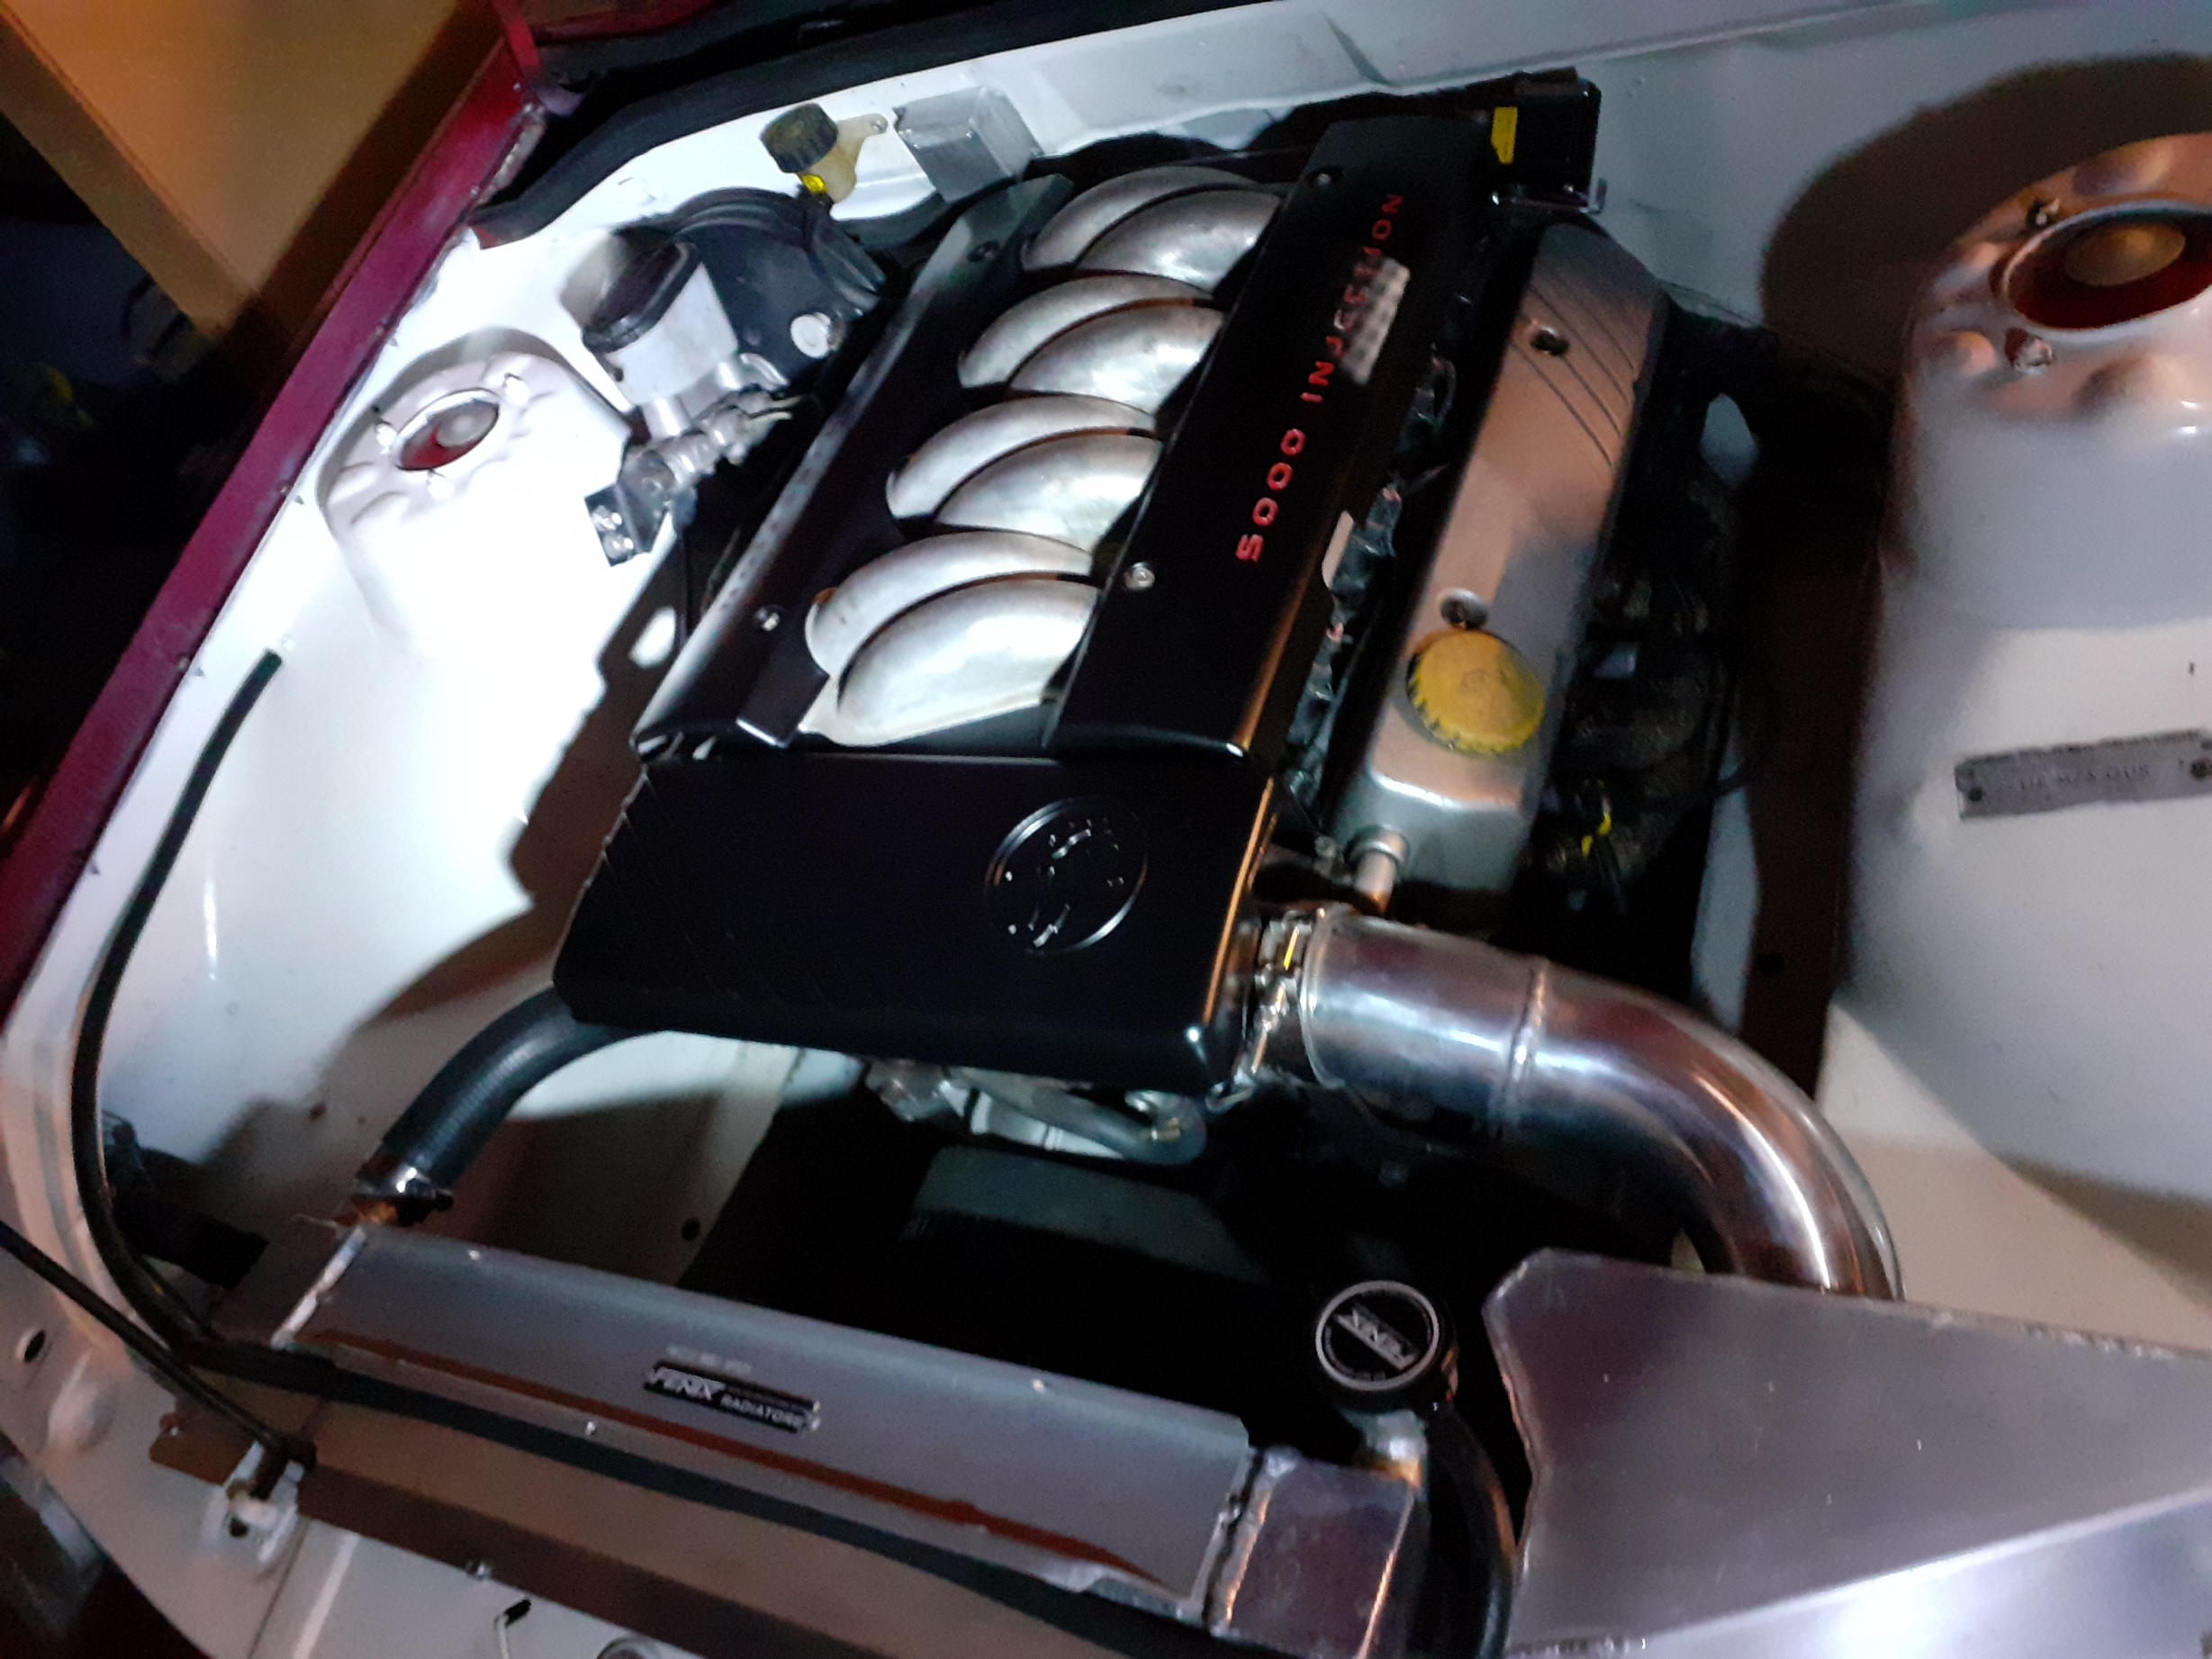
During this I'd gotten a fenix radiator, which was a bit too tall and the hose inlet was in the wrong place so I modified the way it was mounted, just barely fits, and fan shroud.
I made it so the whole unit comes out now (fan, radiator, adjustable fan controller) by just removing the 2 wires, 3 hoses and lifting it out of the custom rubber mounts, no bolts at all, has saved a lot of time...
Also made a cold air box with pod filter inside that's sealed from the engine bay, and a pan, or folded alli plate that seals the front area so air can only go through the radiator
-
4
-
-
Some of the stages the engine bay went through black- too dark, white gets dirty , my white paint had a reaction or something and though it looks nice on pictures, it cracked horribly all over, so this is now on the to-do list, took me a while to get the proper 5litre vt front cover
-
7
-
-
Weld it up and sand it back, it's not too hard
-
1
-
-
Got some more fittings machined up, next will be welding them on various parts, not much else as lifes happening, here's a pic of another resident of the van
-
5
-
-
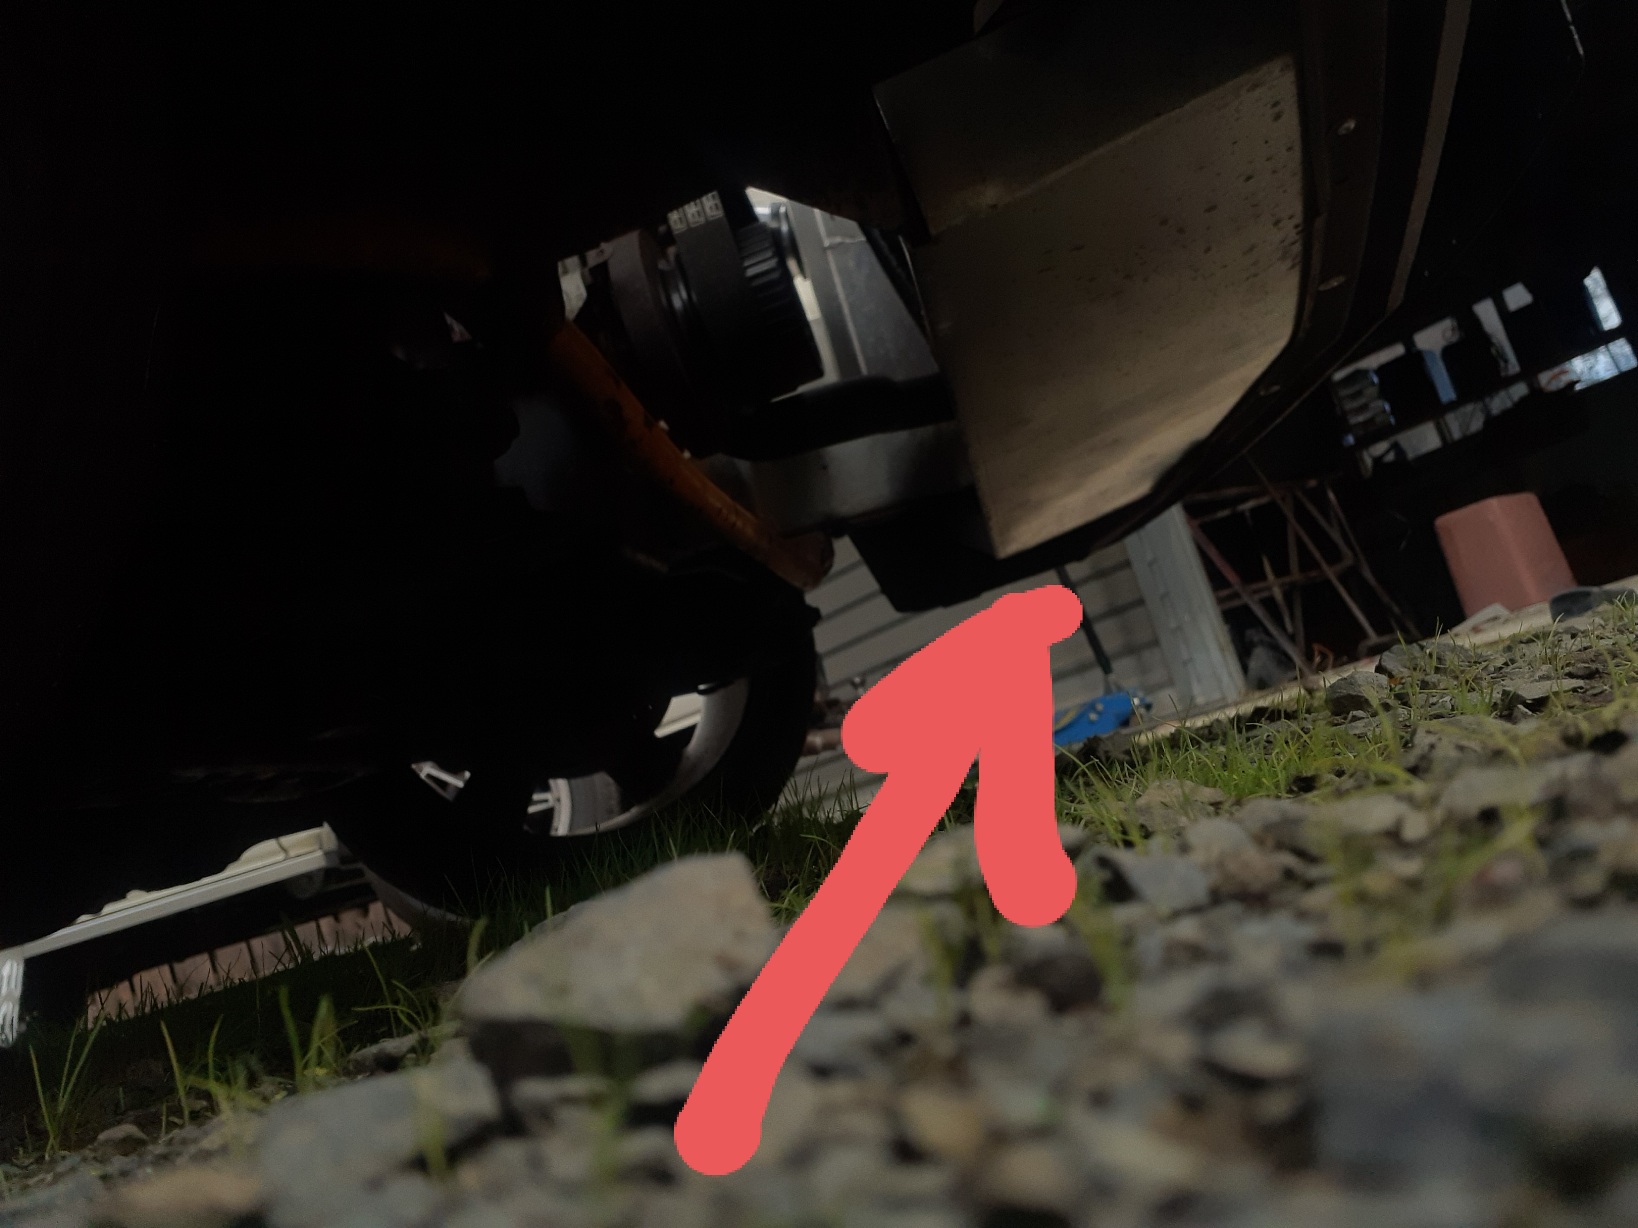
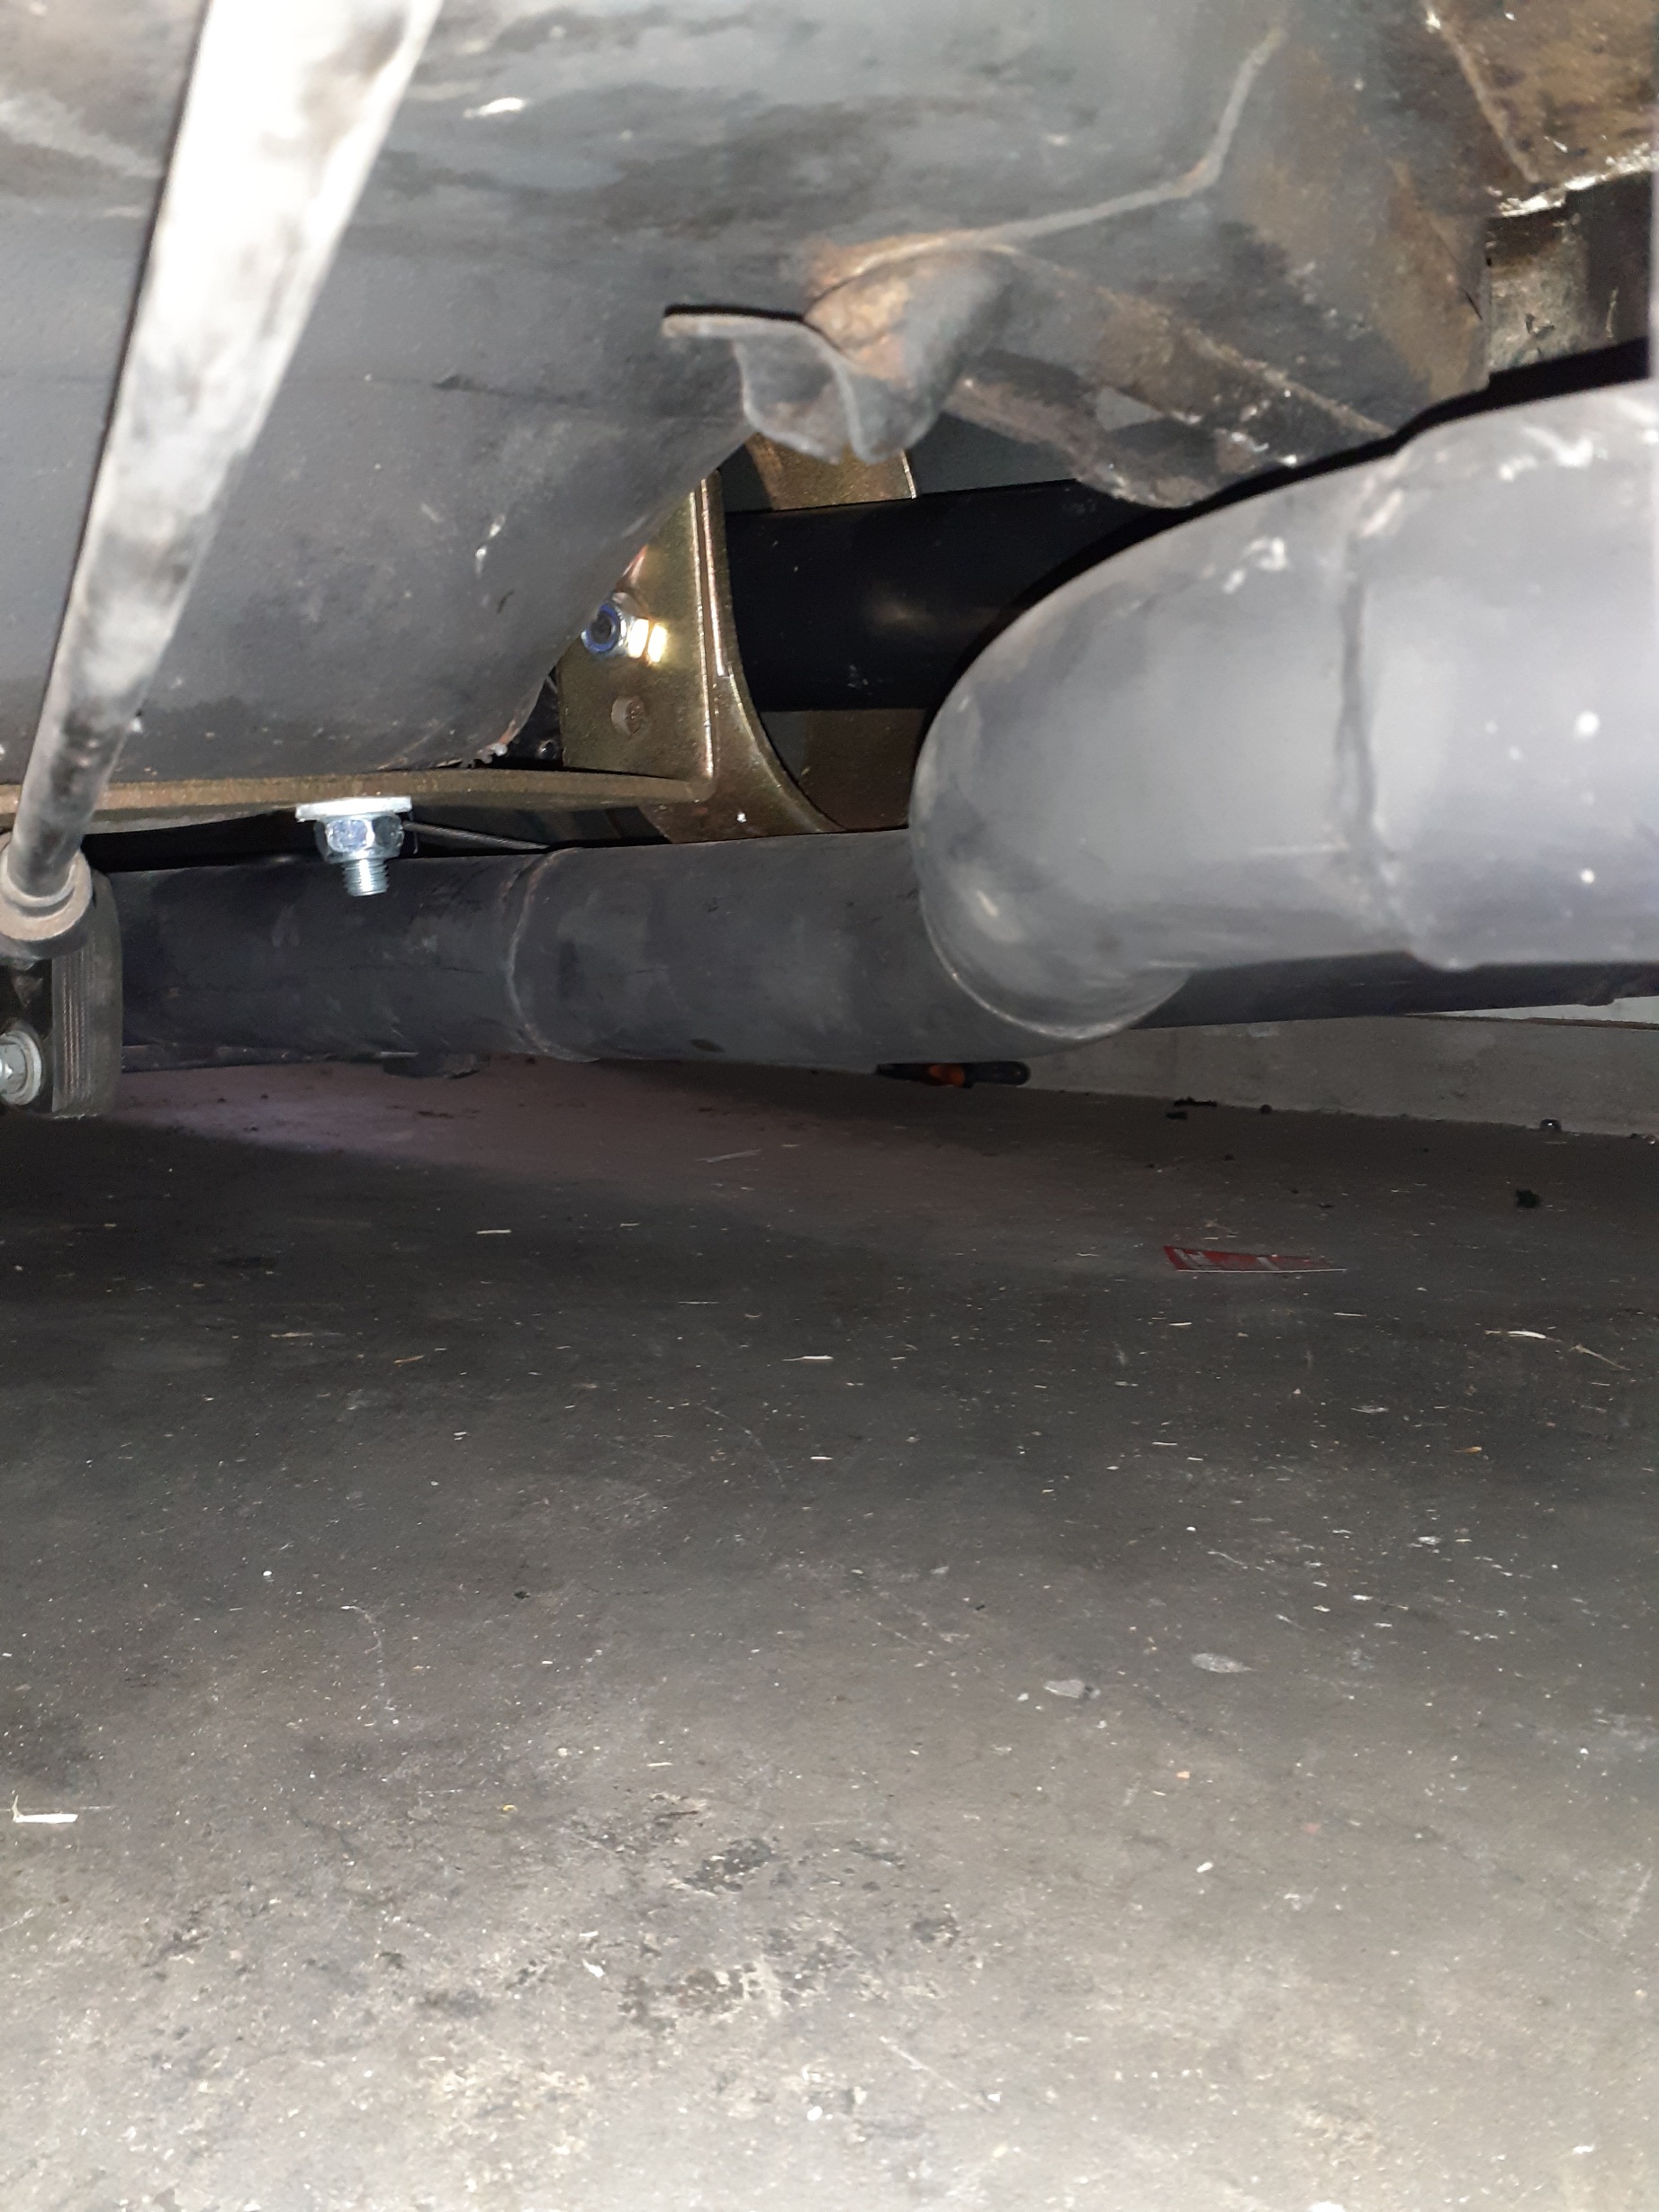
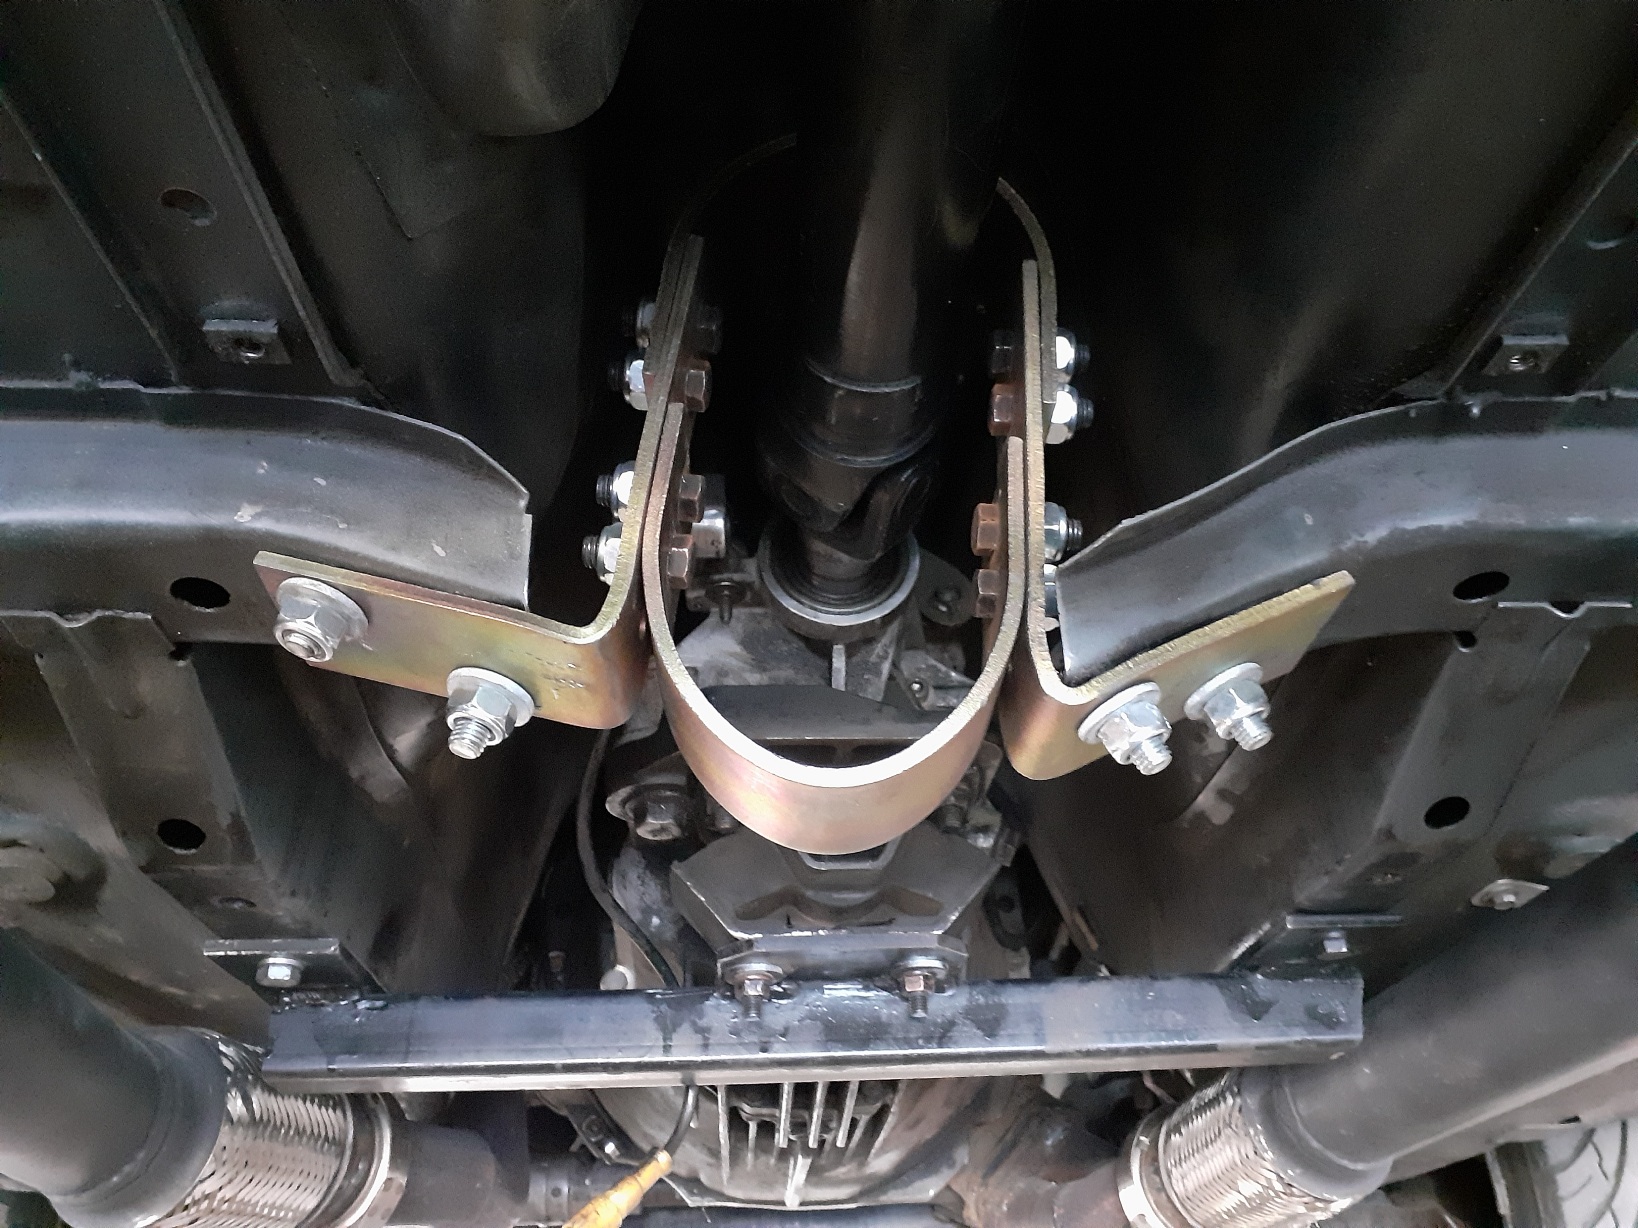
Started getting cert ready too, installed both driveshaft loops ... next time I'm using a lift..
-
6
-
.jpg.2471cb90ffbef2f0d38775eeed082e72.jpg)


.jpg.84b747f3d50624e543d73bae82c6f2e4.jpg)
.jpg.80b266ade3ba668ebda5c65505eab421.jpg)
.jpg.d36c4ce7a14992e9d82c8fbce67b716d.jpg)
.jpg.55d810c7ca8eec3ee011db2a9d29d94b.jpg)
.jpg.9ac9af6f24866d2be424b8231e819e1d.jpg)
.jpg.c5255594a94c61082975eb64967aab36.jpg)
.jpg.0bc9f84fc67a65acccad2797903a08f7.jpg)
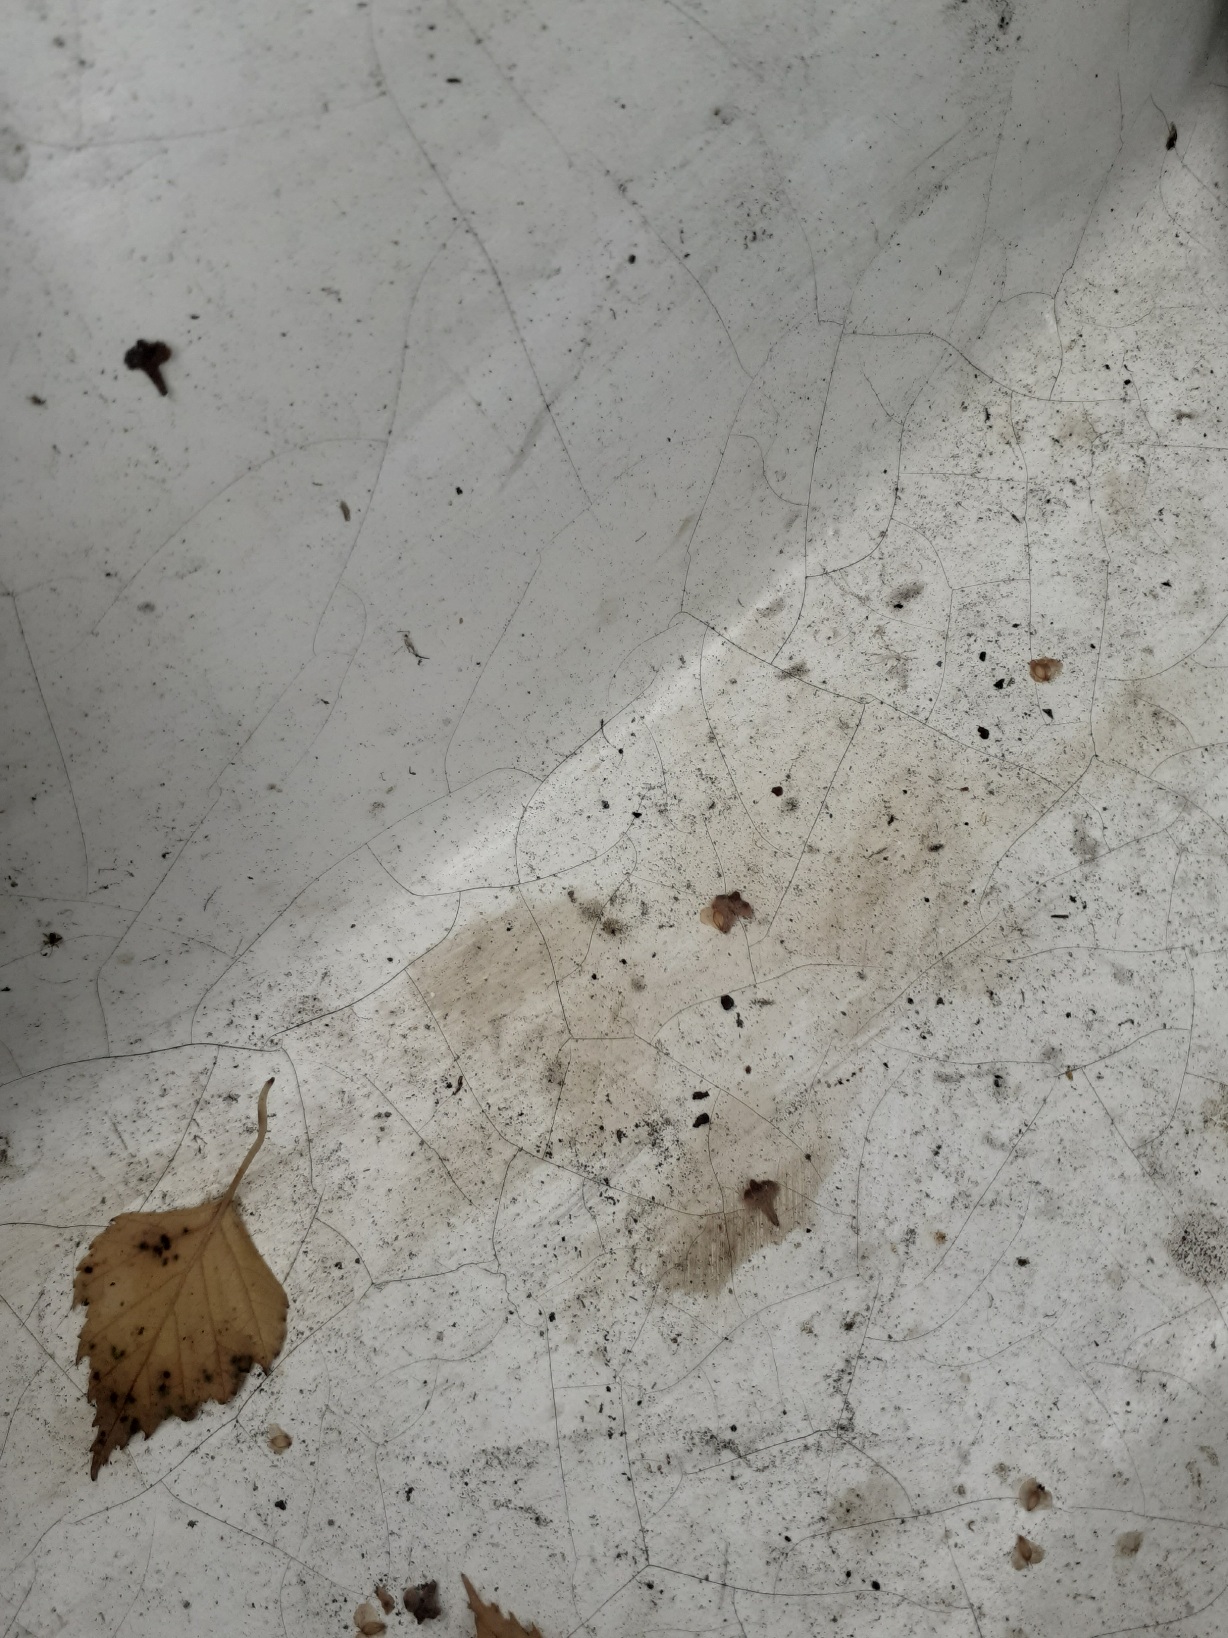

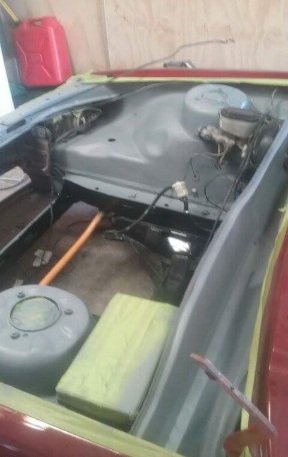
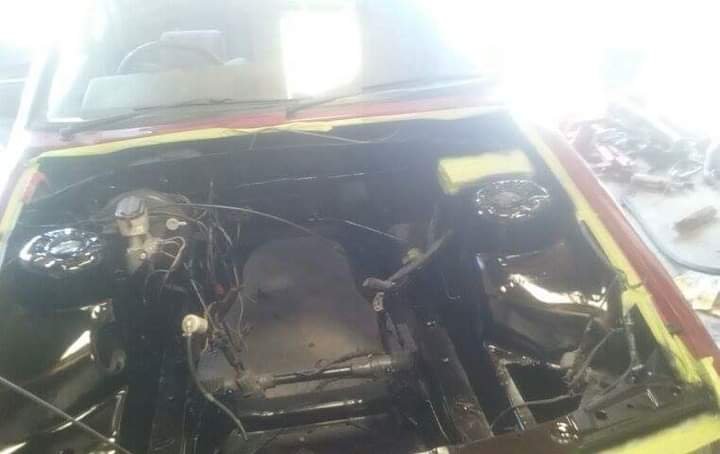 Some of the stages the engine bay went through black- too dark, white gets dirty , my white paint had a reaction or something and though it looks nice on pictures, it cracked horribly all over, so this is now on the to-do list, took me a while to get the proper 5litre vt front cover

VK304’s sr20det 88 vanette
in Projects and Build Ups
Posted
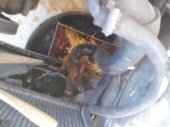
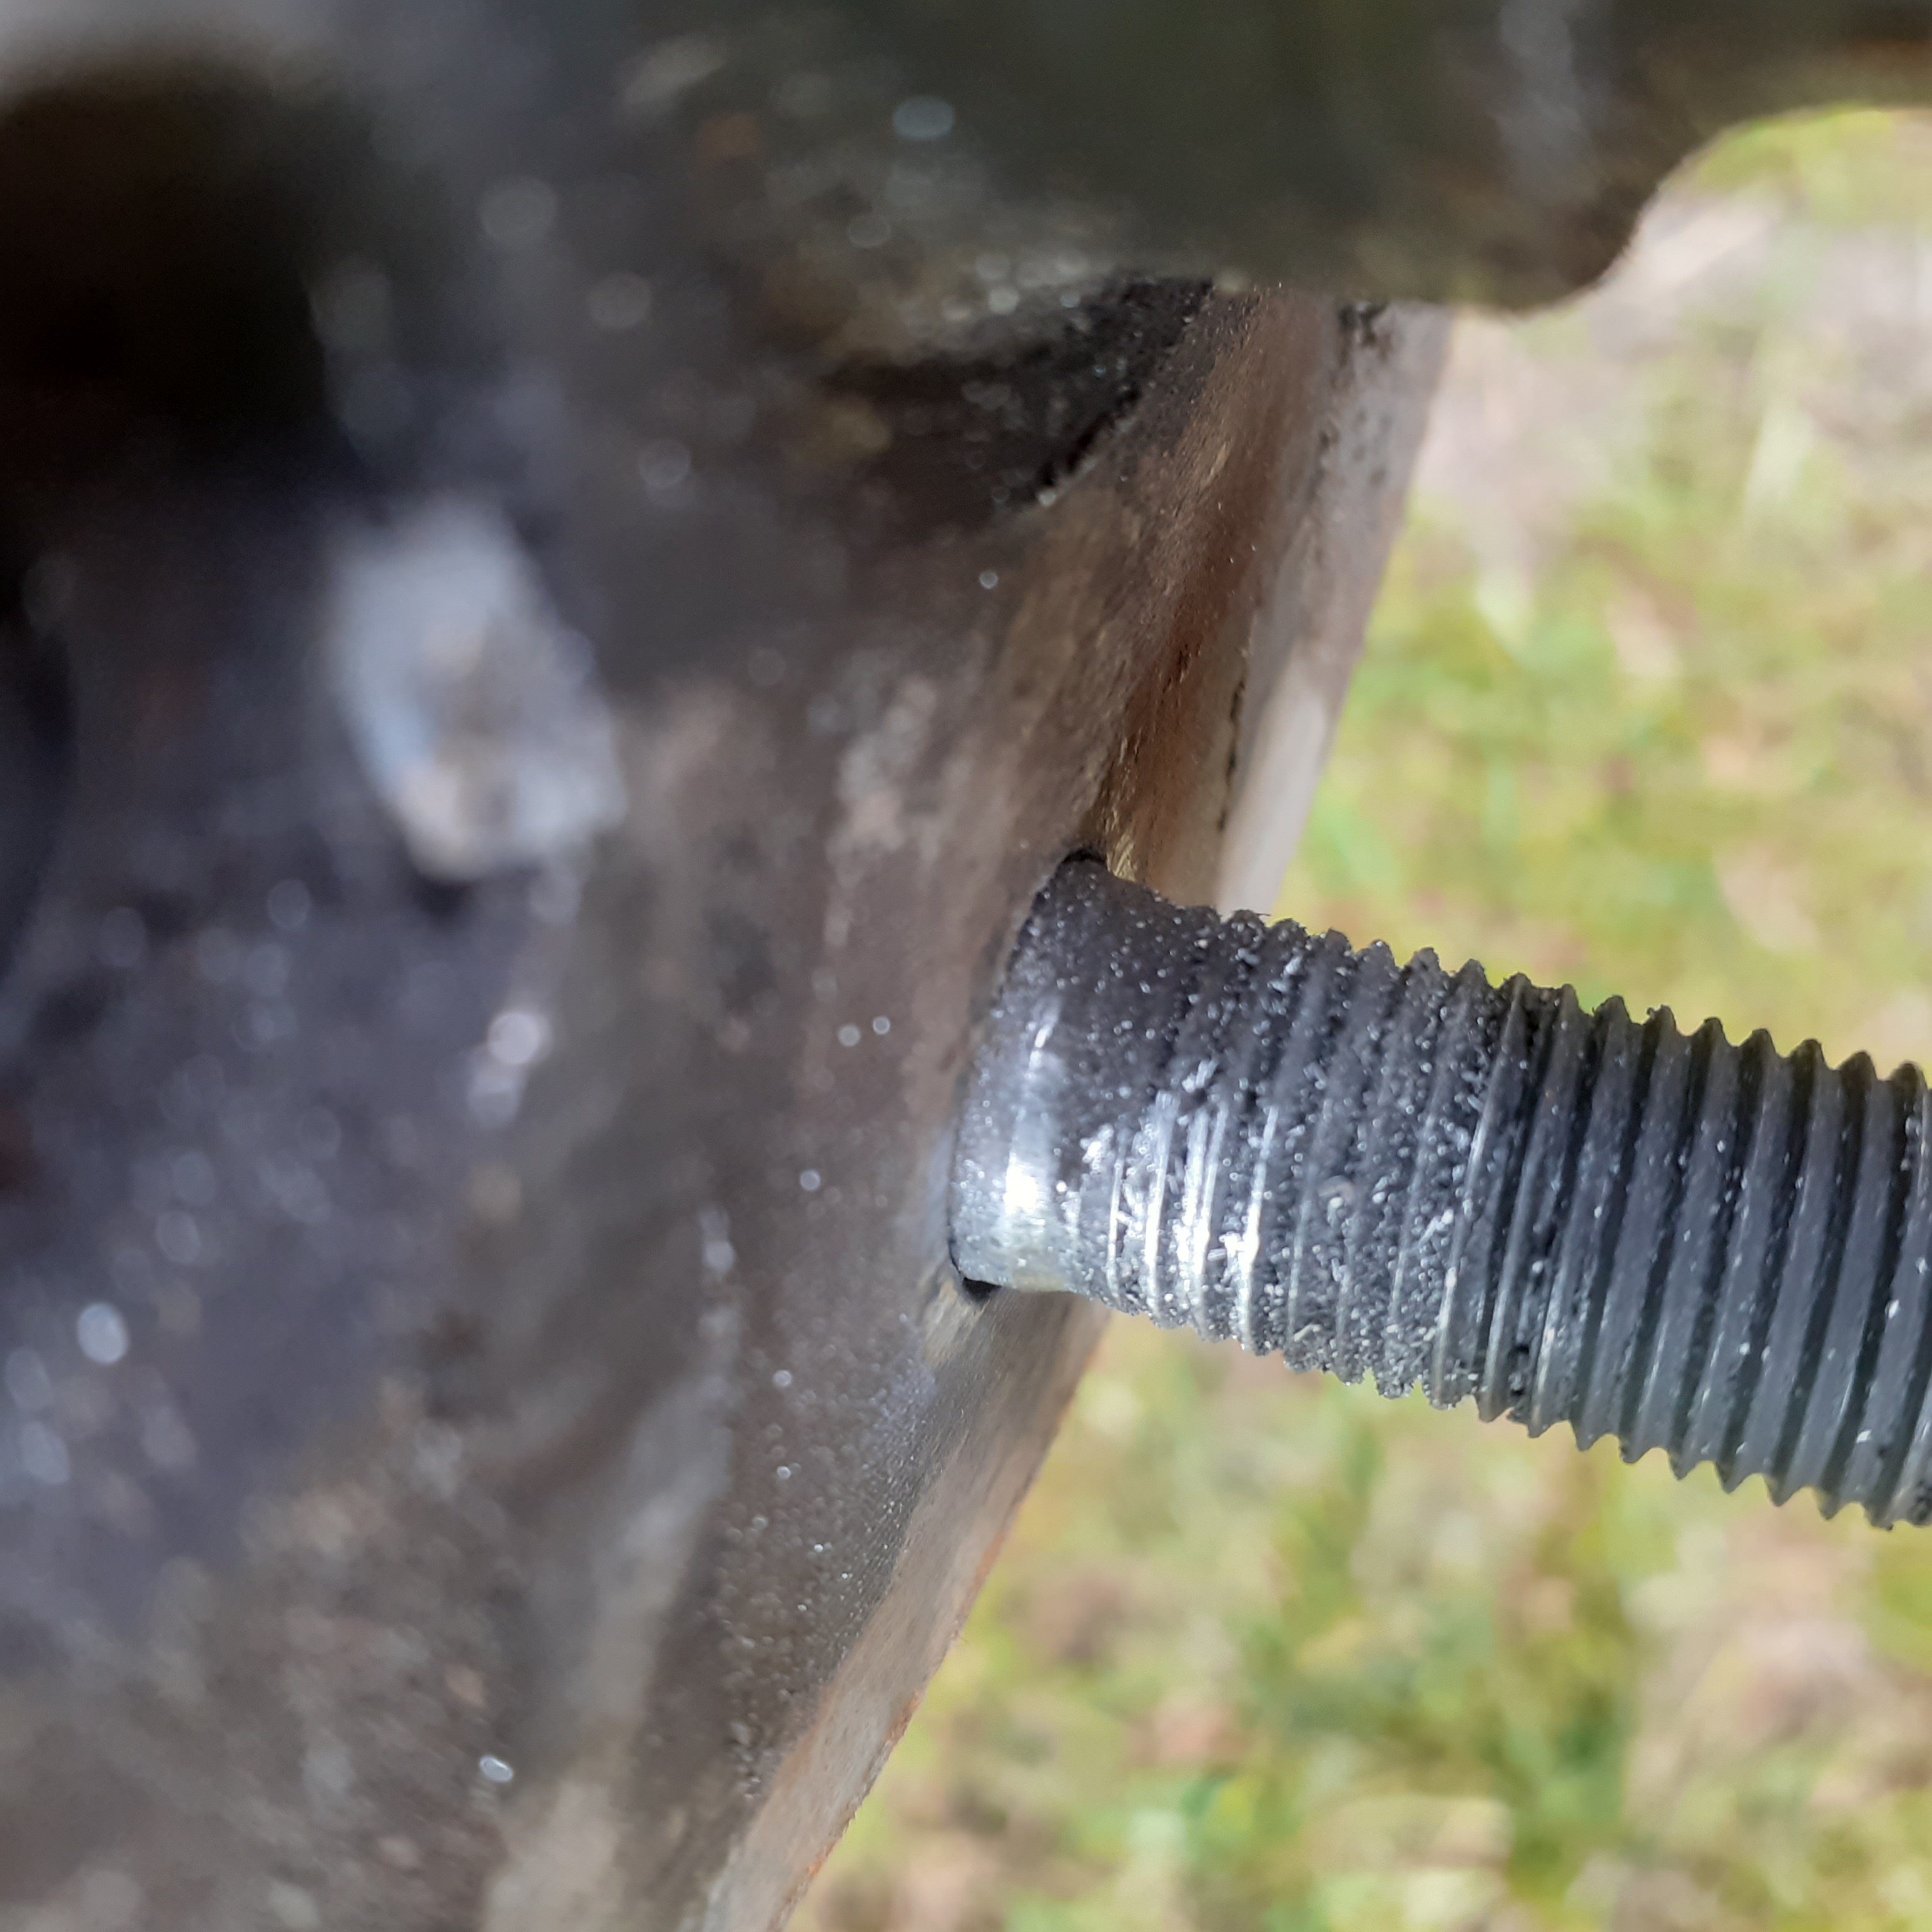
Woops little metal come off the wheels but not too much to worry about.
 springs had gap here
  figured it would be benificial to close this gap
 i made sure not to heat the actual spring, but let me know if im wrong here.. i know nothing about leaf springs... also the back has similar gap, should i close it too or not?
https://oldschool.co.nz/index.php?/topic/78072-vk304s-1988-nissan-vanette-w-added-sr20det/&do=getNewComment