

Jusepy82
-
Posts
1052 -
Joined
-
Last visited
Posts posted by Jusepy82
-
-
Yeah I dont need another project right now haha.
-
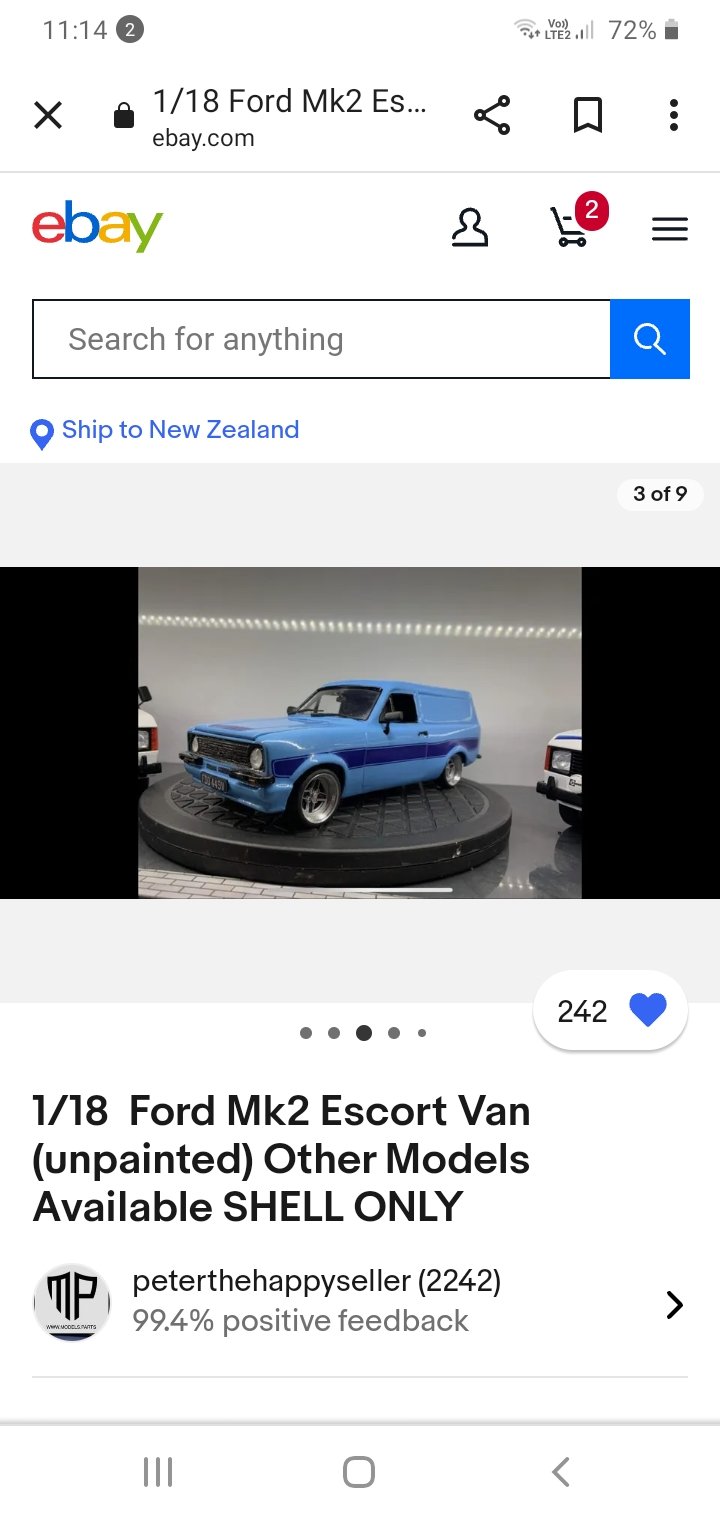
I found a 3d printed escort van on ebay the other day.
Any of you guys know how to 3d print models ? I'm totally clueless about the 3d printing game.
He sells wheels and other parts too,and can make any model car you want
Some of the painted models he is showing kinda makes me want one.

-
 4
4
-
-
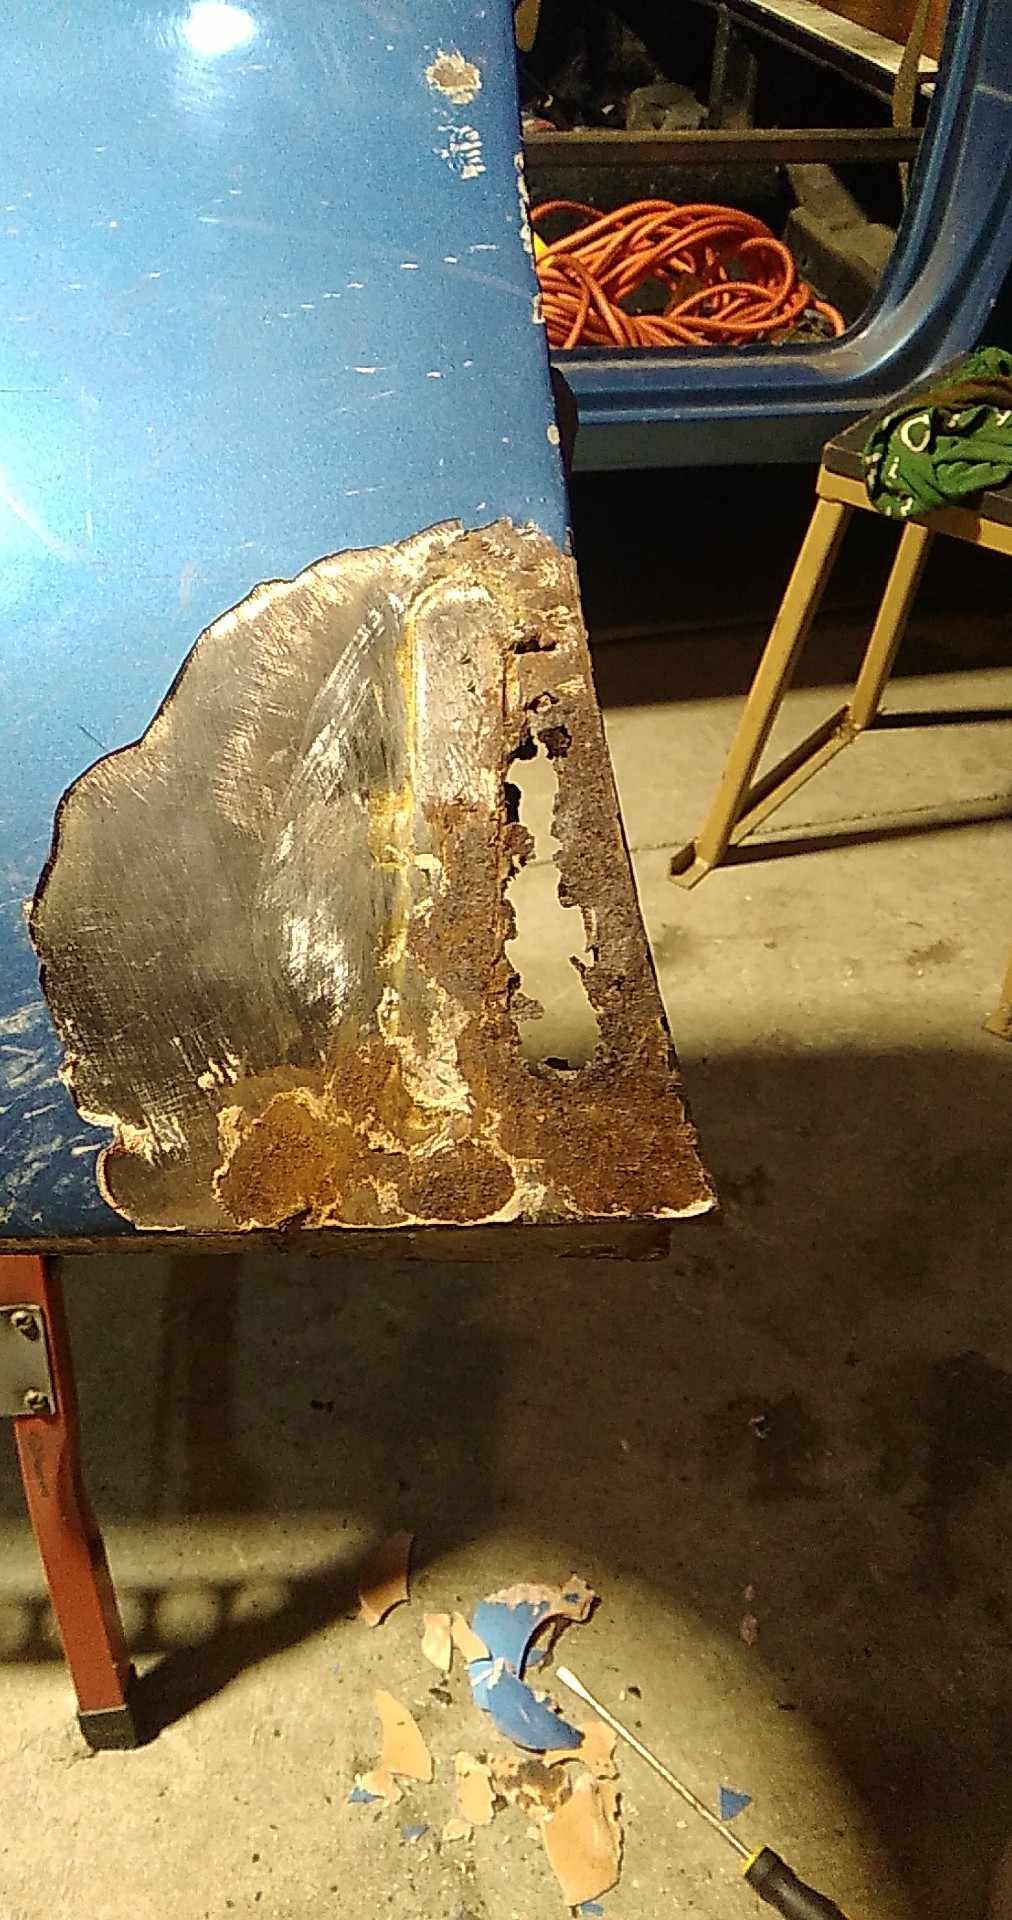
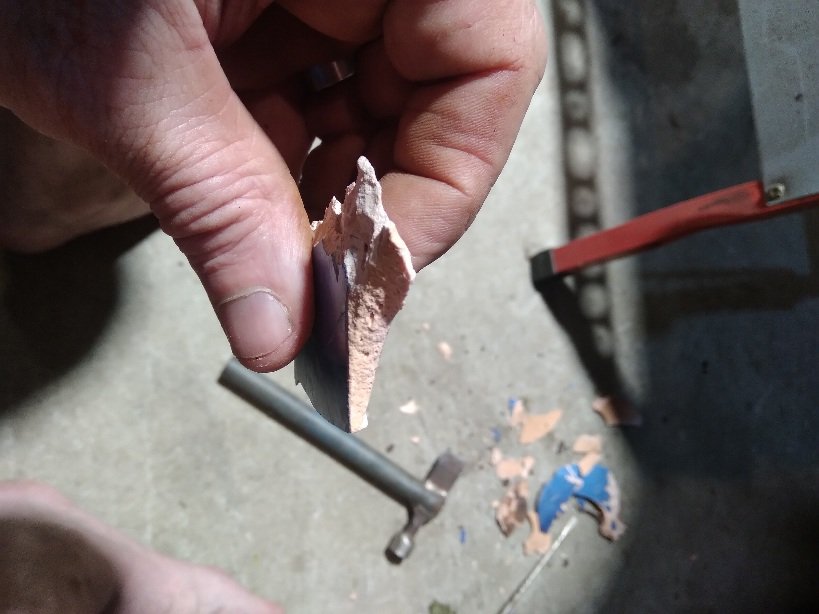
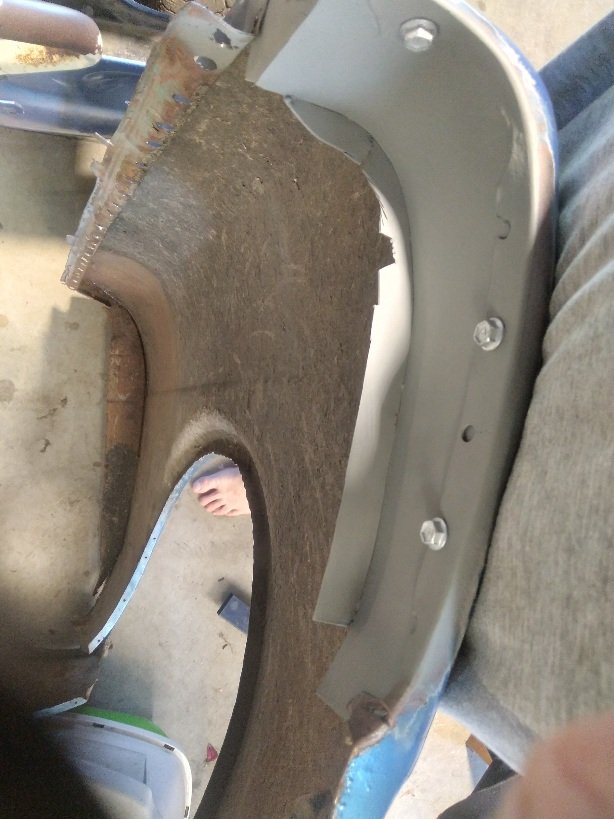
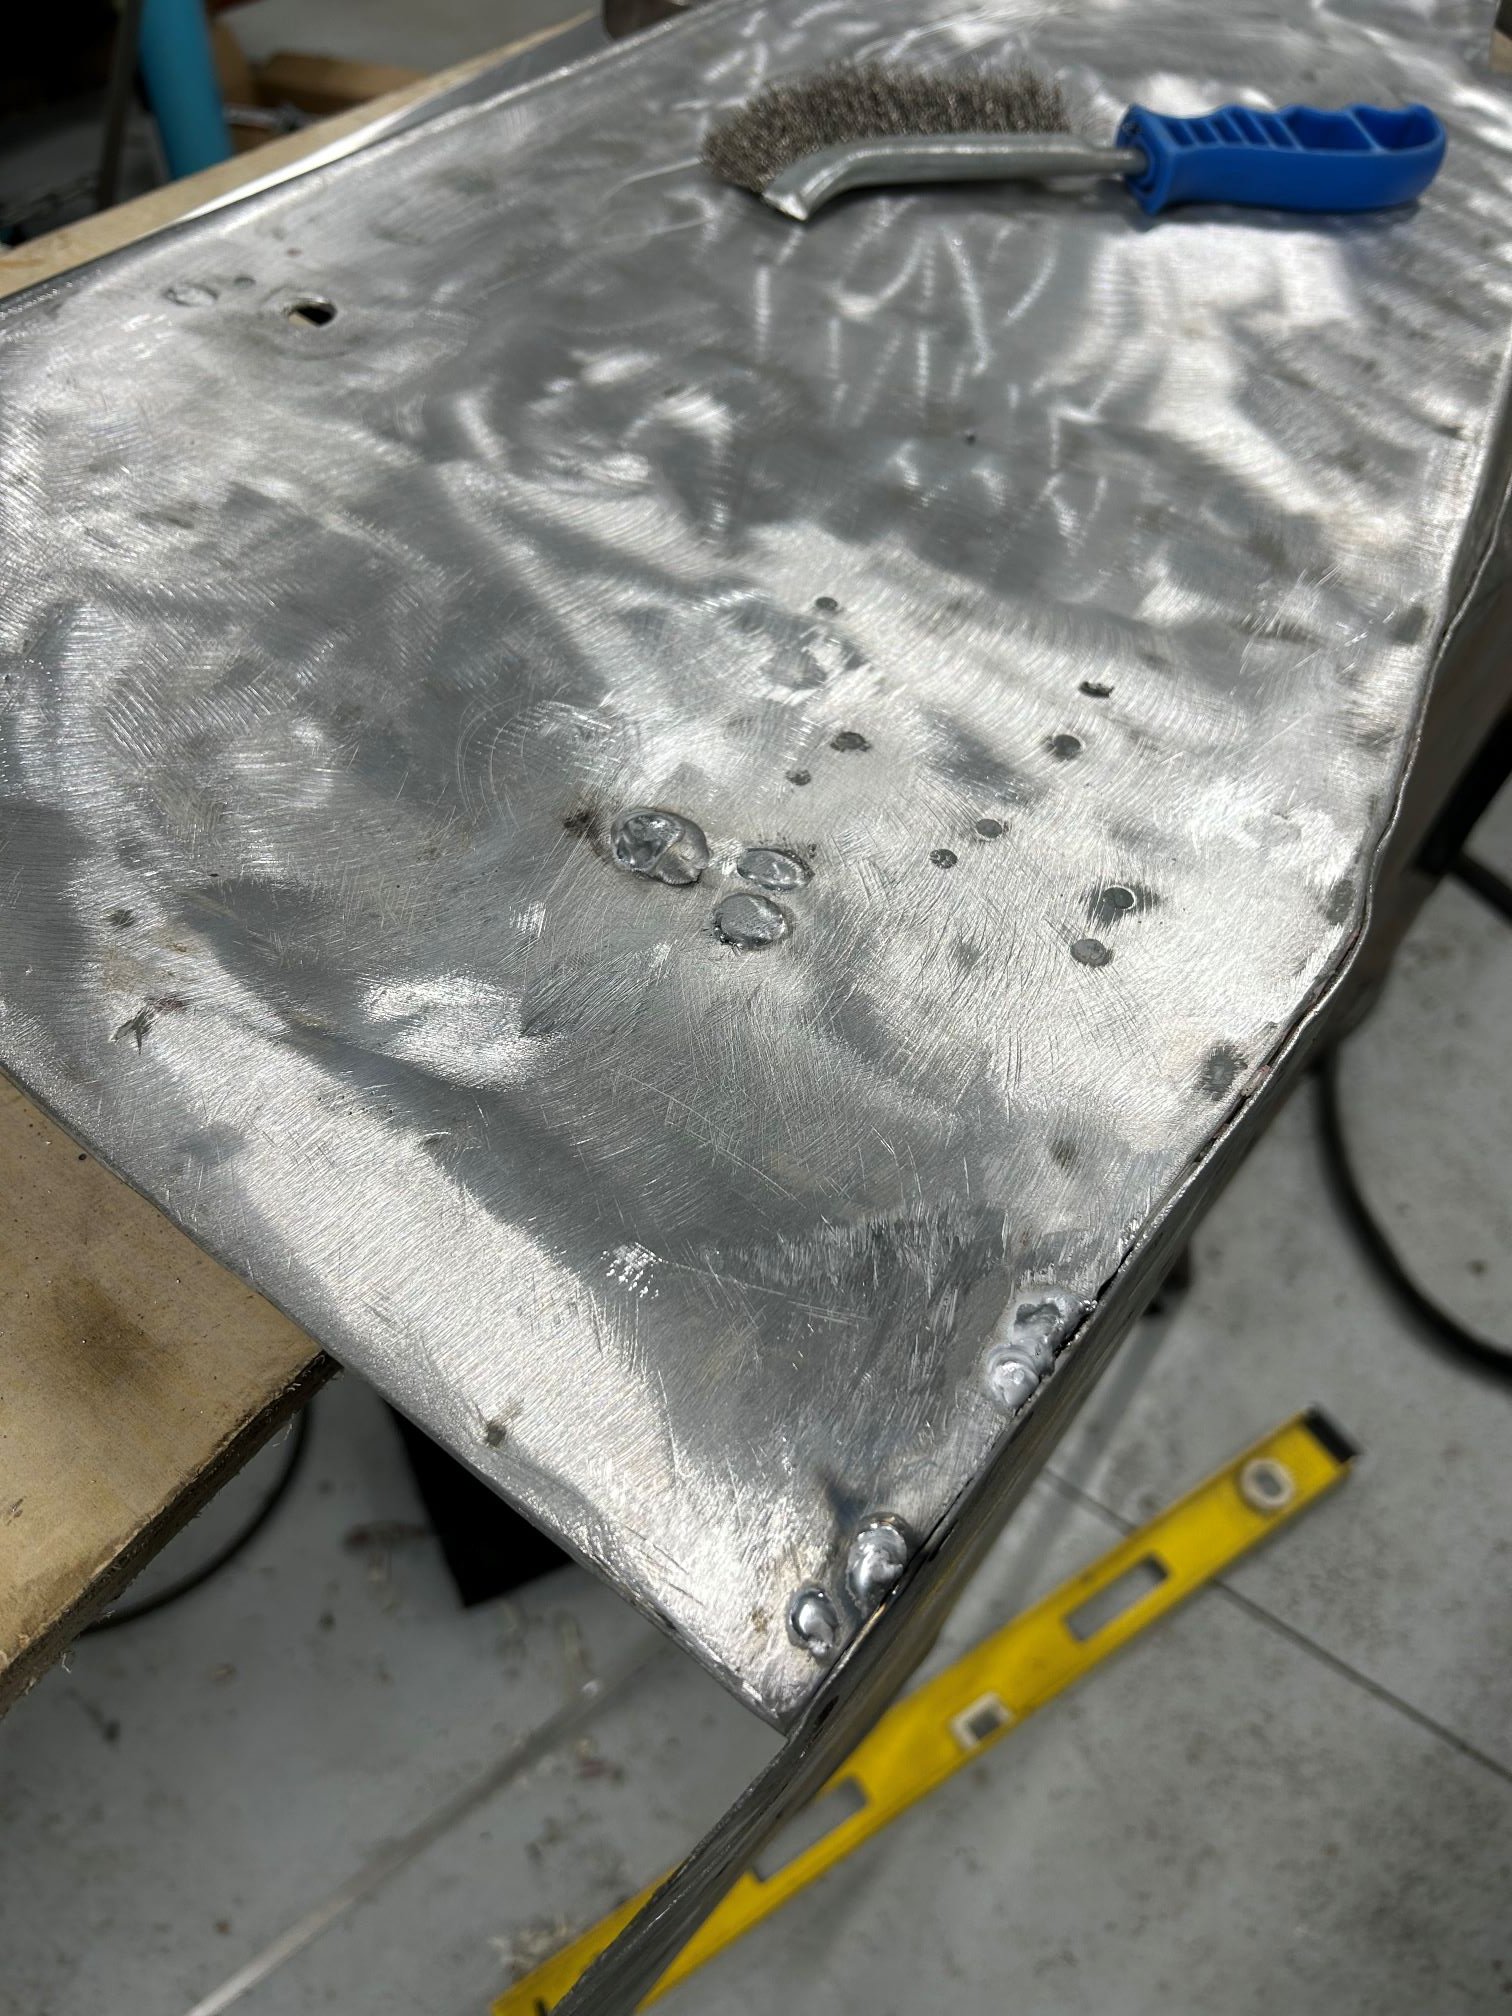
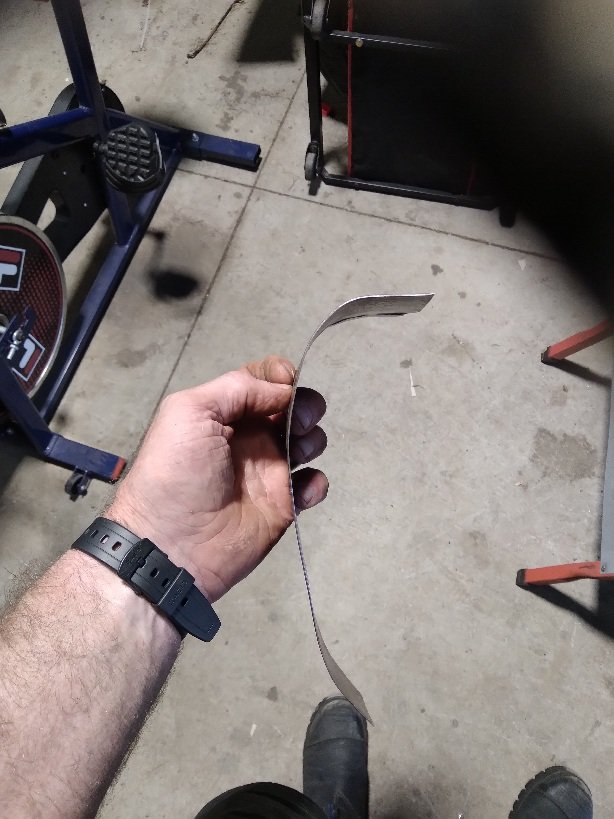
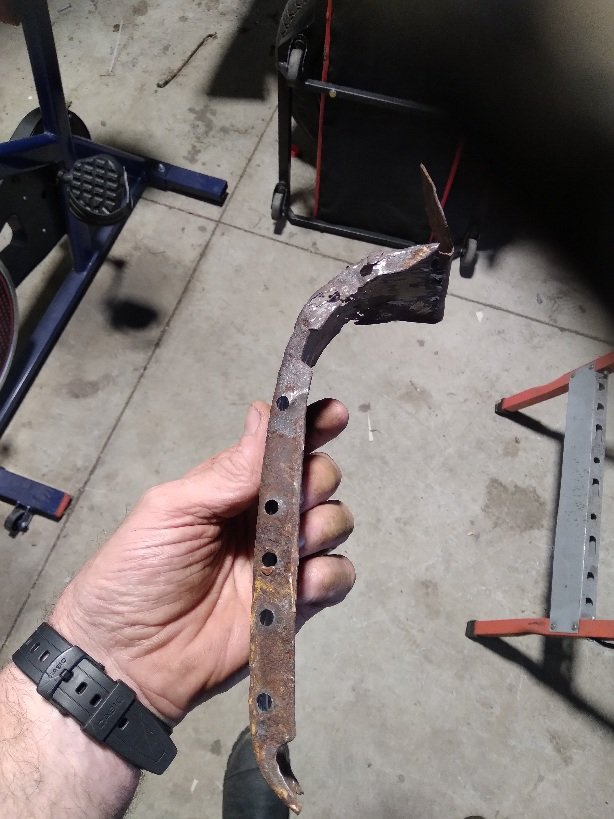
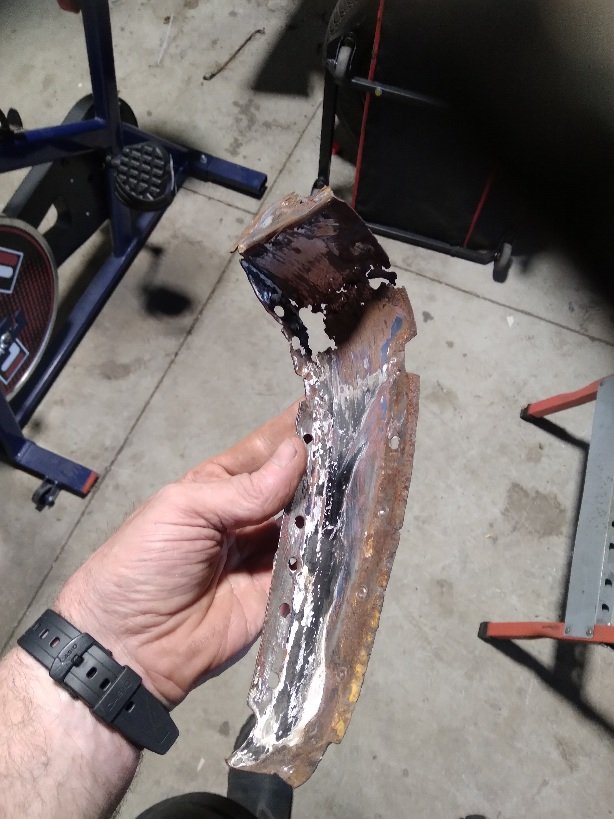
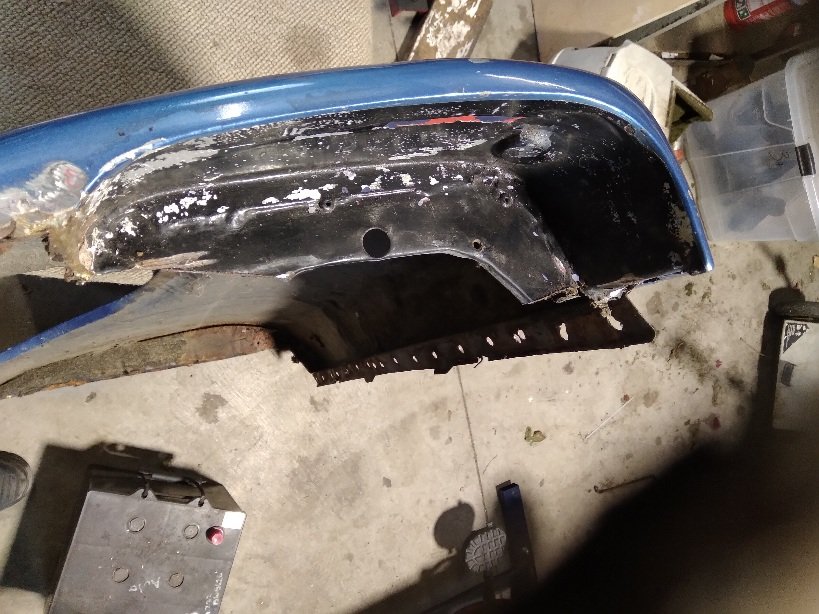
Tonight I decided to tackle the next part of the left hand front guard.
Chipped away at the bog and found this masterpiece underneath the 5mm of bog.
Brilliant.
Ohwell fun and games.
I'm sipping my beer in the shed deciding how to tackle this. Maybe a cut and butt from fitzee. Mm

-
8
-
-
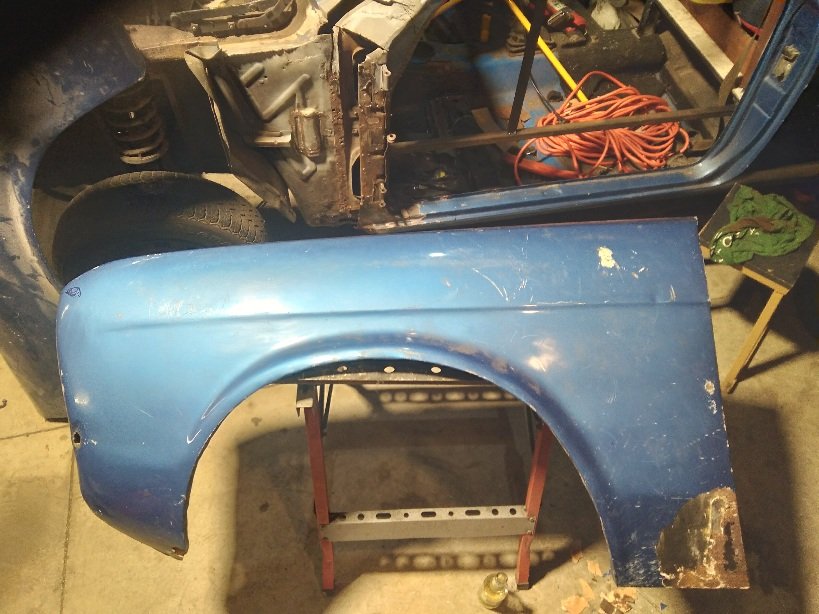
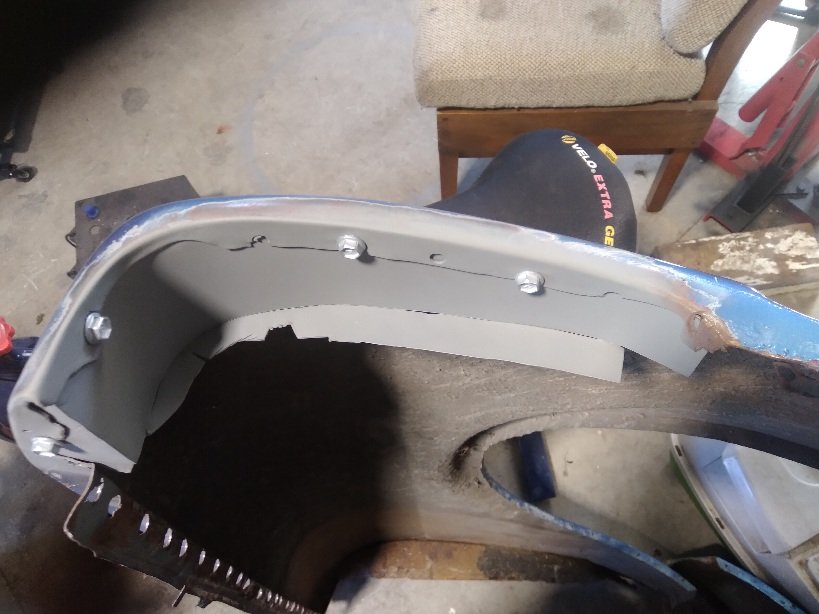
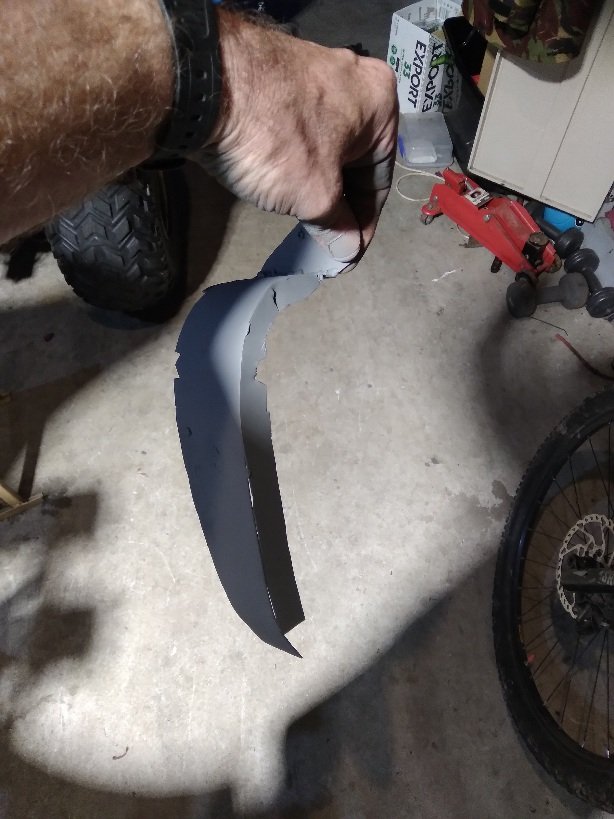
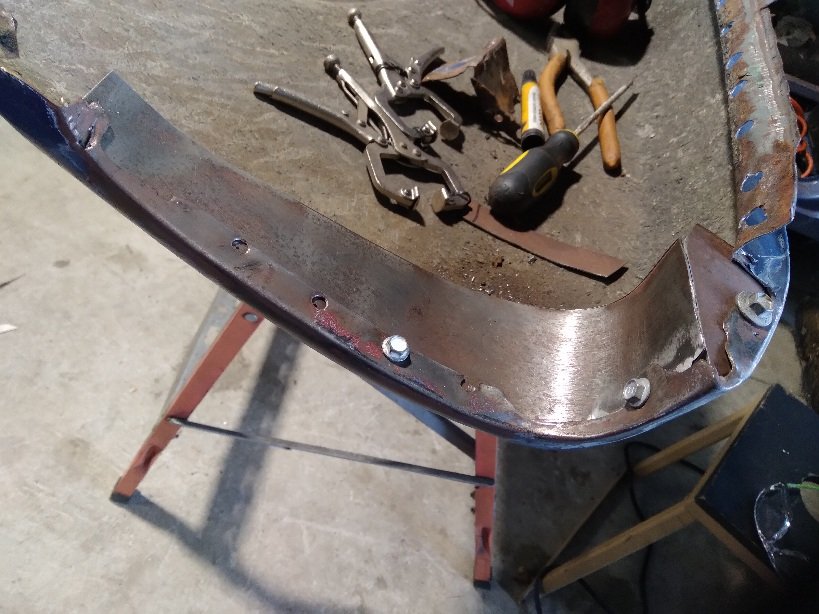
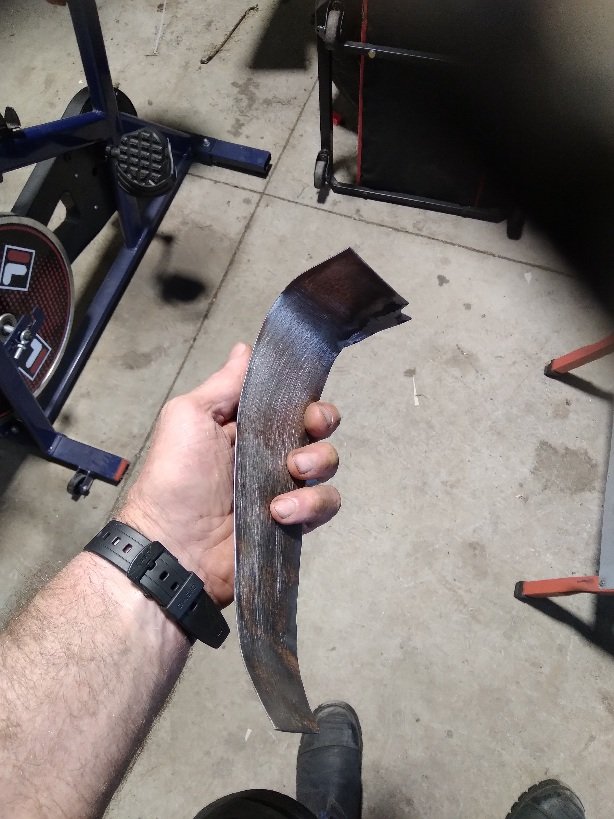
And heres the finished product until I dummy fit the guard up.
-
7
-
-
Will fit it with tech screws tommorow and that's where it will stay for awhile.
-
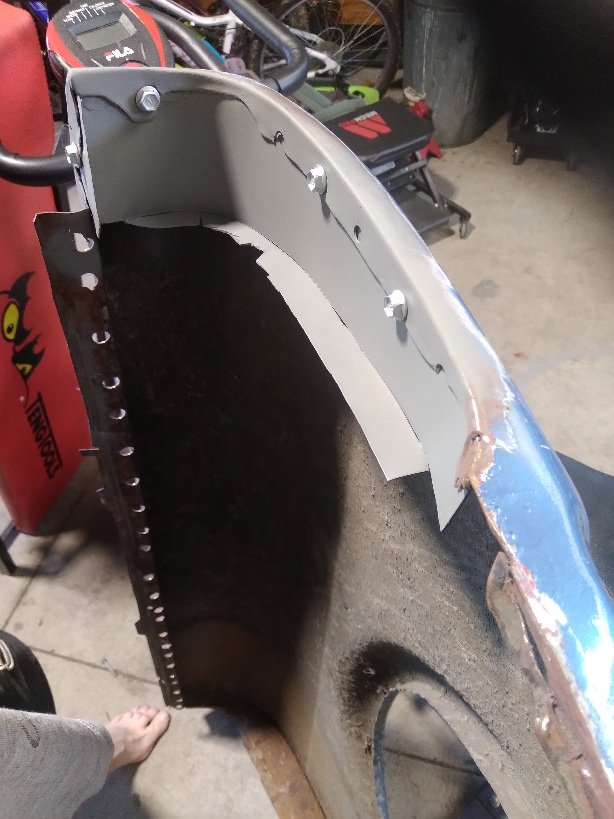
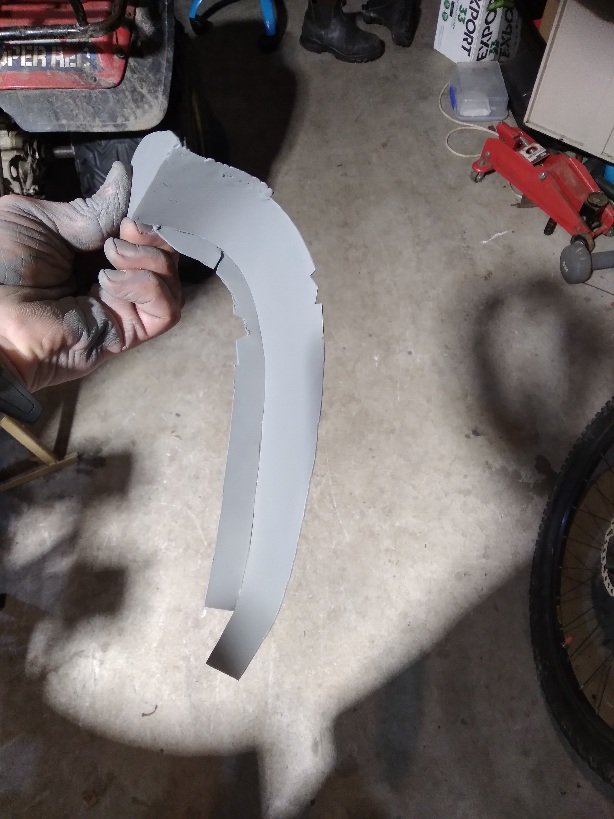
Right , so finally finished this piece . Well finished until I can hang the door and the passenger guard .
Then I'll drill the holes in the flange that goes against the grill by the headlight and weld the flange on properly. Ive left this tacked on in case Ive fucked it up and have to redo it.
Learning so much and learning metal fizzing skills as I go
Cheers
-
2
-
-
I like it !
-
1
-
-
Some of you really clever buggers should run your own "courses" on metal shaping and welding thin panel steel.
I for one would partake if it was near palmy or wellington.....
Food for thought.
-
1
-
-
On 20/07/2023 at 09:48, nzstato said:
At least I get to go back to the parts I really like - panel work.
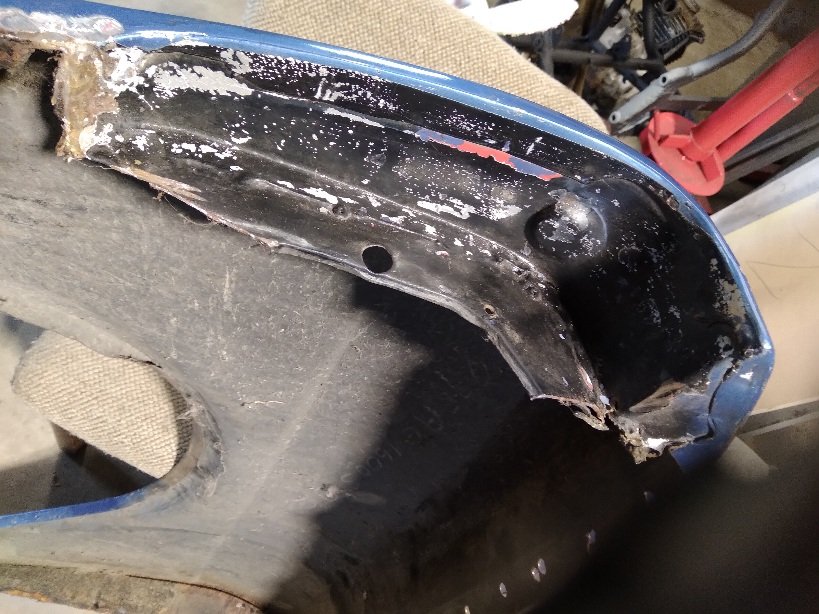
These front guards are pretty bad but typical for age - fill of dents, bog, cracks, holes etc...
There is no point to try and fix what is there, its a pretty simple panel to make from new. Note that there is only a factory pressing for the park like and not the indicator (these were added by local dealers depending on the requirements of the export country.
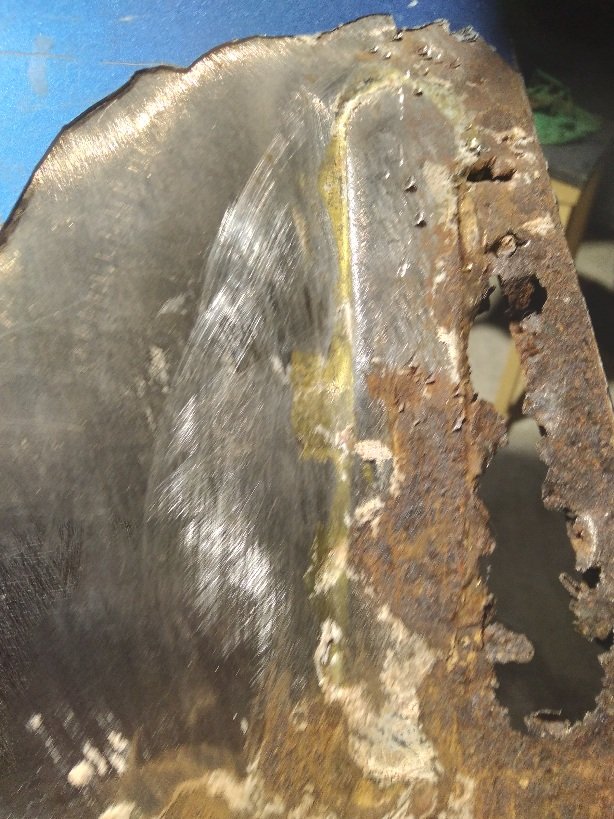
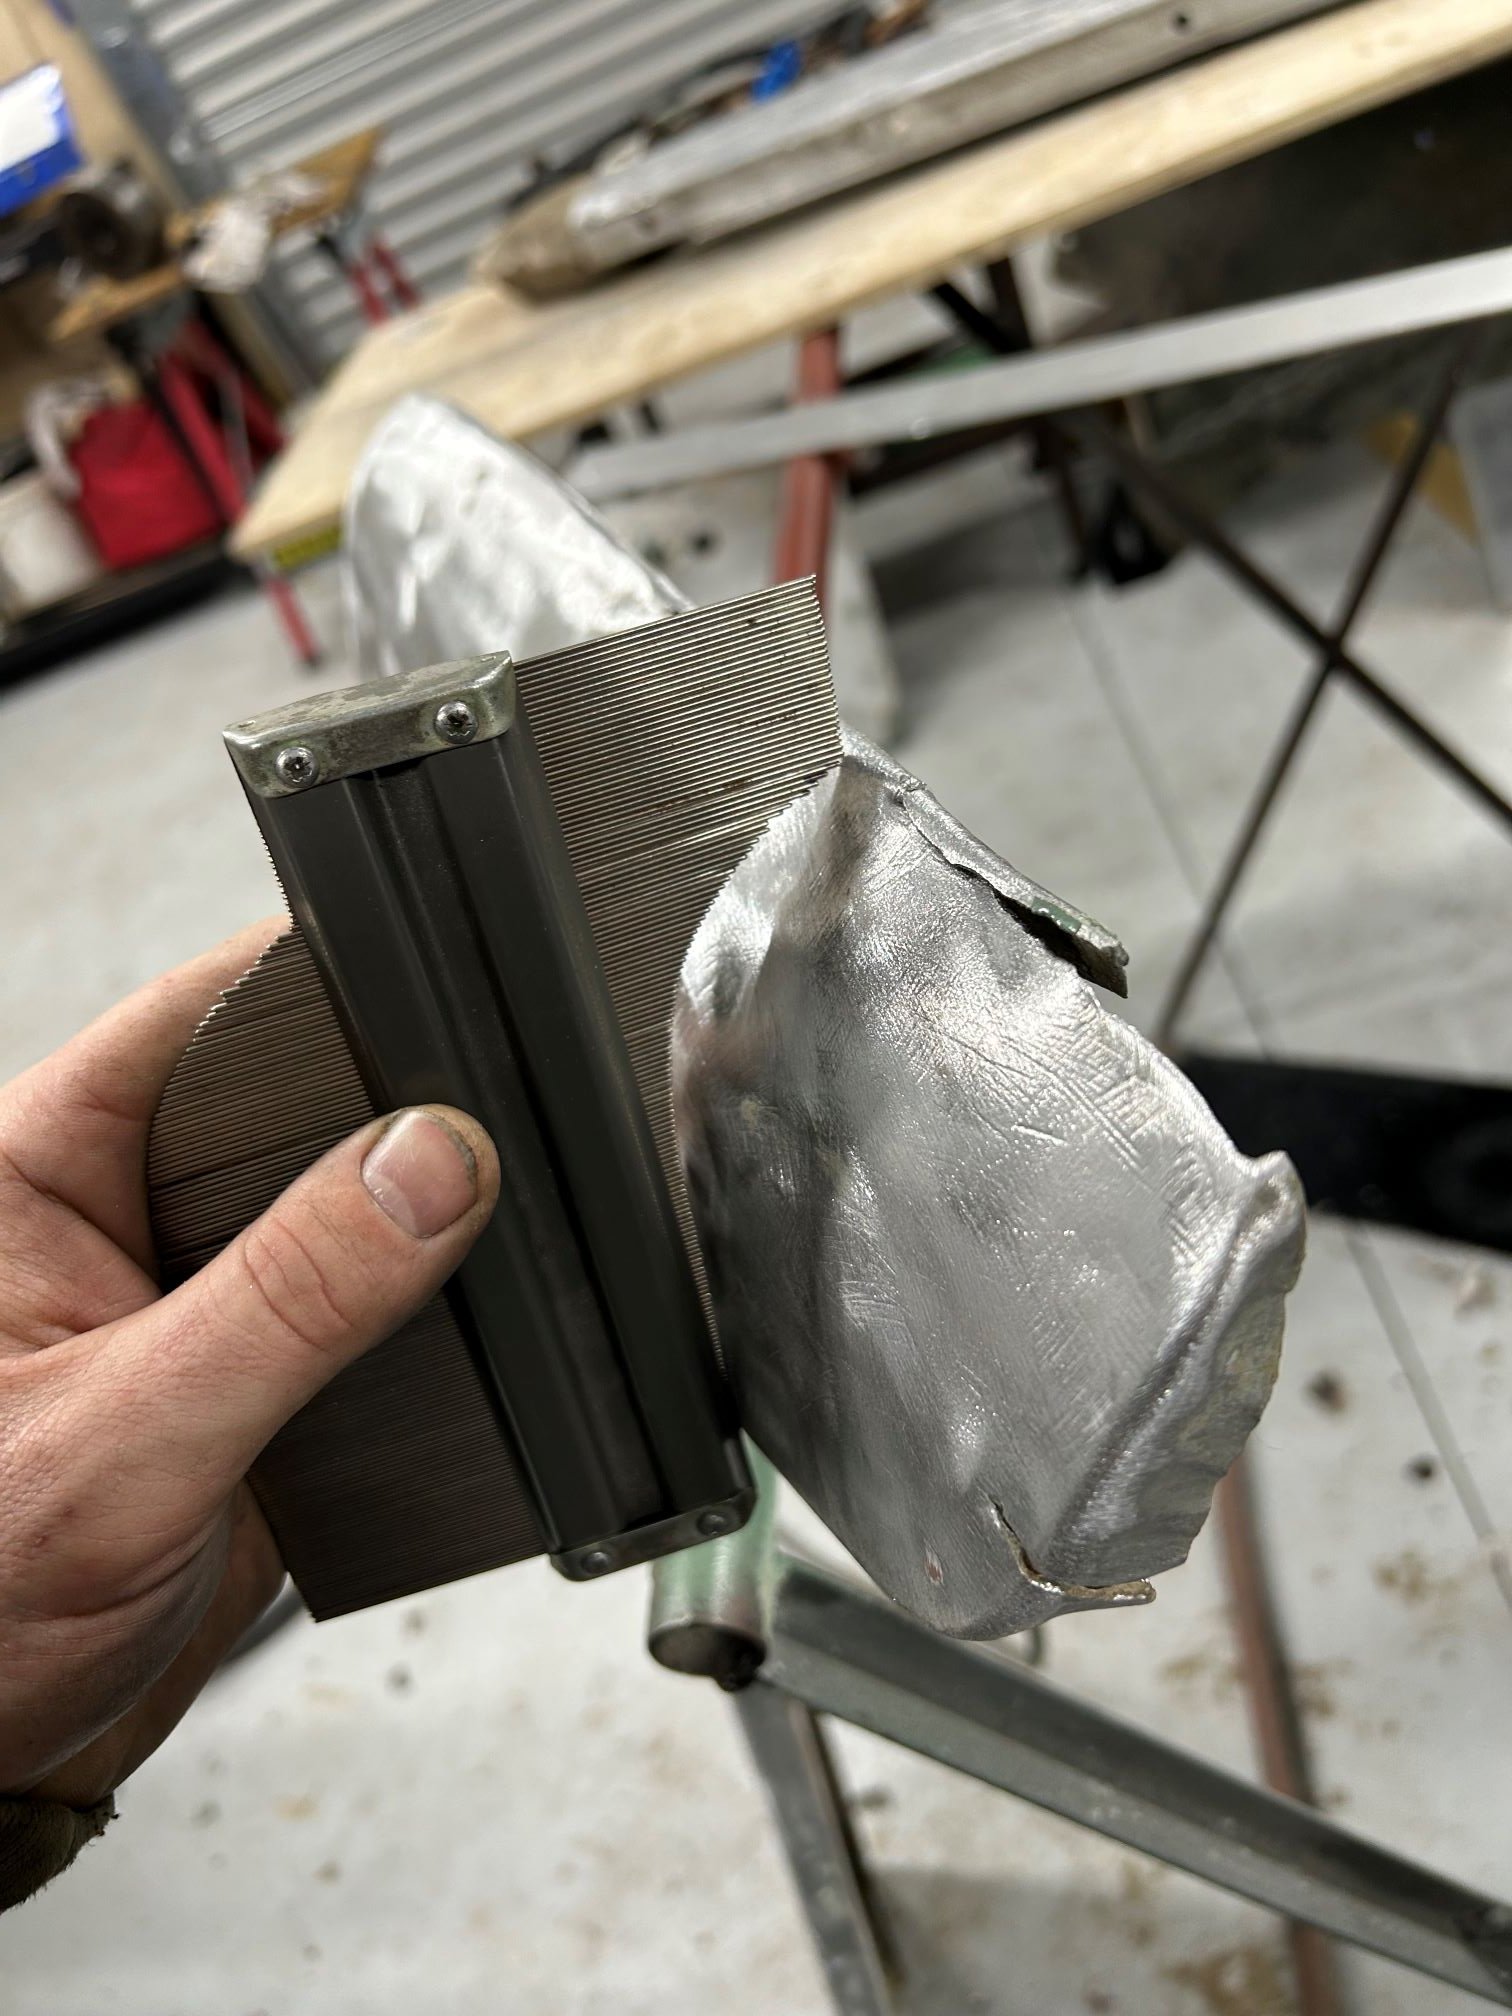
Getting more of the hang of welding alloy, its not easy and filling in holes is a prick.
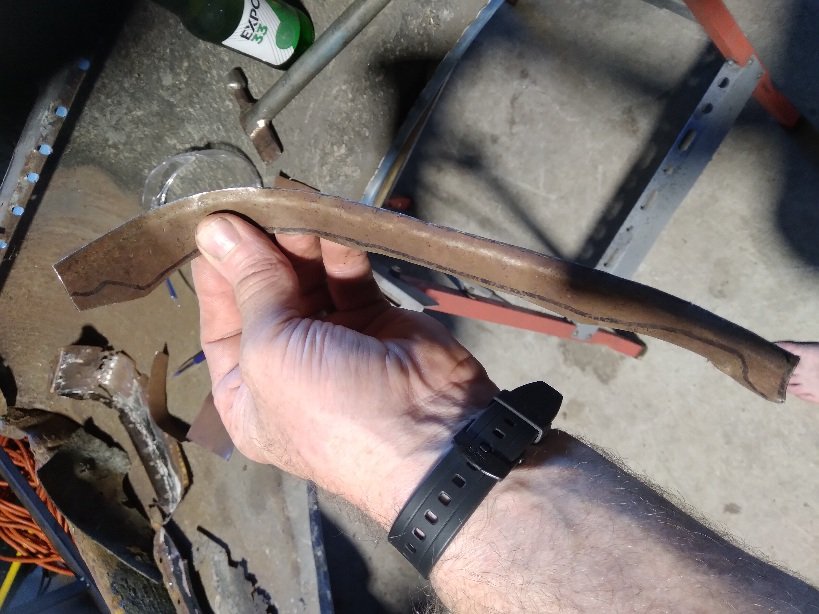
The lower section of this side guard is pretty crumpled, it got most of it out, and about half way through filing it clean. I cut the flange section off as it was pretty thin/bent and in the way, I'll fold up a clean section and weld it in.
sorry for interupting your thread but where did you get that device from and what is it called ?
-
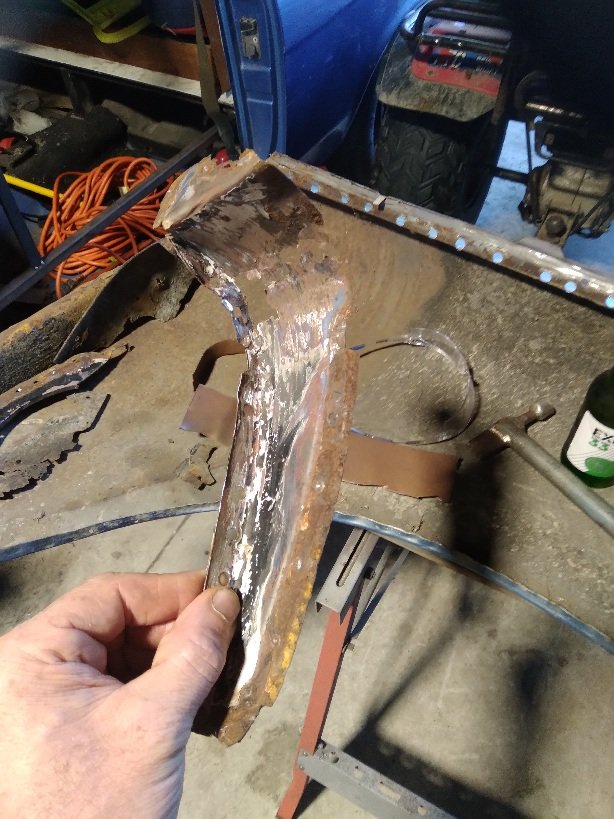
Next I shall make the rear flange to bolt the guard to the headlight grill.
-
1
-
-
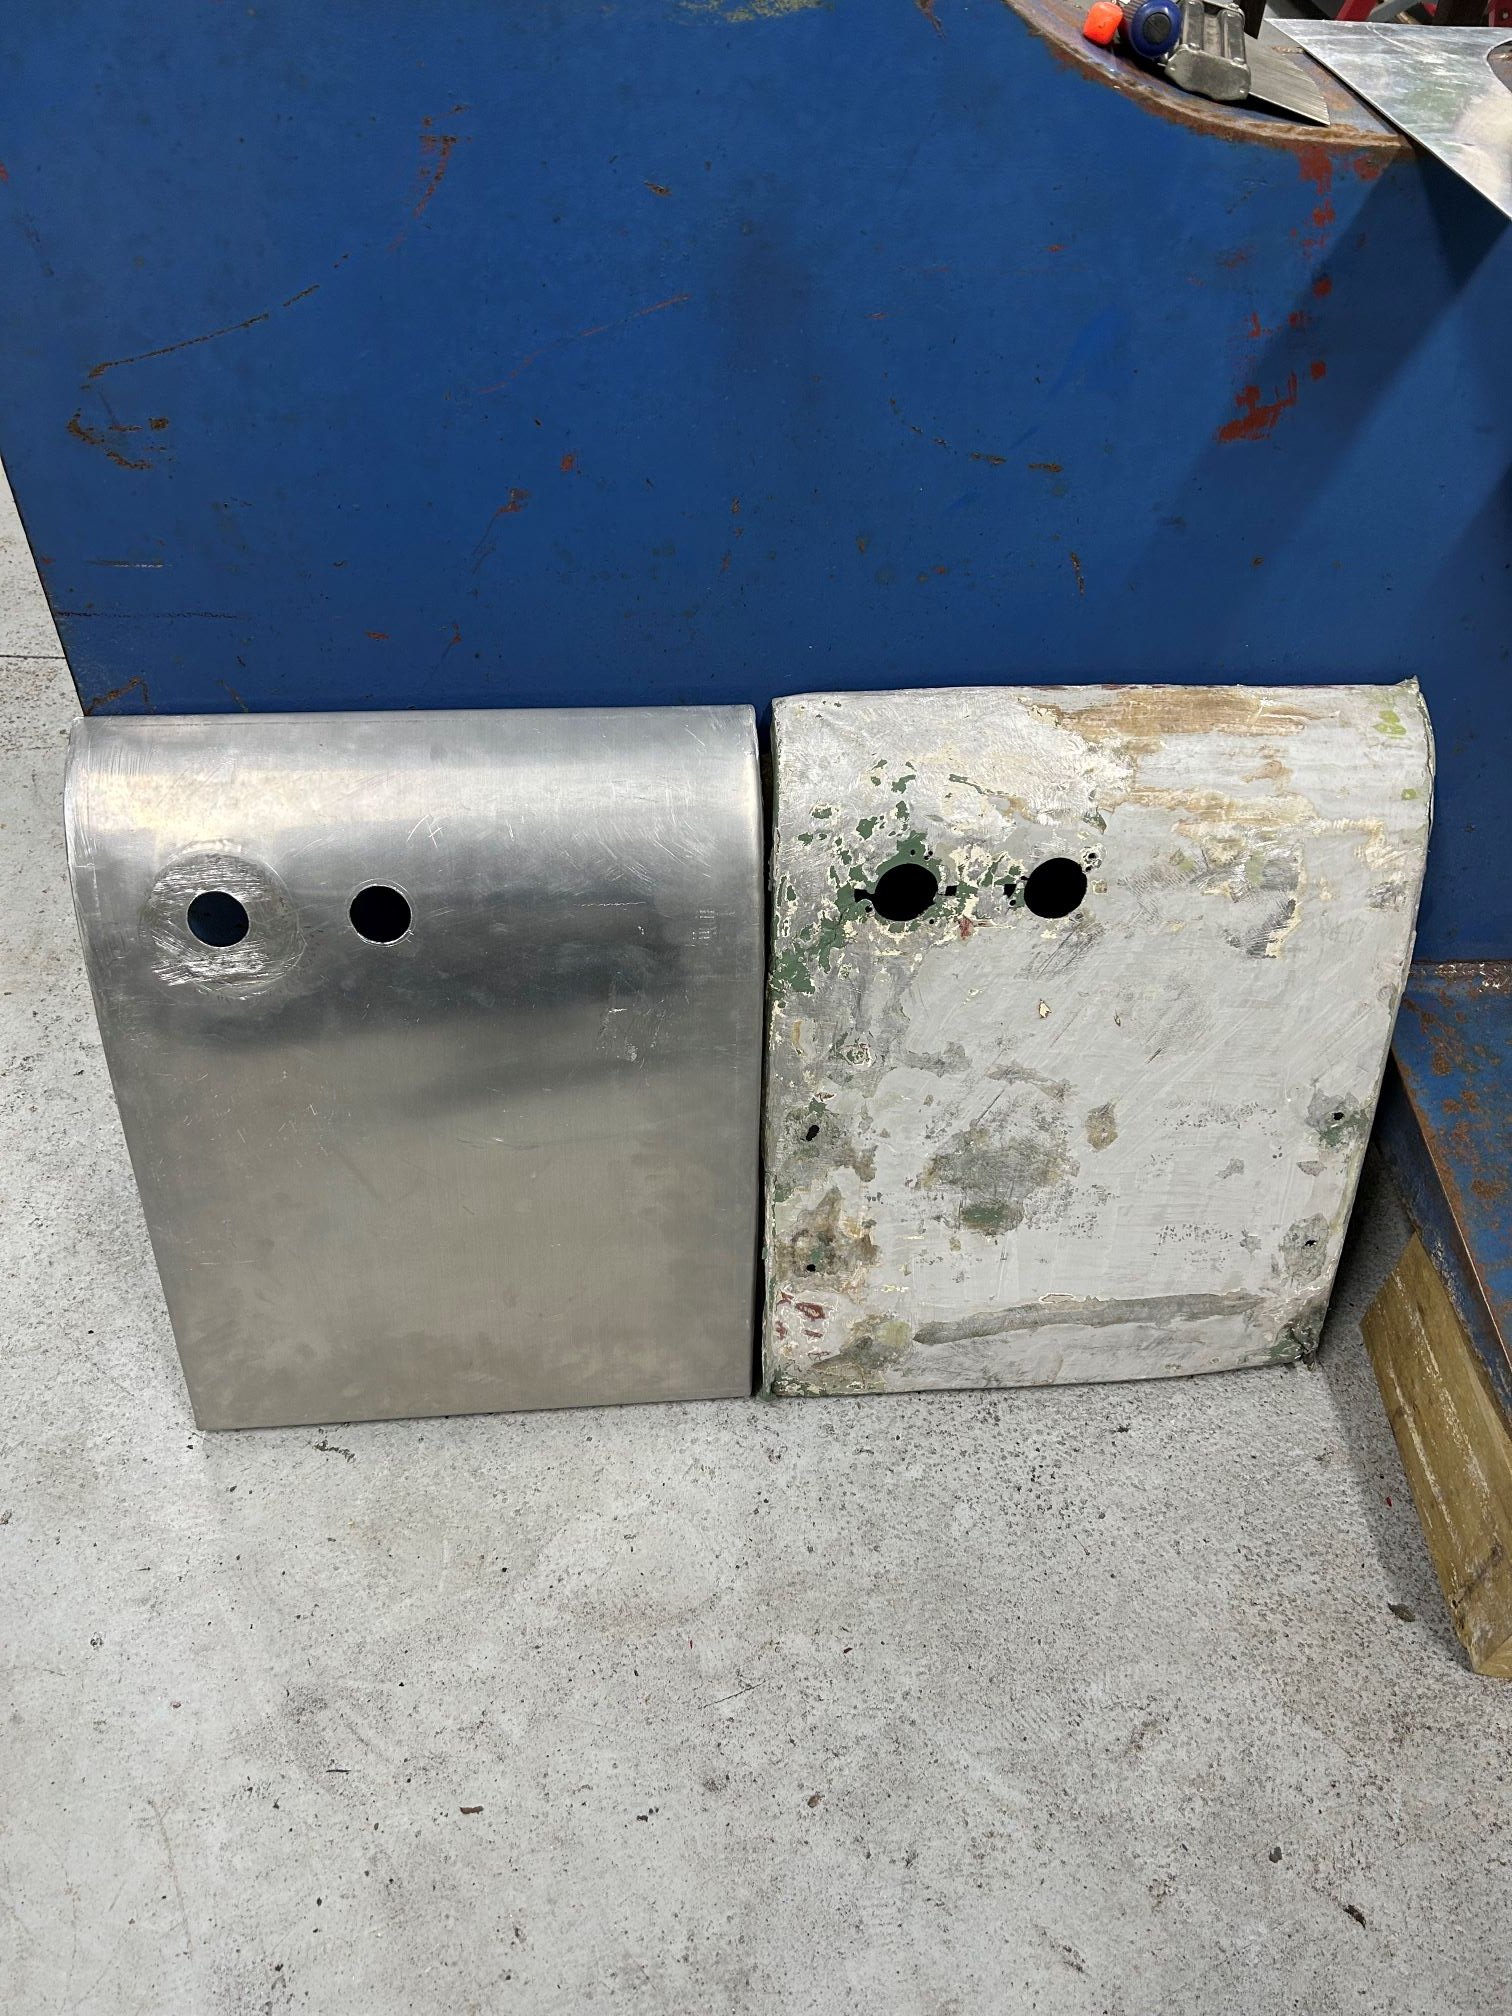
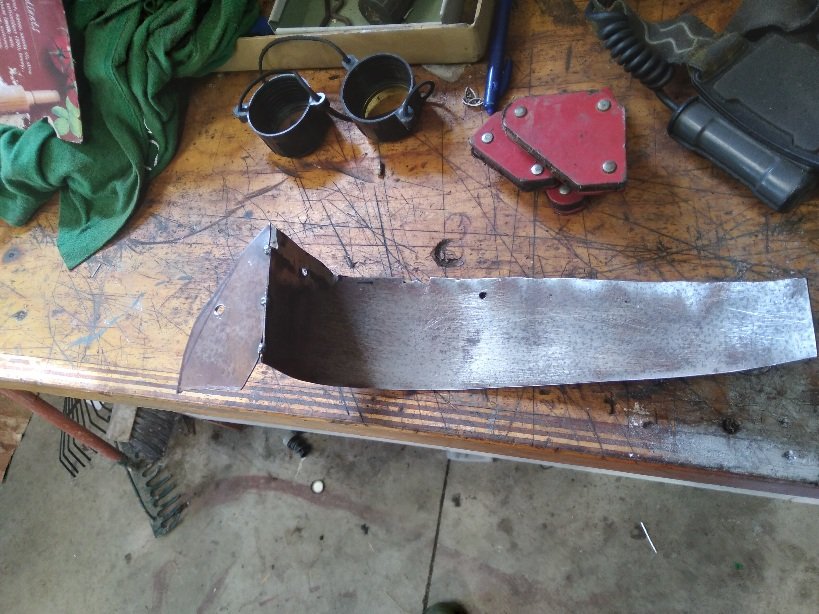
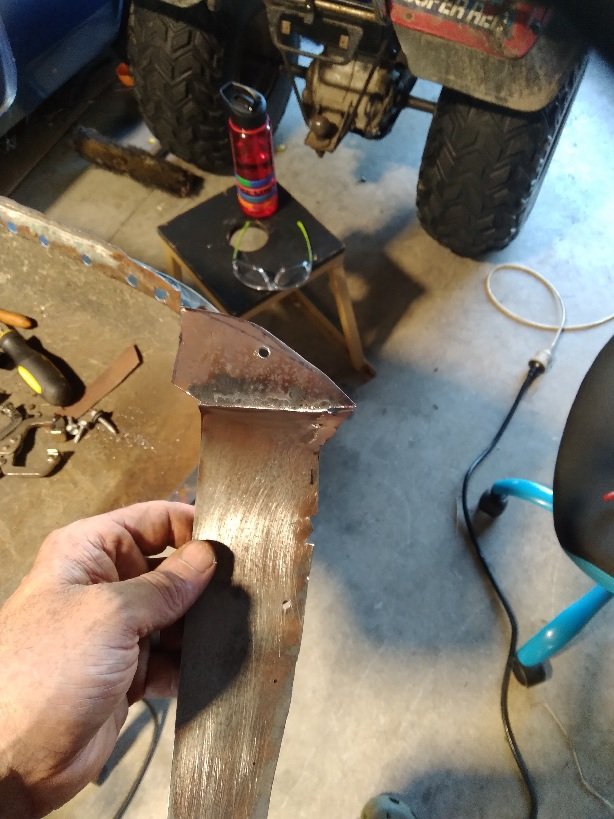
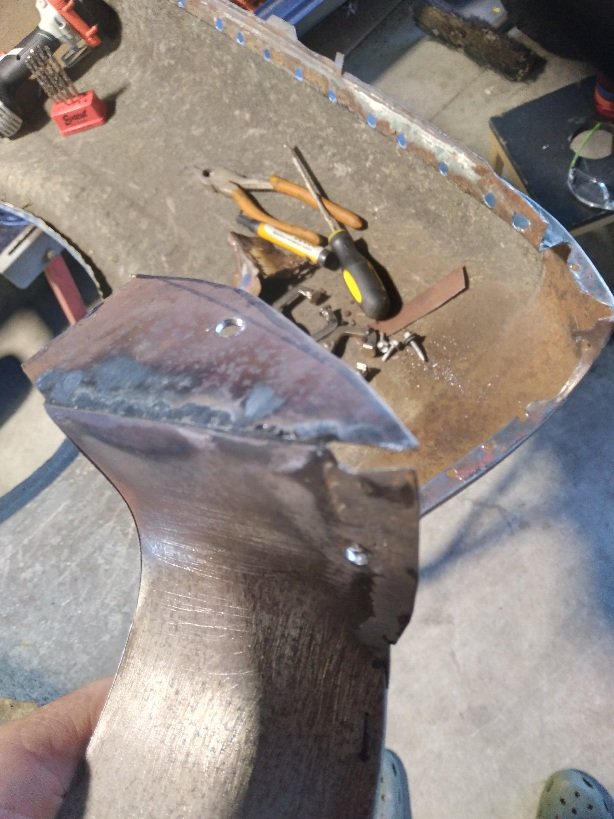
Another afternoon in the shed building this headlight/grill pannel.
Drilled and secured it too the guard , then tacked the top part on and removed and welded togeather.
Took ages but I enjoyed it.
On the last pic you can see a small section I need to fill in and make a small piece for.
-
2
-
-
-
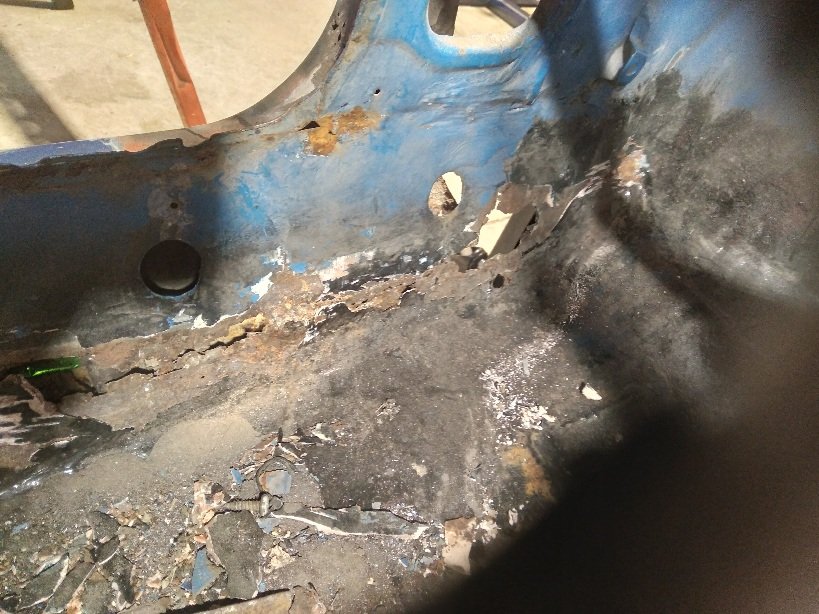
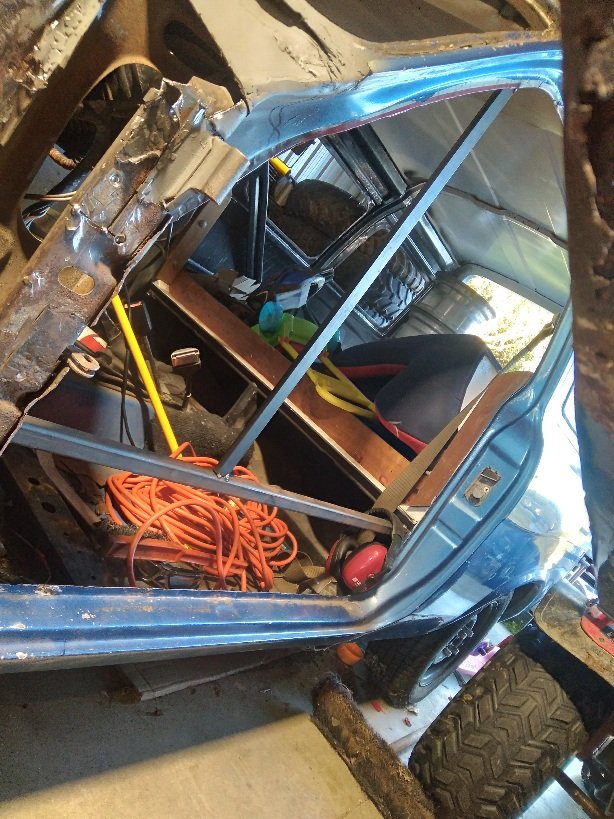
This is inside the escort looking at the inners sill and the corner below the A pillar.
I am a bit concerned how it has opened up once I've started working on the A pillar.
I'm thinking about what to do about it and how to go about it. I know I'll have to replace it but unsure of how to go about it.
-
2
-
-
Loving this time off at the moment.
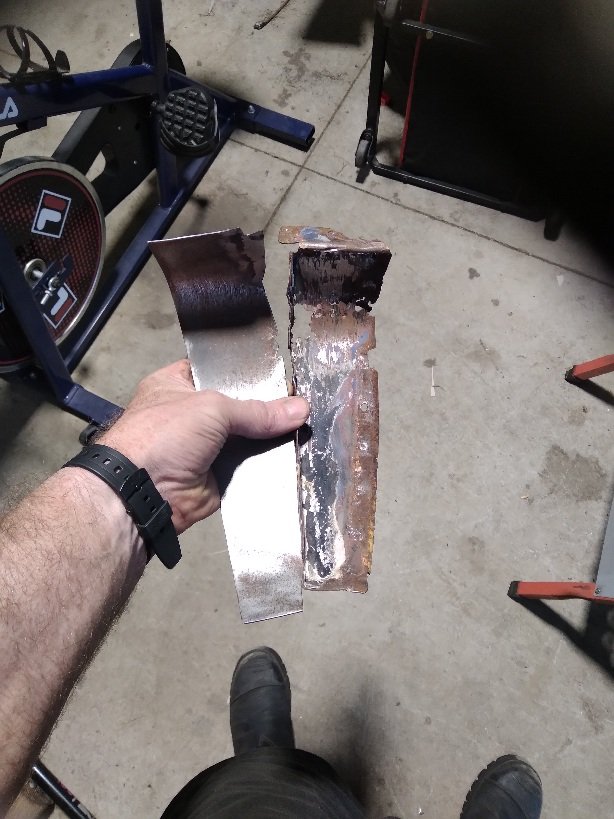
Decided I wasn't going to use the flange I made yesterday and decided to make it in two pieces instead.
So I spent a few hours in the shed bending and cutting panel steel. I fucked it up at the top and had to weld on a little slither of steel.
Super happy how it turned out. Next time I will be welding the flange and the top part on.
I included picture of the other guard and what I'm trying to recreate.
Cheers .
-
4
-
-
Any advice or critique let me know.
Cheers
-
So I decided to start working in the passenger guard inside as I'm a bit stuck with the A pillar replacement.
I'm making this piece in 3 parts as it's not a straight panel where it joins on to the inner wing. This is the part that slides onto the headlight surround/grill.
Going well so far.
-
1
-
-
-
Fuck where does time go !
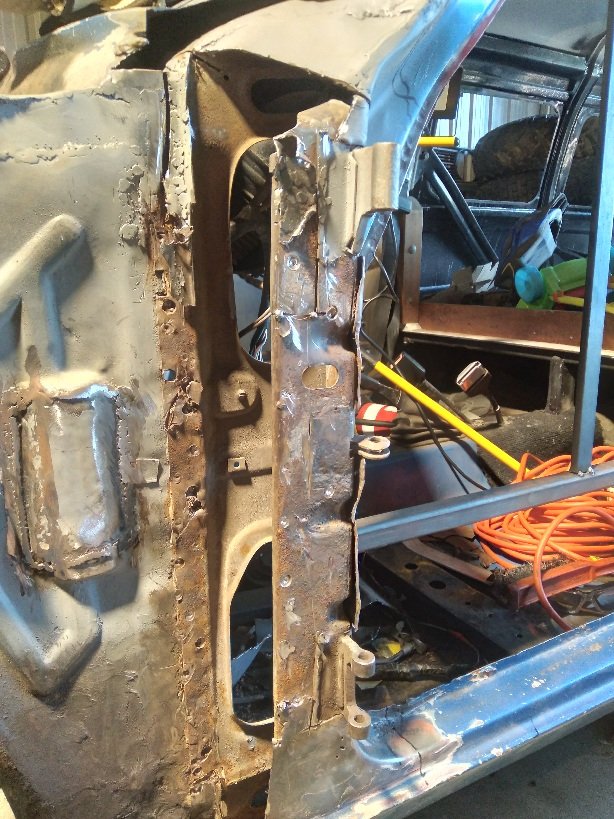
So I braced up the escort floor and cut out more of the escorts A-pillar.
A bit concerned as the inner sill has opened up like a can opener , not sure if it's from me smashing out the spot welds on the A- pillar or if the inner sill is that rusty its collapsing as the strain comes on it from me cutting out the strength of the A-pillar outer. But the chasis rail is still fitted so I think I'm over thinking it.
-
3
-
-
Hey man , Any progress on the escort van ?
-
Rego is live.
Is that cause they can make u get a panel beater cert or engineer cert ?
-
Mmmm the other side is pretty dismal aswell.
I shall take your advise and do some more research on youtube..
-
Hello friends.
I have a question about spot welding panels.
How does one determine how many spot welds to put on a panel. The panel I have almost cut out has spot welds but it didnt come out nicely and is toast.
The panel in question is the A pillar on a ford escort , from just above the hinges to down by the sill.
thanks in advance for the help.
-
Looking like swiss cheese but comming along nicely.
-
2
-
-
Gave it a good nudge to get it off but didnt quite get there.
-
9
-

.jpg.c60305341801861e441d71e1a7070f11.jpg)
.jpg.12069cc4efe8dd2bb4b9c2c4f604f5c3.jpg)


Metal shaping course Auckland
in Upper North Island Region
Posted
wise words as always bling.