slowburn
-
Posts
33 -
Joined
-
Last visited
Everything posted by slowburn
-
made some progress, have cut everything needed off the blue shell ready to be vapour blasted and trimmed to stitch onto the red one....will be a whole solid shell again....
-

-
-
-
-
-
-
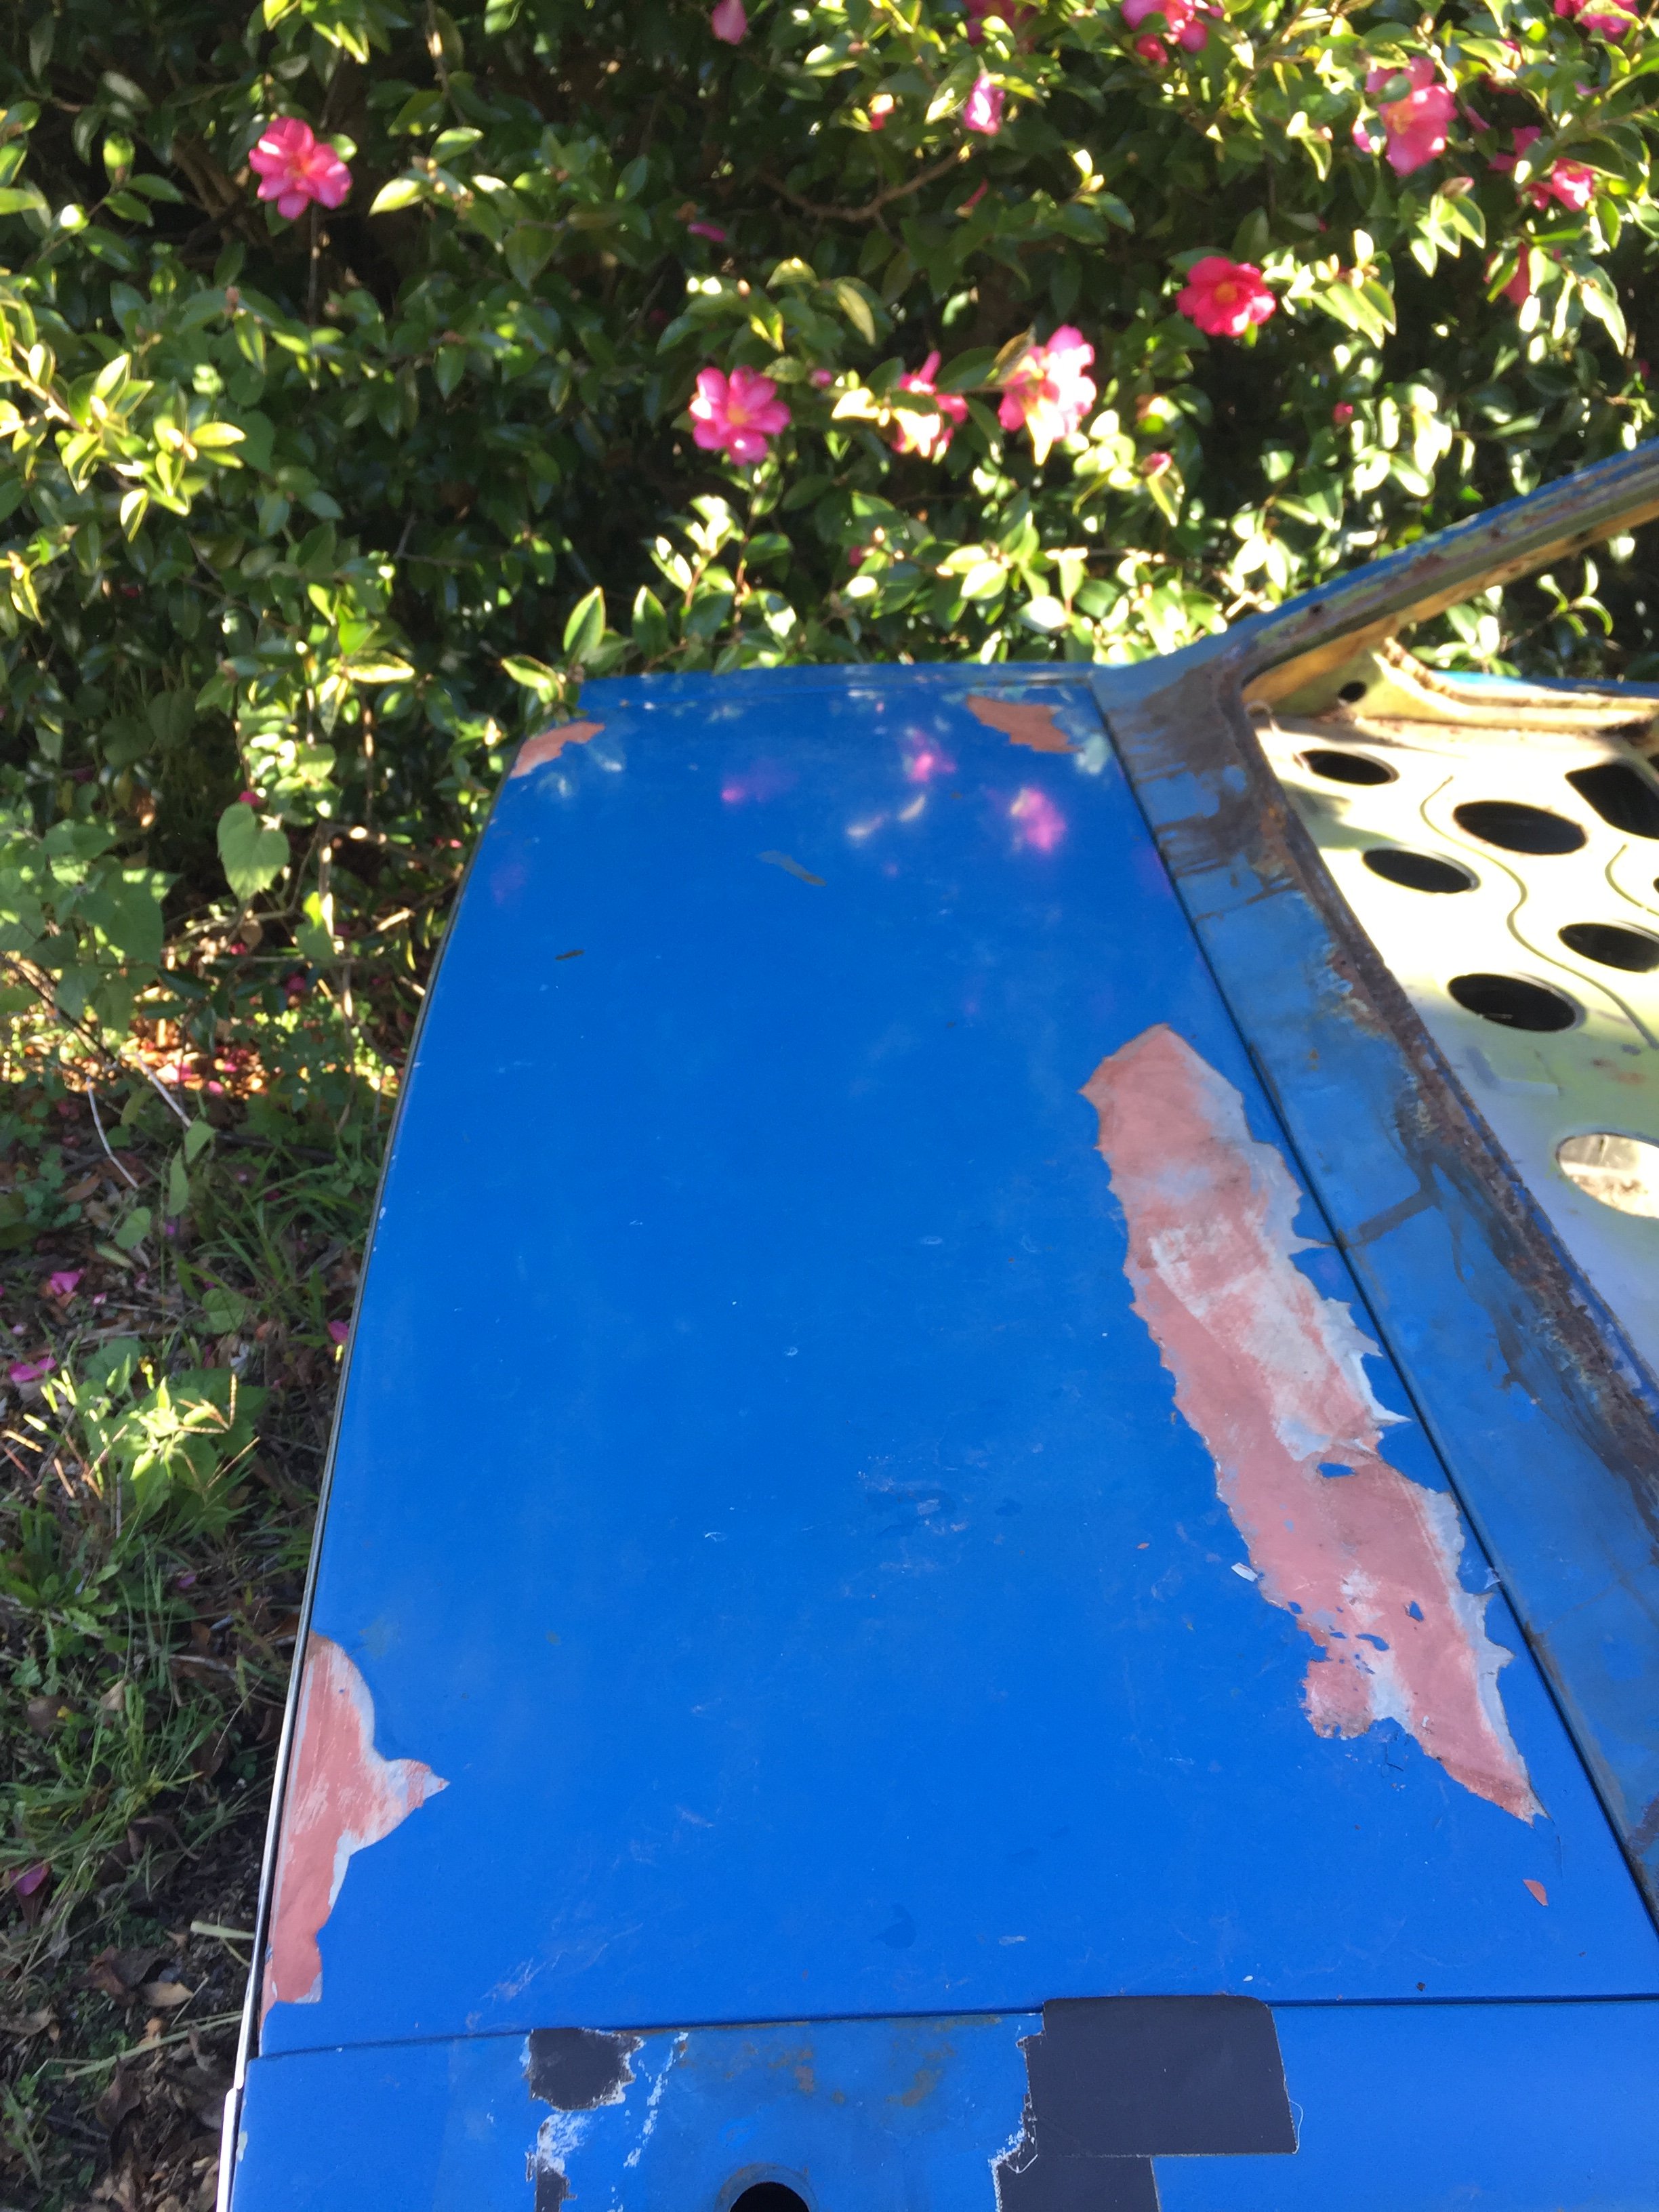
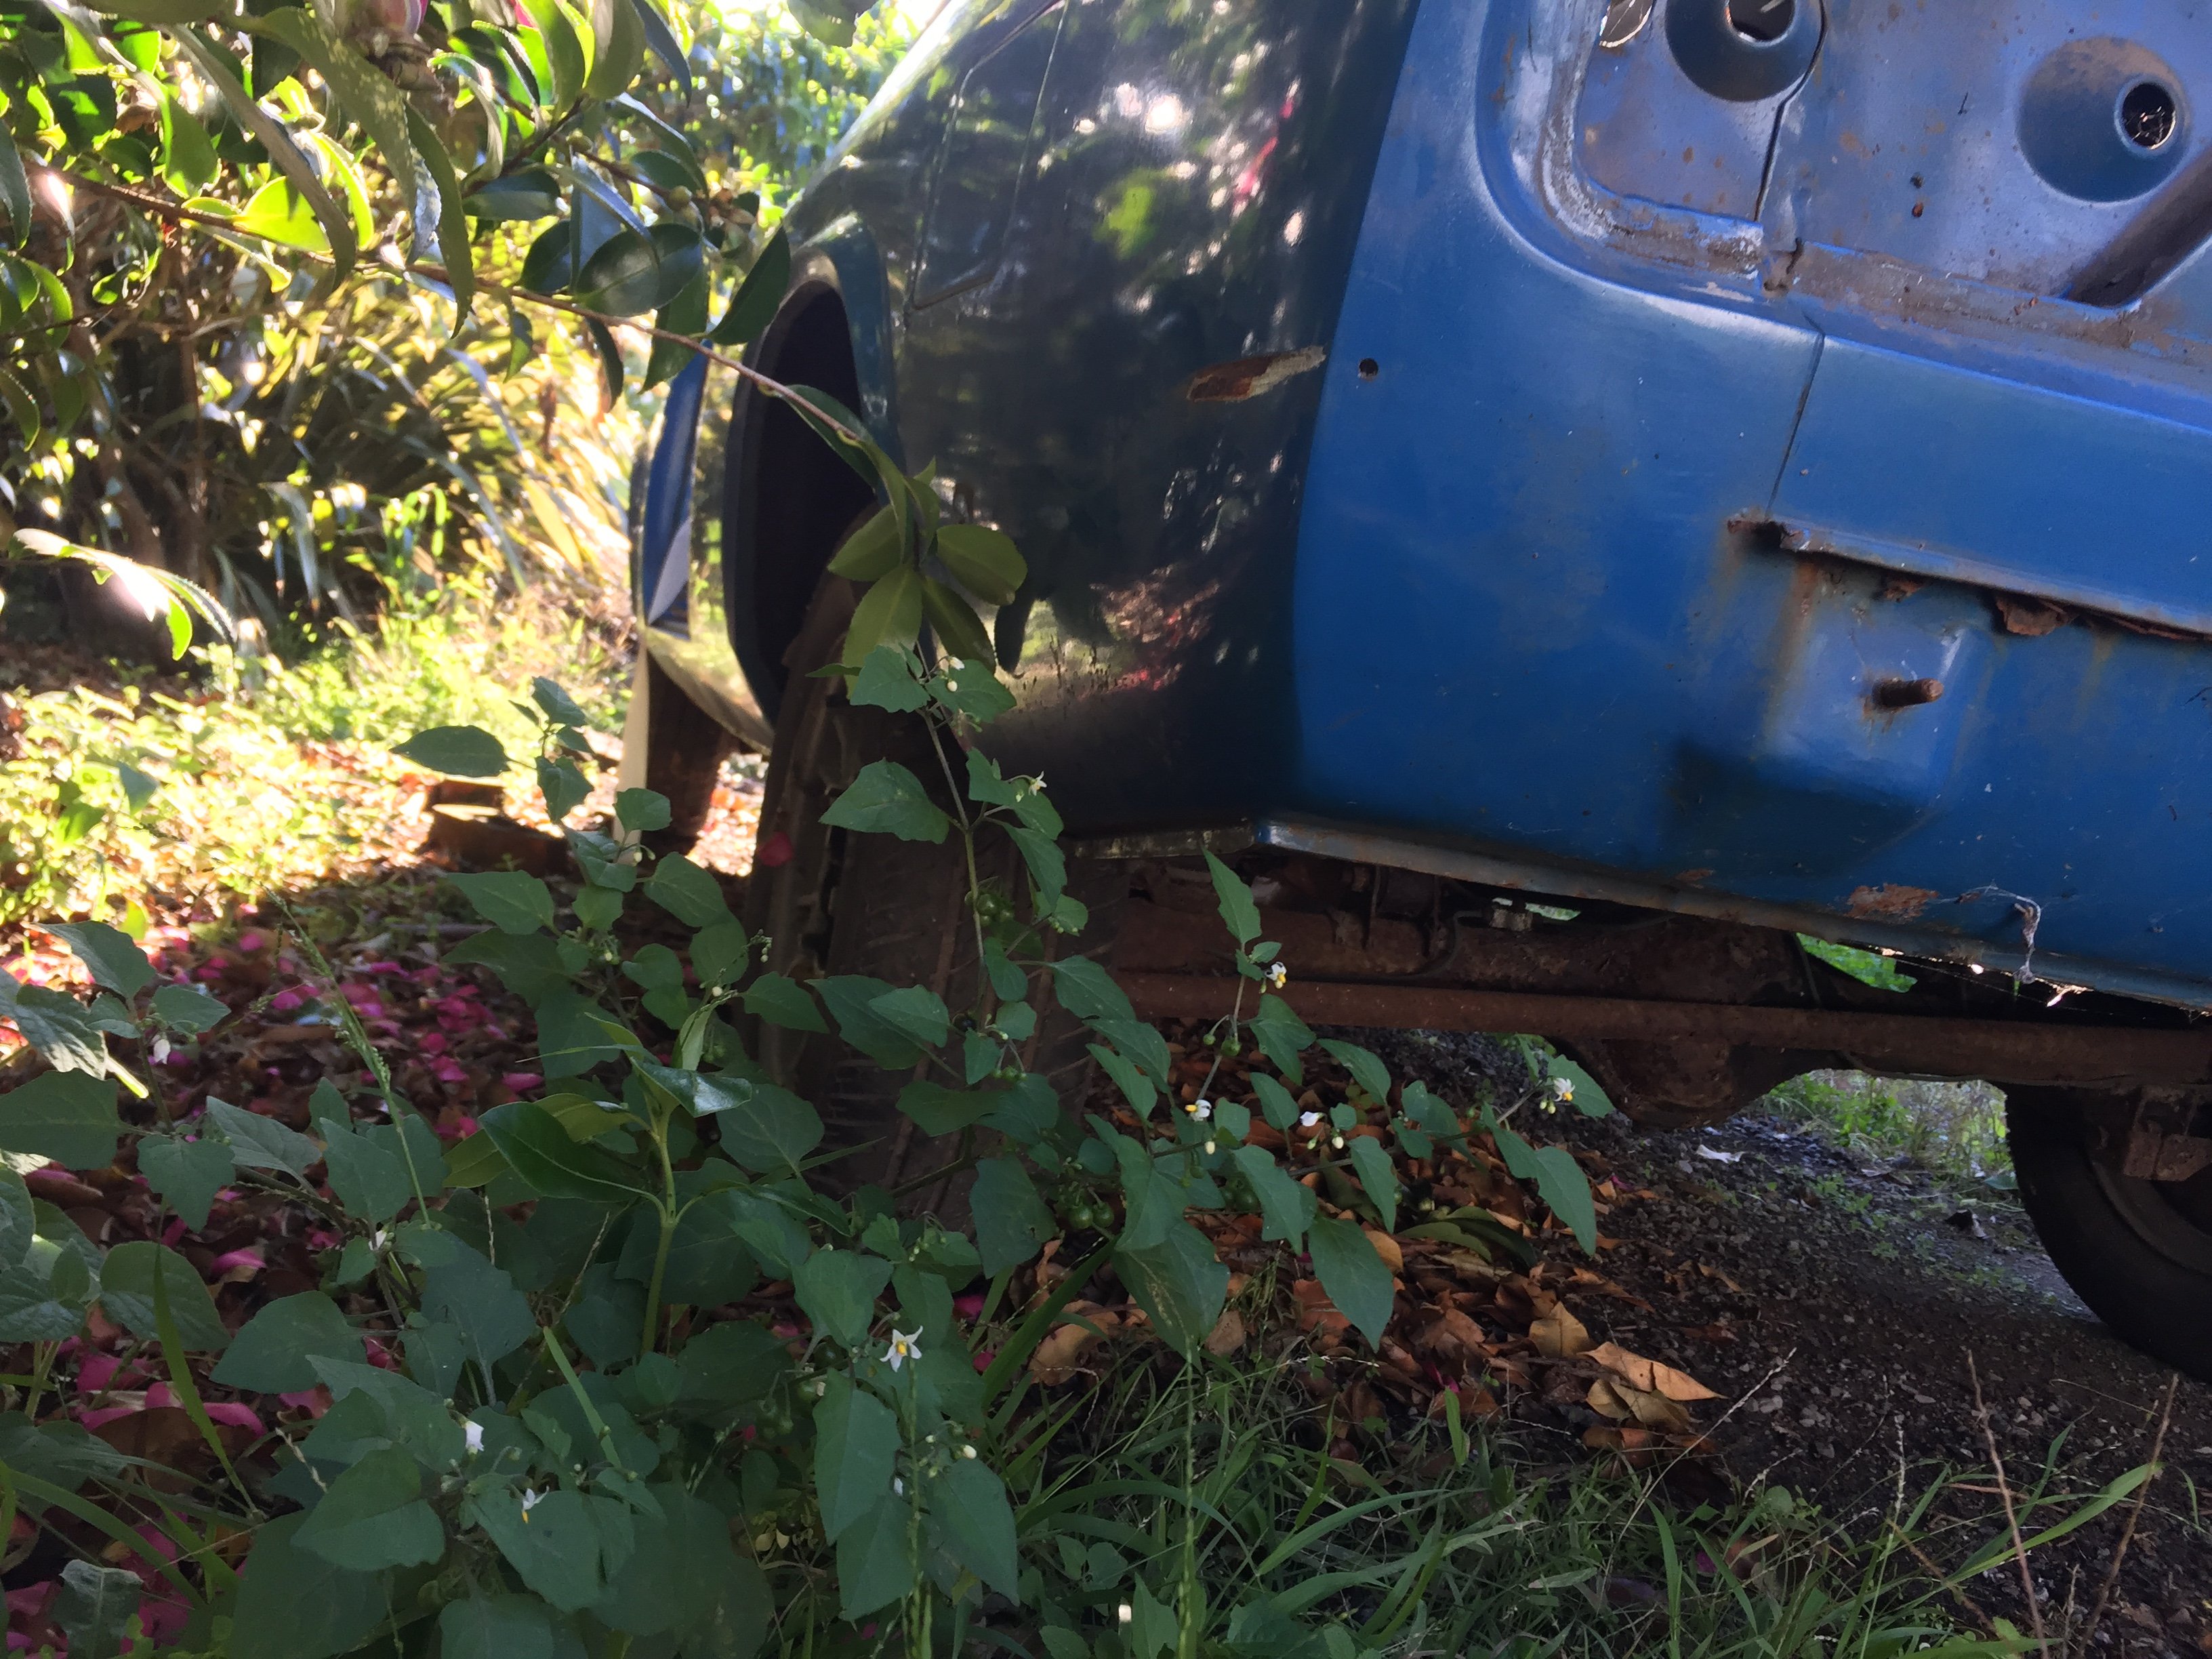
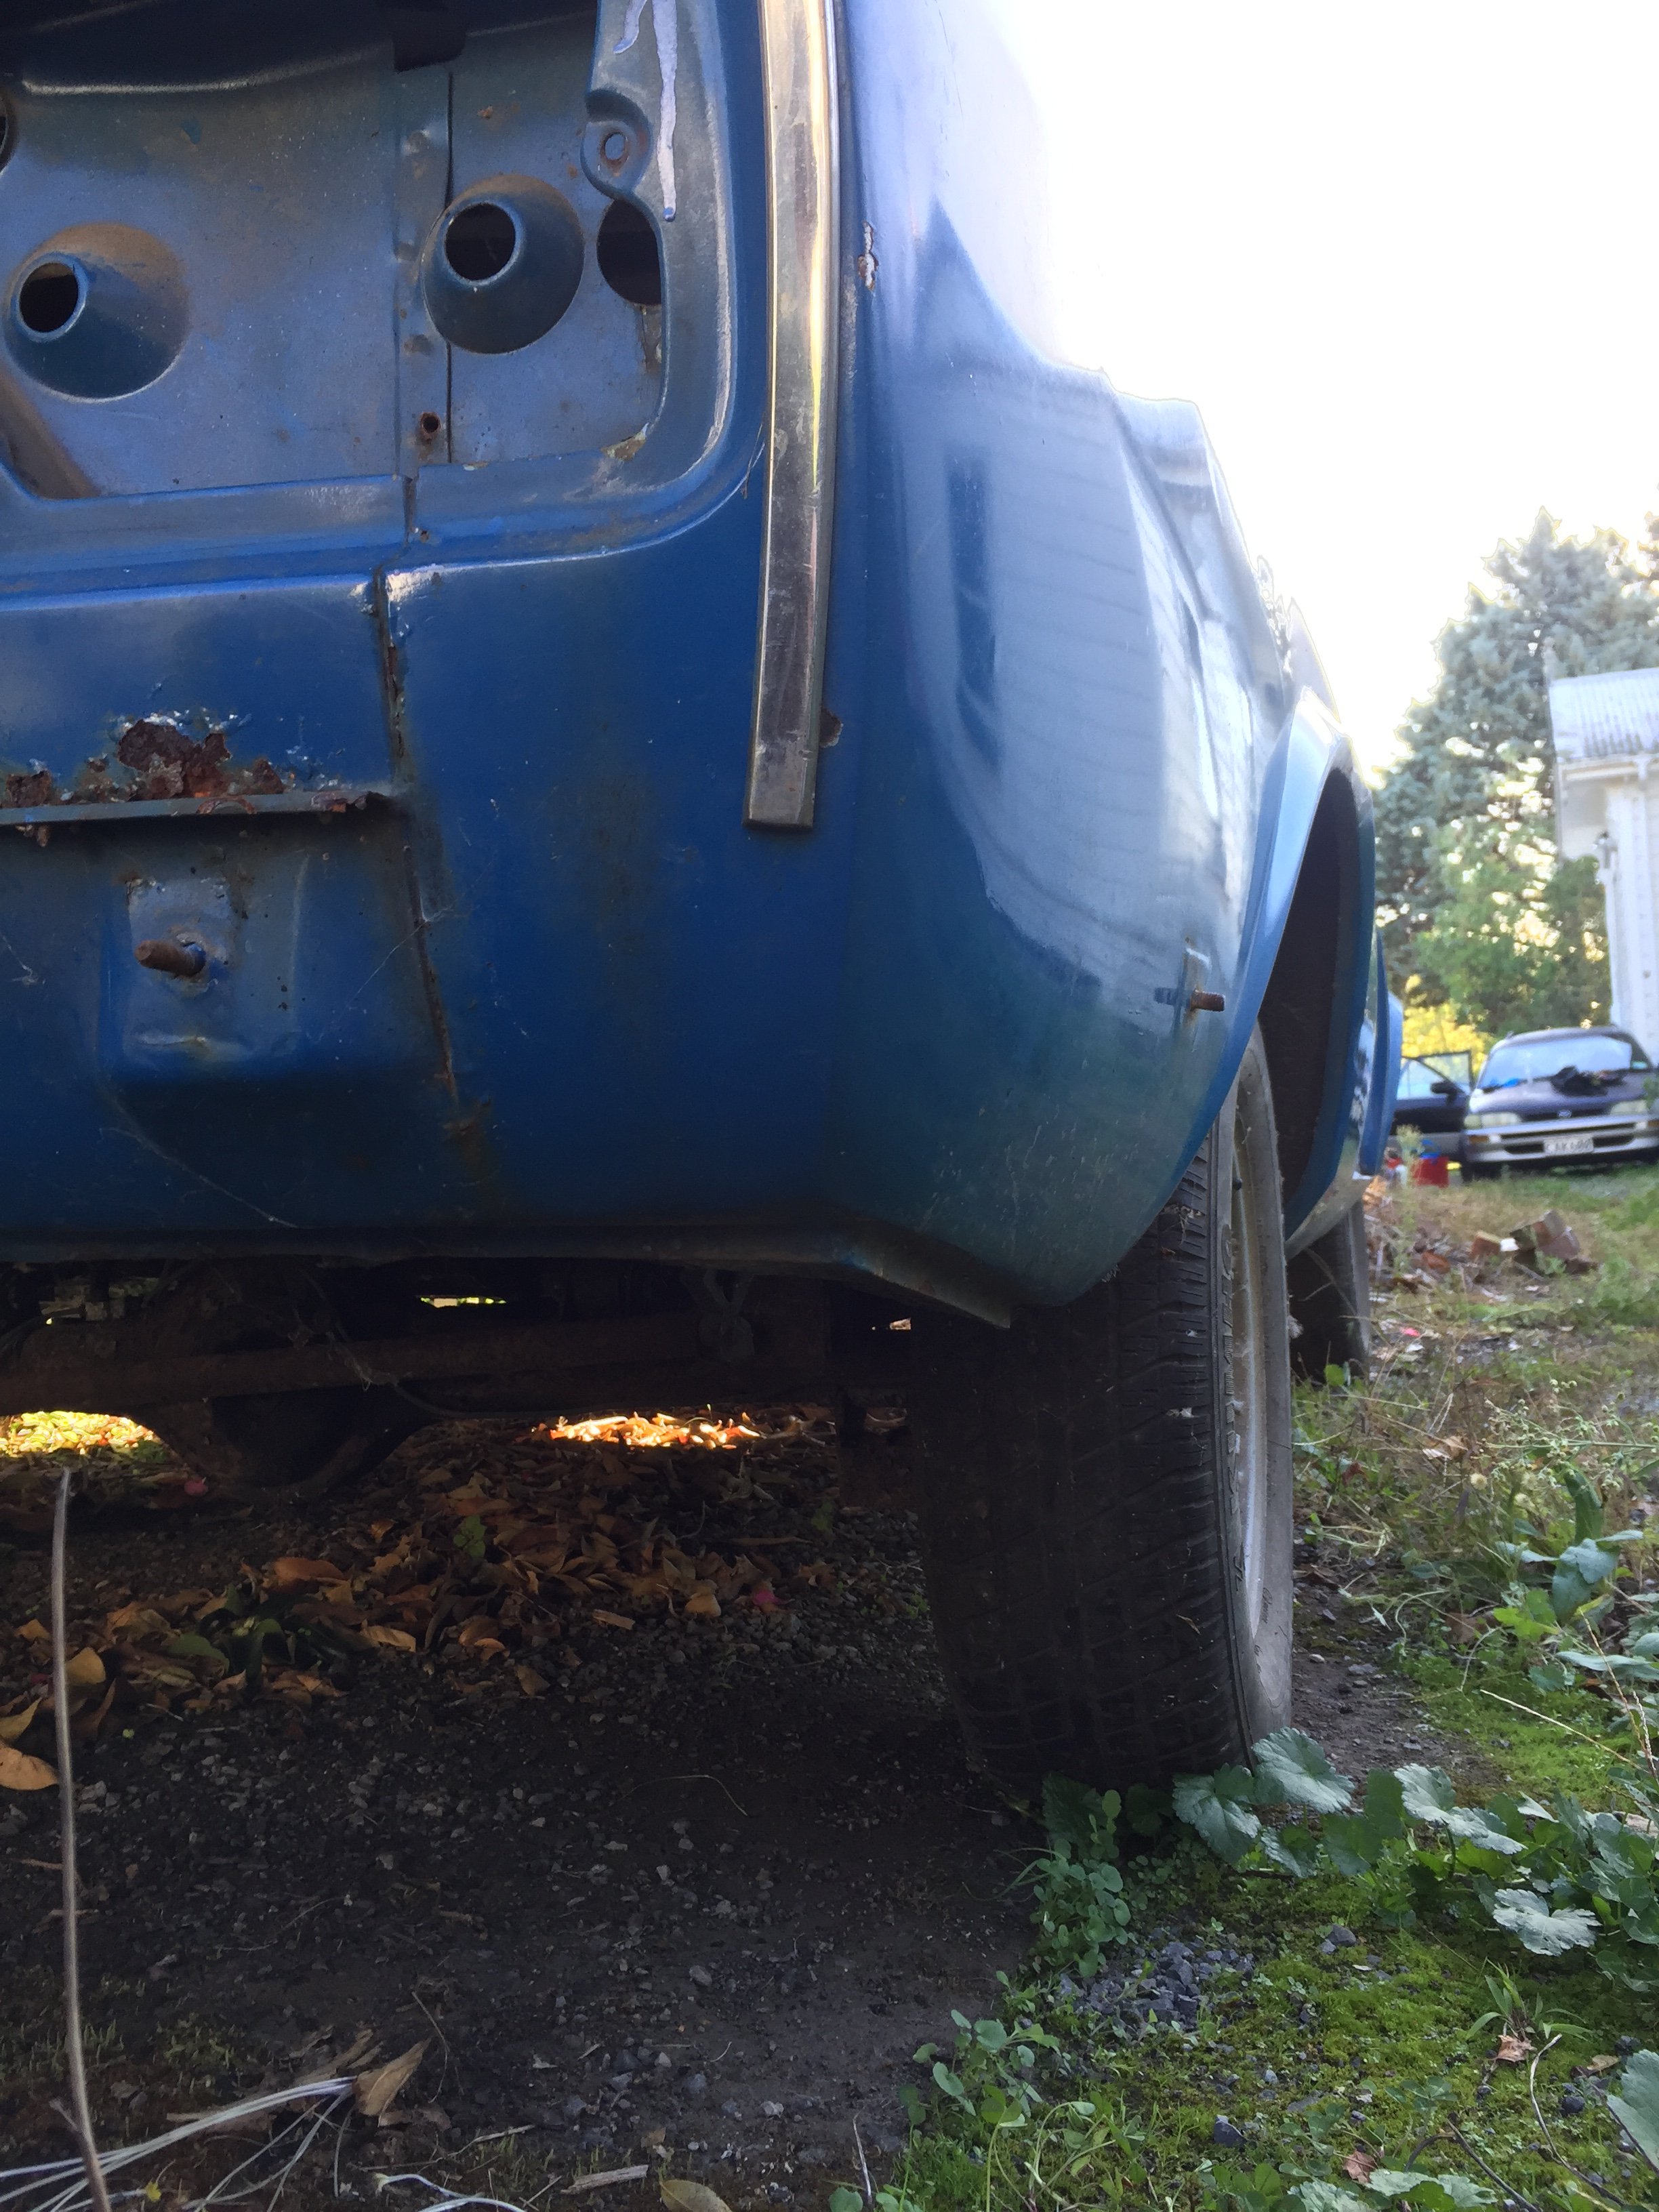
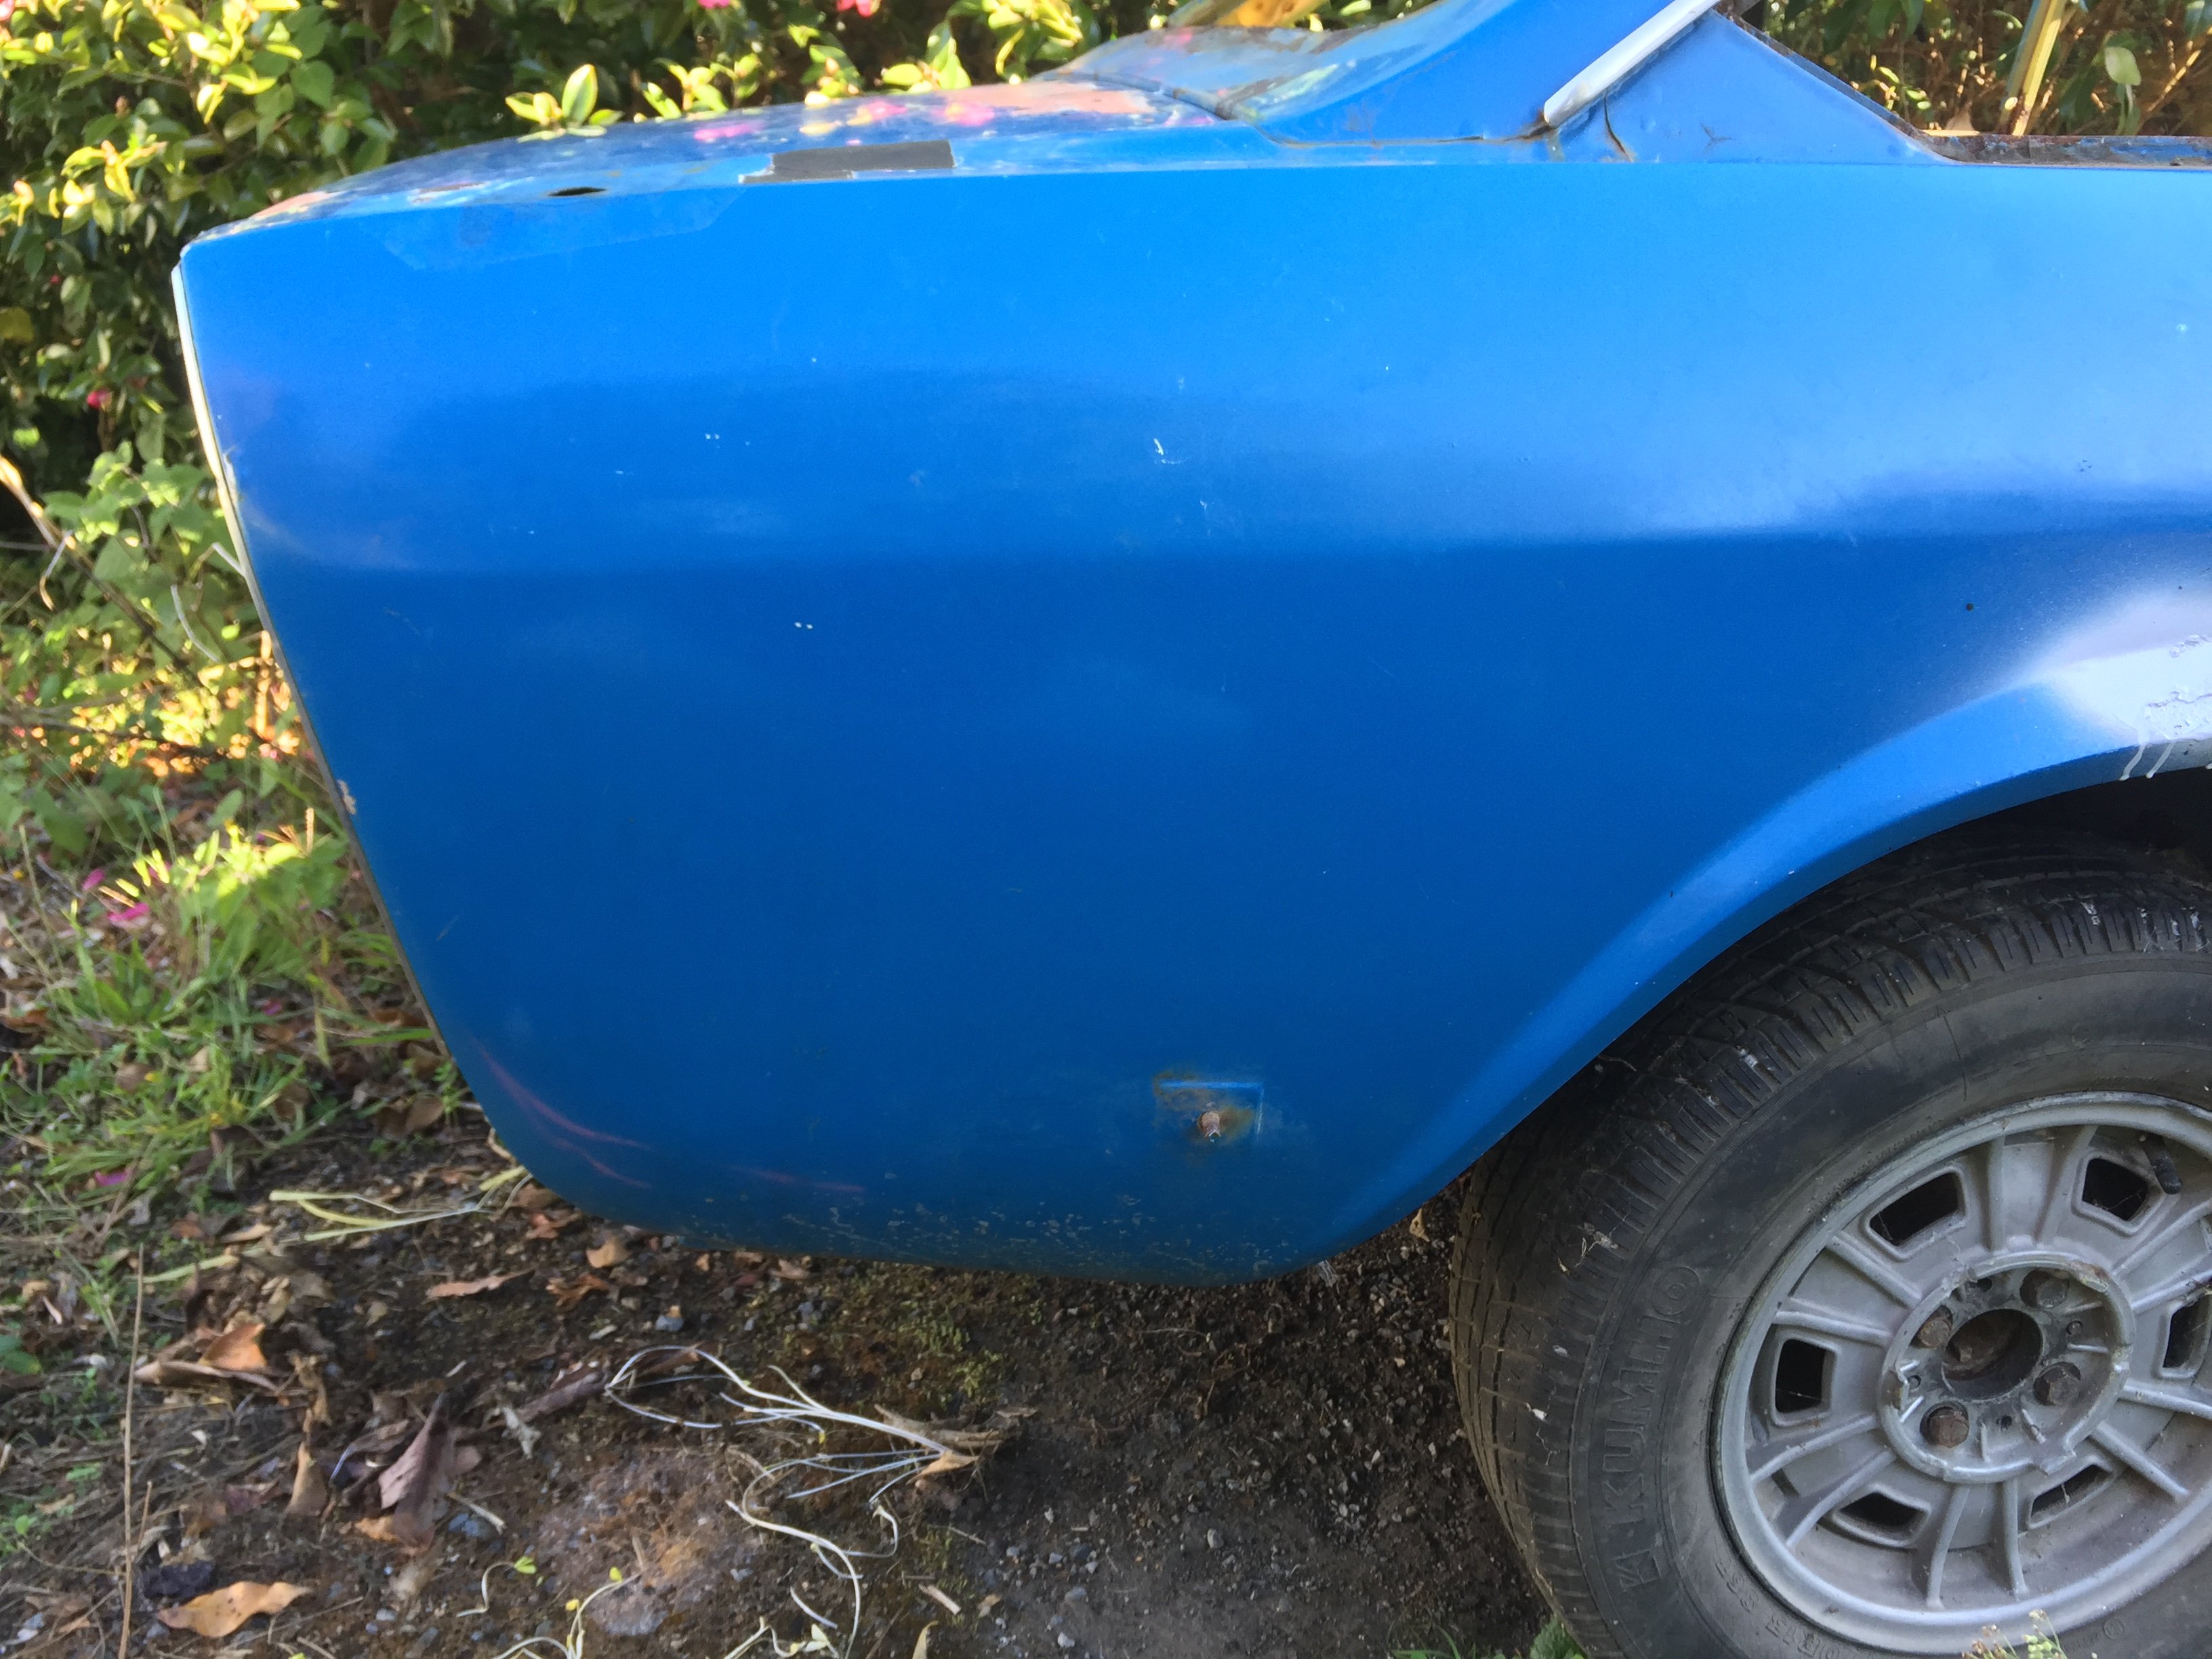
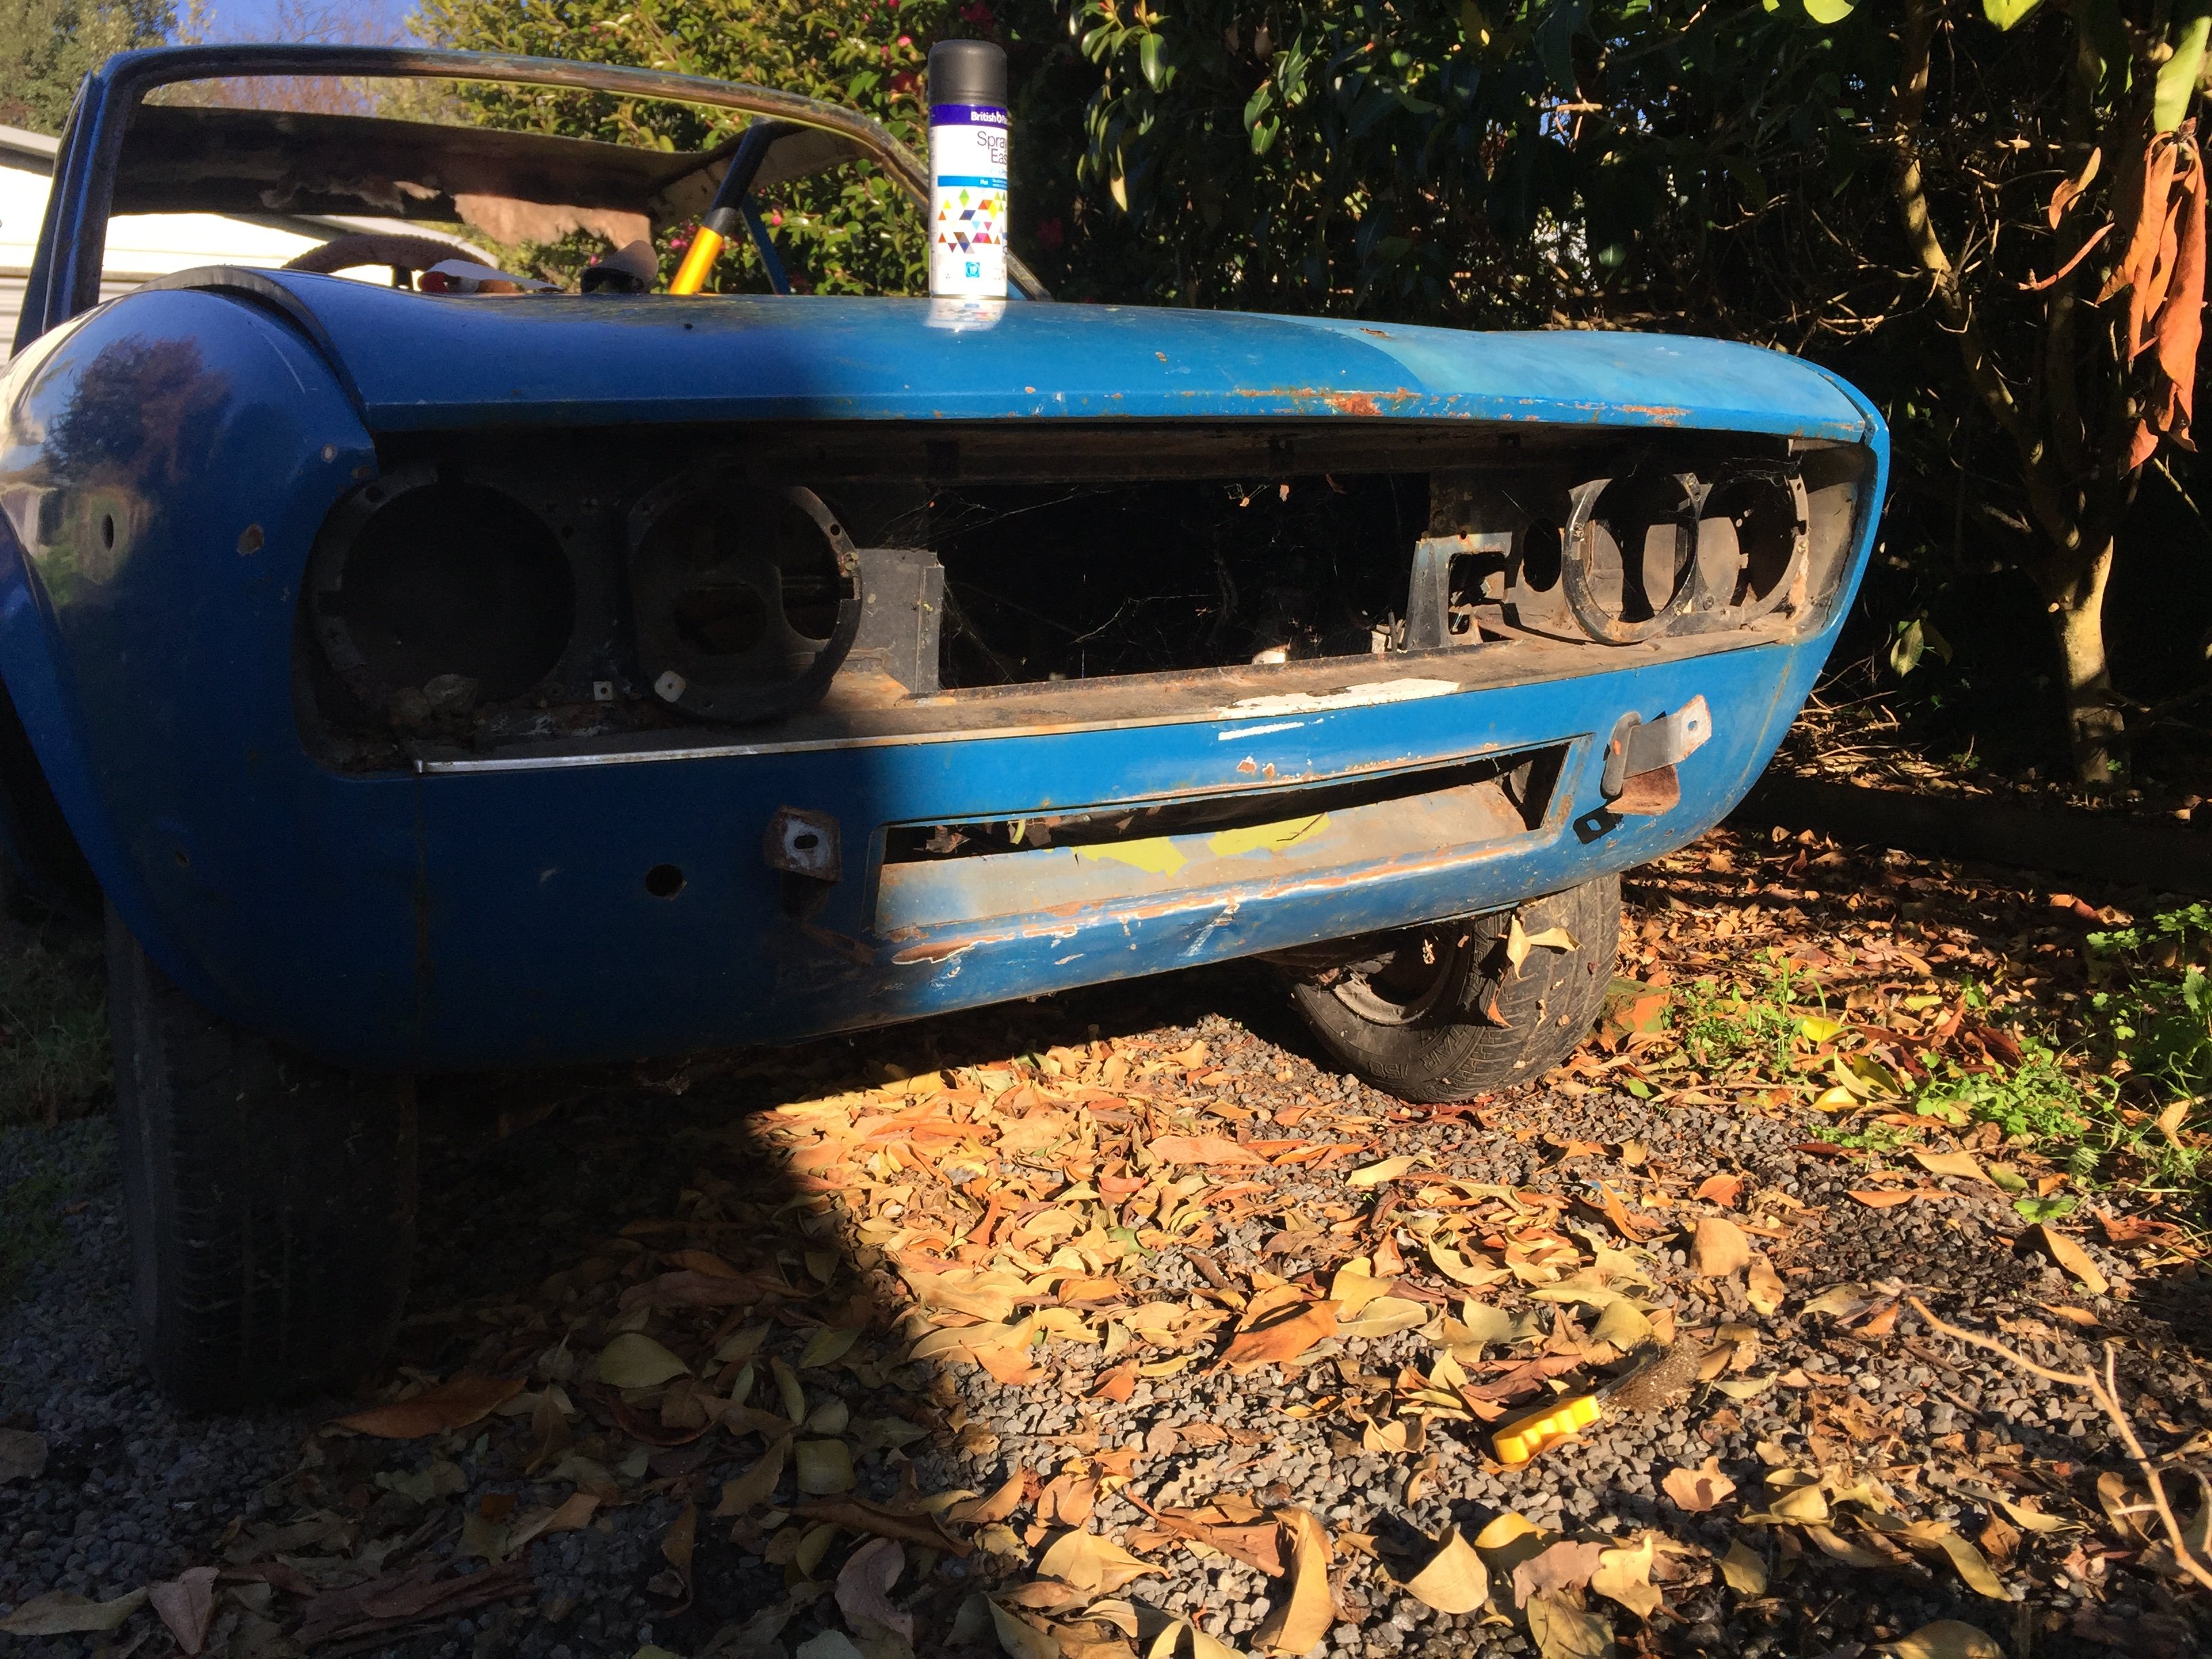
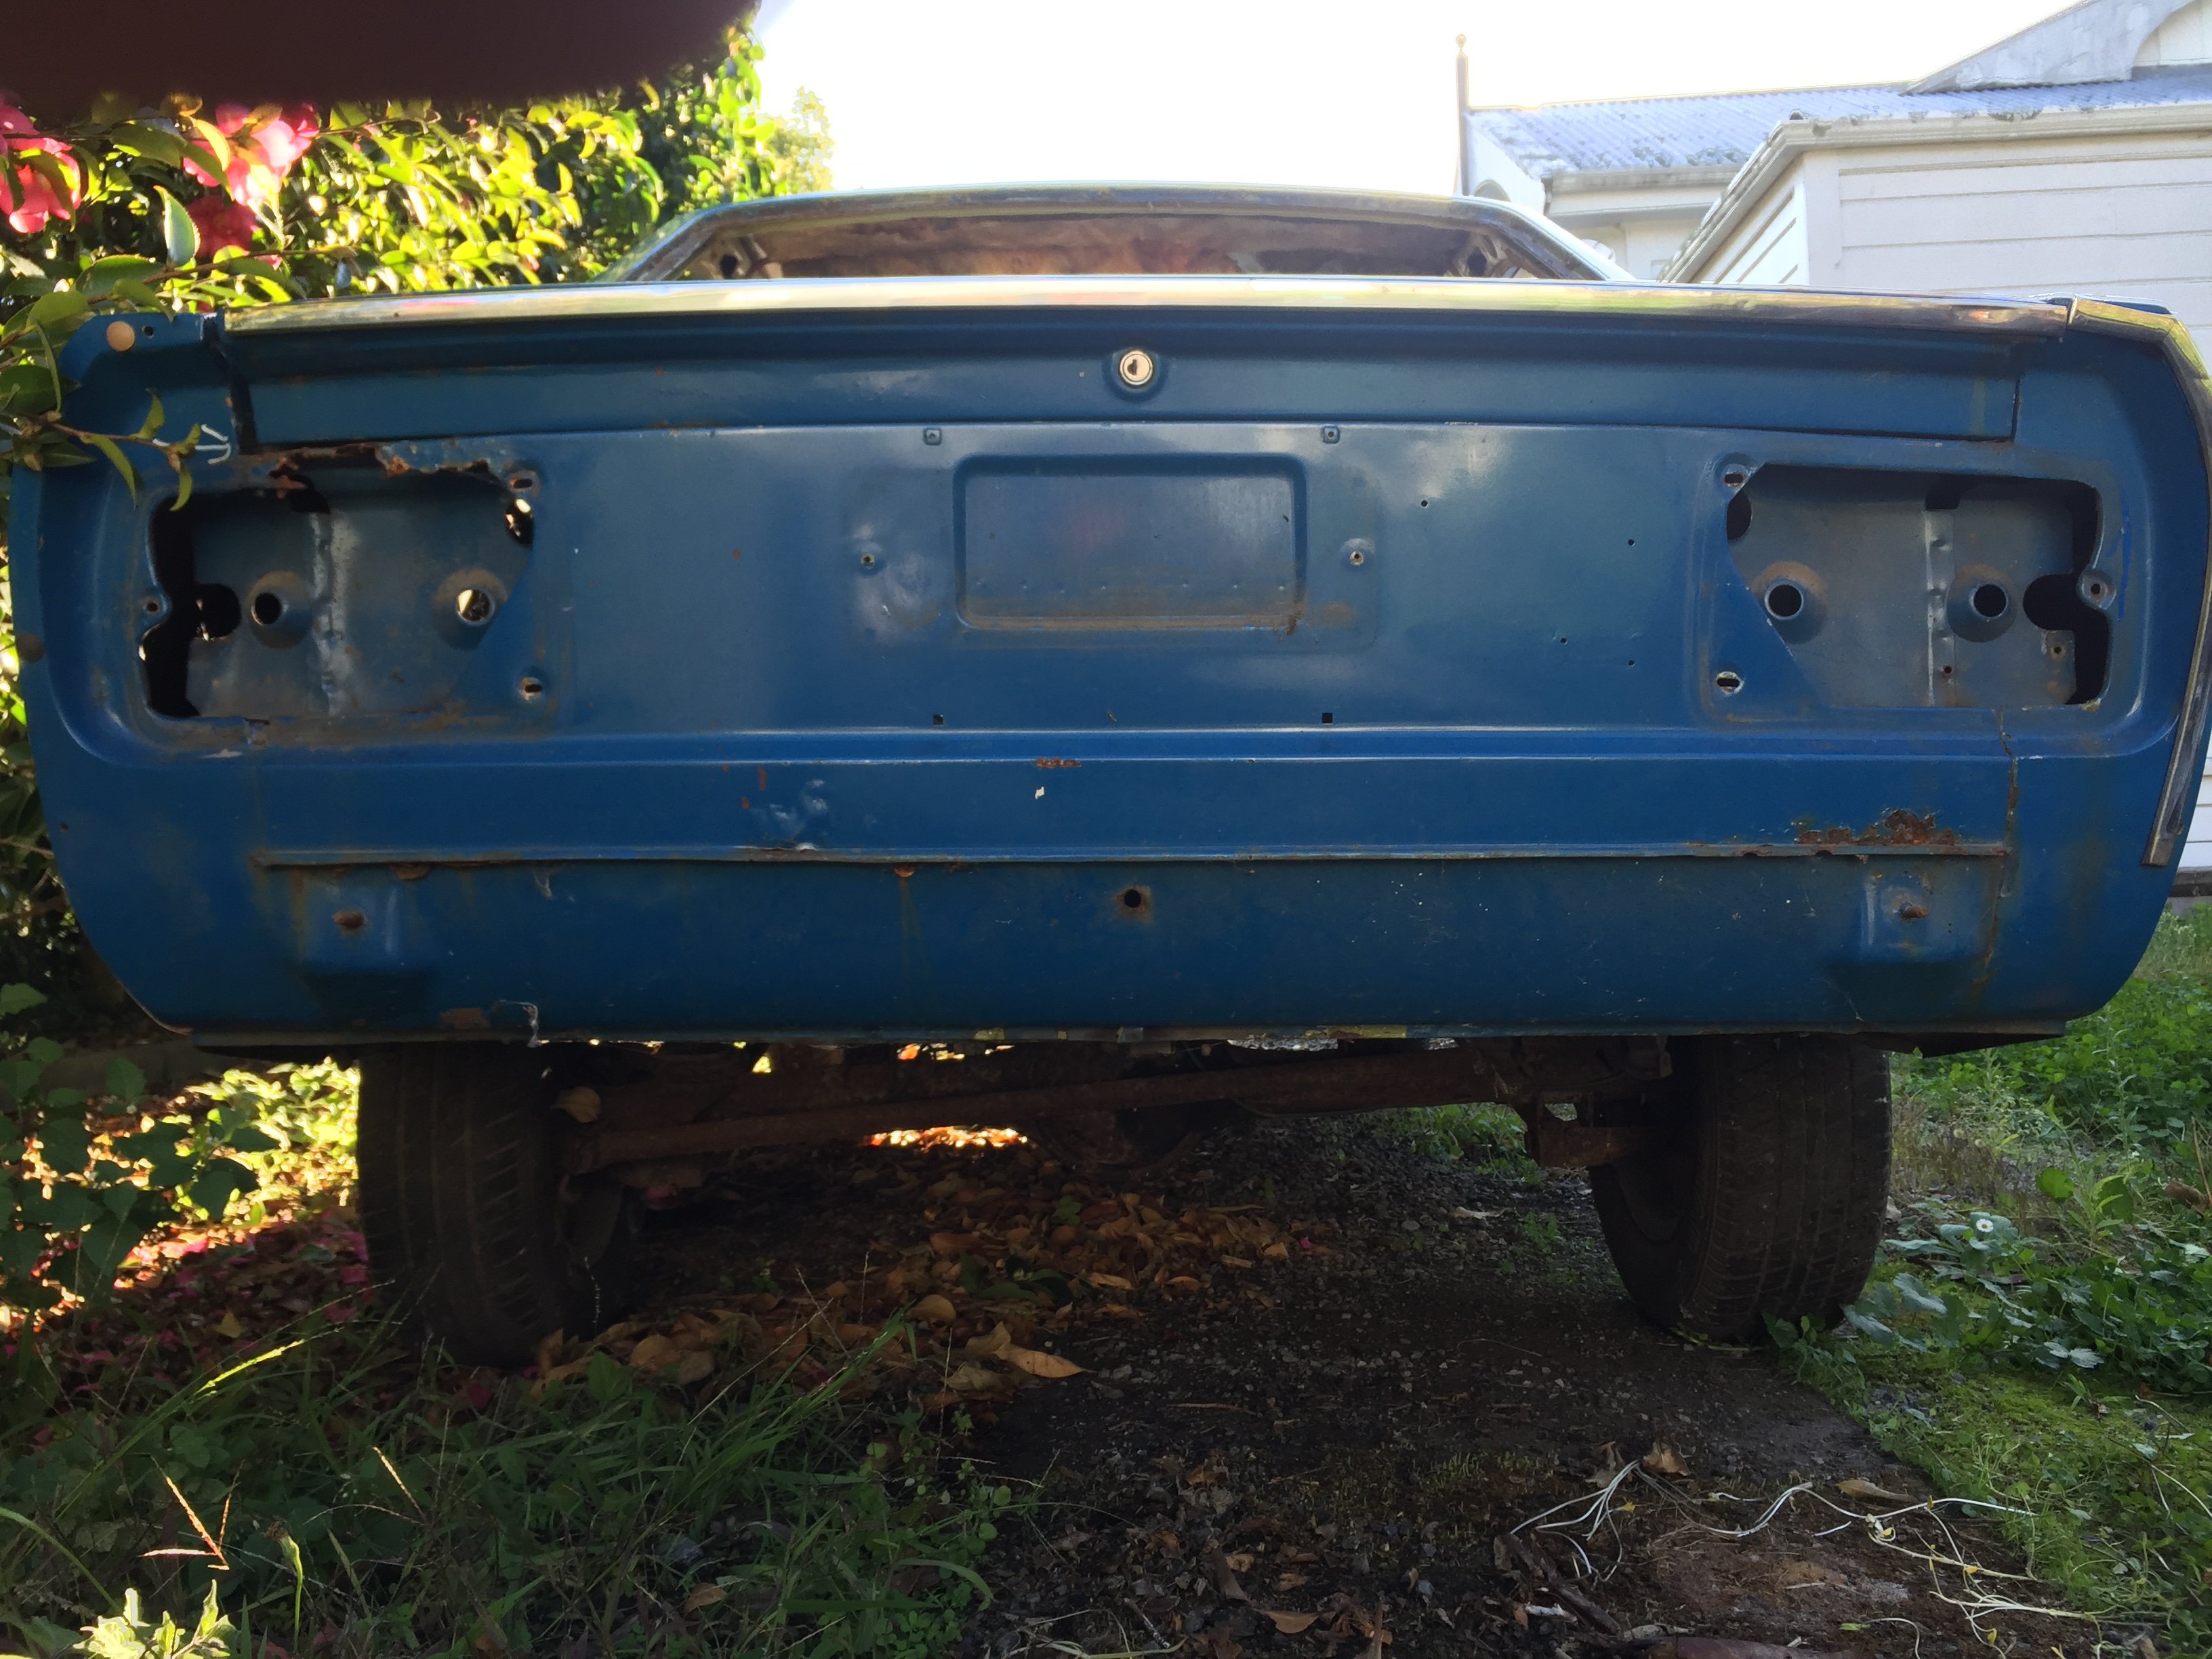
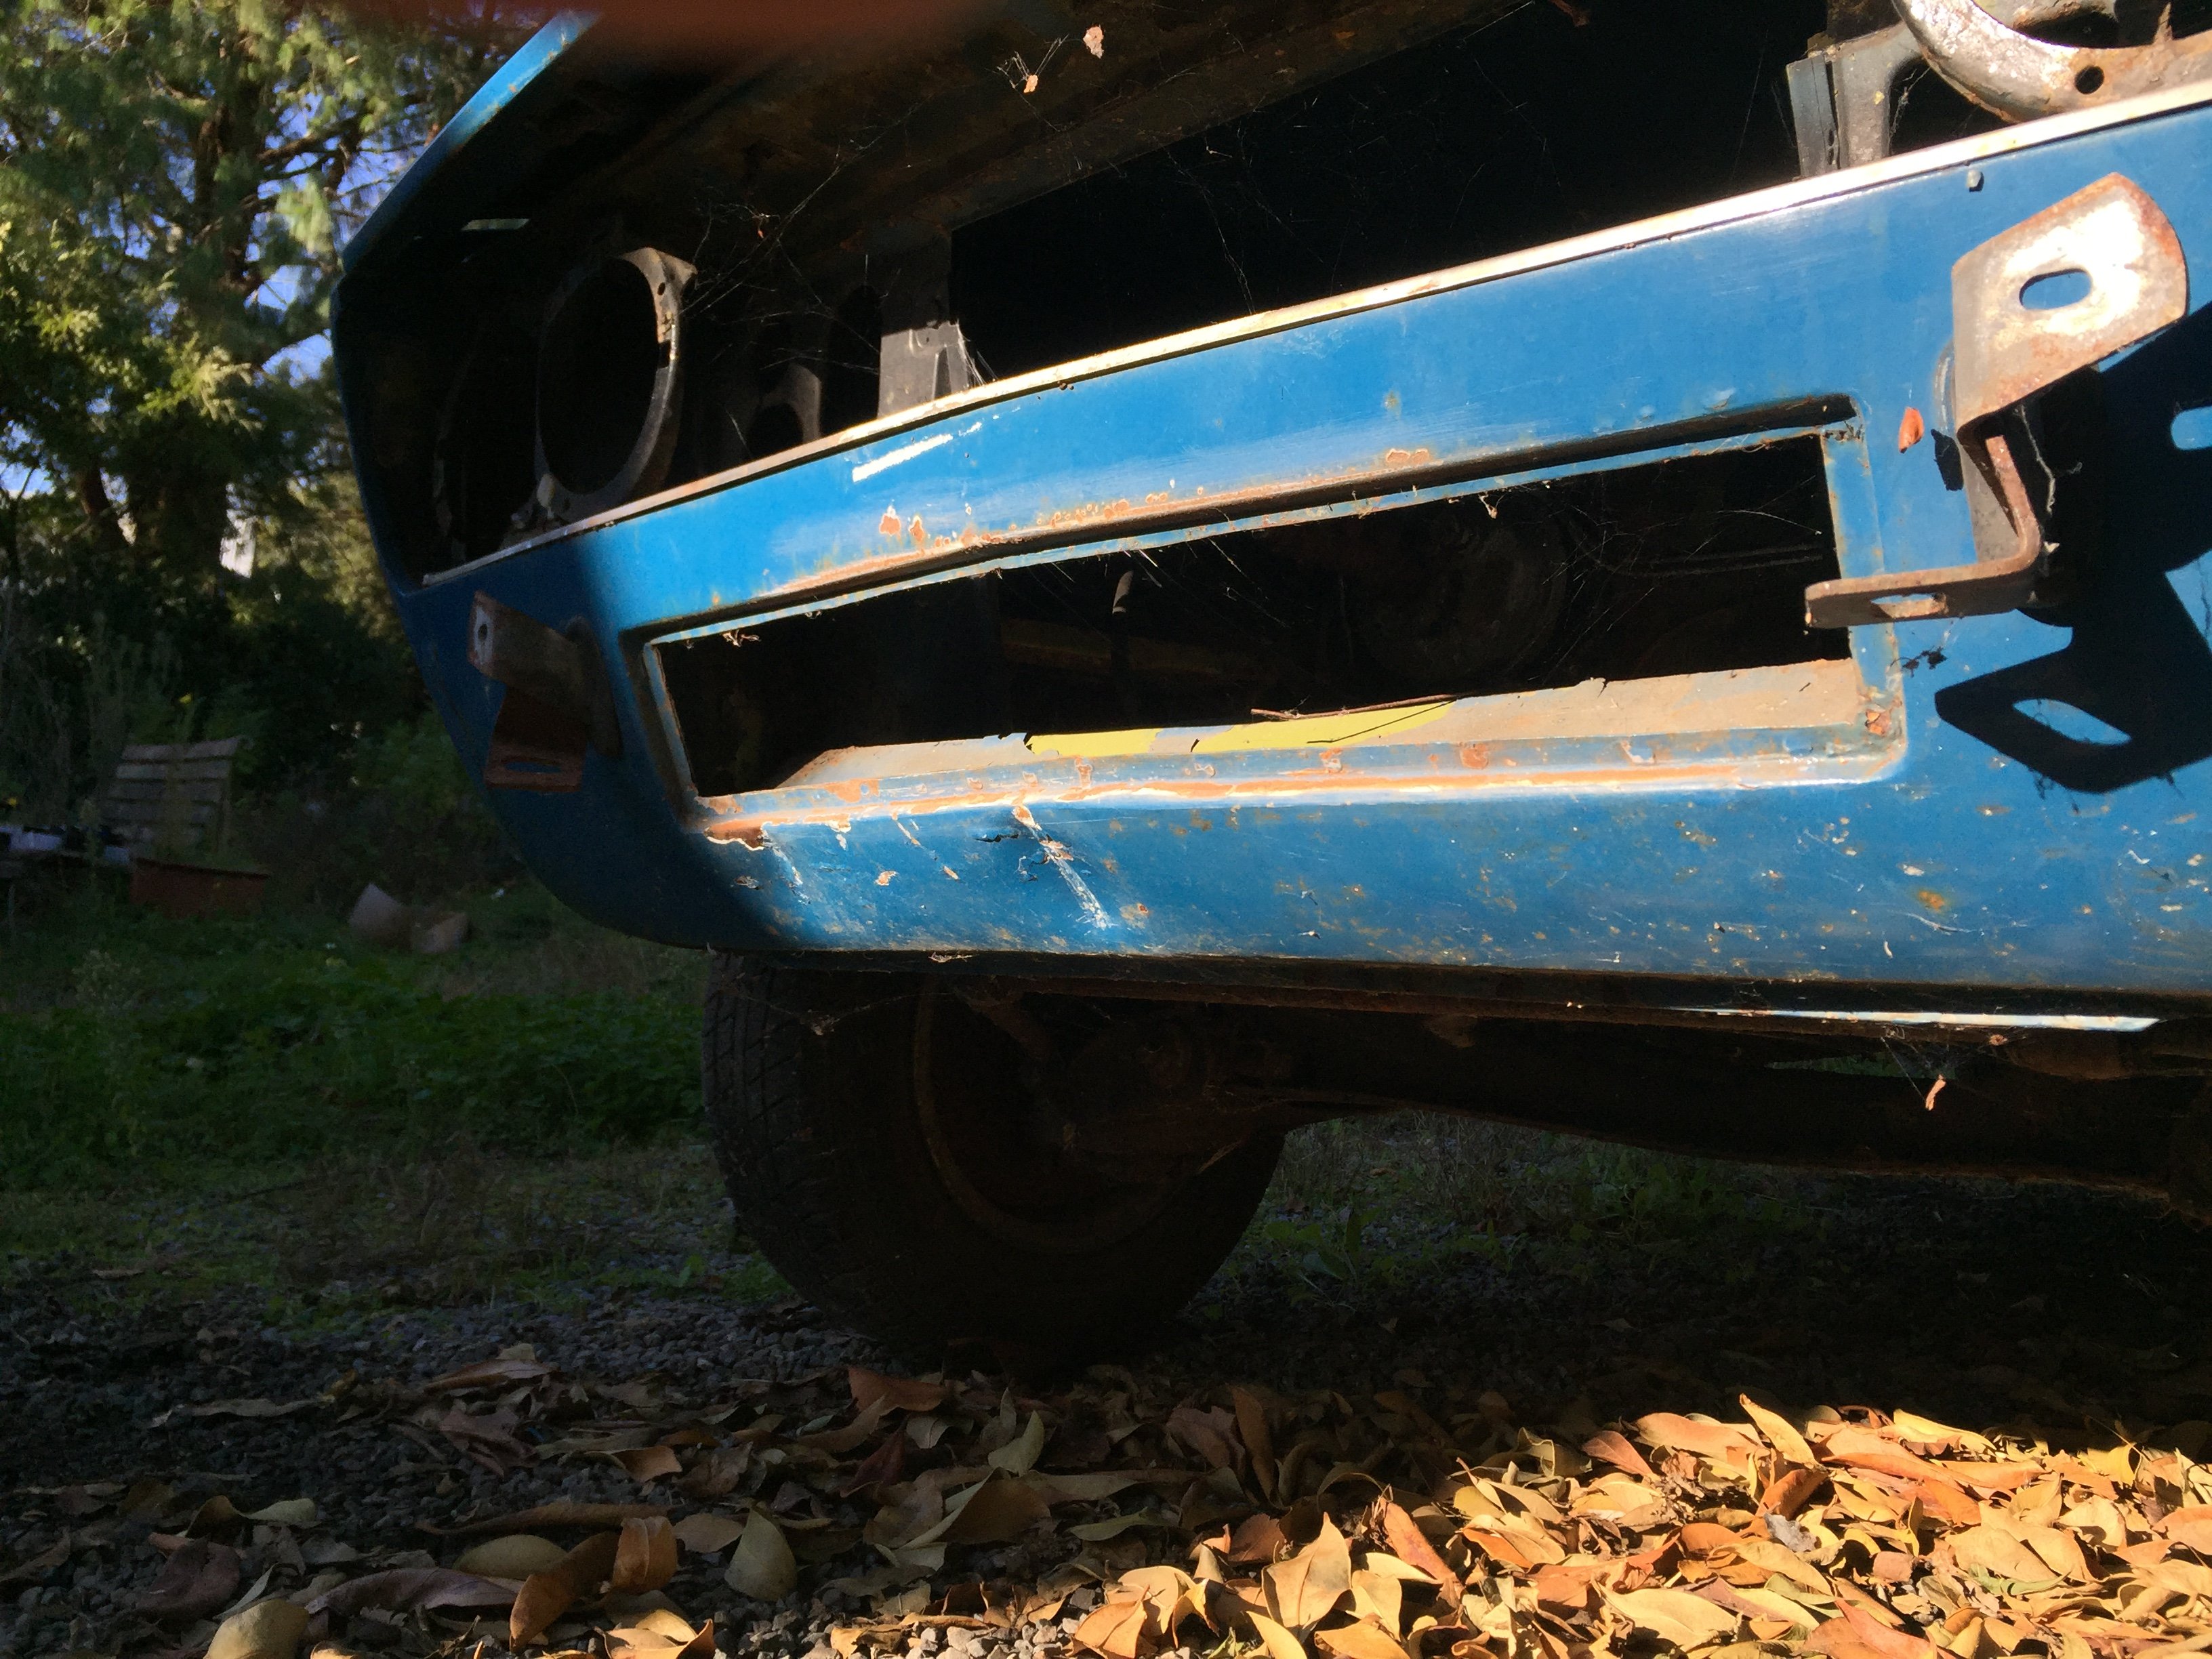
Here's some pics of the blue one. I will likely take the front clip, boot lid and rear guard cuts from this one to finish the red one
-
I'll take some pics of the blue one tomorrow as its under a tarp in the drive way here....basically the blue one if gonna give up some cuts to finish the red one...the blue one at first glance looks like a better option, but it has a hack job sunroof cut into it and it is a bad fitment of the glass and sunroof surround....also, every panel has some fixes needed. and the floors are shot and the windows apertures are all in need of fixes and the guards aren't the best. it does have a full interior, and gearbox and engine and all the bits needed to get one car sorted. I also have a swag of trim parts and odds and ends and sets of lights and brakes and a reconditioned 1608 to go in....I know it looks bad, and it is, but Rome wasn't built in a day.
-
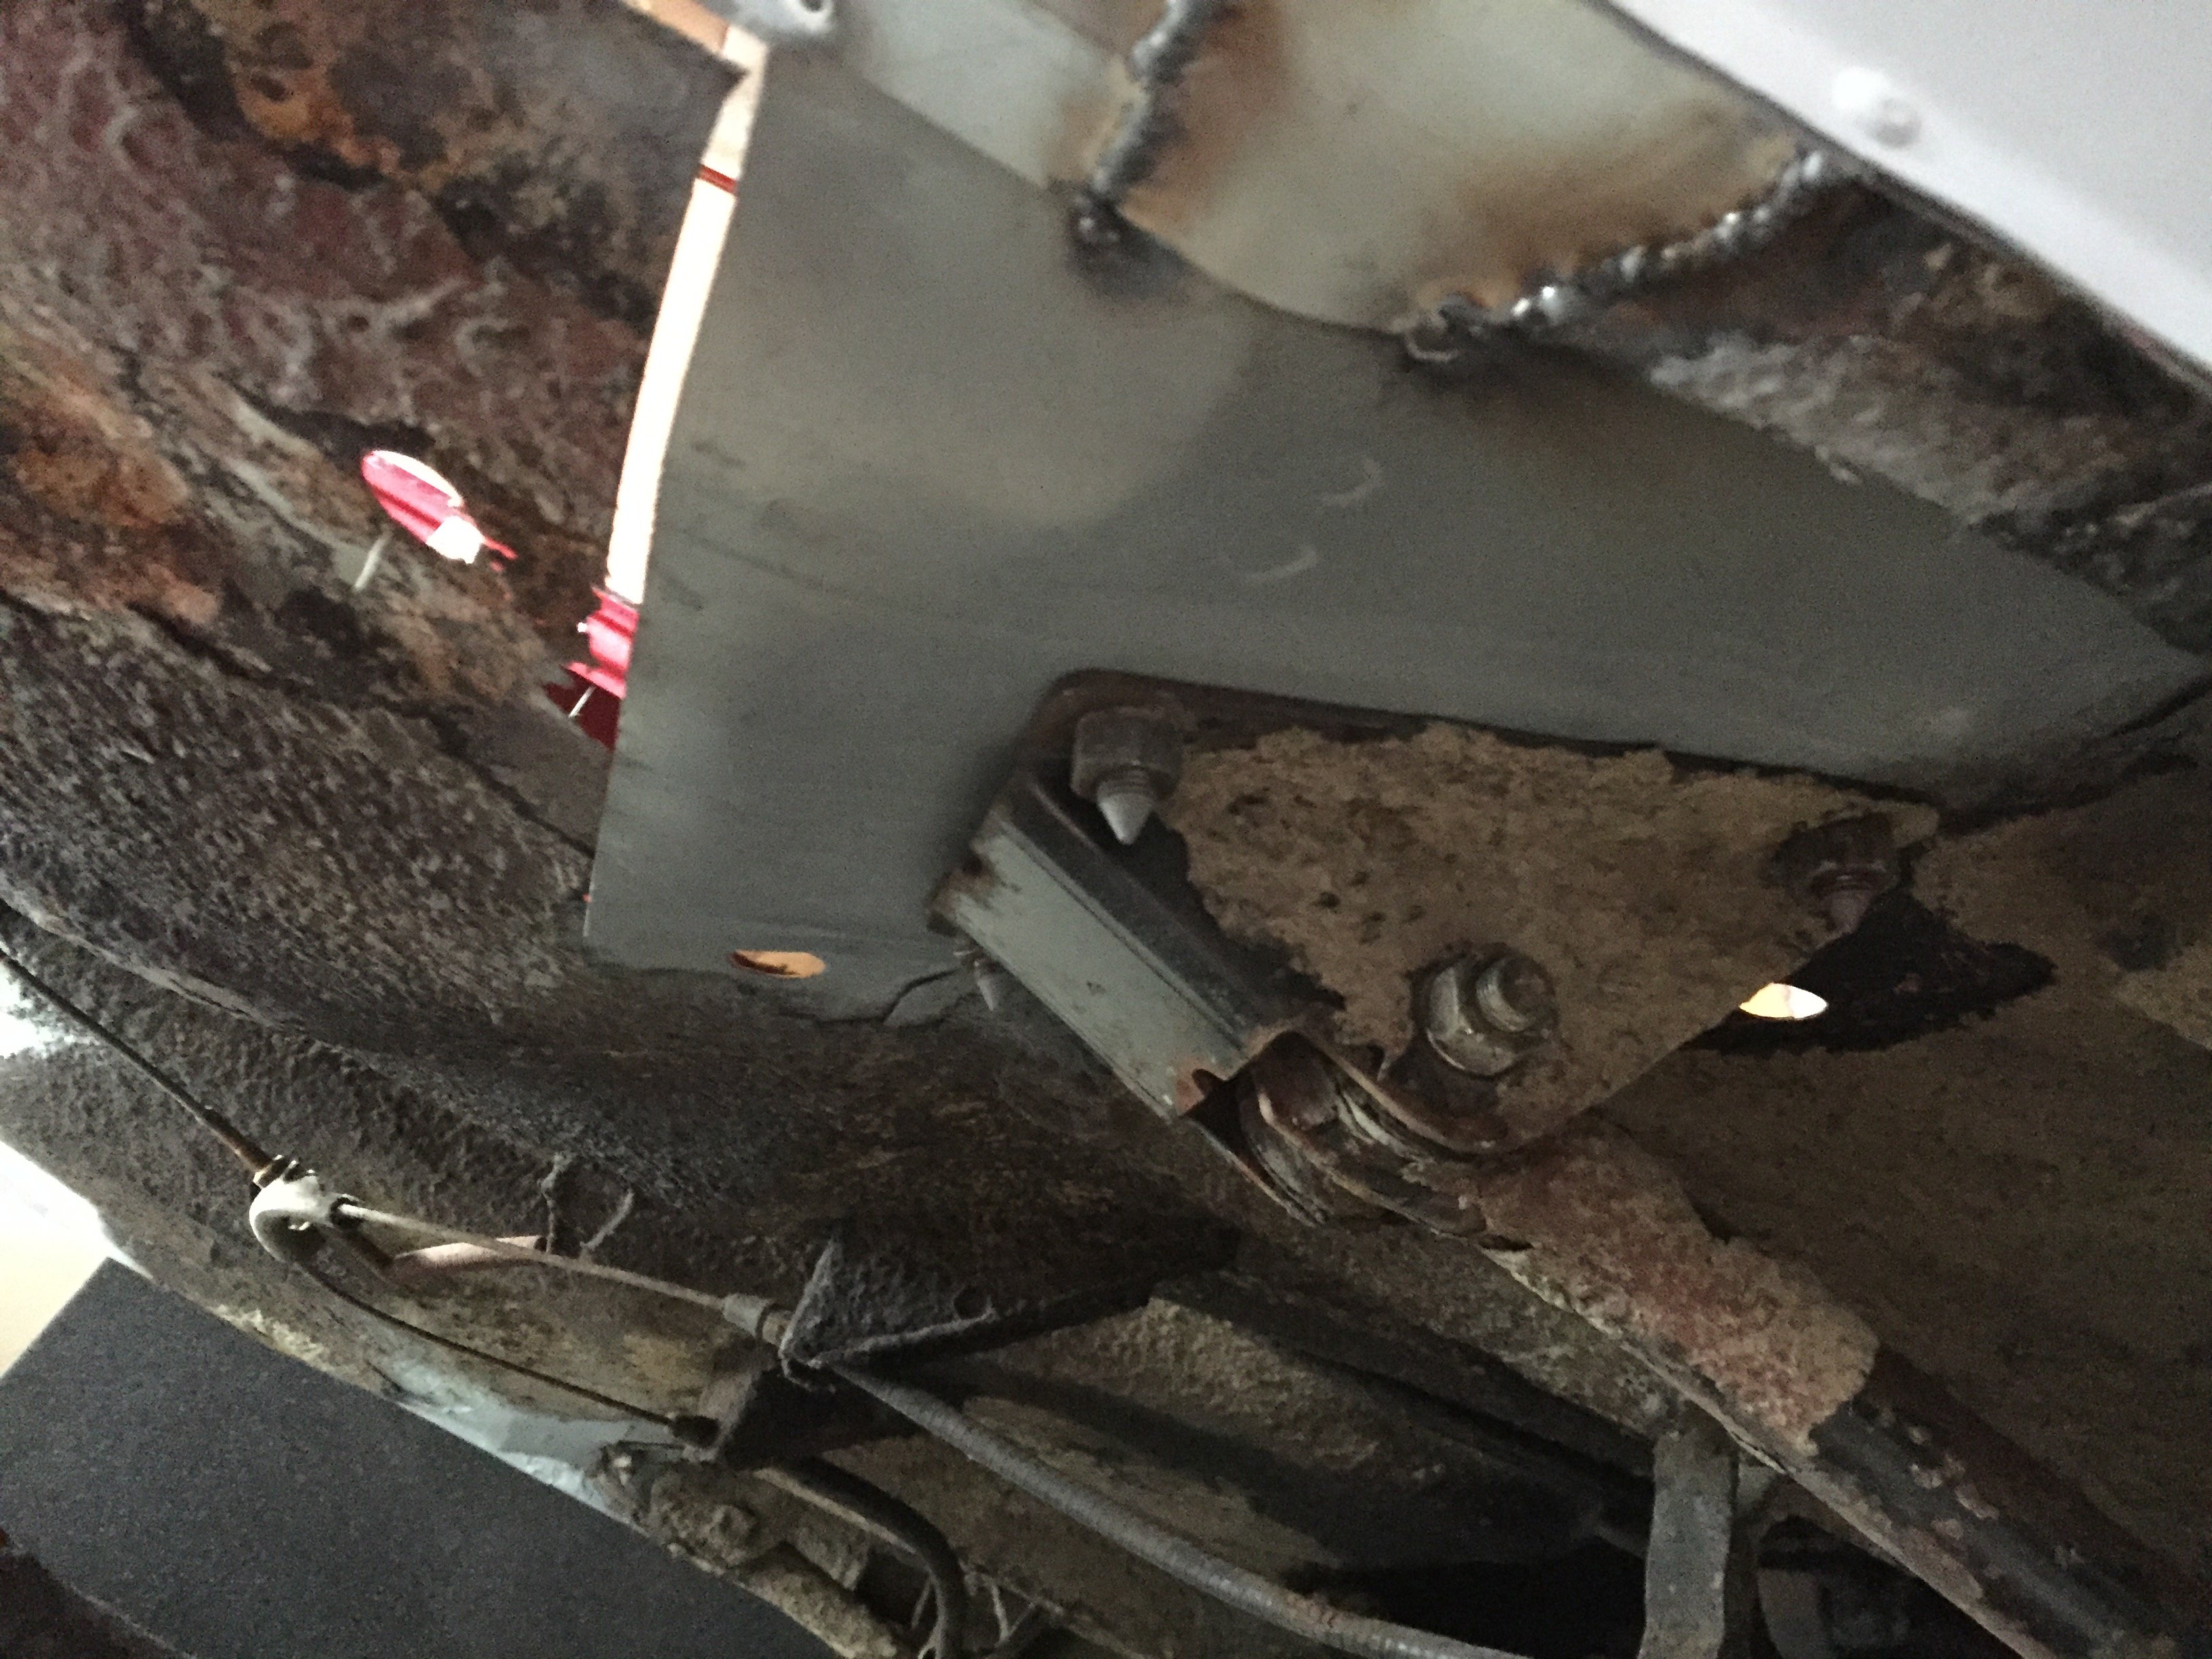
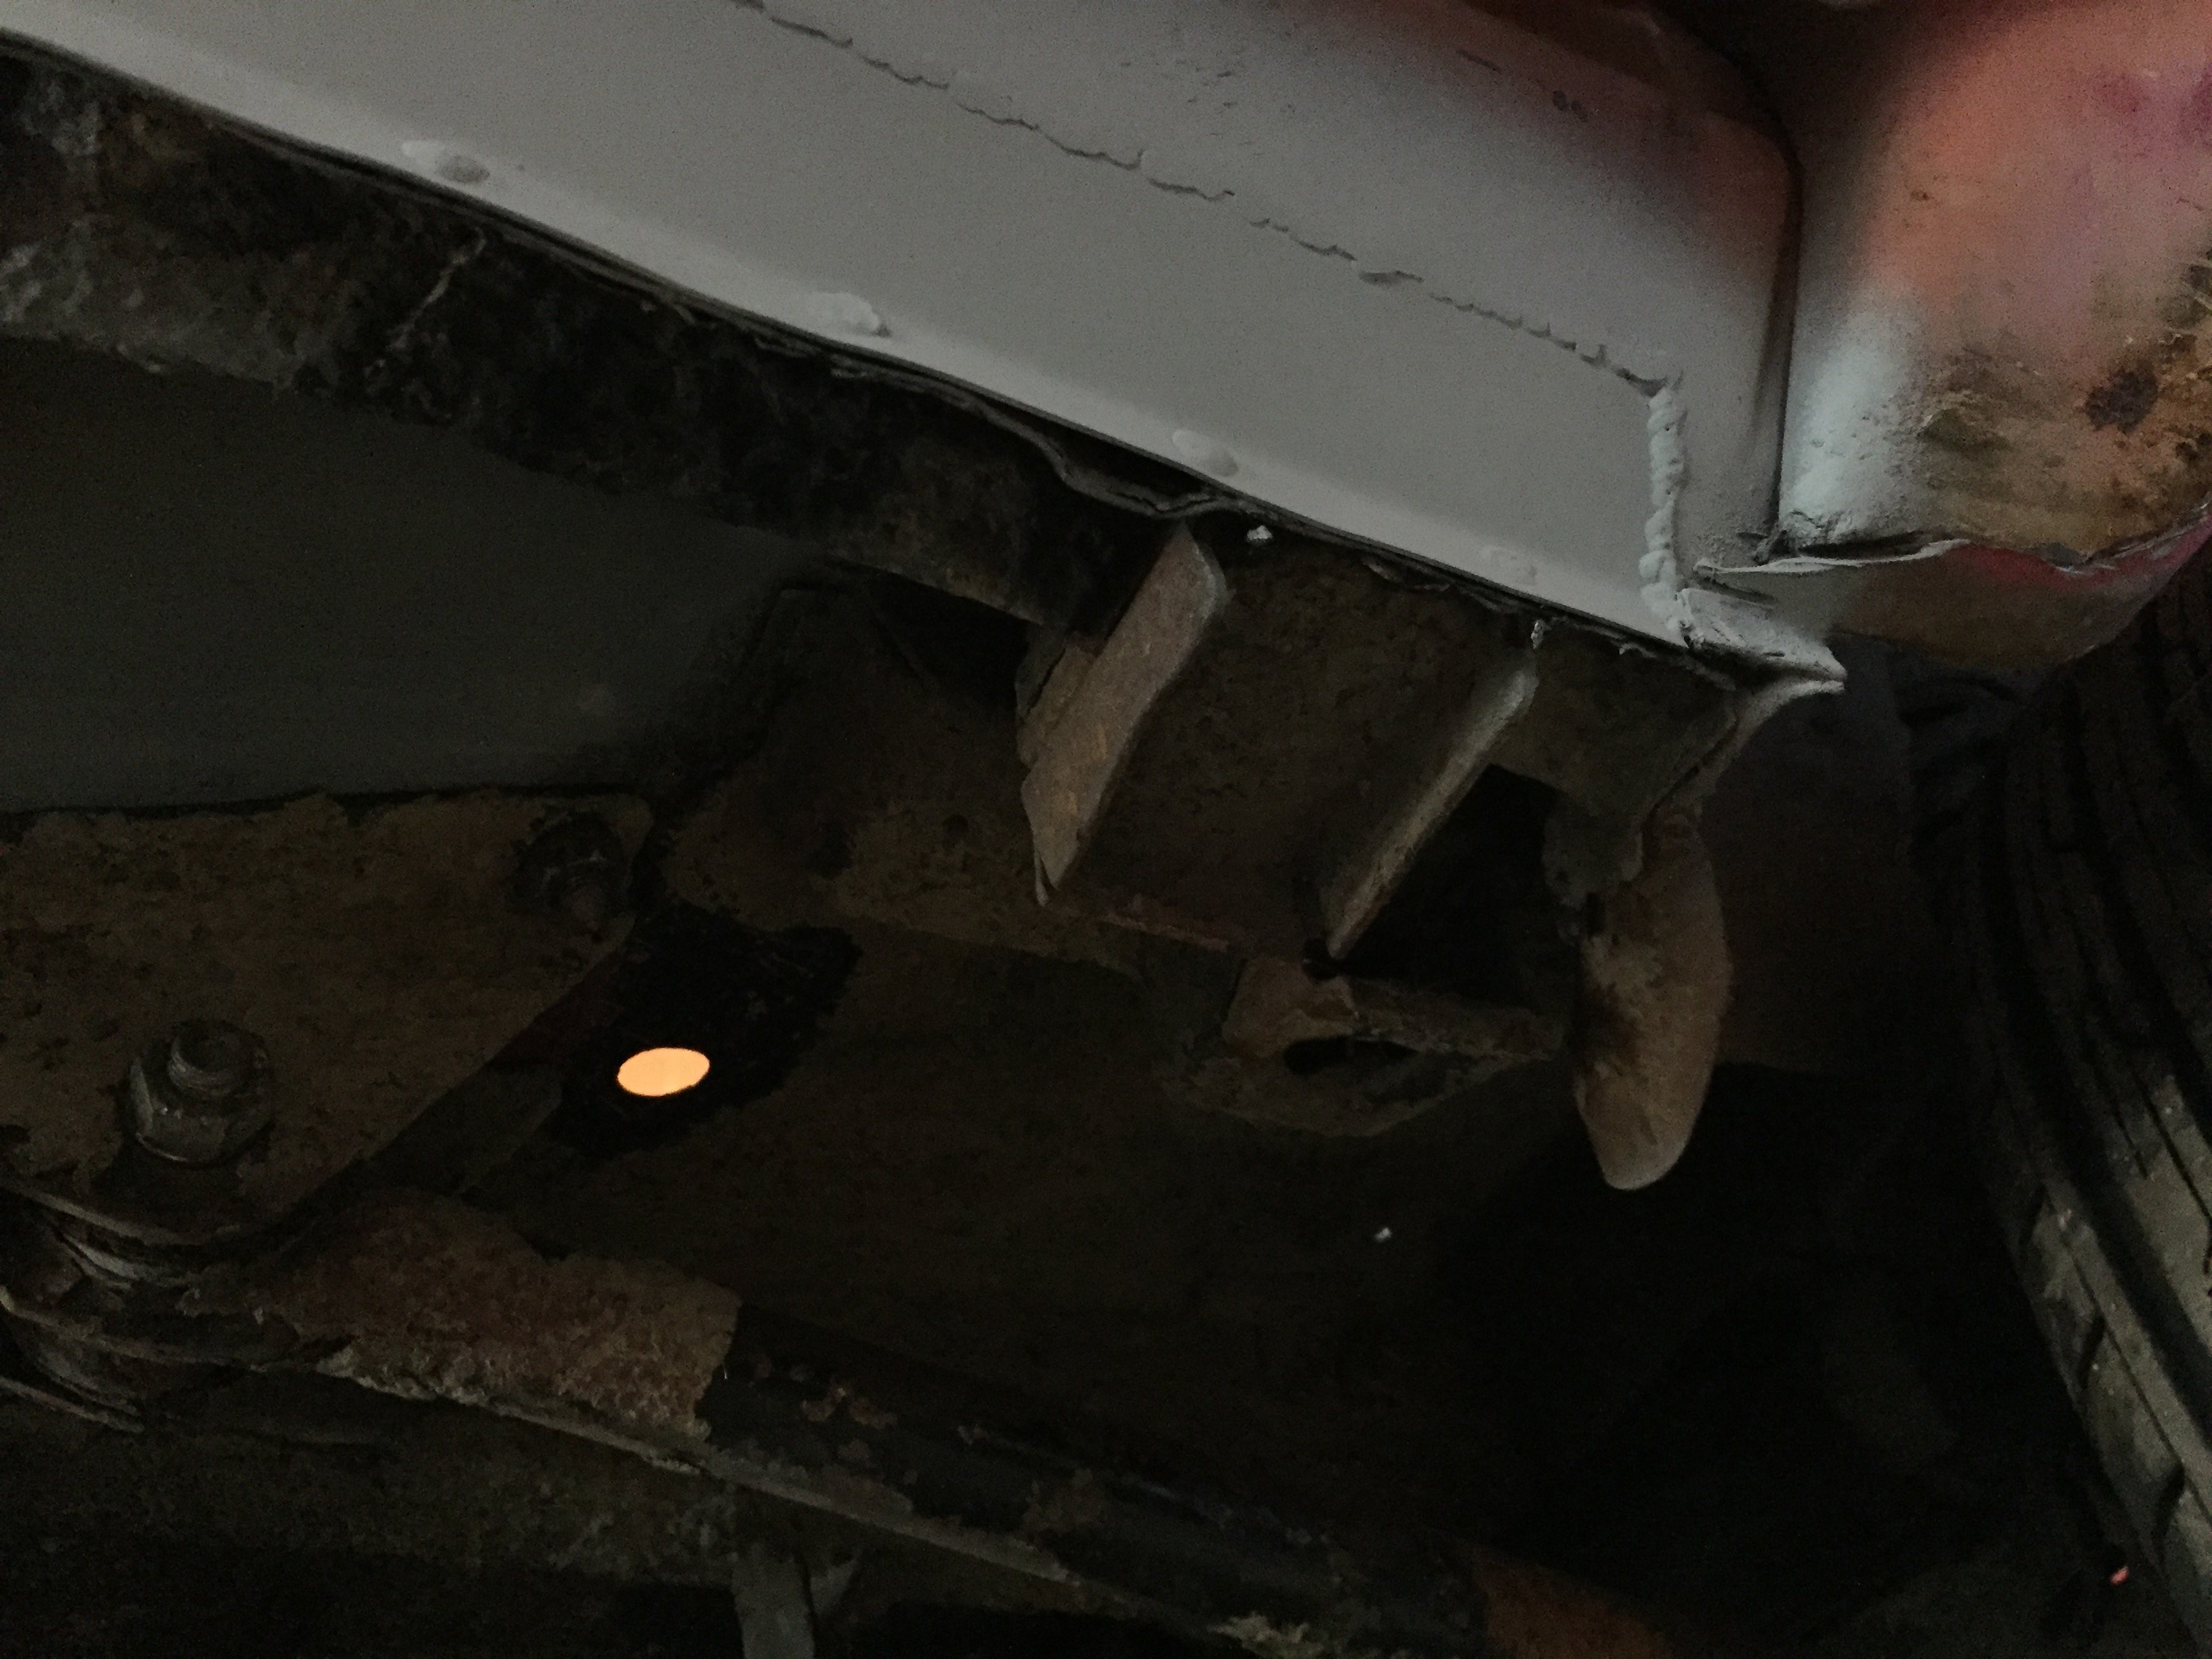
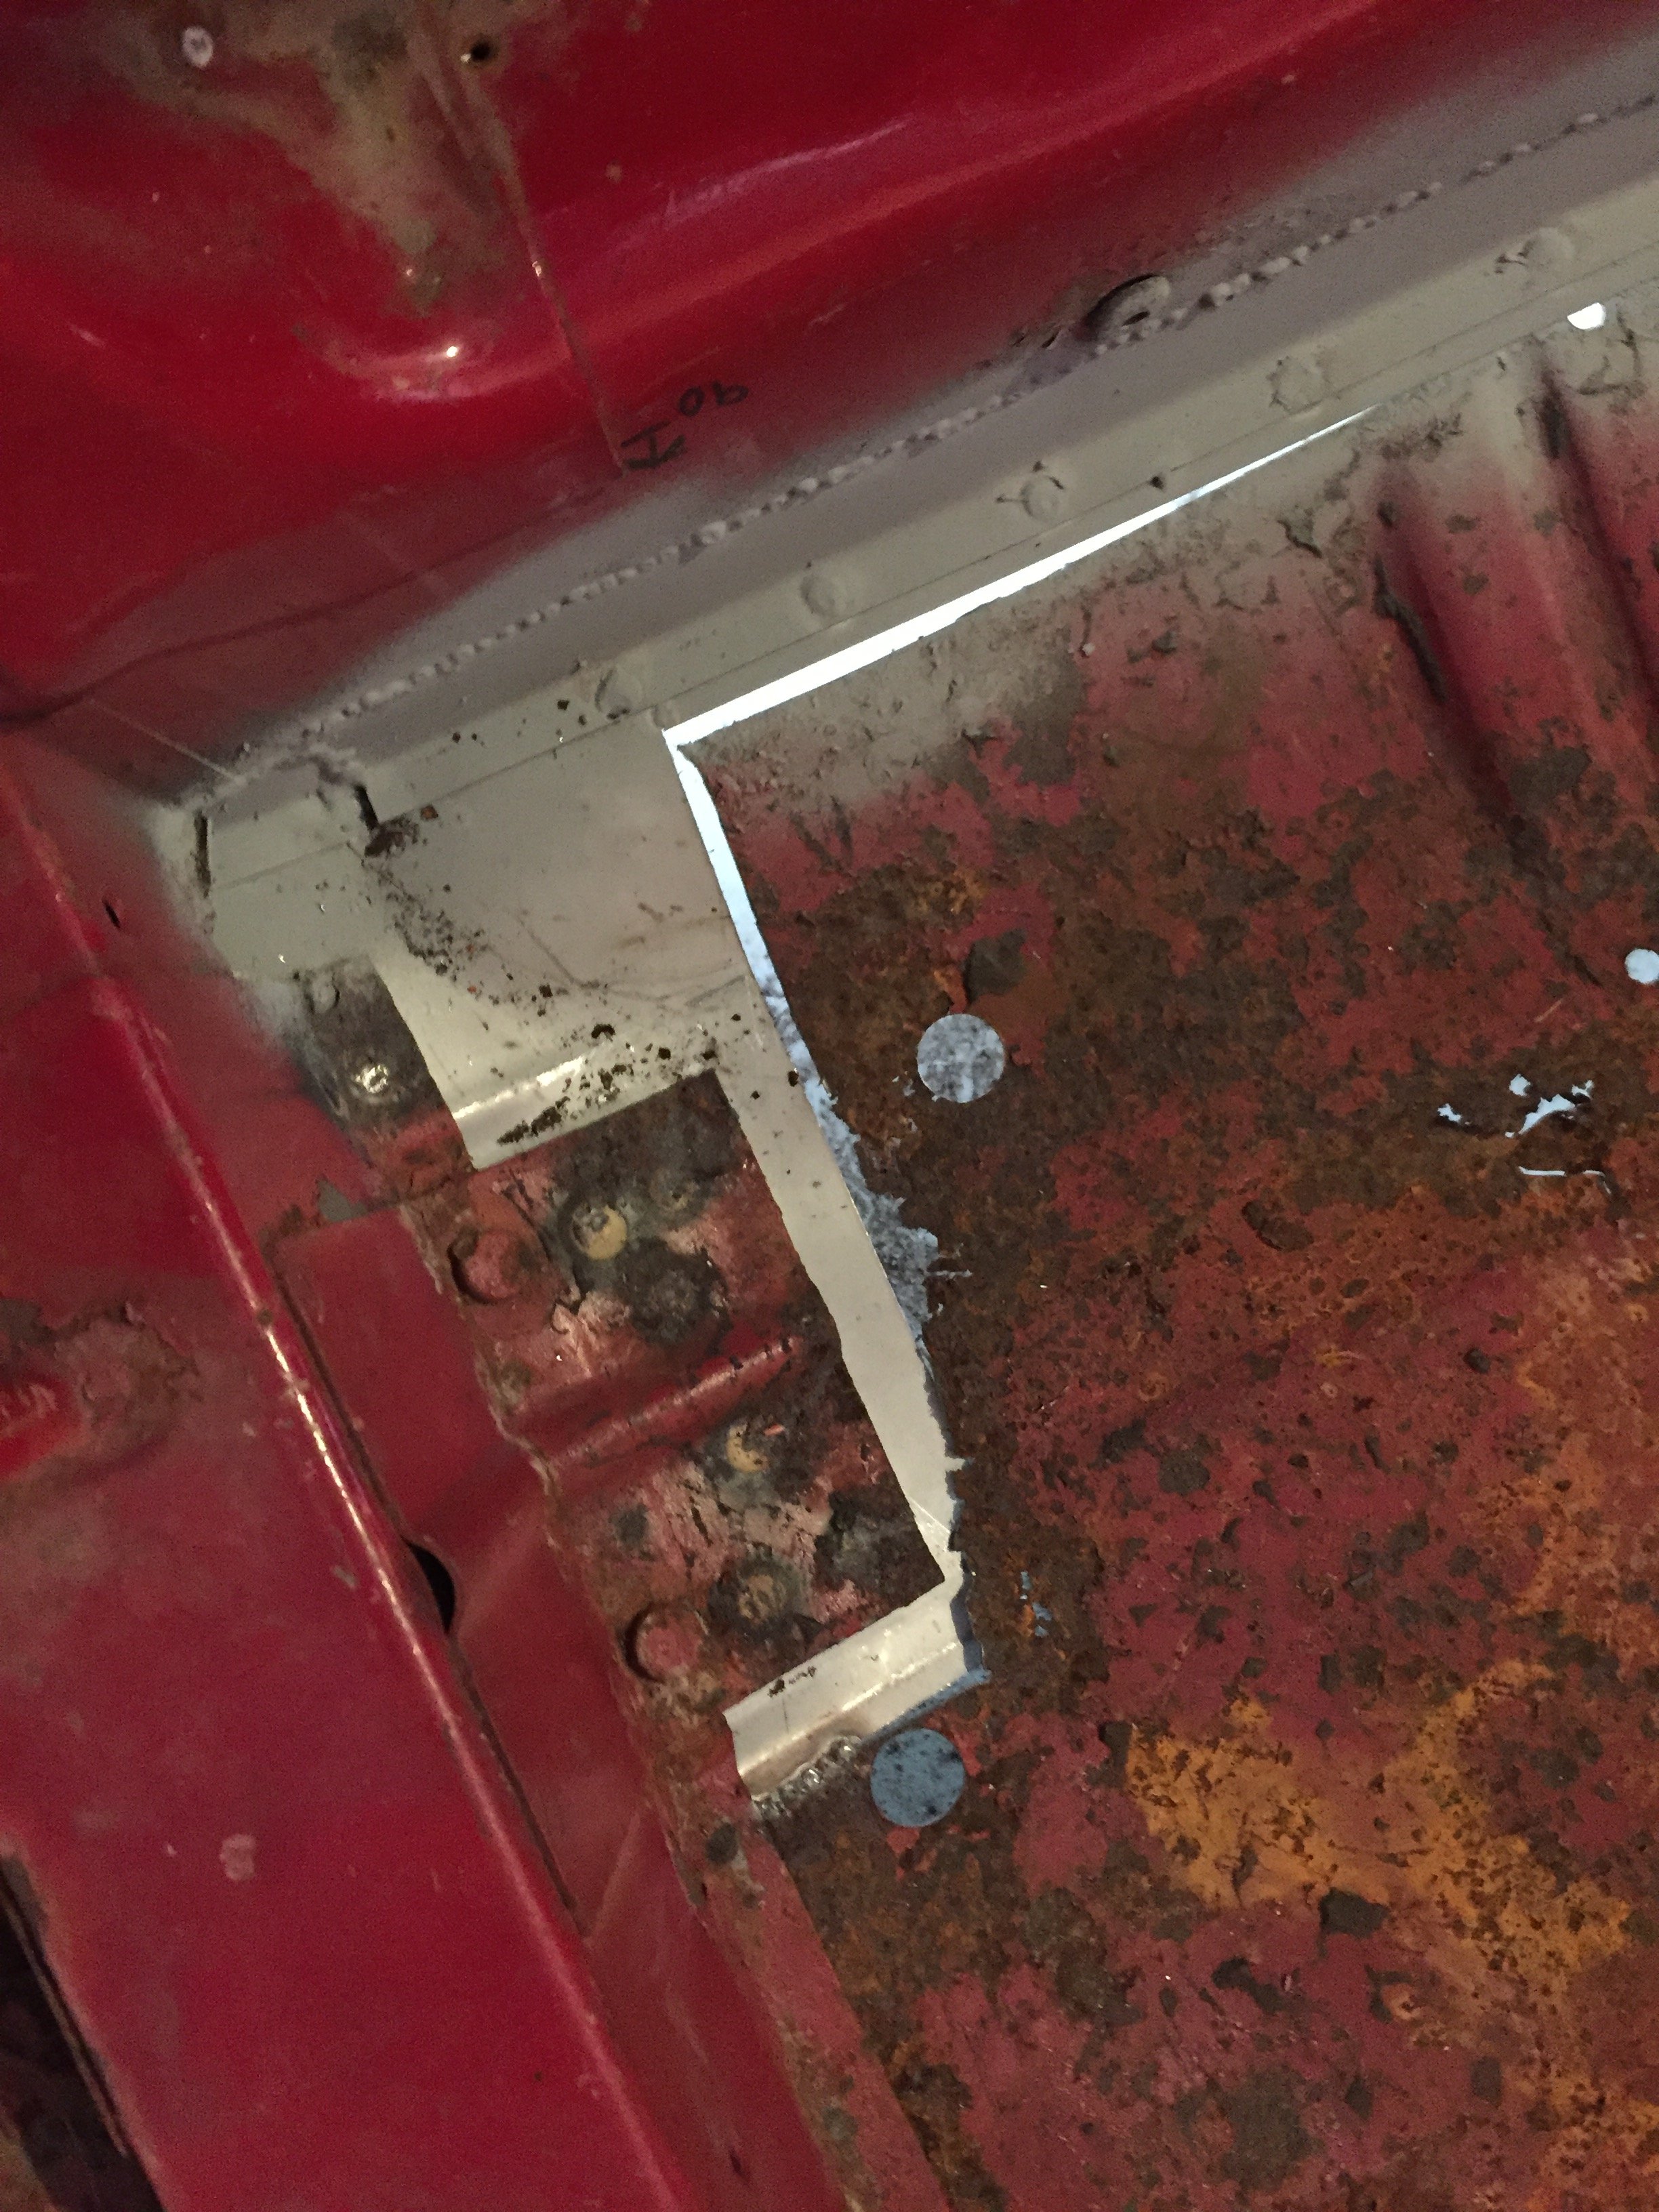
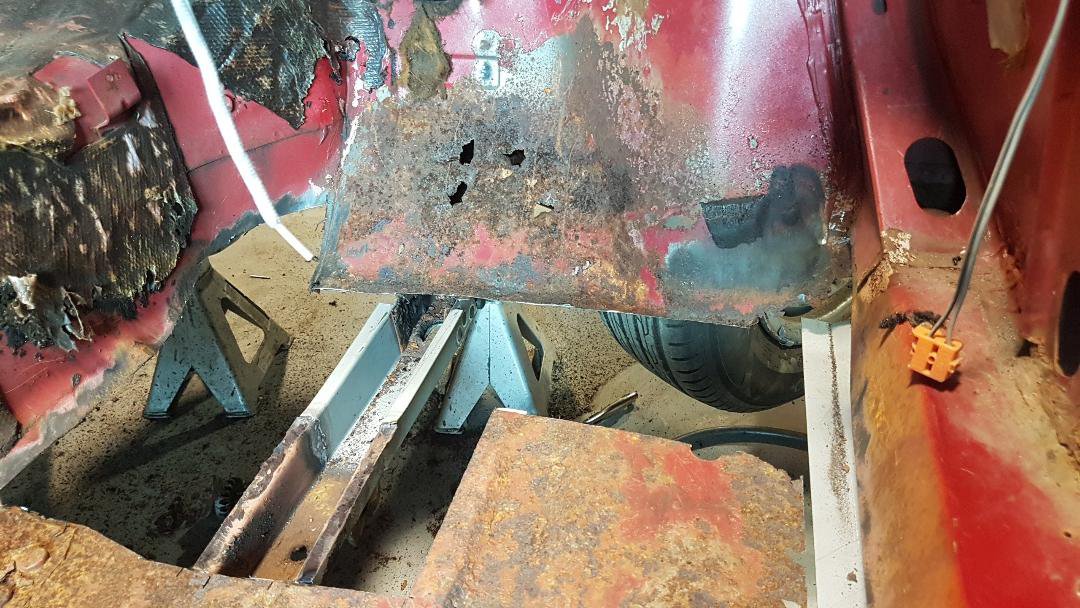
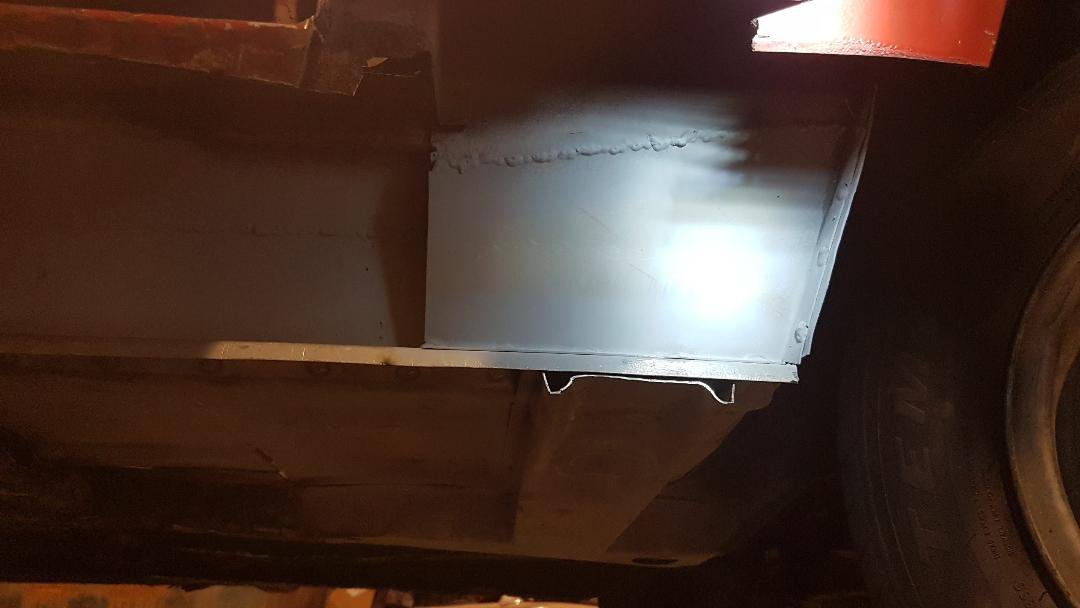
top of the trailing arm mount....can't wait to get this thing in one piece.....I have lots of parts to go on this thing and reg on hold....may take some time but it will be a nice car again
-
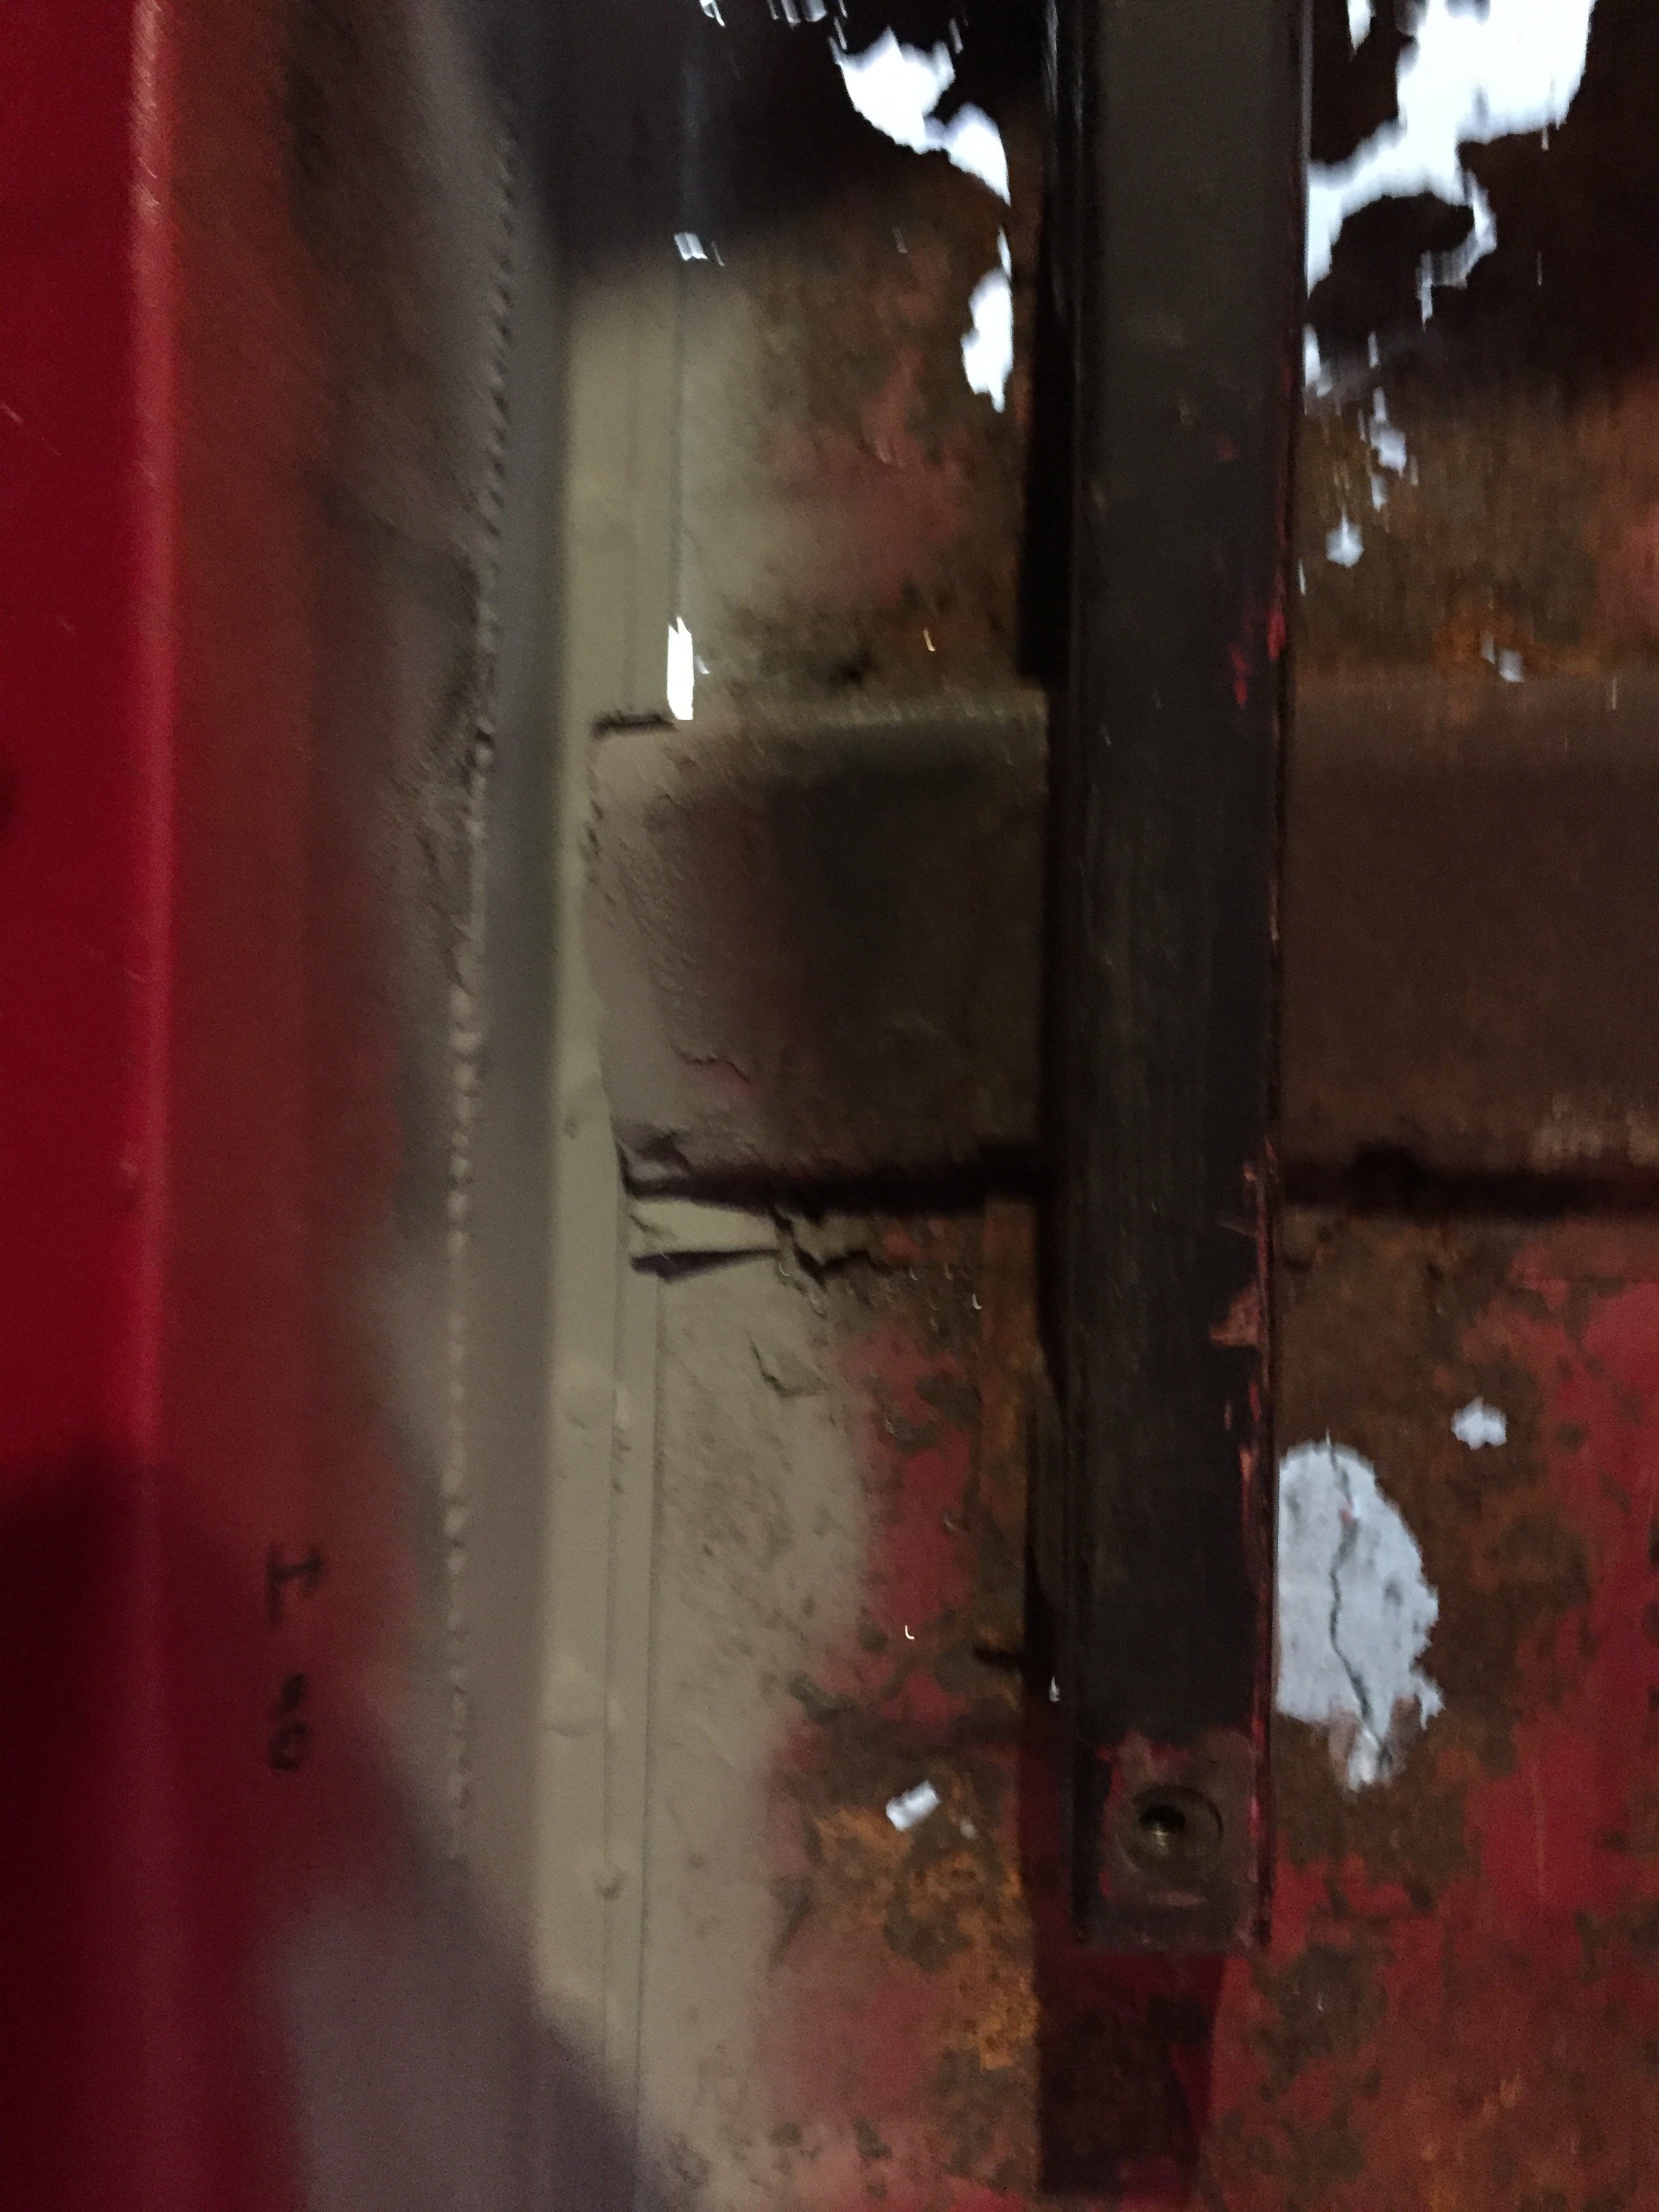
I will go back out to my lock up and take some more pics of what's left to do...."heaps" the bottom of the A pillars, the back of the rear guards and the front clip.....more on that shortly...I'll try and post more regularly....
-
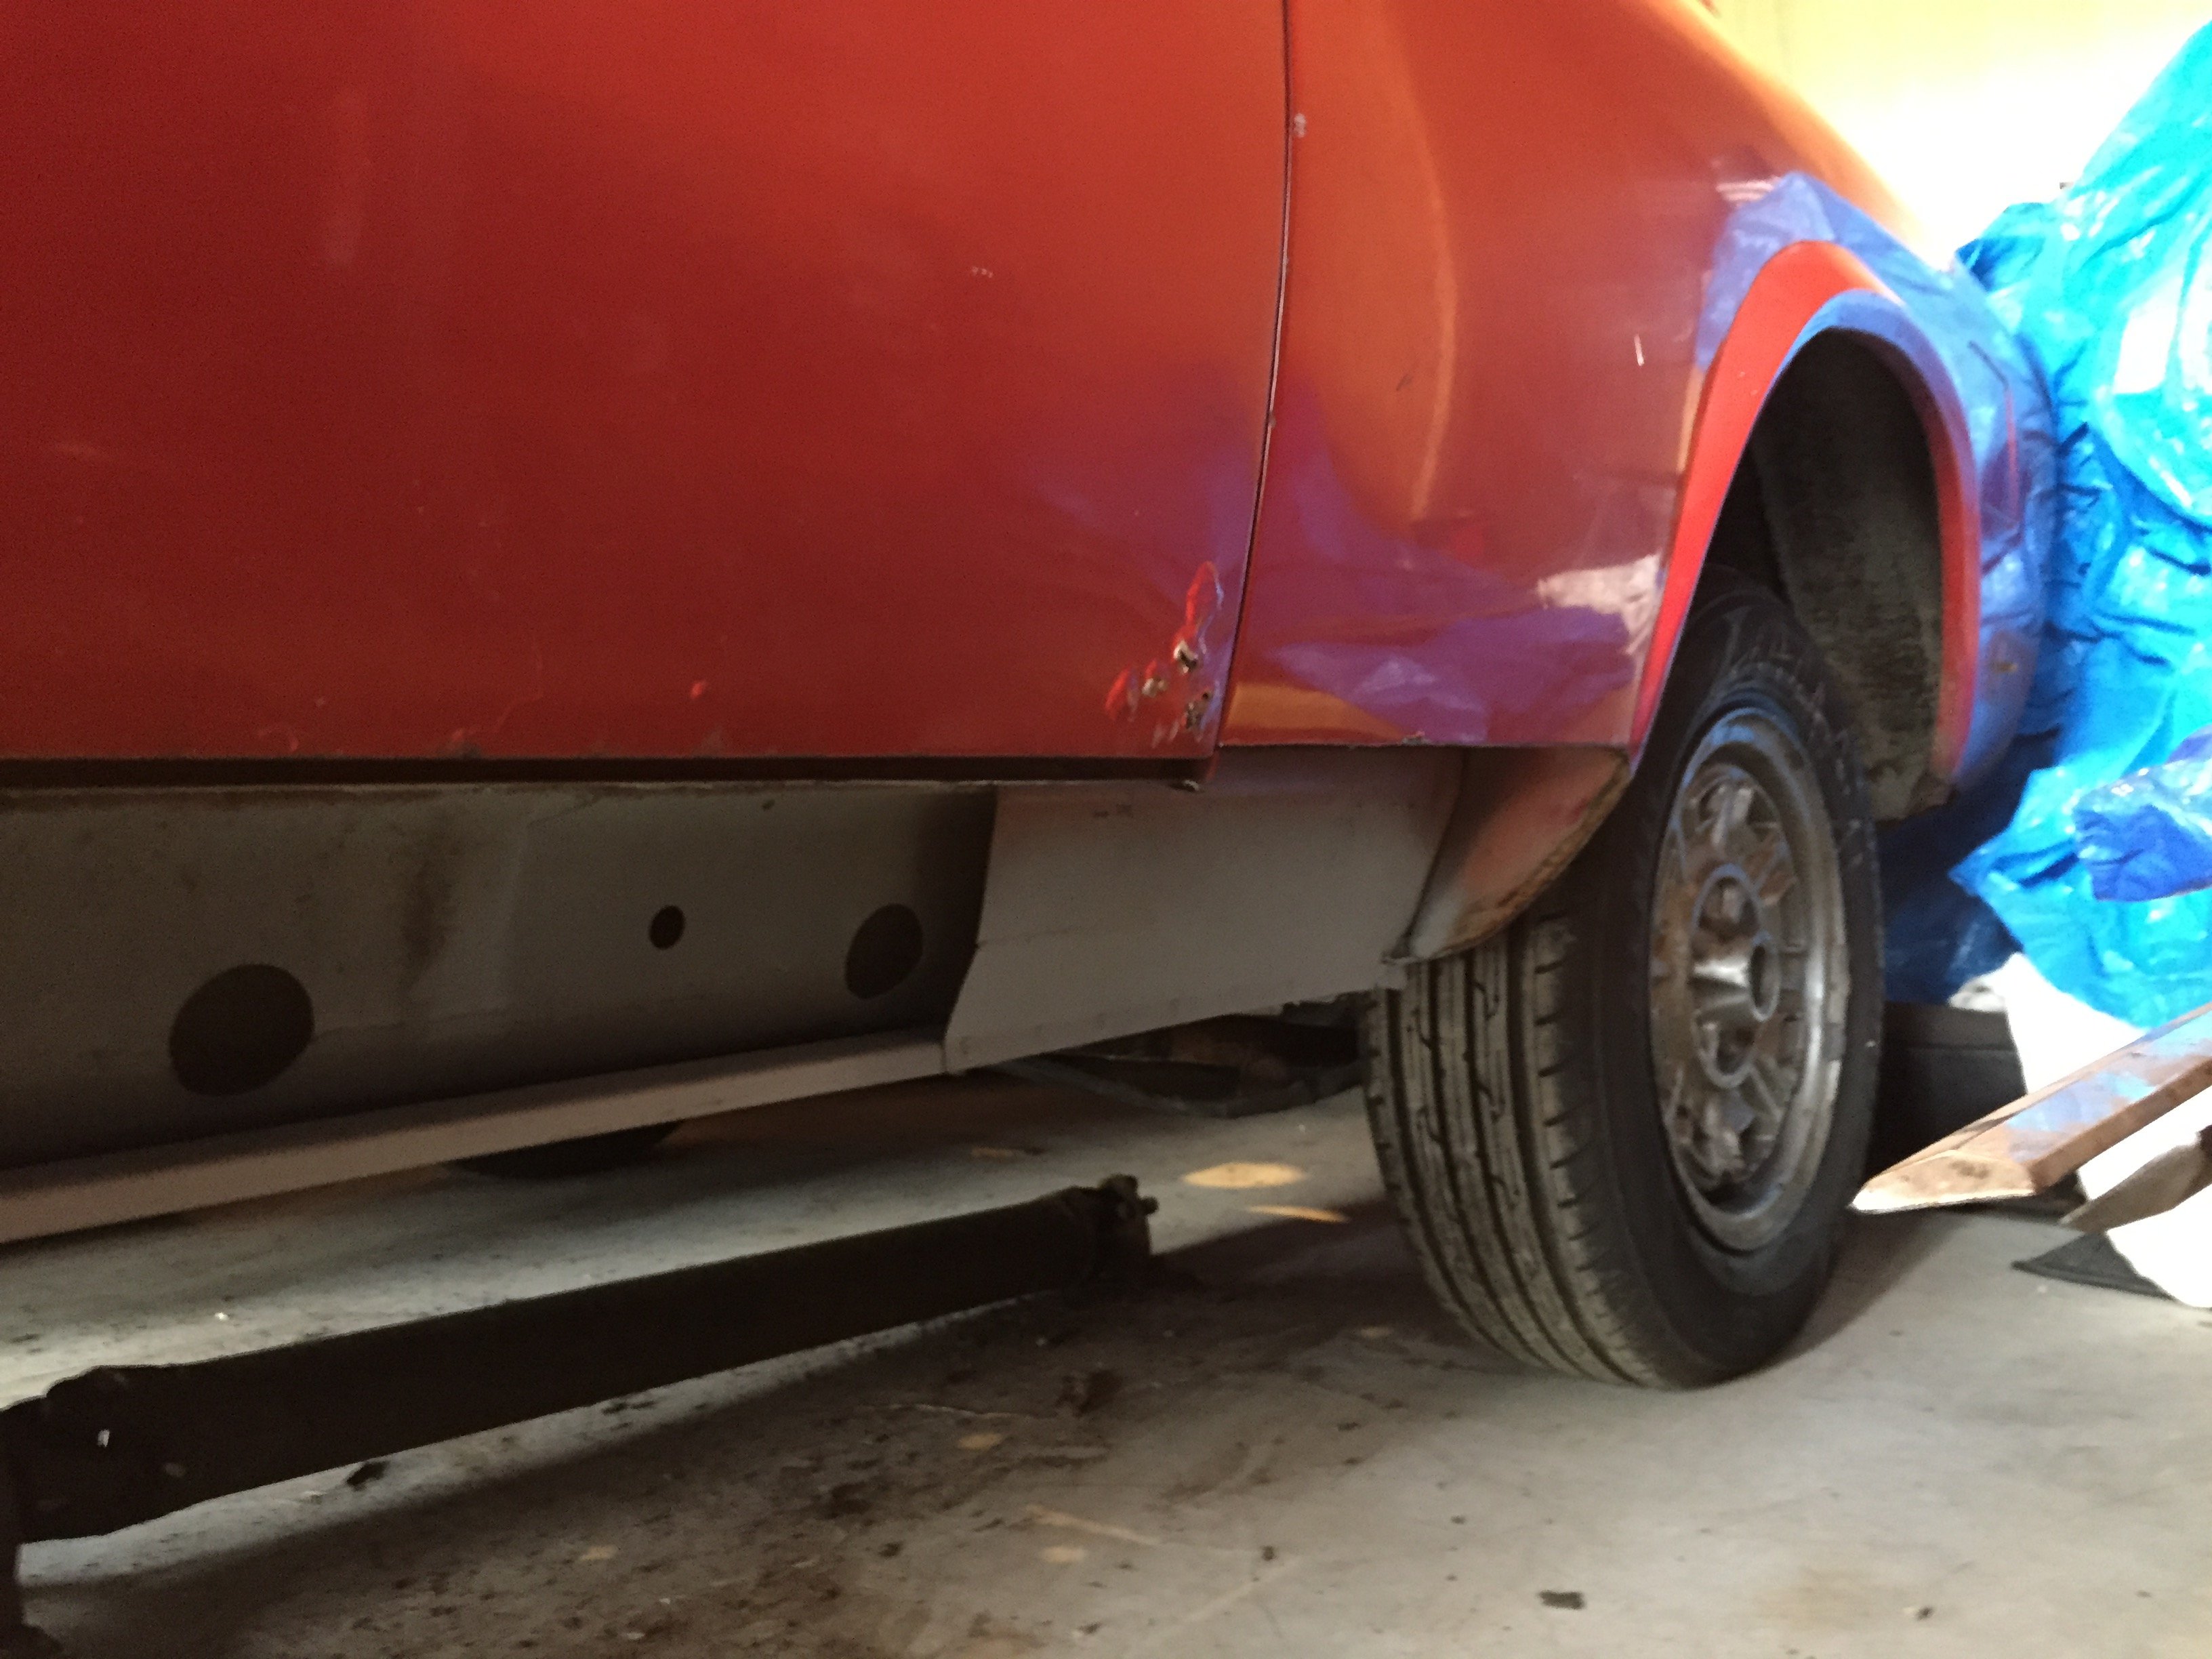
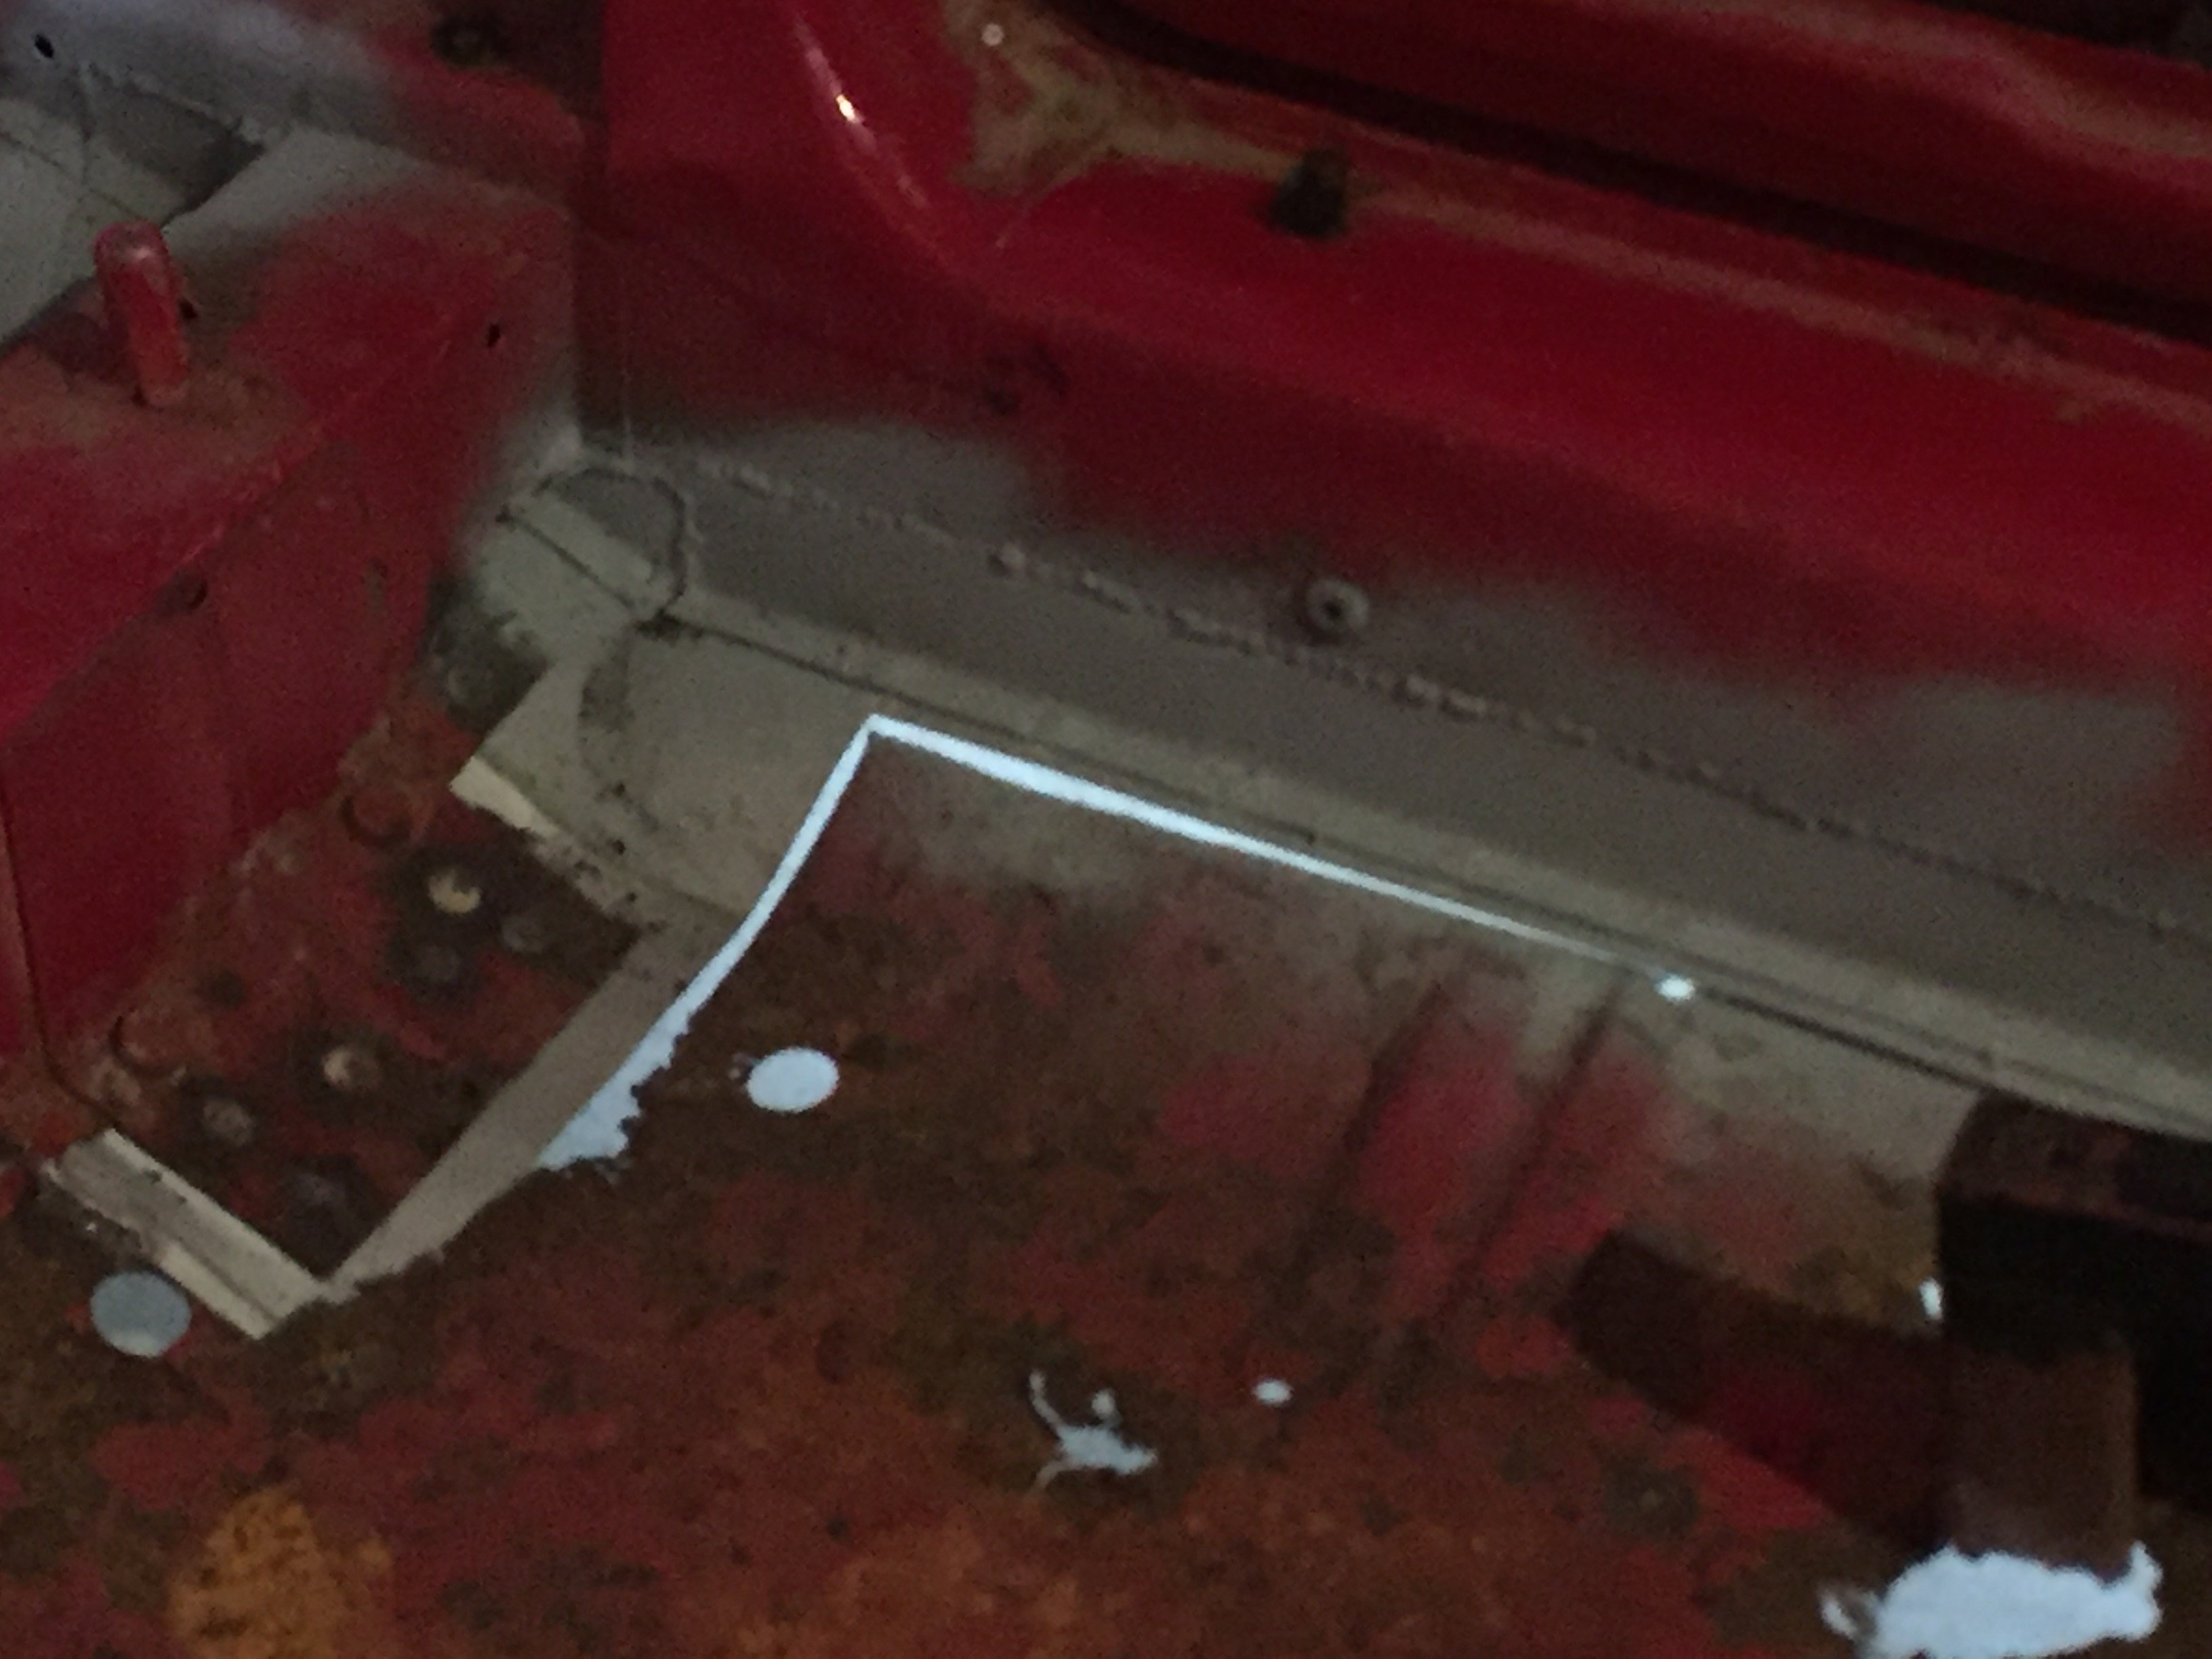
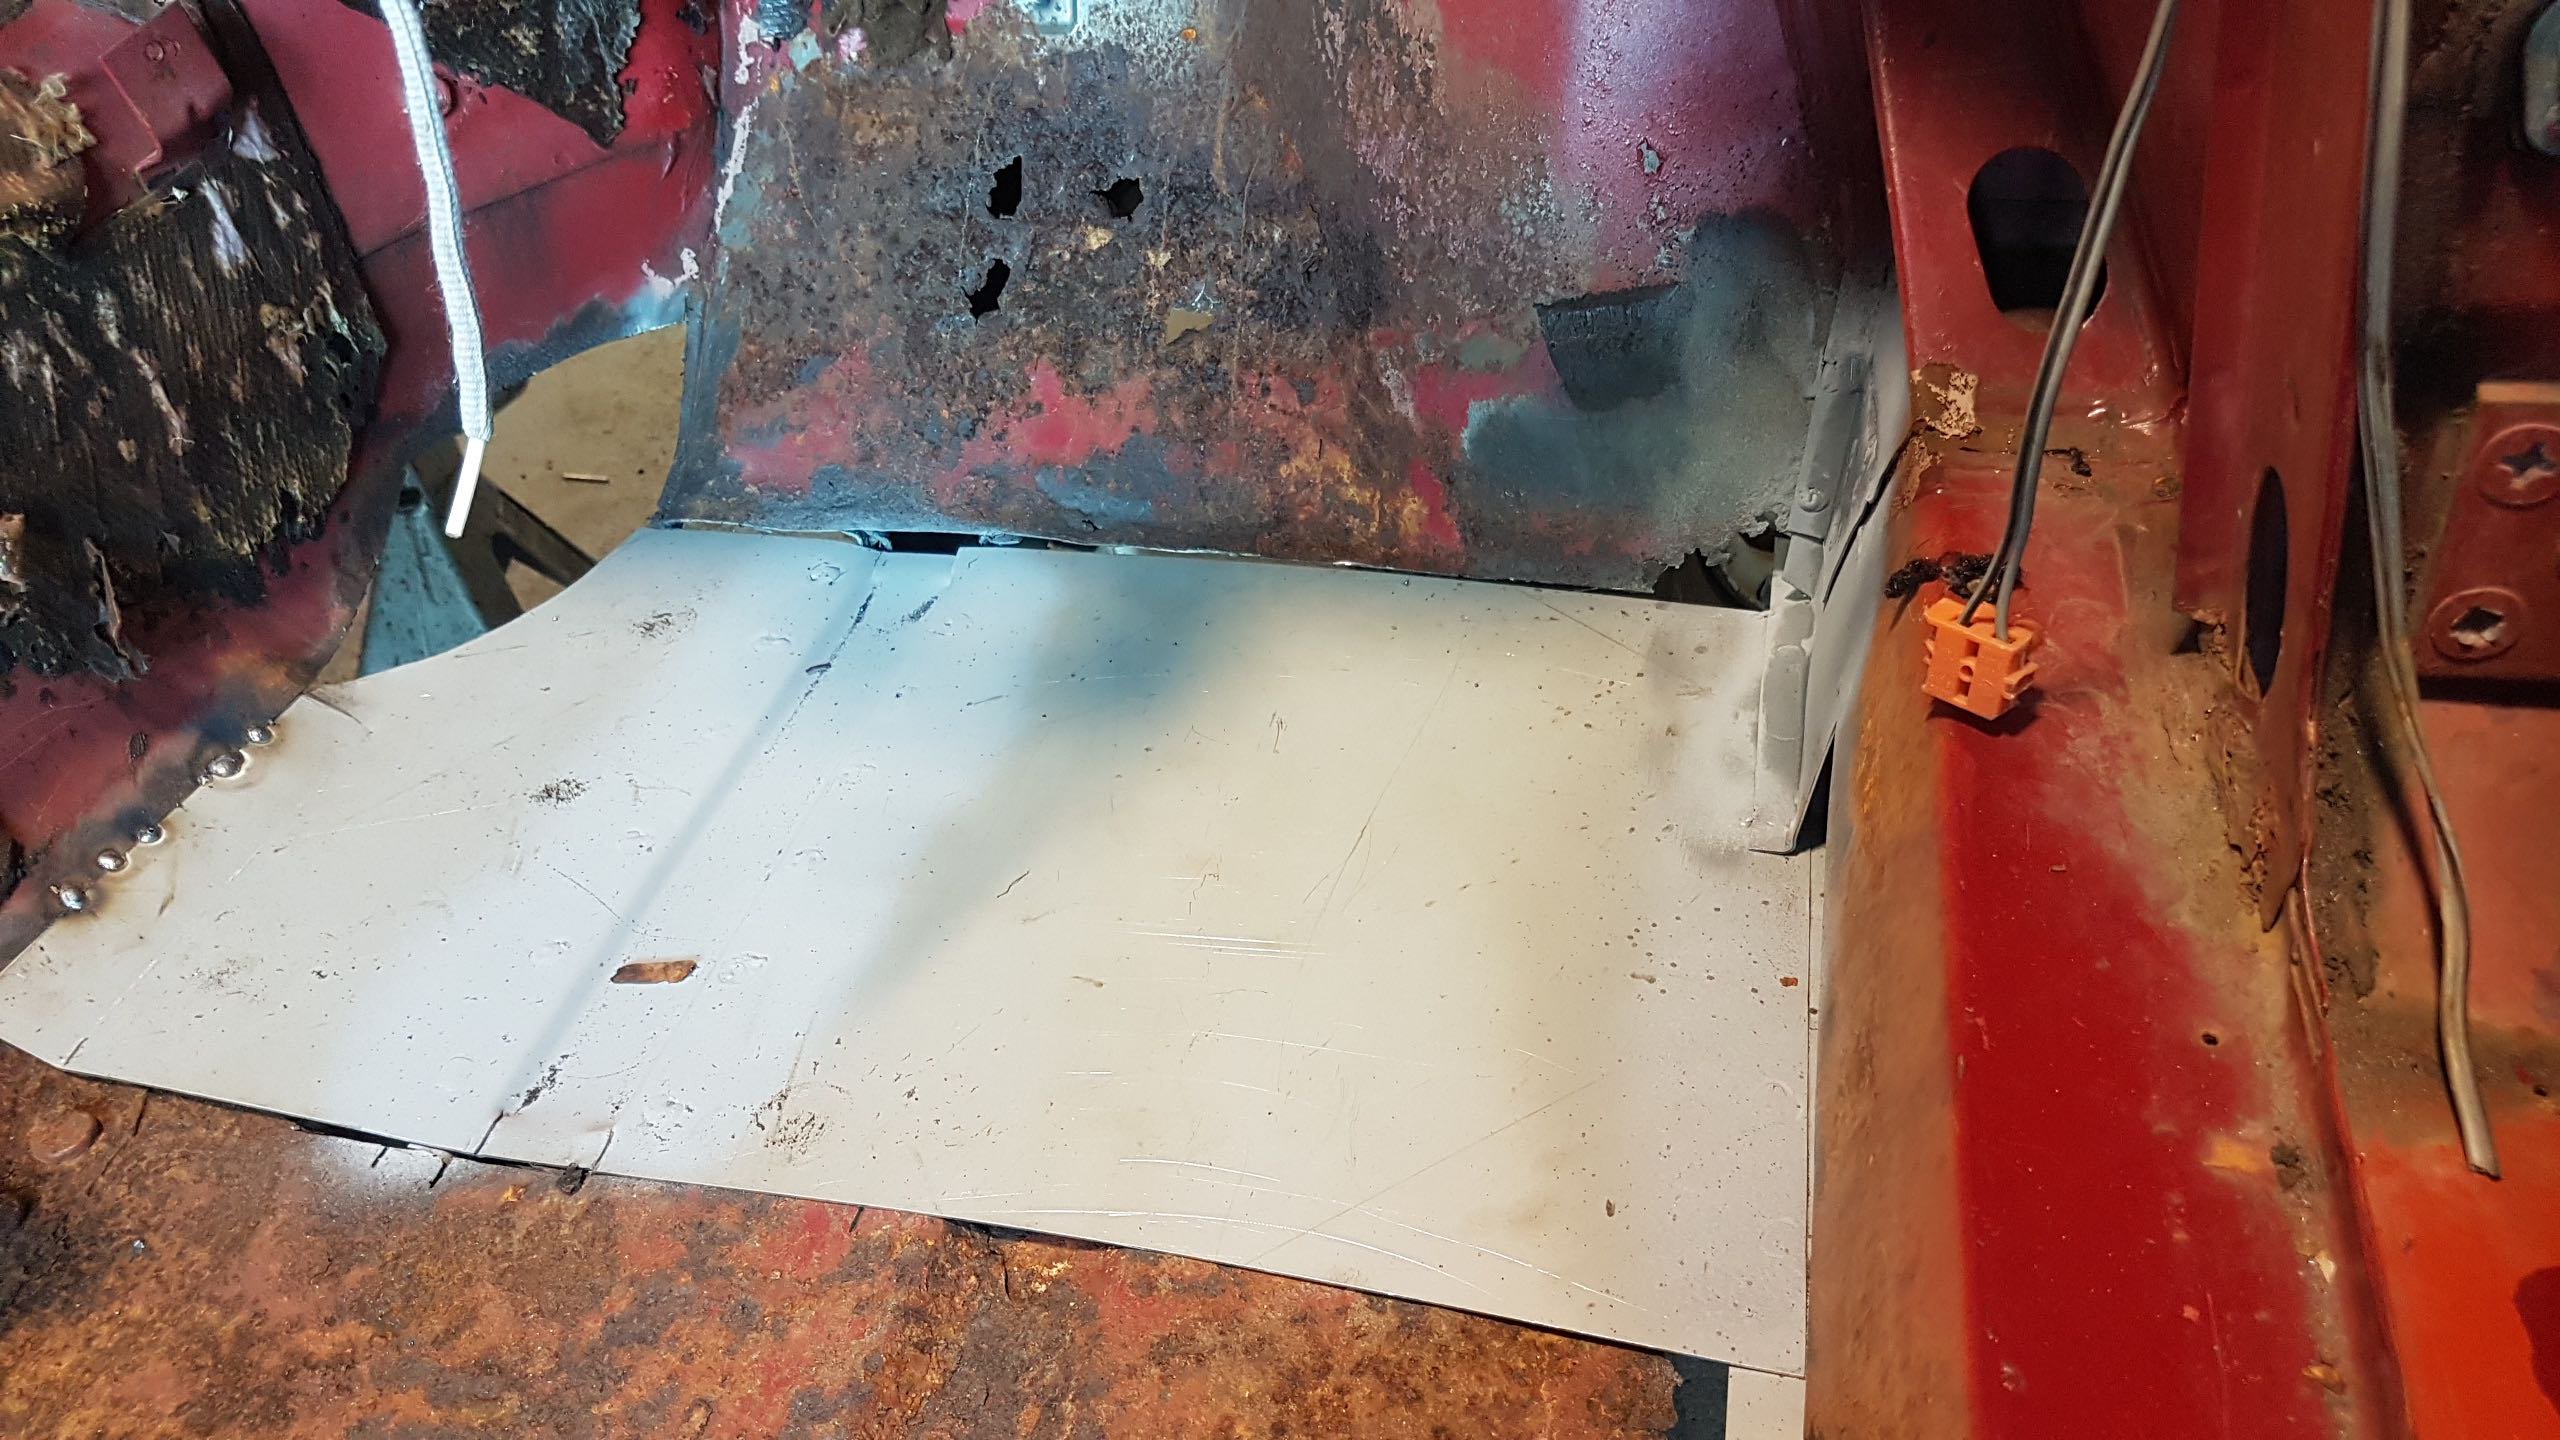
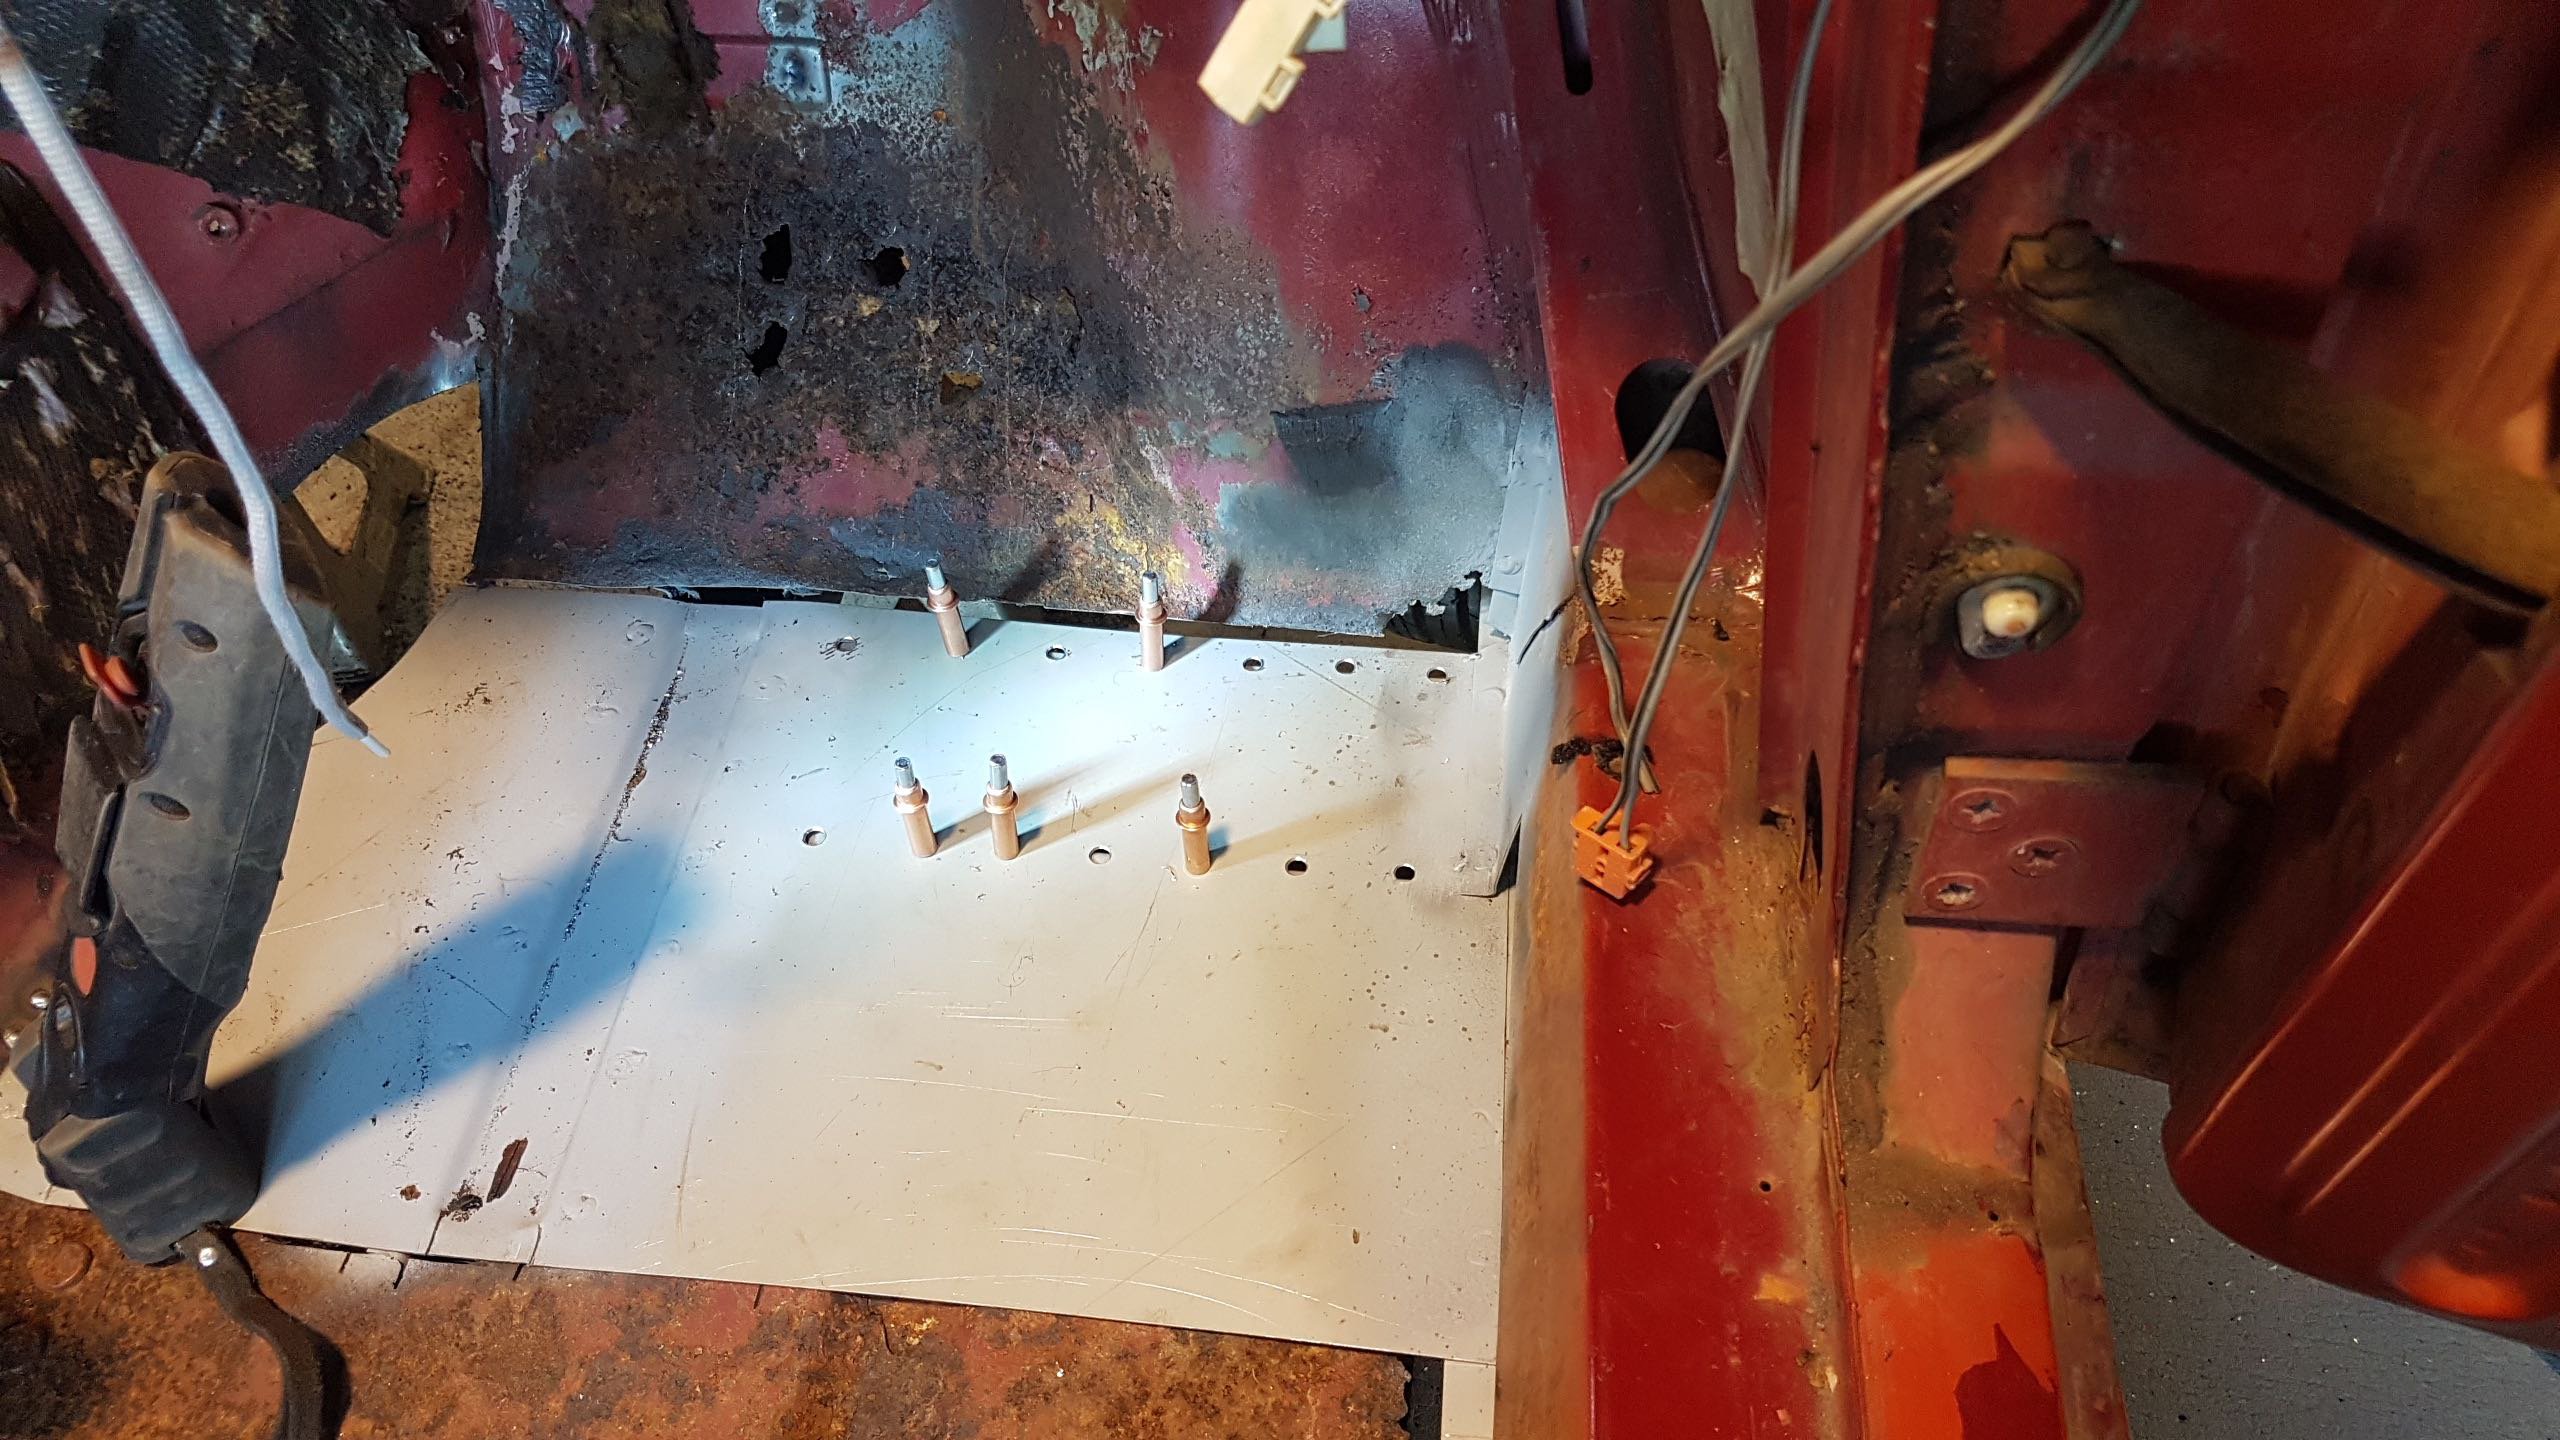
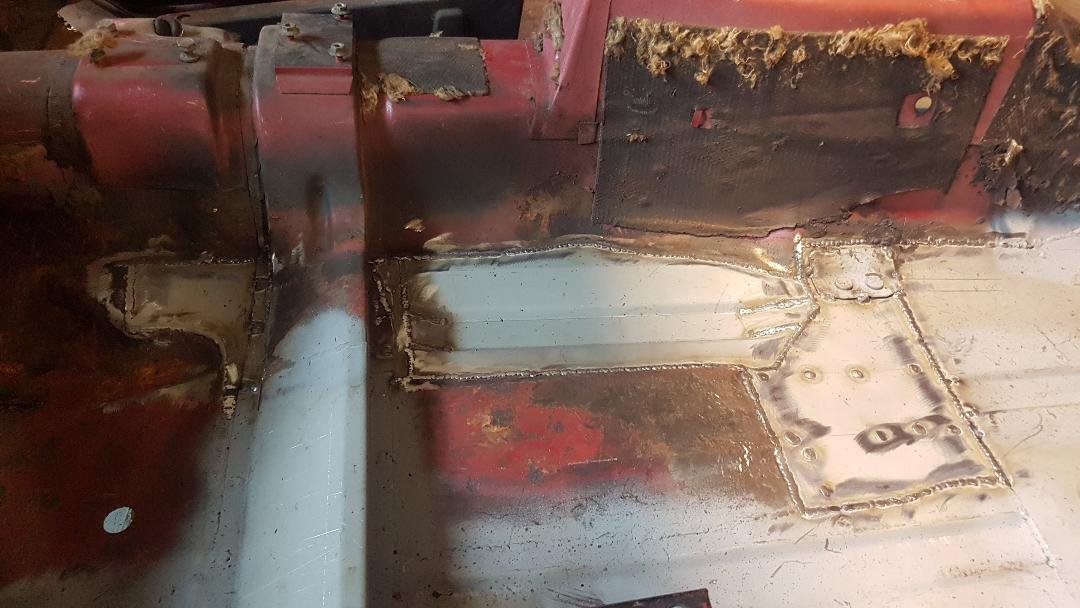
and then the front by the jacking point and some more from inside...
-
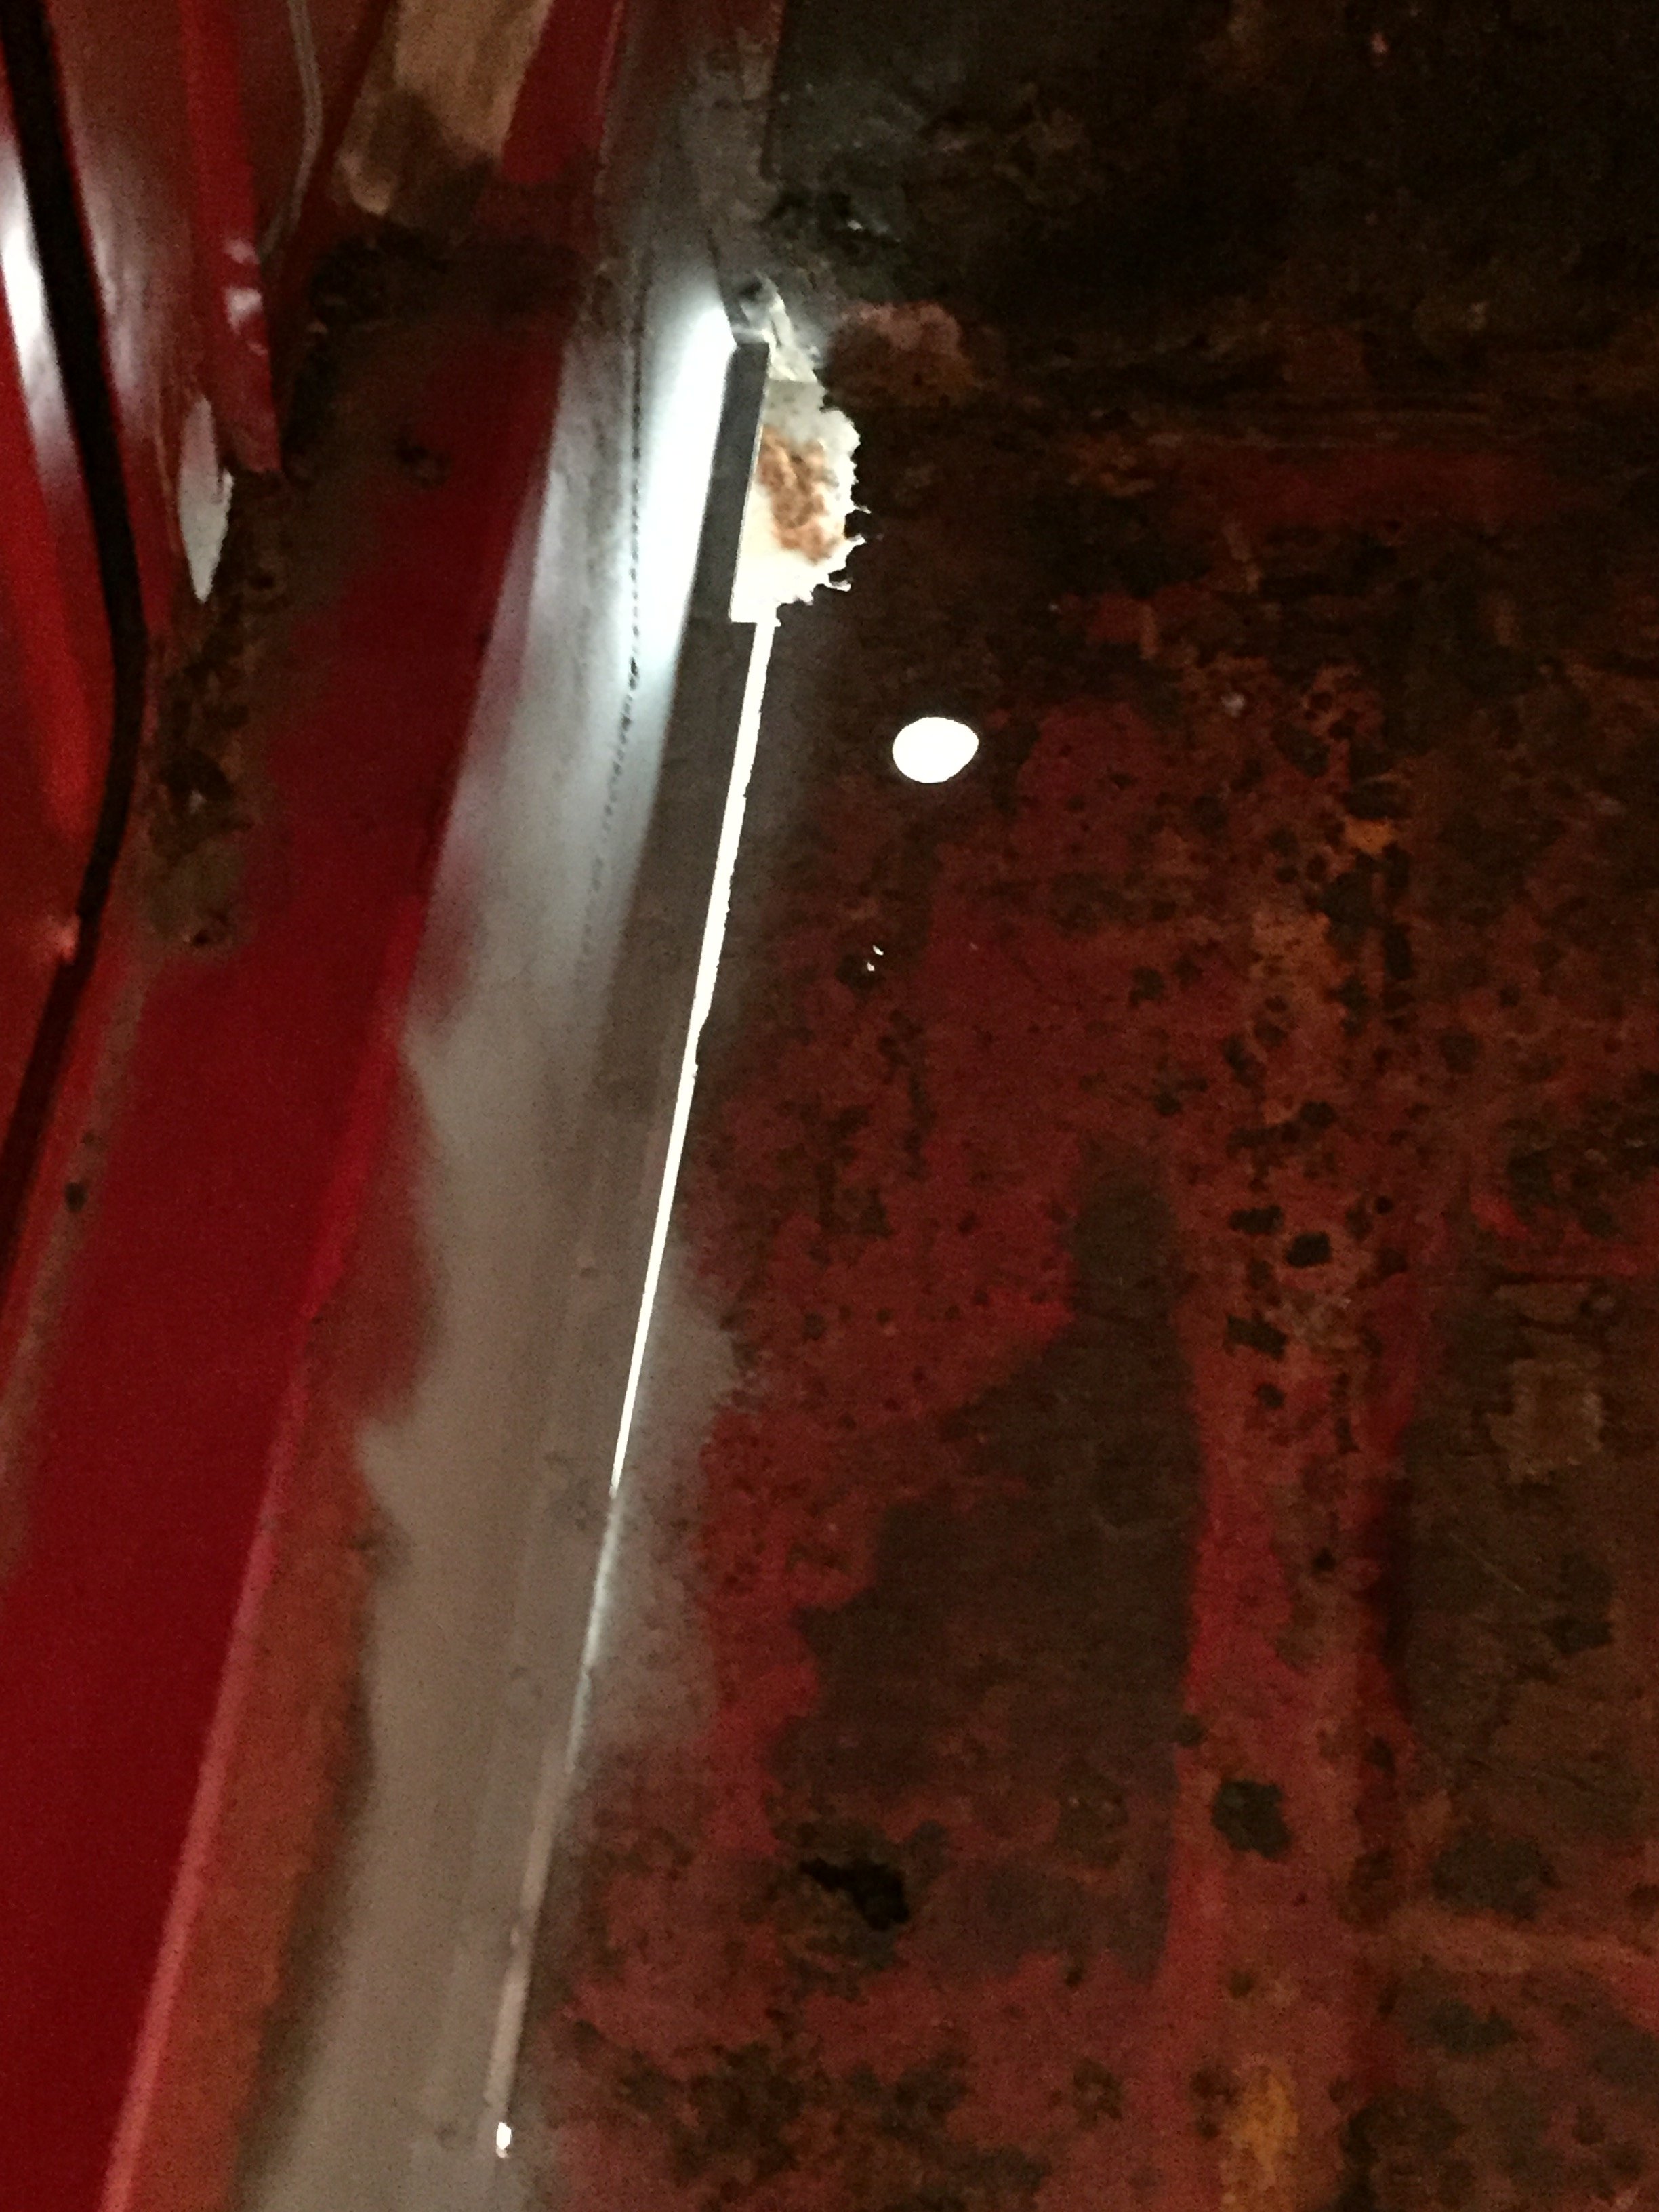
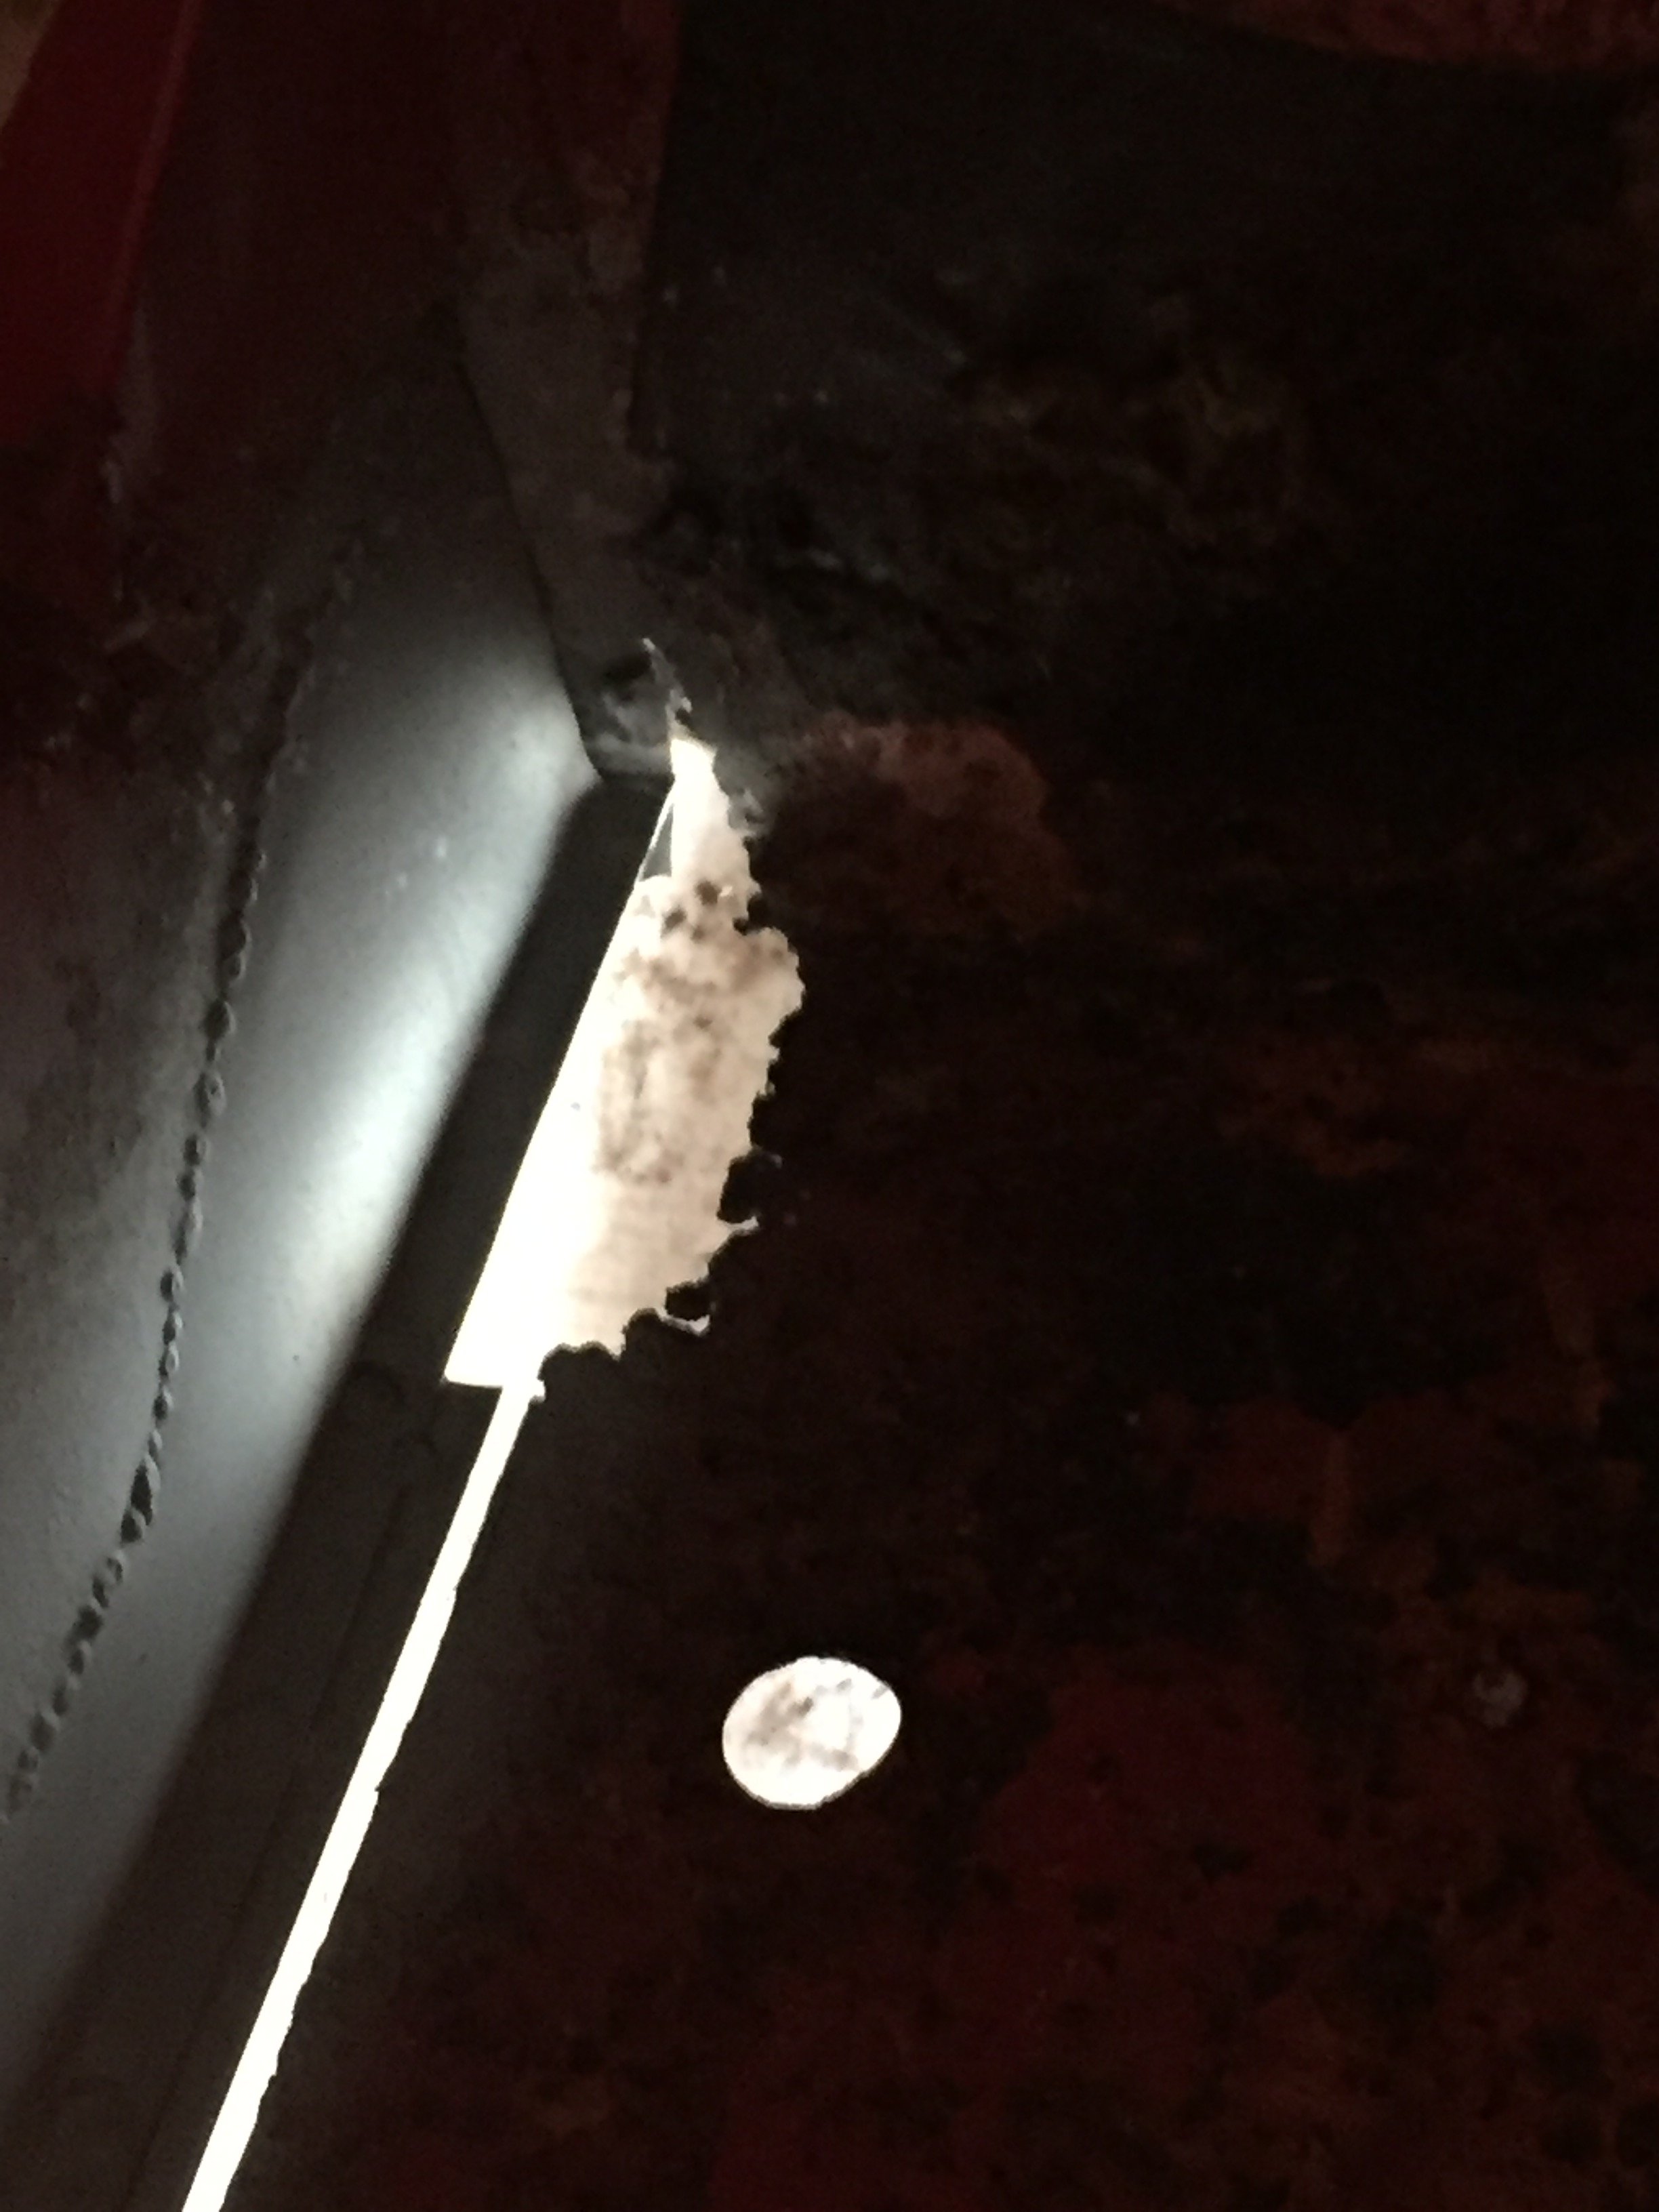
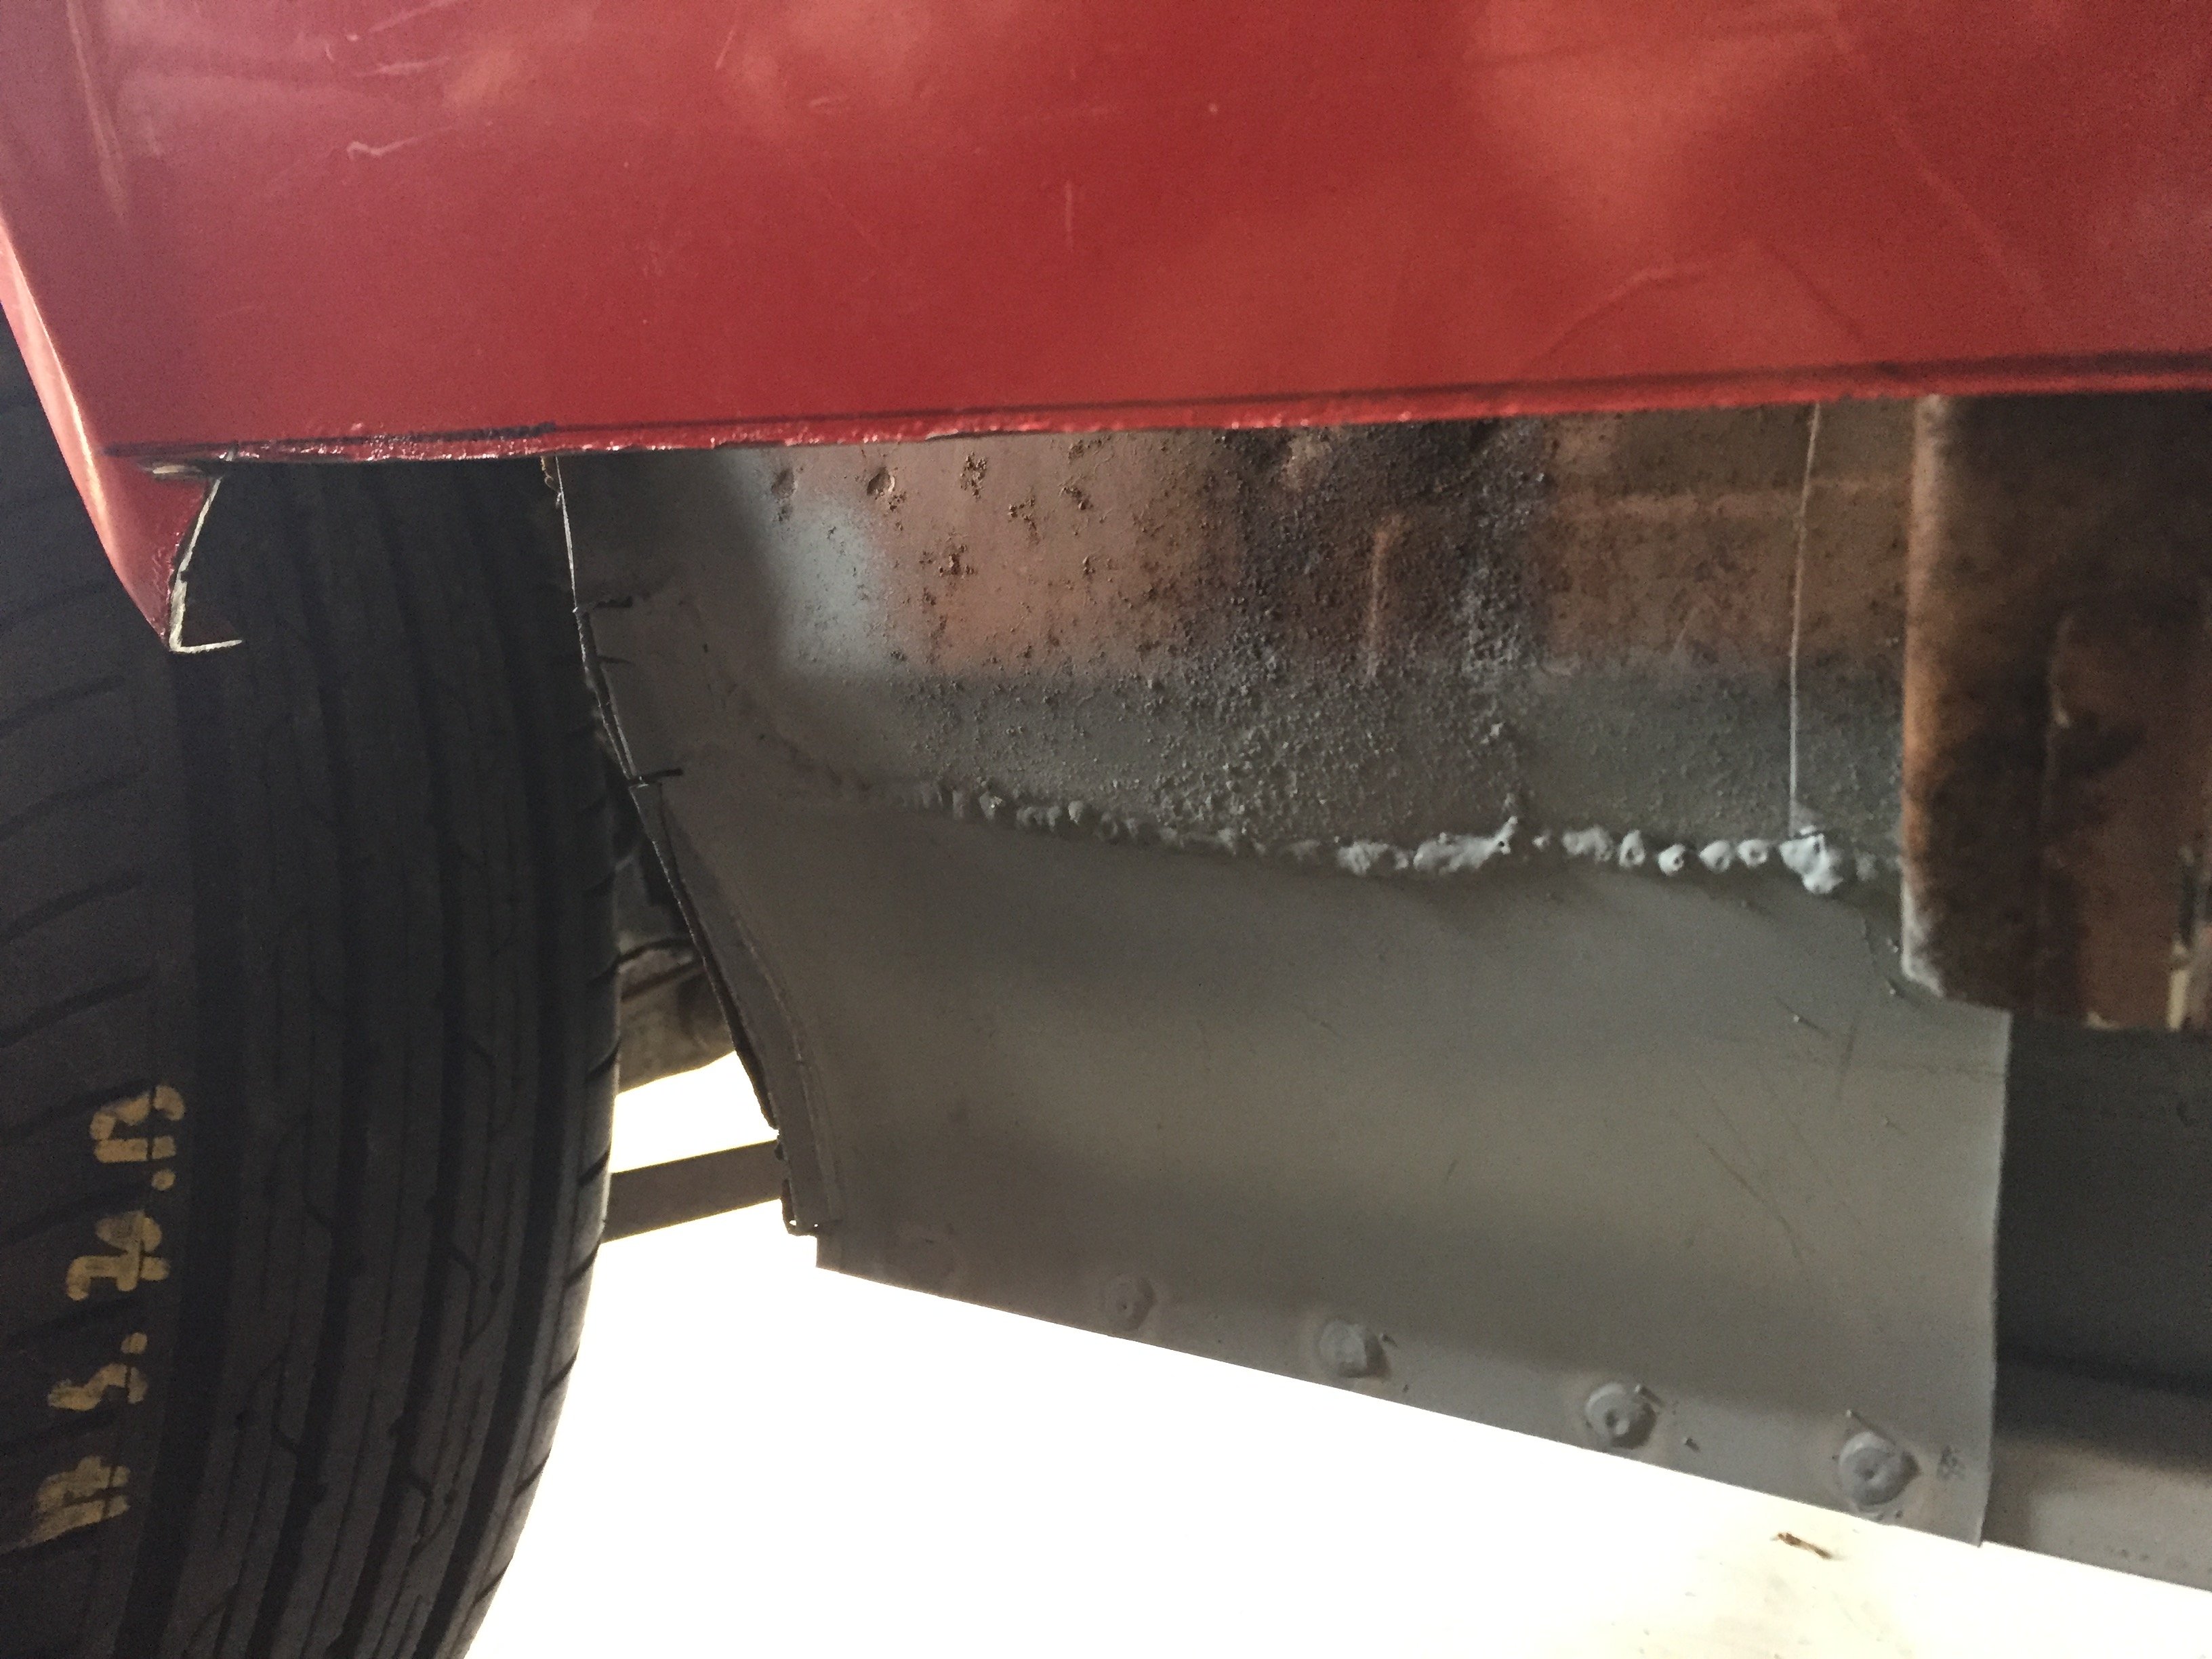
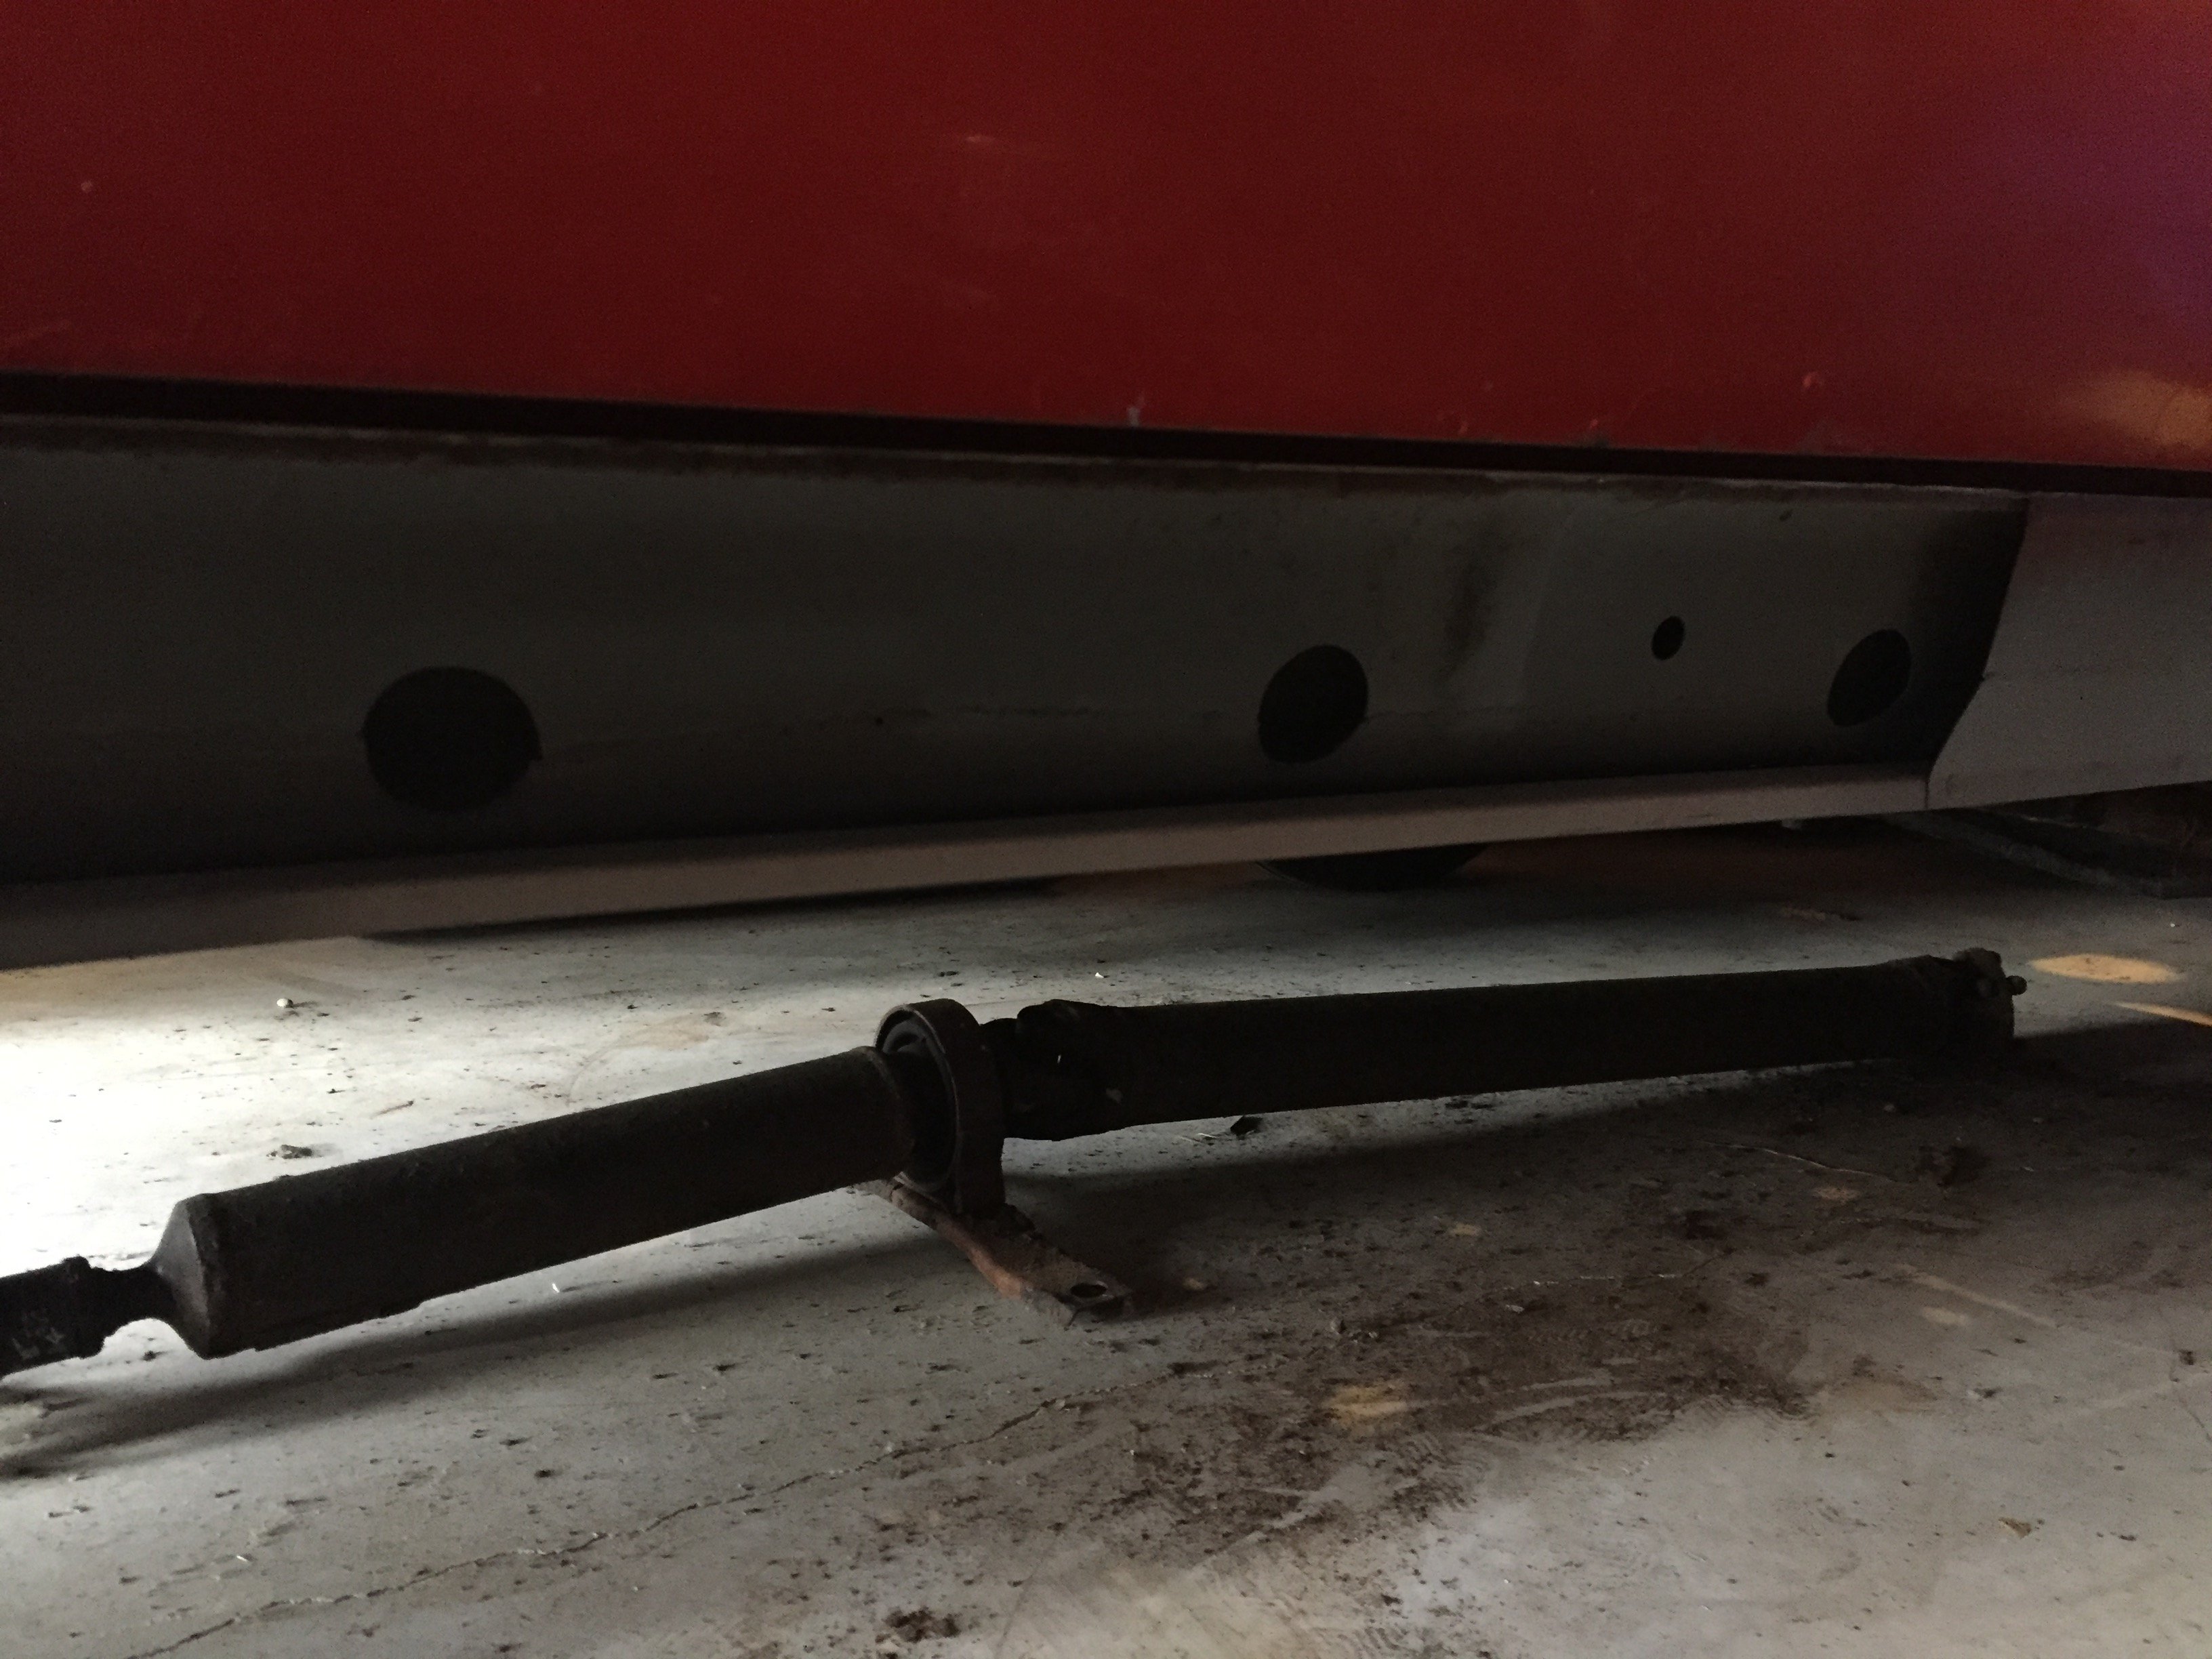
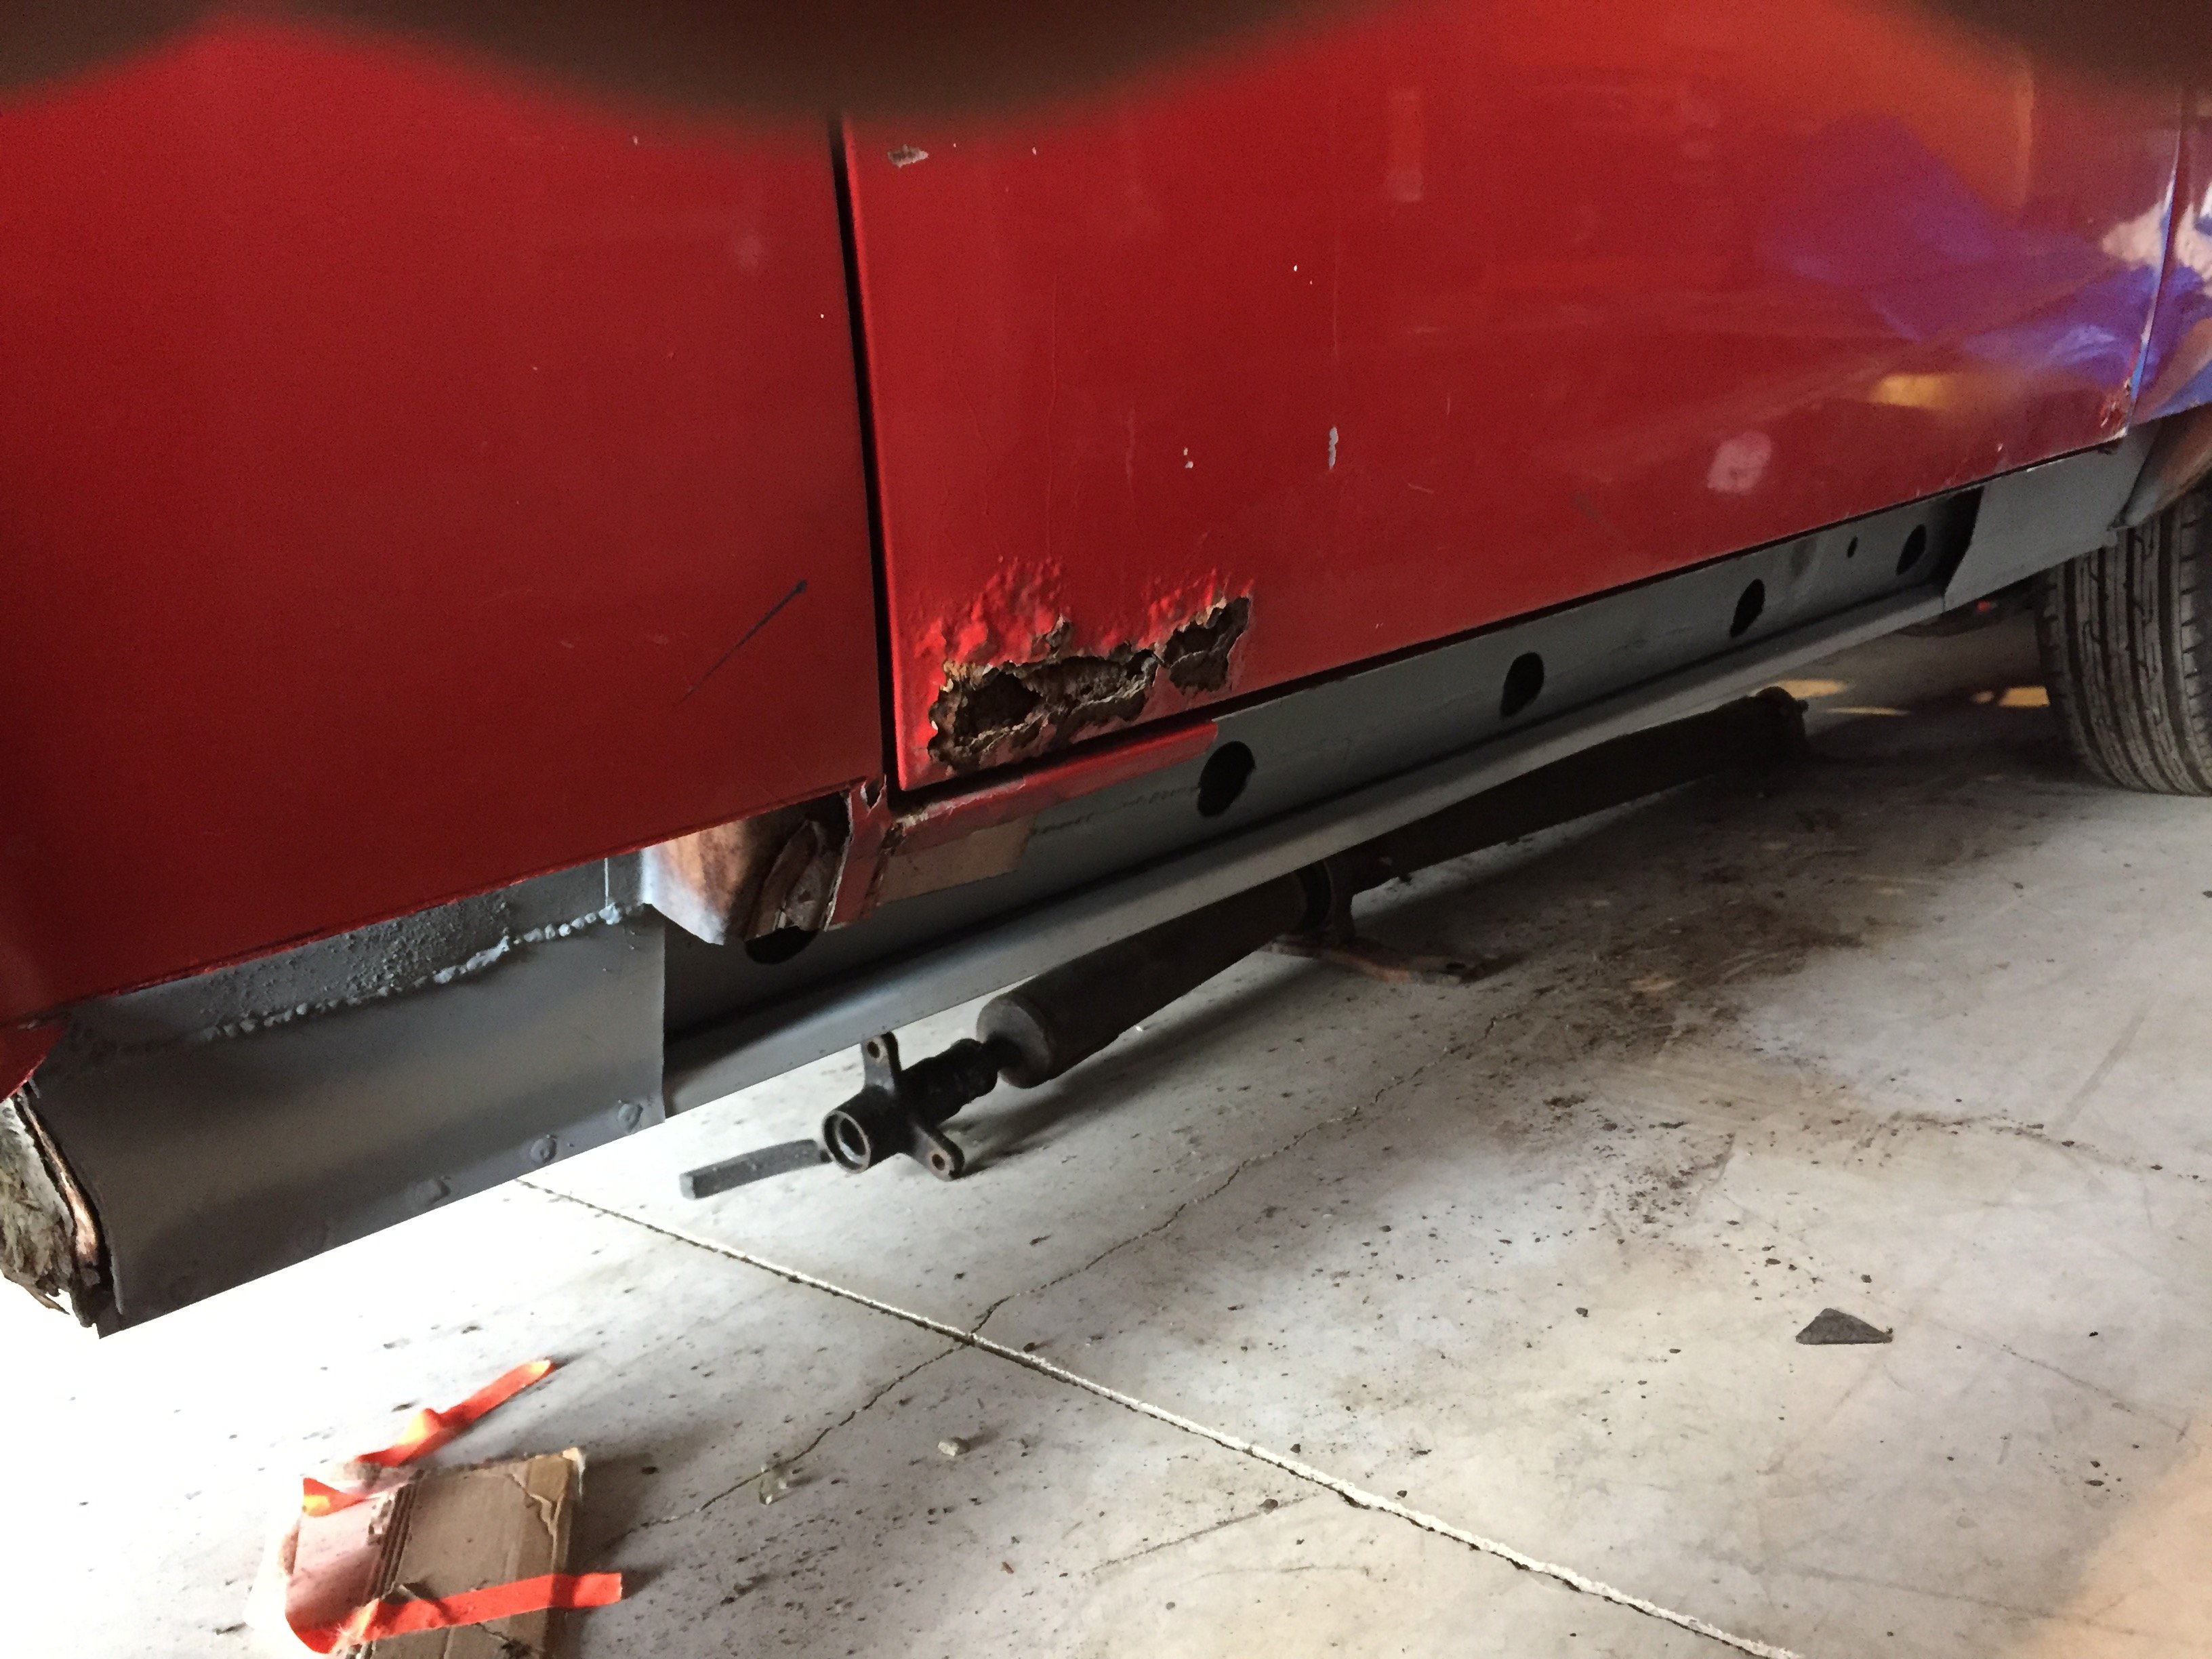
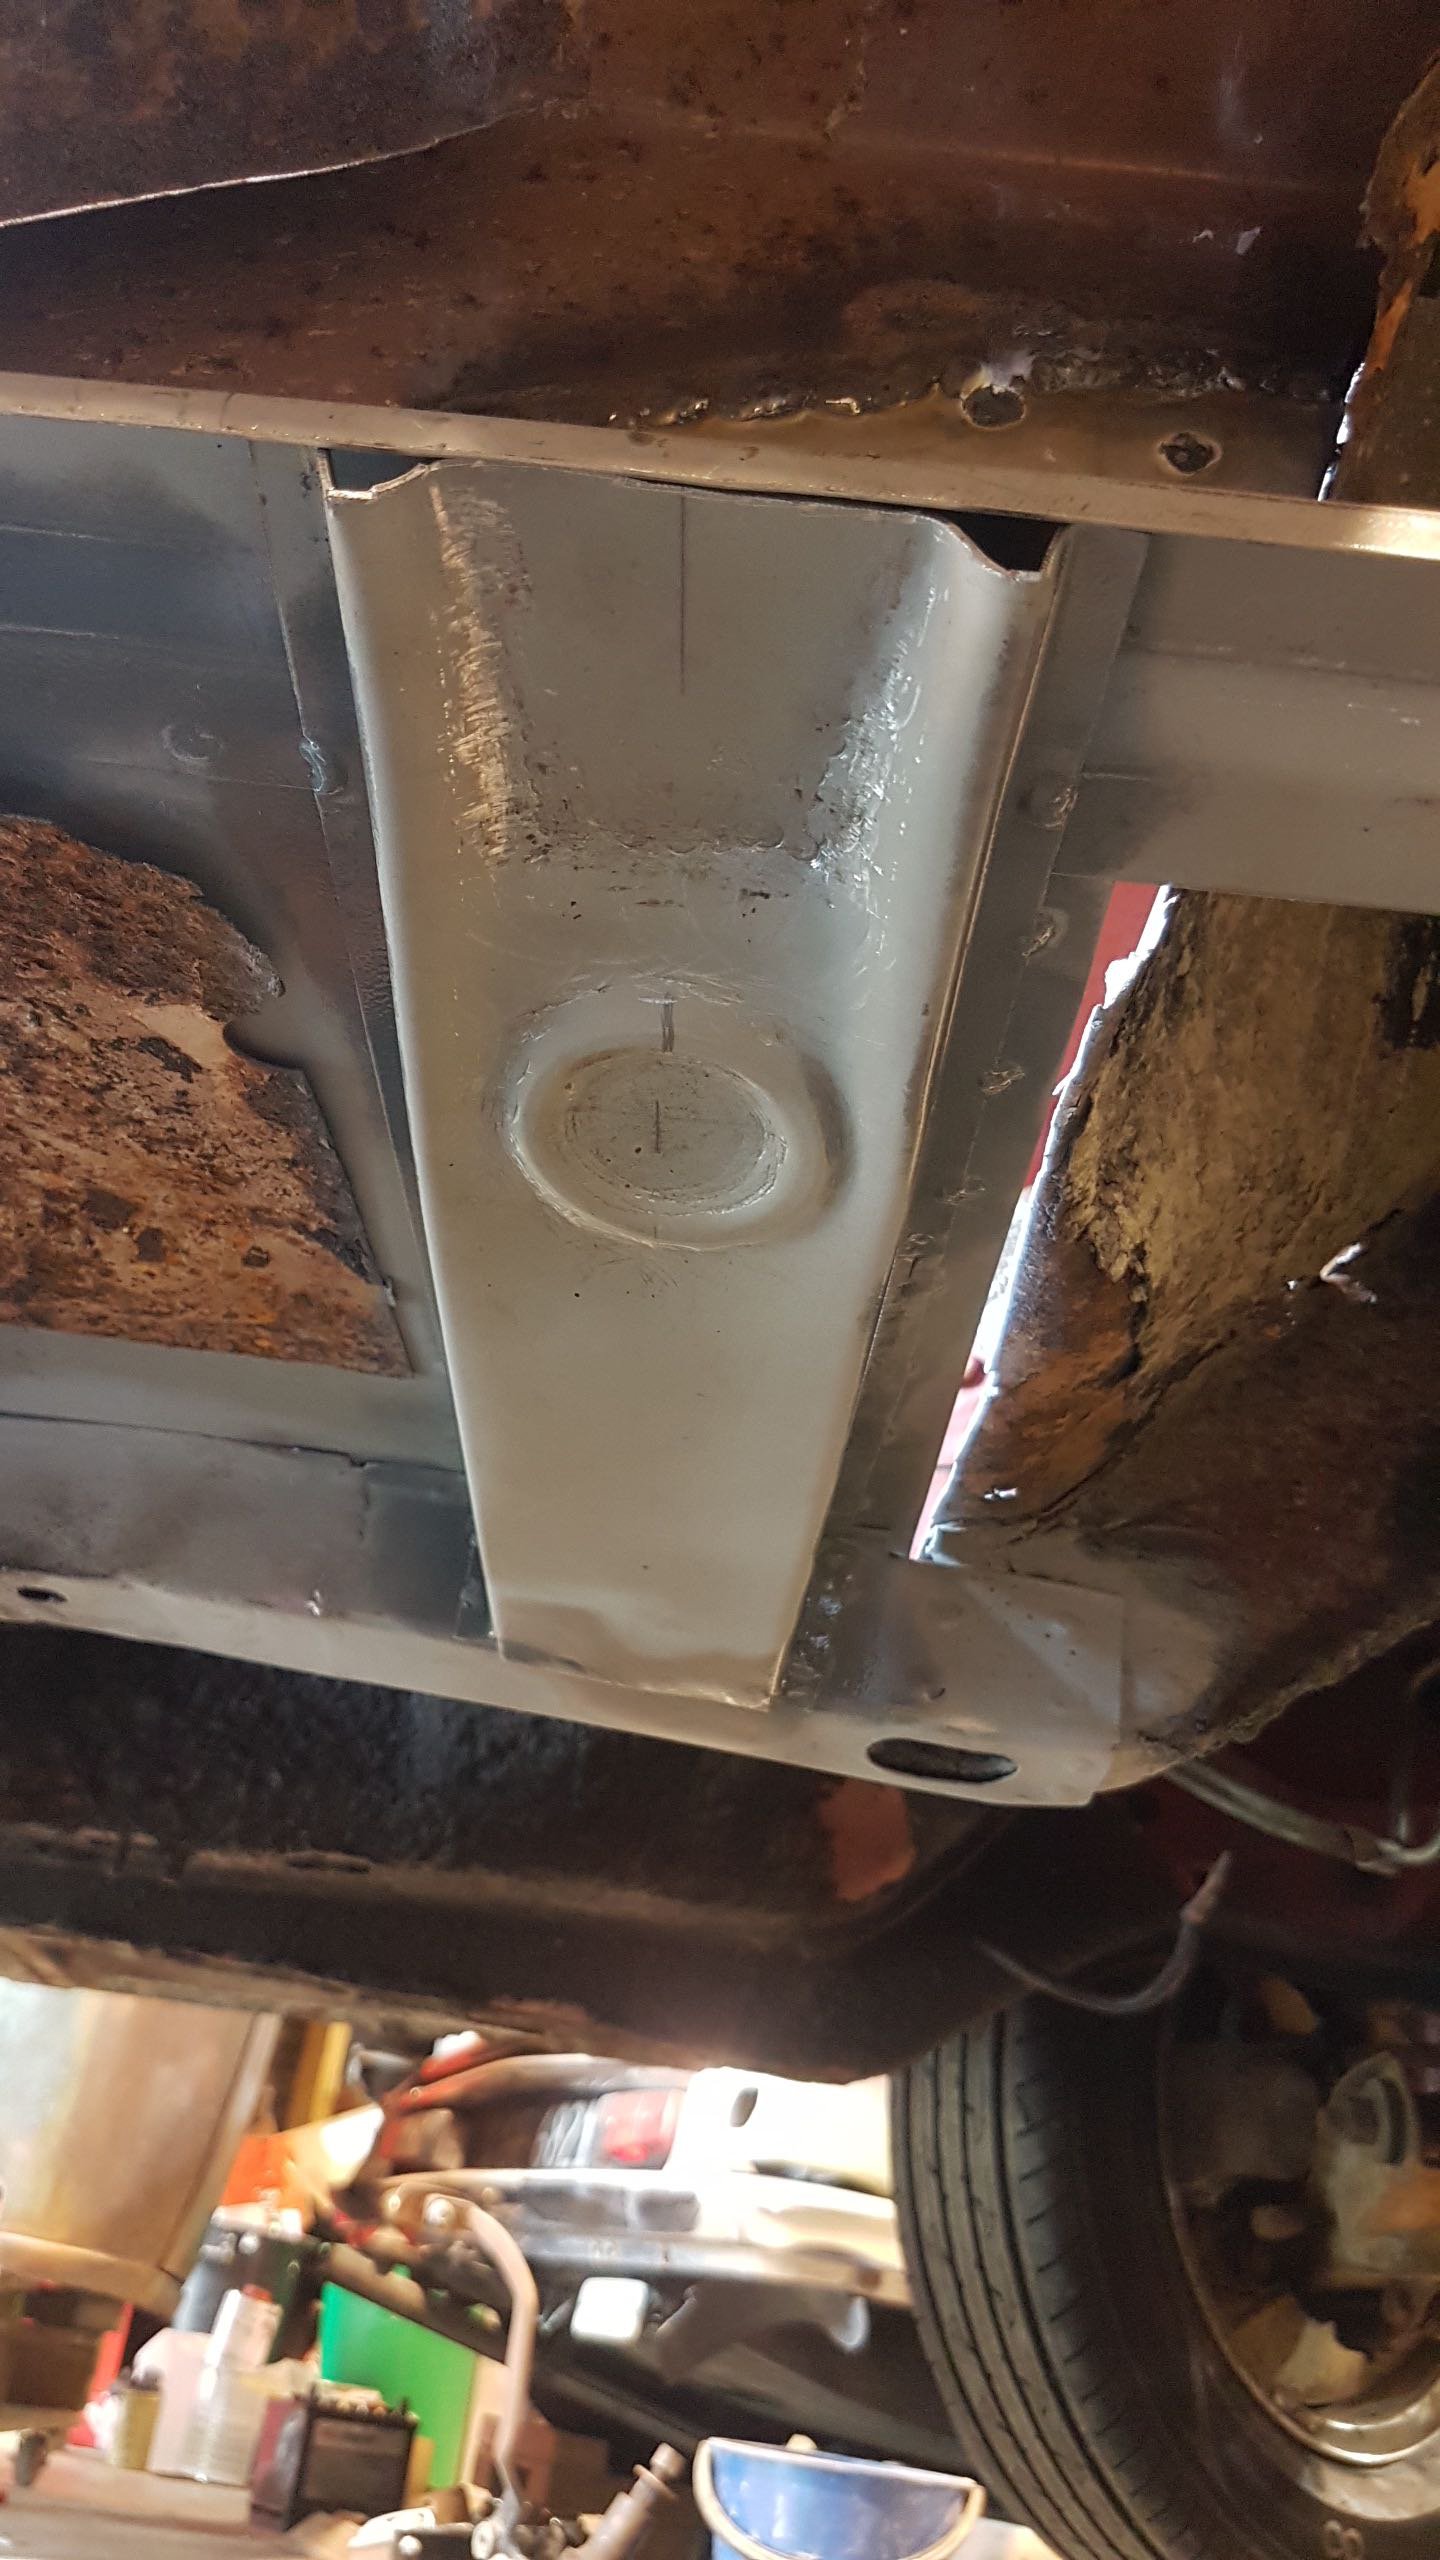
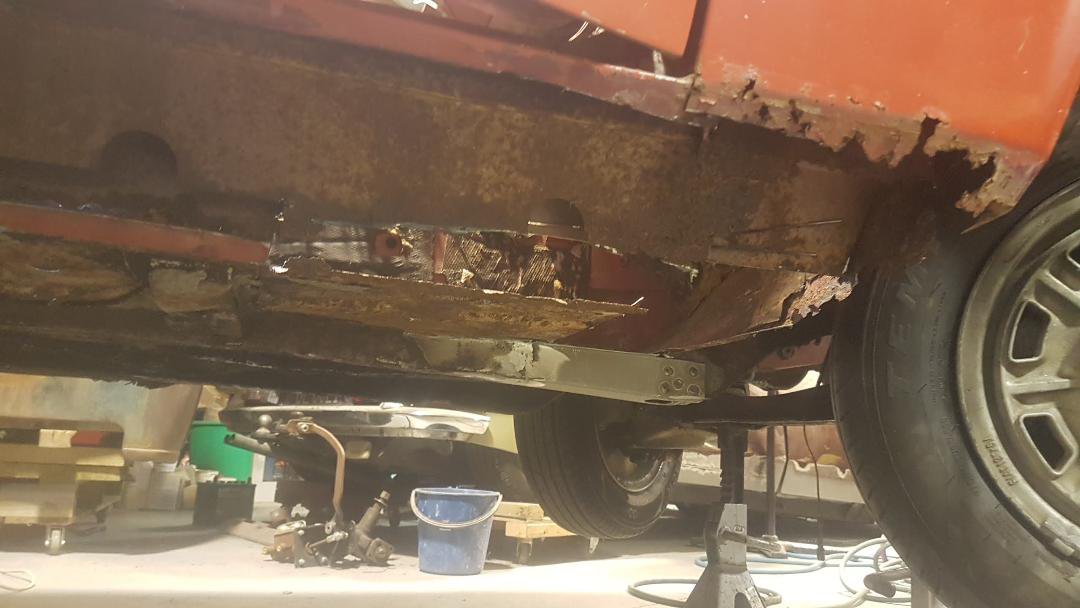
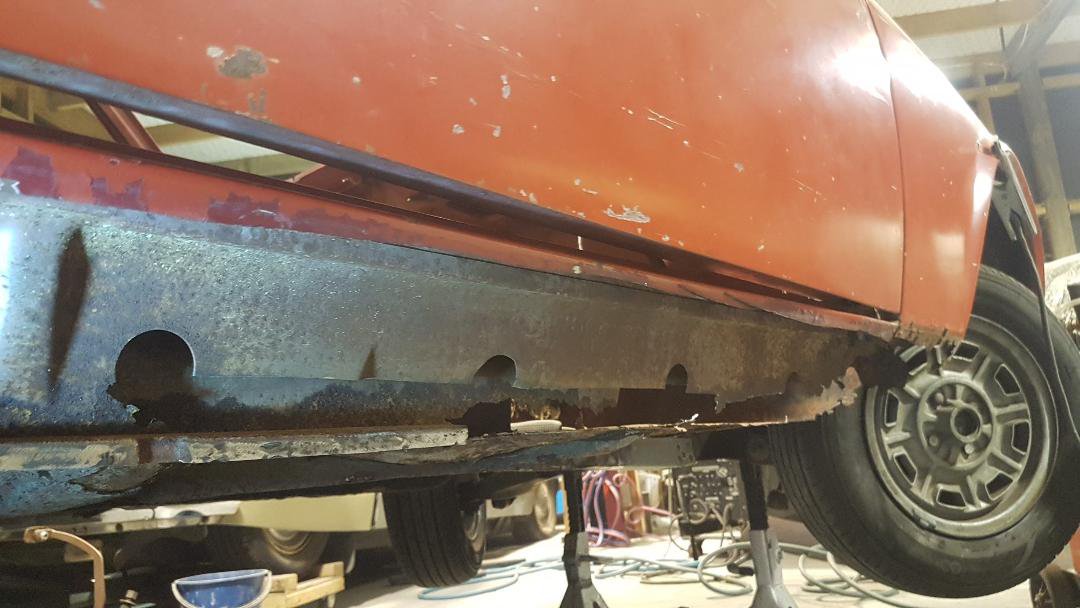
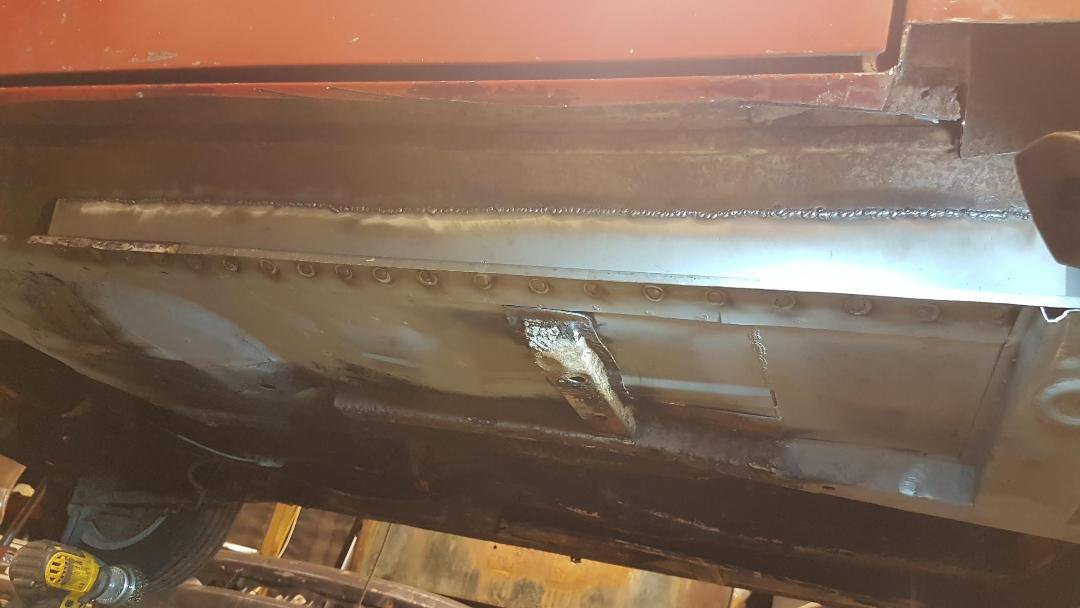
along the sill towards the front from underneath and side
-
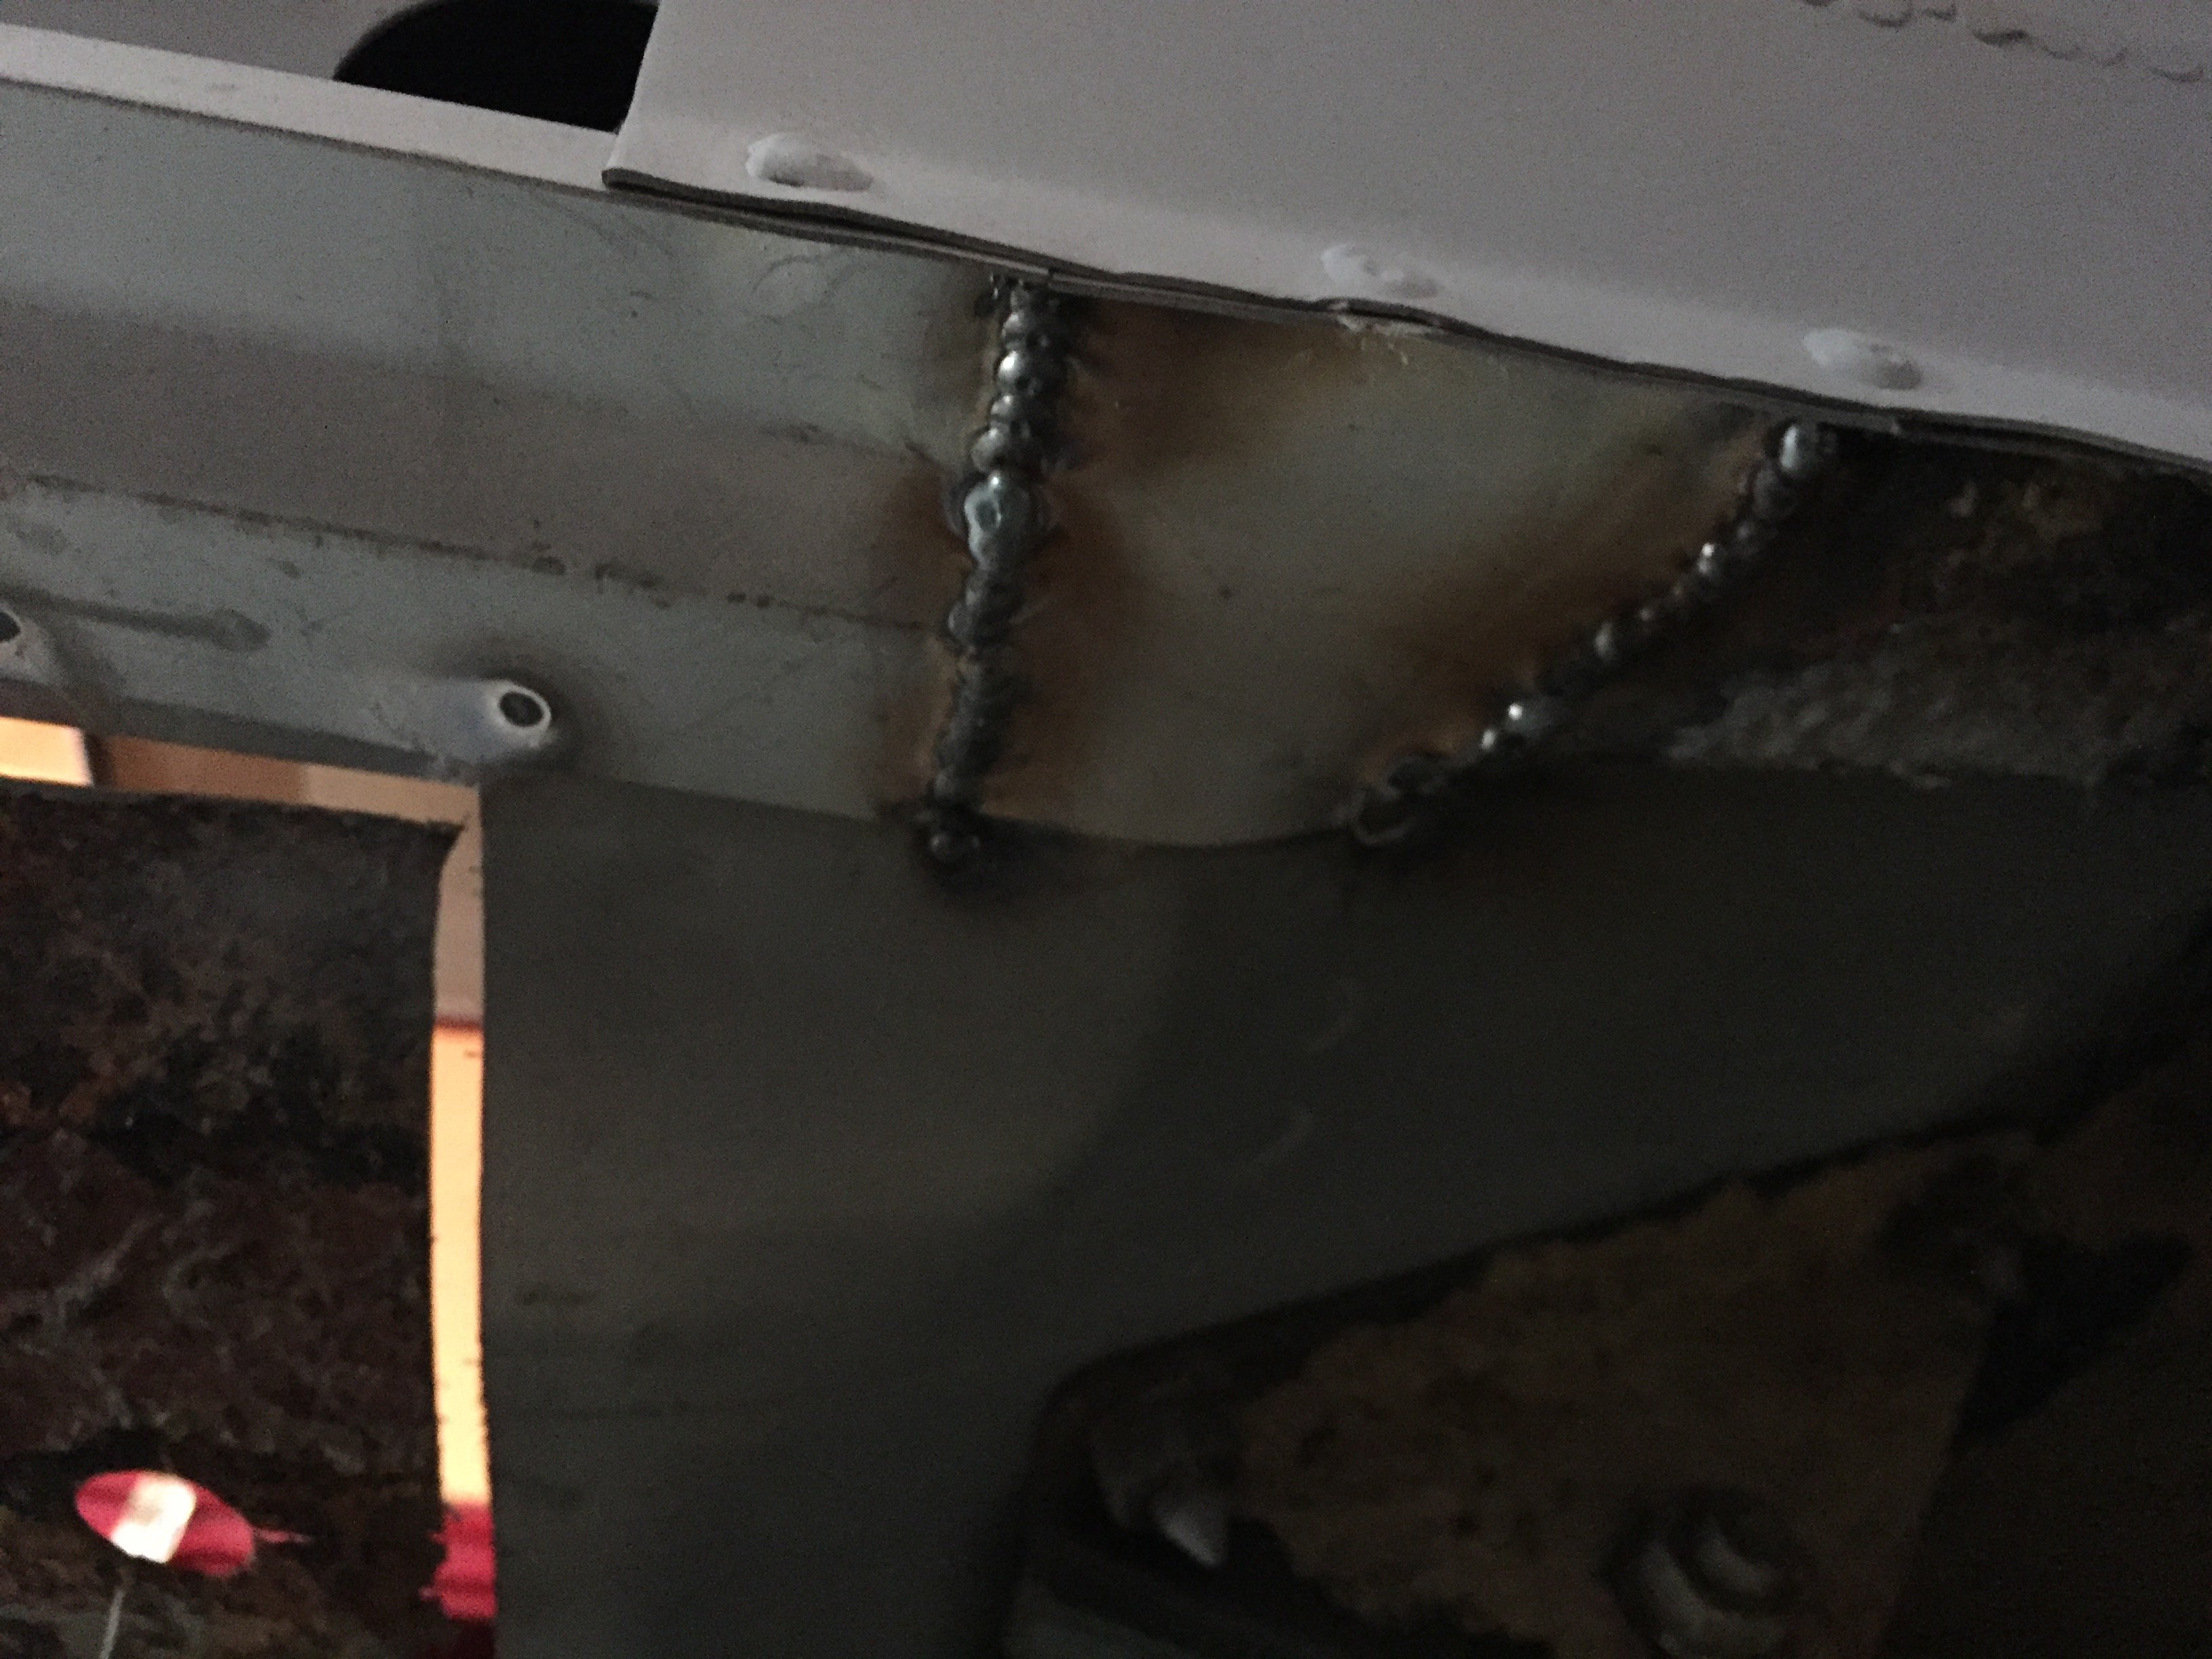
the underneath of the trailing arm mount fixed
-
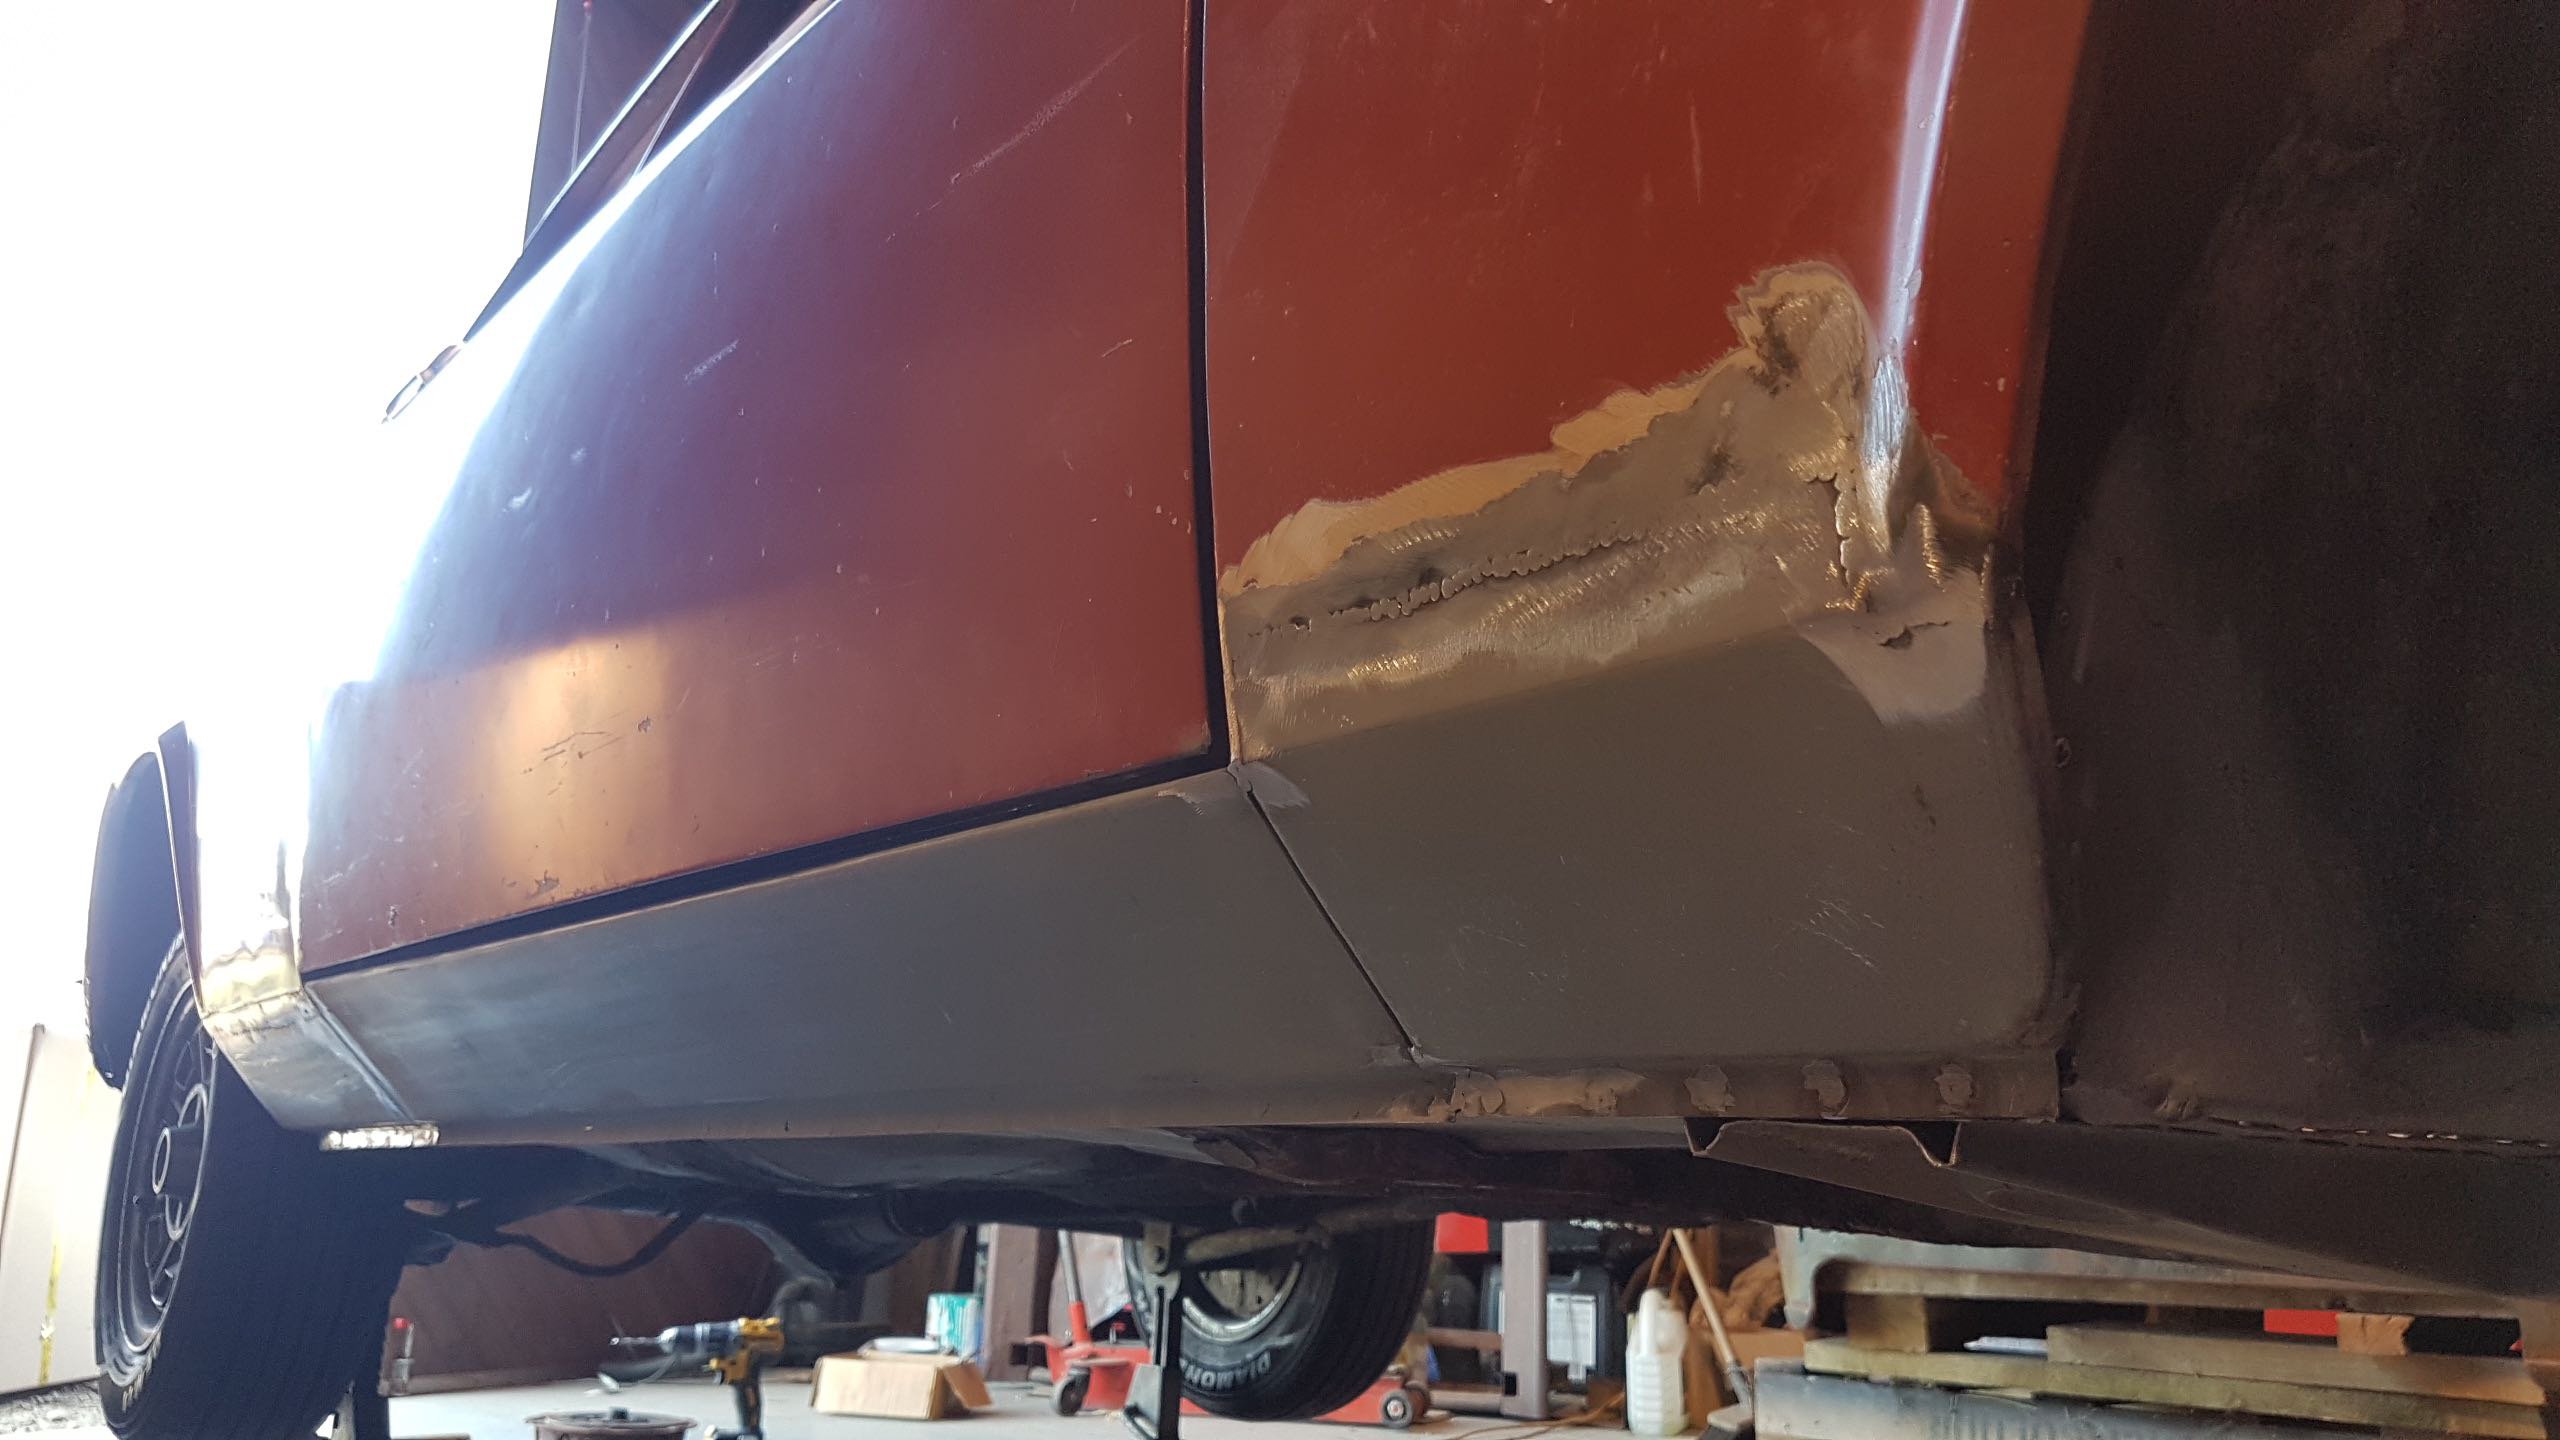
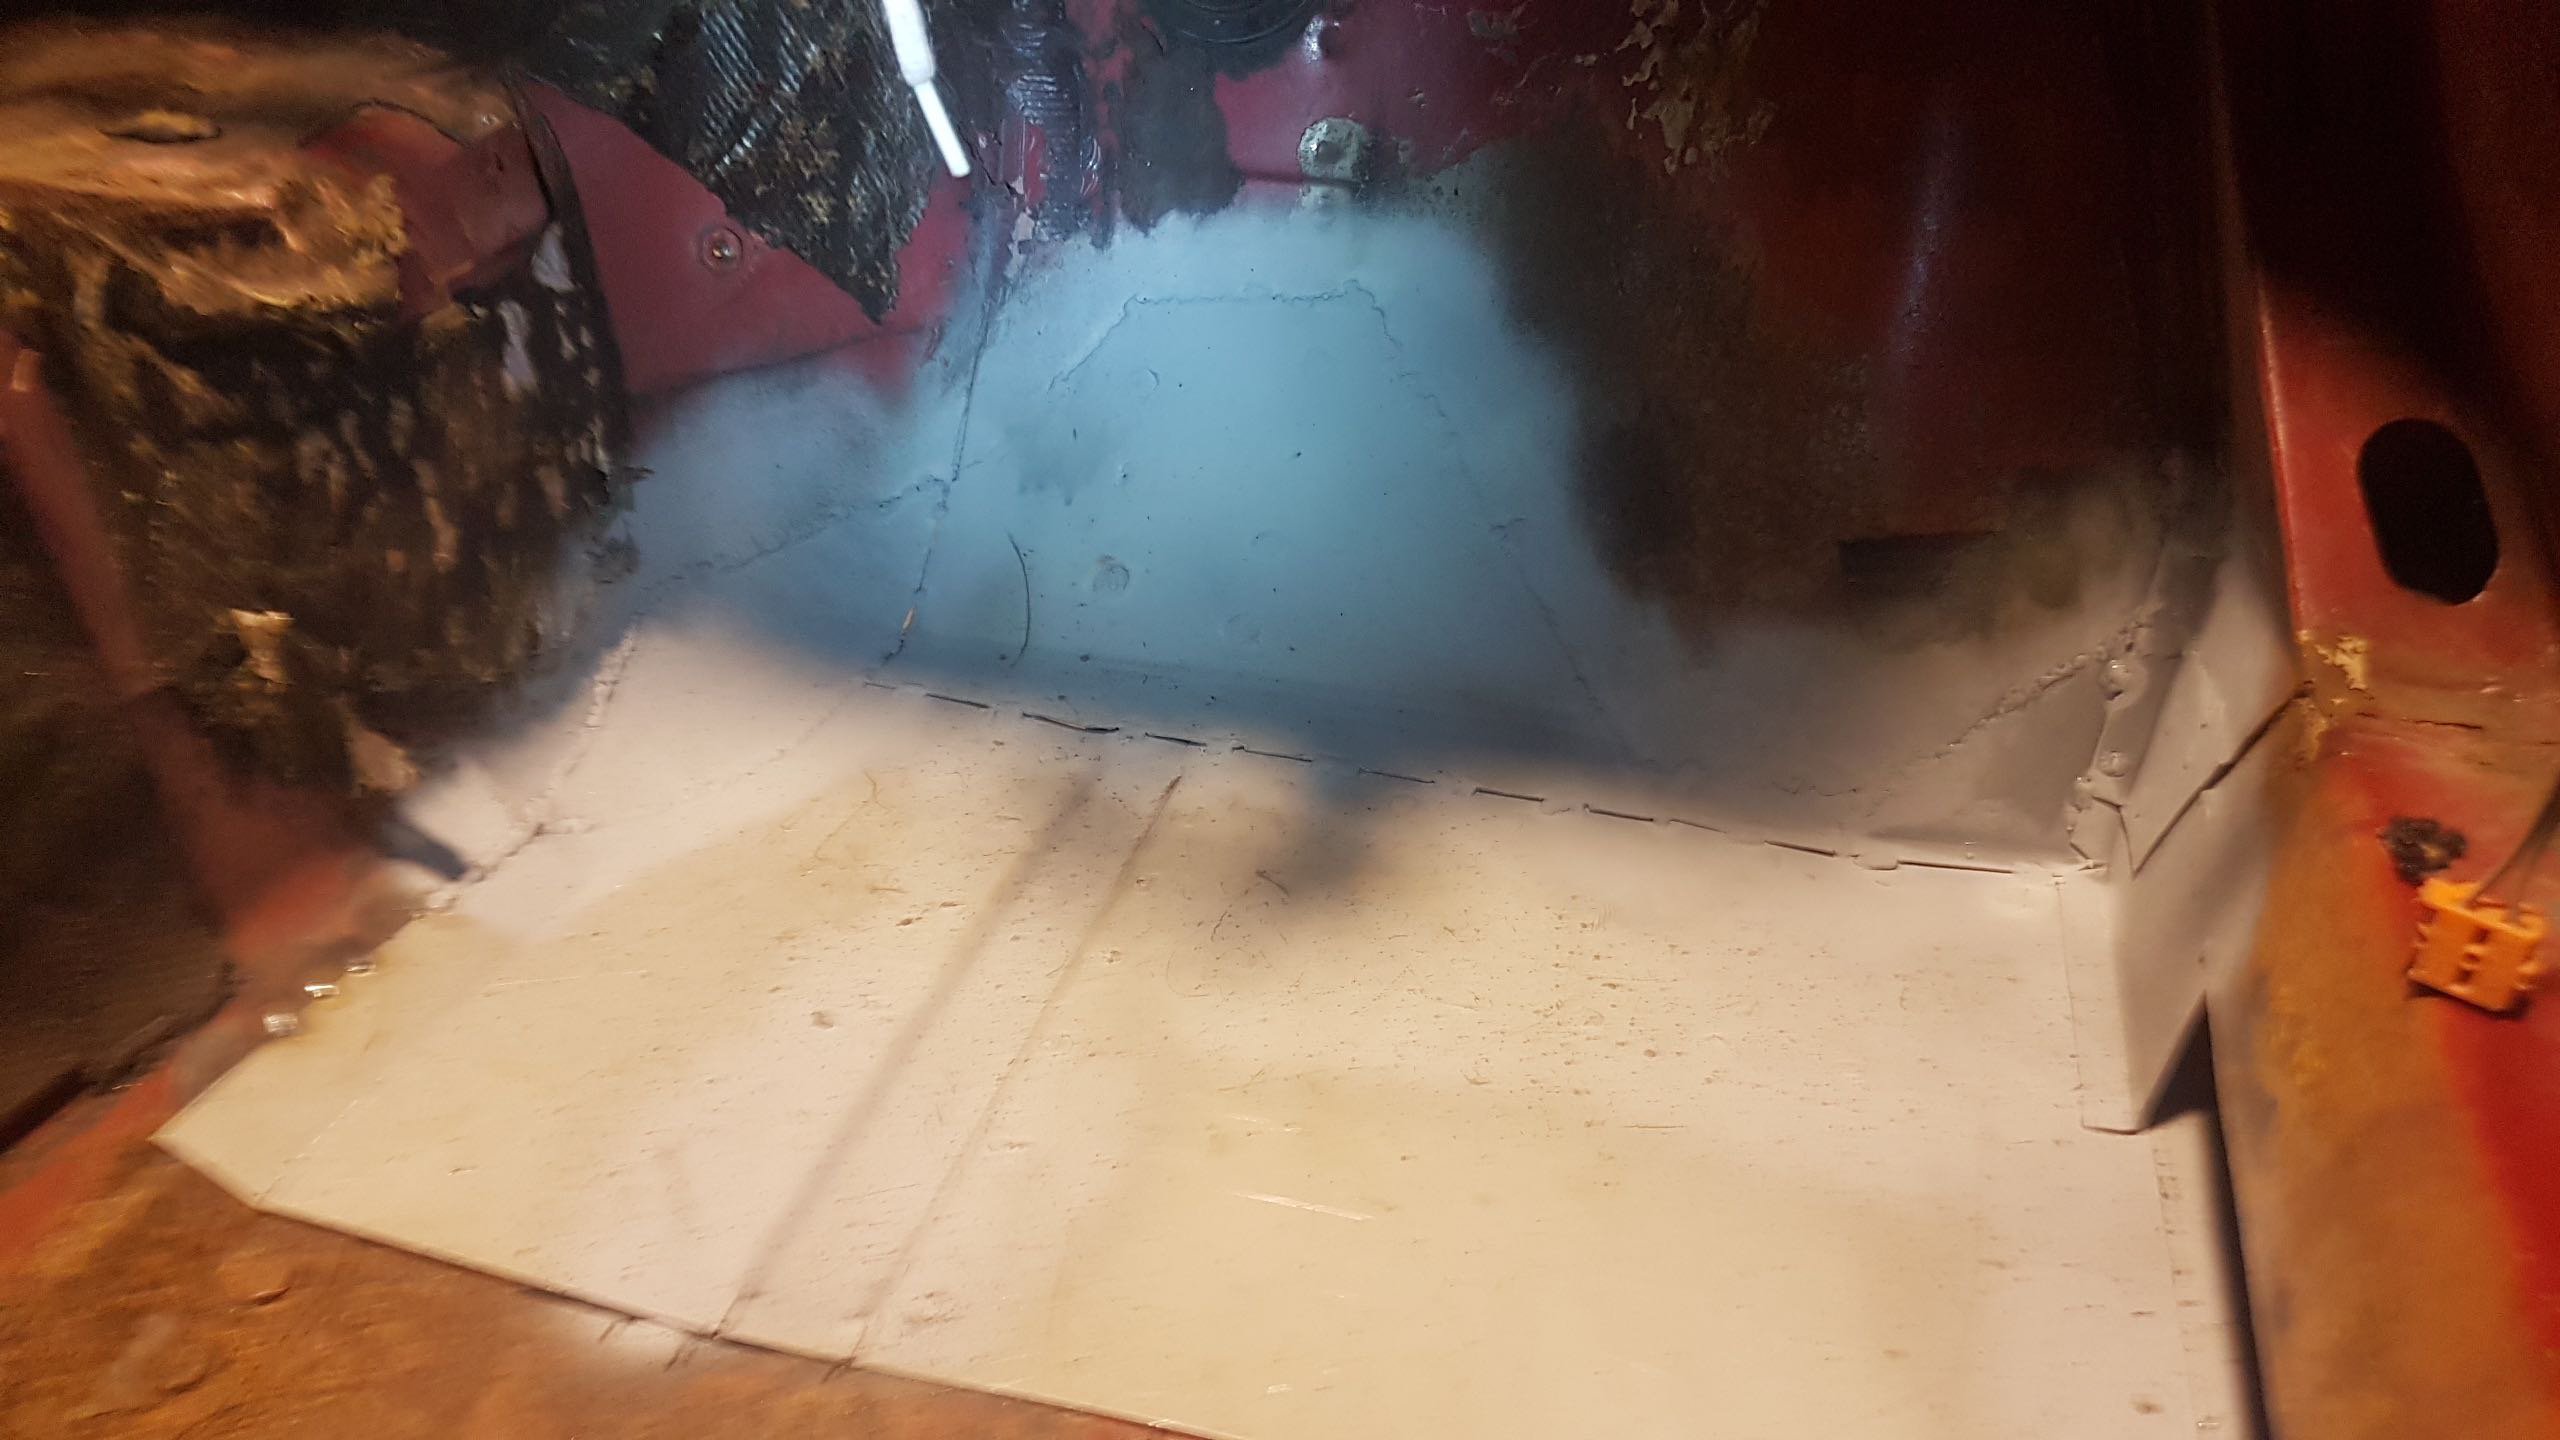
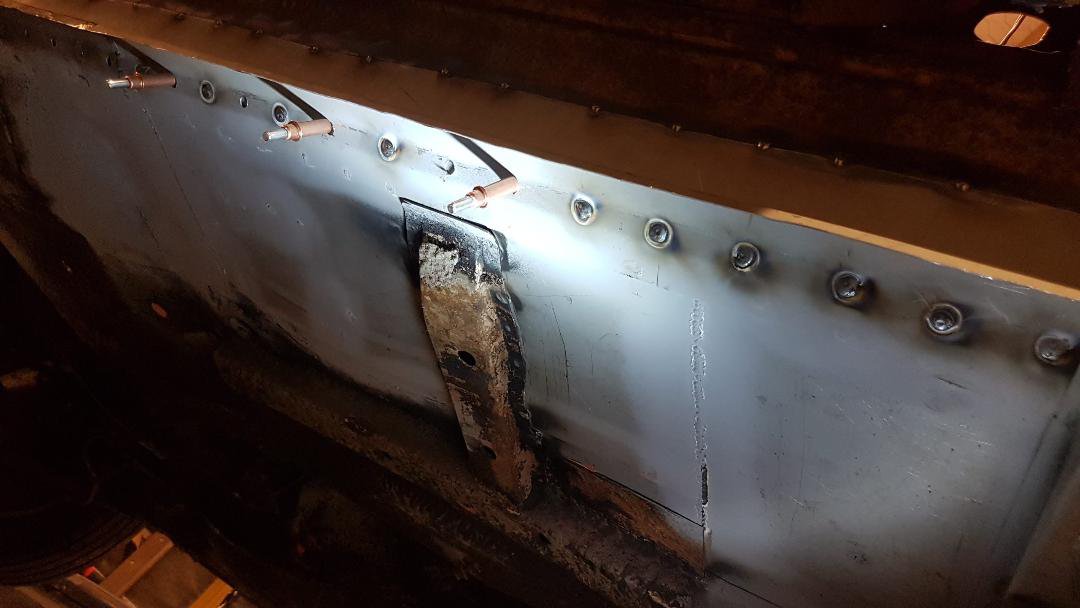
more pics showing the repairs from the inside...and the whole length from the outside
-
I'll put up all the pics I have
-
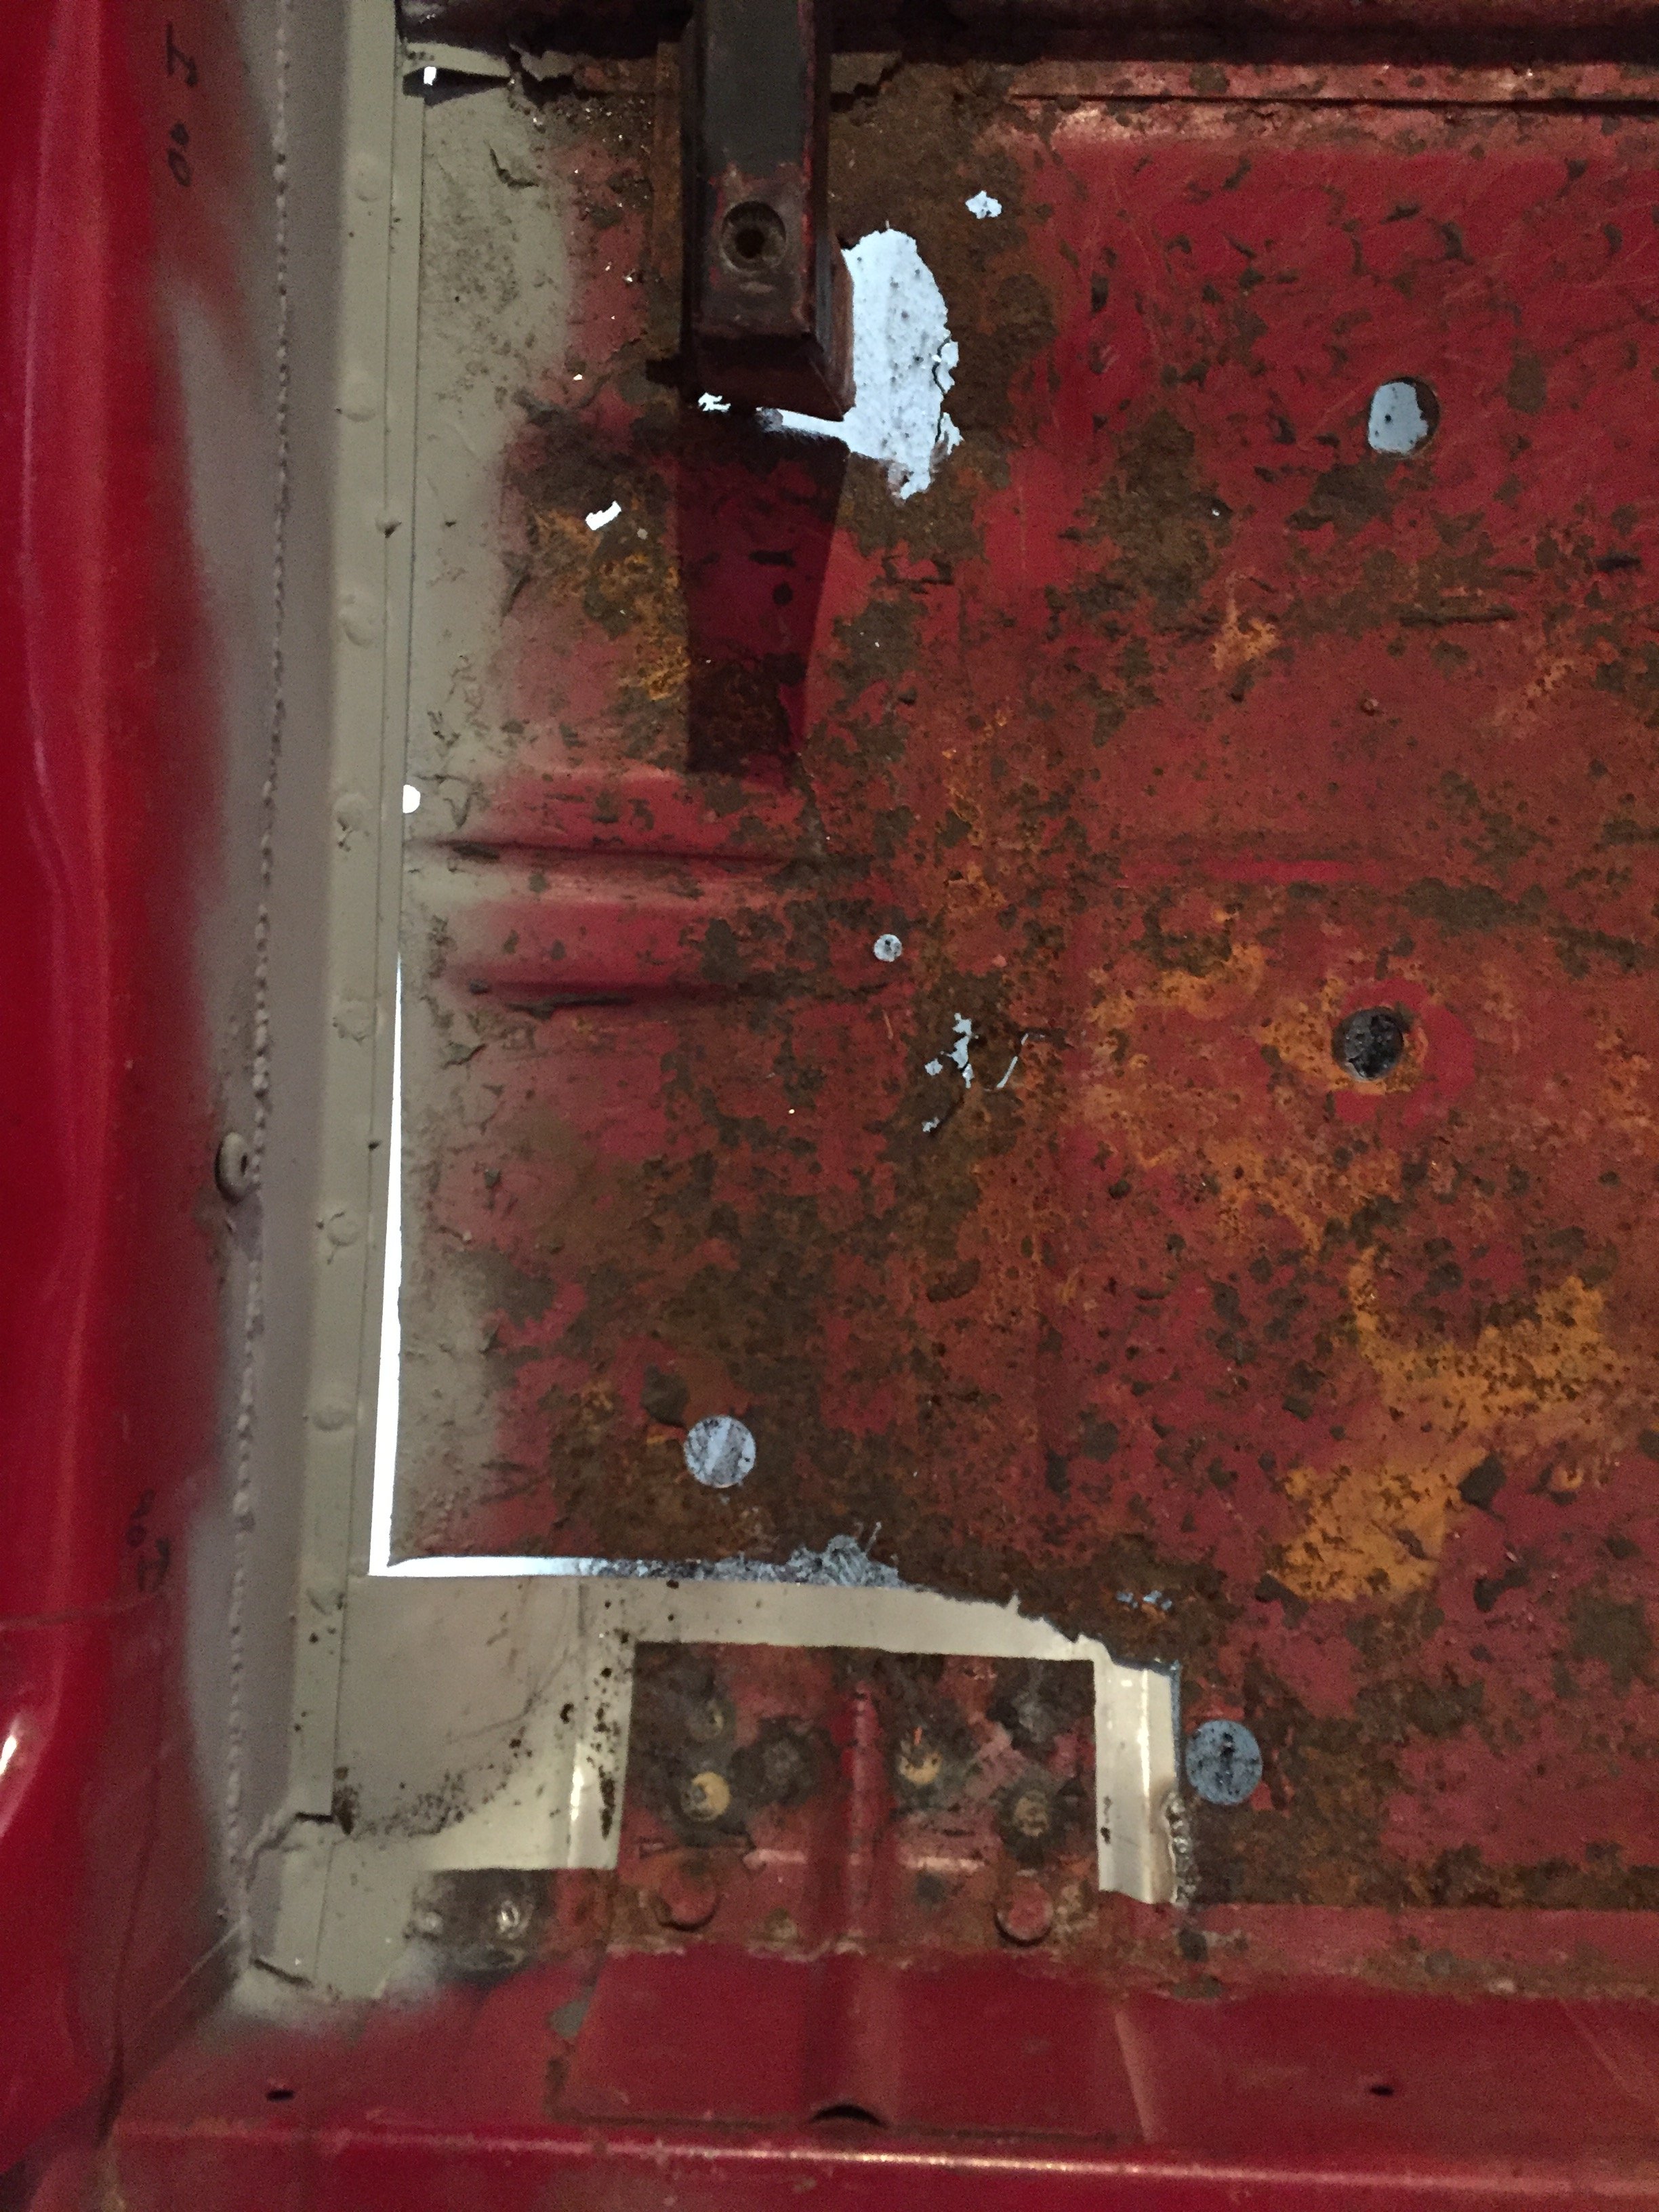
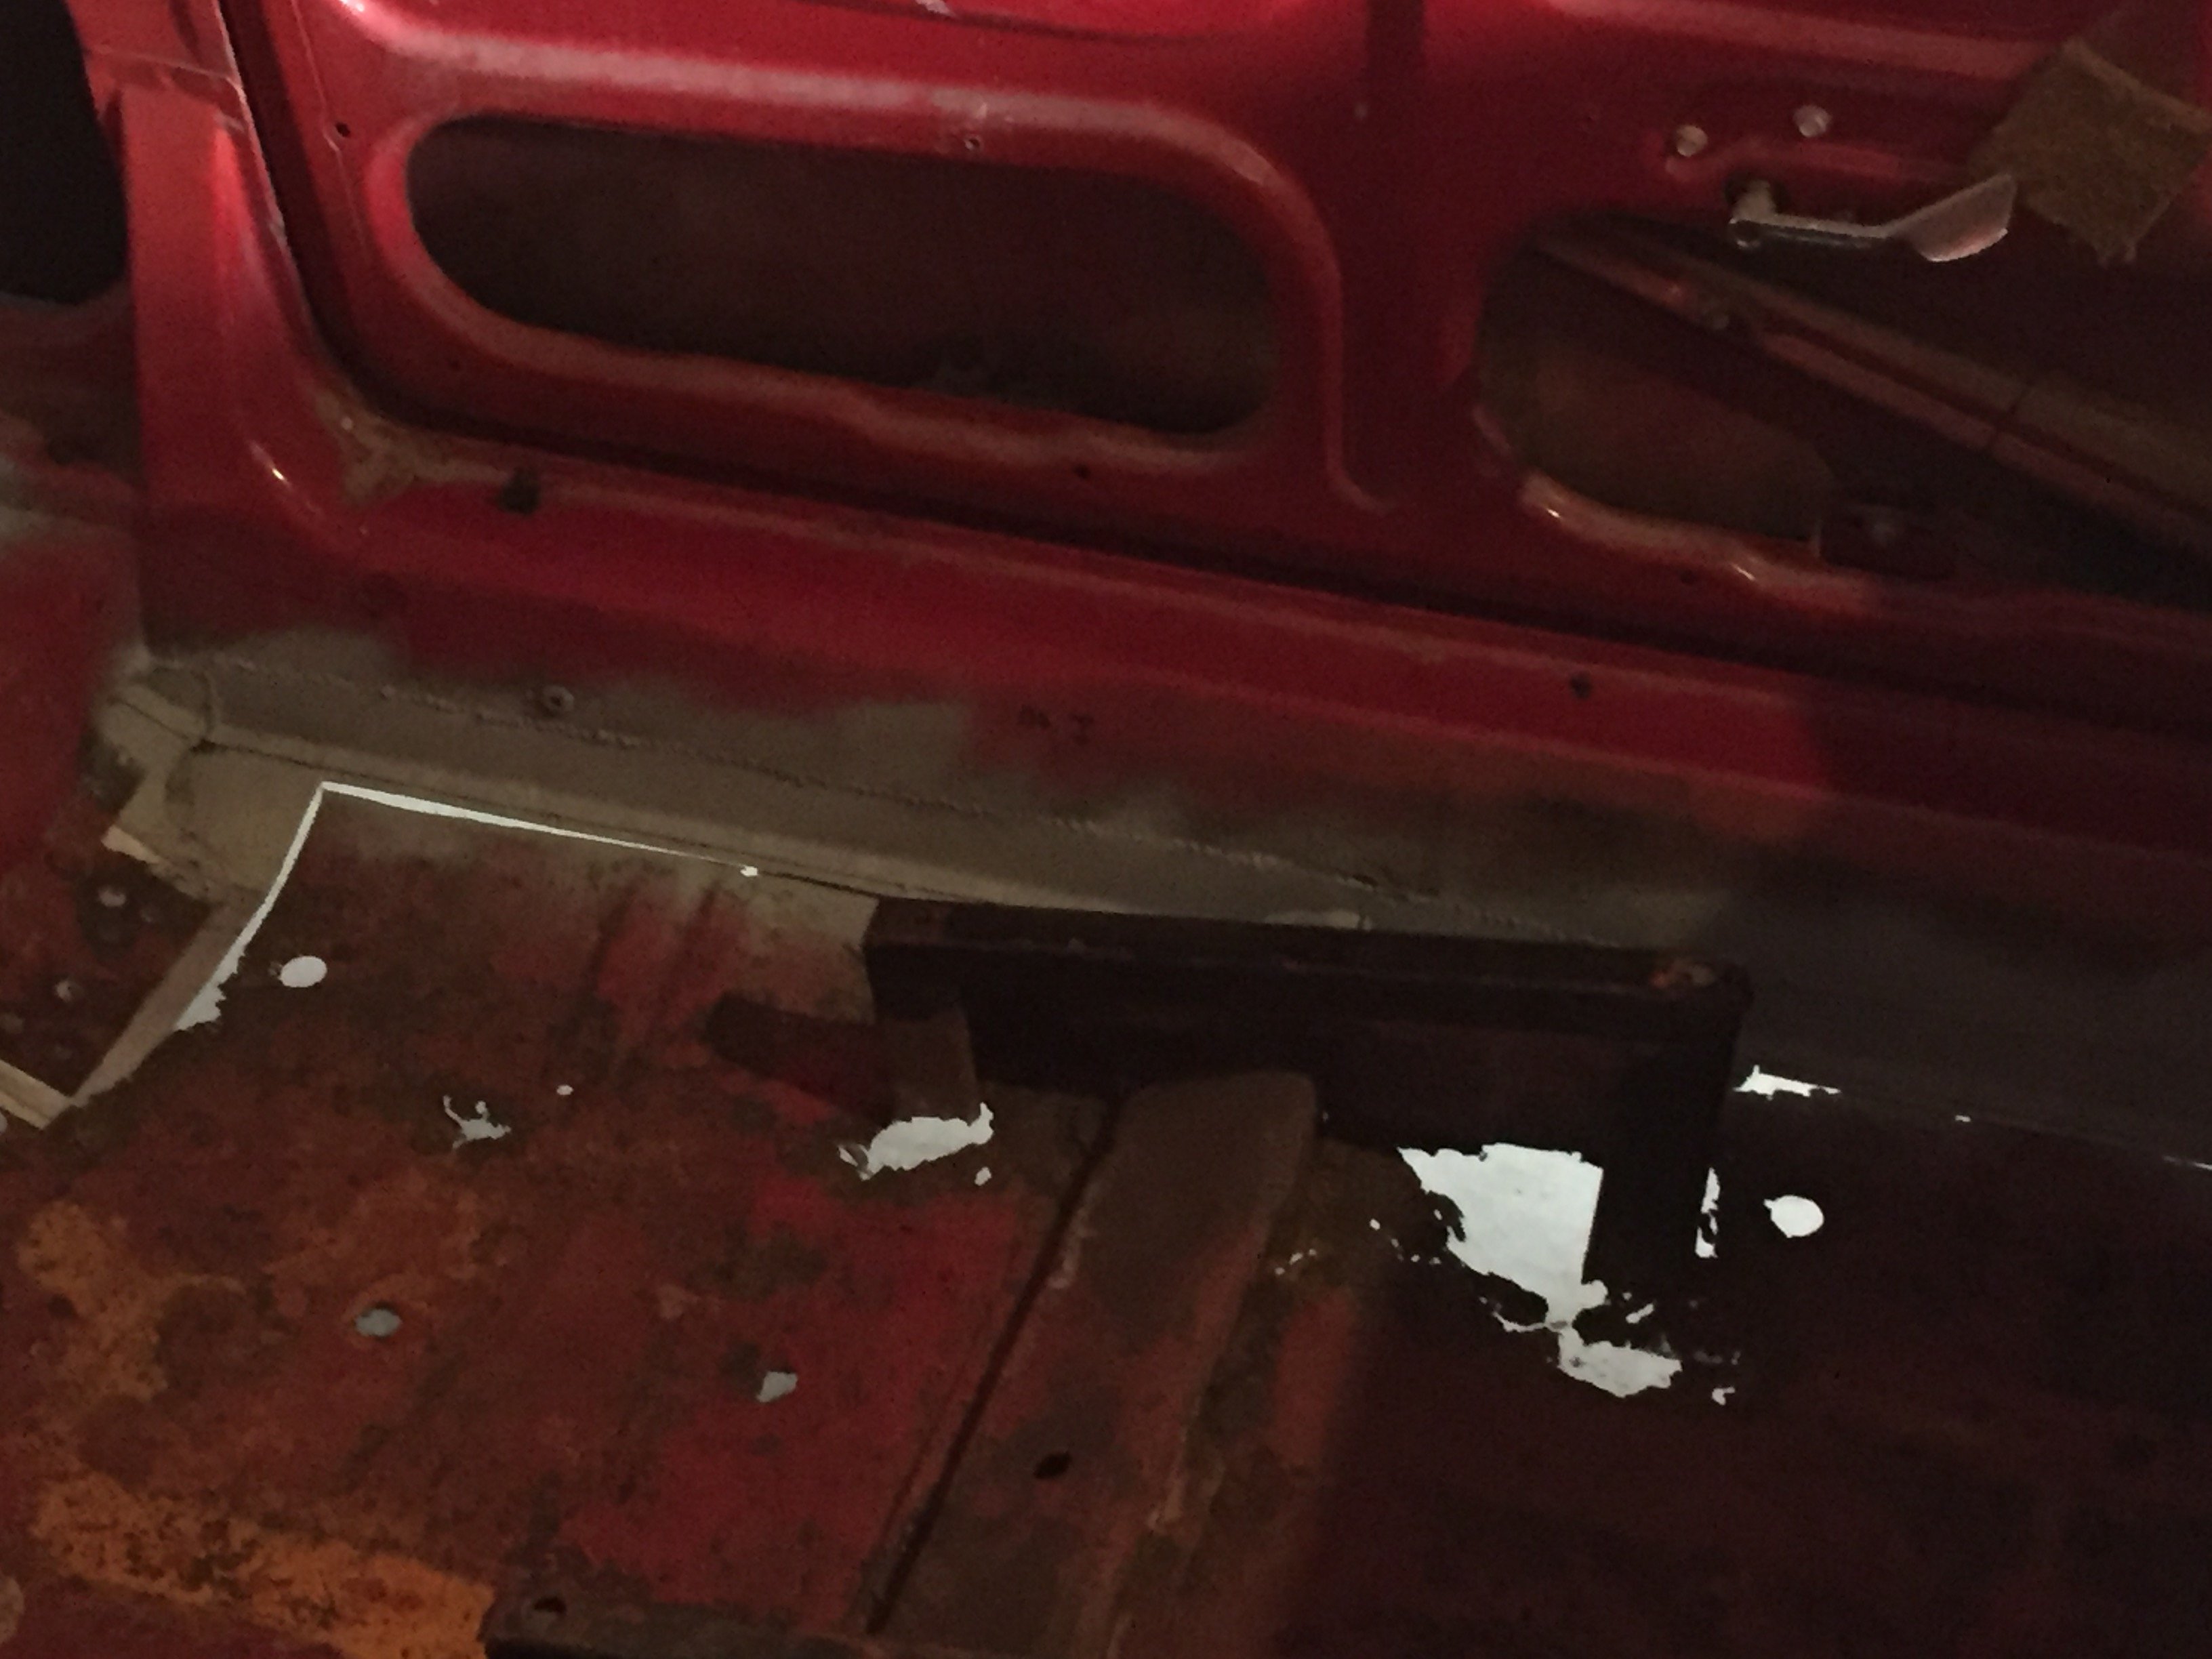
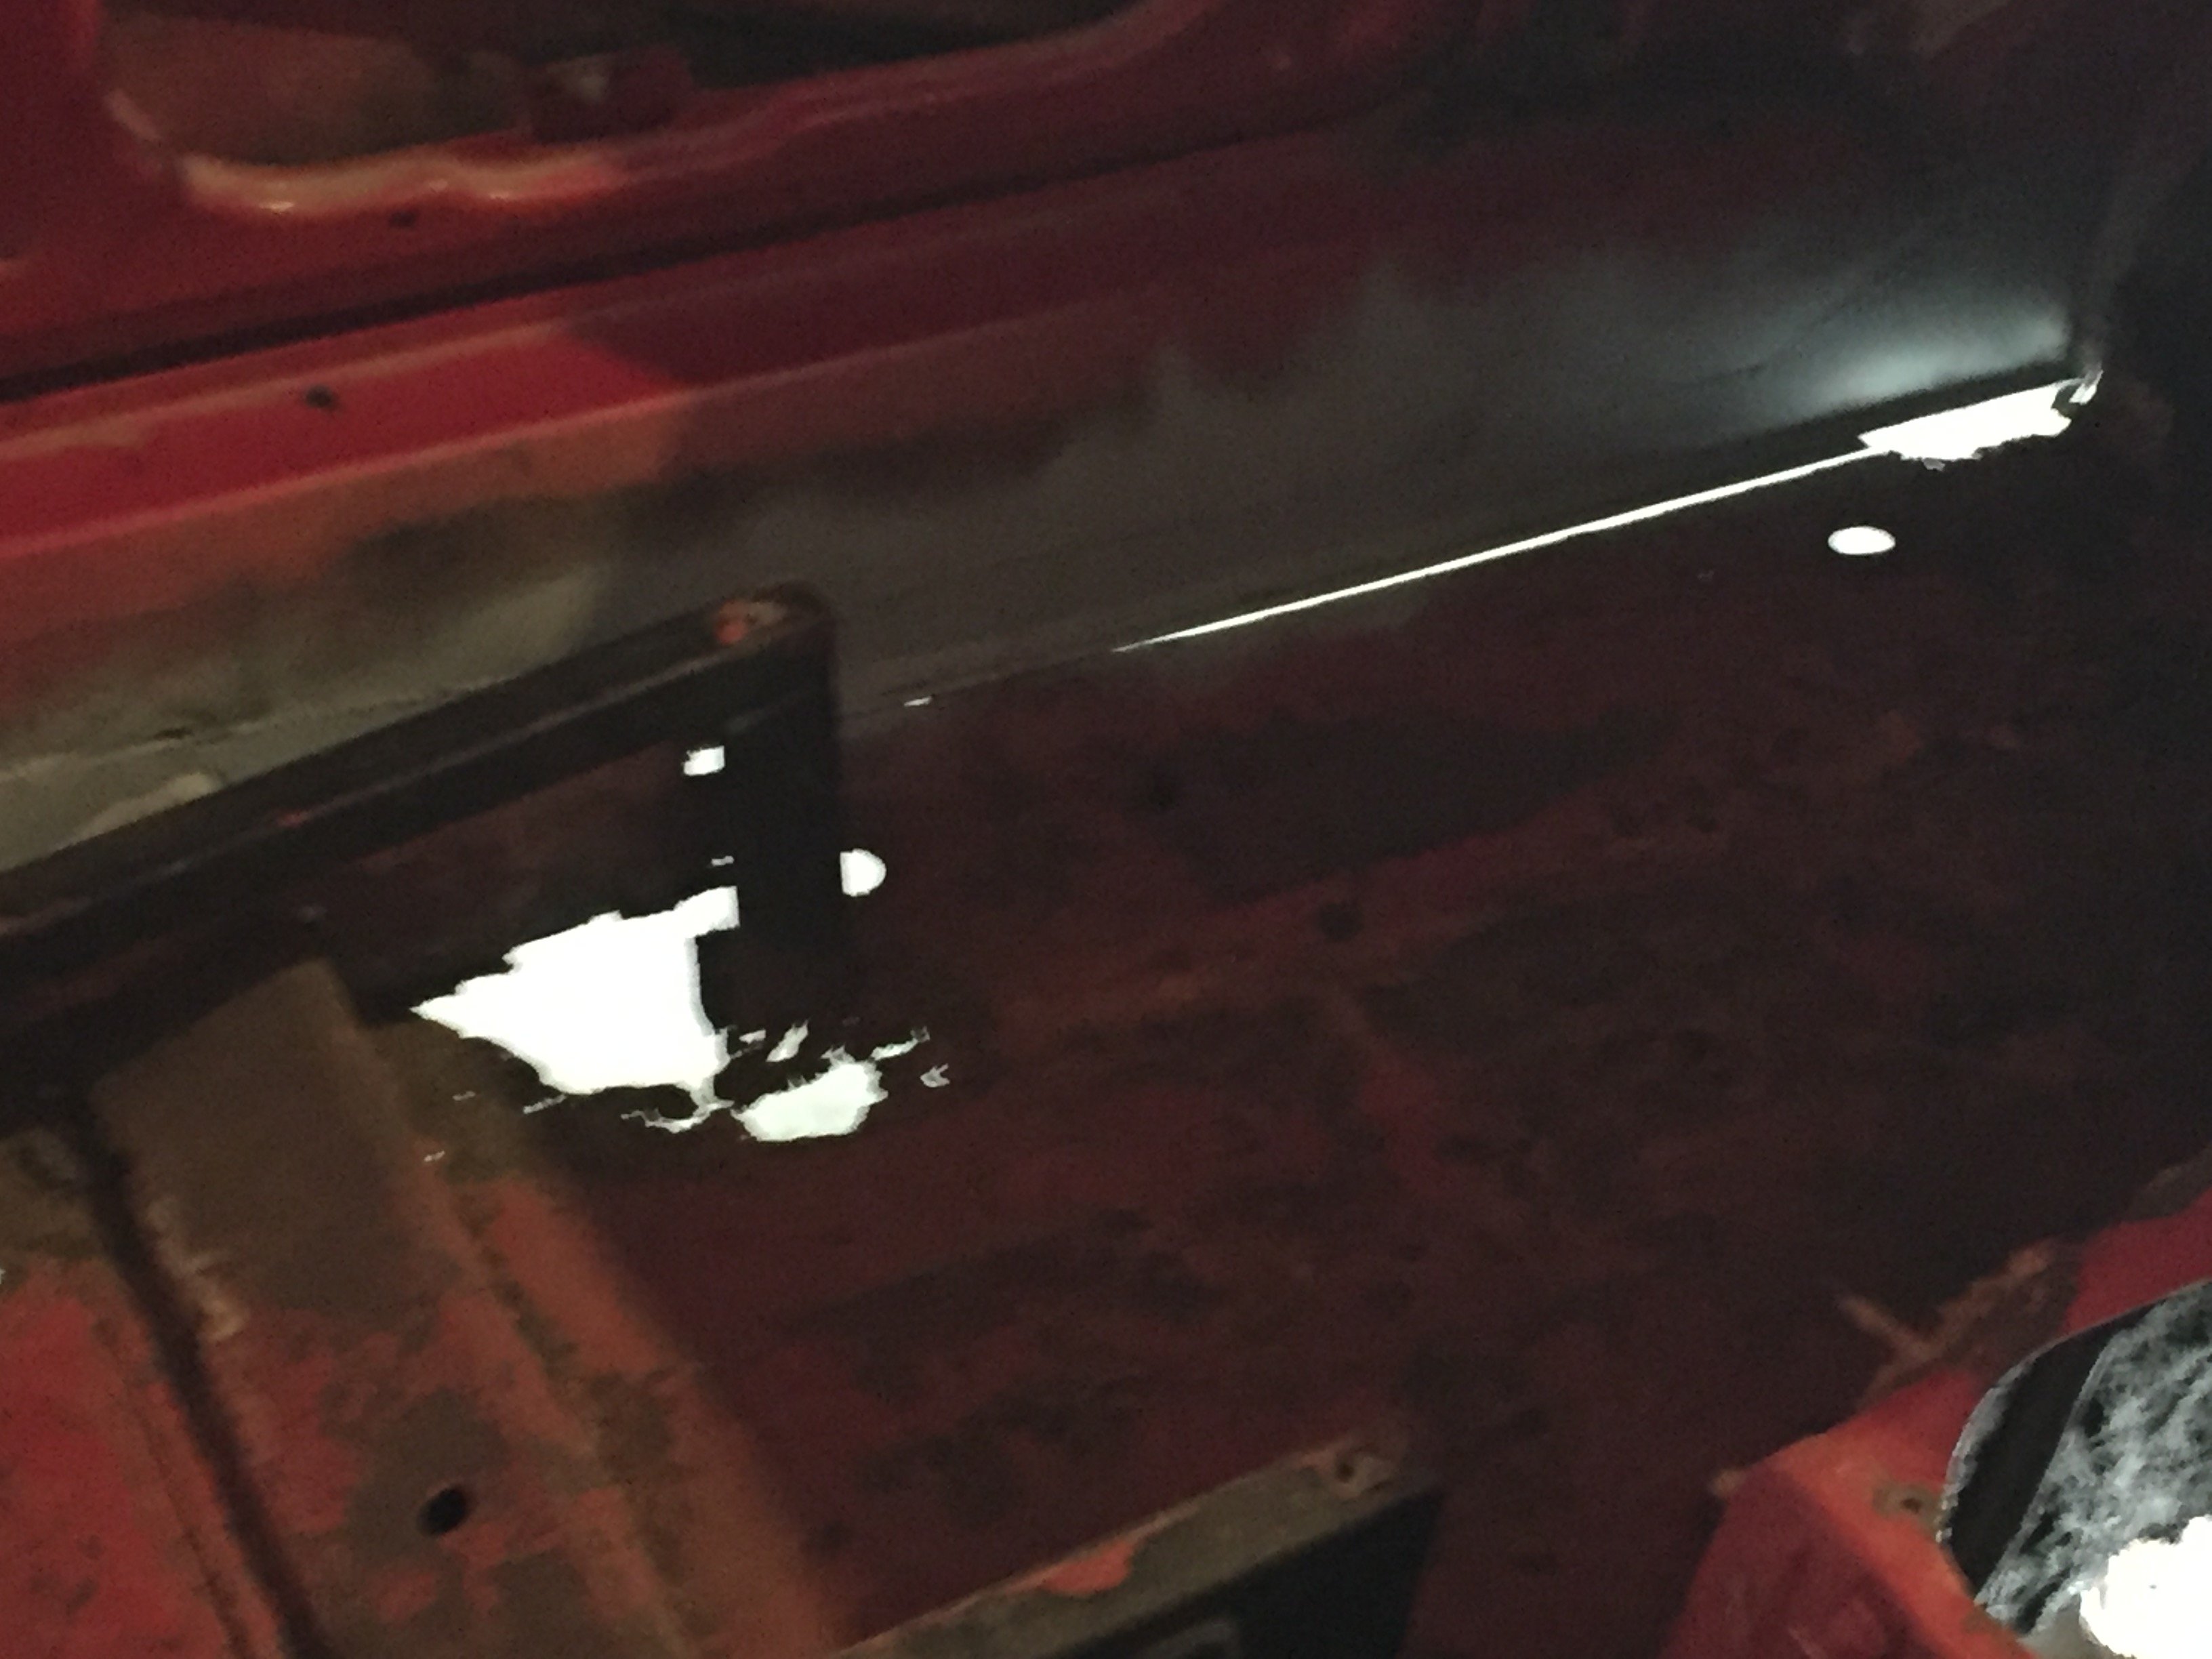
so, round 2 has happened, as with most things, it wasn't straight forward. was supposed to be the floors and seat stays. but ended up being the outer and inner sill and the rear suspension trailing arm mount. the floors will be next. at some stage. I have the outer sill ready to go on, it's just not fitted yet.
-
more to come shortly, pics this weekend
-
latino styling right there!
-
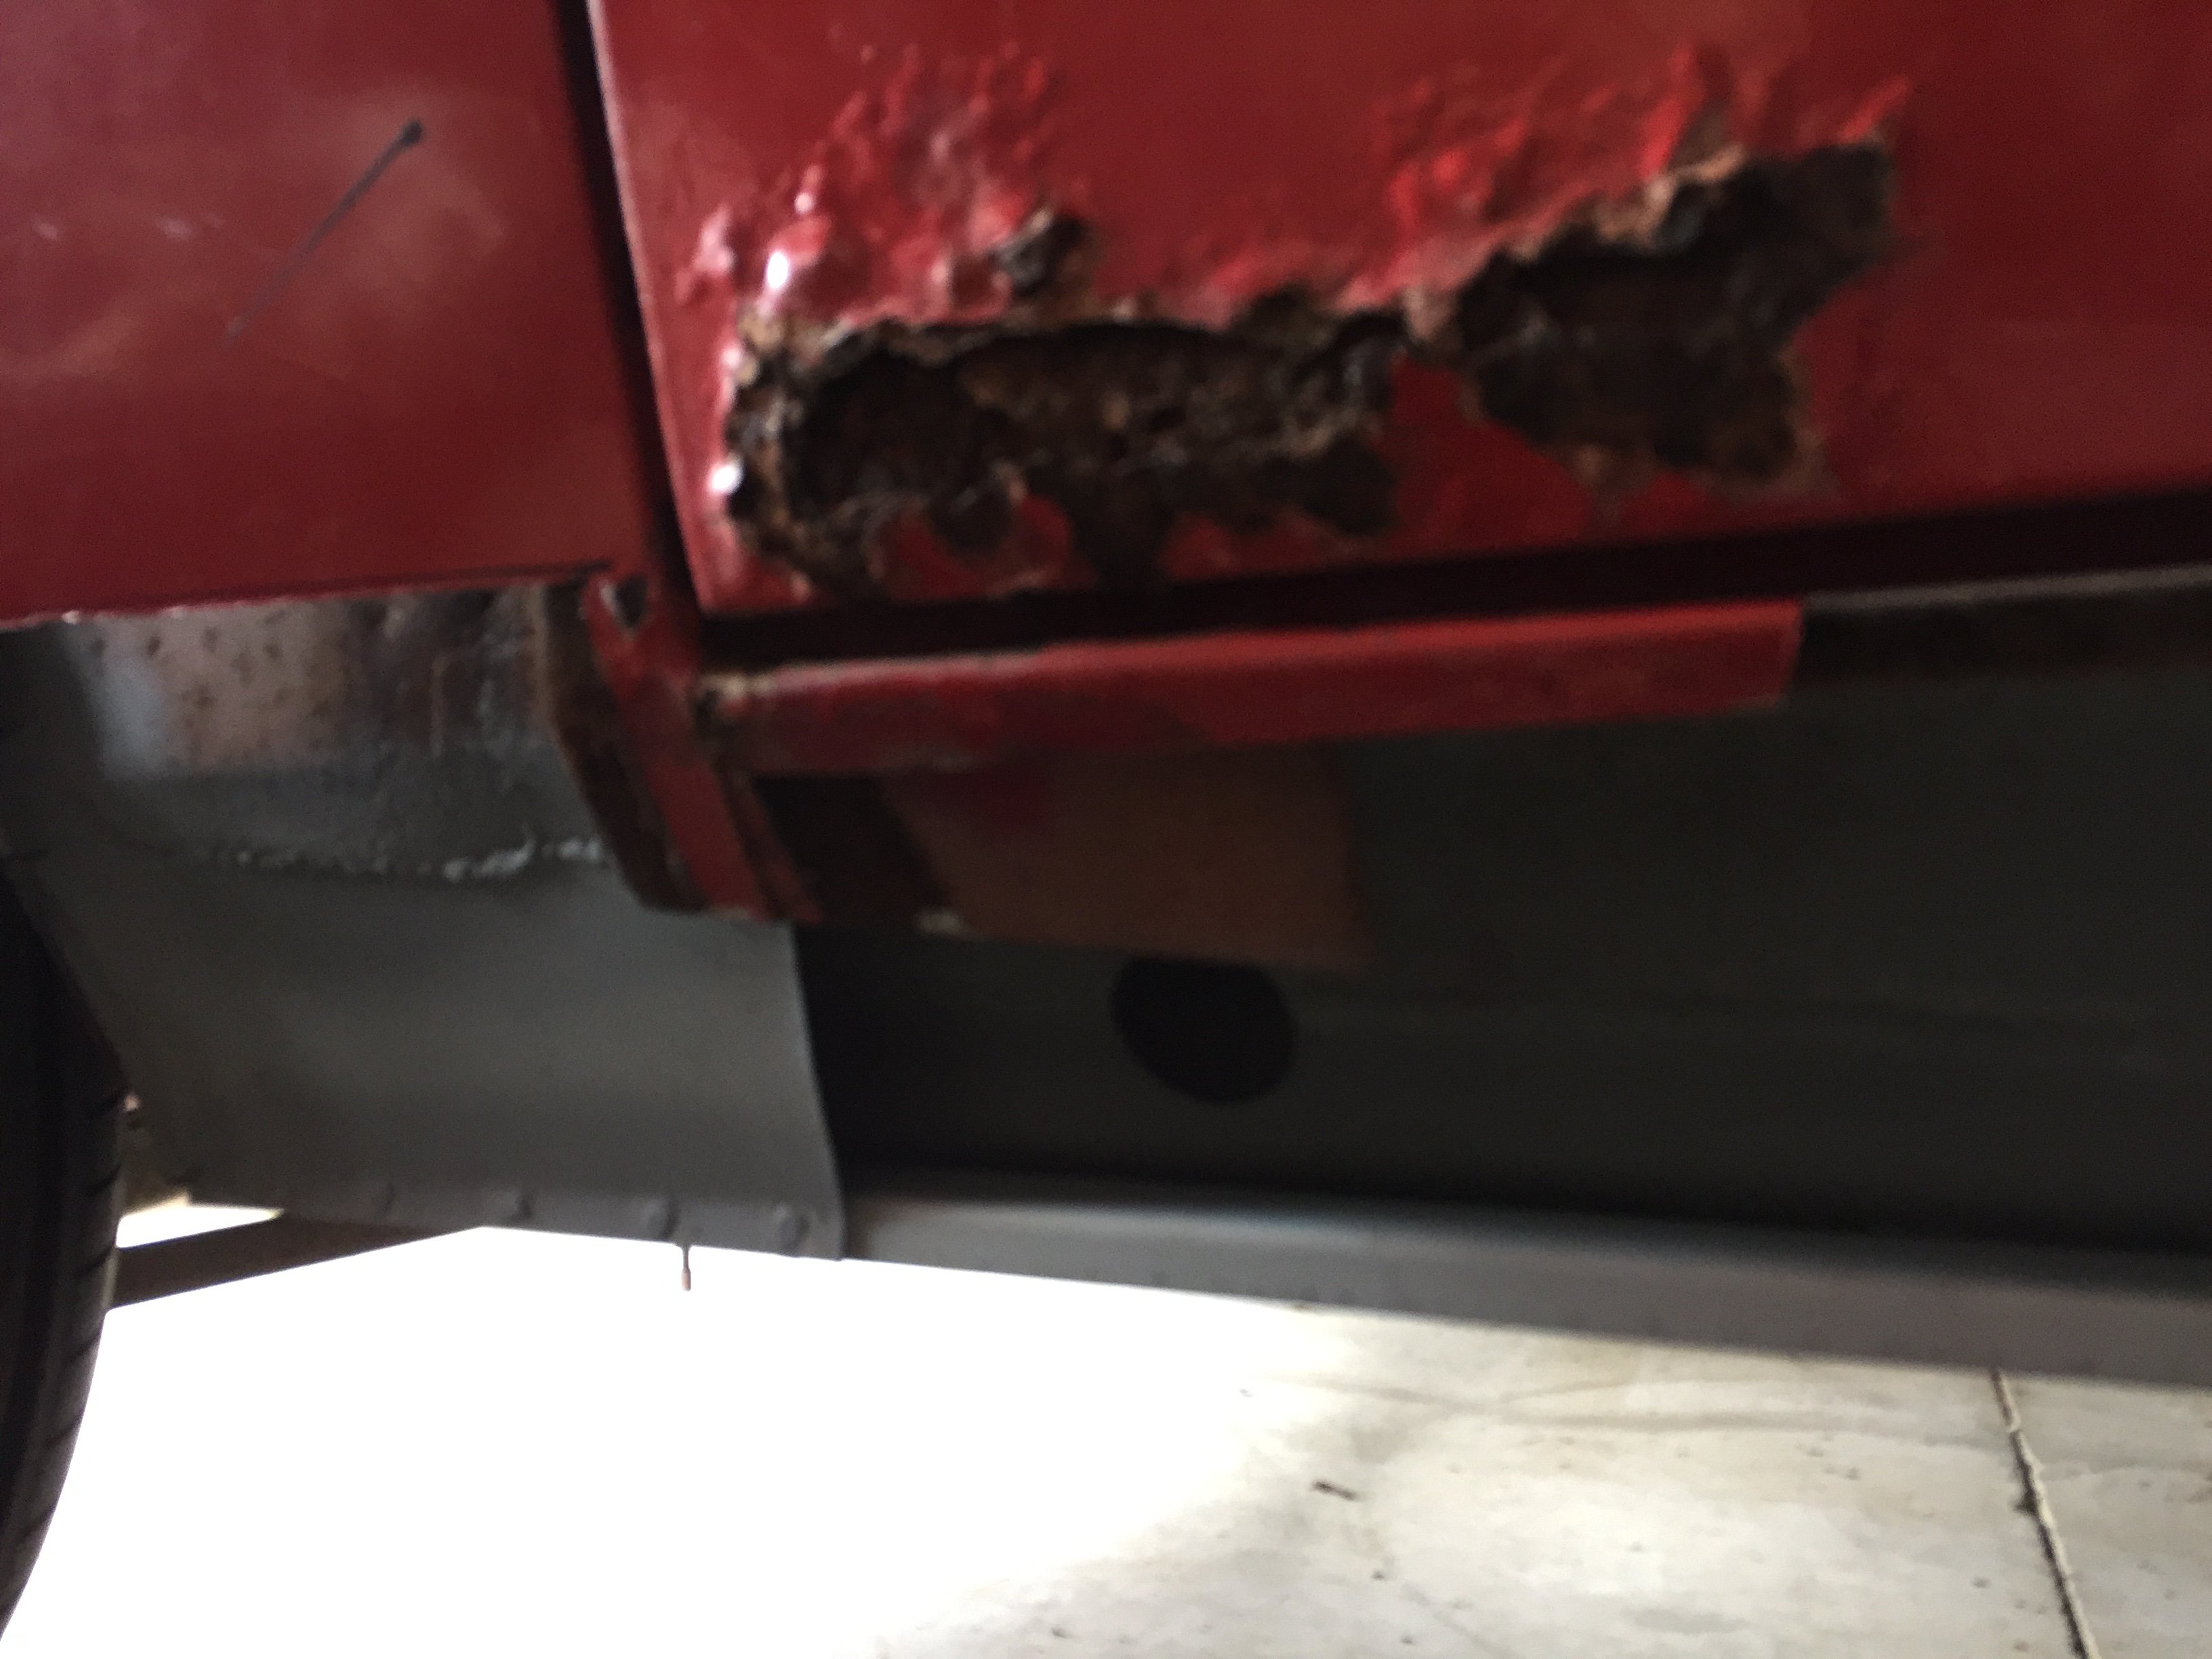
the worst of it fixed...
- 17 replies
-
- 14
-

-
so here are some of the pics from from the first round....all of this stuff is well outside my skill set. I'm happy to wrench on it myself once it's whole again.
-
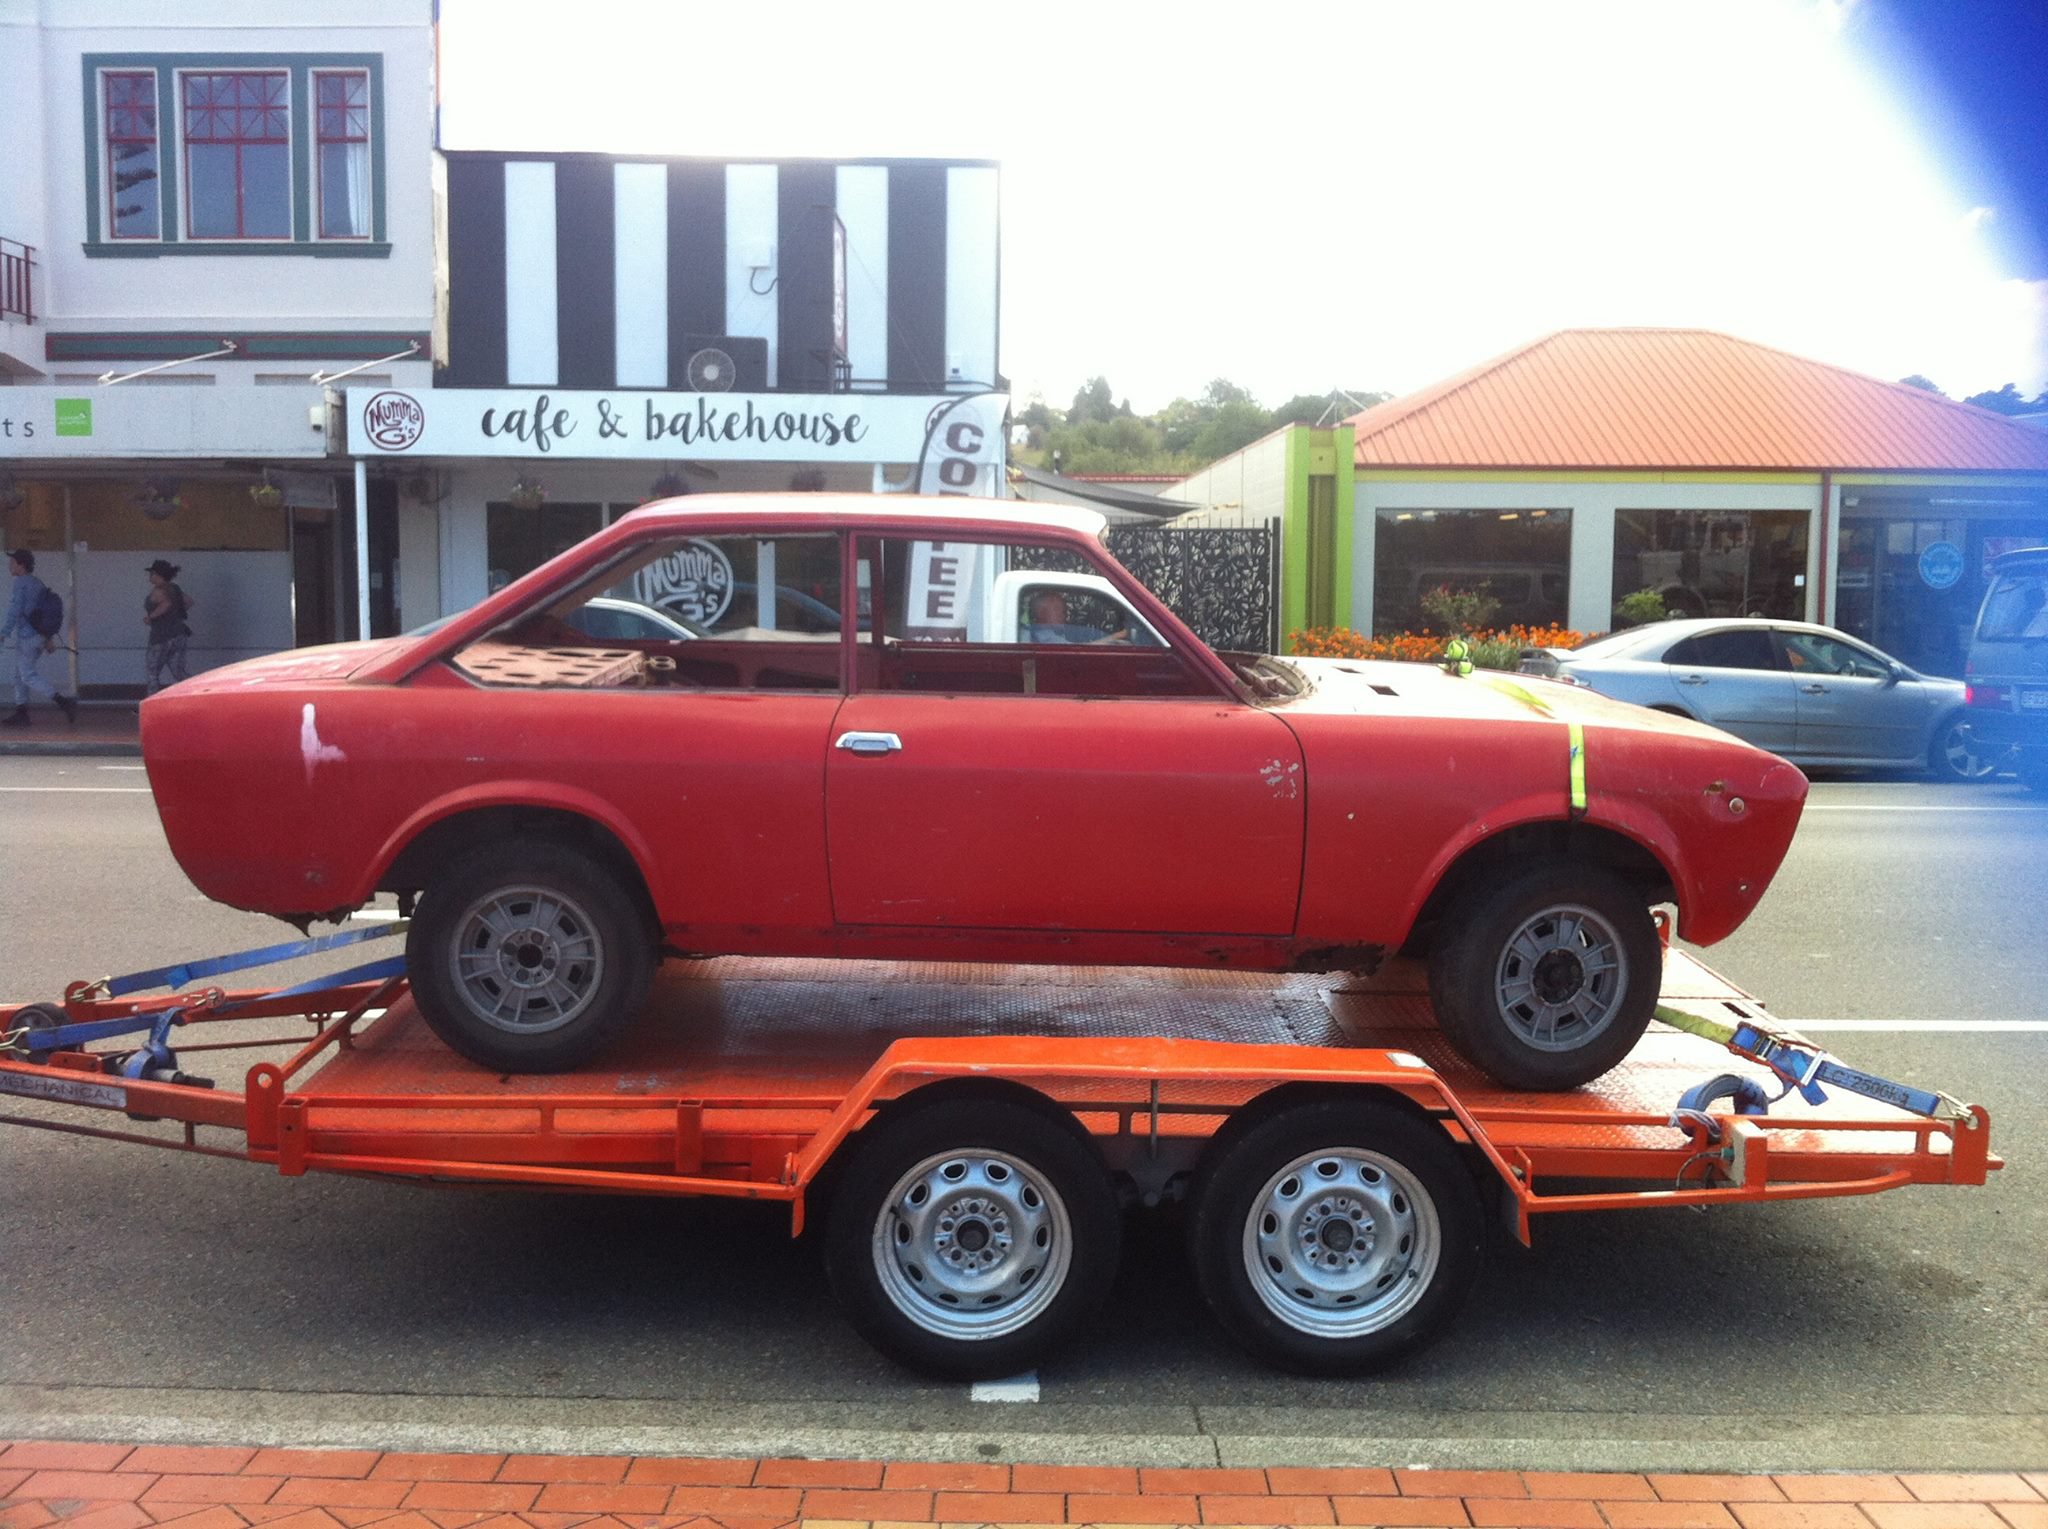
fast forward a year which leads me to here......... a way better shell, scored from Cambridge ,thanks mal. the window surrounds are clean, the panels are pretty damn straight ,the boot and engine bay are ready to be blasted and primed and, no sunroof and it has a hood lining there too! stoked... she has been at Kayne Thomsons Barn in Carterton and is 1 part through a 3 part process....
-
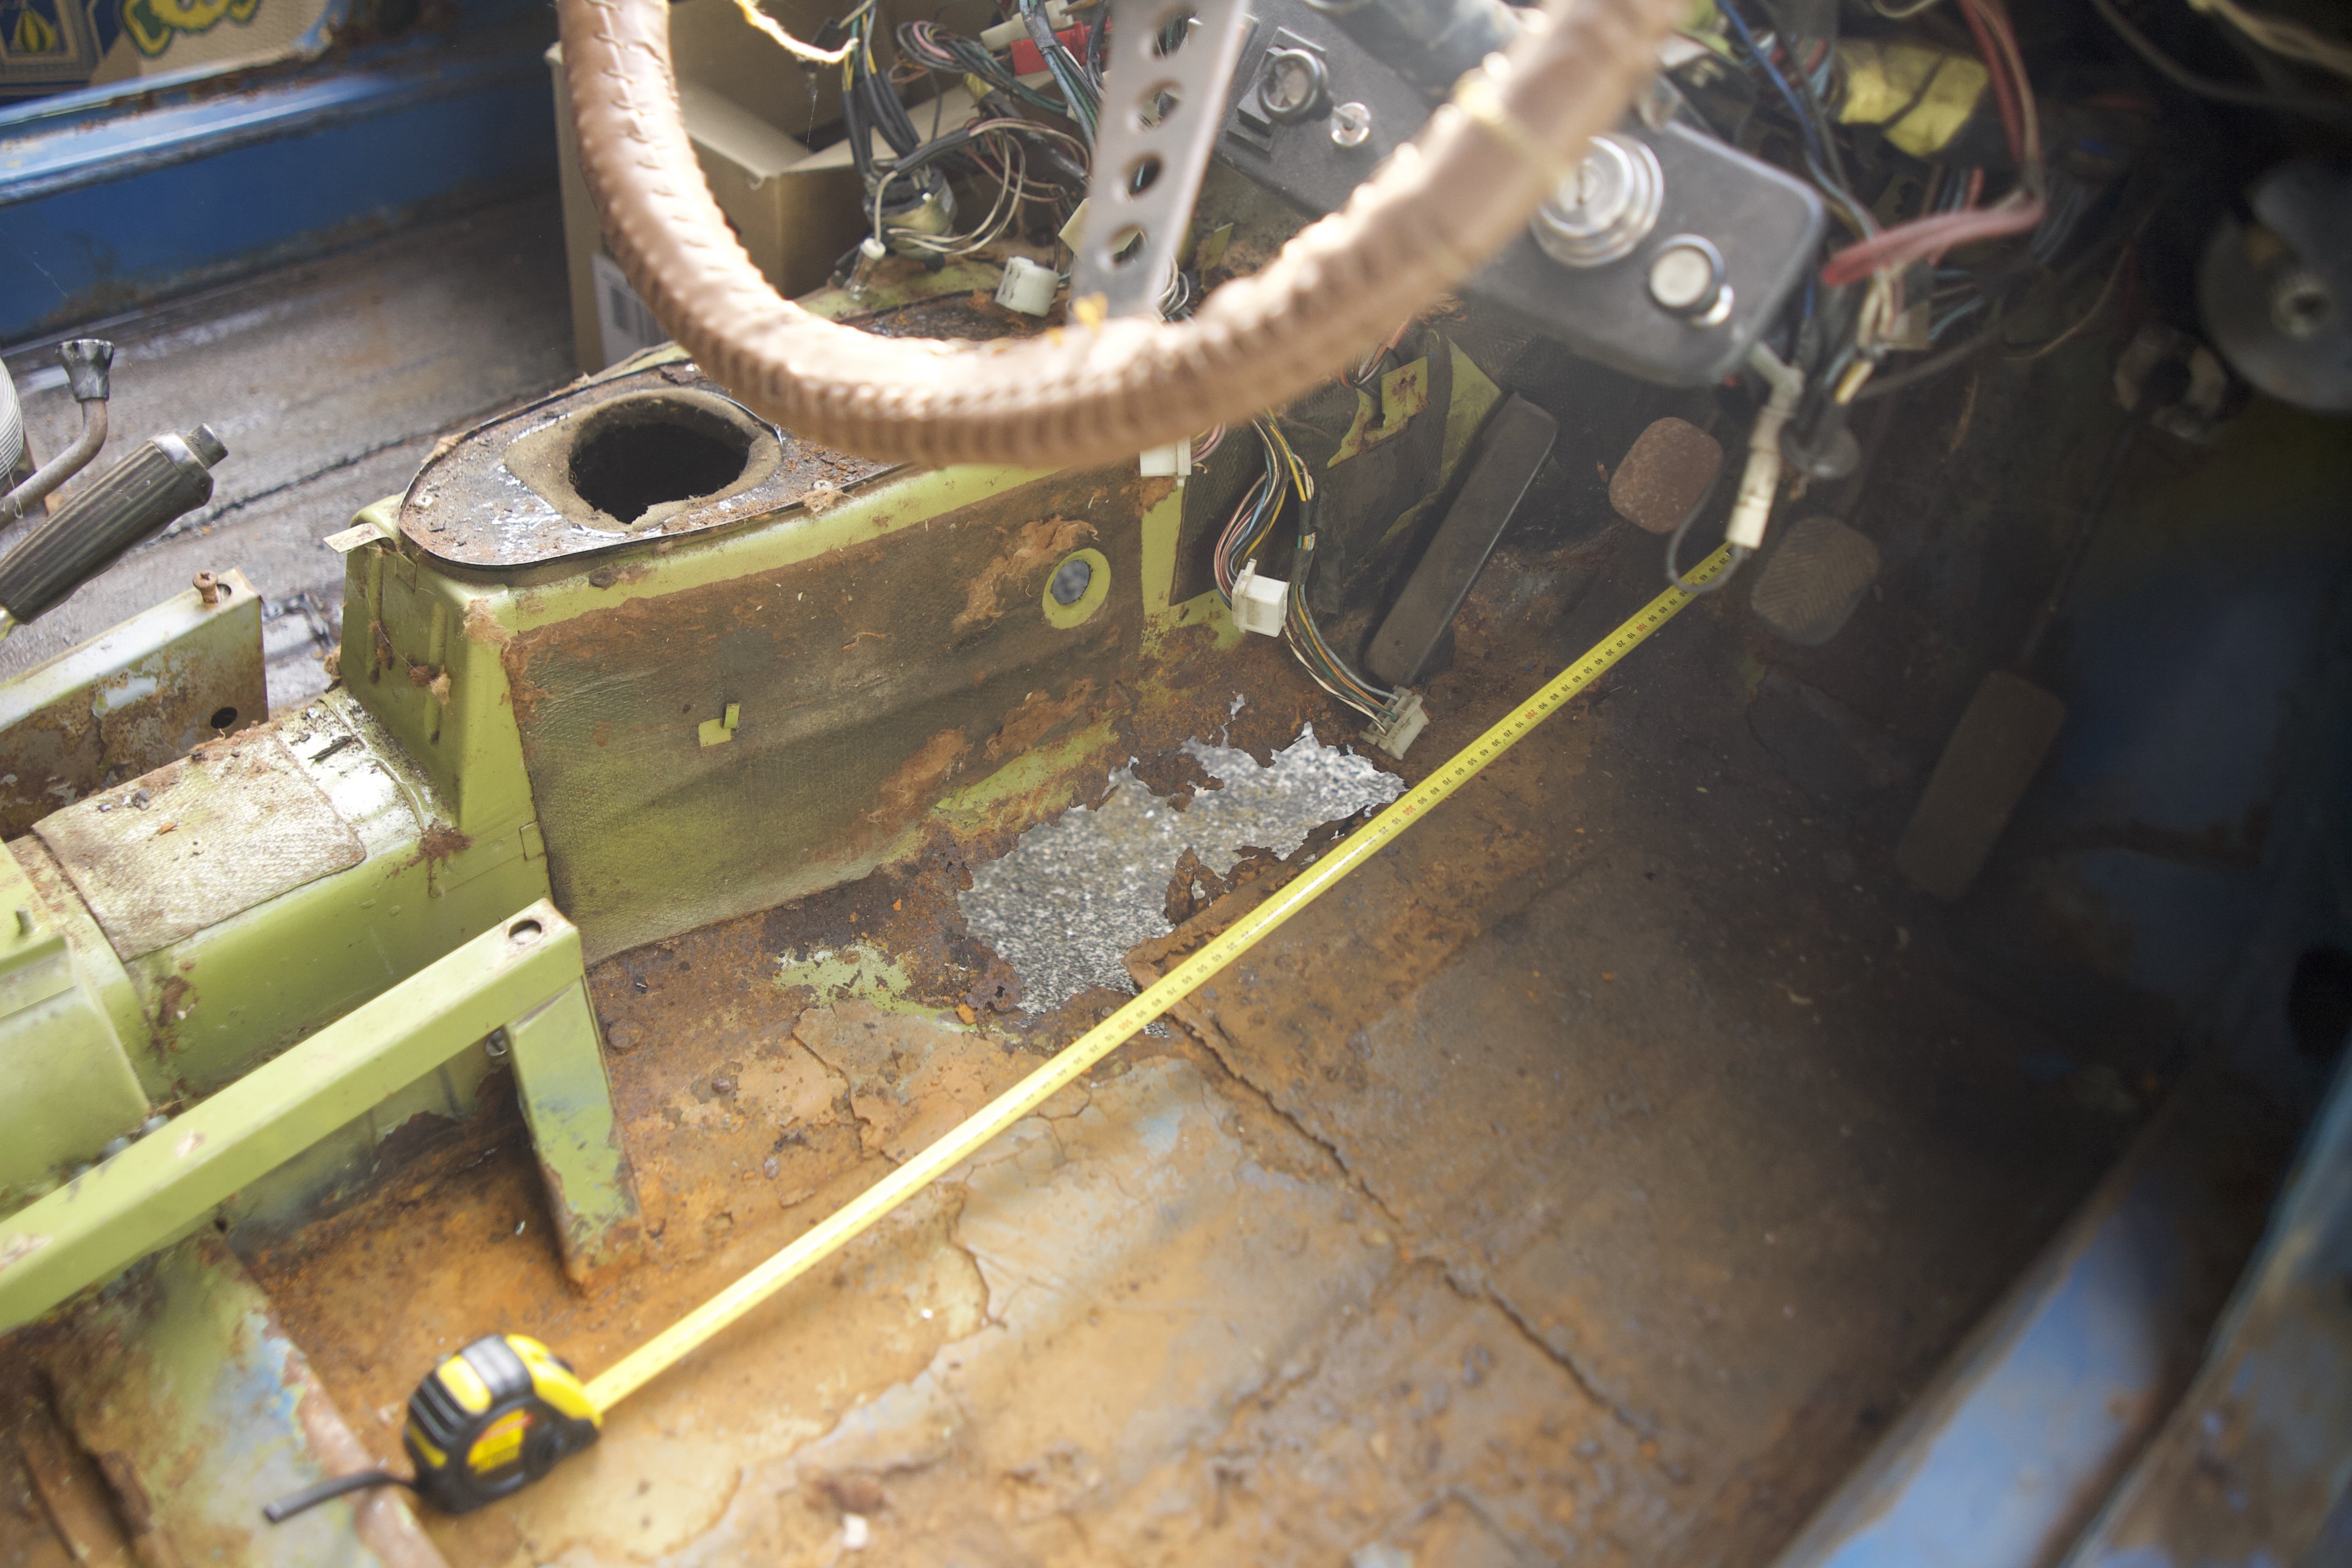
some one had cut a sunroof as well and there are multiple holes in the floors and around the seat stays. all of the window frames need attention and the door bottoms too. it has some good bits. but another shell would be better. and easier.
-
so with the help and skills of a new friend who know his ways around a 124 we stripped it over 2 days and revealed what you all knew was waiting....
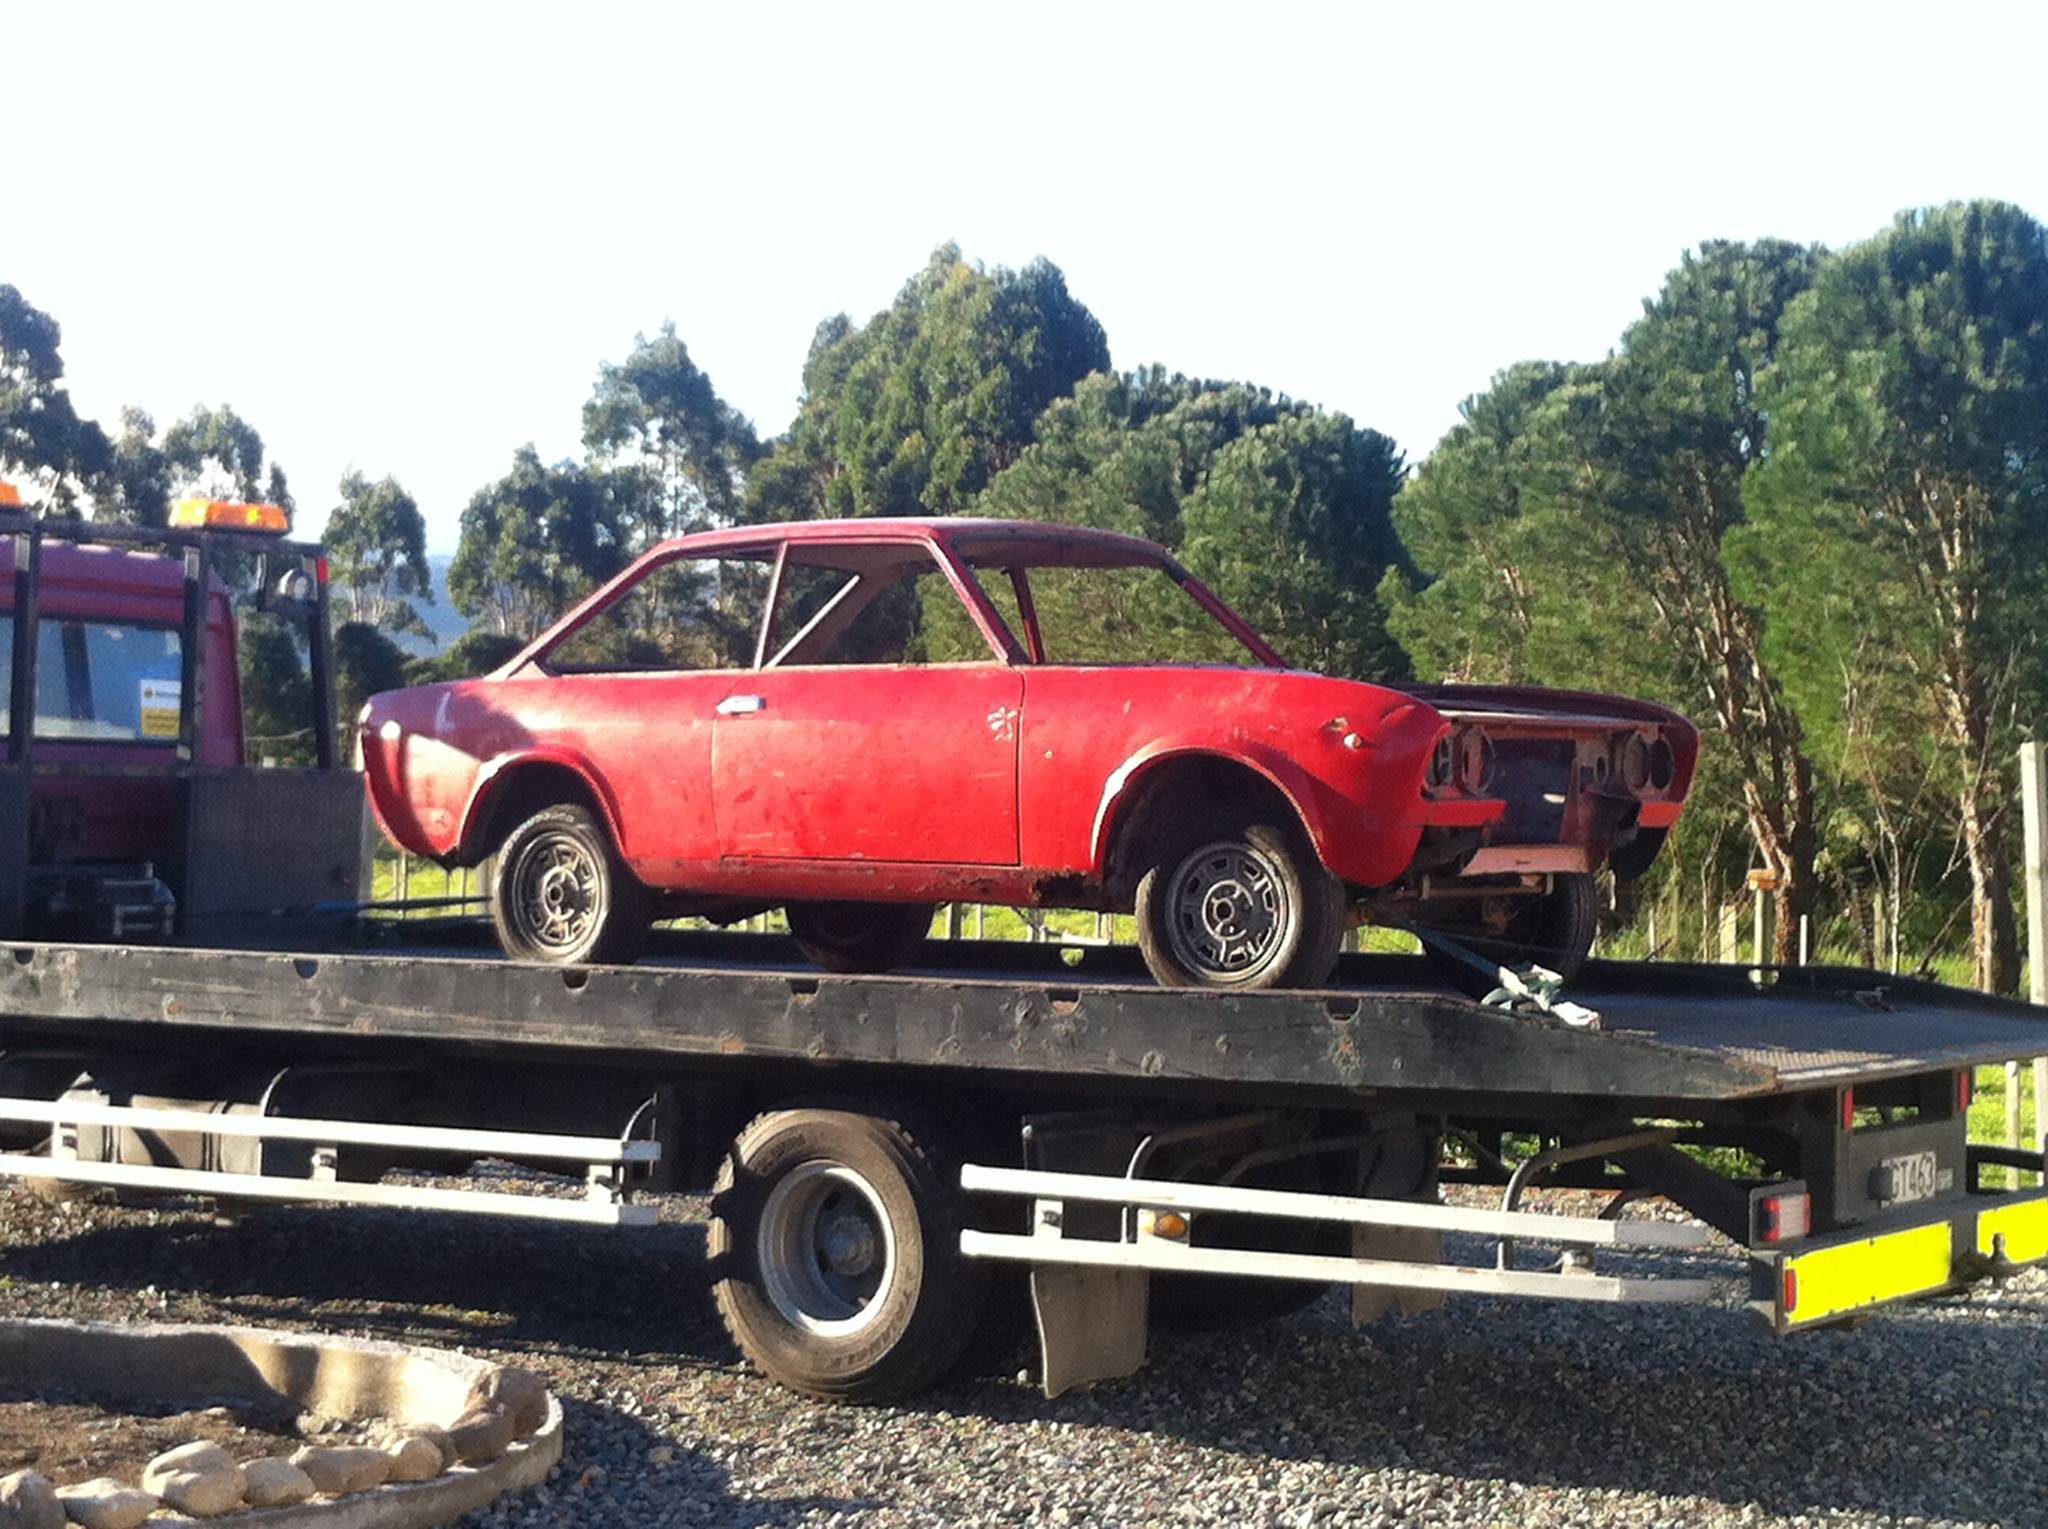
-
yeah,it's a BC,these are pics from when i got it 2 years ago,first sight. it's stripped now and she is waaaaay fucked.....so,she is being kept and tucked away until i figure out what to do with her. in the mean time she has given up all her bits for another BC that is a better option. more pics to follow when i get home