Bluebear01
-
Posts
198 -
Joined
-
Last visited
-
Days Won
2
Everything posted by Bluebear01
-
Interesting, didn't know that. Cheers! So if I need to keep the same slight angle in this chassis it might be better to use the U2 bell housing cut/welded or with an adapter plate, rather than the NZ Automotive complete bell housing? Thanks for the heads up.
-

Bluebear01's 1983 1uz powered Toyota Crown
Bluebear01 replied to Bluebear01's topic in Projects and Build Ups
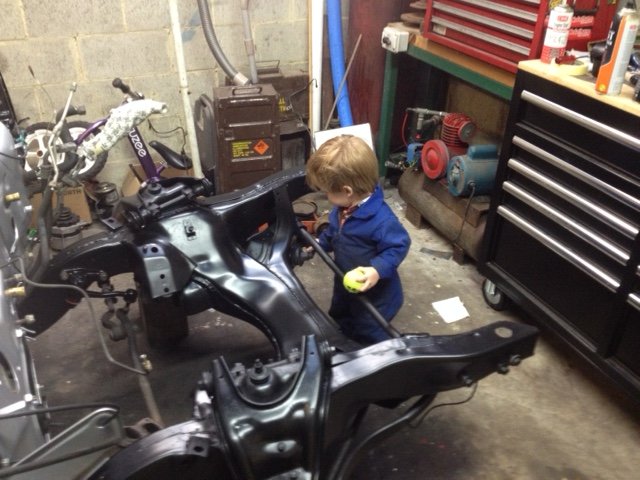
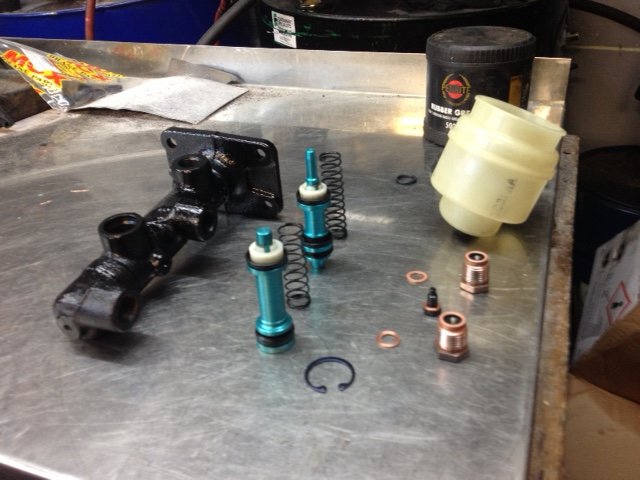
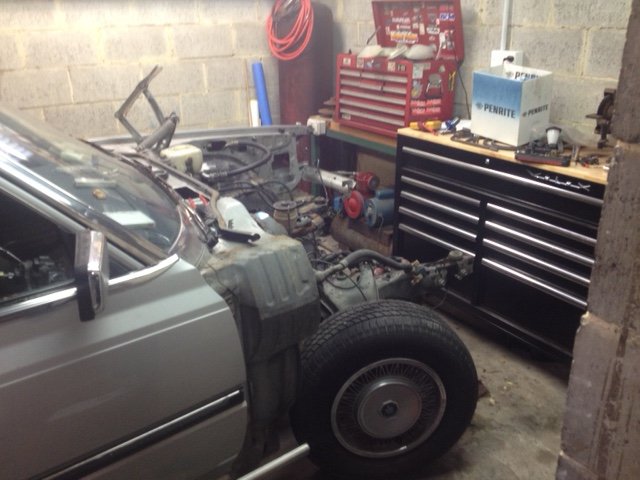
Cleaned down the chassis for paint, and looked over the front brakes. Rotors, pads & bearings are stuffed along with sticky callipers. I scored a set of old stock genuine Toyota pads from TradeMe for $26 and a pair of new rotors out of Super Spares in aus for $160. Could be a month before I see those though. I did get the prop valve back from rebuild, so after painting the chassis I could start putting the firewall back together. It took me ages to make up my mind as to what to paint the chassis with. Ended up keeping with the rattle can theme and going for VHT Roll Bar & Chassis Black as it was $12 a can, more money saved for bell housing bits! Anyway, it turned out fine. A nice satin. The littlest man is starting to get interested, who am I to stop him? I'll leave the guards off while I sit the engine in there & work out what I'm going to do with the mounts. The 1uz still has its UZS131 mounts, Im hoping I can use them somehow.
- 52 replies
-
- 11
-

-
Bluebear01's 1983 1uz powered Toyota Crown
Bluebear01 replied to Bluebear01's topic in Projects and Build Ups
I got some paint down, now I can start putting it together before I forget where all the bolts go...
- 52 replies
-
- 10
-
-
Bluebear01's 1983 1uz powered Toyota Crown
Bluebear01 replied to Bluebear01's topic in Projects and Build Ups
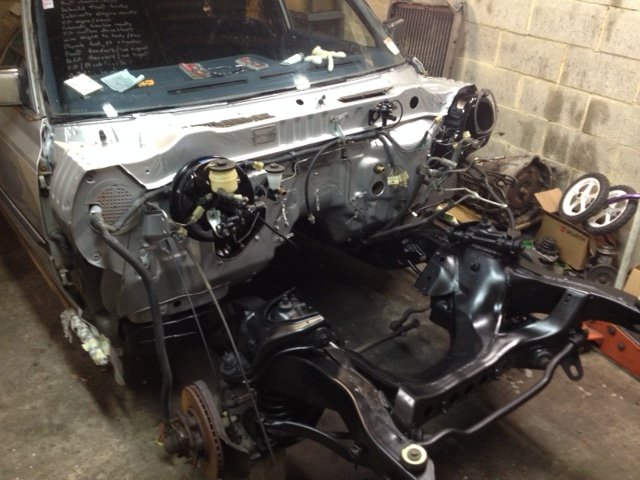
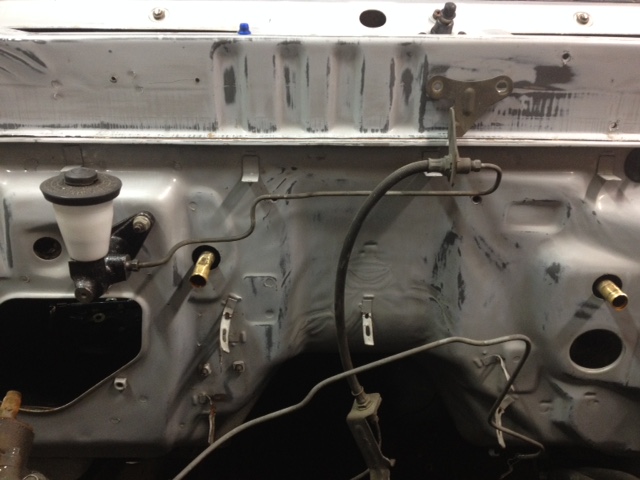
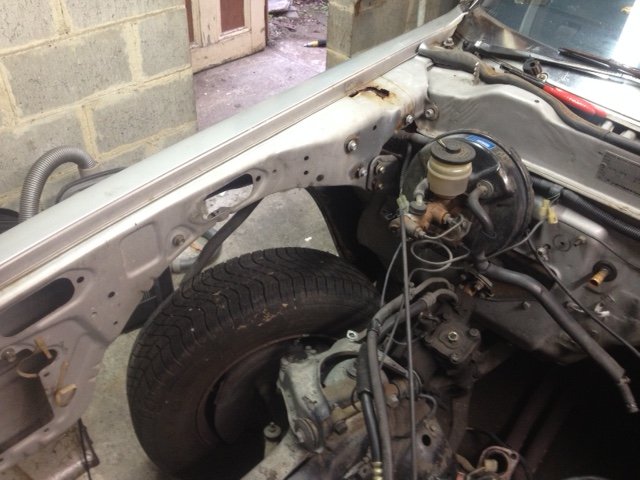
I have to confess I gave Super Cheap's colour match rattle cans a go on the fender. Its the Lyndar stuff and I think it looks pretty good after a few coats of clear. It matches fairly well considering the rest of the paint is 30+ years old. Also got the firewall sanded down ready for a coat, no more rust found yet... The clutch line & bracket off the Cressida fits nicely with a few minor tweaks. I'll drill it & hopefully get some paint on this weekend.
-
Bluebear01's 1983 1uz powered Toyota Crown
Bluebear01 replied to Bluebear01's topic in Projects and Build Ups
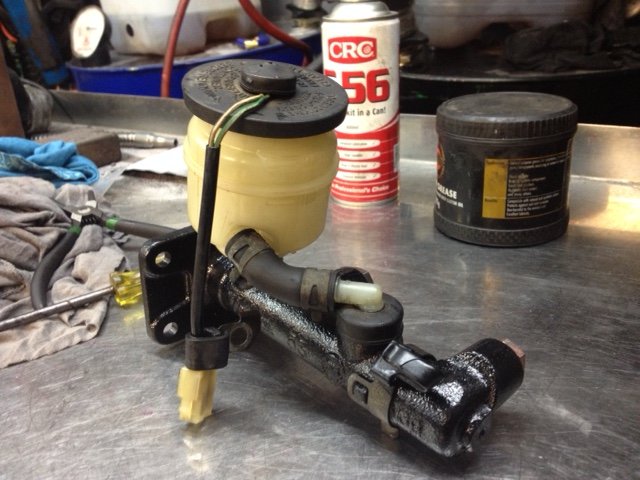
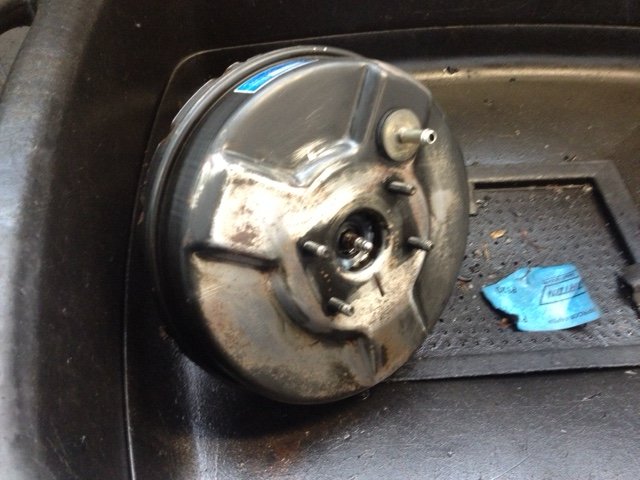
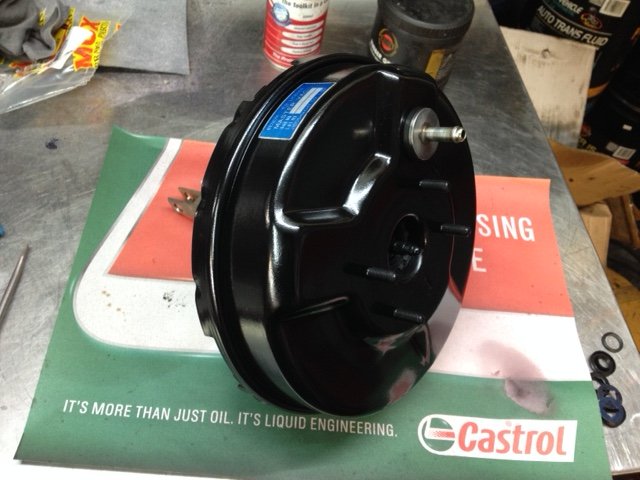
Ticking a few more boxes in the engine bay. I'm taking it further than I was planning on, but it is fun making everything like new. Seal kits are still cheap for the master and the booster just needed a lick of paint.
-
Bluebear01's 1983 1uz powered Toyota Crown
Bluebear01 replied to Bluebear01's topic in Projects and Build Ups
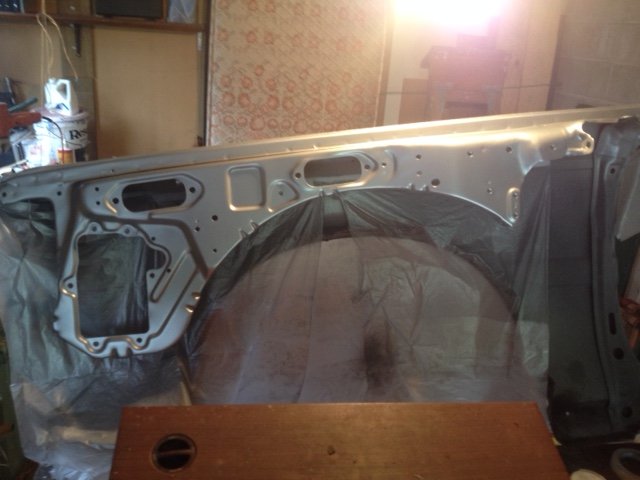
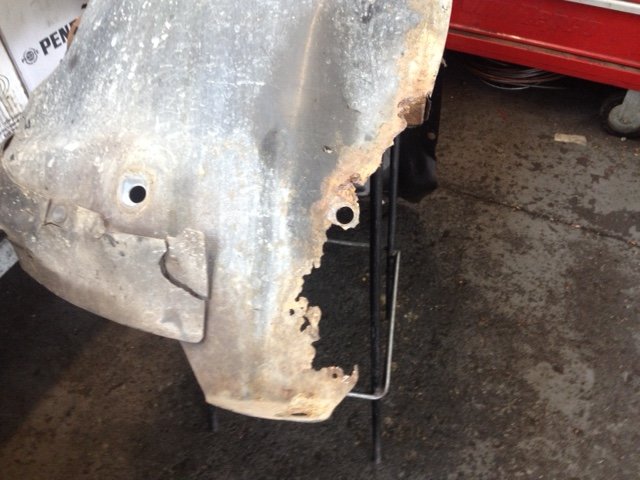
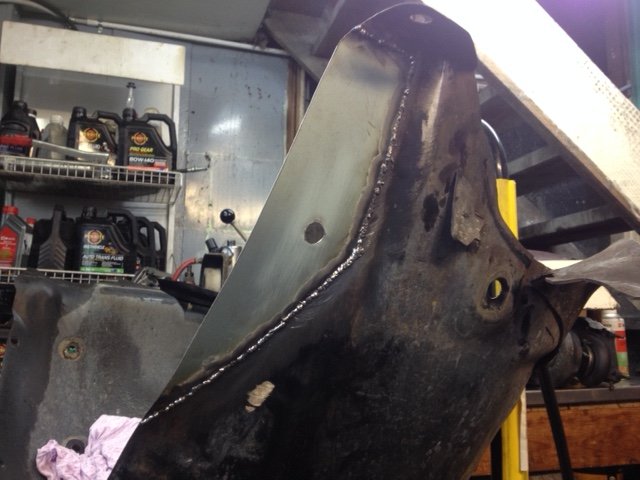
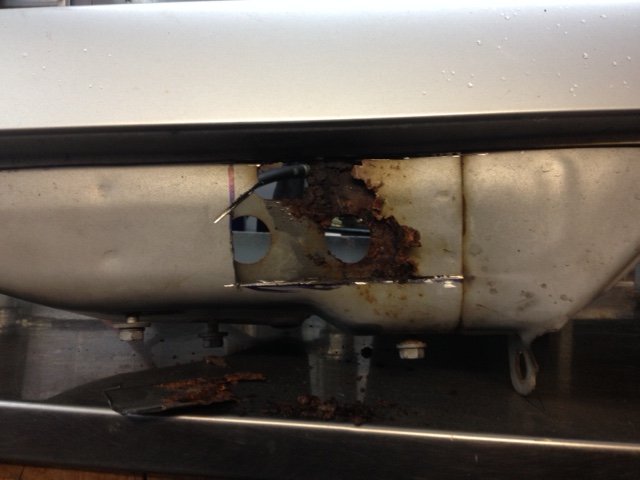
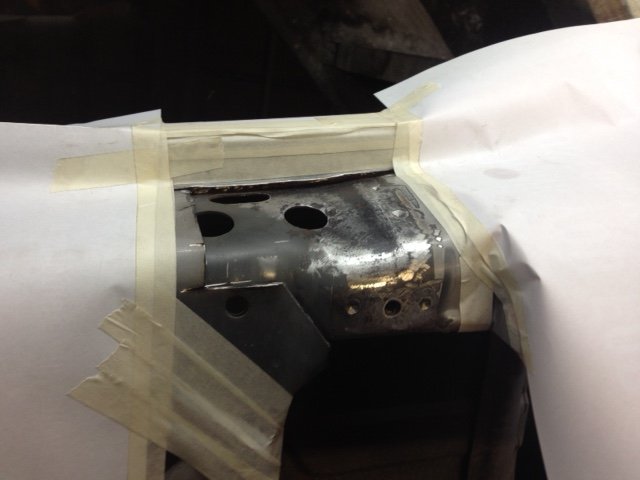
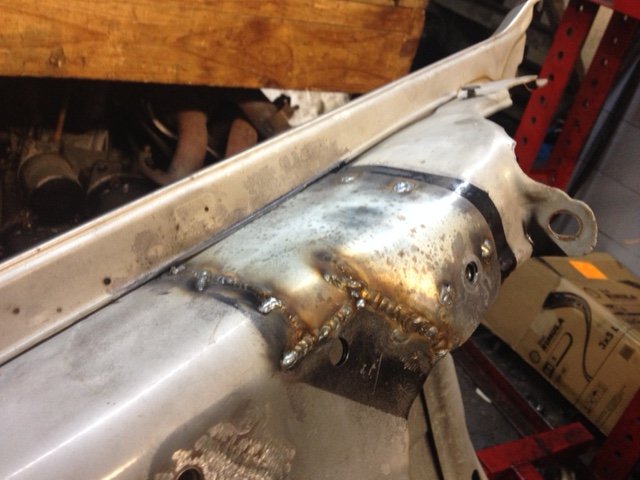
It's been a slow month, but I've started prepping the engine bay. I've started to find all the hidden rust I was nervously anticipating, but so far much better than my old Vauxhall was! The R/F inner guard had a nice mudflap shaped hole which was good practice since ill never see my armature repair once it's back together. \ I tried to take a bit more care with the repair to the rotten double skin on the top of the guard. I found it pretty tricky to match the curve of the original, but after a bit of filler I'm pretty happy with the result. The closest grade of steel to the original I could find was an old 'WOF Open' sign laying around. Next is to tackle the other side & paint. I guess I should look into getting a gun and compressor setup if I want to do a nice job of it...
- 52 replies
-
- 11
-
-
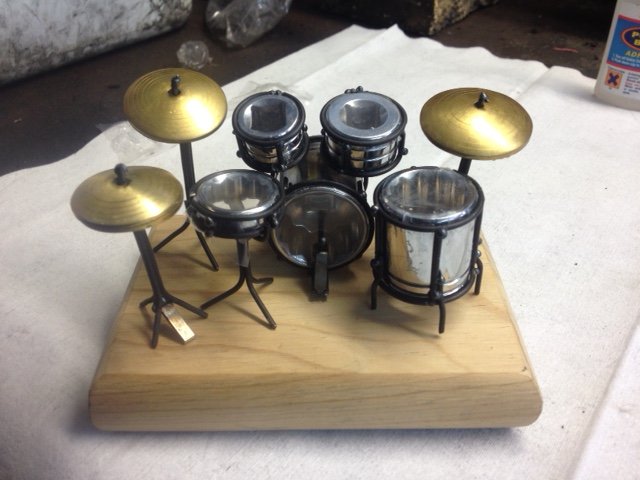
I suck at buying good birthday presents for the wife, so I slapped together a drum kit for her using sockets, welding wire & frost plugs. Kinda messy but she liked it, sorted!
- 1289 replies
-
- 47
-
-
Bluebear01's 1983 1uz powered Toyota Crown
Bluebear01 replied to Bluebear01's topic in Projects and Build Ups
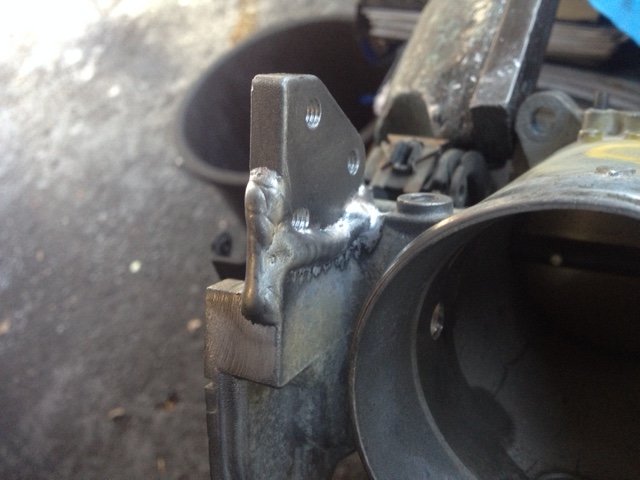
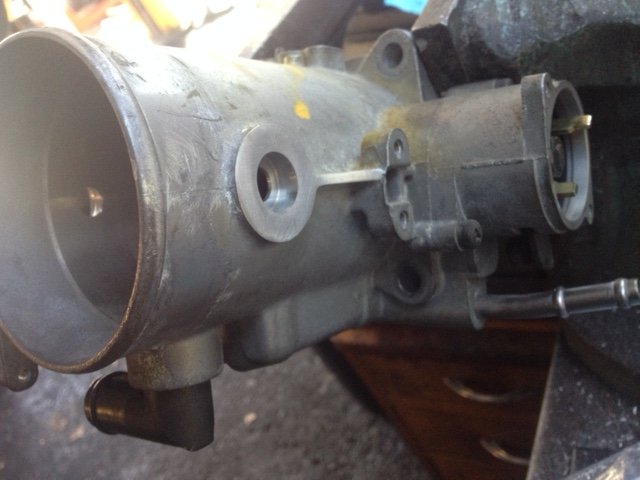
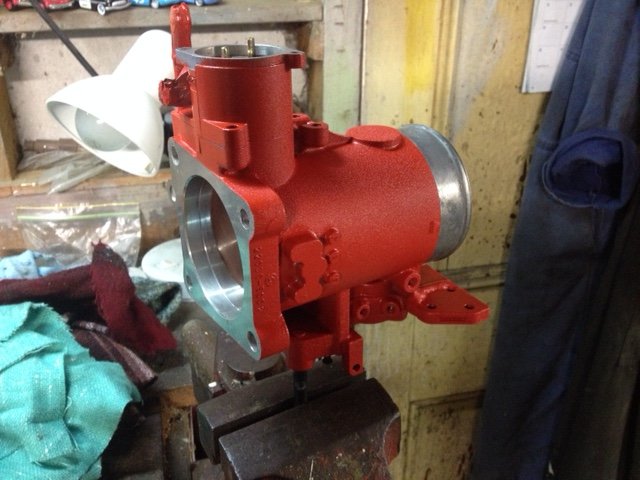
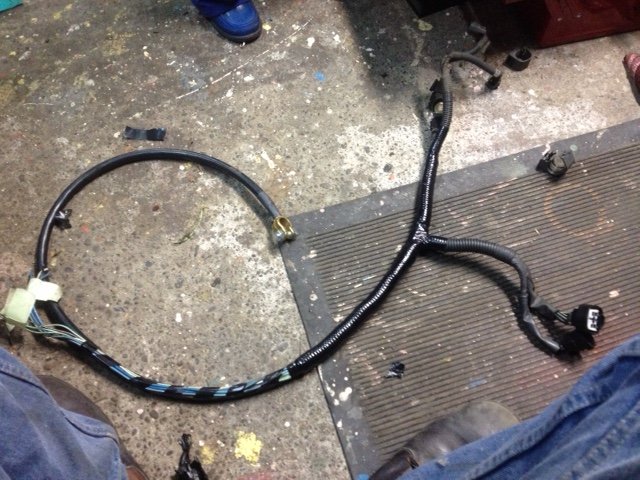
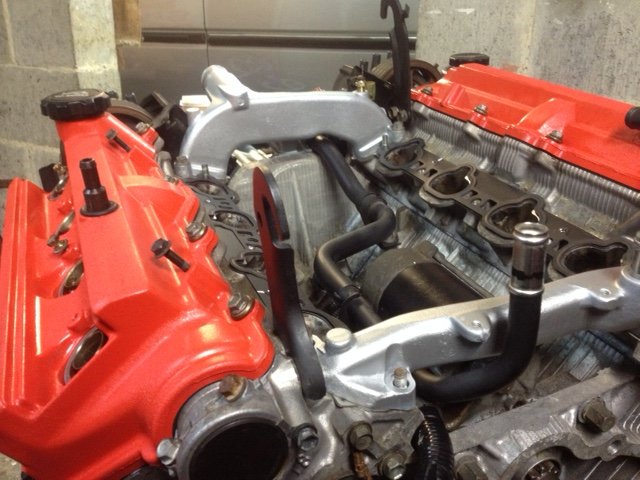
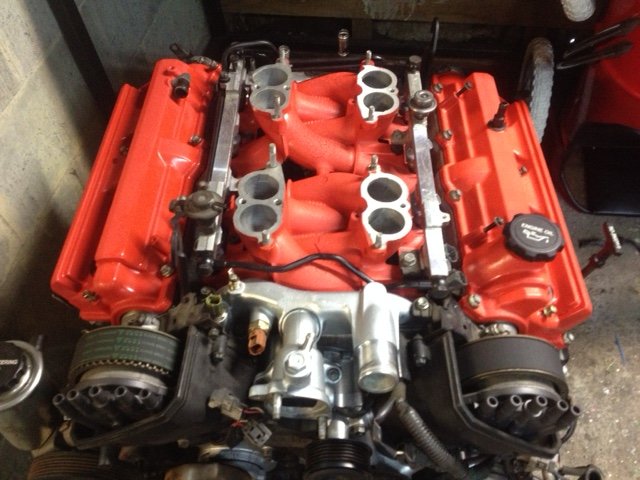
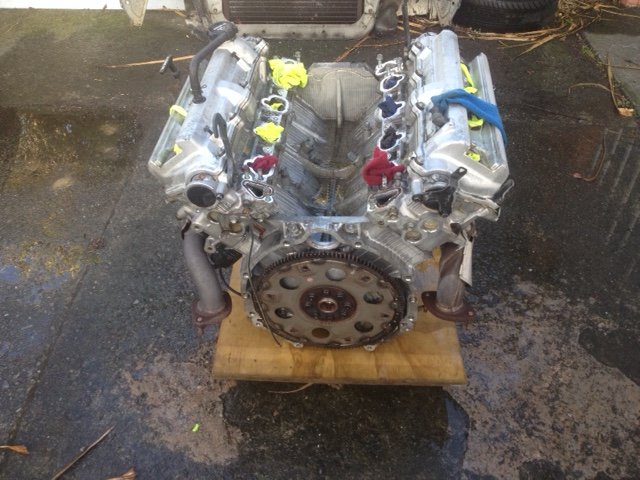
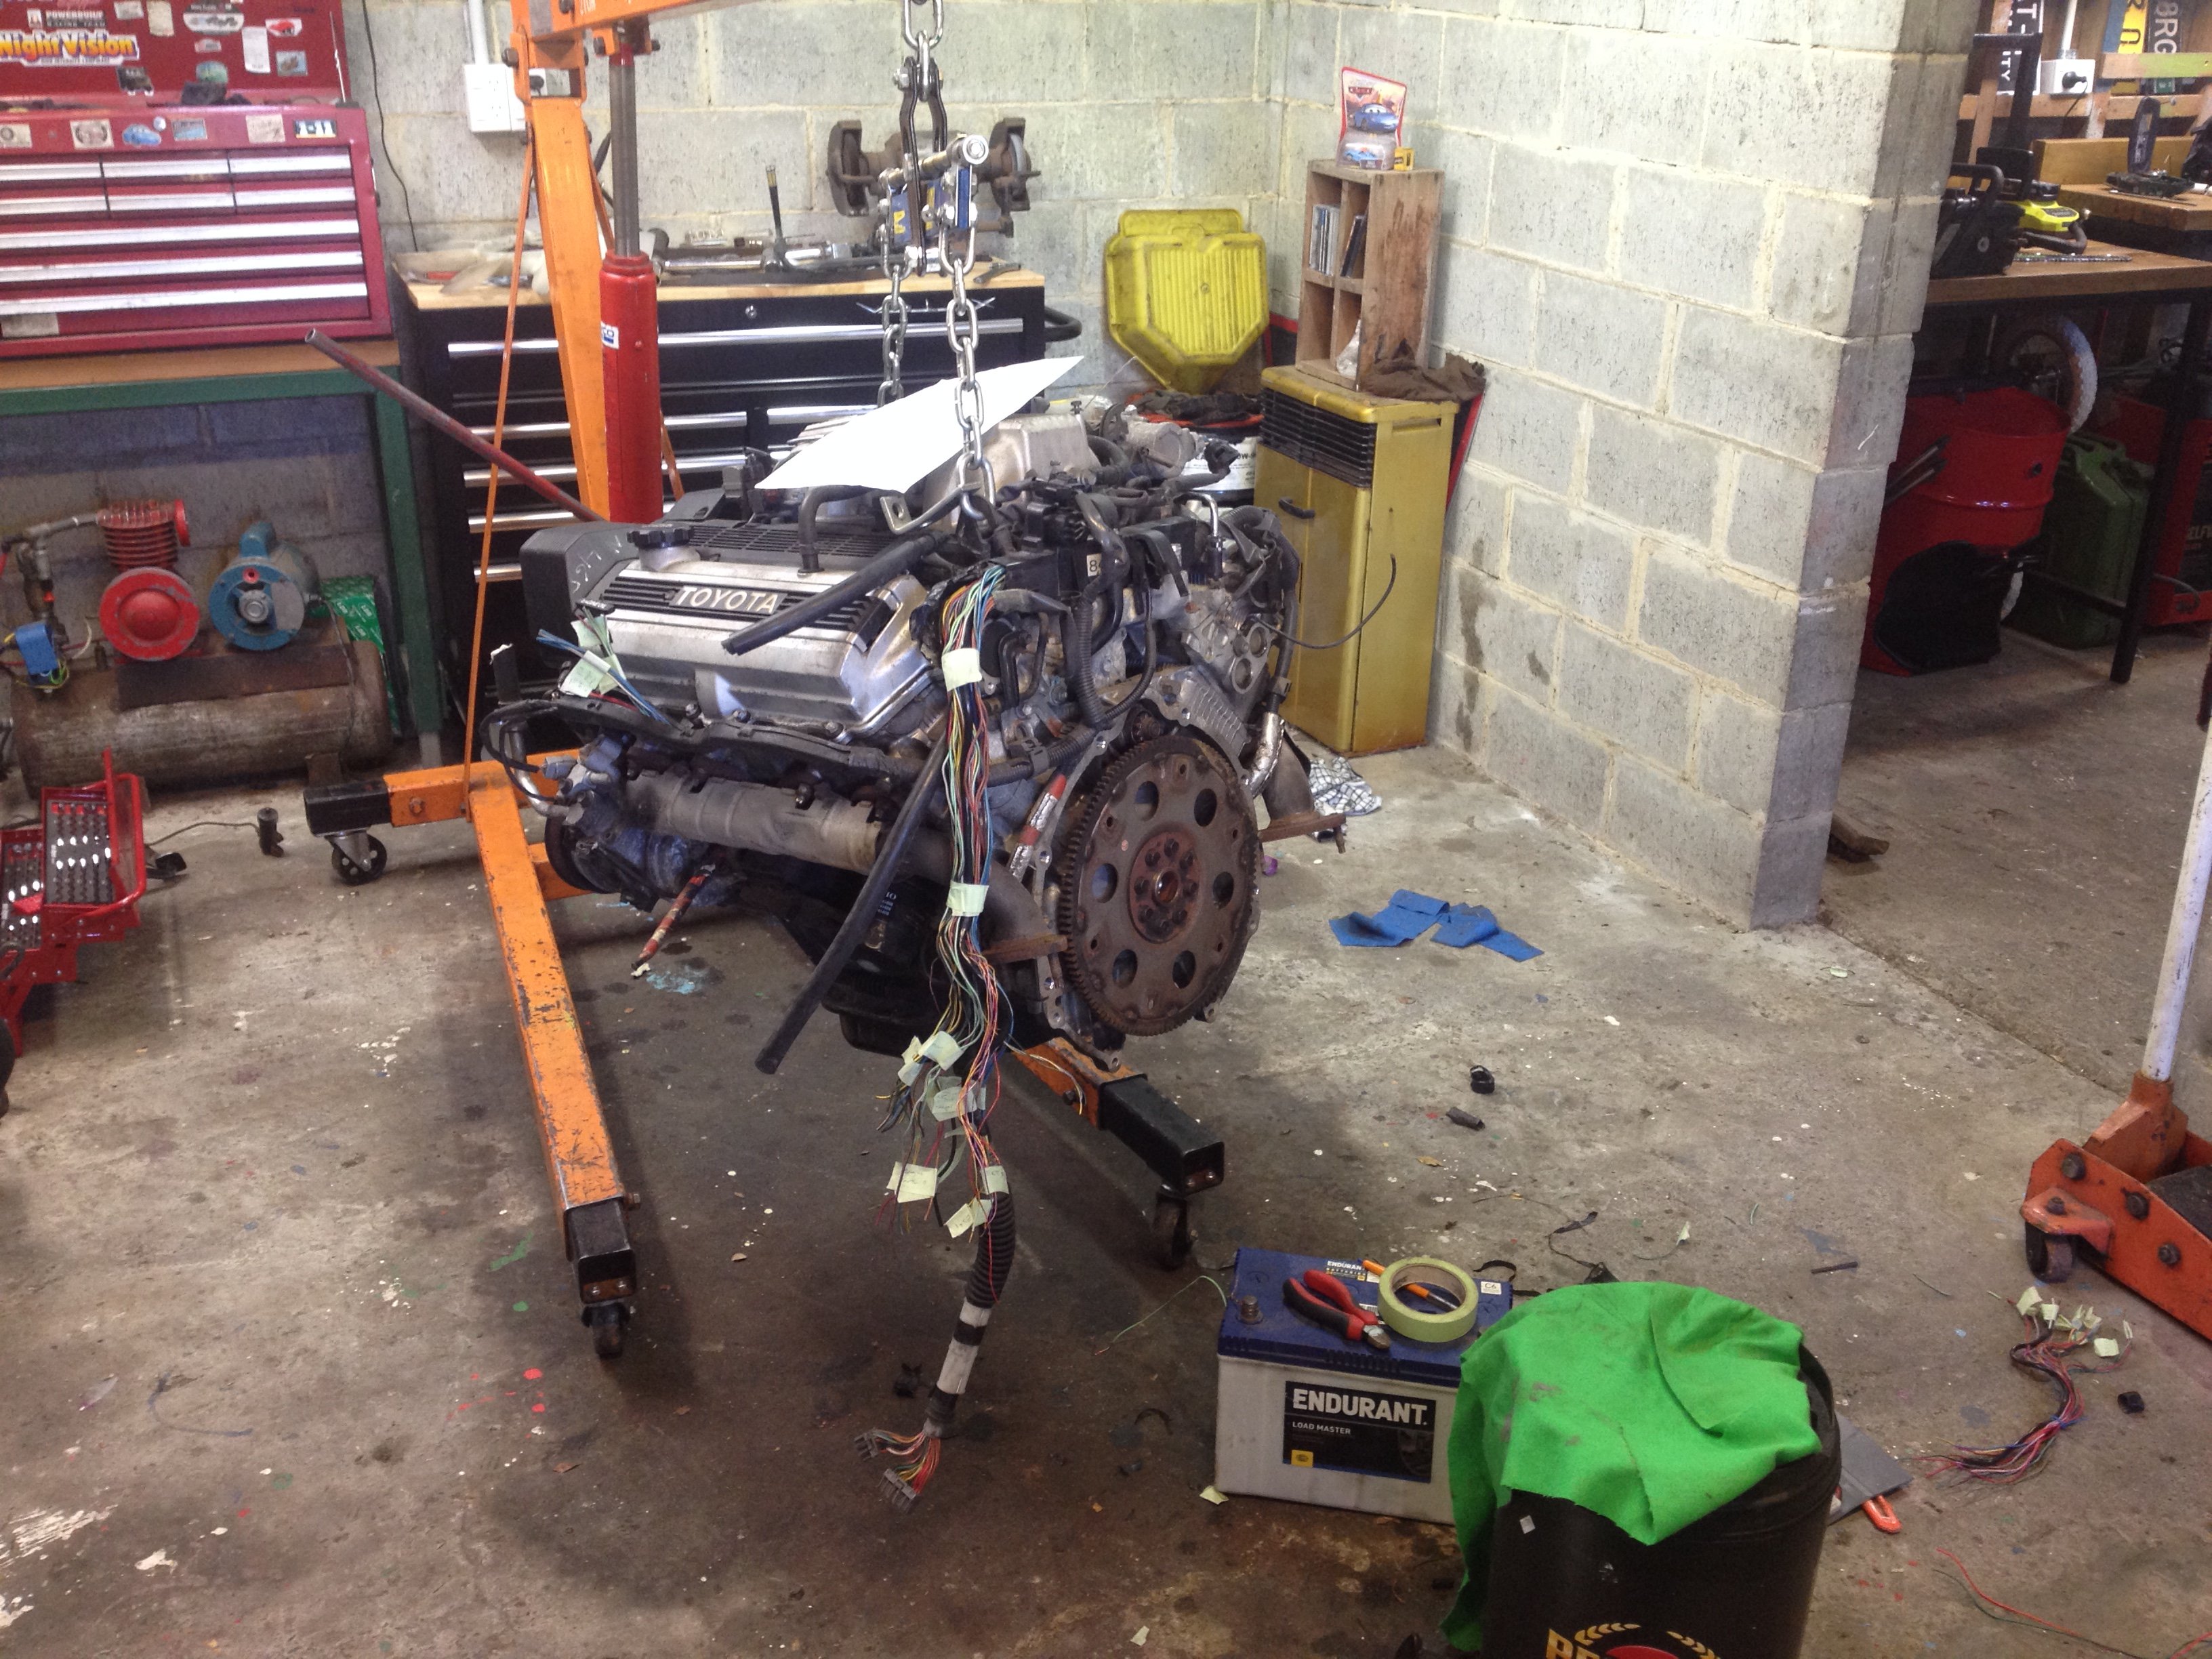
I've been throwing a little bit of time at this each night after my kids are down, slowly making progress. Had a local engineer do a nice job of fixing the broken accelerator cable bracket on the throttle body, then I deleted the traction control & threw on some wrinkle engine enamel. Quite happy with how it came up. All the cambelt bits, caps/rotors arrived so that went together. I couldn't clean up the aluminum tensioner & coolant castings very nicely so gave the 'aluminum' coloured engine enamel a shot. I was pleasantly surprised it matched the new water pump pretty closely. Next up was valve covers, I'm very happy with the engine internal condition, very clean. After I wired a new starter cable into the lower loom the whole thing could go back together. Pretty happy with the way it came up, I'll just need to figure out what kind of badge to put on the intake. Hooked it up & had it running for a few seconds on ether, so good to finally hear it run! I'm now saving up for the bellhousing & clutch/flywheel so this will be on the ground for a bit. I might rig up a fuel pump & radiator to get it to temp & make sure everything is happy. I've also got to prep the engine bay, the more I look at it, the more I realize I need to paint it.
- 52 replies
-
- 16
-
-
Awesome, great to know thanks. I'll start keeping an eye out at the wreckers.
-
Do you know if the solenoid that controls it's displacement is pulse width modulated or a simple on/off deal? Ether way sounds like a constant displacement pump would be easier. Cheers for that.
-
Bluebear01's 1983 1uz powered Toyota Crown
Bluebear01 replied to Bluebear01's topic in Projects and Build Ups
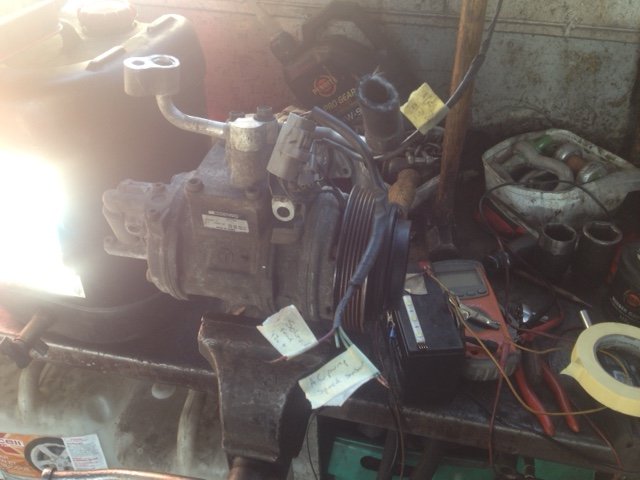
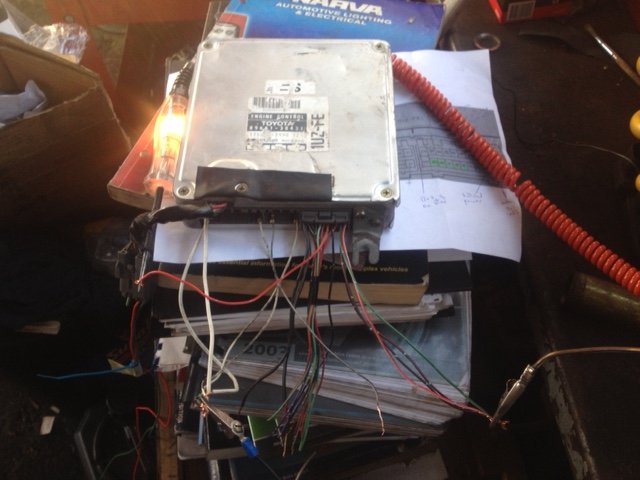
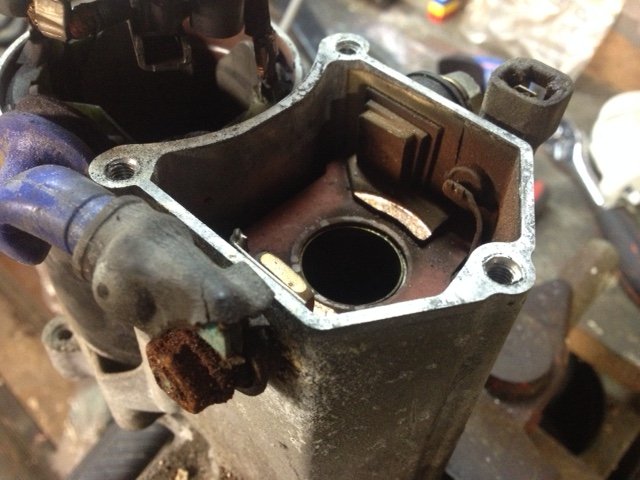
So I went through & cleaned out each injector, every one was stuck and the fuel rail was full of sludge. The starter had been sitting in water for a while, so it got some new bearings, contacts & plunger. I had to get the vacuum out to clean up the valley, and gave the whole thing a careful wash while I'm waiting on cambelt bits. I'm quite keen to get the A/C working so I can experience the Crown parcel tray fridge! A/C pump got a new pulley bearing & I had a look at the wiring. Looks like magnetic clutch feed, 2 wire speed sensor & a 12v feed to a solenoid at the rear of the pump. Anyone have experience getting these 1uz pumps working in a conversion? I also finally found a body plug for the ECU! Mine is the early 3 plug type with a 22 pin body plug that is usually missing. Turns out they have the same plug as found on a 4age ecu, but completely different to a 4afe ecu. With the plug I could fire it up on the bench to make sure it wasn't a dud. No issues there, it quite happily popped out fault codes for the unconnected sensors.
- 52 replies
-
- 11
-
-
Bluebear01's 1983 1uz powered Toyota Crown
Bluebear01 replied to Bluebear01's topic in Projects and Build Ups
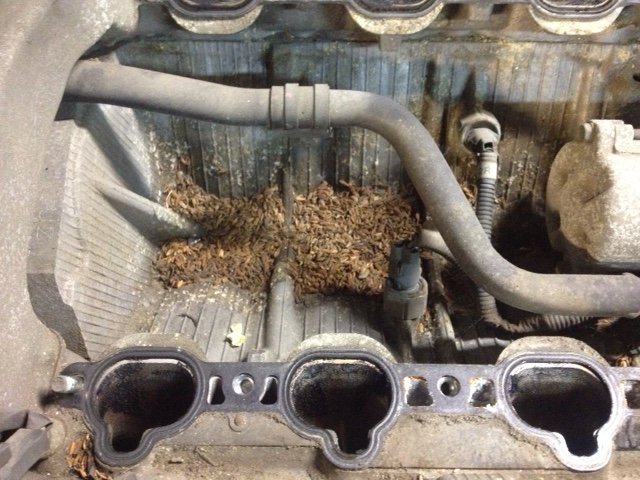
Had a good crack at the wiring last night. It's a good feeling pulling all the auto trans loom out! Also deleted the traction control. I think this engine has been sitting for a long time. All the injectors are stuck, the fuel rail stinks of rotten fuel and there was a small rats nest in the valley...
-
Not sure yet. It looked close, but I'm waiting to get the 1uz to w bellhousing to confirm how far out its going to be.
-
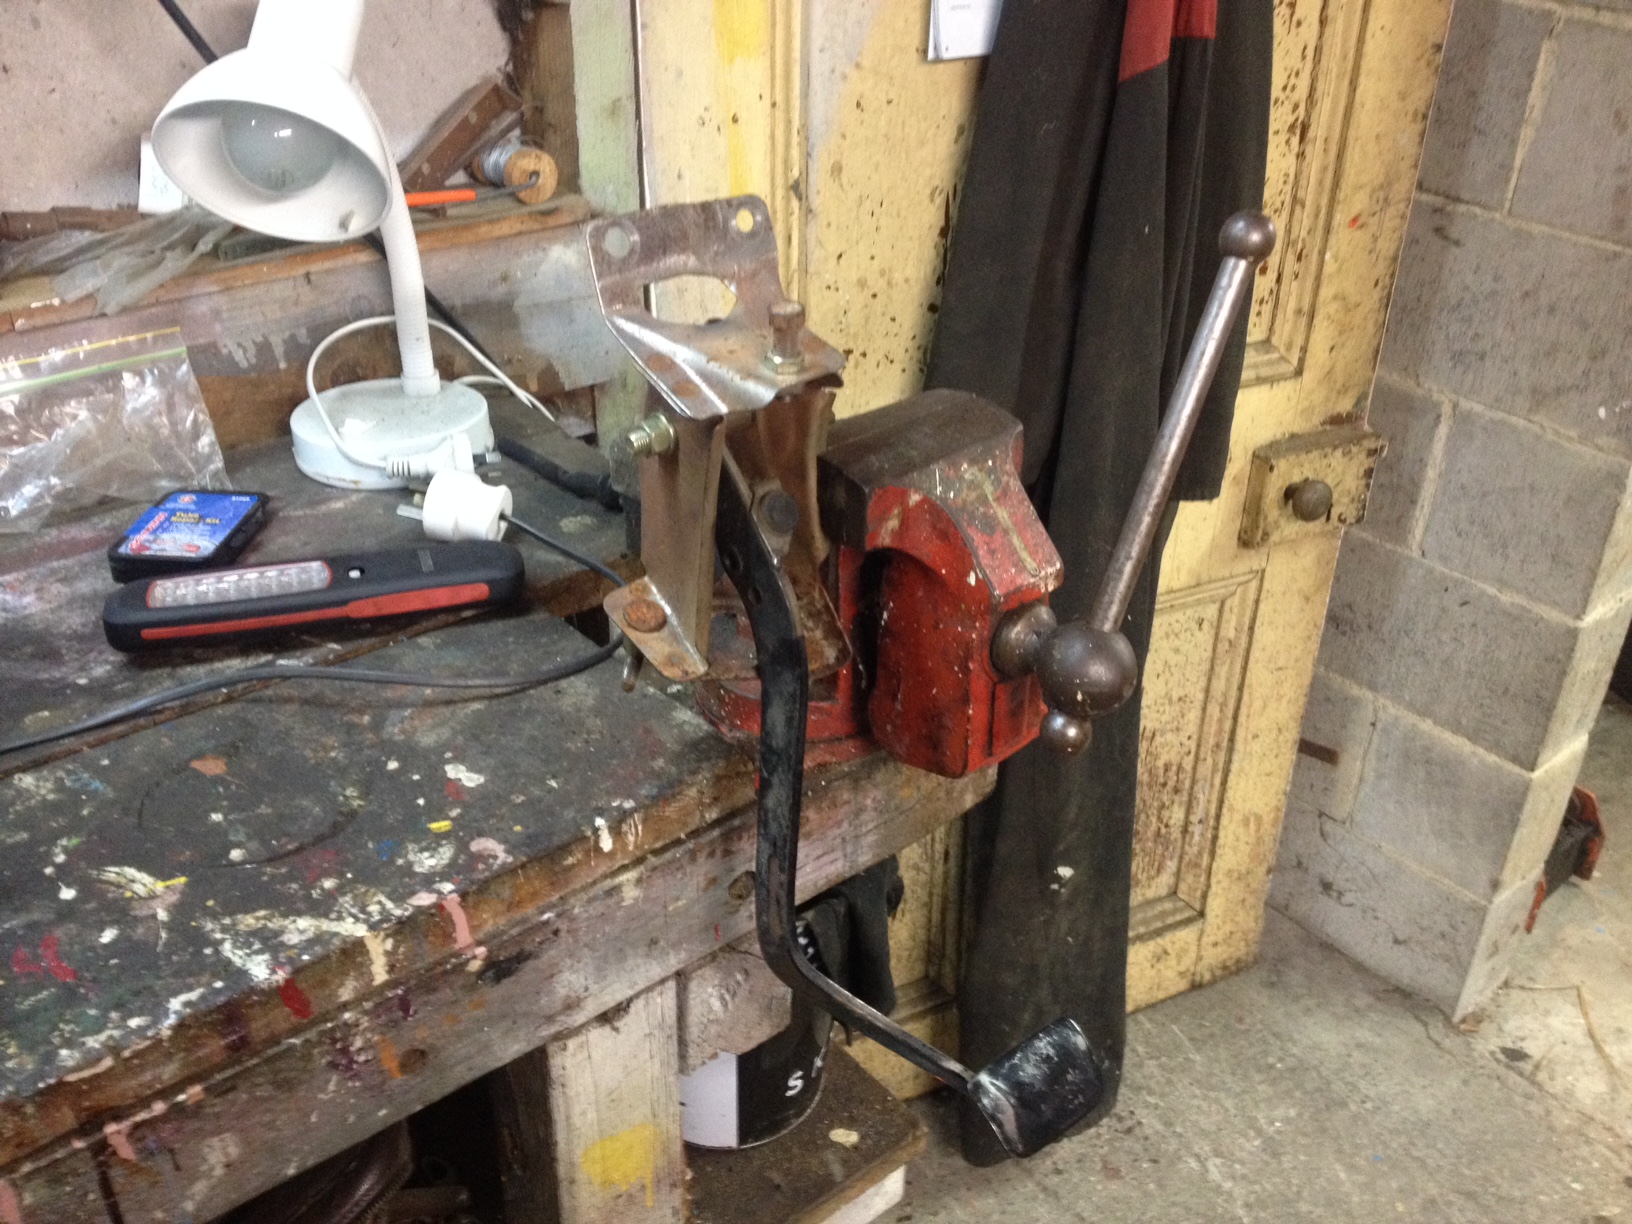
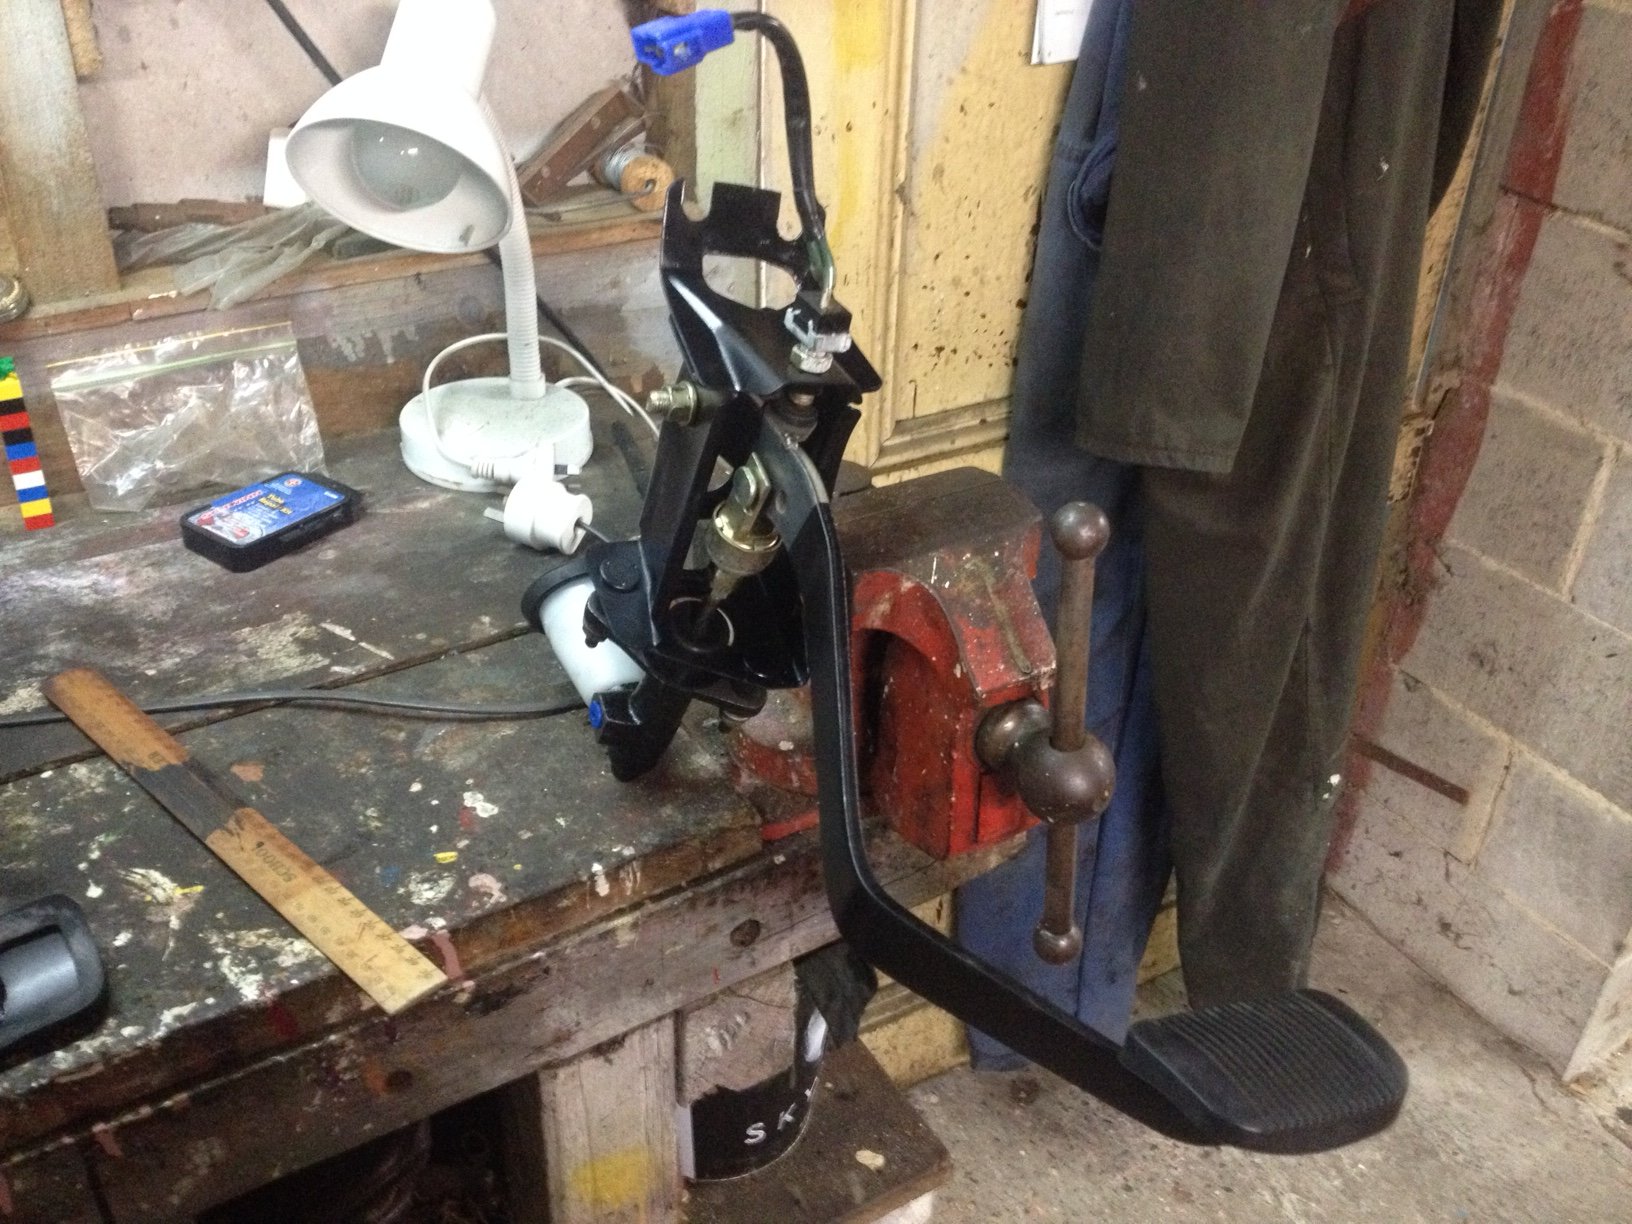
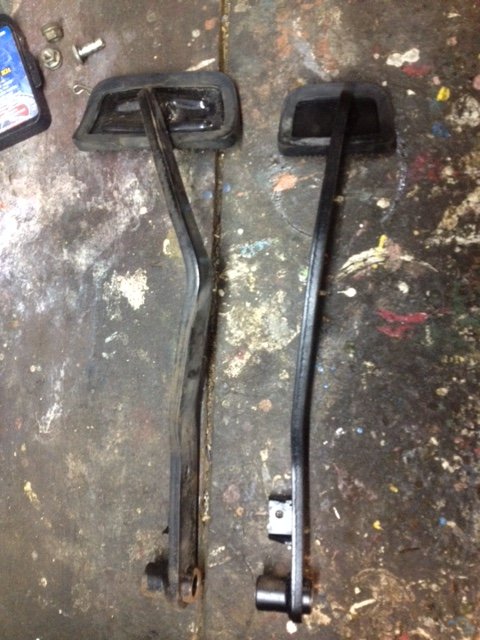
Actually, you're quite right. The Cressida brake pedal is a much nicer fit with a slight tweak to the clutch pedal. Cheers! I'll see what I can do to tidy up the pushrod.
-
The cressida brake pedal sits a little bit more to the left than the original, putting it a bit too close to the clutch. It also has the master cylinder pushrod mount hole about 5 mm lower, which puts a bit of an ugly load on the pushrod unfortunately.
-
Bluebear01's 1983 1uz powered Toyota Crown
Bluebear01 replied to Bluebear01's topic in Projects and Build Ups
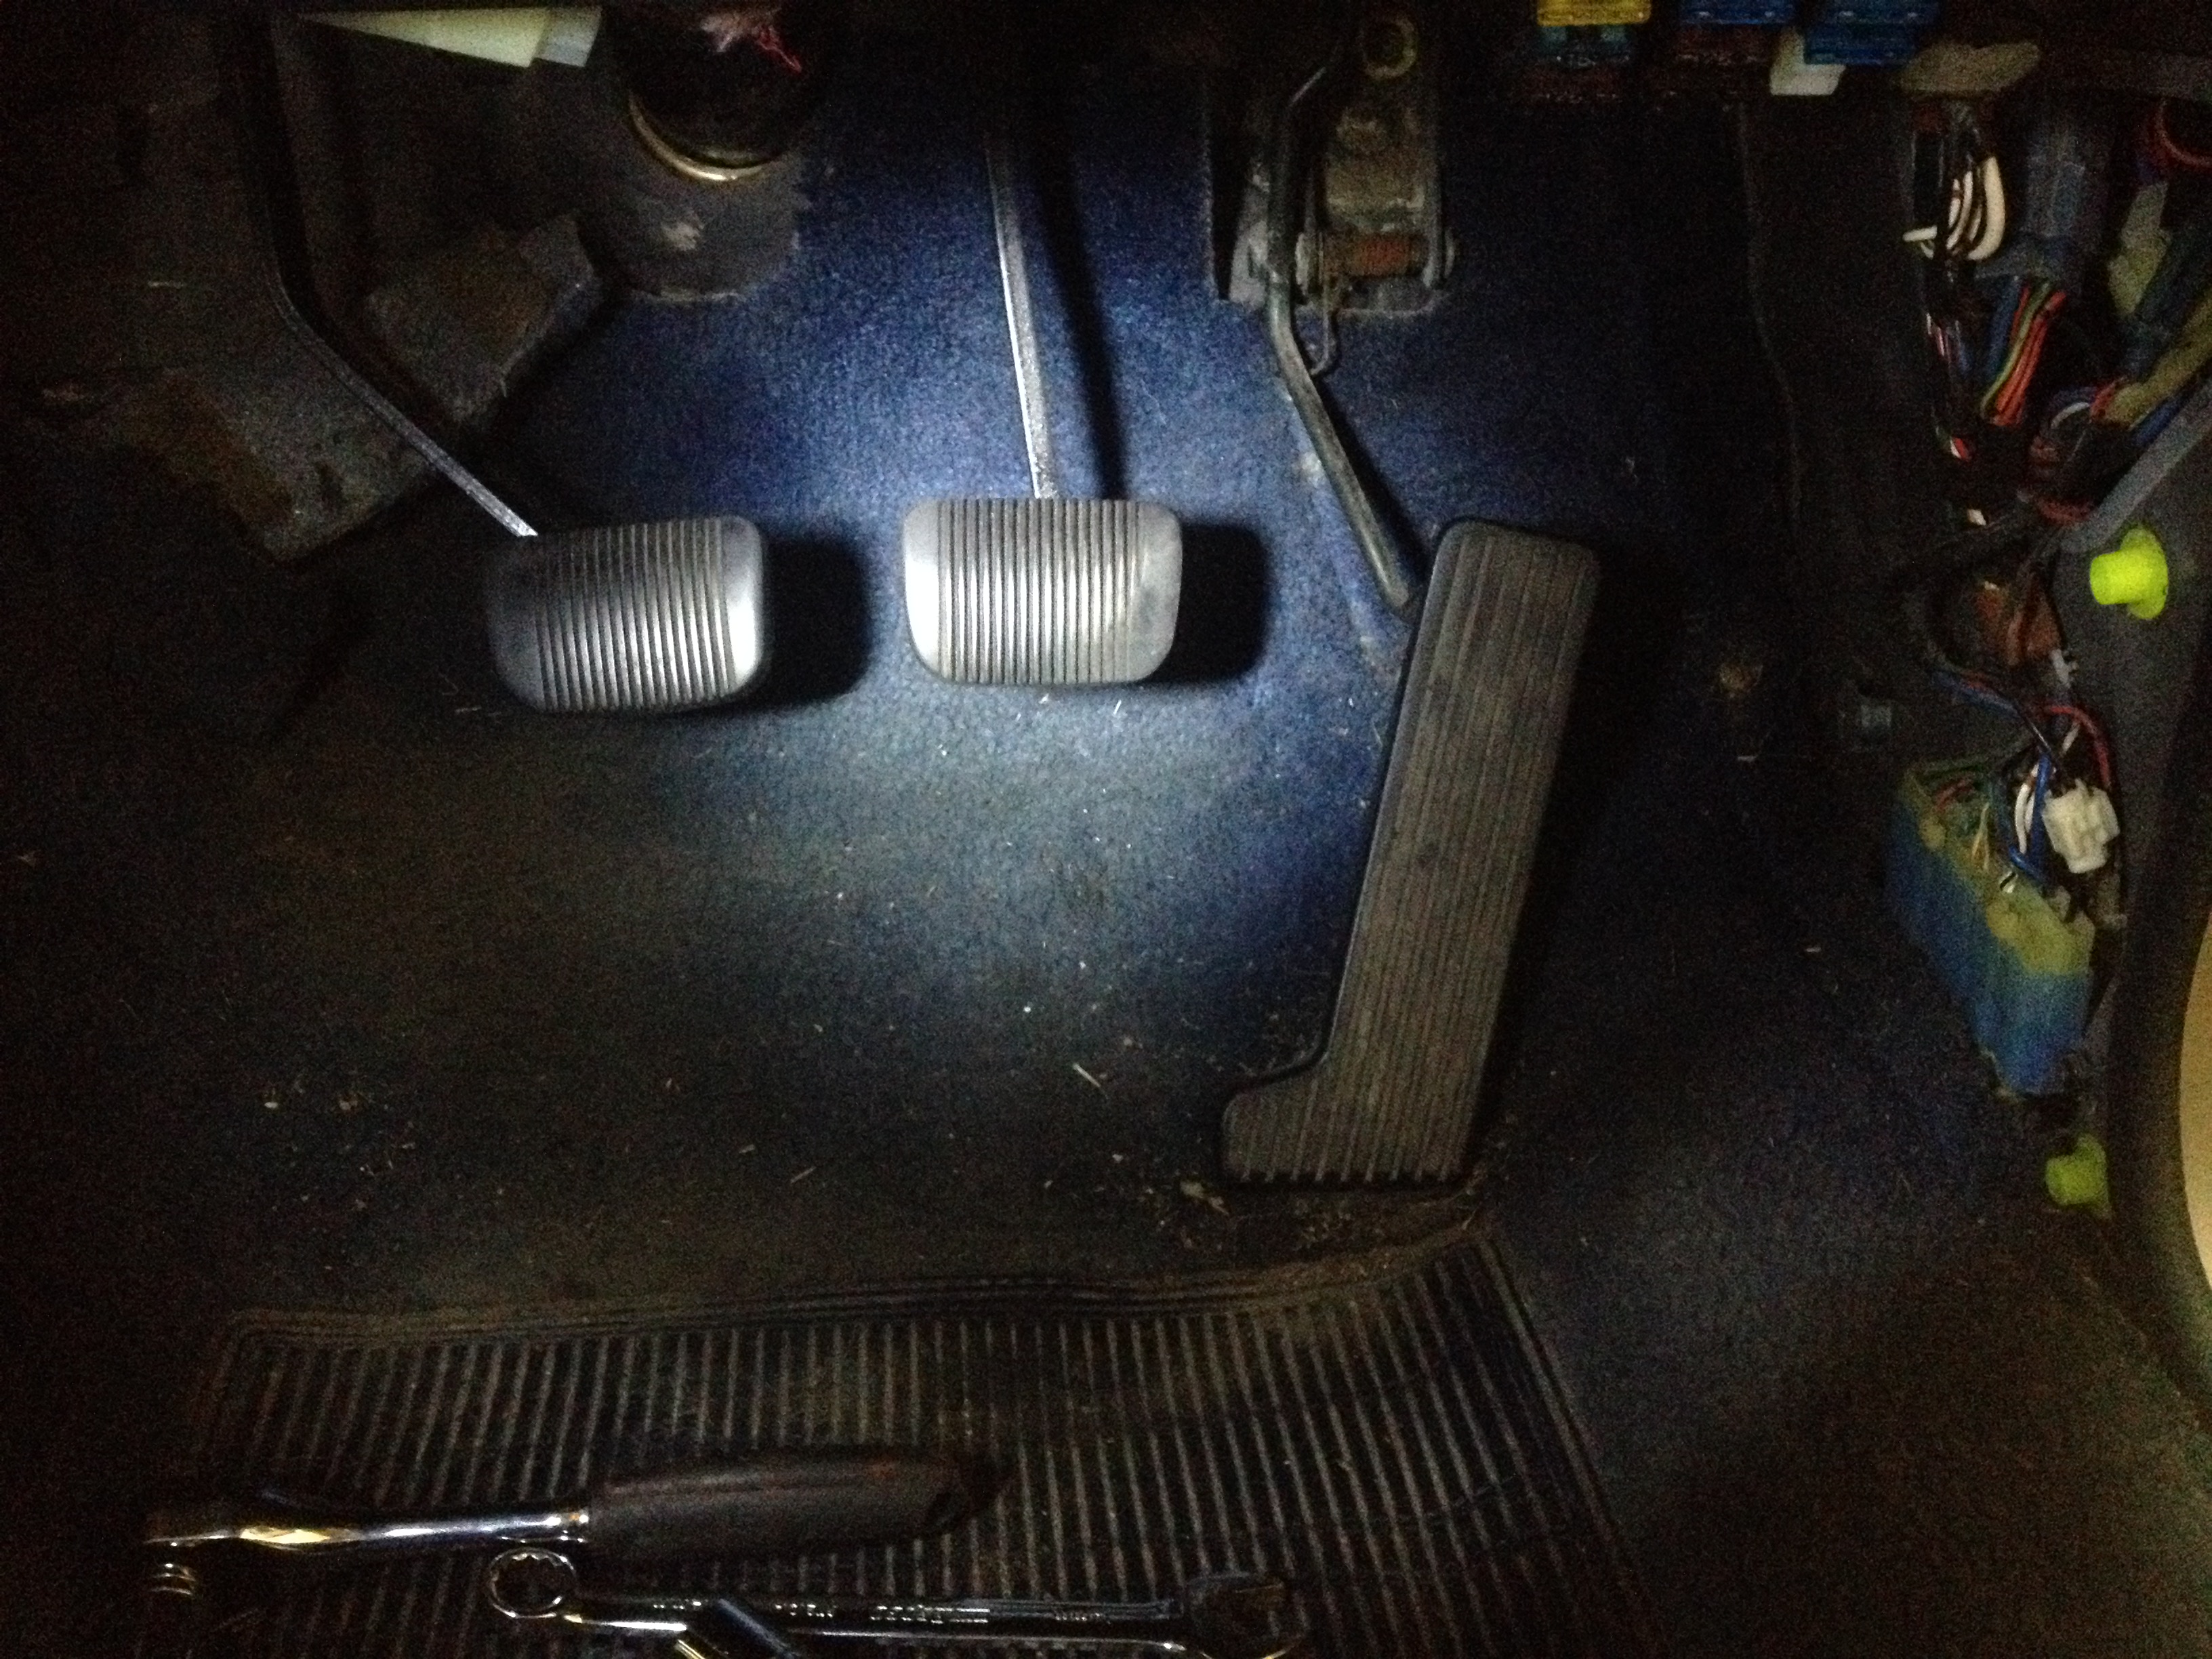
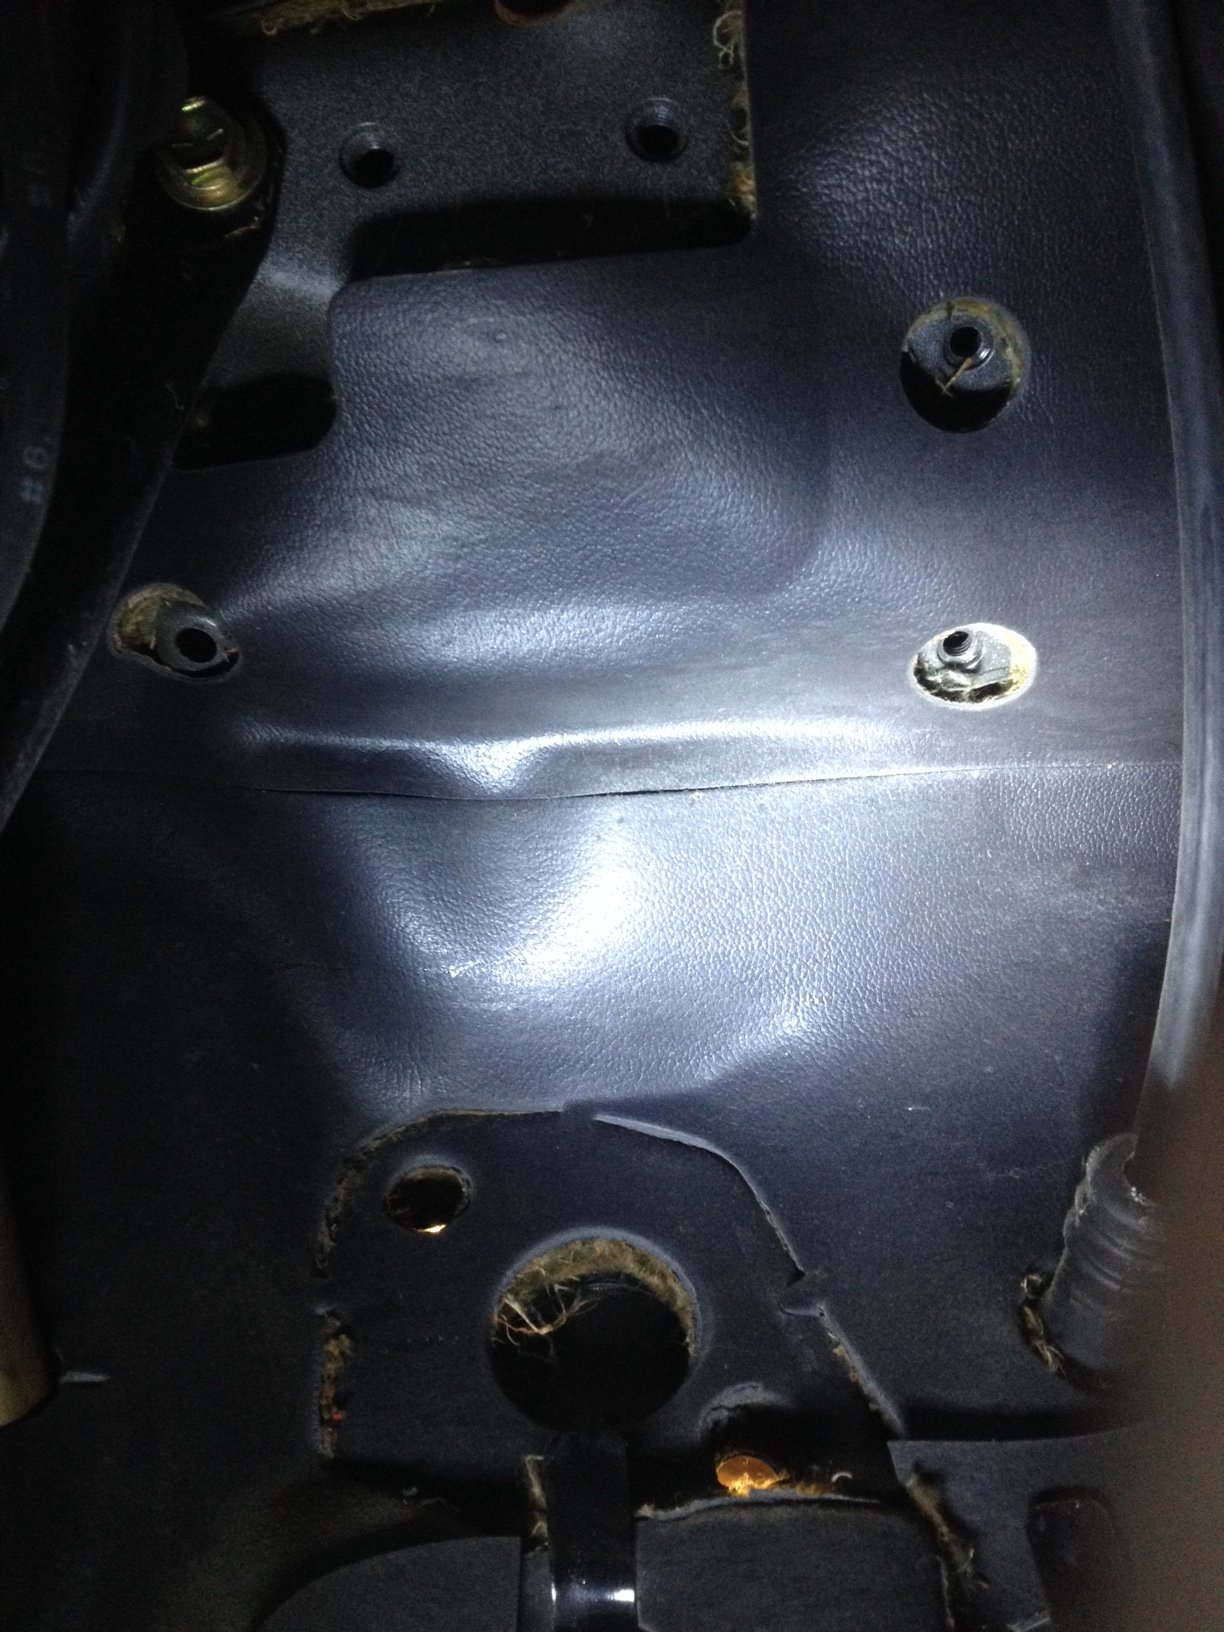
Good ol' Toyota gave me provision under the dash for the clutch pedal box, just a slight difference in the upper hole spacing between it & the Cressida setup. Which didn't take too much to rectify... But there is quite a difference between the MS112 & RX60 brake pedals, so I'll stick with the original for now. I'd like to cut down the auto pedal pad area, but I'm aware this will require cert. Since it's the original brake pedal, just cut down, do you think I would have issues getting that mod certed?
-
Bluebear01's 1983 1uz powered Toyota Crown
Bluebear01 replied to Bluebear01's topic in Projects and Build Ups
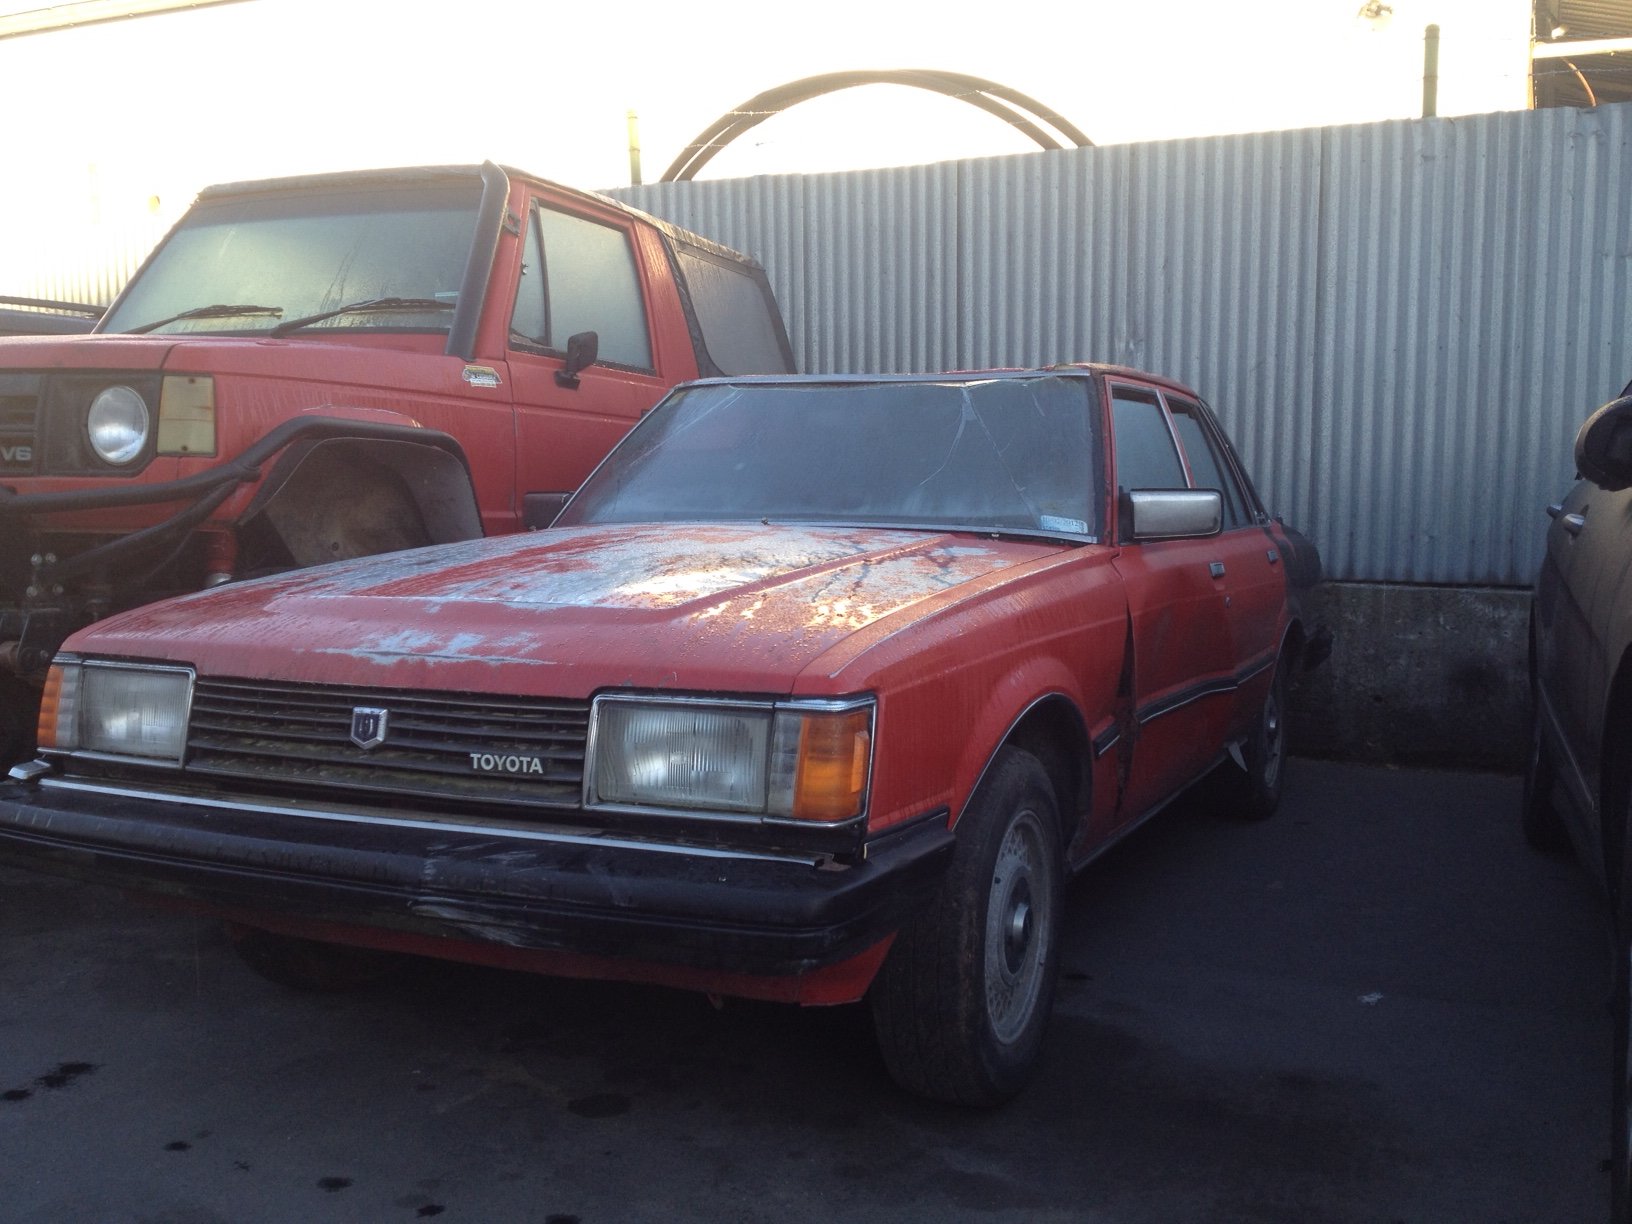
So I've been trying to make up my mind over the last year whether to stick with the auto, or go manual. The auto TCU was missing, so that was going to be a pain, but the W series boxes are just so pricey! I was looking at the Spitronics trans controllers till I spotted this old girl at the local wreckers. Looked in and sure enough, 5 speed! So I thought, stuff it. Manual is cooler. Haven't counted if it's a W55 or 57, but I'll be happy with ether. Also grabbed pedal box & driveshaft. The guys were happy for a swap with my old 5M & trans, everyone wins!
-
I was originally thinking I'd have to go auto due to the cost of W5x boxes. Although after doing some digging it looks like getting the auto going would be a pig due to requiring the separate TCU which is missing, and I think I may have found a cheap RX60 Cressida that is running ether a W55 or 57, should find out soon. Carb is long gone I'm afraid!
-
Discuss away! Feel free to critique, it's my first major swap & advice is always welcome!
-
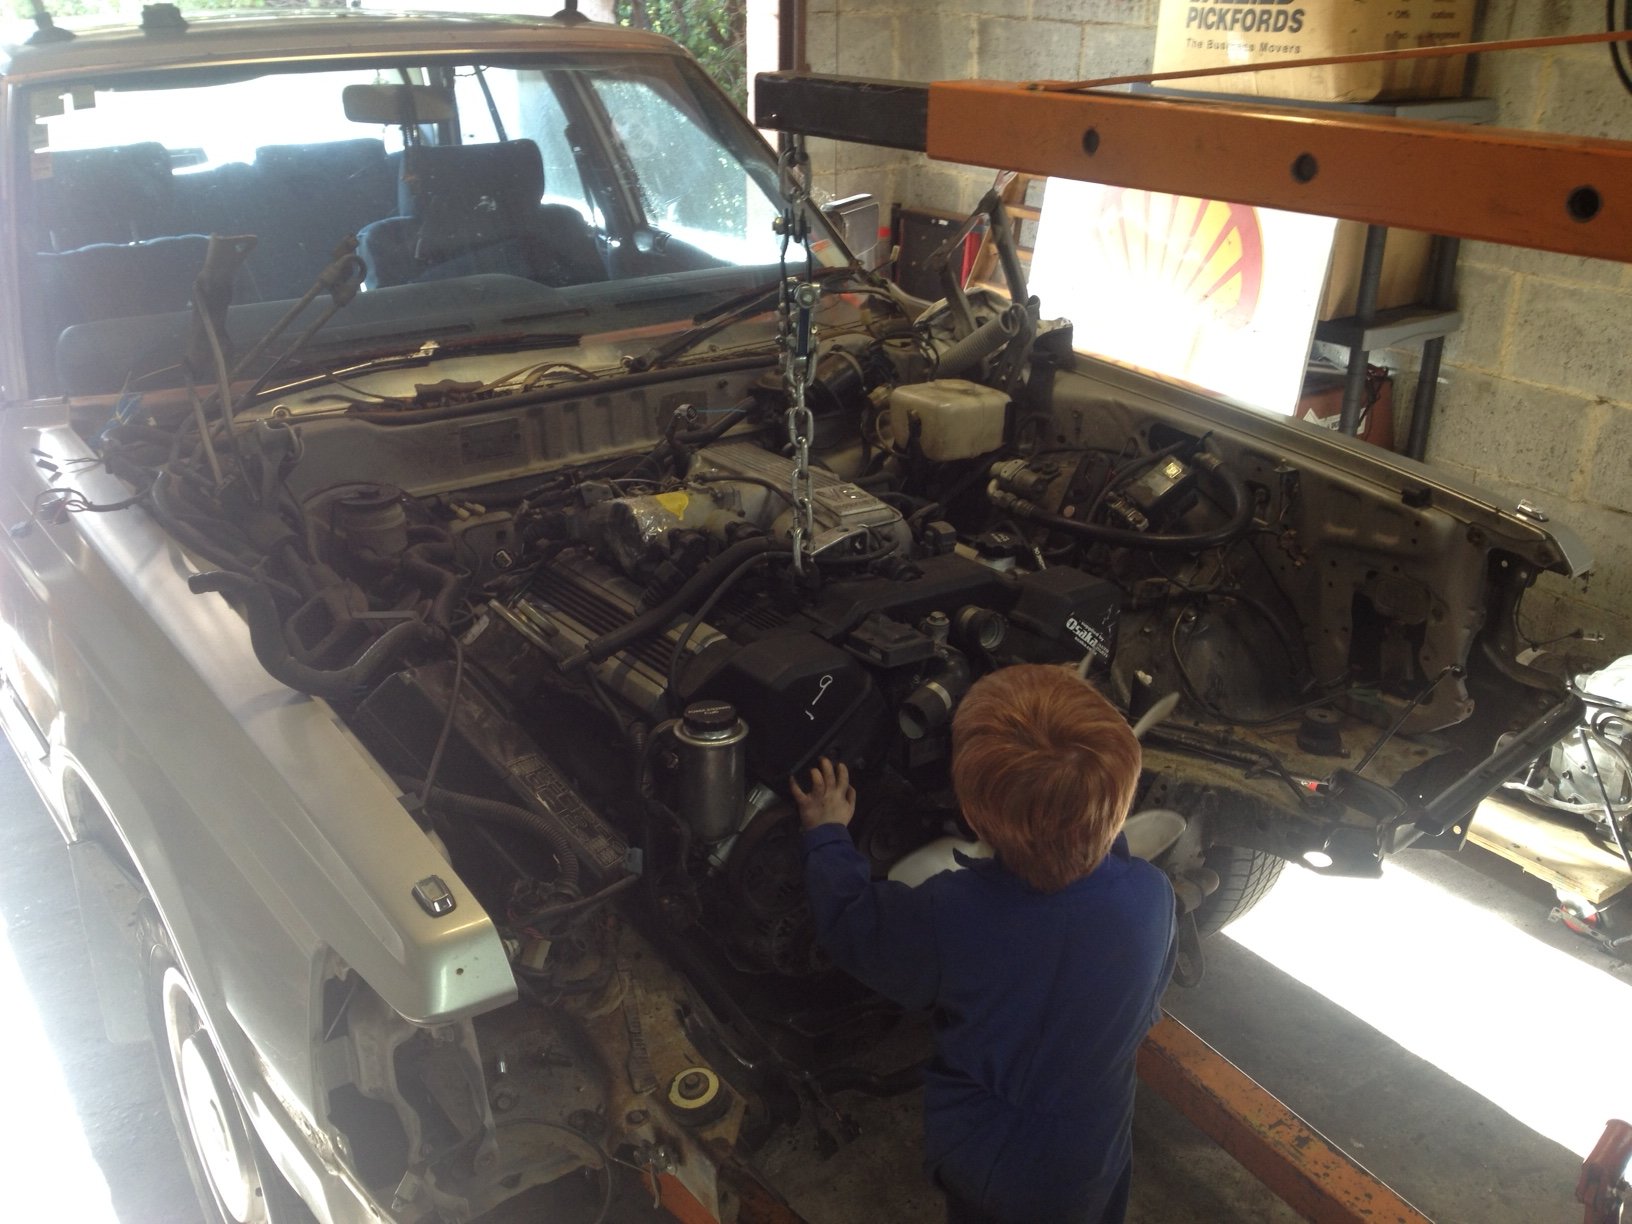
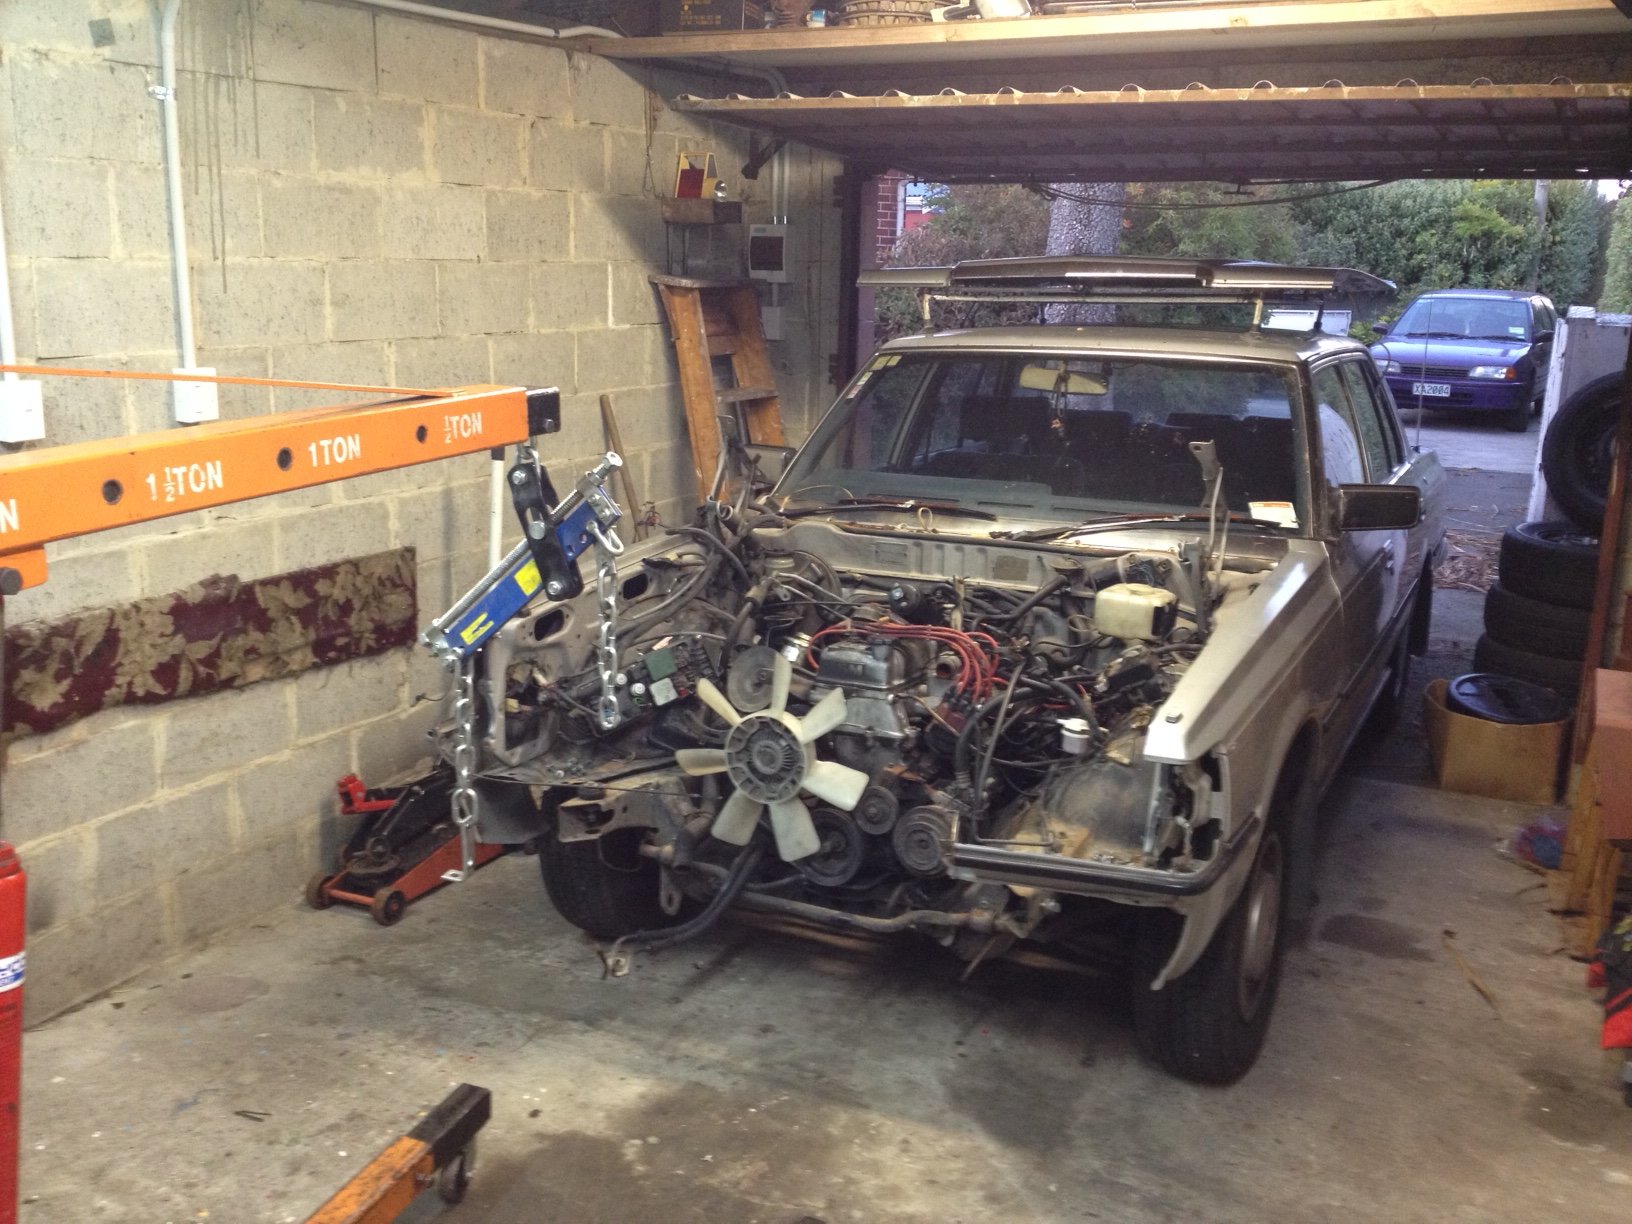
Bluebear01's 1983 1uz powered Toyota Crown
Bluebear01 replied to Bluebear01's topic in Projects and Build Ups
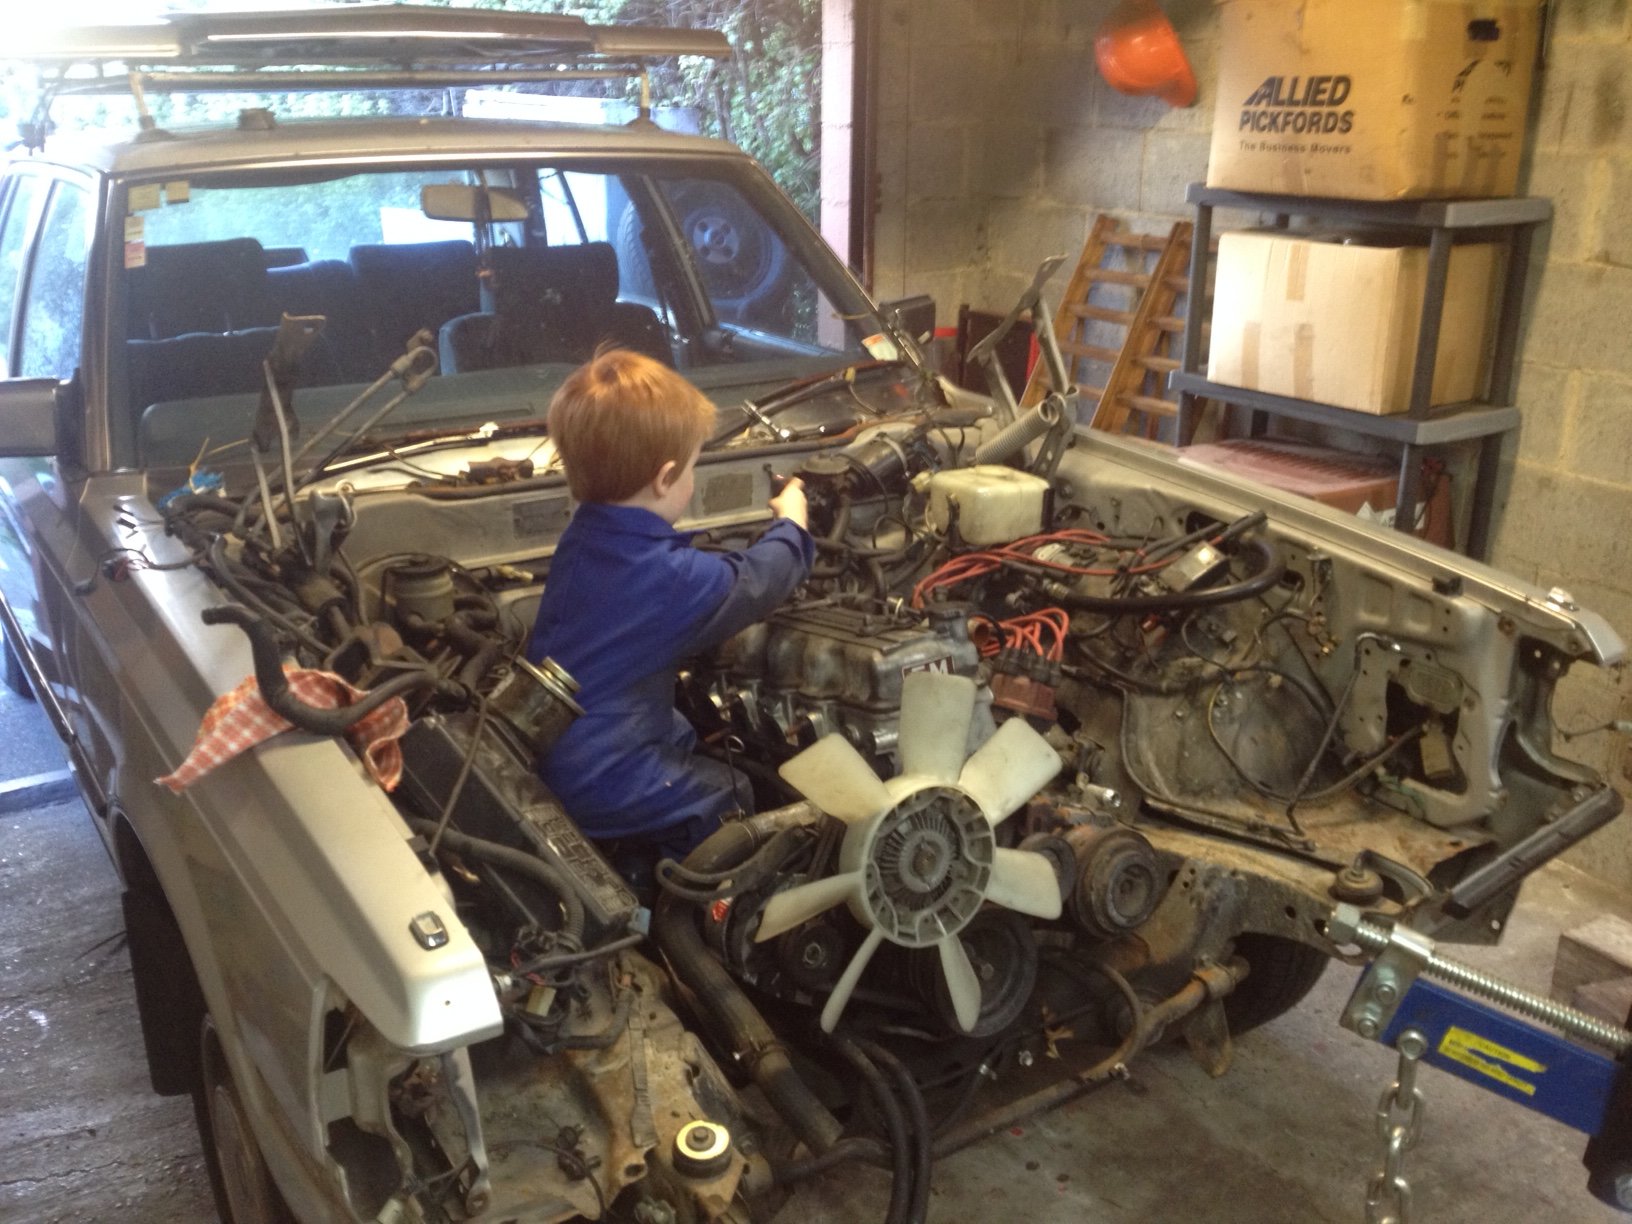
He’s super keen to wrench, good way to spend the long weekend! Had to drop the 1uz in for motivation! I'm surprised how well it fits! Clearance is tight, but tidy.
- 52 replies
-
- 19
-
-
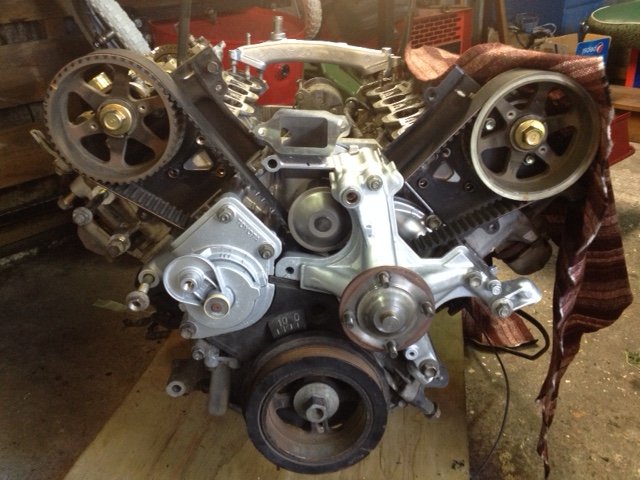
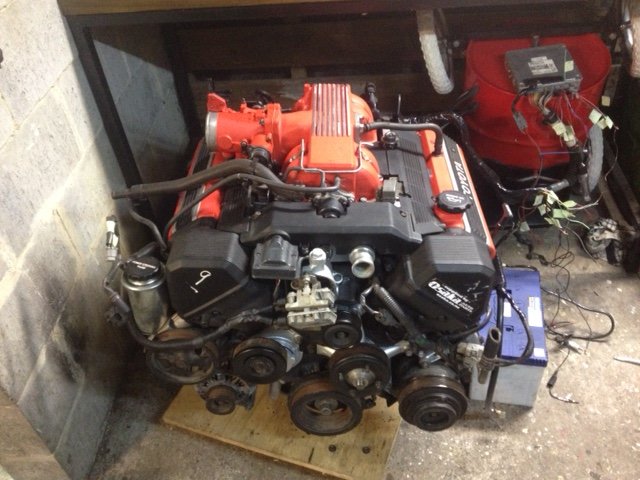
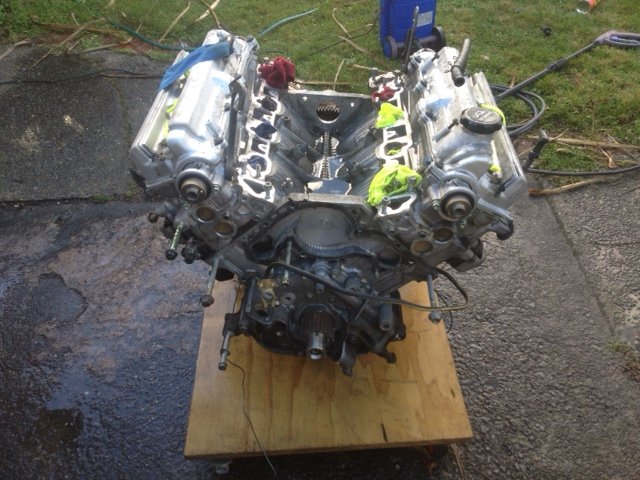
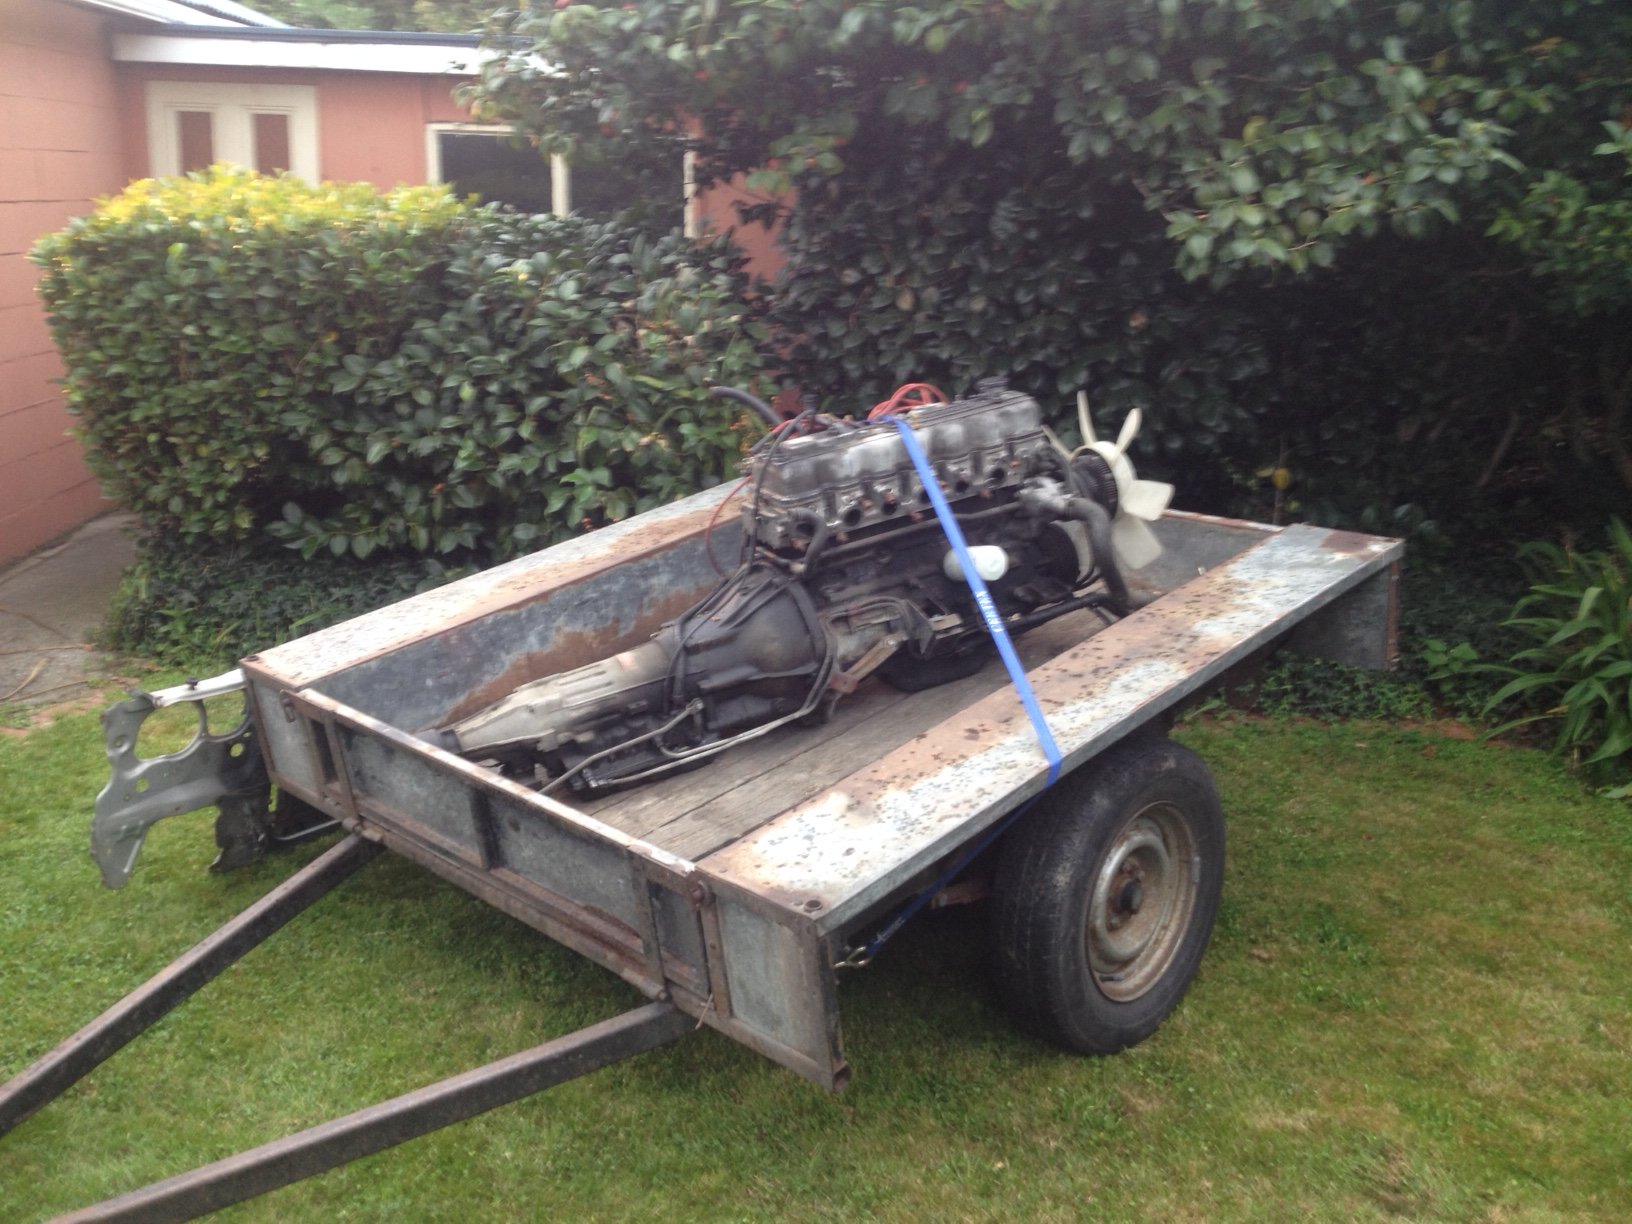
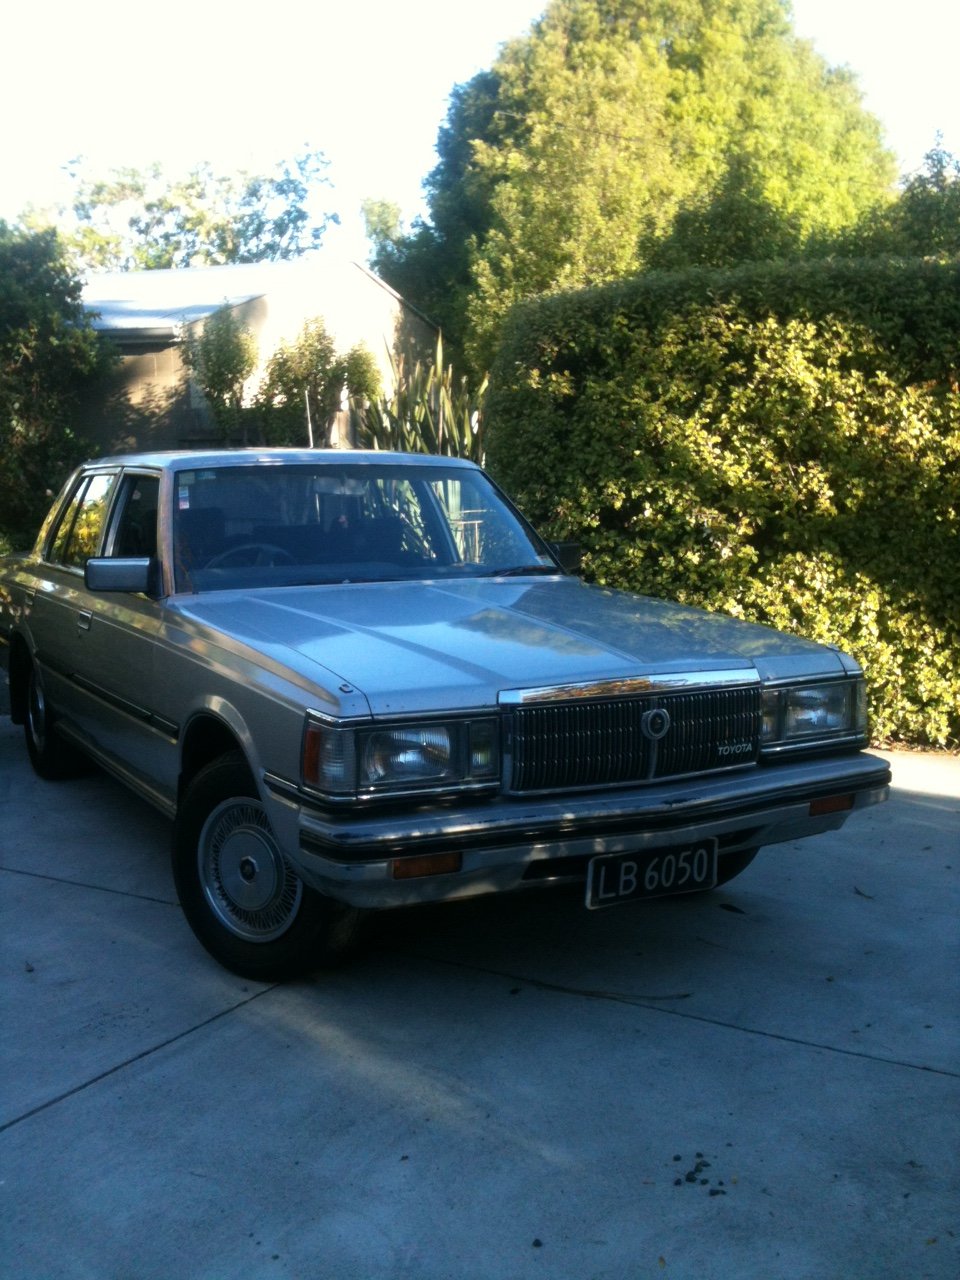
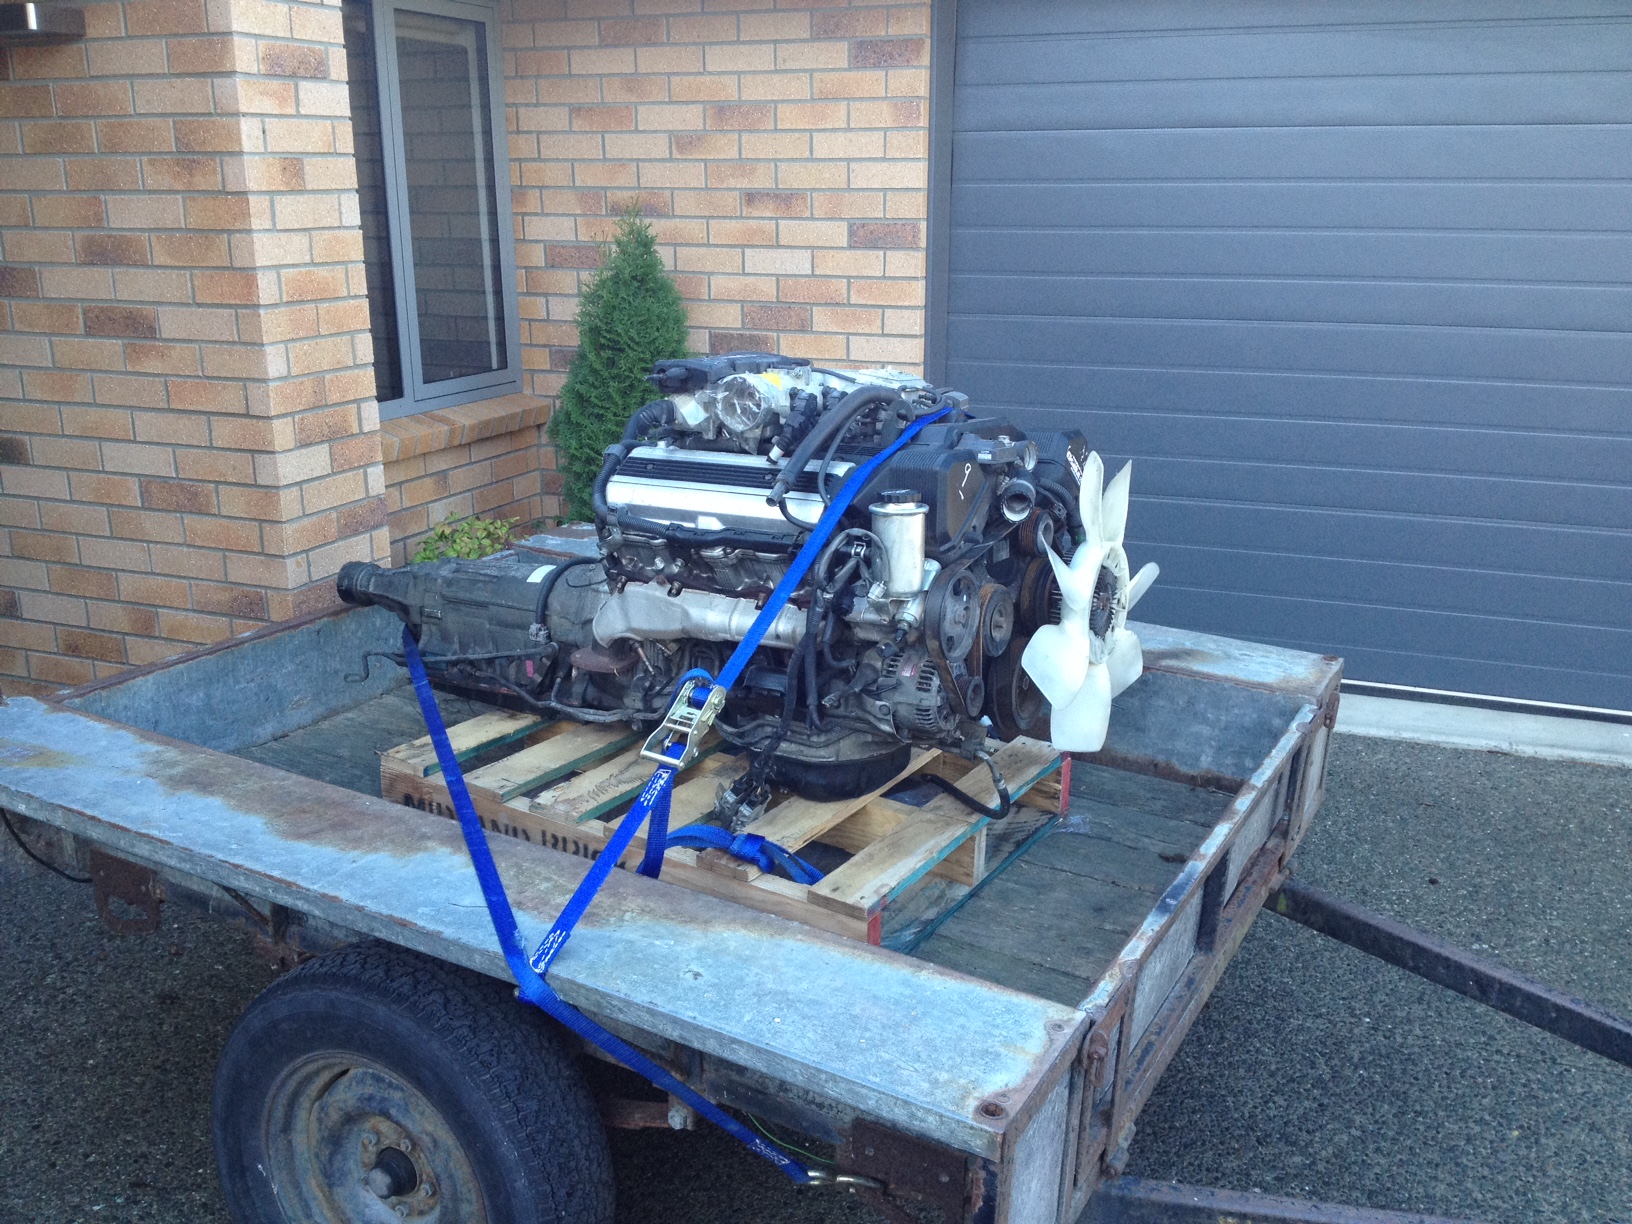
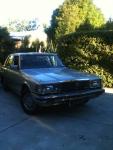
Finally getting round to putting this project up on here. It's a 1983 Toyota Crown MS112 I got from the second owner back in 2008, and it's been a sweet daily since then. Previous owner drove Oxford to Chch every day for a decade or 2, so now it's pushing 375000k. I say sweet daily, but it does go through headgaskets at the standard M series rate. No other probs at all though. The last time it went I found the head is starting to crack up, so decided it was time to swap up to something a bit nicer for trouble free cruising. I've always wanted the burble of a V8 with jap reliability. The wife must actually listen to my ramblings because she organized with a bunch of family and friends a sweet 30th birthday present... She even managed to grab the early 1uz with mid sump, log headders & slip yoke trans! No excuses left now, so the young lad & I got stuck in this weekend.
- 52 replies
-
- 11
-
-
Toyota Crown MS112 . Front brake upgrade
Bluebear01 replied to J2Racing's topic in Project Discussion
Lol small world J2Racing, I think it was me you were hunting out brake info for . Thats some really helpful info, thanks guys! It's getting a 1uz, but it's good to know the factory brakes may cut it. She is running drum rears, but i have a disk rear end to pop in. The fronts are vented, but I do remember seeing some slotted rotors to suit a ms112 on trade me a wee while back. Might not be worth it though?


.JPG.c89f7dcd333412161baefaaa5cd2d299.JPG)