HKM400
-
Posts
182 -
Joined
-
Last visited
Everything posted by HKM400
-
The panels have been stuck on with adhesive and also have rivets holding them in place, also screws for ease of removal. Are they really considered structural? The chassis is braced throughout the front and sides of the car, the side panel is really just a covering being a thin sheet of aluminium. Are they considered to add significant structure? I guess they would serve a purpose of slowing objects down in a side impact but really the chassis will be taking the bulk of the impact?
-
Awesome, cheers!
-
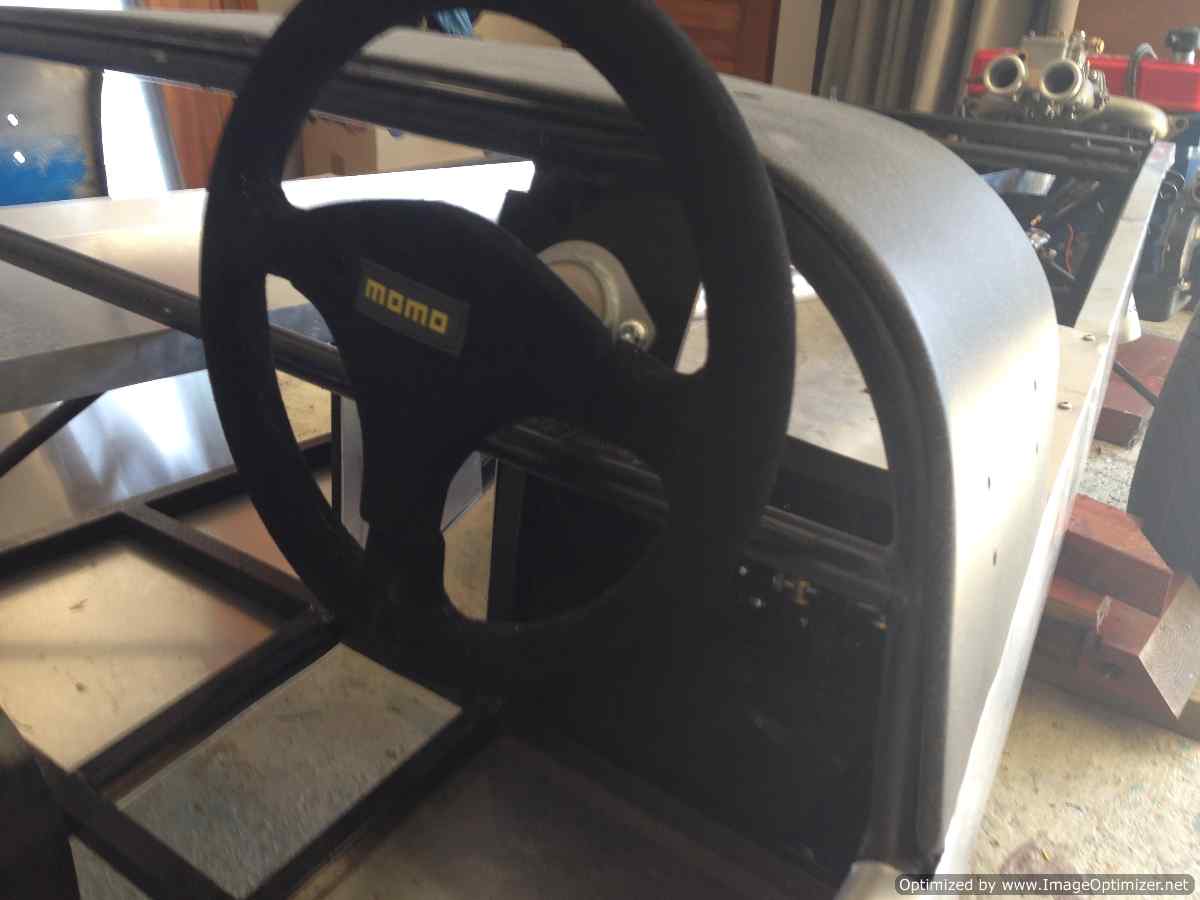
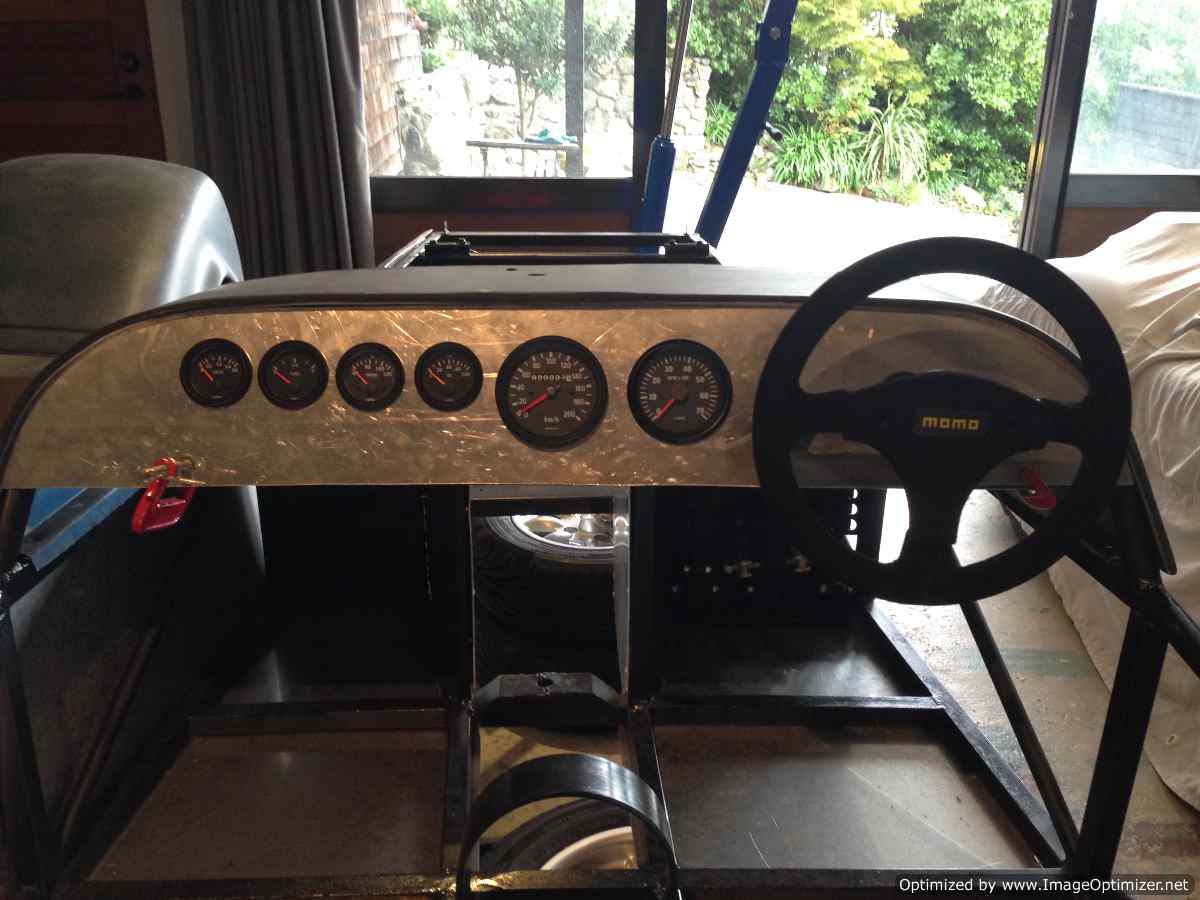
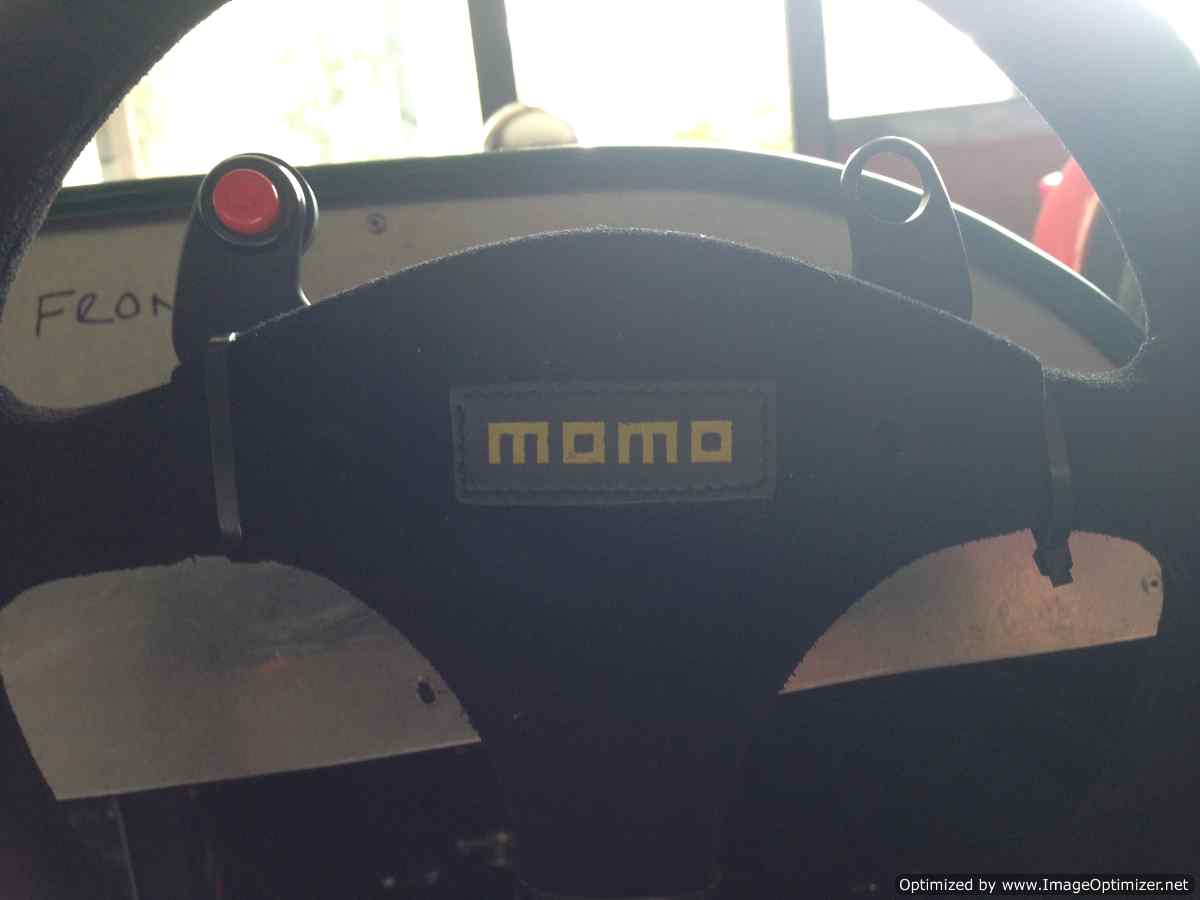
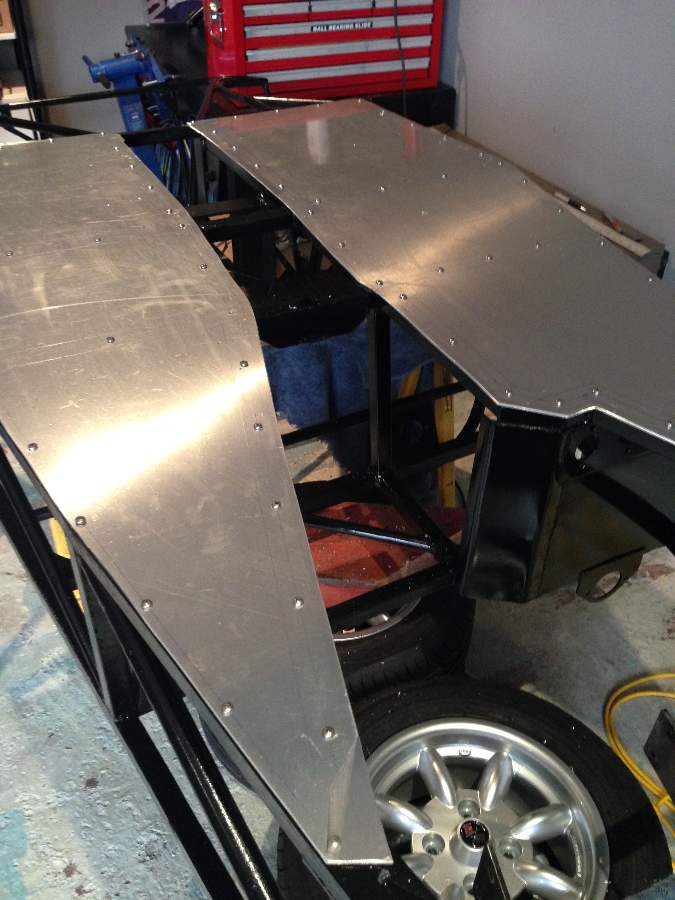
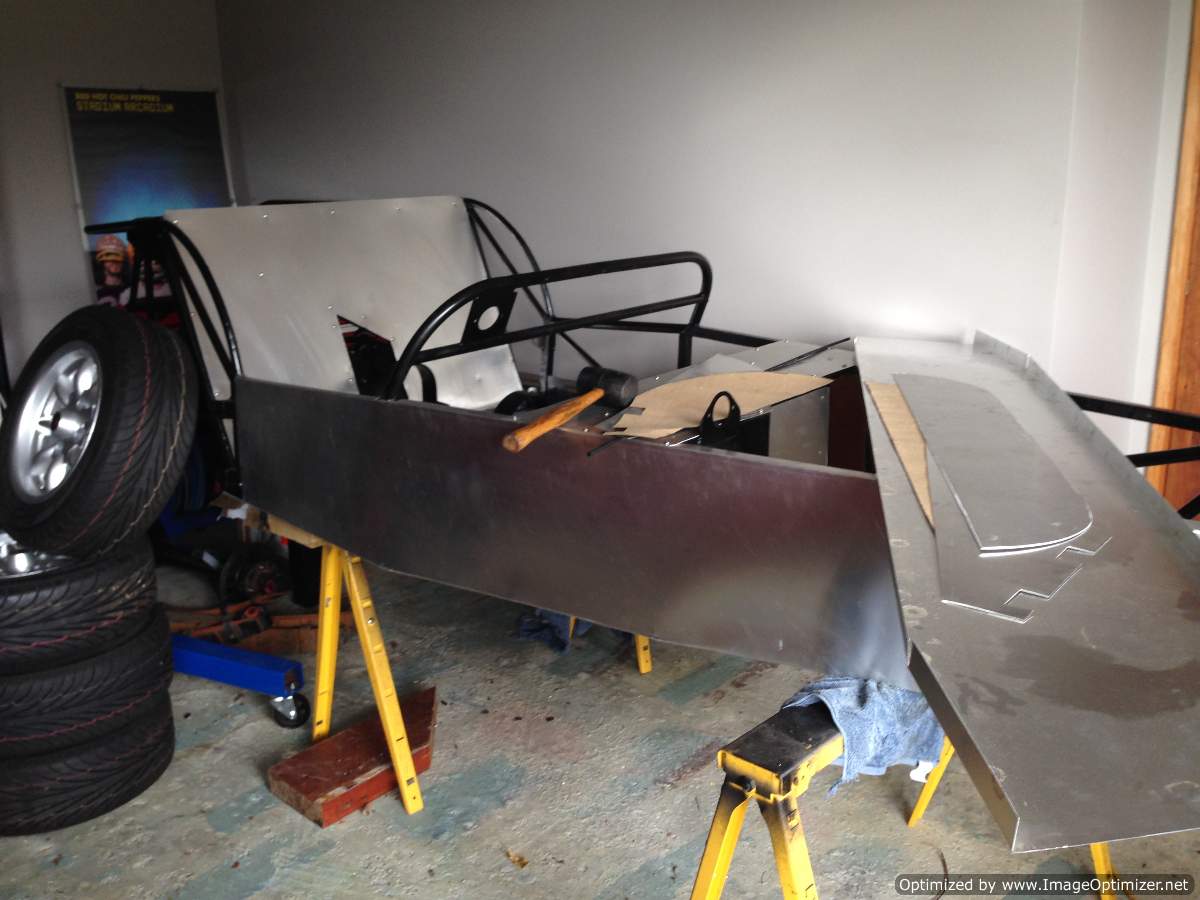
Another day off, so more posting to be done. Slowly catching up to where I'm at currently Bit more panel work completed. As mentioned by some other members rivets are all good, especially for holding the panels down tight so a few have gone in, just in lesser numbers than previously. Also like the ability to remove the panels by undoing screws seeing as it is a hand build car and of course there will be issues, so easy removal is a must. Both sides skinned, ability to turn it over is pretty convenient but it is getting a bit heavier at this stage. Still manageable with 2 people. Cutting the holes for the steering rack was a terrifying process. Had to attack it with a holesaw and hope. Enjoying the plate in the background. Everyone will try tell me it isn't a real one... then they see my spotty- and have to think a little harder. Don't know if I've mentioned previously but the rego has been on hold for over 20 years. Which is beyond awesome. Supposedly I should be able to just register and then get a wof... somehow I don't think it will be that simple. Minor modifications have been made but it's fairly similar to the original. Any thoughts on this are appreciated. I'm aware of cert requirements for things that have been changed like engines etc. Put the steering wheel in and scuttle on for a test fit- wheel is very small but couldn't be much bigger due to space. Apologies for the shite photo Then some more fun stuff, drilling out the dash for gauges. Way more enjoyable than sheet metal in my opinion Came out pretty good. The minor gauges are Vthree- got them for a good price and they look fine, pretty sure they're made by the same people who do VDO but don't quote me, the speedo is a Pricol mechanical and a VDO tacho. The dash is pretty small so fitting all the switches was a bit of a pain, and the key of course. Naturally I forgot about the horn and hi low dip switch so I've had to go too soon jr style and mount them on a button plate behind the steering wheel. Not really keeping with the classic look but then again I'm secretly enjoying it. Then I fitted the rear panel for drilling, this was going to be painted so I couldn't fix it in place That is all, as always comments are appreciated- and regarding the cert issue (if I need it at all). //oldschool.co.nz/index.php?/topic/46798-hkm400s-1969-lotus-7-series-3/ Ta

-
Makes sense, I guess the harder areas to get in with the welder are easier to access with braising. Plus there a few bits left in there which were strong enough as is. A few rivets have gone back in, just in much fewer numbers! Also wanted to make panels easier to remove without the use of a drill bit. Cheers for all the comments guys
-
Wheels were indeed standard Ford 4 studs, sadly I sold them on trademe last year, probably to another oldschool member. Needed some funds to keep the project going
-
Haven't done much to that, but it is going to be taken apart after this one is finished, motor needs a rebuild, or maybe a V8. That would solve it nicely
-
As for the exhaust, it was running inside the garage so made it a bit louder, however I did have to put ear protection on and it was only idling... Was a lot louder than my friends Subaru and that has a 3 inch pipe off the turbo all the way back, and a 4 inch muffler with no silencer. Needless to say the wof man may take interest...
-
Yeah I have seen Frasers with it done, and they are good solid cars, the guy welding my frame up had to chop a fair bit out anyway so welding was his preferred option. Hopefully mine will look half as good as a Fraser, some awesome ones out there.
-
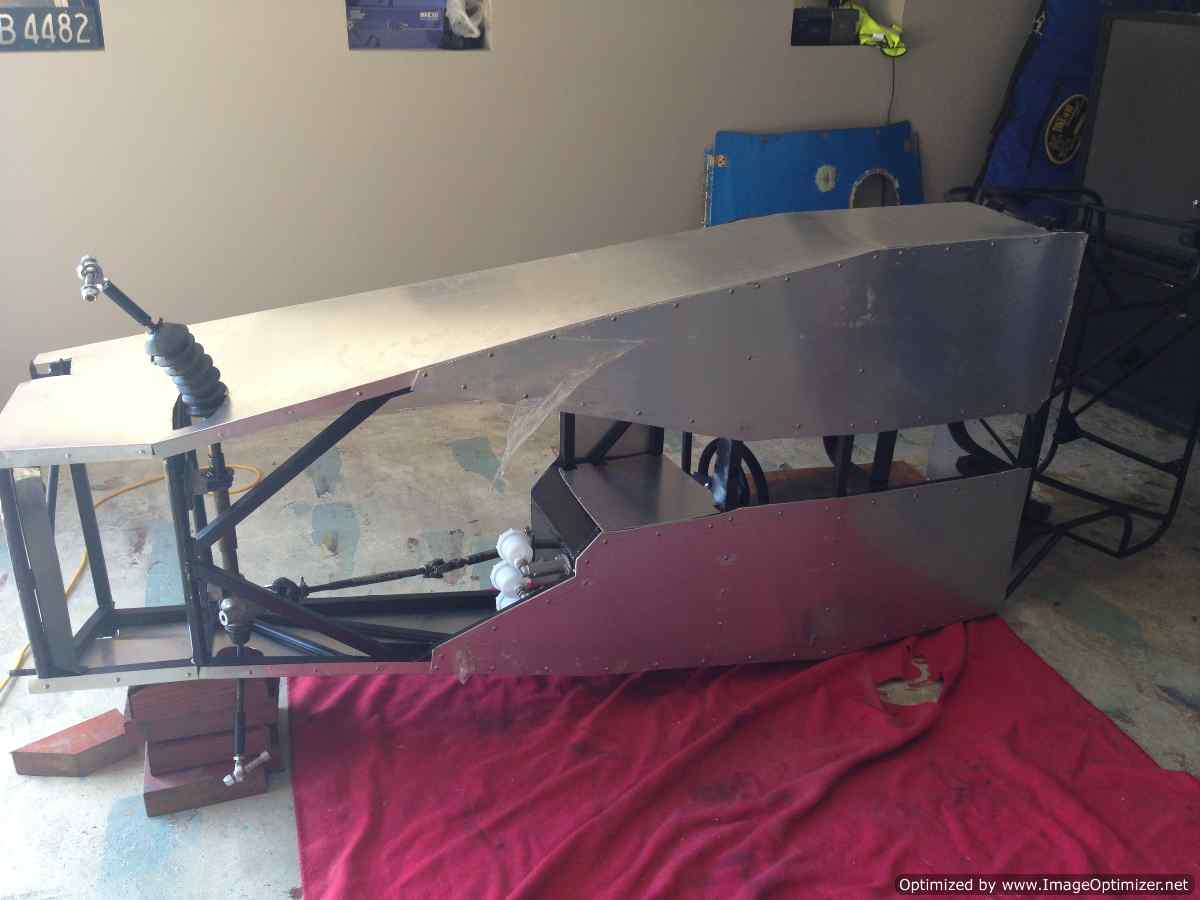
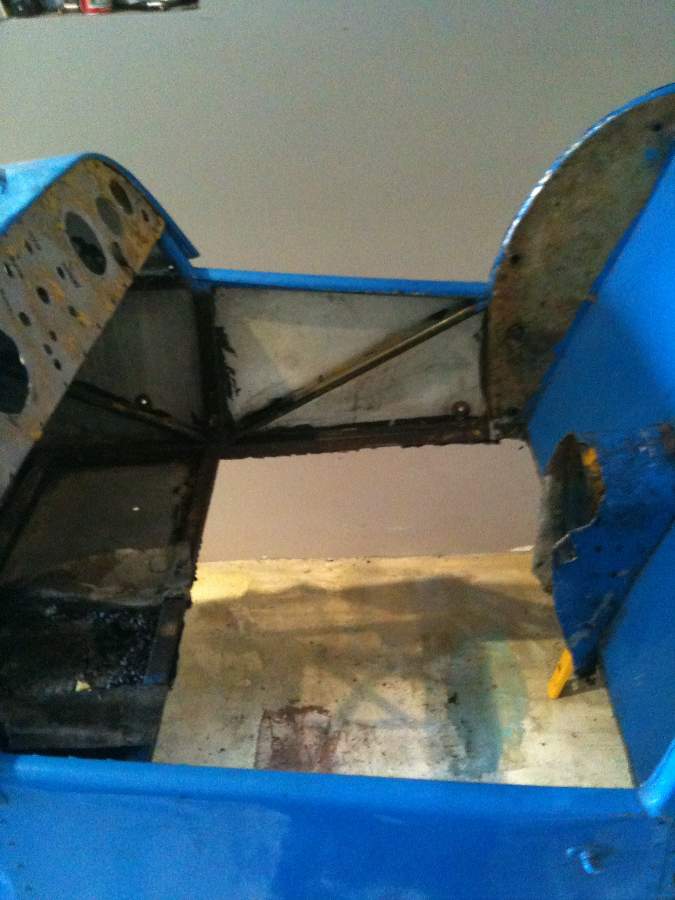
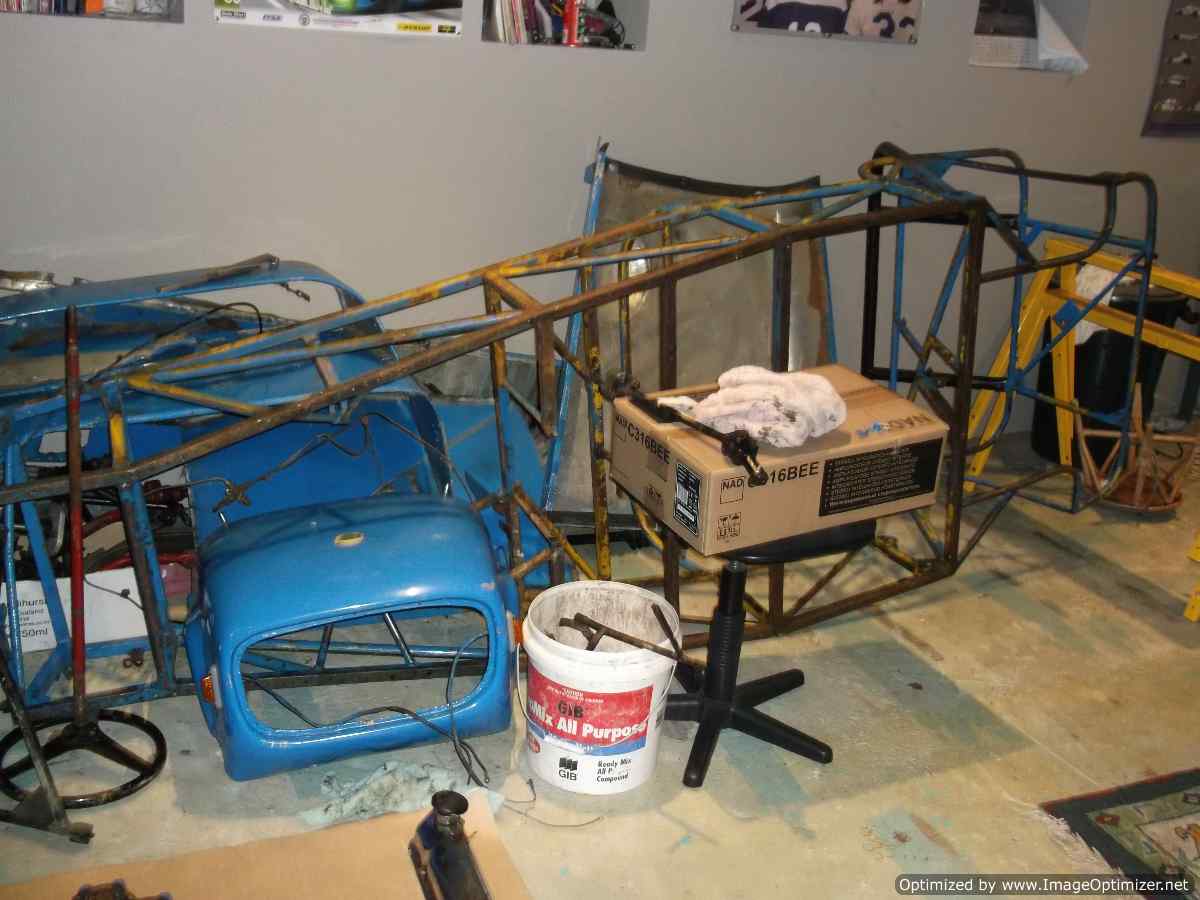
Decided to rattle can it, that's all the originals received plus powder coating is more expensive and rather final, at least with paint I can modify if necessary and not stuff the powder coat... although I'm hoping to not have to chop anything else. Just an idea of what the car looked like before all the work went into it, and got to the point where it could be painted. Mmmm rusty goodness Also loving the vast chasm where I'm meant to sit. Not dangerous or anything, just a drive shaft spinning next to you Some excellent engineering in there, that has all since been removed in case anyone thought I was serious. After some DIY paint booth action... which looks suspiciously like a car port with a tarp around it... the rattle canning began. Took a fair bit of paint to get a decent finish but good enough Just like a bought one! HA... Probably the trickiest part was to come, skinning the car with aluminium. I had been dreading this bit because, if we're honest, it could easily look really shite if this bit went wrong. Luckily I got Idiens to cut out the panels from paper patterns my mate Chris and I made up one afternoon. Put the floor on first, sadly for the person who put this car together previously, as mentioned earlier, had a rather odd affection for a certain metal fastener which caused me great pain and suffering for several days, I opted for self tapping screws and glue to seal the floor to the chassis. Much tidier and looks less religious. Holy, sorry, bad joke. Moving on... Once the floor was in I could start putting exciting bits and pieces in, partly because hooking up the pedal box with the side panel in place was going to be much easier and require less grunting noises. Then I decided to stop procrastinating and try fit a side panel without making a massive mess of it Note delicate fitment tool #7 residing on the chassis. Came in handy later when I realized I have got the measurements wrong. Needless to say that day ended in the drowning of sorrows at the pub. Got it sorted though in the end. Mocked up the dash too, ready for drilling. Because the steering come right out of the dash, the clocks can't be mounted in the traditional place behind the wheel. Not that you could see much of them anyway given my choice of momo wheel from a formula ford... Can also see the mad cool pedals. Anyway, that is all for now. Feel free to discuss, thoughts or comments appreciated: //oldschool.co.nz/index.php?/topic/46798-hkm400s-1969-lotus-7-series-3/
-
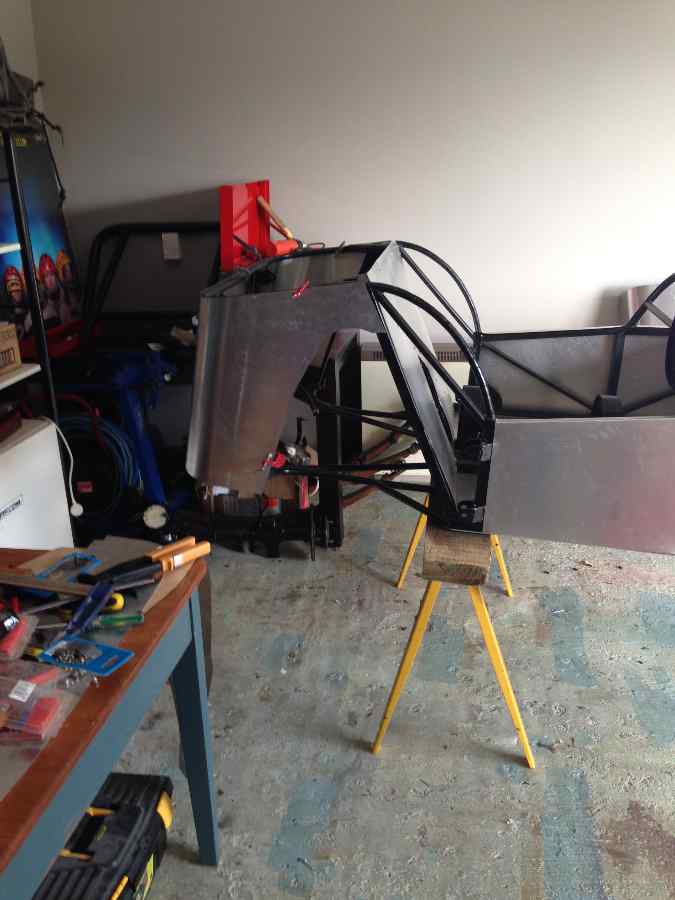
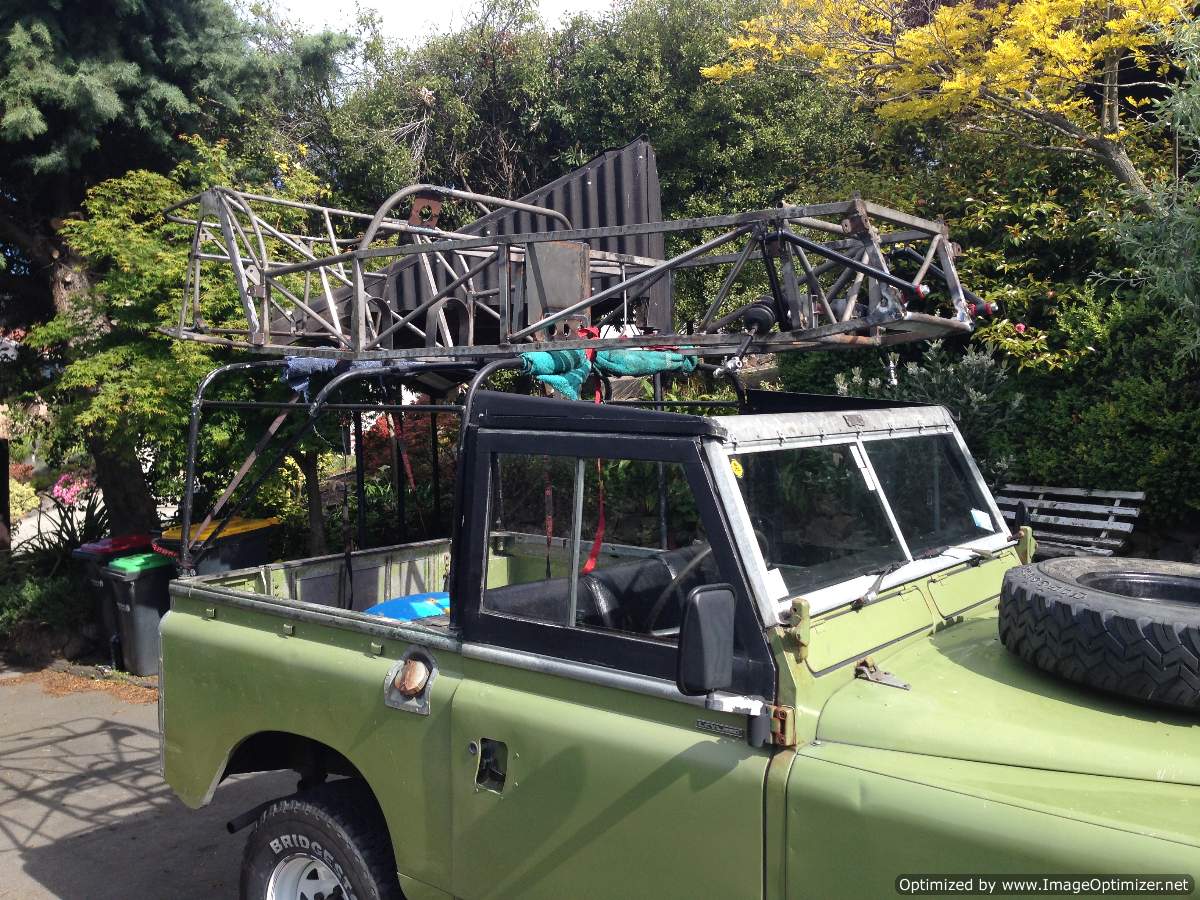
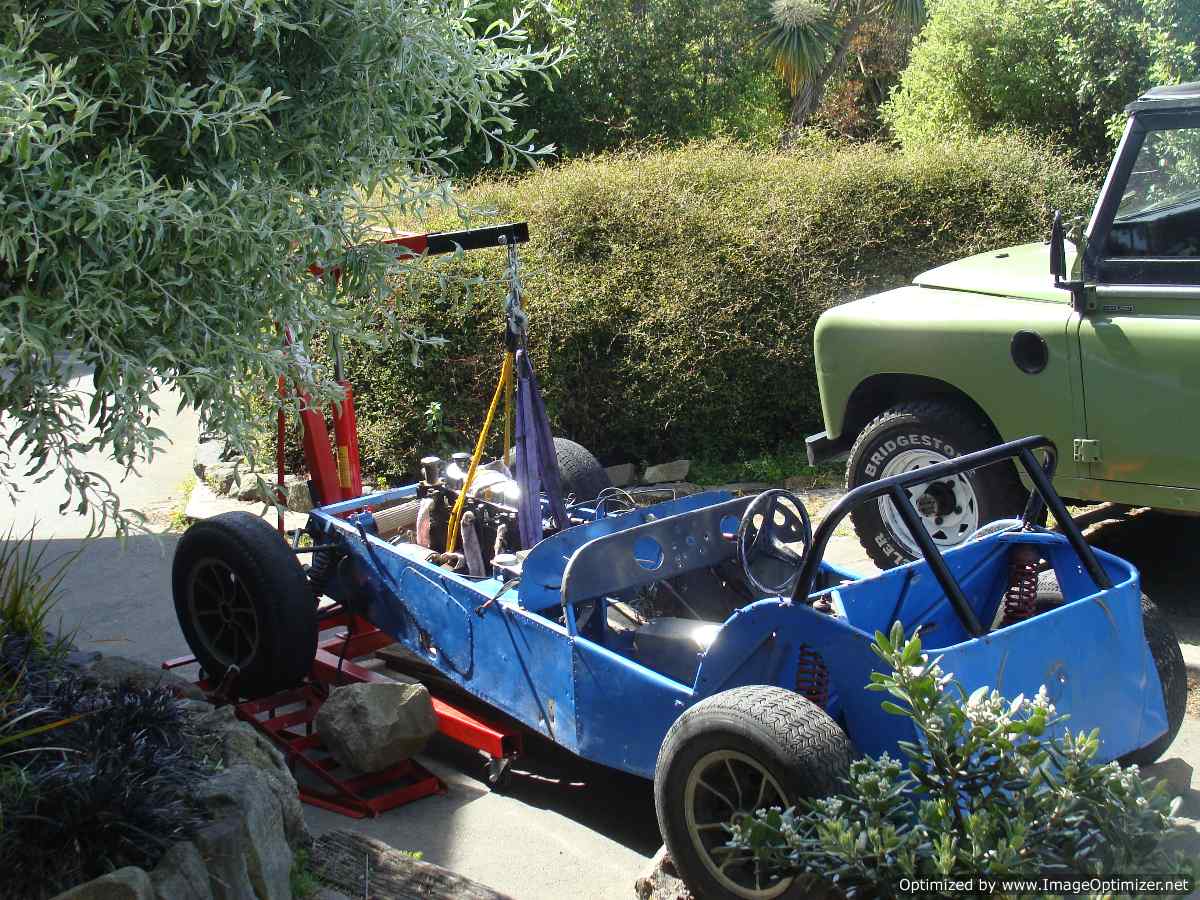
Seeing as I have a free evening, another stage in the build: After the photo from my last post I dragged the car home to disassemble for paint- although that was a mistake because of course I had forgotten important fabrication work... Anyway this is what it looked like when it arrived home, ready to be torn to bits yet again And within an hour or so, with some assistance: I do enjoy the fact that you can take it apart within a very small amount of time.. although the amount of times it's been put together and pulled apart I should be good at it by now. Chassis had to go back to get a few bits finish welded, access was poor being it is small and cramped around the engine. Atleast it gave me an opportunity to try ingenious transportation solution 2.0: Did get a few strange looks, probably thought I was a scaffolder. Discussion if anyone has anything to say: //oldschool.co.nz/index.php?/topic/46798-hkm400s-1969-lotus-7-series-3/
-
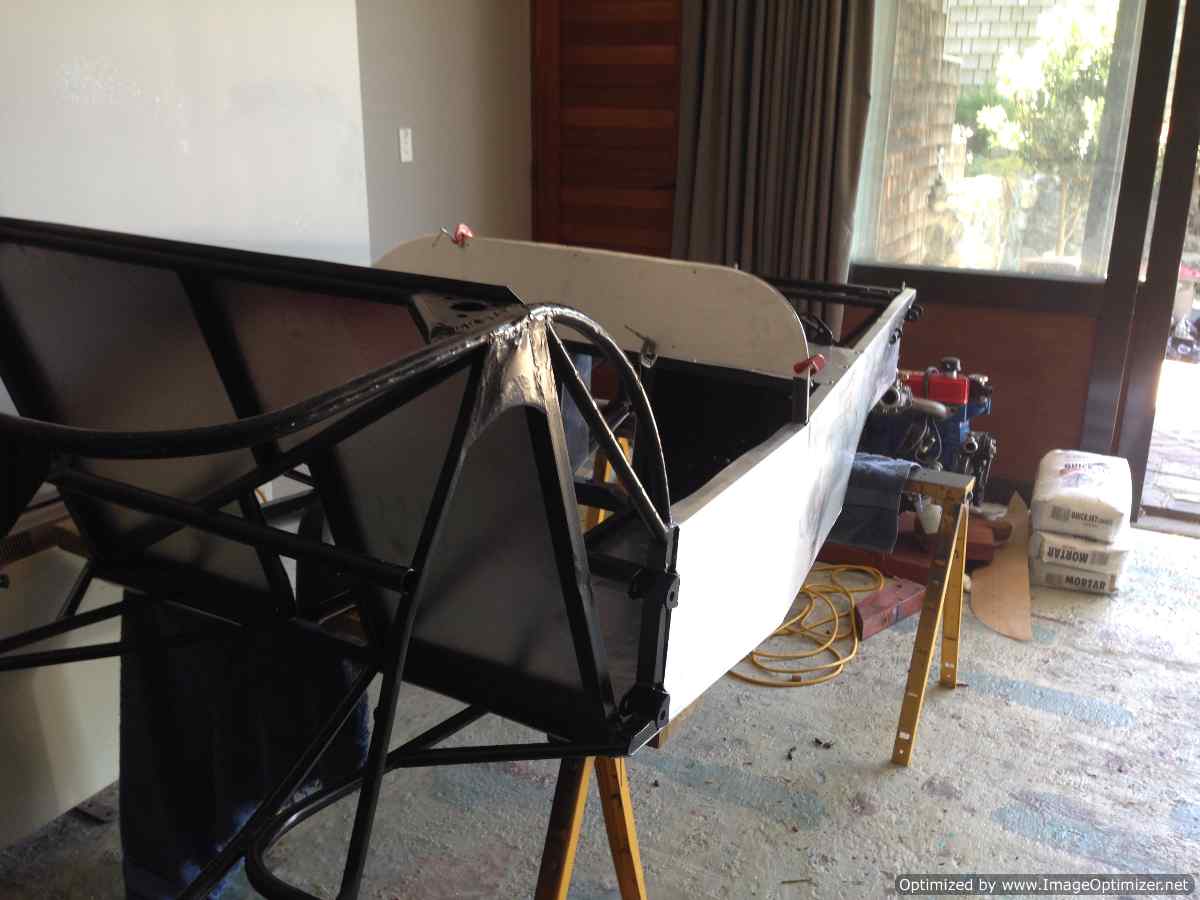
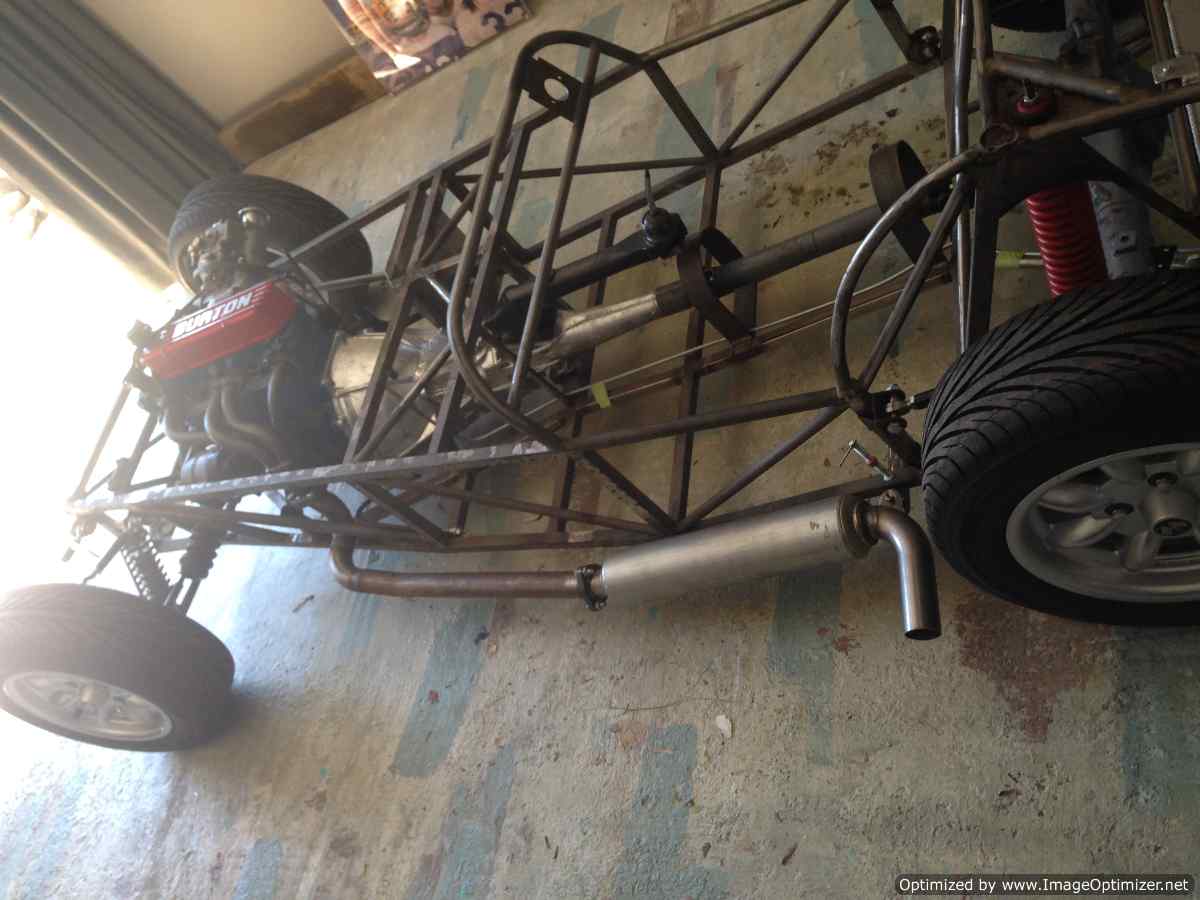
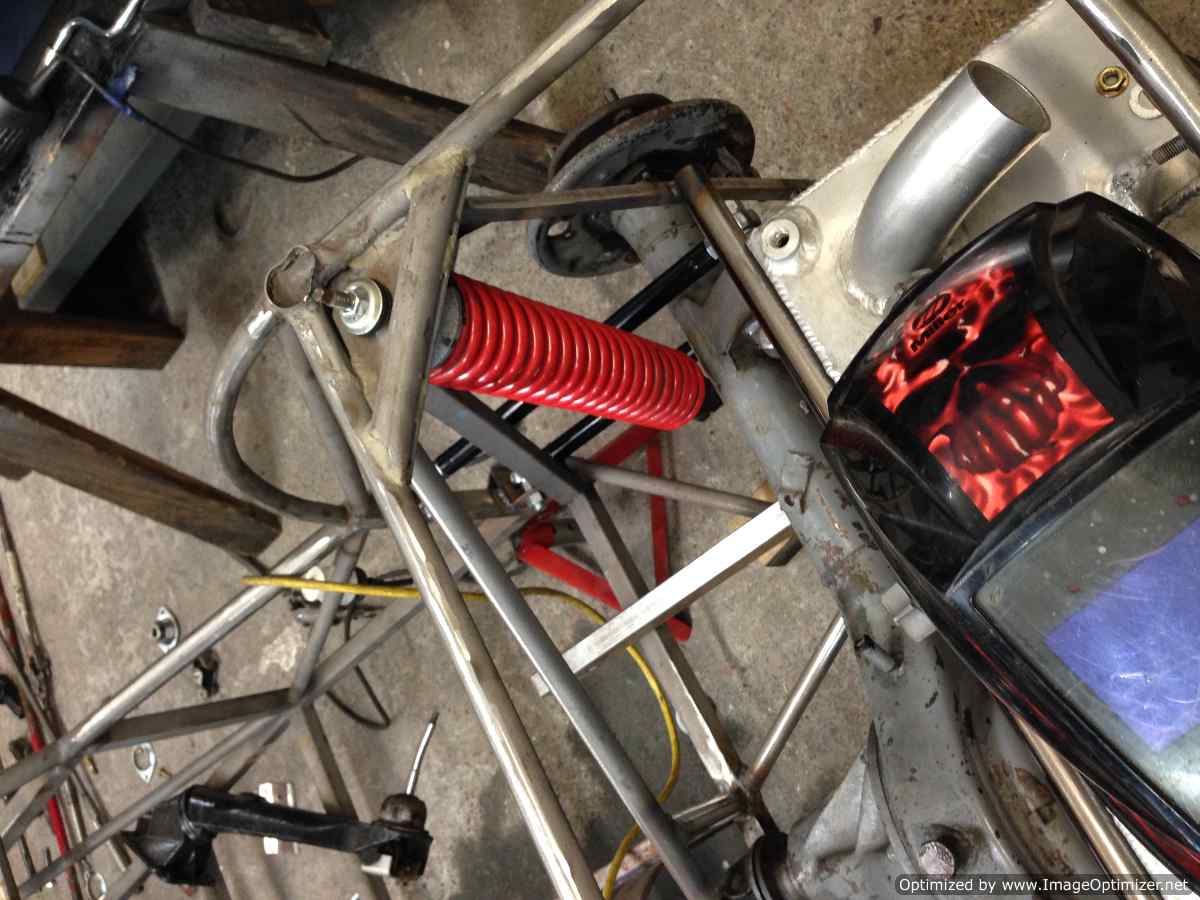
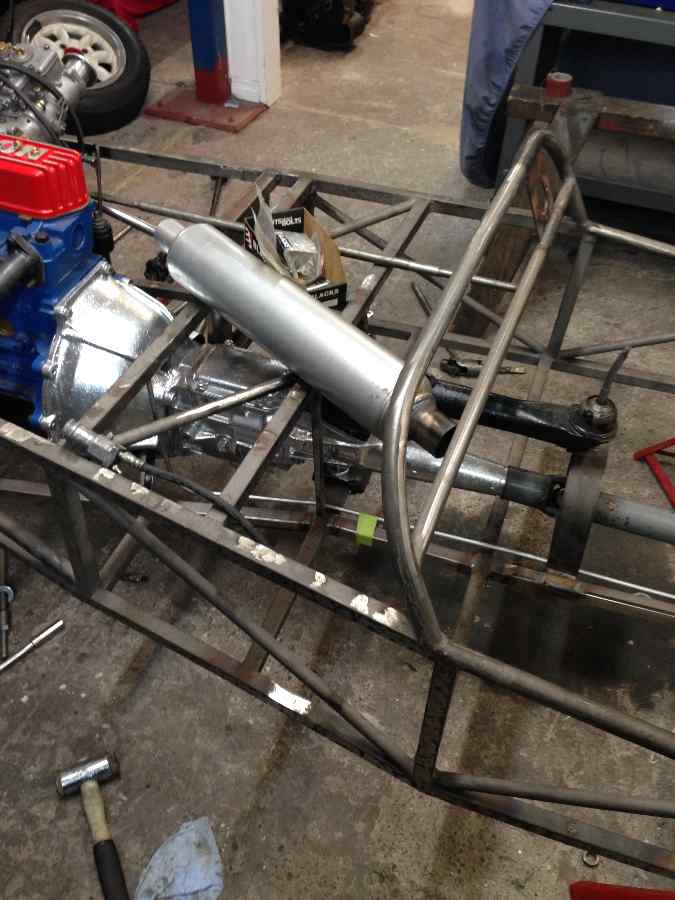
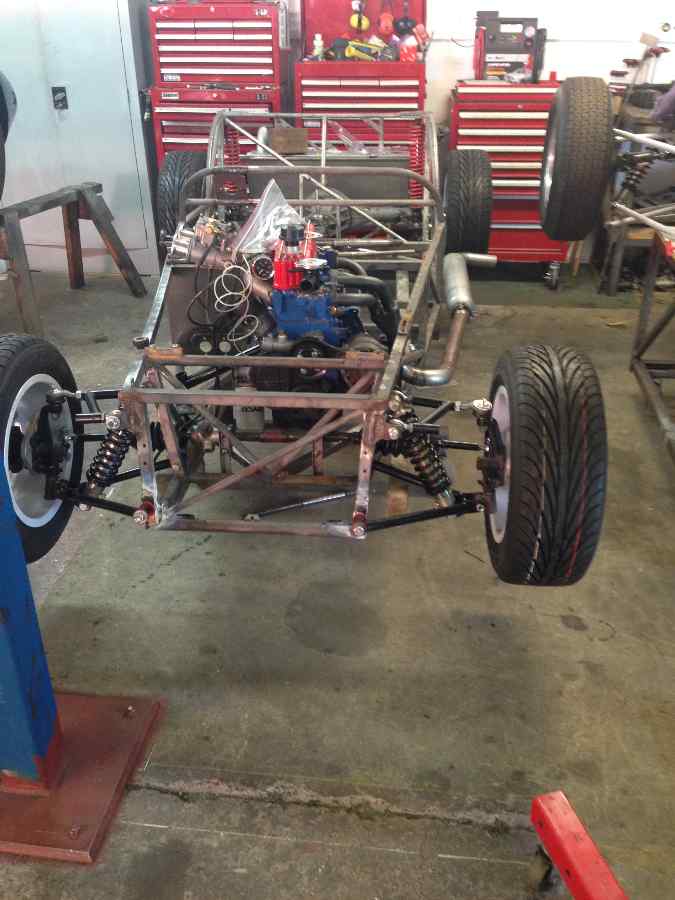
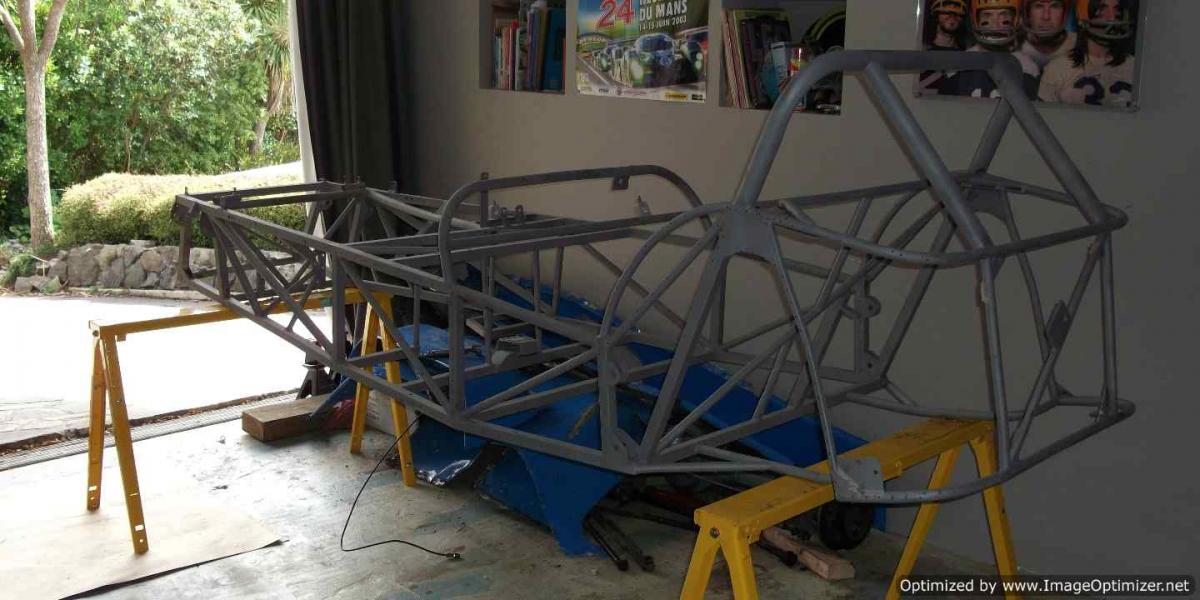
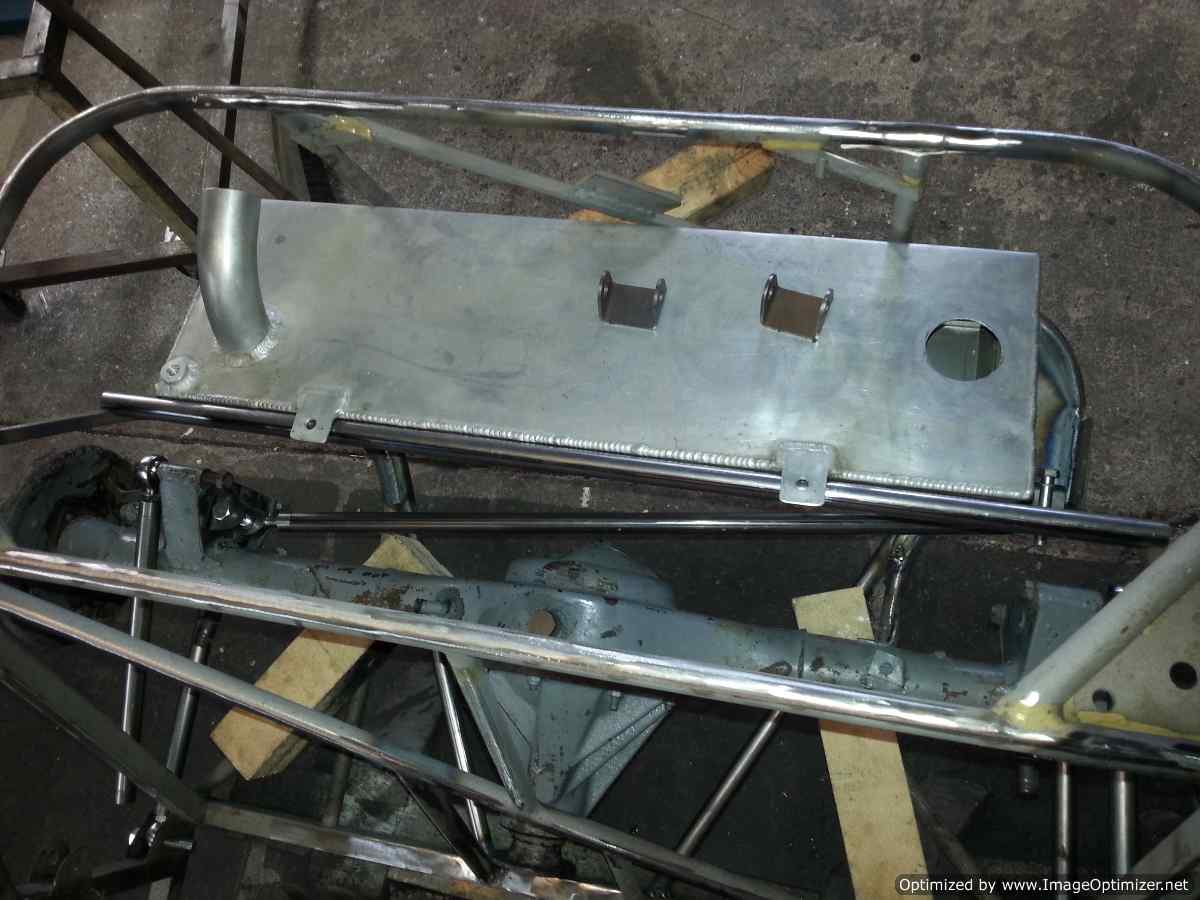
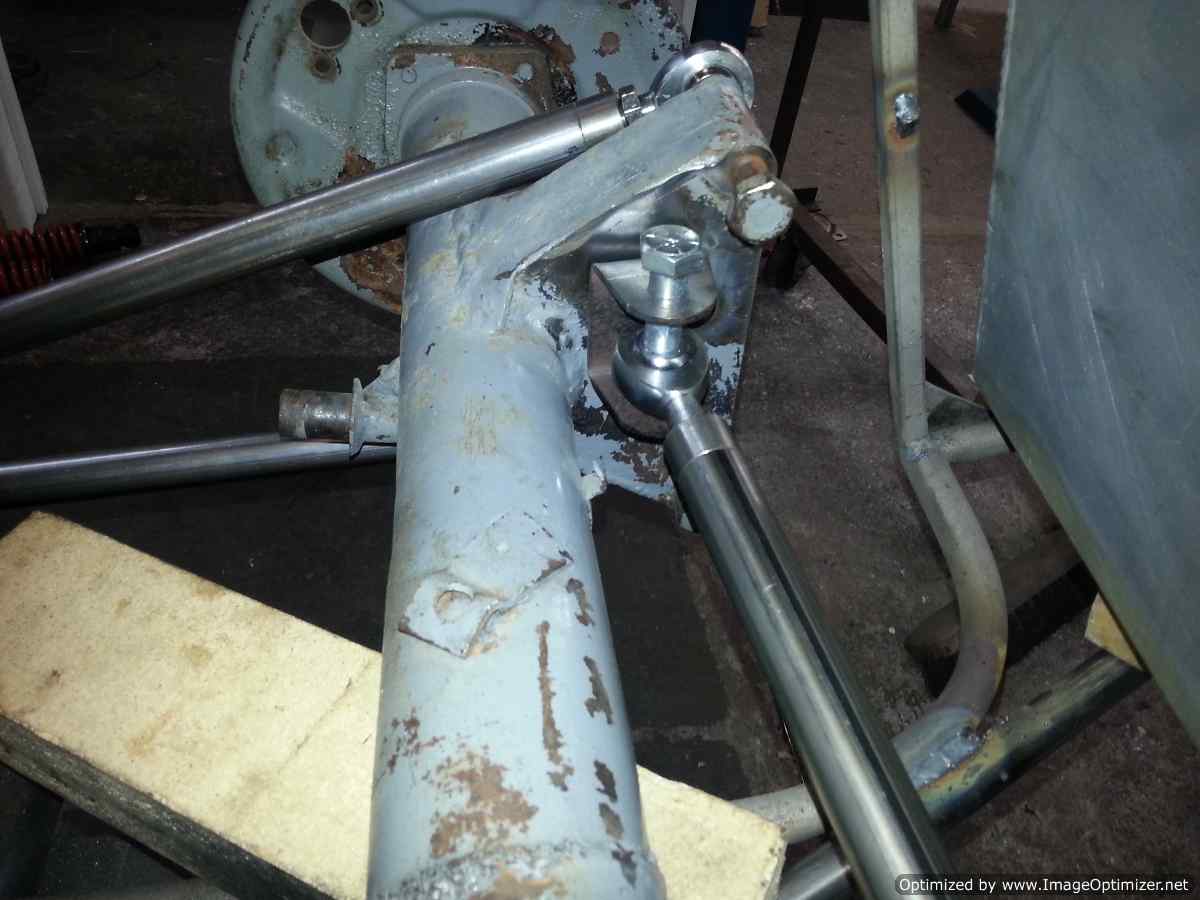
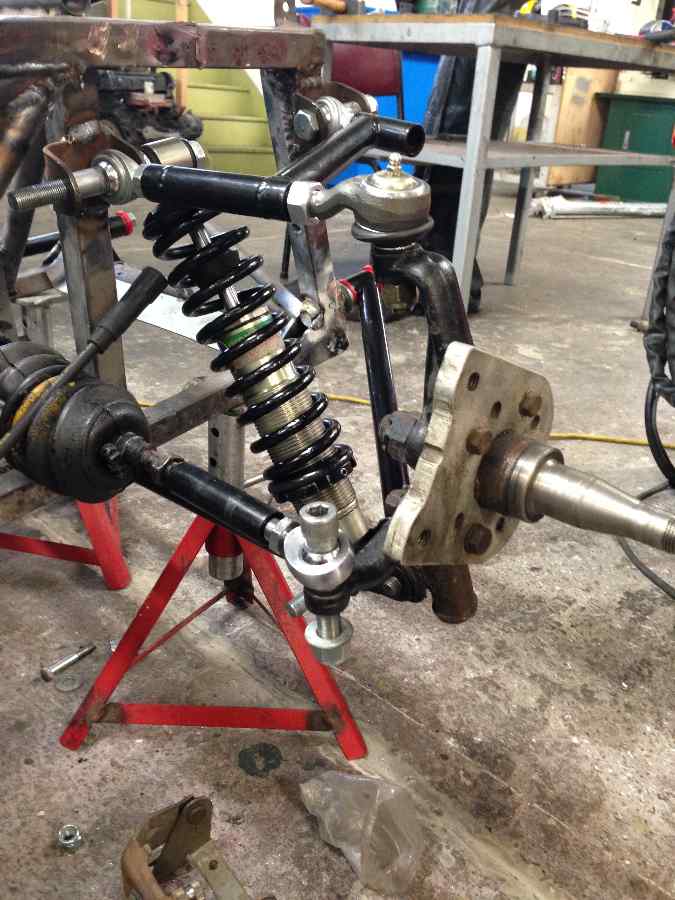
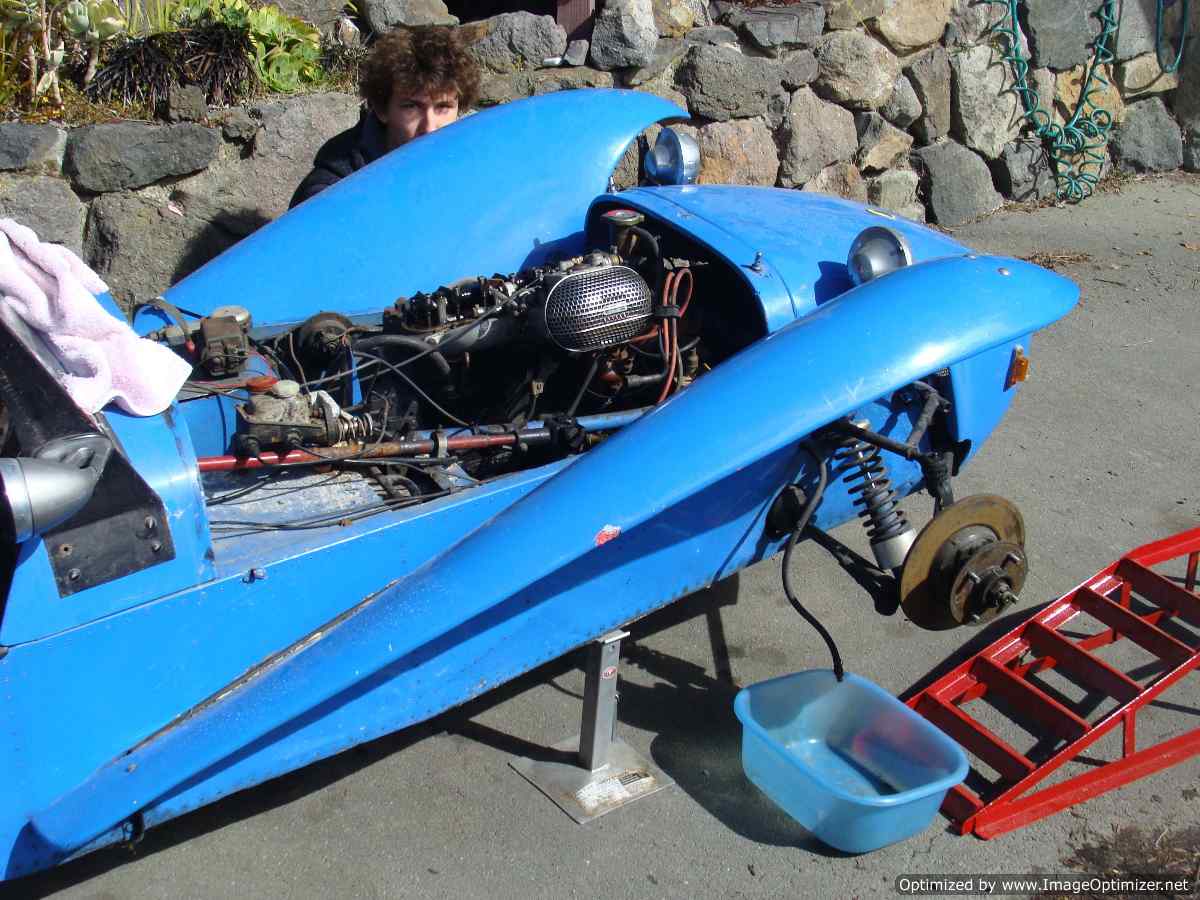
Continuing on with the chassis work: The engine mounts were pretty poorly welded on and they had no rubber mounts on the bottom, so they were refabricated and the engine was dropped back in so the new driveshaft loops could be welded to the newly strengthened mid section. This was completely open beforehand. It also had no real firewall, just a piece of sheet aluminium. The real issue was fitting in the car, I'm not that tall- only just 6ft but in original form my knees would have been around my ears. To remedy this the engine was shifted forward slightly so the footwell could be extended. Also using a floor mounted pedal box gave a few extra inches of space. A new steel firewall was also welded in. The steering column was also very low, so it was lifted so the wheel comes through the dash so I don't have limbs sprawled over the dashboard. The rear strut tops were braised on, so needed to be chopped out and new plate welded in. The old roll bar also got a haircut, being that it had been compression bent and the only purpose it would serve in a crash would be to assist in the removal of your head. I was also too tall for it anyway so it had to go. You can see the new control arms powdercoated with rose joints. Also a second hand baffled fuel tank. Another shot of the rear suspension setup: Using a single weber 40 is handy for ease of tuning but it has other problems, one of which is my mainfold is on quite a rake, meaning the trumpets will stick out of the bonnet. When I bought the car the bonnet had a big (ugly in my opinion) power bulge bubble thing. I am yet to figure out how I will make this look better. Maybe I'll just cut a hole in the bonnet, added benefit of lots of carb noise. Mmmmm, carb noise. More photos of that chassis, and the new muffler. The exhaust manifold is a bit rubbish but it will do for now, the rest of the system is just a 2inch straight through to the side pipe. I have since started it, and no surprises that it is very loud... may have over done it slightly. This is what it looked like after majority of the repairs had been completed. Still had a fair bit to do. All those little irritating jobs you forget about: Also switched the dunlop d1's for some minilites- The dunlops were cool but not to my taste. Discussion if anyone is interested: //oldschool.co.nz/index.php?/topic/46798-hkm400s-1969-lotus-7-series-3/
-
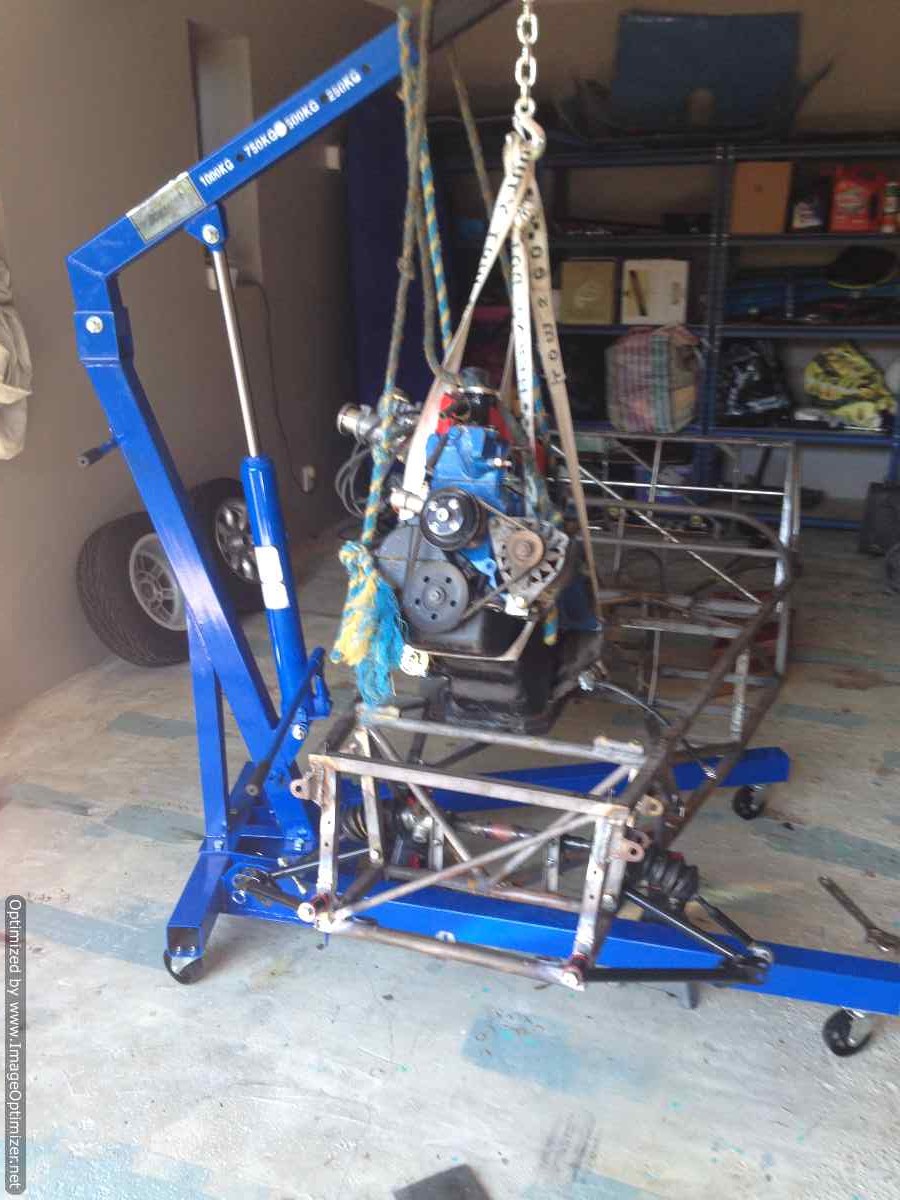
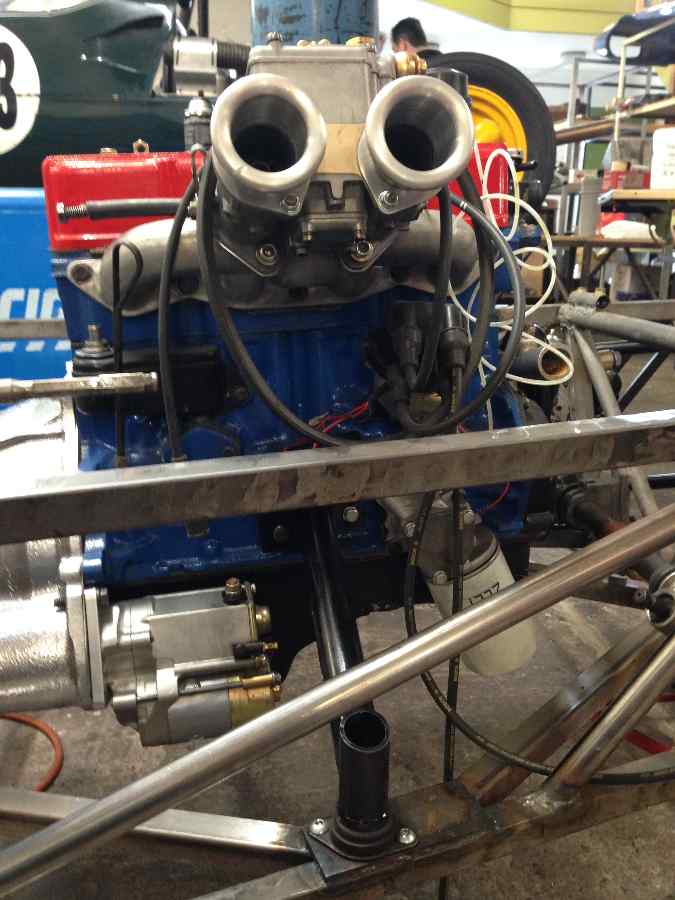
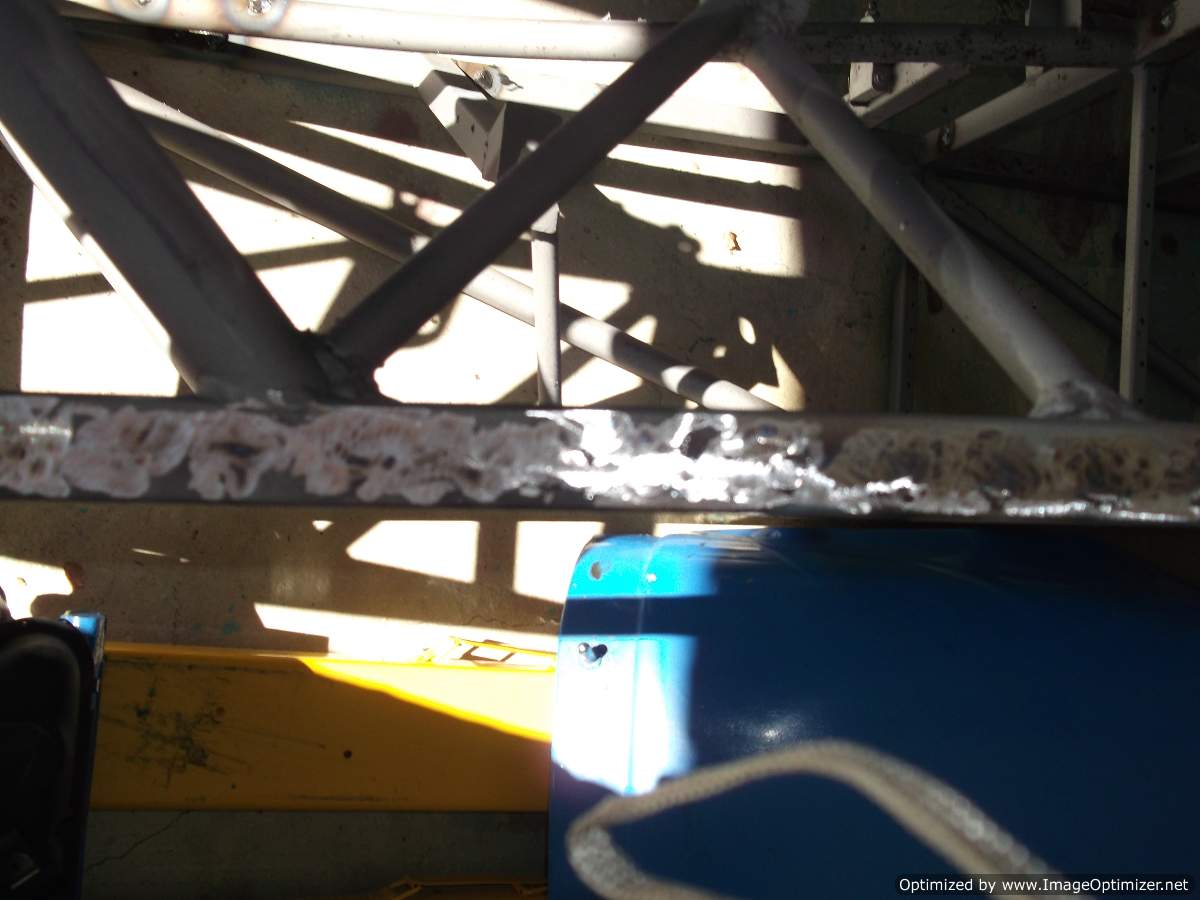
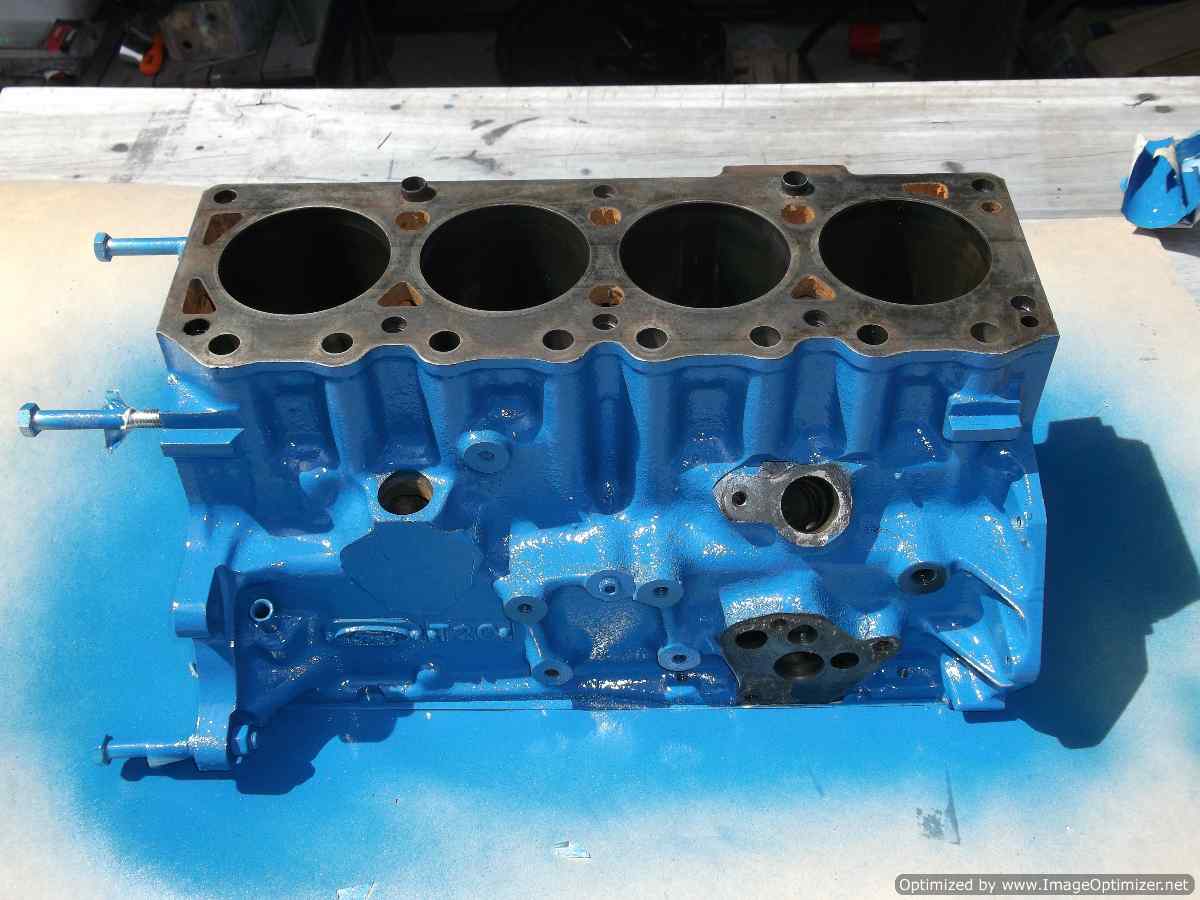
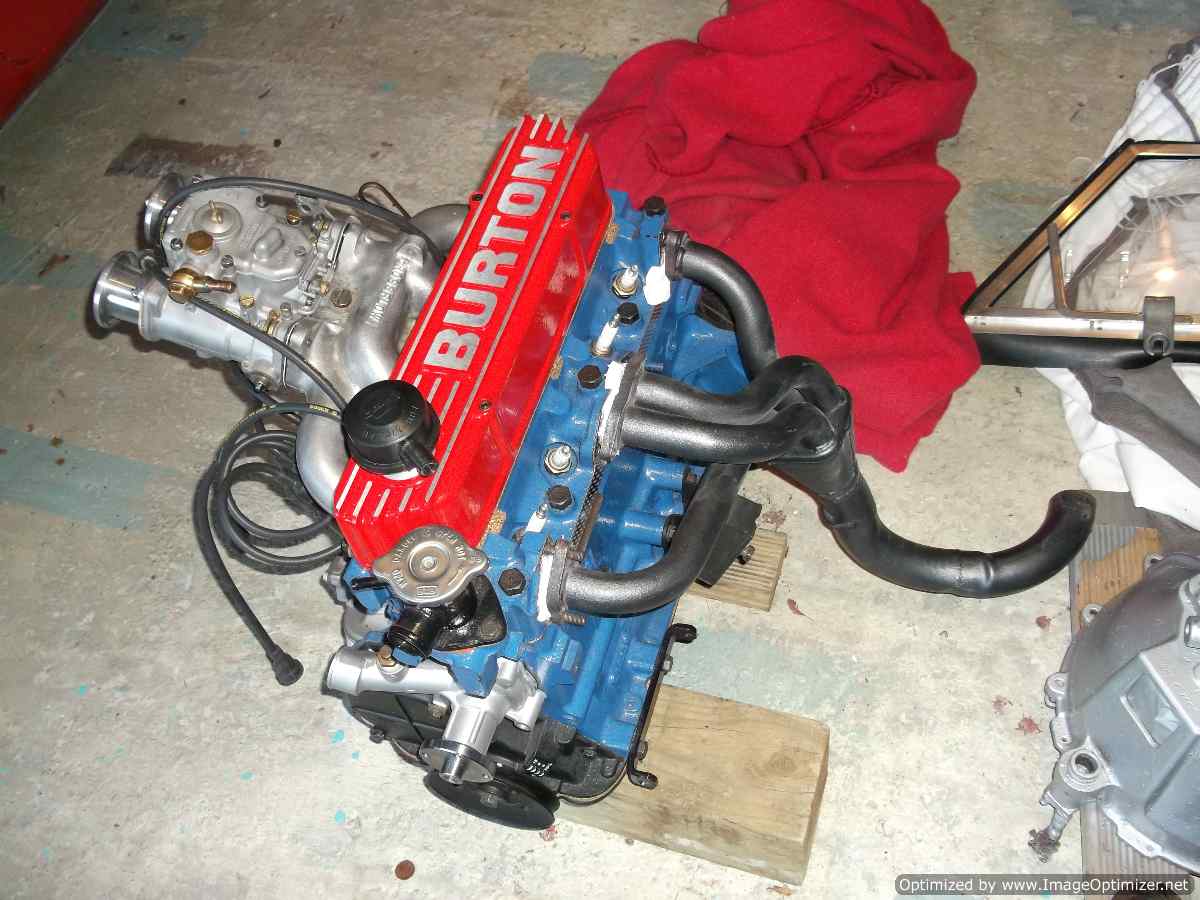
So then I got it blasted, ingenious transportation solution: Again this revealed the extent of the rivet usage, looked like swiss cheese but still pretty strong. After several weekends of welding with the help of my mate Dan we fixed the hole issue and I could see what had to be done. And some grinding later... Given my welding skills are minimal if that and also considering I would be driving around in what is effectively a lunch box I decided to seek professional help with strengthening the chassis. To give an idea of how OSH approved it was, the driveshaft spun about 10cm from the drivers thigh and there were no loops to prevent removal of said thigh. I enjoy my legs, so this was obviously going to be changed. In the meantime I pulled the engine apart, it's a 1600 crossflow, 711M block, single weber 40, reground cam etc. I cleaned everything using my very generous mechanics degreaser tank, and painted the block ford blue The engine received race bearings, the crank was ground and polished, kenelly cams reground the cam to what I believe is similar to a Kent 244, pistons machined, block honed, head planed- a full rebuild. As far as power output I have no idea. Being the car is so light it won't need much anyway. Please forgive the red rocker cover- a momentary lapse in judgement. The "ooooo red" factor got me, but fear not, I have subsequently seen the error of my ways and resprayed it black. Much tidier. Once this was completed focus returned to the chassis. I found a small race car prep shop in Christchurch and got them to make the chassis strong, and also remake some of the dodgier mounts for the suspension. Some parts had just been braised on which wasn't going to be strong enough. They also helped straighten the chassis which was slightly bent. I did some of the fabrication work myself, cutting out the bad bits and making new parts to be professionally welded into place. Some photos of that process: The car got new control arms with rose joints to make the geometry easier, and a pannard rod. I also replaced the suspension with an adjustable setup. It is worth saying that in the past two posts this process took me about a year for various reasons. Not a fast project by any means. Discussion if anyone is interested: //oldschool.co.nz/index.php?/topic/46798-hkm400s-1969-lotus-7-series-3/ Cheers
-
Build Thread Anyone have anything they want to ask/ comment about the car feel free. Cool.
-
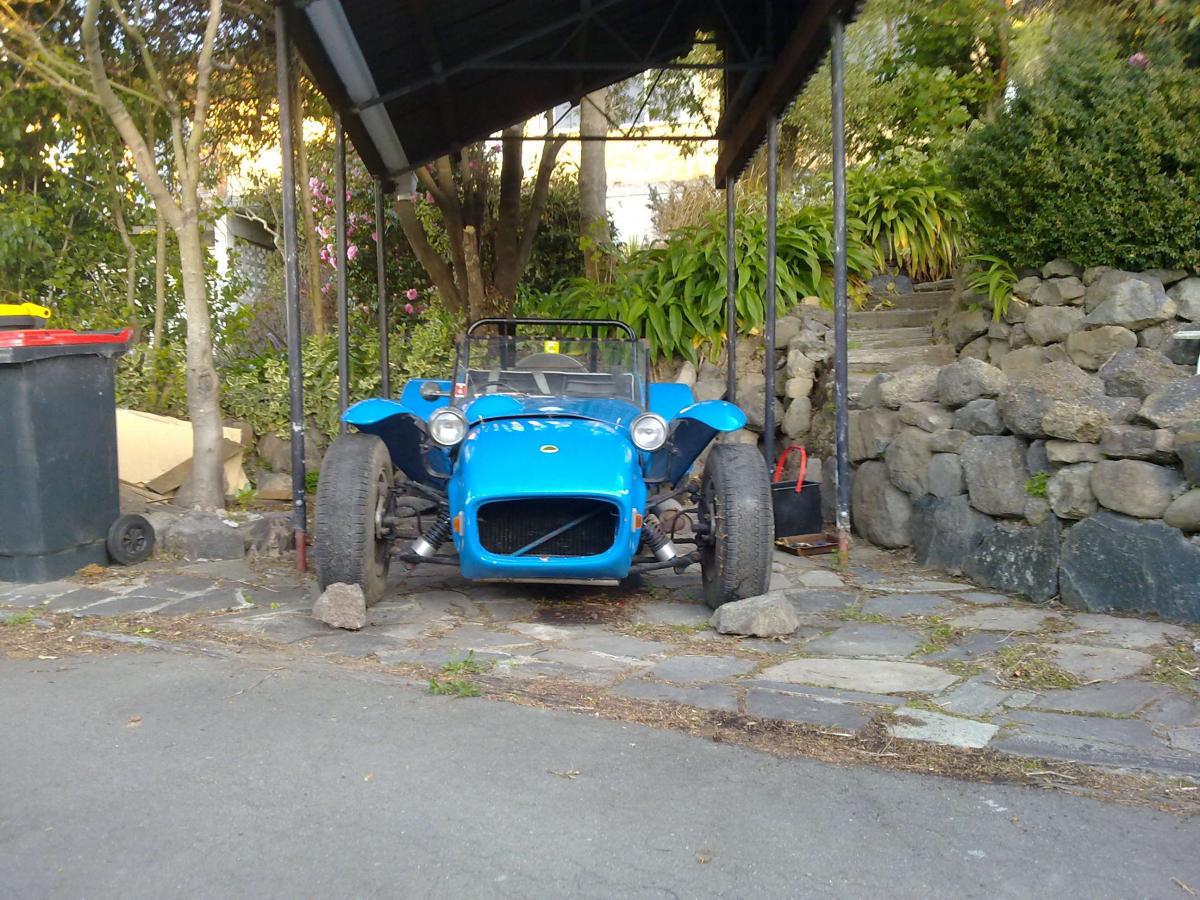
Hi all, I have been lurking for awhile now but only recently signed up. Thought it was time to start a thread. I started my Lotus 7 project a few years ago but have documented it well- I had intentions of doing something like this anyway and oldschool seems to be a cool place to show what i've been up to. It is registered as a 1969 Lotus 7, aspects of it's construction are similar to that of the originals but honestly I have no idea if it is genuine or not. Any help is greatly appreciated. This is the car on the day I dragged it out of a shed, despite appearances it was a shed itself. Had been used by rats as a walnut storage facility (who knew they did that), luckily all rats had evacuated it before I got it home. Still- it was a whole car at this point which was all that mattered. Didn't see a whole lot of point in trying to start it, had sat in the same place for over 20 years so we decided to rip it to bits. My friend Rowan was happy to assist in the dismantling. Clearly it had been built by a merits professor of engineering judging by the construction of certain aspects. A broken rear control arm had been fixed by bending reinforcing steel around the arm and arc welding it in place. Awesome. Got the engine out- in the background is my Series Land Rover- has come in very handy with transporting the chassis. After a rather long period of time- considering the car is very small it looked like this, residing as a pile of bits on the floor. The person that put it together clearly had shares in a rivet factory and decided to maximise rivets per square millimetre. All the panels and floor were held on by the bloody things. Anyway to keep the powers that be happy, I will continue on a new post. I will start a discussion thread and link it on my next post. Discussion Thread