AALAWS
-
Posts
342 -
Joined
-
Last visited
Content Type
Forums
Downloads
Events
Gallery
Everything posted by AALAWS
-
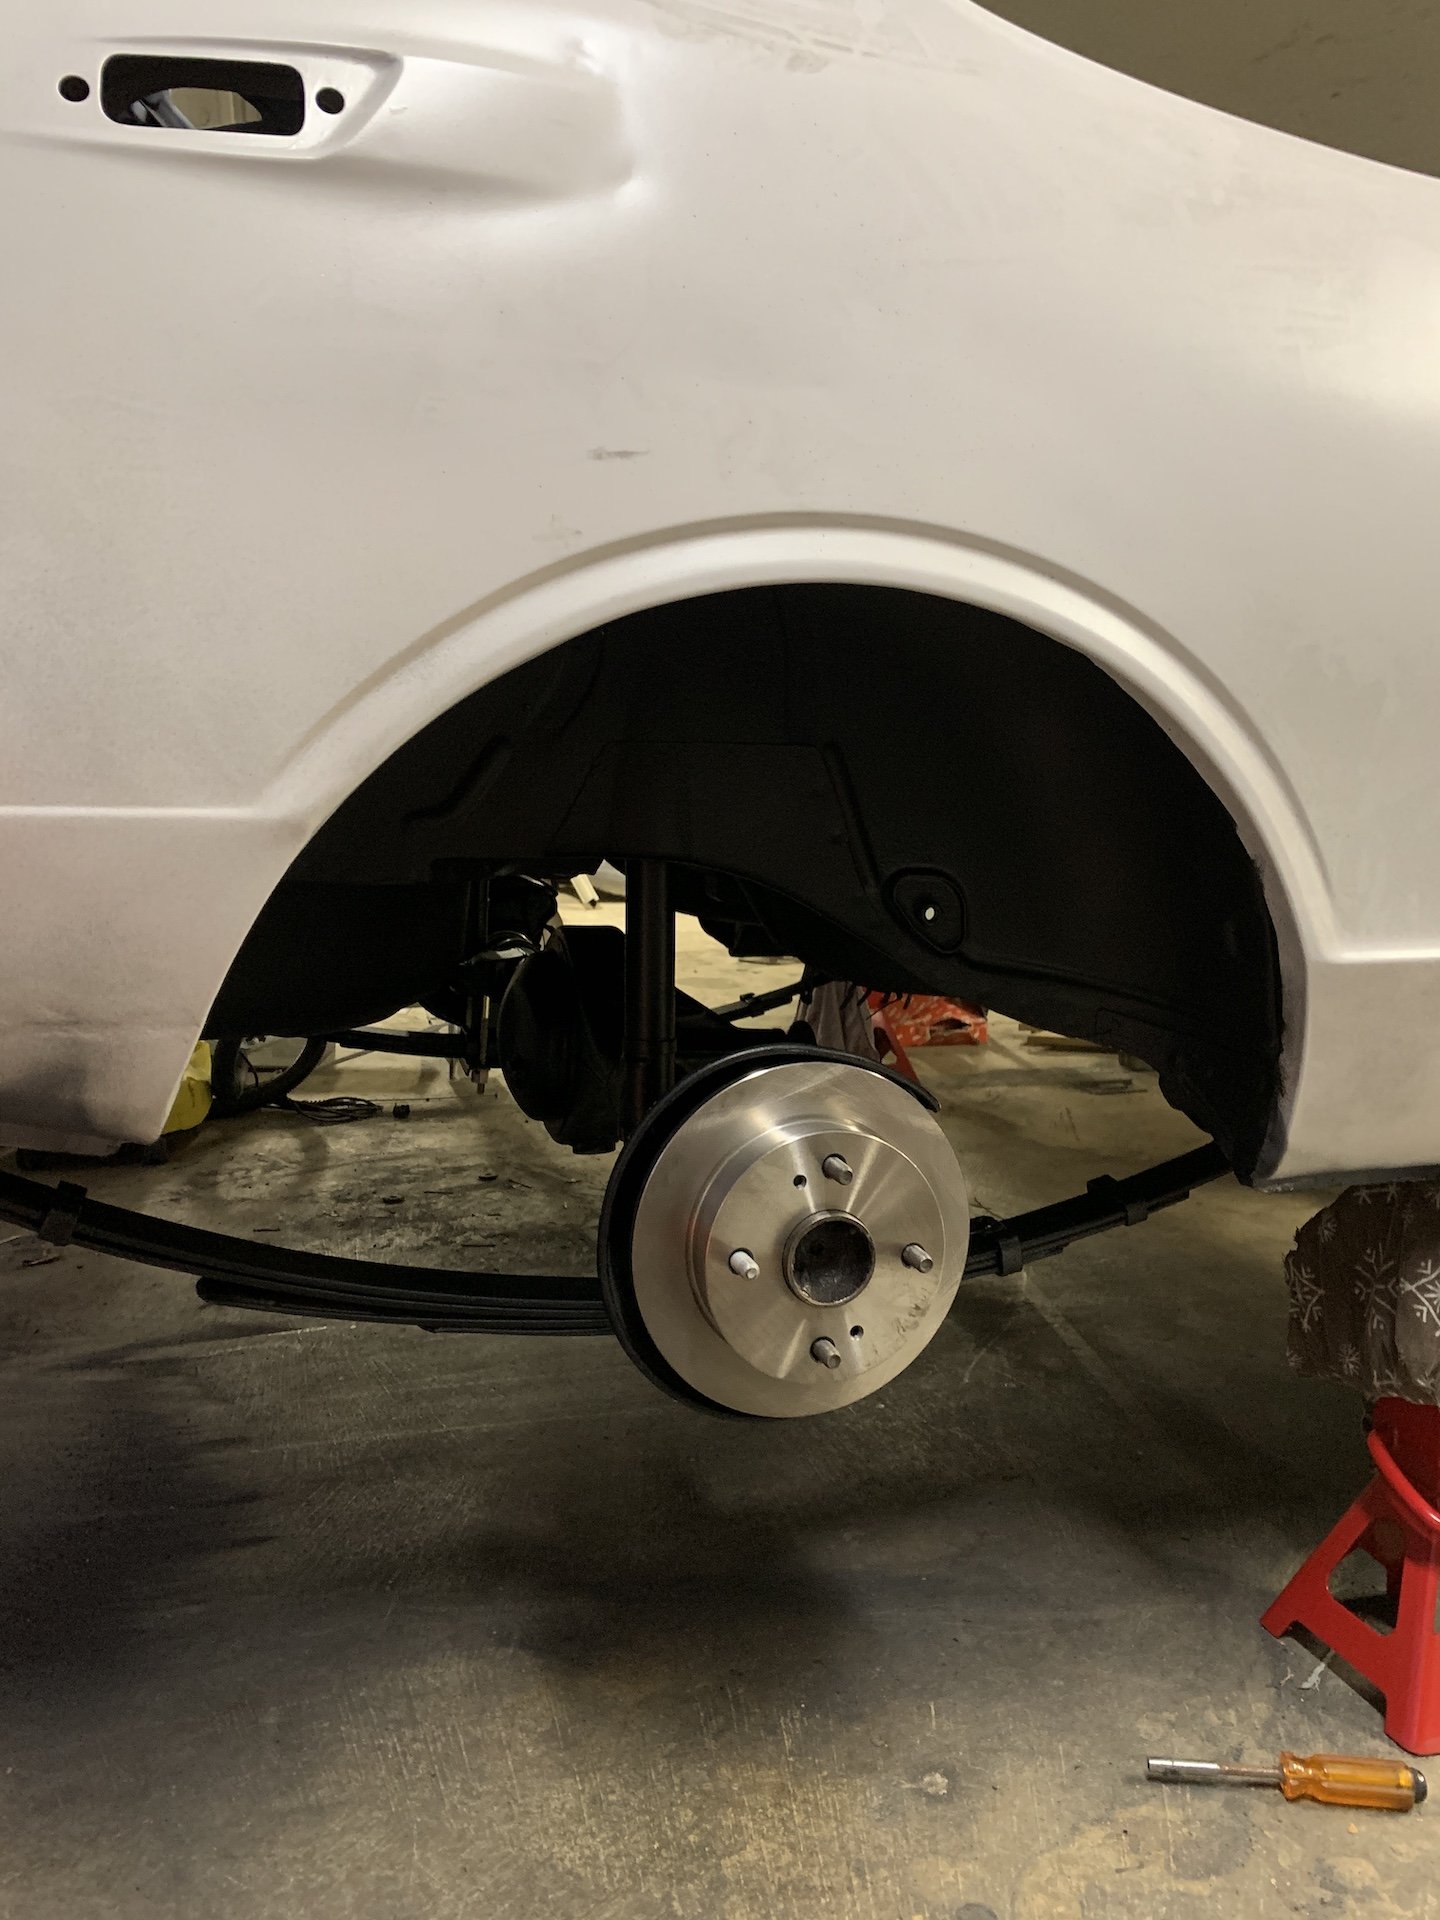
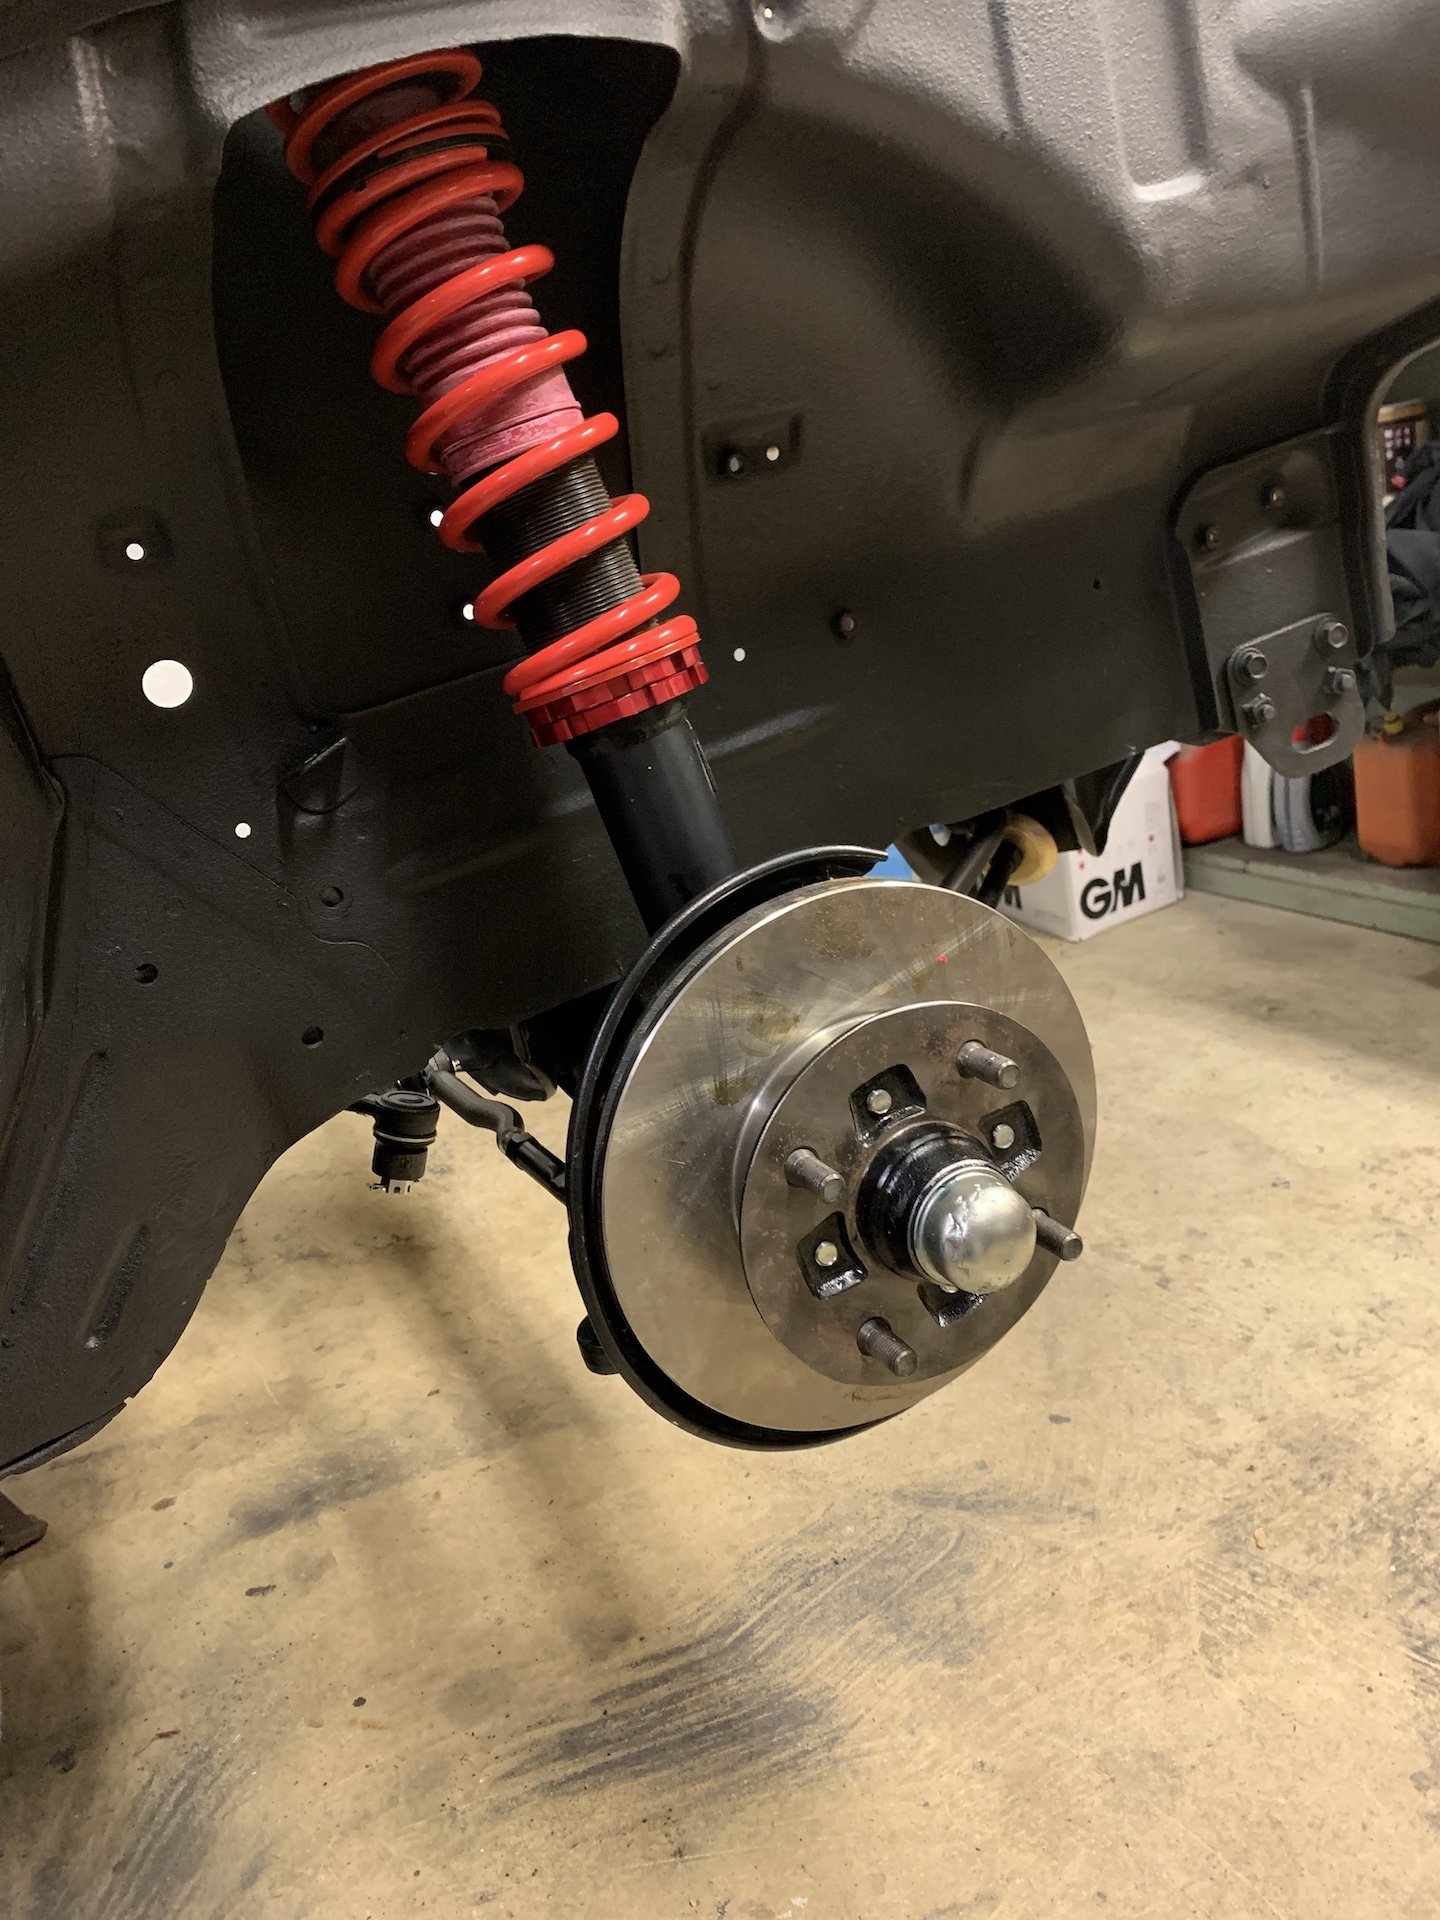
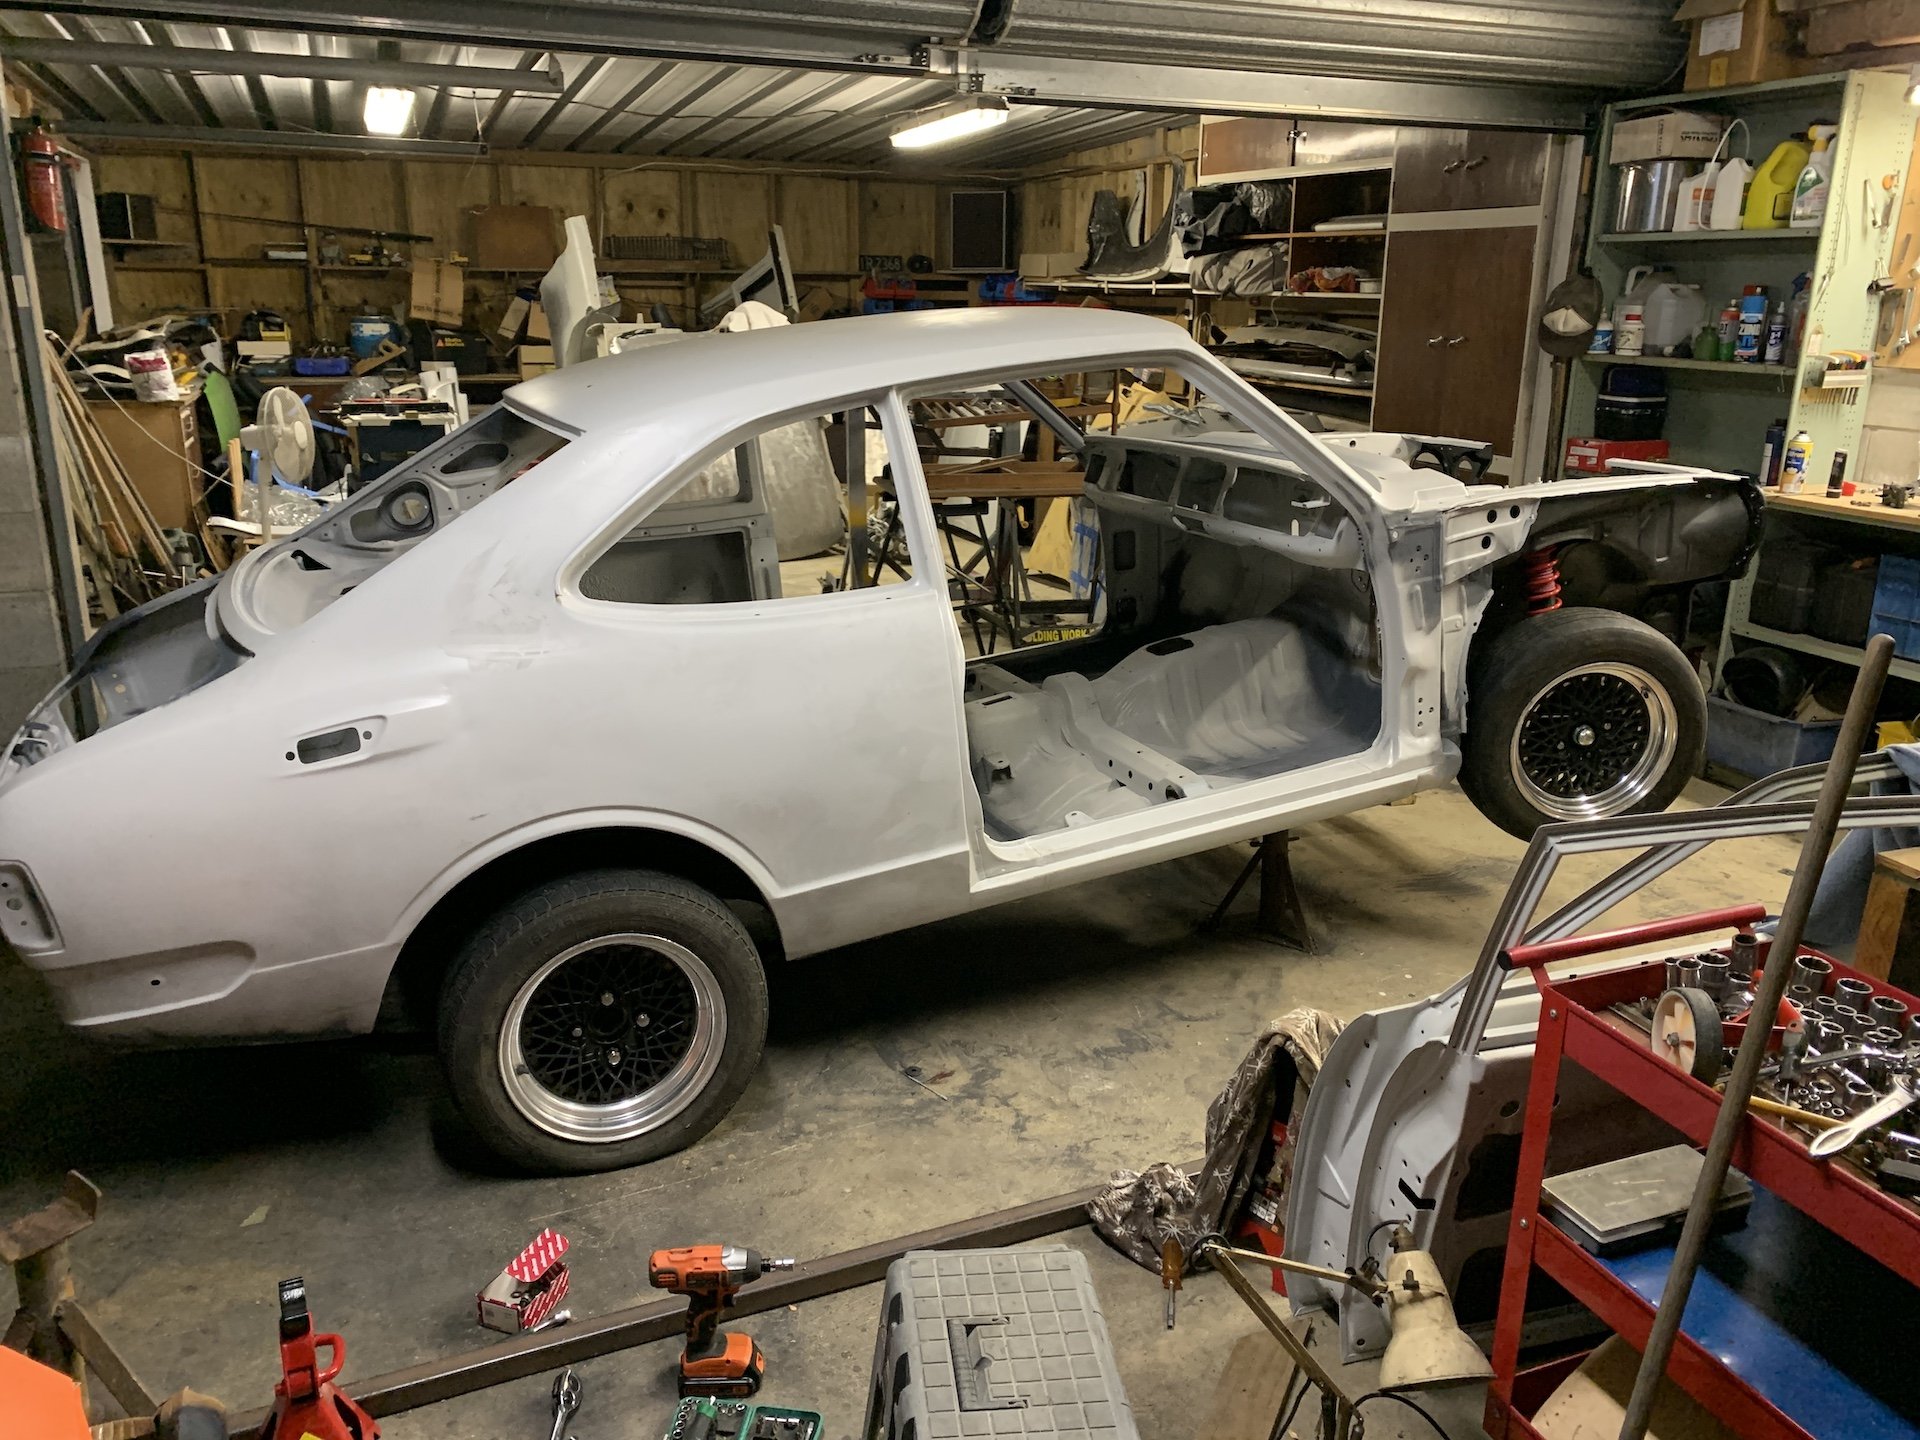
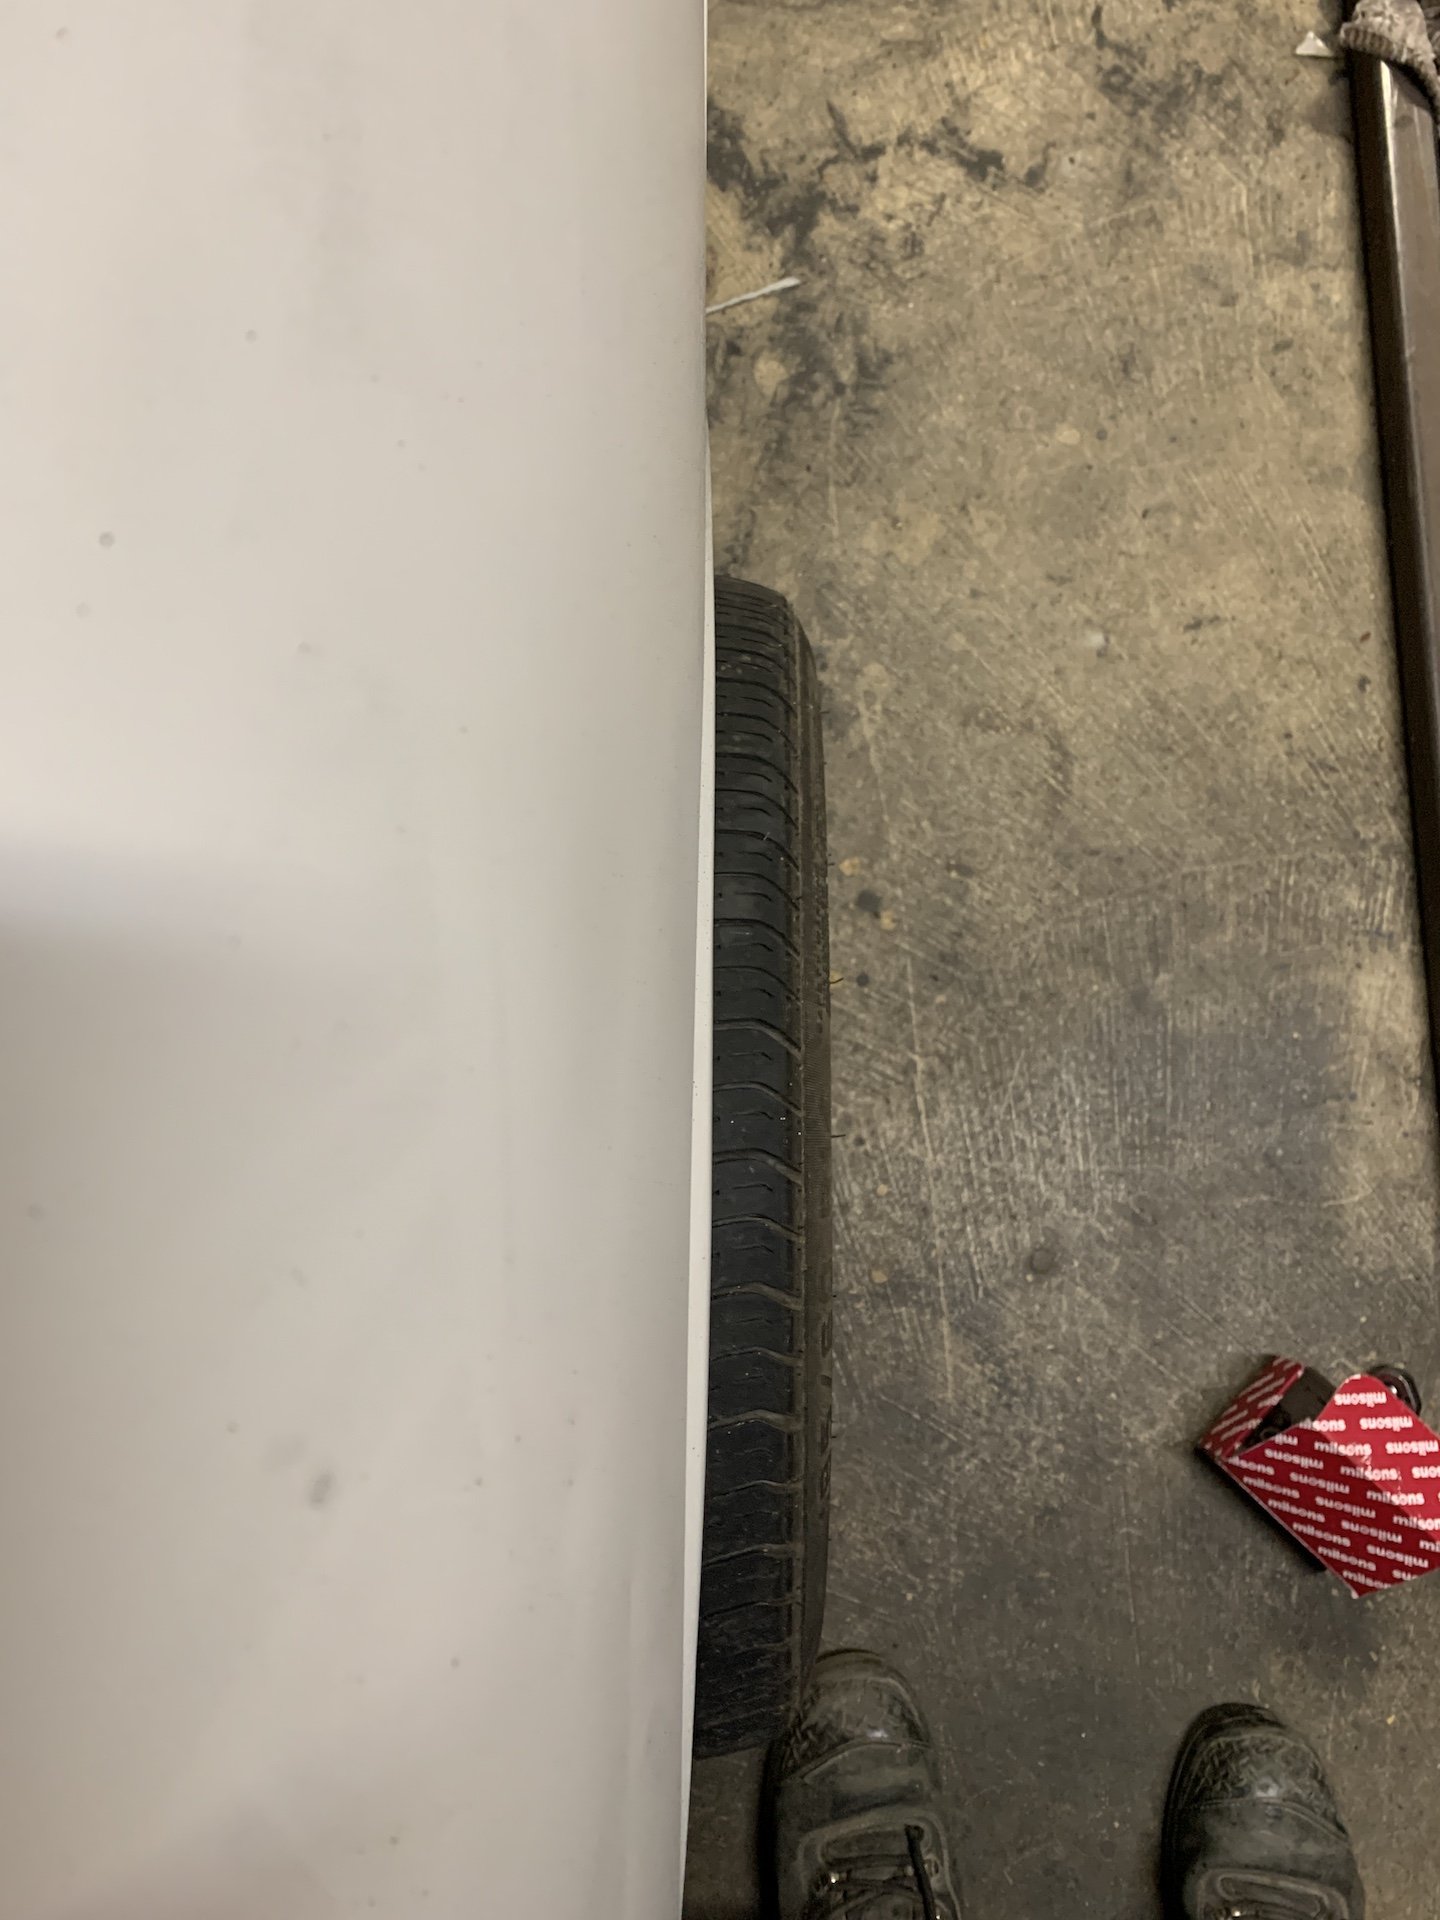
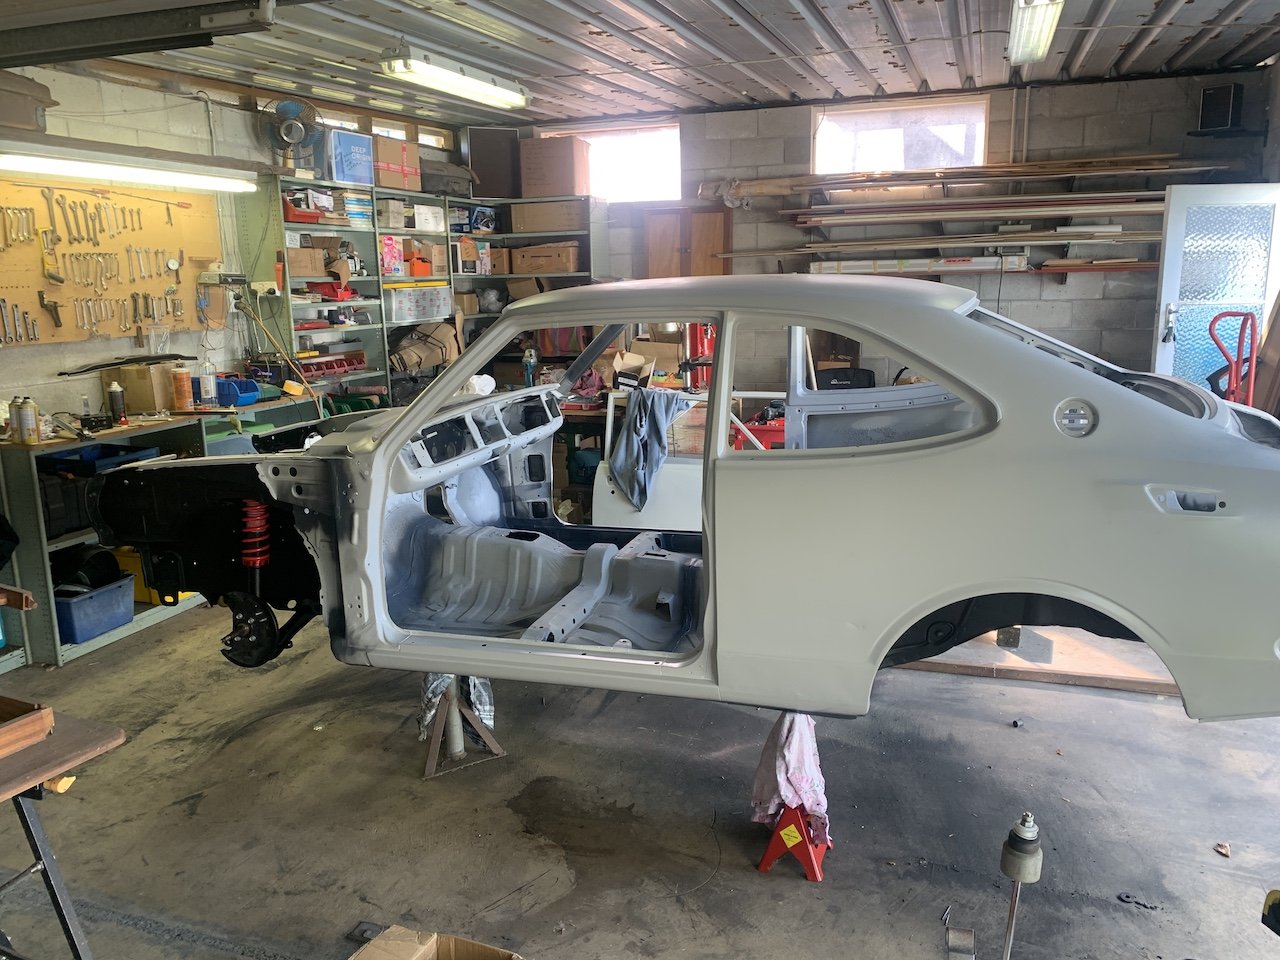
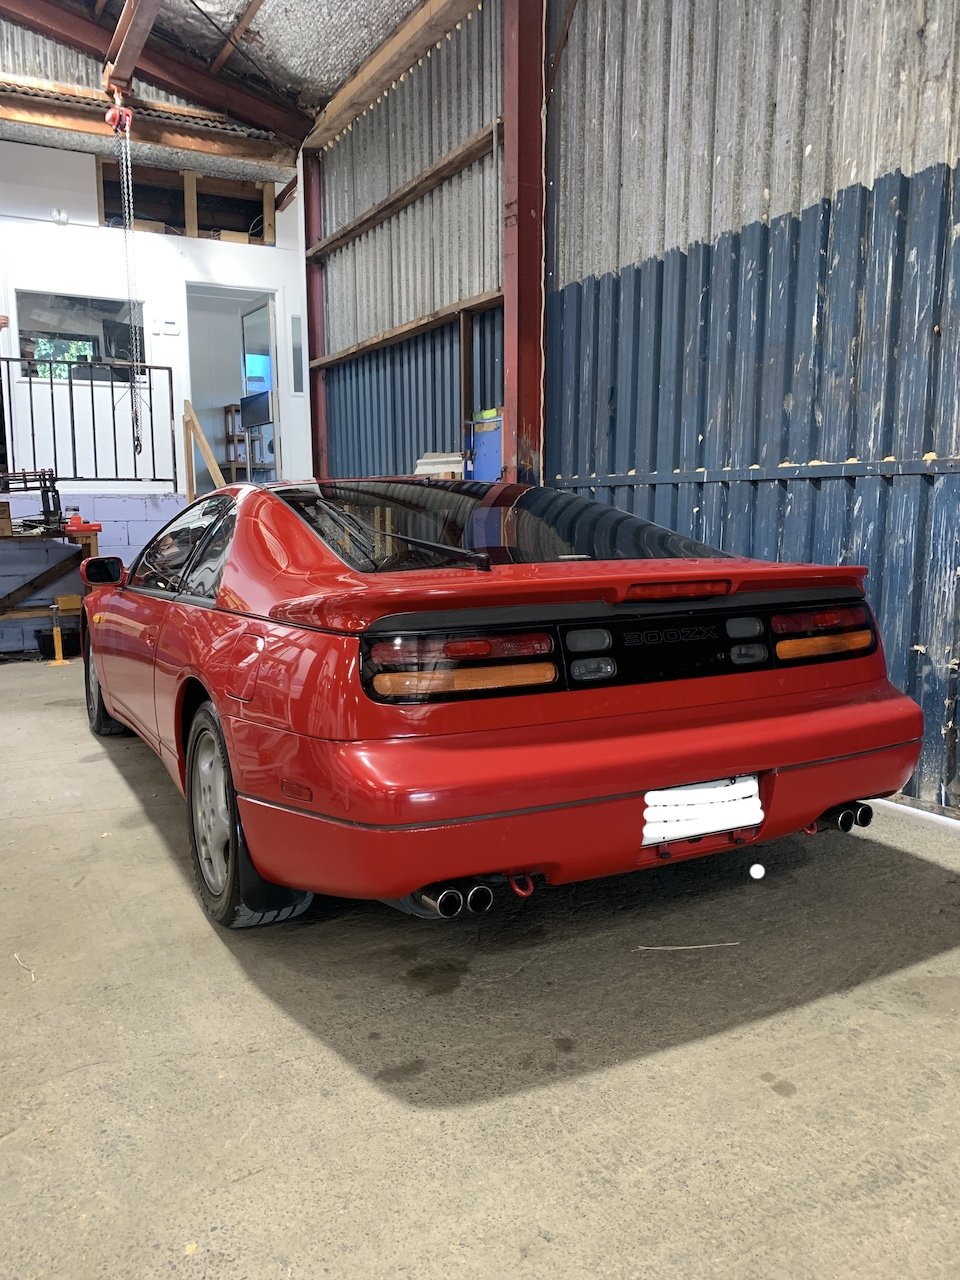
Progress......maybe?? Well the rear axle/springs are all in and torqued up, as are the front hubs........and she has some wheels on..... But I can't drop her onto the front wheels - the offset is all wrong and the tyres are touching the strut so I need to sort some different wheels for now ha ha. There is some good poke on the rear wheel, maybe some room for more with the flares on. BUT the rear wheels are not centred in the arch......Is this a MAJOR? My first thought was maybe an over reaction?? "Shit the front mounts are too far forward from the new floor being swapped in"....has anyone experienced this?? As per my manual I torqued everything up while it was on the jacks.....would this cause the issue? Oh boy....hopefully not a major!!

-
Cheers - I'm in the Waikato. Didn't take too long to make them up. Was my first fab job so was pretty fun to do. They are custom made to fit my chassis specifically, height and mounts etc..... I'll be holding onto them at least until the car is finished which would be a few years at this rate ha ha
-
There's two types of KE2X sway bar.....the later one has more of a bend I'm it....will that work for you?
-
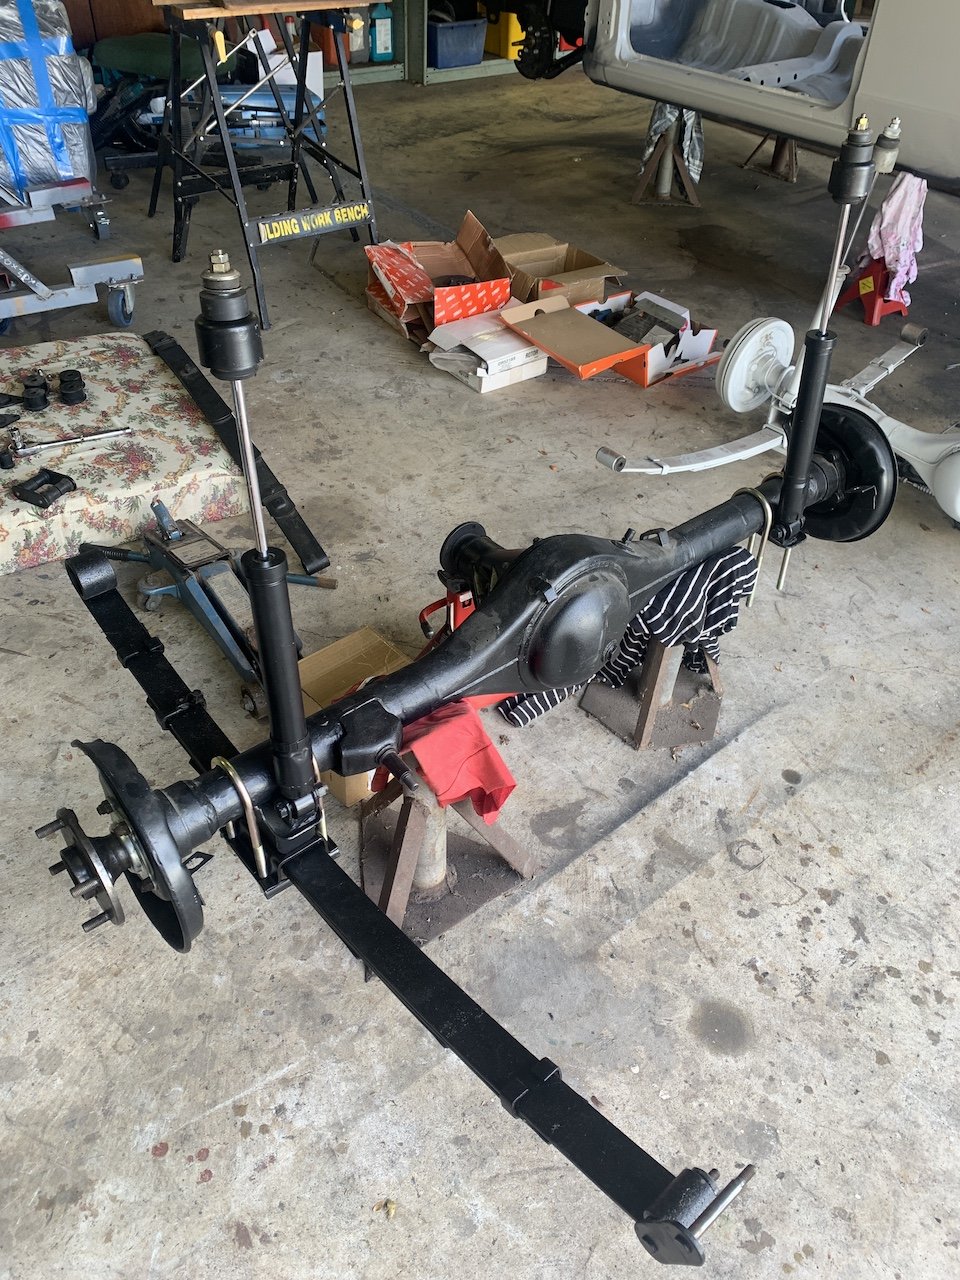
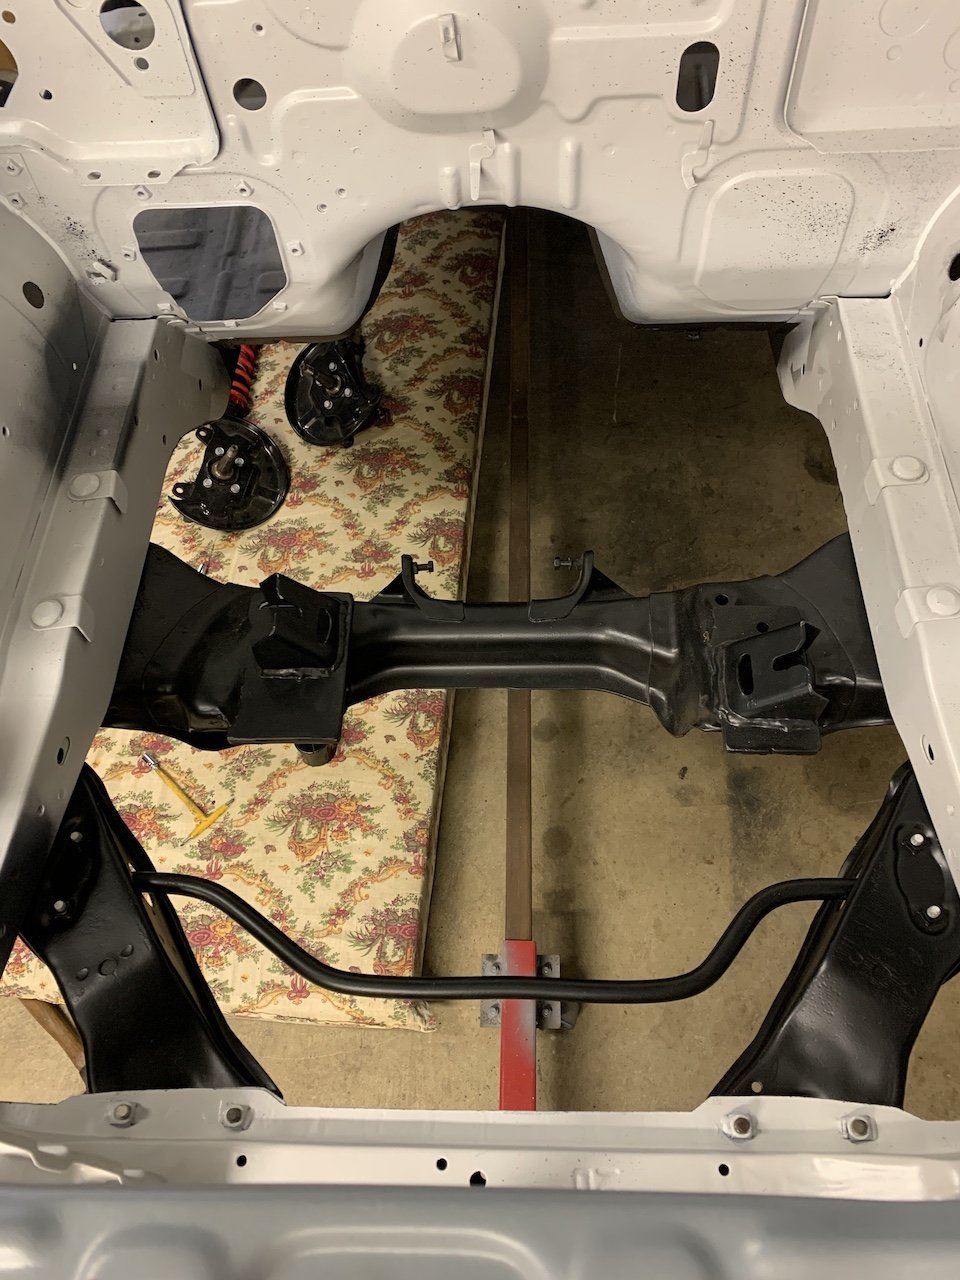
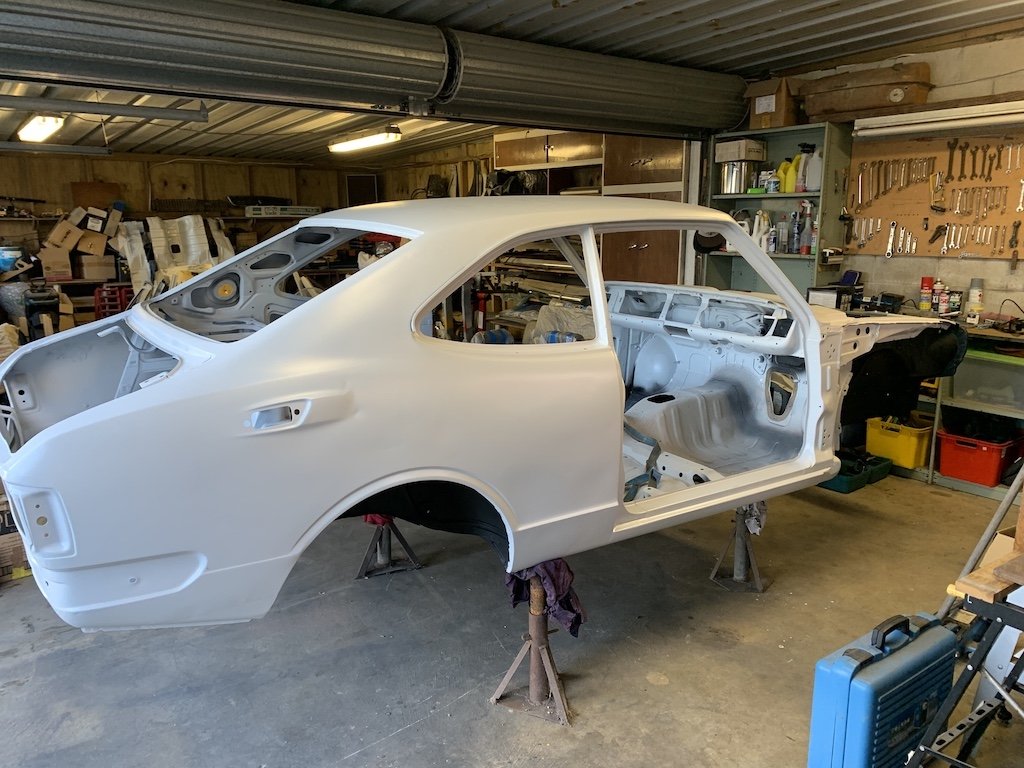
Milestone! Chassis is off the rotisserie! I finished RE doing the seam sealer and underseal. Turns out the underseal has two variants - water based and solvent based. Anyhoo, moving on..... I did want to get it on its wheels again this weekend but one of the handbrake brackets has broken off one of the leafs so I will get a spare welded on this week. I also need to get a torque wrench for the front ball joints as they are locked away under the RCA's/steering arms. So - plans are: All torqued up front subframe Repaired hand brake cable mount Mounted rear end Front hubs On Wheels!!
- 72 replies
-
- 18
-

-
Nah, I saw a pretty similar one driving north through town here the other day. I was driving to the workshop to see how the work on mine was going, and for a sec I thought someone had pinched it already ha ha
-
Thanks for the interest boys ^This^ You can buy the 'Nissan' ones for $300 odd and the 'Lambo' ones go for $1500 plus - great little side hustle if you could tap into the massive Diablo market They had to remodel the Diablo as the pop ups wouldn't meet changing safety rules in the US at the time so these were the best off the shelf option available.
-
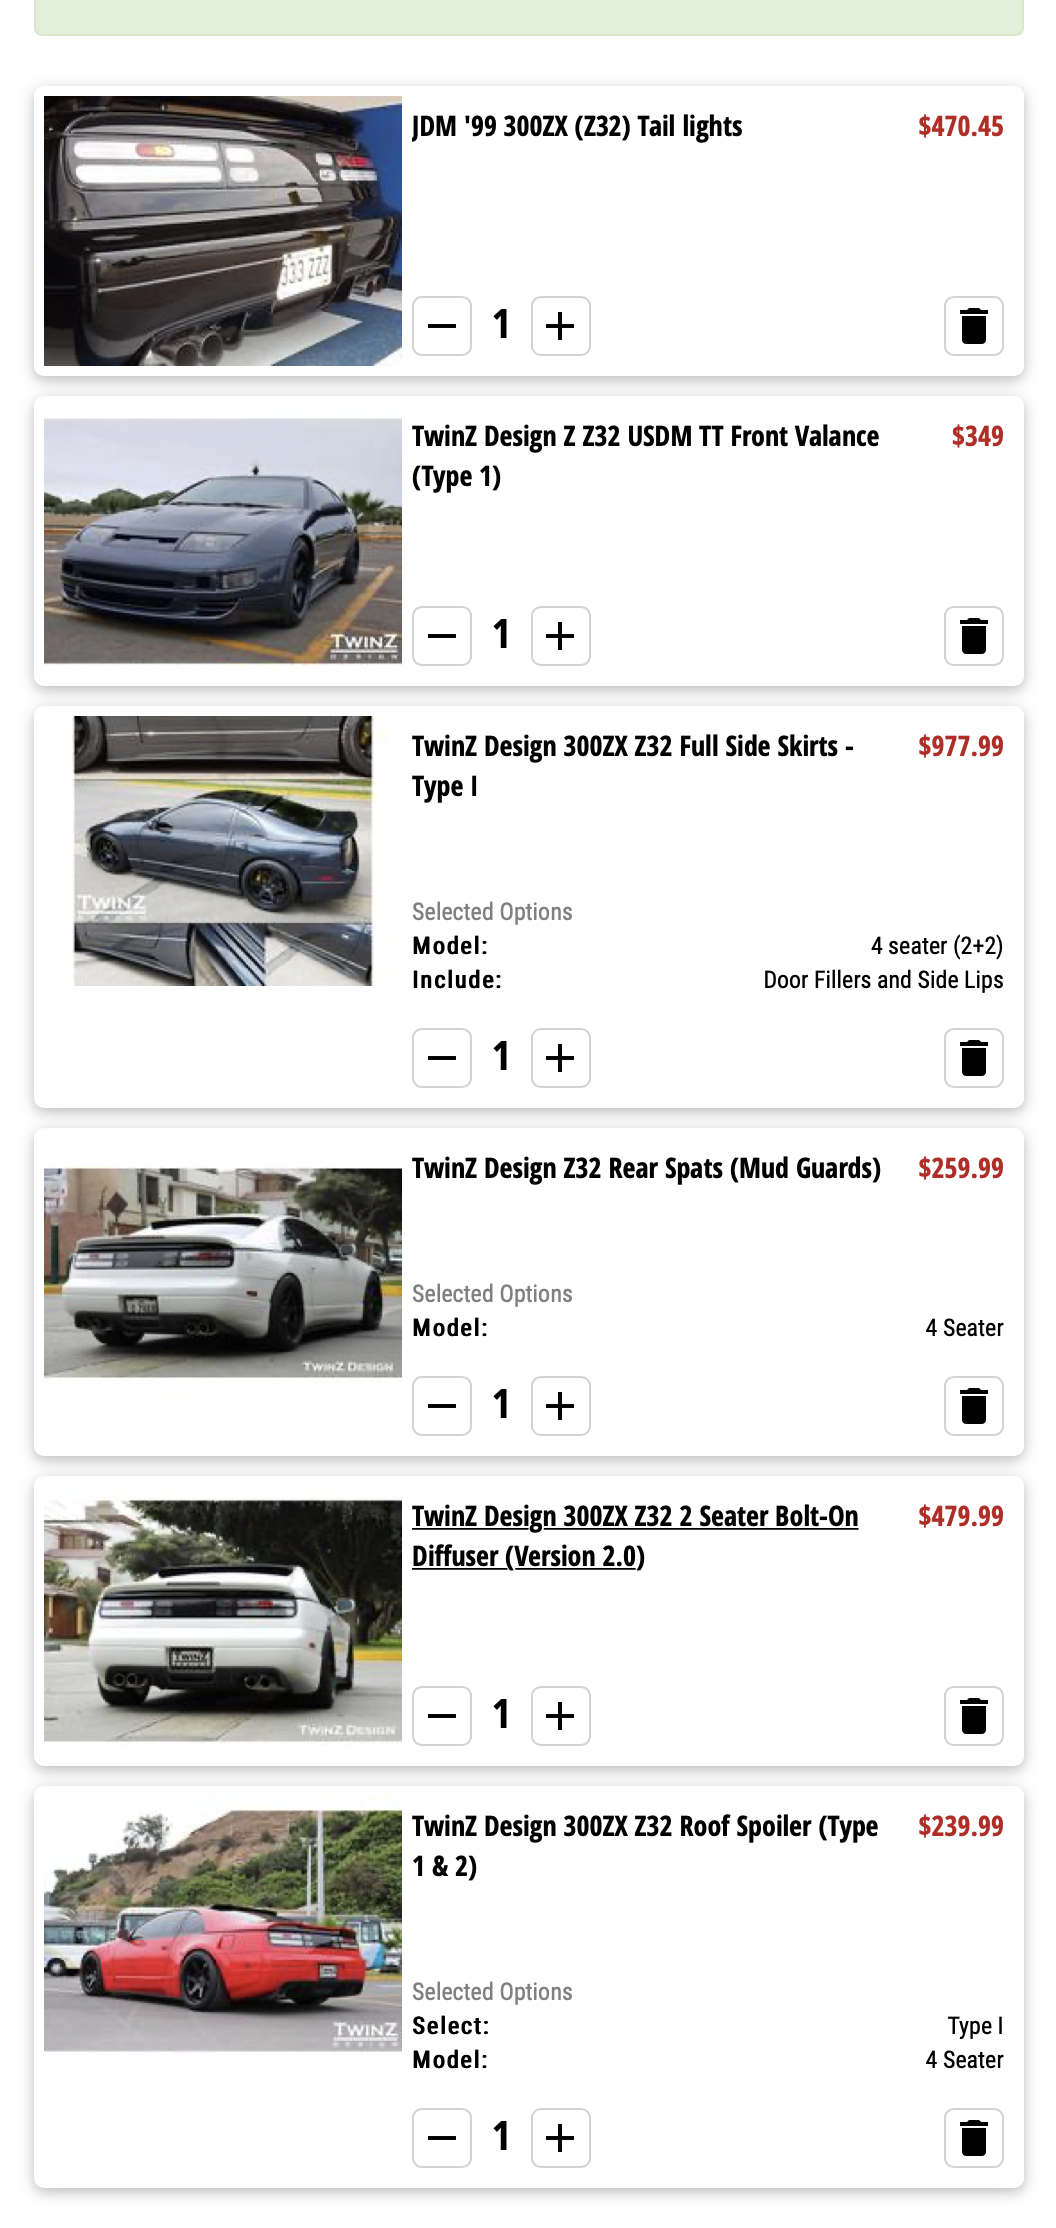
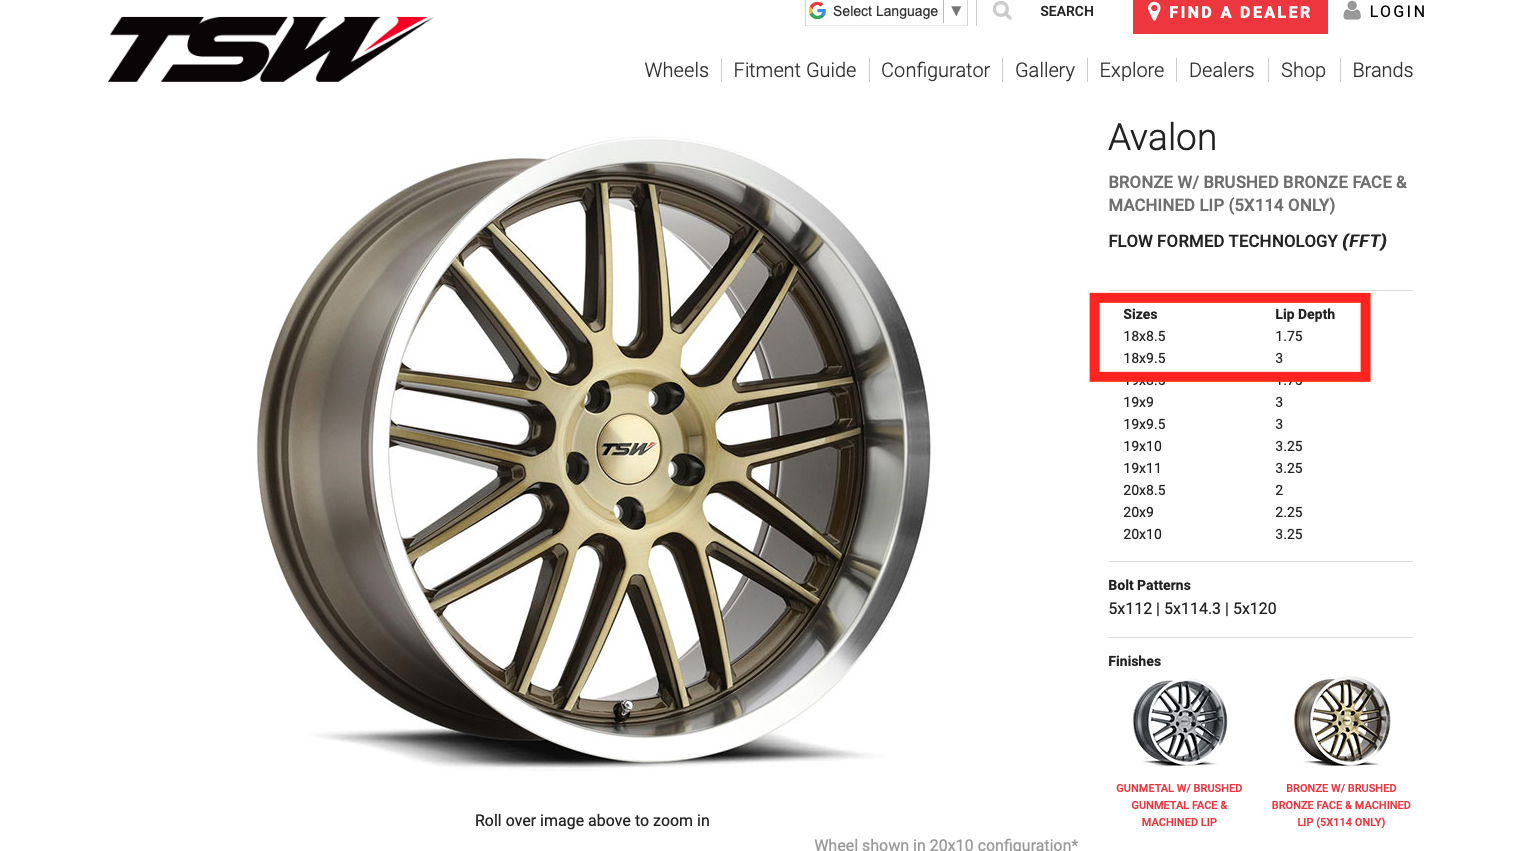
This is my Shopping cart....when I say shopping I mean browsing cart....... while thinking "Deep breath......FAAARK Gst and customs are going to screw me hard for this.......and why should the govt get money for nothing and it's bullshit because If I could buy it here I would so I'm not ripping NZ business off anyway you bastards".......and breathe.... rant over. I will try and hit up TwinZ Design directly myself for a better deal, their website directs you straight to Z1 Motorsports and you see the $$$$ mark up straight away. All these bits would fit snugly and require no damage to the original body work - the best compromise for a full kit. But I still need to account for getting the wheels, stereo and exhaust.......who is a good place to hit up for a decent cat back system in NZ?
-
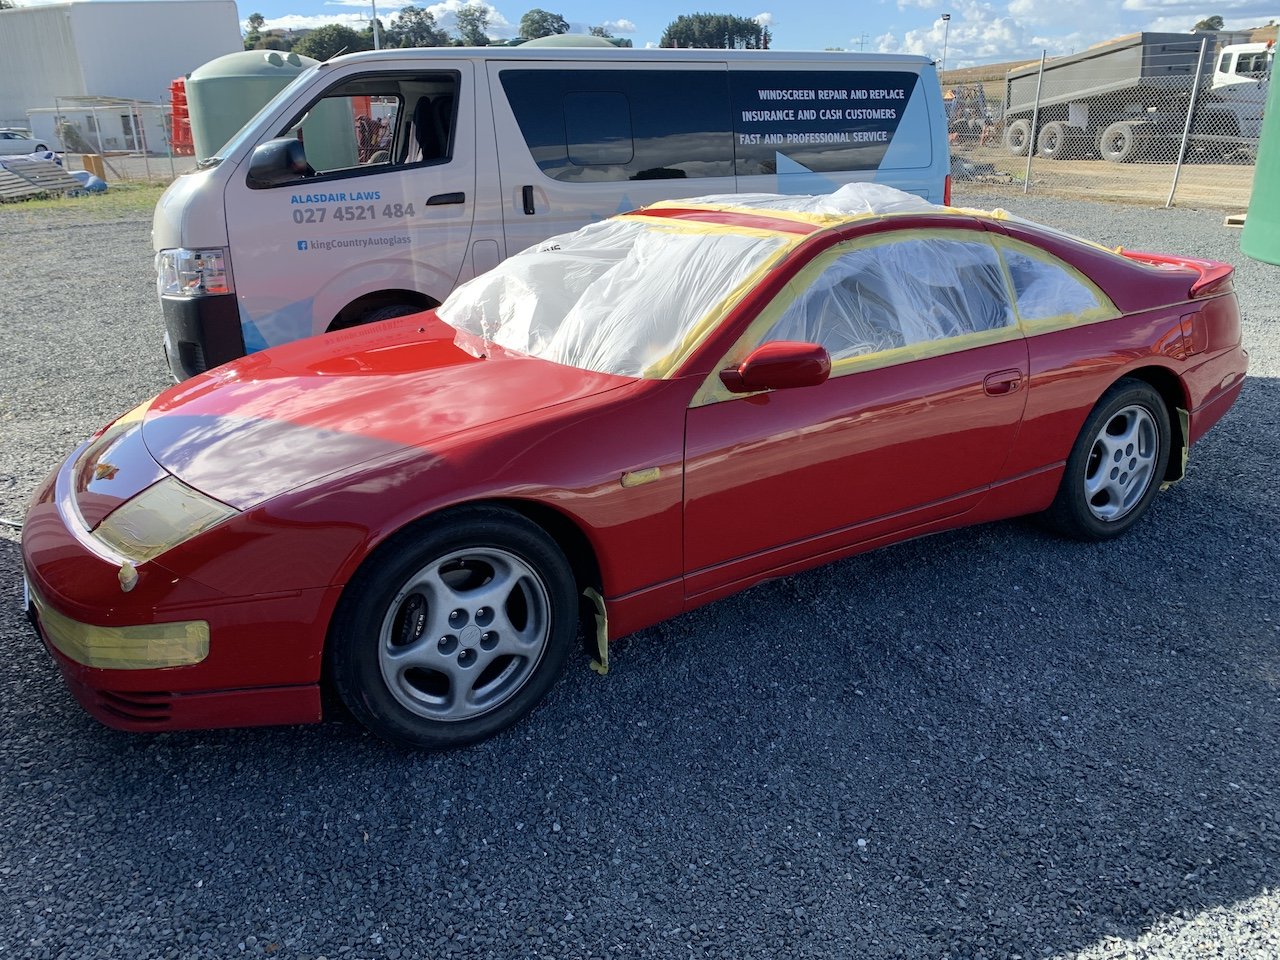
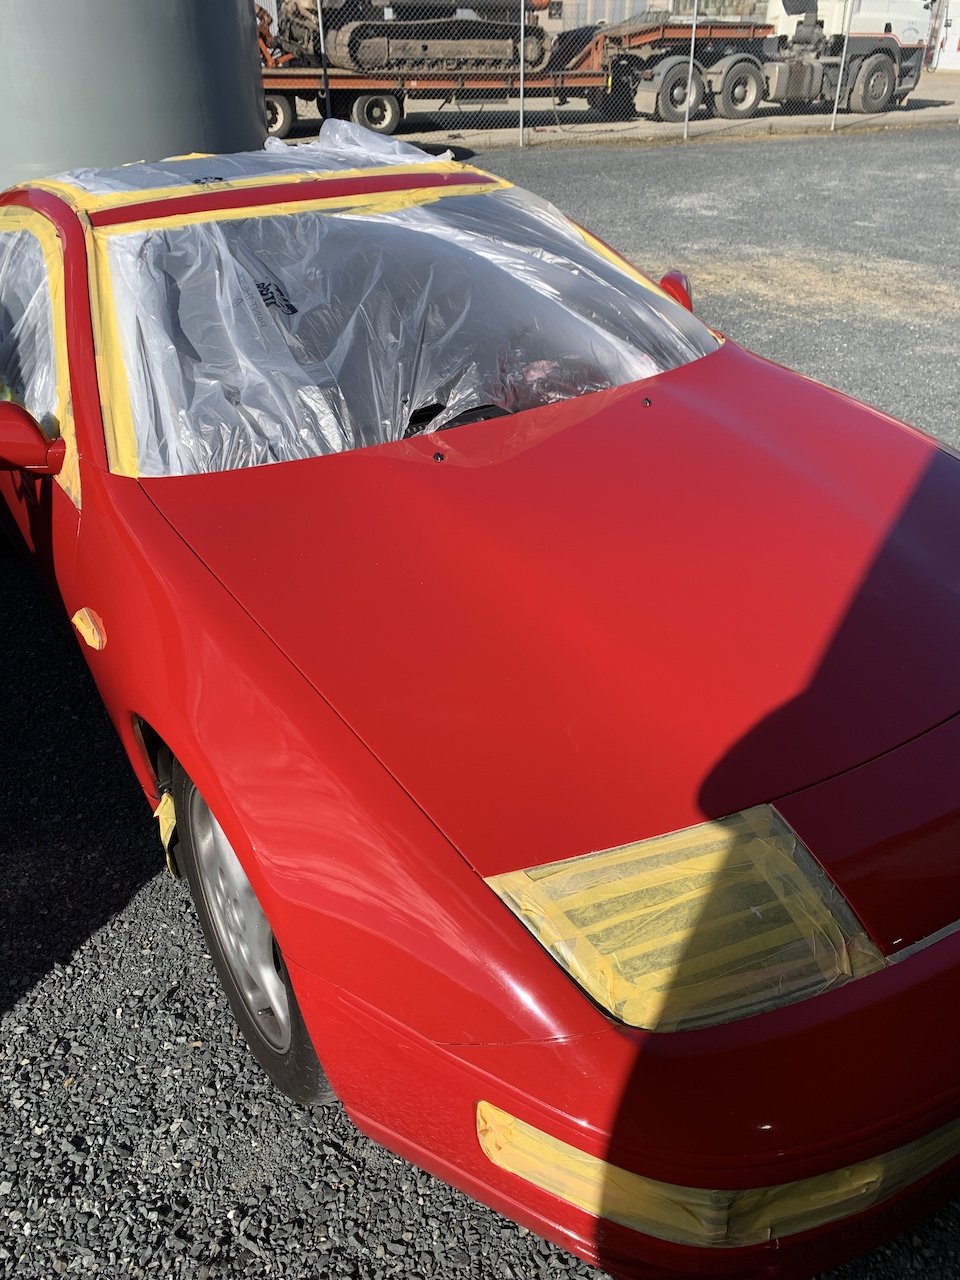
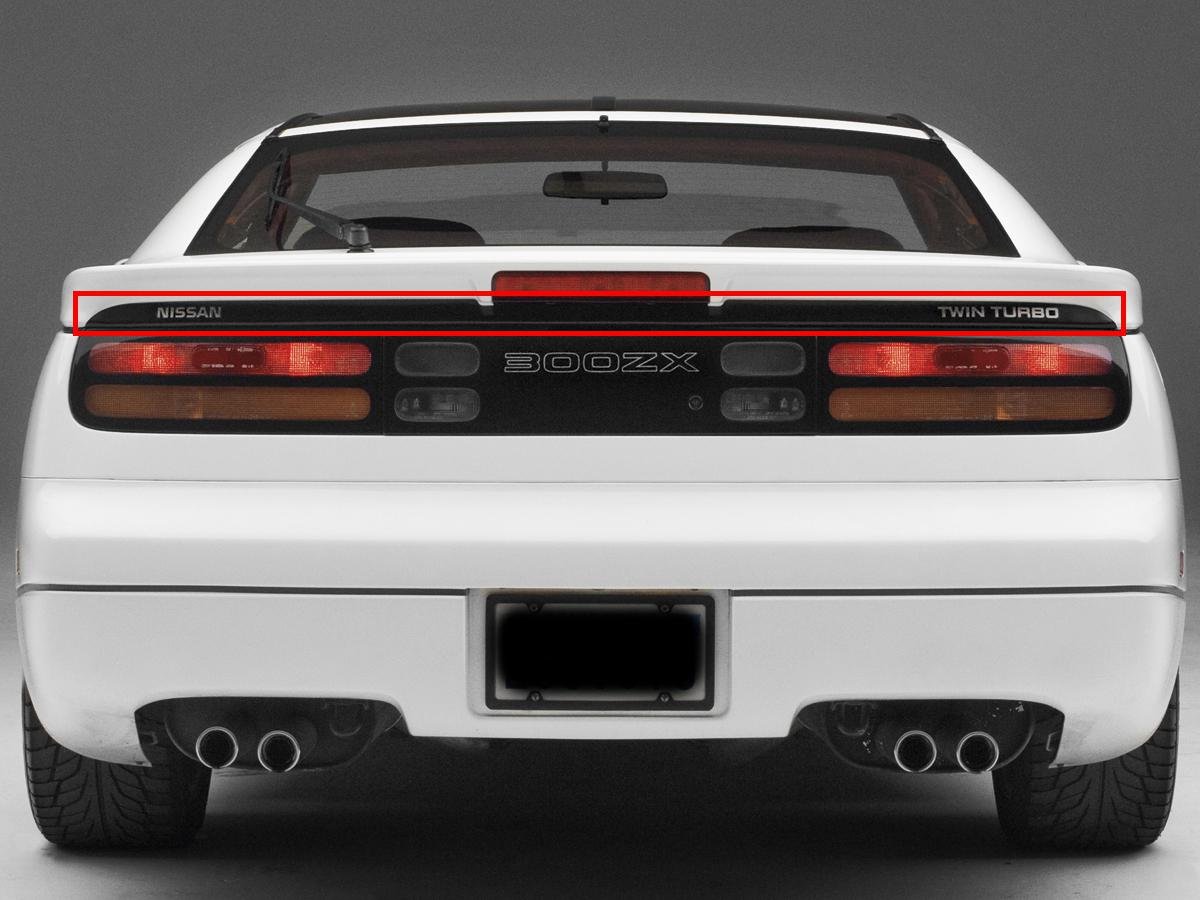
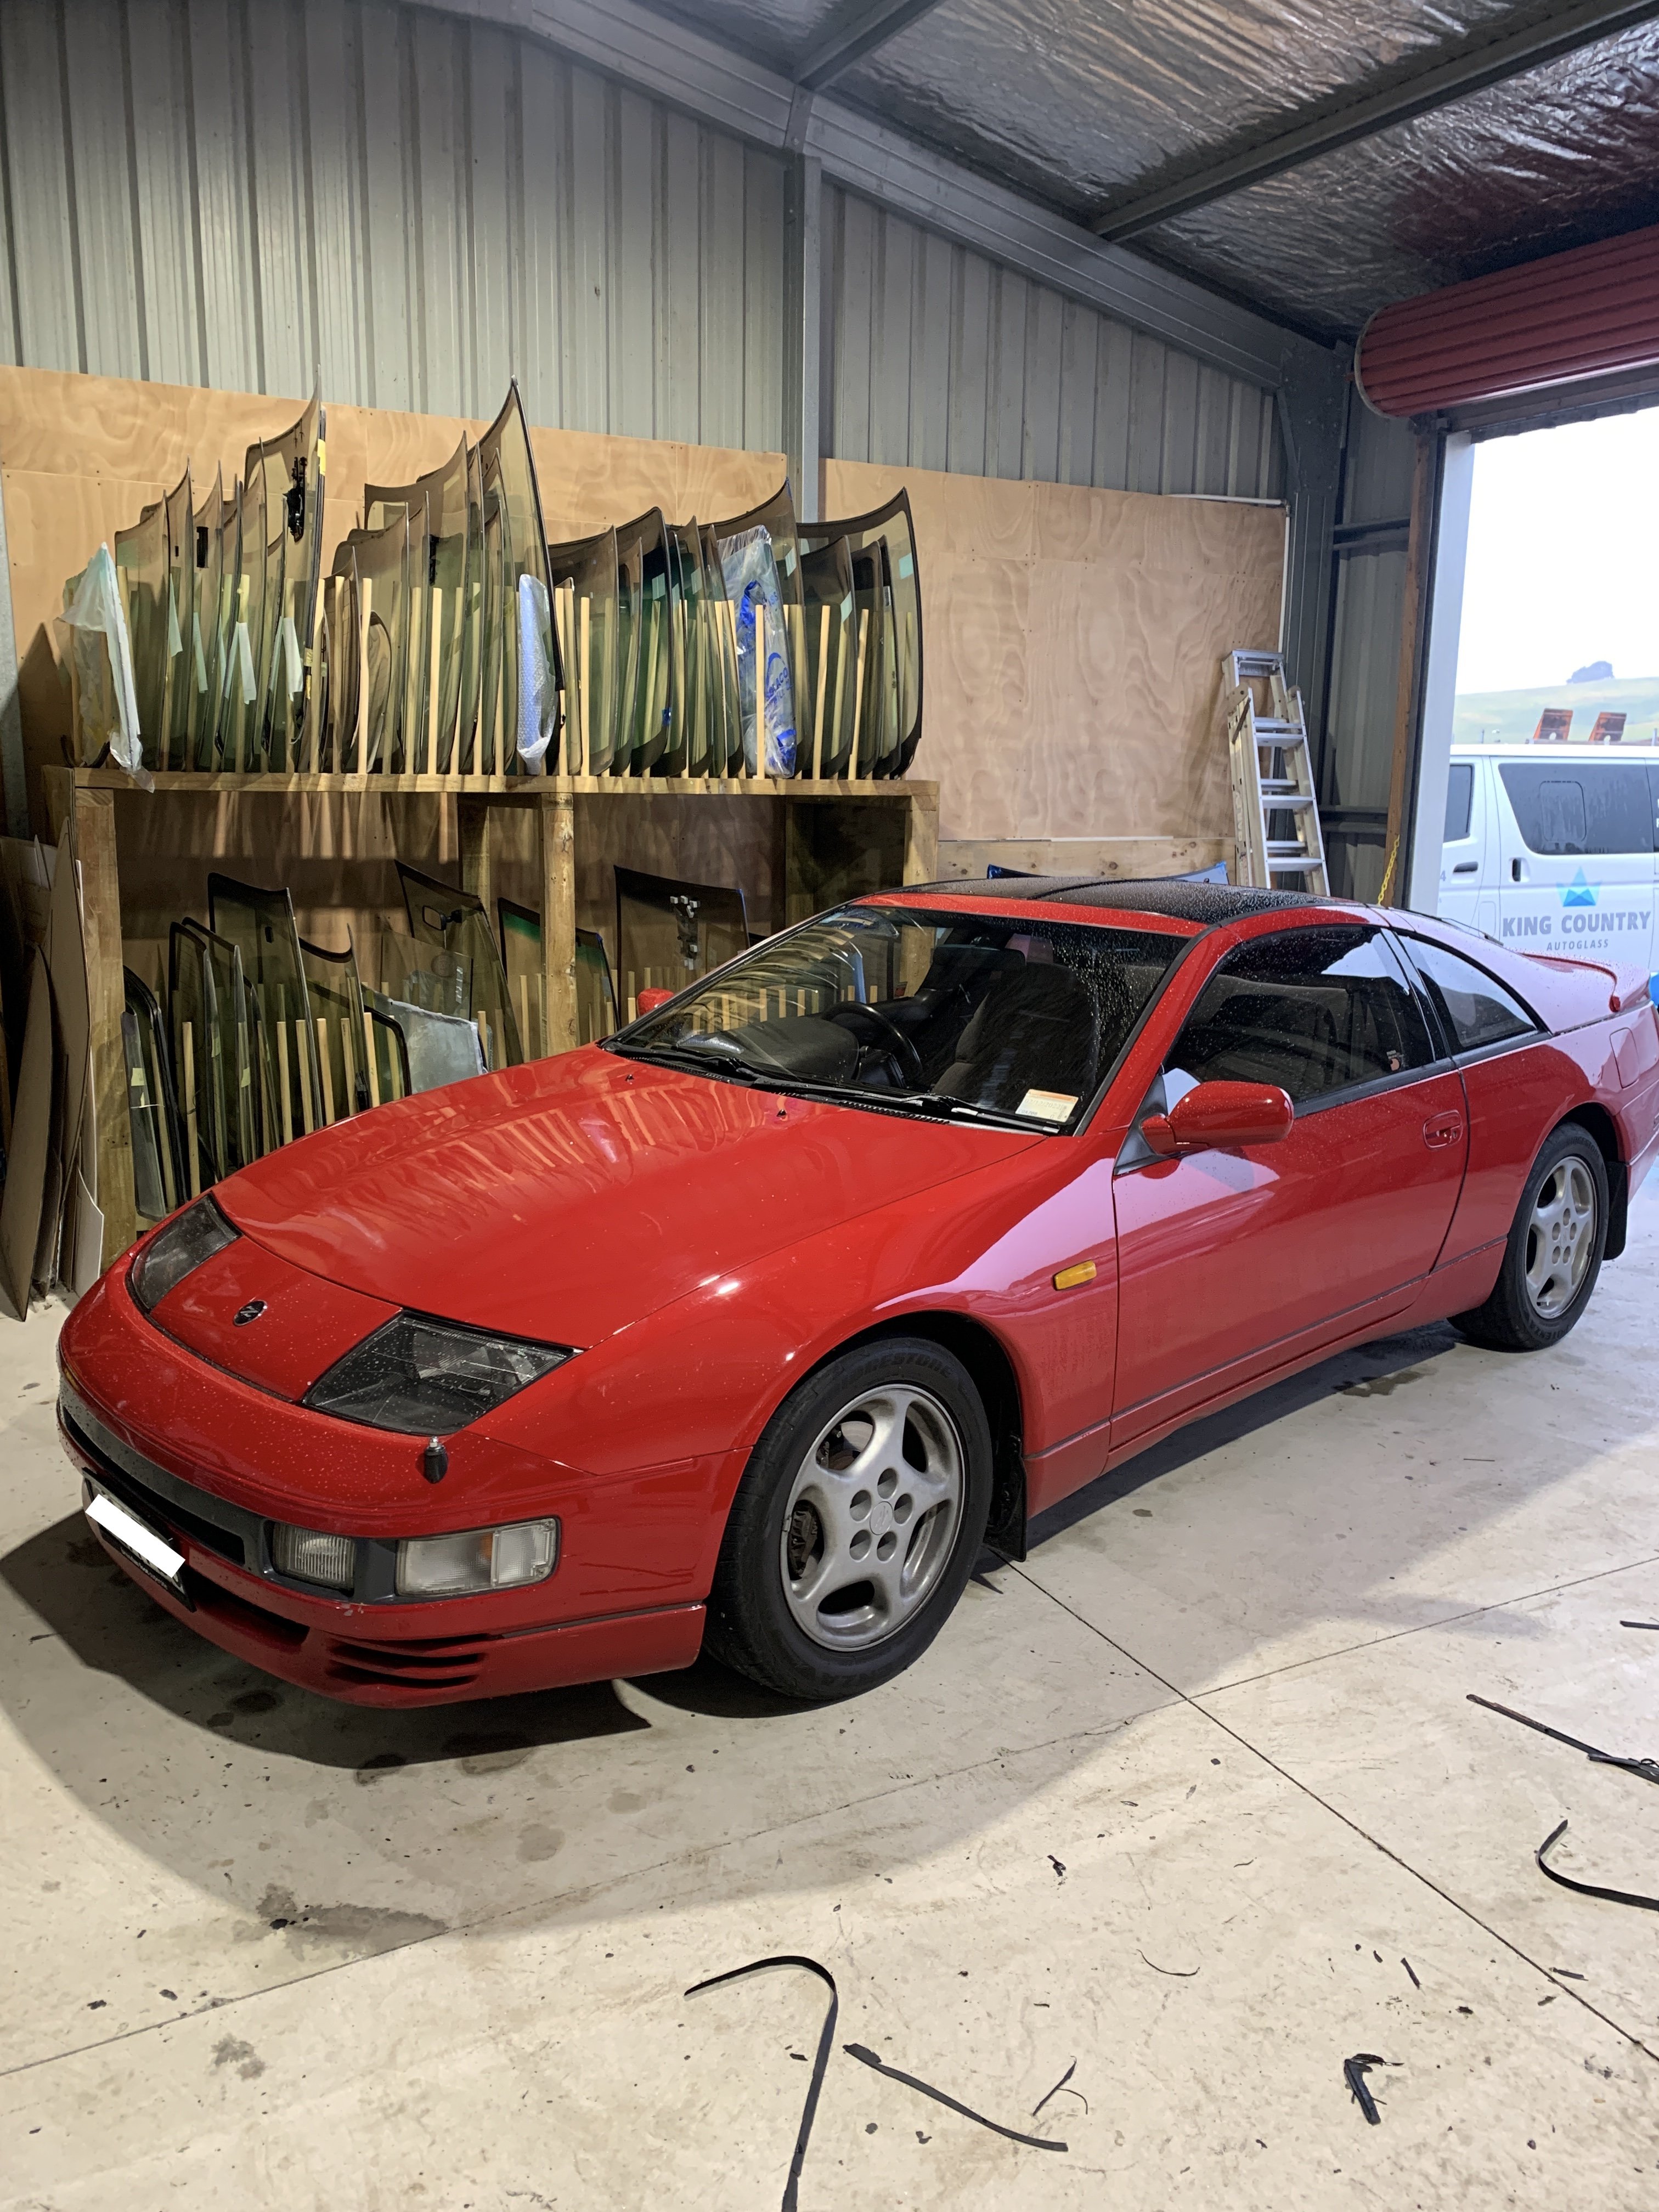
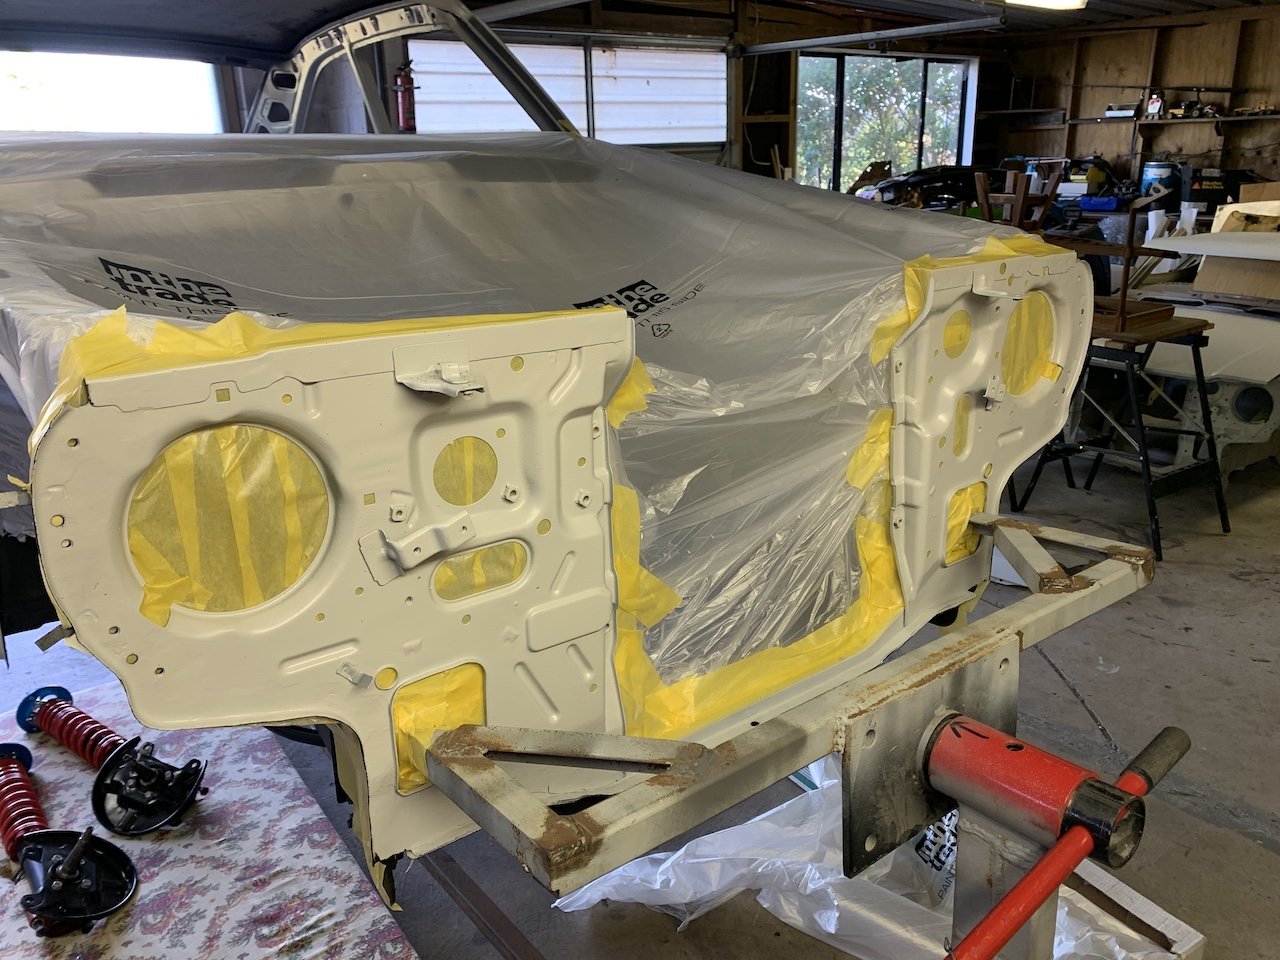
Masked her up and gave her a cut and polish. The drivers door, A pillar, rear fender and bumper are still original paint so were a bit dull compared to the newer paint. It came up really good, still differences in the colour but only if you go looking for it. Dropped off to a mate who is doing the rocker cover gaskets, replacing some pipes, upgrading the headlight bulbs anda few other little bits and pieces. I've ordered a new sticker for above the taillights too. Should have an update on wheel availability soon too.
-
Certainly didn't have to pay $40K plus...phew!! I was looking at 18's but the wheels I liked are ex US and super $$ with shipping etc. Will definitely be looking for some dish, maybe even 17's just to keep the comfort. I'll need to start another build thread for my driveway if I lower it - The meeting of the camber of the road and the driveway slope is a killer - I currently have to use my neighbours driveway and drive into mine off the berm ha ha
-
Who would buy a 3.0 V6 Twin Turbo with petrol prices what they are now?!!?
-
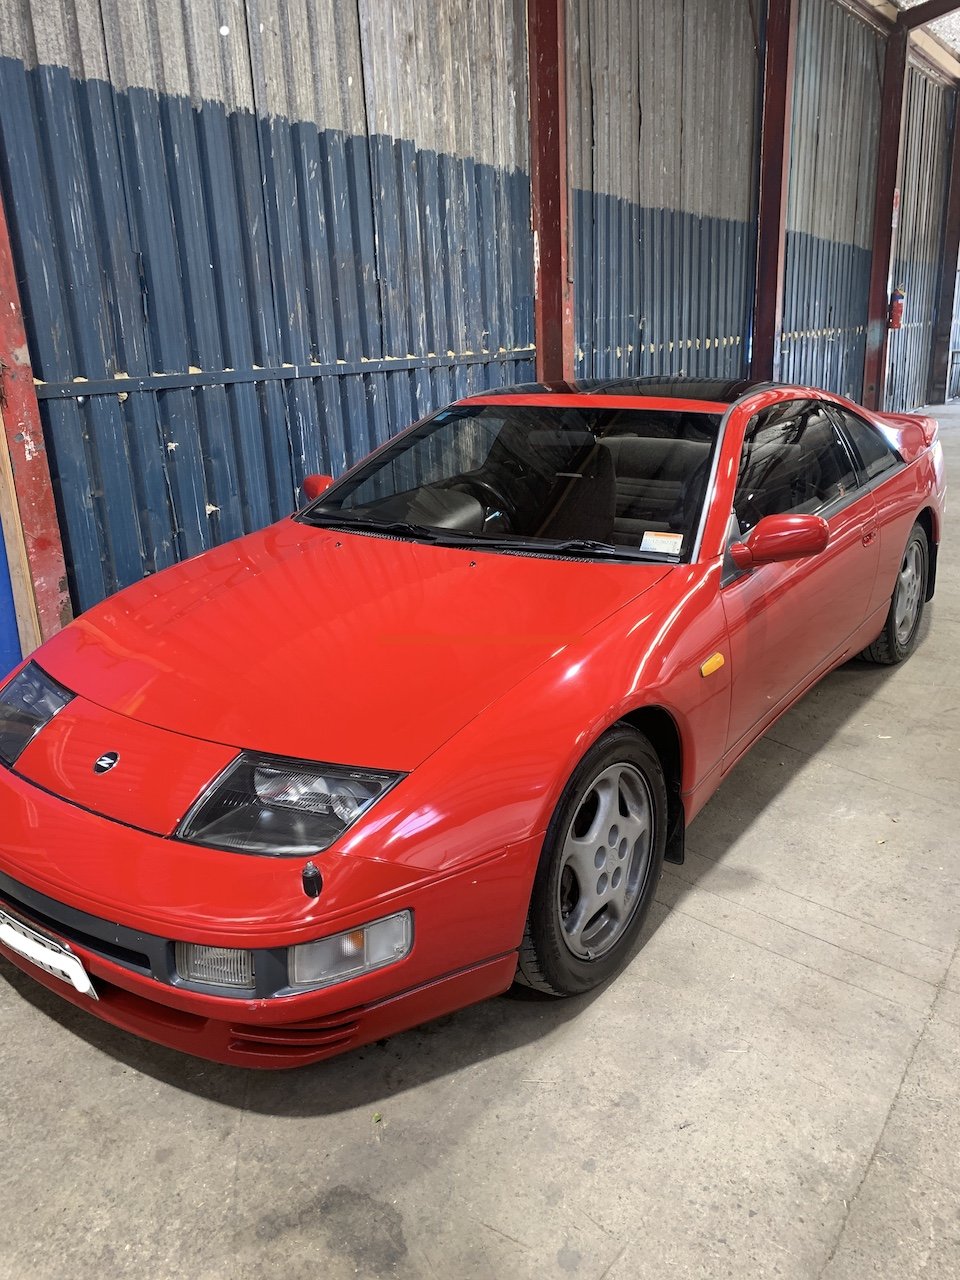
I had pictures of these on my wall as a teen back in the 90's. I never really thought I'd own one - they were considered a sort of 90's Jap supercar. I didn't want another project and started looking for one a few years back but pretty much gave up finding the right one for me. I was looking at Japan but needed 40-50K for that, so started looking at JDM WRX Sti's locally......then this popped up and I had to have it. It's not a mid life crisis car.......It's just a coincidence that I can only afford one now....ok? Red, Twin Turbo, Manual, 2+2, Targa Top - the only this this doesn't have that was on the wish list was the leather interior. I wanted to do a real classy wide body kit like the TwinZ Design ones out of the states, but this has only done 155Kms so will keep any mods simple to maintain the originality for the future. I No doubt it'll cost me some $$ in the future but for now the plans are: Some nice dished/mesh wheels, nice exhaust, tints, stereo, cut and polish, few service requirements and small things.....and enjoy! Foam with me here.....
-
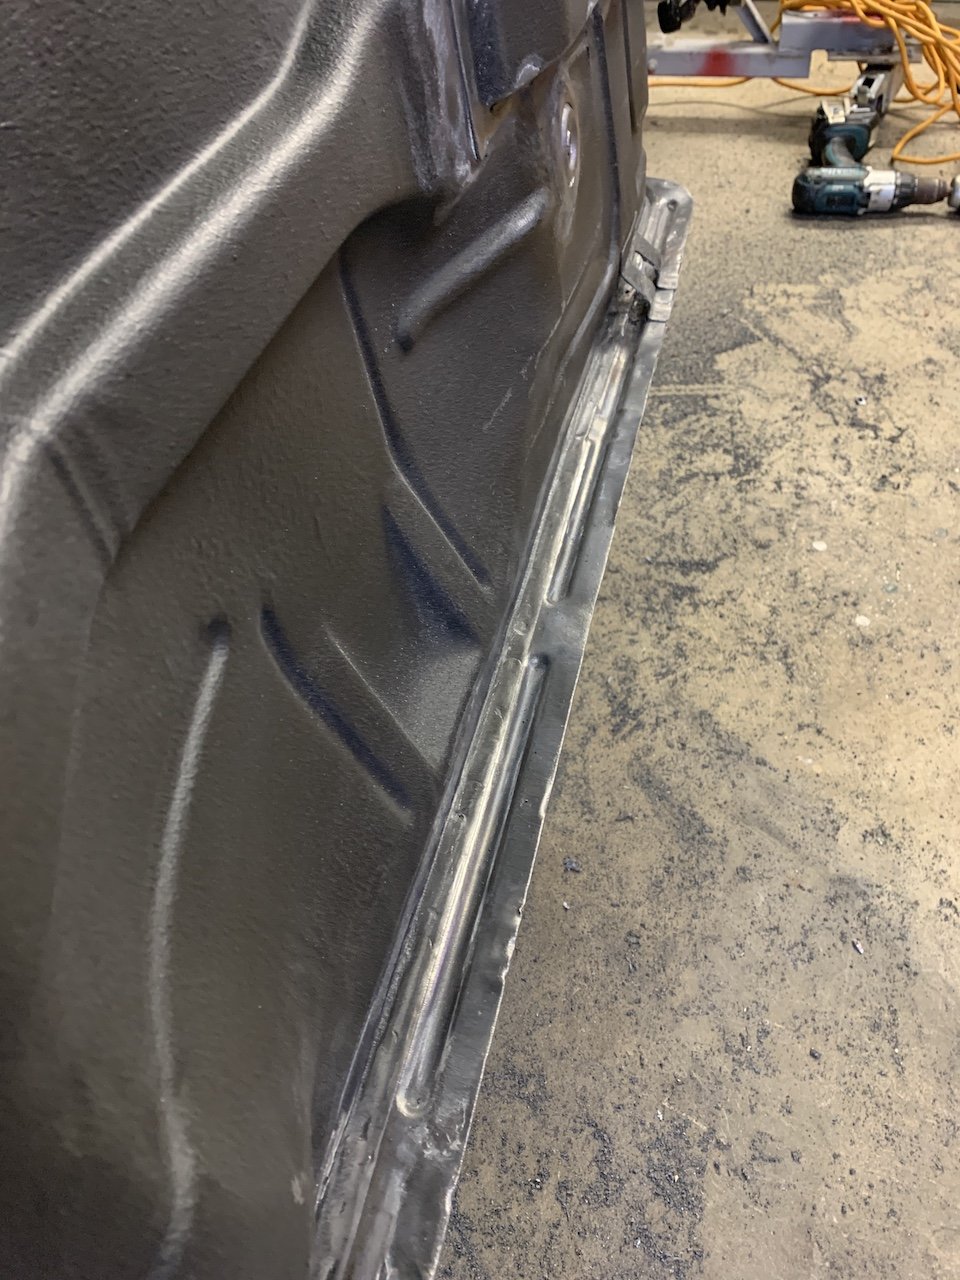
Nah, but the seam sealer took the underseal off with it too - the paintshop put the underseal on after the epoxy so I can only assume they prepped that right
-
Yeah seems like that was the better way to have gone about it. Saying that though, before I hit it with the wire wheel, you could peel the painted over seam sealer off, and it would take the undersea beneath it off with it aswell so I think there's still an issue there too
-
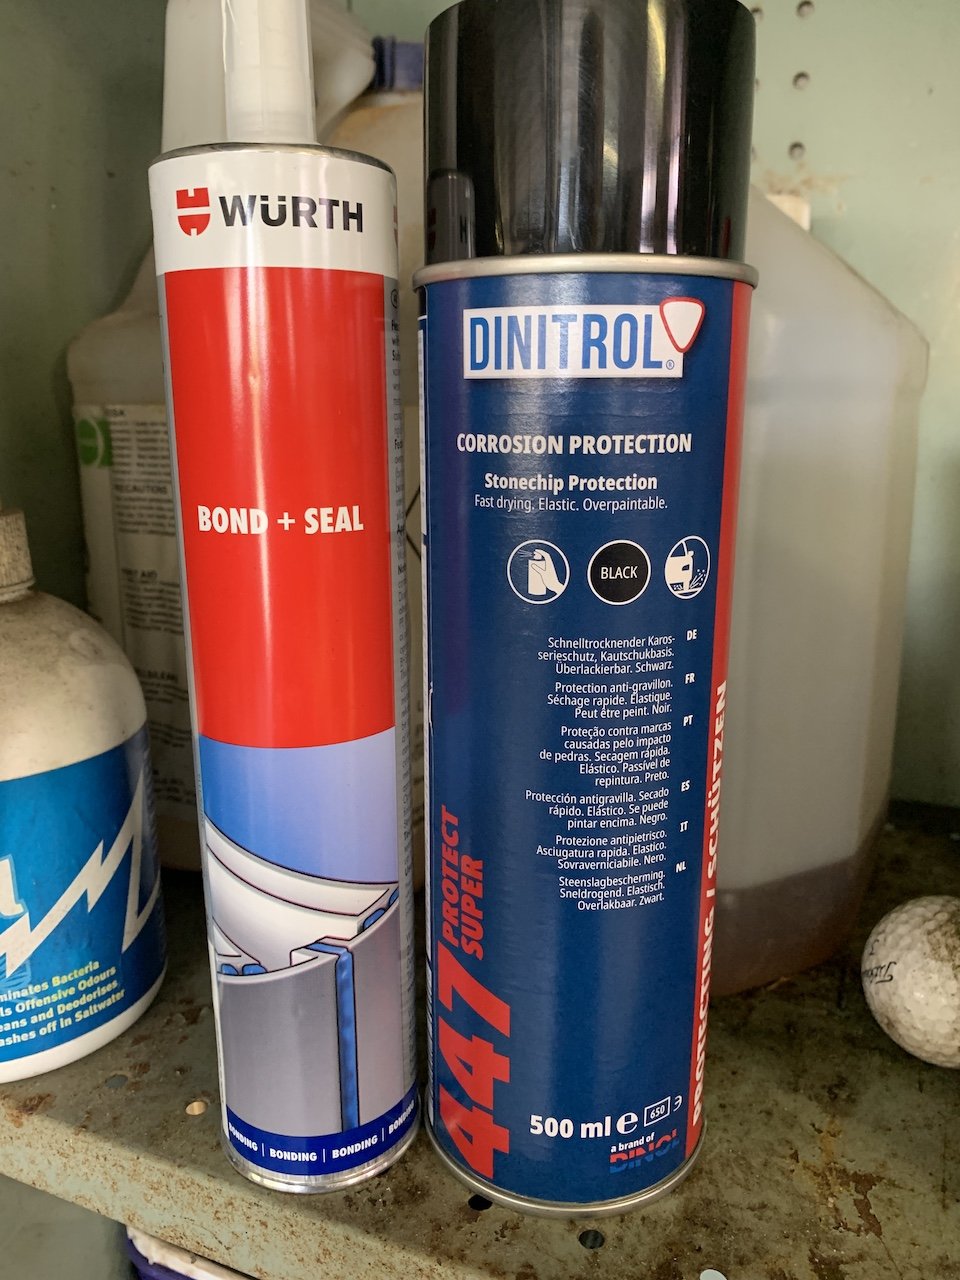
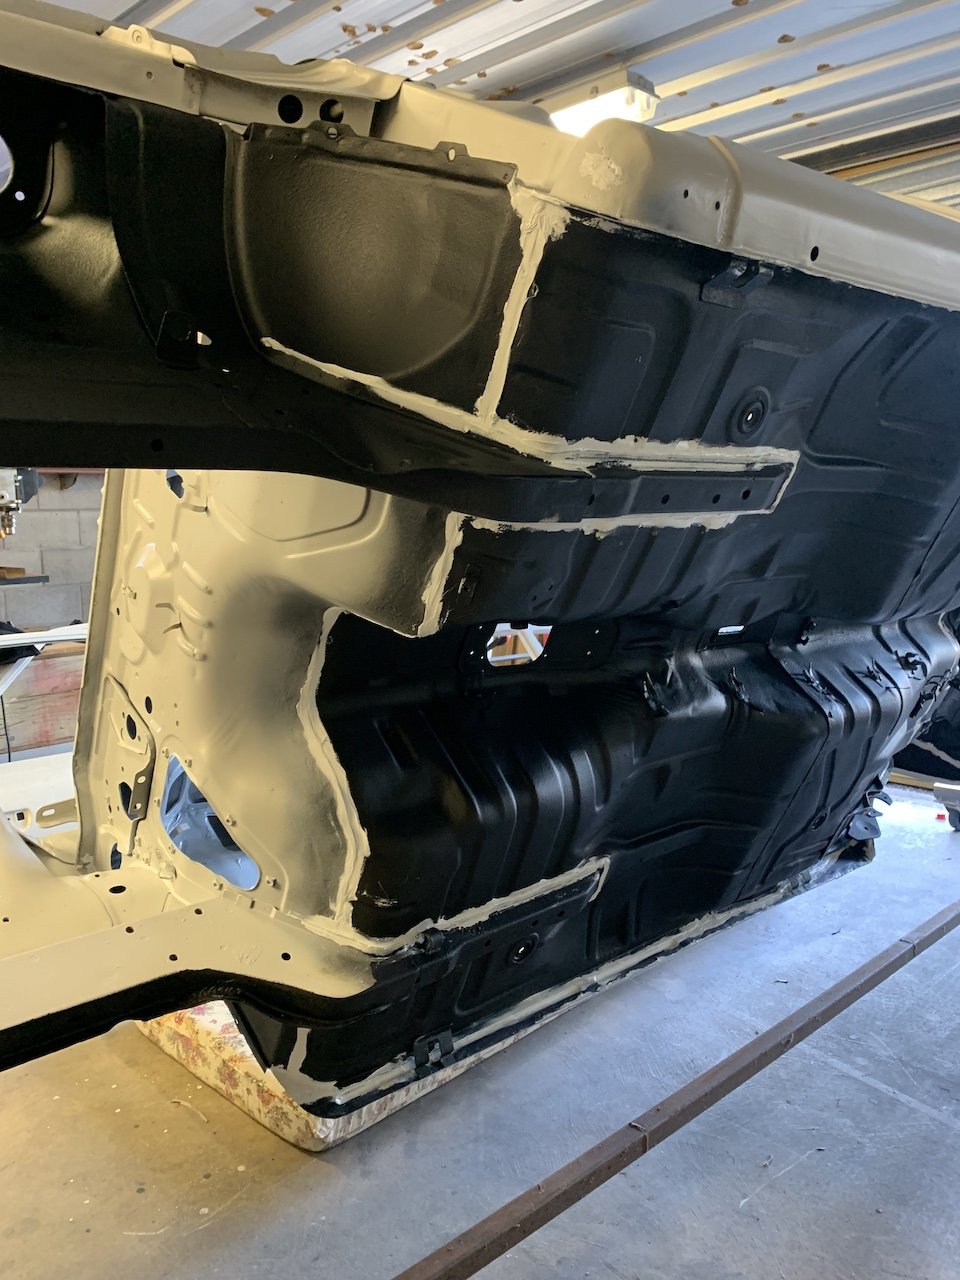
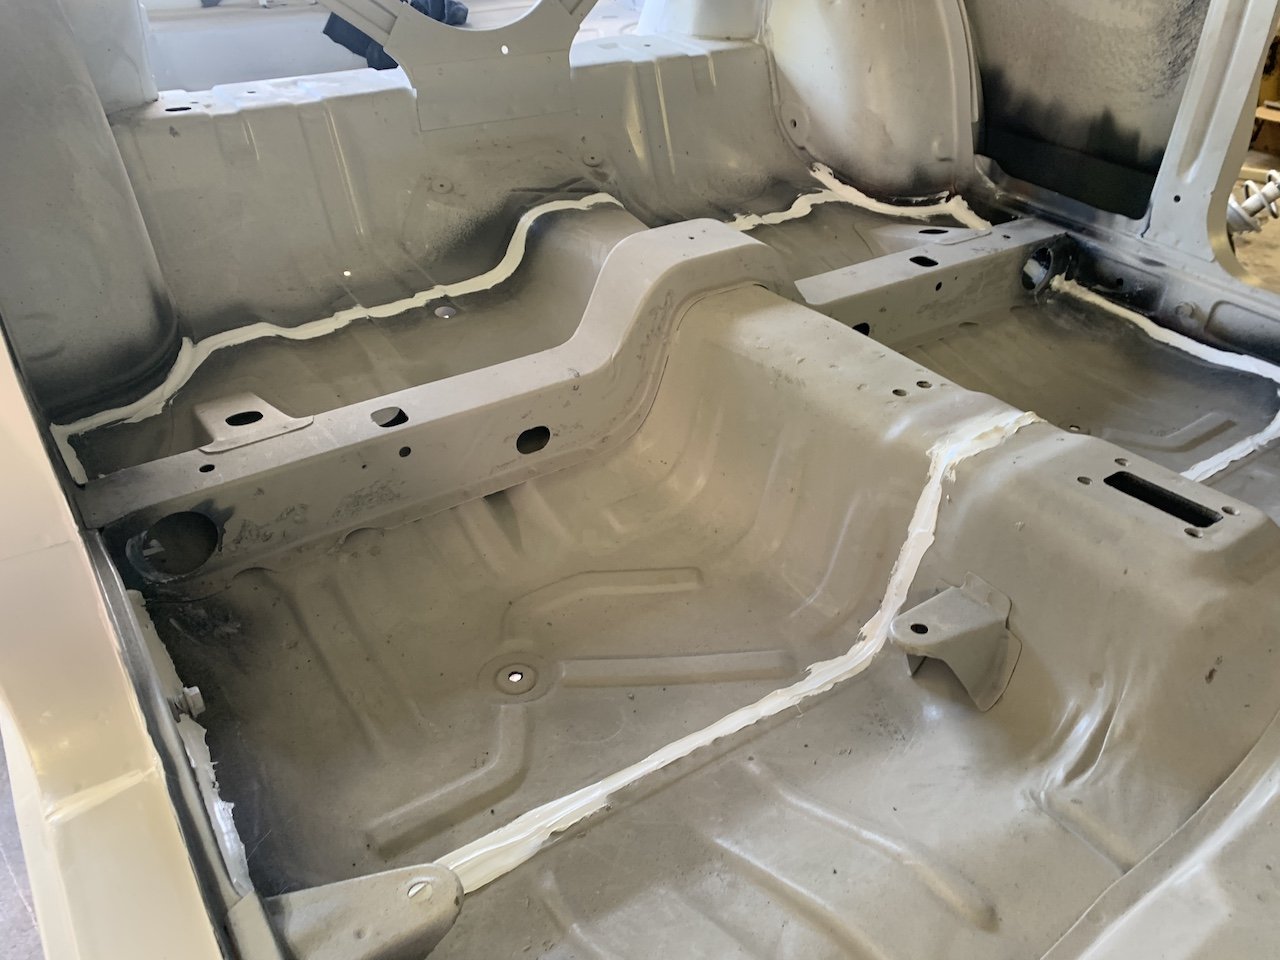
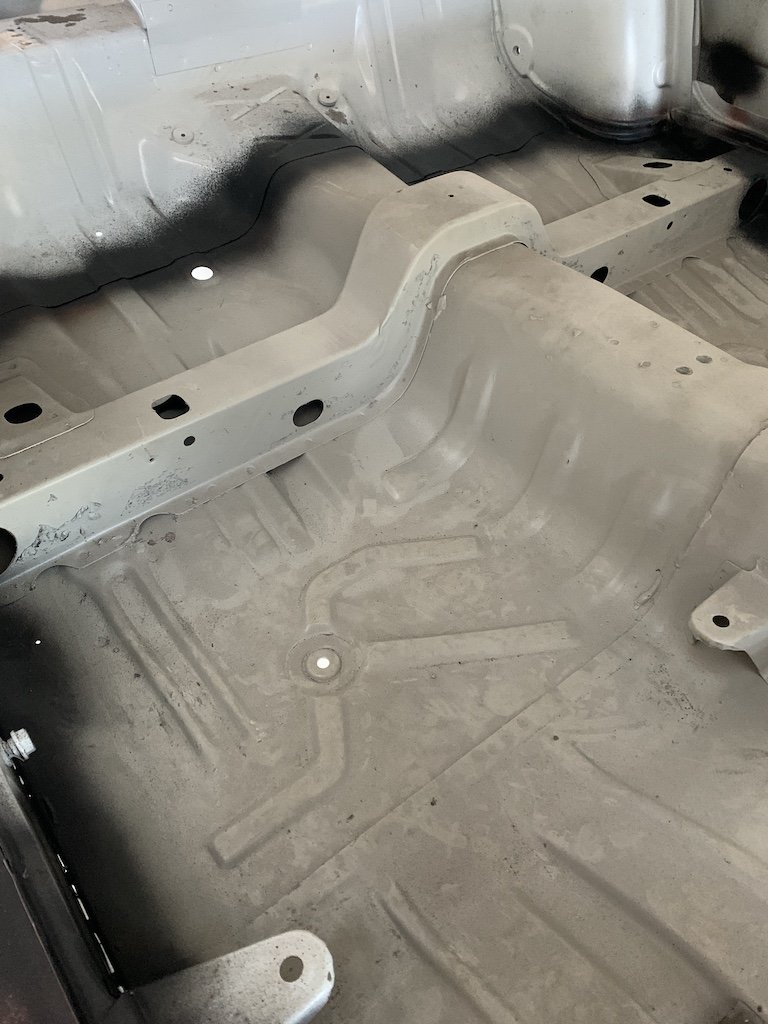
Ended up having to strip ALL of the seam sealer where it was put on the underseal/stoneguard. I suspect these two don't like each other - I'm researching all the chemical properties etc/emailed the reps.....trying to get to the bottom of the science. Found a few small rust holes/minor issues so I get to remedy those. It's all primed over again.......waiting for the answers before laying it all down again. Fuk.
- 72 replies
-
- 10
-
-

-
Yeah I wondered if that was the case with buyee not accessing all of the auctions - Need to find a mate that can read Japanese. Just waiting on my mate to put the diff back together and then I can get it back on it's wheels and start figuring out the wheel size and fender flare size etc...
-
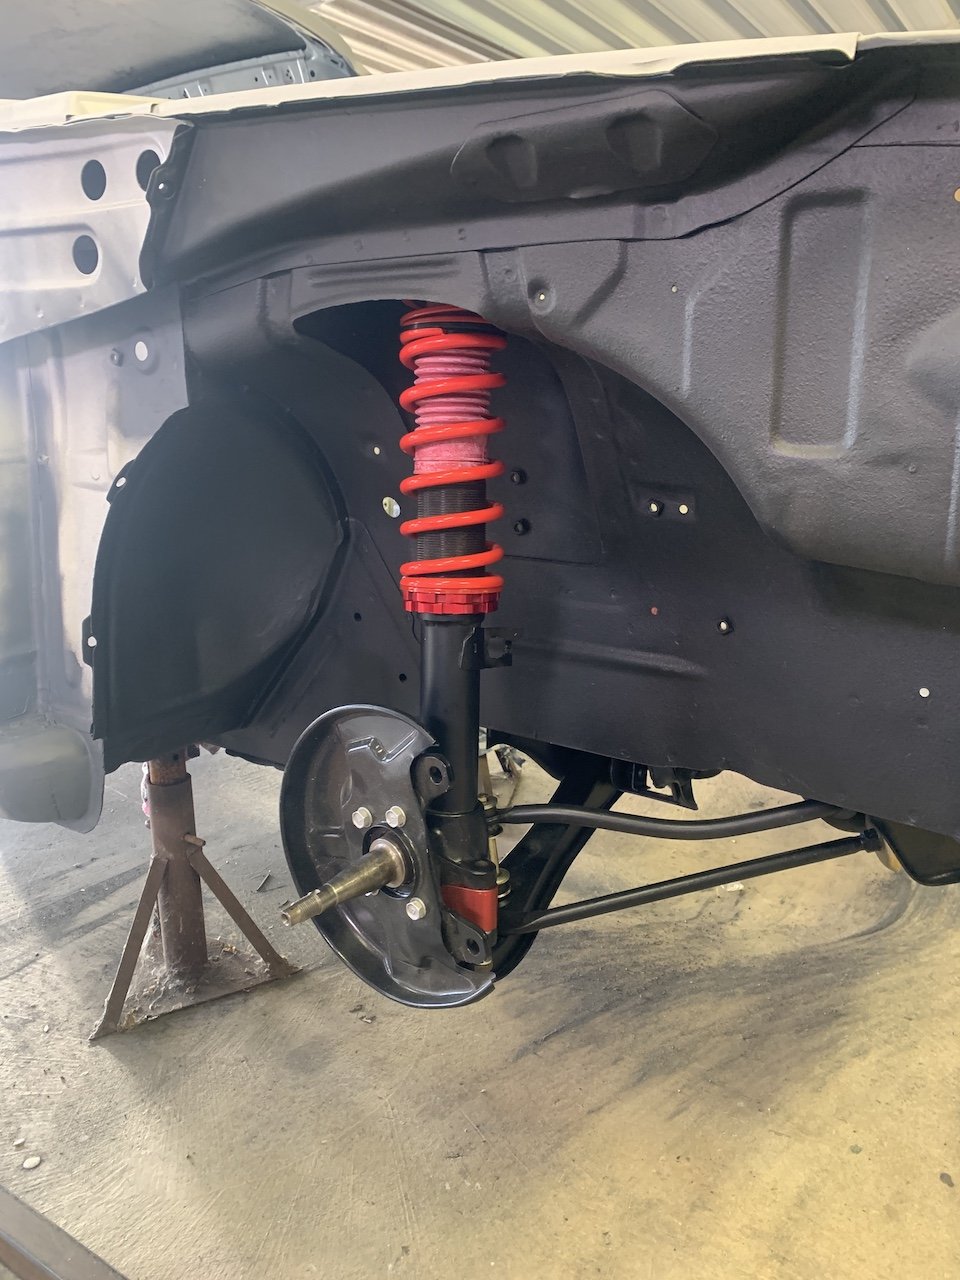
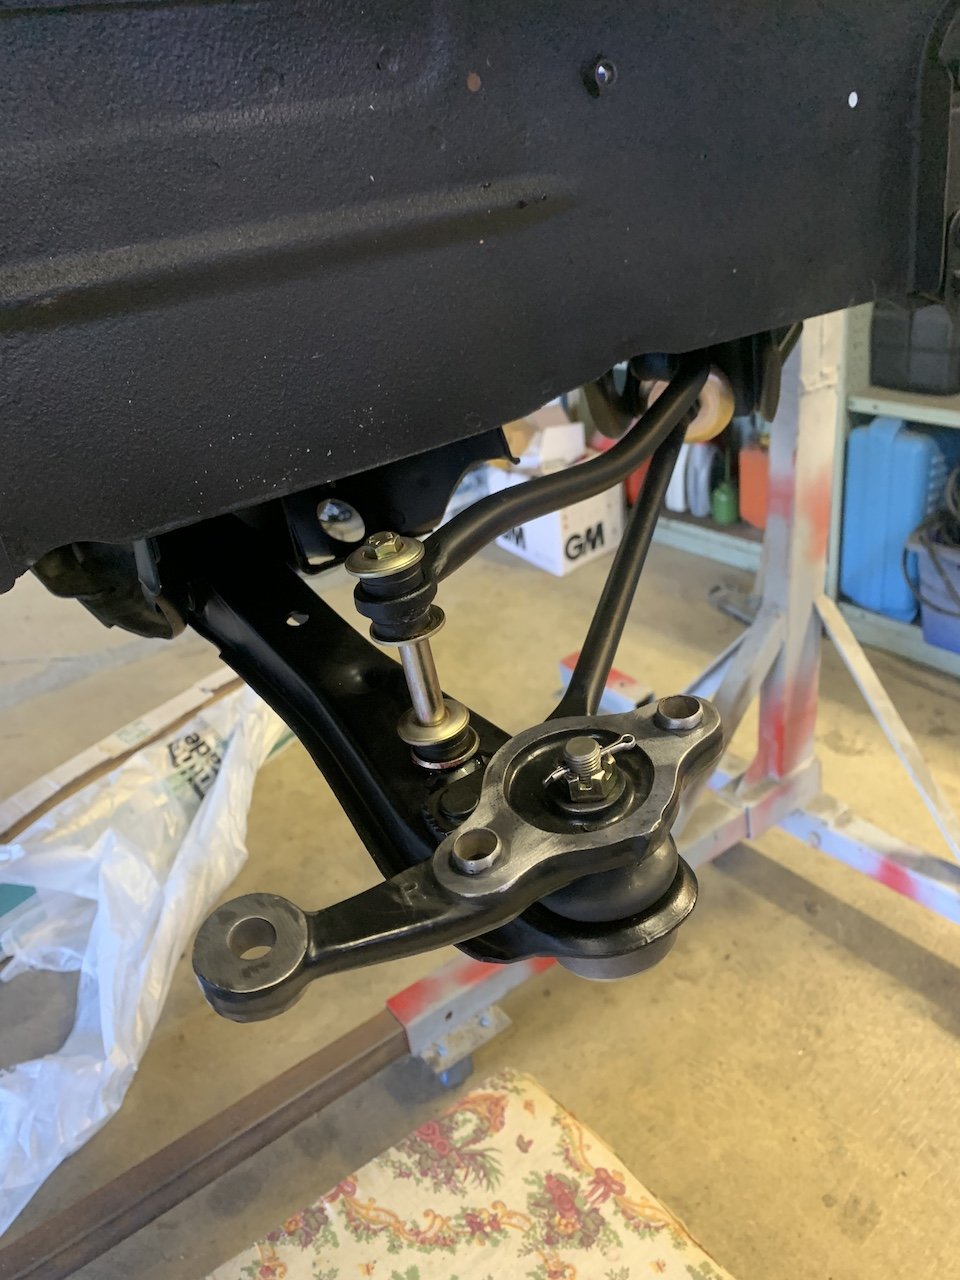
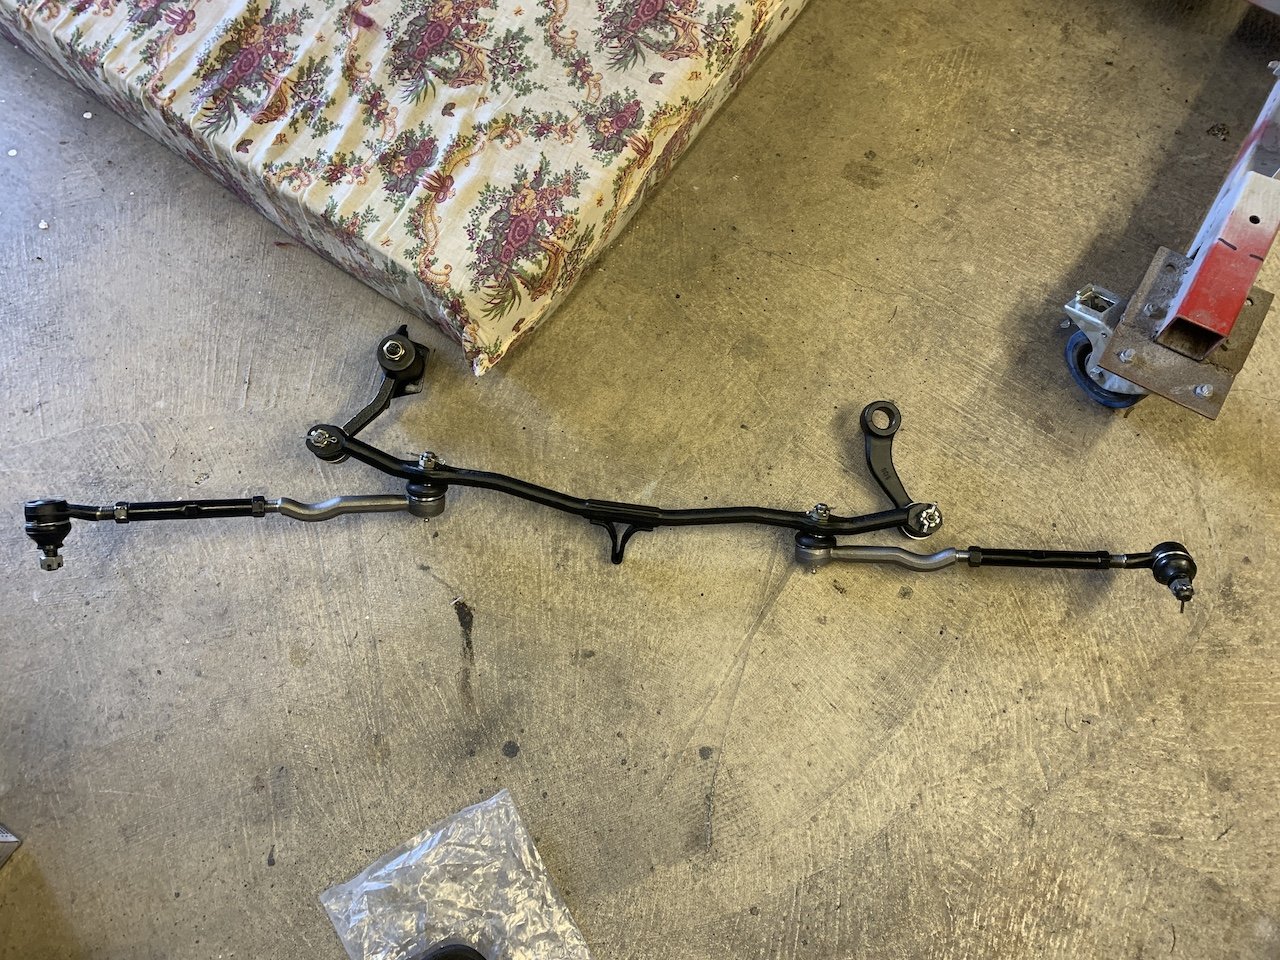
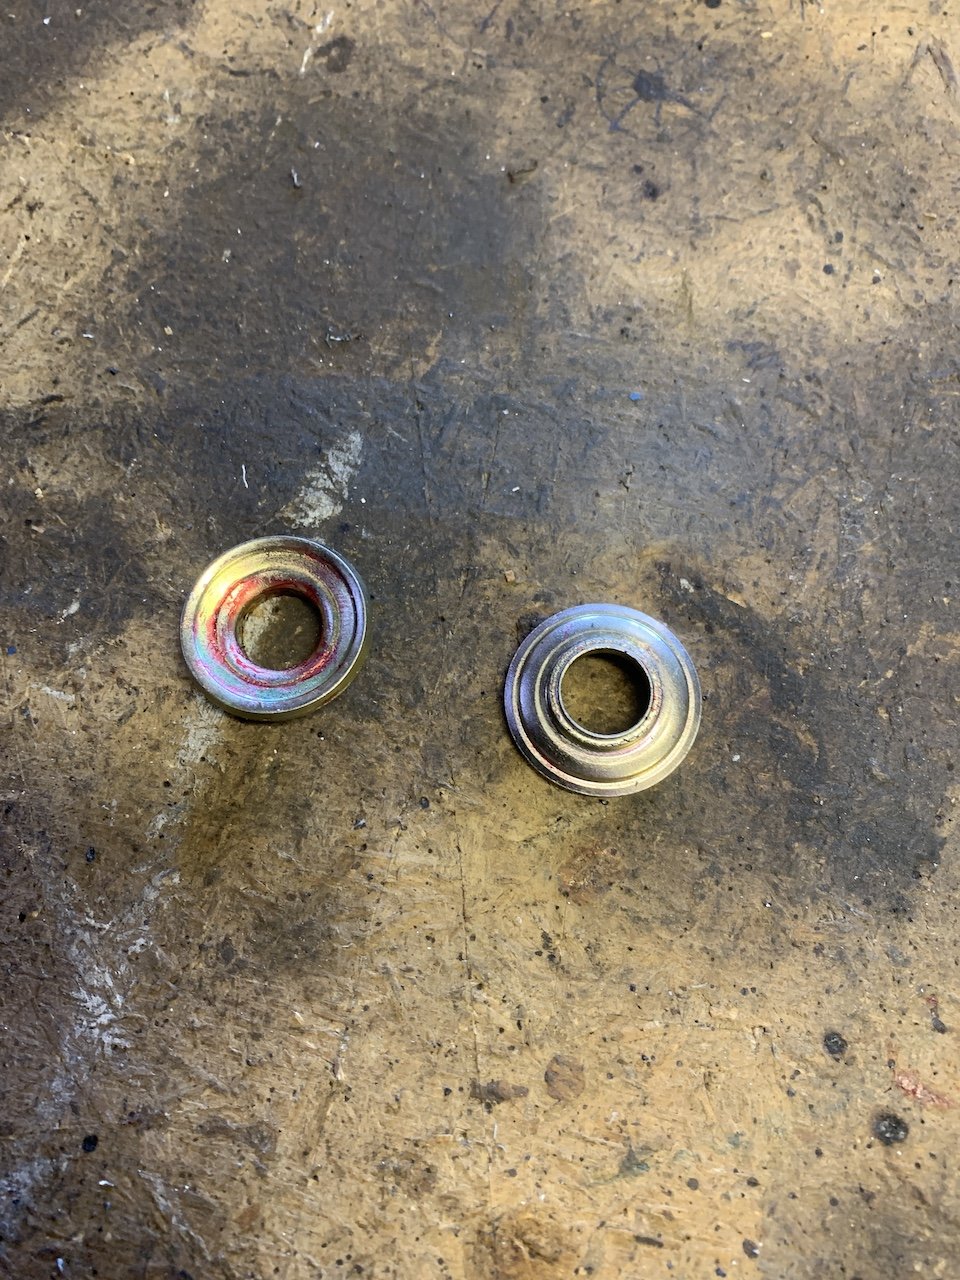
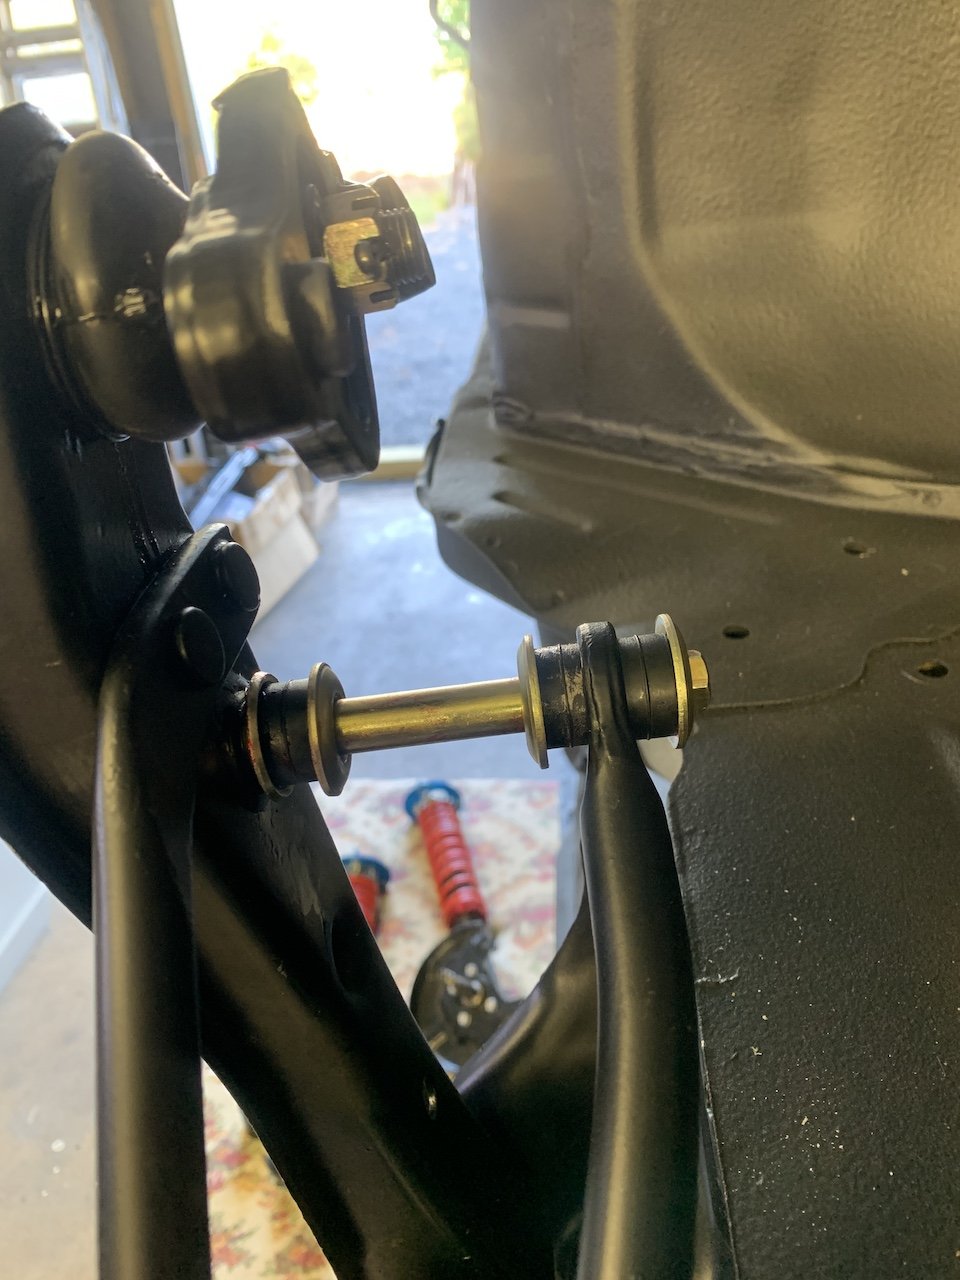
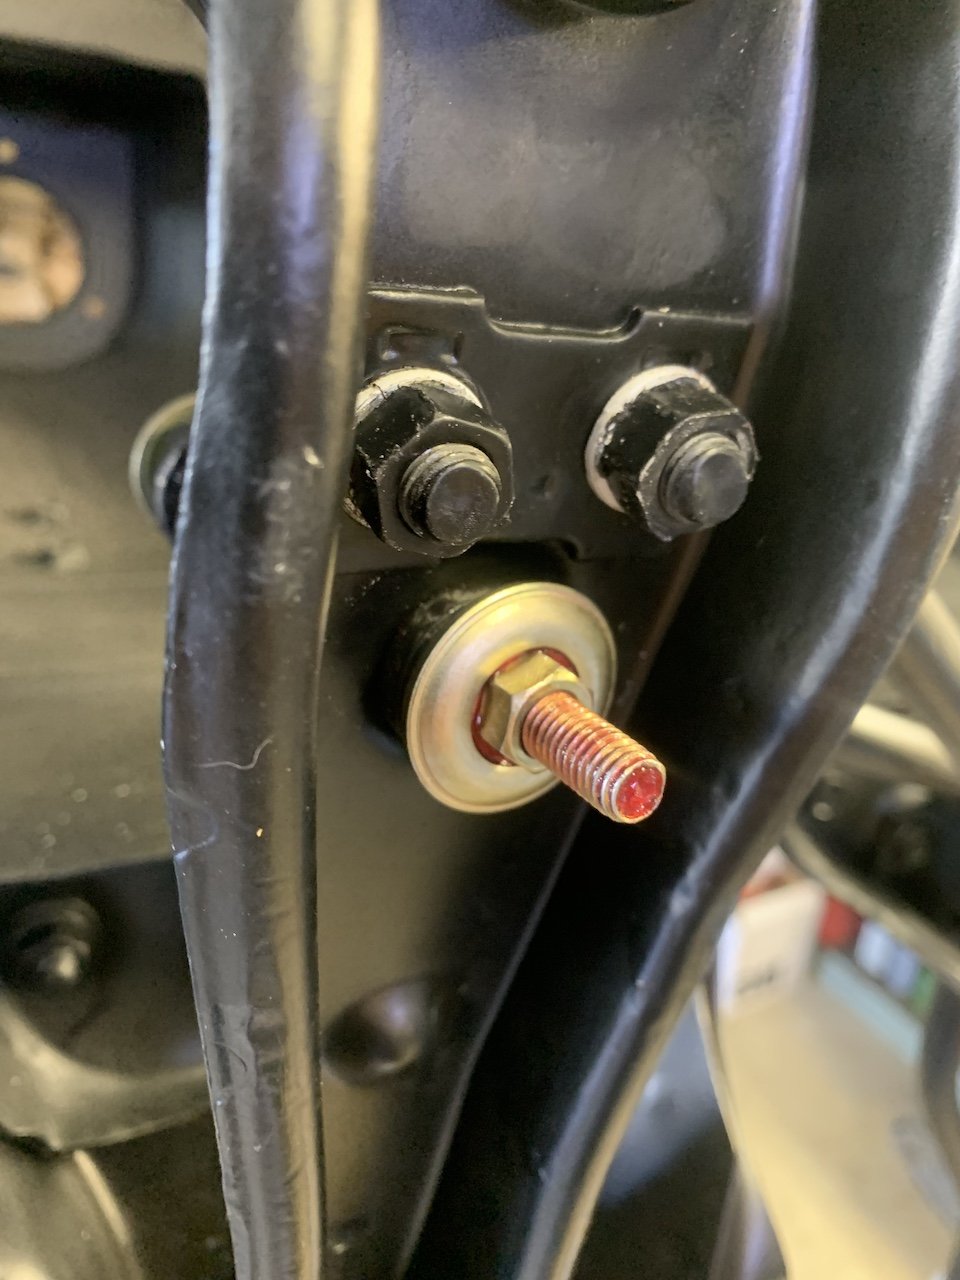
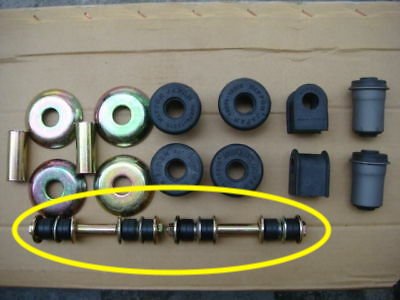
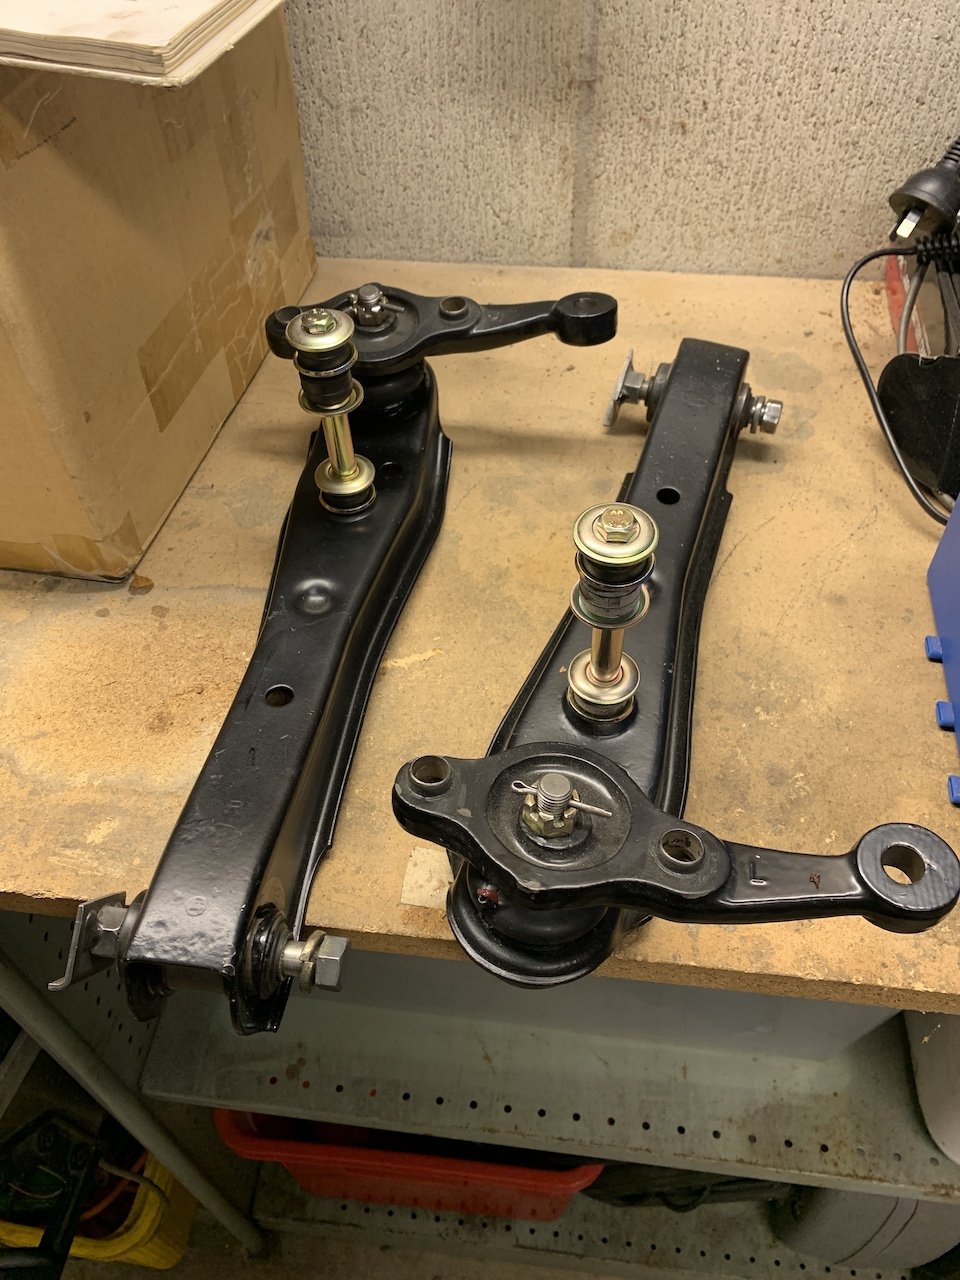
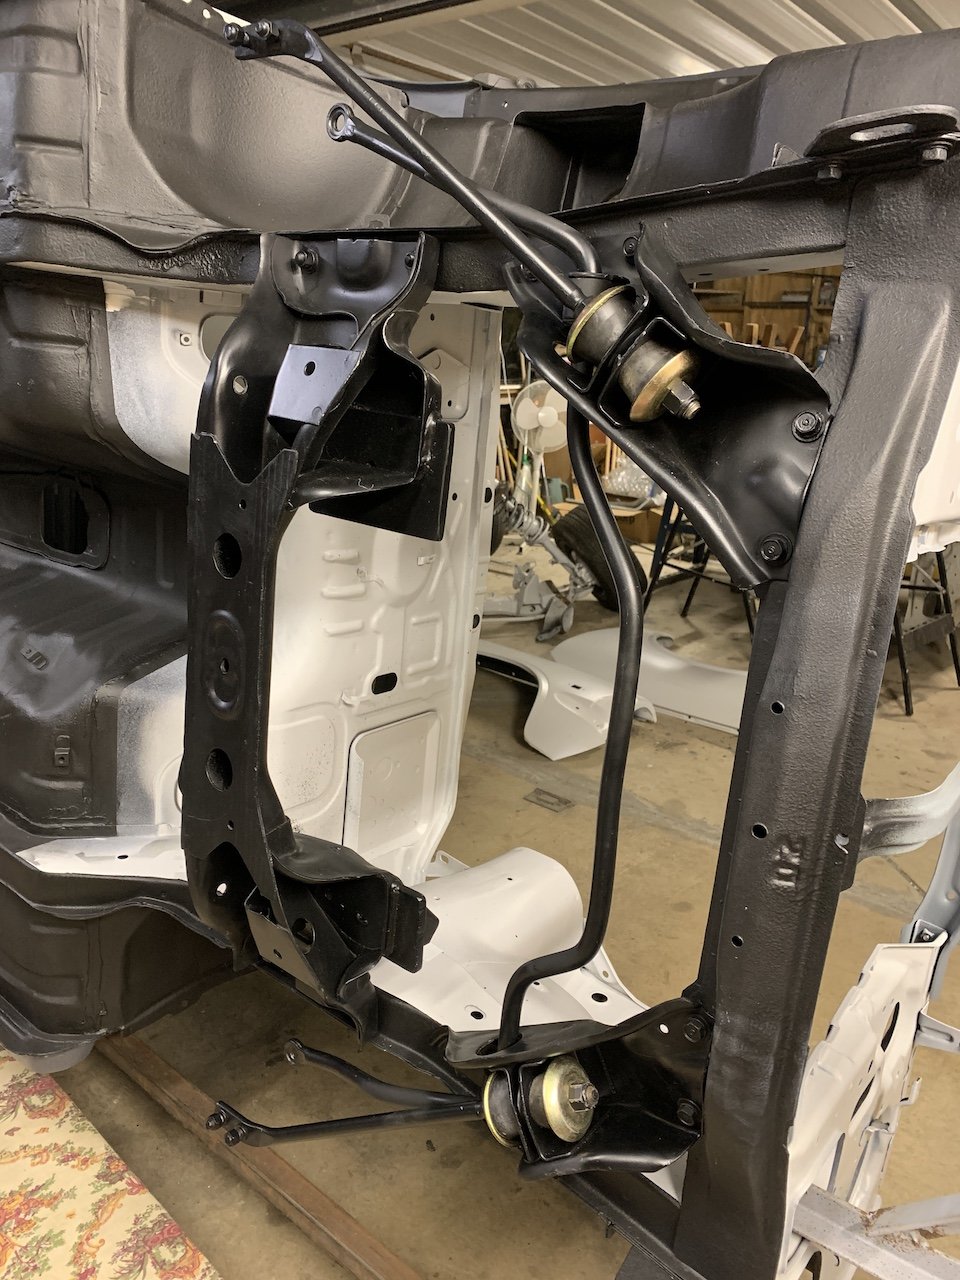
Too feckin hot to get on with scuffing back the underseal yesterday so onto some easier jobs. Assembled the steering, greased up and fitted the rest of the new bushes and front subframe. Will fully tighten up the castle nuts insert the split pins when it's mounted. Took the powdercoating of the contact surface for where the struts meet the steering arms. Ready for the strut to be mounted once it's off the rotisserie. had a spare retainer left over from each side on these sway bar bushes - Gregorys manual didn't have them and my parts car had it this way so figured it must be right.......unless its meant to go underneath where the bush seats against the suspension arm? Just like one does on the top? The parts listings online all show these with the extra retainer - but they give you the impression one needs to sit at the top where it goes through the actual sway bar - any ideas fellas?
-
yeah - sometimes you have to deal with their BS in regards to limiting your bid ability or shipping due to the admin staff's total lack of automotive understanding.....but you explain things to them and sort it. On the whole, pretty good.
- 90 replies
-
- 1
-

-
- CorollaCoupe
- SR
- (and 5 more)
-
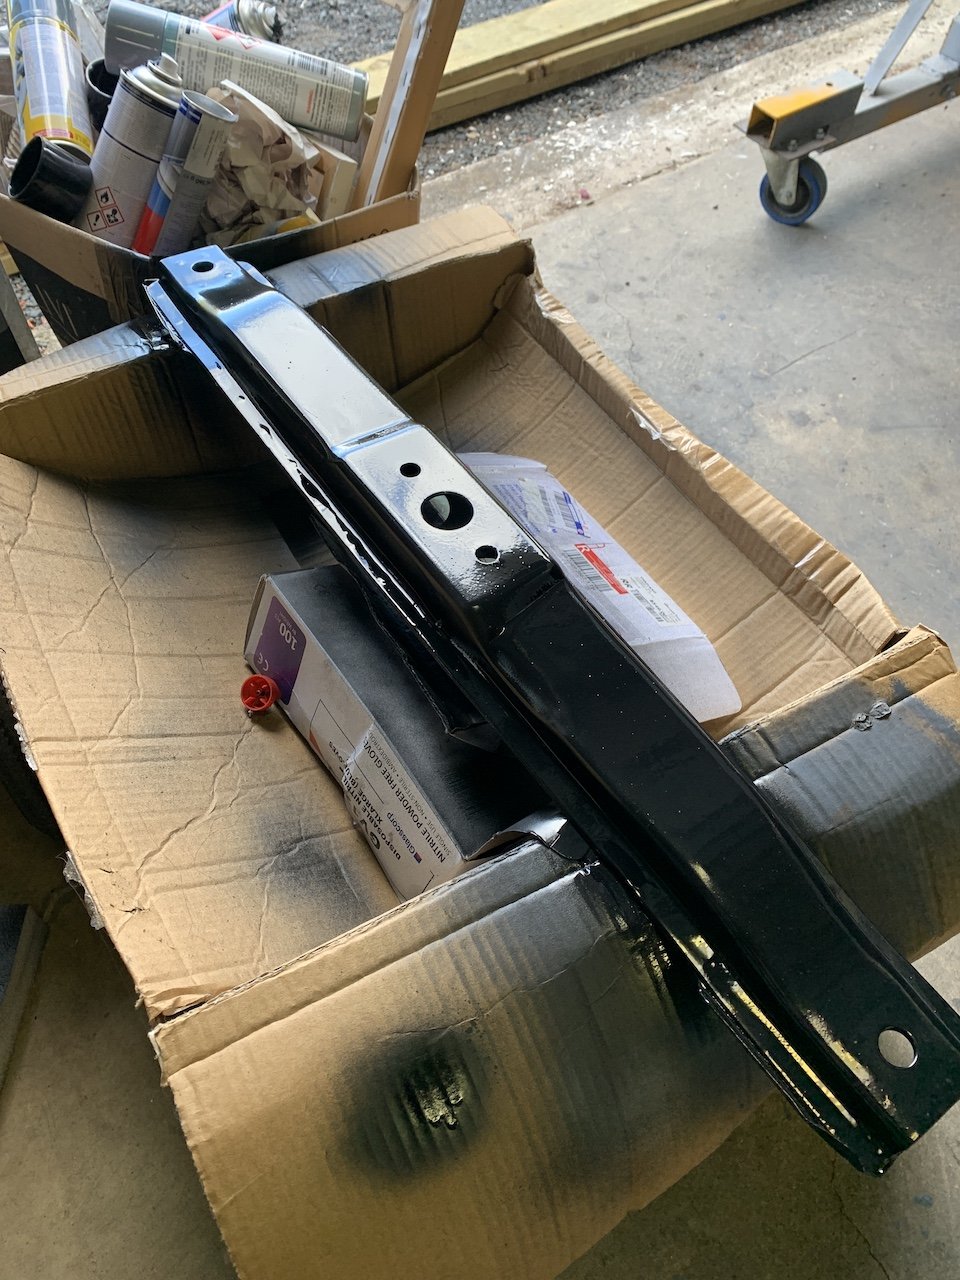
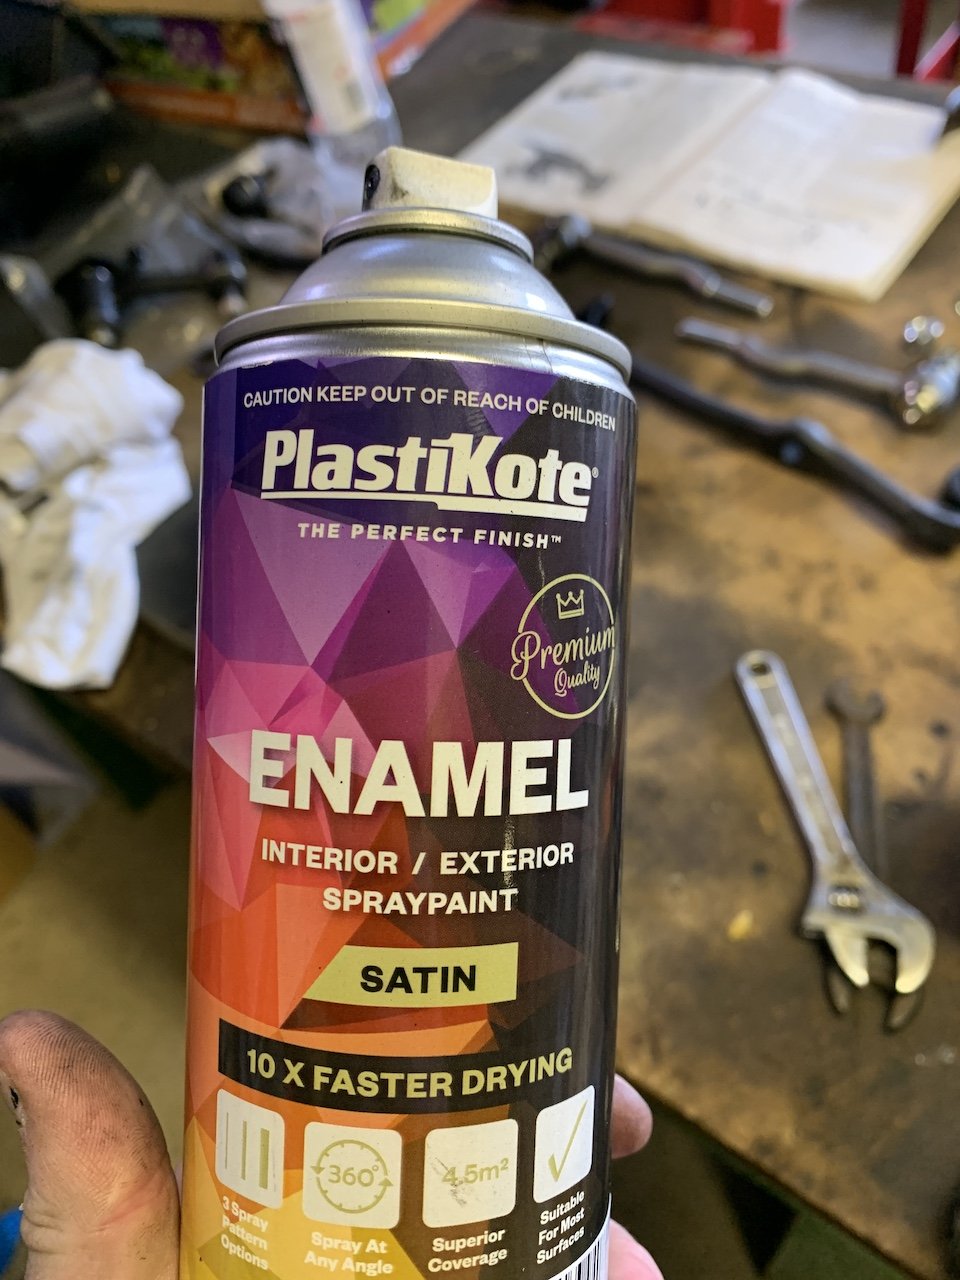
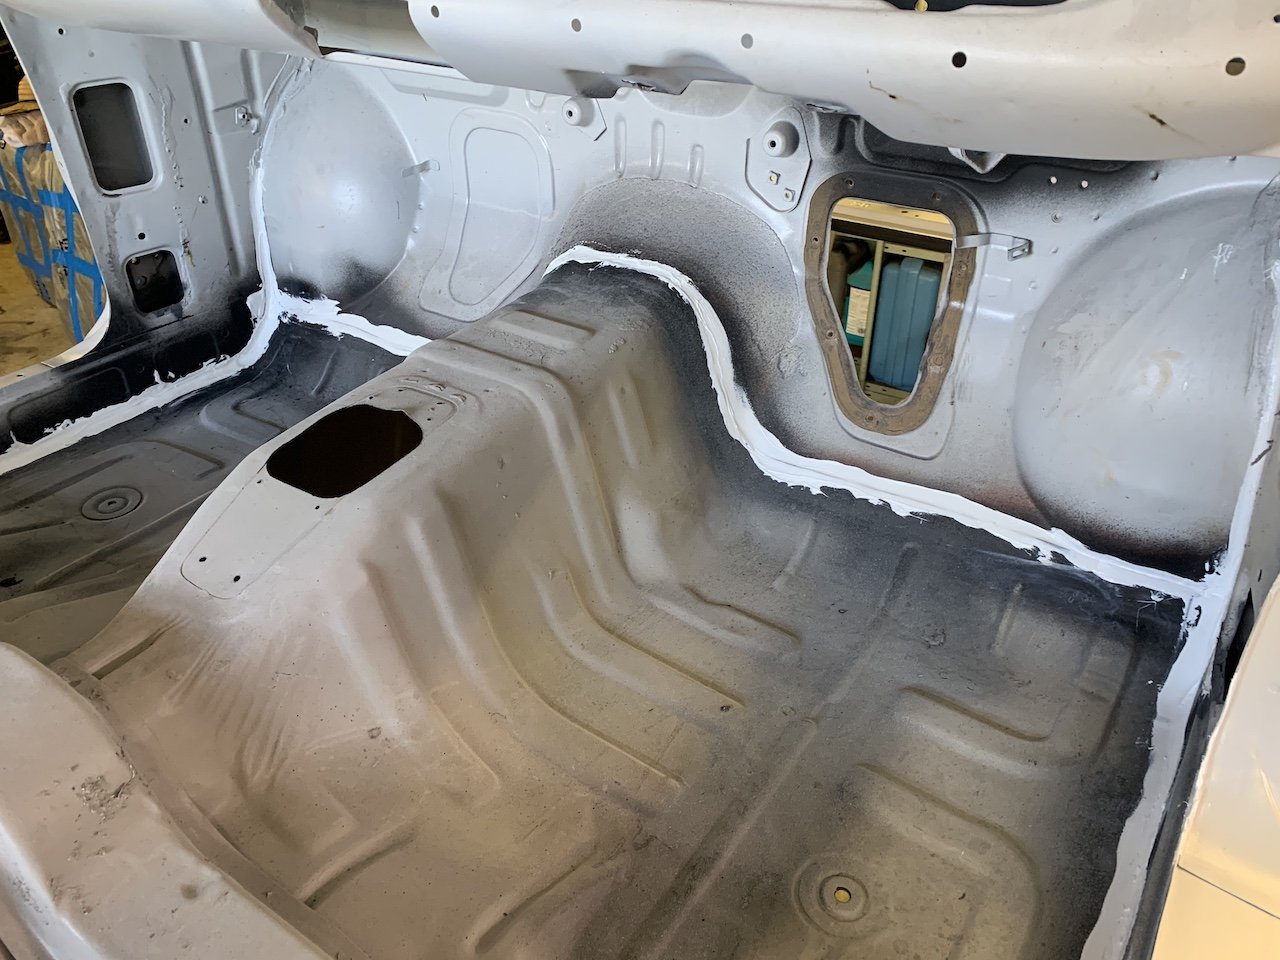
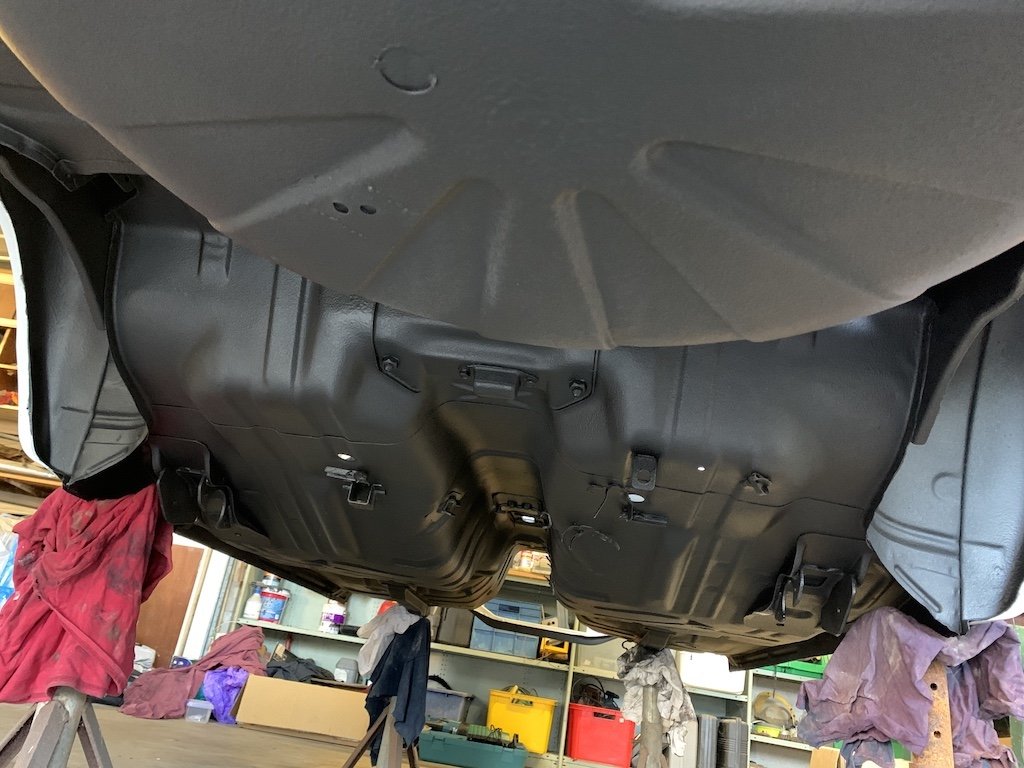
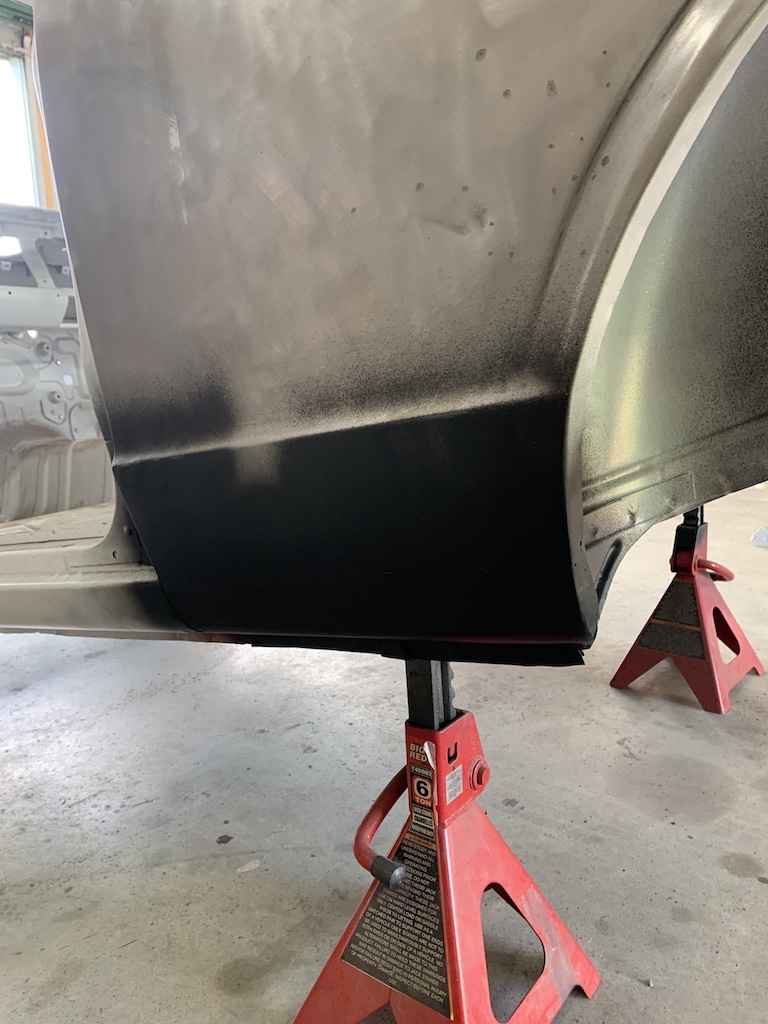
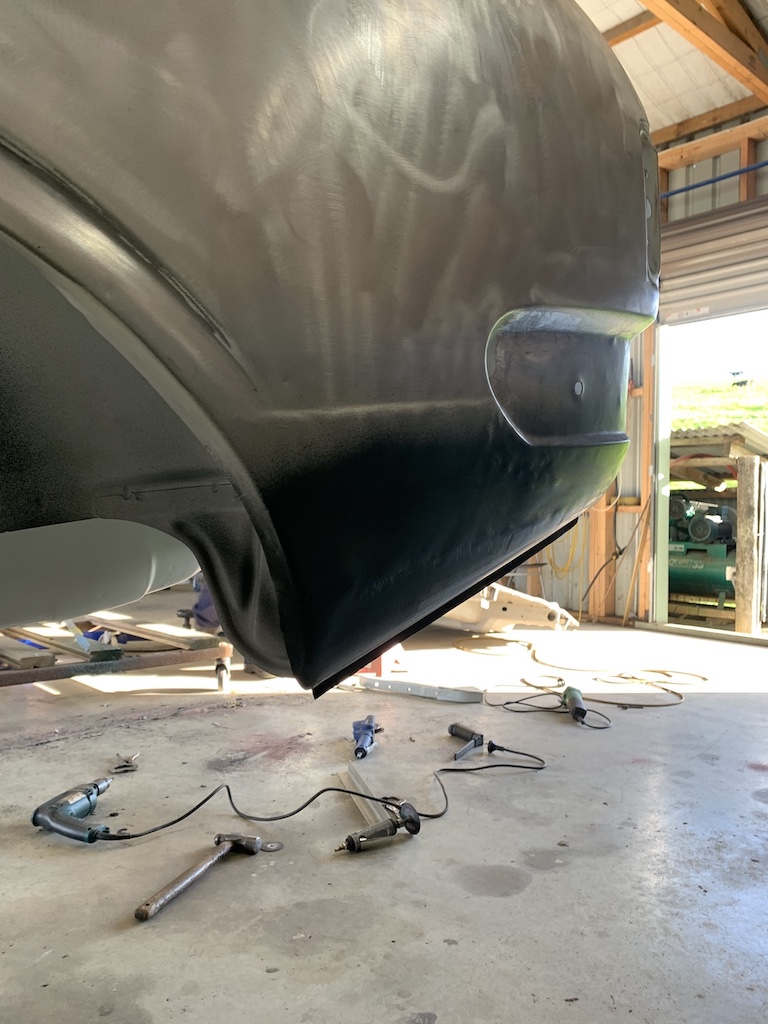
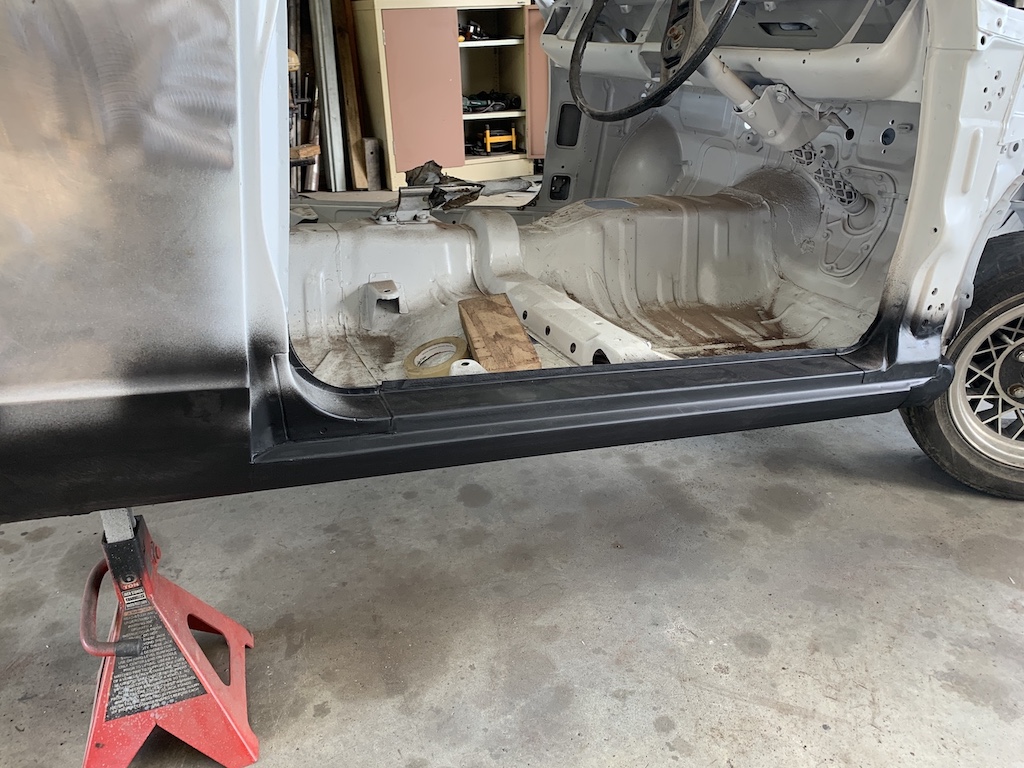
Mixed bag the last few weeks. Seam sealed up the last few bits and painted the underseal over them again - looked good, except i should have given it 2 days to cure, not one. Some of it is ever so slightly tacky now. Will need to try the heat gun or scrape some of it back and try again. Not a major but a bit of a shit. It's been SO LONG to get to this point that naturally I've been so excited to start putting things back together. I got in a mindset of 'should be finished soon' ha ha....oh boy. lots of little things got in the way like needing a some new nuts, cleaning up and painting extra little bits, bushings not fitting, finding the right grease, putting things on upside down......just gotta slow down and enjoy the process. Painted some bits, bolted up a few bits, bought a few more bits....should hopefully have it on its wheels again in a few weeks...... This plasticote paint goes on pretty nicely - probably the best rattle can paint Ive come across
- 72 replies
-
- 13
-
-
Howdy - I won't be letting go of any spares until the car is finished. I look out for stuff on Japanese auctions via a website called buyee.jp. The other stuff I have brought in has been the newer AE86 corolla bits which I have got from megazip, Flos.ie and Facebook by doing a few different pages. Good luck with the build.
-
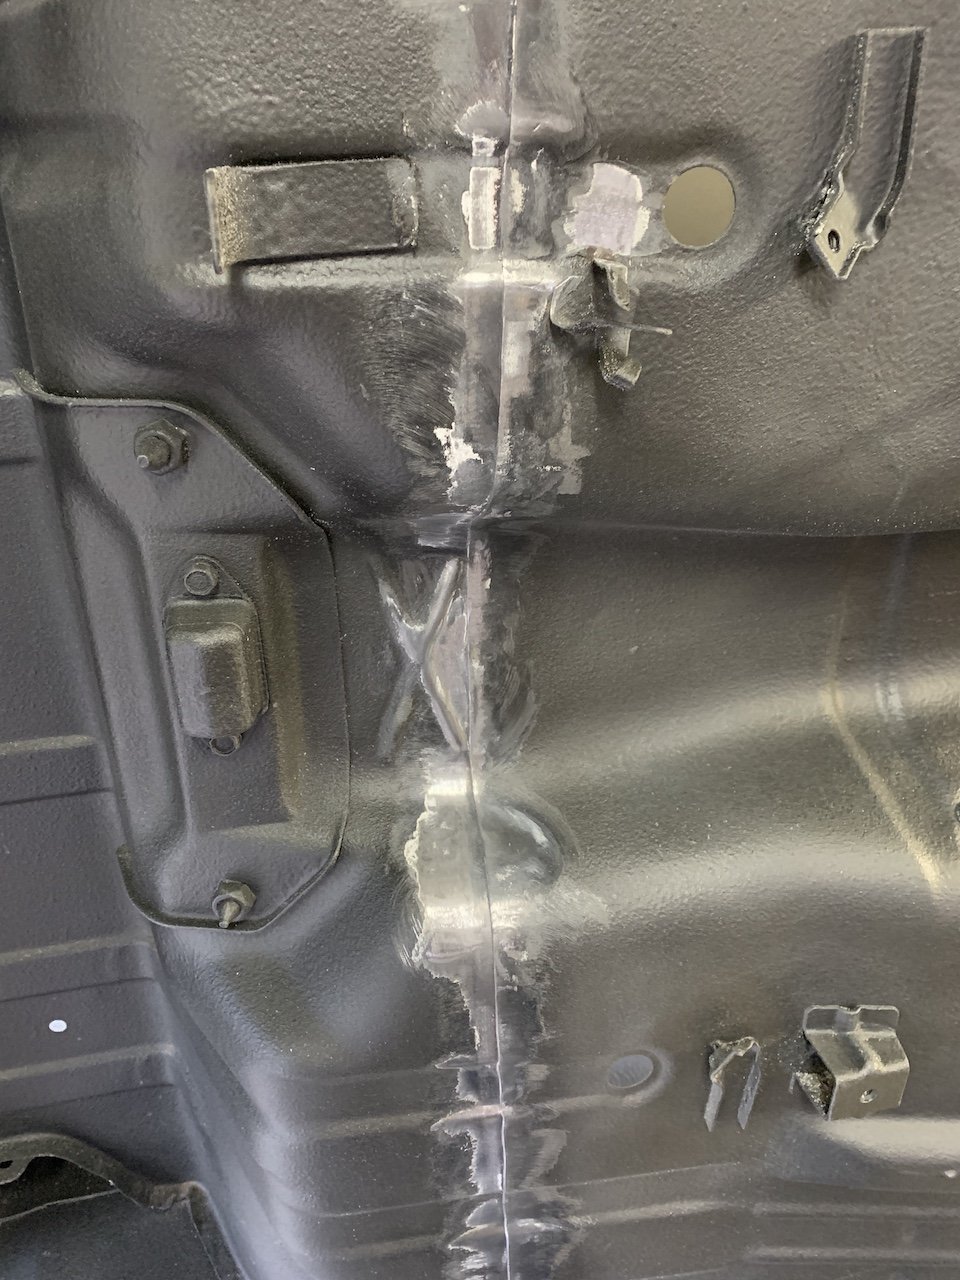
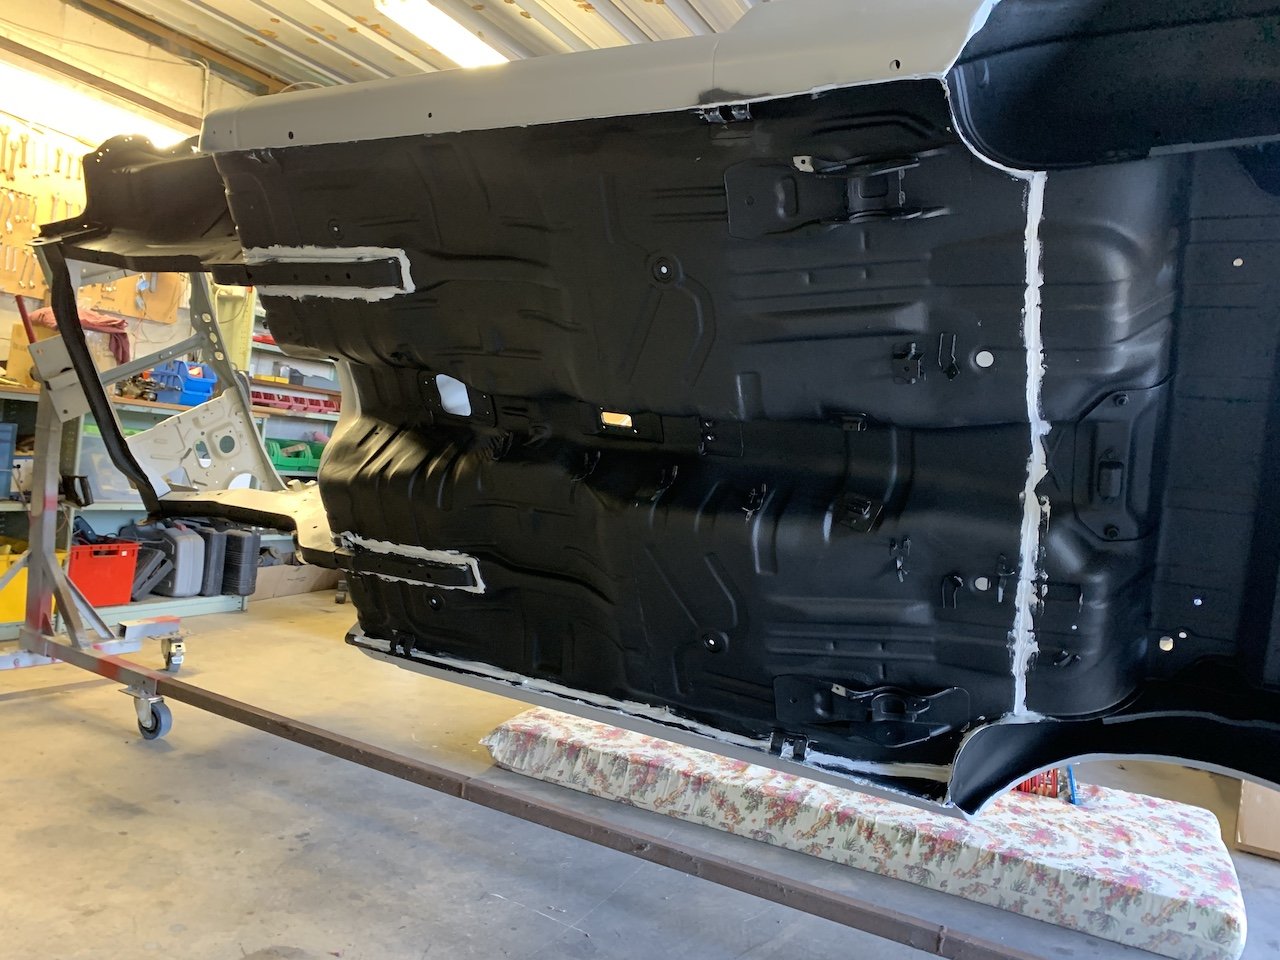
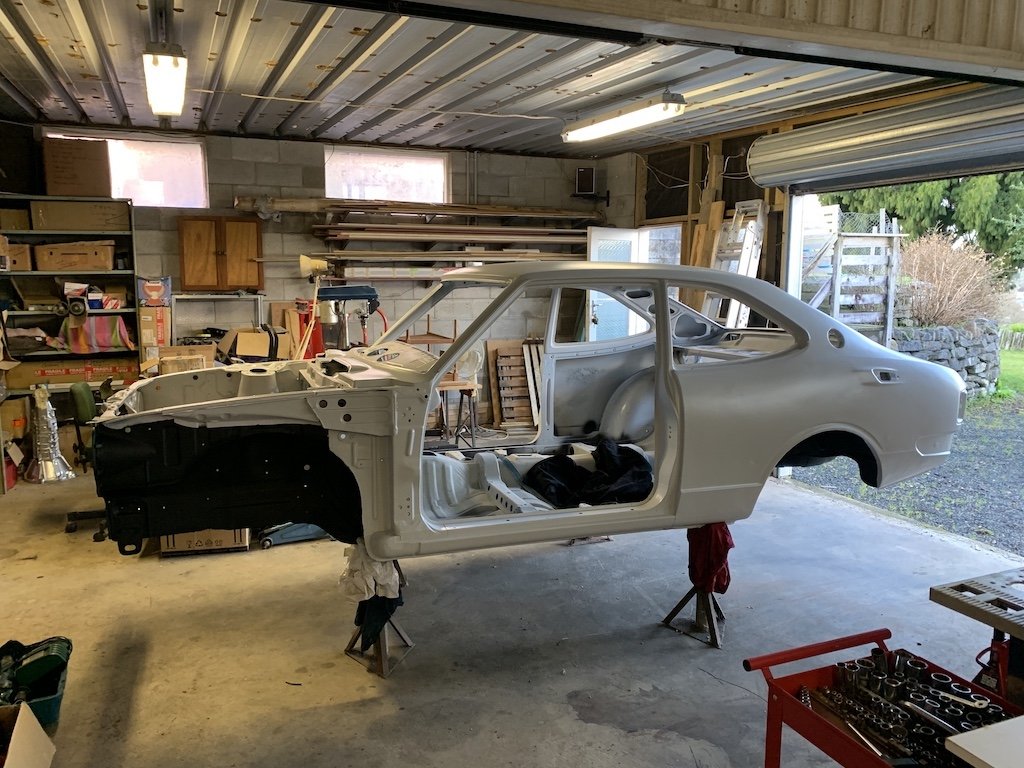
Right after my last post I had an op to repair my ACL and knee cartilage so I wasn't able to do anything for a while - add to that a lockdown - so by the time I was able to get into it again, I couldn't get the repair certifier to sign off on the work so it just sat there taunting me for months......until now She's fully seam sealed along where the new floor and roof went on, and a few of the other new patch panels. Once it's cured I'll go over the it with the underseal again and get her off the spit.
- 72 replies
-
- 25
-
-
Either they have changed the rules, or you struck it lucky? The VTNZ people I talked to said they have to see the car on their property so that's it for me.
-
Hey Guys - Just been talking to the cert guy for the rust repairs on my corolla, and says I need to get a vin assigned to the car. Problem is, the shell is back on the rotisserie and the places I have talked to want me to take it to them an hour away. Now I'll suck it up and take if I have to, it but just checking if this can be done remotely or by a mobile service if anyone knows?
-
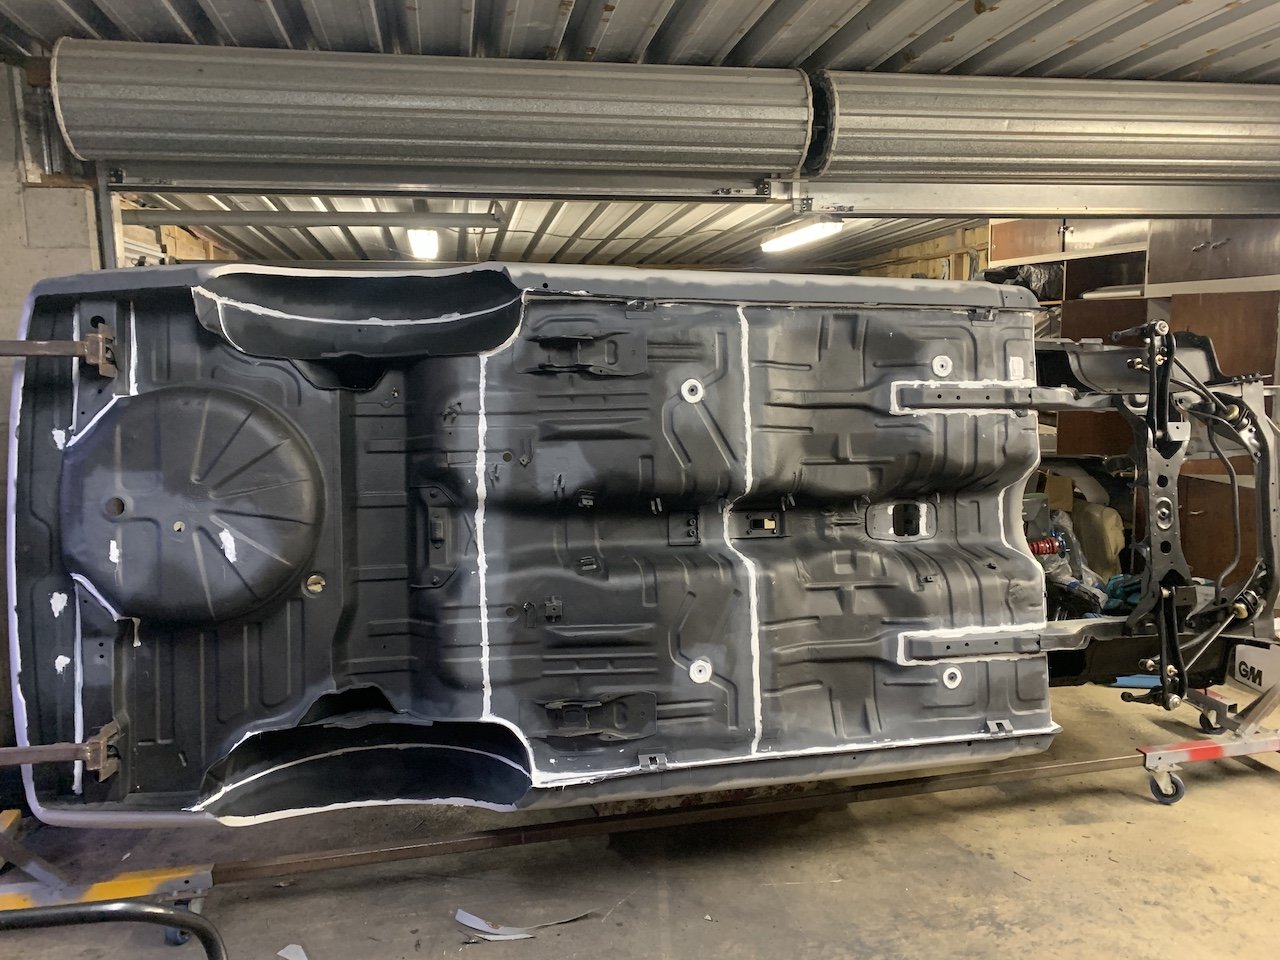
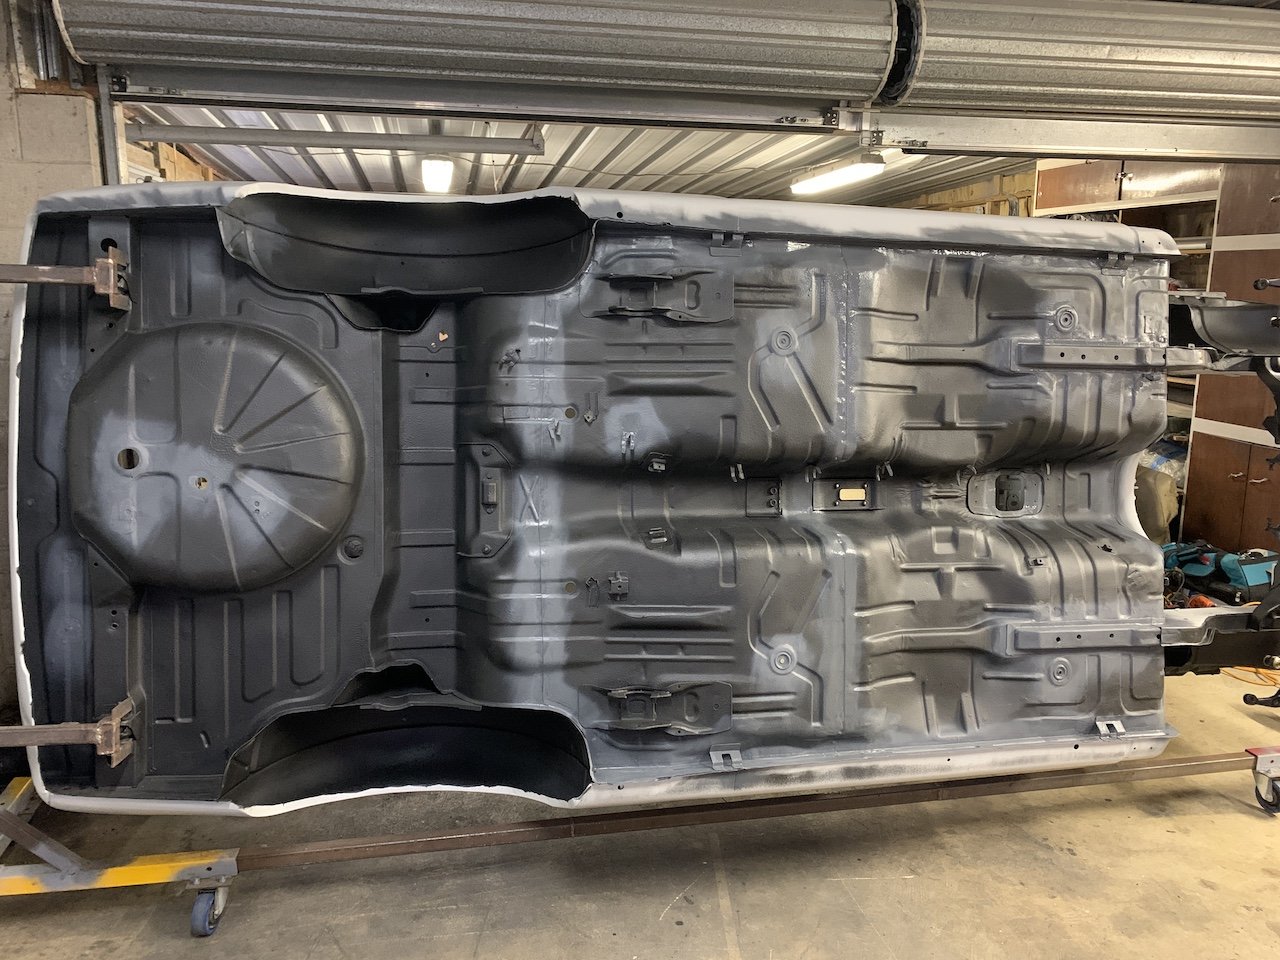
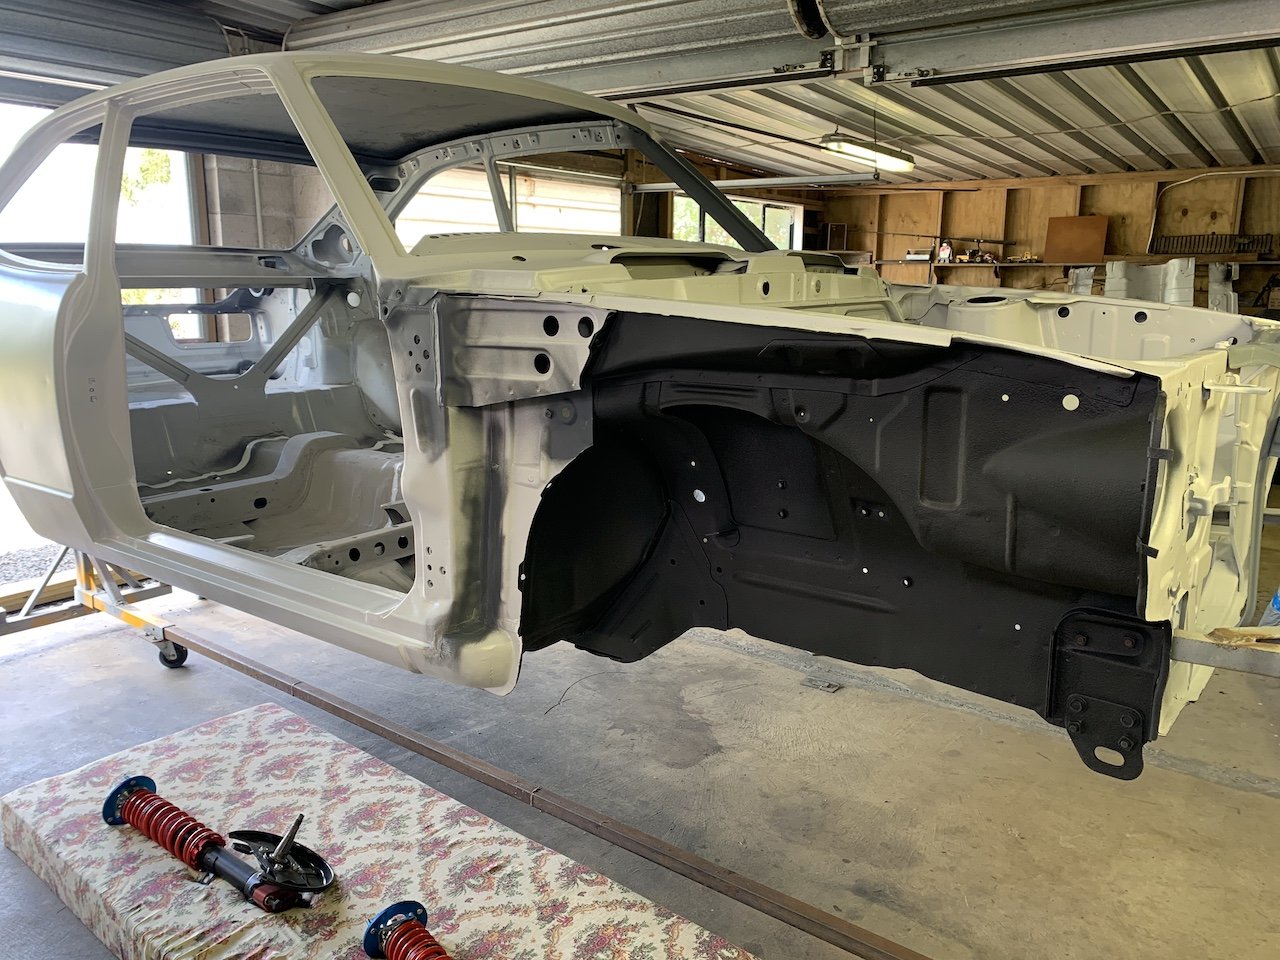
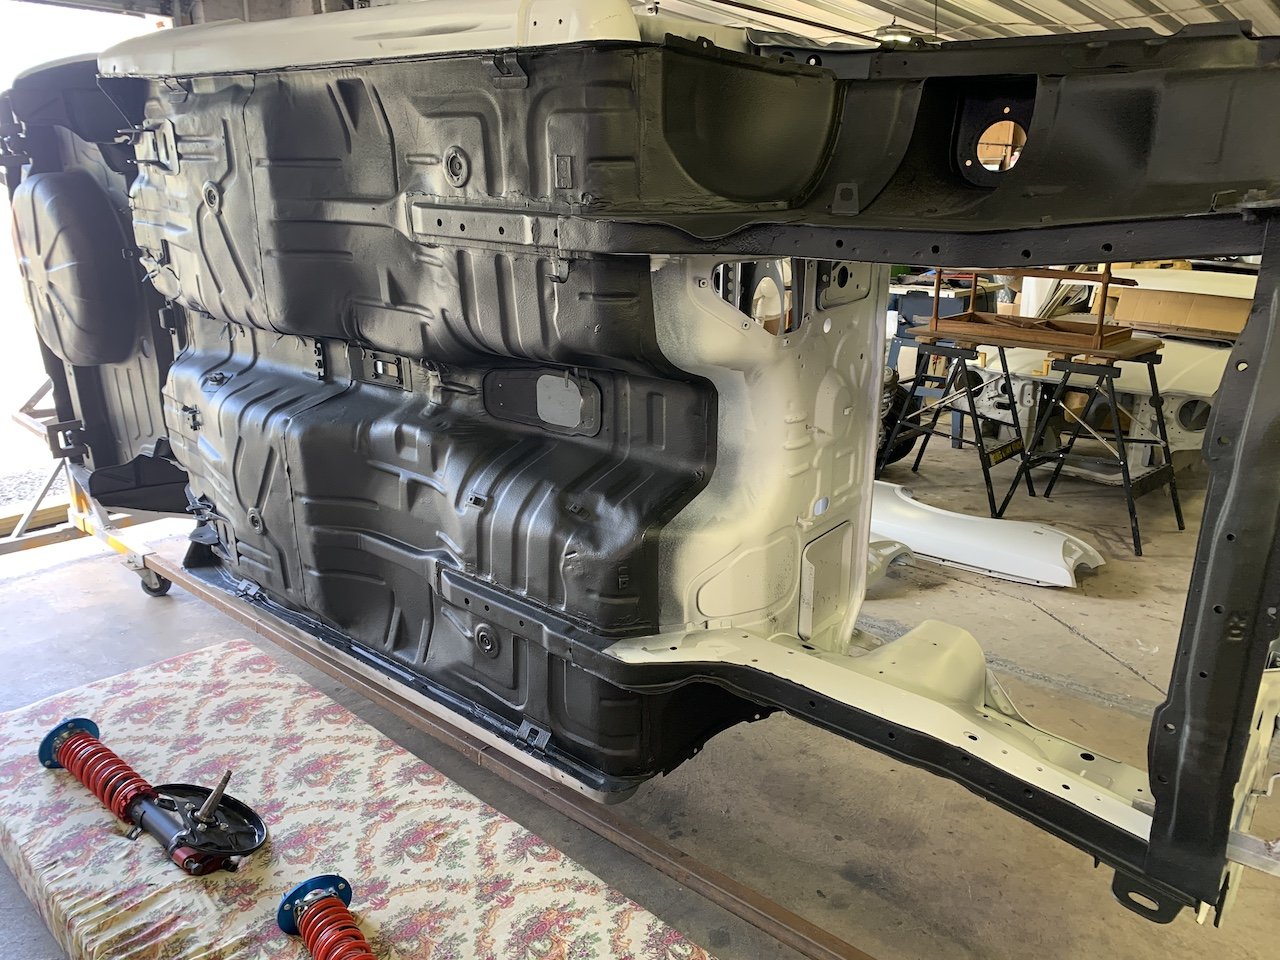
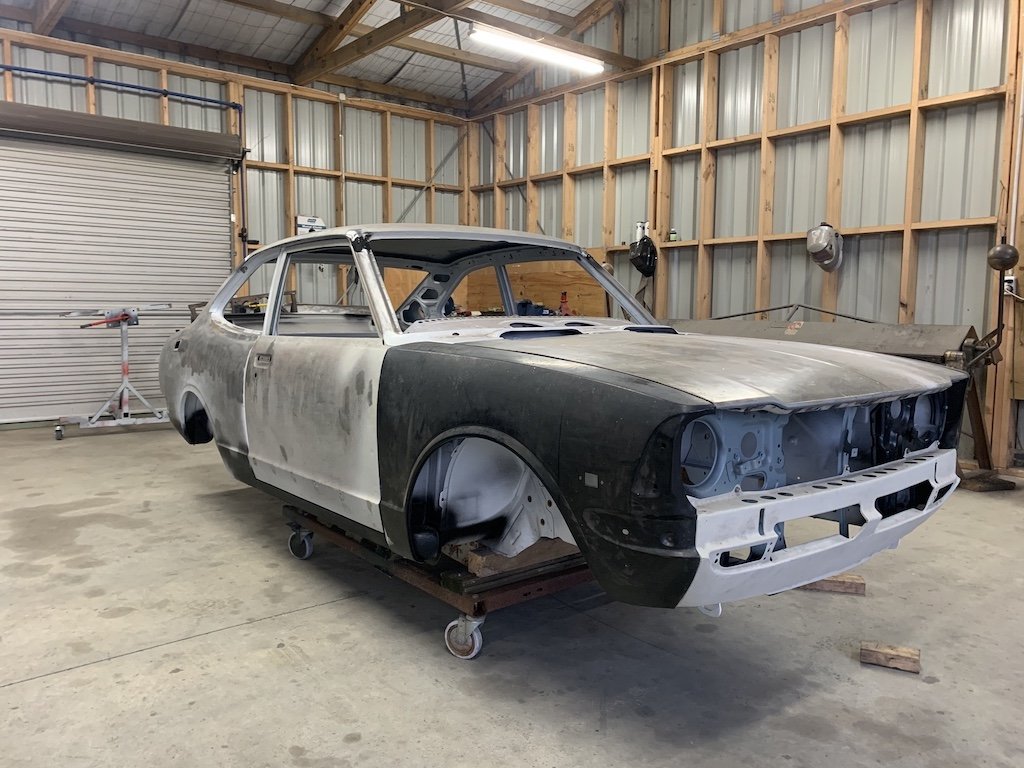
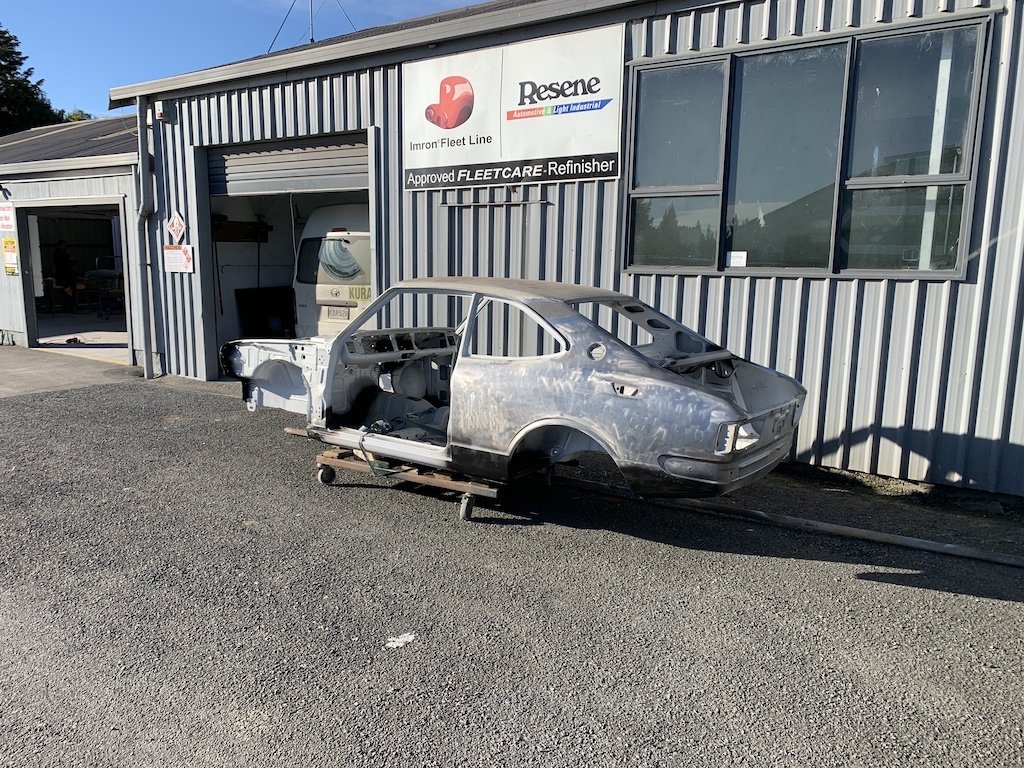
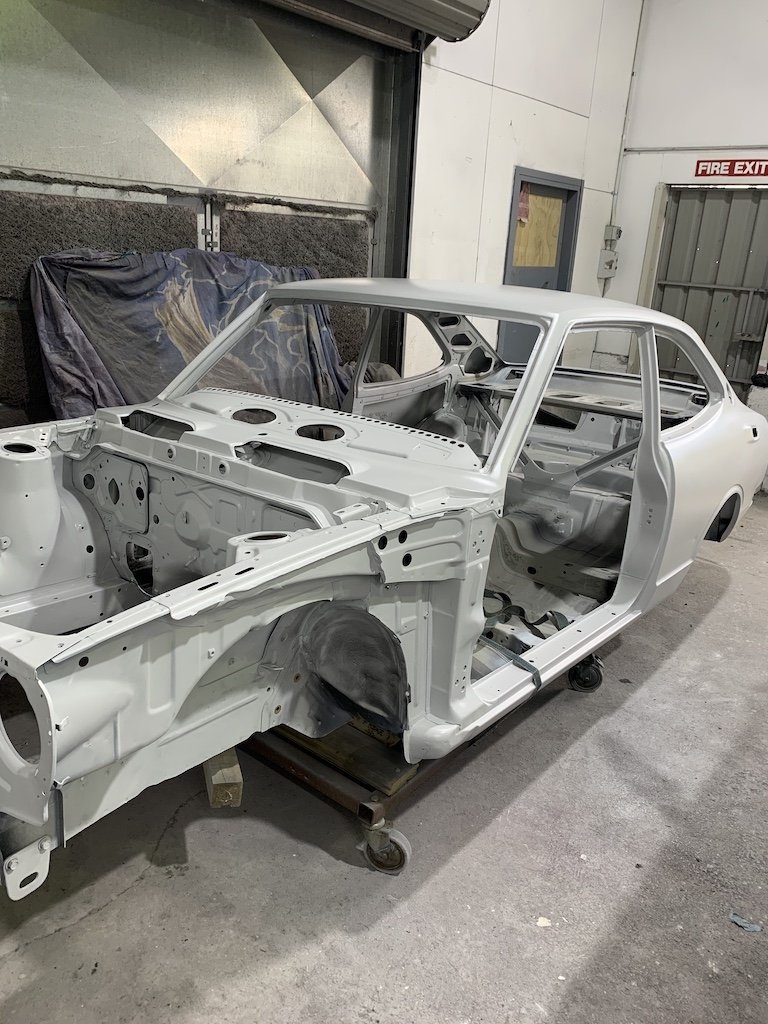
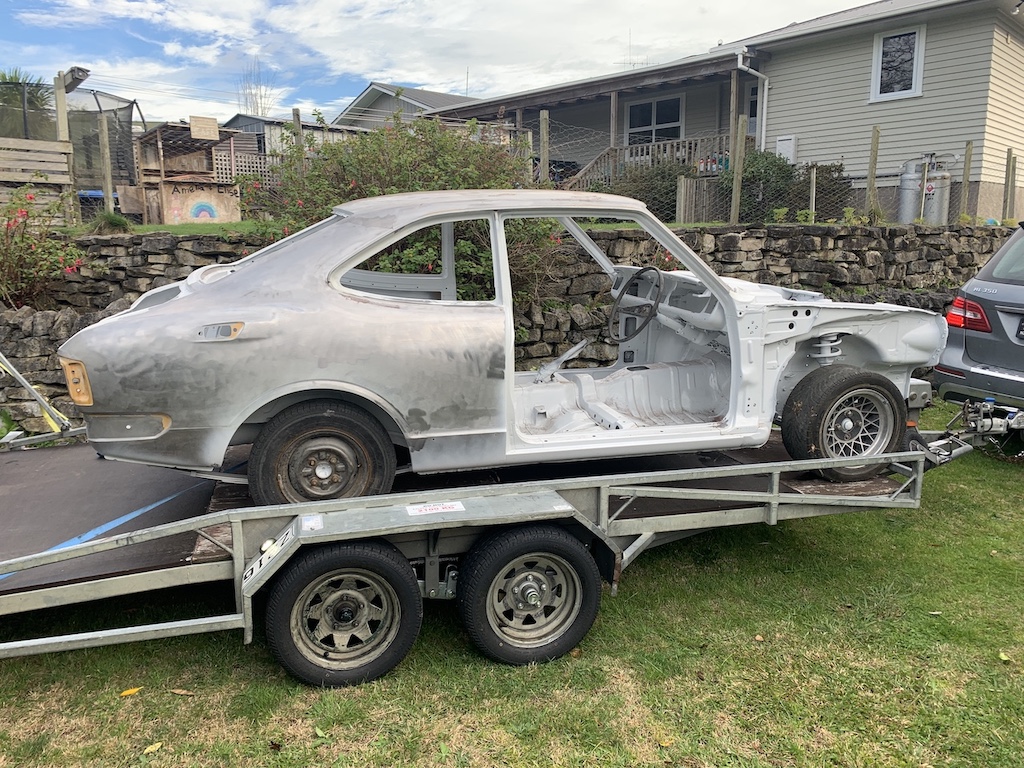
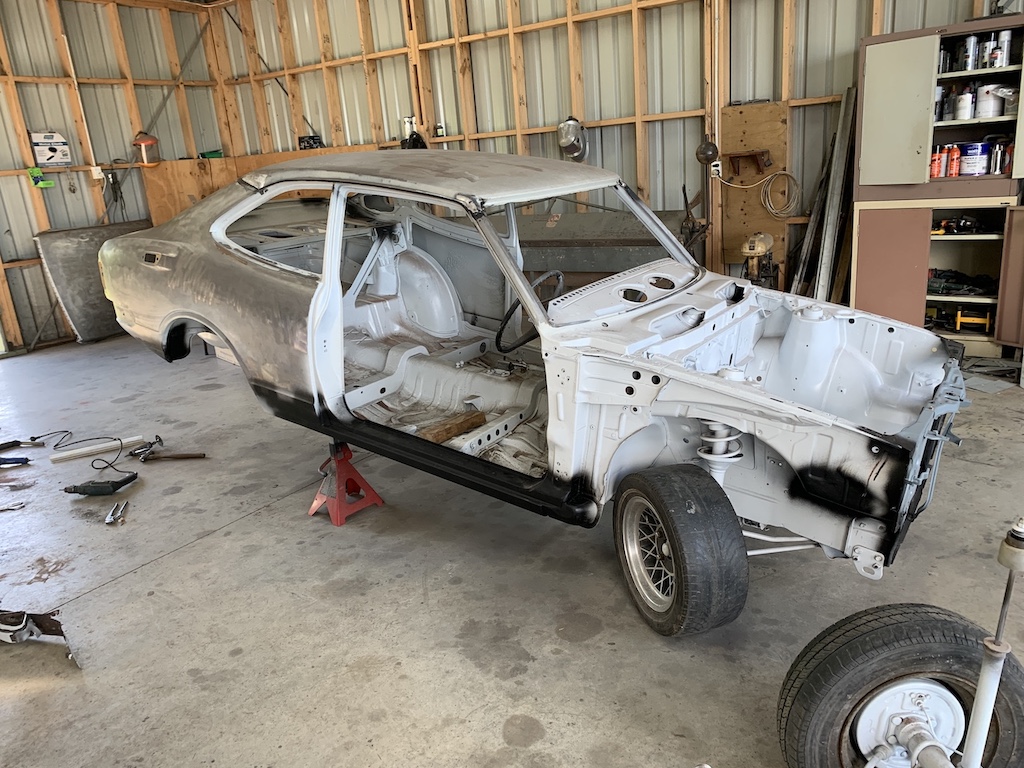
Last few weeks have been productive..... Floor in, panels straightened and fitted, car dropped to painter to be rubbed back and fully primed and undersealed. It's now sitting at home, rust free and ready for seam sealing and getting it on it's wheels to mock up the engine.......
- 72 replies
-
- 32
-
-
-
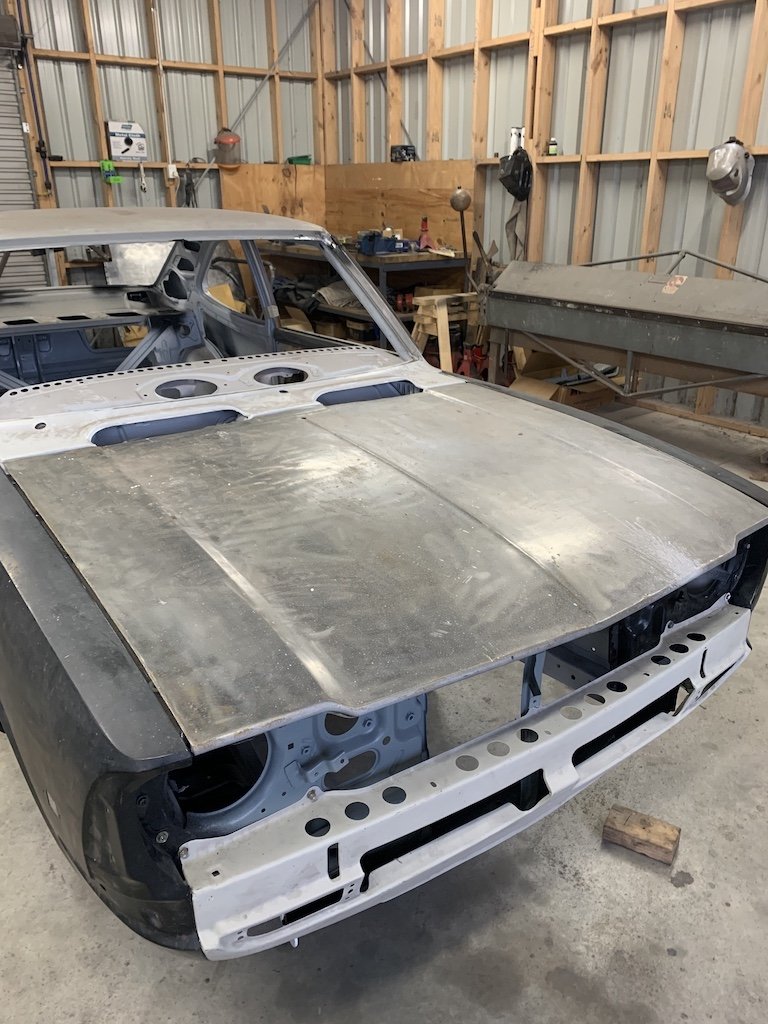
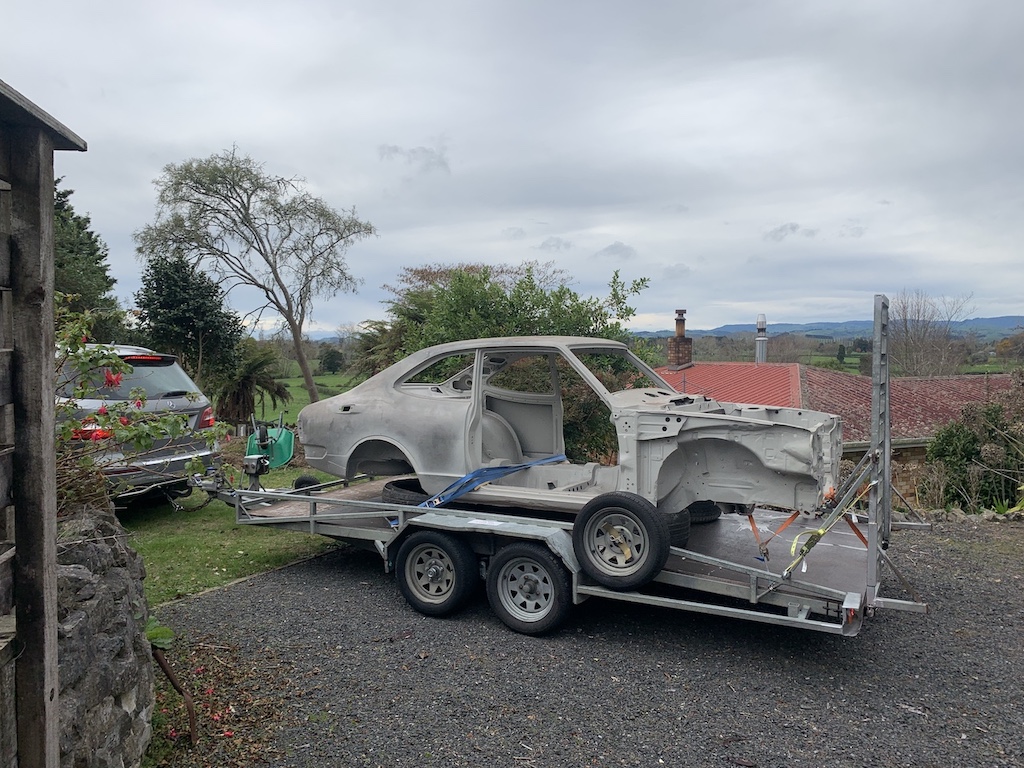
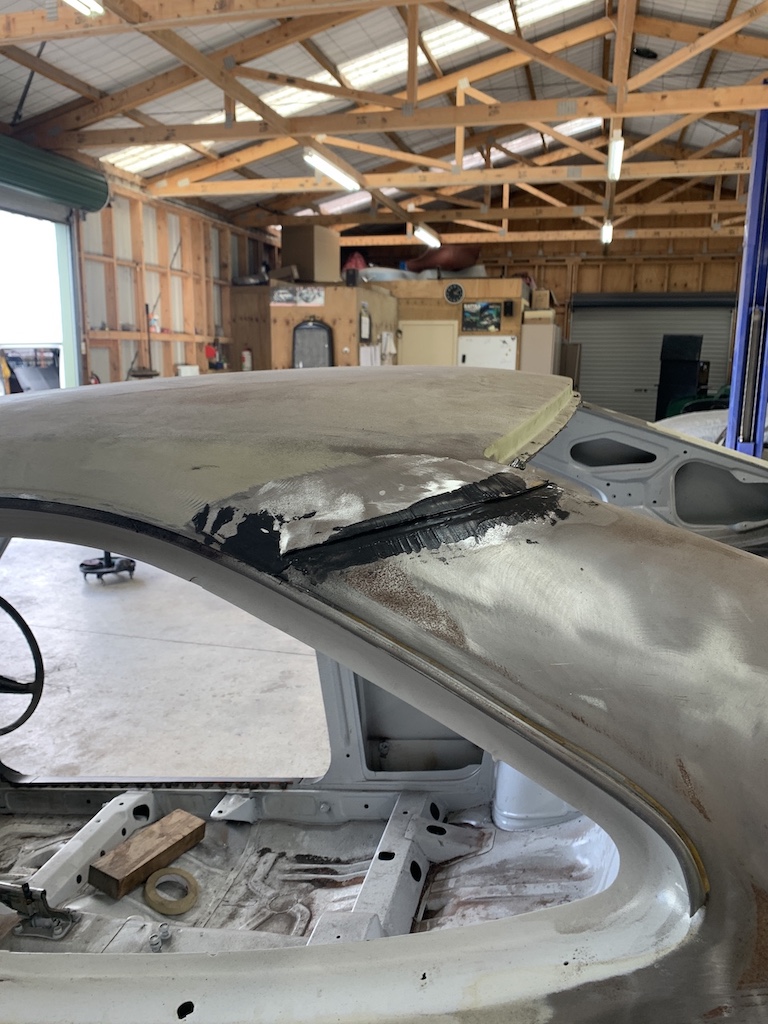
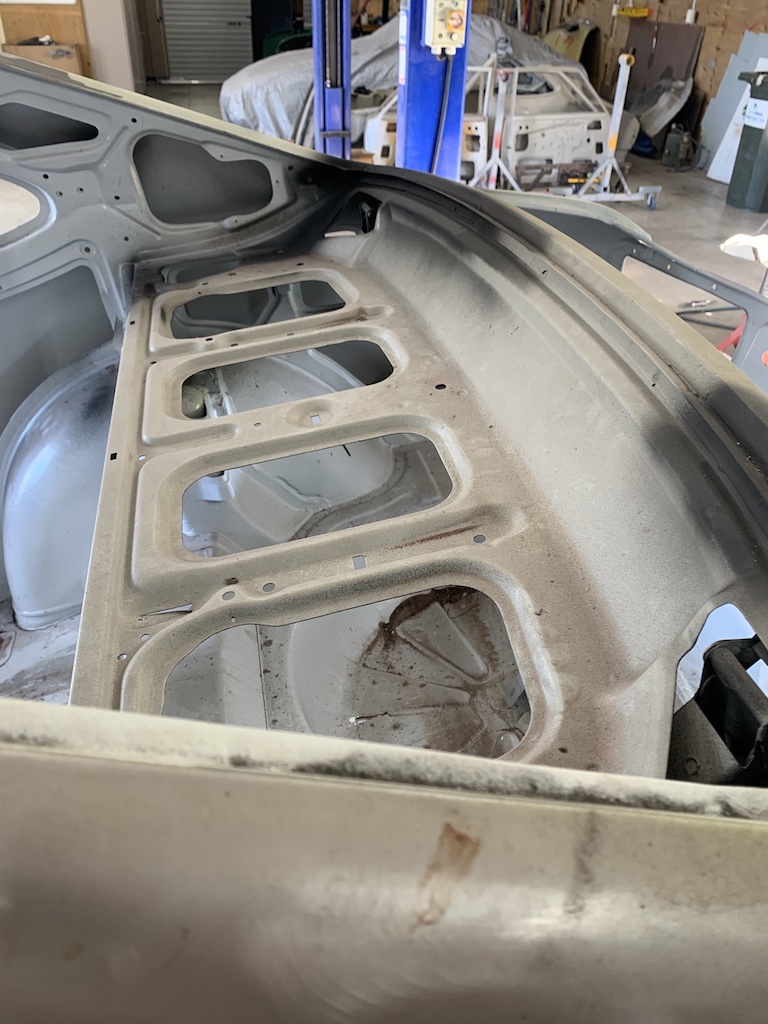
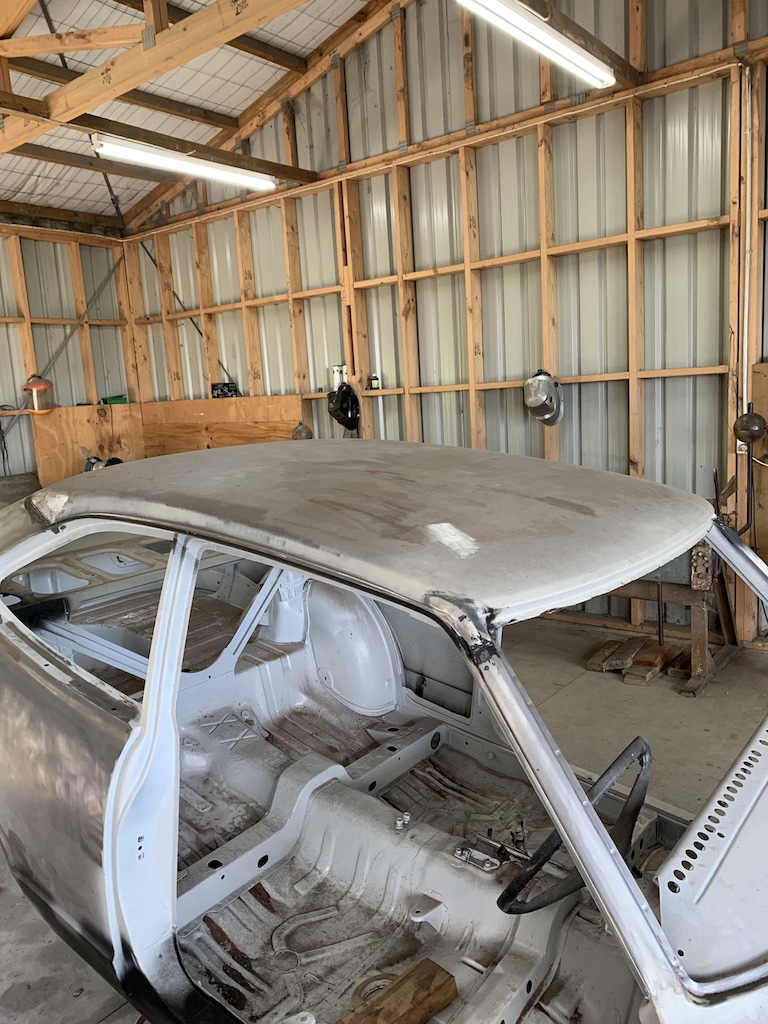
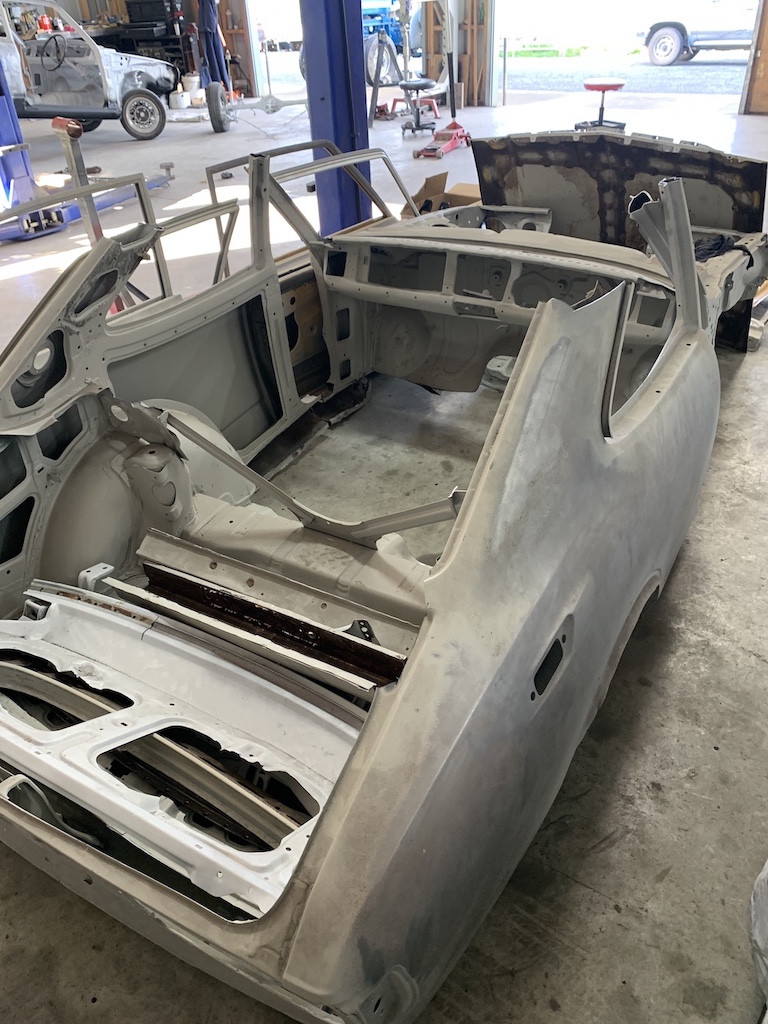
So that panelbeater who was supposed to take it in Feb fell through......but after some calling around I found another and couldn't be happier.... 24th of May, they took away both of the shells - the plan is to use my first shell for panels so it's getting the old chop chop.... By Mid June I go for a visit, and the roof and parcel tray have been swapped over, the new headlight panels and radiator support fitted, a new drivers sill, and patch's made up for the wheel arches, battery tray.......and the whole floor cut out of the first shell ready to be transplanted as it is more economical to do that than some patches. This will fully convert the older shell to a facelift shell with the front and leaf spring perches now updated. Another great bonus is that the better shell is a japanese import so it had been fully dipped in production so the insides were all nice and clean......the original shell, a kiwi assembled, had no primer and is now a sad hacked up pile in the corner. I'll cut the good remaining sections and store them as spares. I dropped off the doors, bonnet, boot, hydraulic pedal box and a few other bits to get them finished off as my mate had literally done nothing to them over a year.....so I should have a completely straight and rust free shell in the next few week! I've arranged to drop it straight to the paint shop to get it completely epoxy primed and undersealed so i can take it home and start some assembly and the engine build can start too. F'n Stoked to finally have some progress!!
- 72 replies
-
- 26
-
-
-
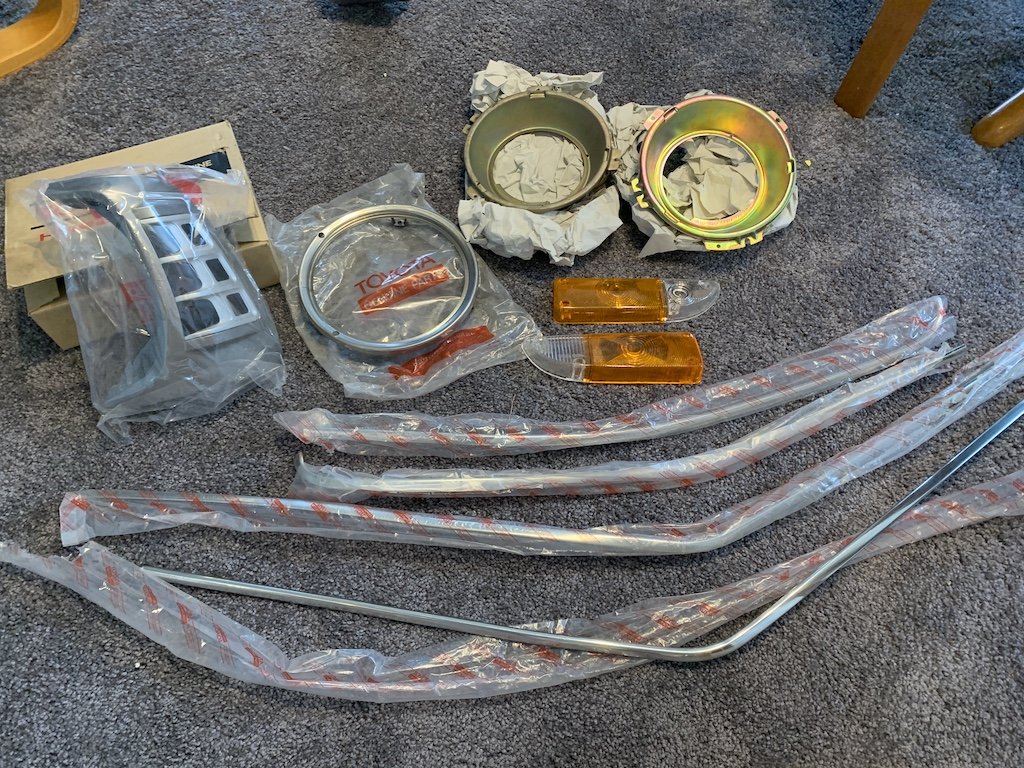
So I have found a quality metal magician who can do the work for me early next year - finally! In the mean time I have been chewing through the build fund with more NOS goodness.....especially stoked with the headlight garnish and gutter chrome
- 72 replies
-
- 12
-