DirtyThirty
-
Posts
110 -
Joined
-
Last visited
Content Type
Forums
Downloads
Events
Gallery
Everything posted by DirtyThirty
-
DirtyThirtys 1984 Toyota Starlet KP61
DirtyThirty replied to DirtyThirty's topic in Project Discussion
Similar to what I'm hoping to have -
DirtyThirtys 1984 Toyota Starlet KP61
DirtyThirty replied to DirtyThirty's topic in Project Discussion
It doesn't have enough fall to work unfortunately! E30s have a similar factory setup but the res has 2 chambers rather than just the one. The motorbike ones I have is perfect EXCEPT the barb isn't big enough so that needs some work -
DirtyThirtys 1984 Toyota Starlet KP61
DirtyThirty replied to DirtyThirty's topic in Projects and Build Ups
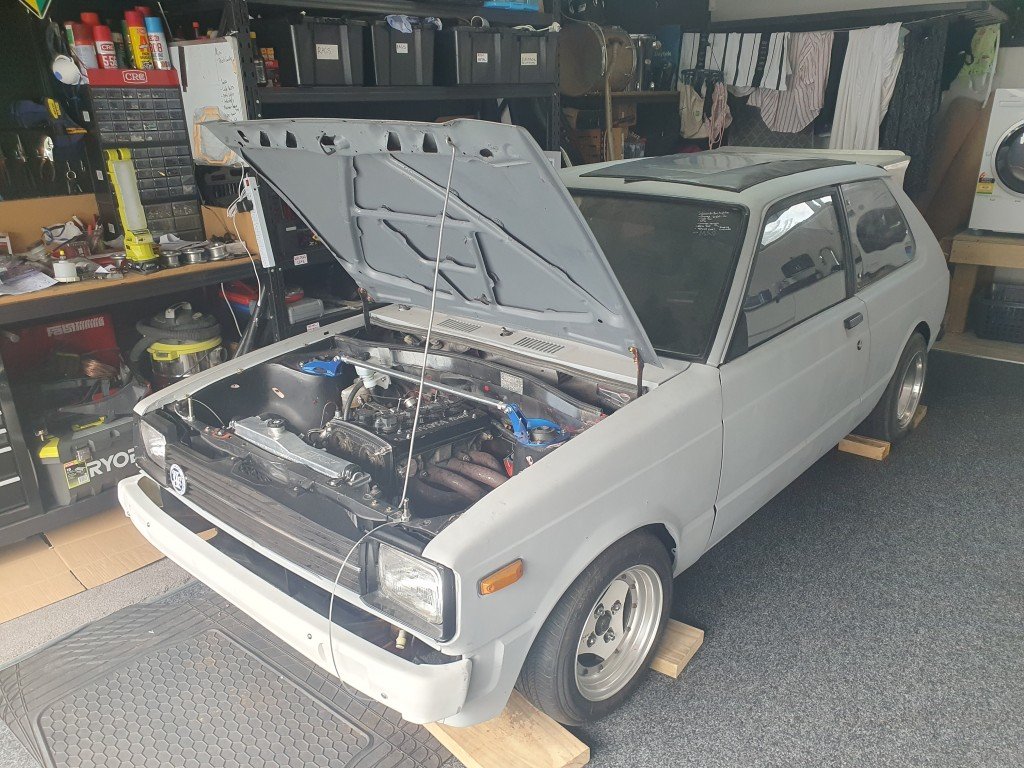
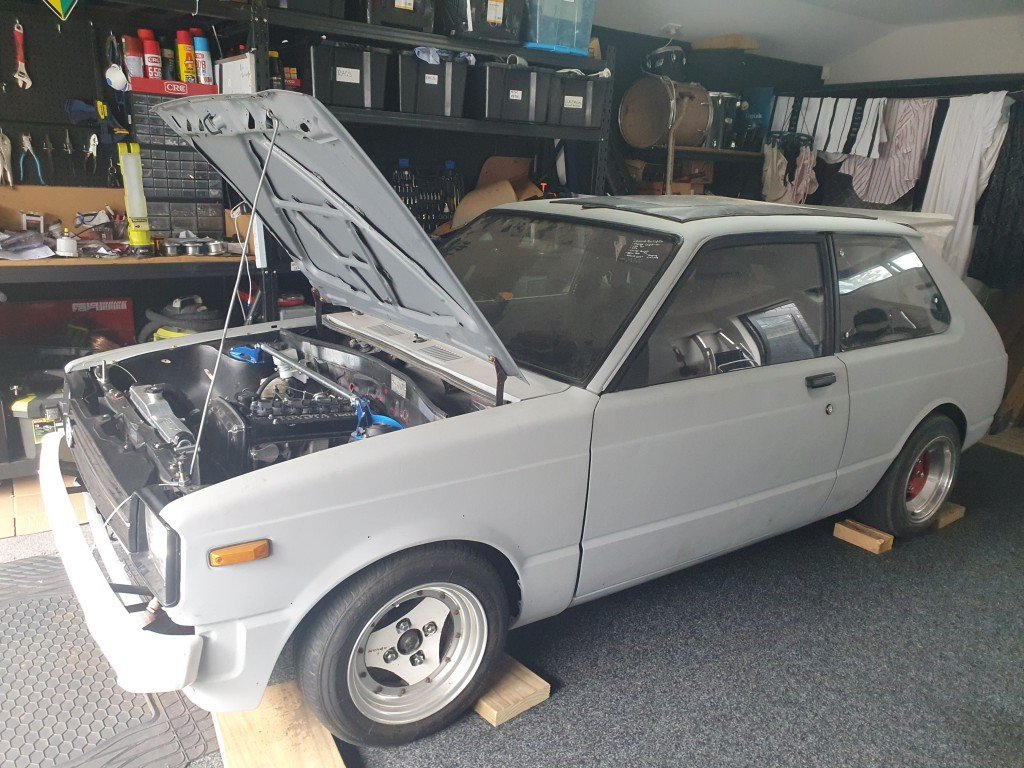
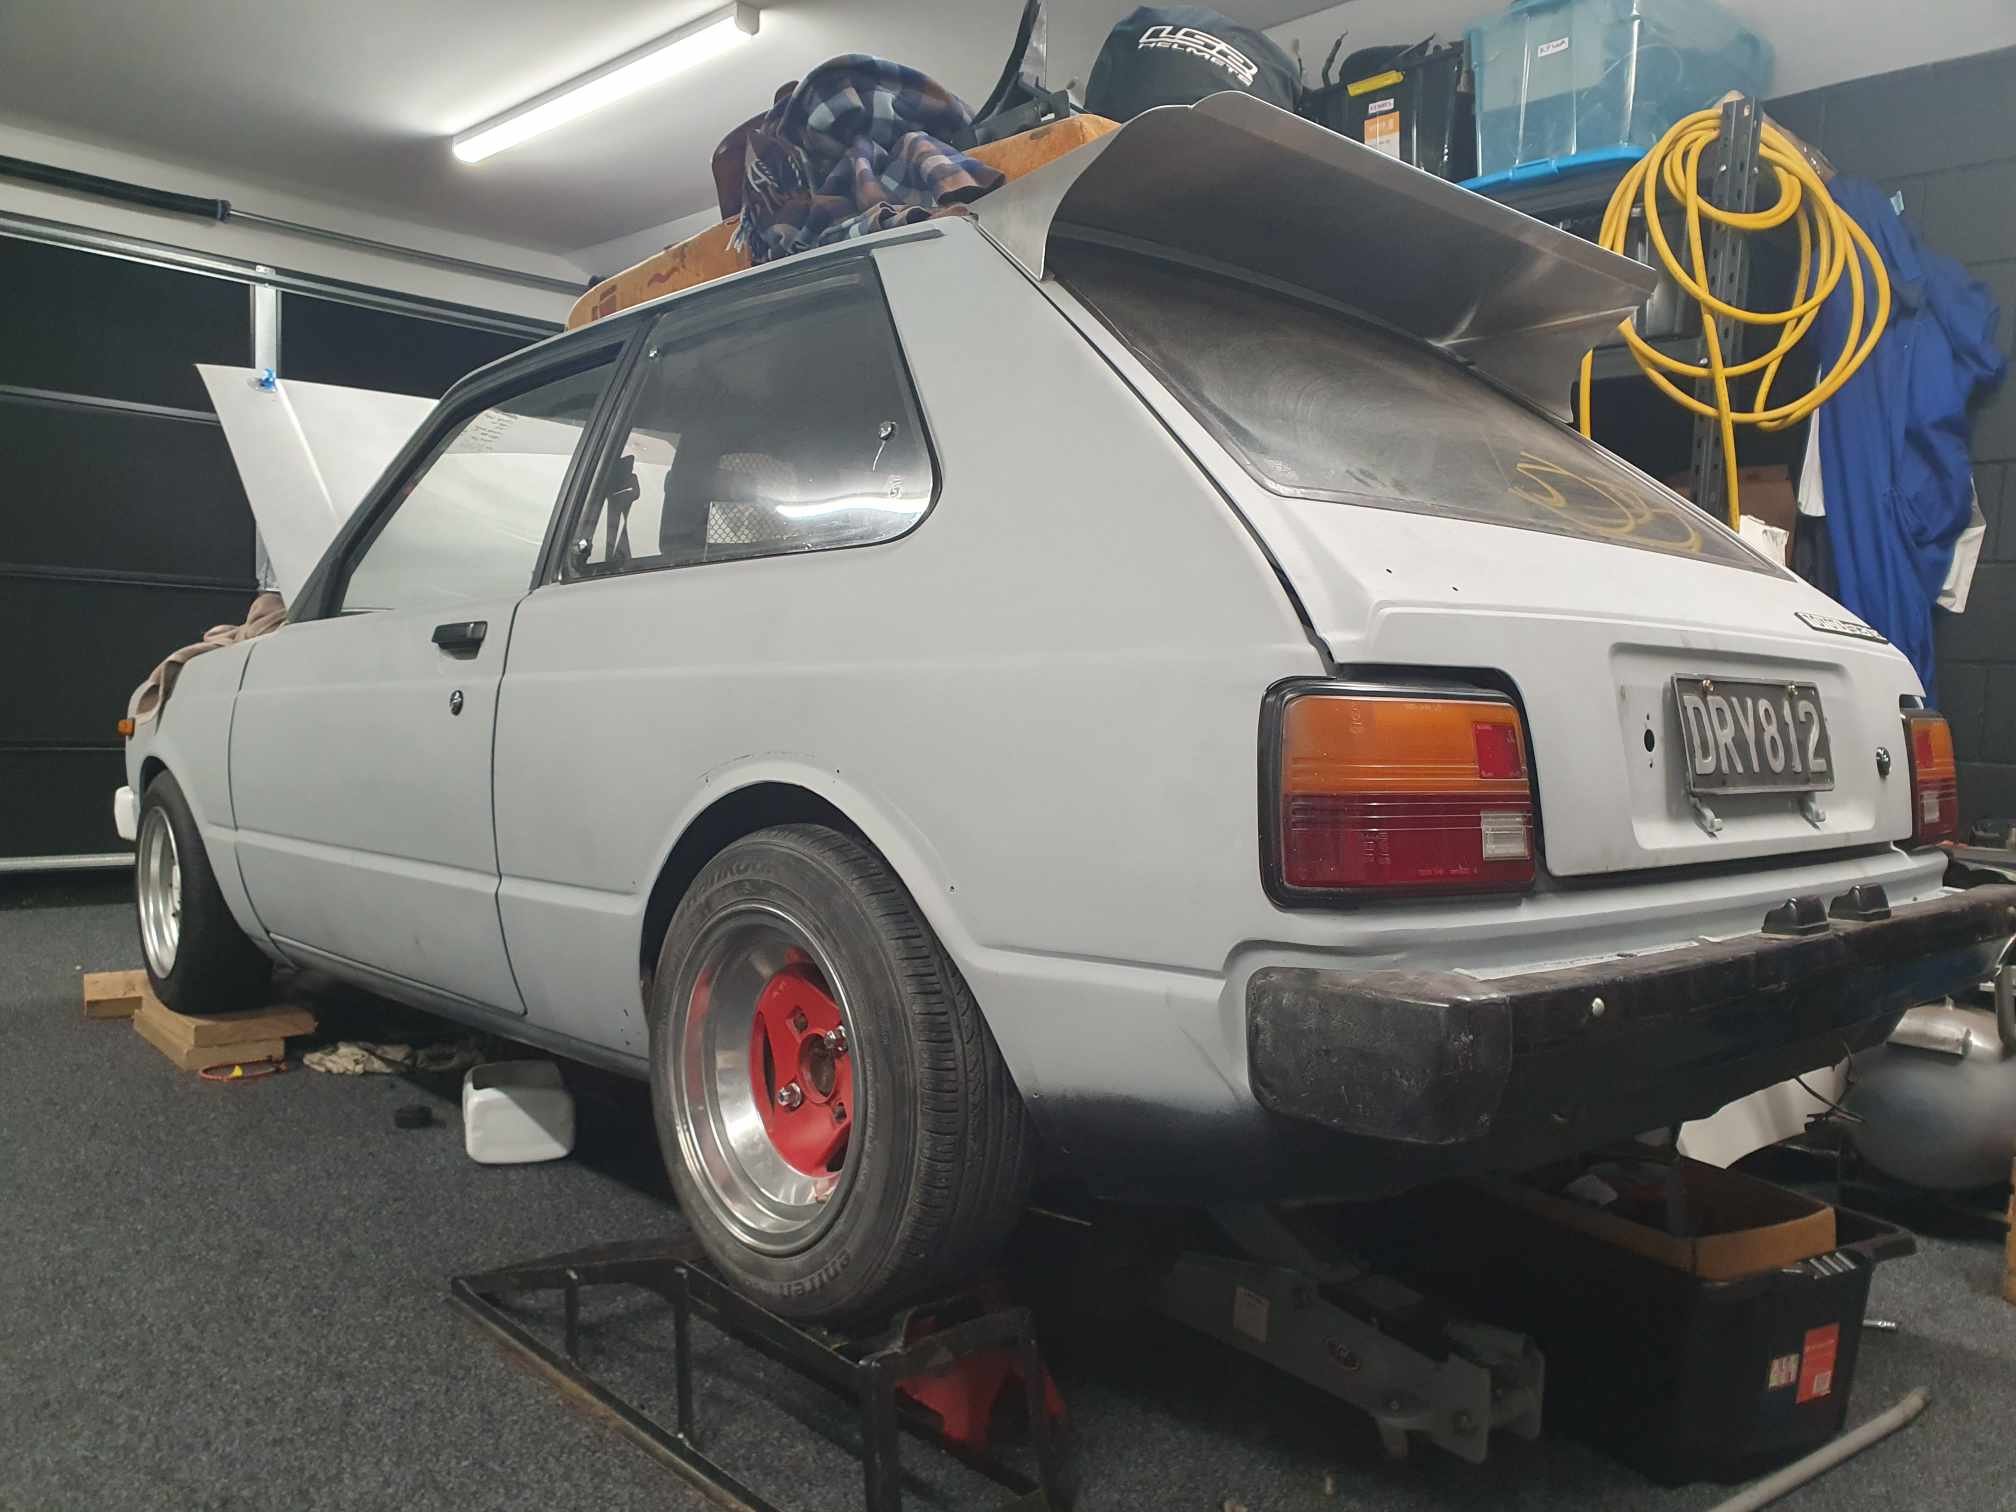
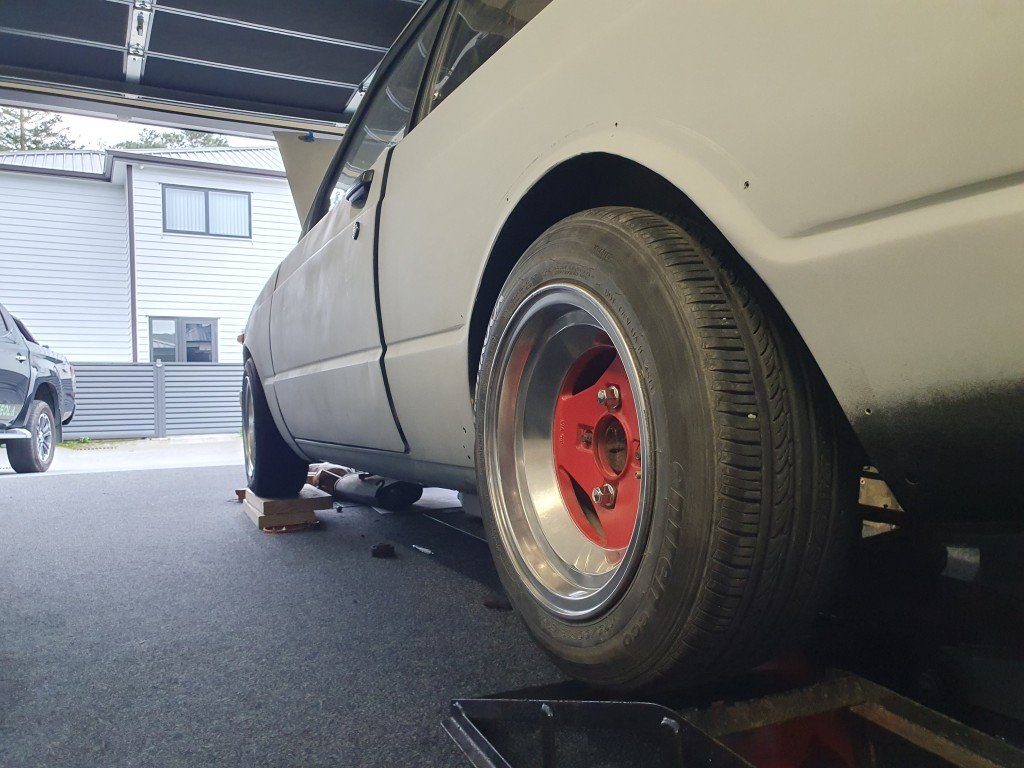
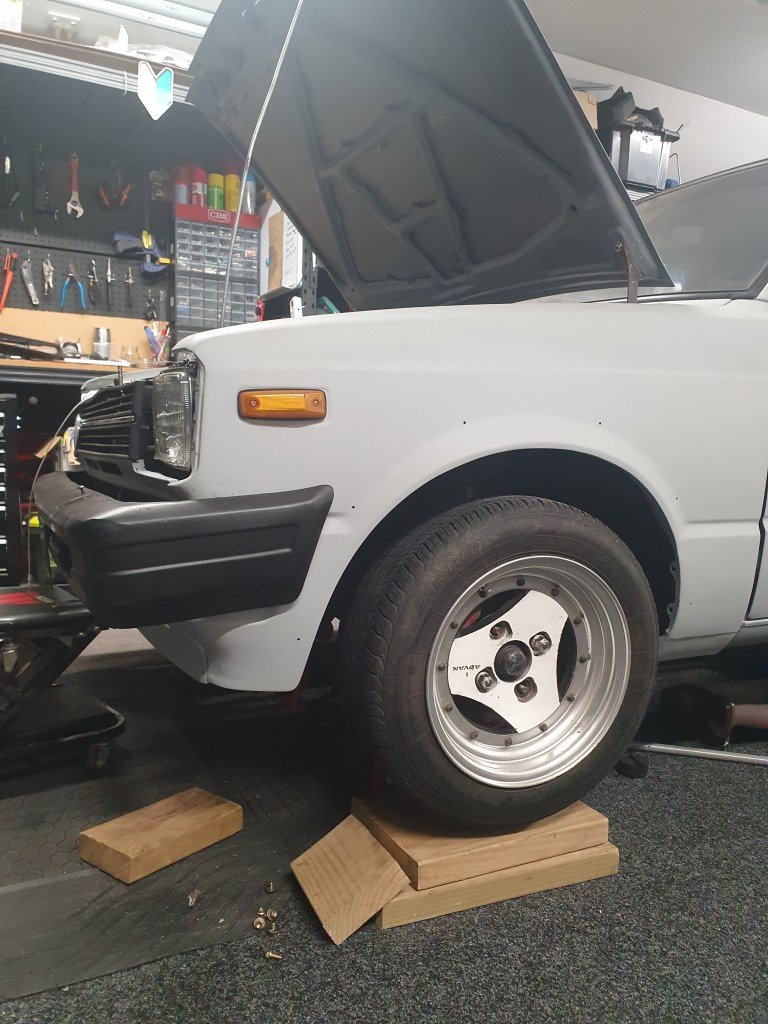
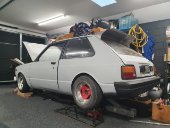
Got the KP down off stands for the first time in a while. Looks great! Definitely need some new shocks. Its off to RSL this week for an exhaust all going well. Part of the list, time dependent is maybe moving the engine mounts forward 20mm and modifying the gearbox mount. The driveshaft has enough in it for that. Driveshaft hoop to be done (just to be safe, even though its all certed already). Put a baffle in my spare valve covers and weld on some fittings for the catch can. One thing that will get you taken to the stocks is having a 3 inch exhaust on an NA 4AGE with no mufflers or reso. We get enough of that at 2am down the main straight. So I've gone for a 2.5" chambered muffler and a resonator for now, we are here for induction noise not exhaust noise. The 2.5" decision was made by the headers on it already being so. Going for mild steel for now just to get something on there. As the car gets on once everything is working, a SS one will surely be on the cards. Its part of the "jDm BrUh" Kaizen philosophy. Main thing that has me distracted is trying to fine a family Sunday car. Been really after a GX61/71 or an E28. Something fun, still classic, with AC that we can all enjoy. The KP will not be that car. If anyone knows of any decent ones (non-project) ones going, send me a message!
-
DirtyThirtys 1984 Toyota Starlet KP61
DirtyThirty replied to DirtyThirty's topic in Projects and Build Ups
Small update, I figure I keep doing this to keep myself motivated. Seatbelts are now in, got the new retractable sets from oldscoolautos. After getting the fitting kit, it all seems to work well, just need a single extra 7/16 UNF nut. Clutch res, I've ordered a 45mL motorbike one to make it as compact as possible as the current setup is a bit bulky. Also the master to res connection is still leaking, not badly but something Ill eventually get to. Ideally something like what the E30s had with the dual brake/clutch master res would solve my problems. I need to paint the IAT bracket I made, but itll work for now Got a speedo cable extension from a 4WD supplier, as the cable was a bit too short to reach the cluster, allgood now! Made use of the Stealthride Japan/discount promotion and got some wheel nuts so theres actually 4 on each wheel. Over the diff exhausts are now banned, what a nightmare when trying to work off jack stands. Im trying to rework the one I had, but the marking, cutting, holding to tac weld with just 1 person is difficult. I cant really drive it until thats sorted and tow trucks to RSL are $. But it is the main thing stopping me from a test drive.
-
DirtyThirtys 1984 Toyota Starlet KP61
DirtyThirty replied to DirtyThirty's topic in Projects and Build Ups
IT WORKS! Clutch clears perfectly, so a few things to sort before our first test drive. Good news is it got rid of the ugly, bulky cable to hydro conversion box (which will be for sale). Also made a new bracket for the FPR to tidy it up further (in the time Binky has been going, even I of all people have learned how to make some brackets, which is saying something...). Annoyingly theres a leak from the master to res, the taper seat in the clutch master looks quite different to the AE86 one so I think my fitting needs some work which is rather annoying. Not such an easy fix without taking it all out and taking it to a fitting shop. I want to get a 3D printed base on an angle for the velocity stacks to angle them/place them in a better spot. Otherwise I need to order the new seatbelts for the front, some lug nuts for the wheels. Get an aluminium upper and lower radiator hose section made up so I only need to use straight pieces of hose to make it work. Will make it much easier to find a replacement if the hose ever fails. I doubt the aluminium pipe middle section will ever fail. What an absolute muck around just to avoid touching the brake pedal for cert. Oh well.
-
DirtyThirtys 1984 Toyota Starlet KP61
DirtyThirty replied to DirtyThirty's topic in Projects and Build Ups
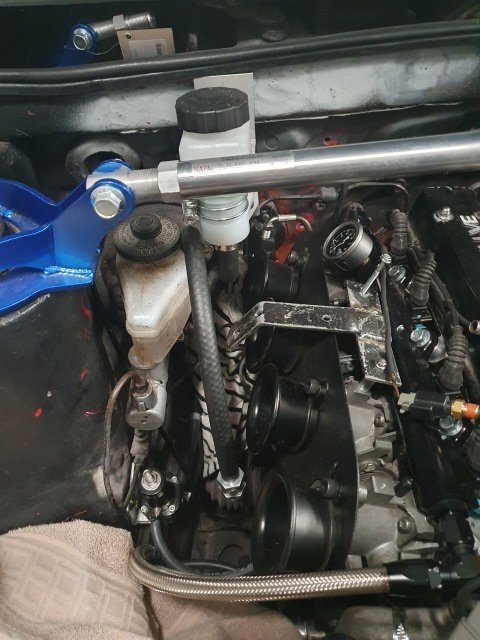
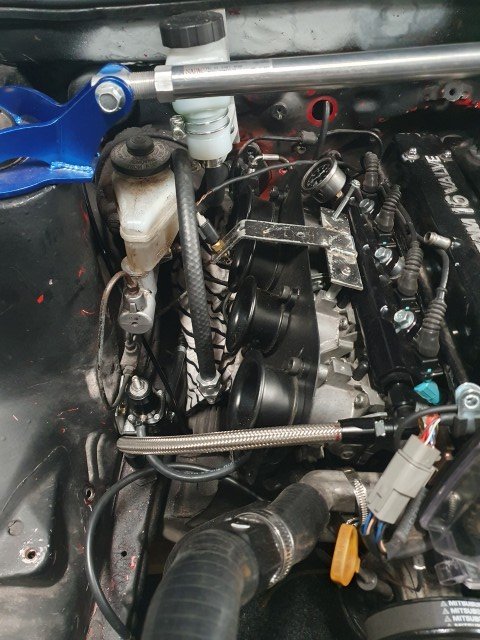
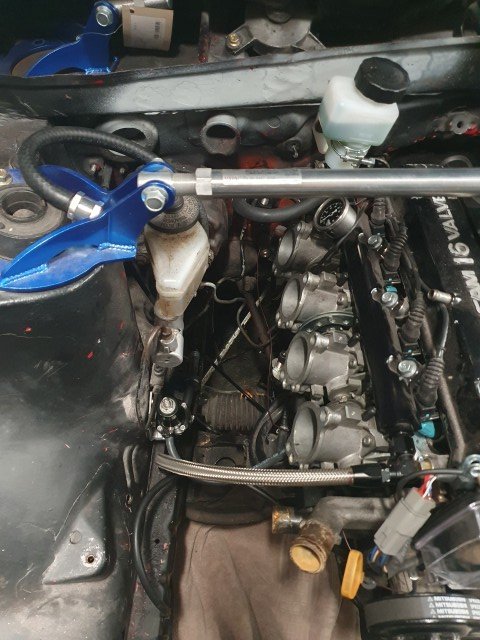
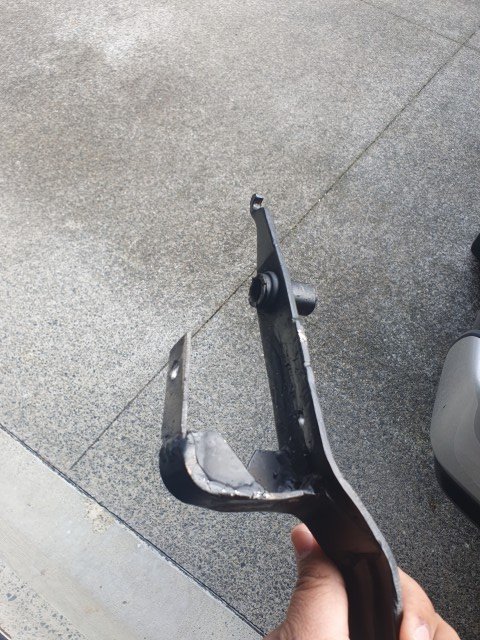
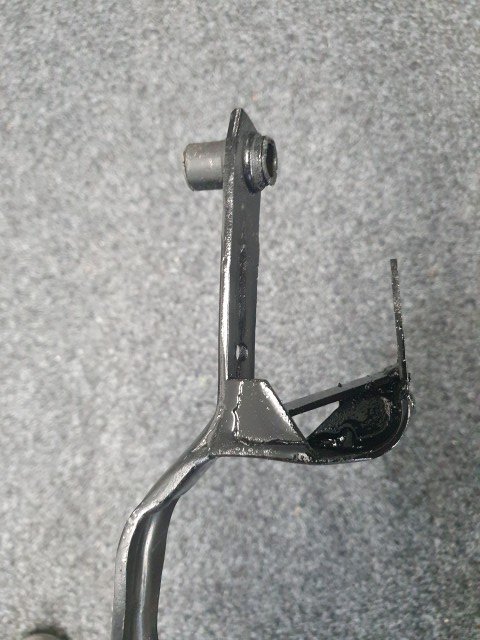
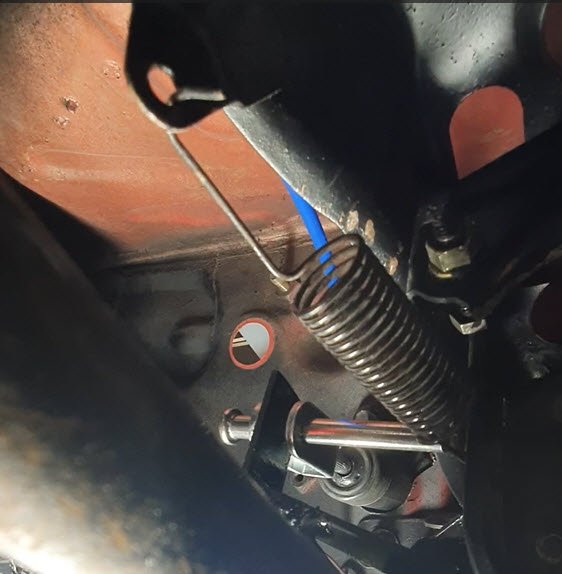
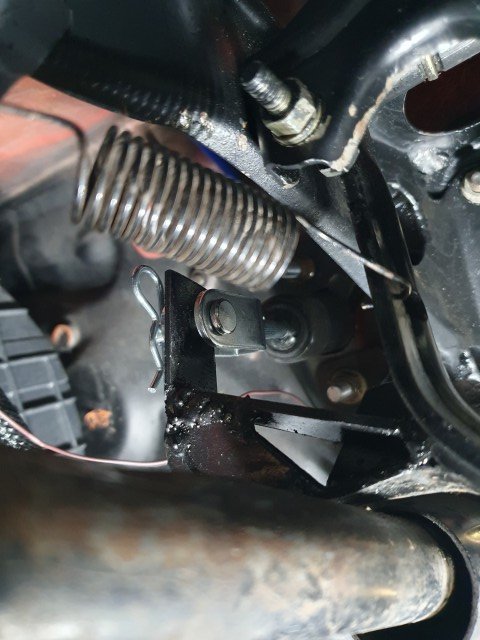
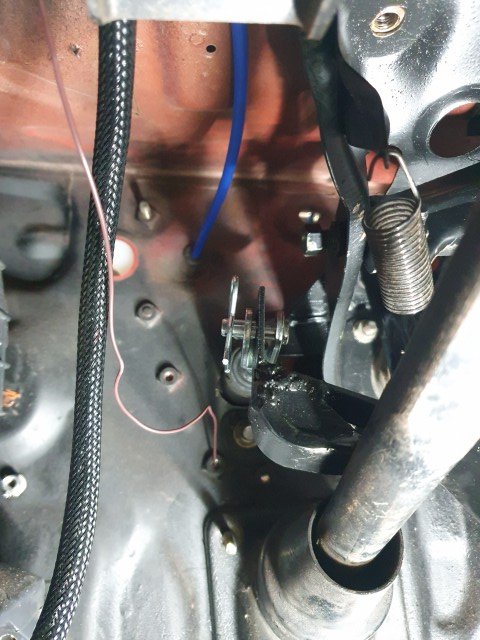
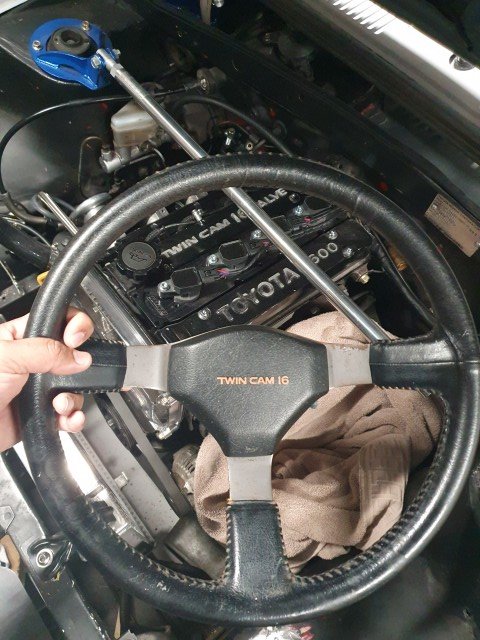
The clutch saga continues.... The angle of the clutch MC pushrod was wrong, along with the clutch pedal JUST catching on the steering rack boot it sort of didnt work as intended. Kind of hard to pick this when crawling around yourself trying to push the clutch in AND check the slave. While I was checking slave cylinder engagement/movement, @mk2marty was pressing the clutch down when he found the issue. Previously when by myself Id put my phone on video, try the clutch then review the footage to see how much clutch engagement there was. This was in hindsight a terrible way to do it. We've cut the tab welded on by Oldscoolautos to the clutch pedal and extended the tab up to get a better angle on the clutch MC pushrod (ignore the welds, theyre plenty strong just not that pretty). We added a cross brace so there is no lateral movement in the tab as we found it was slightly twisting. Cut the top of the pedal off (the hook) where the cable used to attach to, I have a spare and this was just making reinstallation much hard than it needed to be by leaving it on there. 3rd photo is just using the insanely long clevis I had on hand, you can see the pushrod is basically flat which is where it should be. Seems like a small win, but for someone who is fabrication skill deficient it felt like a big win as its something I've been chasing for a while. Installed with the correct clevis length and clip (could do with a washer between the clip and pushrod mount): Now its solid and feels like a clutch pedal! Unfortunately will have to wait for the weekend to fire it up again to see if it works as intended, but definitely looks like the slave travel has improved drastically so it might actually disengage the clutch this time....
- 44 replies
-
- 11
-

-
DirtyThirtys 1984 Toyota Starlet KP61
DirtyThirty replied to DirtyThirty's topic in Project Discussion
I do like that!! Cheers mate! I think that may be the way to go, was avoiding it but needs must. Currently hits your leg in 5th. -
DirtyThirtys 1984 Toyota Starlet KP61
DirtyThirty replied to DirtyThirty's topic in Project Discussion
Send me a photo once its done, Id be keen to see the final product. Mine has remnants of orange stitching. Following on the theme everywhere on the interior would be nice! Im trying to figure out what colour to eventually go with myself. -
DirtyThirtys 1984 Toyota Starlet KP61
DirtyThirty replied to DirtyThirty's topic in Project Discussion
Oh man thanks so much! Saved me hours and hours of comparing photos online. Legend! -
DirtyThirtys 1984 Toyota Starlet KP61
DirtyThirty replied to DirtyThirty's topic in Projects and Build Ups
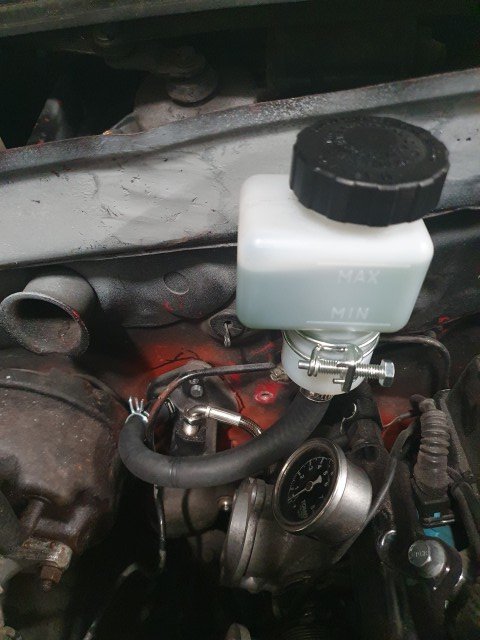
Still pretty crowded in the area, but proof of concept. Ill bleed it all up and should be fine. Now I can get rid of the damn cable to hydraulic conversion box. (ignore the pinholes, those are to be sorted later)
-
DirtyThirtys 1984 Toyota Starlet KP61
DirtyThirty replied to DirtyThirty's topic in Project Discussion
Cheers! I'll do some research on that. I assume same position as a K40? So makes sense -
DirtyThirtys 1984 Toyota Starlet KP61
DirtyThirty replied to DirtyThirty's topic in Project Discussion
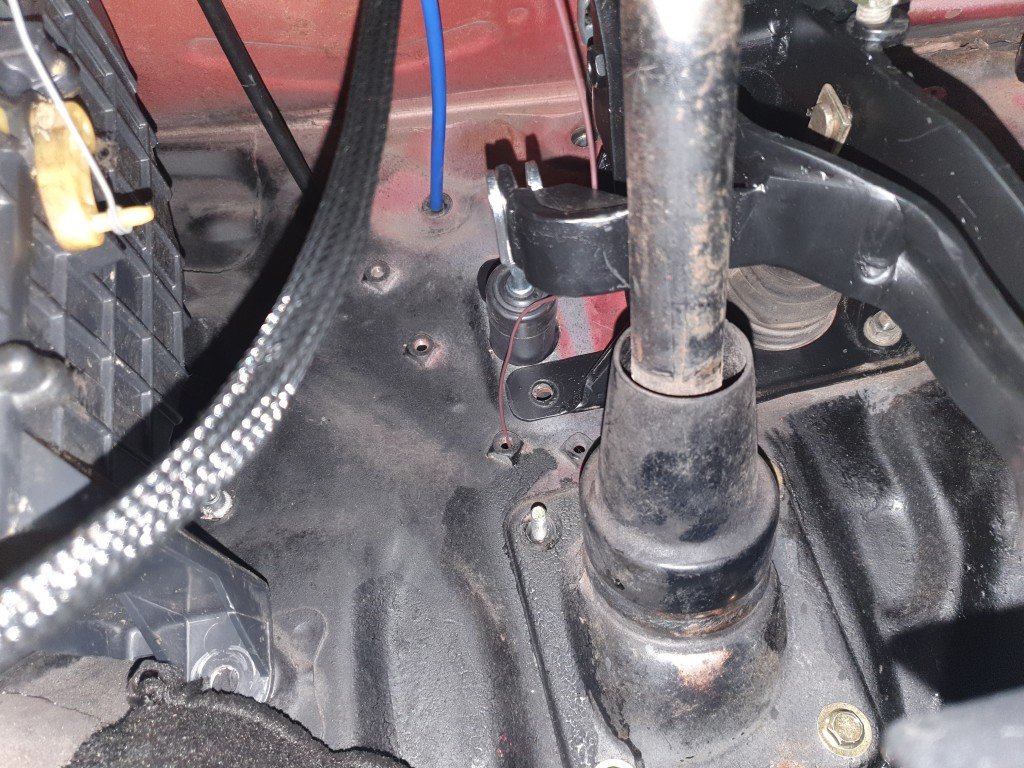
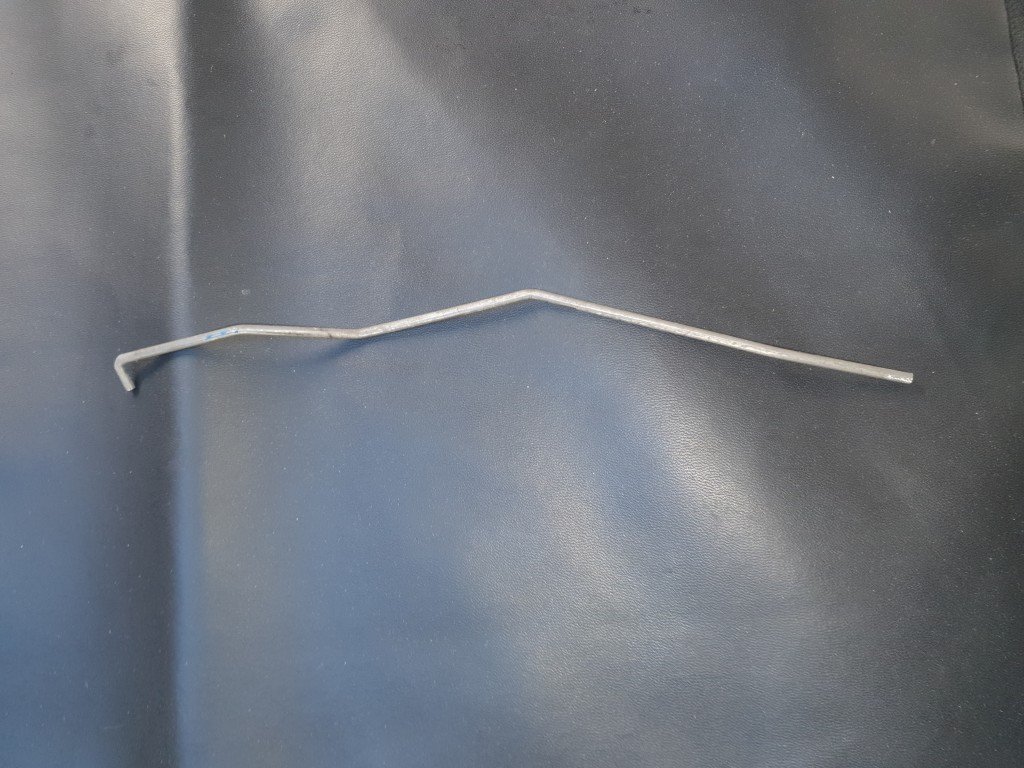
Anyone had an issue with shift lever angle? Mines well on the piss but it had a nice short shift kit in the T50 that the PO had on the gearbox. Wondering of that may be causing some issues. The shift lever is bent in the wrong direction, if it was vertical rather than have a bend, it'd work much better. Just asking as I don't want to have to get the current one cut and welded and someone may have come across this before. -
DirtyThirtys 1984 Toyota Starlet KP61
DirtyThirty replied to DirtyThirty's topic in Projects and Build Ups
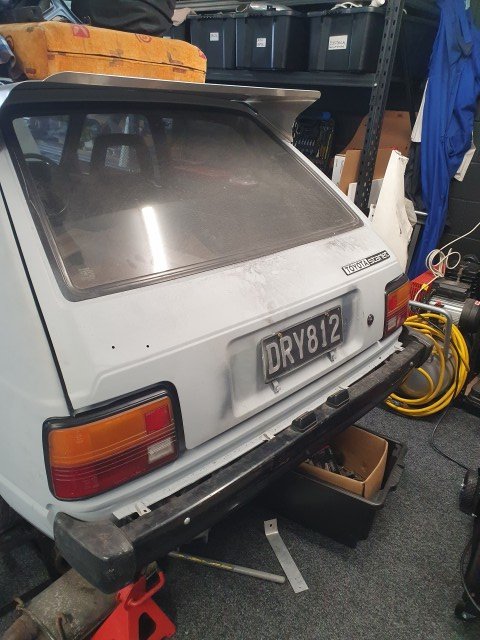
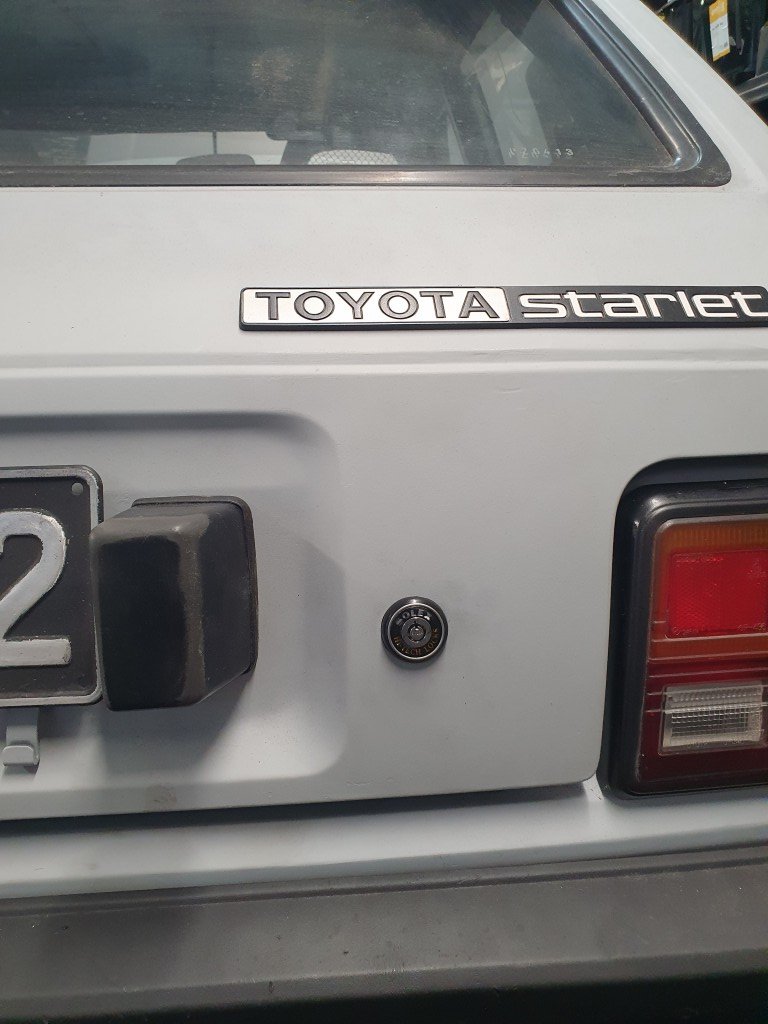
Been busy trying my best to focus on wedding planning....... Firstly, fk me welding is difficult. Welded up some holes, terribly. Only starting to get the hang of it, I've found out that 90% of the result is down to prep. Theres a fair layer of bog to get through, which hasnt been fun. I am however happy with how the old license plate light holes turned out. Needs some smoothing over but turned out nice.
- 44 replies
-
- 10
-
-
DirtyThirtys 1984 Toyota Starlet KP61
DirtyThirty replied to DirtyThirty's topic in Project Discussion
Would need some sort of file or scan of one right? Wouldnt mind a SS one... Just bought a STL file for the badge, so Ill find someone to print it and see how I get on! Also scored some A3A center cap STL files -
DirtyThirtys 1984 Toyota Starlet KP61
DirtyThirty replied to DirtyThirty's topic in Projects and Build Ups
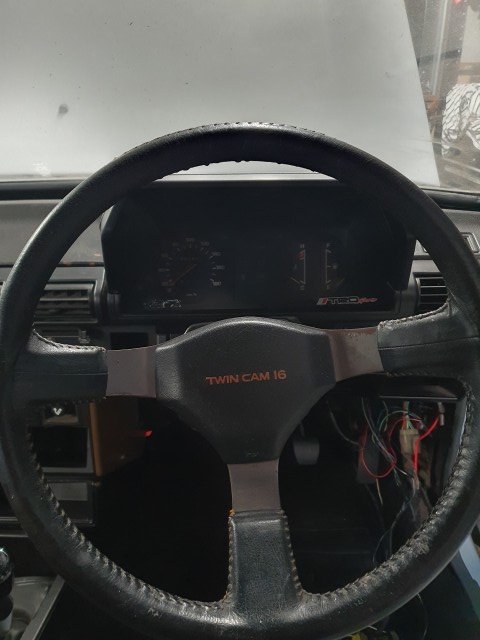
An unnecessarily long fought and expensive battle to get this..... Still cheaper than the Nardi I want, mega wank factor points too. Sue me. I wouldnt mind the "twin cam 16" badge for the boot. Some guy makes reproduction ones in SE Asia, but maybe I should focus on getting it running first and not pay $50 USD for shipping a small badge.... EDIT: Bought a STL file so will try get a badge 3D printed and see how it goes
- 44 replies
-
- 11
-
-
DirtyThirtys 1984 Toyota Starlet KP61
DirtyThirty replied to DirtyThirty's topic in Projects and Build Ups
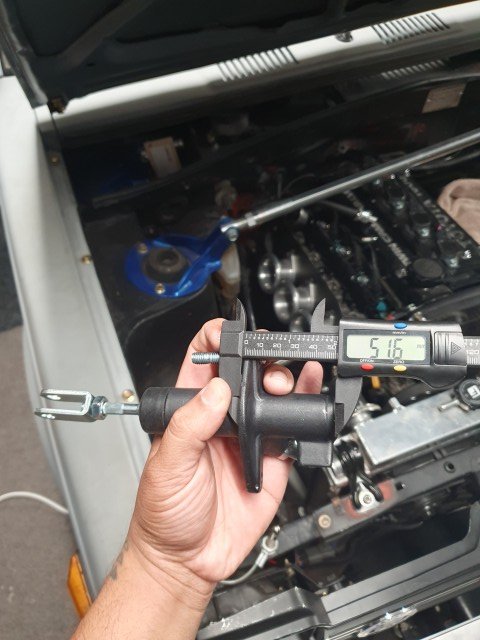
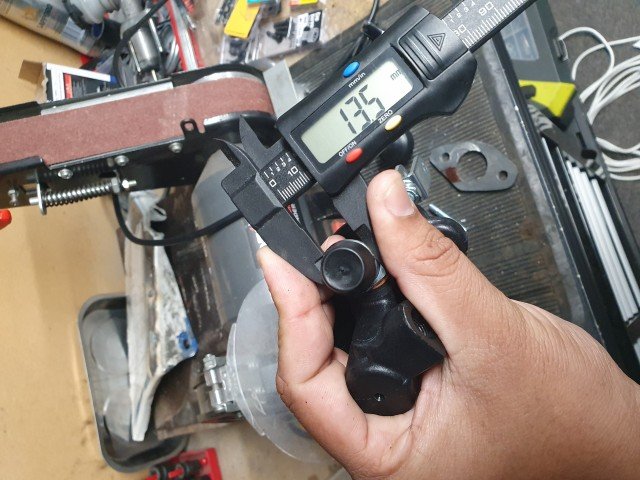
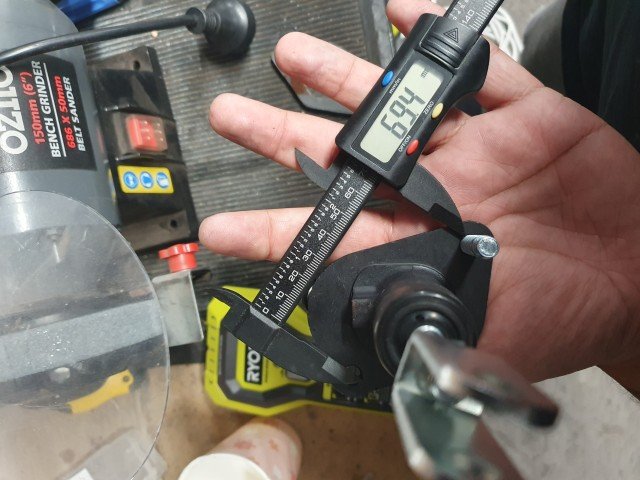
It's been a year. So for once some R&D has paid off for me. 370z/G37 clutch master cylinder looks like it will work well! I still have a 10mm gap to close, the rod reaches the pedal perfectly, and my existing clutch line is long enough to relocate. Needs a remote res, but that's easy enough to sort. After what feels like forever searching for a solution that avoids a Wilwood style reverse mount pedal box, we might be onto something. Hope that it helps someone out because there was not much info online. Some quick measurements of the clutch master cylinder (its what I couldnt find online when I was searching):
- 44 replies
-
- 16
-
-

-
DirtyThirtys 1984 Toyota Starlet KP61
DirtyThirty replied to DirtyThirty's topic in Projects and Build Ups
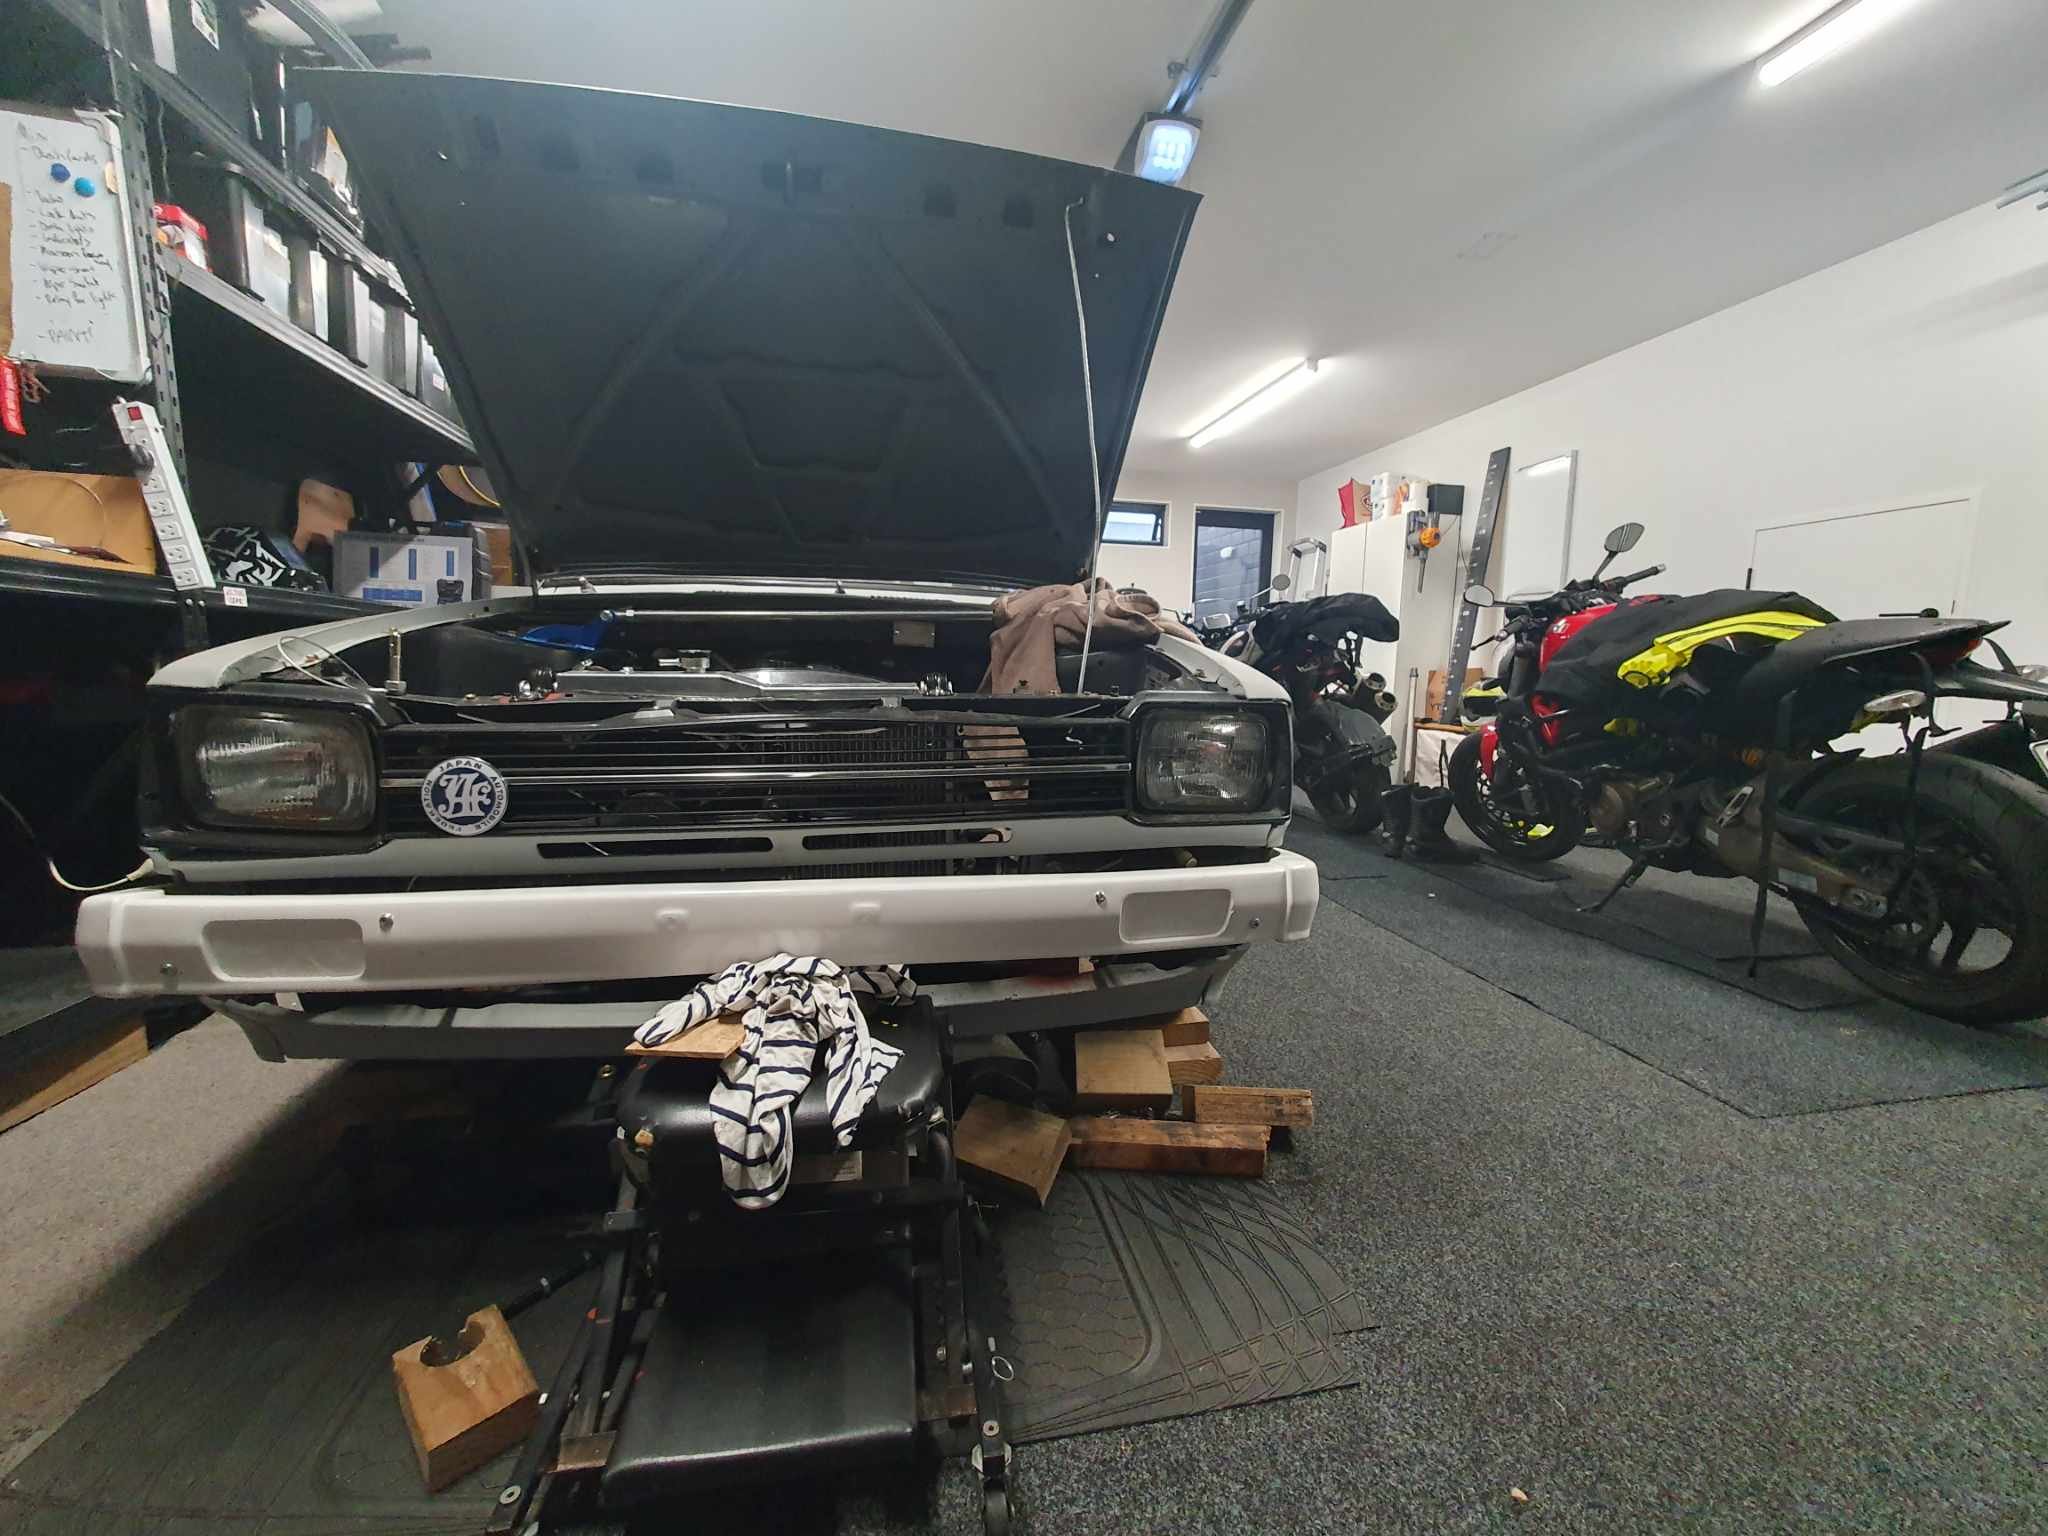
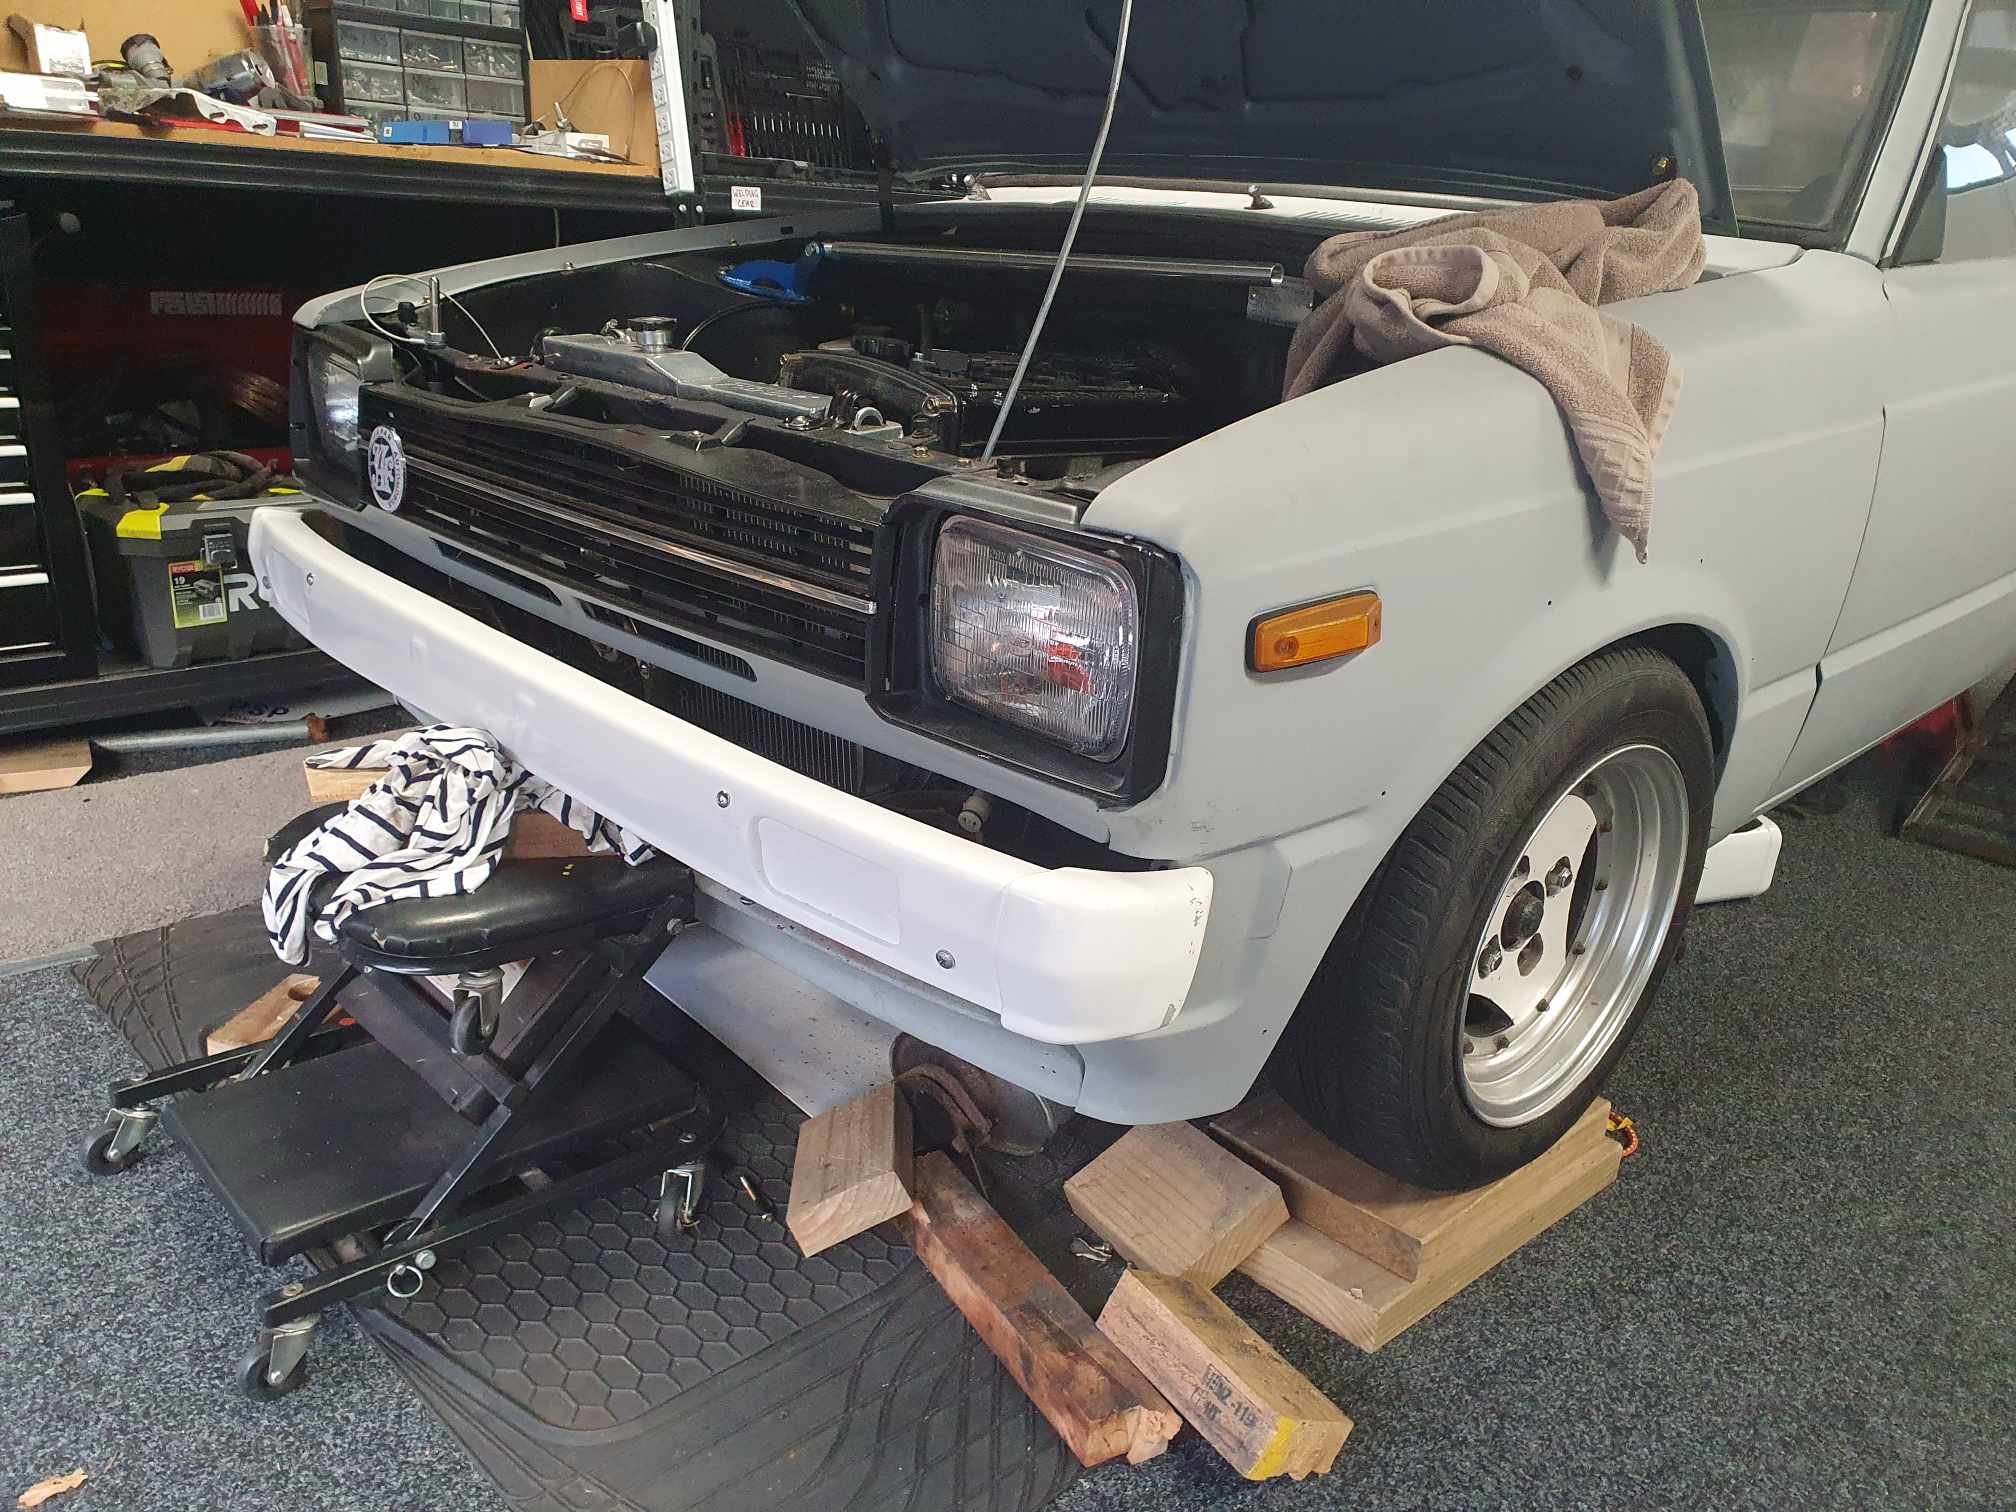
Found a rear bumper in the flat front style. Means I can get rid of the bulky license plate lights. Will make a rubber filler strip or something. T50 filled with new fluid, took 1.4L, the fill plug was loose when I started...alloy is soft and don't trust previous owners. The crush washers were a size you don't get in the Tridon assorted packs, it's 2x M18. Tridon part # TSW025. Front bumper getting there. Also needs a filler strip but happy enough with how far back I could get it. Took some grinding and welding. Had some visitors hence the Indian FTR and Ducati Monster in the background.
- 44 replies
-
- 11
-
-
DirtyThirtys 1984 Toyota Starlet KP61
DirtyThirty replied to DirtyThirty's topic in Project Discussion
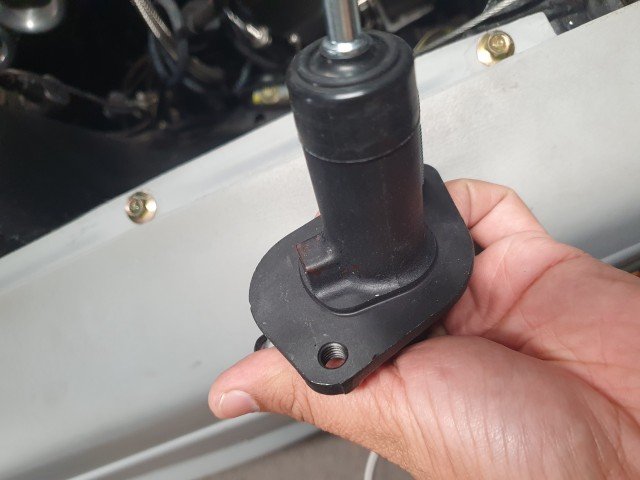
Not to out anyone on here, but any 370z guys lurking? Looks like its the shortest clutch master I can find. Approx 52mm from flange on firewall to back of body. Can someone check that measure? Didnt want to spend $100+ to order one just to try for size. The only one being wrecked, the guys wants to sell me the whole manual conversion.... EDIT: See build thread, took the plunge and it paid off. Hope this helps someone in the future. Its got a dumb mounting face surface against the fire wall. Once I have cut a flange up etc, I might try to get it drawn up in CAD to make it easier for the next person to just get a laser cut one done. Also had to redrill one of the threaded holes on the MC, good thing is that it has a strengthening rib where it was to be drilled. This now lines up with the tabs on the clutch pedal assembly which provides some reinforcement. -
DirtyThirtys 1984 Toyota Starlet KP61
DirtyThirty replied to DirtyThirty's topic in Projects and Build Ups
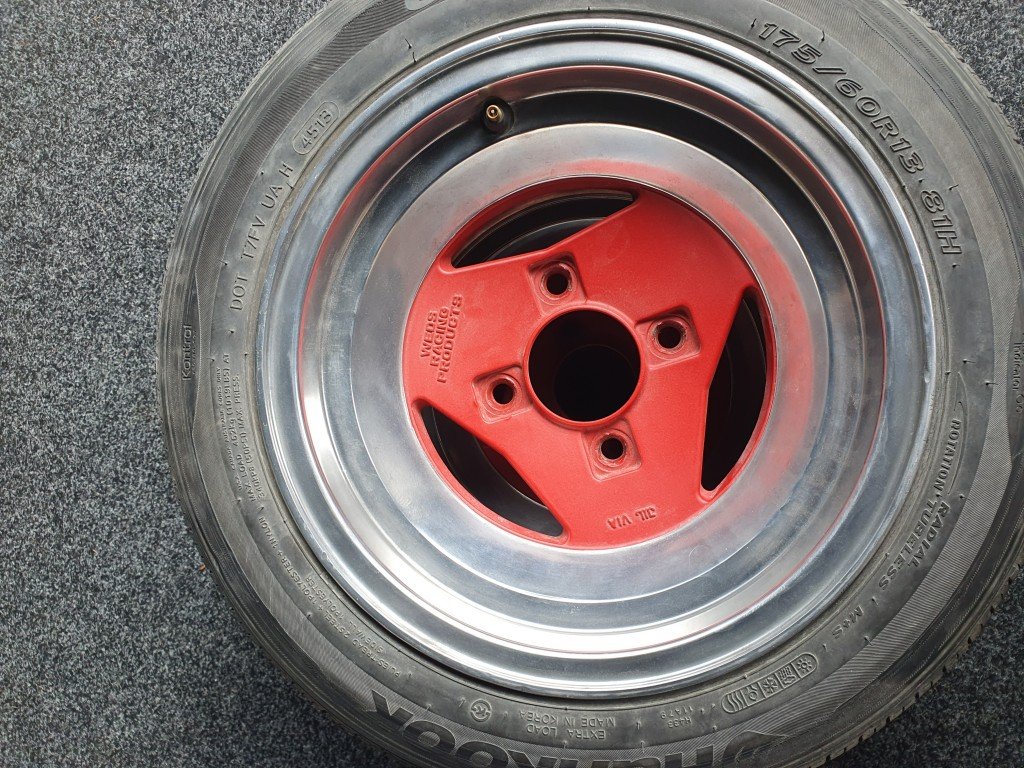
Pair of Weds Racing MK1's! They look great, again probably look better once on the ground....13s are absolutely the solution to a problem I didnt know I had. I prefer them to the Advans even though "pieced" wheels are supposed to be top tire. These monoblocks look so much cooler! On a side note, I got given a throttle controller to use on the Triton from a family friend. The throttle response is too sharp so have dialed it back. Nice and easy app to use. Has things like idle speed control which I will never use. The ramble idle is definitely not for me, but still a nice easy plug & play solution from ECU Shop. Im picking up another rear bumper with the plate lights built in so can remove the slightly bulky ones on the drop hatch now. Front bumper install is going OK, just not happy with the gaps Got a welder hence the lack of updates. It'll probably take me 10 years to learn to use it before I provide another update, so stay tuned.
- 44 replies
-
- 10
-
-
DirtyThirtys 1984 Toyota Starlet KP61
DirtyThirty replied to DirtyThirty's topic in Projects and Build Ups
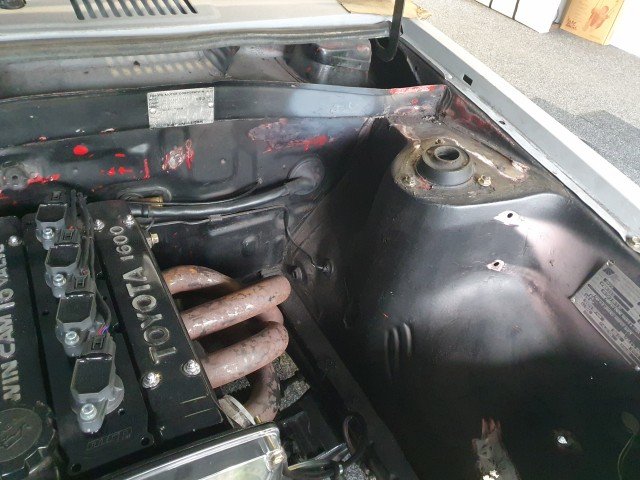
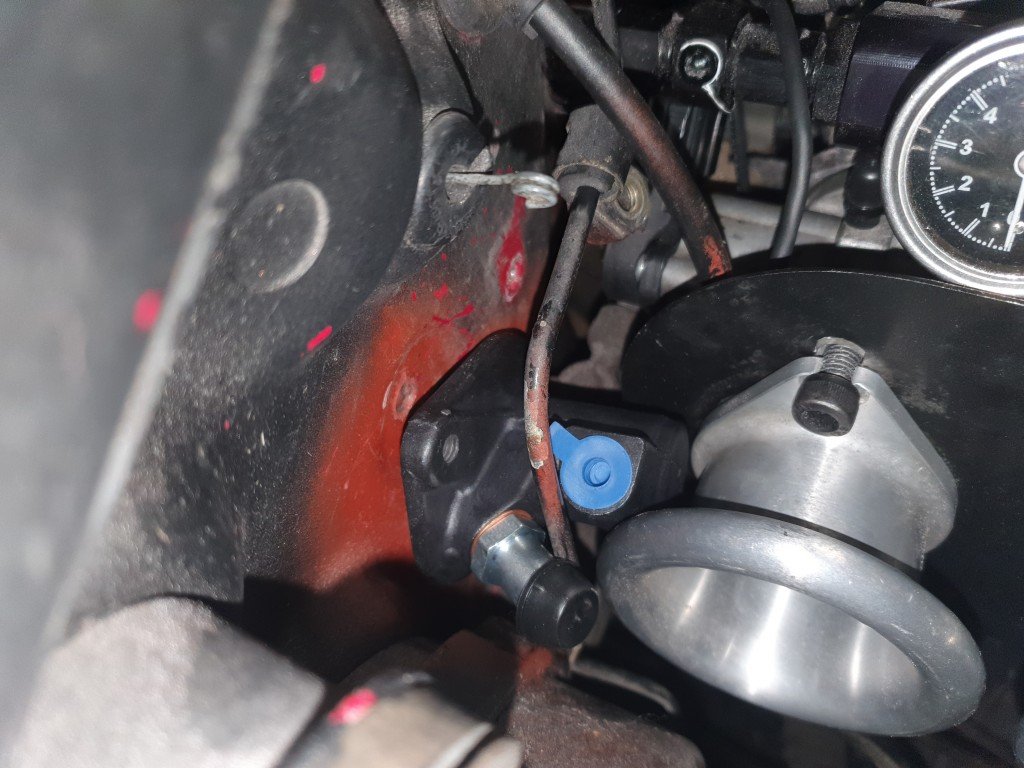
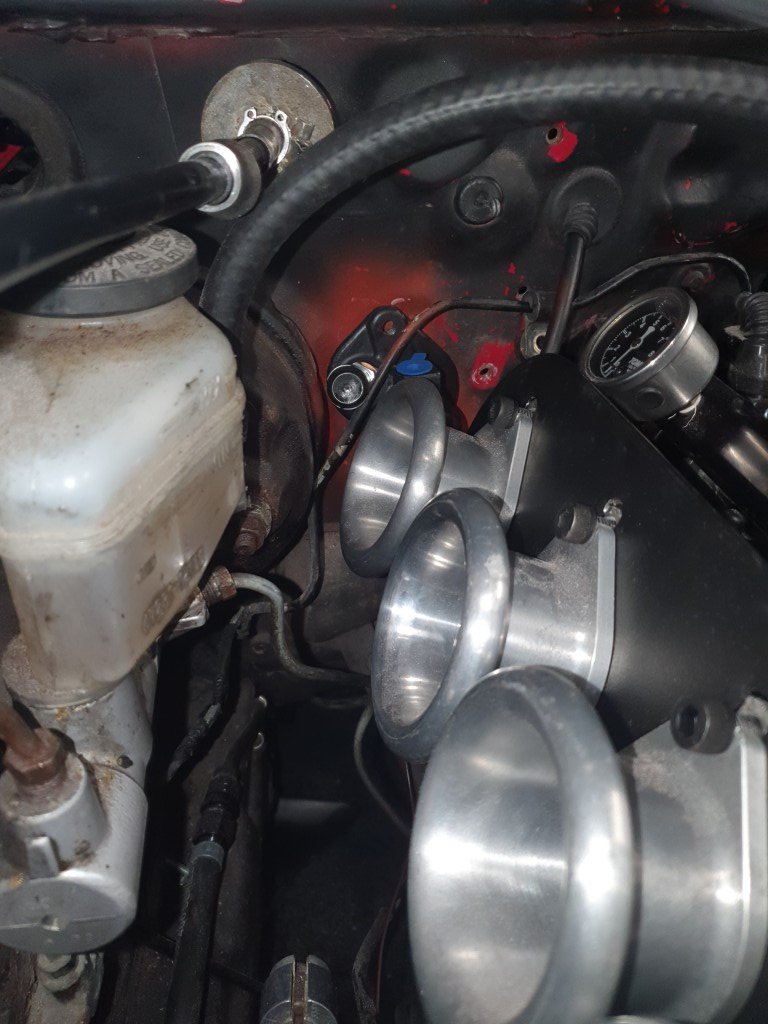
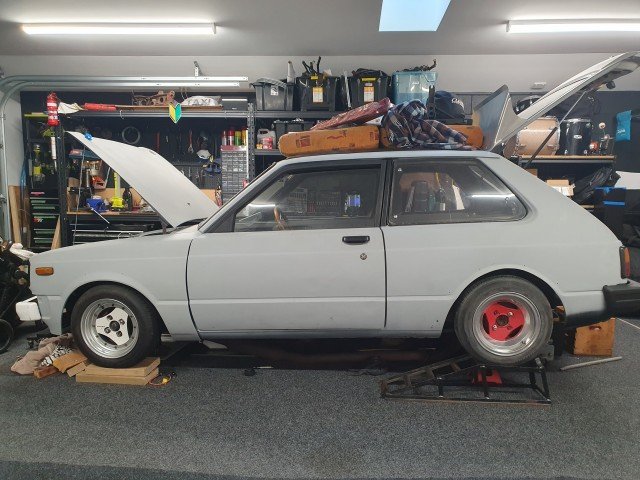
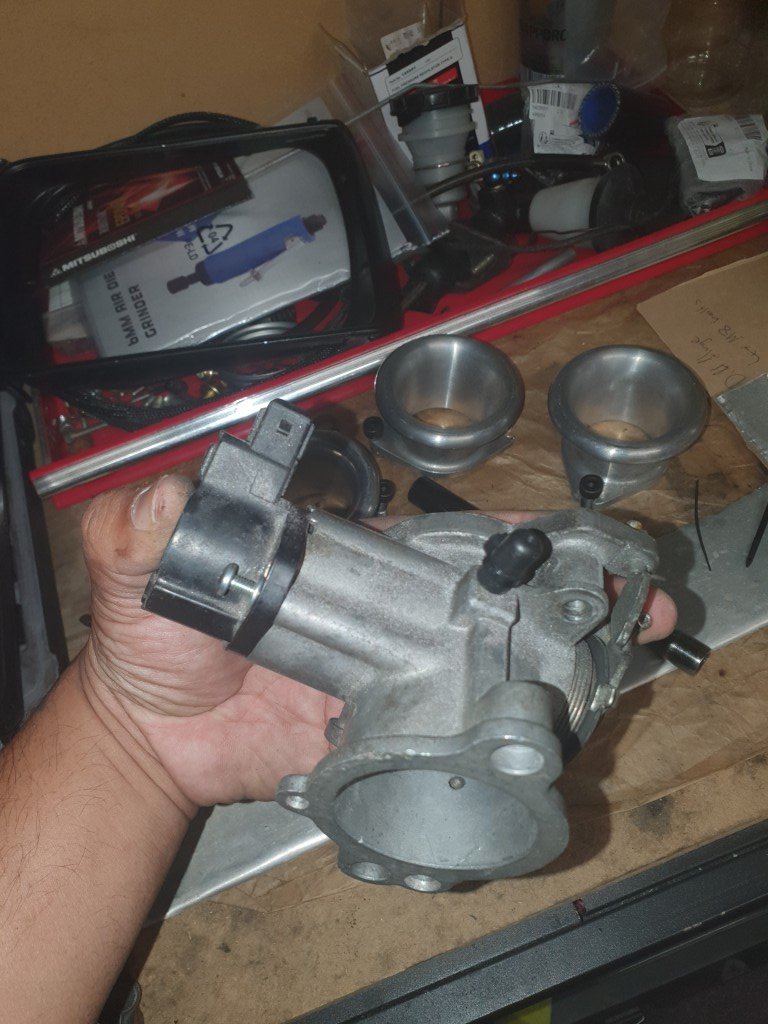
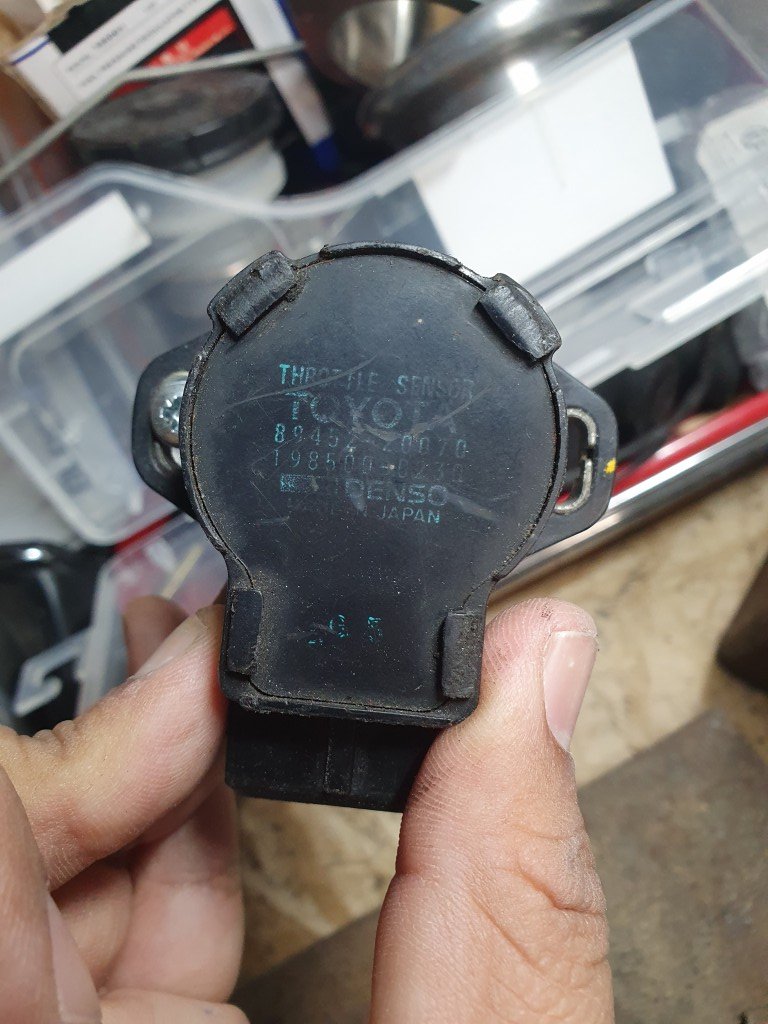
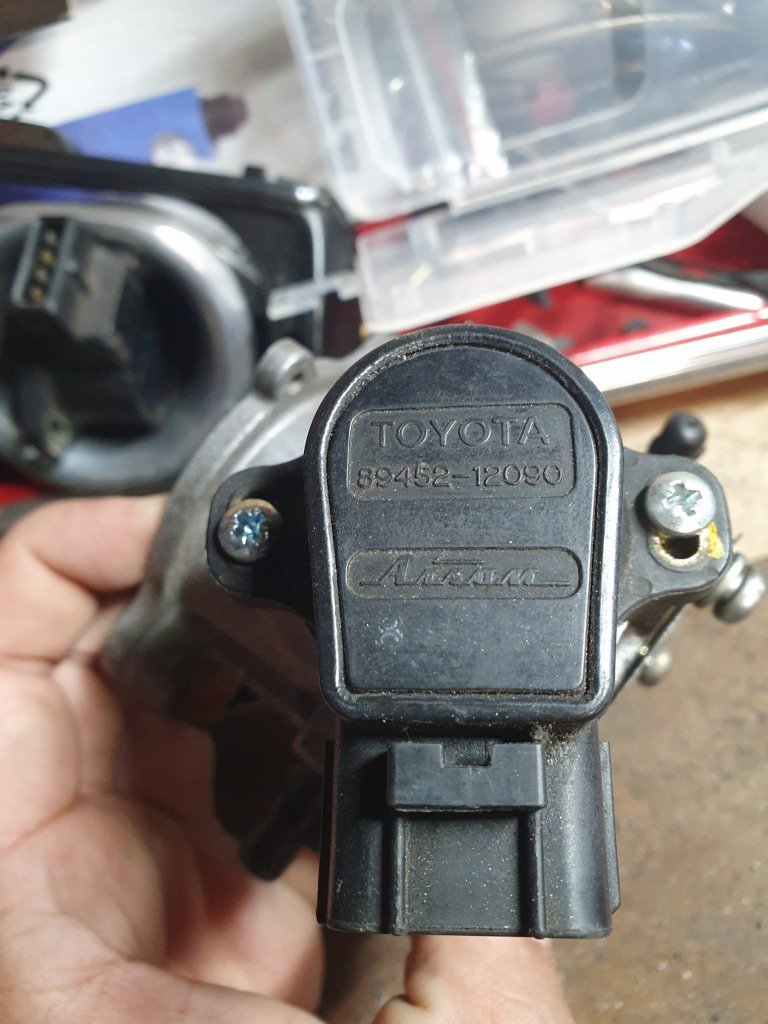
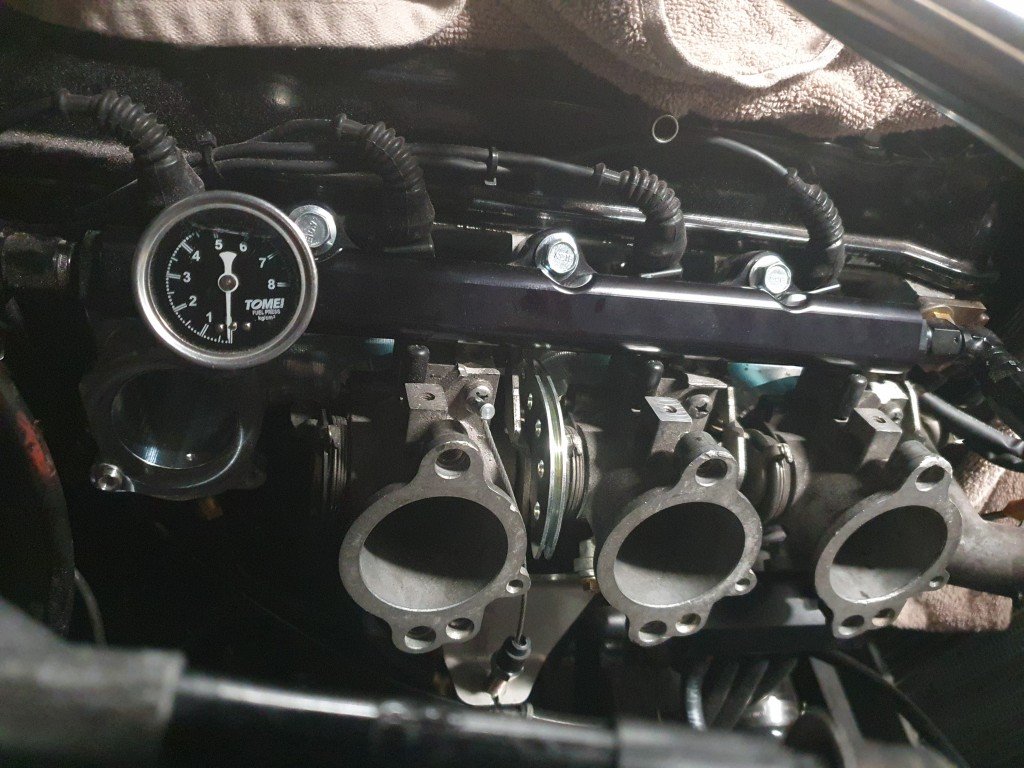
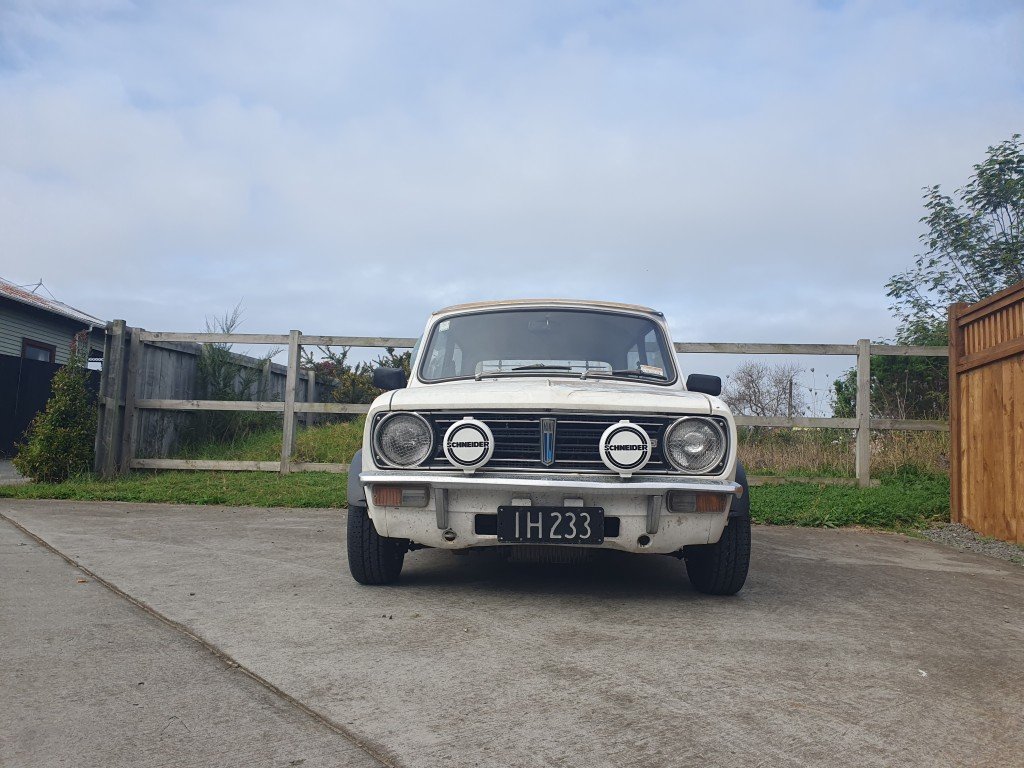
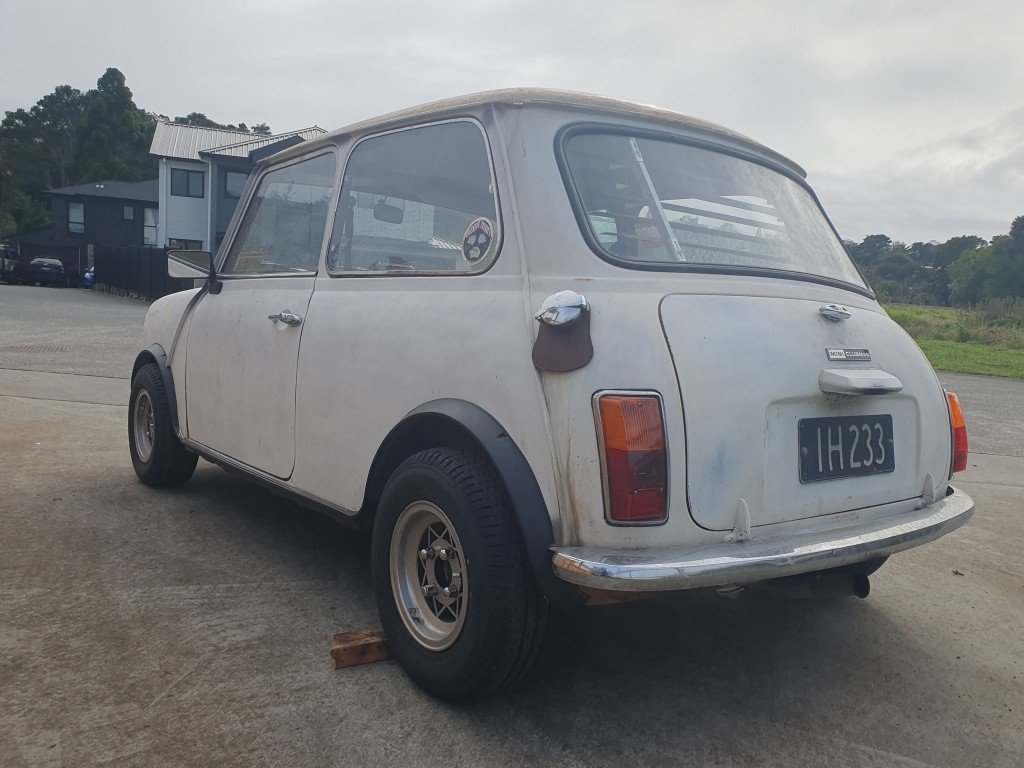
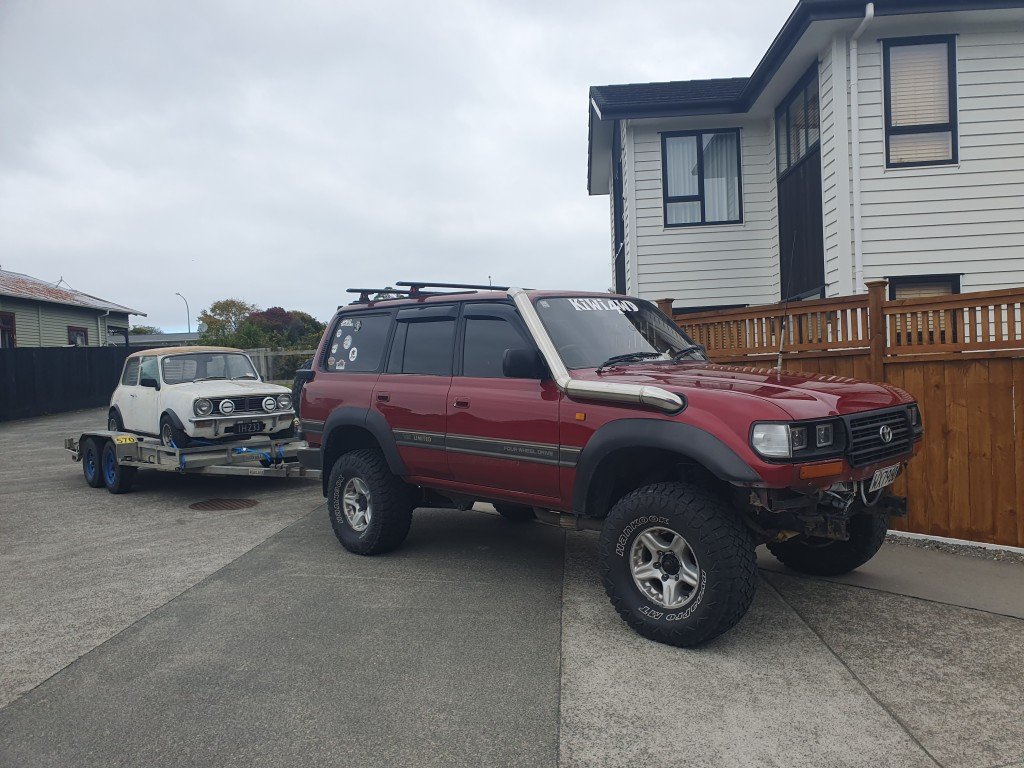
The Mini has sold! Bittersweet, every night while its in the garage our daughter climbs in and pretends shes driving. But also sweet because garage space and can focus on the Starlet. It sounded good from the outside when they took it for a test drive. The guy came back, said it's the most fun he ever had on a test drive, handed over the cash as promised with no further negotiation. Hilarious tow rig, had half the trailer spare! Bye, bye. Back to the Starlet, rookie mistake. Like the idiot I am, used a 16V TPS on the 20V ITBs. 16V ones dont spin the same way hence the TPS issue. ST TPS in hand, along with a new connector from NZEFI. Issue all sorted, TPS all adjusted and we are away! Hectic rotary idle has gone too because I managed to sort the vacuum leaks out. All we need is a gearbox and diff oil top up and its test drive time! I also definitely need to do the valve stem seals. But might just get someone to sort that for me, it'll be faster. 16V vs 20V ST TPS: Easier to take a single throttle body off than the manifold etc. See how tight everything is packaged close to the firewall
- 44 replies
-
- 11
-
-
DirtyThirtys 1984 Toyota Starlet KP61
DirtyThirty replied to DirtyThirty's topic in Projects and Build Ups
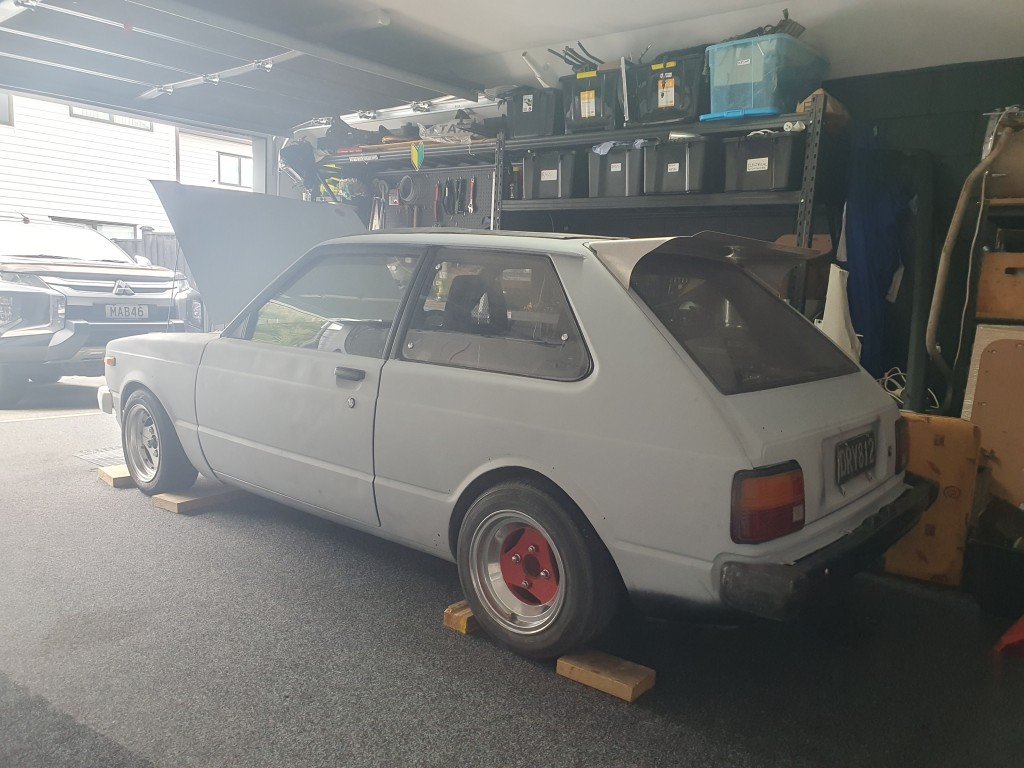
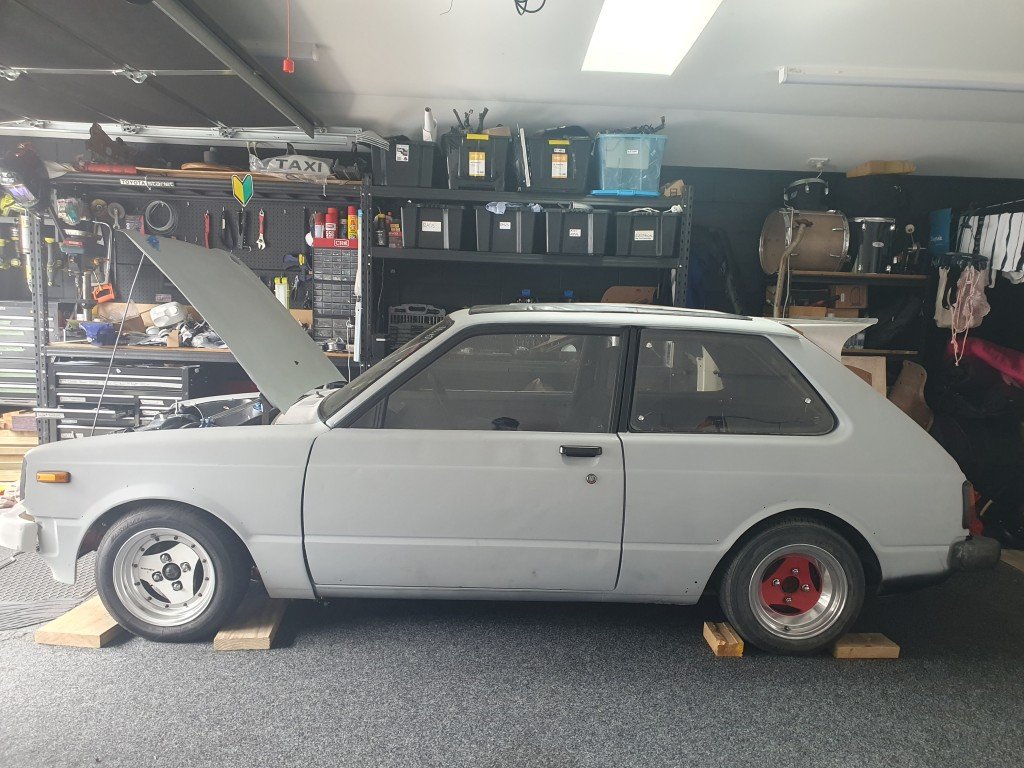
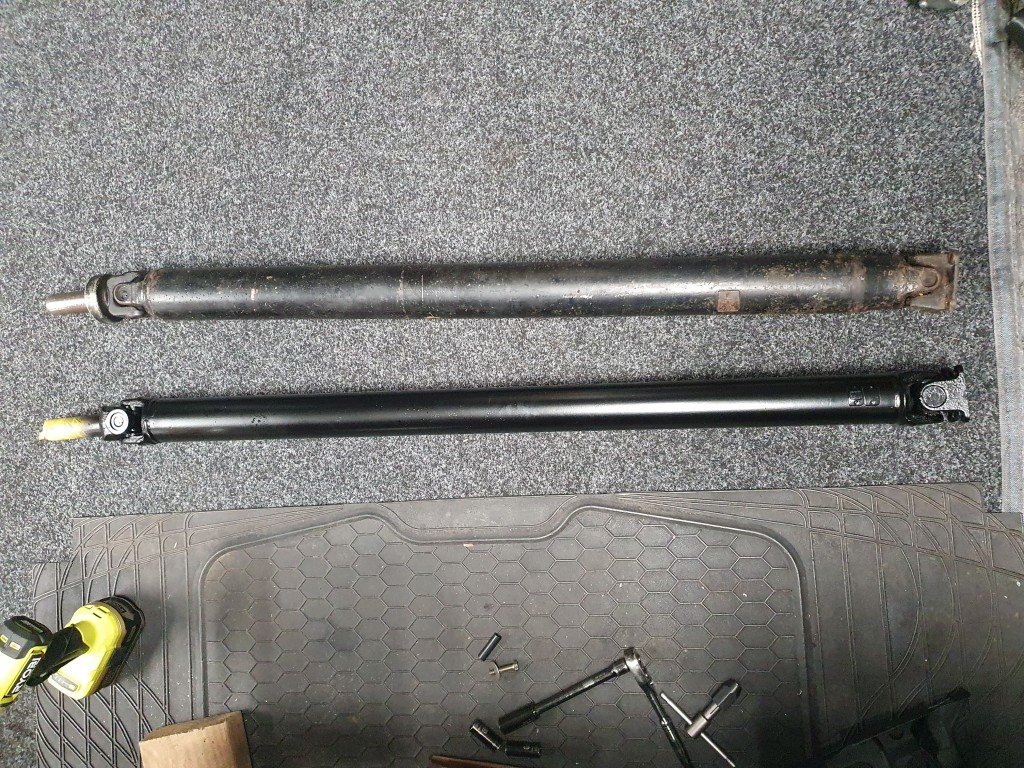
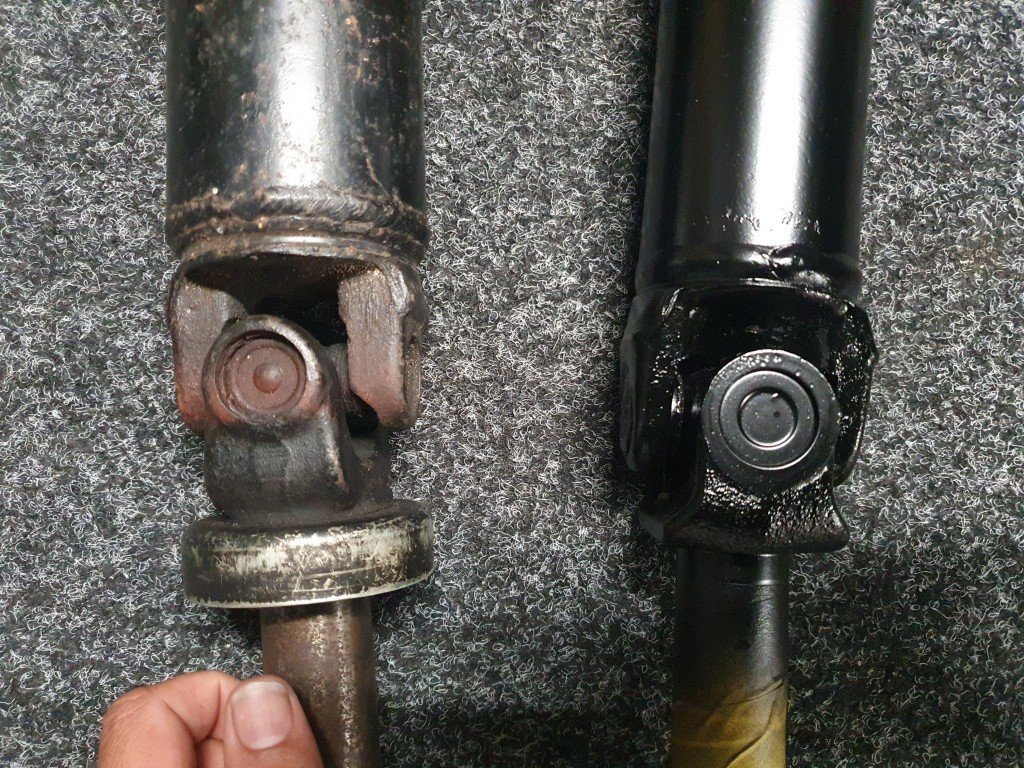
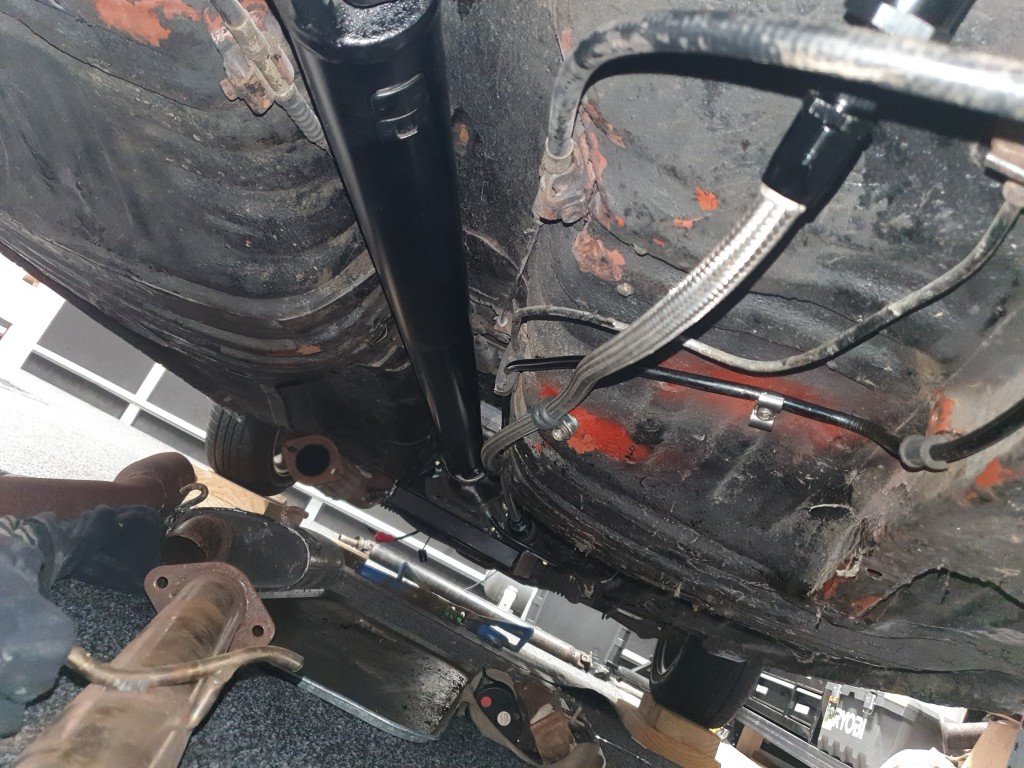
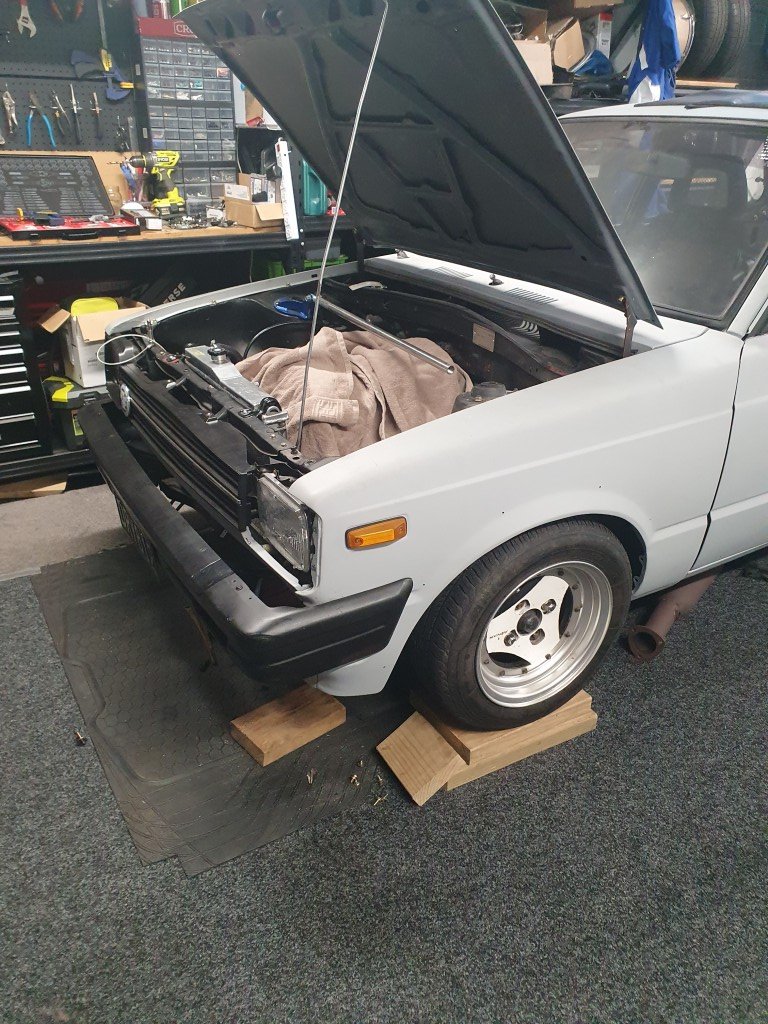
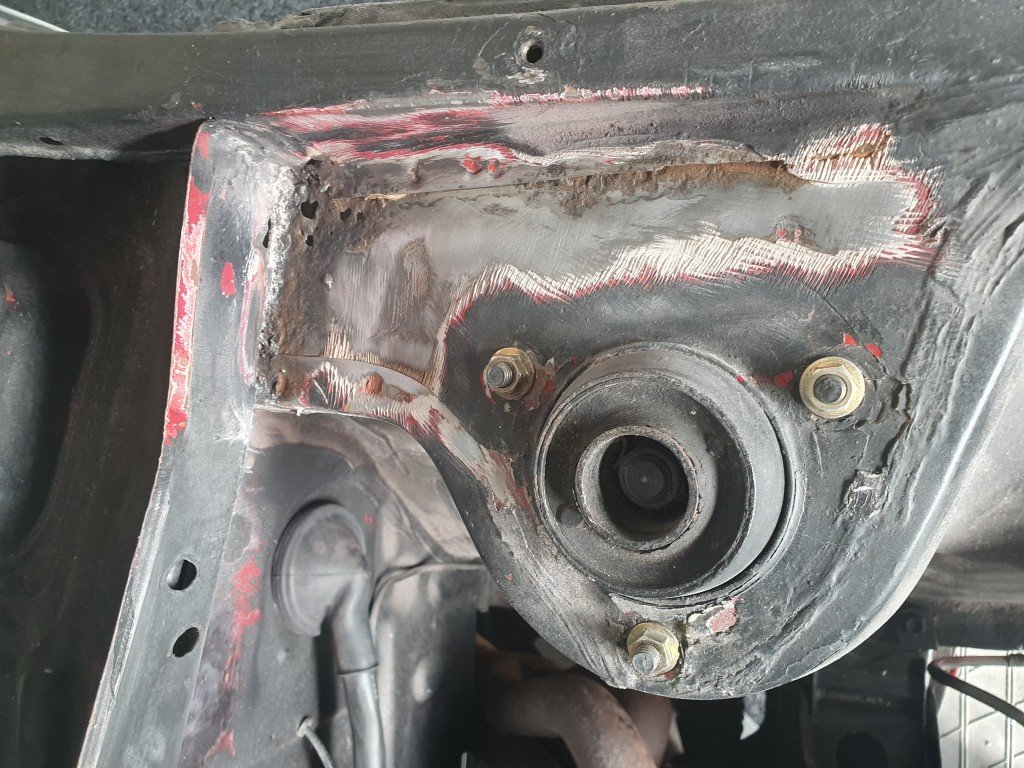
Thick black shaft in hand. Looks less girthy because its cold. New UJ's at both ends, new yoke (this was about half the bill), balanced, painted. Looks the part! Have installed it so its all looking positive. Used Drive Inn, as theyre down the road from us. Aiden did a E30 driveshaft for me many moons ago, so went back to him for this. Happy it didnt need any shortening. Also took it off the stands:
- 44 replies
-
- 11
-
-
DirtyThirtys 1984 Toyota Starlet KP61
DirtyThirty replied to DirtyThirty's topic in Projects and Build Ups
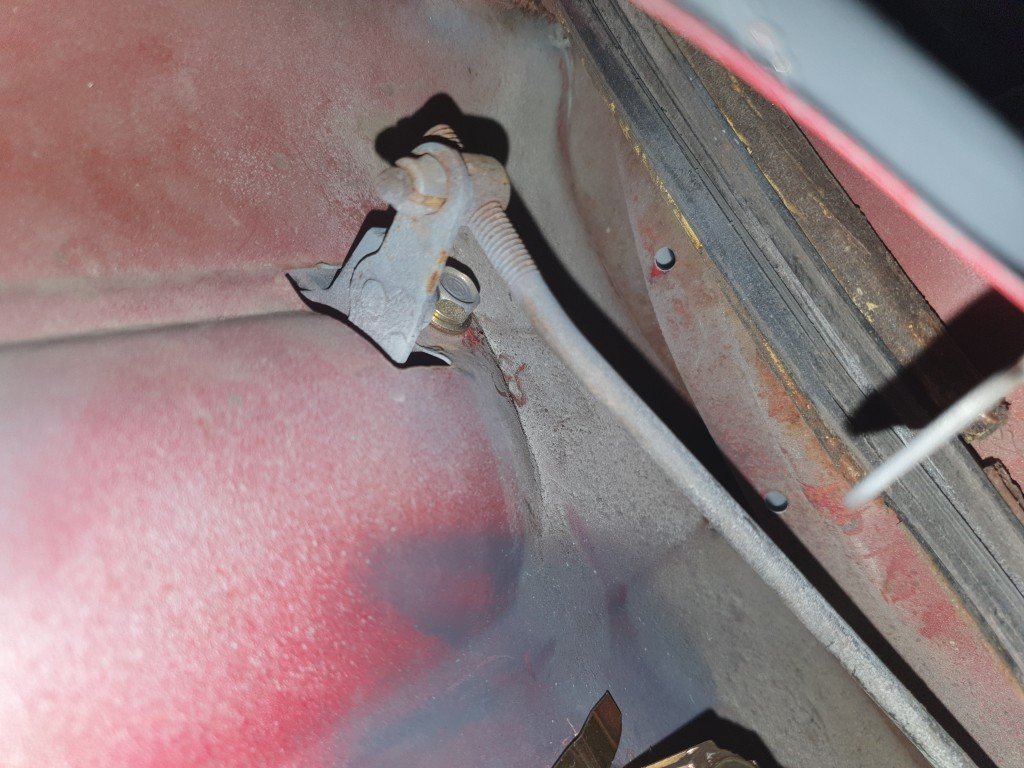
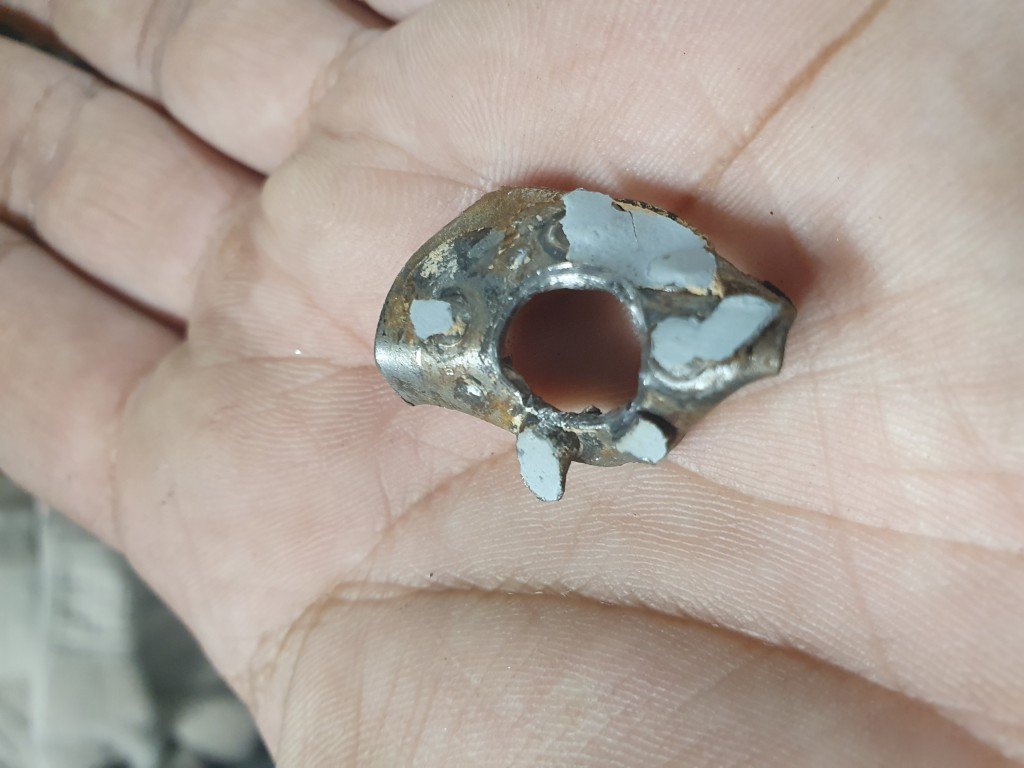
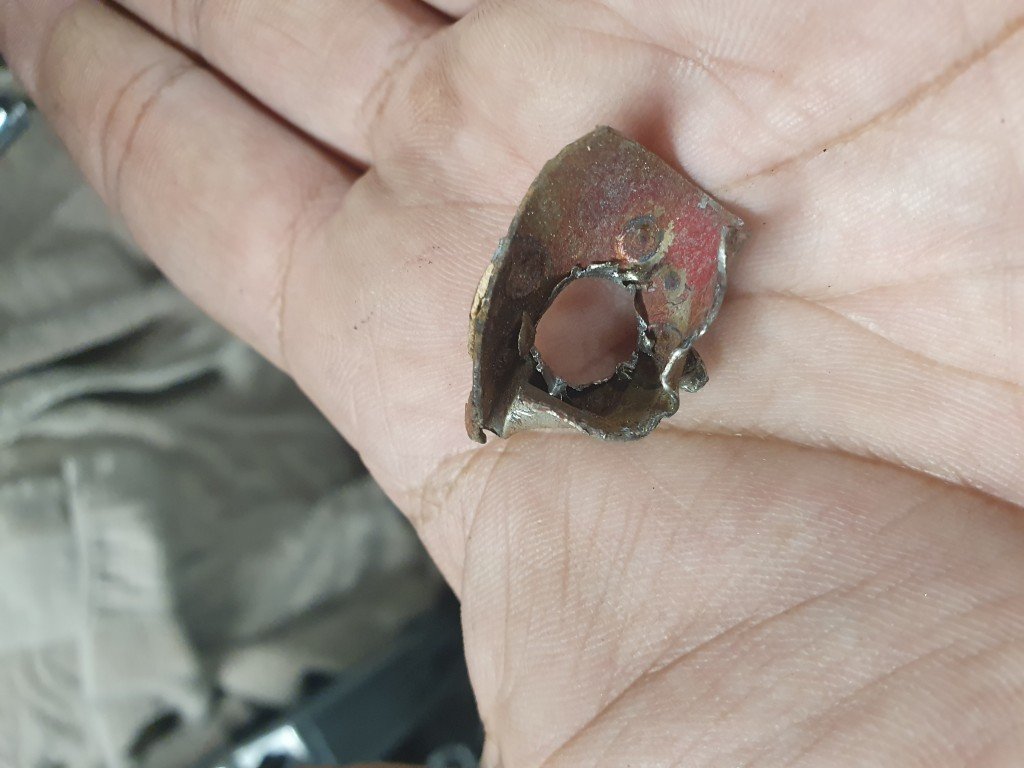
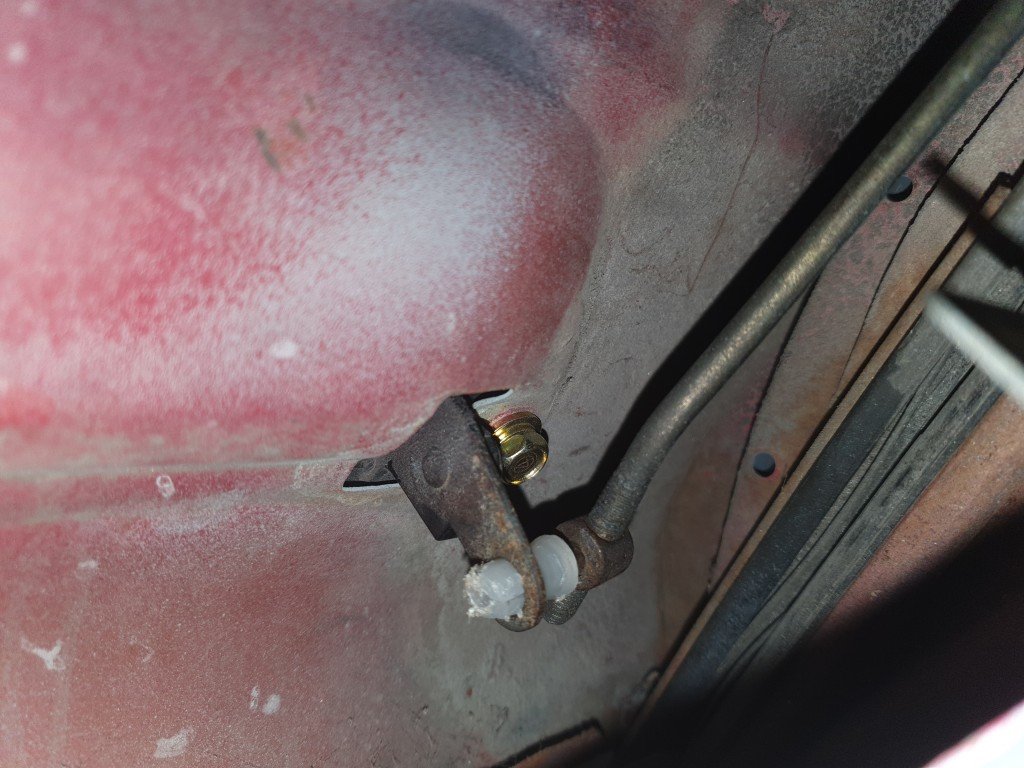
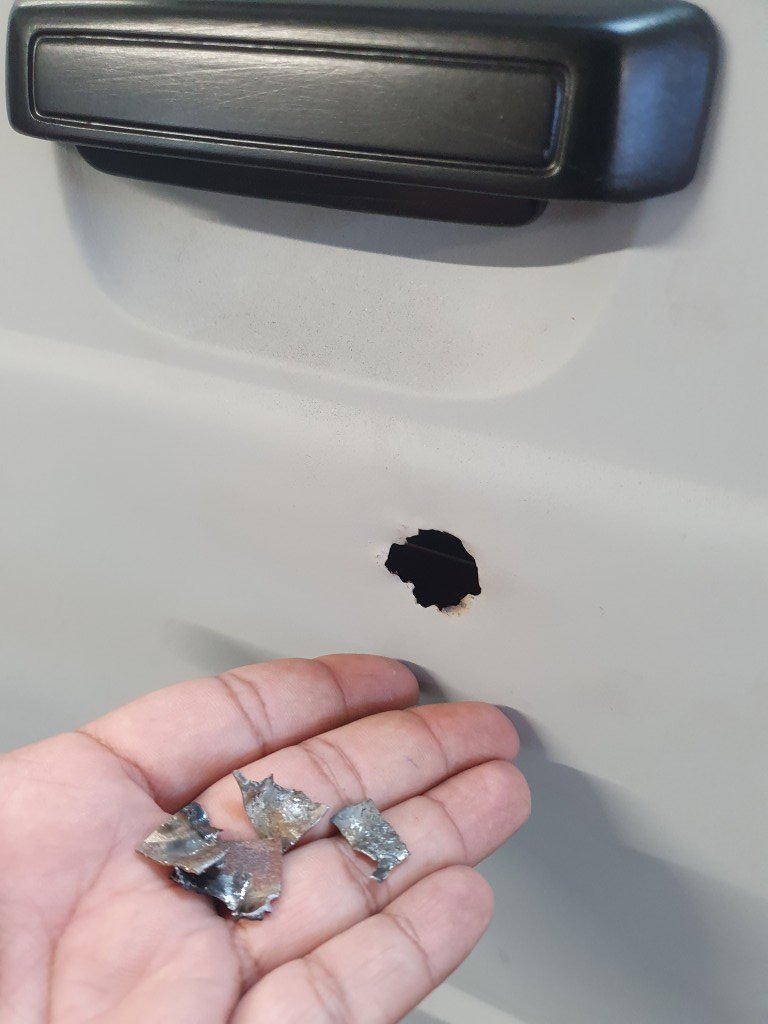
Bits of progress... Bled the clutch, feels a bit odd being cable and hydraulic and I'm not really a fan. Really do need a way to fit that MC in there. But my fabrication skills are about as close to zero as you can get. Door lock tabs that were welded from the inside. Asshole of a thing to remove. Next up, door rods were broken and I couldnt find any. My clever plan to find some 4mm steel tie wire didnt work as Bunnings/M10 needed me to buy 50m of it for fencing. So next best thing, went to pick a part there was a Ford Courier at the entrance with its doors dismantled so grabbed those rods. Cut it to length and bent it up. Works a treat! Pick a Part is dire, havent been in close to 10 years, all the kids were grabbing bits off Prius' and Nissan Notes. We had it good. Ford Courier door rod that got cut up and bent up to save the Starlet. All doors are in working order, and lock curtesy of the Solexs! Wasnt as hard to sort as I thought it would be, would've been easier if the OEM bits werent missing. Next up, passenger door handle didnt work because there was no plastic bush. Couldnt find one and the standard ones are slightly different. Cunning plan hatching, this rawl plug sacrificed itself. Photo of what I needed: Photo of my rawl plug replacement. I dont imagine itll last as long as the proper part, but it works for now: Stripping back the problem areas: Lastly, test fit. SHIT YEAH! Car on stands, ill drop it this week once the driveshaft has been installed. Mid way through lining up the front bumper.
- 44 replies
-
- 13
-
-

-
DirtyThirtys 1984 Toyota Starlet KP61
DirtyThirty replied to DirtyThirty's topic in Project Discussion
Cheers dude! I've managed to sort it with a die grinder and some light rasp work. Your tool would definitely be the better way to sort it. The starlet had a lock hole plus little tabs inside to make a star type pattern. -
DirtyThirtys 1984 Toyota Starlet KP61
DirtyThirty replied to DirtyThirty's topic in Projects and Build Ups
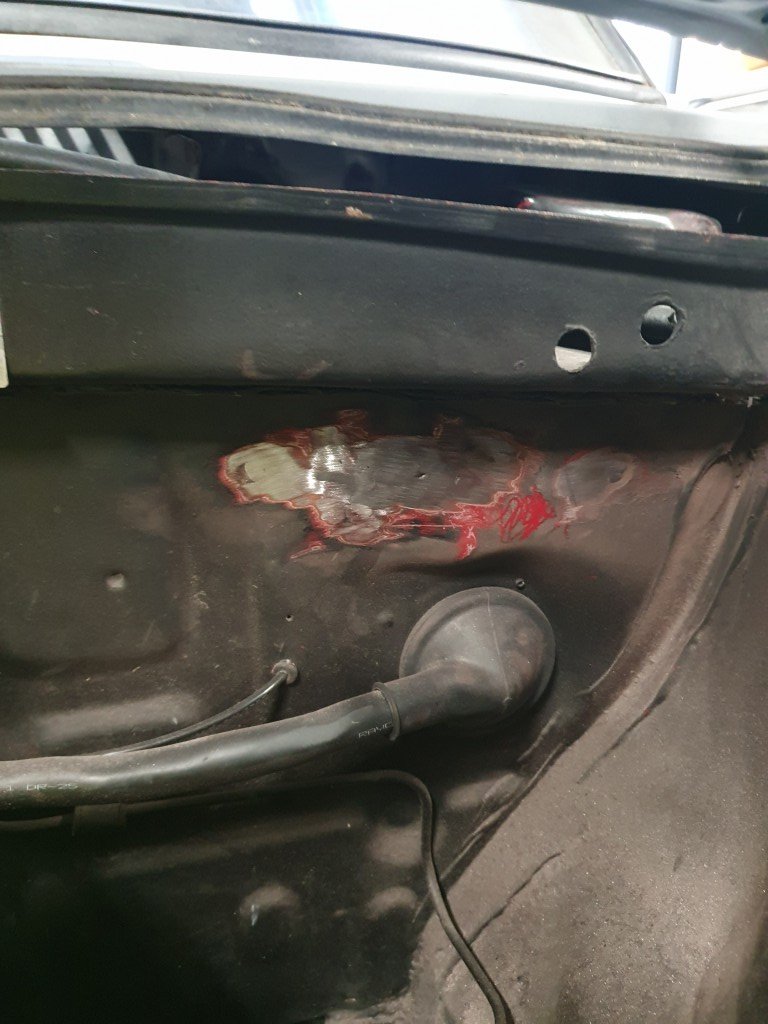
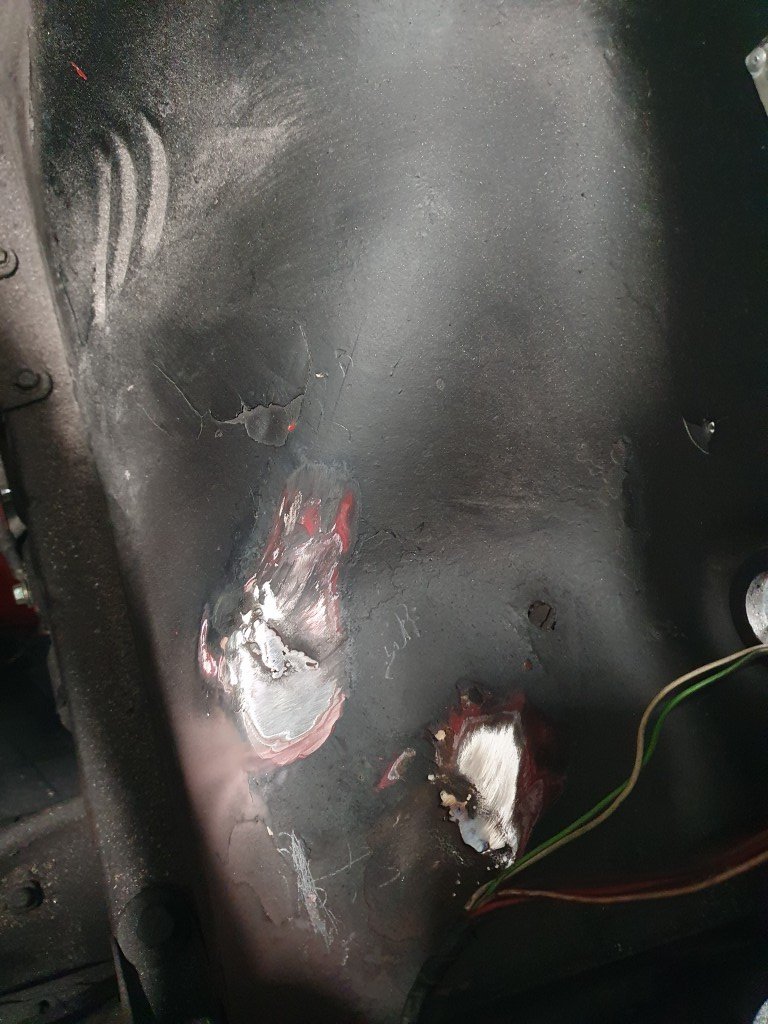
For anyone looking, diff measurement from backing plate to backing plate is around 1220-1225mm. A MK2 Escort is about 1225mm as well. Some firewall /wheel well holes plugged up with much help, a work in progress: Some locks fitted, passenger and boot lock. One of the POs had welded a plate behind the lock holes to patch them, absolute bloody PITA to remove. We've gotten there in the end, drivers side to go. Annoying missing a door lock rod connecting everything so Ill have to fashion one from some 3.5-4mm wire.
- 44 replies
-
- 13
-
-
DirtyThirtys 1984 Toyota Starlet KP61
DirtyThirty replied to DirtyThirty's topic in Projects and Build Ups
Driveshaft off to get redone. New yokes as there's too much play. Hopefully get that back in a couple of weeks. Driveshaft measurements were from end of output shaft to diff flange 1165mm (basically end of gearbox to diff), and from end of output shaft to gearbox seal was 125mm (basically end of gearbox towards front of the car). And Martys courier services delivered a pair of these......first proper Jap wheels. 13s too!
- 44 replies
-
- 13
-