DirtyThirty
-
Posts
56 -
Joined
-
Last visited
Everything posted by DirtyThirty
-

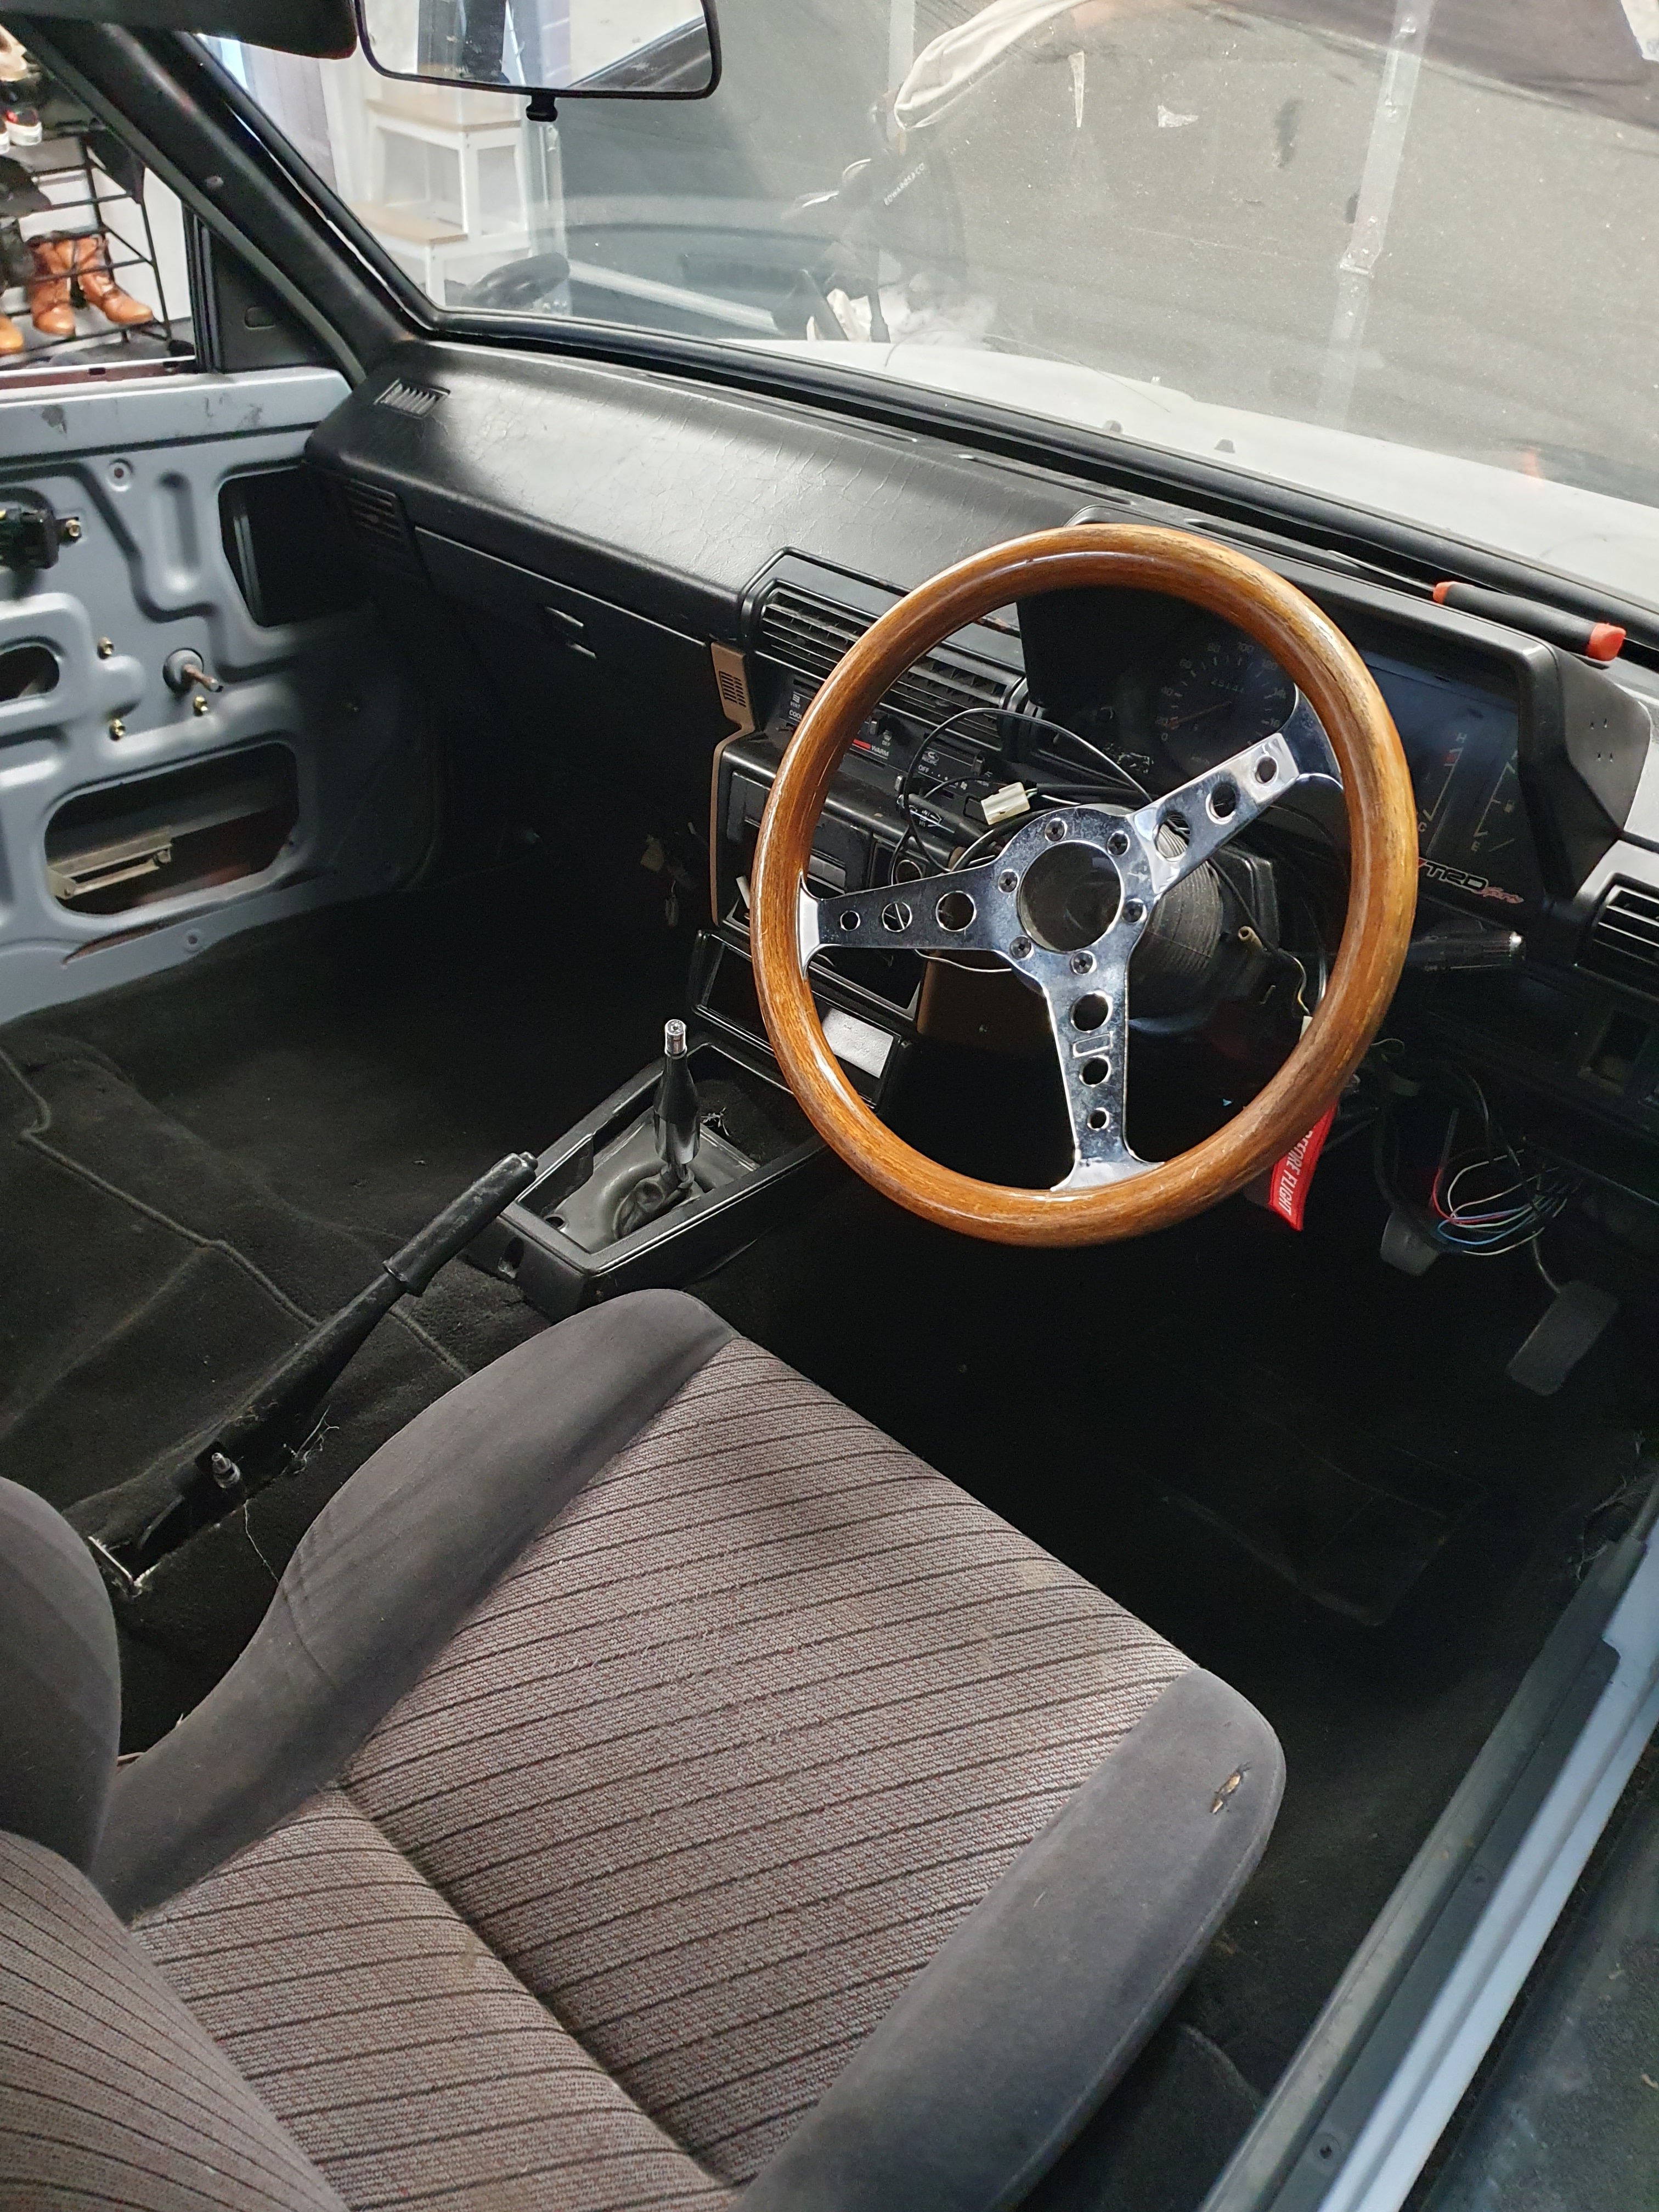
DirtyThirtys 1984 Toyota Starlet KP61
DirtyThirty replied to DirtyThirty's topic in Projects and Build Ups
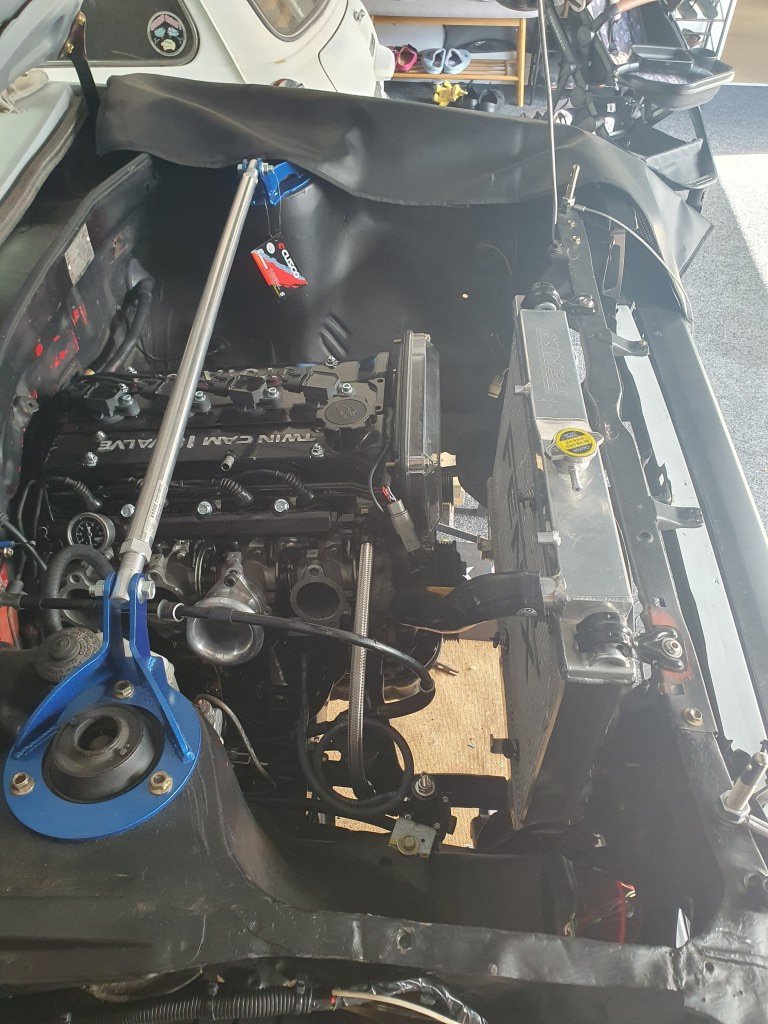
FIRST START! Turns out I'd bought a rotary thinking it was a 4AGE with the idle its currently got. Huge milestone and it doesnt make any metallic noises so thats a bonus. Its basically an unopened engine thats been sitting for god knows how long in some garage in Wellsford. Now has some extra bits bolted to it an a new ECU so Im surprised it did run okay for the 10 seconds it was on. Cant post a video unfortunately/ Now onto sorting everything else I've neglected. Theres a leak on the return line fuel fitting to sort, I probably need to extend a fuel hose down inside the tank so the fuel isnt aerating as it goes back into the tank. I need to track down the sick vacuum leak. Body side wiring to do, not all the gauge cluster works atm. Clutch fork retaining clips (due to some photo found, I did this already! woohoo), some oil in the gearbox is probably wise. Carpet seems to hide a multitude of sins...
-
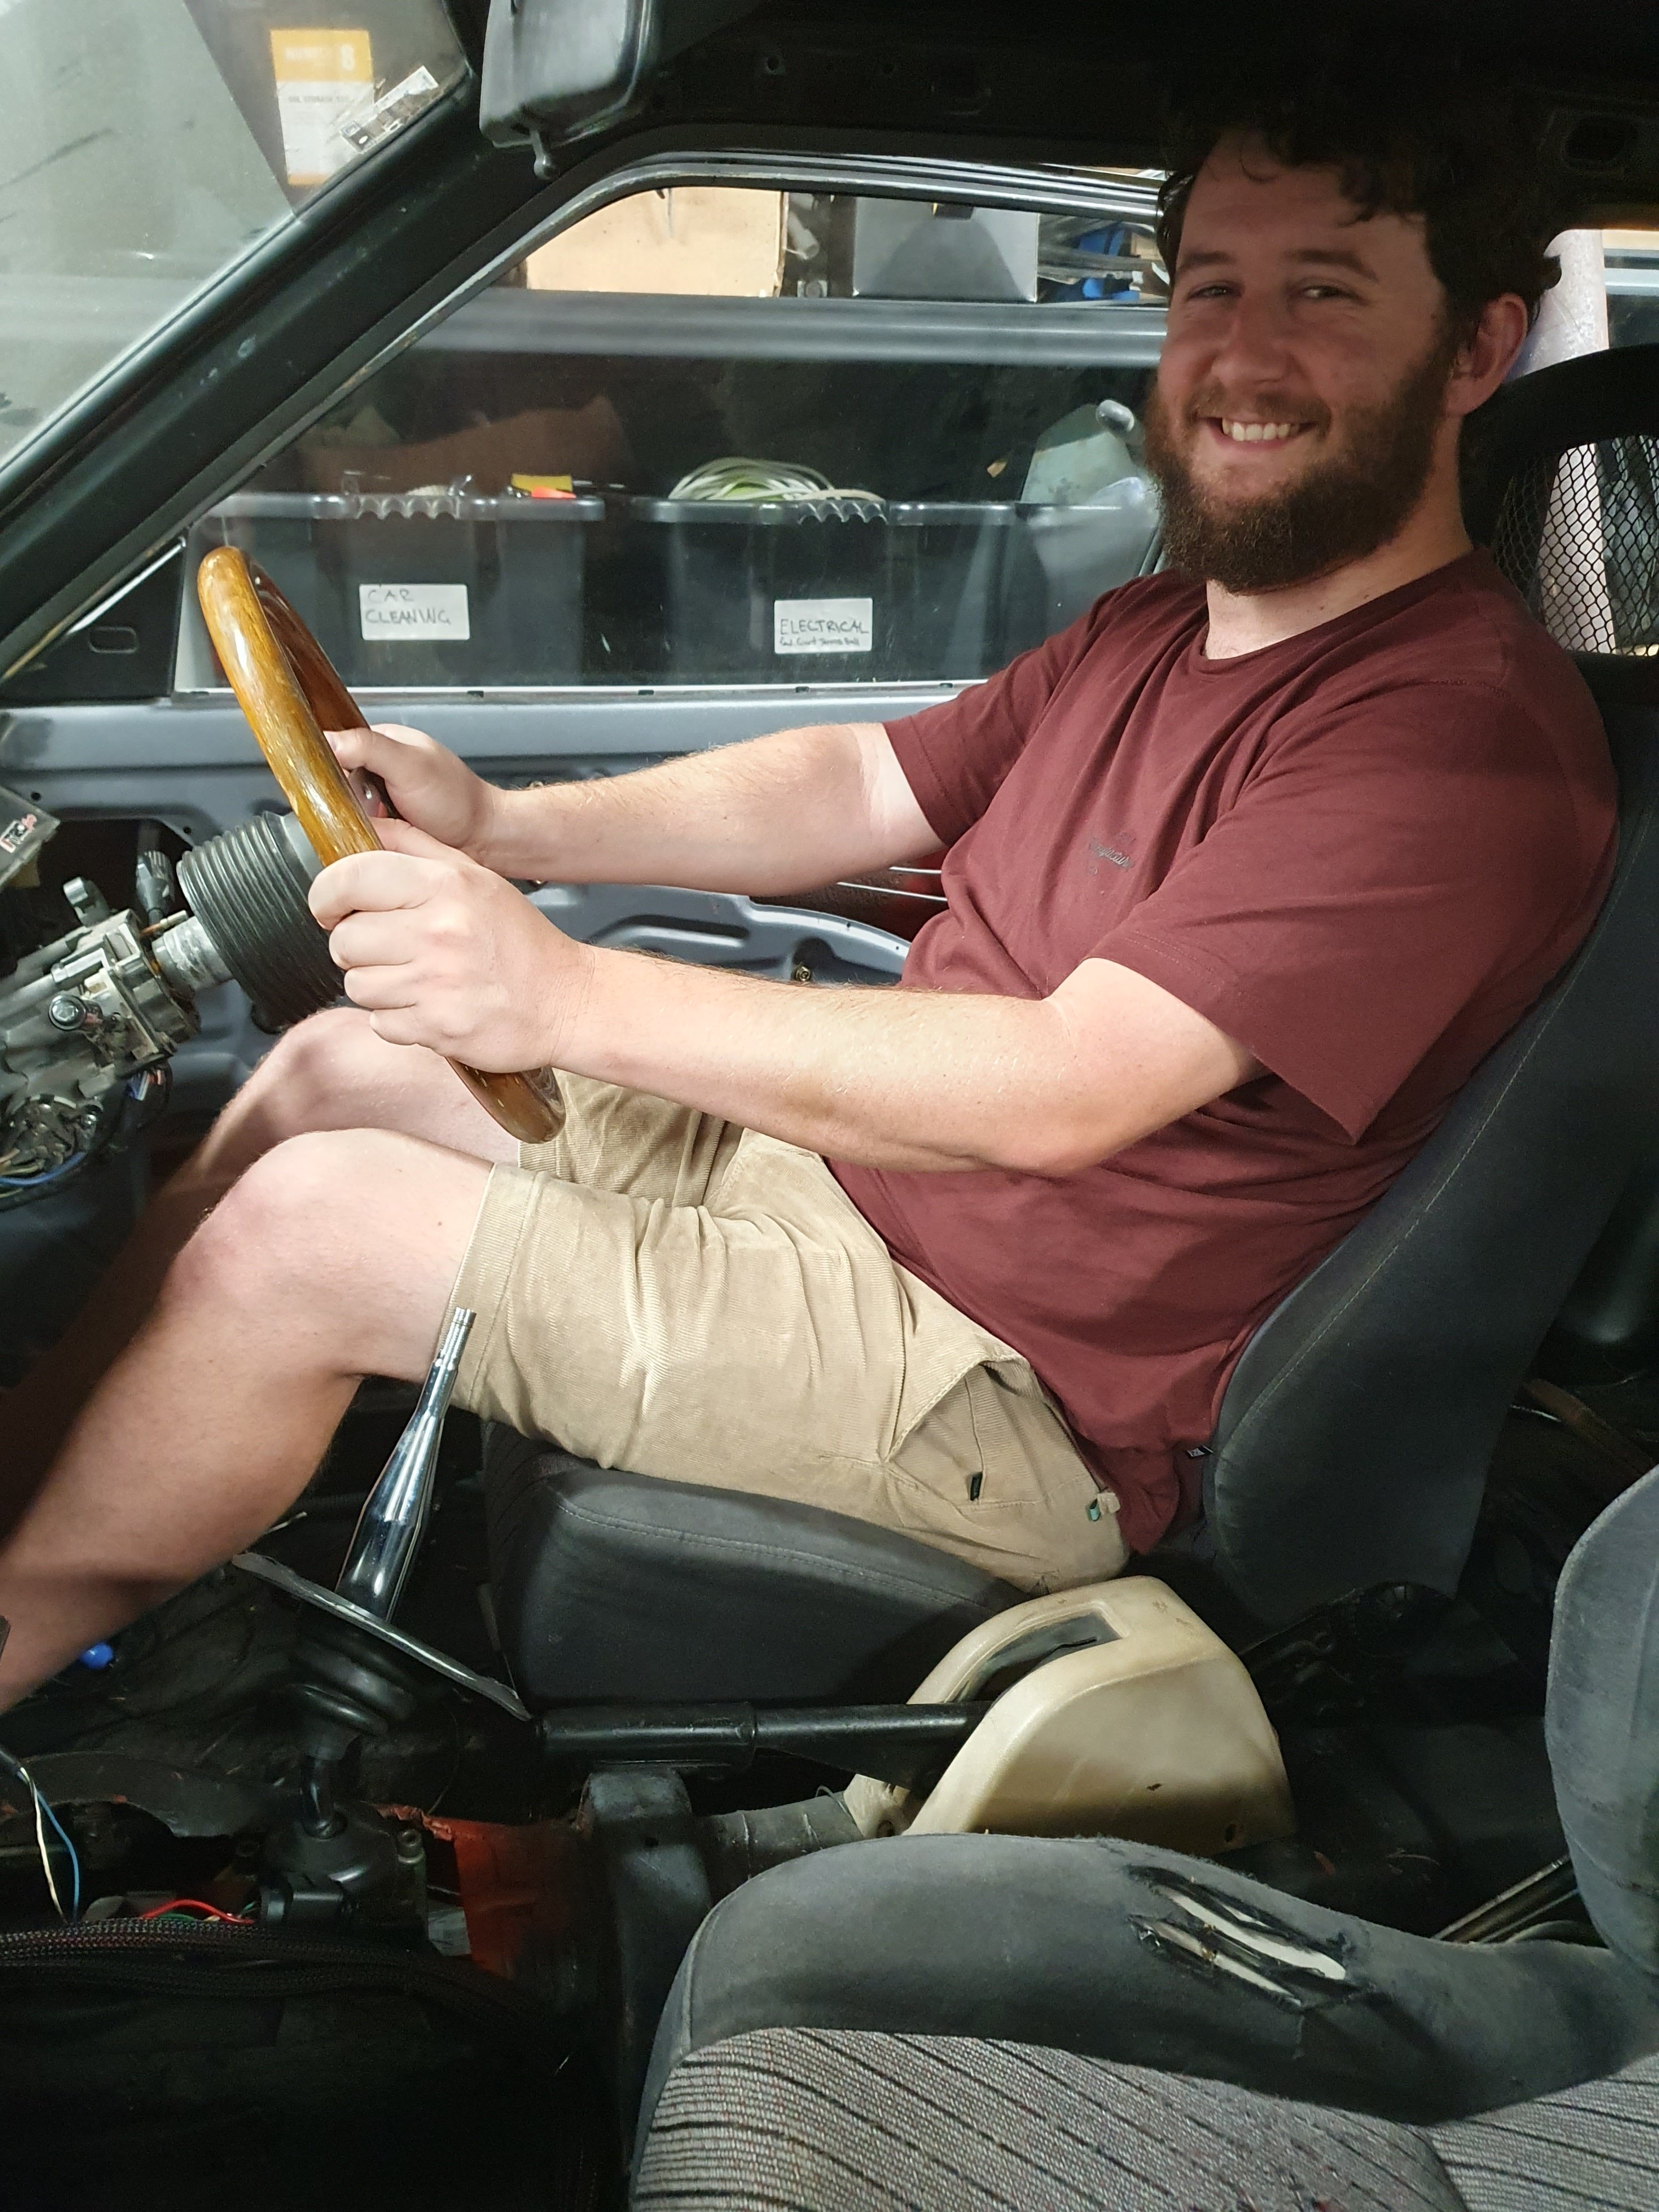
DirtyThirtys 1984 Toyota Starlet KP61
DirtyThirty replied to DirtyThirty's topic in Projects and Build Ups
A wild @mk2marty sitting in some half mounted fishnets, thankfully not wearing any fishnets. Take it as you will, but we just have another few holes to drill and then we'll make some holes in the seat rails to mount them up properly.
-
DirtyThirtys 1984 Toyota Starlet KP61
DirtyThirty replied to DirtyThirty's topic in Project Discussion
Anyone got a slant front glove box striker? Also any recommendations on someone to swap the diff mounts from my starlet diff to a T series? Also want to add a panhard bar mount while they're there -
DirtyThirtys 1984 Toyota Starlet KP61
DirtyThirty replied to DirtyThirty's topic in Projects and Build Ups
Systems check.....Dad you forgot to tighten up all the fuel fittings so now the garage smells of fuel. Managed to get the front straightened out a little bit, requires some metal hot glue gun action
- 25 replies
-
- 10
-

-
DirtyThirtys 1984 Toyota Starlet KP61
DirtyThirty replied to DirtyThirty's topic in Projects and Build Ups
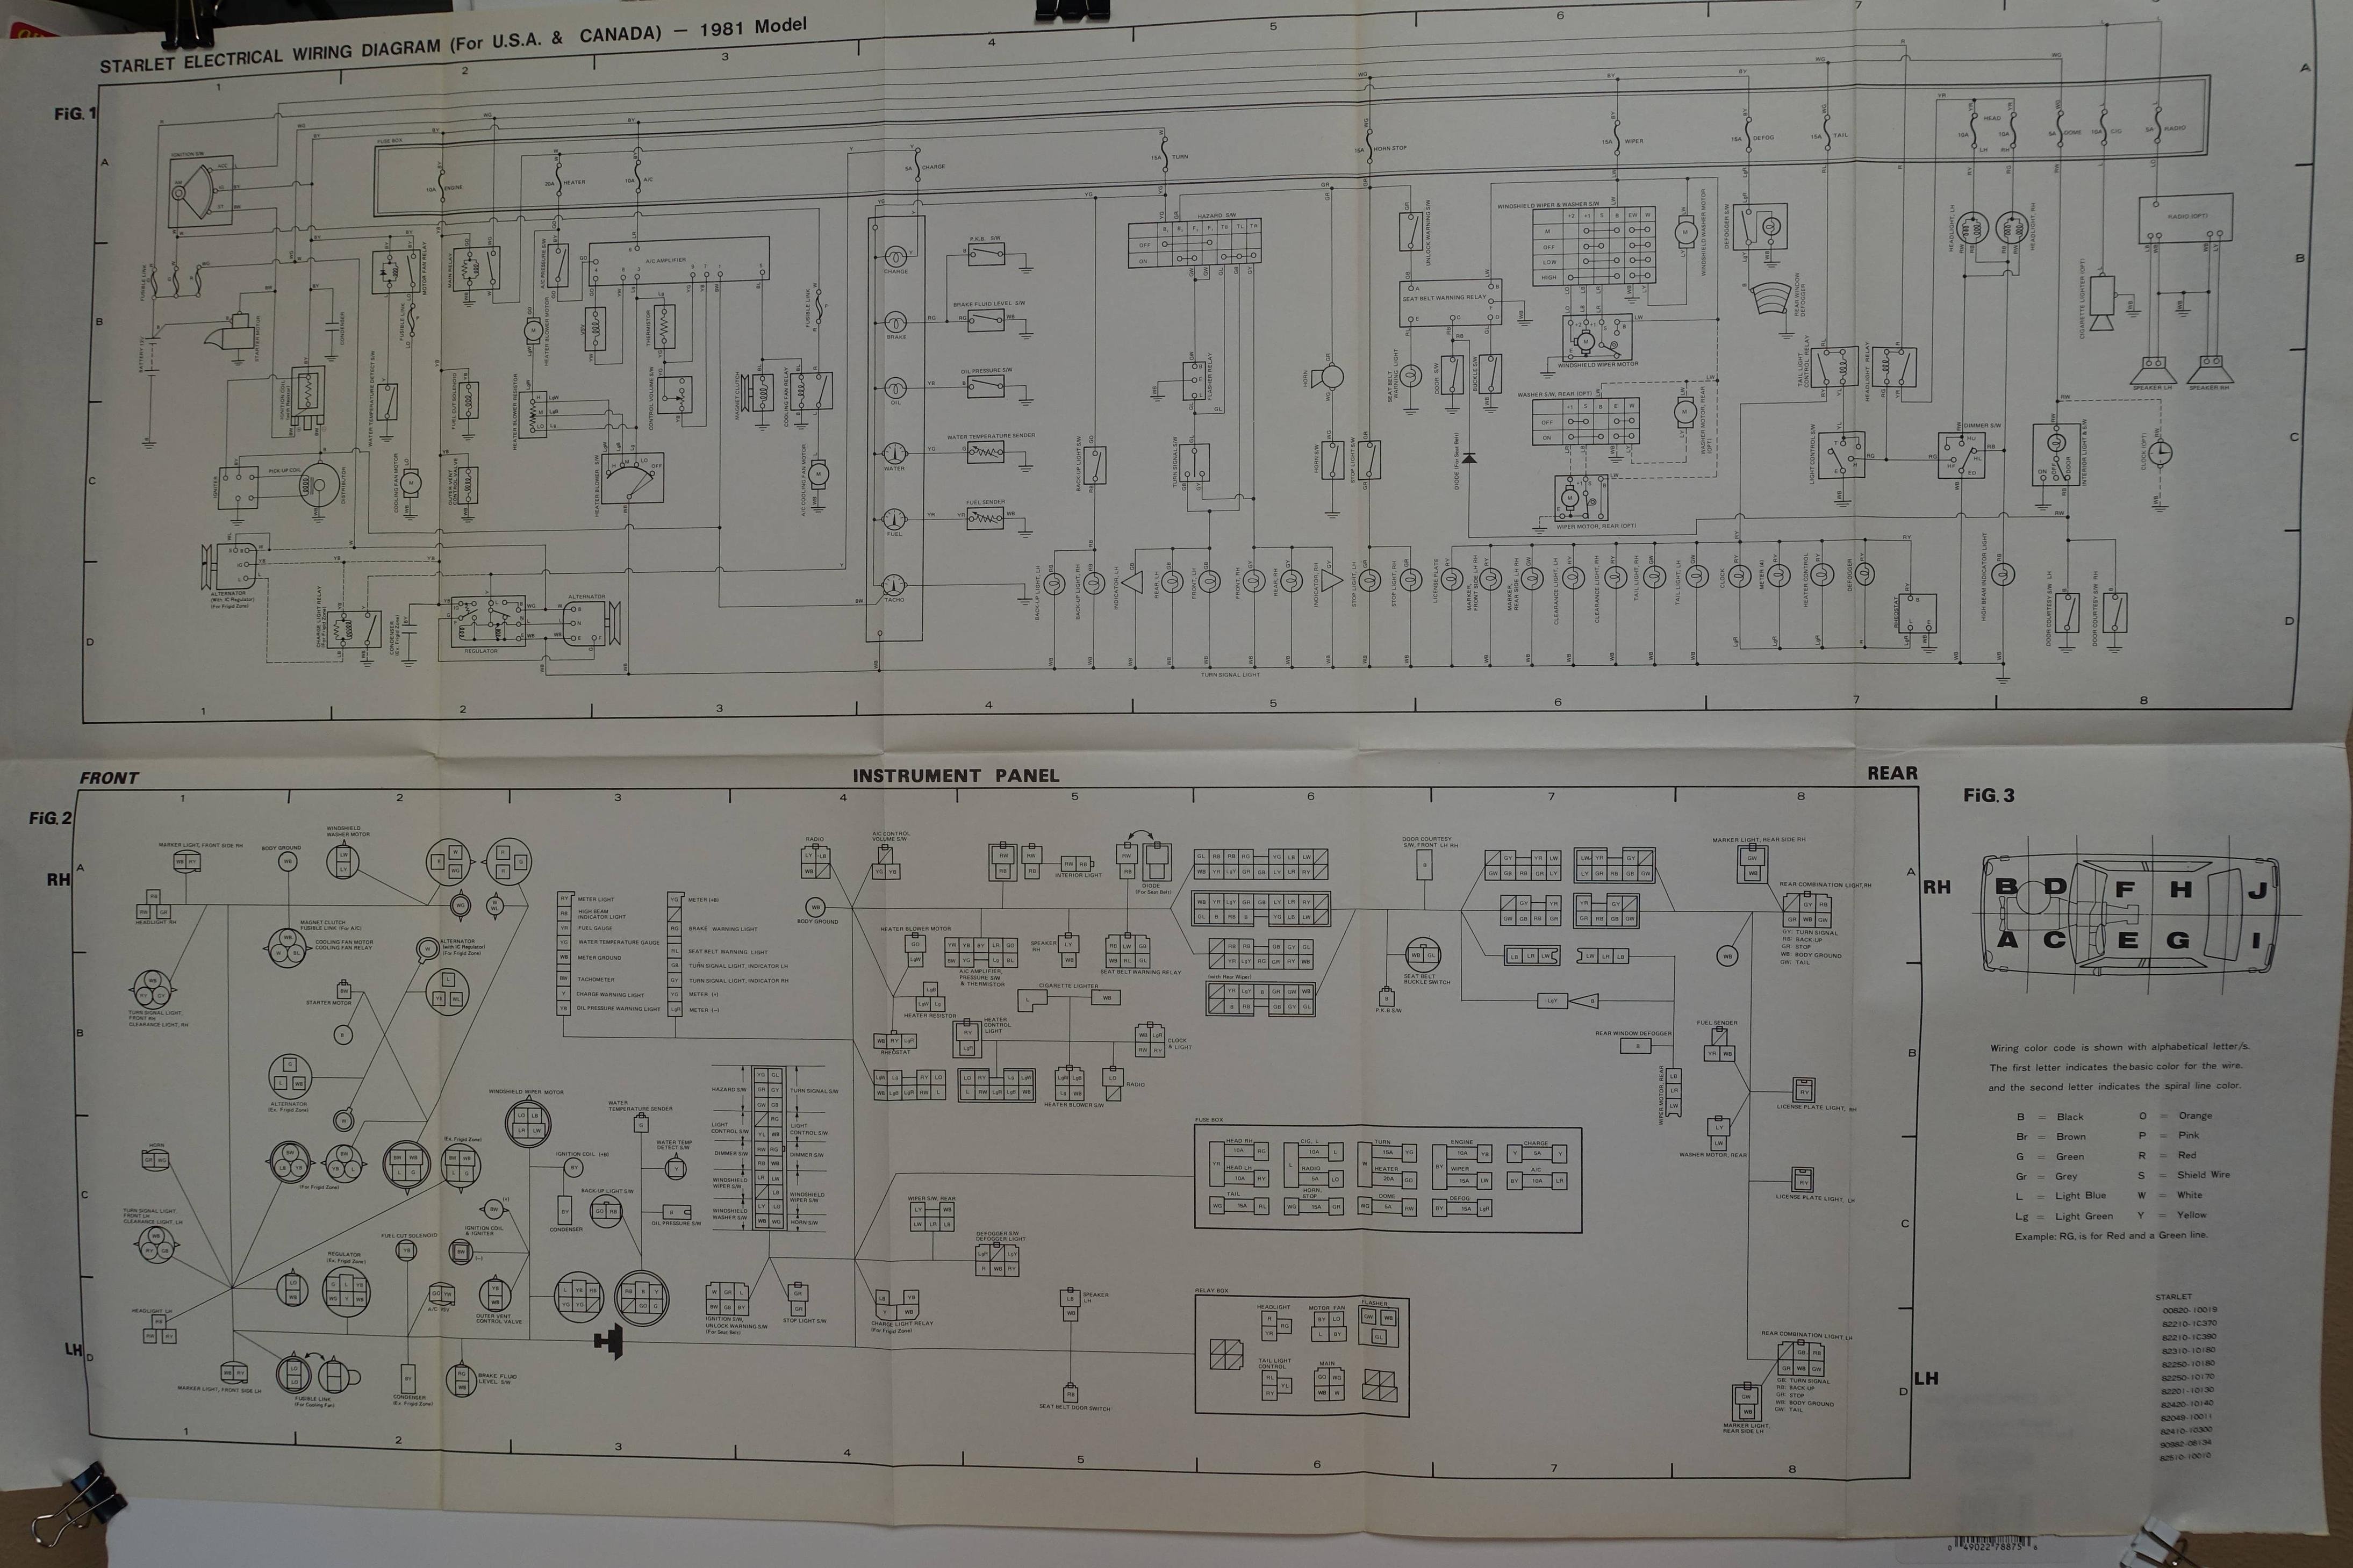
For anyone looking for a KP Starlet wiring diagram that seems to be correct. No idea where on my travels I found this.
-
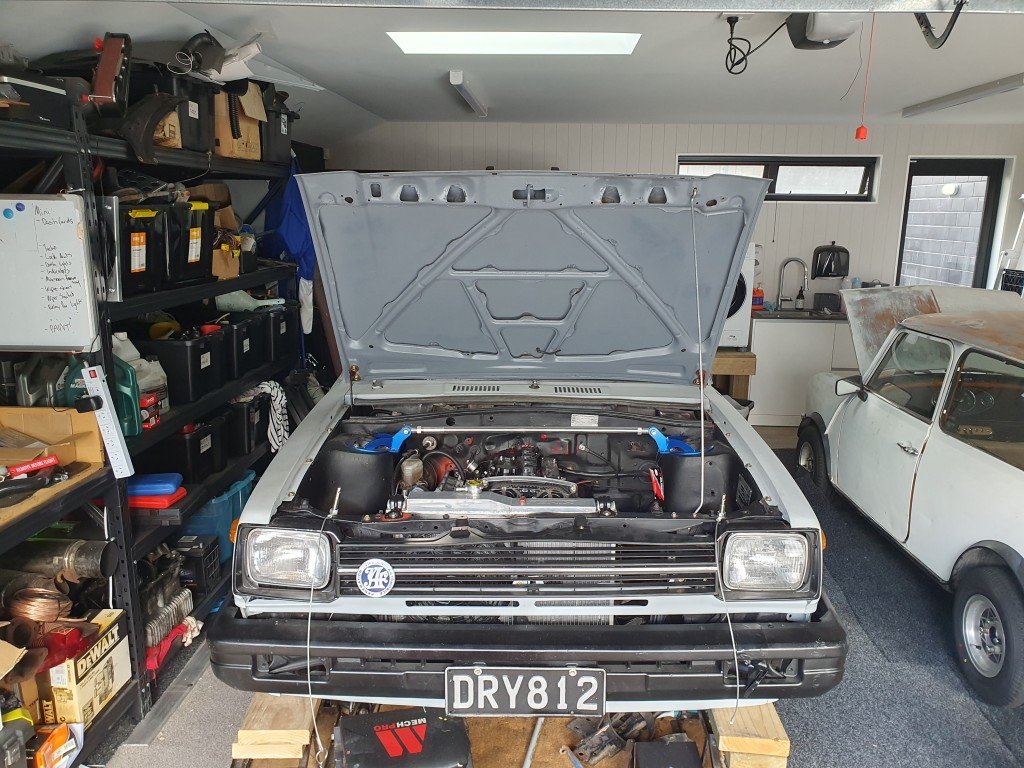
DirtyThirtys 1984 Toyota Starlet KP61
DirtyThirty replied to DirtyThirty's topic in Projects and Build Ups
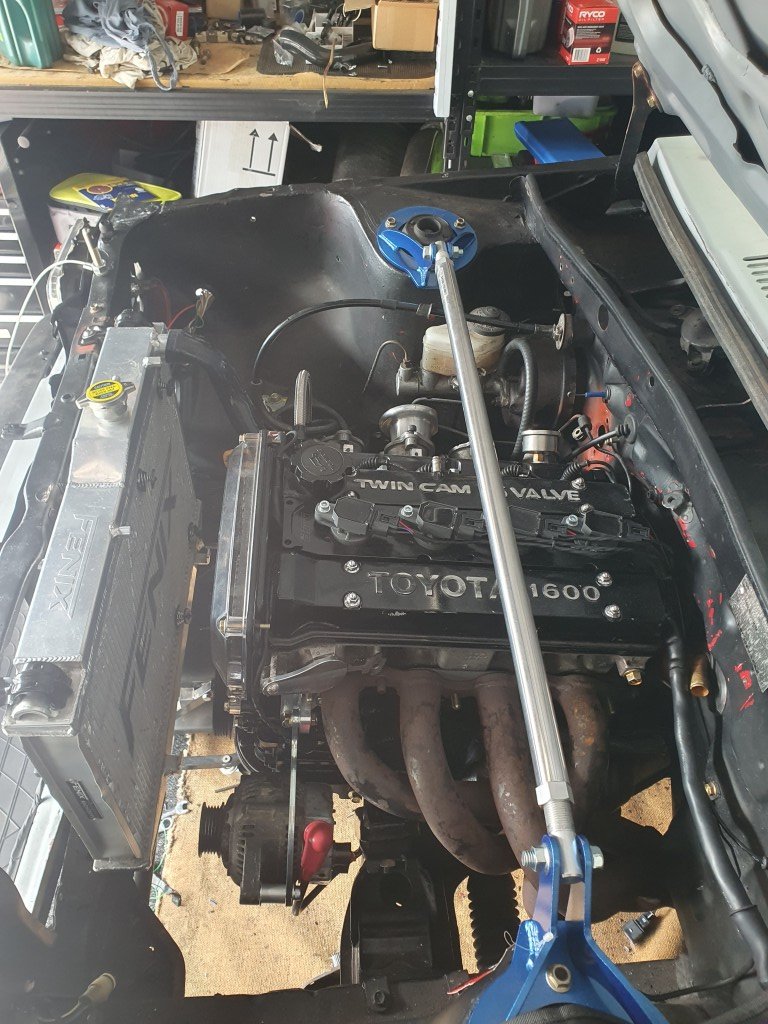
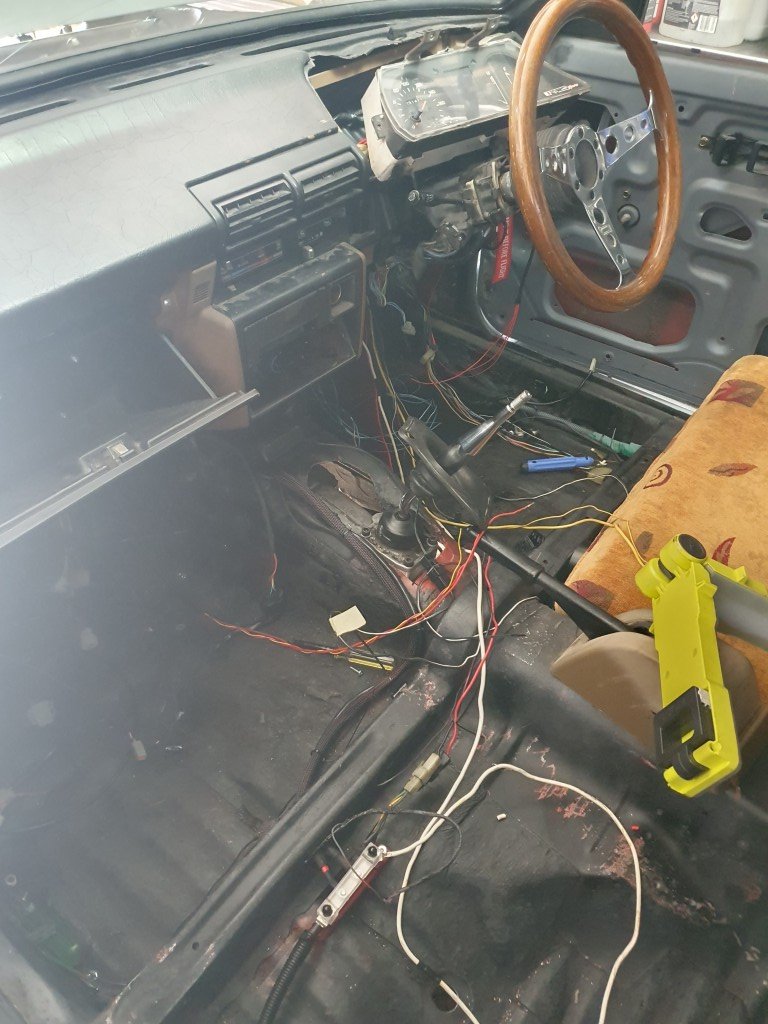
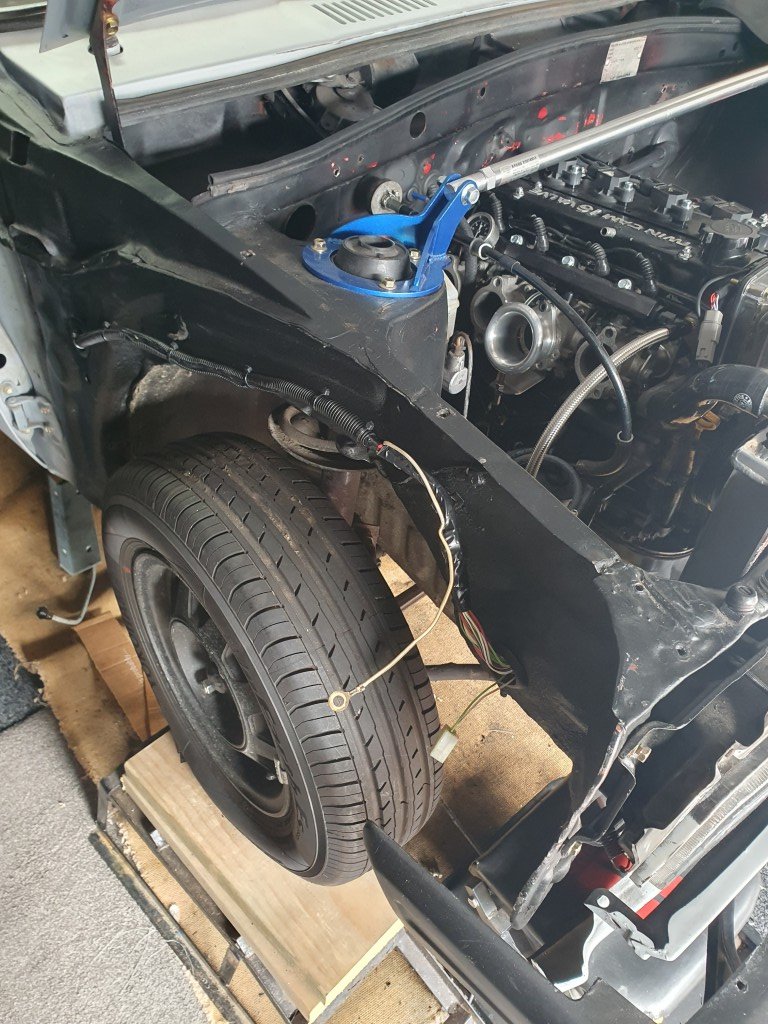
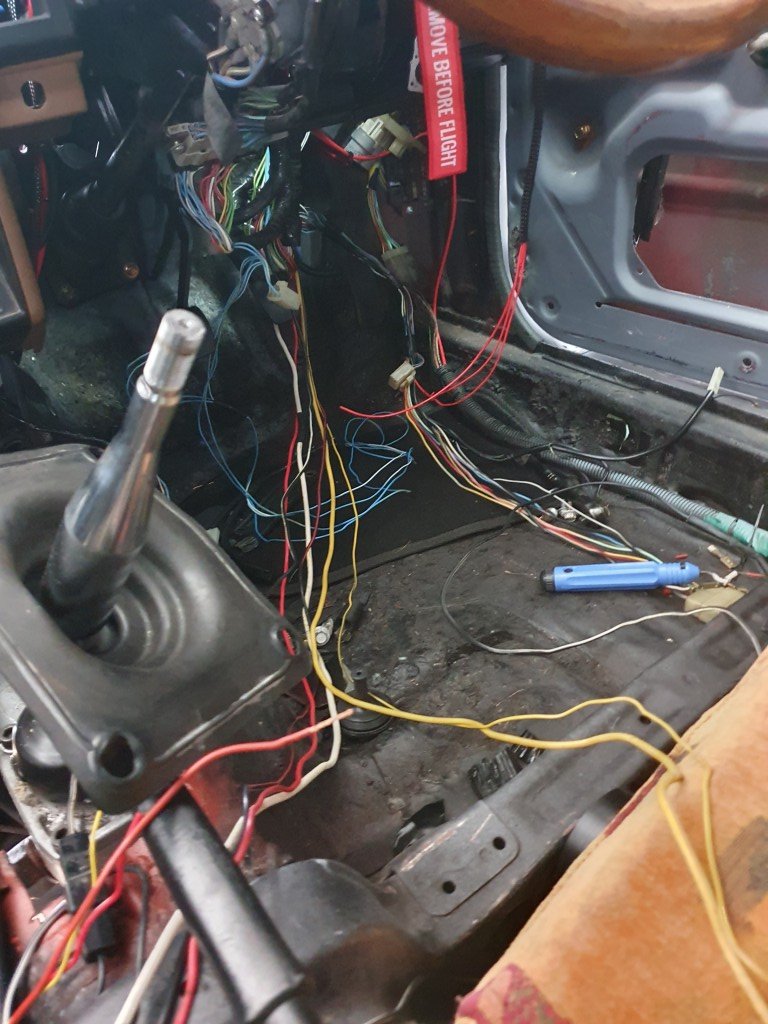
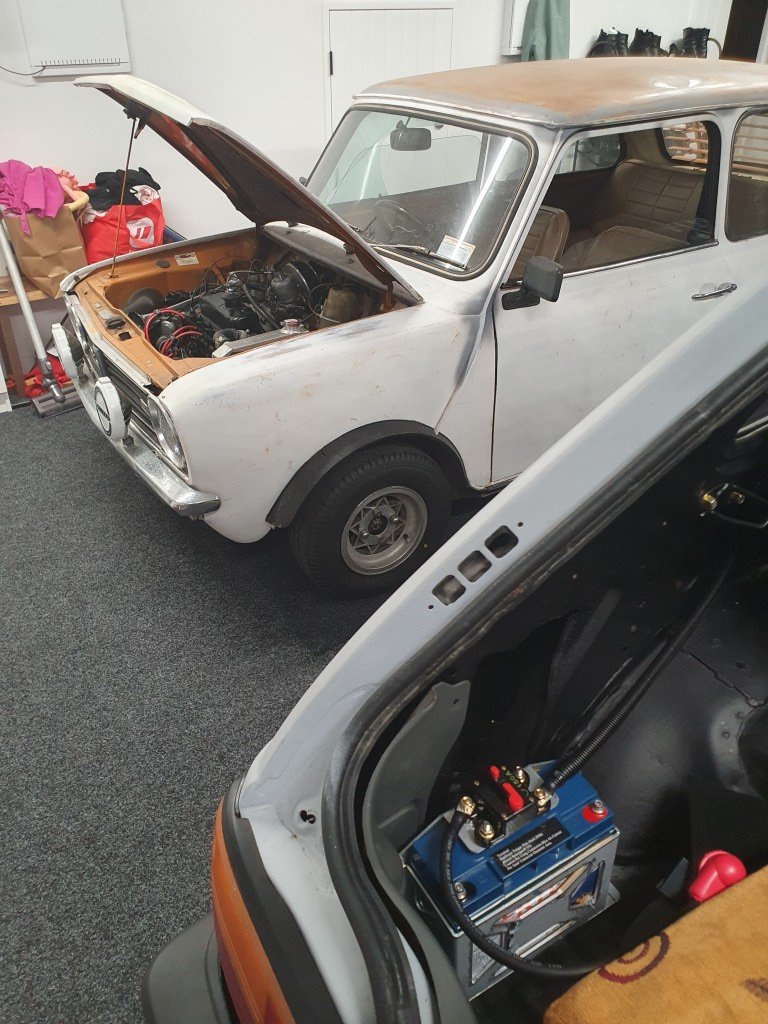
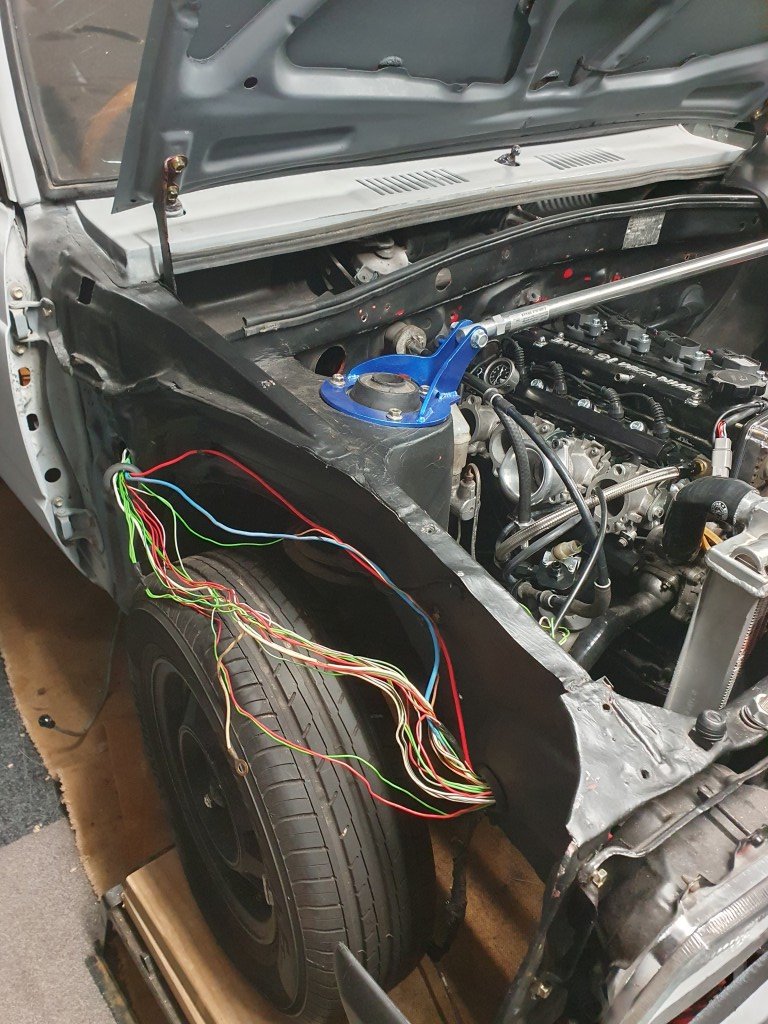
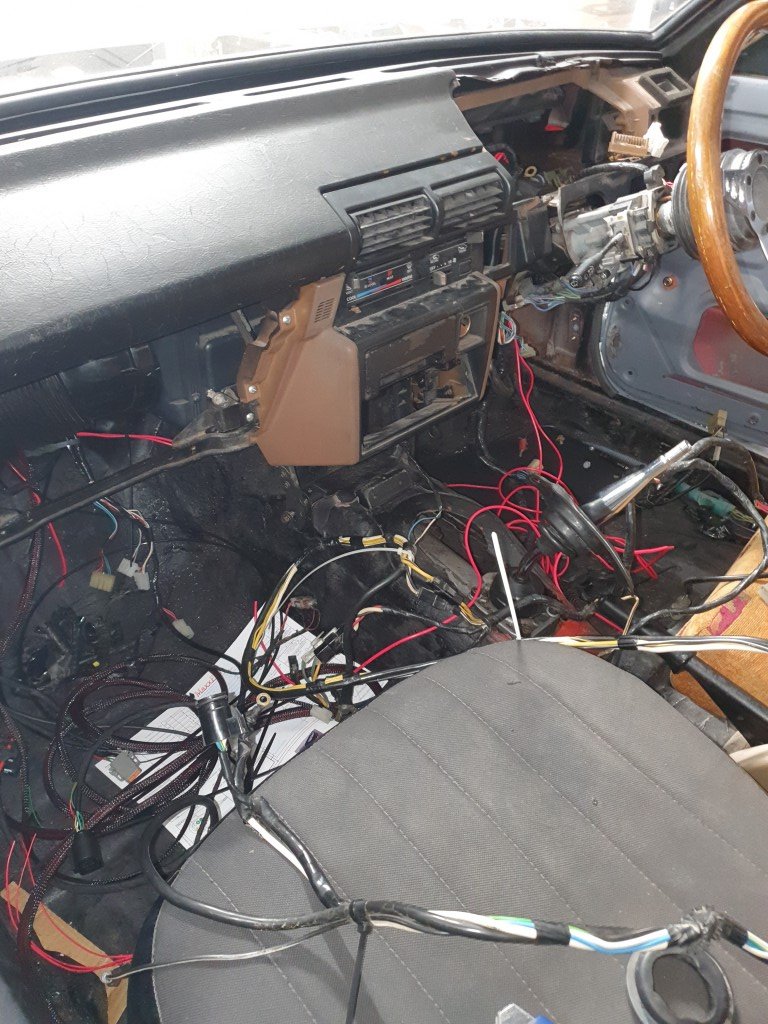
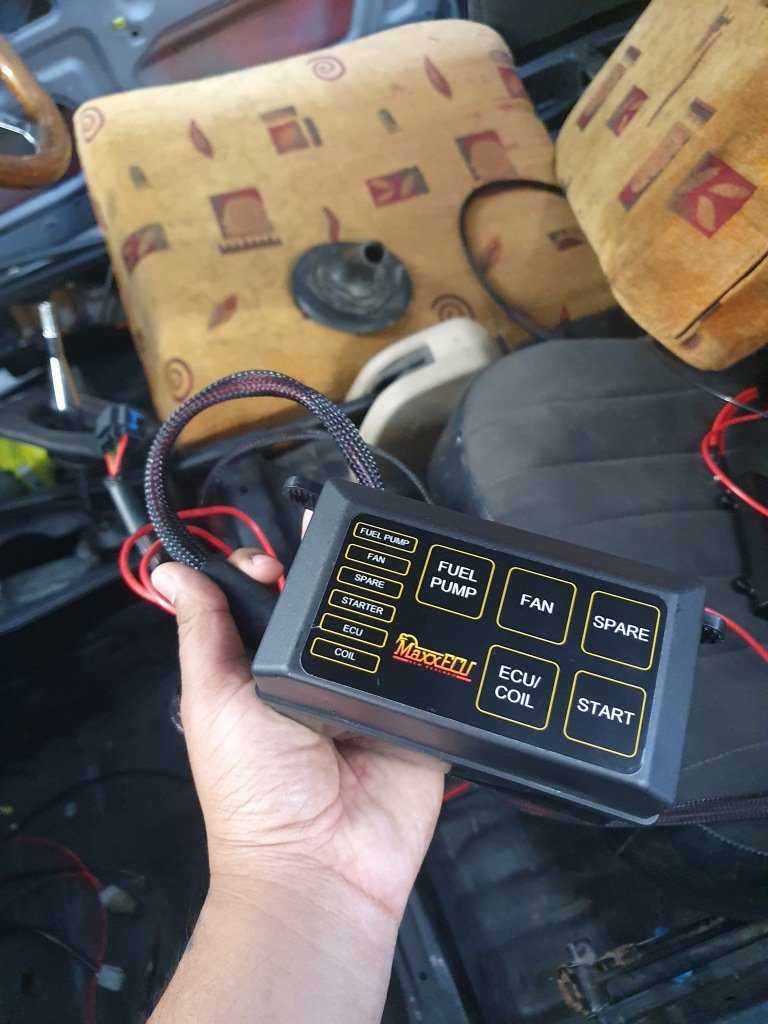
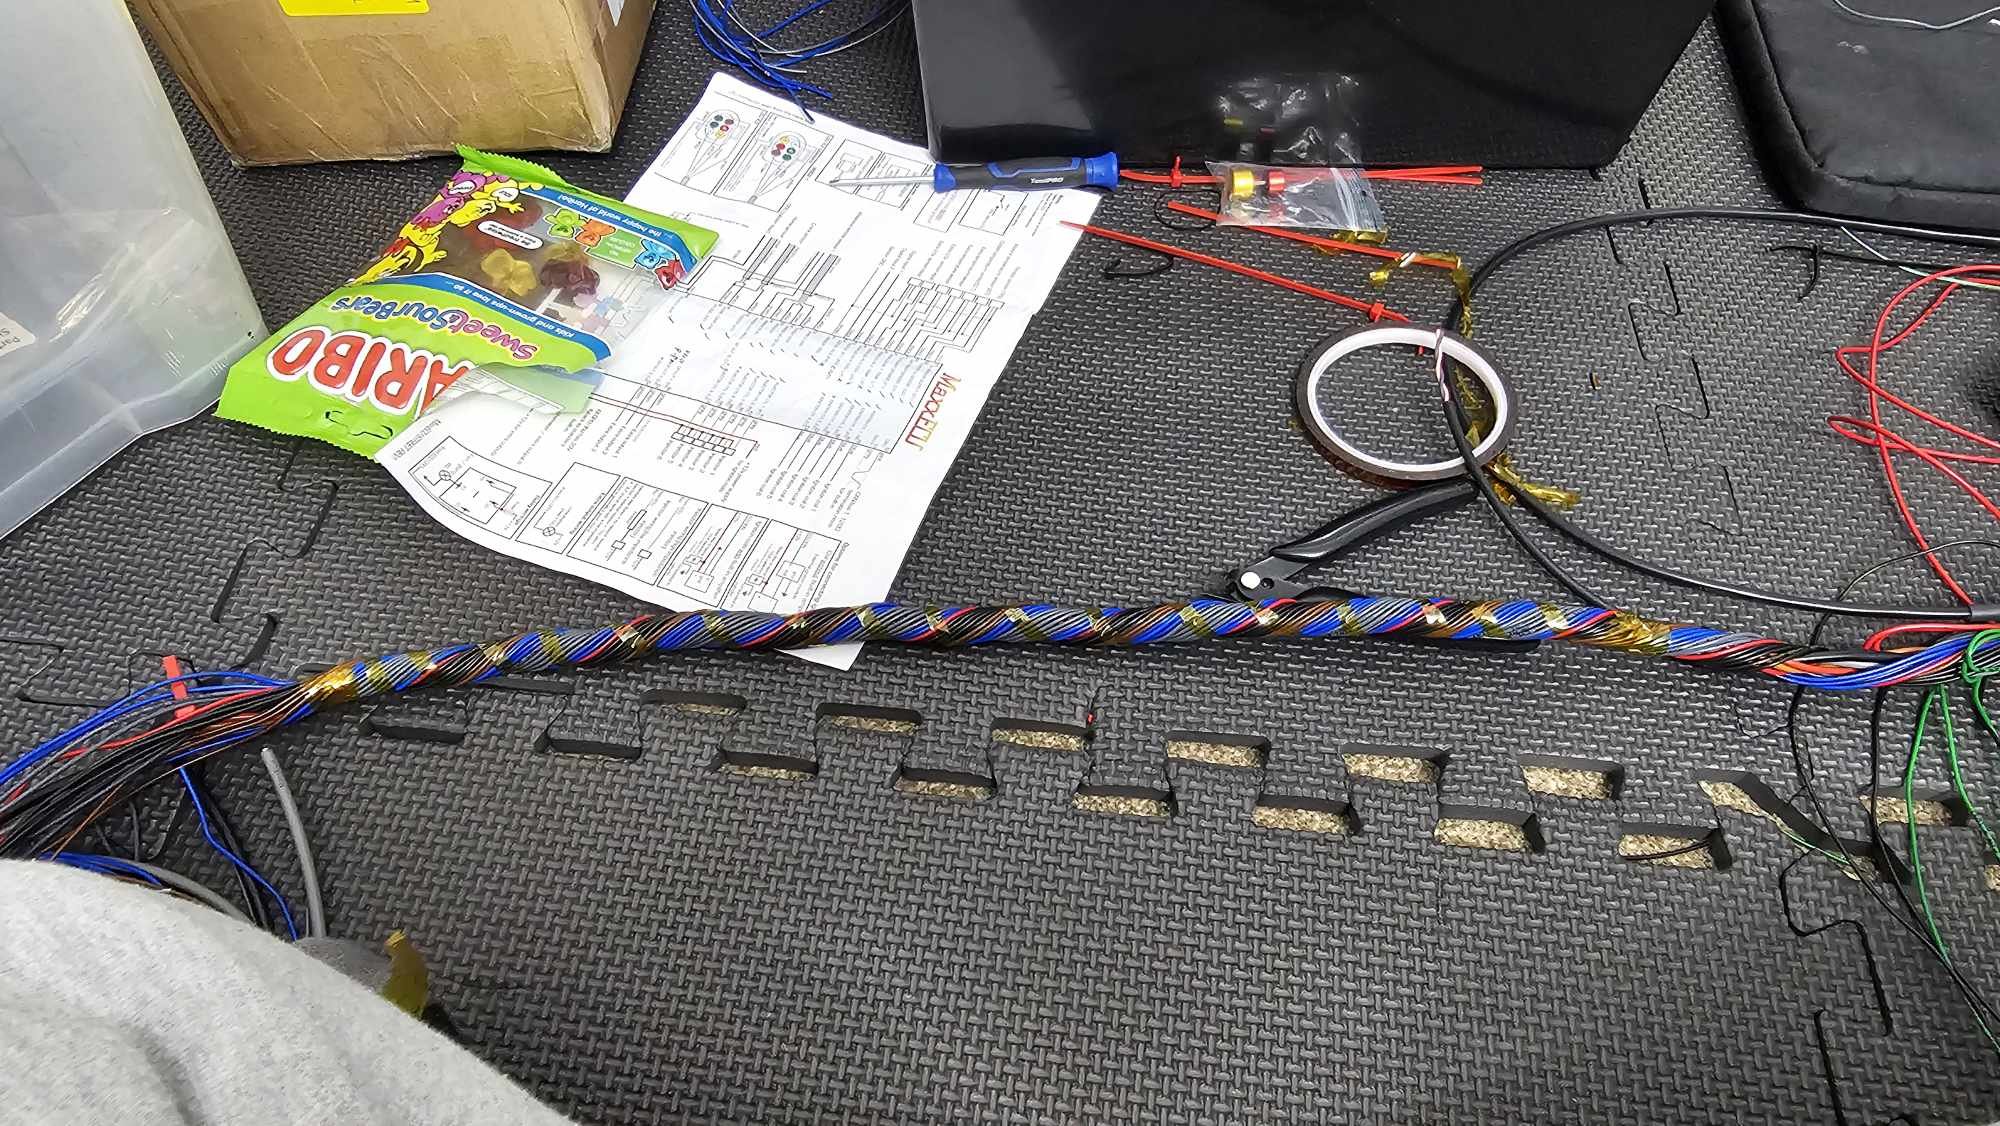
Decent update: ECU basically all wired in, just the wideband to go and a few bits to go. We've turned the car over which is huge! Will go for a start shortly. Semi wire tuck has gone well, just a few bits to tidy up. I've learned a thing or two for next time. Theres not many good wiring diagrams out there for KPs. I thought being around as long as they have been with numerous 4AGE swaps that there would be more accessible information out there. Before and after: Just some small amount of body loom that will be showing in the engine bay. Itll be hidden by the coolant tank anyways. The Mini is back in the garage, after a once over and some new tyres she runs mint! @mk2marty and I had a good night hoon. Really need to get onto paint prep, but time is scarce.
- 25 replies
-
- 11
-
-
DirtyThirtys 1984 Toyota Starlet KP61
DirtyThirty replied to DirtyThirty's topic in Projects and Build Ups
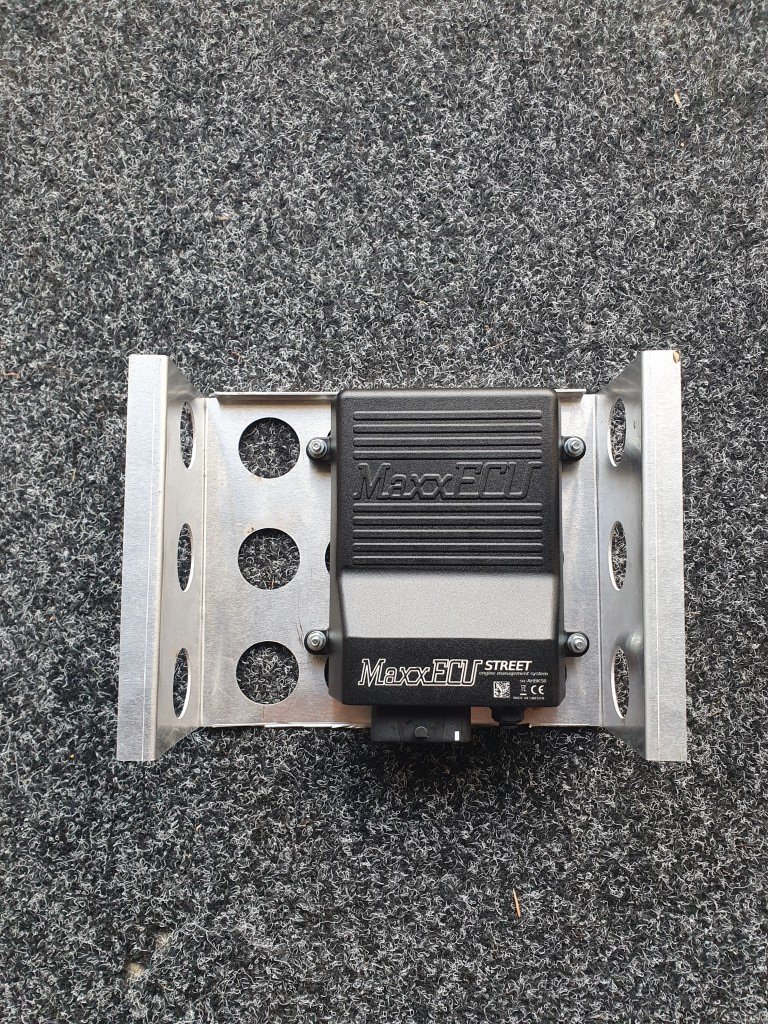
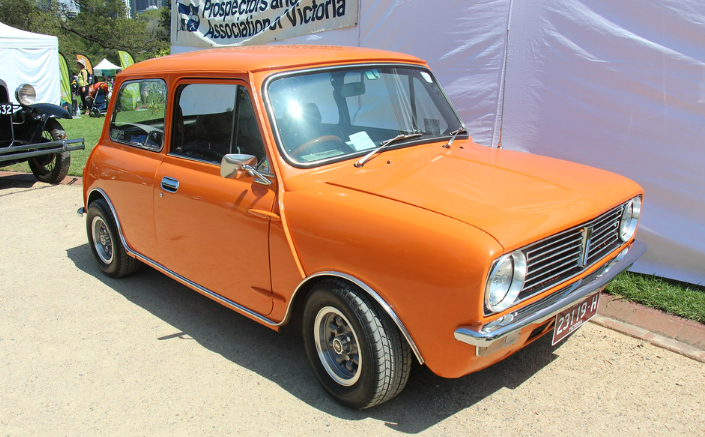
This build was never supposed to make it to a "next page", oh well. ECU mount which will be tucked up behind the glovebox/footwell. Needs some rubber isolating washers and fixings. REVISED, now attached to the back of the glovebox for even more space saving. Its got a nice locking plug but also needs to get the vacuum feed with minimal kinks to the MAP sensor from the vacuum block. Also its nice and close for the wideband as the wideband plugs into the ECU. The plug is bigger than the actual sensor so the cover plate for the gear lever hole will have a wideband sensor sized hole with a grommet. Working on a mild wire tuck, battery all wired up and will be unnoticeable once carpet is in again. Other than that, motivation is at an all time low so updates will be slow. Turns out getting married is quite expensive so not sure if the KP will be driveable this year. The Mini is currently in for a small birthday, new tyres and a once over. Working towards paint. I think a nice orange for both cars eventually would be nice. Inspo:
- 25 replies
-
- 13
-
-
DirtyThirtys 1984 Toyota Starlet KP61
DirtyThirty replied to DirtyThirty's topic in Projects and Build Ups
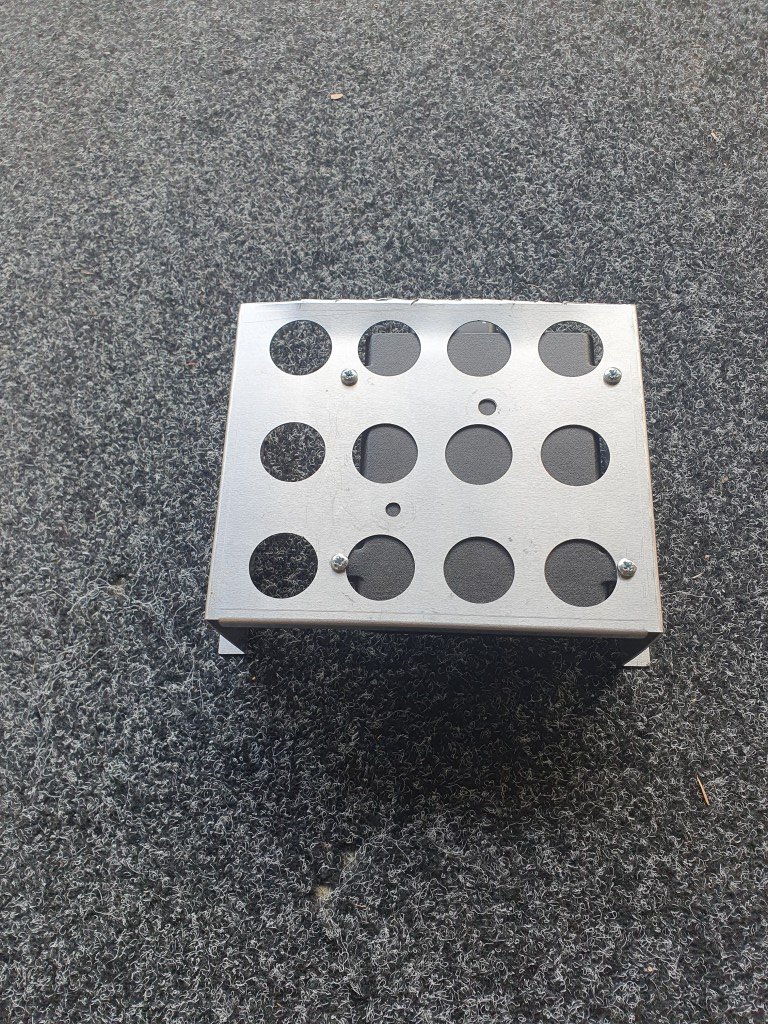
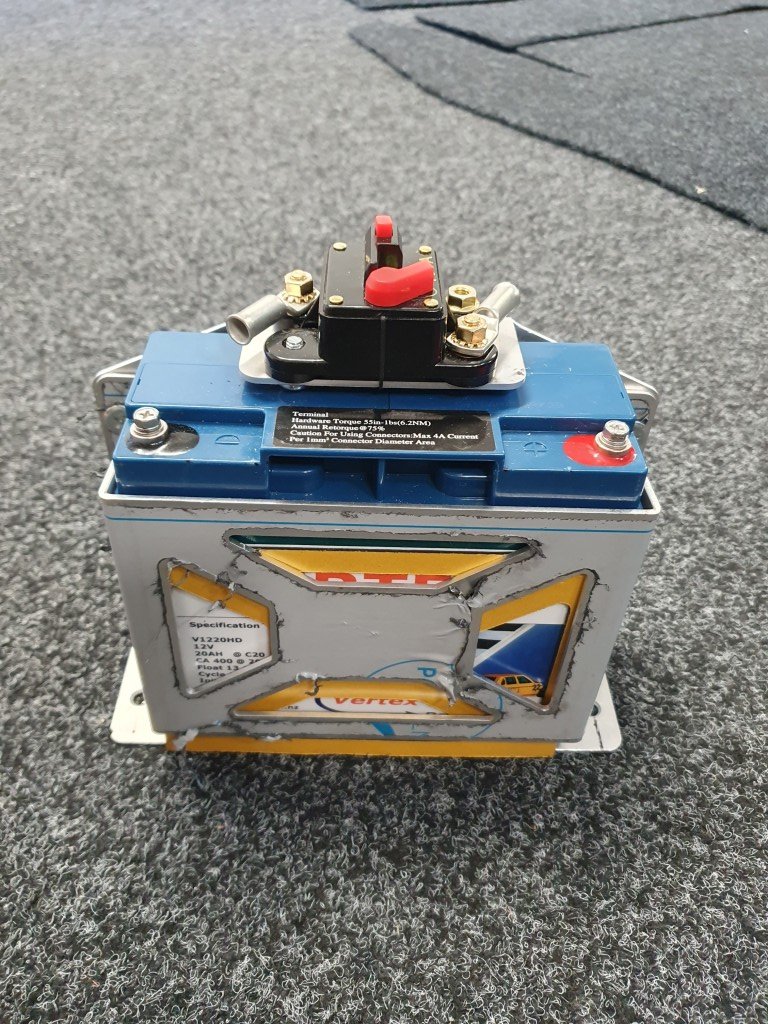
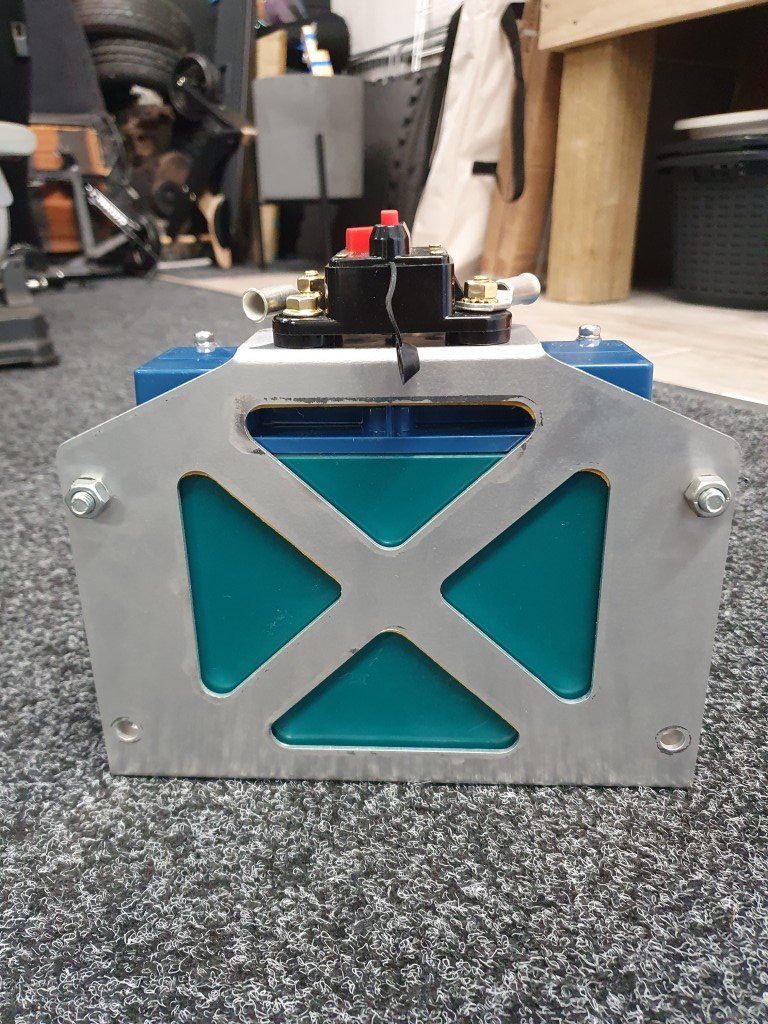
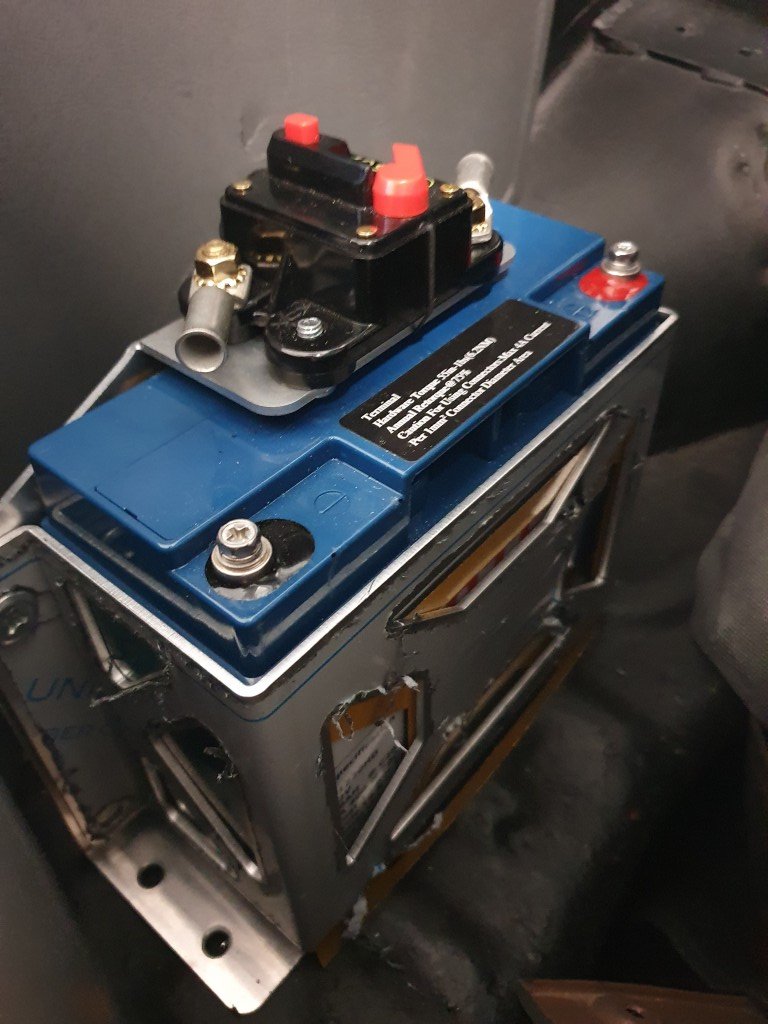
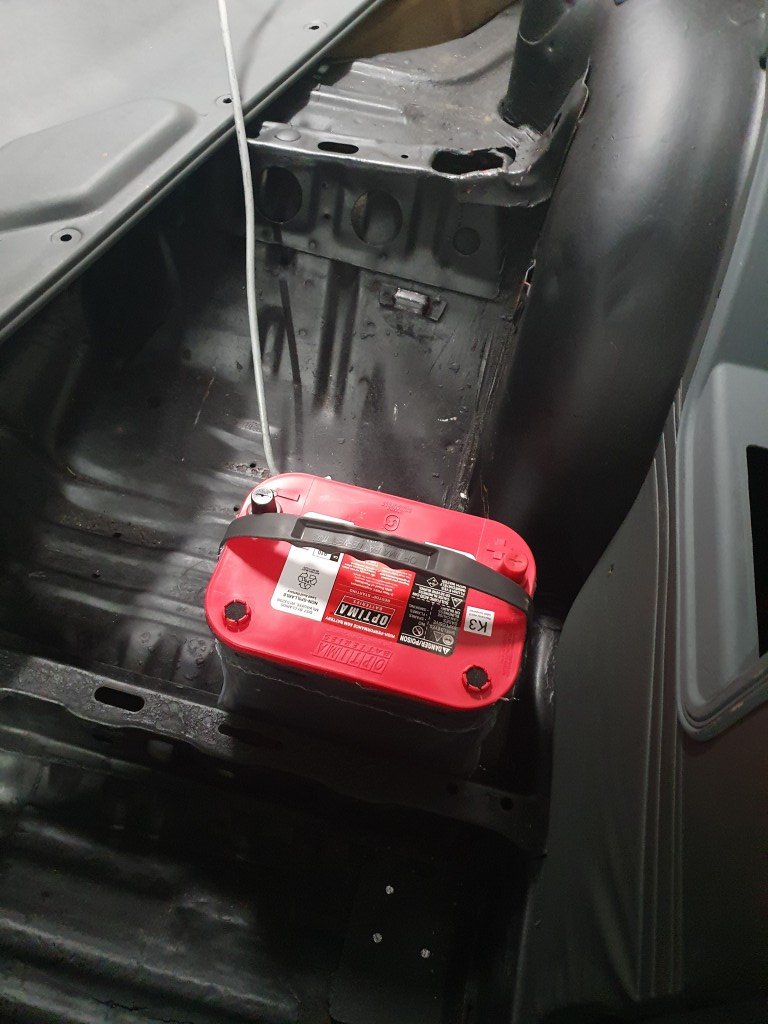
Battery box with breaker mount. Need better fixings for the battery mount but works for now. I managed to get the breaker JUST to fit on the top bracket, probably a couple of threads welded on would be best to hold it down. Currently the dome head fastener has a slight protrusion into the battery zone which I don't like. The bracket I got with the battery has been repurposed to mount the ECU. This one was a lucky find for cheap off marketplace. PC680 sized mounts WILL fit a Vertex battery easily. Note, there is a thick rubber gasket layer between the battery and battery bracket.
- 25 replies
-
- 11
-
-
DirtyThirtys 1984 Toyota Starlet KP61
DirtyThirty replied to DirtyThirty's topic in Projects and Build Ups
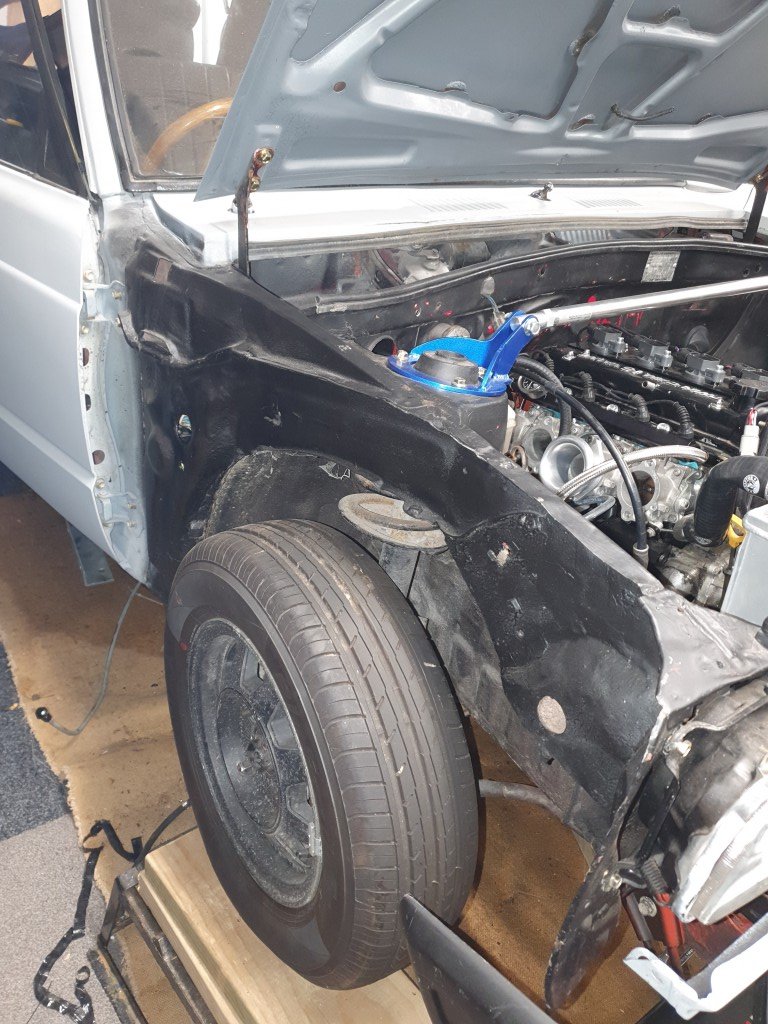
As always, everything takes a life of its own so here we are.... Stripping the body loom right back and tucking it as best as possible. Battery to sit in the boot, ended up with a Vertex battery. The mount is to be modified to allow for the circuit breaker to mount to it too. Decided to get the engine mounts modified (along with gearbox) to move the engine forward. Heaps of room with the single row crank pulley now, and will help alleviate all sorts of clearance issues. Fuel lines all done, cant rave enough about the Koul Tool, made things MUCH faster and easier. I thought swapping a 4AGE into a starlet was meant to be easy...
-
DirtyThirtys 1984 Toyota Starlet KP61
DirtyThirty replied to DirtyThirty's topic in Projects and Build Ups
PSA: If working with braided AN line, buy a Koul Tool.
-
DirtyThirtys 1984 Toyota Starlet KP61
DirtyThirty replied to DirtyThirty's topic in Project Discussion
Note: earlier and later KP Starlets have a different ignition switch. They're specific to if your barrel has a flat bottom or round. The earlier completely round barrel style ignition switch is too small in diameter to fit into a slant front (flat barrel) type ignition which has a 40mm diameter for the ignition switch. -
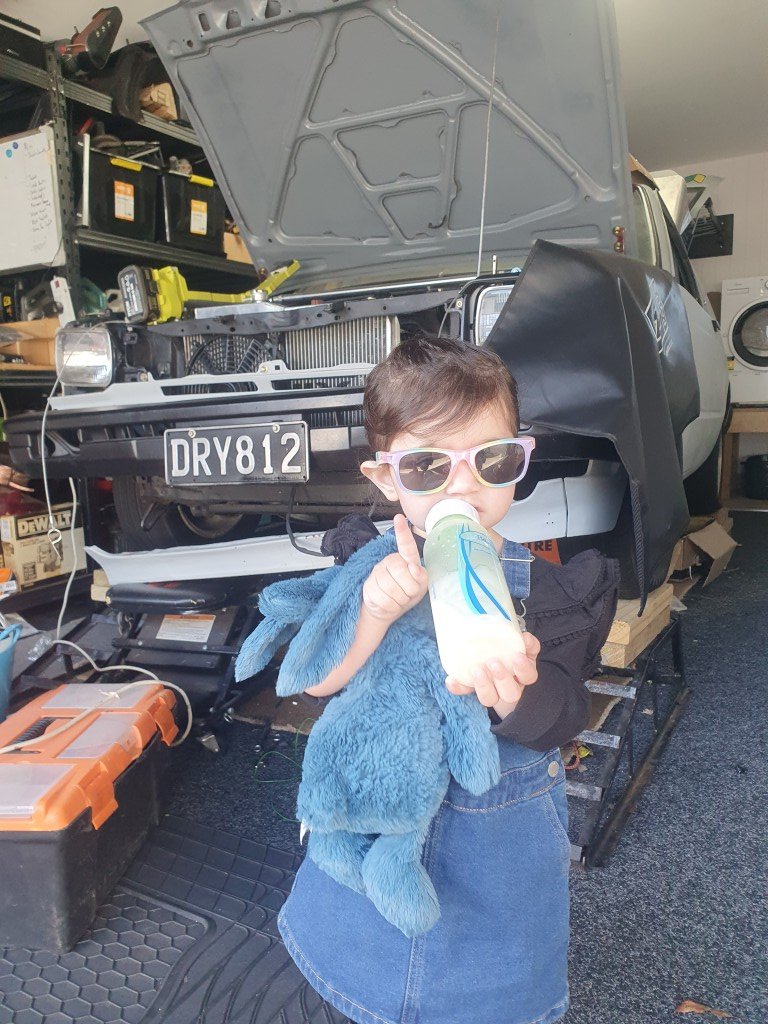
DirtyThirtys 1984 Toyota Starlet KP61
DirtyThirty replied to DirtyThirty's topic in Projects and Build Ups
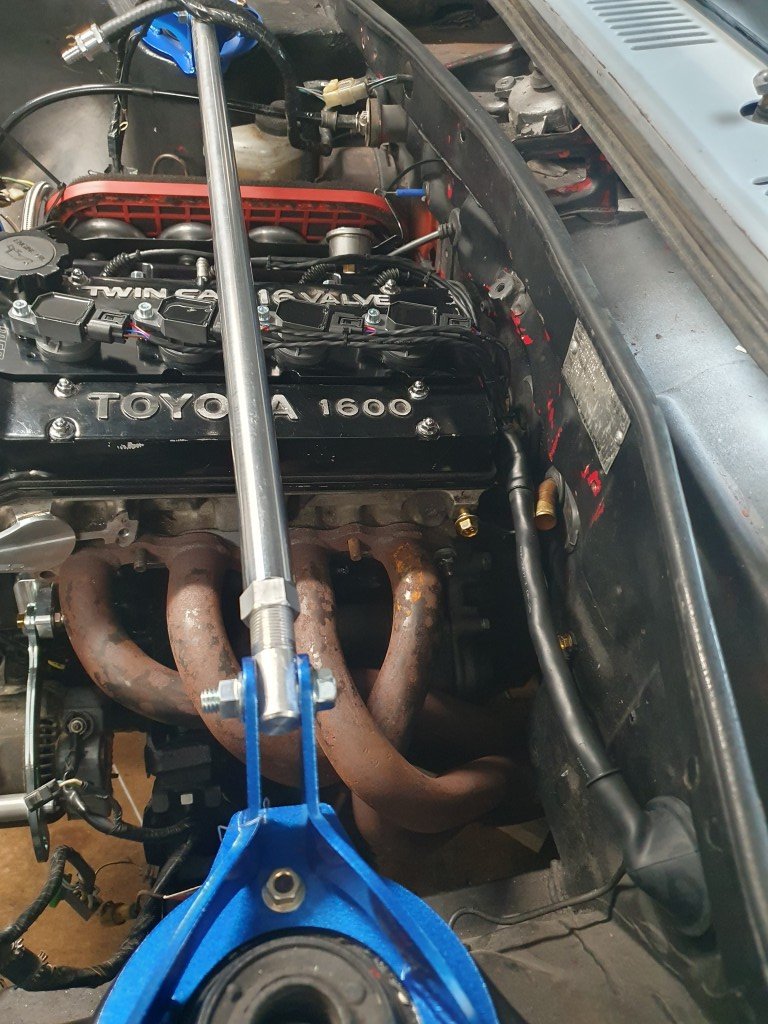
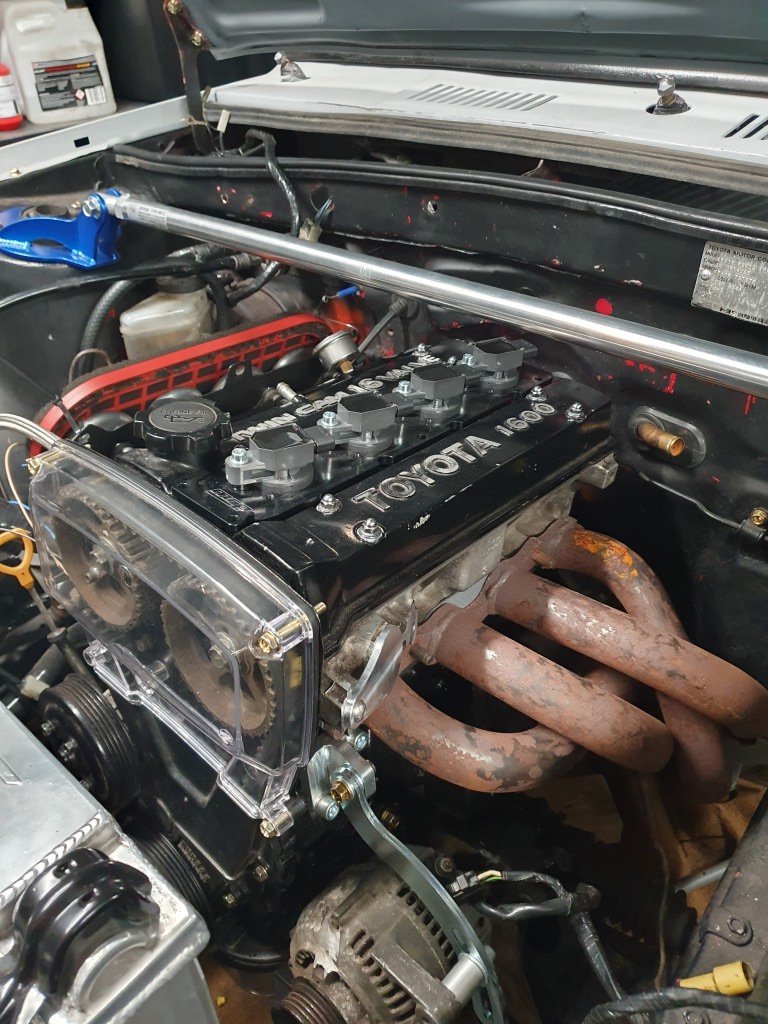
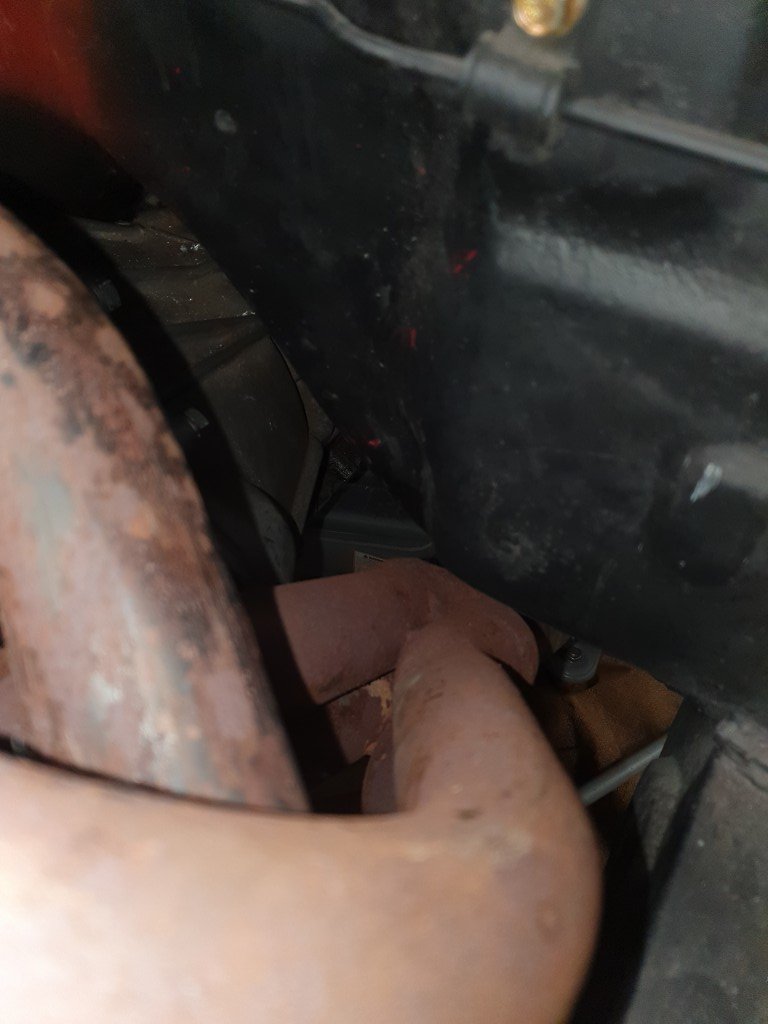
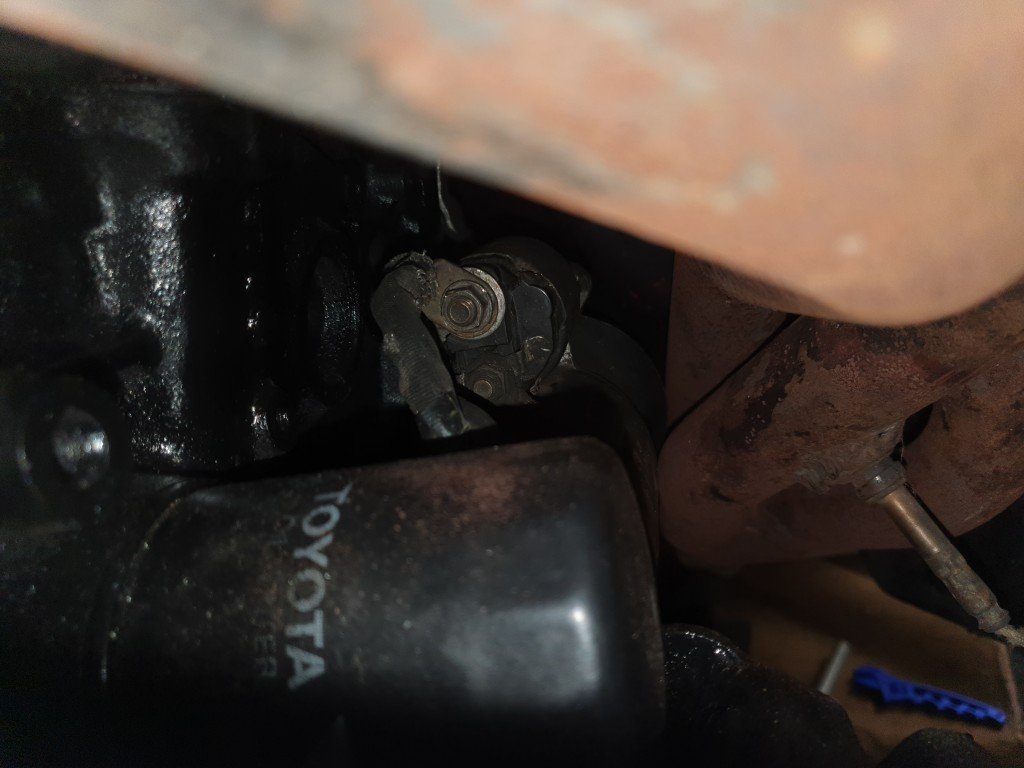
Over the holidays, not as much progress has happened as I anticipated. But we got a nice trip down to Welly, and got the whole family chauffeured around in a Toyota Century. Our little girl living her best Japanese businesswoman life. Wiring basically complete, just need to find a place to mount the fuse box and ECU. Somewhere behind the glovebox, easy access to fuses/relays should anything go wrong. Tried to mock up an air filter solution, there is simply not enough space without deleting the booster. So might just have to run filter socks which is the least preferred method, however the cable tied ITG filter was a mock up. Found a set of headers in the shed, much larger diameter than what I had on the engine so far. Just needs a gentle massage to stop it from contacting the body. Will get an O2 sensor bung welded in for the wideband. This header gives way better starter and oil filter clearance. Also swapped the double row crank pulley for a single row, gives more radiator clearance (annoyingly, not enough to fit the fans though) Still some fuel line stuff to finish, fucking hate SS braided hose. What a nightmare to get the fittings on, and cant find anyone selling a "Koul Tool" locally to speed the process up either. If anyone has a -6AN one, let me know. Be keen to pay to borrow/buy it. Got the wrong ignition barrel with a matching key to the locks swapped over to the ignition that works. Some KP's have a flat bottom and some round on the ignition barrel so they arent interchangeable. I should've checked. Anyways, waiting on an ignition switch to arrive this week and thats all sorted.
-
DirtyThirtys 1984 Toyota Starlet KP61
DirtyThirty replied to DirtyThirty's topic in Project Discussion
So that's the mount and corresponding bumper I have. But not the one I need, my chassis is set up for the type that bolts to the frame from above rather than sideways. If that makes sense! Really appreciate the photos man! Helps rule it out -
DirtyThirtys 1984 Toyota Starlet KP61
DirtyThirty replied to DirtyThirty's topic in Project Discussion
Anyone have a comprehensive list of all the damn KP bumpers and mounting points? My bumper needs to be for a flat front BUT mounts to the frame. Others I have seen mount to the wall above the frame vertically. None of the current mounts I have will work unfortunately and I really need something to work. -
DirtyThirtys 1984 Toyota Starlet KP61
DirtyThirty replied to DirtyThirty's topic in Project Discussion
I'd probably be more inclined to go with a FG one -
DirtyThirtys 1984 Toyota Starlet KP61
DirtyThirty replied to DirtyThirty's topic in Project Discussion
Could be keen depending in pricing next year? Just sorting ECU and wiring at the minute so a fair $$$ sunk. -
DirtyThirtys 1984 Toyota Starlet KP61
DirtyThirty replied to DirtyThirty's topic in Projects and Build Ups
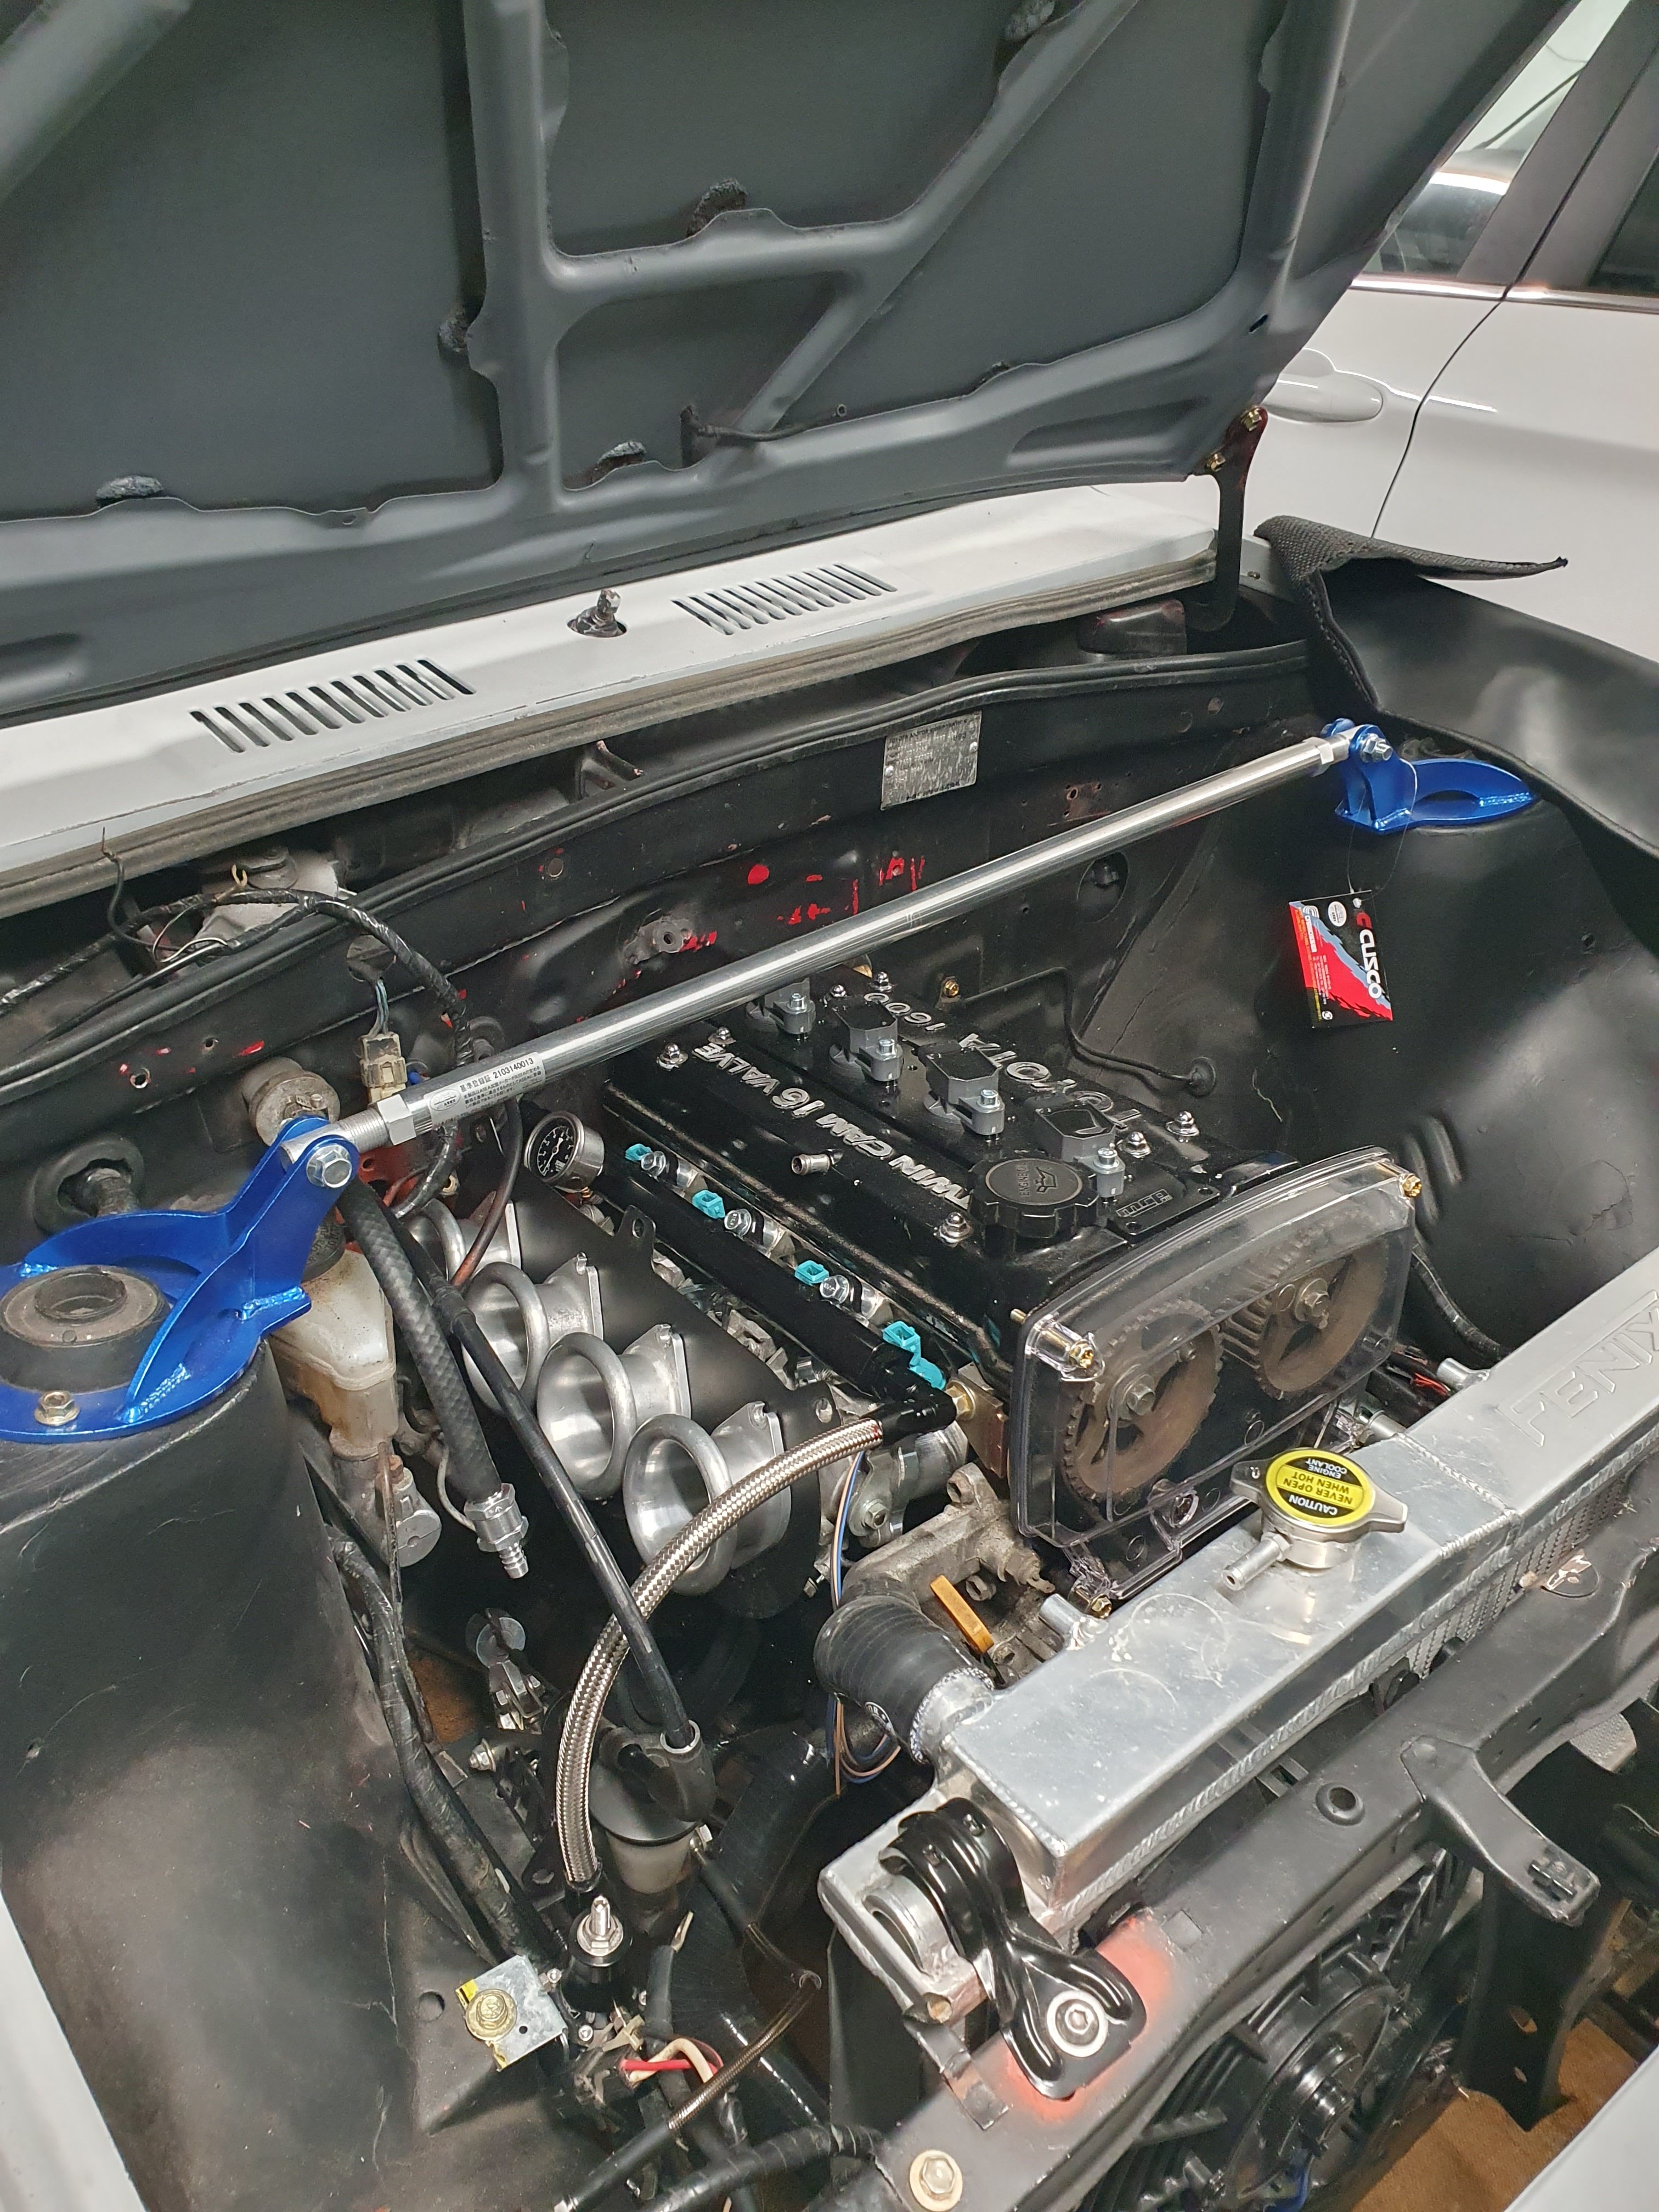
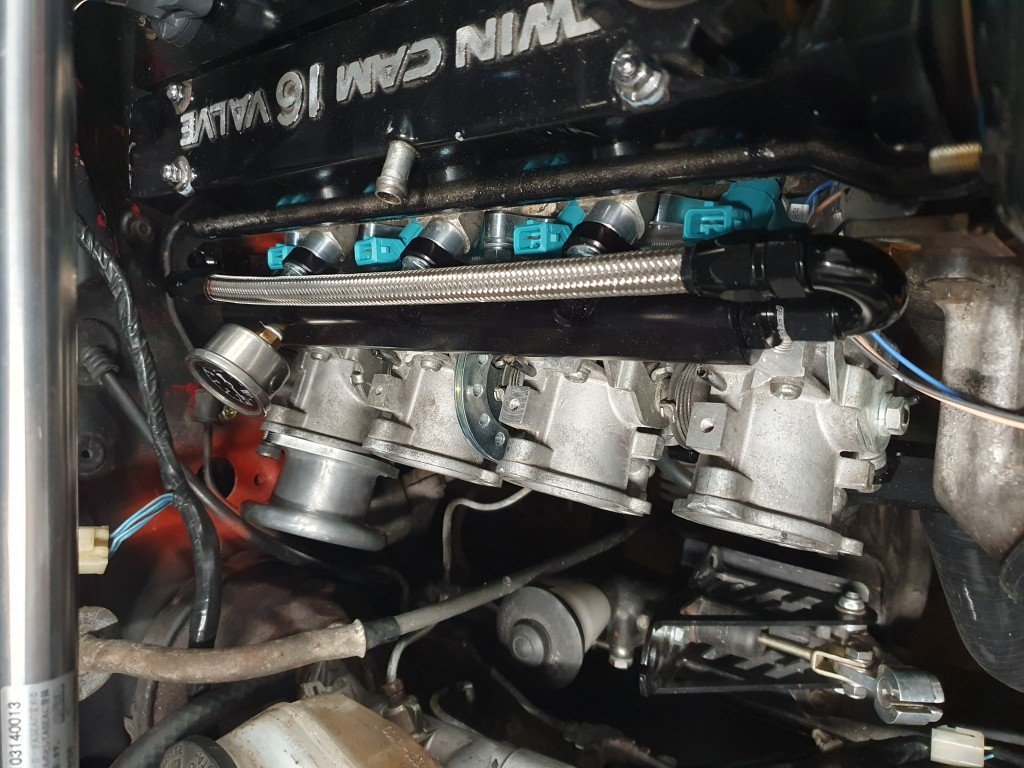
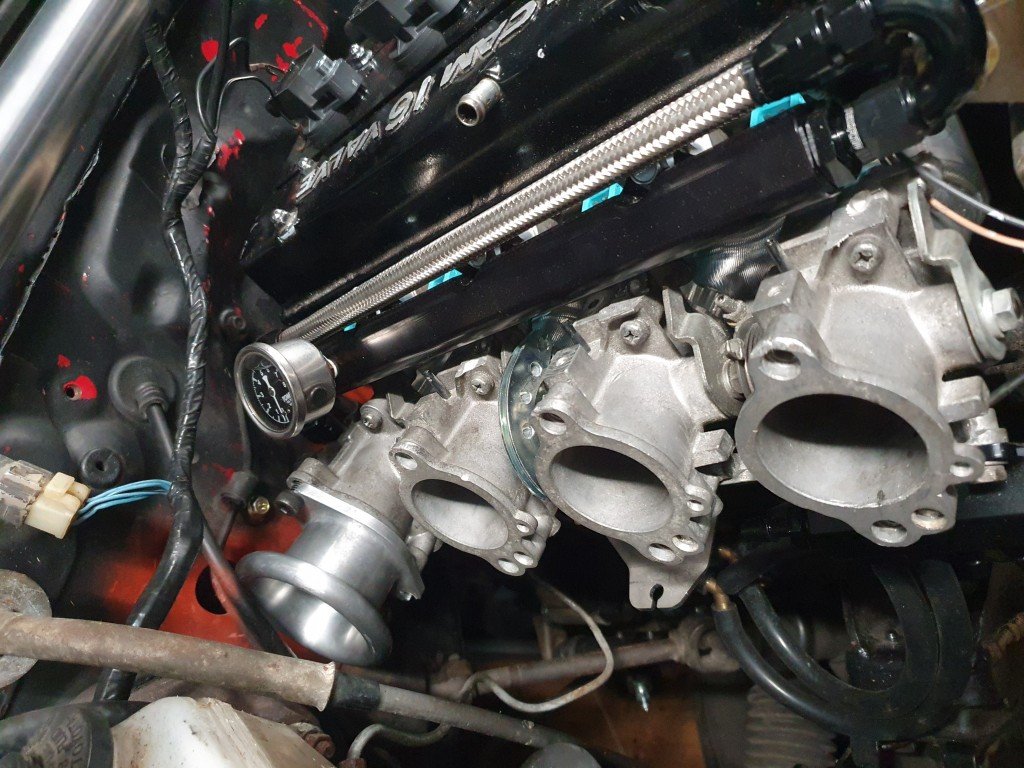
Better get on with things, the first start is looming over me........ (now that I'm a Dad, shitty jokes are acceptable). PM me if youre after a loom made from a MaxxECU dealer, my mate who is doing my car has made it very easy! Few more packets of Haribro gummies and we'll get there! Shout out to Shyam: Get Grounded It's looking far too crowded for my liking but the 50mm trumpets look great. They are BT trumpets on ST throttles so something will need to be done about that. Looks like I will be able to get a ITG filter on after all. (EDIT: too keen on the filter update, no, I cant run the ITG filter).
-
DirtyThirtys 1984 Toyota Starlet KP61
DirtyThirty replied to DirtyThirty's topic in Project Discussion
I was looking at 120 amp ones, so I'll look for something higher. Maybe I'll call an actual sparky because I start a fire.... -
DirtyThirtys 1984 Toyota Starlet KP61
DirtyThirty replied to DirtyThirty's topic in Projects and Build Ups
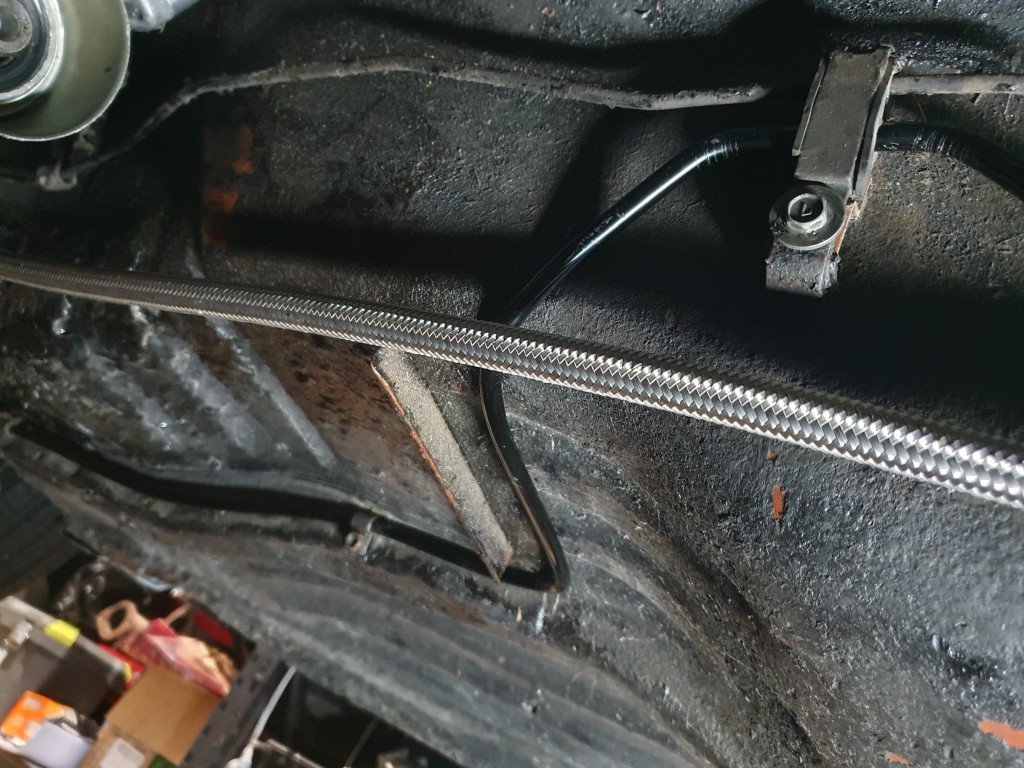
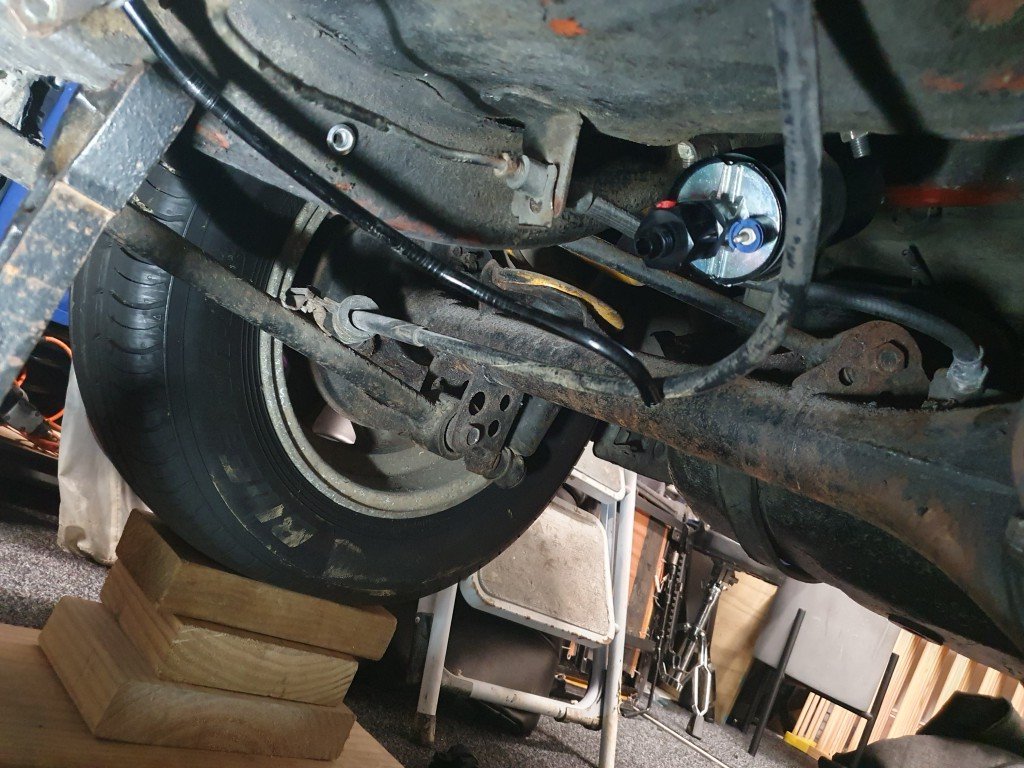
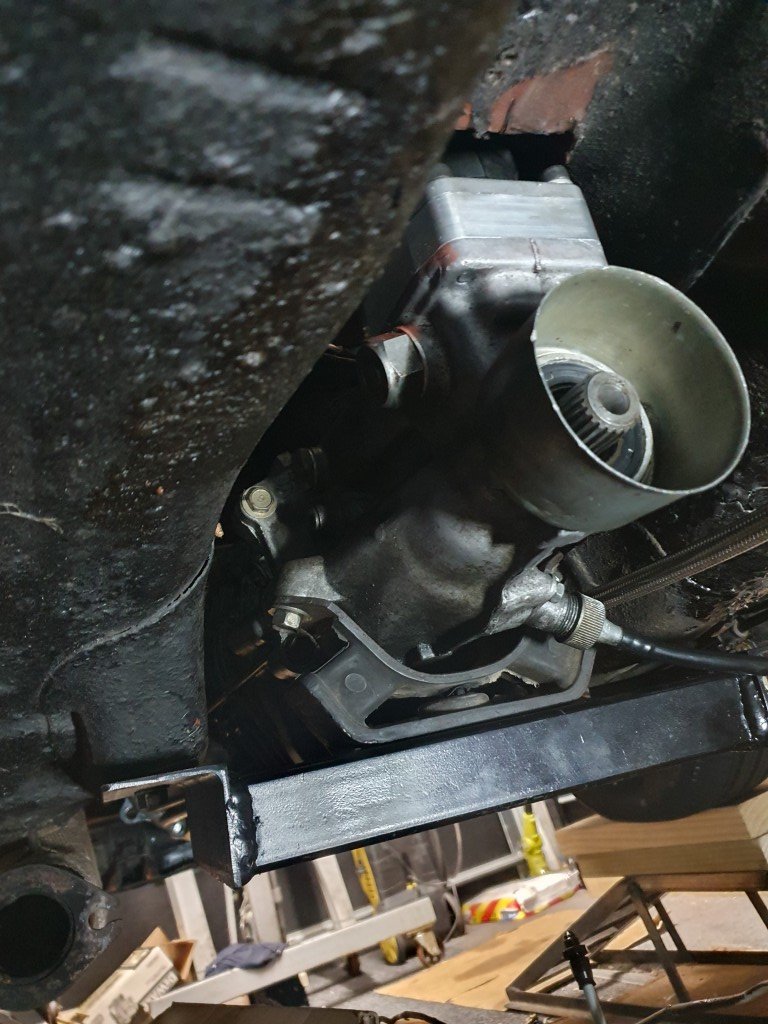
Mixed bag update. First of all, fuel system. Finally ran the return line (black hardline, ignore the braided line dangling). Have the hardline to return in tank to complete, ended up using aluminium hardline with compression fittings to -6AN. You can see the connection past the fuel pump not done. The thing off the fuel pump is the non return valve to -6 fitting. Have to run the feed line, I gave up trying to make the hardline work so going with -6 stainless braided hose for now. Battery acquired. Optima redtop 25. Seems to fit well in the little nook behind the passenger seat, just need to make a bracket for it because I cant find any optima ones that fit (they're all for the 34). The plan is to have a resettable breaker at the battery. For now to make things simple, we will just run a positive feed to a post (like an E46) and use the original harness and battery connections from there. Lastly, I never put a photo up of the gearbox mount we landed on. Some meaty RHS and EA. With 3 holes through the RHS for the T50 mount bolts. Decided to change the oil pressure sender to a proper sensor for the ECU, so ended up getting a nicer Bosch temp/pressure sensor so the one sensor can monitor both. Maybe some fail safes based on oil pressure wont be a bad thing.
-
DirtyThirtys 1984 Toyota Starlet KP61
DirtyThirty replied to DirtyThirty's topic in Project Discussion
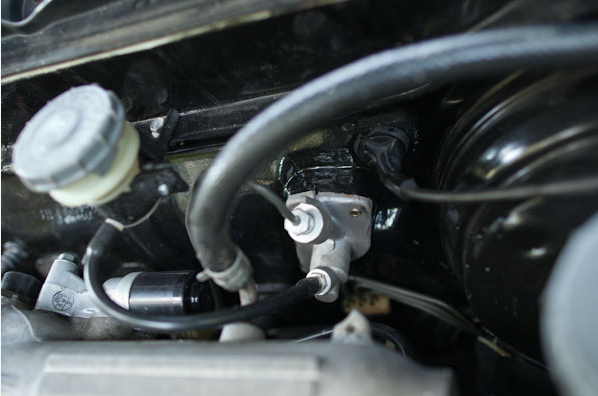
7th Gen civic clutch master cylinder from @mk2marty if its any use to anyone in future. Similar to the sample photo above but not exactly, getting close....
-
DirtyThirtys 1984 Toyota Starlet KP61
DirtyThirty replied to DirtyThirty's topic in Project Discussion
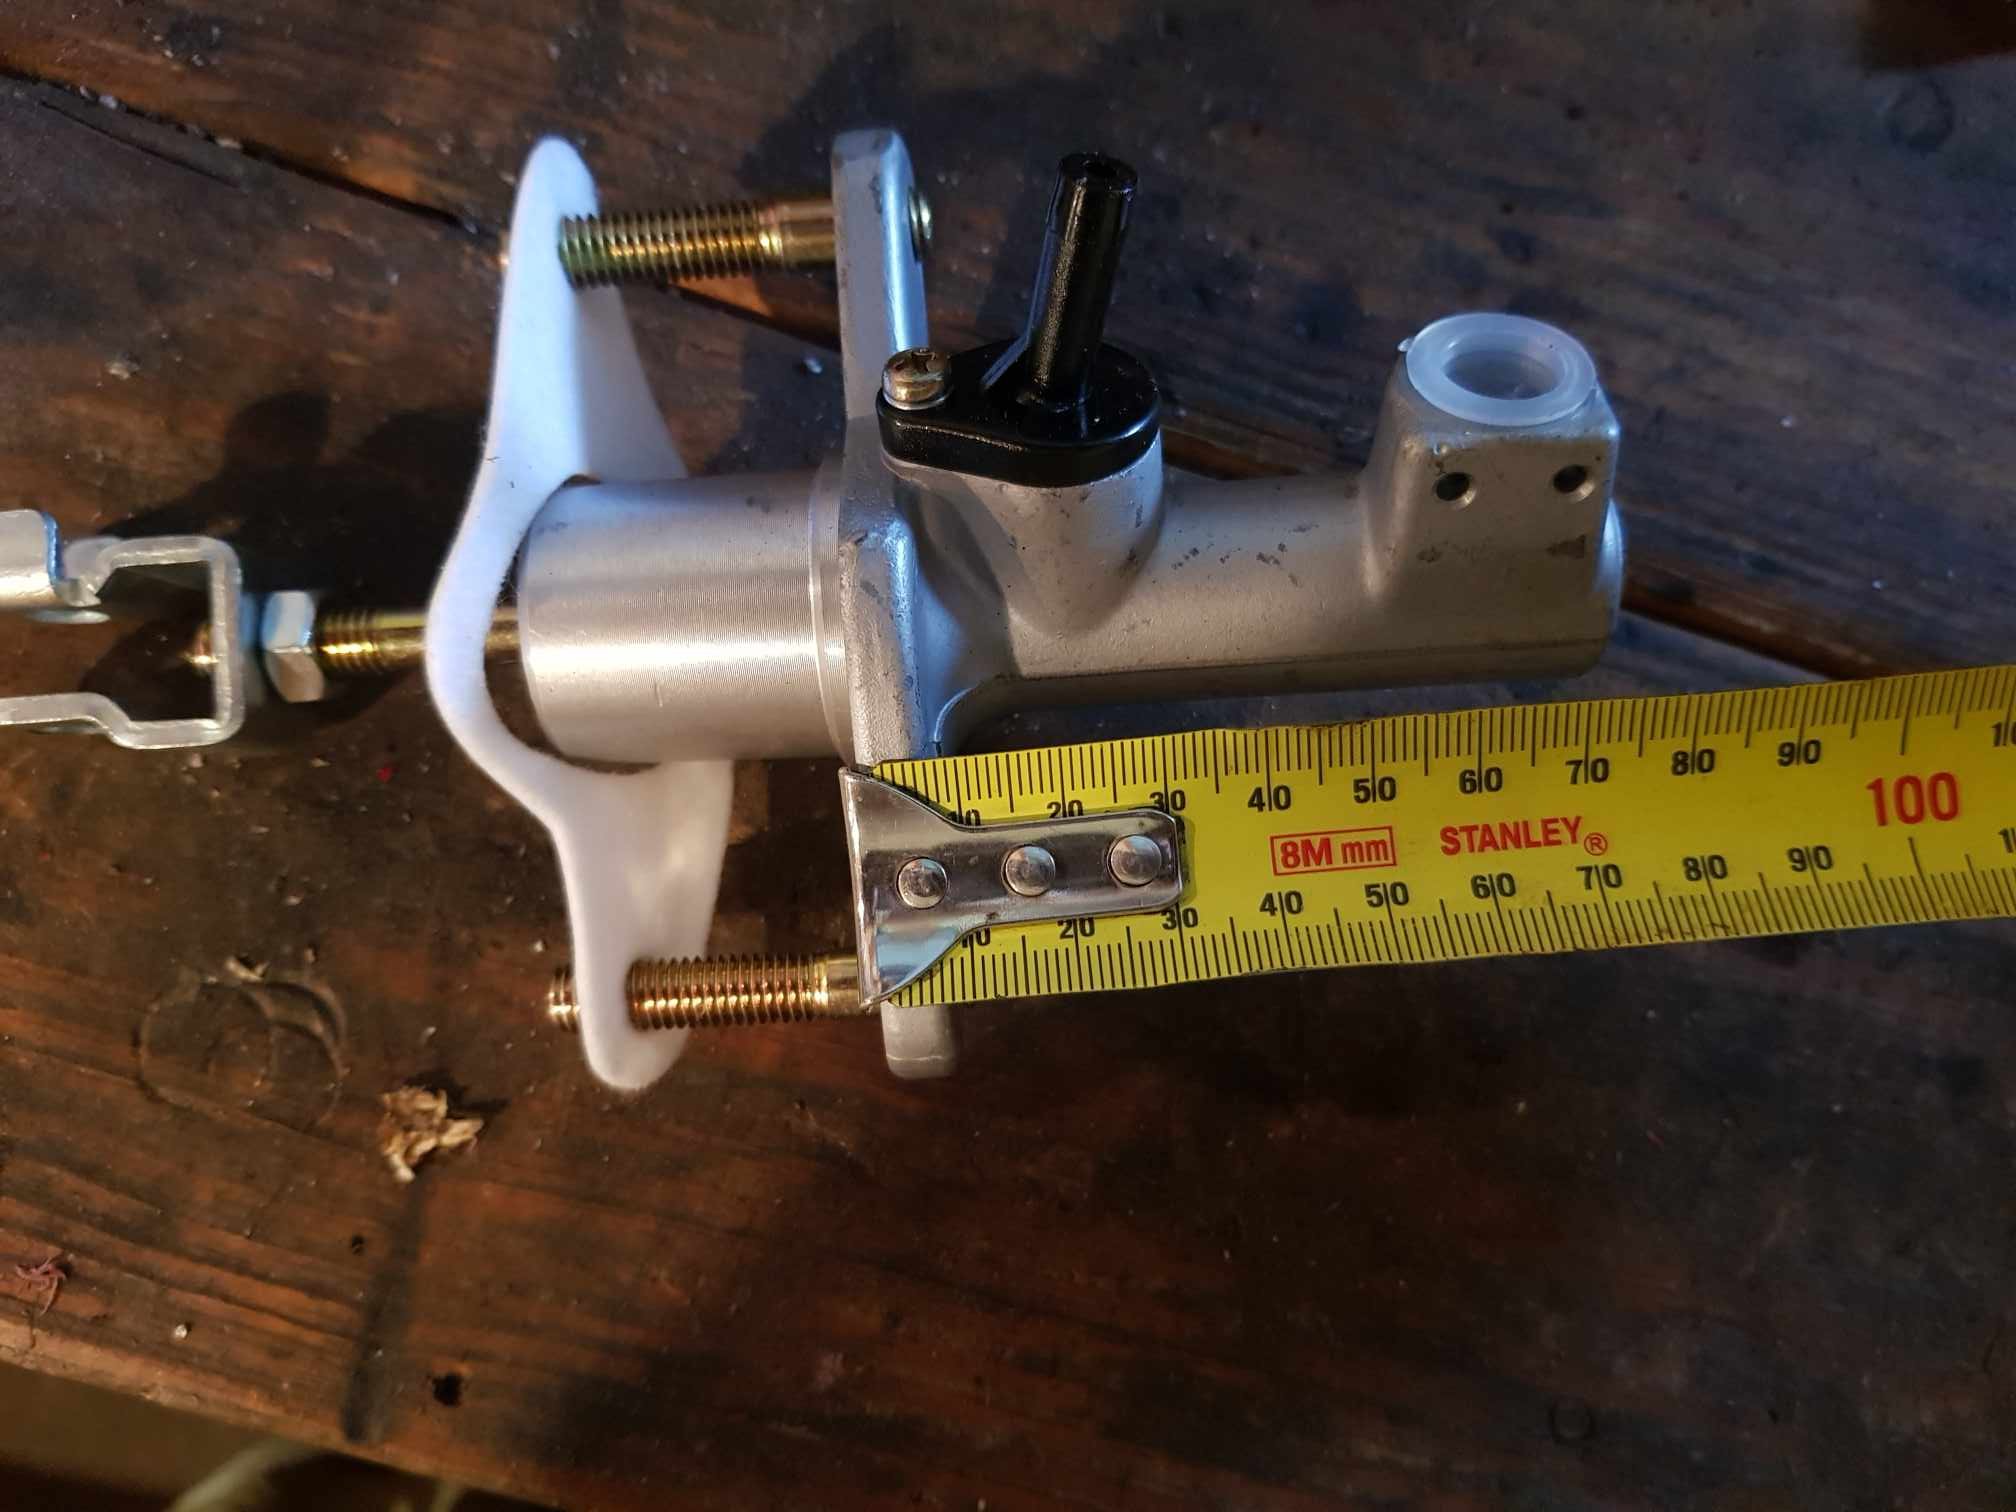
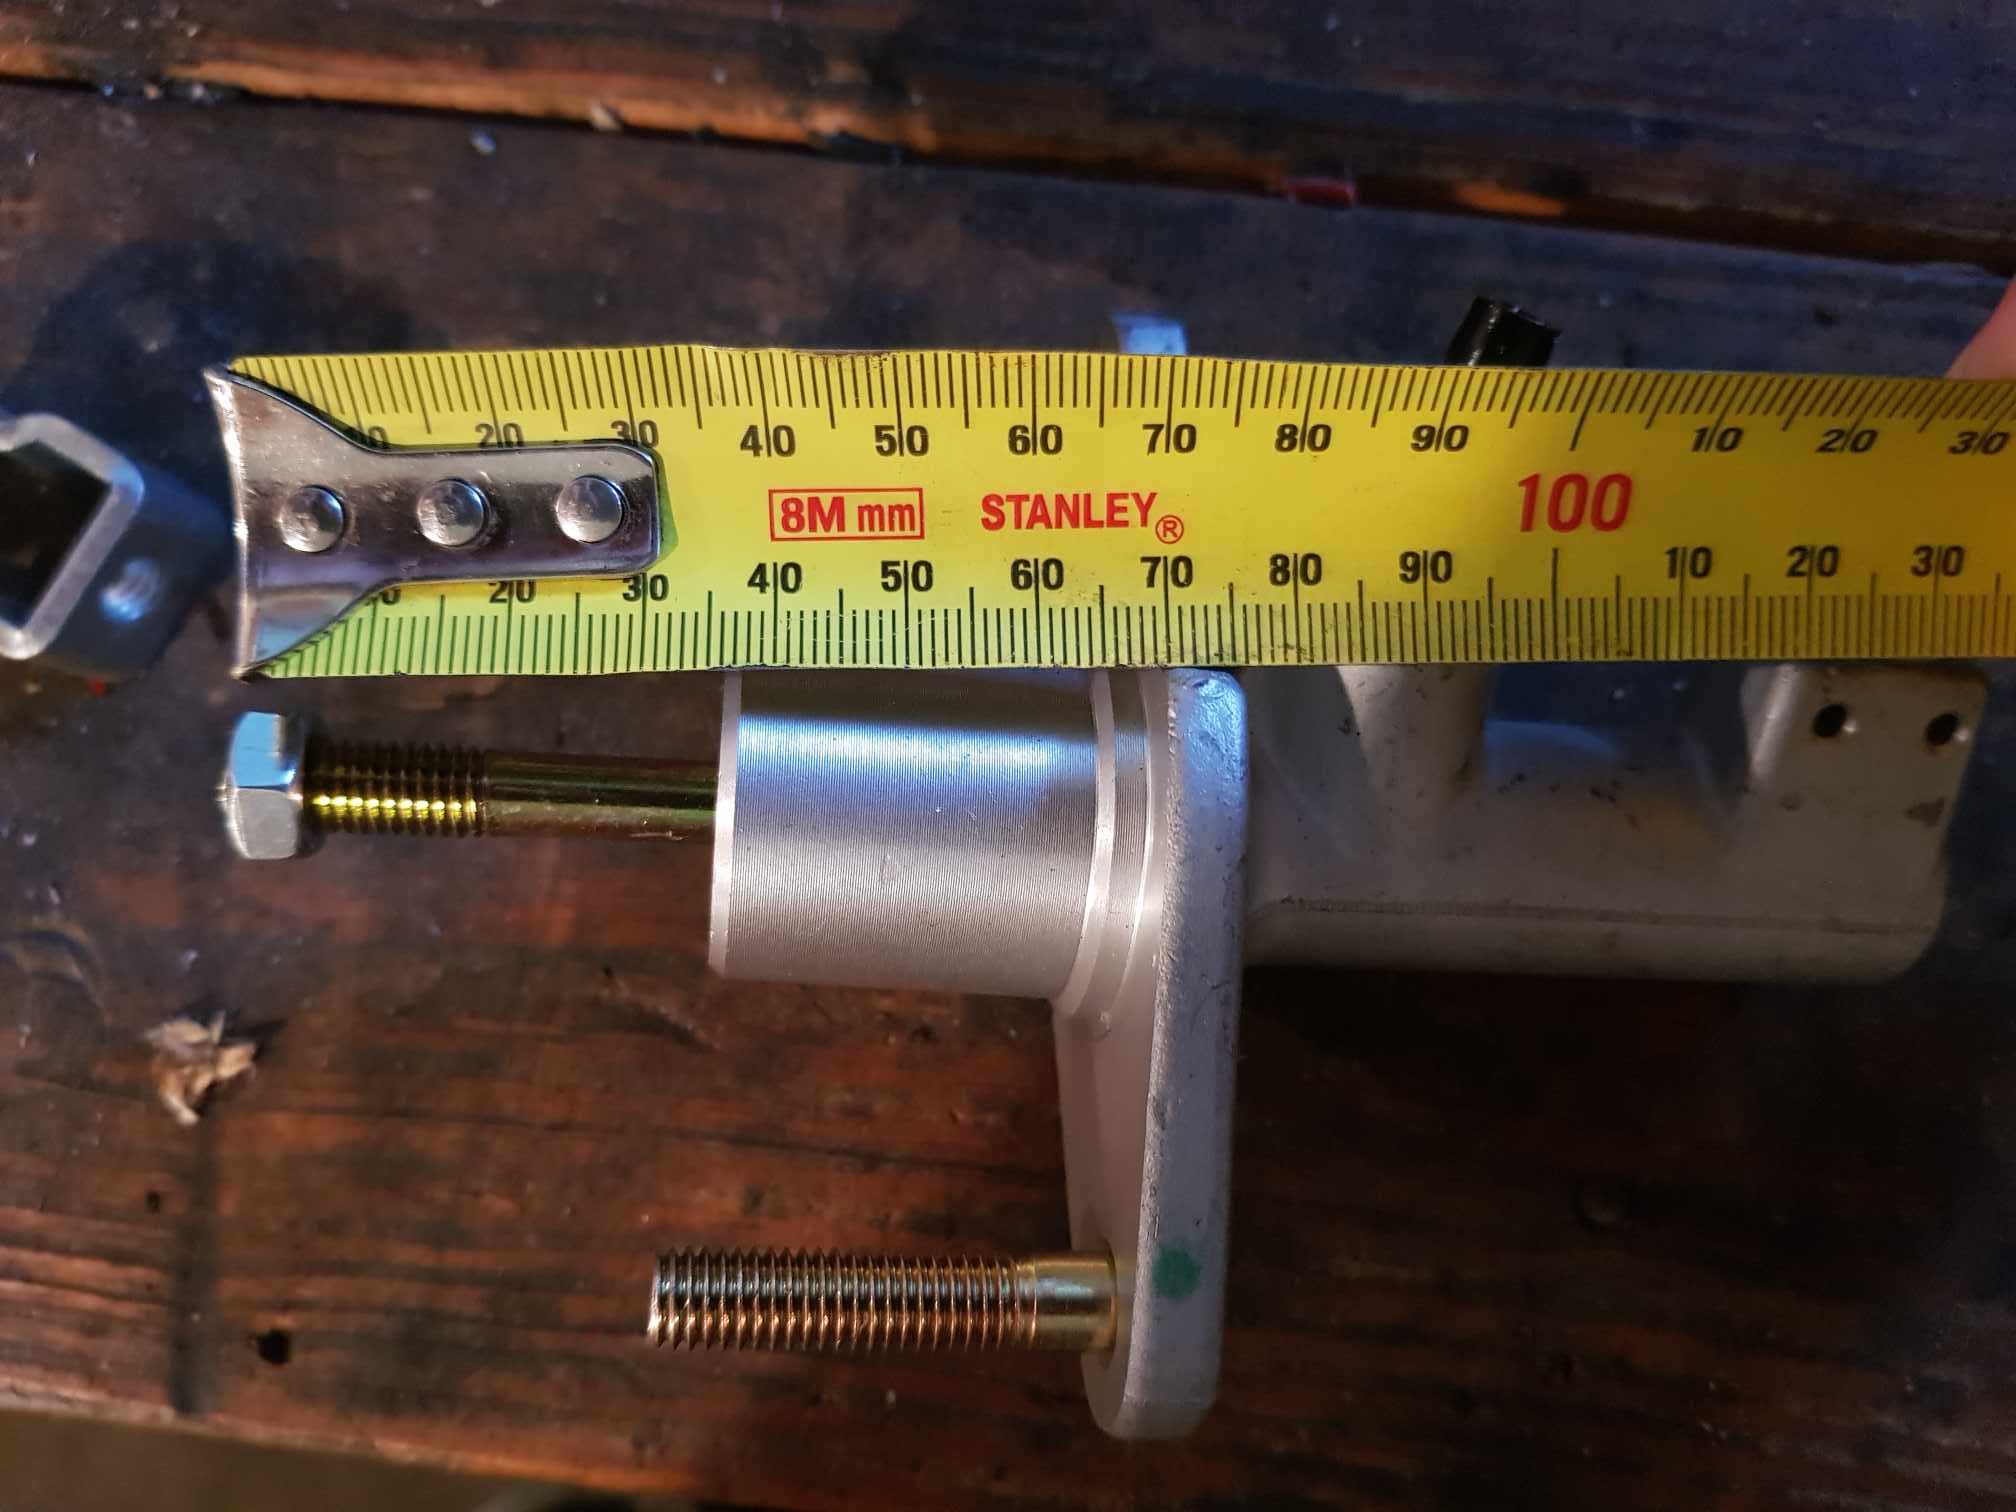
Honda people, any ideas what this clutch master is out of? Looks very short and would work for me. Have borrowed a friends S2K one to try, but still a fraction too long. The one in the photo is close to a EM2 Civic one, but not quite? The remote res will also help
-
DirtyThirtys 1984 Toyota Starlet KP61
DirtyThirty replied to DirtyThirty's topic in Project Discussion
I THINK stock 4AGE bigport ones were 220/210cc. With the years of gunk etc in them im sure they were flowing less than ideally anyways, so these new ones in theory should be fine. Im not going to be making any more power than stock at this point. Maybe in future, but ill deal with them then. -
DirtyThirtys 1984 Toyota Starlet KP61
DirtyThirty replied to DirtyThirty's topic in Project Discussion
Cheers man for pointing me in the right direction! Was an easy one in the end. -
DirtyThirtys 1984 Toyota Starlet KP61
DirtyThirty replied to DirtyThirty's topic in Project Discussion
None of them seem to run anything and just are open there. But that's not a terrible idea! Might give that one a go -
DirtyThirtys 1984 Toyota Starlet KP61
DirtyThirty replied to DirtyThirty's topic in Projects and Build Ups
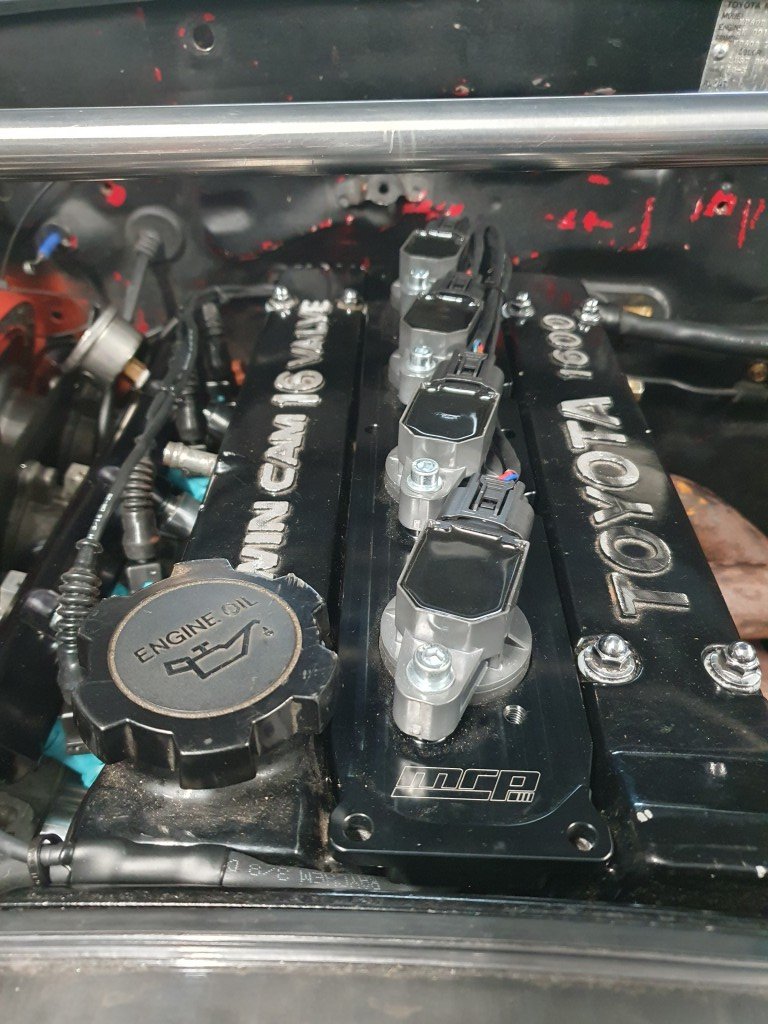
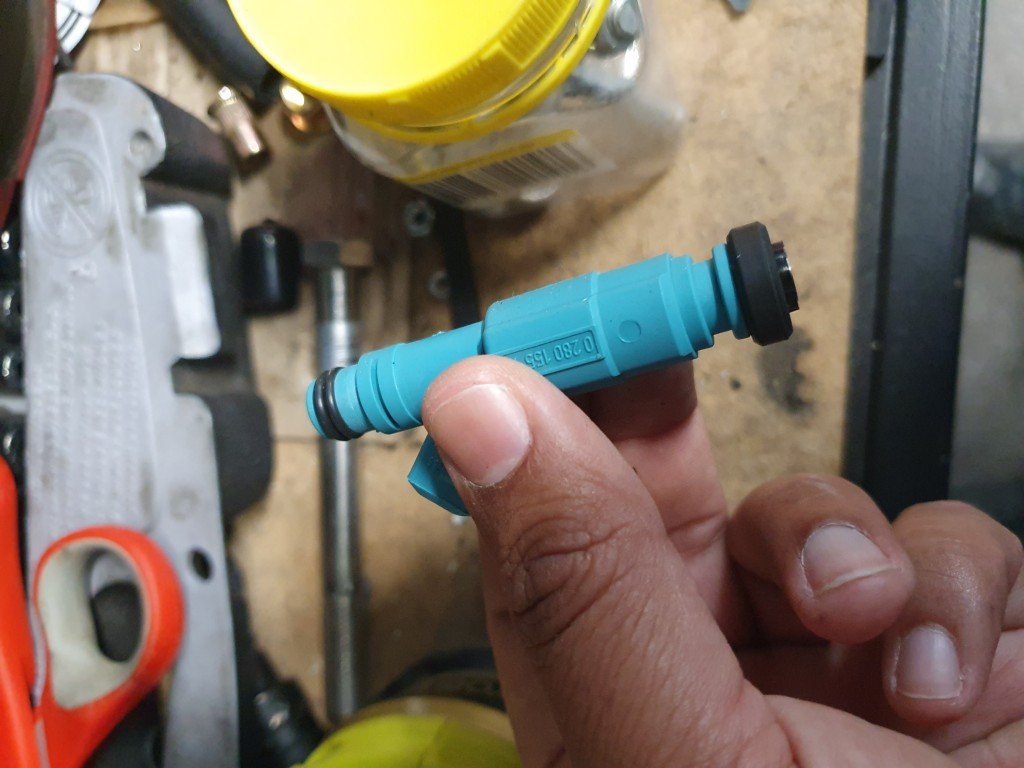
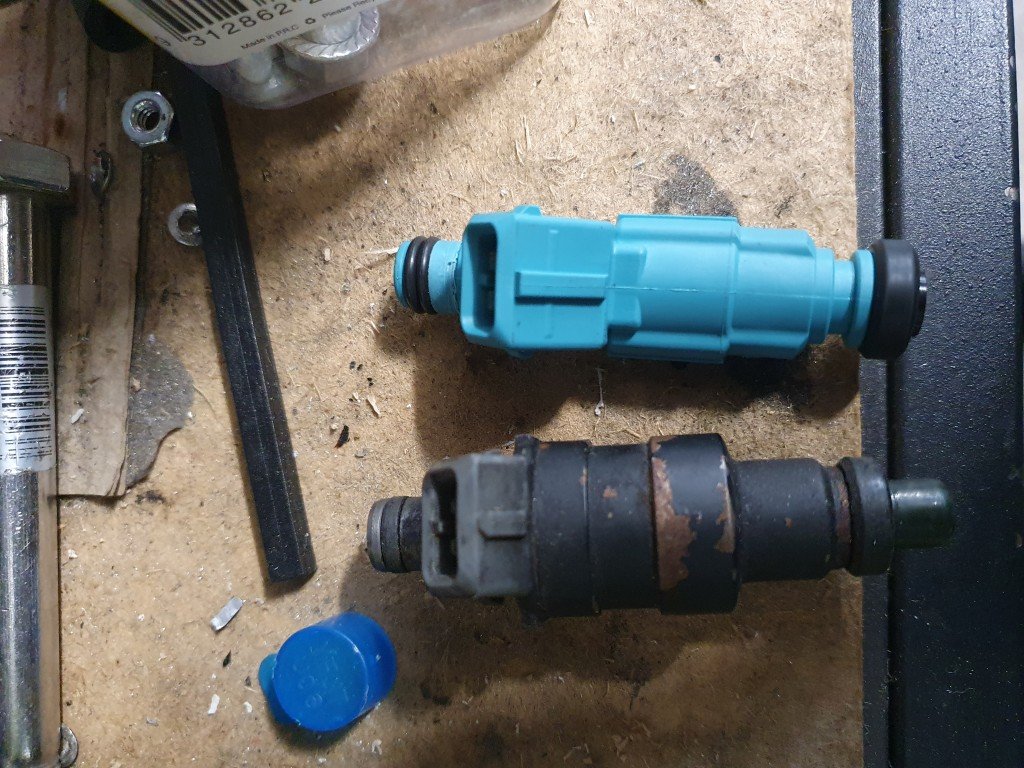
INJECTORS: Shout out to NZEFI. Ordered yesterday, arrived today from Chch: https://www.nzefi.com/product/bosch-210cc-min-high-resistance-top-feed-fuel-injector/ Dave has machined down the injectors to fit the 16V and they fit great! Has changed the O rings to suit the sizes needed. Bonus photos of a measure of the existing injectors since I had a hard time finding any info online for measurements. Also if anyone has some proper wiring diagrams for a KP, please PM me. Photos of old vs new:
- 25 replies
-
- 17
-