


Kimjon
-
Posts
2181 -
Joined
-
Last visited
-
Days Won
1
Posts posted by Kimjon
-
-
I'm very reluctant to offer welding advise, as I'm so terrible at it myself. So take from this what you want.
But for welding really thin metal with a mig, I basically lay a bunch of overlapping track welds. I get nice and comfortable, support my hand, pull the the trigger...watch the metal change colour (red), then release the trigger but remain in position, watch the red glow fade out of the weld (takes about a second)....repeat....

Doing it like this stops you from blowing big holes through your work.
-
 6
6
-
-
Best day ever!
Went to Rotorua swap meet today with a good mate. Coffees, chups (yes I know it's spelt chips), more coffee, secondhand tools...bogans, munters, she-mullets and hardcore westies...what's not to like?
Then I find it, like a diamond in a goat's arse...the missing flanges I've been looking for since ages ago!
They even came with a manifold for a girl's harley (aka Sportster). Grubby as fuck and looking unloved, but a quick going over with the sandblaster had them looking new again. Pictured fitted to the 1340 manifold...success!
Best day ever!!!
-
2
-
-
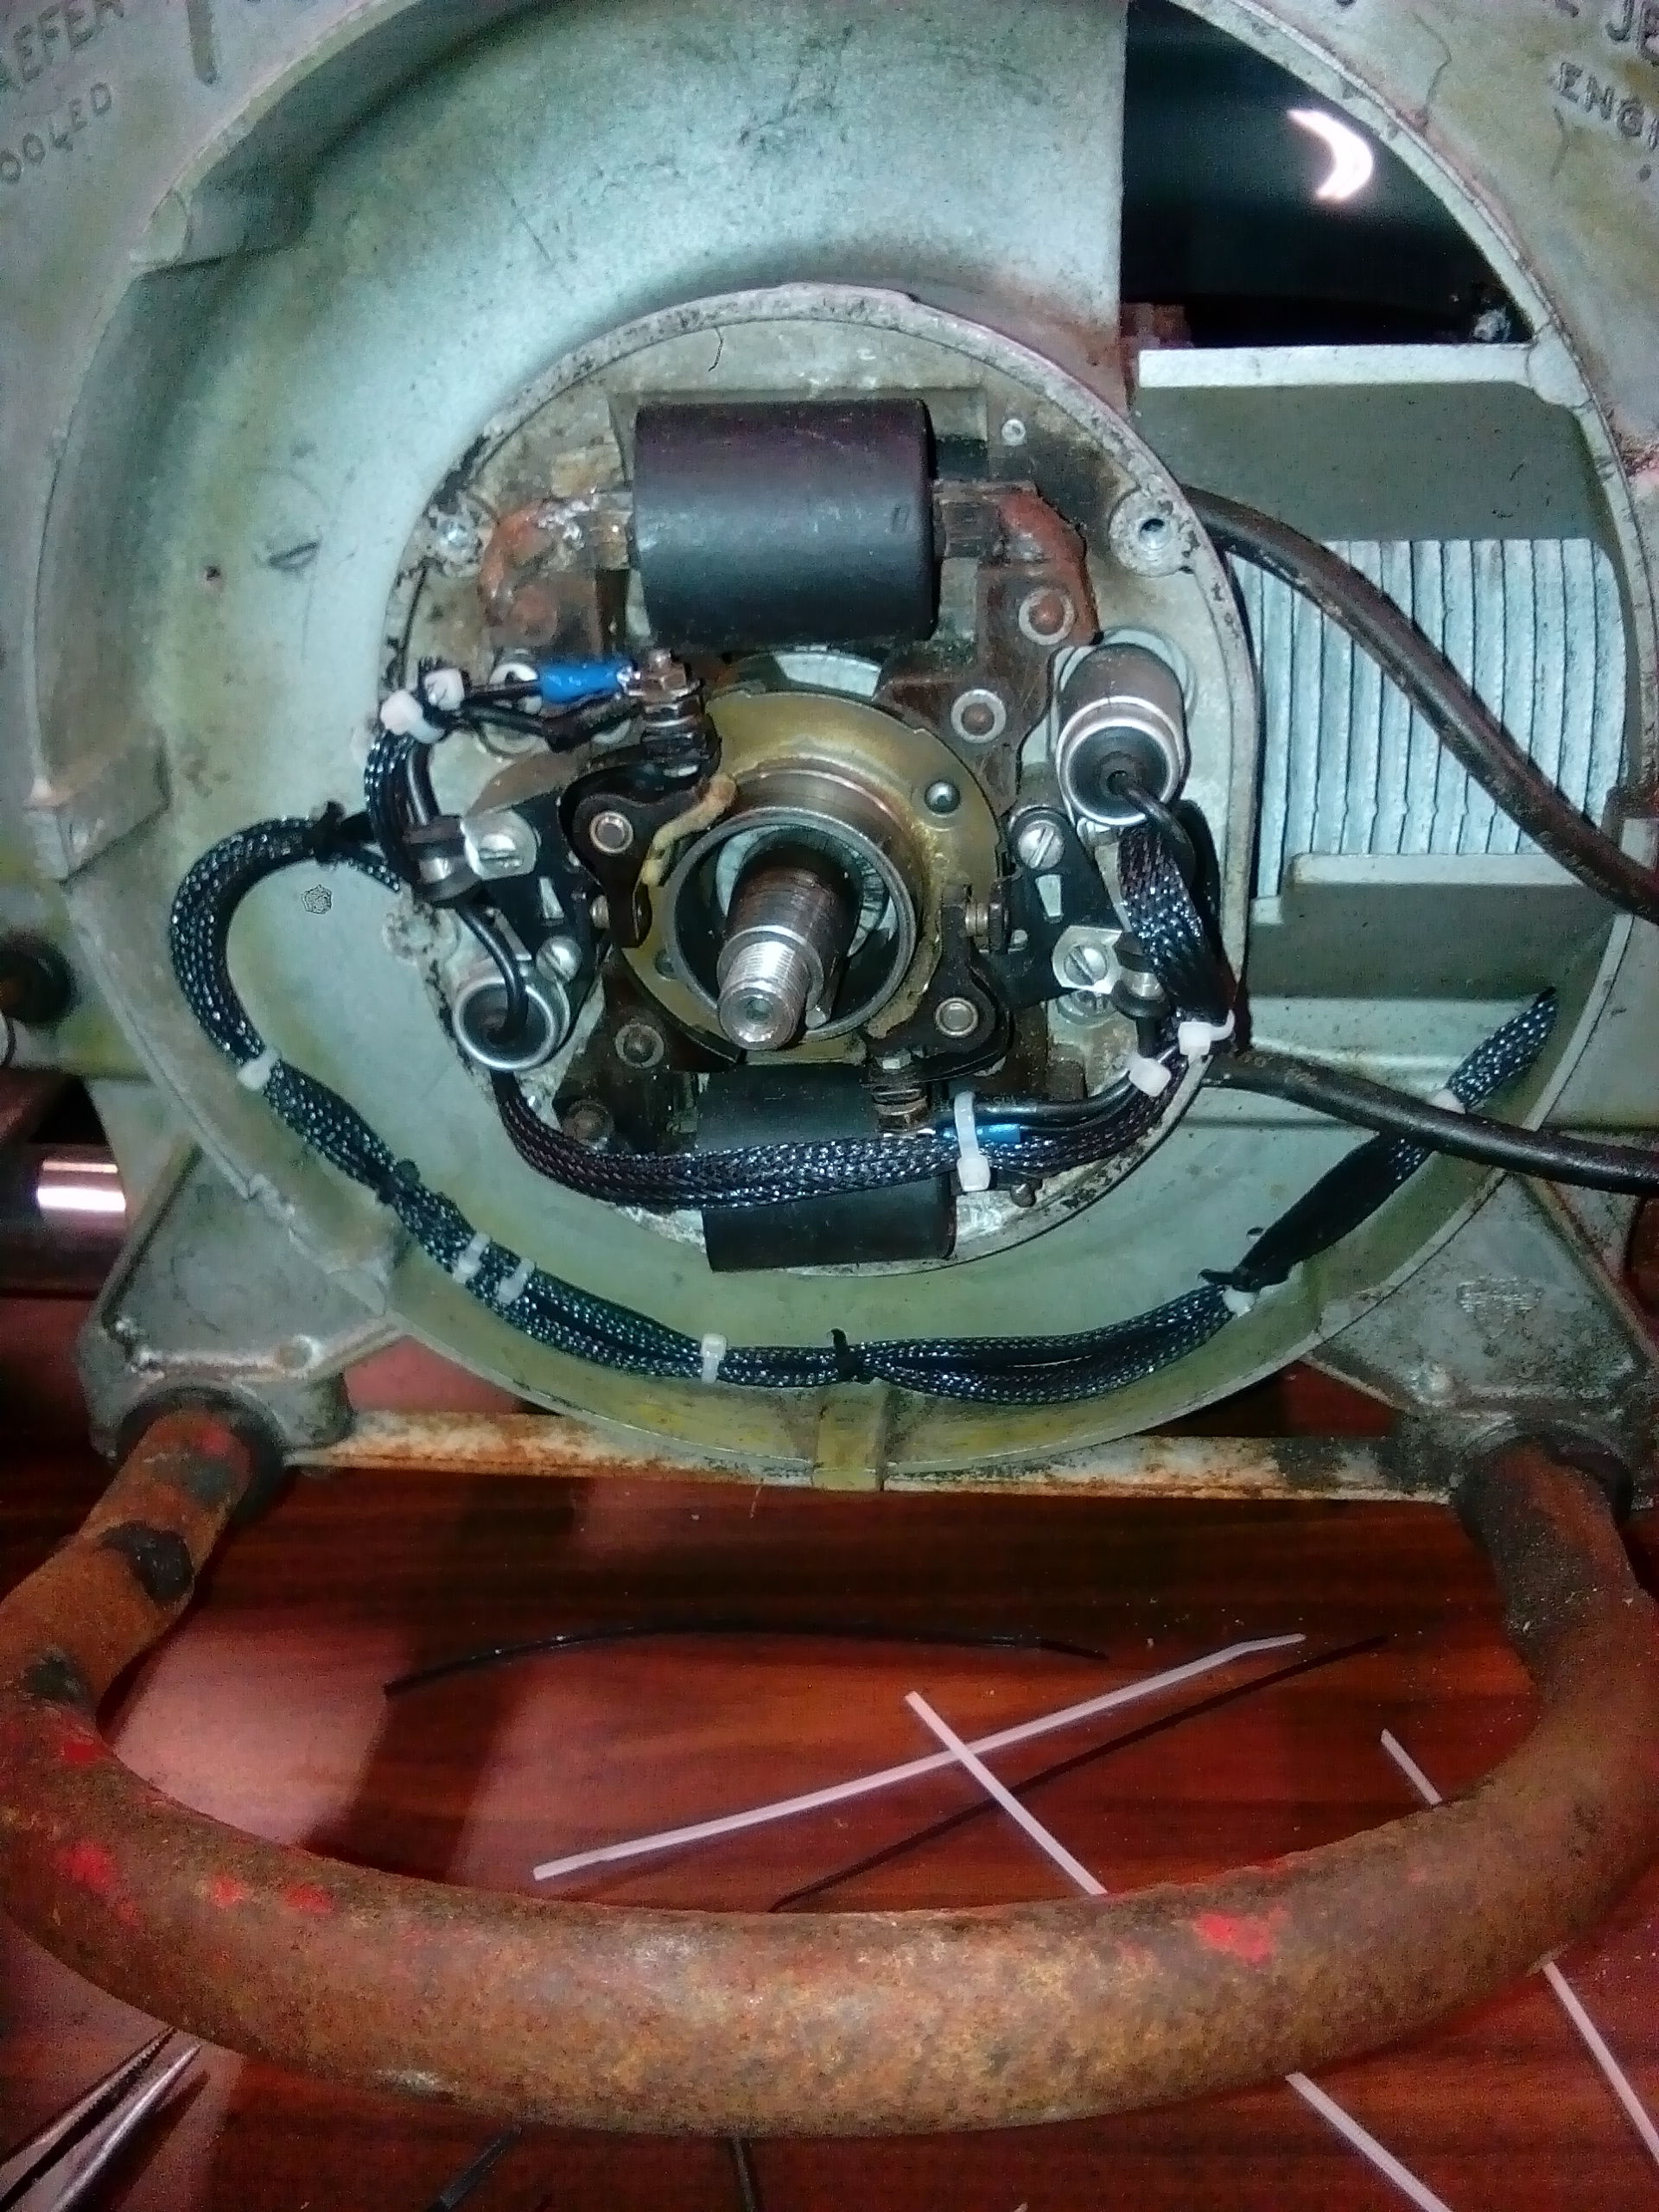
Overview from behind with new coils fitted. I figure there's no bonnet on a motorcycle; so if you've got to have it, you may as well make it a feature.
-
9
-
-
Cnt:
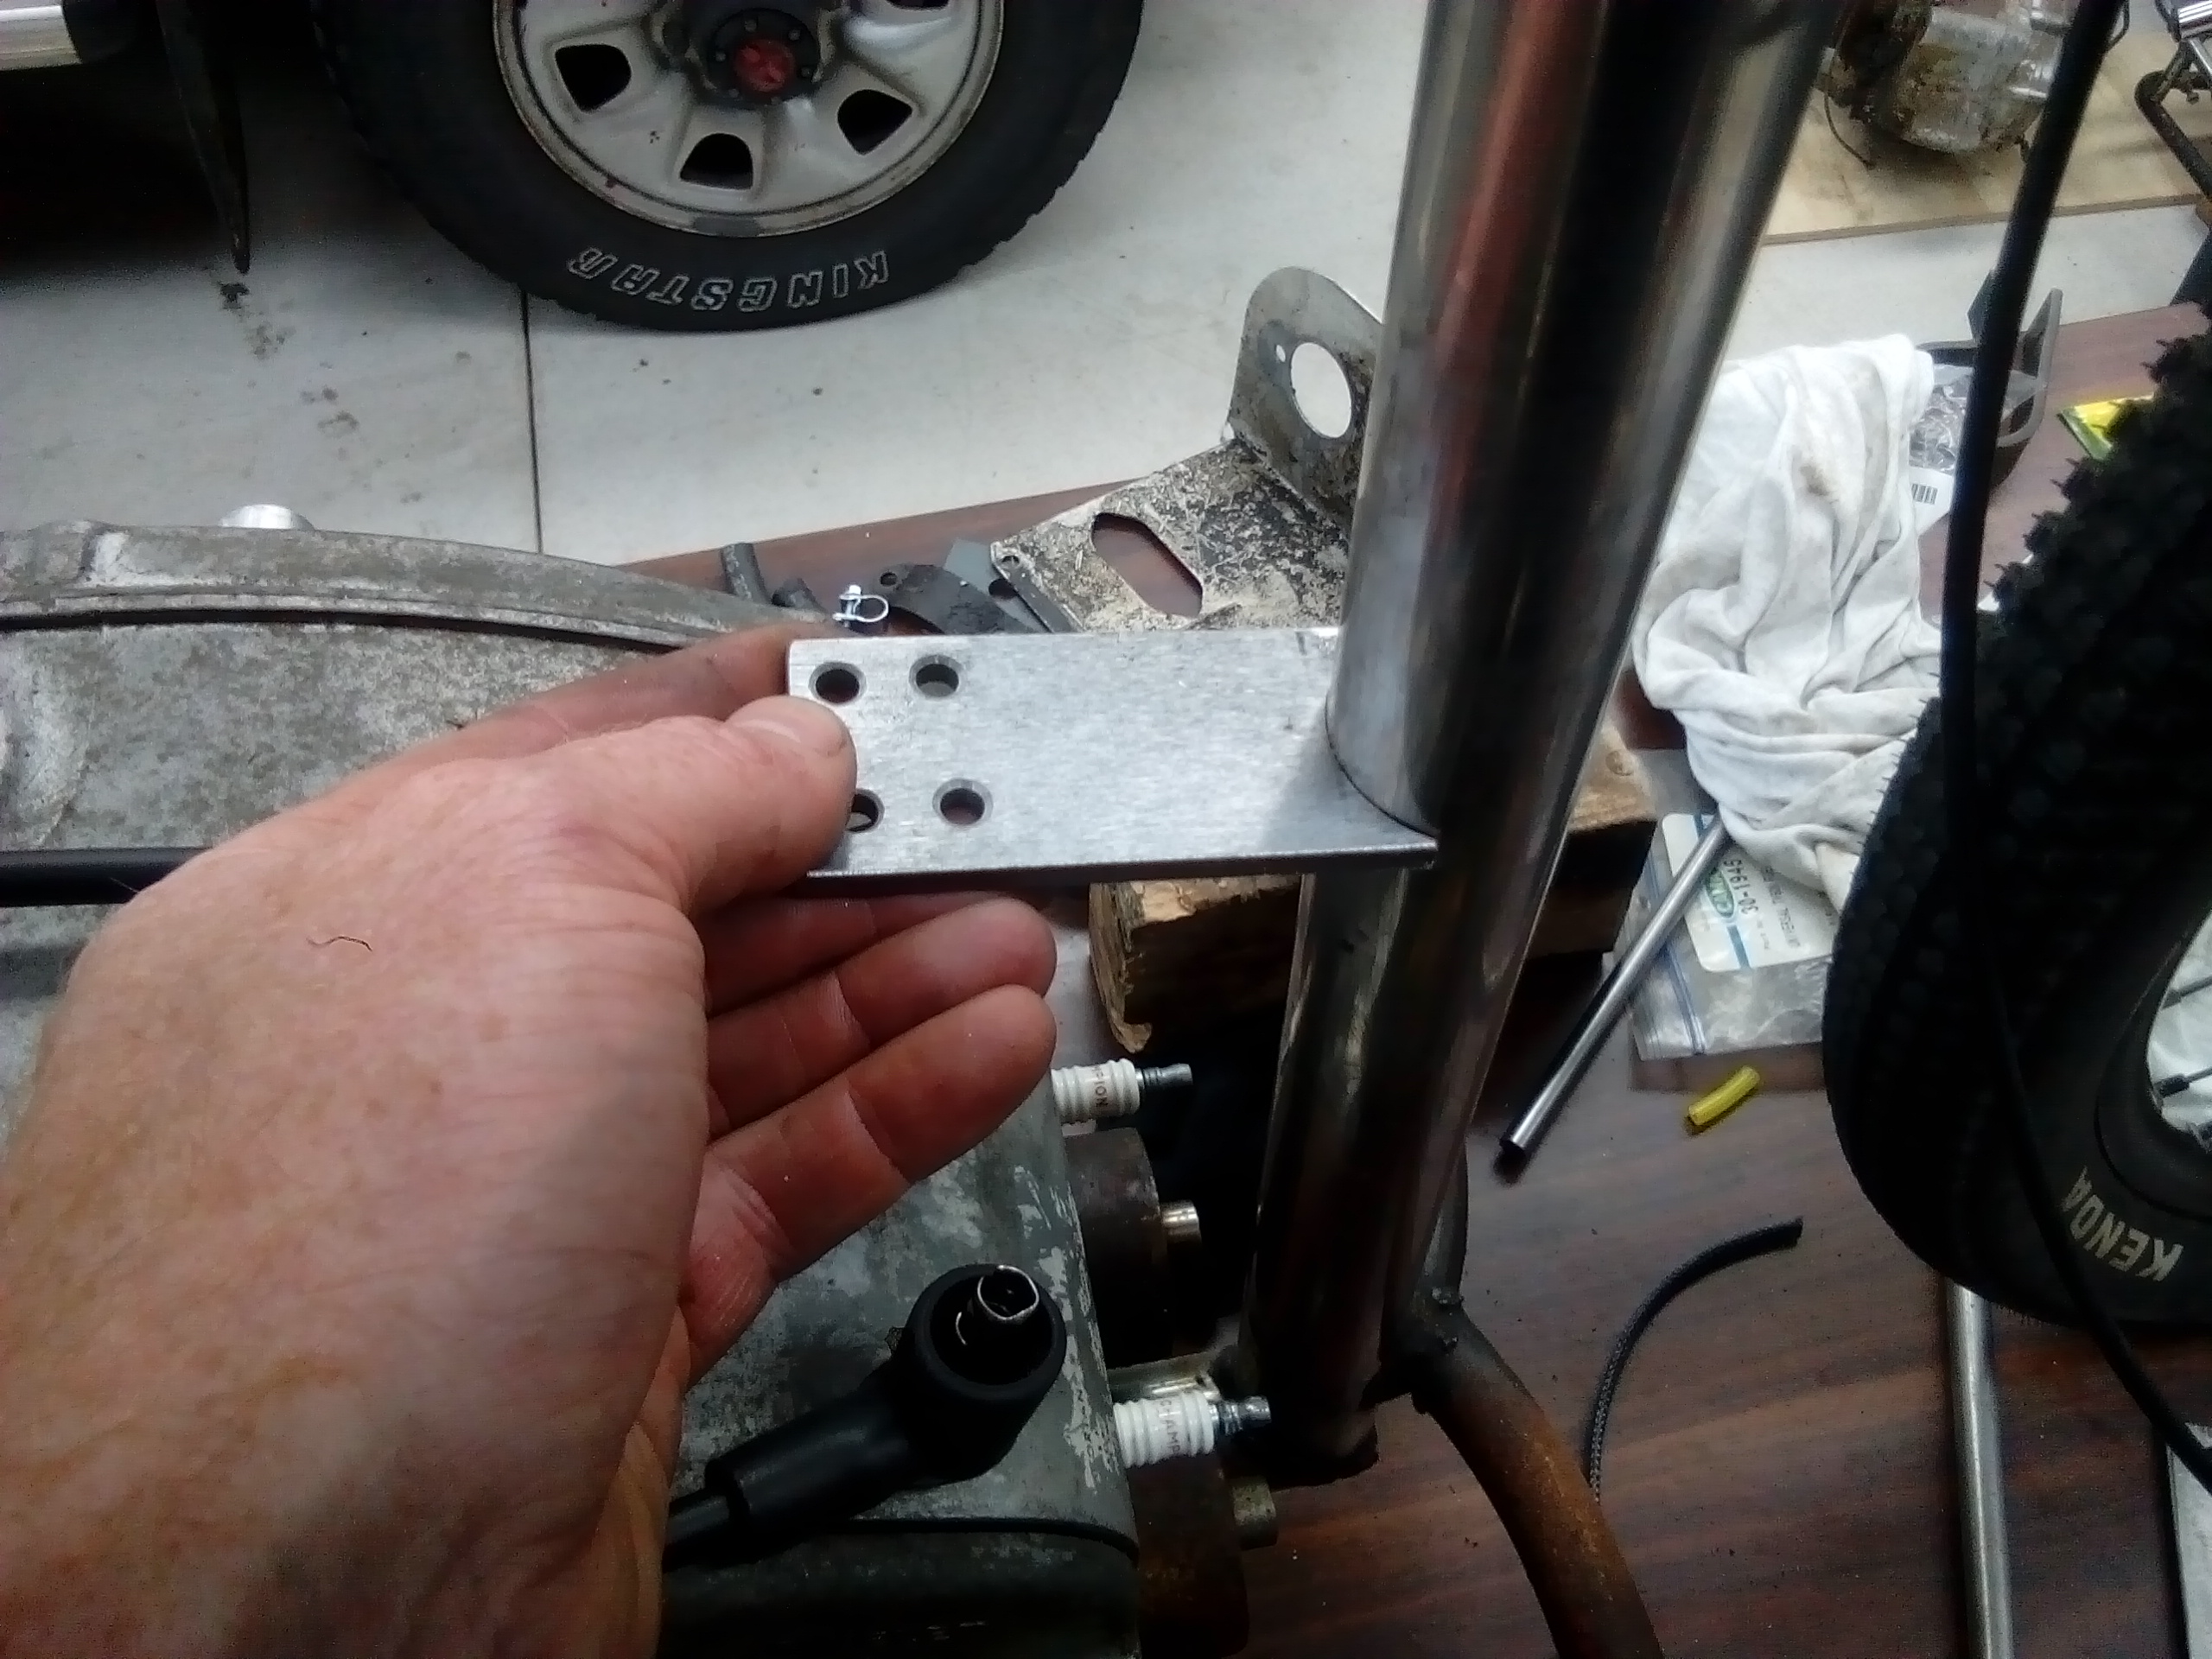
Hole saw cuts a perfect fit. Welding stainless to mild seams to create a bit of a porous weld, but acceptable.
Dry fitted...and I'm happy with the look it gives.
-
6
-
-
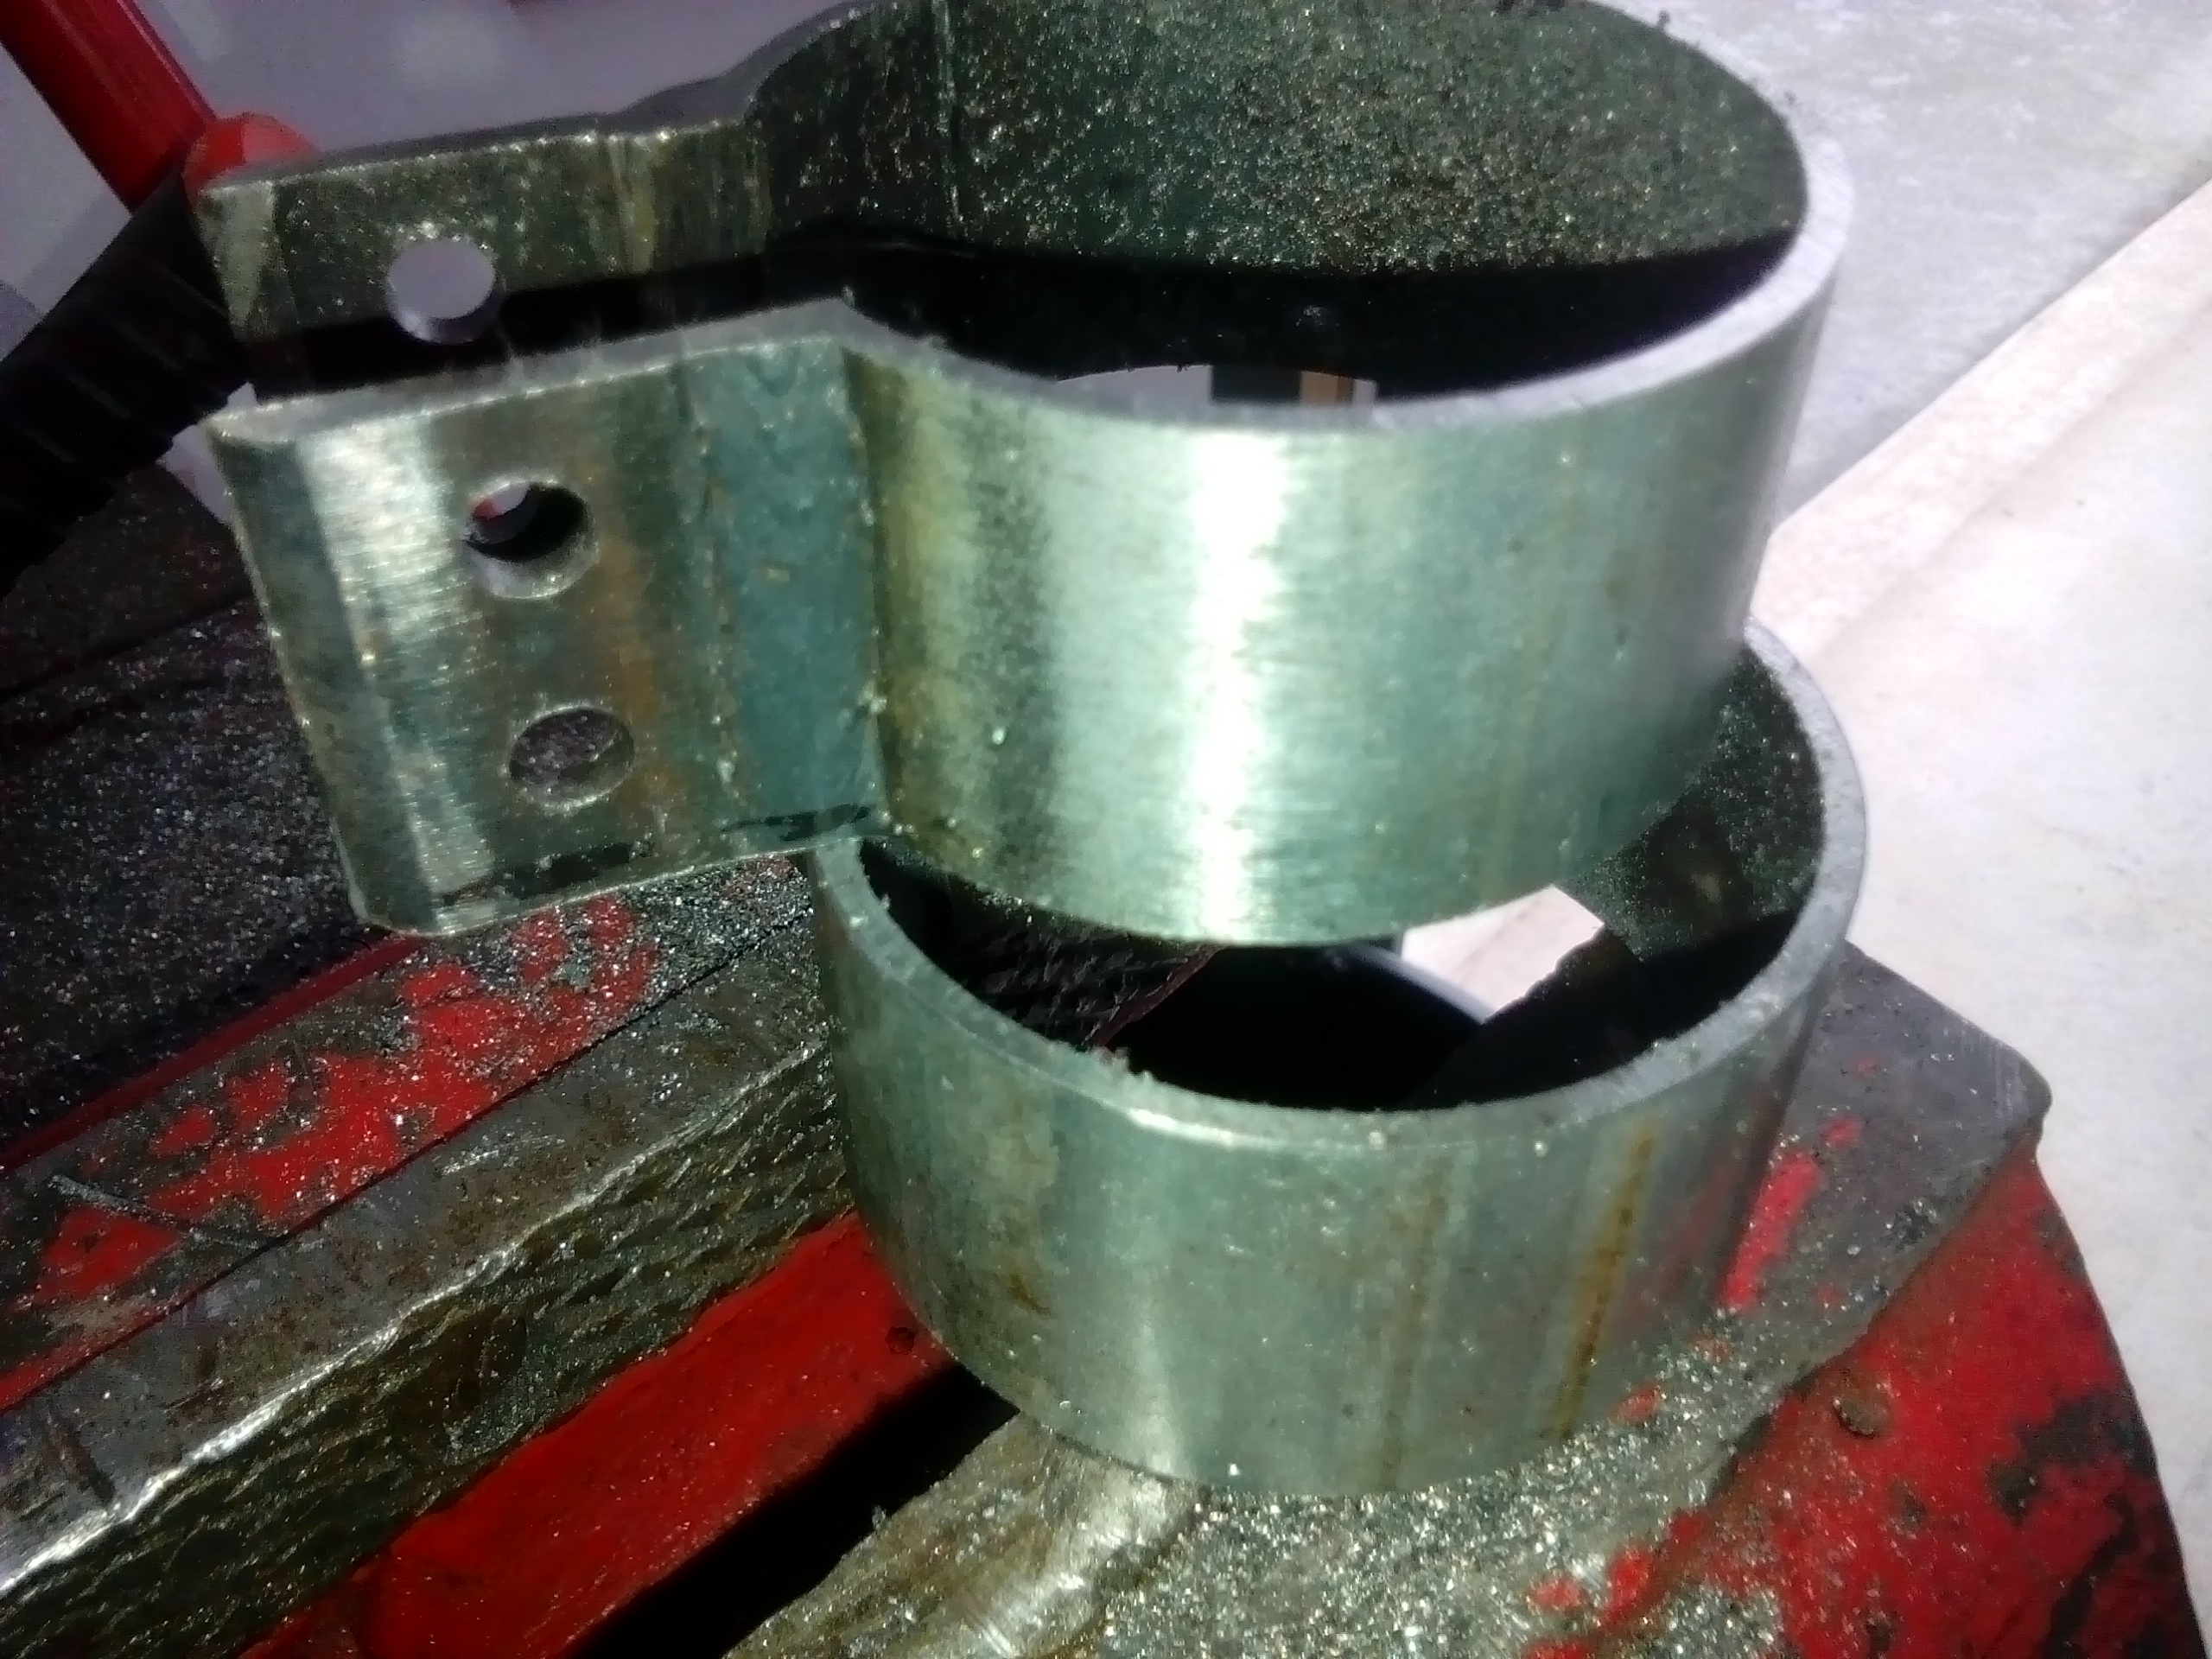
Apparently you can buy these...actually I did, but inadvertently ordered the wrong size. So I decided to make some instead;
The pipe was about 15mm in circumstance too big. I welded 25mm box section to it, then cut it right through leaving a gap.
Next was hammer time...to shrink it down to match the Lucas coil diameter.
Done! Tidy it up later with flap disc.
-
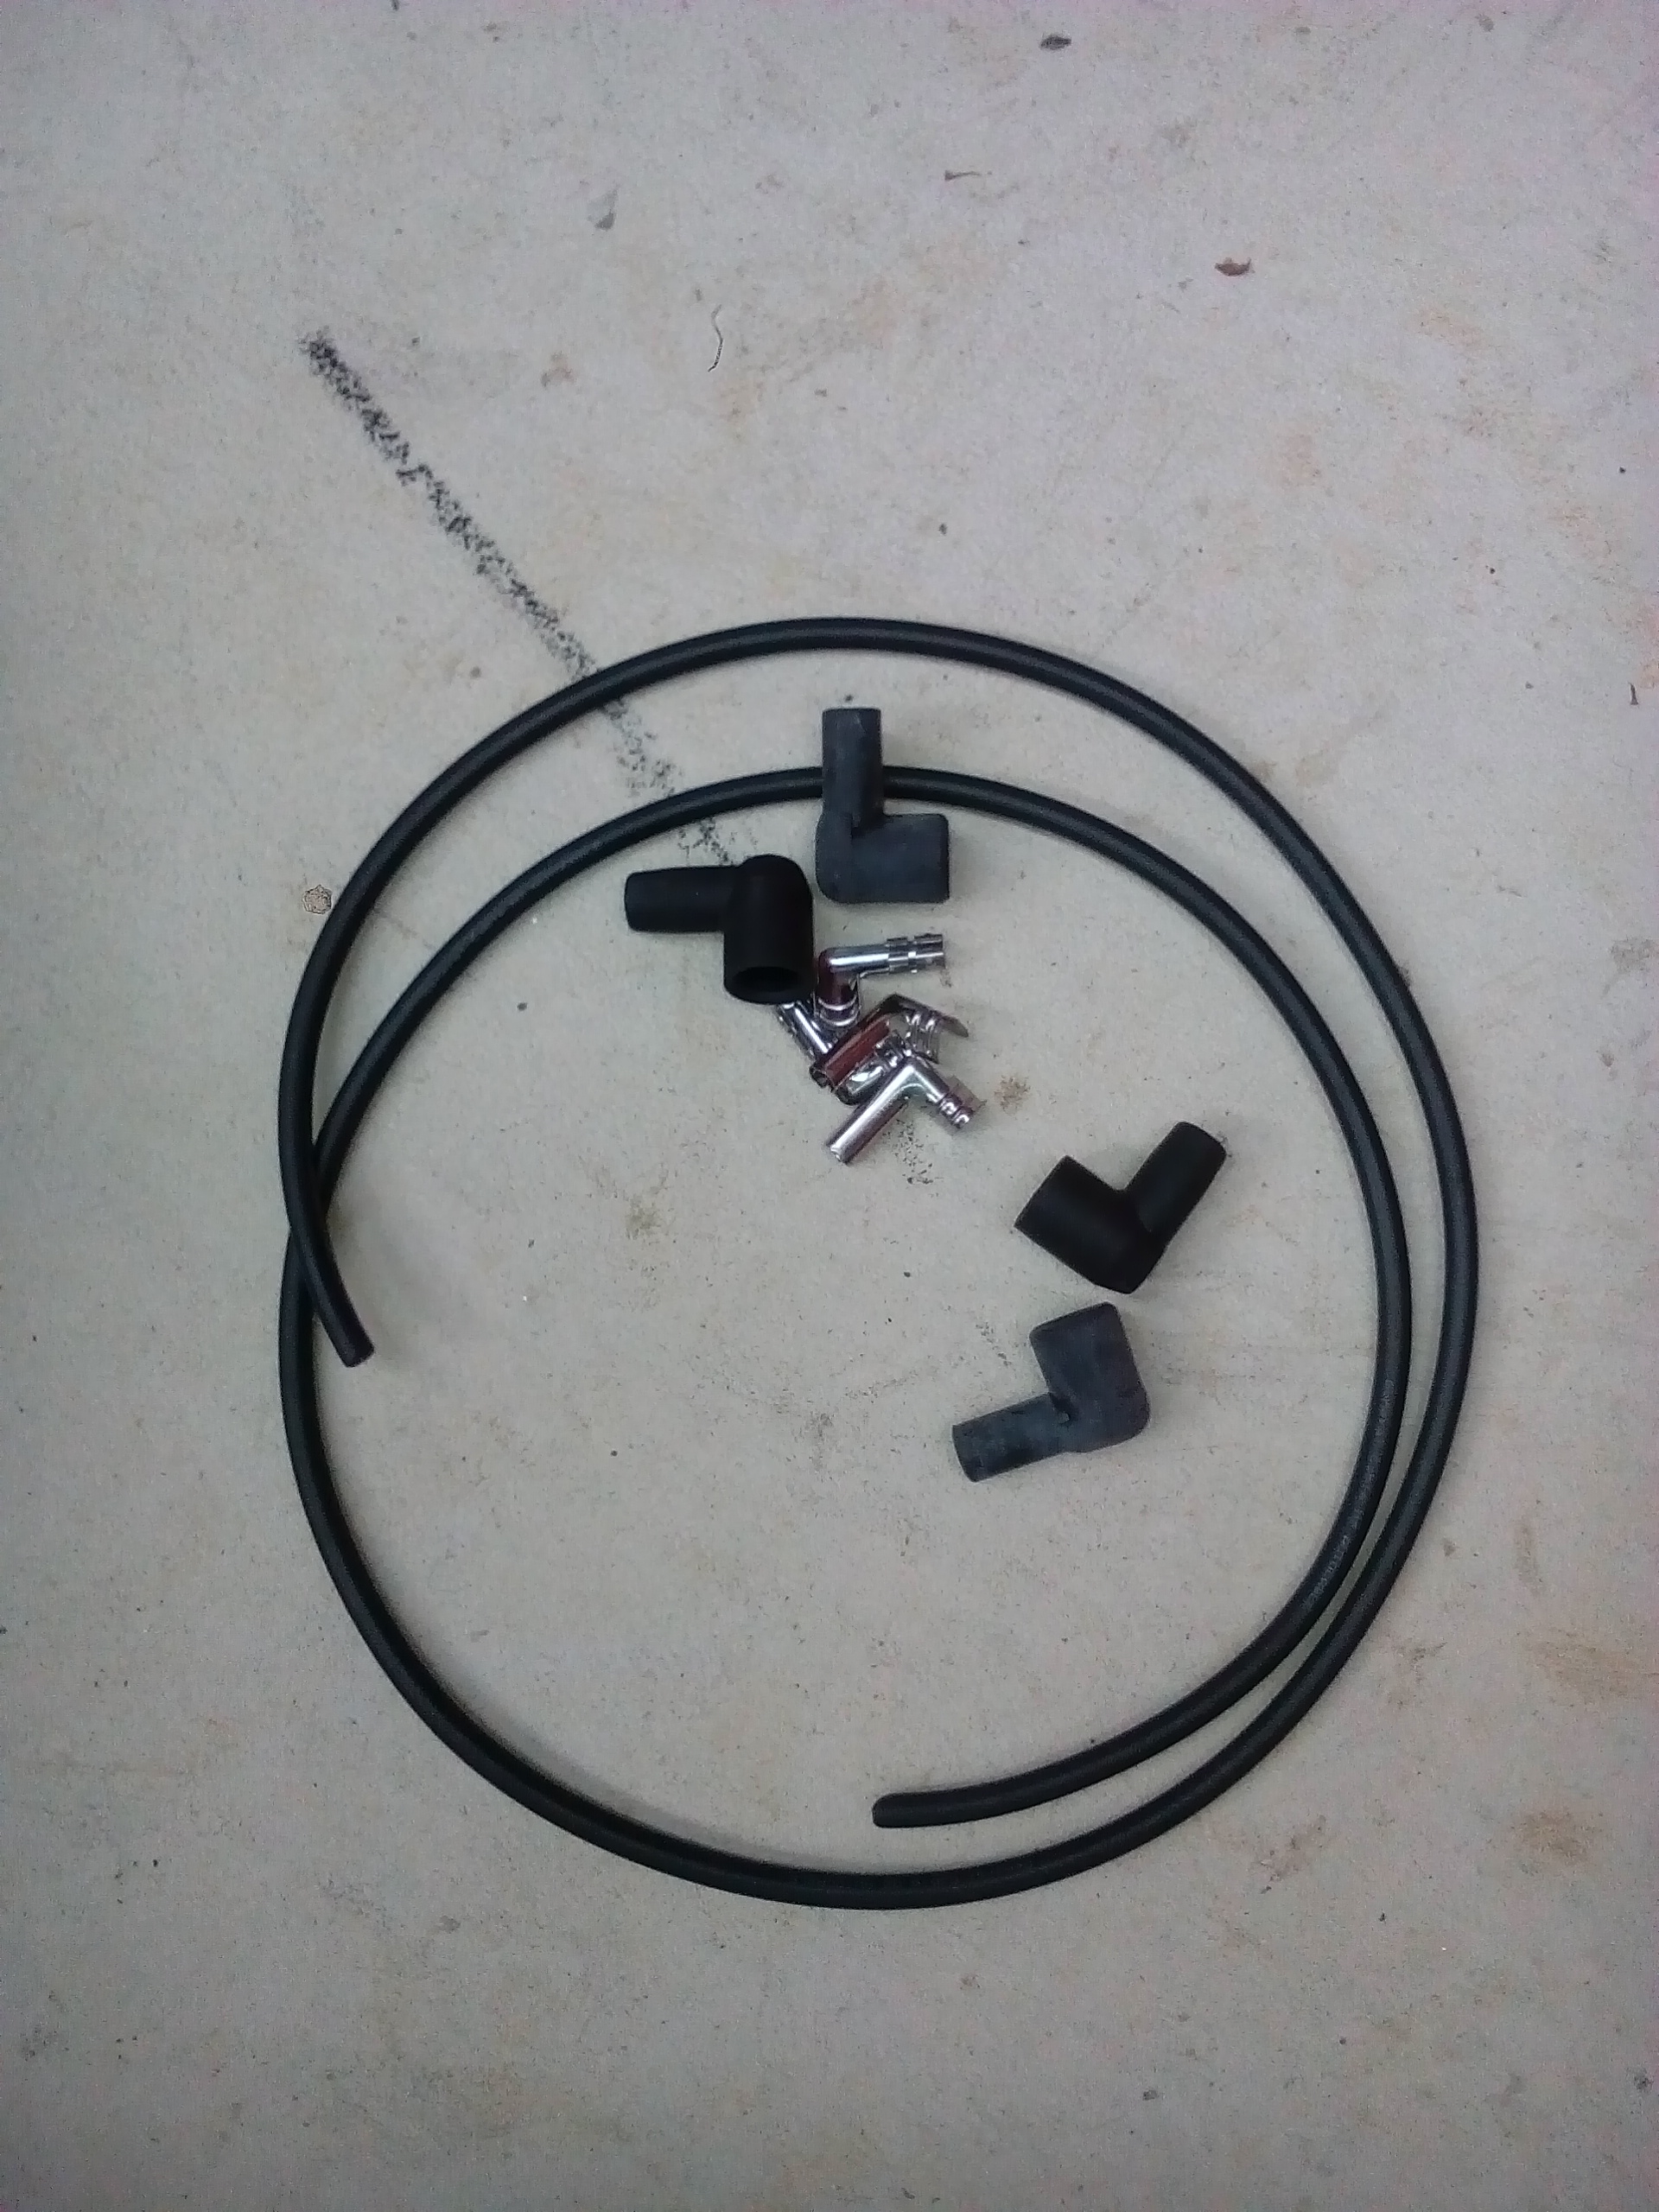
Made some leads today, fun little project where you get exactly what you want rather than some clown at Repco asking what your license plate number is and trying to find parts to match on their computer.
I went straight to an auto electrician and got the right parts off him. $20 and a steal at that!
I needed one end to go on the plug, the other into a Lucas coil. To achieve this the auto electrician told me a trick which was to reverse the steel clip...worked a treat!
-
3
-
-
I'm always surprised by the amount of cool shit that goes on in nz...awesomeness!!!
-
1
-
-
Love the front drum, fantastic innovation. How are bsa drums designed, are the leading or trailing style? Just thinking if run backwards if that changes things? Could it lock on? Sorry just thinking out loud...in reality I have no idea what I'm talking about.
-
1
-
-
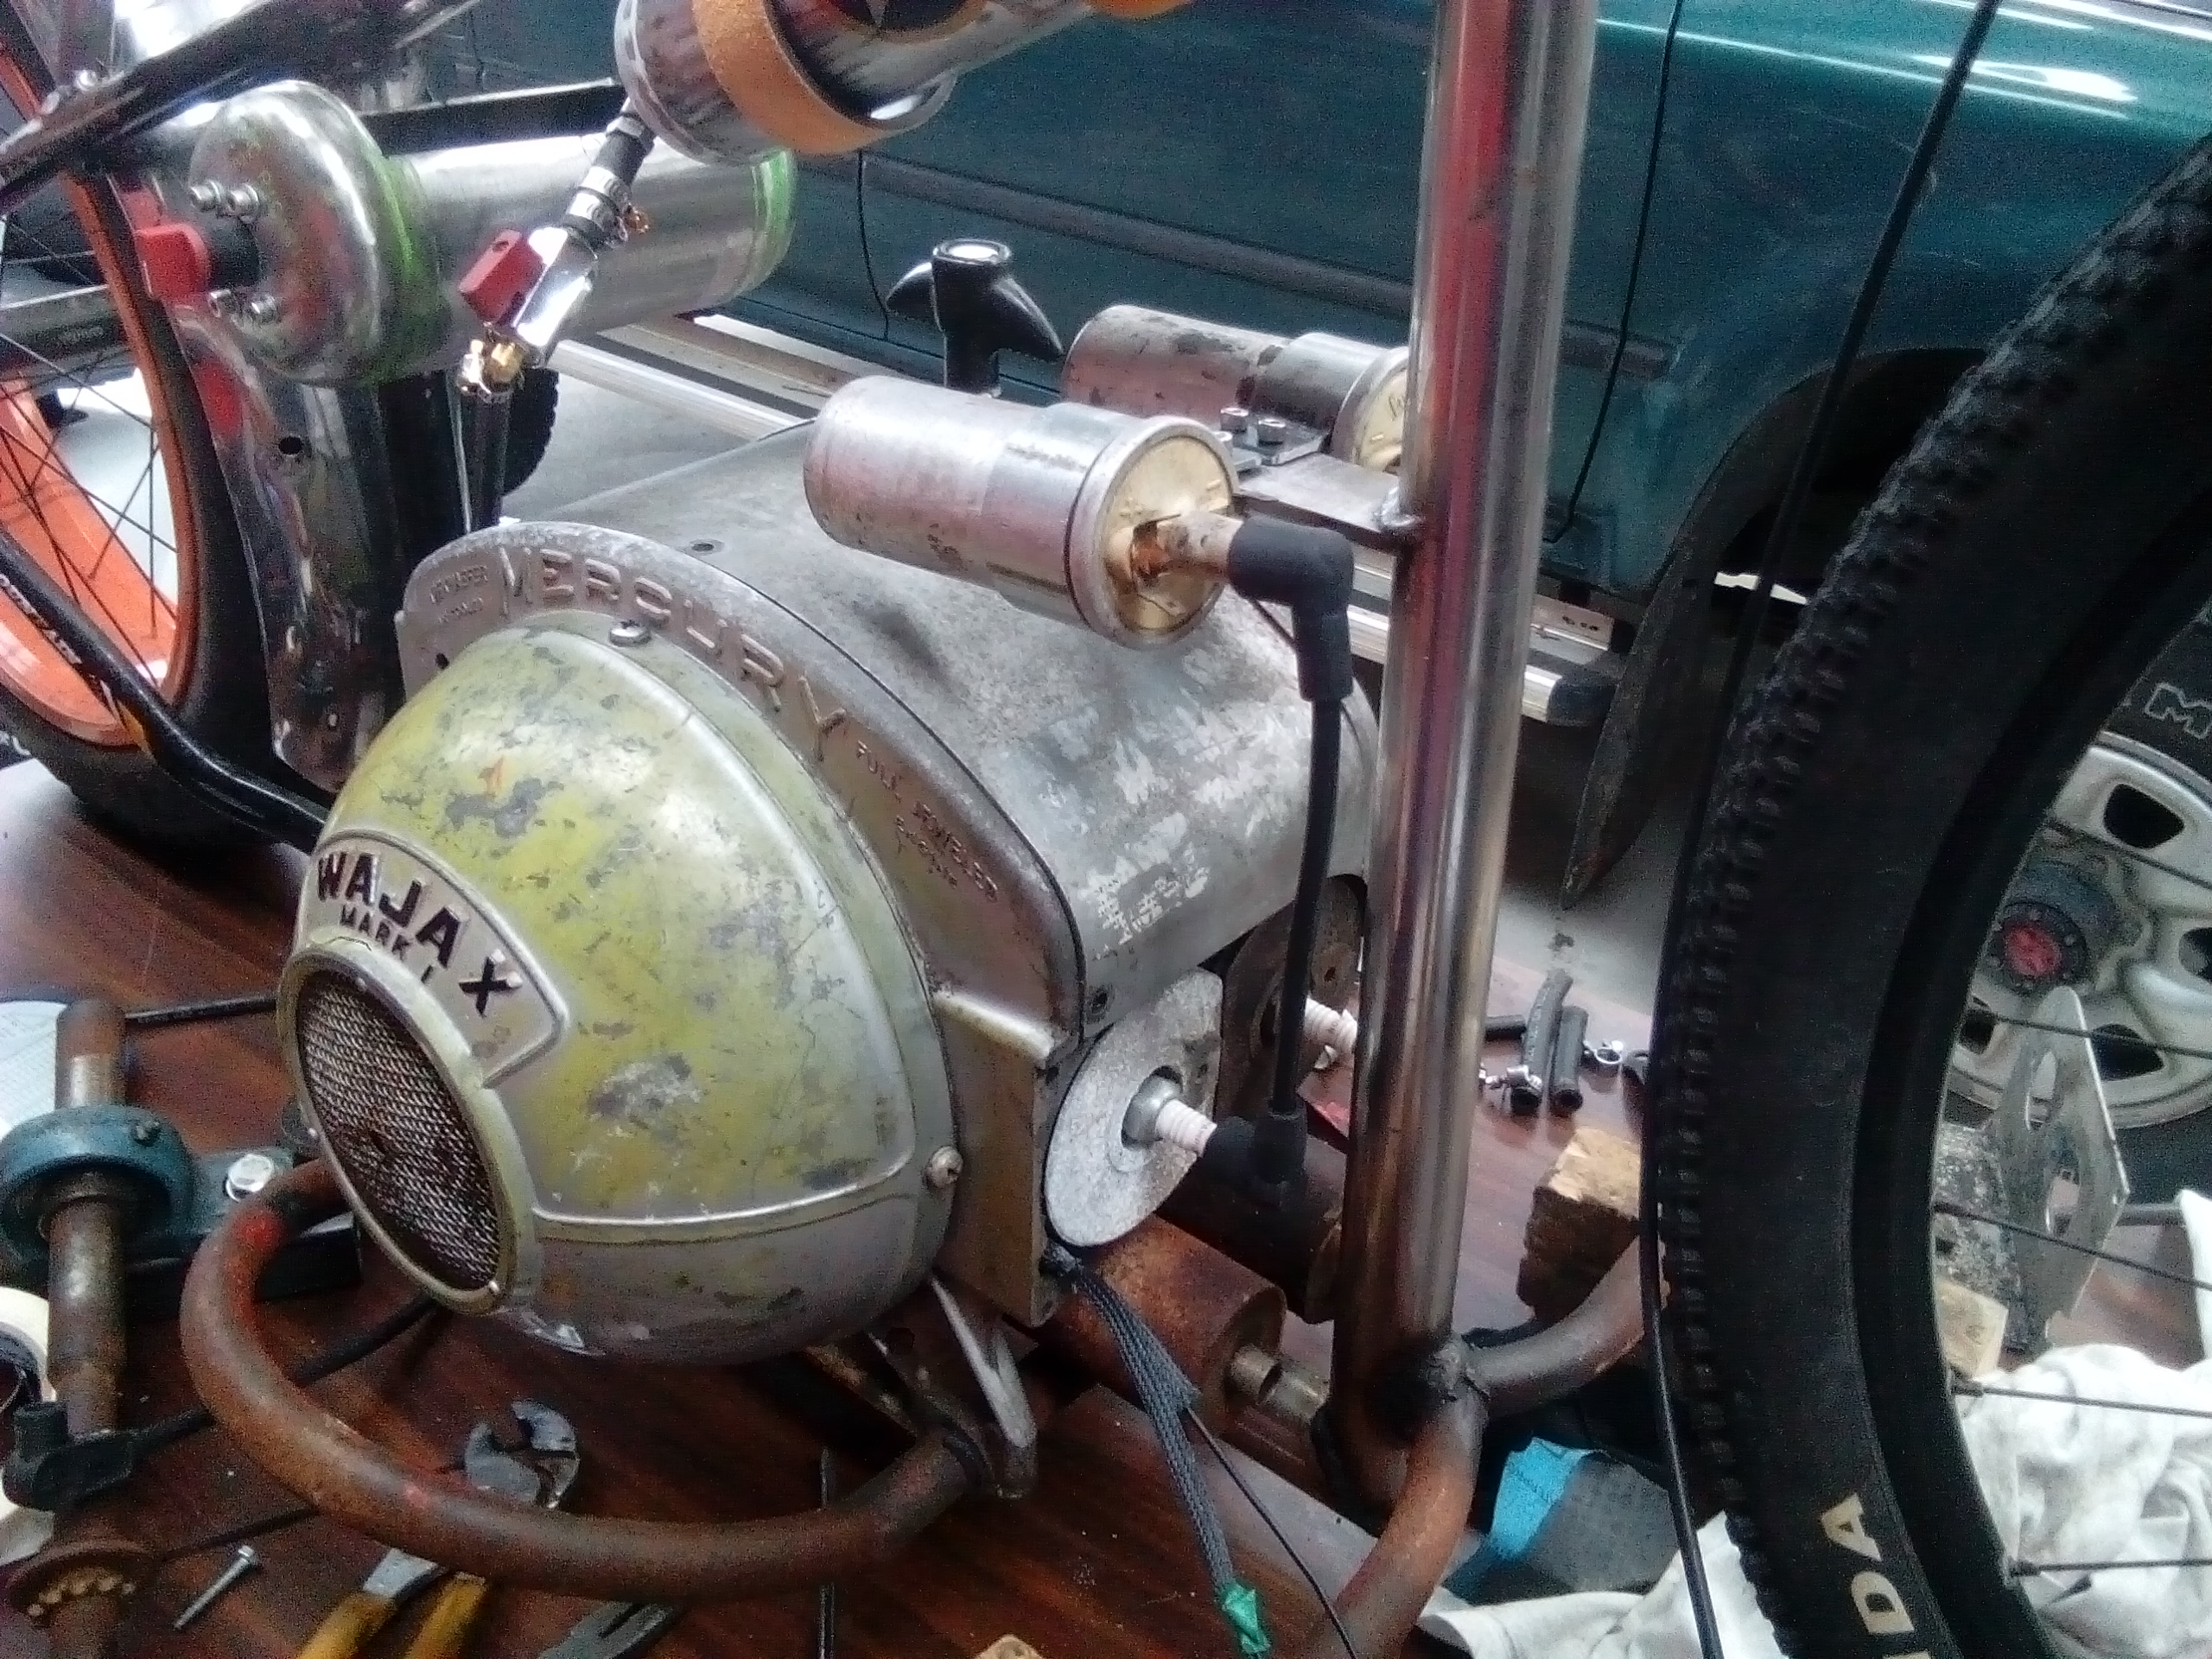
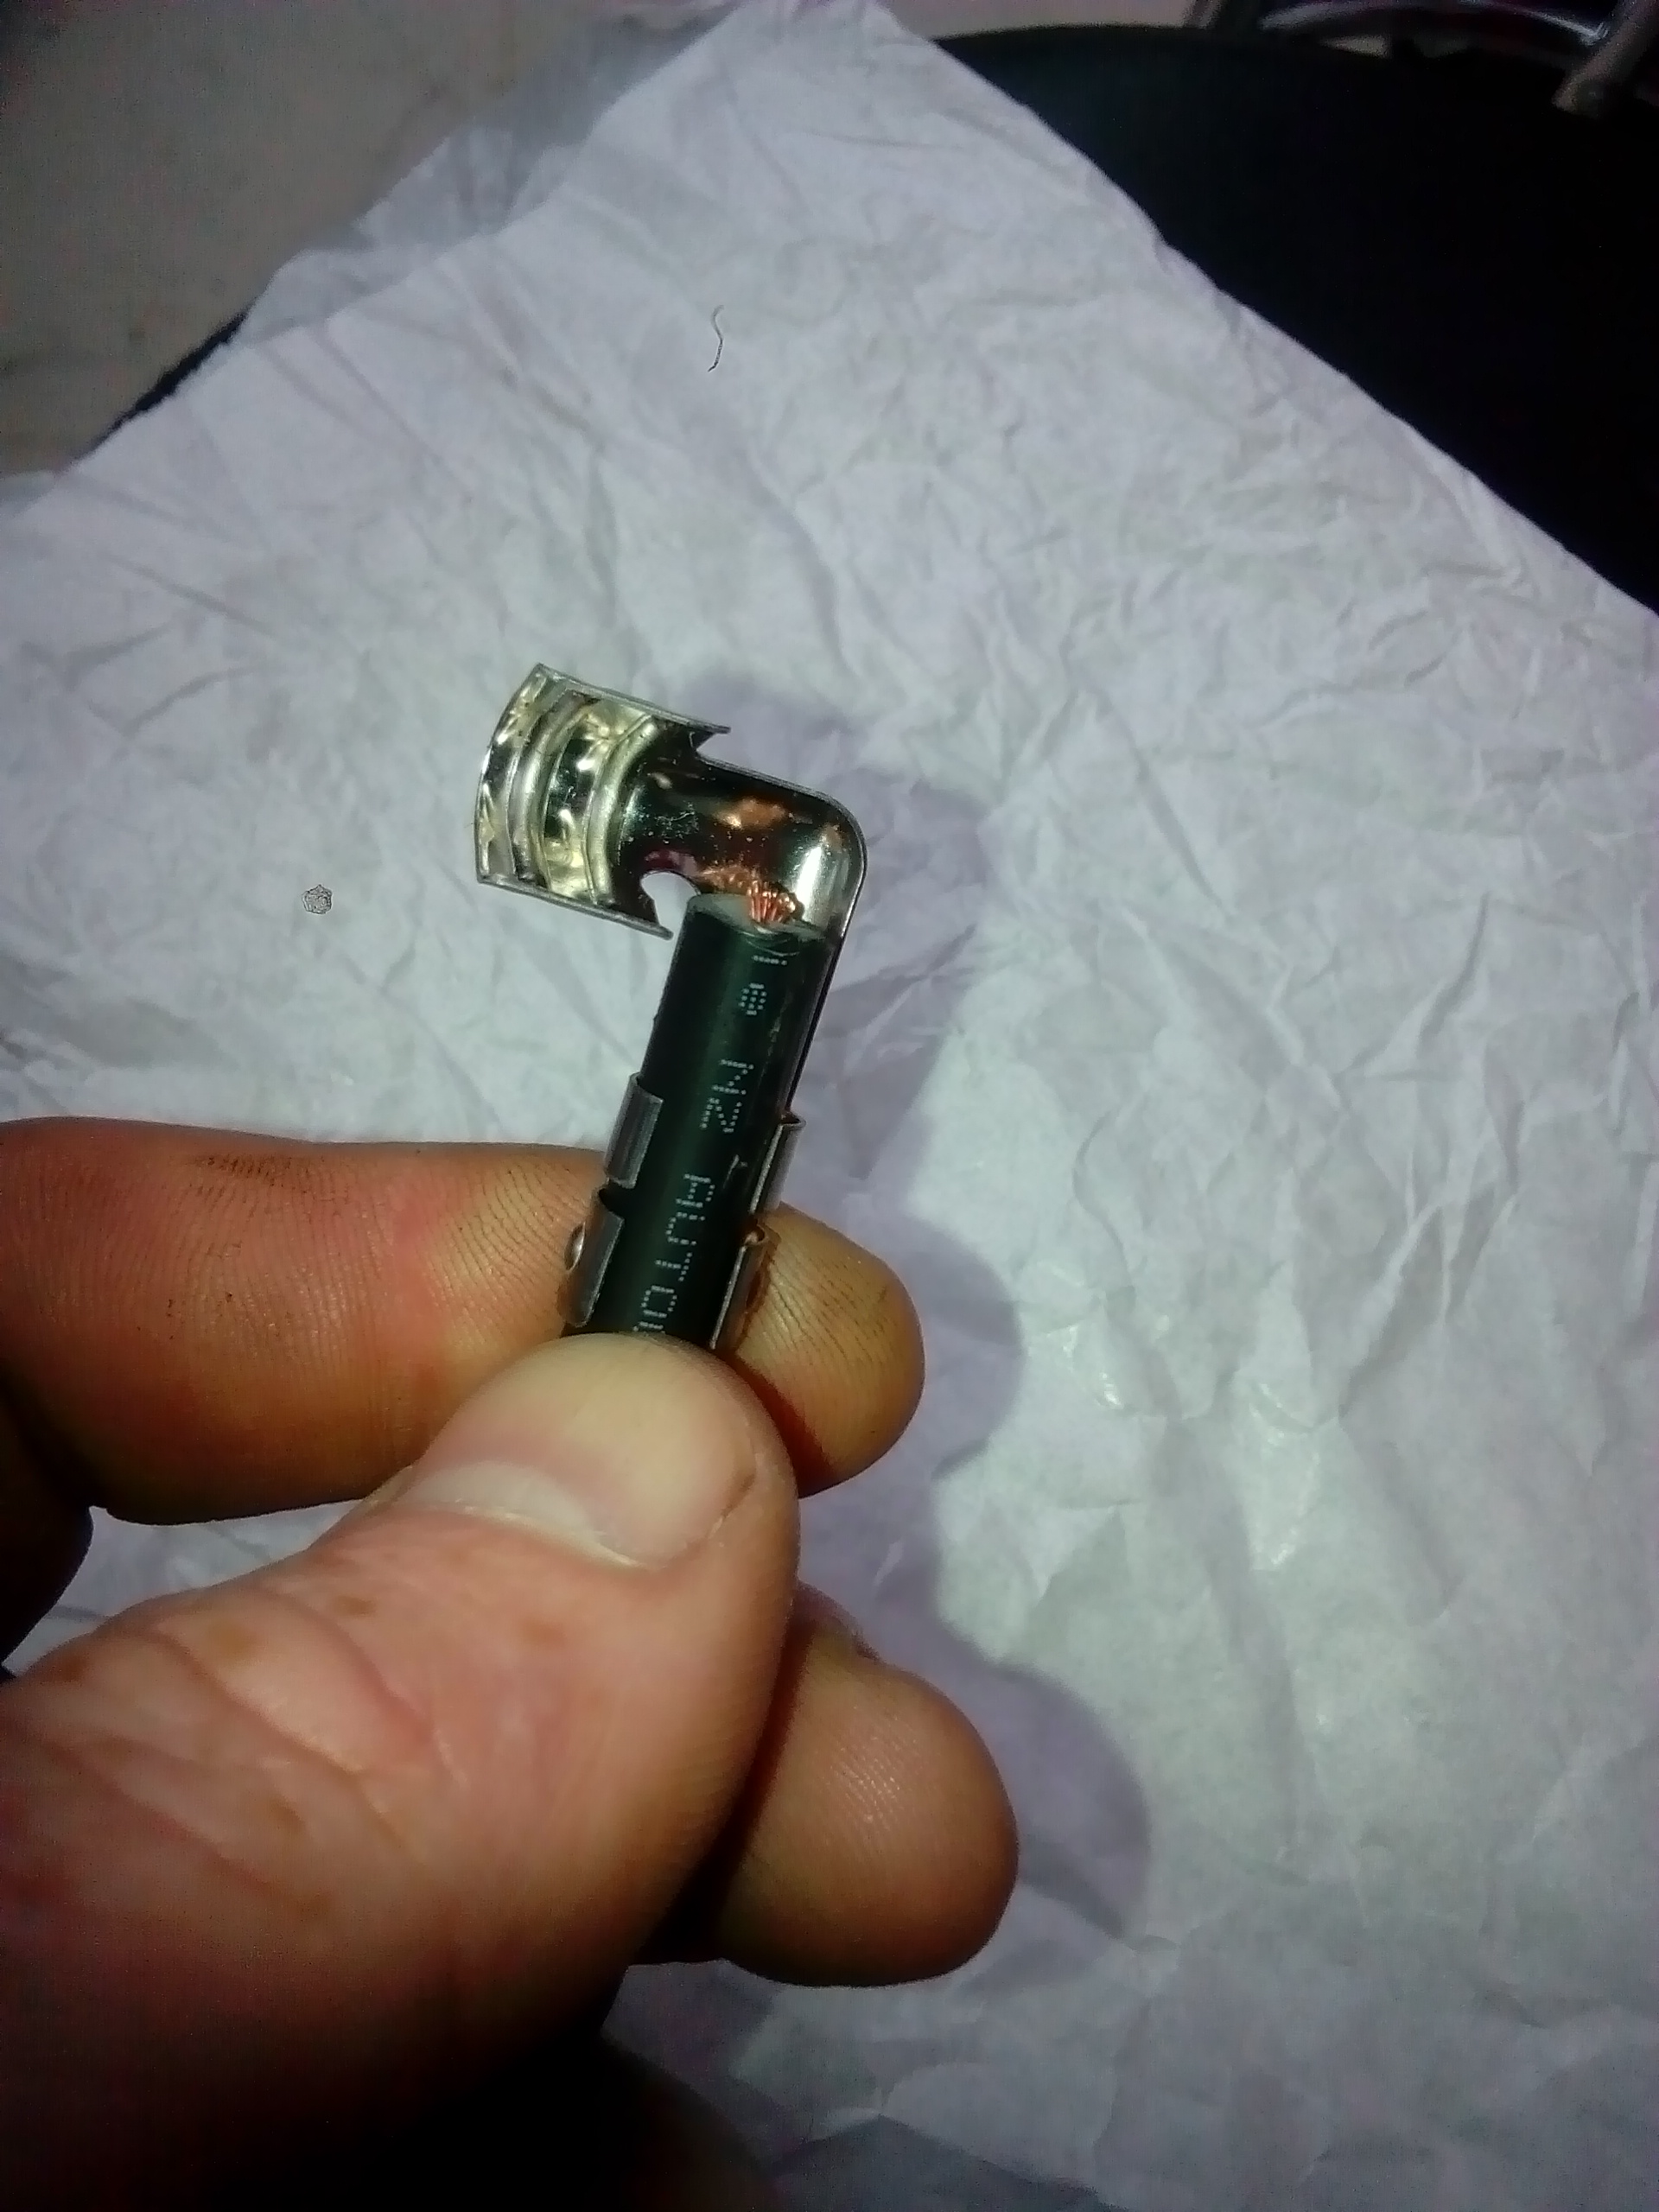
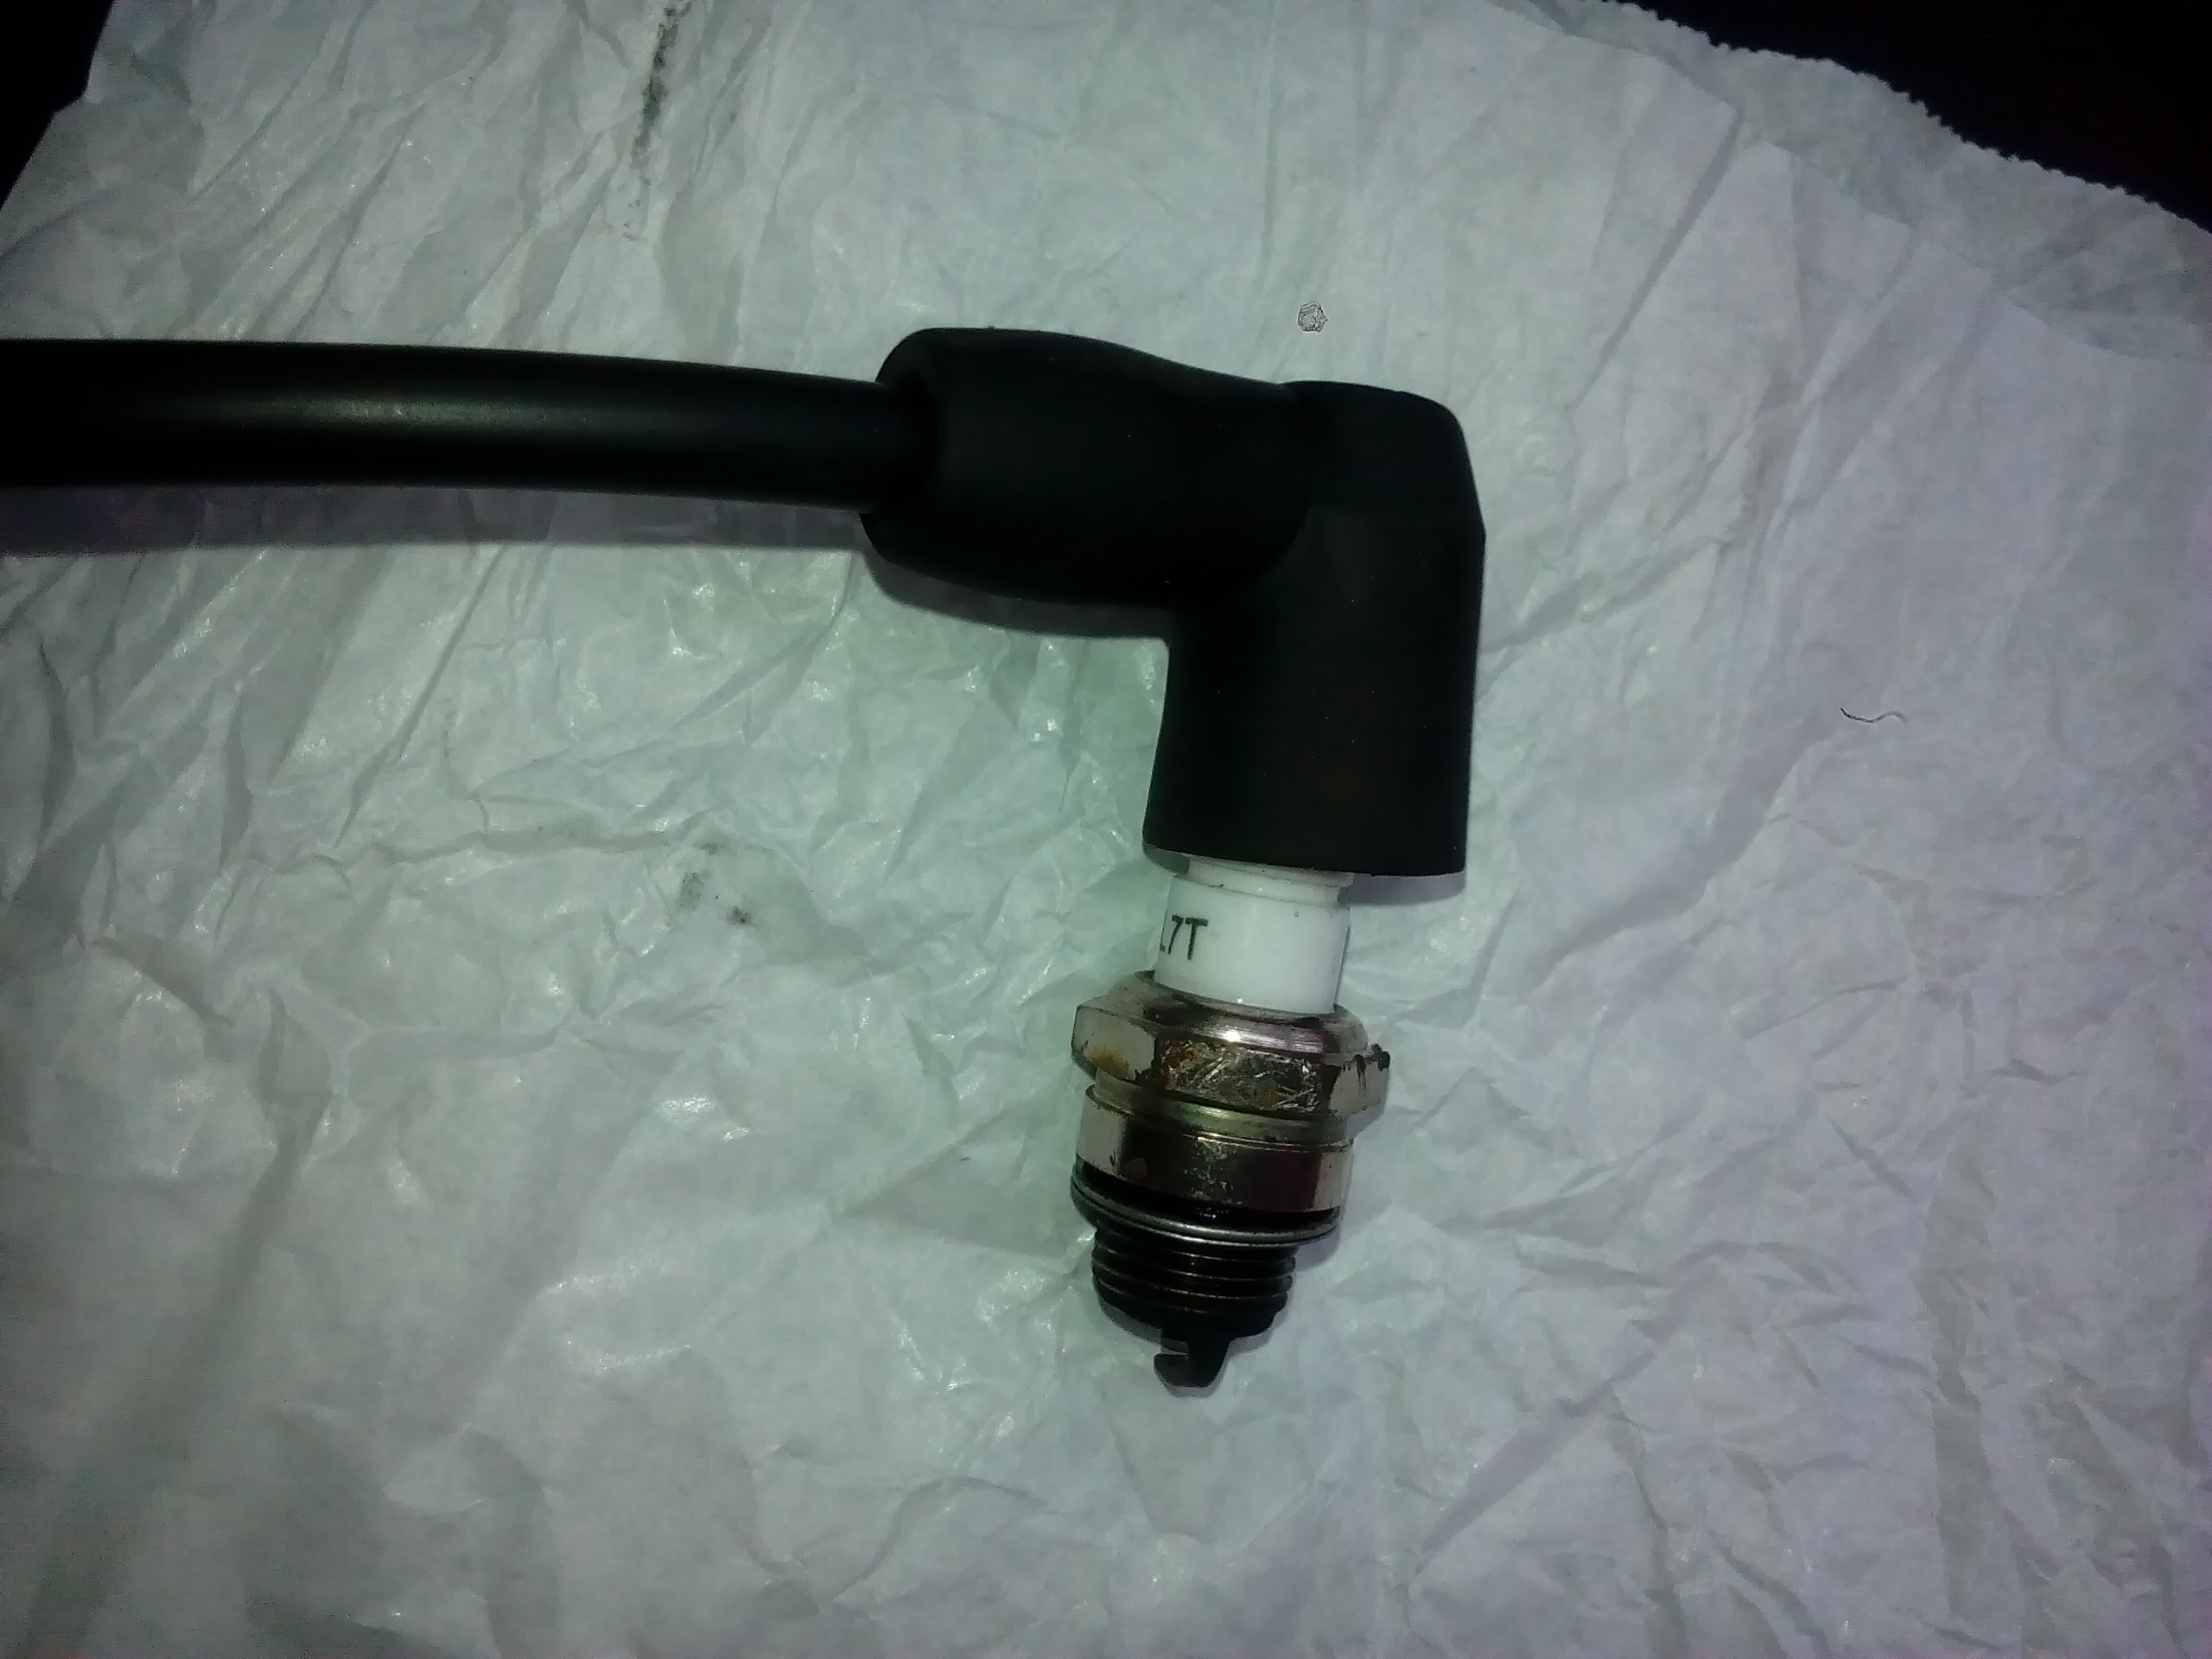
Wired up coil bypass. Now the funny thing is, I'm doing this because there was no spark. I tested it with the "tried and true" pull the cord with plug touching block....nothing....dead!
So wired this up, then tried disconnecting the HT wires from the plug and it literally fell apart. Yup the spark plug was rotten in the middle, so it never would have "sparked" even if coils were okay in the first place. However, I learnt a new skill (how to bypass a coil) and it will look tough with coils hanging off of it like a little V-twin!
I wrapped wires in heat wrap for protection, and drilled holes so cable ties could go around the cable to secure. I'll test for spark then remove old plug leads.
-
5
-
-
Awesome, thank you! That is gold.
-
Going to give this a go, just need fuel line, throttle cable, and oh...ignition. dam it!!! But in all seriousness its just a matter of getting those parts then 30 minutes to hook it all up.
-
1
-
-
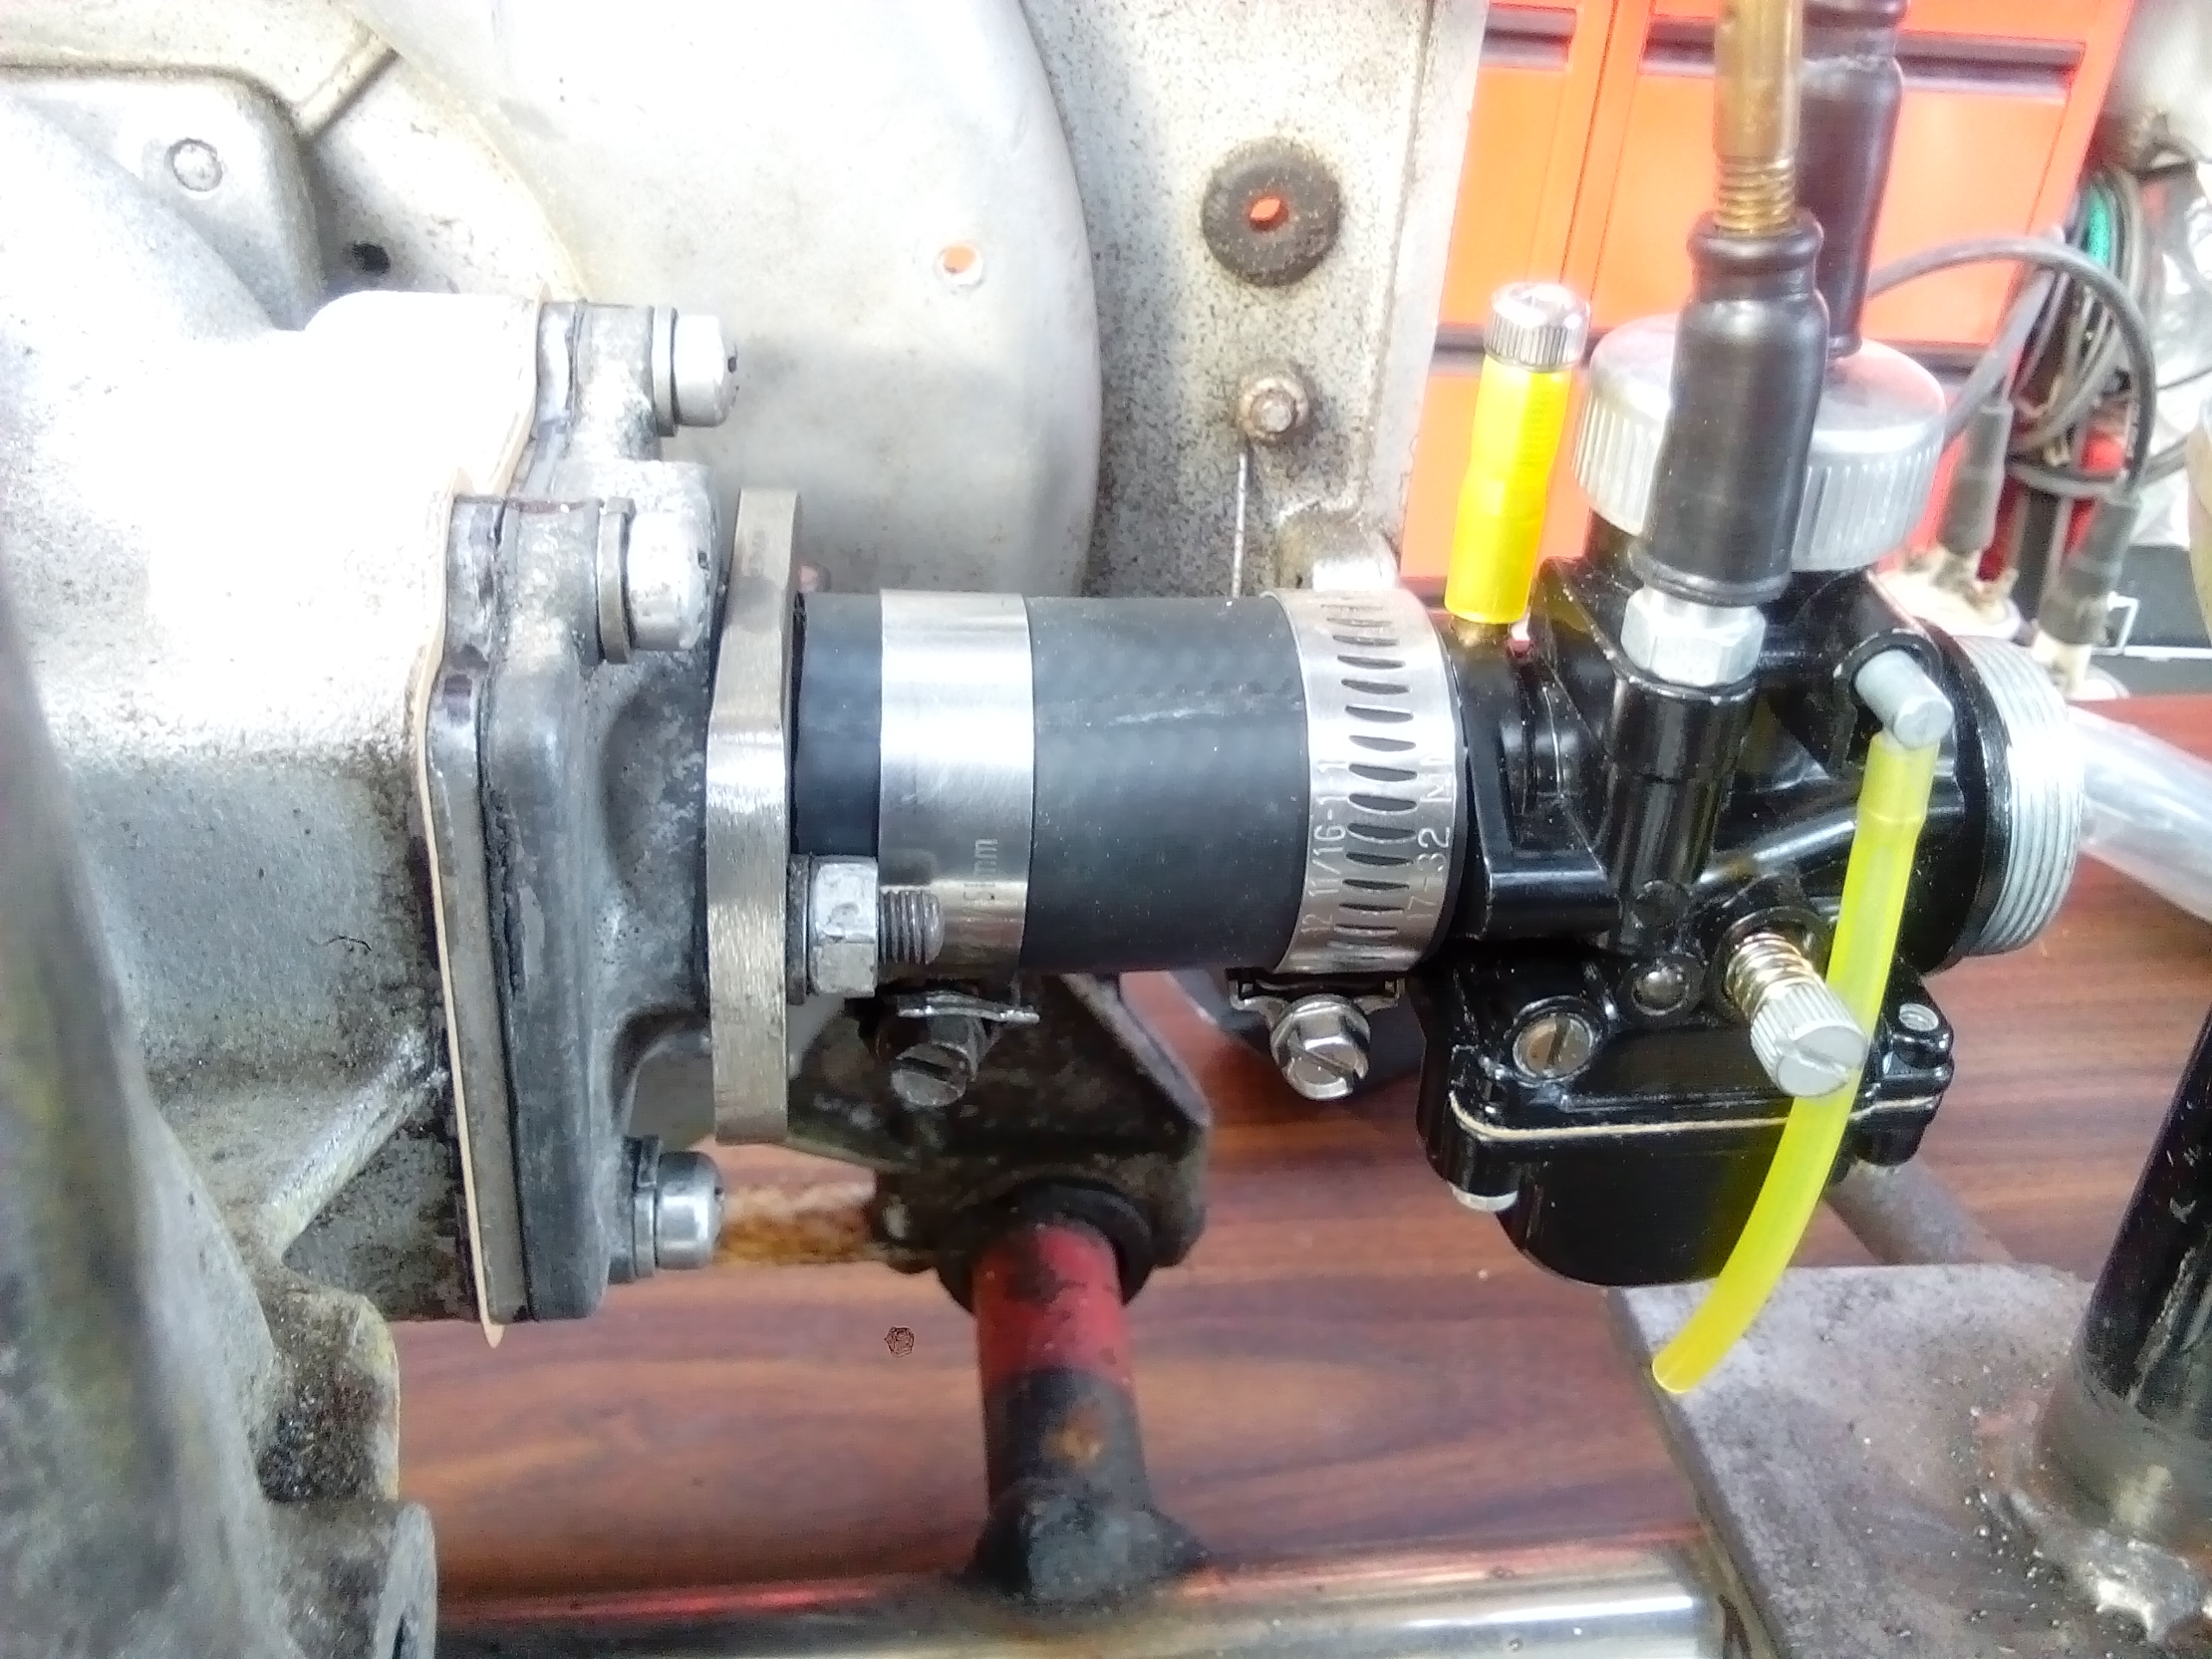
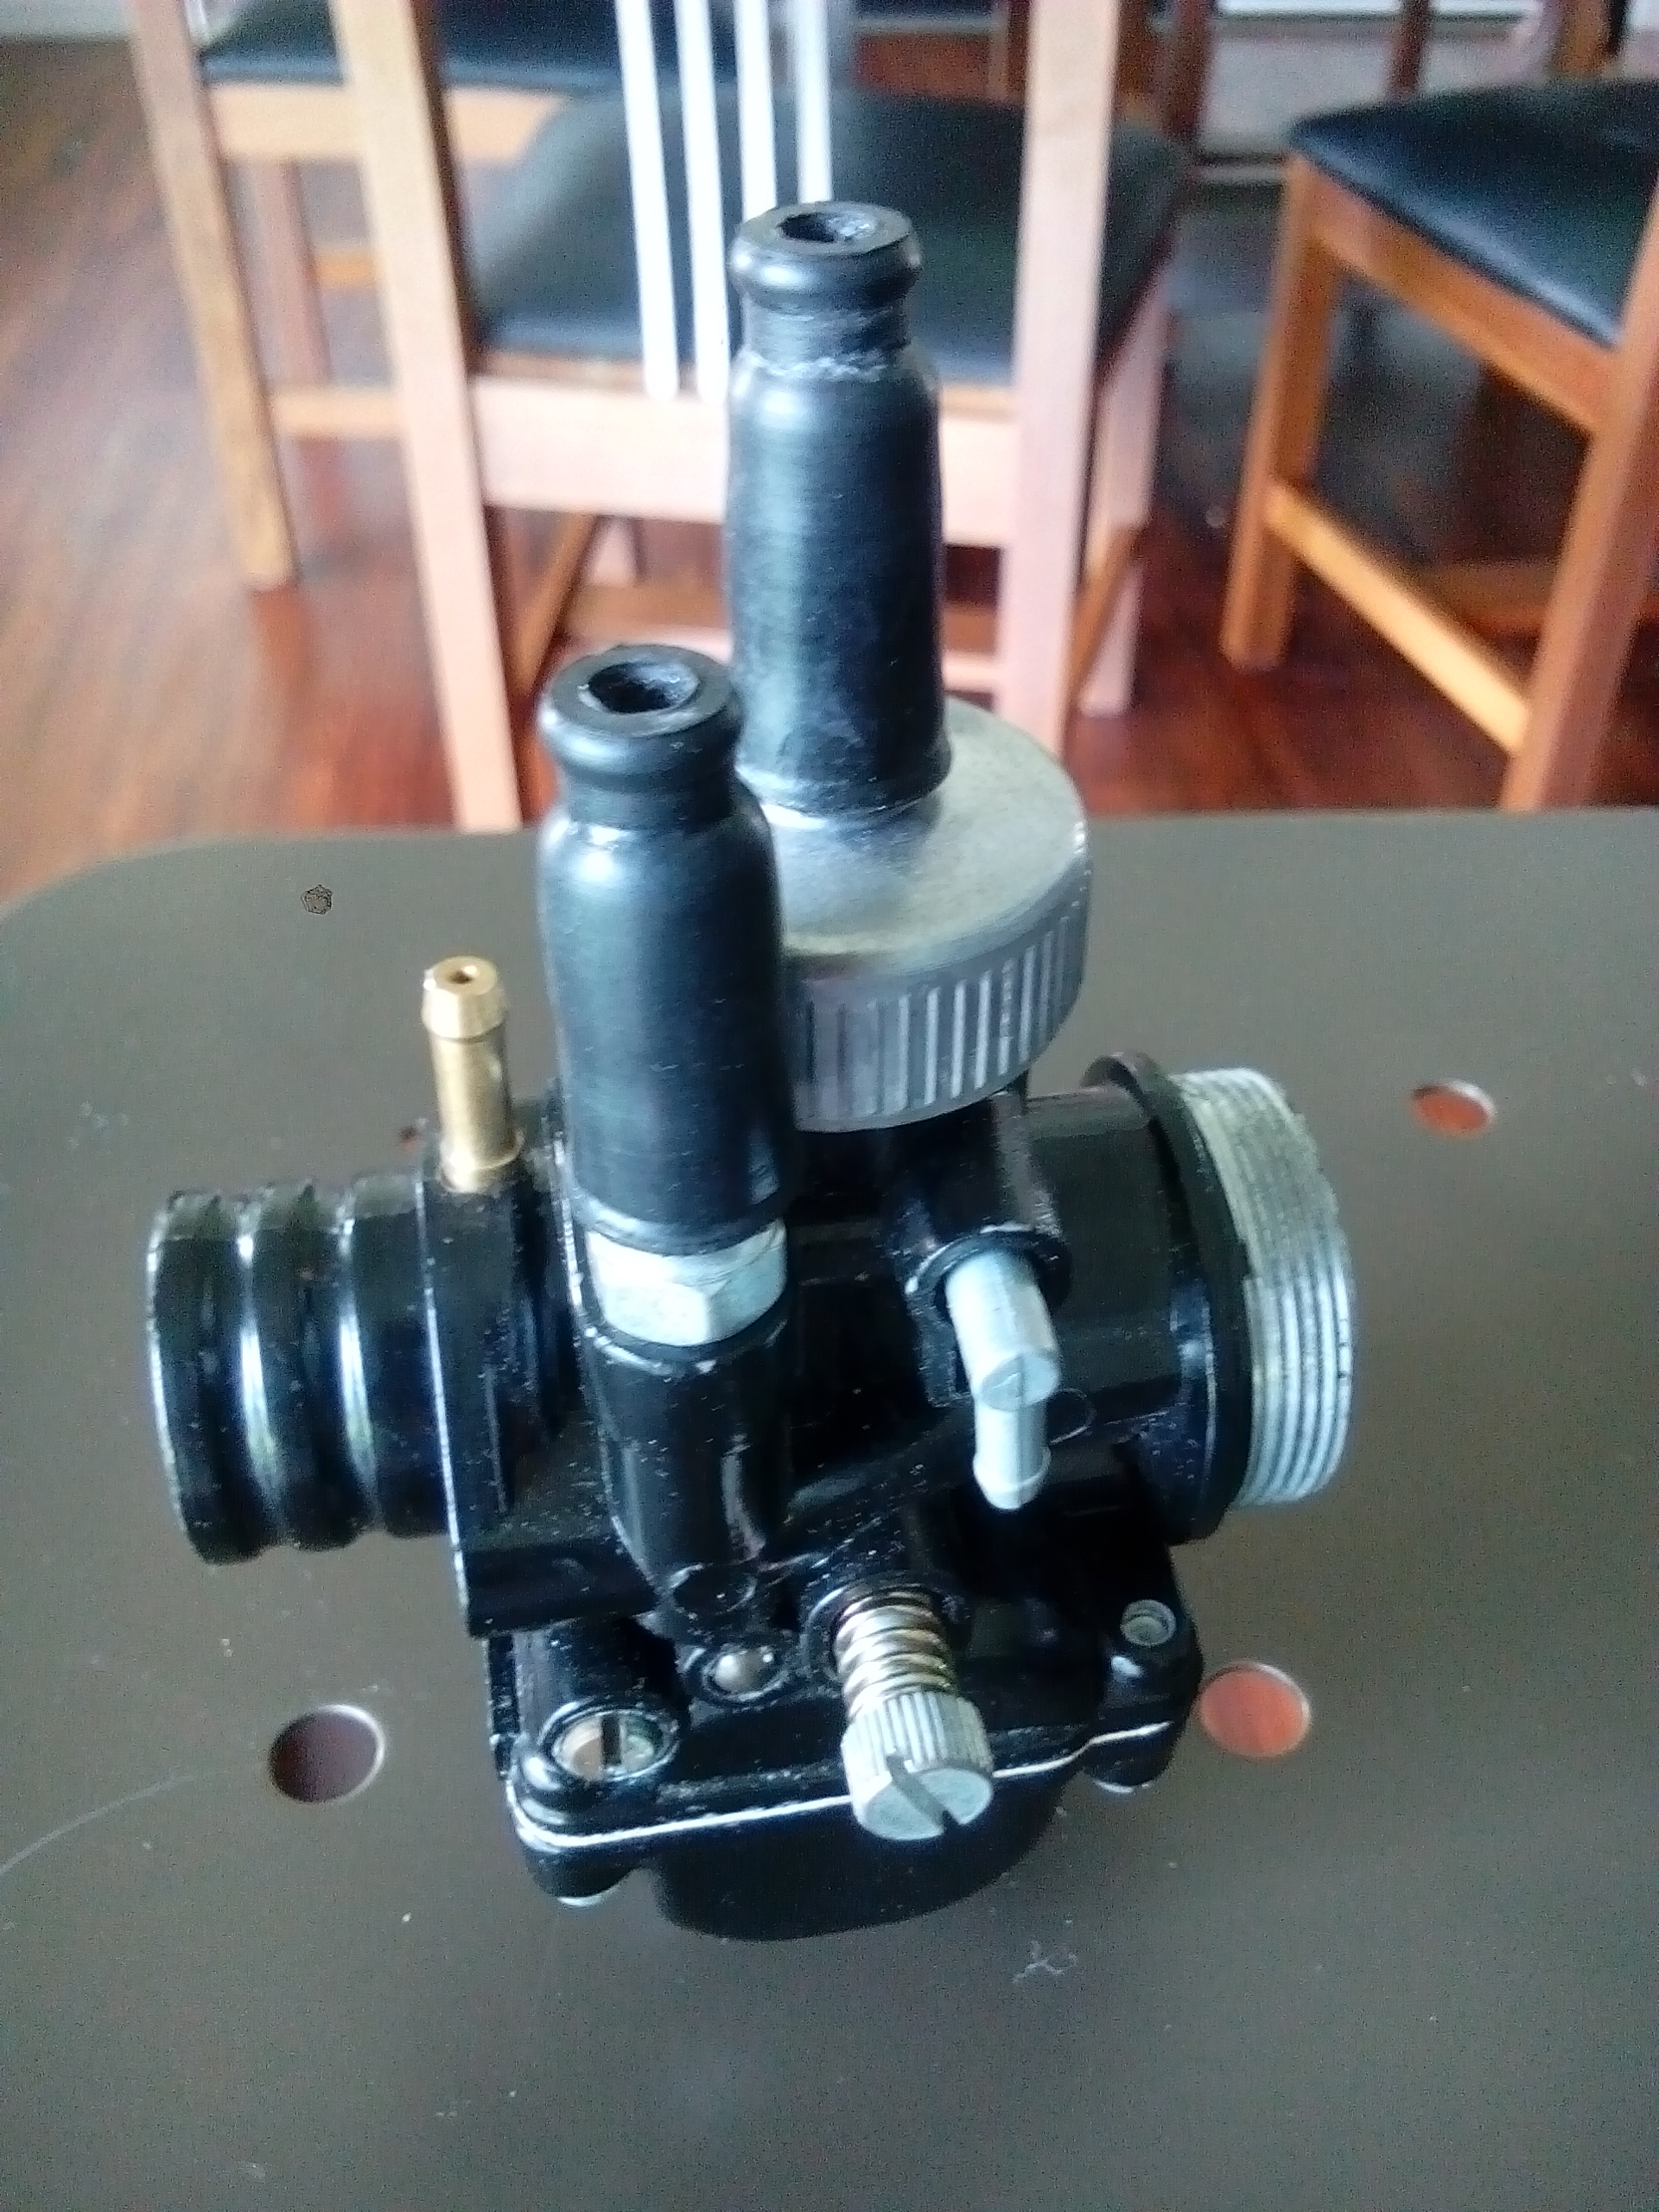
Got some questions about the carburetor. Pete thew in this carb; he never got around to installing it, but thought it would be a huge improvement over the original.
I've made new gaskets, fixed up the rusted out reed valves and found some rubber hose to connect the carburetor to the new intake.
Now, there are no easy to find instructions online...best I can find is in Dutch. So I'm picking someone else here would have used similar and maybe you could point me in the right direction?
This YouTube clip shows what I think, but I could be very wrong??? On second thoughts, I think the screw on the side is a red hearing and the cir-clip on the needle offers enrichment options i.e. move clip up/down to lean it out????
Any help much appreciated, as its all new to me.
-
10 minutes ago, Firetruck said:
Upload directly to the forum?
Okay, that sounds easy...didn't realise I could do that. Now you've said that I can see the attachment symbol below.
-
1
-
-
12 hours ago, flyingbrick said:
Nah the plan we all need is 400 a year!
Ouch! What's a better alternative? Ideas?
-
1 hour ago, Steelies said:
argh so many non-photos! keen to see pretty pictures.
Balls!!! Photo bucket is trying to make me pay to host pictures, $59USD per year. Not really worth it, so may look for another photo host or give up.
-
Started to teardown the motor. It's not pretty, some parts have been beaten like a ginger stepchild!
Nothing to lose, going to give it a nudge and see if I can get it going?
-
3
-
-
6 minutes ago, Transom said:
Yes anti dive is a known good feature of leading link forks
when I have been setting up bike calipers onto odd thing I set the caliper onto the disc in the right place for pad contact up/down with the adapter attached then rubber band the brake lever to hold it all in place then rotate disc to wherever the adapter is gonna attach
always make sure the disc clears the top of the pad
Cool, in a roundabout way that's how I did it. I used a couple cardboard shims each side of the rotor and wound in the adjustment screws on the caliper in until it gripped the rotor, then I tacked it in place.
-
48 minutes ago, Transom said:
Front brake with linkage like that should cause brake force to make the front end rise = anti dive braking system
Is that good or bad? (Just googled answer...cheers)
Just did a quick test to check that caliper geometry is right,
Success!
-
3
-
-
Just now, Mof said:
Looks good to me.
Do you have a dropout in the bottom of the arm? Can you get the wheel off with the brake underneath like that?
Haha...it's like you were there, I went to take it apart and thought "dam it!". But if I loosen everything I can (only just) squeeze the wheel out. For now I'll just leave it as a hole. Can always mill it out later if need be.
-
Logic tells me that this should work, but part of brain is not convinced?
Logically, the geometry of the caliper is pivoting around the wheel centre as everything is on a fixed radius. So it shouldn't ever bind...well I think that's right?
It's a bit of a mind fuck, as the wheel moves twice what the leaf spring does. But I'm sure this caliper is neural??? Ahhhh...hope I'm right???
Other than being crippled by uncertainty, I'm pretty happy with the overall concept. A disc braked leaf spring front end on a velobike.
Everything will get a tidy up later, but time to move on to the next challenge.
-
1
-
-
Got a bit done on the pivots this afternoon. Needs more work, but I have some ideas to improve it like turning up some more plain bearings etc
First step was to fill up the original fork holes with the "hot metal glue gun", then Linisher to bring back to flat again.
Then I started the pivots
Plain bearings and split pins will be added later, plus tidy it up.
-
1
-
-
1 hour ago, 98cc said:
Choice! is the engine ready to run now KimJon?
Ummm kind of. It's complete, but no spark yet. I've brought a couple coils and will hook those to a battery to bypass the magneto. Pete ran it like this, so I should be able to replicate his method.
Engine will be next move, and the work back from there to finish.
-
Bit of a lazy day, didn't do a lot. But did achieve a few small steps all leading in the right direction.
-
4
-
-
Got up early, excited like a little kid on Christmas.
Last night I was faced with the dilemma of where I was going to mount the compact bender. But in the early hours of the morning I had my epiphany!
If I mount it with (4x) 16mm dynabolts, into the concrete floor it's going nowhere. And if positioned just out from a door pillar, I can get the full 270° of articulation when both doors are up. The arm can come off and hang on the machine, completely tucked out of the way...and it's in what I would call dead space in my shed i.e. a space that has no other use...win, win...win!
It handled the 16mm cold rolled solid rod with relative ease, producing a perfect bend on my first attempt! Fuck yeah...love this tool!!!
-
6
-
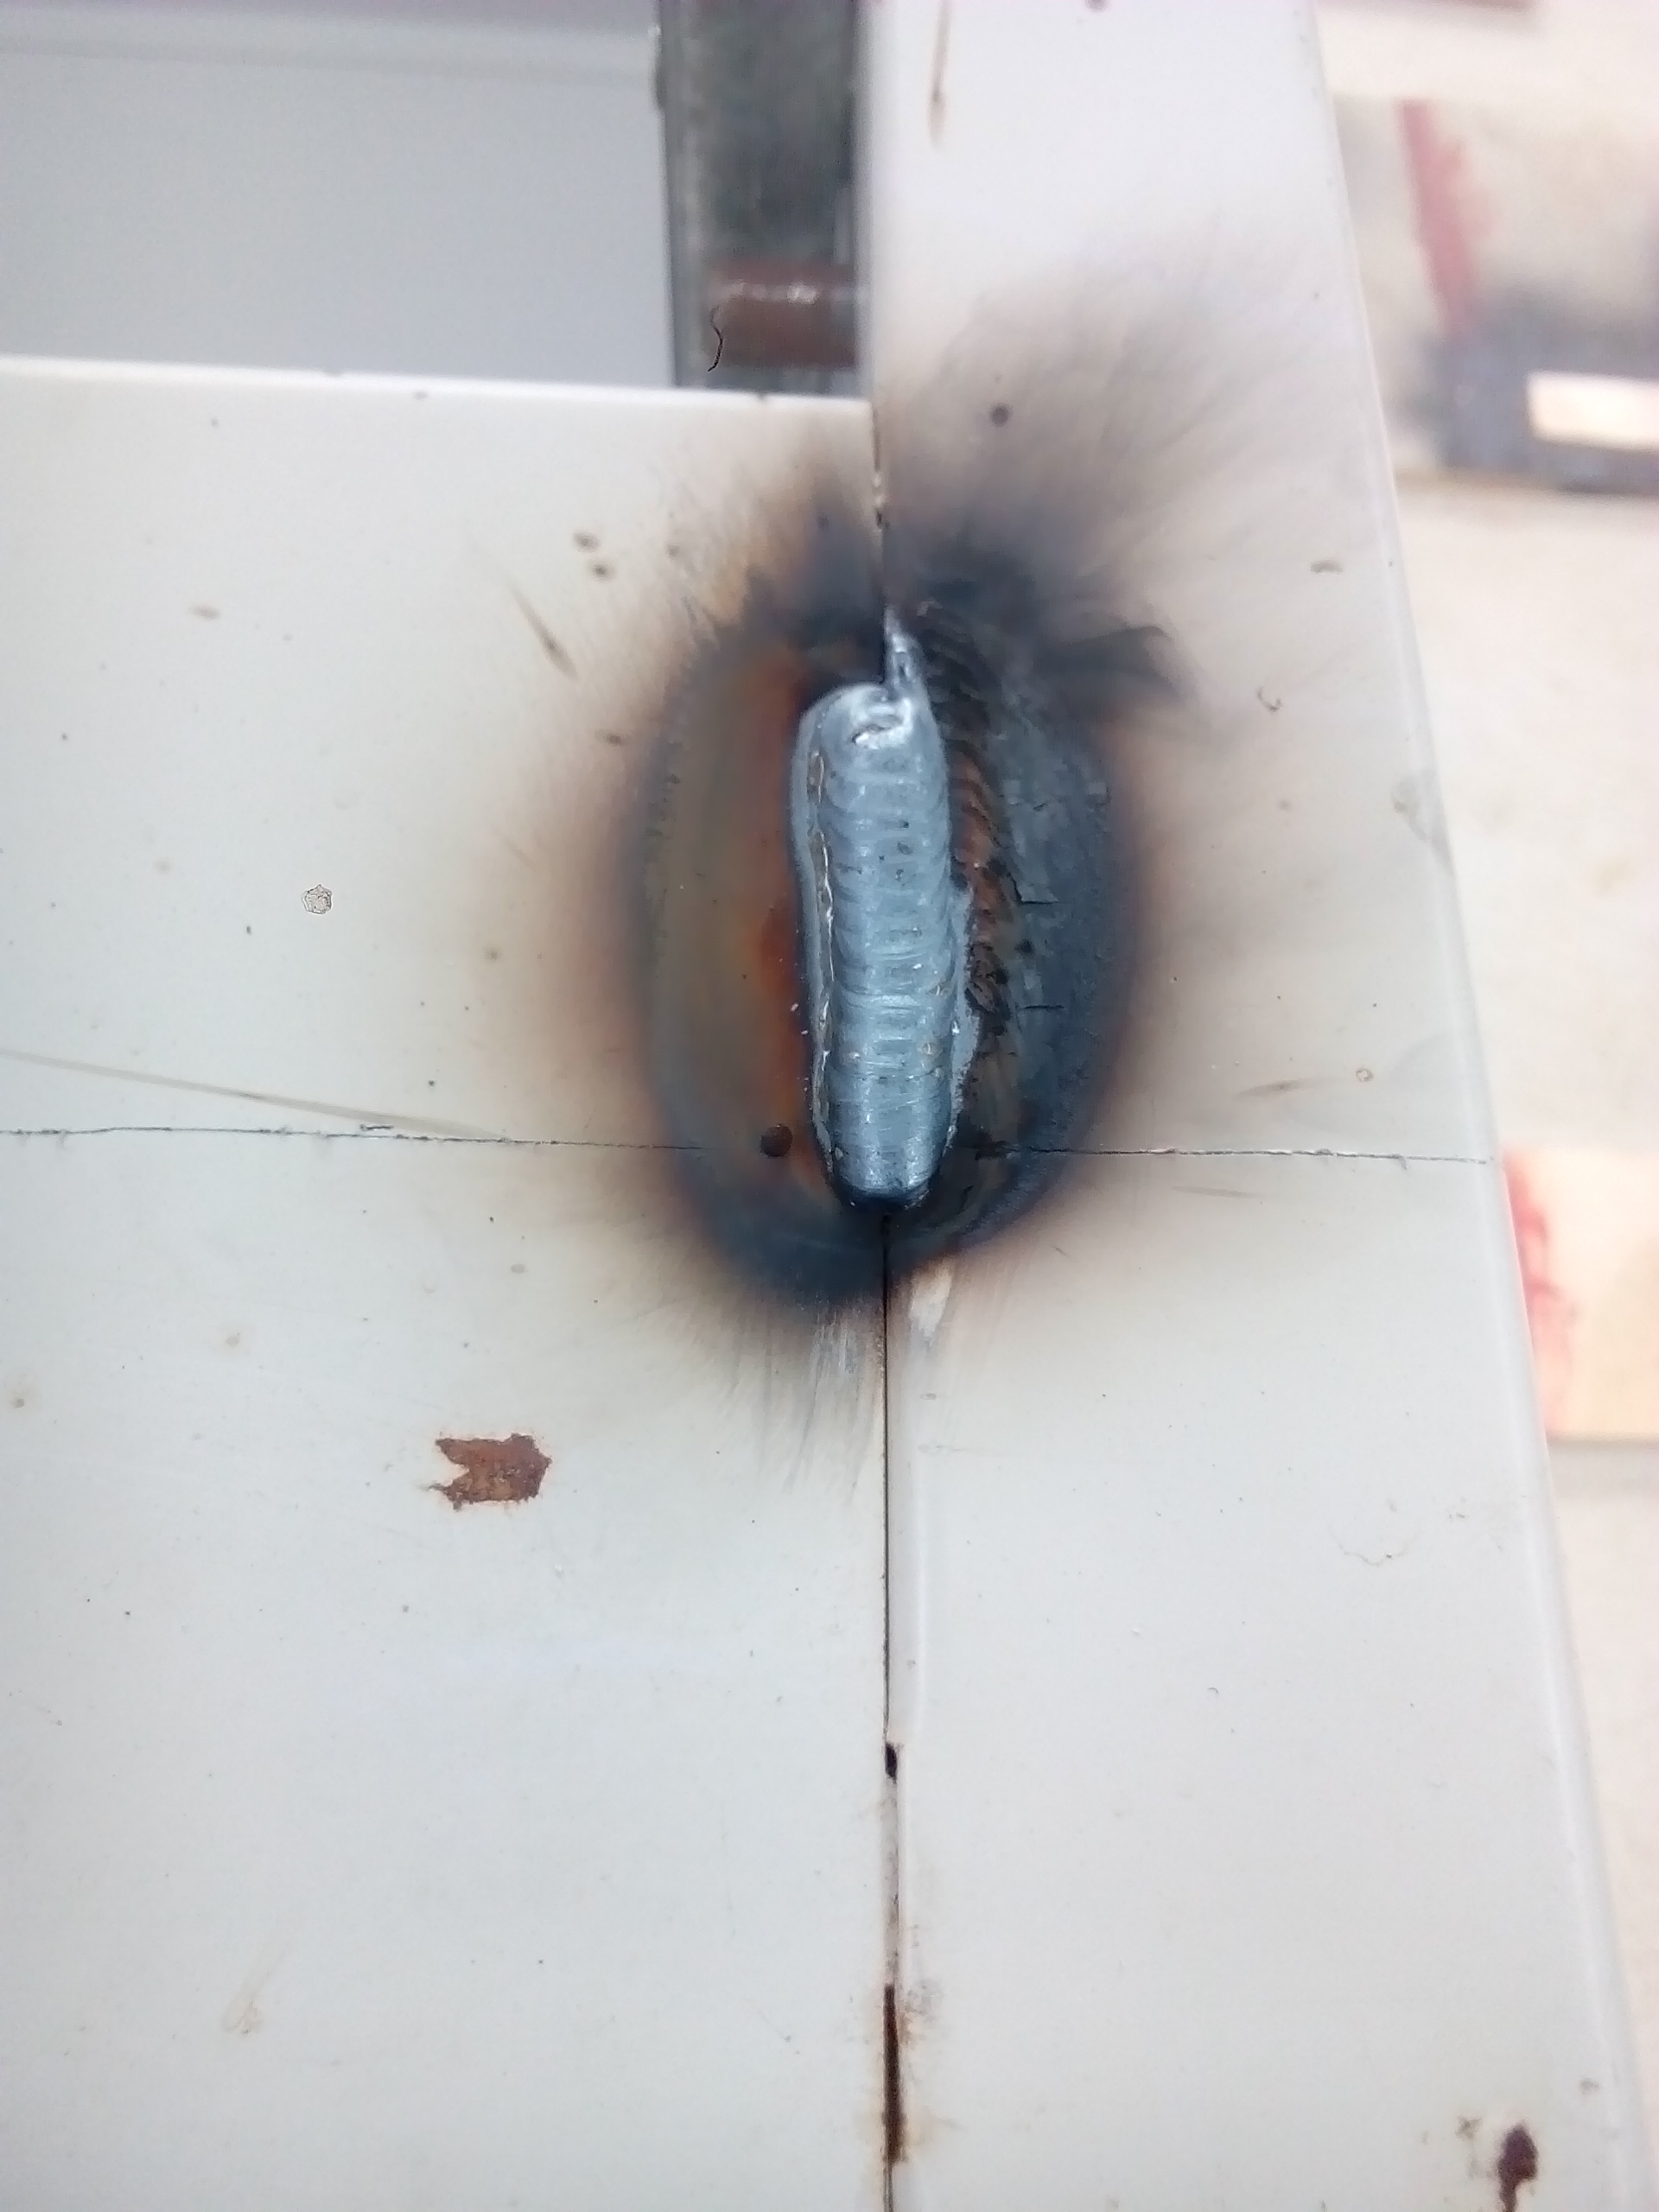


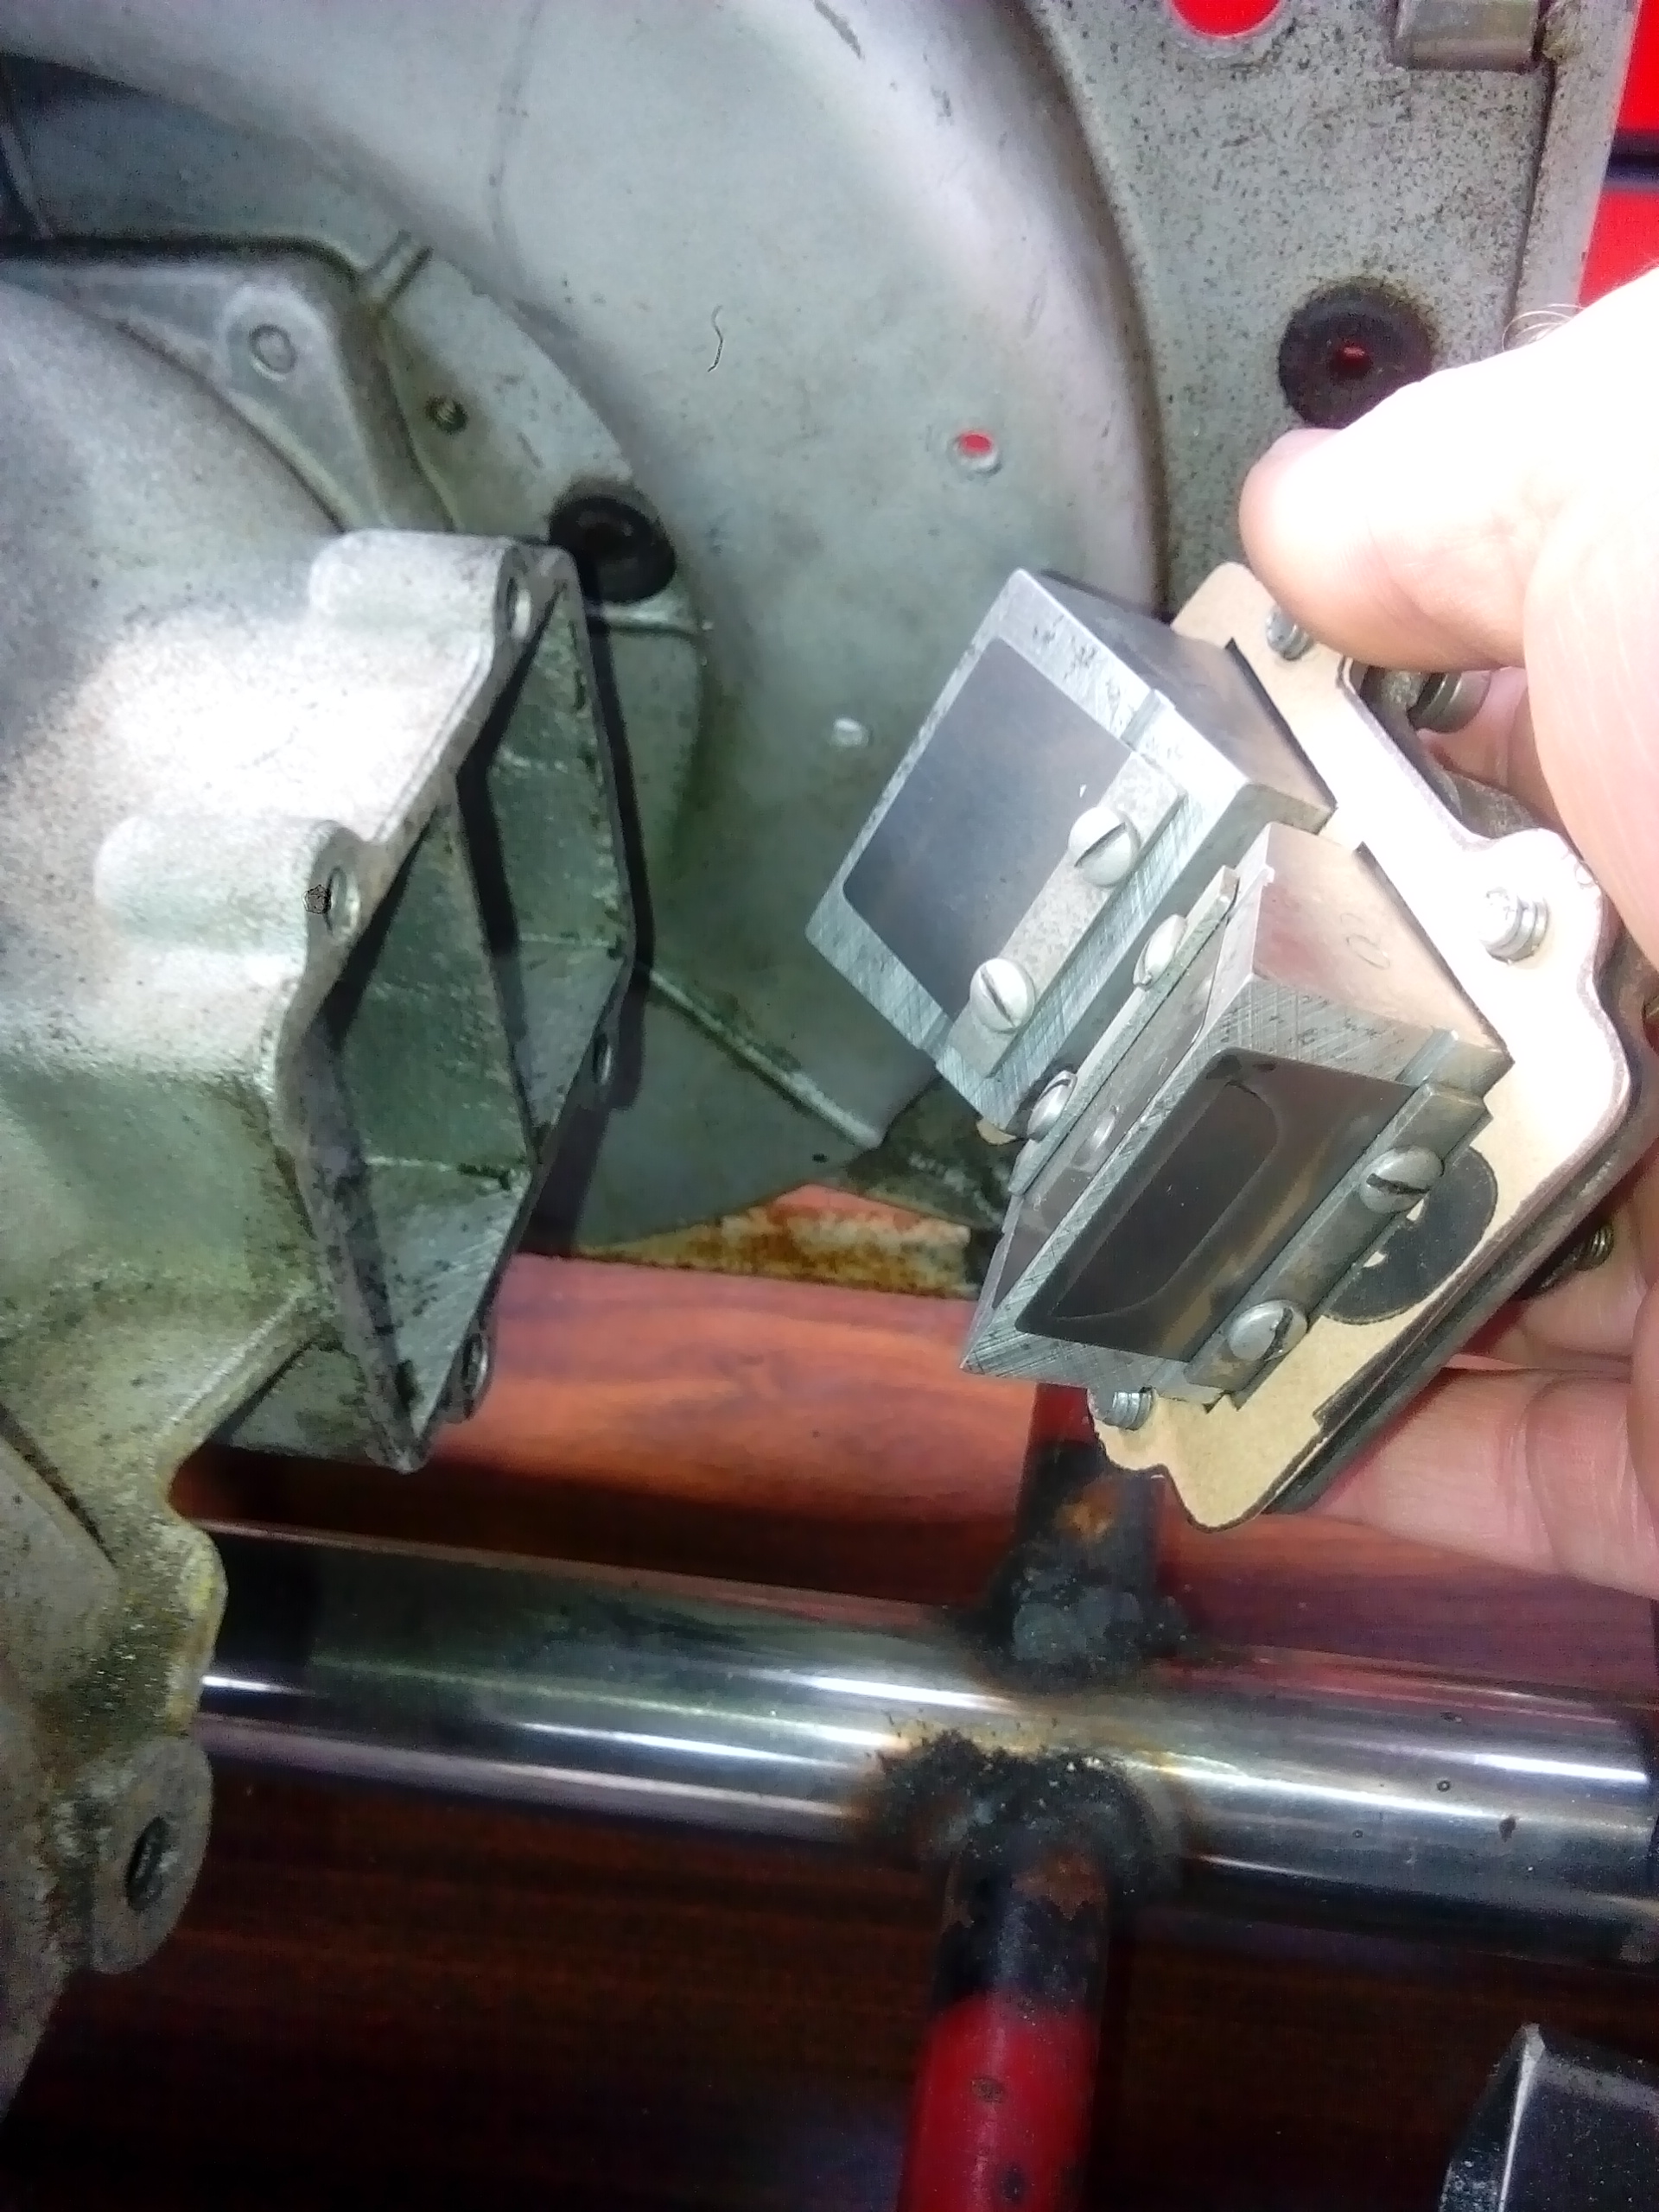


Backing a butt weld with copper?
in Tech Talk
Posted
Yeah, metal is ground back either side on the top flat surface. It's a T shaped join and I couldn't get right down into it to get the vertical surface totally clean. That's what is burning up and covering everything else in soot.