


Kimjon
-
Posts
2,350 -
Joined
-
Last visited
-
Days Won
2
Posts posted by Kimjon
-
-
Pressure = force ÷ area
So
Force = pressure x area
So the bigger the diameter...the more force for the same pressure.
If you think of force as spring rate...then the more pressure the more/stiffer the "spring rate" becomes...and the higher the car will sit.
-
Thanks for replies.
That is a good steer in the right direction. Looks like I need to get in touch with those guys you linked.
I'm definitely attracted towards a "kit" for simplicity reasons. I've dropped quite a bundle on this car so it won't be straight away...but it's next on the to do list, as the 64's just look soooo much better dumped out low to the ground.
-
 1
1
-
-
Okay guys, knowing what you've all learnt by doing...how would you approach bagging a 64 impala these days?
I've just trolled through all 16 pages going back 8 years. There's a bit of evolution in ideas here.
So how about now?
-
Righto...say hypothetically I brought a 64 impala. What would be the go with getting it bagged?
What is the best air bag kit to buy and from who?
Anything I should or shouldn't do?
Certification pitfalls?
Who's the best certifier to deal with in regards to air bags?
Any help/advice would really be appreciated "hypothetically" of course;)
-
 1
1
-
-
Let me know what pipe you use...I've got one of those benders and have never used it (successfully) either. Keen to try... but the one attempt just crushed the pipe.
-
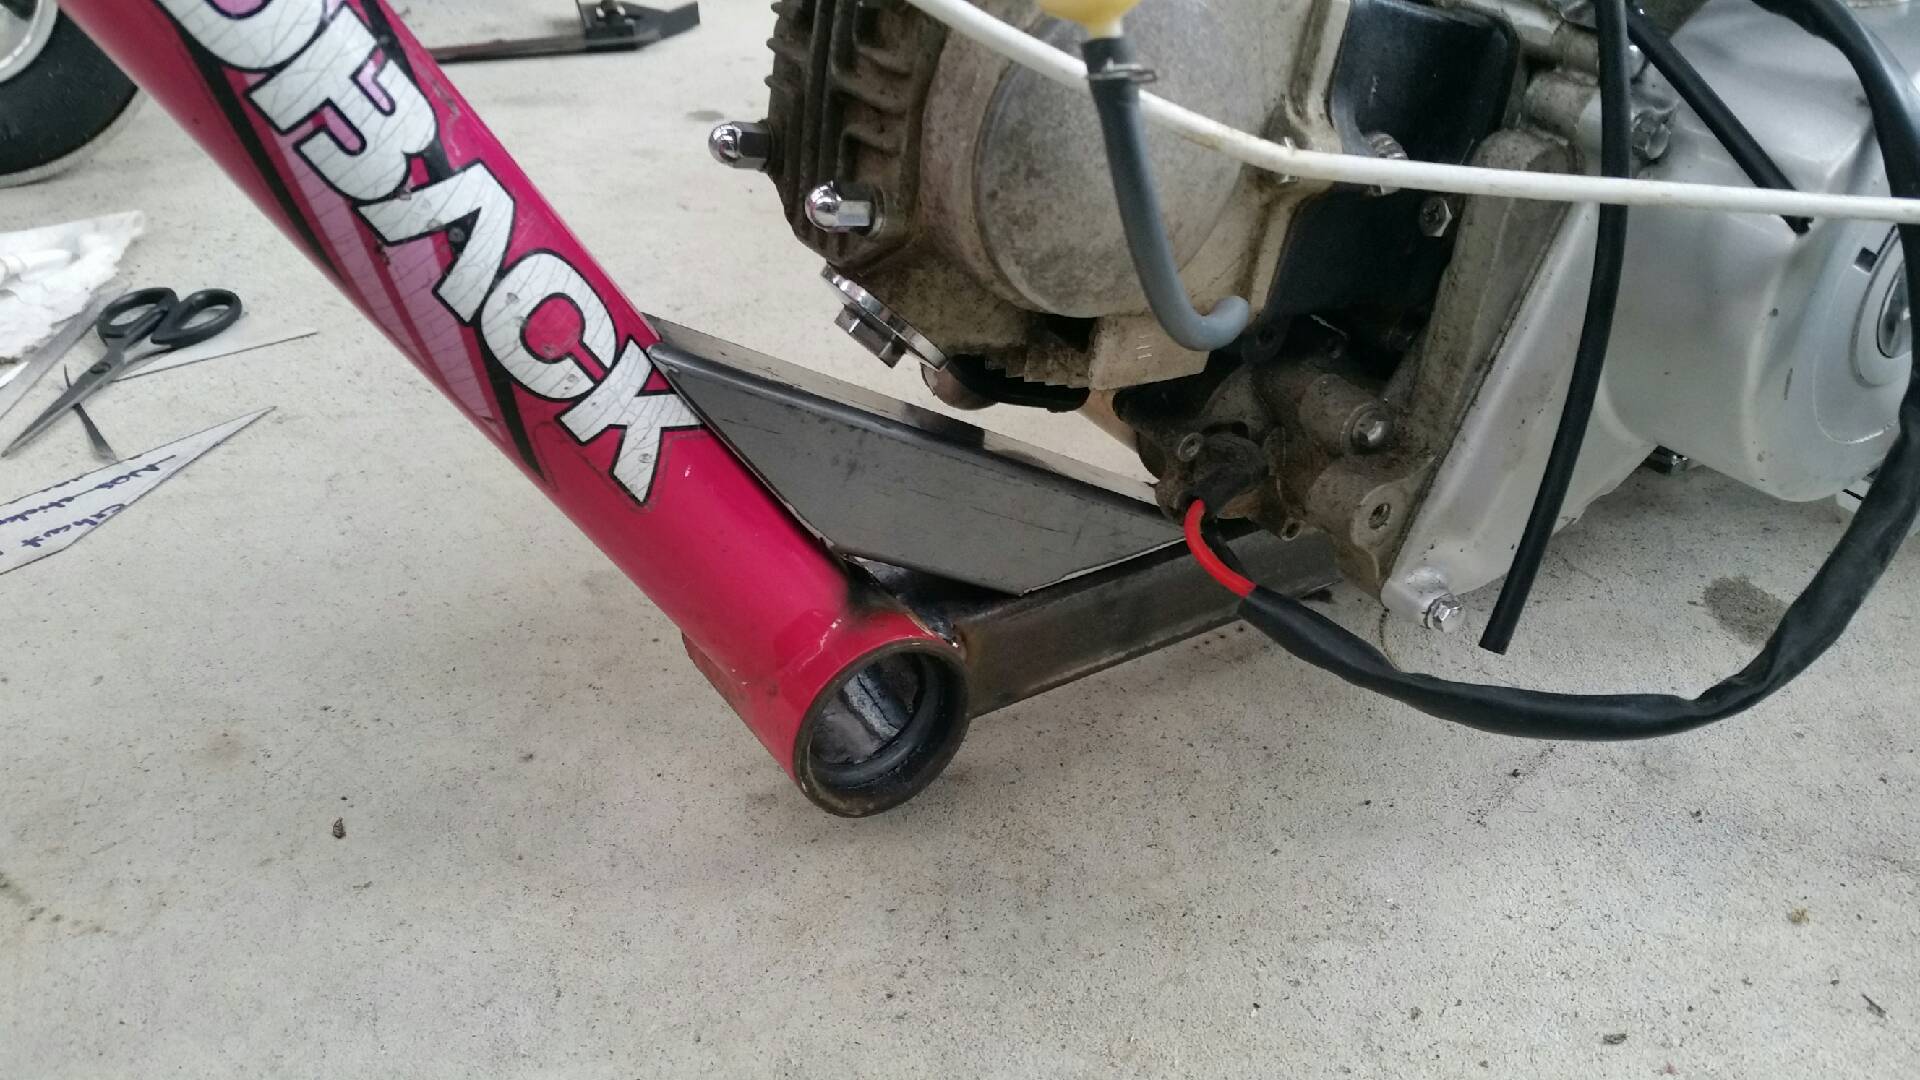
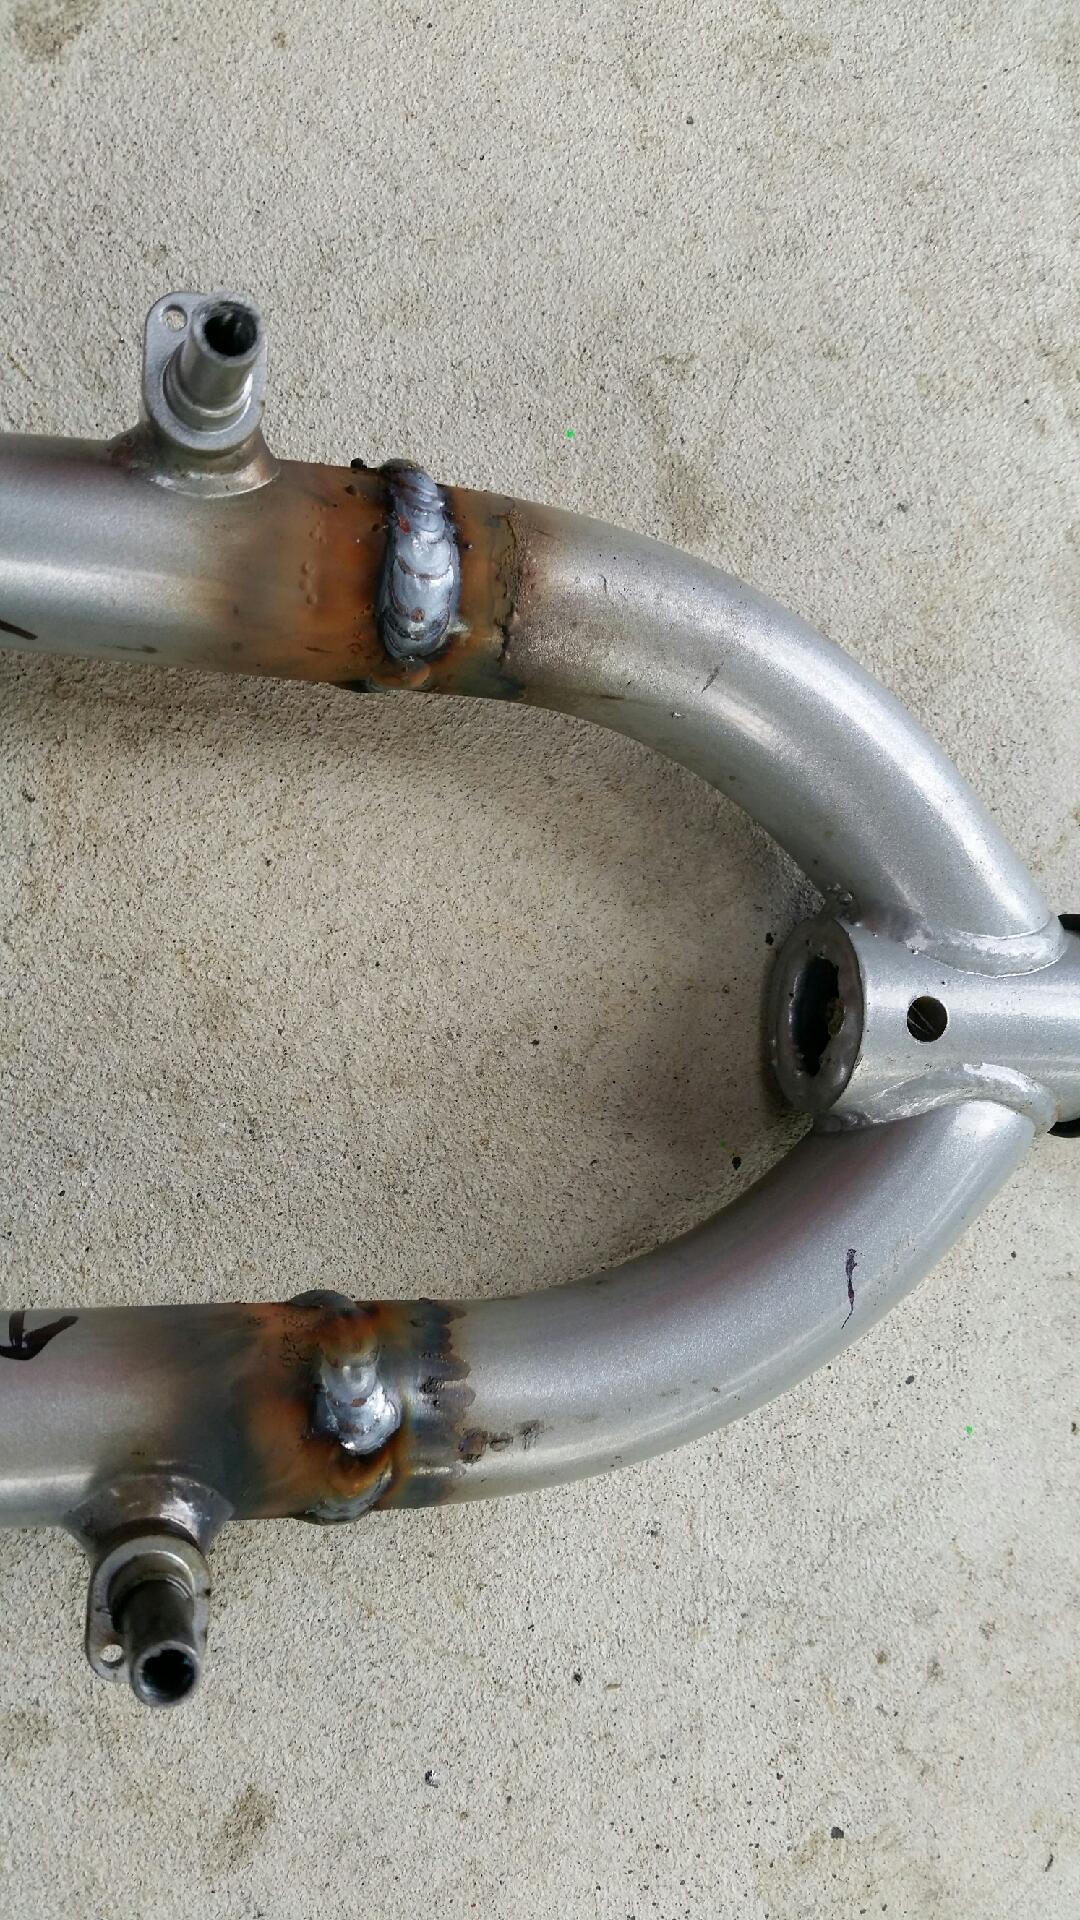
I've been weighing up the need for a form of webb to strengthen up the point where the bmx downtube is welded to the box frame. Personally I don't think it needs it(?)...but I do have an element of doubt in my mind.
Considering this will have a top speed of 70-80kph I've decided to err on the side of caution and put one in to be sure.

I'll only weld the sides to the downtube and not the top/bottom of the webb...as that would create a stress point and undo all the benefits.
-
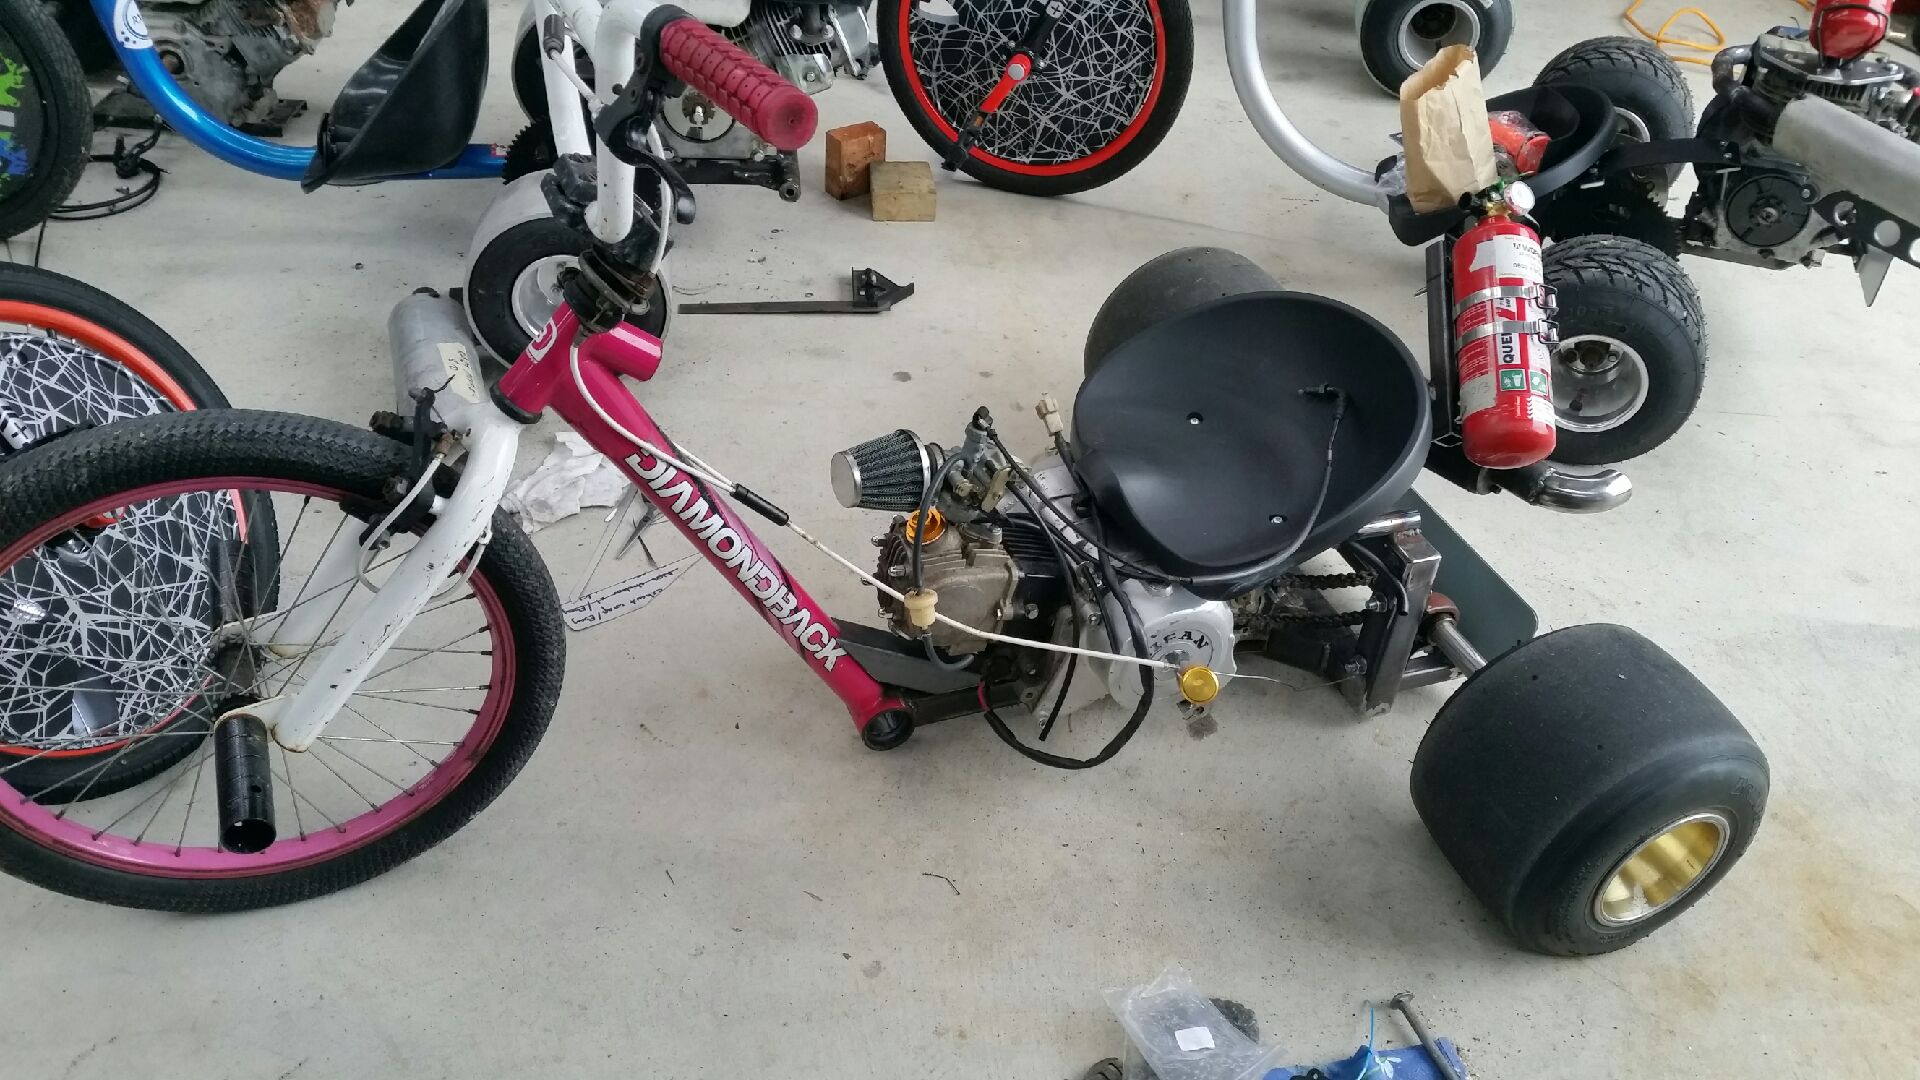
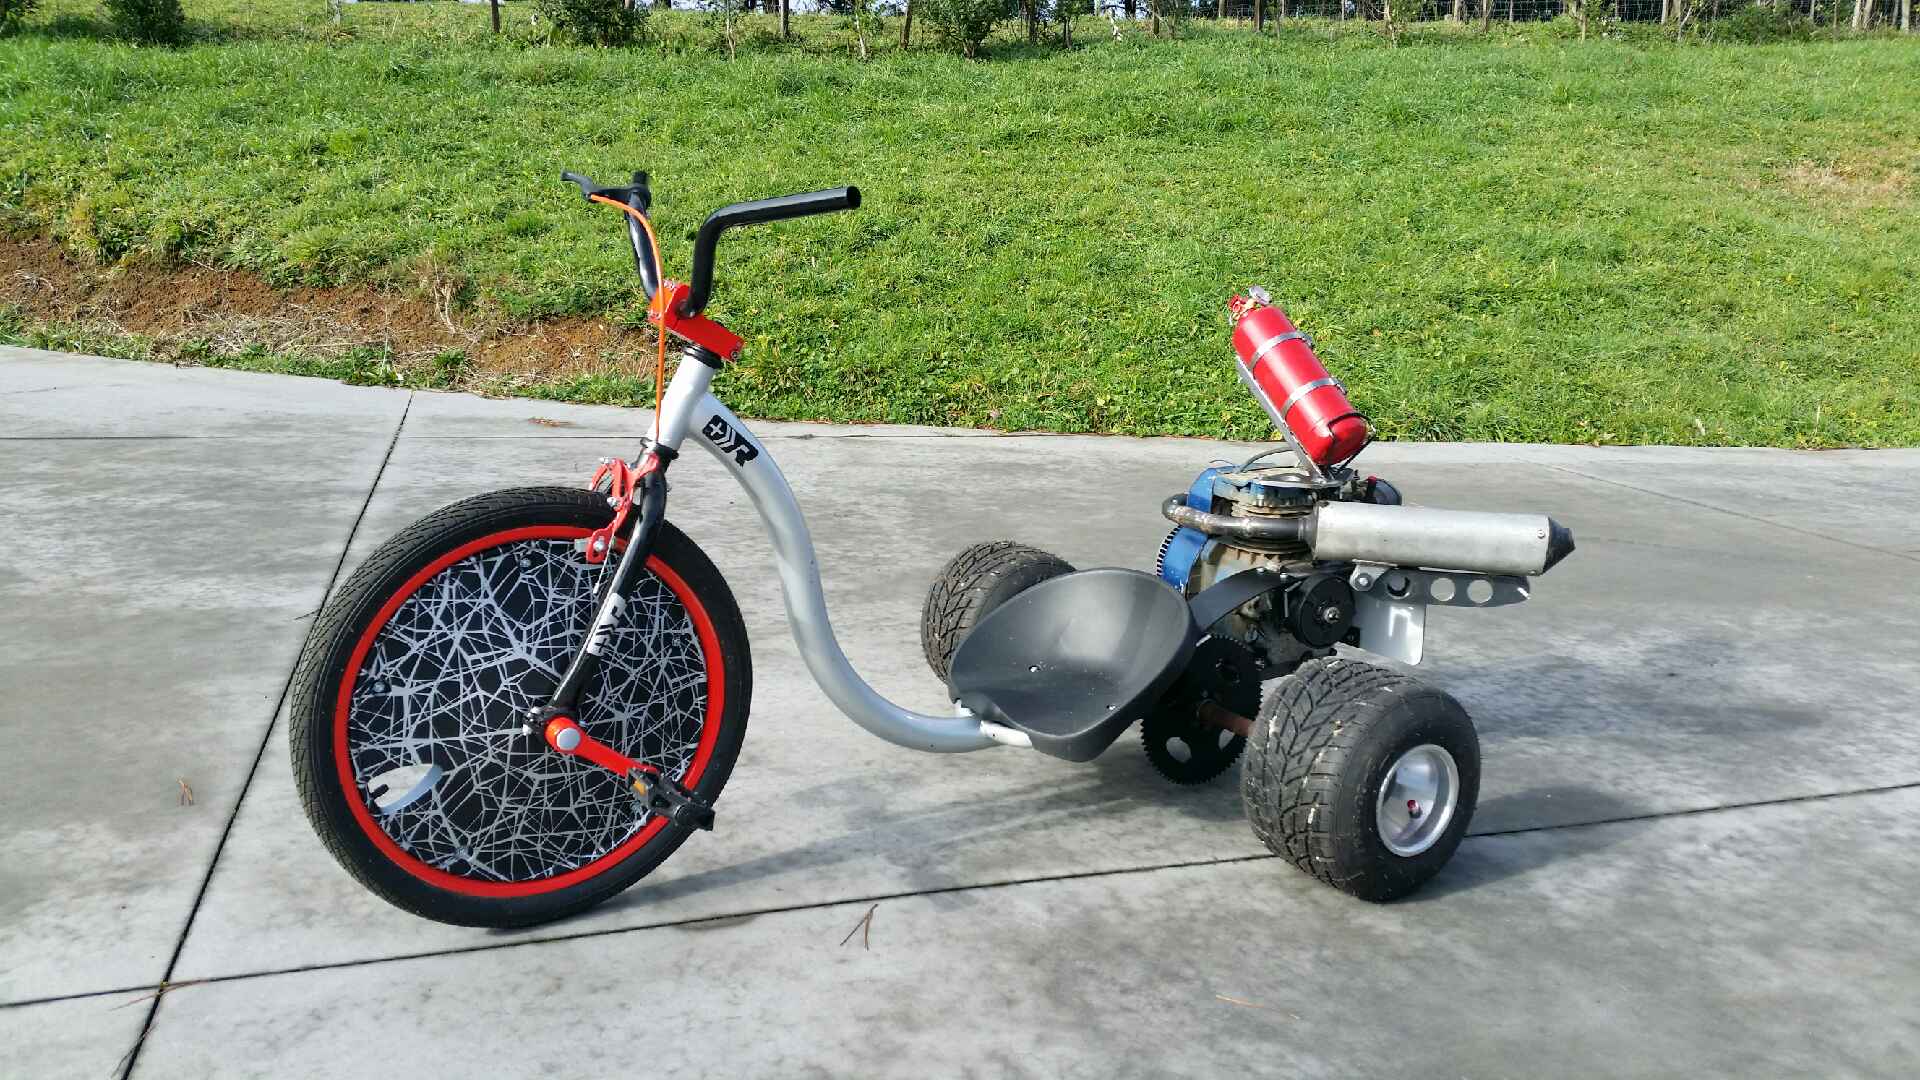
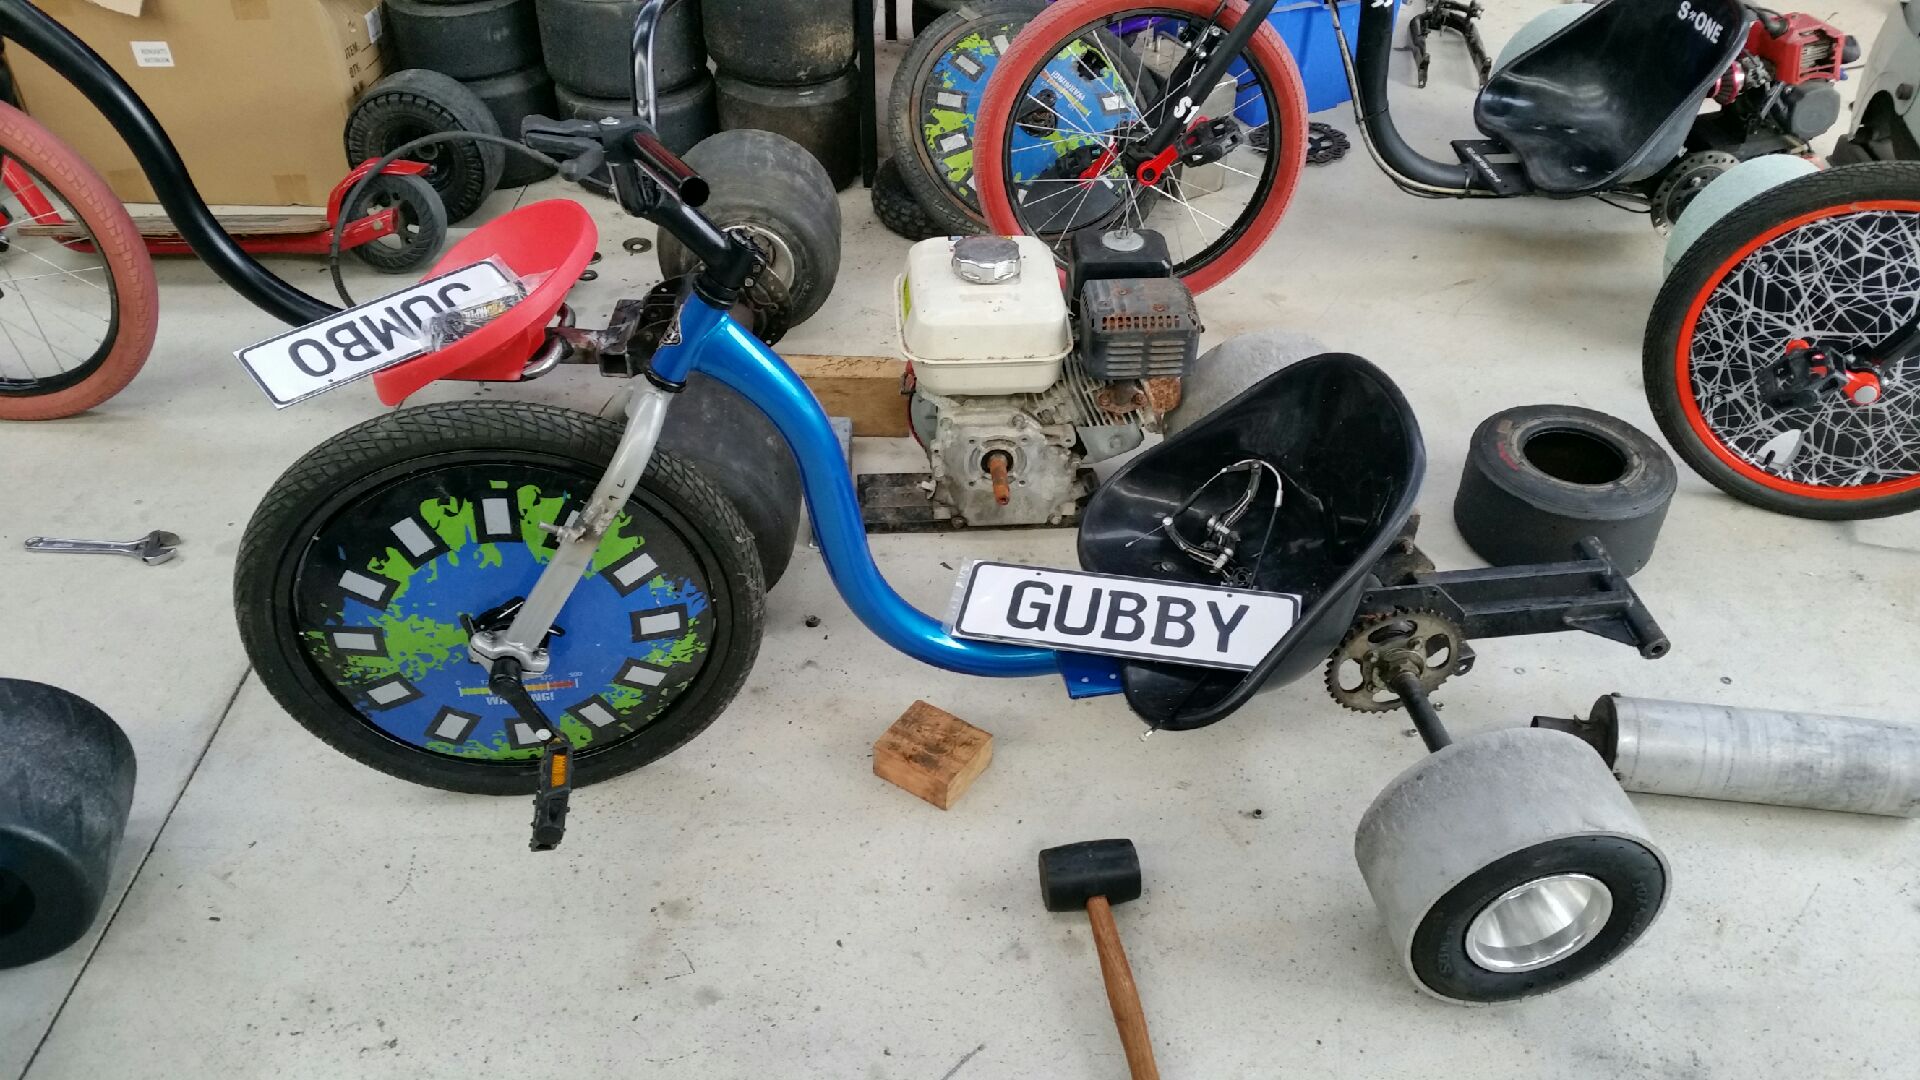
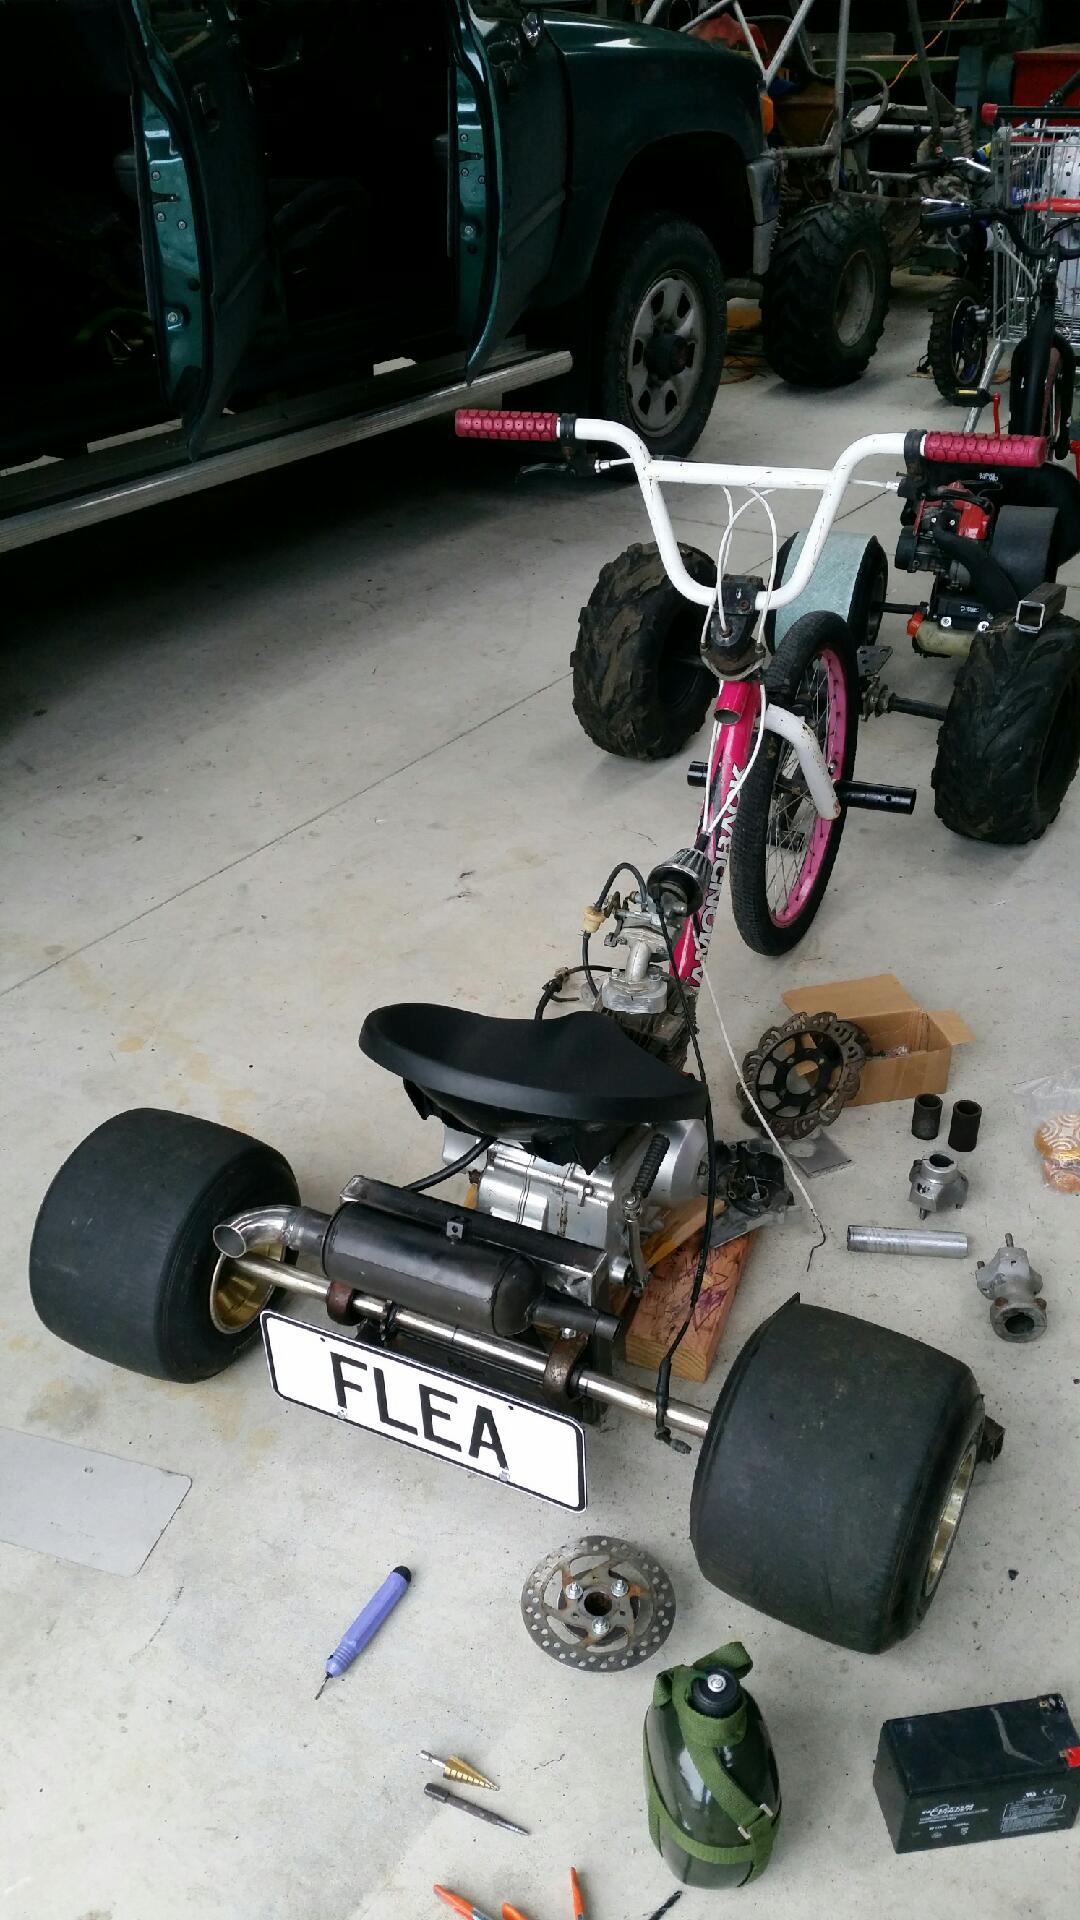
And nearly there with the OG drift trike.
A few issues to sort out around wiring etc...then same as above...paint, cables, wrap exhaust ...then drift!!!
-
1
-
-
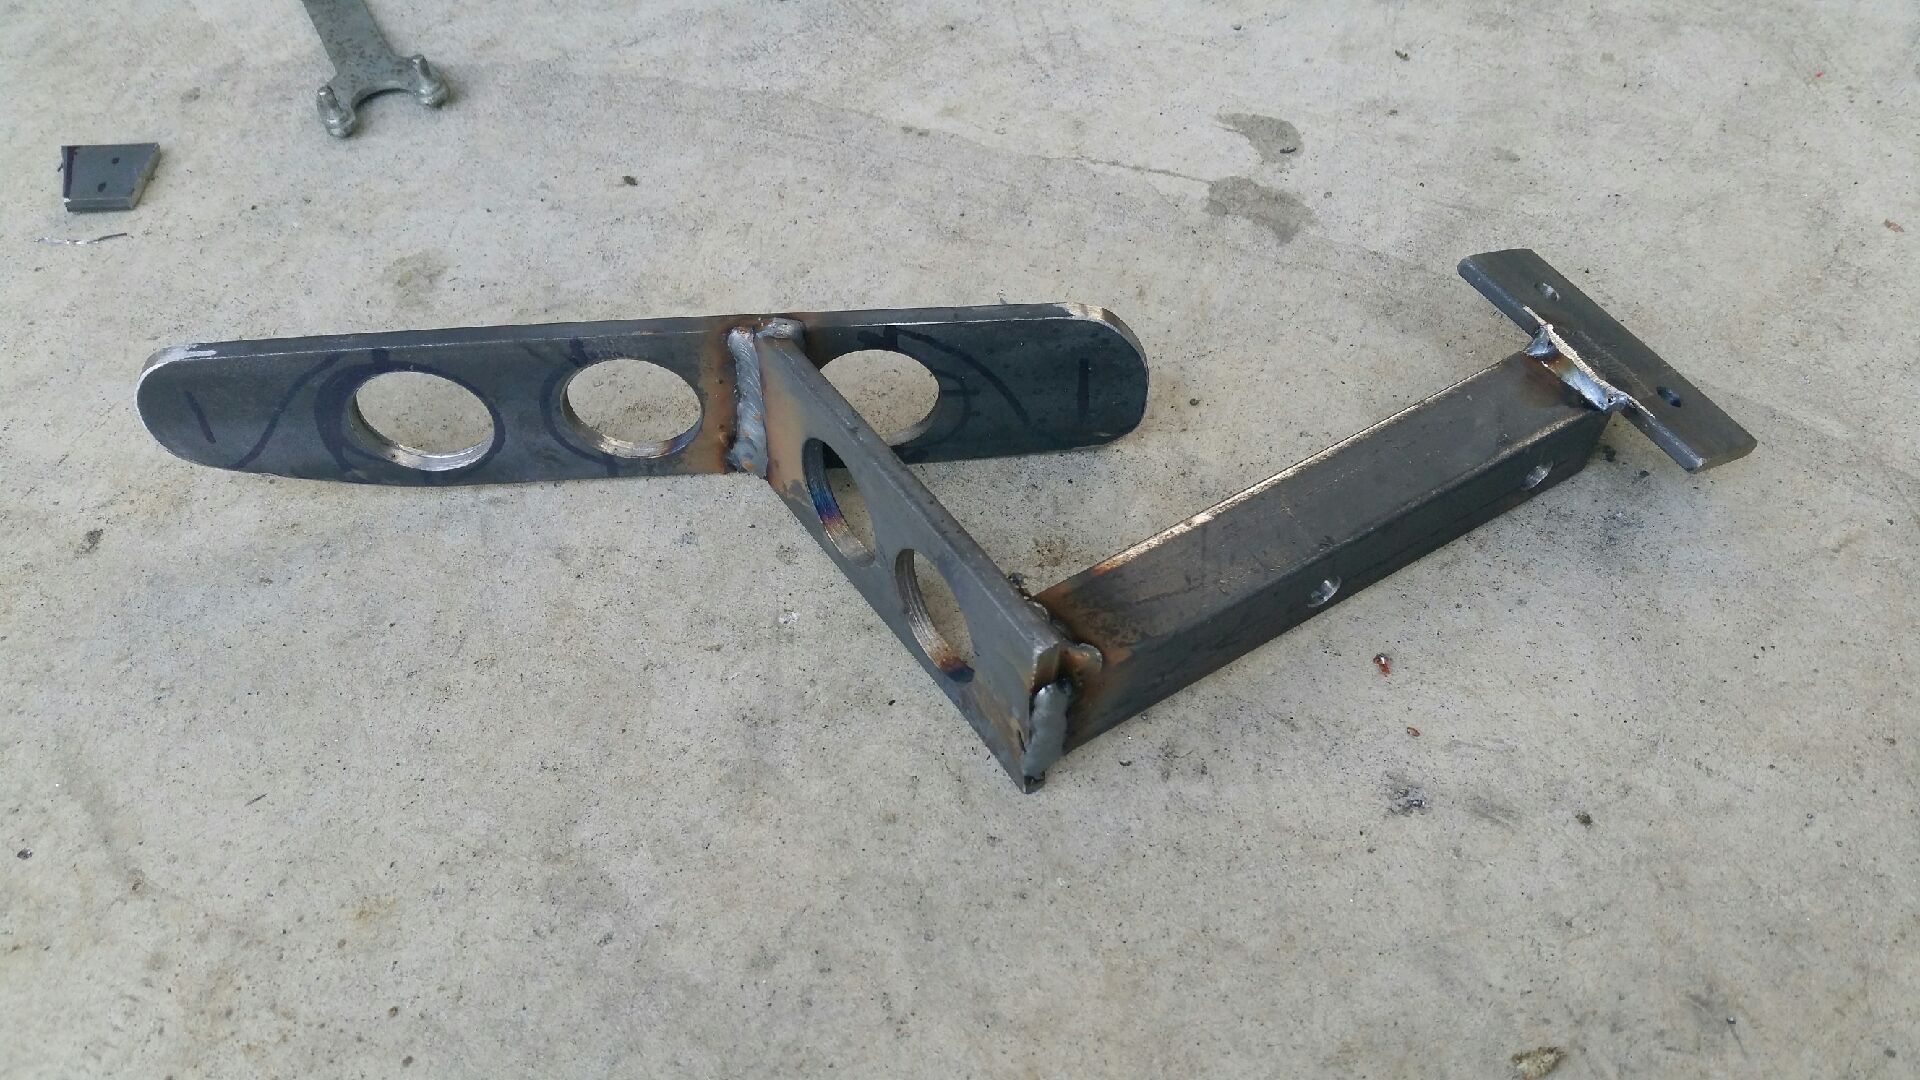
Made a multipurpose bracket. Rediculously complicated...but I like it.
Then to appreciate it...rolled it outside for the very first time and stood back and looked it over...yes, nailed it! Very happy.
Paint it up, wrap exhaust and hook up cables...good to go.
-
3
-
-
Engine mounts all done to take the above motor:
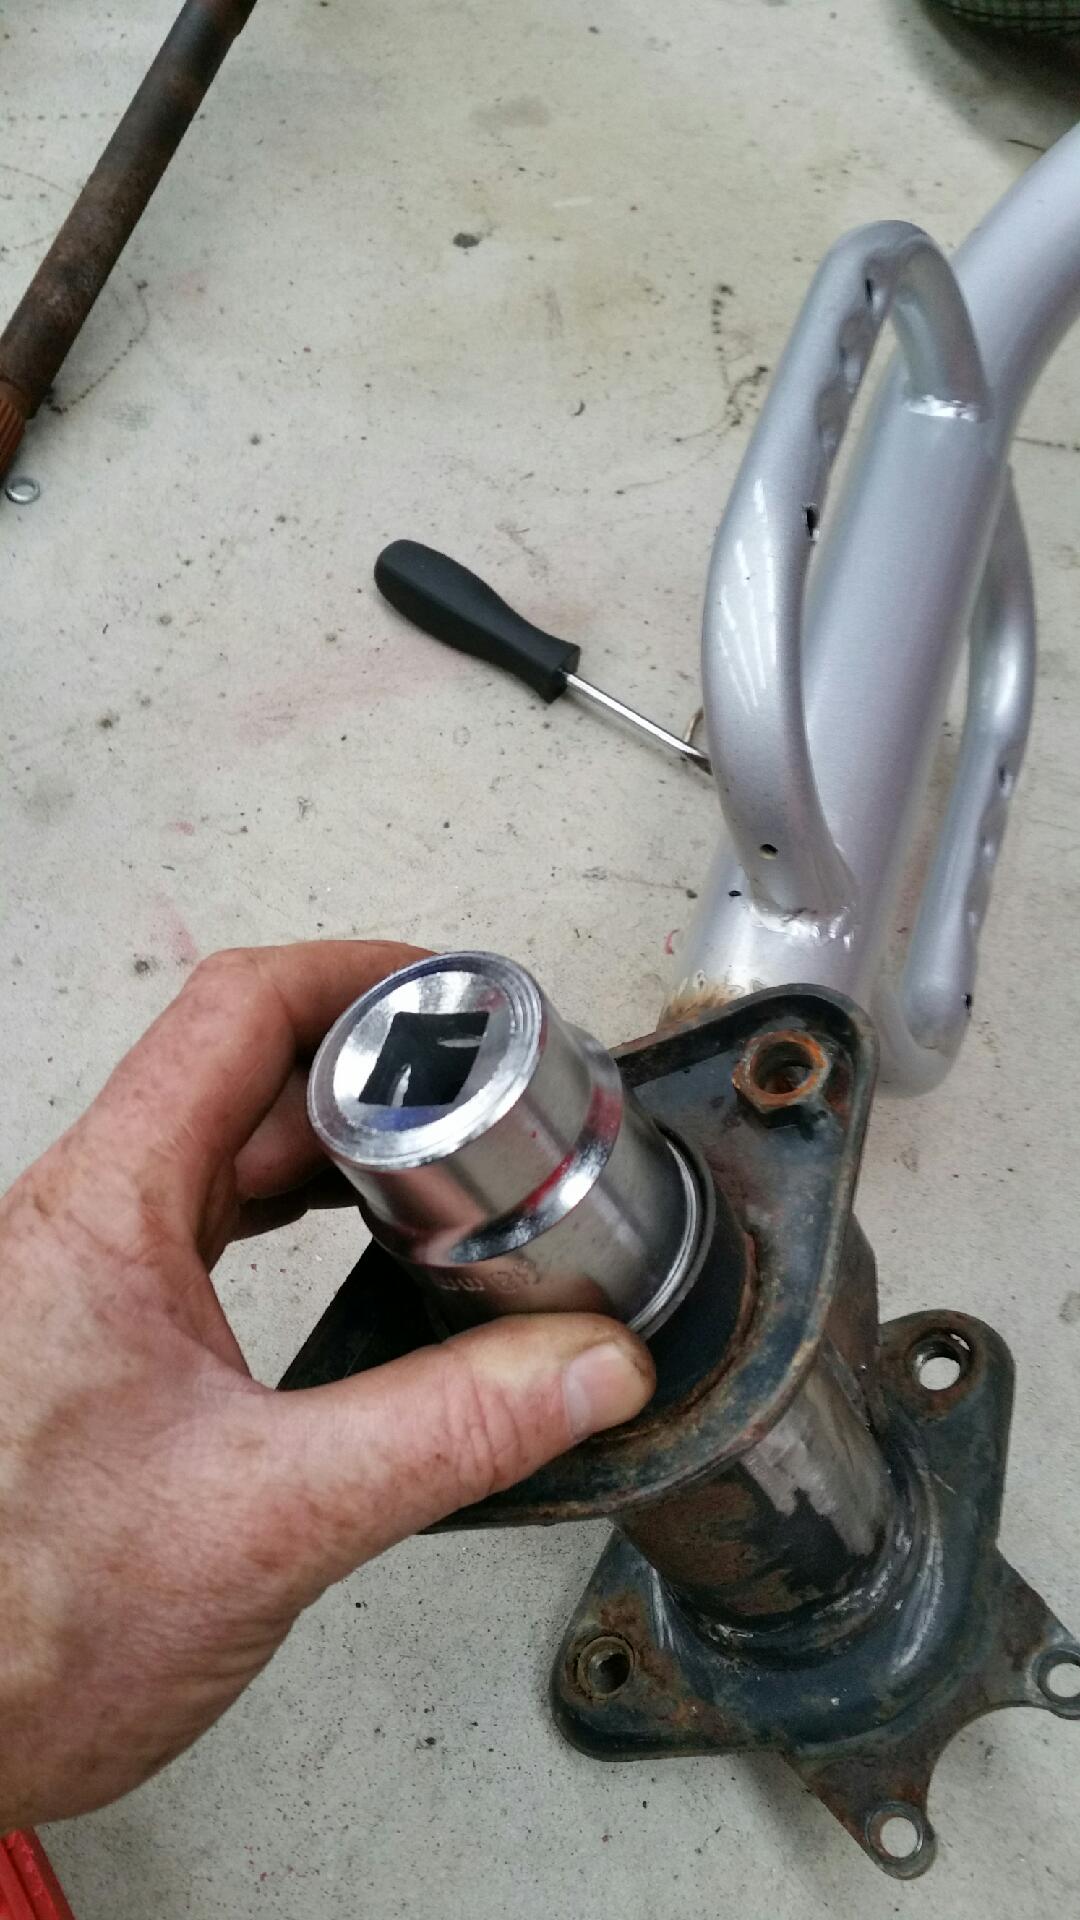
Then I finally found a use for that gigantic socket set I Brough on an impulse buy and have never used.
Yes...the ultimate bearing Wacker inner tool...conveniently comes in a verity of sizes to suit lots of bearing sizes.
-
2
-
-
- Popular Post
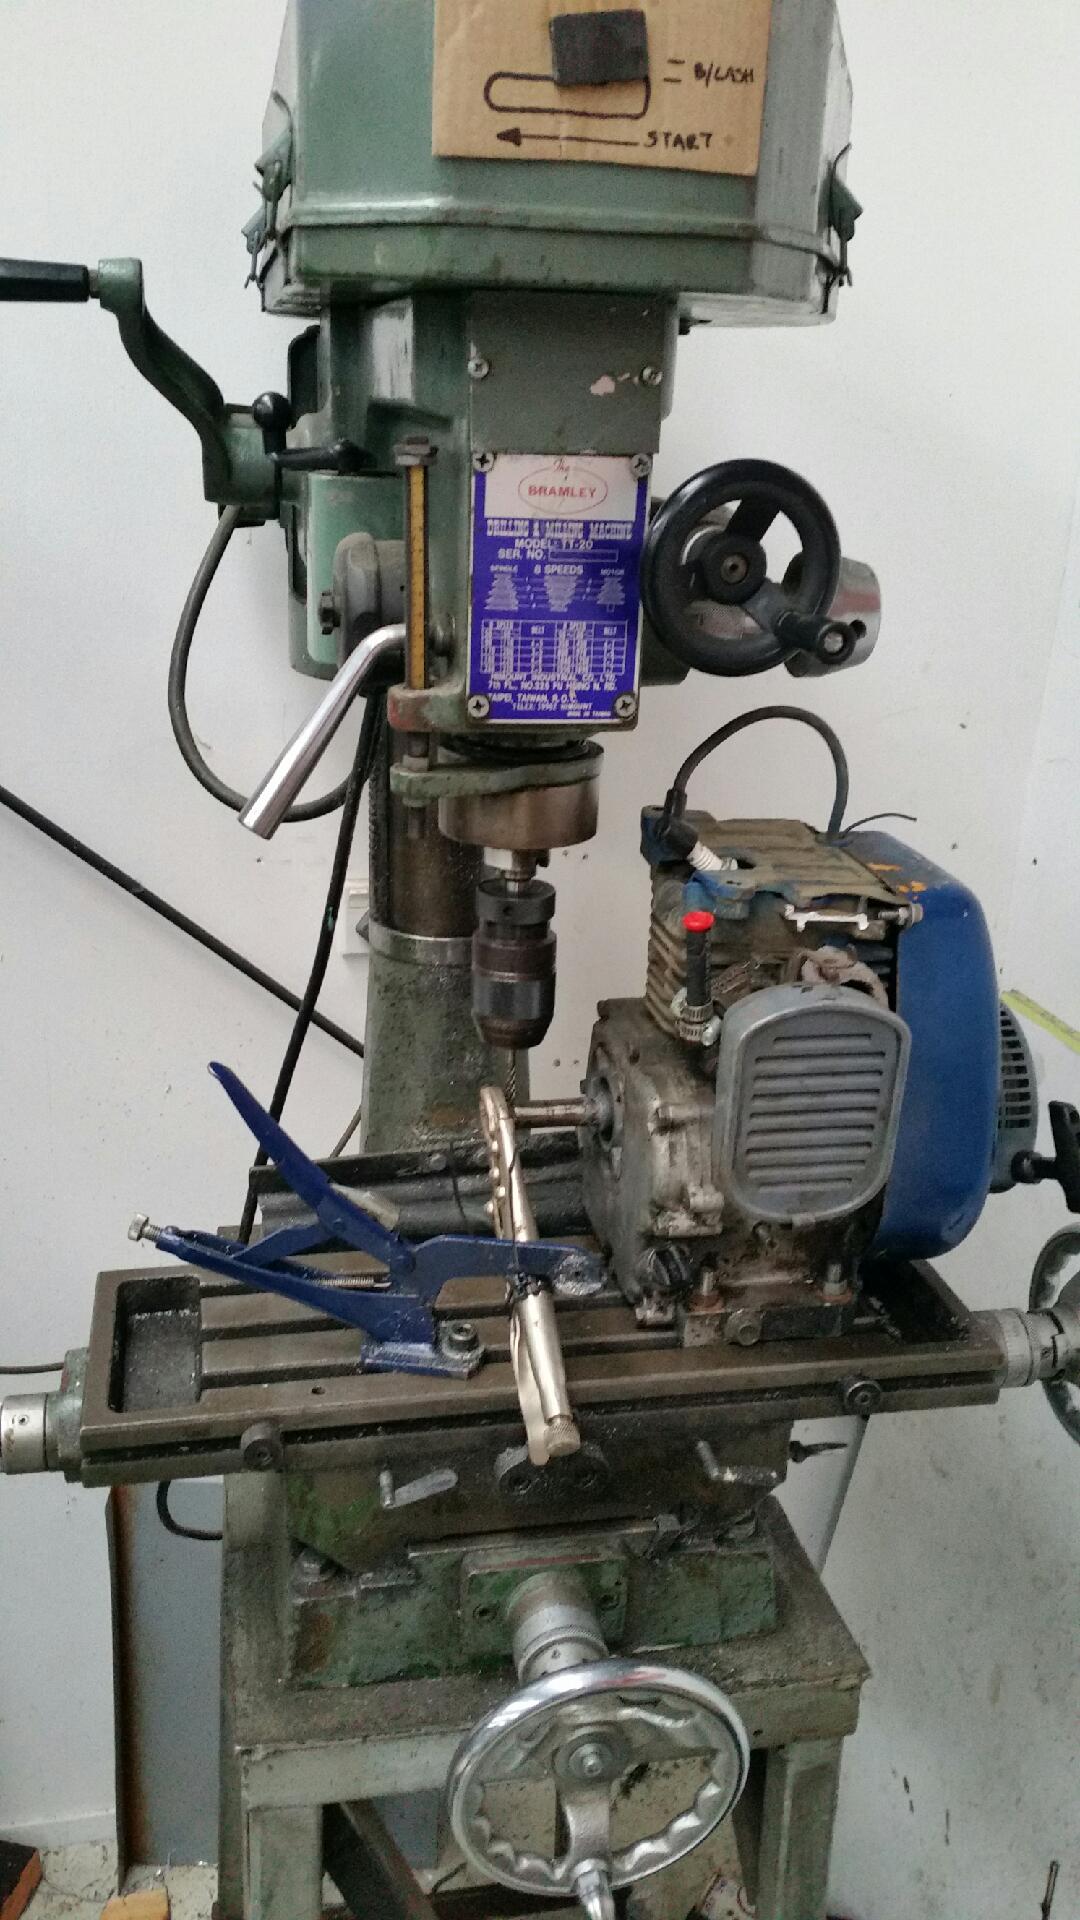
No keyway...no problem!
As rough as it gets...can't be fuckers removing crankshaft...so just leave it in. Worked awesome!
-
10
-
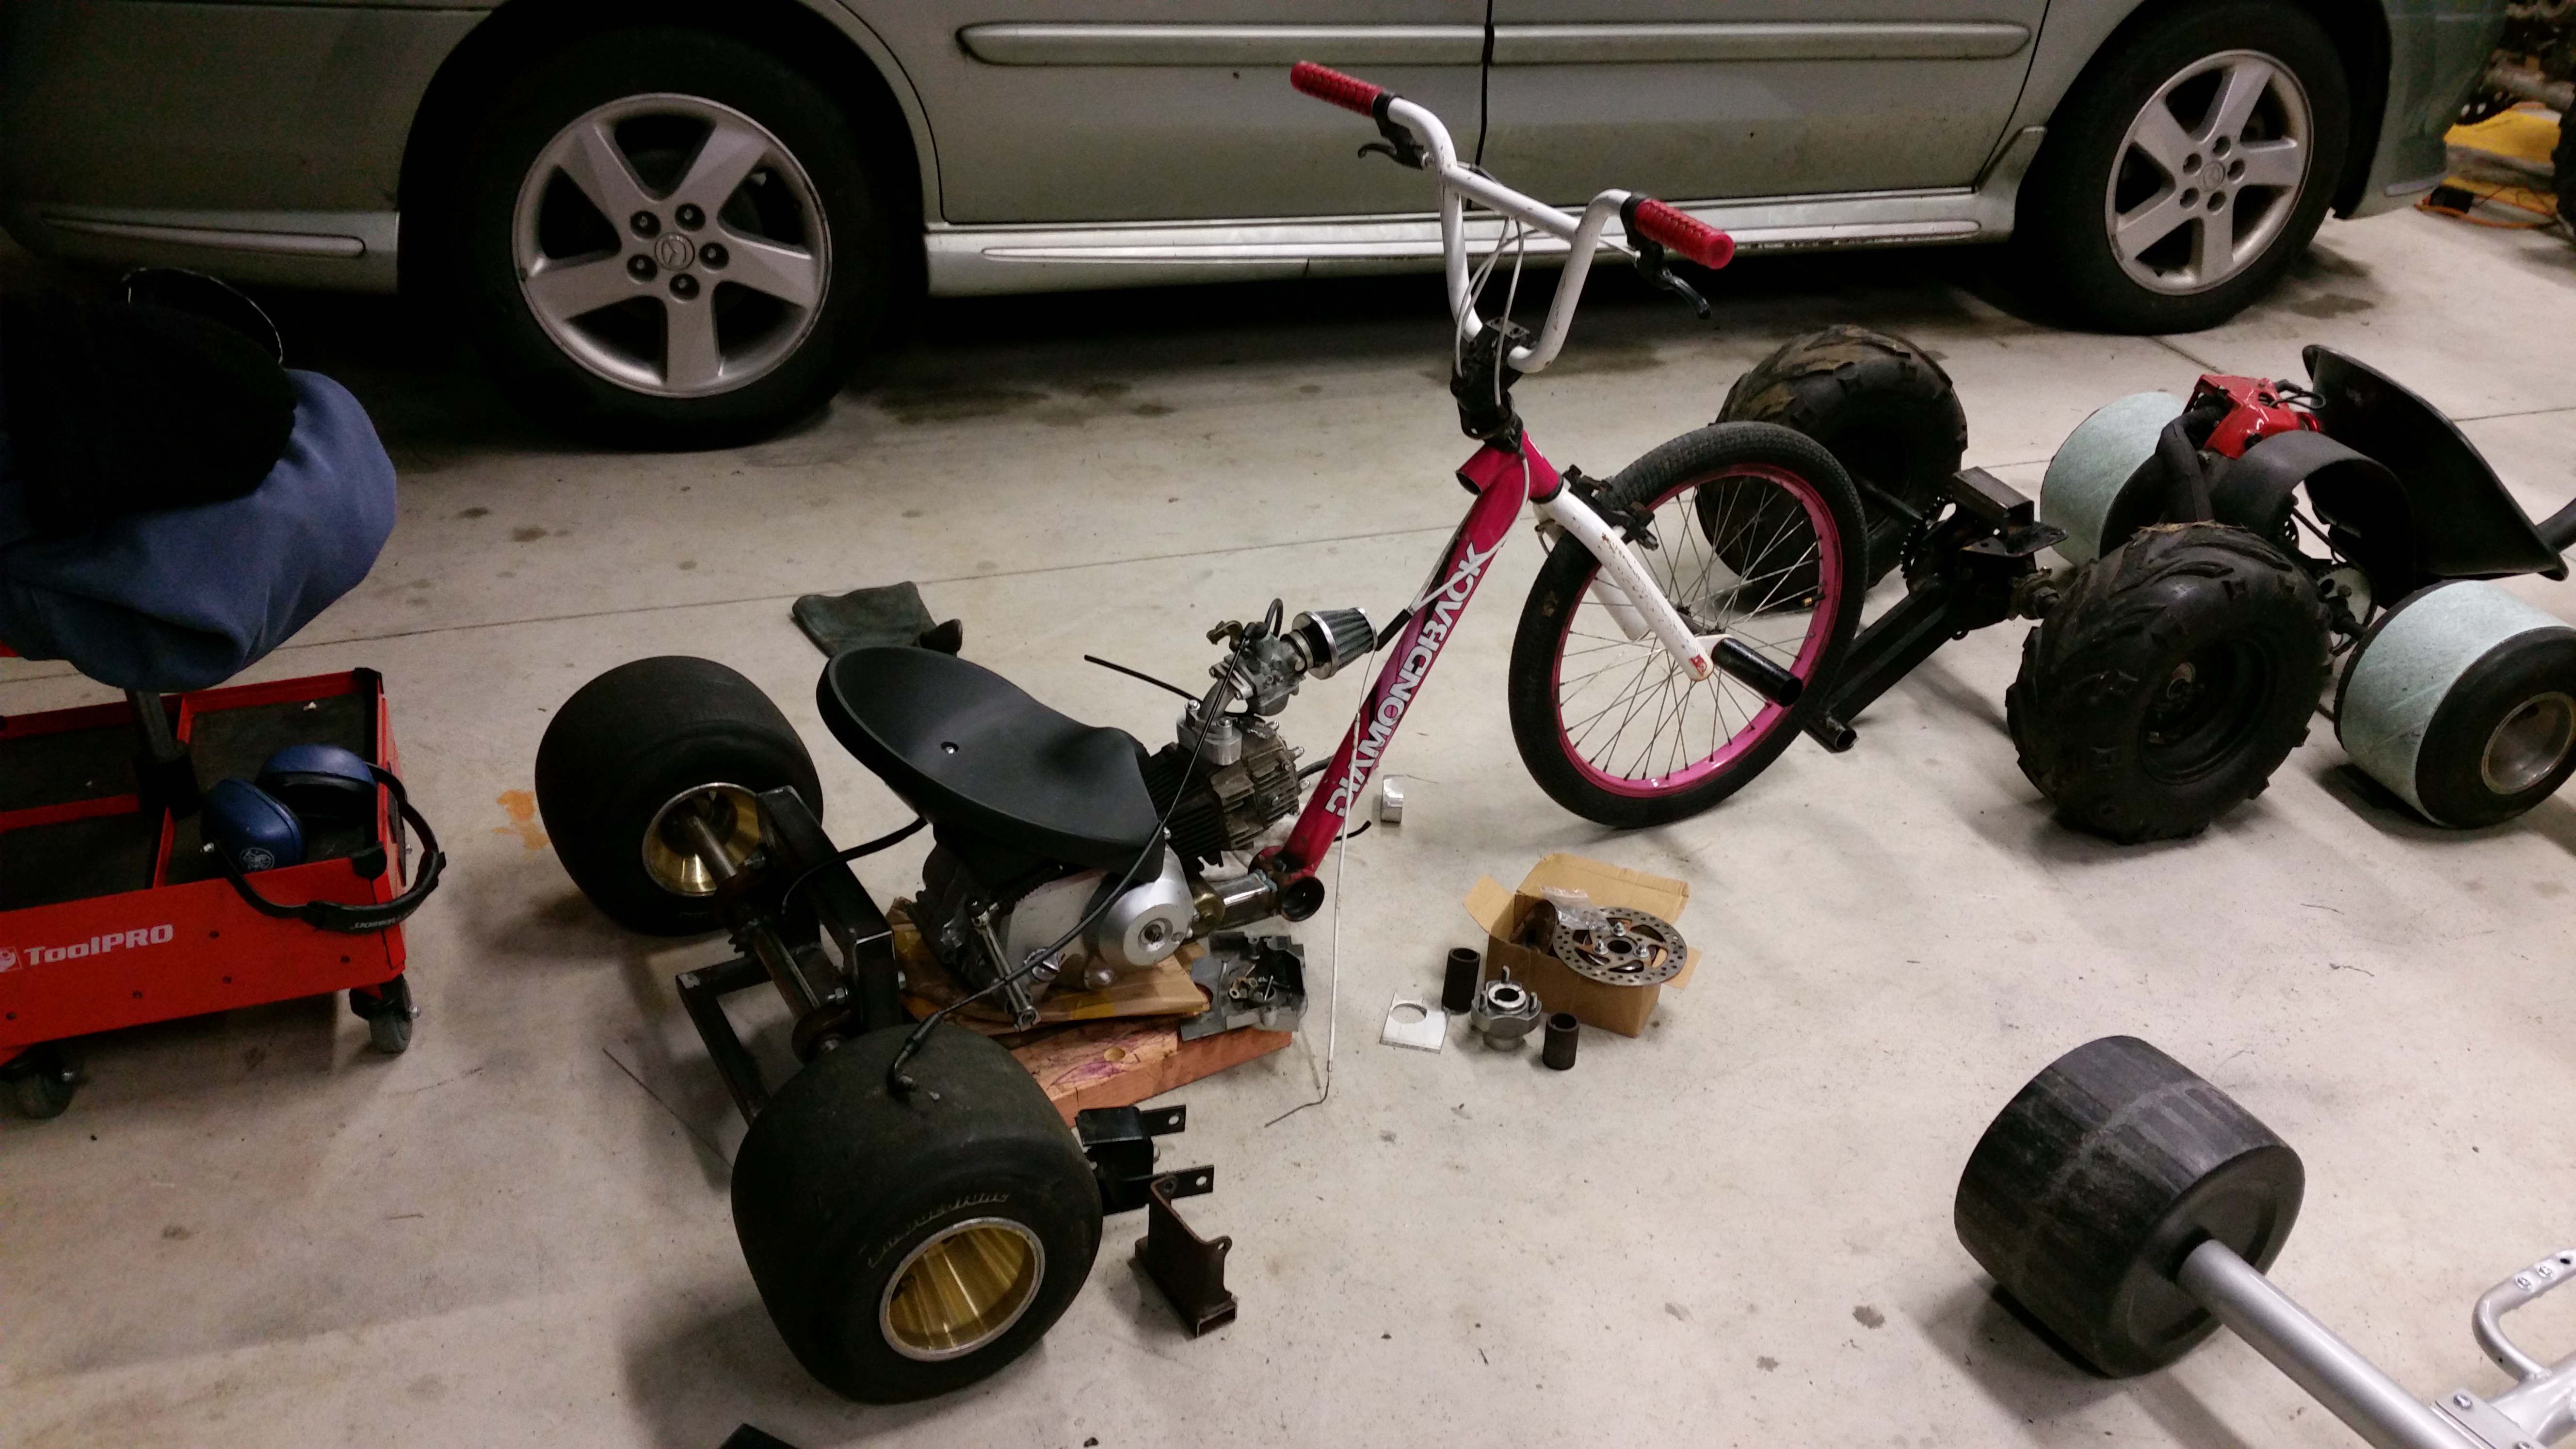
Been a while...I've not spent a lot of time on these lately, other stuff has taken priority. But I did a cheeky 3hrs today.
Mocked up. Parts will change a little...but almost functional.
-
2
-
-
Gas tank sorted...
Will be painted up a different colour later on.
-
3
-
-
You may get away with welding? I've locked spider gears in differentials and welded the steel pins to the cast iron heads before.
Ideally you preheat...weld...then bring temperature down again slowly to prevent cracking.
Other way about it could be to grind a keyway in.
-
1
-
-
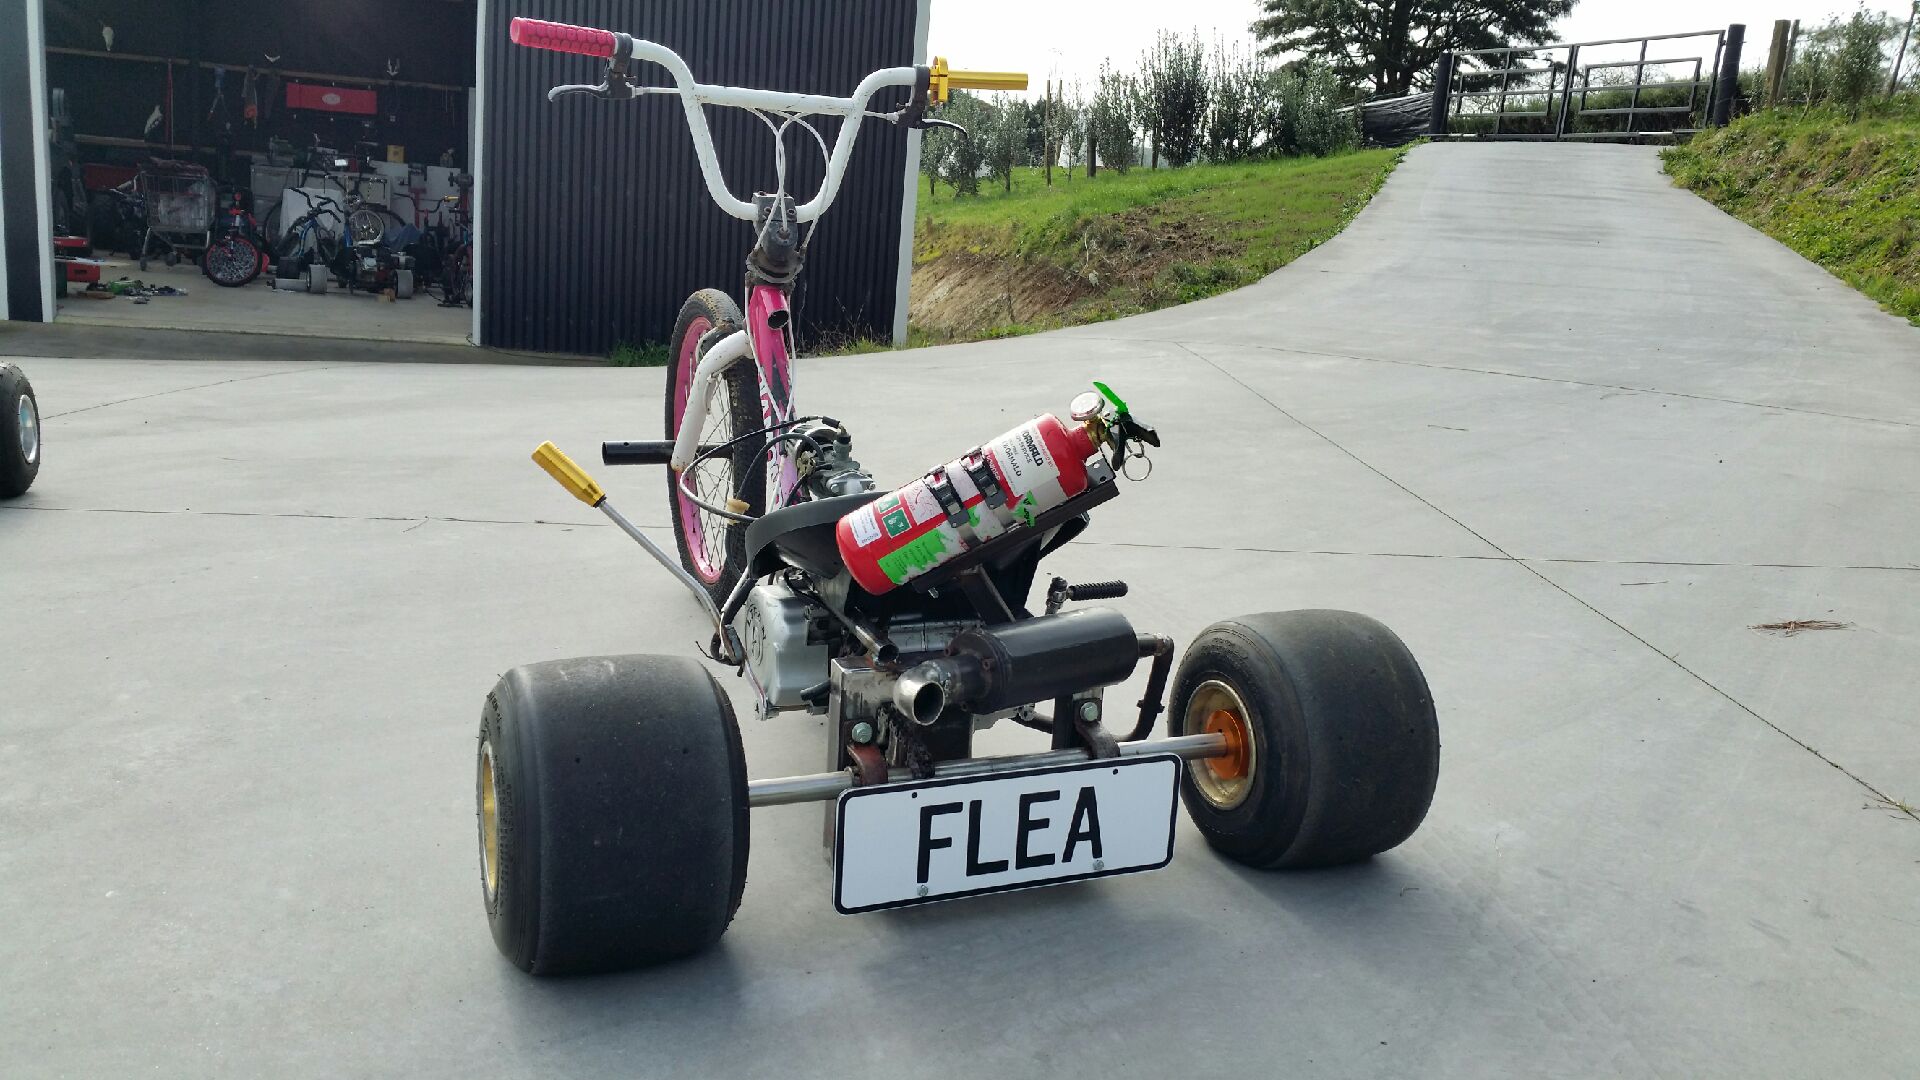
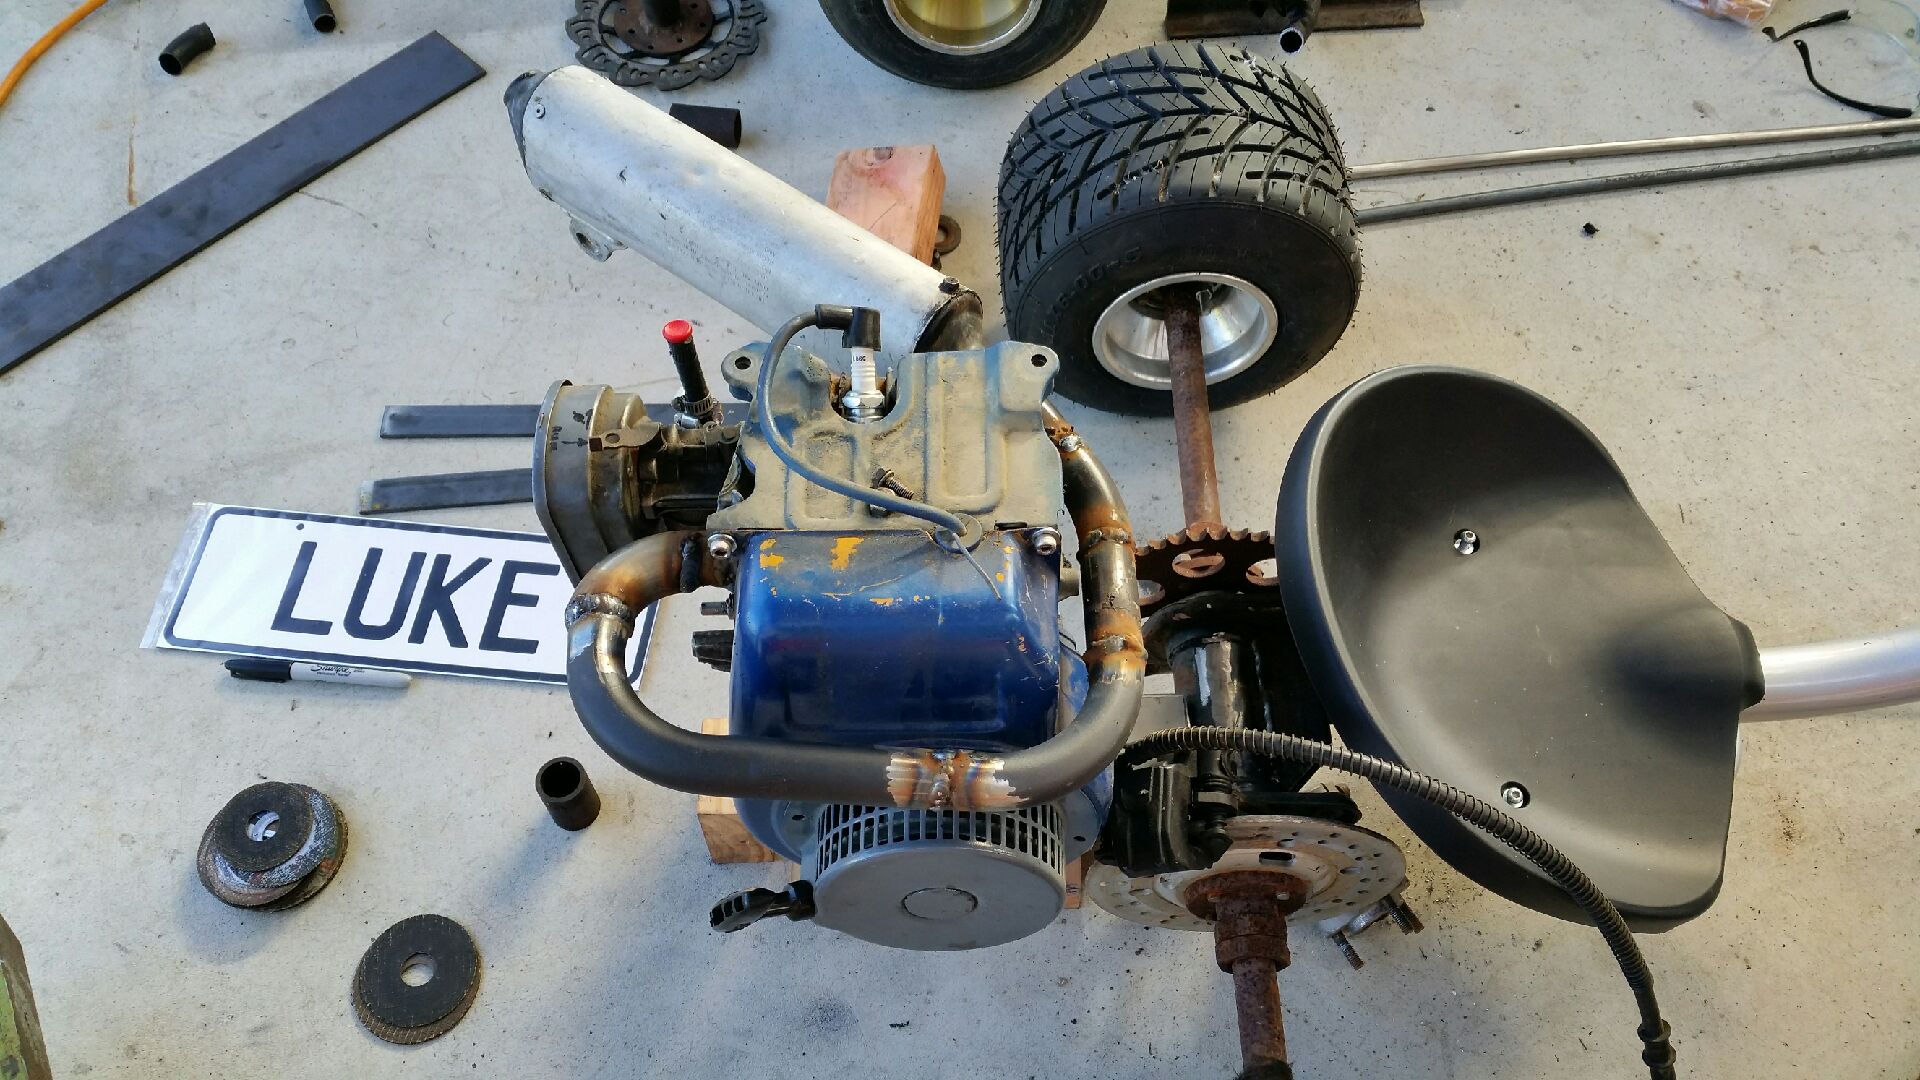
Smashing it out...
Stoked with this exhaust! Totally transformed a shit ugly motor off a rotary hoe into something that now looks the part.
It'll get "prettied up" with paint and exhaust header wrap later...but that's pretty much done.
-
1
-
-
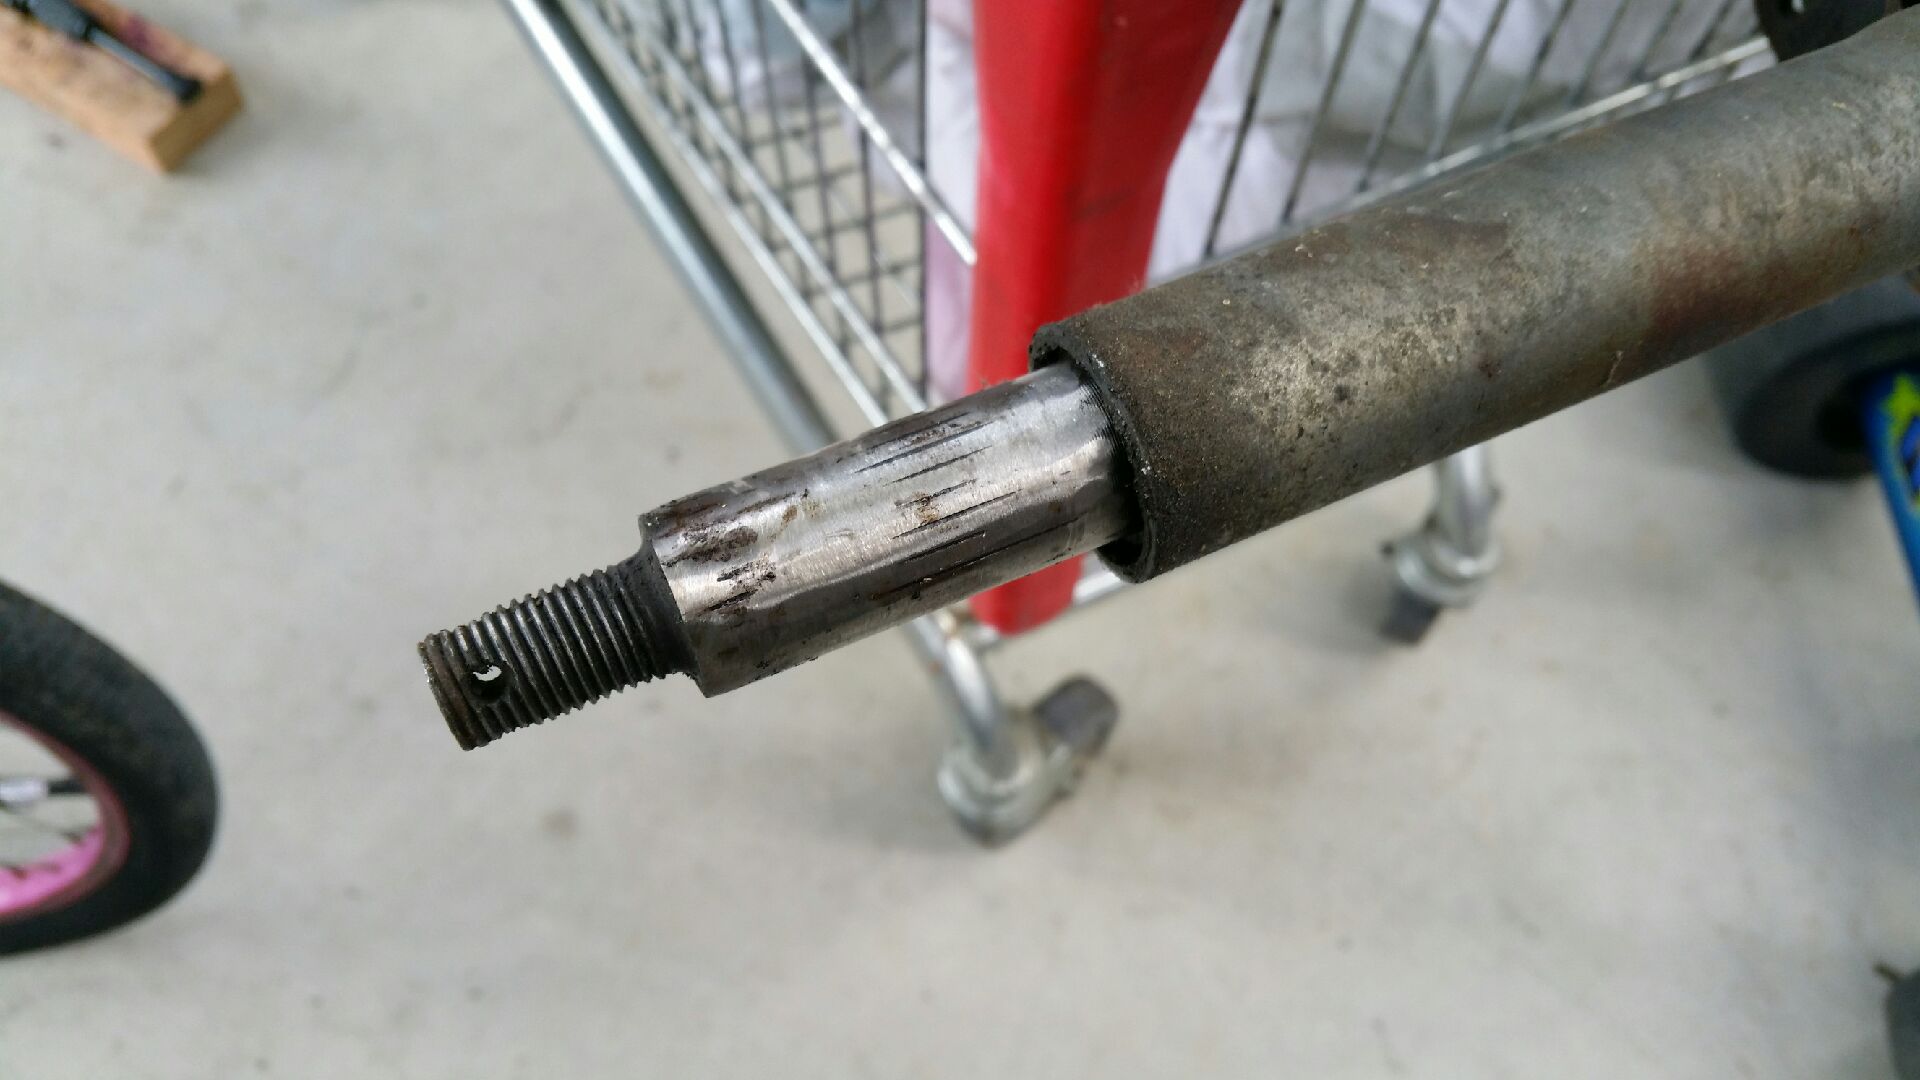
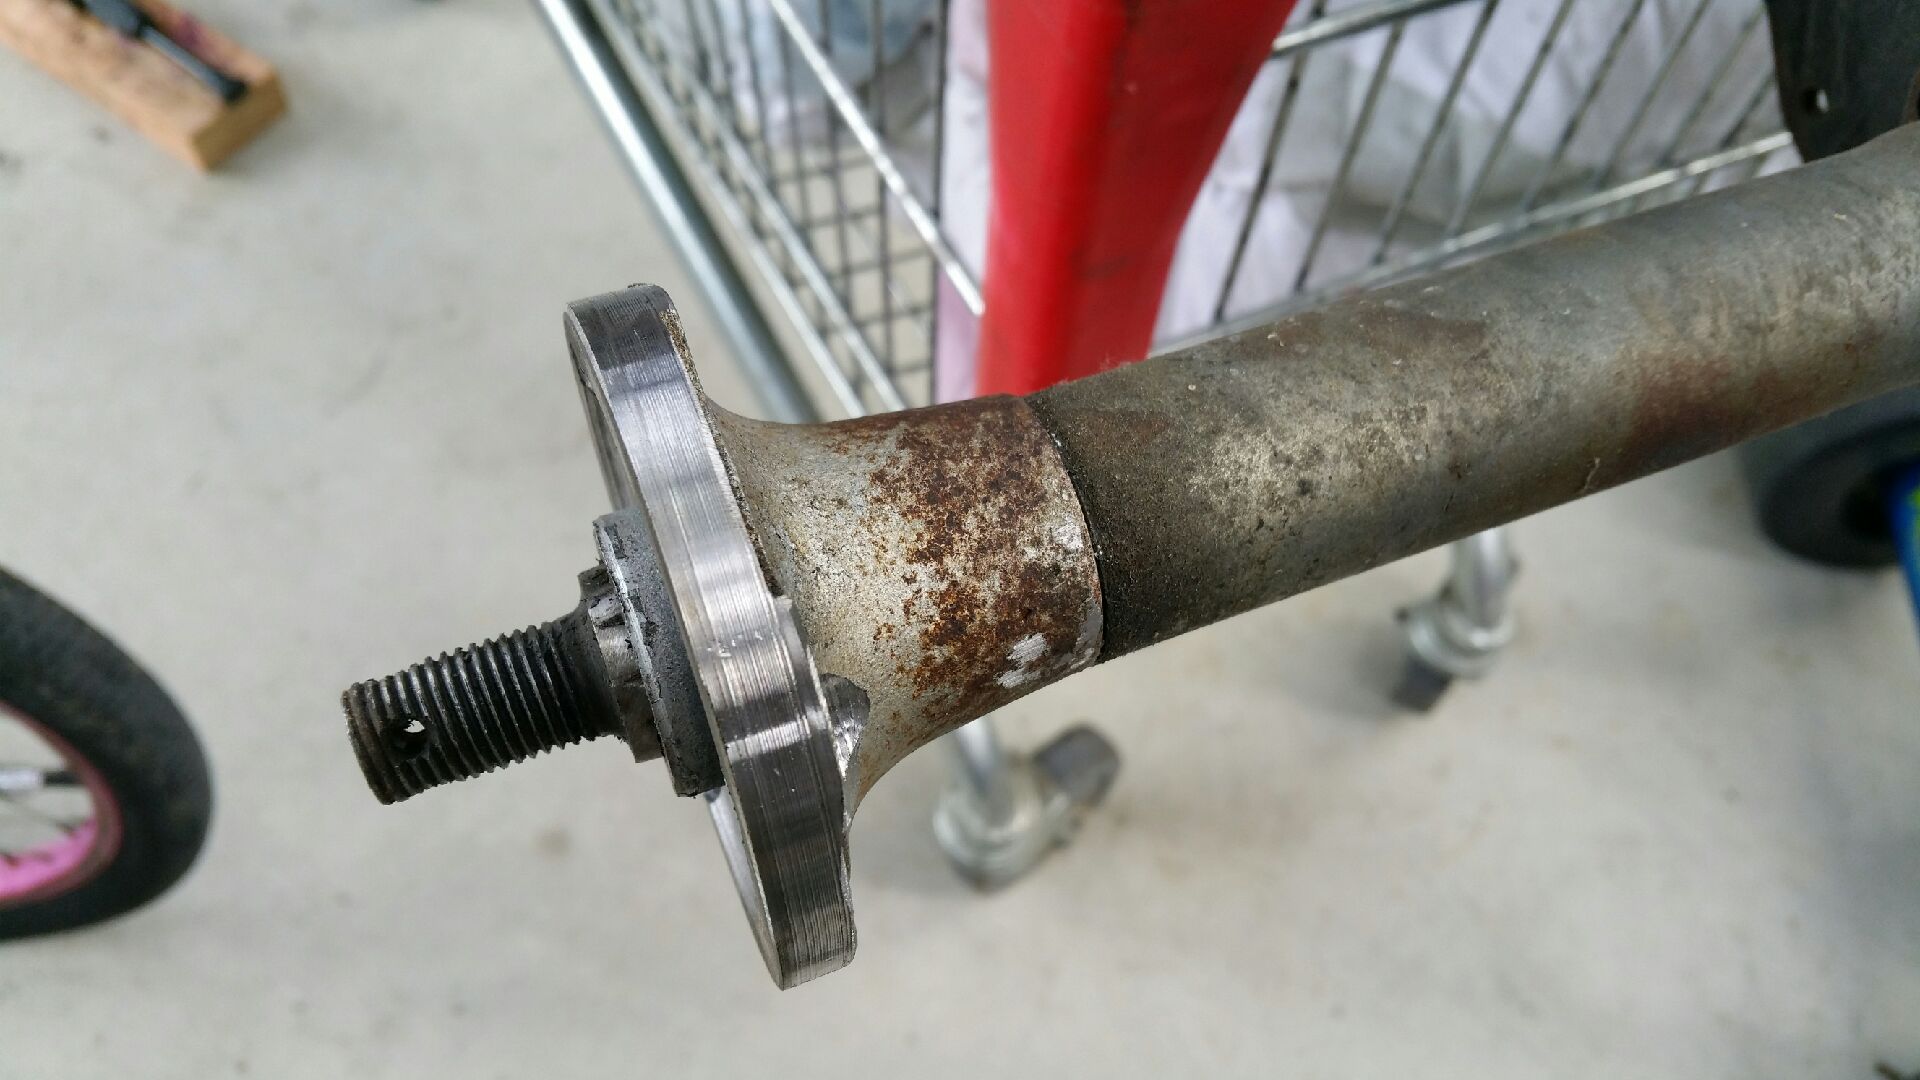
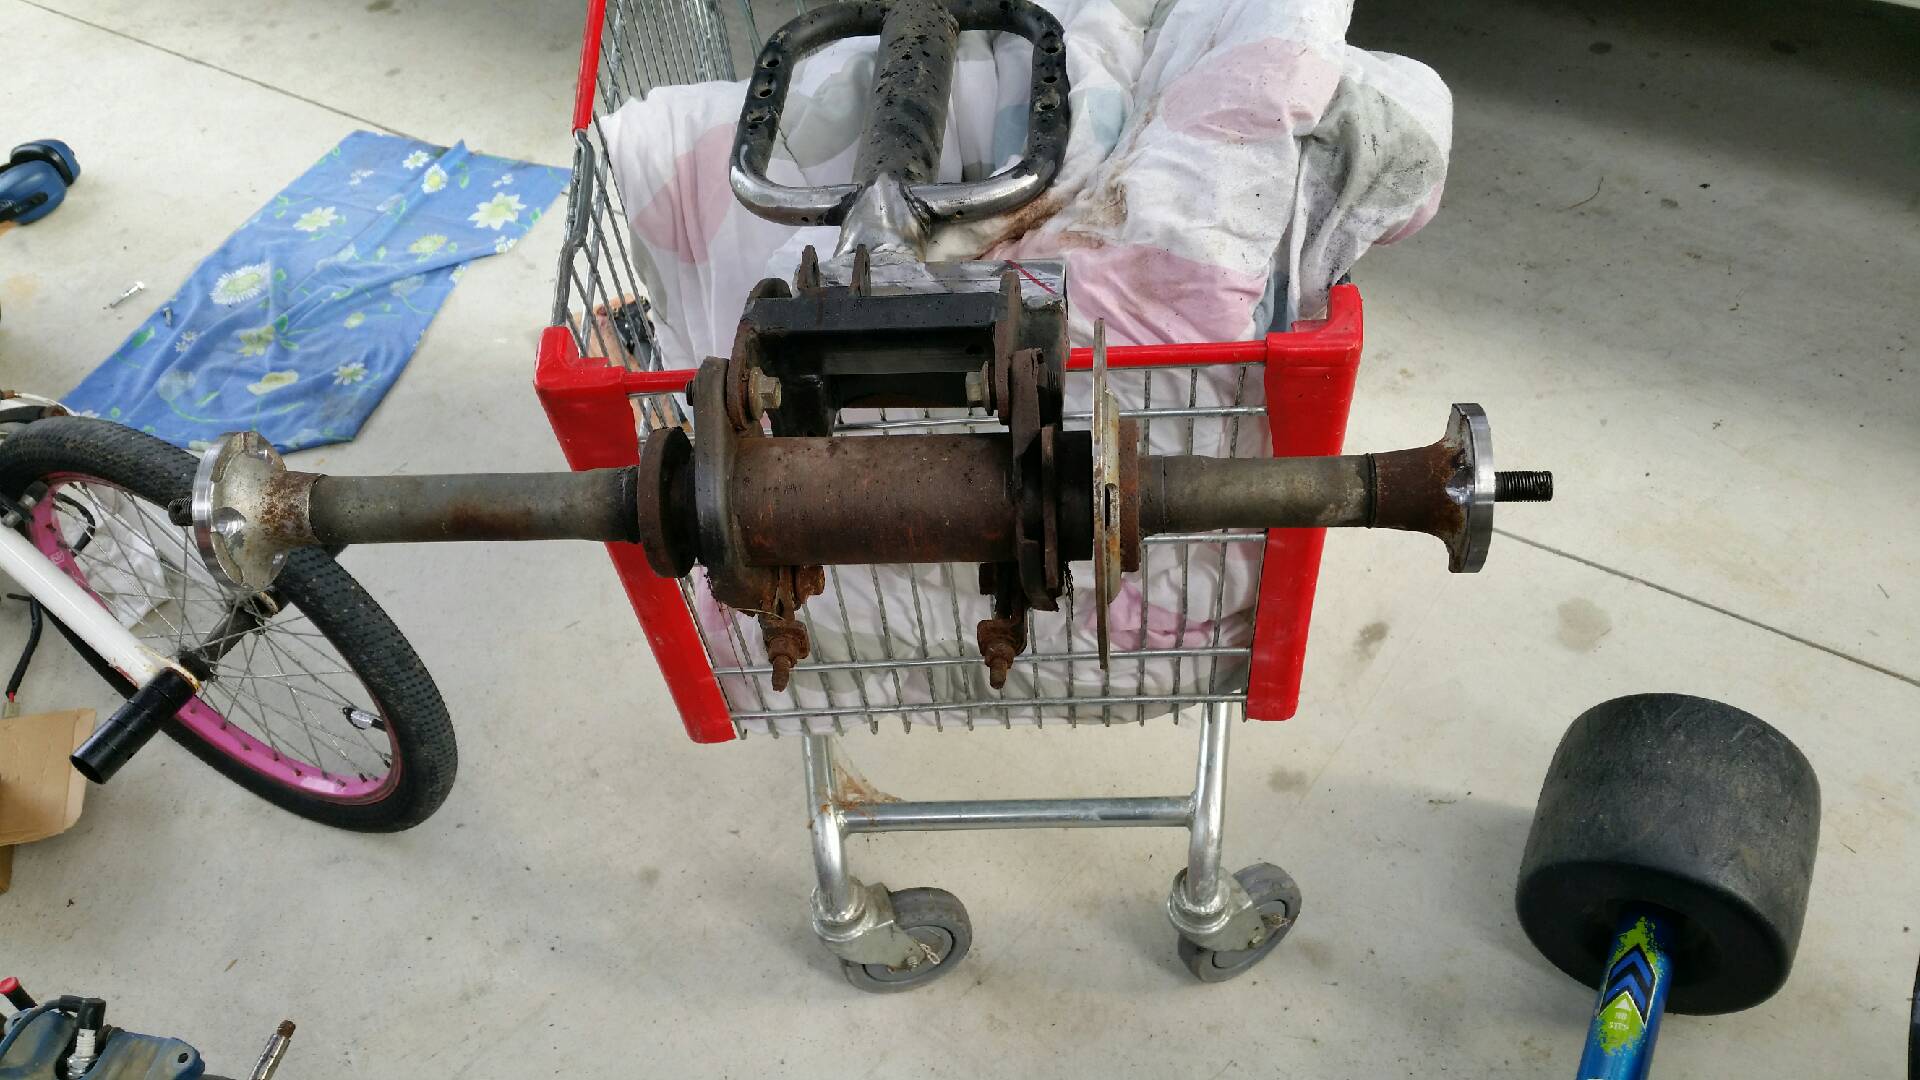
Butchery out of necessity.
The axle was $1 no reserve on trademe...yup...I won it for $1. However the hubs were missing.
I found some hubs second hand at an equally affordable price. Problem was they didn't fit the splines. Nor did anything else I could find.
Warning: the following may upset sensitive viewers.
Hubs will be welded on to axle. I've turned them down to fit and milled in bolt recesses. Good to go:)
-
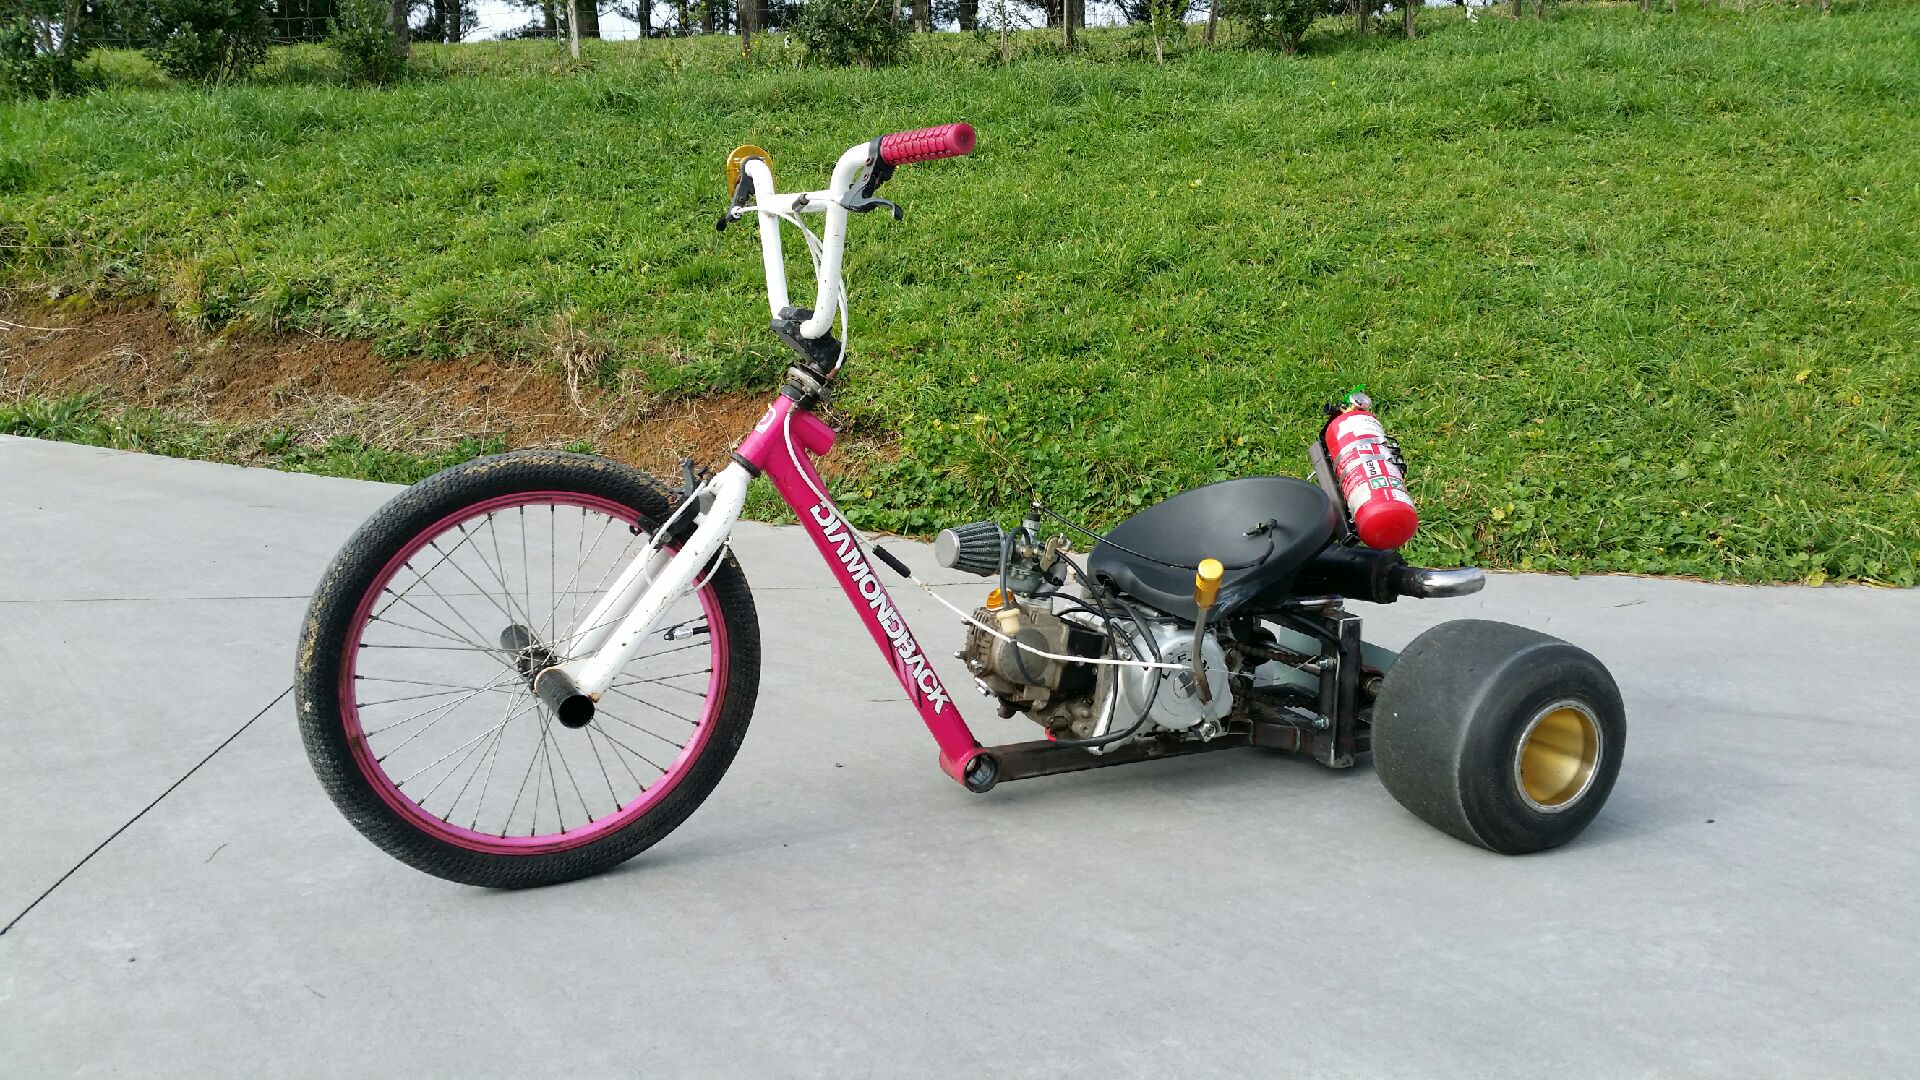
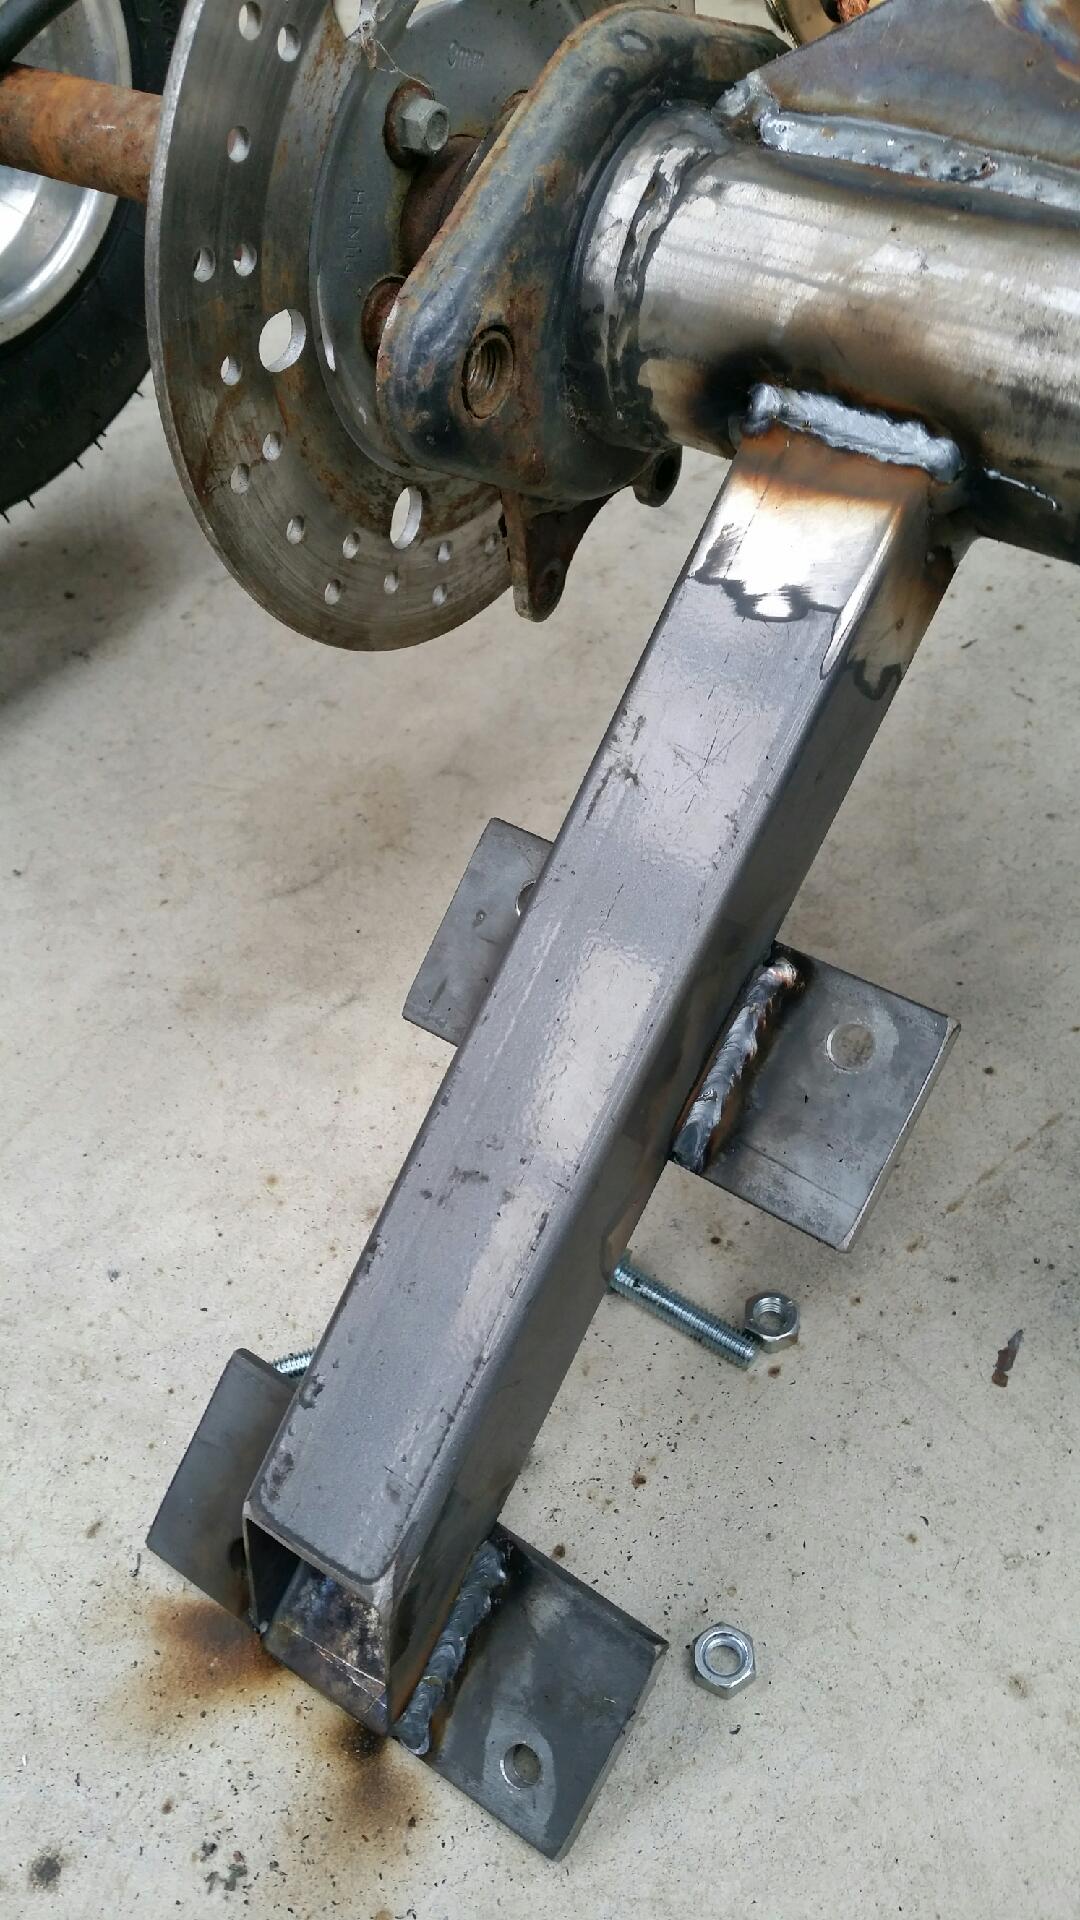
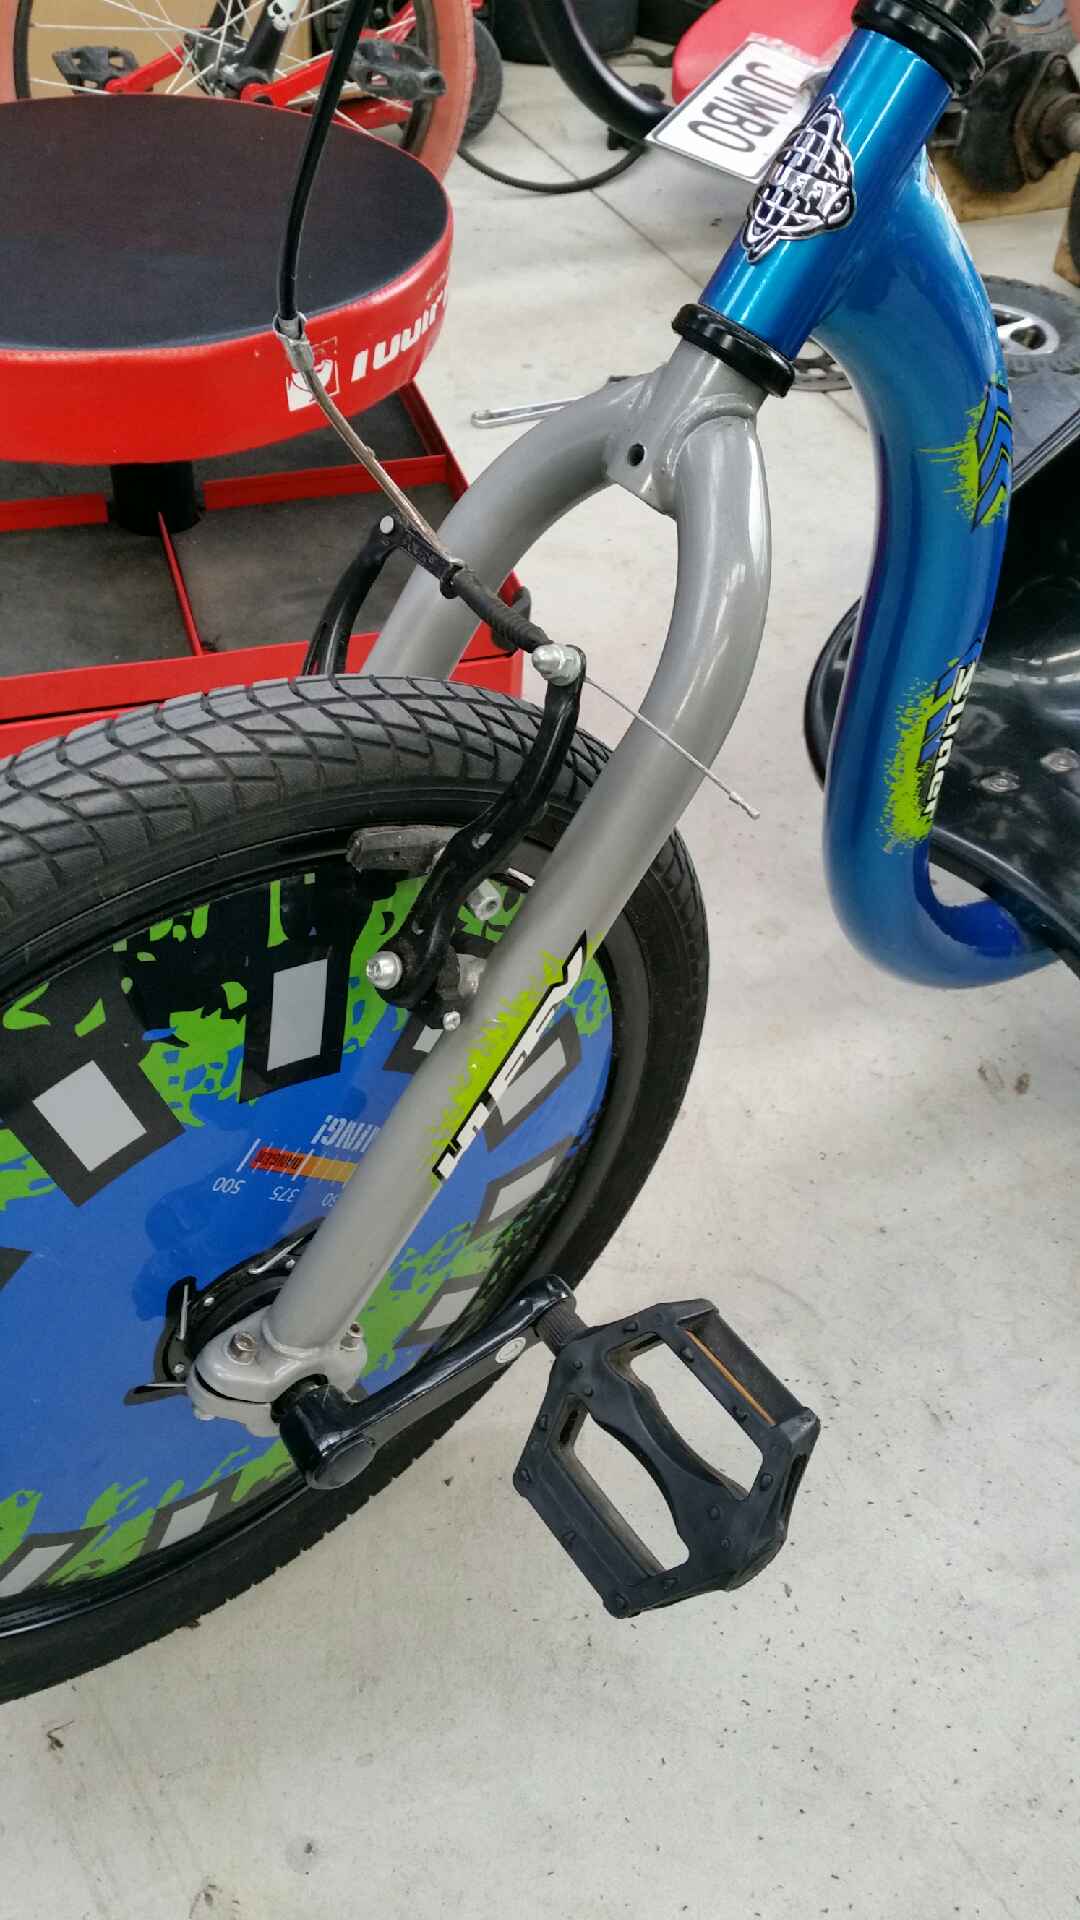
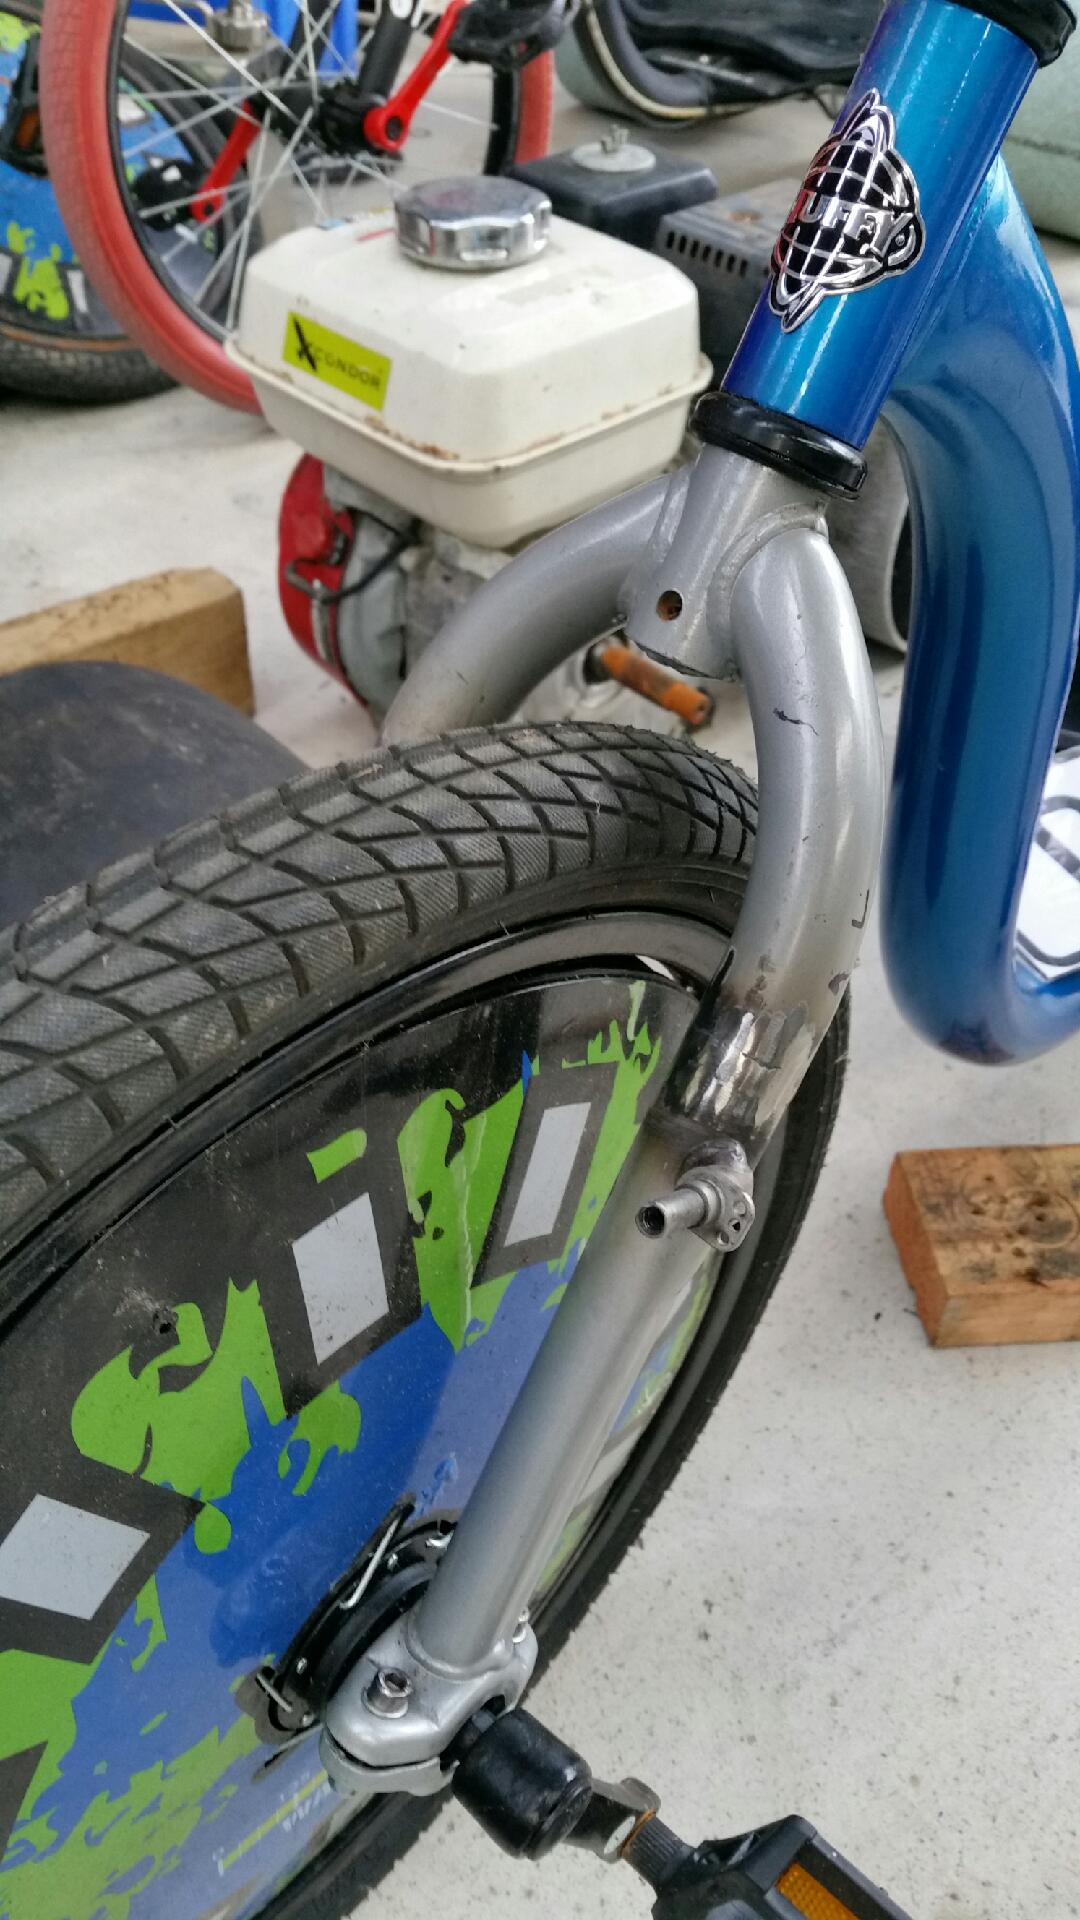
Stance on one of the trikes was all messed up. Looked like a leadsled.
Solution:
Before
Cut and weld
And after:
That dropped the front end 65mm lower..and it now has the right stance I was looking for. Success!!!
-
1
-
-
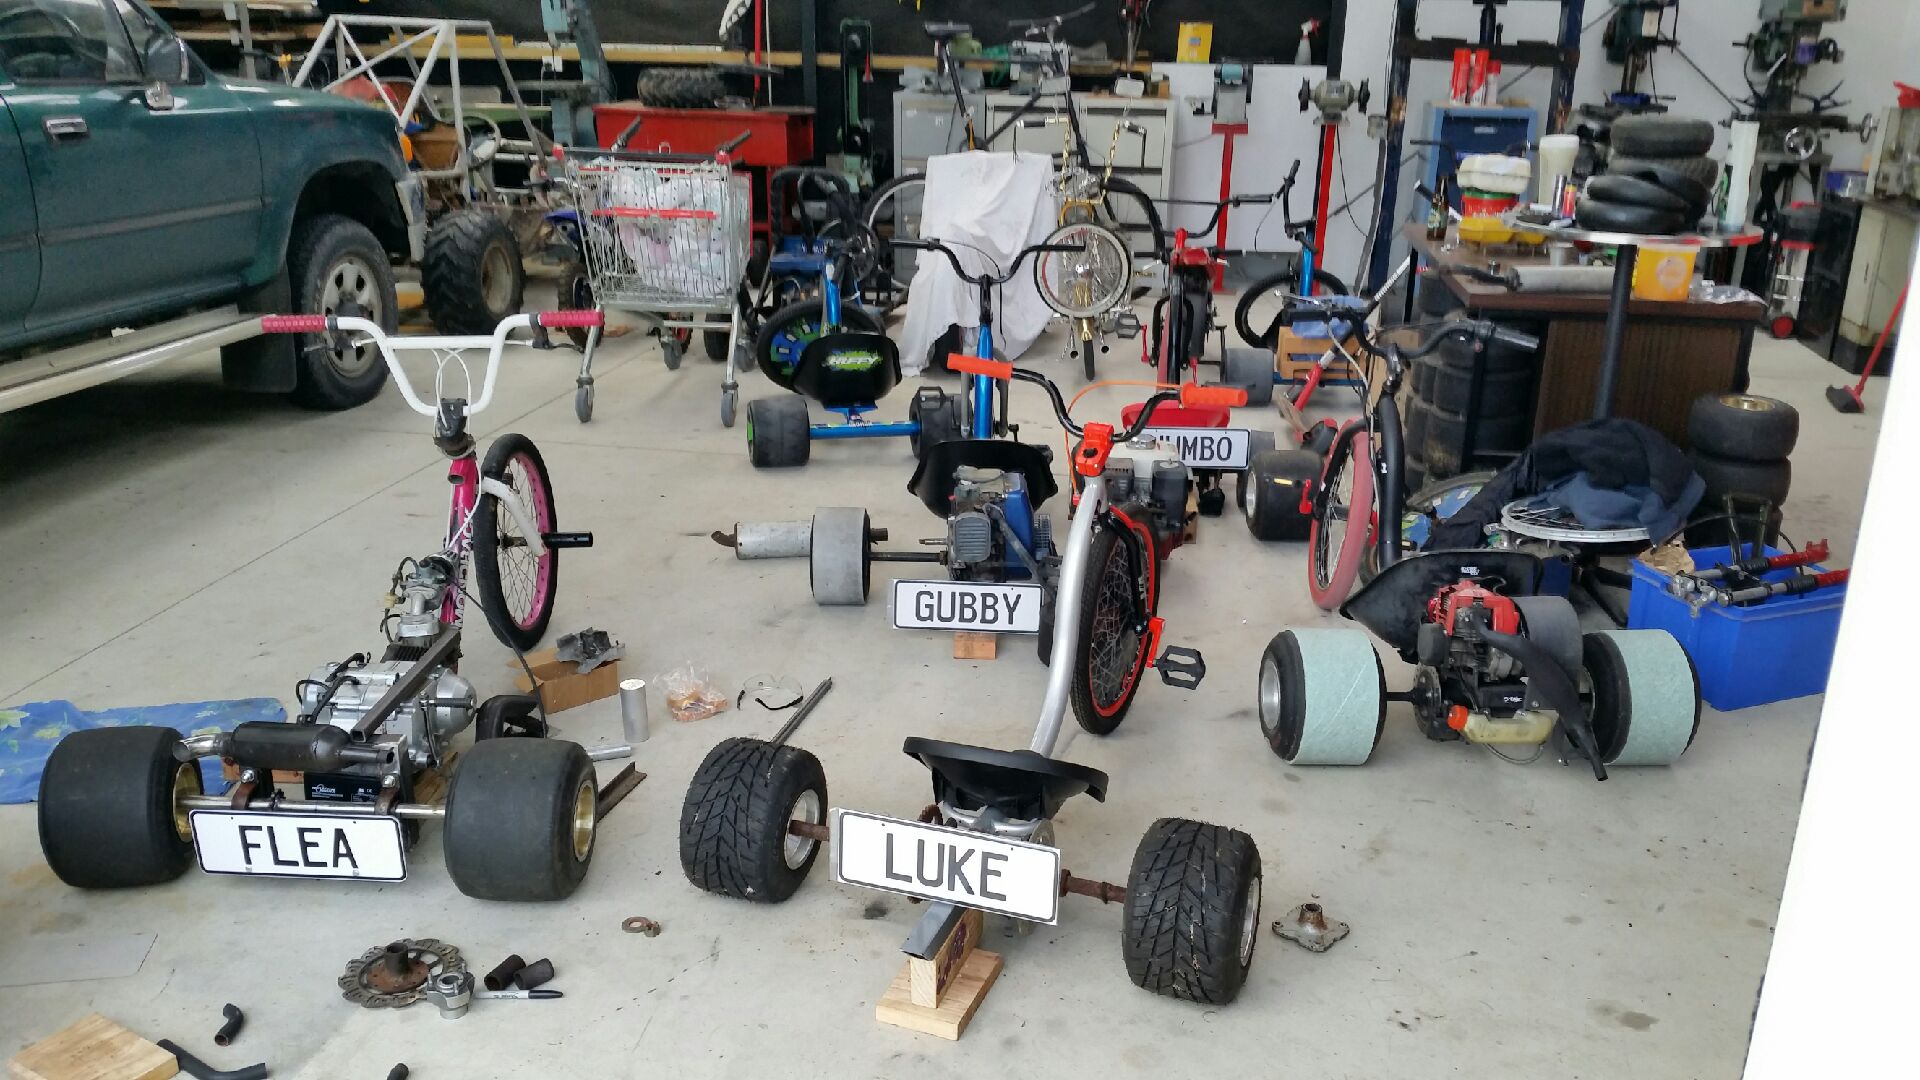
Got a bit distracted today. I find the best way to maintain momentum is to have more than one thing on the go at any one time...
Now 5 is kind of taking the piss. However today was a very productive day!
-
6
-
 1
1
-
-
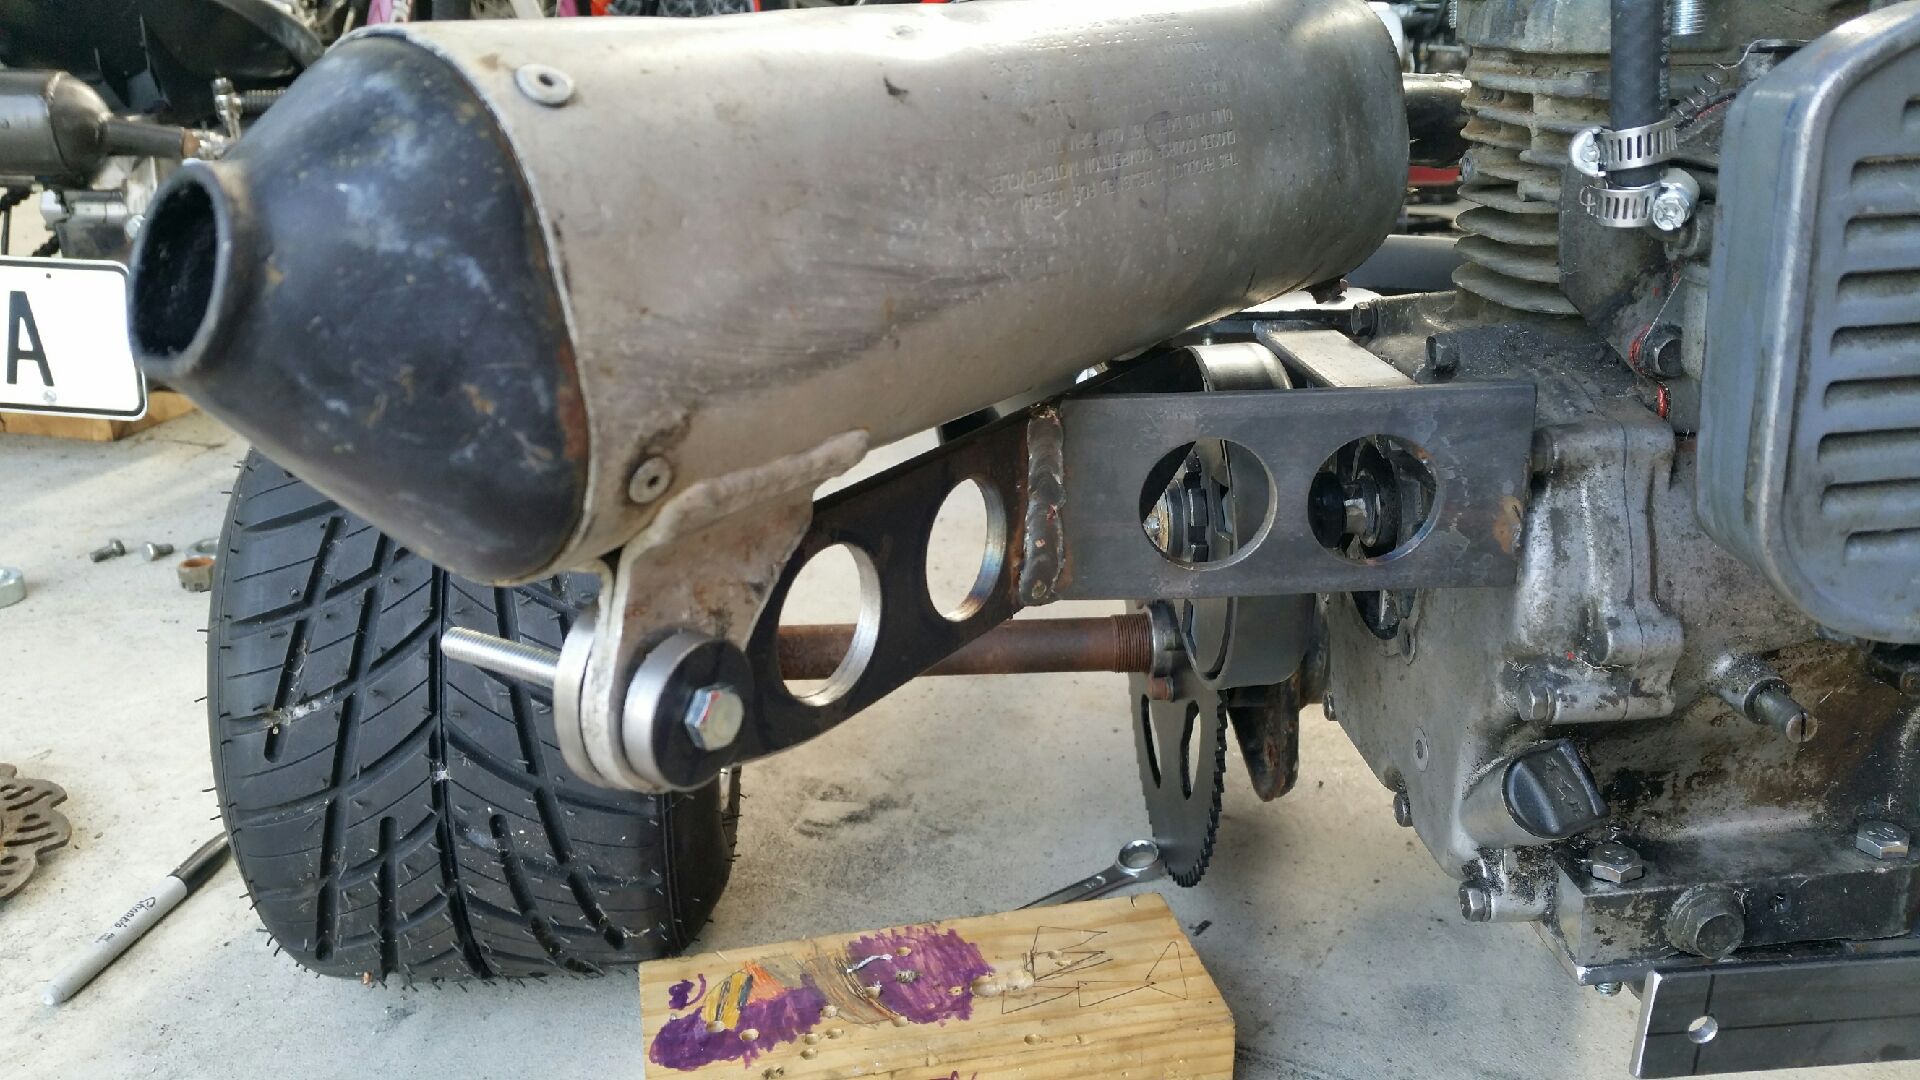
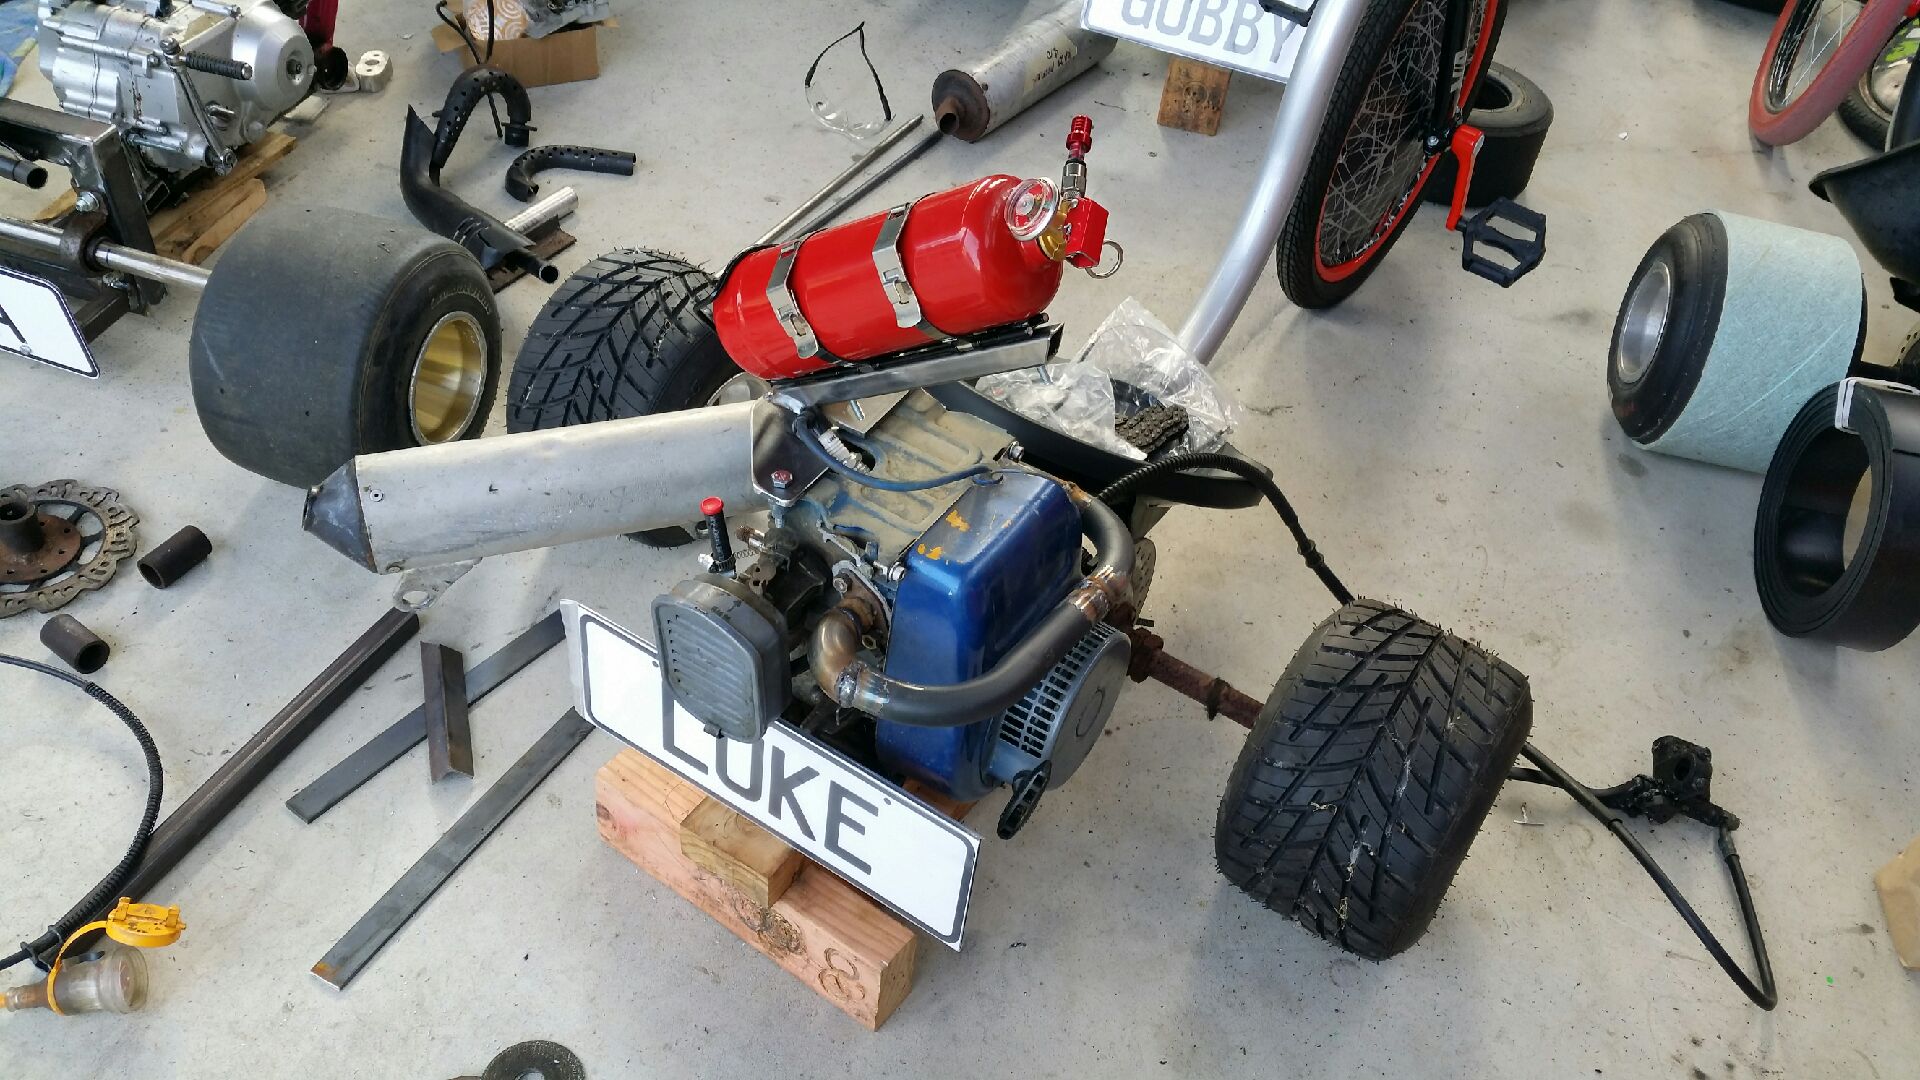
Exhaust mounted in final position. Now I've just gotta work backwards from here and somehow connect it to the motor?
I welded on a stainless steel tip to turn out 90°, this should help put the fumes out the back away from the driver.
Plates arrived (x5) so fitted it up for inspiration.
-
1
-
-
Check out ebay...you can get even "cheapererrŕ"
This is a real good deal at $100 to $130 posted to nz.
-
1 hour ago, Muncie said:
I'll be using my V-twin might have to begrudgingly find a go kart axle as that engine smashes anything thats not performing including wheel's bearings and riders.
Good idea.
Surprisingly the big 50mm axles often work out cheaper as they are more common. Hence the hardware like hubs, sprocket carrier etc...all are in abundance at cheap(ish) prices.
-
Have you seen these guys "Detroit hood tv"...it' ghetto as fuck...but once you get past the gangsta bullshit it' got some mad mini bikes racing.
Shows the potential of these Honda clone engines.
-
4
-
-
23 hours ago, Muncie said:
Where do you keep finding axles? Do you have a wrecker they come from, building one for my son now as im keen to hoon one as well.
Trademe... that's my go to.
The naomi trike used a proper gokart axle, with the hangers welded on the original drift trikes rear tube. Axle goes through it all. This was a real tidy way of doing it.
The other way I use a lot is a kids quad bike rear axle assembly. The only negative is you have to lathe out the centre of an alternative sprocket to get a suitable gear ratio to suit whatever motor you use. The positive is they normally come with a brake rotor and if you're real lucky a caliper too.
Rear brakes are everything on these. Front brakes are almost pointless. Rear will stop you and you can initiate the skid too.
-
Just now, peteretep said:
good job with making so many of these things, but why do you keep making them? is it for mates or something?
also, you should put the wajax motor into something else
I put it down to some kind of undiagnosed disorder.
Oh and I've set myself a goal to make a total of 9 of these before September for a group of mates. Then we'll all get together and let loose. Equal parts alcohol to equal parts clueless enthusiasm...
Wajax would be cool. But I really like the velo-bike as it is. I still take it for a ride down the road a few kilometers and back once a month...ummm just because.
-
3
-
-
Progress is slow...but progress is progress:
-
2
-


Air bag suspension chat
in Tech Talk
Posted
Correct. Once a certain value is achieved its volume in the bag that really lifts the car....but also the pressure has an effect as area is constant...so let's put some numbers into the equation and see how it changes.
P=F/A
Therefore
F=P.A
So let's simply it and just use 100psi and 80inch2 for area. Then;
F=100psi x 80inch2
F= 800lb of force.
Lets do it again with 50psi and the same area of 80inch2
F= PA
F=50psi x 80inch2
F= 400lb force
So you see the force is a direct relationship with how much pressure is in the bag. And just like a jack lifting a car...as the bag fills it expands and exerts lift...but only once the force is larger than the dead weight of the car.