


Kimjon
-
Posts
2181 -
Joined
-
Last visited
-
Days Won
1
Posts posted by Kimjon
-
-
- Popular Post
- Popular Post
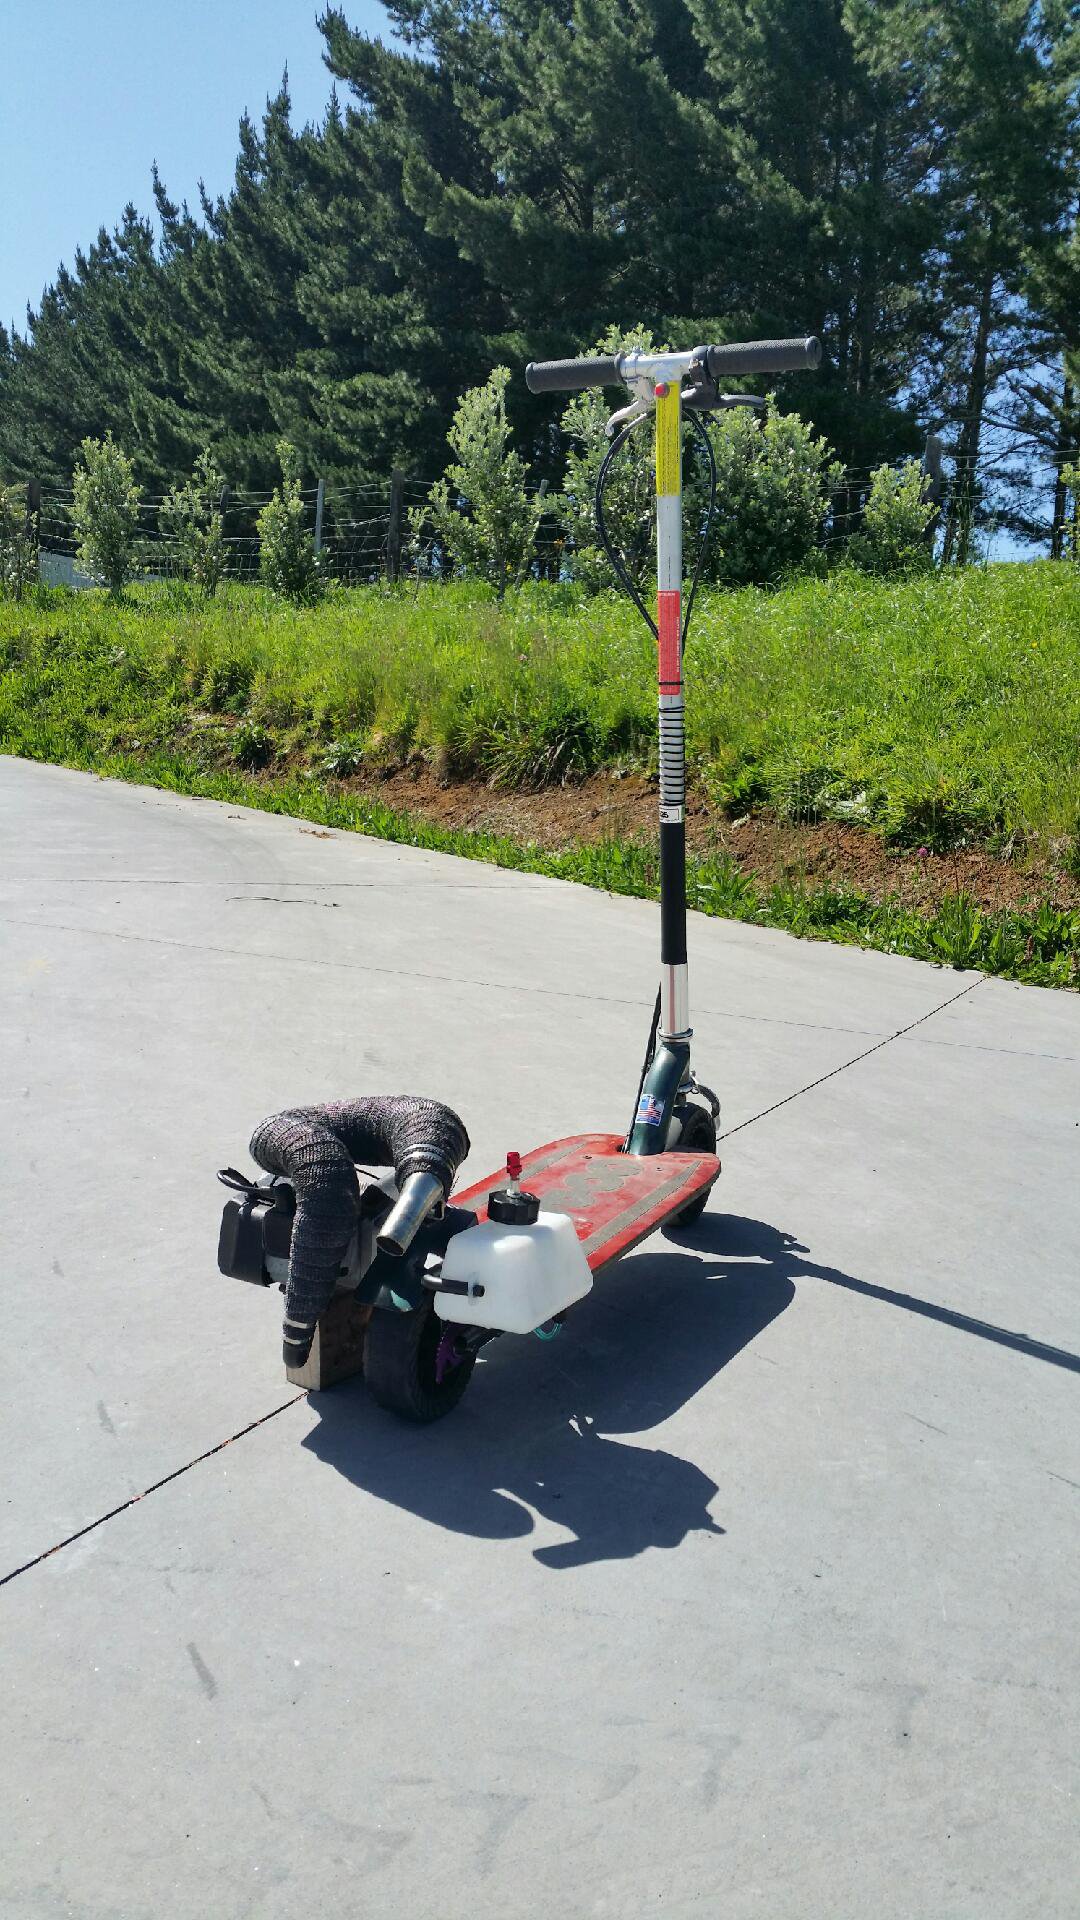
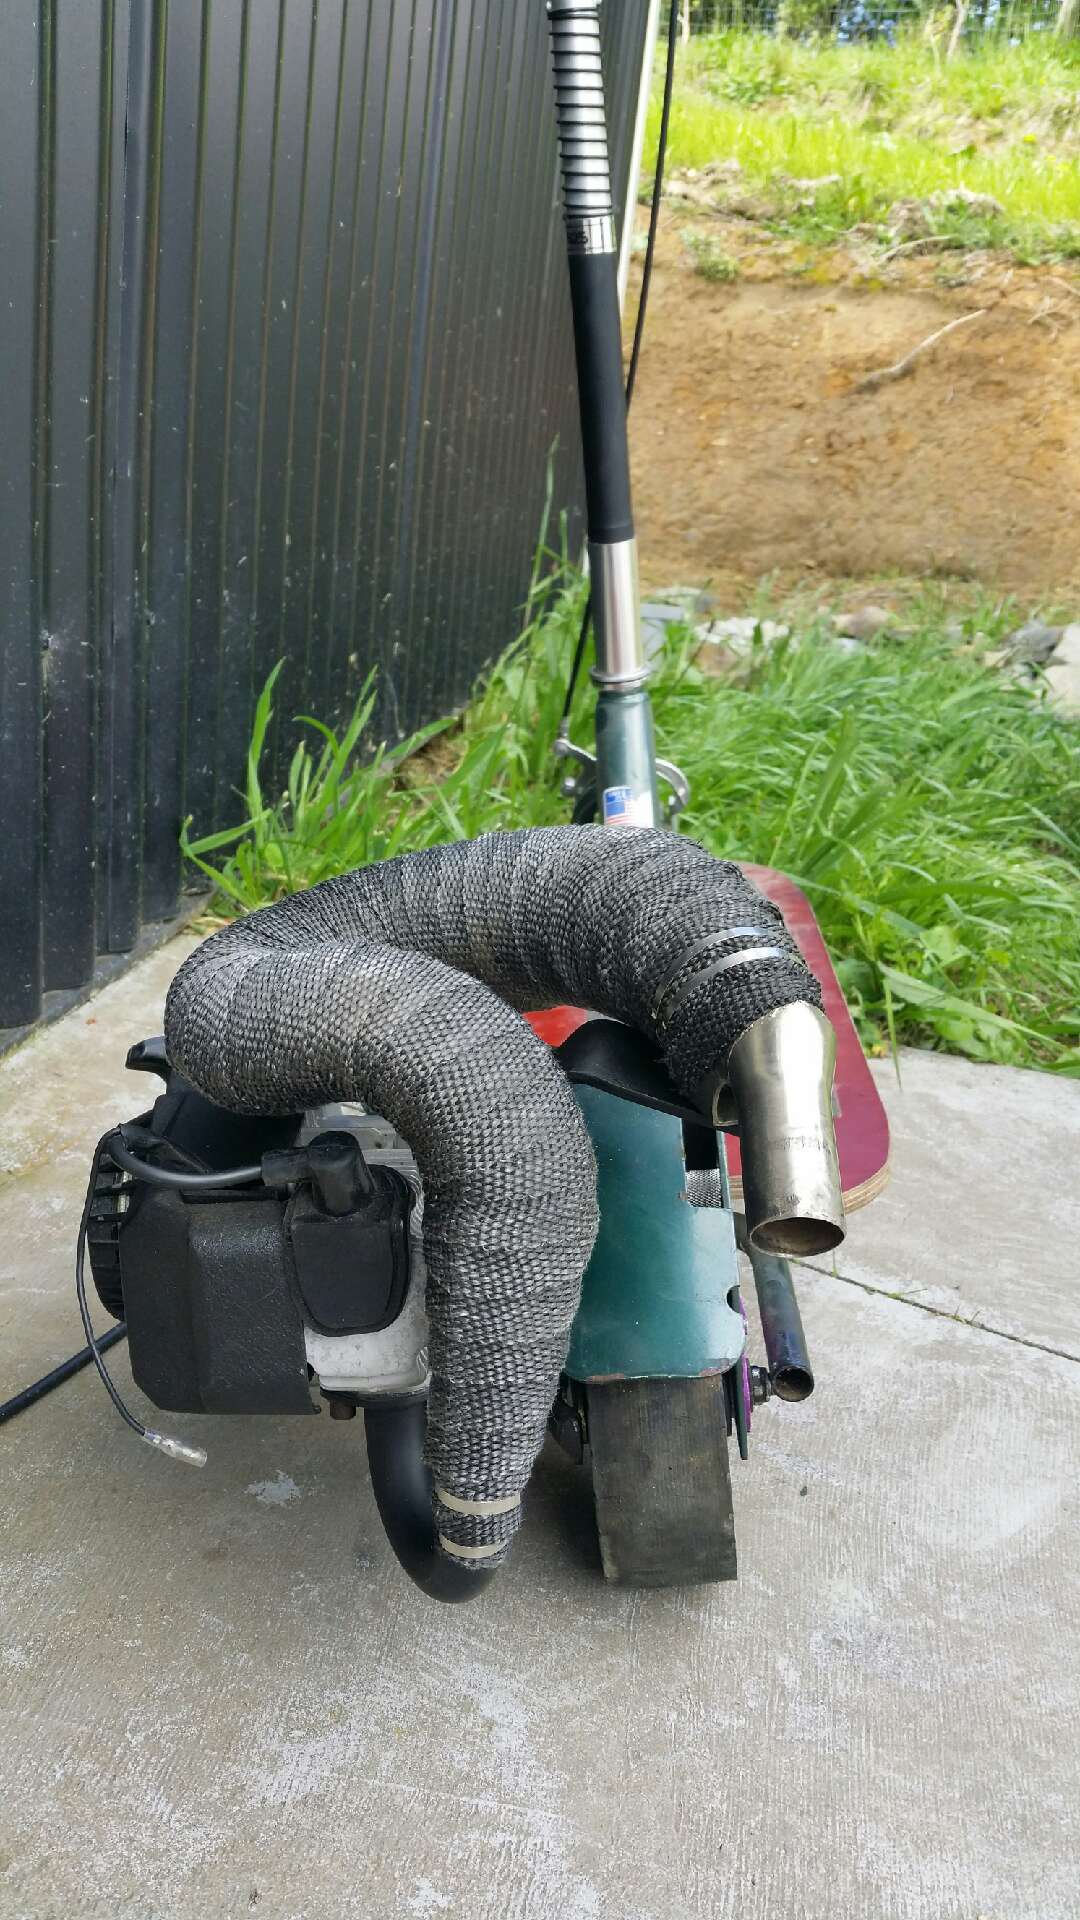
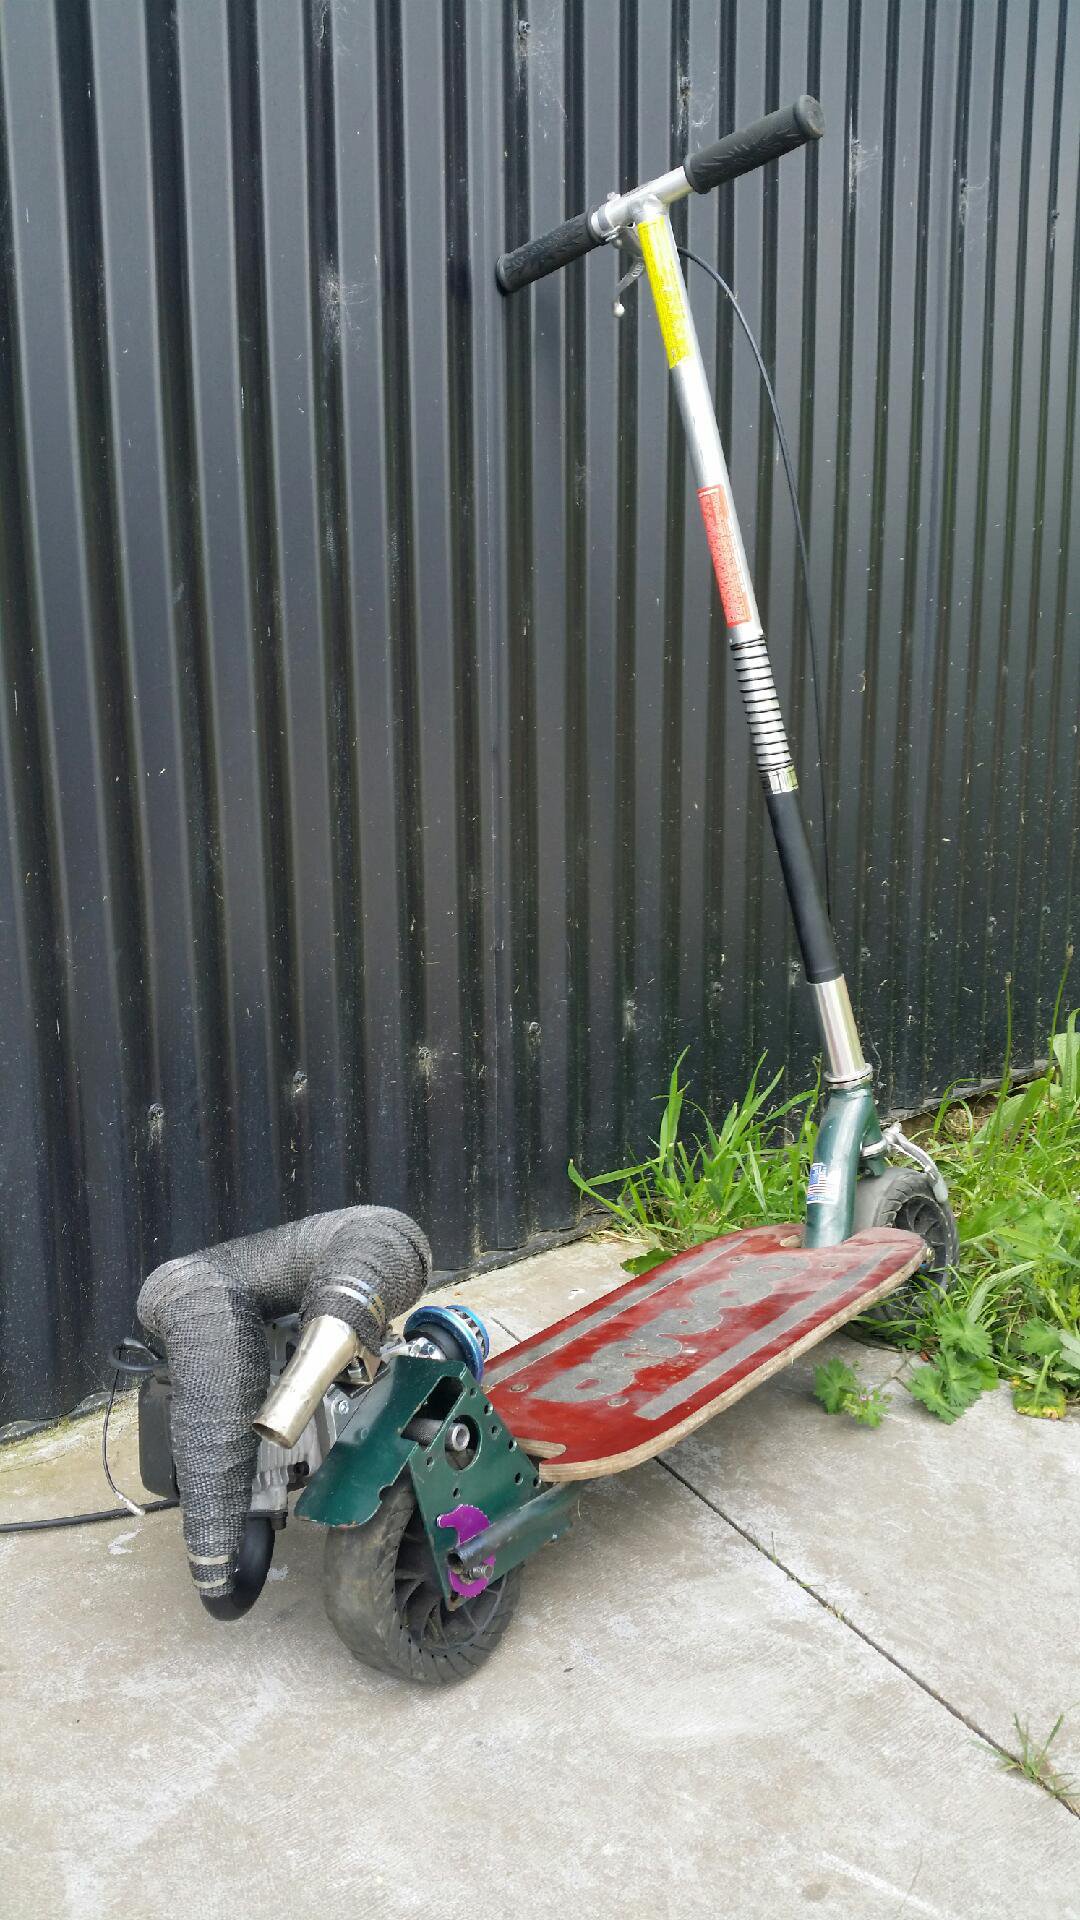
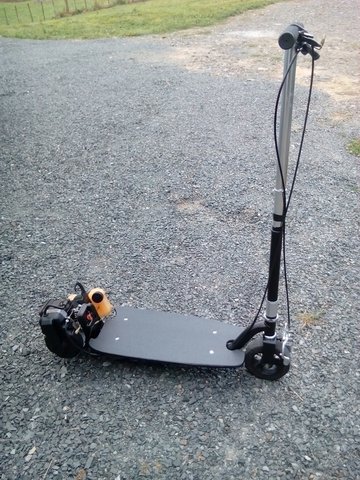
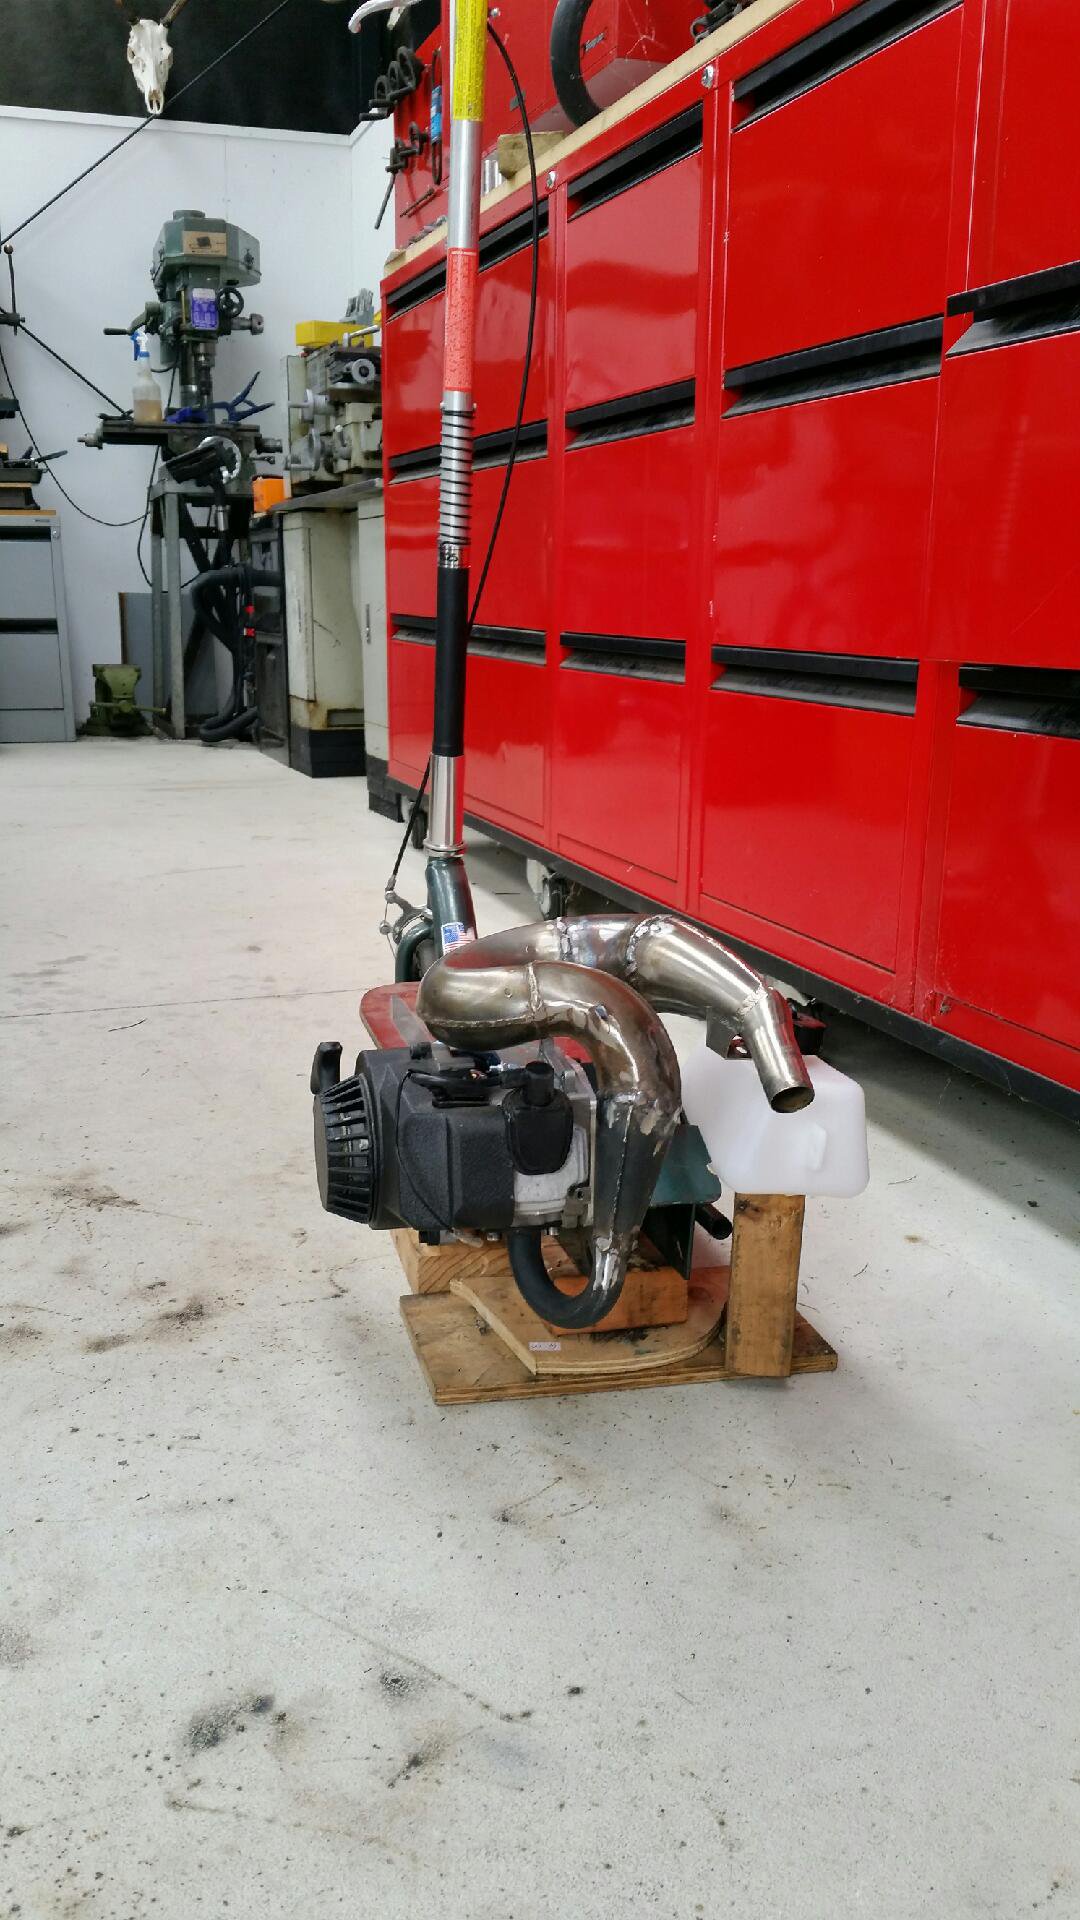
Yes...yes it is! Finished.

49cc of stupidly fast goped!!!
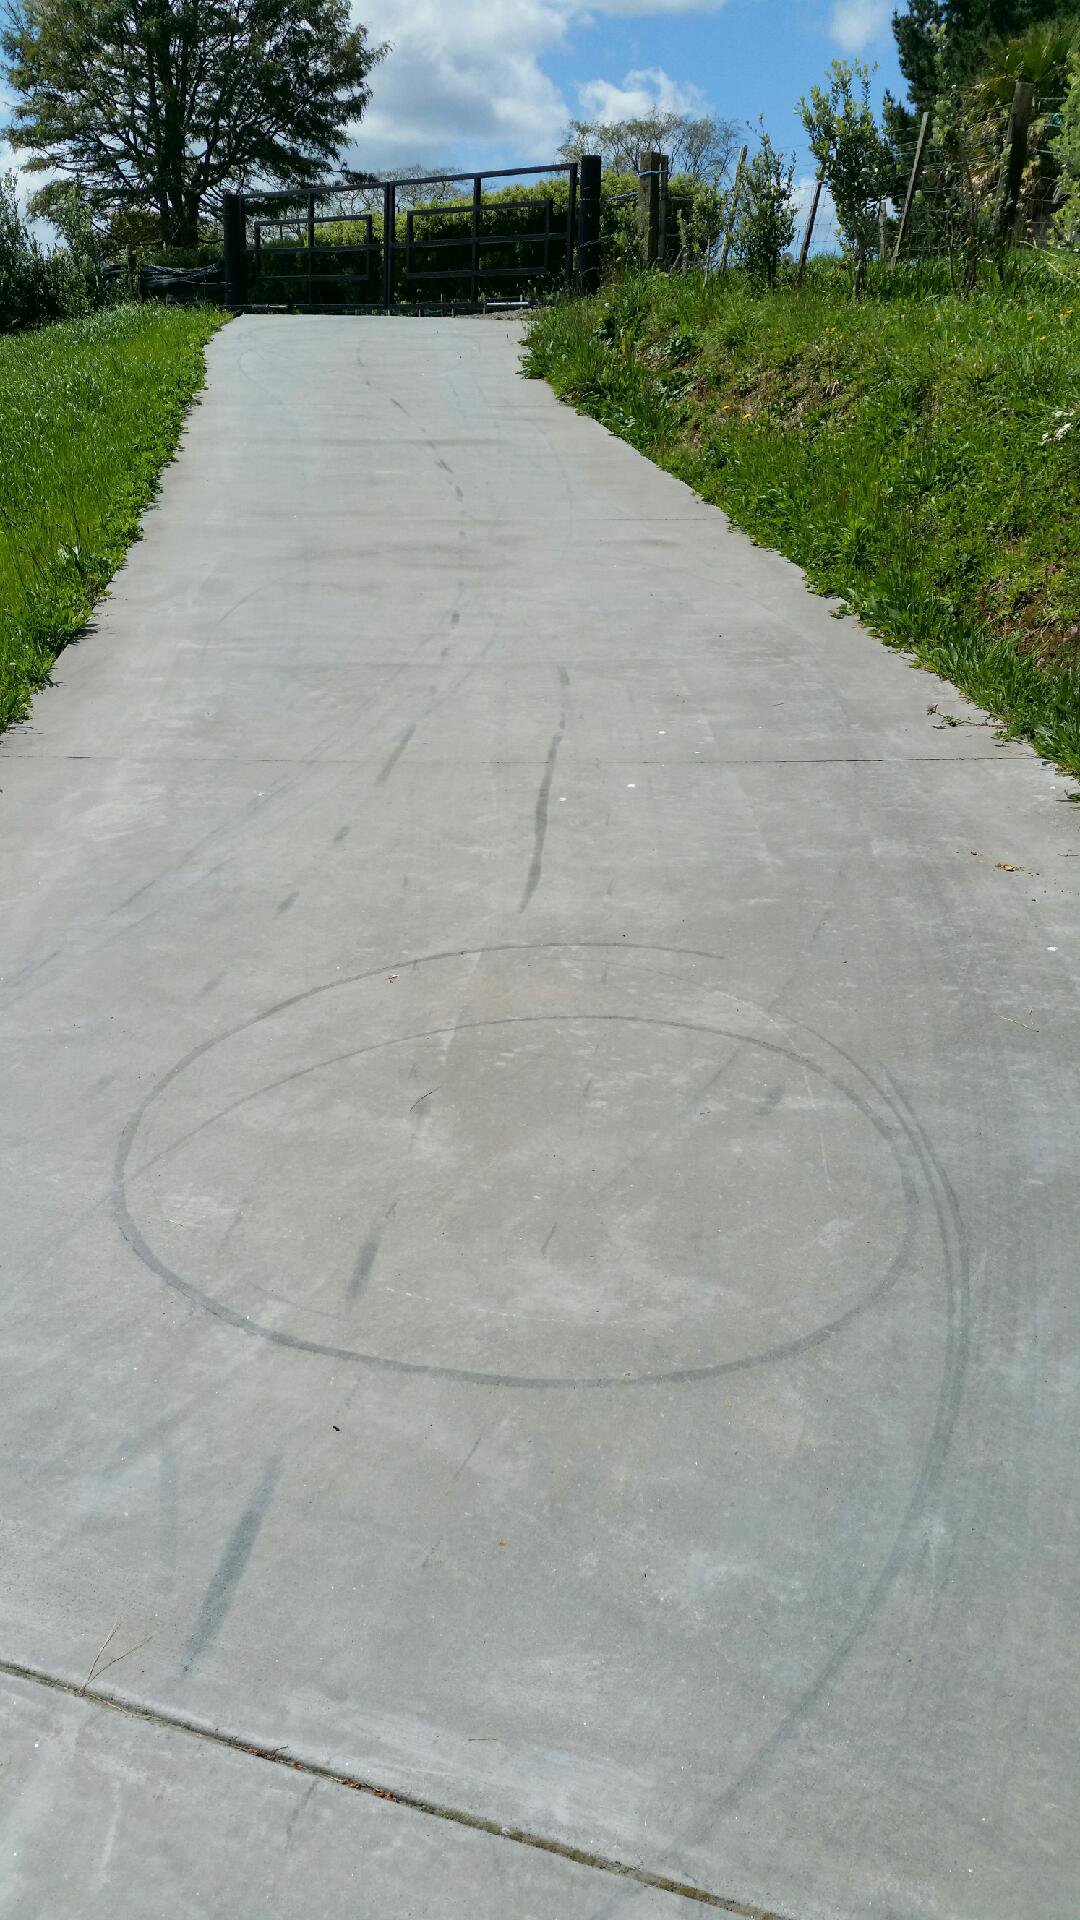
It's slipping on the wheel a bit, as the wheel is worn-out and has become egg shaped. However that is genuine wheel spinning power your witnessing in that youtube clip. Seriously when in powerband it spins the rear wheel!
Yeah buddy...it rips!!!
Wheel spinning goodness. This hard tyre goped is awesome! Back to basics motorised fun!
-
 10
10
-
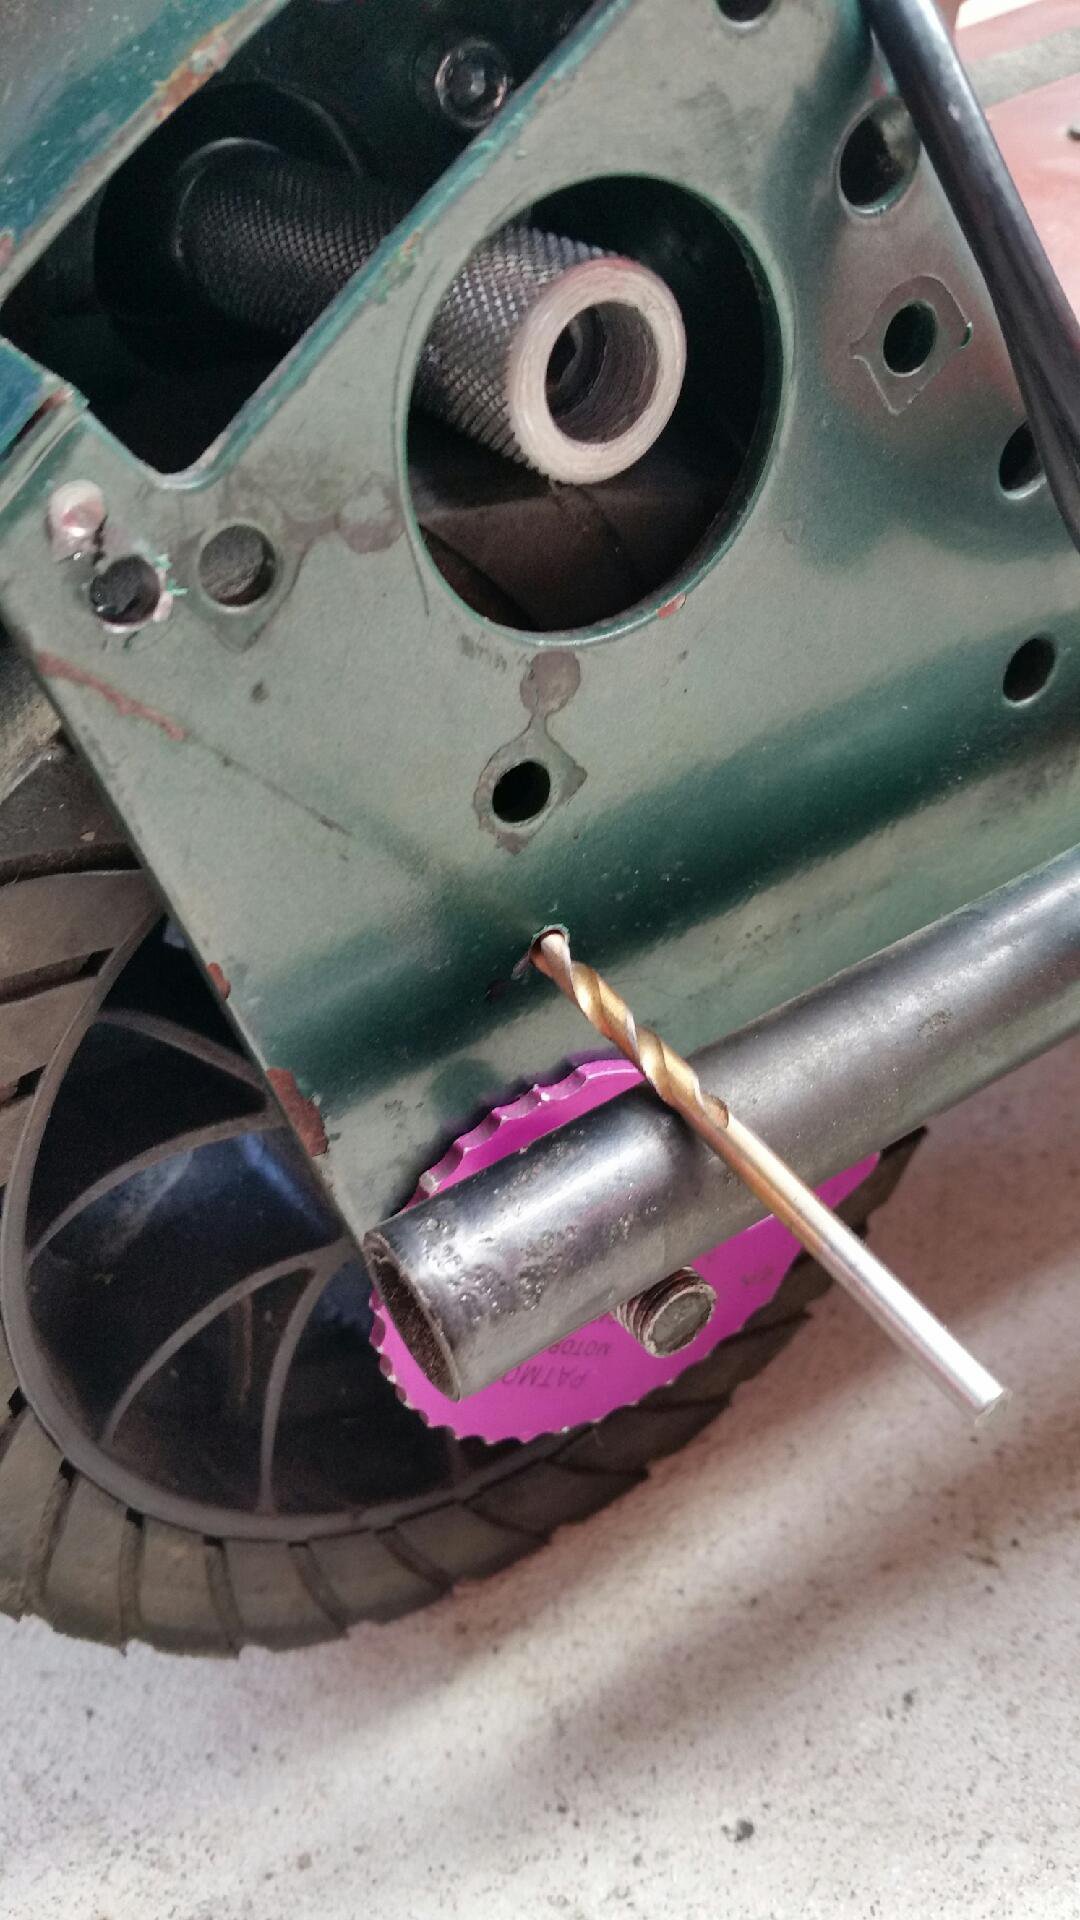
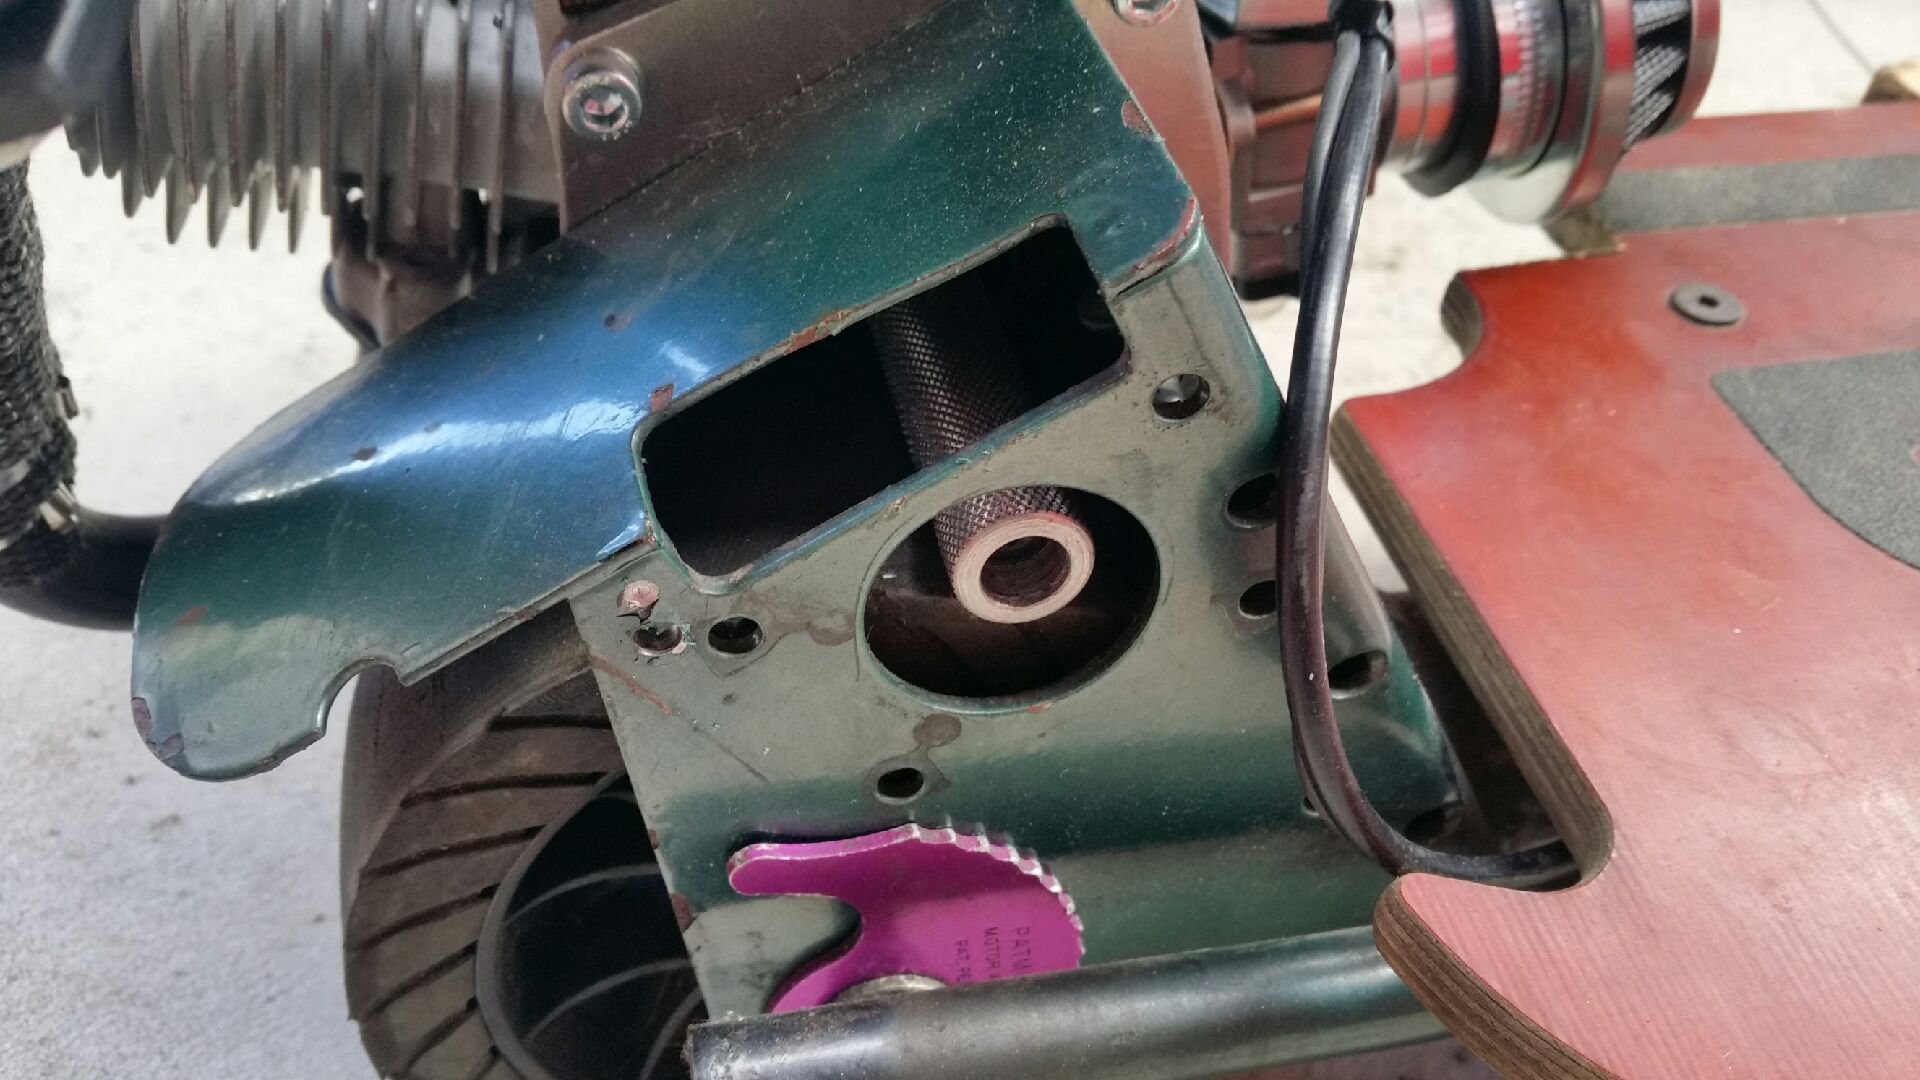
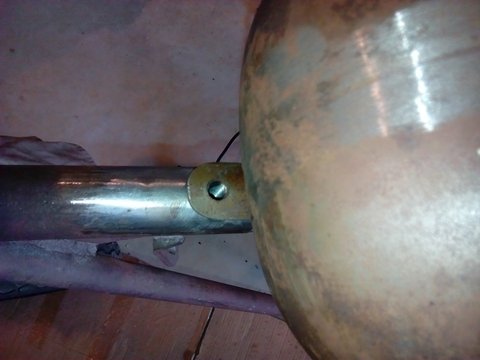
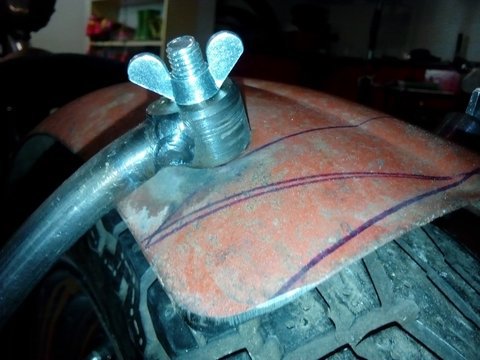
I added a cam locking device to the axle. Basically it supports the axle and prevents it from moving under the weight of the rider and braking the crankshaft.
It's the purple thing. I drilled a hole and put a pin in it. The purple thing (called an EPW..."engine protection wheel") is then pushed around until it locks in an appropriate tooth on the wheel.
-
1
-
-
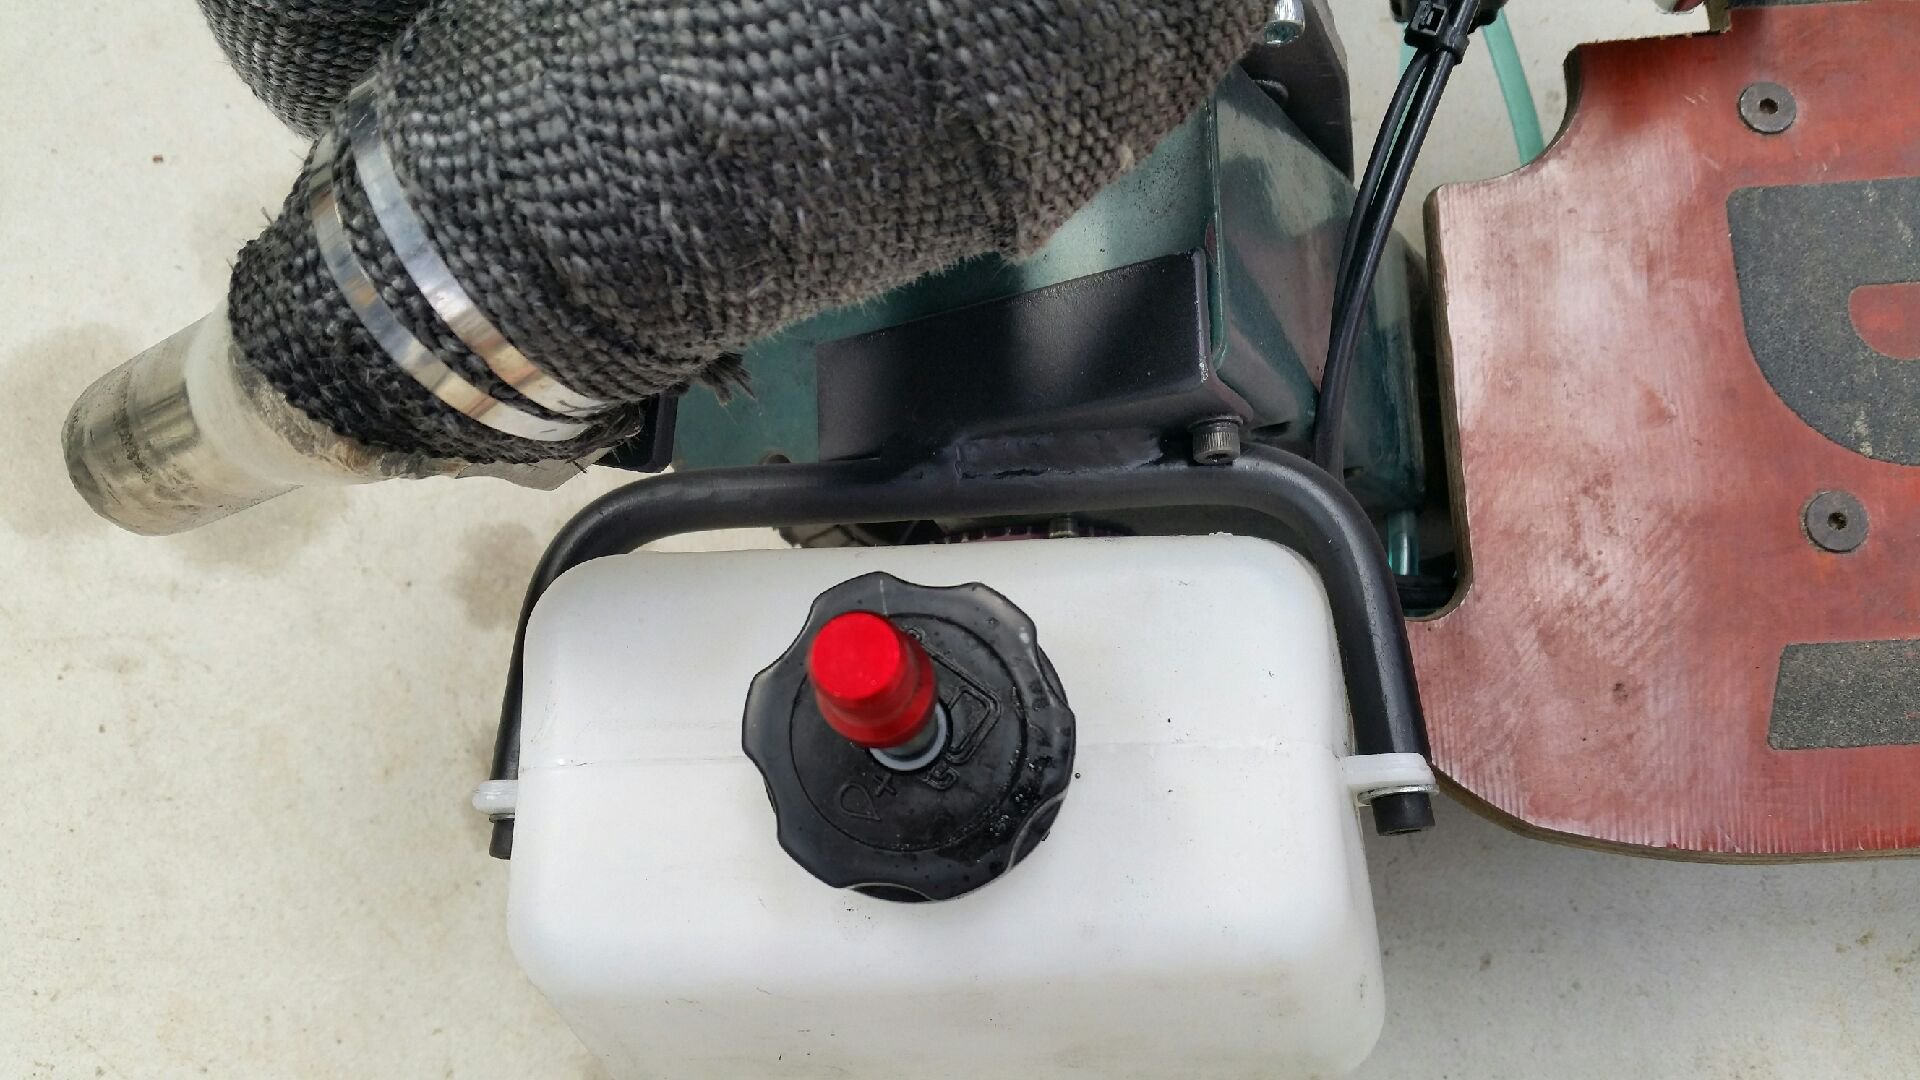
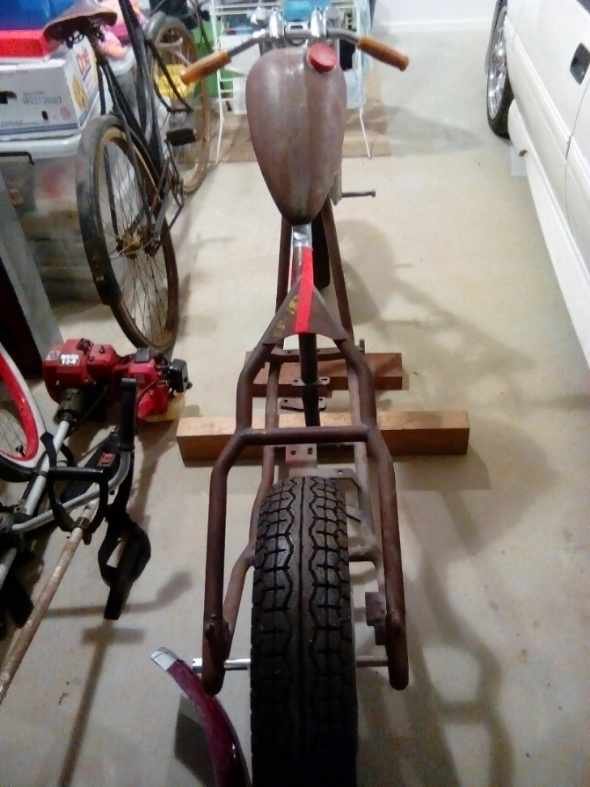
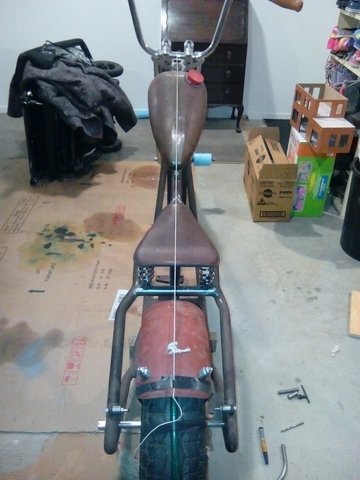
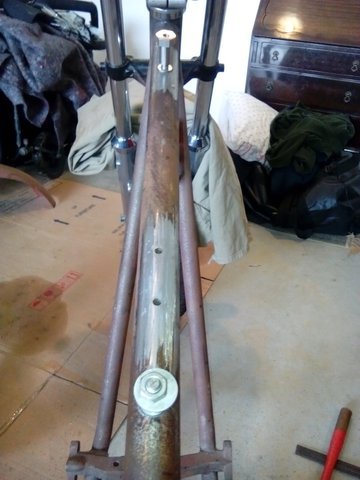
Fuel tank mounting was the order of the day. Im a sucker for milti purpose brackets...way to much time spent watching "project binky" on youtube. Anyway this is my solution to two problems.
1) hold the gas tank
2) cover an ugly hole left where the original motor was mounted.
These things literally grind on the tyres. ..making lots of fine rubber dust that goes everywhere if given a chance. So blocking this hole was a essential.
Here's that big hole on top.
And hole blocked...plus strong bracket mounting for tank.
And that basically completes it.
-
Righto...this shits getting real!
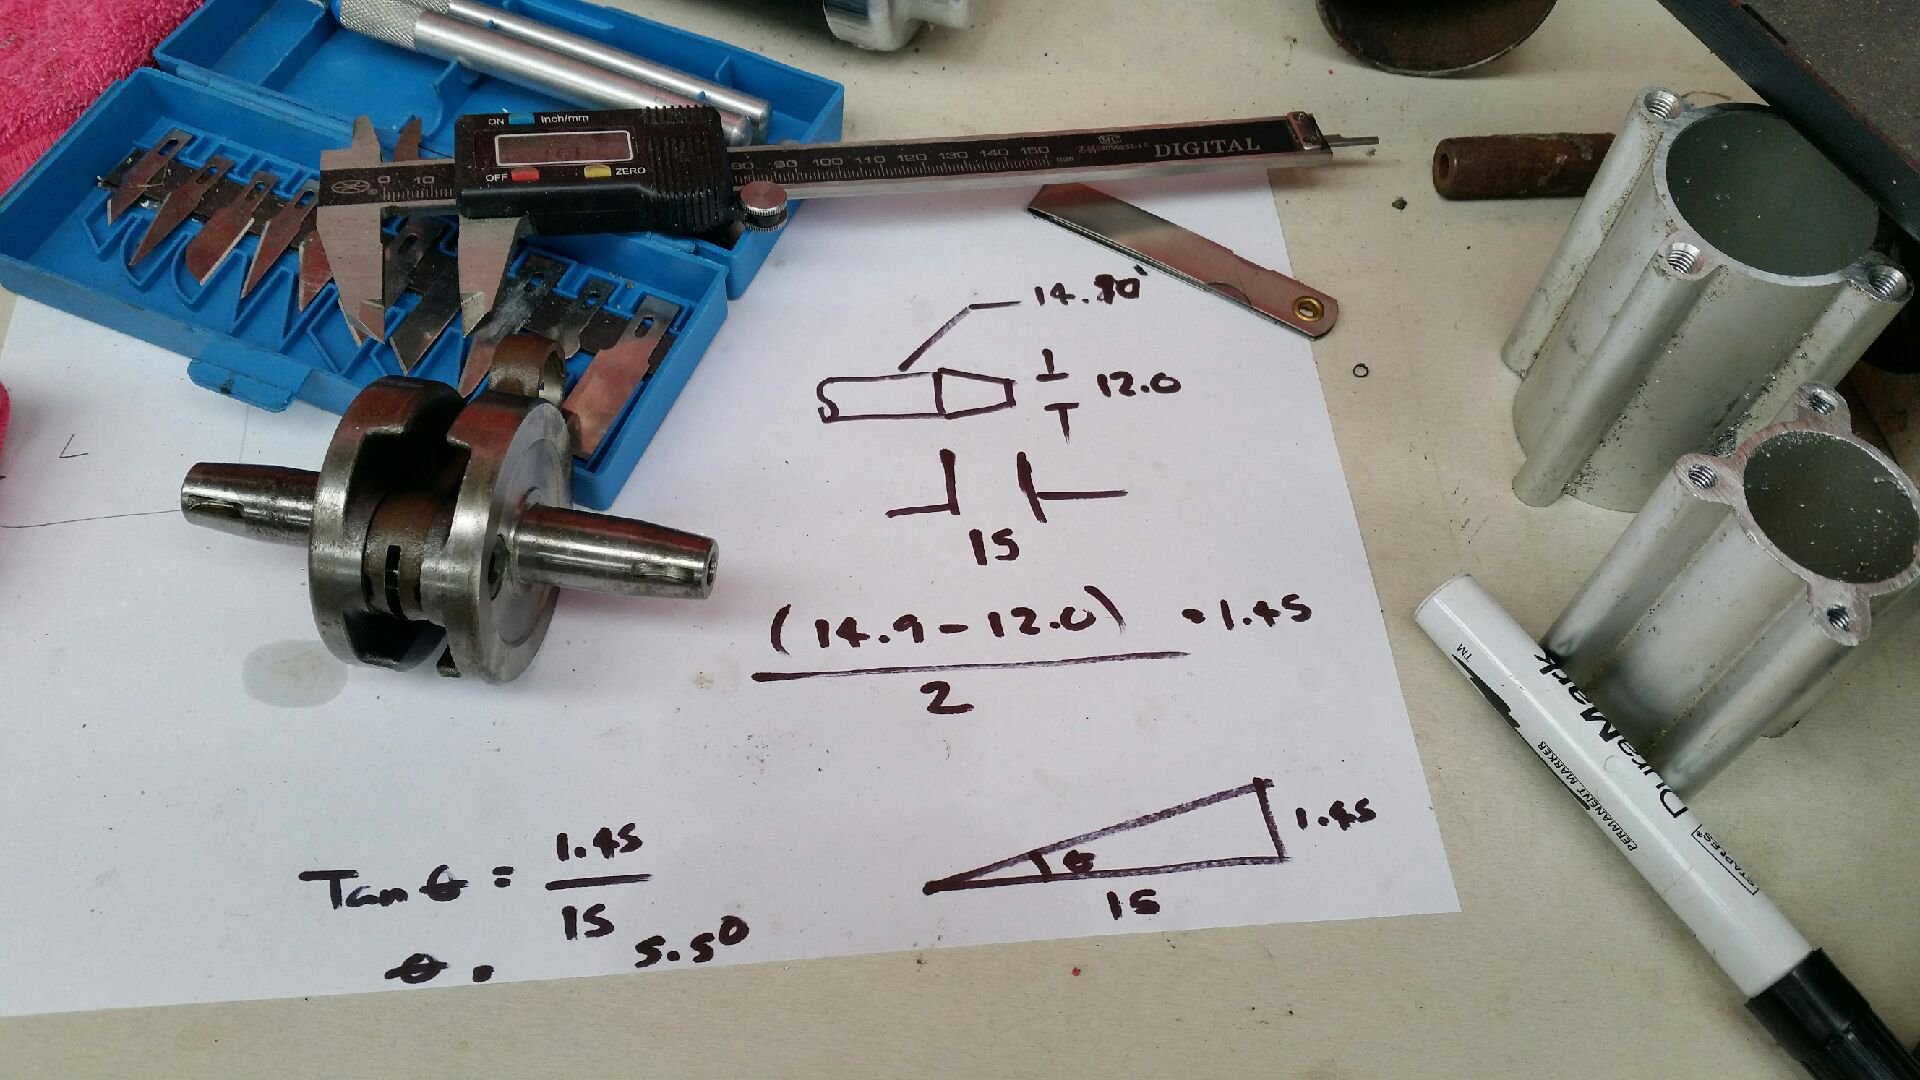
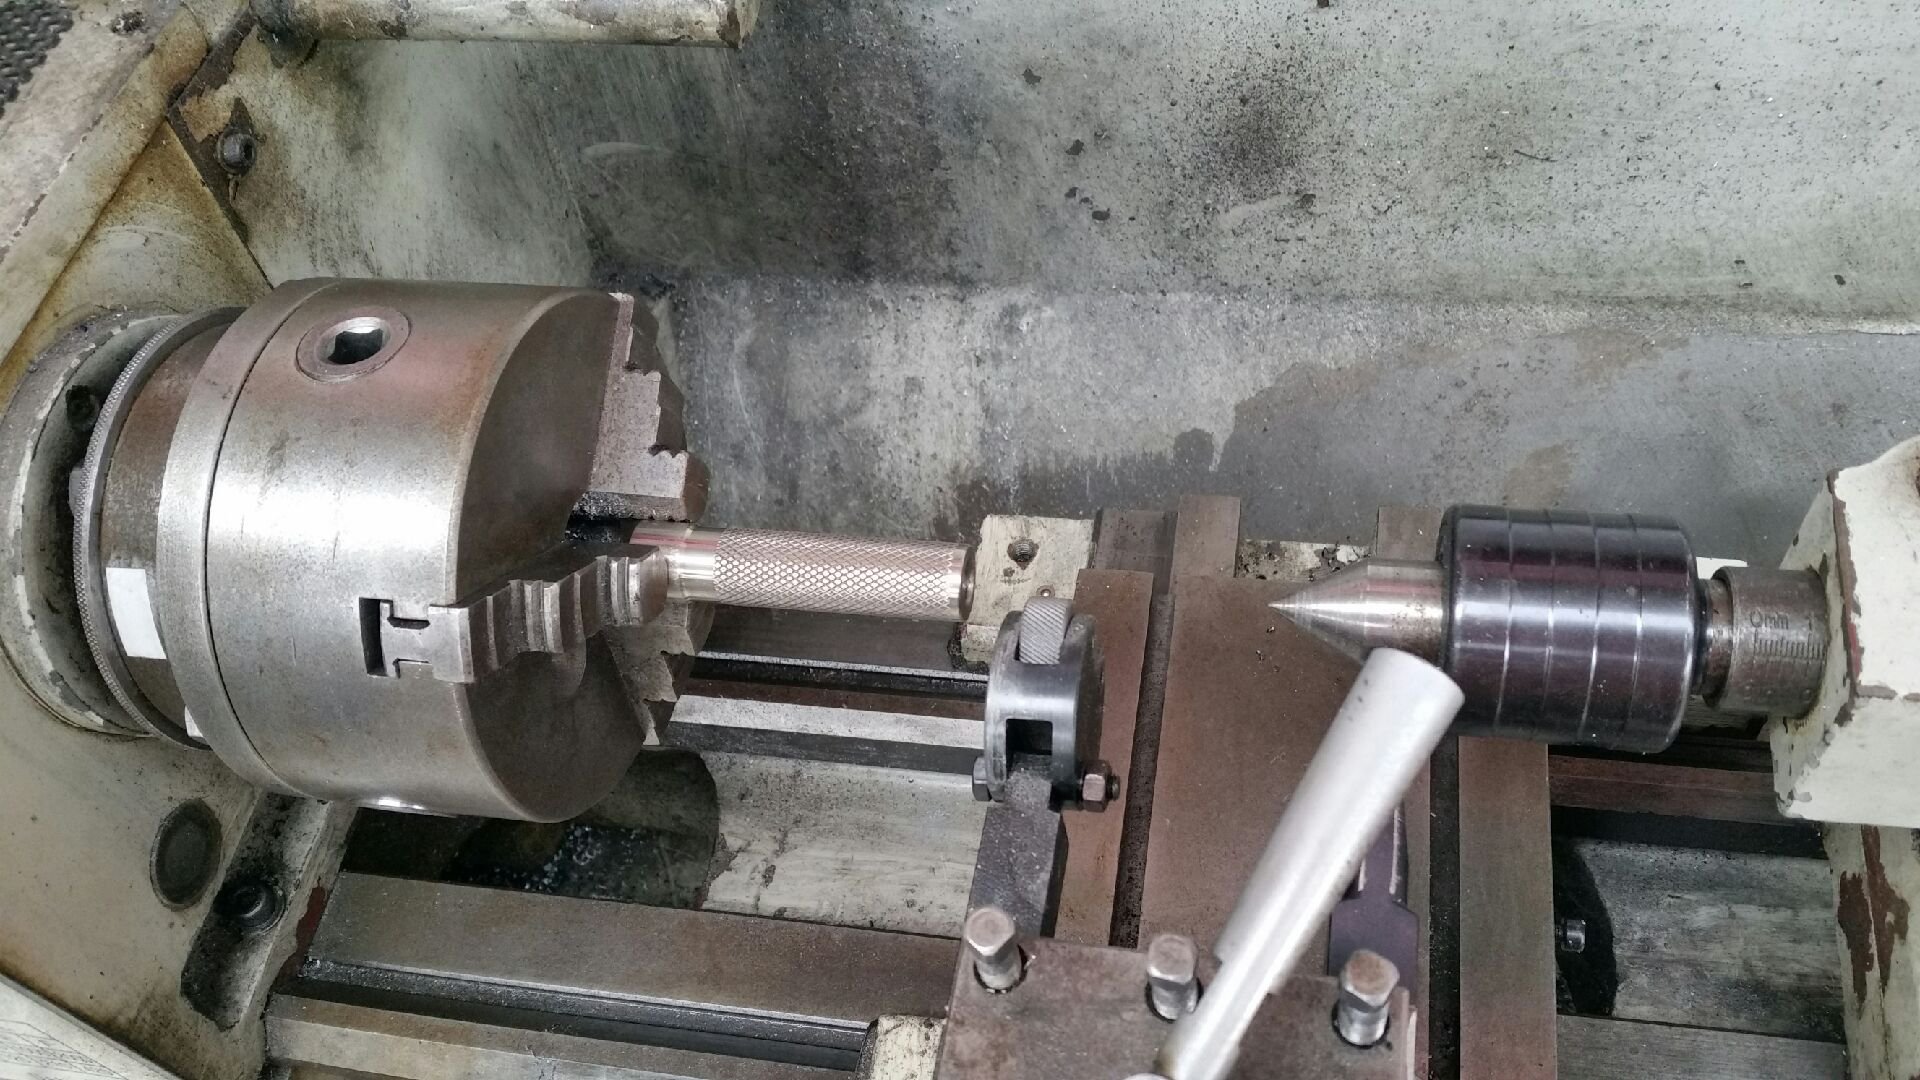
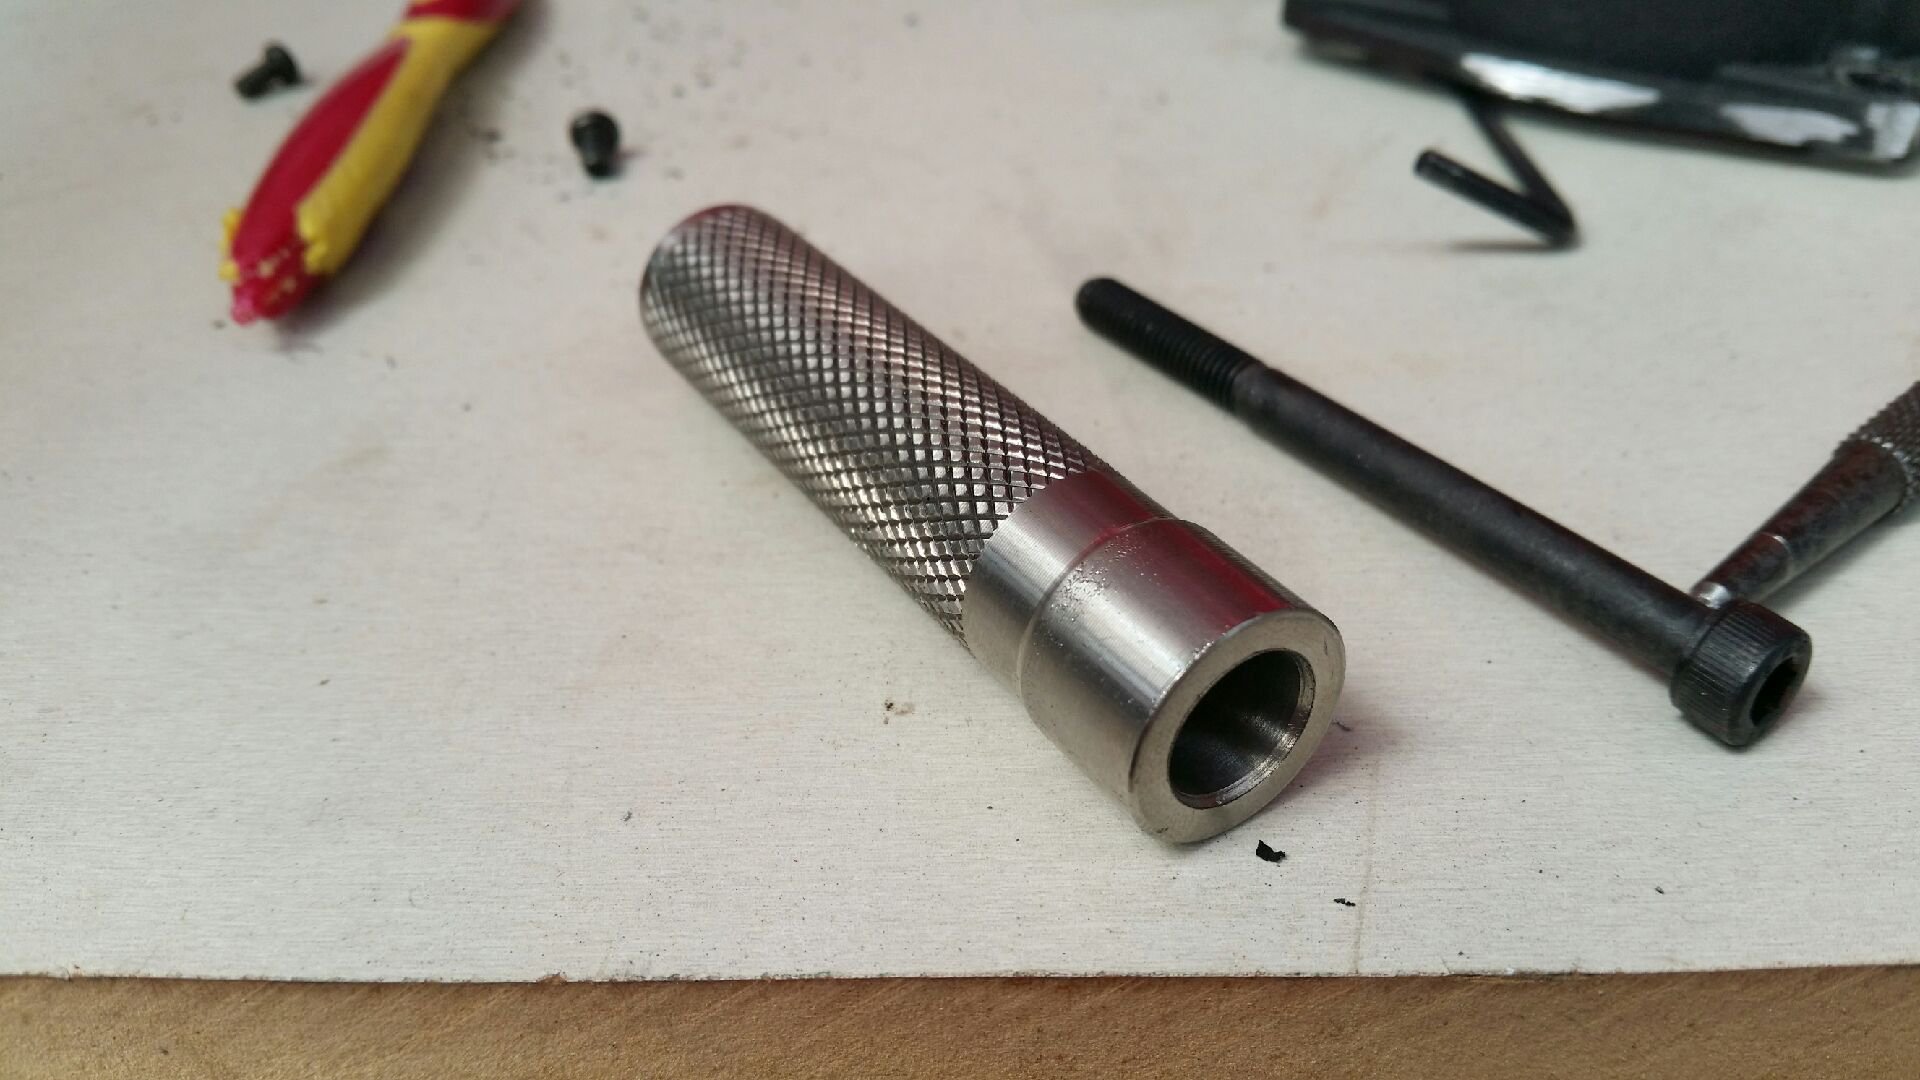
I re-made the drive spindle. Using some basic maths I was able to figure out the taper angles and grind a "one off tool" to bore the hole. I then chased this up with a boring bar to get it bang on.
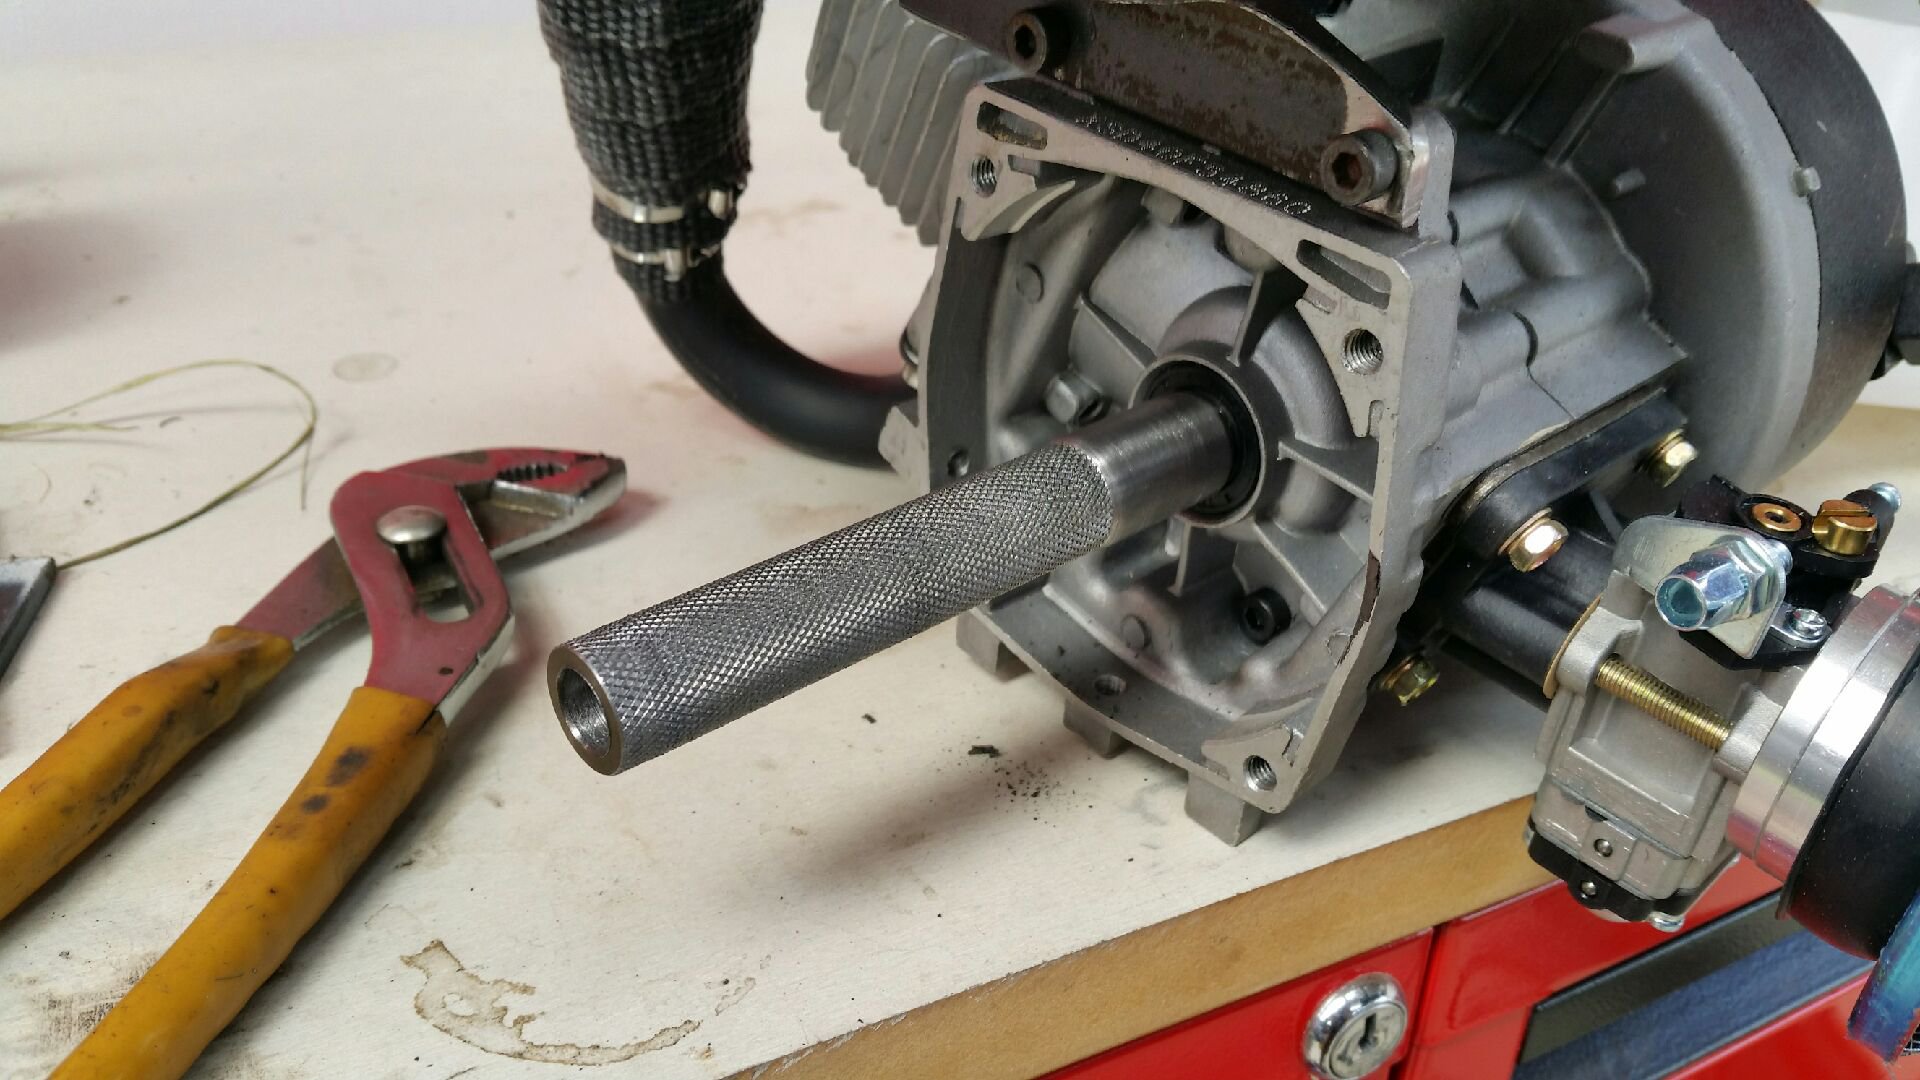
For those who have never seen a knurling tool in action...Here's a quick video:
Spindle mounted to the motor.
Next up was to sort out the brackets for the expansion chamber support.
That's all squared away now.
Up next I mounted the motor and used loctite on all the fixings to keep them in place.
The observant among you will also notice it now has a rear wheel. I stole this off my next project (the white goped).
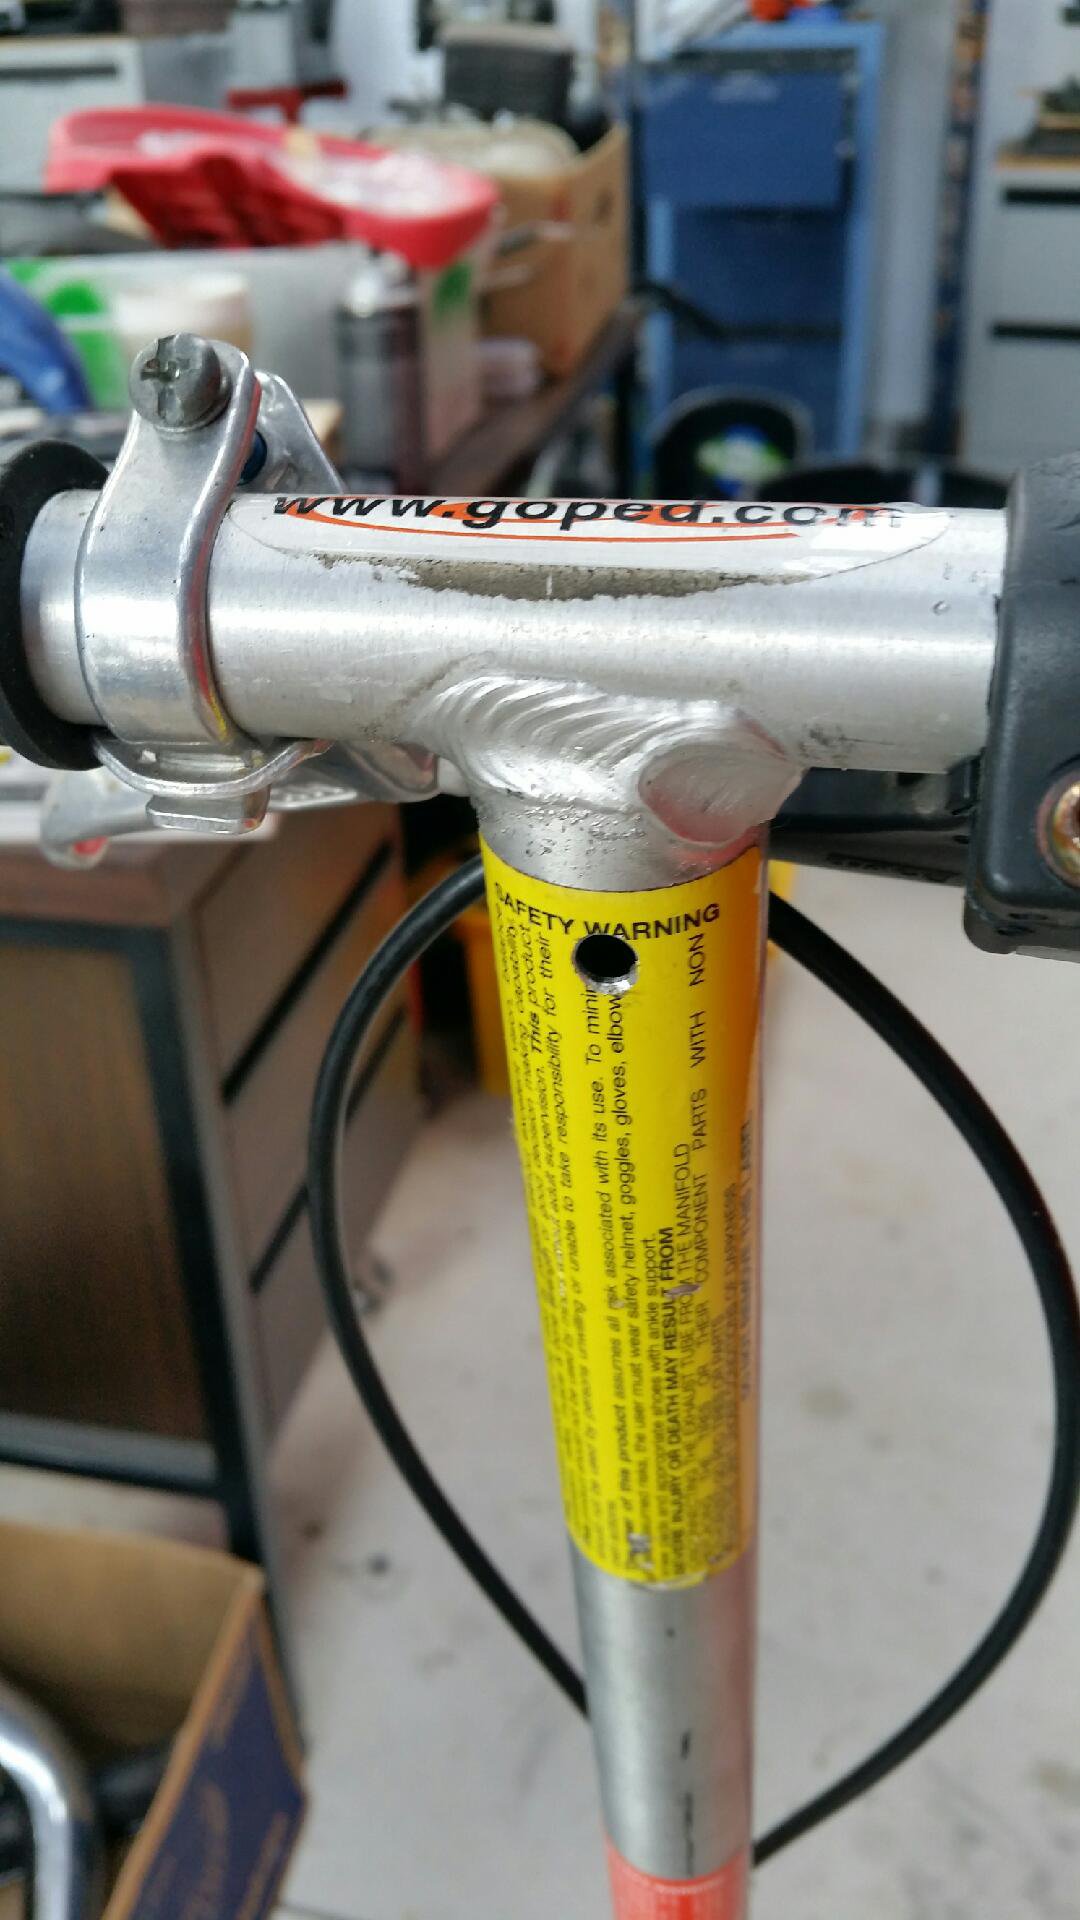
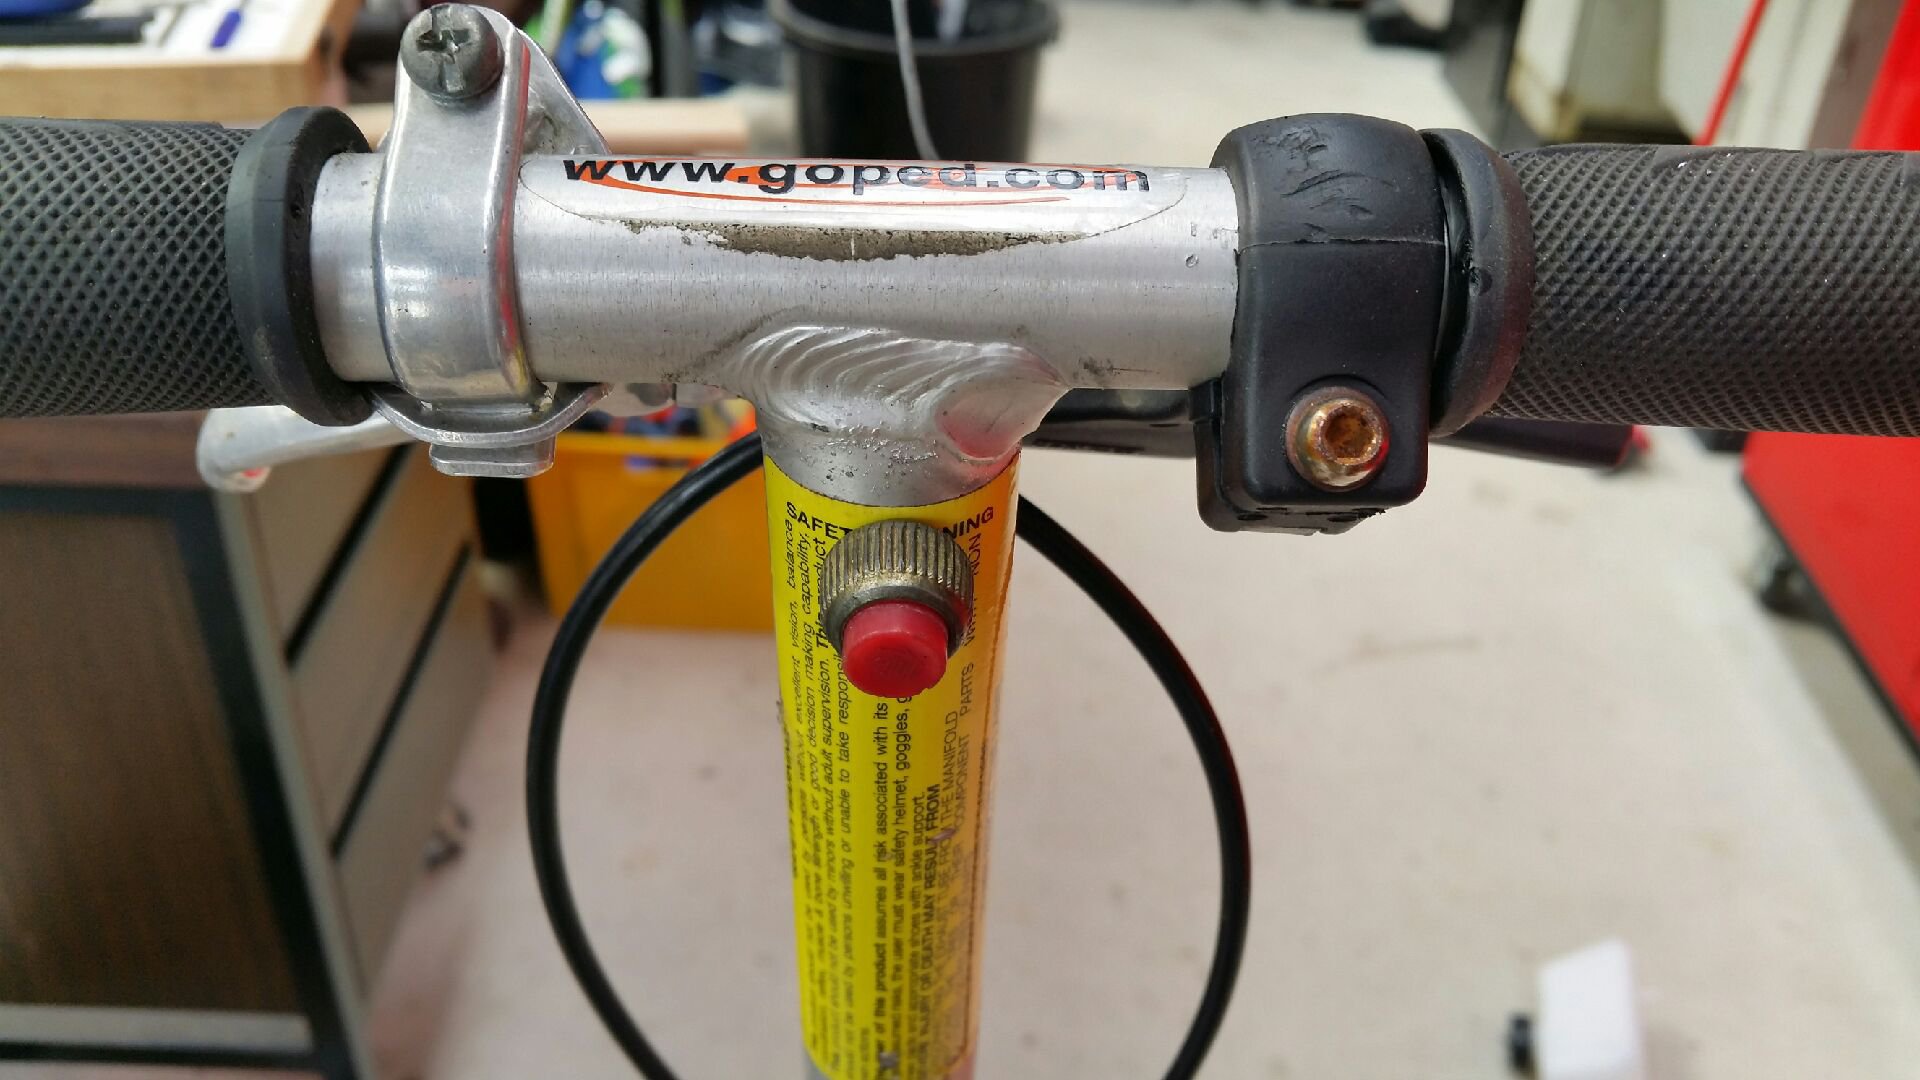
Kill switch and controls where some easy wins:
I basically copied what the old goped used to have. By drilling and tapping a hole on the handlebars and fitting a kill switch.
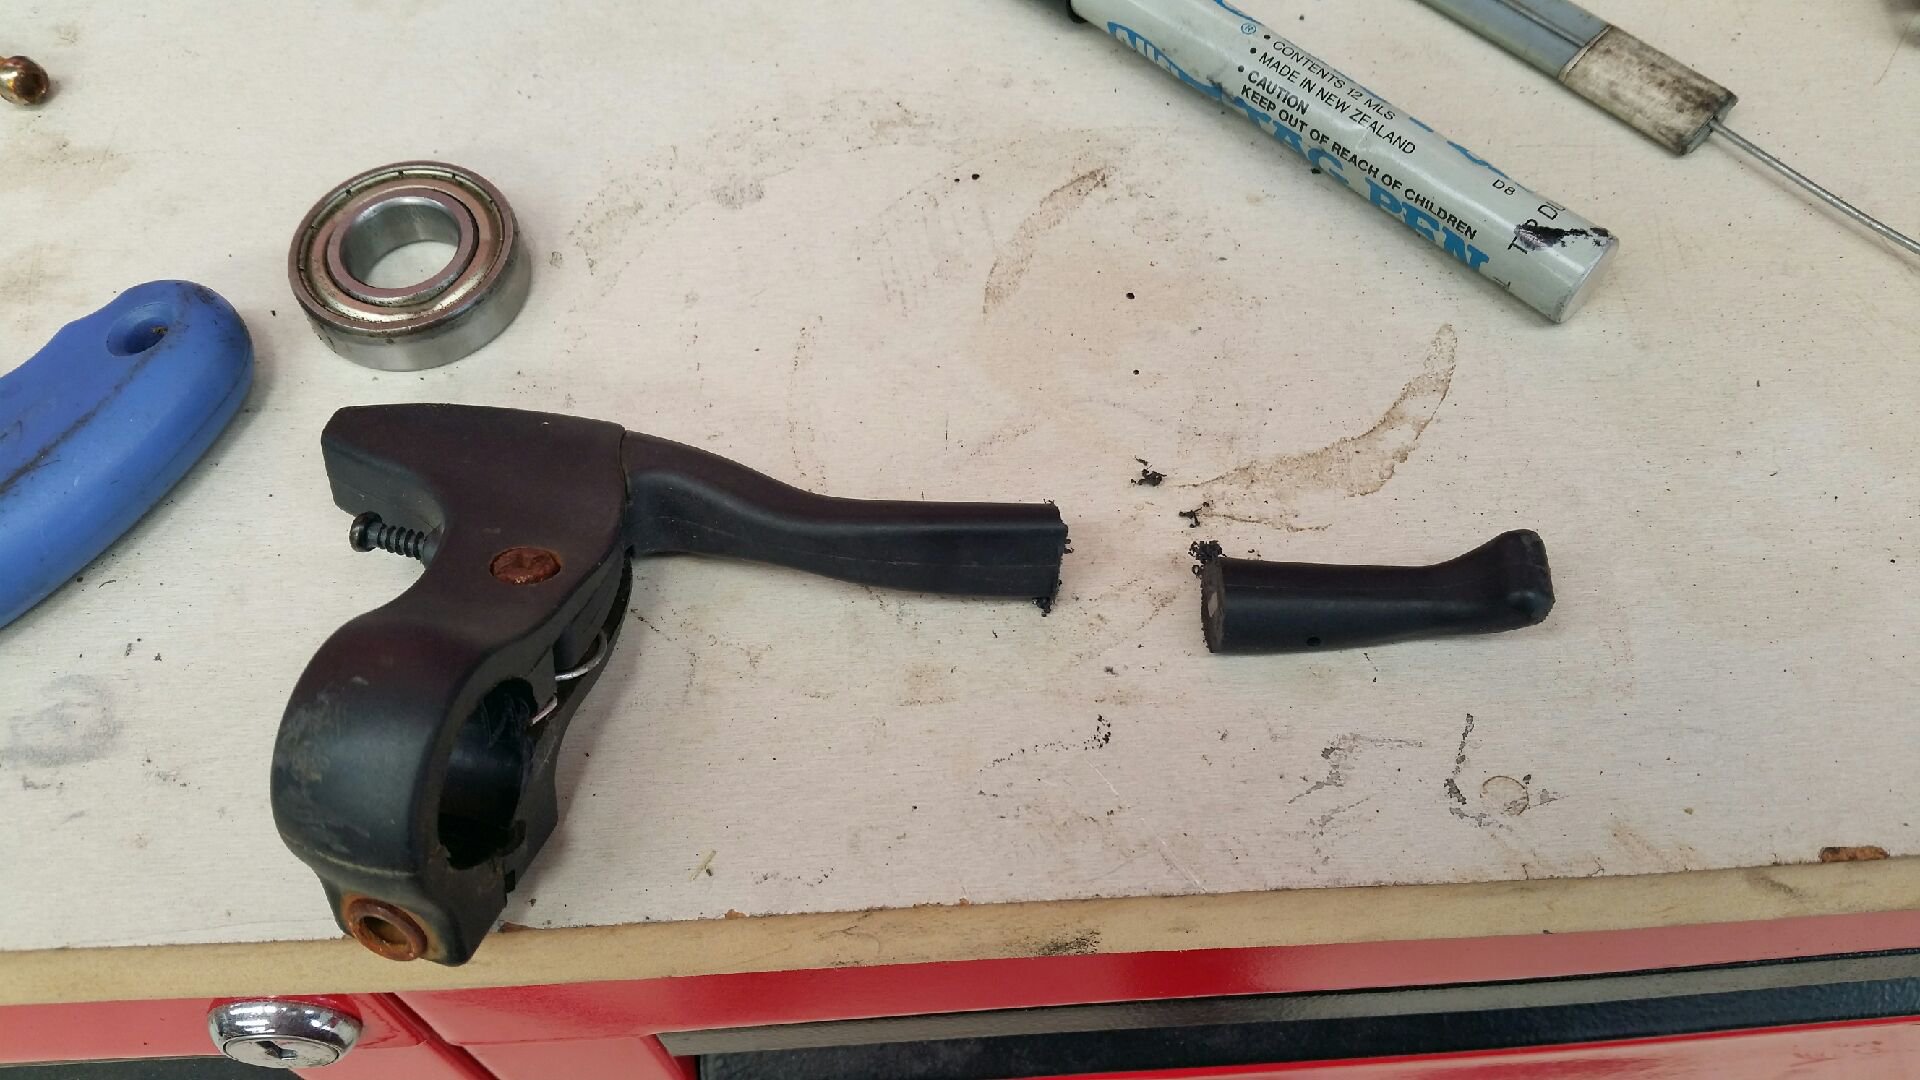
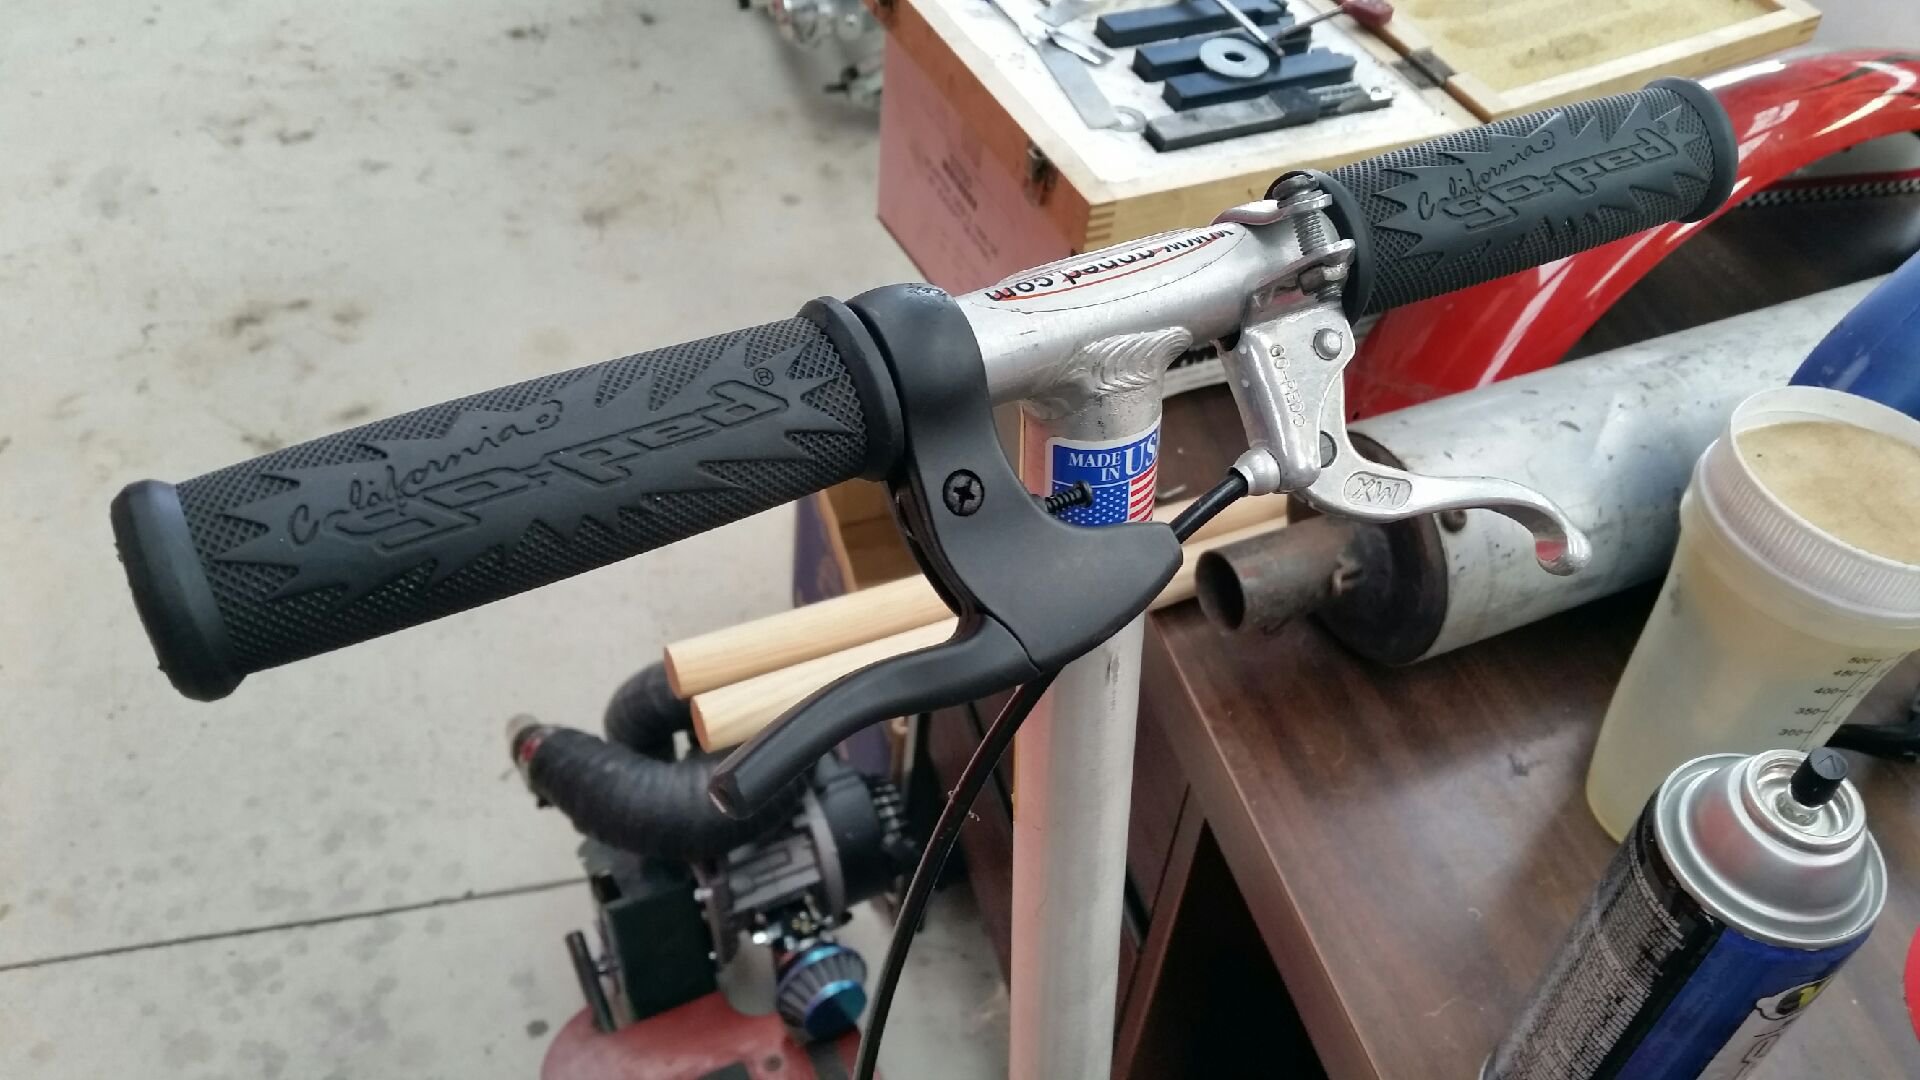
And the controls where left over bike parts modified to work.
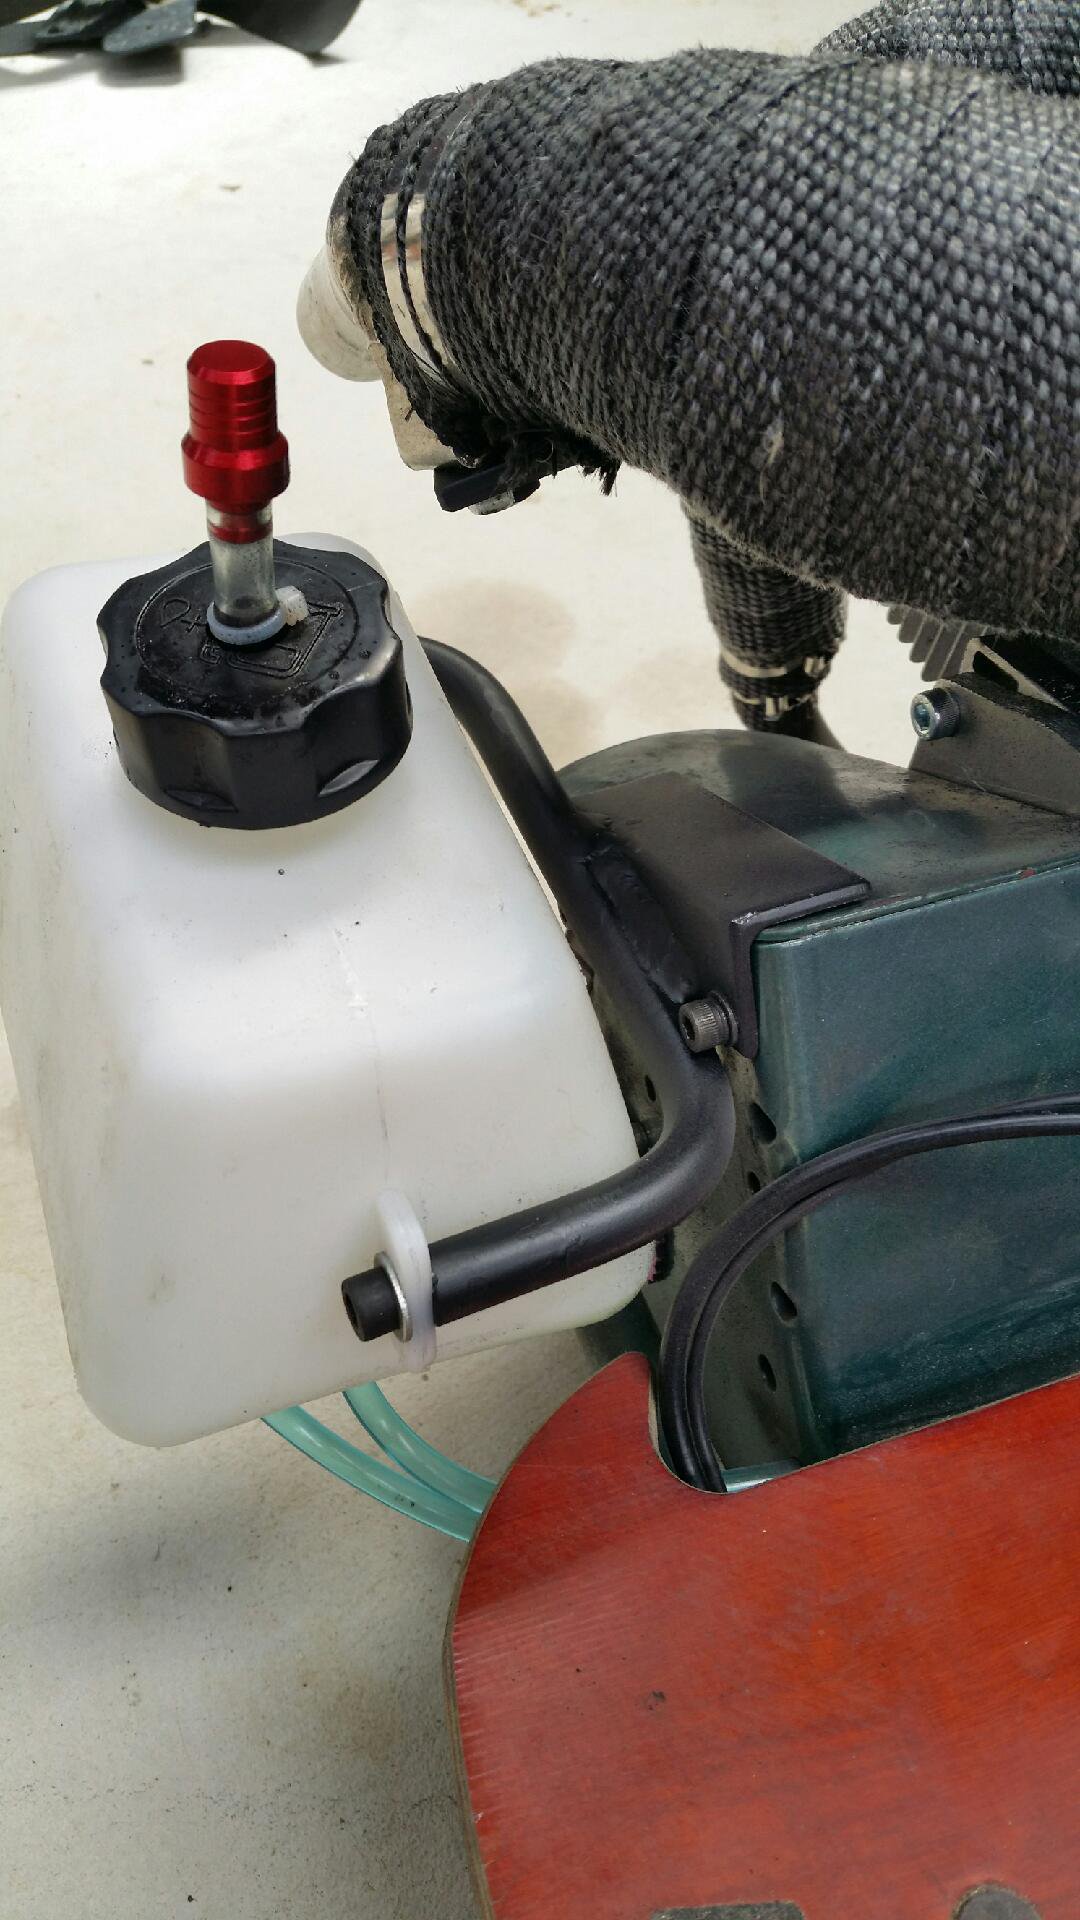
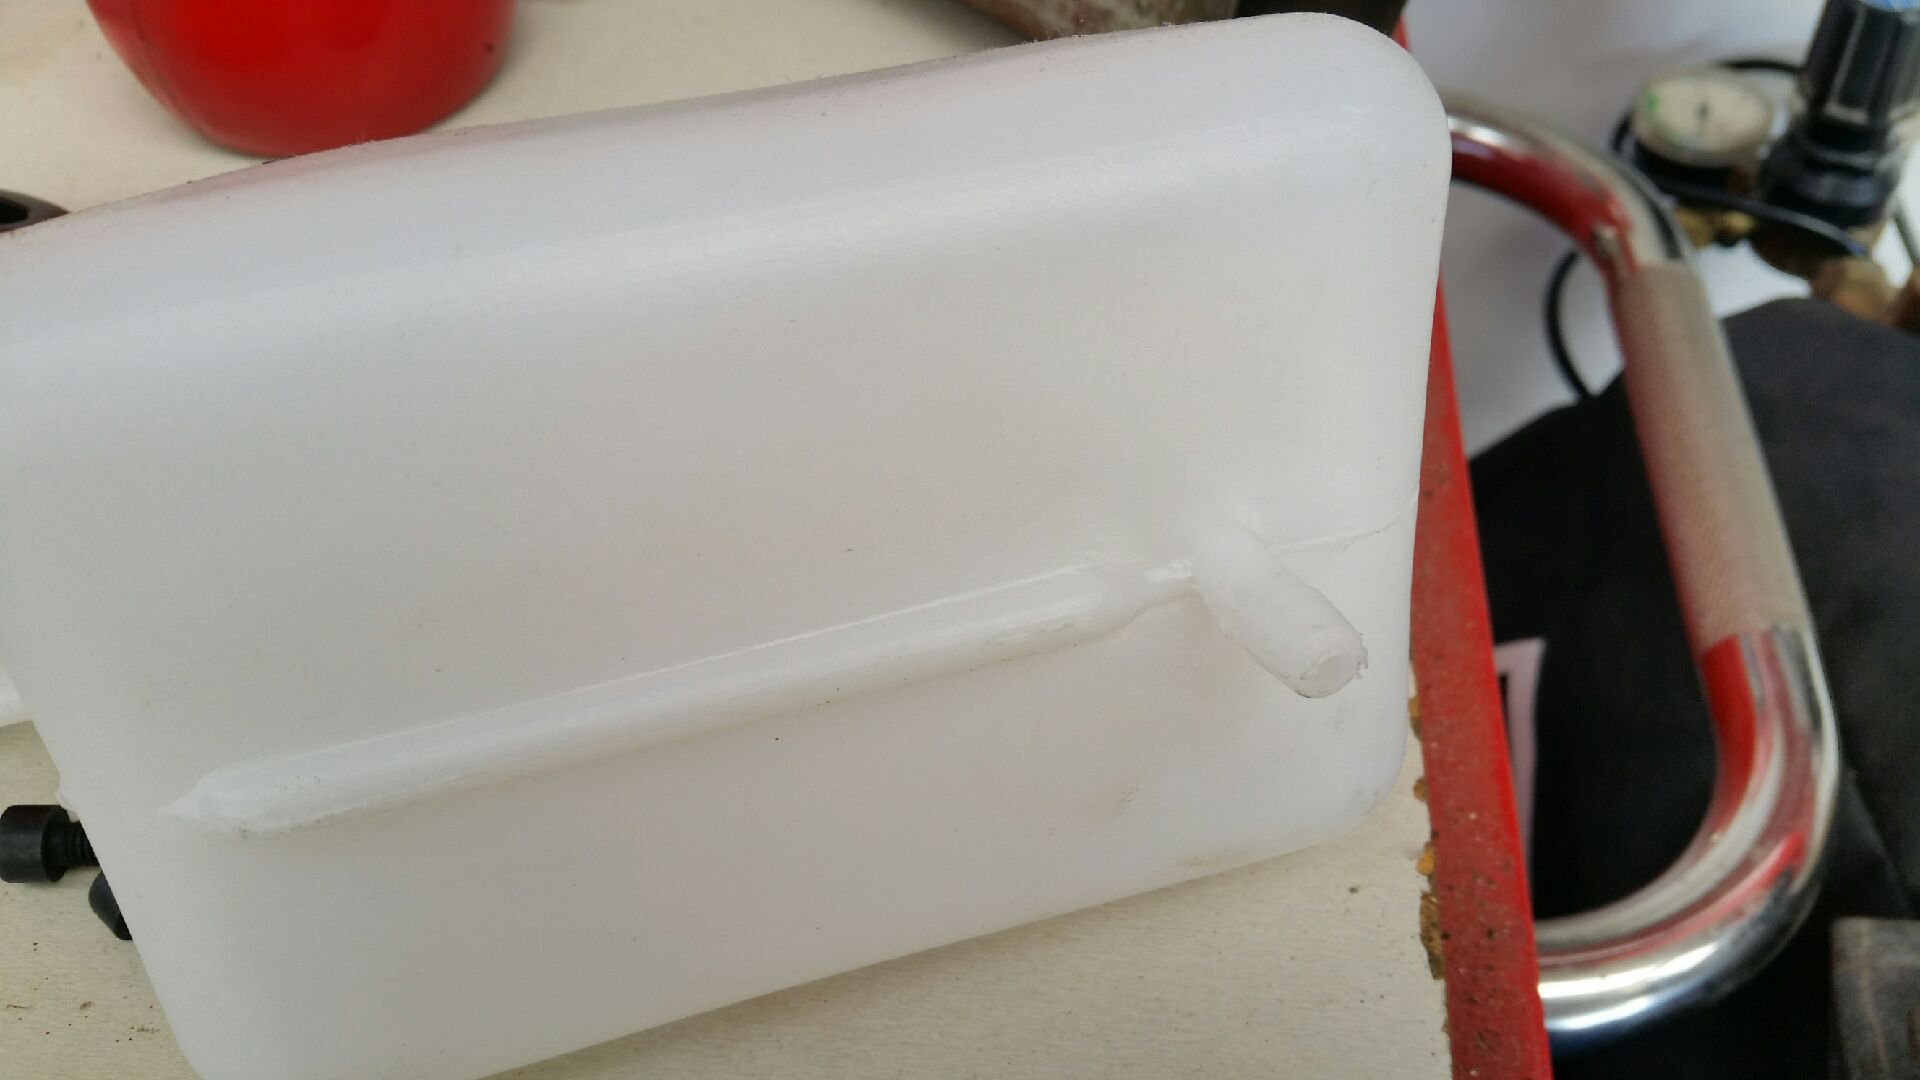
The gas tanks for these are extremely expensive! Like $50...plus postage from the USA. So I brought this tank off ebay for about $5 delivered to my door.
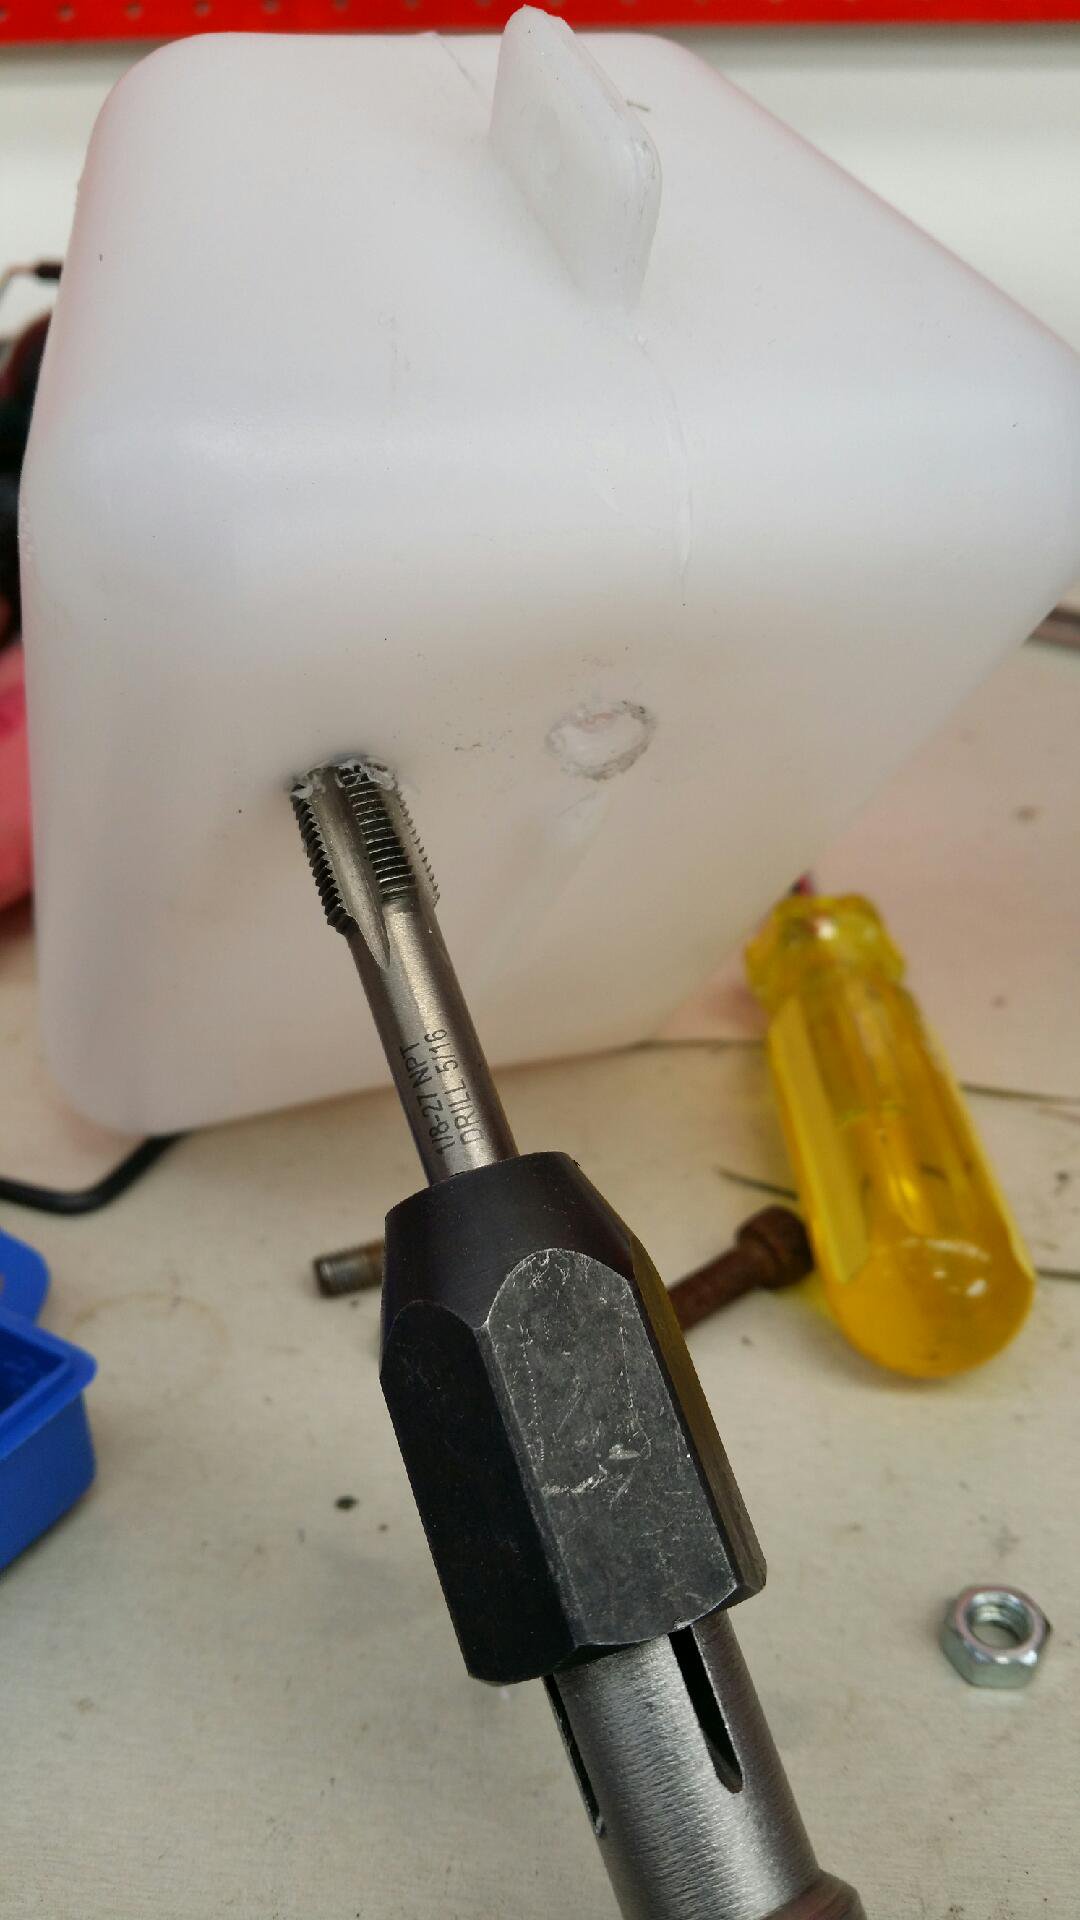
The carburetor I'm using is a diaphragm type, or pumper as commonly called. They pump their own fuel and require two fuel lines. A feed line and a return line. So:
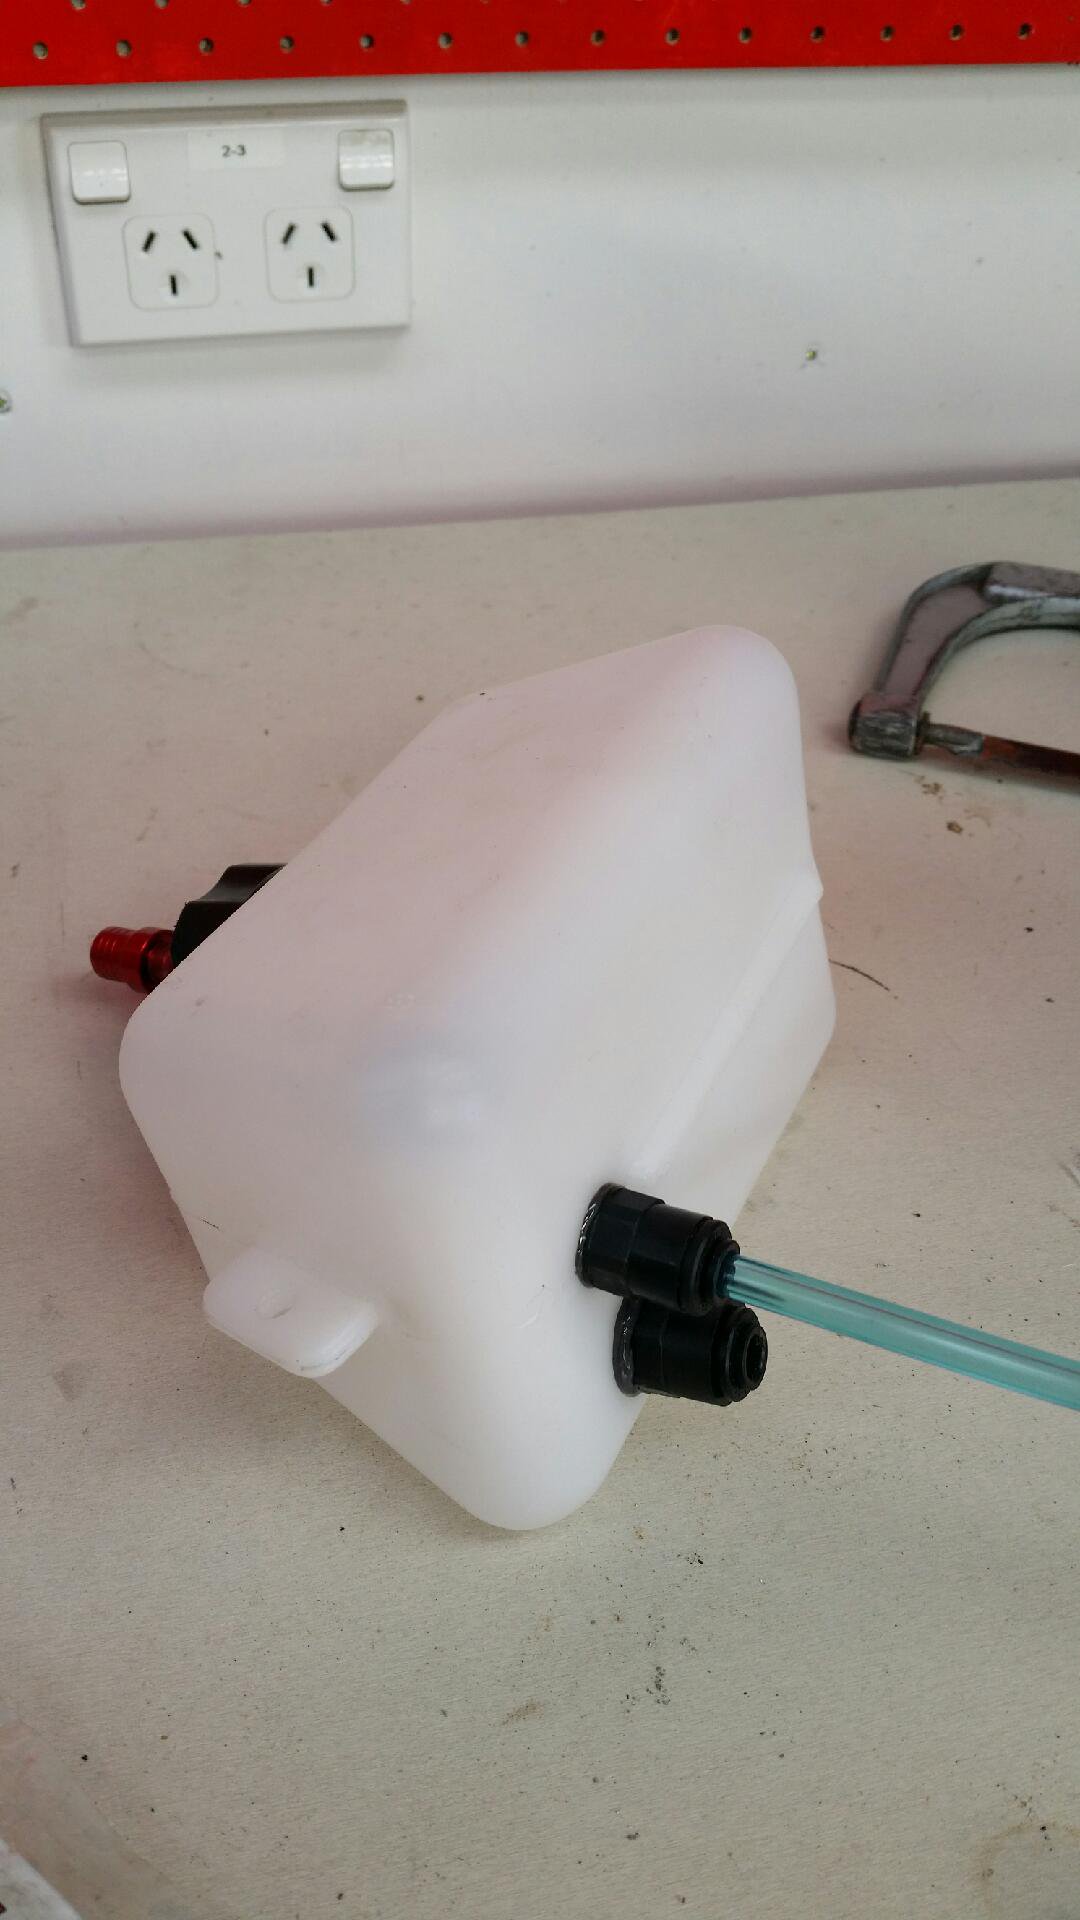
Easy fix. Cut off the one outlet...drill it bigger. Make another hole beside it. Tap holes in 1/8" NPT. mix up some permaseal fuel resistant epoxy...bung it all together.
And that's a days work done!
-
4
-
-
I made this one nicknamed the "slo-ped". I used a 20cc weedeater motor of very unimpressive port design from the factory.
As you can imagine it wasn't nicknamed "slo-ped" for no reason. However it worked well enough for a bit of fun. It did however look tough if nothing else! And that's the look I'm imagining for this new project...black and white...tough!
-
1
-
-
Yip...yip...yip...
Absolutely loving the white paint. I'll sandblast it clean...then paint it white again. Give it a severe porting job, bigger carb, make an expansion chamber and general tidy up...then ride!
Well that's the plan.
-
41 minutes ago, KP_wag said:
Looks choice, hopefully will give some ring ting to it
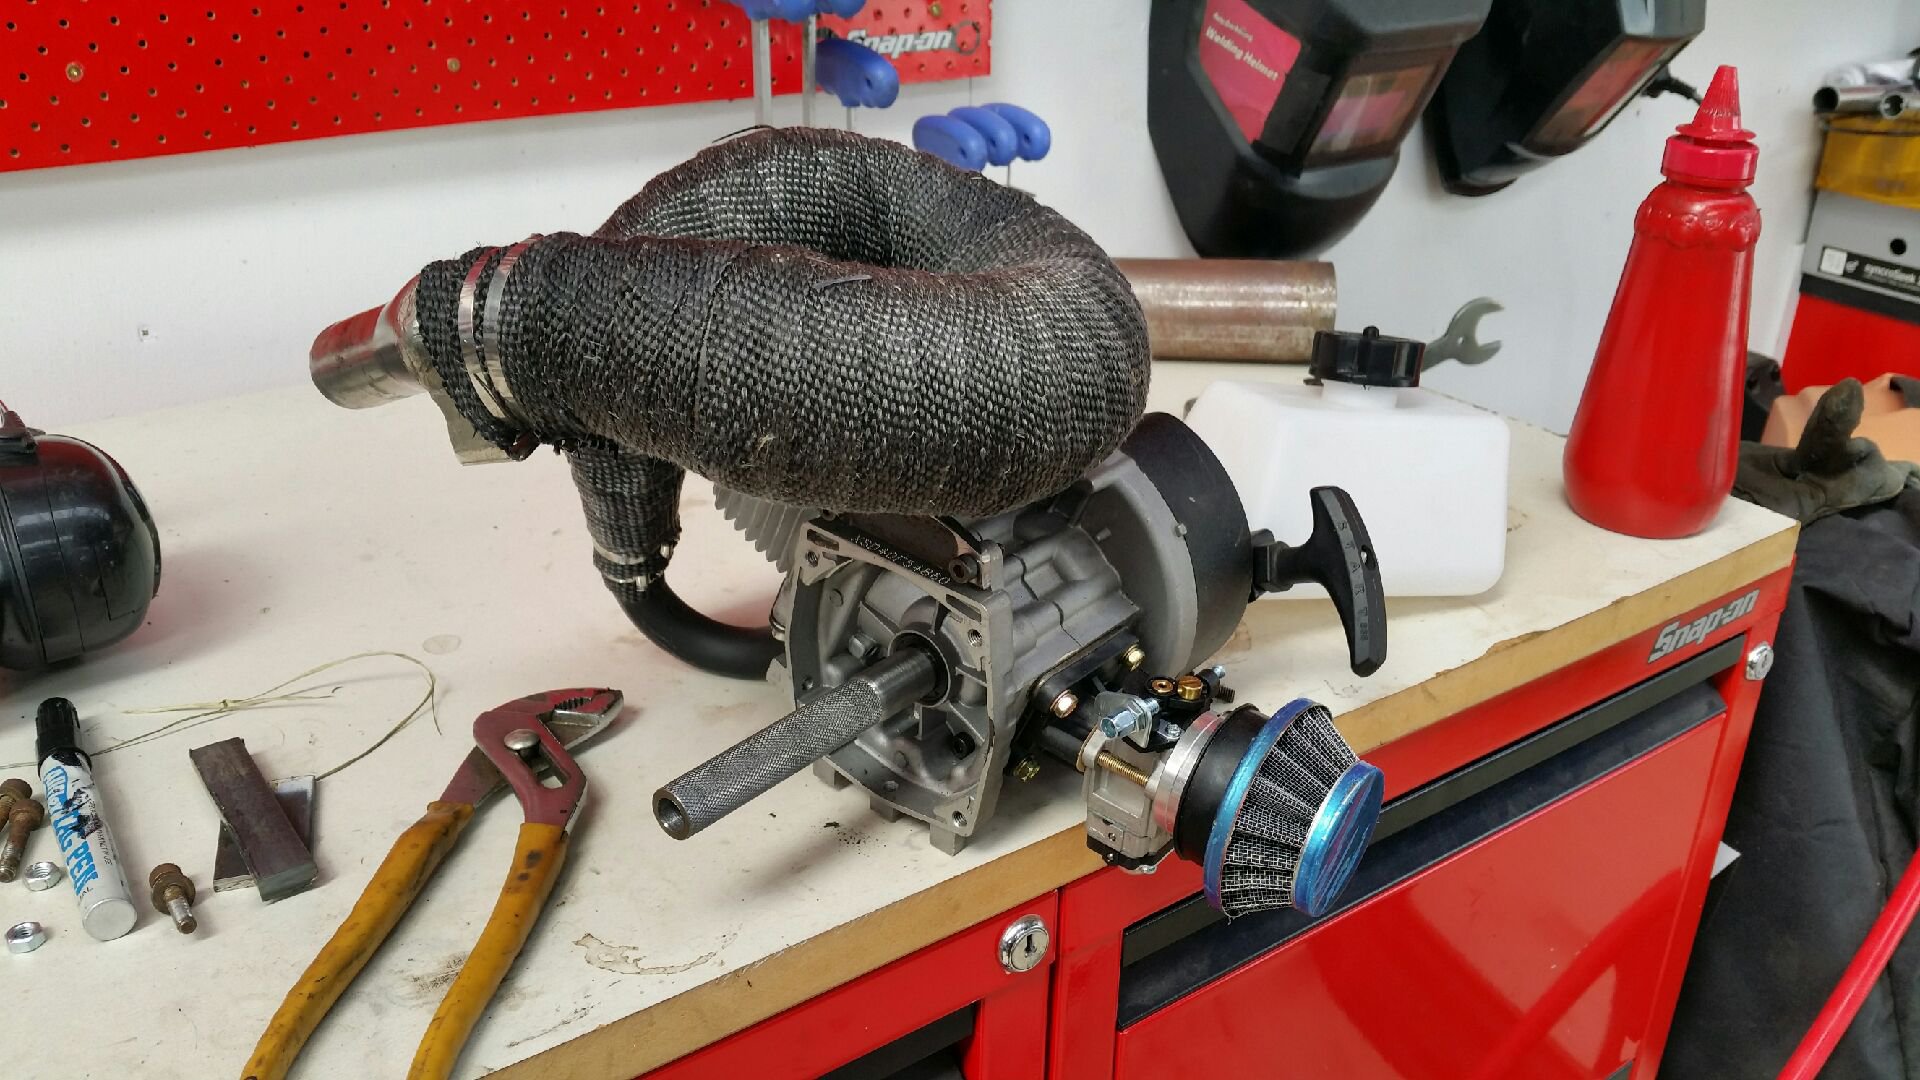
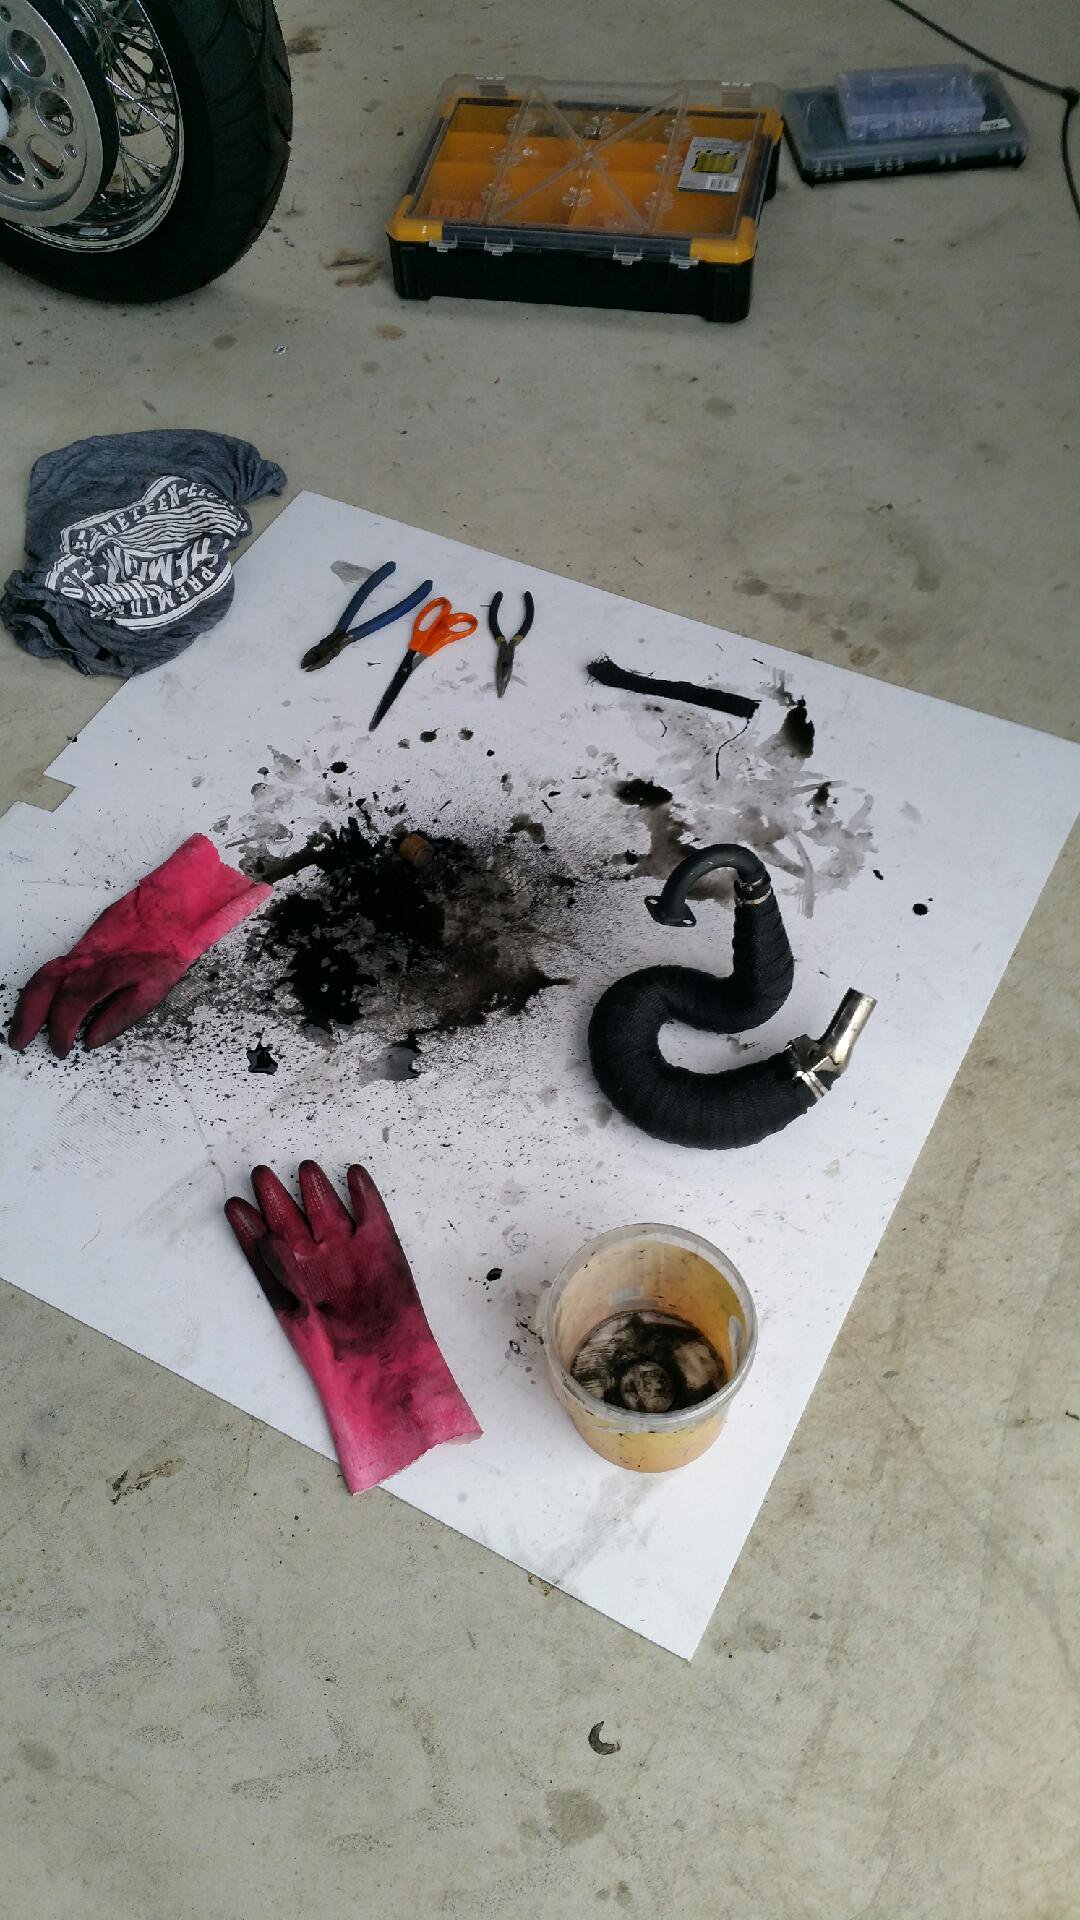
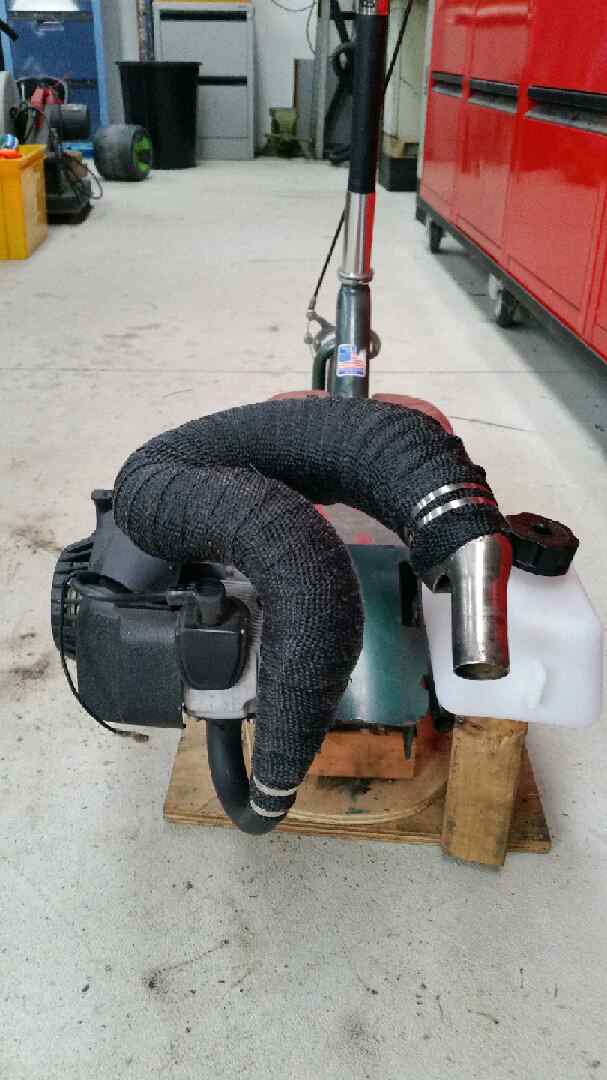
Thanks. I geeked out online searching the pros and cons of wrapping an expansion chamber.
Pros: basically none. Only benefit for me is avoiding 3rd degree burns.
Cons: keeps heat in, will cause premature rusting. Has potential to change the pulse wave adversely due to extra heat.
Then I found someone online who's experimented with a dyno. His conclusion was as long as the first few inches on the header straight out of the motor weren't wrapped. It didn't really change things all that much...so do it if you want too.
Using my usual way of Internet researching, as soon as I found someone offering the answer I wanted...I stopped looking. It's got to be true;)
-
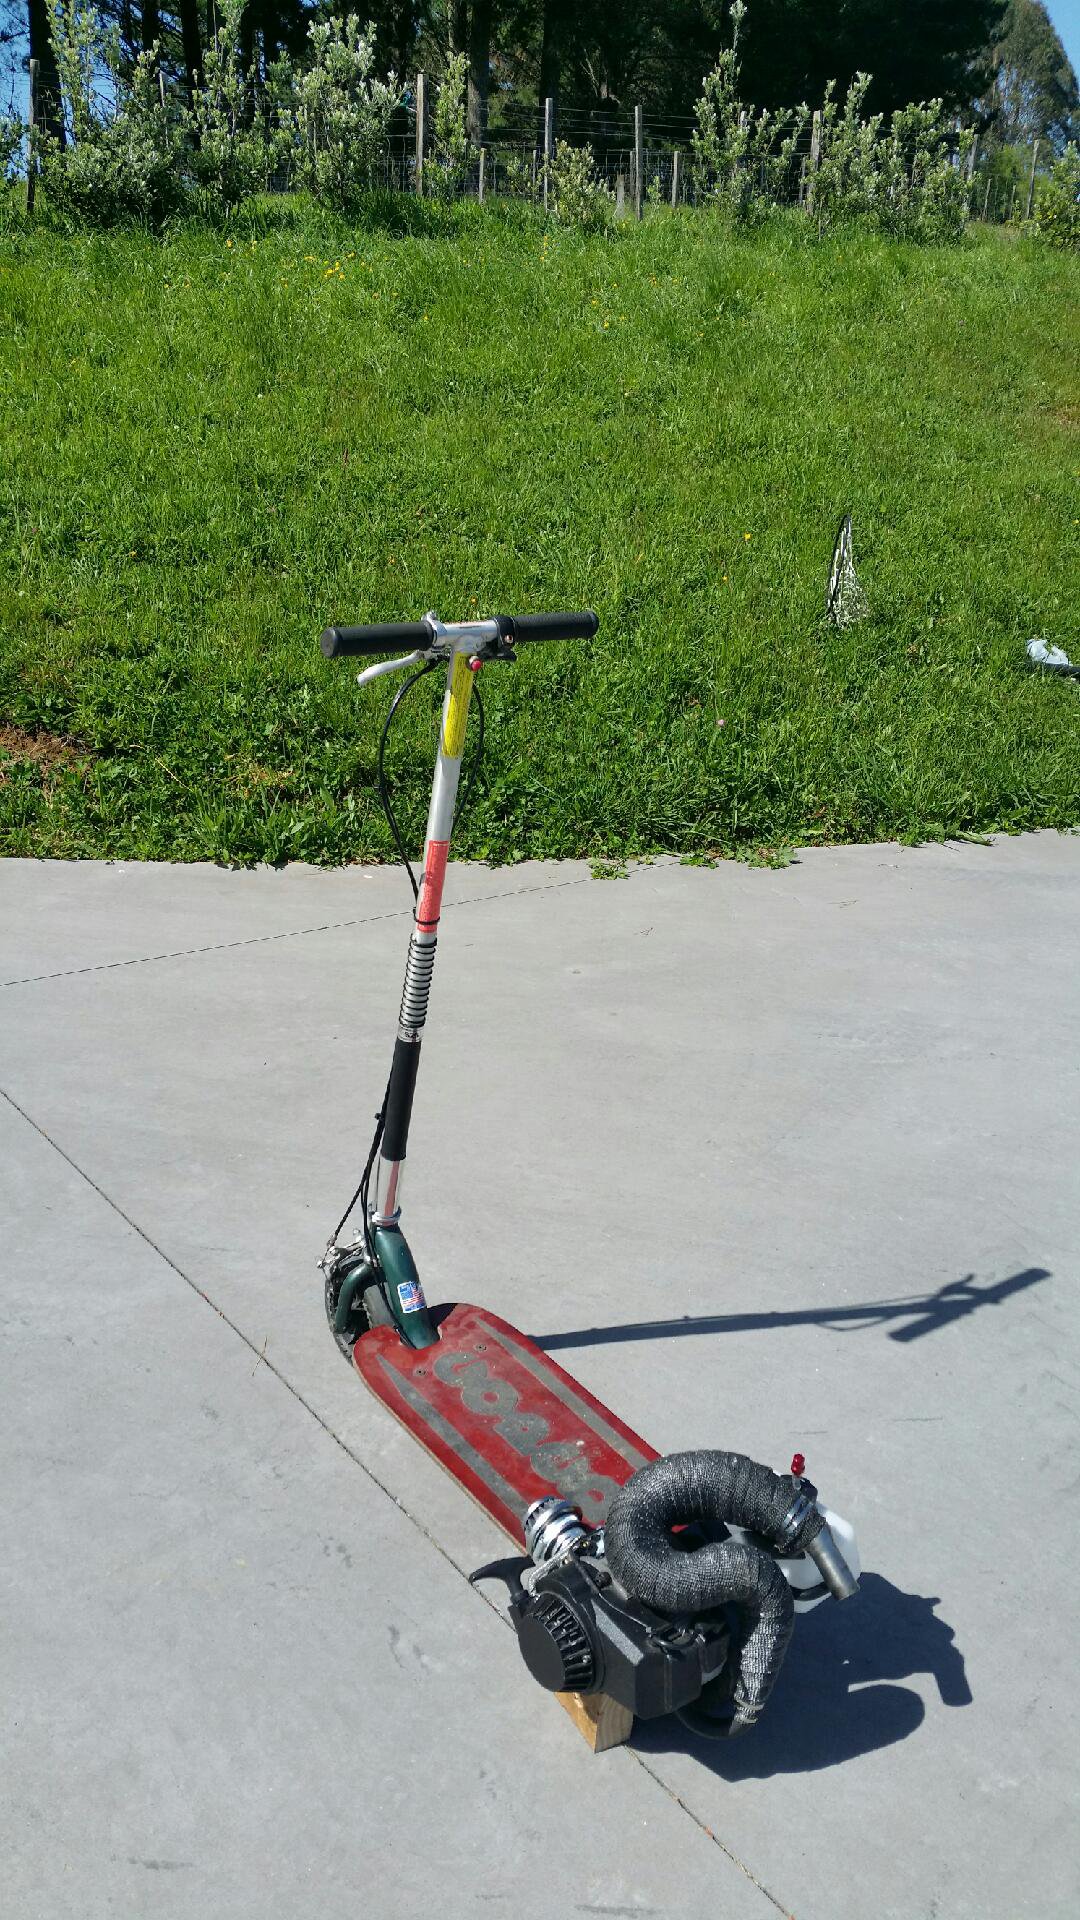
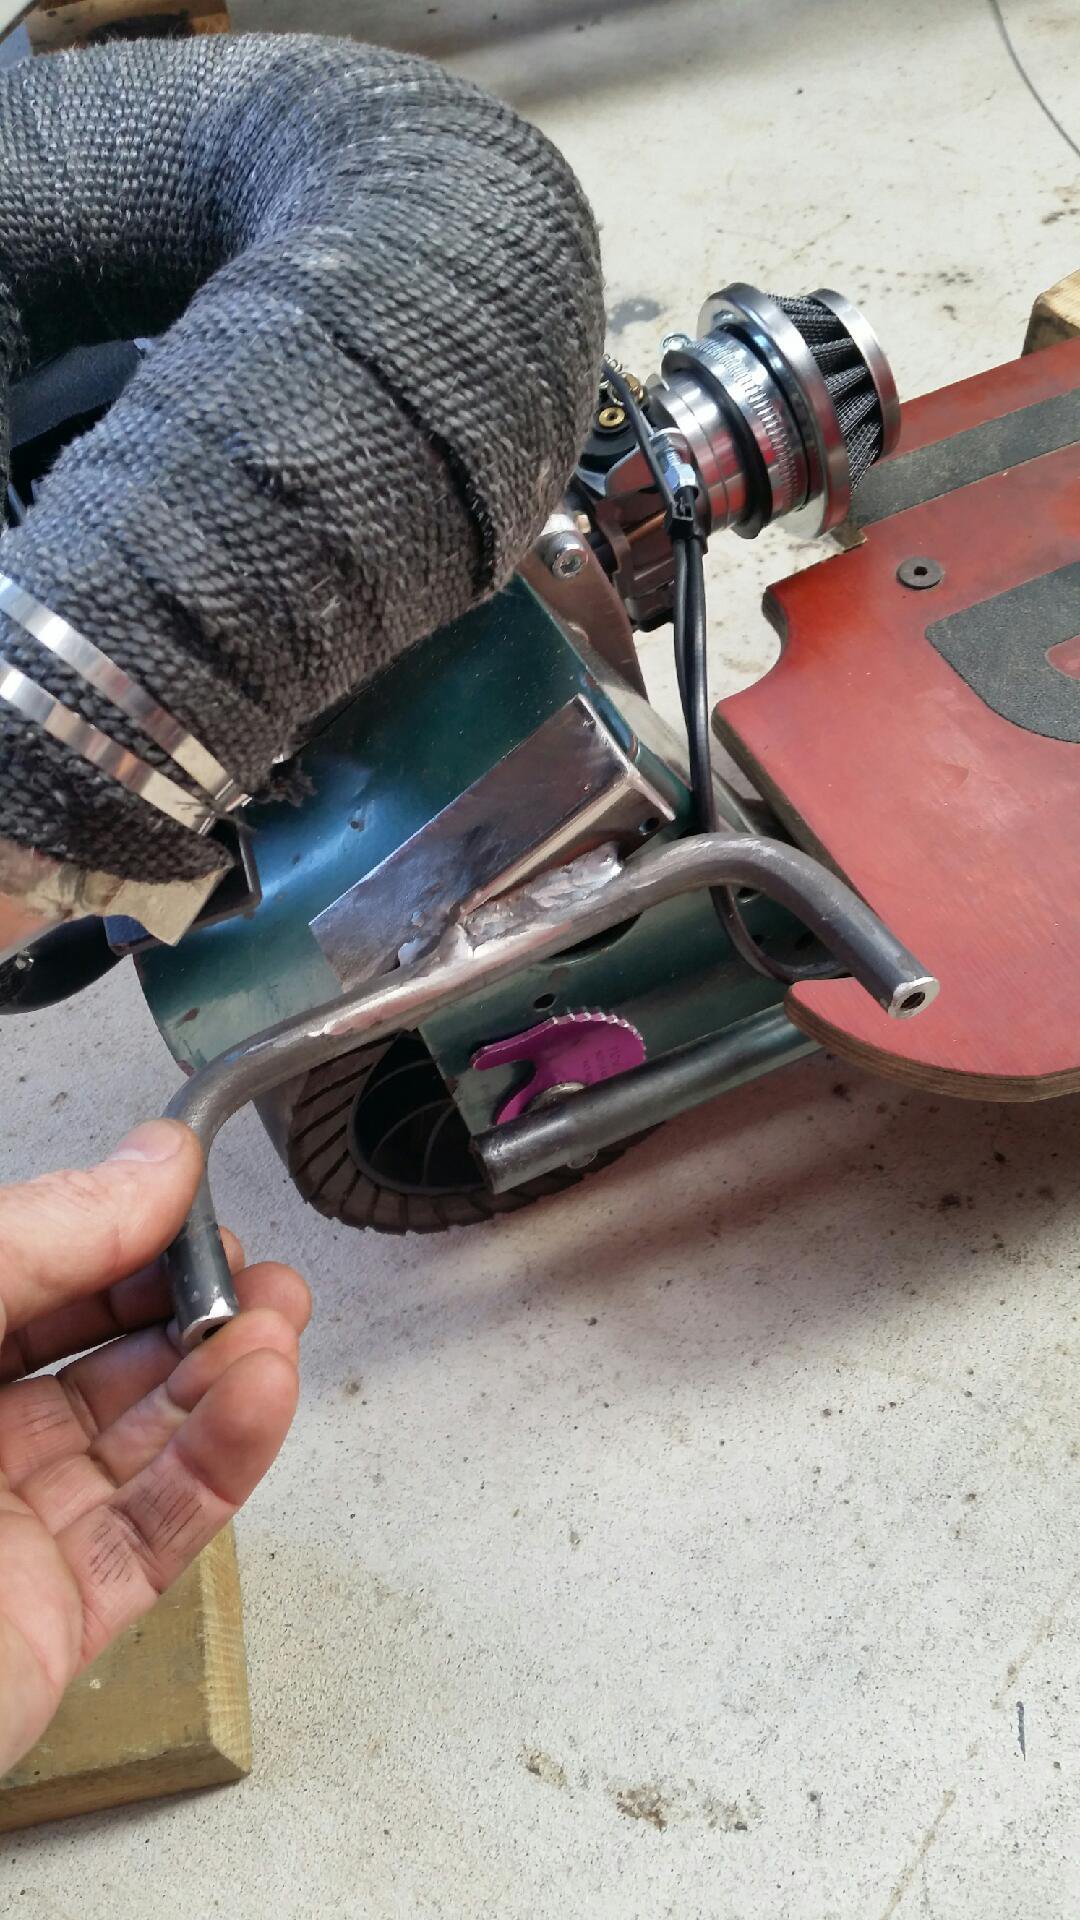
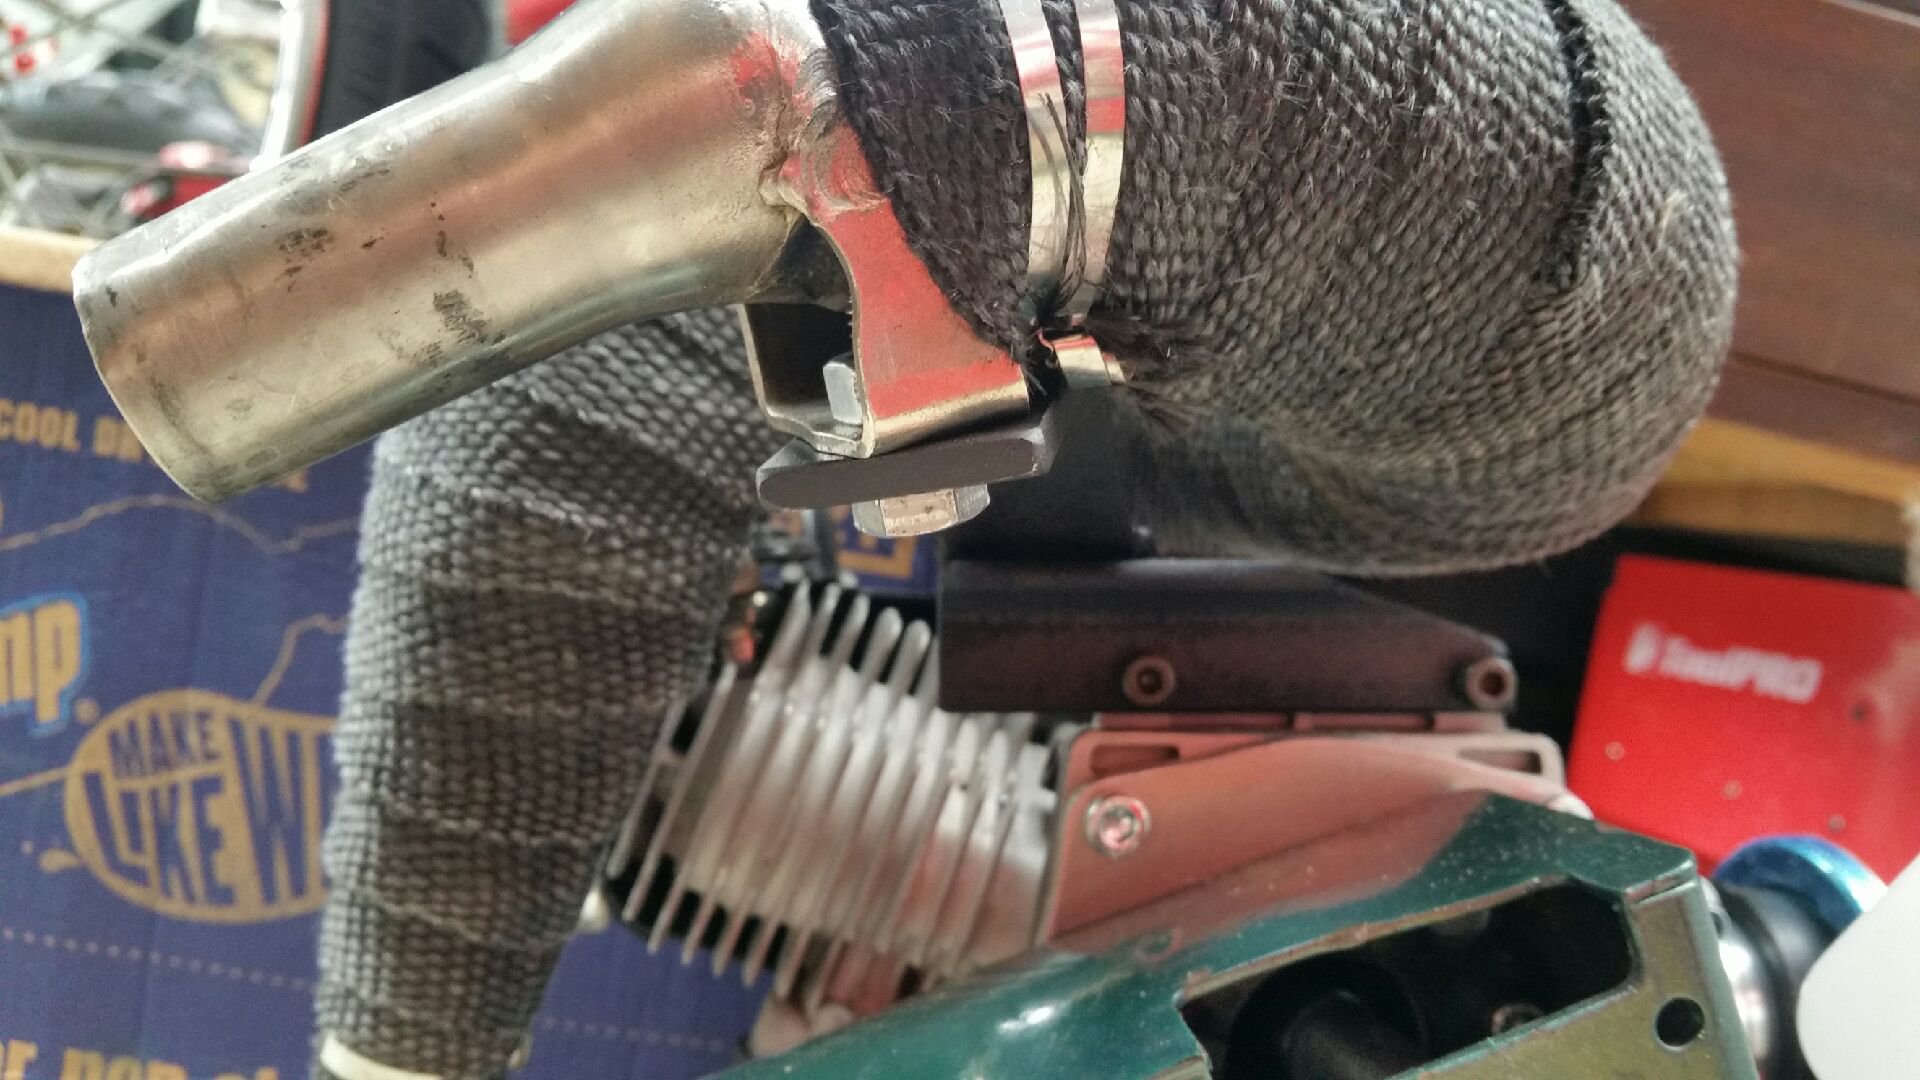
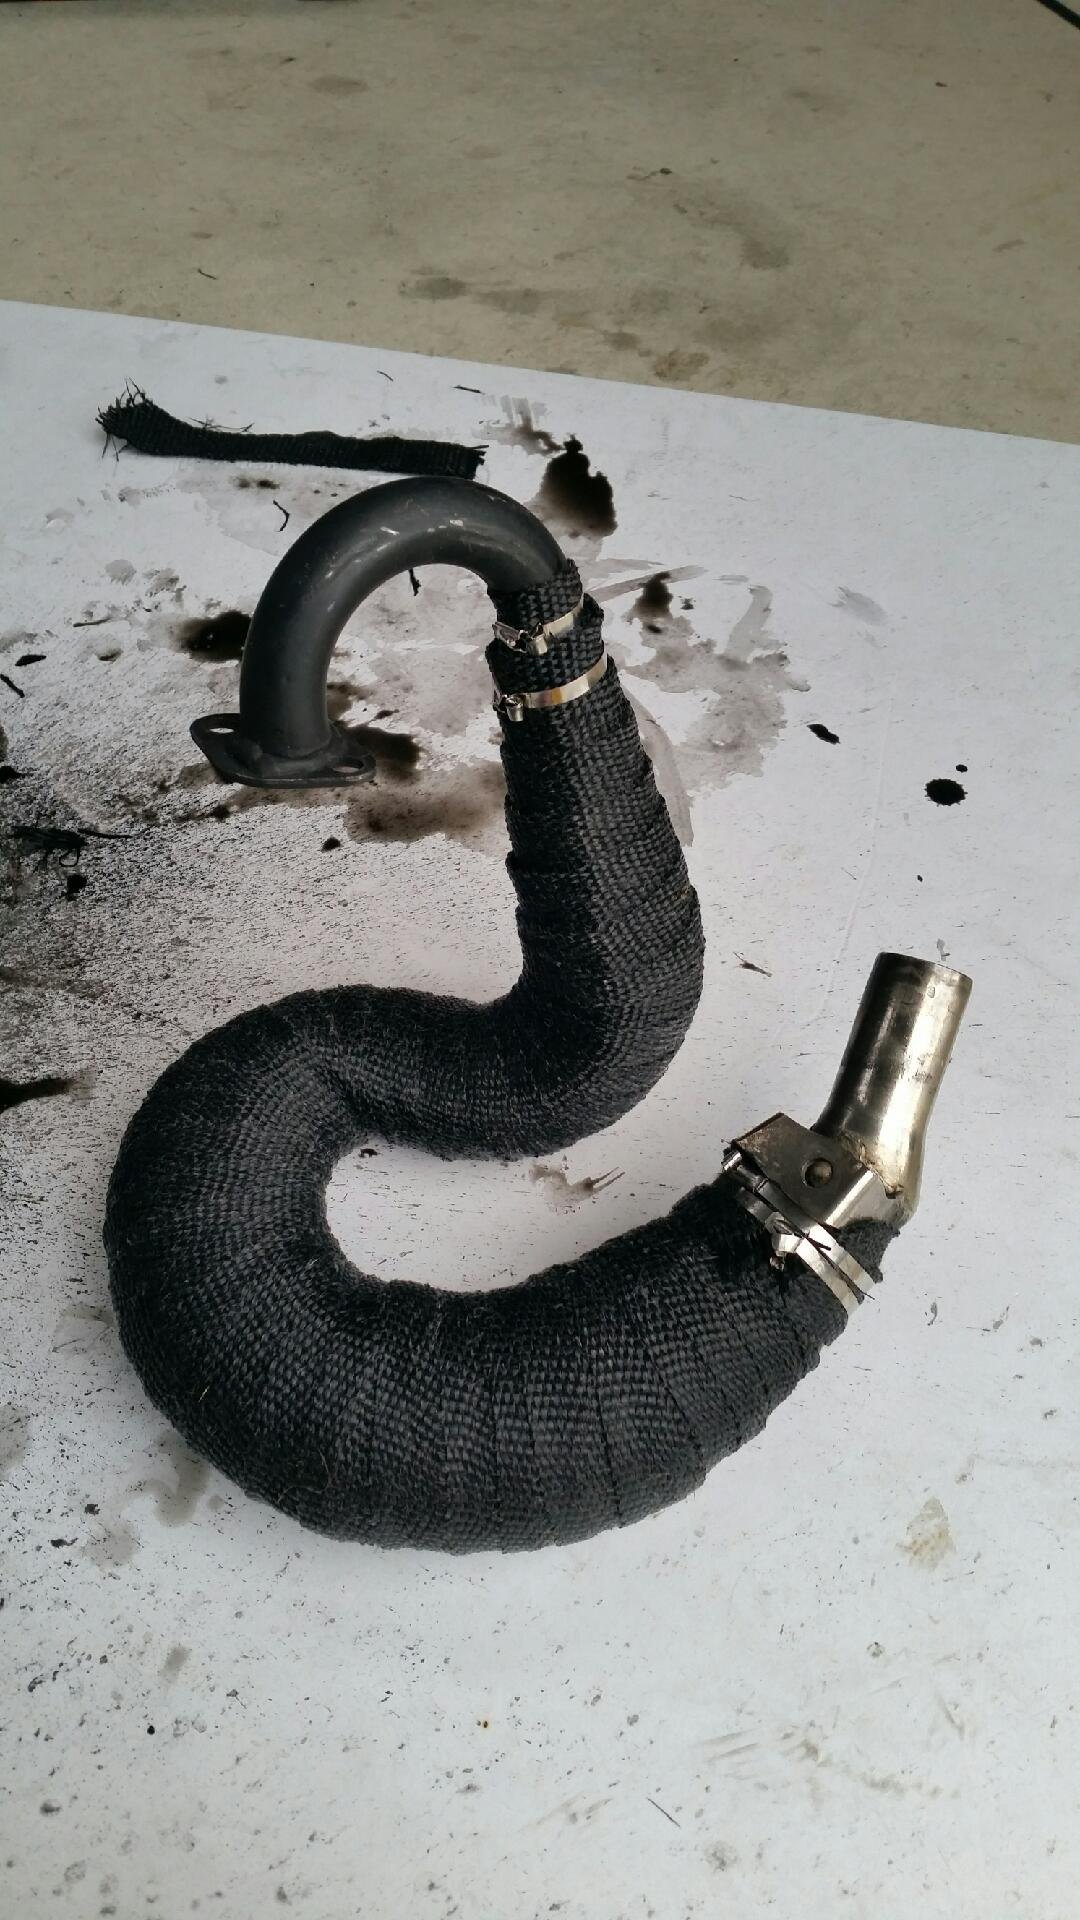
I thought the colon needed to be wrapped. Not for performance...more for not wanting to burn my fucking leg on it, if by chance I touched it.
And installed for a cheeky look
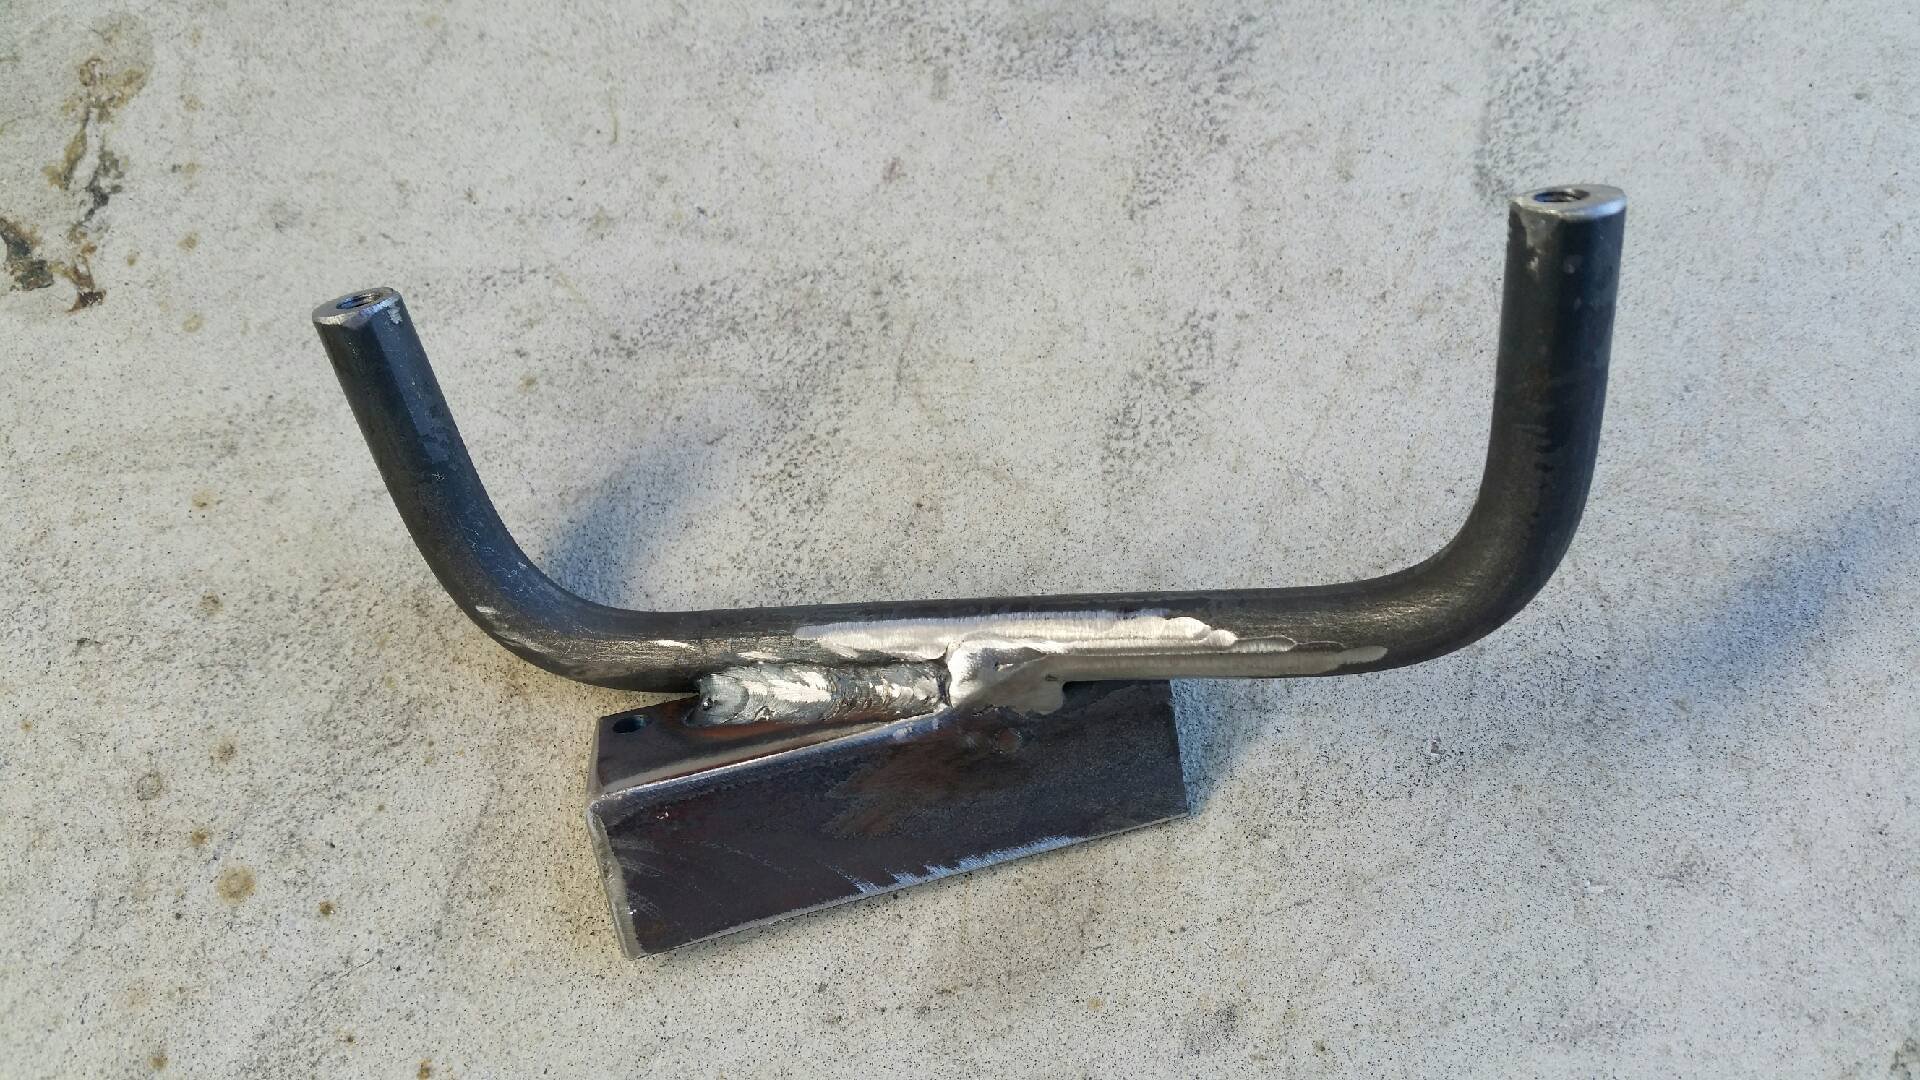
Next I'll make a supportive bracket to, ummm, well, ummm...support it?
-
2
-
-
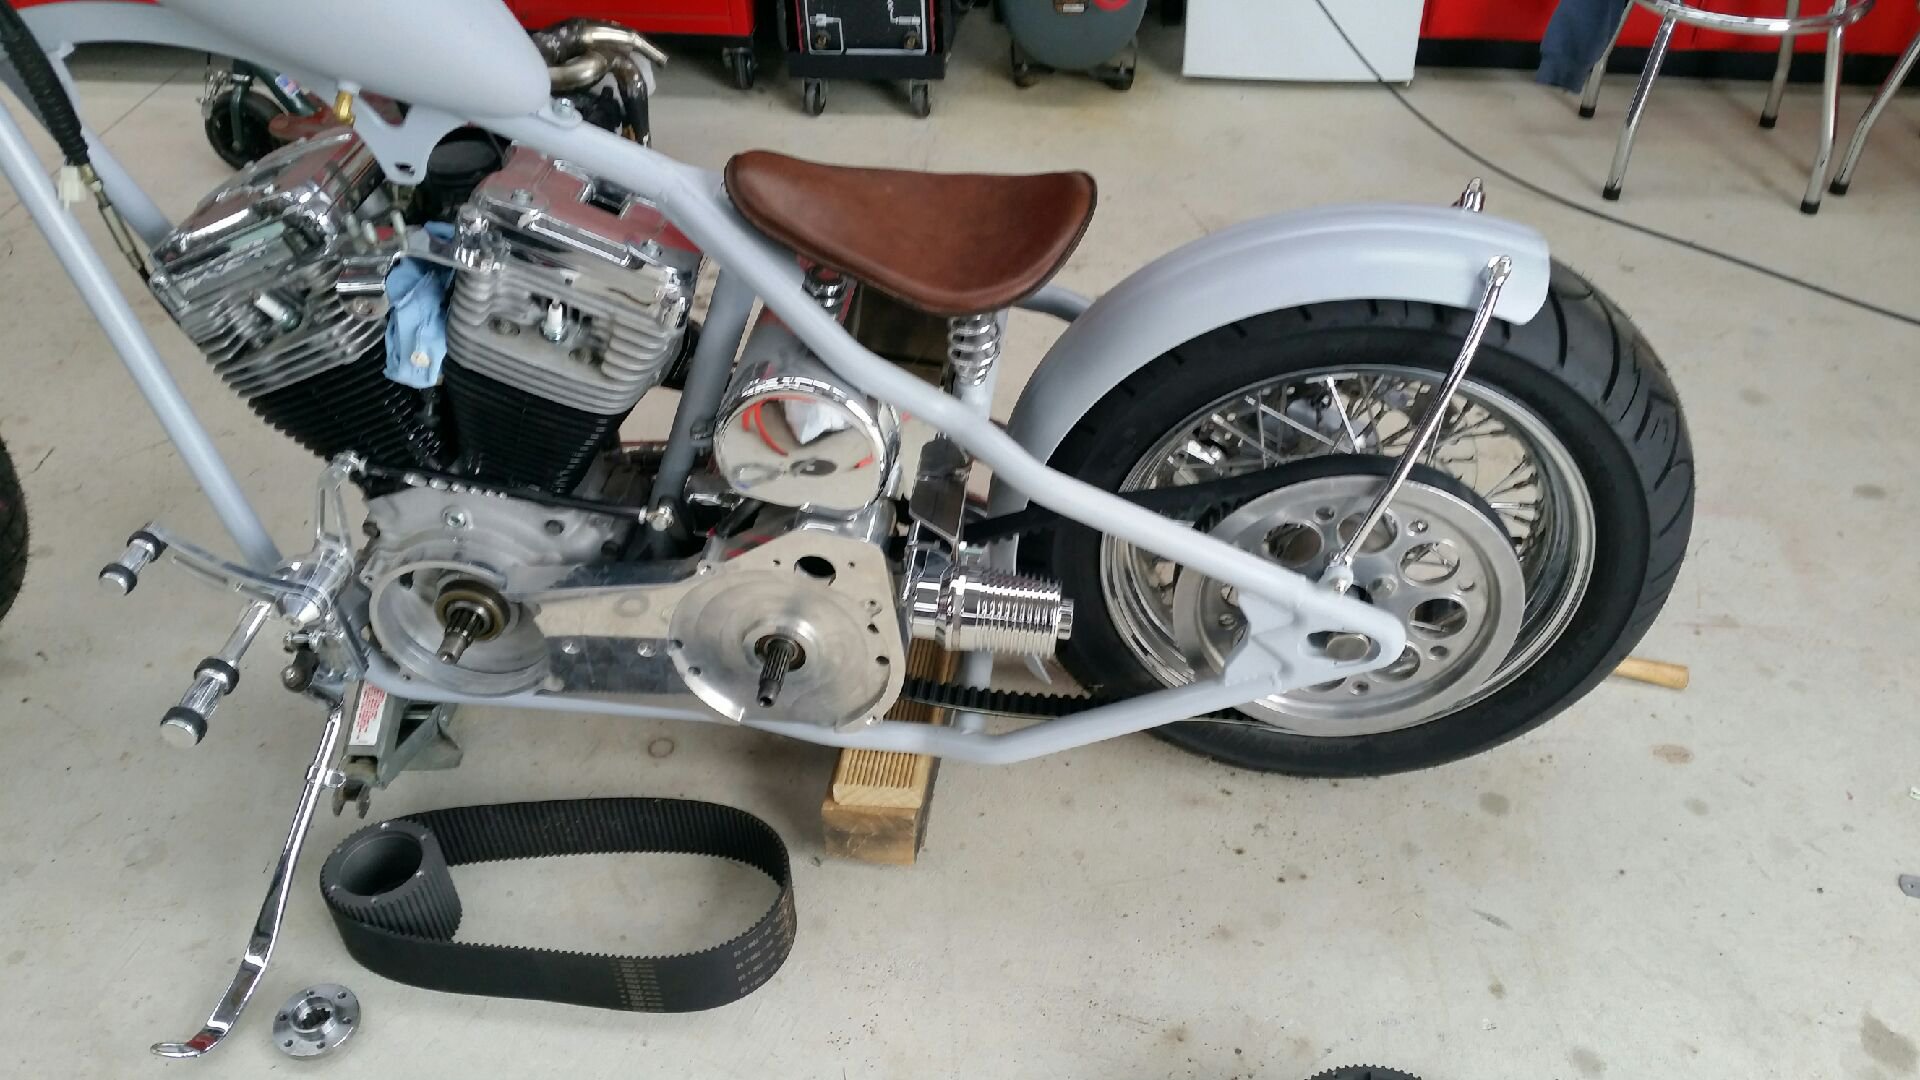
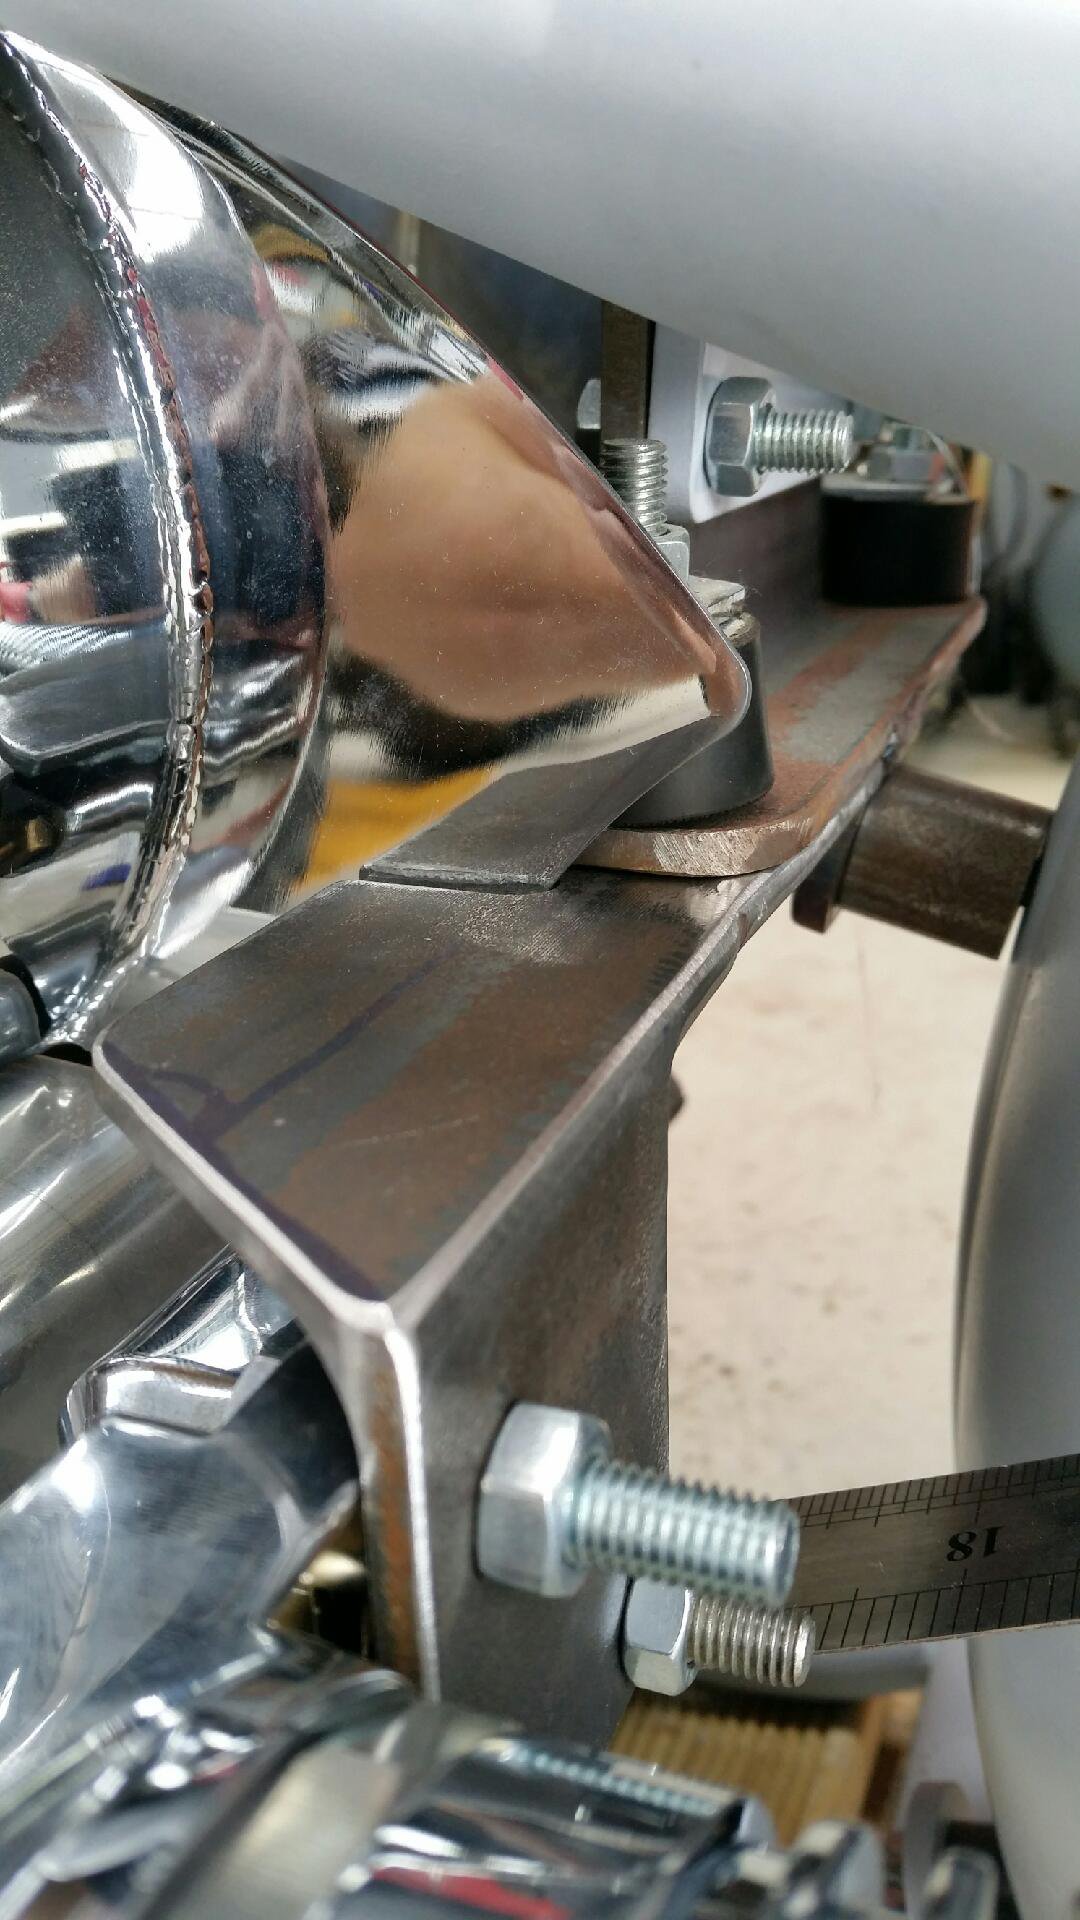
Drive belt arrived. I worked out the length using some 7th form mathematics I kind of remember. I then had to order the closest thing to it size wise.
Problem is my maths was in between sizes available. So I went bigger. Logic been worst case it should still work versus not fitting at all.
My remote oil filter is a bit close to the belt. But I have an easy solution for this. I'd like another 5mm of clearance to avoid potential issues.
-
4
-
-
First time I've played this game. But fuck this is cool!
Don't see these ever day
-
2
-
-
Driving it like you stole it! Excellent
-
Expansion chamber done. This was tricky, welding such thin and contaminated steel.
One moment you'd be welding like a Jedi master...next a huge hole would blow through! Then it's the fill the hole game again...
-
1
-
-
28 minutes ago, Muncie said:
Those still the sack trolley tyres ? They dont like been used to carry anything faster than walking pace have had them let go on sack trolleys with annoying regularity let alone at speed.
Chinese quad bike tyres are $20 each treat it to some new ones.
Yes
-
Lotto ticket time! Just road it down the road and back at full throttle...didn't even notice until I parked it up.
I had on my usual safety PPE of jandals and no helmet. Think I just dodged a bullet by about 30 seconds?
-
4
-
 1
1
-
 1
1
-
-
Come on...where's the drag racing street outlaws video: "death-ped V's mobility scooter"?
-
1
-
-
Fuck it...I'll rest when I'm dead!
This will definitely work. But I'm now considering a variation on this with a longer spindle that is supported by a bearing. This isn't a new idea...been done many times before by others.
The drawback of the bearing is its a parasitic loss...ie the bearing will rob power from the little motor. The positive side is it may save the crankshaft from braking! I've smashed a crankshaft before...so I'm always a little gun shy with these. So yeah/nah....let's do this again...but better.
-
3
-
-
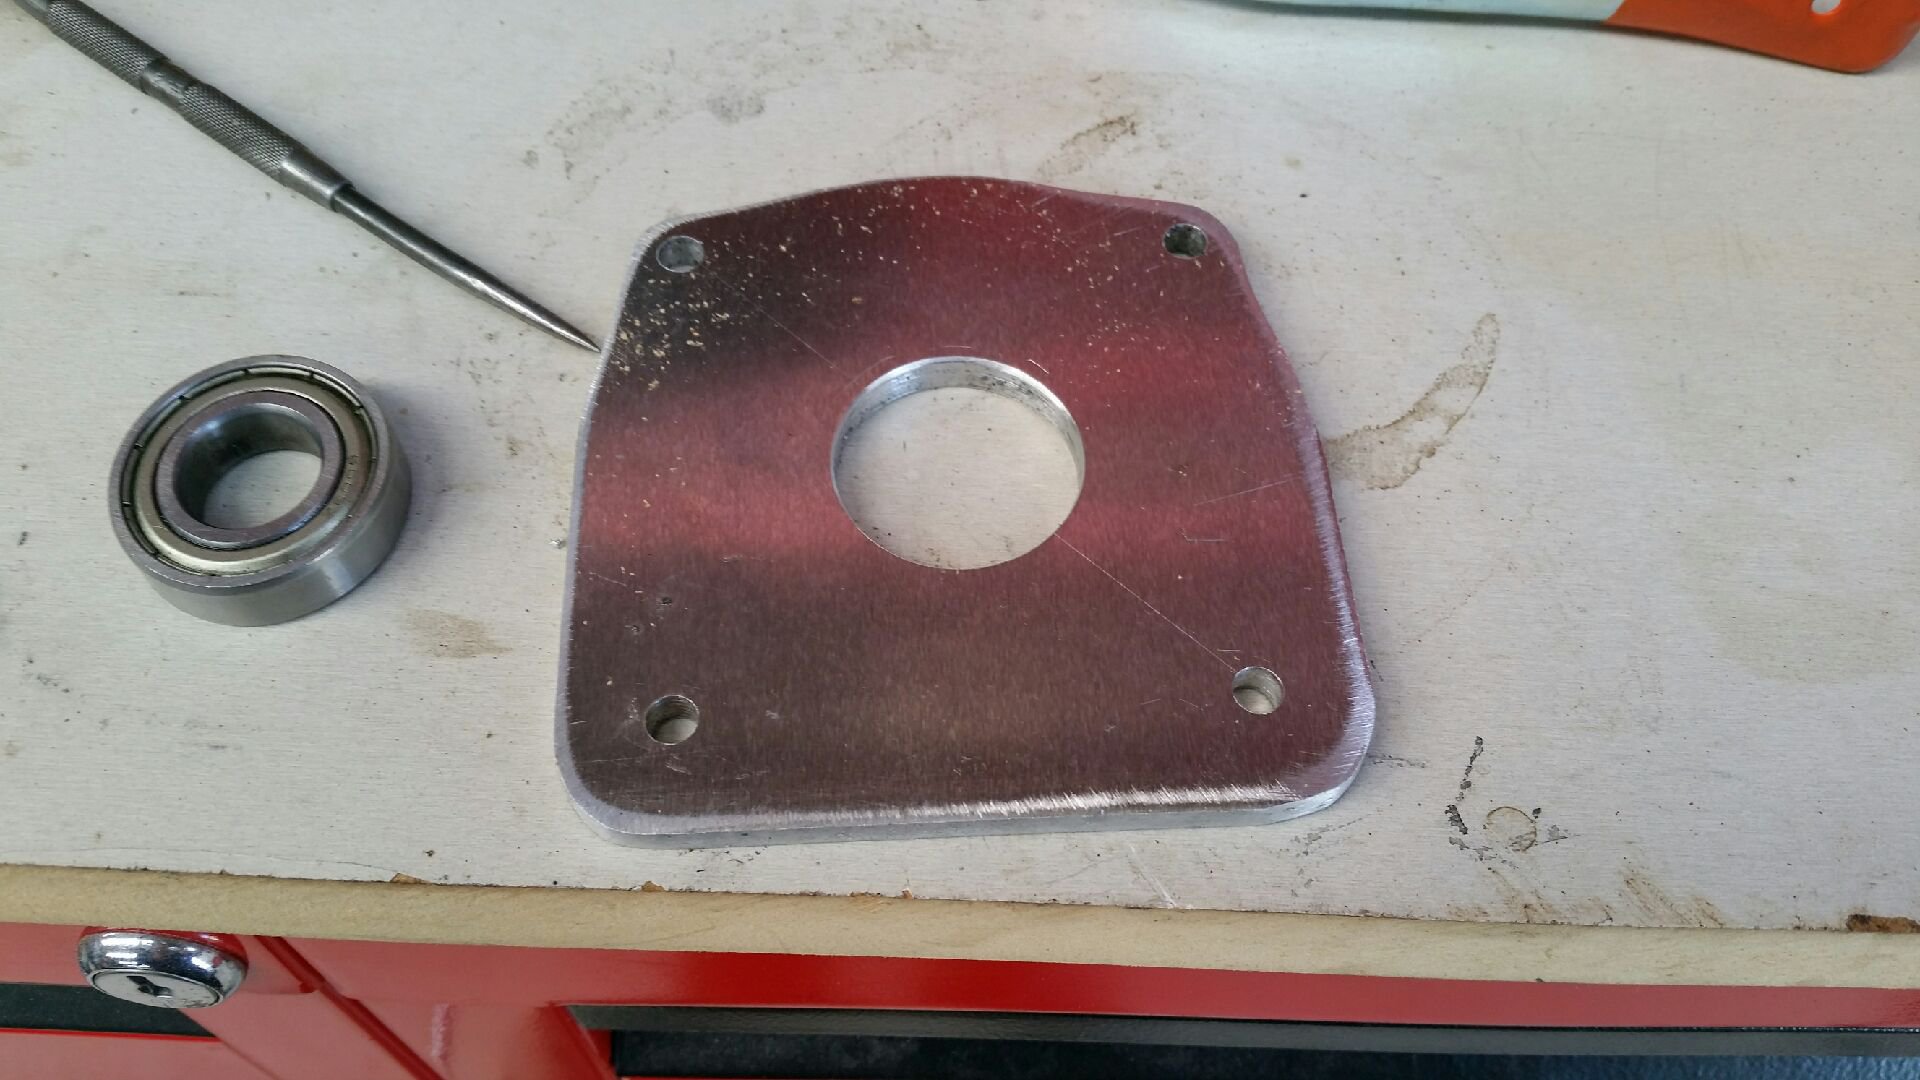
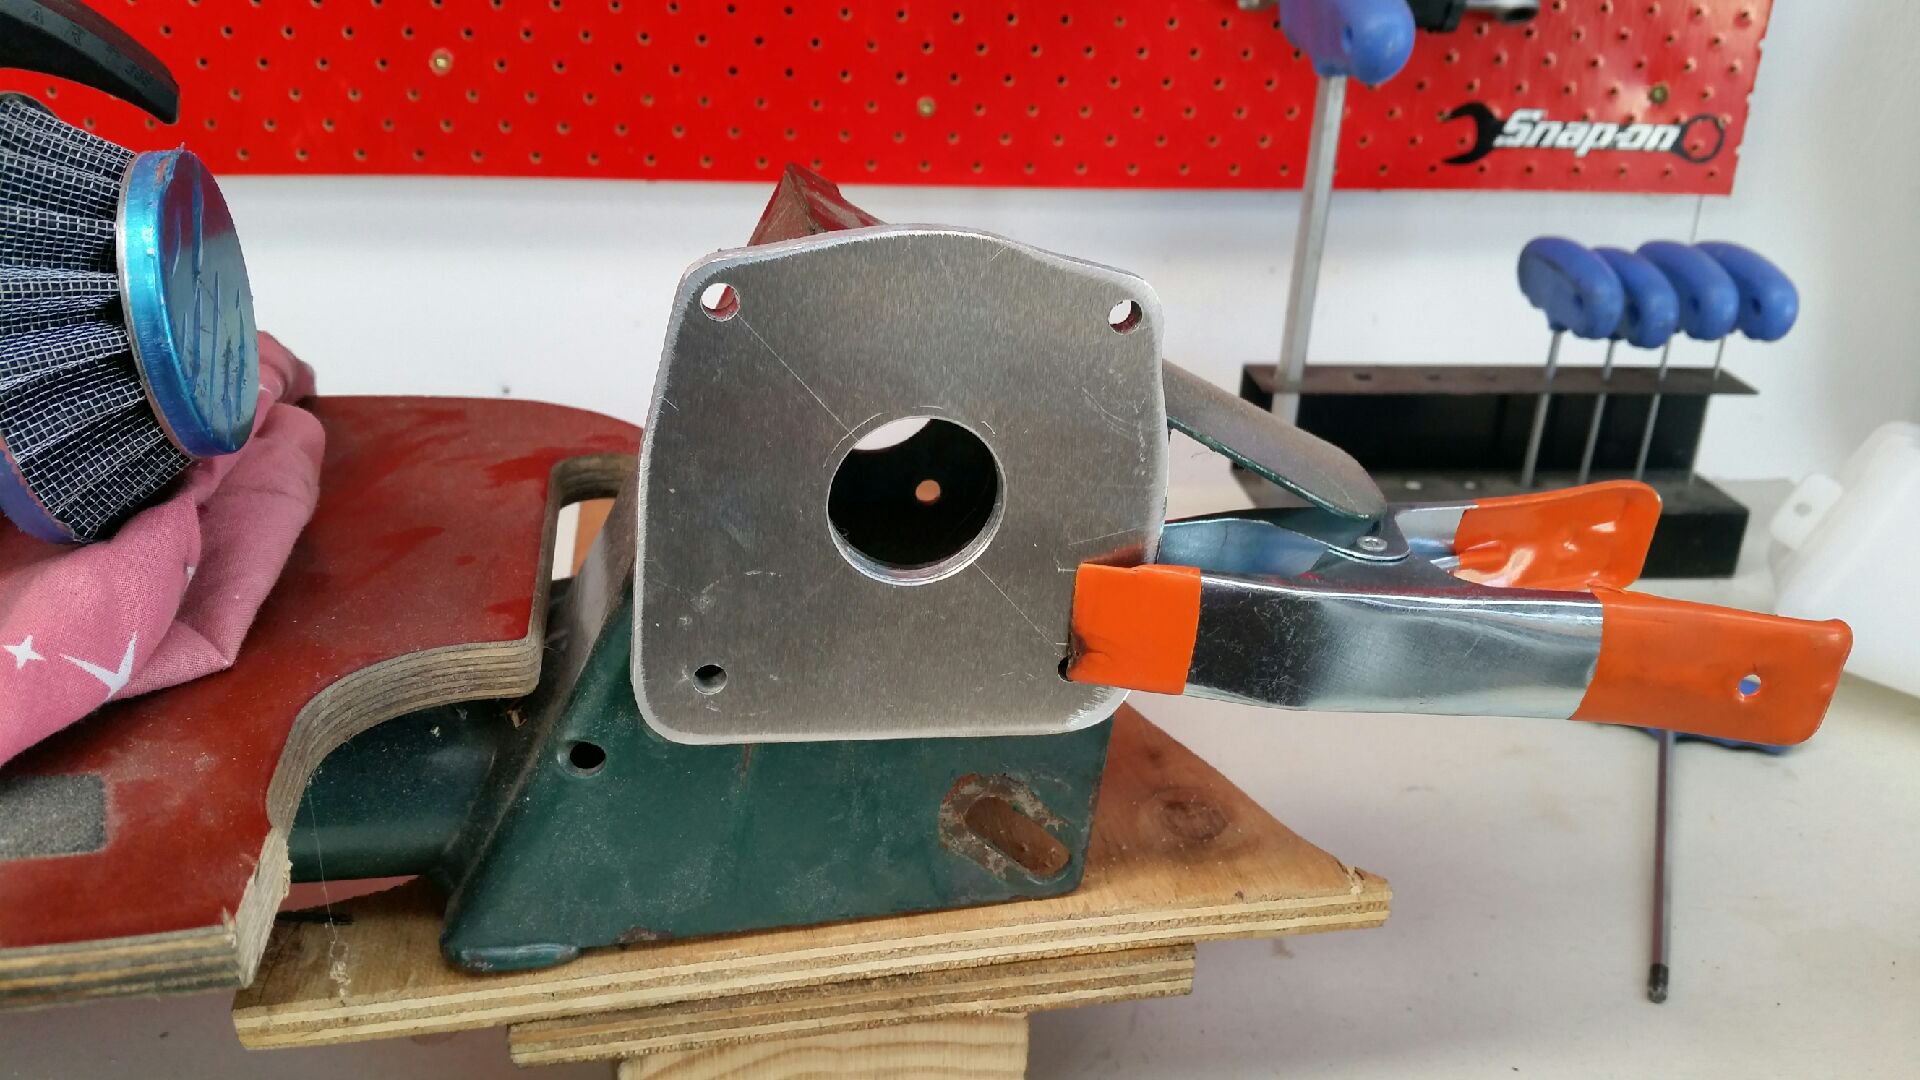
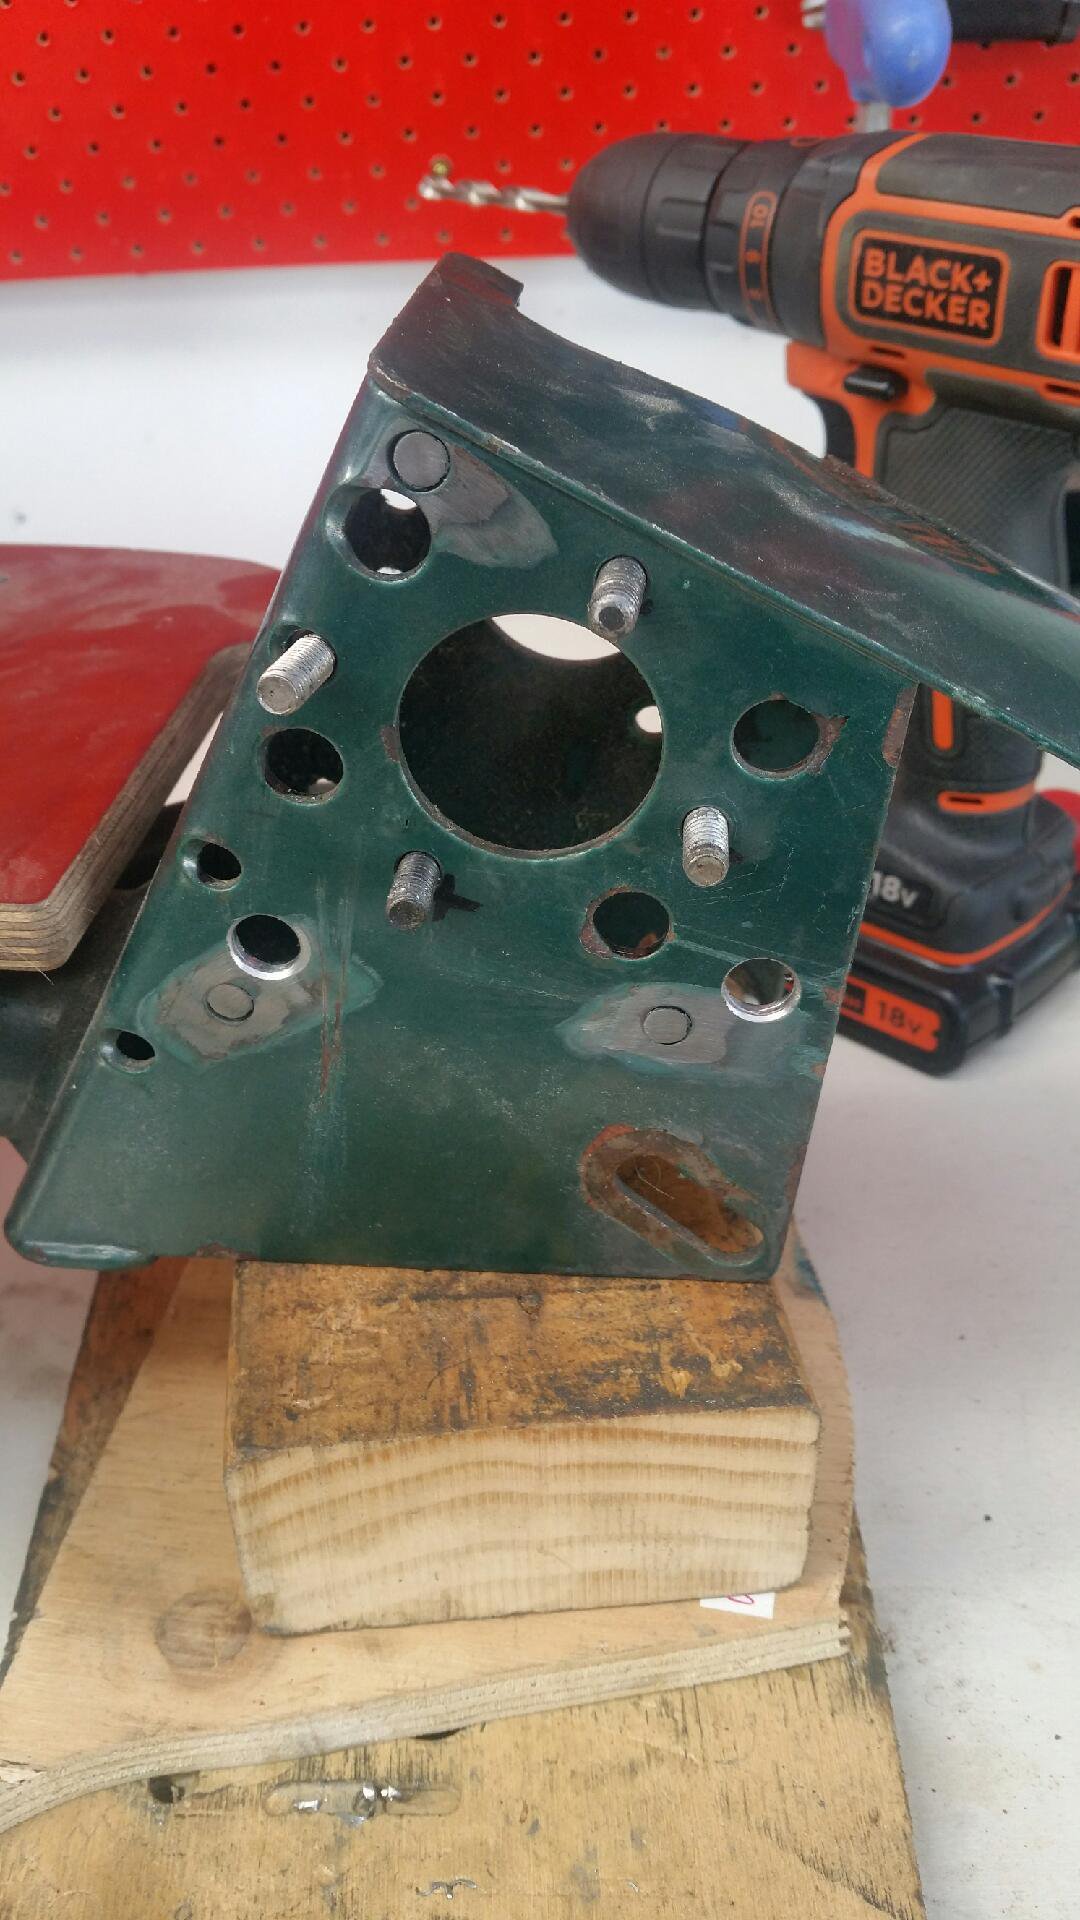
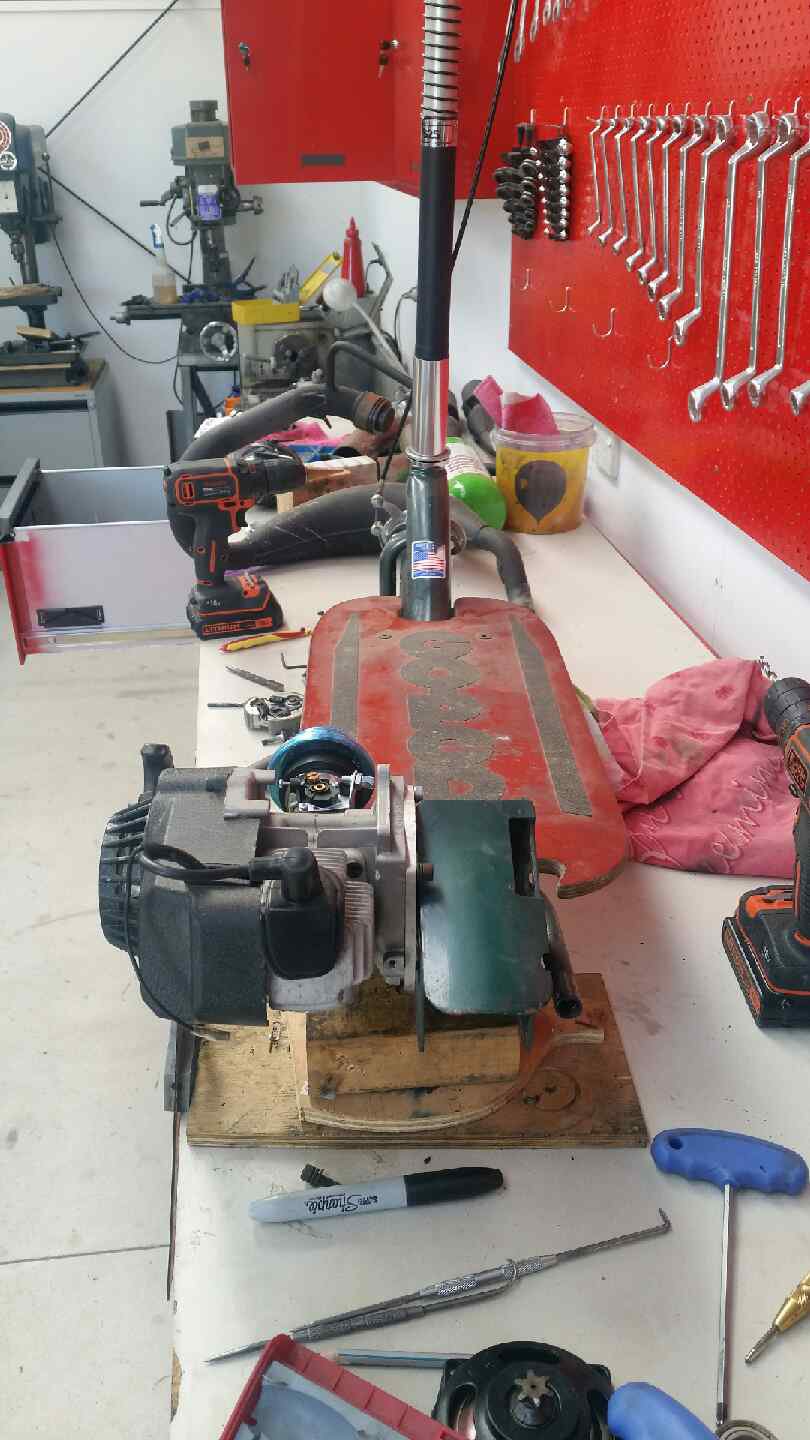
Picked up some aluminium scrap. I struggle to get materials some days...but got lucky.
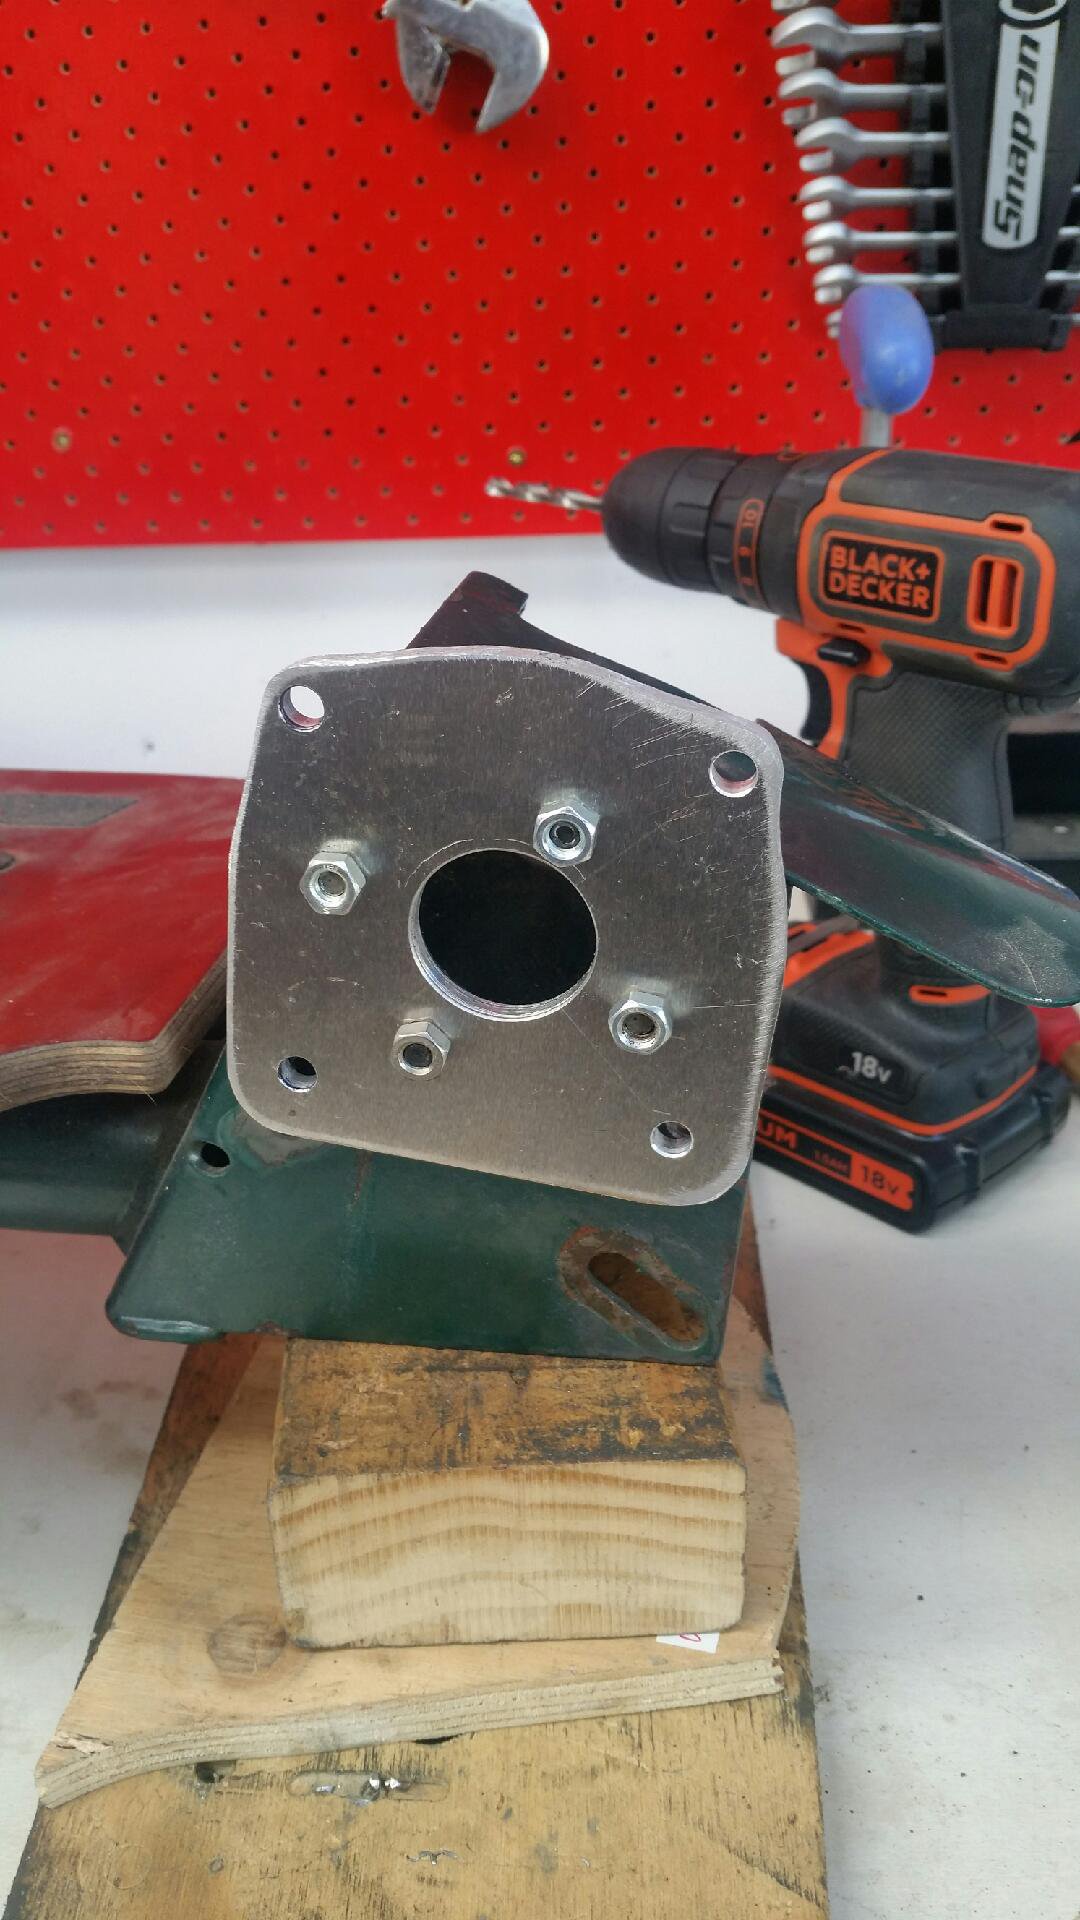
Turned it into this adapter plate.
There's method to the madness of all those holes. Each has a purpose and a special way of going together.
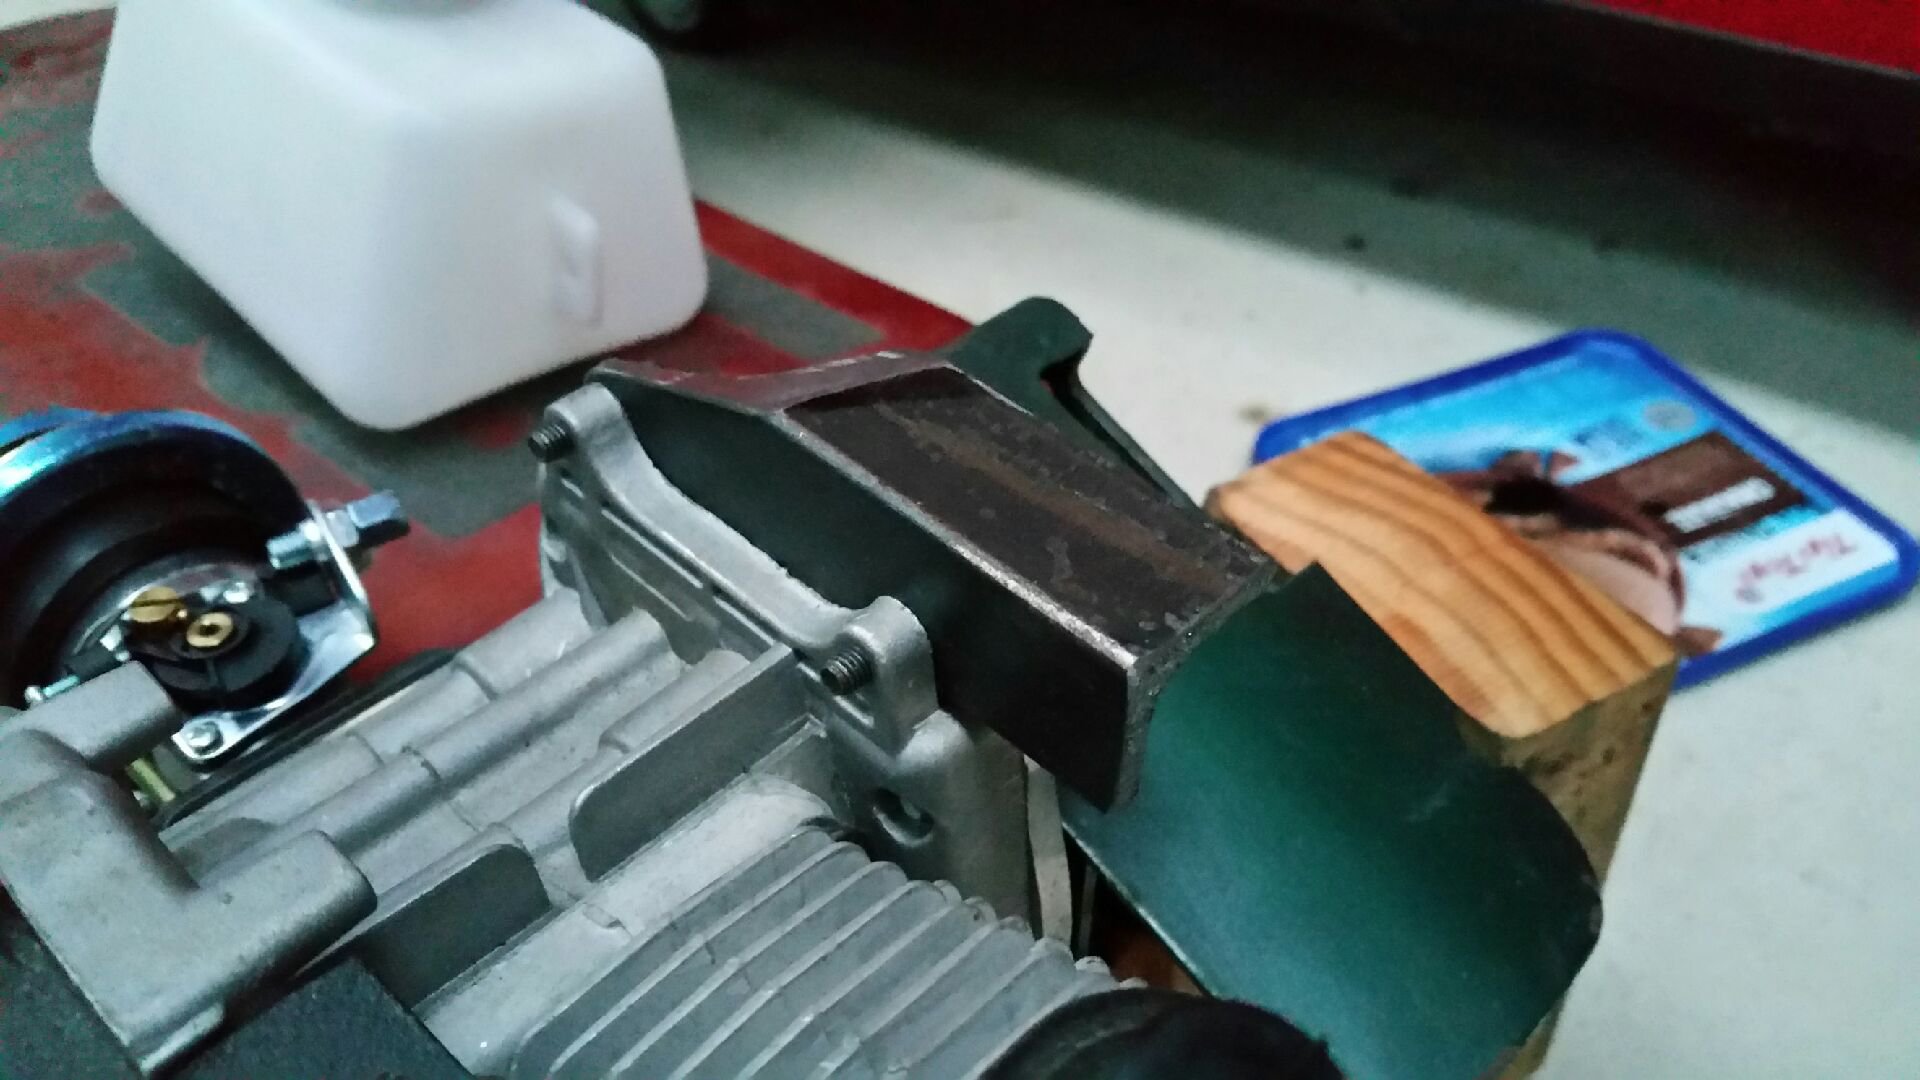
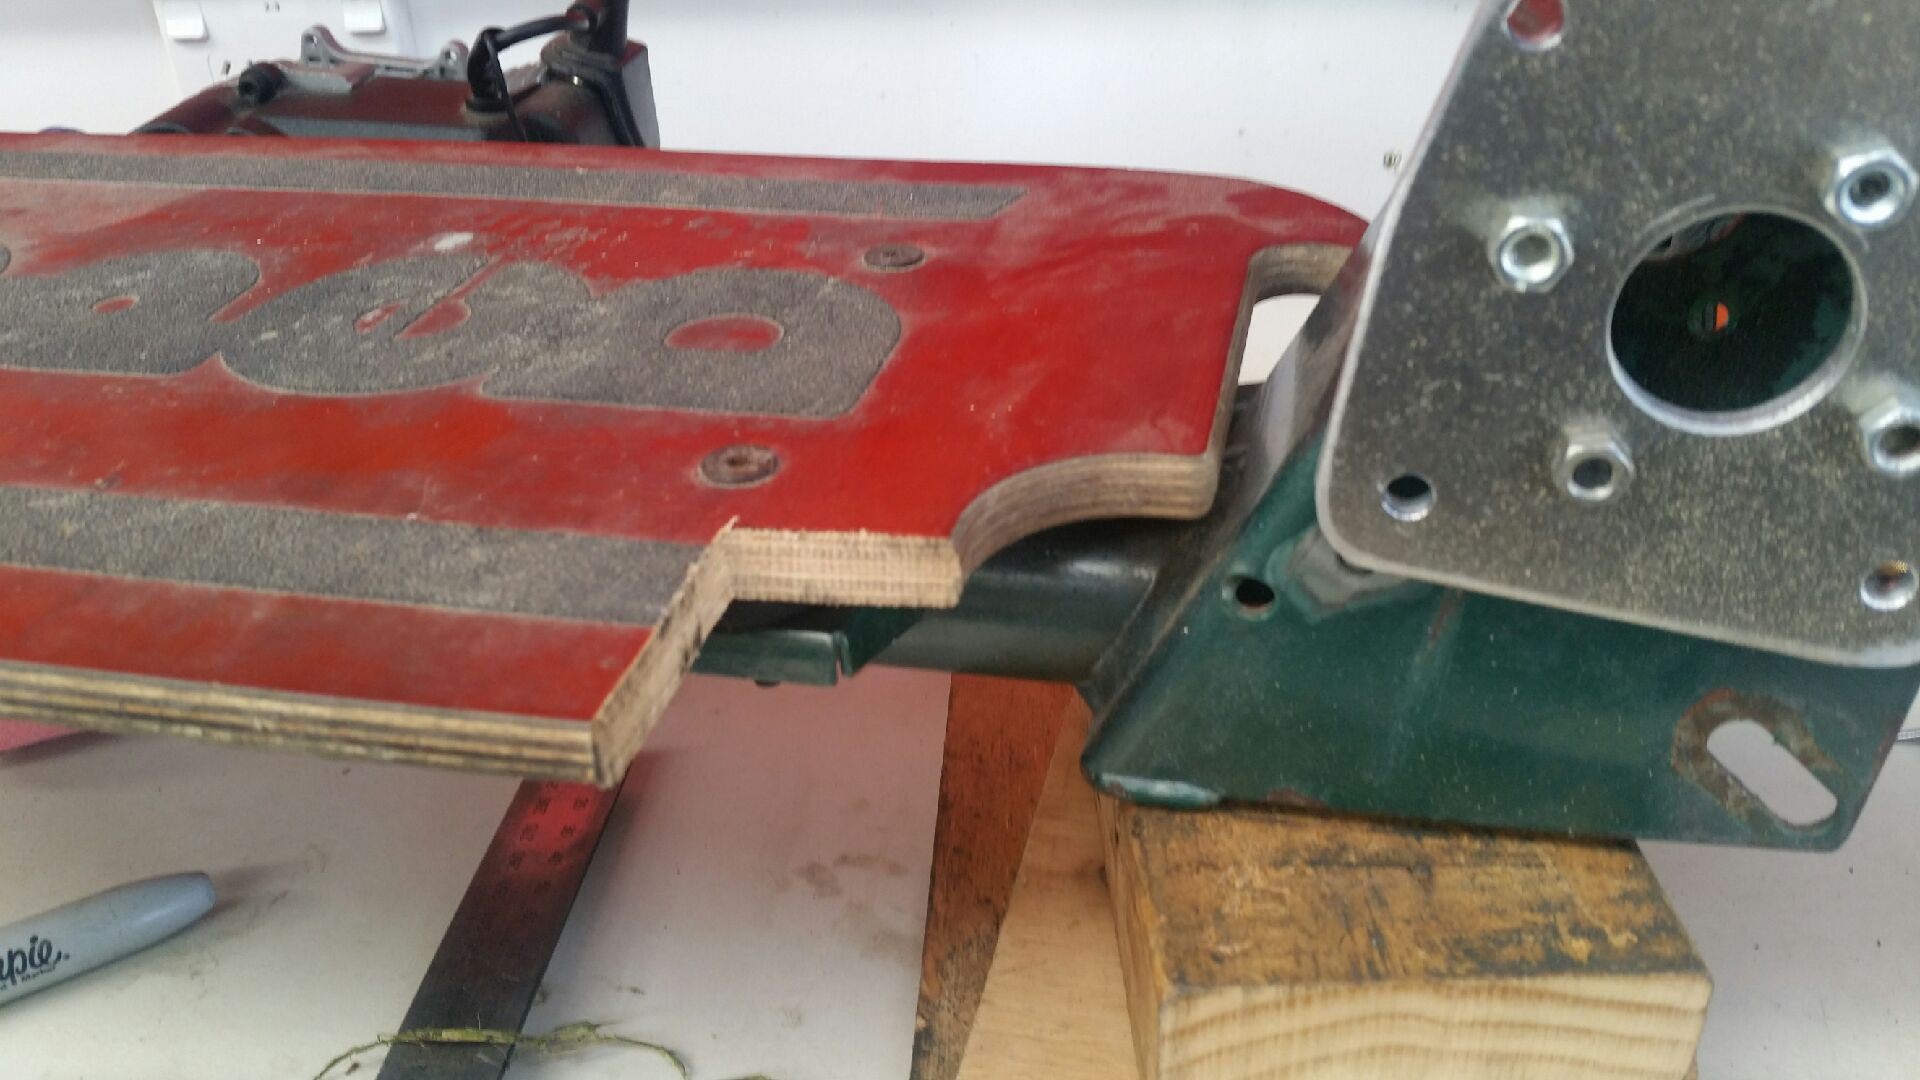
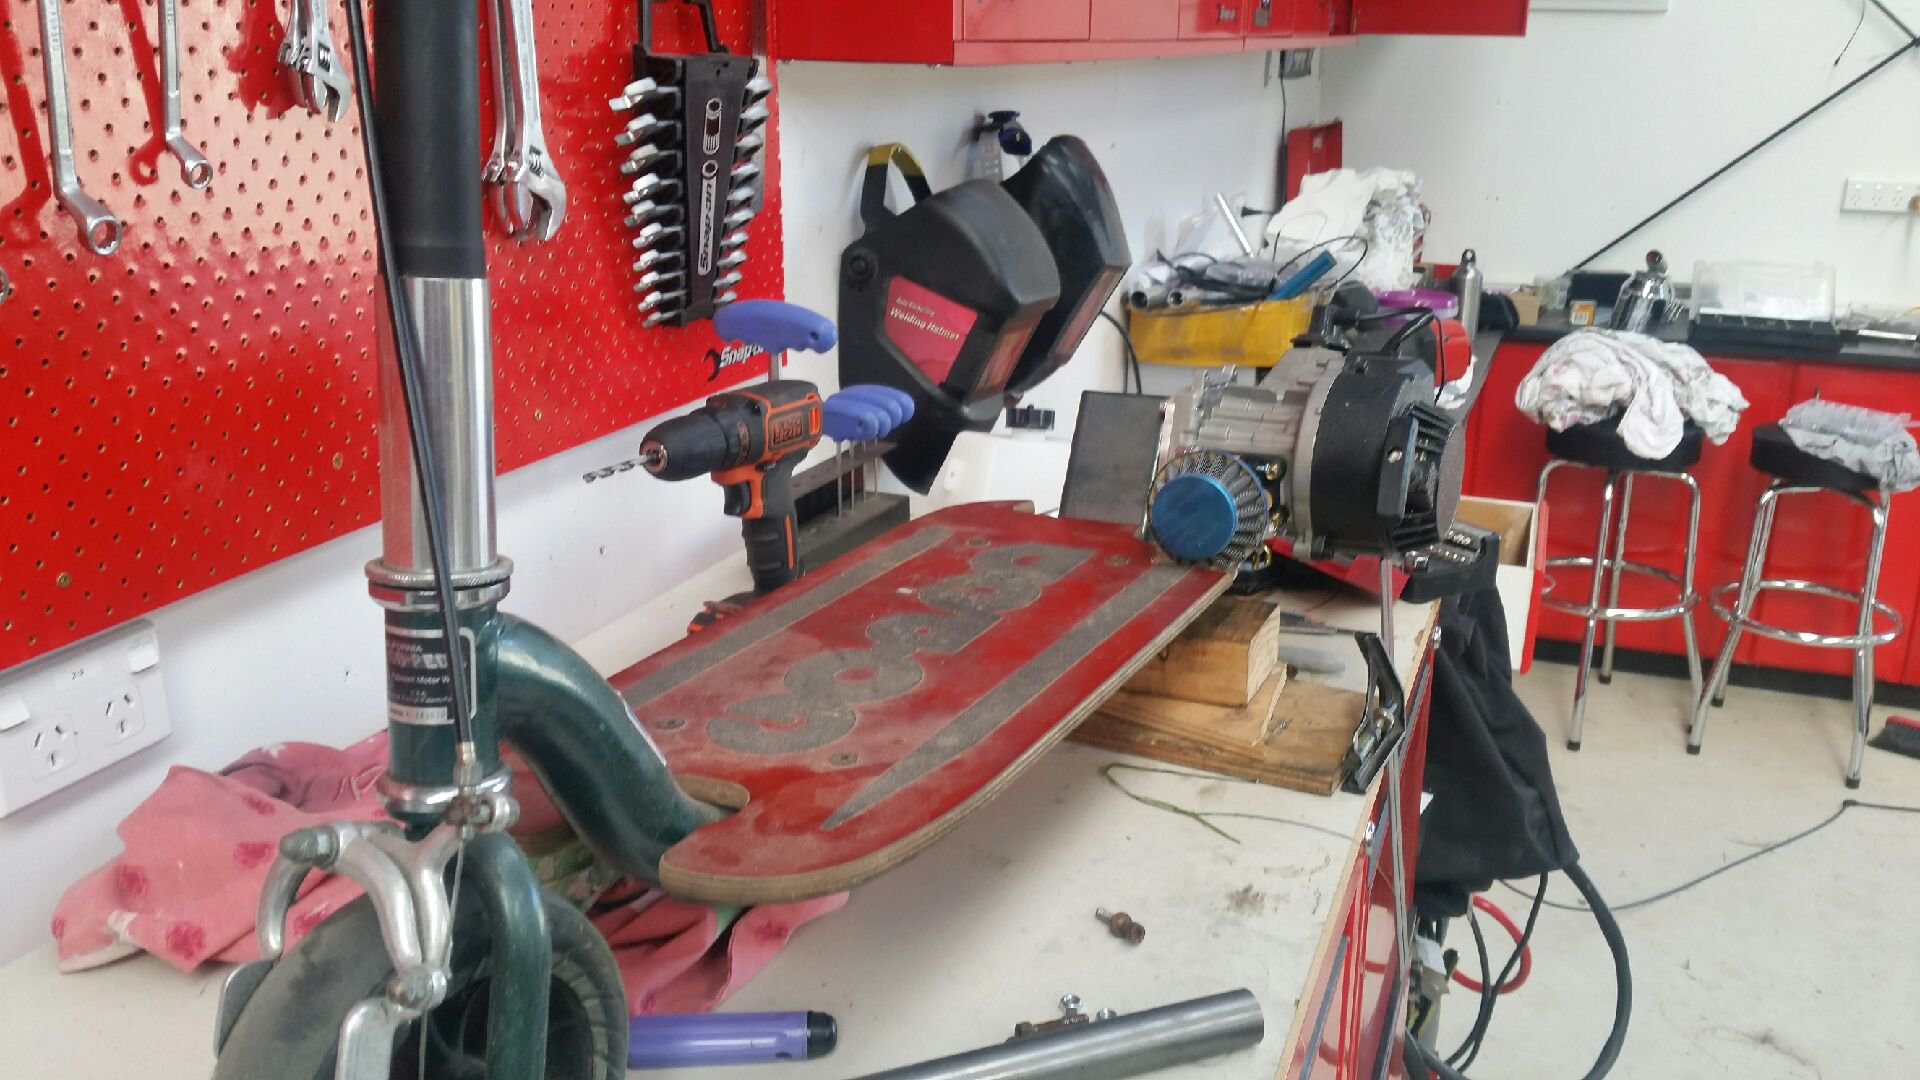
Then I notched the deck some more. I needed even more clearance around the carburetor.
Engine mounted on adapter plate. It will be direct drive via a friction drive (spindle). I'll make the spindle later on the lathe...but for now I can carry on as I know this part will work as all my measurements are based off a centred datum.
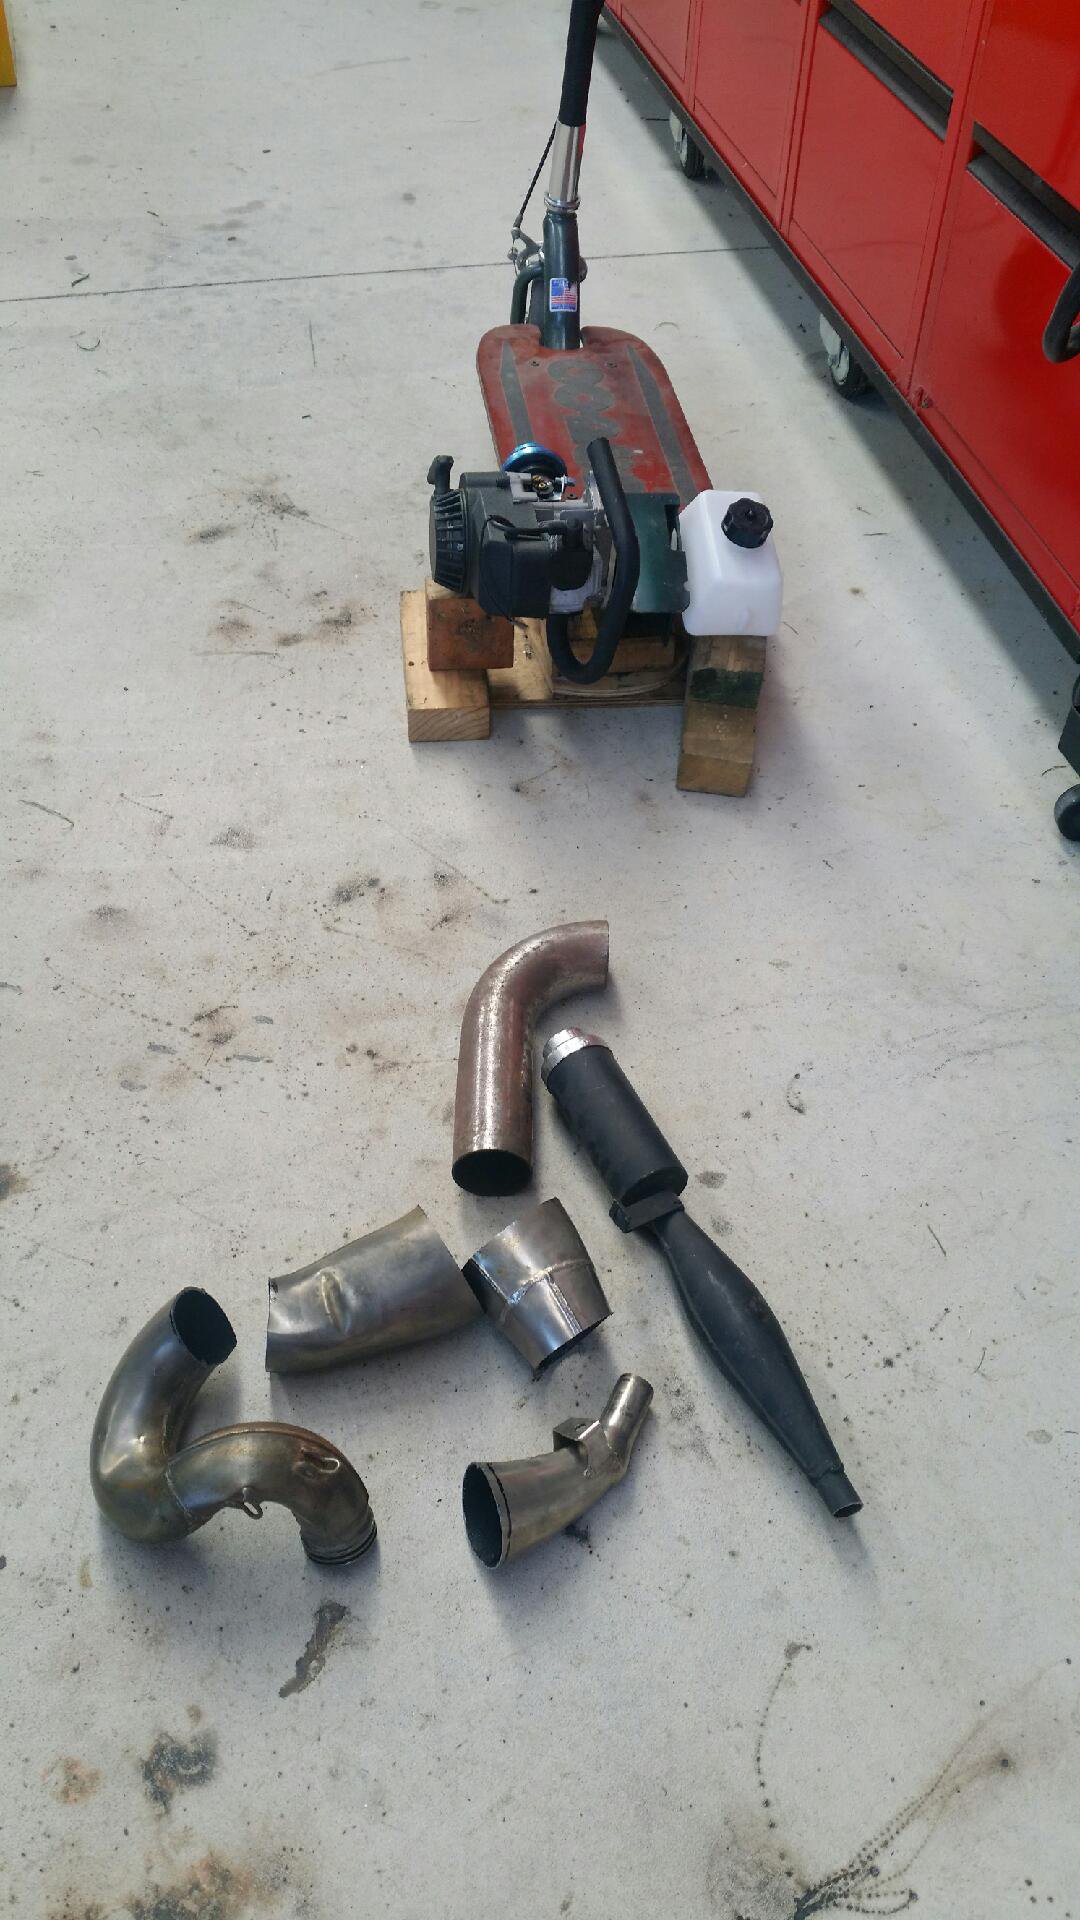
This pile of bits gave me an exhaust. I started with a KTM 300cc 2-stroke expansion chamber...and just started cutting...and cutting...and cutting...
And that's it for the morning. Remainder of the day is for relaxing now:)
-
3
-
-
Righto, I've thrashed my ebay account and brought a few more bits and bobs...now gotta wait the obligatory 6 weeks for shipping.
To keep some form of momentum I pulled my clock off the wall and slapped in on as my airfilter cover.
This of course what I initially purchased it for, however I didn't like it...so I made it into a clock. To be fair I still don't like it...but it's good enough for now.
-
4
-
-
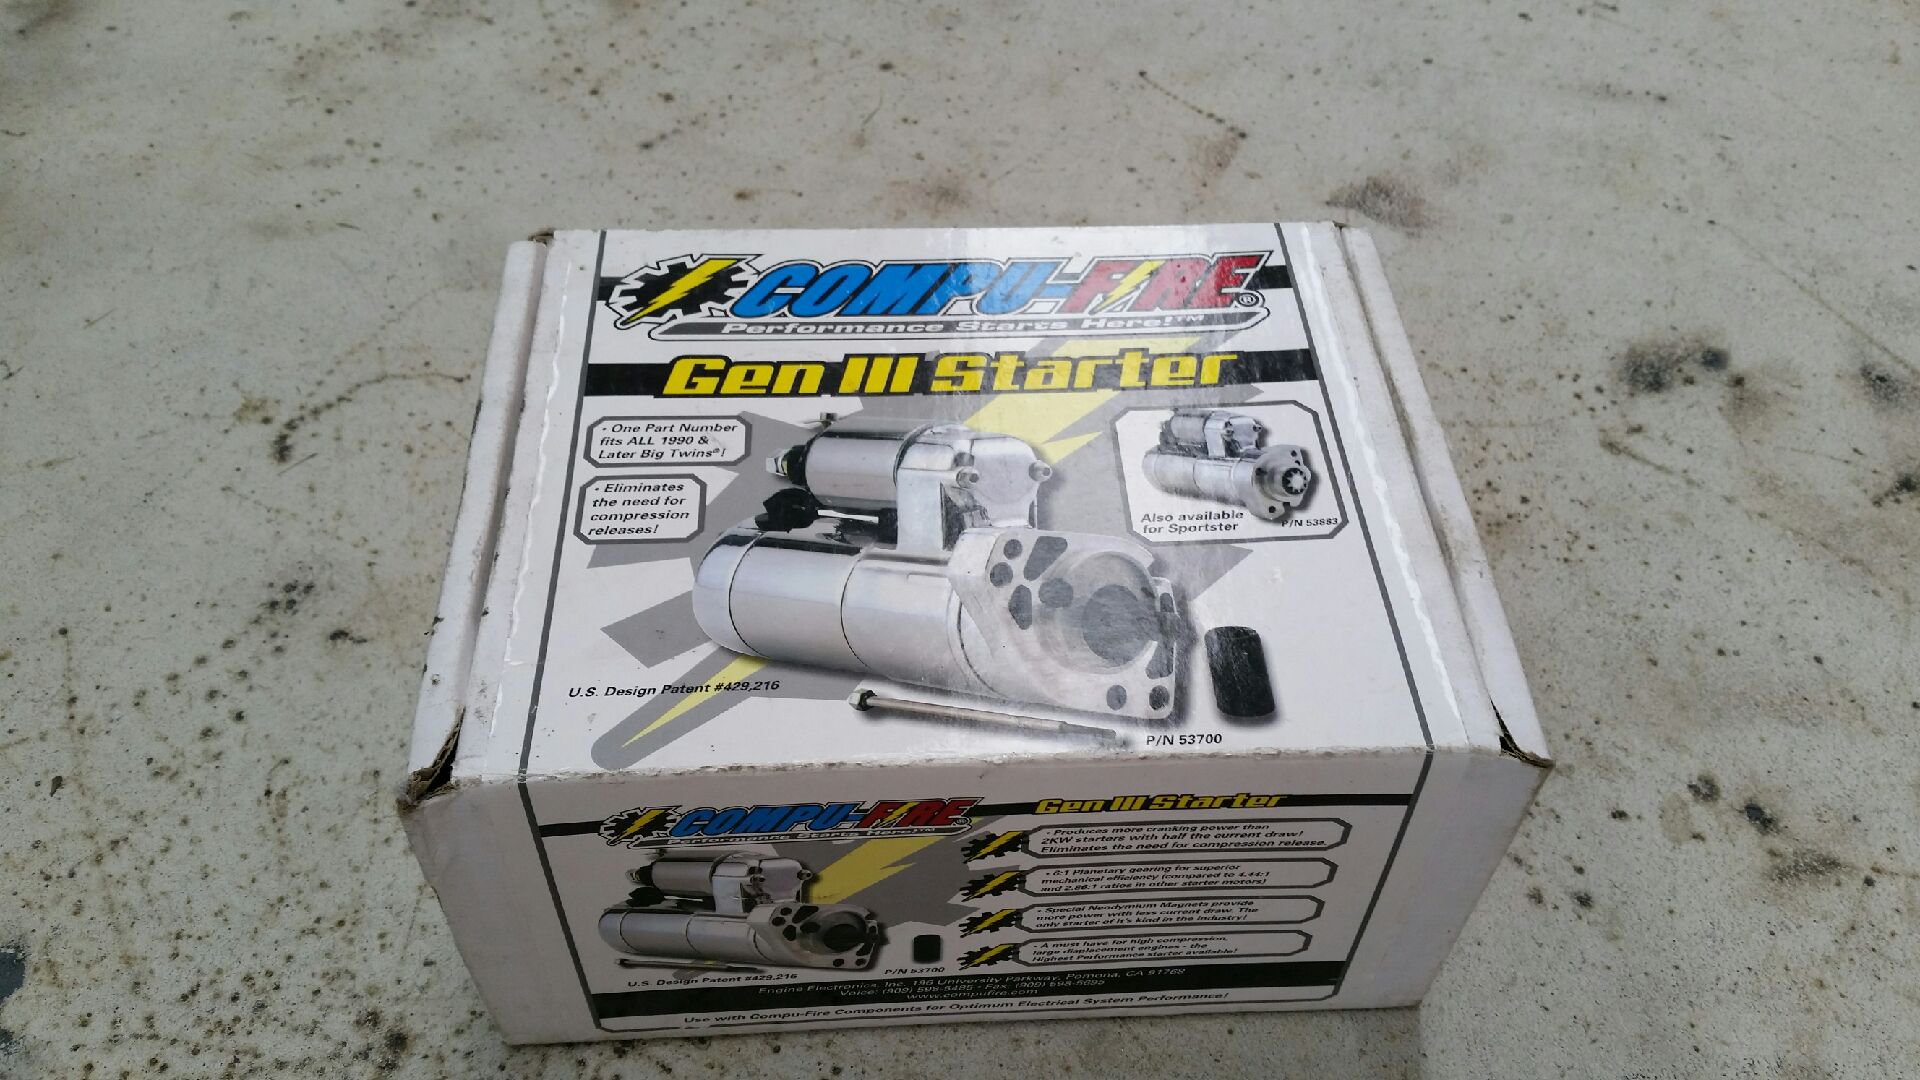
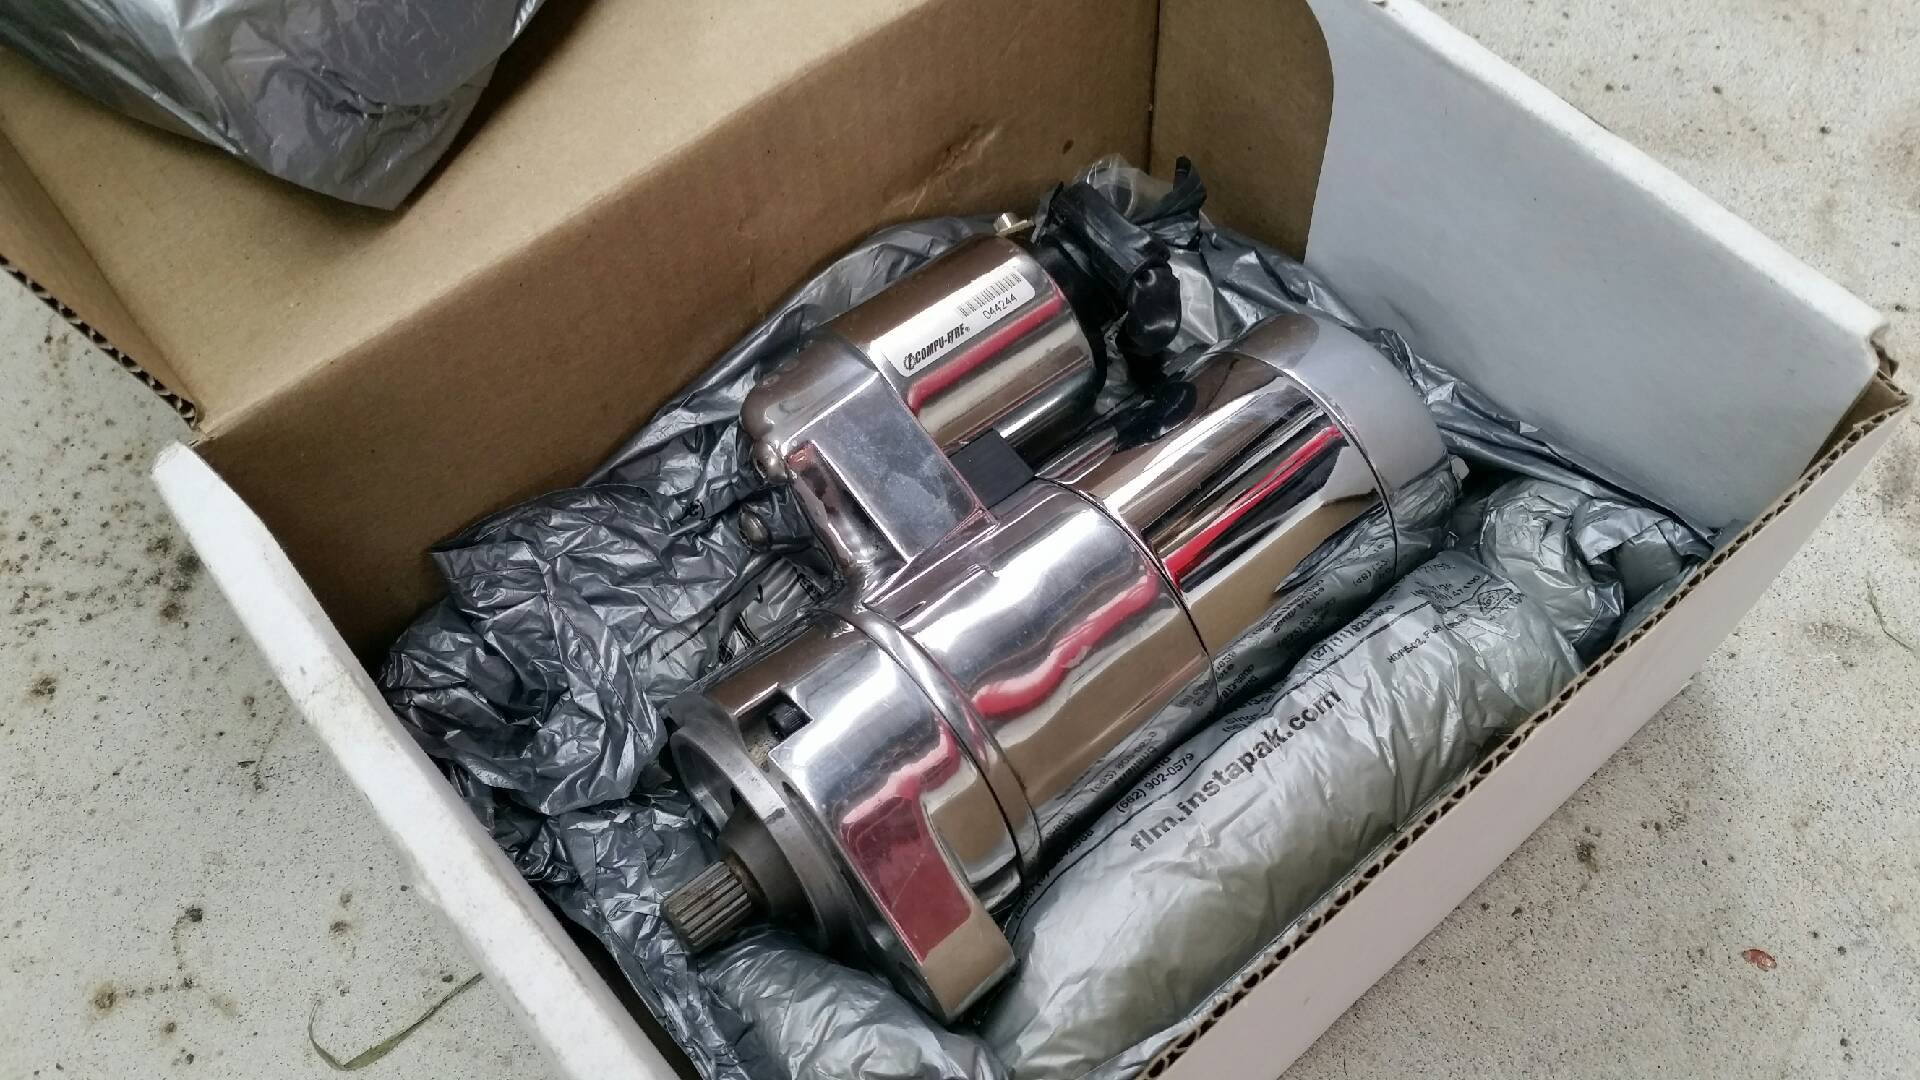
Then on to the starter motor.
These big block motors take a fair bit of torque to turn them over. So I'm not going to fuck around...going straght for the big gun here!
It's perfectly normal if this photo gives you an erection! As it's one fucking sexy chunk of billet aluminium.
Test fit for clearance. It's a tight fit...but appears to fit without fouling on anything. So gotta be happy with that.
-
3
-
-
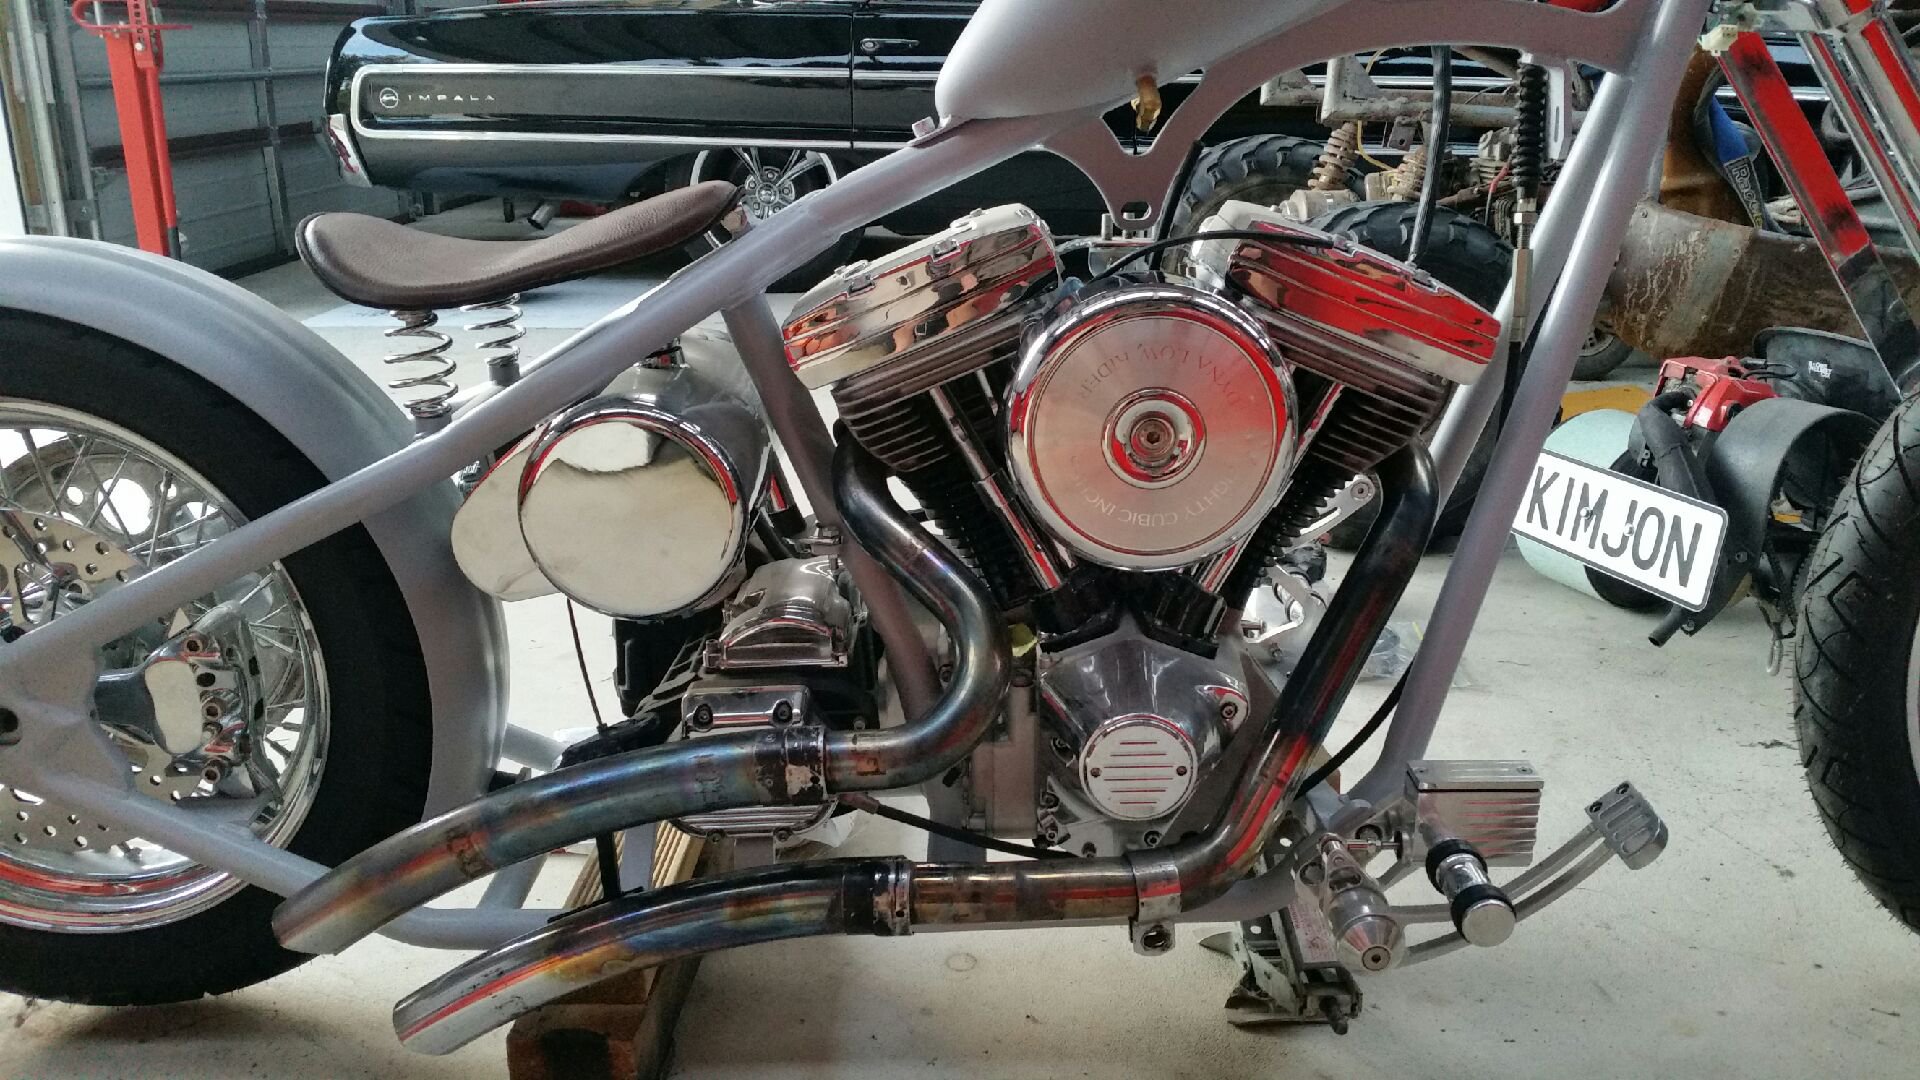
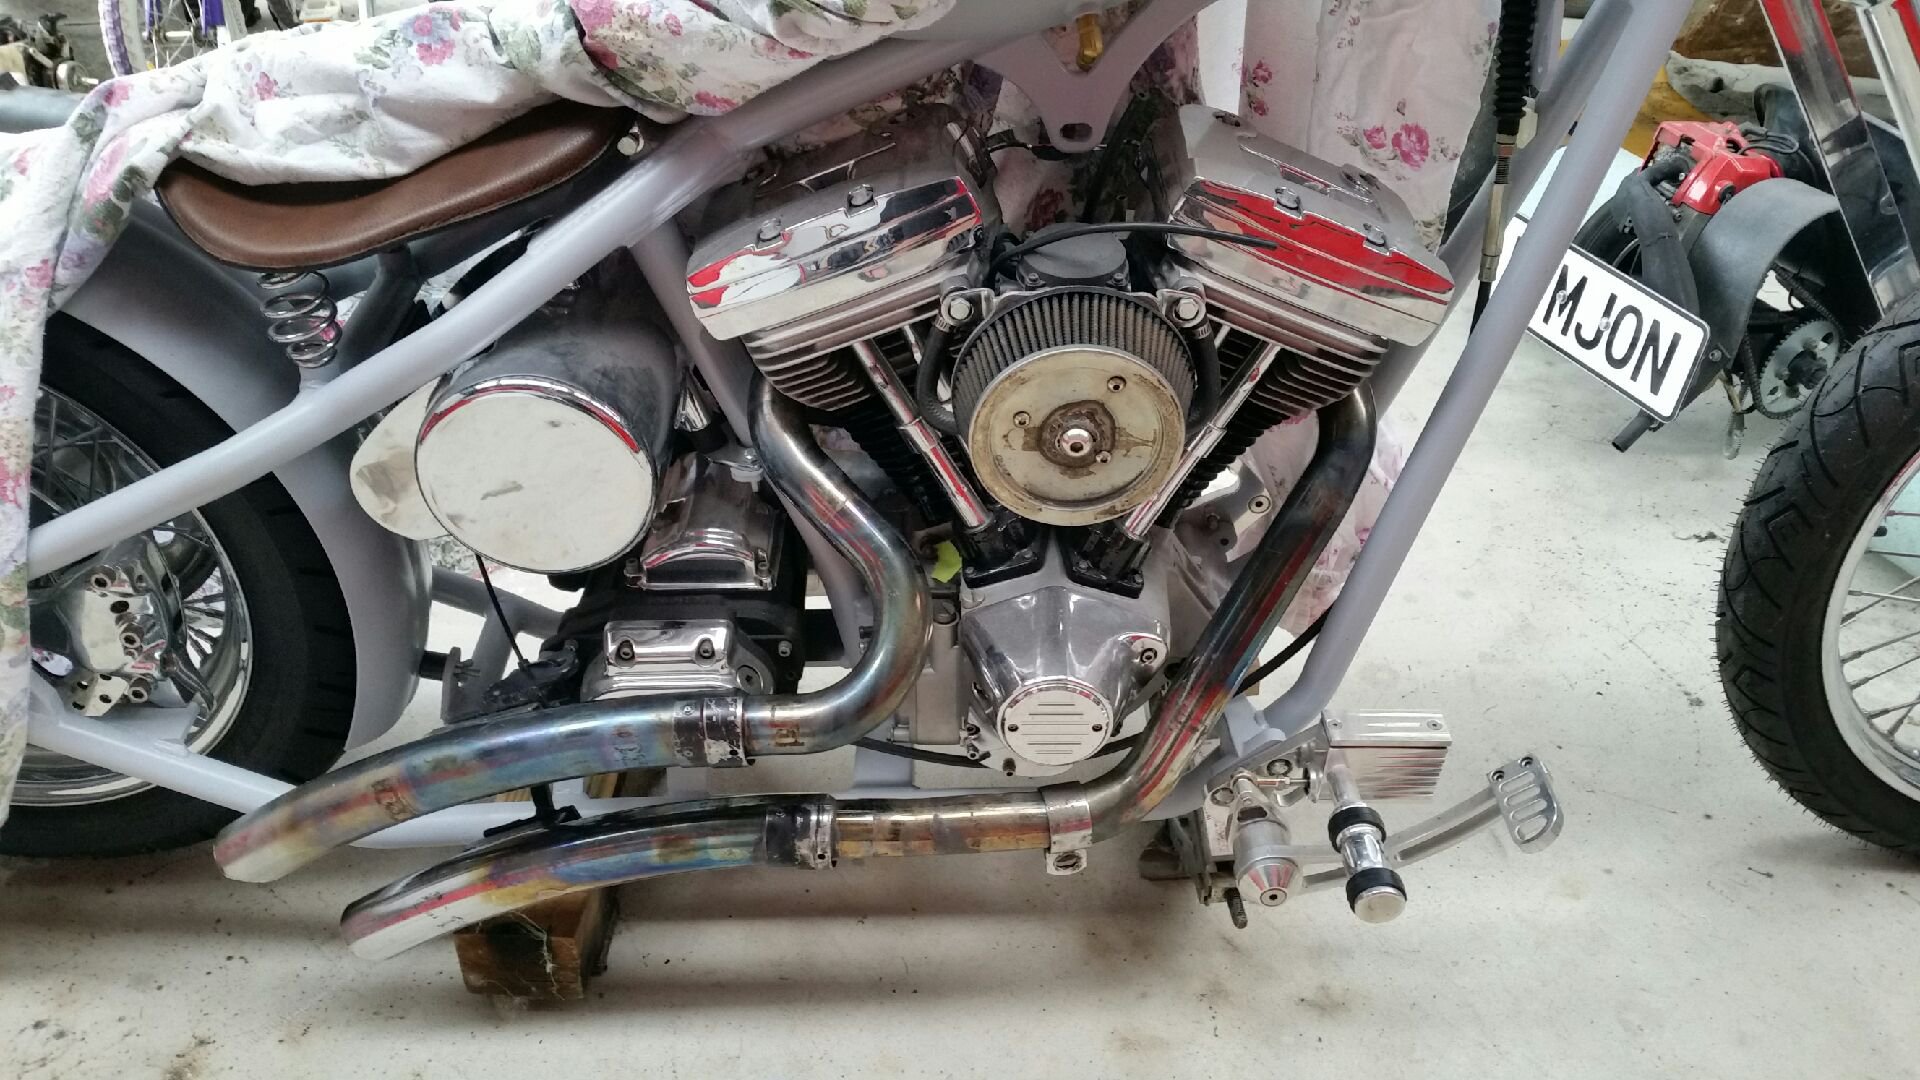
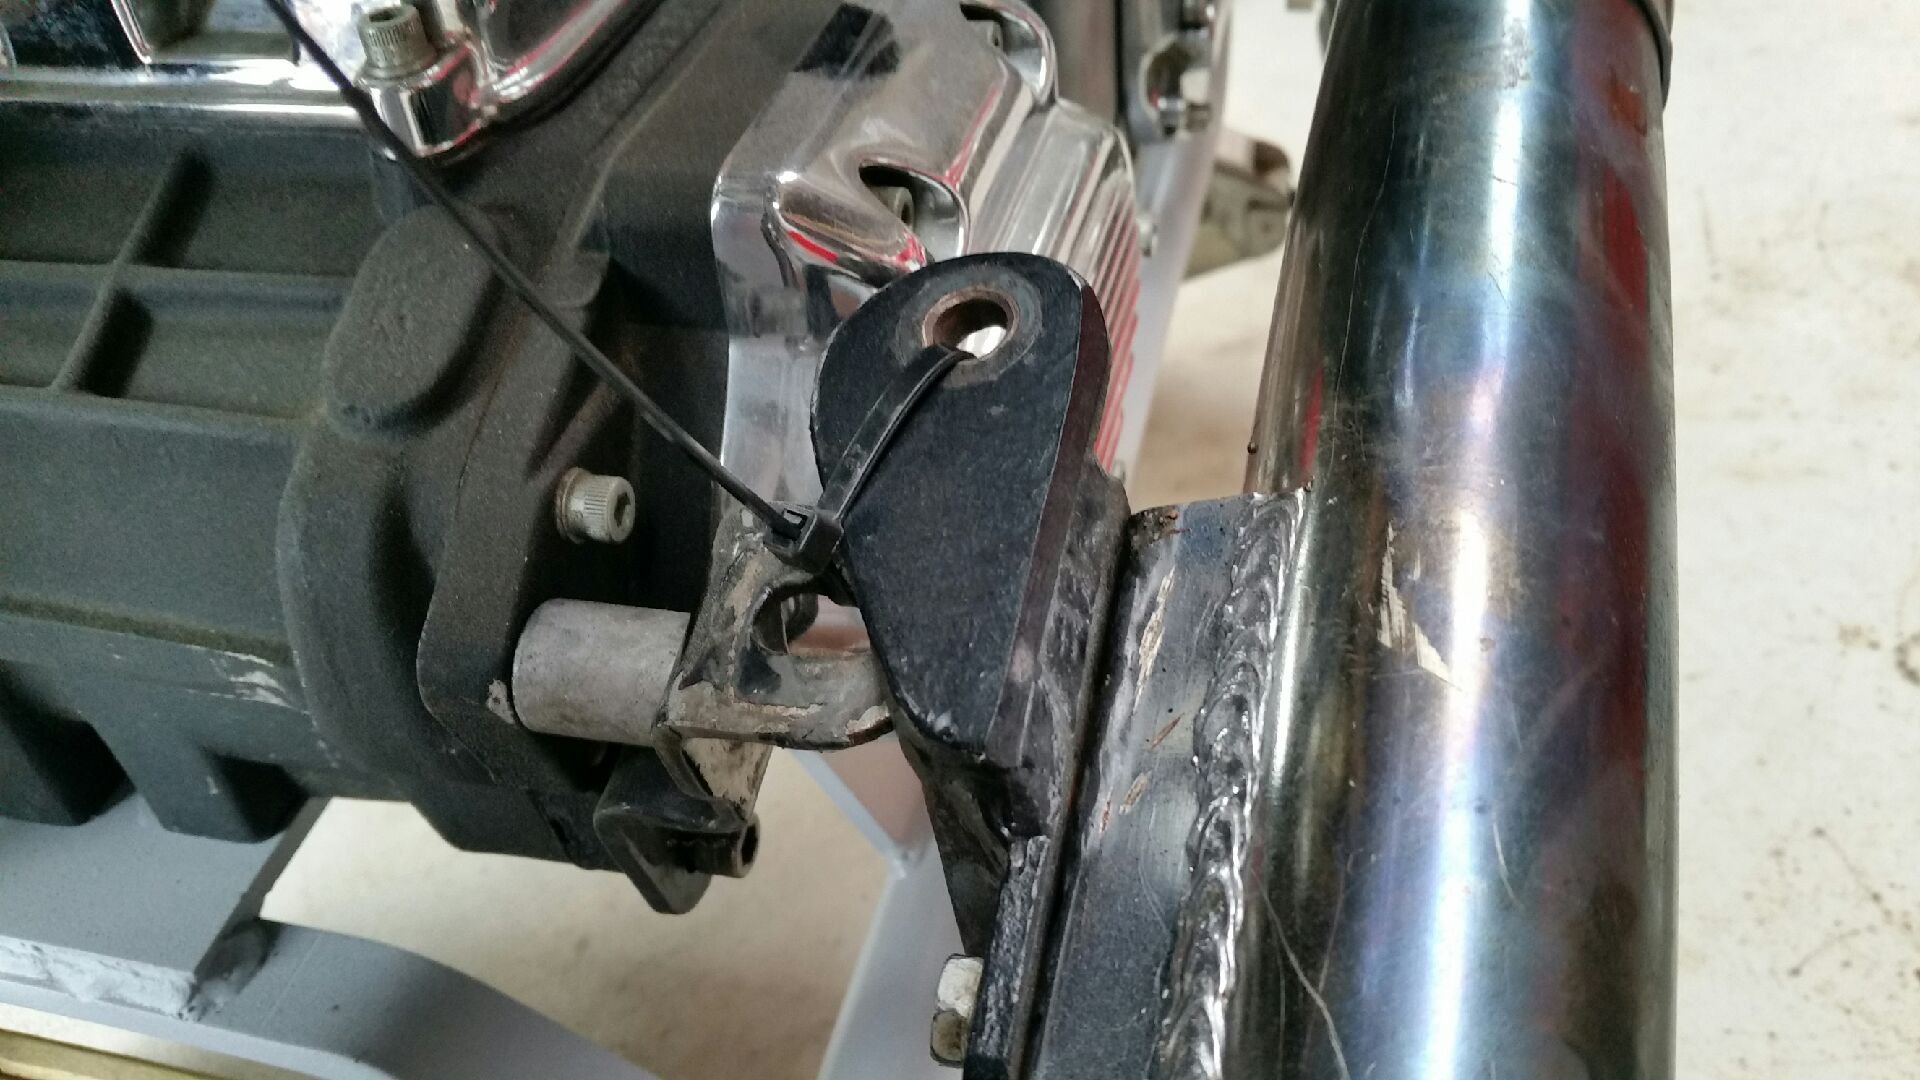
I'm using secondhand Vance and Hines exhausts off a soft tail.
I'm no exhaust expert...but I don't think this cable tie is a long term solution?
I need to remake these brackets, as my frame is longer than a soft tail (hence the cable tie for now). But luckily they're still making steel, so this should be achievable.
The headers fit the big block motor just fine. I may need to cut the bottom pipe to eliminate it contacting the road - when I really lean it over into a corner. Hopefully I'm able to "tweak" the pipes up a bit without looking to stupid? That may buy me the ground clearance without having to cut them?
-
3
-
-
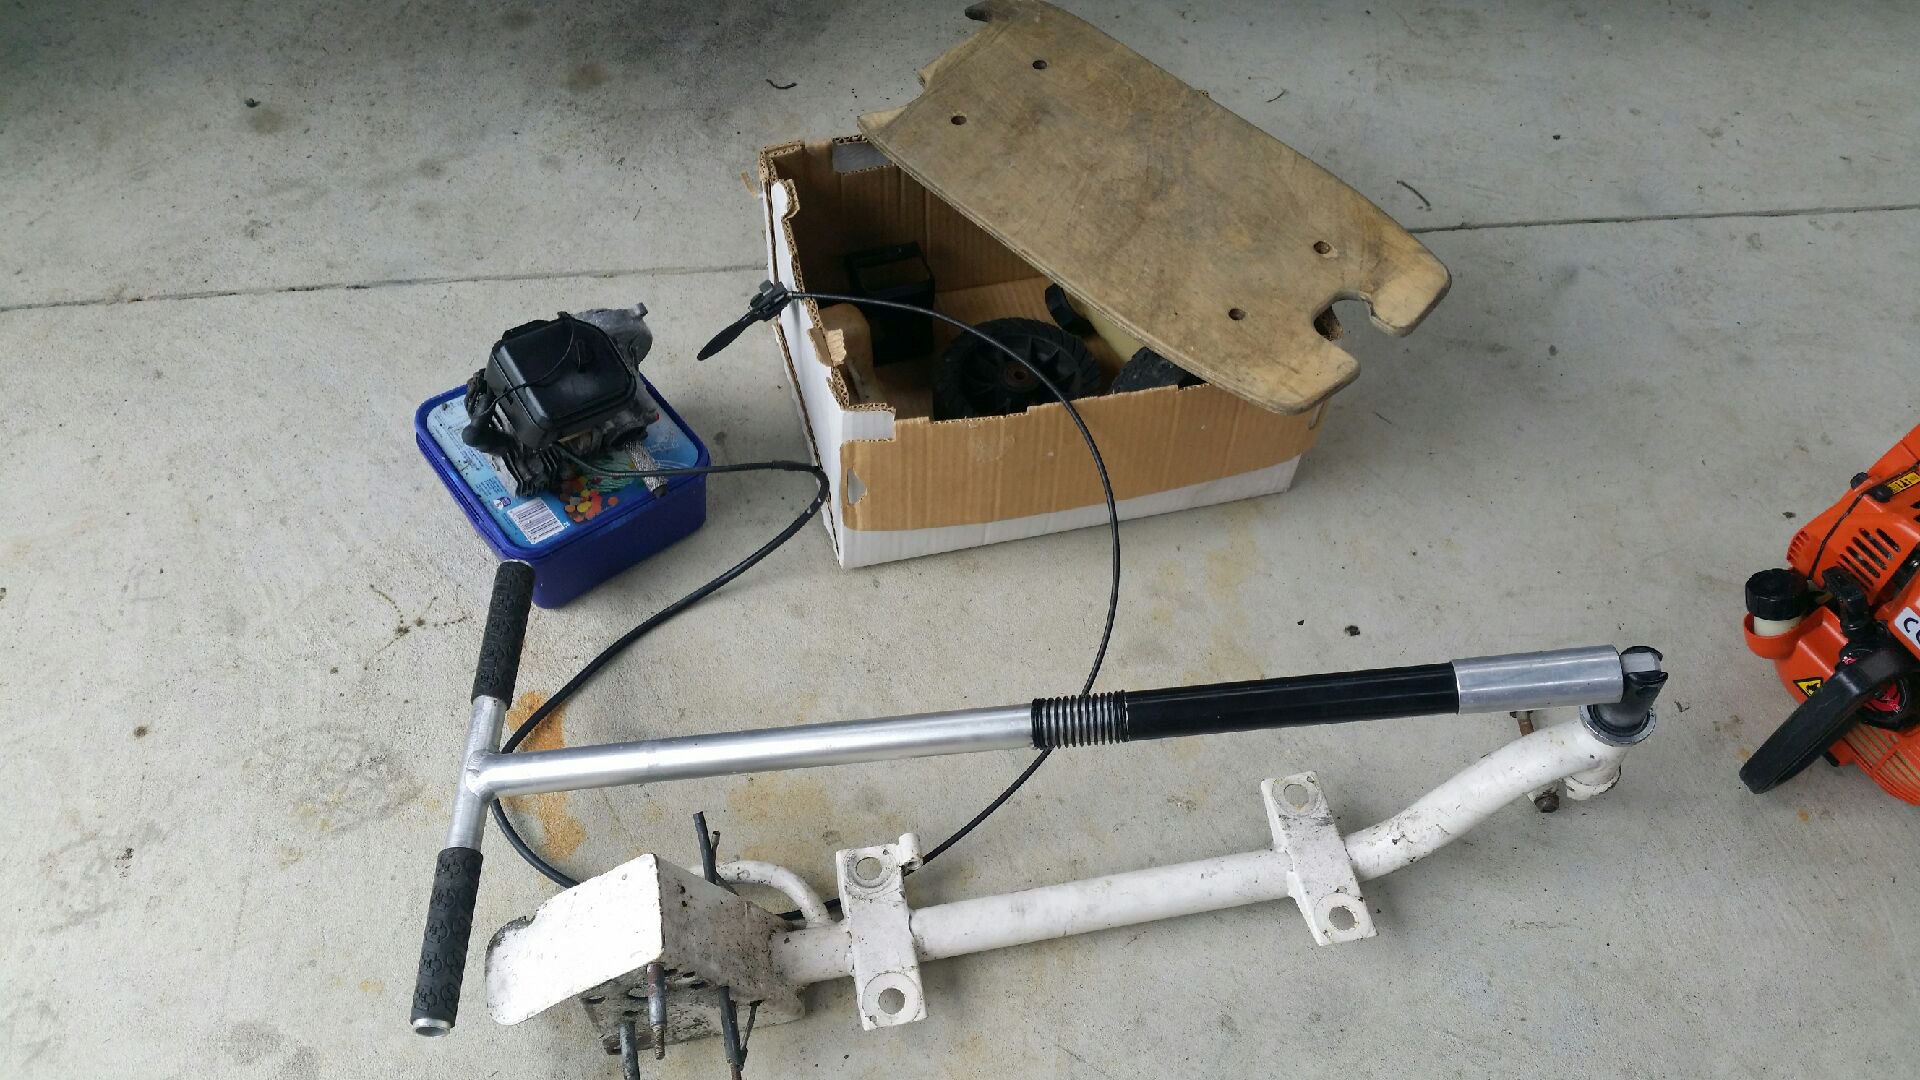
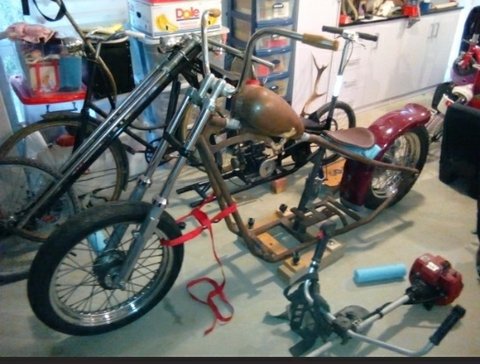
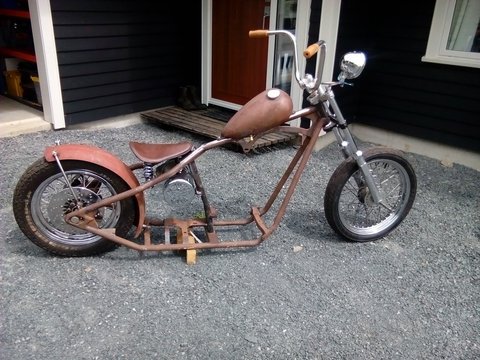
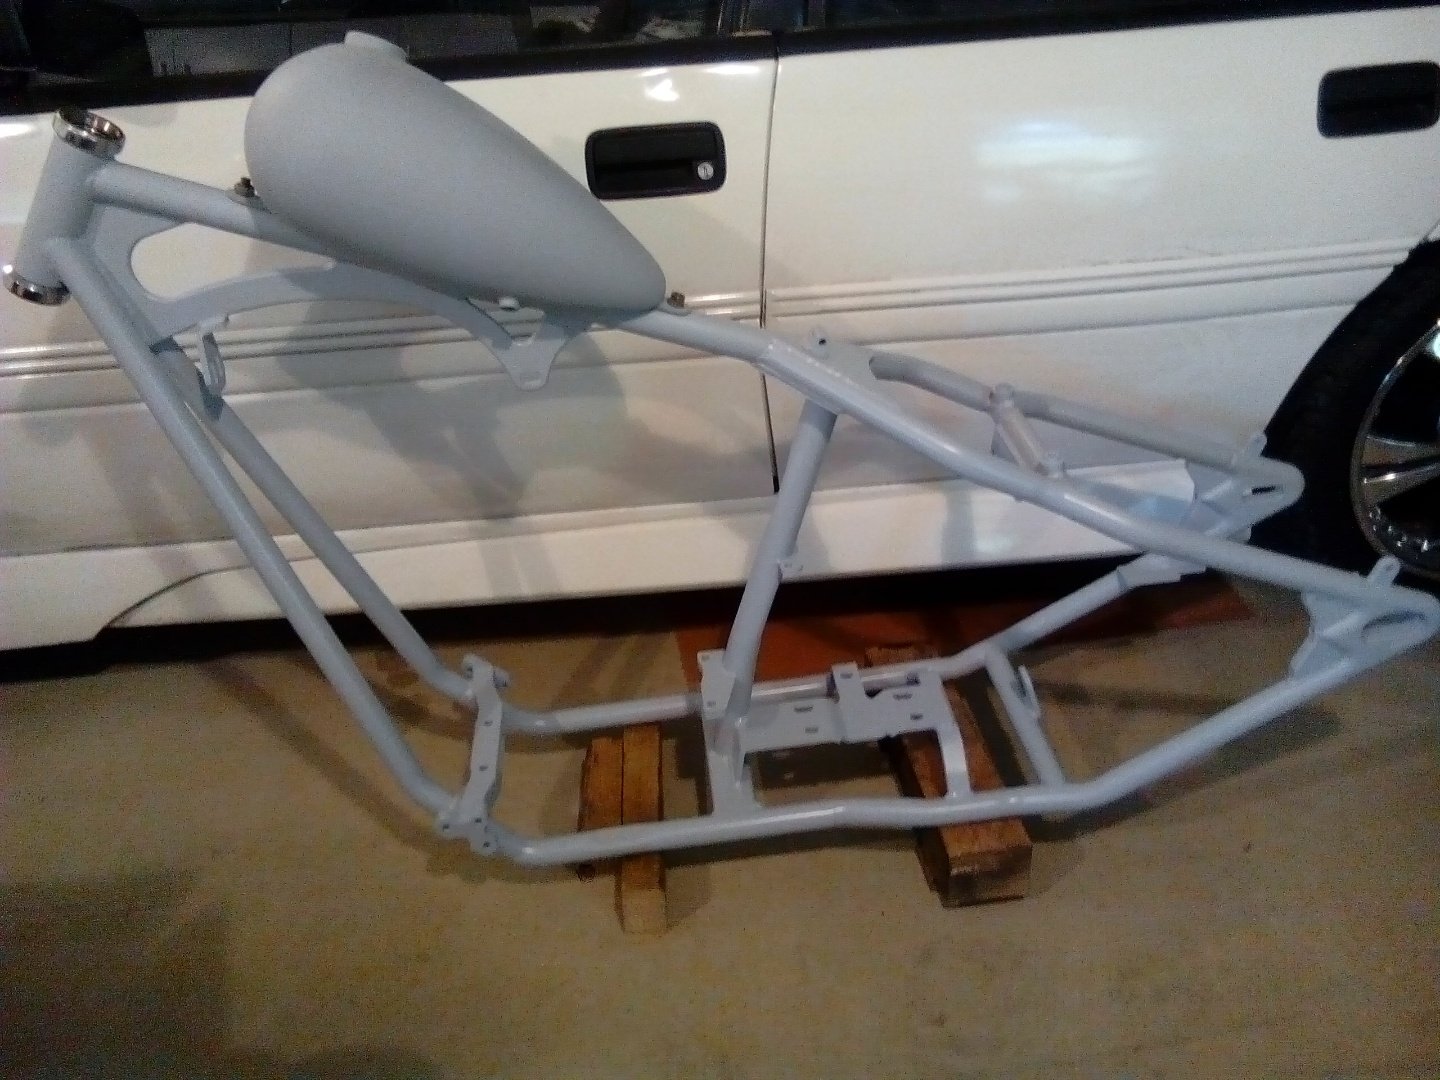
Found some old photos from about 4 years ago, when I started to make this thing.
I totally loved this look..however I made it way to low. It was heartbreaking when I finally admitted that I'd fucked up my measurements and would have to redo it again to raise it up...balls!!!
But after walking around in circles constantly saying "fuck...fuckity fuck, fuck, fuck!!!"...then I got over myself and excepted the situation for what it was and moved onto producing a solution.
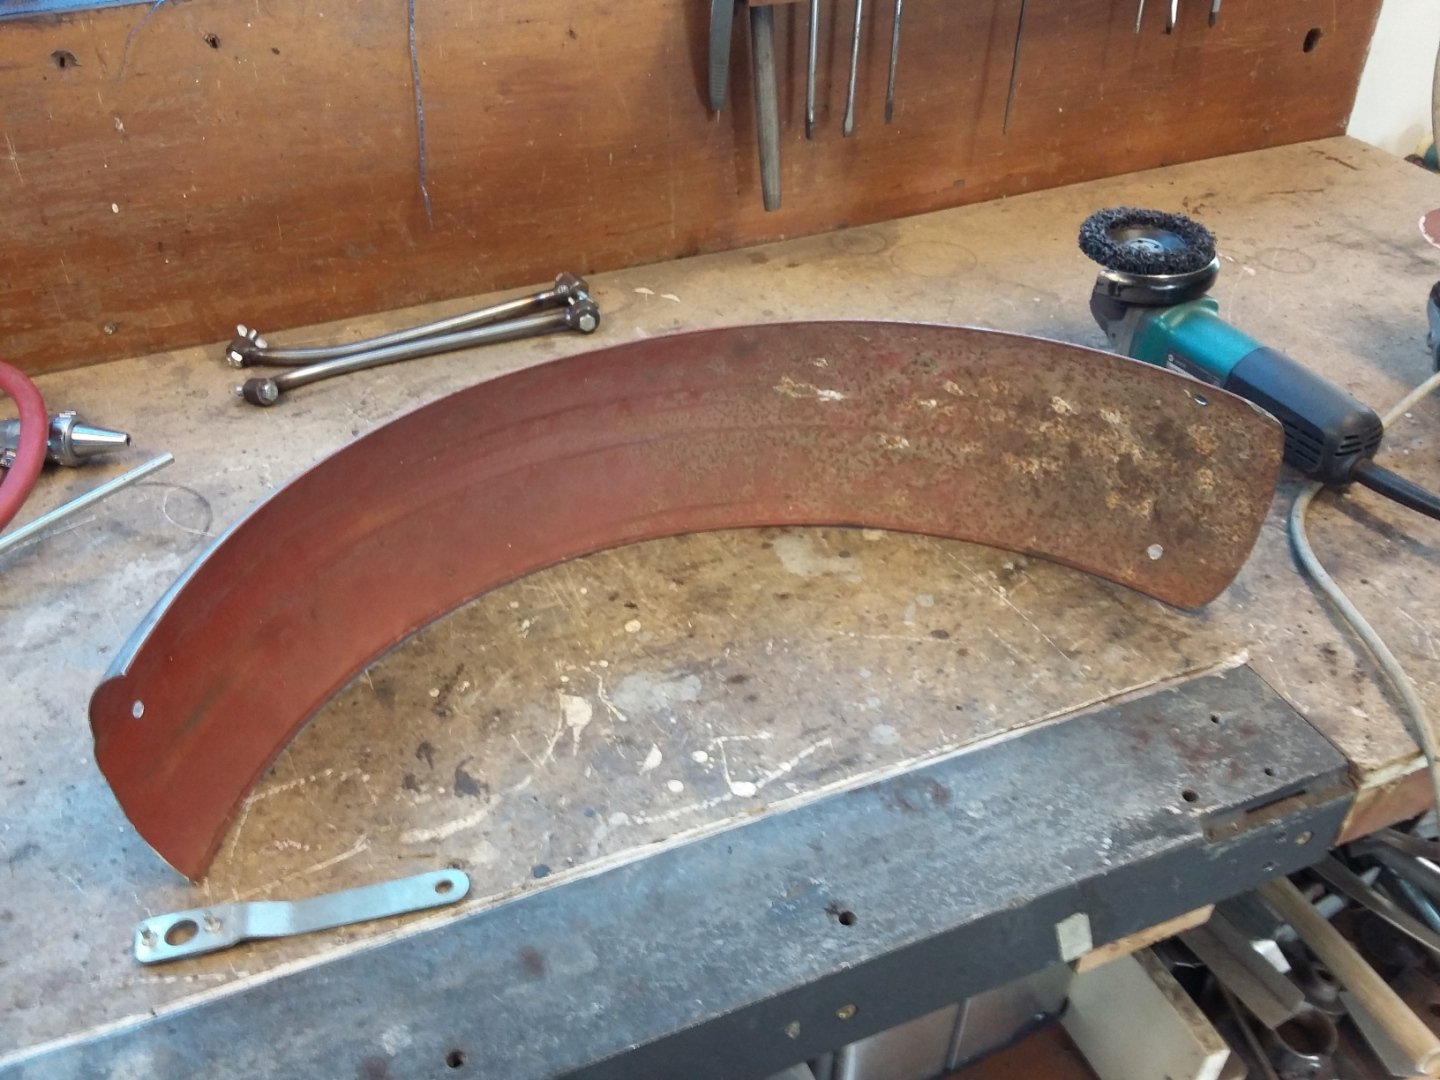
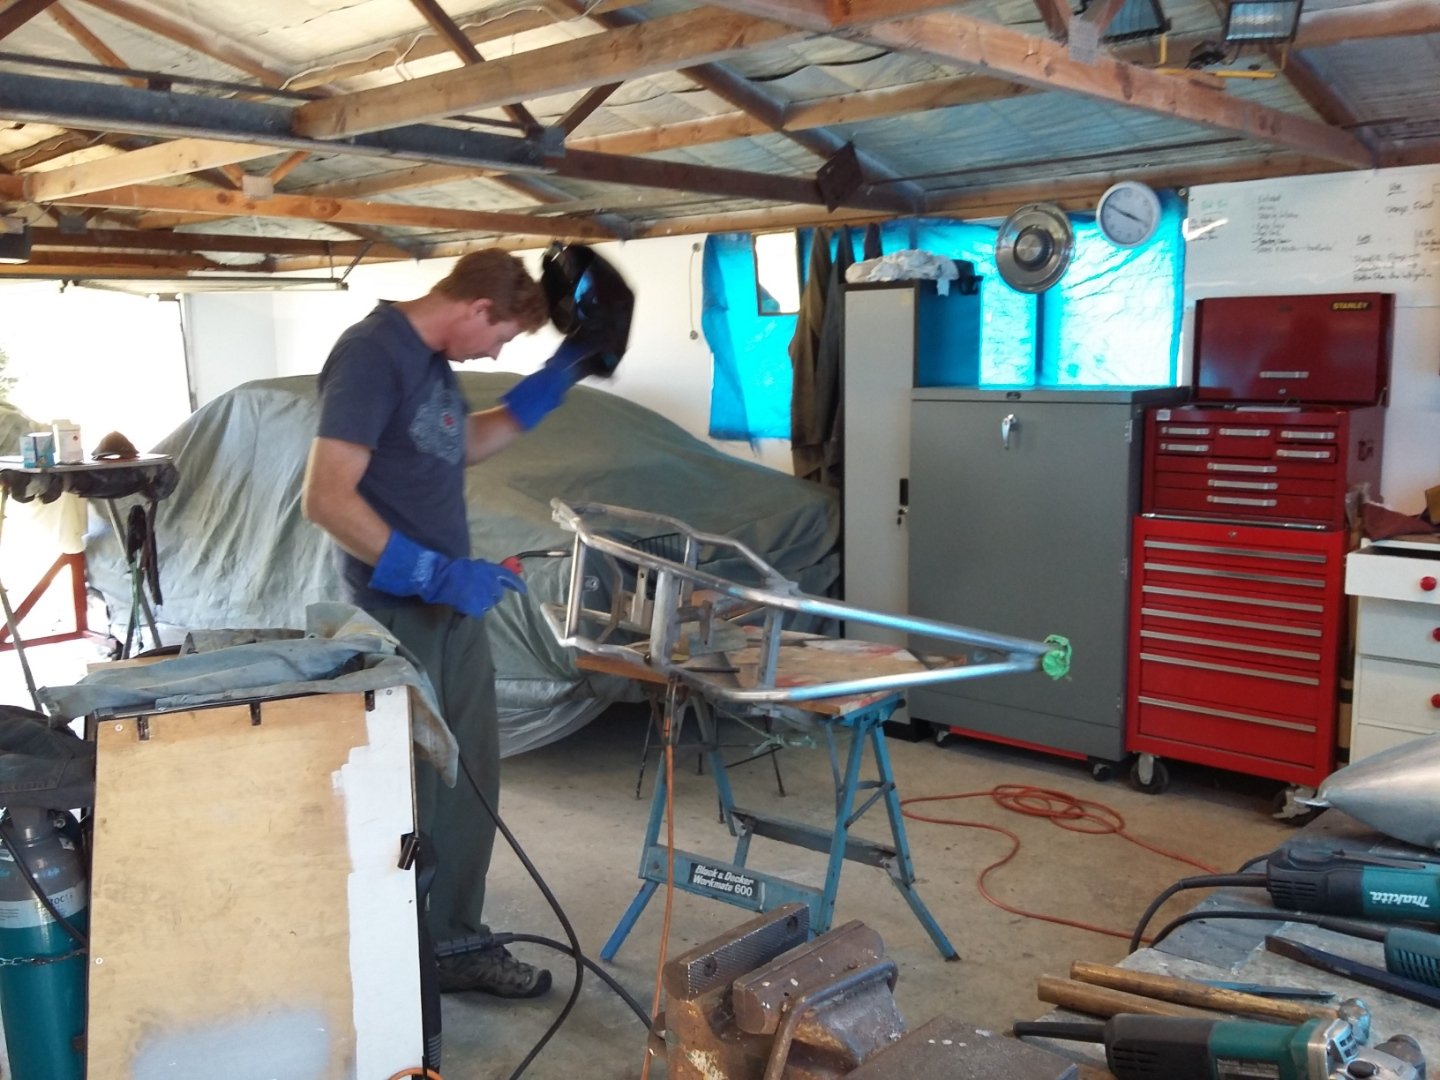
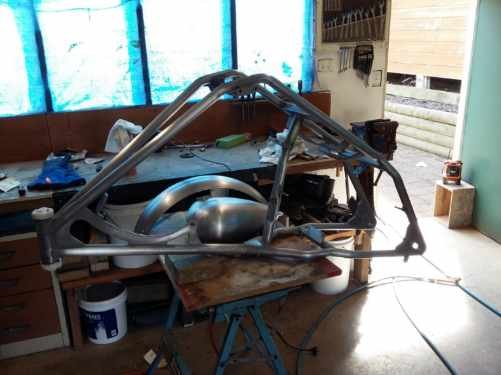
A bit of nip and tuck, then bare metal goodness...mmmmm...tasty.
Etched and primed.
Looking sexy!
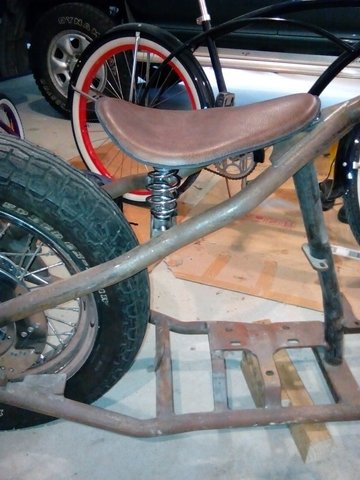
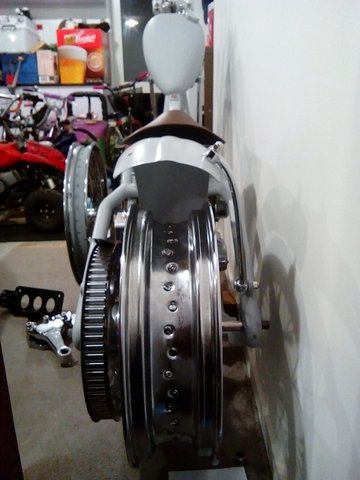
Same bike now 4 inches higher after a fuckload of changes made. I also had a custom wheel made for me which put my hub into a 17"rim. 17" had taller tyres than all other options in that width due to aspect ratios. When I did the maths on 16" & 18"...the 17" won.
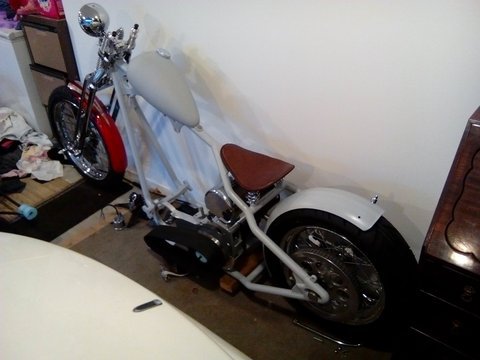
So there's a brief history lesson on how I got to this point now. Ups and downs...shit loads of time, effort and money...but I think it's been worth it.
-
3
-
-
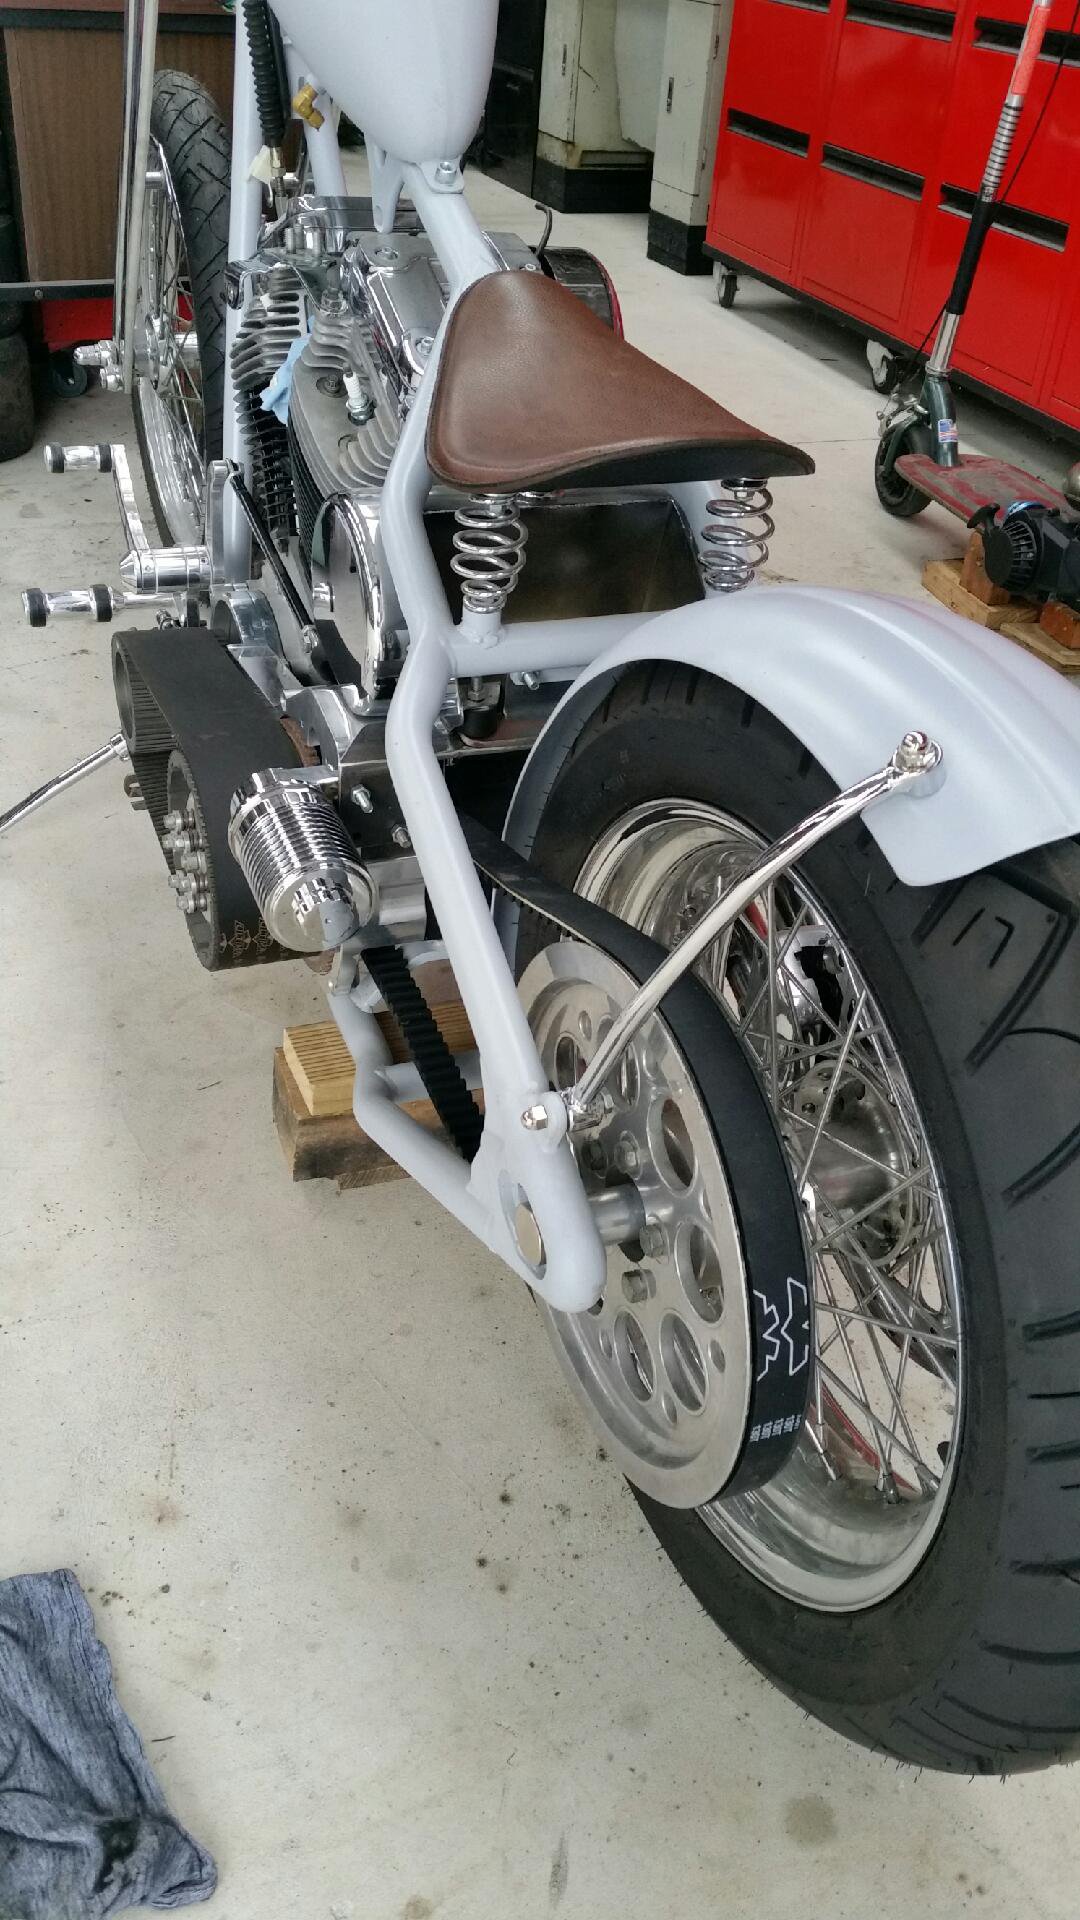
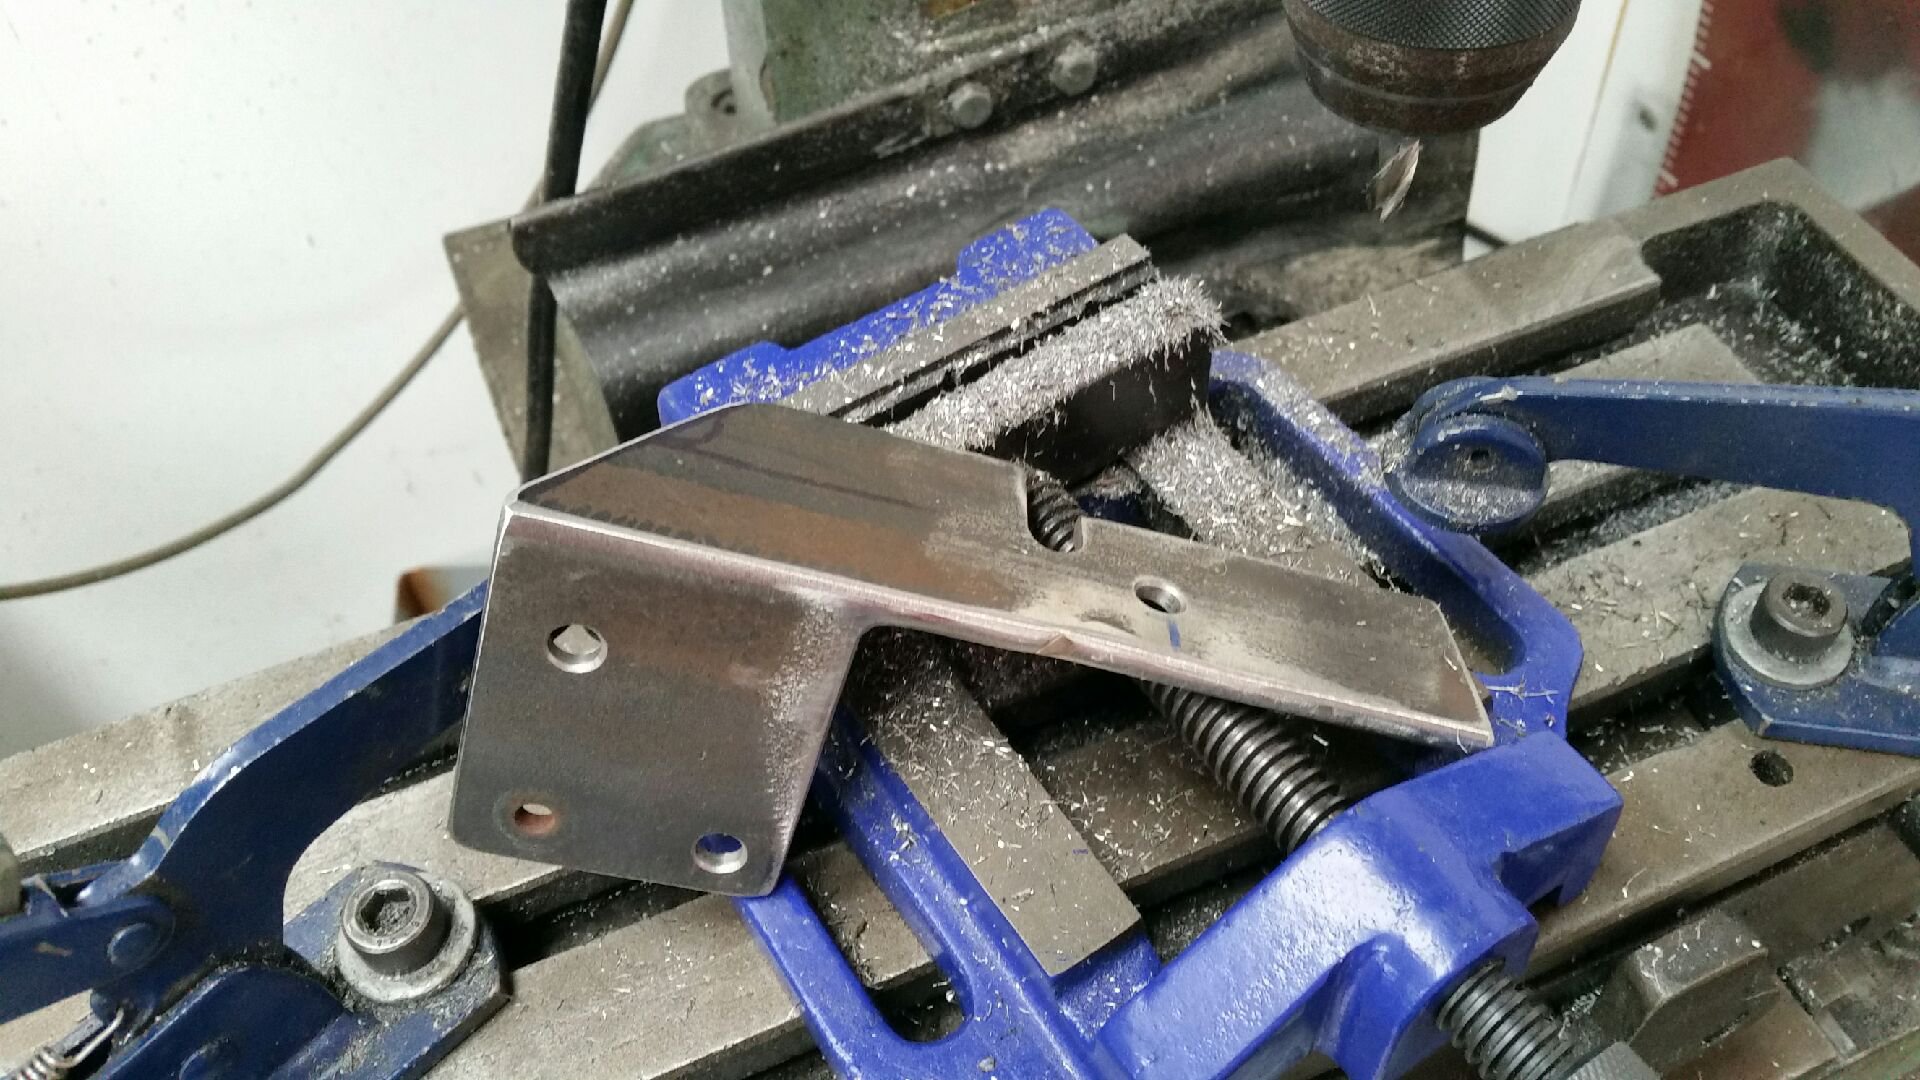
A lazy 6 hours spent on it today. This is the version 1.3 attempt at getting this right. Yup 3 attempts to get it perfect. Doesn't look much...but often the best ideas don't.
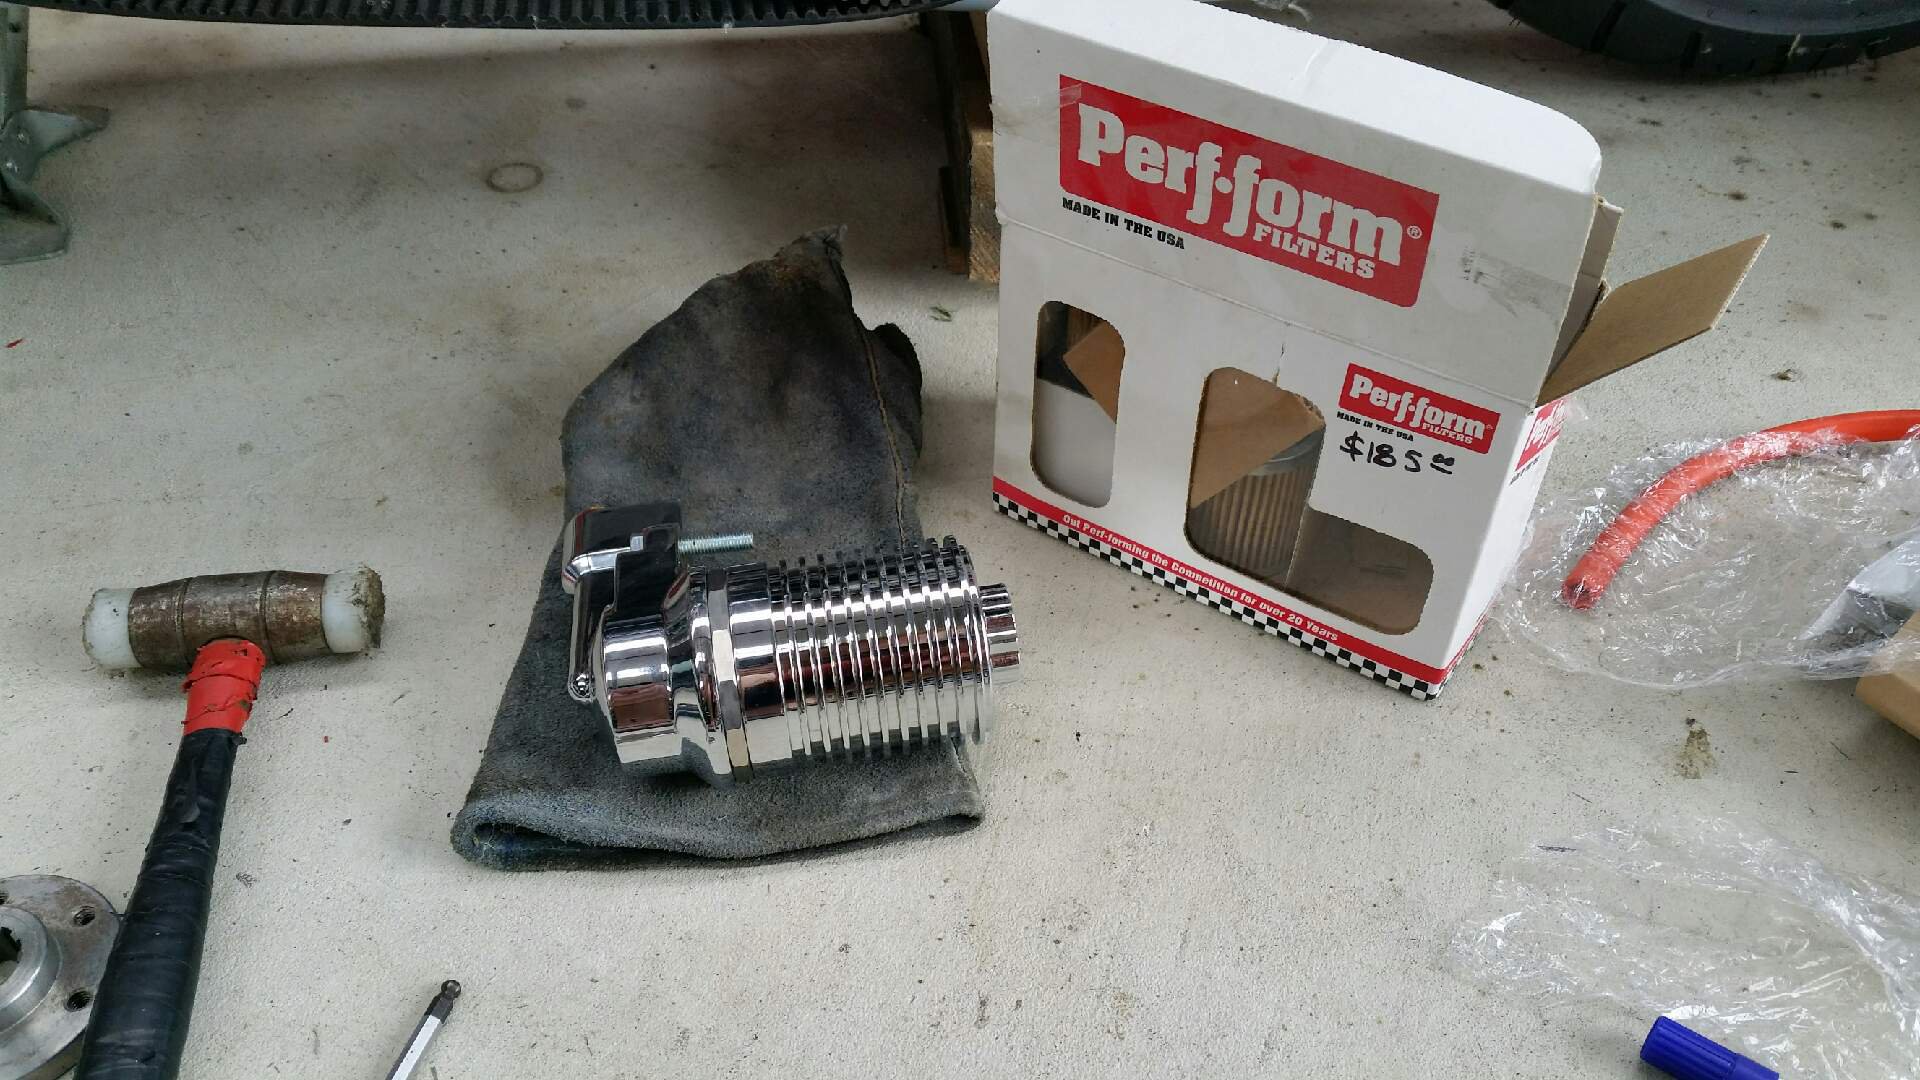
Anyway harleys have an oil filter in the front that's hard to empty without dumping oil all over the place and spilling it on you motor/frame etc. So I purchased a remote oil filter to relocate it to a better place.
I also picked up a really nice Perf-form oil filter kit that uses disposable cartridges...and looks fucking cool too!
Here it is mounted in place. It is just mocked up for test fit. I'll send it away for chrome later.
As you can appreciate, there's no bonnet on a motorbike, so everything has to be perfect as it's all out there on display. There's a lot going on in this location, drive belt, oil tank, downtube, rear fender, primary drive belt etc... this oil filter has to clear all these things as well as look good. Hence why I made this bracket three times before getting it right.
Fucken stoked with it!
-
6
-
-
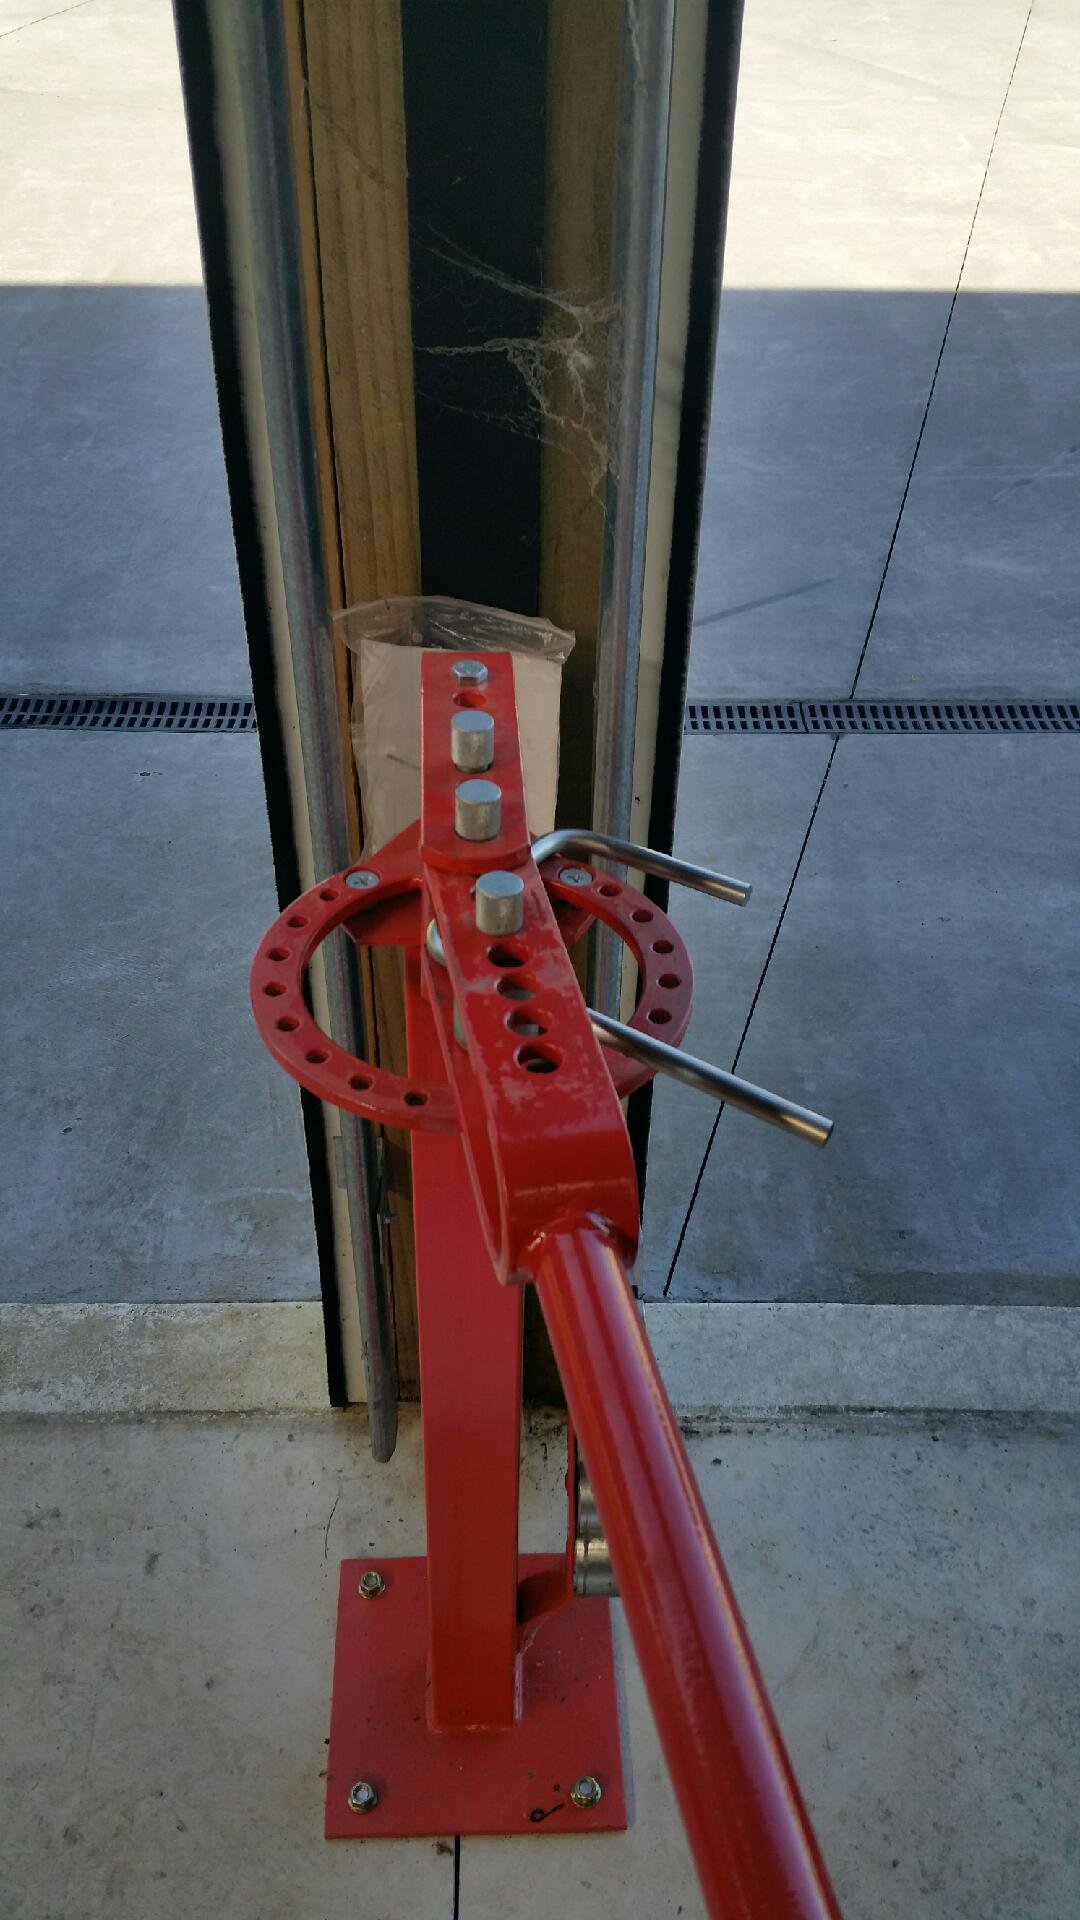
6 hours ago, tortron said:
You need a foot stand so you can push it down hard
Yeah I reckon you're right too...but I'm making it for a mate who thinks otherwise. Guess I'll weld one on next week when he realises he's wrong:)
-
3
-
-
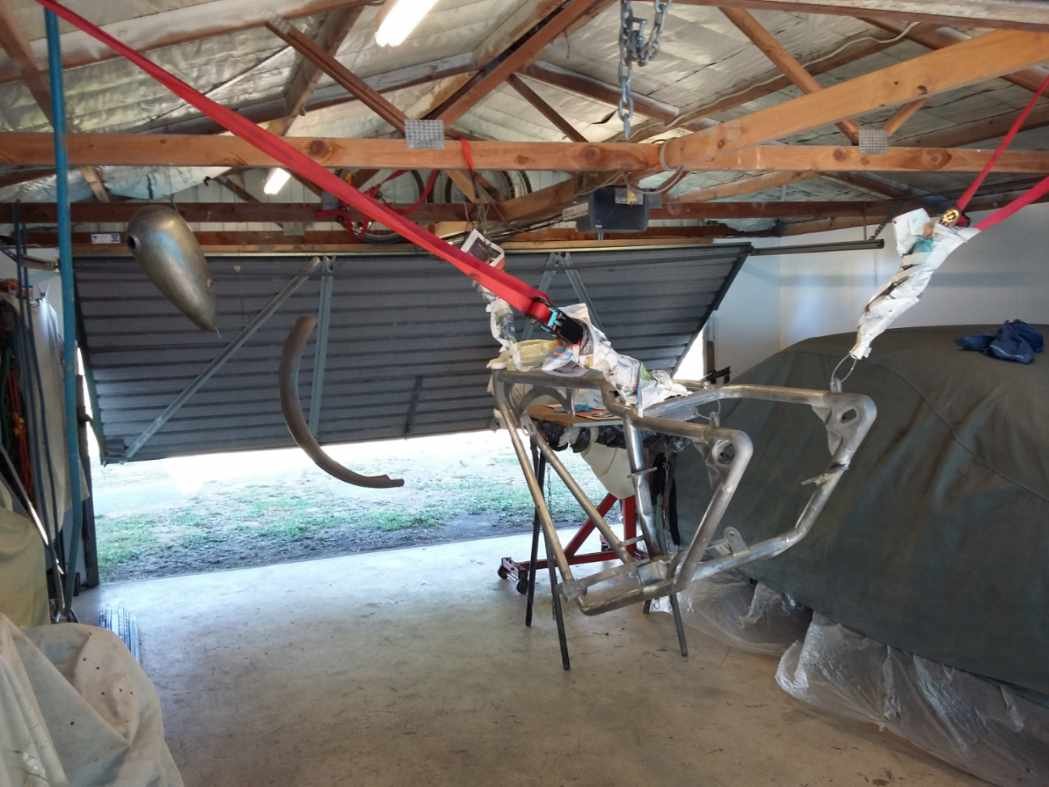
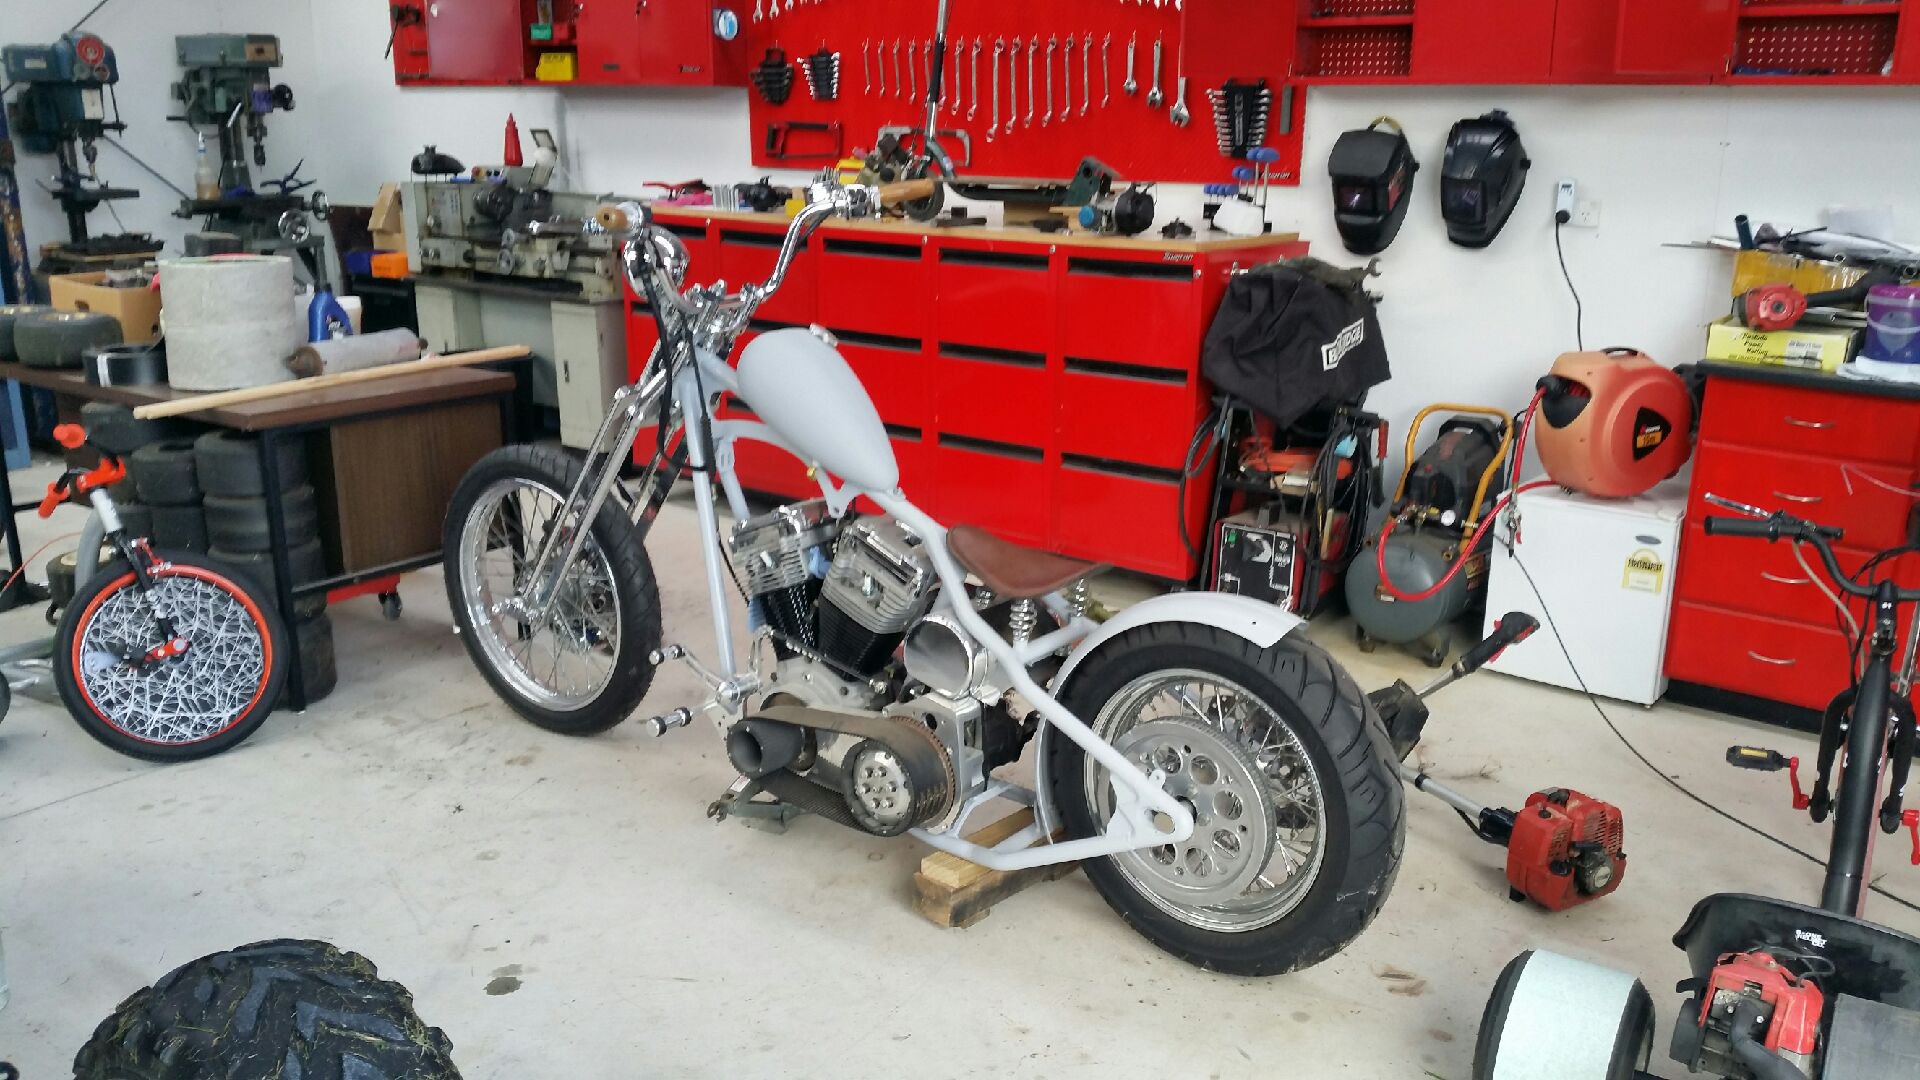
Huge step forwards on this today. I moved it from the house to the workshop...this may not sound like a lot, but is a big deal as now it's on my to do list.
It's not going to be done anytime soon...but I'll chip away at it. I haven't been near it in one or two years...so this is exciting for me. I must say I fucking love this thing and the shape I've made it.
Jumped on ebay and splashed out on a new rear drive belt. Each time I do this I think that's one step closer...
-
6
-


Kimjon's - 49cc goped made from "free stuff"
in Other Projects
Posted
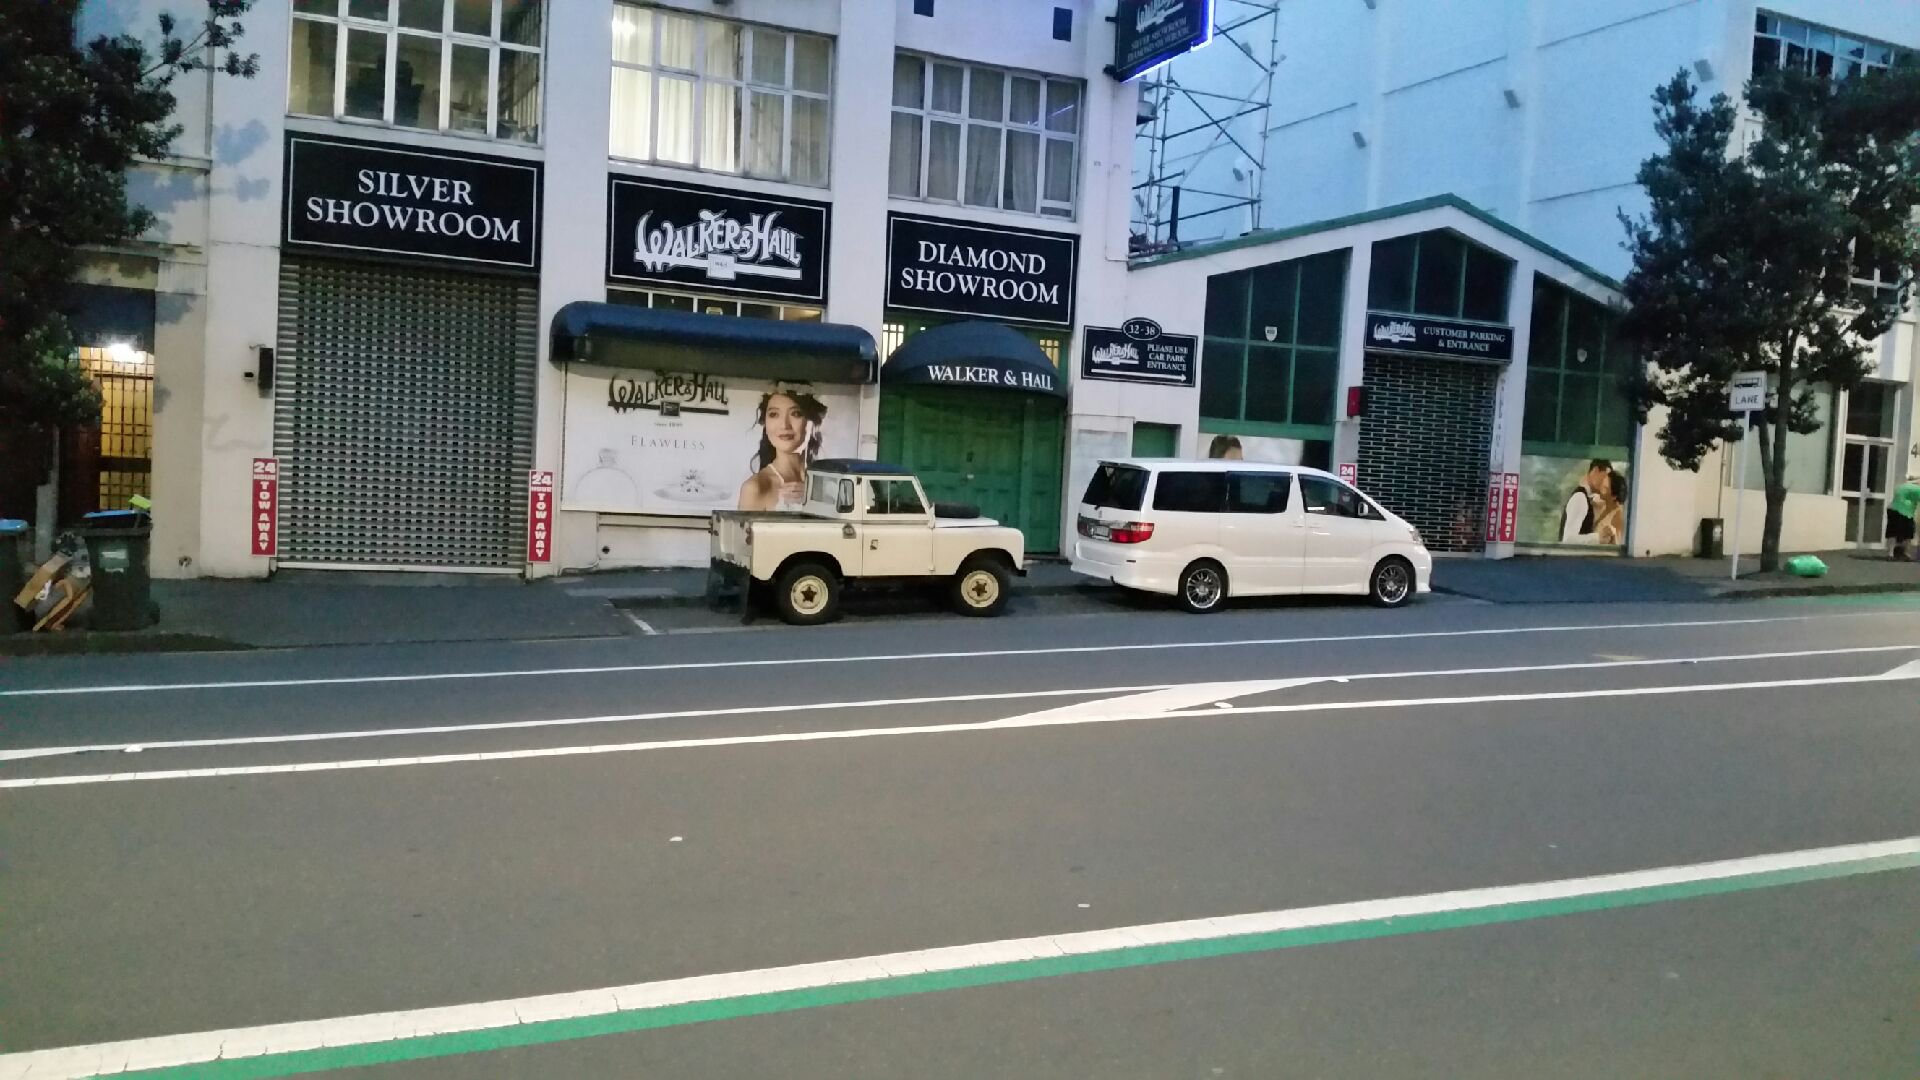
Yip! Sure is.
It's not quite in tune yet, and I want to experiment with closing the hole down a bit on the pipes exit, as I think I'll make more back pressure and that could be beneficial?
Here it is parked up with some of the fleet;)
Sad thing is there's many more to come...