


Kimjon
-
Posts
2181 -
Joined
-
Last visited
-
Days Won
1
Posts posted by Kimjon
-
-
36 minutes ago, f100_dreamin said:
The concrete was right on the 120mm thickness which is the minimum for the hoist, yeah the expansion cuts dictated that the hoist is slightly offset to the garage door as the posts had to be 100mm from them.
I'm pretty sure that my floor is only 100mm with steel reinforced concrete. Think I'm fucked here...might have to cut out a section and reinstate it, but thicker.
-
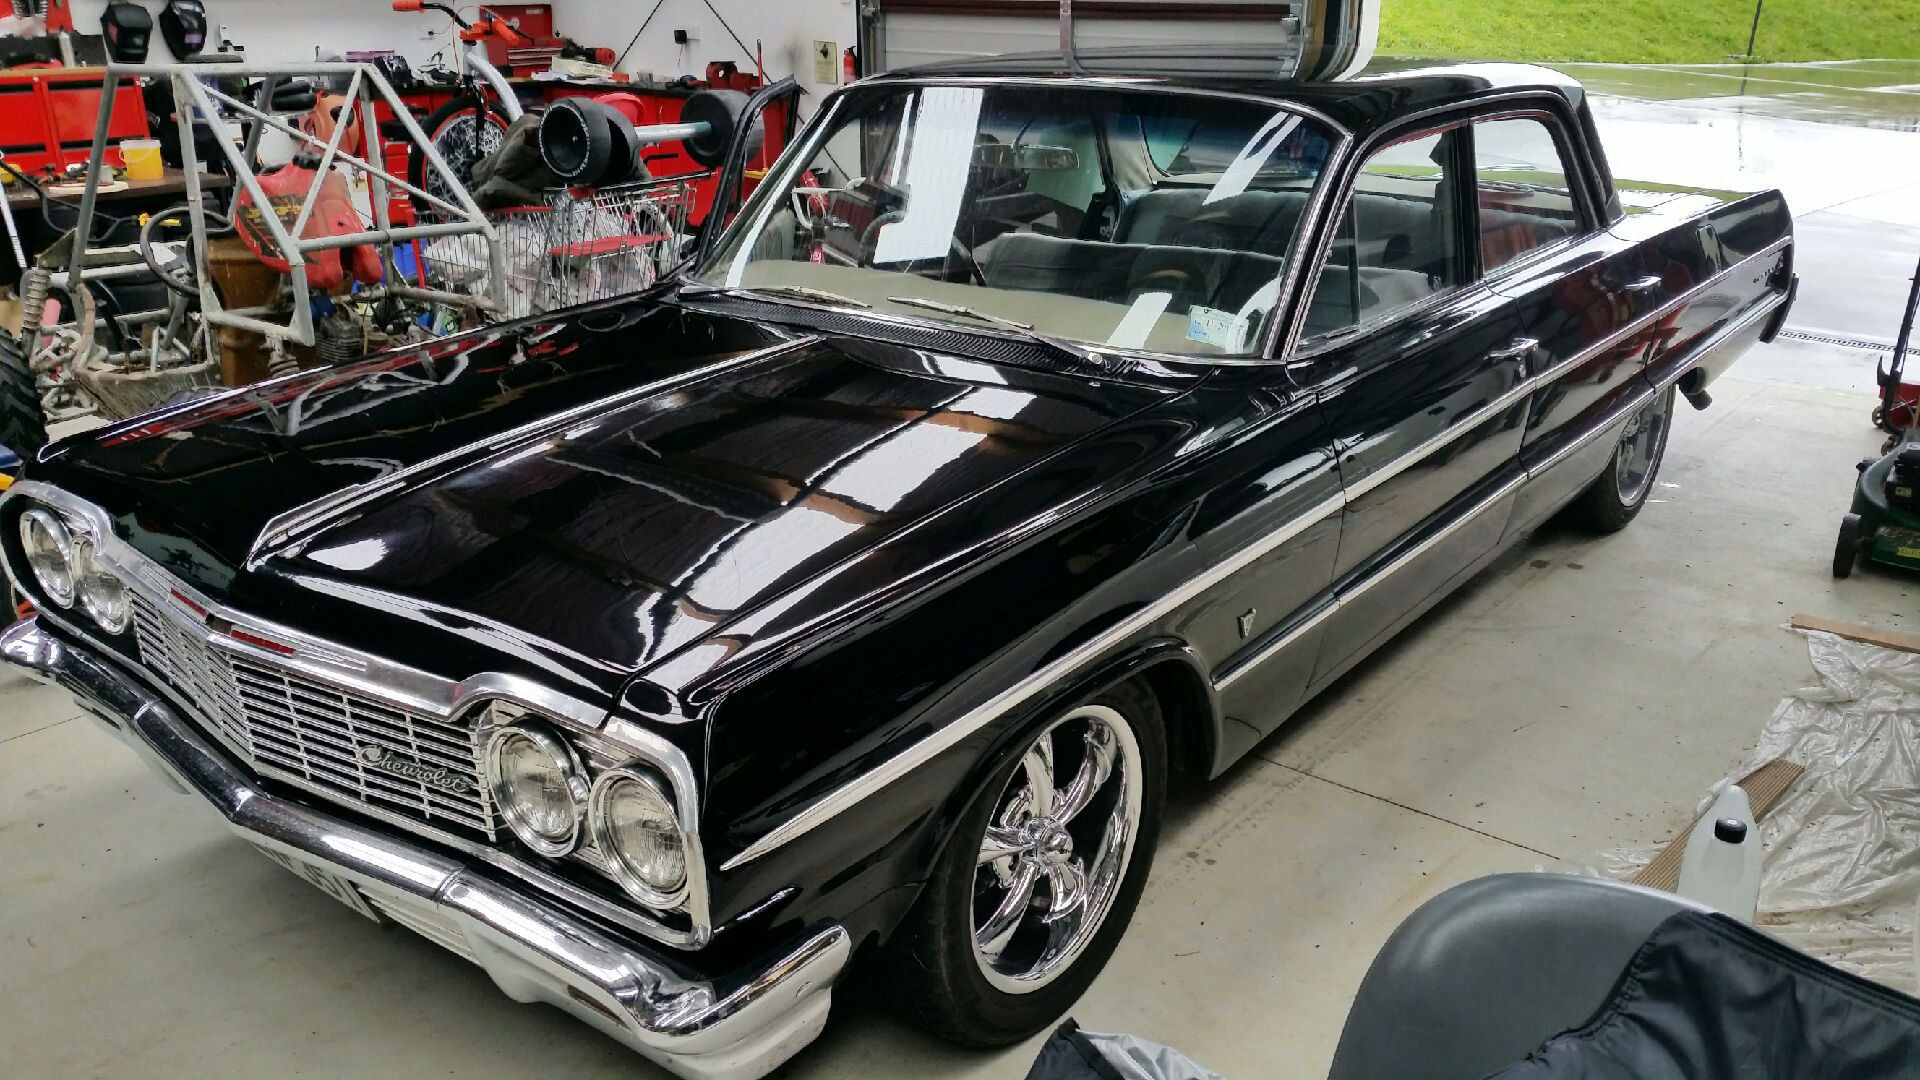
Yip, love the 4 doors too. I think it's because a couple mates had them 20 odd years ago and we'd road trip everywhere in them. Even back then they were flash cars...spent every cent they had making them look cool. Immaculate panel and paint, 350 motors...high 13sec quater mile times.
Think that's why I ended up with the 4 door too. There were cheaper 2 doors around...but I just had to get 4 door as i find the shape more appealing. Plus "4 doors, more whores" as they say:)

Question: the hoist...what thickness concrete. Any issues with that expansion cut next to the post? It's seriously my next thing I want.
-
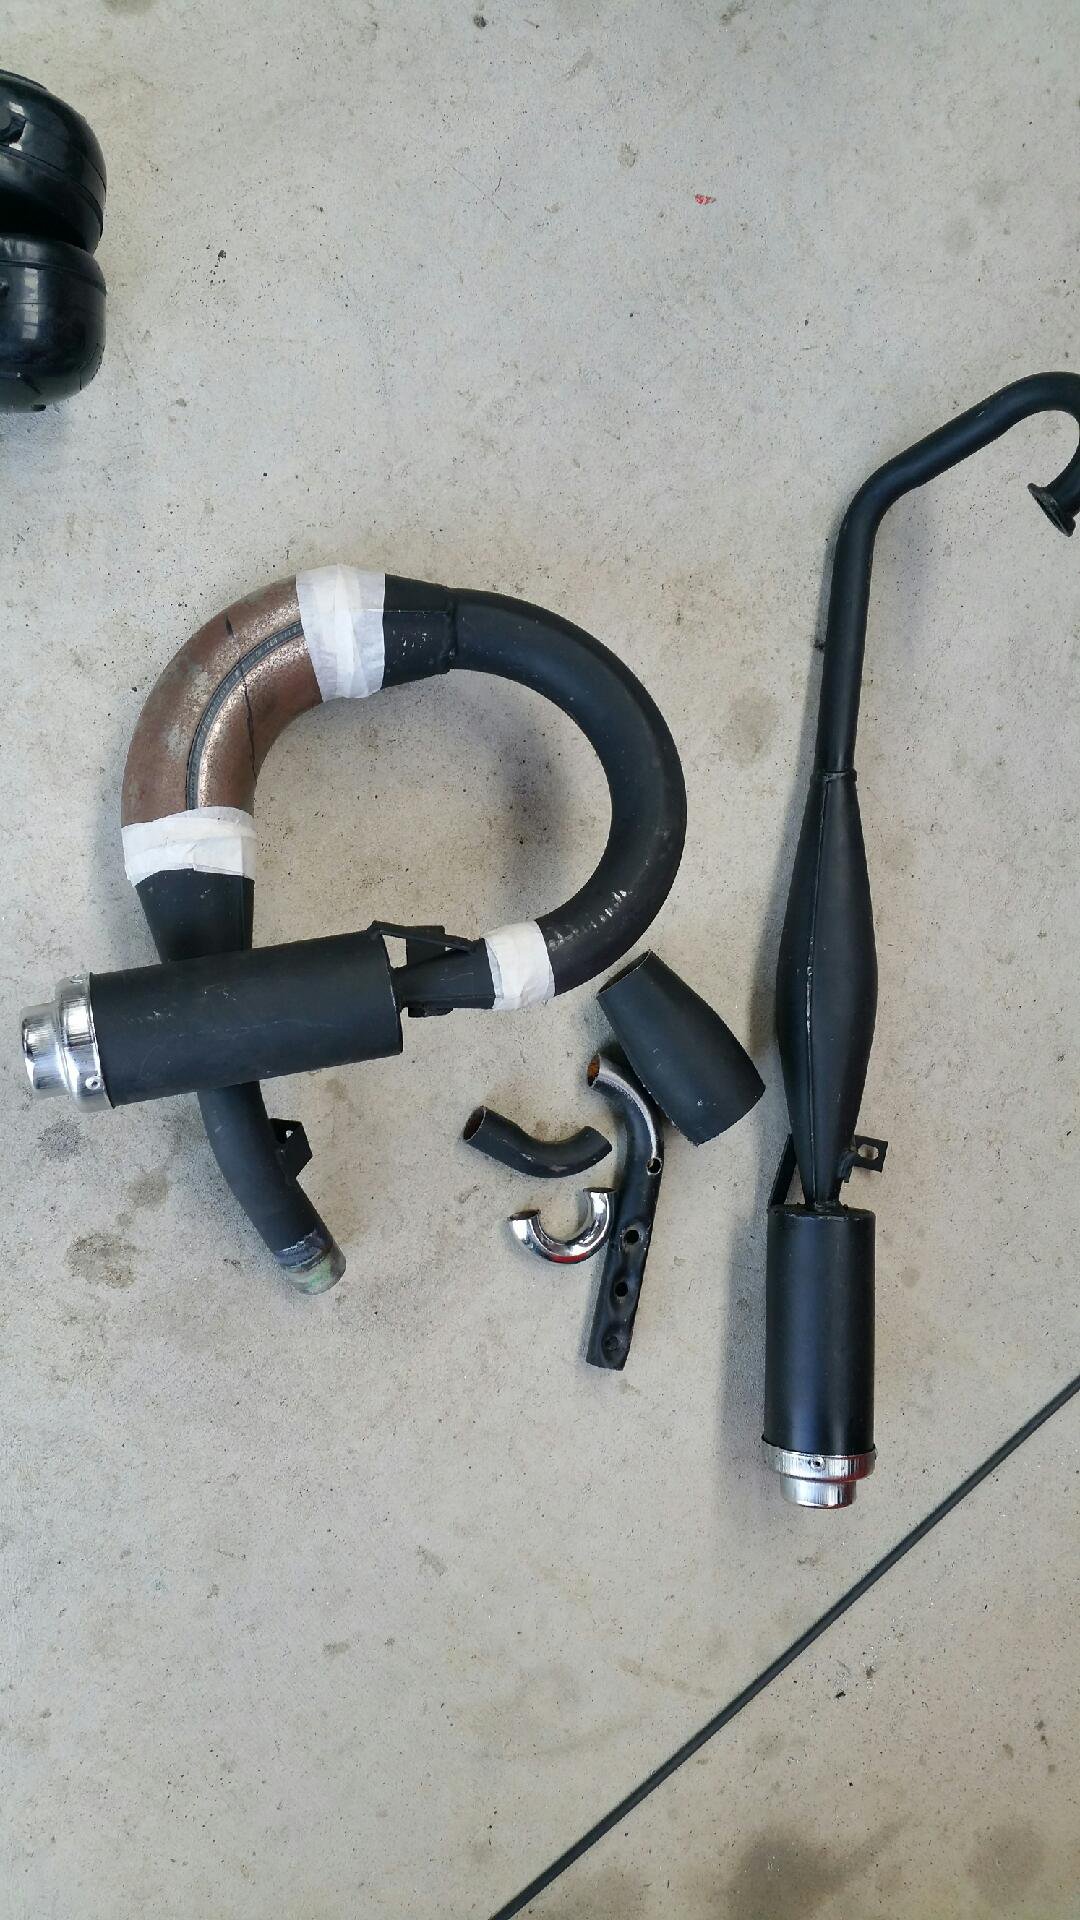
Bit of a lazy day. Mocked this exhaust up.
I had something similar once, ugly as sin...but the midrange was unreal - pulled like a school boy!
I'm trying to recreate it from memory and using bits I have on hand. I remember the long 180° u bend having a parallel profile ie just a tube and thinking it was unusual, not been the standard tapering style...but fuck it worked well.
Only one way to find out?
-
 4
4
-
-
In all seriousness...it's great to see someone thrashing a rota like the good old days. That's what they did best. We honestly thrashed them so hard...if it broke $500 would have a new motor in it and running again within the same week.
-
3
-
-
On 24/10/2018 at 17:56, 64valiant said:
hell fucken yeah ha
A lot of noise and not much smoke. Is it actually spinning the tyres or is he just driving around in circles???
-
 2
2
-
-
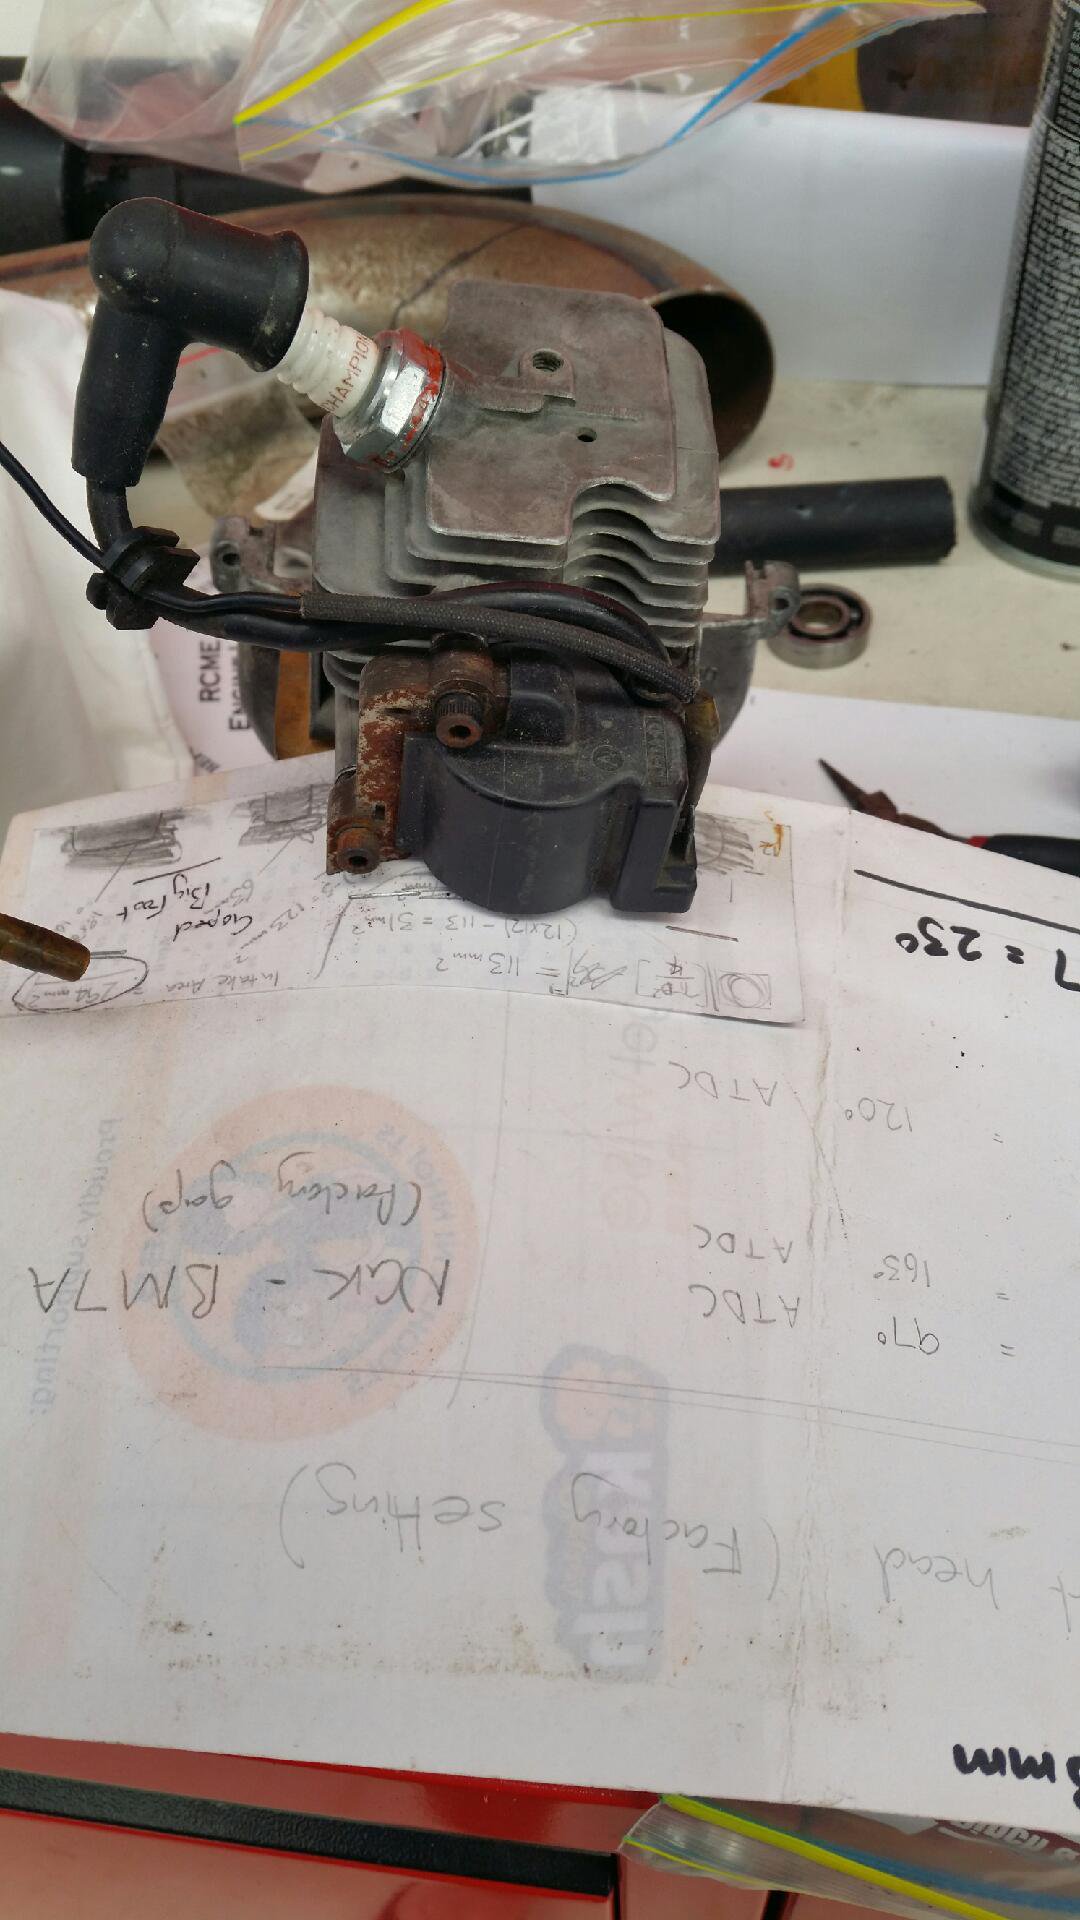
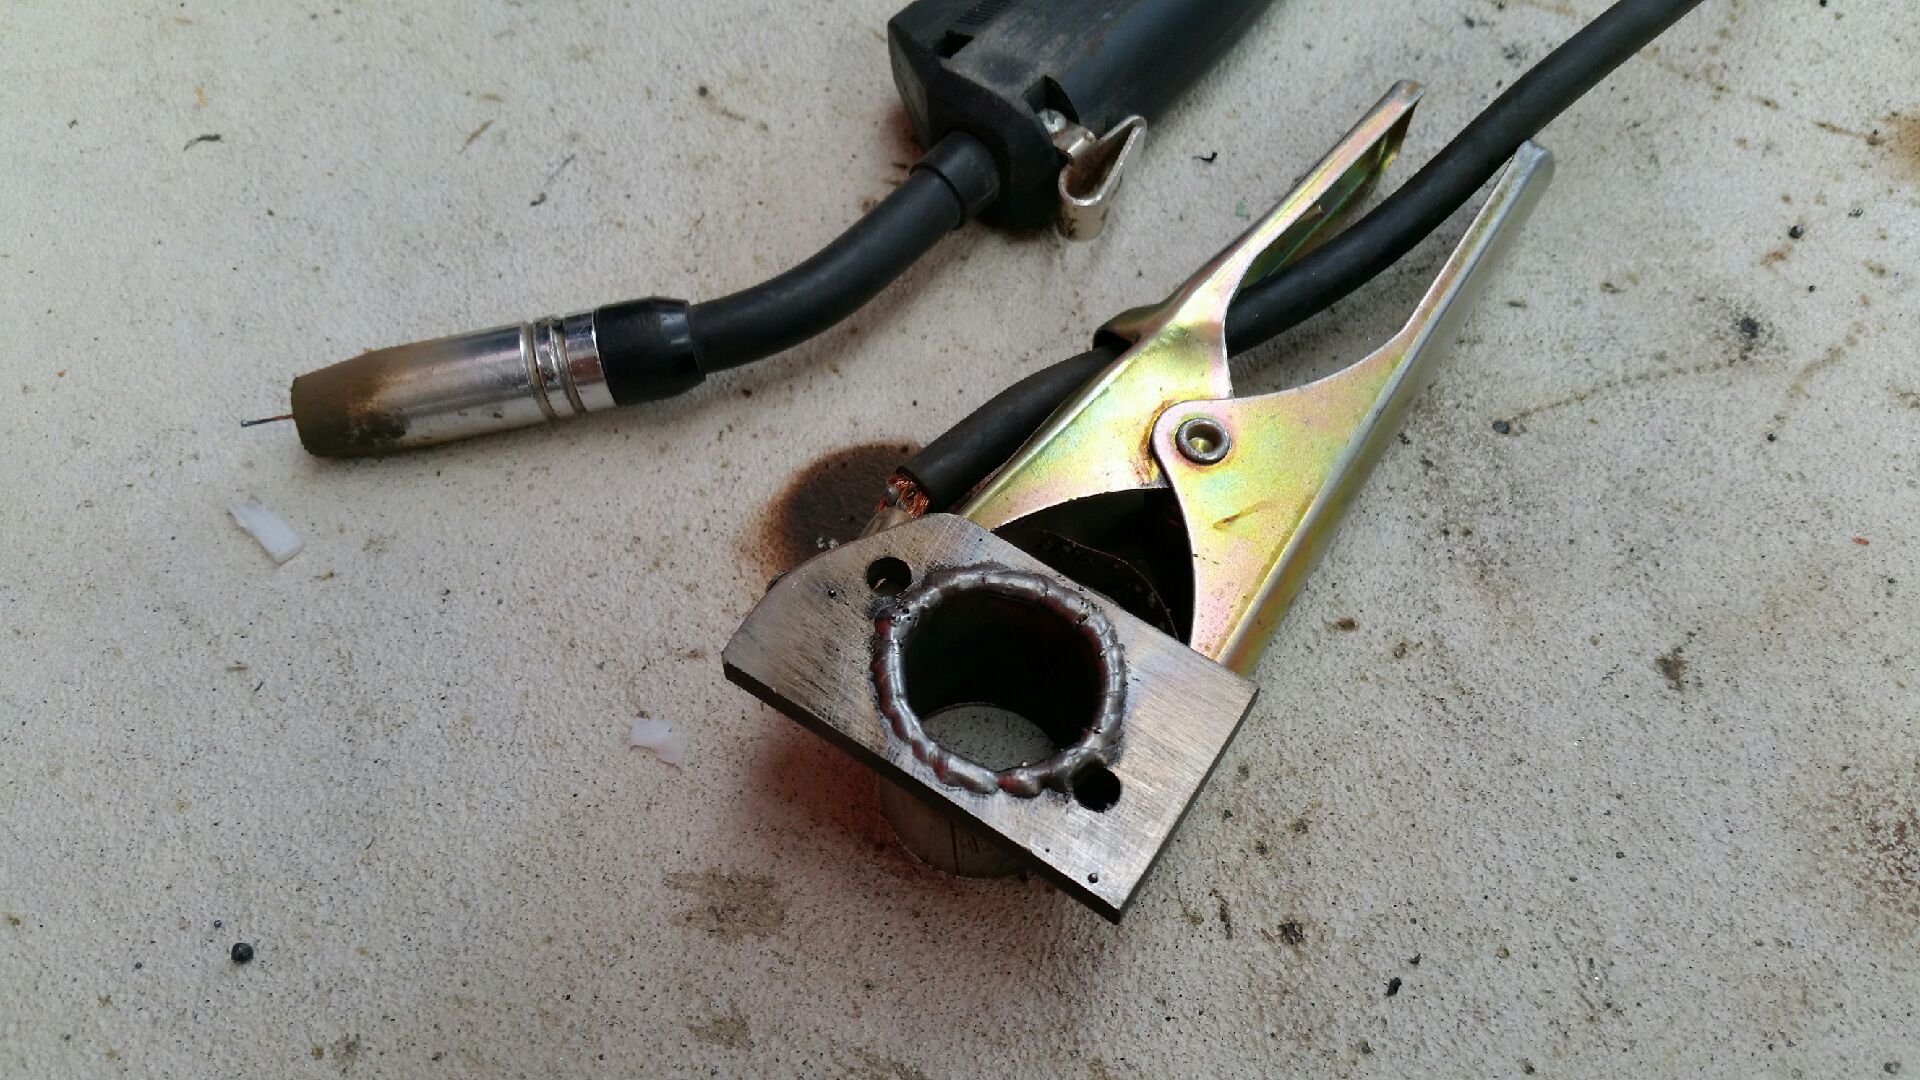
Setting the coil gap is easy. A business card provides the ideal gap...or about three sheets of thick paper.
And assembled
Fuck yeah! Happy as...all the maths check out with ports opening when they should, so this thing should absolutely rip!
-
5
-
-
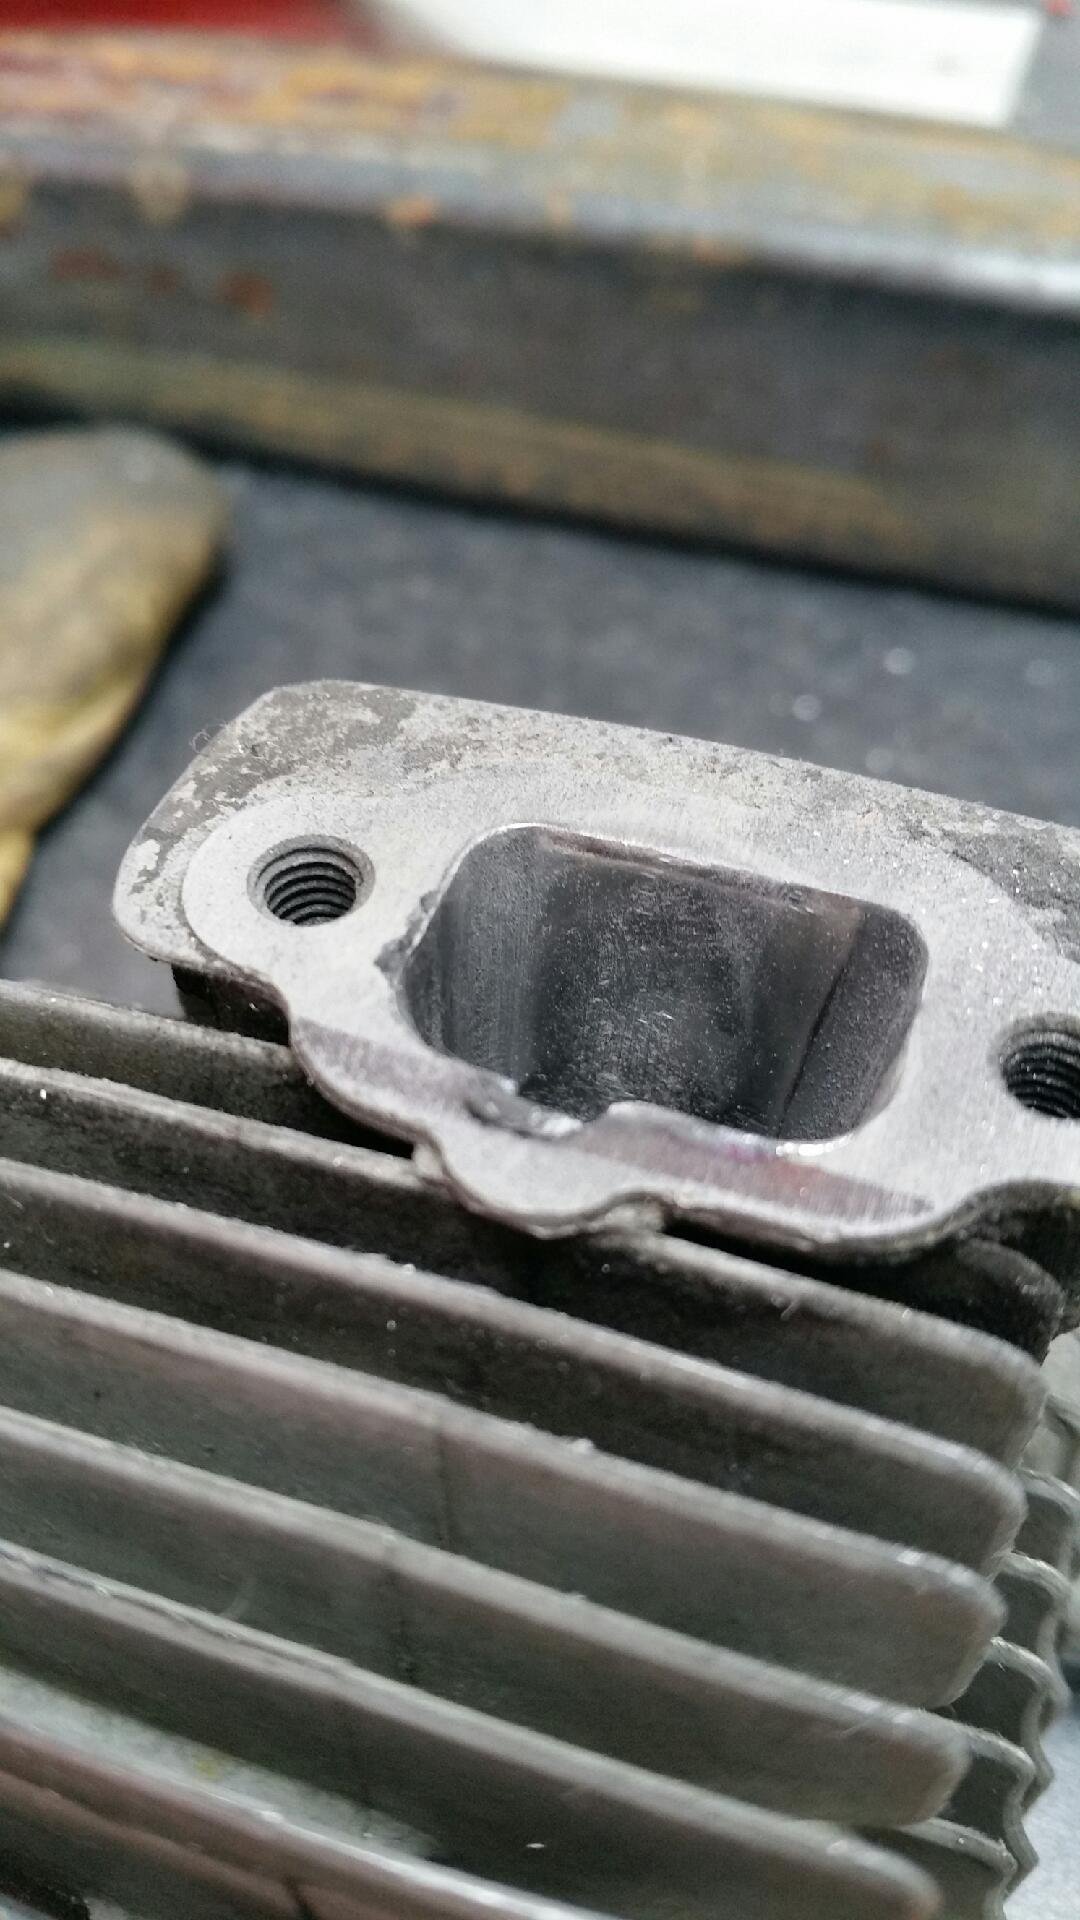
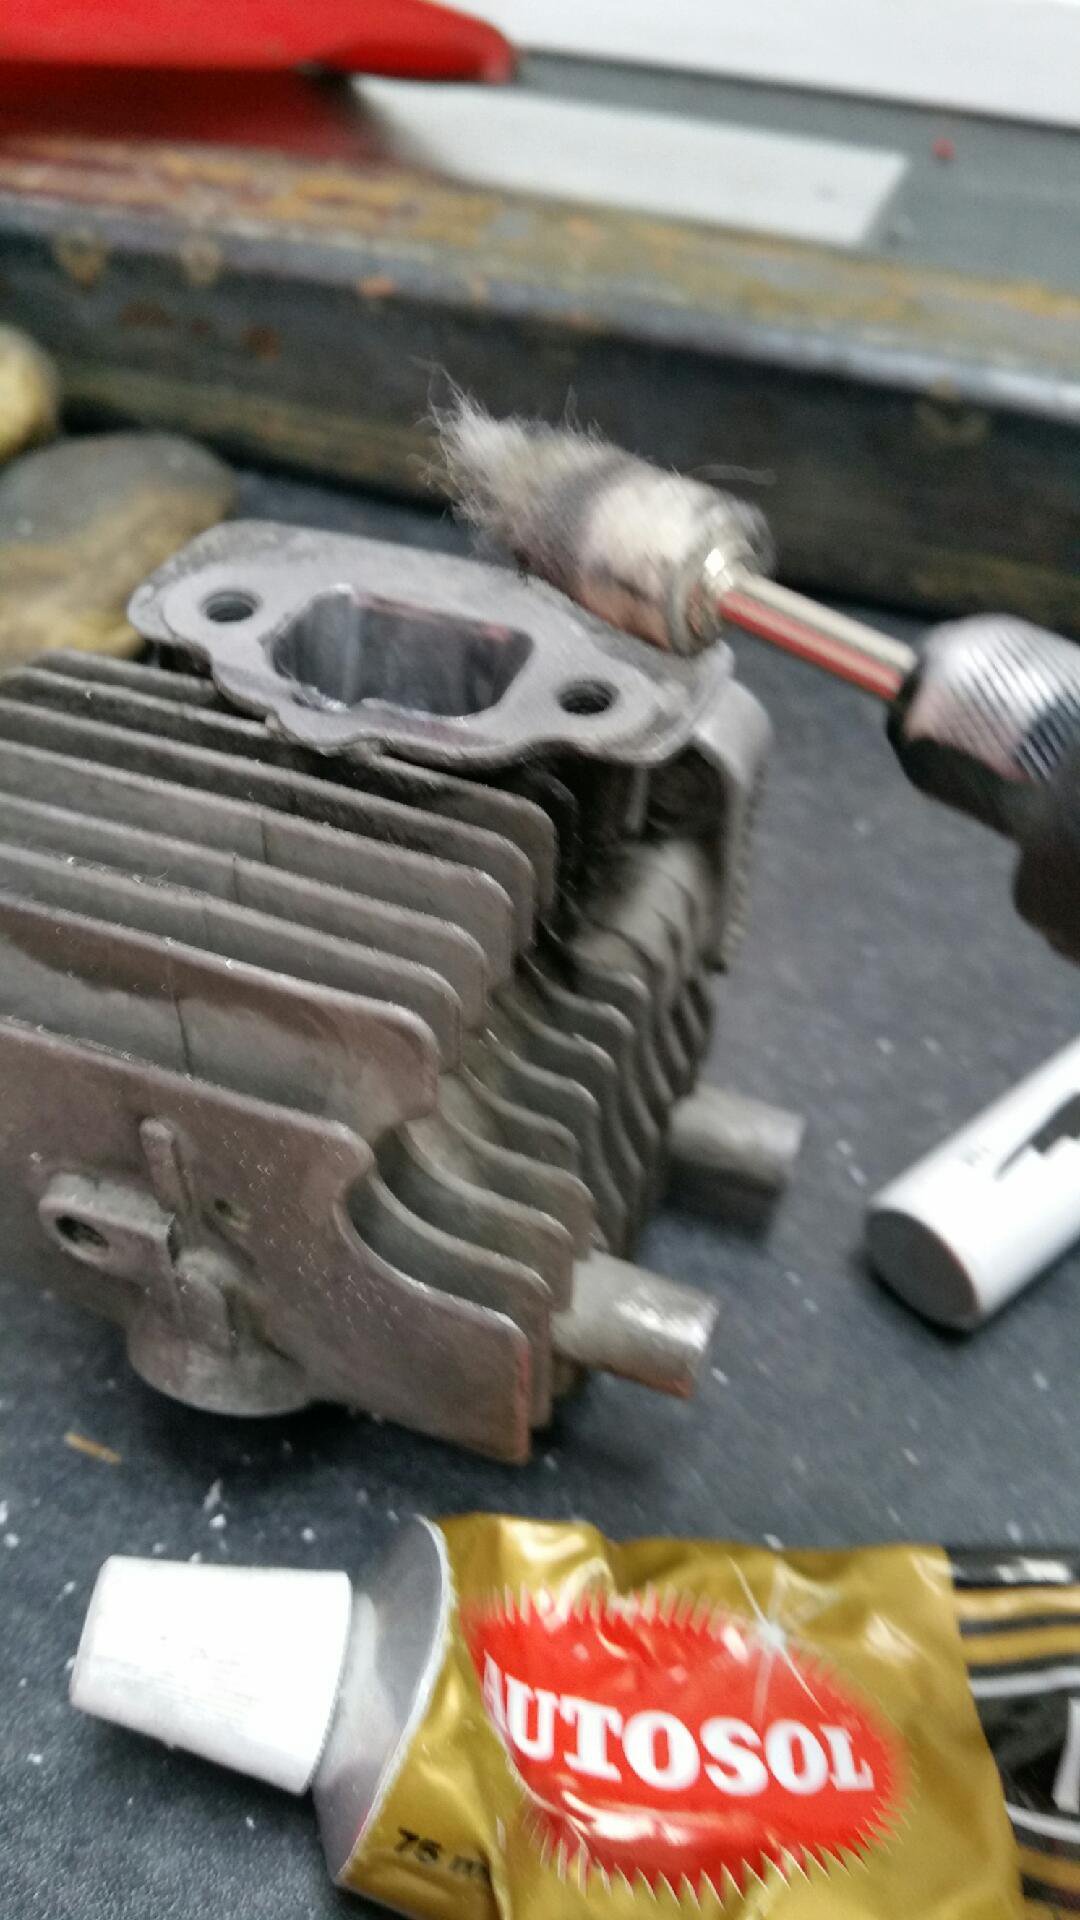
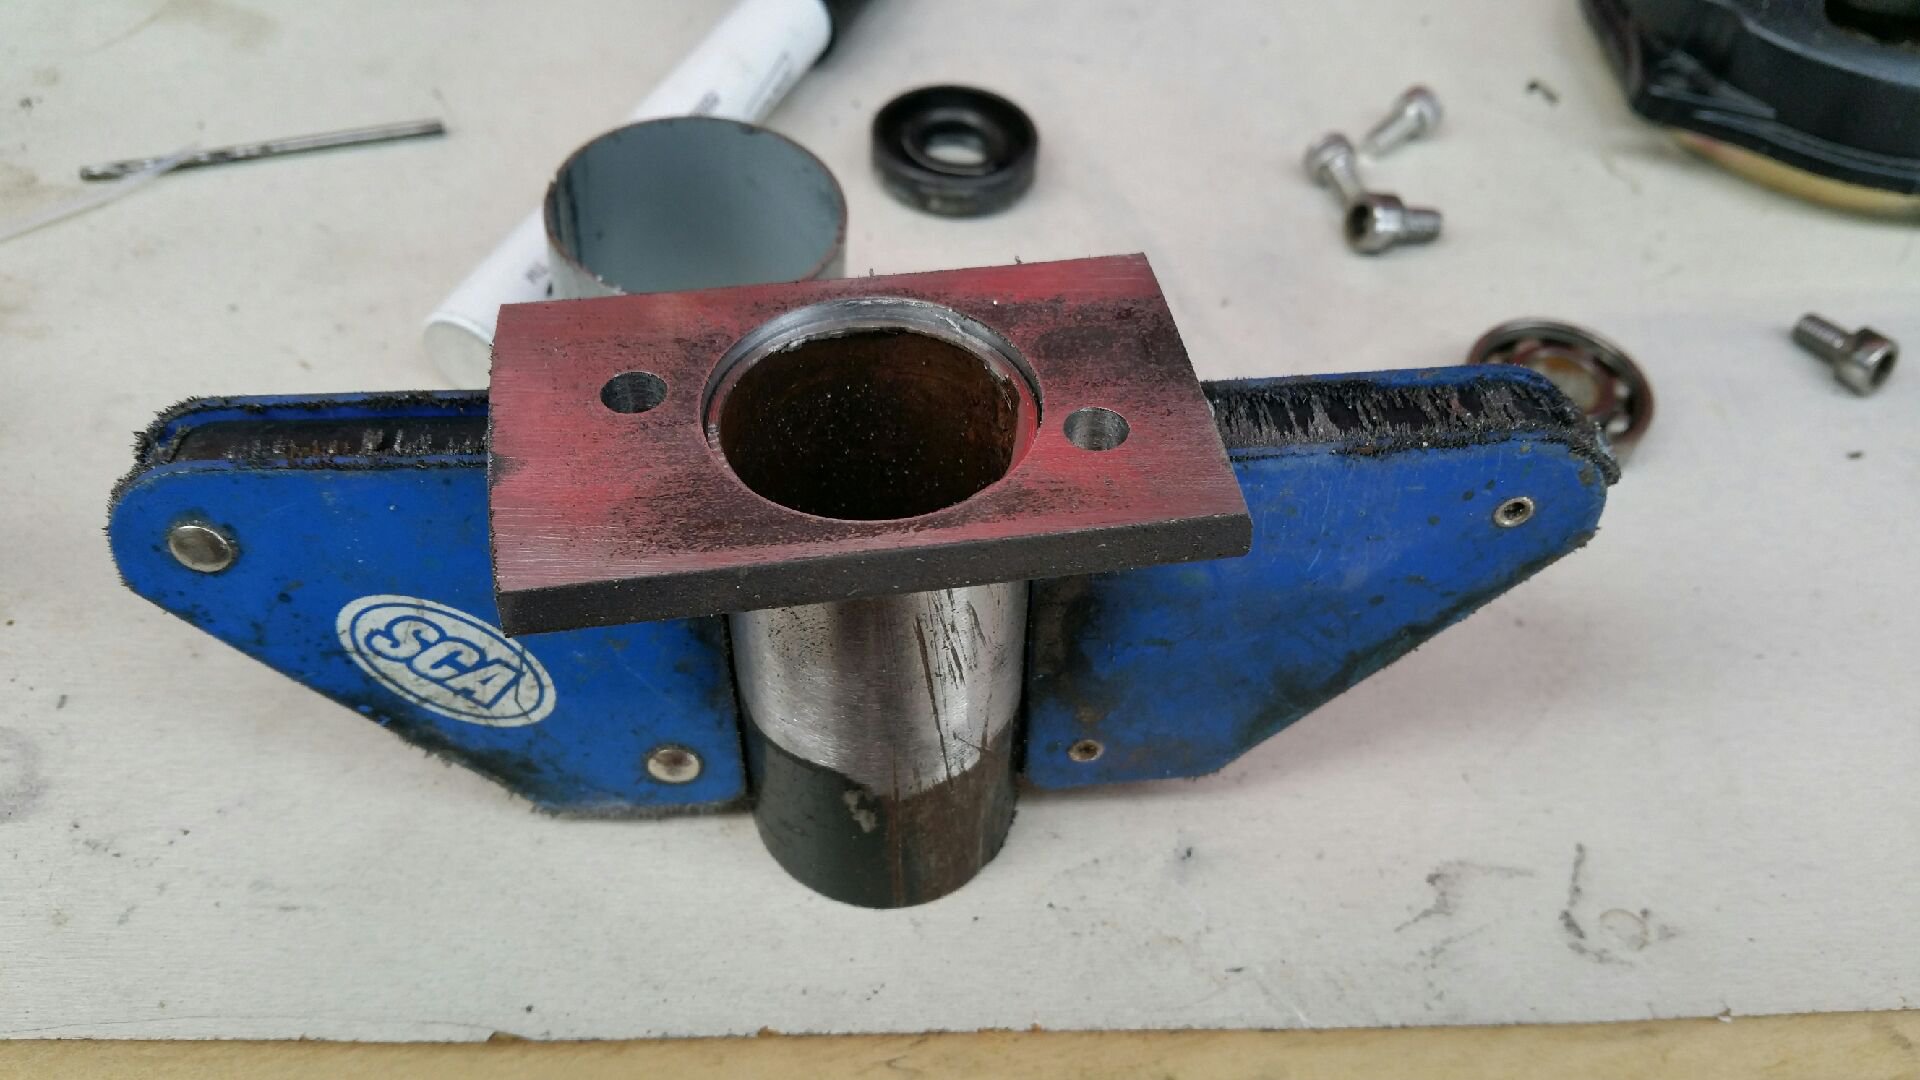
Oh...forgot to mention that I use a stone in the dremel to very lightly chamfer all freshly ported surfaces inside the cylinder bore. This prevents the rings catching.
And I also take the opportunity to true up all gasket surfaces on the linisher. You can use sandpaper on a sheet of glass and do it by hand if you don't have a linisher.
Here's a good photo of the surface trued up. Go easy...don't want to remove much...just get it flat and true.
So that's it. Wait 3 weeks for powder coating... and test it.
-
2
-
-
Righto, frames at powder coaters getting a new look. I took parts of it back to bare metal to weld some stress fractures. Glad I looked in the usual places first.
Next was to carry on porting the motor. I've done this to death in the "not as cool or epic as muncies goped build". But here's the basics:
Intake: before (it's previously been mildly ported by me before...wider than normal)
Intake: after.
Intakes...only port downwards. You can go wider so long as your ring pins stay on a bearing surface on the cylinder wall.
Leave the intake surface finish rough. It helps atomise the fuel with the air for more efficiency.
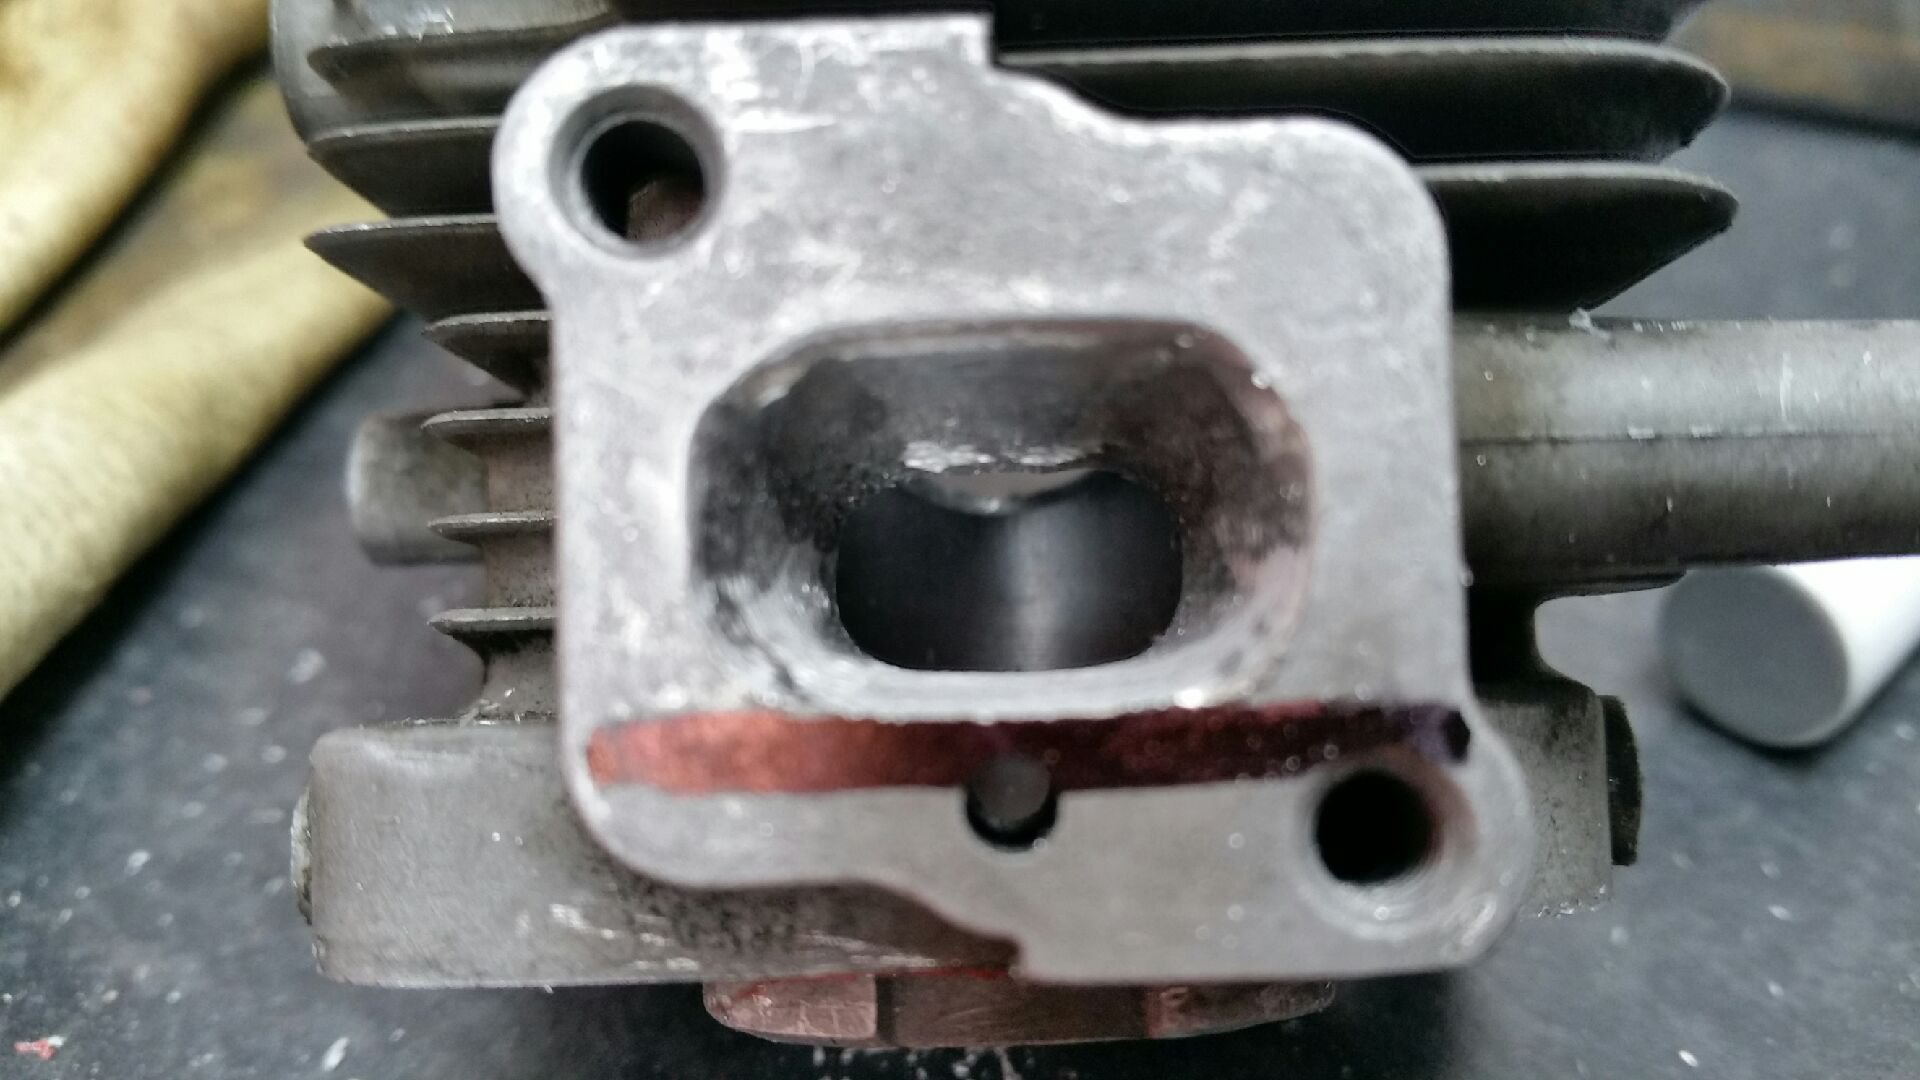
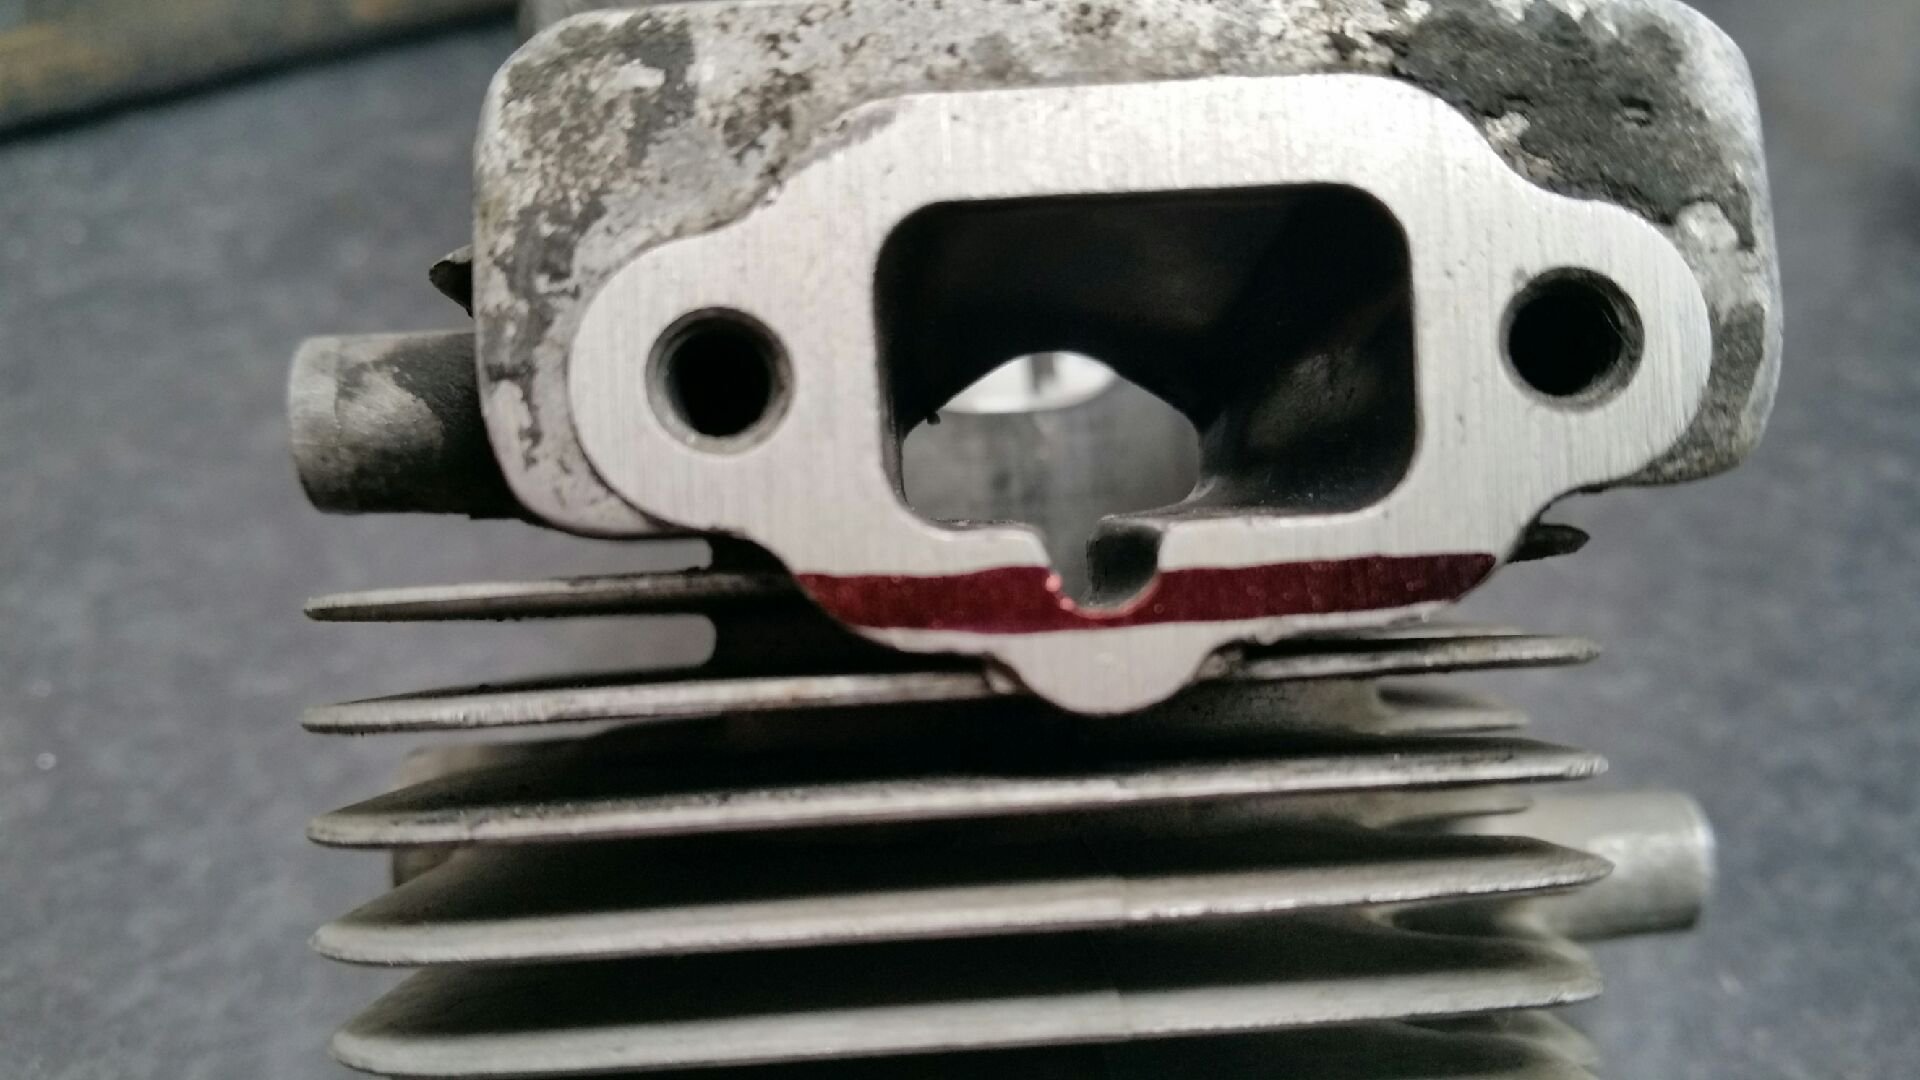
Exhaust: before
Exhaust: after
Exhausts, only ever port upwards. Once again you can go wider, so long as your ring pins stay on a bearing surface on the cylinder wall.
Polish the exhaust port as smoothly as possible. This helps flow out/in the exhaust. And prevents carbon build up. Remember the exhaust plus air/fuel gets bounced back into the motor by the expansion chamber.
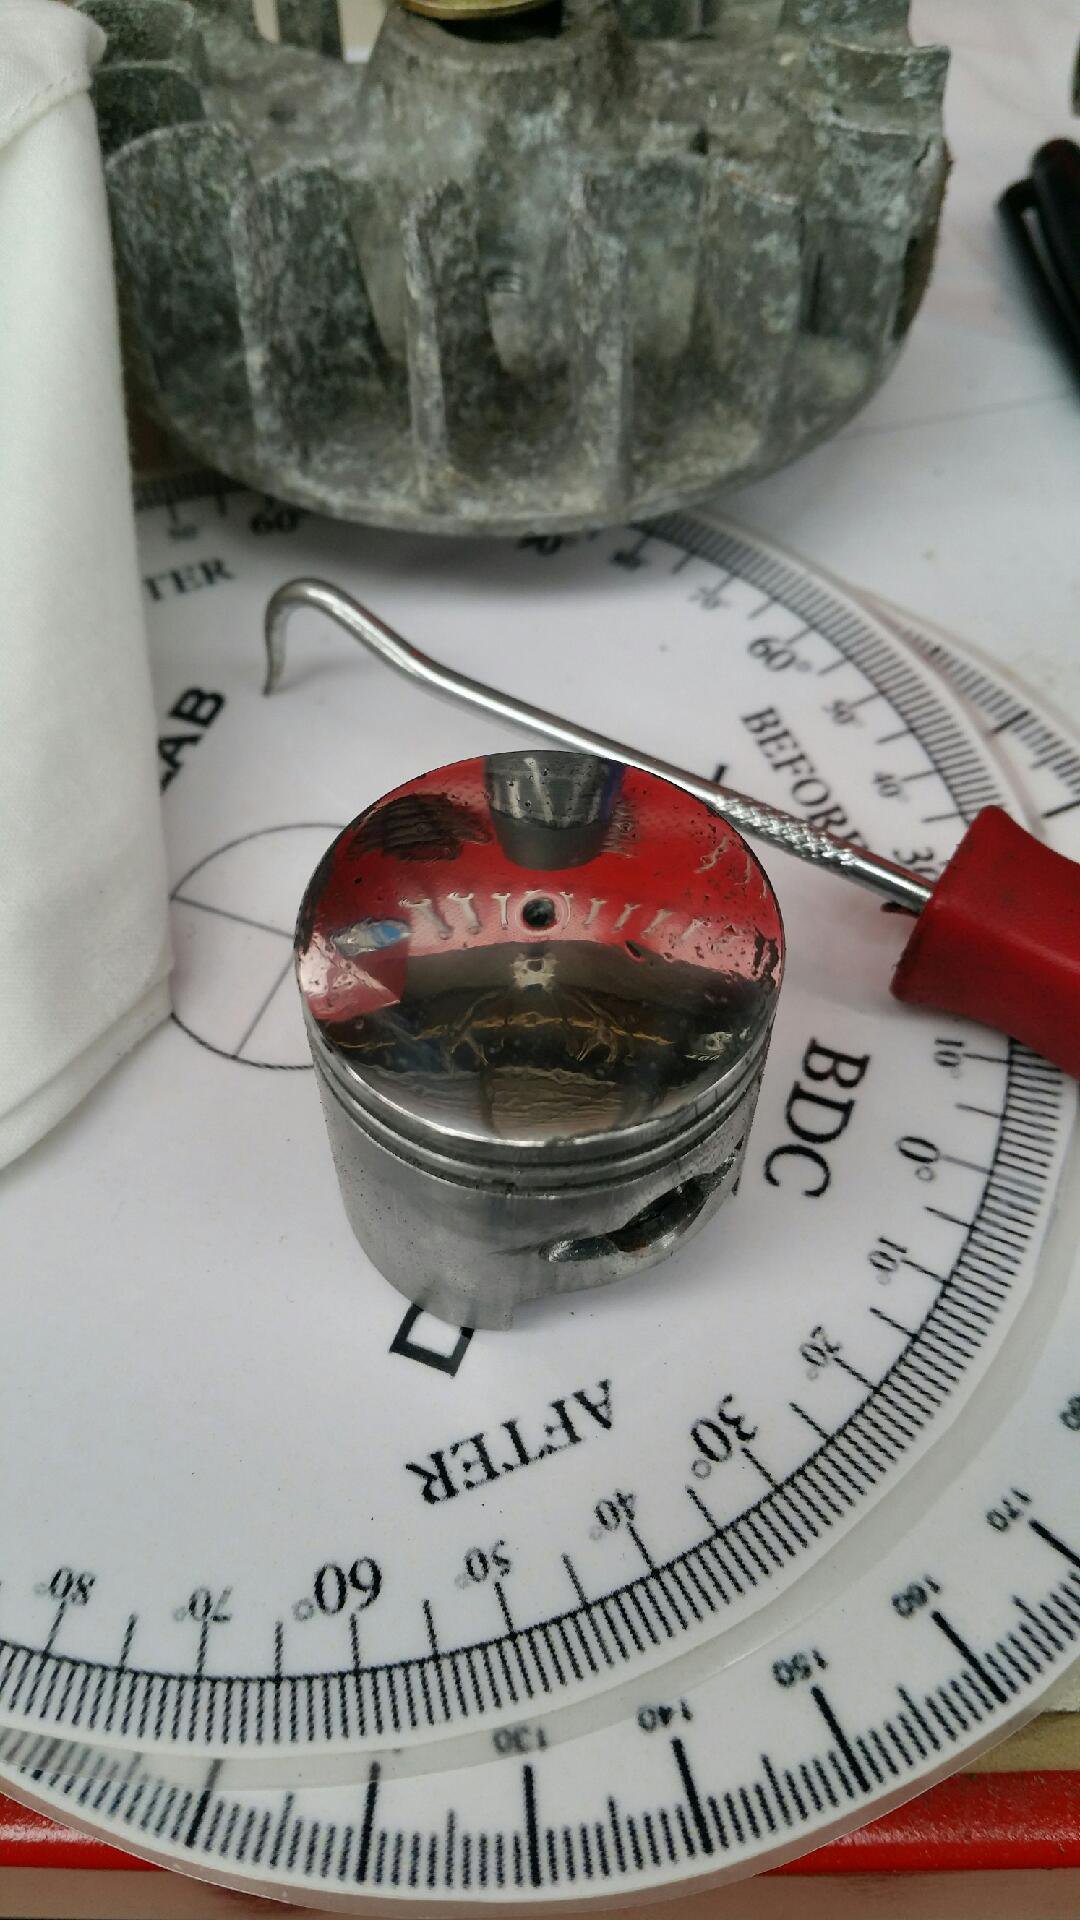
Next is to polish the piston. This helps prevent carbon build up.
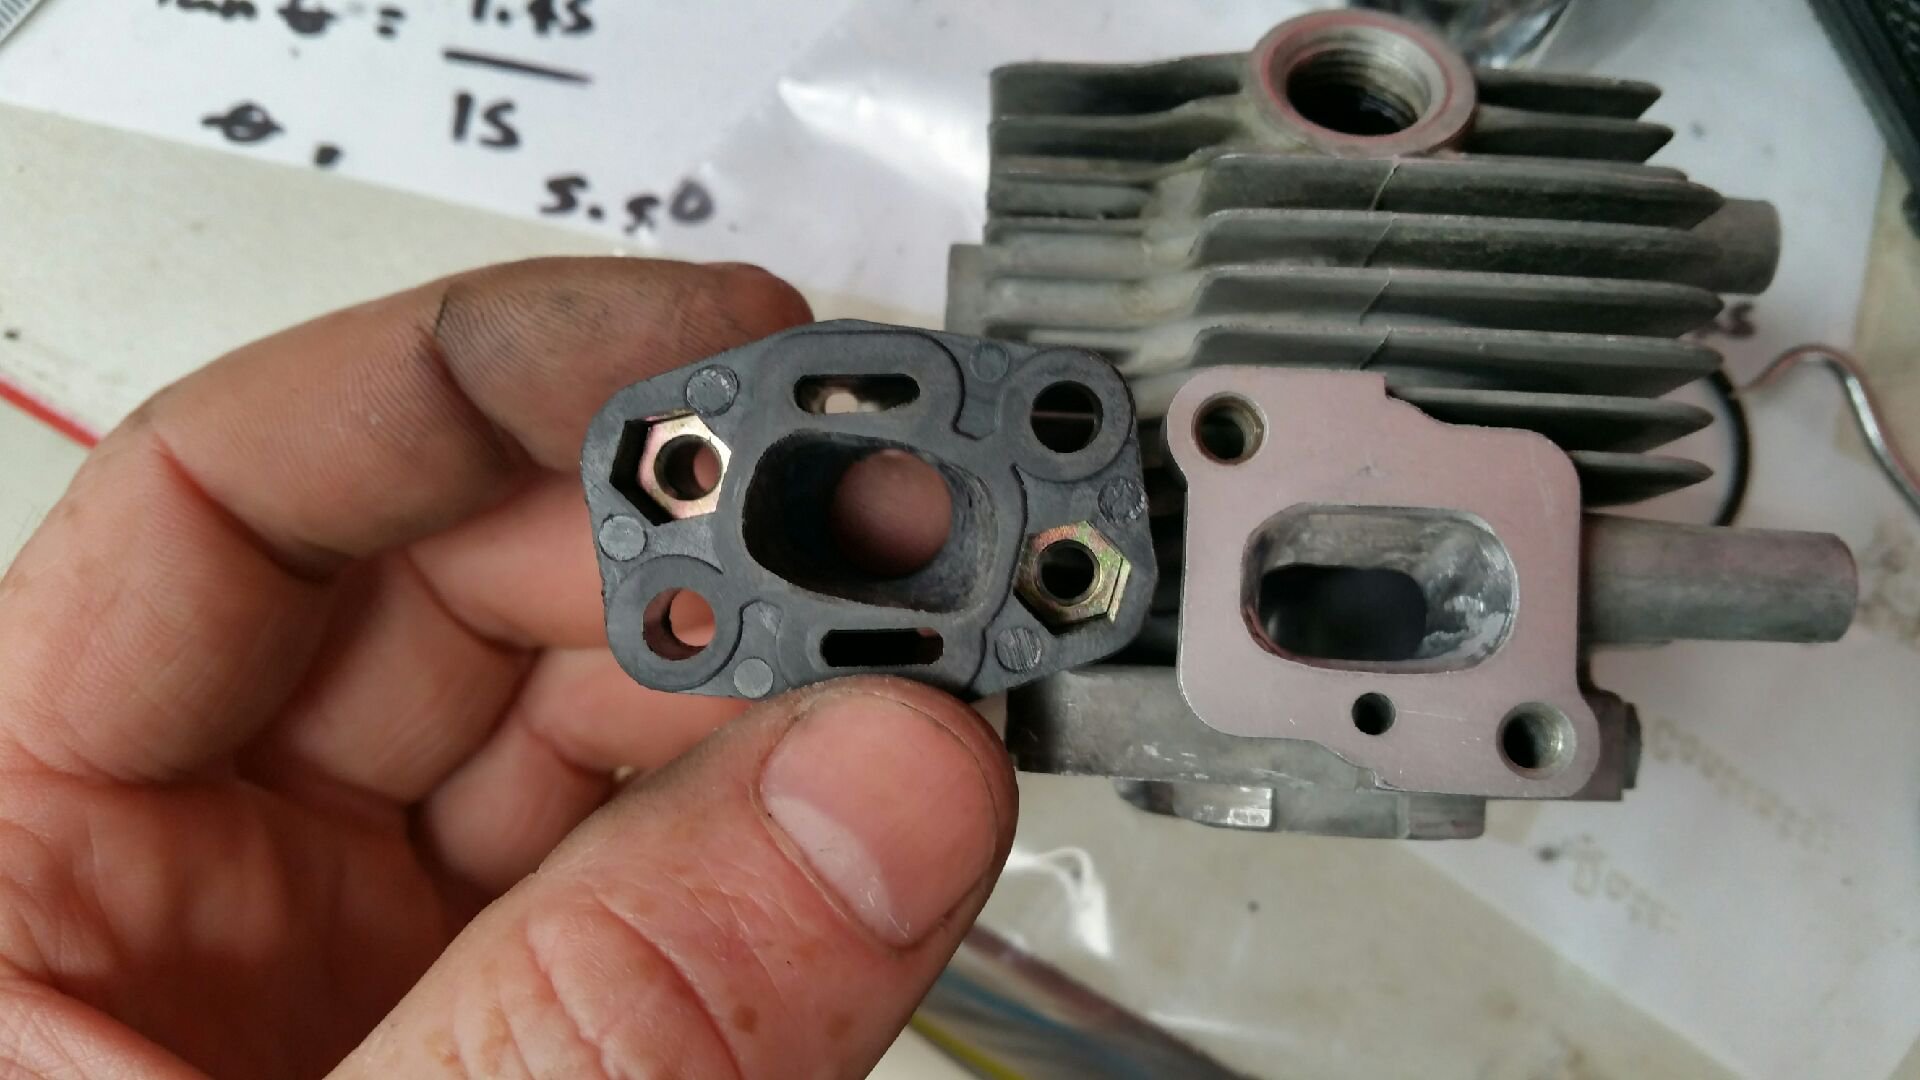
Next I scribed the intake port onto the intake manifold. You can see a huge difference...now port match it.
I treated it to new bearings and oil seals. Only cost $24 from a bearing shop to get high end SKF bearings and seals. I reused the gaskets as they only seal at very low pressure on the lower cases. They looked fine...I'm sure it'll be sweet as. I used to get rid of the gaskets and just use RTV...however these cases had no end play and that would have loaded the bearings too much in this case.
So today's efforts, plus the massive transfer ports and flowed lower cases i did last week, should be quite an improvement.
-
2
-
-
Used mine today to fix the LT1 powered vn Commodore. Lifted the front of the big V8 with ease. Only complaint is it's reach is limited (not very deep).
Finally got around to replacing a leaking freeze plug that I really didn't want to deal with...3hrs later...job done.
I rate the little SCA Jack. Much better than my other one.
-
2
-
-
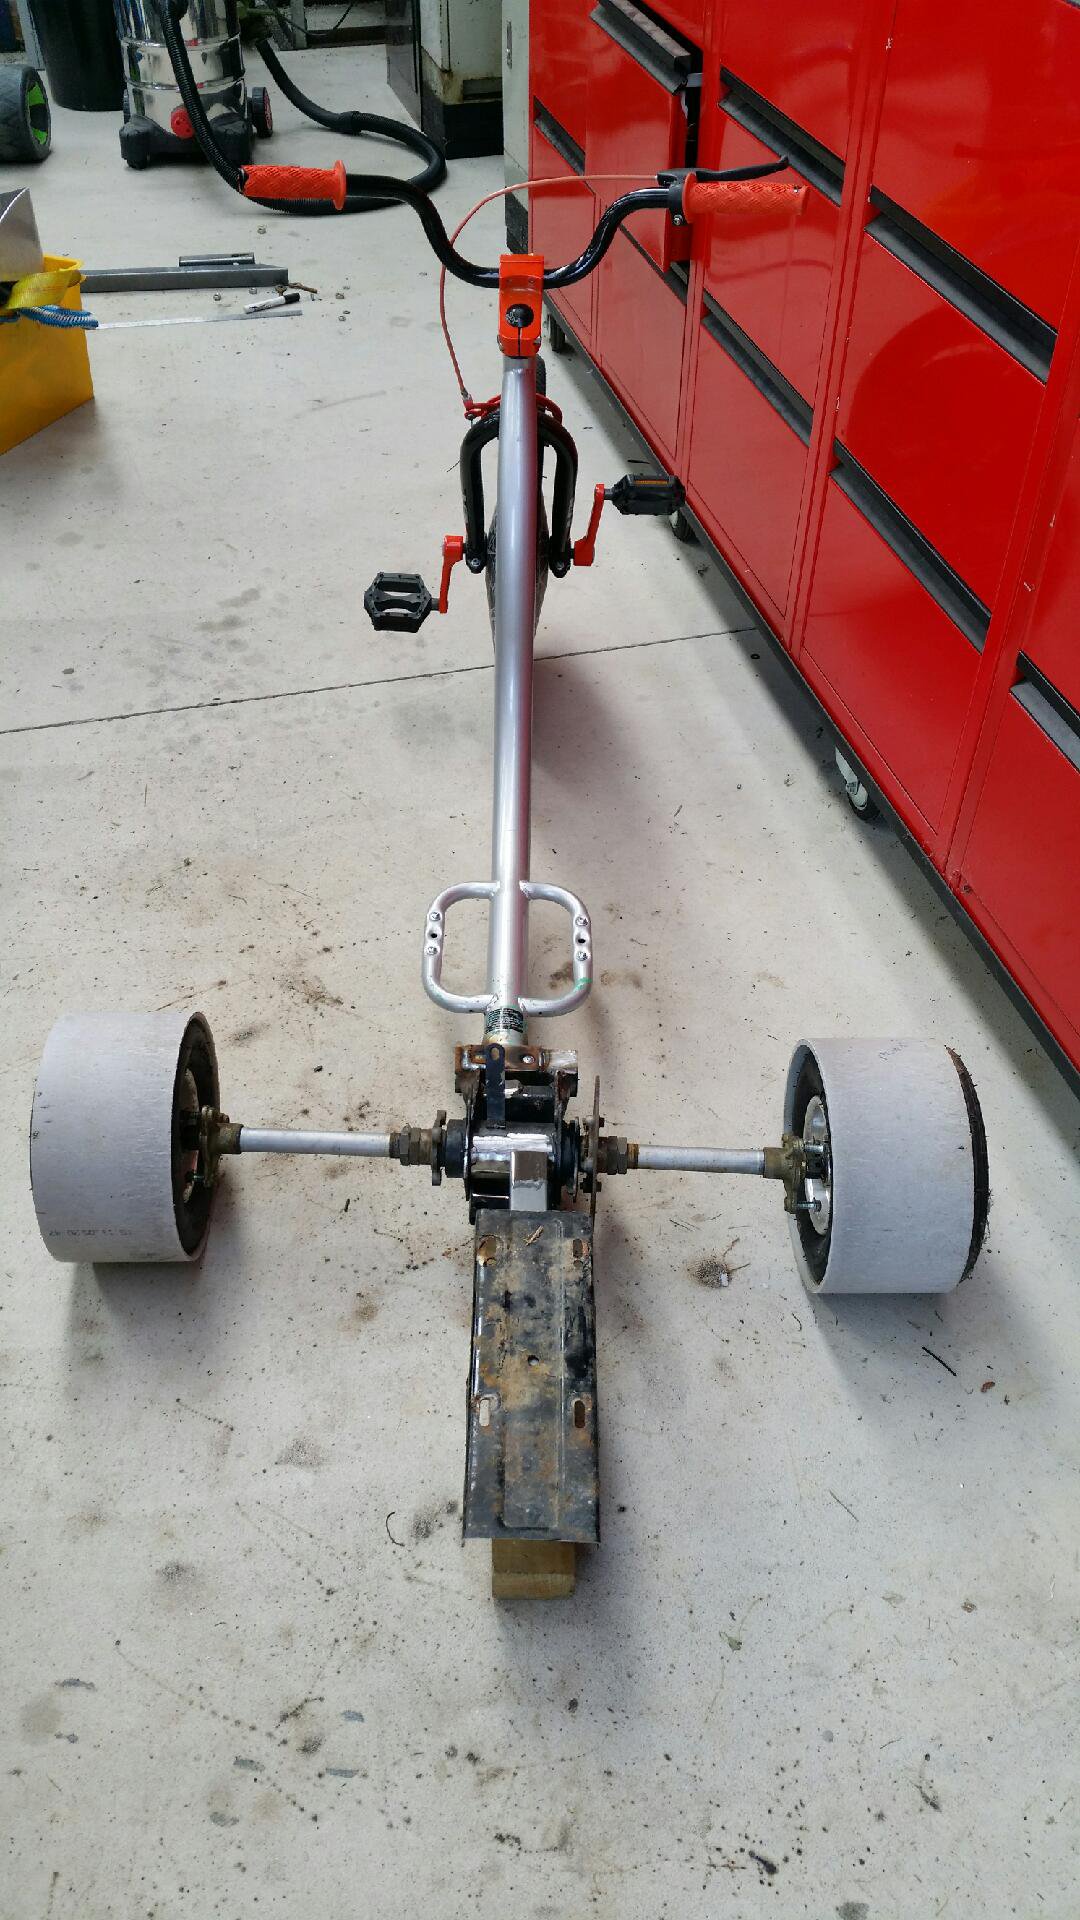
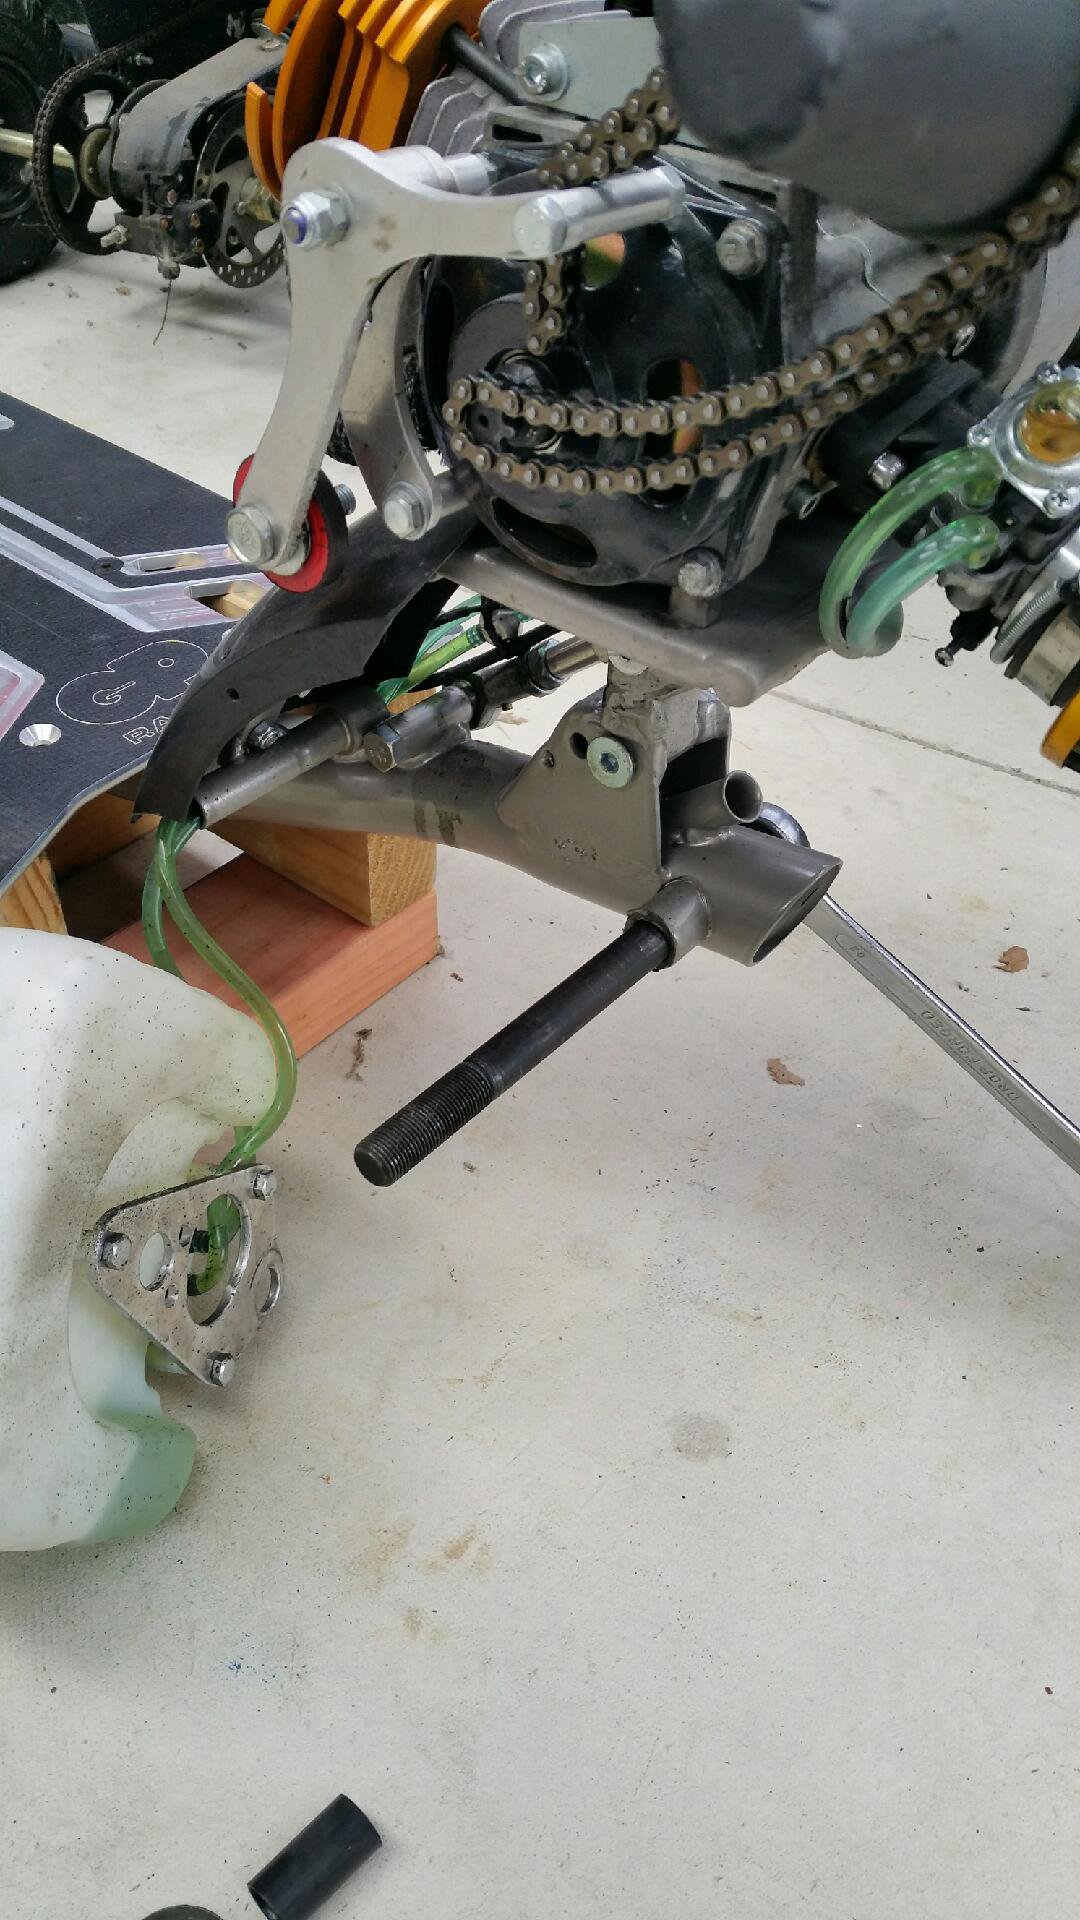
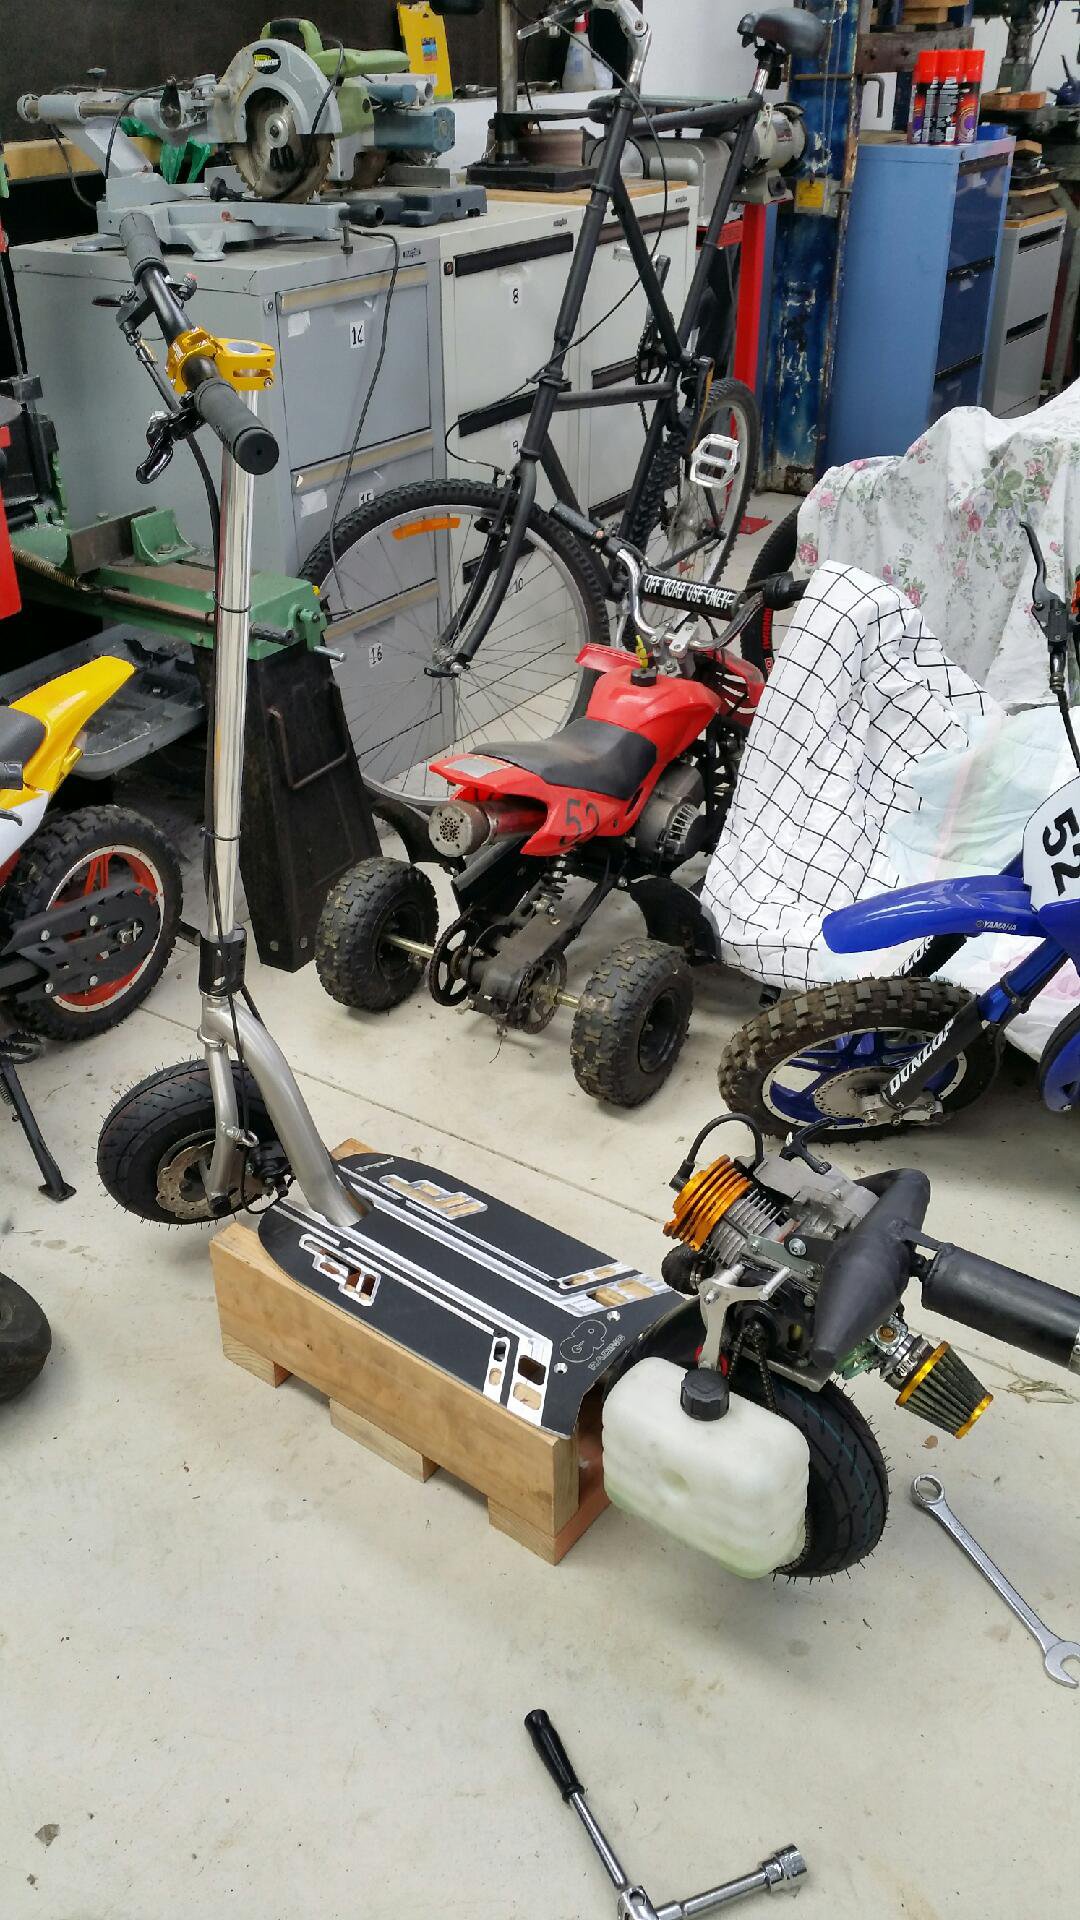
Bit more done this morning.
Wheels are just sitting there for inspiration. I need to lathe down the hubs and change to a bolt on style rim. But it's falling into shape.
I'm waiting on an ebay clutch and little bits and bobs to complete. Buying from ebay works out about 70% cheaper. So mandatory 6 weeks waiting time...then should be all set to go.
-
3
-
-
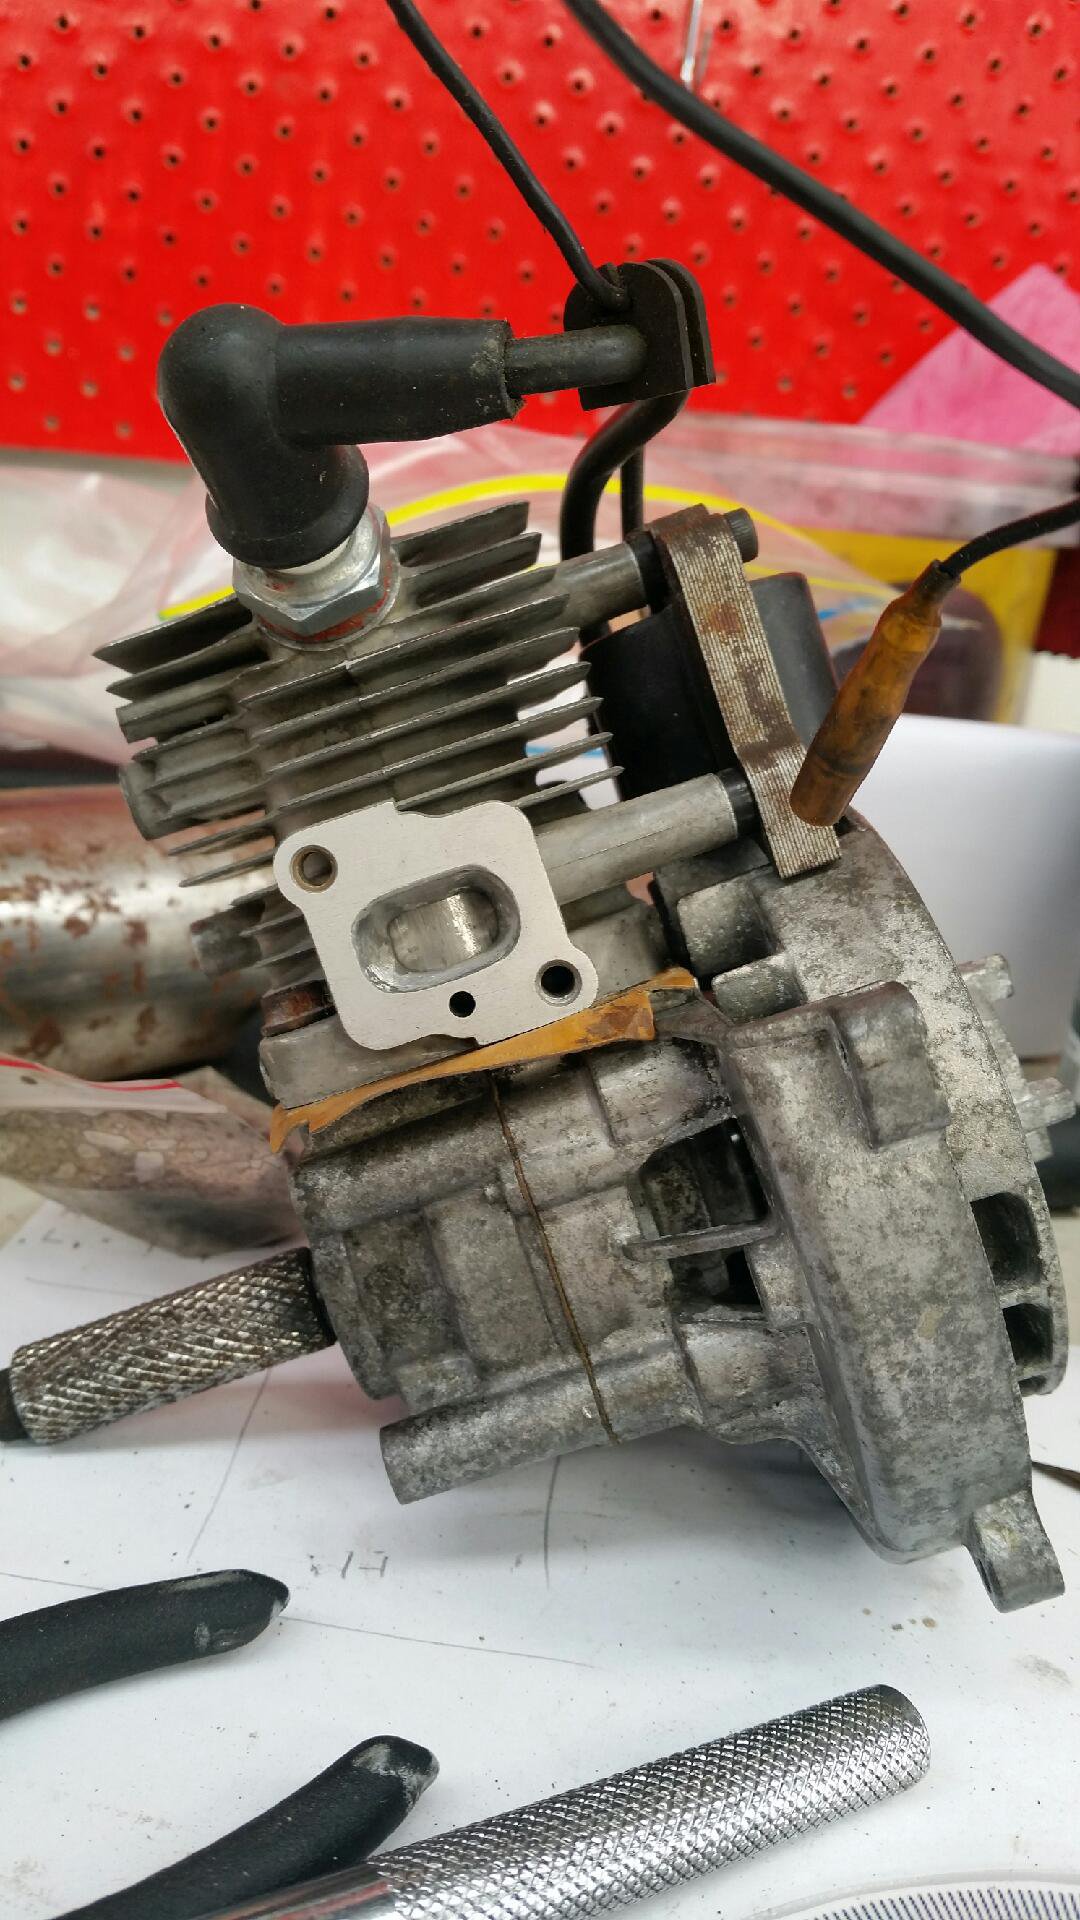
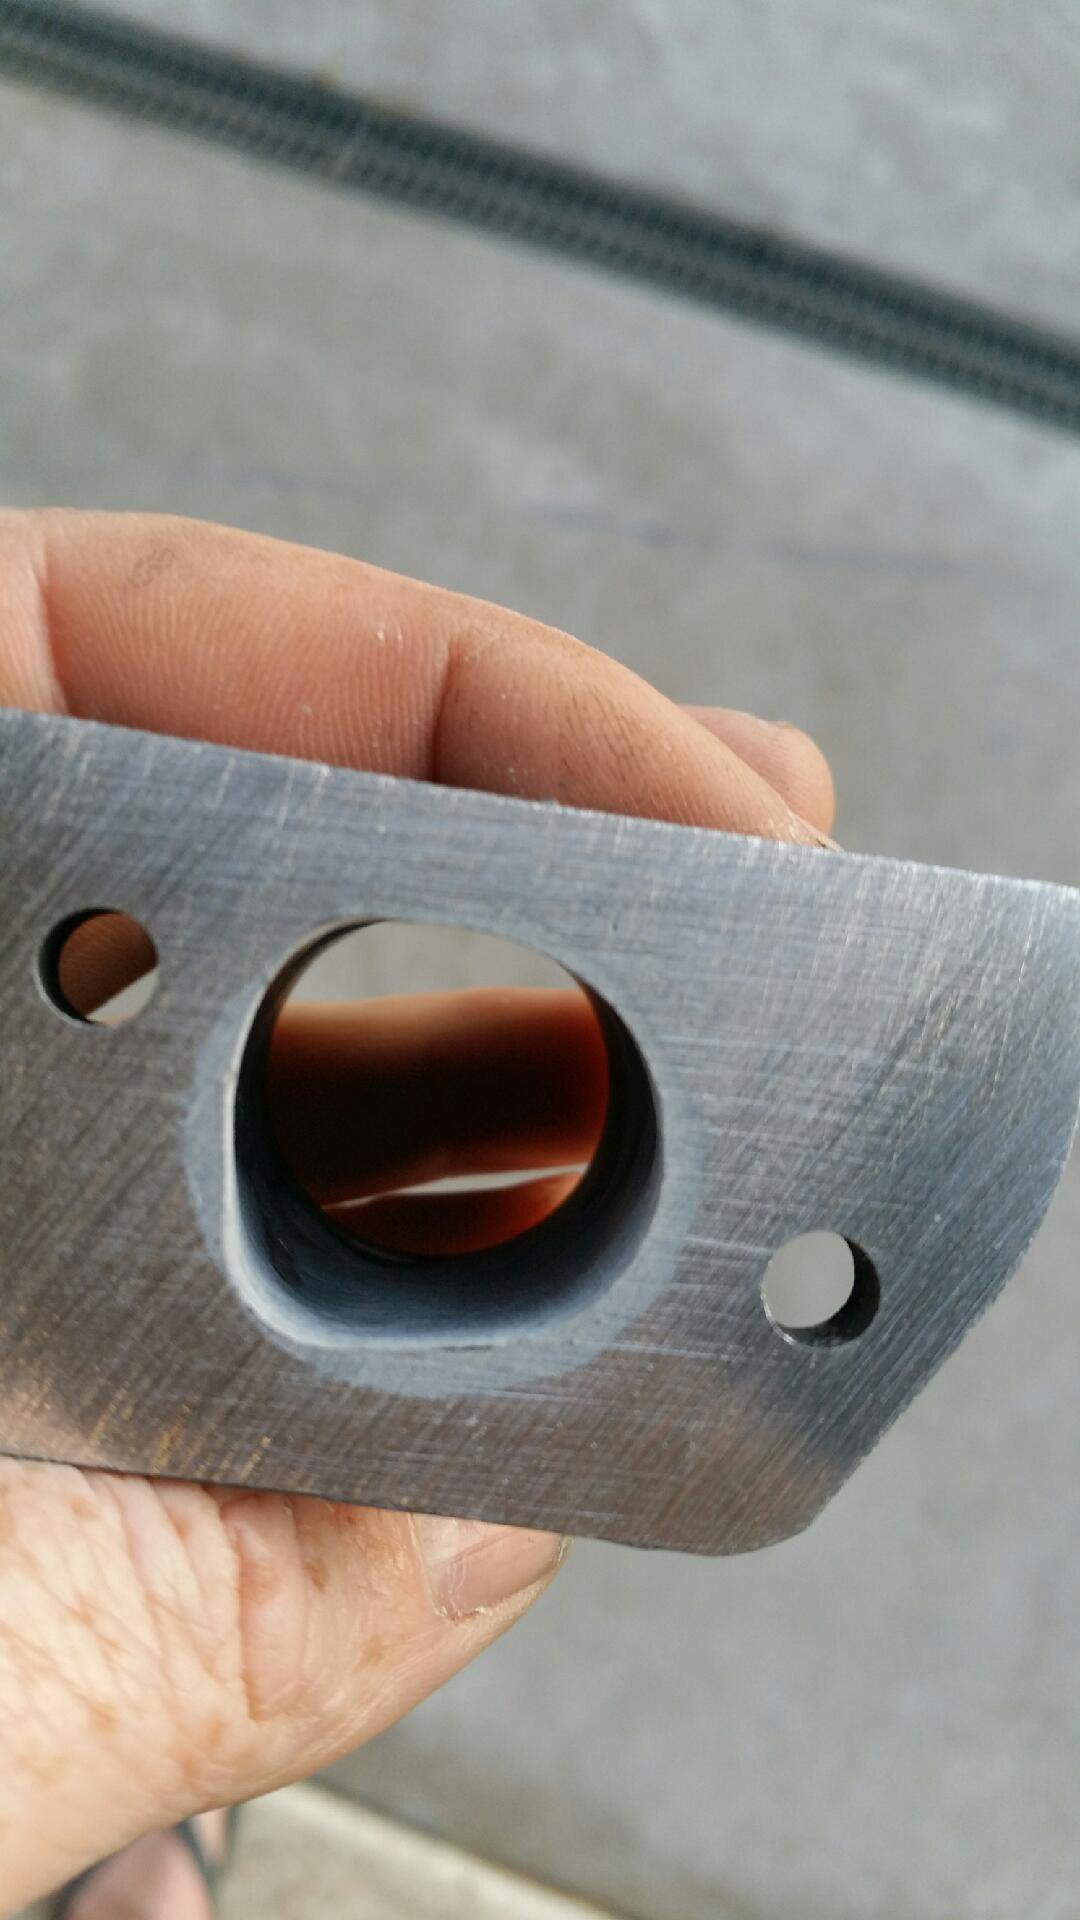
Here we go...much better:
It now has a beautiful smooth transition from round to D shaped. The manifold is a nice length to, which helps flow as well. Overall I think I'm onto a winner.
-
5
-
-
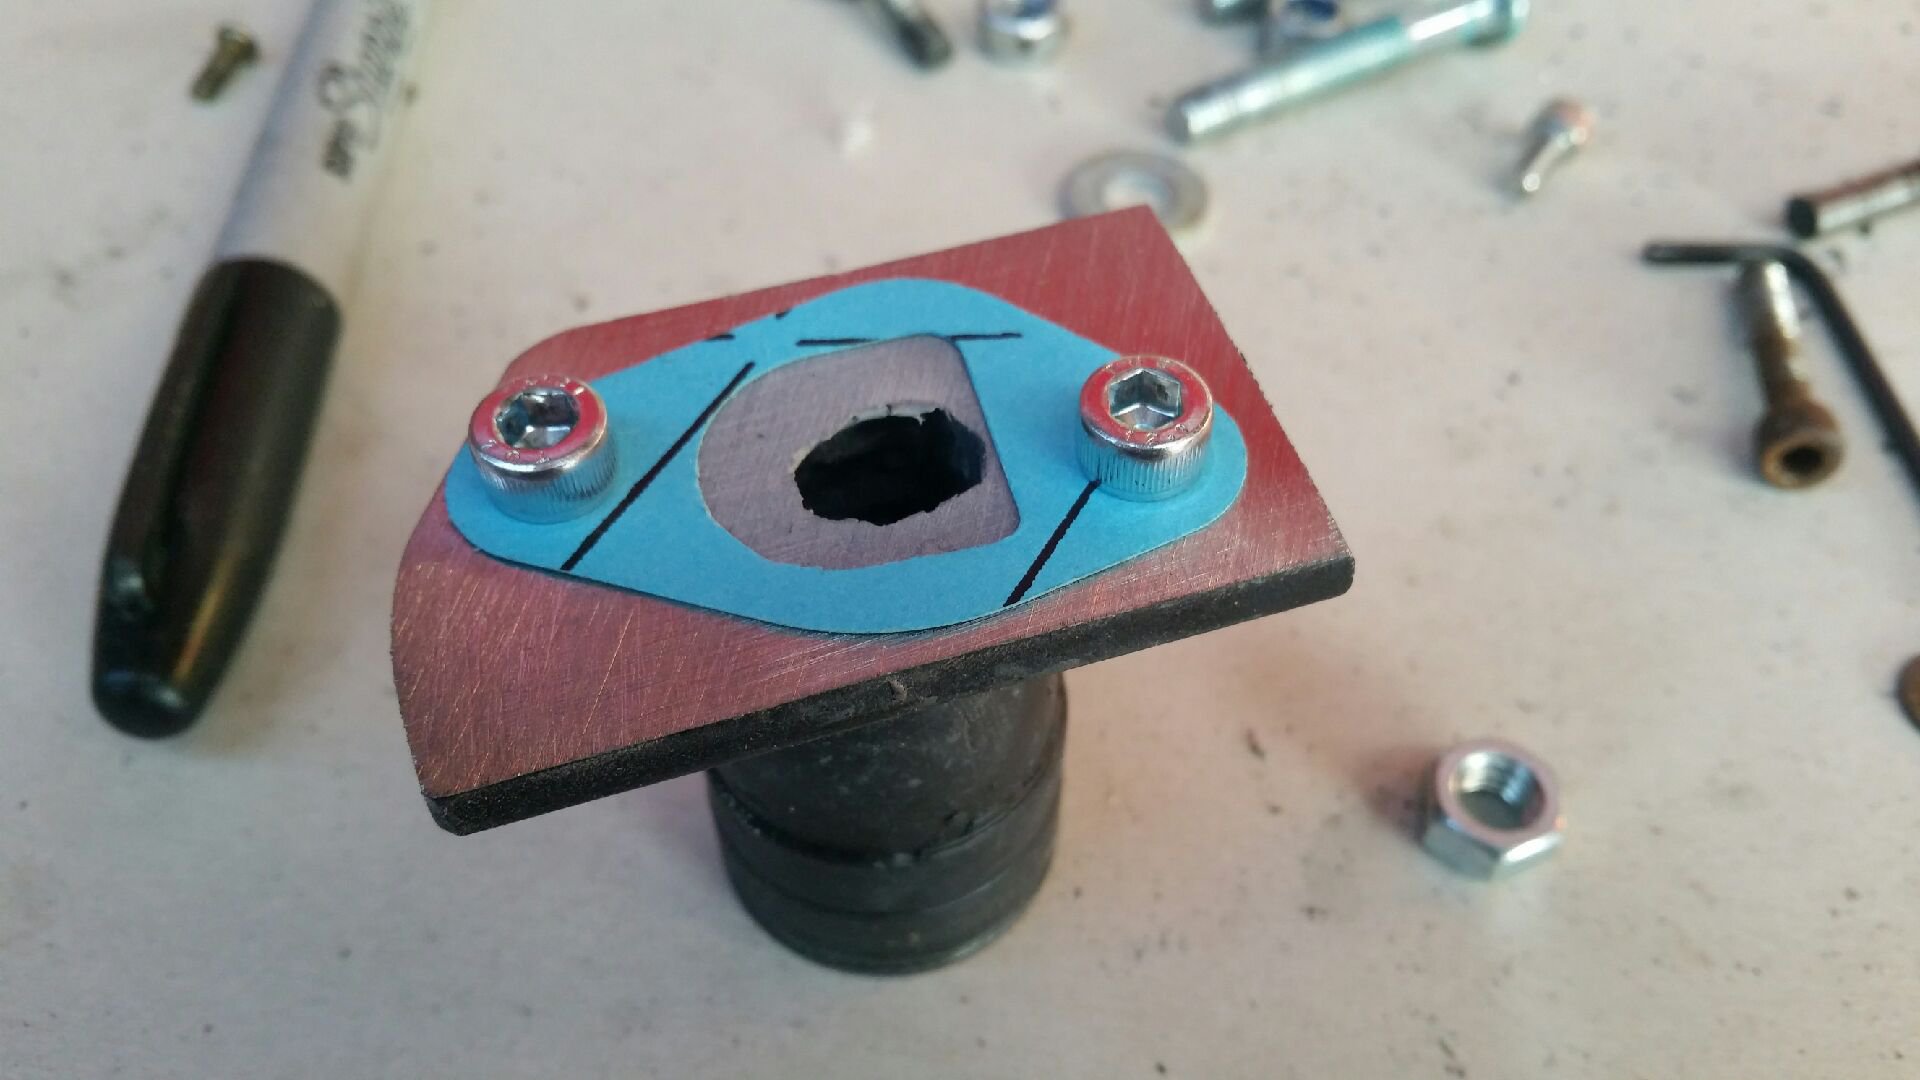
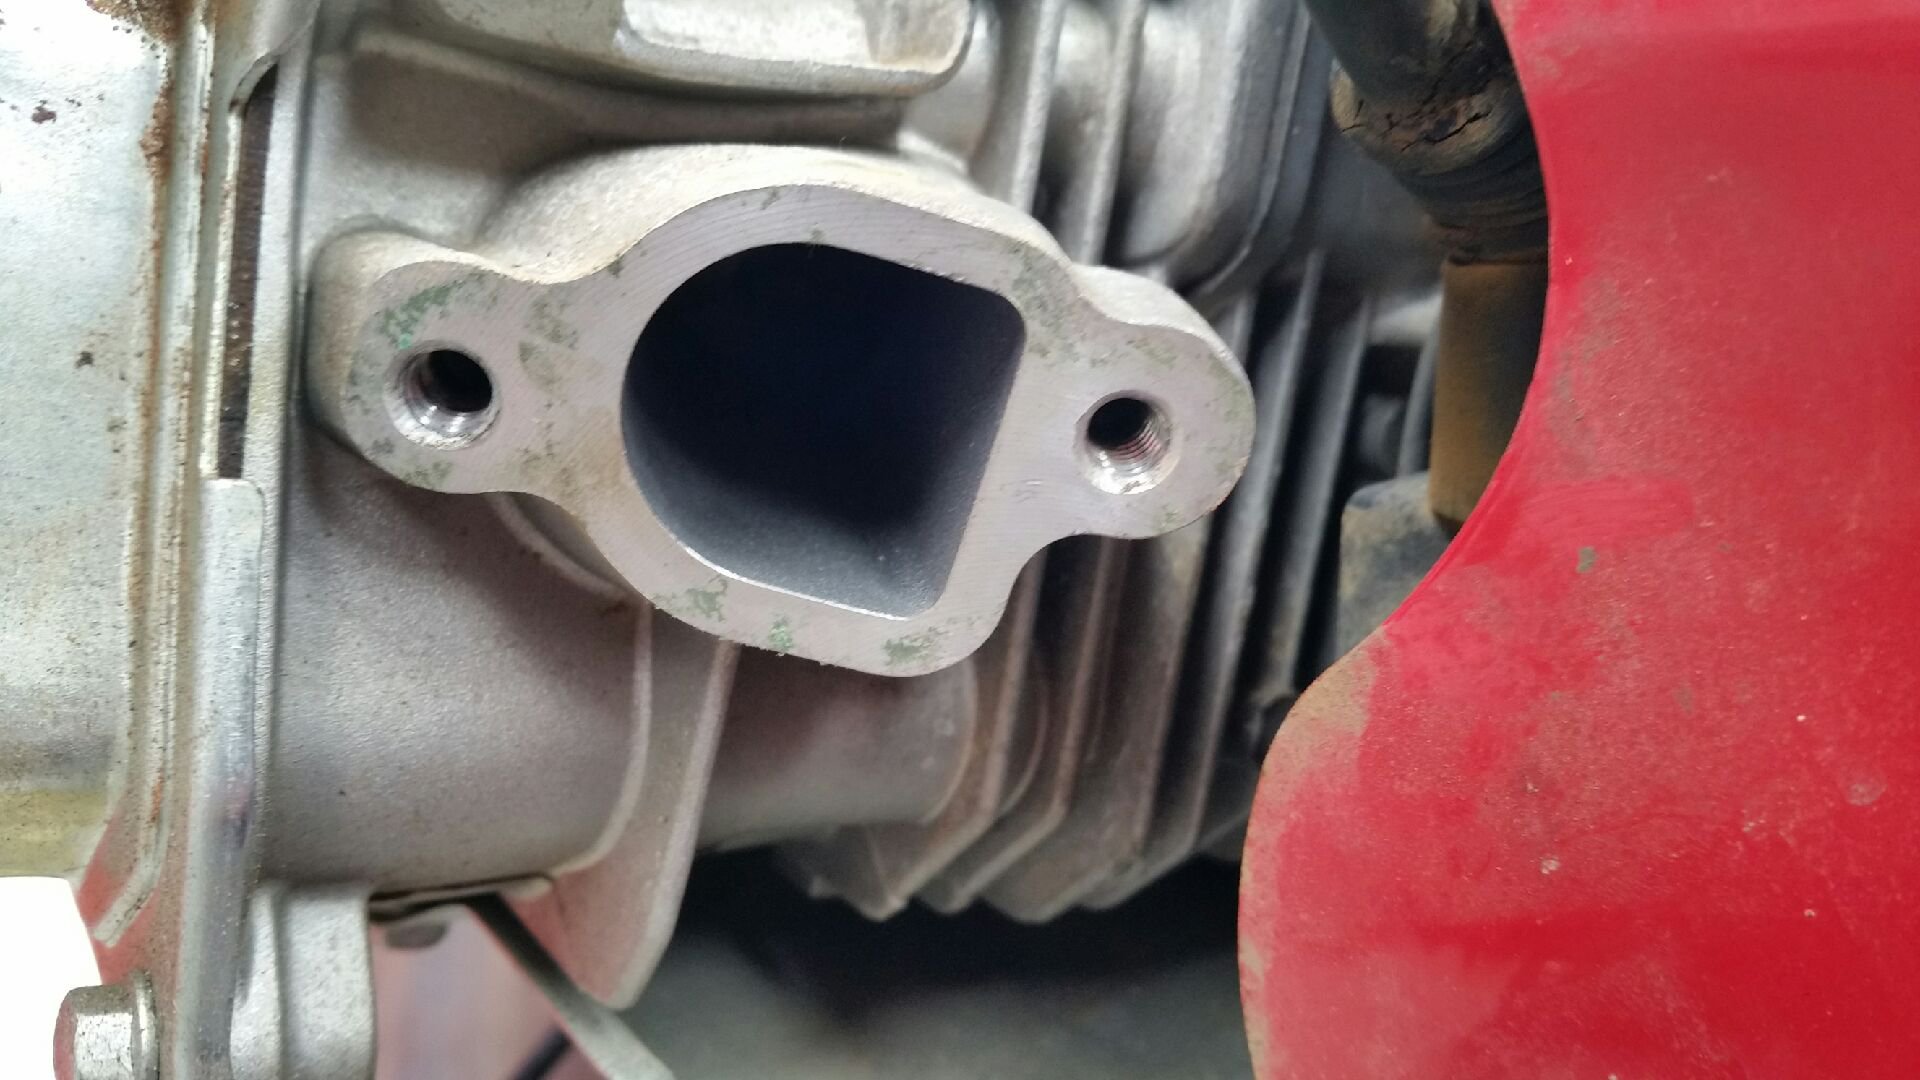
The motors intake port is D shaped. And the manifold is round...my OCD just can't live with that, just knowing it's wrong would keep me up at nights.
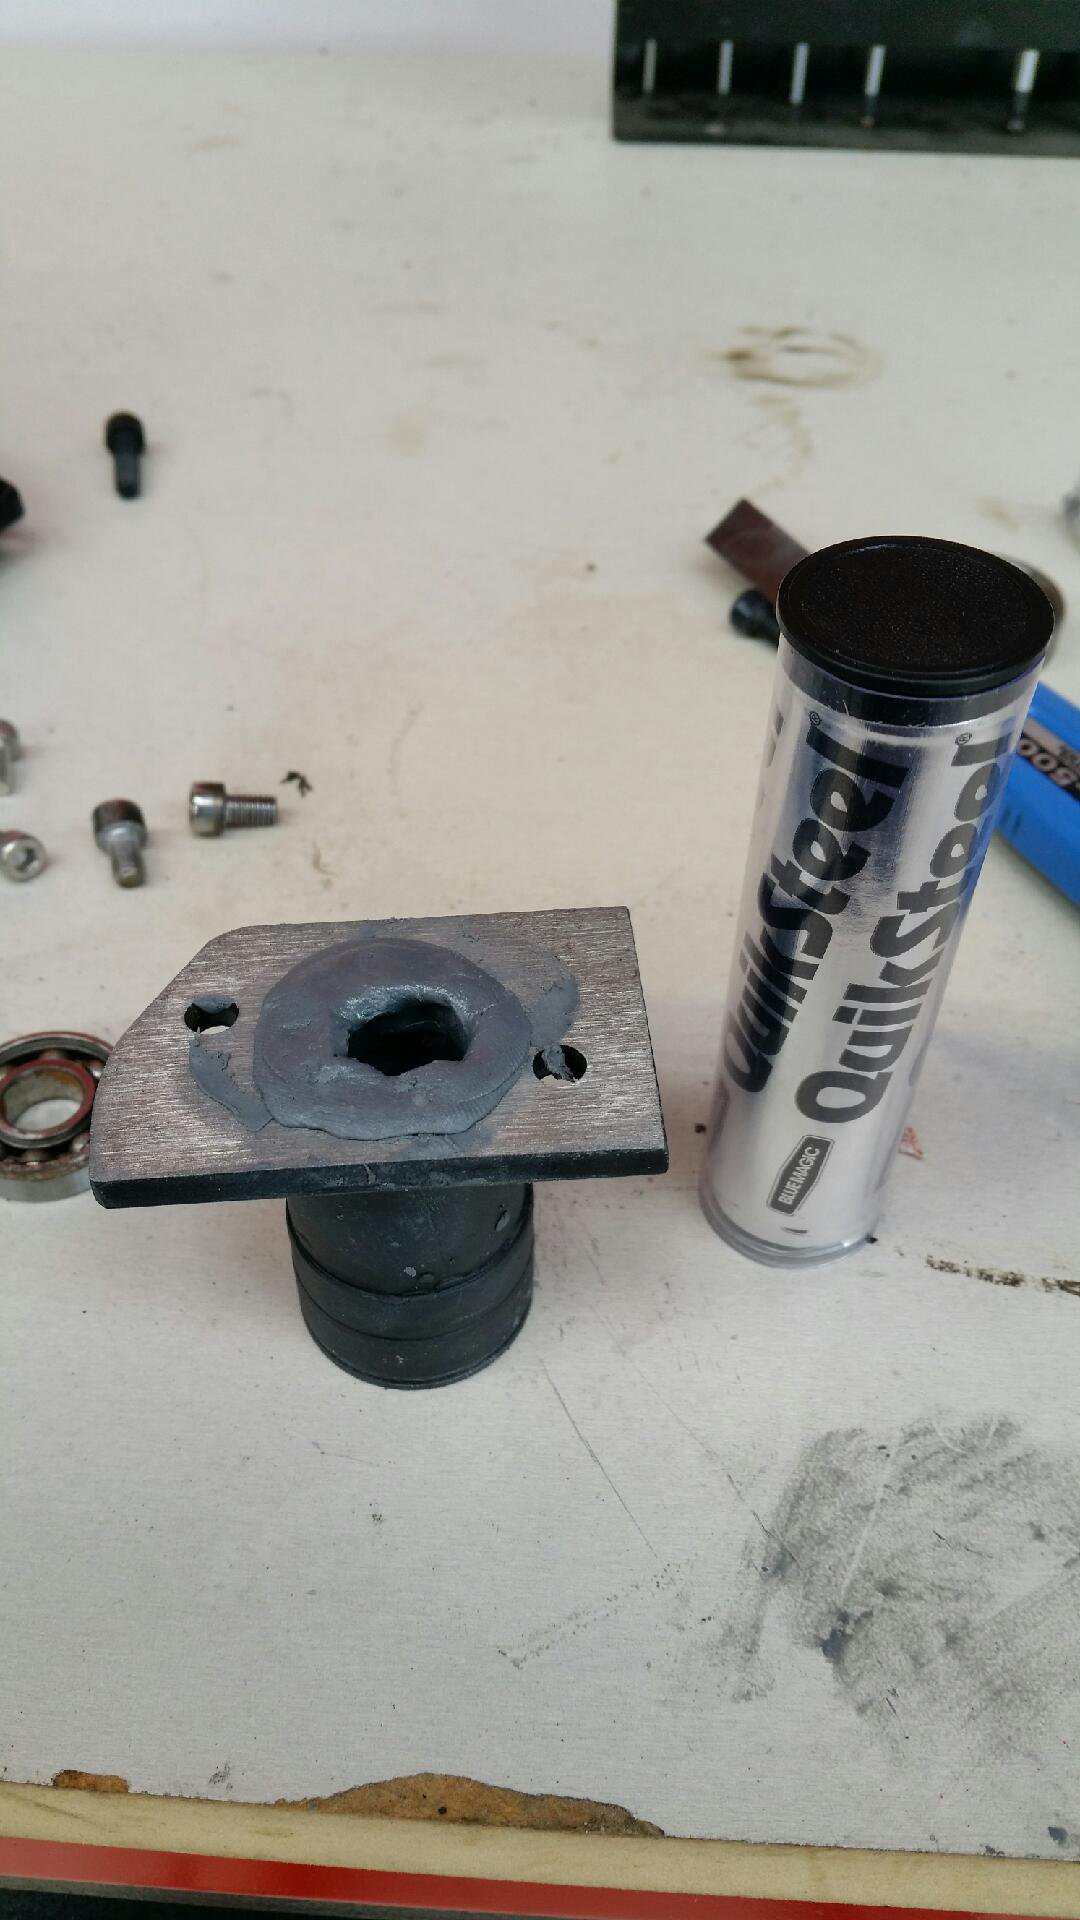
So time for the quick steel. It's basically JB weld, but supposed to be more fuel resistant? Anyway, it makes for shaping a smooth transition to the port easy.
I've got to leave it for an hour or two before I can dremel it into shape. Then we'll see if this was a good idea or not?
-
1
-
-
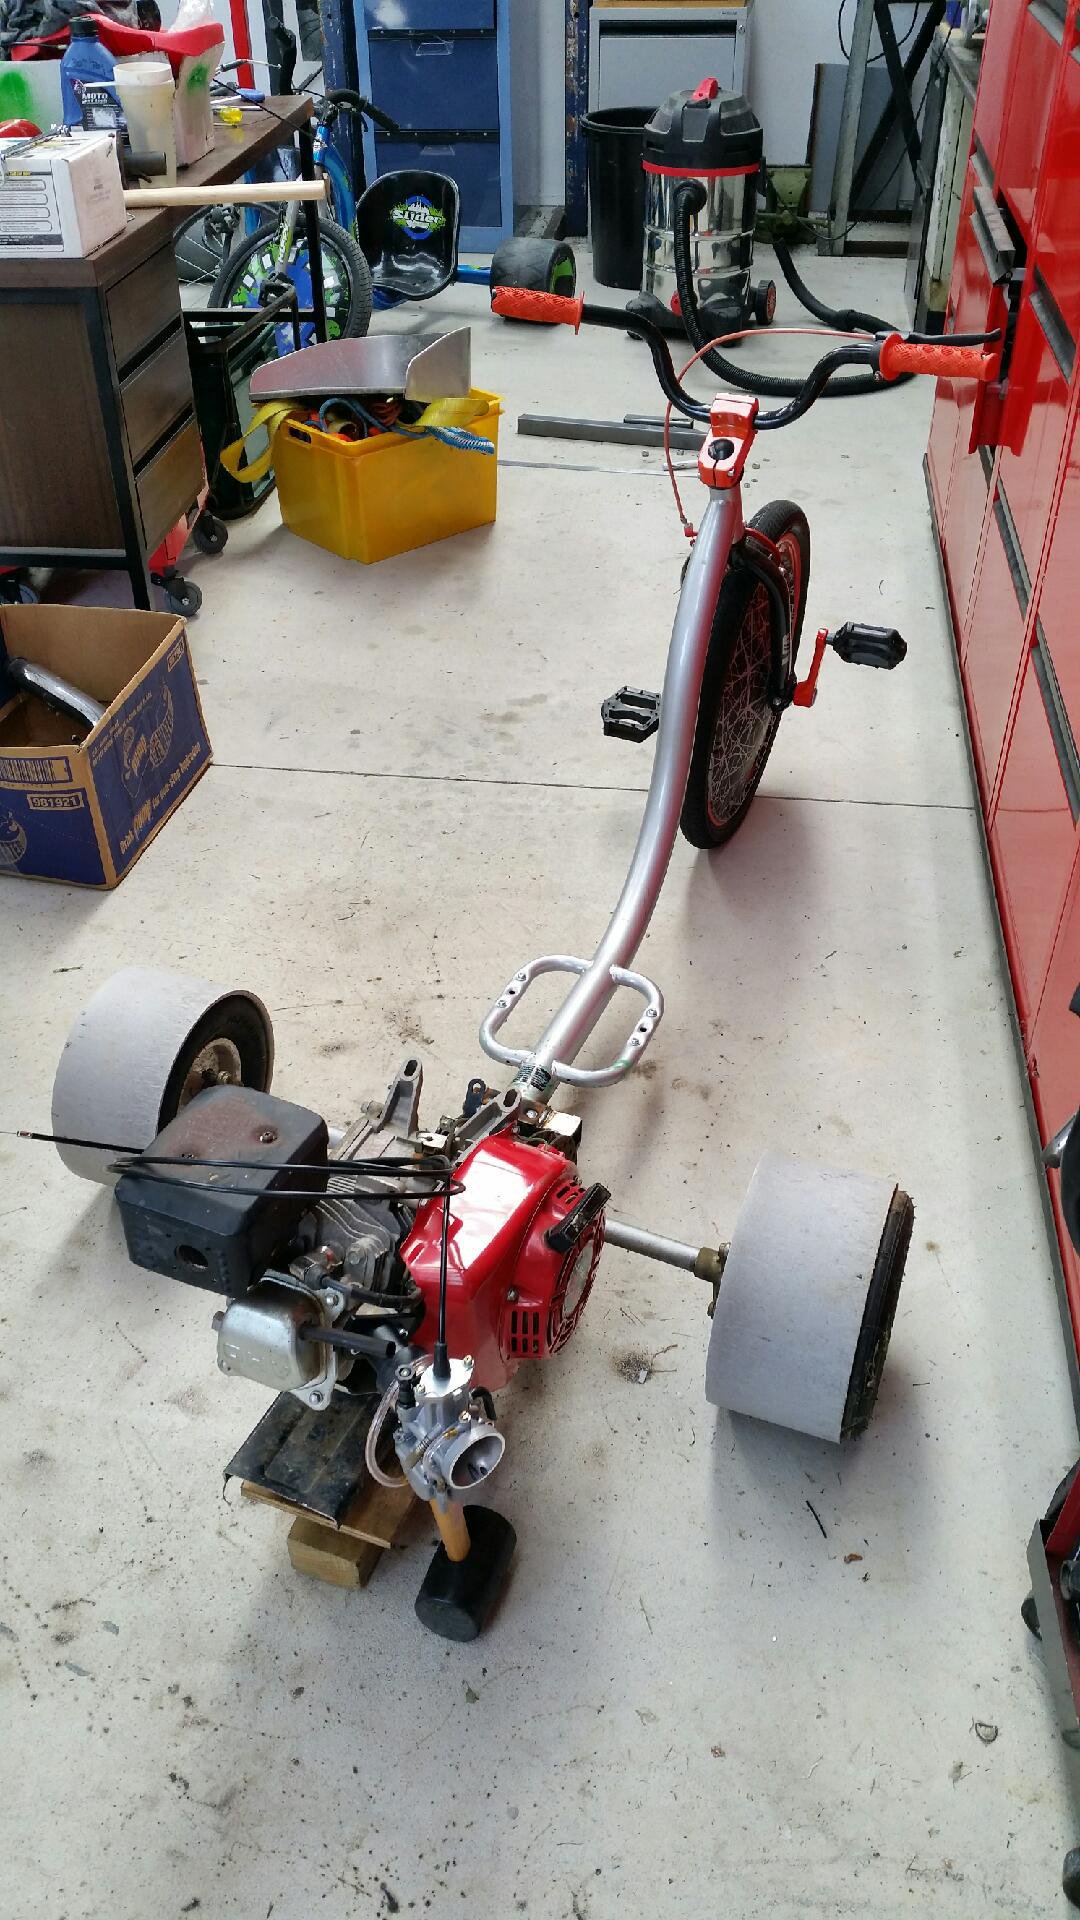
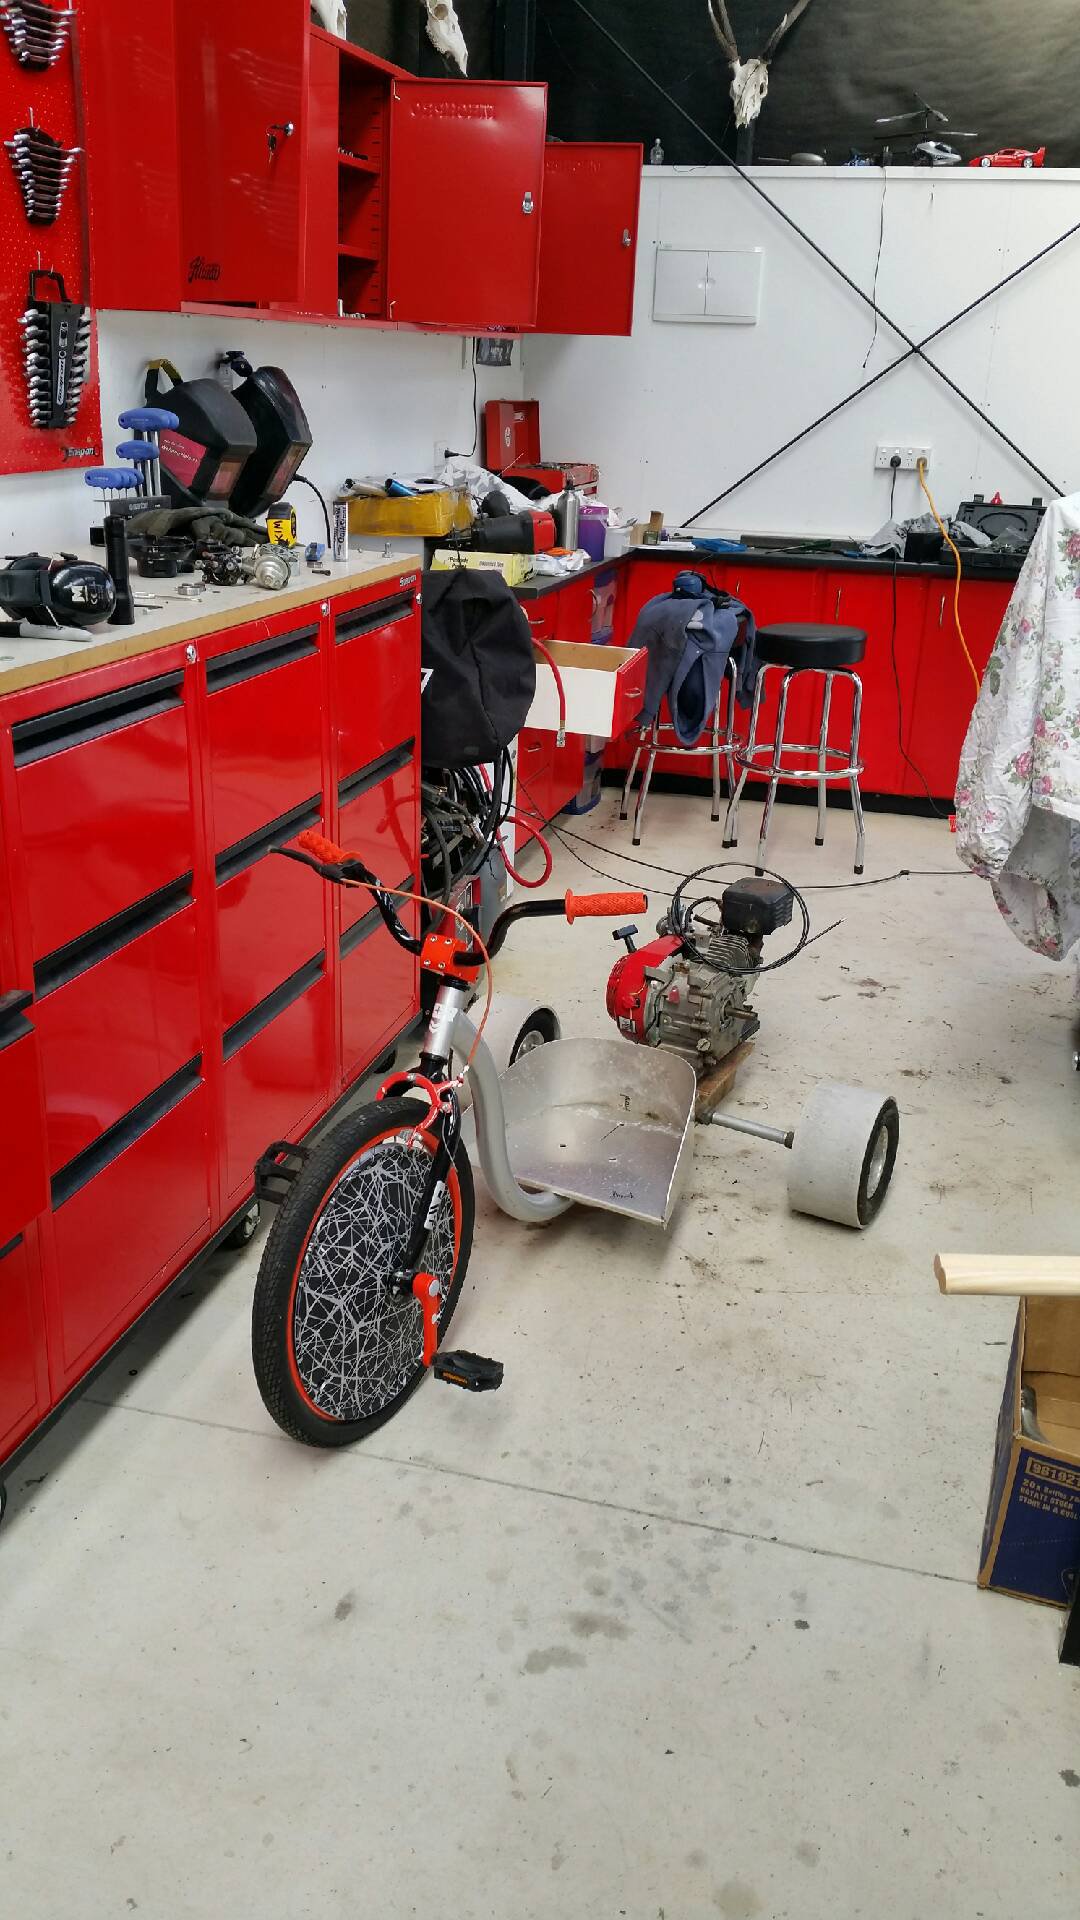
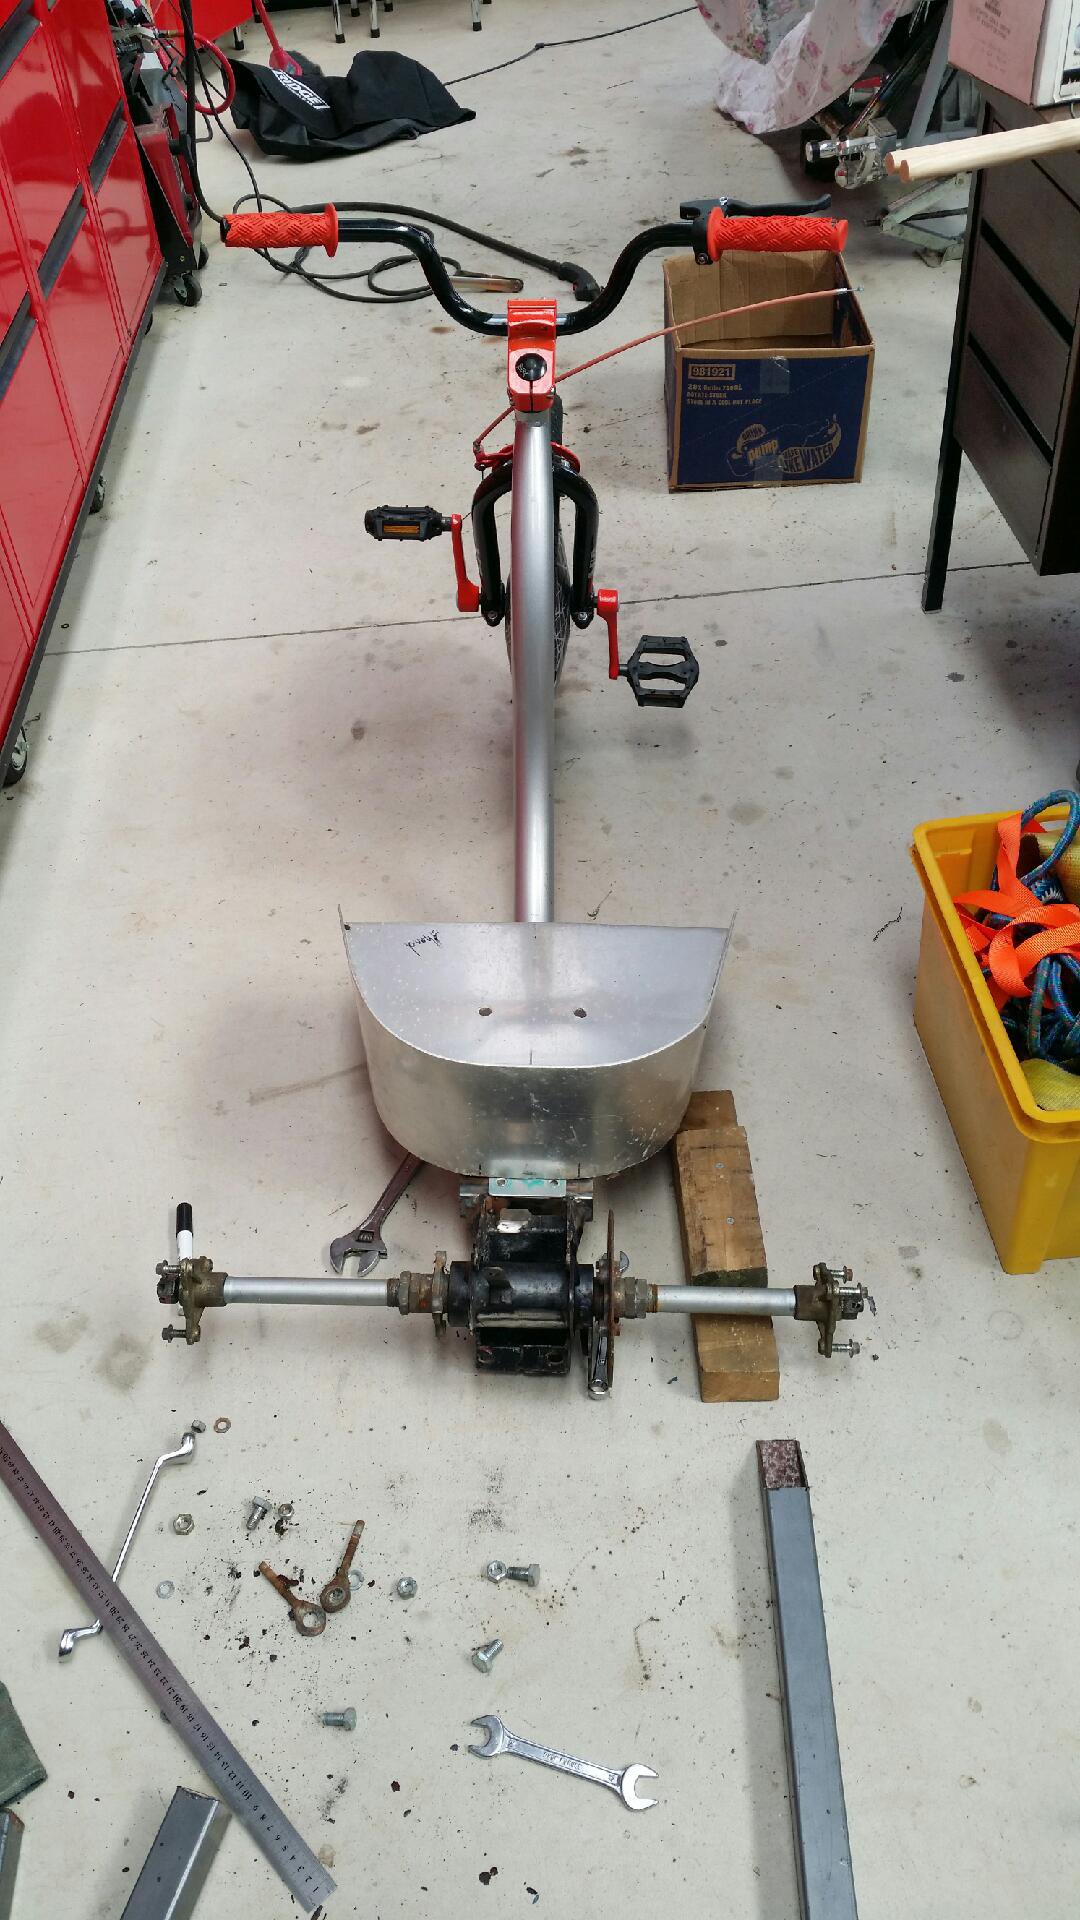
The other drift trikes were gifts for old friends I grew up with as a kid. However this one's for me.
I'm in no hurry to finish it...but thought I'd start and as parts become available (free or cheap) I'll put it together. So far this is what I've done:
Free drift trike and a $50 axle from a mini quad. Seat off a uni-tech project someone didn't get finished and their mum sold it to me on trademe for $20... all I wanted was the seat, the rest went to a local guy who makes bikes and gokarts with school kids after school to teach them life skills.
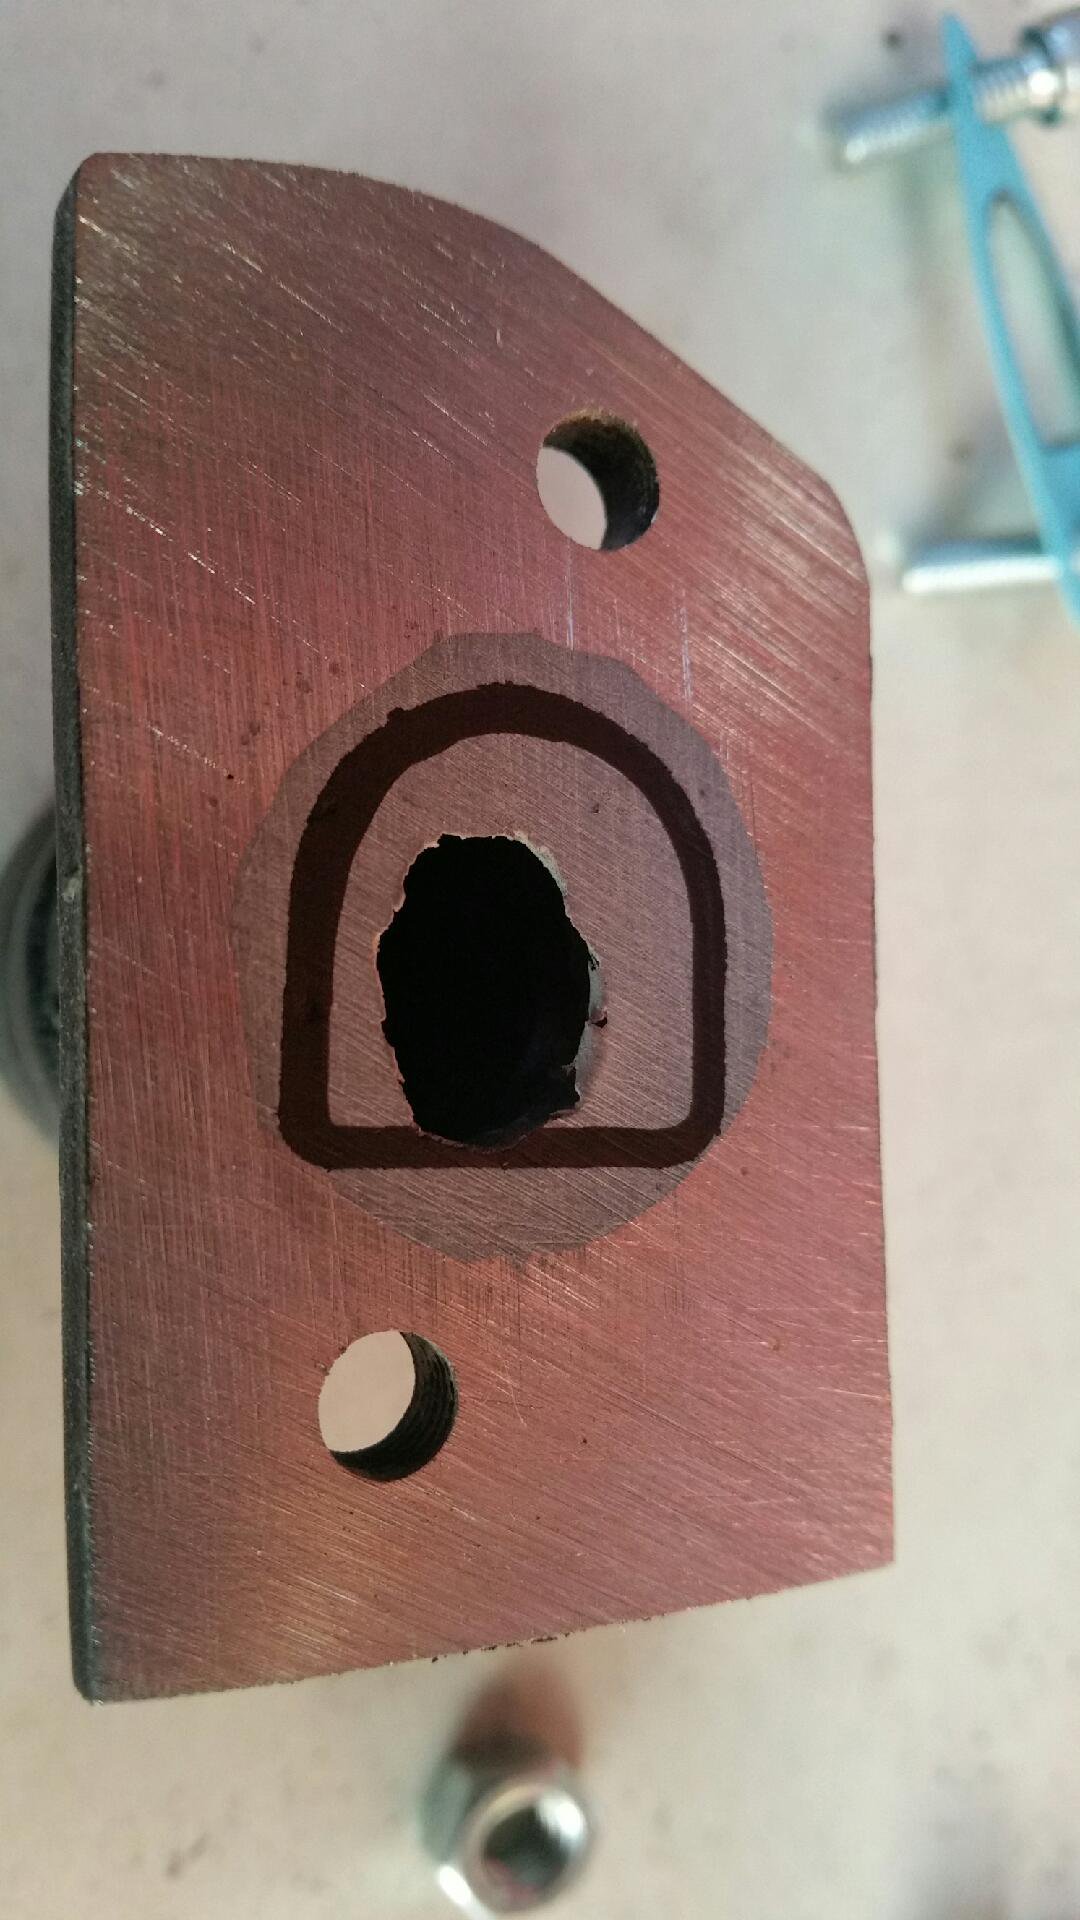
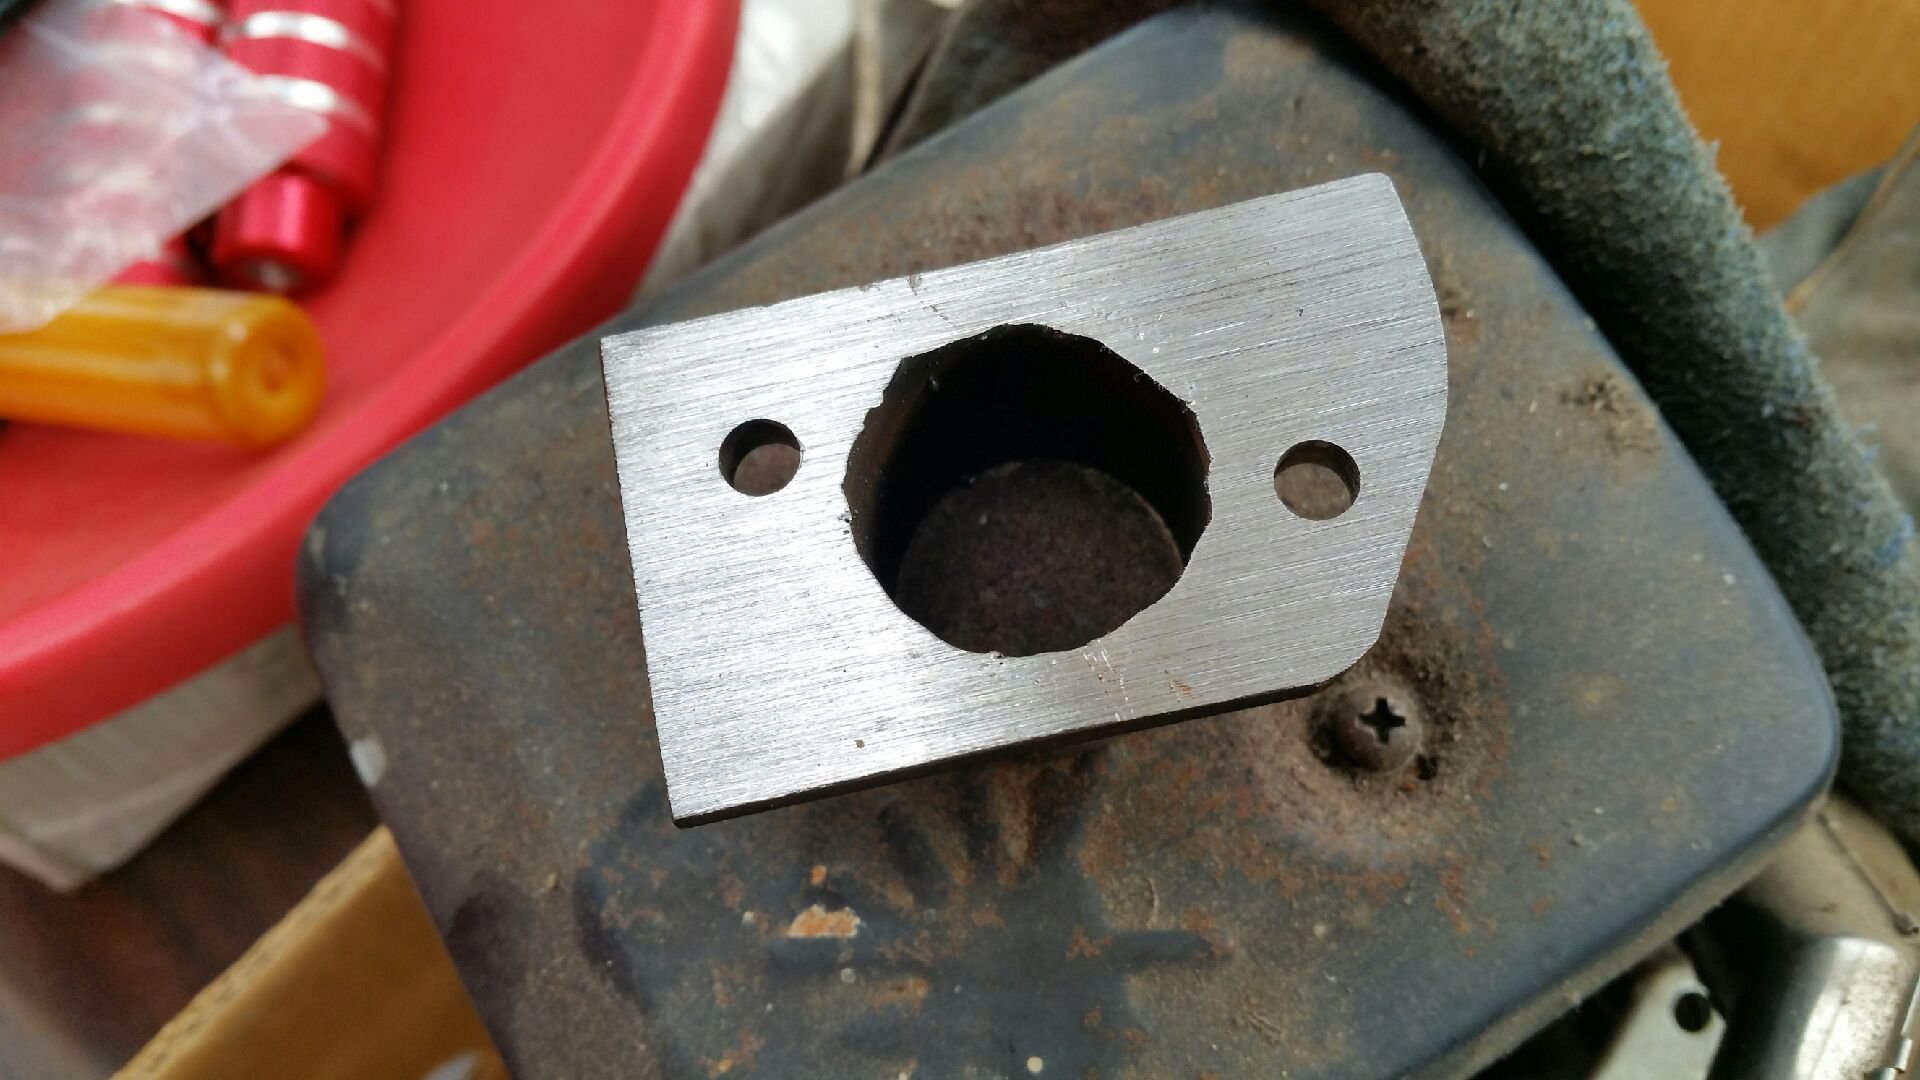
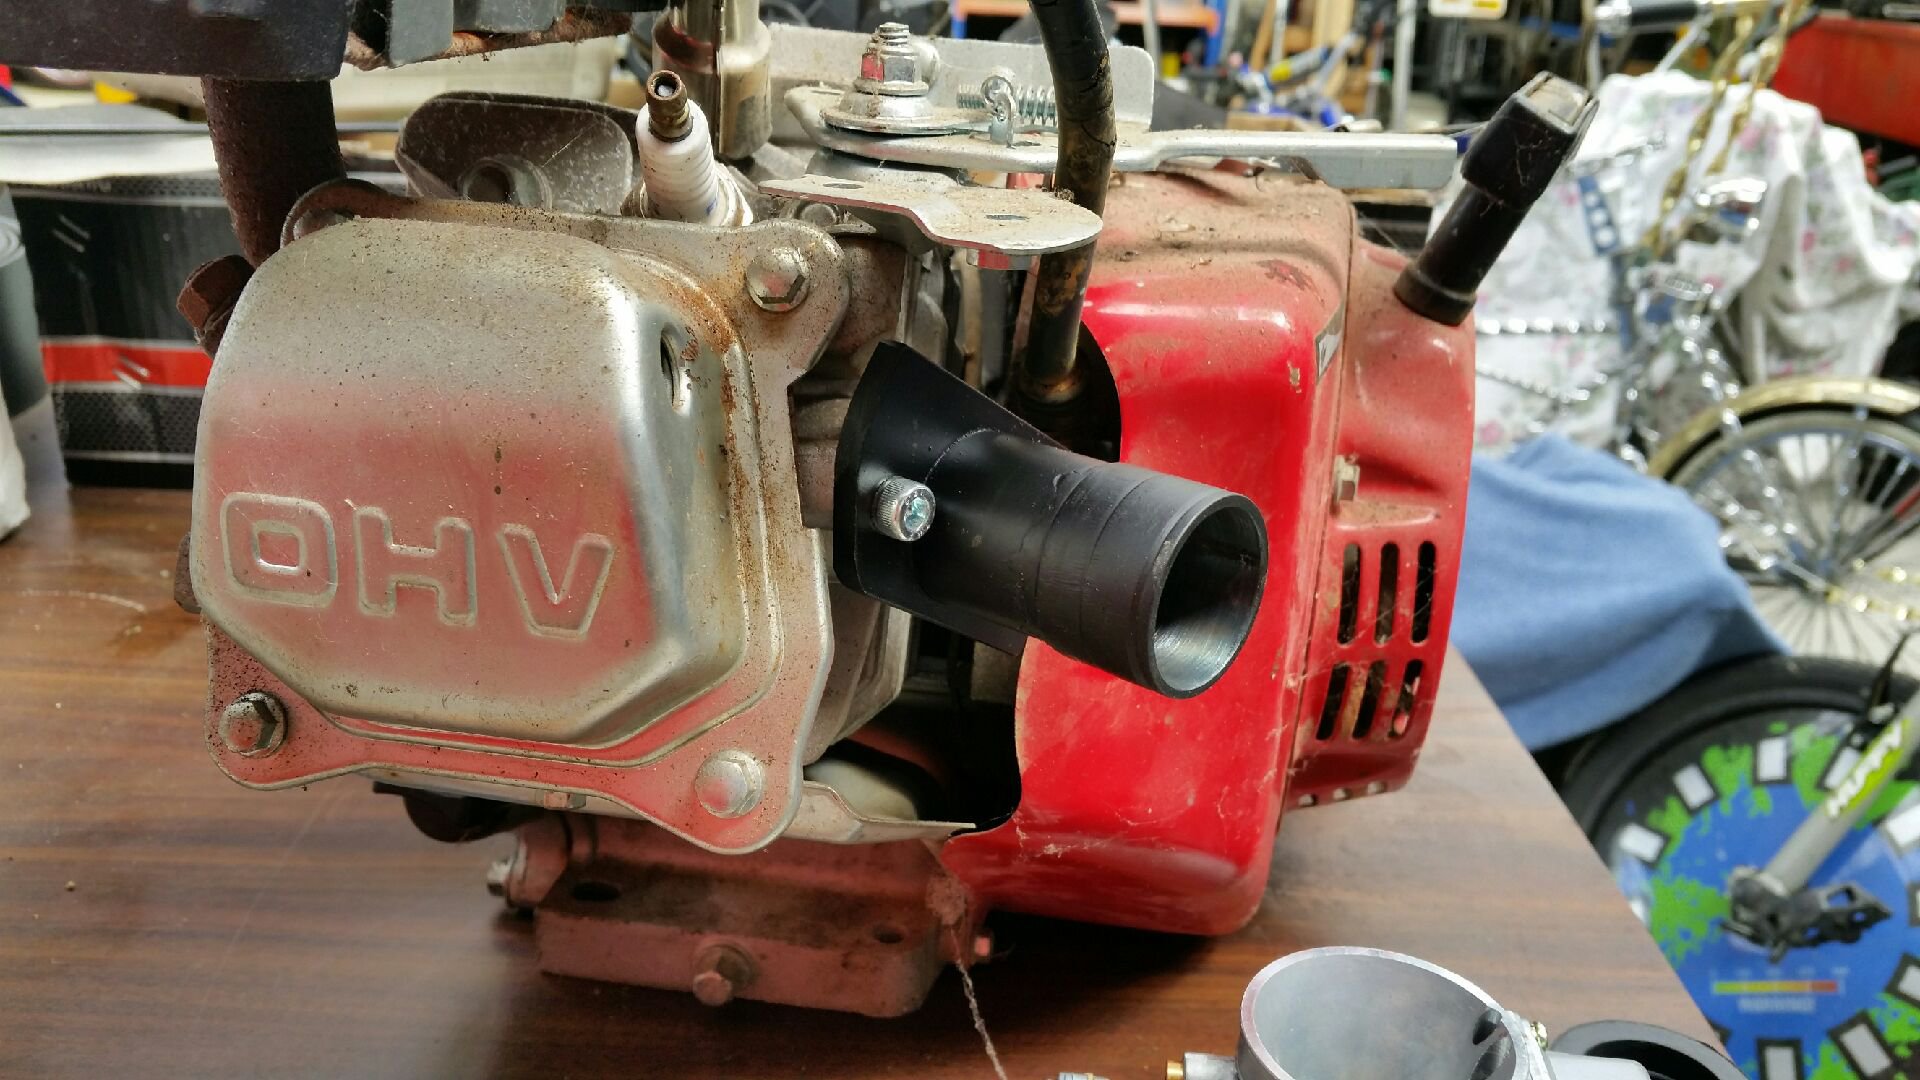
Manifold taking shape.
Aim is to mount this mikuni (copy) VM26 carburetor to a Honda 6.5hp motor. The motor was given to me by a mate for free. It sat for too long with gas in the carburetor and varnished up. I ordered a new carburetor...but then thought...hmmm???? I have a VM26 sitting here doing nothing, so why not try it out?
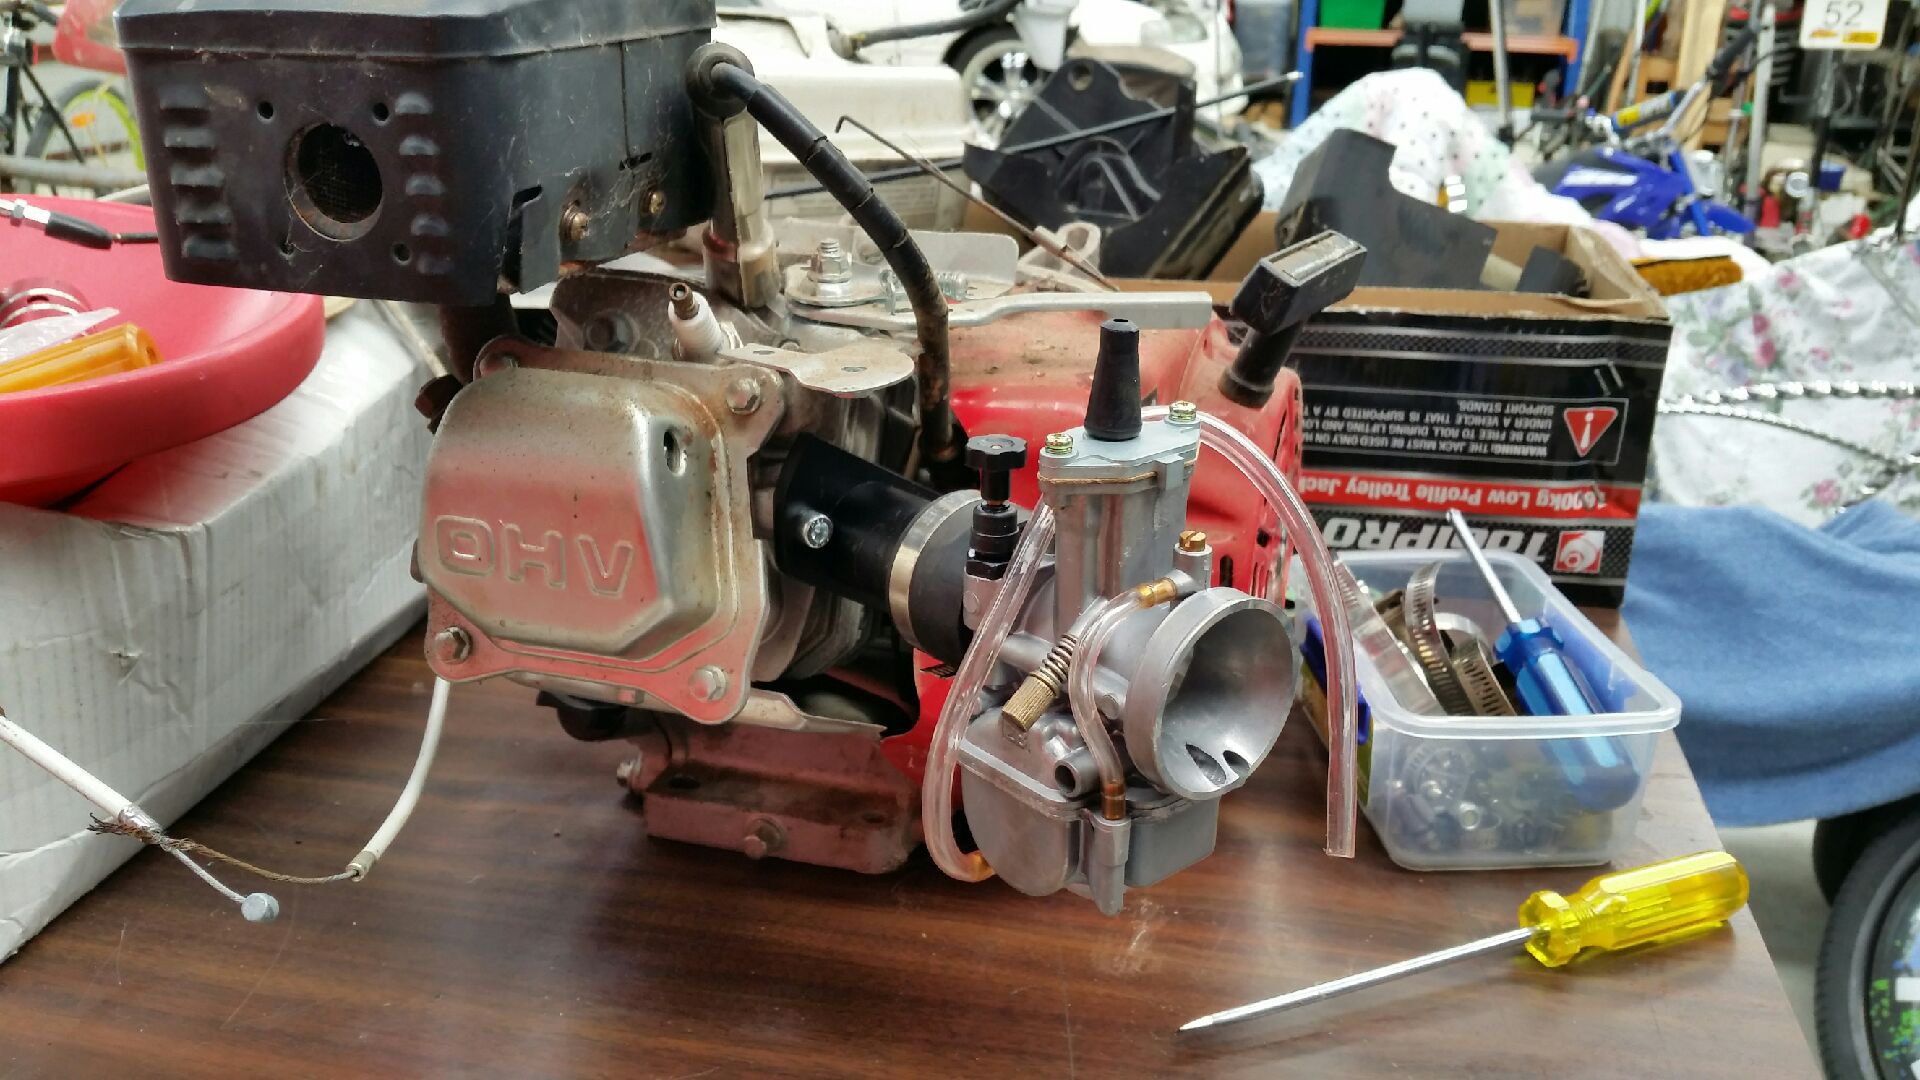
Manifold all done.
Oooooohhhh yeaaaahhhh!!!! Just like a brought one! Should be a nice improvement over stock carb.
-
6
-
1
-
-
On 19/10/2018 at 22:34, Muncie said:
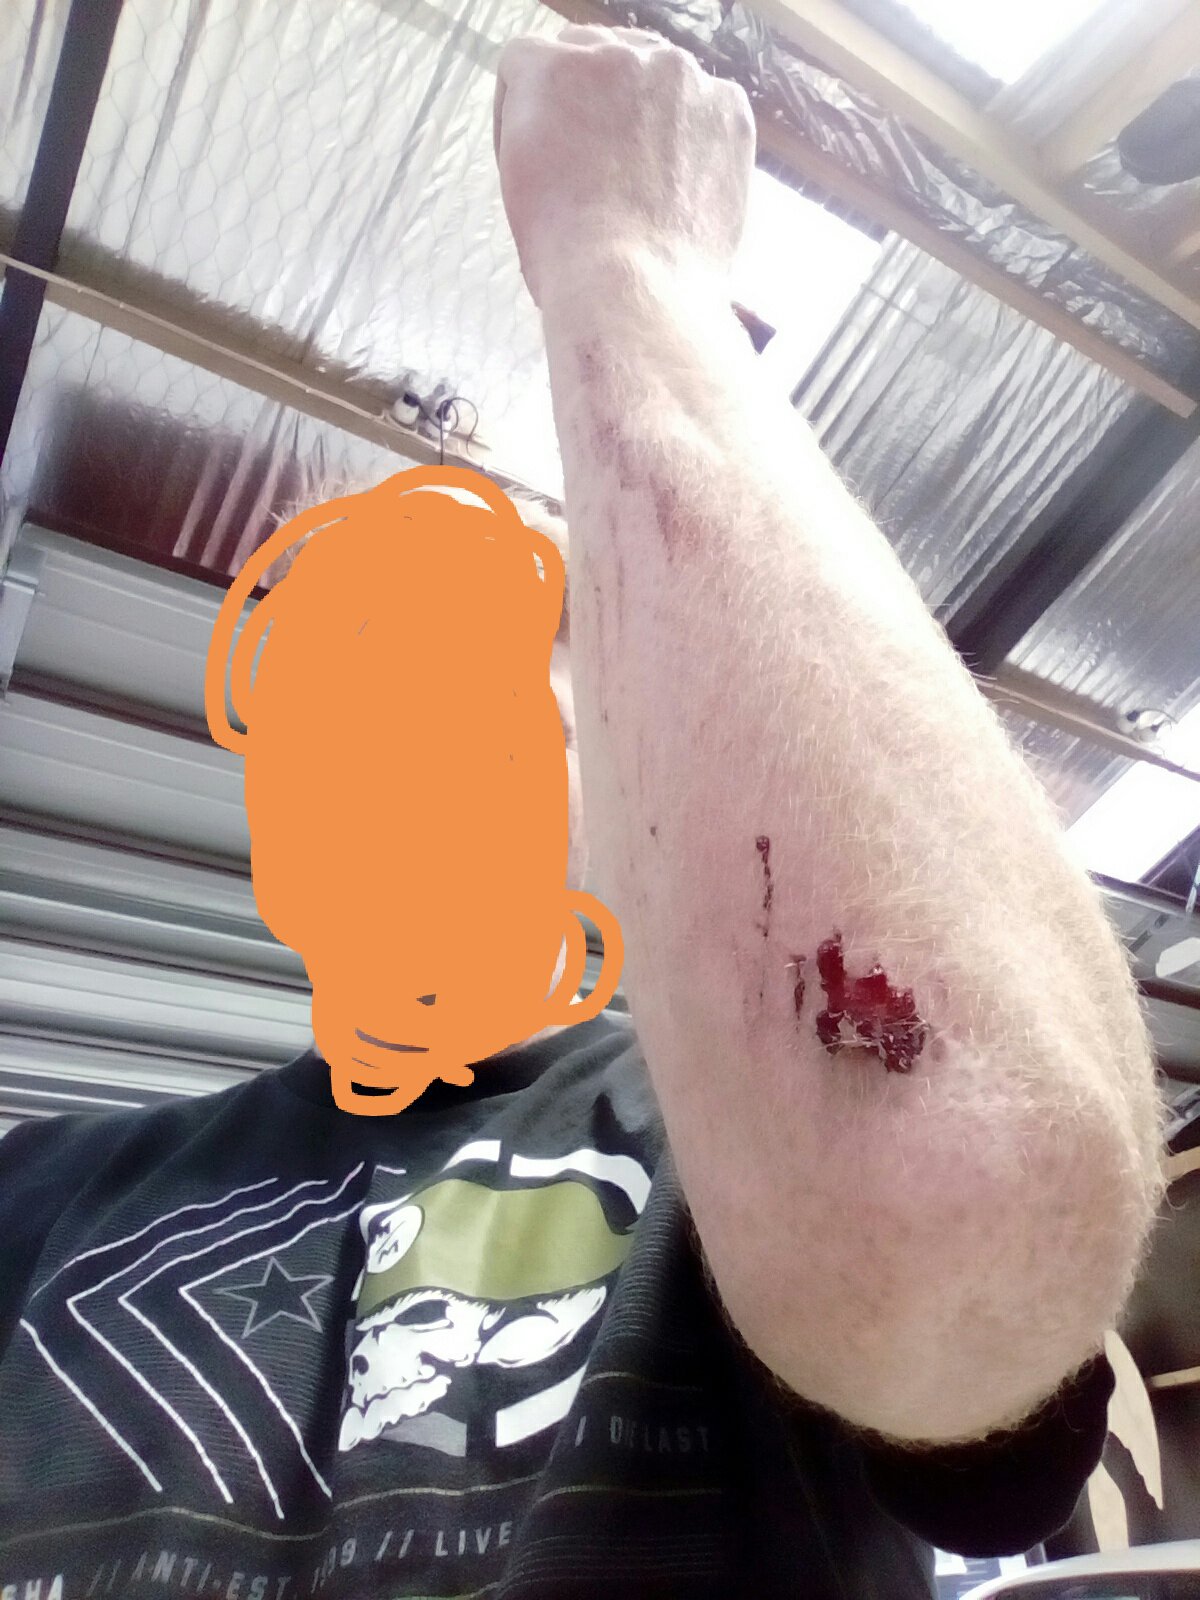
Mrs jumped on it today and gave it berrys halfway through me explaining it has no brakes cue me panicking as she flew up the road at huge pace. No crash she didnt know what all the fuss was about..... my steering tweaks have clearly worked
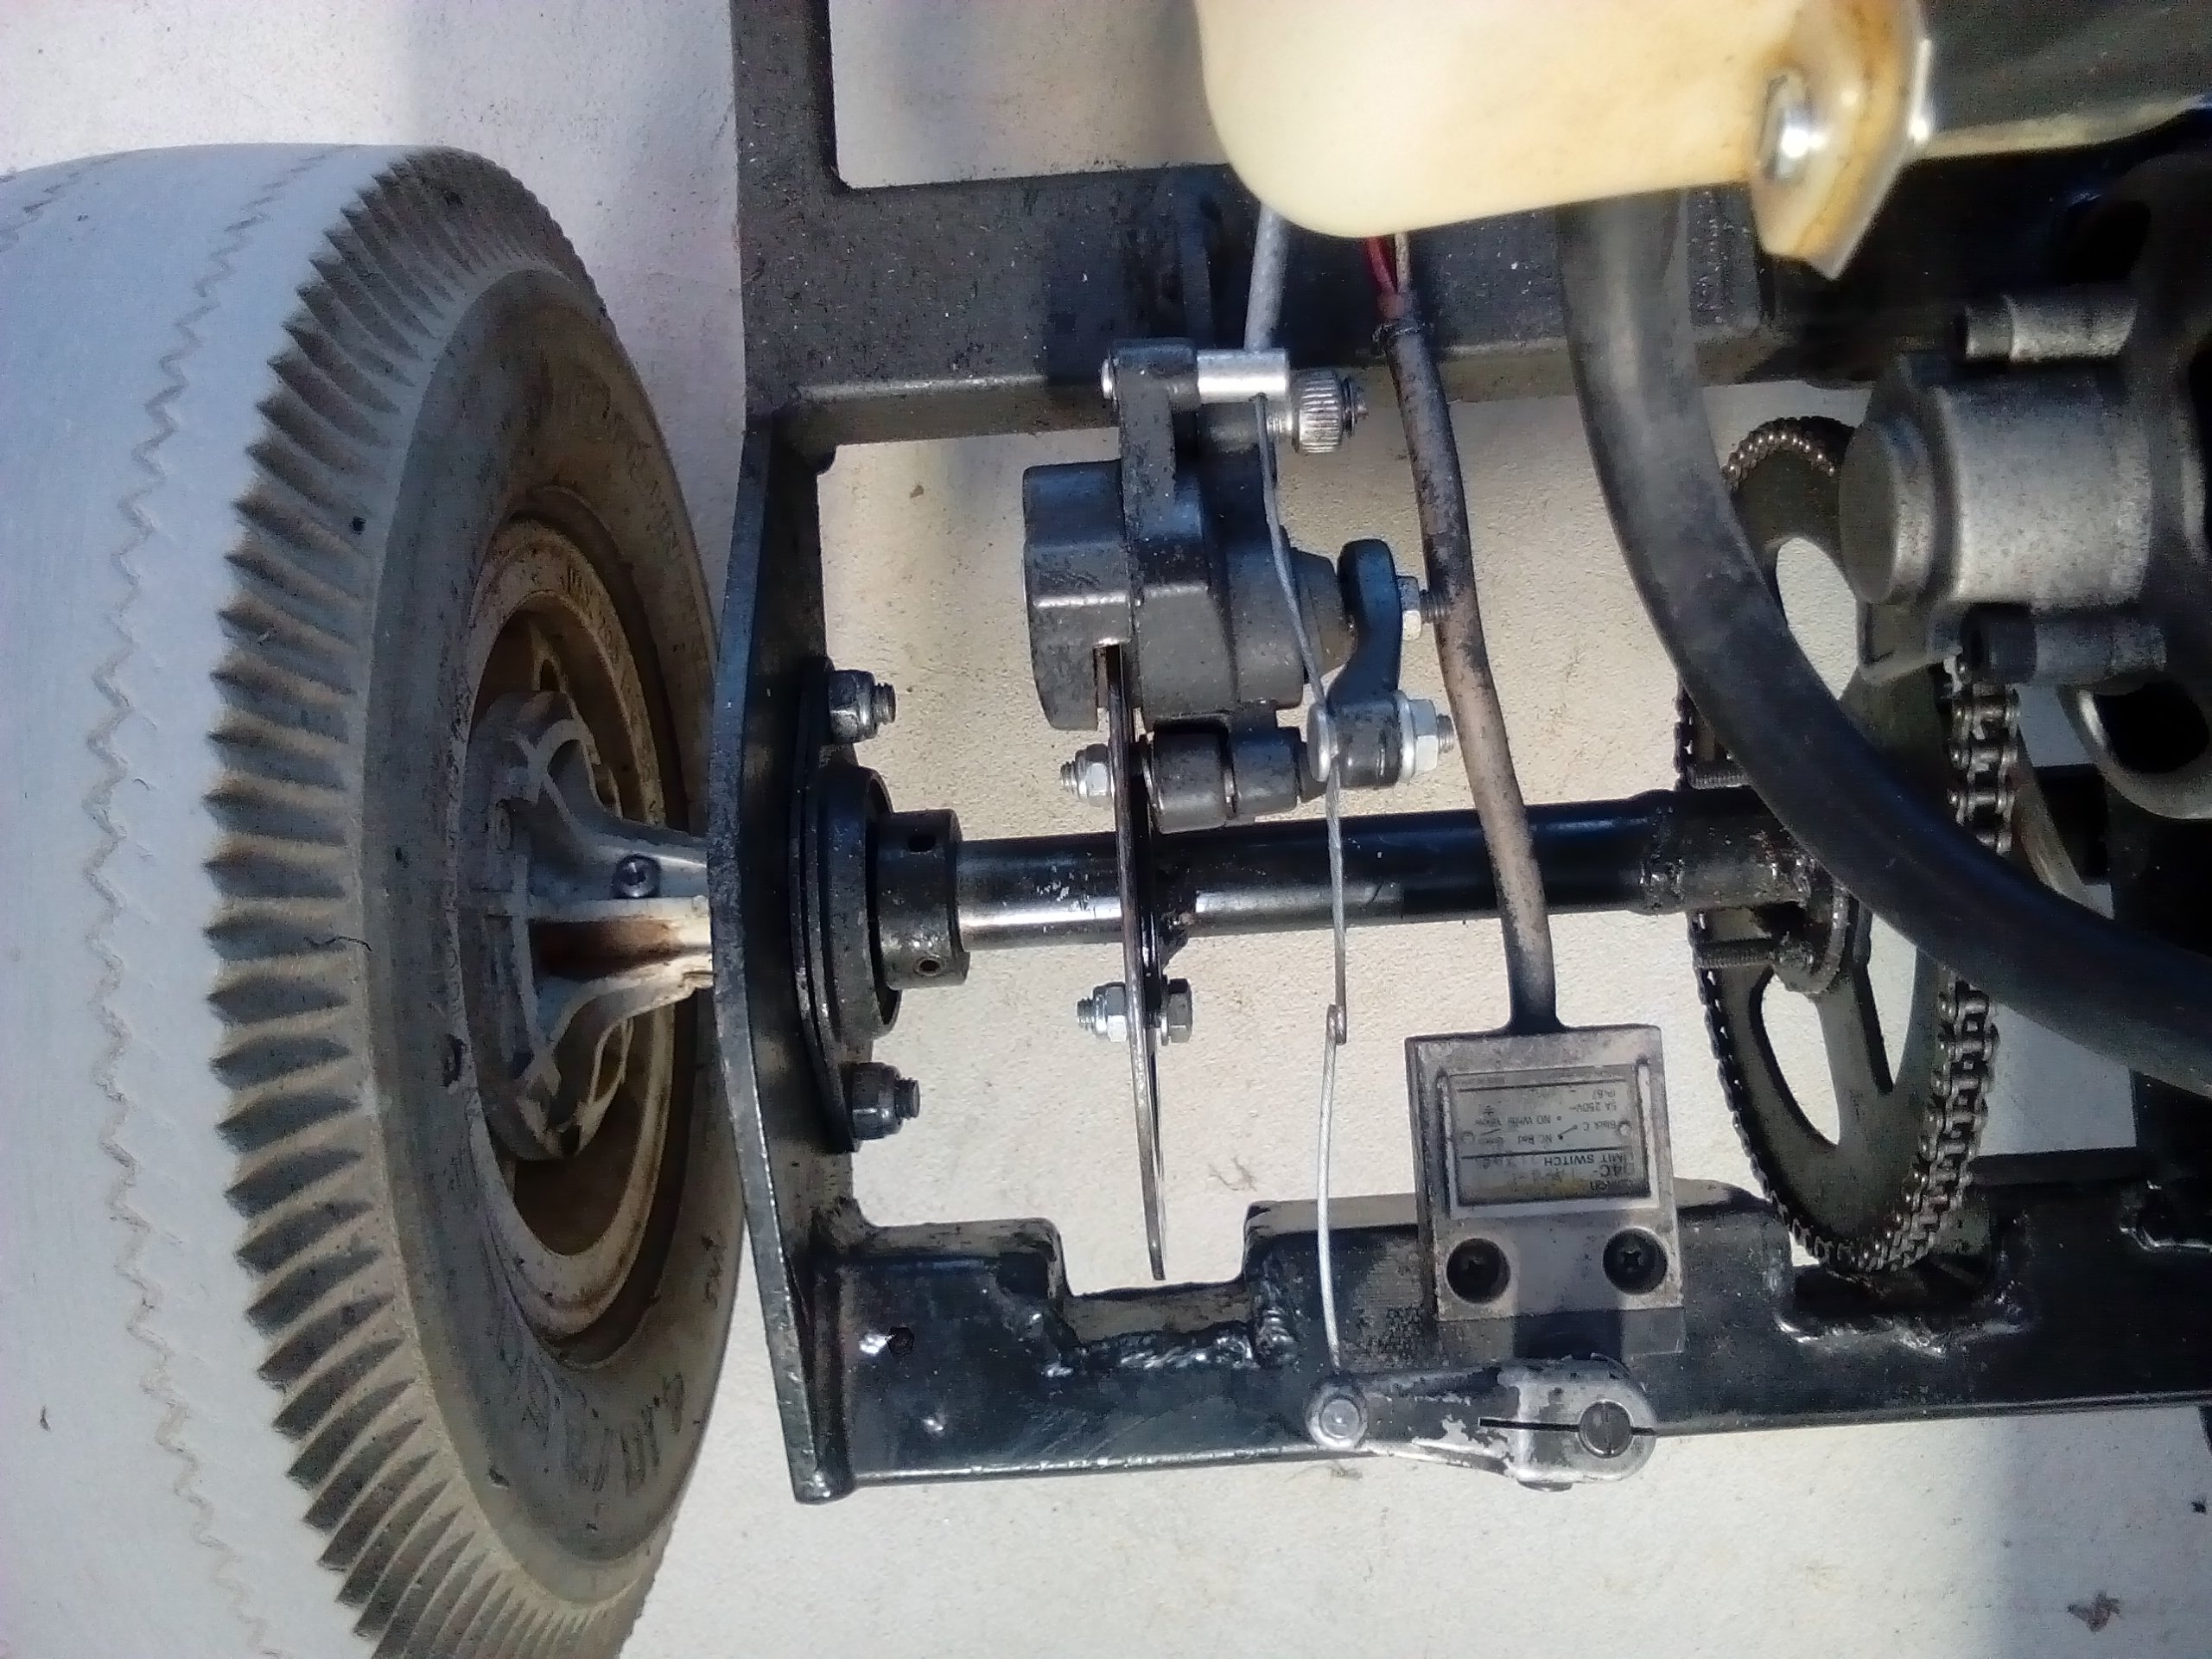
This is the brake set-up on my one. I didn't make this, it was already done by someone else.
I wouldn't say it's in the league of Brembo's 6 pot calipers on a super bike...But it is a lot better than nothing.
I'm sure I've got a few of those brake discs floating around you can have for nothing. And the calipers are like $6 on ebay...or if you don't wanna wait 6 weeks you can get them for $10+ postage on trademe.
-
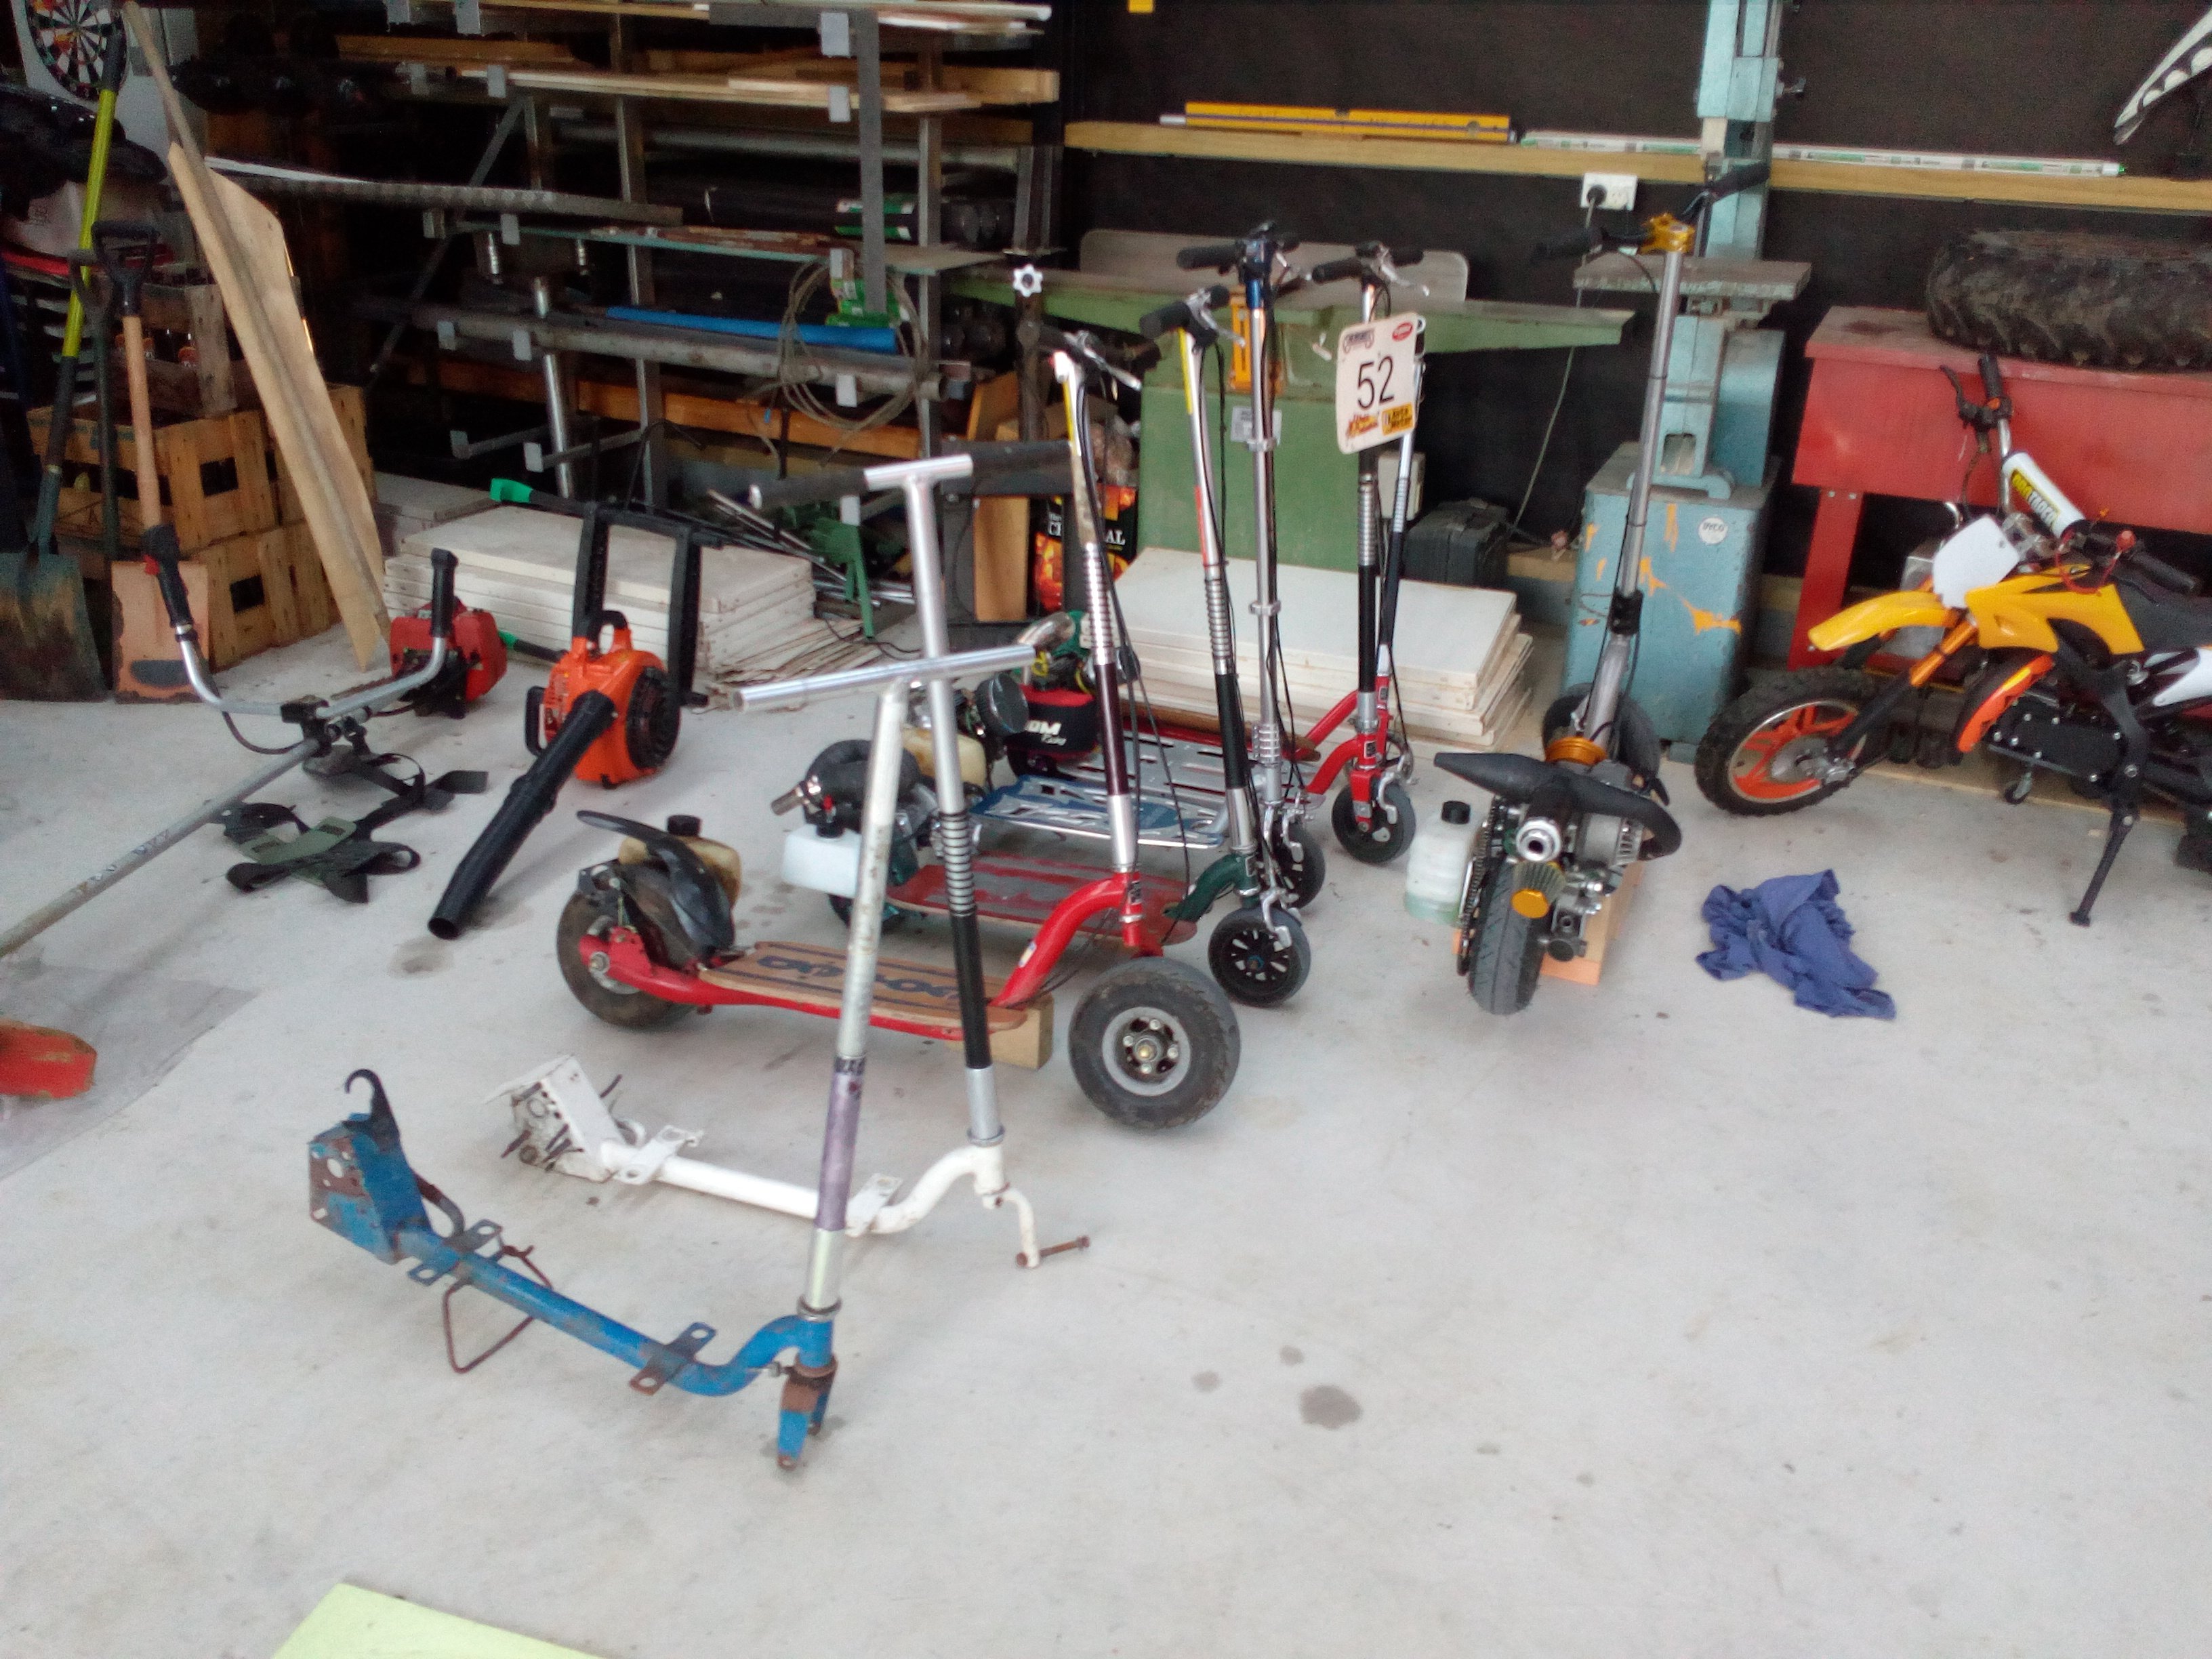
It was only a matter of time...
-
4
-
-
Like all compulsive disorders, it just creeps up on you until one day it gets too hard to deny it anymore. That line was crossed years ago...
-
1
-
1
-
-
Yes!
Yes, yes...Yes!!!
-
2
-
-
Yes!
-
2
-
-
Just now, Raizer said:
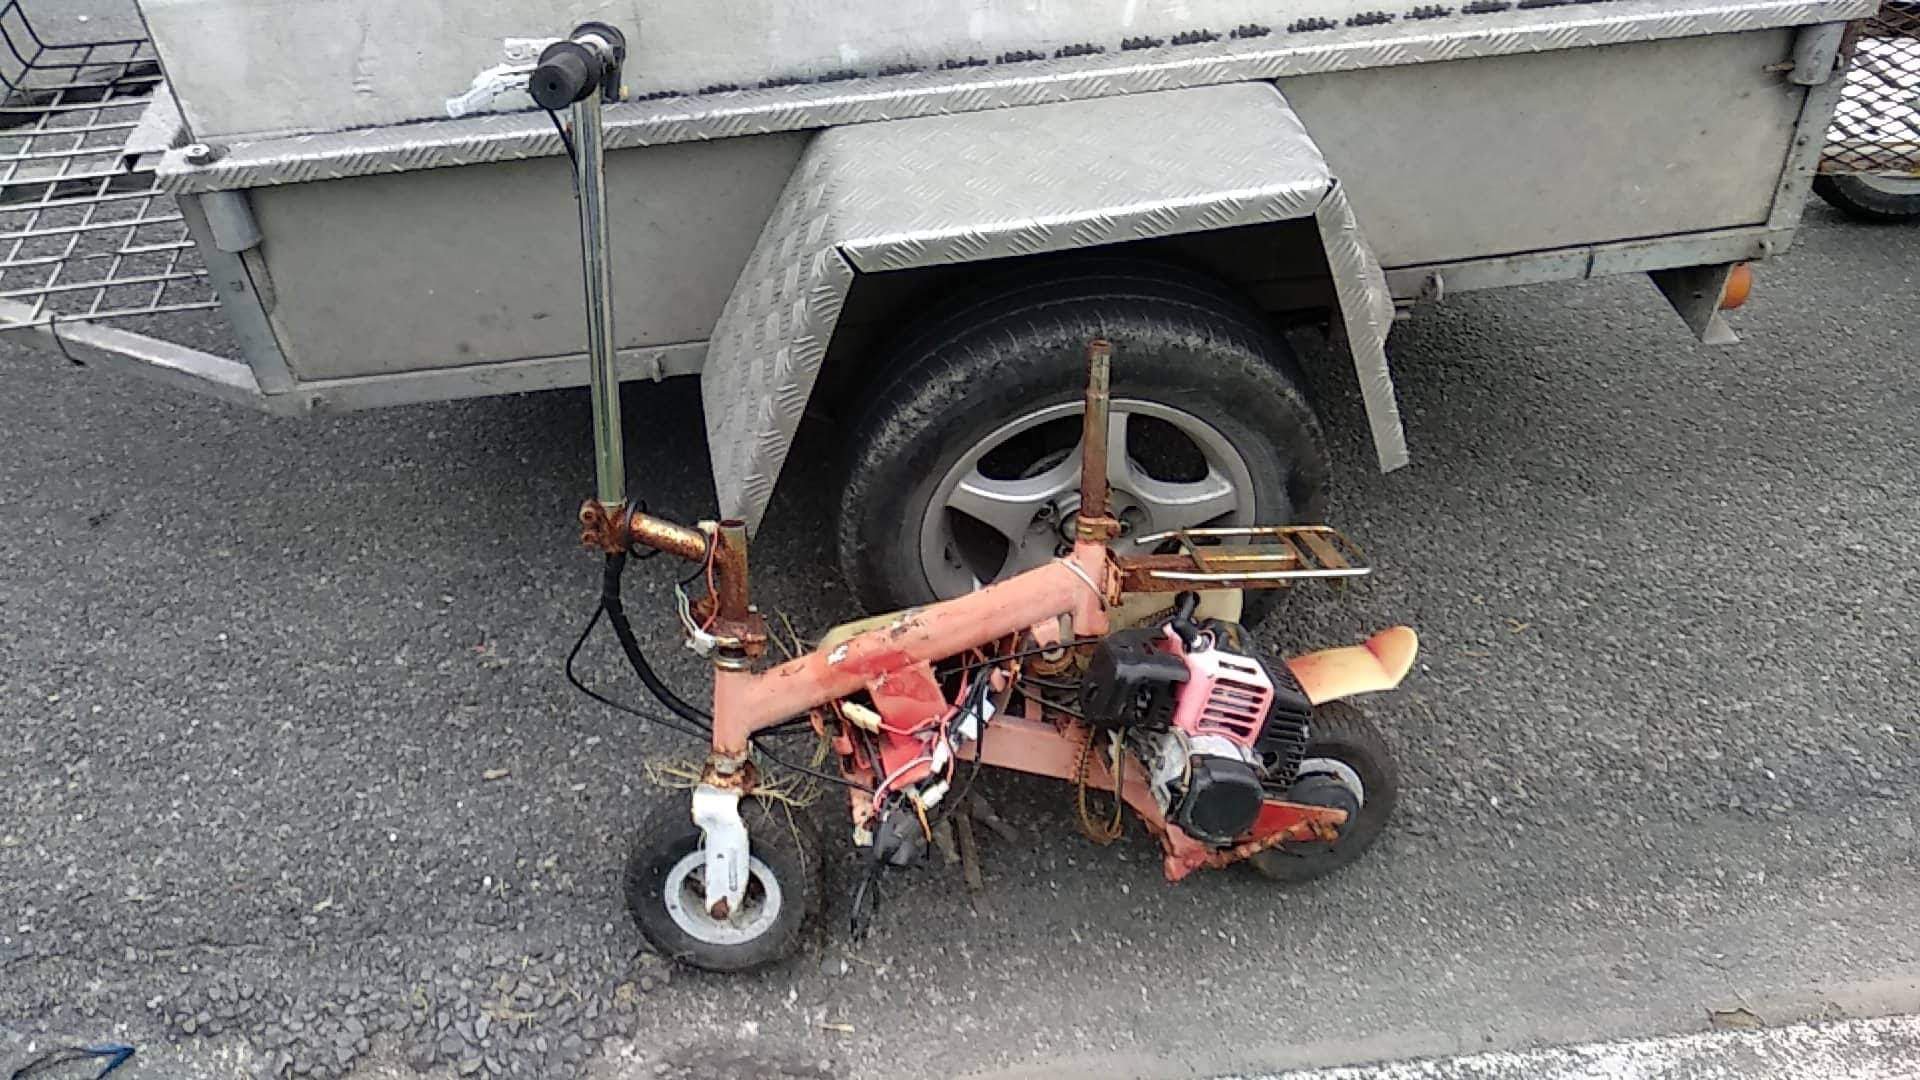
Not sure what size this one is, haven't done much with it besides drag it home.
I'm in Gisborne, but travel a lot so could probably bring it along sometime.
Sounds great thanks! I'm in Cambridge if you're ever up this way? But if you get the urge to do something with it yourself, or just want it gone and need to dump it...no hard feelings:)
-
1
-
-
19 hours ago, Raizer said:
Dragged this thing home among a few trailer loads of scooters a while back, any use to you for parts or something?
Those motors go well. Either 33cc or 49cc, both look the same. Always keen for another project, whereabouts are you?
-
My impala weighs a little over 1600kg all up...I can't imagine the need for a much bigger jack for a car?
-
Brought this SCA jack today. Looks good and will fit under my commodore...just!
-
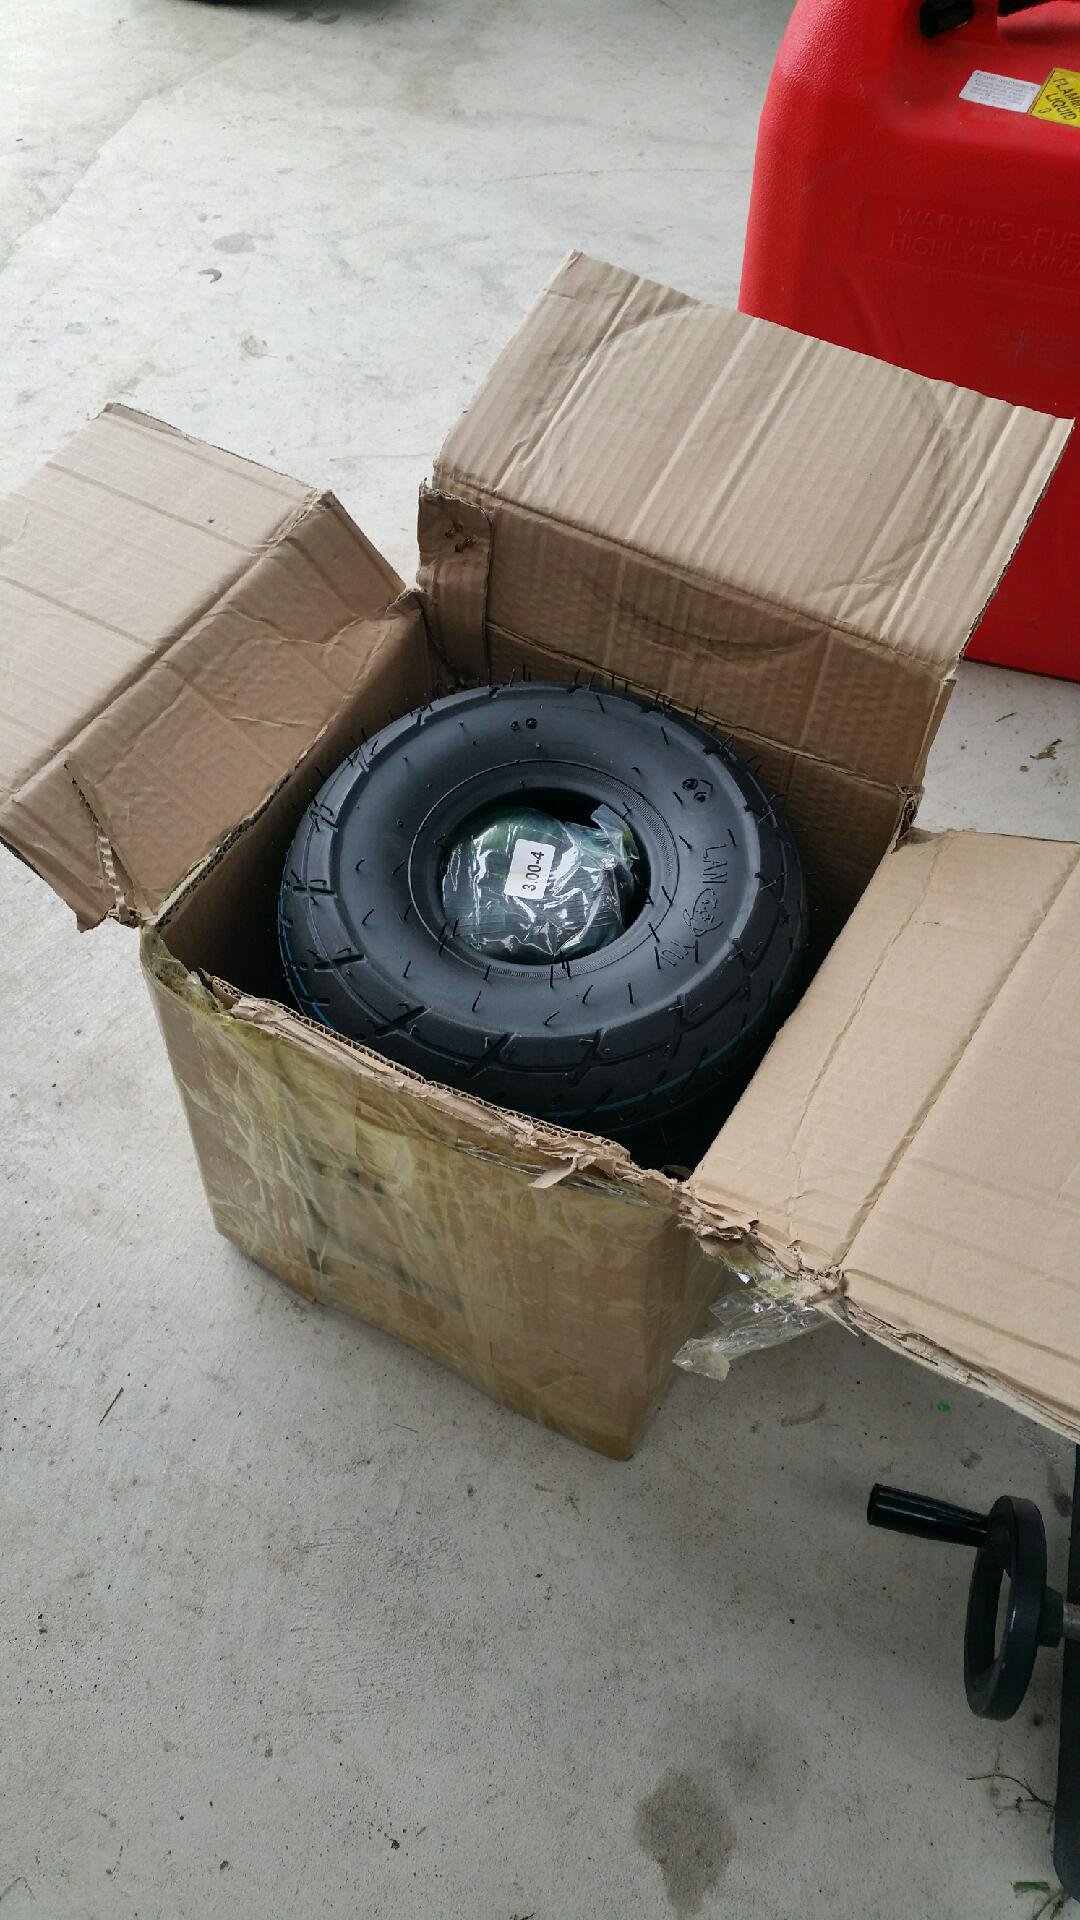
Ordered 4 new tyres with tubes online. They arrived today.
Un-boxing stuff that arrives in the post is a guilty pleasure of mine. Even though I have a pretty good idea what's going to be in the box...it still feels like a little present to myself that I'm unwrapping.
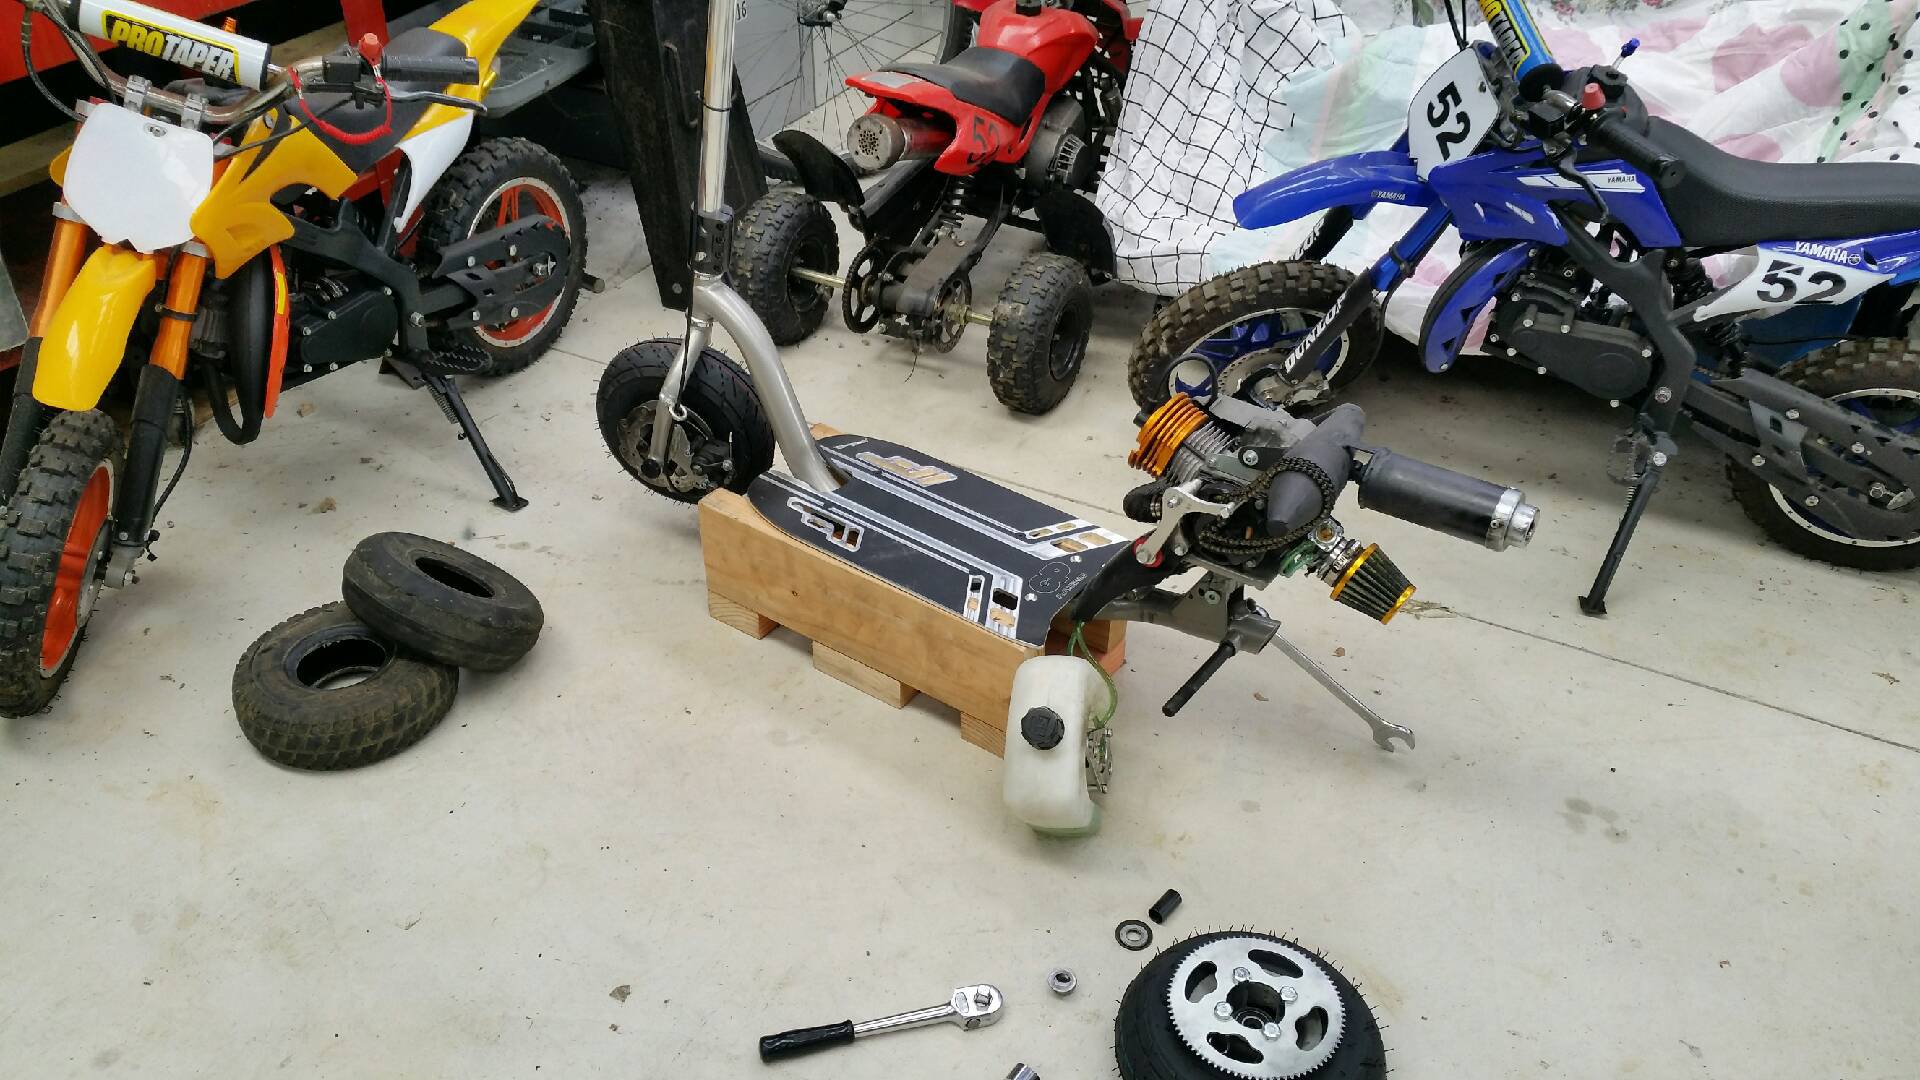
Wheel off... new tyres on...boom!
Mint as!!! These new tyres are so much better in every way possible. Slightly smaller diameter gives better acceleration and they are perfectly round and ride much truer than those shit sack trolley tyres ever did. Success!
-
6
-
-
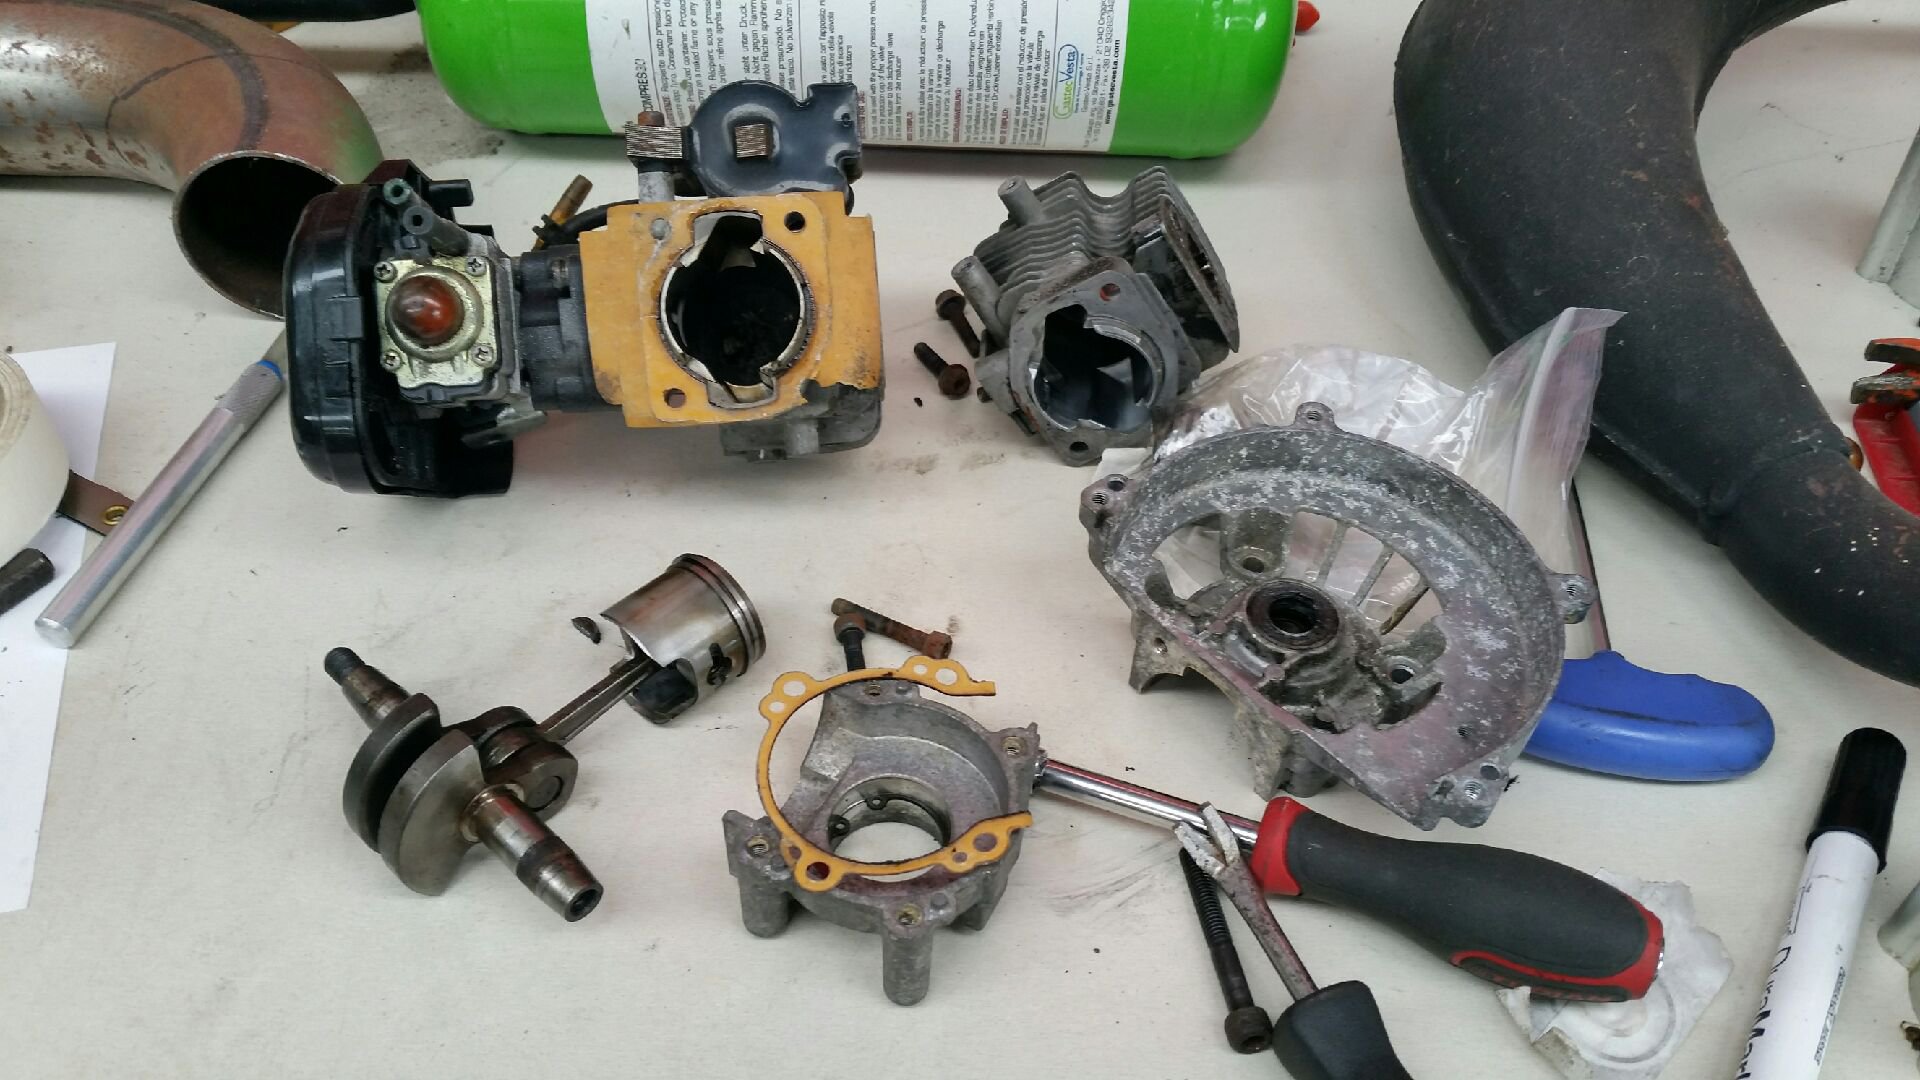
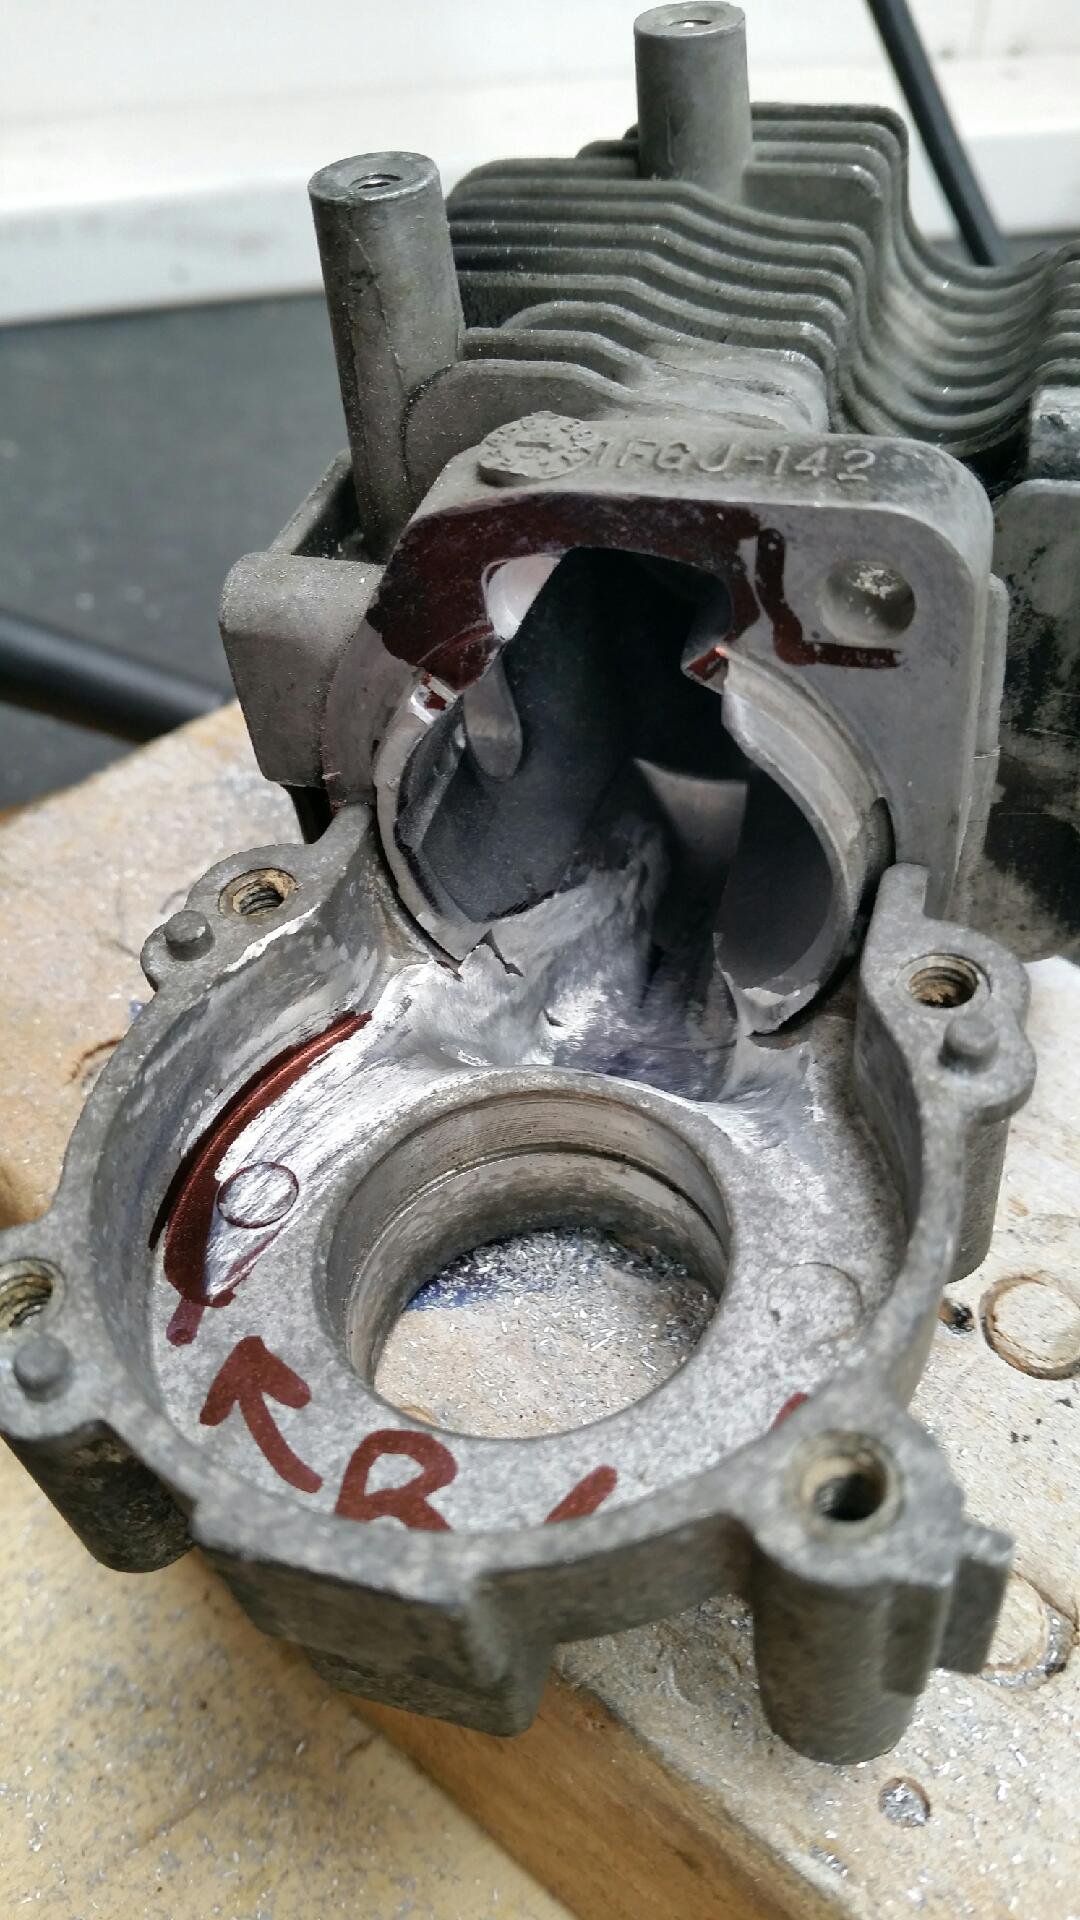
Small set back, I found a broken stud in the little G23LH motor. Luckily for me I brought a frame for spare parts a while back...by chance it had half an engine lower case stuck on the frame! Seriously what's the odds?
It was in terrible shape. But using some trusty oven cleaner it scrubbed up okay. The bearings are fucked, as too are the oil/crank seals. I'll go to seal imports and get new ones.
So with that setback sorted. I thought while it's apart...may as well port the fuck out of it! So I did:
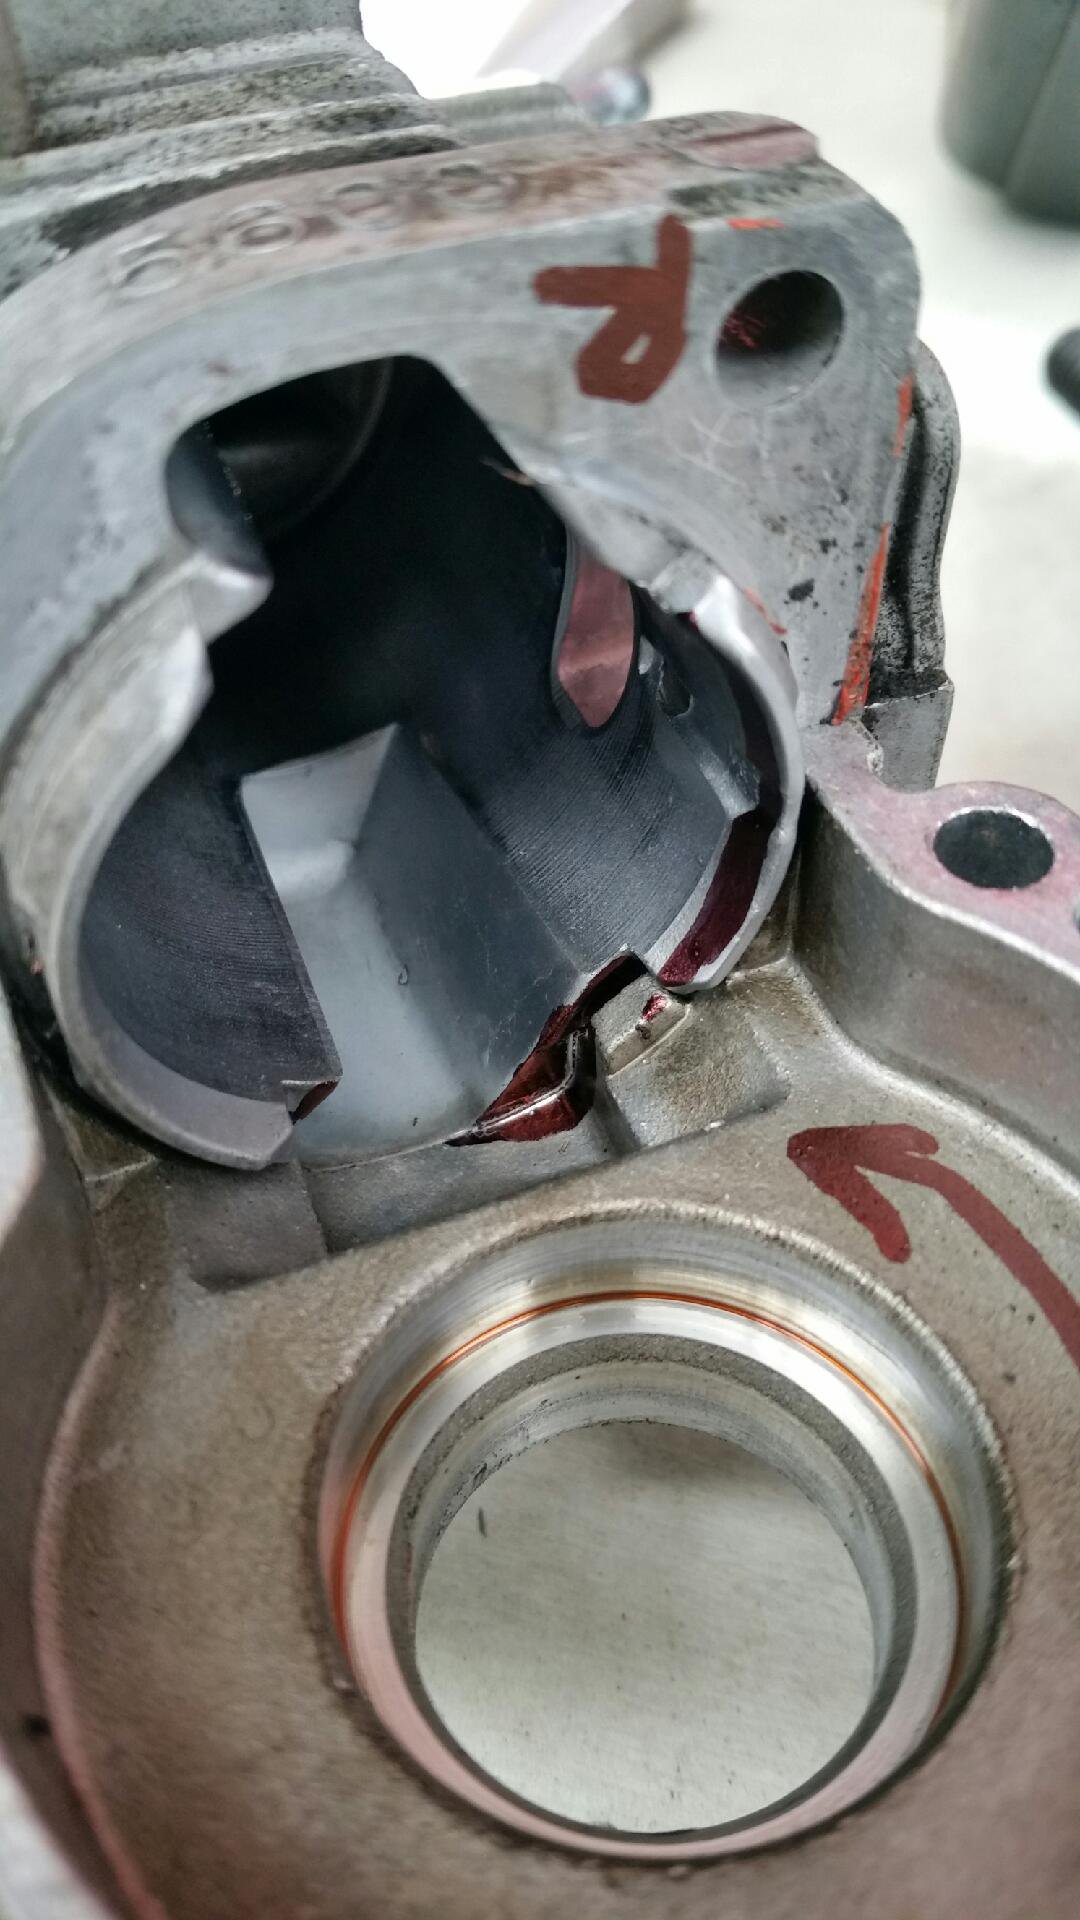
I always label my halves left and right. Plus draw the crankshaft rotation on as a reminder.
The black is bad. That's about as dumbed down as it gets.
So basically the blacks gotta go. It causes restrictions and ruins flow by creating eddies and turbulence. Note how badly the ports are mismatched...basically the air/fuel charge is hitting a wall! About 25% of the port is blocked by this sharp edge.
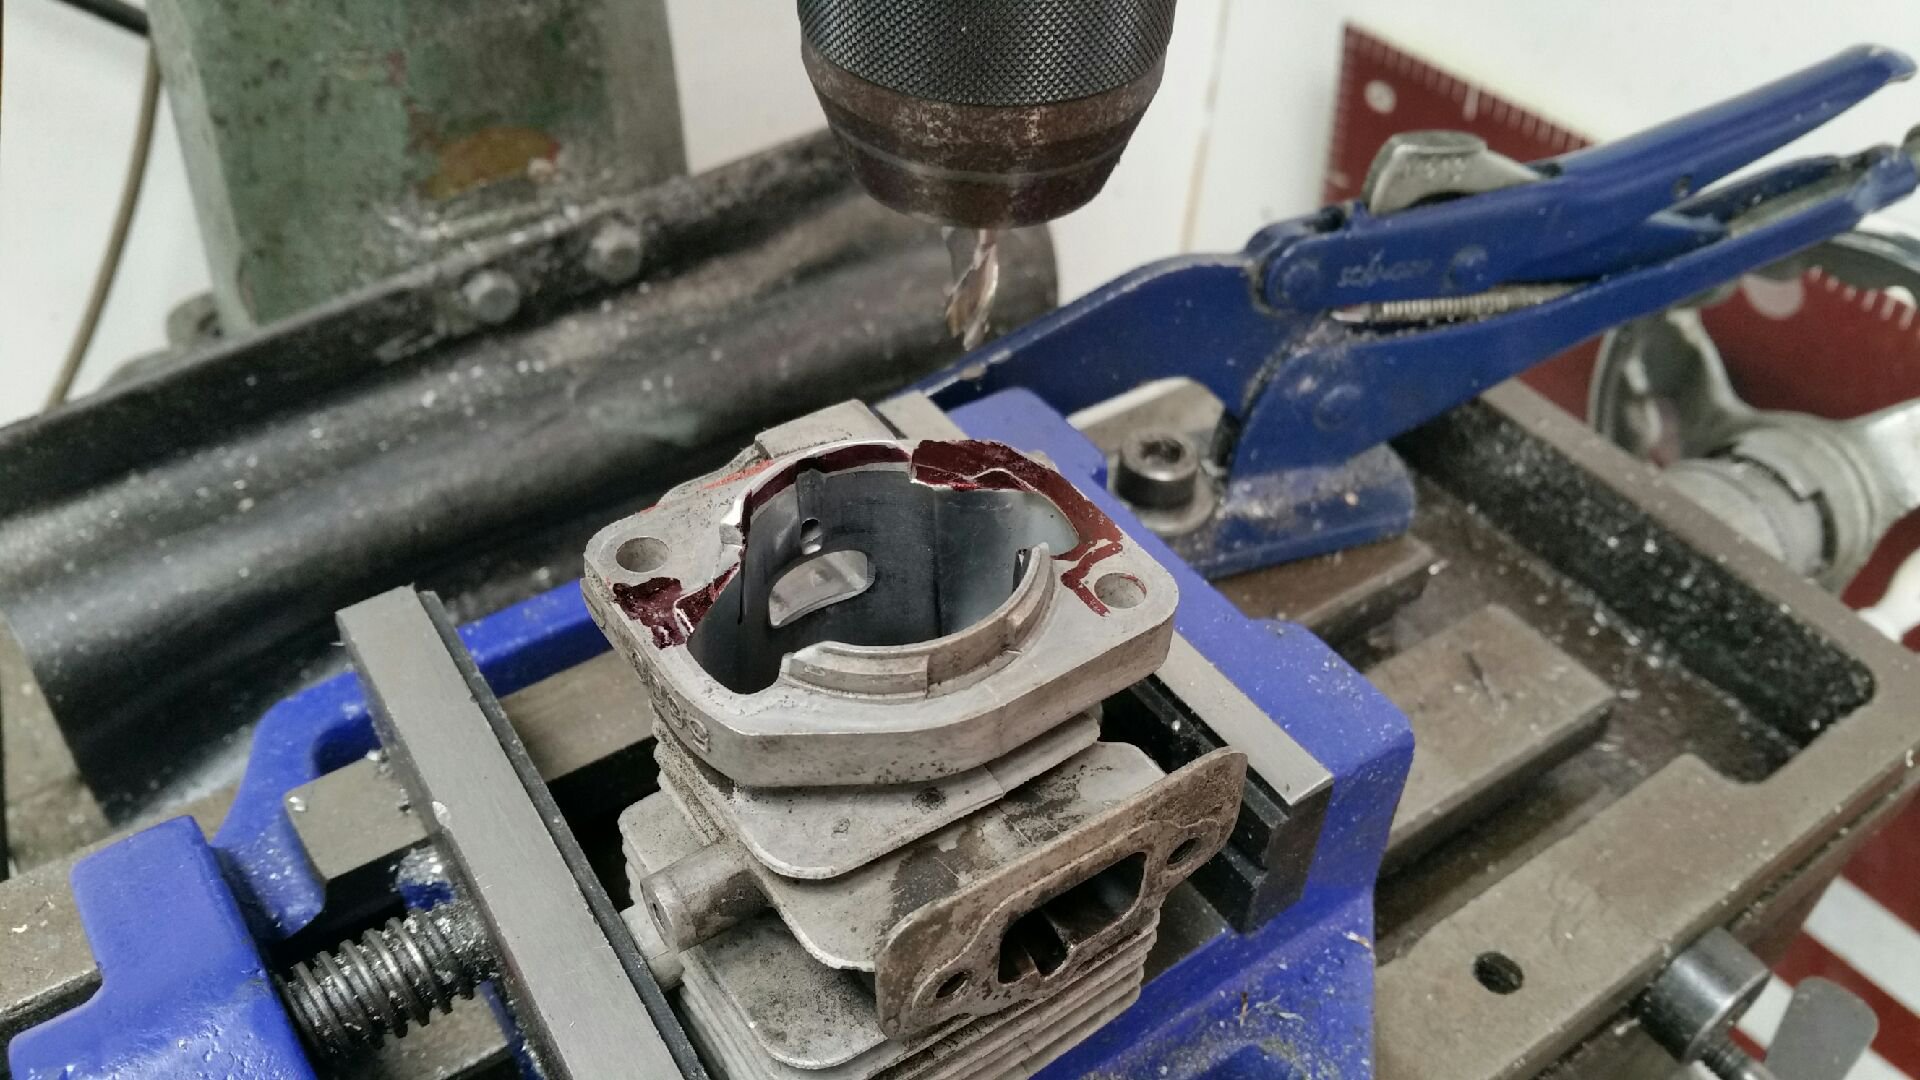
So, to speed things up I'm using a milling machine to rough out some larger parts. Also I milled the skirt down on one side by about 2mm all the way around.
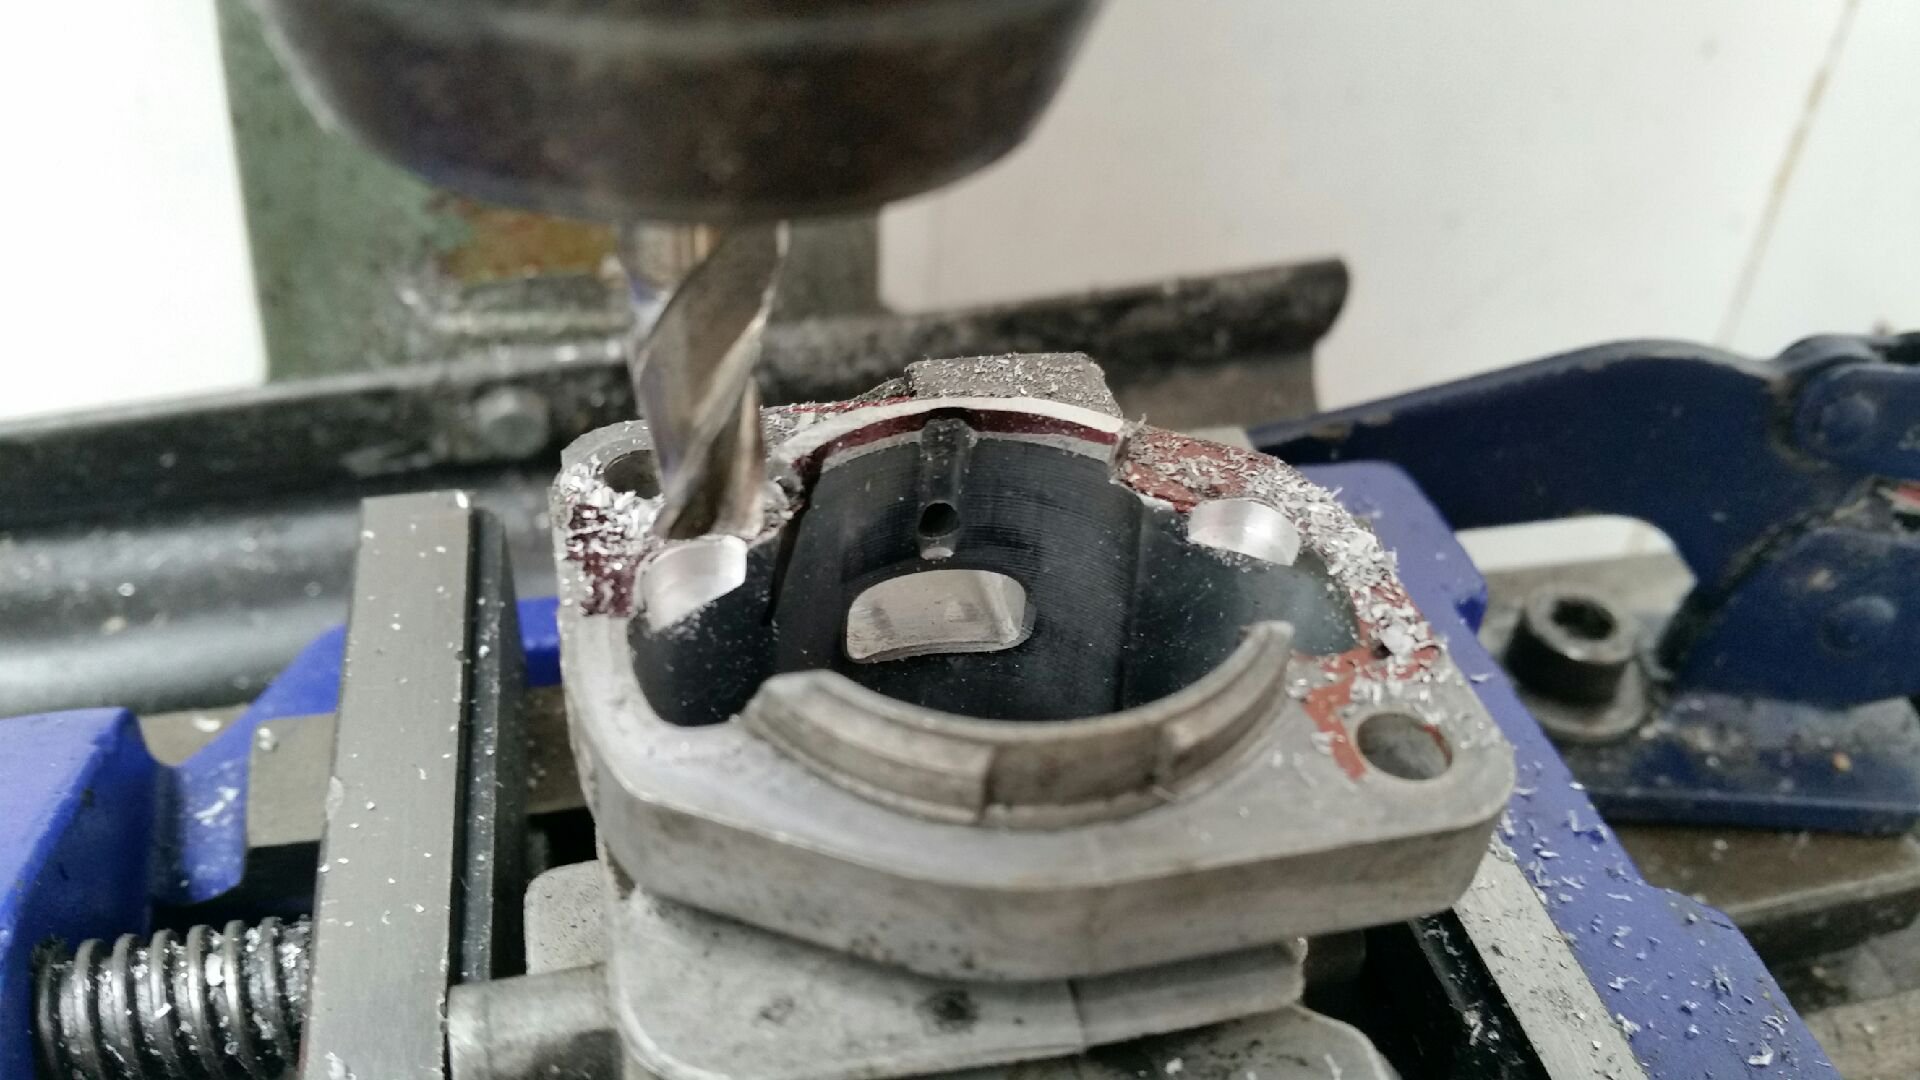
Then it's time to rough out the rest with a burr in the dremel:
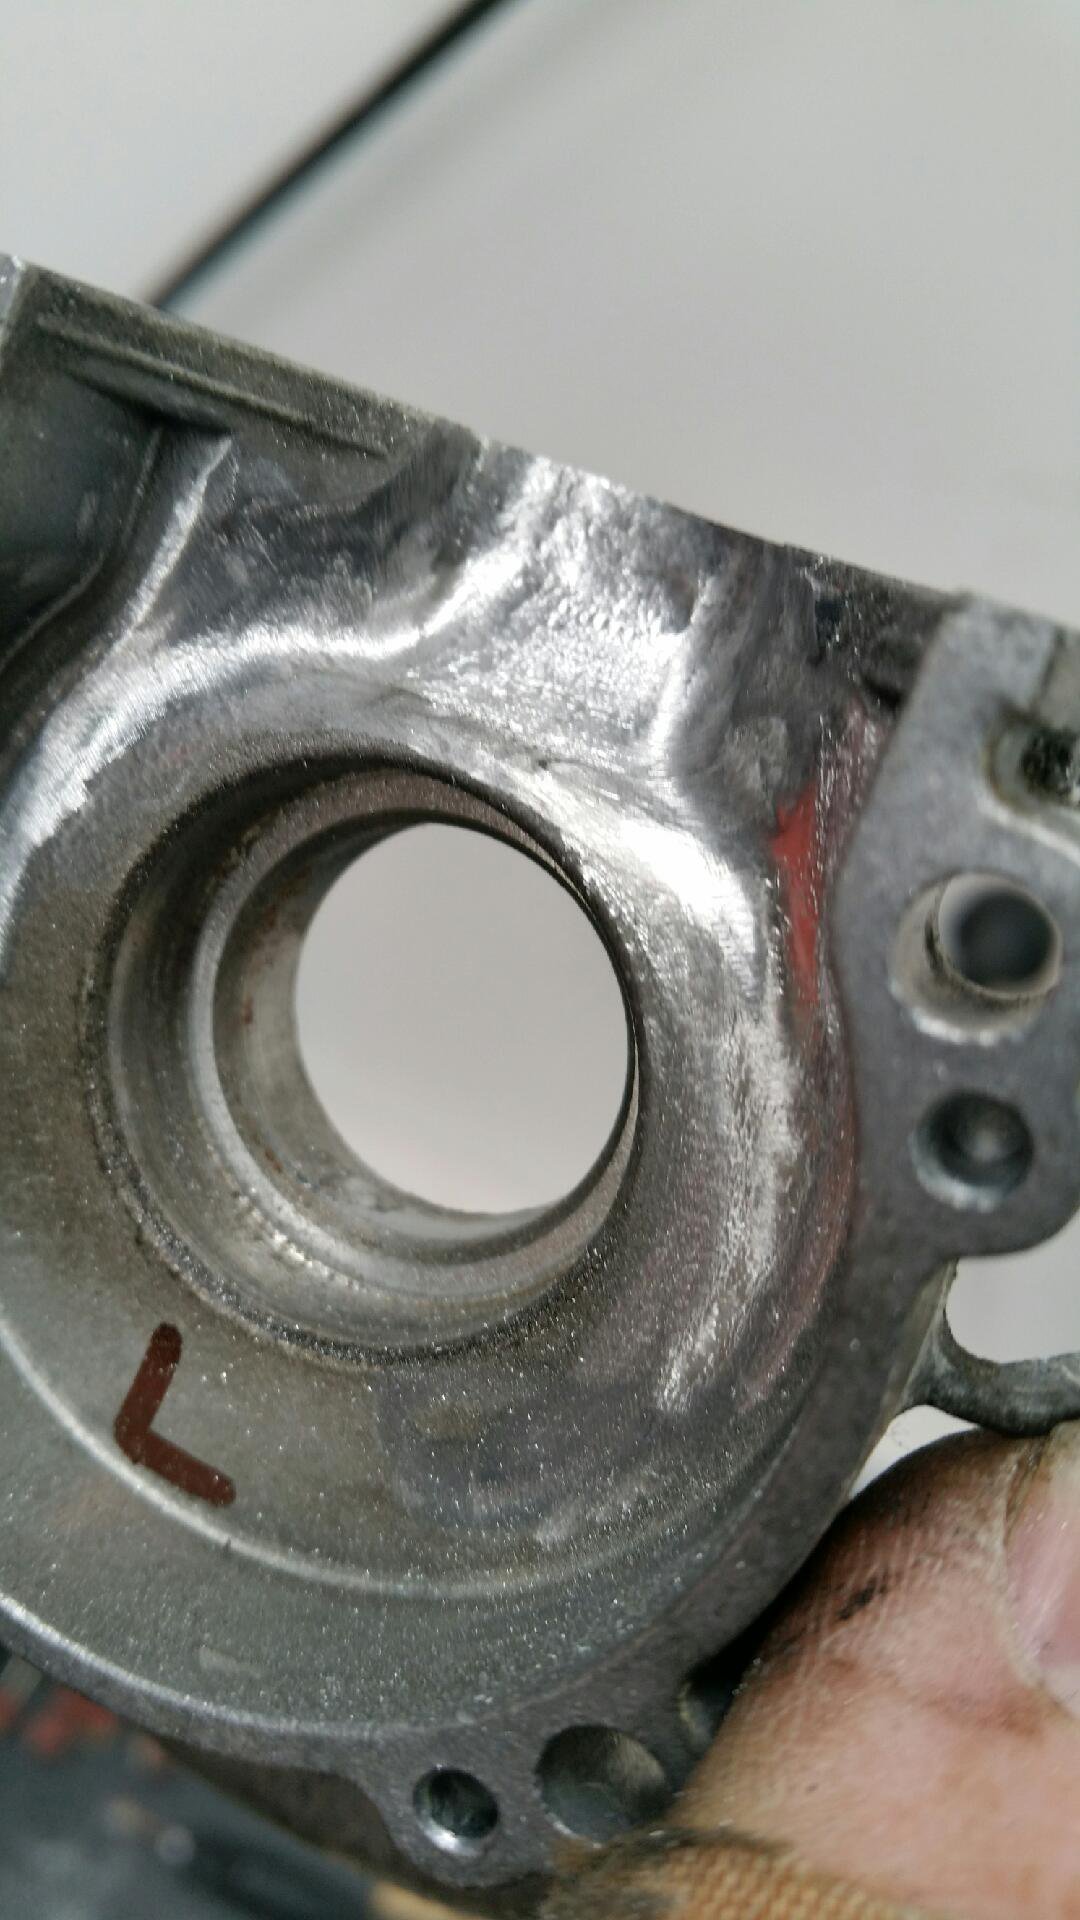
Roughed out. Now time to tidy up a little. Below is a great before and after shot.
Before. Note the sharp shelf and edges. Very bad for flow.
After. All edges now flow and transfer ports opened up and port matched...much better.
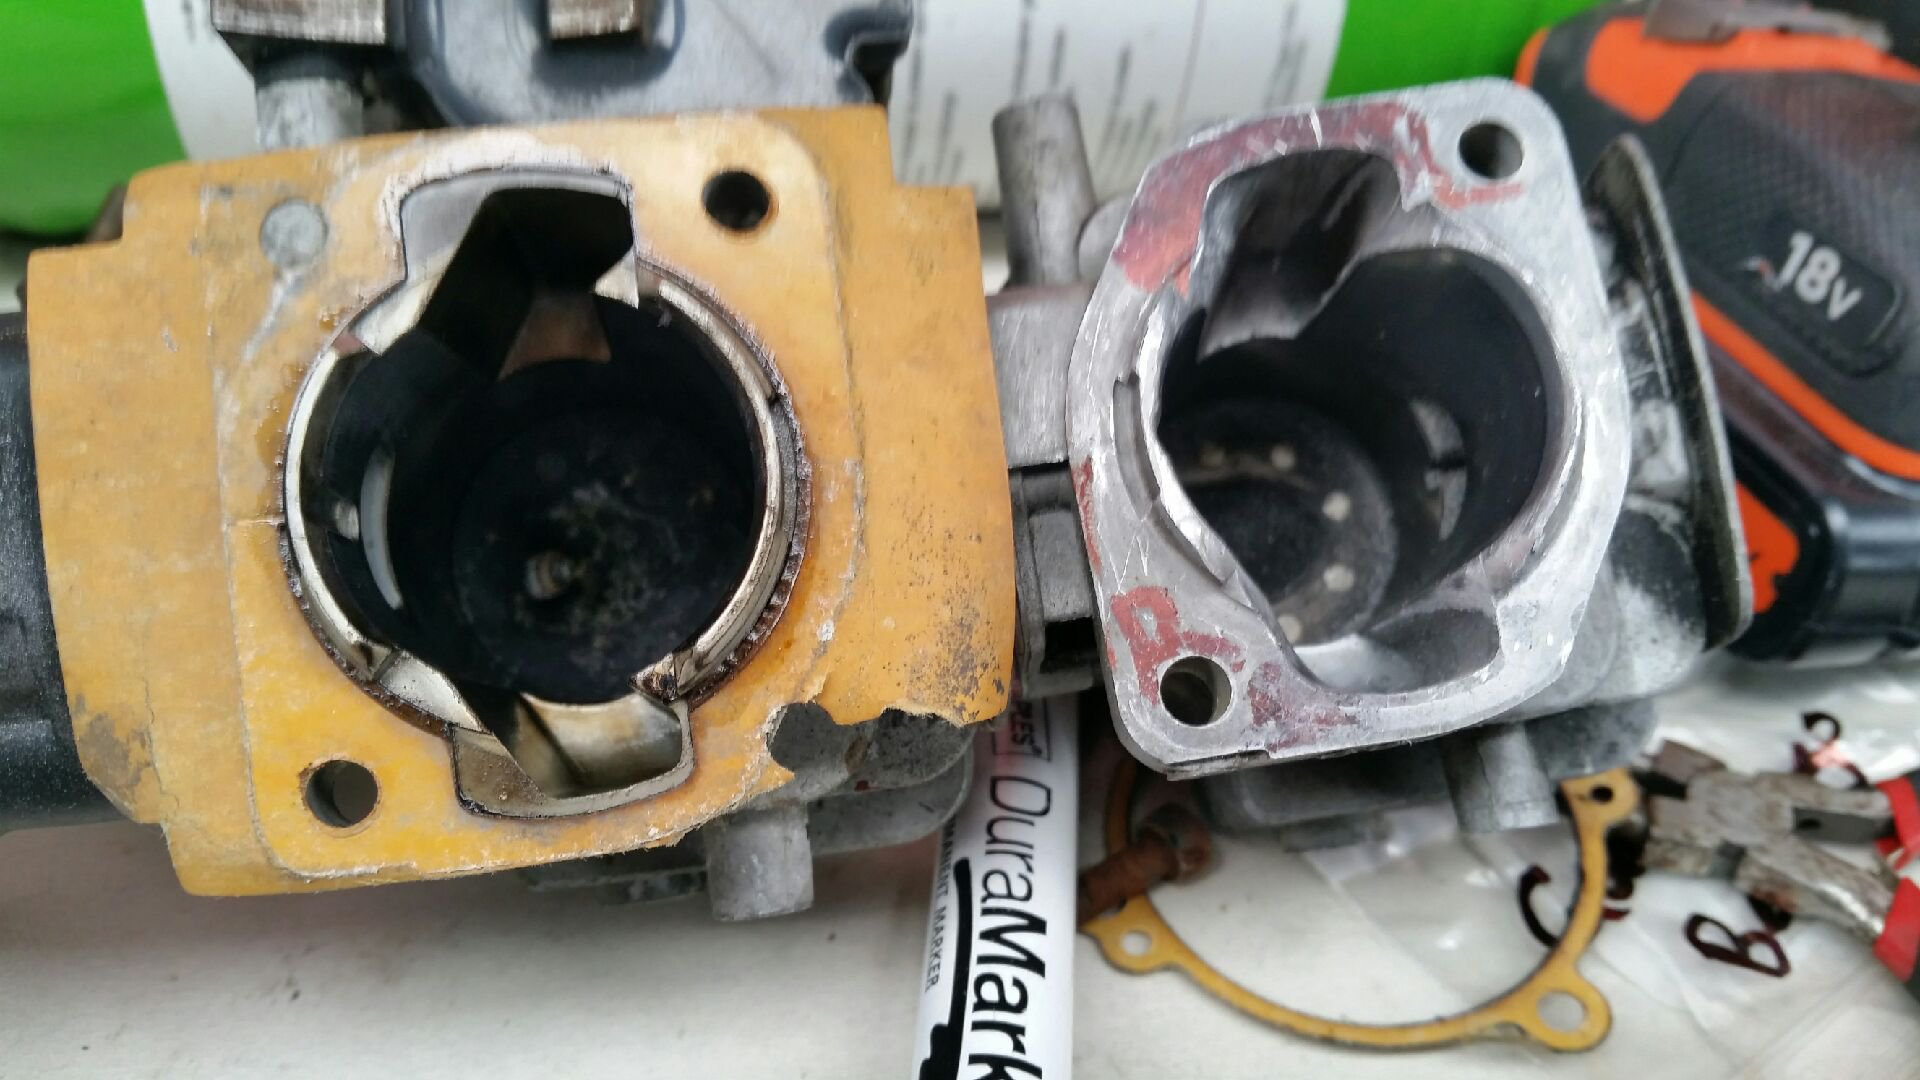
Finally. Here's a good side by side comparison of the cylinder. Look how much bigger the transfer ports are on the right hand (ported) cylinder...at least 50% if not more.
That should flow way more air/fuel.
The exhaust will get polished. The intake will be roughed up a little. But no real changes other than port matching the exhaust and intake will be needed as the specs for port timing are already very good. Only small wins could be made at the risk of ruining the motor.
I'll replace the bearings and seals...slap it back together and it should be way better than before.
-
8
-


Bens 61 Belair talky talk.
in Project Discussion
Posted
I like the glass half full outlook you have...nice one")