Kimjon
-
Posts
2,353 -
Joined
-
Last visited
-
Days Won
2
Content Type
Forums
Downloads
Events
Gallery
Everything posted by Kimjon
-
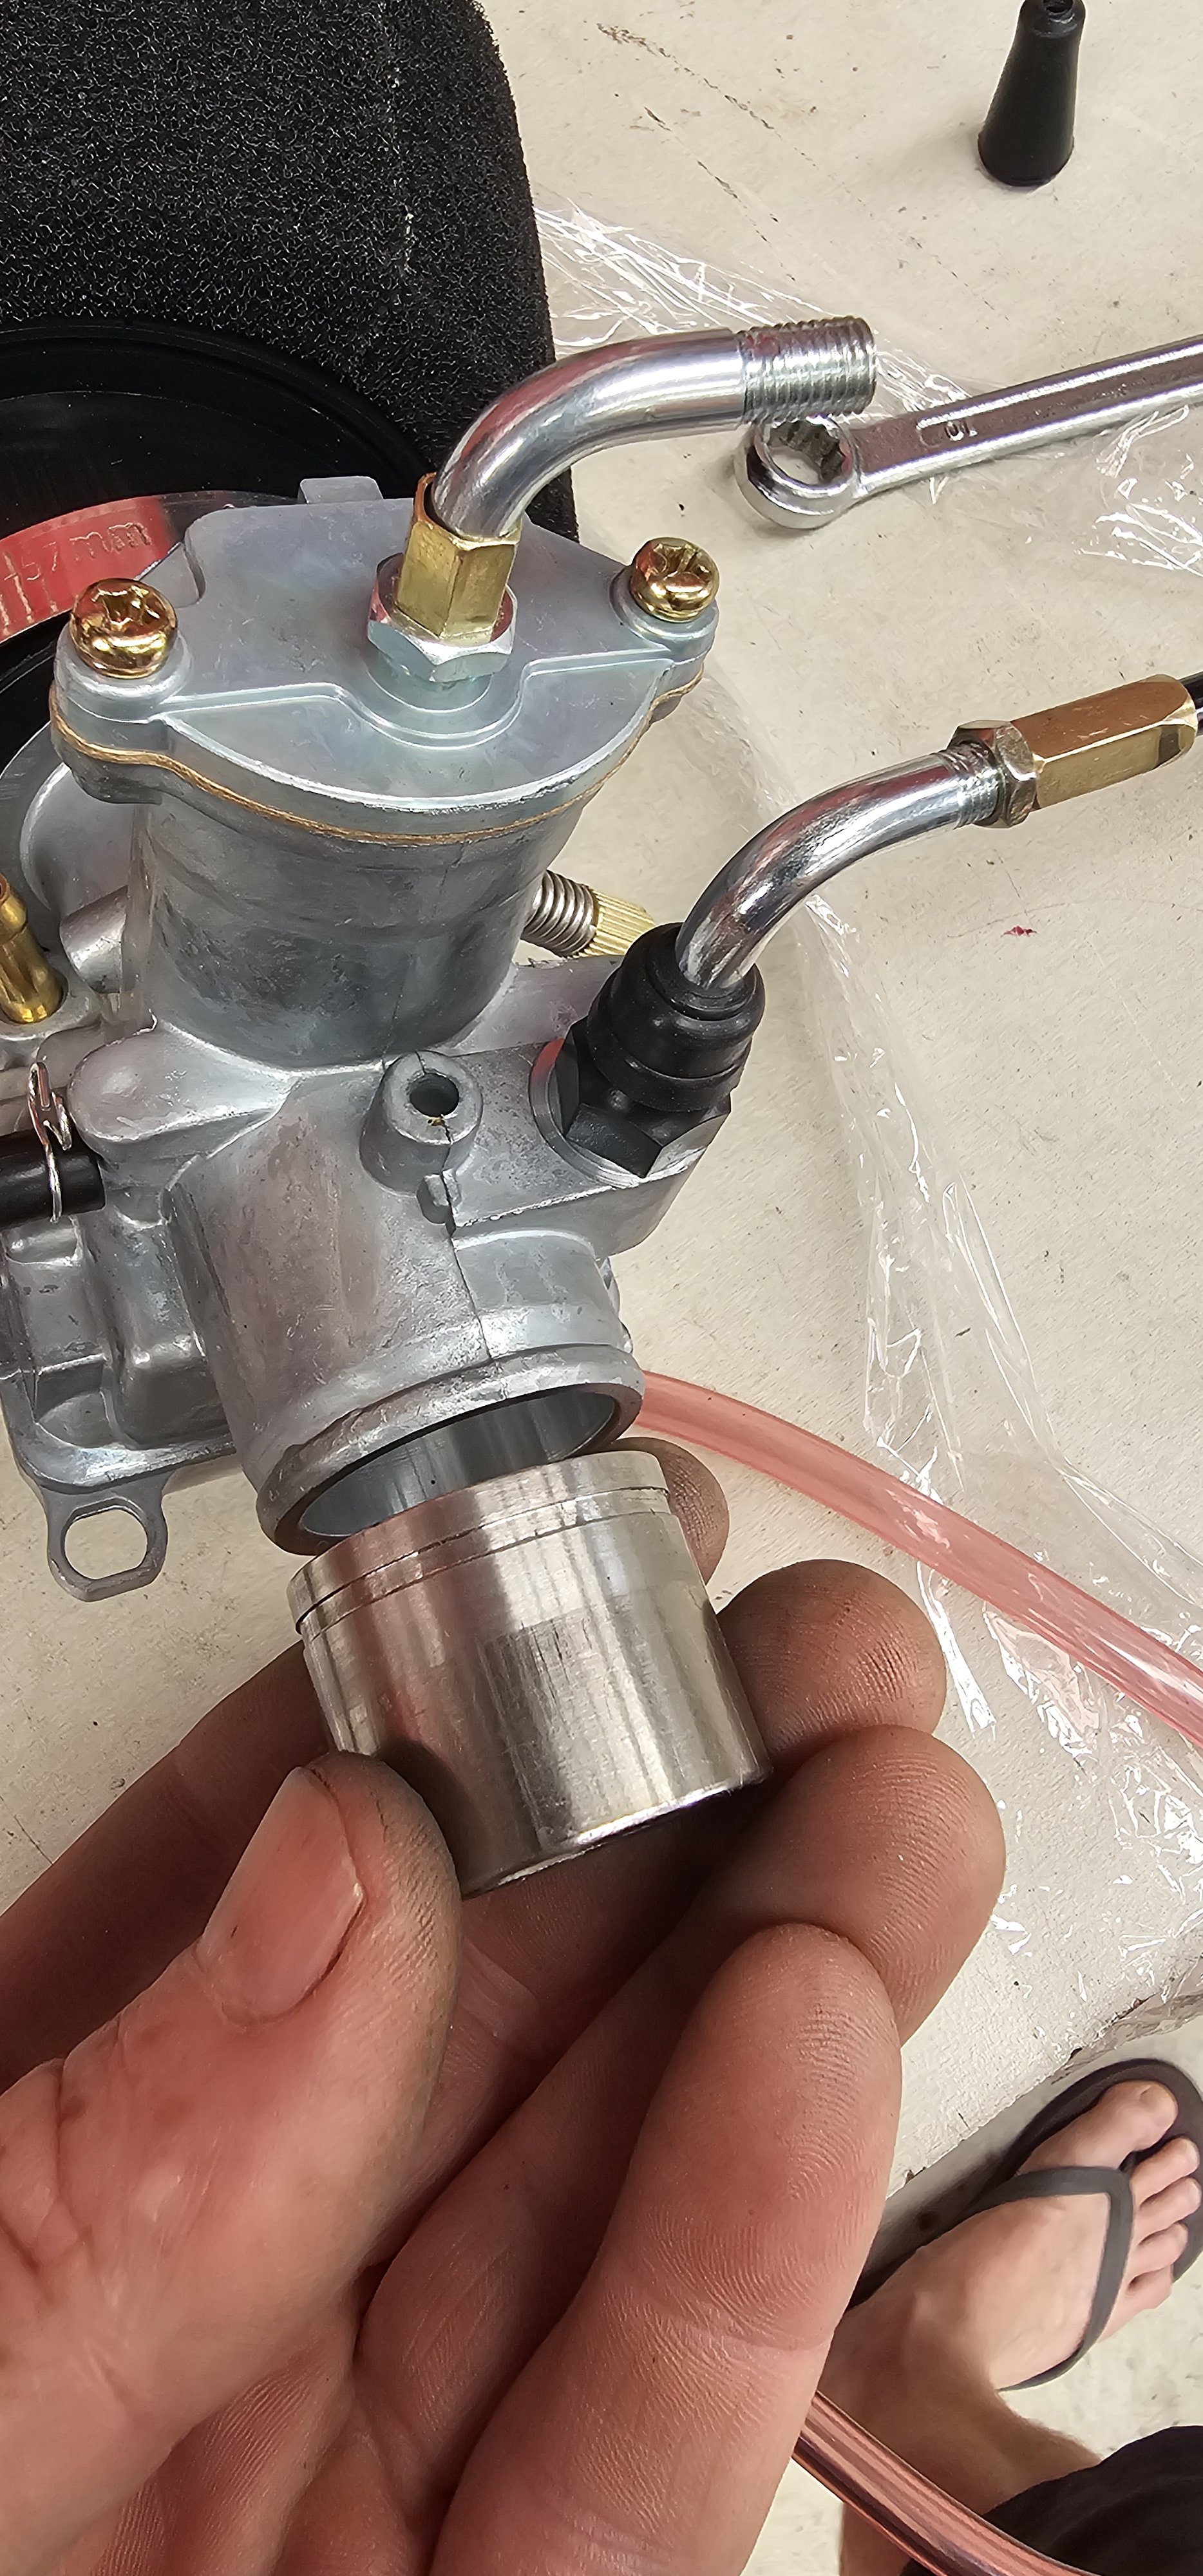
 I turned up this thick stainless adapter. Part of the intake puzzle. I'm waiting on Aliexpress mandrel bends for the rest. I also made some custom cables for choke, and made a 90° adapter for the throttle cable, to keep the height down.
-
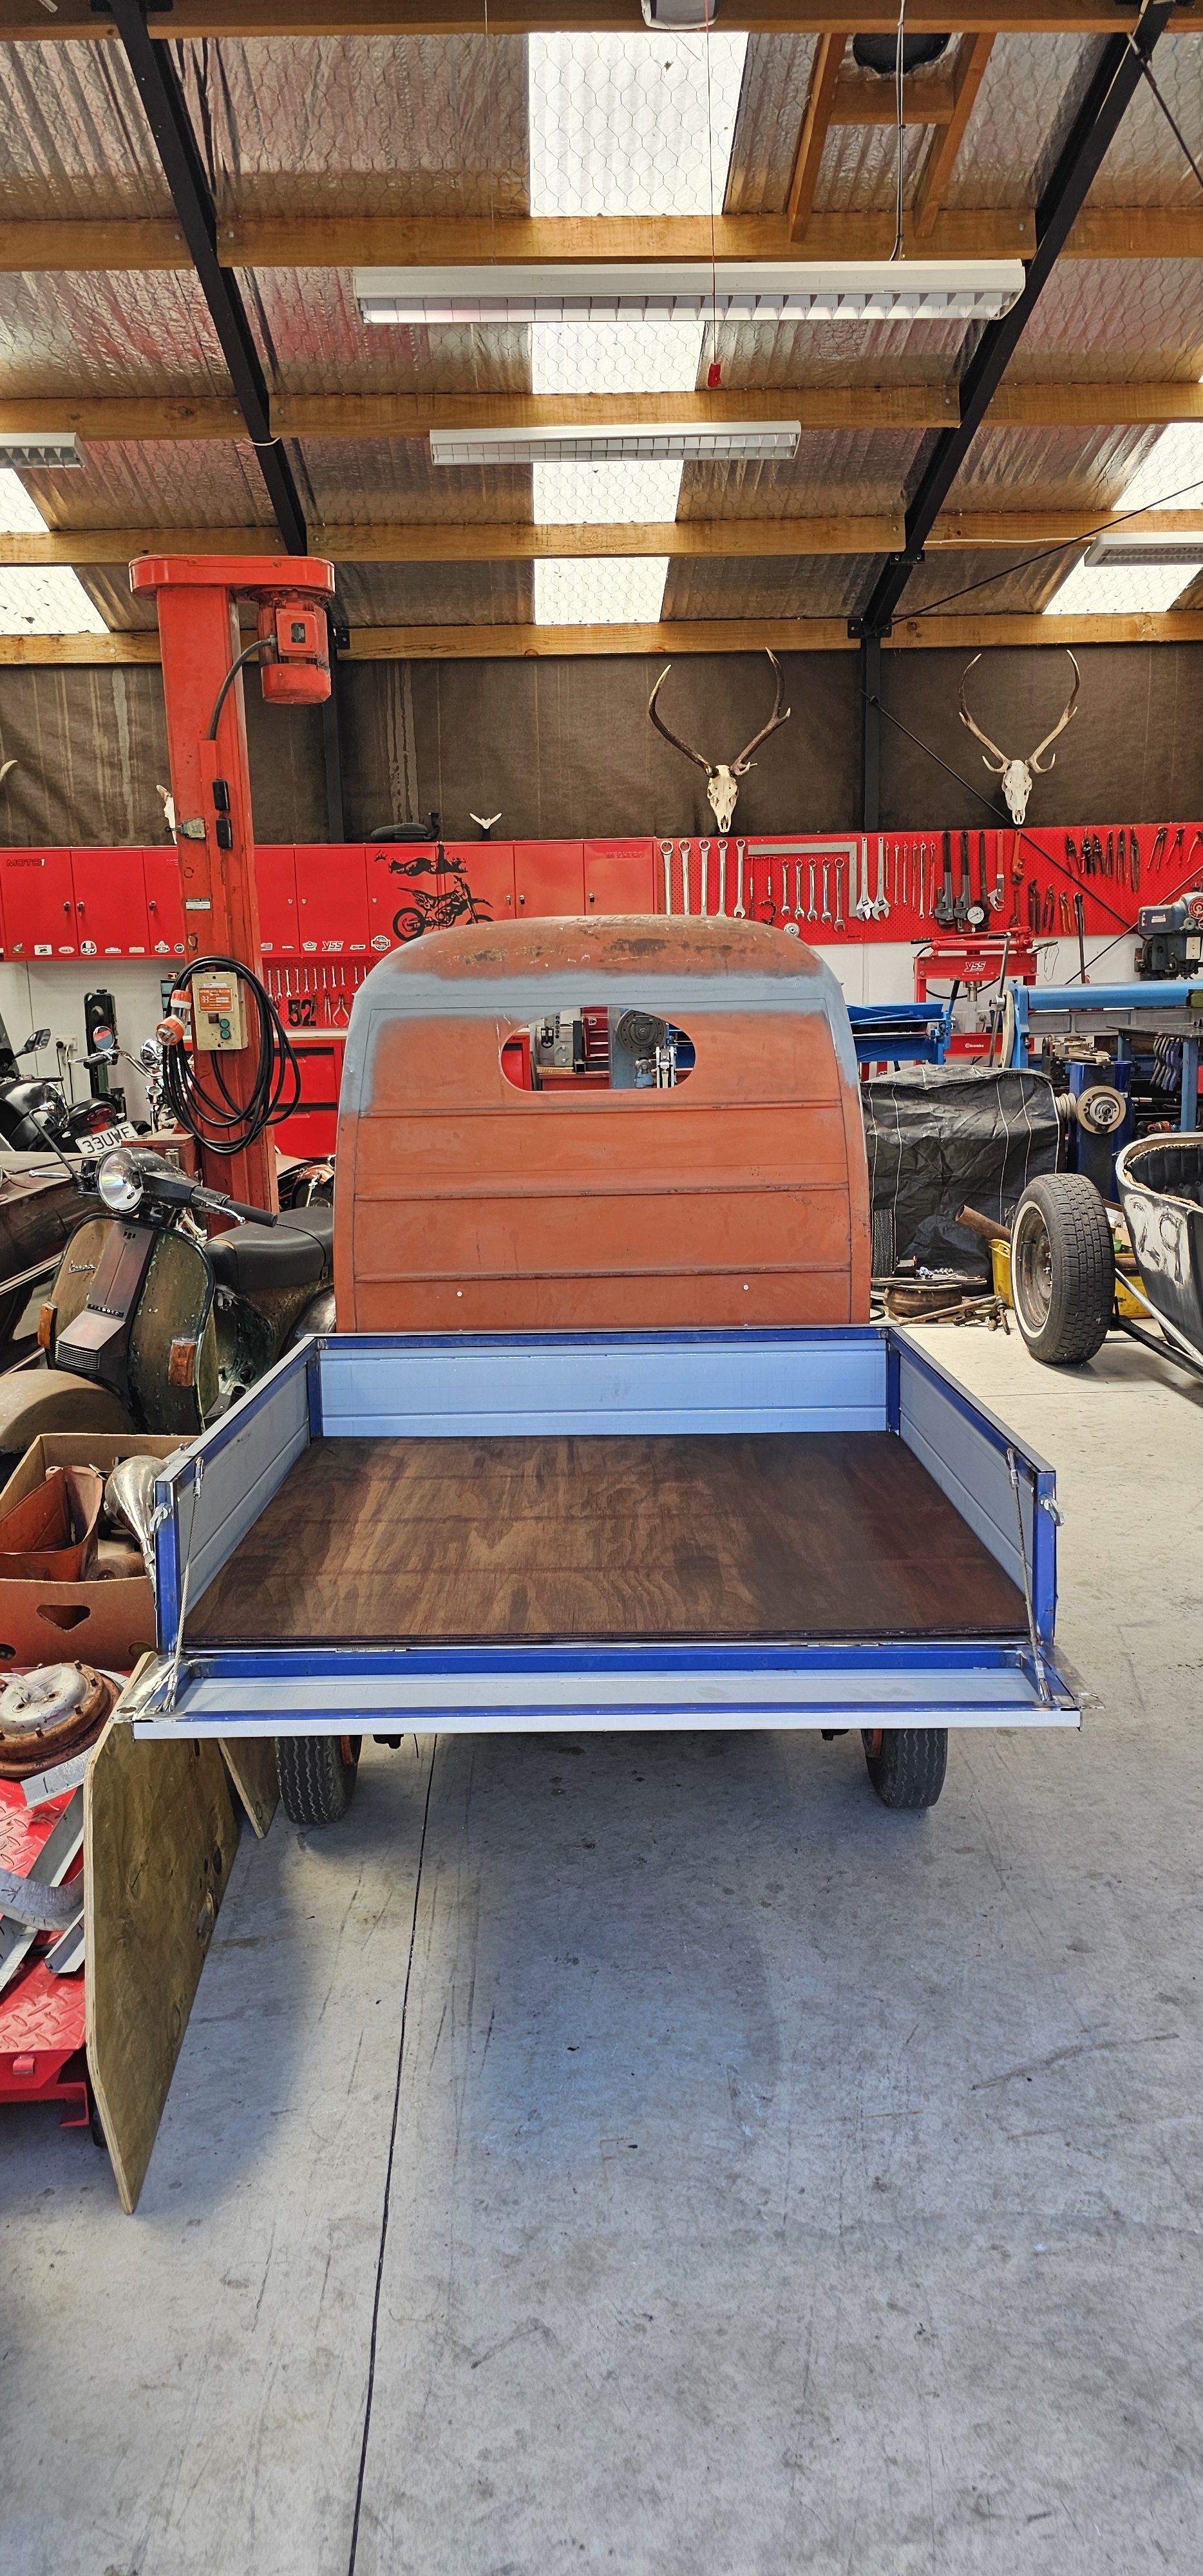
Deck sorted. Once painted, I'll use self tappers to hold it down. I added crimped wire straps to the tailgate. Small steps in the right direction...
-
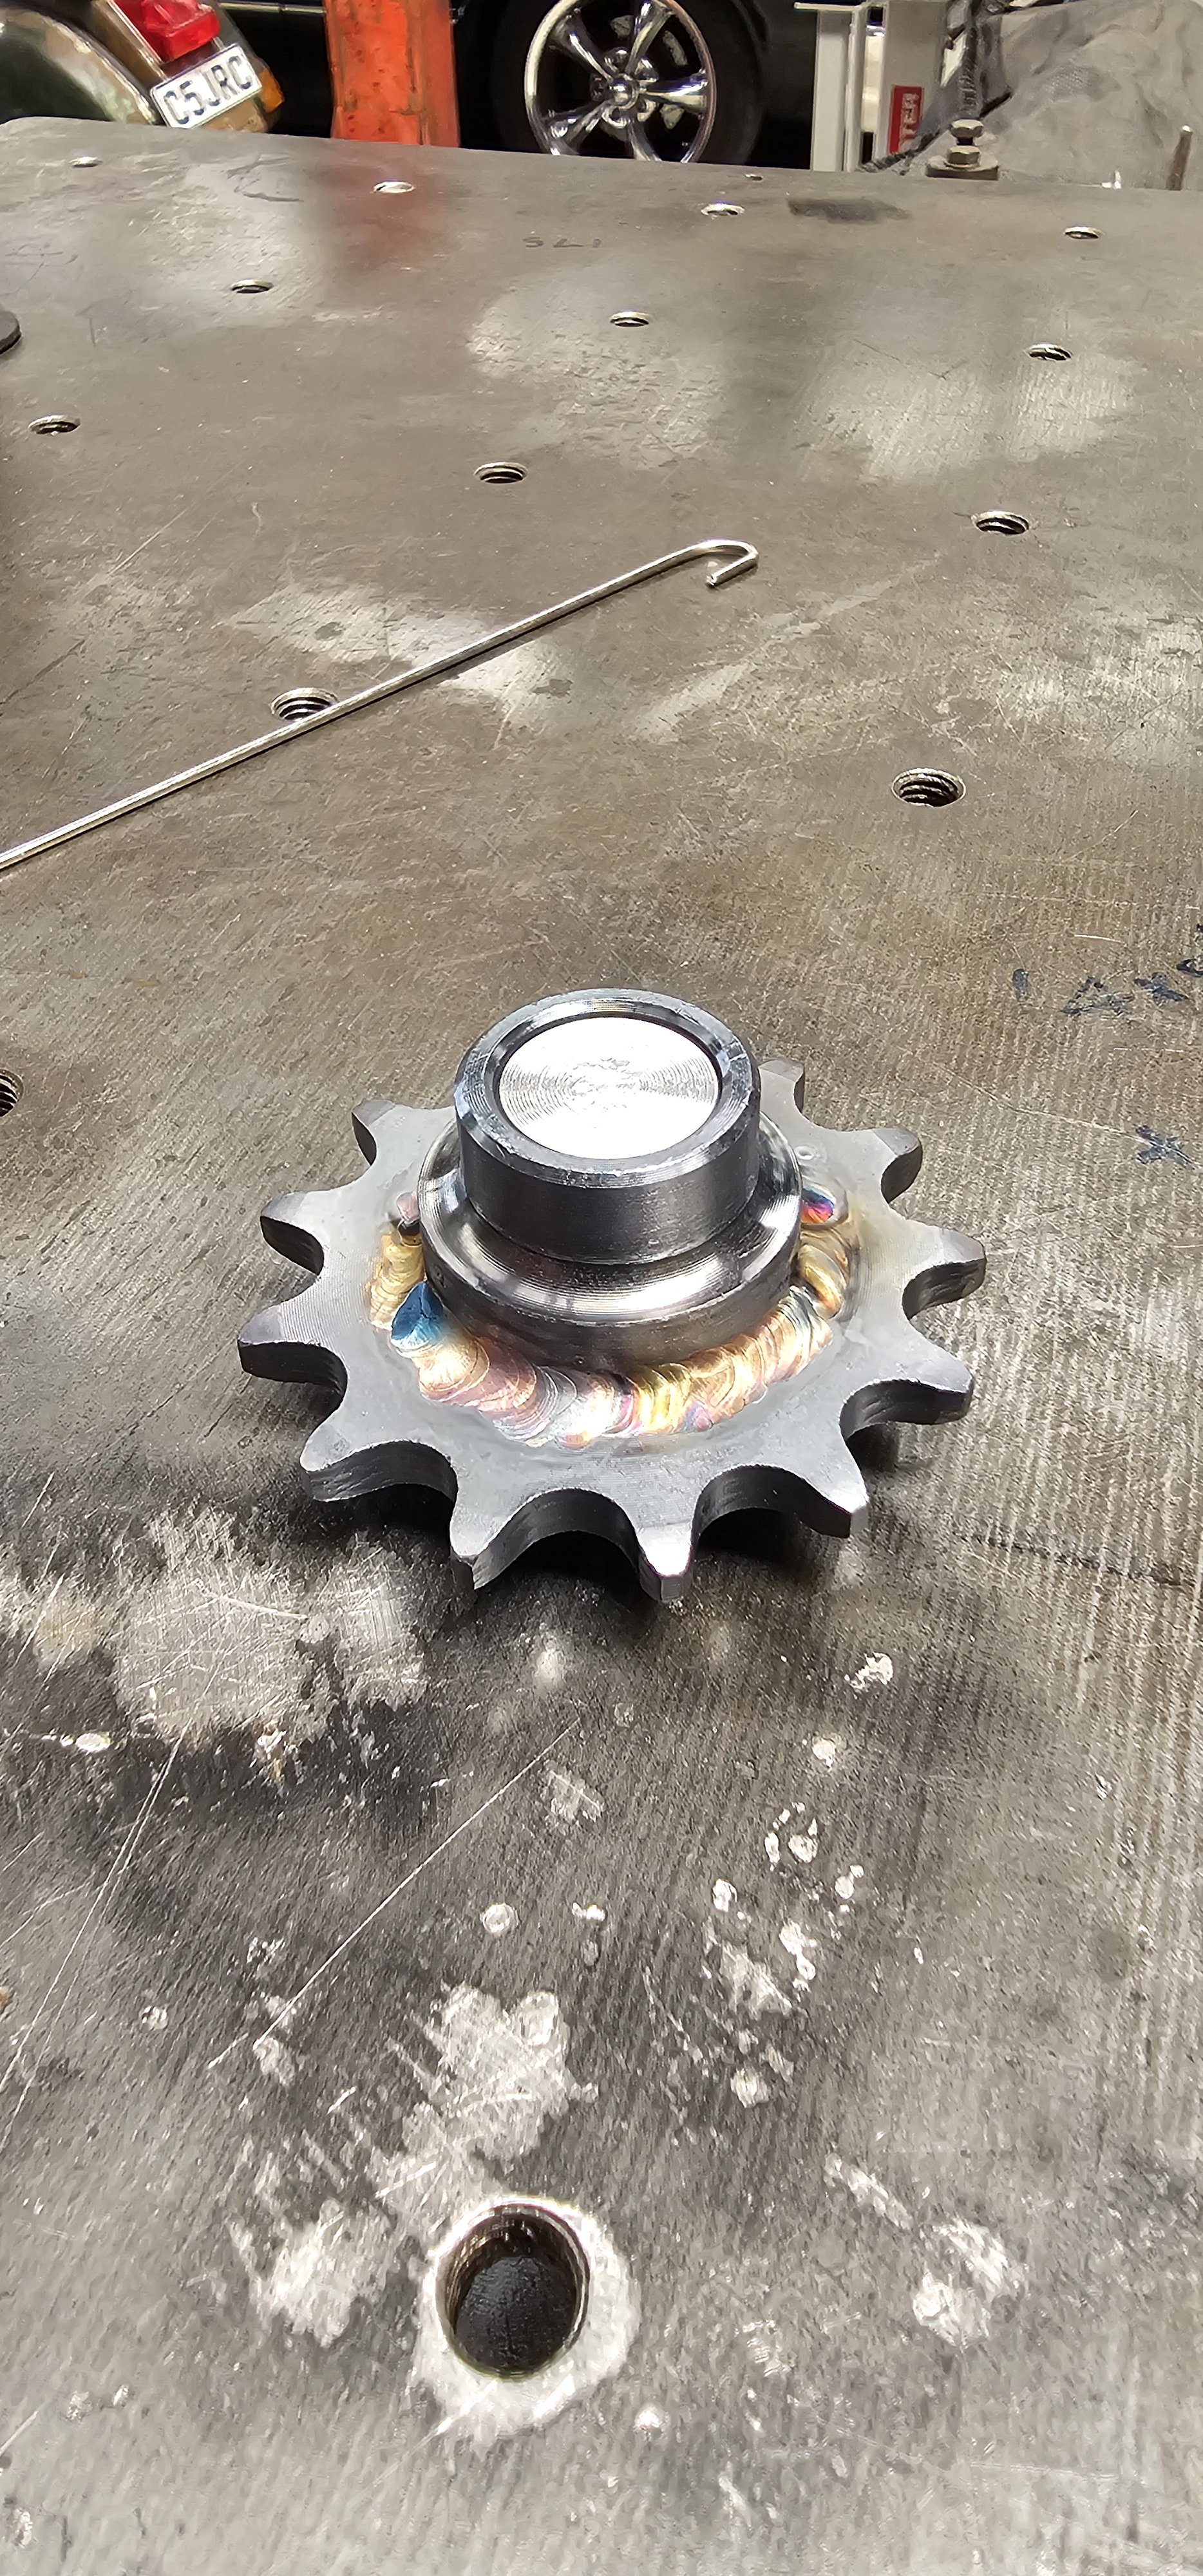
Choppy choppy tig welded the sprocket to the vespa rear hub. This is the motor side sorted. I machined an aluminum plug to hold everything concentric for welding.
-
Pull start mechanism underway. Over engineering 101. Much like the original ones. However because I'm using a vespa motor (not an Ape motor) it has e start. So the pull start is just a backup.
-
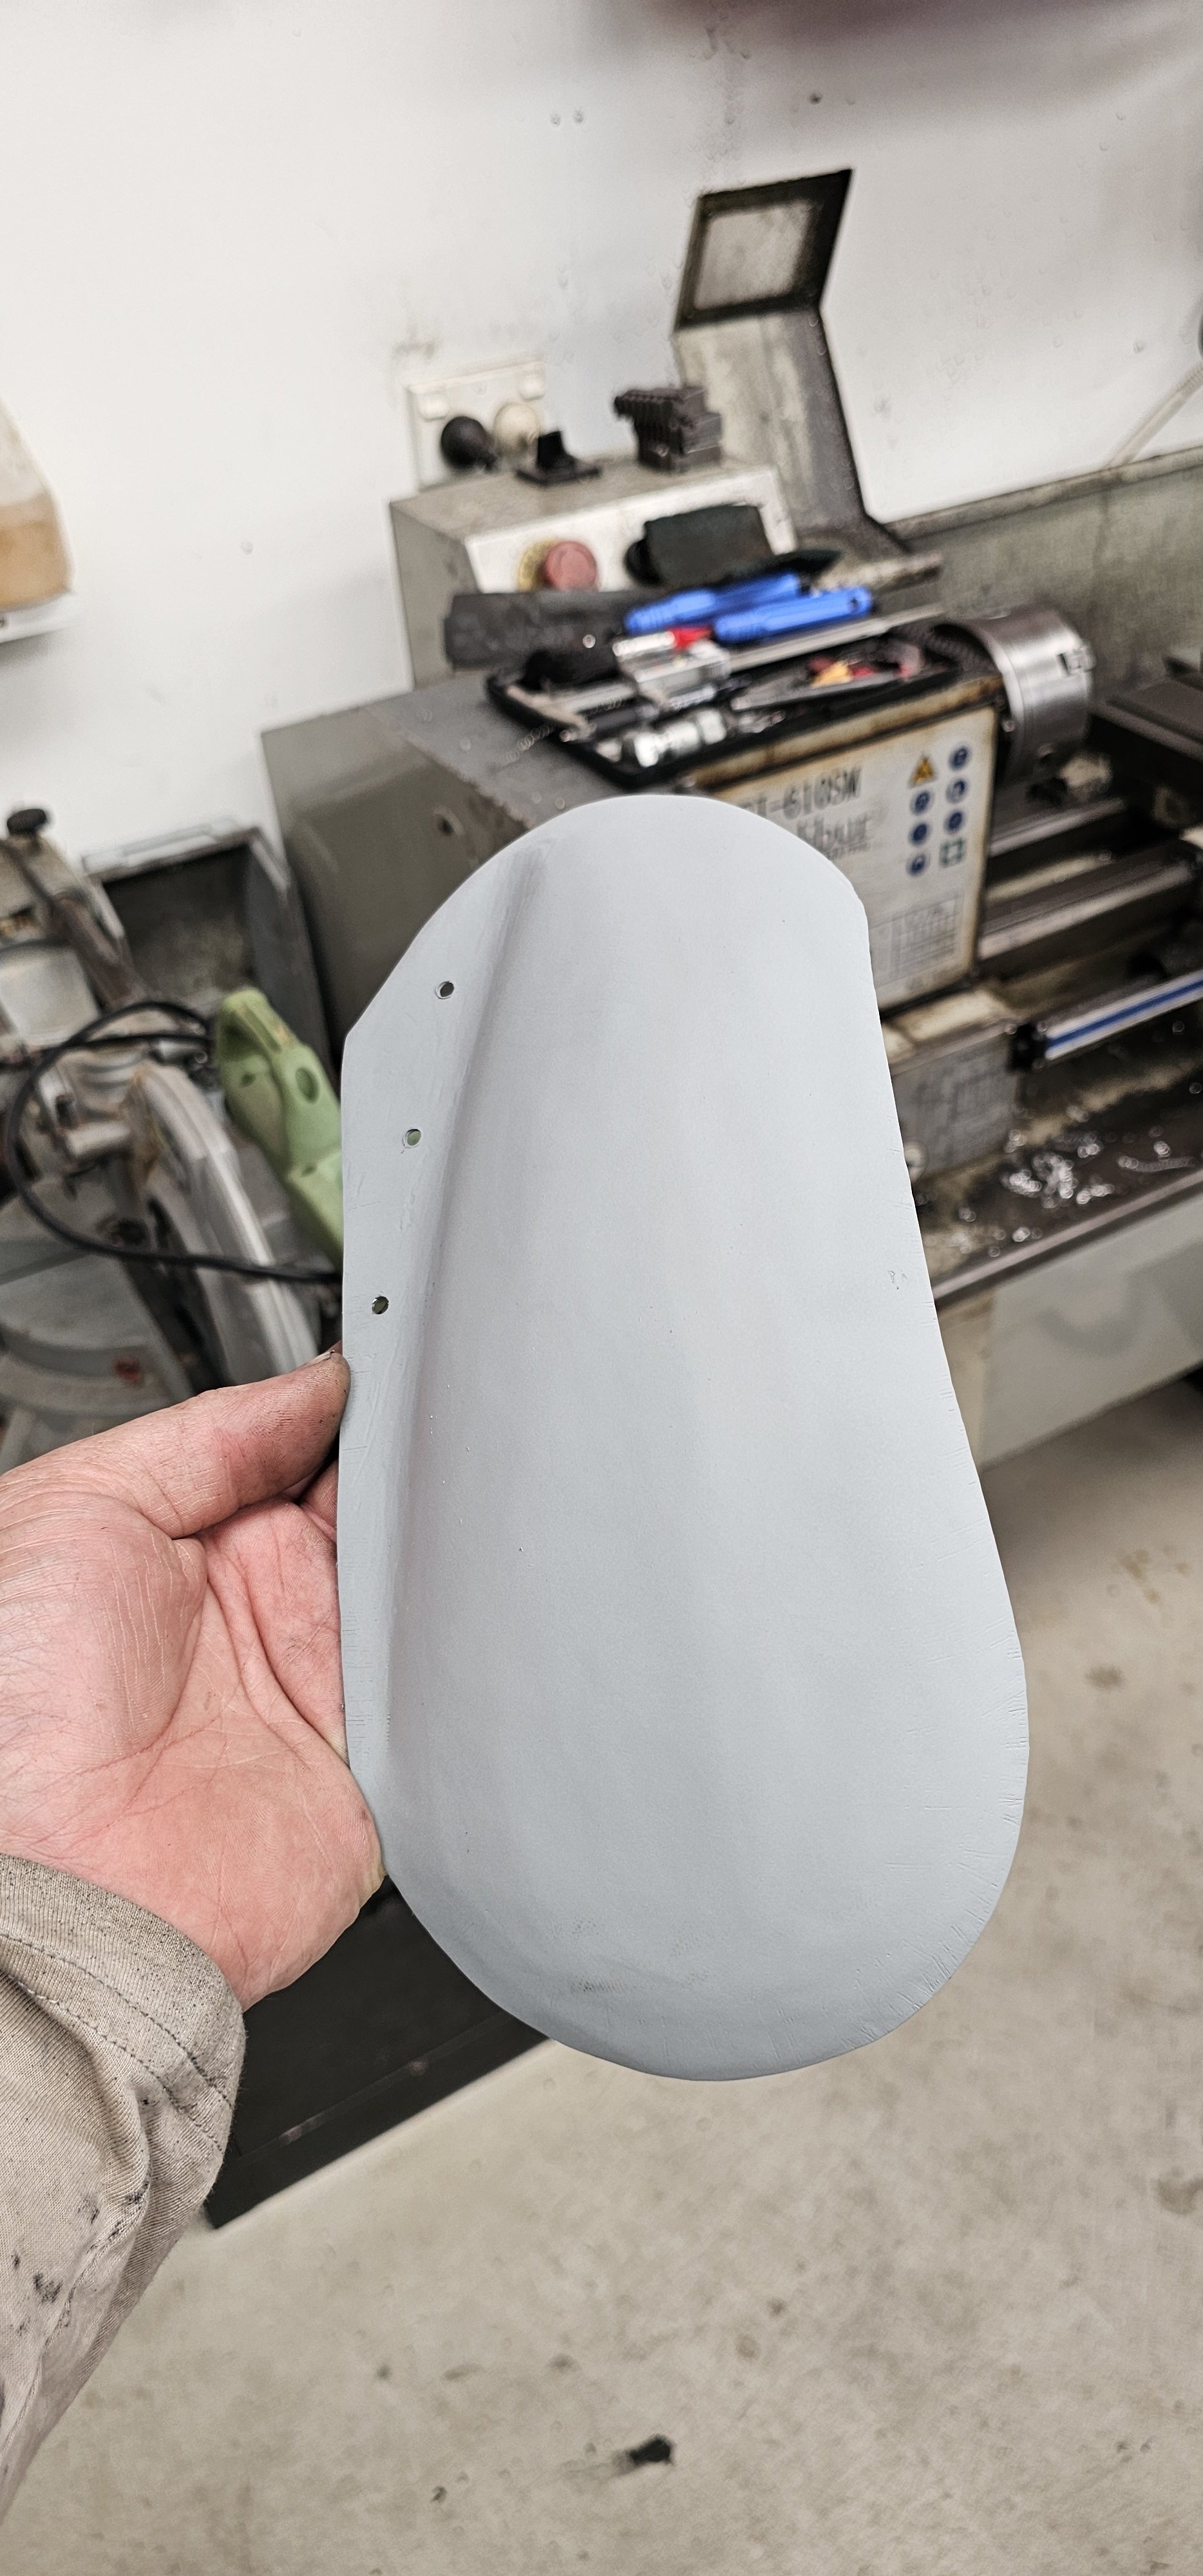
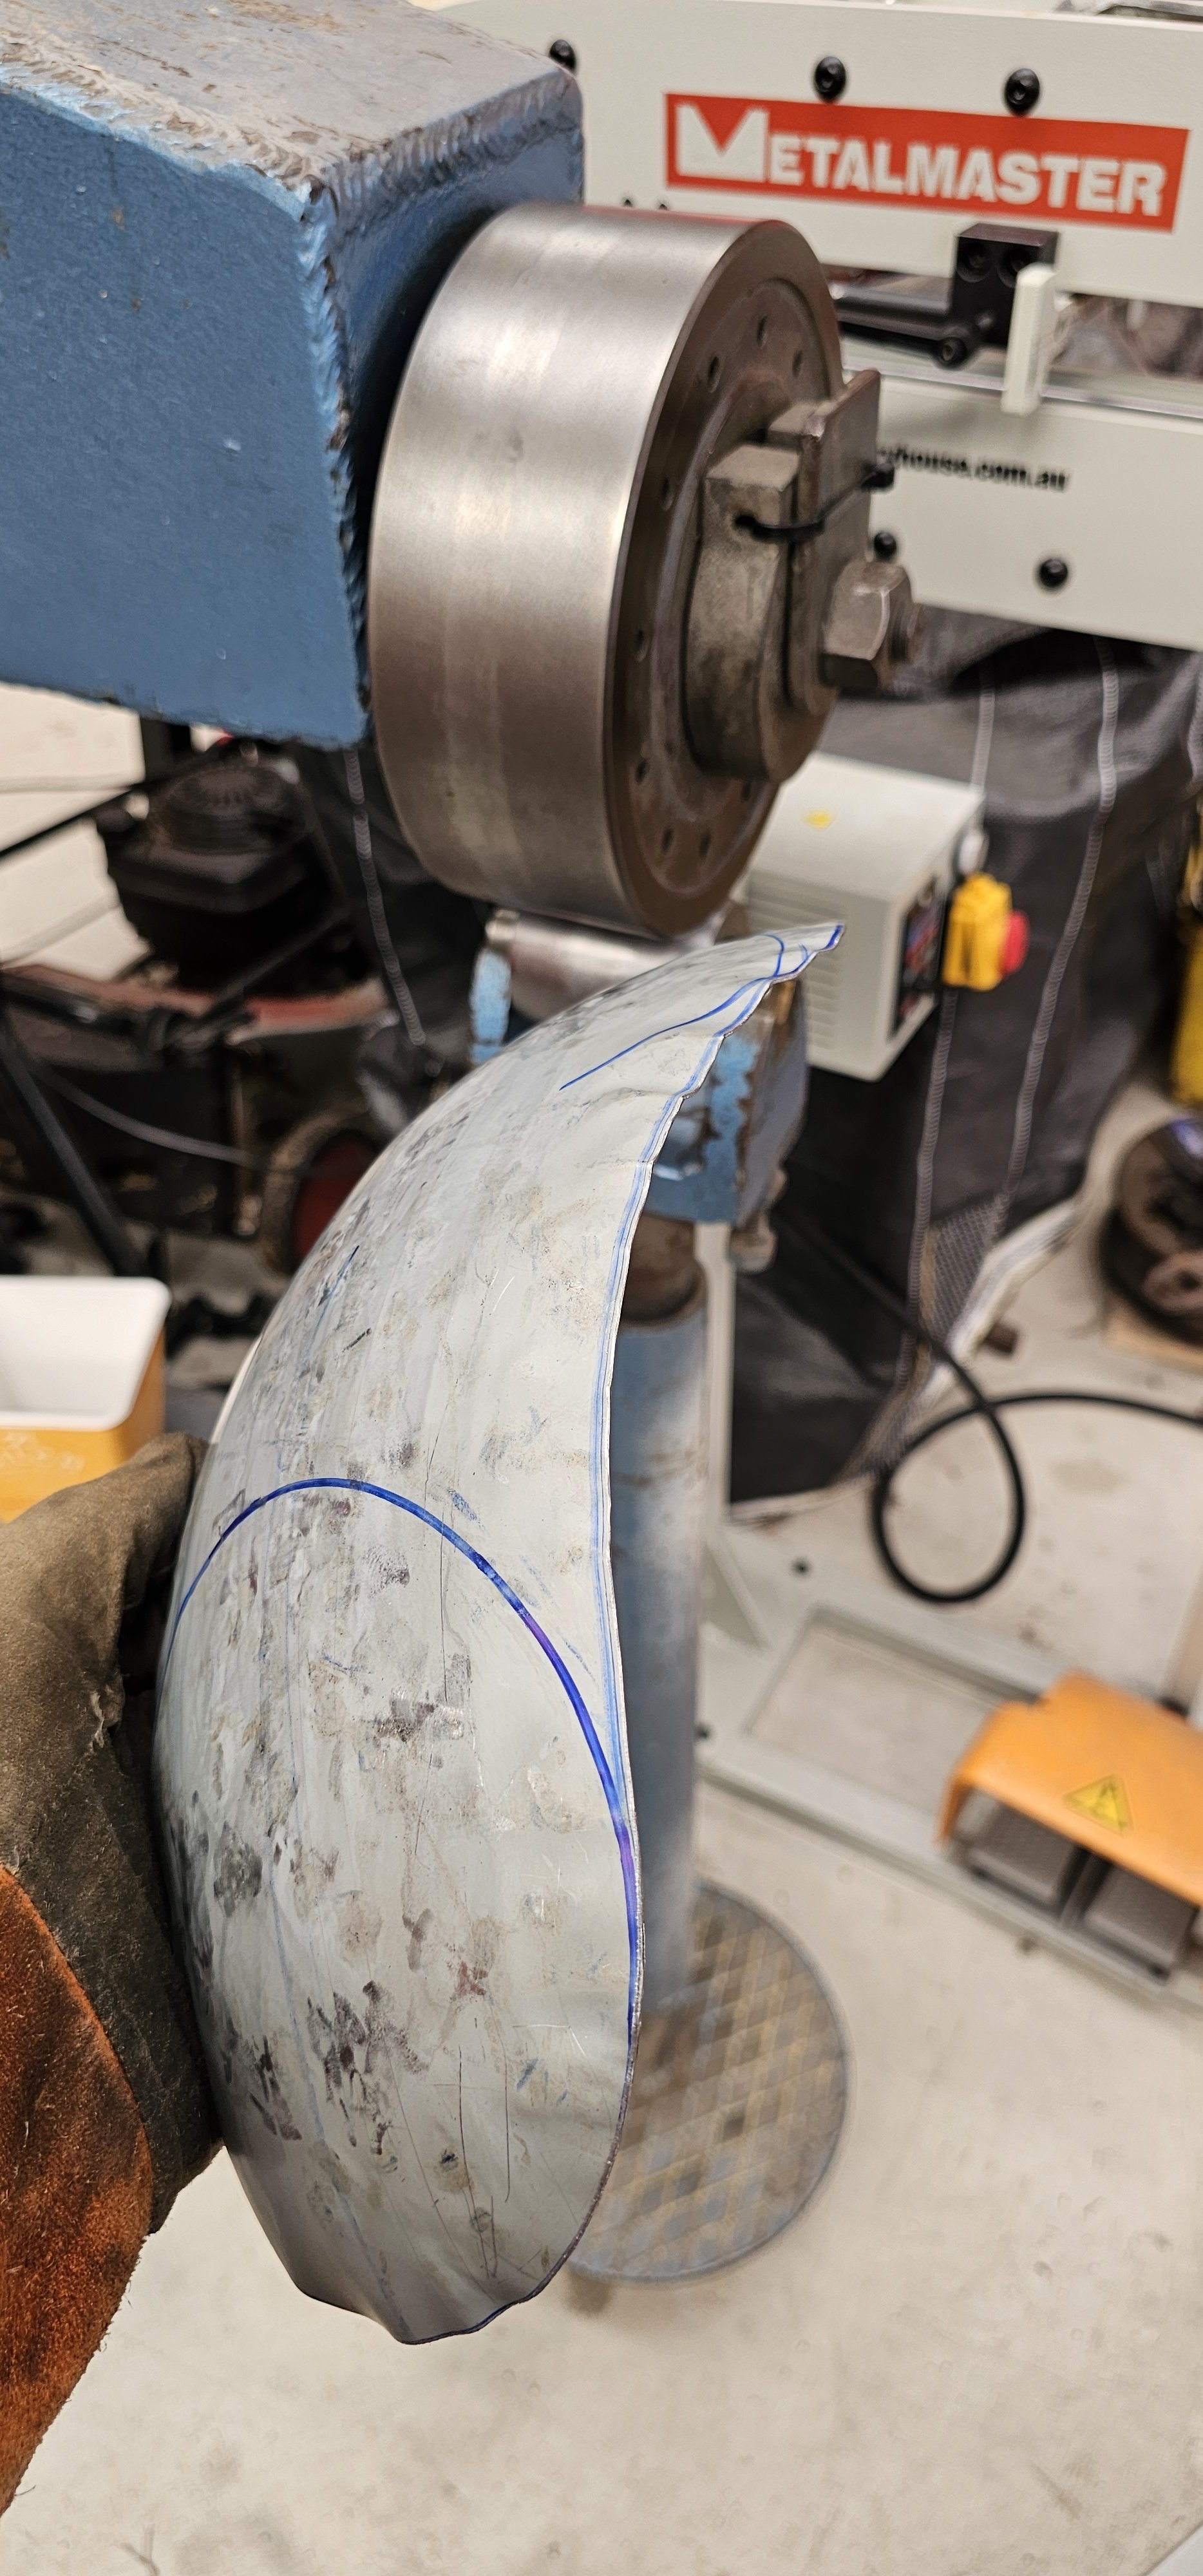
Done! goes unseen, so im not going to spend too much time planishing it. Thats rough enough...
-
Nearly there. Just needs a recess to fit to floor structure for mounting.
-
Wheelie fun
-
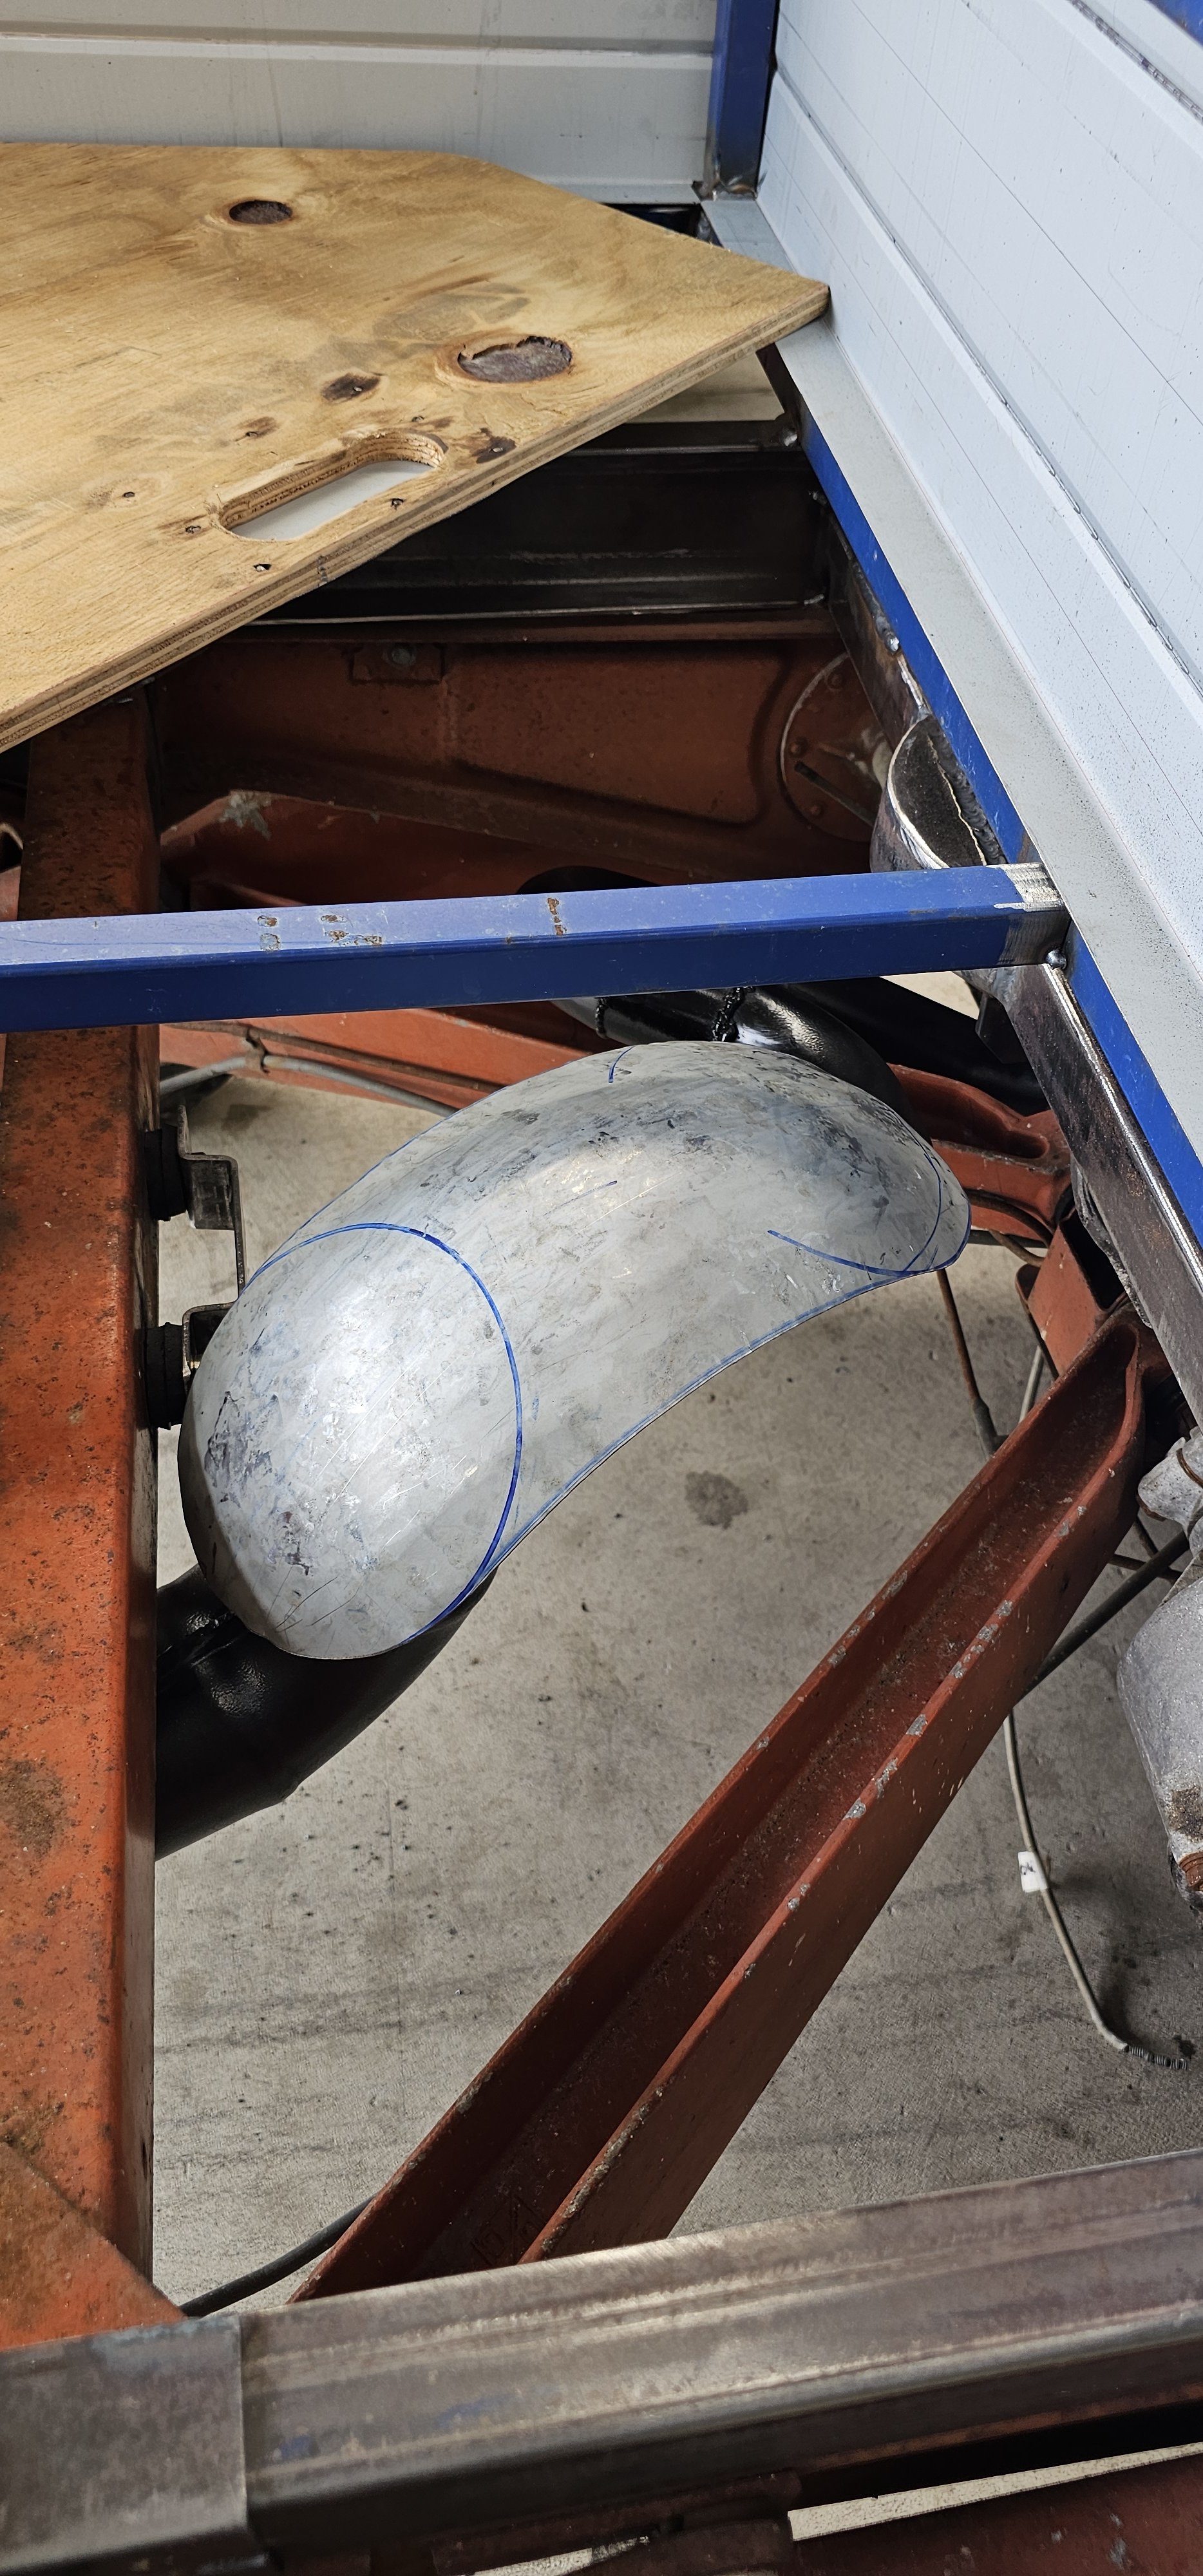
I'm going to use plywood or similar fir the team floor. So a heat shield isn't the worst idea...
-
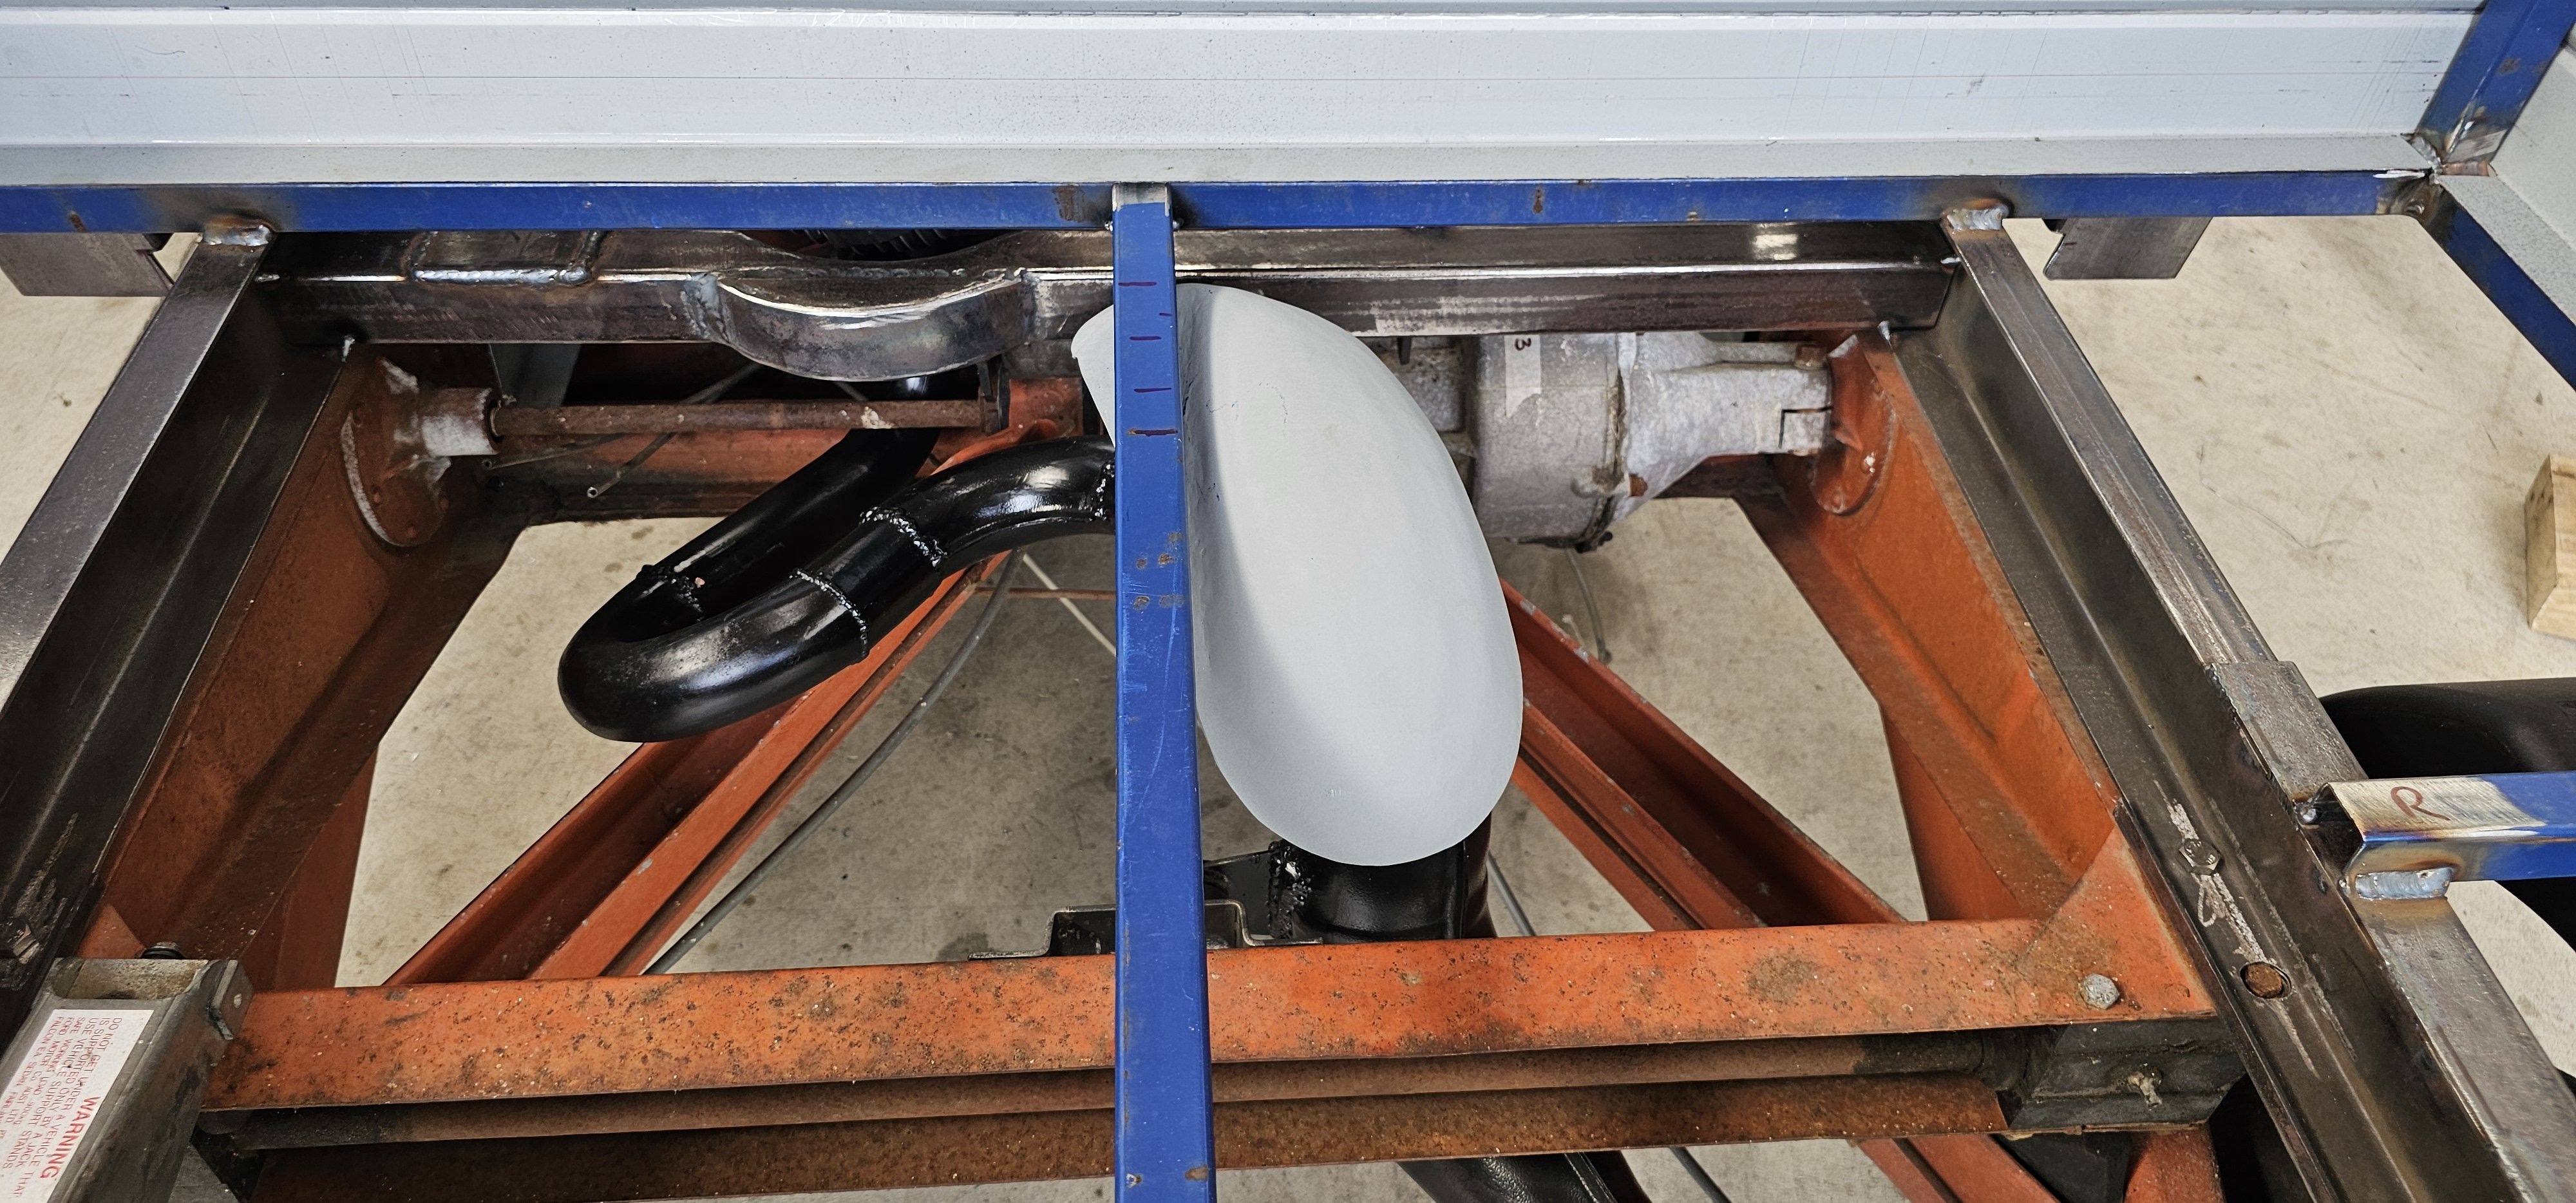
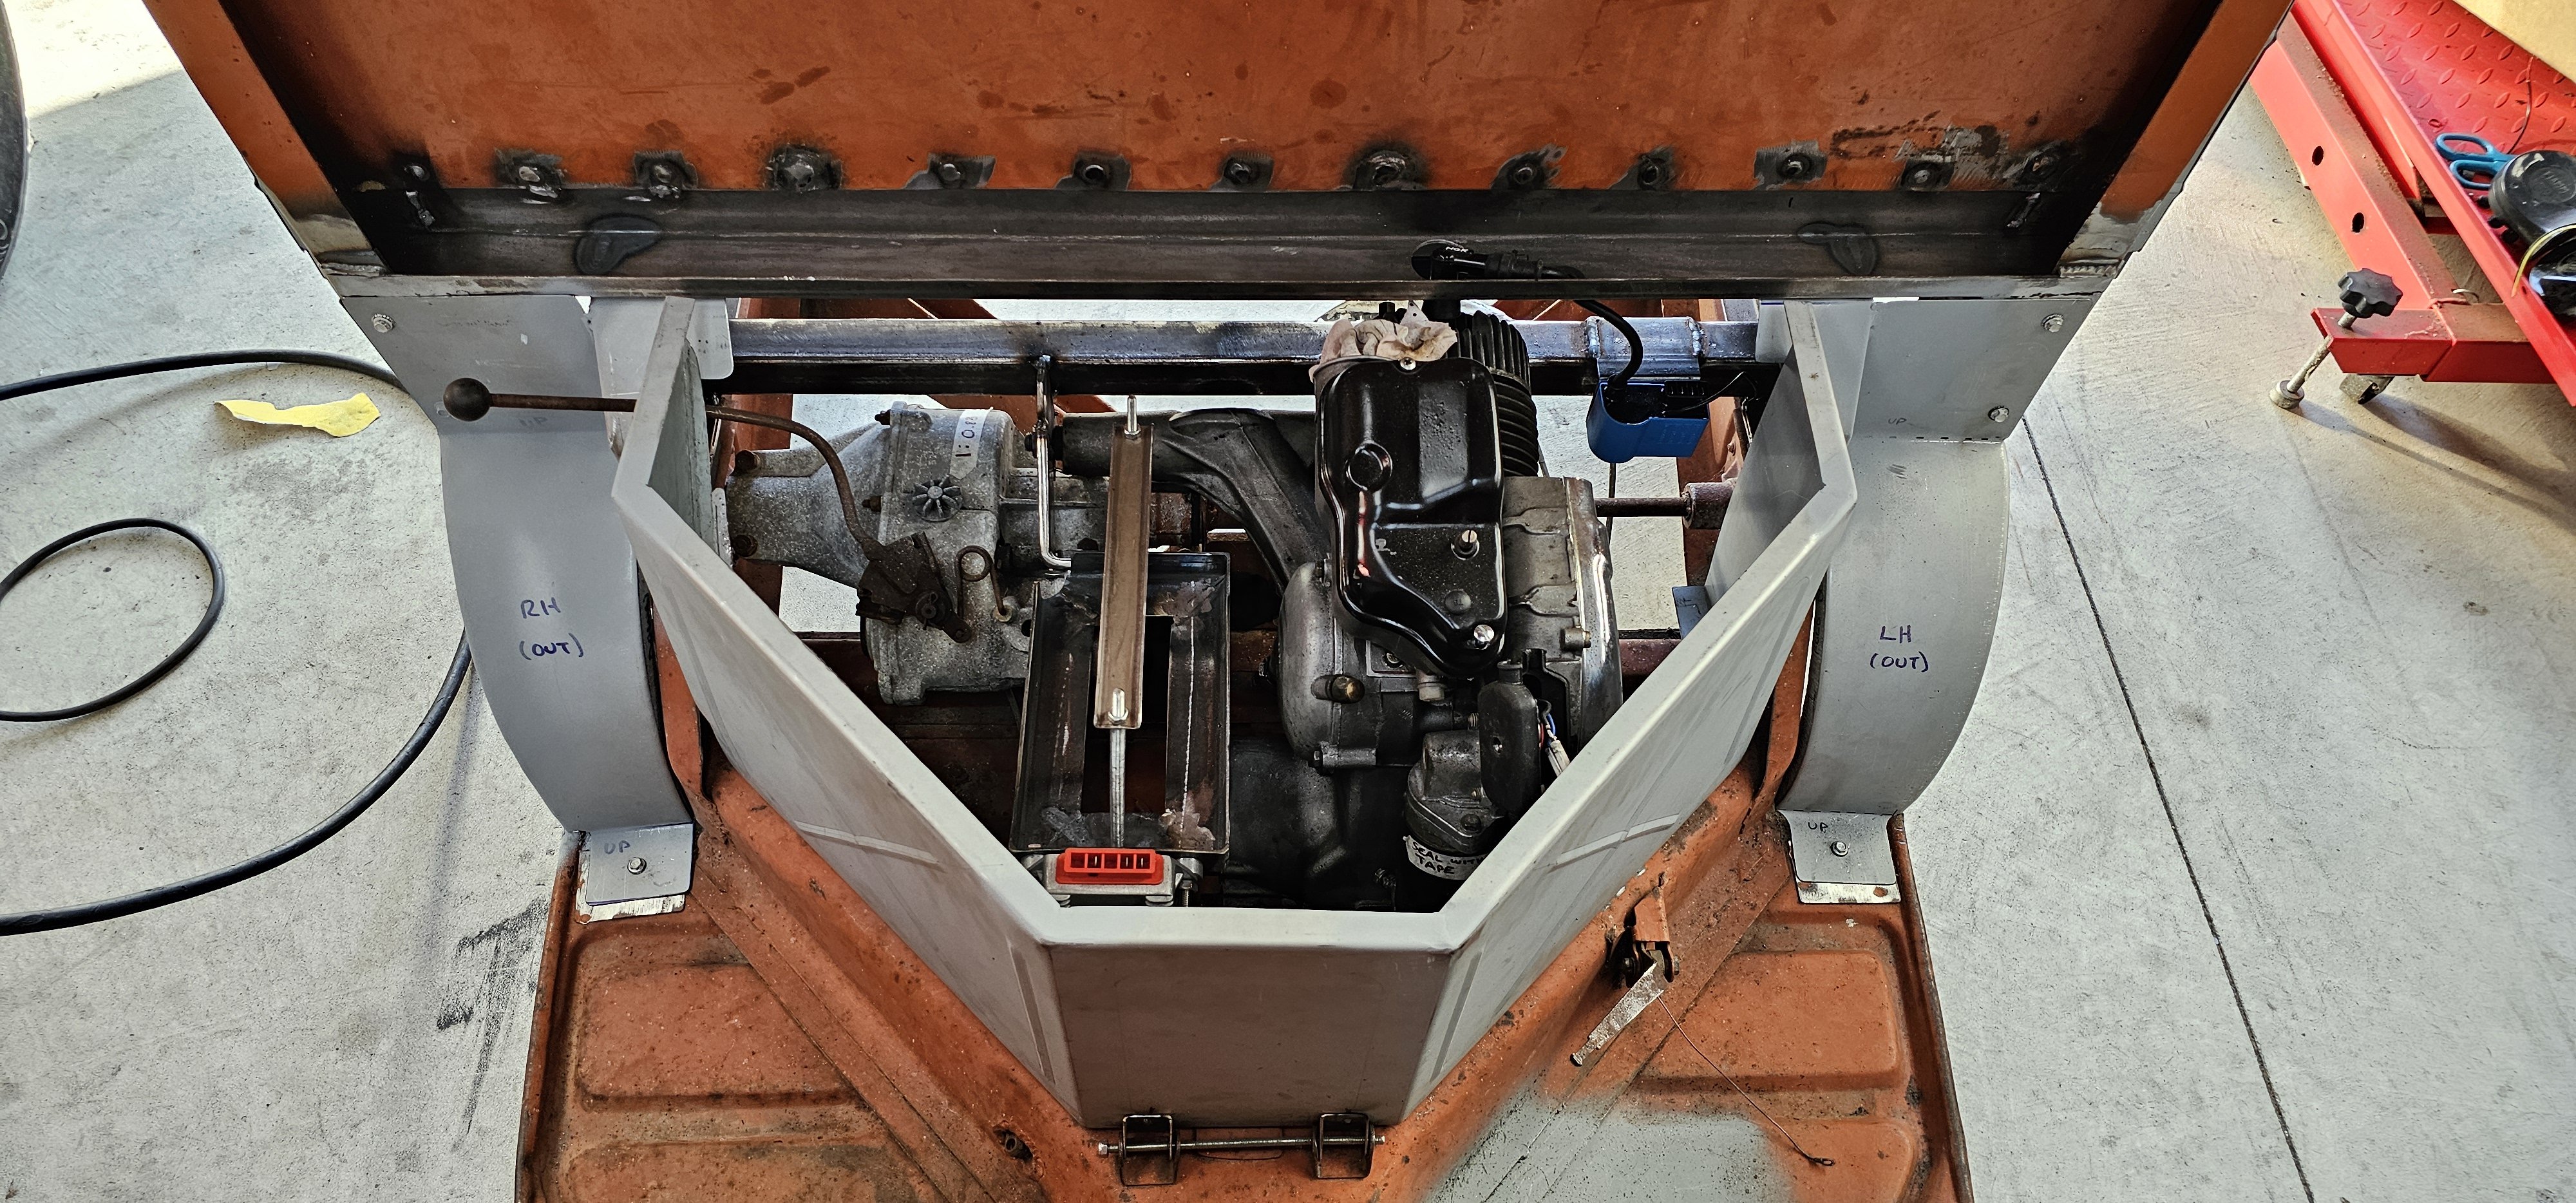
Fits around all moving parts, plenty of clearance etc. And we'll hung (*insert jokes).
-
Bit of paint...just like a bought one!
-
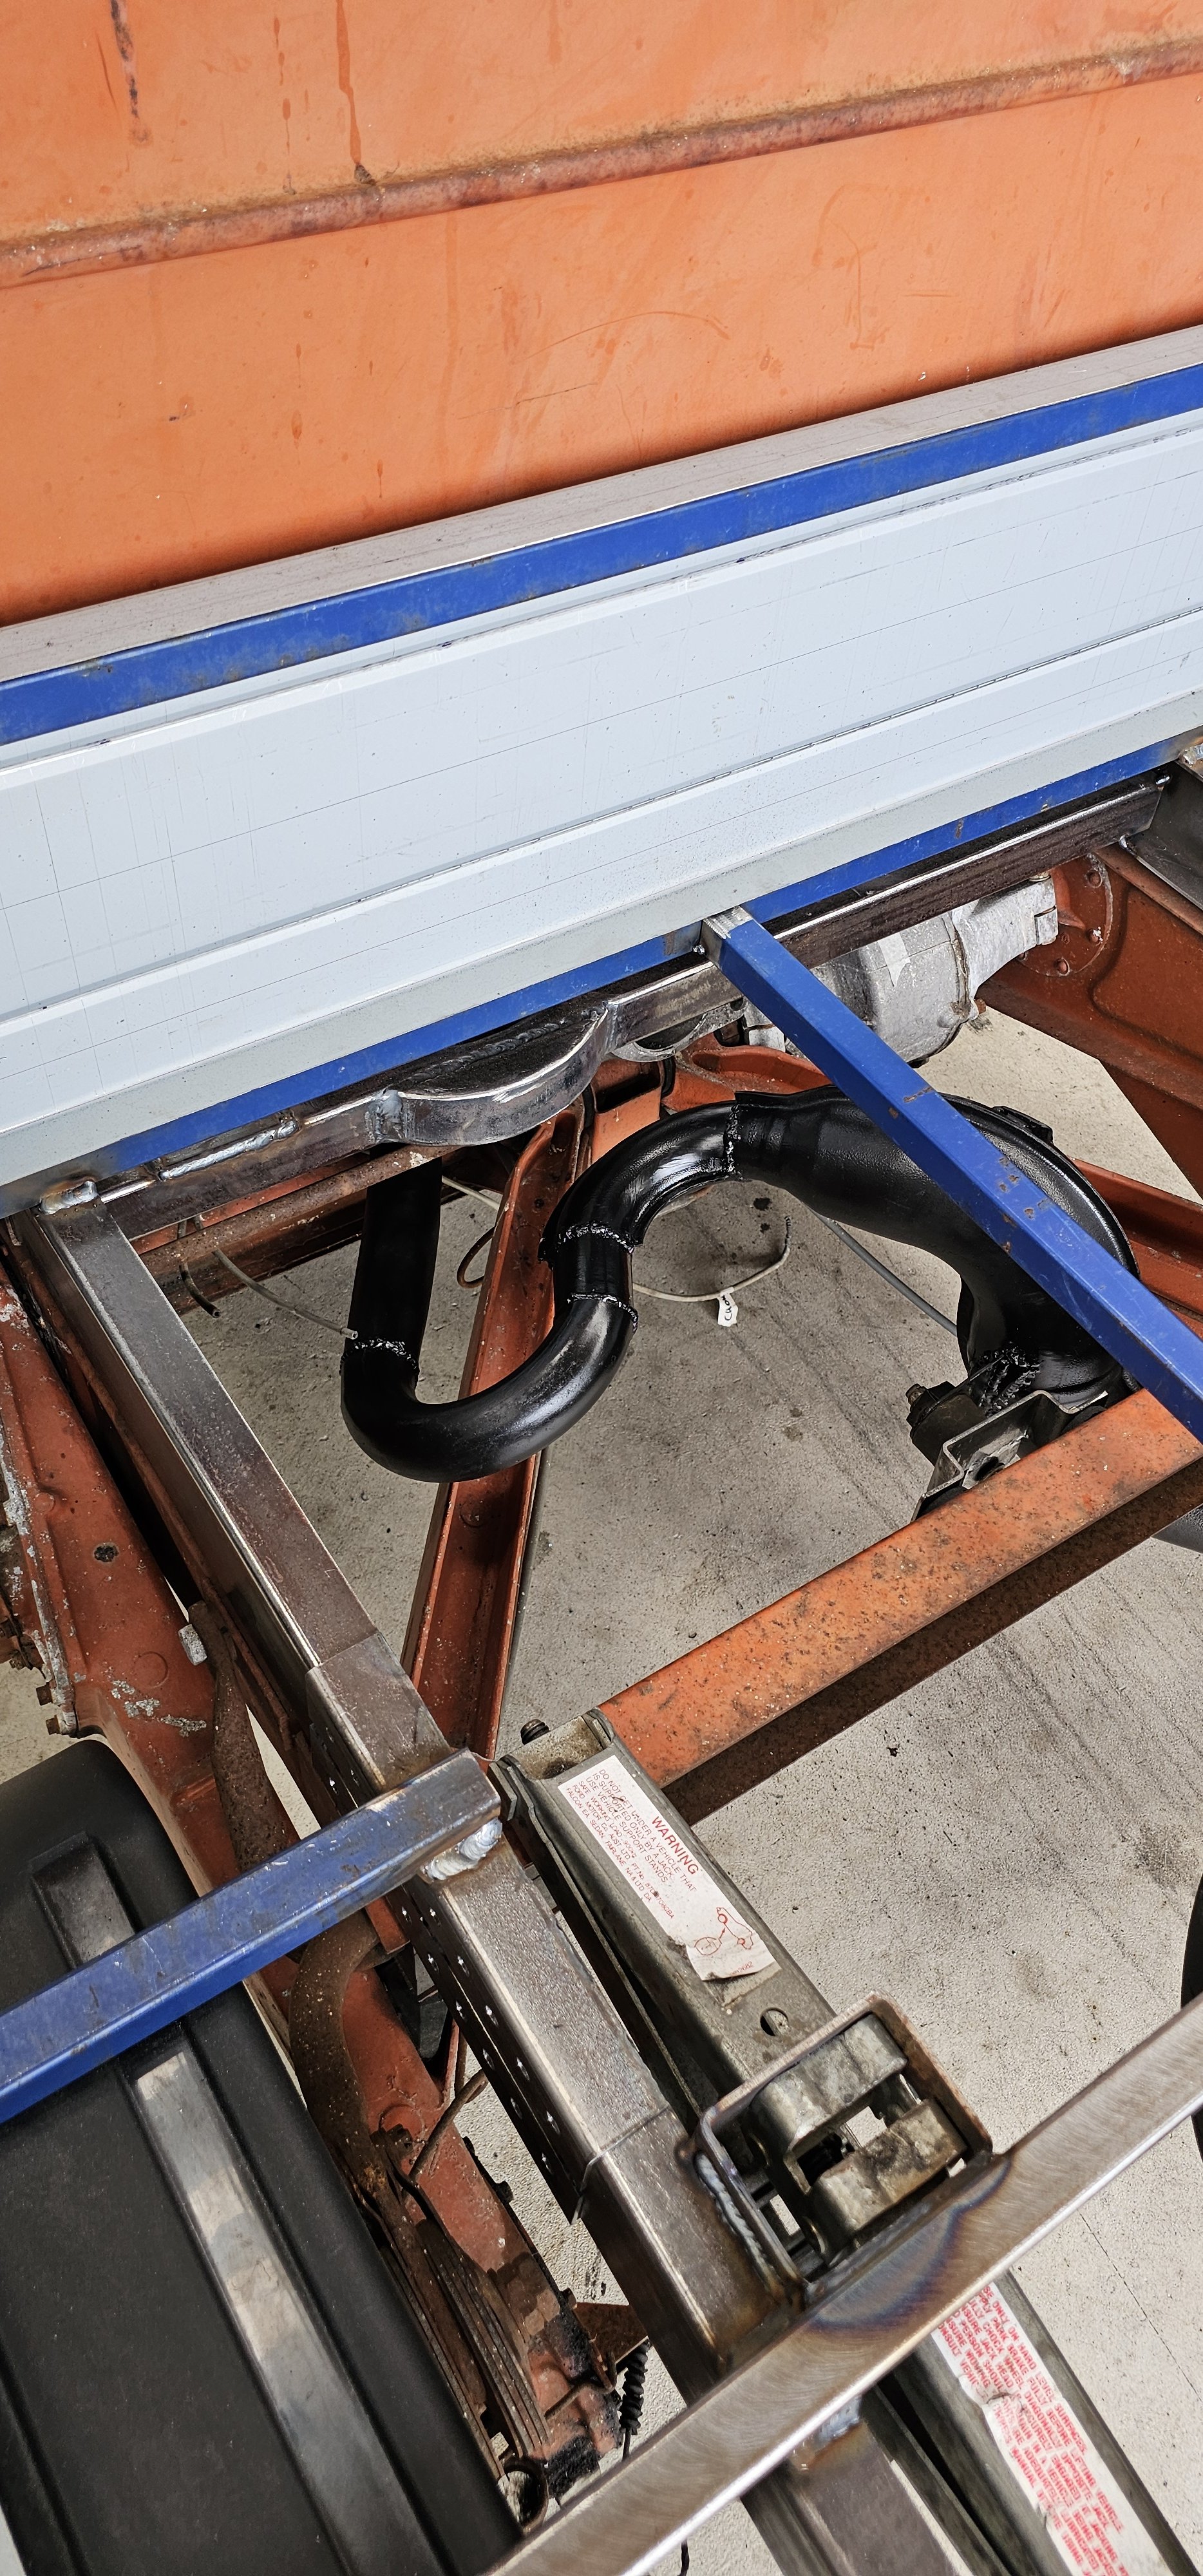
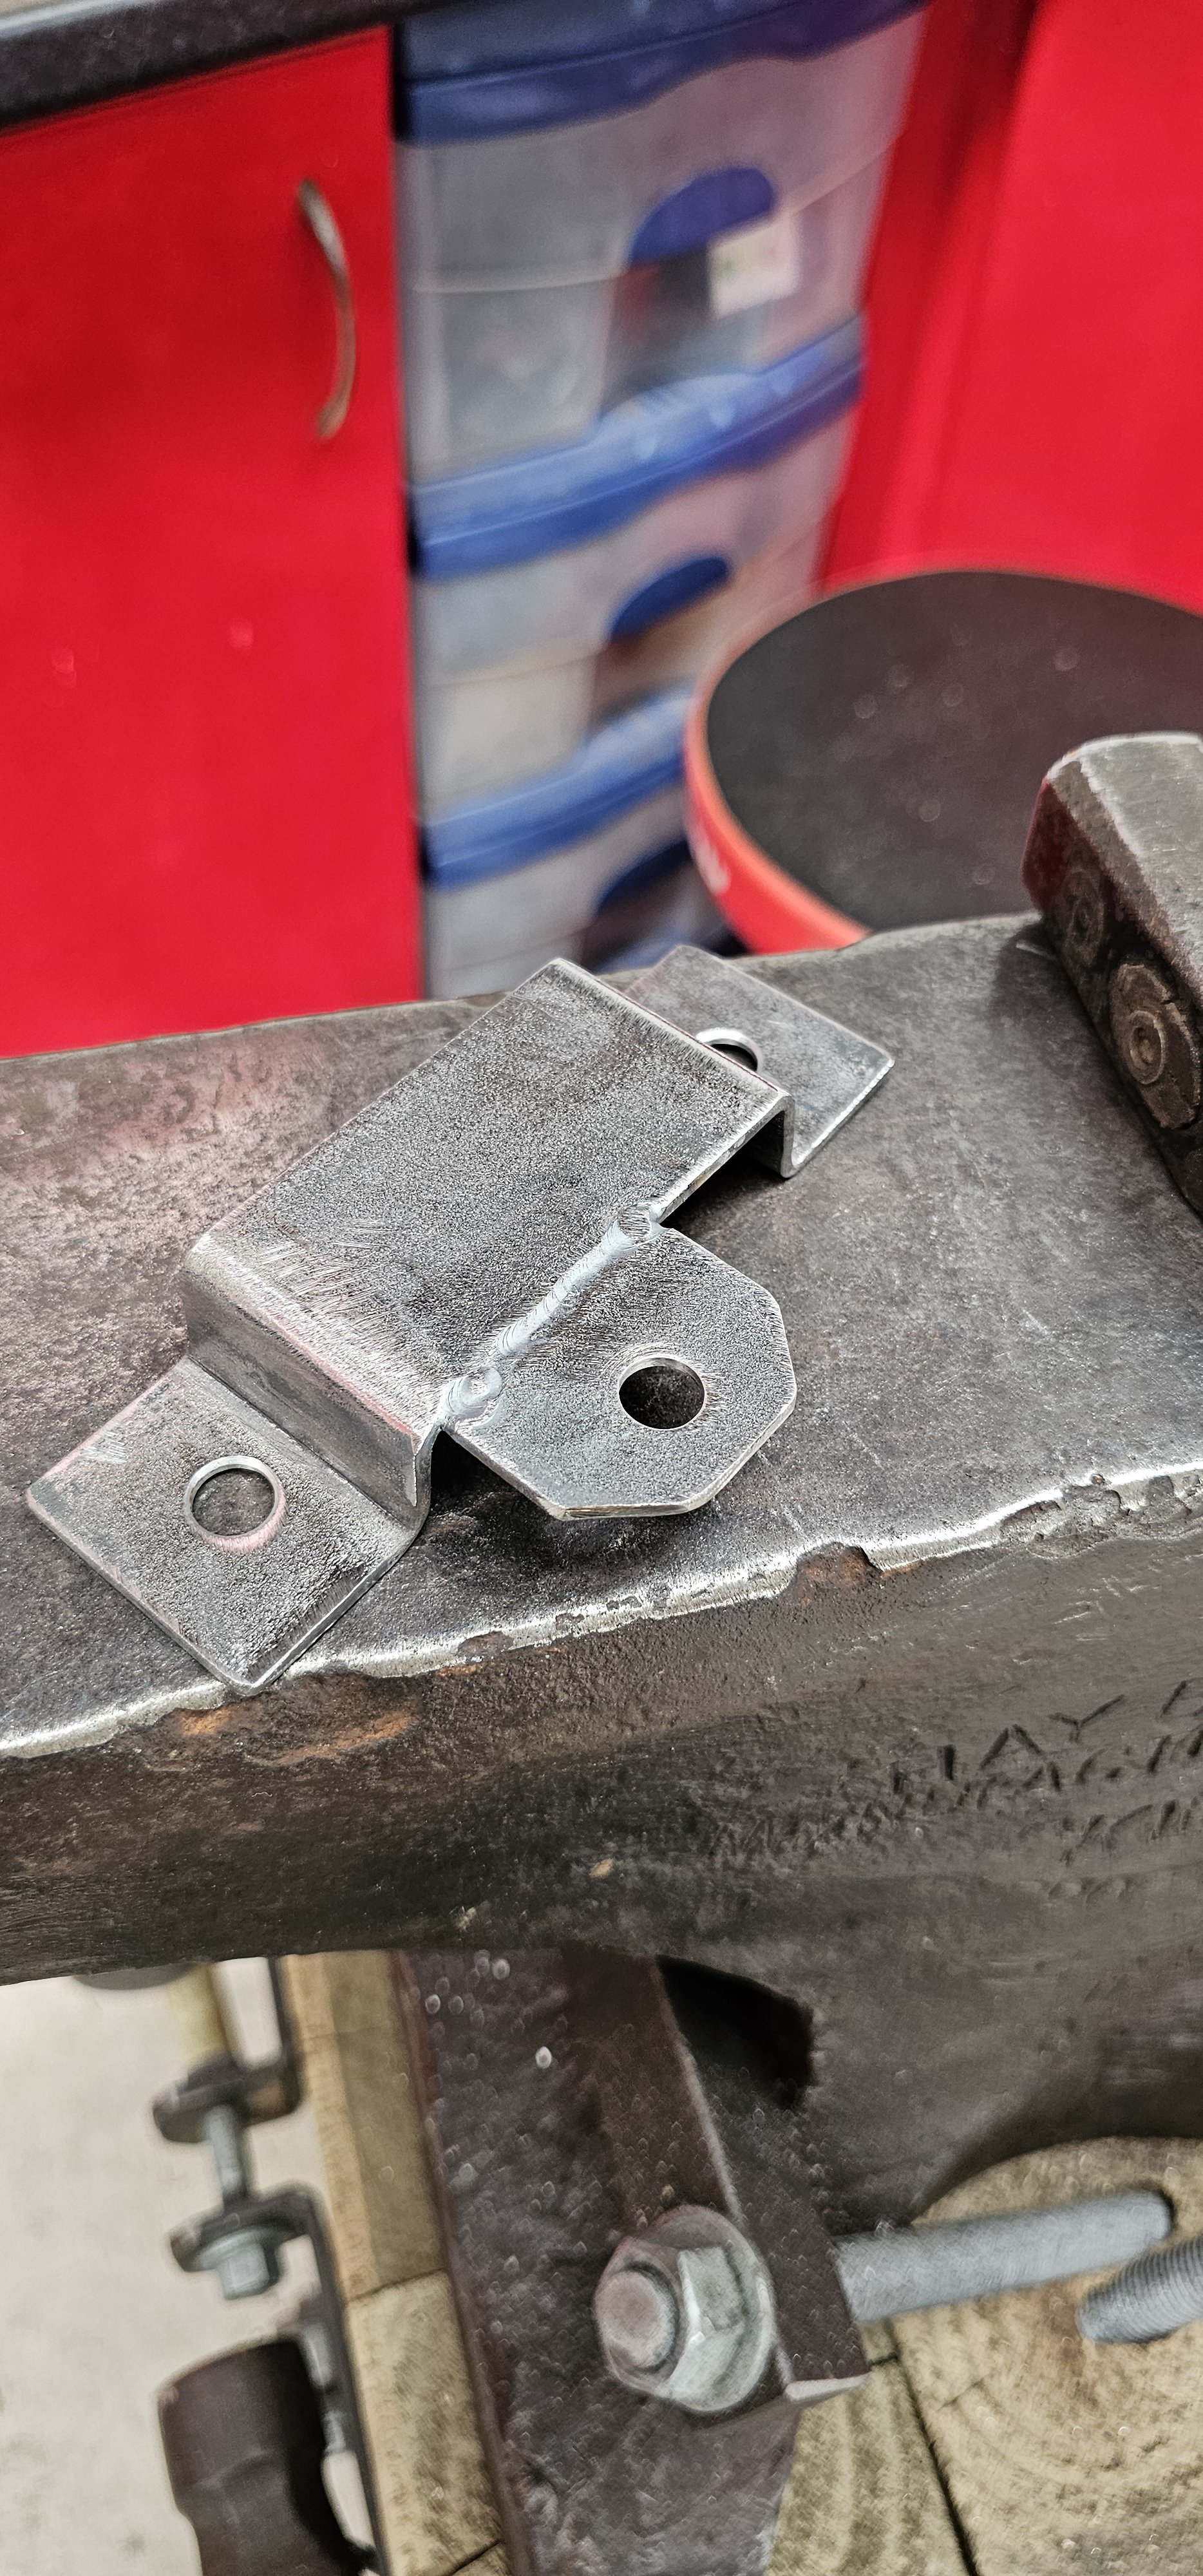
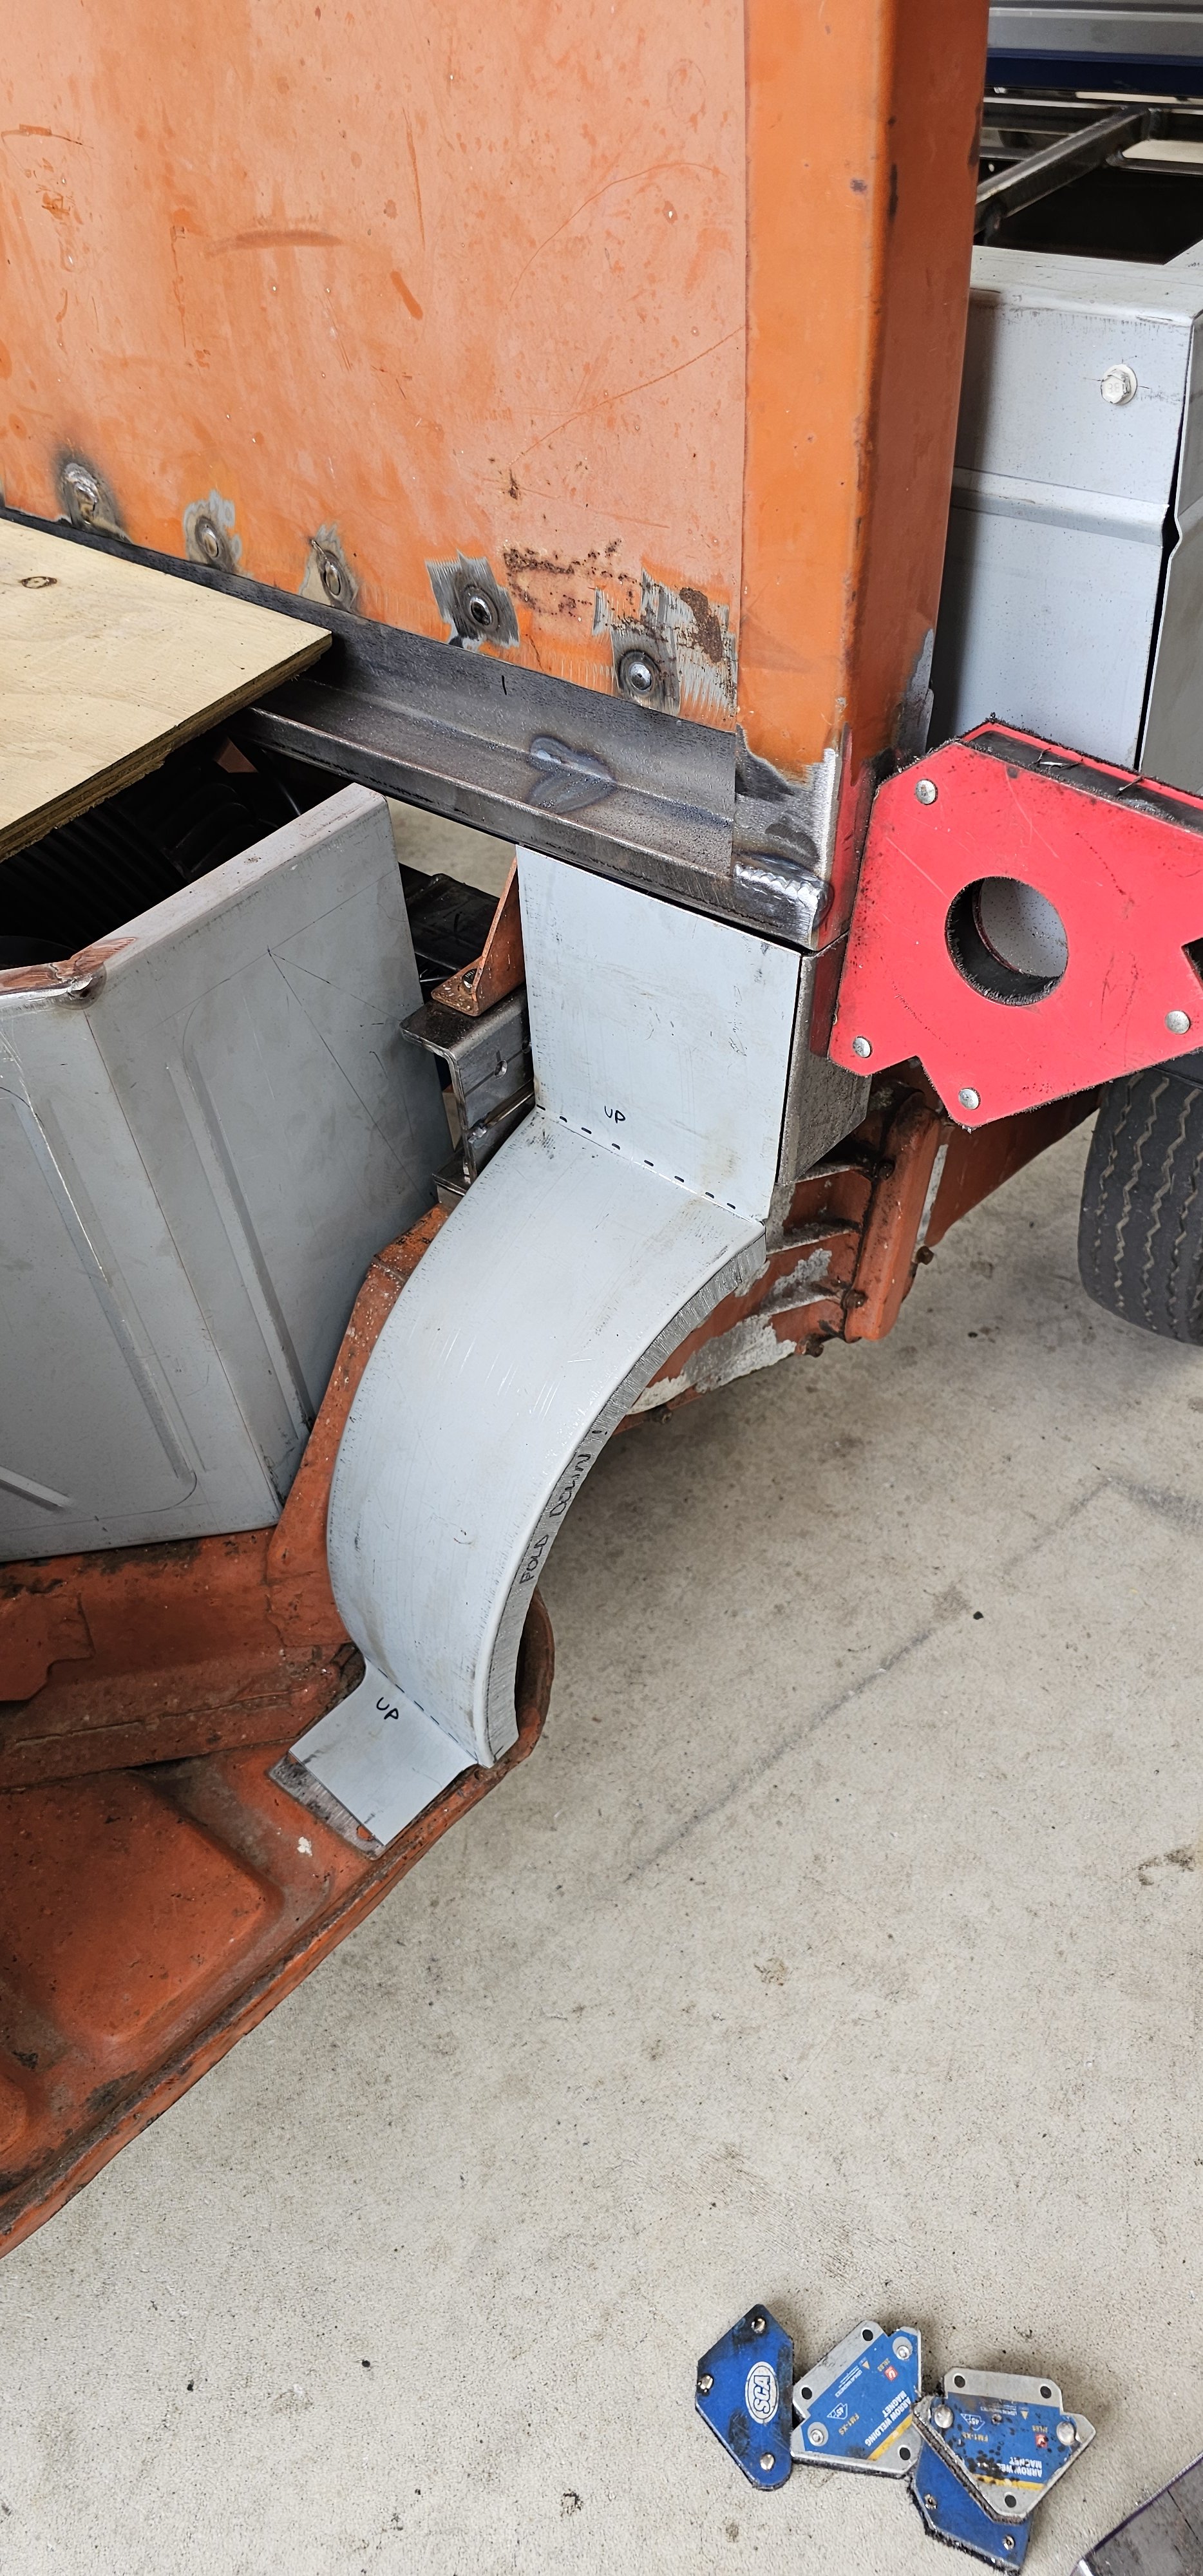
Sexy hanger bracket. Using original hanger studs on the chassis.
-
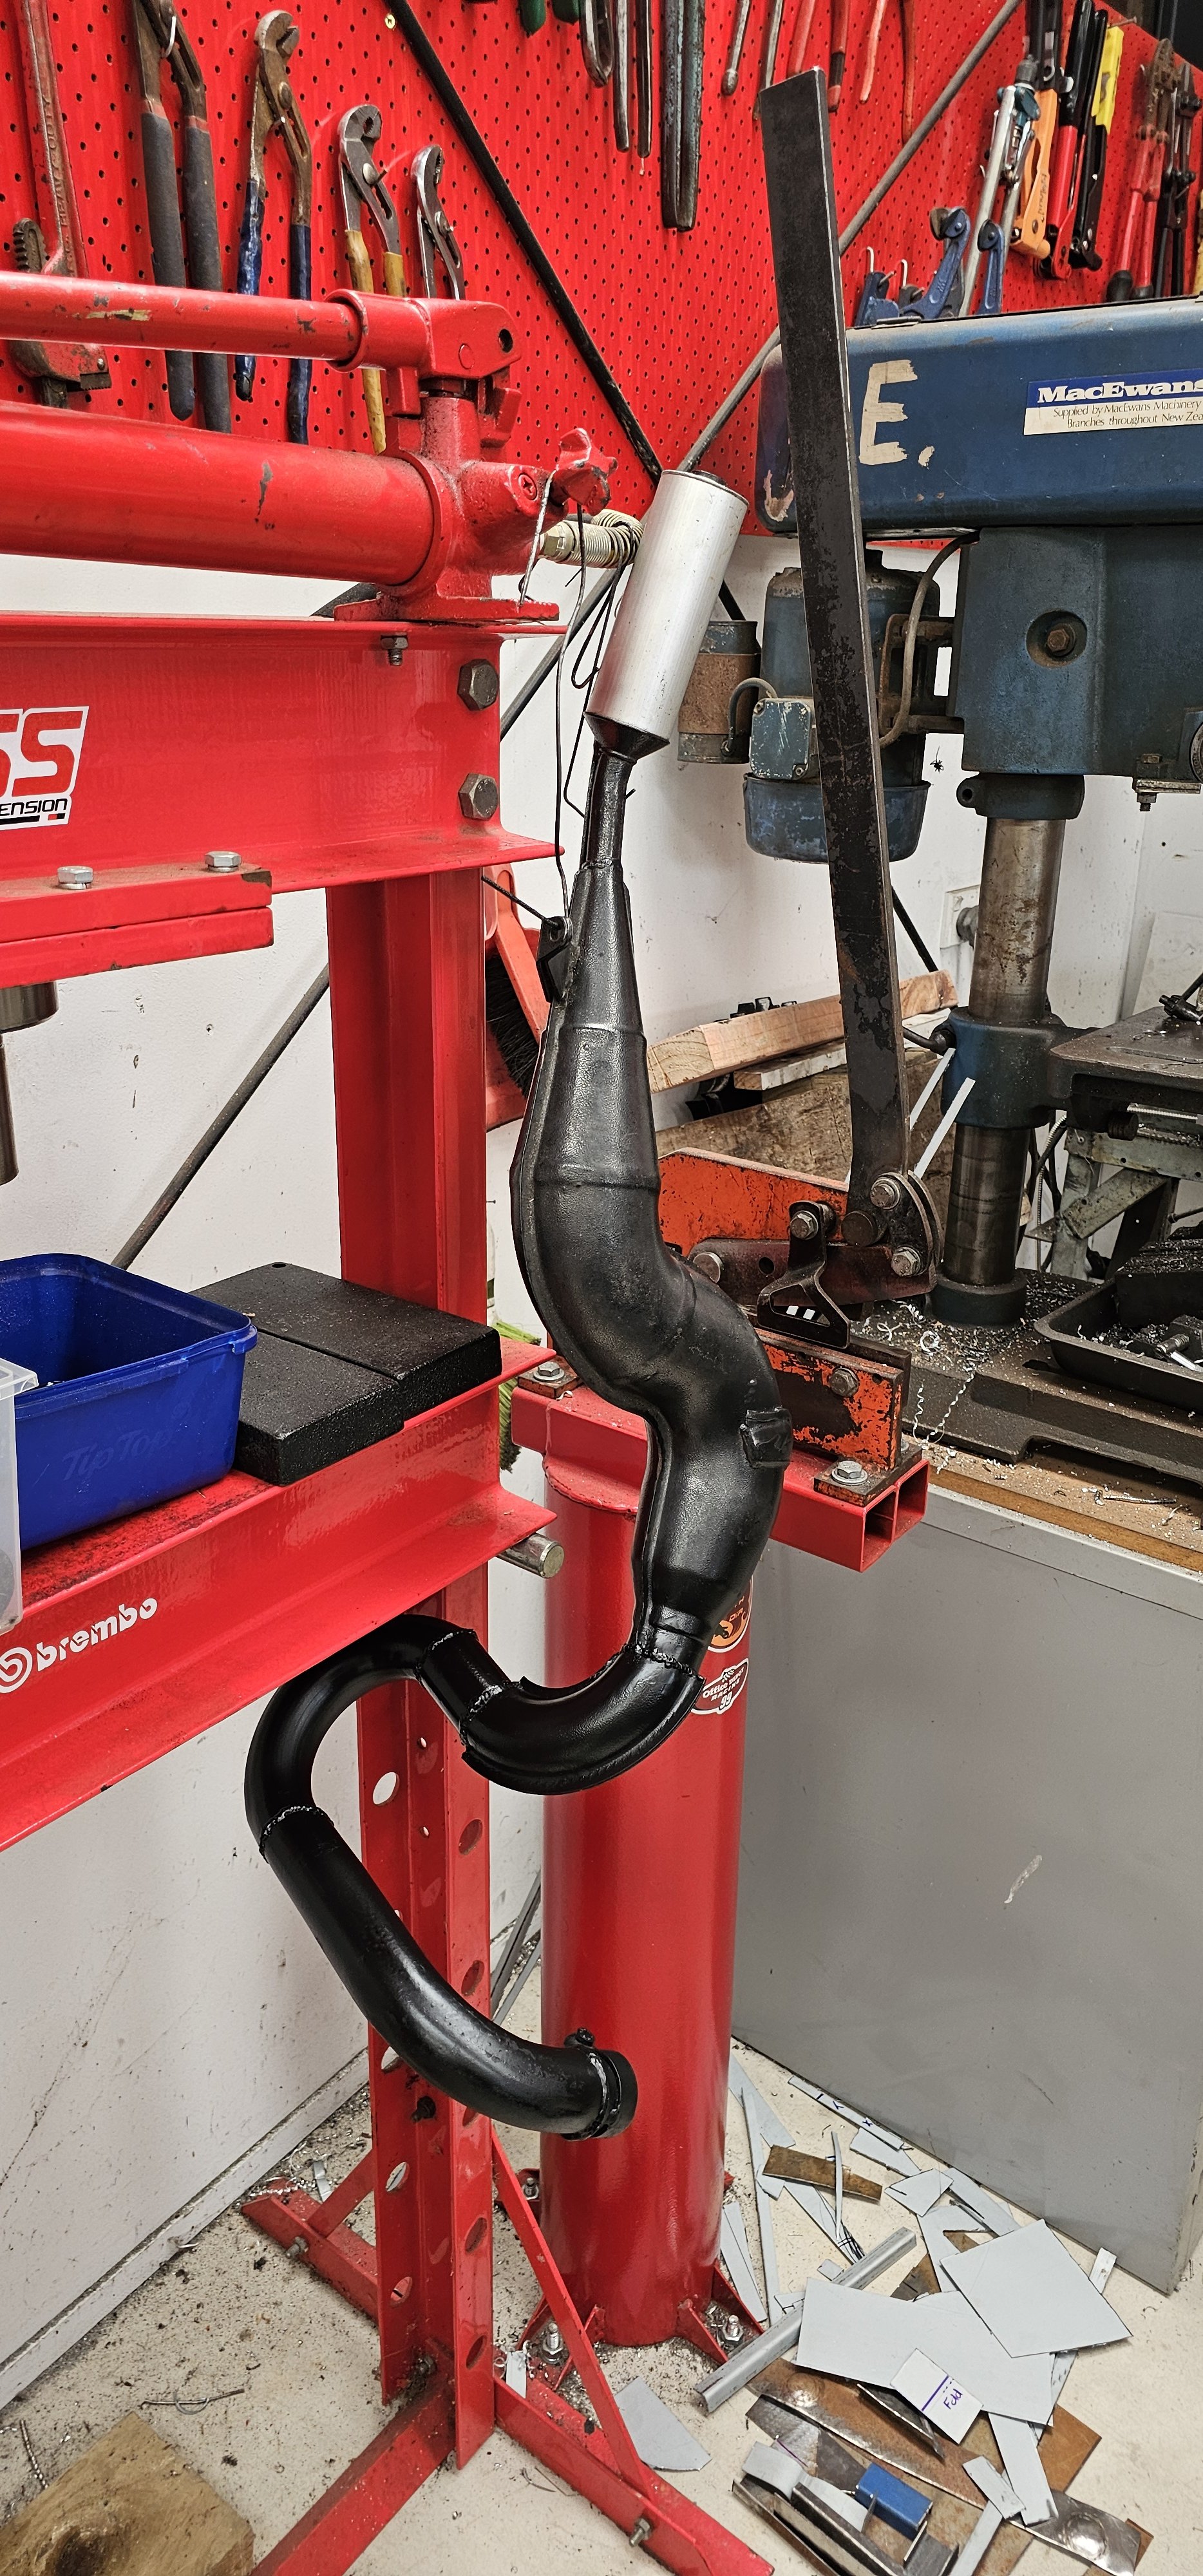
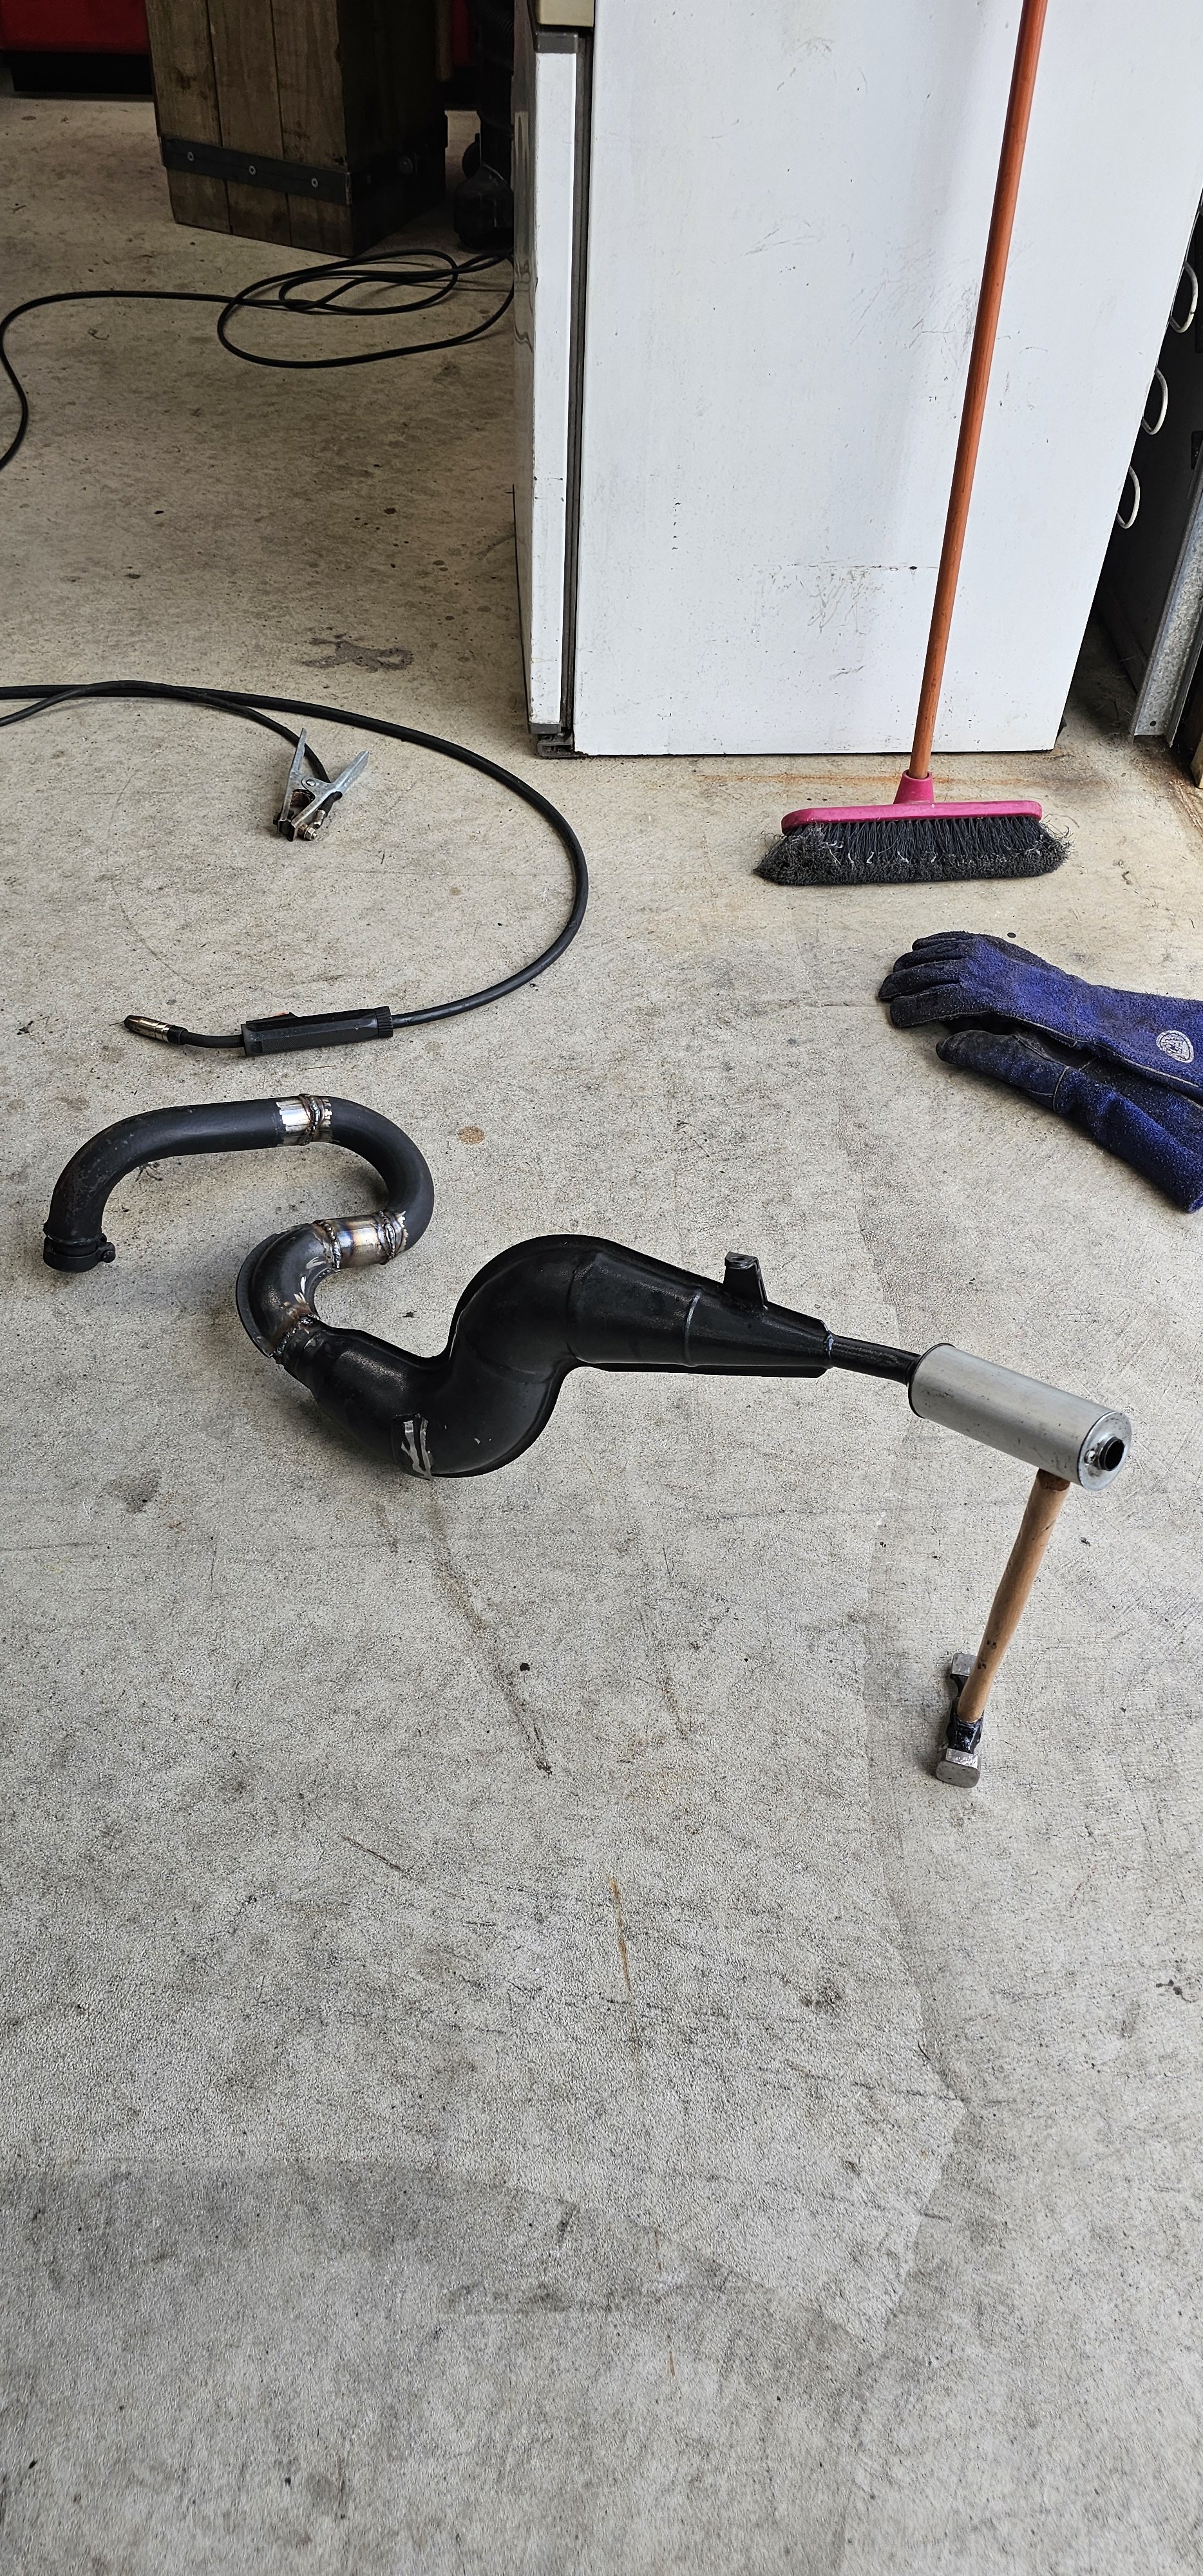
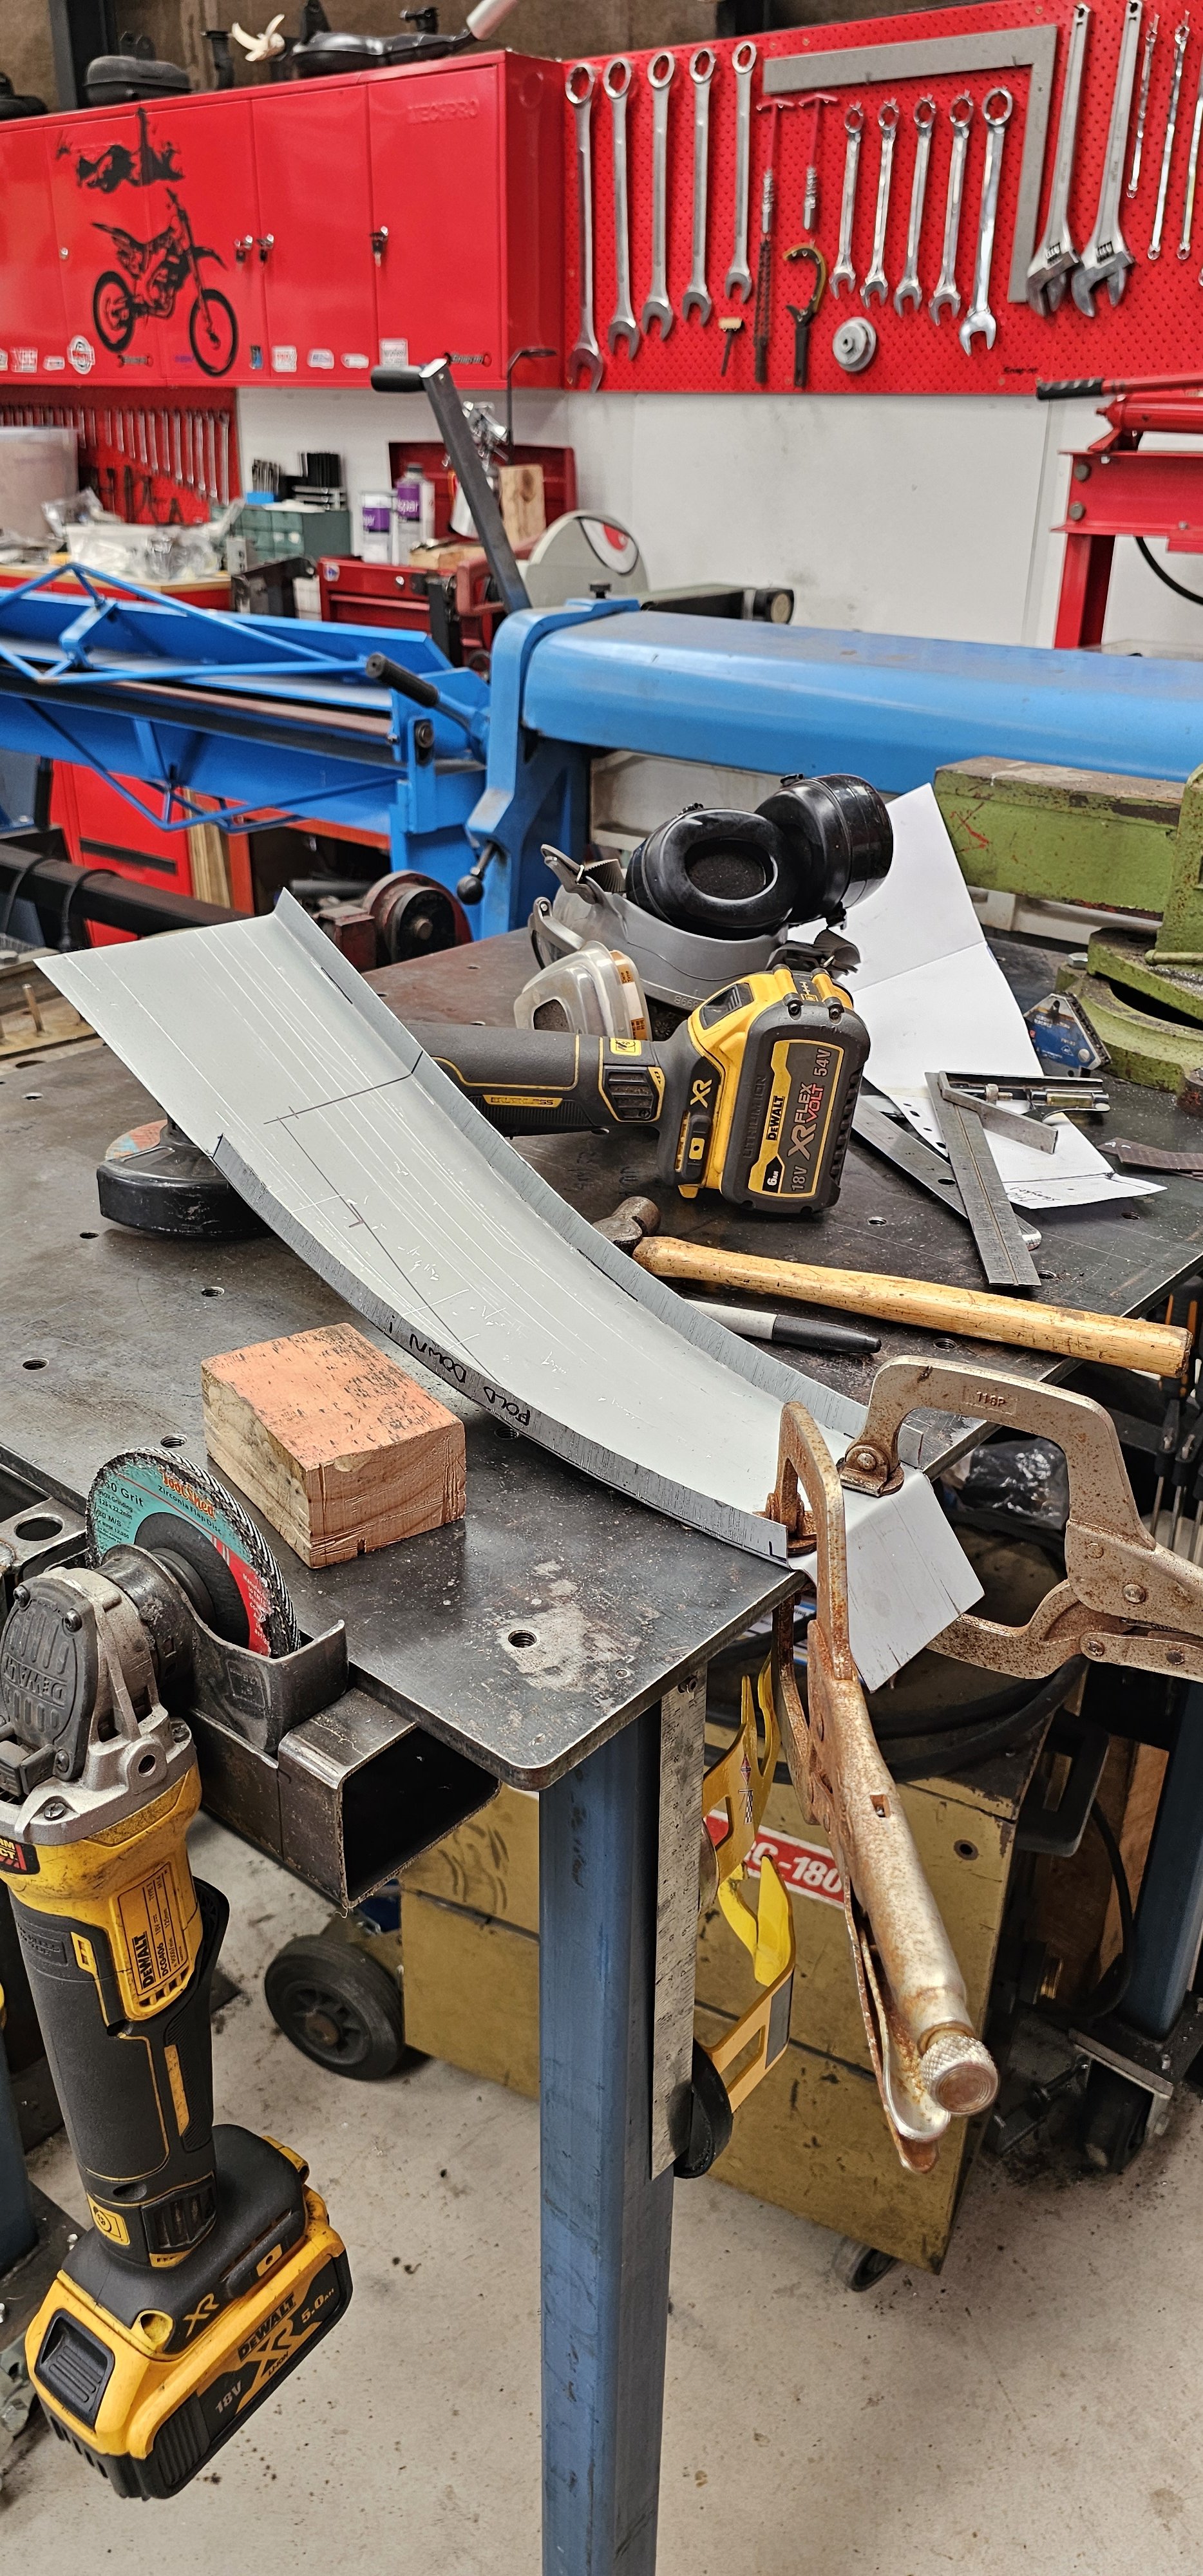
I basically unraveled it. Keeping overall length more or less the same, and same volumes. It's just uncoiled and put back together differently to fit the route of the Ape.
-
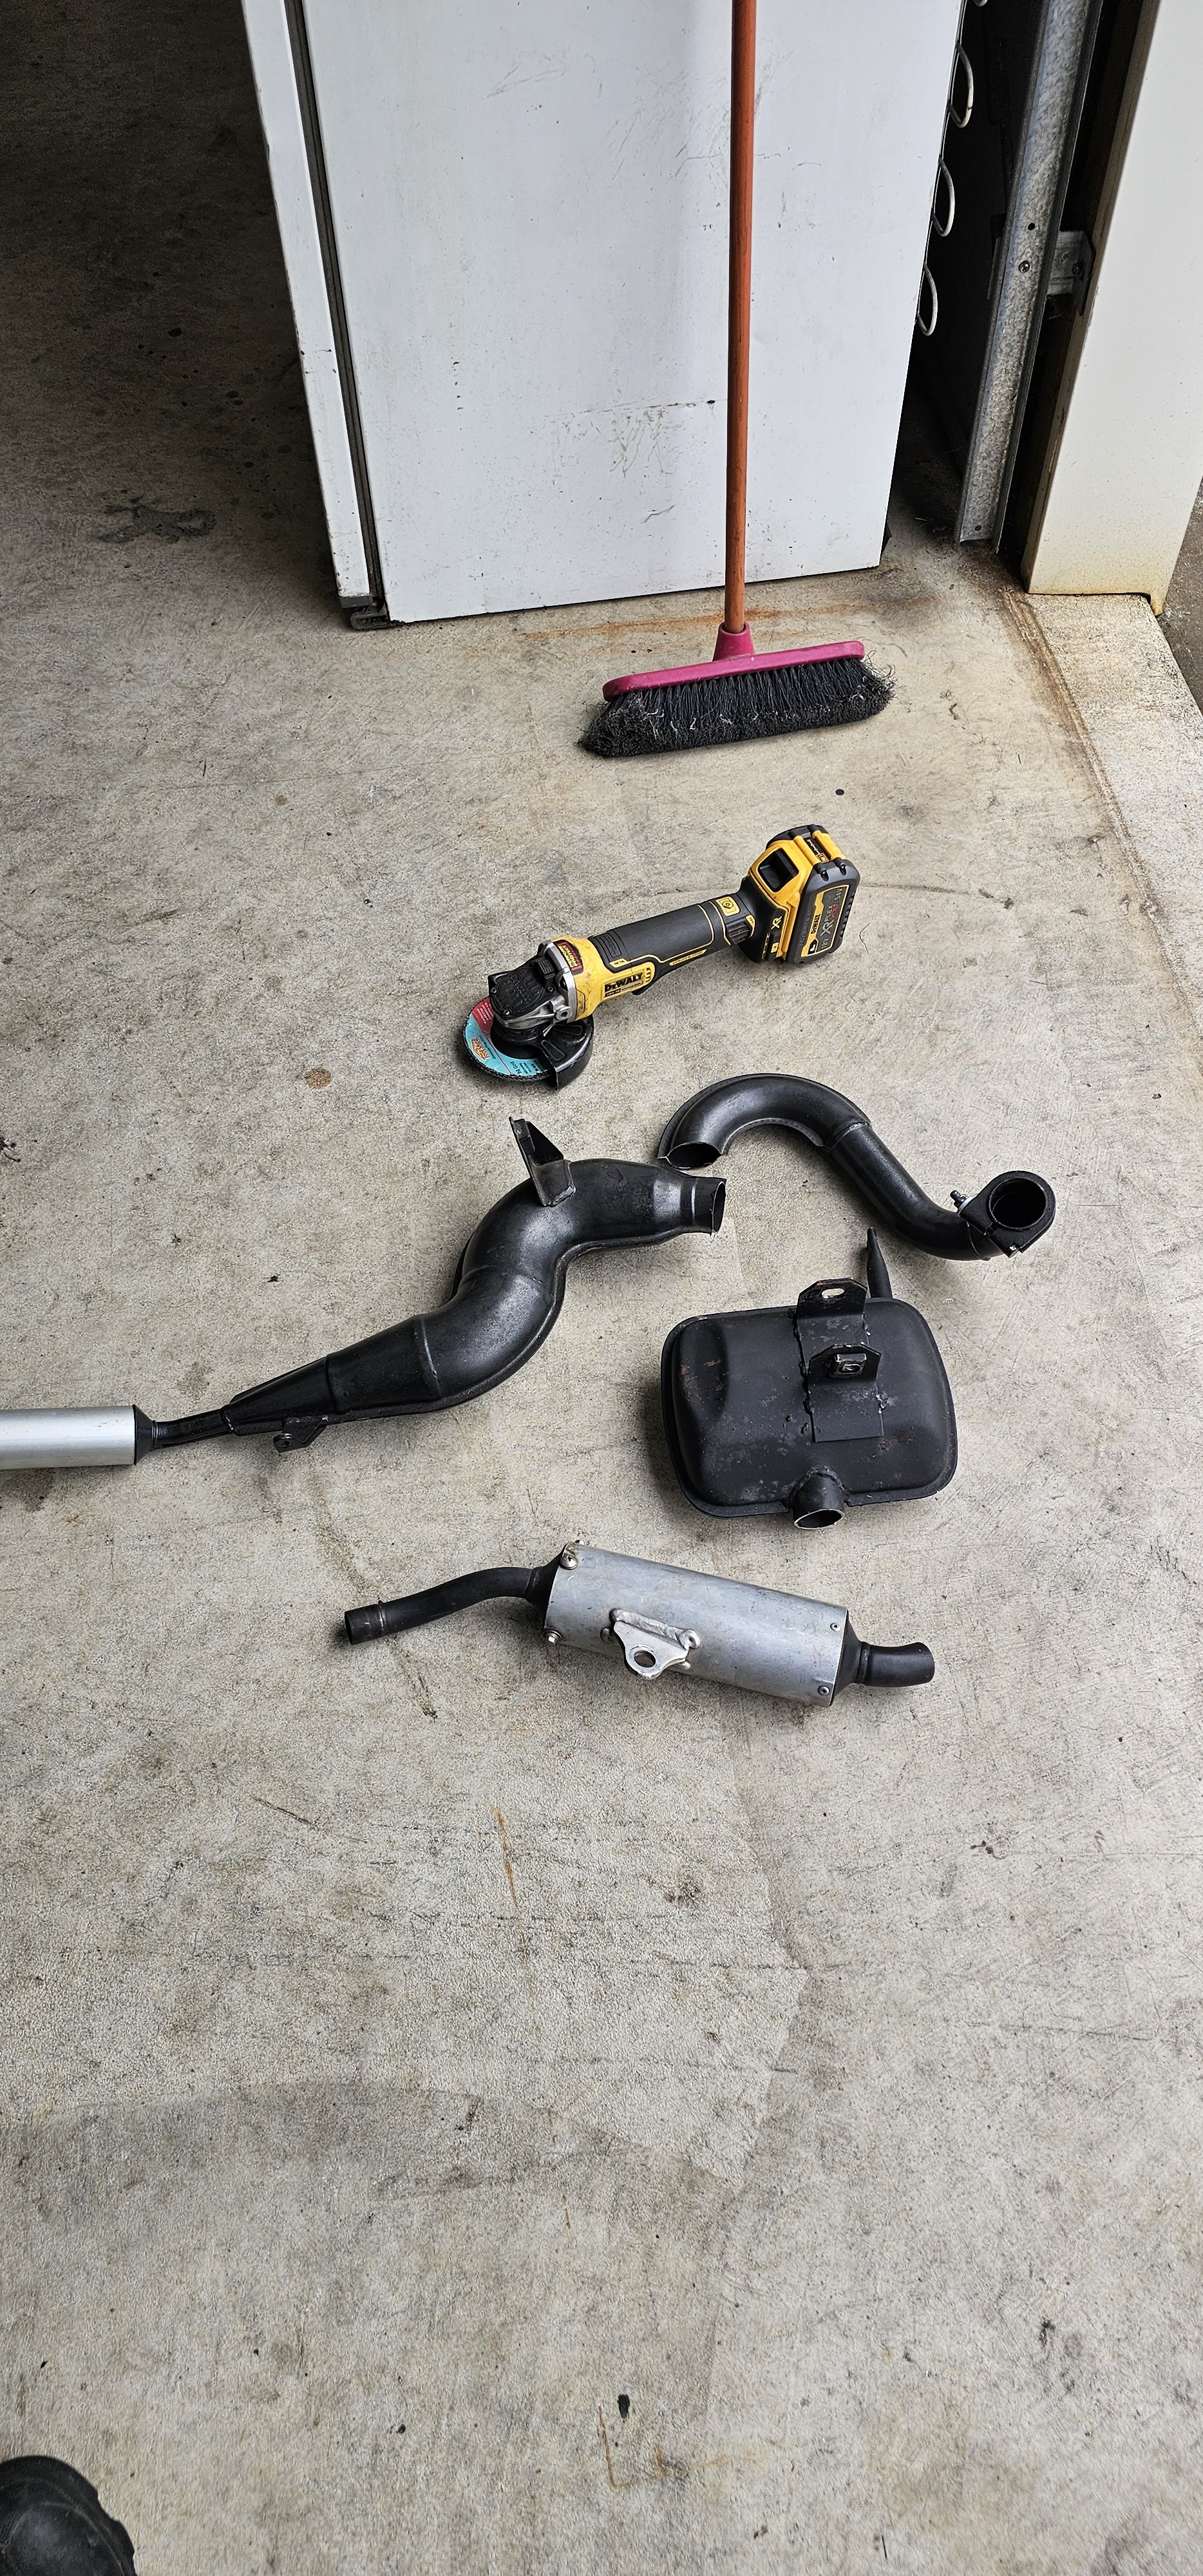
Collection of exhausts...let play choppy choppy
-
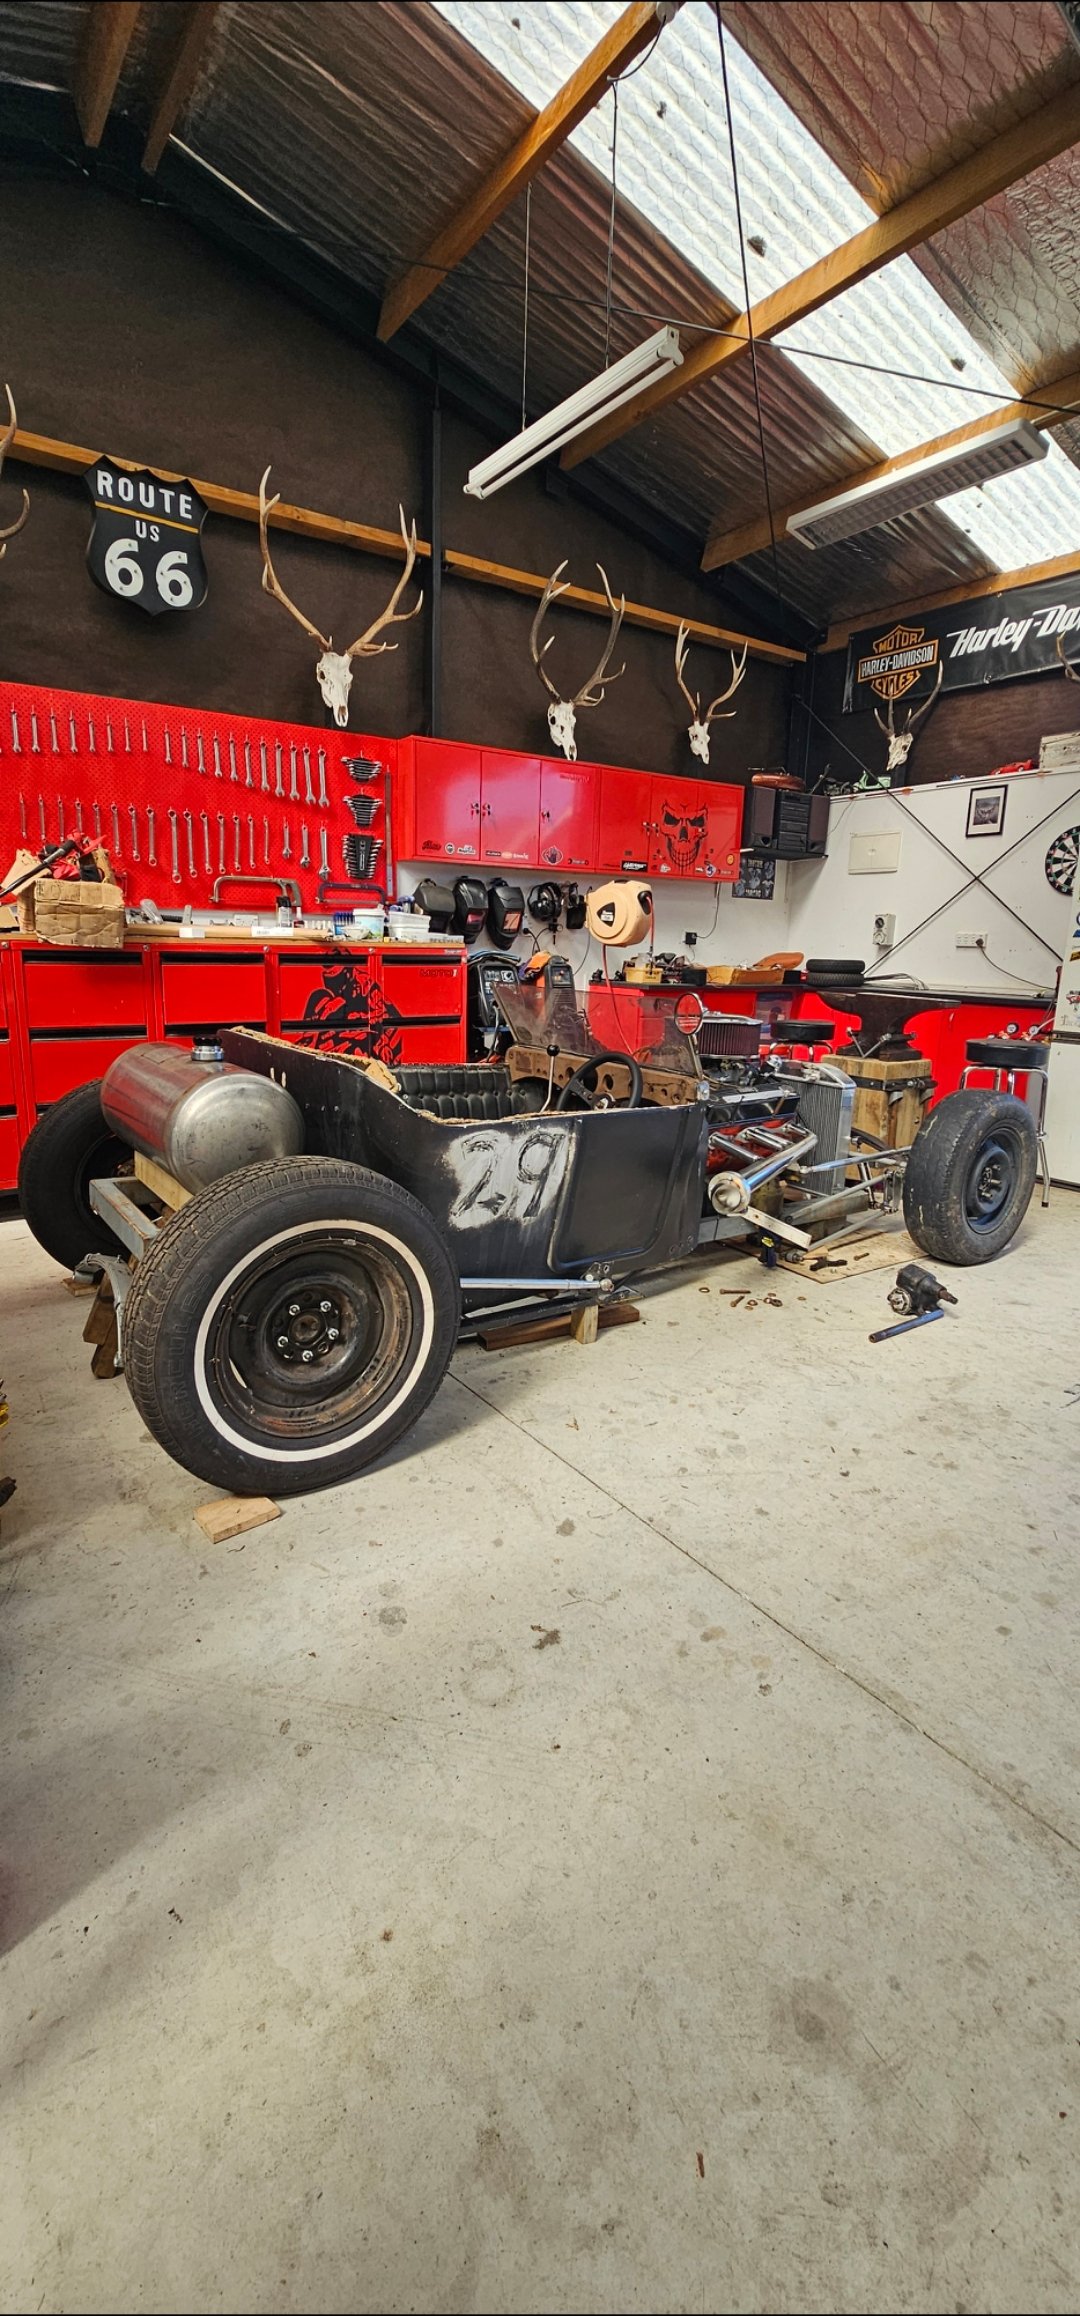
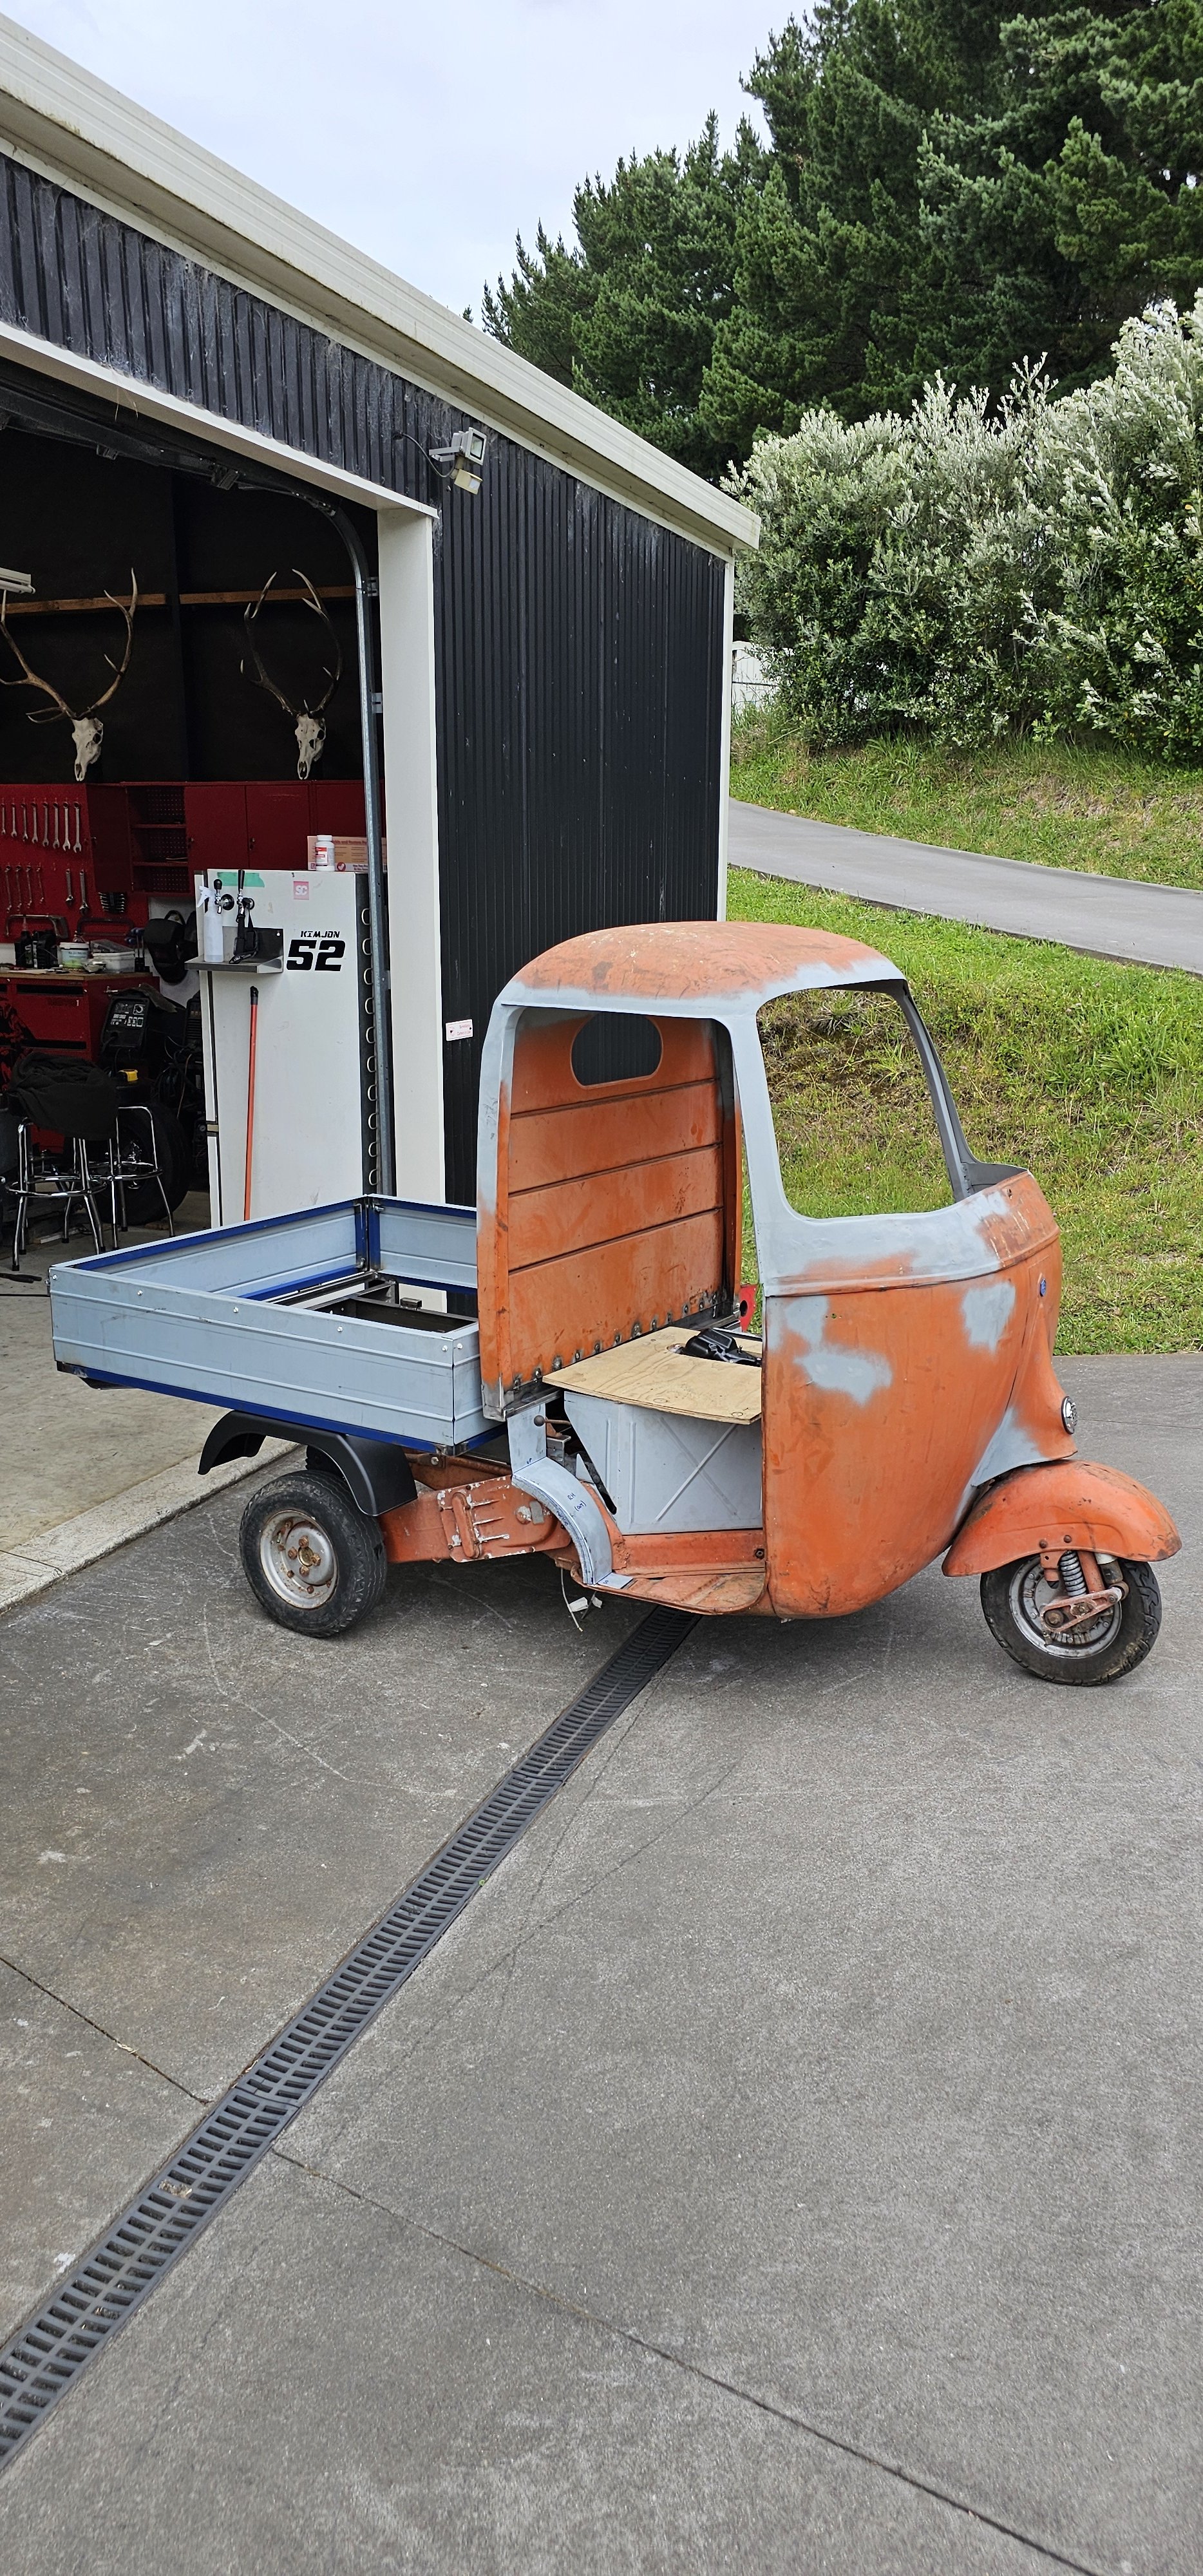
It's just a collection of mismatched parts at the moment. But I like the stance I've given it. I've never seen a low T Bucket in person. Mines set at 100mm chassis hight. Most are more like 300-400mm high.
-
Maybe. I've parked it as I'm broke, as its one of those projectswith no time pressure. I set myself a 5 year goal to complete it... so I'll do fuck all for 4.5 years, then finish it in 6 months lol
-
I'm very much making it up as I go. But it's a cool project to learn on.
-
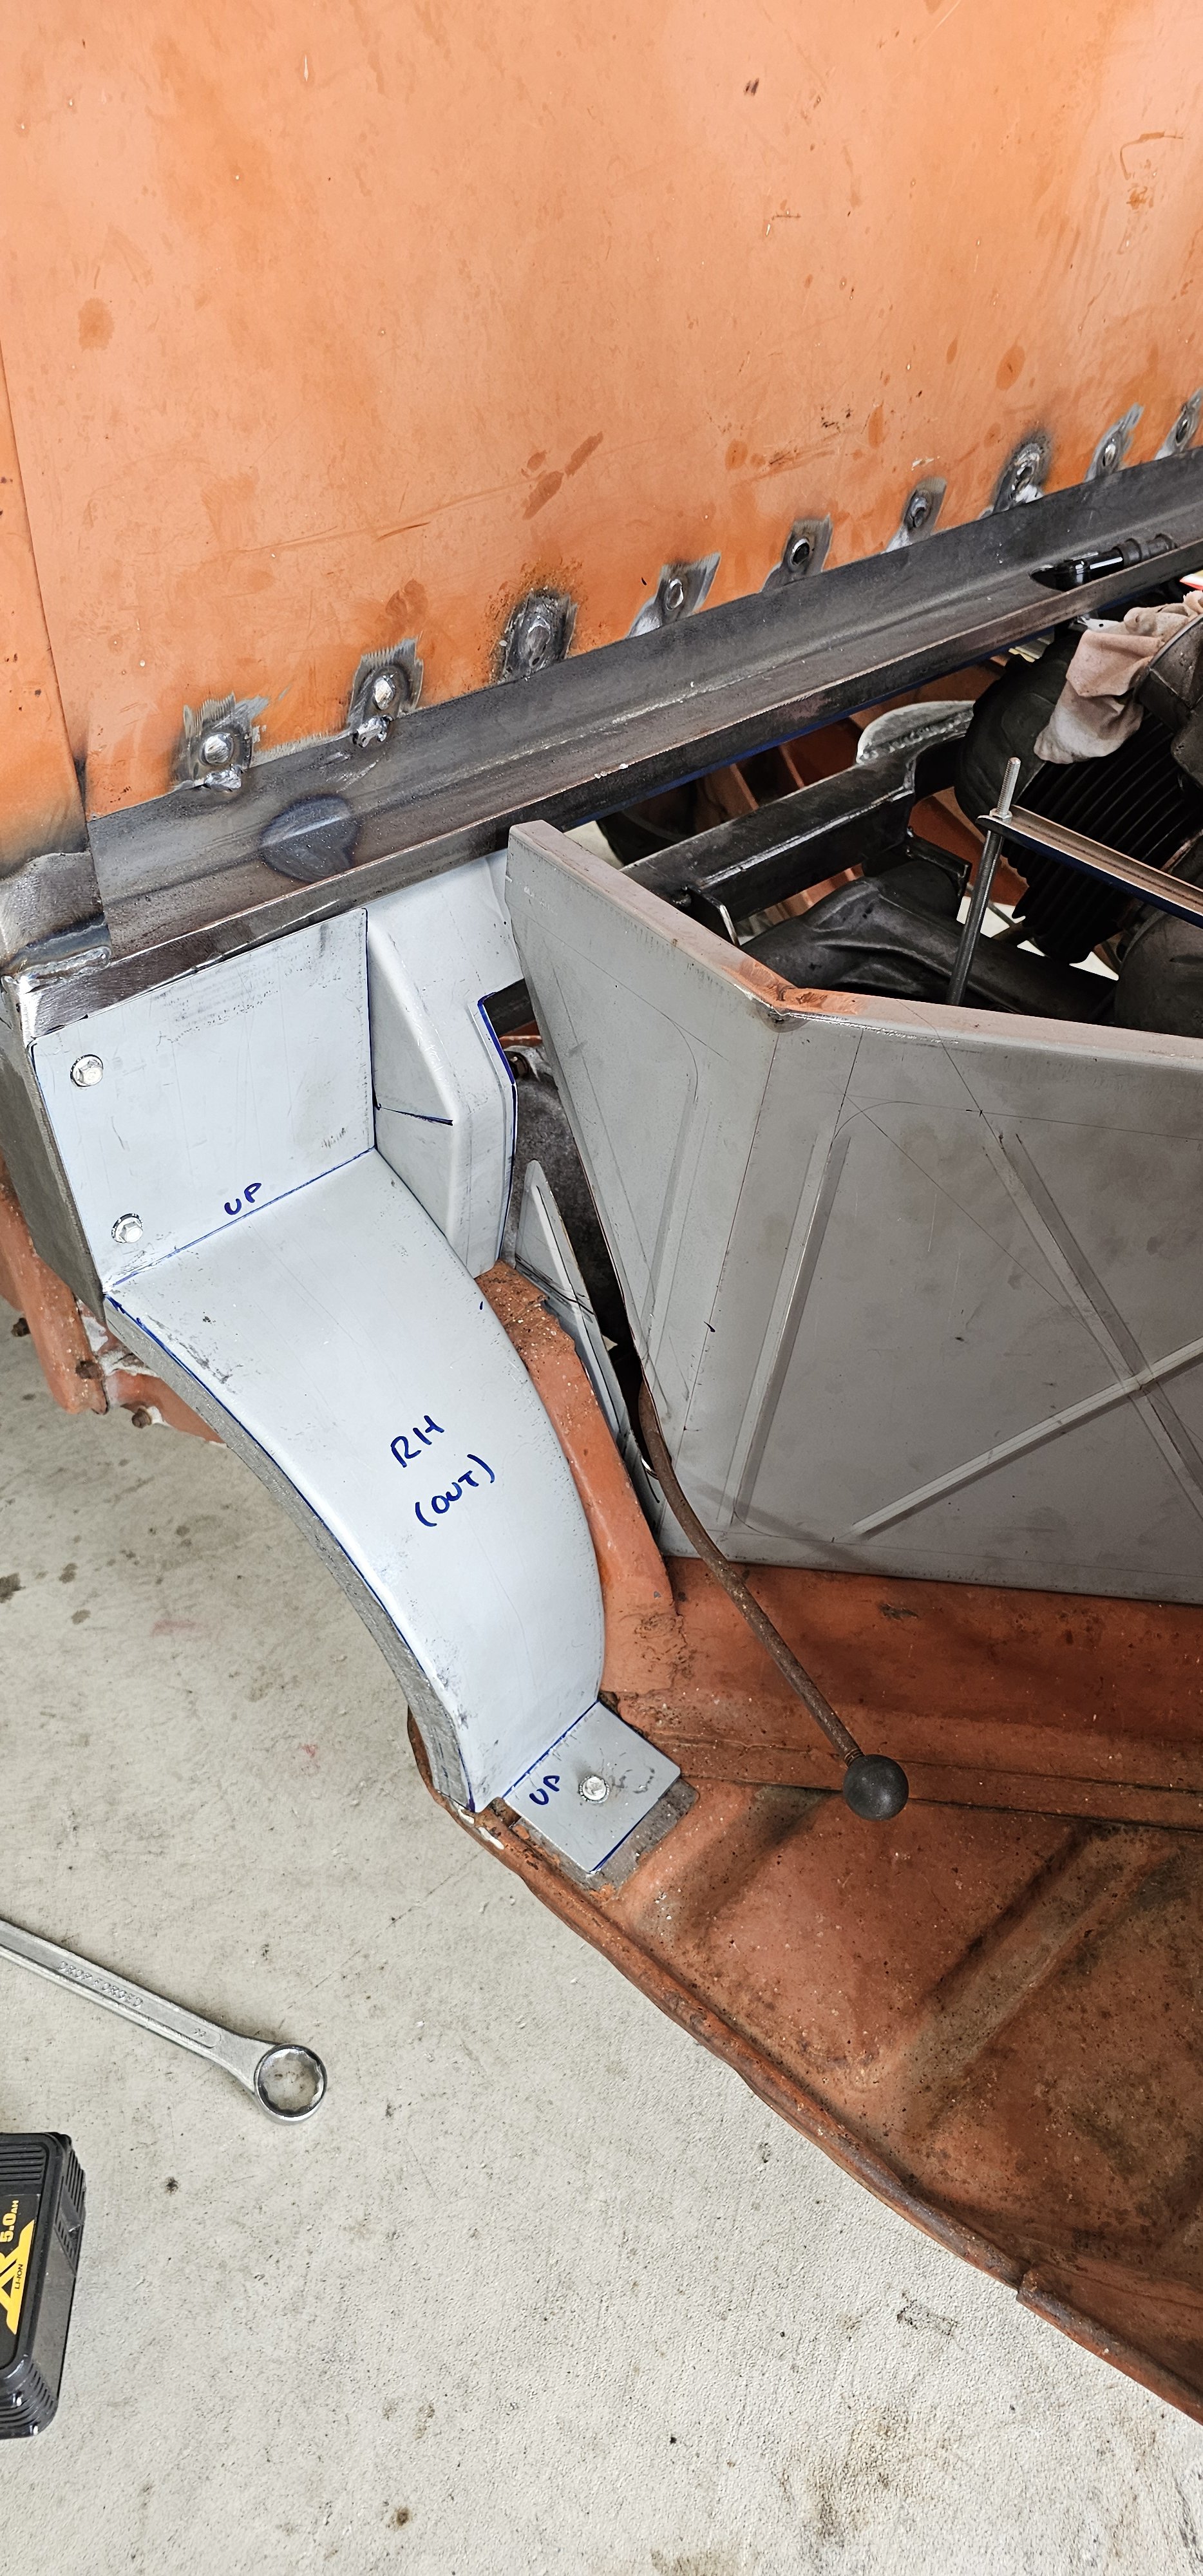
Right side has the forward-reverse lever.
-
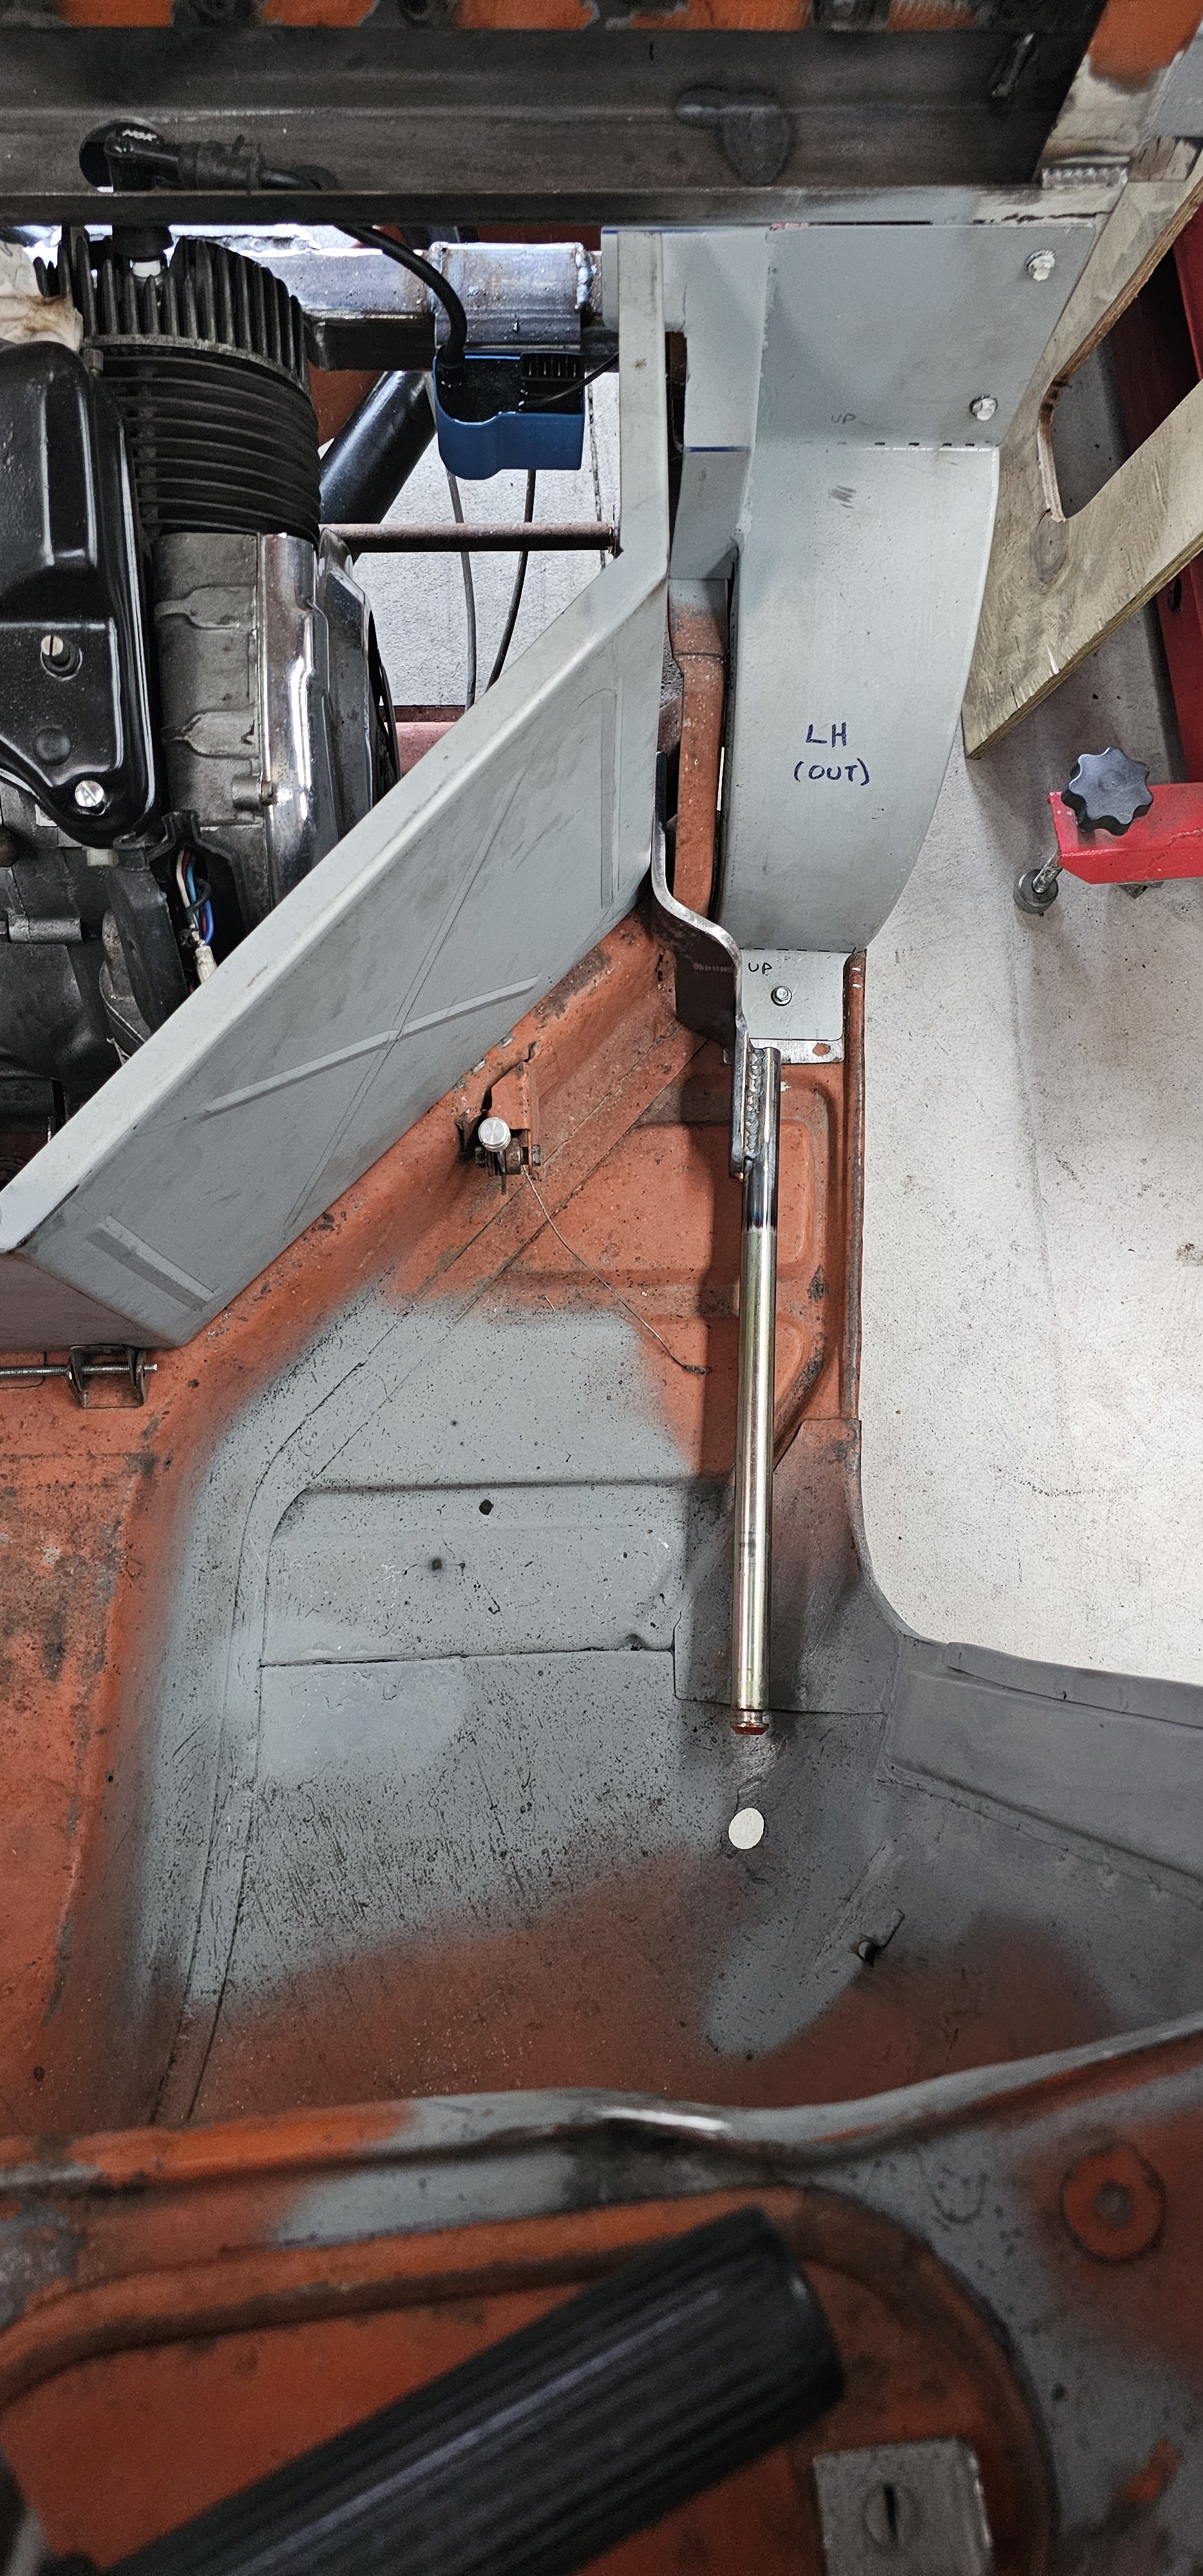
Fuck yeah! The seat will cover the rest. it's not supposed to be air tight, as the back of the engine bay is open. But it's much nicer covered as much as possible.
-
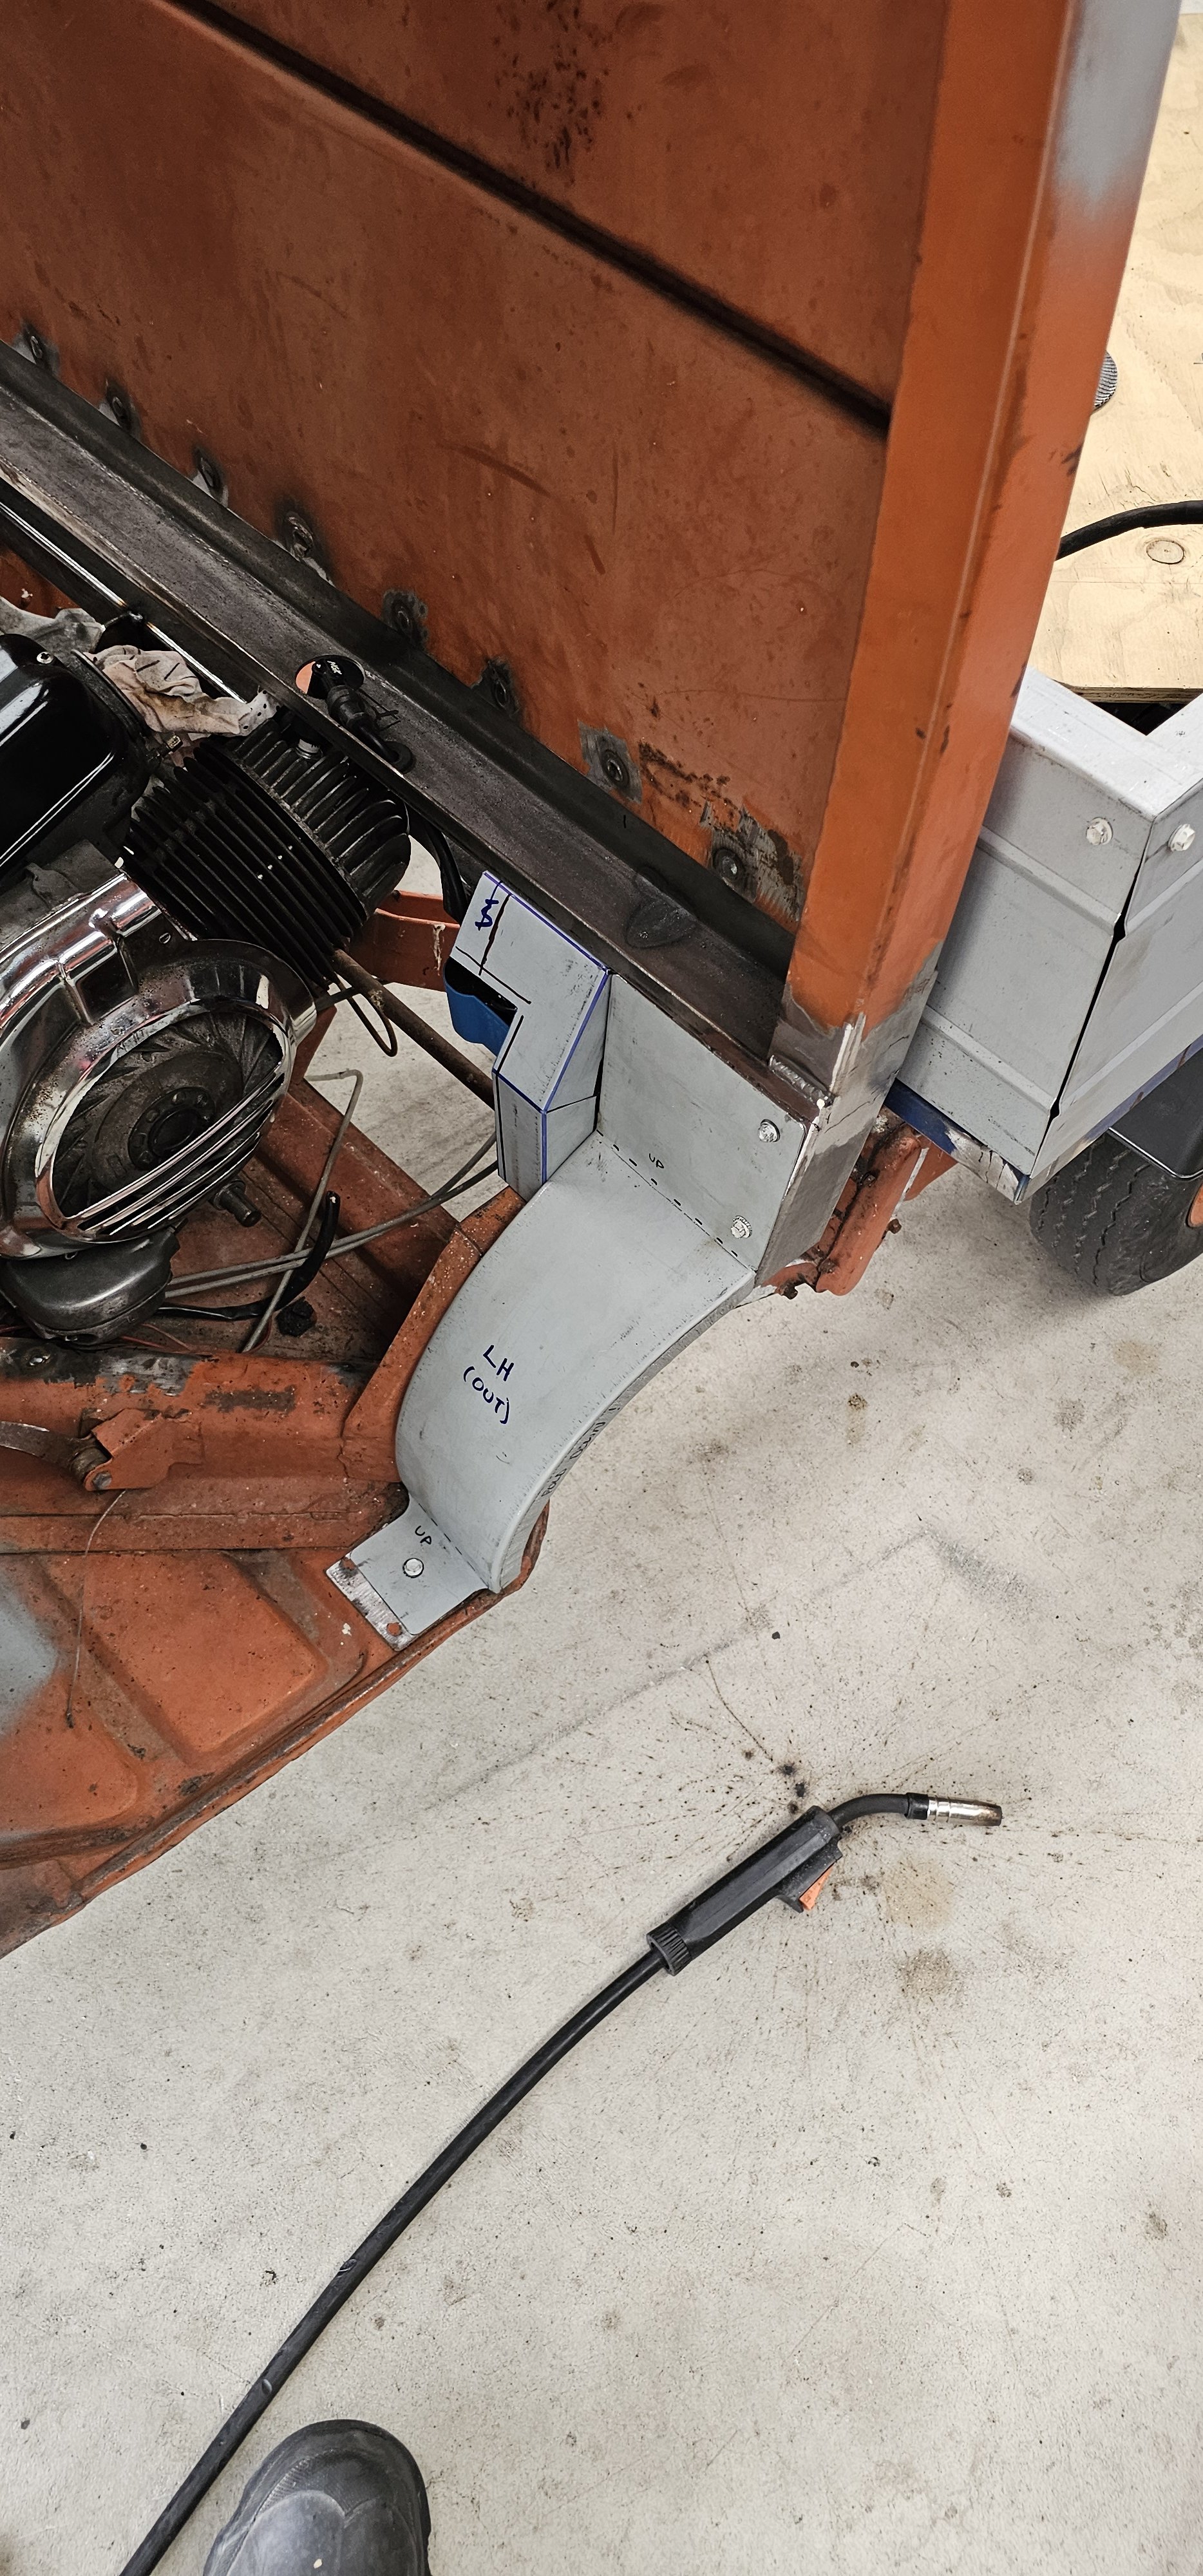
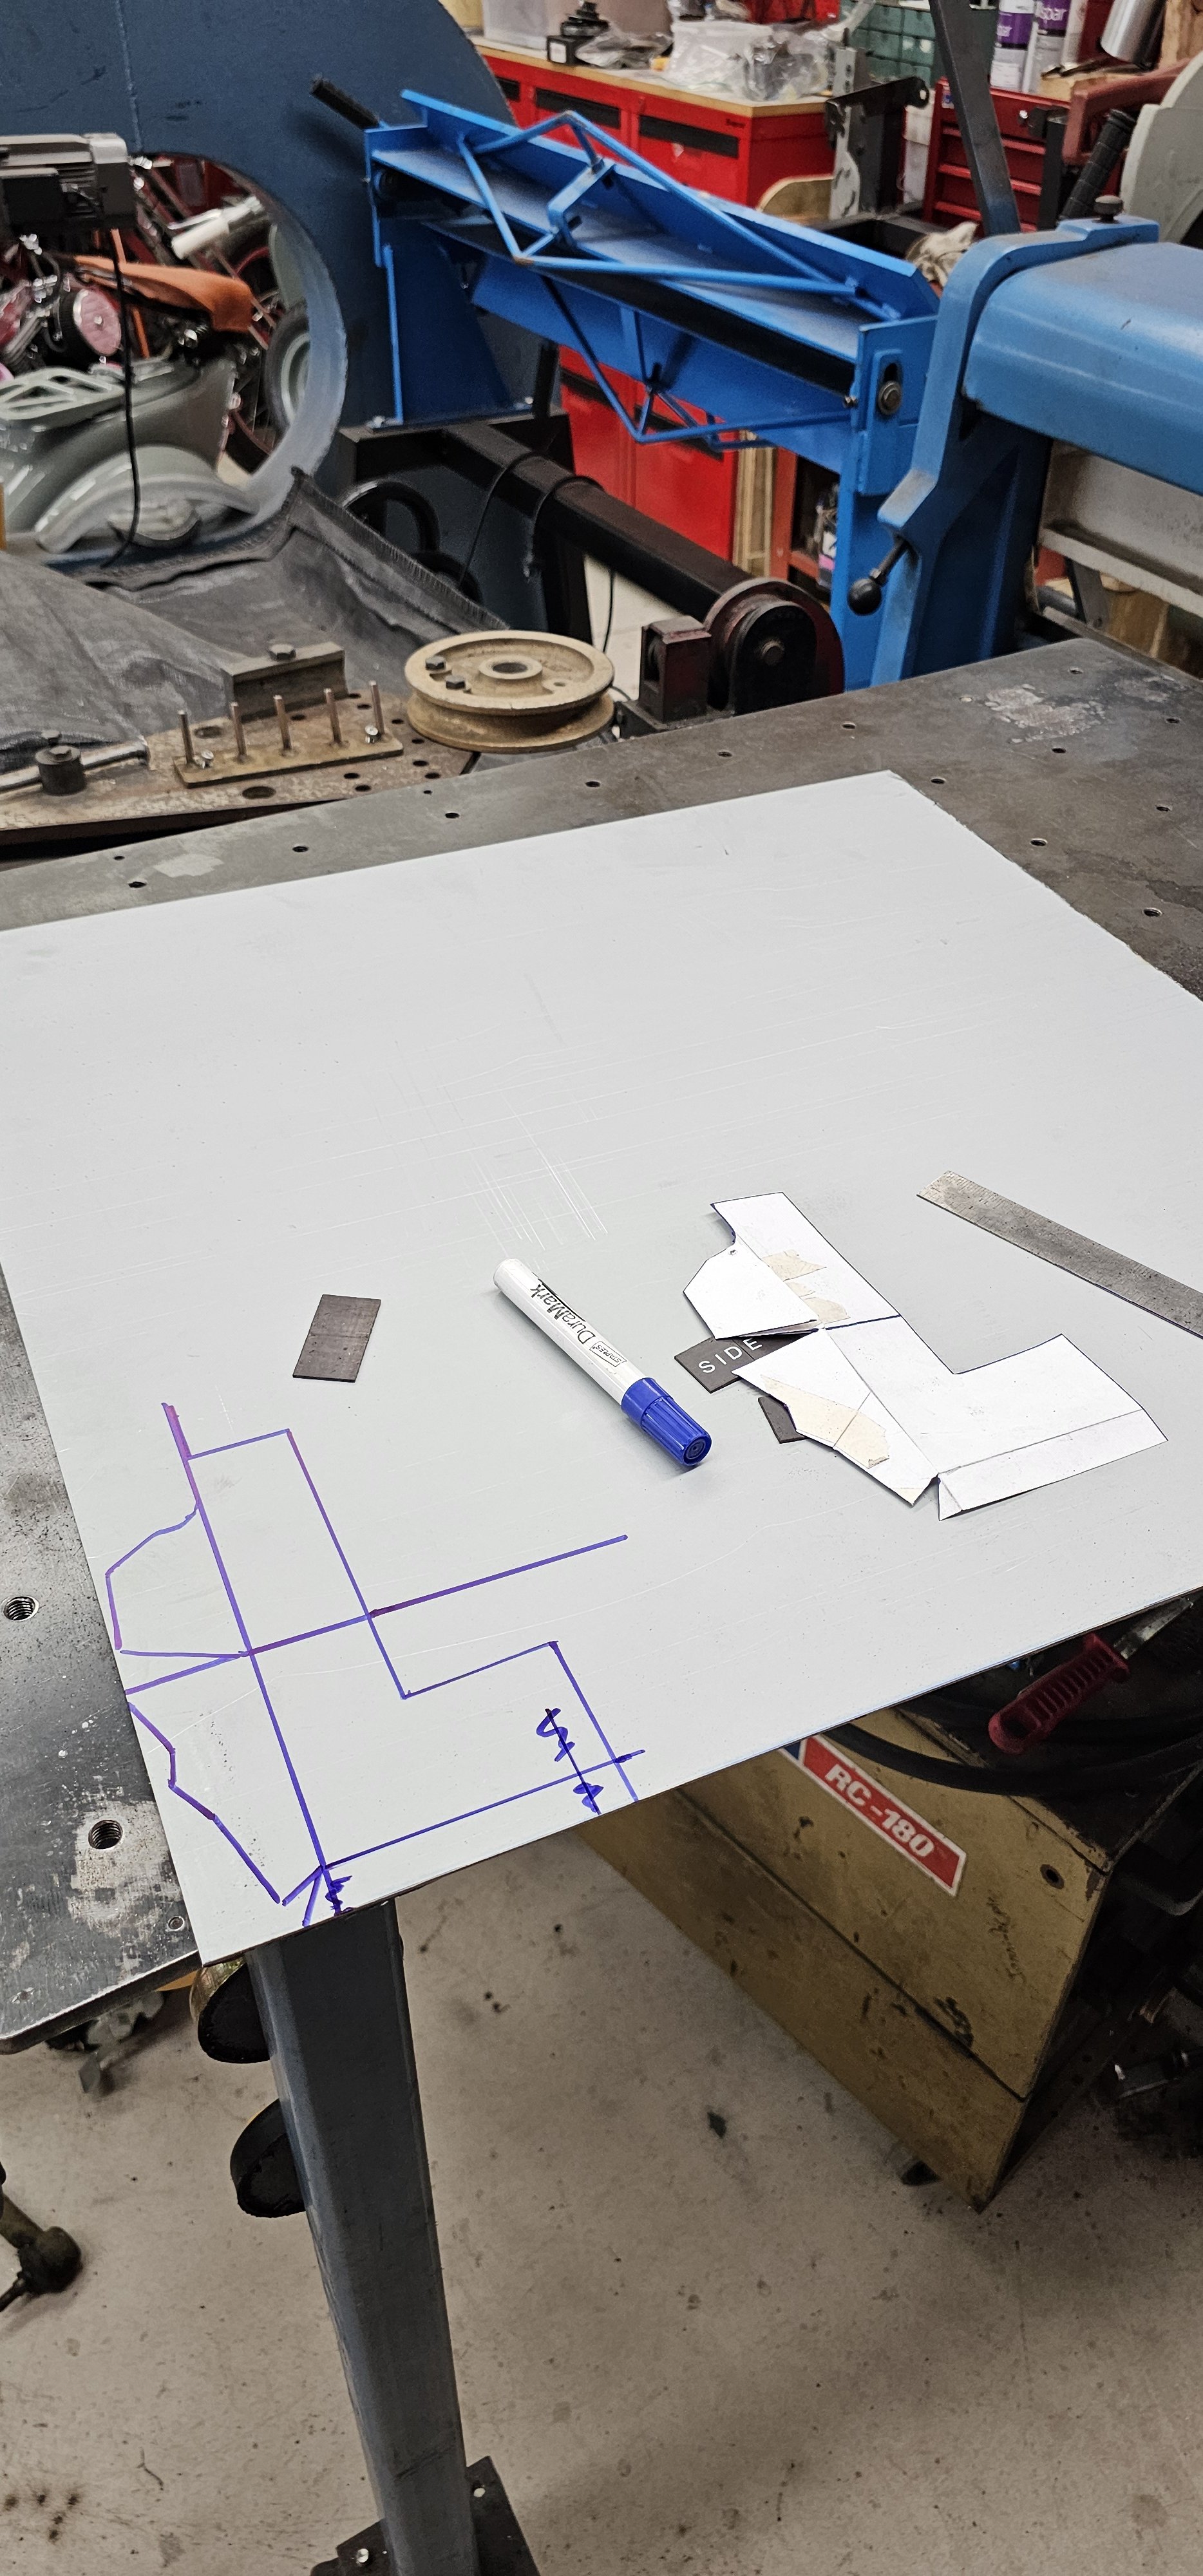
One side done...then mirror it to other side...
-
Closing in some of the ugly gaps.
-
That'll do for now. I can see it taking shape. All the Kaos in my head, obsessive thought loops are now starting to materialize into physical parts. Pretty happy with that. It's now got a fairly solid foundation to build off.
-
Now to semi seal the weather out. It won't even come close to weatherproof...not close at all. But it'll look about right.
-
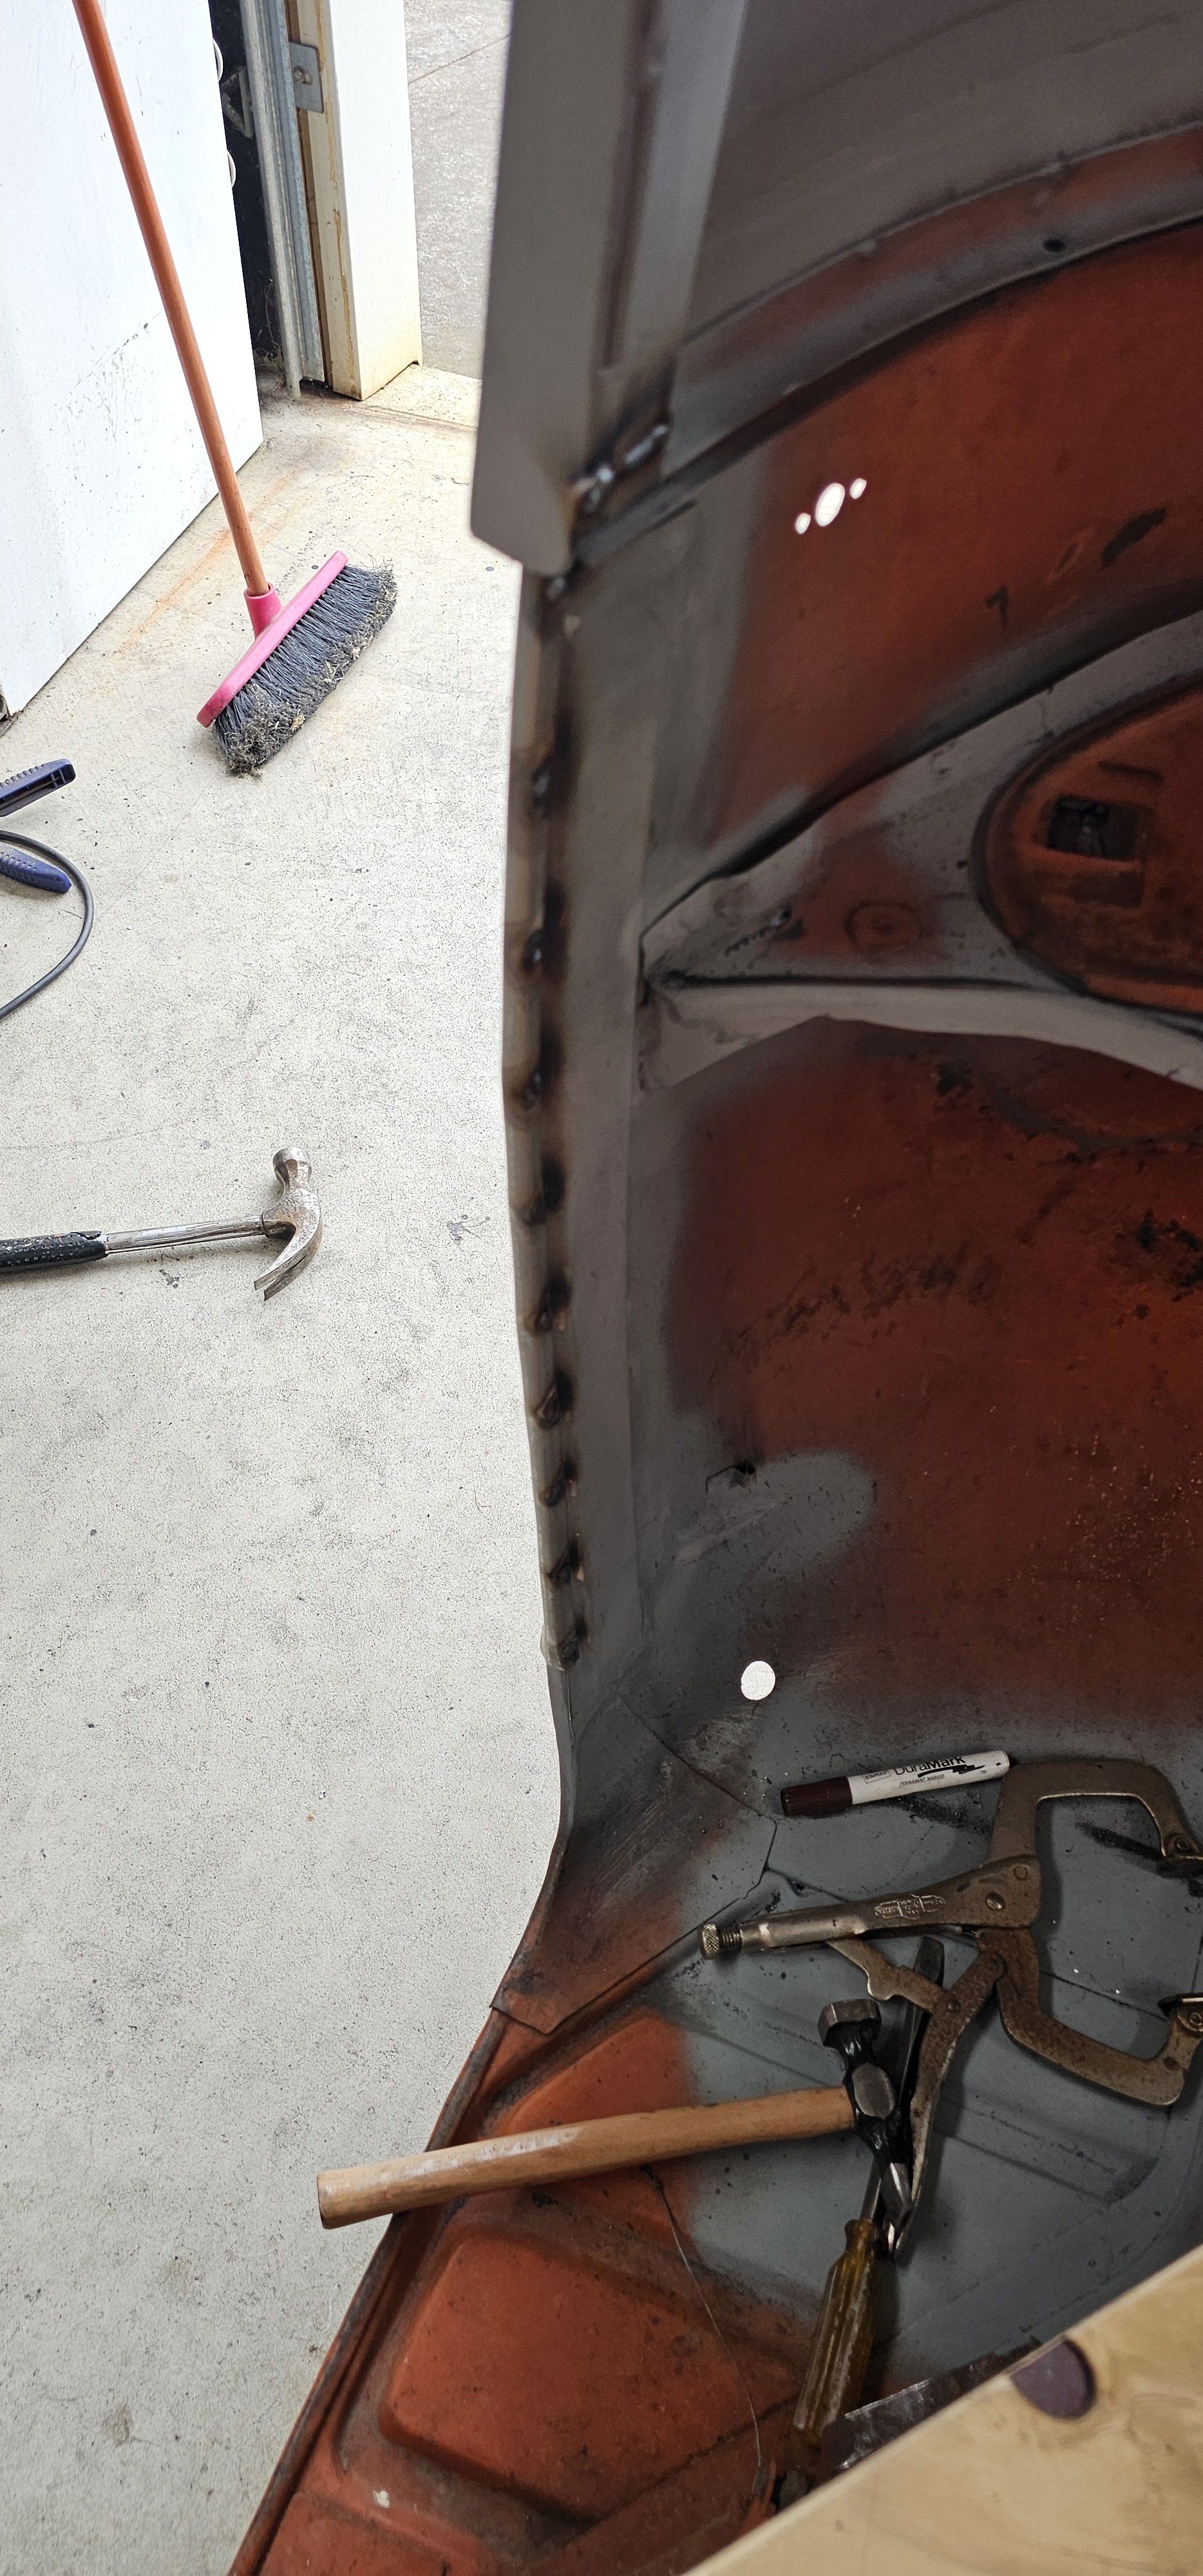
Spot welded in. Fuck I hate this old steel...its 50/50 on burning a hole right through it. I can weld the new steel all day, but that old stuff is hard work.