Kimjon
-
Posts
2,353 -
Joined
-
Last visited
-
Days Won
2
Content Type
Forums
Downloads
Events
Gallery
Everything posted by Kimjon
-
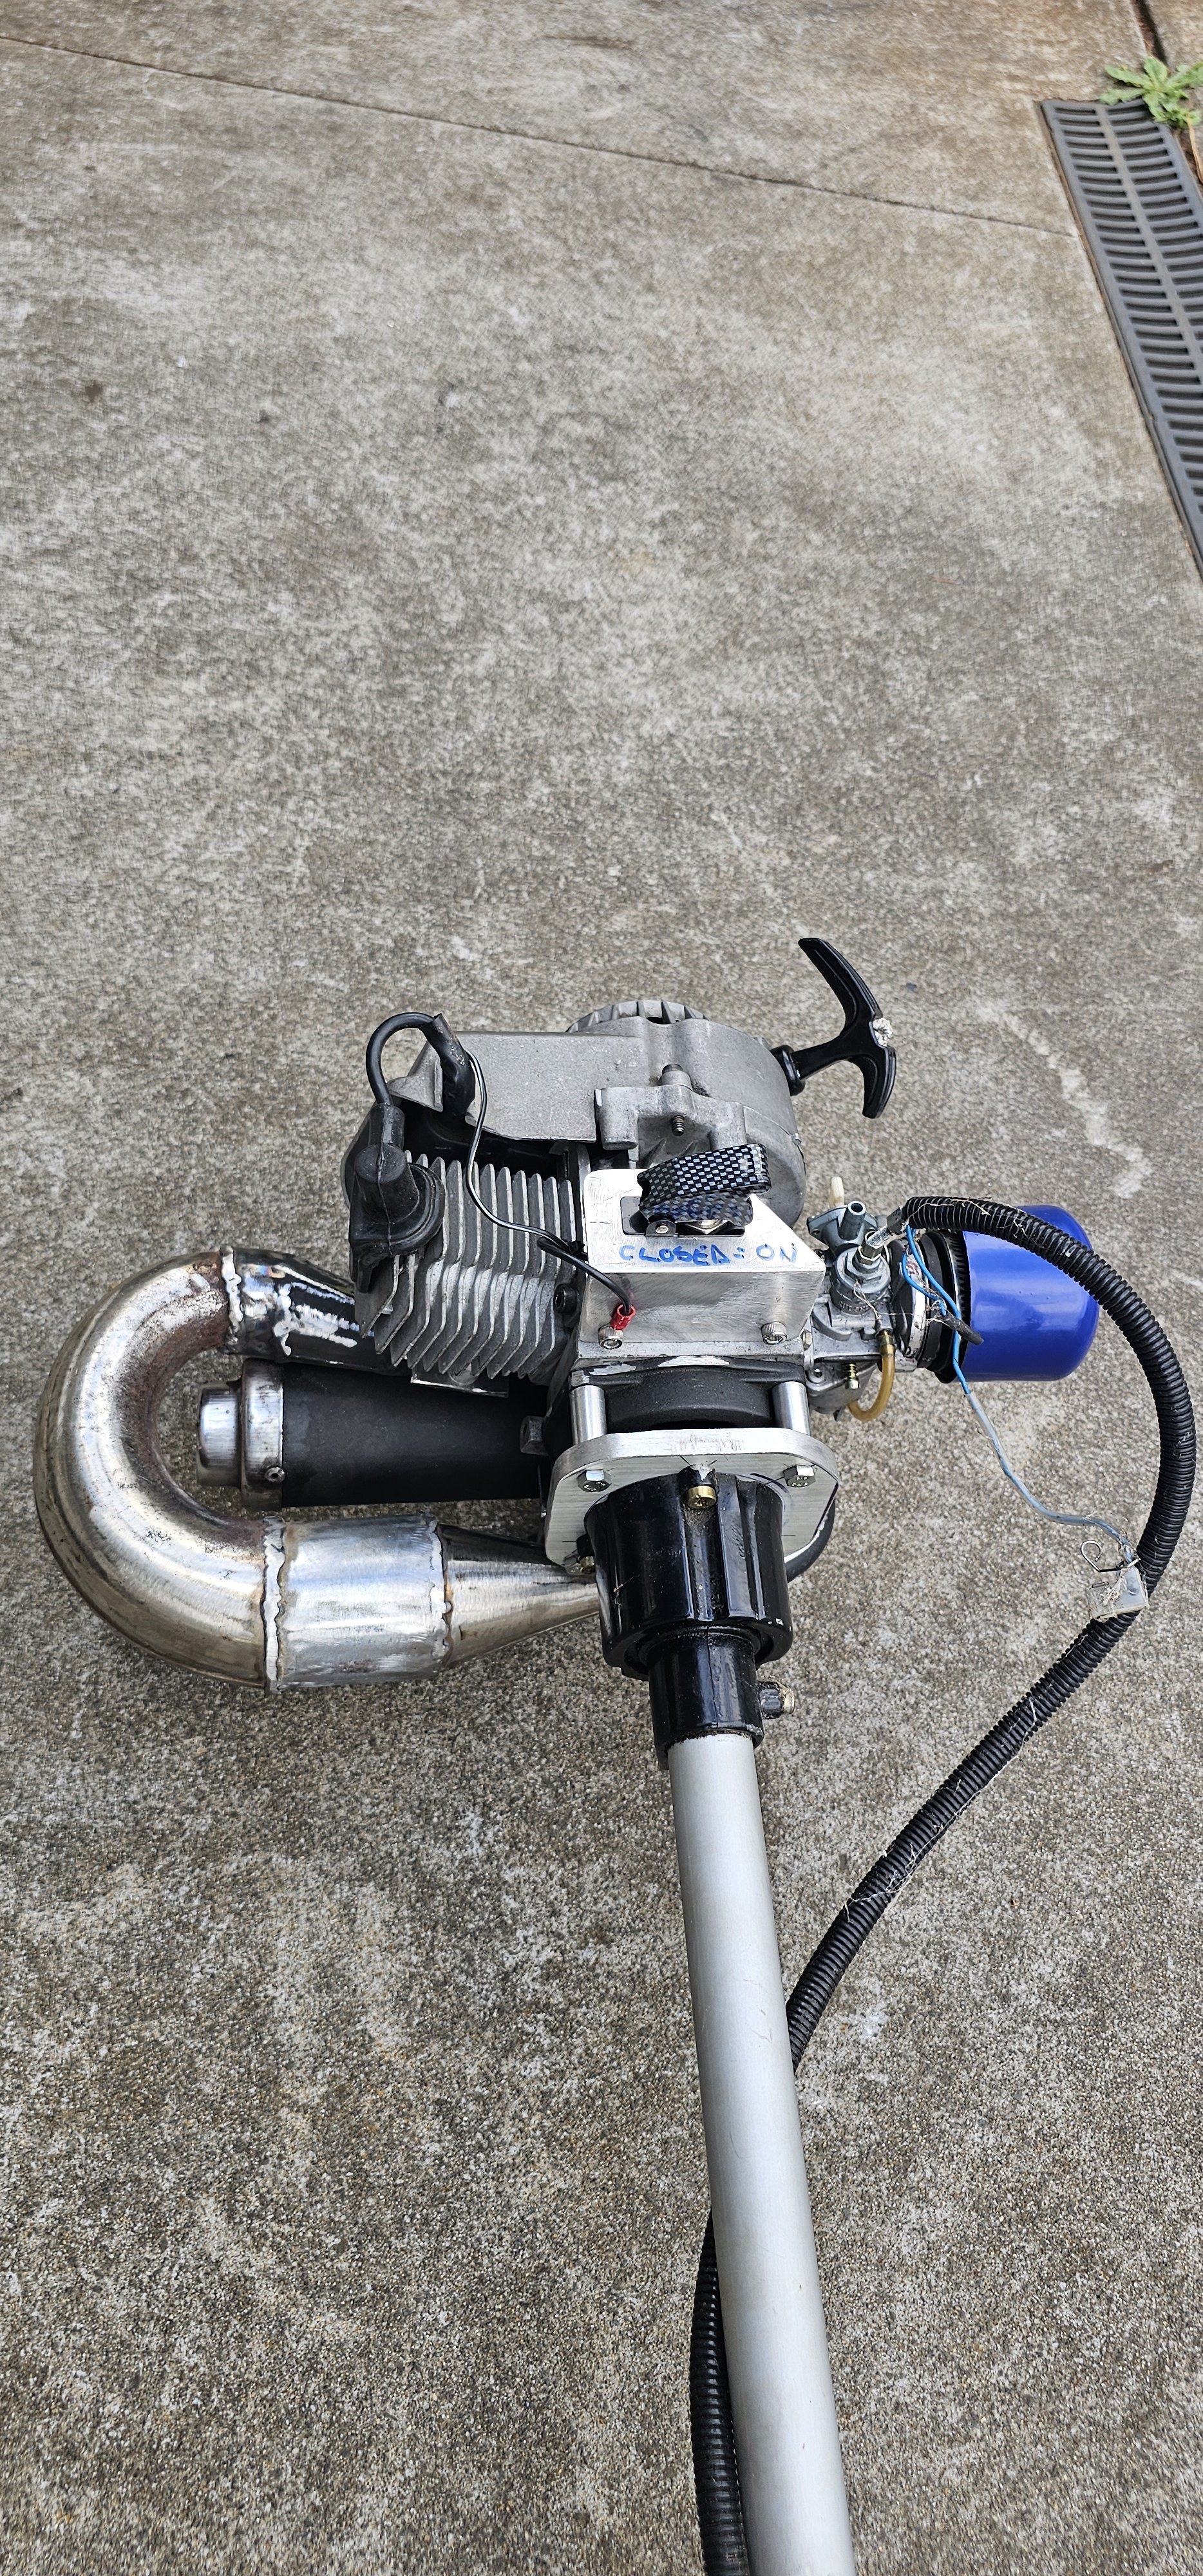
 Yes, yes I have. 50cc ported and polished kids motoX bike engine adapted to a scrub bar. I went big, using every trick I know to get the most power out of stock parts. I cut up an old yz125 expansion chamber and scaled it down using random bits from my round tube box. Machined up adapters upon adapters, to make all the parts work together and boom...here we are. It's running sweet. A tad rich, but that's easy to fix. Needs a fuel tank, then it'll be slaying weeds like a boss!
- 13 replies
-
- 12
-

-

-
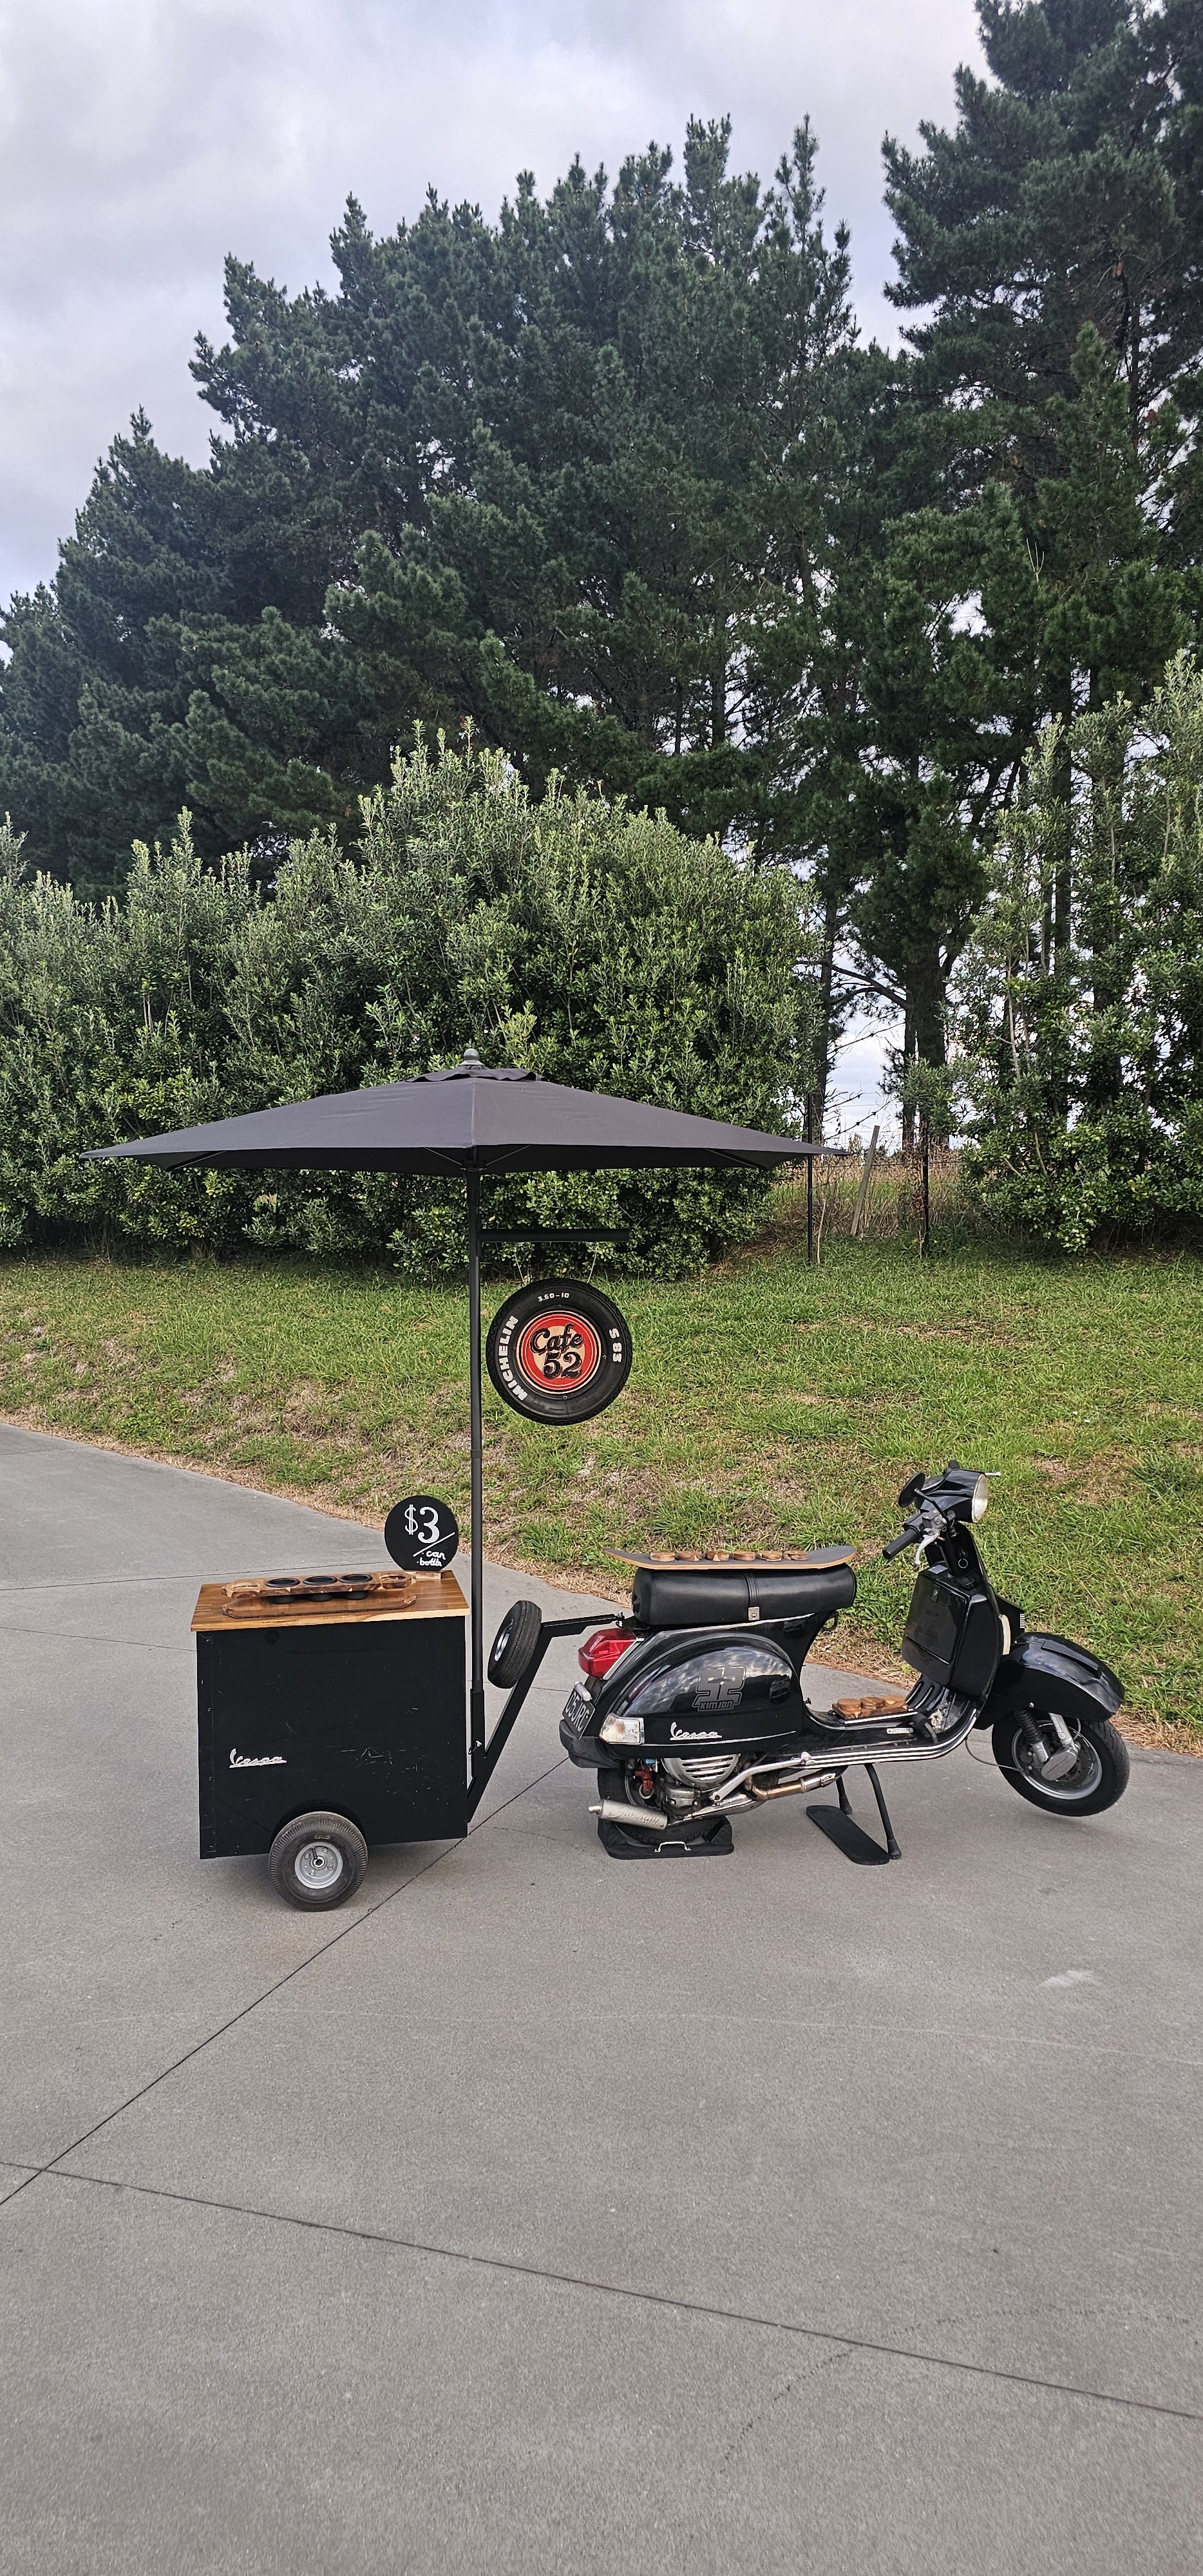
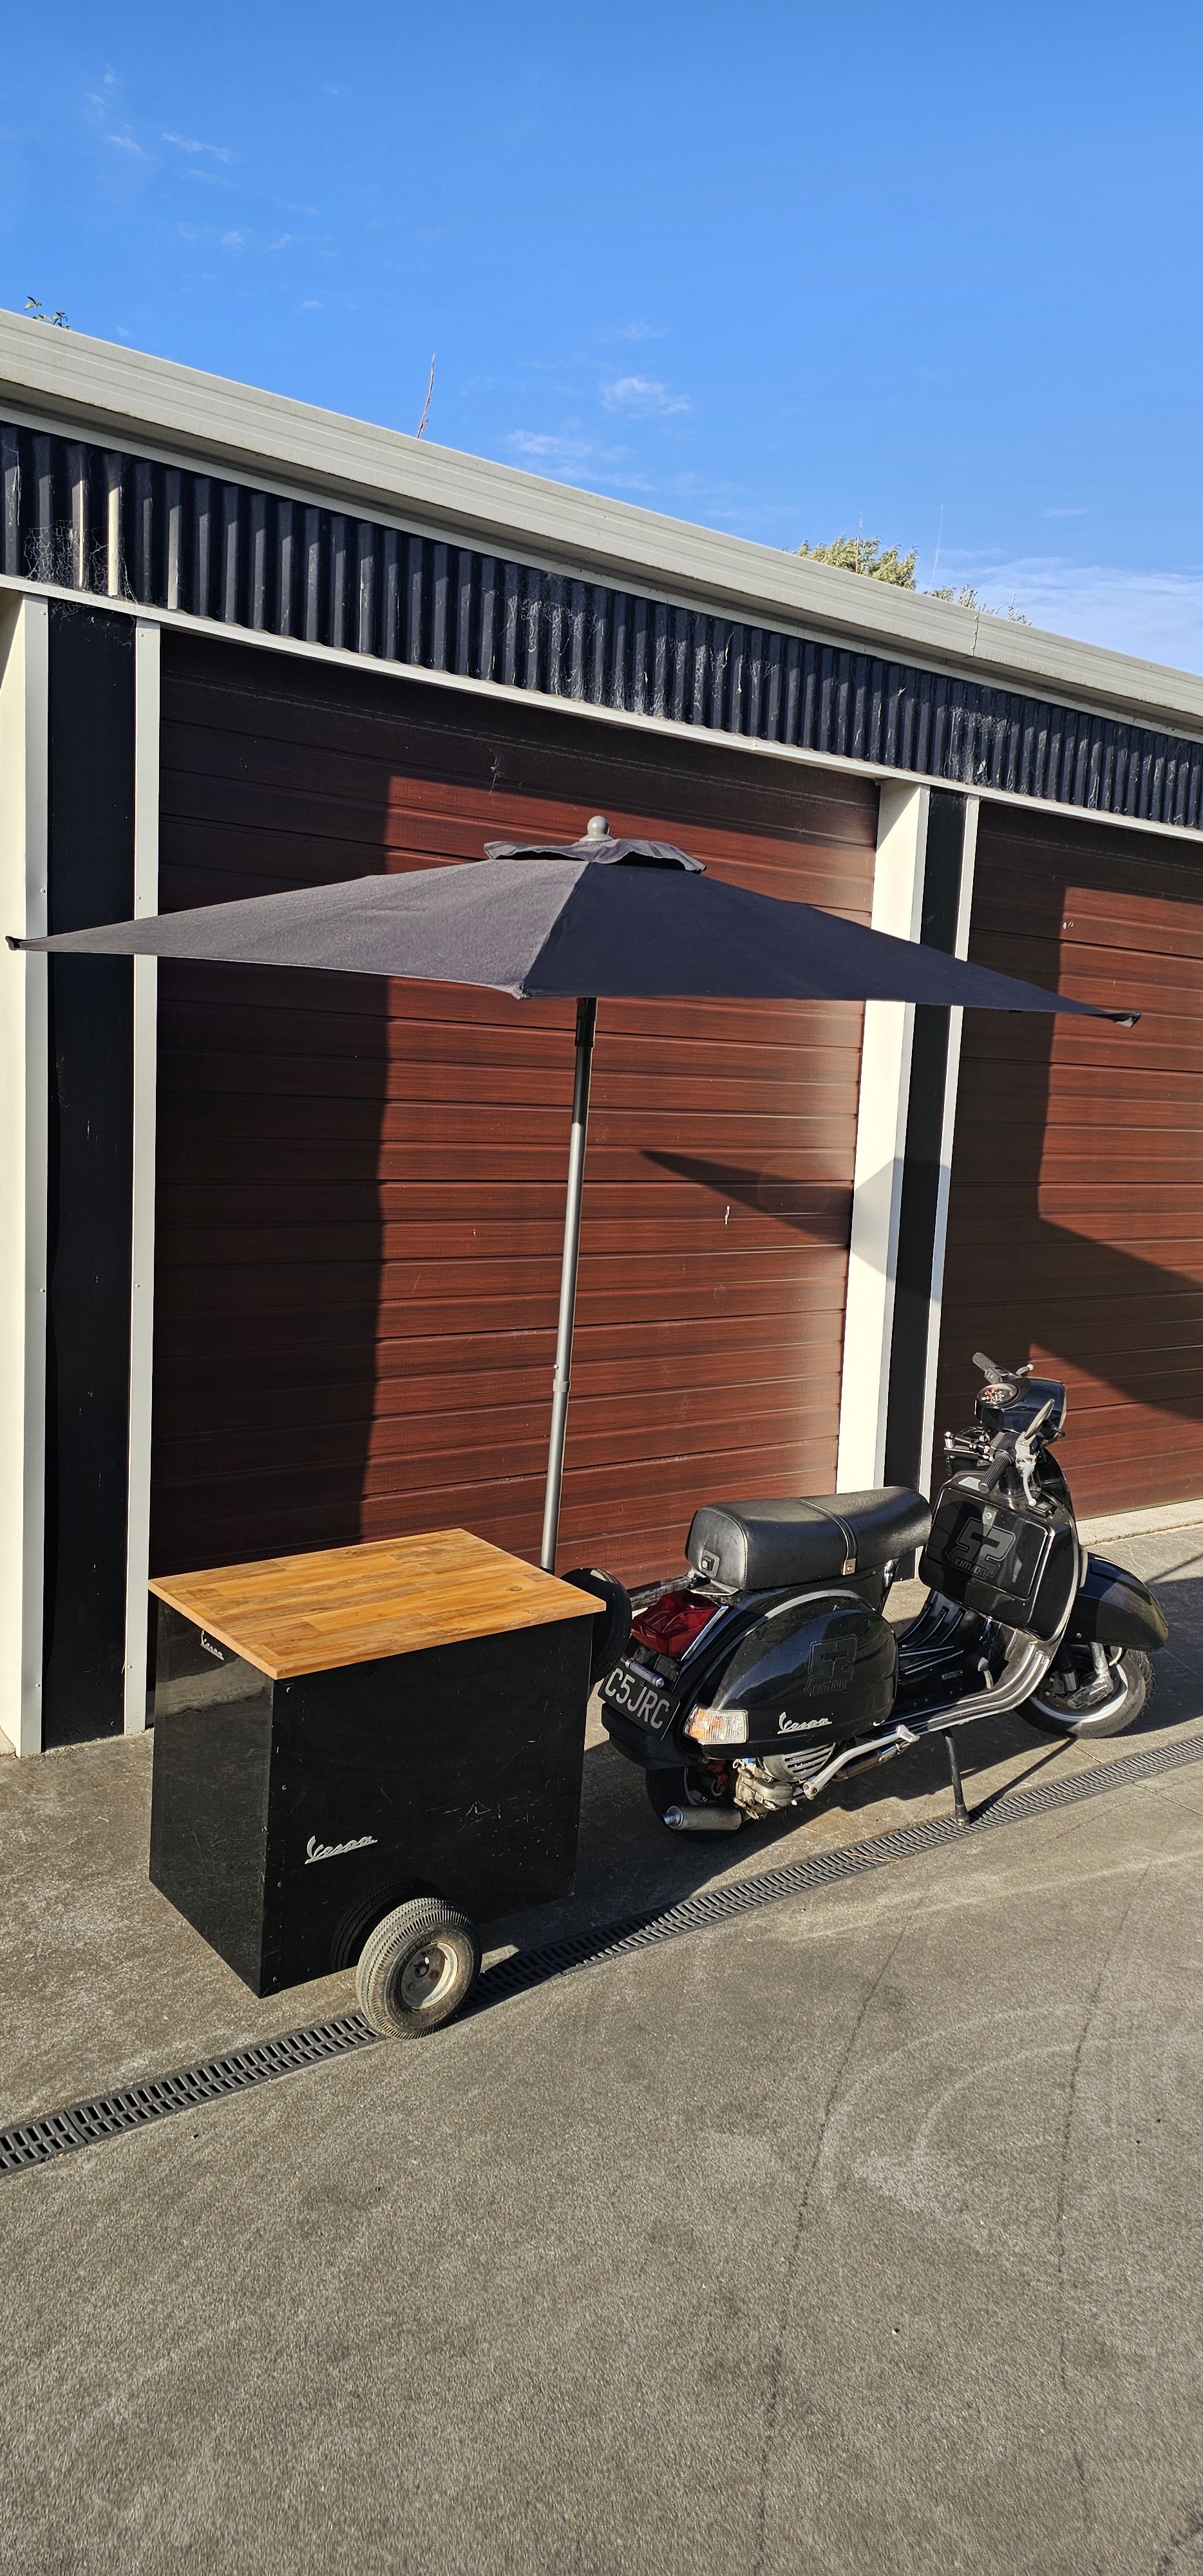
Okay, I kinda got carried away with this. It gets worse, I've had some T-shirts, stickers, license plate, new racks to hold/display drinks, wheel chocks, and custum decals made. I've changed a few things since this photo. But time to move back to all things Ape' again
-
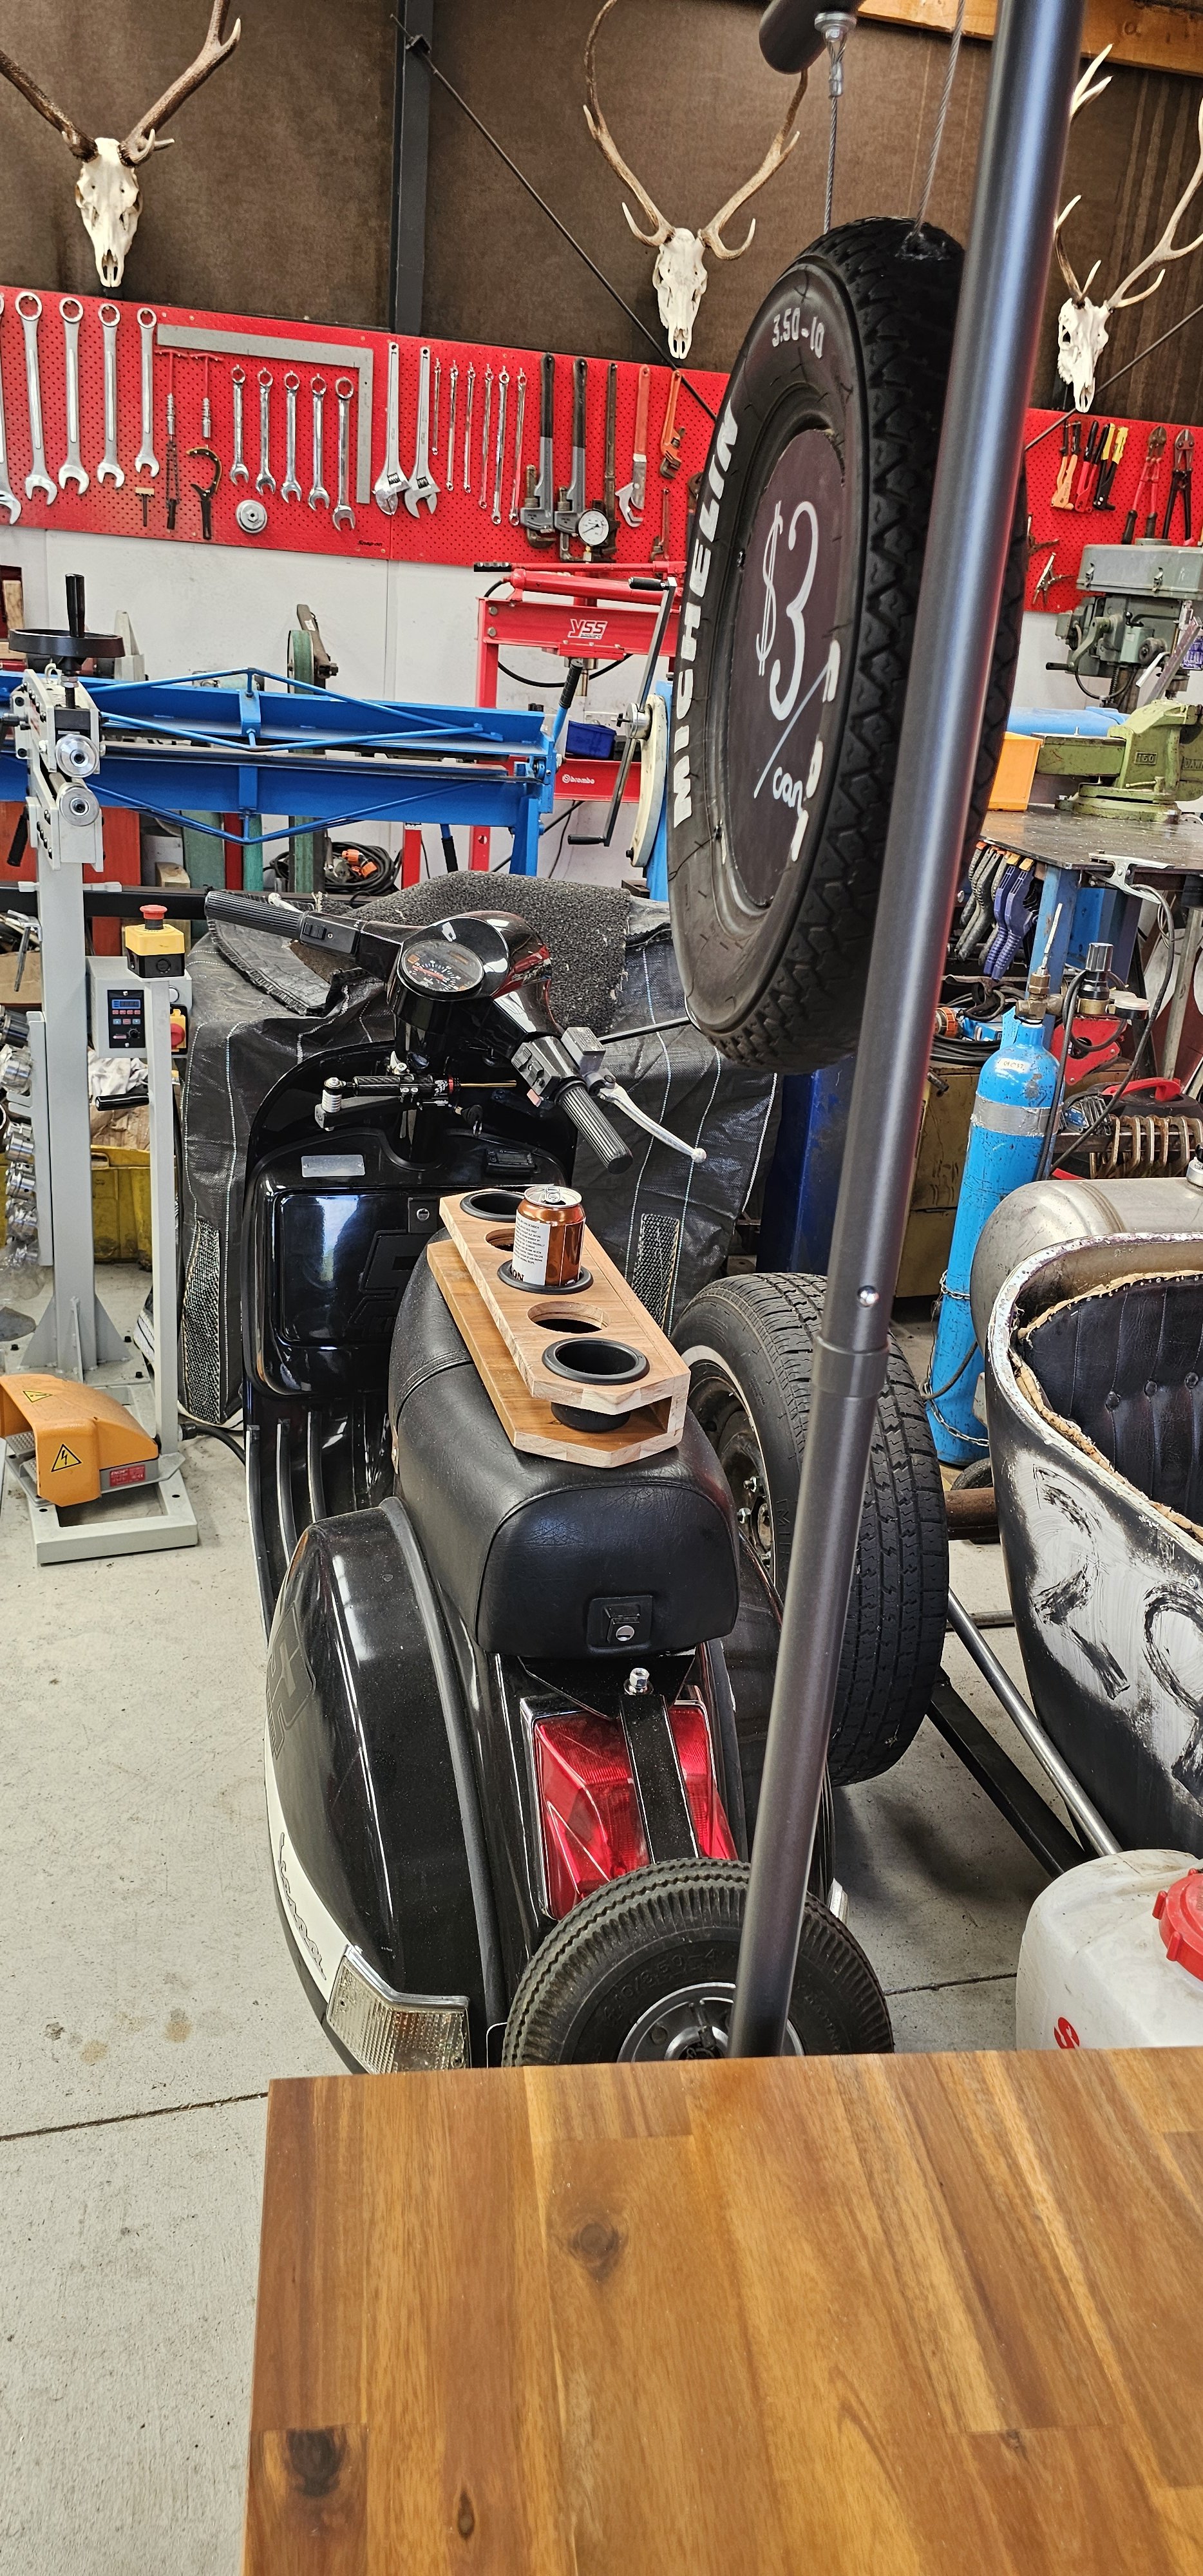
Started making a display stand. It'll display the flavors of drink, but more importantly it will hopefully prevent fucktards trying to sit on the seat and unintentionally knocking it off the centre stand. Lion brown for test fit. Unfortunately I don't think my kids can sell beer...
-
Made up and advertising sign. I'll paint the plywood centre with chalkboard paint, so the kids can write on it.
-
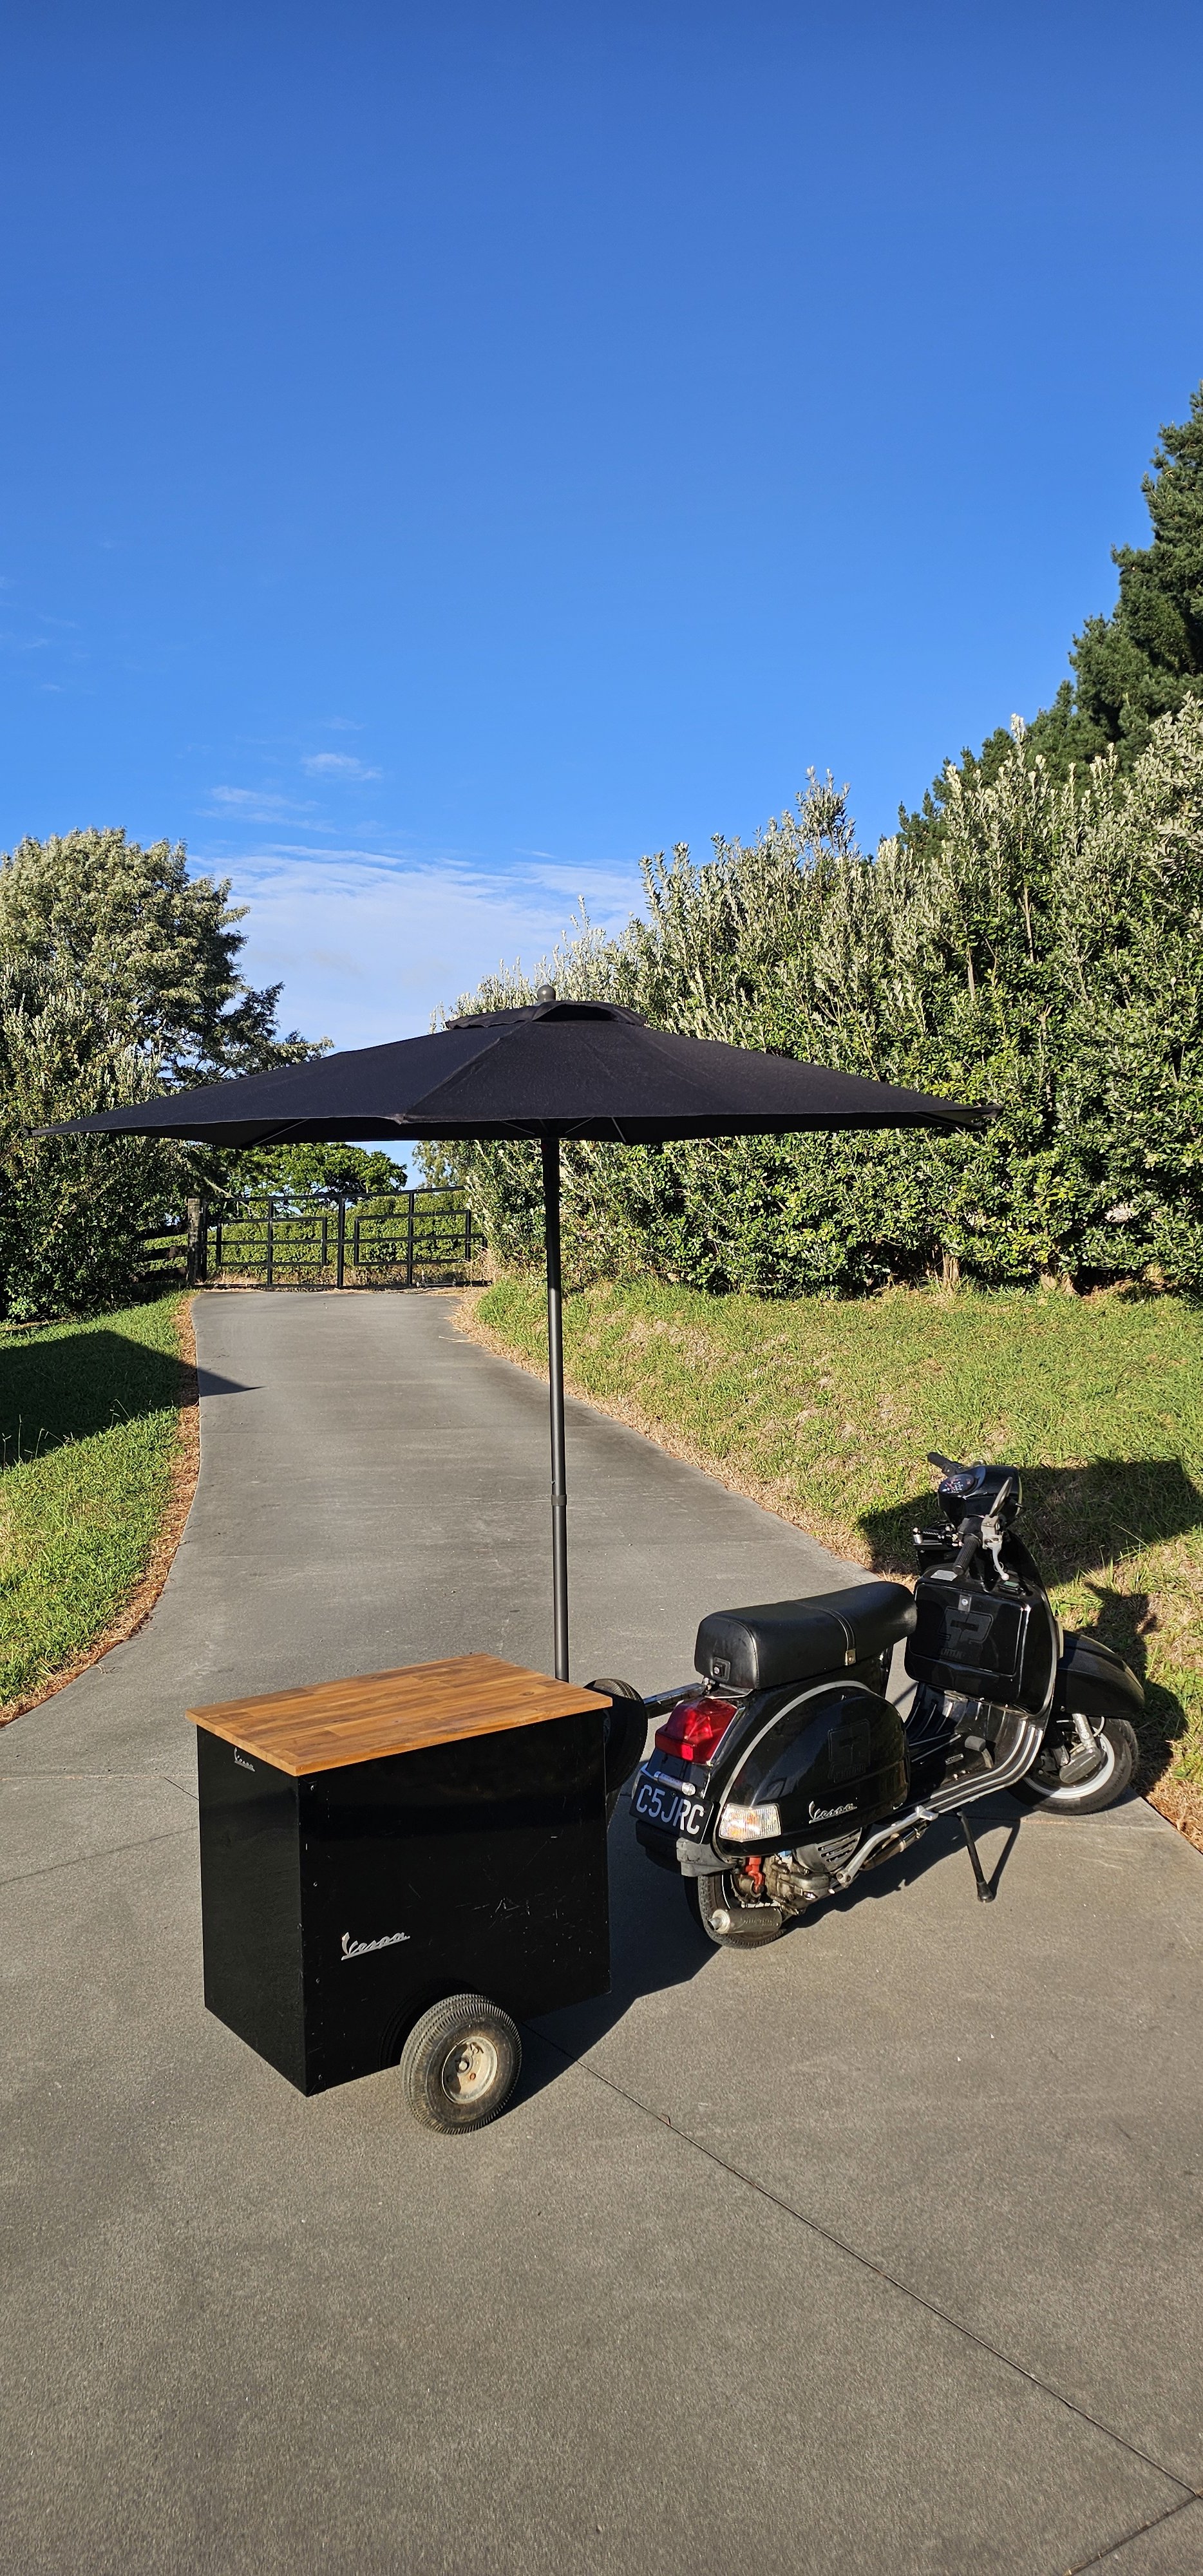
I'm actually stoked with this. Such a quick turn around. 3x days of @64valiant mind control. 2x 4hrs half days $115 total amount spent. Fuck yeah, smiles per gallon ratio will be strong with this one.
-
Yeah buddy!! Done...
-
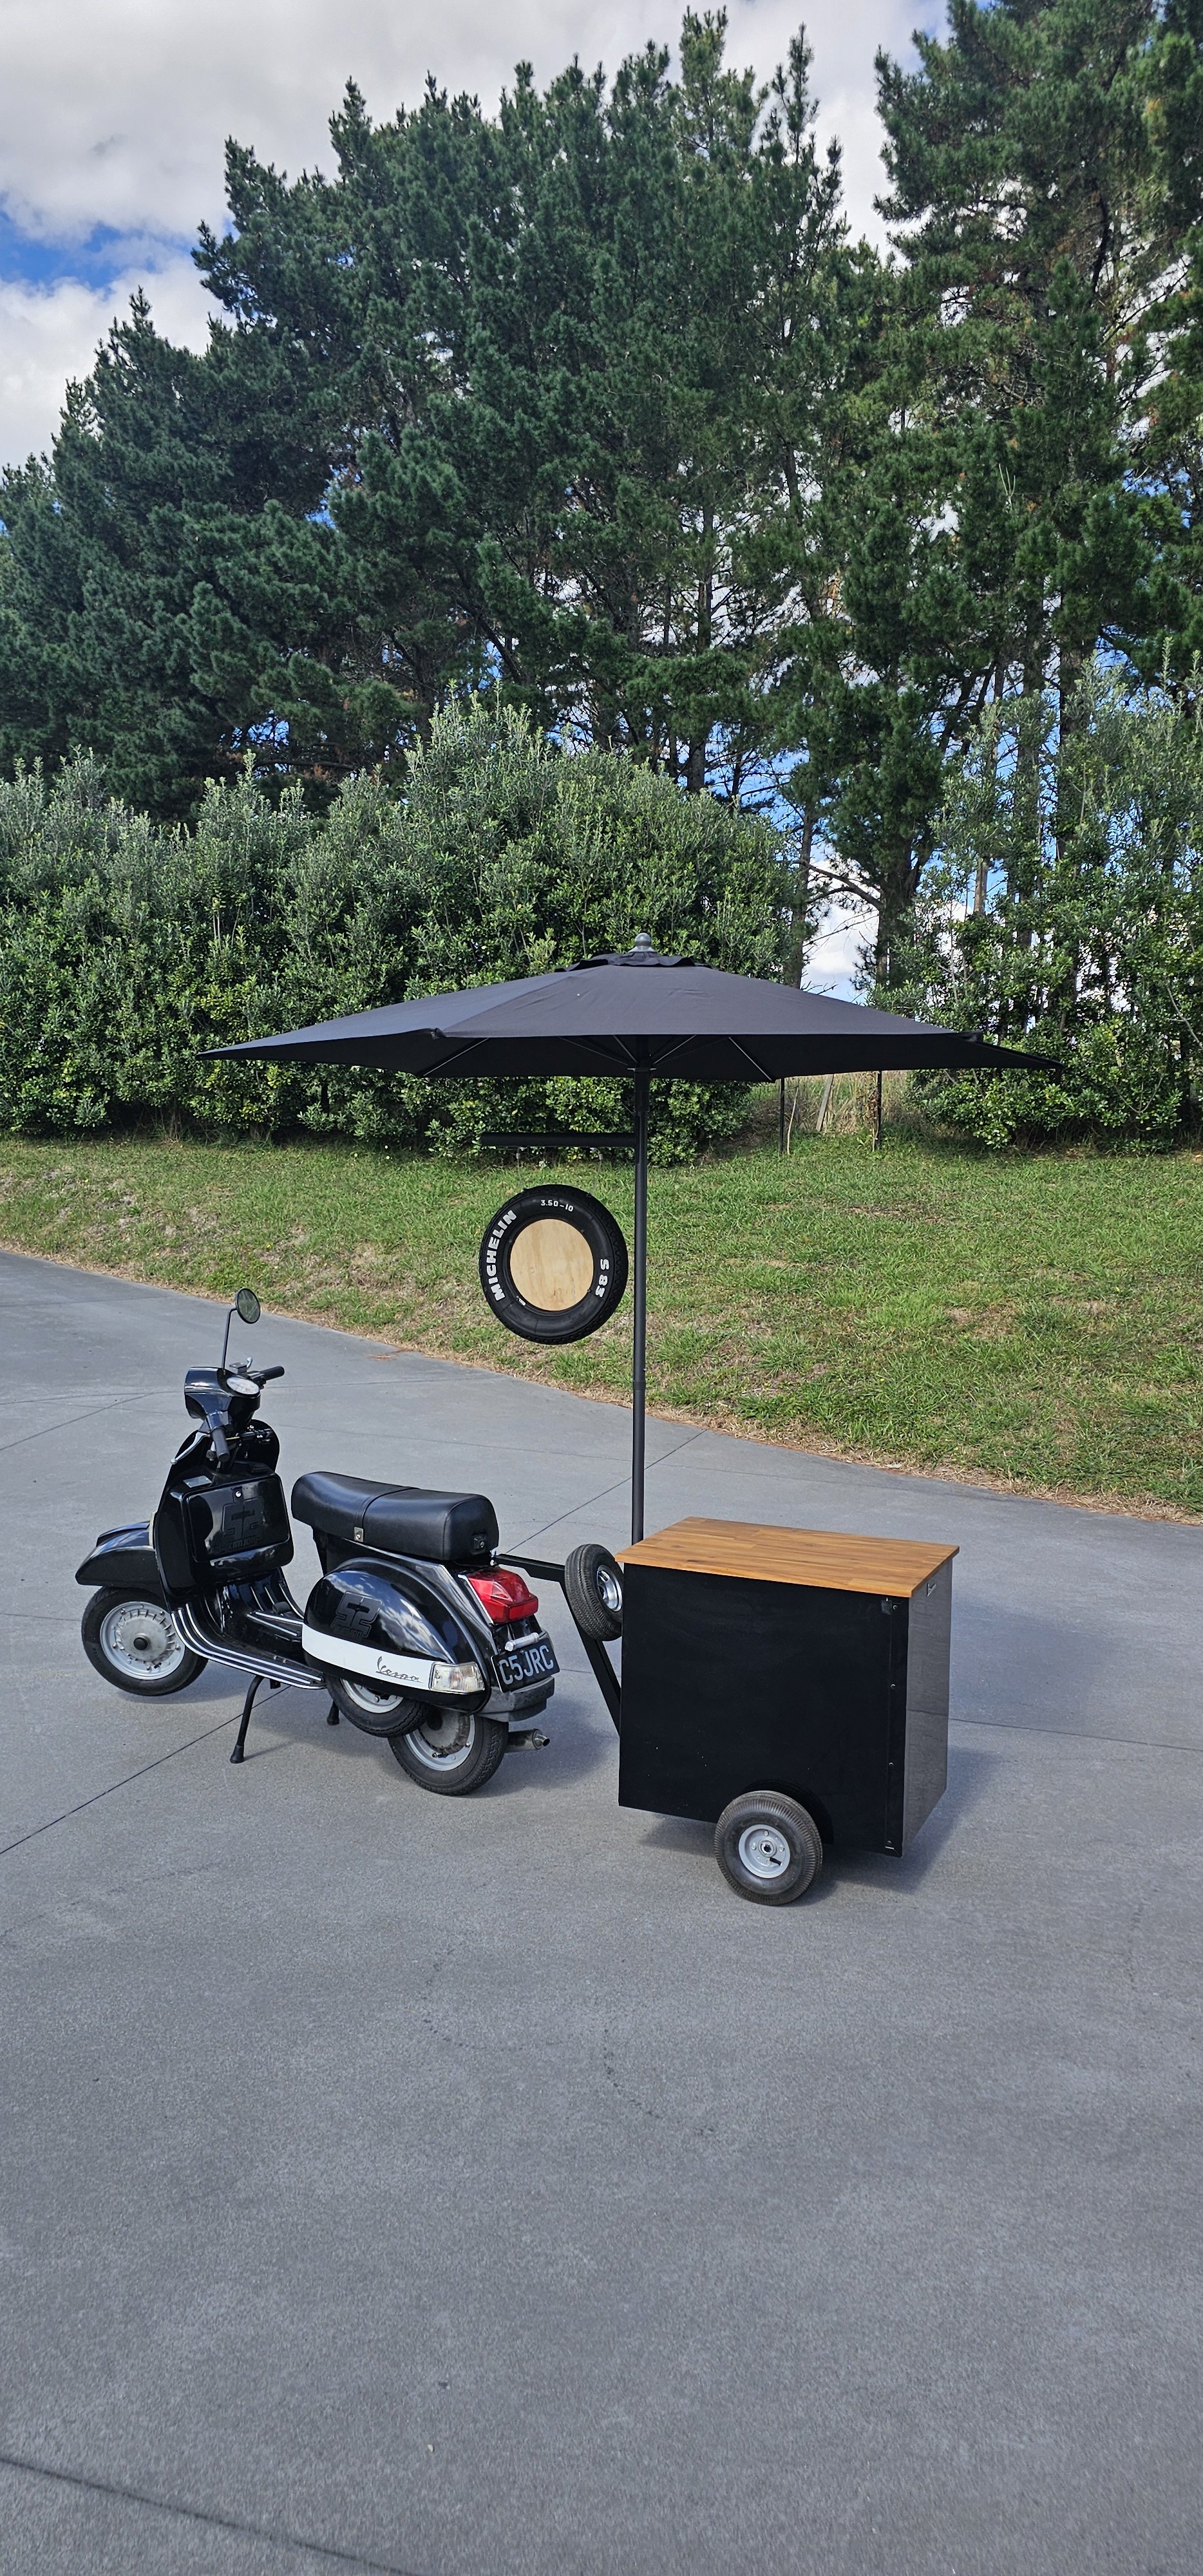
For not that many hours, I'm calling it one of my most satisfying projects. I've got a nicer benchtop, some matching matt black 52 decals, the missing lefthand Vespa badge and a black beach umbrella on order. That should tidy it up. There's a chilli bin inside to keep drinks cold. I'm calling it a win.
-
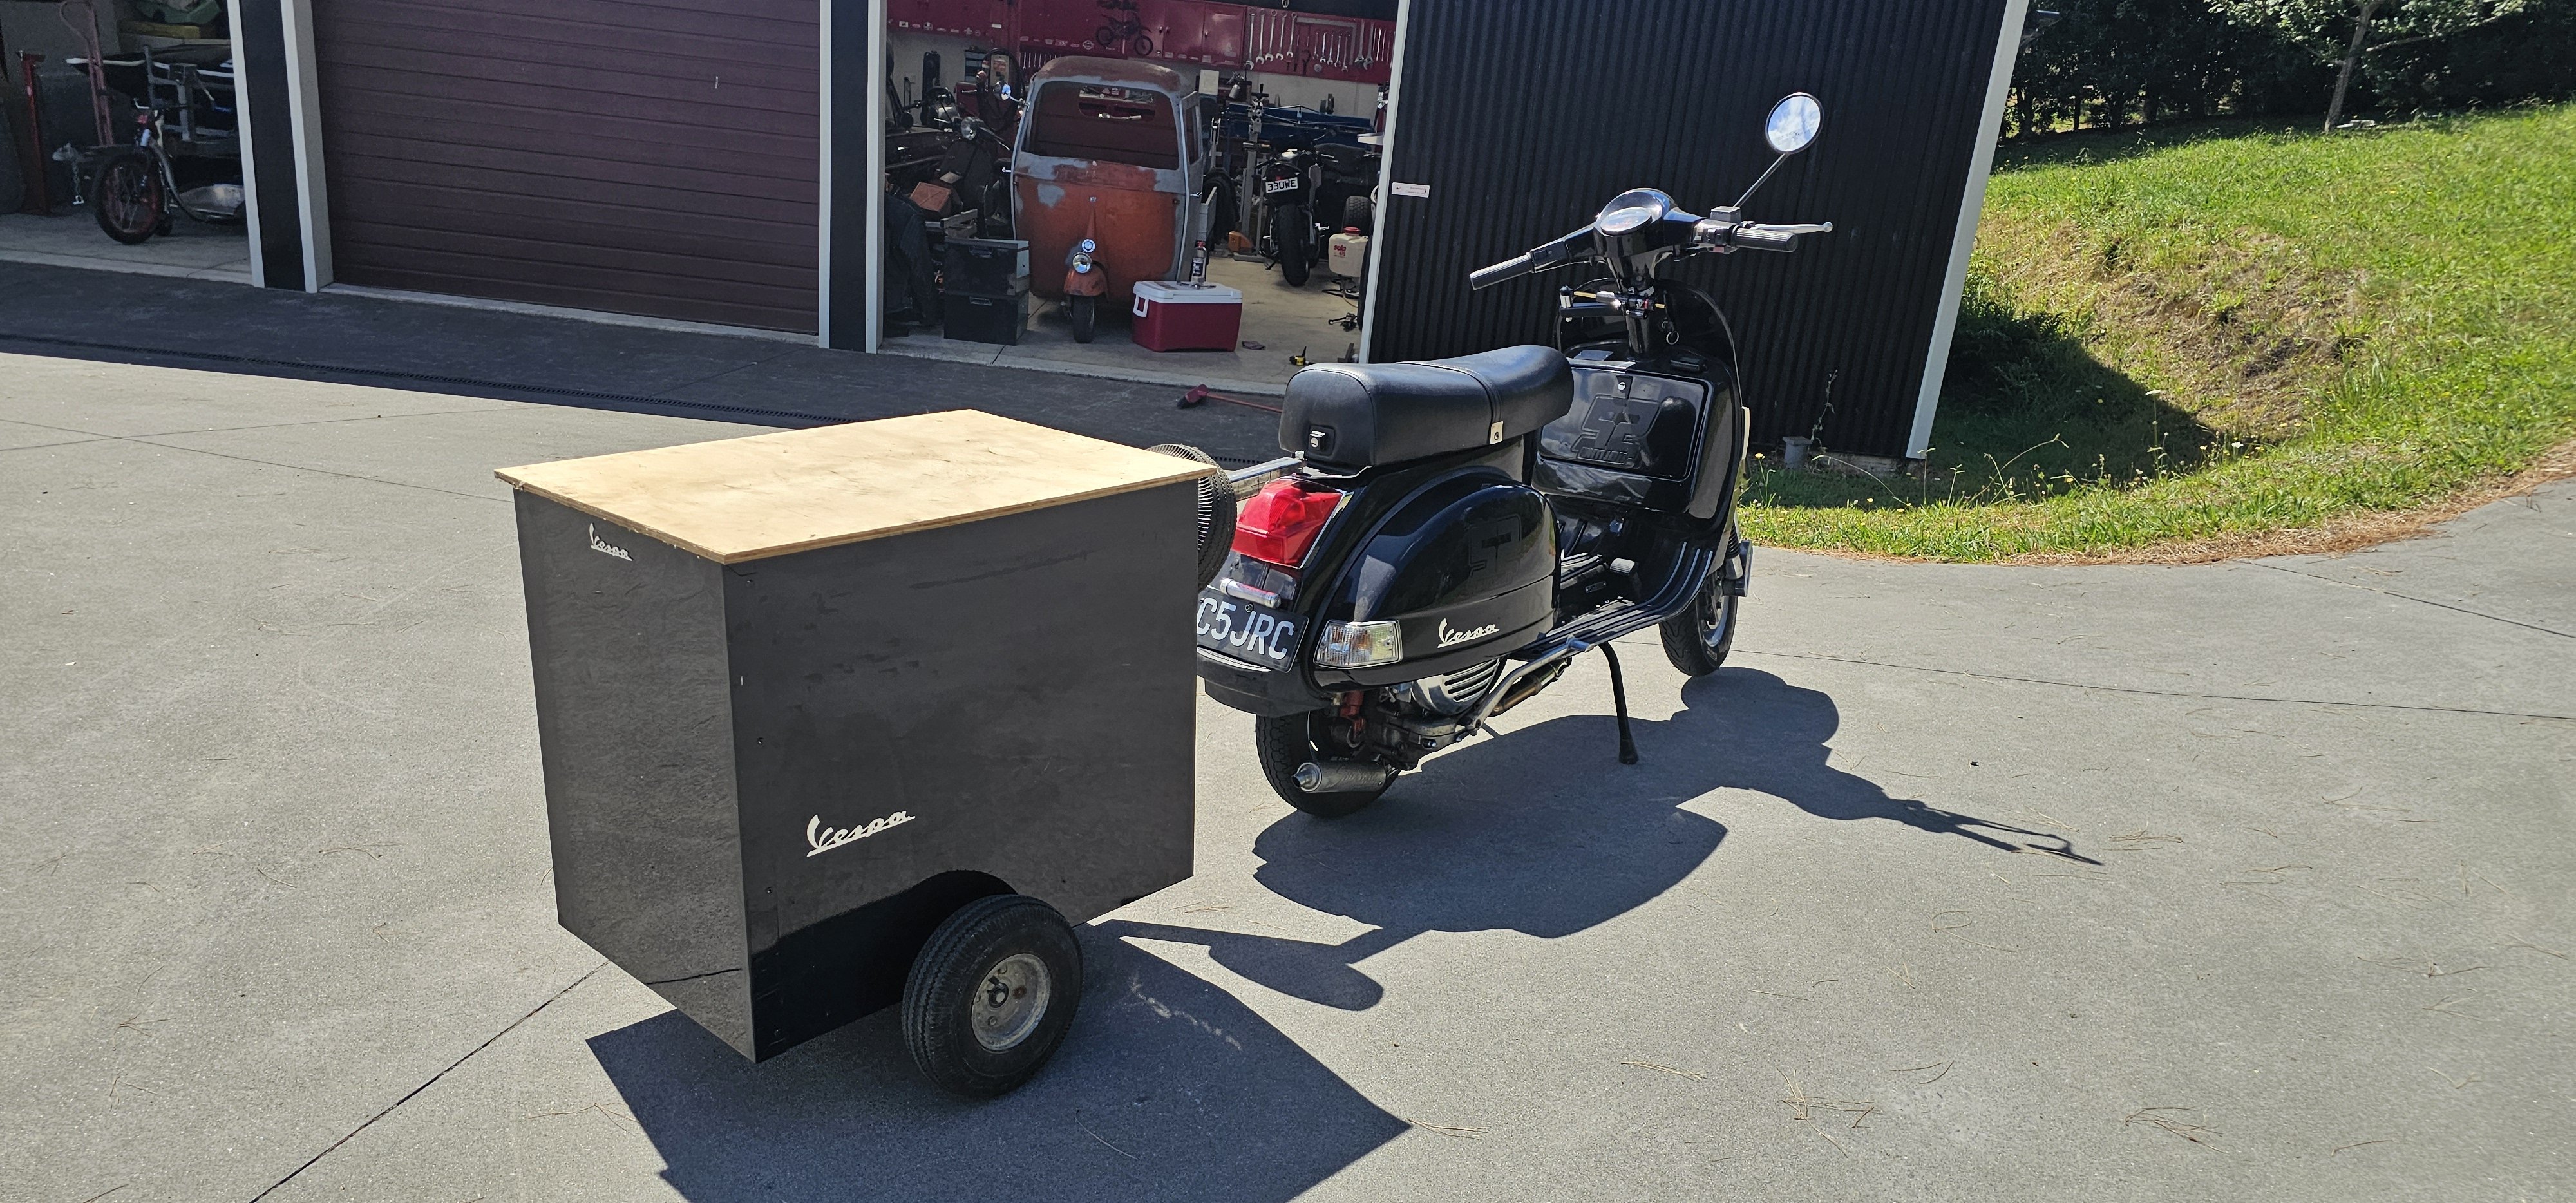
Impulse decision after @64valiant used subliminal mind control on me, sowing an idea that I couldn't get out of my head.
-
Squirrel.... Yep, I'm far too easily distracted.
-
Noises were made.
-
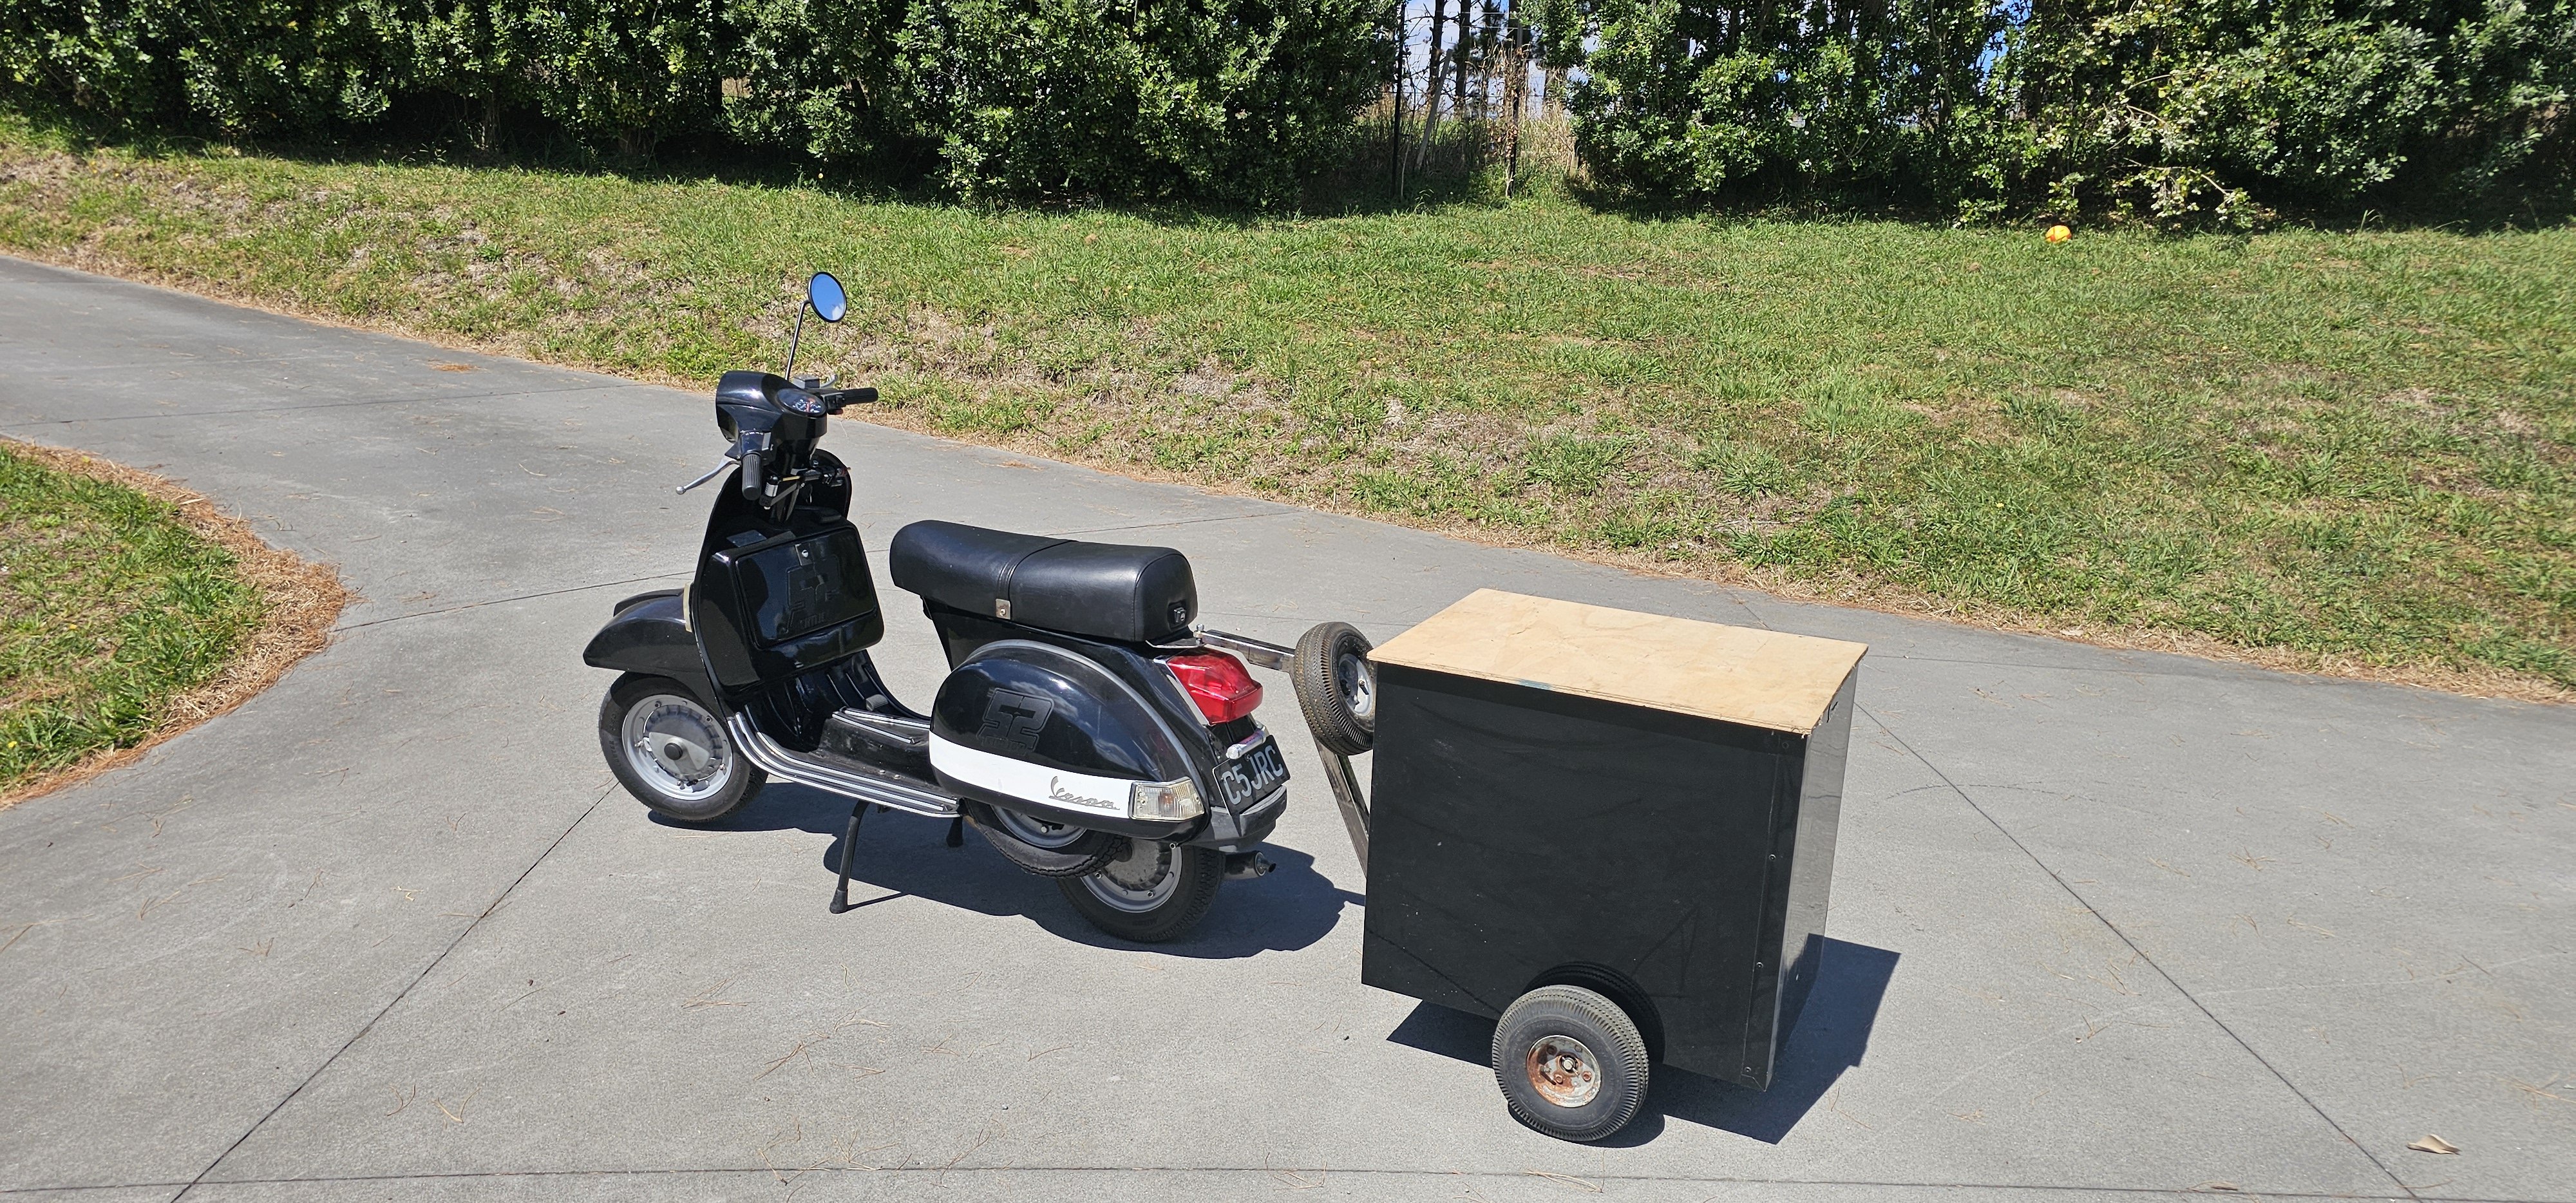
Slapped the door handles on, then got my wife to push me around in circles on the driveway...living the dream.
- 541 replies
-
- 17
-
-
-

-
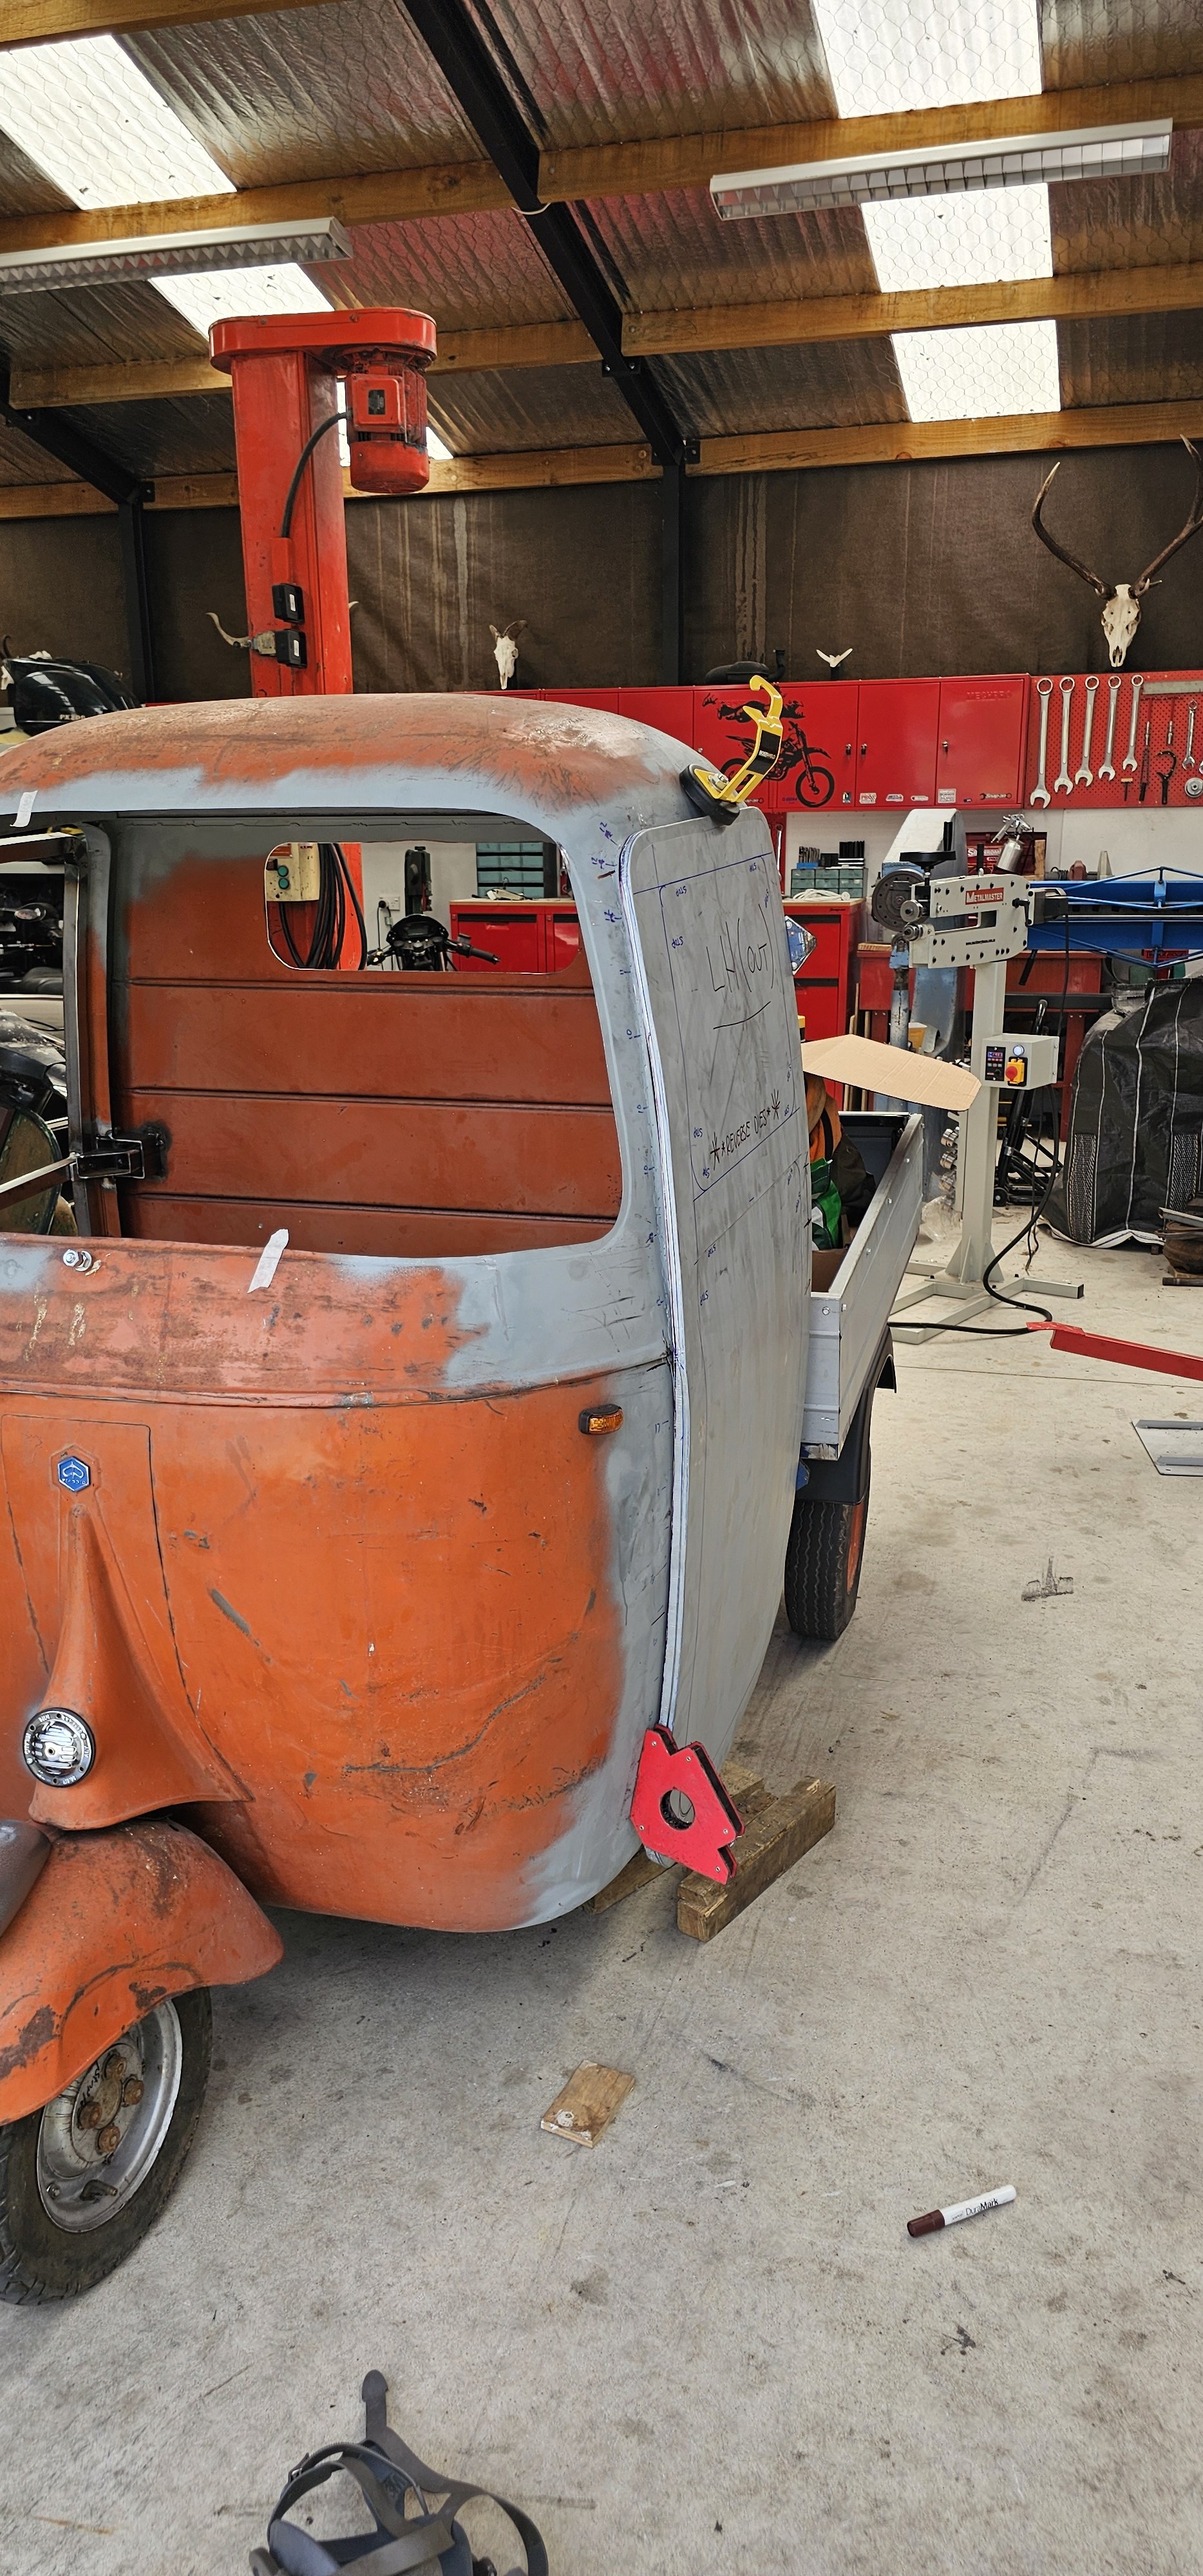
Full send. Overall pretty sweet, the bottom front wasn't the tightest of fits, so I pulled it in with clamps. It'll need a skim of filler to hide it, but its probably 2mm at the most Second door slightly better, but not without its own issues.
-
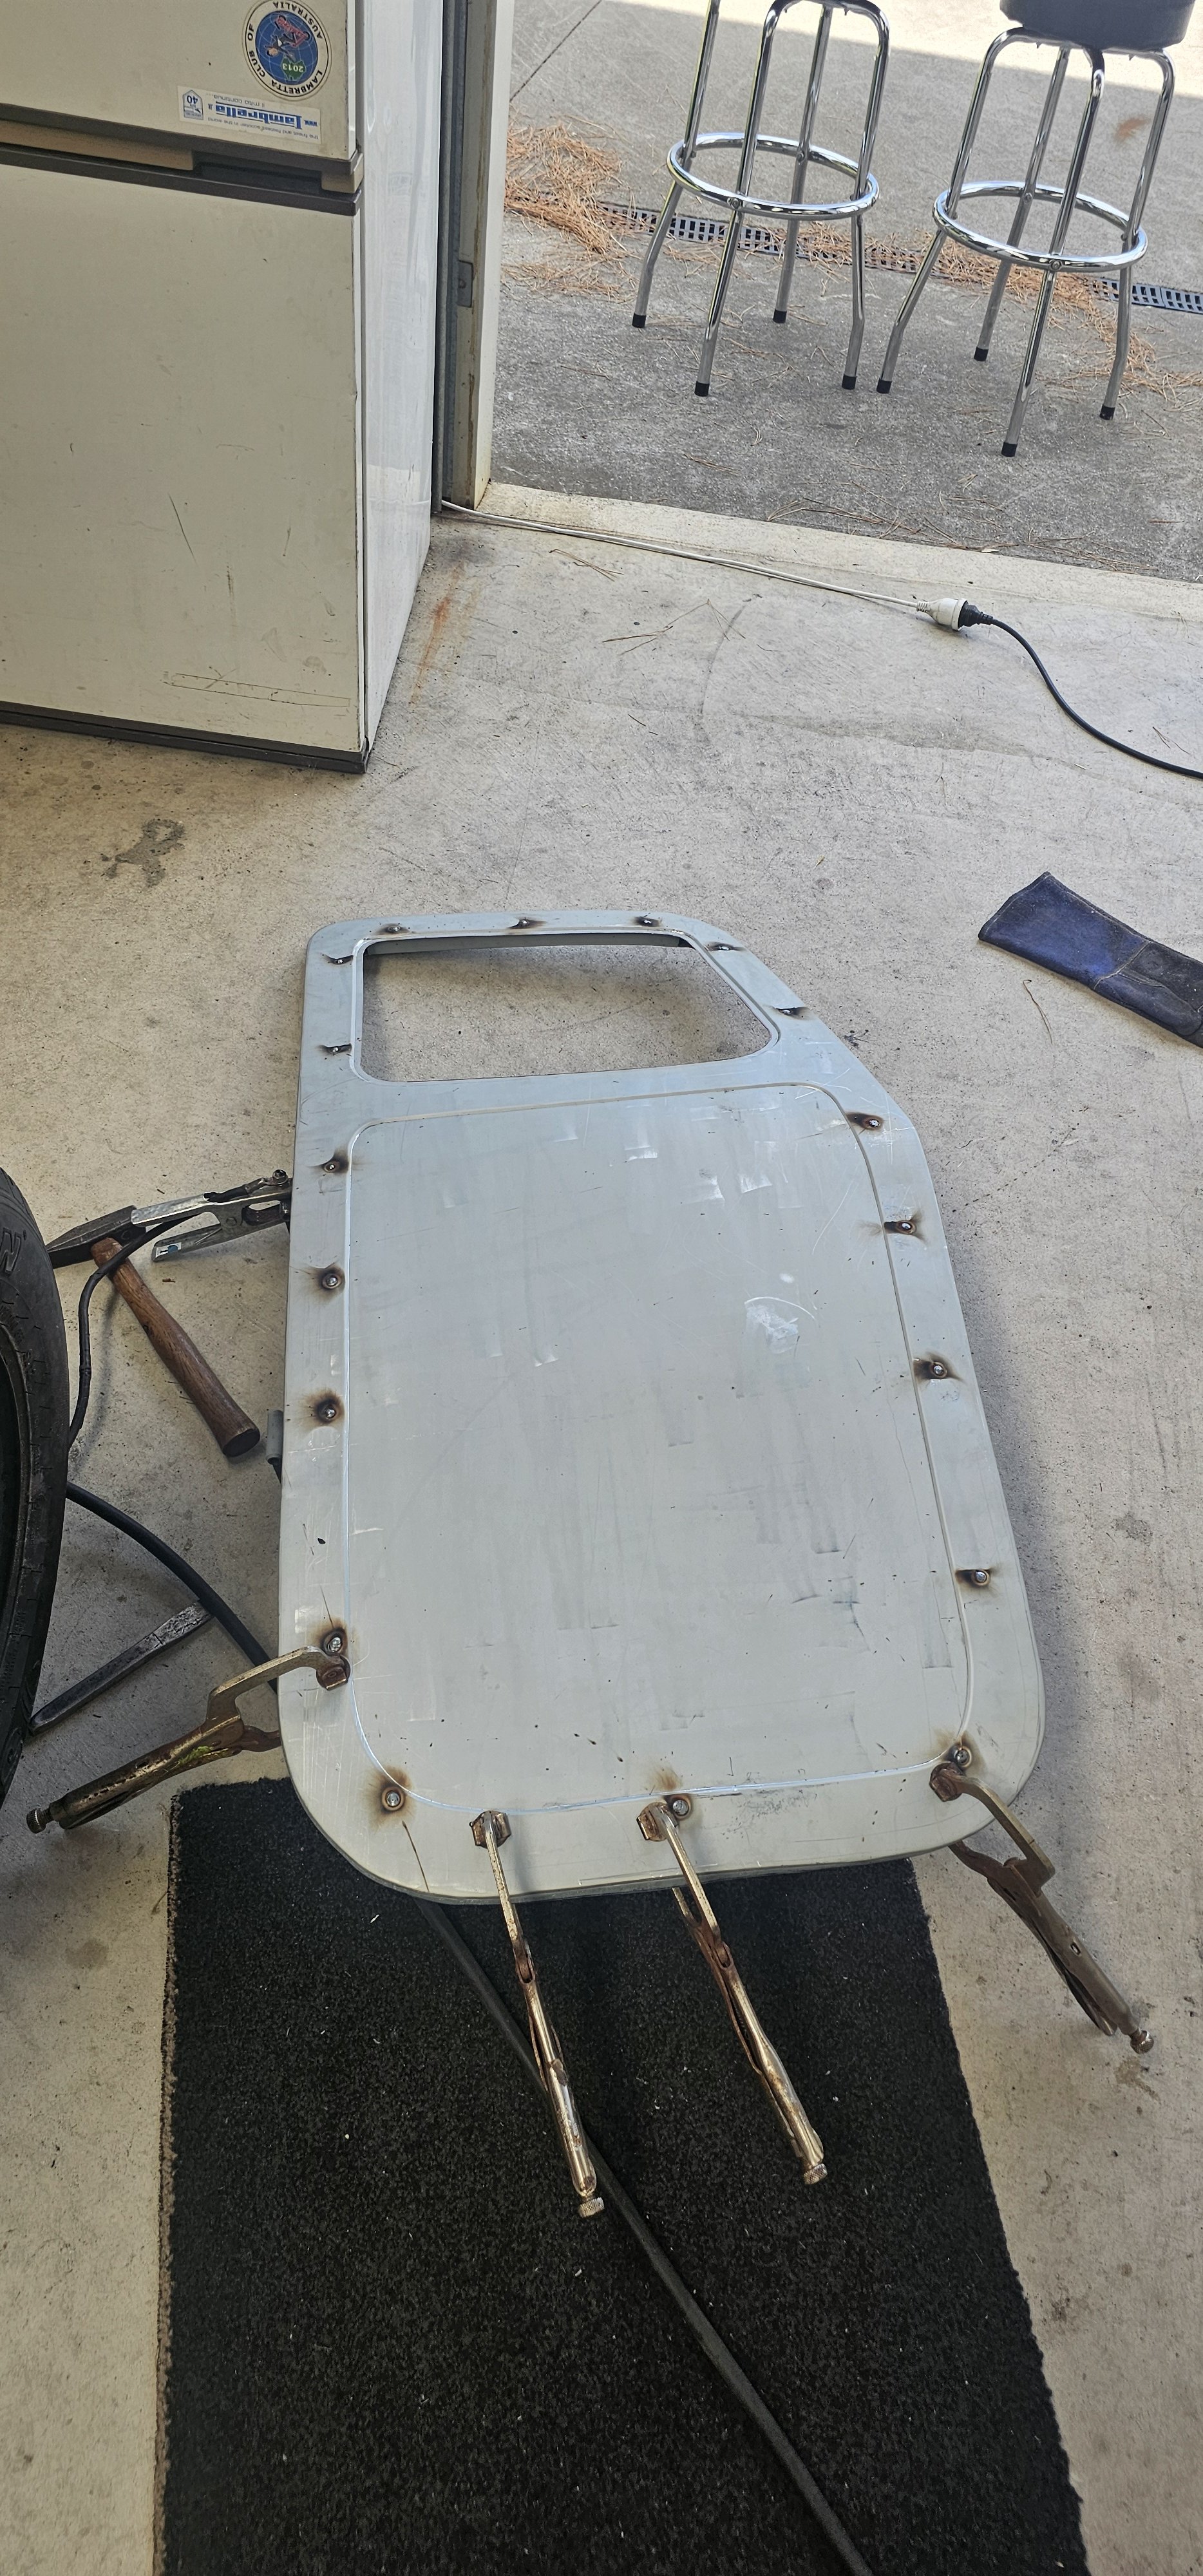
And all welded up and finished: Came out sweet. I'm super happy with this, given it's a part that simply doesn't exist and had to be made.
-
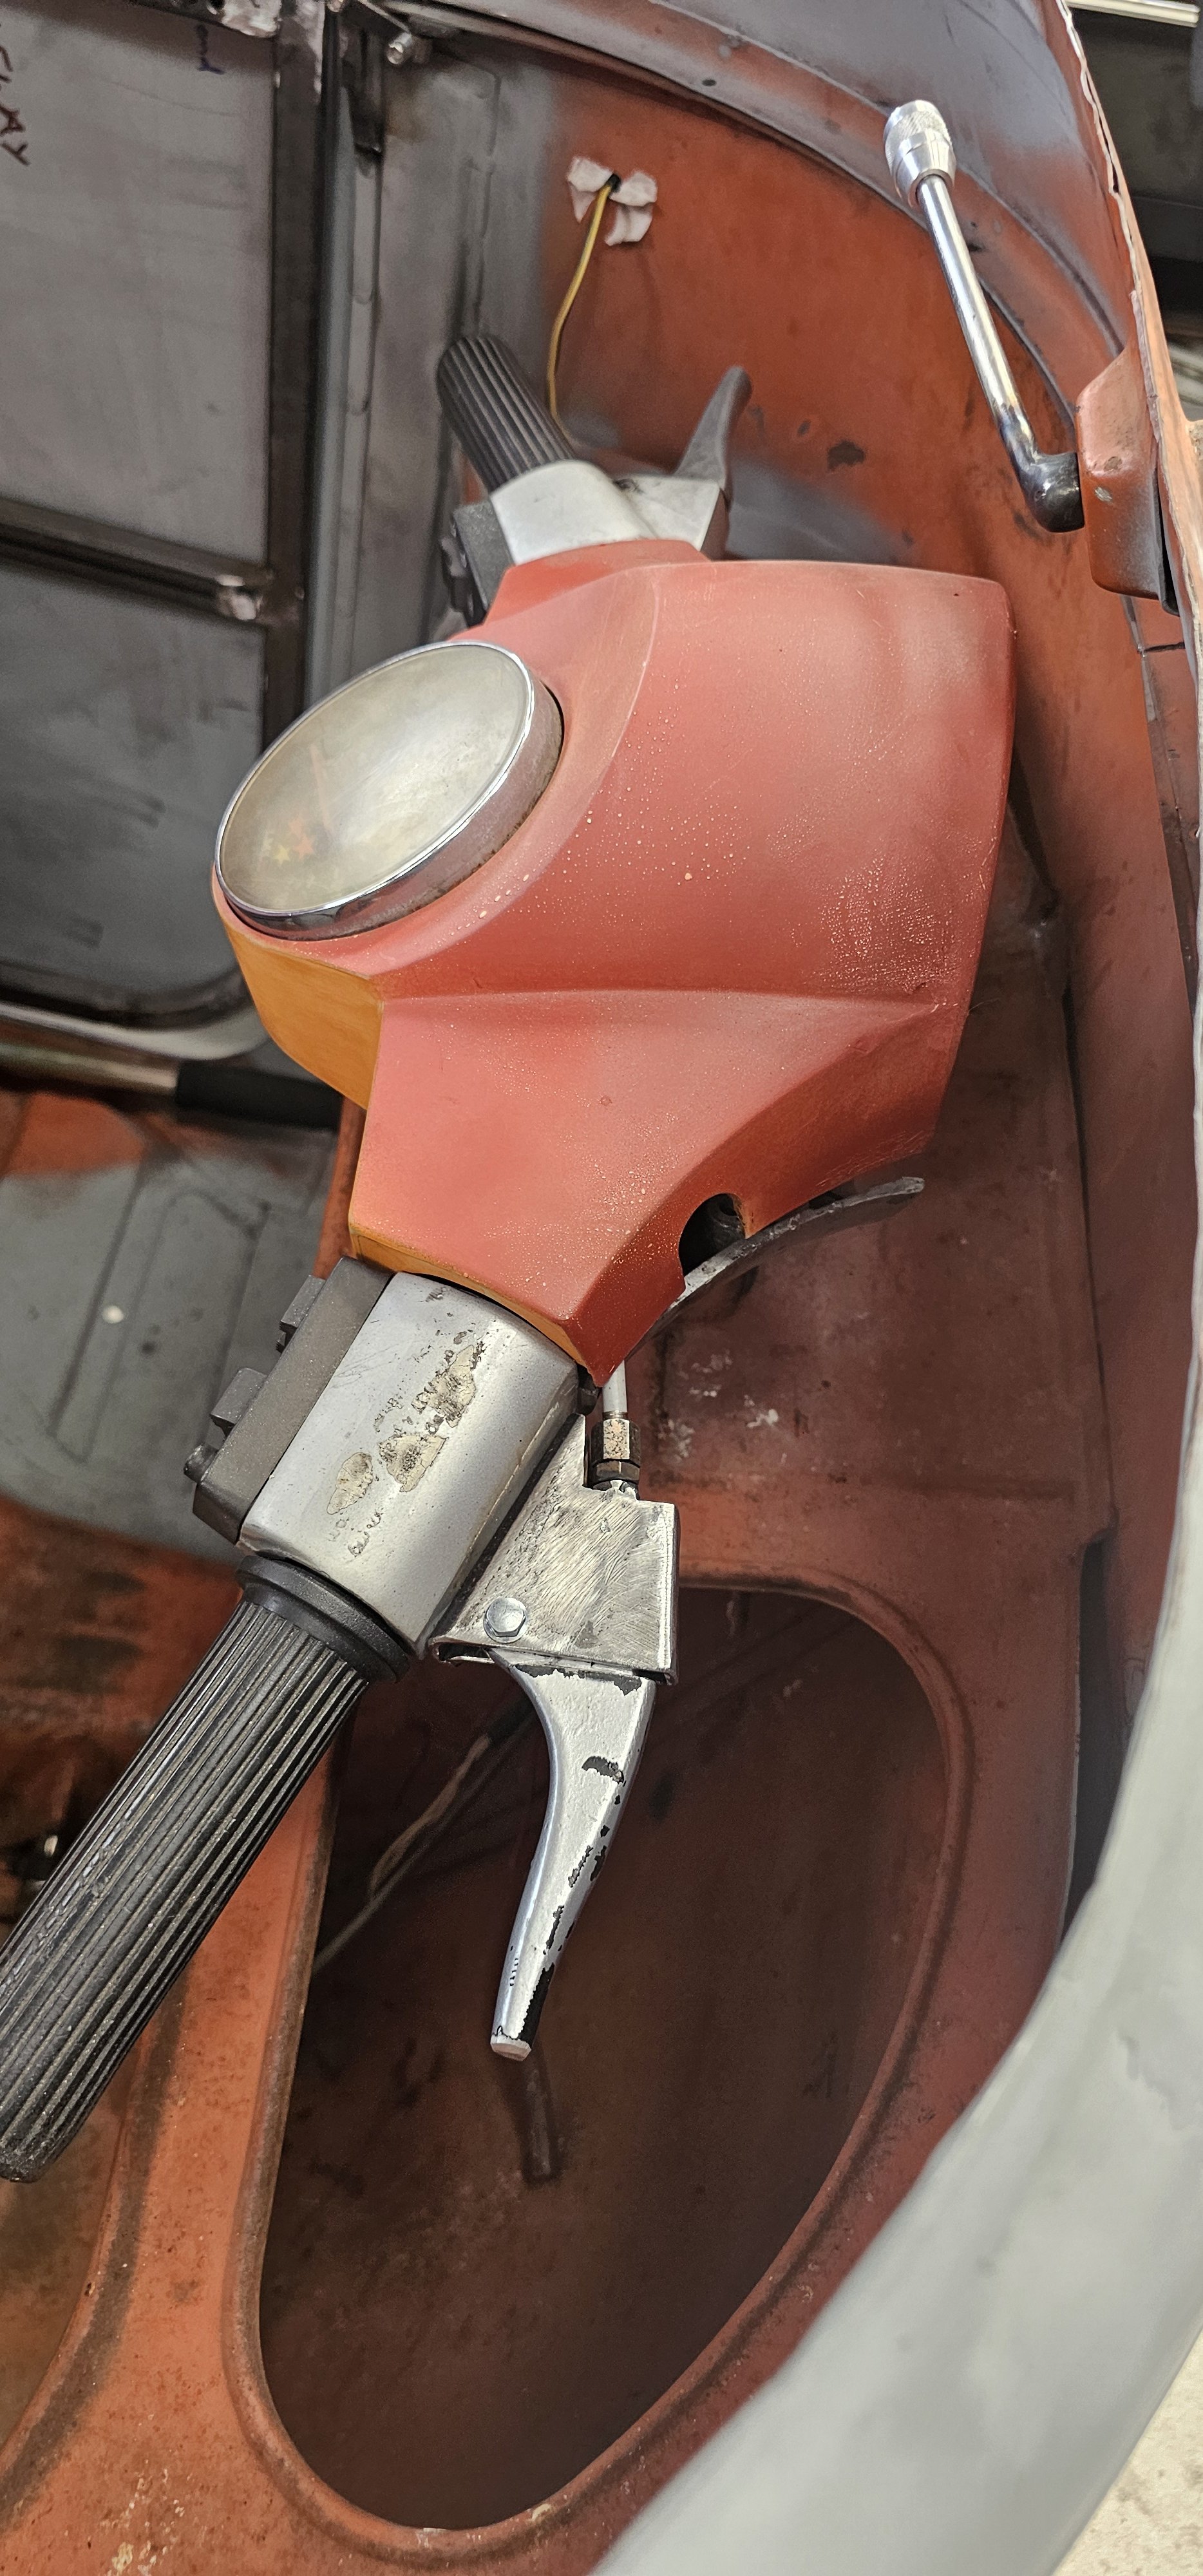
I converted a vespa hydraulic disc brake headset into mechanical cable drum setup for the Ape. It's fair to say that most people do things the other way around.
-
I sold all of mine to that guy - small world. That one is half made from parts off of my old ones.
-
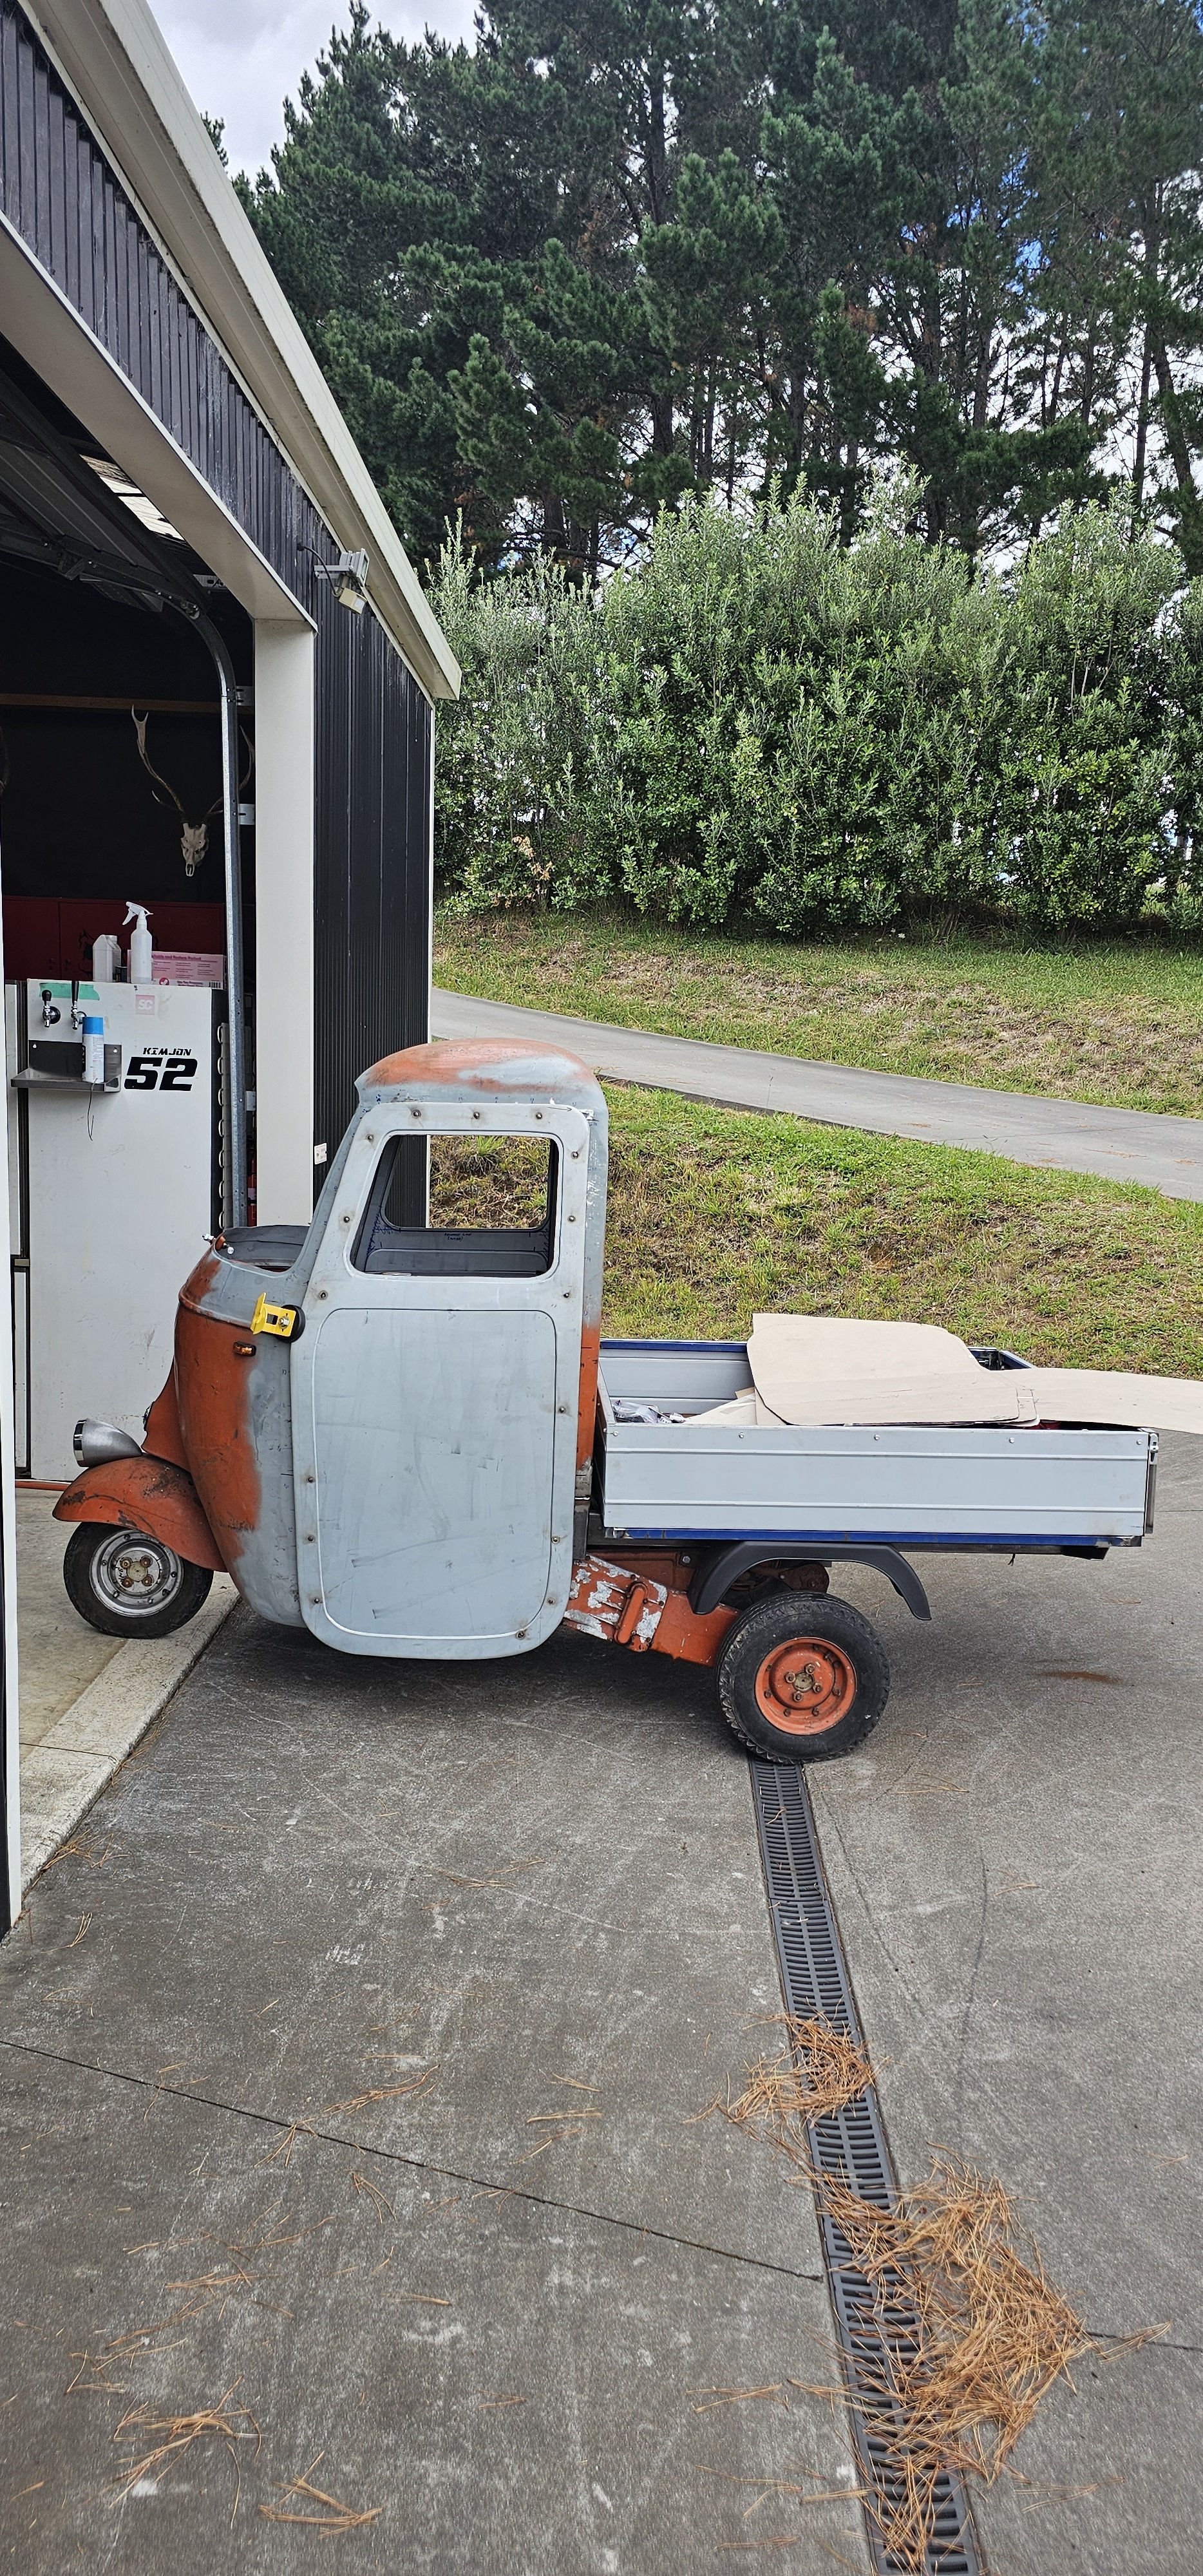
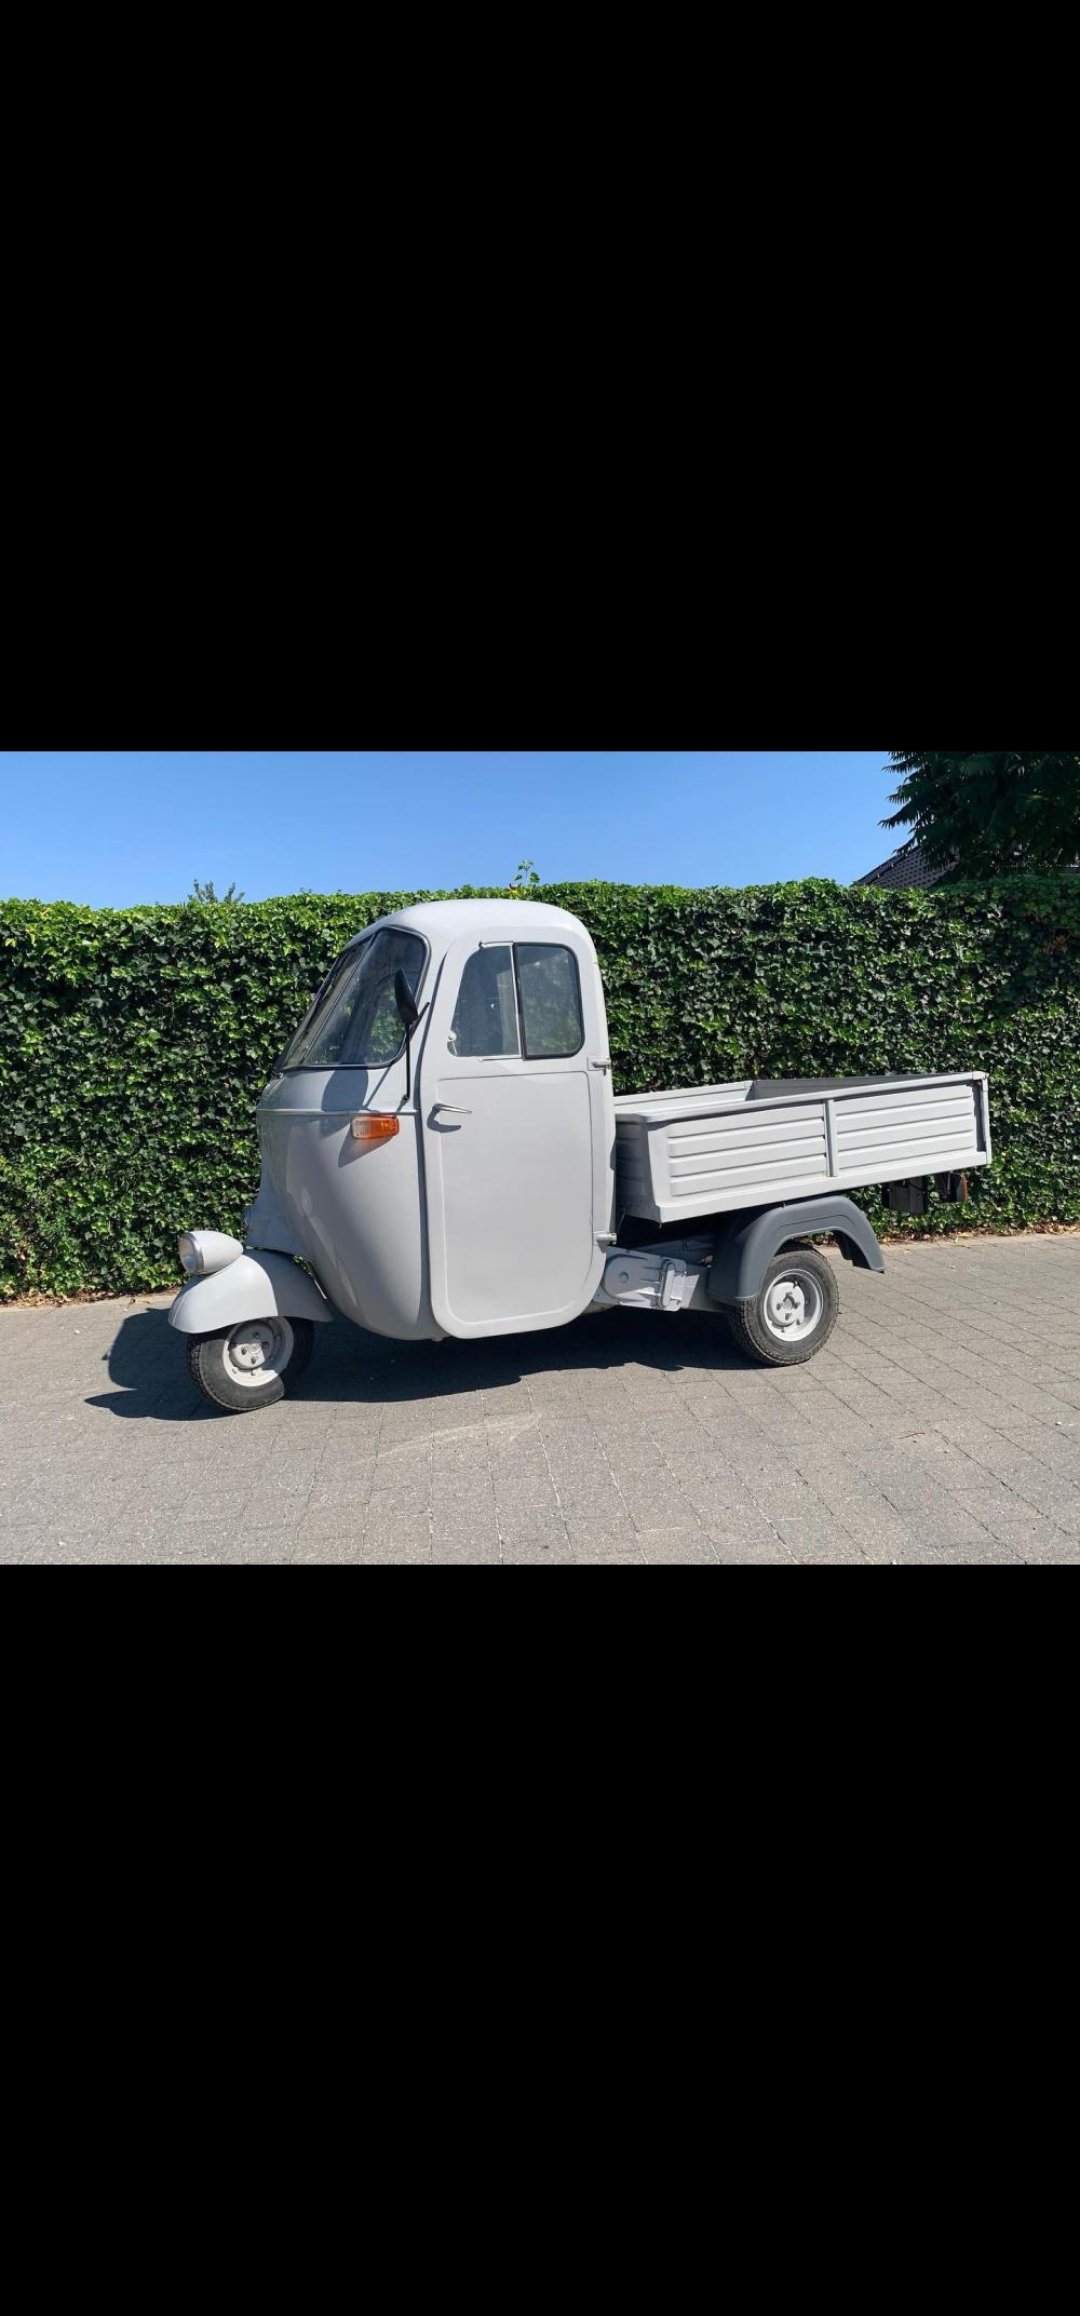
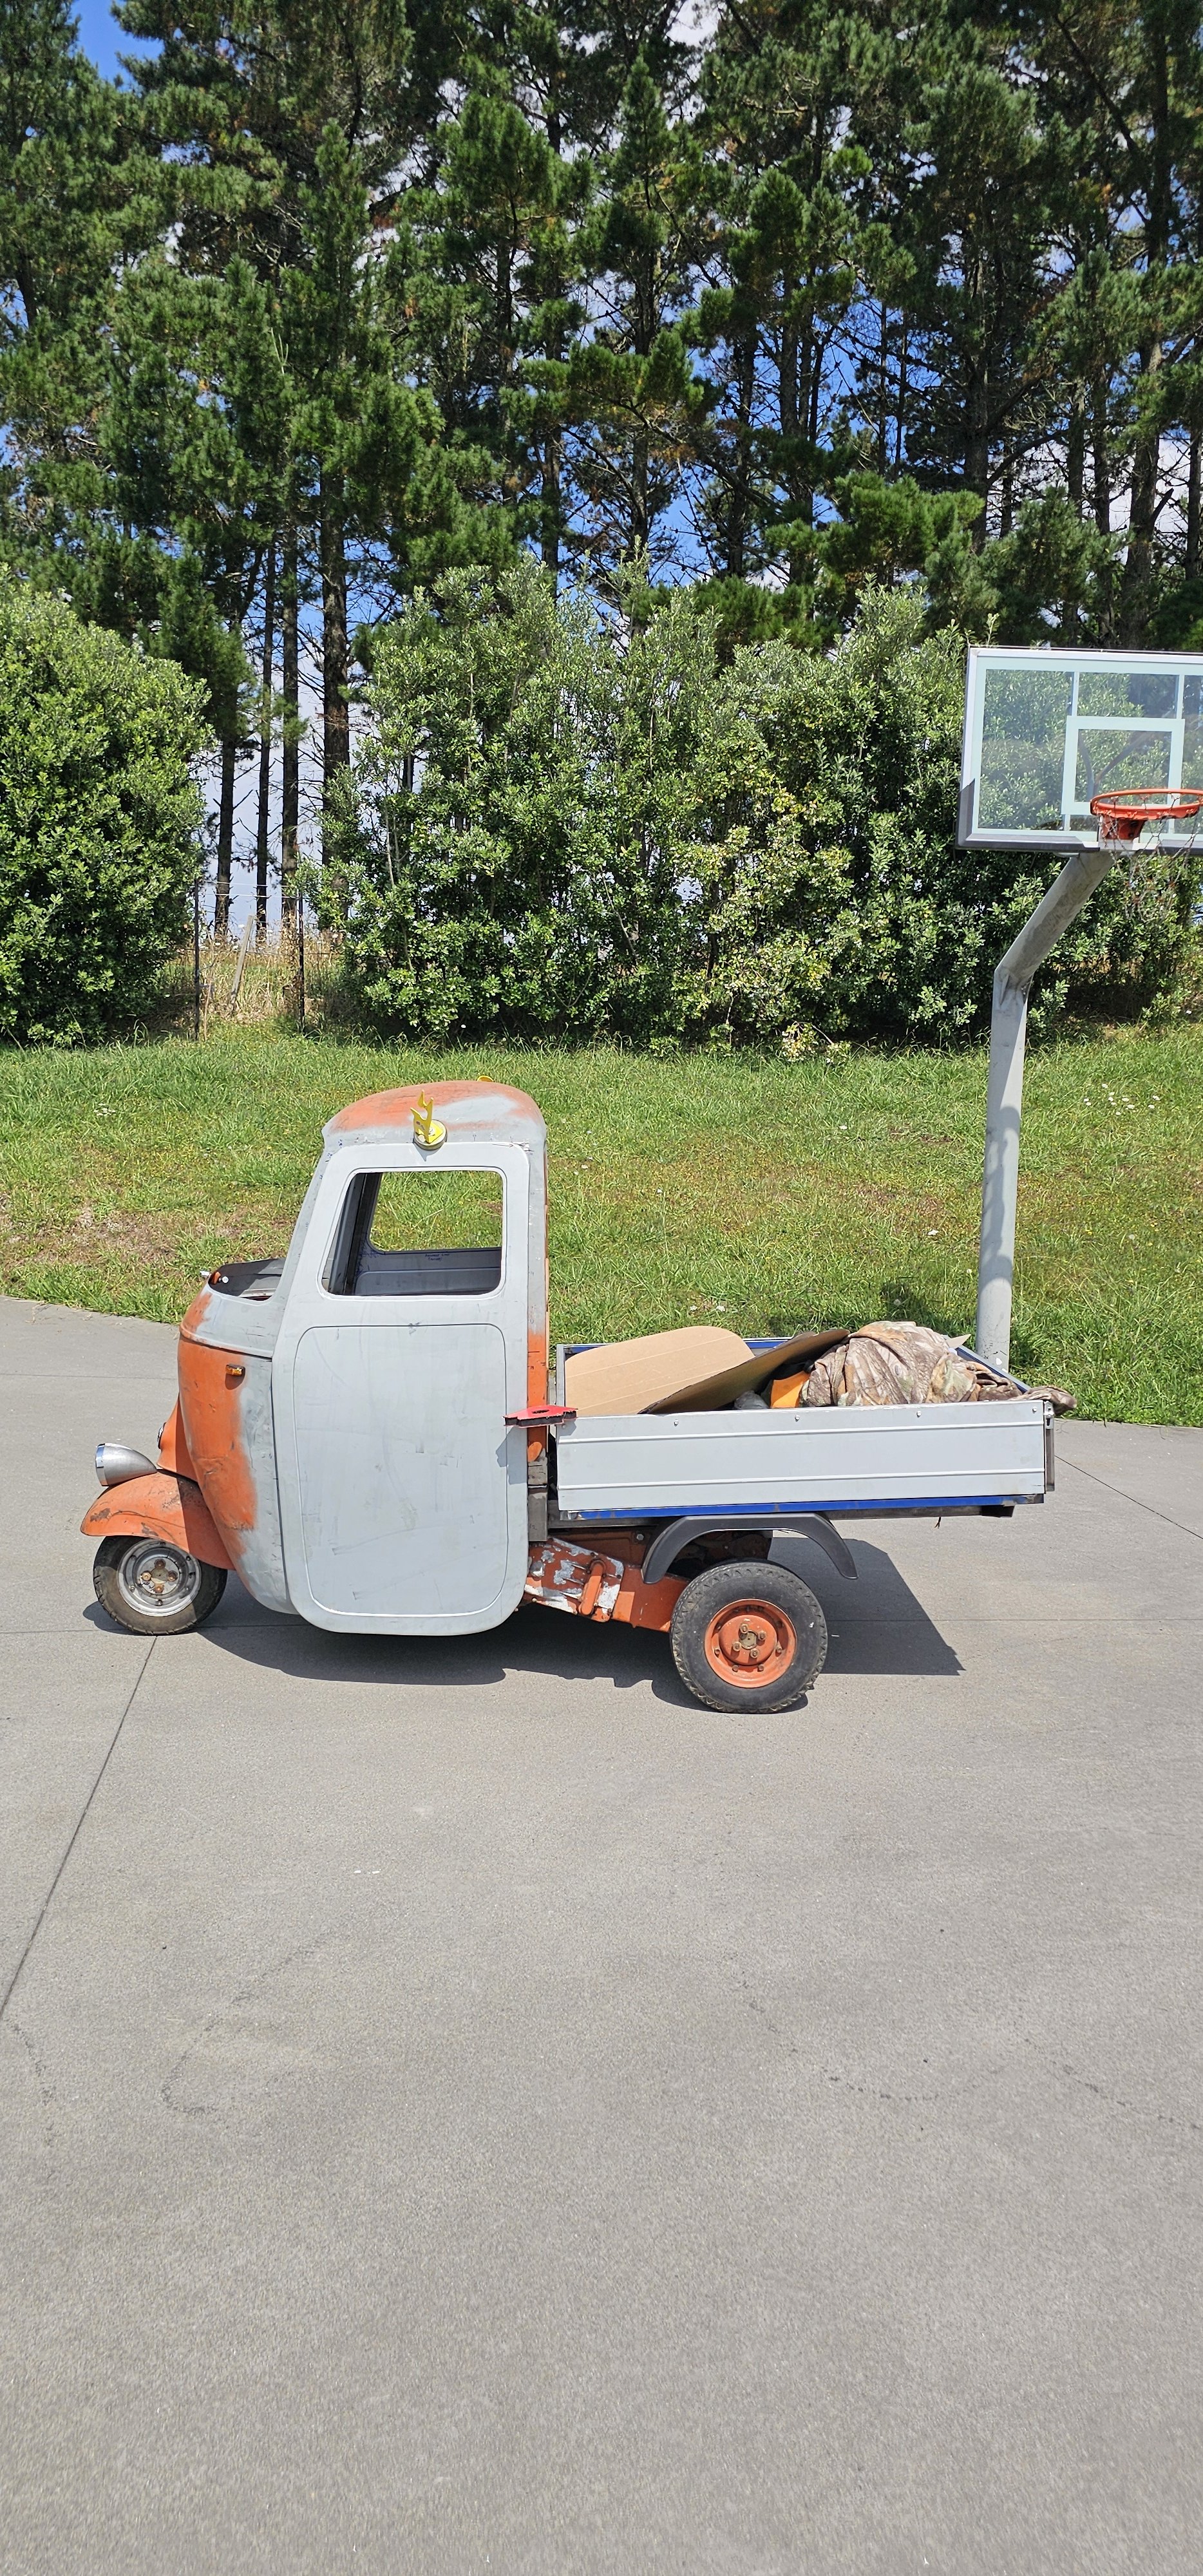
Here's an original for comparison. Remembering I've chopped the roof, and changed the A pillars and a bit of other stuff, so it's not quite apples with apples. But its got the overall look so I'm stoked. This project has had massive scope creep from "get it going, leave it rusty" to what it is now.
- 541 replies
-
- 10
-
-
-
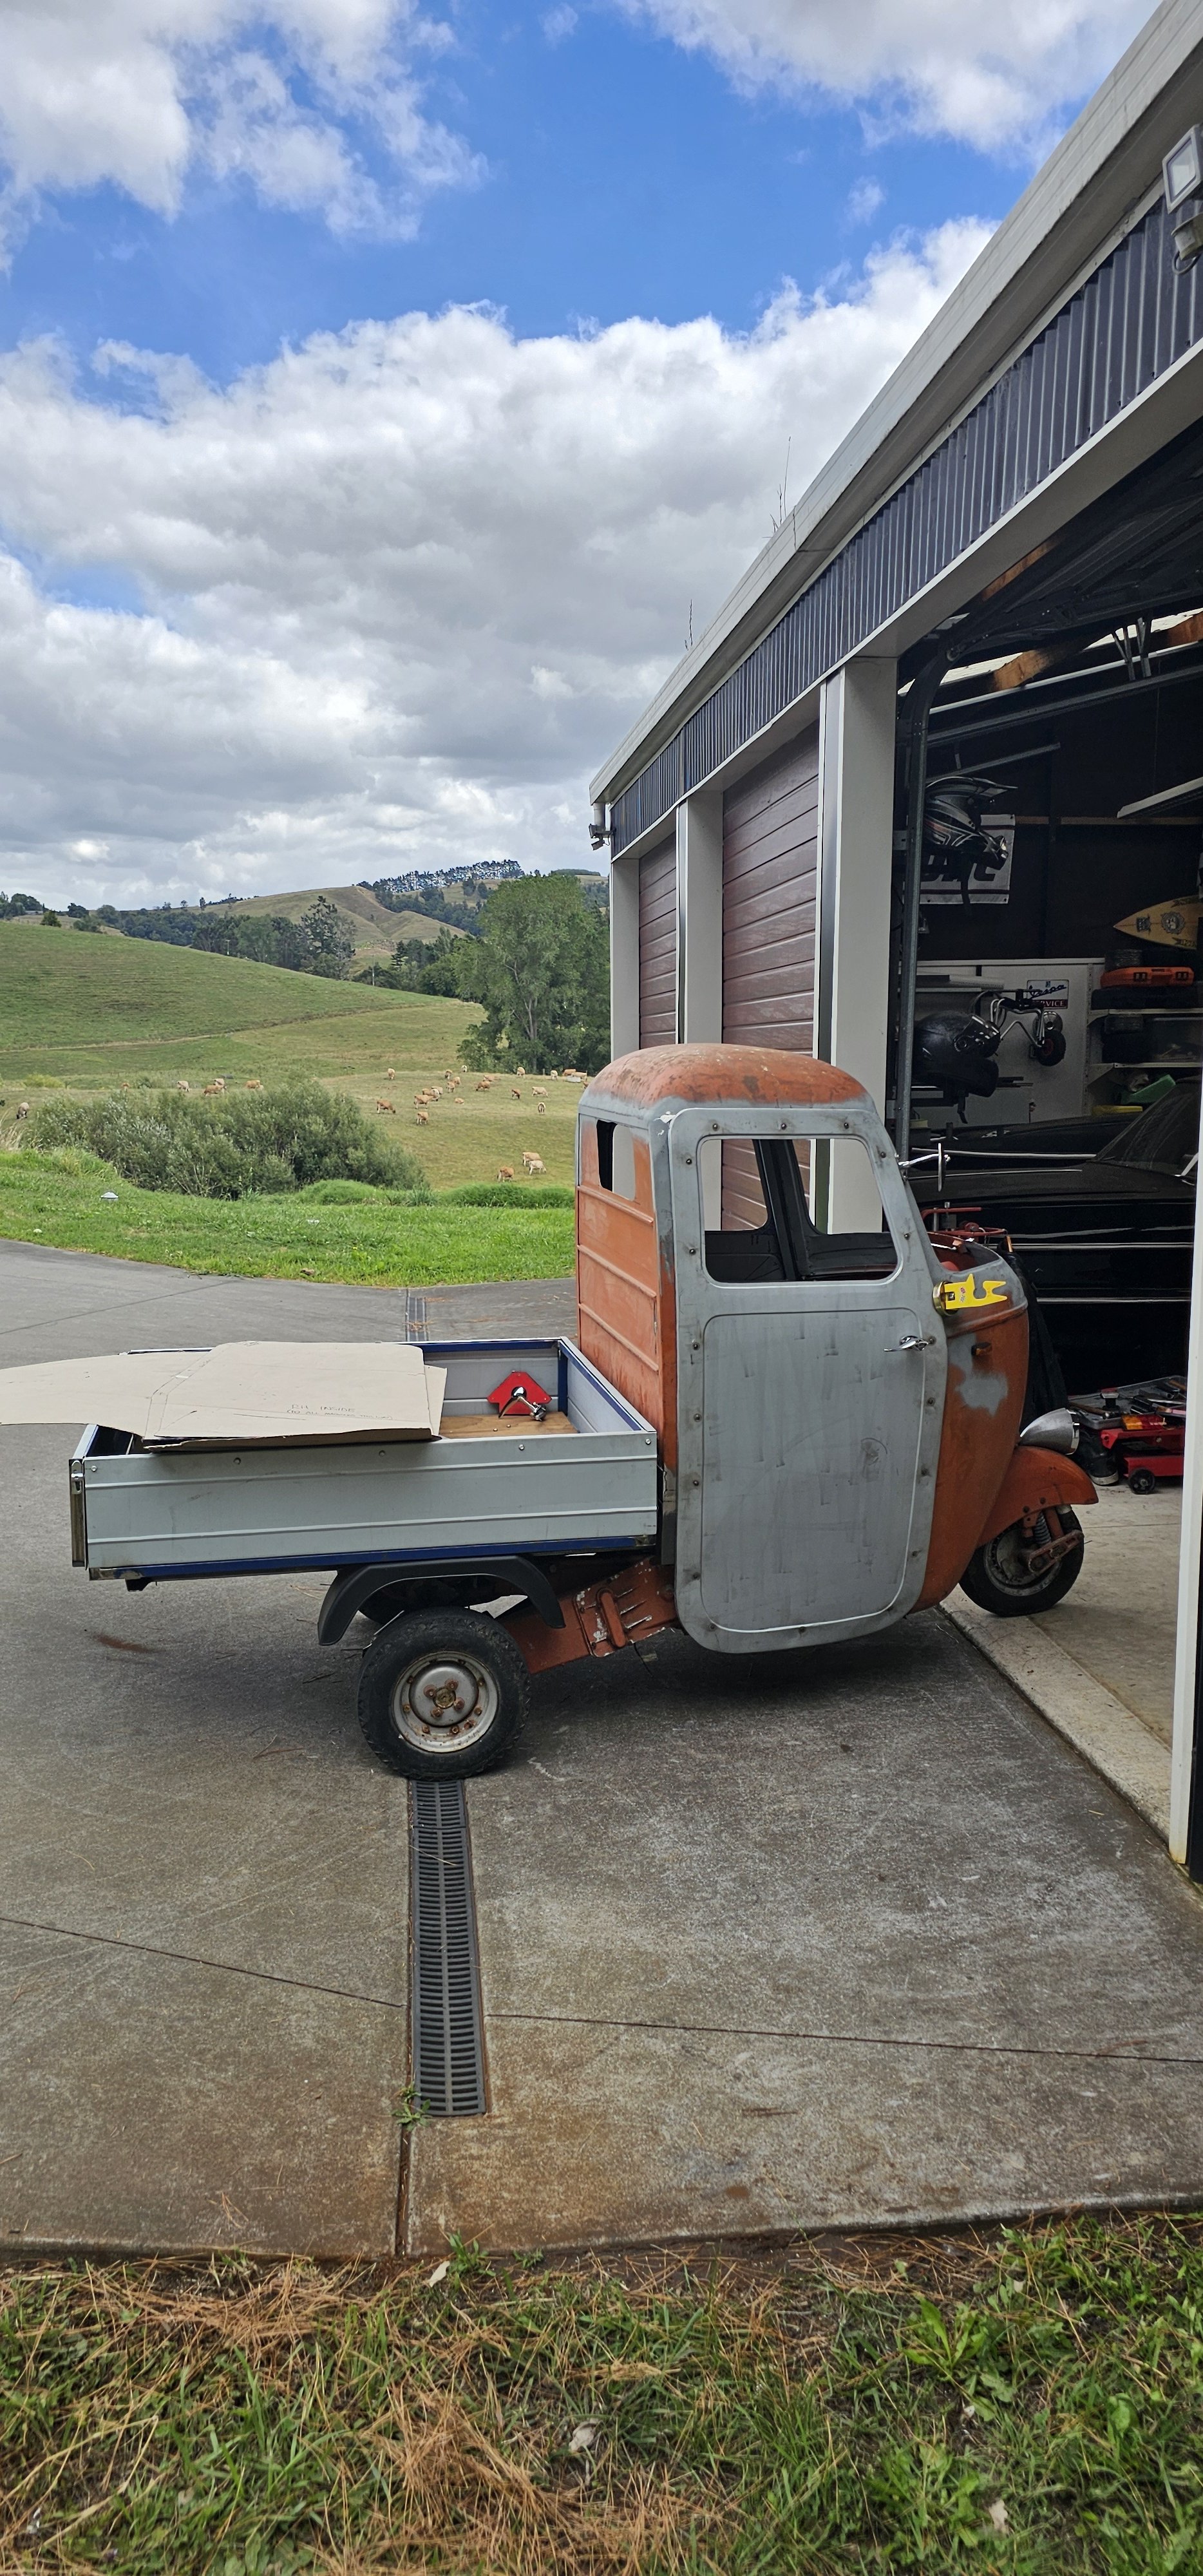
Yeah boi! Two doors!! Two fucking doors!!! It was wildly ambitious to take this on given I'm learning by doing. But here we are, two doors done.
- 541 replies
-
- 11
-
-
Number 2 (actually number 3...but we don't talk about the first door and the days of my life I won't get back). This one took only an hour to make, as I had the template and the knowledge from the last 1 (2...grrrr).
- 541 replies
-
- 10
-
-
Practice makes less shit...
-
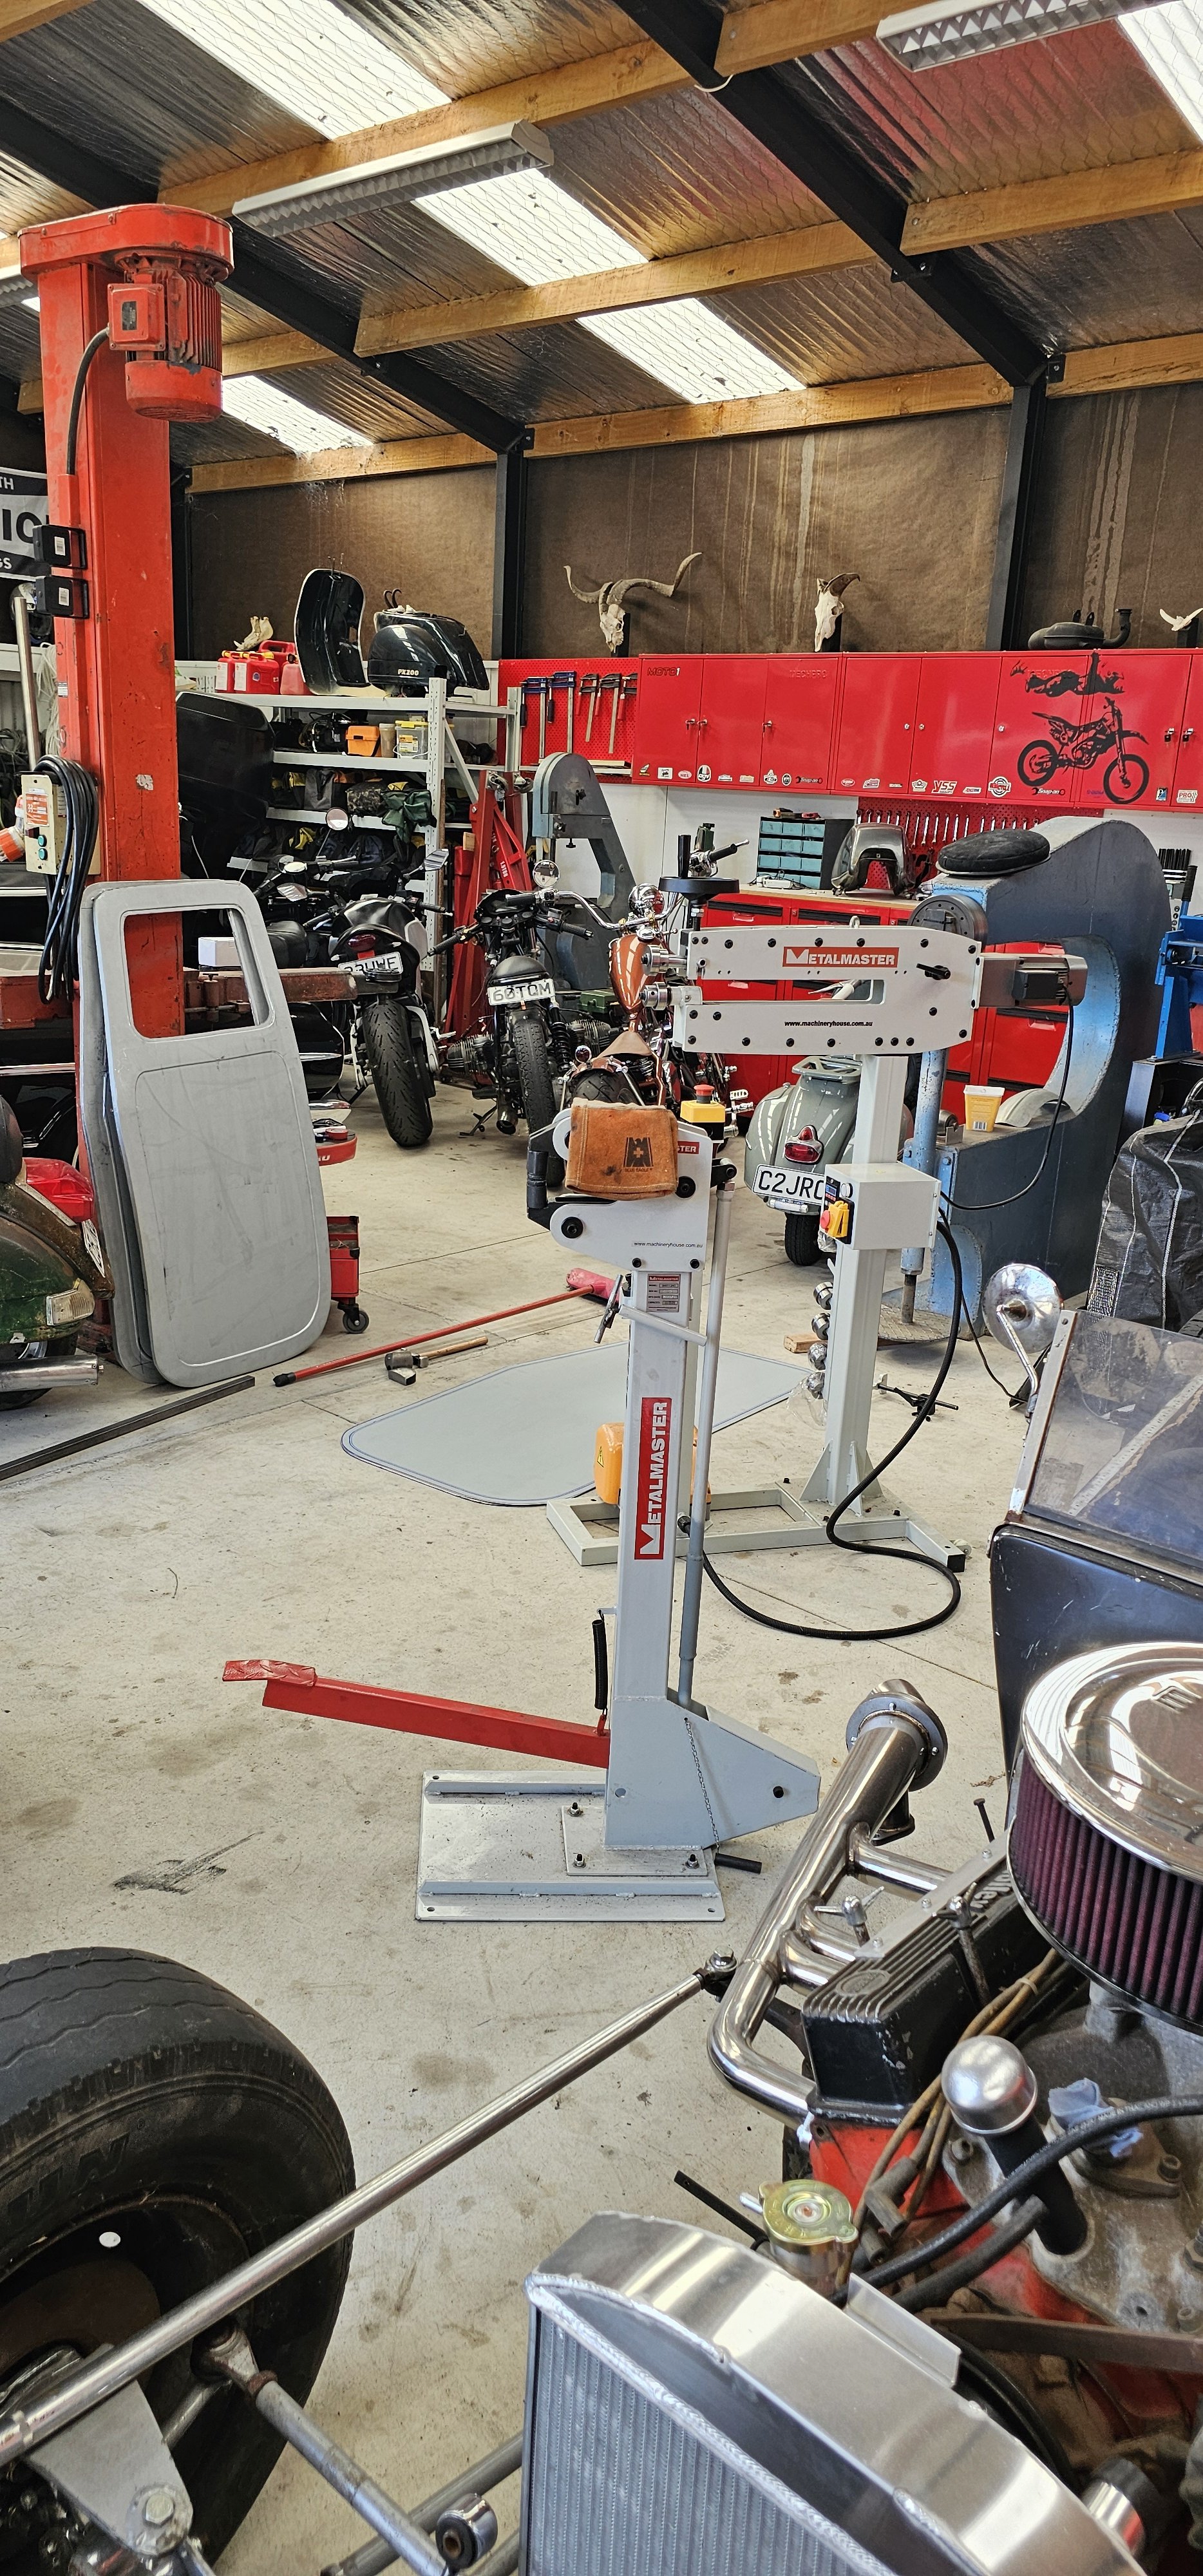
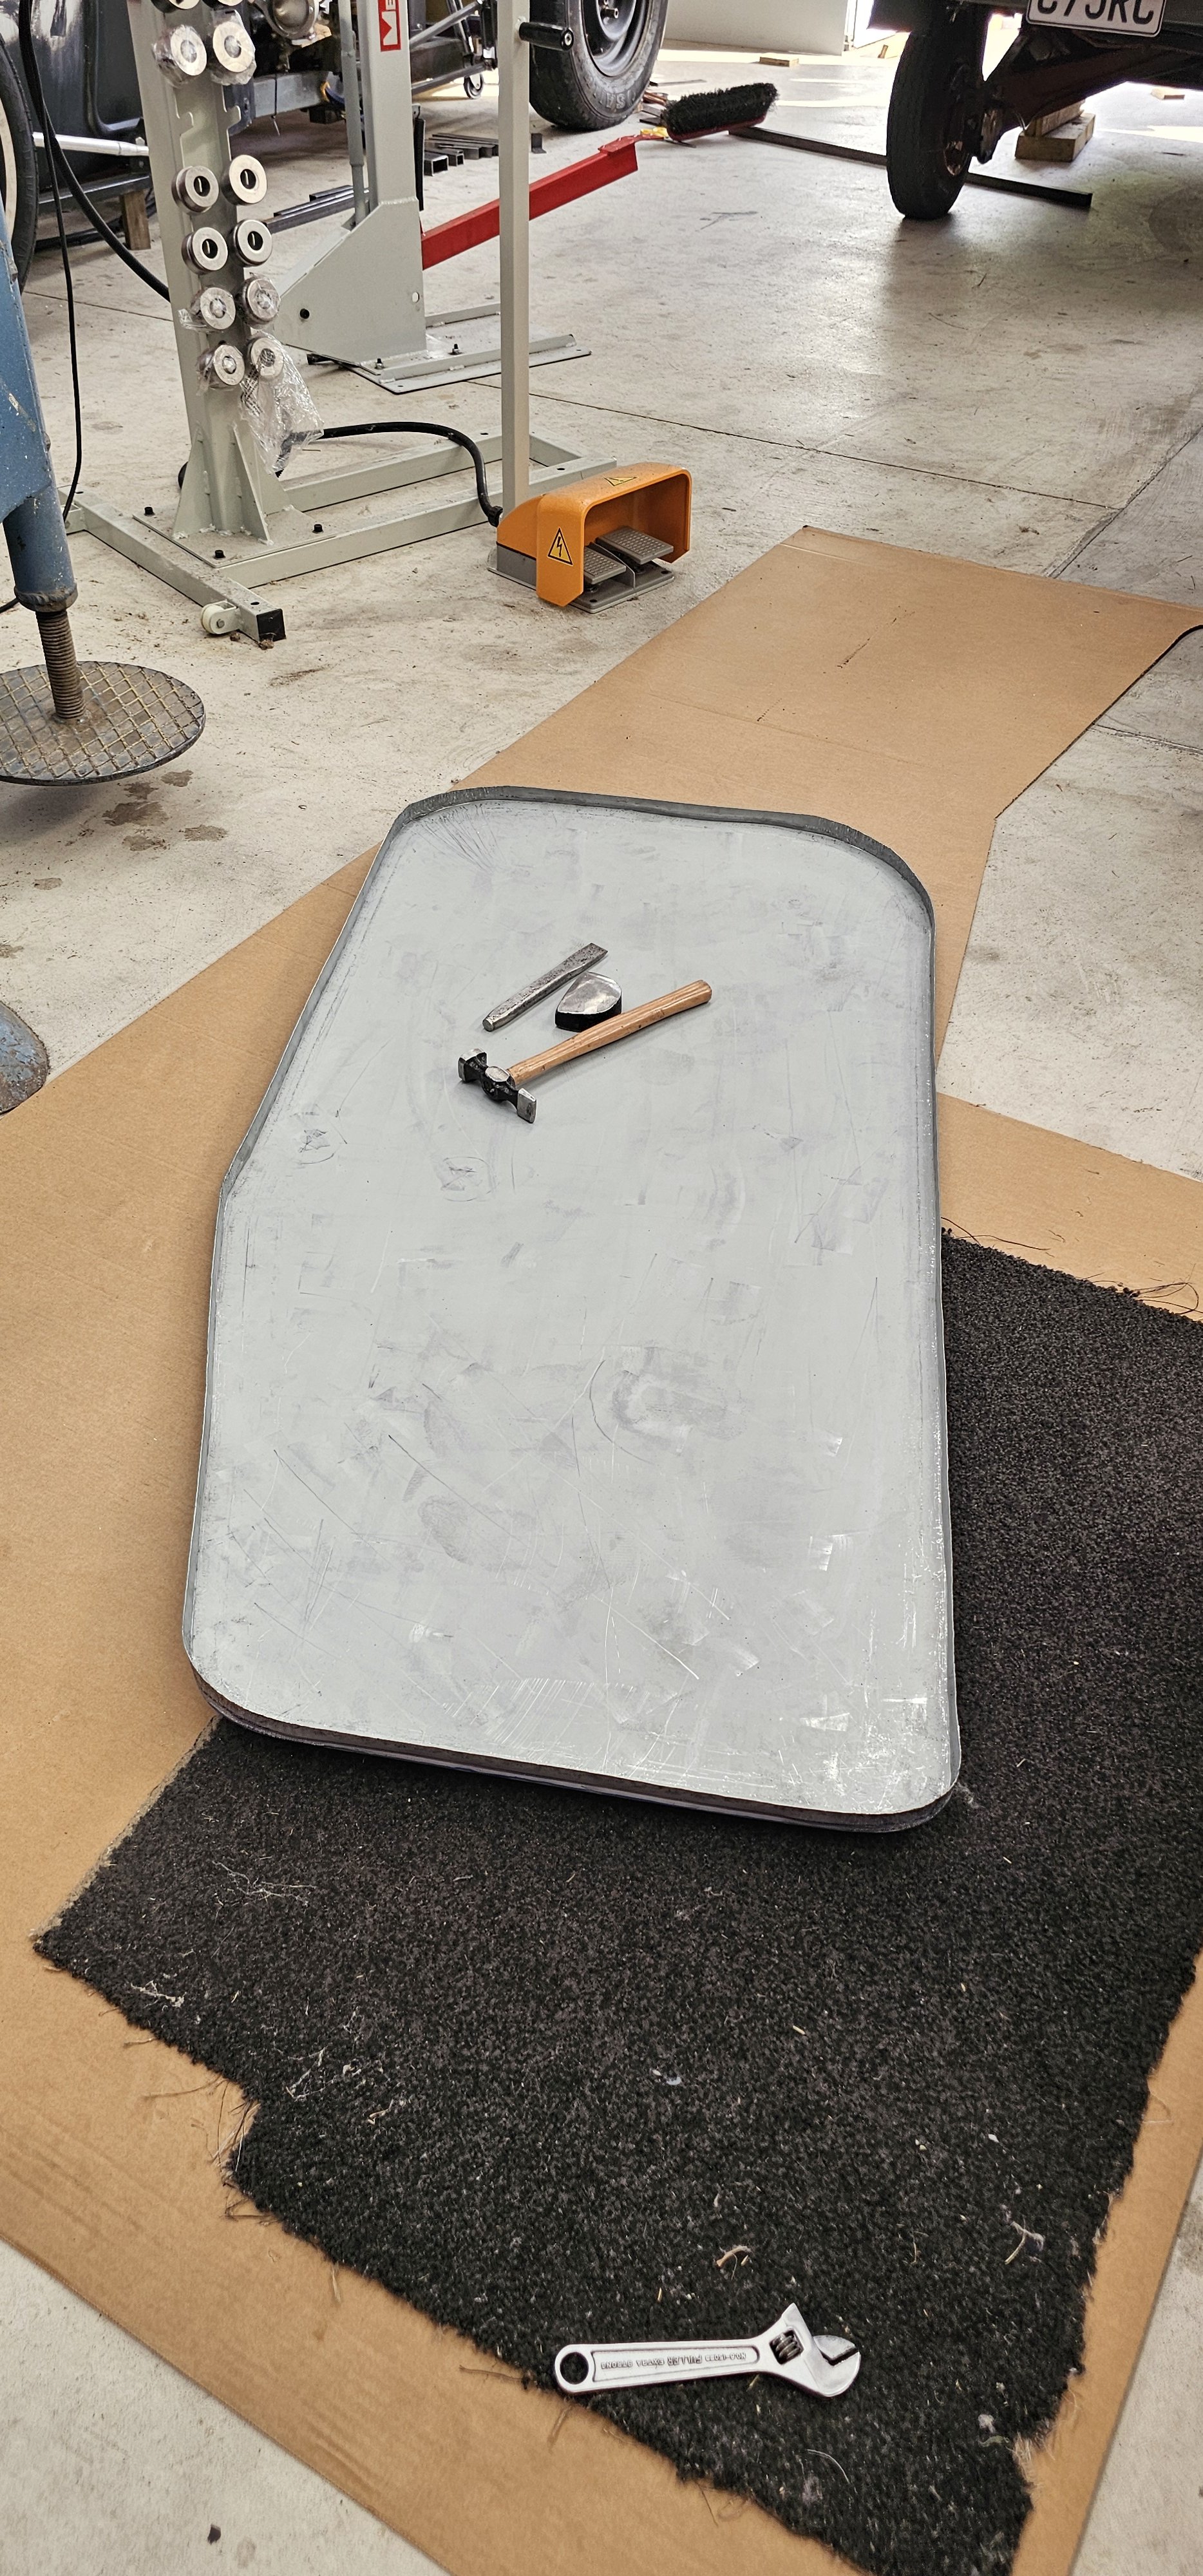
So I totally fucked my first door i made above. I didn't realize that bead roller dies need to be swapped around when going from working on the outside, to working on the inside. And that 3 side go one way, then 4th needs opposite dies, or that working on things upside-down needs opposite dies...lots of learning. Plus add in a small throat of 485mm and limiting factors and yeah...you get the idea. But...I got it right the second time. Well, it's not perfect, definitely some room for improvement. But its going on, and I'll now be focusing on the other door now.
- 541 replies
-
- 12
-
-
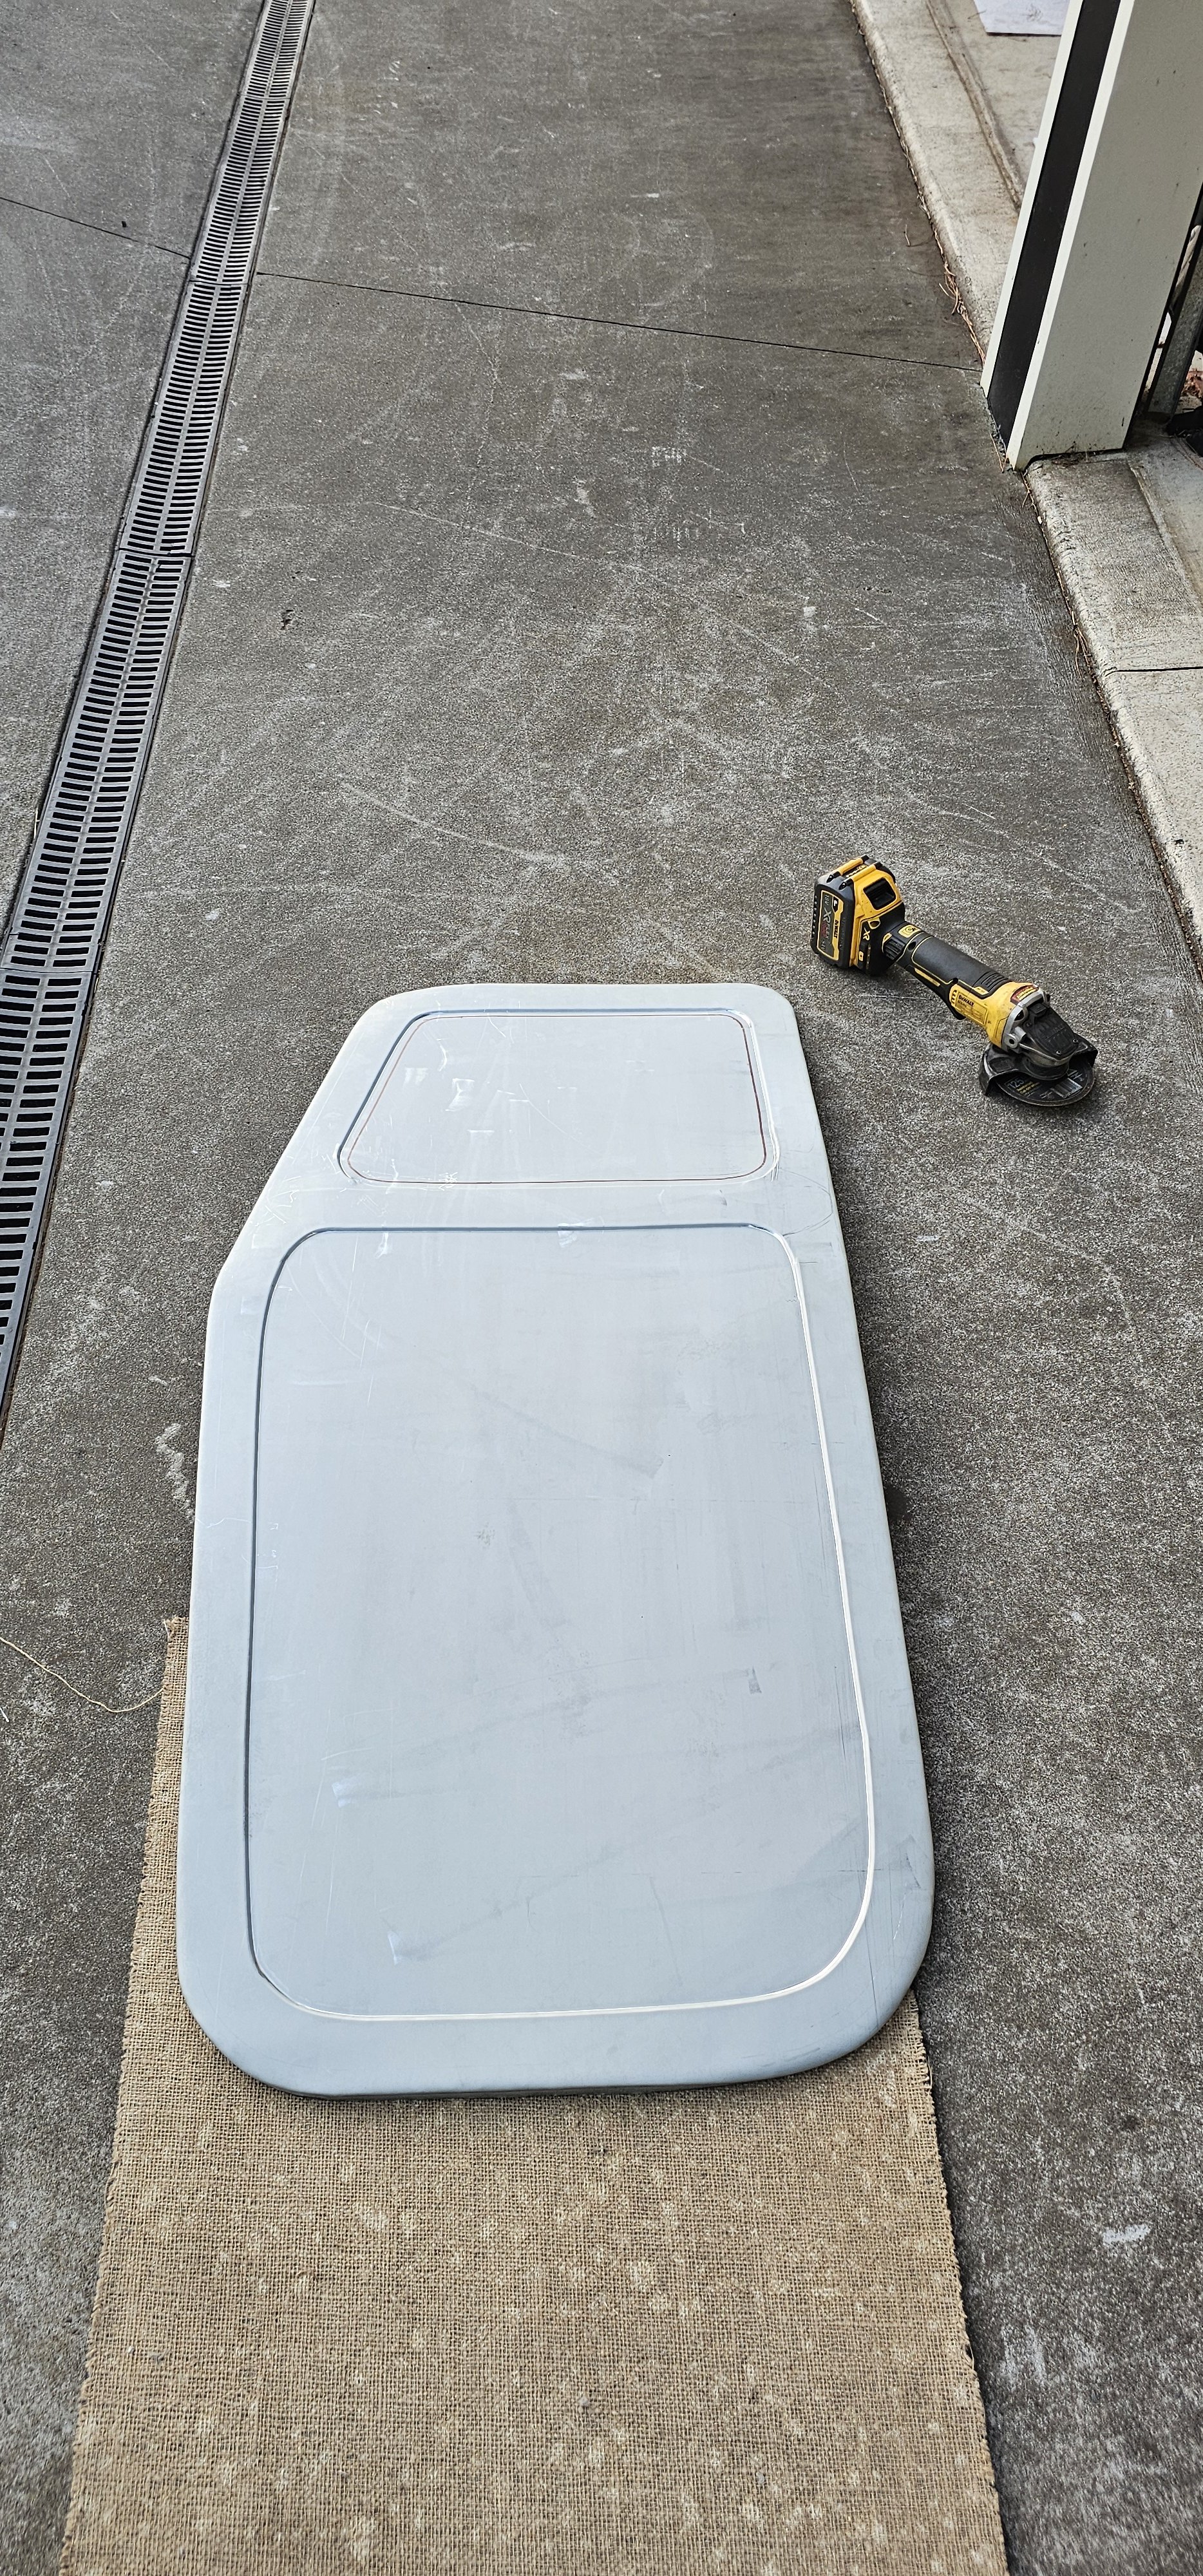
Test fit. Not bad...not bad at all. Now I need to call in another set of hand to bead roll the inner stepped down section and window frame. Hopefully this doesn't buckle the panel and turn it into scrap! One again, I've rake all practical steps by rolling the panel in the English wheel pre stretching it...so fingers crossed.
-
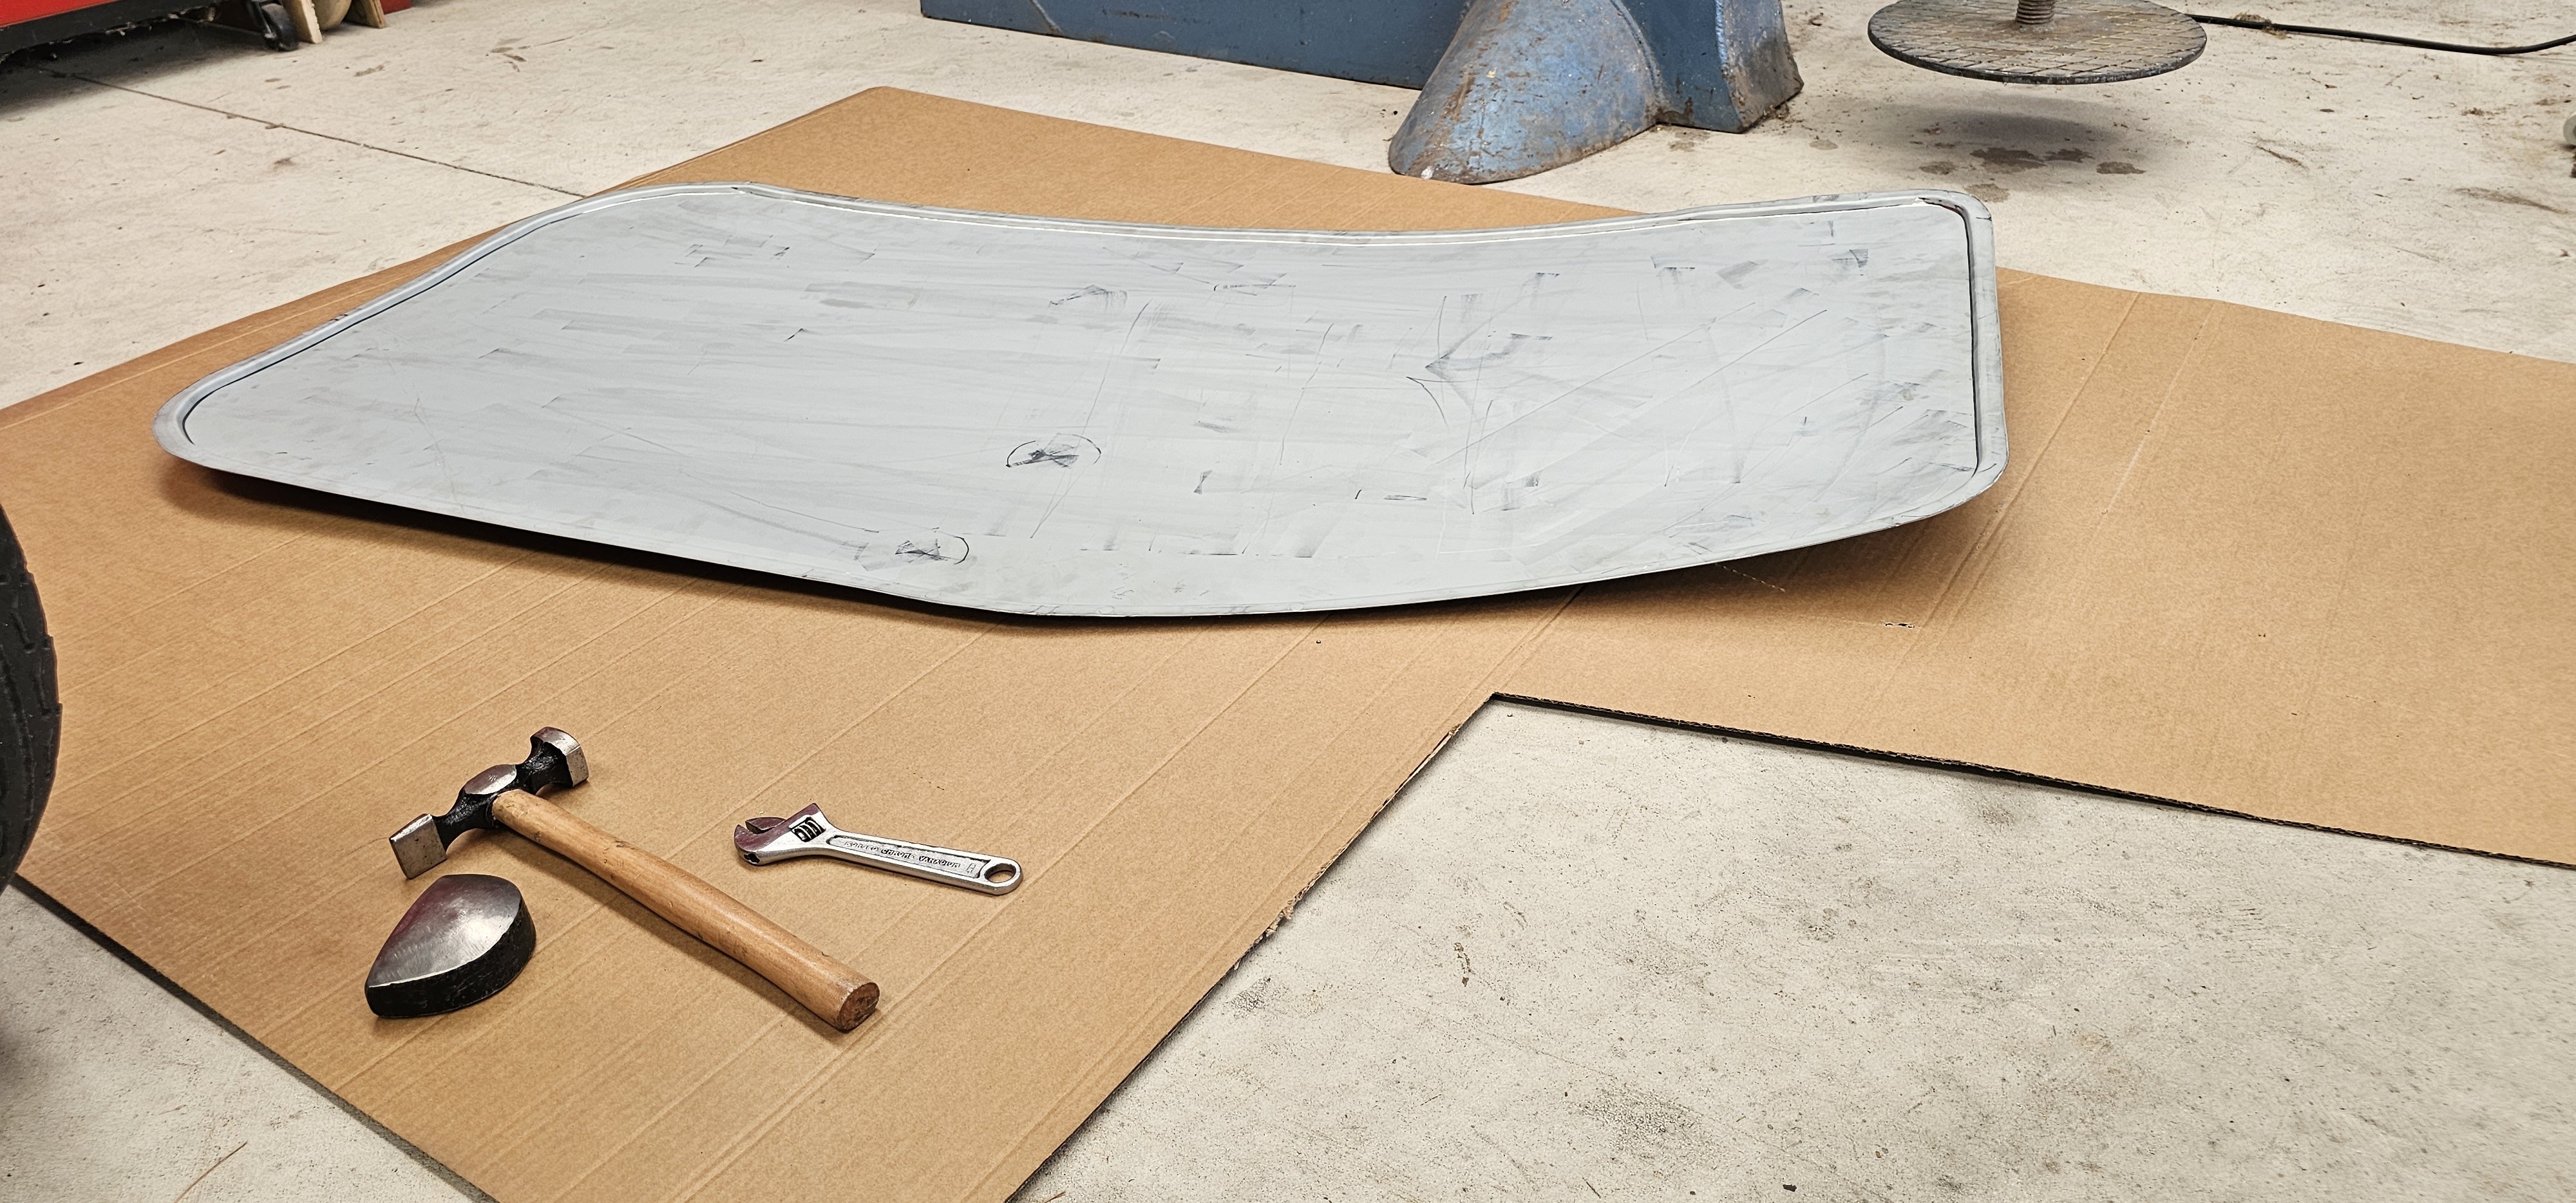
Now hammer and dolly marathon to tip the flanged edge. Lots of tucks with the hammer to shrink the metal and a few aggressive passes on the shrinker...repeat...repeat...repeat... And one door is mostly done.
-
Lots of shape put into it.