sr2
-
Posts
789 -
Joined
-
Last visited
-
Days Won
1
Content Type
Forums
Downloads
Events
Gallery
Everything posted by sr2
-
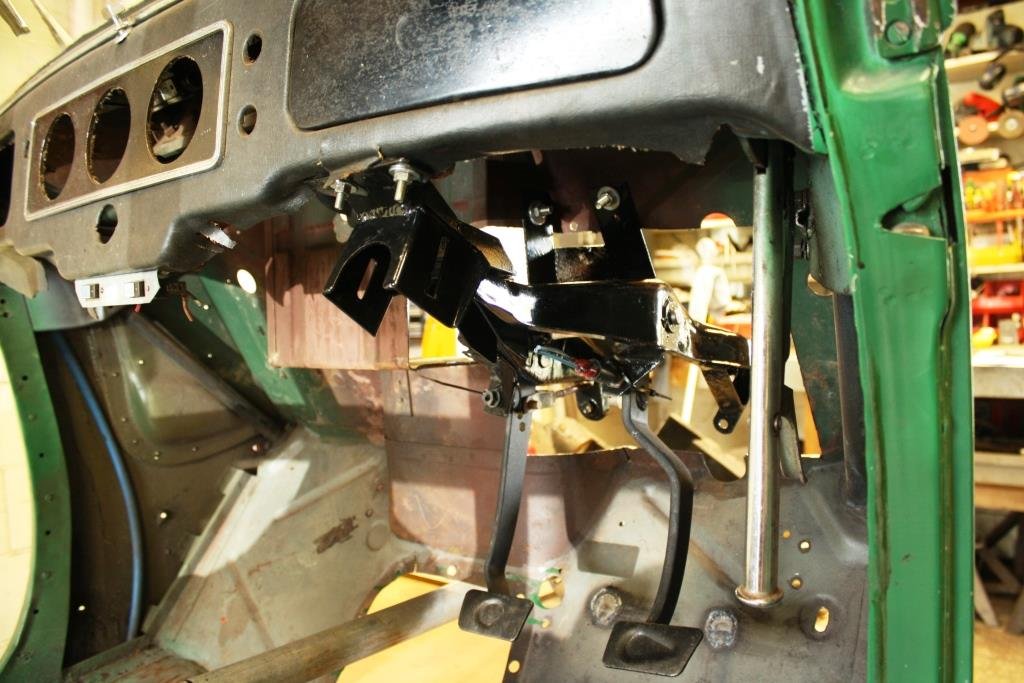
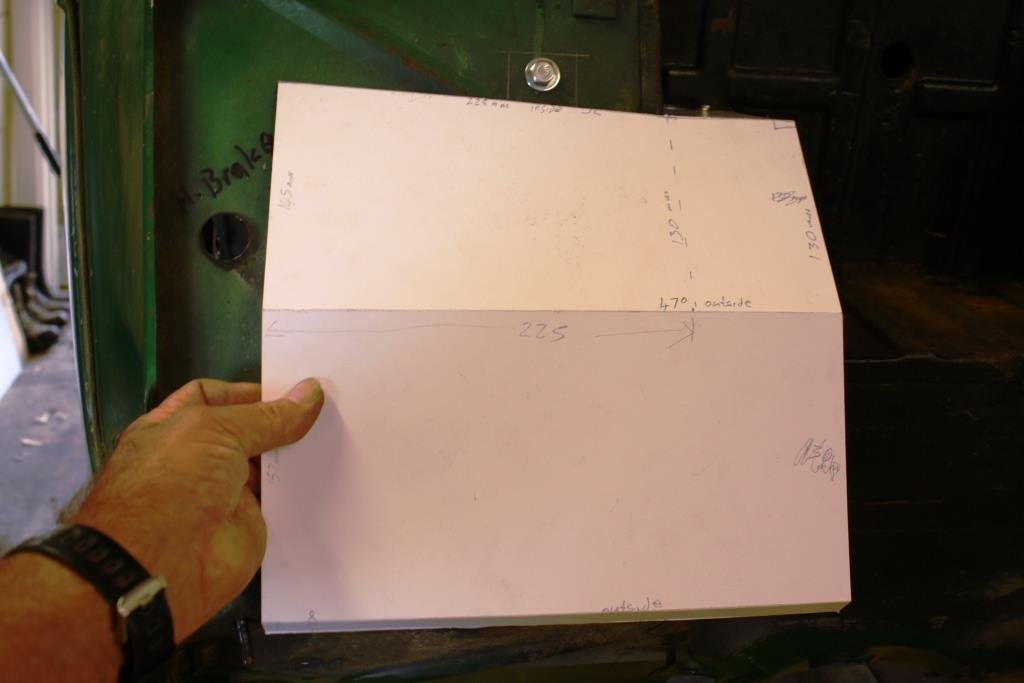
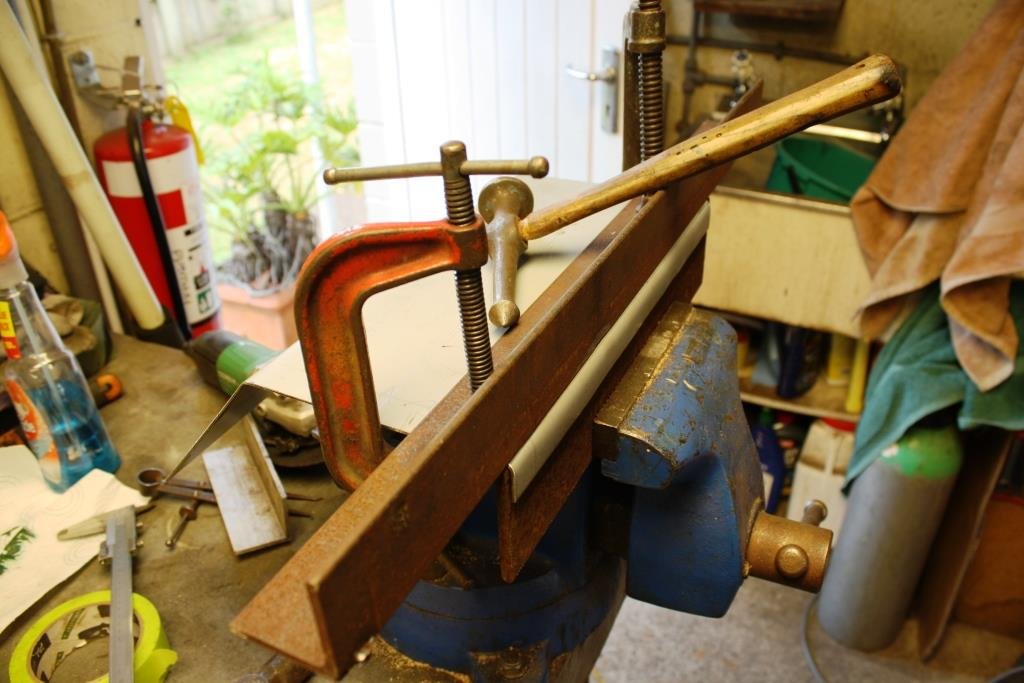
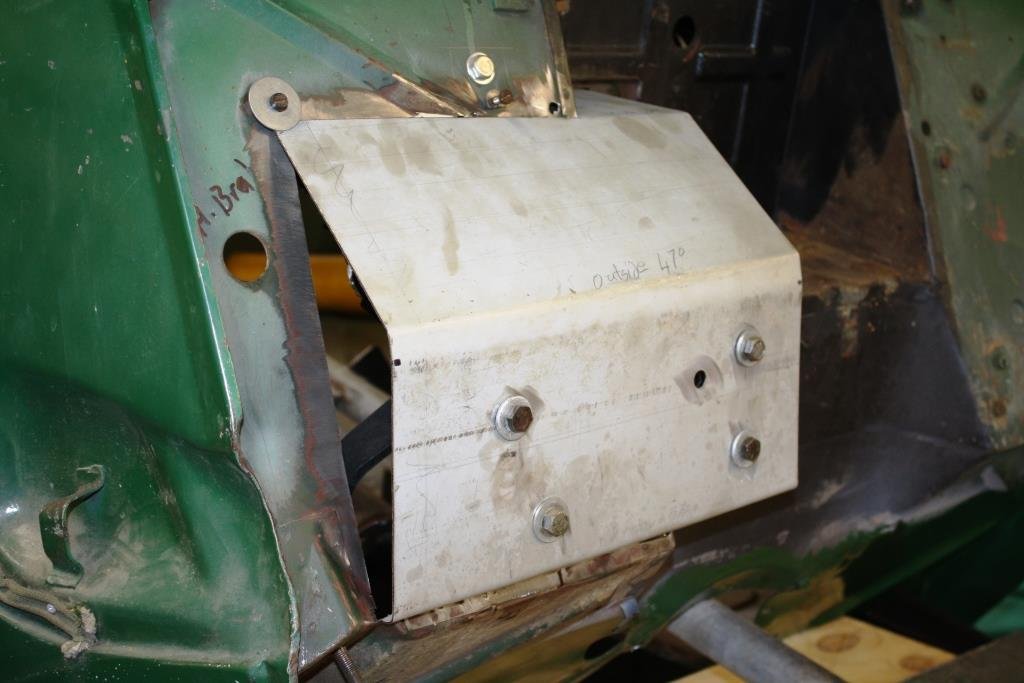
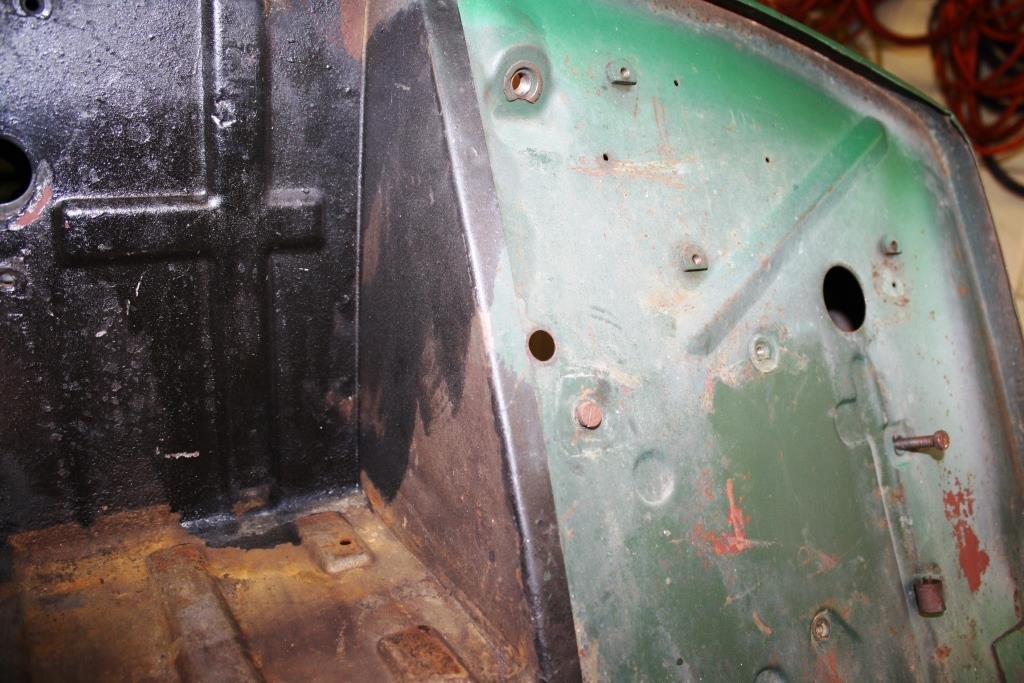
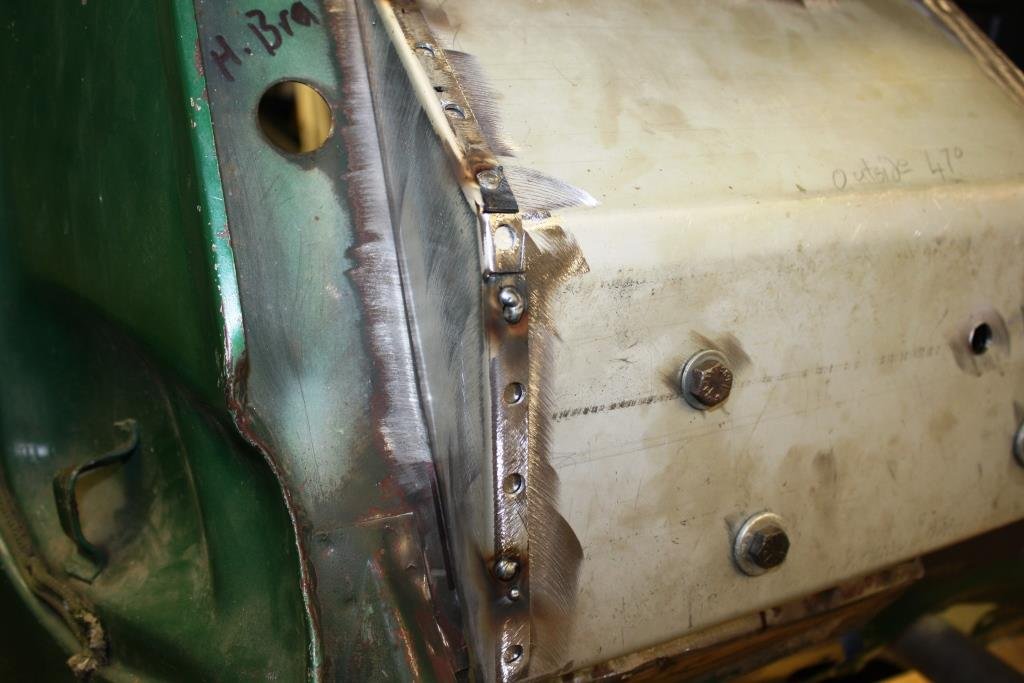
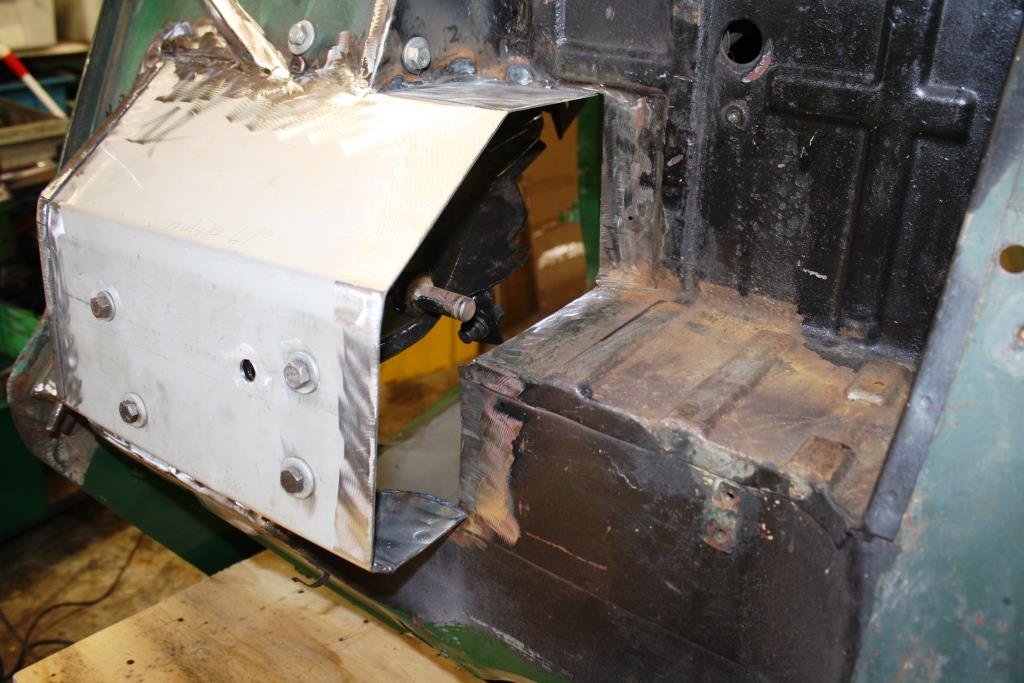
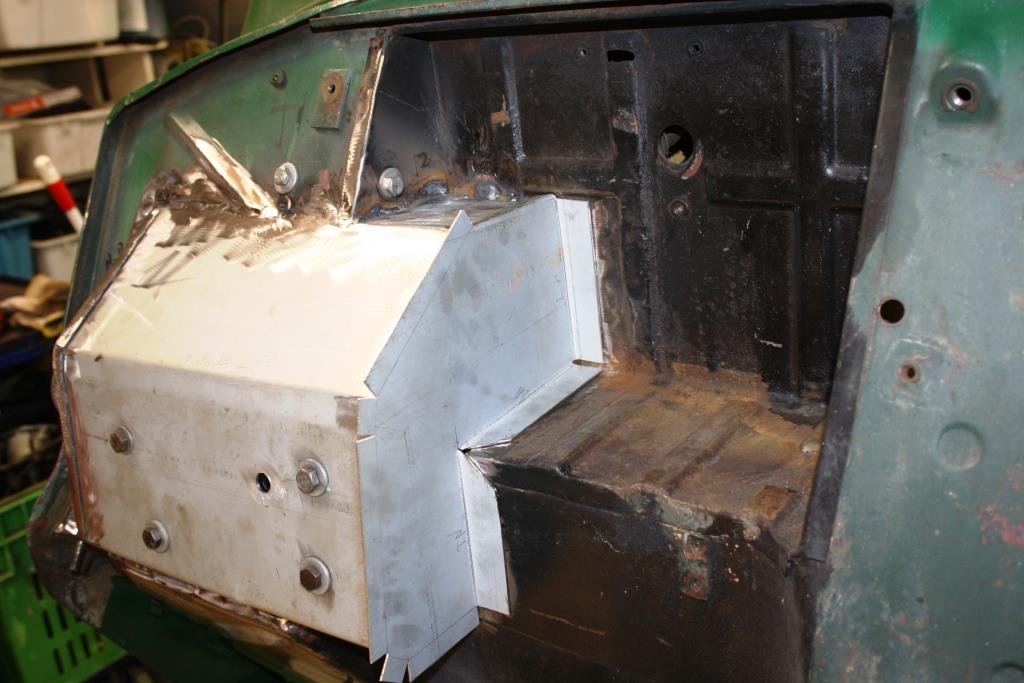
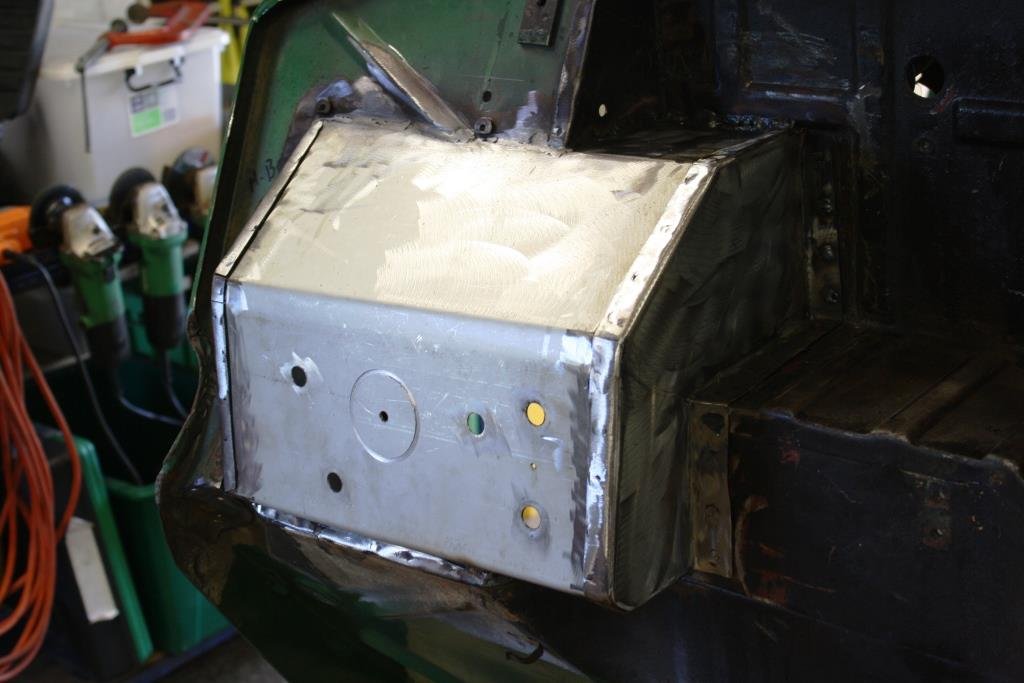
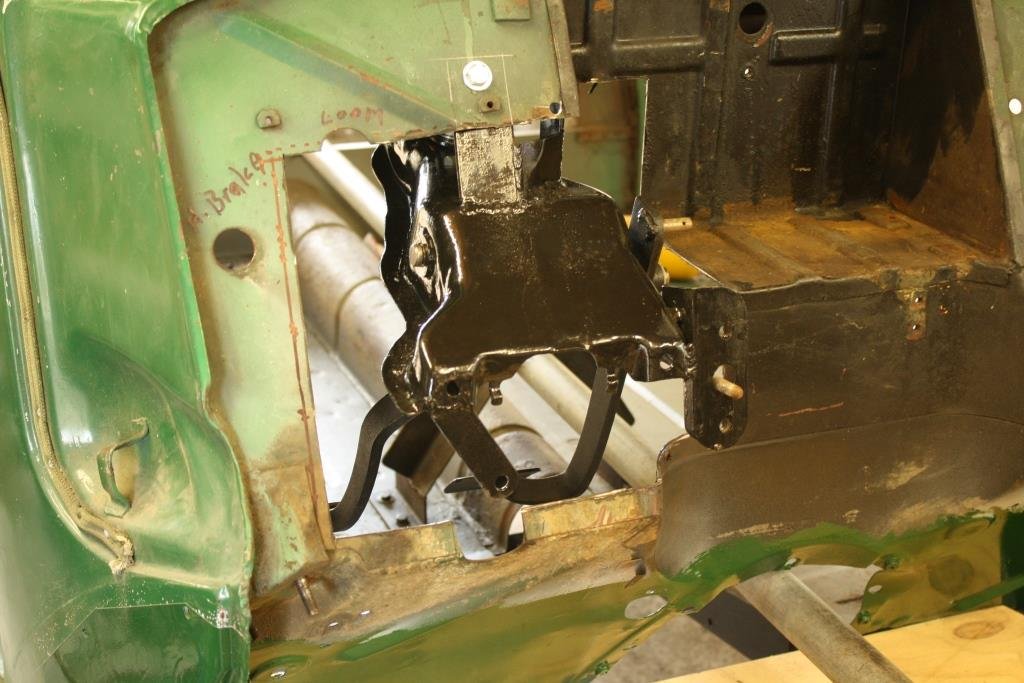
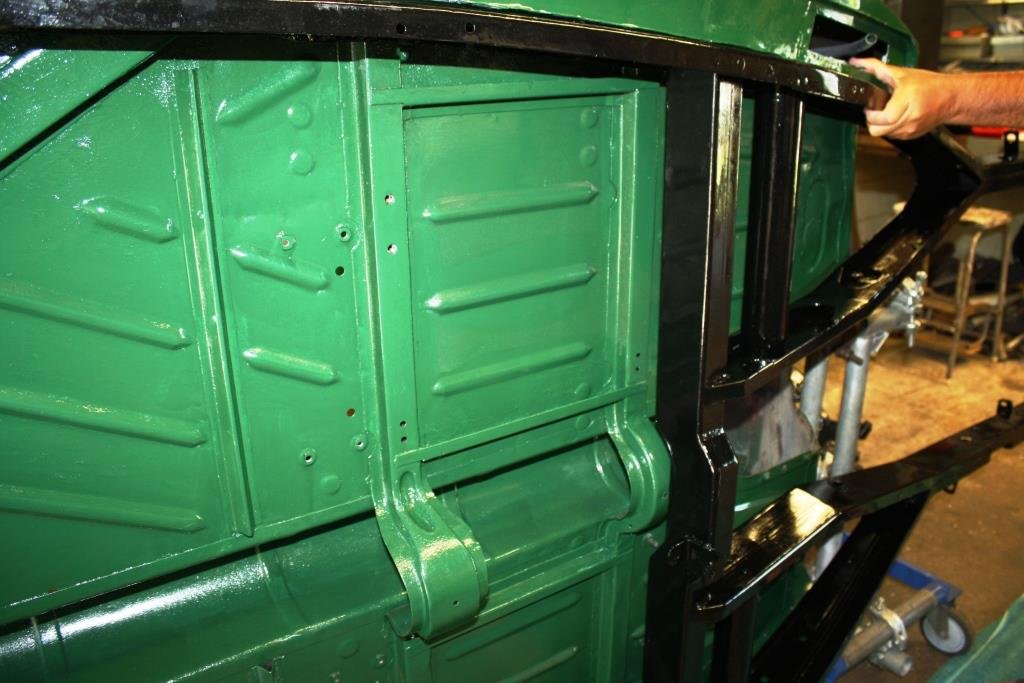
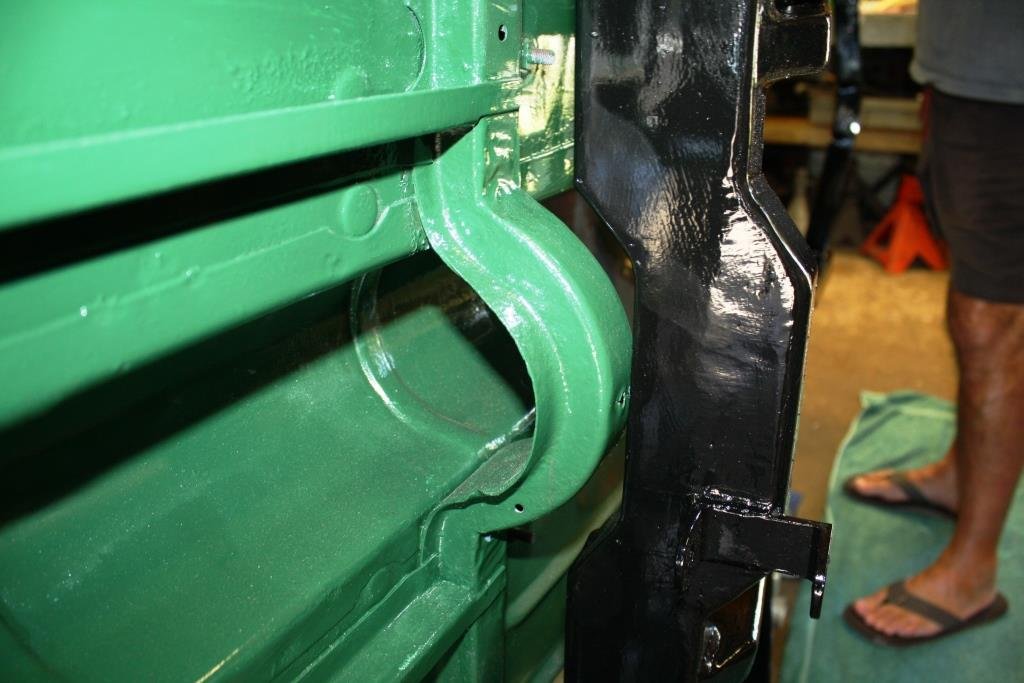
Time to cut a big hole in the starboard side of the firewall to hang some pendant pedals. The XA Falcon pedal box fitted in the past, it will fit again. Checking the steering column clearance… Busted out the tried and proven CAD, (cardboard aided design). Out with some angle iron for a little sheet metal bending….. Thought I’d try and copy the spot welded (I’ll plug weld) overlaps that were originally used when the body was made Less talk and more pictures…

- 185 replies
-
- 21
-

-
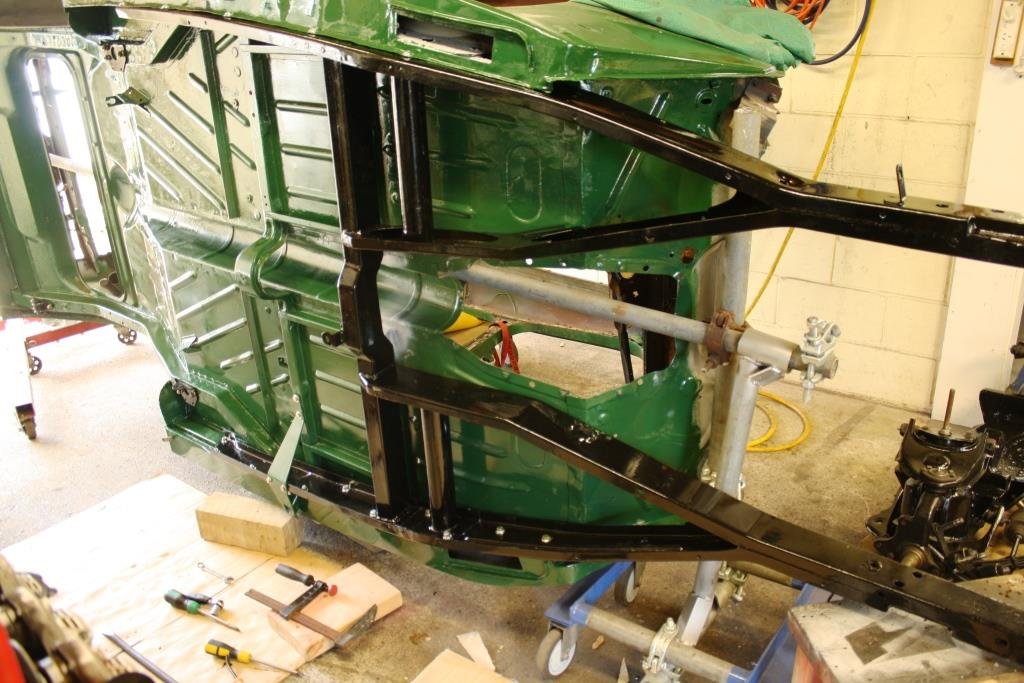
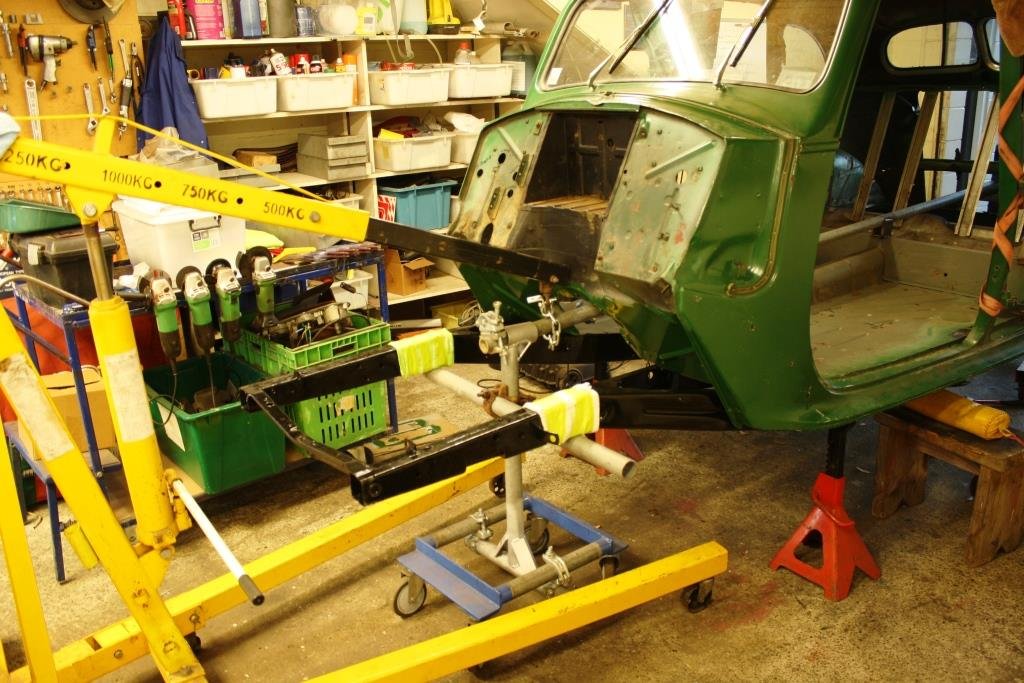
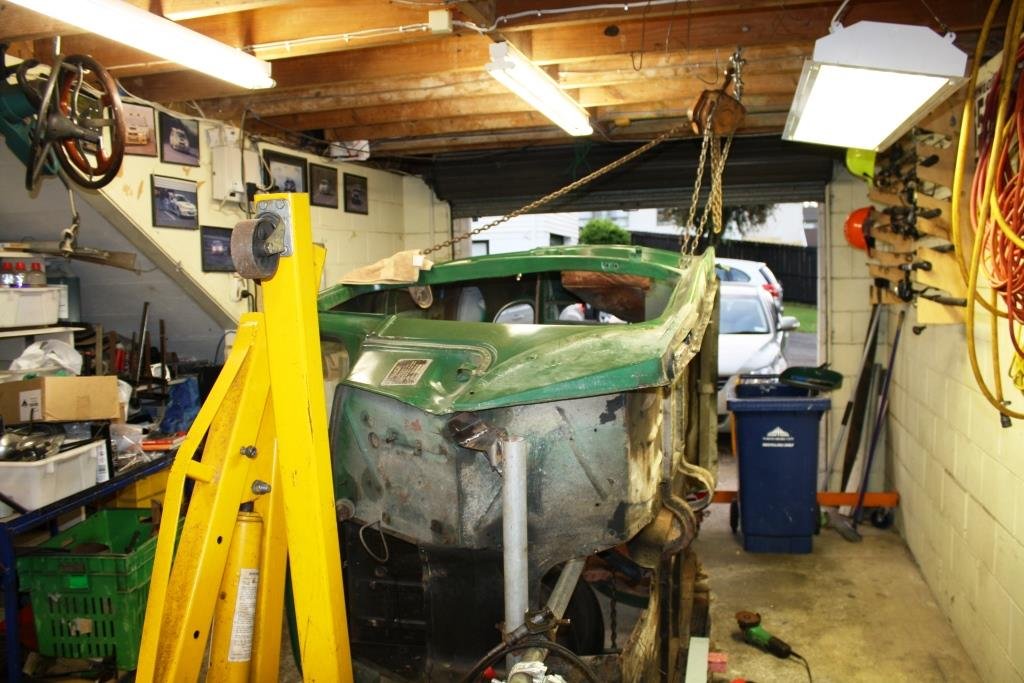
Mysterious noises and happenings from the “almost world famous in NZ” sr2 man-cave late at night…… First attempt at offering up the chassis to the body…. Note the use of the appropriate Worksafe NZ approved safety footwear… It was very apparent the new cross member and the front driveshaft loop were going to hit each other. Yes crazy as it sounds in the 30’s most gearboxes had a flange on the gearbox output shaft and the spline was incorporated into the driveshaft – in the words of Jeremy Clarkson “what could possibly go wrong?” Hence the twin driveshaft loops! I played around with trimming the front loop… … then ended up removing it completely. Finally chassis bolted in place with all new fasteners….and it fits like a glove, (or c*** in a sock for the less salubrious amongst you). …….phew! Touched up the paint… And very, very carefully turned her upright - hopefully for the last time.
- 185 replies
-
- 22
-
-
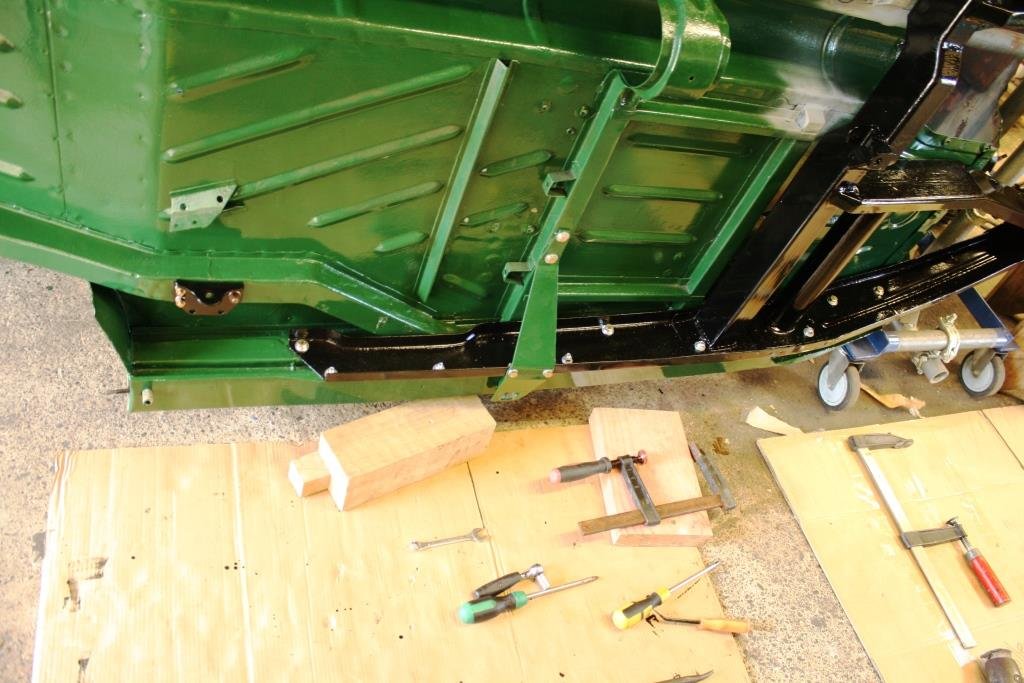
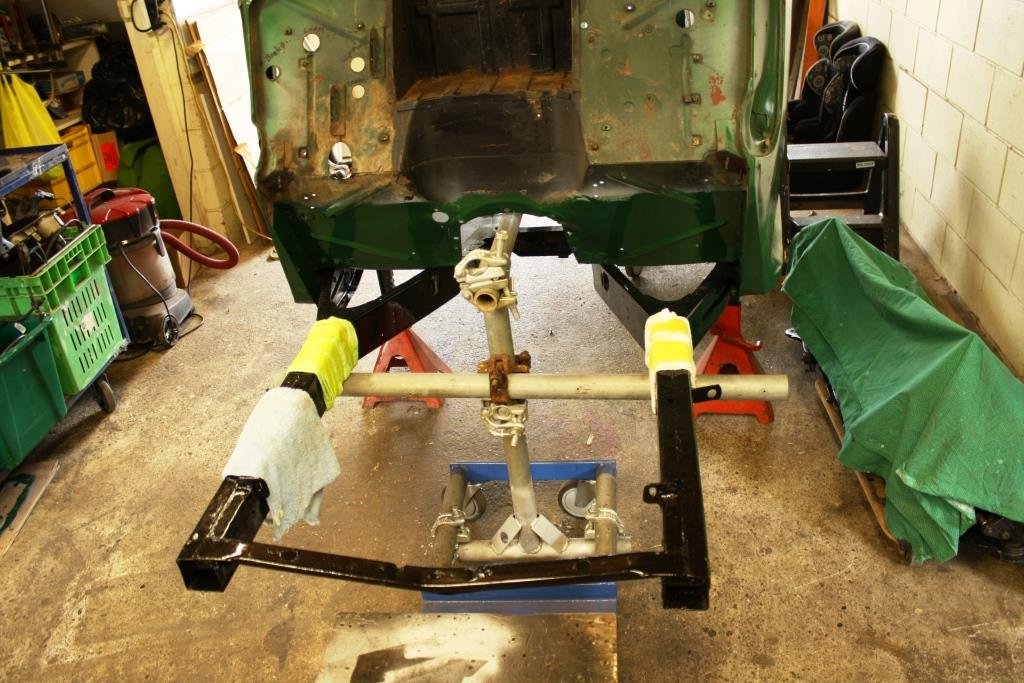
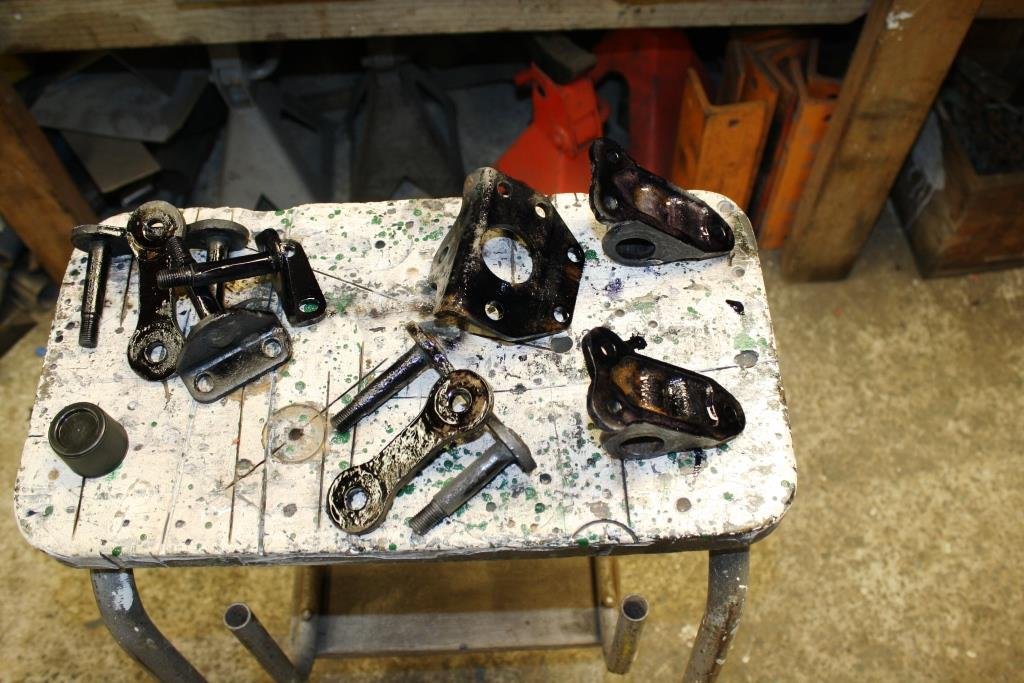
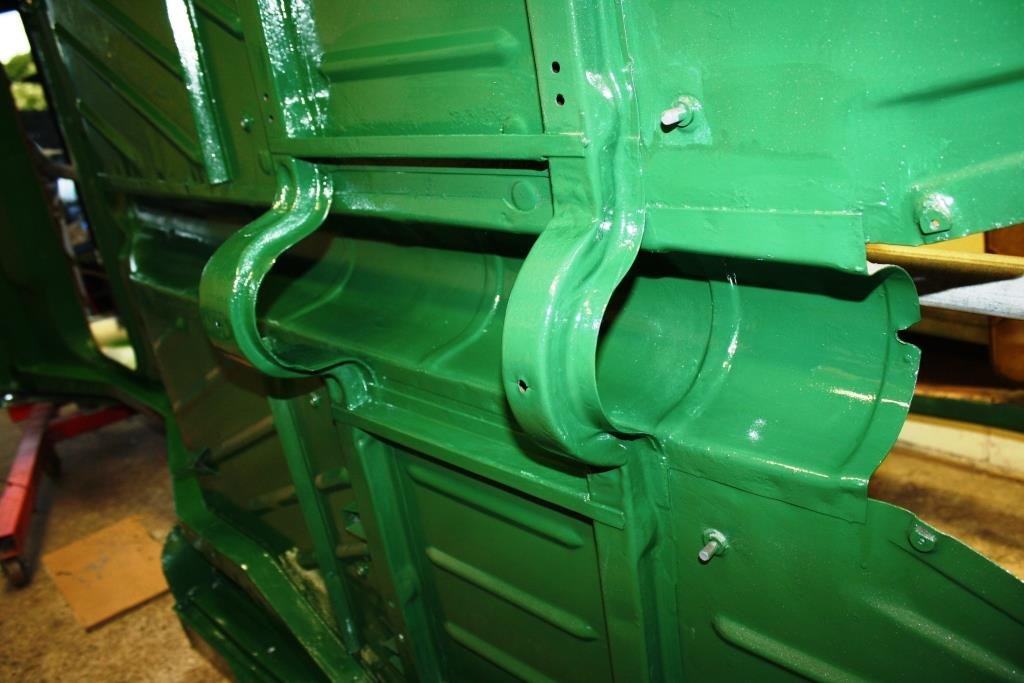
A little time spent cleaning up jacking points & rear suspension bracketry…. Etch Primer…. Epoxy Enamel hung out to dry…. Touched up the front cross member and rear springs when I had the black paint out. Can’t believe I’ve been storing them for 6 years since I rebuilt them! Rear suspension mounts in place with all new bolts and bushes.
- 185 replies
-
- 20
-
-
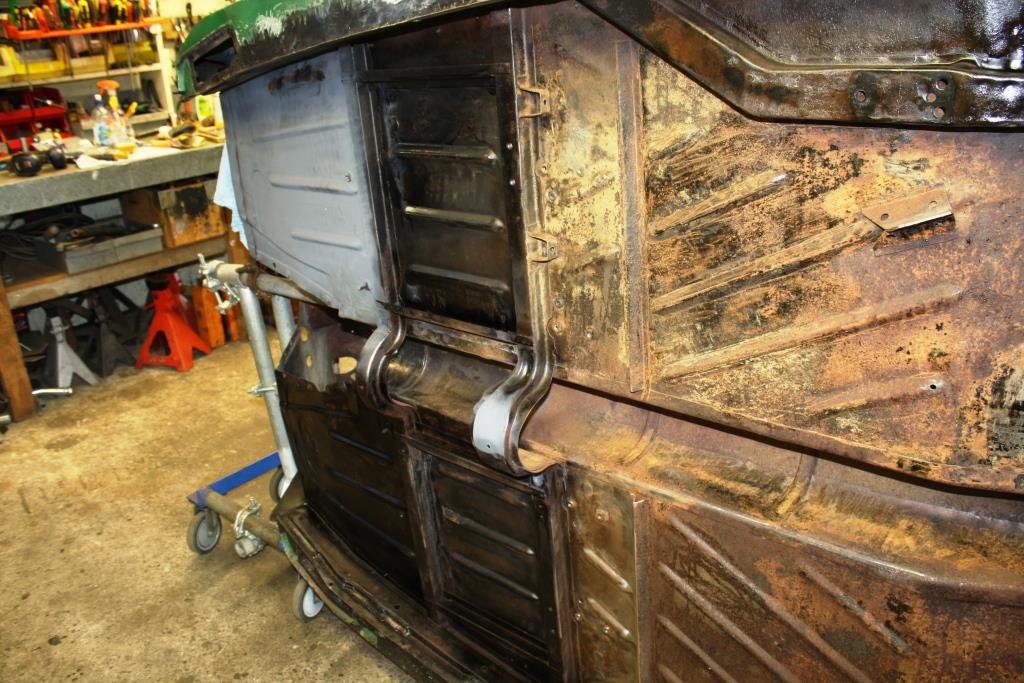
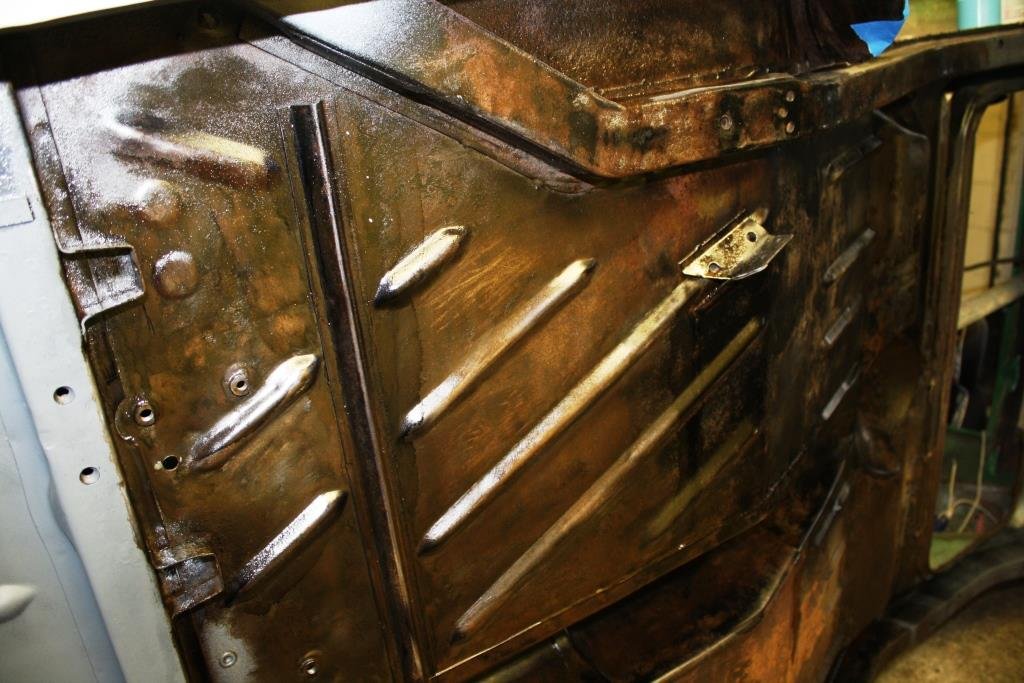
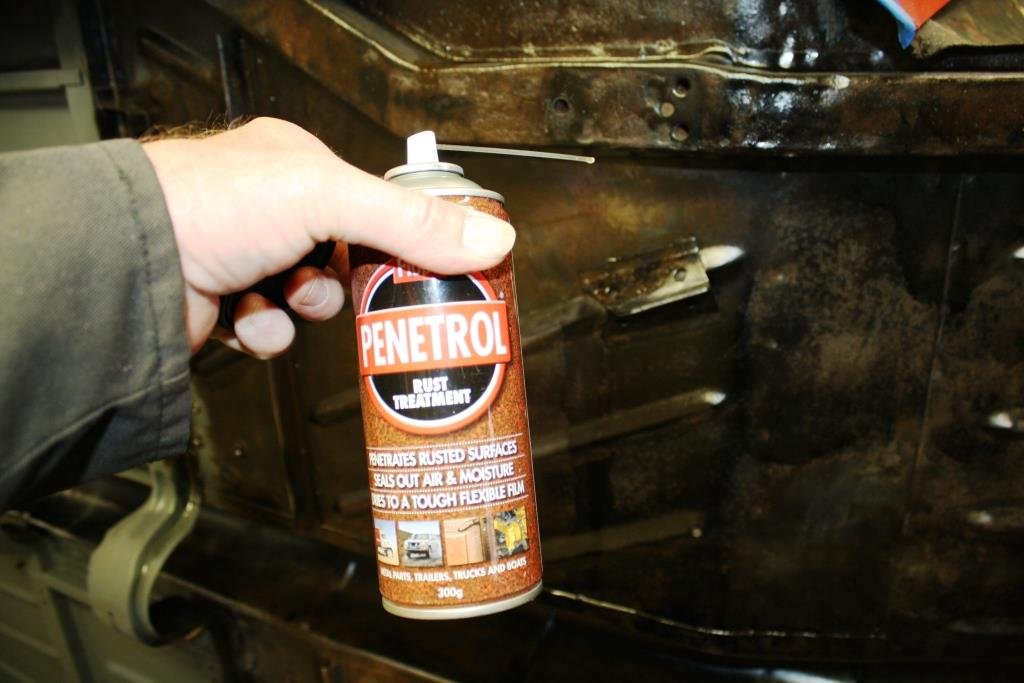
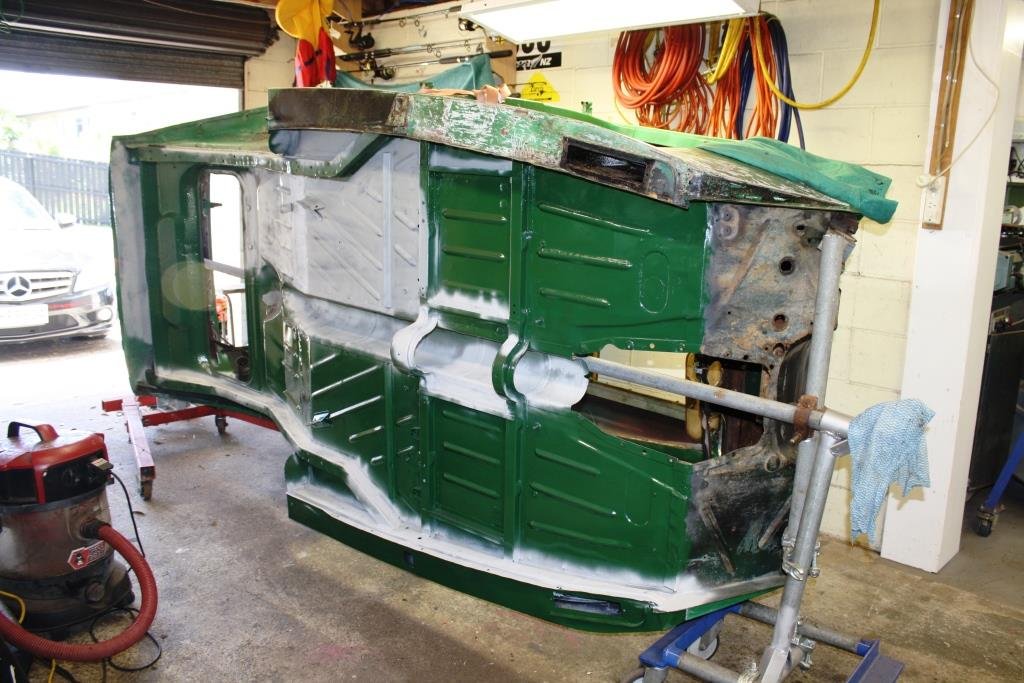
I’ve been putting this bit off for too long. Time to start scraping and wire brushing…….. And more scraping… More CRC Rust Convertor… And more…… Can’t beat Penetrol for getting into the seams. Great product with unbelievable capillary action. Etch priming and then painting with Wattyl Killrust Epoxy Enamel. Undersealing the wheel arches. More painting…. Not too shoddy for a brushed finish.
- 185 replies
-
- 27
-
-
Hey guys, at the risk of sounding like I’ve recently swallowed a copy of Roget's Thesaurus…….. A quick reminder that un-solicited advice, sarcasm, witticisms, innuendo, vituperation and general all round abuse is not only welcome but encouraged in Rigamortice’s discussion thread. https://oldschool.co.nz/index.php?/topic/49843-sr2%E2%80%99s-1947-vauxhall-%E2%80%9Crigamortice%E2%80%9D-discussion-thread/
-
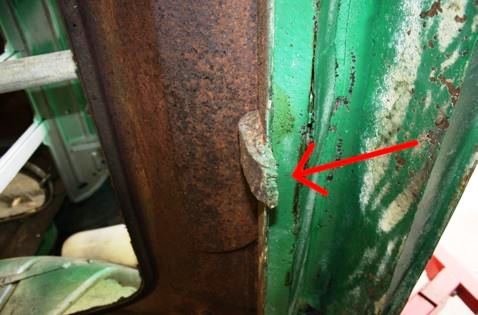
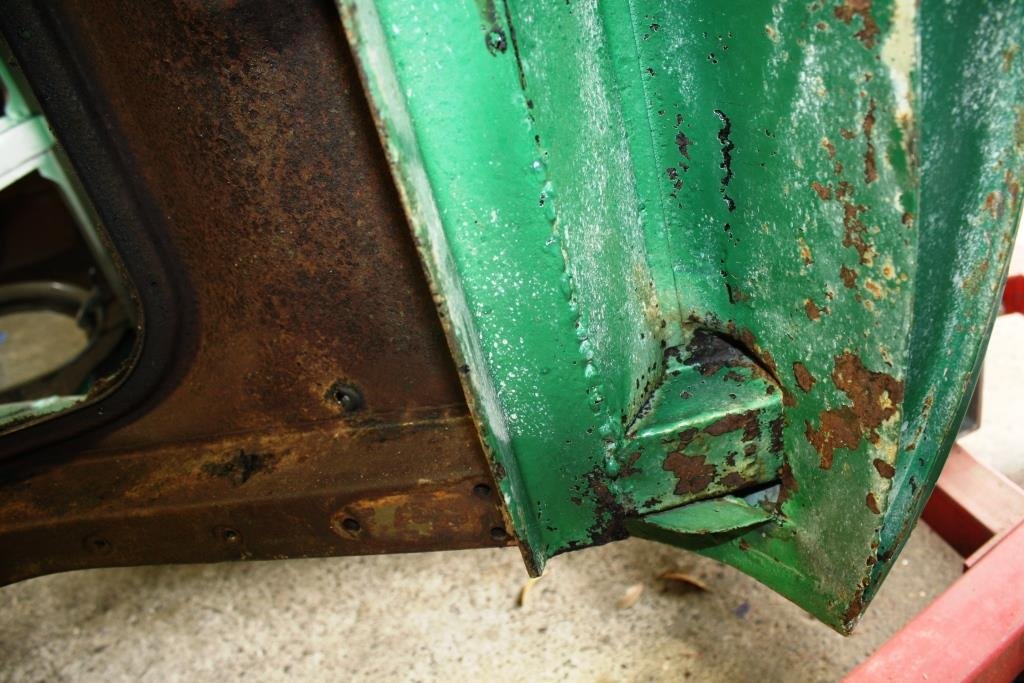
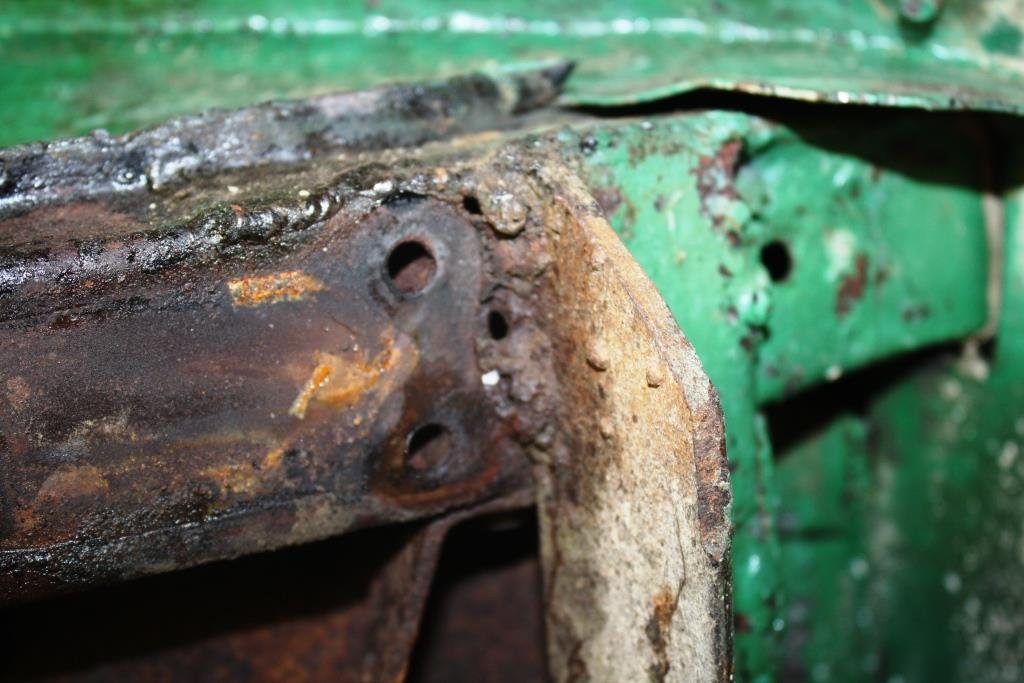
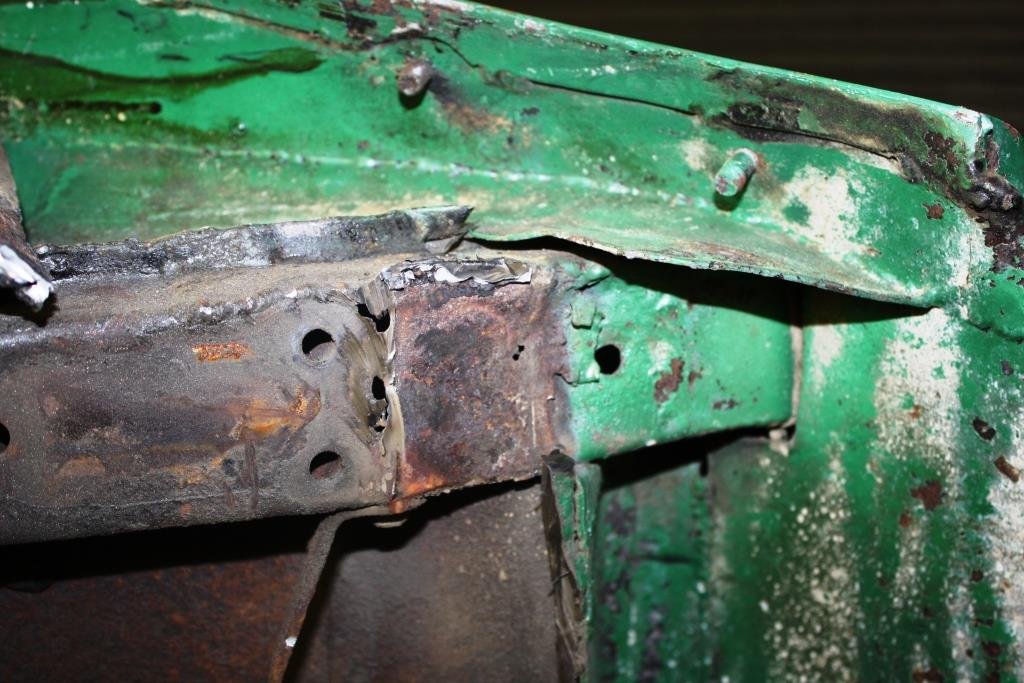
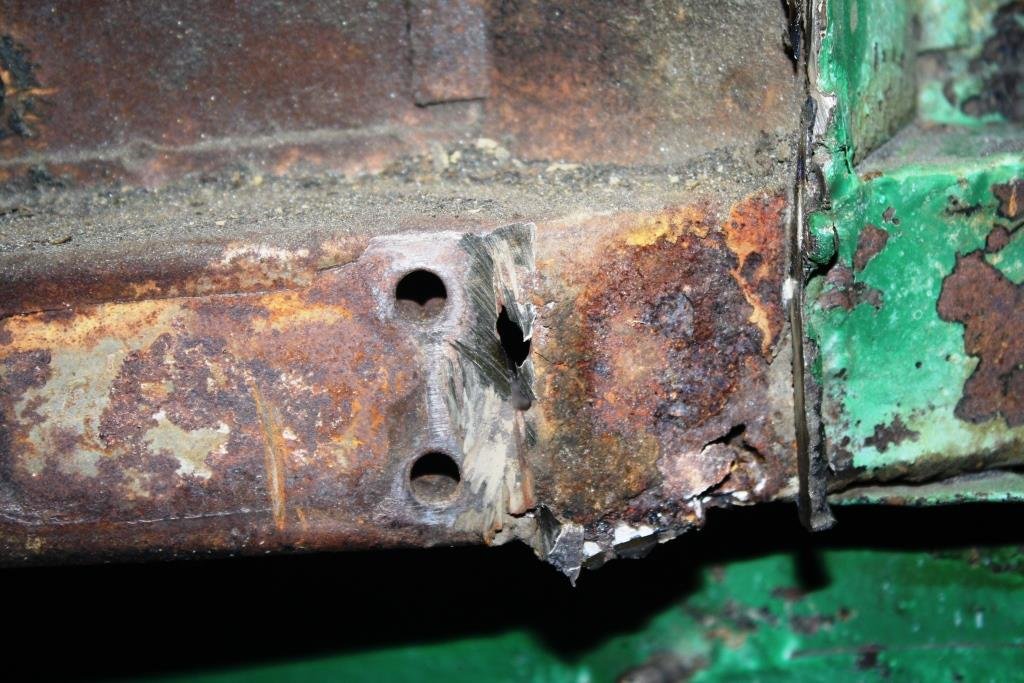
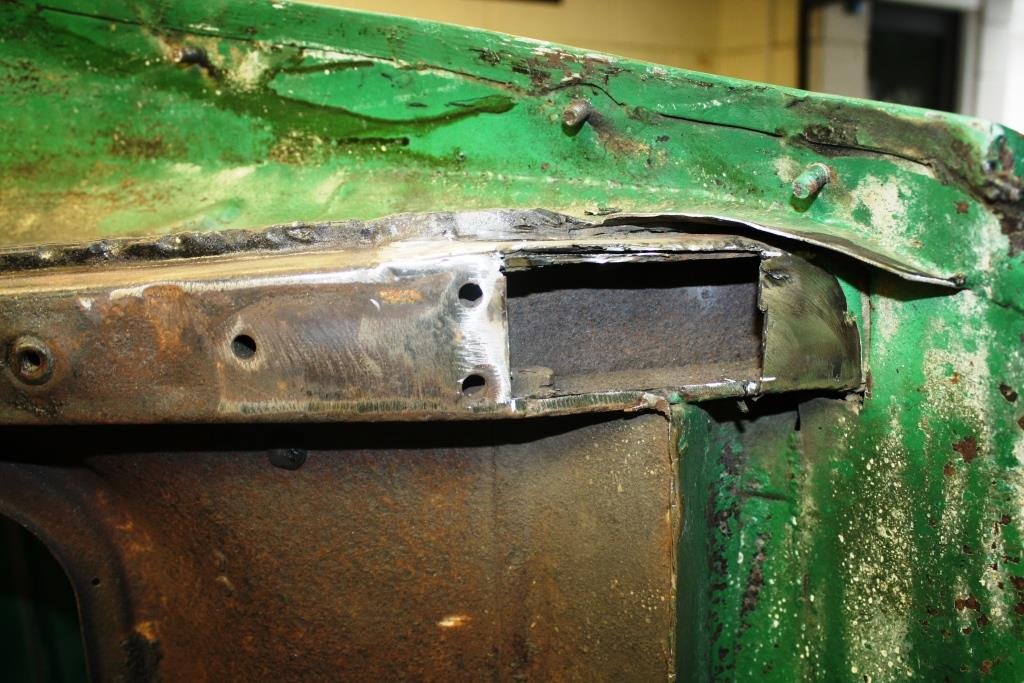
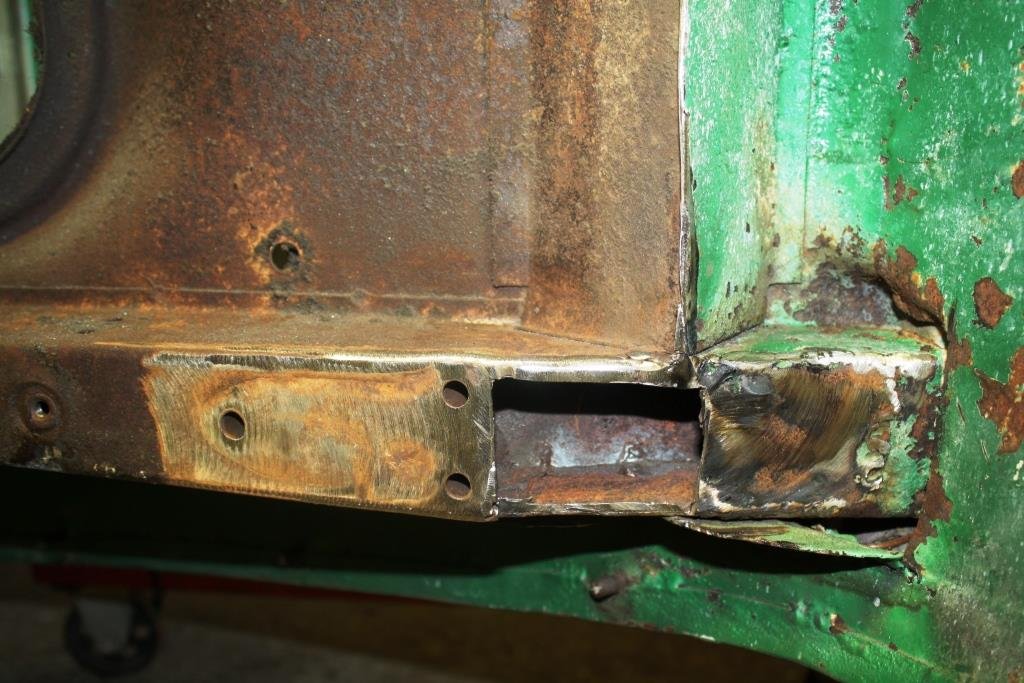
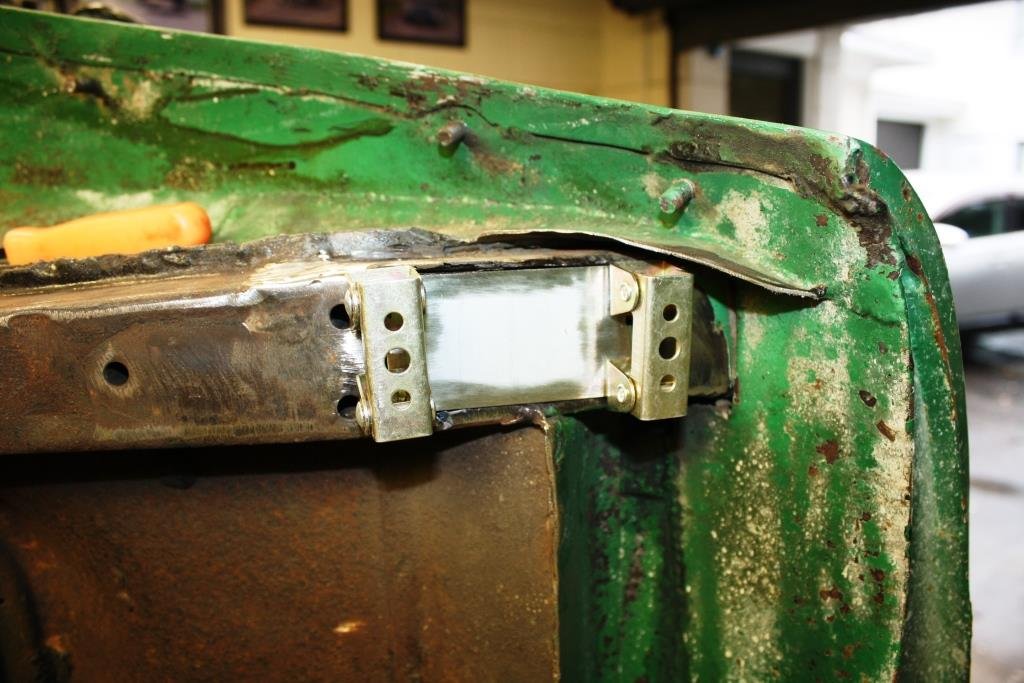
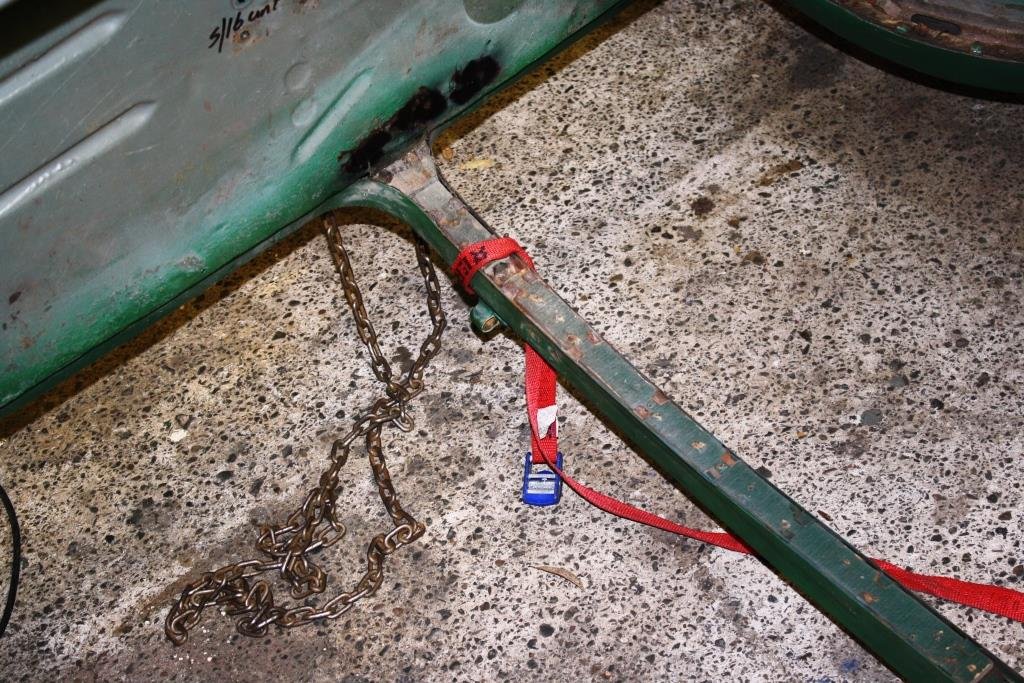
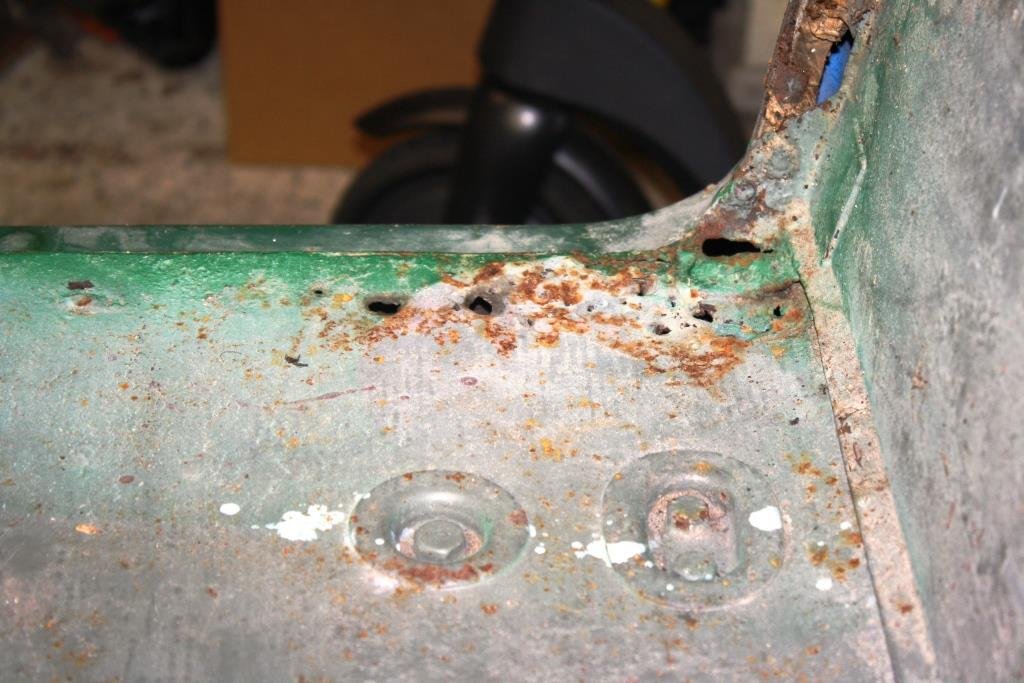
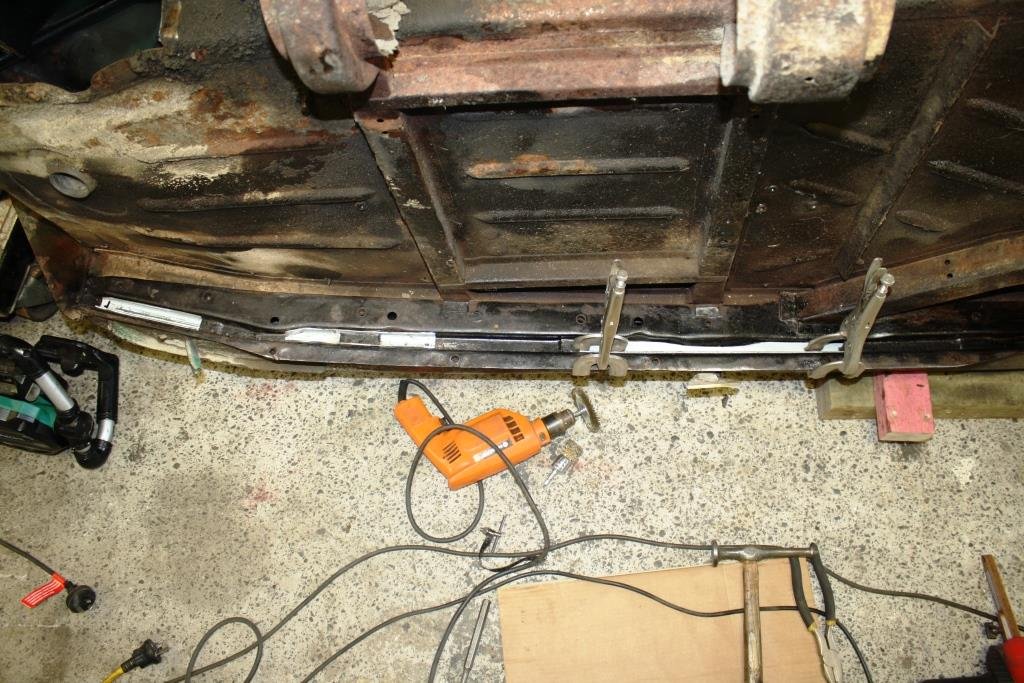
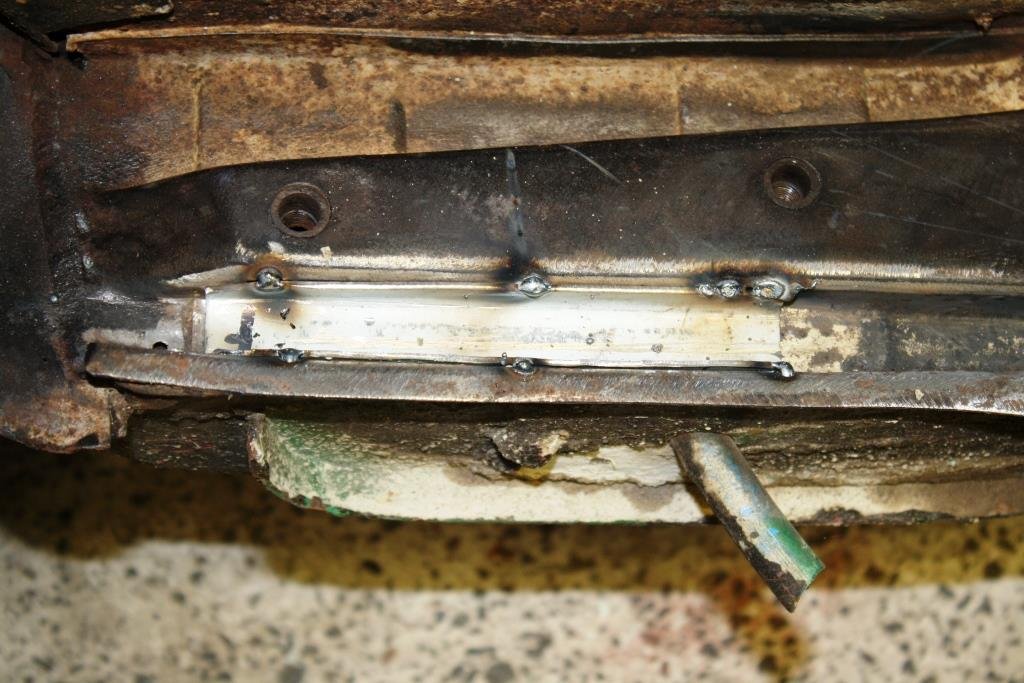
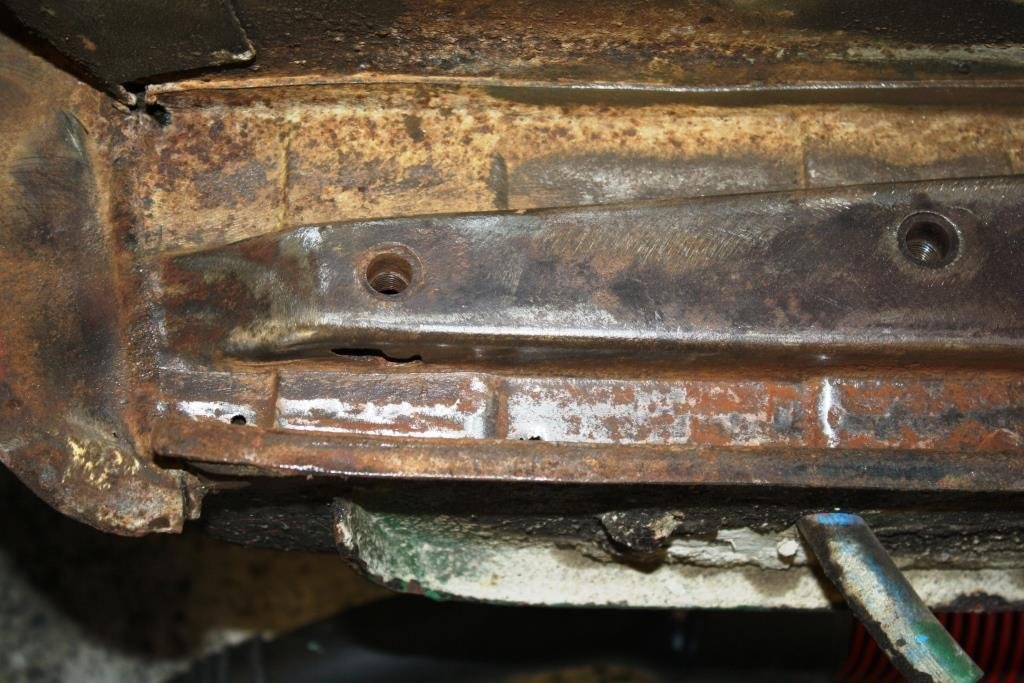
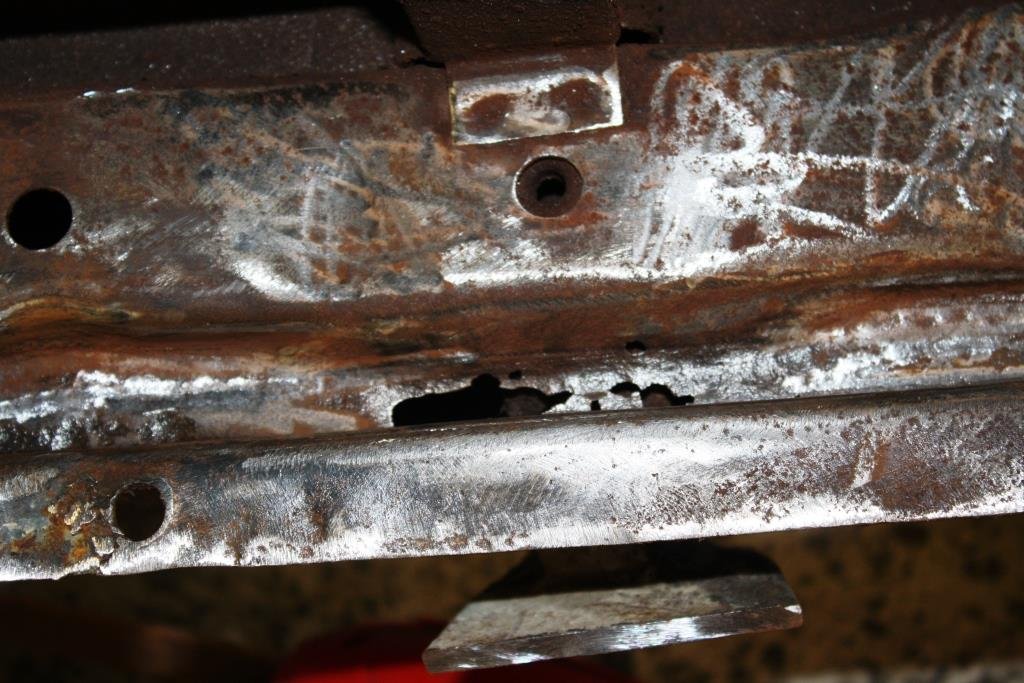
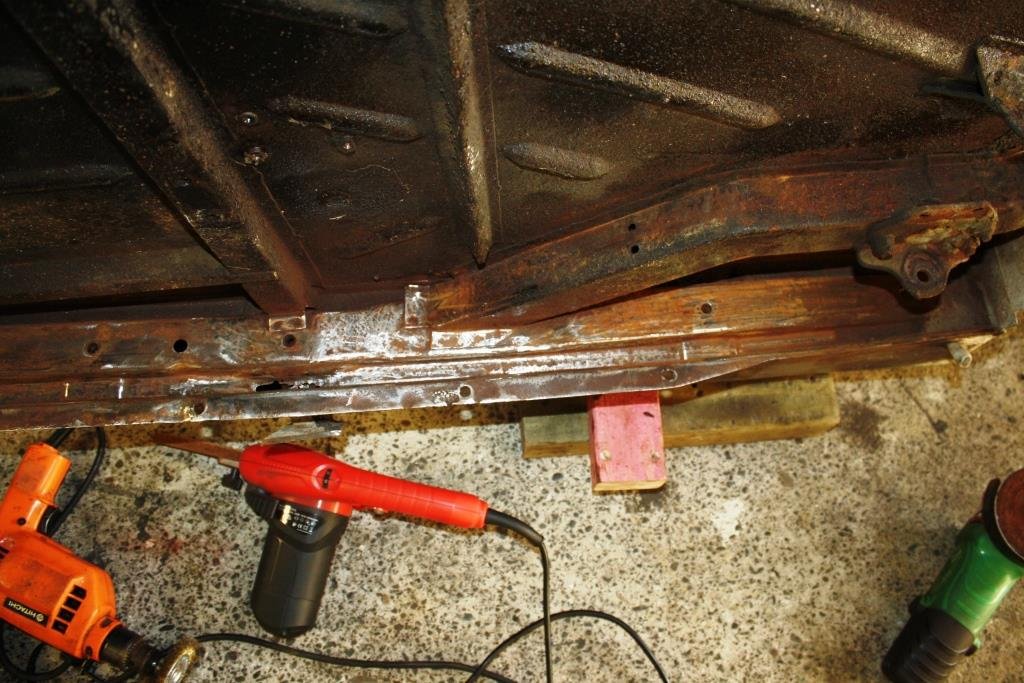
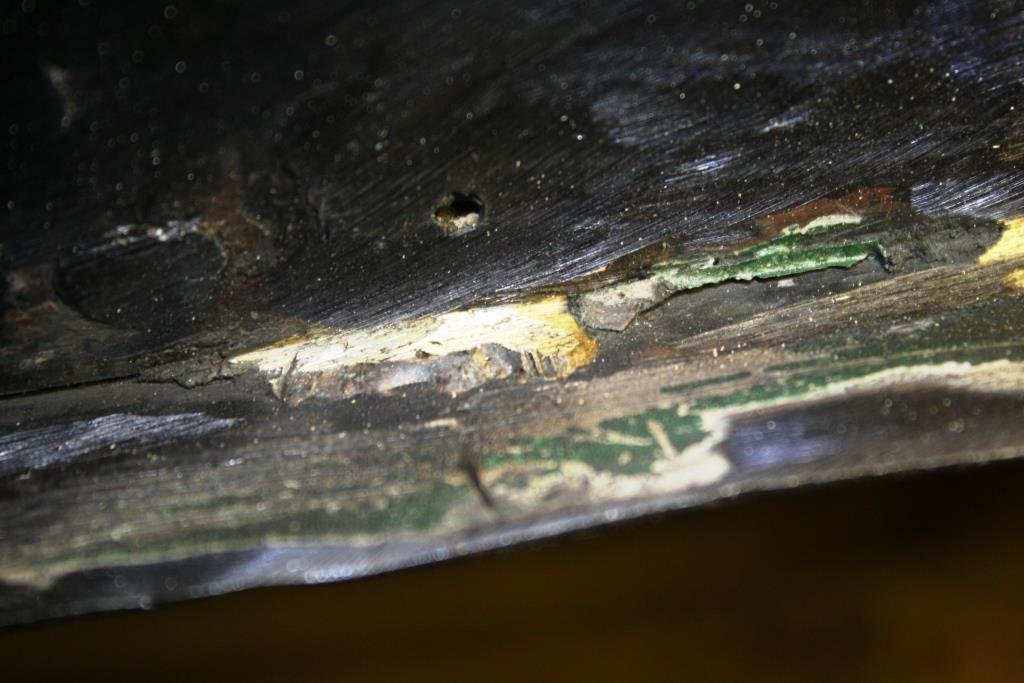
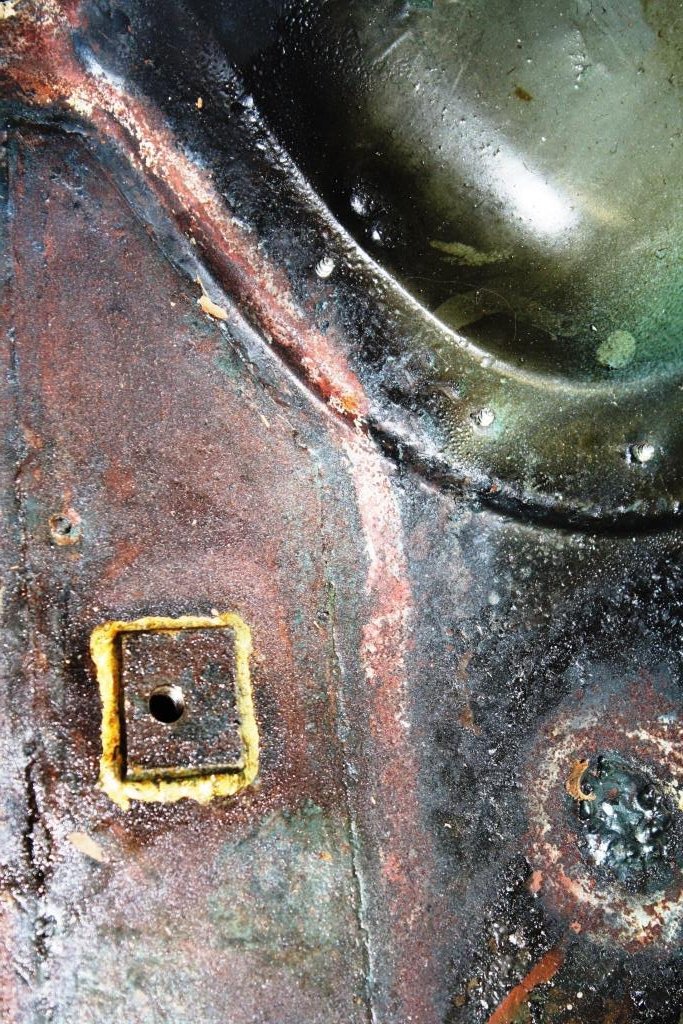
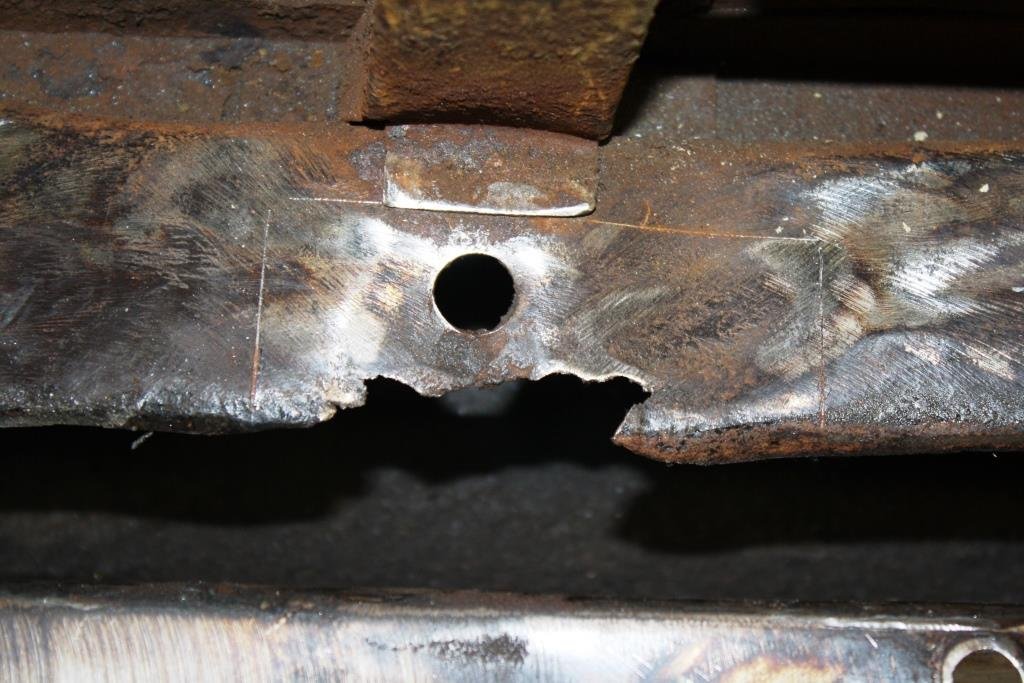
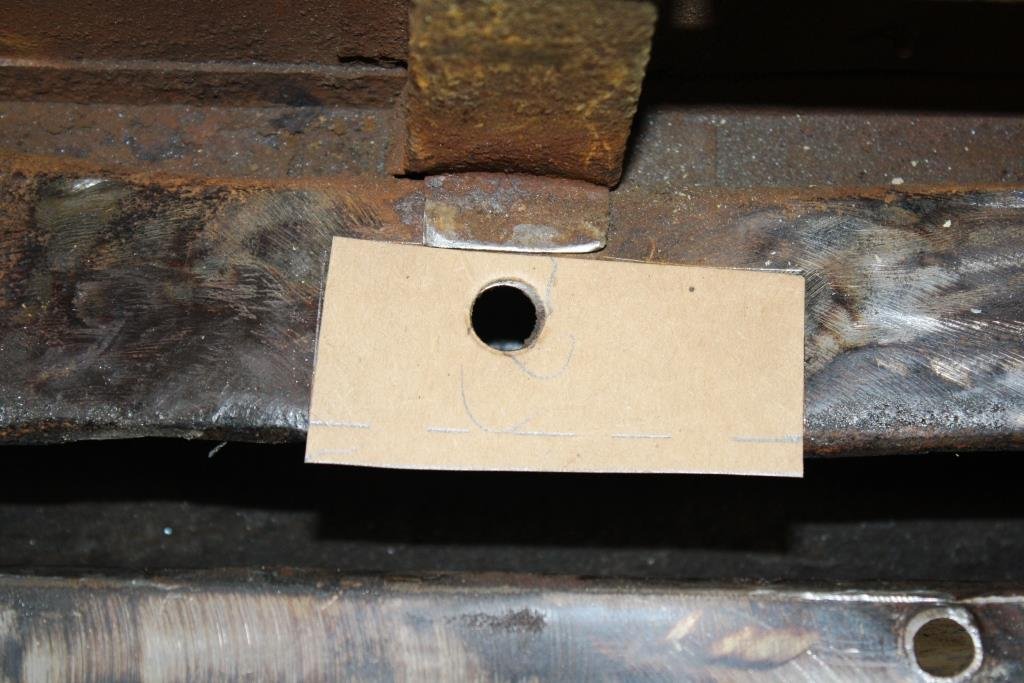
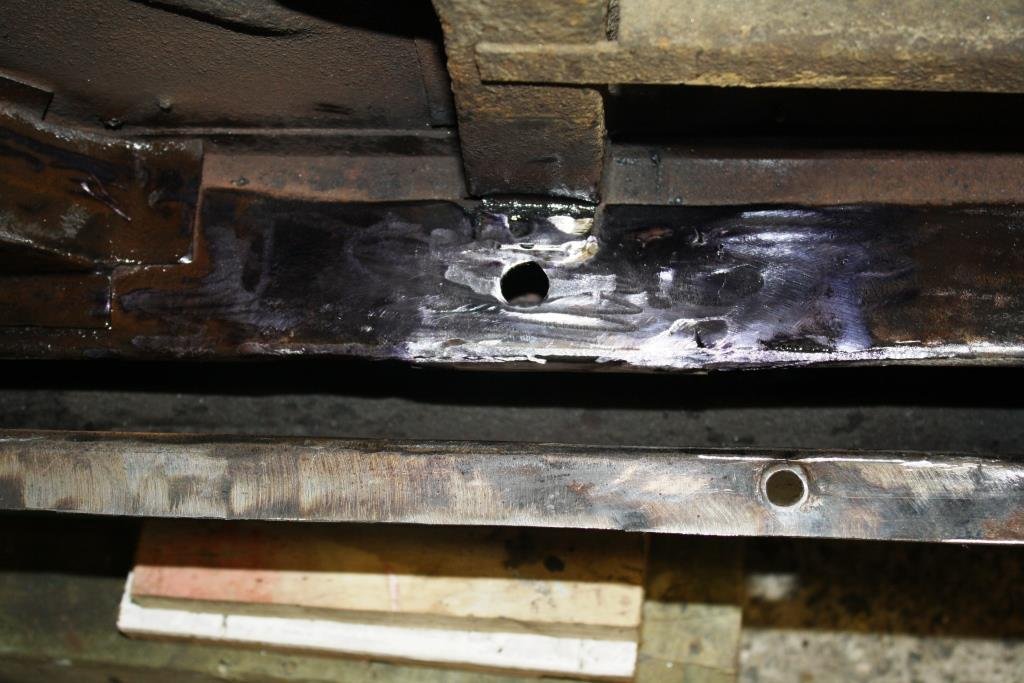
Back to work with a fuzzy head…… At some stage in Rigamortice’s dark history someone had done a manky job of Barrying up a tow-bar. Check out the broken out drawbar tongue! (Car’s on its side). I had visions of someone’s Granny and Grandpa in Rigamortice some 60 years ago losing the Oxford Sprite caravan half way up the Remutaka Hills! It took a while and a few cutting disks to get rid of the tow bar angle iron cross member leaving me with this mess… Time to cut out the rubbish…… Welding in some repair panels, love using copper sheet when welding panel steel. And the now obligatory CRC Rust Convertor…. Found an old interesting hole in the floor-pan hump above the diff. The original J14 diffs were notoriously unreliable – I wonder if this was from a mechanical failure? I patched it up…
- 185 replies
-
- 15
-
-
LOL; yes I have acquaintances at a senior level in both the MTA and the CRA. Just my opinion on where this privately owned, self justifying juggernaut is heading.
-
Love the debate. These guys (i.e. the lvvta) are a privately owned group of investors that won a government contract (in the early 90's) to mandate standards, and to manage the certification process, of any modified NZ vehicle. What they have morphed into is open to debate; their agenda (apart from the obvious "justifying your existence") is open to further conjecture. My prediction, (yes I know! ) is that it only is a matter of time before we adopt the Australian ADR standards as we have with the majority of NZ standards, e.g. New Zealand and Australian Standards 3760 & 3012. Rant over...........heads back to the man-cave with drink in hand.
-
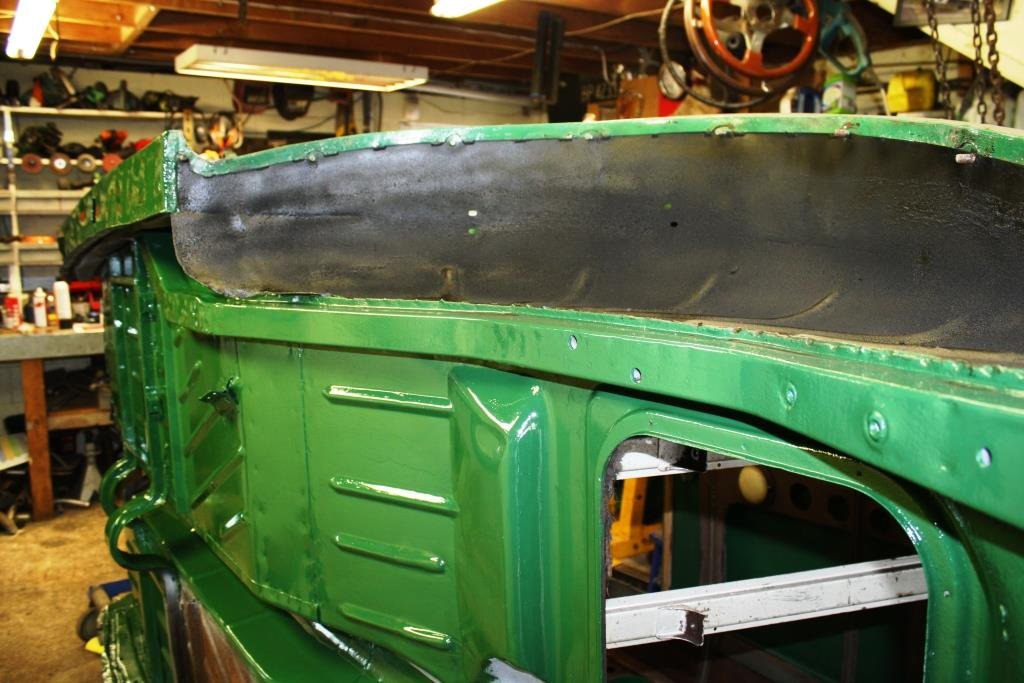
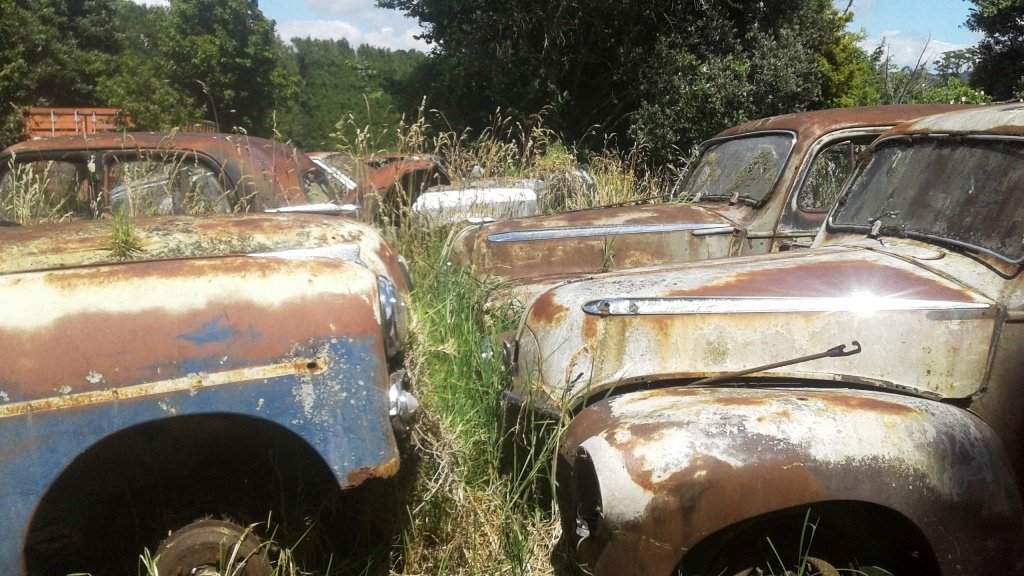
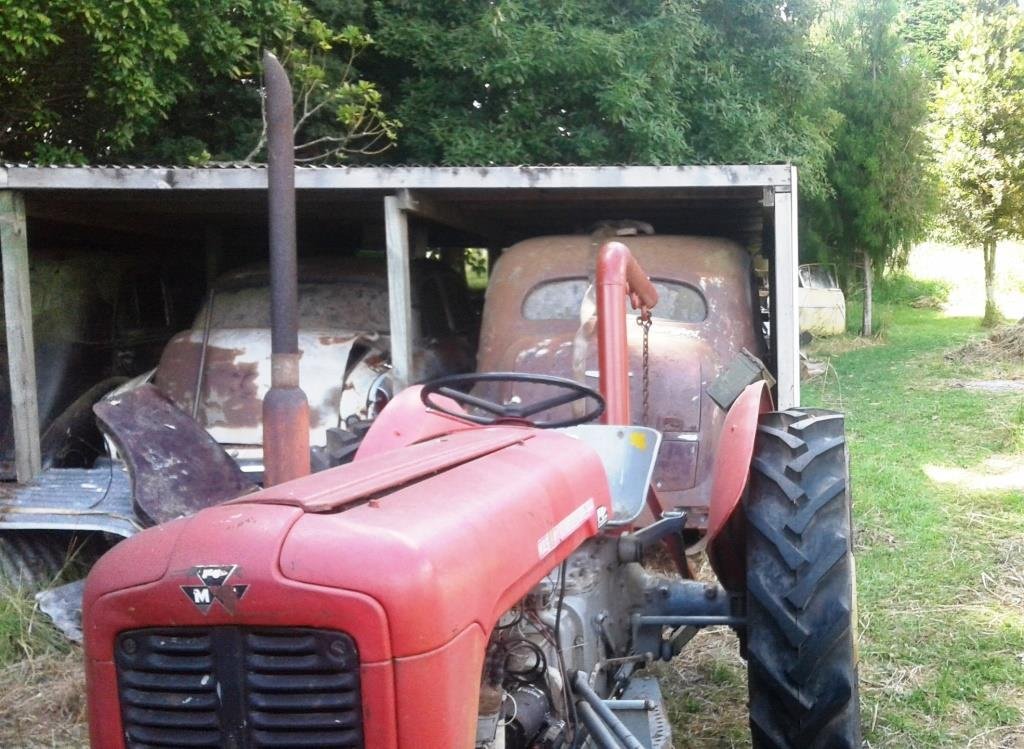
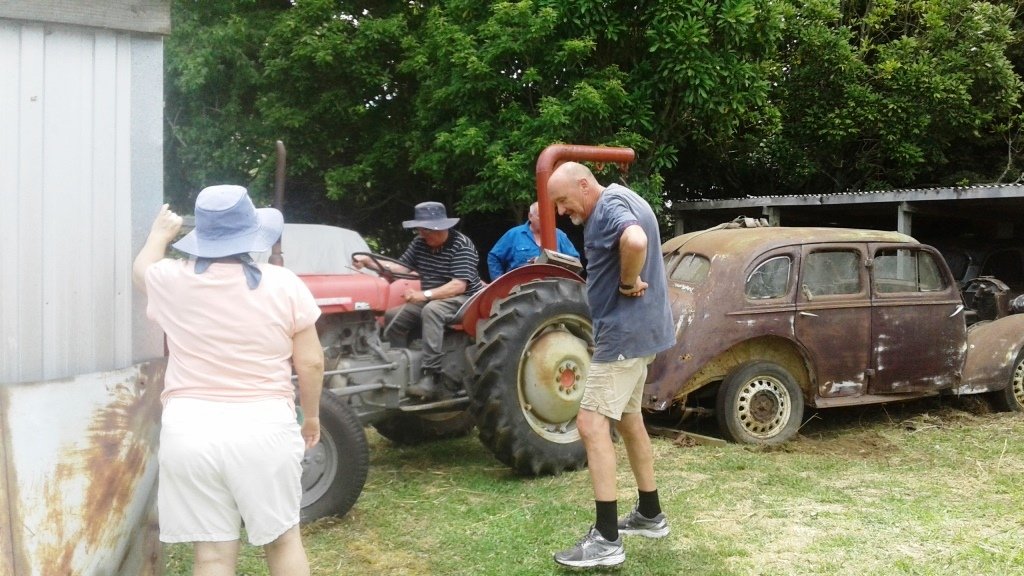
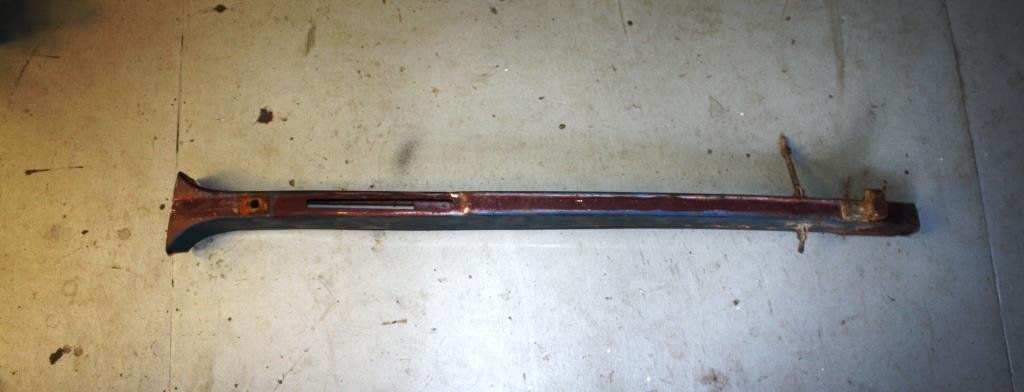
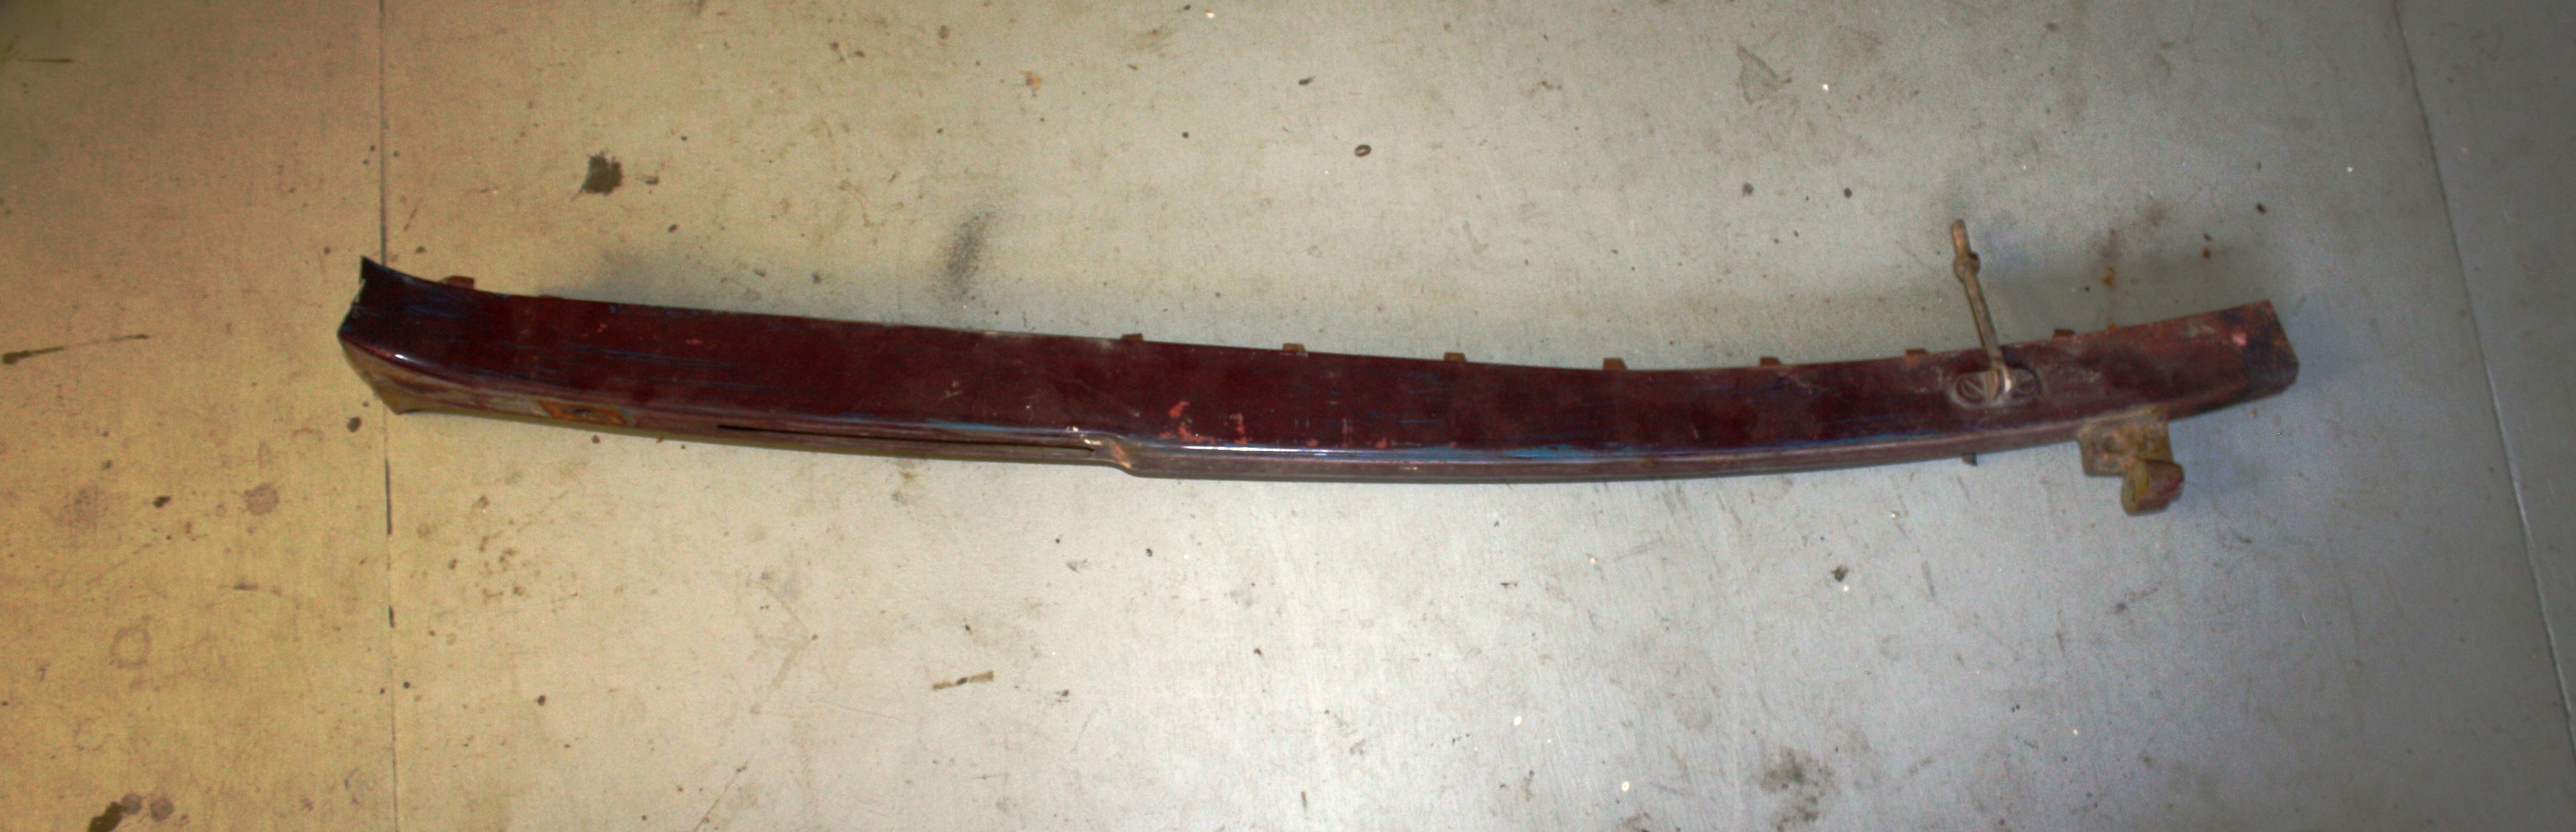
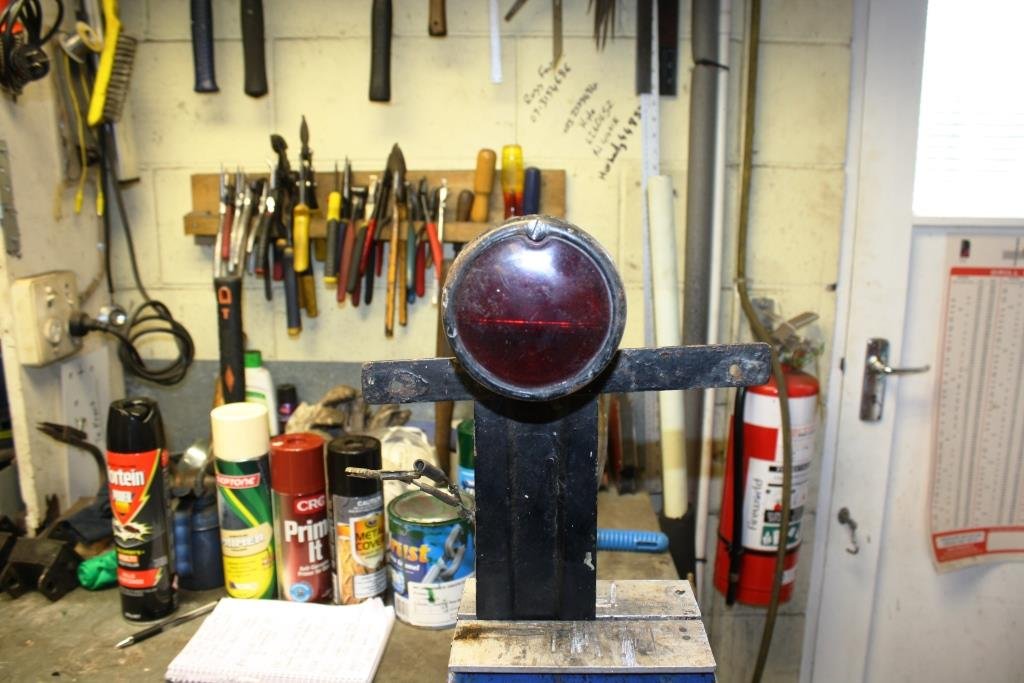
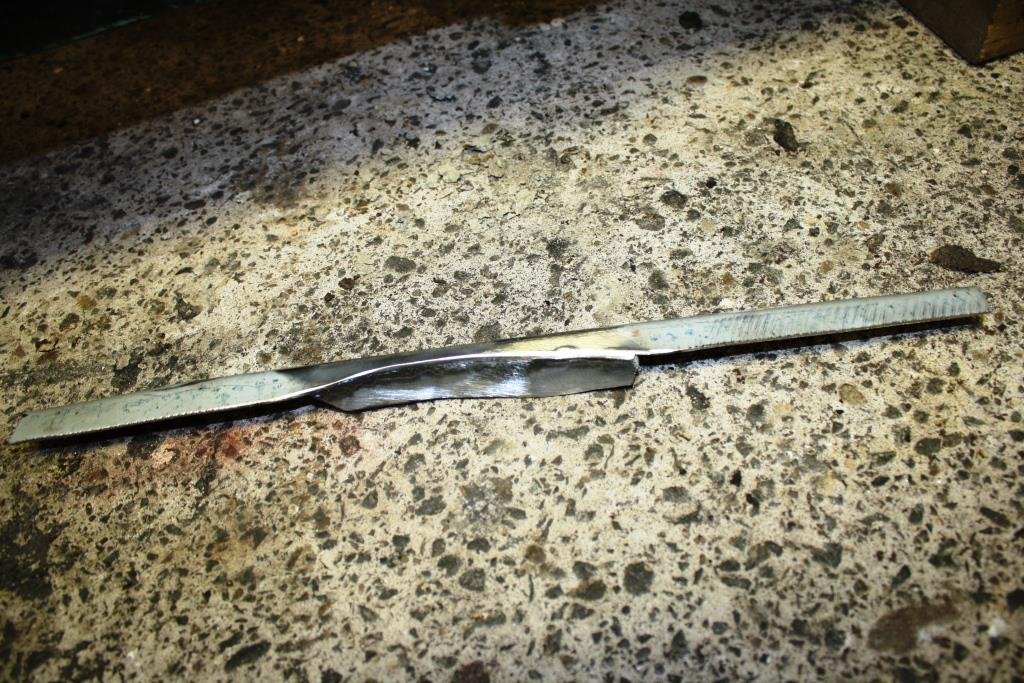
A couple of weeks later an old, dear mate and I headed down to a lifestyle block in the Kaimi’s for the day. Apparently a for some years a good keen man had been collecting a few old Vauxhalls…….(understatement of the bloody century!). He had a very rusty old J that was being wrecked as a parts car……. With the help of a seriously cool old Fergy tractor and some seriously cool Vauxhall car club members (i.e. fanatics) we dragged it out of the shed that it had been in for the last 25 years and I fired up my trusty chop saw. One 76 year old B pillar body cut and a massive thanks to the guys from the Vauxhall car club, you guys rock! I’ll splice it in when I get the doors out of storage so I can check alignment before seam welding. Also scored a genuine tail lamp – been looking for one for years. To top it off they gave me a replacement trafficator – Rigamortice and I thought it was Xmas! Back home to Wild Turkey time for me and Rigamortice in the "almost world famous" sr2 man-cave.
- 185 replies
-
- 21
-
-
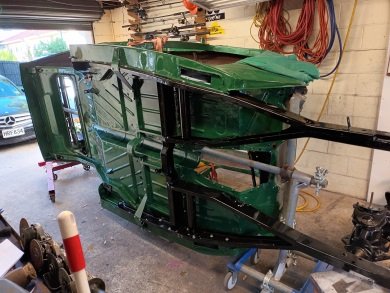
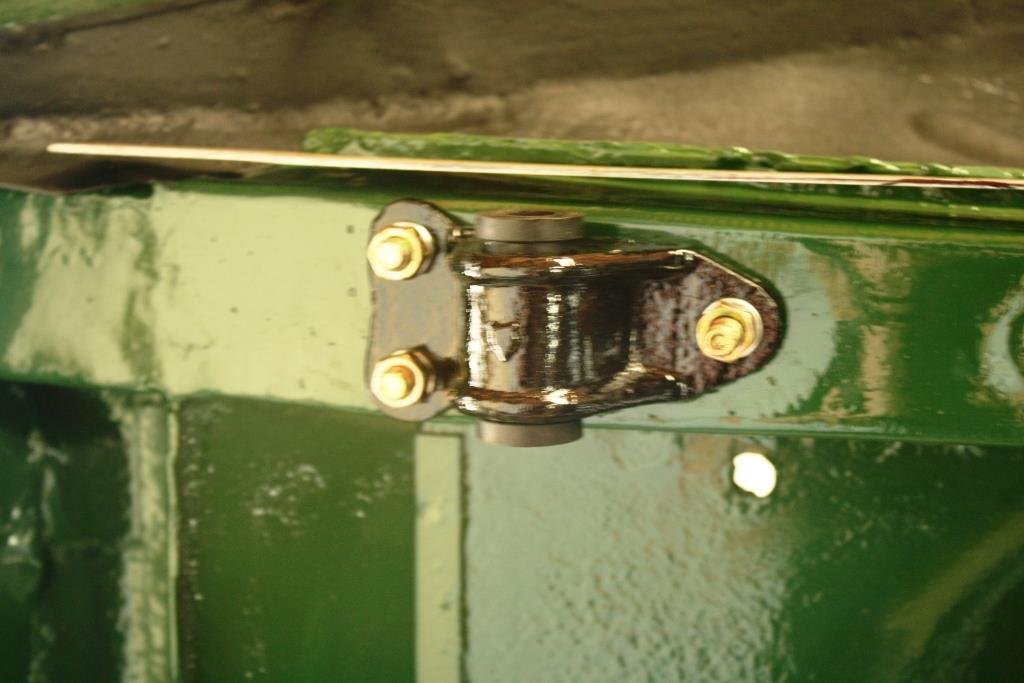
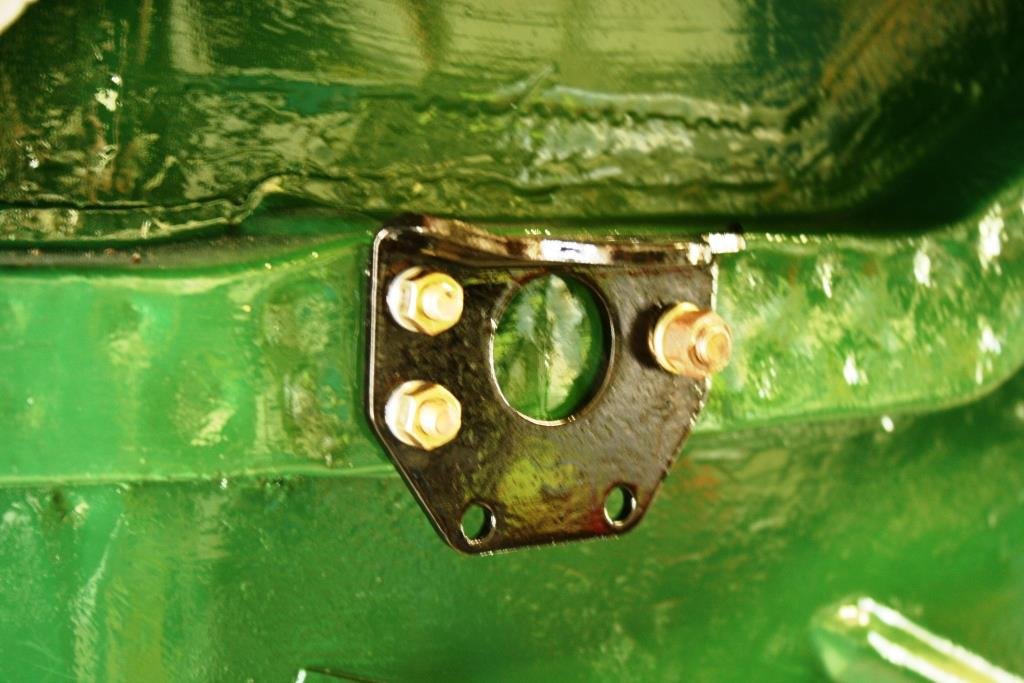
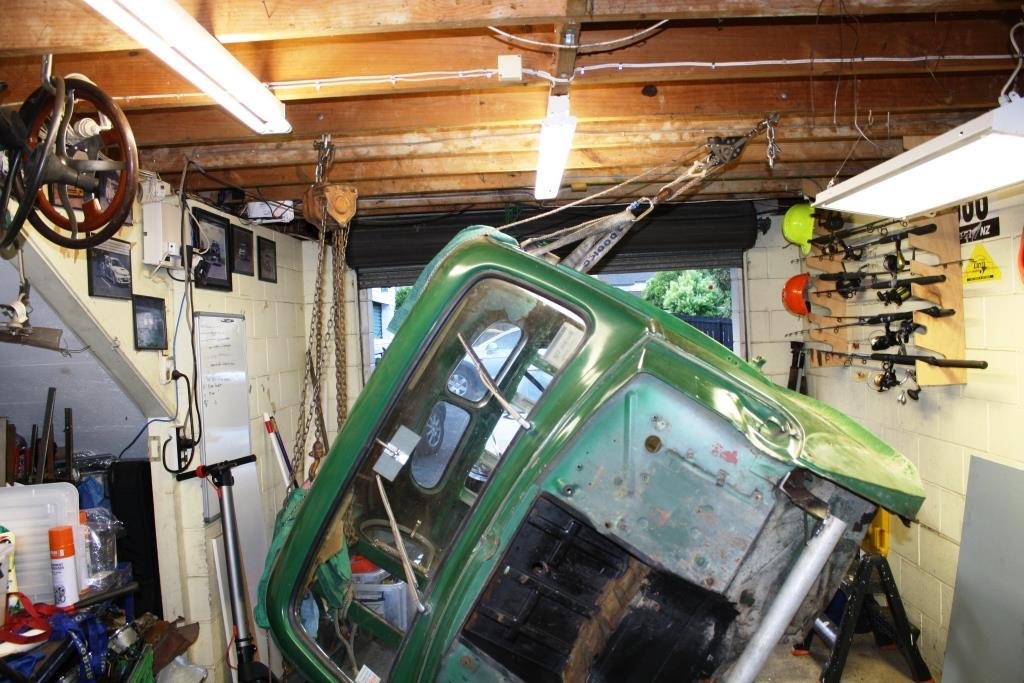
Time to roll the old tart back on her side and look at the rear spring hanger mounts. I’m getting good at this…. Bugger! Just had a strop come off and I’ve dropped the old girl on her side. Looks like I’ve managed to give a hinge a hammering, total a trafficator and worst of all bend the bloody B pillar.***********! (All while stone cold frig'in sober!). No use crying over spilt milk, at least the roof hasn't distorted - I’ll fix it in the future.
- 185 replies
-
- 17
-

-
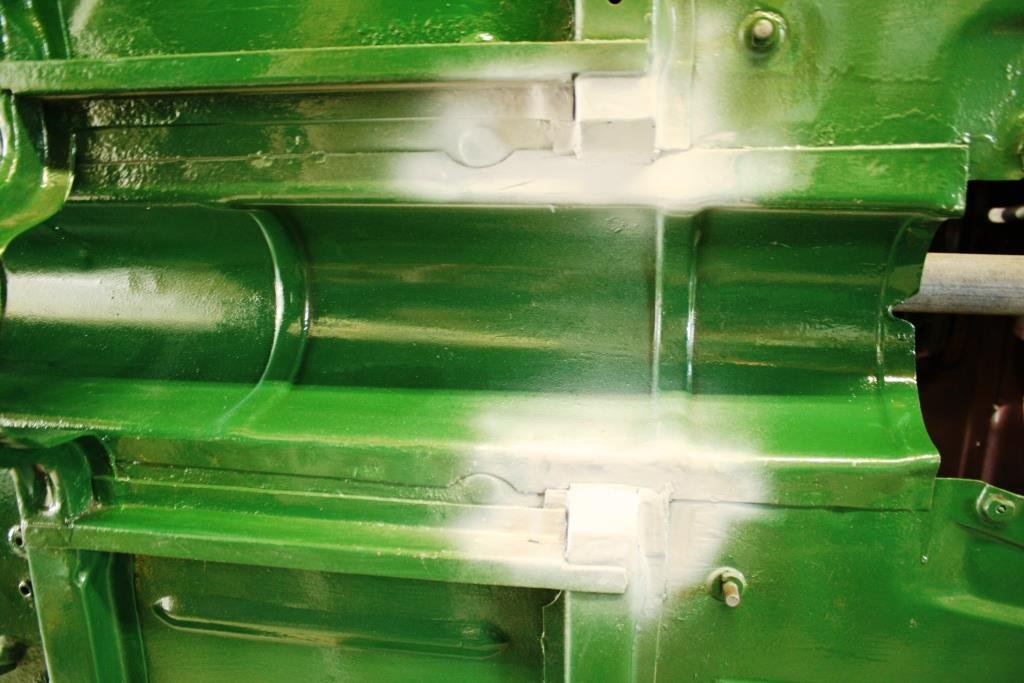
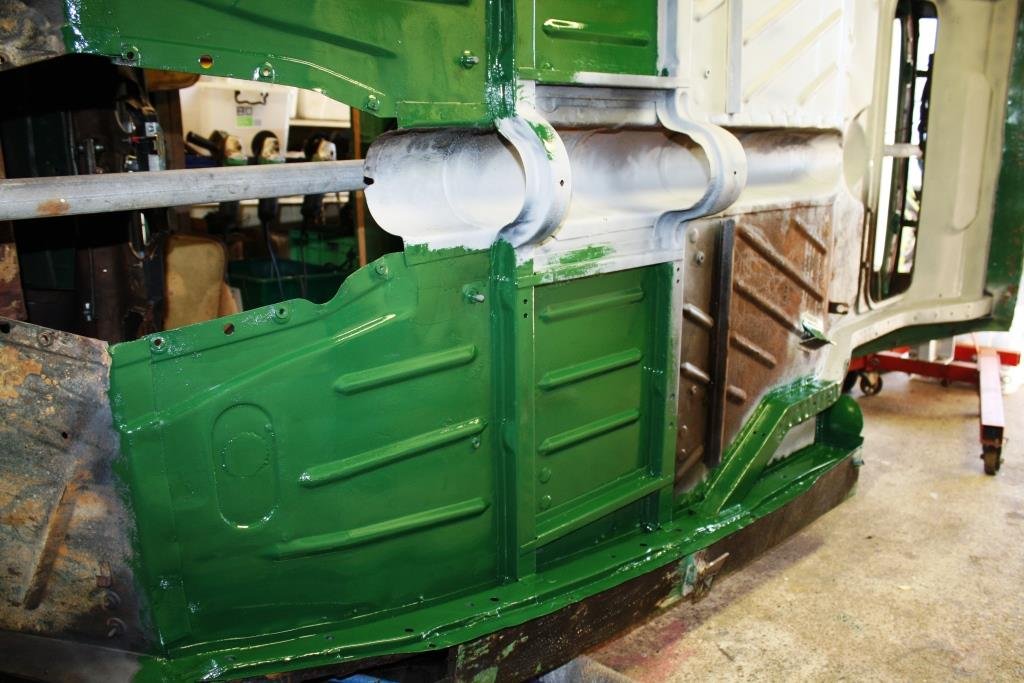
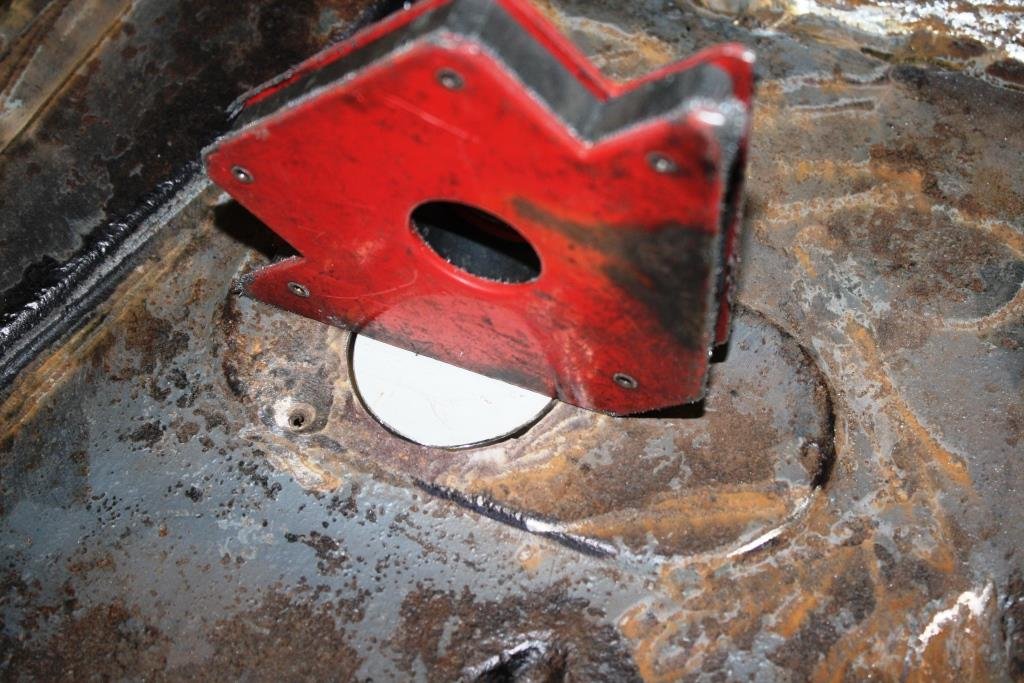
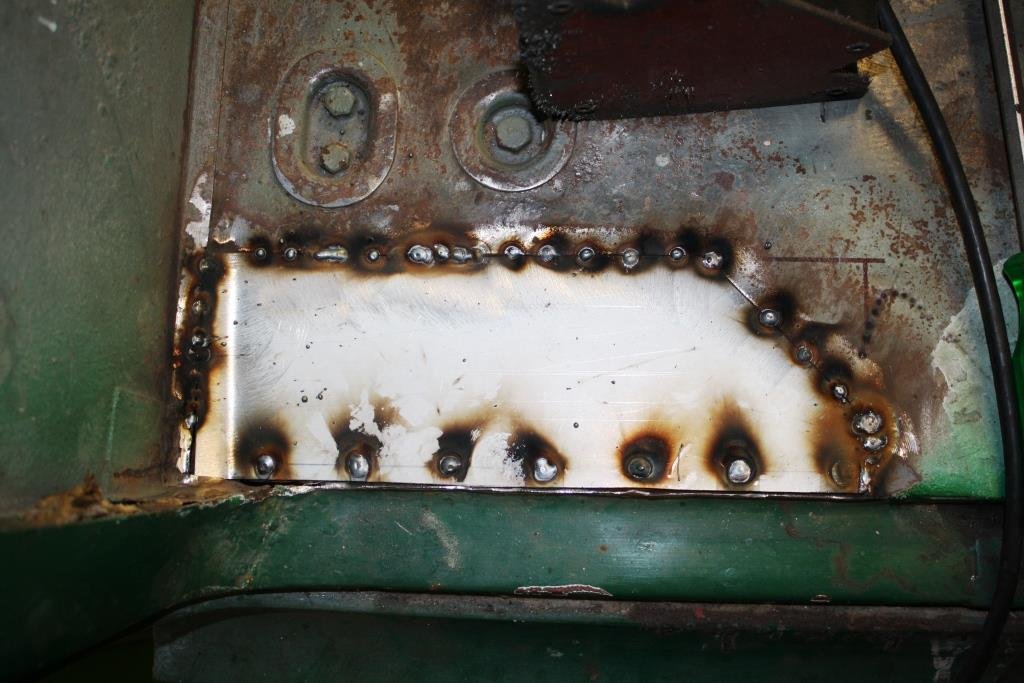
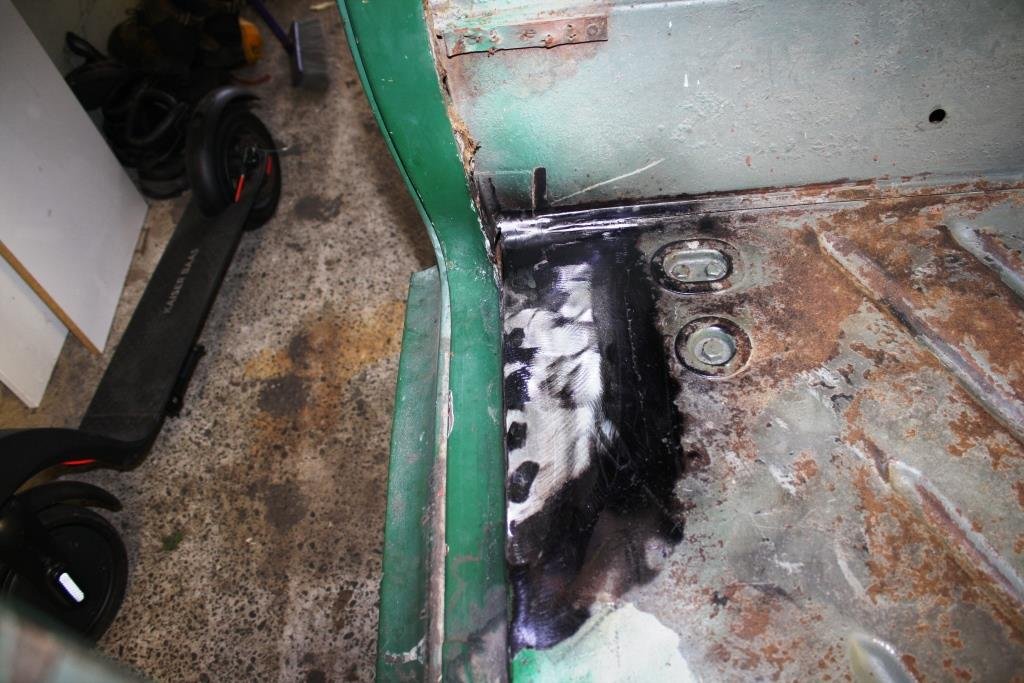
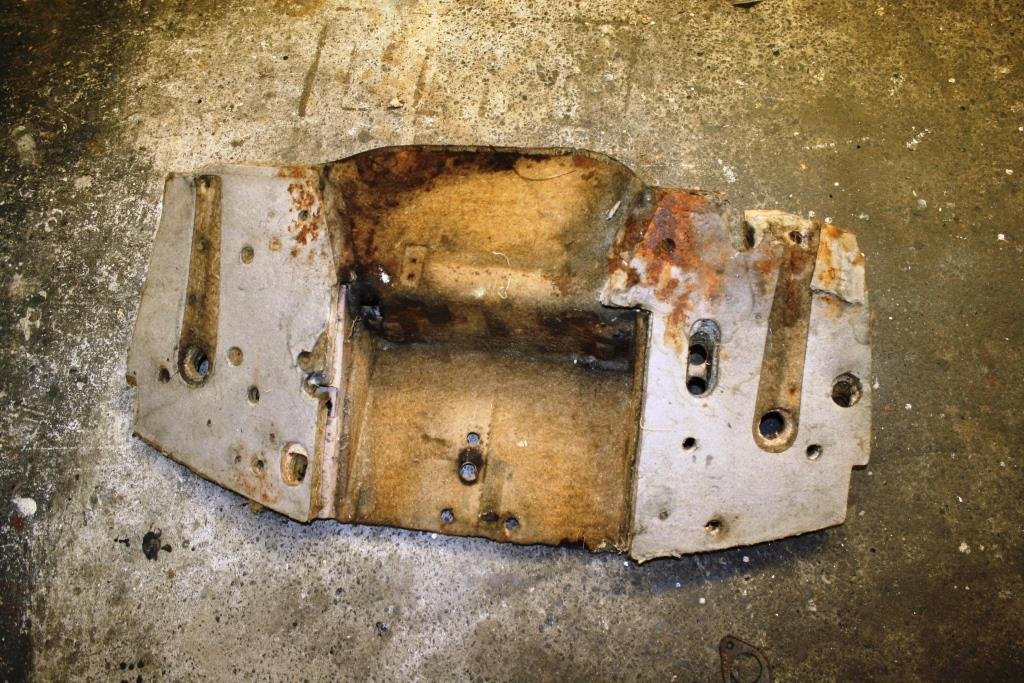
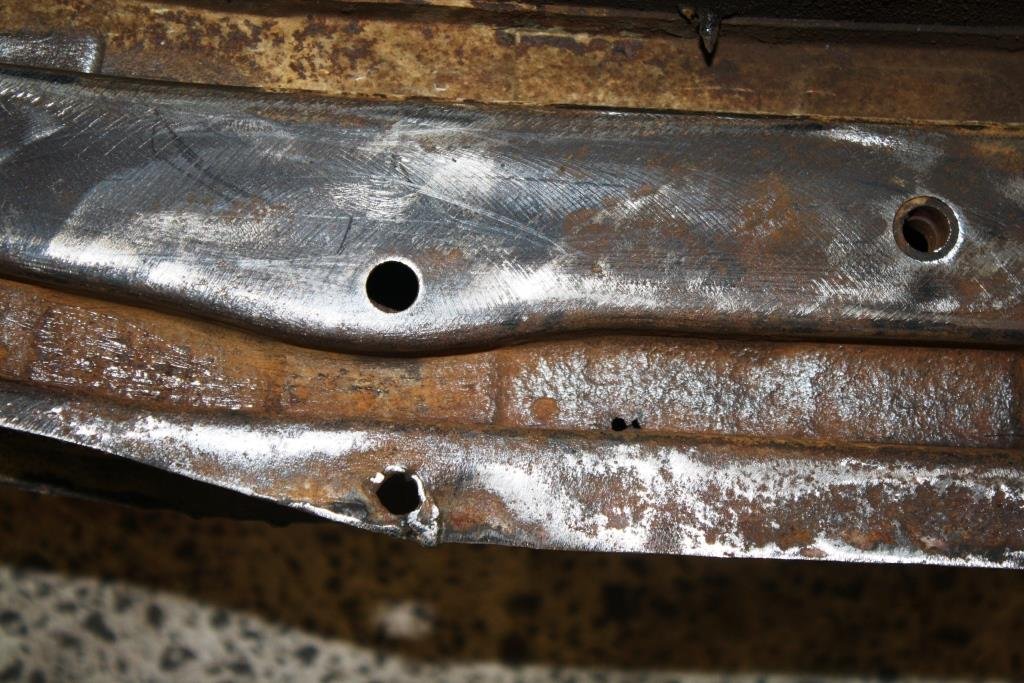
Started working the floor from the top side. Master cylinder will no longer be under the floor so I filled in the old access hole. Cut out some rust…. More patches…. Some CRC Rust Converter. Make a piece that copies the other side - and more plug welding Looking good. More patching
- 185 replies
-
- 10
-
-

SR2’s 1947 Vauxhall “Rigamortice” Discussion thread.
sr2 replied to sr2's topic in Project Discussion
Thanks mate, I'm actually about 3 weeks behind in my posts - lots of progress and pic's but not enough time in front of the PC! -
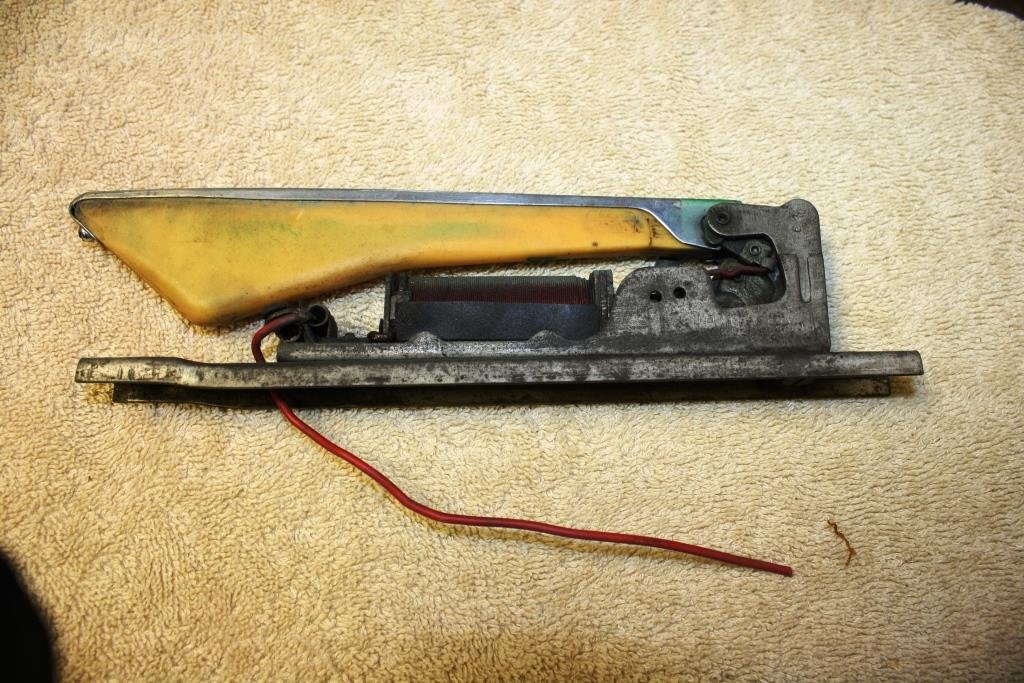
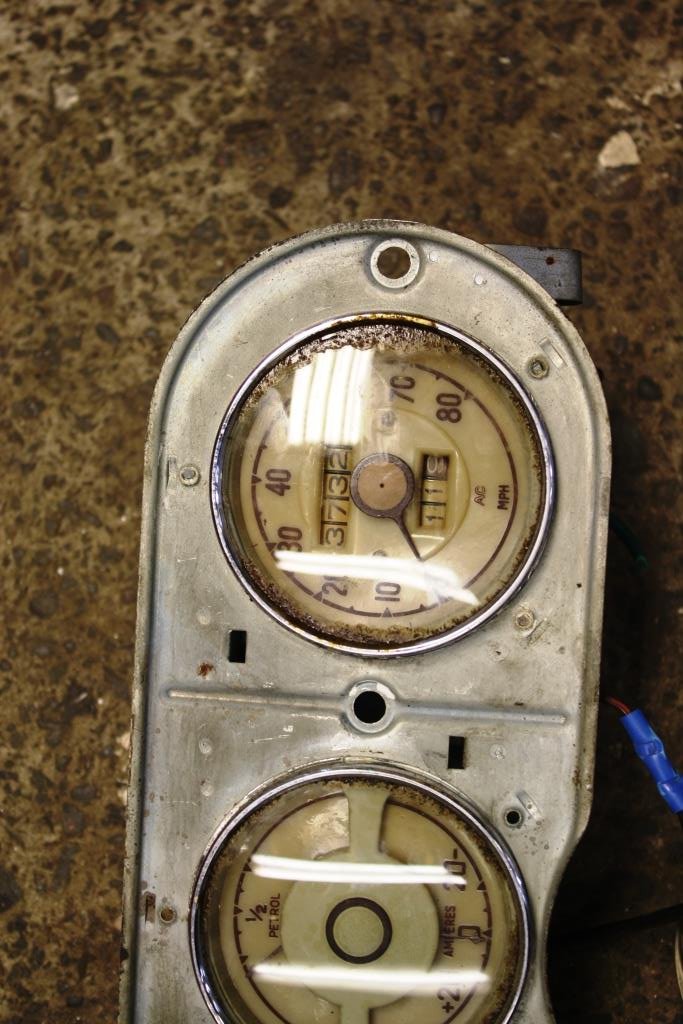
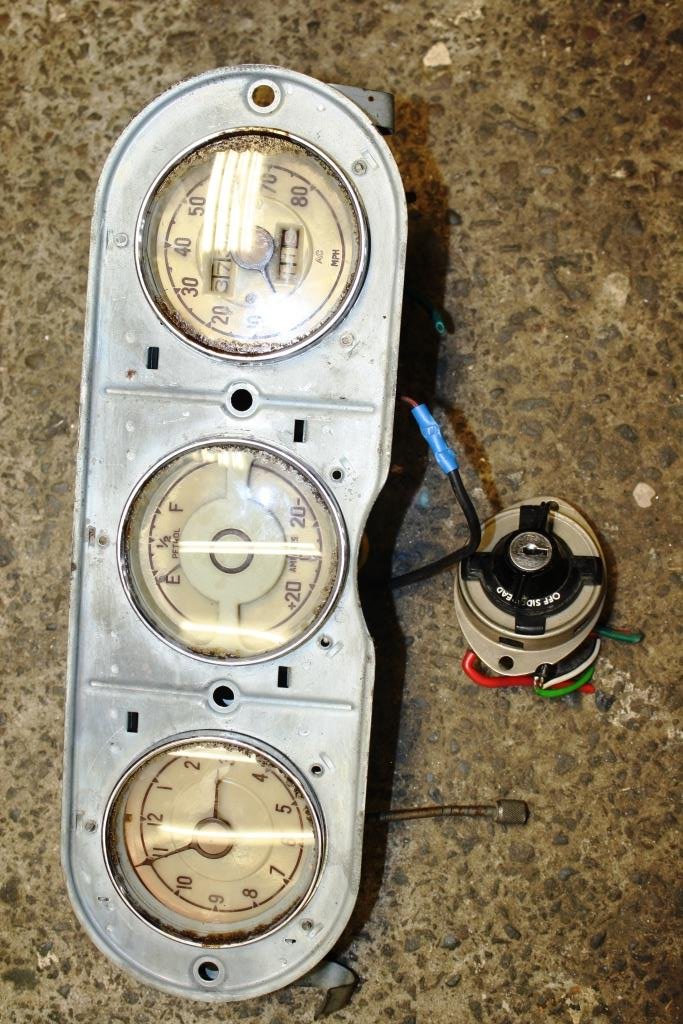
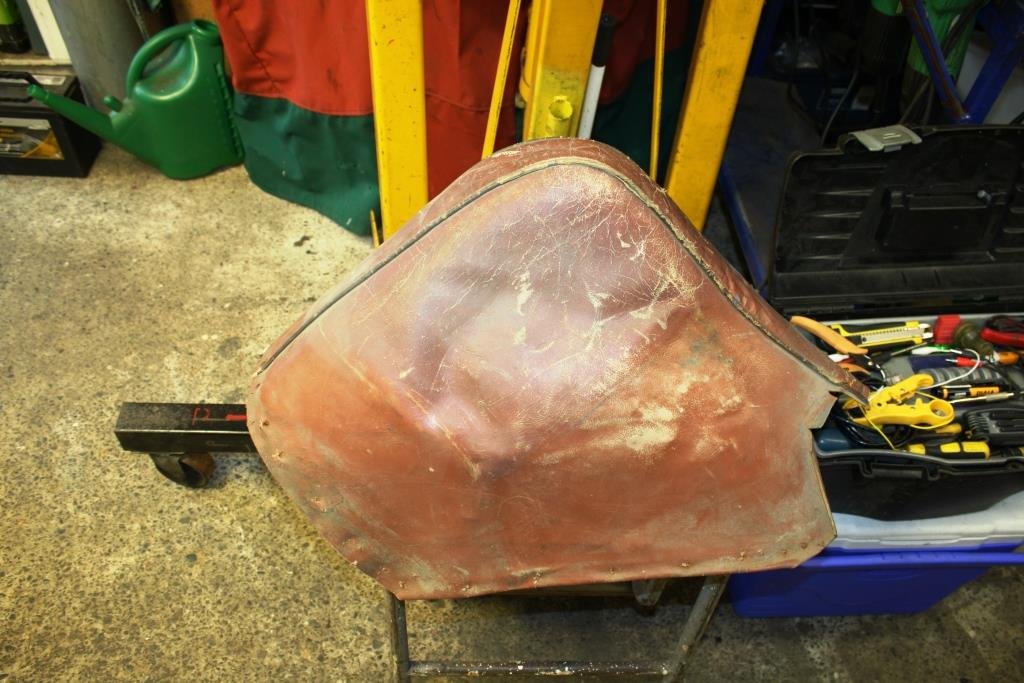
Once back in the man-cave I thought it would be easier to strip the dash with the car on its side. Not sure what the firewall lining is made out of. It looks like heavy painted cardboard with some sort of hessian fibre shit glued to the other side? Gauge cluster came out with no drama; I’ve got a spare one so I’m hoping I’ll be able to build a good one out of the two. Pulled the rear armrests out, hopefully I can soften up the leather and replace the stuffing with foam rubber.
- 185 replies
-
- 11
-
-
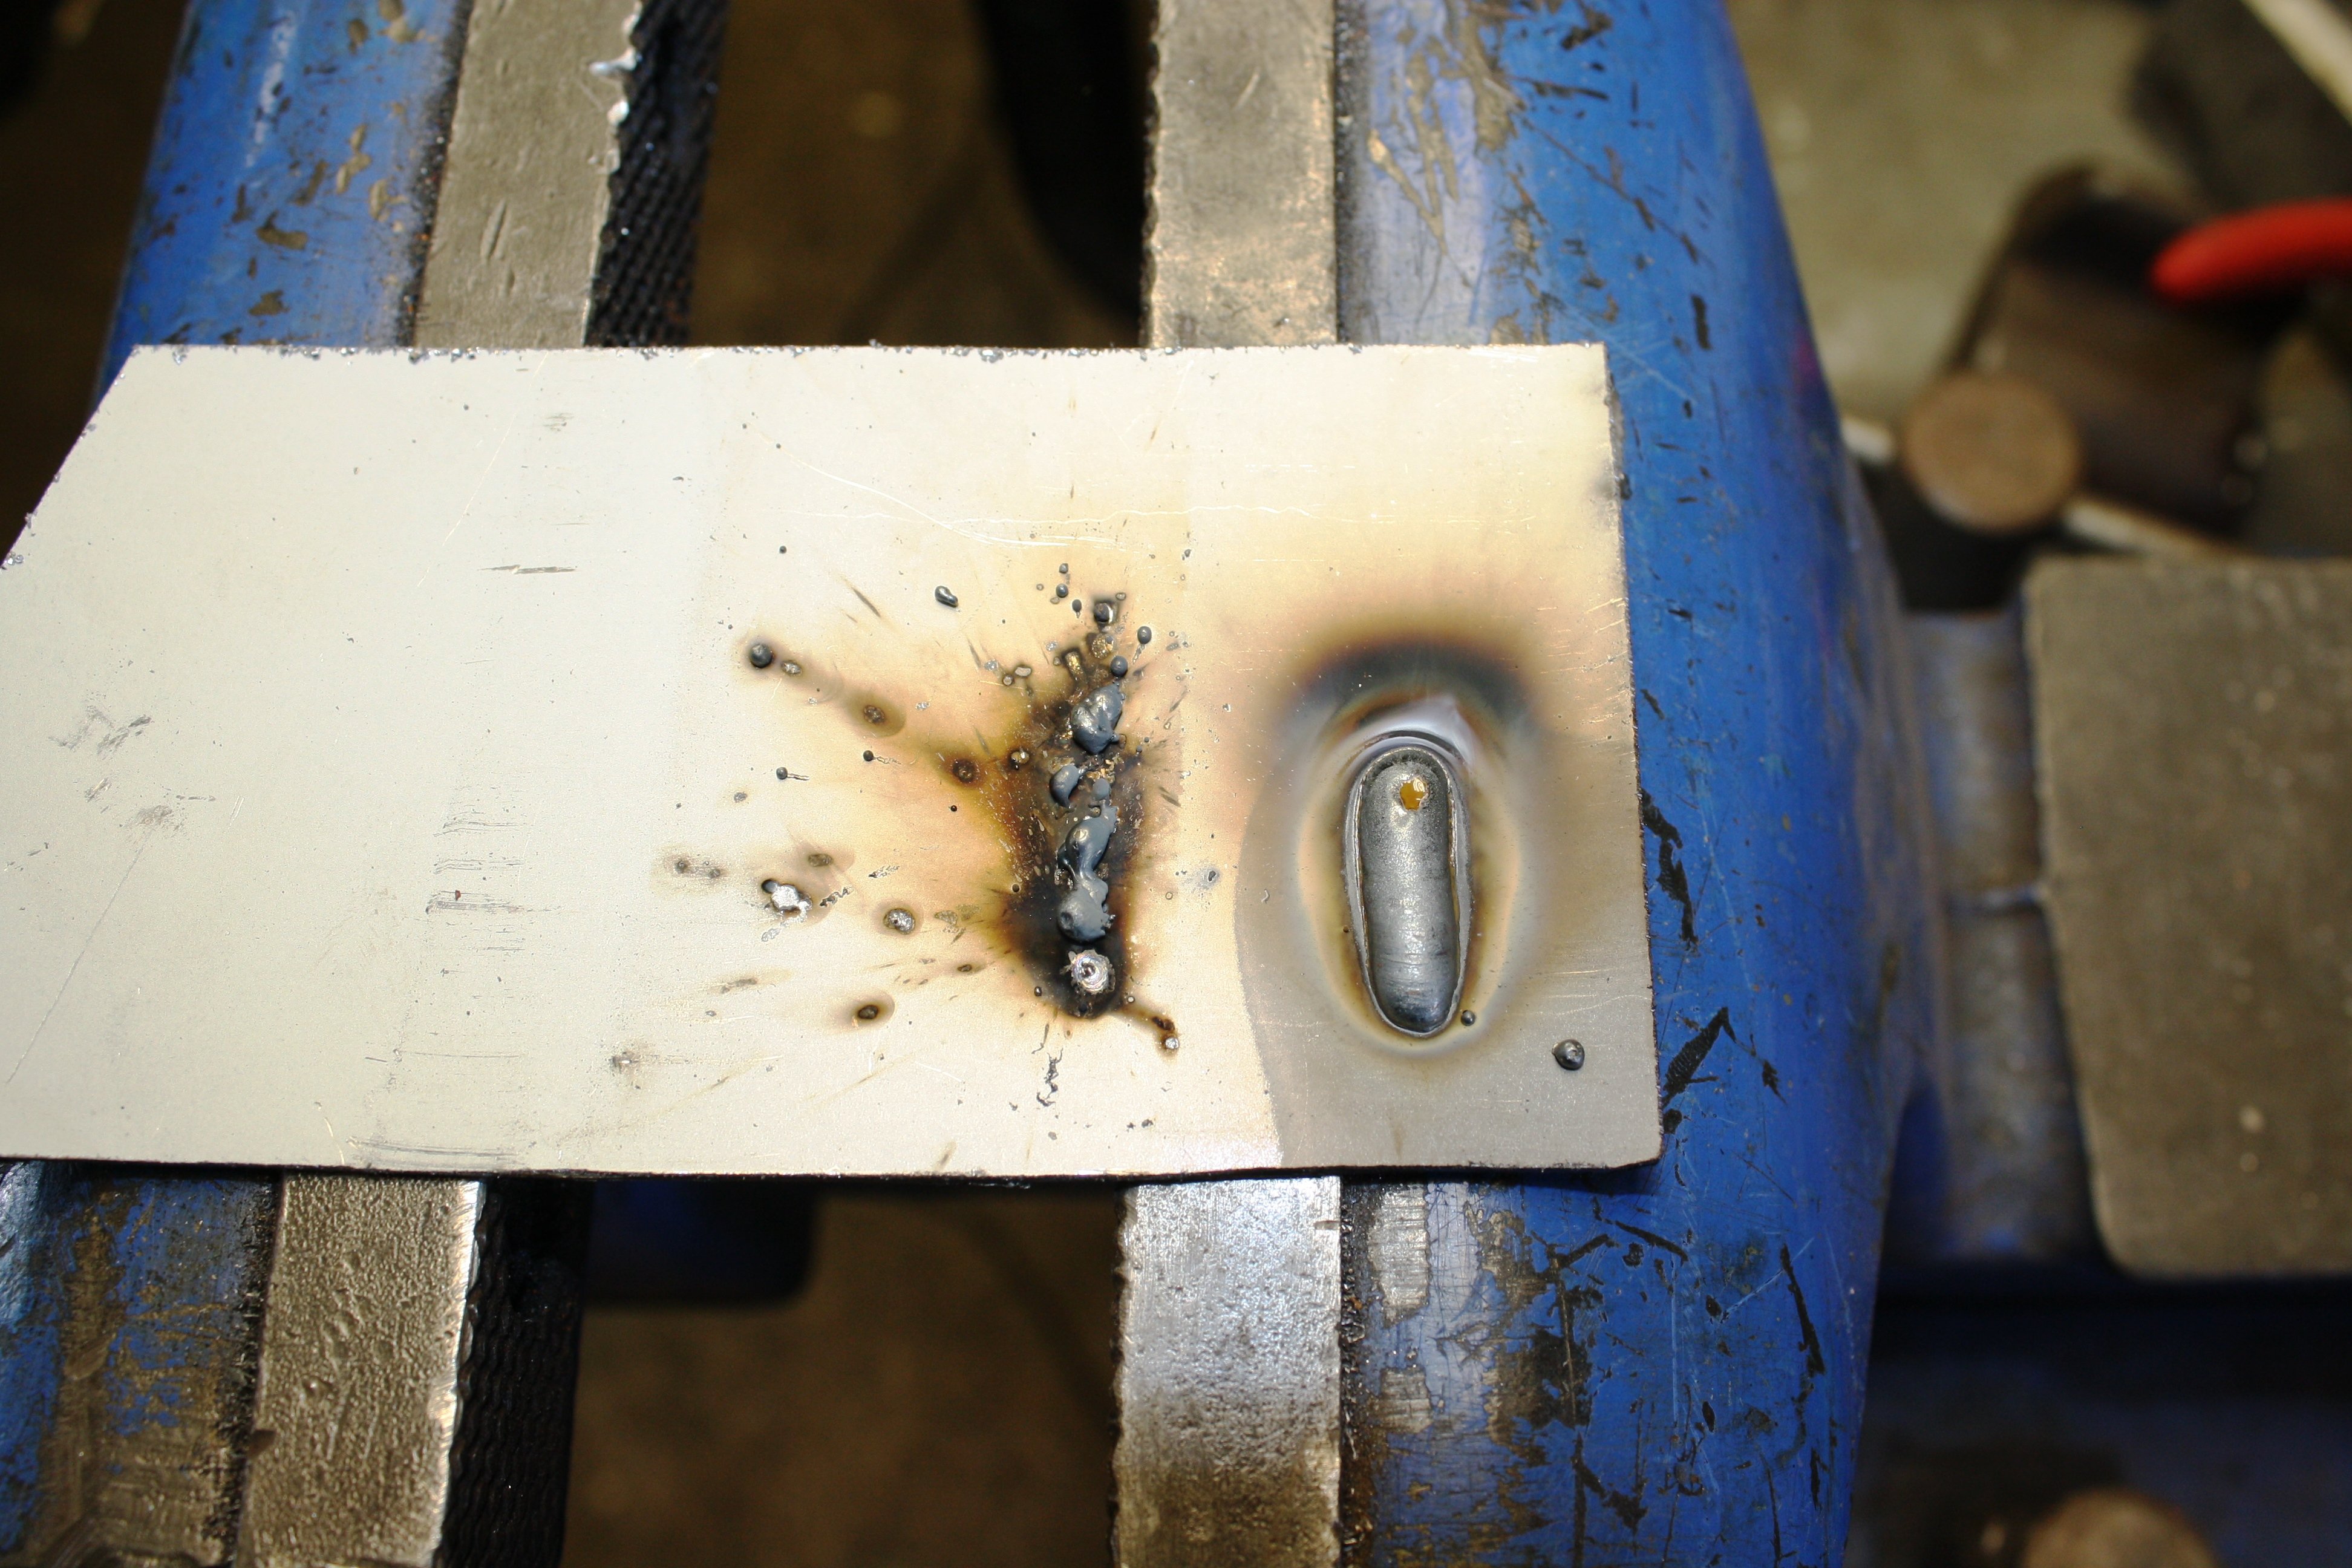
Yeah that one caught me by surprise - although I'm usually using magnets on heavier steel, not panel. Possibly mjrstar was on to it when he suggested it happened at lower amperages? I think I'll still blame it on the magnetism from my booster shot!
-
Guys as stated earlier I think we need to agree to disagree and get on with it. Tetrachloroethylele evaporates very quickly at room temperature and (unlike Freon 134A which also produces phosgene when burnt) if you give it a few minutes in a well ventilated place its gone before you start welding. Back to the original post; I did a quick test with and without a welding magnet. the results speak for itself (both runs with the same settings). Have to say I was surprised to say the least! !
-
Jeeze what have I started here, looks like the keyboard warriors are here as well?
-
I'll have to beg to differ. For years tetrachloroethylele (not sure if I'm spelling it right!) was easily available as it was used in dry-cleaning and was also a well known as a metal degreaser. We also used to use carbon tetrachloride but with idiots home brewing drugs it's much harder buying chemicals these days. With tetrachloroethylele being the active ingredient in Brakeclean it's an easy and convenient way of de-greasing metal.
-
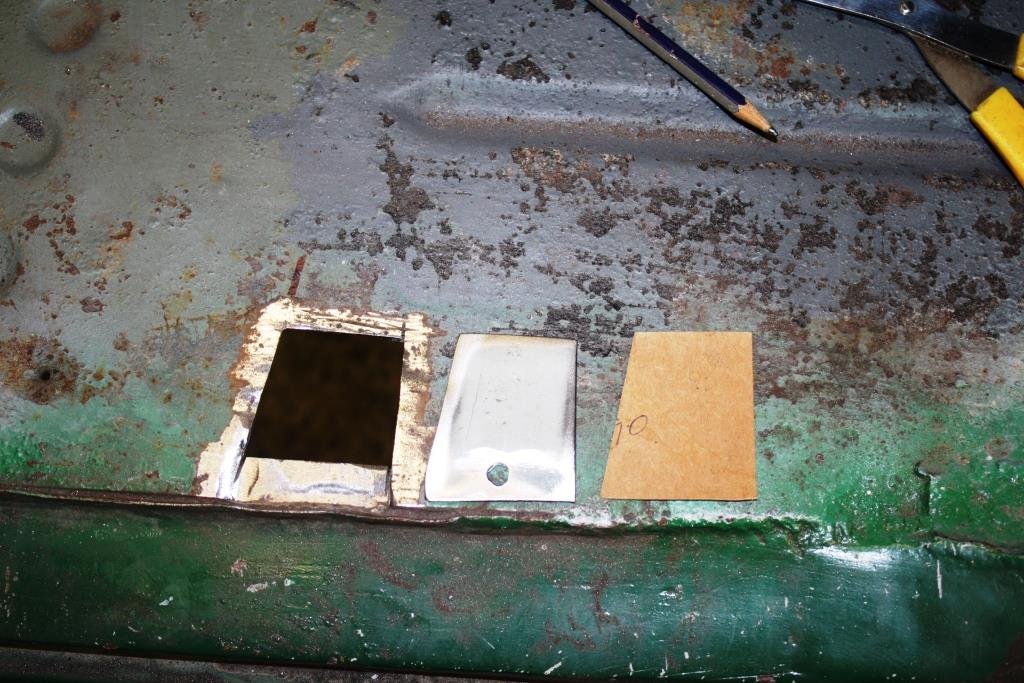
Started making up more repair pieces. Check the fit one more time… Tacked them in place…. And started stitching… The sun was shining so I dragged the old tart outside for a good waterblast, still couldn’t get a lot of the crud off – looks like I’ll have some scraping to do!
- 185 replies
-
- 14
-
-
I've been using Brakeclean for year with our race cars. Just make sure the area is well ventilated and obviously don't spray it on hot metal and you'll be fine.
-
Yeah I've enjoyed his videos. In the past I've been attempting to make larger more complicated panels and have always struggled. His simple tools piece by piece method works and I love his "cut and butt" system, it has made a huge improvement to my panel work.
-
I'm using a Cigweld 190; it's a lovely 15 amp machine and I keep it in good condition. Just fitted a new wire liner and it's welding sweet as. The second I removed the magnets it behaved itself? To be honest I was using an overkill of magnets holding a 3D patch in a small area, I might try a test piece tomorrow and will report back.
-
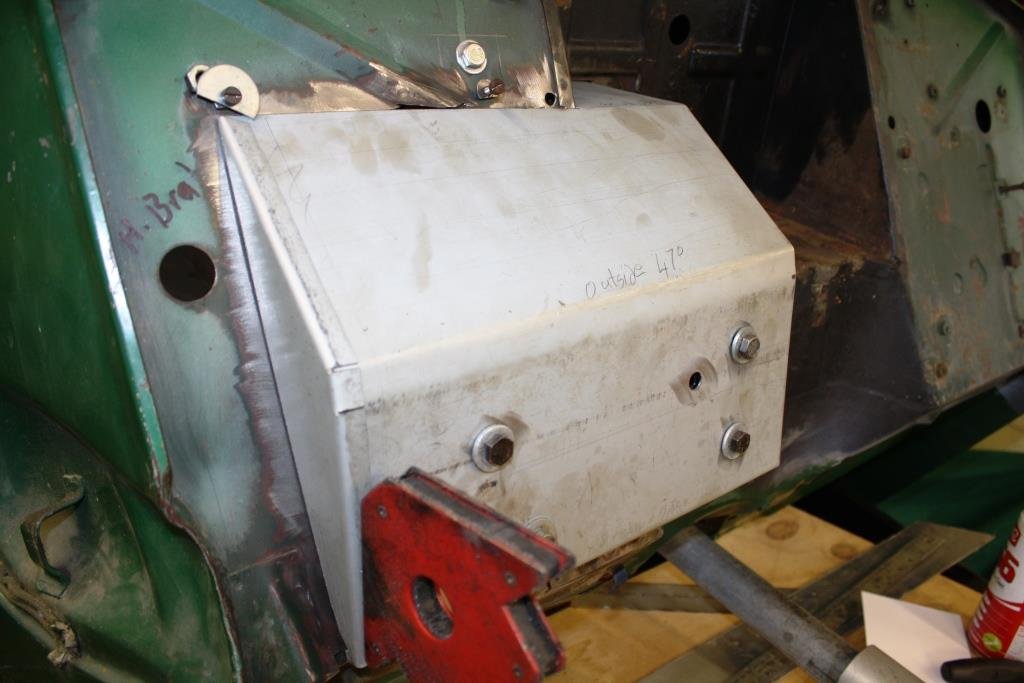
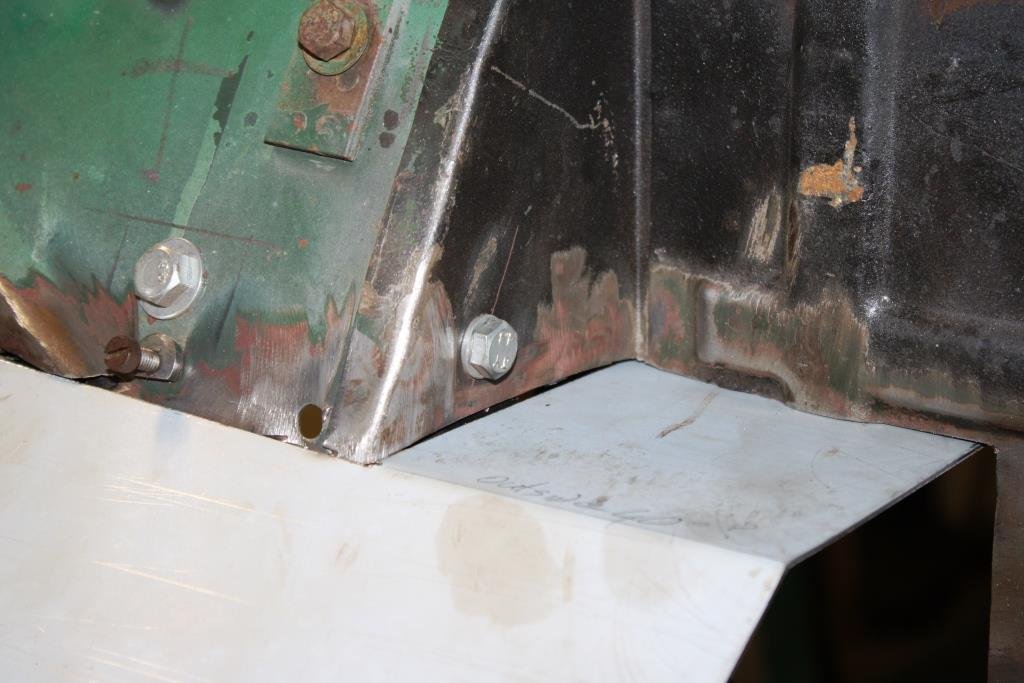
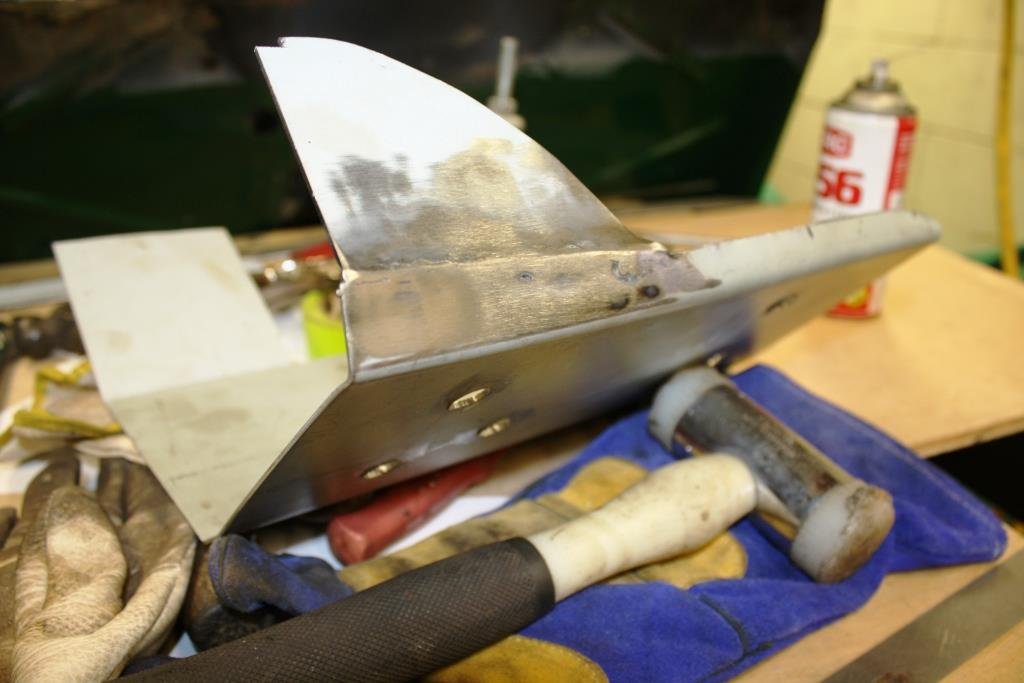
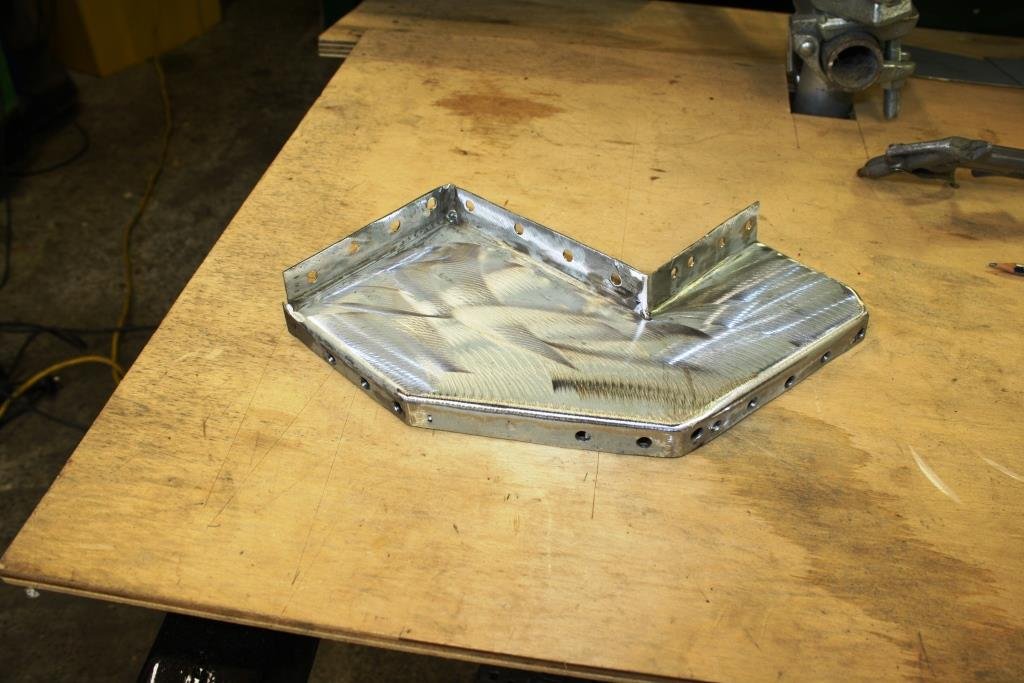
I've never fancied myself as being a tin basher, fabrication work to me has always involved machining and structural stuff. On my latest project I've had the luxury to push myself into areas I'm not overly comfortable with. Current self inflicted flagellation involves me fabricating from scratch a removeable transmission cover (for my beloved Rigamortice) from 16 gauge Zintex and recycled 3D bends nicked from scrap car panels. Inspired by the legendary Fitzy (see link below) I've set the bar high to make the whole cover by hand with nothing more than the resources I have available - i.e. beer, bullshit, bad manners & 101 Wild turkey. Reason for this post is that with hammer and dolly in hand I hammered out what I thought was a great yet modest panel to add to the afore mentioned transmission cover but when held in place by a number of welding magnets all I got was the porous spitting you get when the MiG bottle finally runs out. Checked out the gas supply, all OK. Re-ground the edges to make sure the zintex coating wasn't interfering; all OK. Closed up the man-cave to check the airflow wasn't blowing the shield away; all OK. Cleaned all to be welded surfaces with CRC Brake-clean to remove any possible contamination; still f***ing all OK! Finally removed all the magnets, held the offending piece by hand and tacked it in place with no fuss? Question is, has anyone else out there experienced this phenomena? I will however add the proviso that since having my booster shot I have occasionally had my left shoulder stuck to the fridge door and at times Bill Gates still talks to me in my head!
-
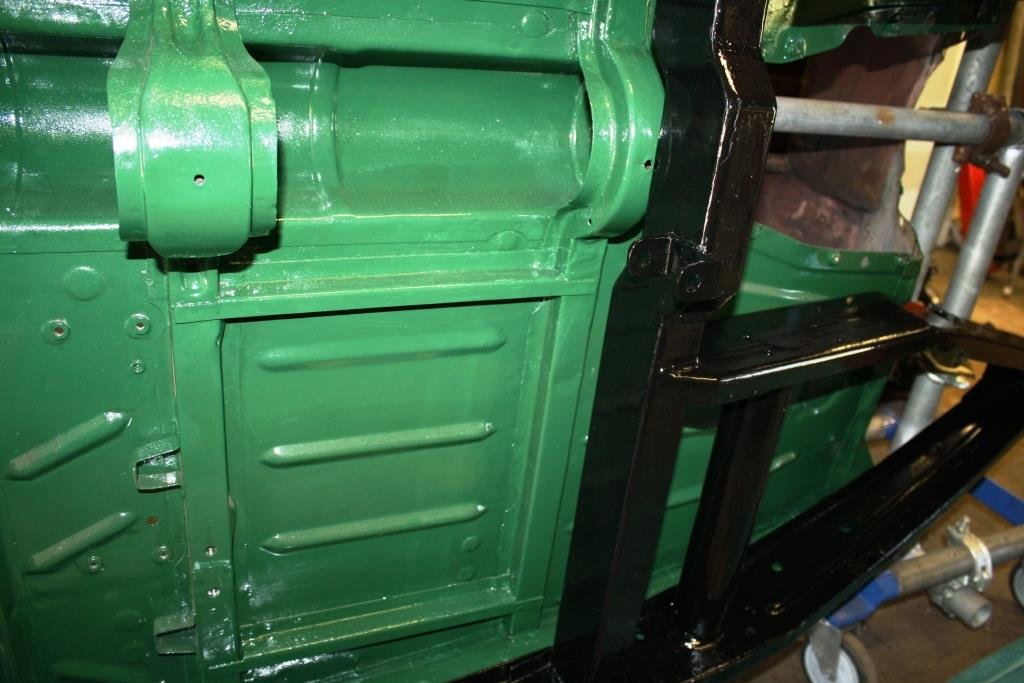
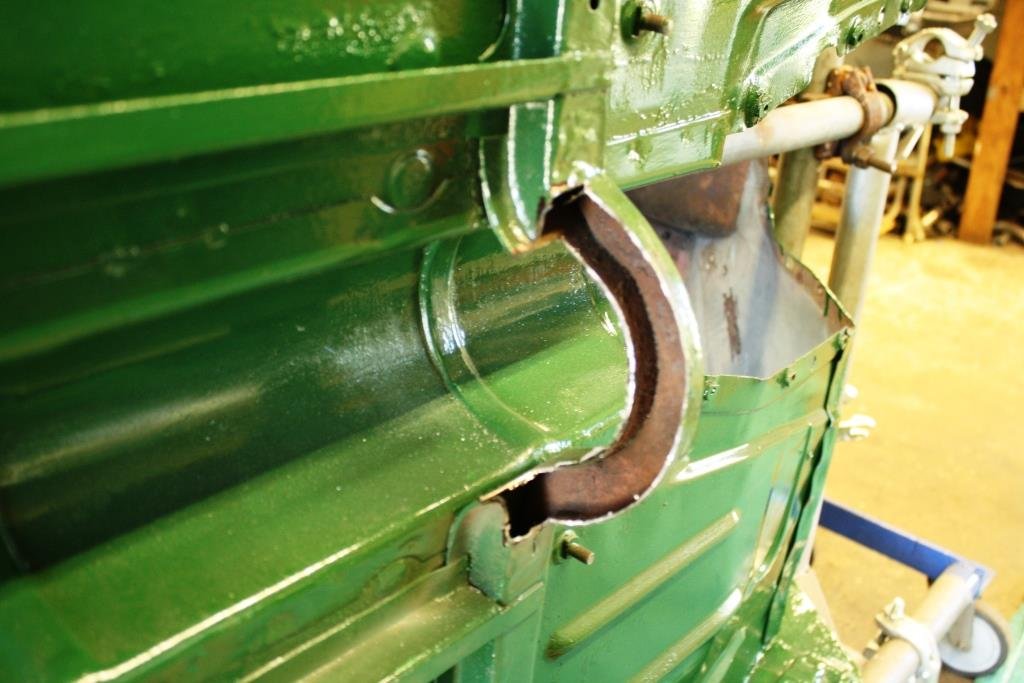
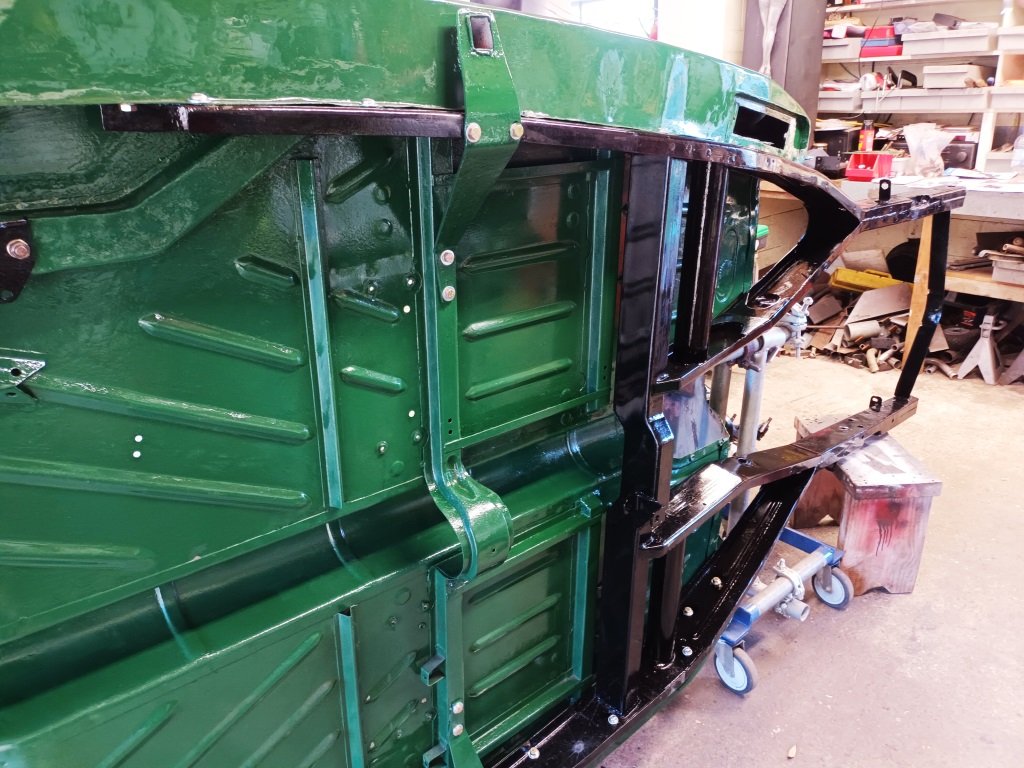
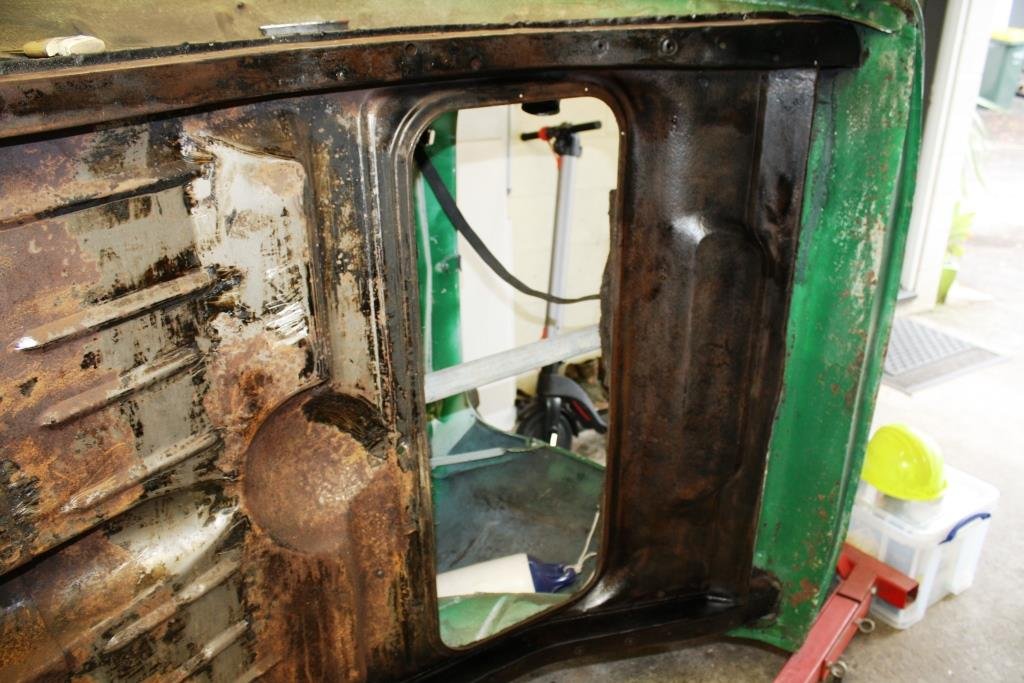
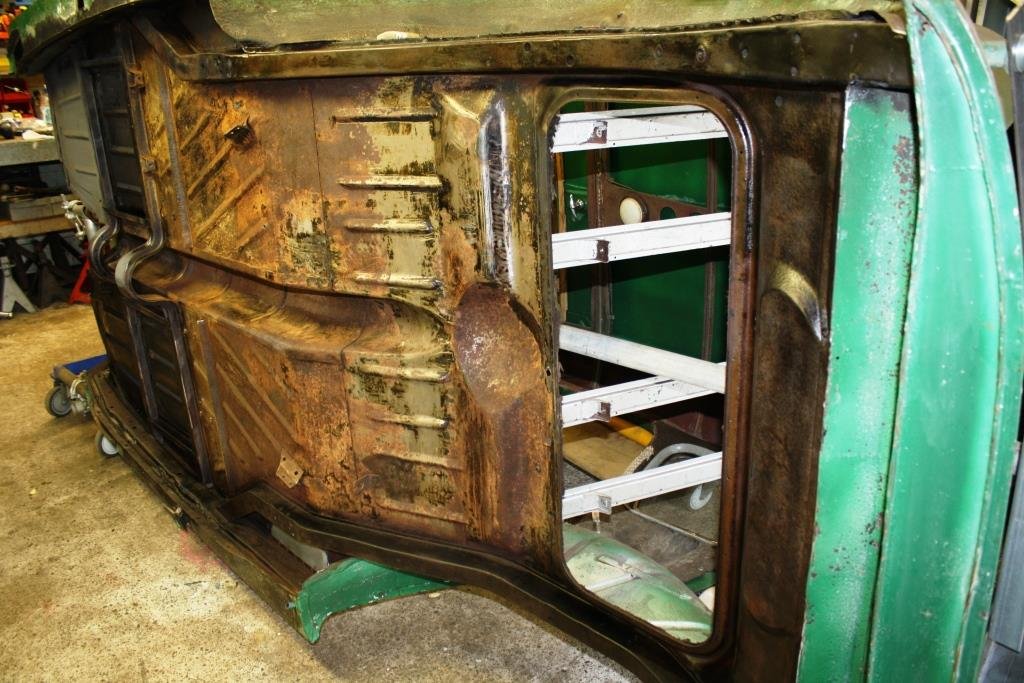
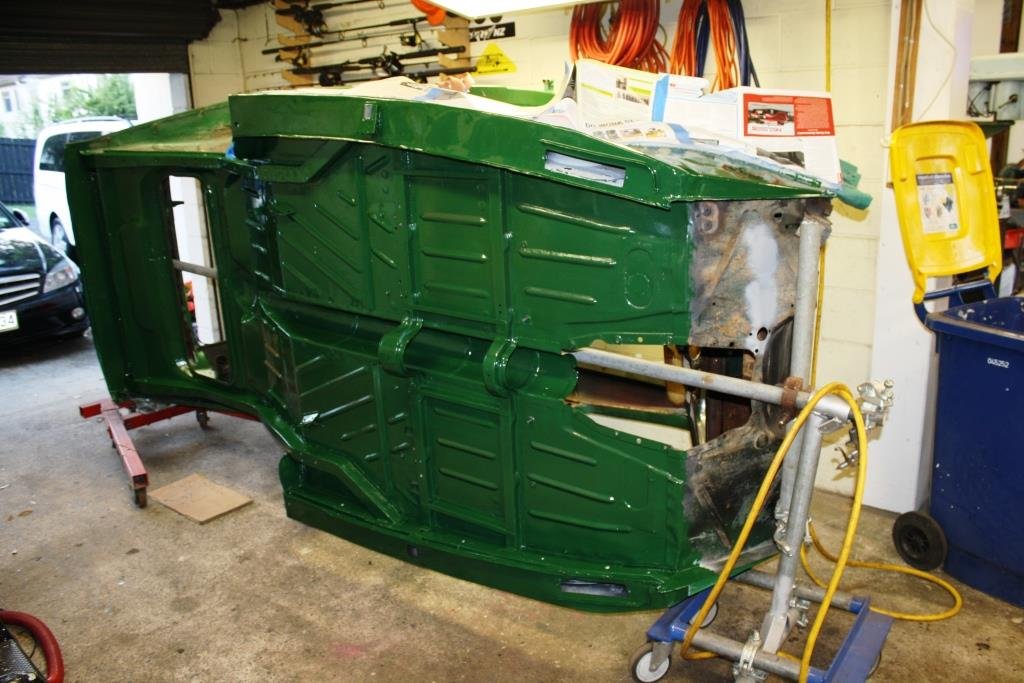
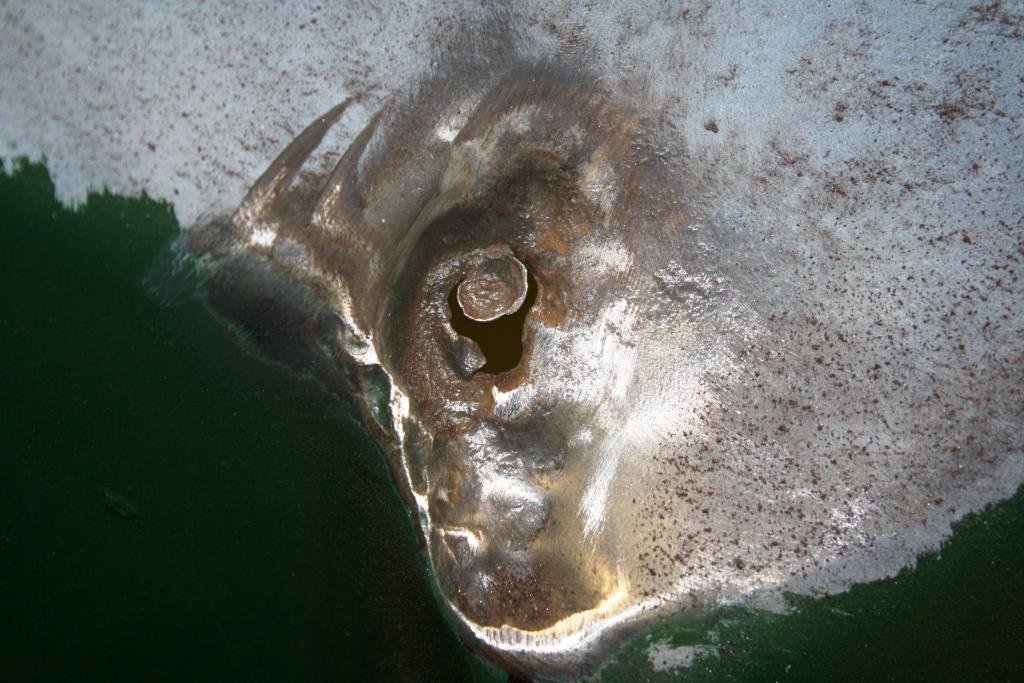
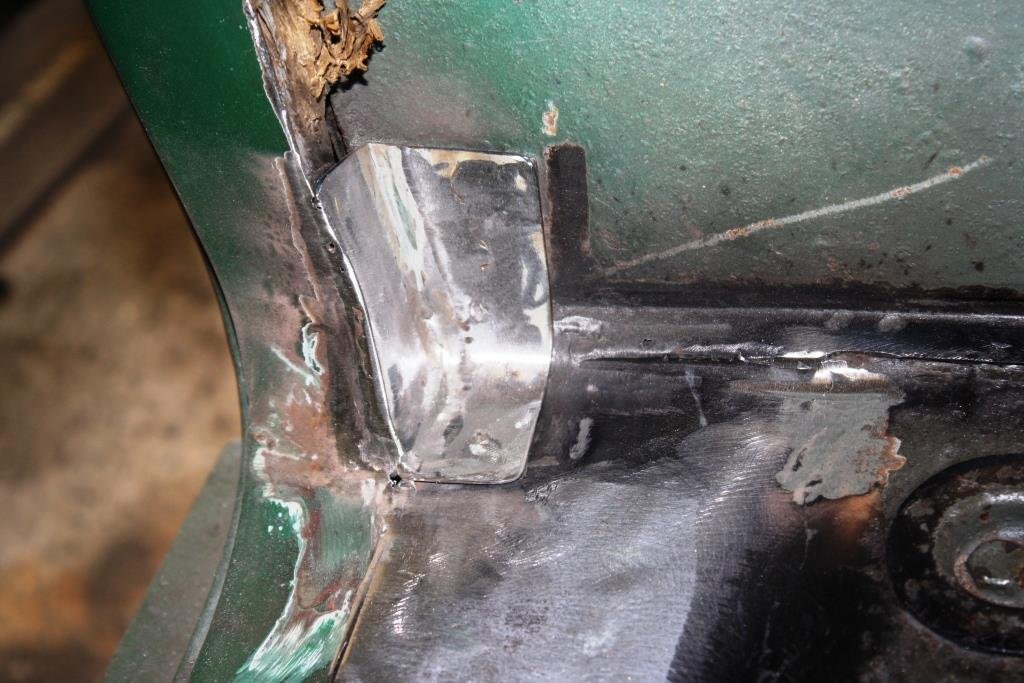
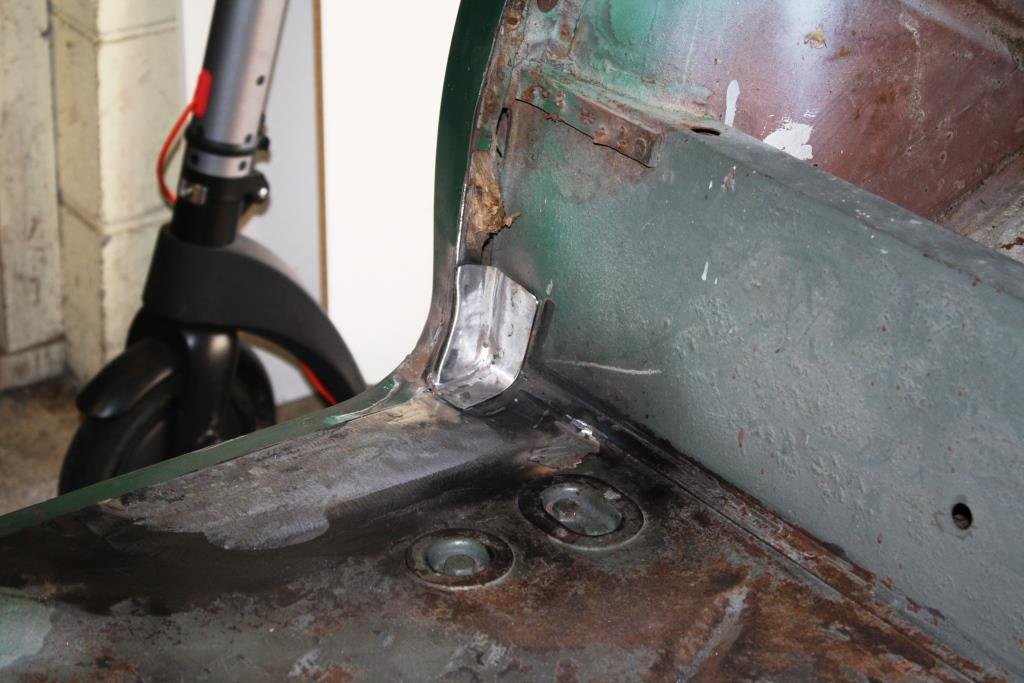
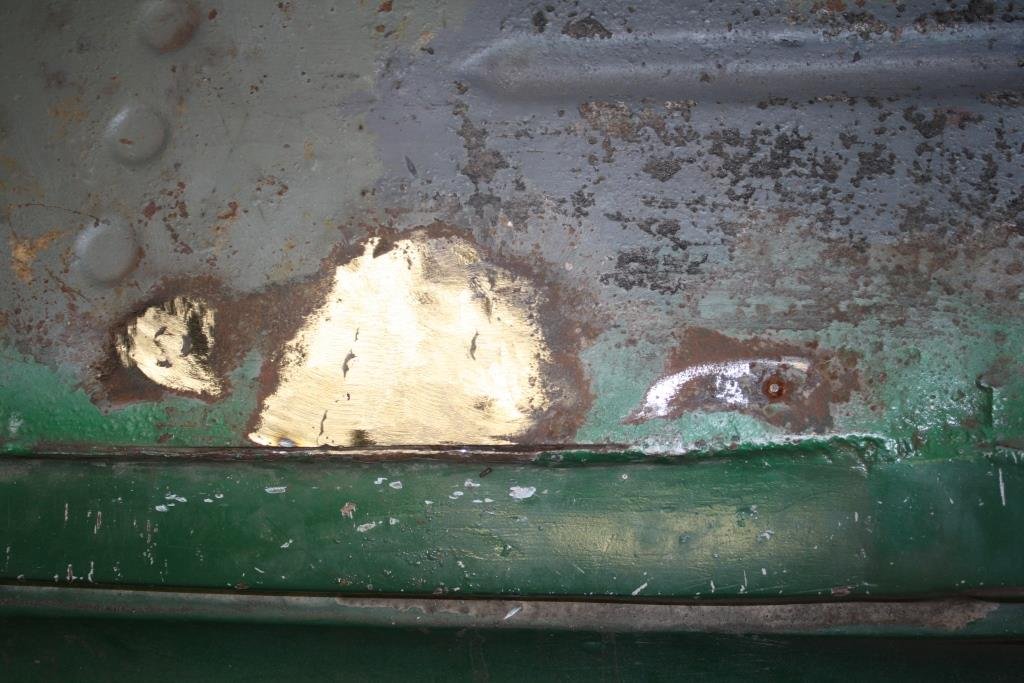
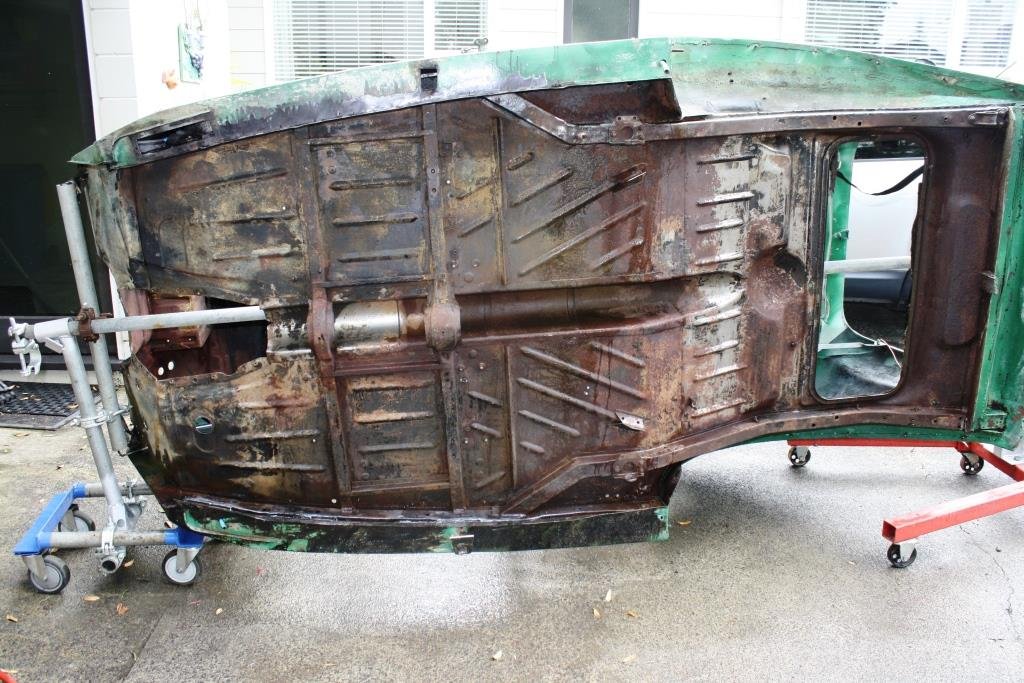
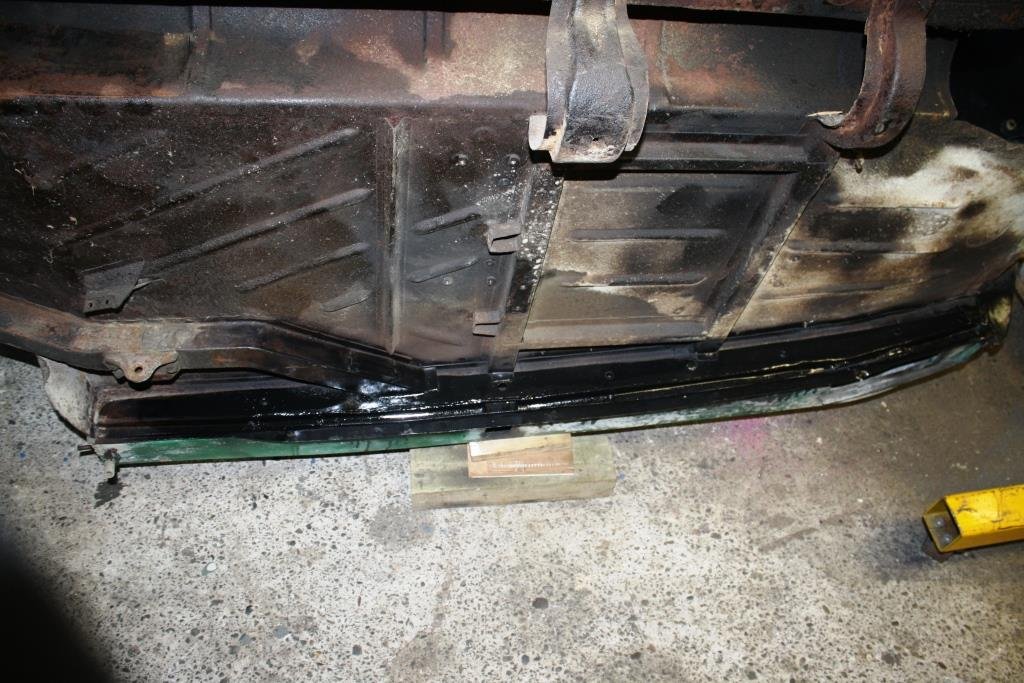
A bit of heaving with the chain block and over she goes, getting good at this! Have to say that as with the chassis the starboard side is in much better condition, one can only wonder what happened in the last 75 years to cause that? It all cleaned up easily… Found some old repairs that had been done in bronze - makes mental note not to run into it with the mig!
- 185 replies
-
- 10
-
-
As a rule of thumb fans fitted to the front of a radiator work well at low speeds but eventually will impede the flow of air through the radiator once the vehicle is underway.
-
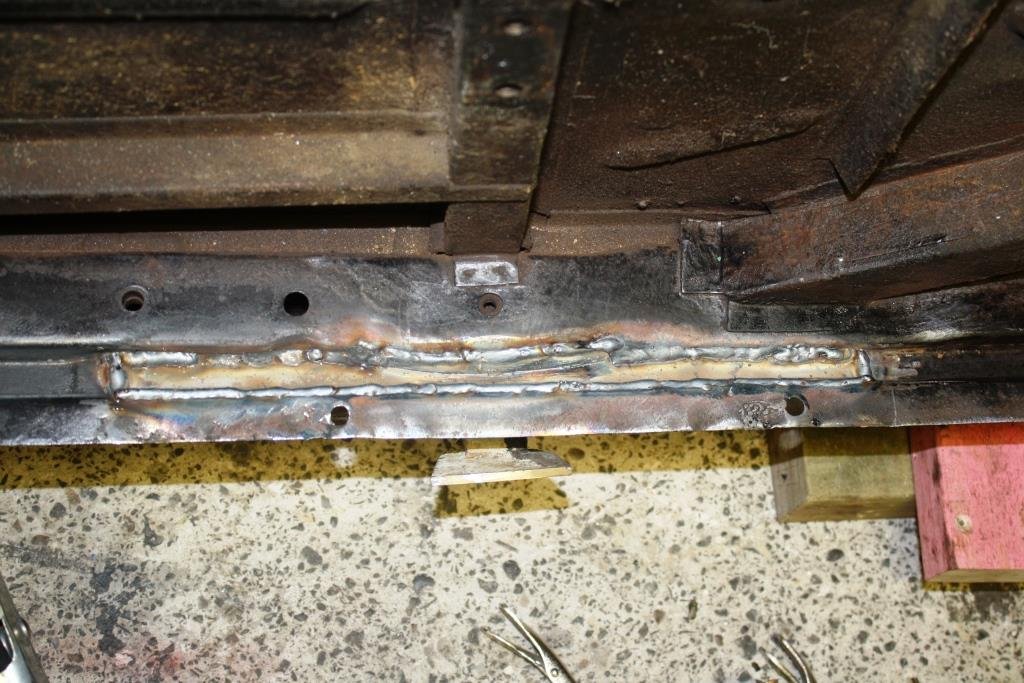
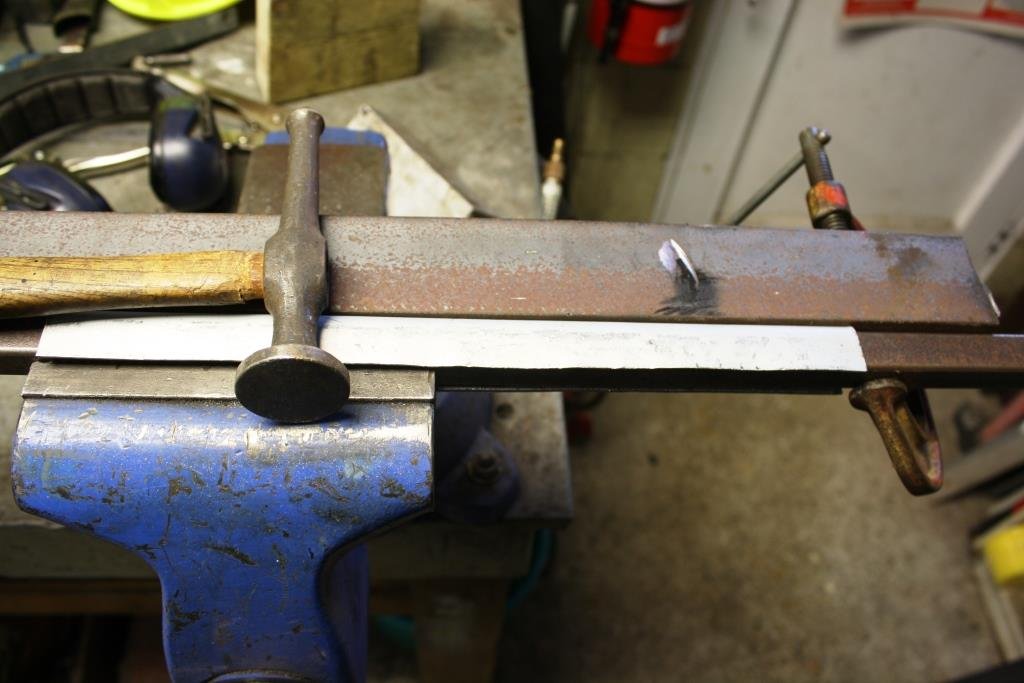
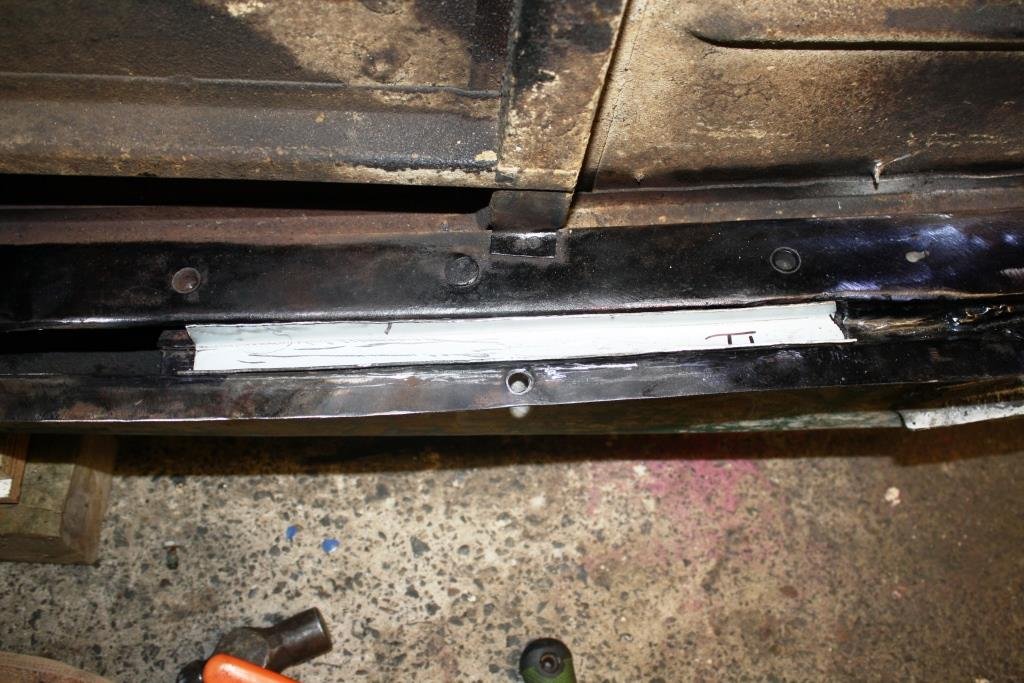
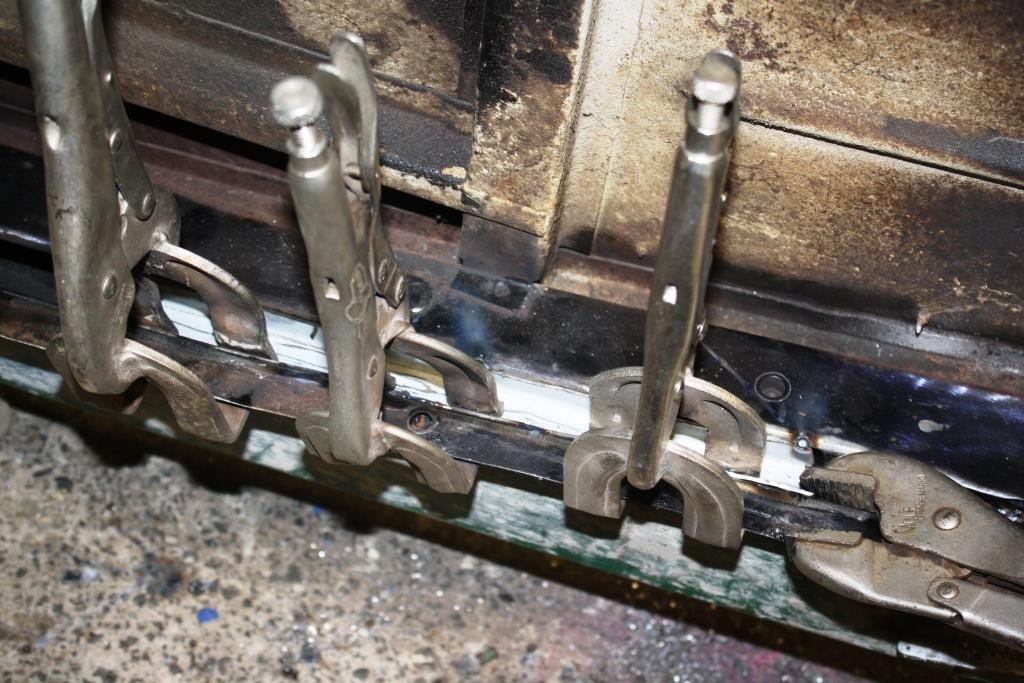
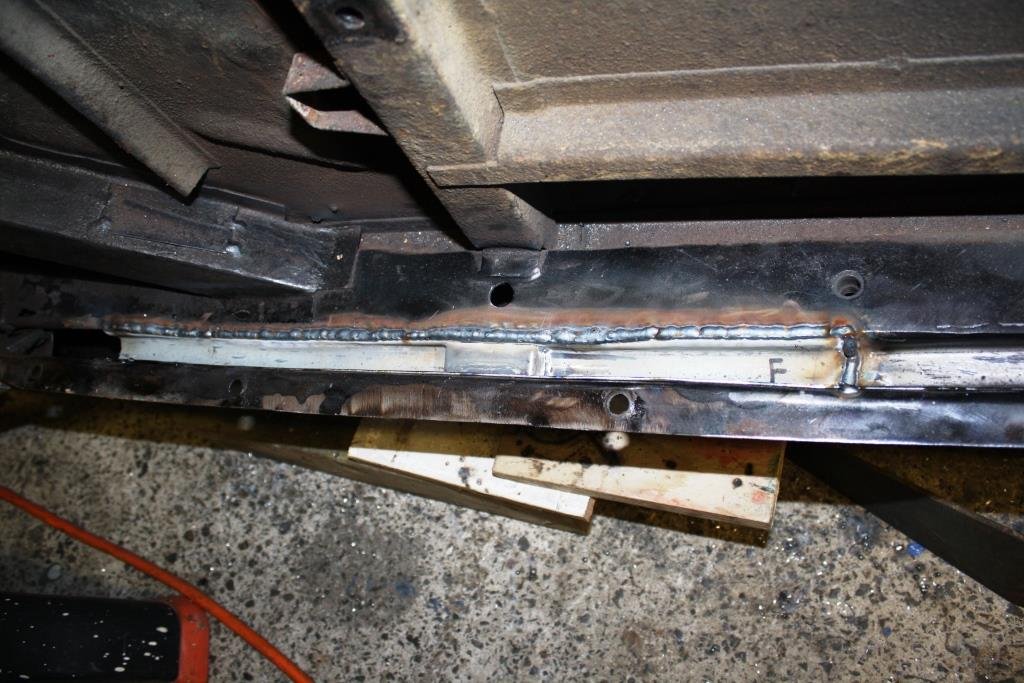
Back to reality, more rust……. More CAD…….. Making progress…. Angle iron bender….how I love working with 16 gauge Zintex….. Looks like it fits……… You can never have enough clamps…… Big heavy welds… And some etch primer…….. Port side - worst side looking good; time to flip the old girl over and rip into starboard.
- 185 replies
-
- 18
-