


sr2
-
Posts
763 -
Joined
-
Last visited
-
Days Won
1
Posts posted by sr2
-
-
- Popular Post
- Popular Post
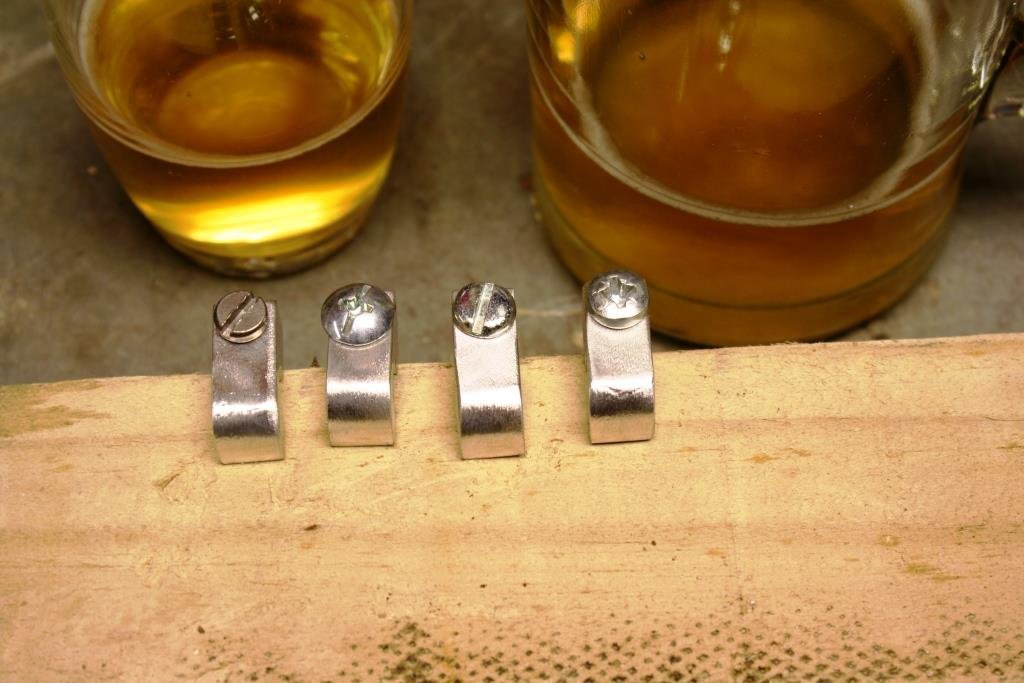
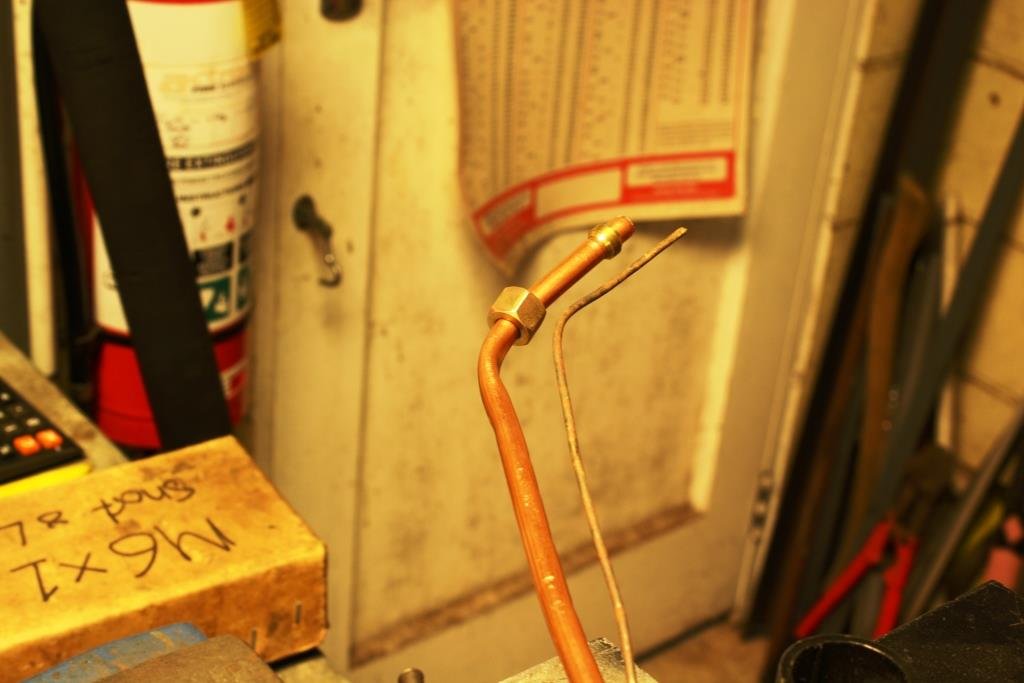
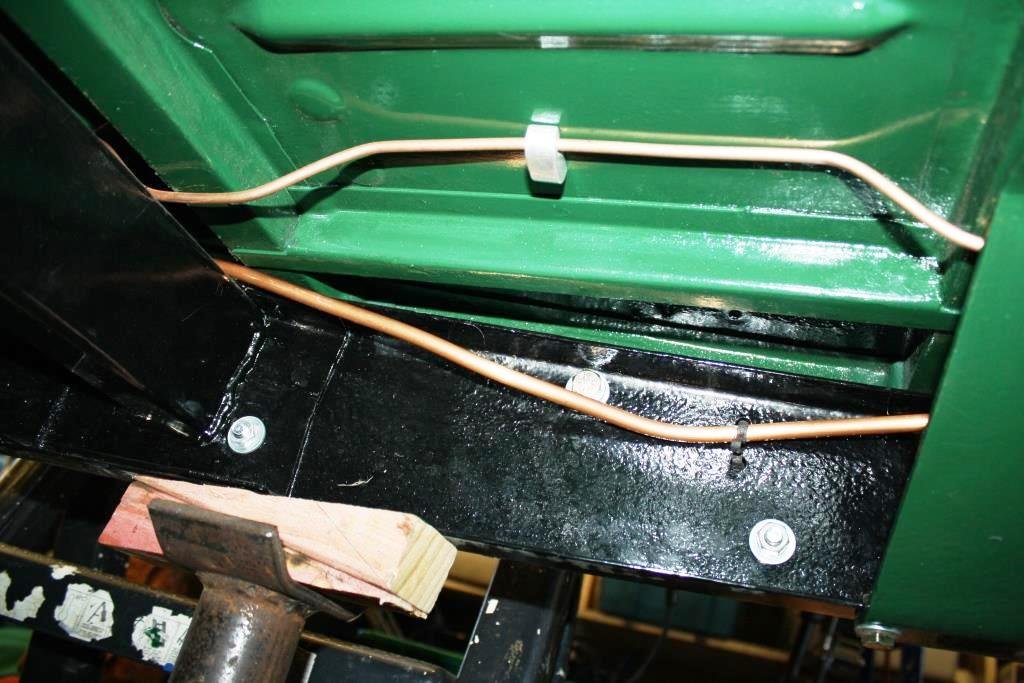
Time to make up some fuel lines.
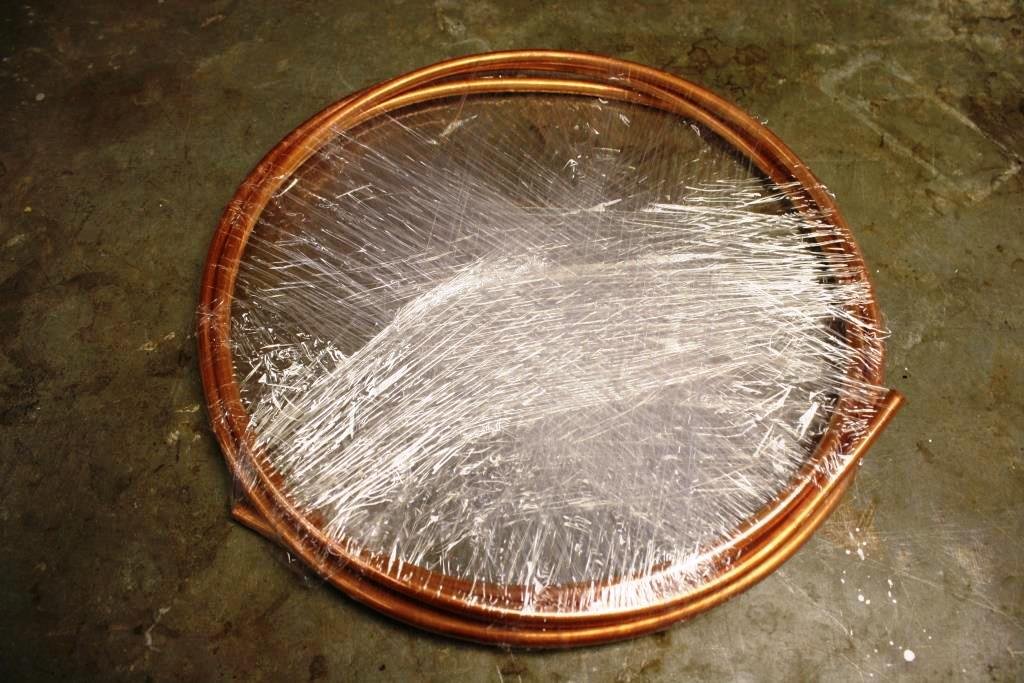
Ordered some 5/16” copper line..

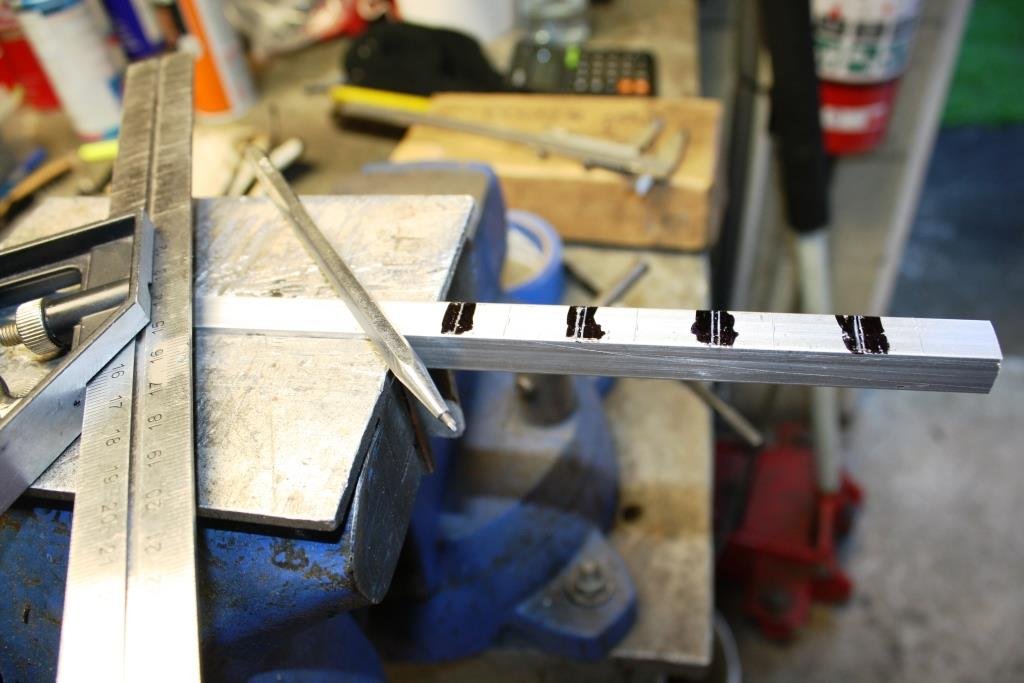
Marked up some 10mm ally square to make some saddles.
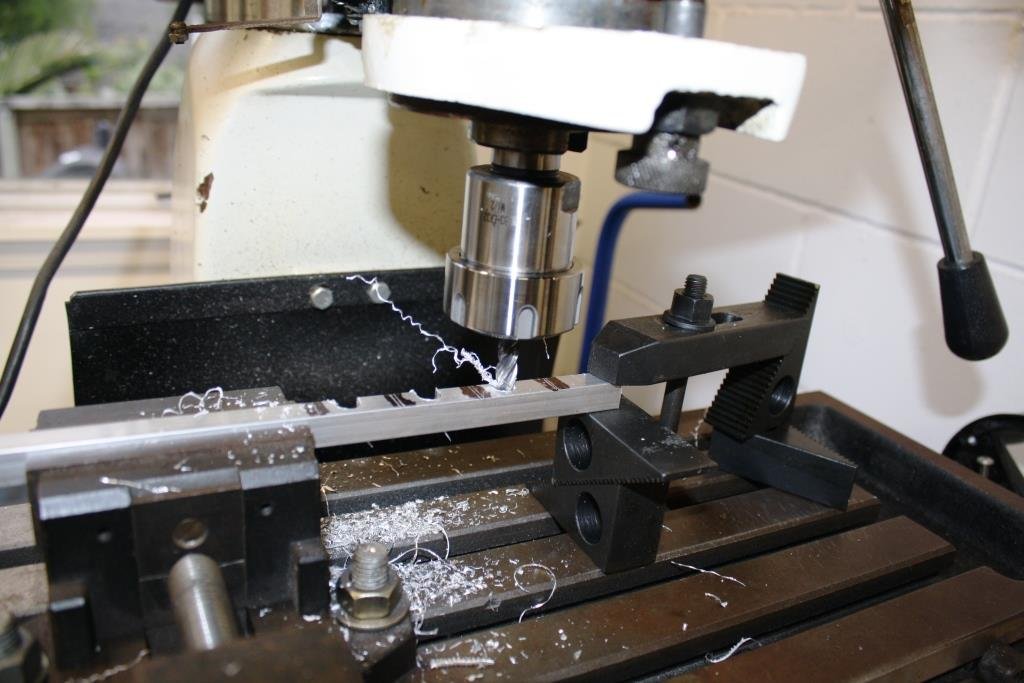
Cut some slots in the mill.
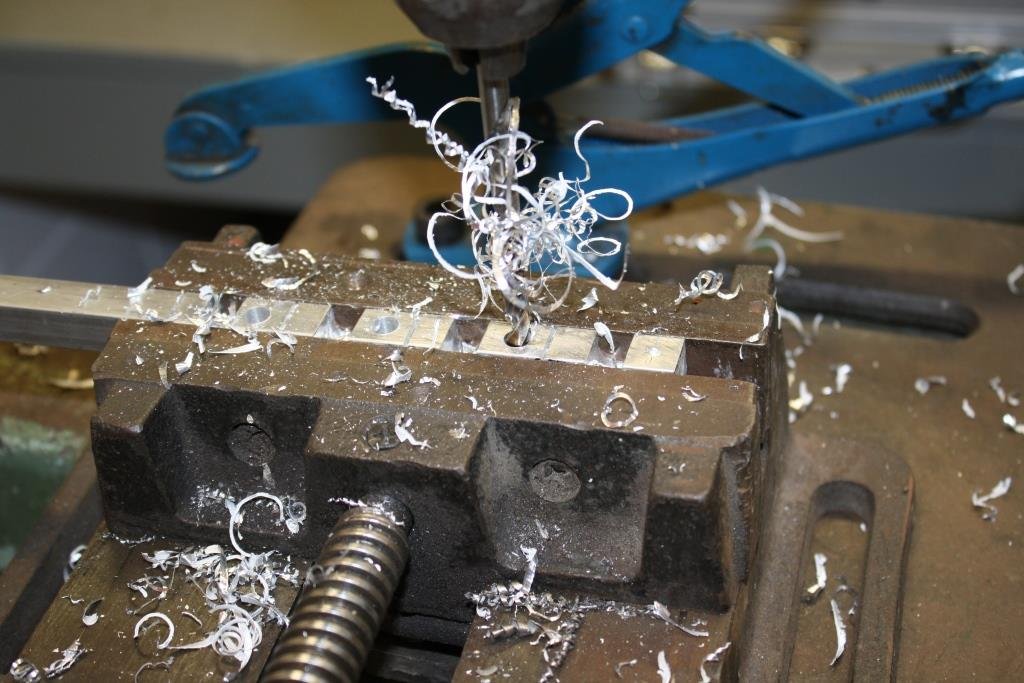
Drilled some mounting holes.
A bit of work with the band saw and linisher.
And a few beers to decide which type of screw to use.
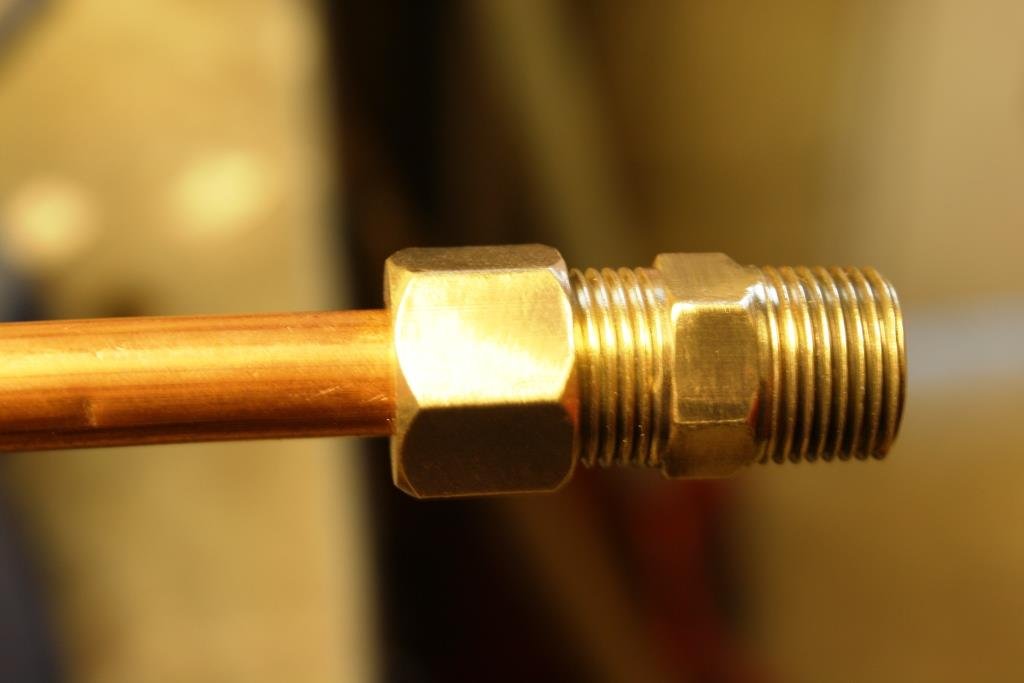
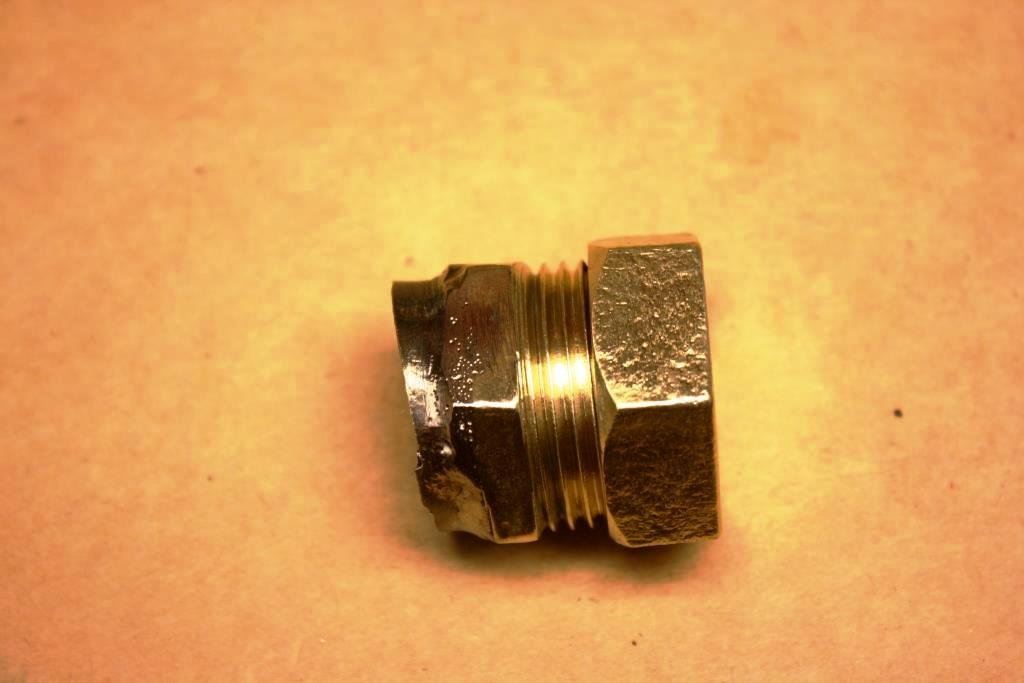
Bought some new compression olives to use with buffed up old brass fittings.
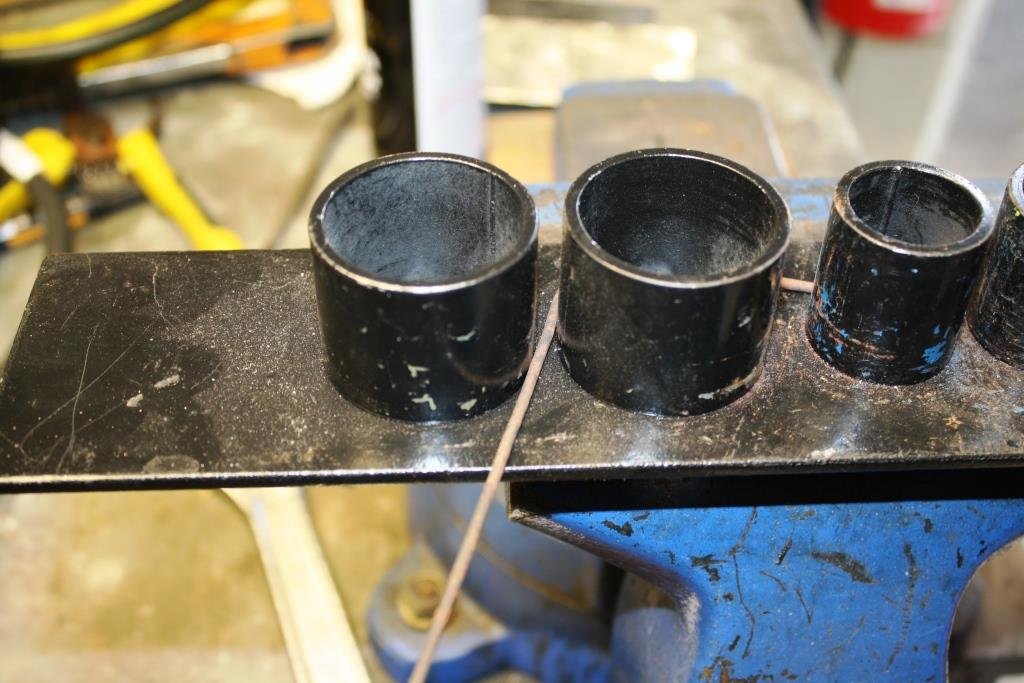
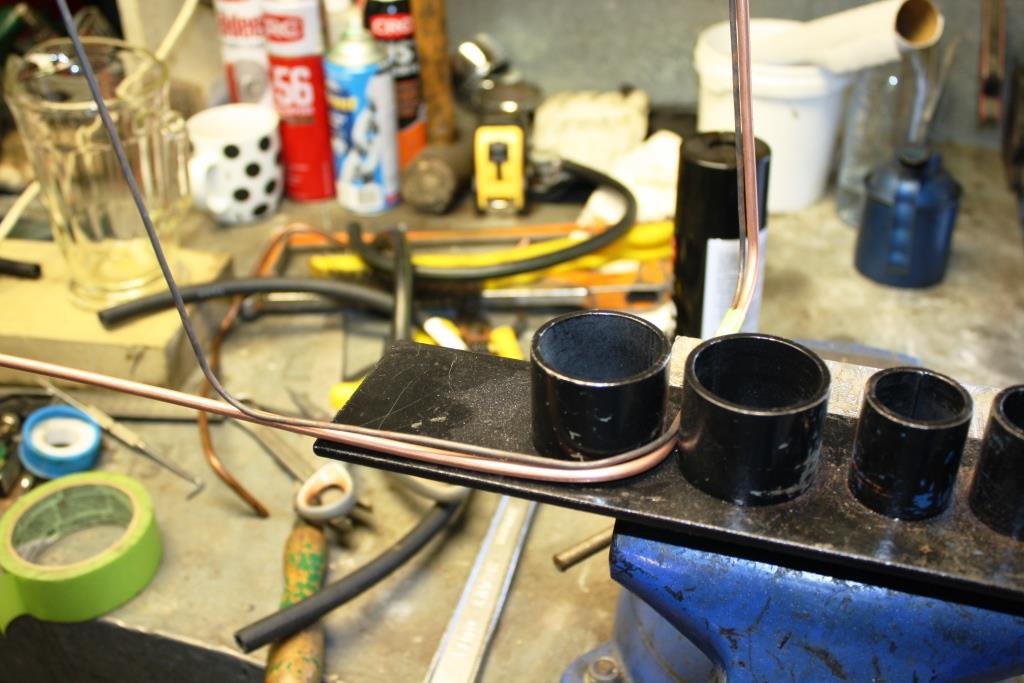
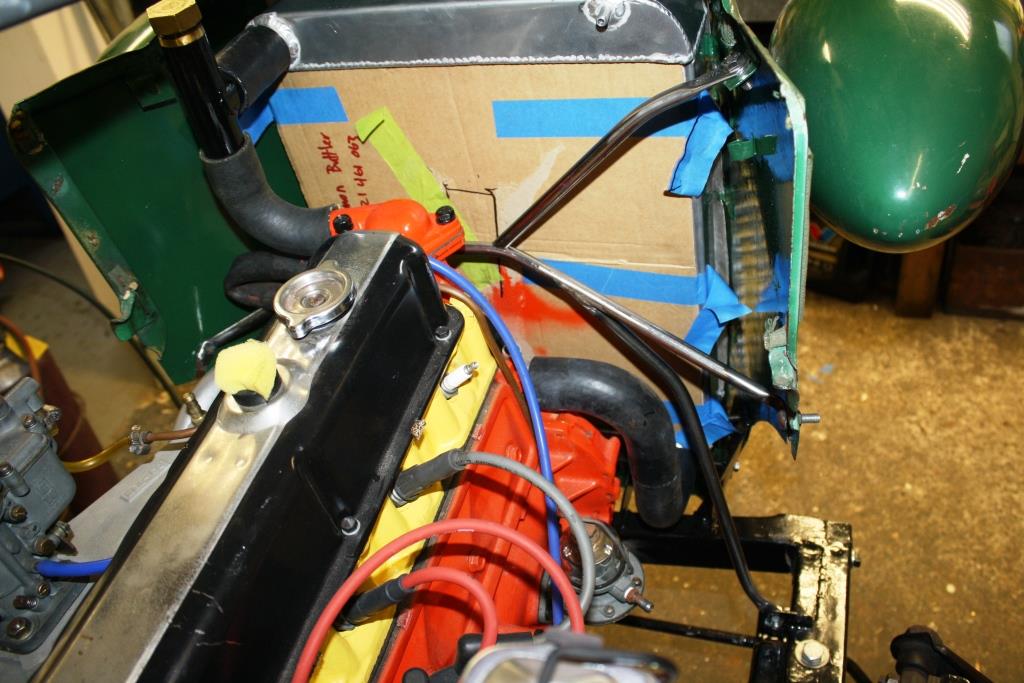
Back to bending up welding wire patterns….
And copying it on the same bender….
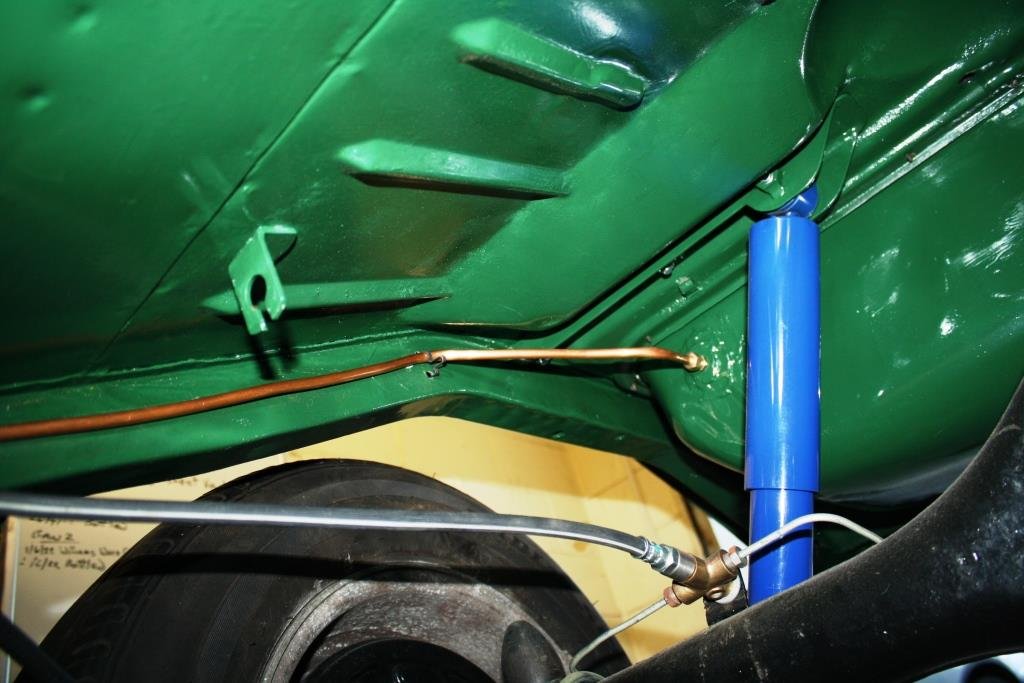
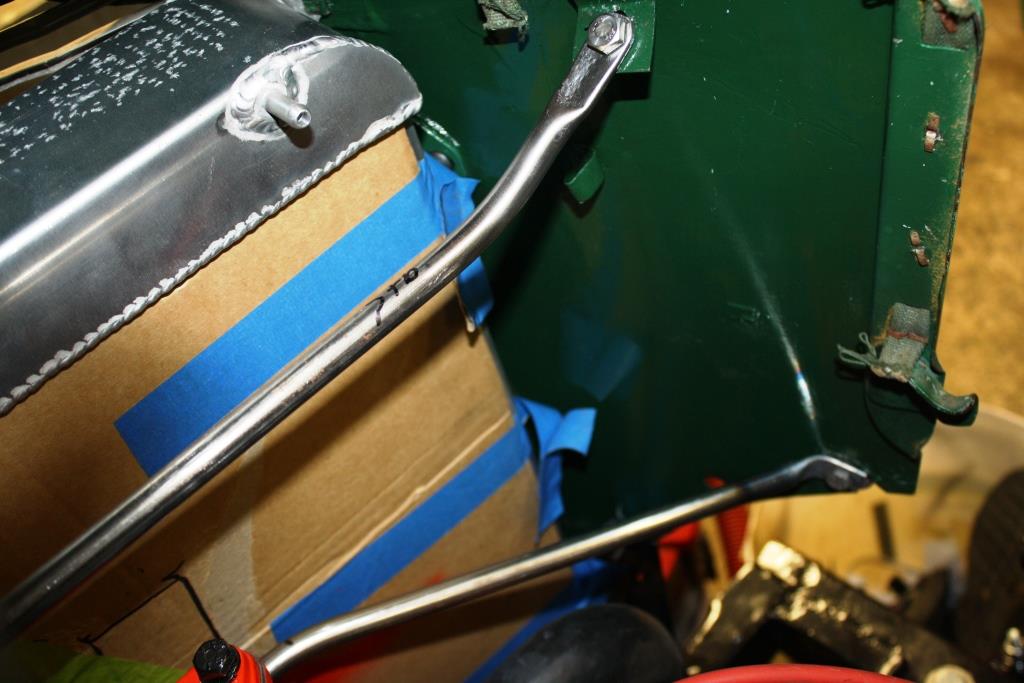
Working my way back from the gas tank…
Looks like someone left an old spanner in there…..
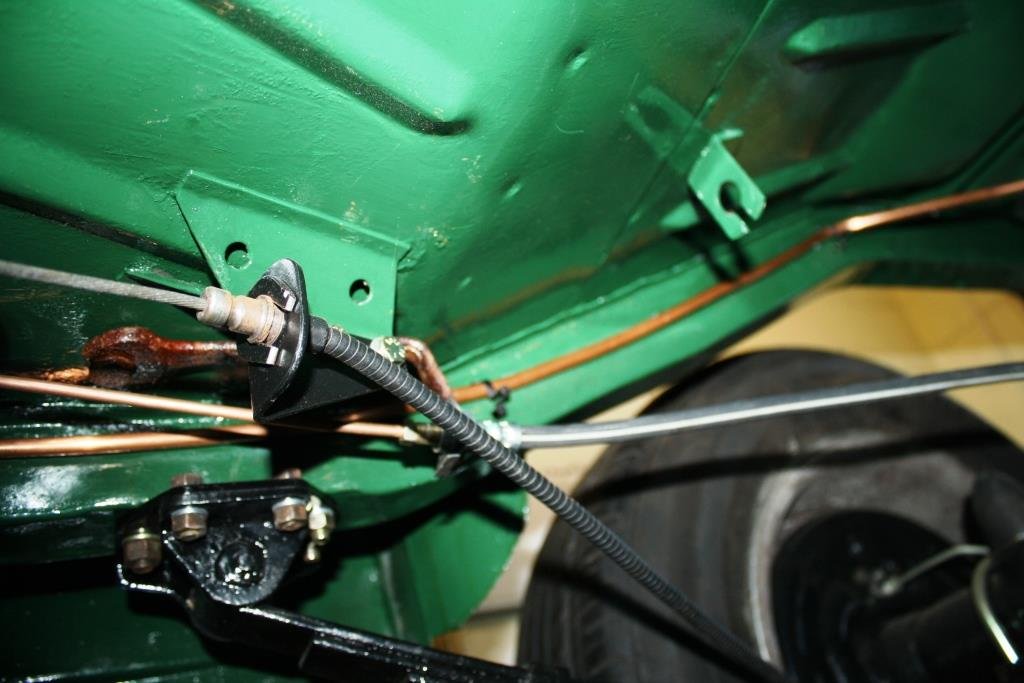
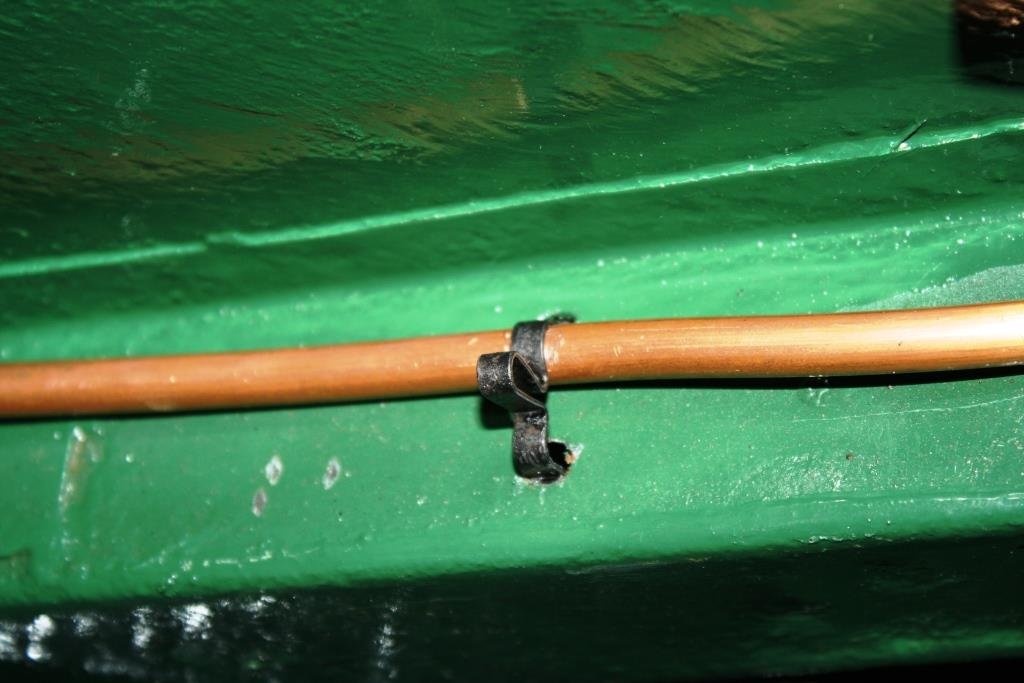
Using some of the original 75 year old spring metal clips where I can
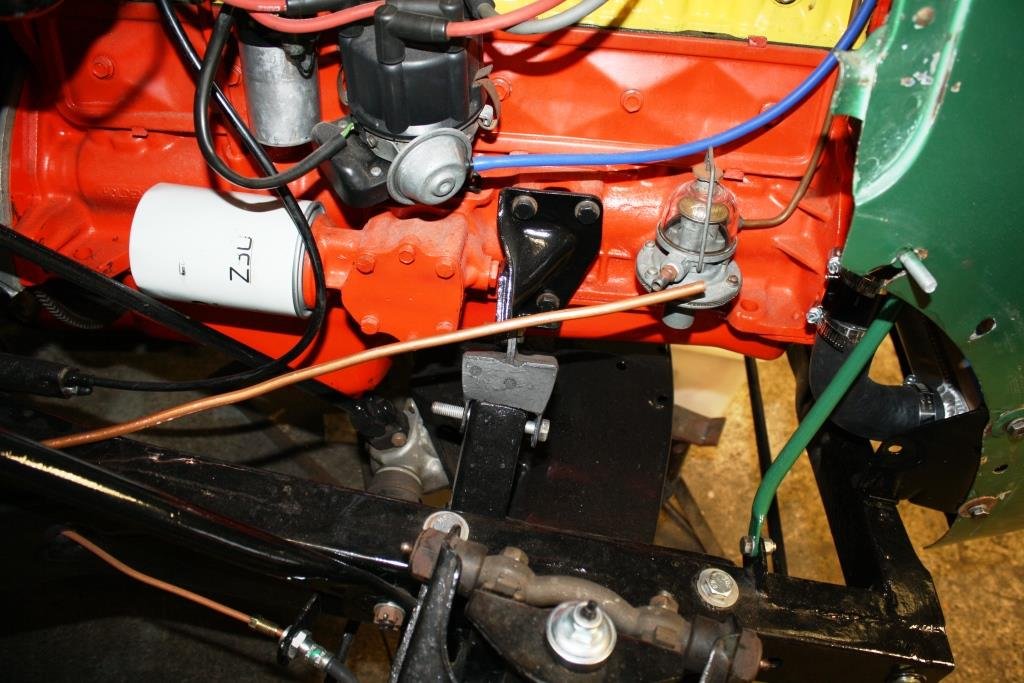
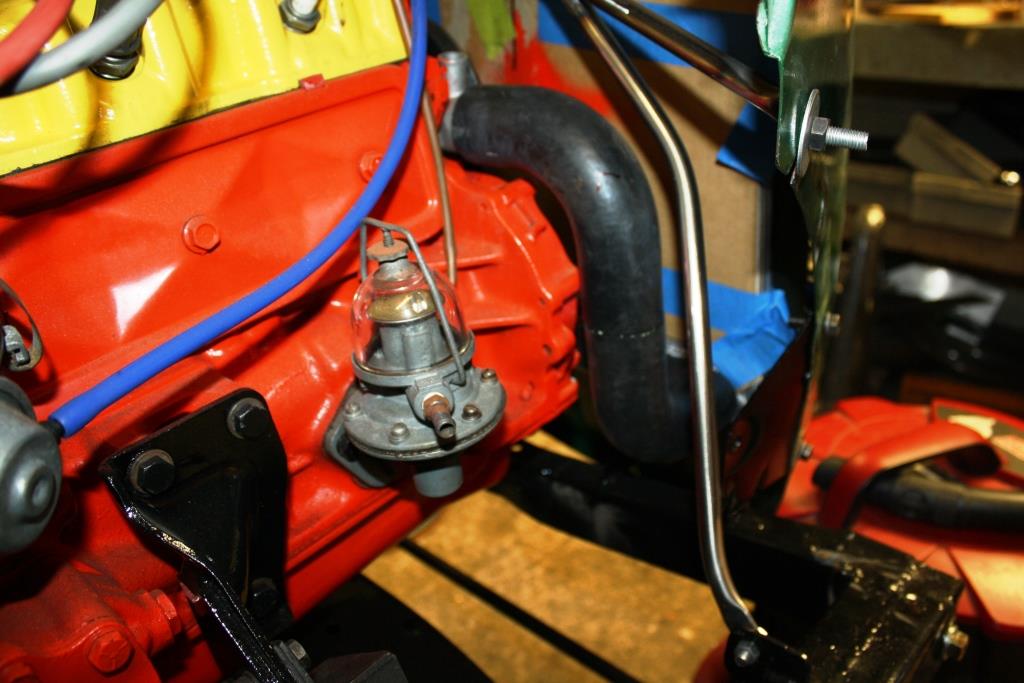
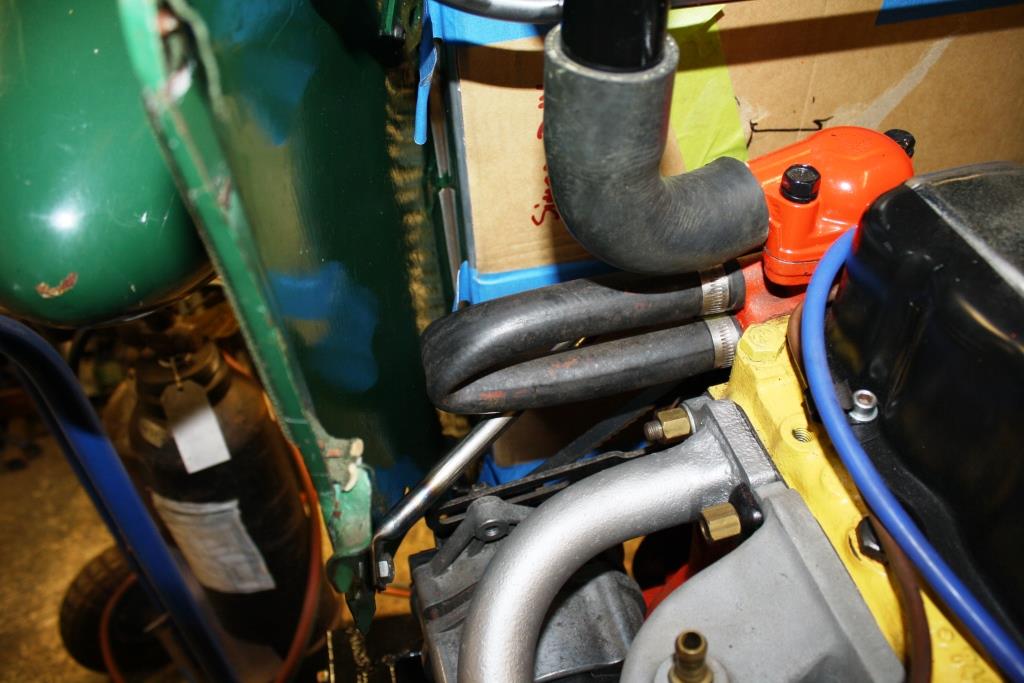
Finally arriving at the fuel pump.
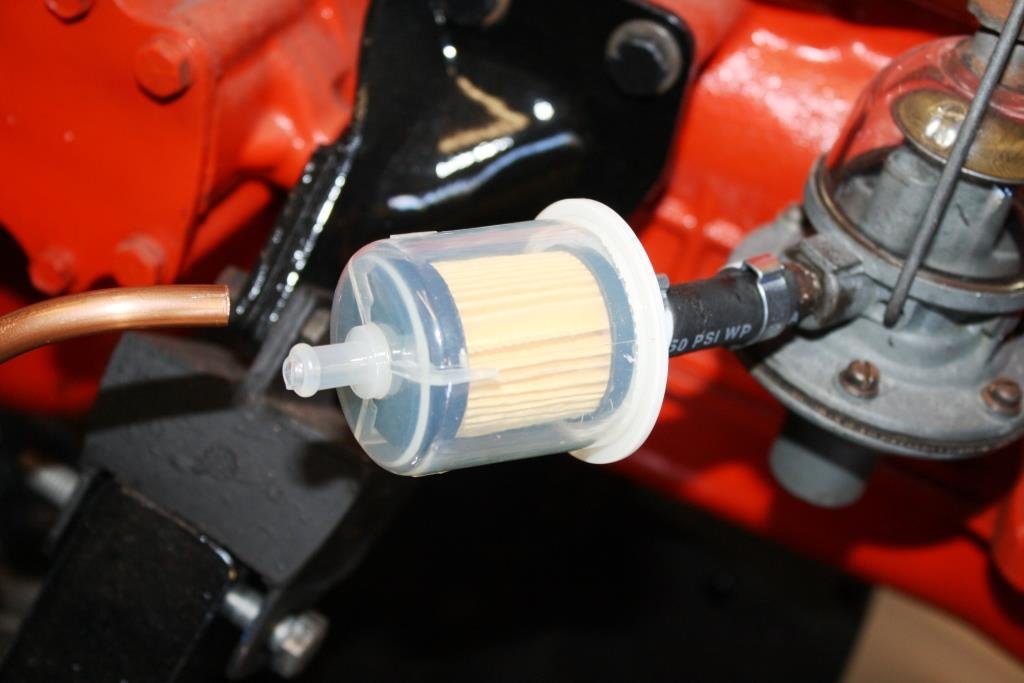
Almost there, I always put the fuel filter on the suction side.
-
 19
19
-
On 22/03/2023 at 11:13, Flash said:
Pity I didn't know about your trip to Bundy, Simon. You could have dropped around for a bevy and a yarn. I'm just down the road in Bargara.
Hi Mate, I didn't realise you were so close. I'm usually at my brothers place in Mooloolaba once or twice a year, will look you up next time I'm over.
-
1
-
-
- Popular Post
- Popular Post
So I took a couple of weeks off for some R&R.
Jumped the ditch to help my brother run a Grady White 326 from Mooloolaba to Bundarberg for 5 days of rum and fishing with some Aussie mates.
30 Km off the coast, no land in sight, 35 Knots with 700 hp hanging off the back of the boat.
Returned home to run the race car in the Targa Bambina, jeez life can be tough!
Back home and back to reality.
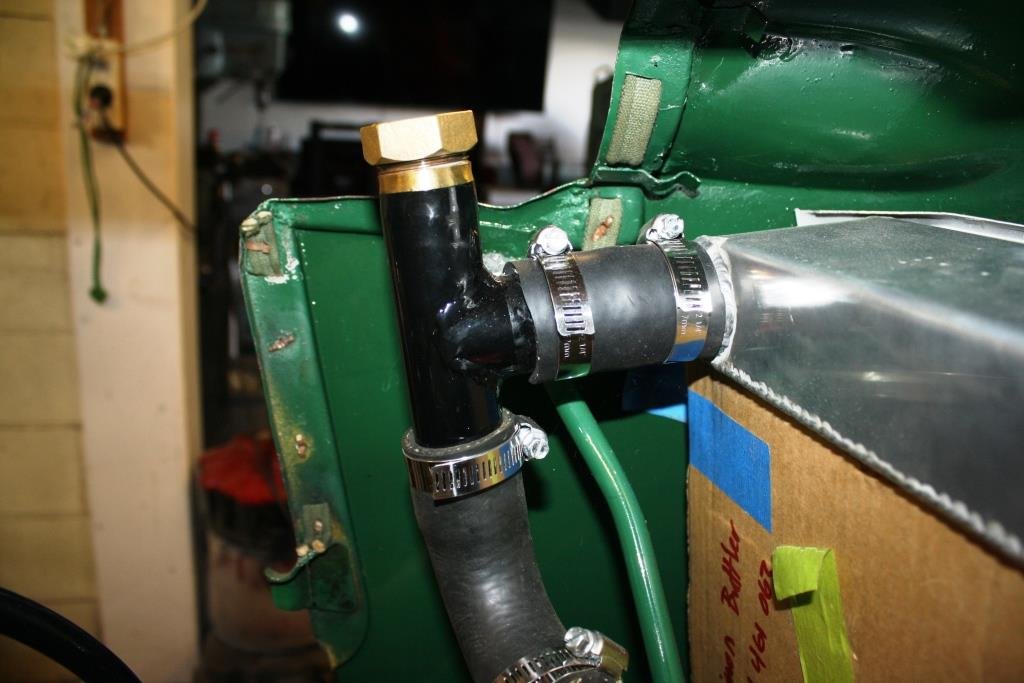
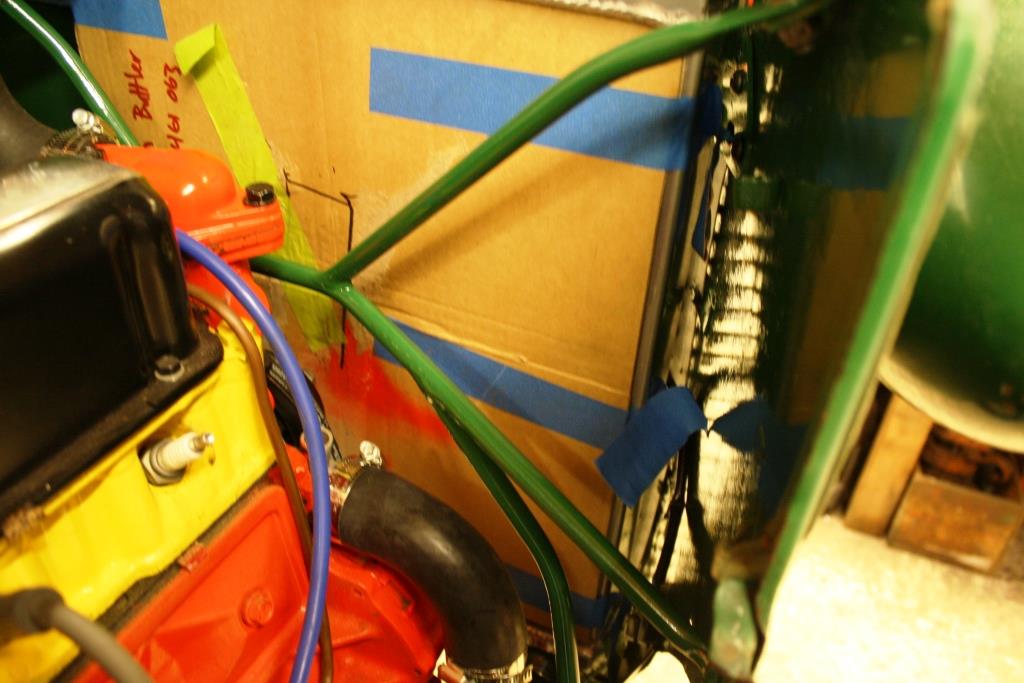
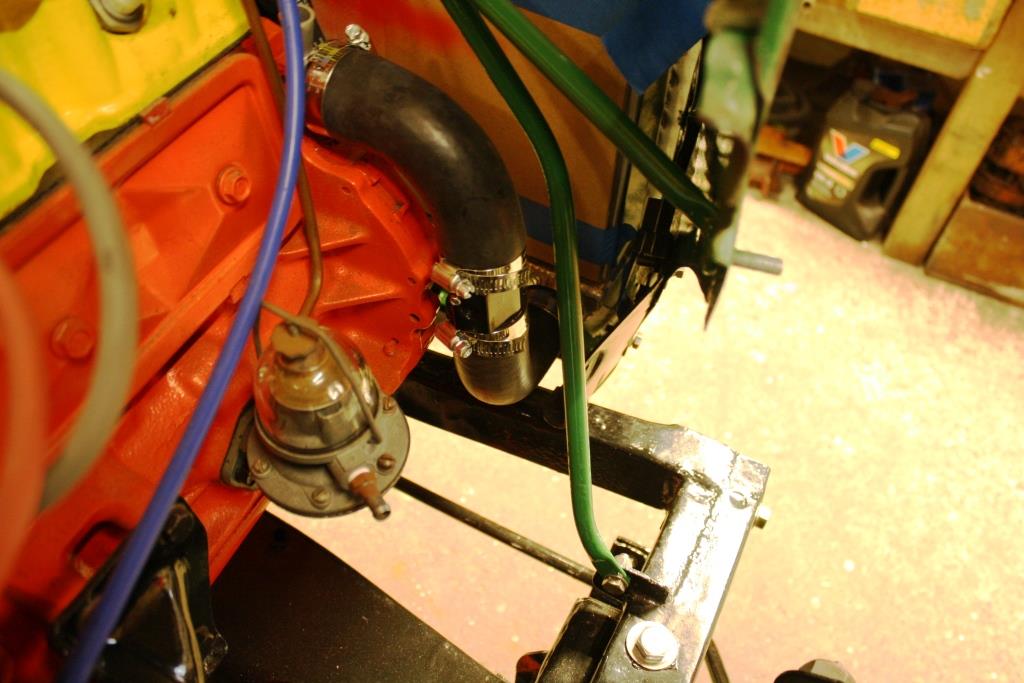
Time for some radiator plumbing.
I found an interesting old brass pipe fitting…
Cleaned it up a bit….
Did some pipe notching in the mill….
Some Ezyflo for the brass and this will be the radiator filler point.
Threw on a bit of paint….
Looks OK to me…
Hunted through Supercheap’s collection of radiator hosed for bends I could use…
I bought an adaptor with a fitting that takes an electric fan sender and used it to make up a bottom hose with two 90 deg. bends.
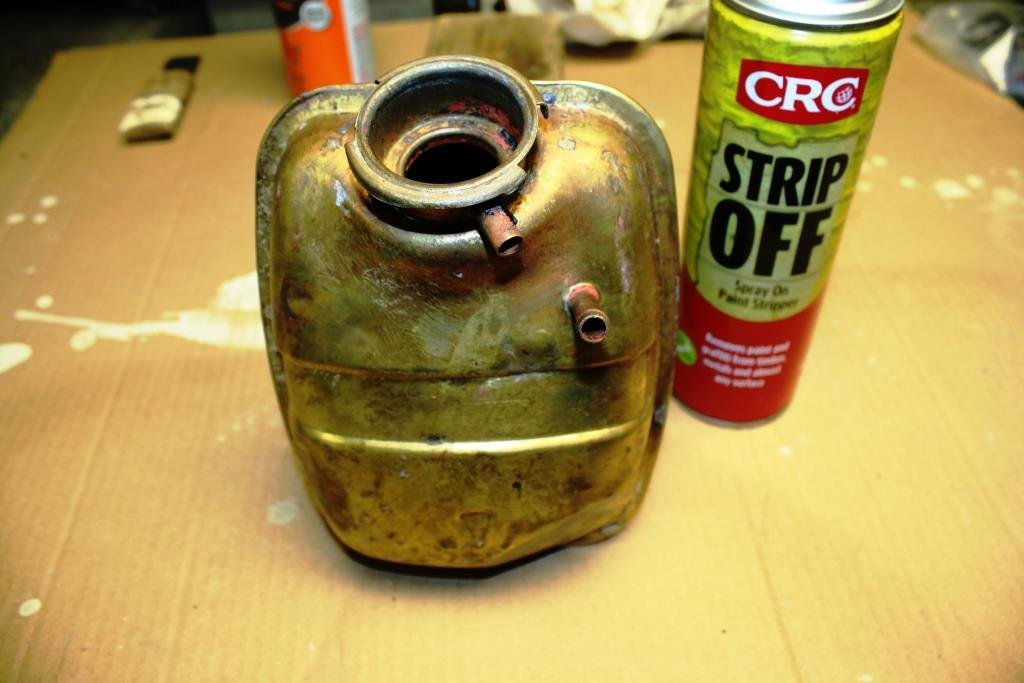
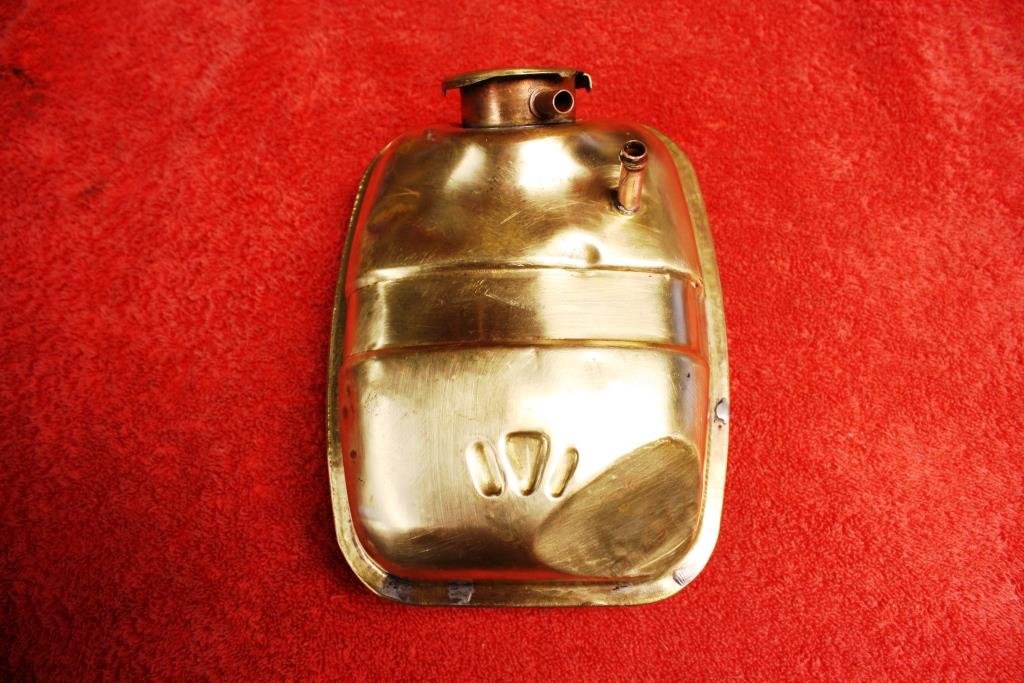
Final challenge was what to use for a header tank?
I had this old tin tank that had been painted with many layers of paint over many years. I forgot to take a before picture but after a can of CRC paint stripper, ½ a bottle of Barossa Valley Pinot Noir, and an evening of elbow grease this really cool brass tank emerged.
Talk about bloody stoked!
-
21
-
- Popular Post
- Popular Post
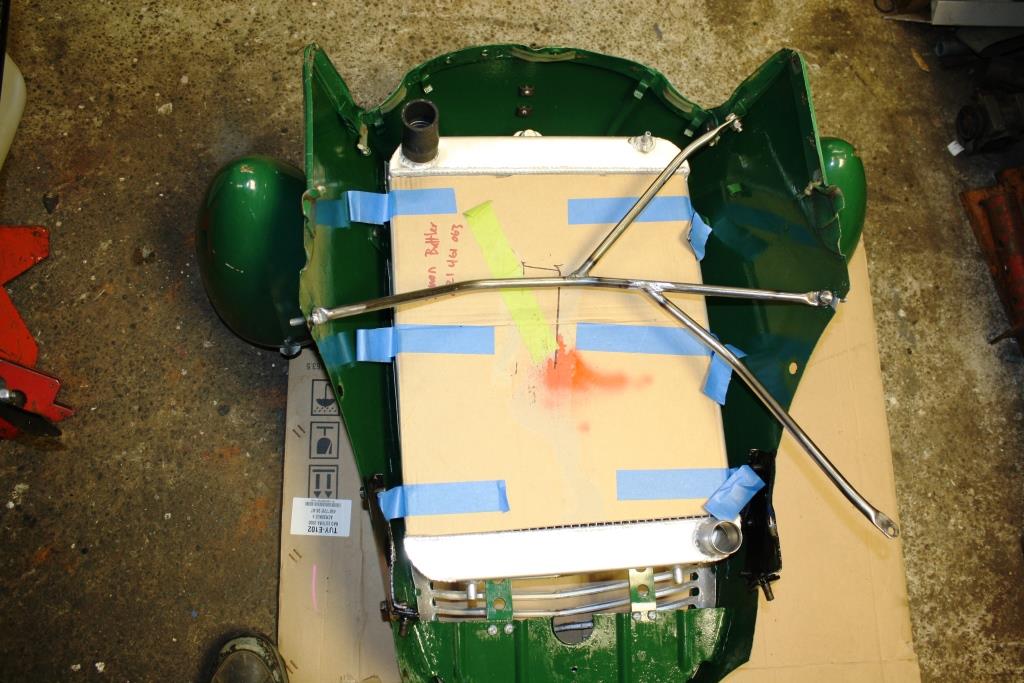
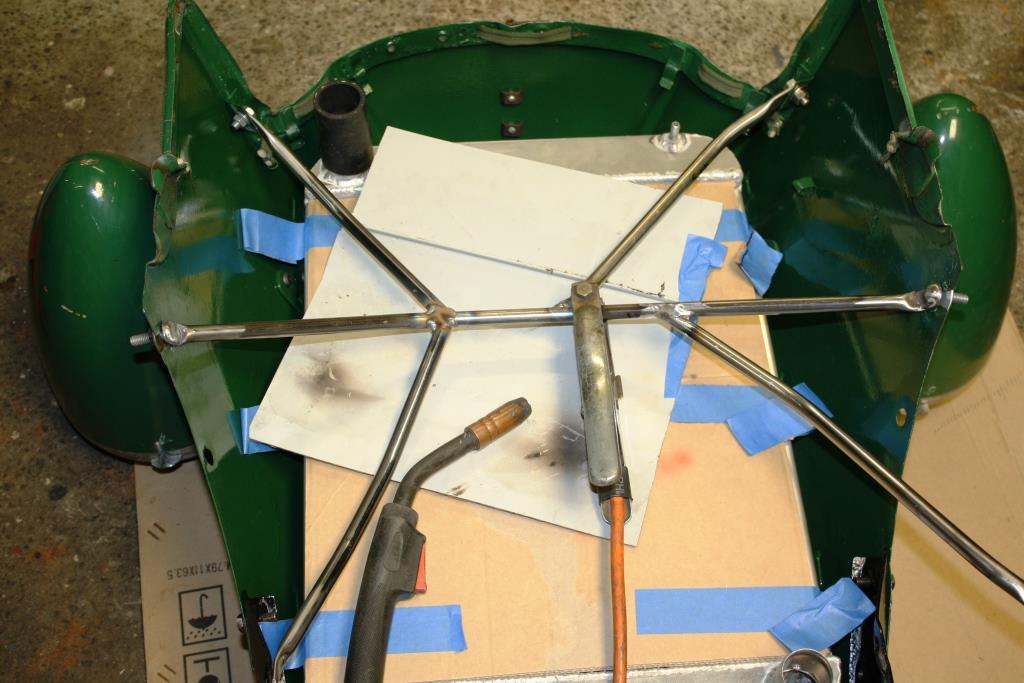
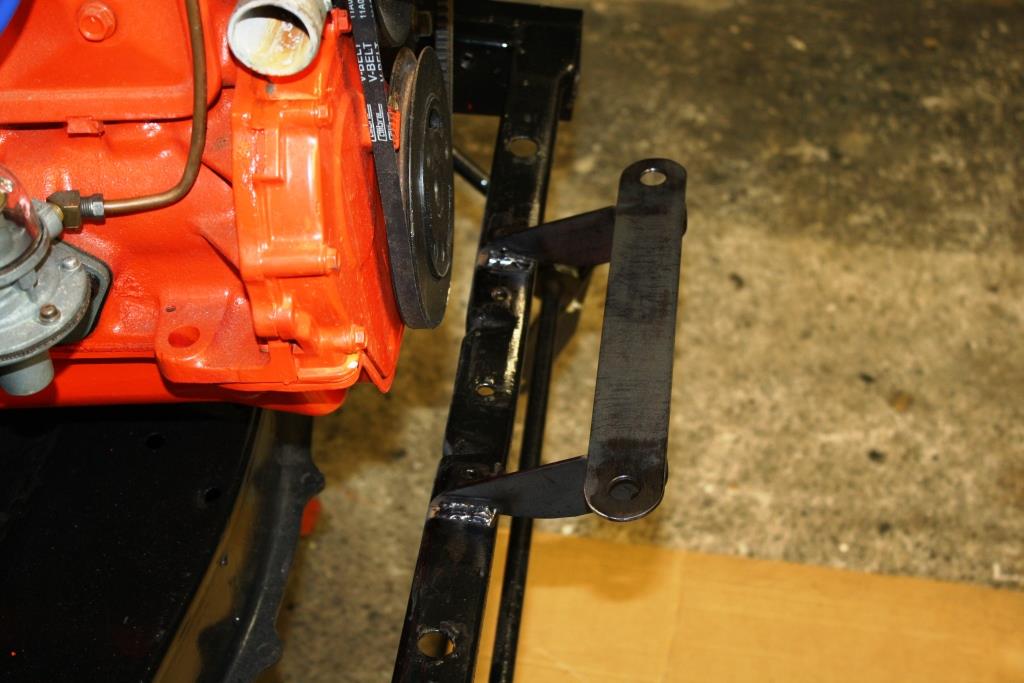
Time to figure out how to make a nose cone brace…… help - I’m running out of room!
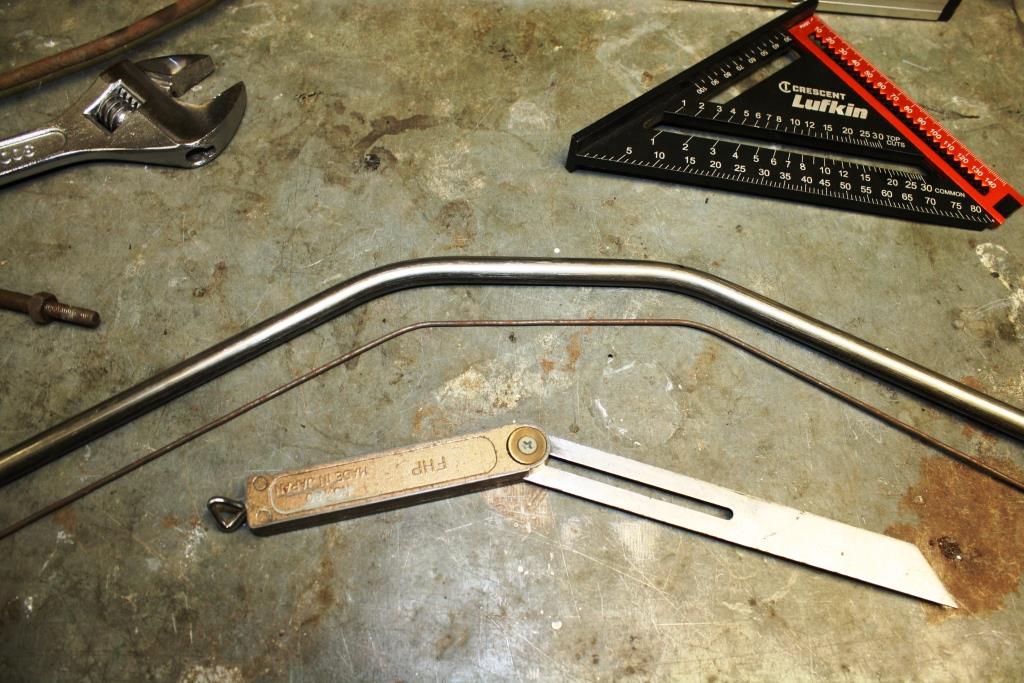
Started with some 12mm EWS tube.
Welding wire templates…..
Out with the world’s oldest pipe bender…..
It still works….
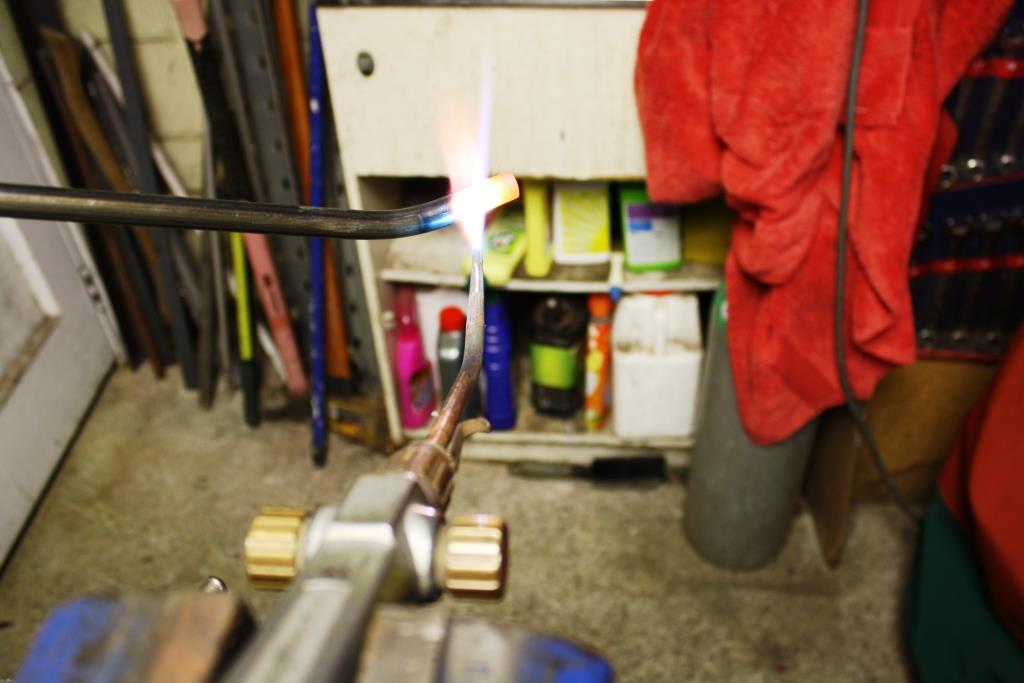
Heated the ends up with the oxy and hit it with a very old hammer on a very old vise.
For some perverse reason I love doing this shit!
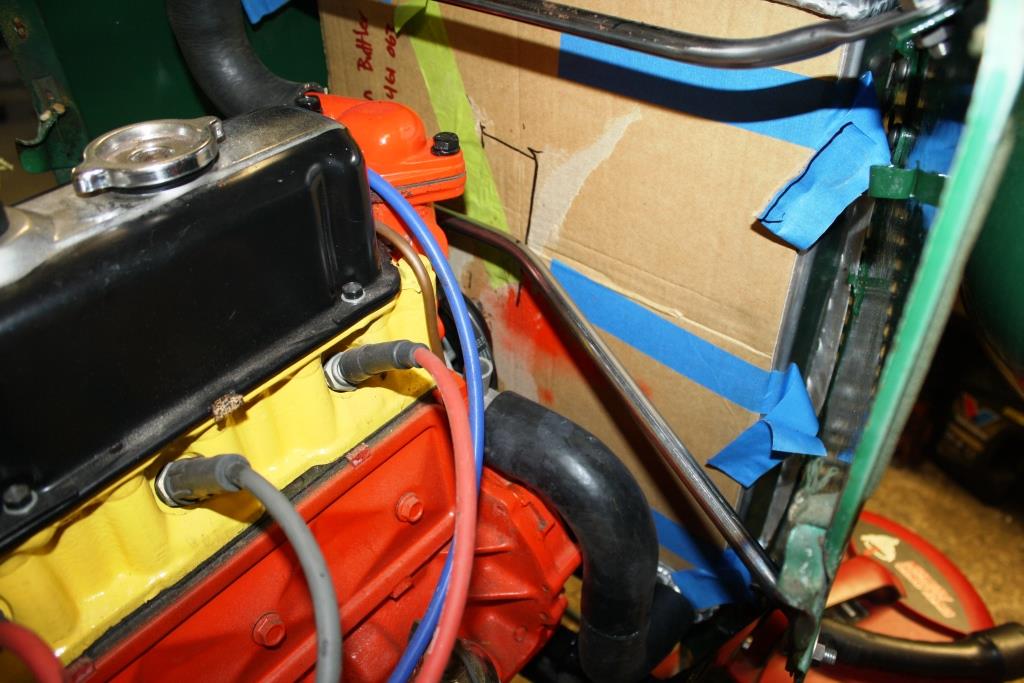
Decided the top brace was too high…
I’m just cutting freehand and notching with a rat-tail file.
Interesting challenge needing some interesting bends to make things fit.
Dropped the nose cone off to tack it all together.
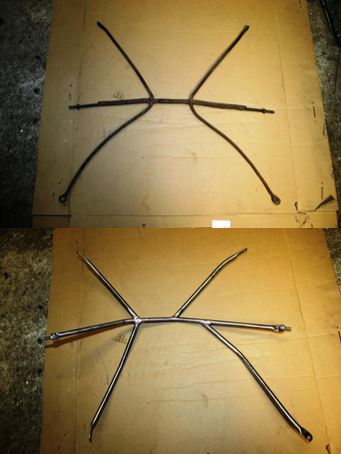
The original support Vs the new apparition...
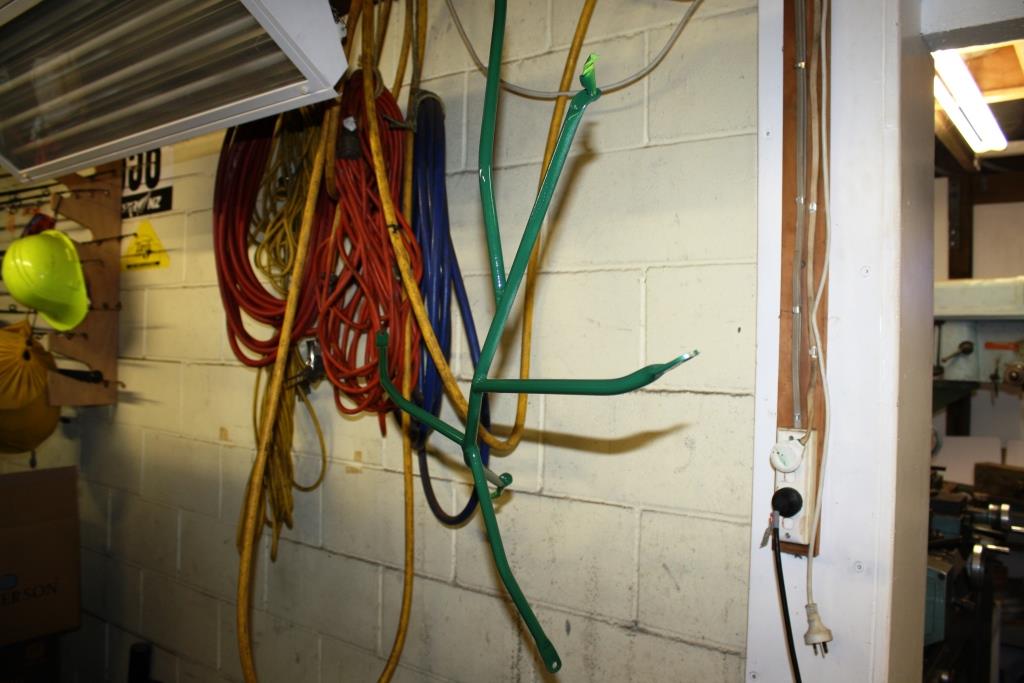
Some ‘insipid green’ paint……
Does the job and looks neat and tidy…..
-
21
-
- Popular Post
- Popular Post
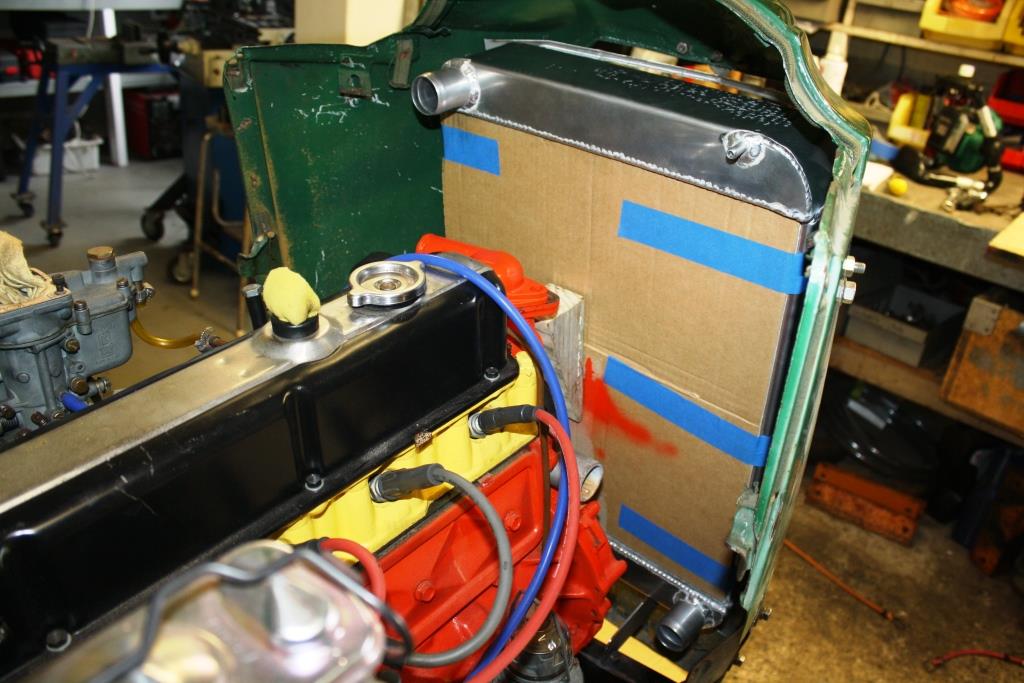
I’d like to think I’ve picked up a few ideas over the years trying to keep race cars cool but some would argue the jury’s still out; i.e. if you learn from your mistakes I must be either a slow learner or a frigging genius!
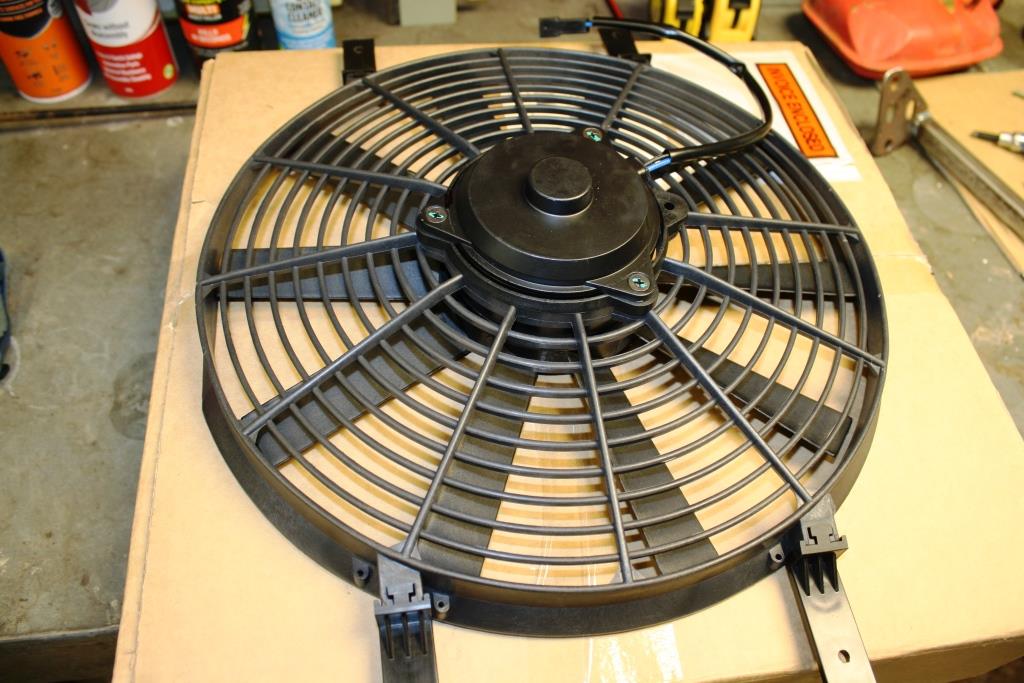
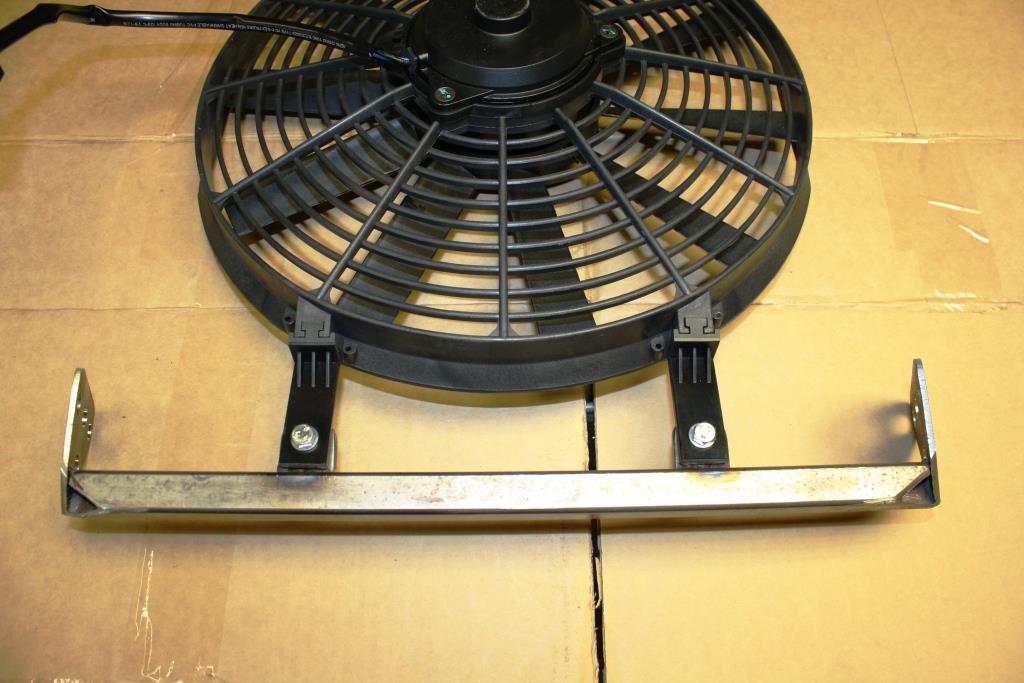
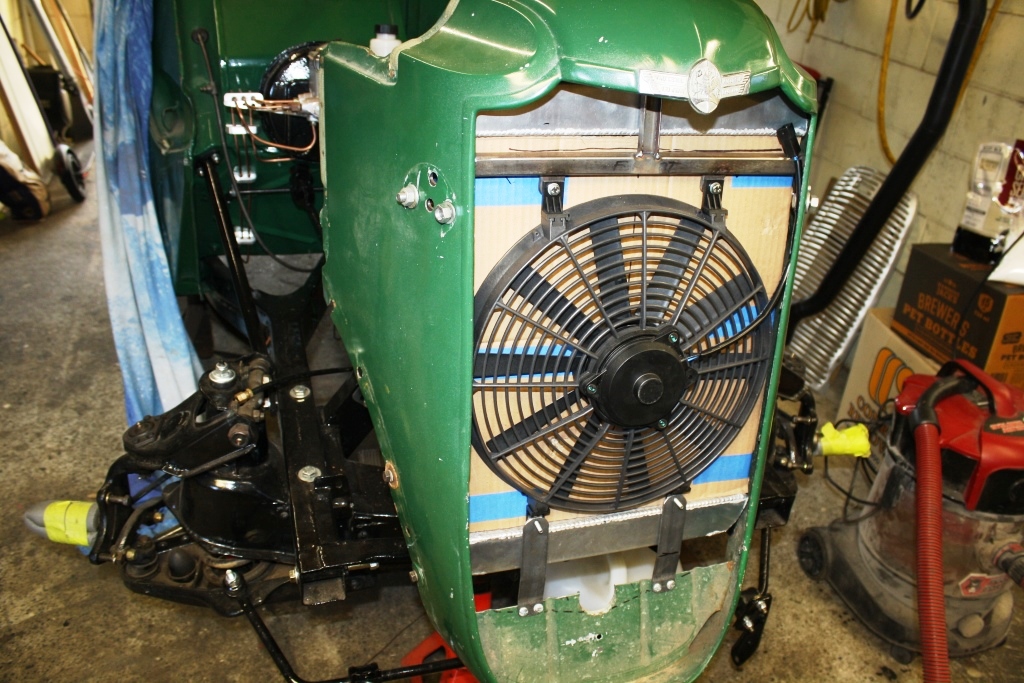
Golden rule I was taught is to match the CFM rating with the size/hp output of your engine. As a rule of thumb for the V8 crowd 2,000 cfm will cool a 400 hp street car. Considering Rigamortice’s little old X2 186 puts out a whopping great, earth shattering 145 bhp (downhill with a tail wind and the boot lid open!) I settled on a 14”, 1650 cfm from Silverdale Radiators. It pays to use one with square blade ends as the curved blades although quieter are less efficient. Sadly I’ll have to run the less desirable pusher (fan in front of radiator) configuration as there is not enough room between the motor and the radiator for a puller set up.
Fan arrived a few days later.
It’s important for fans to be mounted properly, avoid those shortcut systems where you attach them to the radiator with plastic zip ties - from all too painful experience I can vouch for the fact that they eat aluminium radiator cores for breakfast!
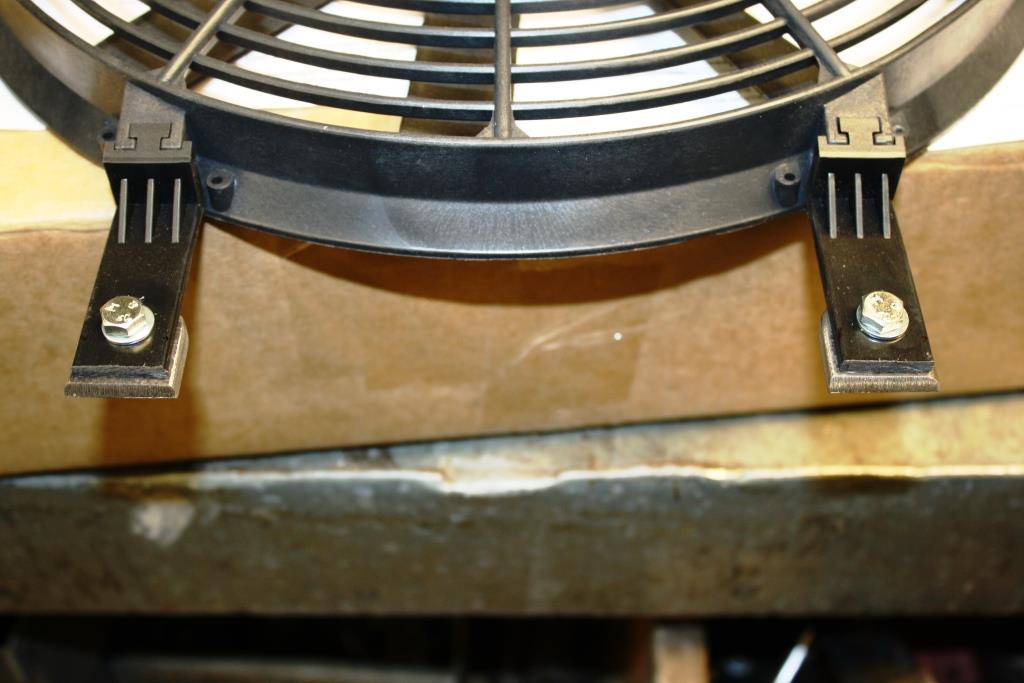
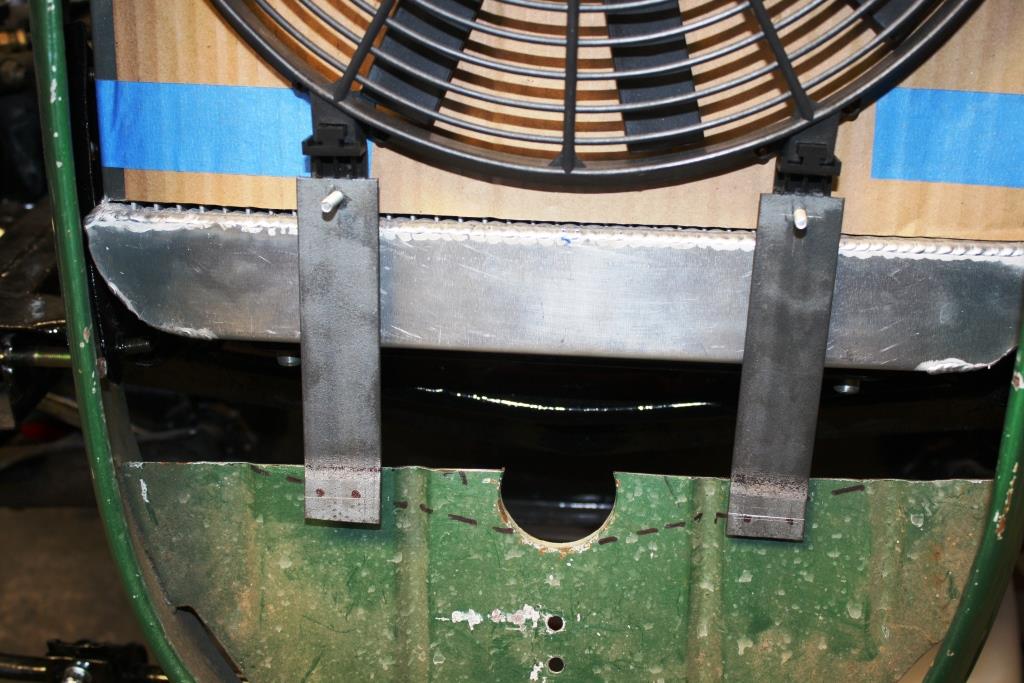
I cut out a few tabs …..
Tacked them to the headlight brace for a top mount…
It’s a tight fit but it will work……
Bottom mounts were pretty straight forward…
-
14
-
Thanks for the info. Shame about Zebra closing - one more bites the dust!
Mazda is looking like a good choice, my local parts guy (BNT) recon they sell very few of them which is a good sign.
Dobsons are selling Mazda 6 regulators for only $69 with a 6 month warranty, they're cable operated and it looks like I could make them fit.
They have a 6 pin plug on them, I can't see frigging the electrics being an issue as long as I can find the correct wiring diagram.
Plan is to us the original winder handle and mount a switch inside the door.
-
4
-
-
Hi guys. My dear Rigamortice (https://oldschool.co.nz/index.php?/topic/49842-sr2%E2%80%99s-1947-vauxhall-%E2%80%9Crigamortice%E2%80%9D-build-thread/) uses an antiquated and somewhat hopeless wire and pulley system in what are often futile attempts to raise and lower the windows.
While in the midst of a drunken stupor in the globally renowned sr2 man-cave, Rigamortice and yours truly thought it would add “much flashness” if we installed electric window winders.
Question is; what common car has an electric window regulator that would be easy to retrofit? I’m looking for something that is readily available from Pickapart and although I would prefer a cable type mechanism I am not against using a scissor type. Emphasis is for something that’s common and not prone to failure.
Thanks as always to the ‘Oldschool Brains Trust’ in anticipation of a deluge of answers.
-
9 hours ago, Leone said:
This is one epic build.... a true "from back in my day" resurection, wonder how much wild turkey/wine/homebrew went into the build? haha
Must be getting real close to a test drive now.
Yeah, this one's been a lot of fun. Ticks all the boxes for my irrational passion for overly impractical solutions to problems that never existed in the first place. The worlds full of boring people acting like sheep making the same old boring rods & custom cars that just confirm to the "boring rules" that they all seem to make for each other. Long live OldSchool anarchy!
Still have a complete rewire (resurrecting 75 year old gauges and switches...etc.),Interior doors and body panels to fit and one thousand and one small time consuming jobs to have it fully on road as my daily driver. I'm hoping I'll be doing illegal skis around the block within 4 months and on road legal by the end of the year.
I'm already planning my next project, watch this space!
-
5
-
-
- Popular Post
- Popular Post
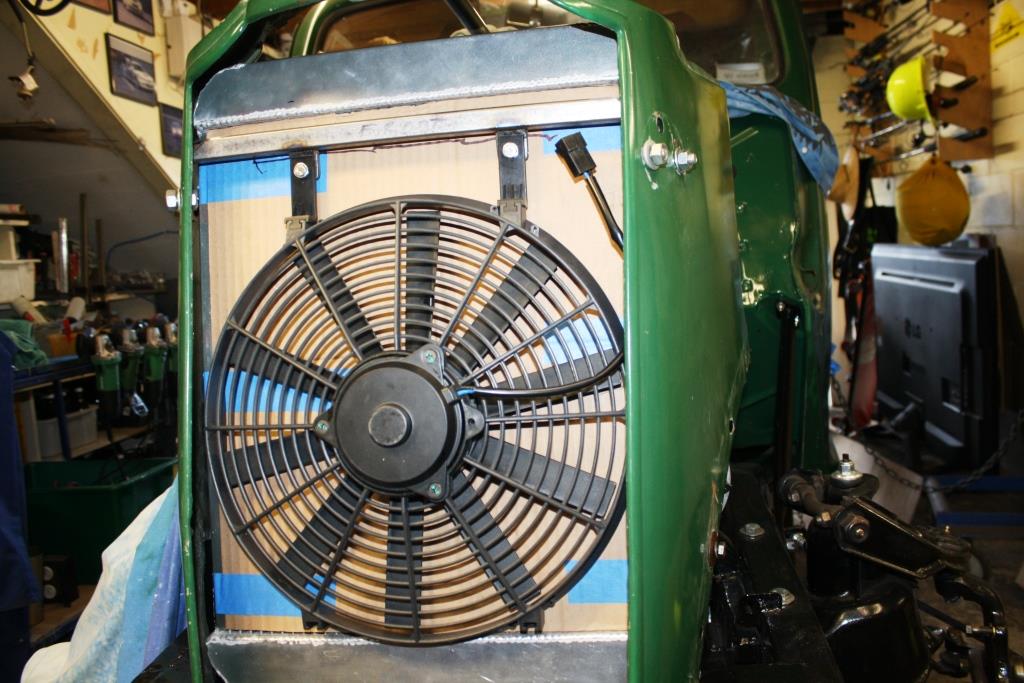
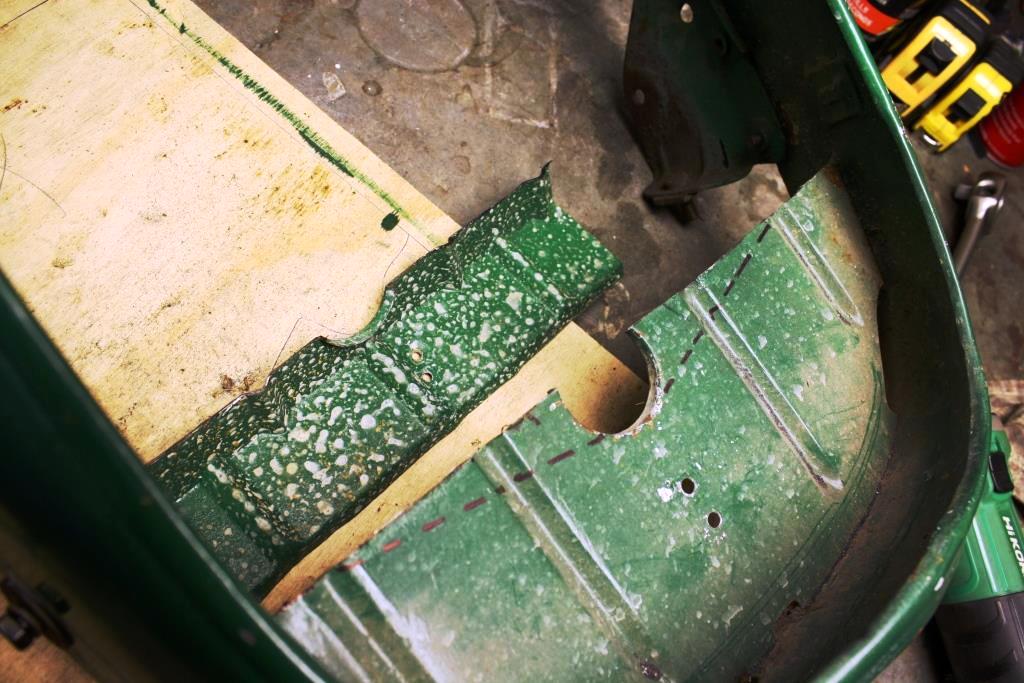
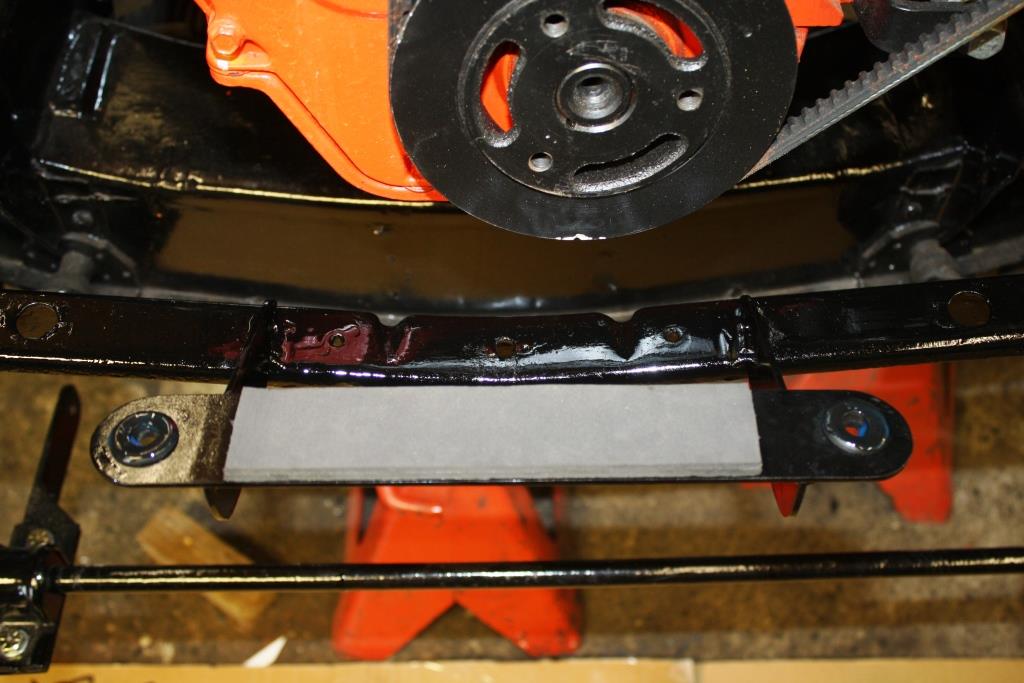
Time to make some clearance for a bottom mount bracket.
The obligatory Trial fit with a bit of 6 x 2……..
Knocked up a lower mount….
And glued it to the front cross member….
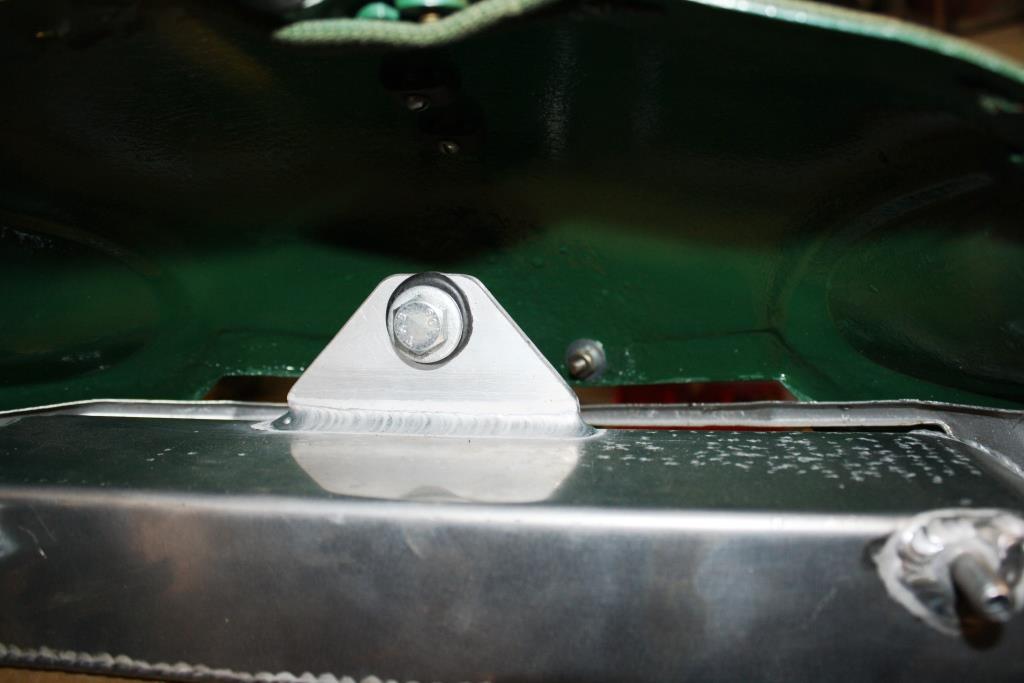
A couple of grommets for the bottom mounting pins and some foam to stop the bottom rubbing….
It finally fits………
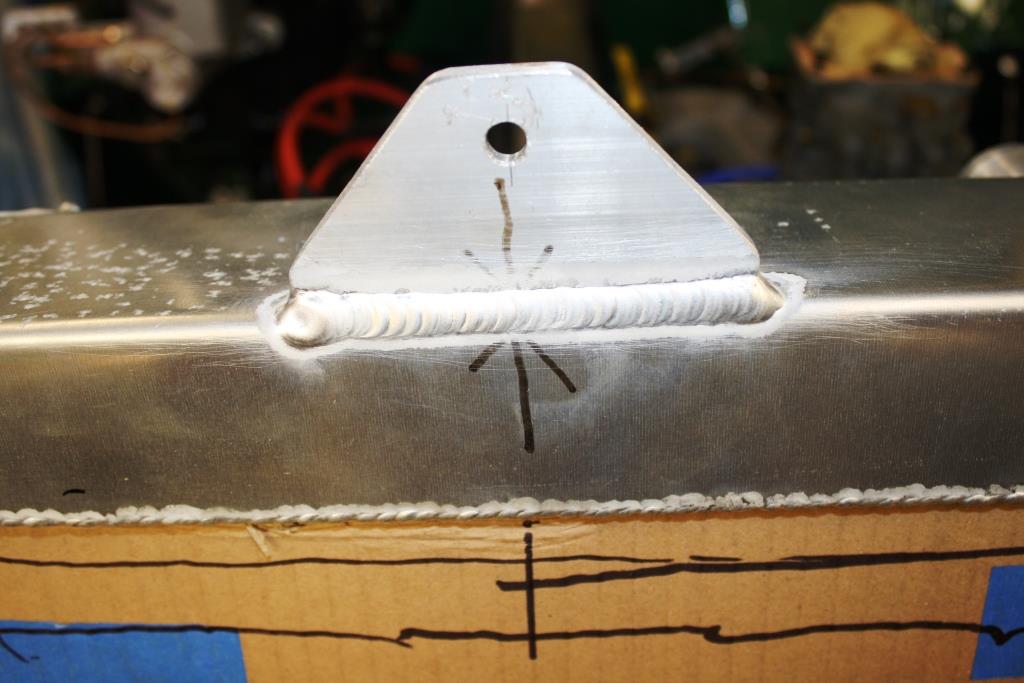
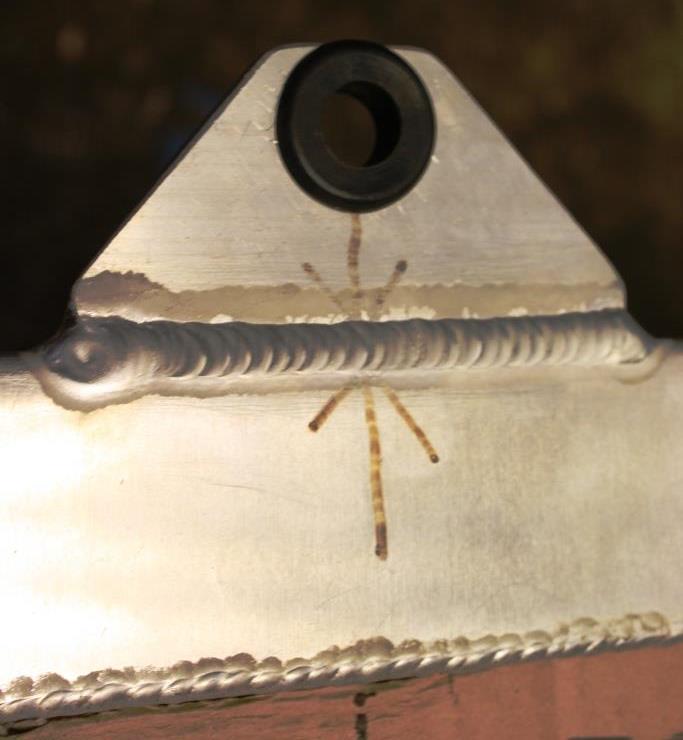
Got a local shop to Tig a top mount on……
And drilled it out to take a grommet.
-
18
-
- Popular Post
- Popular Post
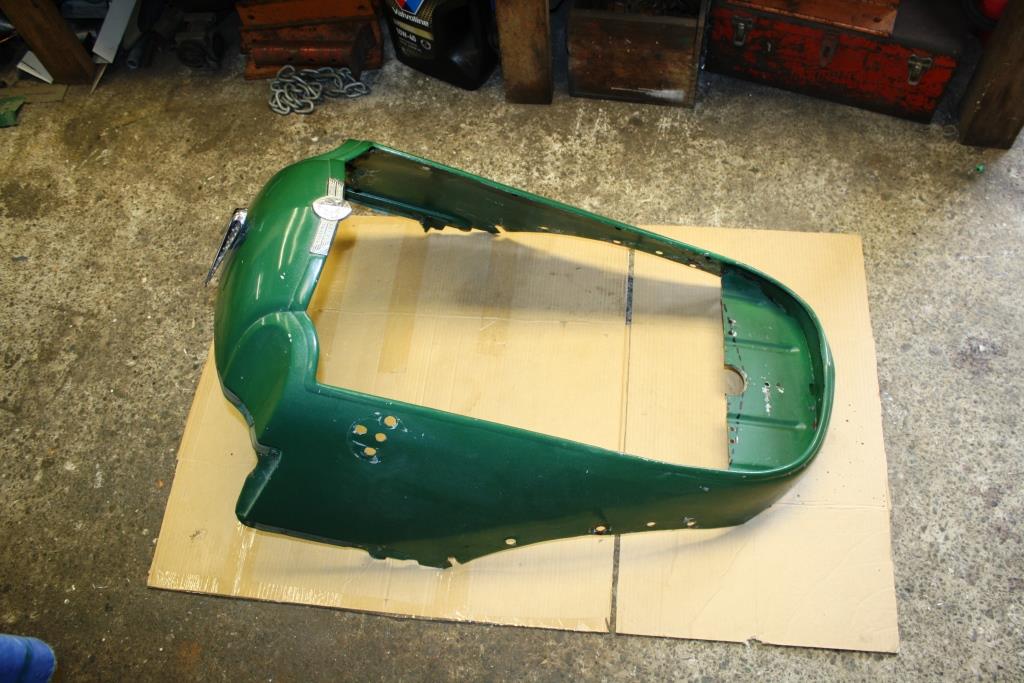
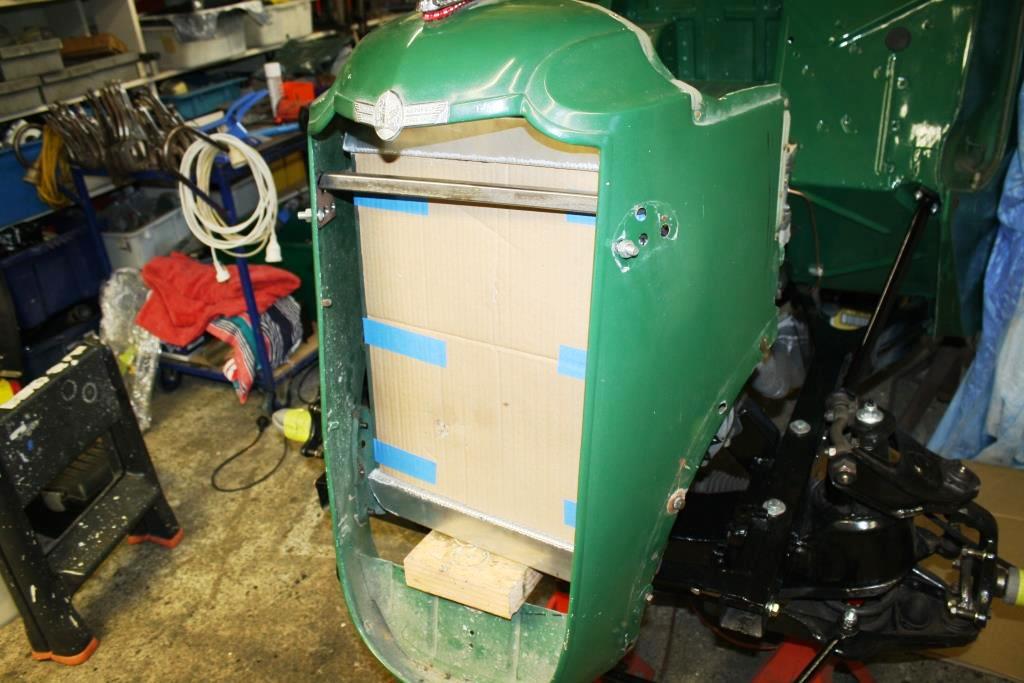
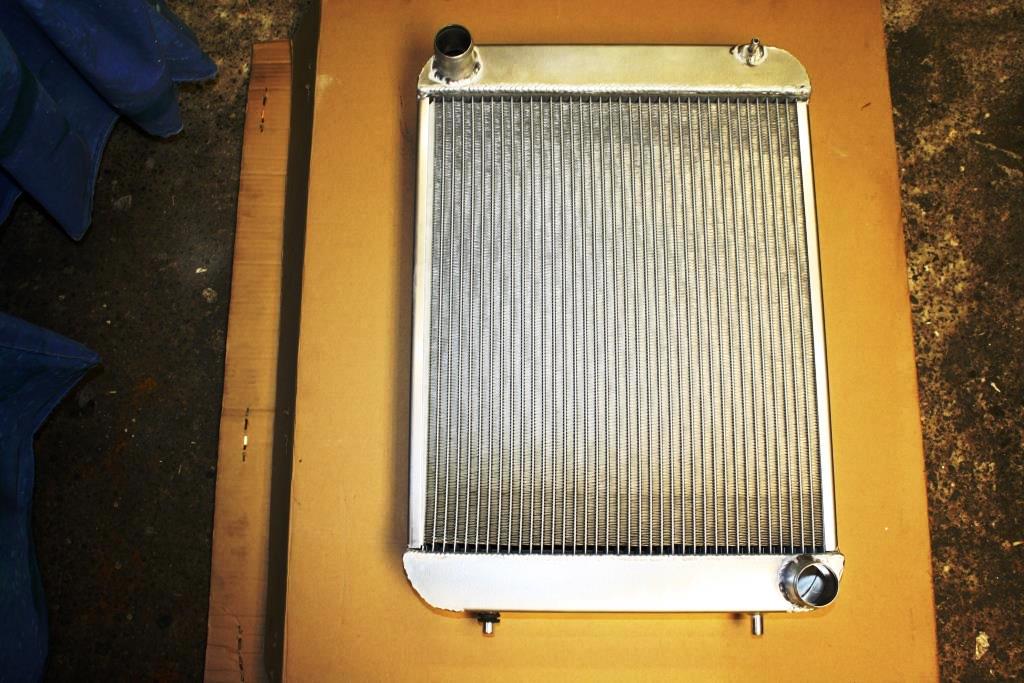
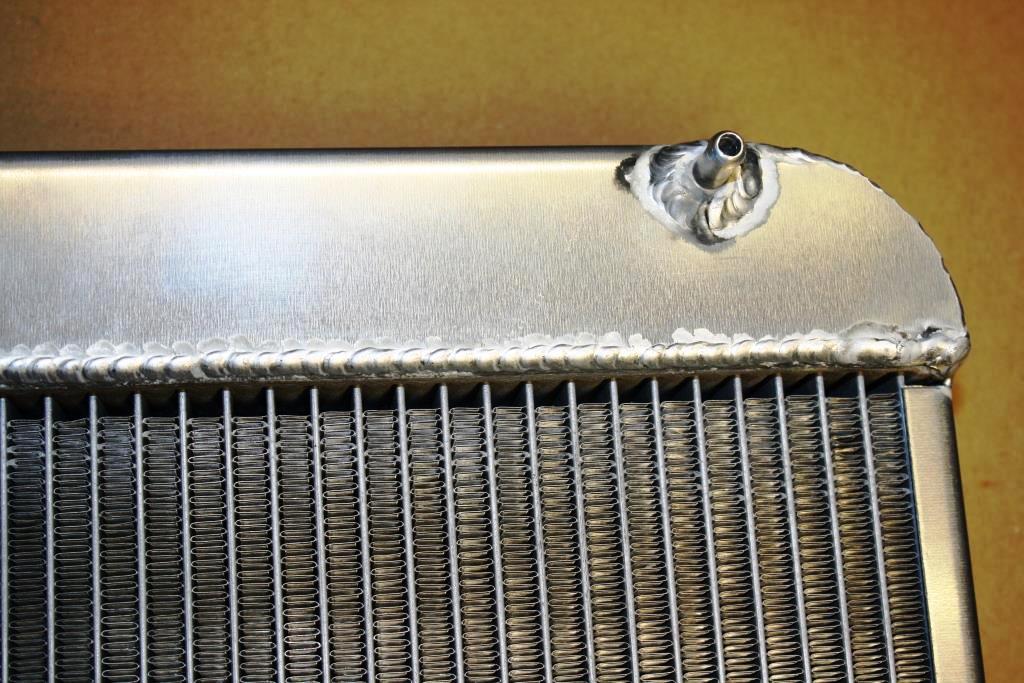
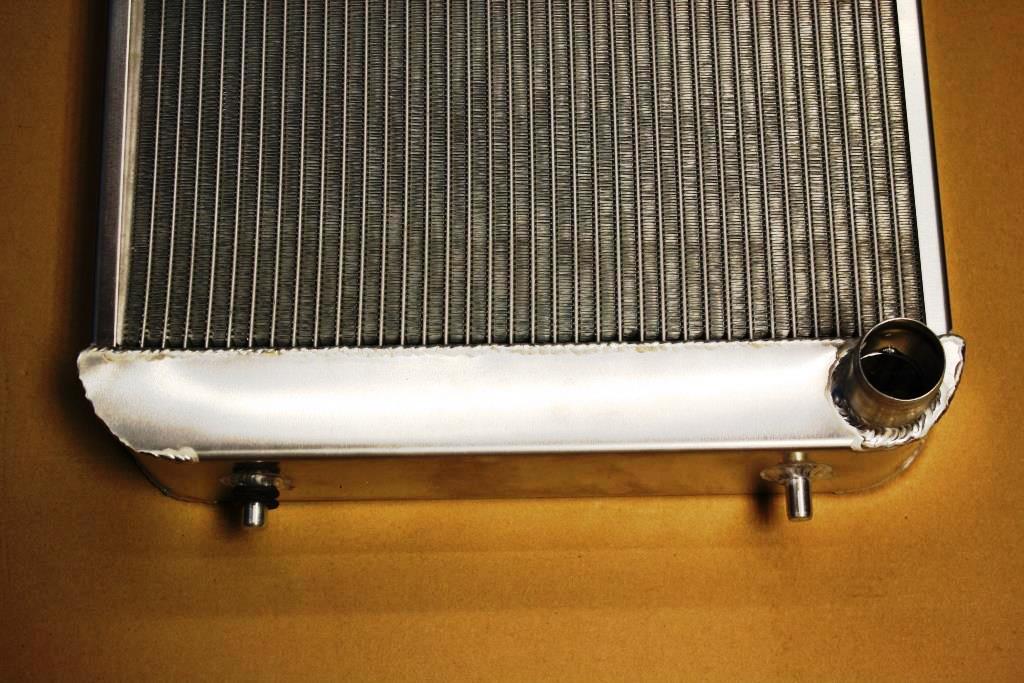
The new custom radiator finally arrived.
Enough cooling for future engine mods. (Still collecting bits for the 208CI injected 186 motor).
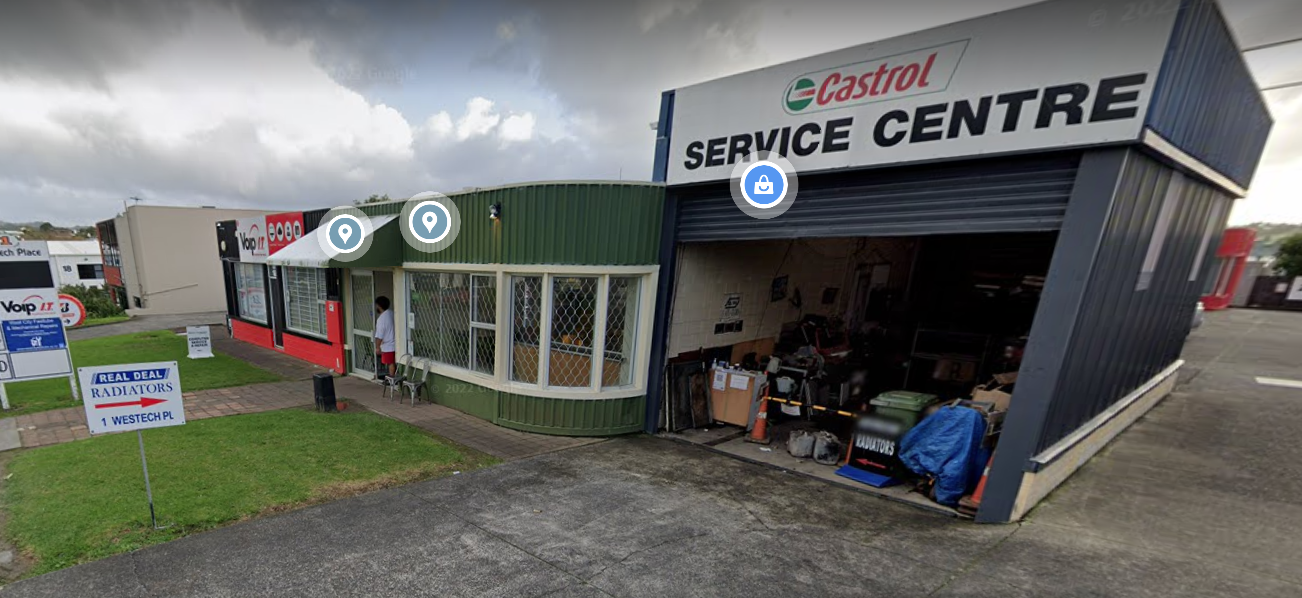
Big plug for “Real Deal Radiators” in Kelston Auck for a great job at a sharp price.
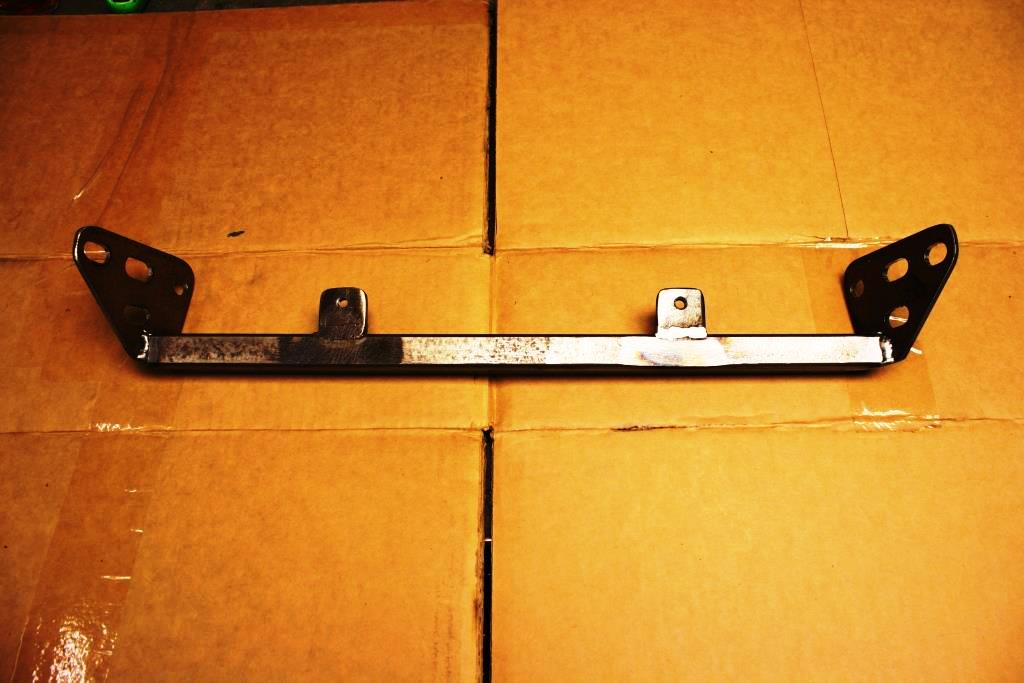
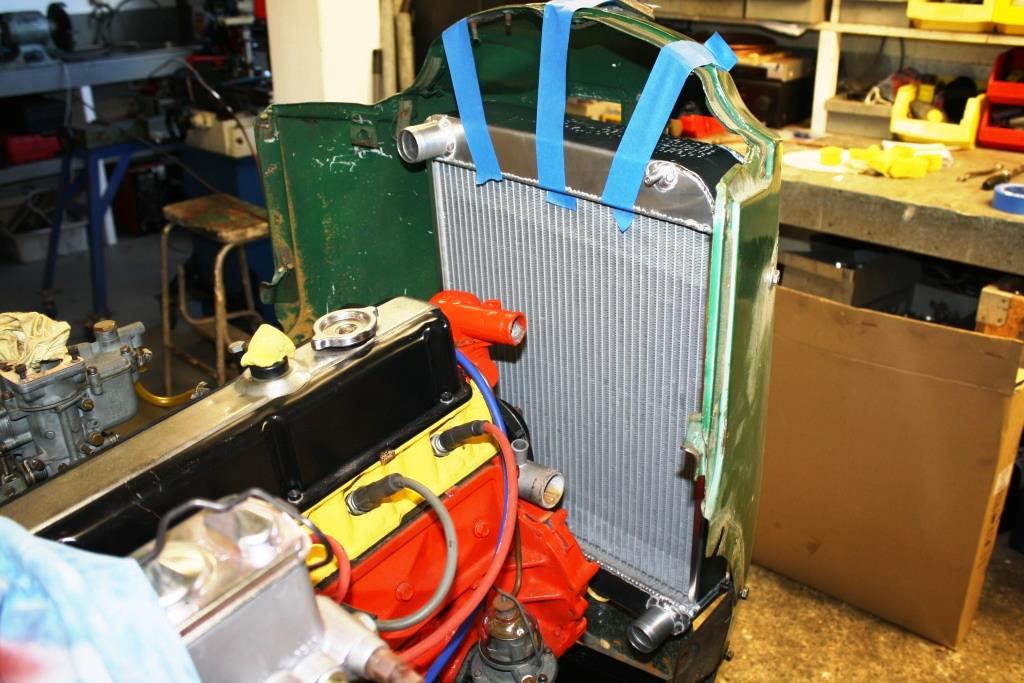
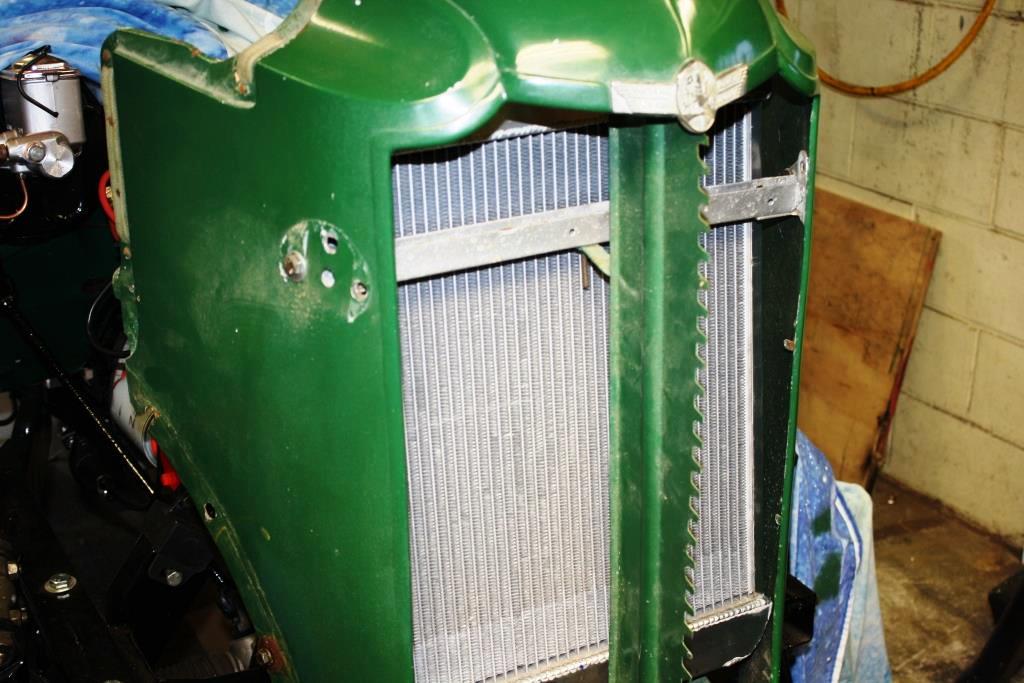
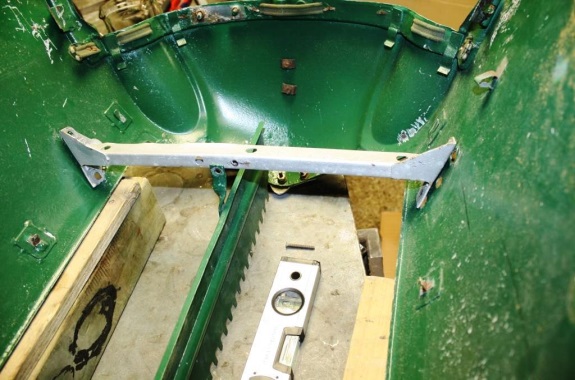
The horizontal headlight bar was causing the top of the radiator to lean back.
Time to make a new headlight bar that’s smaller and further forward to get more clearance.
First I’ll need a jig…….
I cut up and drilled some scrap angle….
And tacked together a jig….
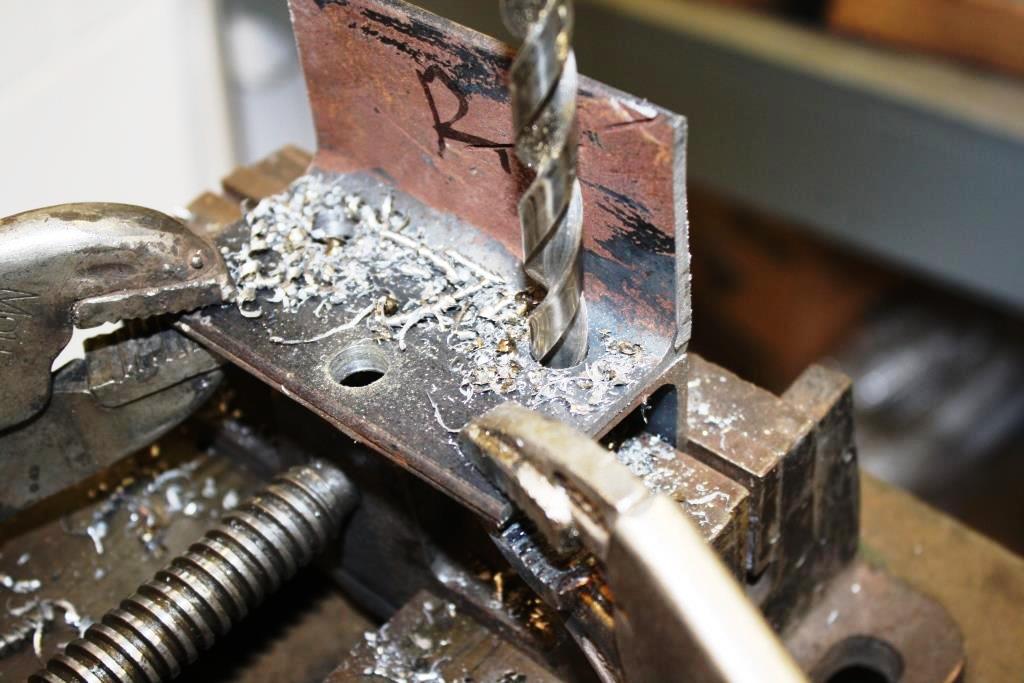
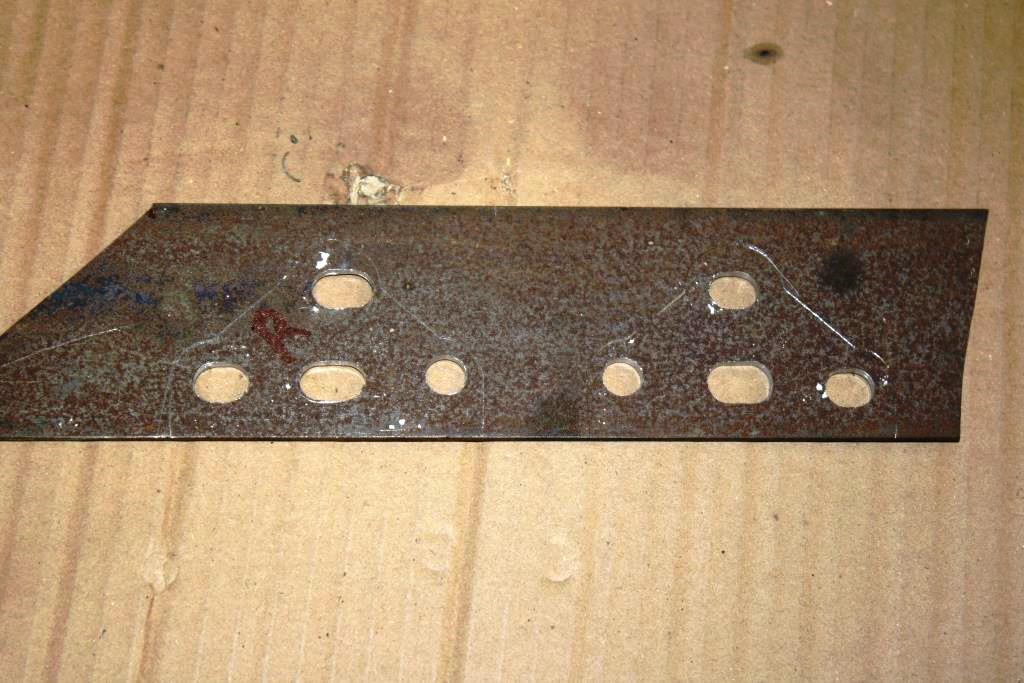
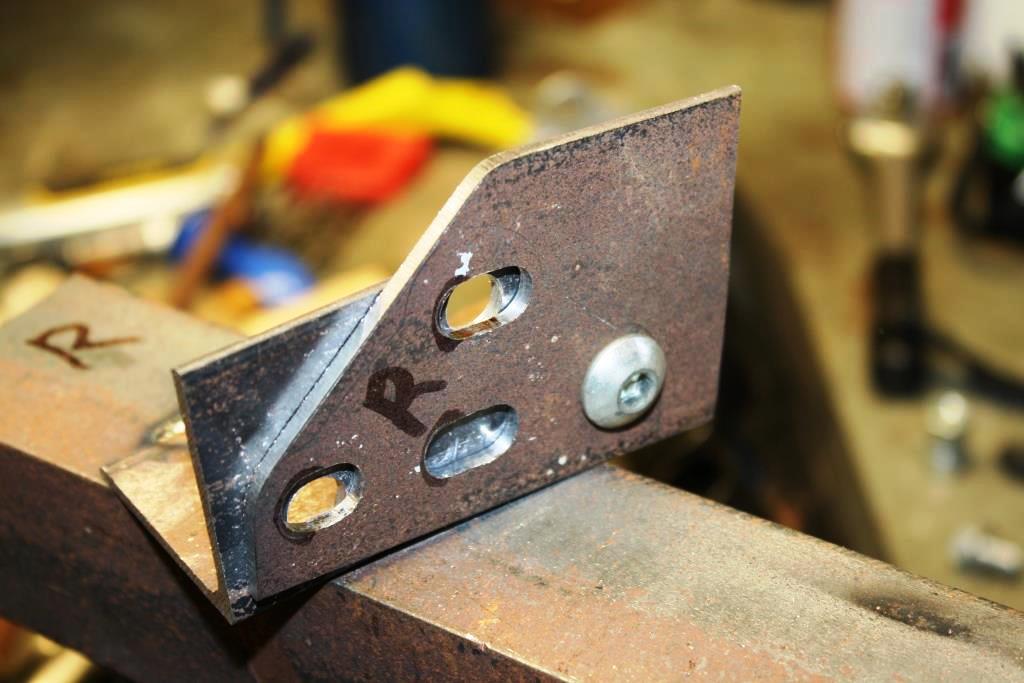
Cut up and drilled some plate, still getting used to the novelty of having a mill, great for drilling slotted holes.
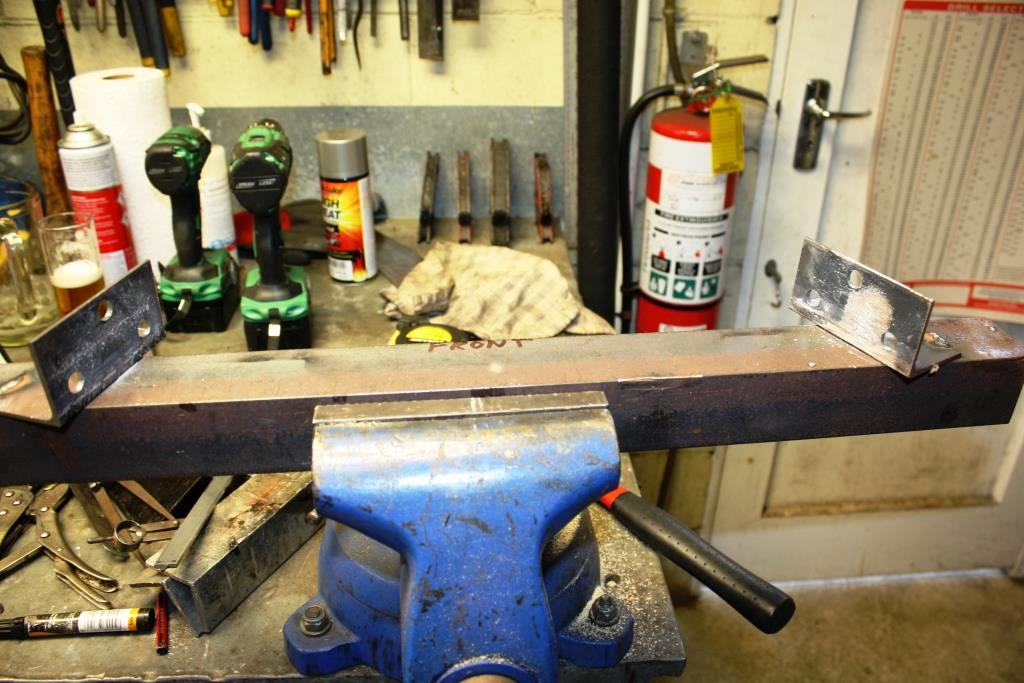
Bolted the plates into the jig…..
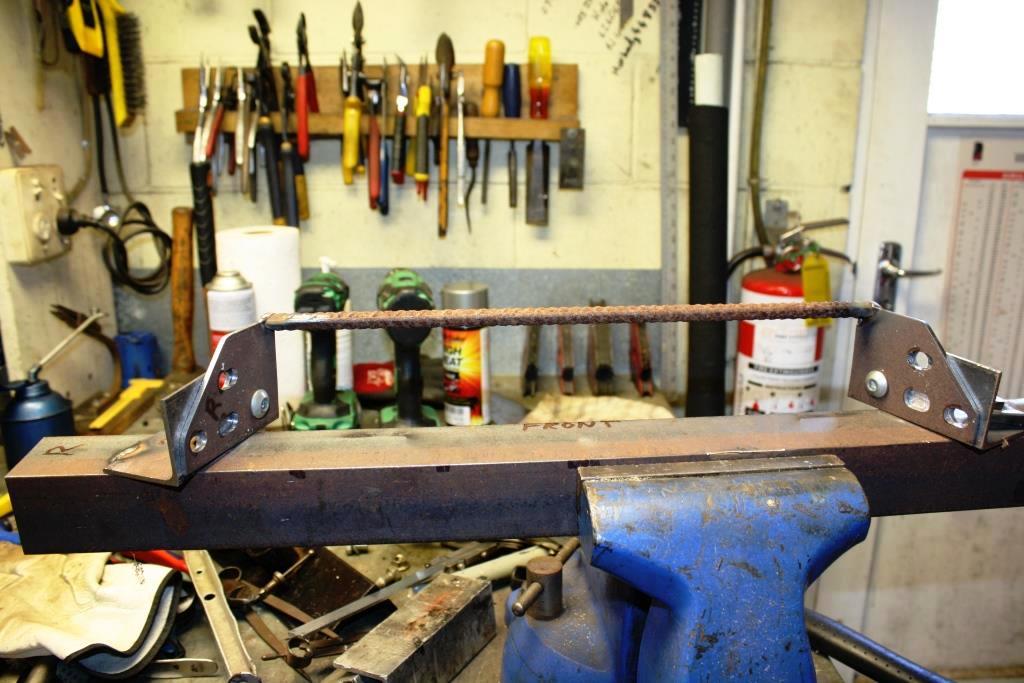
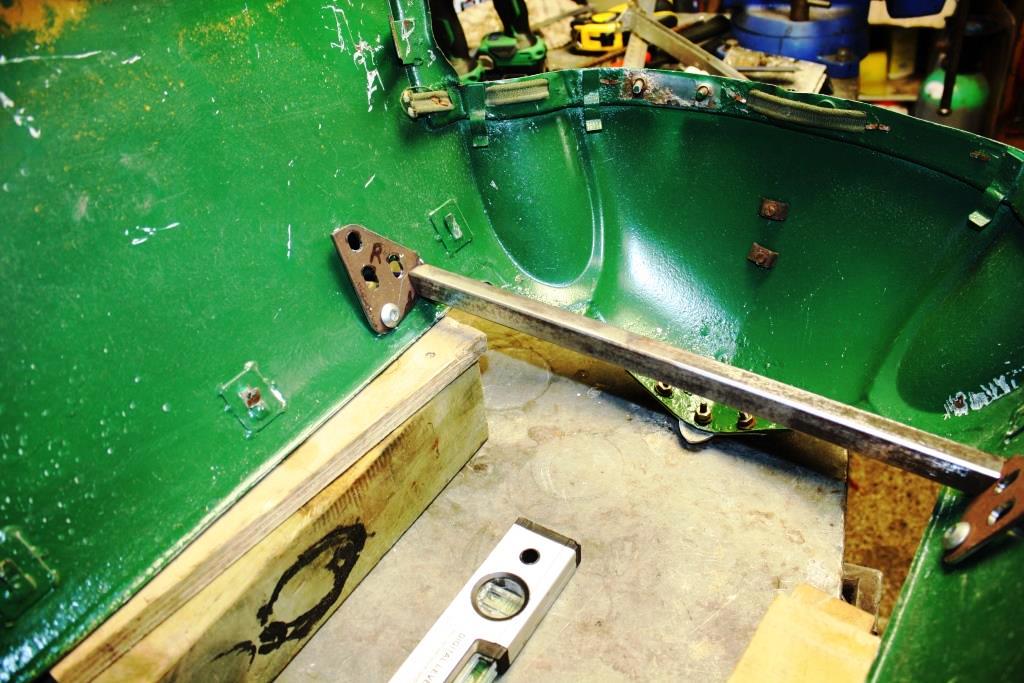
Tacked in a piece of scrap re-bar so I could trial check for fit inside the nose cone…
The fit looked good so back into the jig to replace the re-bar with a piece of square section EWS.
Before………..
And after……
And the grill still fits……phew!
-
13
-
- Popular Post
- Popular Post
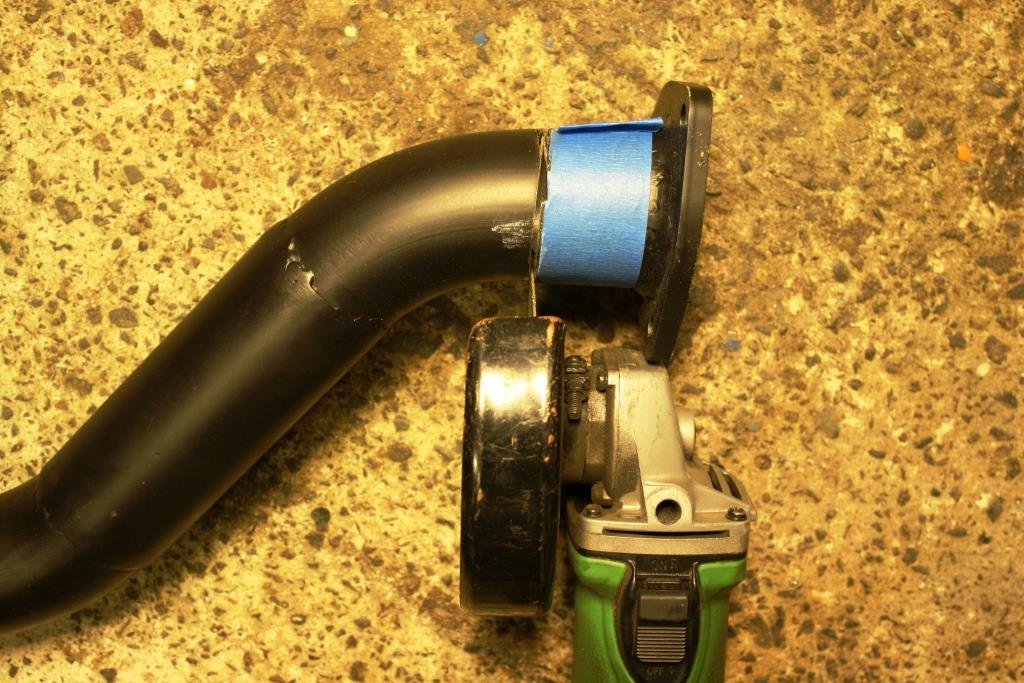
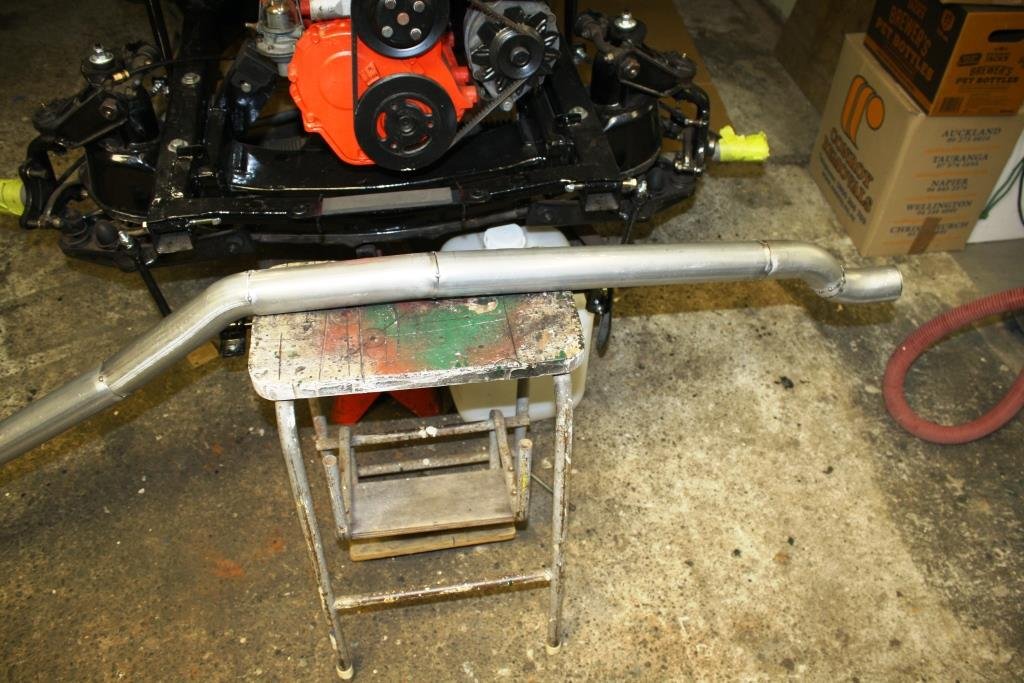
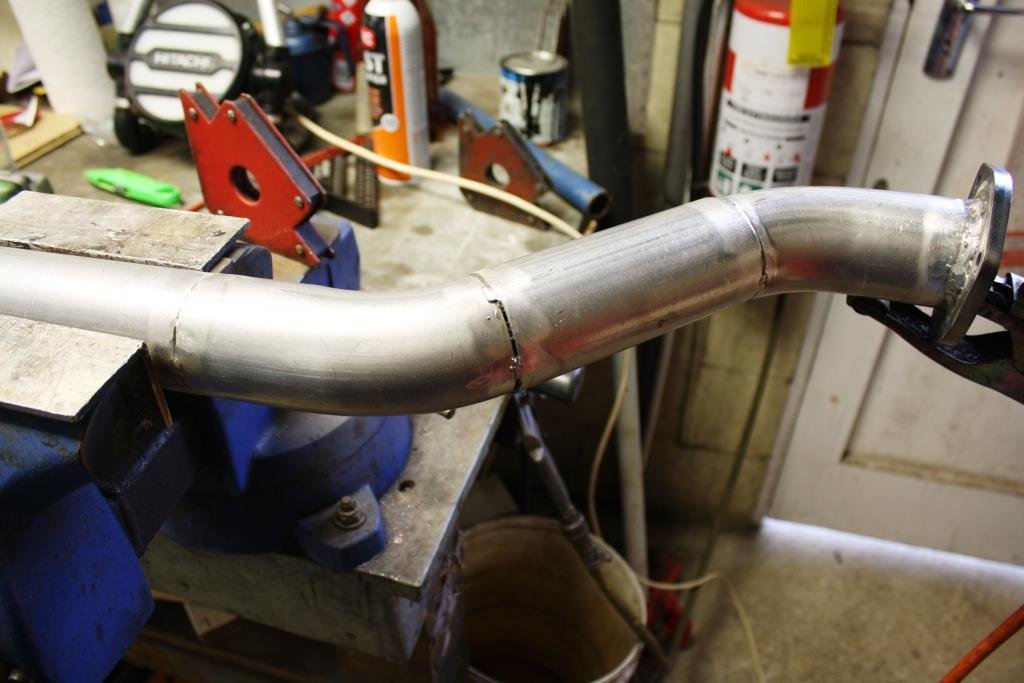
Bugger………suddenly remembered over the weekend I’d been tweaking the gearbox mount up a little for better driveshaft clearance…….which had raised the height of the exhaust collector…. which meant my new front pipe wouldn’t fit………i.e. "fiddent dit".......duh!
Out with the angle grinder, a bit of bending and welding……
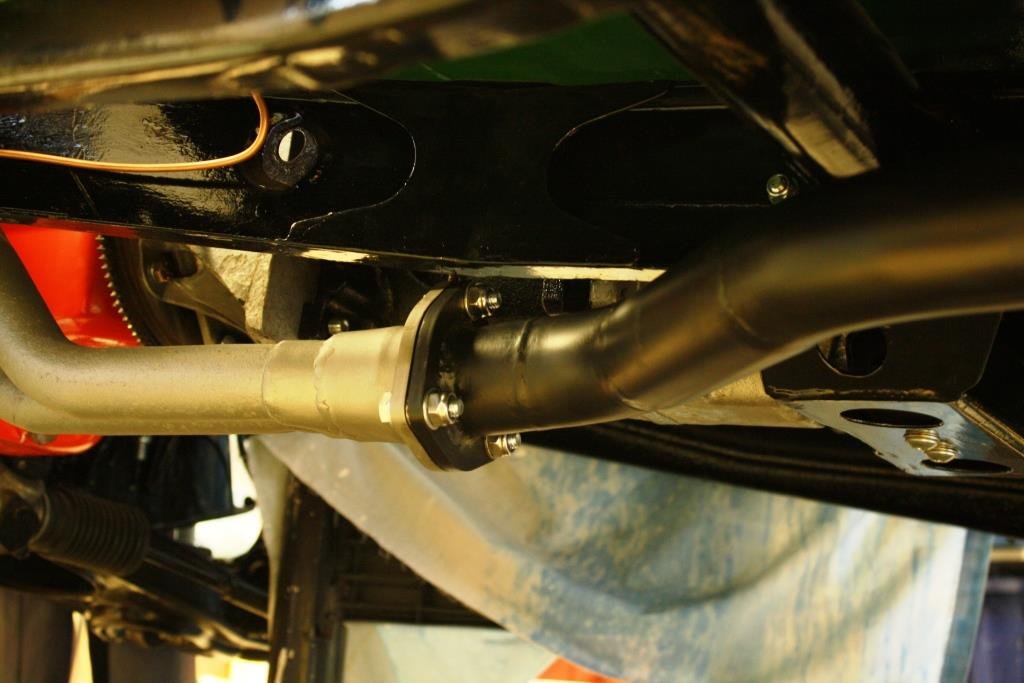
And it fits like a glove.
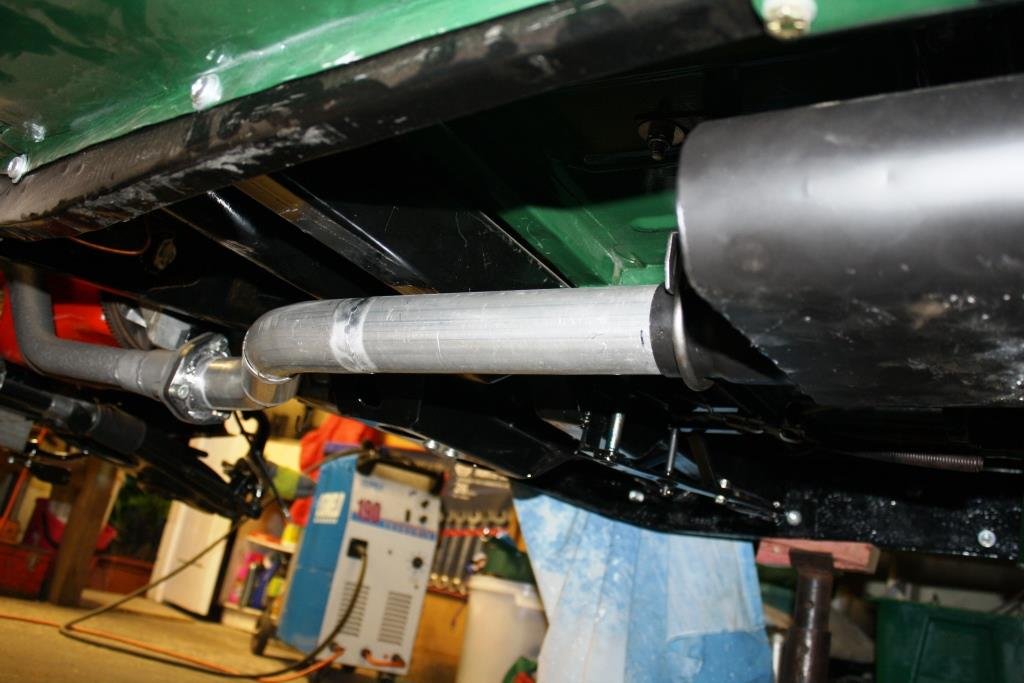
Front & rear hangers on the muffler……..
Adjustable rear hanger……
Another job ticked off the list.
-
28
-
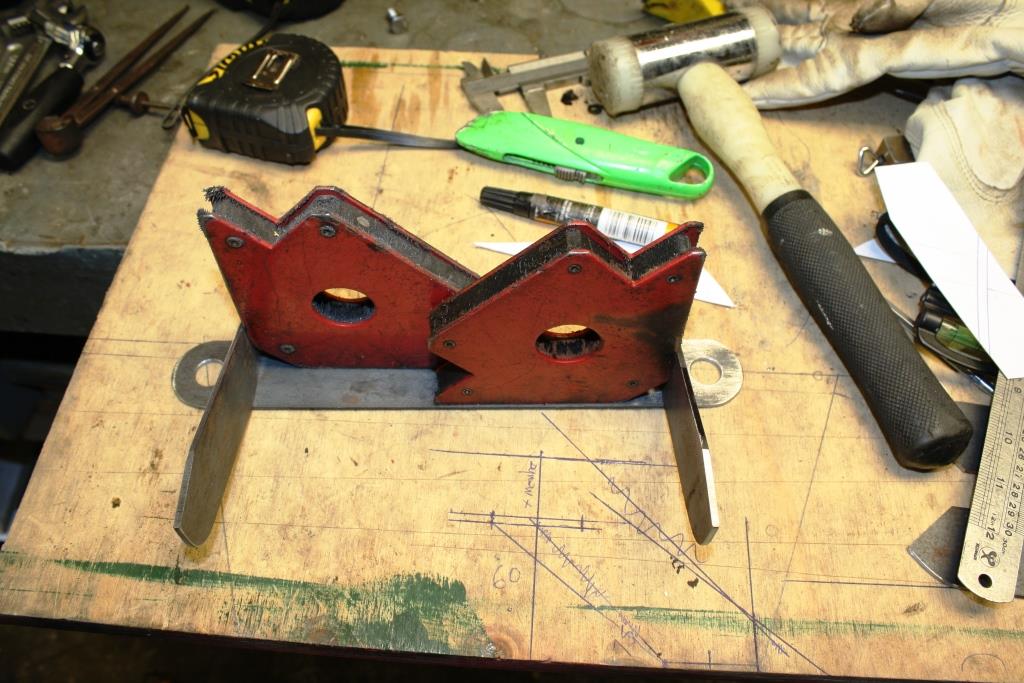
- Popular Post
- Popular Post
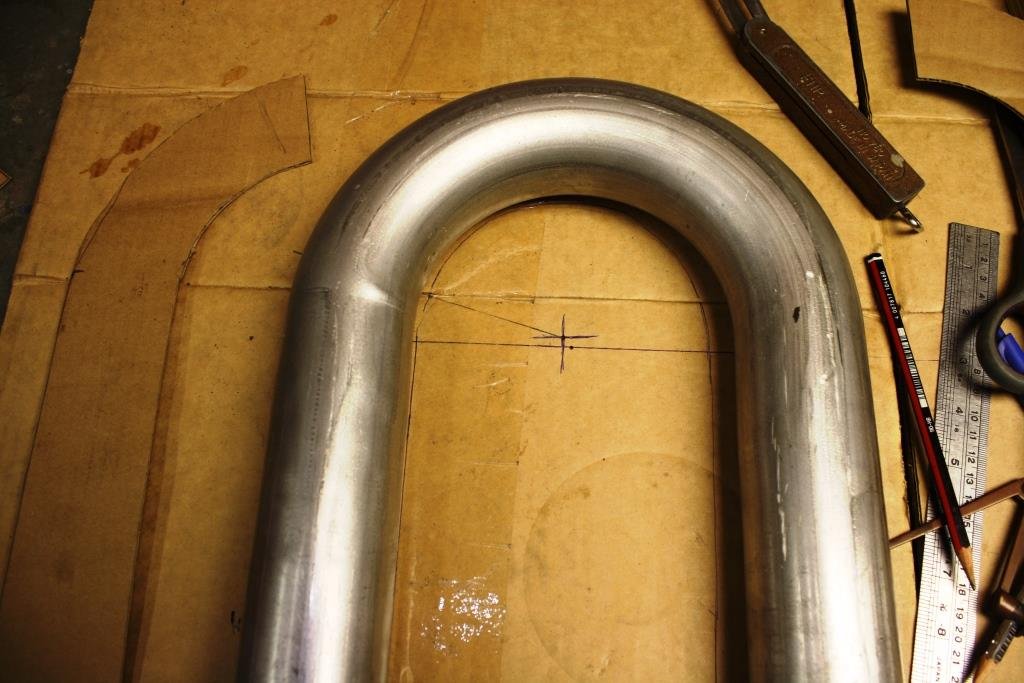
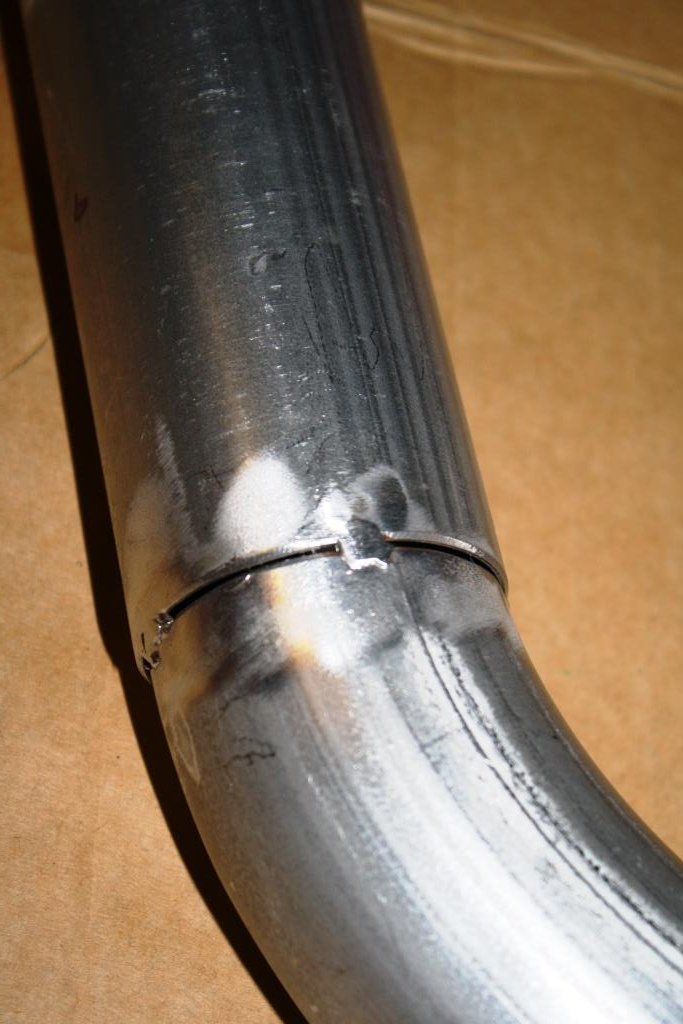
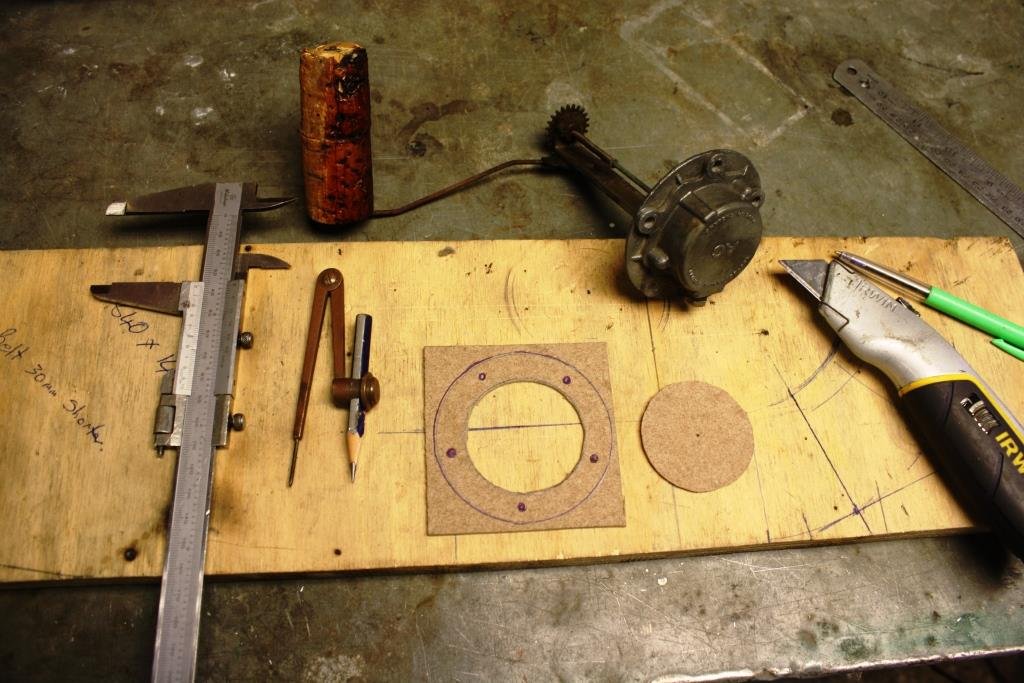
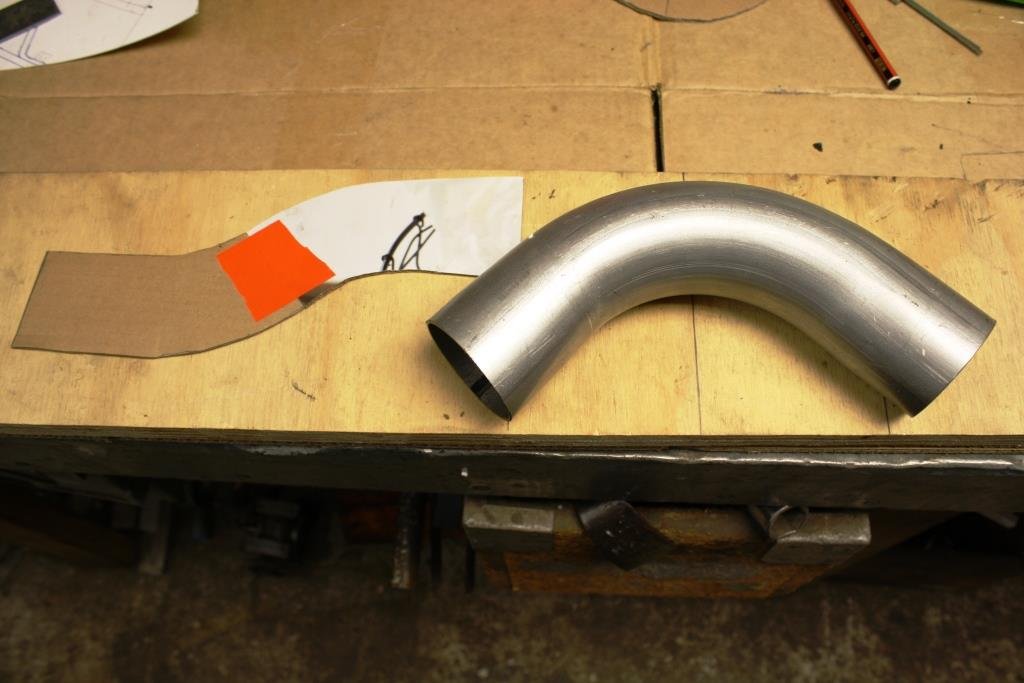
At the risk of preaching to the converted, (there are people on this site who’s fabrication/construction skills make my meager ham-fisted attempts at stitching metal together fade into insignificance); here’s my approach to cutting up pre-bent bends.
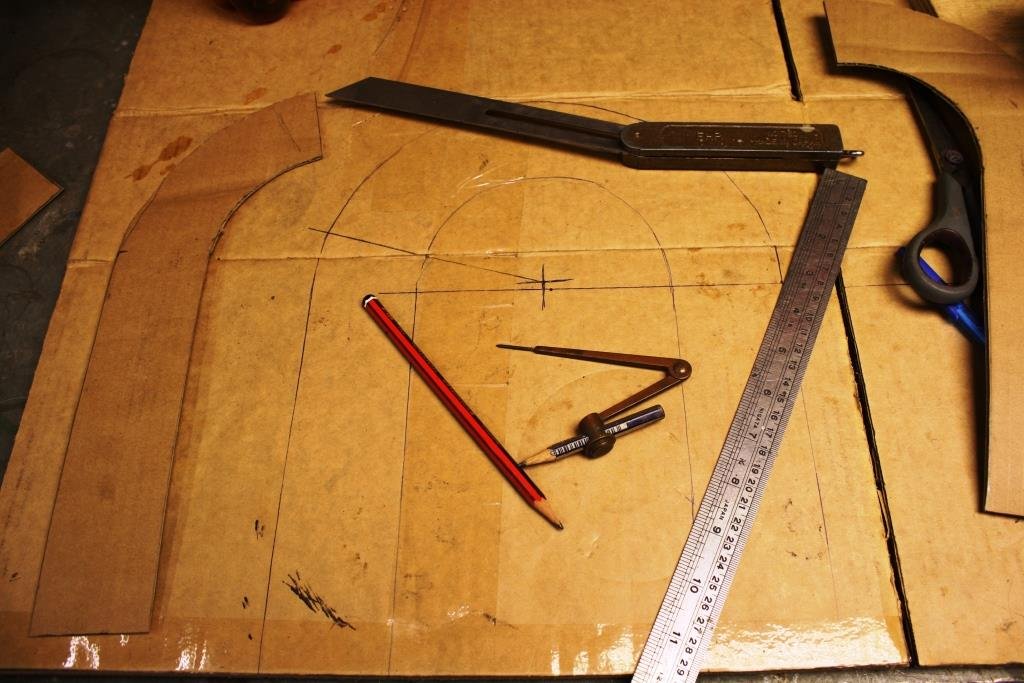
First I trace the bend onto a piece of cardboard - yes it’s CAD all over again!
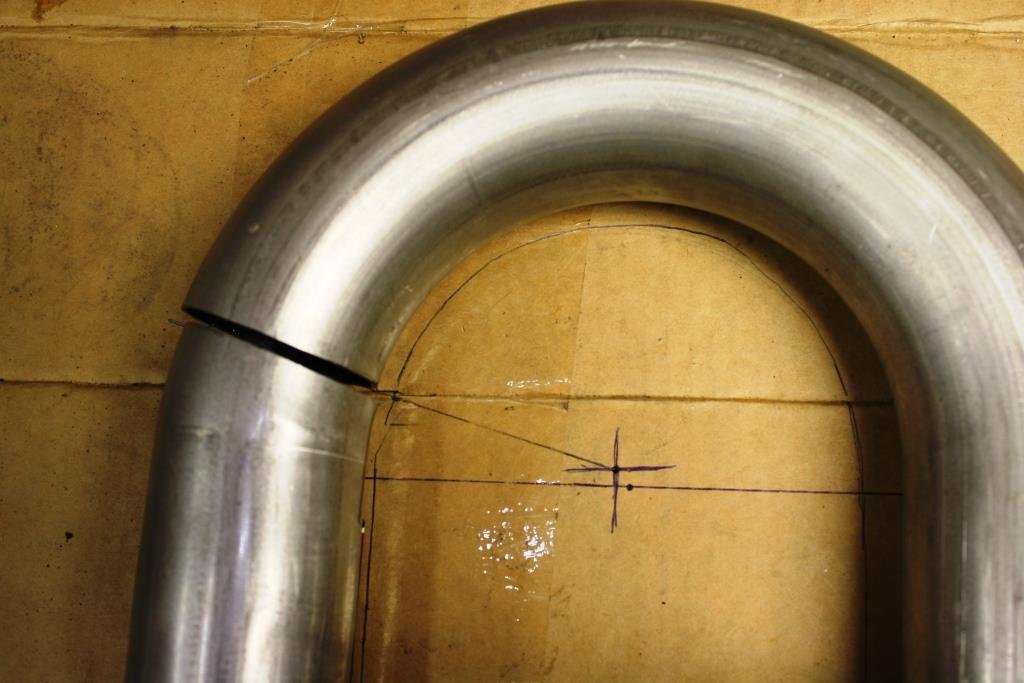
I then find the center of the bend with the trusty dividers (or a compass).
I can then draw my desired angle (from a protractor, an adjustable square or cardboard template).
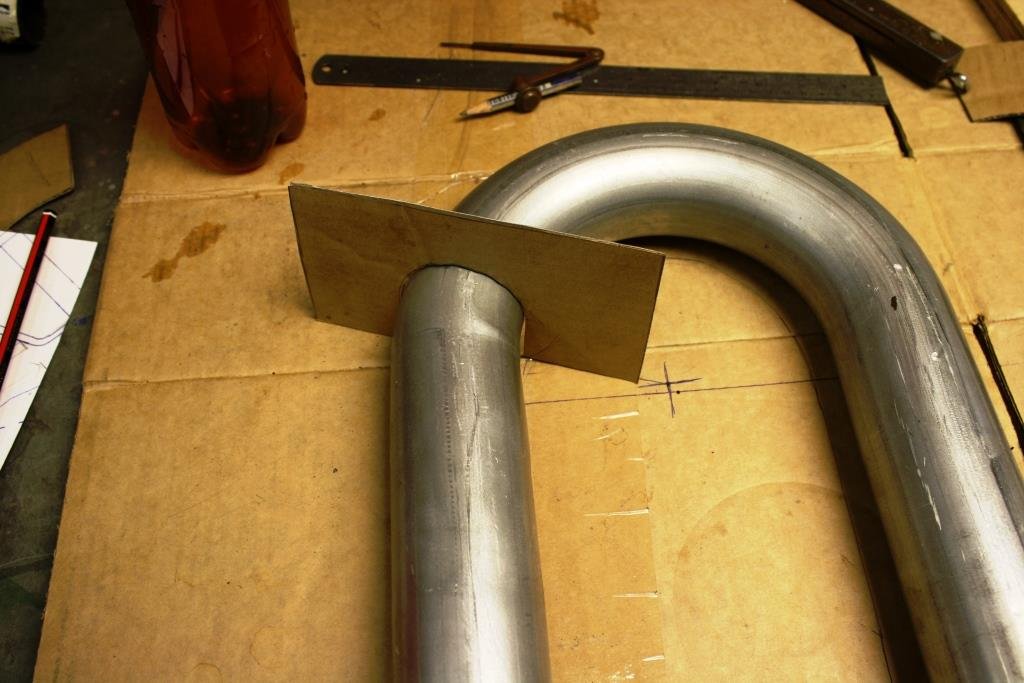
Then it’s easy to mark the cut with a stiff piece of cardboard cut to neatly fit over the tube.
Yes it’s a simple and rudimentary method but it works.
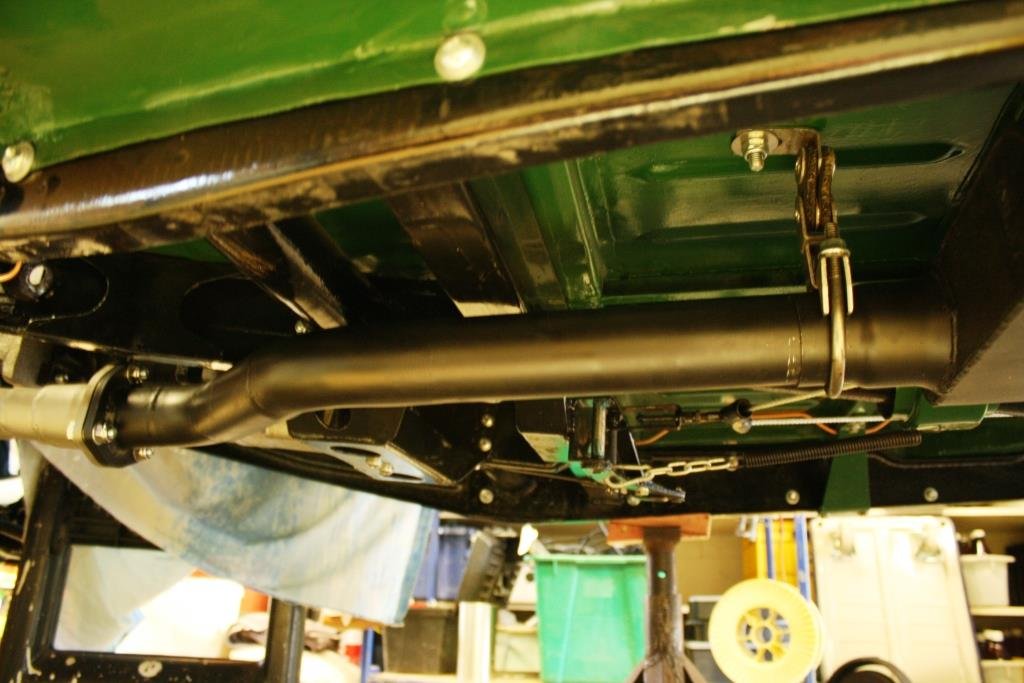
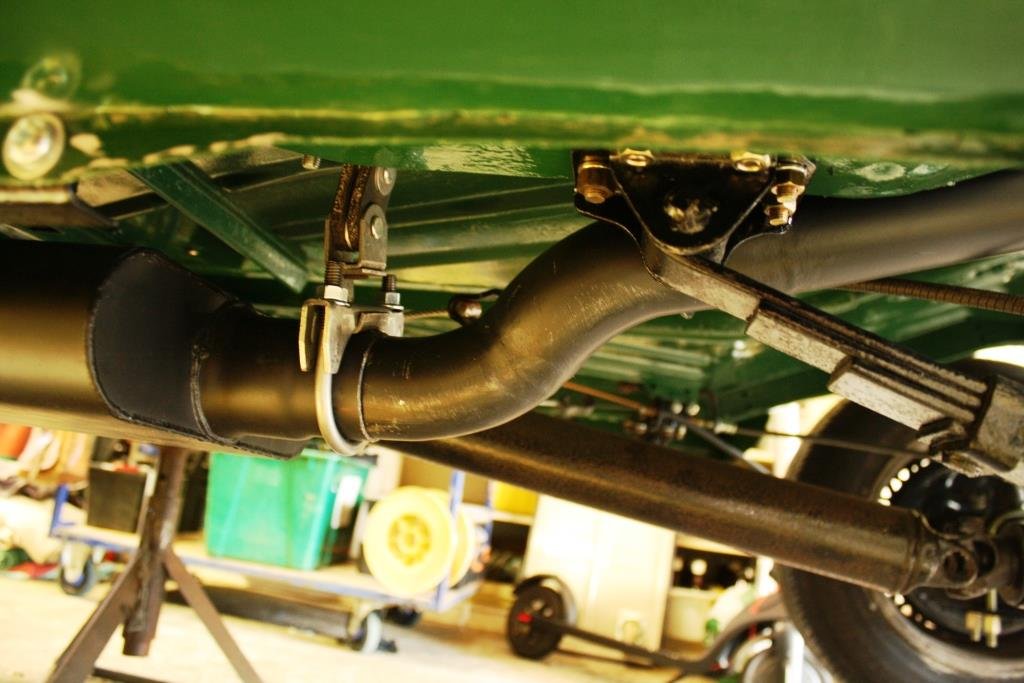
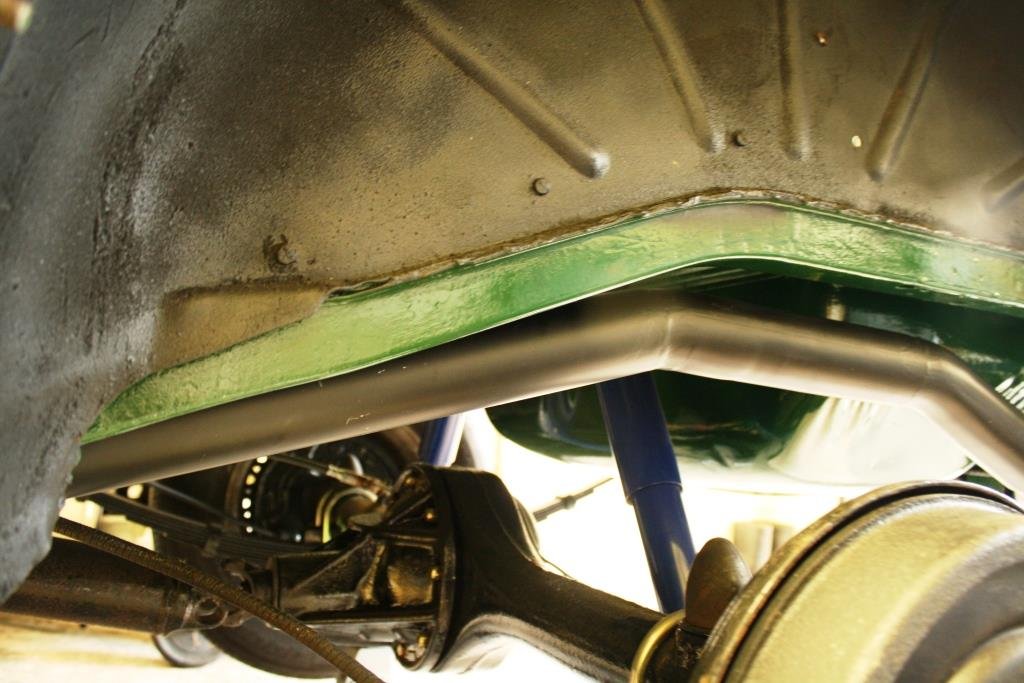
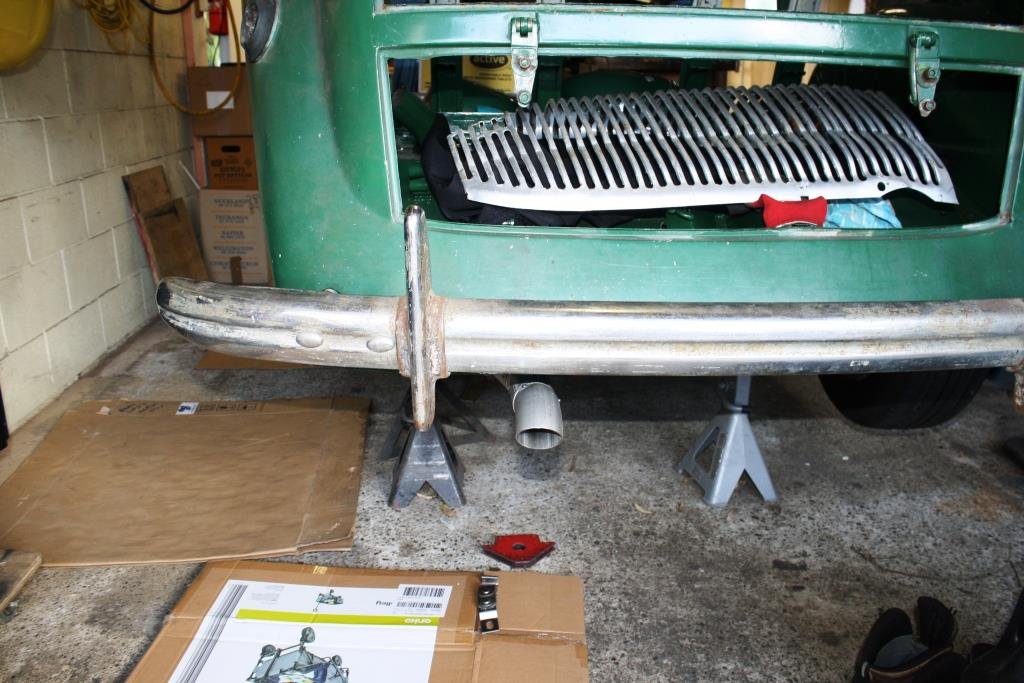
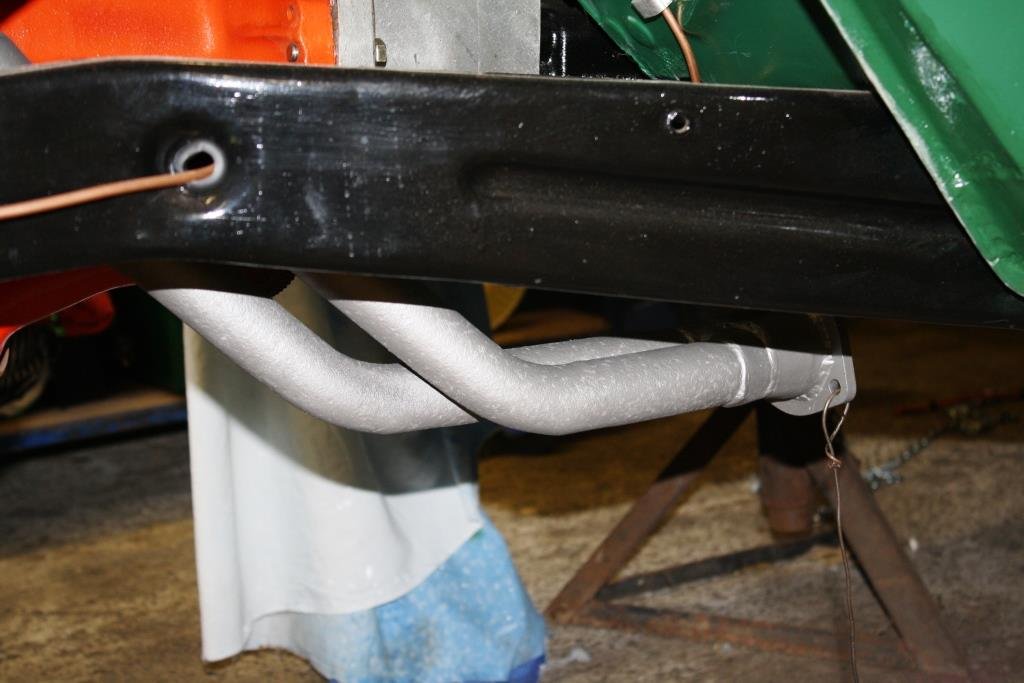
I knew getting over the diff and past the gas tank was going to be a pain in the proverbial and I wasn’t wrong. The gas tank was close to the chassis rail for even the original 1 ¼ inch pea shooter exhaust - with 2 ½” things started to get interesting.
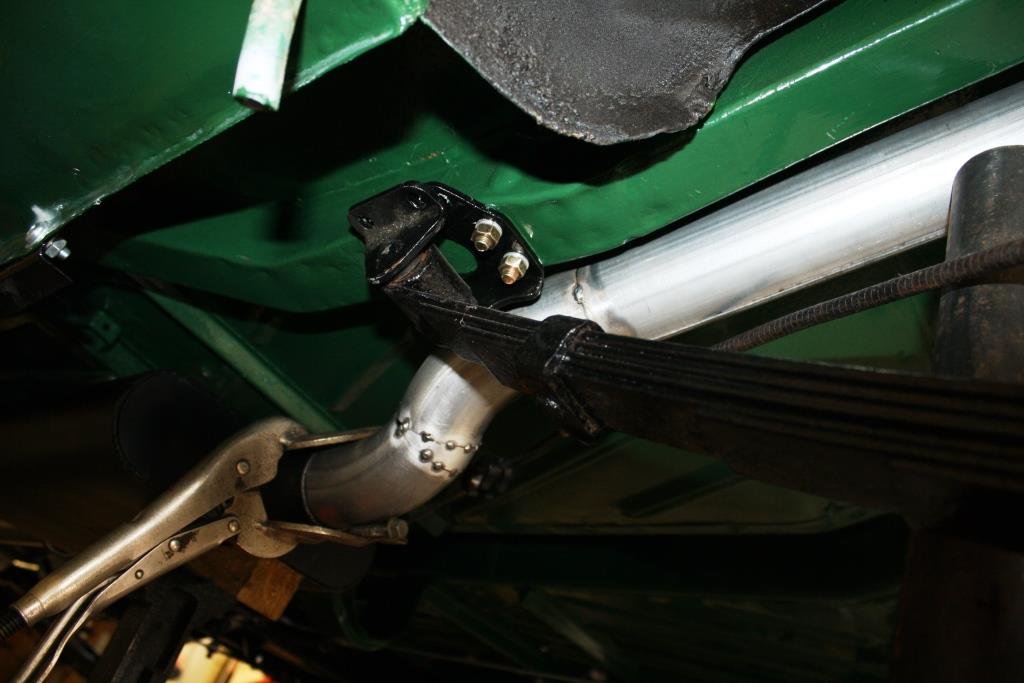
Managed to sneak past the spring hanger on the inside
It’s close but I’m confident the bump stops will hit before the rear end hits the exhaust
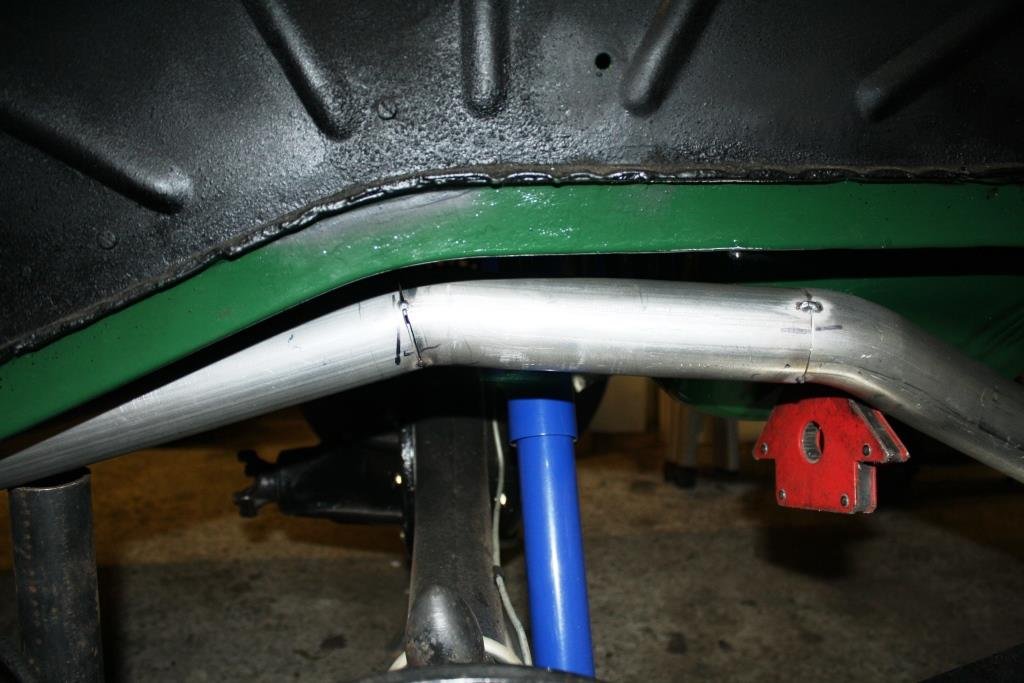
Made it over the top……
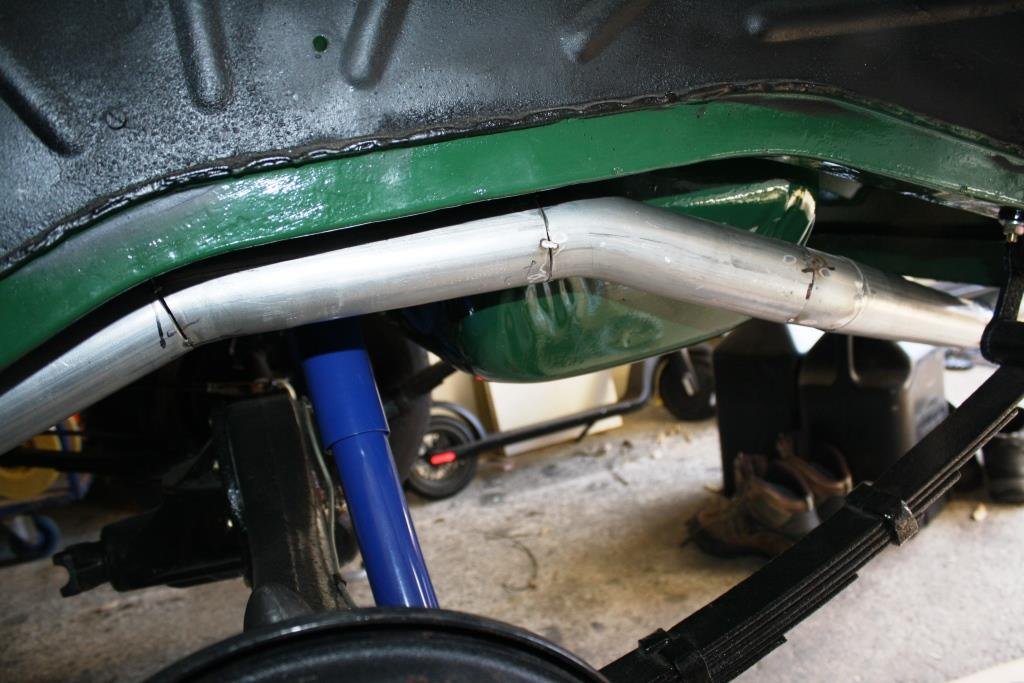
And then a squeeze past the newly fitted gas tank
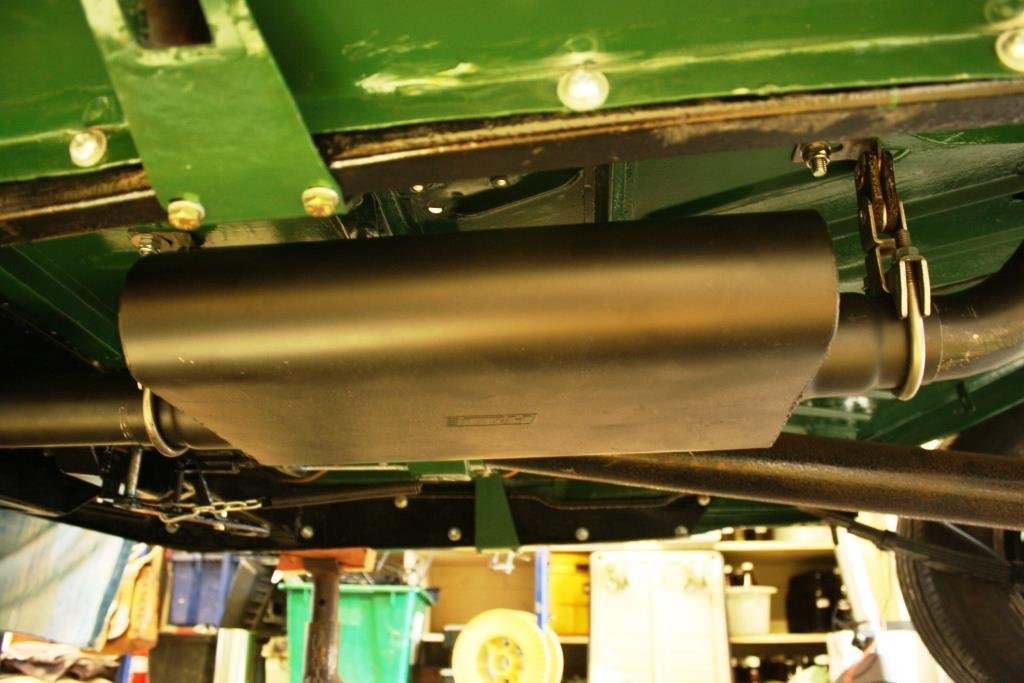
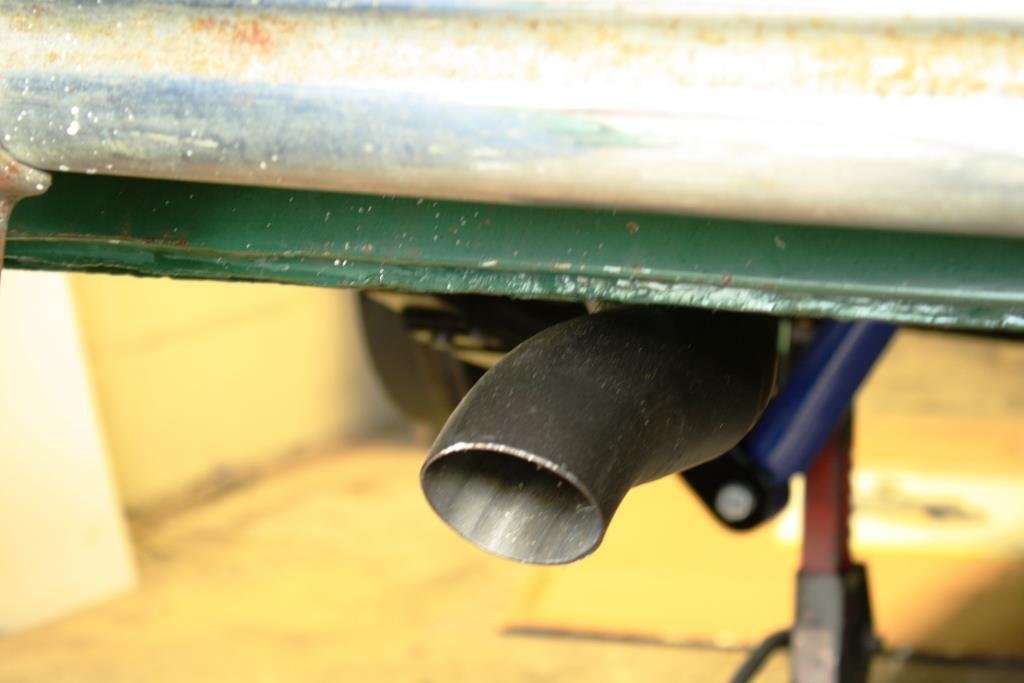
Had to fit the rear bumper to make sure I had clearance - if that’s not a sexy arse end I don’t know what is?
(On re-reading this I think I may need to get a life!).
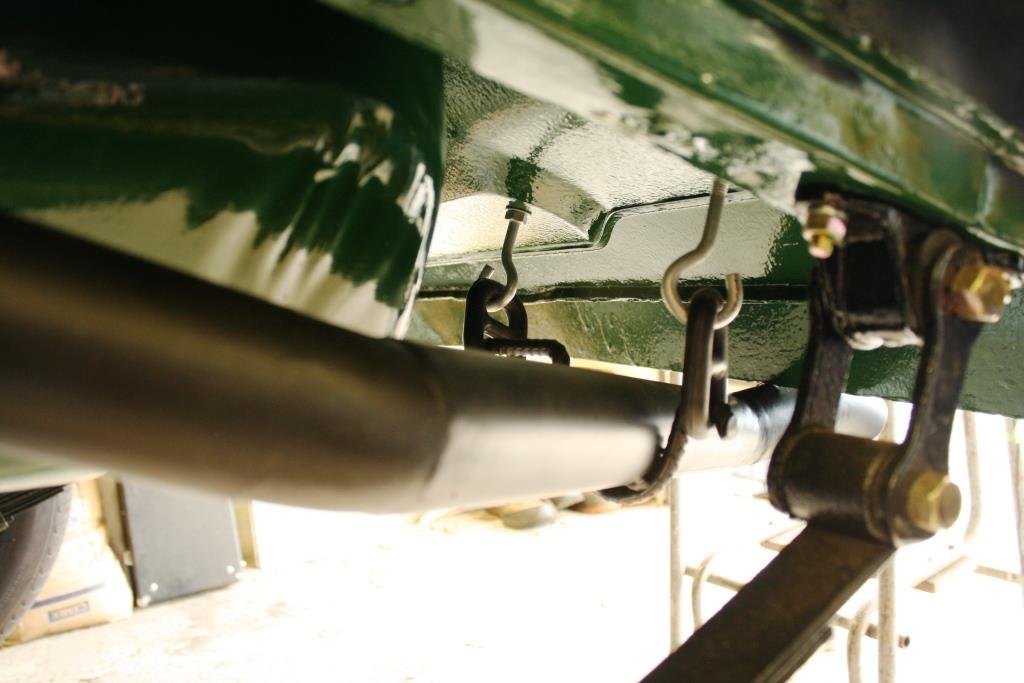
Time for a rear tail pipe mount. Because it’s so close to the chassis rail and gas tank I decided on a double hanger.
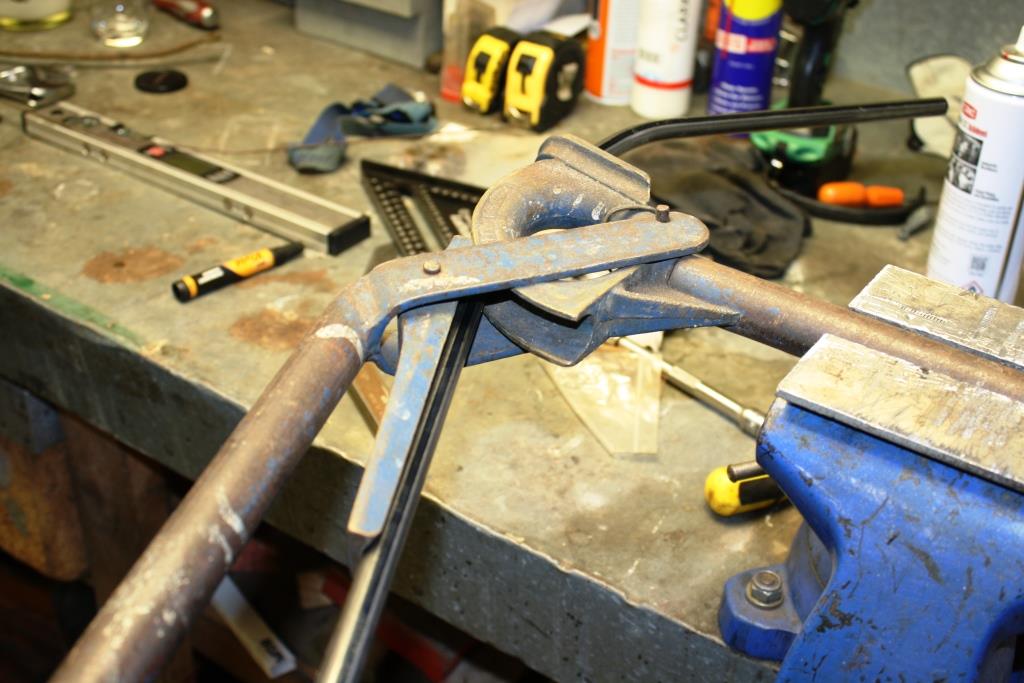
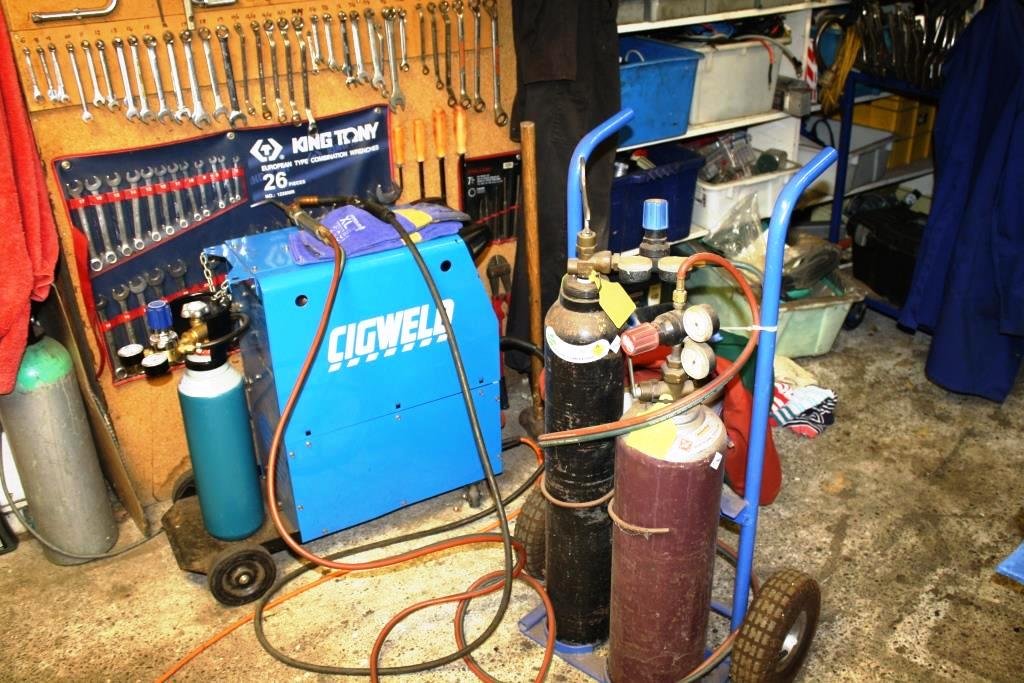
Dusted off the old gas set - hasn’t seen much use of late.
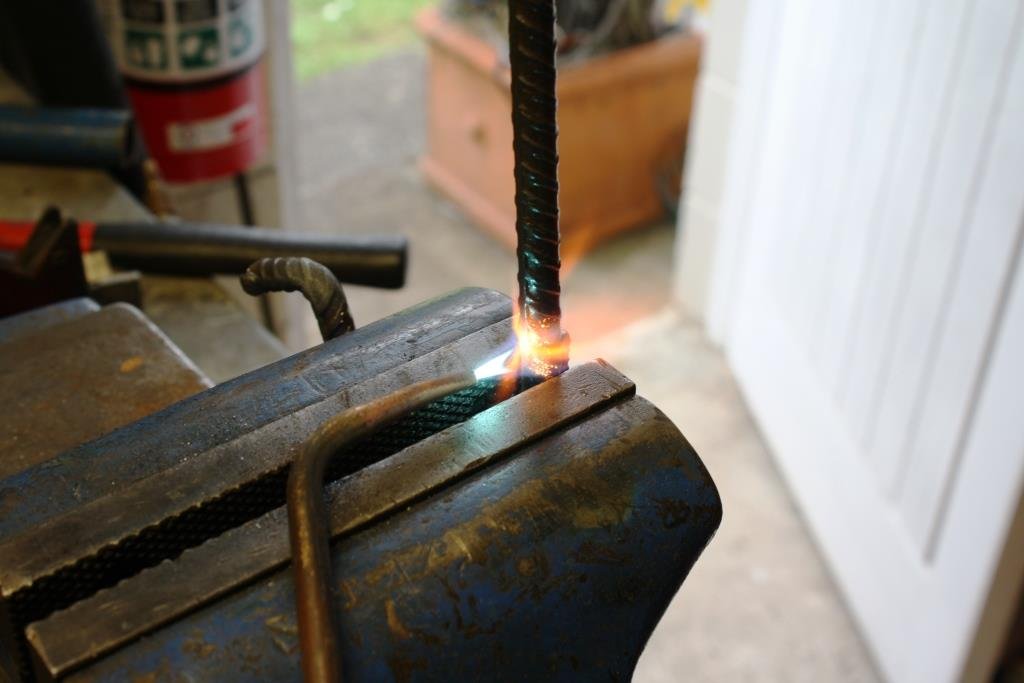
Just couldn’t resist using a piece of re-bar, i.e. this is a real jokers car with a real jokers Aussie engine - To quote Monty Python “rule one, no poofters”.
https://www.youtube.com/watch?v=L220PFMkunI
Heated it up in an old vise and hit it with an even older hammer….
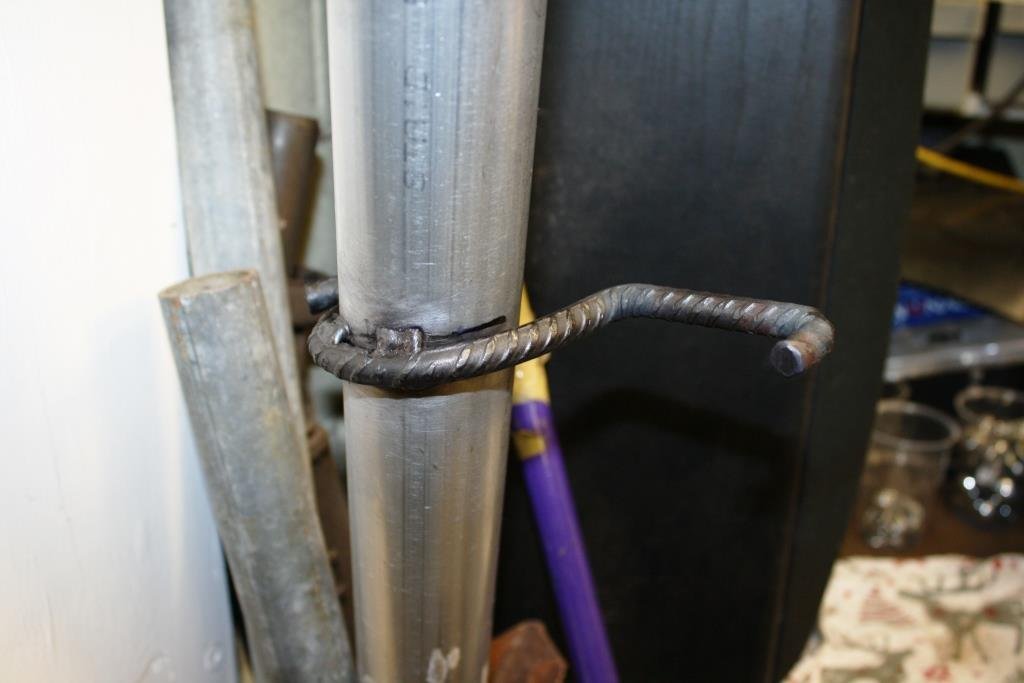
And made this…..
Stitched it all up….
And hit it with some HT paint.
Couldn’t believe how much time and effort had gone into making two bent bits of pipe.
-
25
-
+1 for Sterling Brake & Clutch.
-
5 hours ago, JustHarry said:
Well 4mm is less than 6mm
I realise it's British and usually used for clocks and instruments but is BA metric?
-
On 14/01/2023 at 18:17, JustHarry said:
@sr2 it's not metric
Its BA thread
That's what I initially thought but I BA doesn't go over 6mm?
-
- Popular Post
- Popular Post
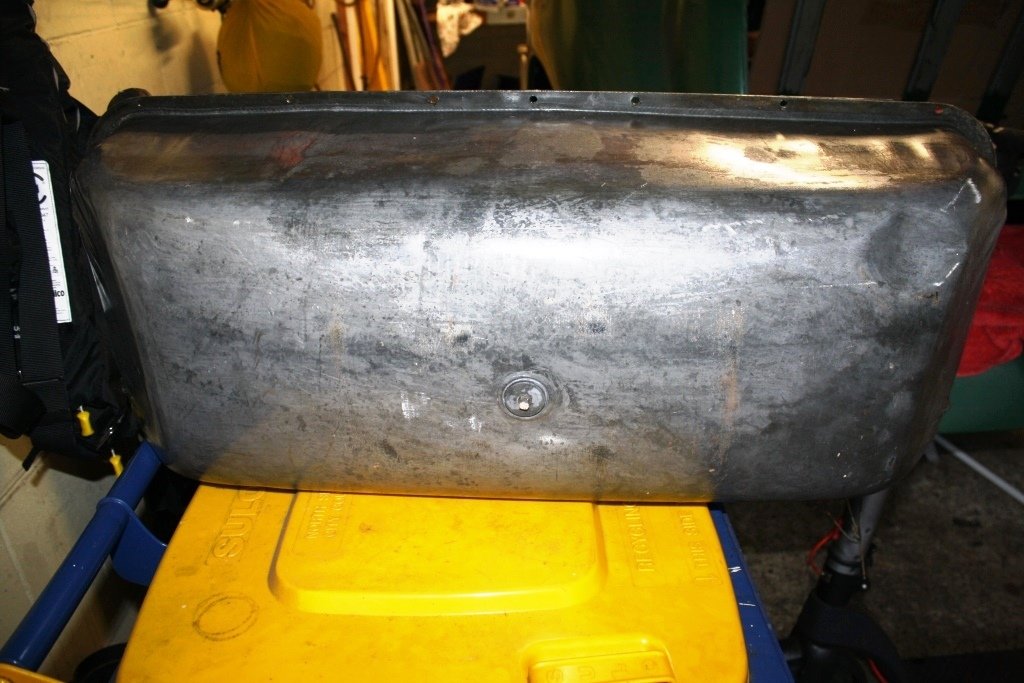
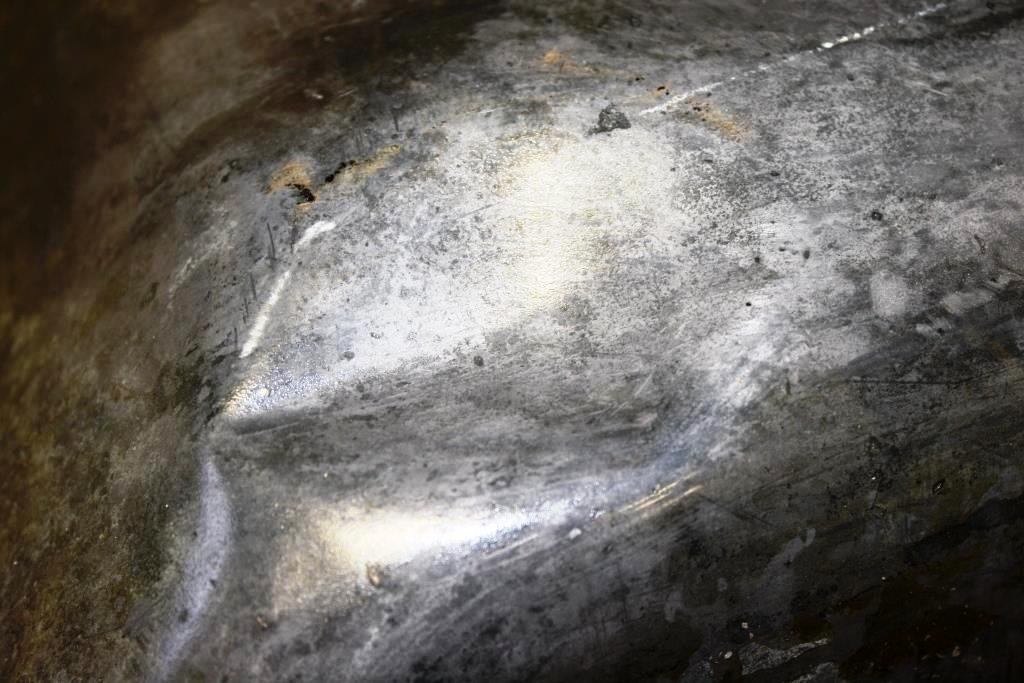
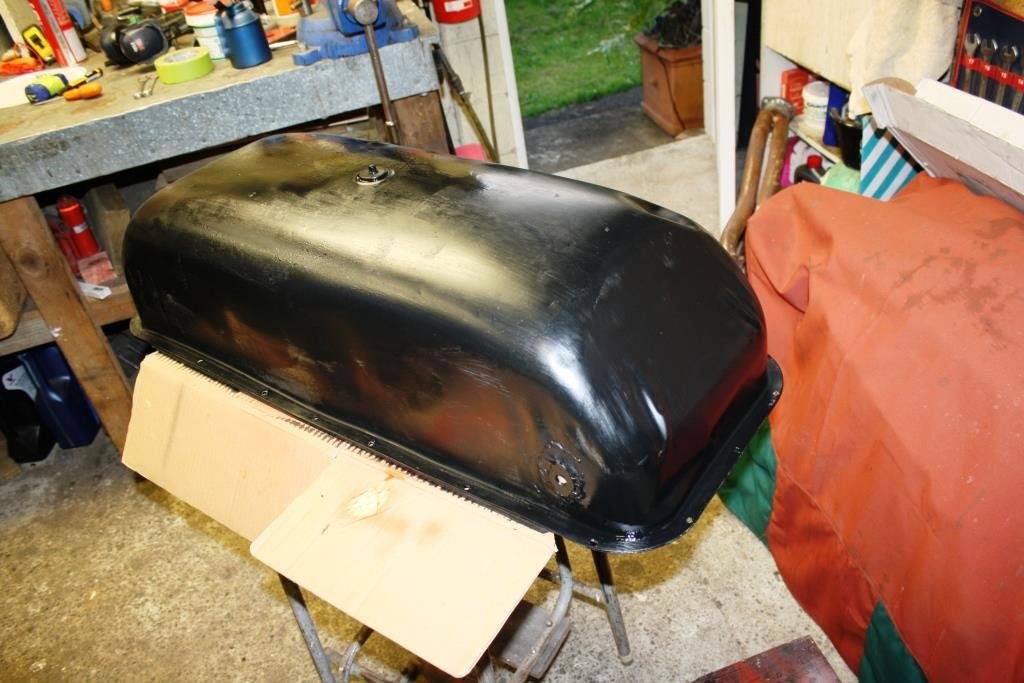
Gas tank arrived back from the good old boys at Kwikstrip.
The usual great job, all paint and rust gone.
I was going to use a lining compound but it looks good inside.
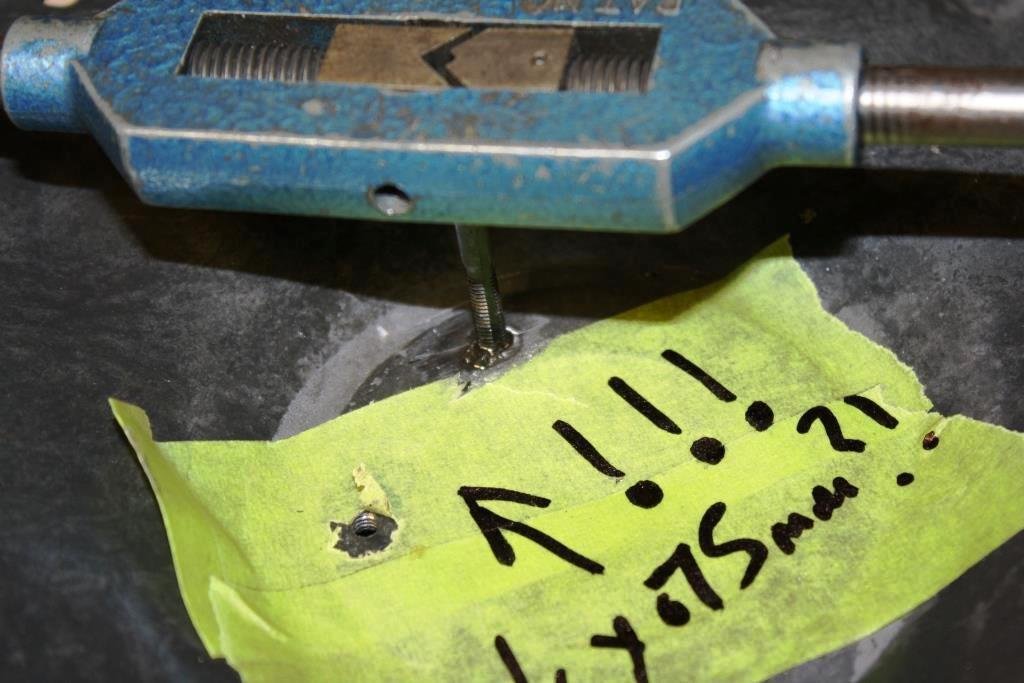
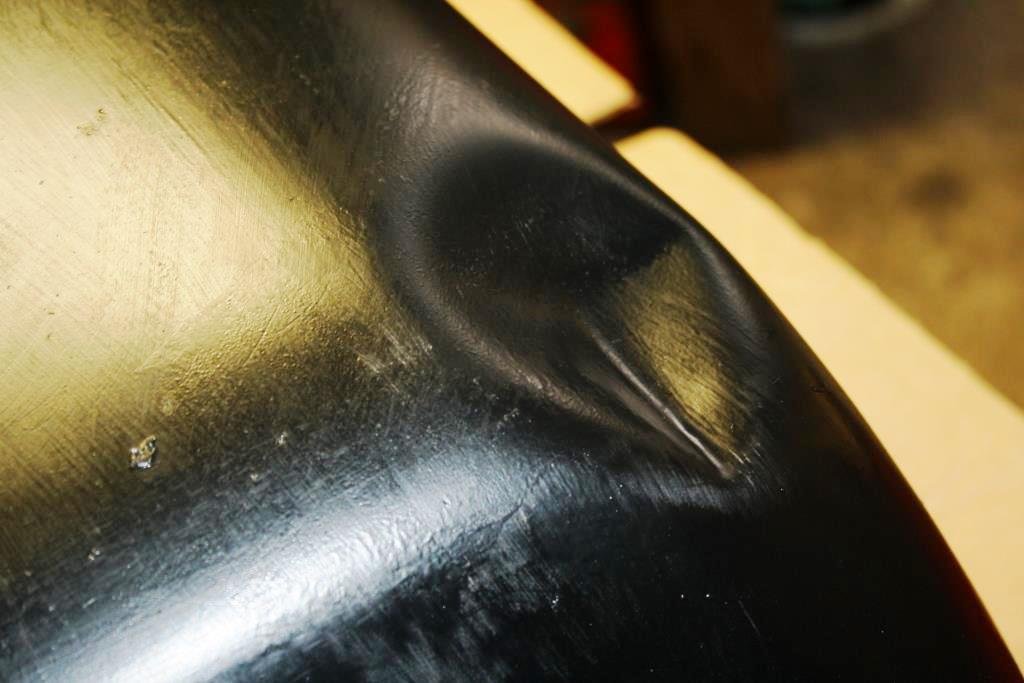
Thought I’d leave my favorite gas tank ding. Despite numerous attempts and intense interrogation techniques Rigamortice has so far refused to divulge the story behind it.
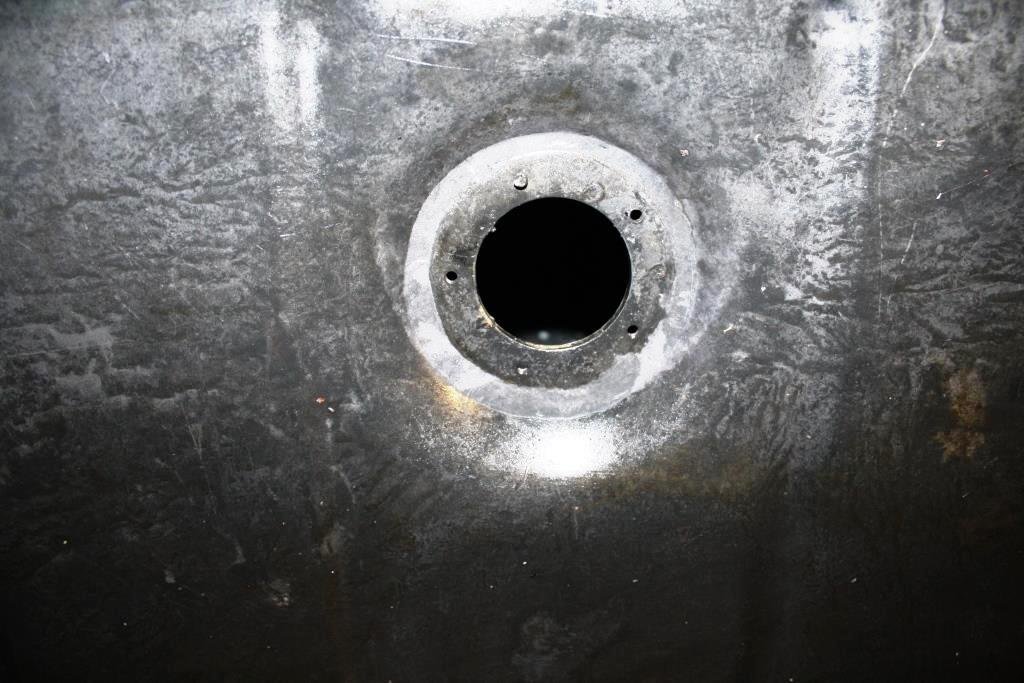
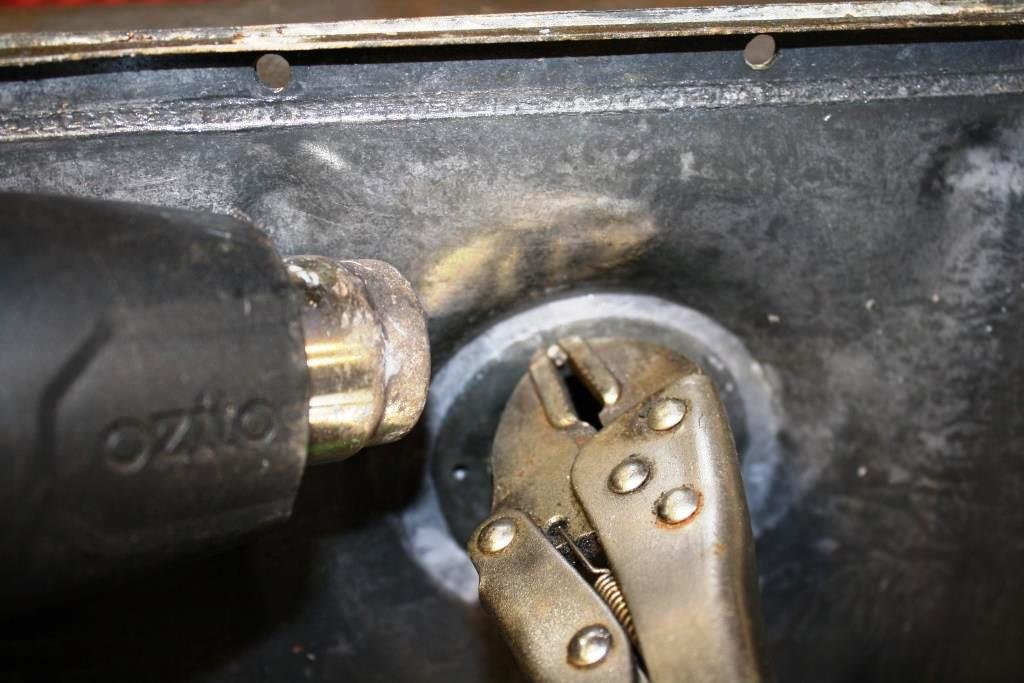
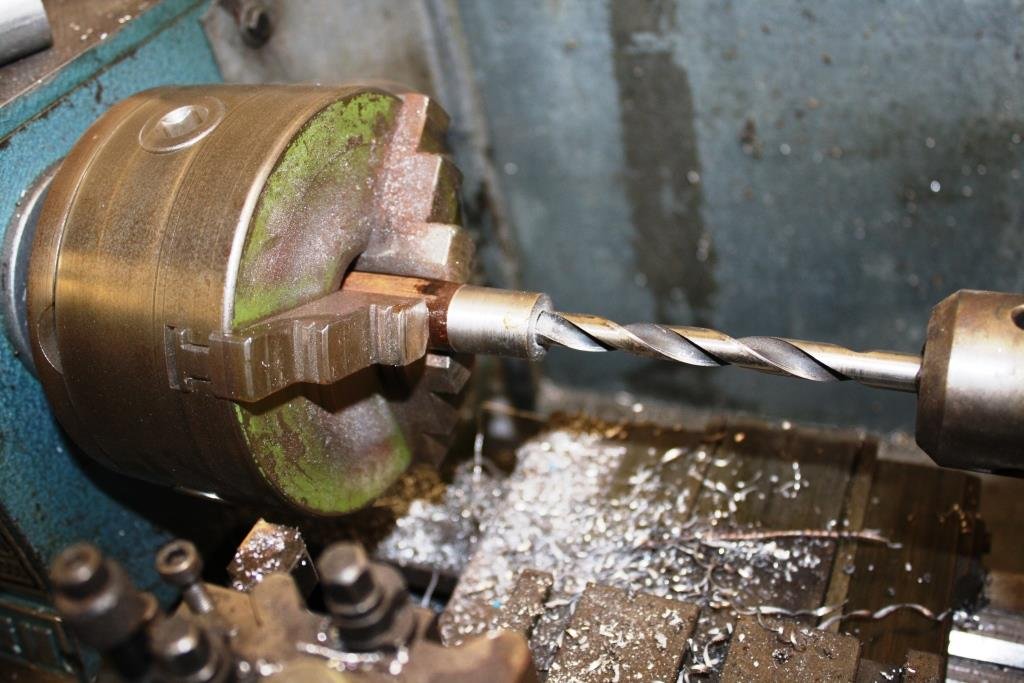
Only sheared off one bolt removing the sender….
Applied some gentle heat but when I saw solder starting to melt I backed off quick. - Yes in those days they soldered gas tanks together.
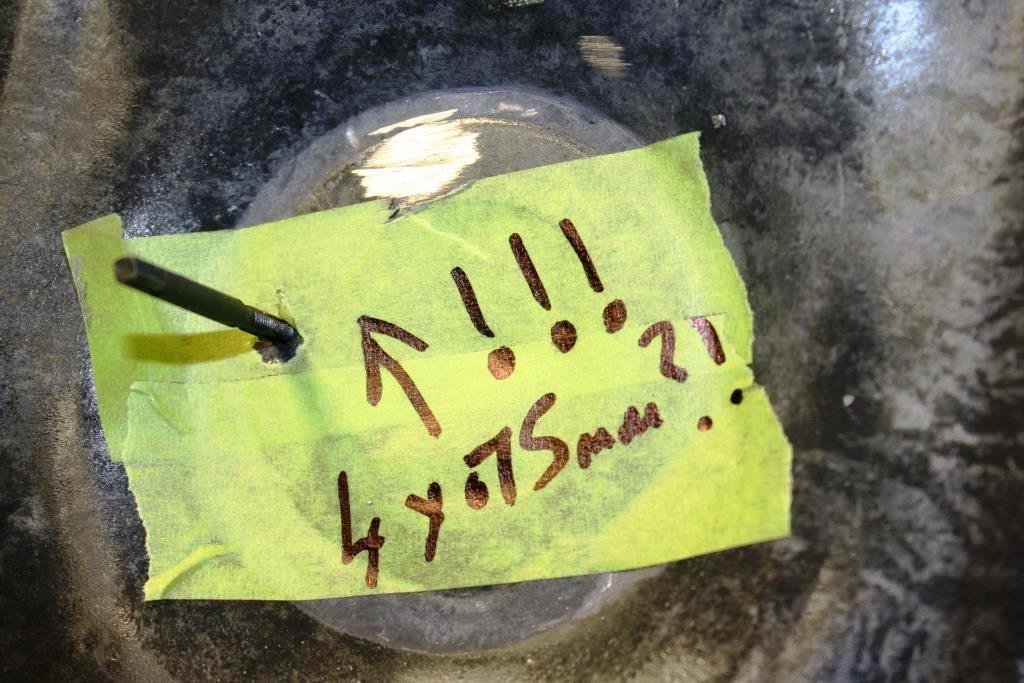
Shock, horror and panic! On drilling out the errant bolt I discovered my old friend Rigamortice, the last bastion of all things Imperial was harboring an embarrassing skeleton in her closet. Oh the pain and humiliation when I discovered a metric thread. With any remaining vestige of authenticity and moral fortitude thrown out to the dogs Rigamortice hung her head in shame as I lowered my standards and defiled the rebuild with a metric tap.
“Oh the humanity”.
Numerous Wild Turkeys and extensive counseling later, I slunk into the now desecrated sr2 man cave and pulled out the favored CRC rust converter...
Love that little ding…..
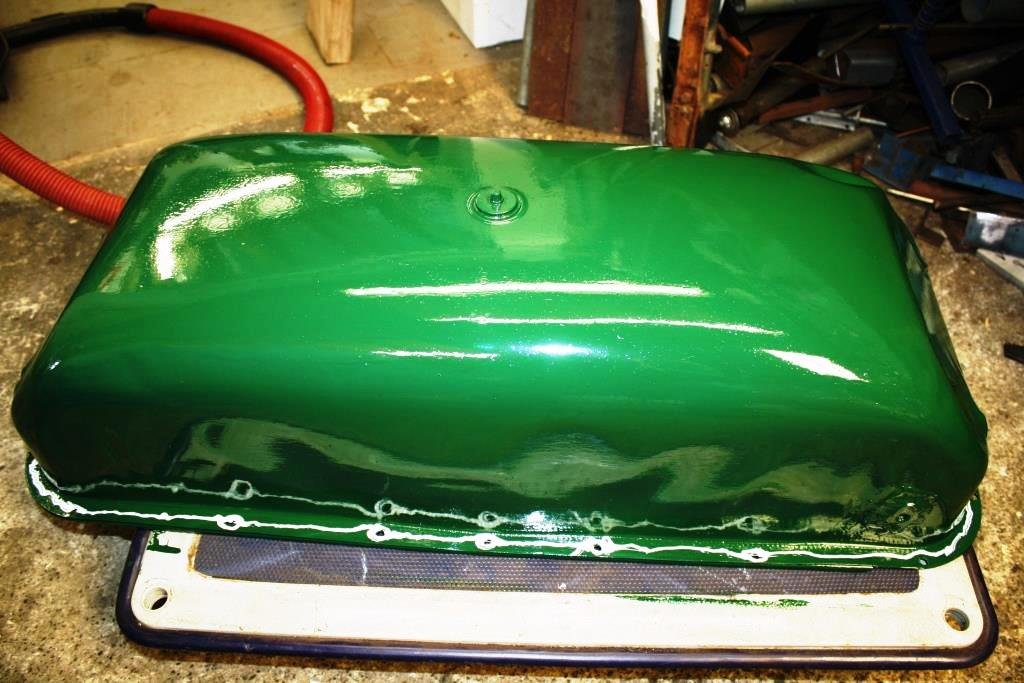
Applied the obligatory coat of insipid green….
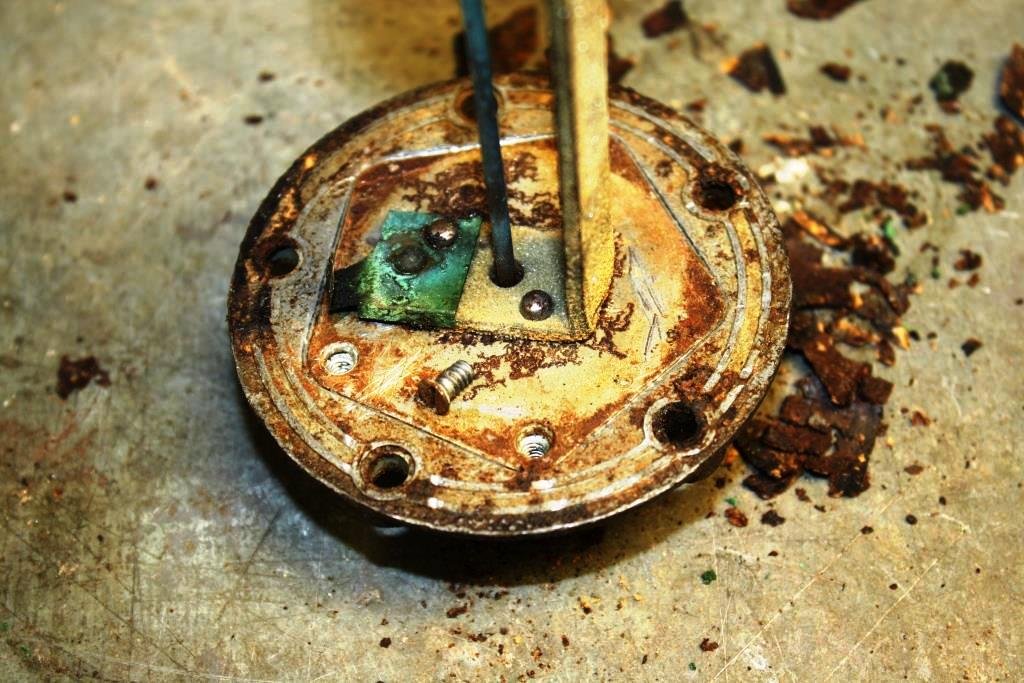
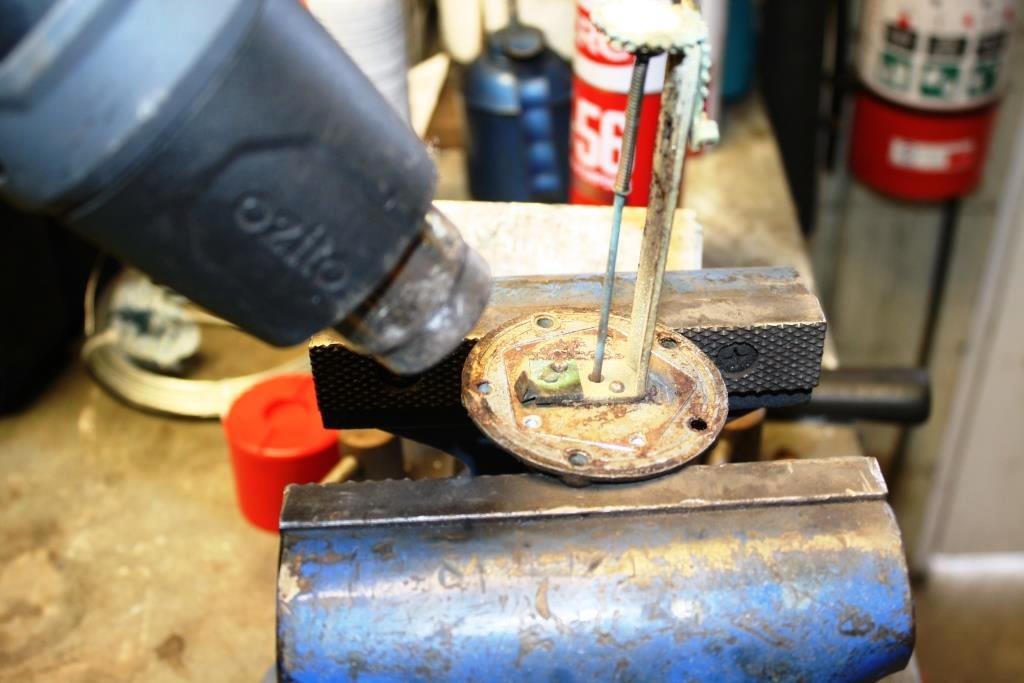
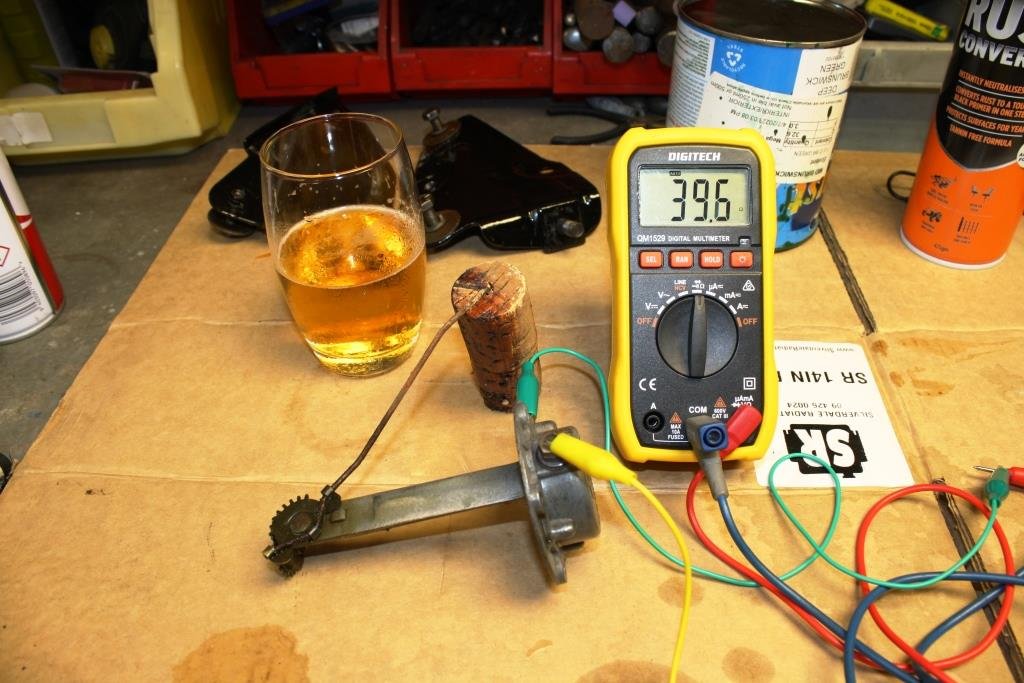
And it was time to attack the sender.
A small amount of heat…..
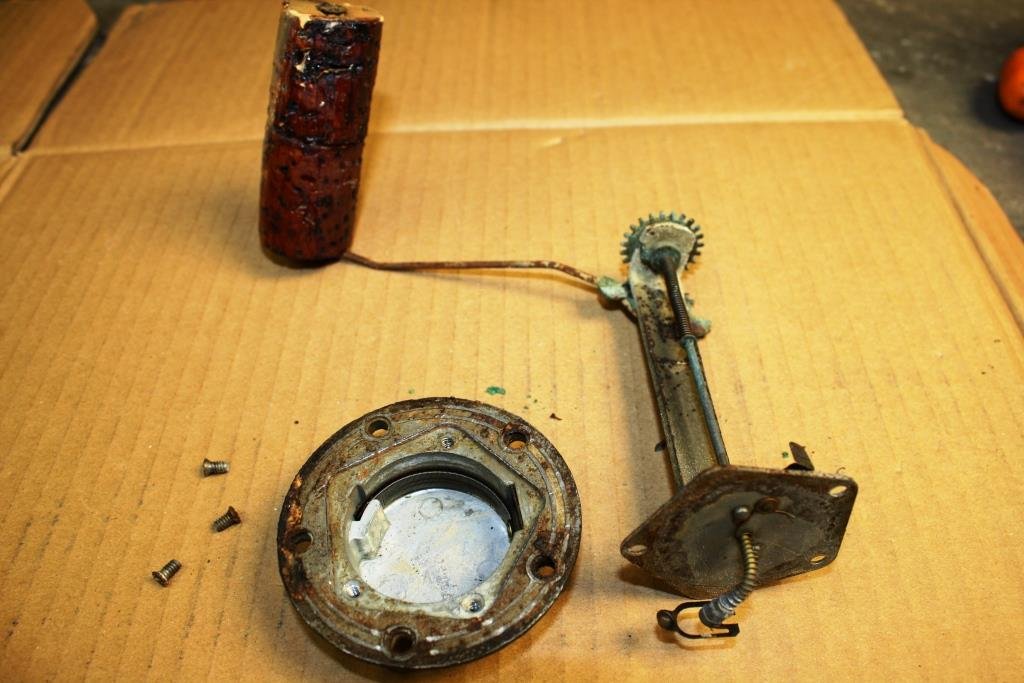
And it fell to bits with a little tap.
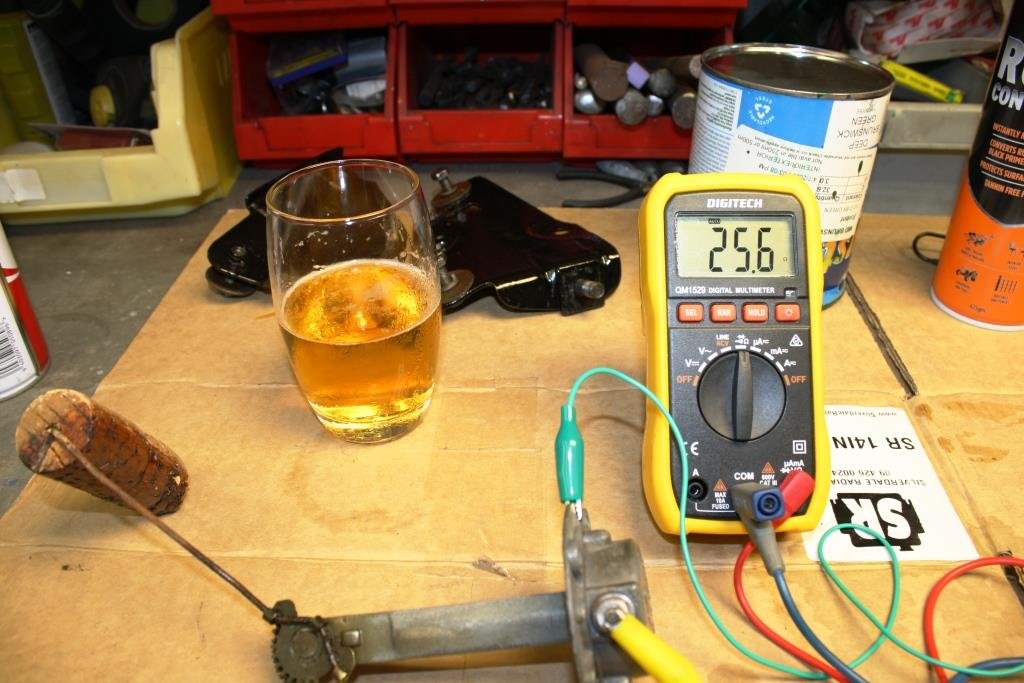
You have to love this old shit. What we have here is simply a 75 year old rheostat (or potentiometer - for those who love big words or suffer from bouts of verbosity) that needed no more than a quick dip in the cleaning bath and a spray with CRC contact cleaner to be restored to its former glory.
Try that with a bloody Corolla’s gas gauge sender in 75 years’ time!
Gas tank Empty…..
Gas tank full….
Cut out a cork gasket….
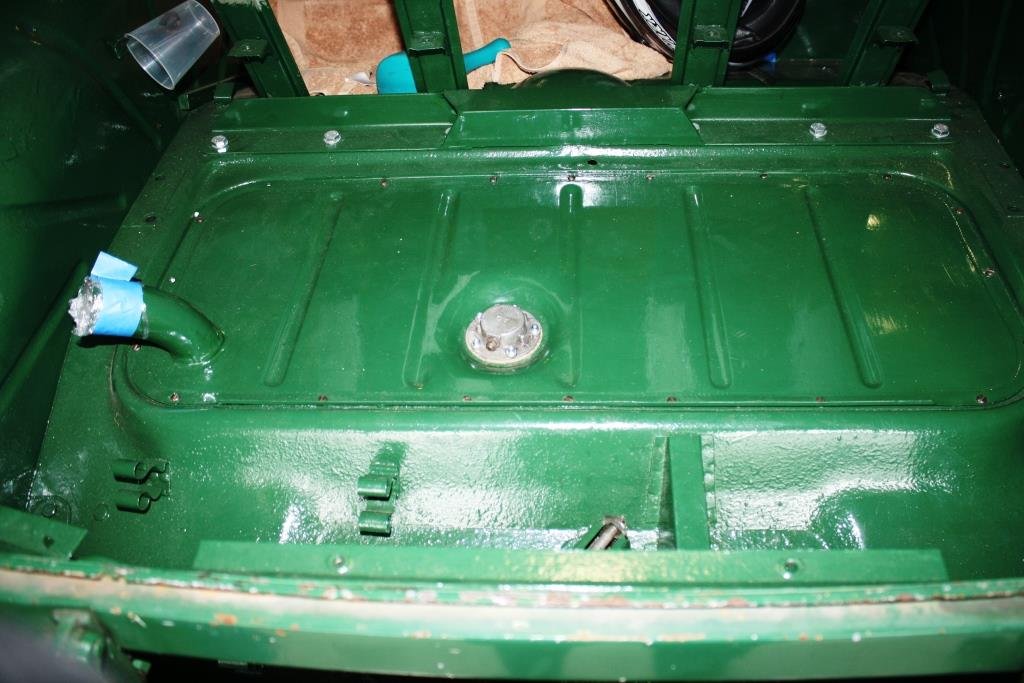
Gave the crusty old cork float one more chance with a water test and considering the specific gravity (or relative density) of water is higher than that of petrol it passed with flying colors. One 75 year old piece of history just got a reprieve.
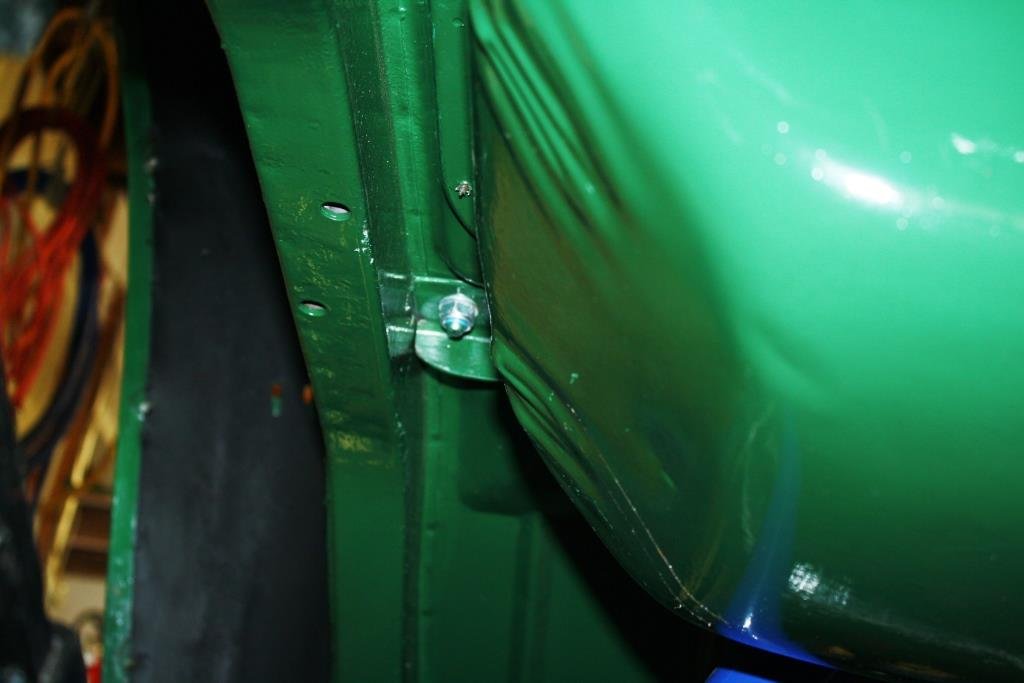
I assembled it all and dropped it into the old girls boot. (Complete with the original PK screws to hold the tank in place. in place!).
The lack of room between the tank and the chassis rail will be a challenge for the exhaust……..
-
21
-
2 hours ago, mjrstar said:
Come to old-school, suggestions on best 4cyl include rotary, V6 Mazda, and Barra.
Yes the "throw a #### engine in there" posters enthusiasm is often well ahead of of their experience in tackling the myriad of engineering challenges that your average engine transplant involves. That aside most of us were once like that and youthful automotive exuberance should be encouraged rather than criticized.
My favourite classic choice would have to be a 2 litre Pinto. Cheap, readily available (Cortina's rusted as only Pommy cars could!), a plentiful supply of both new and 2nd hand hot-up parts and most importantly the fit.
For a crazy solution I'd go for my favourite 4cyl RWD setup. A 4G63T (VR4 to Evo 3) hooked up to a RWD Mitsi gearbox makes for an economical, reliable, abundant source of horsepower. Lots of good info here https://projectzerog.com/
I've been involved in two RWD 4G63 swaps, one for a mates road car (Mitzi ute) and the other some years back for our Targa race car; a little tweaking and the HP/torque is simply brutal.
As Cletus pointed out you would need to look at substantial suspension and braking upgrades to get it road legal.
-
3
-
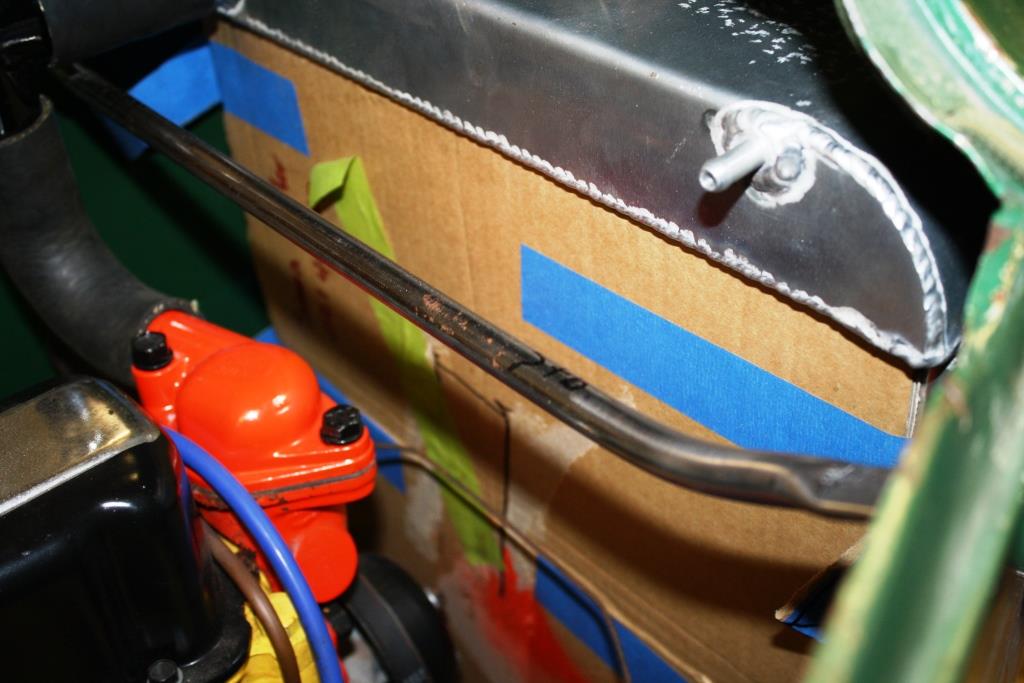
-
2 hours ago, Muncie said:
Just spotted your Triumph clutch slave is upside down bleed nipple should be at top or there's a 50/50 chance you'll have a nightmare bleeding it.
Ask me how I know........ I may stare of into the distance while I recall a Triumph with the clutch that was never right.
Well spotted mate. I have yet to get to installing the plumbing and bleeding.
I'll take your most welcomed advise.
-
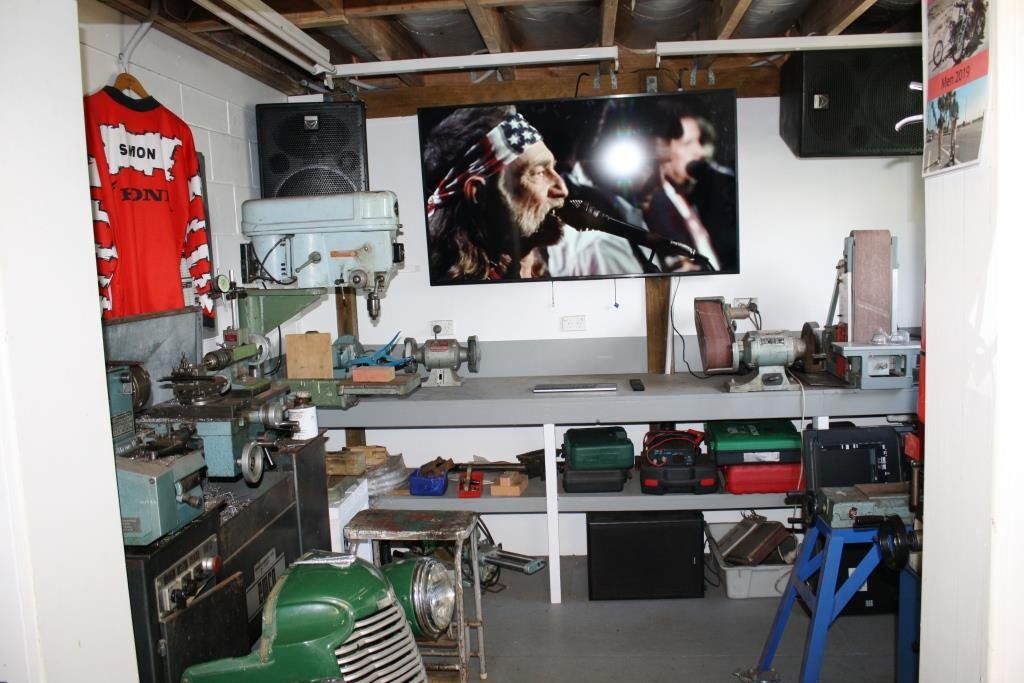
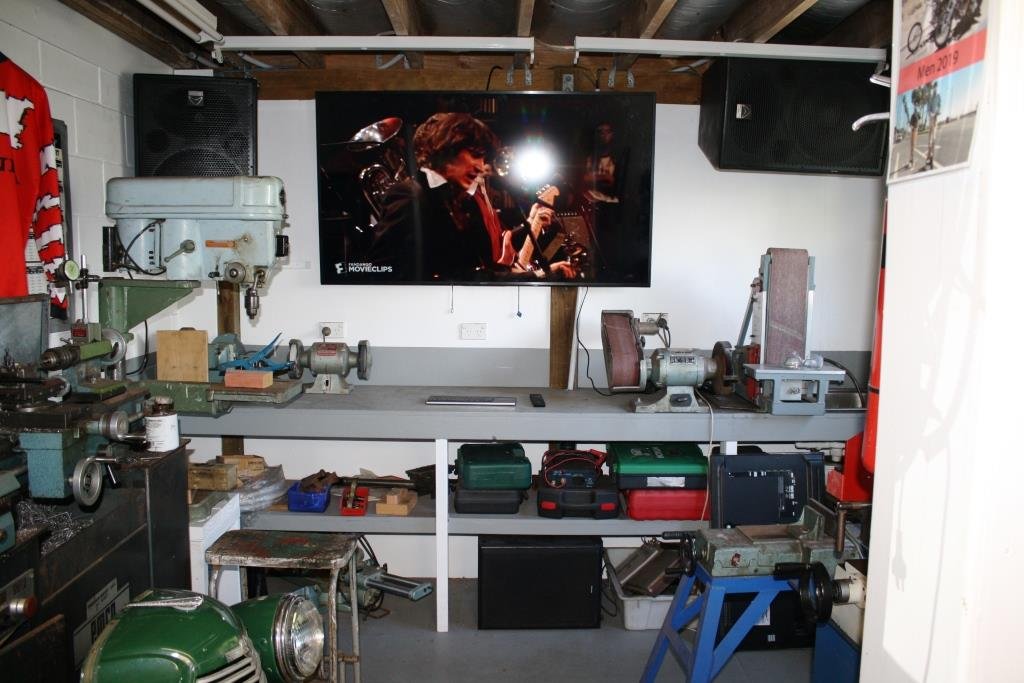
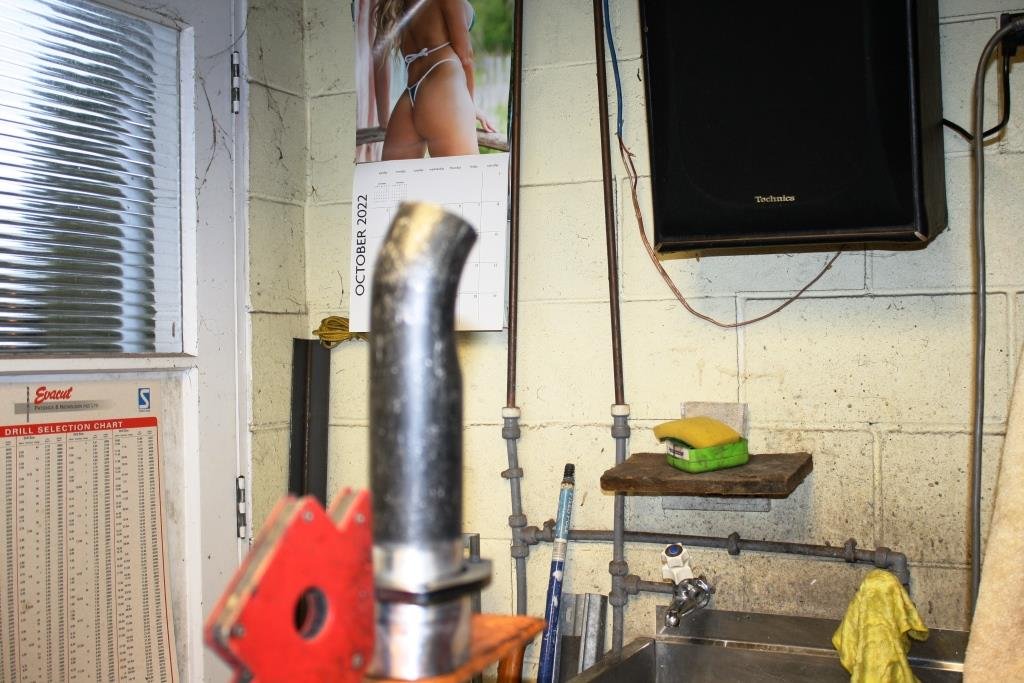
Breaking news from the “Galactically acclaimed” sr2 man-cave……..
We have a big screen upgrade to match the new sound system….
-
8
-
-
11 hours ago, Raizer said:
Good luck with the STA bends.
I tried to save a few bucks with them too, the steel they've used is shit and seems to go brittle and crack.
Had one completely snap off right after the flange of my turbo (before you think it was my weld failing it snapped about 10mm behind the weld) leaving me with a rather loud trip between Tauranga and Gisborne. Then another big crack further down by the muffler, I added extra bracing and this last WOF check they pointed out a hole about the size of a 10c coin just completely blown out with 2 big cracks spreading from it.
Been a year and I'm about to remake my complete exhaust from better material.
Ouch! I'd be looking at stainless for a turbo system, usually higher temperatures involved. I've found with the correct wire stainless is easy to mig with your usual co2/argon mig gas.
-
1
-
-
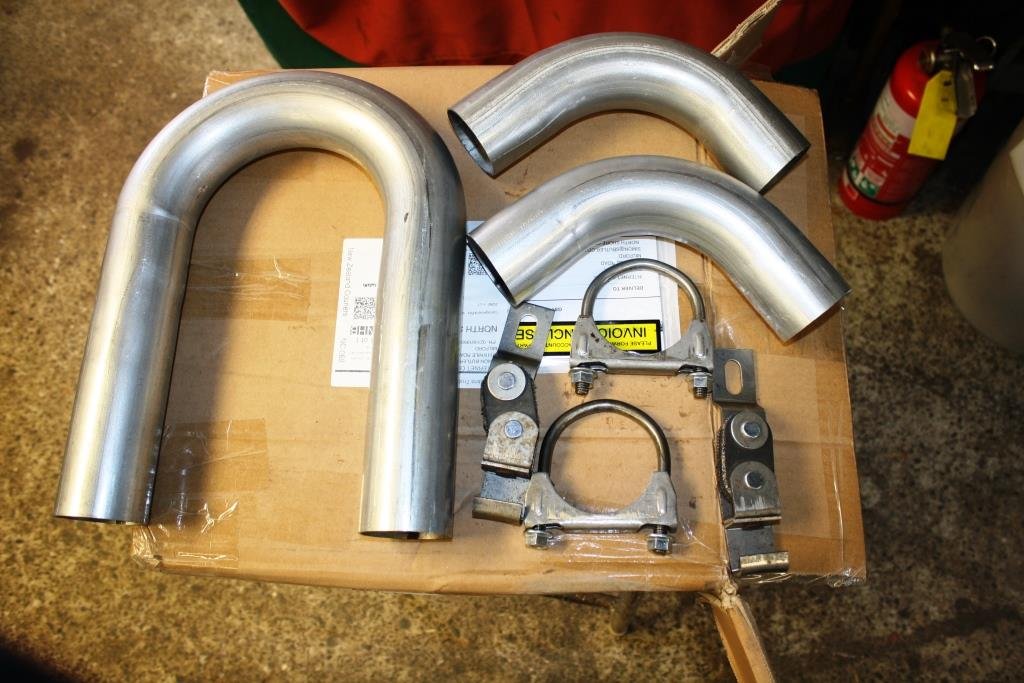
- Popular Post
- Popular Post
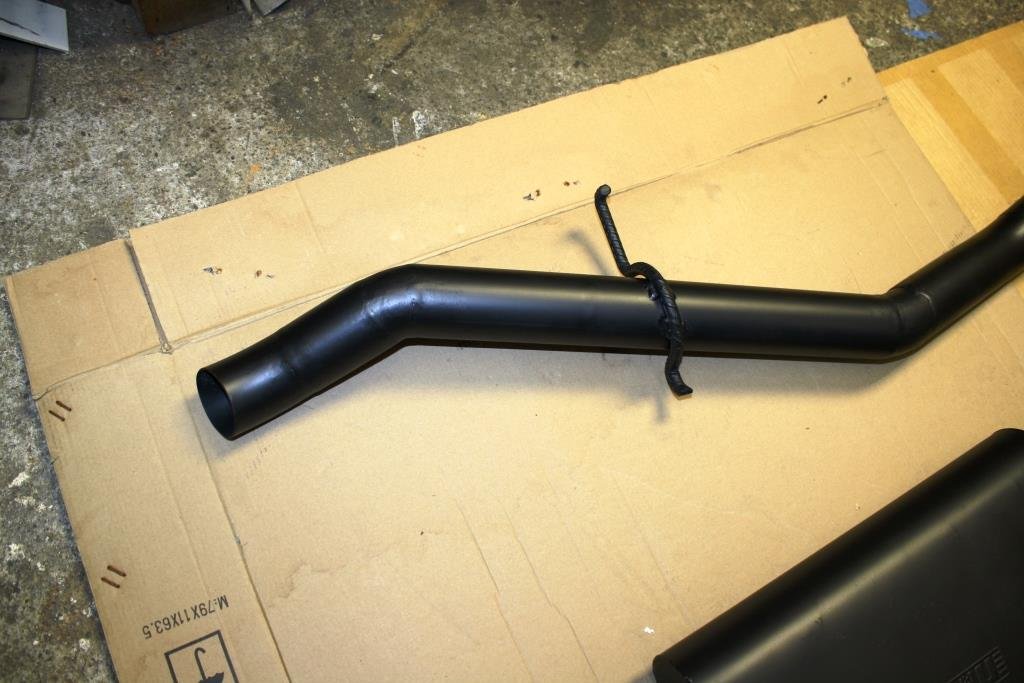
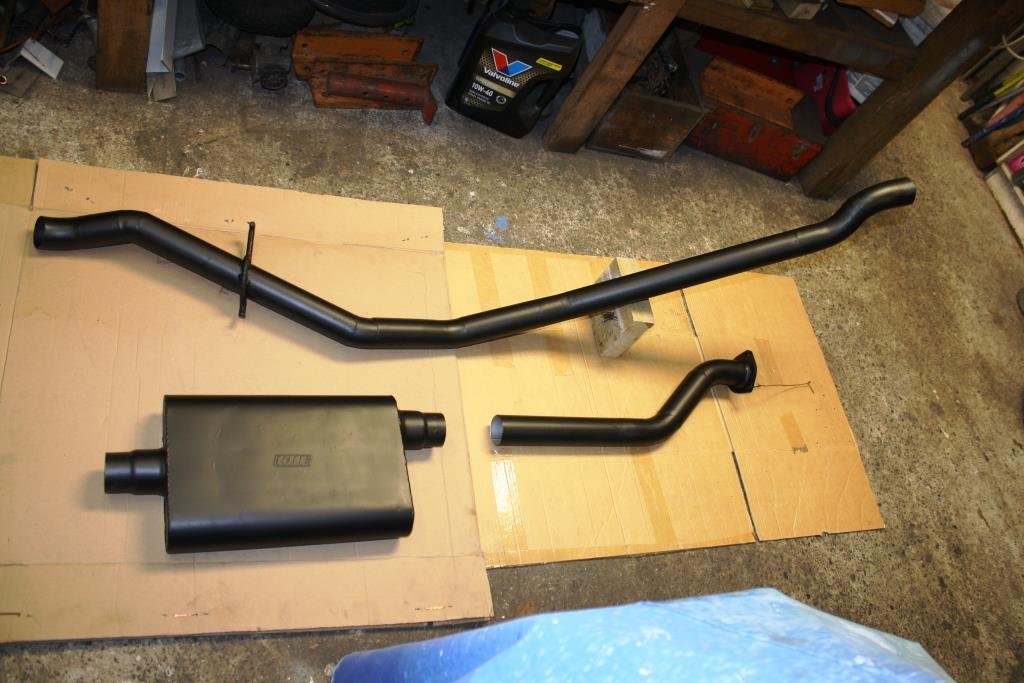
A Bunch of cool exhaust stuff arrived from STA parts at a great price.
After considerable deliberation and Wild Turkey Rigamortice I had made the decision to settle on a 2 ¼ inch exhaust. The old Holden 6’s don’t get much past 6 grand in street trim and going bigger risks sacrificing mid-range for that little extra top end.
Plan is for the old girl to become my daily driver once again (I have a passion for totally impractical solutions for problems that never existed in the first place) and I need a drivable engine in a state of tune I can live with. Although wait until I build the stroked 208!
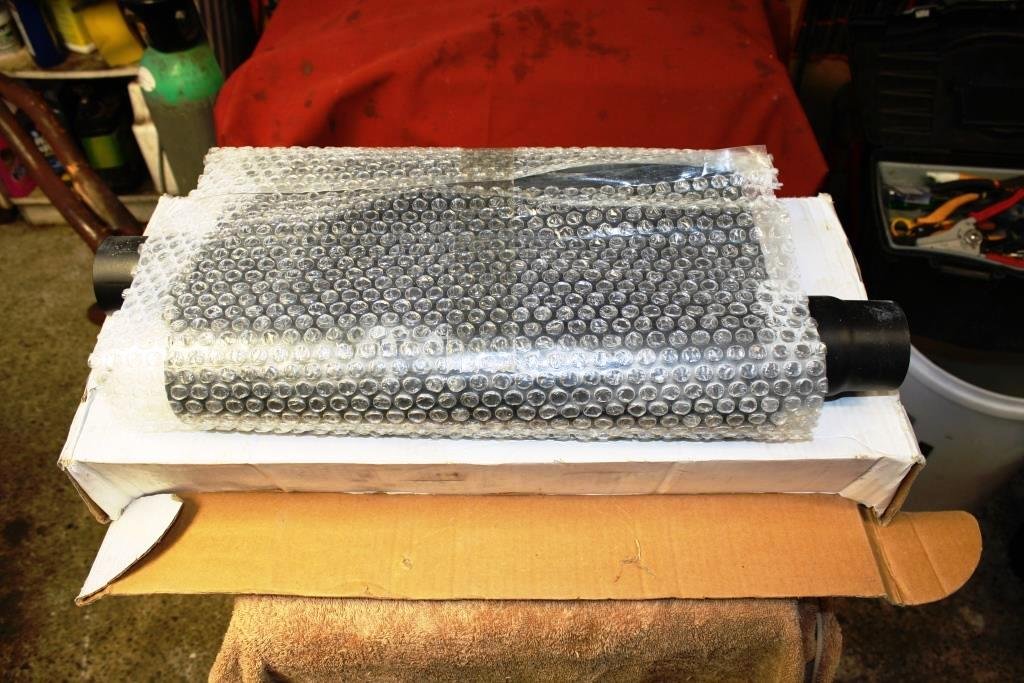
Ordered some straight tube and found a muffler on Trademe…
And it’s back into using CAD (cardboard aided design).
Have to say some of these cheap Chinese “mandrel bends” are a little out of round.
But the price is right.
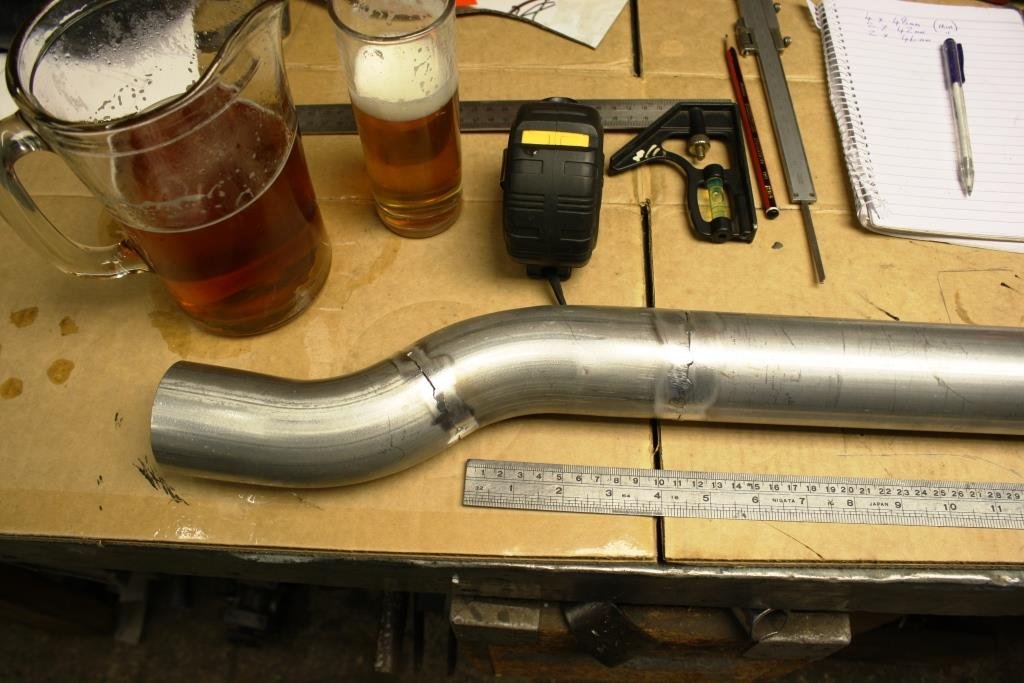
Beer is always important when working late in the “universally renowned” sr2 man-cave.
Happy with the front pipe - time to weld it up.
And check one more time it all fits.
-
21
-
- Popular Post
- Popular Post
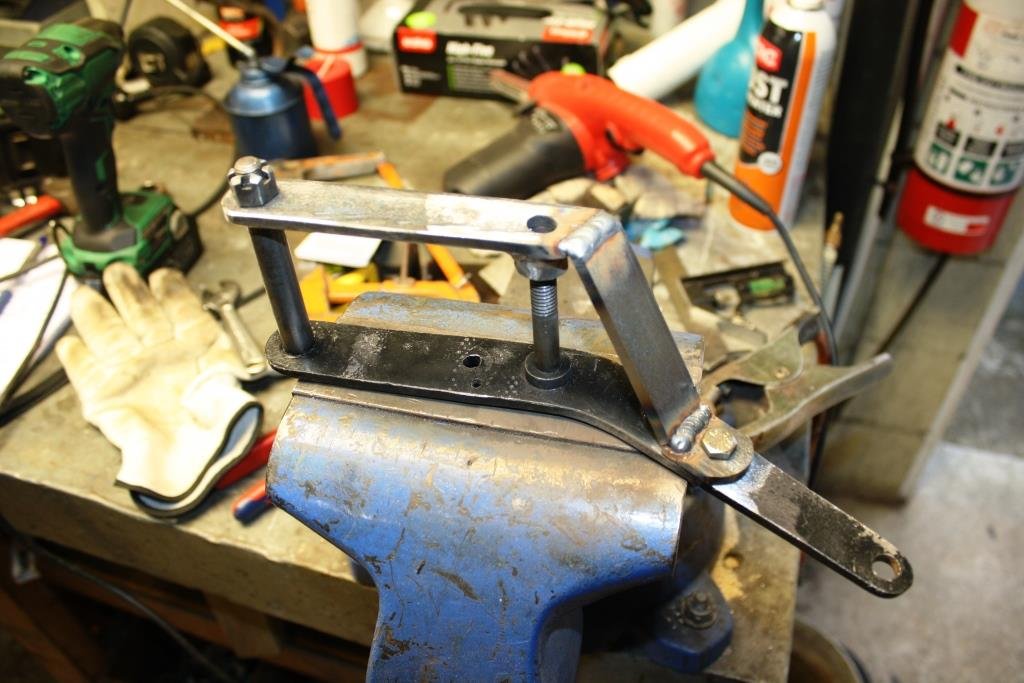
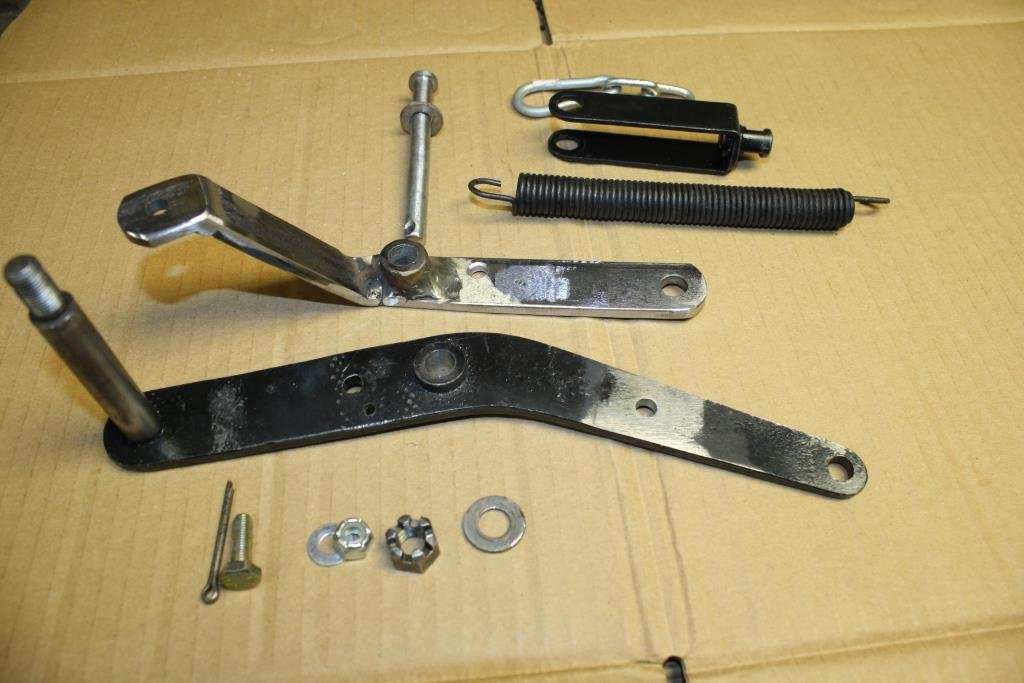
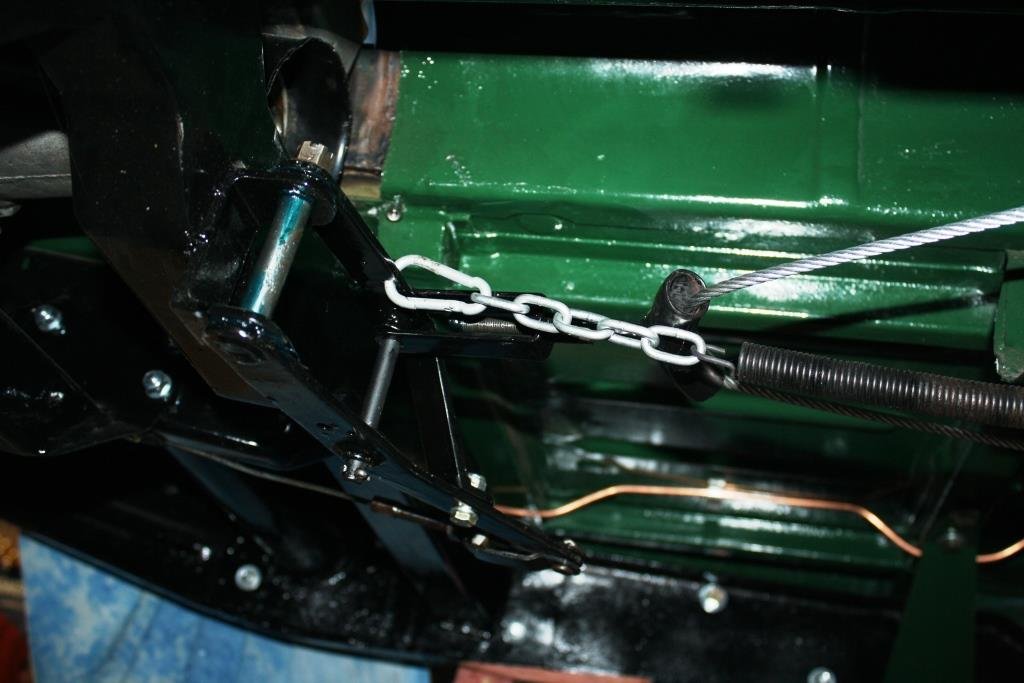
While groveling around underneath the old girl trying to figure out how to get a bloody 2 ¼ inch exhaust to fit where a 1 1/8” had no issues I fell seriously out of love with my handbrake quadrant and decided it could be improved on..
Remaining true to the tradition of this build I removed a “finished” component to butcher it up and change it.
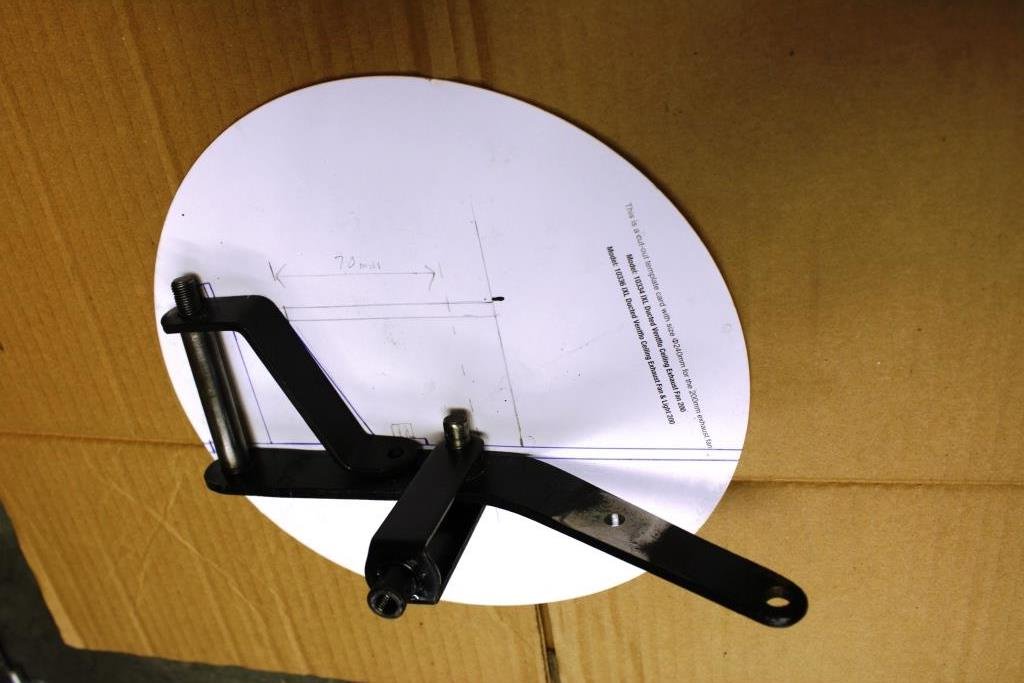
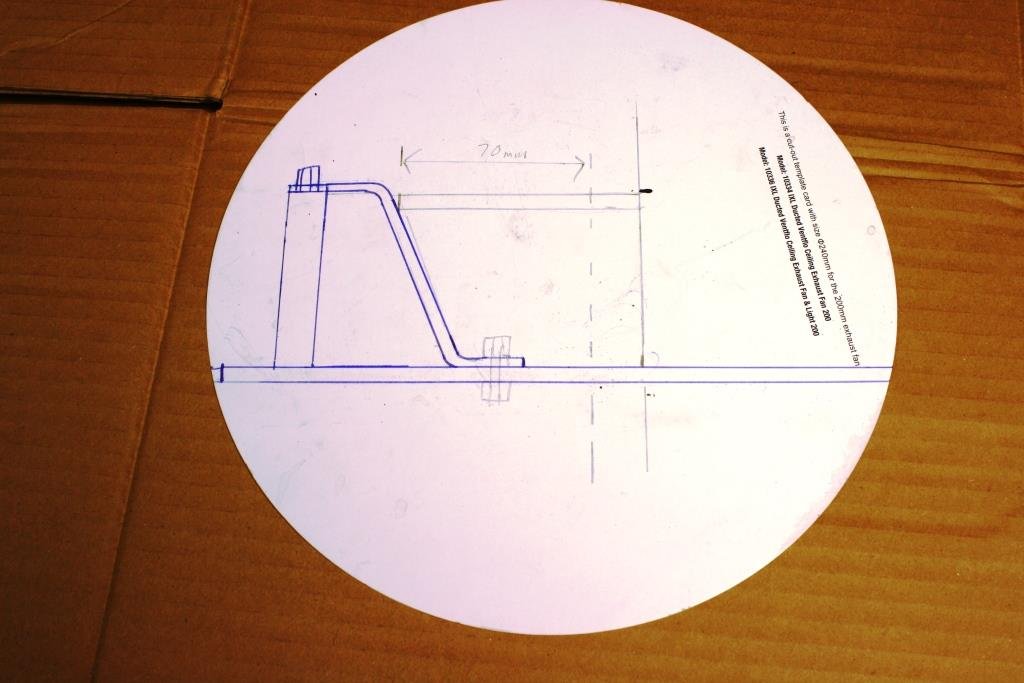
First a little CAD (cardboard aided design) work.
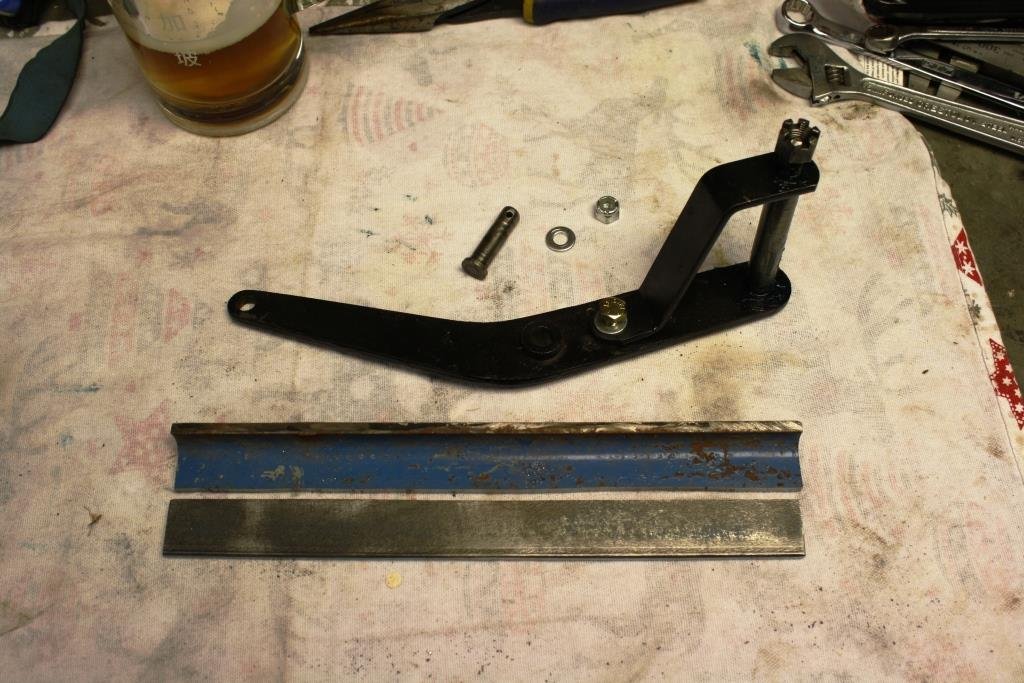
Hacked up some scrap steel…….
Turned up some scrap steel……
Welded up some scrap steel……
And ended up with this lot………
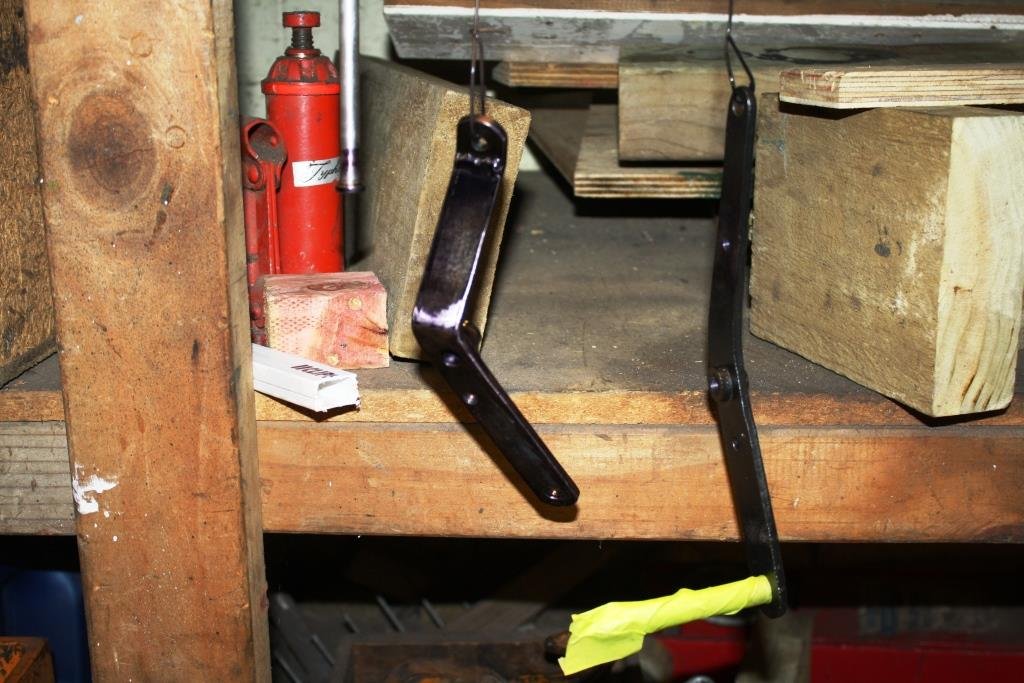
That needed some paint………
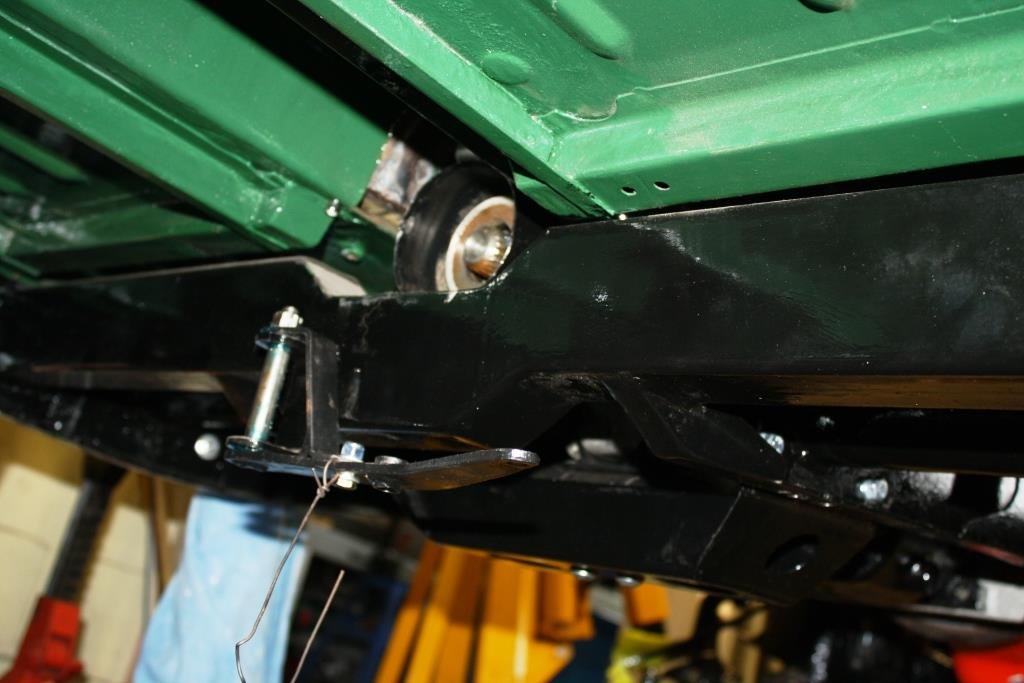
It’s a little hard to see under the car but the result is a lot more tidy and satisfies Rigamortice’s obsessive-compulsive personality disorder!
-
13
-
For older cars there's a user on Trademe named shieldz who sells refurbished Smiths gauges, I've heard good reports about him.
He's got some really cool retro stuff.
https://www.trademe.co.nz/a/search?member_listing=935977&bof=FcsYJDZ9
-
2
-
-
- Popular Post
- Popular Post
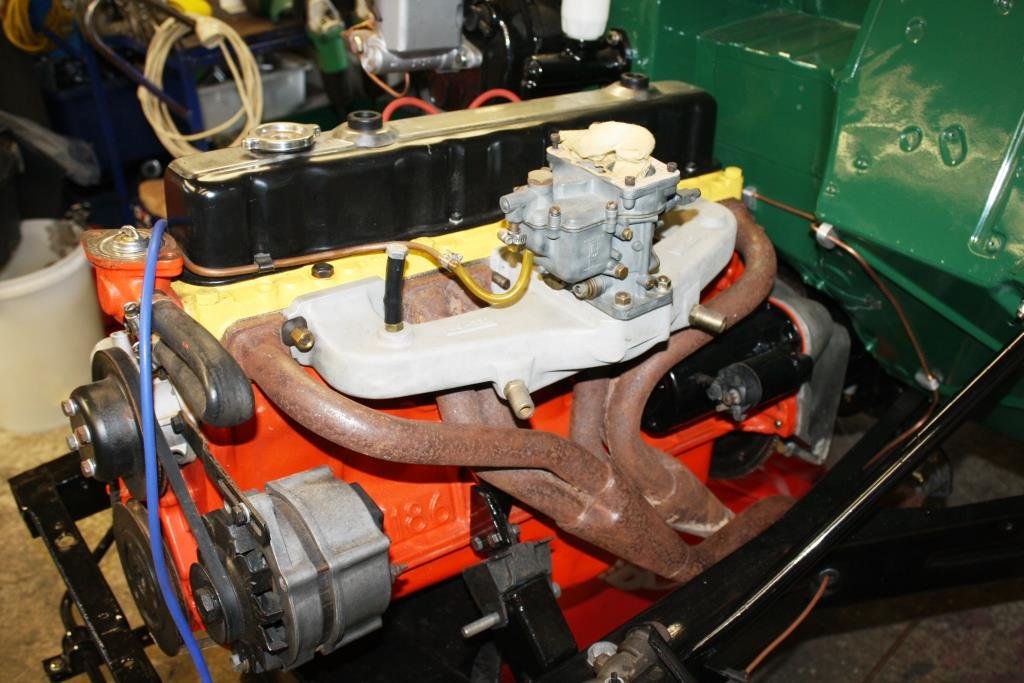
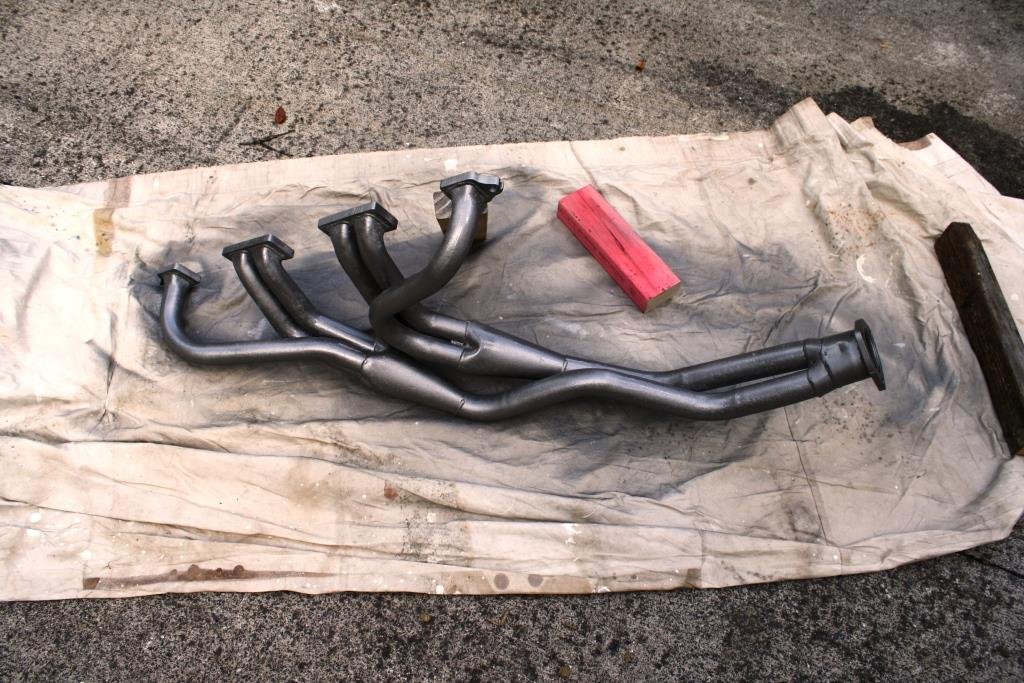
Dug out an old set of HR? headers I had laying around, they looked like a good fit.
Cut the old exhaust pipe…..
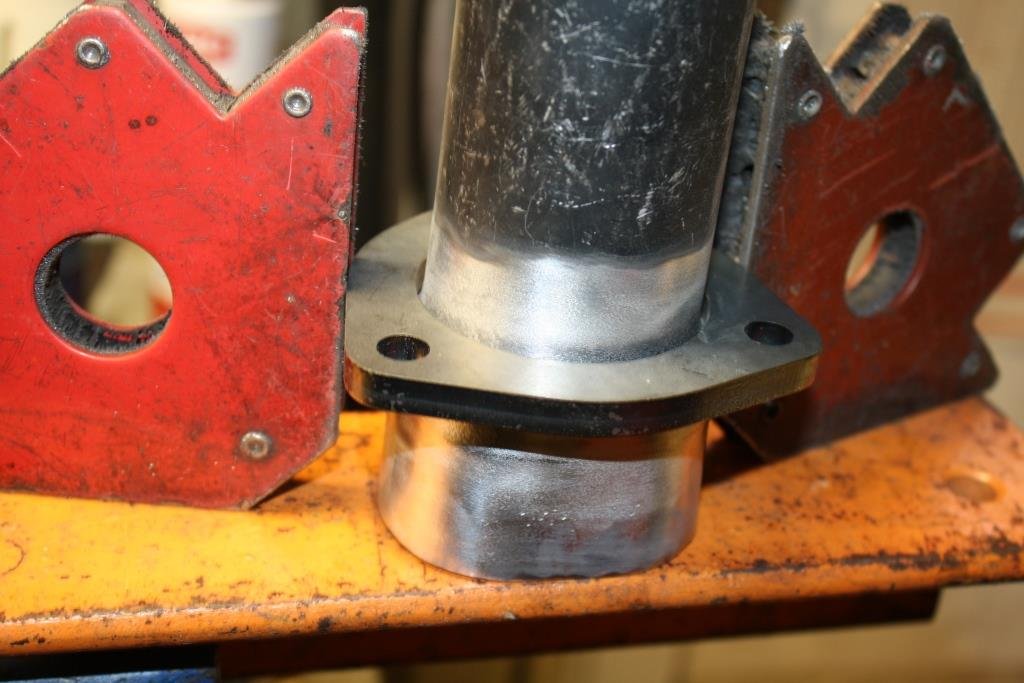
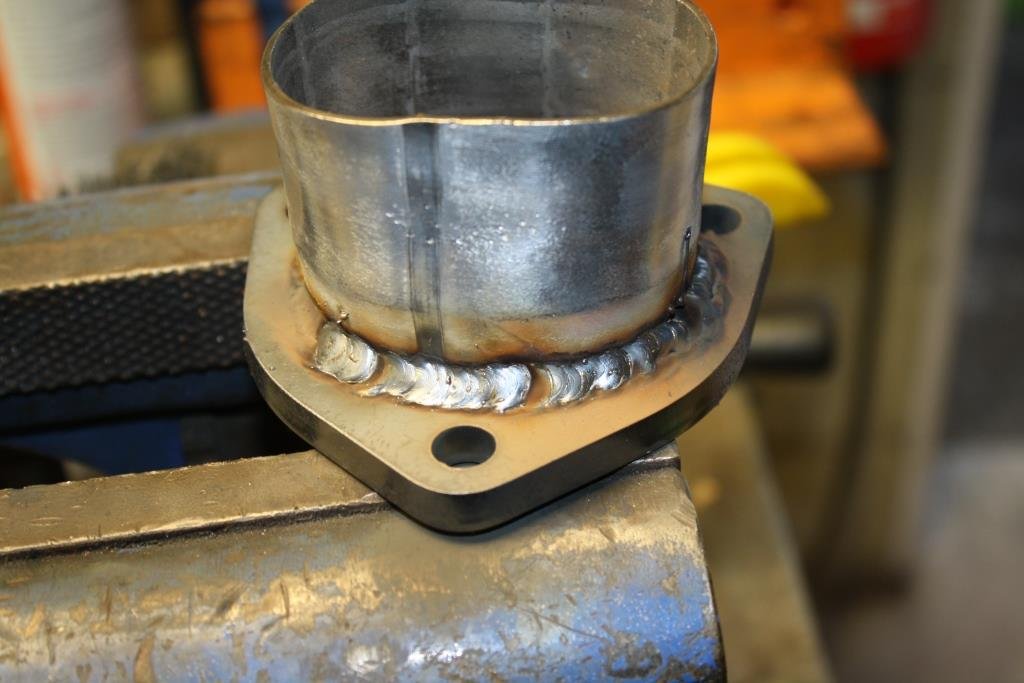
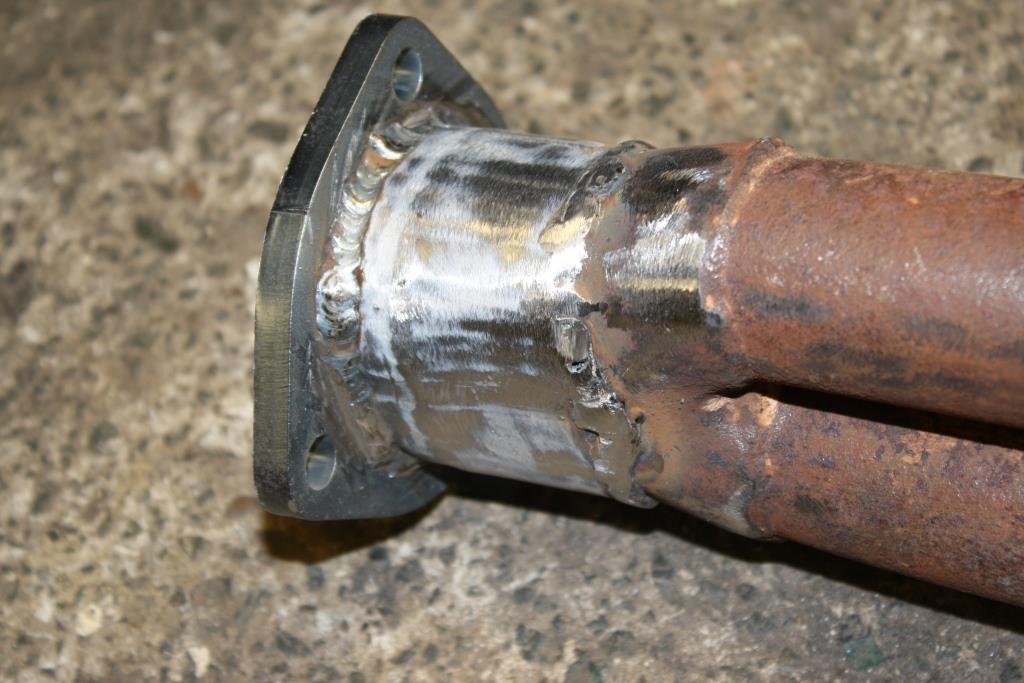
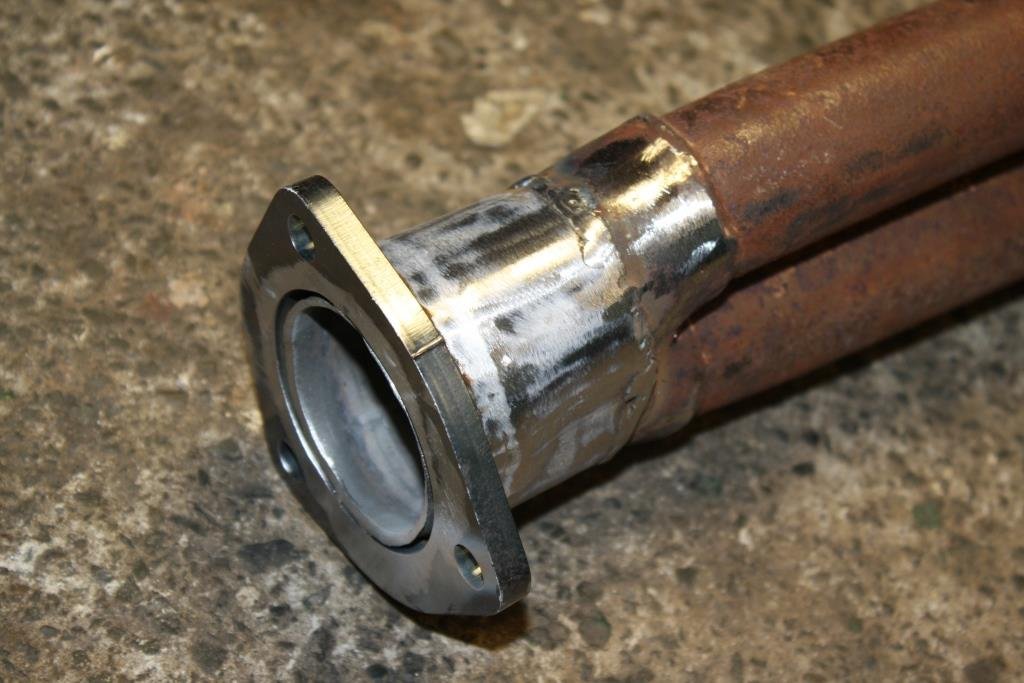
Started fabricating a collector to go from the two into one join into a 2 ¼ inch exhaust.
Found some scrap that fitted the “Sticky Flanges” flange……
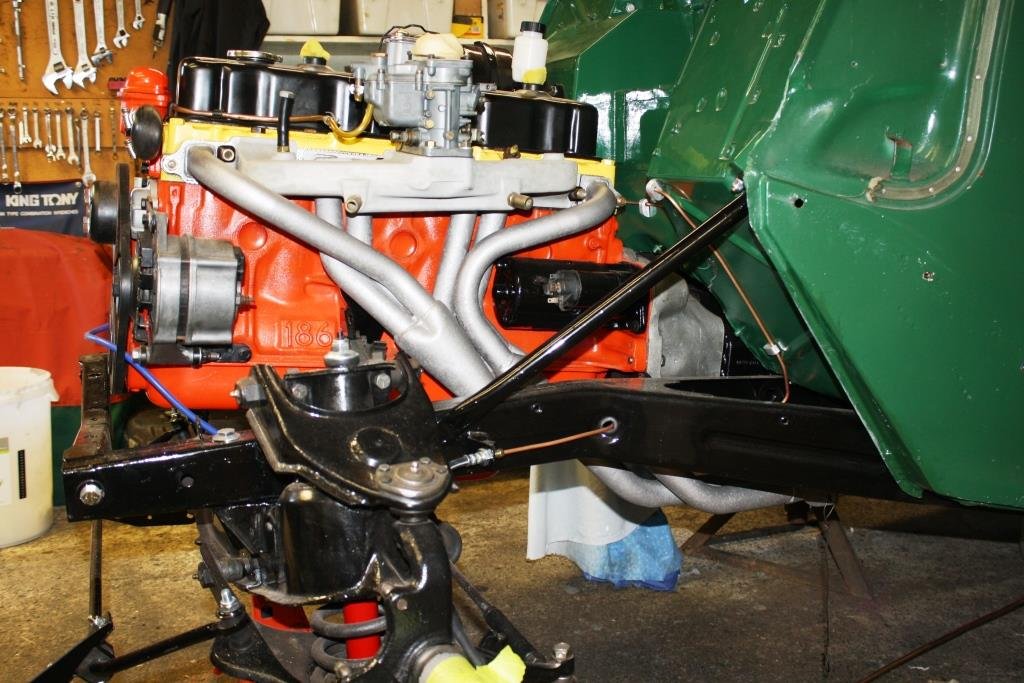
Pictures are often better than words………
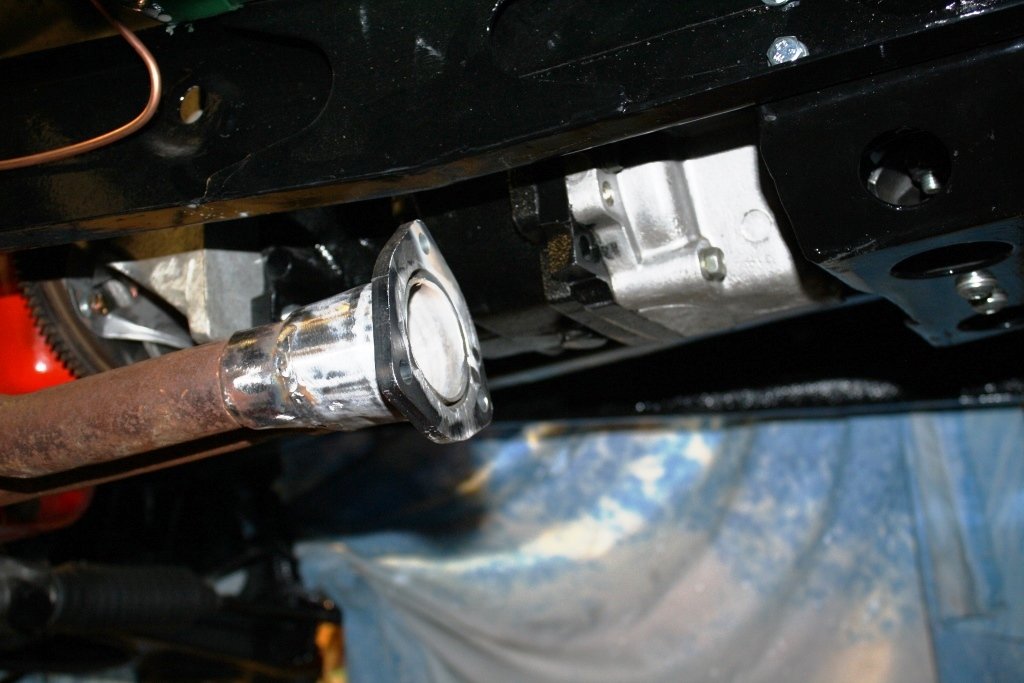
Sits alongside the gearbox in the right place………
Decided sand blasting and ceramic coating was to bigger expense as I plan to build a custom set when I build the stroked motor.
Spent some time sanding and rust killing……..
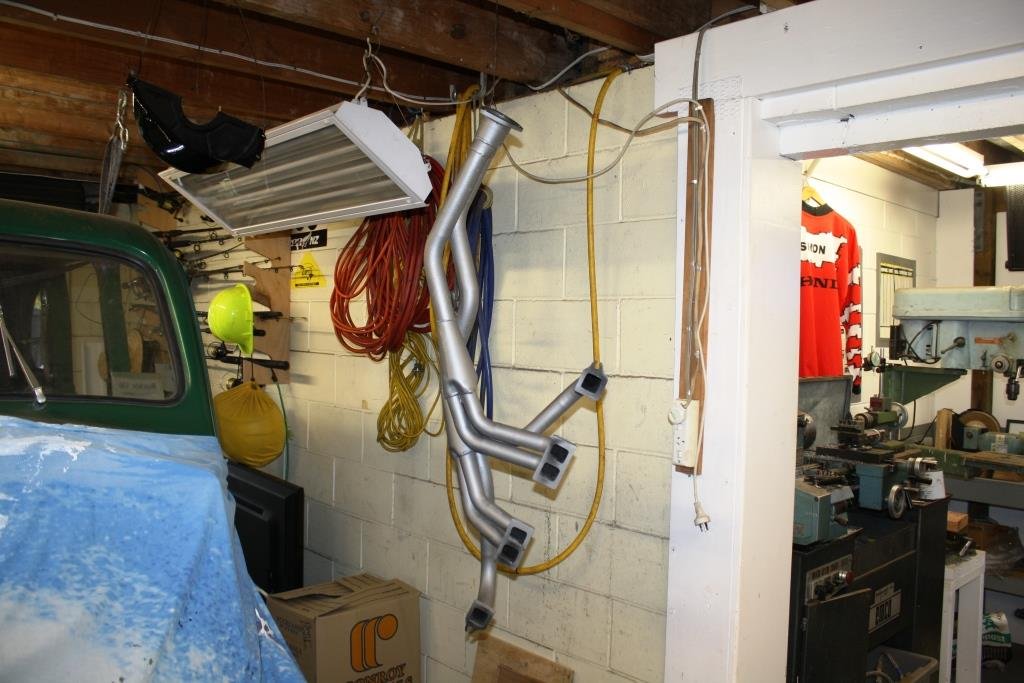
All painted with high temp VHT and ready to fit…..
Happy with the result.

-
20


Battery drill/dugga recommendations
in Tech Talk
Posted
Over the years I've had a great run out of a comprehensive set of cordless Hitachi/Hikoki power tools . I particularly like how they've kept their move to 36 Volt backwards compatible, they get my vote.