


pbaines
-
Posts
436 -
Joined
-
Last visited
Posts posted by pbaines
-
-
- Popular Post
- Popular Post
Crikey, i've been slack
I stripped out the inside of the bumper with the wire wheel, used a rust cover primer and then slapped some black gloss on the inside. it was in good shape which was good

The donkey went in, slowly.
This is why you need to check your fuel sensor.... NOS vs OG
Everything inside the bay now
After being a retard and plugging one plug in the wrong slot and trying to spend an hour wondering why all my lights were being weird and the wrong ones flickered when I put the indicators on... it's all hunkey dorey!
inside dust prevention
Base laid down with
Shiny!
put the roof gutter chrome on
For someones first time and only a rough clue of what is going on, I think this looks bloody mint
***
I decided that I didn't like the early tail lights with the full chrome circle so got to swapping over the loom to the later type lights.
Once I track down where my center trim has ended up I shall mount that too, but I think that looks much better
After days of trying to get these wobbly doors right, I got them to the "best I can do" point, based and cleared them and they've come out pretty good I think. will assemble this weekend!
Will put the potato phone-cam away next weekend and take some decent photos of the old girl.
Build discussion:
-
 15
15
-
This weekend was good, learn a bit prepping some panels and they've come out pretty well!!
Please excuse potato cam photos.Just gloss blacked the steering setup. The tie rods look reassembly good and the bushes are in good shape
Installed:
Guards and valance done, looking tip top, very happy with the result so far:
Then i tore the brake master cylinder apart, gave it a good clean, put new gasket goo around and gave the block a paint, and chucked the brake lines back in
Onto the doors next weekend!!!
Discussion:
-
9
-
-
nu page peas
-
nu page peas
-
nu page peas
-
nu page peas
-
nu page peas
-
nu page peas
-
Busy I have been, much sanding....
So I started trying to get my doors into shape. the lower half really is pretty deformed so it's been a mission. plus i'm still working on techniques etc as I quite frankly am a newb. In saying that, they've come out well and can finally start to get wet sanded with 320, then 600
I gave up trying with what I had after giving the above a sand, got a ruler out and applied some boggy
Tried not to go too hard (by ending up at bare metal). Once I hit the bare metal i got out a long ruler to see how straight it was, it's come up good! A quick etch and then prime and it was done..
I moved on to the front suspension side of things. crikey. the rust!!!
#Nolothane
On to the engine bay.
Seem sealed ALL of the edges, every seem in the engine bay is done (under the cowl I have seem sealed the inner so didn't need to do the outer side (engine bay side)
It became time:
ps: I chose a matte black colour for the front of the car. makes the grill look a bit more distinct...
Got the struts in, waiting for some rotors before I chuck the hubs back on:
Overall quite happy, a couple of dust spots I will sort out nek-week.
Shall get onto wet sanding the entire body next weekend. probably won't end up painting anything.. but shall see
-
9
-
-
Not too much has happened in this space lately. Had a mate do some work on it: Fuel lines, drive shaft, gearbox crossmember for the W58 and a few other bits and bobs. top work and engine bay looks good. I just need to take it in and get it wired up, need to sort rear brakes out and also need to sort out a bit of diff play
I also scored some 14x8 -13 Longchamps from Japan which look tip top! fit well indeedBut here she is for now. Once i get some funds I will get it wired up and hopefully get it moving on it's own again:
Discussion:
-
8
-
-
I think they look right at home at the end of the arch!
-
1
-
-
I have been busy blocking and filling for a few weekends now and finally it's starting to take shape and looks straight as ever.
Not here though....
black stuff is etch primer for when i went a bit too hard and went to the metal
I also put some filler on the join for the front cowl, because most of it was loooking pretty tatty since i unpicked it and welded it back on, thought i would make it look pretty again.
before:
After:
*a few weeks later*
More primer on, then out with the spot putty to smoothen out the spot weld dimples. most of this is hidden by the rear bumper, like the massive dent that can stay the way it is, 100% hidden
this stuff here is the absolute tits!!!
laid down one coat of high build primer on, will do two more next weekend and a final block just to check i have things in order
longchamps... yes or no
Chat
-
4
-
-
Anyone have a good recommendation for a 2-stage reg/filter? Only for use with spray painting really.
Something like this..
-
16 hours ago, siren676 said:
Can confirm these are single phase, just have the bigger 15a ground pin on the plug
Brilliant. I've just put my name under the last one they had in Palmy!
-
1
-
-
7 hours ago, piazzanoob said:
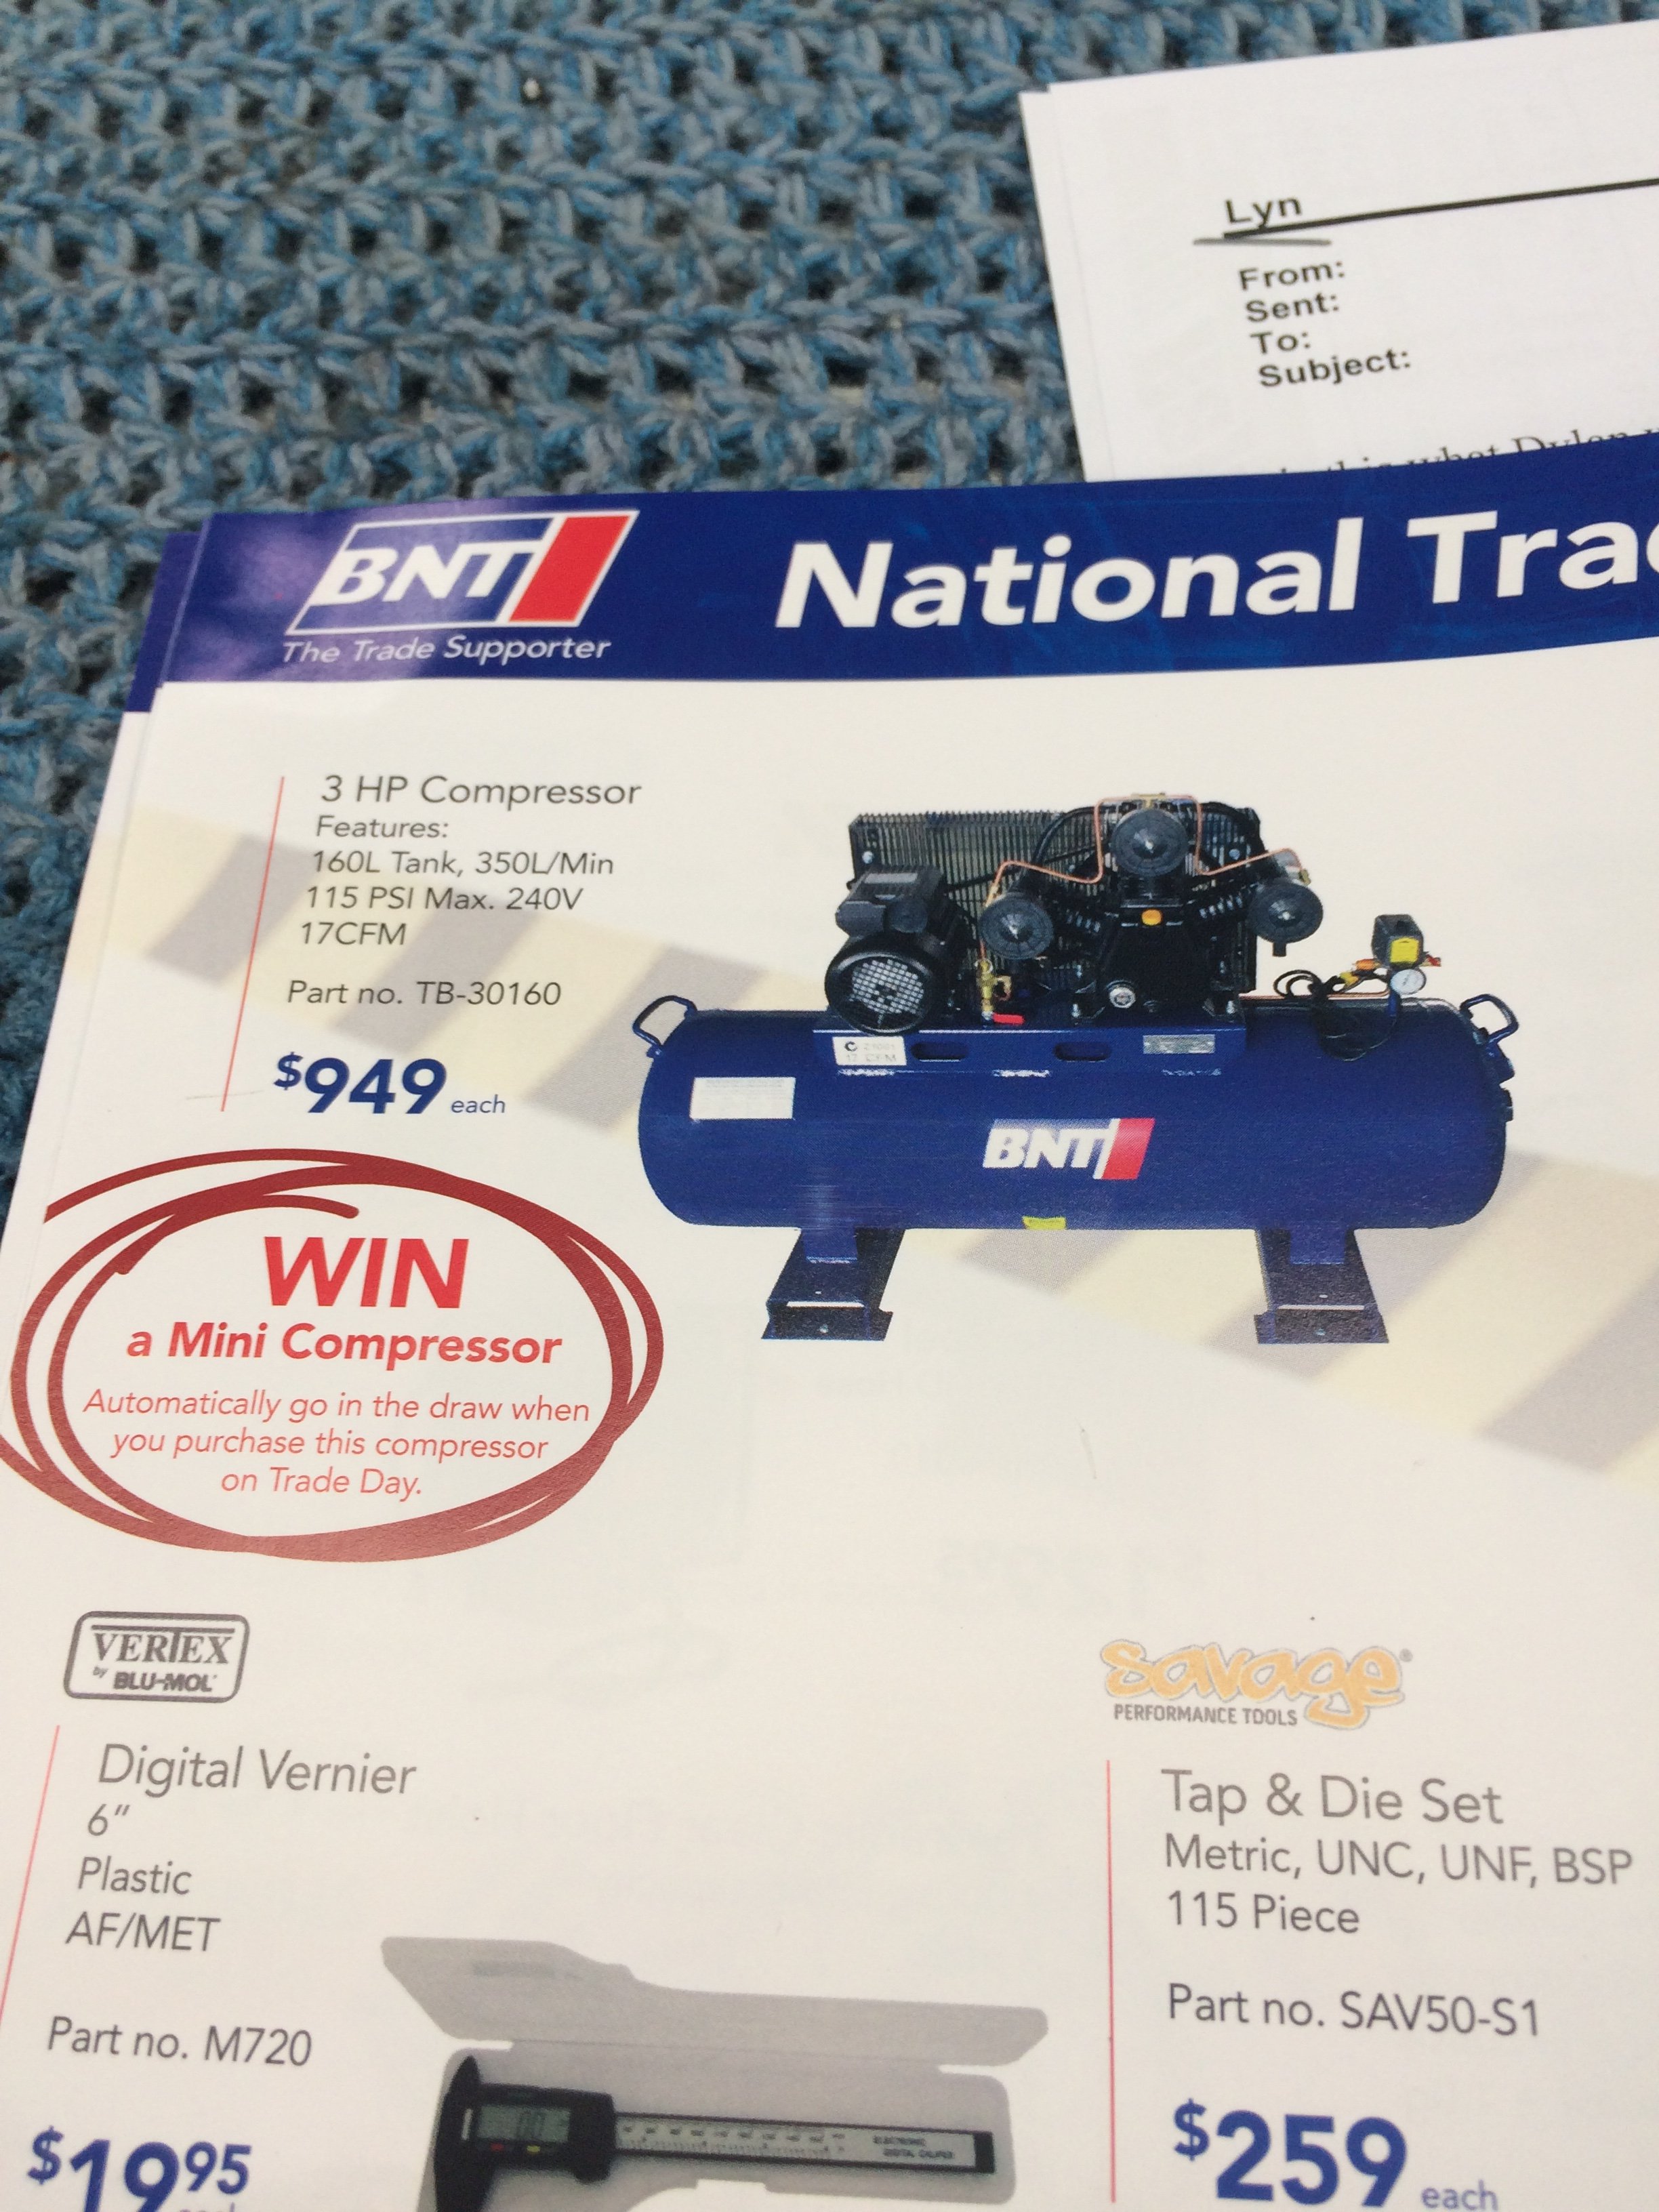
thats a real cheap compressor for the money
even better specs than the other one plus much bigger tank
BNT Automotive trade day sale on the 22nd June
only issues I've heard from a sales rep about them is the on off switches are abit shit and sometimes fuck out.
but not a big issue easy to get better quality ones
brilliant!! still single phase right?
-
What's this old girl here like for spray painting anyone know? thinking about picking it up, looks like a great deal!
ToolShed Trade 3hp 3 cylinder 70 litre Belt Drive compressor
-
12 hours ago, piazzanoob said:
kinda disappointing your painting it black. although it will still look good.
but choosing a colour is always hard too.
glad to see some progress on this!
Choosing a colour is hardest, The Black will be nice, just you wait!!
11 hours ago, Bling said:Wat, black is all good. Nice work doing all the panel work yourself.
Thanks, it's always fun to learn this stuff. hopefully doesn't all fall to bits after it's painted haha
-
1
-
-
- Popular Post
- Popular Post
It's been a tiresome few days of work blocking and filling to get good shaping of areas that were previously fucked (the doors were so bad when i stripped them, extremely warped and dented) but I have come out the other side very dusty however the results are good. I still have a few areas left to do. I've only done doors, guards, boot and roof so still have most of the body left to go however it's all pretty good!
I blocked back the guards and doors to find my bog-spots
I took back this section because I got questioned in the discussion and was too scared to remember if I had done it properly or not so took it back to metal and then etched over
Boggy begins
*few weeks pass*
Many hours of blocking and drinking beersI decided to go with AE86 black that is on the panda. I am going to have a Blue KE25, can't have another Blue corolla so black it is. This is I guess, my test panel to see if I know what I am doing. I sort of do, it was a bit cold so got a little bit of dry spray but it buffed out well in the end
Super happy how this came out (don't mind the bolt hole, will fix) bit of filler and sanding and can't even tell that there's a patch welded onto the guard to fix the shitty line it used to have
I'm in love with the black booty.
black is etch, ran out of thinners for the high build
lots more to do, but progress is progress and it's motivating!
Mingling arena:
-
11
-
9 hours ago, Bling said:
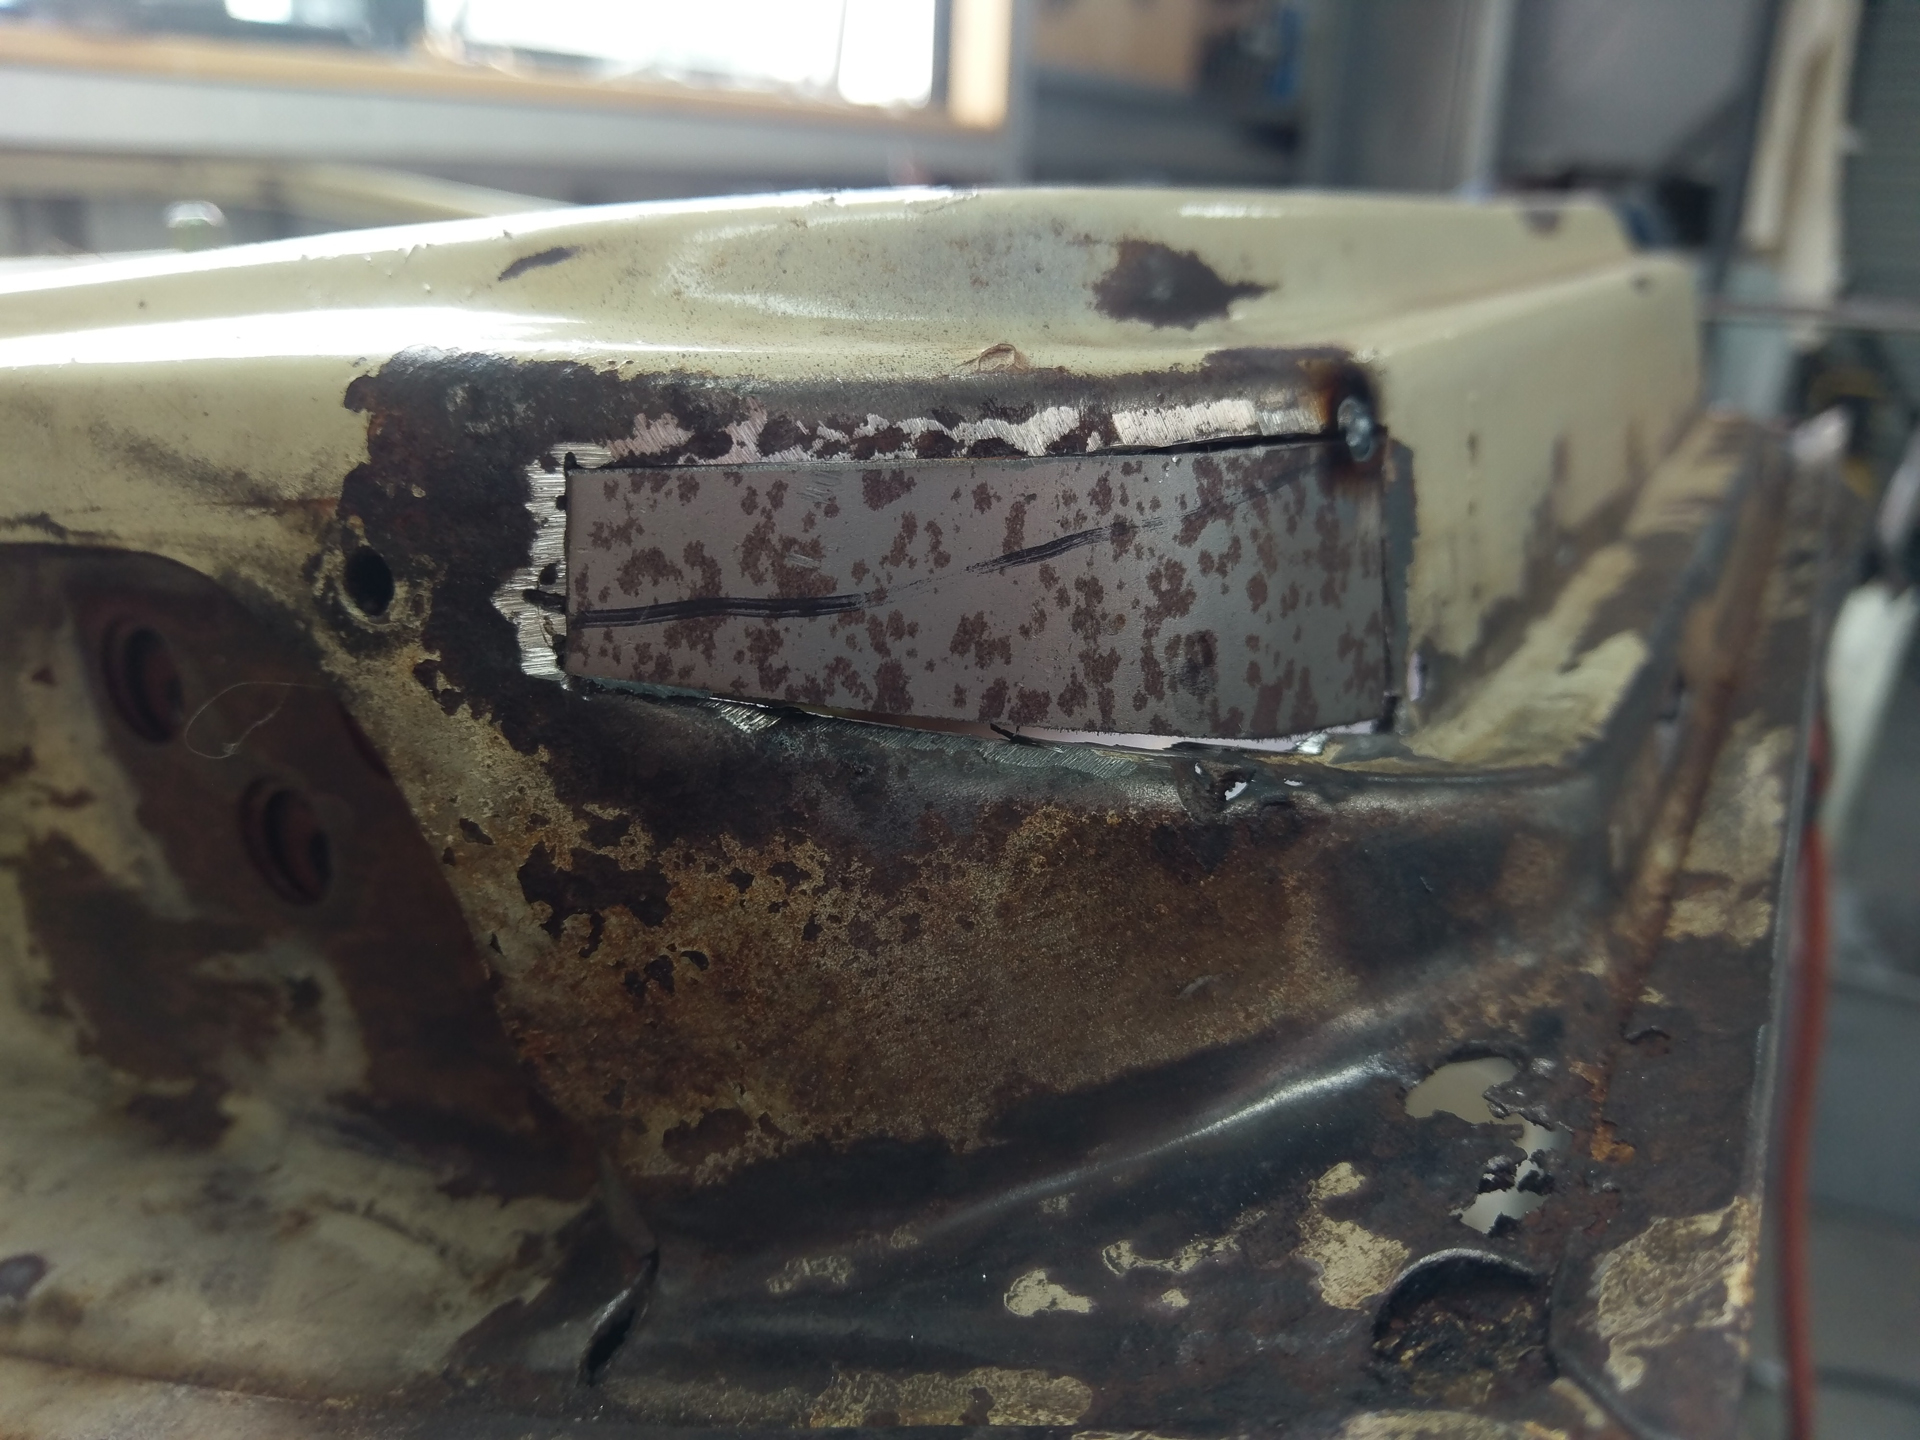
What product are you using to treat the rust on some of those patches? Might be my monitor, but the areas still look to be quite rusty, including the "new" metal you're replacing rust with?
This is the main one, just looks like you're welding to rust along the top edge? I'd be chopping it back till there was no deep pitting with rust, just my2c though.
Yeah, I tacked it a few more times where there wasn't pitted rust then attacked it with the grinder and wire wheel to bring back to bare steel and epoxy etch primed over it.
Also, the sheet steel I got was beautiful on one side and then just surface rust on the other. got it for cheap so all good. came off in a couple of seconds1 hour ago, tortron said:Good practice chasing holes on that top edge tho eh
Very much so!
-
Over Easter I decided to crank into some more work. I picked up some guards and a bonnet from Chch when I was down for Toyota Festival (what a day that was!)
I started with welding the new panels back in
Now. To rid all the rust that these had, i seam sealed all of the edges everywhere where metal met metal. No chance of this fouling between the skins now. Also painted the top of the dash. Probably premature, but. it's done.
Will have to use the Mr. Taiwan guards, there won't be any rust free factory guards in the country. So. Chop out the bits I need
The gap for this corner was on the piss so did some rearranging
The bonnet which I thought was in fair condition has obviously sat in some long grass at some point and rusted out half of it. not a biggie but would have been nice to have to do nothing to a panel for a change and just paint it...
But hey! Brand new NOS chrome front trim. How about that....
Welded on the CORRECT side L bracket, Mr. Taiwan welded on the LH L bracket onto the RH guard which is hilariously dumb.
glue'y
An error by me... forgot to drill the bonnet hinge holes.. oops. Had to get a pretty worn out dremel disc and cut a square out
Then it was time to put the cowl back on
I was annoyed at first when drilling spots out and going right through, but acutally turned out to be necessary as I put bolt and nut through to tighten the cowl in place
glue'y
Welded in the new section on here, was very holey before
primer goes on
Much better guard gap between the cowl and the guards.
Discussion:
-
8
-
-
What is the paint code? looks very similar to the colour I am trying to go with for my KE25..
-
- Popular Post
- Popular Post
I have been a busy boy these passed few weeks. Been trying to get her ready for the Toyota Festival in Cromwell. The plan originally was to use this engine and strap a nice big air compressor on it for some psh psh noises but the turbo won't be here in time so I have had to rip the engine out of the KE25, order some headers and some nice trumpets and drop that motor in instead.... in to the engineers this week, wire and tune next week. lets hope all goes well! Least I can retain my current cert with this setup so that's a positive
F series diff with mounts to suit AE86, open diff however I will get an Altezza LSD down the line
Finally rolling again. put my super deep dish rims on and gave her a wash. hasn't seen the sun for 6 months so well in need of a clean!!
I bought some Vertex Bumpers (front, back) so thought I should probably do something with them. The front one went on with some chopping of the fiberglass and persuasive pushing it around
Looks quite nice, but I thought. Na shit no, can't drive this thing around. Need to paint them asap
On went the high fill primer and the lacquer paint (1:1 ratio with thinners, factory paint code colour)
Mask and paint black
Paint went on a bit thick than what I had hoped but I sort of like it because it makes the bumper still look 'plastic' in a way. I will still buff them, they'll should still come out quite nice
Whilst the bumper was off I thought I should upgrade the fuel pump to a 255LPH walbro
Hmmmmmmm, looks like japman in japan-land has already done something with the pump. Since it has no markings on it to say what it was I replaced it with my Walbro just to be safe
Old ->
New ->
Bumper went on
I didn't get photos of painting the front bumper but here it is looking much better
Ripped the old motor out, ripped the new motor out of the KE25 and here she is
Very happy with the look of the car. I need to make a bracket up to pull the pumper in a bit by the guards but that is a 5 minute job
All I can say is.. please by nice to me engine and give me great things
Discussion
https://oldschool.co.nz/index.php?/topic/49929-pbaines-1985-ae86-corolla-levin/
-
14
-
My AE86 is in need of some work over the next few weeks, does anyone have a car trailer in palmy or maybe Wellington that I could borrow for a few weeks?
Let me know your price
Cheers
-
So I started on the doors, oh man. few days work involved there, just doing small patches and also welding up the skins at the bottom of the door edges. I could have made a new lip but really, just as easy to weld the two skins together
There is always a post which is the perfect roundness!
Like a glooooooove
All doors dealt to
Once I was happy with the doors etc It was time to add some filler. Quite averagely. but i did get it perfect in the end!
HIgh filler primer time
I need two new guards and bonnet. But fist, here is why you never rely on Taiwanese guards.
A) perfect edging. Close as bro
A) good parallel alignment Mr Taiwan put the RHS L piece on the LHS guard. Good work!Discussion:
https://oldschool.co.nz/index.php?/topic/56136-pbaines-1977-toyota-corolla-ke30/-
2
-
 2
2
-
 1
1
-
 1
1
-


")


PBaines 1977 Toyota Corolla KE30
in Project Discussion
Posted
What's wrong with the thirsty half worn out twin carbs?
Cheers champ!