Type49
-
Posts
447 -
Joined
-
Last visited
Everything posted by Type49
-

-
Once the paint was dry i decided i needed to fit RS type strut top reinforcing plates ( even tho it has large plates there already ) these will be more for looks as the other plates won't be seen once the engine bay is finished.
-
Another we Queens birthday weekend means more shed time and progress on the Escort. The painter came over and prepped and painted 3 good coats of high build primer.
-
- 268 replies
-
- 12
-

-
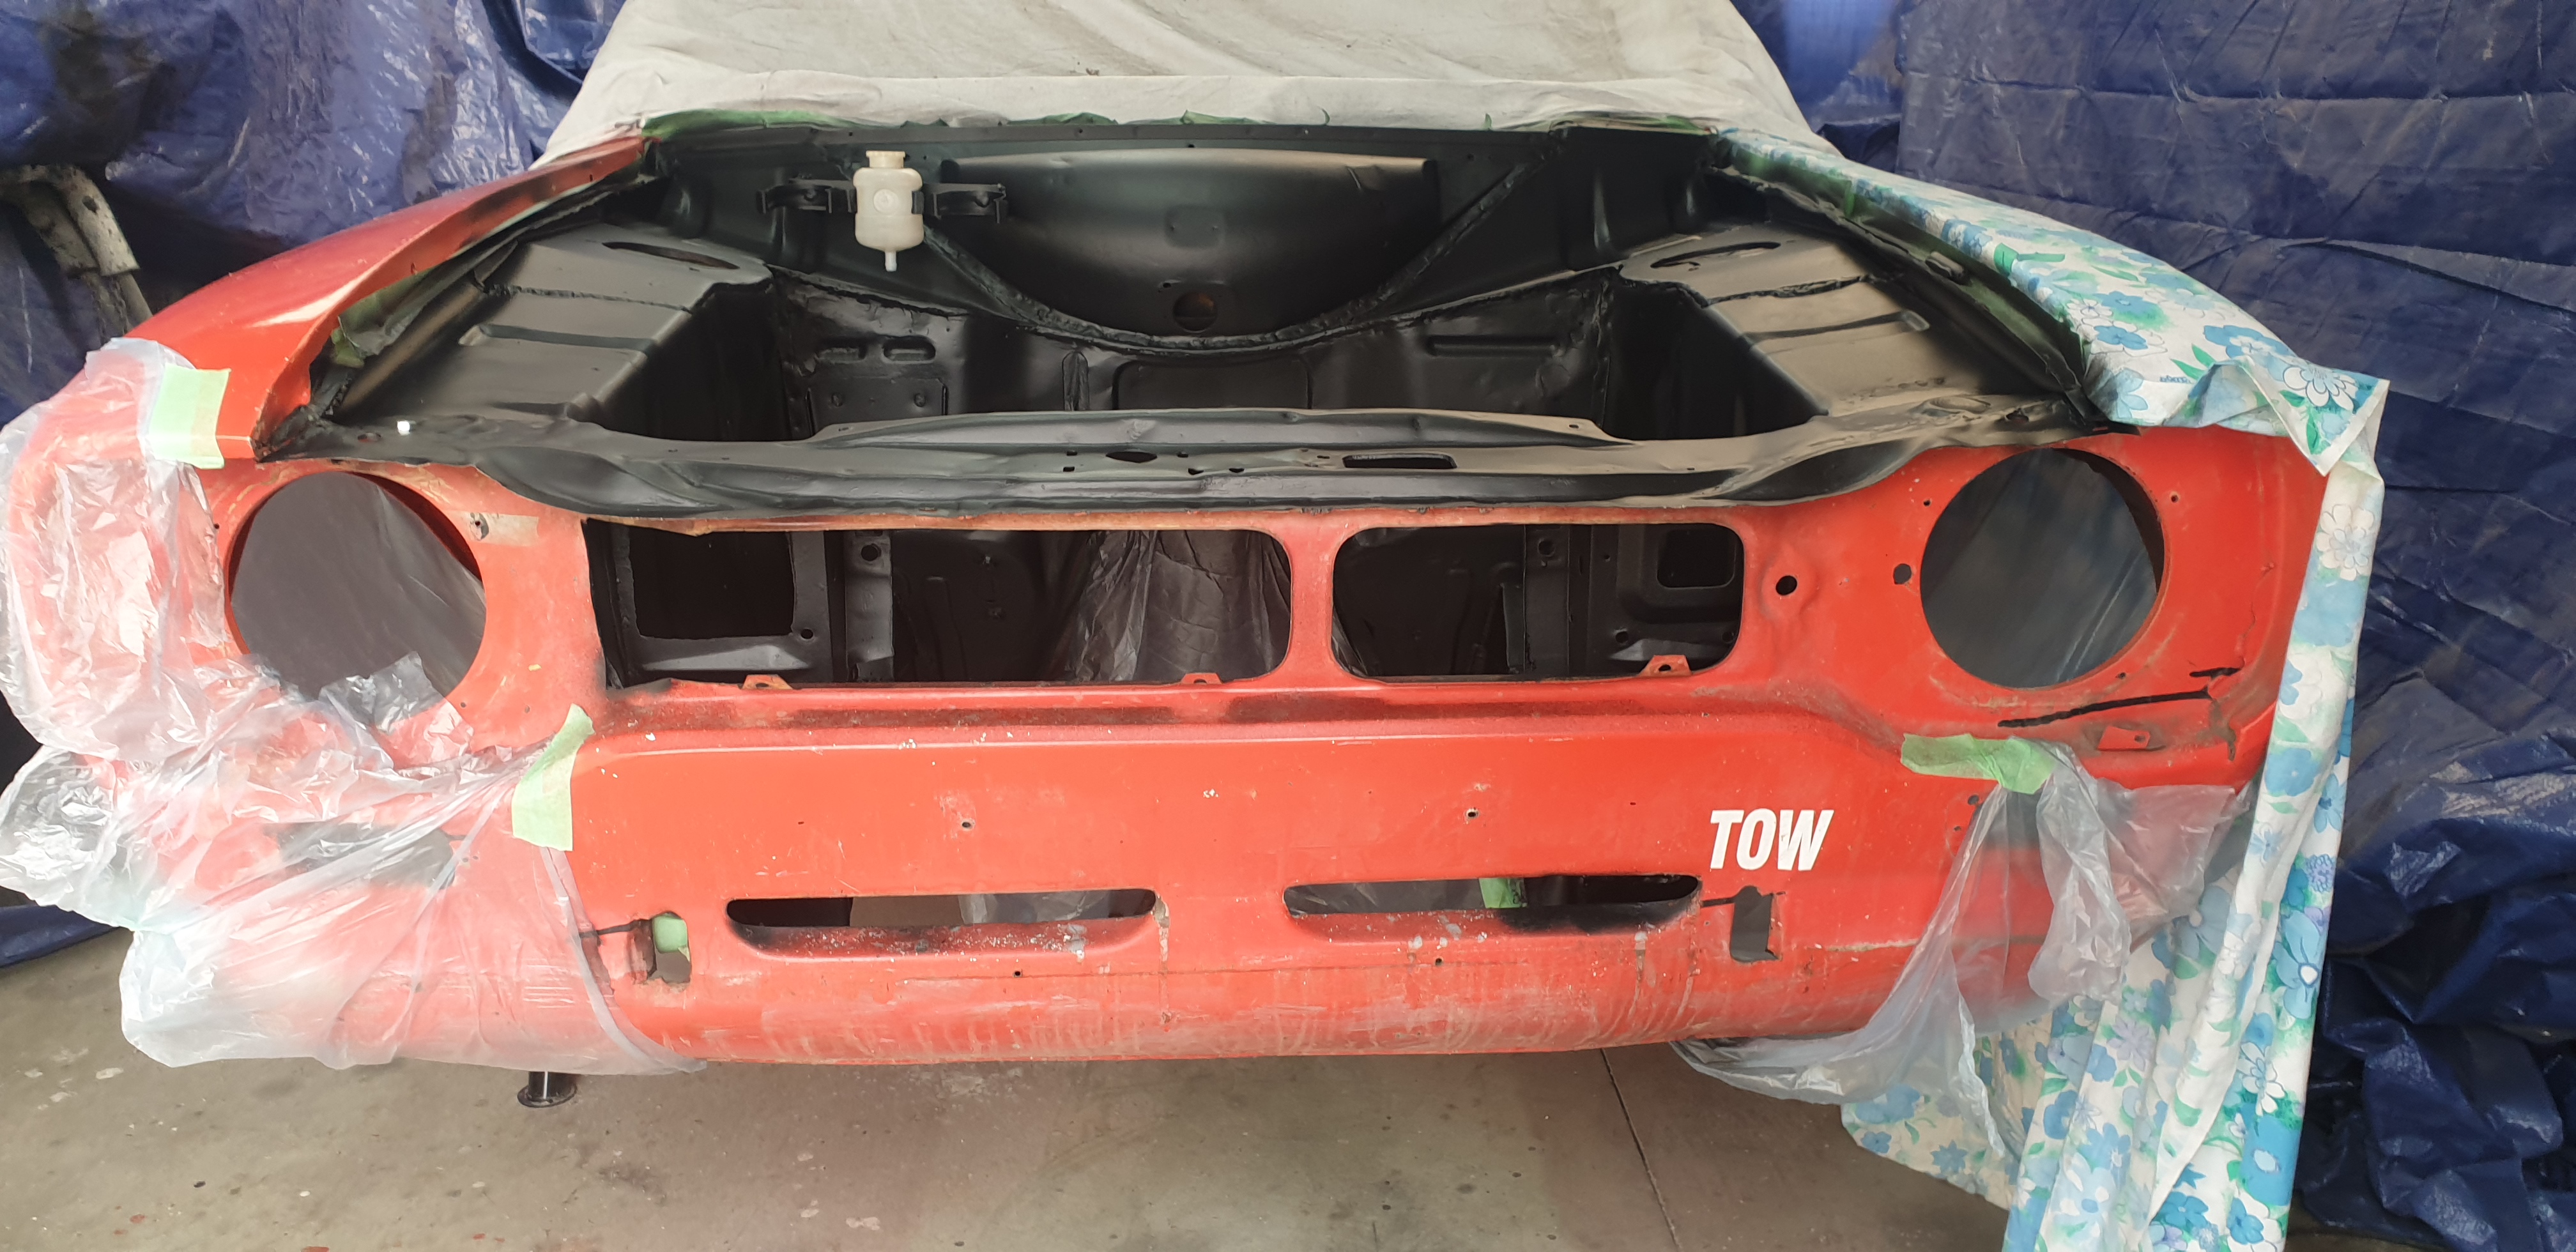
I decided to add some convert to front panel to a "works spec" with extra cooling holes. With the added bonus of adding some lightness..
-
-
Made up a bracket to hold the brake and clutch fluid reservoirs and etch primed the engine bay.
-
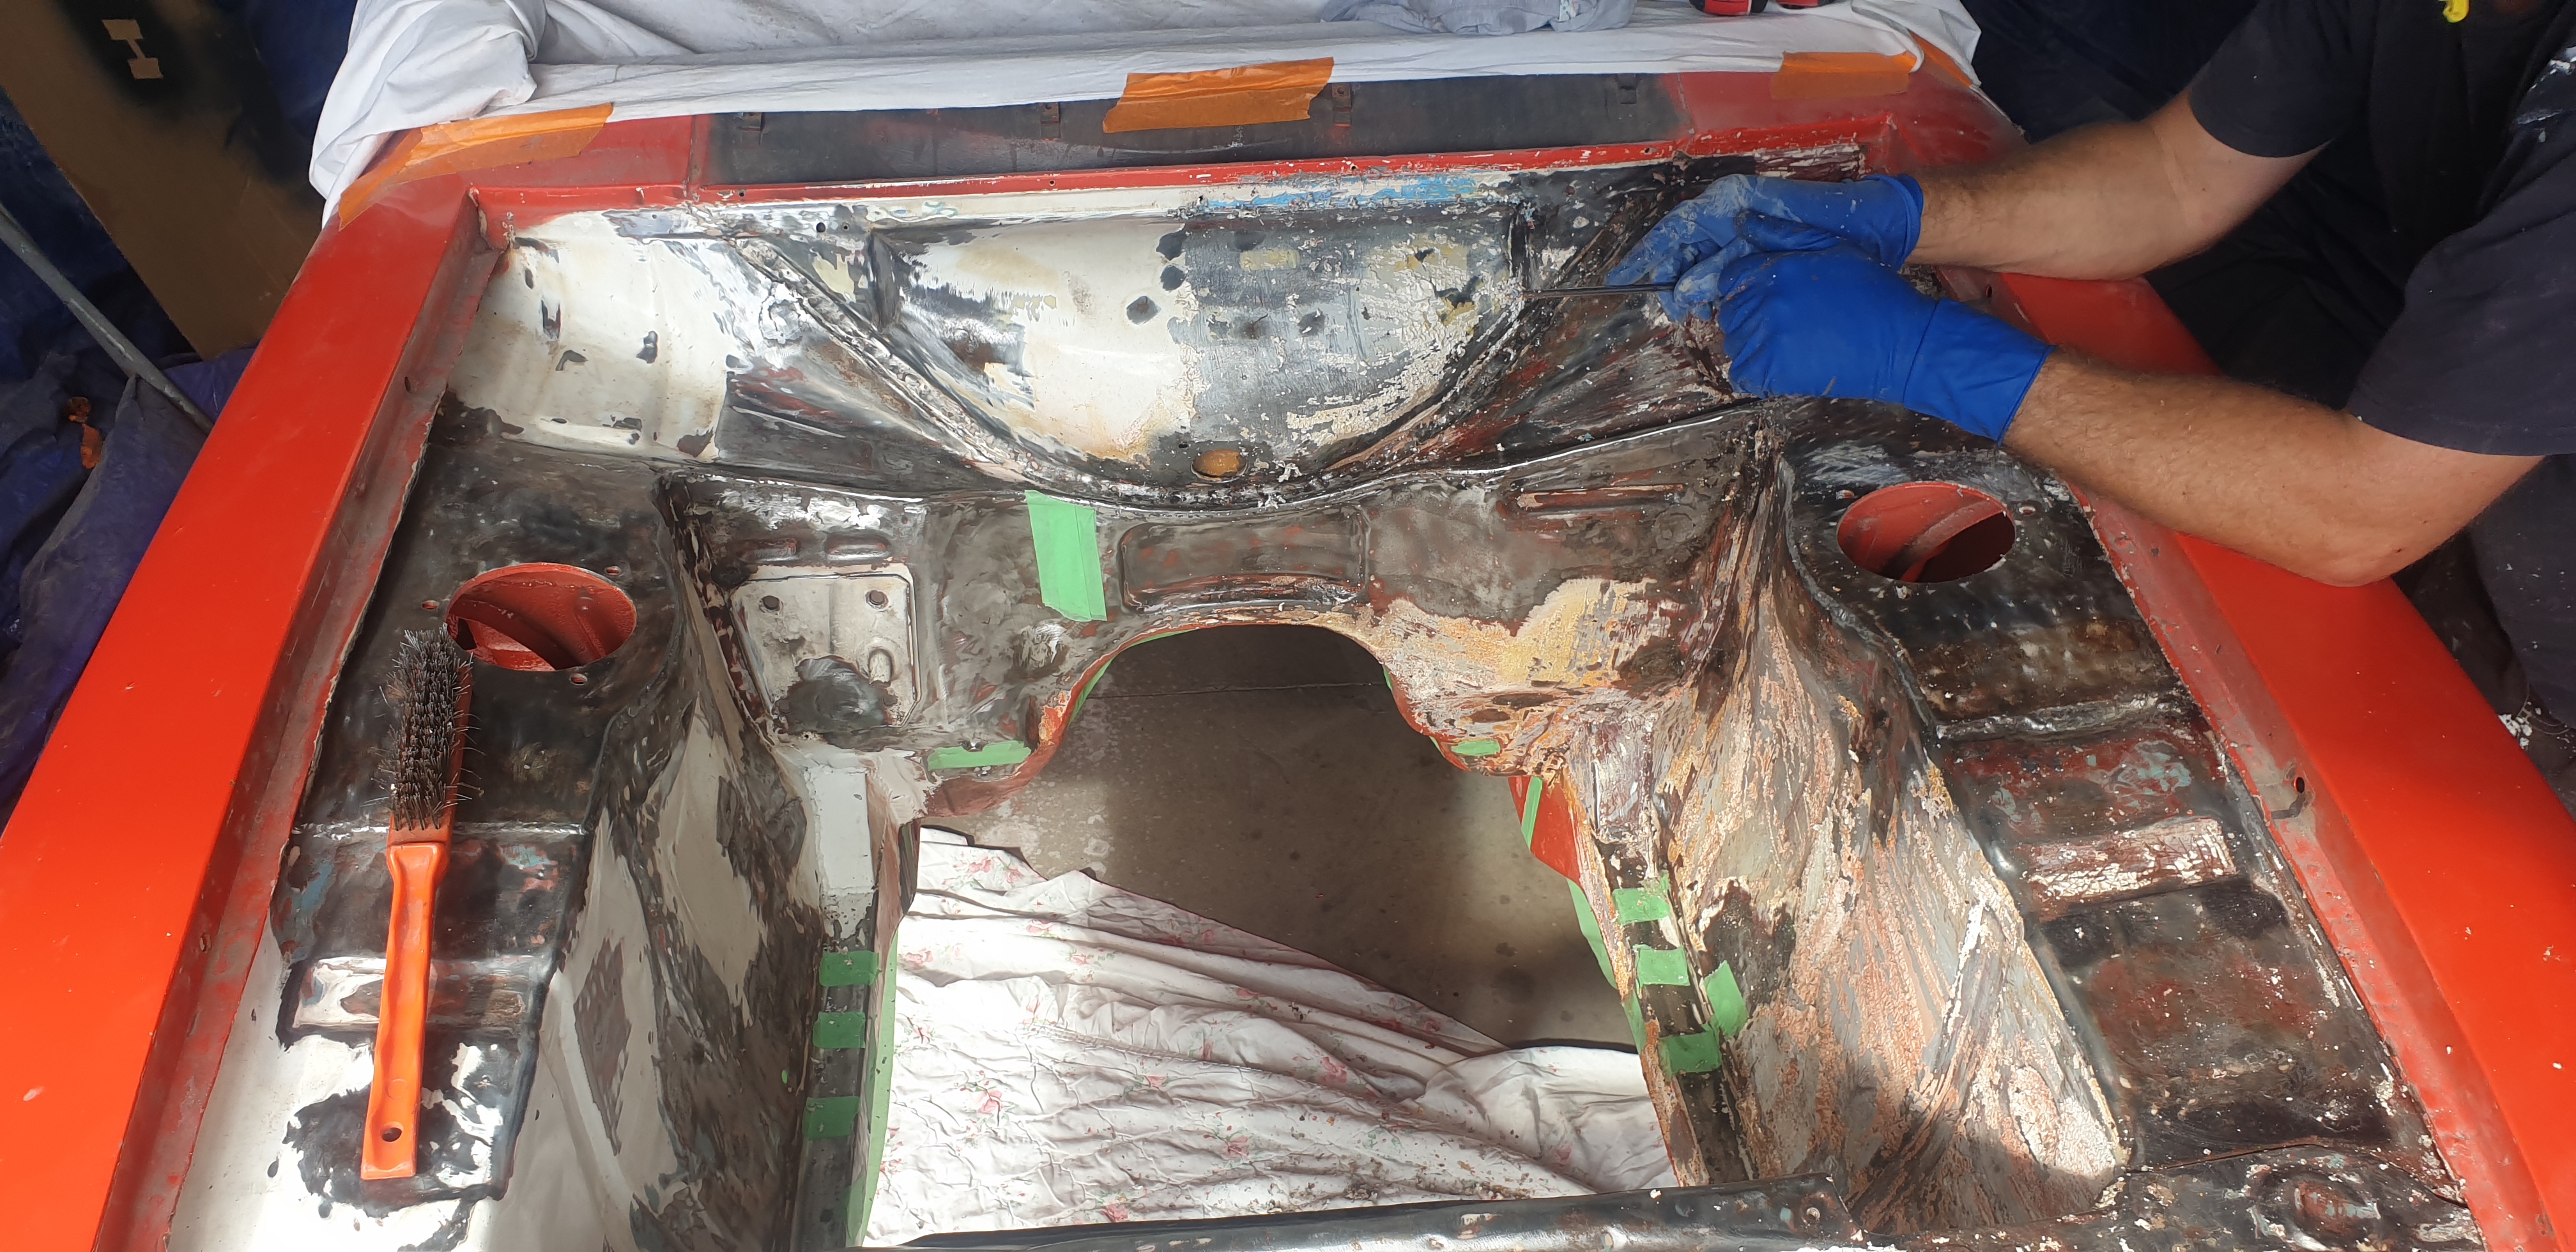
Time to start stripping the engine bay and prepping it for some minor mods and etch primer.
-
Looking a look better the right way up in it's temporary spray booth.
-
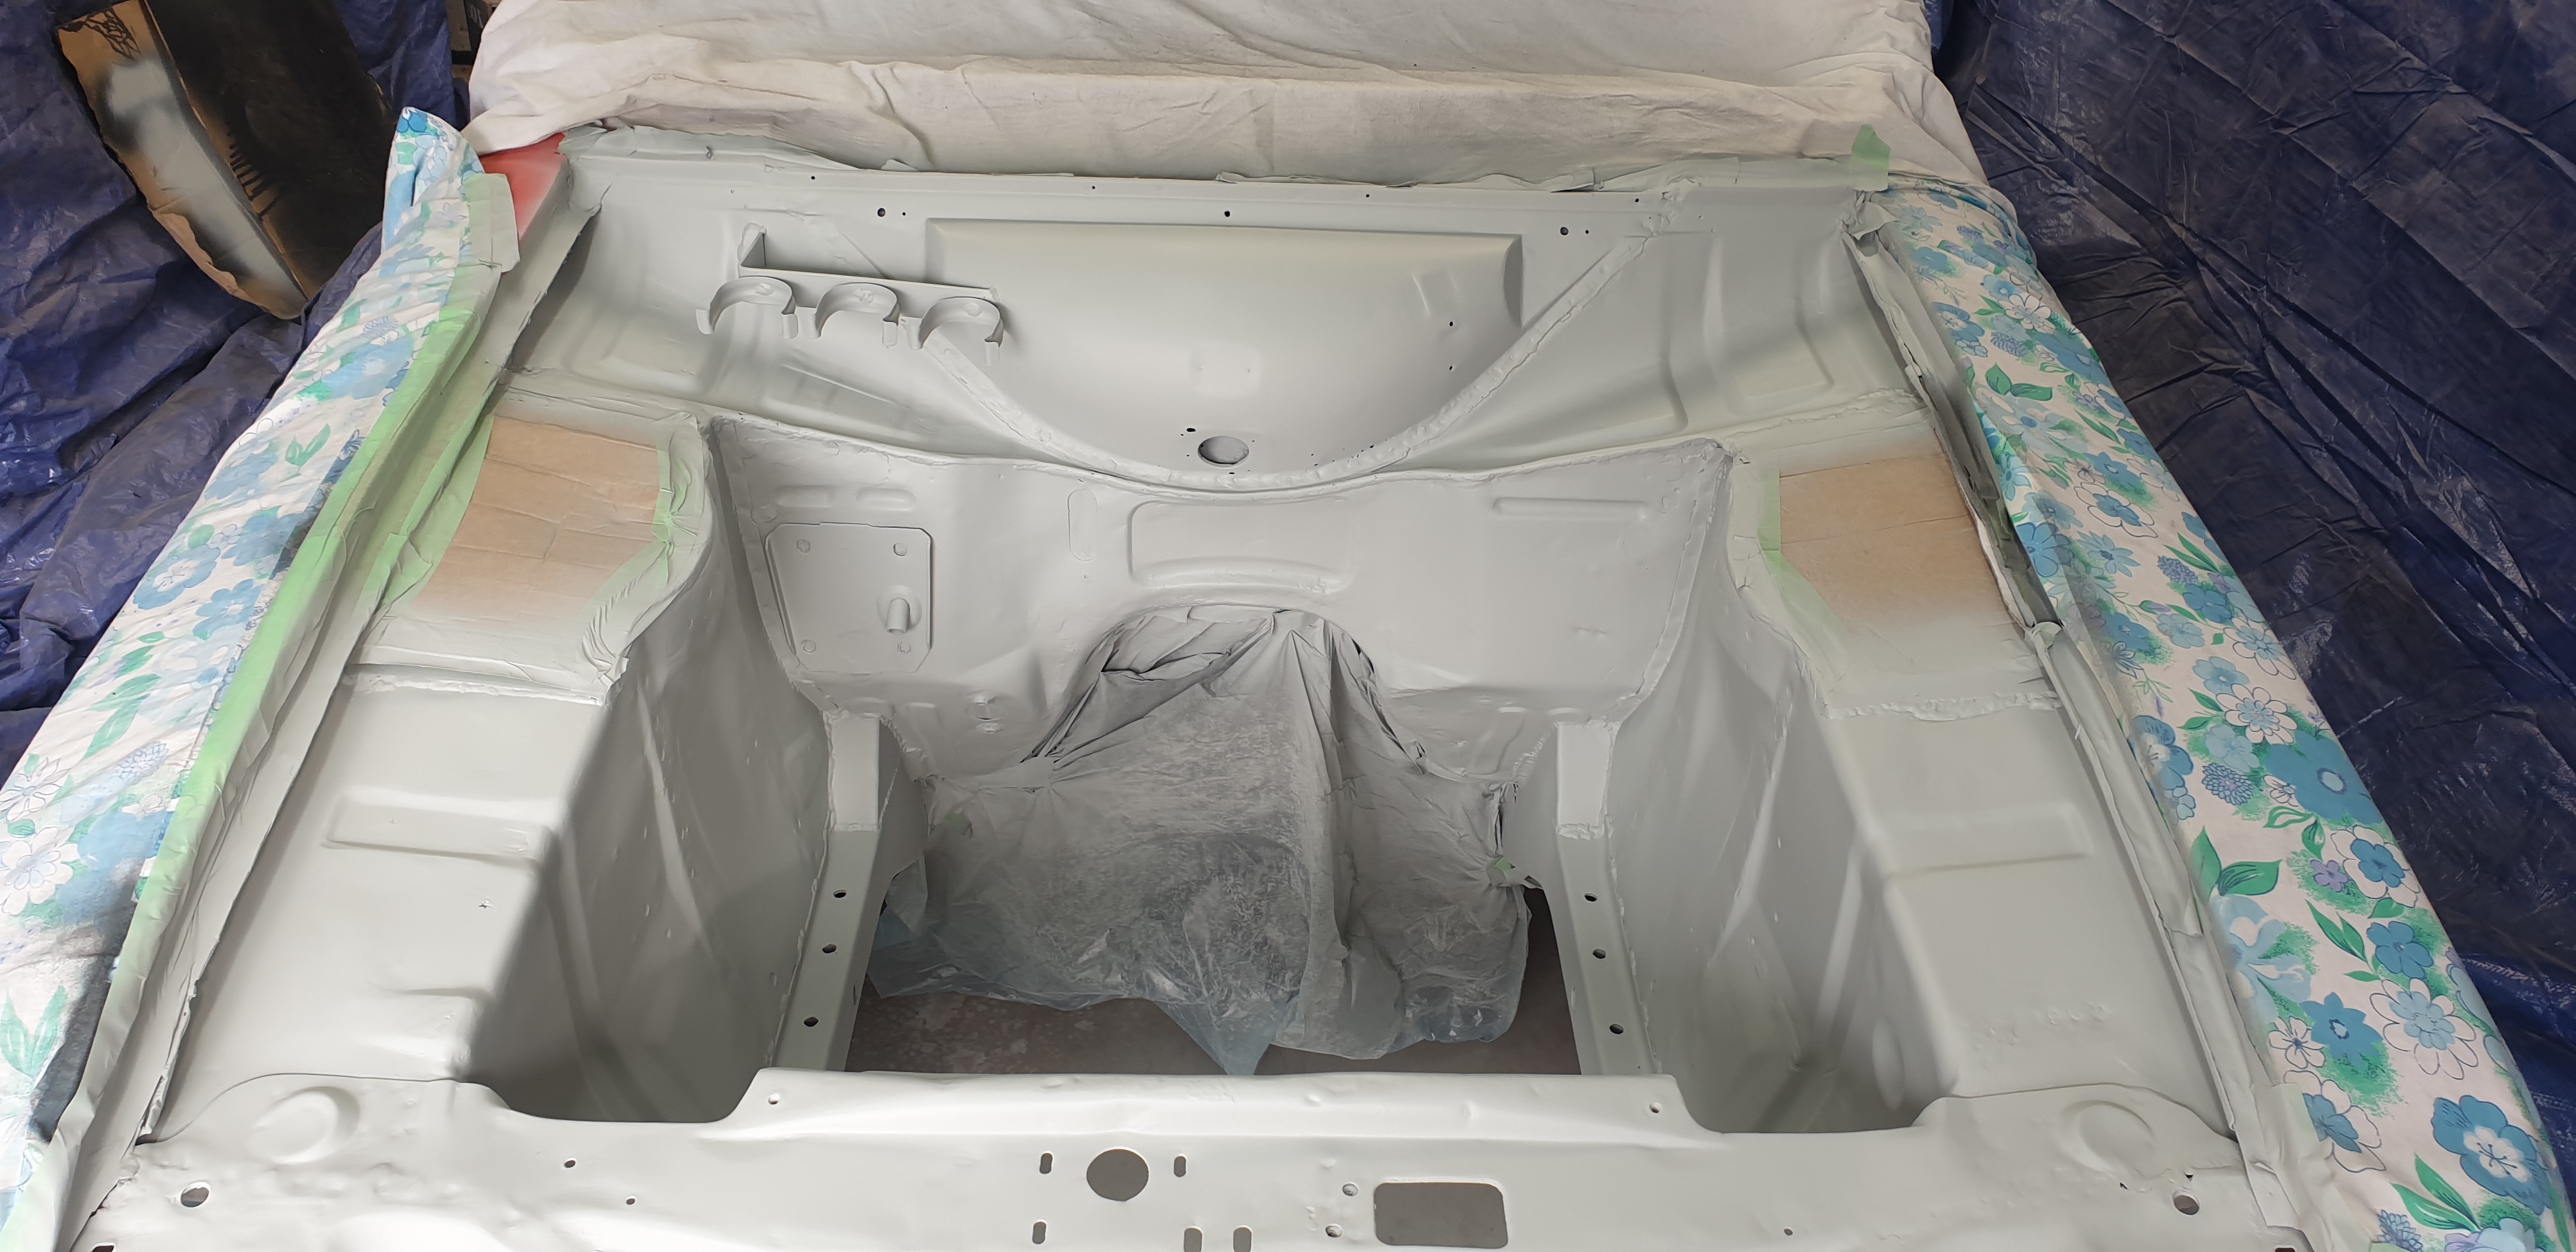
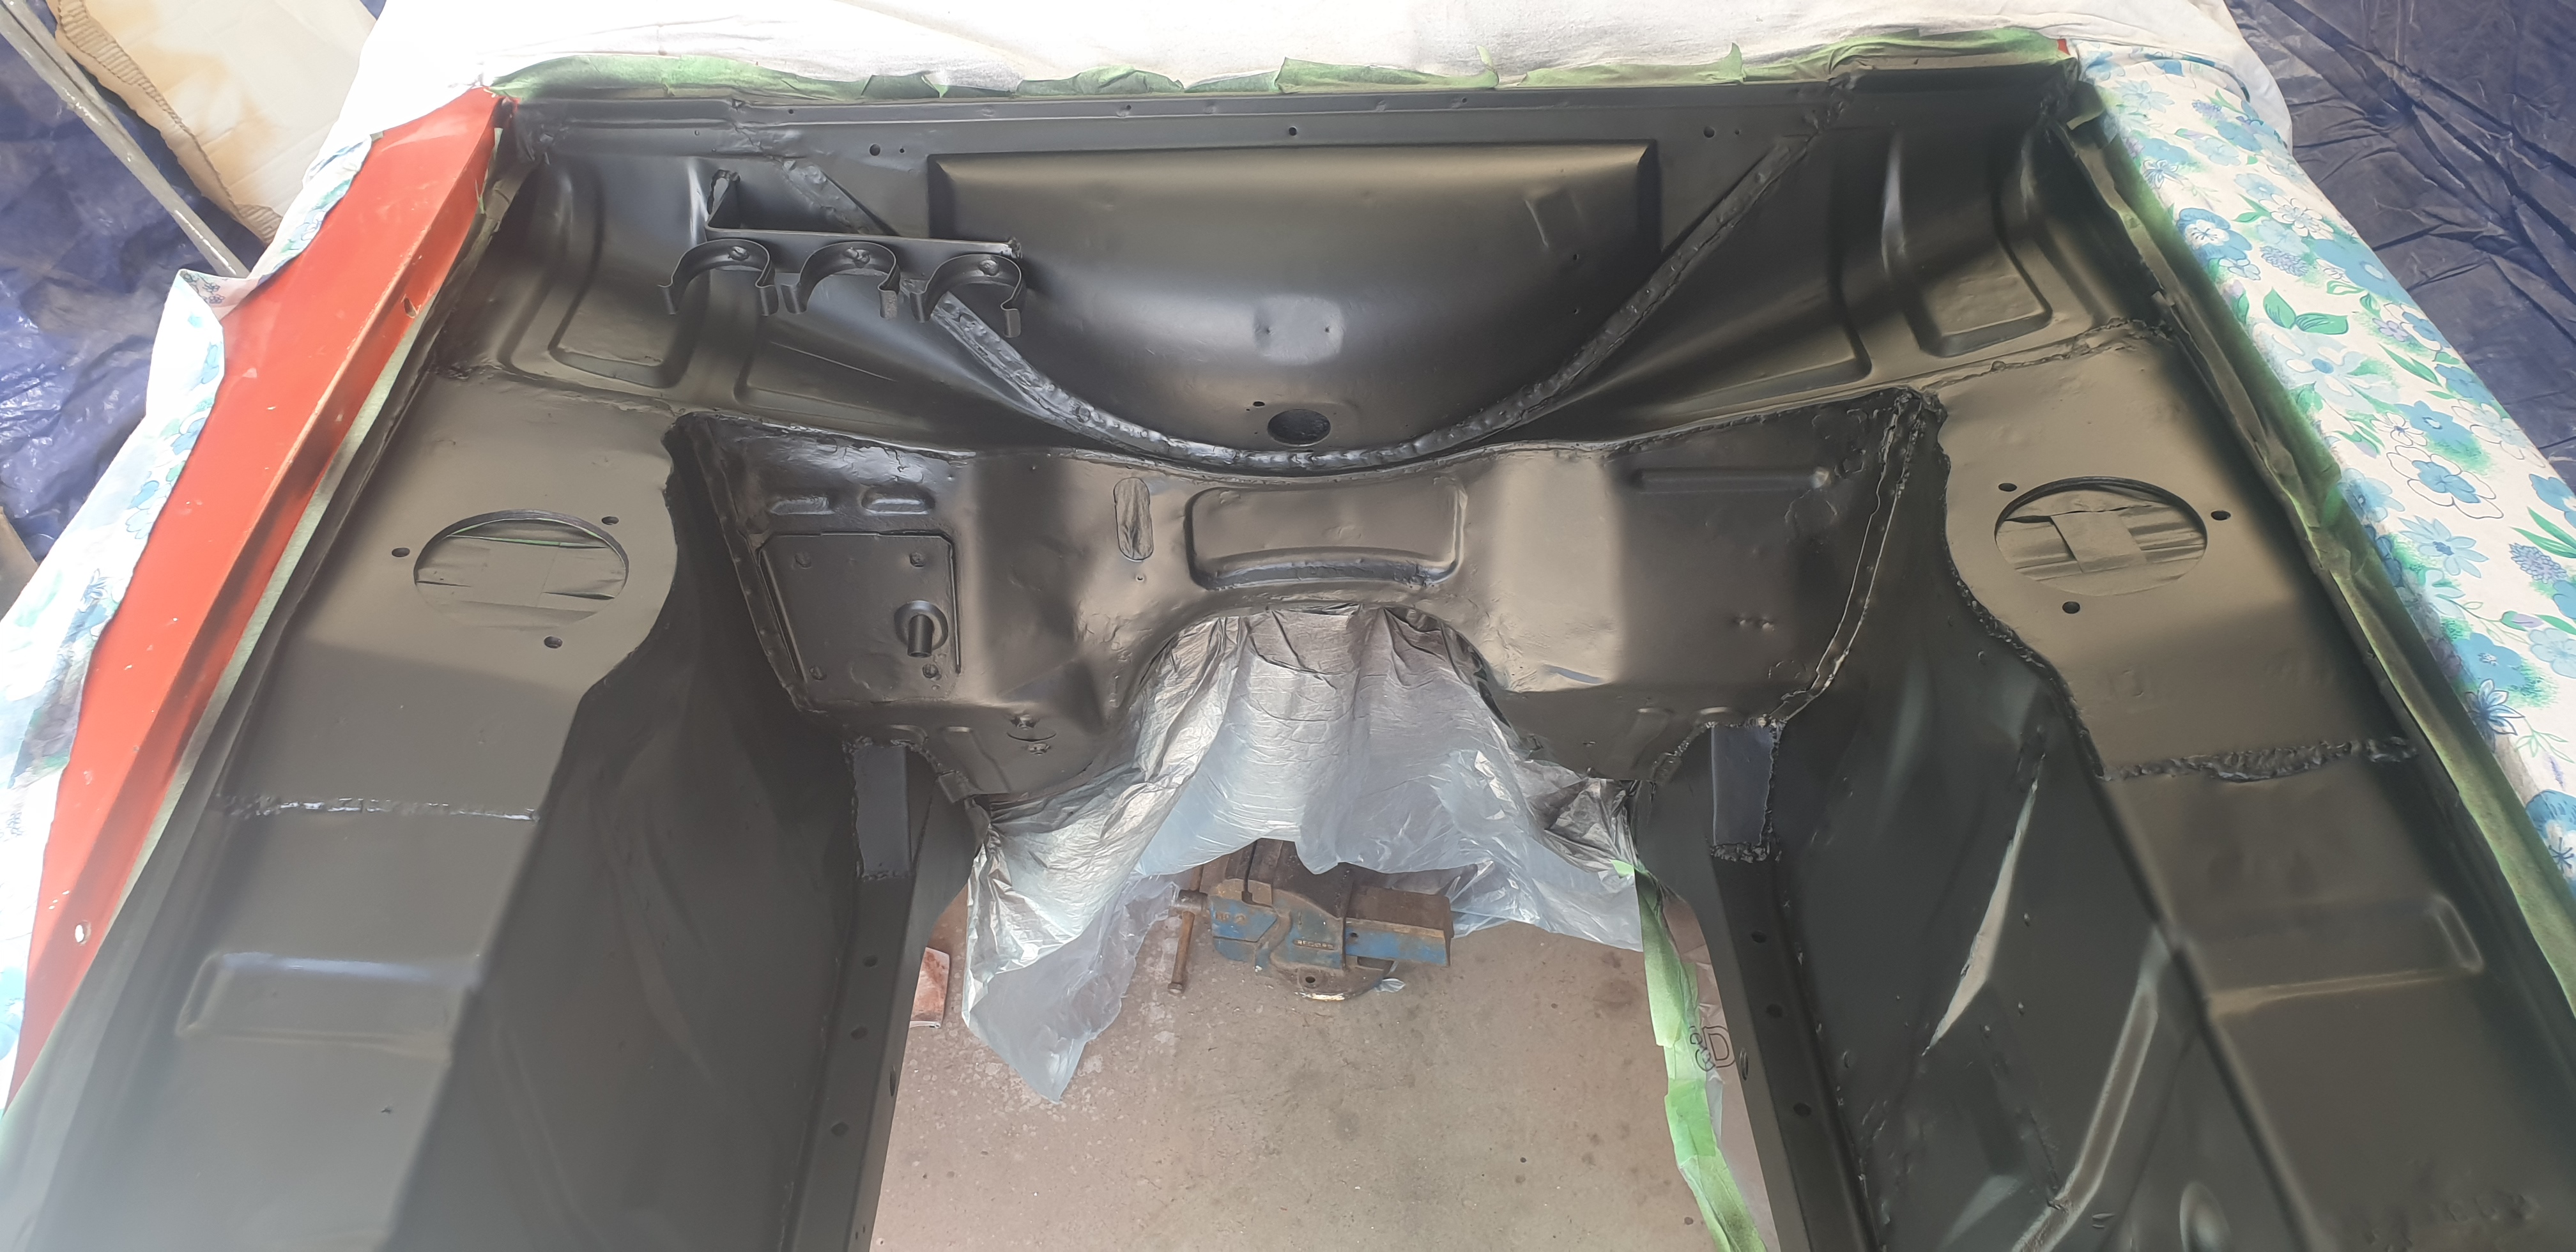
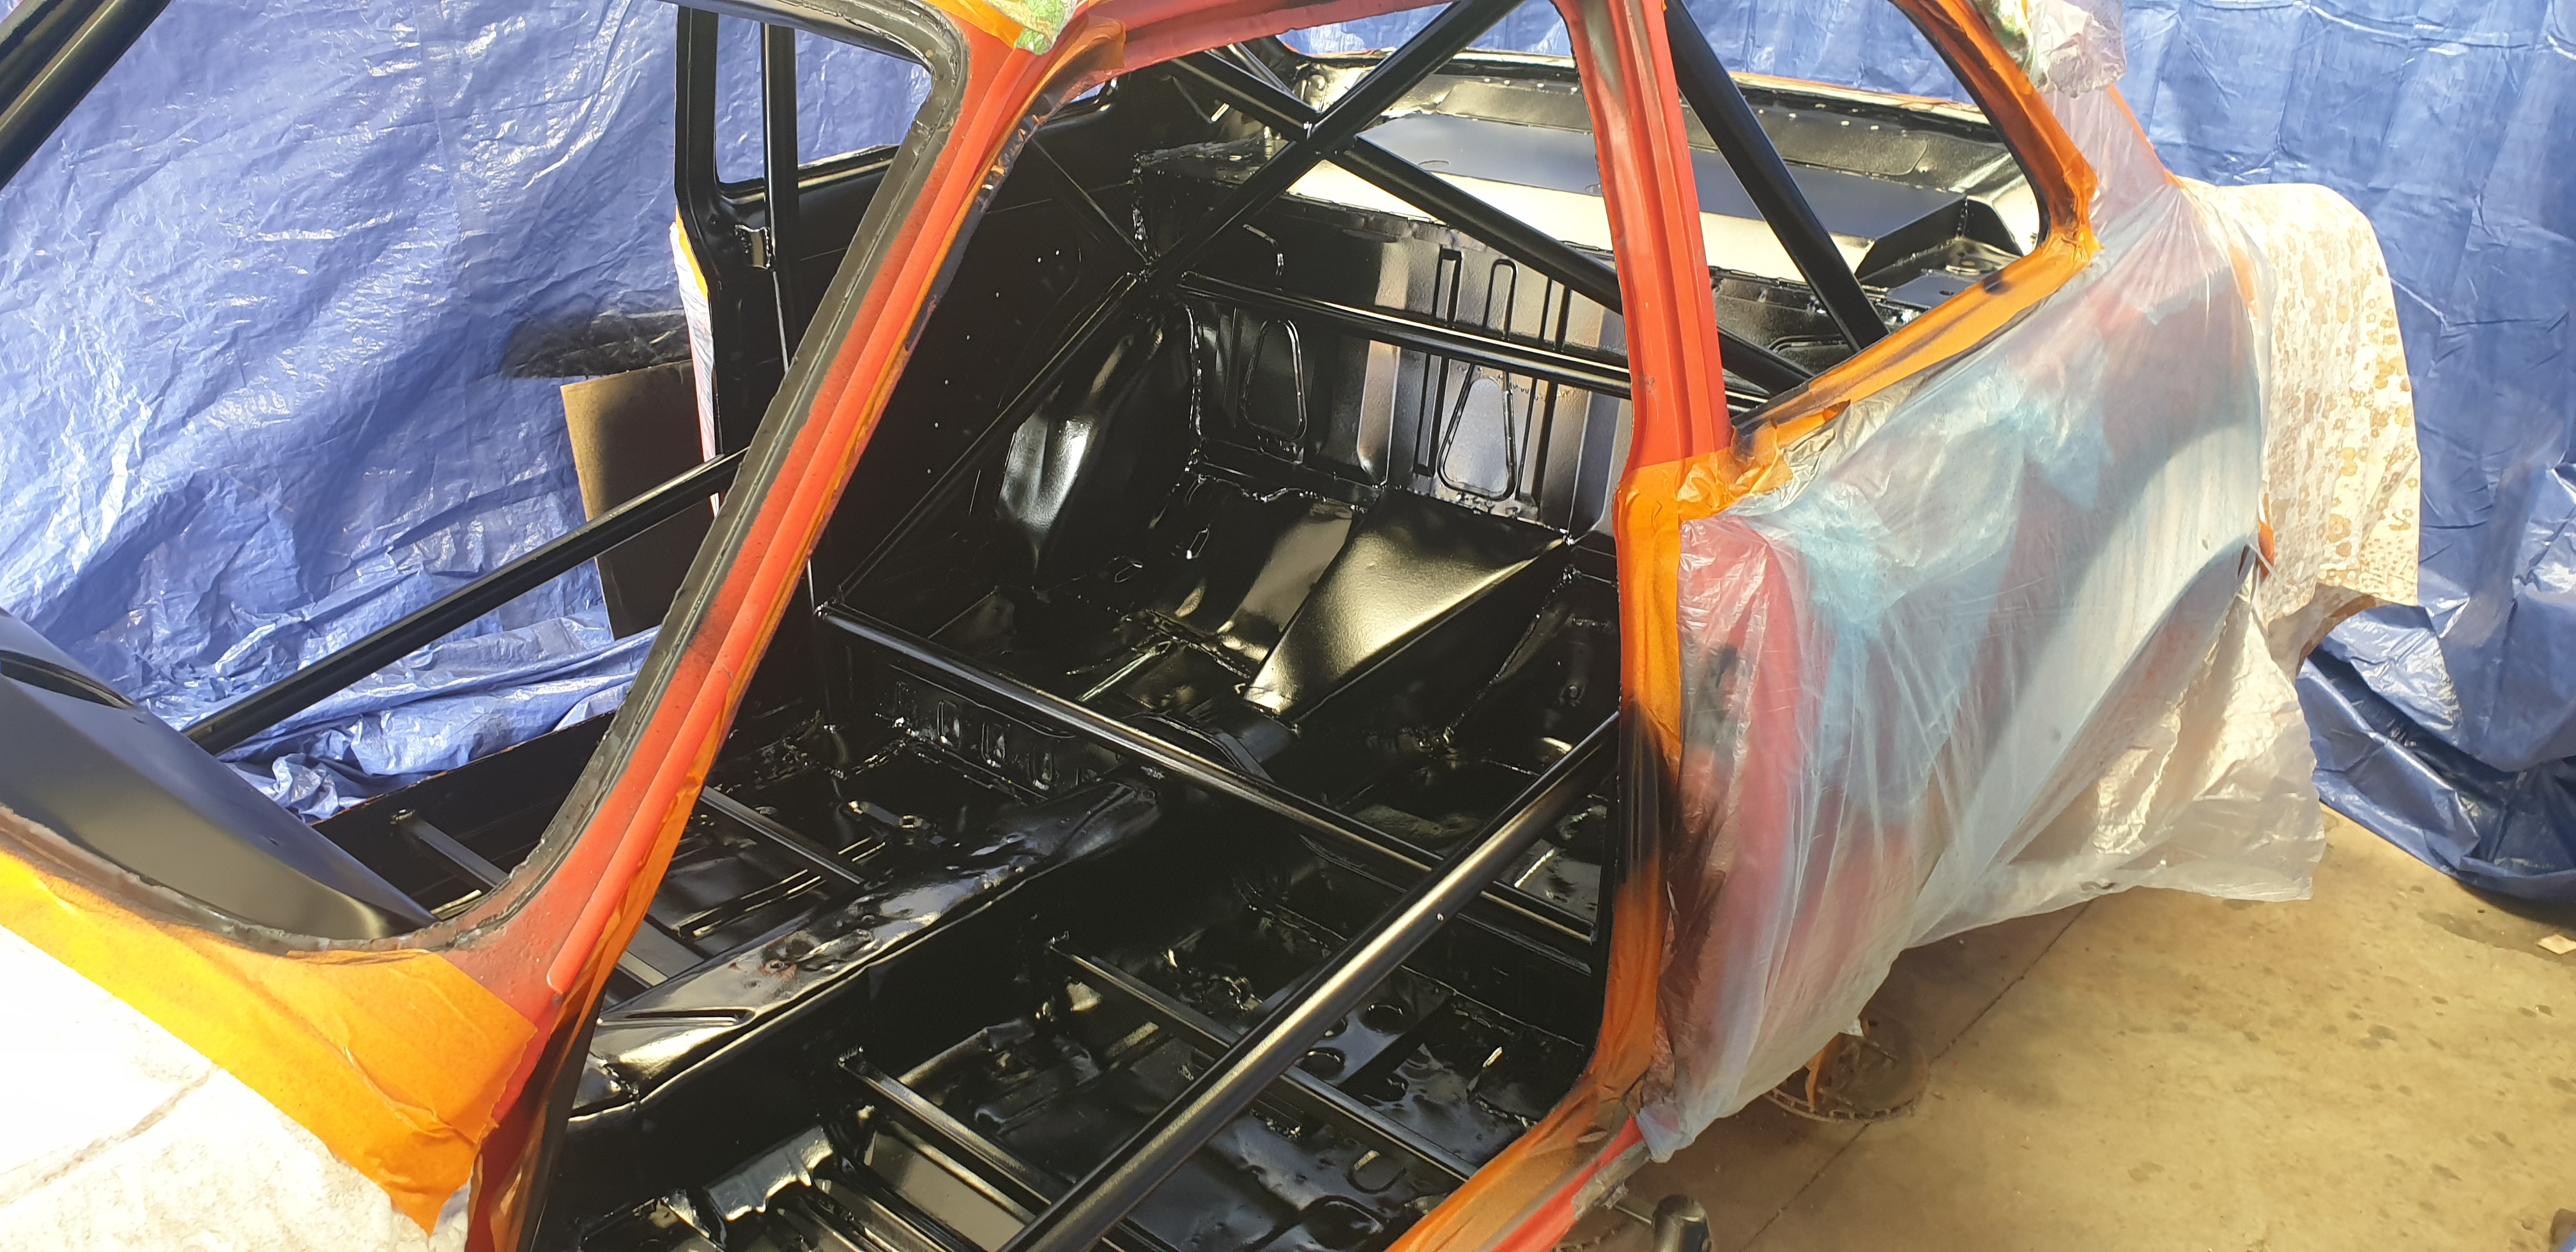
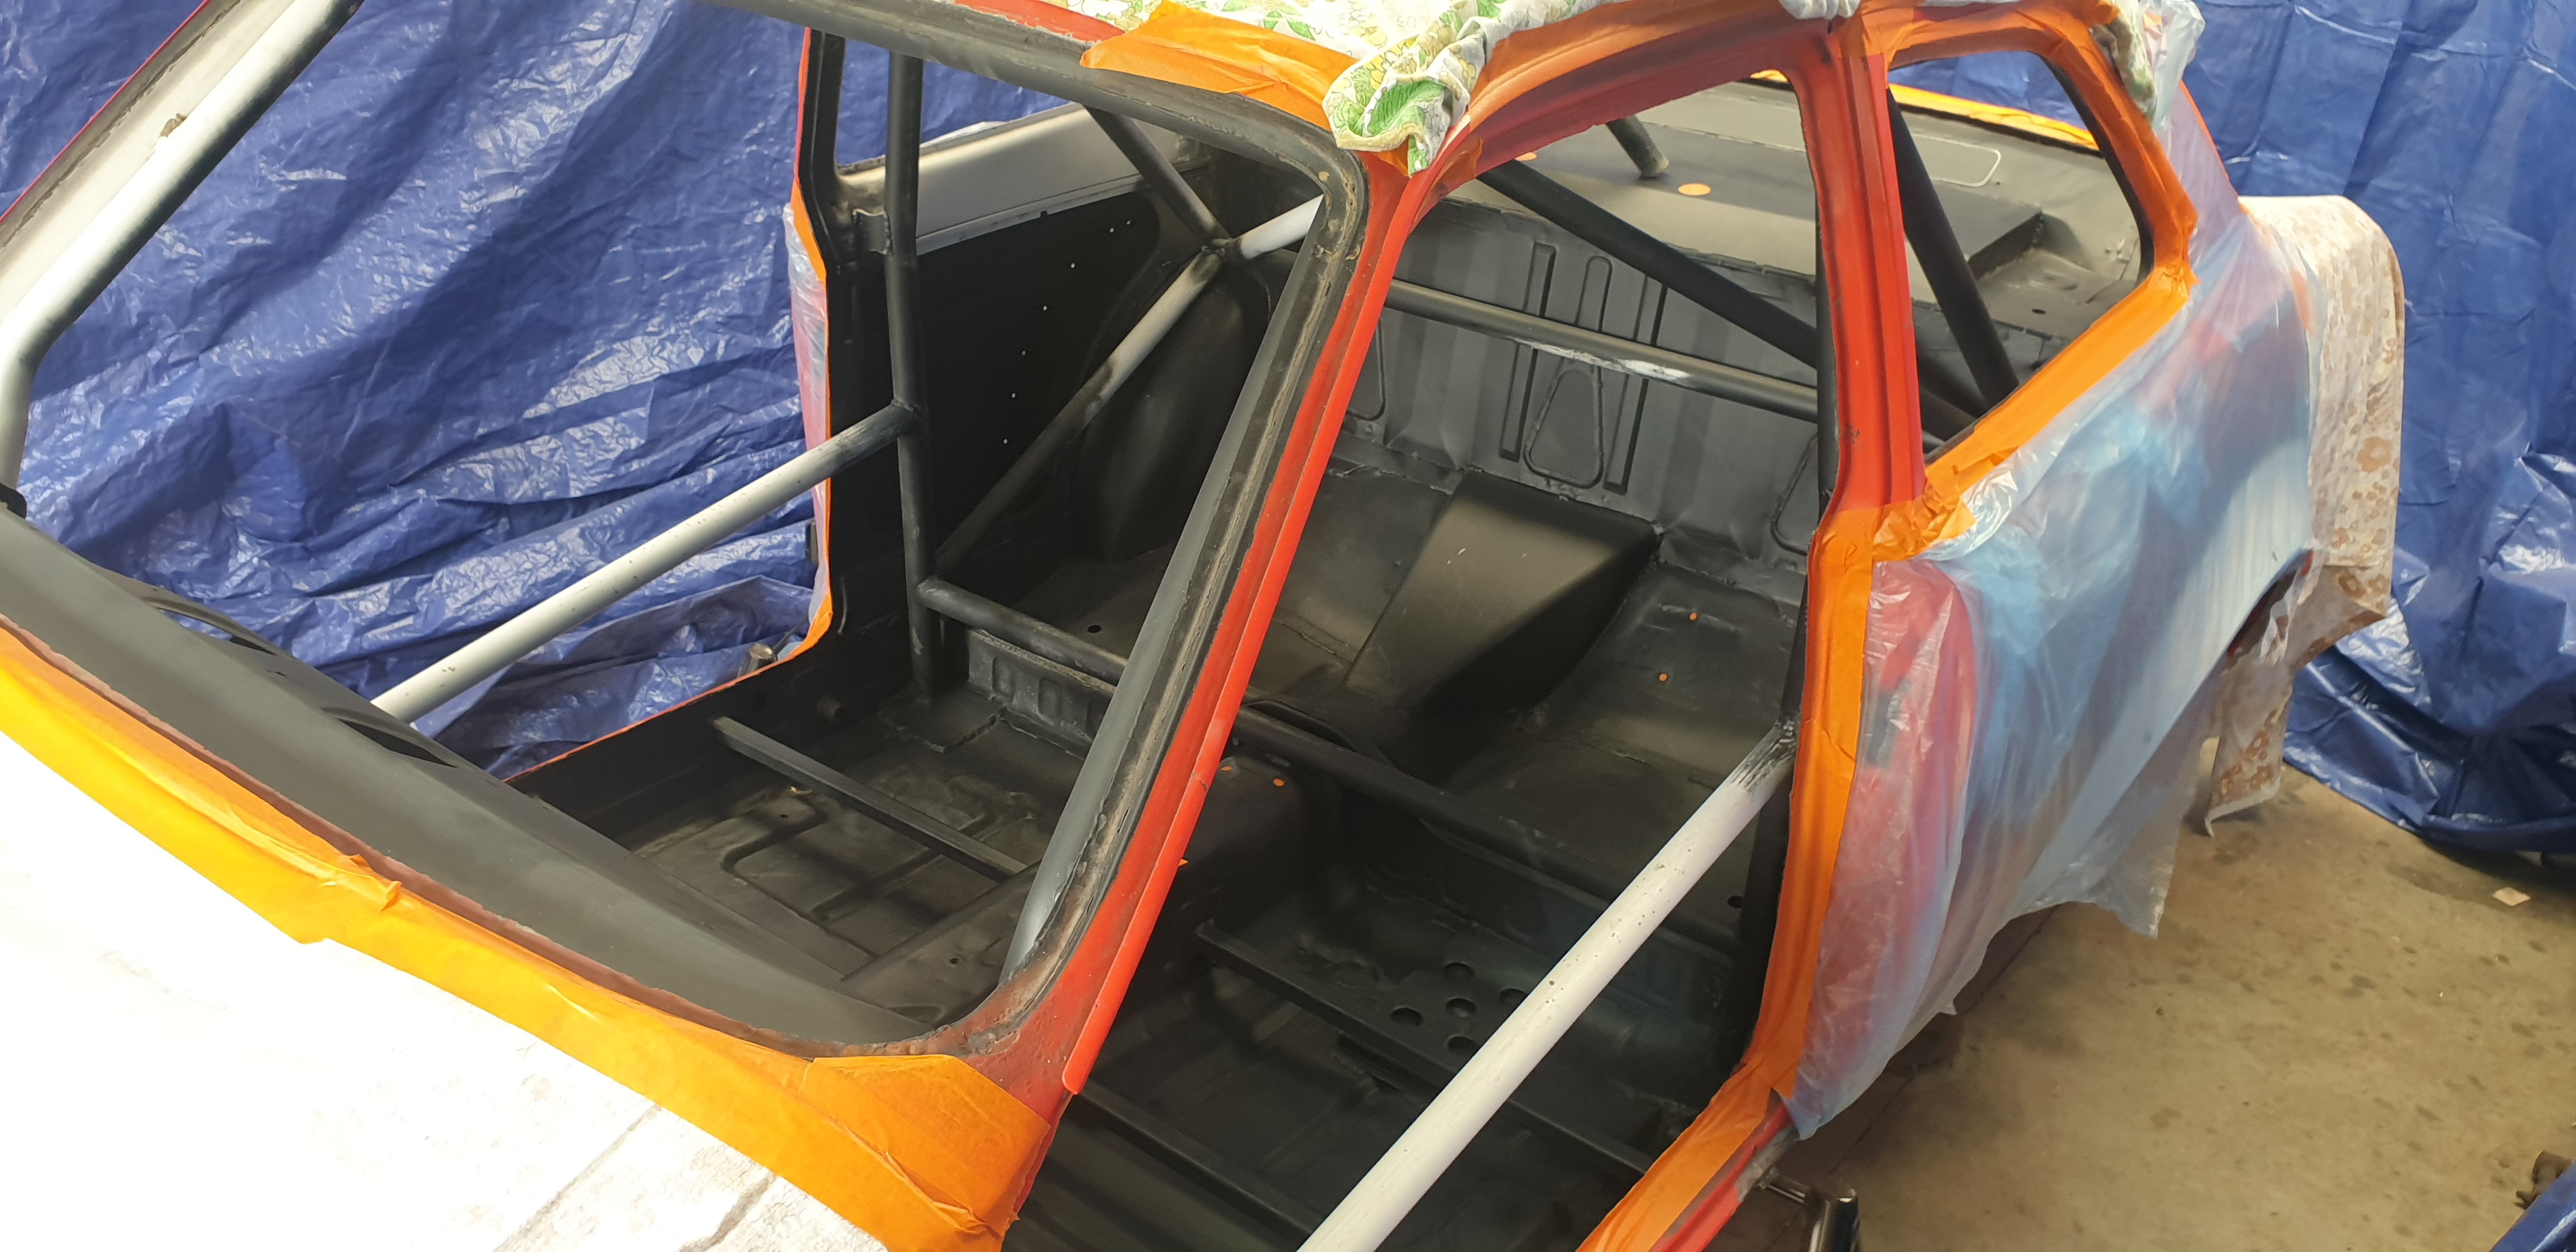
Many hours of sanding, etch priming and scotch brighting the interior we could finally spray some 2 pack satin black
-
Once the underside was all done it was time to come off the spit and start on turning the interior from it's original white to a more period correct satin black.
-
- 268 replies
-
- 10
-
-
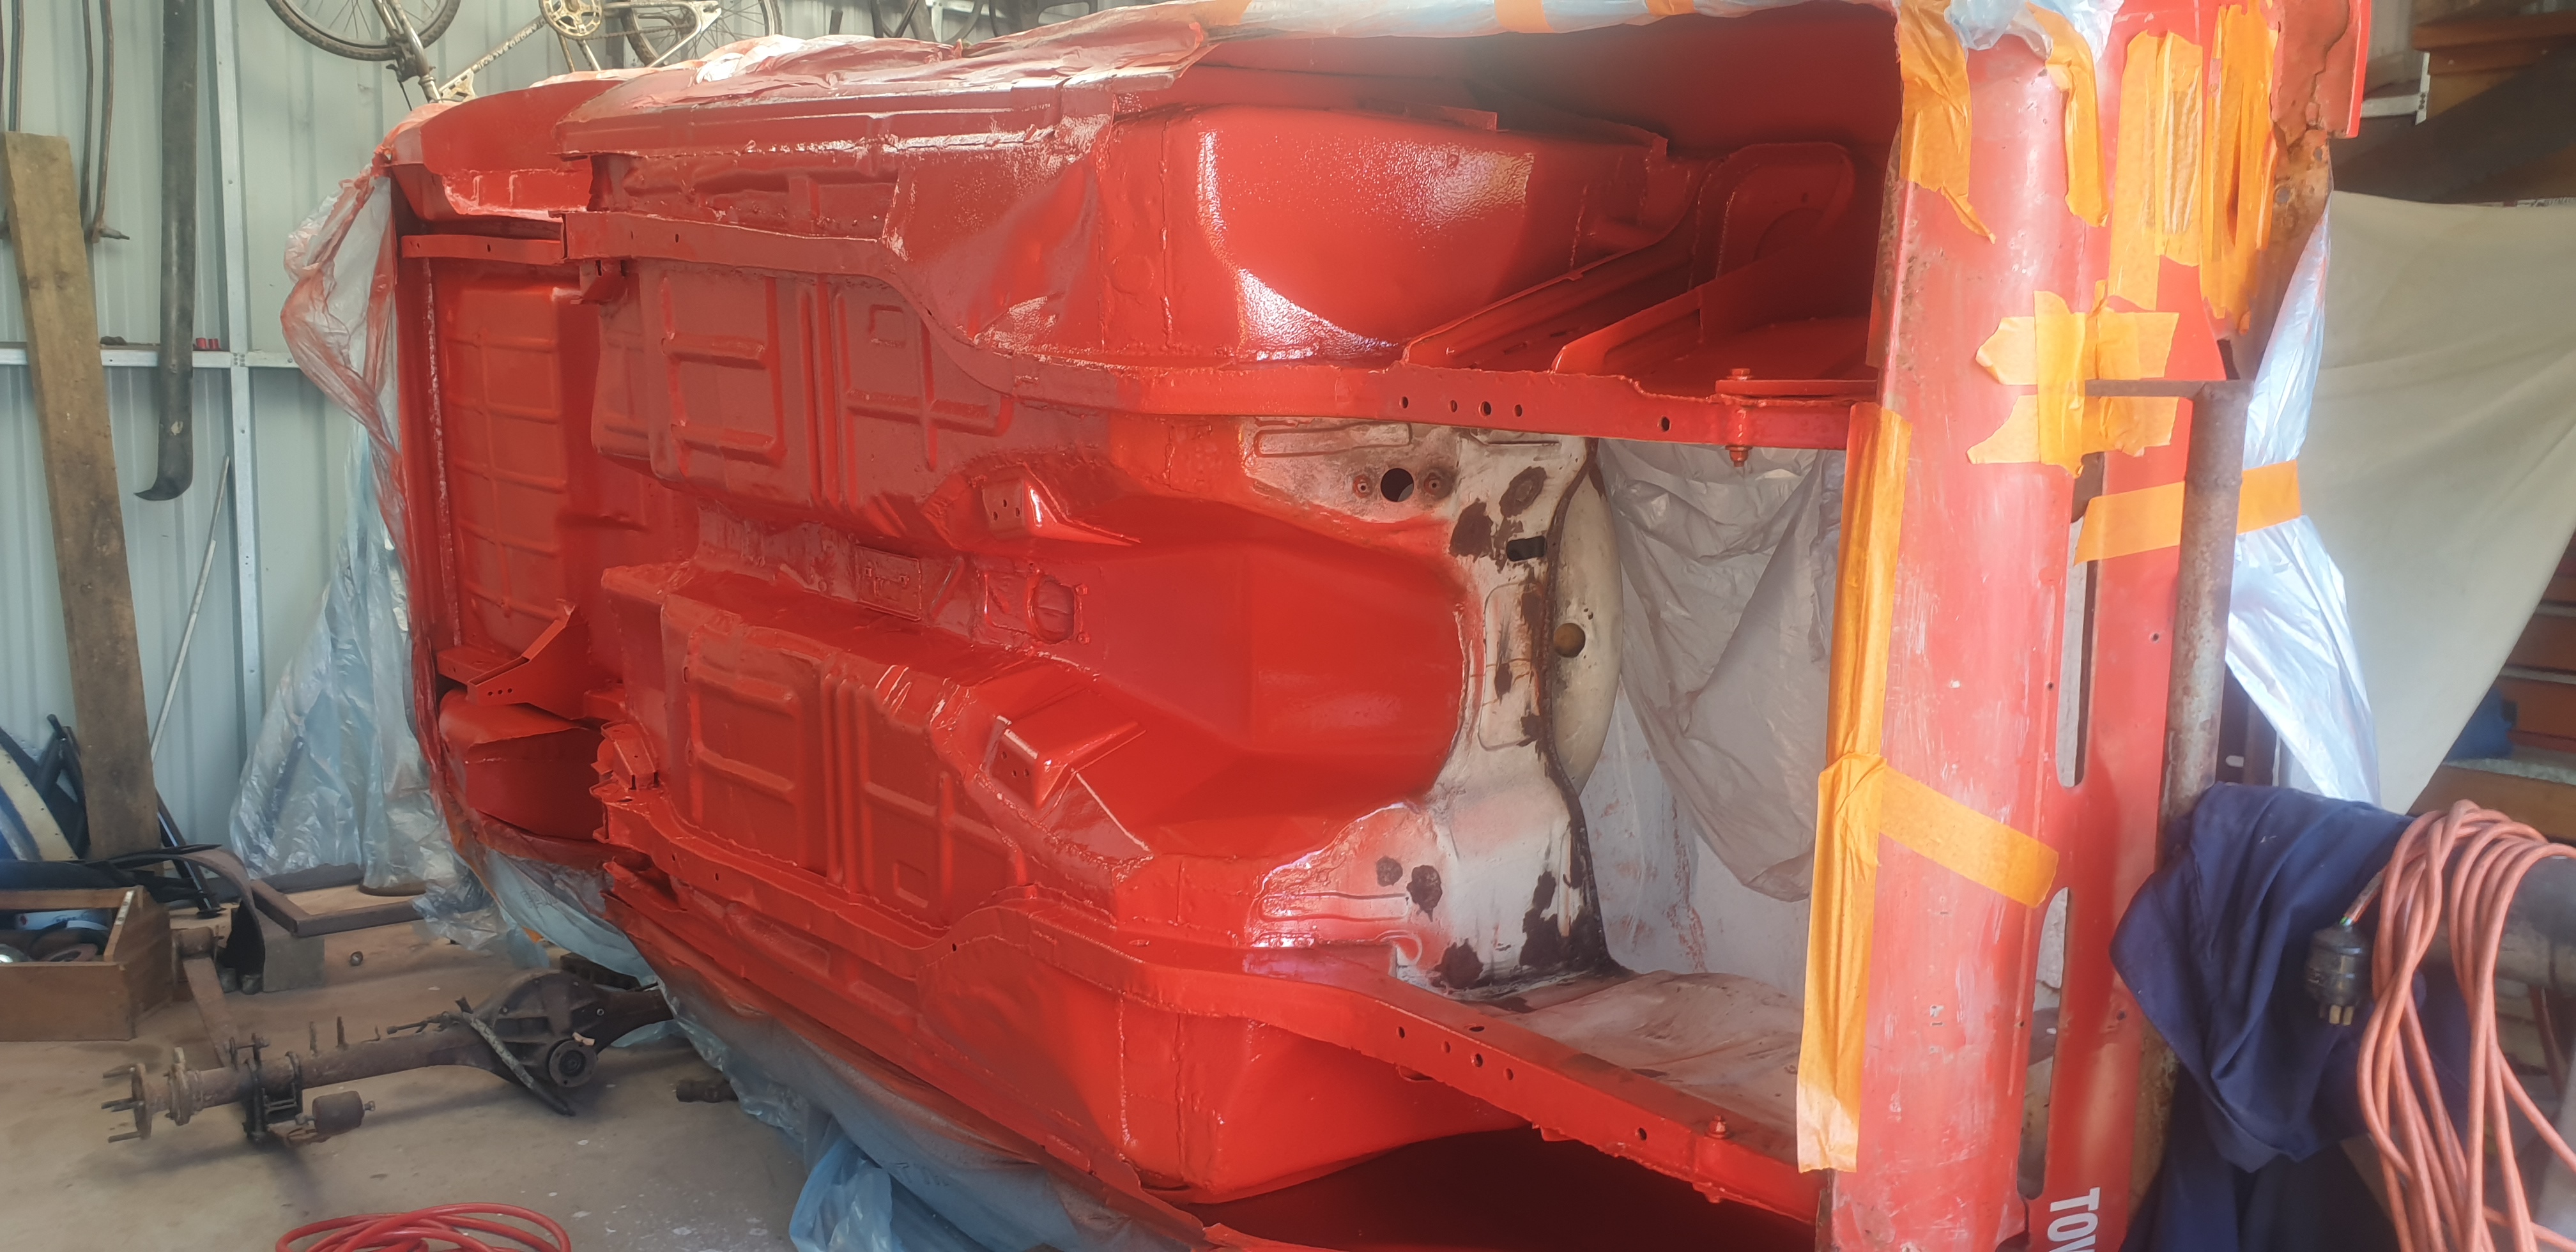
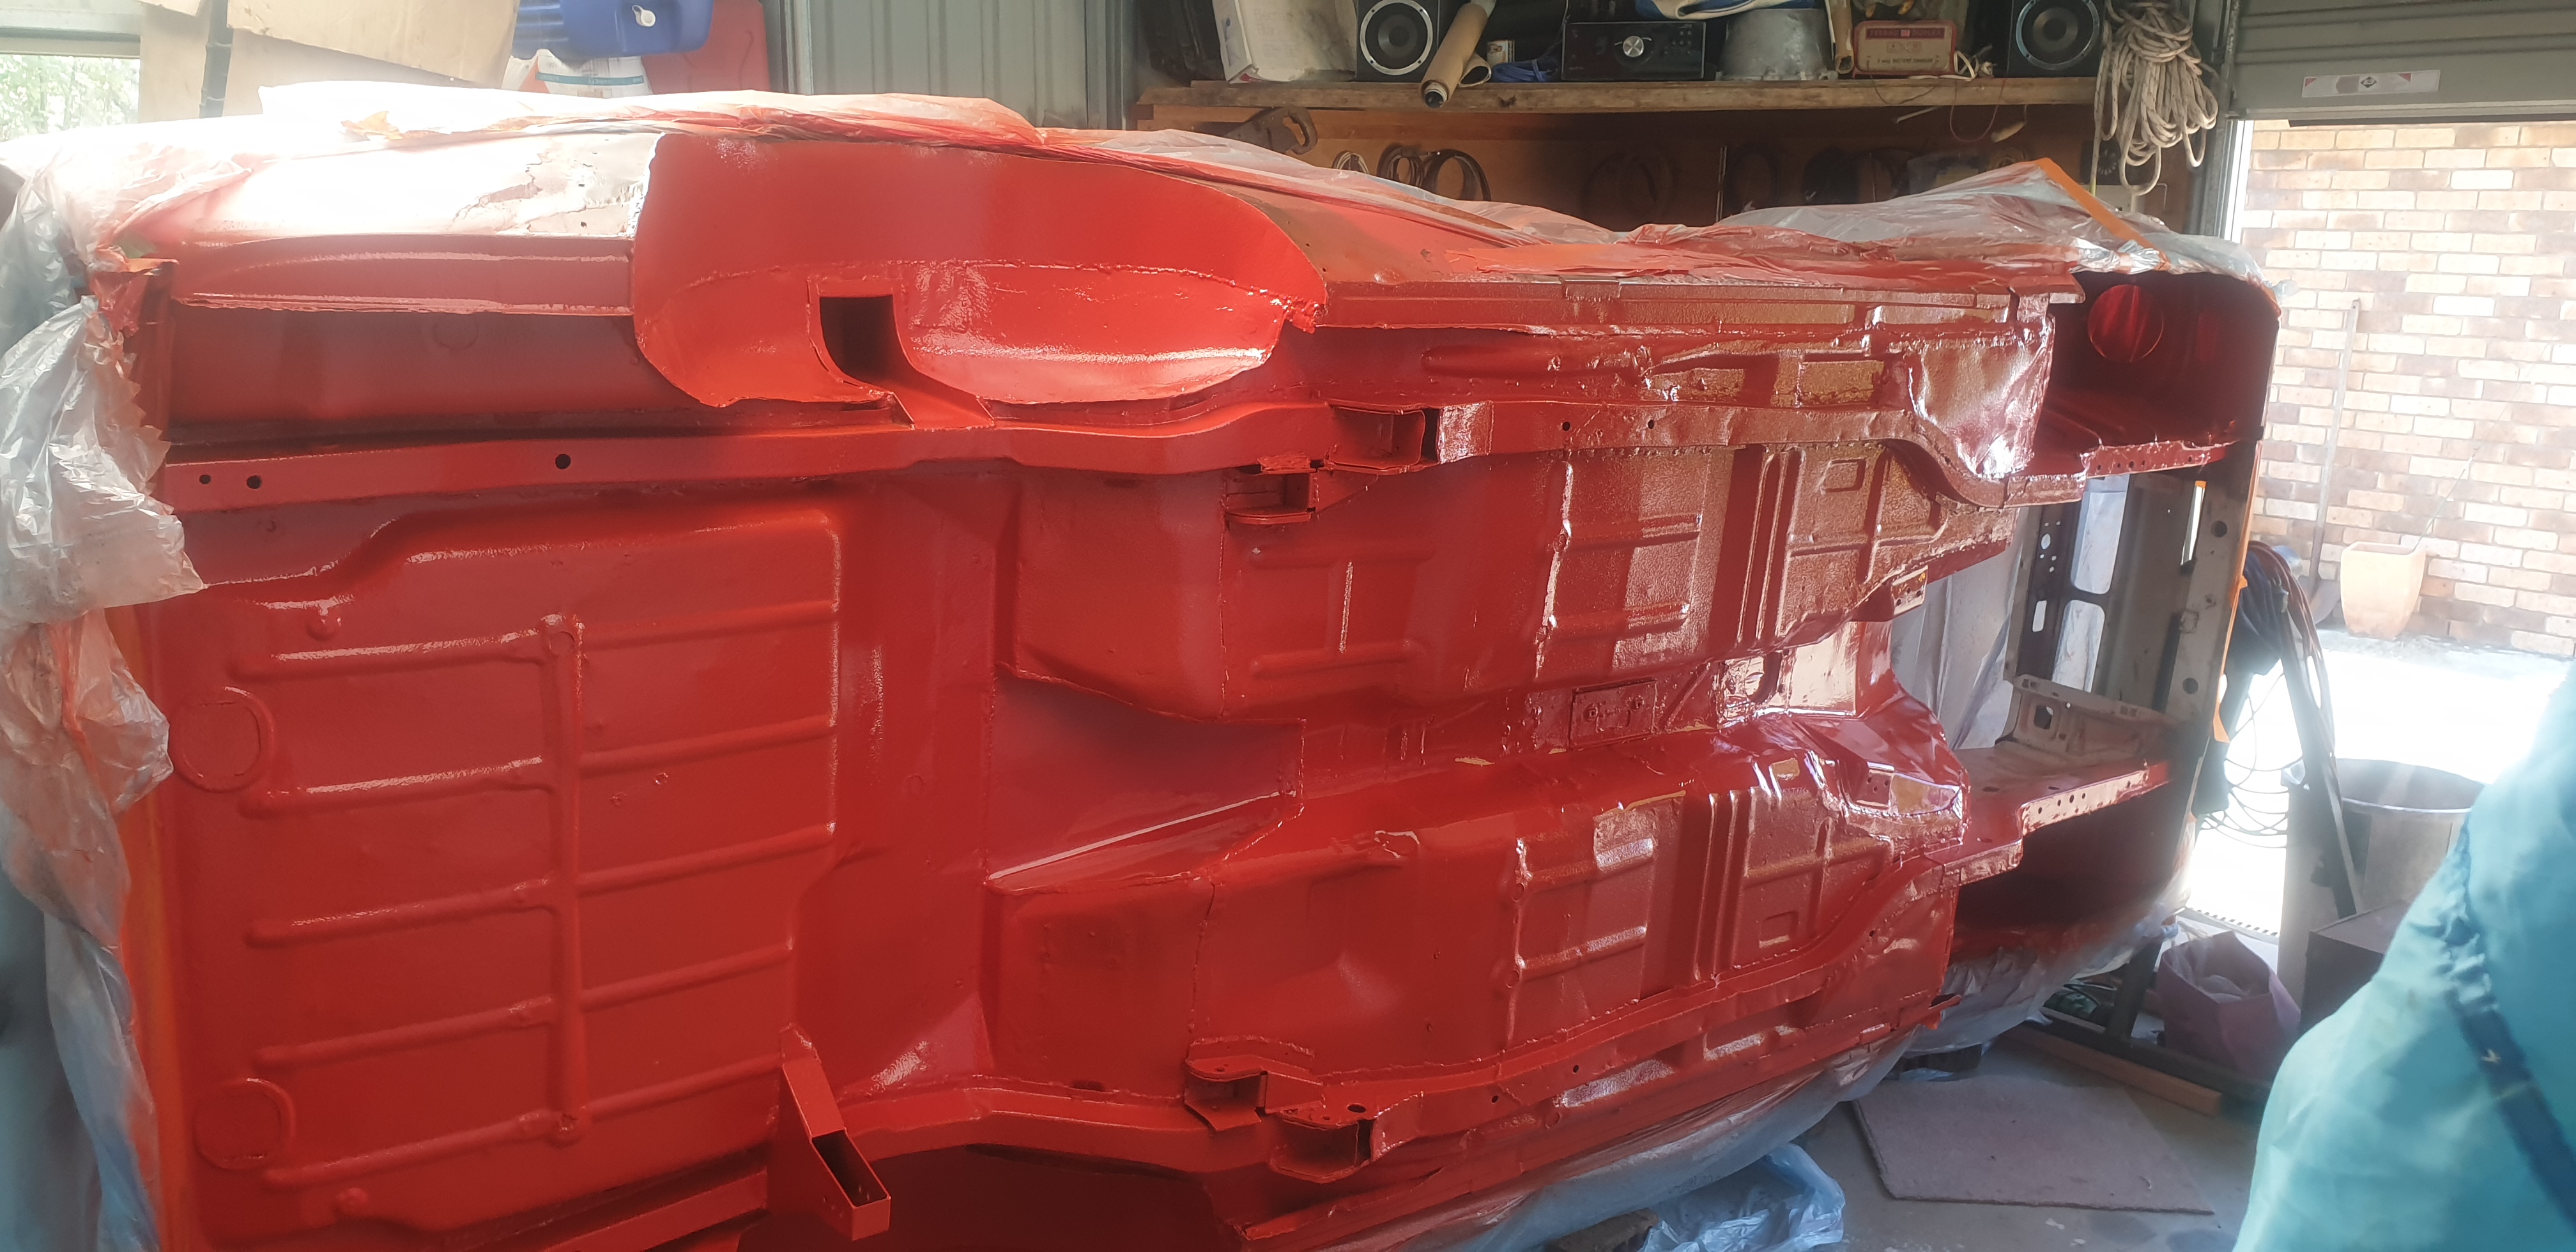
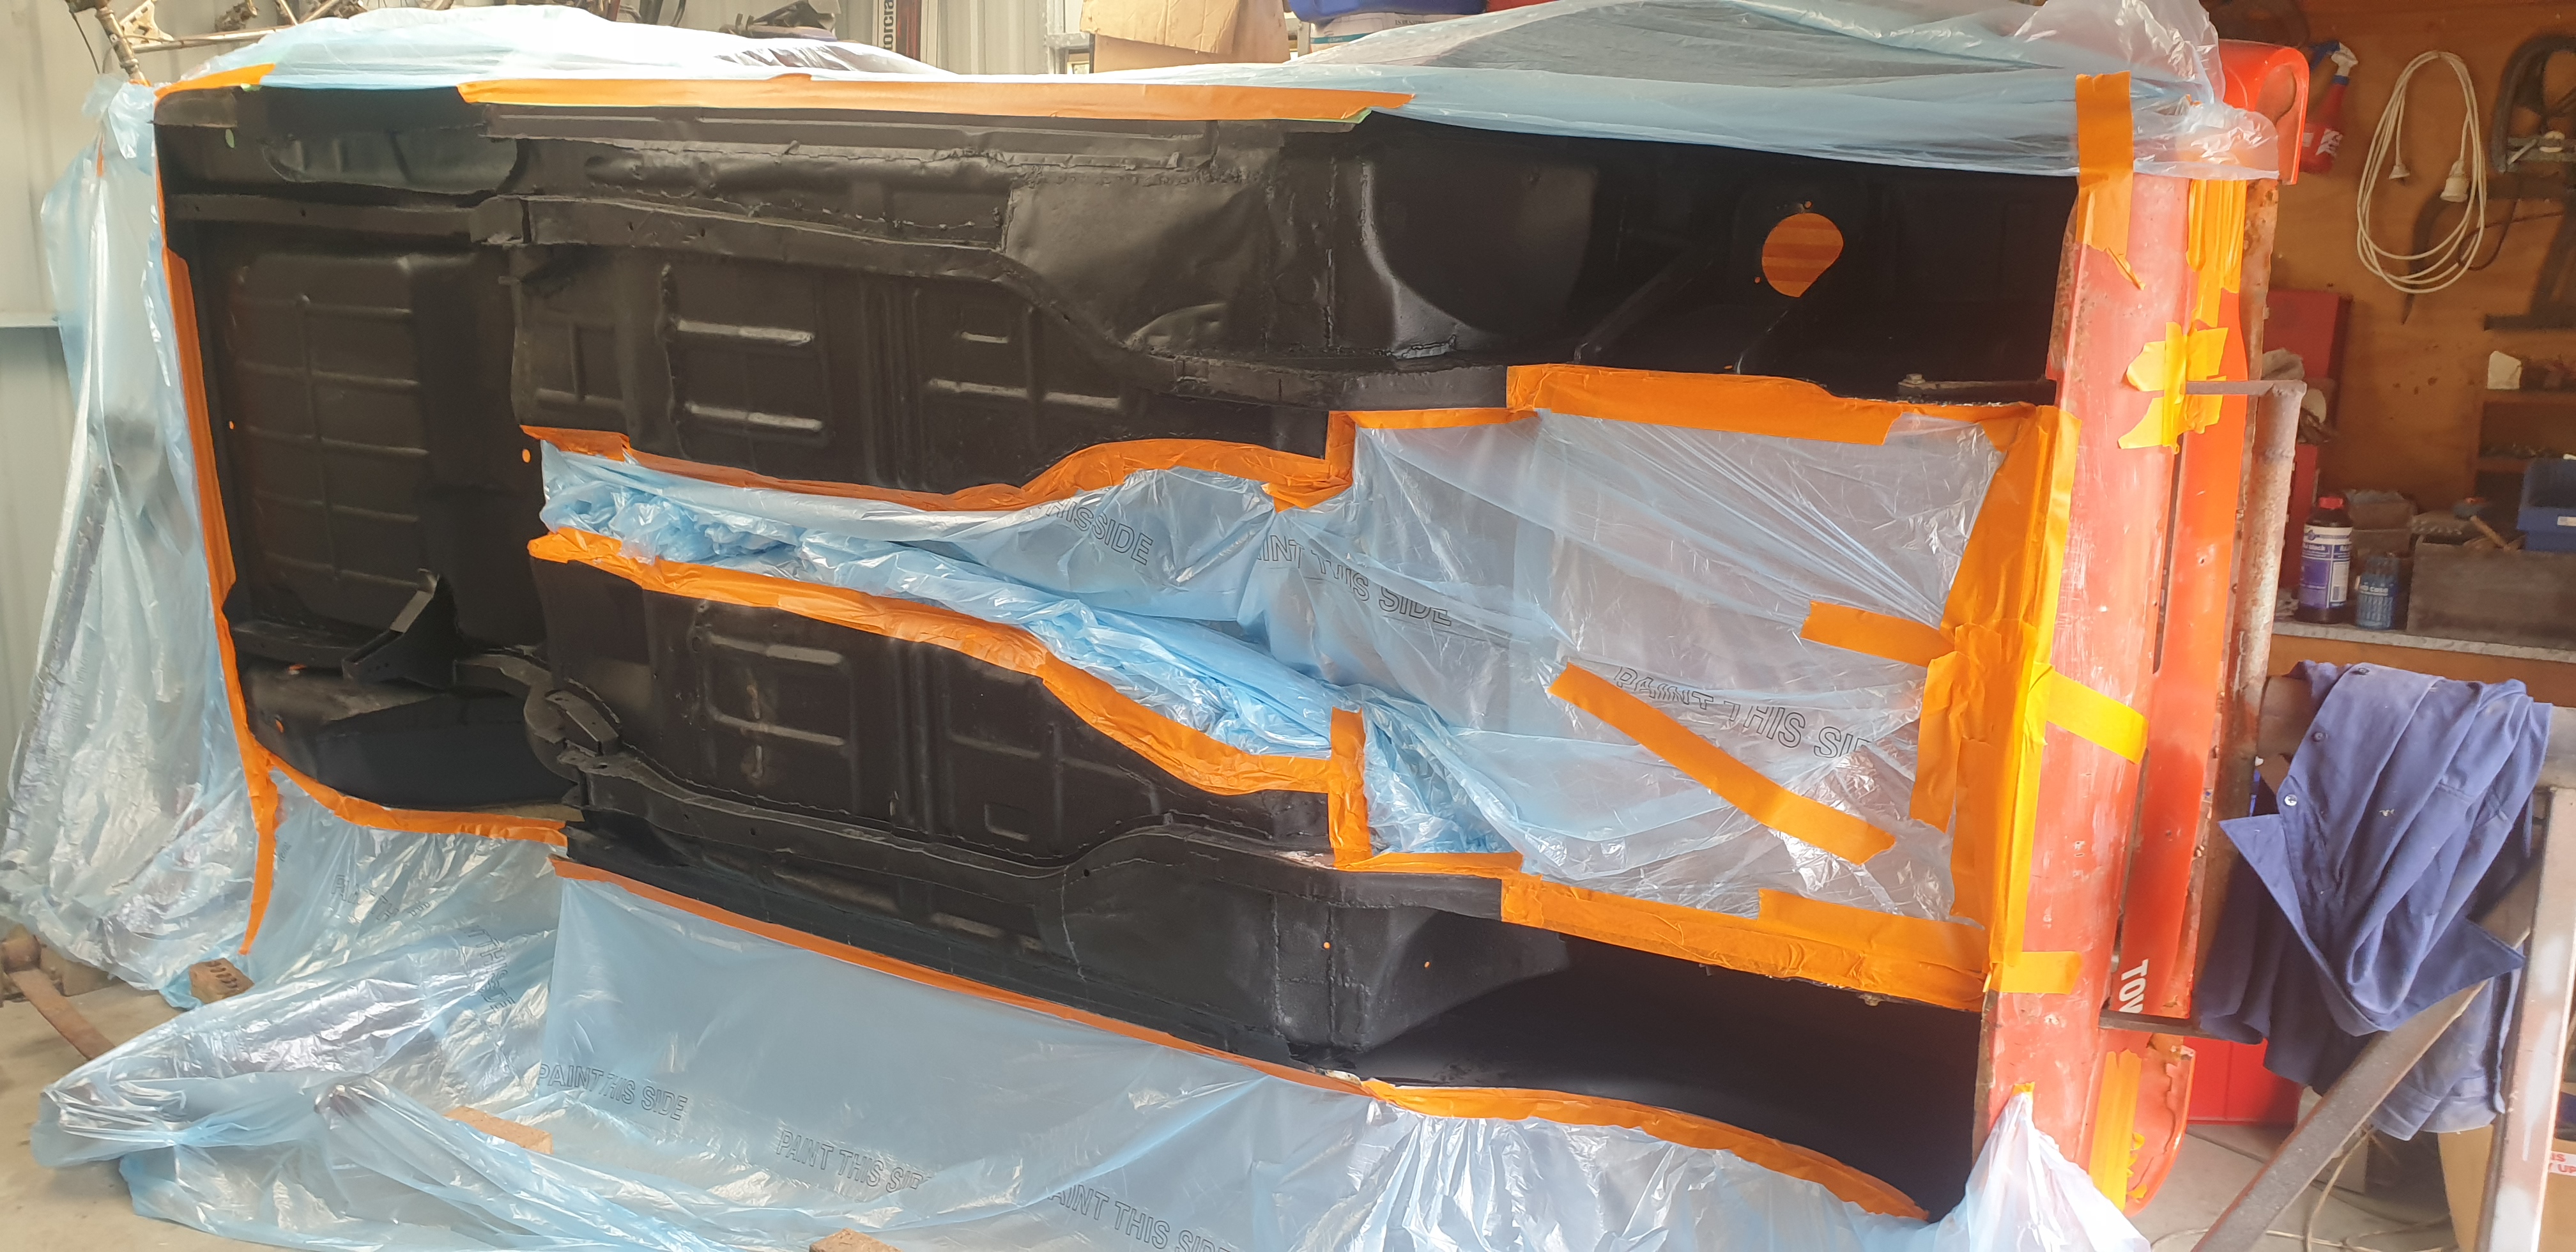
After allowing a few days for this to dry a few coats of Sebring Red ( which is actually orange ) body colour were added. Happy days !
-
- 268 replies
-
- 10
-
-
Next step was to mask off the underside and apply a few coats of stone chip to the floors as they tend to get a pretty hard time.
-
Thanks for the leads! Cheers
-
- 268 replies
-
- 14
-
-
-
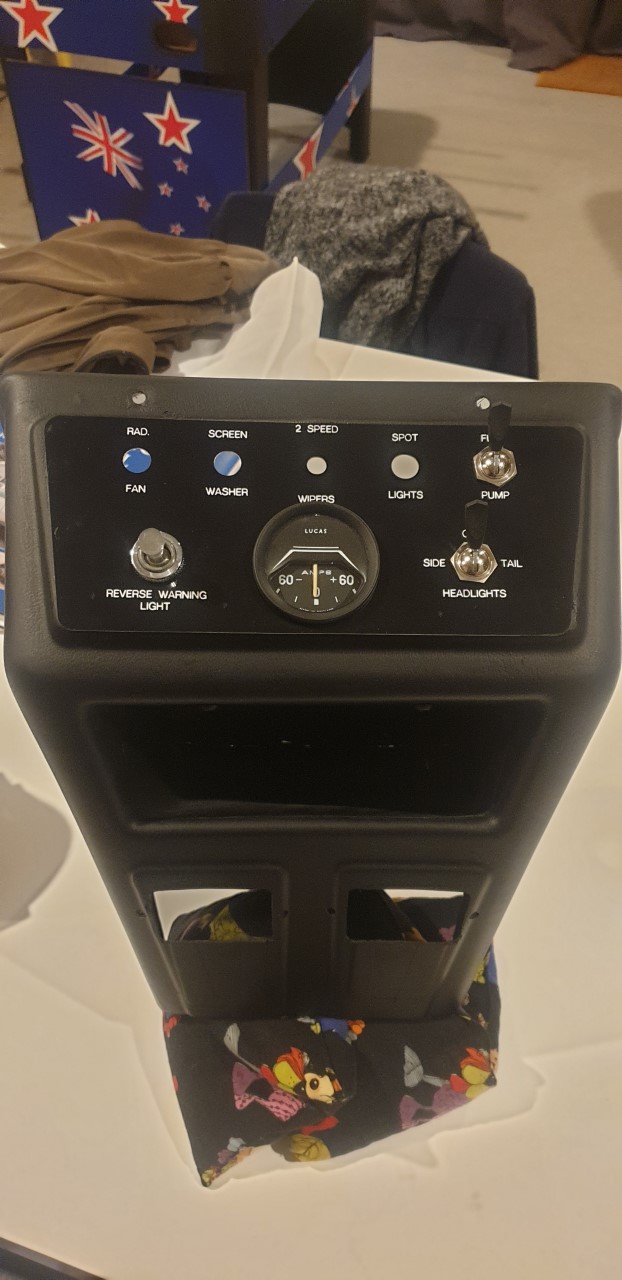
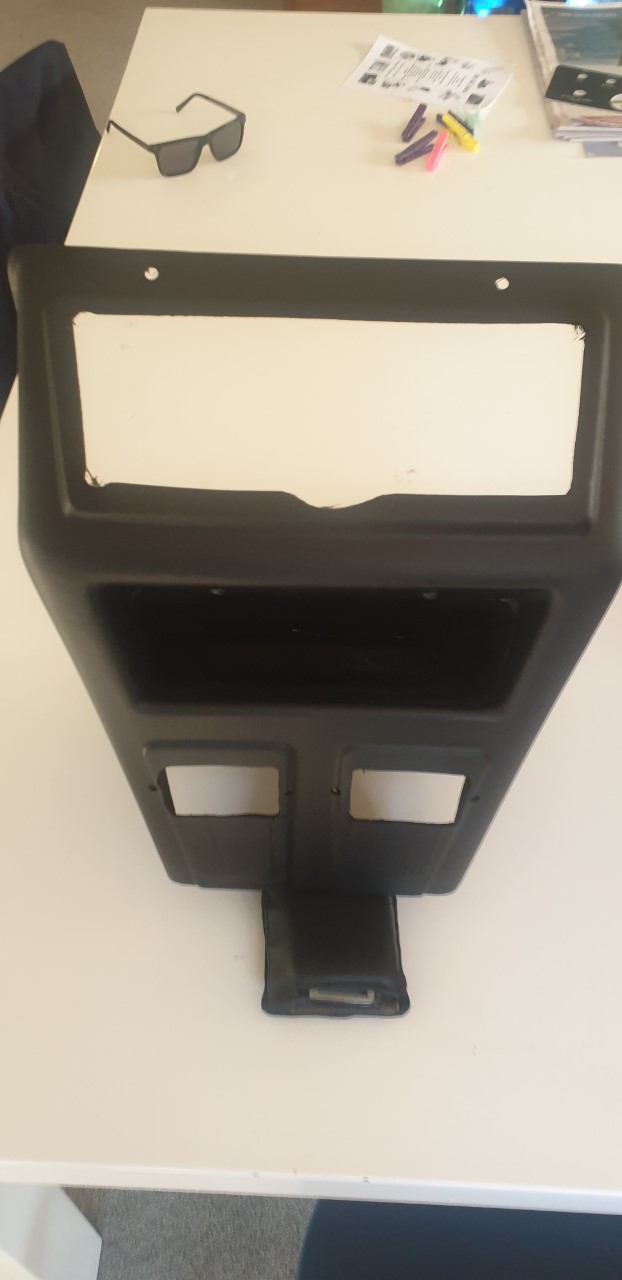
So the same process as the dash, i drew up the layout of the console and had it cut out of 3mm MDF, once finalised i had it cut out of laminate. Ford used lots of gauges and switches out of lots of vehicles for the works cars... The reverse lamp switch is out of a Jaguar and the Lucas amp gauge is from a Rover P5B coupe....
-
Hi, i'm looking for a Mk2 Cortina 2 speed wiper switch if anybody knows where one is or who may have one.... I have some hard earned cash waiting for one. Same as the top one in this pic. Many thanks
-
I found this pic from a while ago when i got the fibreglass dash parts and offered them up to see what it was going to look like... Lots of hours have gone into them since that pic was taken...
-
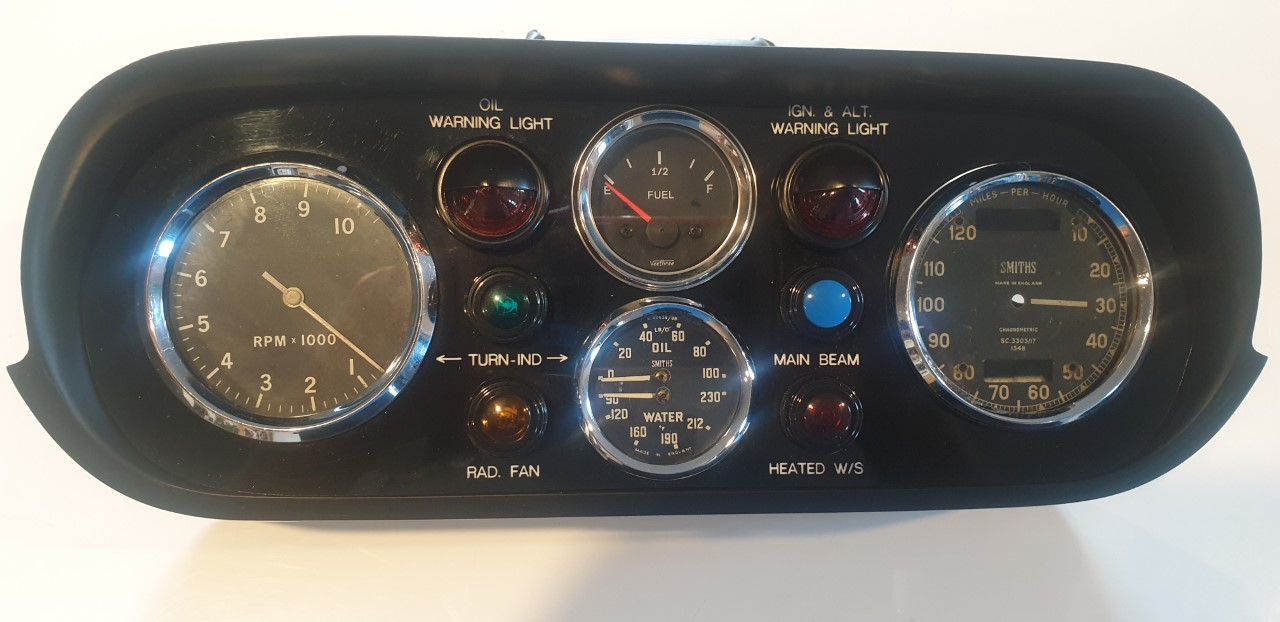
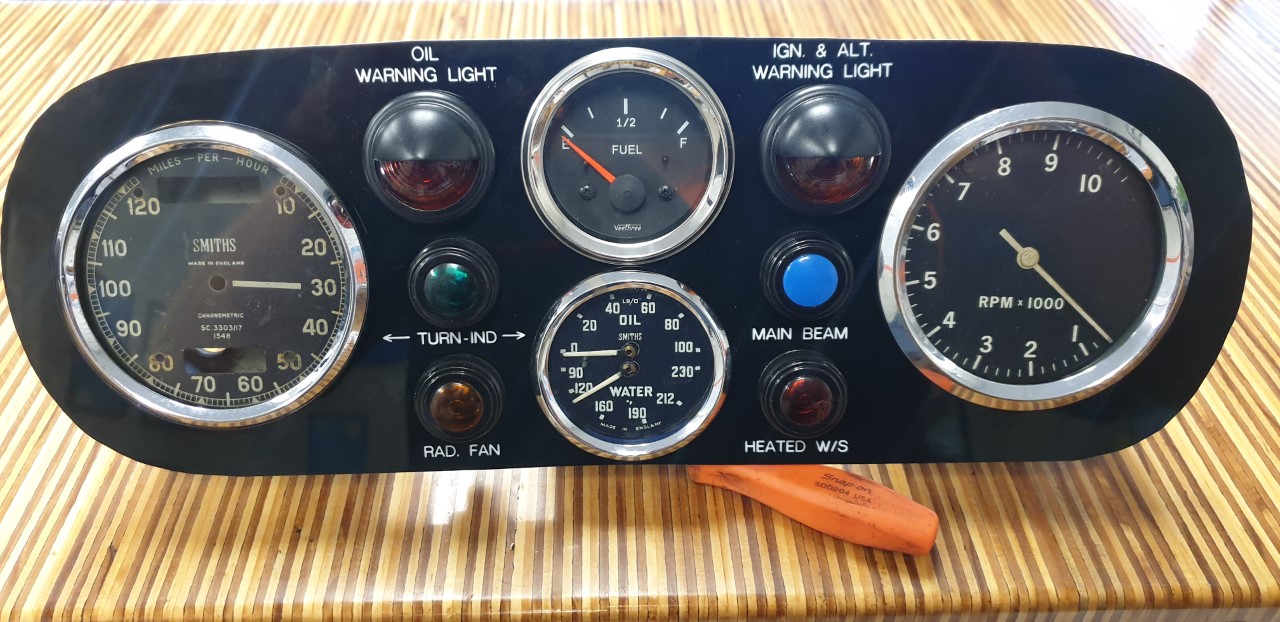
Then i assembled it all together in the dash, although the speedo needs rebuilding everything else can stay. Now onto the centre console....
- 268 replies
-
- 24
-
-
Then this happened !
- 268 replies
-
- 15
-
-

-
I painted it black and offered up all the gauges and lamps to make sure the layout was correct and was going to work in the dash surround. Very happy with the result , then i just had to finalise the wording i wanted and get it cut out in laminate. Happy days!
-
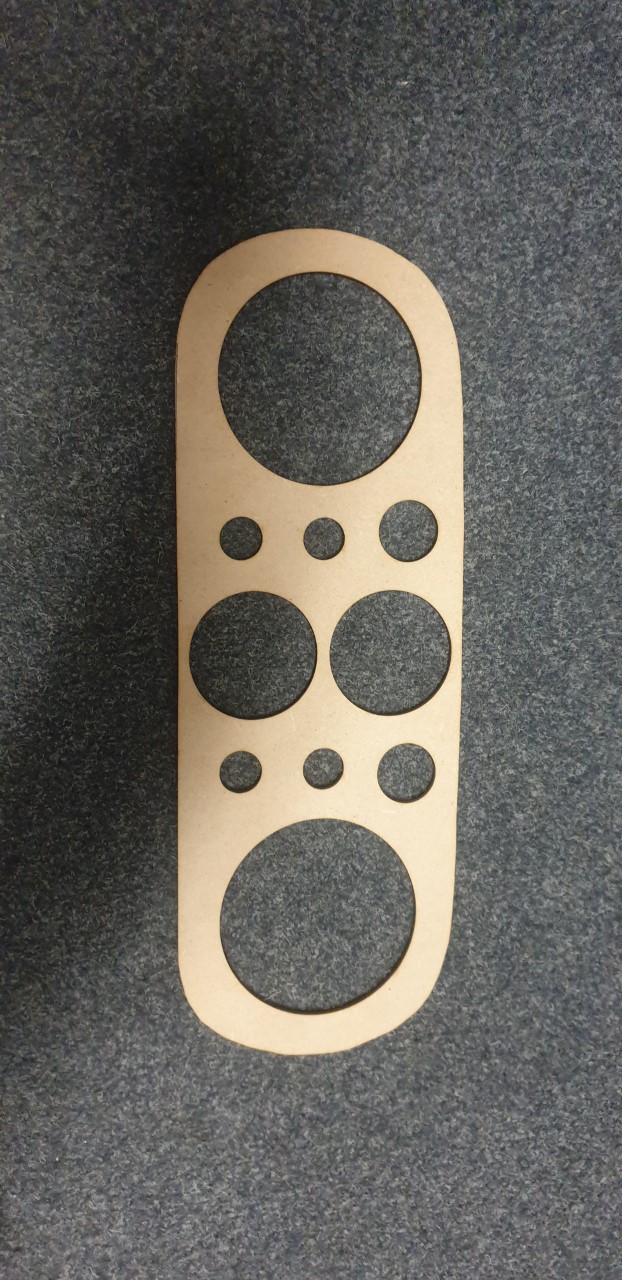
Then i drew up how the dash layout was going to look and had a mate laser cut it out of some 3mm MDF as a trial run before cutting it out of the proper laminate.

.jpg.499be7e16e3a611d2de826bffa269950.jpg)


.jpg.f5b4984b2b6b96adec0d06772997584c.jpg)