Brennan
-
Posts
659 -
Joined
-
Last visited
-
Days Won
1
Everything posted by Brennan
-
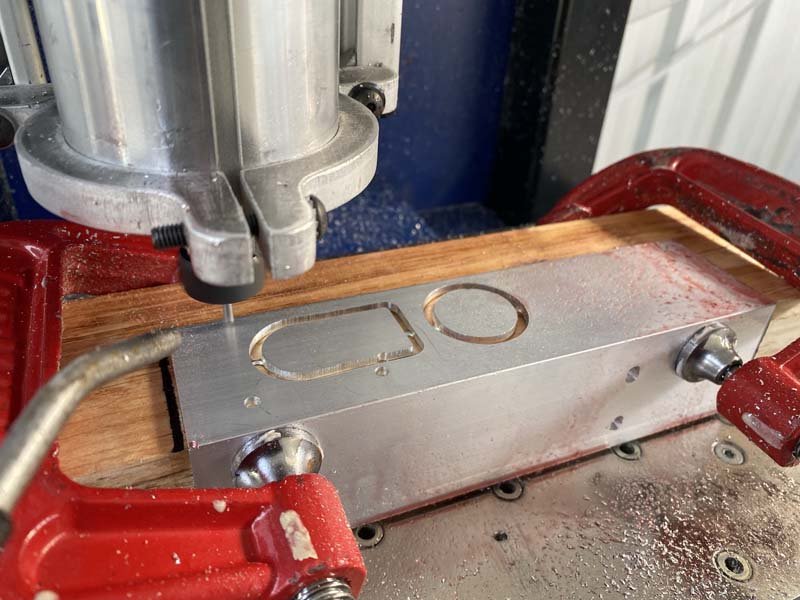
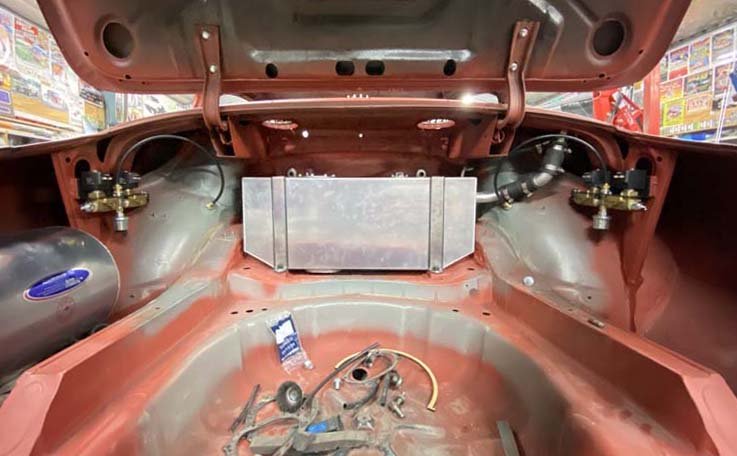
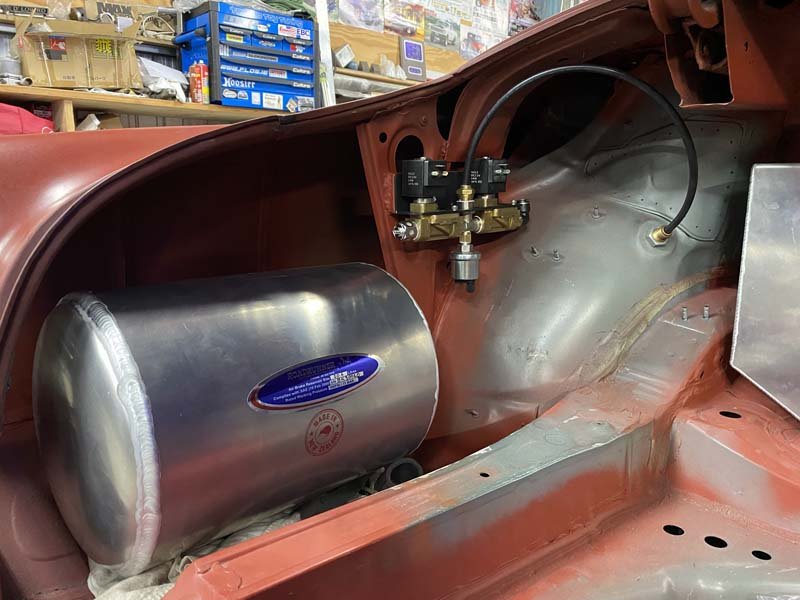
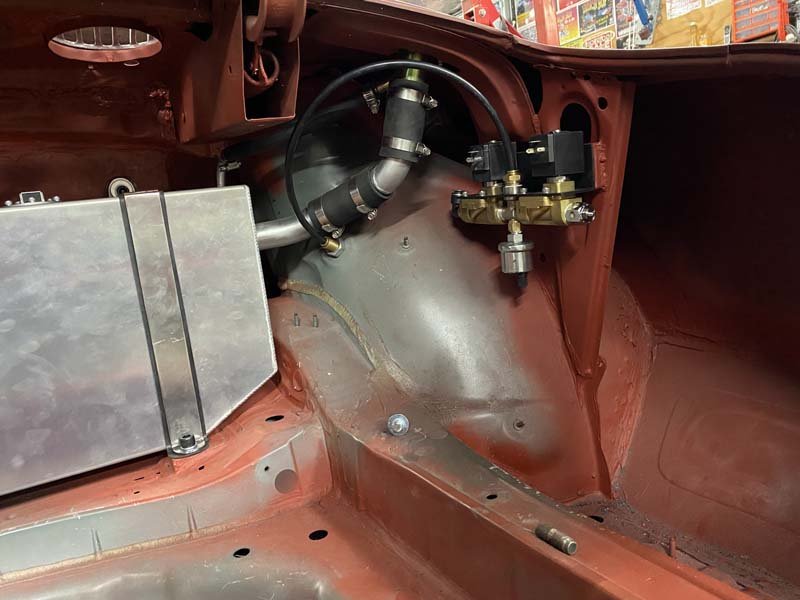
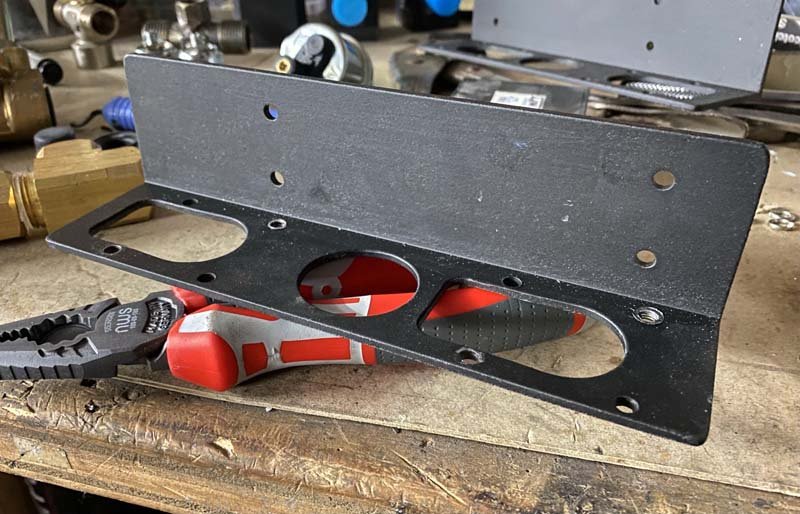
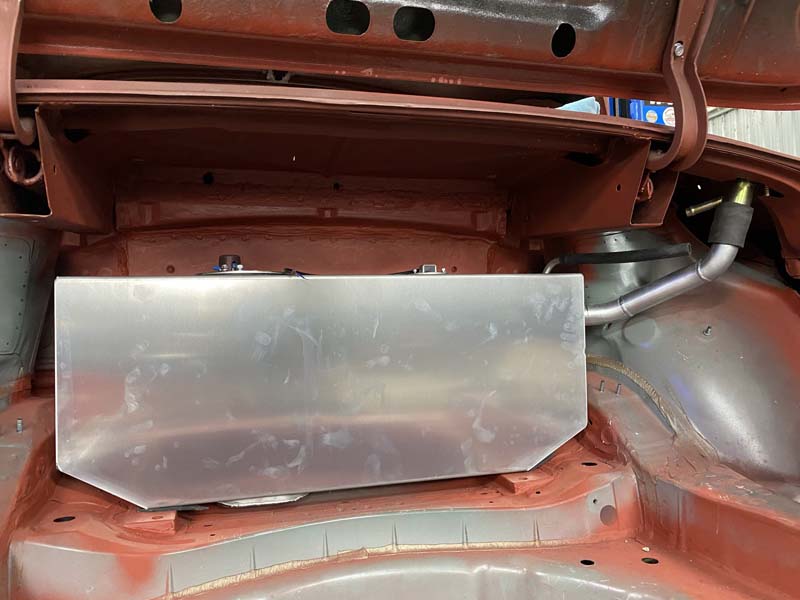
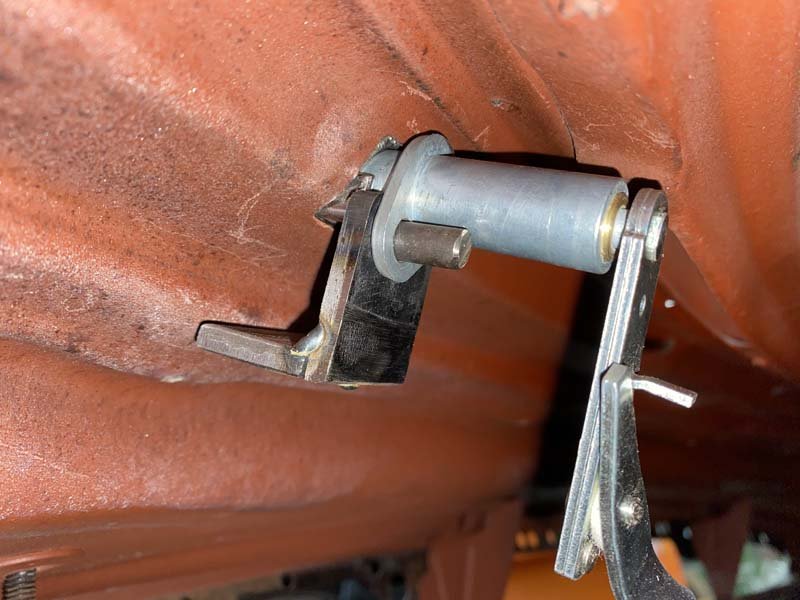
Rebuilt the old cnc router. Runs heaps more reliably now. Brought some 50x50x3 aluminium extrusion at put it to work on some brackets. Finished and painted. With the Valves and sensor fitted. Mounted into the trunk.

- 67 replies
-
- 31
-

-
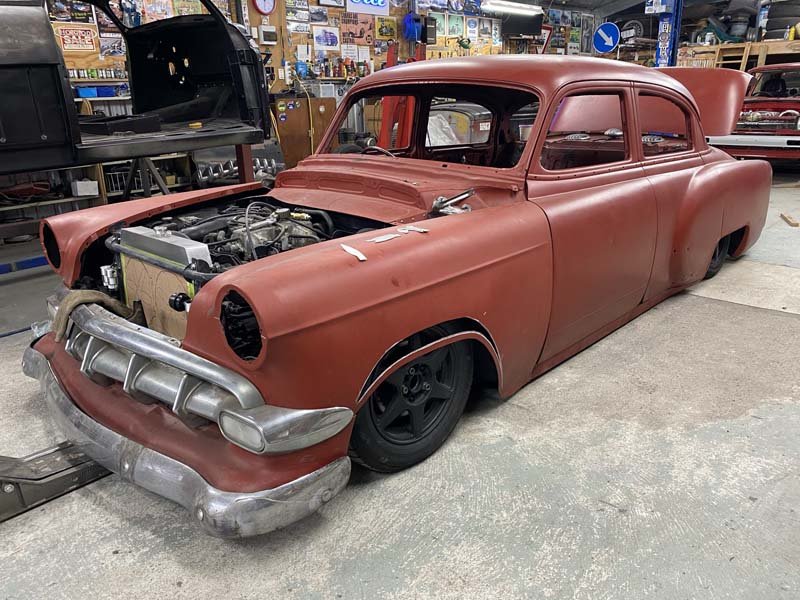
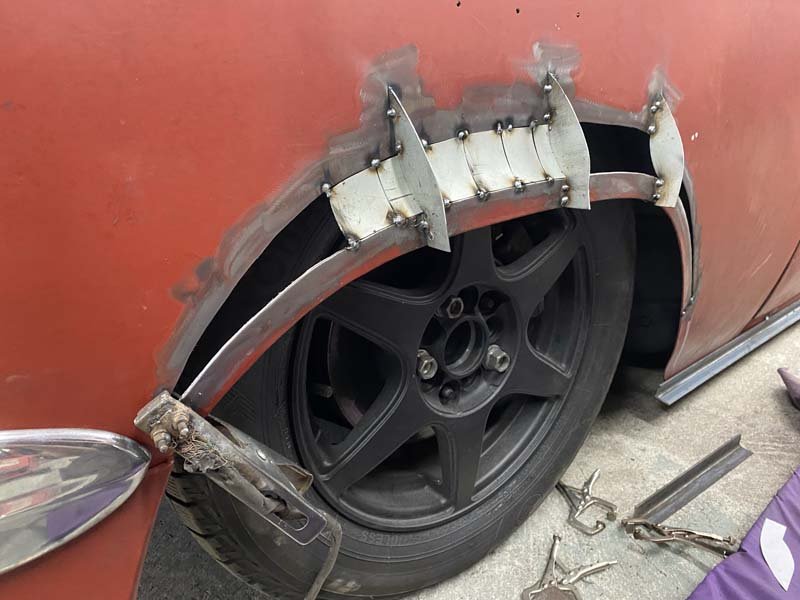
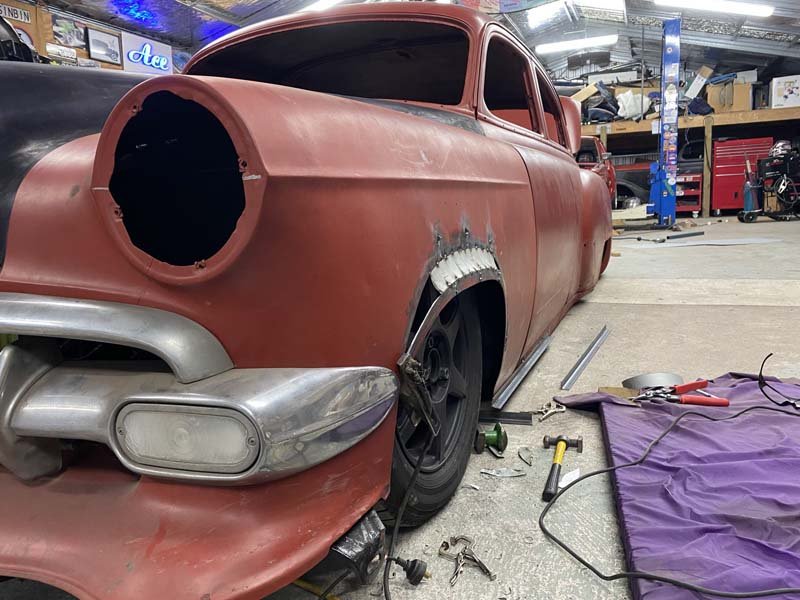
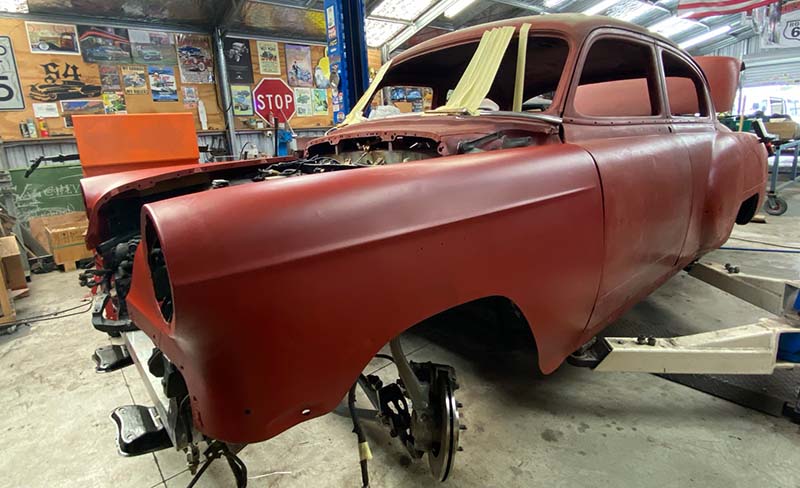
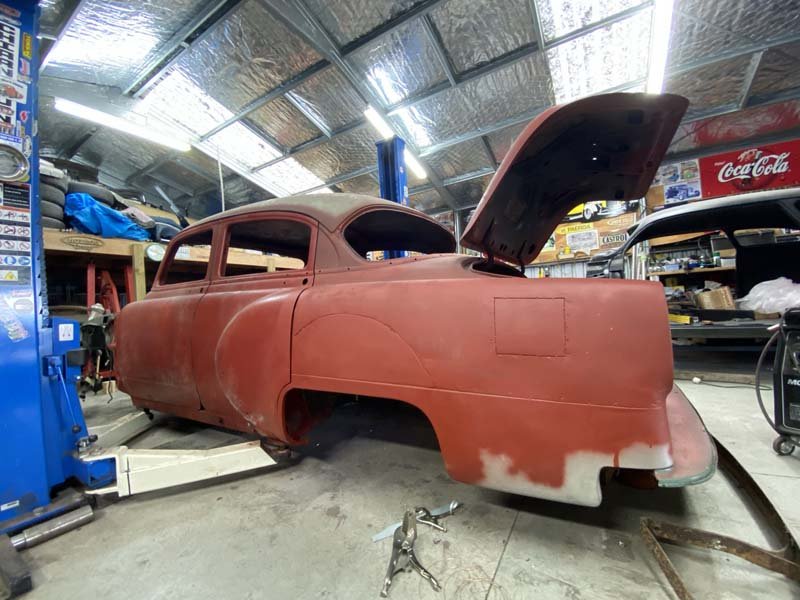
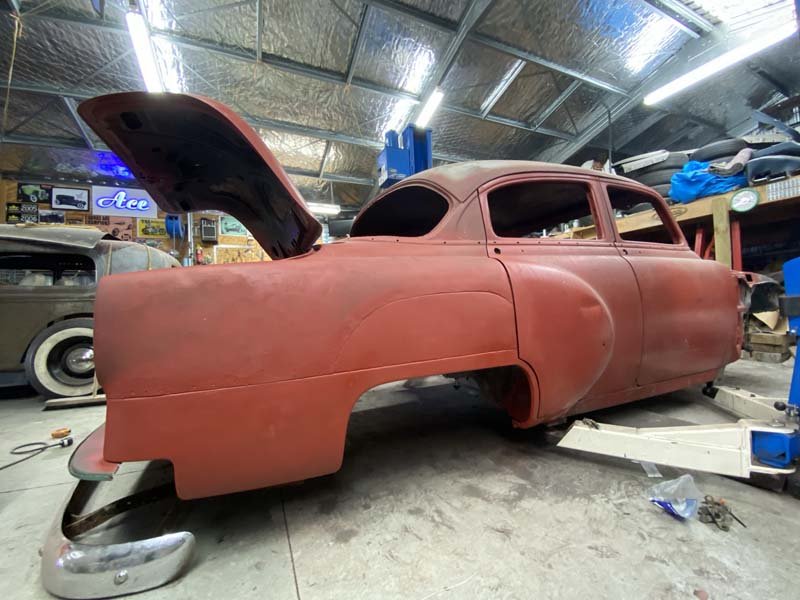
Used some 1/4 inch rod to make a start on a basic hood peak. After stripping it of primer again. The black is CRC aerosol rust kill. Its so easy to use and seems to work really well. Bit the bullet and put the sabre saw through the fender, to try and create some more wheel clearance. After some pondering I bluffed my way through filling it in. Sprayed some primer over it, temporarily to see how it went. And pretty happy with the result. Its not perfect. Like the rest of the car. But its not terrible.
- 67 replies
-
- 40
-
-

-
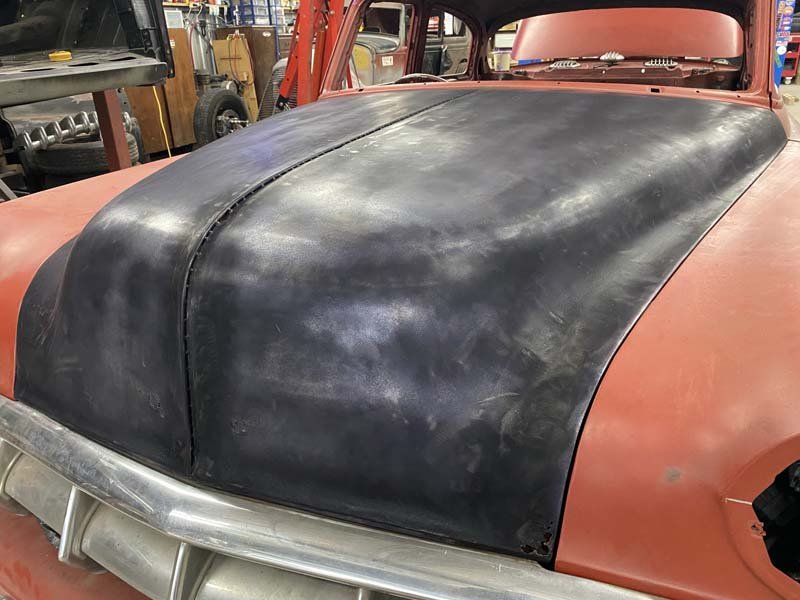
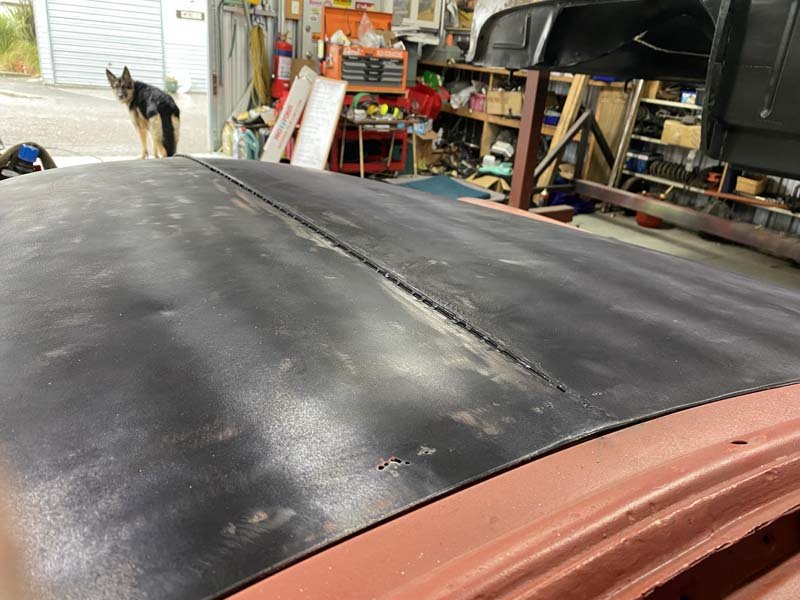
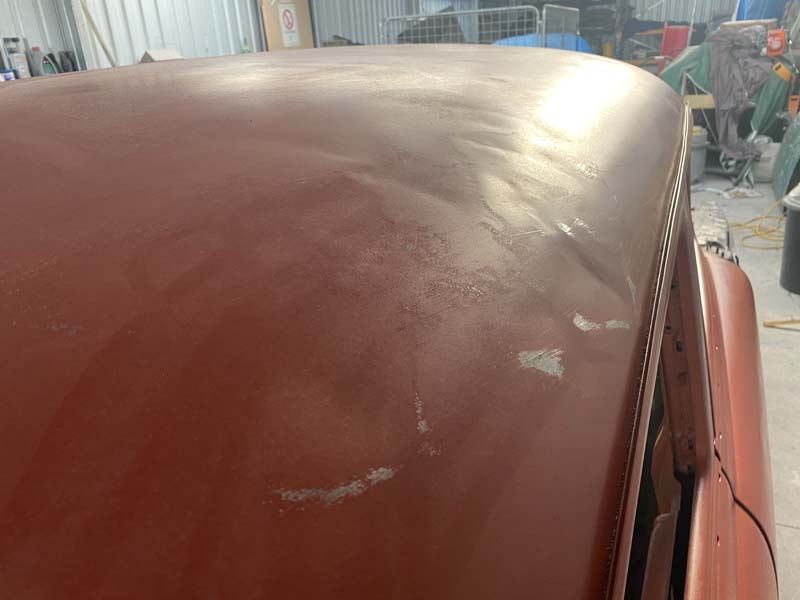
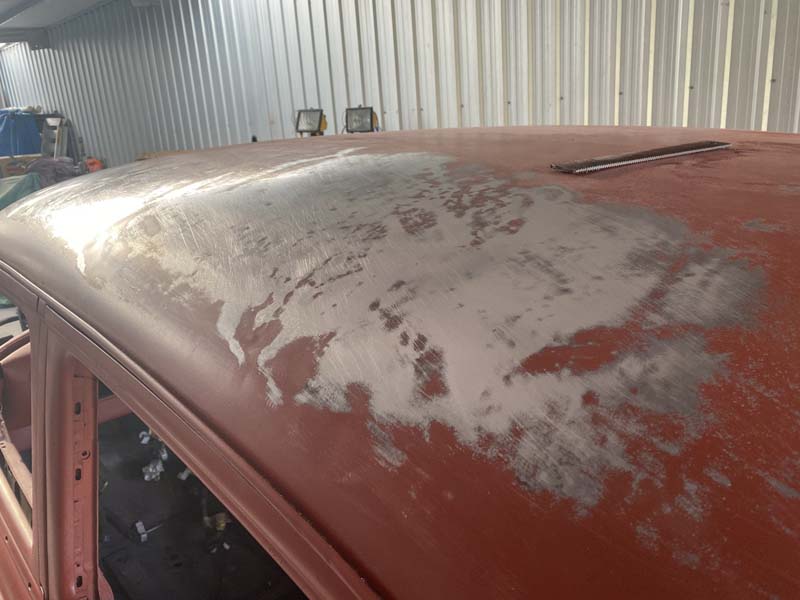
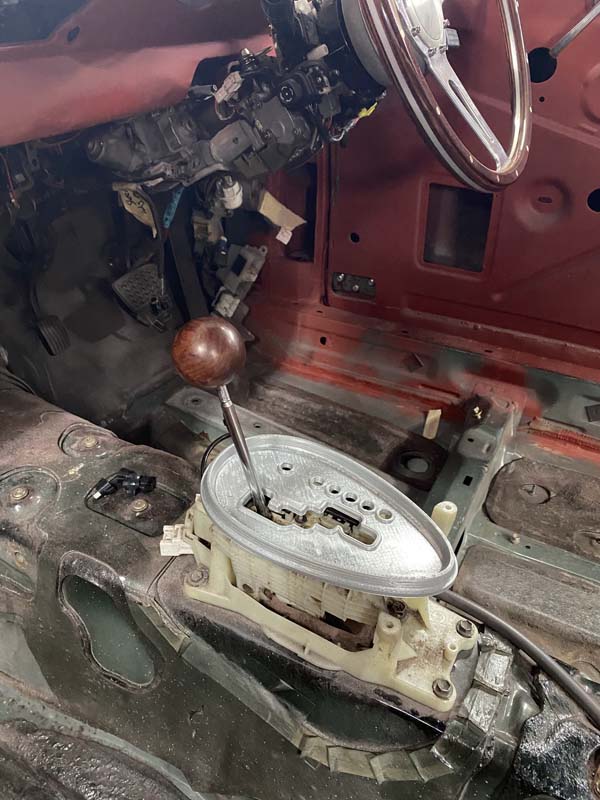
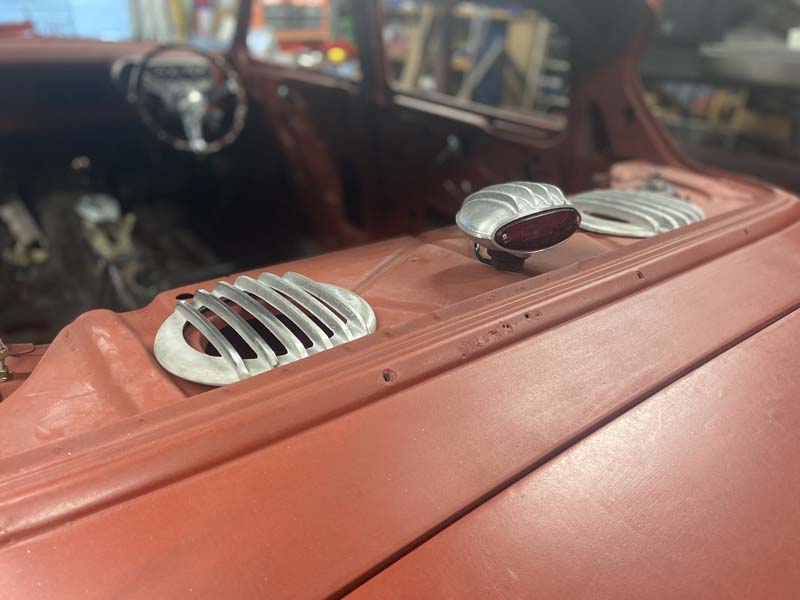
After stripping the roof of filler and many layers of paint. We found it was quite damaged. Matt made quick work of smoothing 90% of it out. We sprayed some more PA10 on And the bonnet almost fitted up. 3d Printed a prototype shifter gate cover. Should work alright once cast in aluminium. Couple of speaker grills and high stop light we cast are almost finalised too.
- 67 replies
-
- 39
-
-
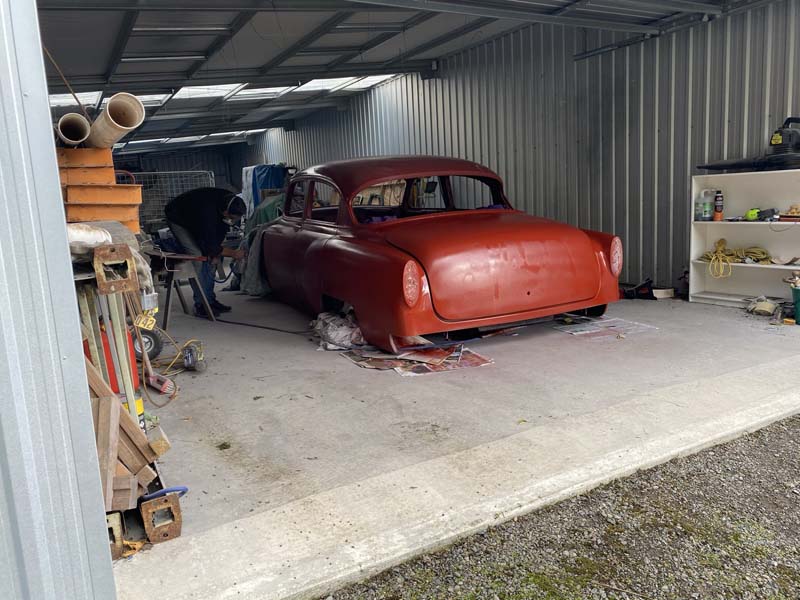
Stripped the many layers of paint off the roof today.
- 67 replies
-
- 21
-
-
Cut and reinforced some better speaker holes in the parcel tray. And purchased all new seatbelts so was able to make and have Matt Tig in some OTT anchor plates.
- 67 replies
-
- 22
-
-
Thanks @MRWEST . Yes, was pretty good to stand back and see all the misaligned guards and bumpers haha
-
FYI Moondiscs are coming soon.
- 67 replies
-
- 50
-
-
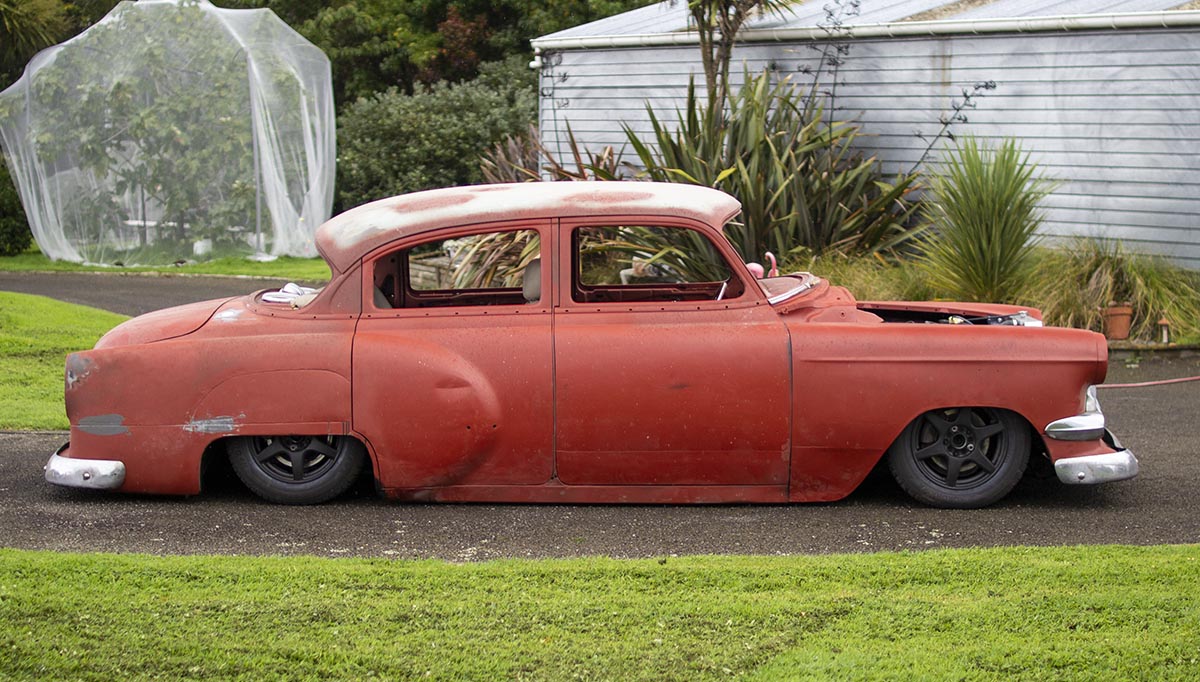
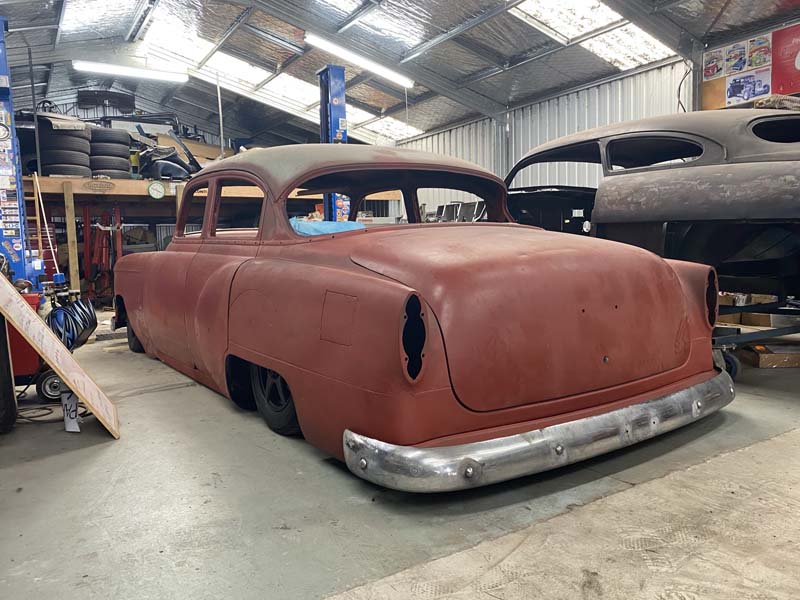
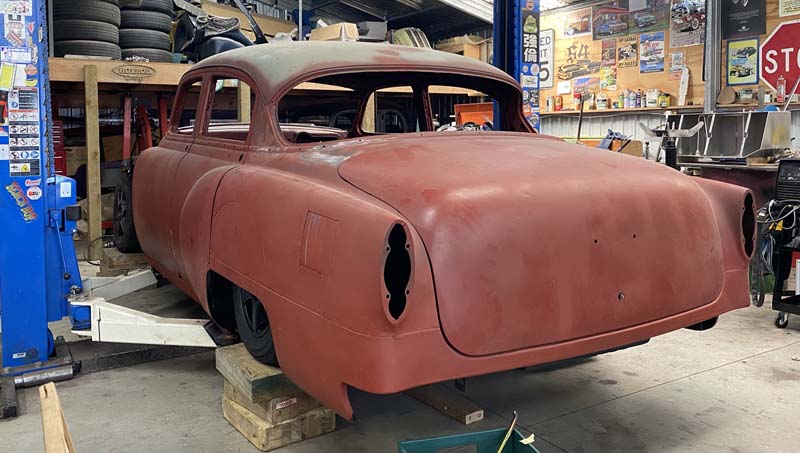
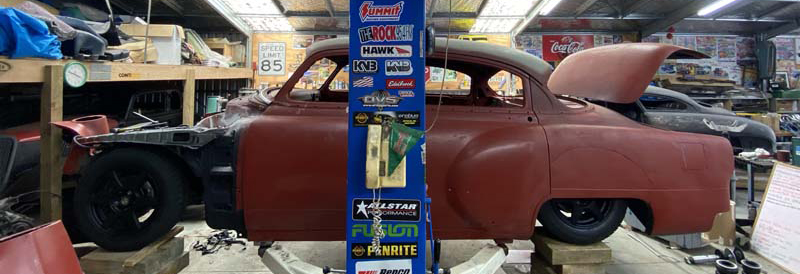
Plumbed up some lines and tee's temporarily. and managed to get her off the hoist. She's not quite touching at the sills. x-member and sump is well up off the ground. above the sill height. The front doesn't seem to have as much travel as I would like. only picks it up about 80mm off the ground?? Moving the strut inboard further on the lower control arm should help this. hopefully without making the front too stiff.
- 67 replies
-
- 33
-
-
-
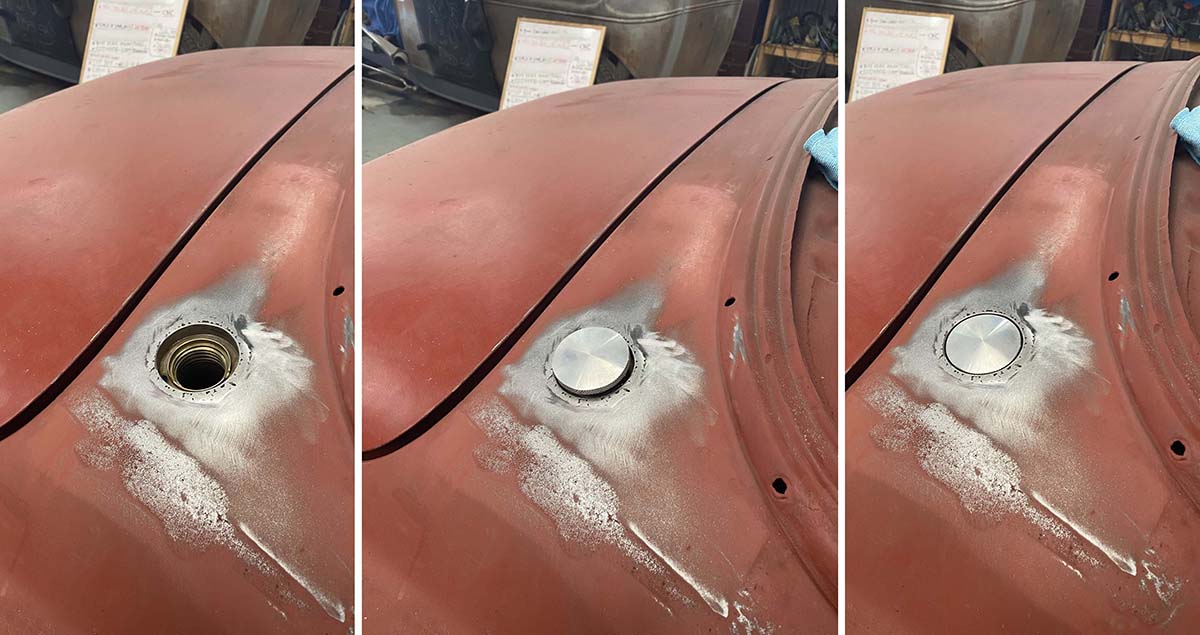
A cast boss kit. With factory lexus cruise control stalk in place. Cast straight off a 3d print with no prep. We didn't even bother putting it on a plate for the foundry. Scaled up to 101.2% Contraction. Came out absolutely perfect to within 1/2 a mm. Dad also cast up the dash cluster a few years back, when he built his belair. Both with be dark rough sandblasted finish, with a polished lip. Finished welding in the gas cap. And shaving all the door handles. Not the flashest. But should do the job.
- 67 replies
-
- 13
-
-
Na. We don’t have a strouds. and yea. I need to buy some barbed hose tails. Instead of using the cut up crimp fitting. So will try some 90 and 45. Hopefully I haven’t cut the hoses too short now.
-
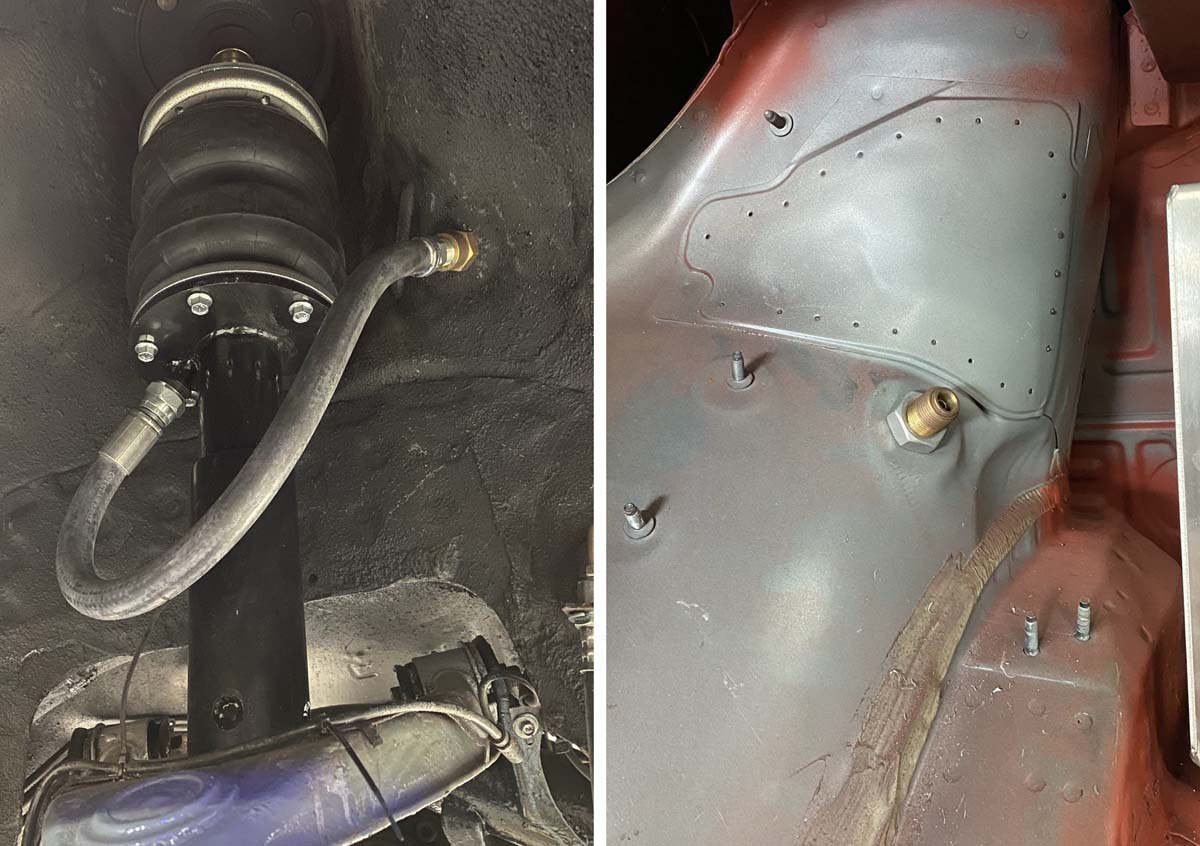
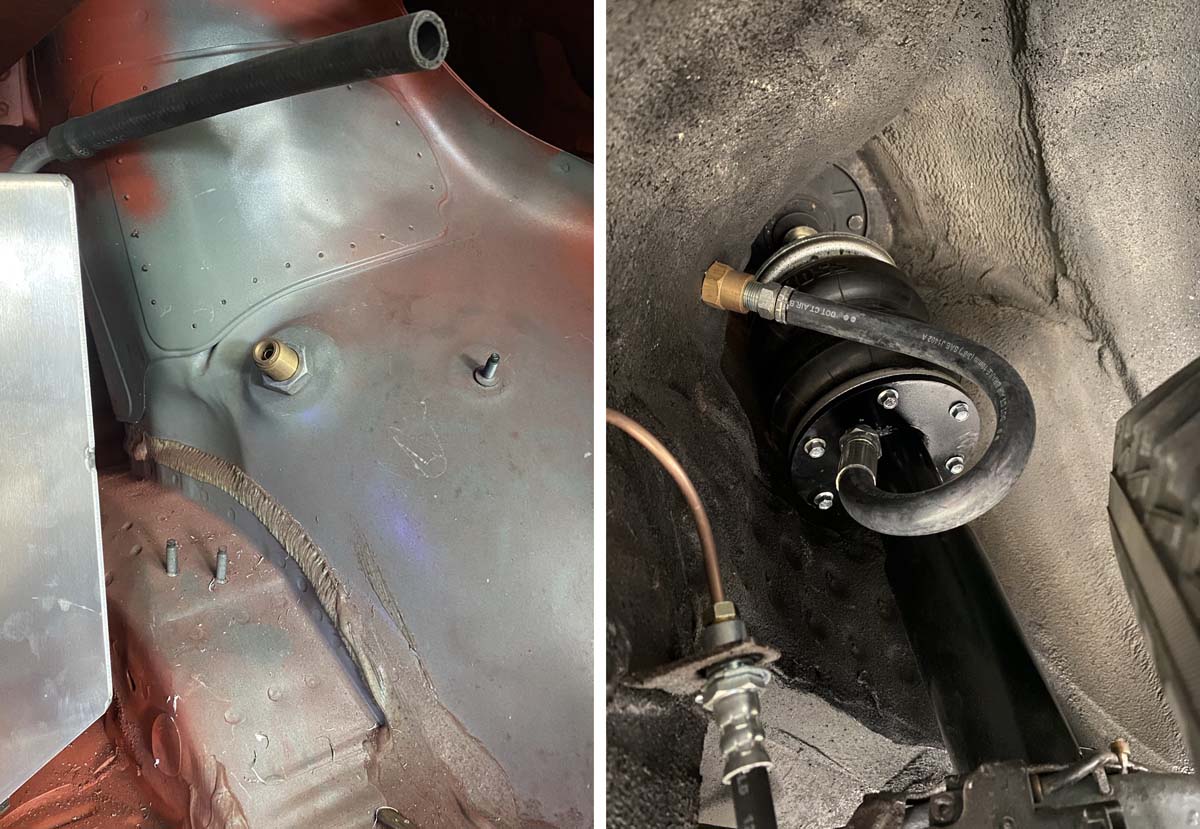
Installed the rear bag's bulkheads today. Not overly happy with the hose routes. But they don't touch anything through the suspension travel. I believe the flat spot I drilled through is for the Optional factory air suspension on the ls400.
- 67 replies
-
- 14
-
-
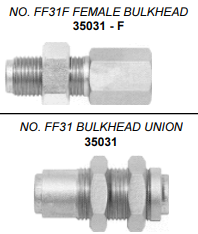
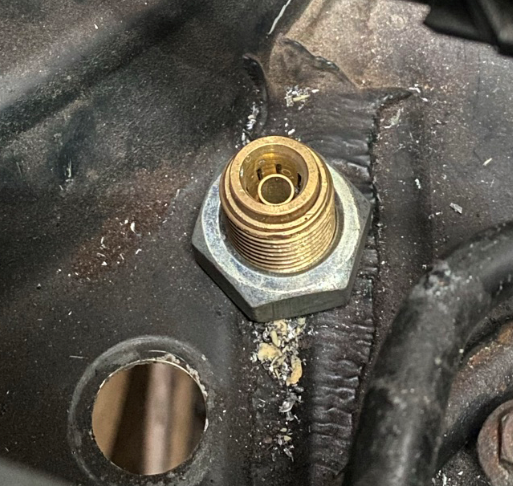
@Evan They are www.titon.co.nz fittings that www.compressedaircontrols.co.nz here in palmy sorted for me. Mine are the Female. So 3/8 NPT Female on one end. 3/8" push connect on the other. Was pretty stoked when I found them, as my existing hose threaded straight into them. pretty sure they available in 1/4 and 1/2 too
-
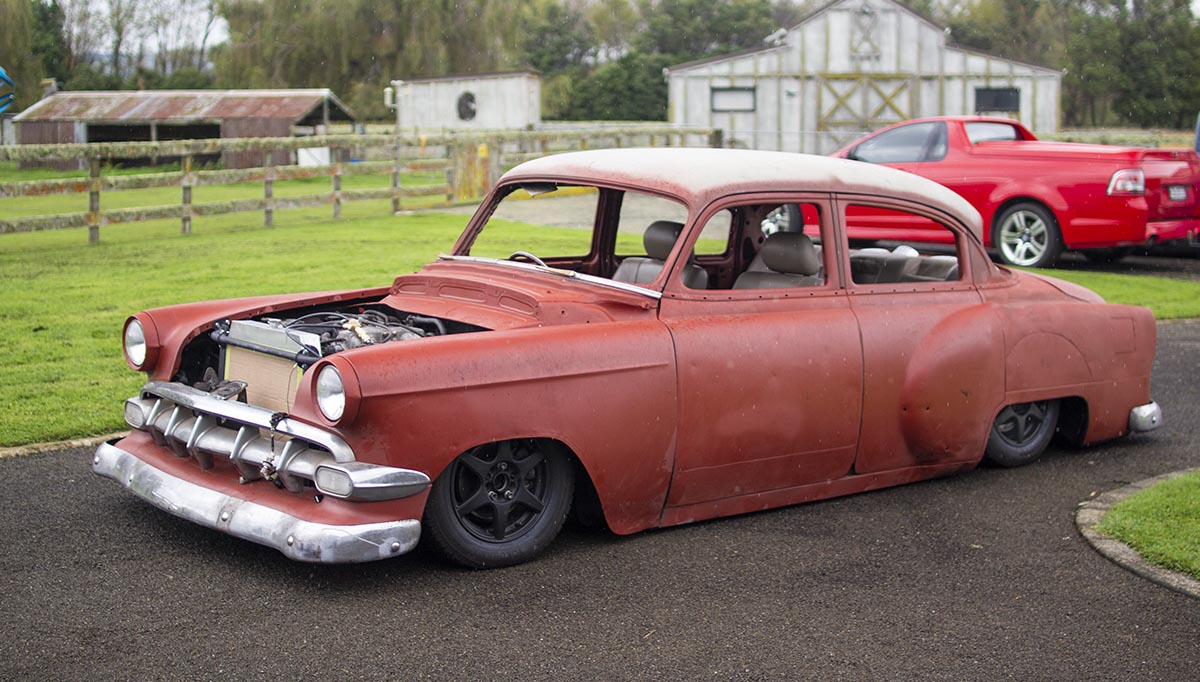
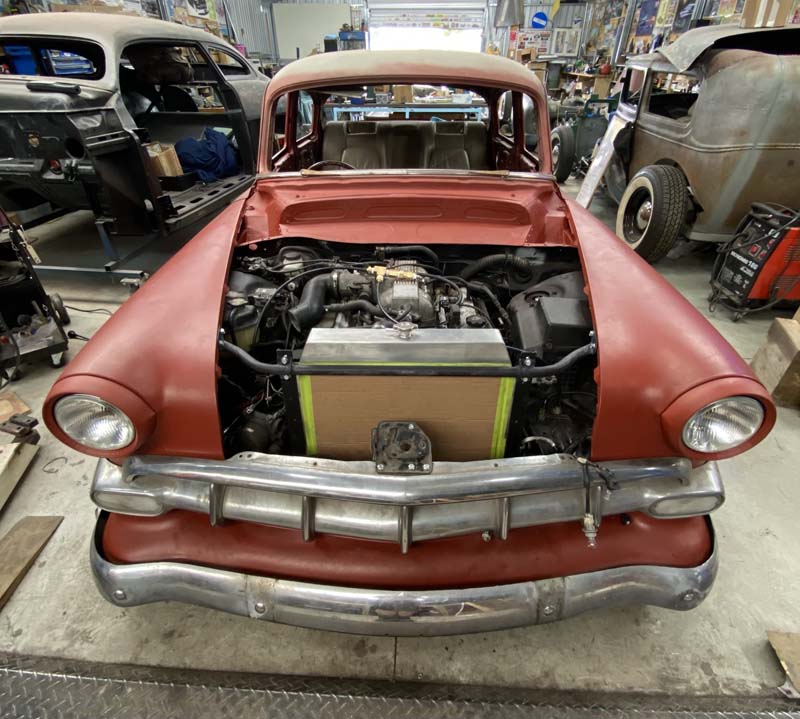
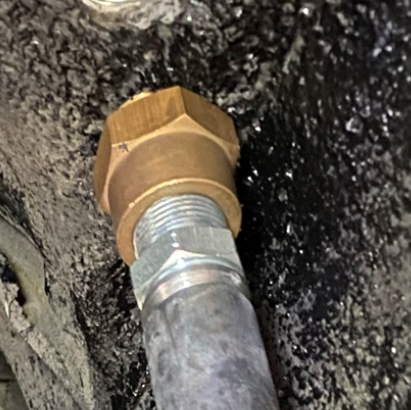
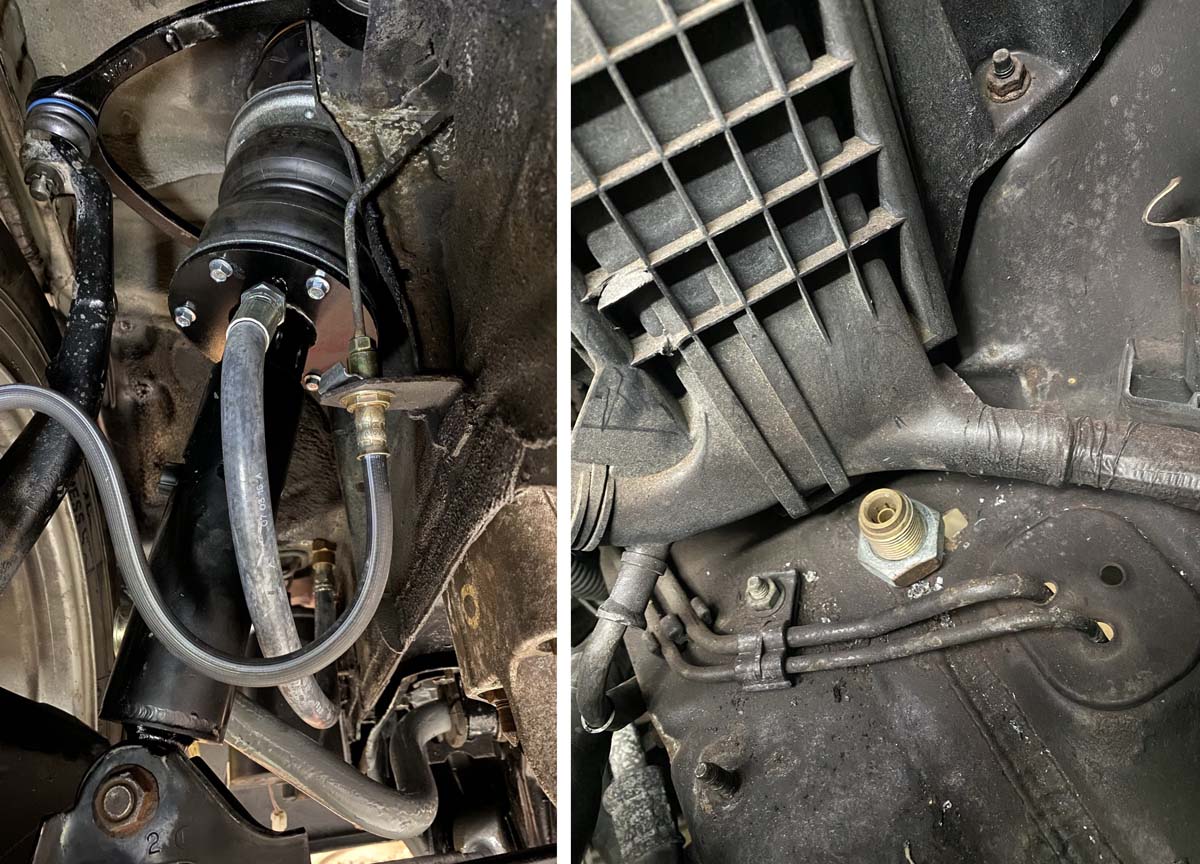
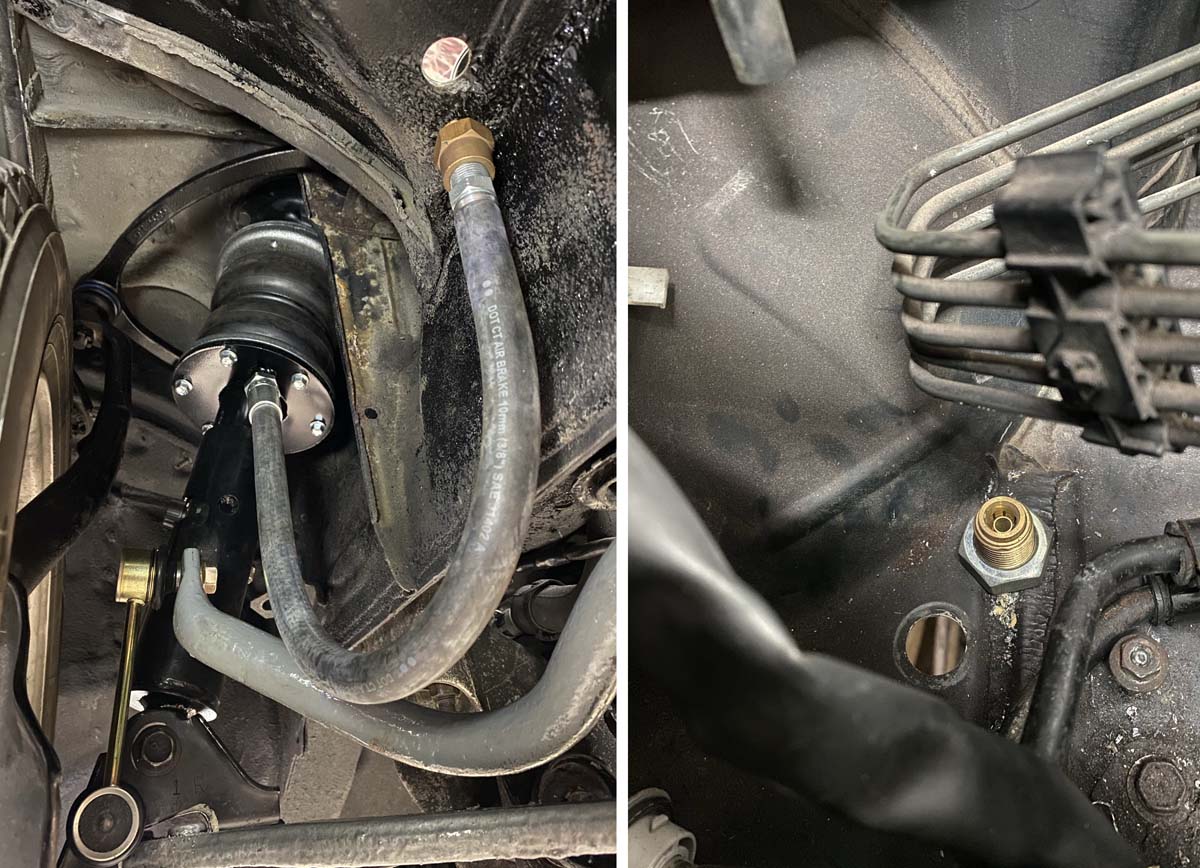
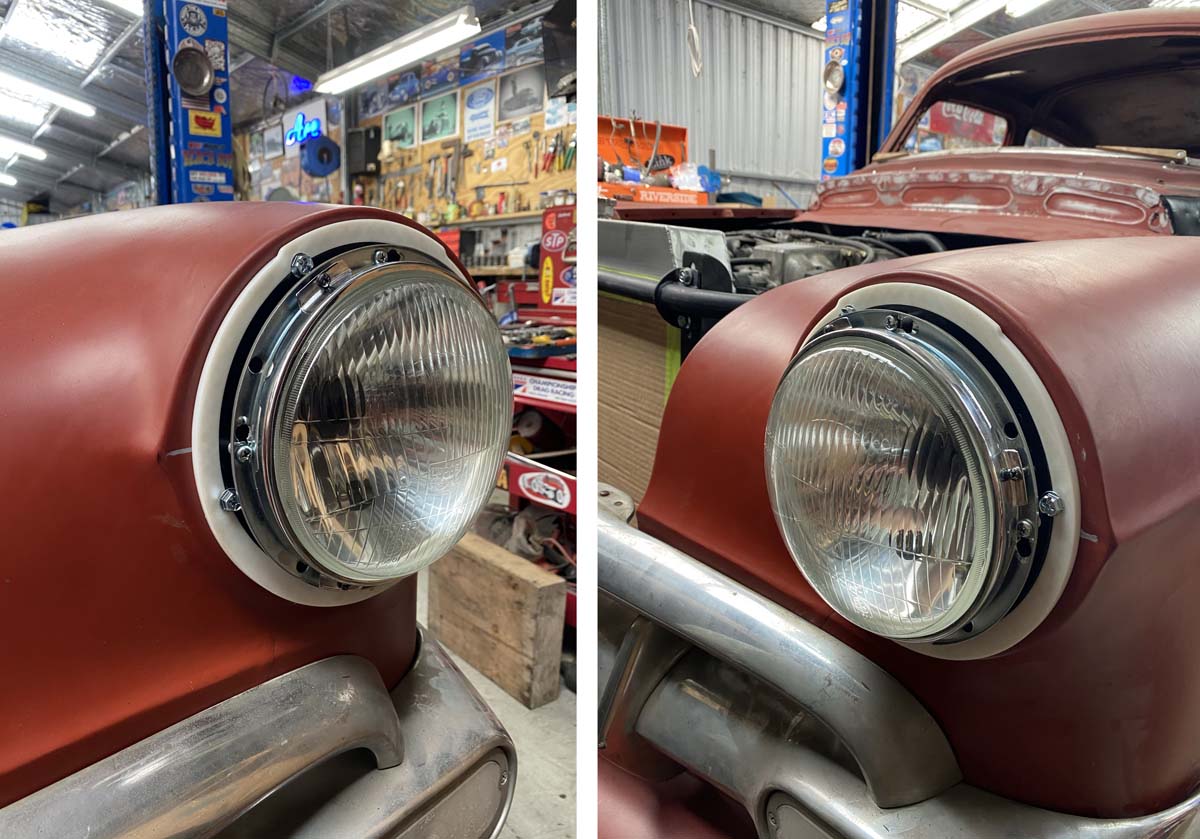
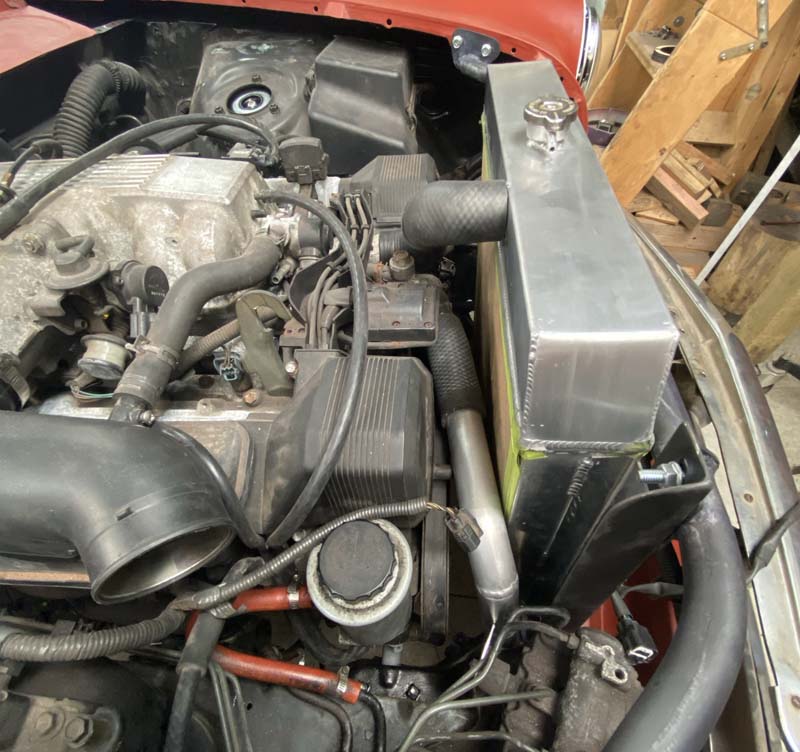
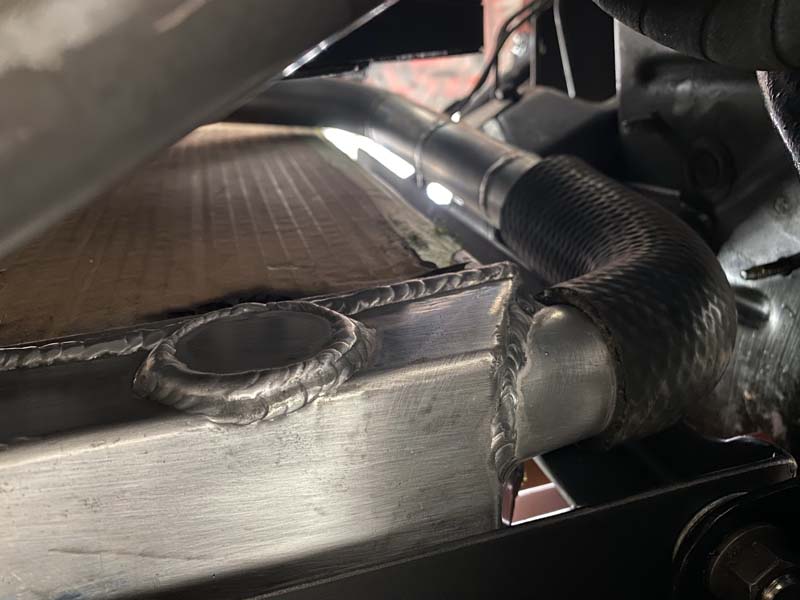
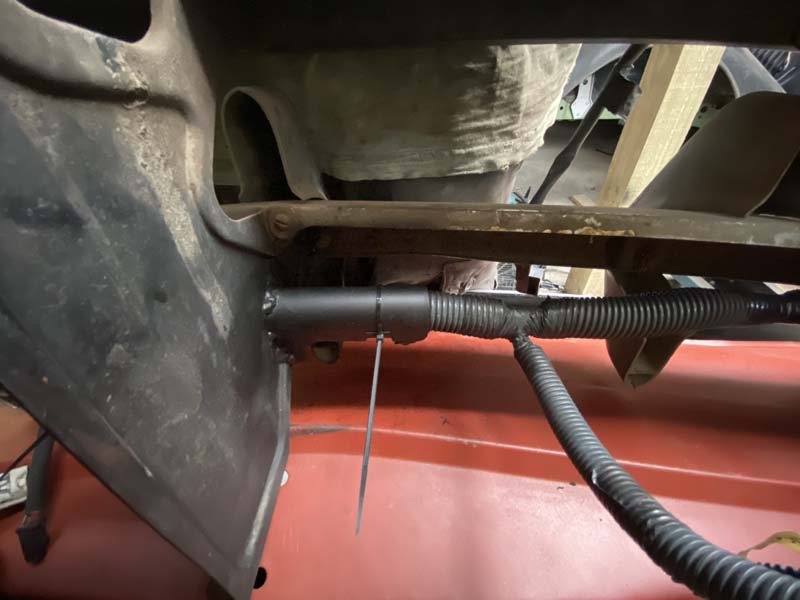
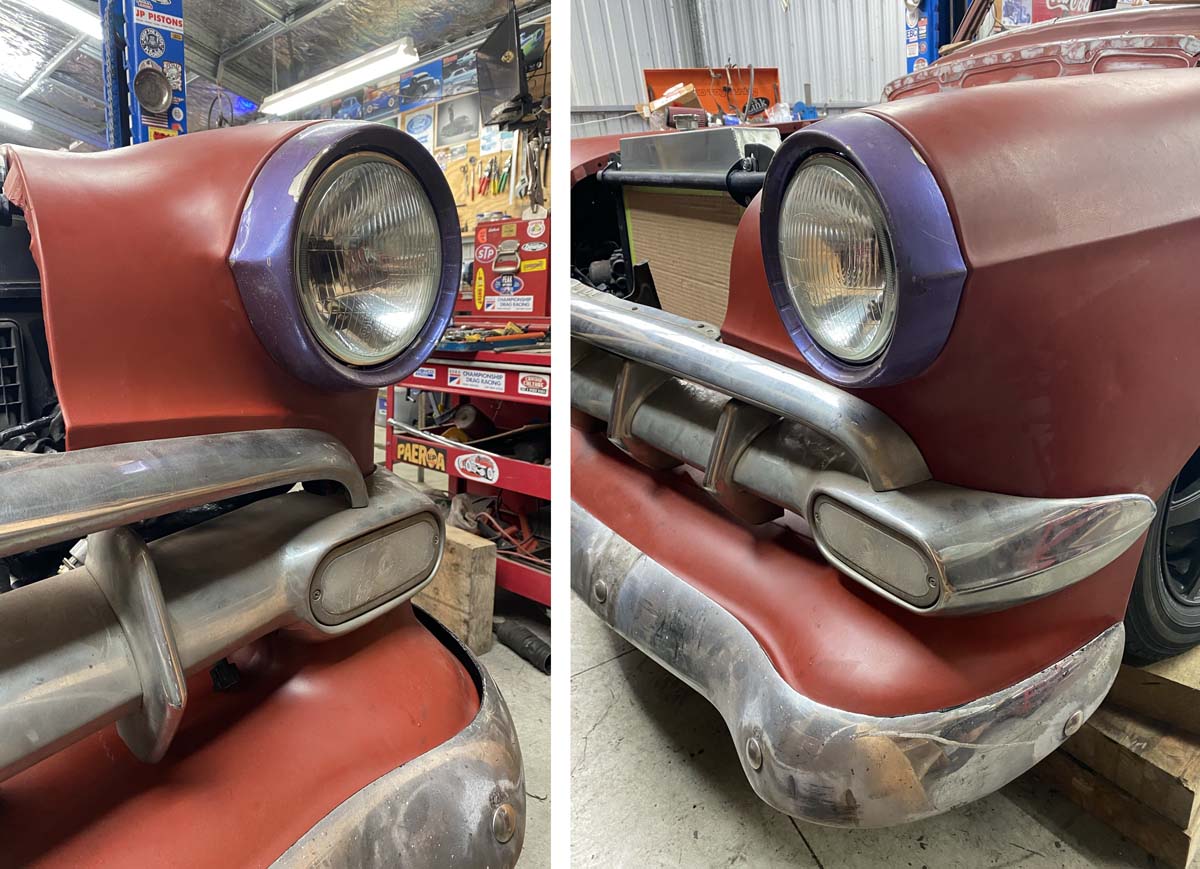
Didn’t have the factory headlight buckets. So brought some Narva plastic universal buckets. They were a little small to fit the screw holes in the guards. And also didn’t accommodate mounting the trim rings. So I 3d printed a couple of adaptors in PLA. Worked well enough for v1. 80s lavender eyeliner trims on. The radiator and hoses are coming together. Seems like it will work. Just a little tight for space. Beneath we relocated the outlet to the side. I Cut a hole in the Grill support bracket, and welded on a "c" shaped tube. So the large lexus loom could be cable tied up behind, and be hidden by the grill. The boss airbags came with some huge 3/8" airbrake hose, with pre crimped ends. They are WAY to long. Almost Twice the length they need to be. So I cut them down. And will add a new barb on the cut end, or a screw on brass air brake fitting, or have a new end crimped on. Unsure yet. This is the Left hand side. Going forward and up through a bulkhead DOT push connect fitting. And this is the Right hand side coming forward and up through the bulkhead. (yes 2nd attempt at position, due to touching tyre.) You may notice the air line passes behind the strut on the left hand side. This is because Boss Suspension decided to make all the struts the same. Not in pairs. Not stoked on this fact. My OCD likes symmetry.
- 67 replies
-
- 14
-
-
Thanks @kyteler Yea its coming together amazingly. would highly recommend to save a rooted classic. Hopefully not much more to sort before cert is possible.
-
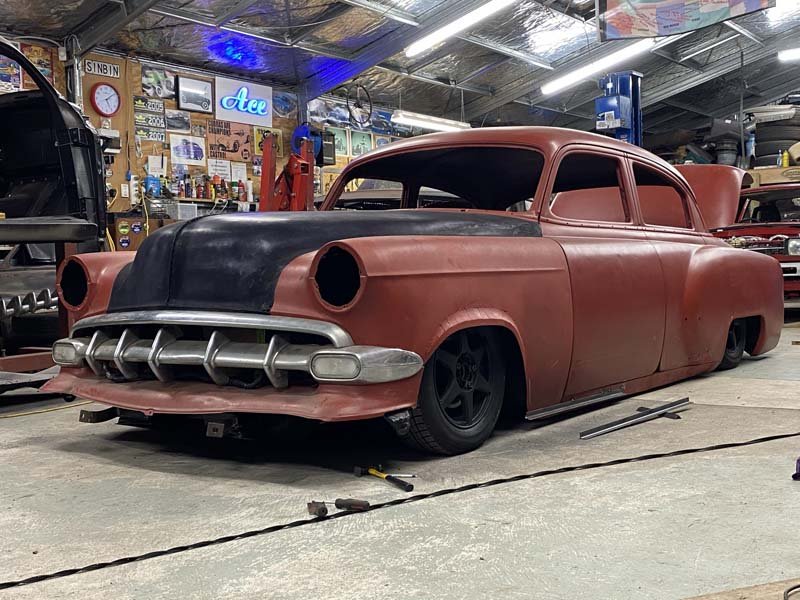
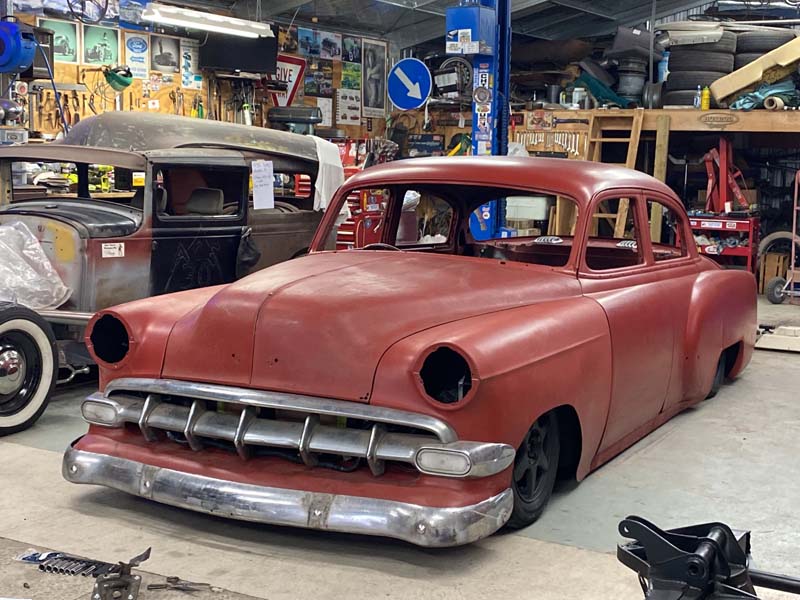
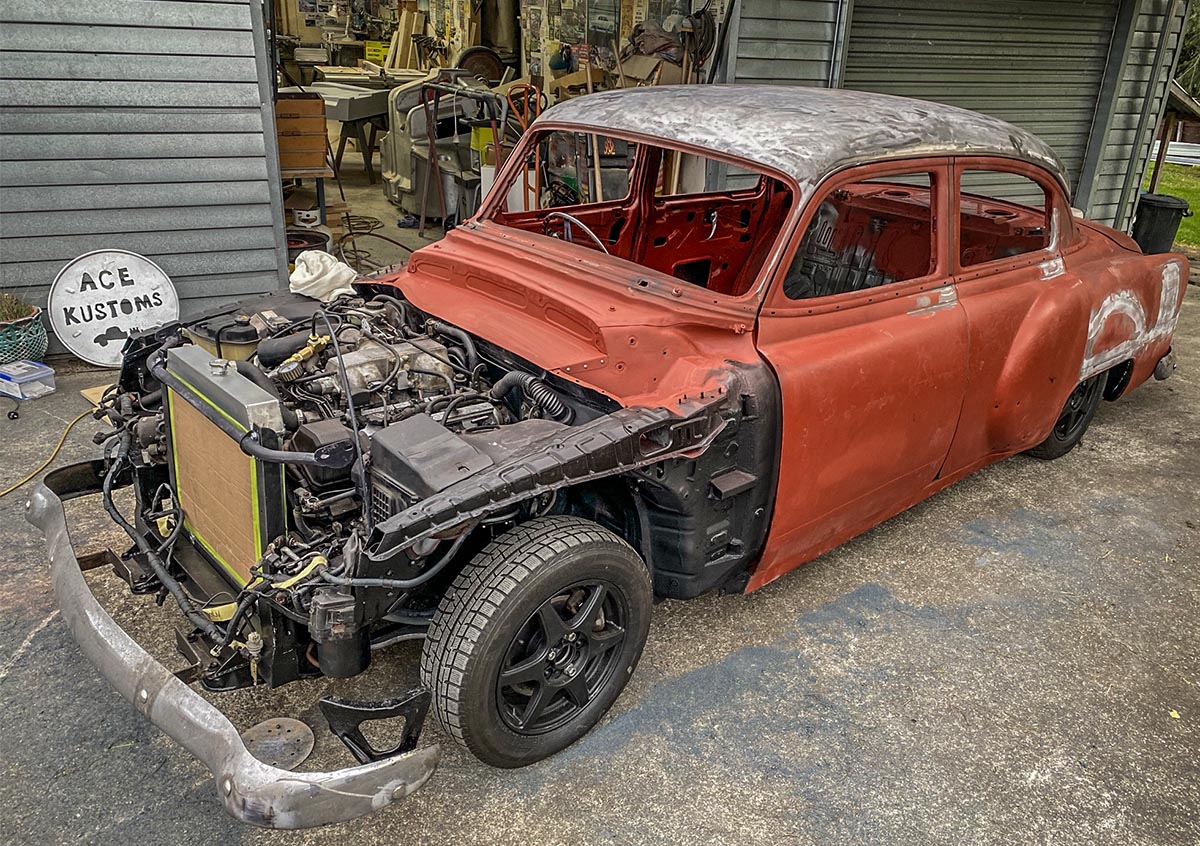
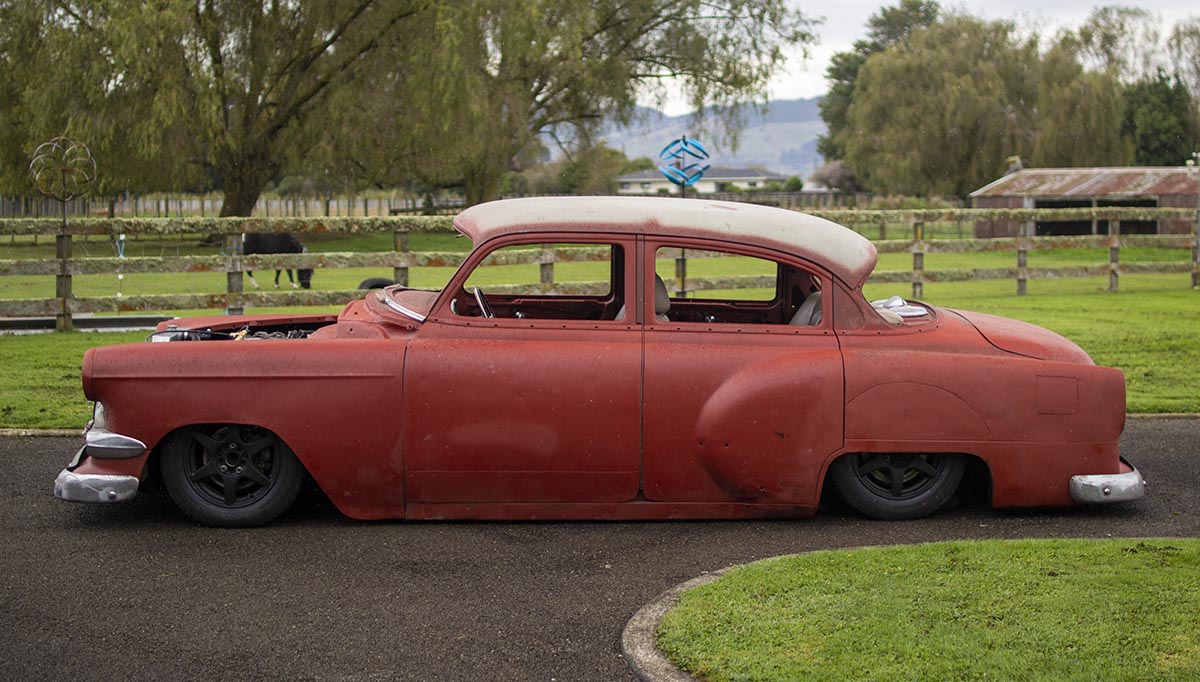
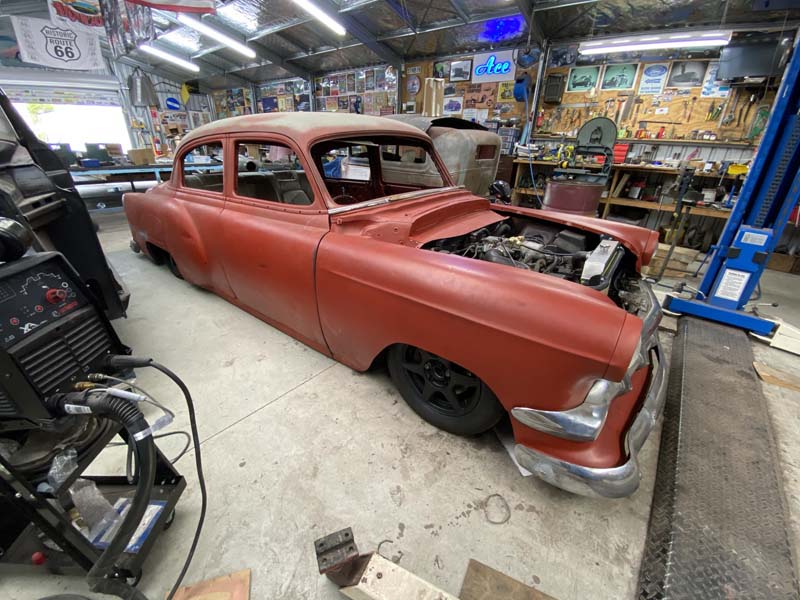
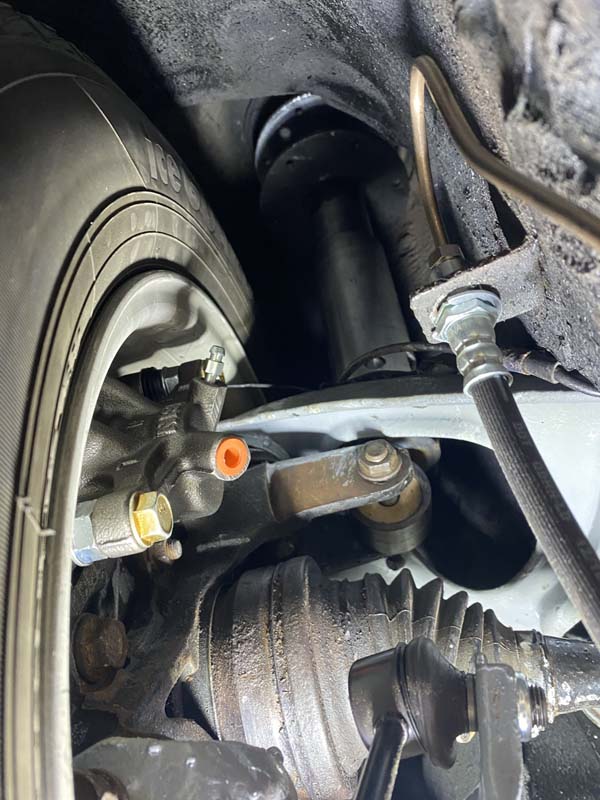
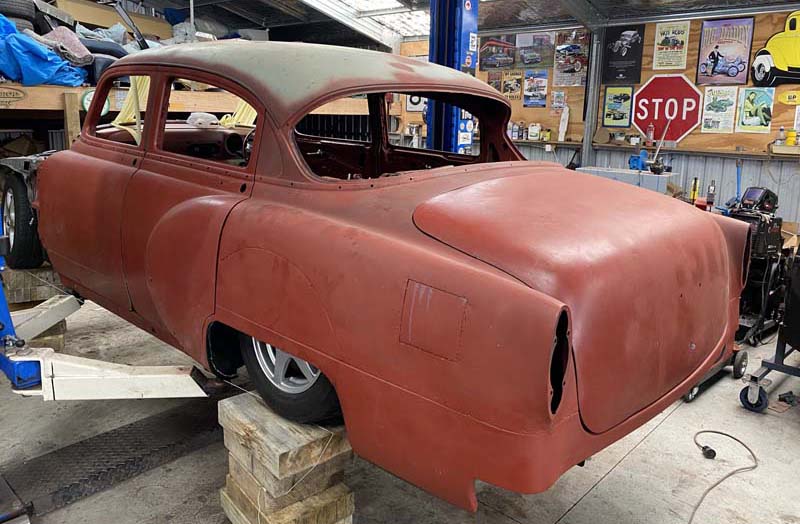
Fixed the Steering clearance issue with some Altezza/crown/jzx parts. All surprisingly similar to ls400. But fit 15inch wheels much better. Fuel Tank is still slowly coming along nicely. Just a bit more welding to go. Rear Bumper back on using factory irons. Cardboard air tank also in place. Alloy version should be ready this week. 8 weeks after ordering. Fitted Grill and Front bumper today. New bumper "iron" made up to work with the lack of room. Time will tell if it was a good idea to weld to the spring steel. haha Almost have most of the air fittings I need. Possibly enough to just mock it up temporarily to be able to push her outside for a proper look at how everything is sitting.
- 67 replies
-
- 23
-
-
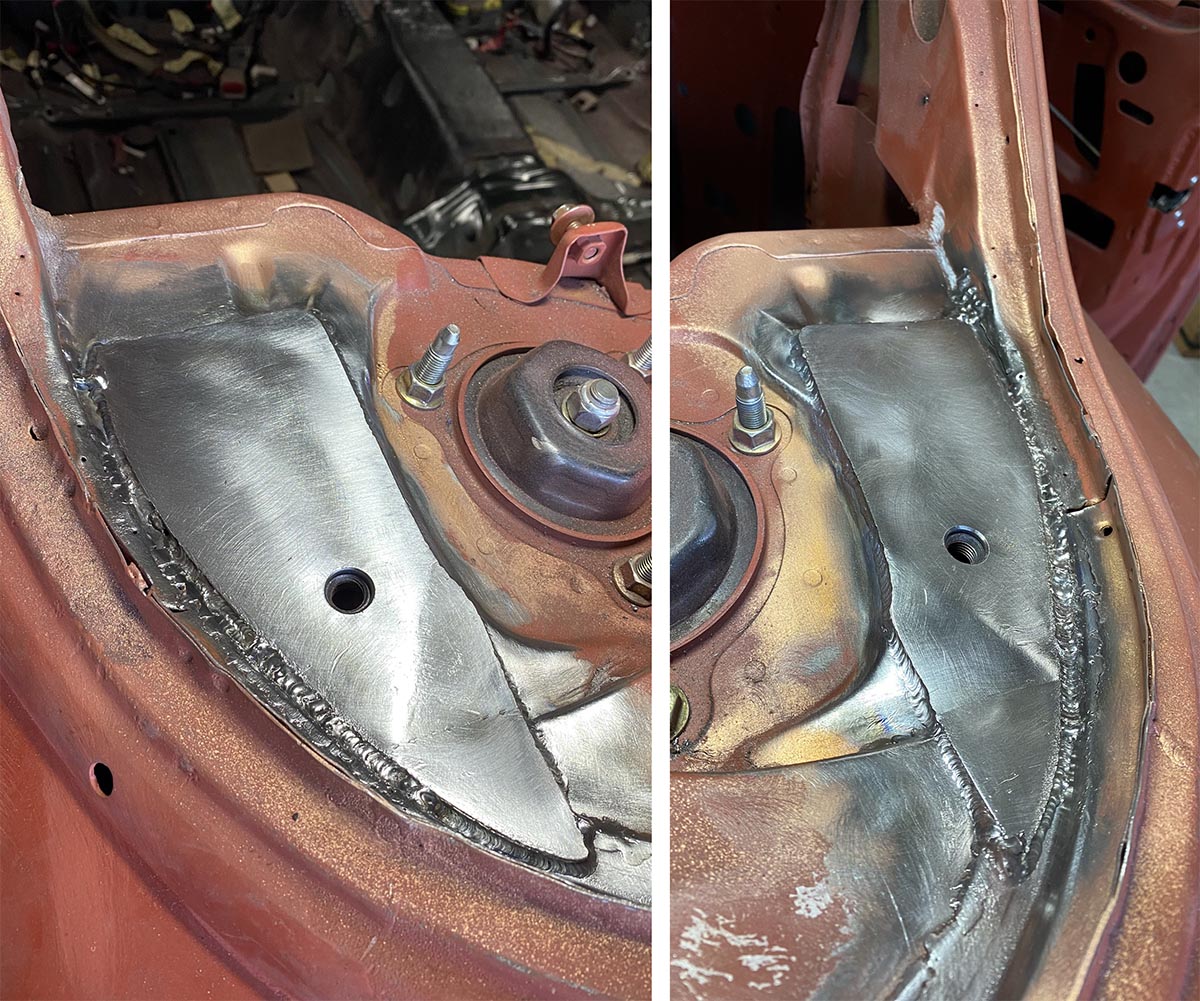
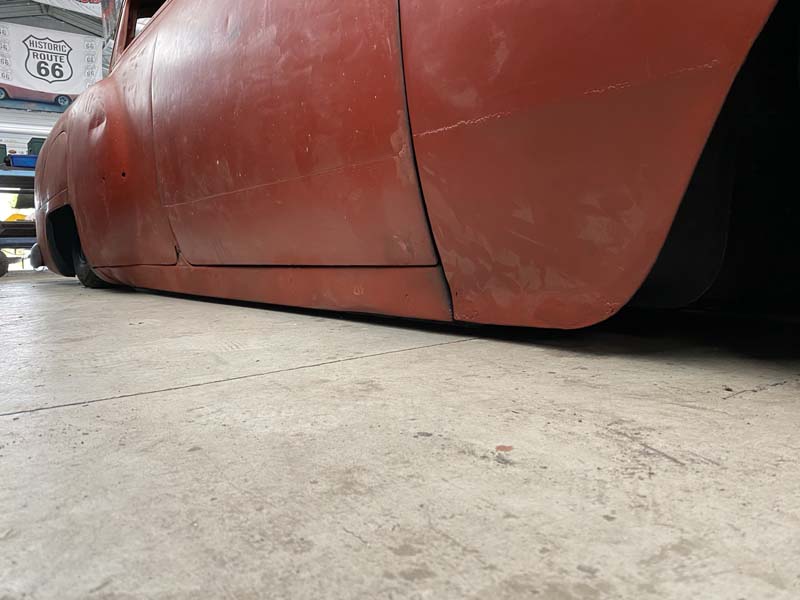
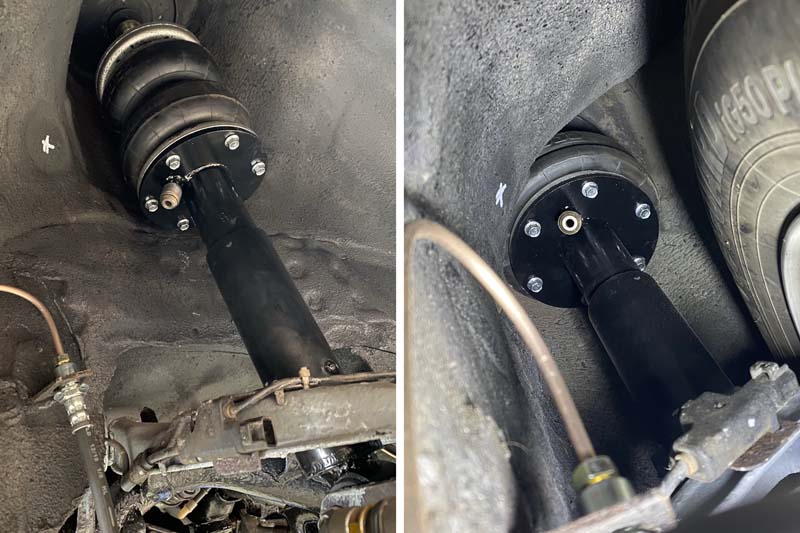
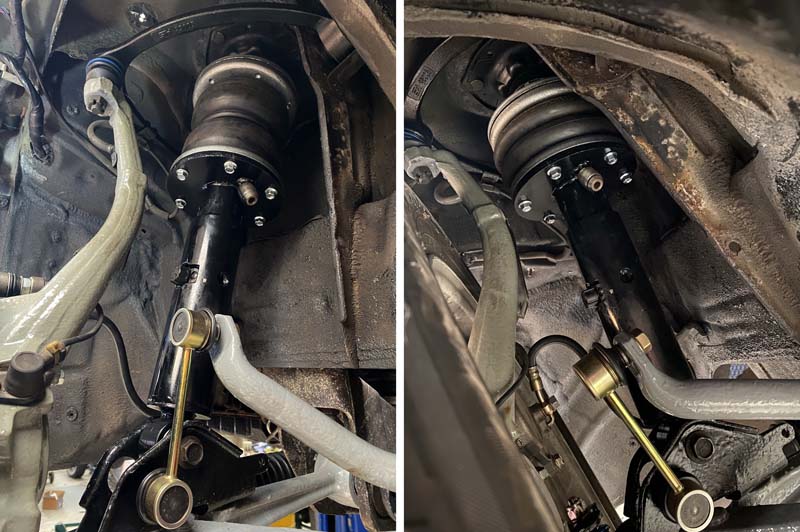
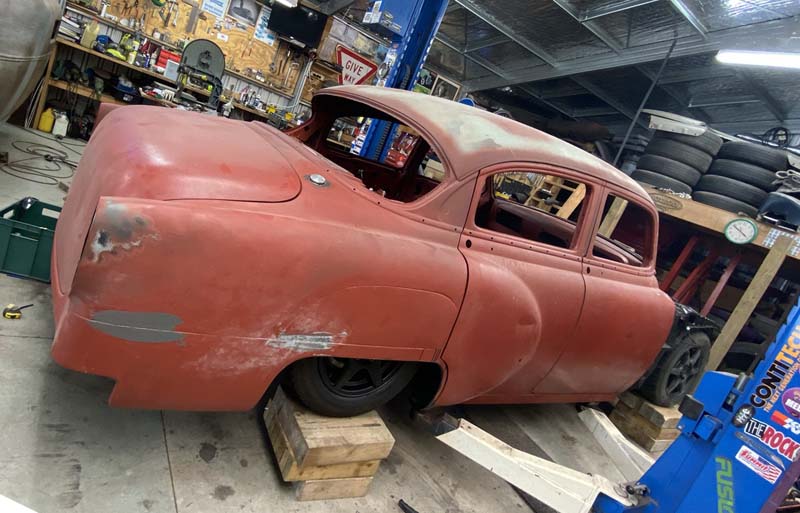
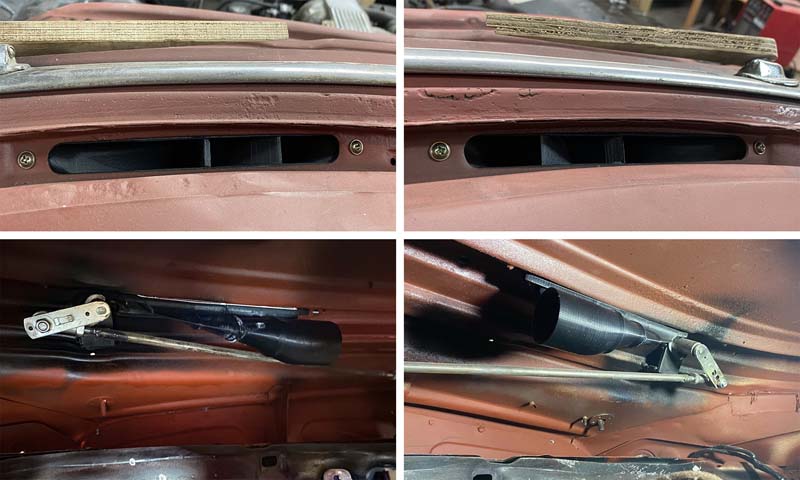
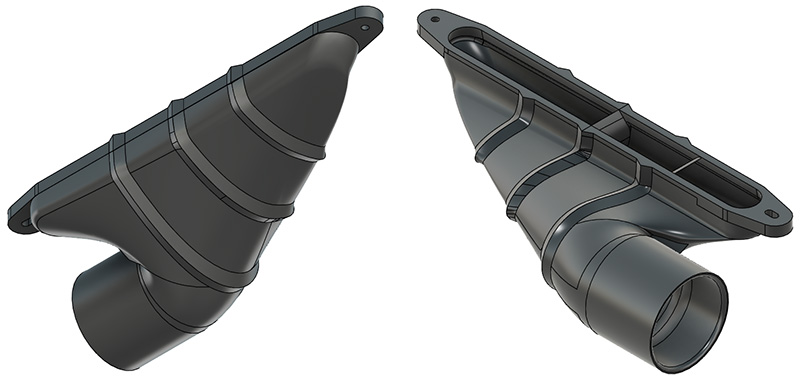
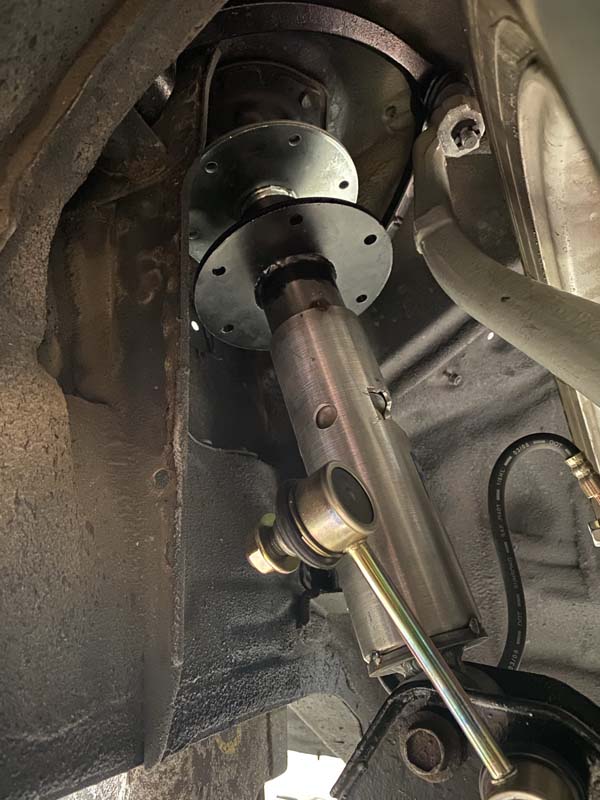
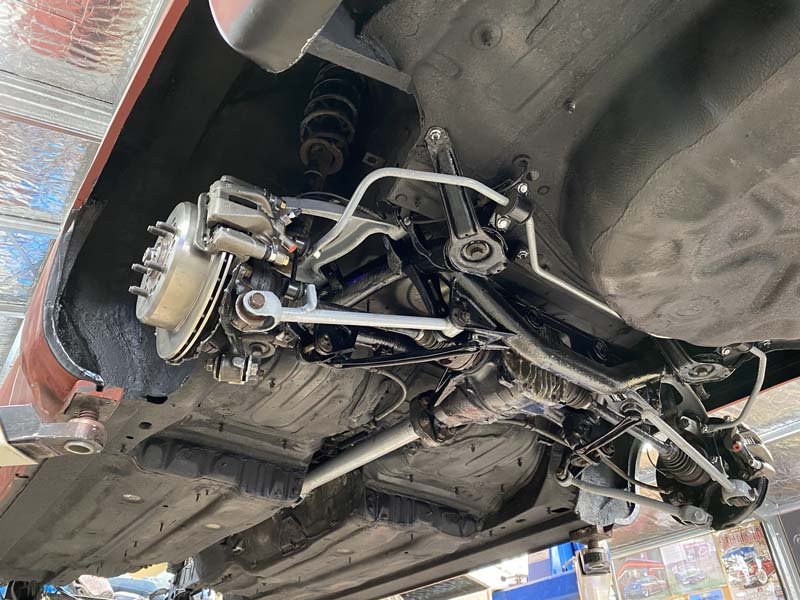
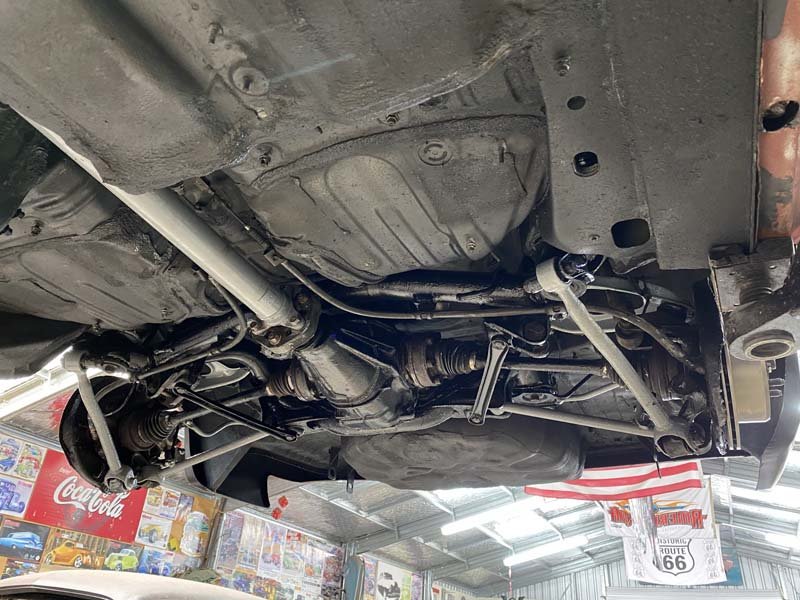
Struts are all welded up, thanks to my brother Matt for the excellent work They Passed their non destructive test at Stork in New Plymouth, And are now Painted, assembled and installed. The Front Raised and Compressed. The Rear, Raised and Compressed. Appears to be clearance. Will check again when I have some Air pressure in there. At its lowest point. It appears to be 10mm to the sill in the rear. And 20mm to the sill in the front. But I also discovered this Problem now things are going back together. Not 100% sure on how i'm going to do just yet. Few ideas. Have also modelled up some vent funnels for defogging the front windscreen. 3d Printed them in ASA plastic and test fitted them today. Fit great, direct the air as intended and leave heaps of clearance.
- 67 replies
-
- 24
-
-
Front and rear struts test fitting before welding up. Car at lowest position. 30mm to front sill, 10mm to rear sill, from the ground. Still trying to get my hands on some Moon discs to cover up these. But loving the progress. Welding next, then will be sent away for Non Destructive Testing in New Plymouth.
- 67 replies
-
- 23
-
-
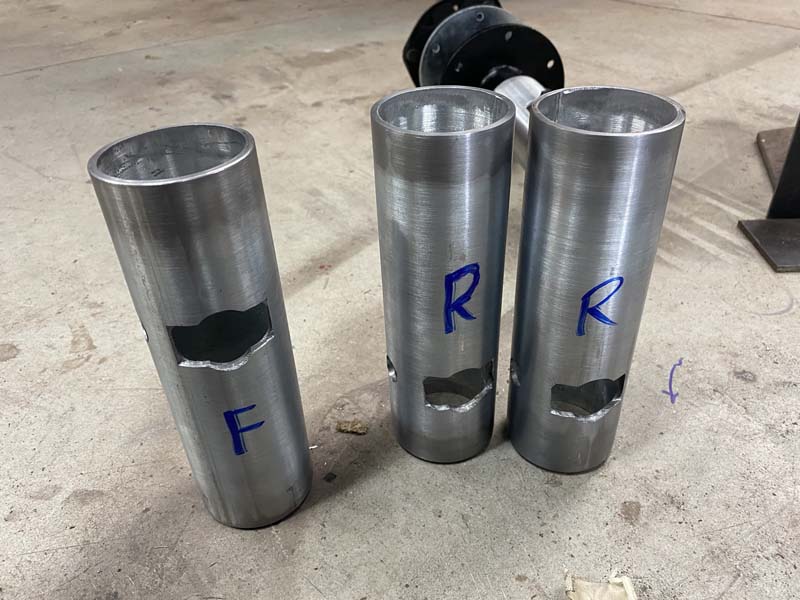
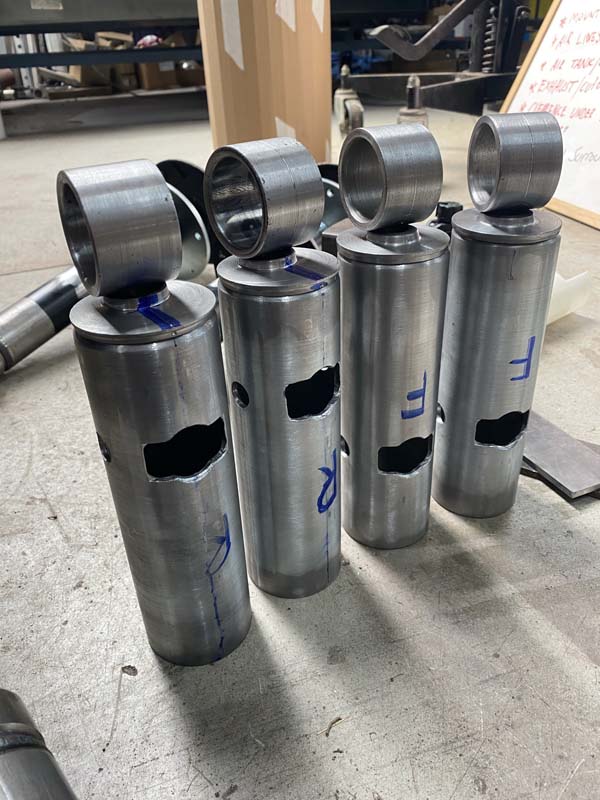
3d printed some mock strut bottoms to check clearance, and heights. Then cut up some 4mm wall thickness pipe and milled out the adjuster dial, and plug weld holes. (first time using a mill in 9 years) \ The 3d printed bottoms showed that the rear bush needed to be offset to allow for clearance for the upper control arm. 4 jaw chuck on the lathe made quick work of that. Matt Tig welded the base together for me. And then I tacked them all together for their first trial fitment. Just need some wooden bushings to centre the bolt. Also stripped the loom that feeds the cruise control motor, brake master cylinder and wipers all under the bonnet. Pulled the Wiper wires back through the firewall into the cabin, and then up through the mess under the dash, back to the wiper motor. Since the wiper motor is now going to be sealed behind the new firewall, inside the passenger air space.
- 67 replies
-
- 29
-
-
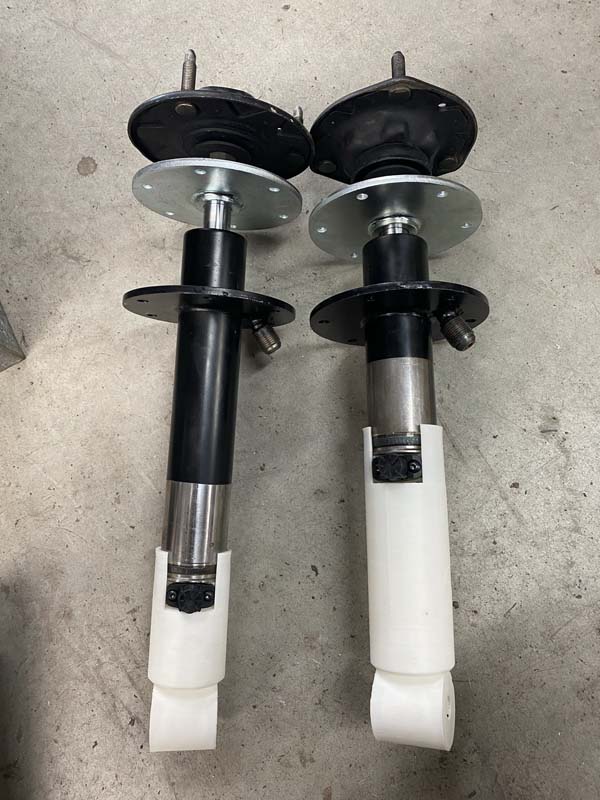
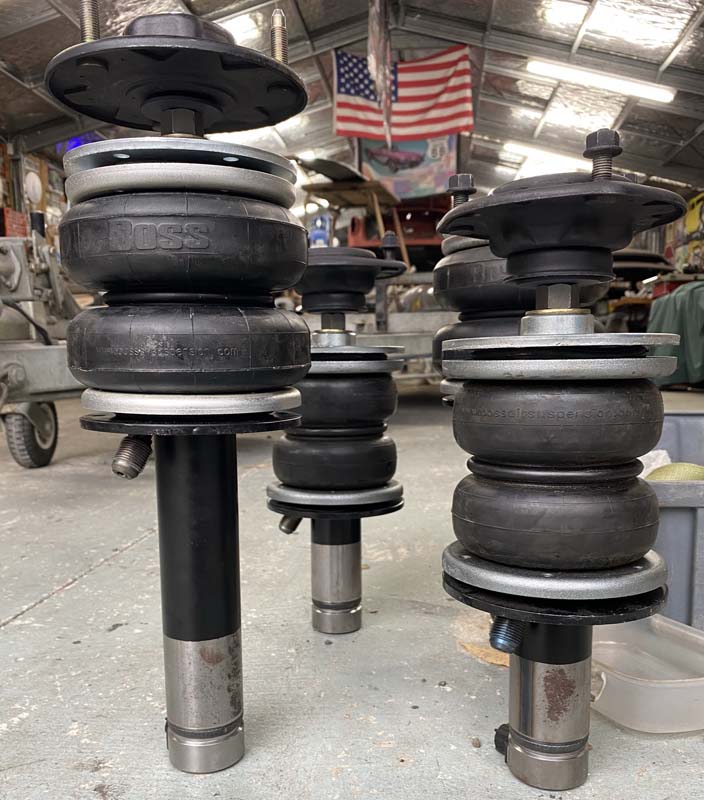
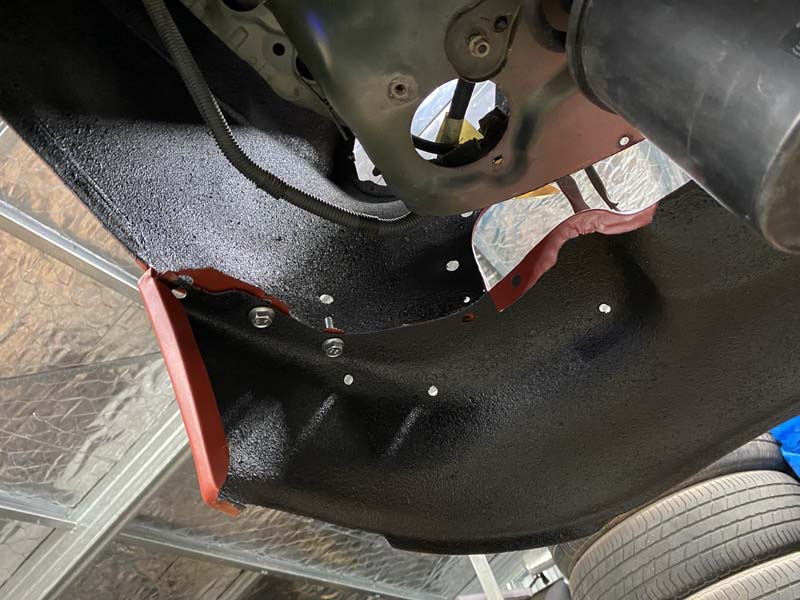
So many goodies turning up. and a few to order this week. These are the Air bag struts I ended up with. Left it a bit late, and apparently Boss are discontinuing these. Which doesn't surprise me, as they couldn't even provide photos or decent specs on them. The larger set, for the back, were the 2nd to last pair boss nz had. The shorter pair, fpr the front, I found on good old fb market place. The larger rears have 145mm travel in the bag/shock. And bolt to the hub. So are 1:1 in there movement, to how far the sills will be picked up of the ground. The smaller fronts, have 80mm travel in the shock, and a little more unused in the bag. But because it bolts to the lower control arm, about 2/3rds of the way along. They will also pick up the sills 145mm. Just a little slower. But that shouldn't be a problem with 1/2 and 3/8 inch air lines. Those are the factory top hats, that I have drilled out a little, and cut a few unnecessary coil spring related parts off, to fit. Today we ran the new brake lines to the rear, as the factory lines had corroded through and were dripping all over the place. Easy enough and looks nice and fresh. have also now undersealed all the guards and lower front valance. Next up, is Air tank to be ordered and made. A whole heap of air fittings and a backup air compressor to source and purchase. And the wiper mechanisms to finish off in aluminium.
- 67 replies
-
- 24
-
-
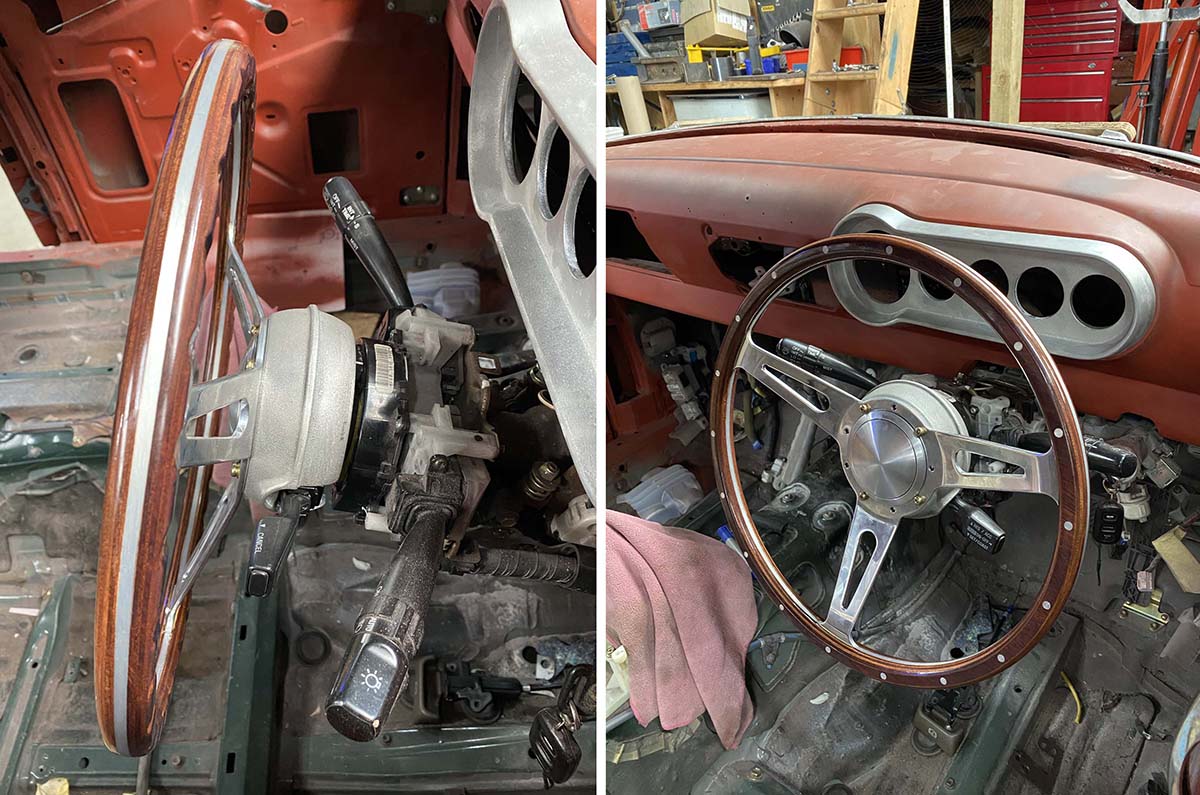
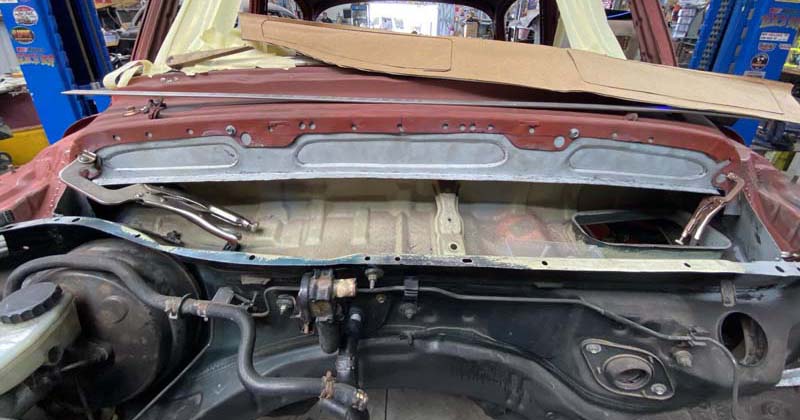
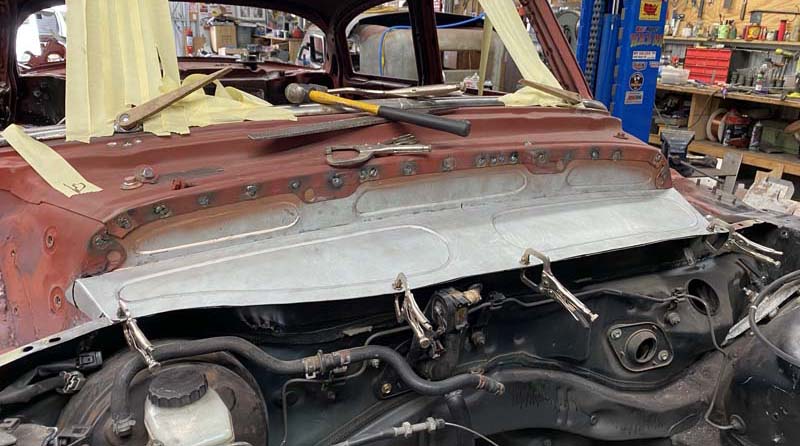
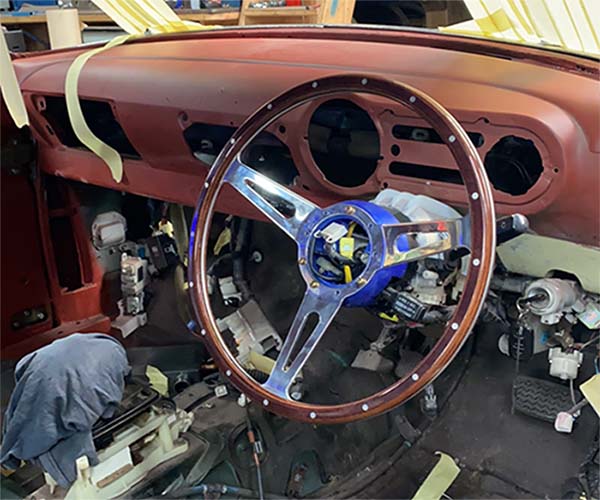
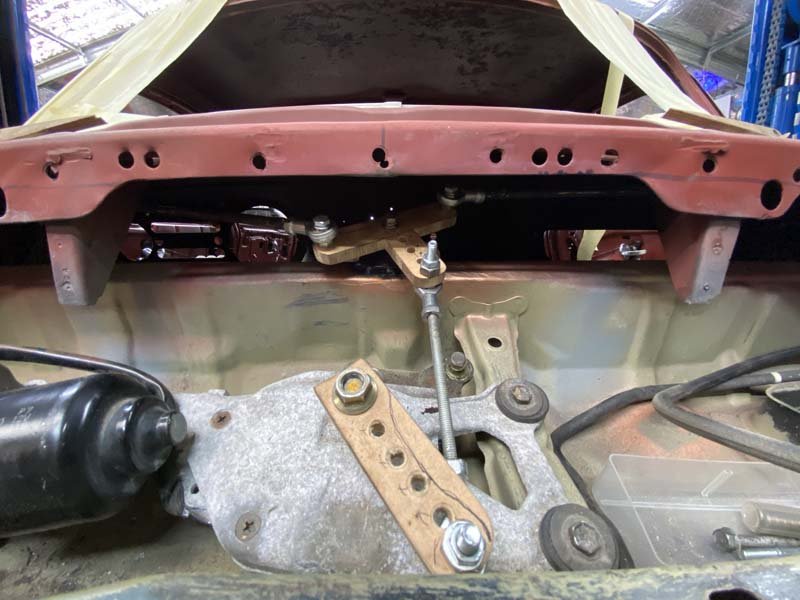
Installed some of the suspension to measure how long the air bag struts need to be. I have ordered Boss air suspension universal air struts. (she should be 10-20mm off the road at the pinch welds. Possible less.) 3d printed a boss kit, to adapt my big steering wheel, to the cut up, factory steering wheel. (note the slightly repositioned cruise control stalk ) I have since printed another without all the holes, and with a few extra little cosmetic details, to be used as the pattern, to have one cast in aluminium. Stripped, rust killed, and Painted the front fenders and lower valence in PA-10 primer. Today, we made a start on filling in the fire wall above/in front of the wipers. It is by no means perfect, but has so far, and should work very well. Removable lower "shelf" to access the wiper motor. The original plan, was to place a small, Moon Gasser style fuel tank up on there, to use as a wiper fluid receptacle. But we shall see.
- 67 replies
-
- 23
-
-
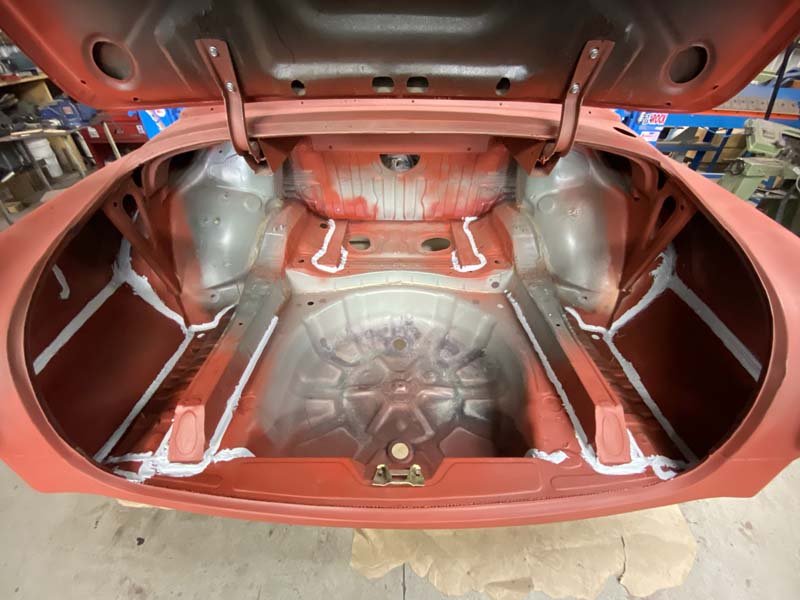
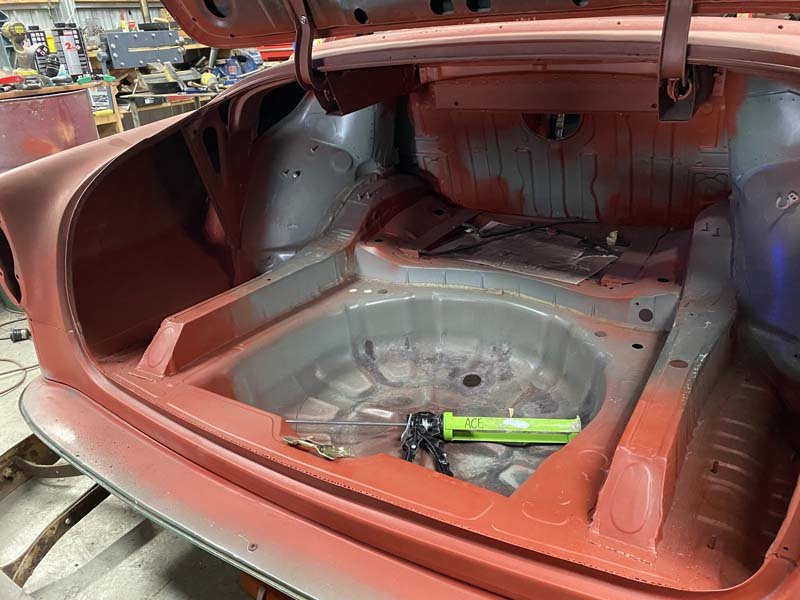
Seam sealed beneath and in the trunk. Undersealed over the seam sealer beneath. And while waiting for that to dry etc. I made a start on mounting the 50s chevy pickup wipers. Work well and much easier to purchase than the sedan's cable driven factory units. Then made a start on connecting them to the cut down lexus wiper motor. Is working Well. Even has an extra motor to park the wipers. Which should bring them to a rest on the windscreen rubbers very nicely. Will continue once Ulrich is back open again. So I can replace the wood. Today I reassembled the rear subframe and reinstalled.
- 67 replies
-
- 29
-
-
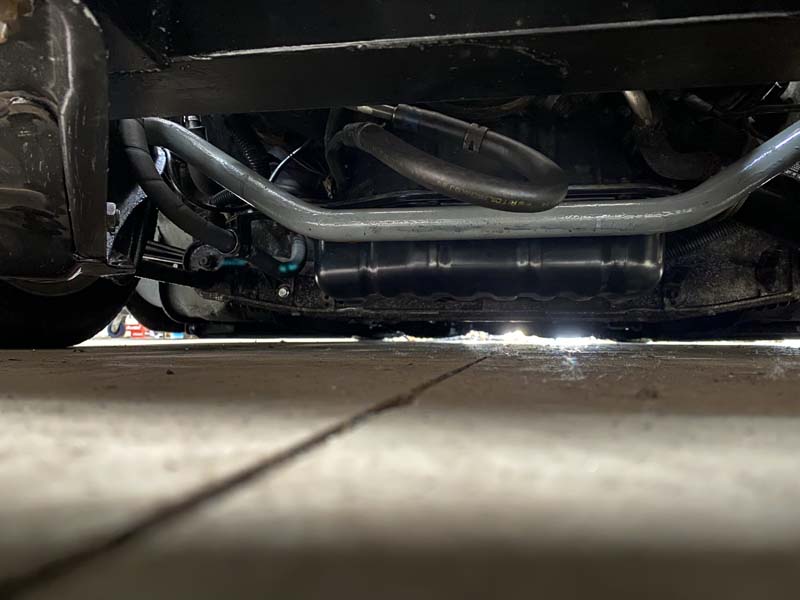
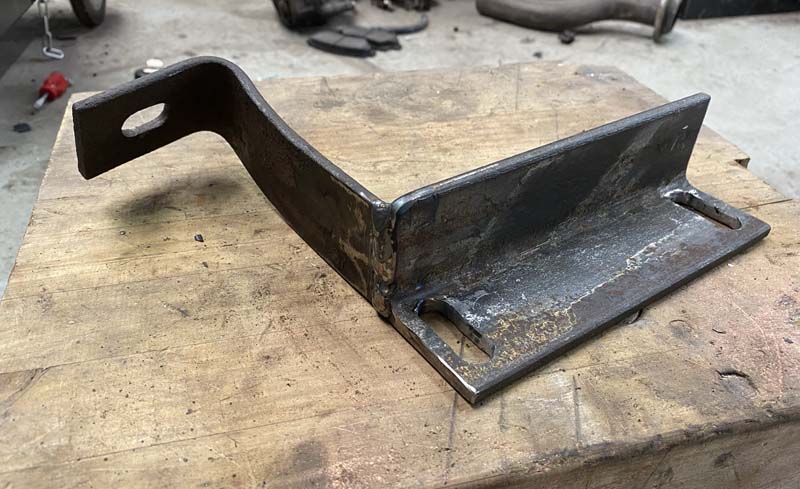
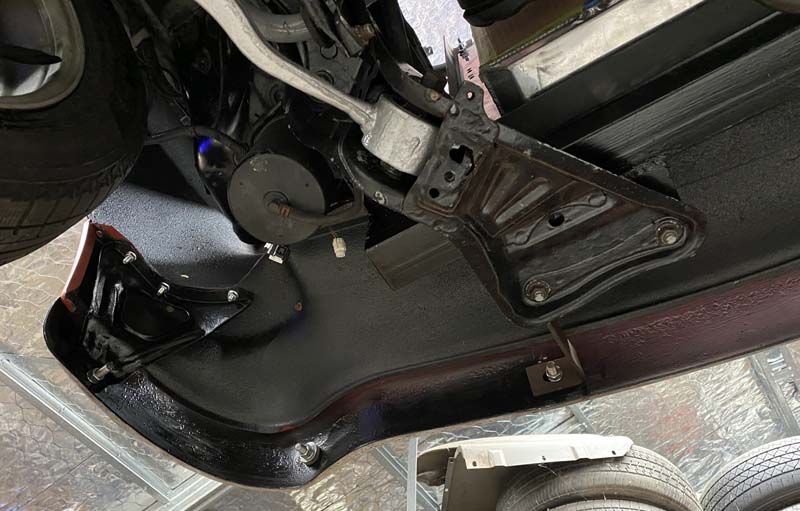
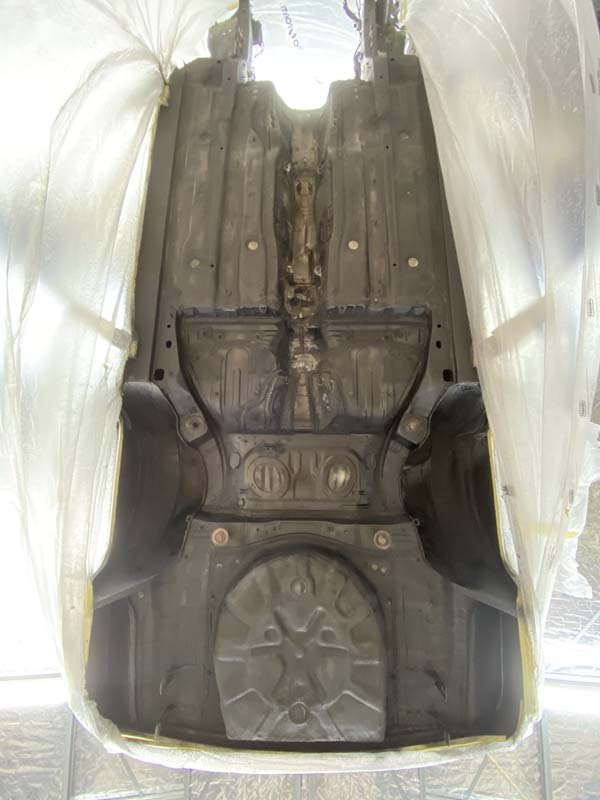
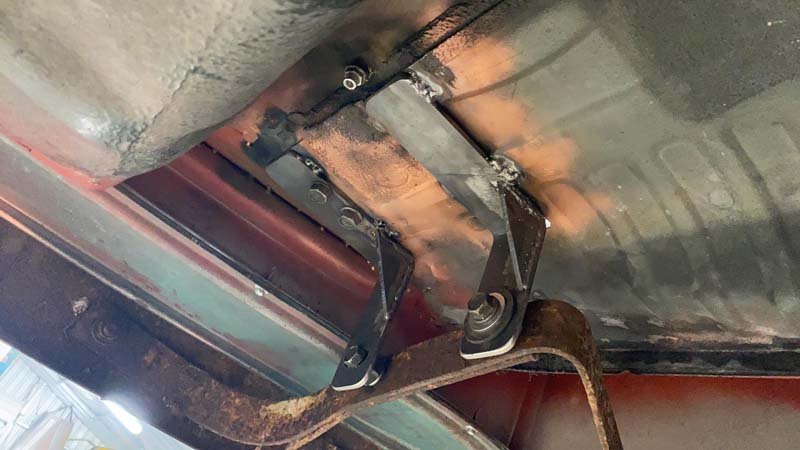
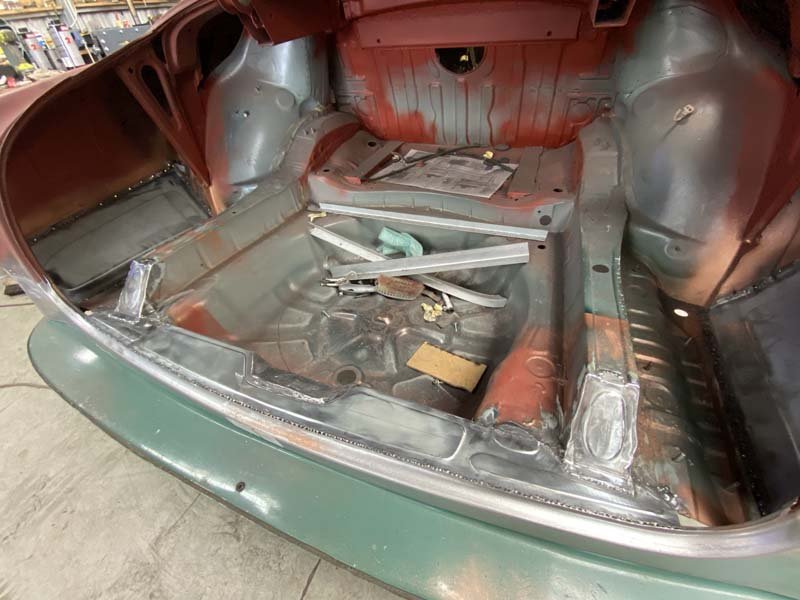
Finished up the bumper mounting brackets. 5x large plug welds down through the floor skins into them. Outer edge also has a strap on each side, which it is also plug welded through. Also filled the last of the holes in the sills. Have now painted a chassis black primer underneath, anywhere underseal did not exist. Seam sealer tomorrow. Then spray on underseal.
- 67 replies
-
- 15
-
-
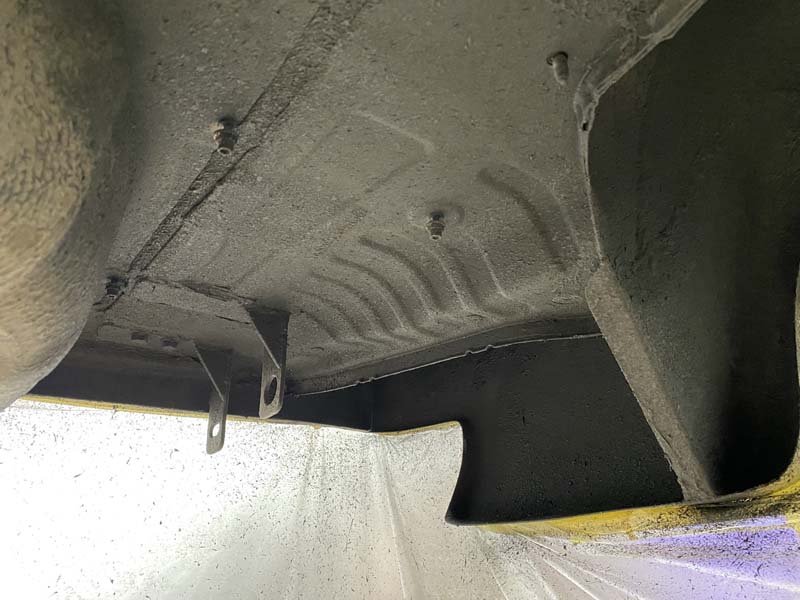
Have all the interior door handles back on. Modified the rods and clips from the Lexus doors. To join the Chevy Handle mechanisms to the Dakota Digital Bear Claw Latches. I had to modify/weld the lever on the Dakota Digital bear claw, so it would pull forward/Back, instead of Up/down. And had to cut the existing holes in the door a little bigger. They work beautiful and reliably so far. Latch smoothly. And have a good amount of movement in the handle, before they release the doors. Next up was the brackets for the rear bumper. Folded up a couple of 50x5mm steel brackets to bolt onto existing m12 holes. Couple more to make for the front of the bumper irons. Then all will be spot welded through the double skin beam in the floor, that the factory tow bar and hooks is mounted to.
- 67 replies
-
- 22
-
-
Nothing like some time off. To keep working harder. Next up... -Two small holes in the sills, in front of the rear wheels. -Brackets welded to the floor to hold the rear Bumper in place. (as seen in photos^) -Primer, seam seal, then Underseal. -Reassembly?
- 67 replies
-
- 18
-
-
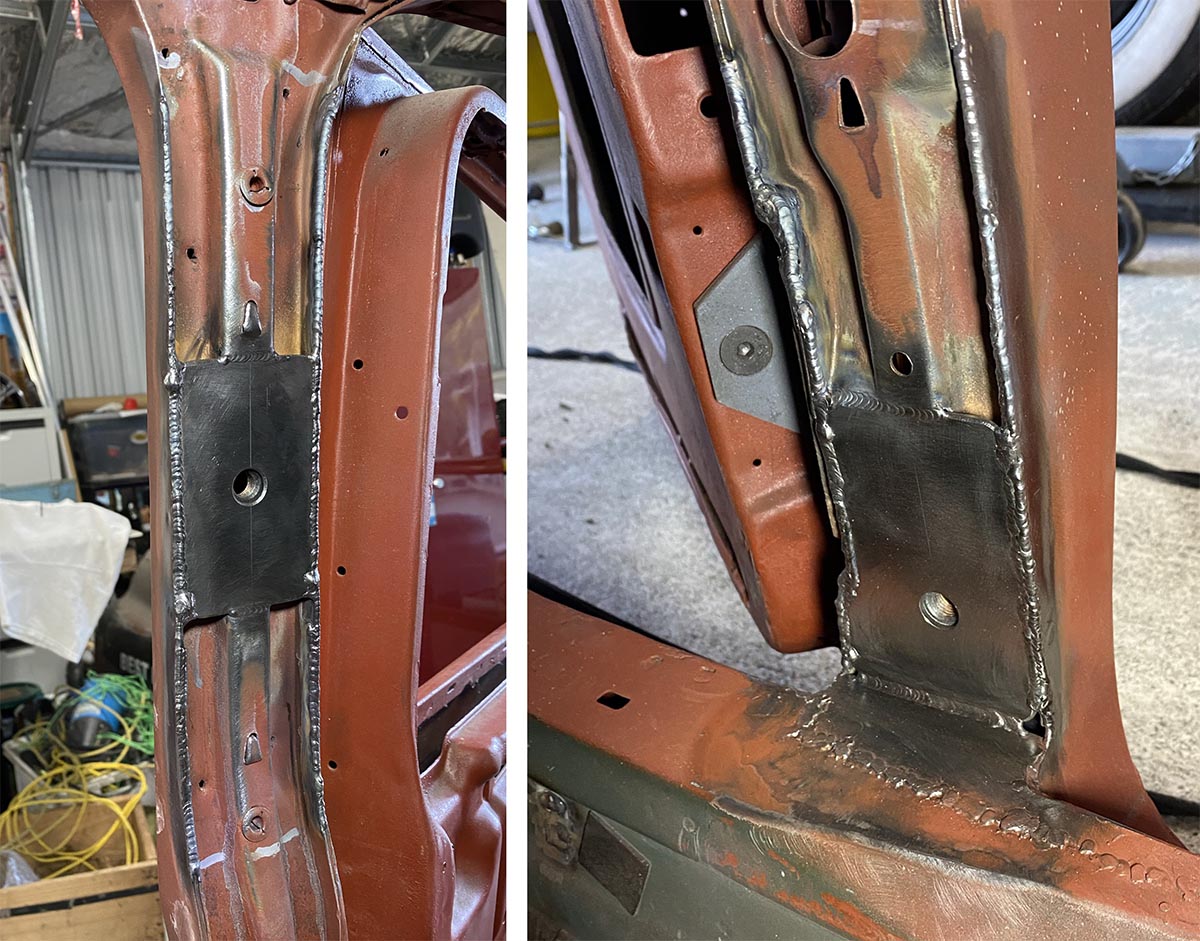
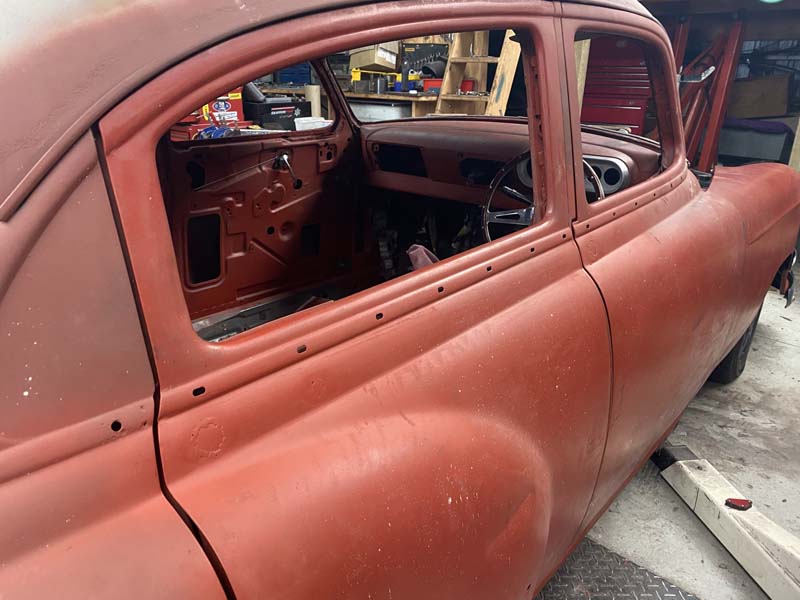
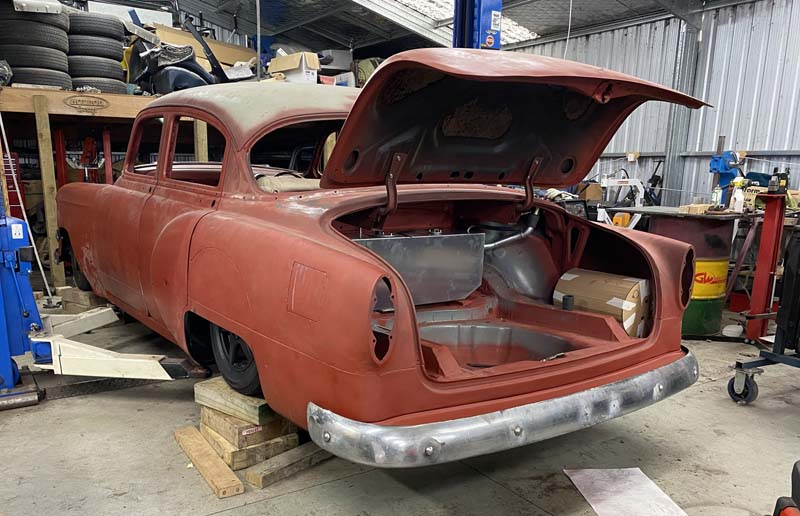
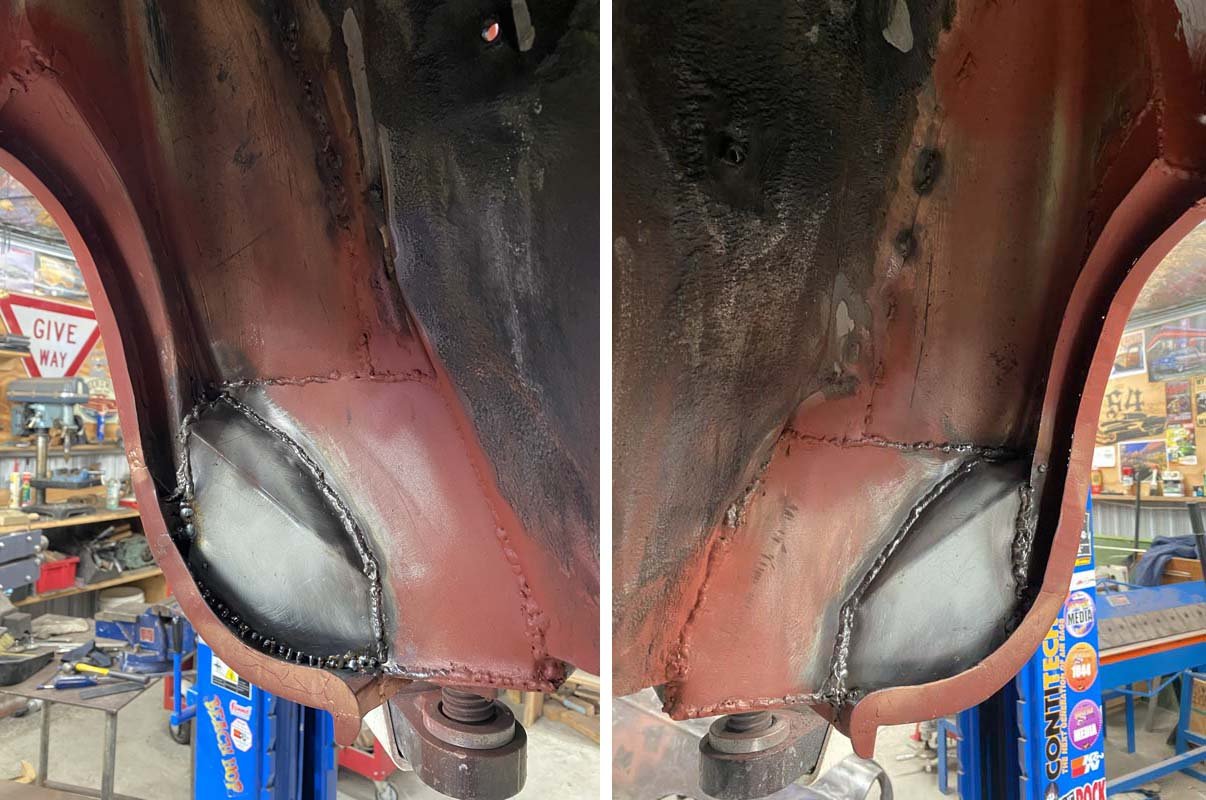
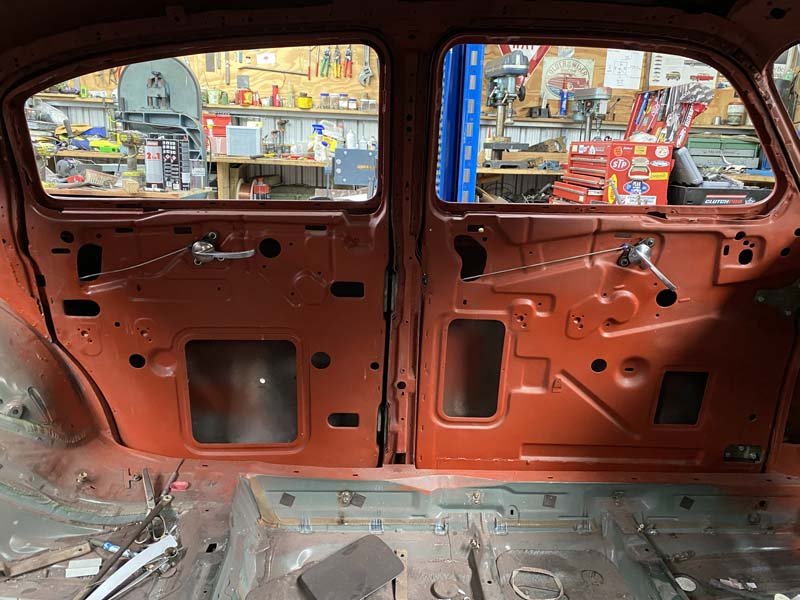
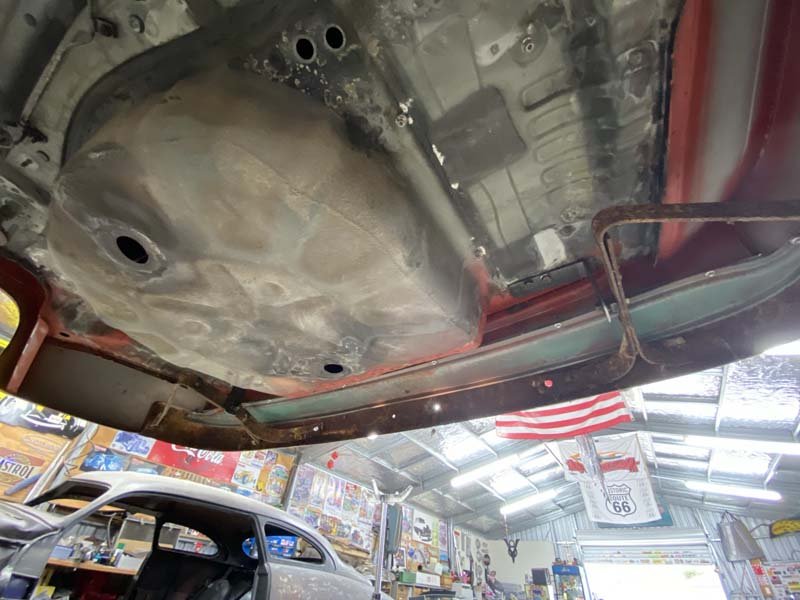
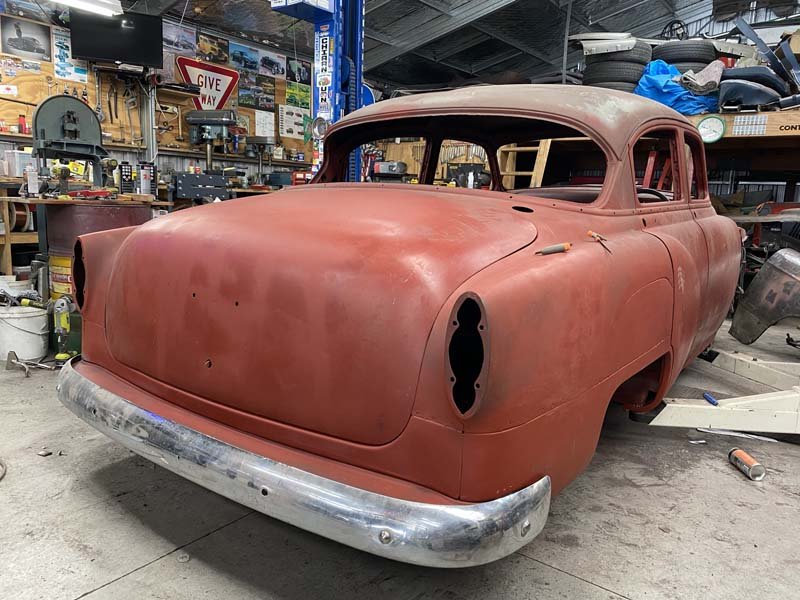
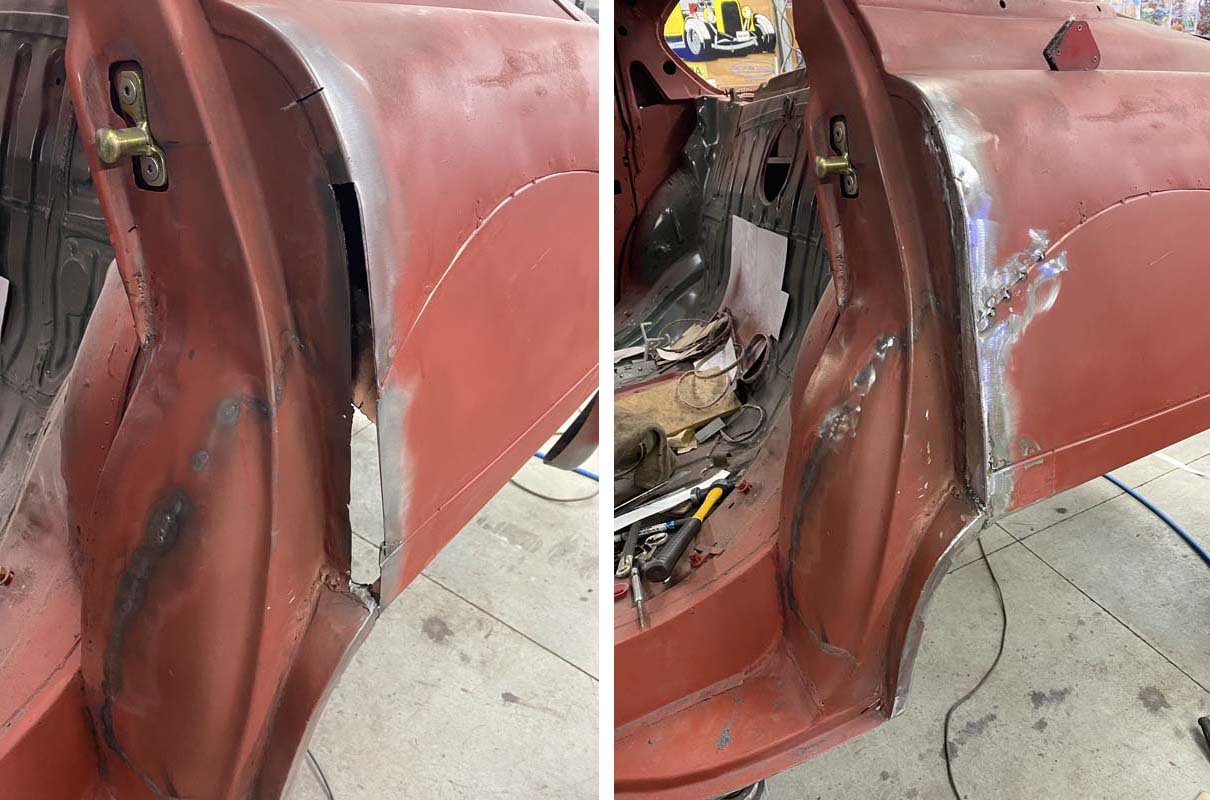
Have Filled all the holes around the trunk, between the chevy and the lexus. Very happy with how it all turned out, Trunk latches down nicely too. Then made a start on fixing the mess behind the right side rear door. And Finished up the Left side in the same spot. Wasn't as much to fix on this side.
- 67 replies
-
- 24
-