


M_C
-
Posts
836 -
Joined
-
Last visited
Posts posted by M_C
-
-
-
- Popular Post
- Popular Post
Not your average tradie ute.

-
 23
23
-
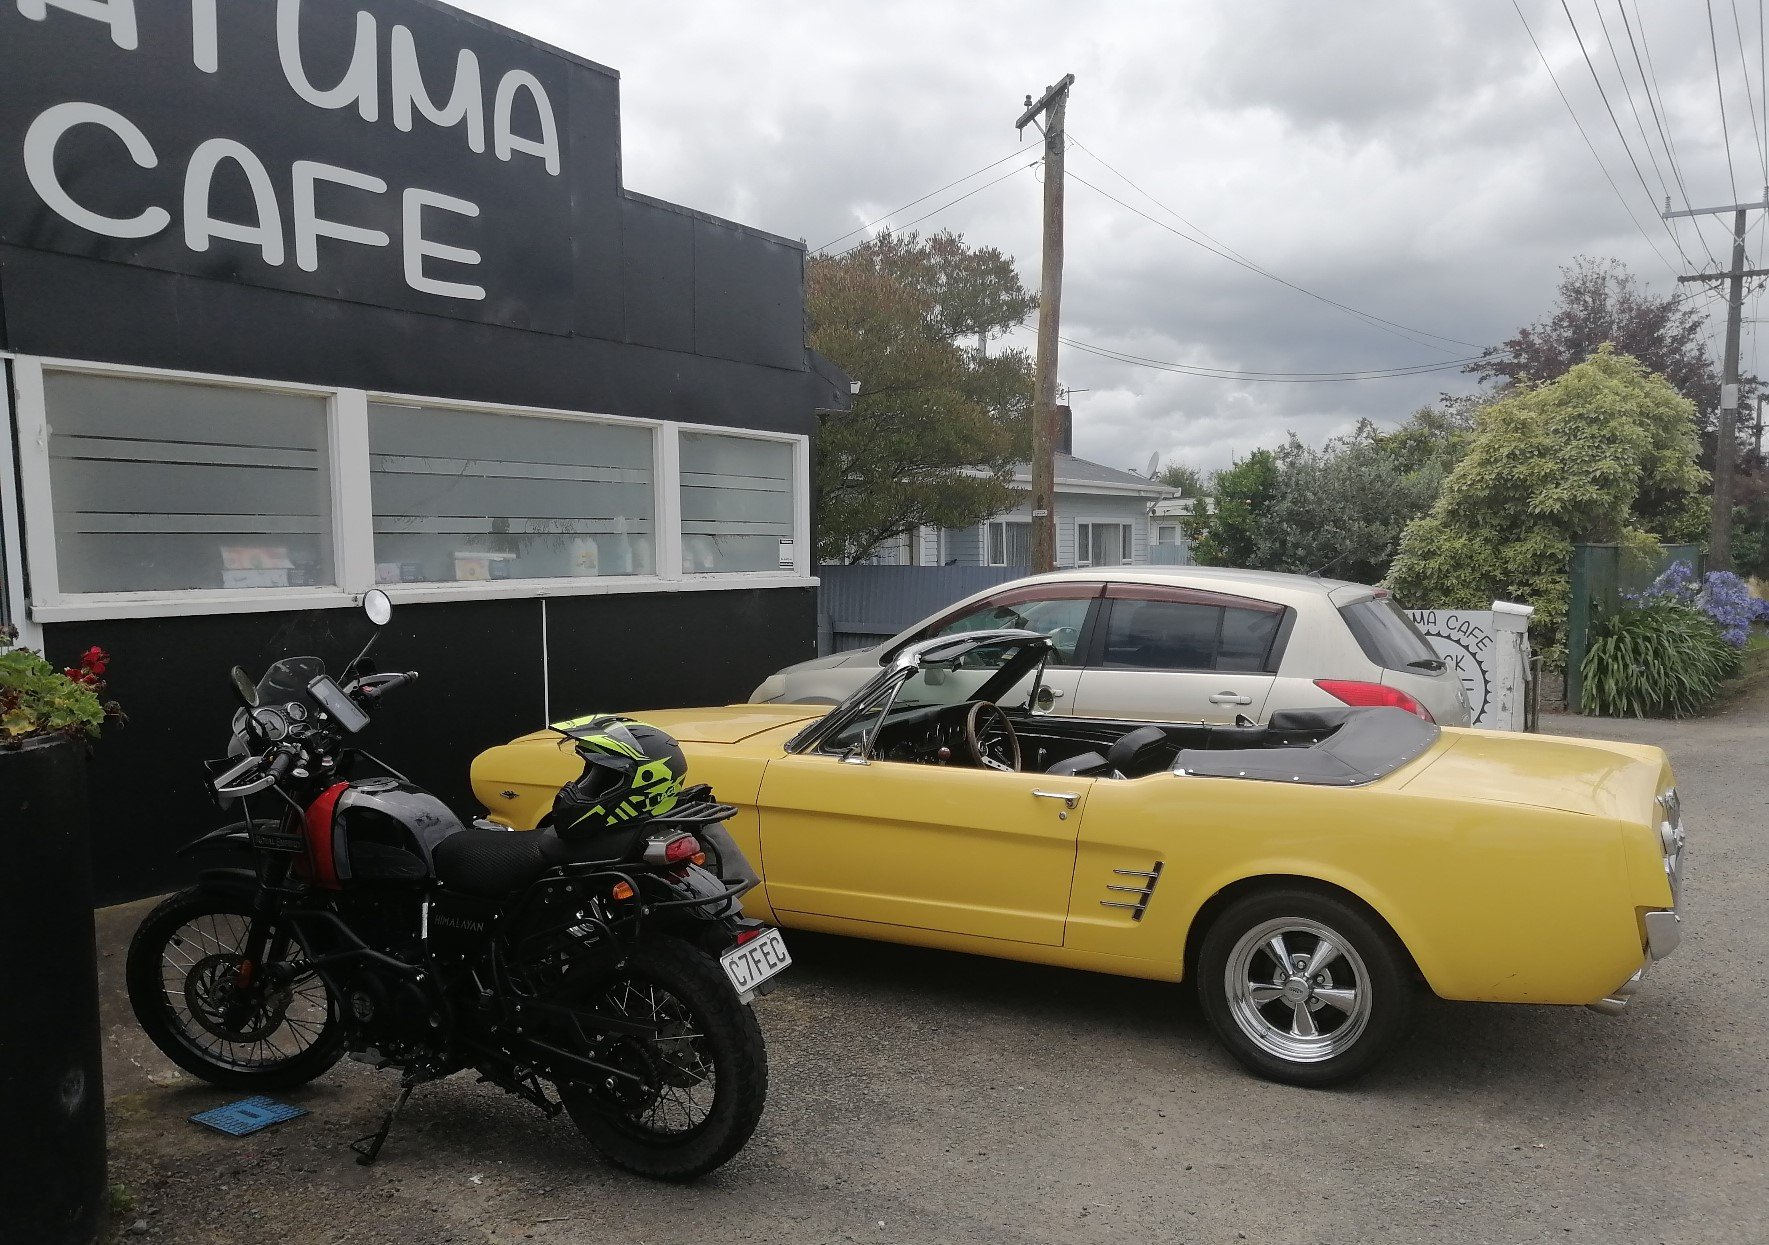
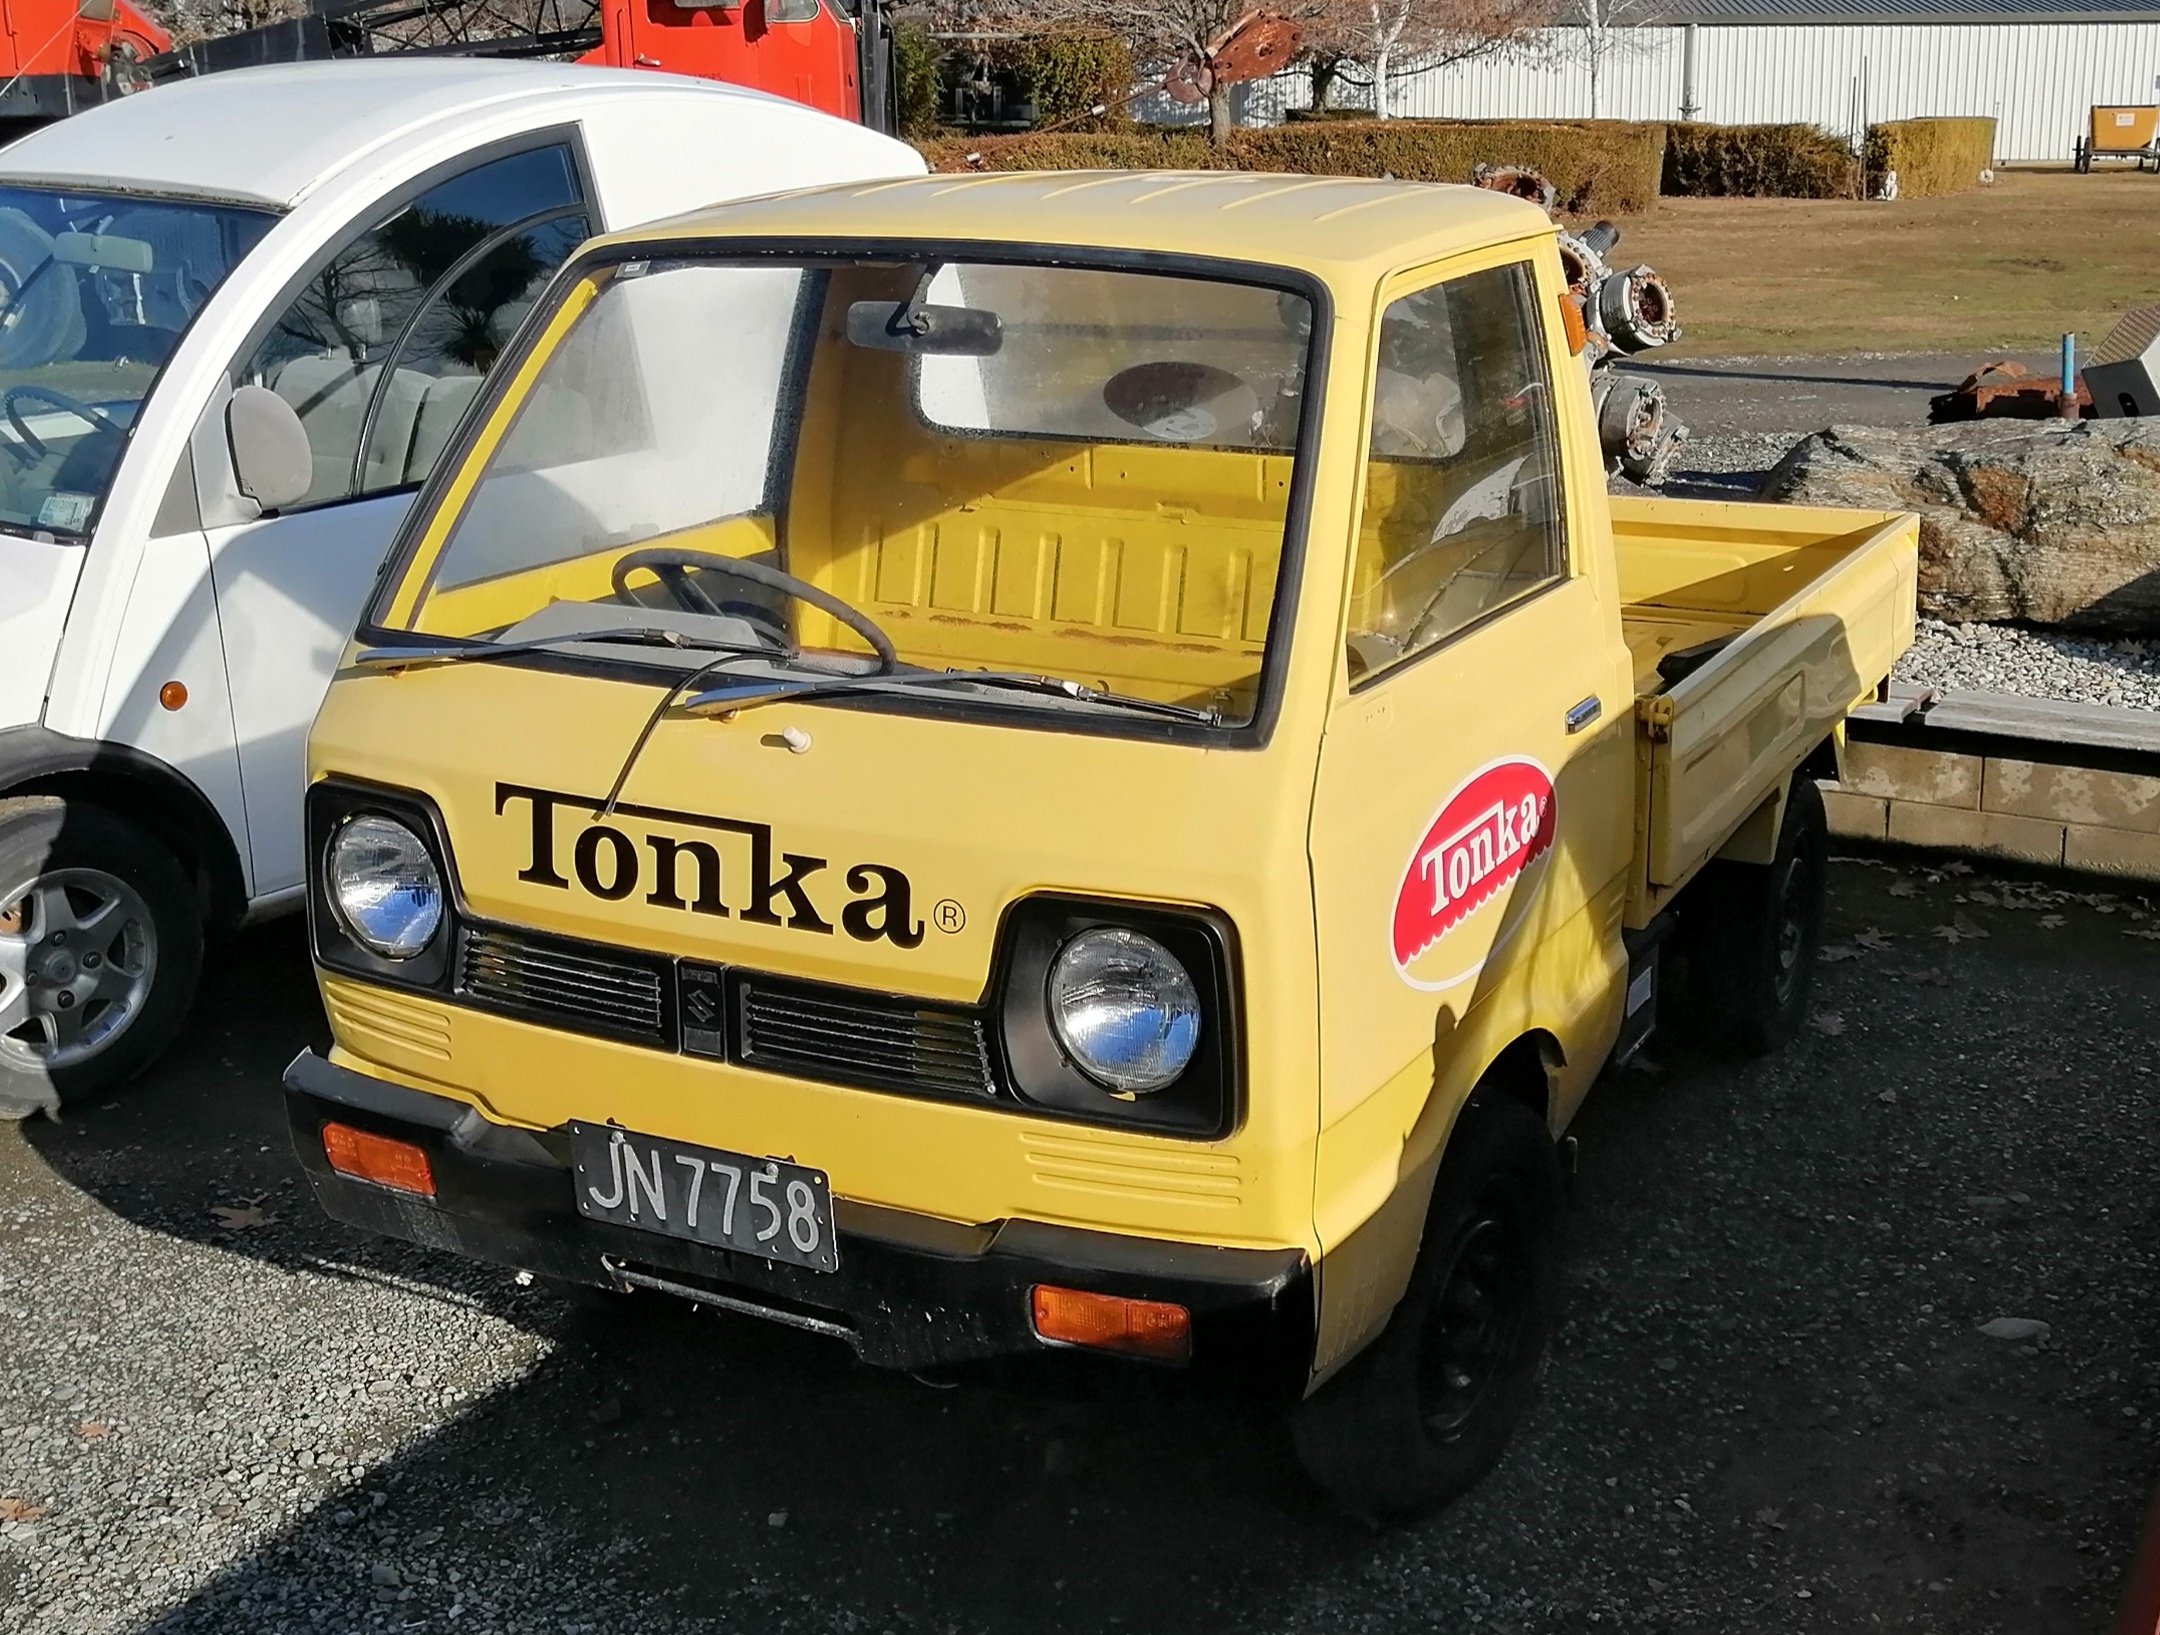
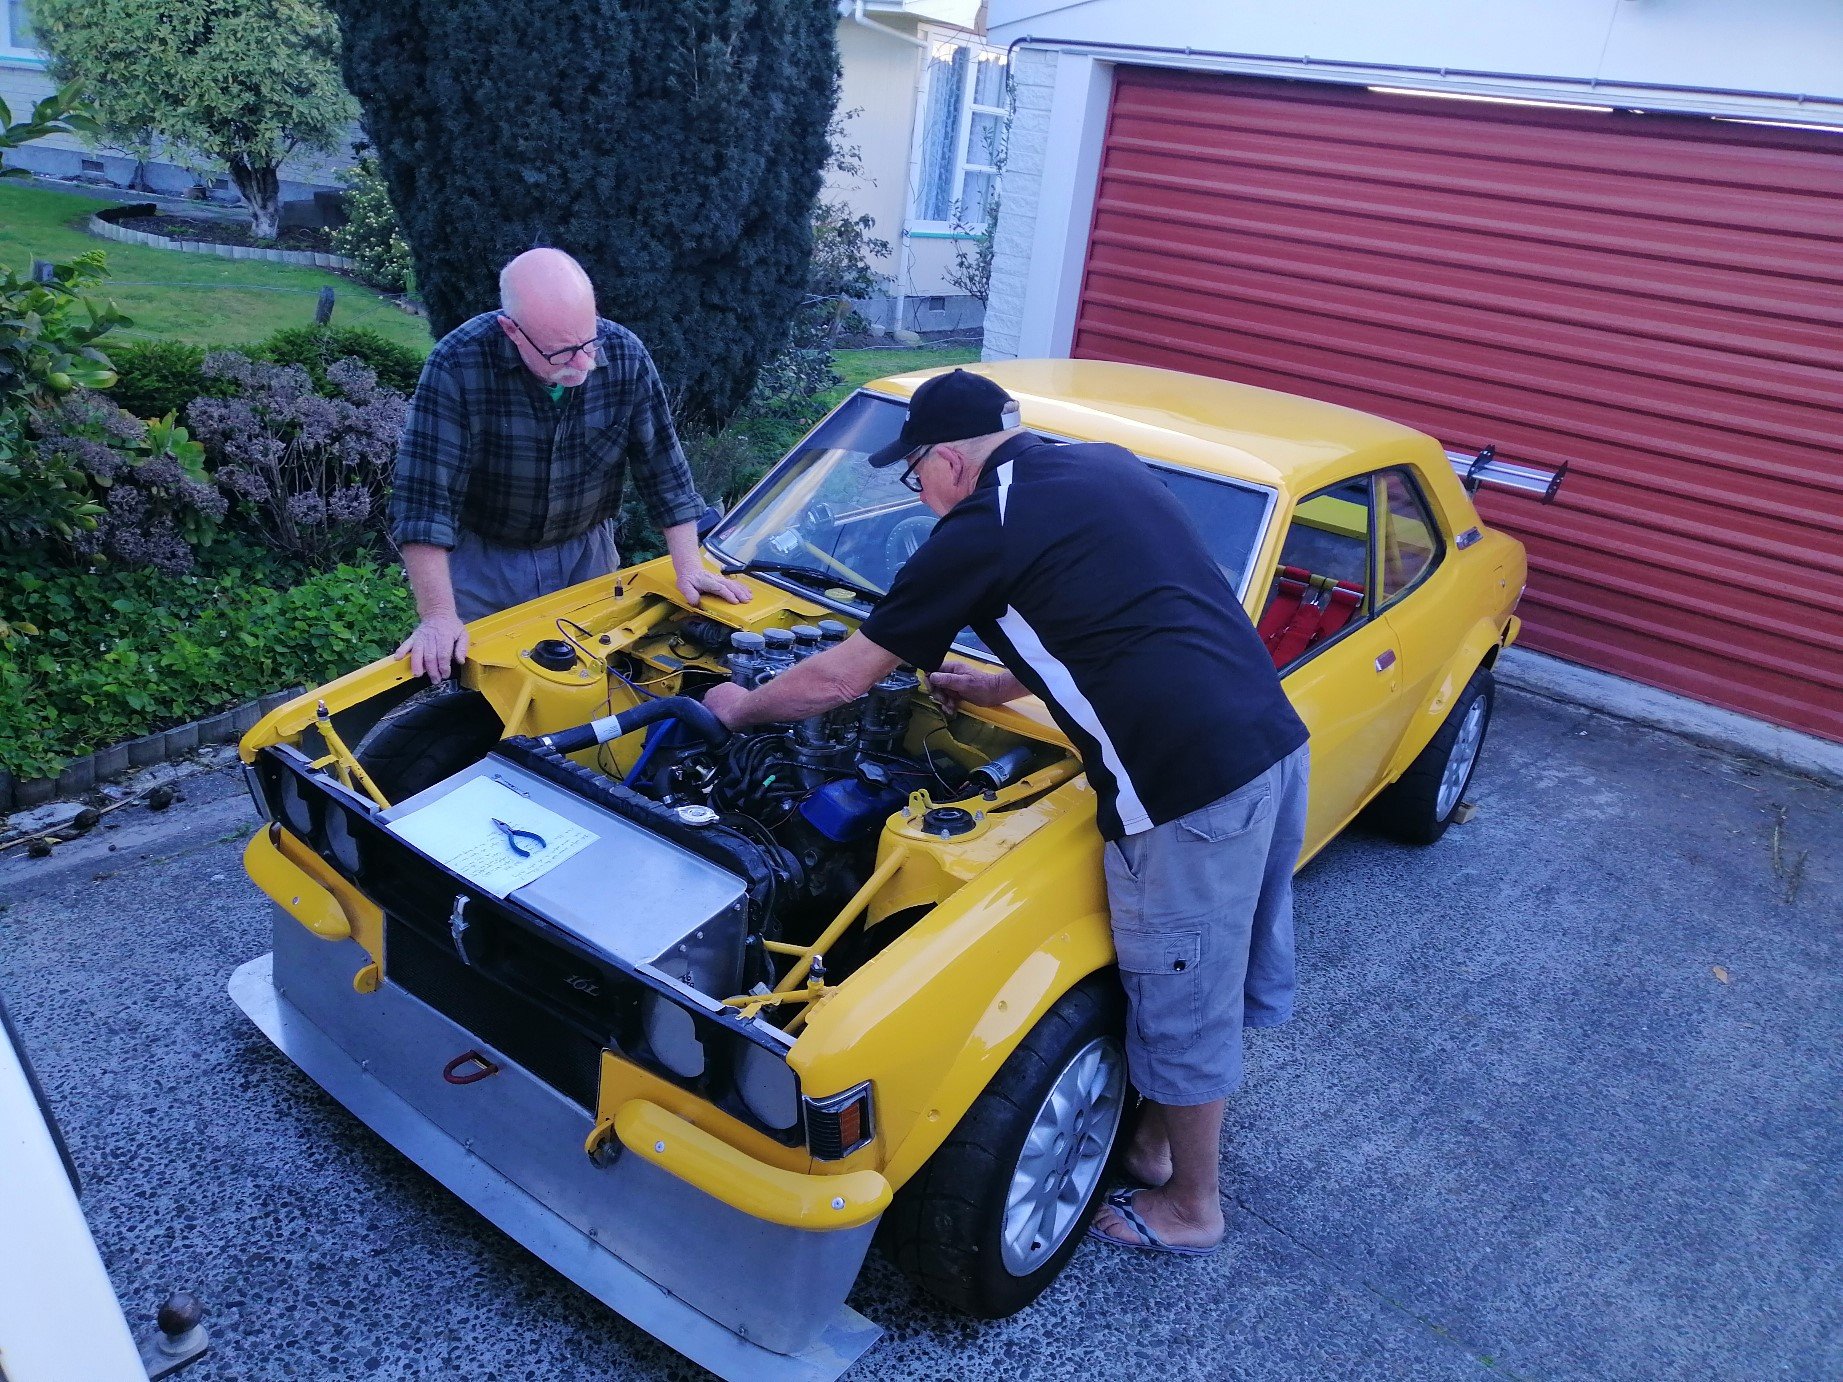
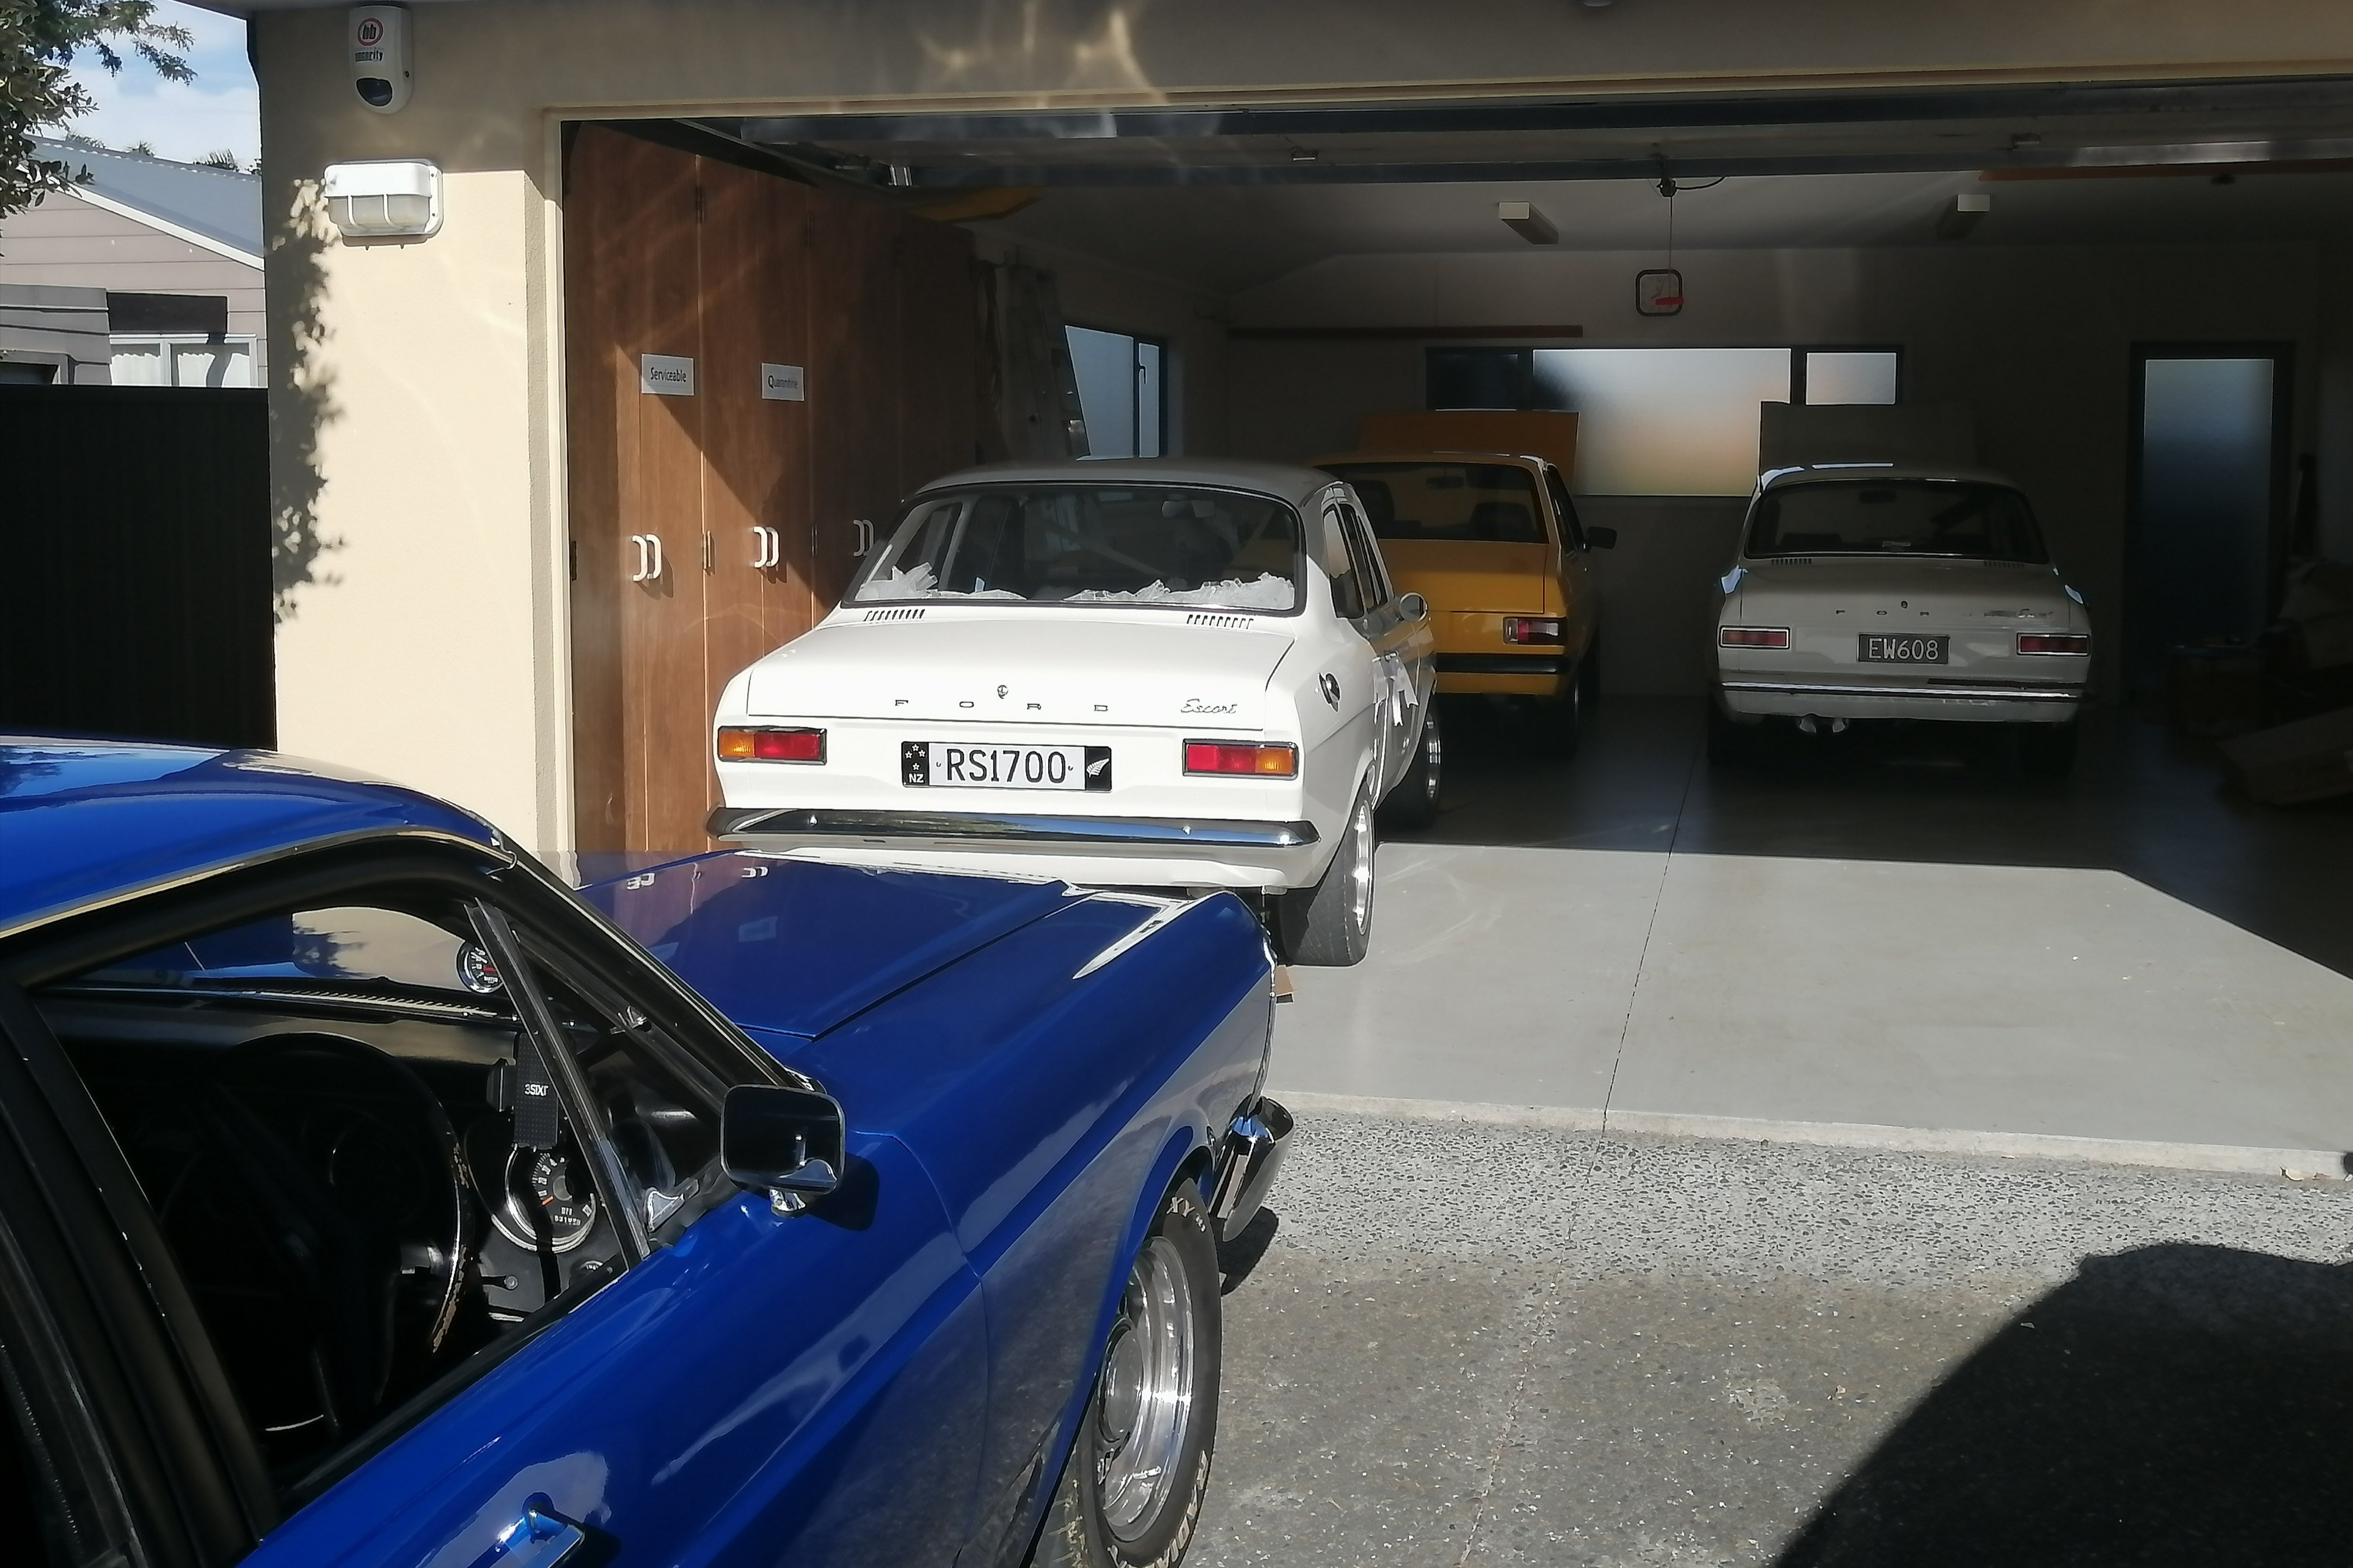
Found this yellow lurking behind my bike after a coffee
-
4
-
-
-
- Popular Post
- Popular Post
-
19
-
To get me interested enough to snap a yellow modern it needs to something like a spicy Renault hot hatch with a red tongue tow rope hanging out the front.
-
5
-
 2
2
-
-
- Popular Post
- Popular Post
-
16
-
My 351 Clevo had similar issues getting hot when idling for long time or slow traffic on hot days.
Turned out to be the wrong thermostat for 351C in it so when hot and open the hot water still circulated through the heads to get even hotter. -May have had 351W thermostat in it?
Swapping to correct thermostat helped heaps as bypass then properly blocks off to send hot water just to radiator. Now runs much cooler stationary on hot days and going up slow hills.
I see you have already tried a couple of different thermostats, but not sure if your engine has similar set up where the thermostat could be mixed up?
-
1
-
-
-
-
5
-
1
-
 2
2
-
-
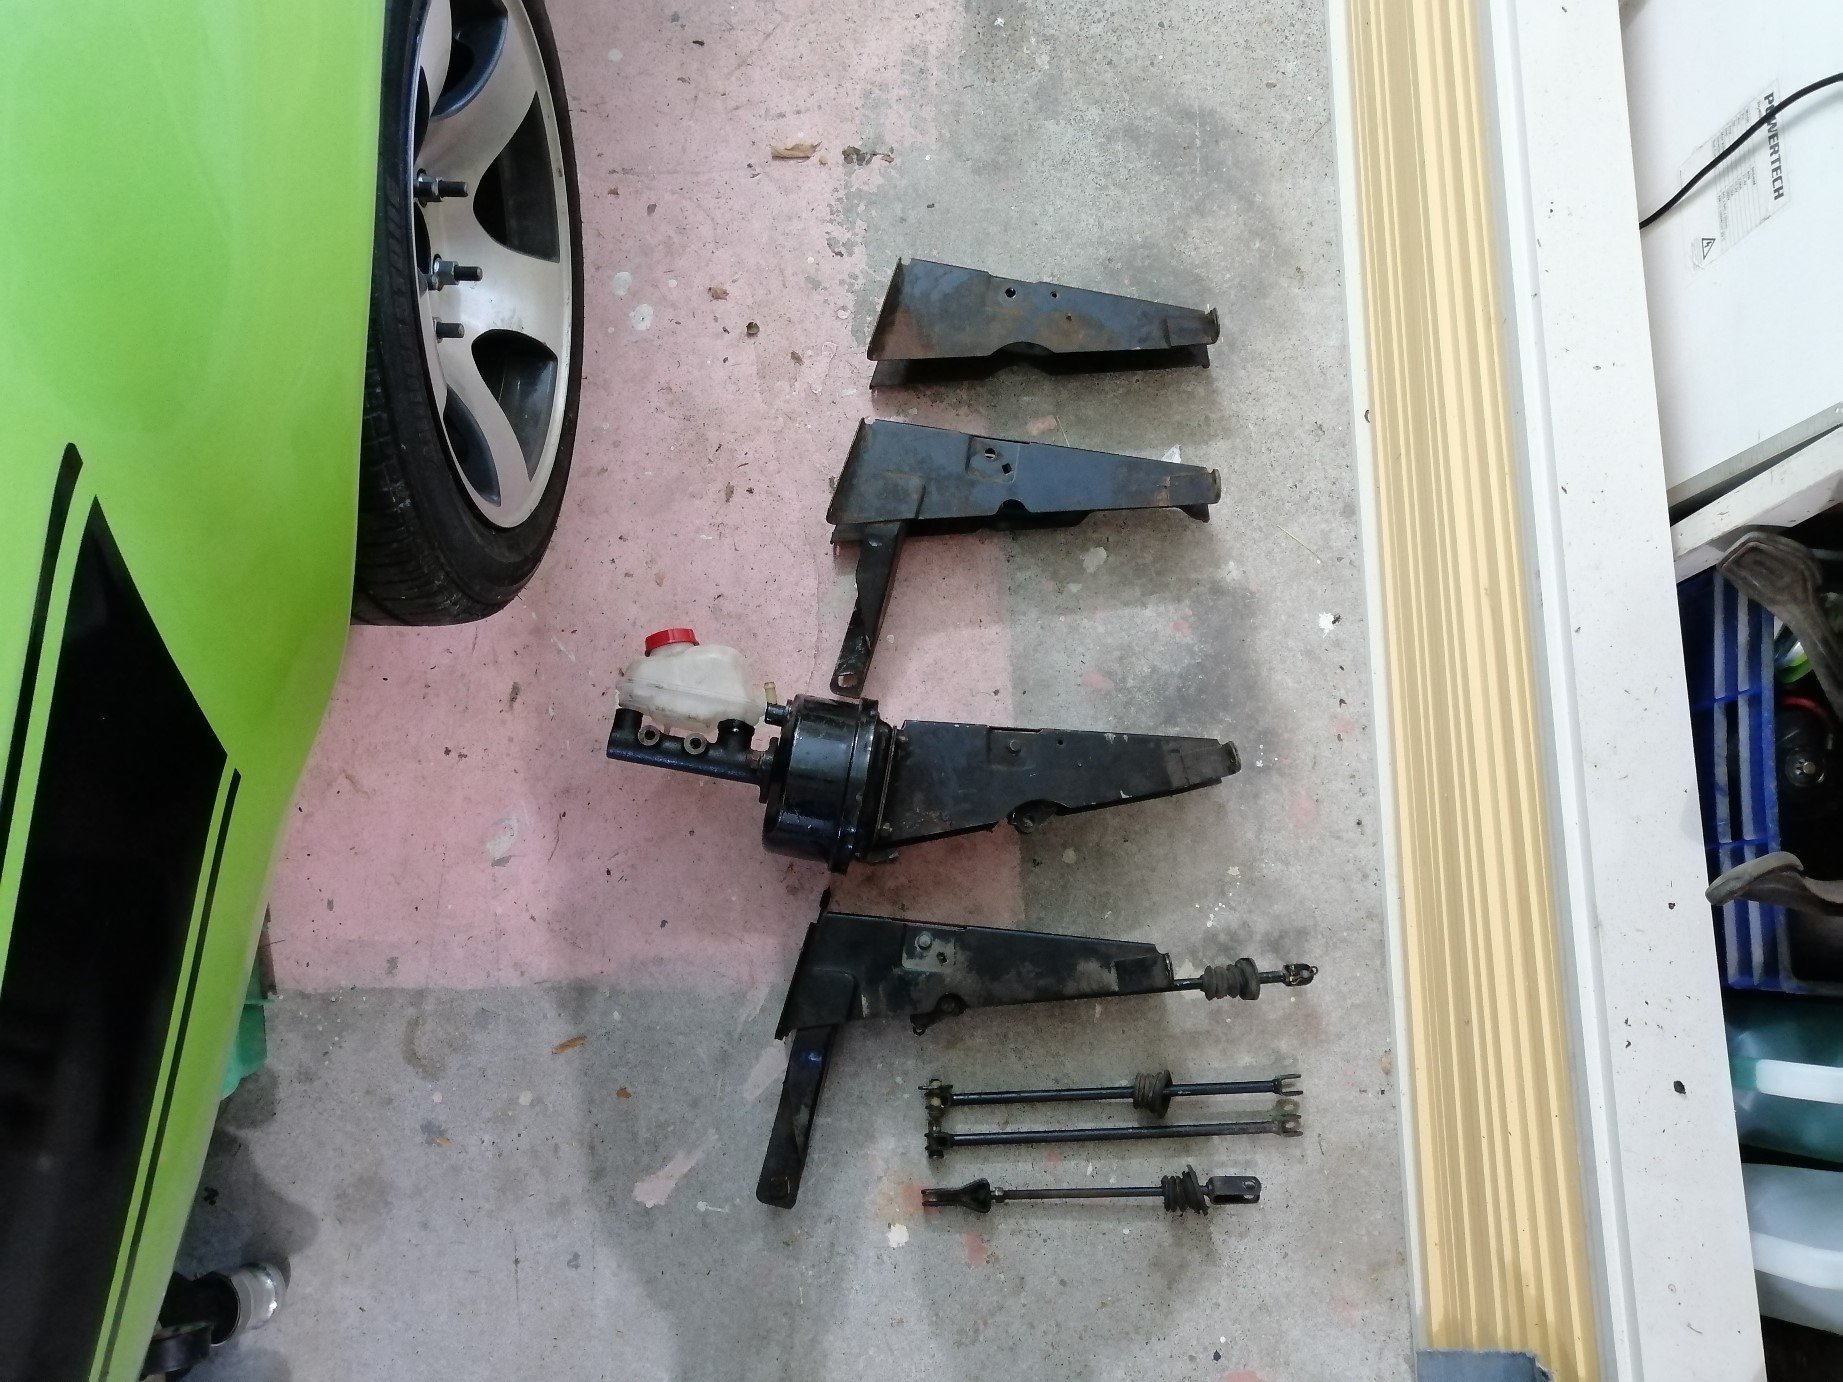
Good guy off the FB interwebs came to help with an assortment of booster towers, rods and another booster.
I didn't know there are so many variants! I ended up with 3 different types of towers, 2 different boosters and assorted linkage rods.
None of which were going to work easily or cheaply. Bugger.
I could not get them to clear the extractors and larger radiator and then would need possibly rebuilding anyway.
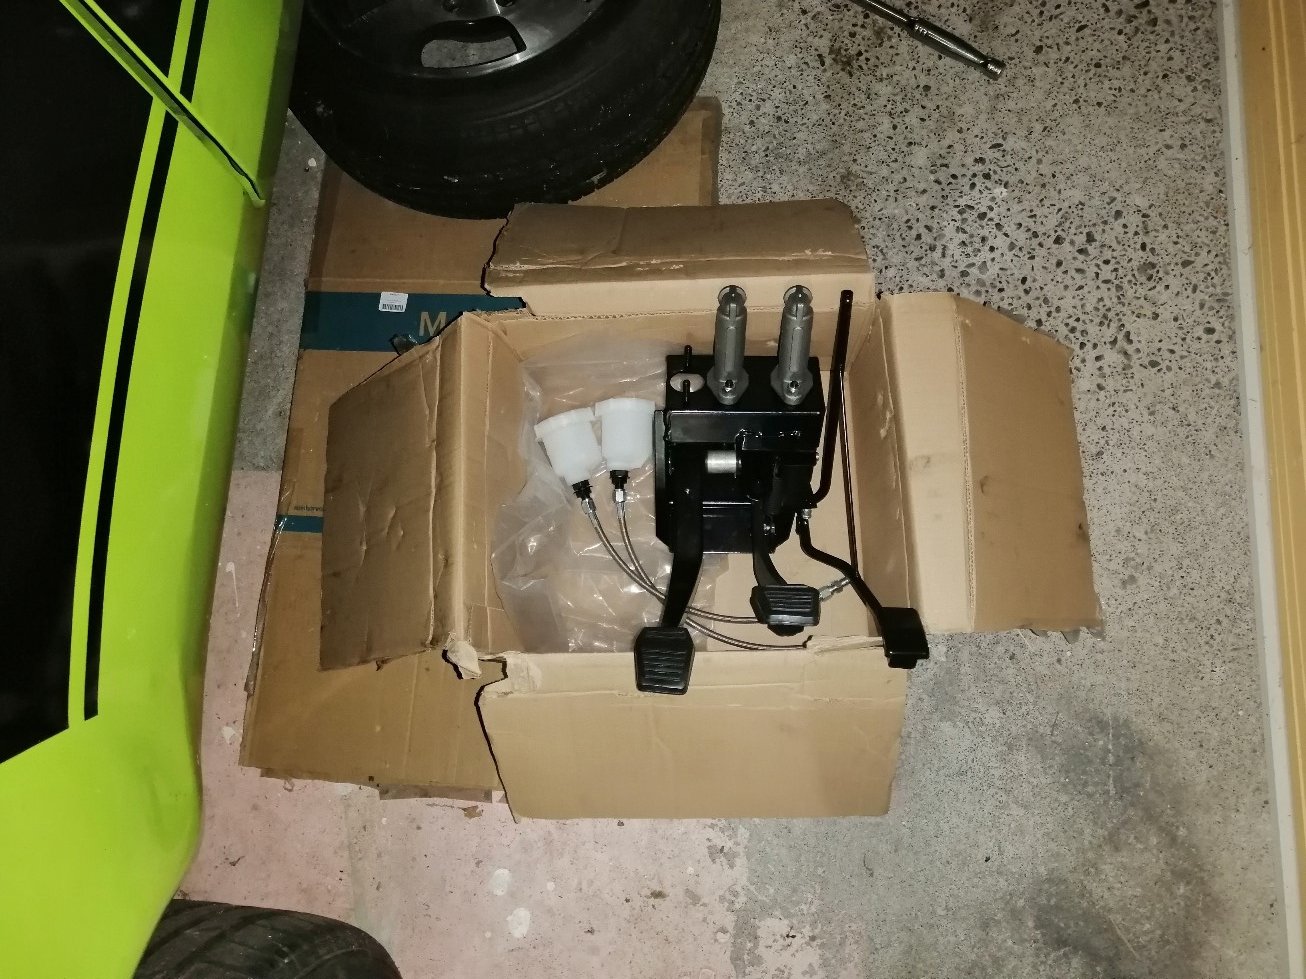
So I went the expensive way and bought this.
Very excited as it just turned up. With certification for road use too.
Mildly annoyed as I could have not bought the pacemaker extractors when trying to avoid buying it earlier and also fitted the super duper extractors. (But I did want the sexy thing coz racecar.)
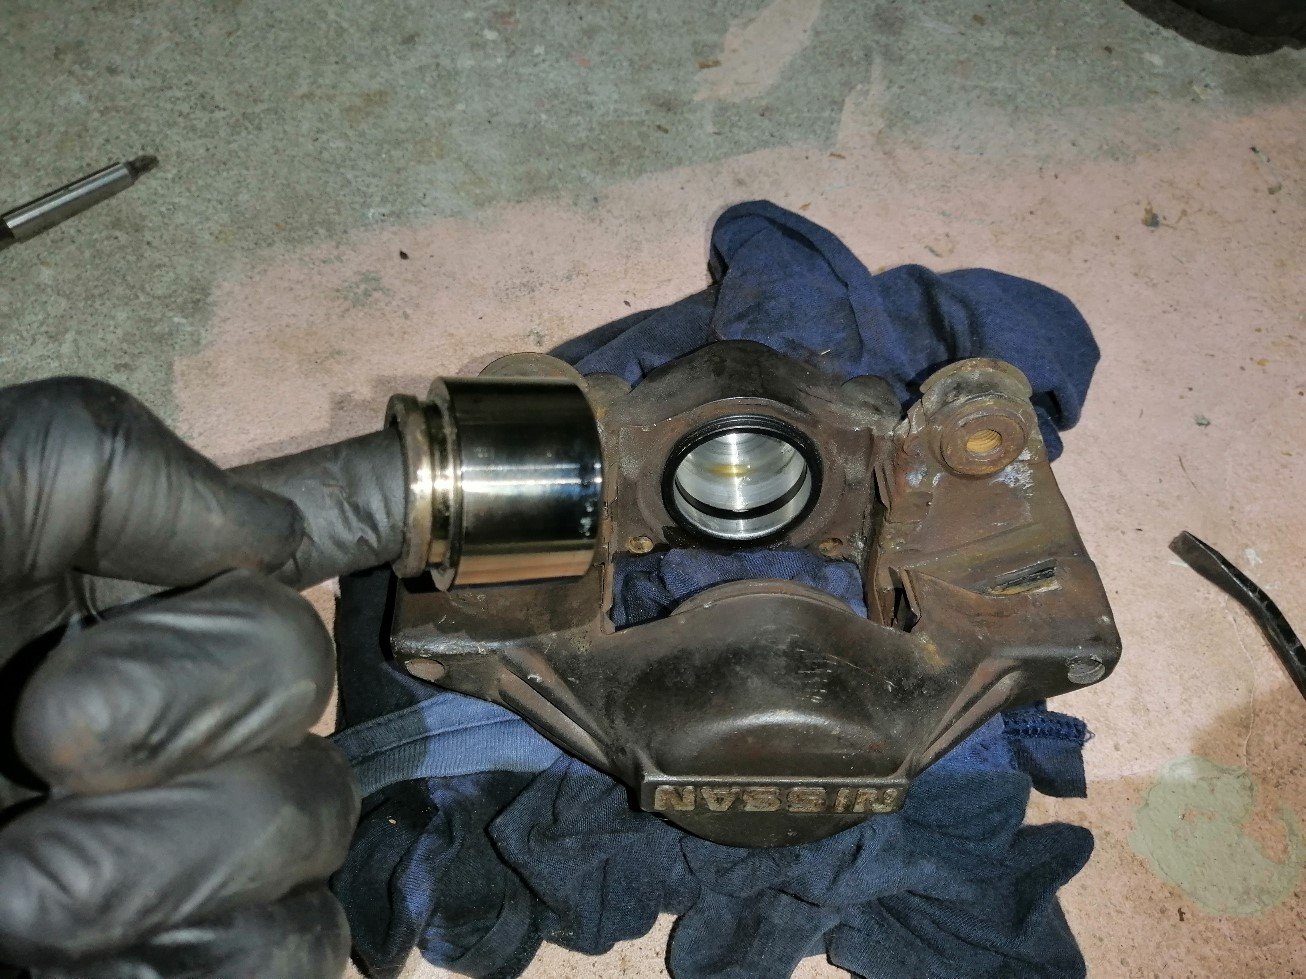
While waiting for this to arrive I pulled the rear bakes down. Hadn't been inside them so was pleased to find them nice and shiny.
-
5
-
-
19 hours ago, cletus said:
Never seen an intake like that. Sightlines I guess.
Wonder how long from when it gets home from cert to when it gets twin holleys and a bird catcher?
-
1
-
-
-
- Popular Post
- Popular Post
-
10
-
-
- Popular Post
- Popular Post
-
11
-
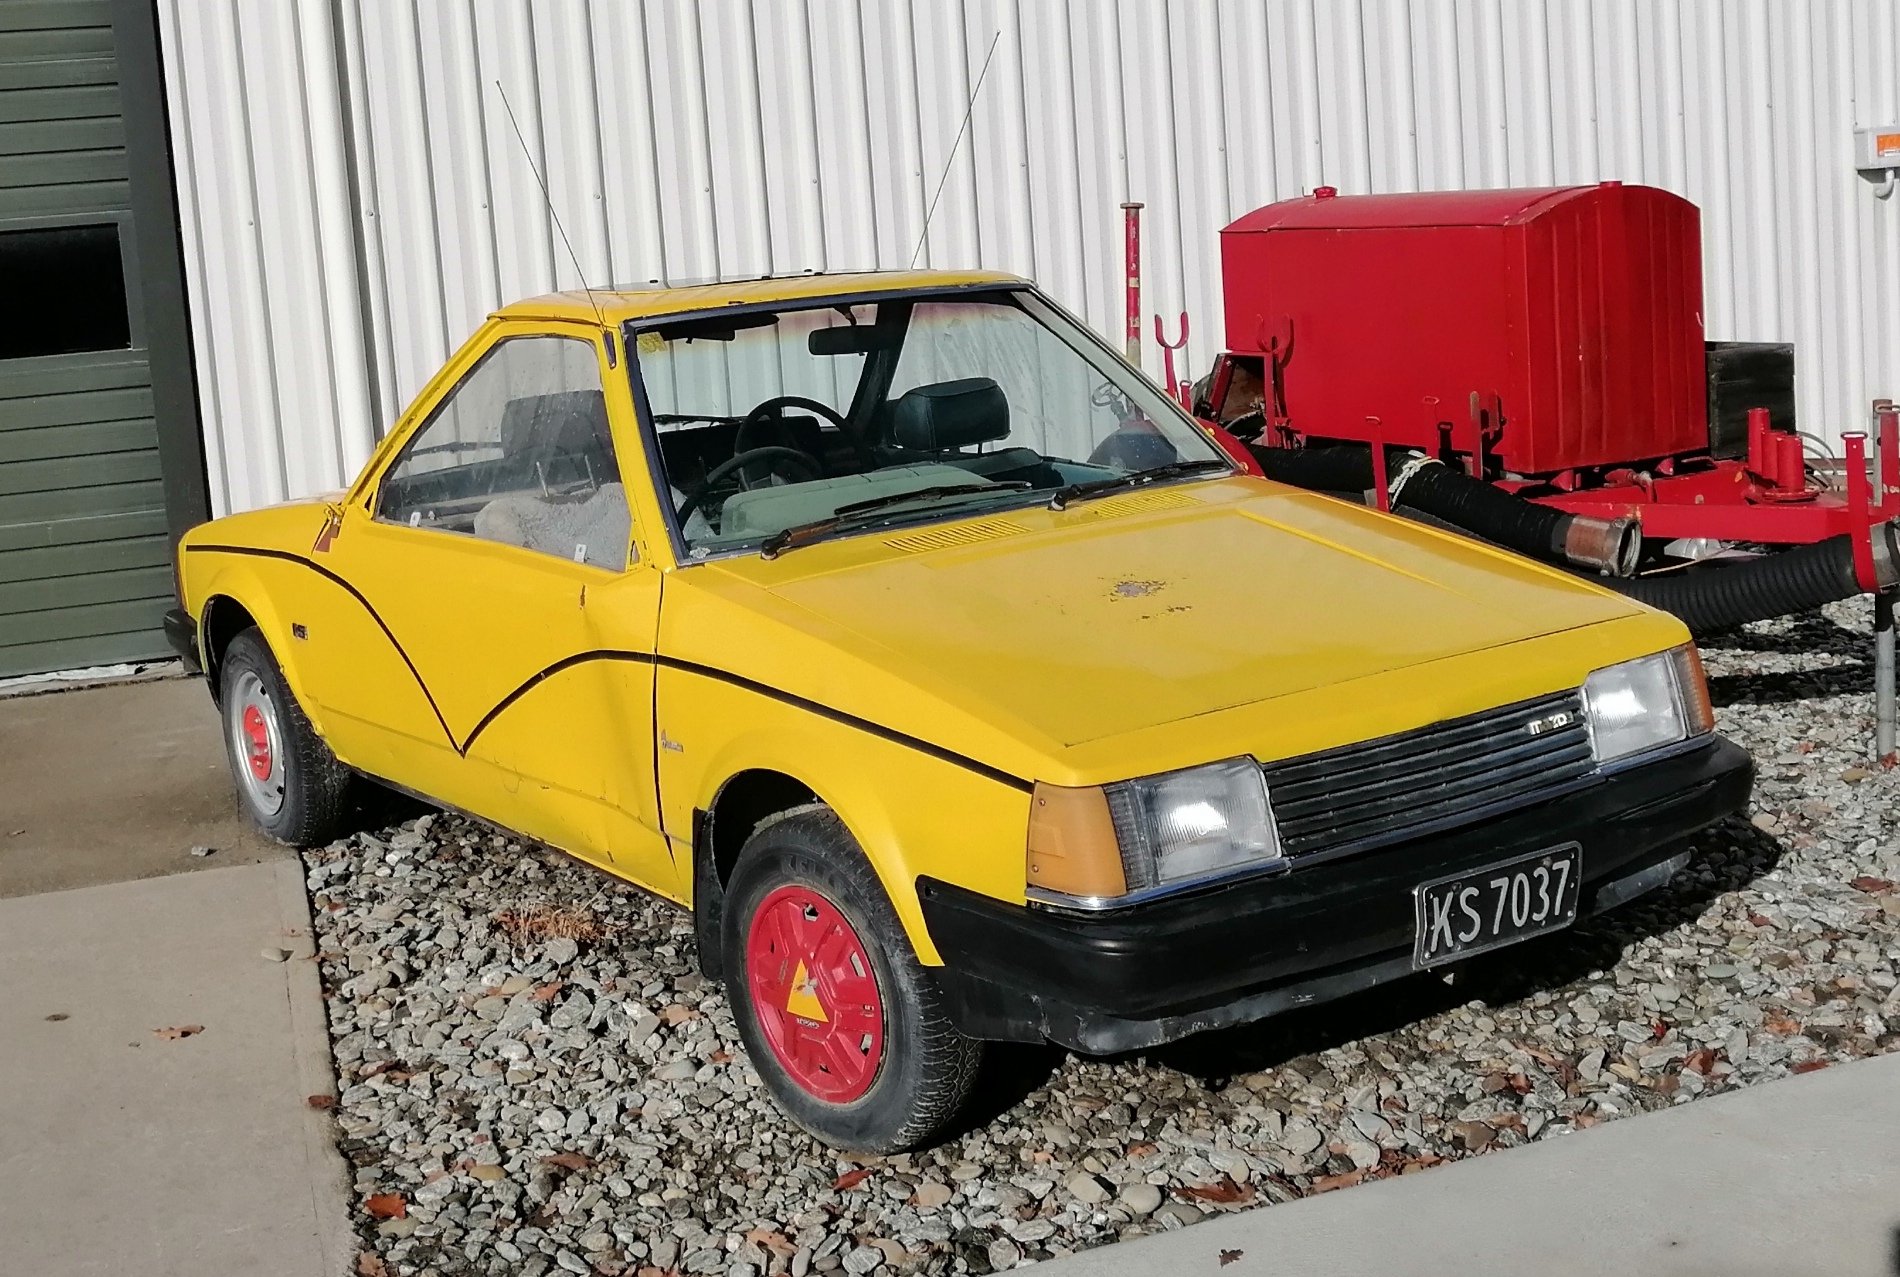
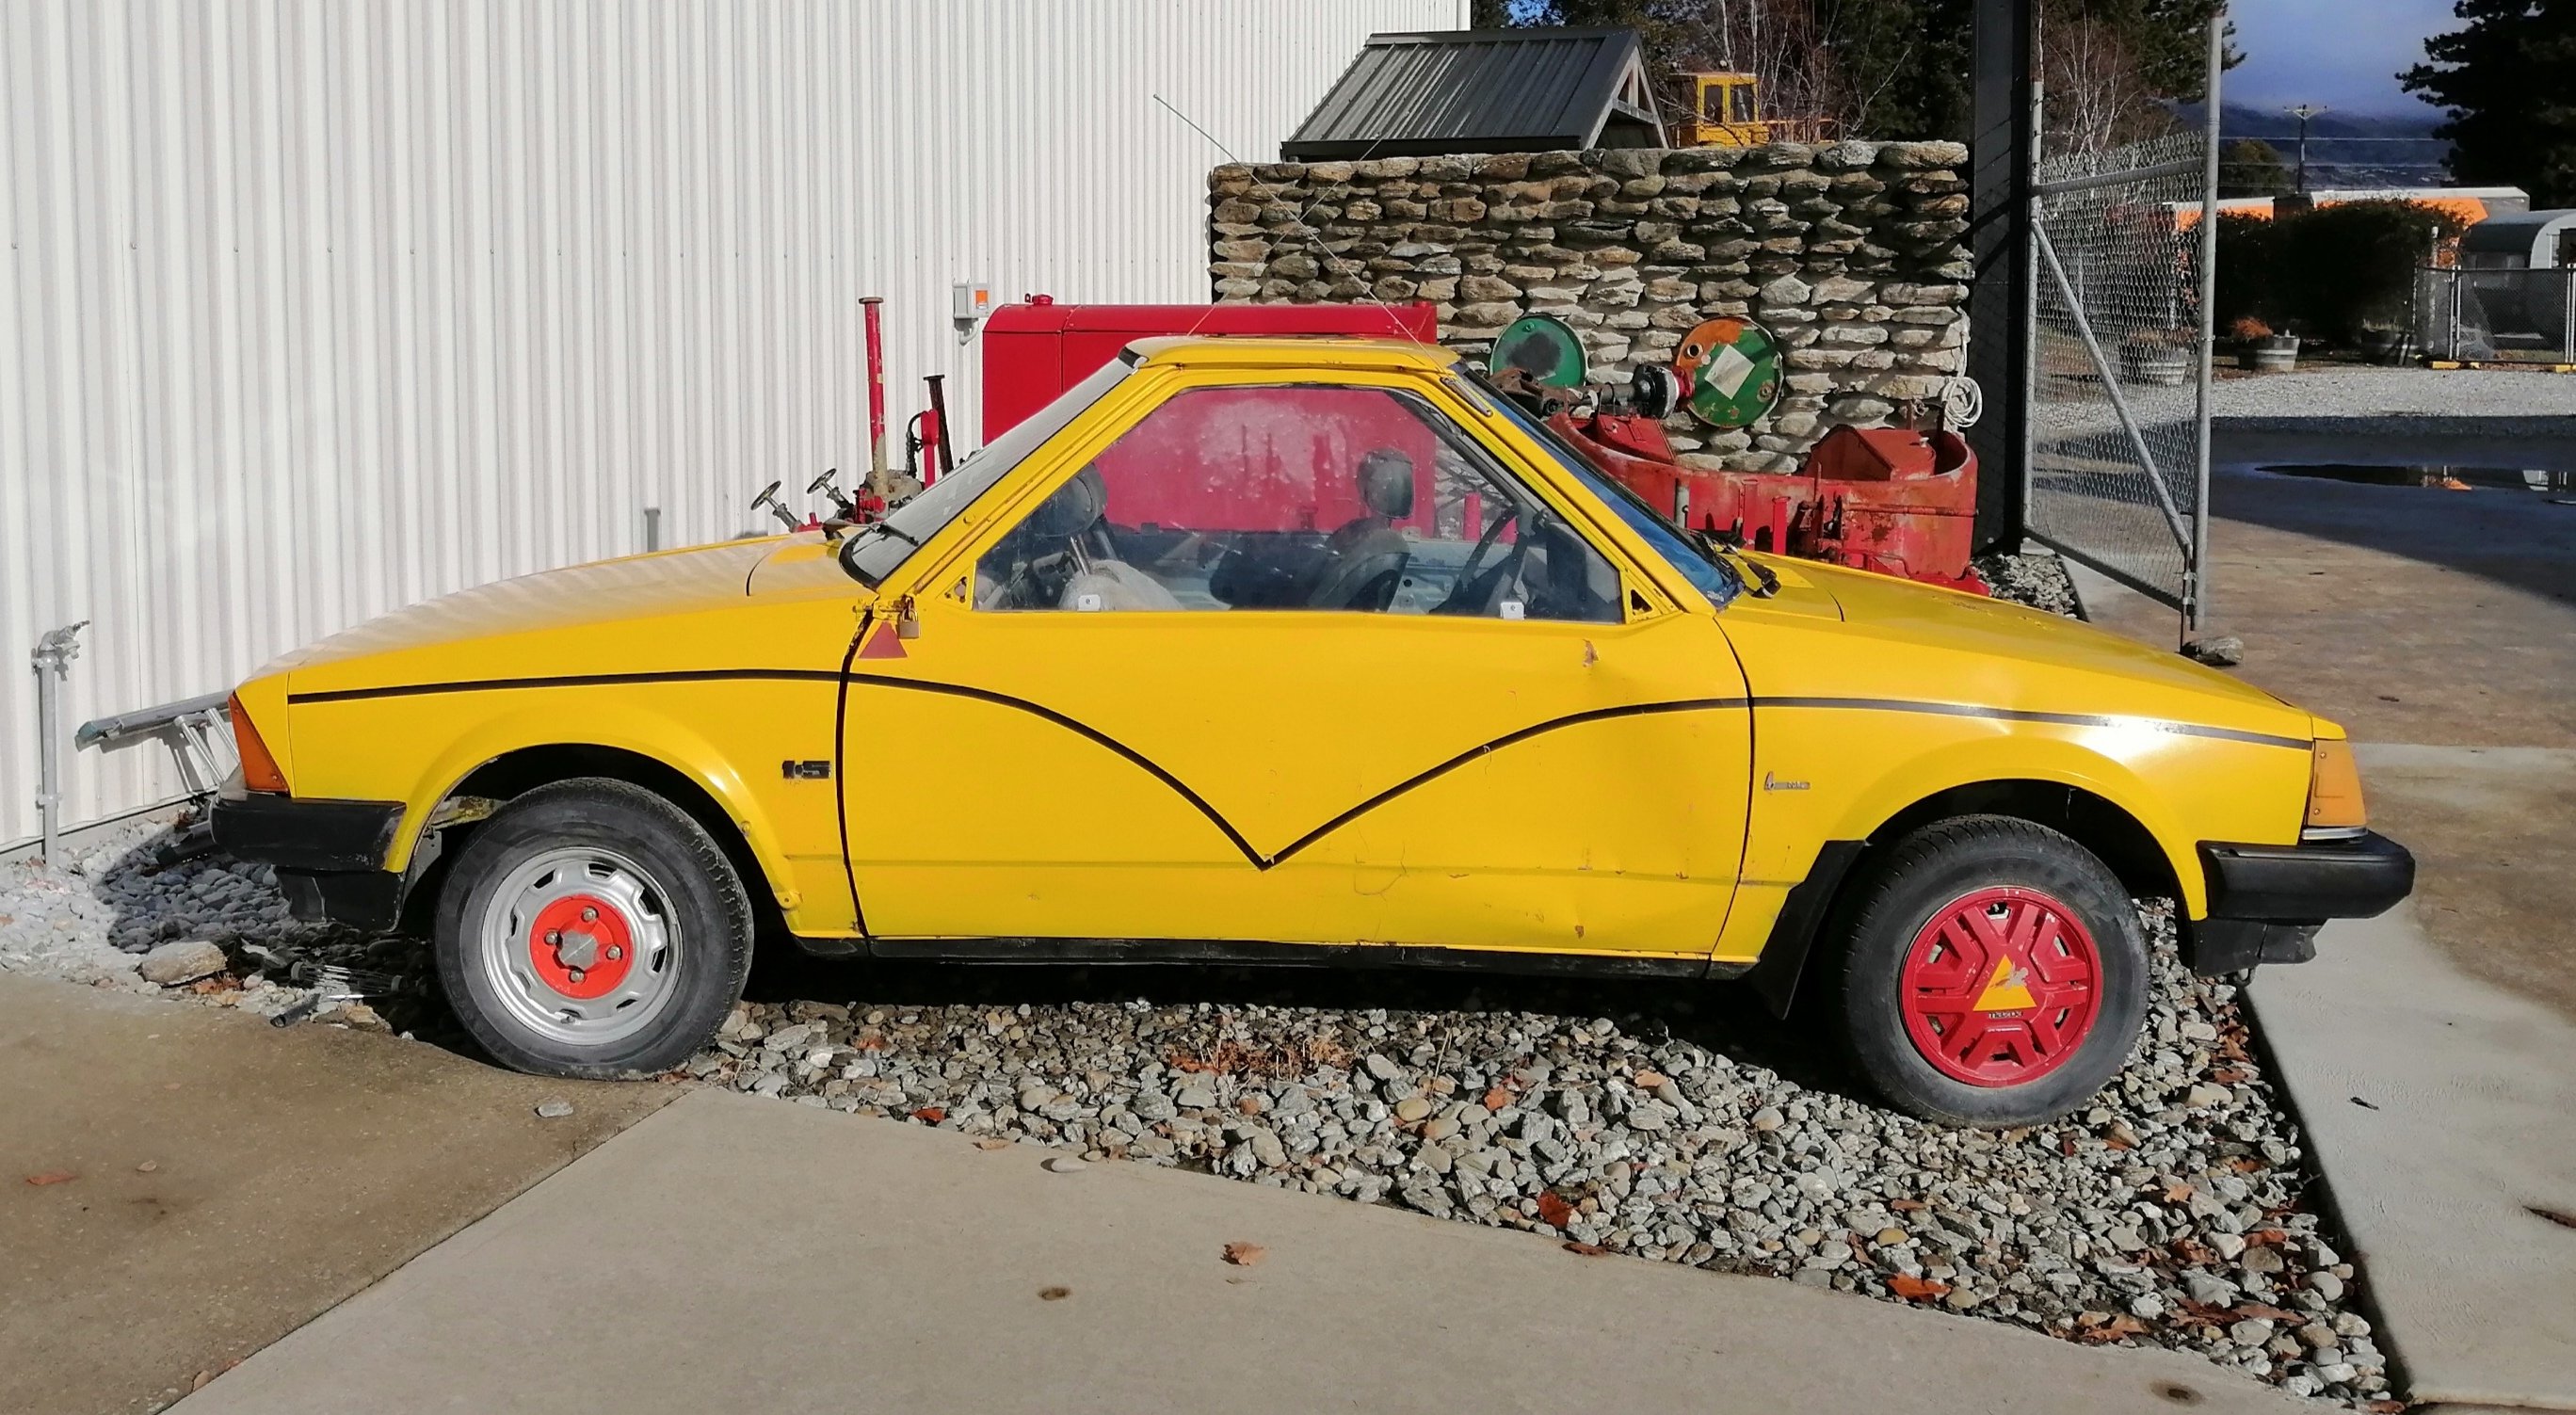
My kind of yellow car
-
9
-
-
-
I like big butts.
Manual like a man and sounded good.
-
8
-
-
- Popular Post
- Popular Post
So working on sorting out the brakes, I bought a new engine...
Rebuilt pinto, new +0.020" pistons, arp conrod bolts, lightened rods etc. Not a 205 block, but a bare 205 block was thrown in. Nice!
It was came with a car a mate bought that had 3 ute loads of parts! I had to rescue it as it was getting damp and starting to rust in his shade shed...
Actually almost on the critical path was a new water temperature gauge as the old mechanical sender unit for the mighty essex V6 does not come close to fitting the pinto.
I was also a bit nervous of the 10 year old thin plastic tube for the mechanical oil pressure gauge. Hmmm, if that has on oops the oil pump will merrily pump the oil out of the block, rather than through the bearings where is it rather needed.
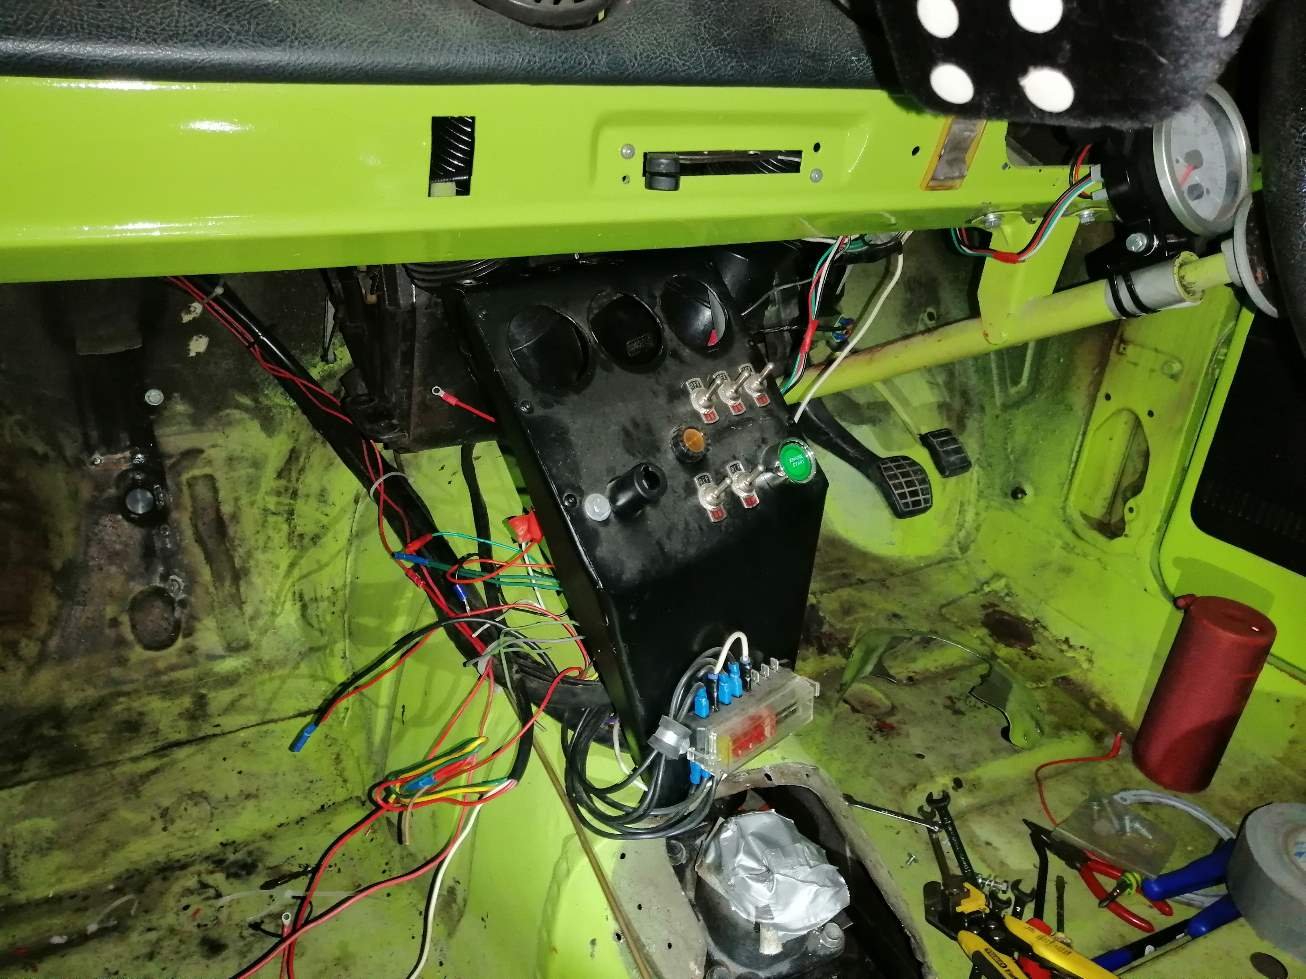
Well, if I am going to replace two gauges I might as well get a matching volt meter as the old ammeter was never wired in.
So a Xmas pressie was asked for and a nice avo spent playing under the dash.
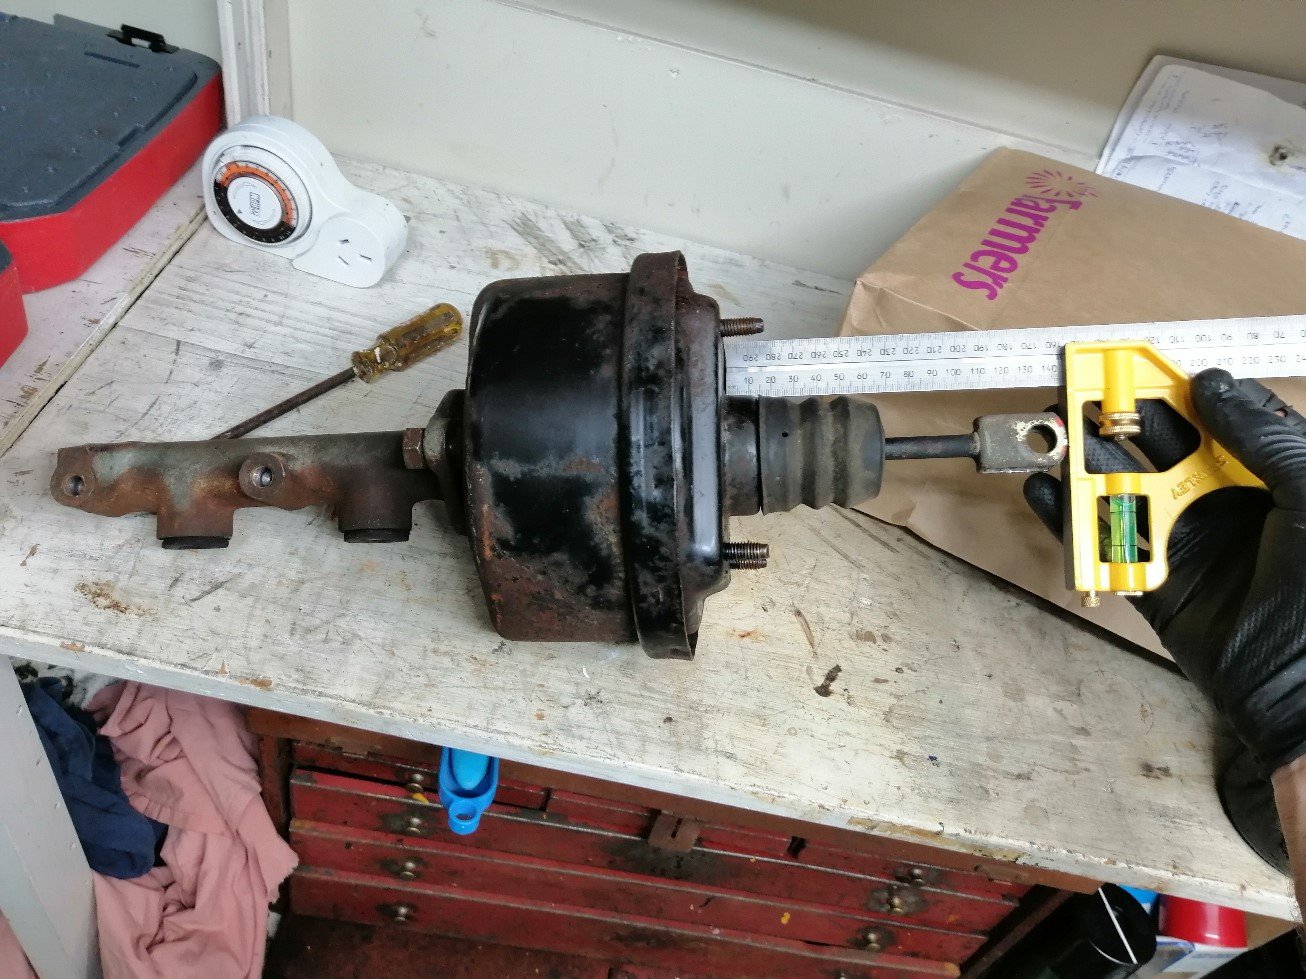
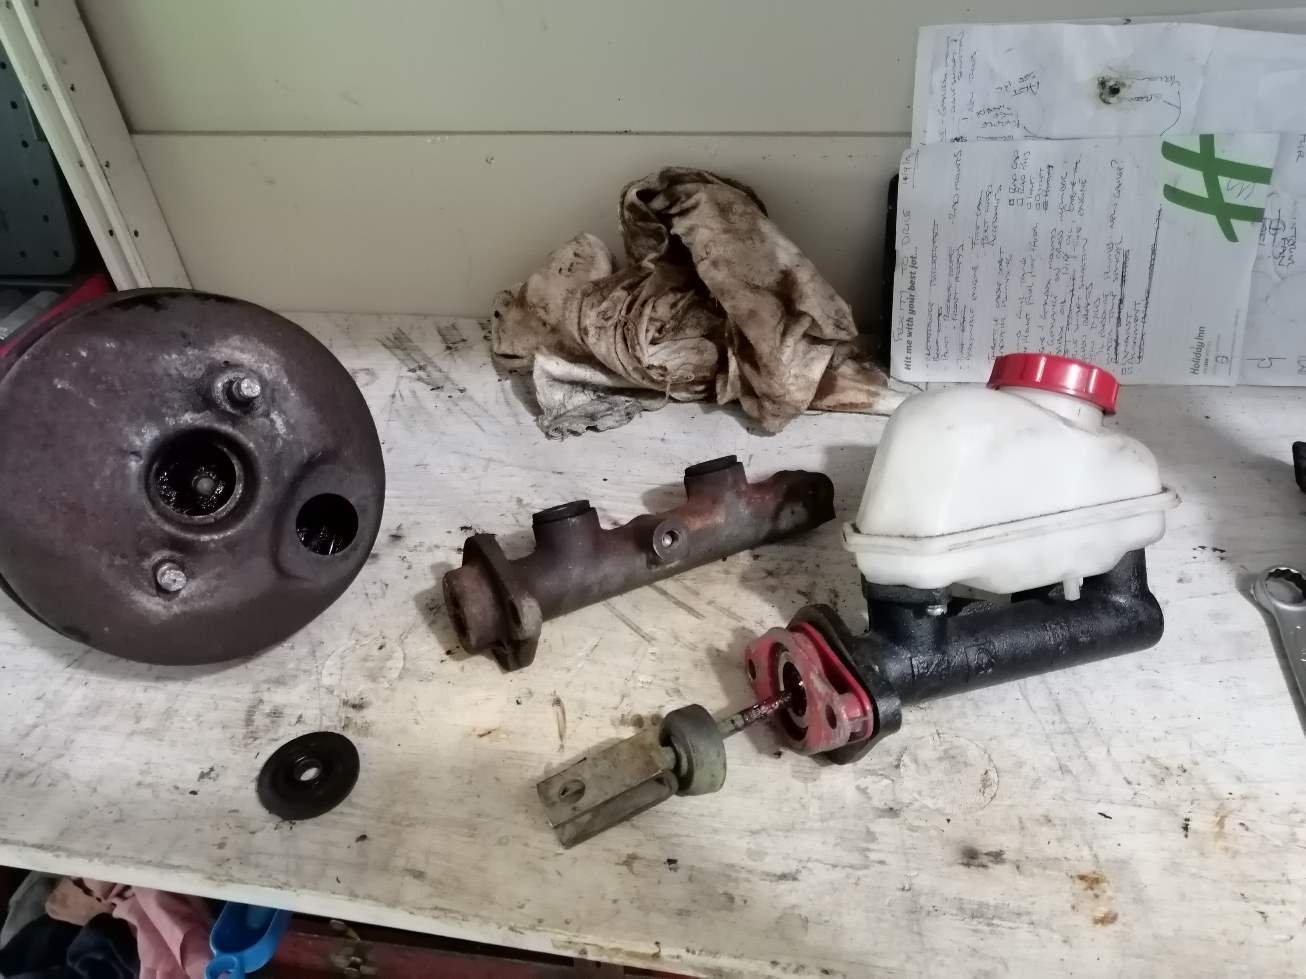
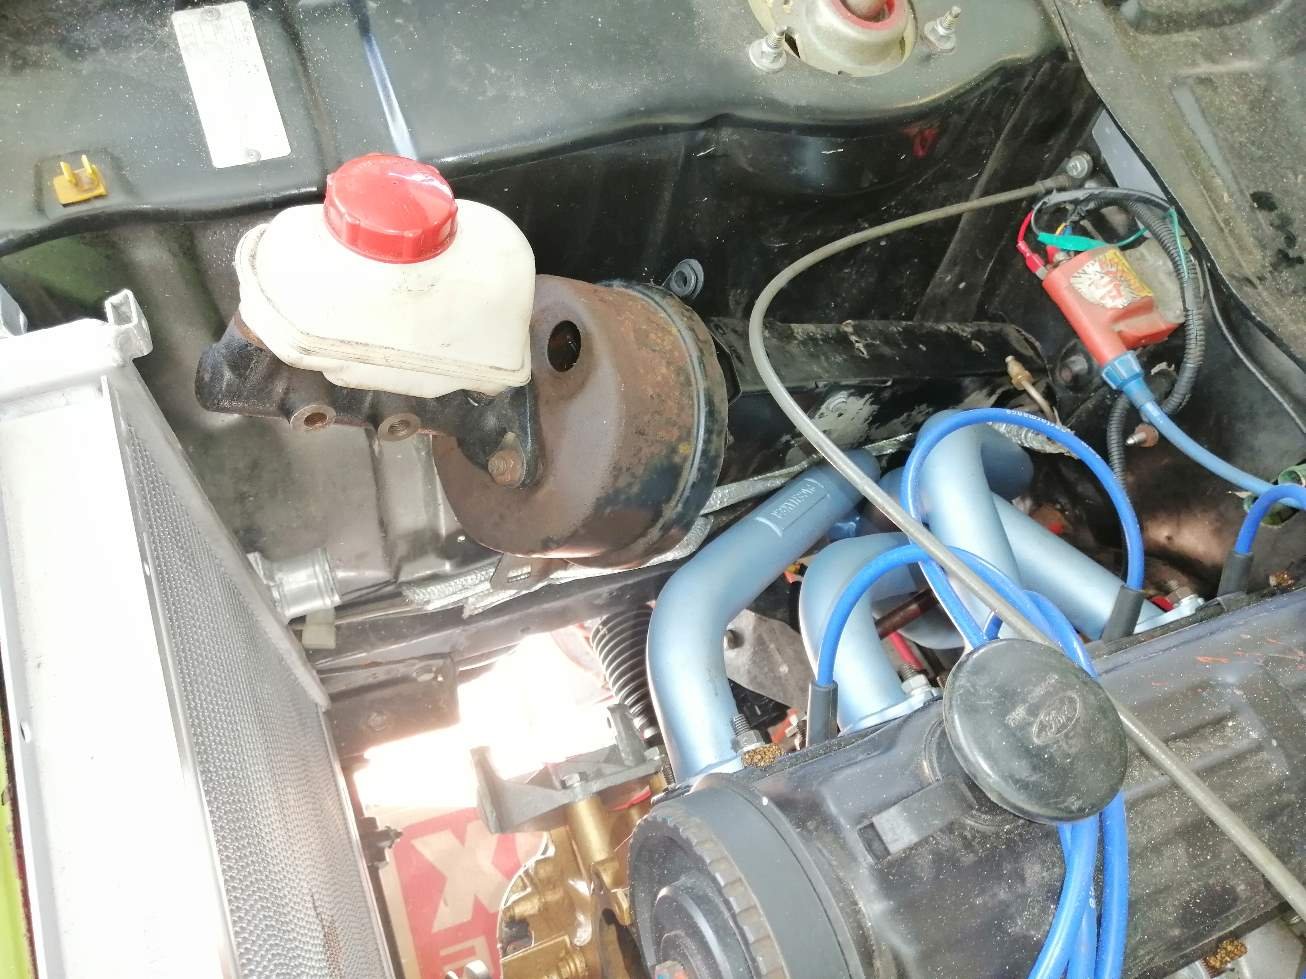
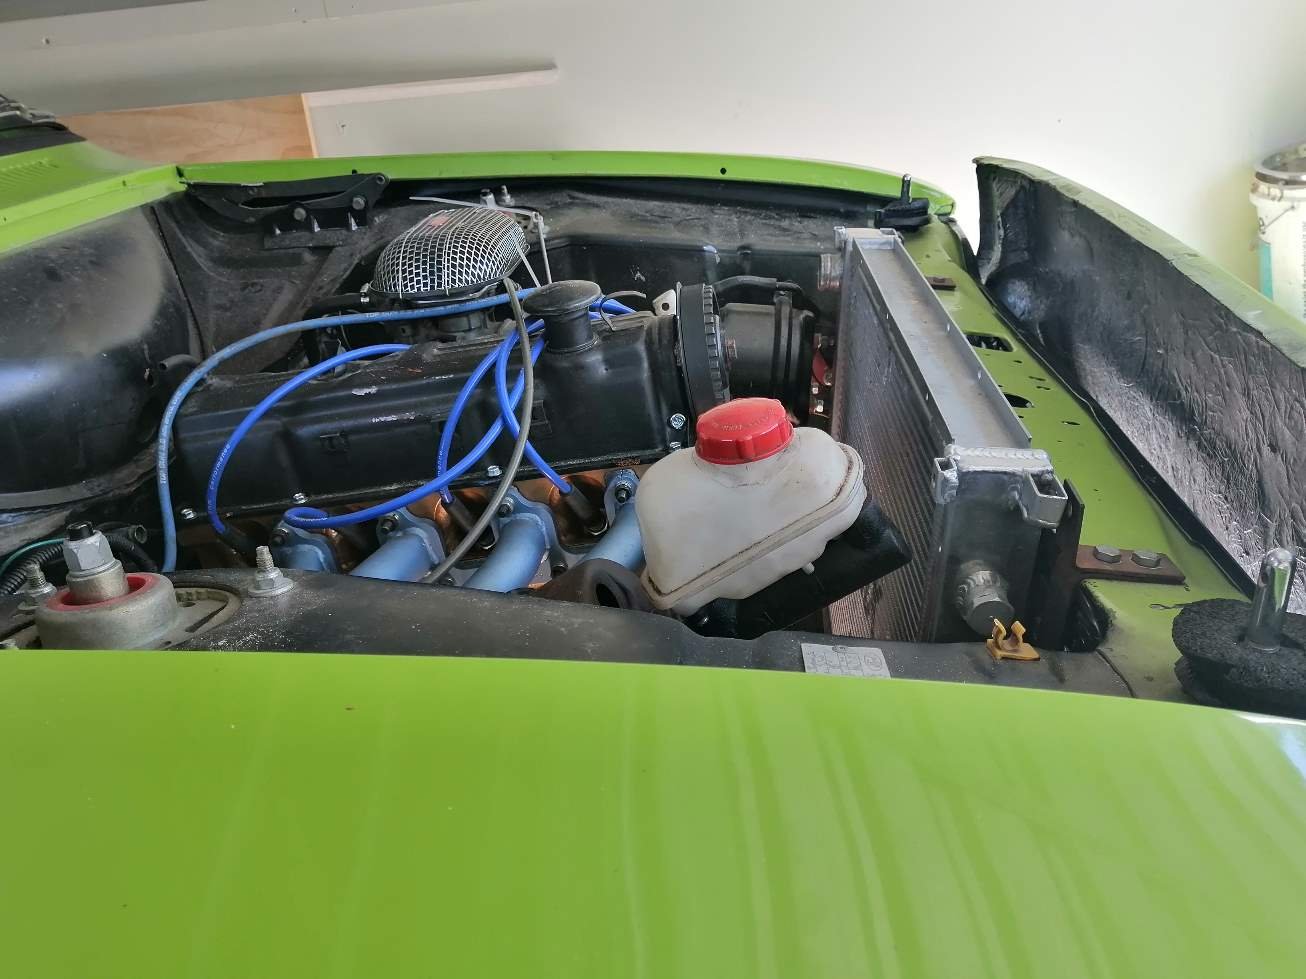
Back onto the critical path to driving I finally persuaded the brake booster to let go of the master cylinder. Phew.
Mocking up the Mk2 brake booster tower and oh dear.
The first push rod looks to be too long, the booster diameter clashes with the inner guard, it still really close to the new headers, and my oddball master cylinder reservoir does not allow the bonnet to close. Bugga.
What's the chances someone has a Mk1 escort, cable clutch, certifiable bias peddle box they could be persuaded to part with...?
Or a Mk1 booster tower with hopefully a good booster and master cylinder? -Booster can be non working as I may just use it to mount the master cylinder.
-
10
-
- Popular Post
- Popular Post
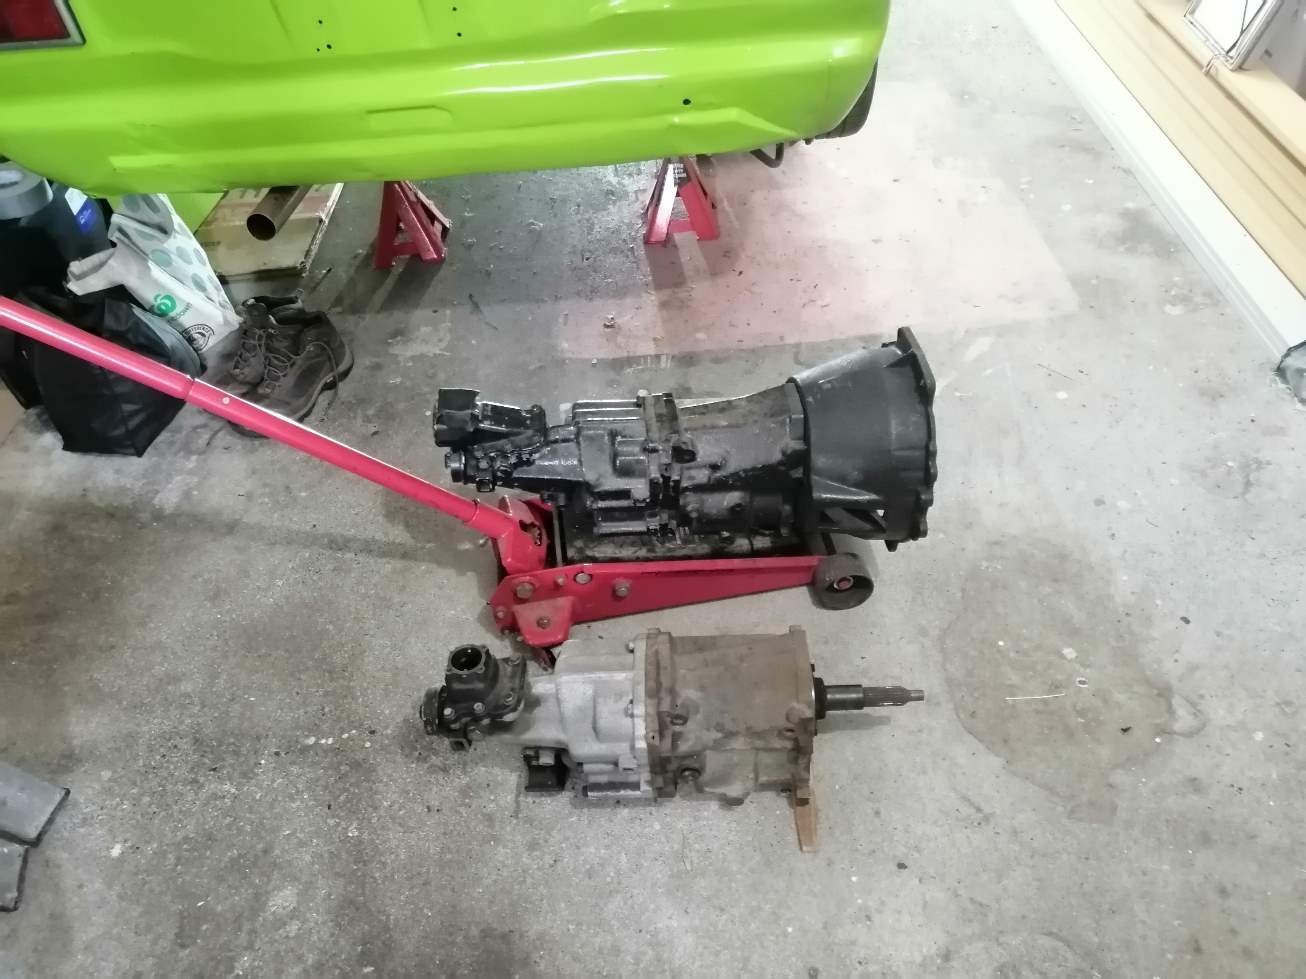
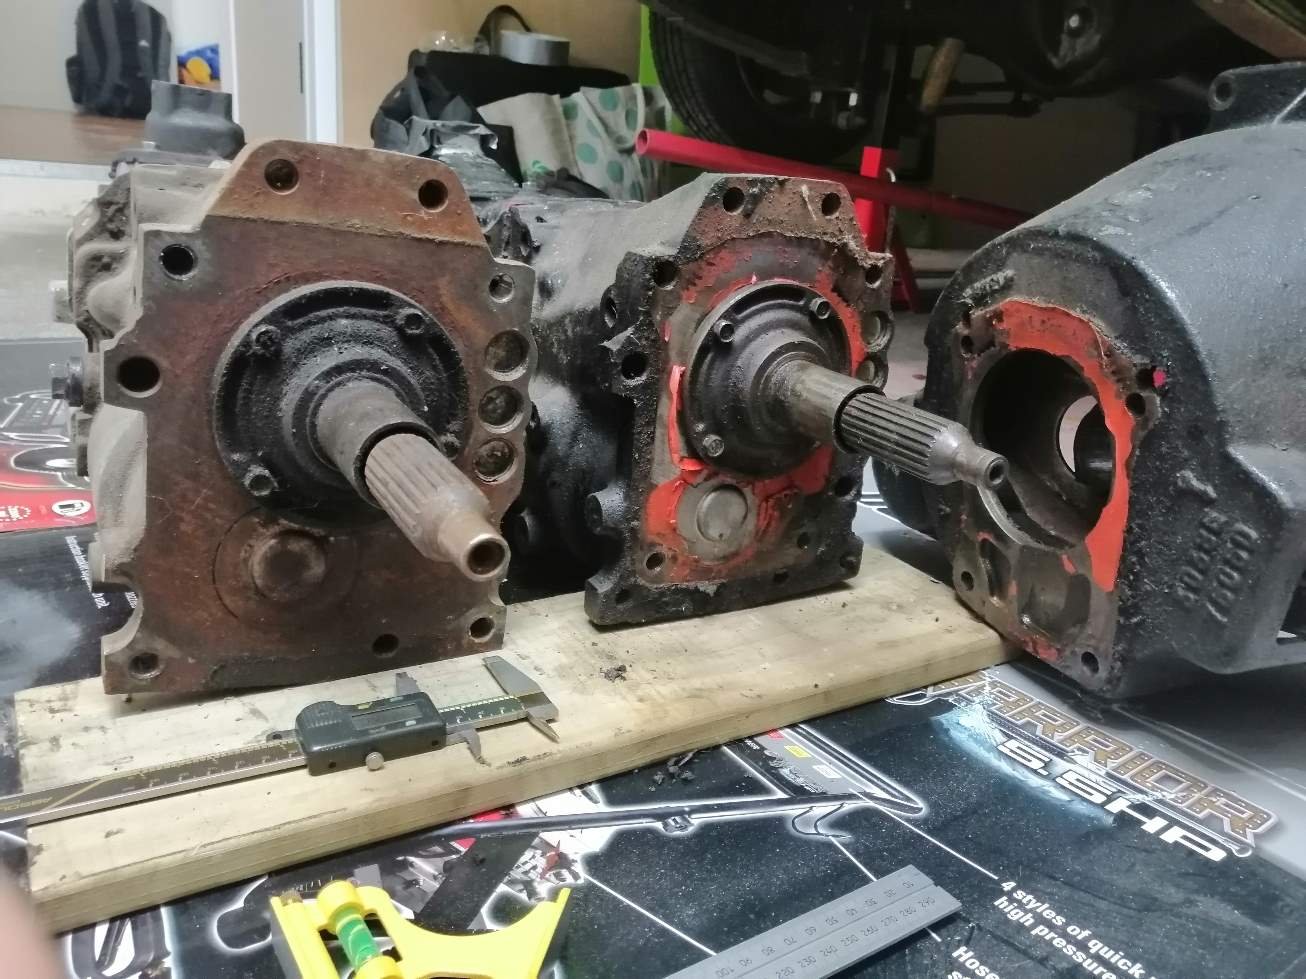
Gear box out. Just change the bell housing and sorted.
Um, no. My gearbox has an extra two tapped holes to mount the bellhousing to and the output shaft looks to have a smidgen taken off the end. Unsure on the red gasket goop? The bottom two holes do go through into the case so I put a little around them when reassembling them.
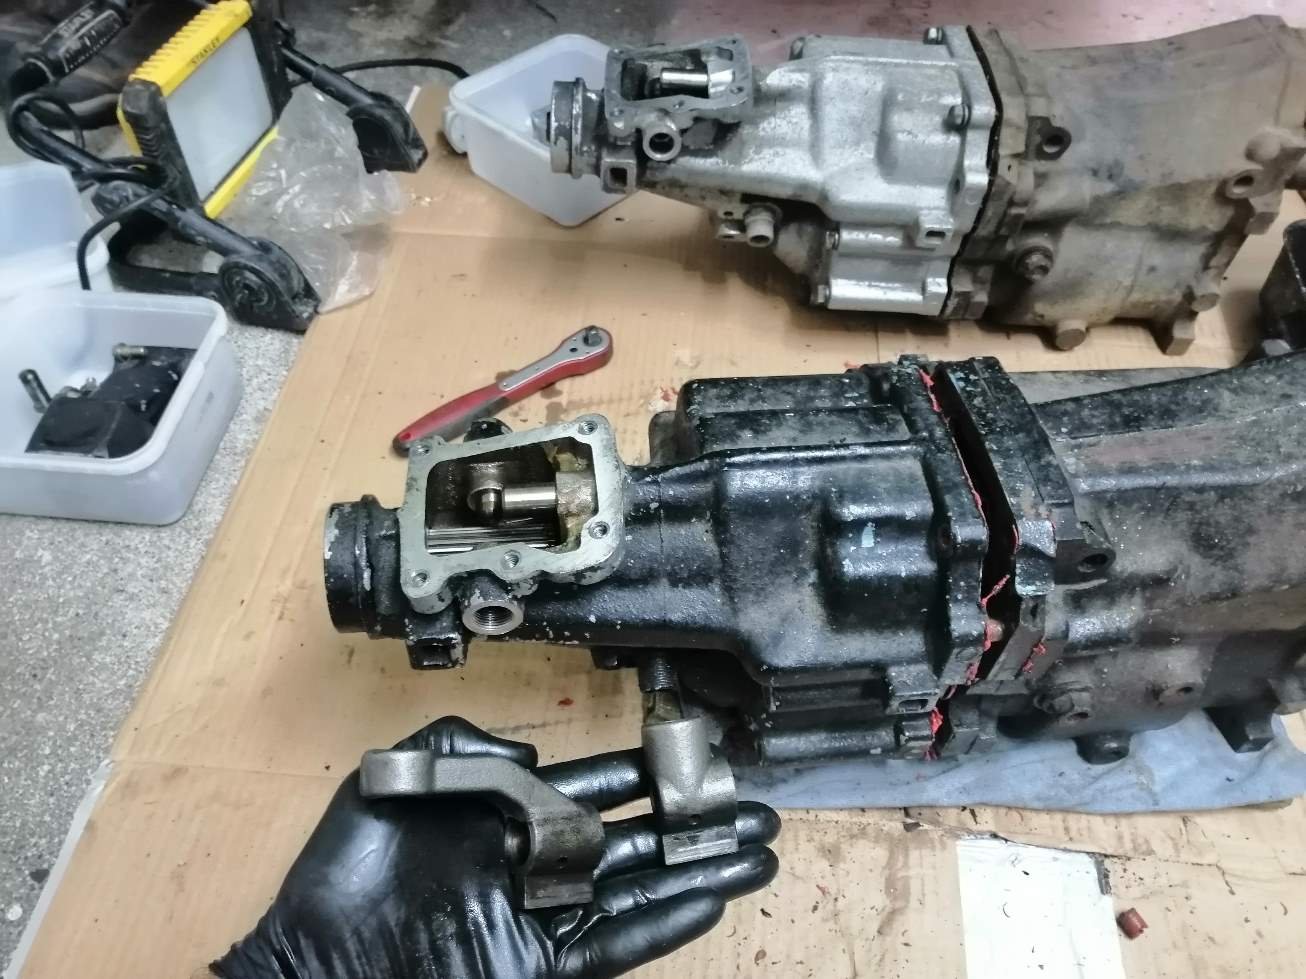
Time to do it the hard way. Split both boxes and swap over the shifter lever housing and the actuator underneath.
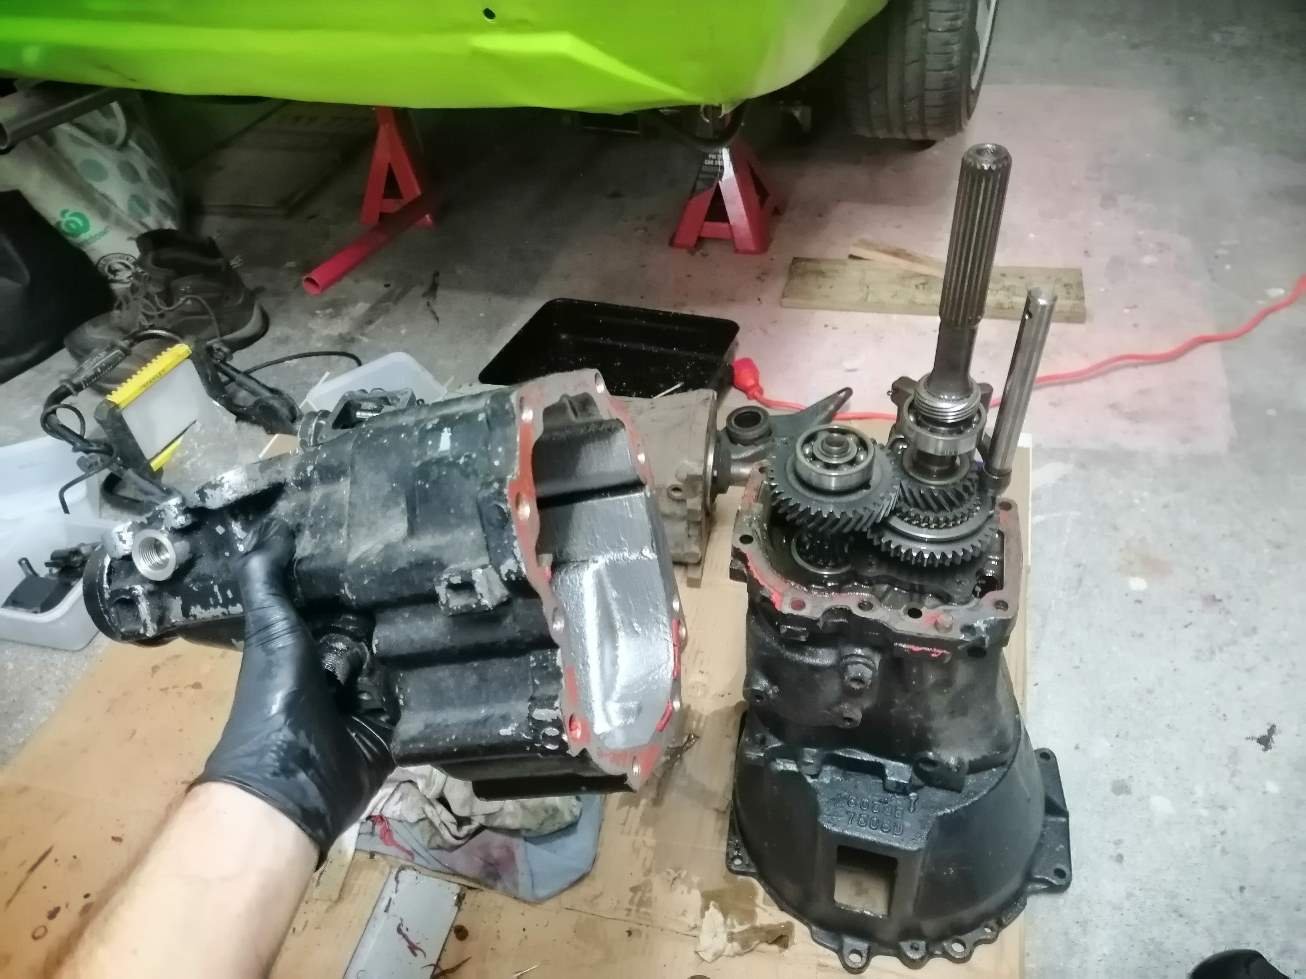
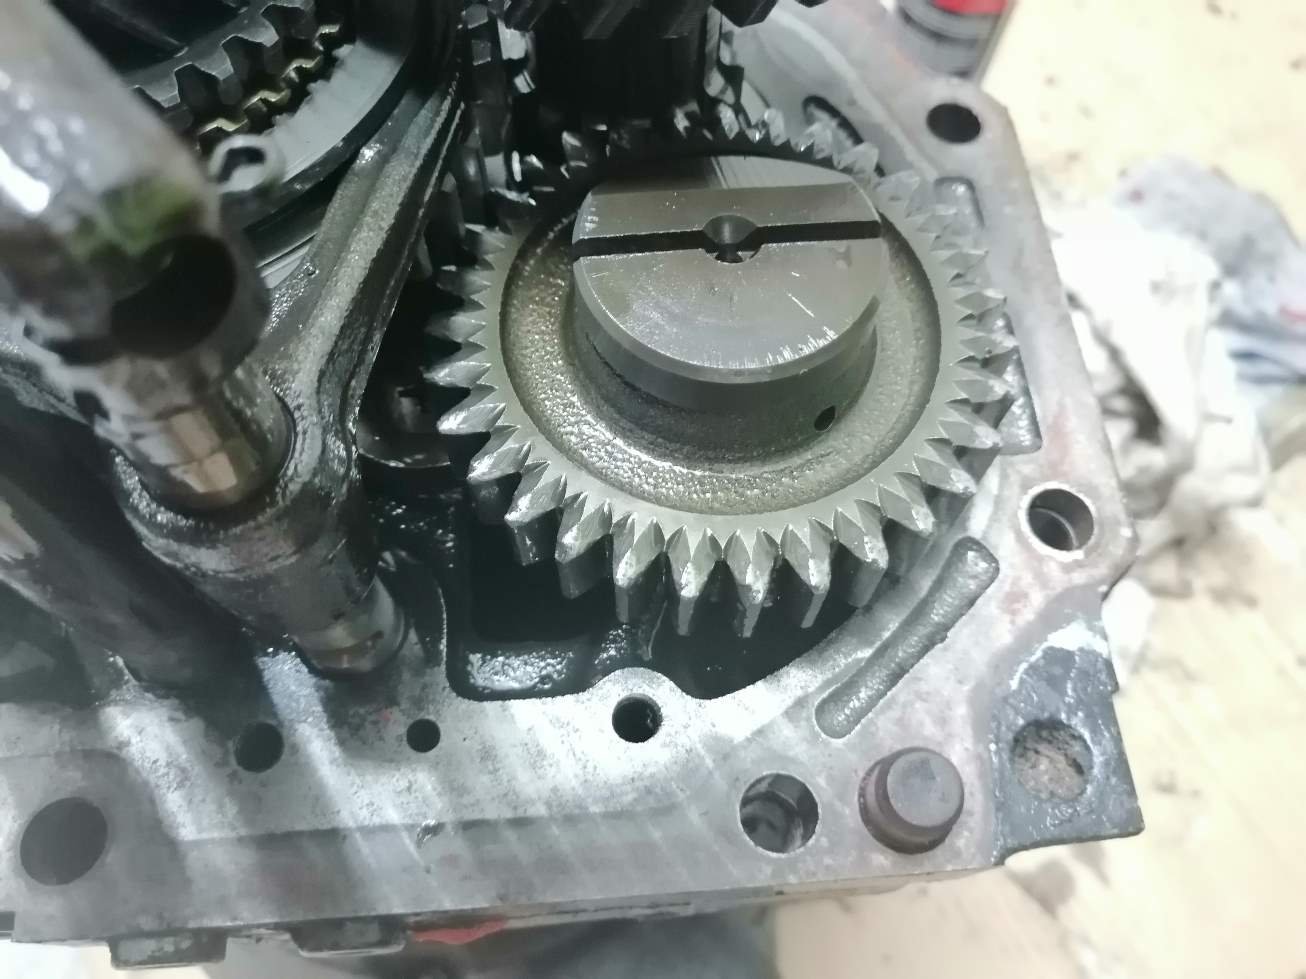
Only had to split the case a little to get the actuator out. But need to get it fully apart to clean up the gasket faces. New territory for me as I have never pulled a gearbox apart. How hard can it be...? -Thank goodness for YouTube!
Hmmm, those chips don't look ideal. And had a more that I would like stuck to the magnetic bung.
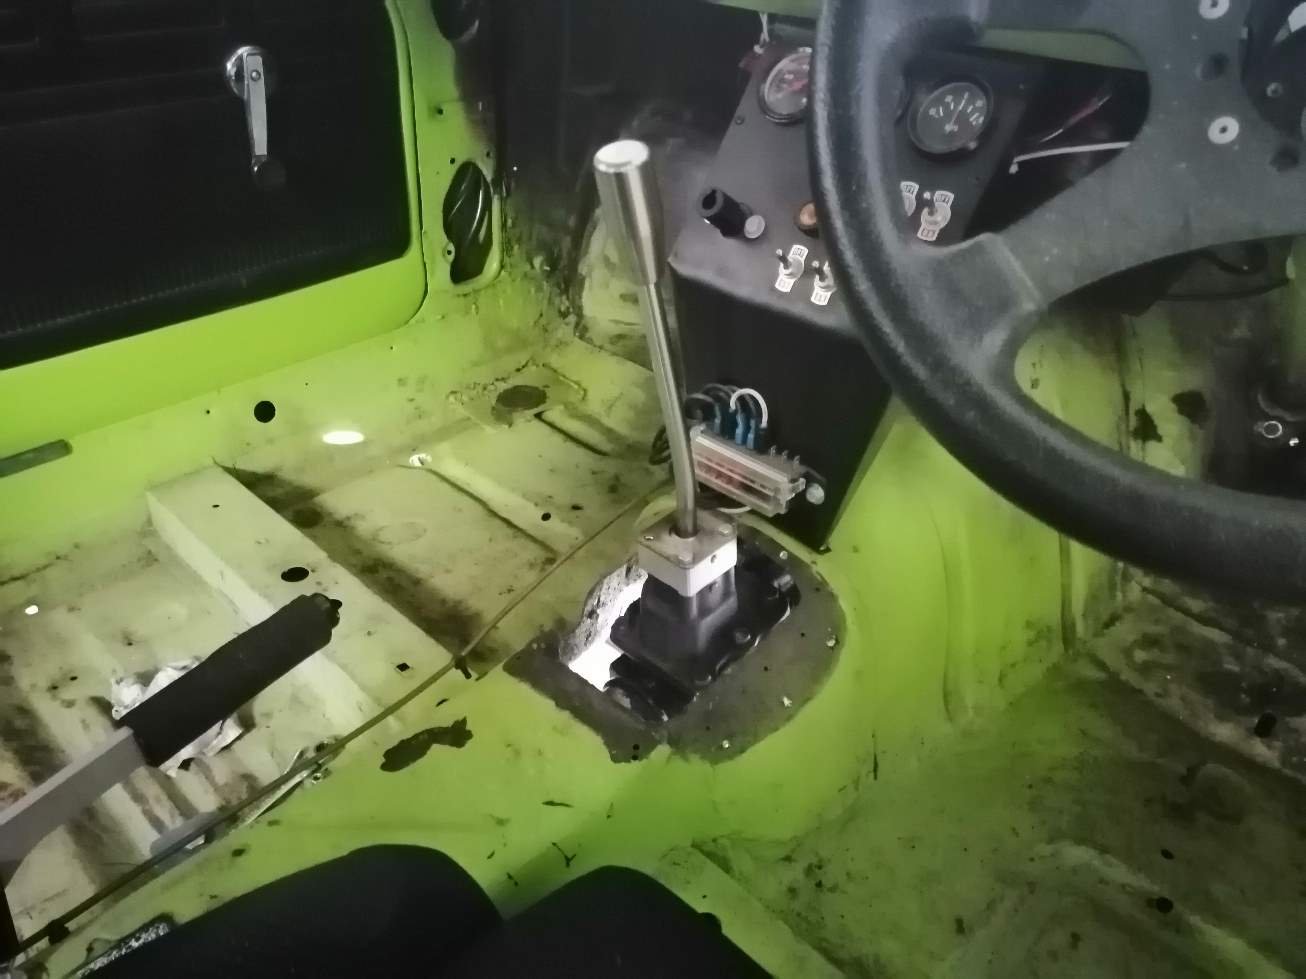
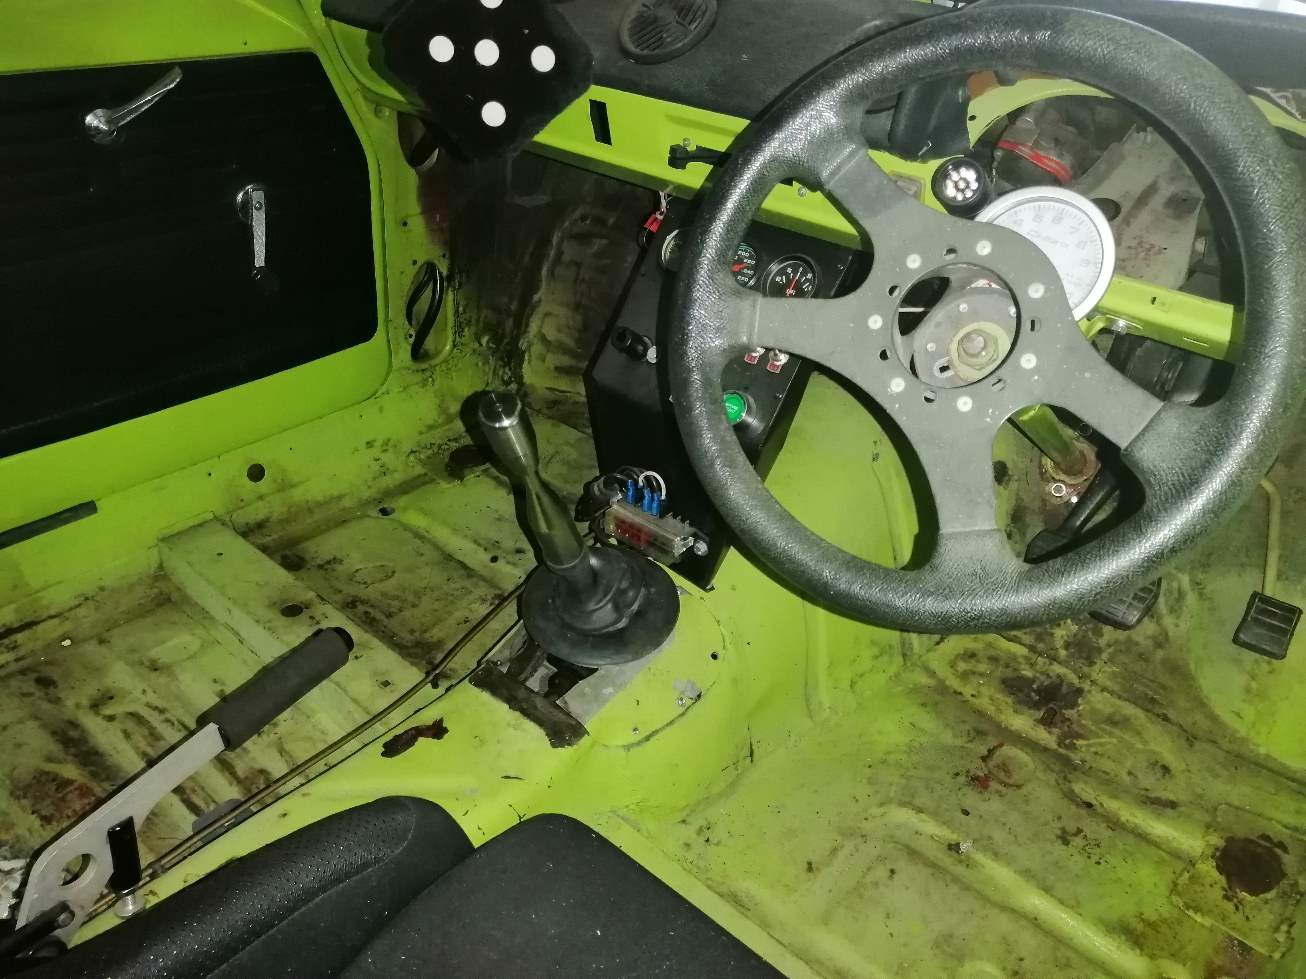
Lots of swearing and muttering later to get the gearbox lined up on the engine and its back in the car. Phew. Now that is a better shifter location.
I will use the standard shifter for now rather than the quick shifter as I hope it will be easier for the kids to learn and find the right gears.
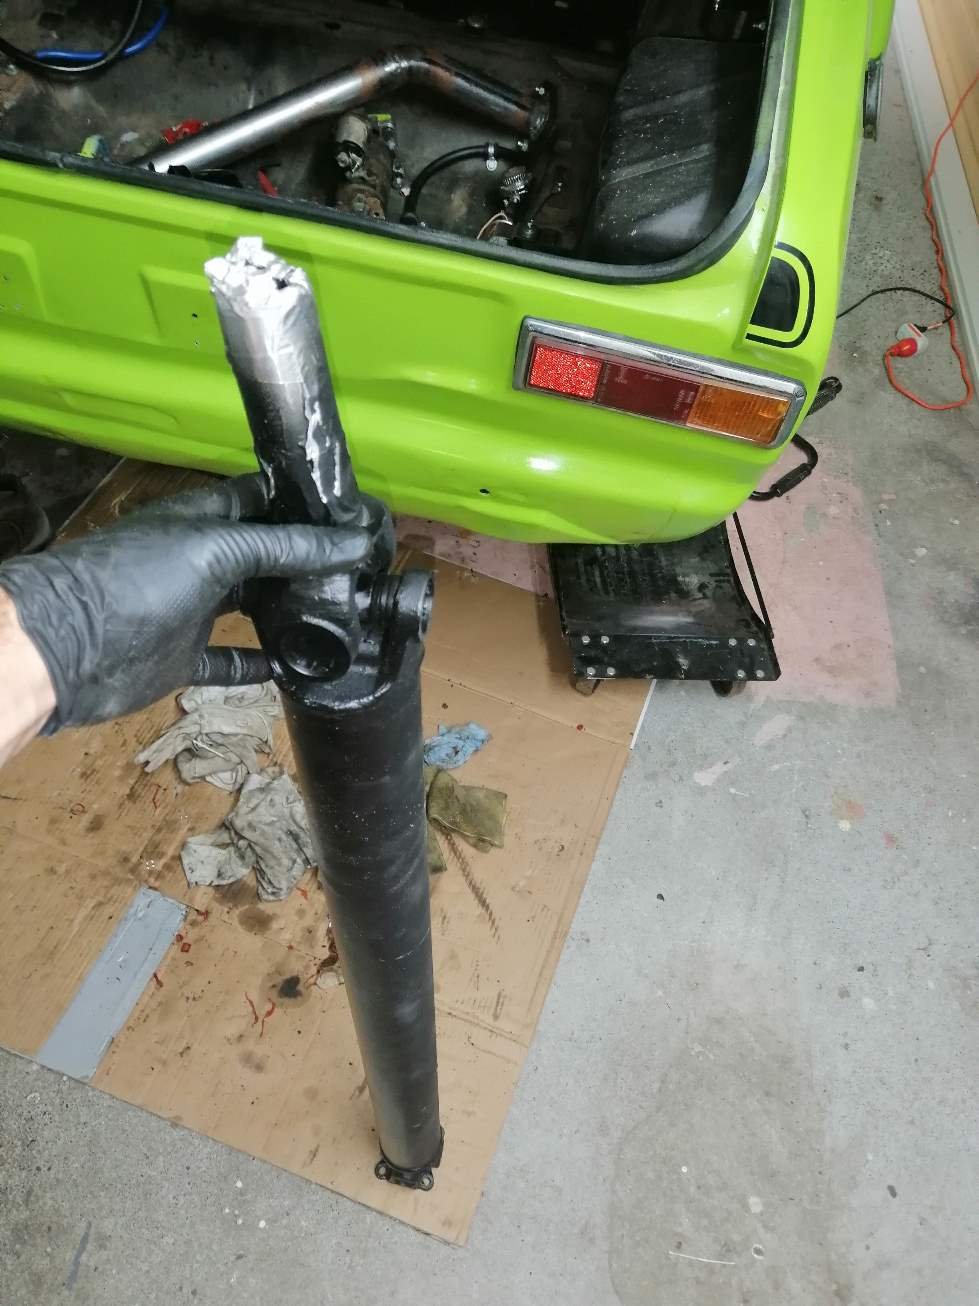
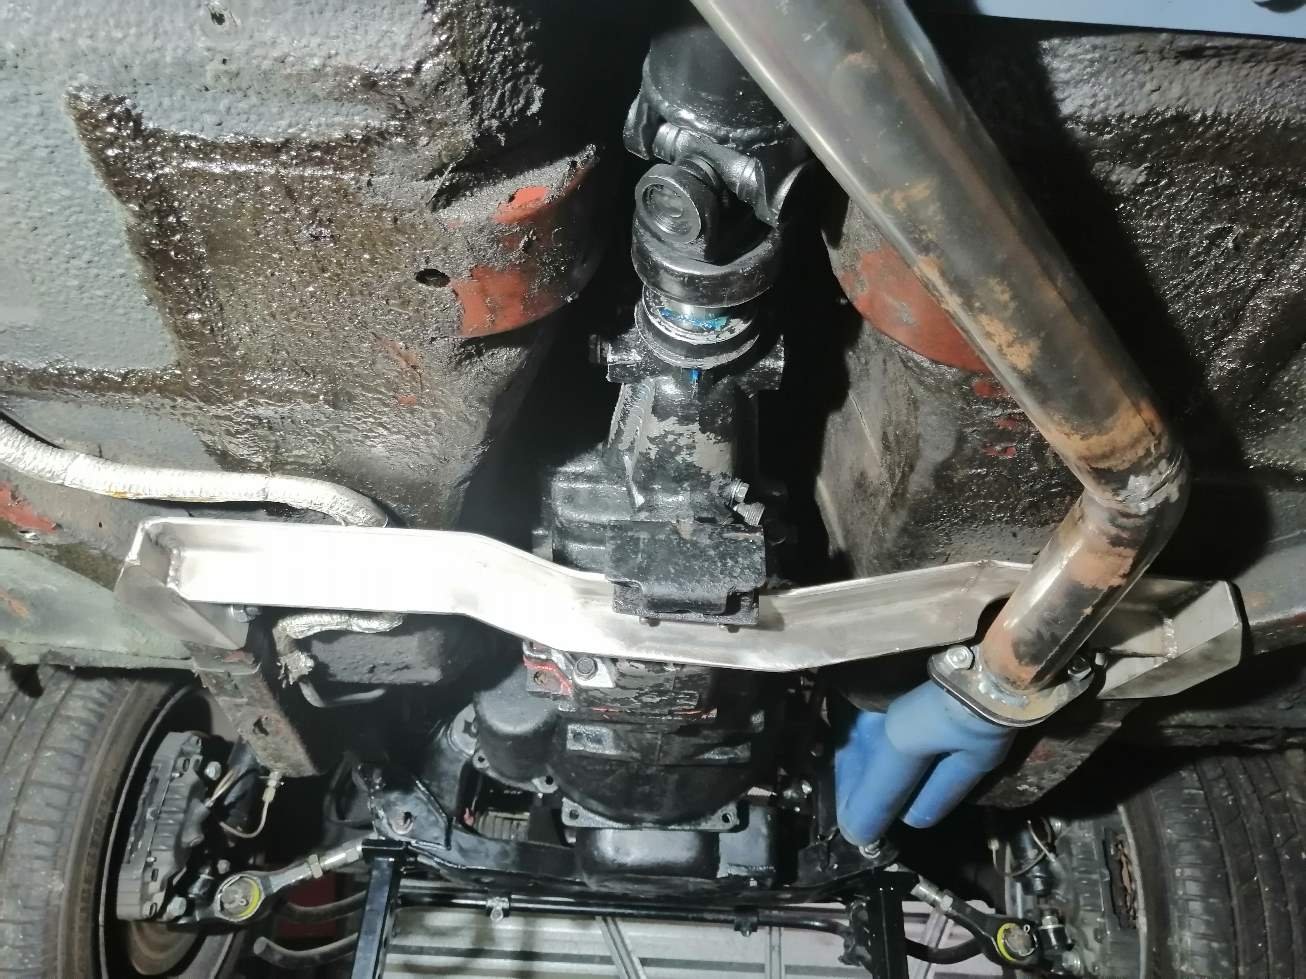
Yay! Happy driveshaft day! The shop took a silly long time to do it, like over 3 months. Ah well, I wanted a good job at a good price, not a fast job. Ended up needed some new universal joints and the bill was not too bad.
And the drivetrain is all together for the first time! There is a big gap between the end of the gearbox tail and the shroud on the driveshaft. Heaps of engagement though so not about to send it back for another 4 months.
-
11
-
- Popular Post
- Popular Post
Two of a mates 3 white Mk1's. The latest is the twin cam race car with some provenance on the right...
-
14
-
- Popular Post
- Popular Post
This old Harley was so cool it deserves two photos.
Would be quite testing to ride I think...
-
25
-


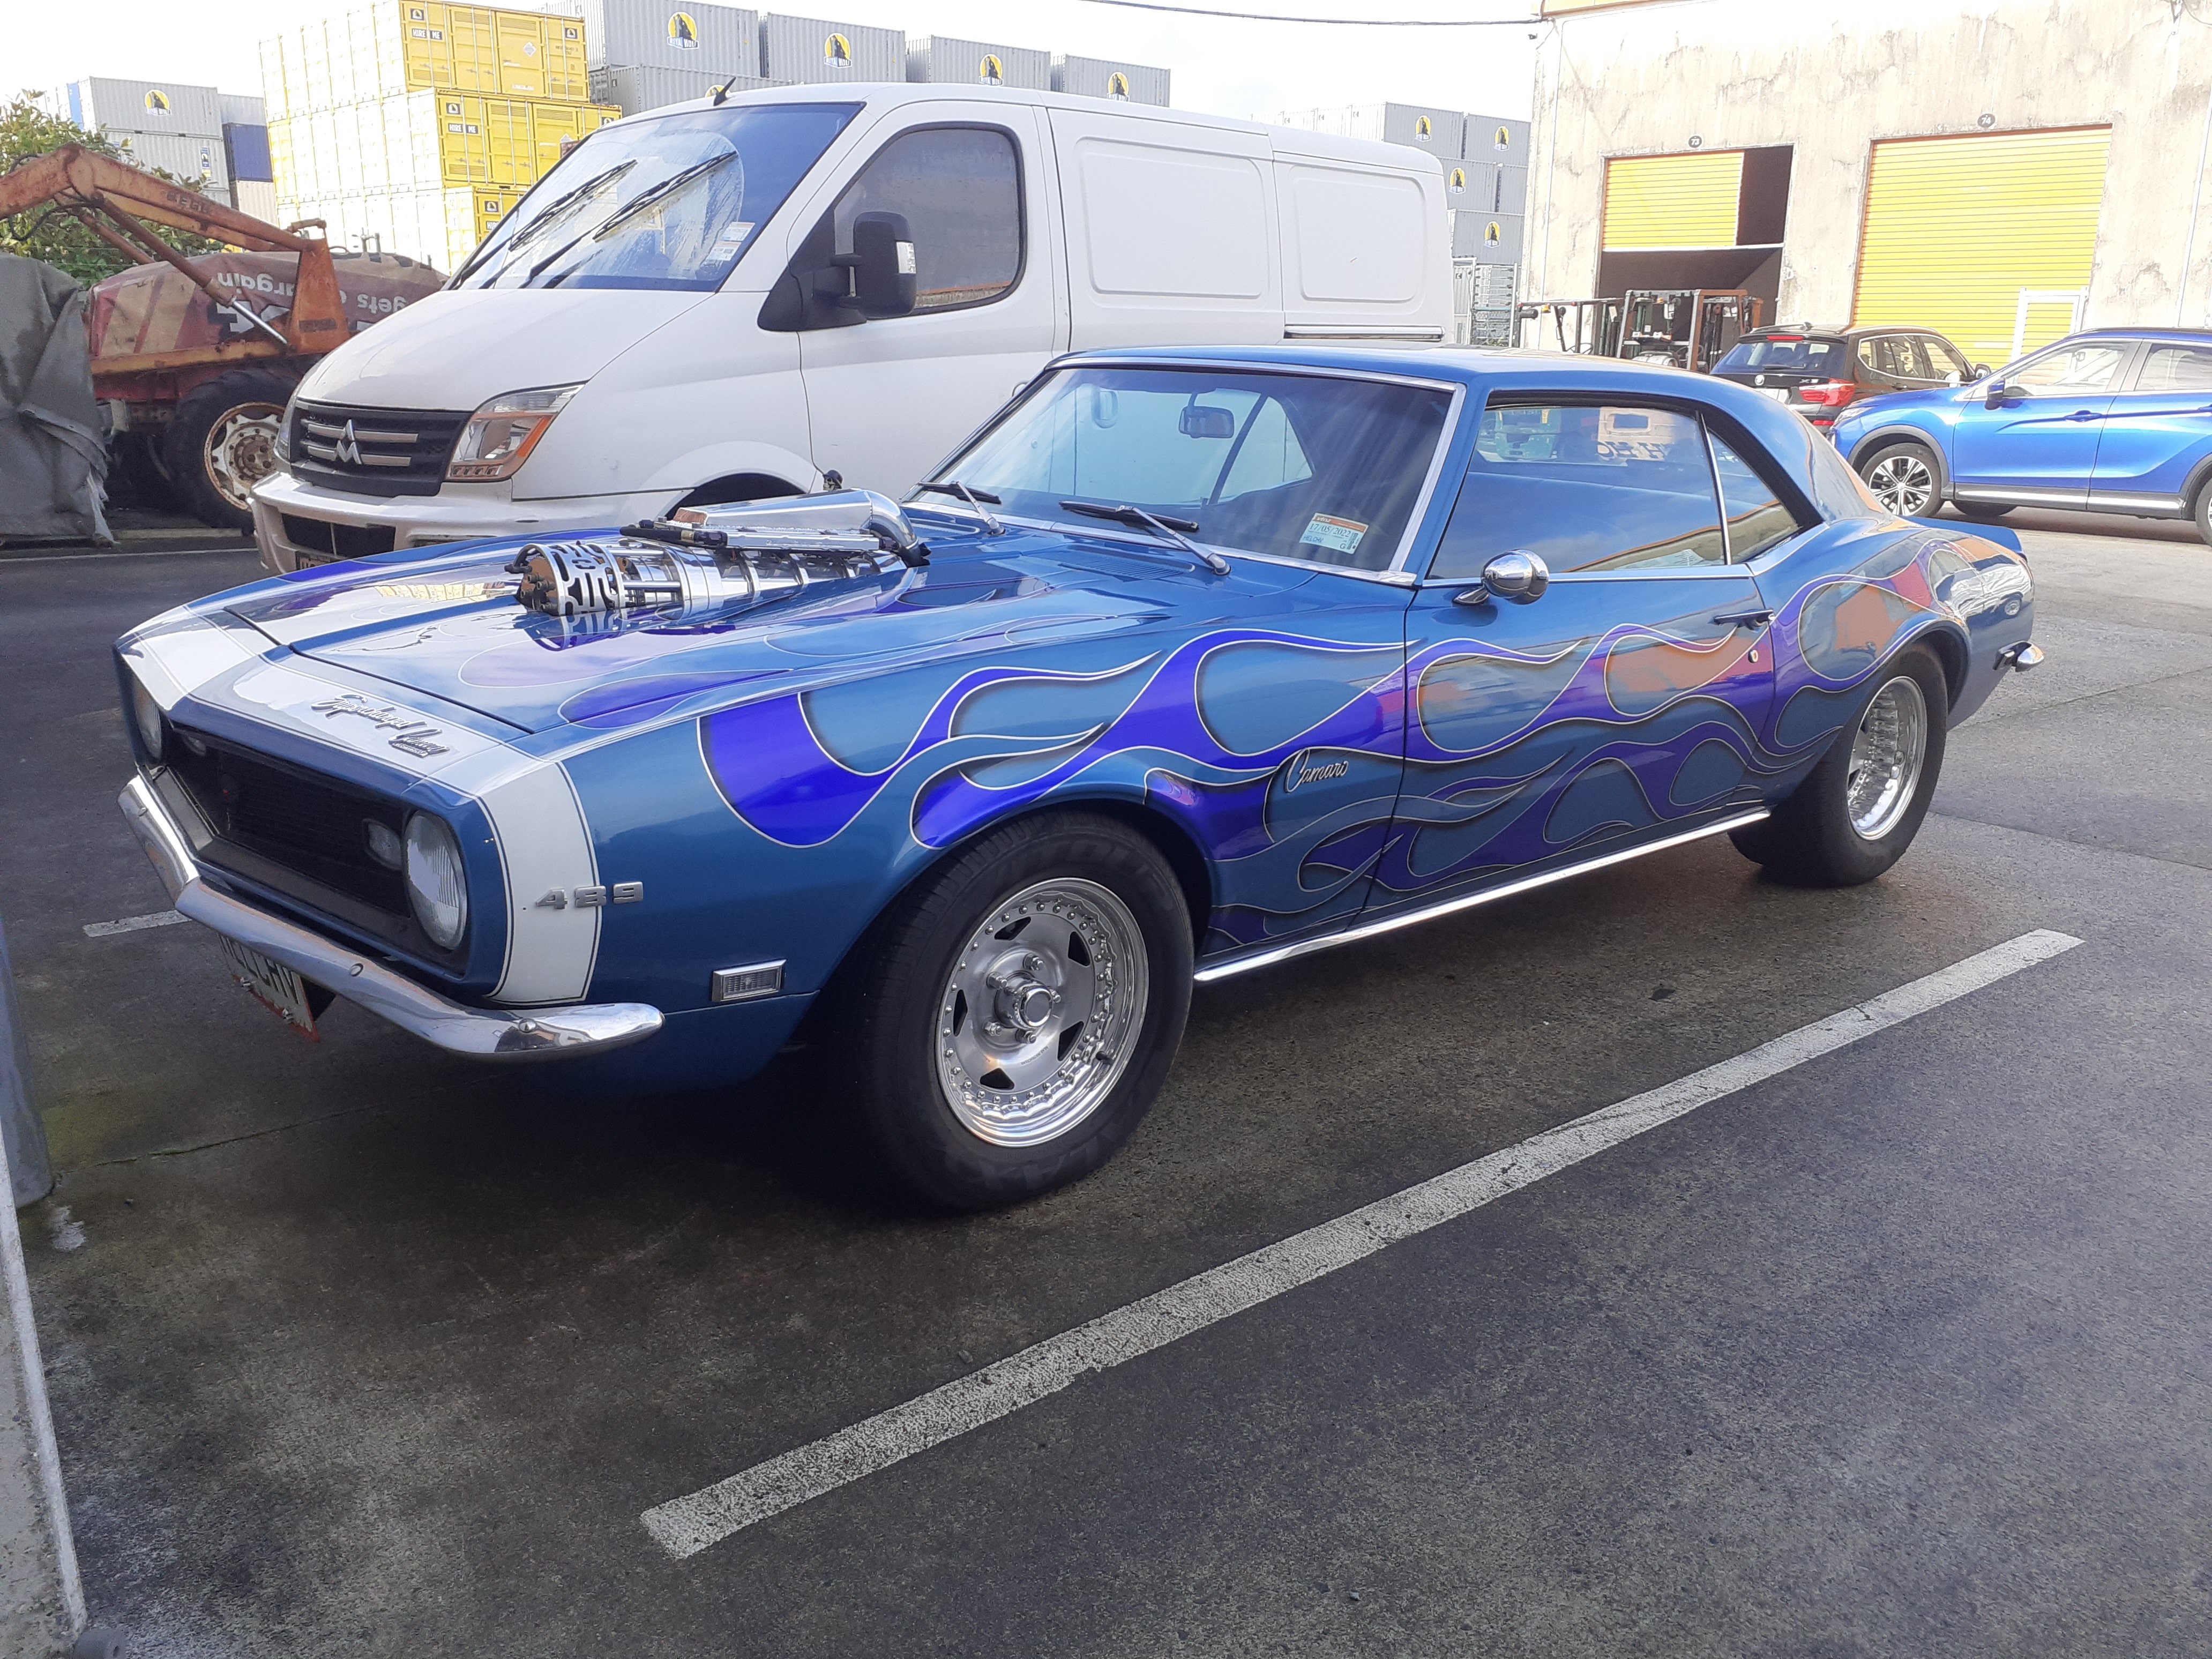


YELLOW CAR!...
in General Car Chat
Posted