-
Posts
1,136 -
Joined
-
Last visited
Content Type
Forums
Downloads
Events
Gallery
Posts posted by Esprit
-
-
Hell yeah. Being another ex-UK Lotus I'd be terrified about taking anything off for fear of what it might look like underneath. I imagine George would have cast an eye over it ensuring it all appeared to be in good order pre-purchase?
It's very NZ-spec underneath. I'm pretty sure it didn't see any winter running in the UK, at least not enough to corrode any of the usual bits that suffer.
-
Refresh it over winter?
It's a tarp!
-
*like*
-
It was an AP uprated one, but nothing major. I've heard of another failure of a near identical car to mine built at the same time, and we suspect a bad batch contributed to the issue..... once I've got it opened up I'll analyse the fault..... theoretically this clutch should be just fine at the power/torque i'm throwing at it.
-
Well, not much has been going on this past month so, I've been working some pretty insane hours at work, so not had much tinkering time. Still, I managed to get the car down to Hampton Downs on Saturday for a bit of fun.
My father came up too to share the drive with me so I was very much looking forward to the day! My father especially so, since it was his first time on track AND his first time sitting in a Lotus since he had his accident nearly a year ago to the day that destroyed his beloved Elise and nearly killed him.
The car ran pretty well for my first session on track. I'm still plenty rusty and need some more seat time, but I managed to carve another second off my best laptime, and am now managing very low 1:15s laps, even when a bit messy. The car as is should be capable of at least a second quicker again when I can get my eye in. Not too bad for a compromised road/track setup and 5 year old tyres. Some new semi-slicks will see the car run even quicker I think.
Here's the video of my only session on track, you can see how skittish the car is on cold tyres on the out-lap!
For the next session my father climbed aboard. His first few laps were very cautious as he started to get used to an unfamiliar, and much quicker, car than his old Elise. He was pretty rusty, but he was having fun!
On about his 5th lap however, when exiting the sweeper, this happened:
He couldn't get a gear at all and coasted the car to a stop. Once stopped, all gears selected just fine. He was able to select first, start the car and limp back to the pits.
Once there we figured something was up with the clutch hydraulics, perhaps a master cylinder as it was possible to select gears (albeit clunkily), and the bite-point of the clutch wasn't as defined any more, it was softer and more spongy, for want of a better word, although it wasn't slipping at all. However, after a couple of drives around the car park, the clutch started making some gentle whirring noises and emitting a fair bit of smoke when trying to slip it away from a standing start, which showed that something had likely broken in the clutch itself.
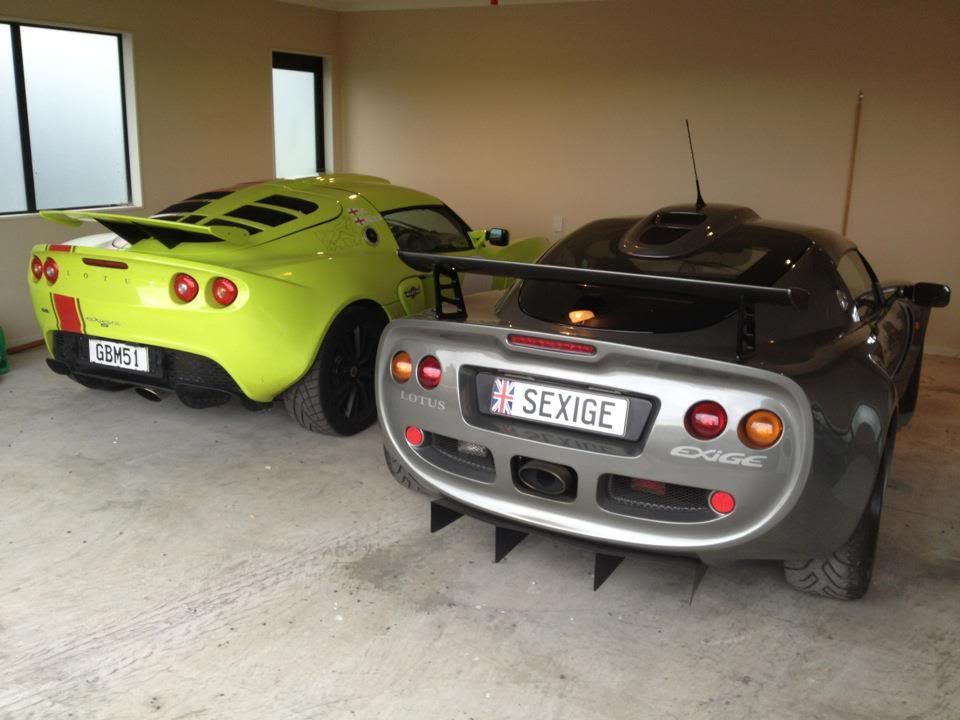
So, we managed to limp it back to JC and Nixx's place in Pukekohe, where it now rests, keeping their machine company:

This weekend, I'll drive it into KW to get Ken to start taking a look at it. I've not got the time or space to do it at the moment (at least not without it taking a couple of months) so it's probably better Ken having it over at his shop for a bit.
Oh well, at least it was fun while it lasted!

-
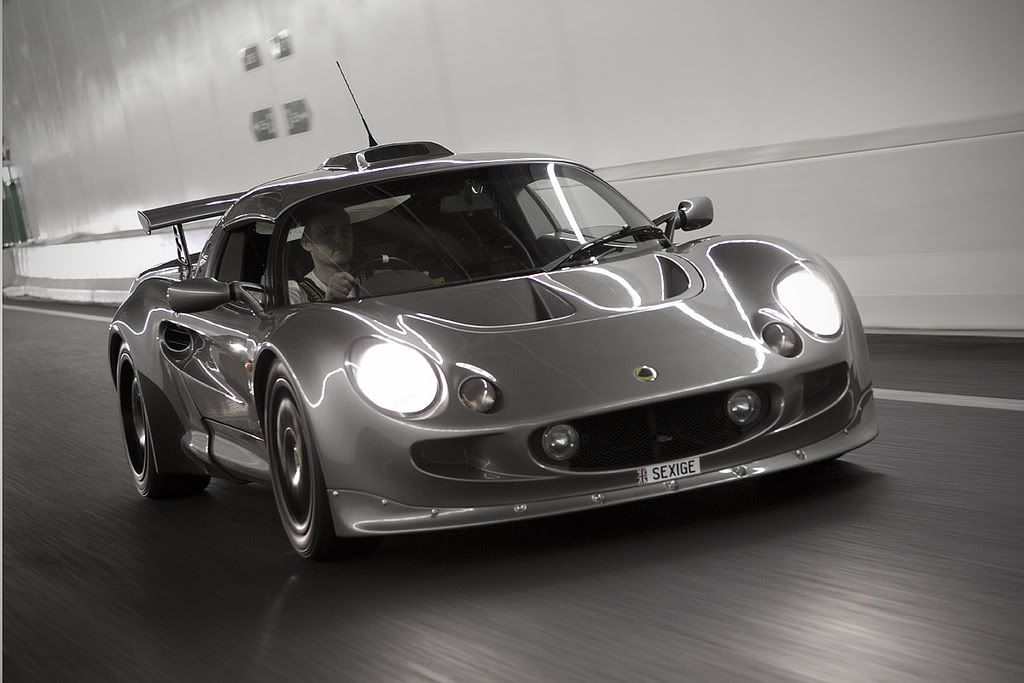
It was a long time coming, but I managed to get SEXIGE out onto the track and running at some half decent pace this weekend! Credit to Richard "FreshPrints" Opie for capturing the attitude of the car through the turn 2-3 complex at Hampton Downs quite nicely here! A dab of oppo and I was away!


Sadly I only managed two sessions before the alternator packed in (again!) so it's shown up a weak link that'll need further investigation. Either heat or revs is killing the alternator in very short order. The day ended with the car going home ignobly on the back of a recovery truck, but a minor issue in the grand scheme of things.
The car is a good deal quicker than it ever has been, and even with me being pretty rusty behind the wheel and not having much time to dial the car in, it's lapping Hampton Downs in a 1:16 flat, which isn't hanging around. Some more practice should see me easily in the 15s, and hopefully the 14s ultimately with some fresh rubber. Given that the engine still has a little more to give I'm sure that's possible. Not bad for a completely street car

Here's the only video I got from the day. My apologies for the shocking driving, I'm hellish rusty and this was the first session and I hadn't even got the tyre pressures altered from what I run on the road so it was all ham-fisted and snatched brakes! Still, you get to hear what the car sounds like with a semi-decent head of steam (no HGF pun intended!), and I know a few of you out there have been waiting to hear that!

Now to find a new alternator...
-
Was hoping to have it down at Superlap at Jamboree.... but given that it's not meant to stop raining between now and next month, I might give it a miss in favour of something a little more low-key.
-
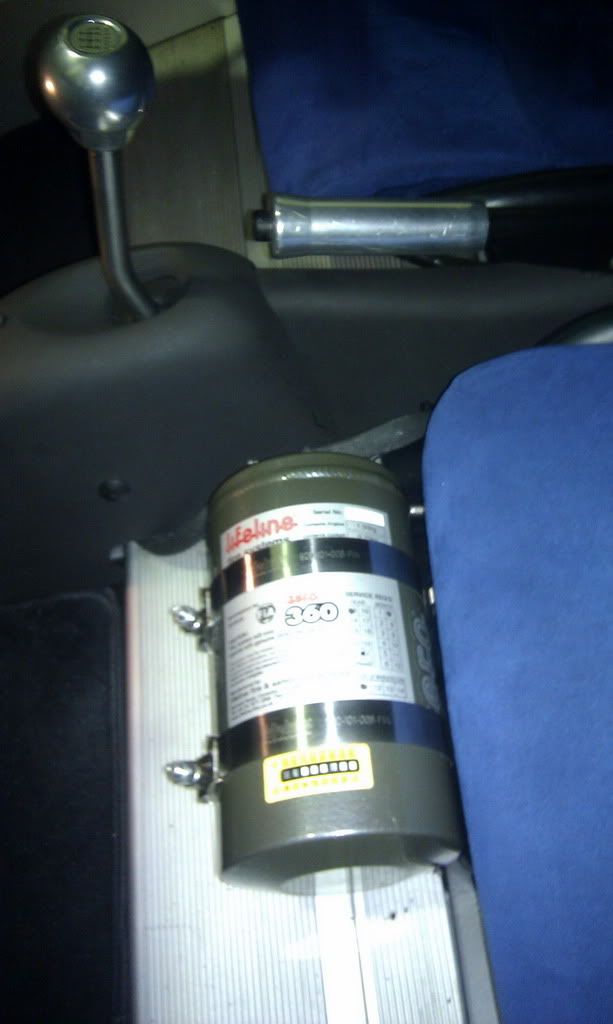
That's the standard location for extinguisher in Elises and Exiges. I've always had one mounted there, albeit a handheld one and it really doesn't get in the way. There are other places you can mount one but they're either up front or out back, where they'll likely get damaged in an accident... When you need them.
The only time it becomes a pain there is when your passenger is shorter than about 5'3"... And they can't reach the footrest. Then their thighs rest on the extinguisher and irritated them after an hour or so. Thankfully I haven't built this as a commuter of touring car

-
Well tonight I'm going to have a couple of nice single malts, because today, for the first time since Easter 2008, the "to do" list on the Exige is completely blank.
The final two jobs today were to finish off the extinguisher install and dashboard and to reinstall the Canton Racing oil filter and lockwire it on to prevent the possibility of our little barbecue.
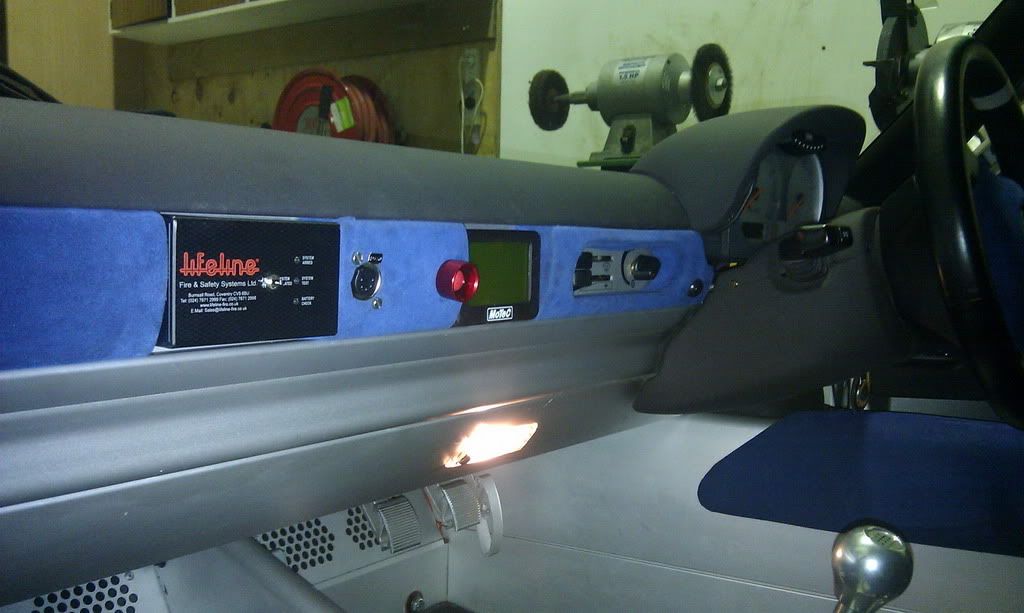
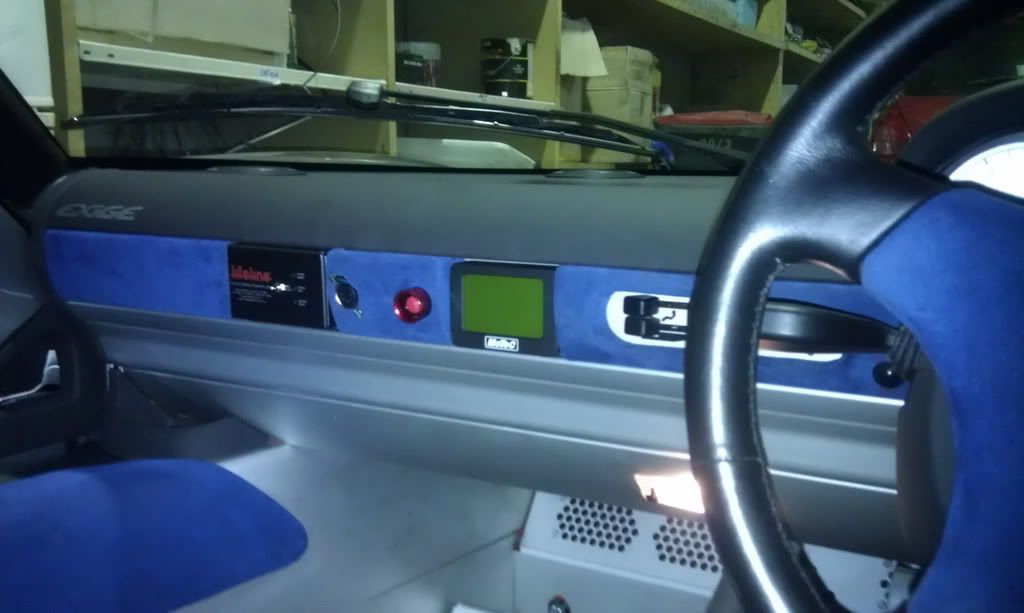
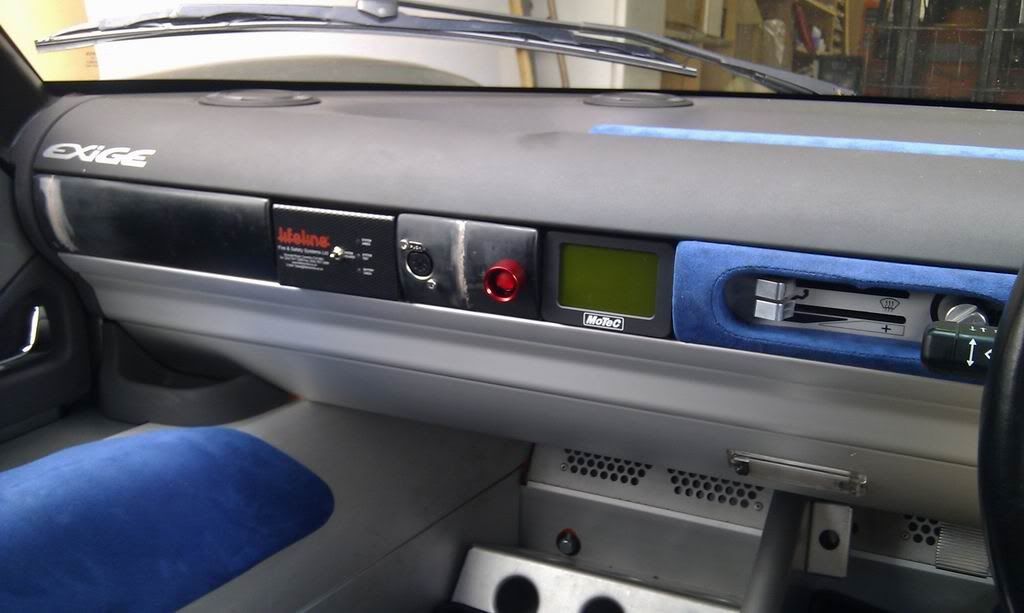
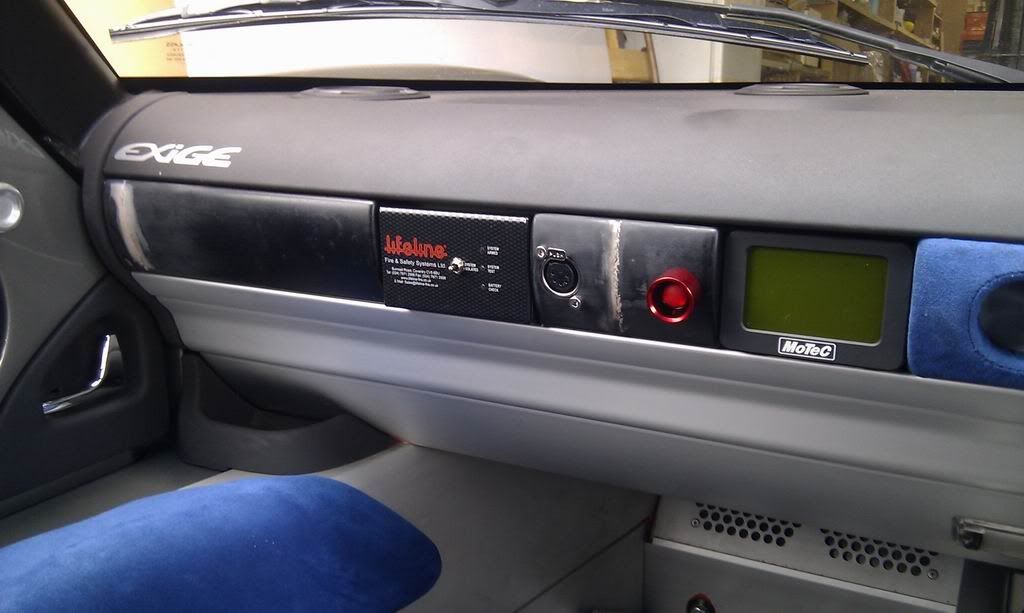
The extinguisher went in first and I got the wiring all run for it nice and tidily. It was also my first chance to see the dash all finished and I think it looks great. The additions look like they're meant to be there and don't look out of place.... which is what I was hoping to achieve.


I also got the extinguisher itself back in place and hooked up. I self-tested the firing circuit and it checked out fine so it's ready to deploy if I should ever need it (perish the thought!)

The final job was to swap the oil filter back to the Canton Racing one. I've got no photos of this, but the hex on the end of the filter I've drilled to take a lockwire and there's also a cast-on boss on the side of the sump that I've drilled as well. I've then run a twisted stainless lockwire between the two, which makes it impossible for the oil filter to self-loosen.
I had hoped to take the car for a spin tomorrow, but in typical fashion, now it's ready to use it's forecast rain for the next week.... still, it's ready to go and have some fun in!
Tasks on the horizon for it now involve trackdays and getting it back to the dyno to up the rev limit a bit more and liberate a few more horsepower.
There will be ongoing stuff that needs doing as well and I'll keep posting that in here, so don't worry... this thread won't fall silent.
-
Well it's been a slow few weeks. Having the car buried in the back of a shed halfway across town as well as having other things going on in life has meant little time to spend working on or enjoying the beast.
However, I finally got the replacement extinguisher parts from the UK and this weekend I set about finishing off the mechanical installation of the extinguisher system.
I had originally planned to mount the remote charge cylinder inside the centre footwell divider to keep everything hidden. The routing of the braided hose and access to it for replacement/servicing would be a major issue, so I reverted to plan B.
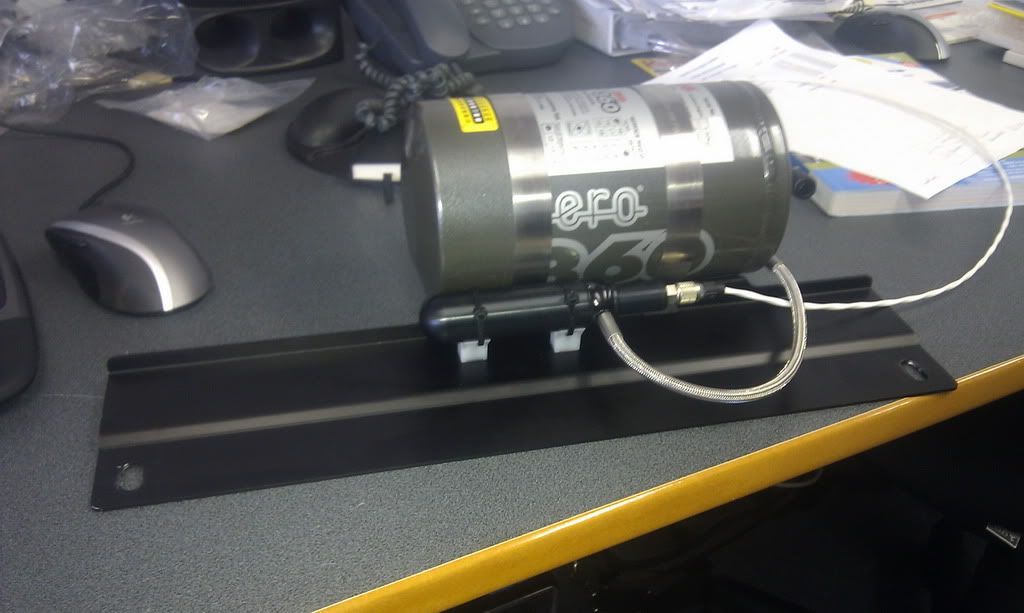
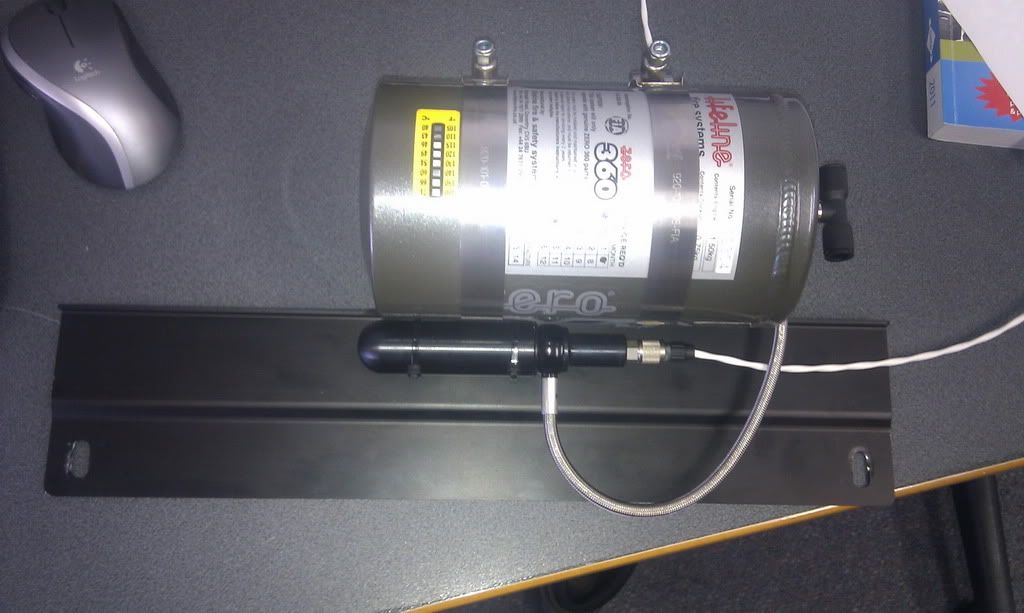
This involved modifying the extinguisher bracket I'd made up to take the remote charge cylinder as well.
Here you can see the remote charge cylinder mounted alongside the extinguisher cylinder on the bracket:


This remains nice and tidy since it sits underneath the passengers' seat and unlike the centre divider option keeps the braided hose out of harm's way from people climbing in and out of the car.
This assembly is now bolted back in the car, and I've just got to measure up for wiring and get the looms made (which will happen next week). Then I can finish the dash assembly and the extinguisher, and the car's interior will be 100% complete.
Then I've just got to modify the Canton oil filter housing to take a lockwire then it's time to hit the track!
Here's hoping for some nice Autumn weather (after literally the crappiest Auckland summer on record) so I can enjoy the thing!

-
Those yellow extinguisher were Halide ones and they worked awesome, but they're obsolete now as they were CJC based and that shit kills polar bears or some shit.
The yellow ones were Halon
Halide sounds like a type of lightbulb!!
I typed in Halon too.... autocorrect pwnt me twice even! I'm never posting from my phone again!

-
I designed the supplementary plate as well as some of its press tooling
 The "supplementary" caption was intended to prevent use as a stand alone late as that's illegal, but then again it's questionable whether it'll be enforced.
Smaller plates ARE coming.. amongst others. They're just going through the long approval process.
Oh, and motorbikes will require front plates before long too

-
Autocorrect pwns me
-
Those yellow extinguisher were Halide ones and they worked awesome, but they're obsolete now as they were CJC based and that shit kills polar bears or some shit.
Novec is the shit these days. It's a gas, so leaves no residue and it has a very high heat capacity so takes a lot of heat out of the fire as well as smothering it... Which is great to stop reignition. It's often called "dry water". Downside is they're pricey. A 2.25kg FIA six nozzle system as I've got will probably cost best part of 5-6k installed.... But it's cheap insurance if you have a lot of money tied up in a car.... I've already nearly lost mine to fire once... Not taking second chances.
-
Makes me think about re visiting the idea of a DIY 'lifeline' engine bay system or similar
this is relevant to my interests. pined over esprit's/sexige's system when i saw it.
need solinoids hooked up to the bottles pins and hoses through the engine bay and exhaust.
Takes quite a bit of work to get it right. If you're doing a DIY system there's quite a bit of science in the nozzles to get a decent dispersal pattern for the type of extinguisher. Foam nozzles will not be the same as CO2 nozzles, which will not be the same as Novec nozzles etc.
Something like a lifeline Zero2000 foam system is all you'll ever need really, the mechanically-actuated (bowden cable) ones are pretty cheap and very effective. Only reason I didn't employ one of these is because in the Lotus I'm mounting the extinguisher in the OEM location in front of the passenger's seat. The remote-pressure Zero360 system is a fair chunk more compact and fits in a lot tidier, but at a much increased cost.
So sad to see that Capri end this way, I remember seeing it at various events and it was a very lovely-built car.
-
Snoozin' doing the business for sure!
-
Spent some more time on the car in the weekend. Been getting some bits and bobs finished inside and a little more of the extinguisher plumbing done.
Dash bits should be back in the next day or two, and I need to chase Lifeline up for the extinguisher bits I still need.
Got the car all cleaned up again so there's no more oil residue on her, erasing all memory of the little barbecue we had.
Since it was shiny, I took it out for a drive with my friend Richy doing some lenswork


-
With the car back in working order again, this weekend has been about getting the dash and extinguisher install moved on another notch.
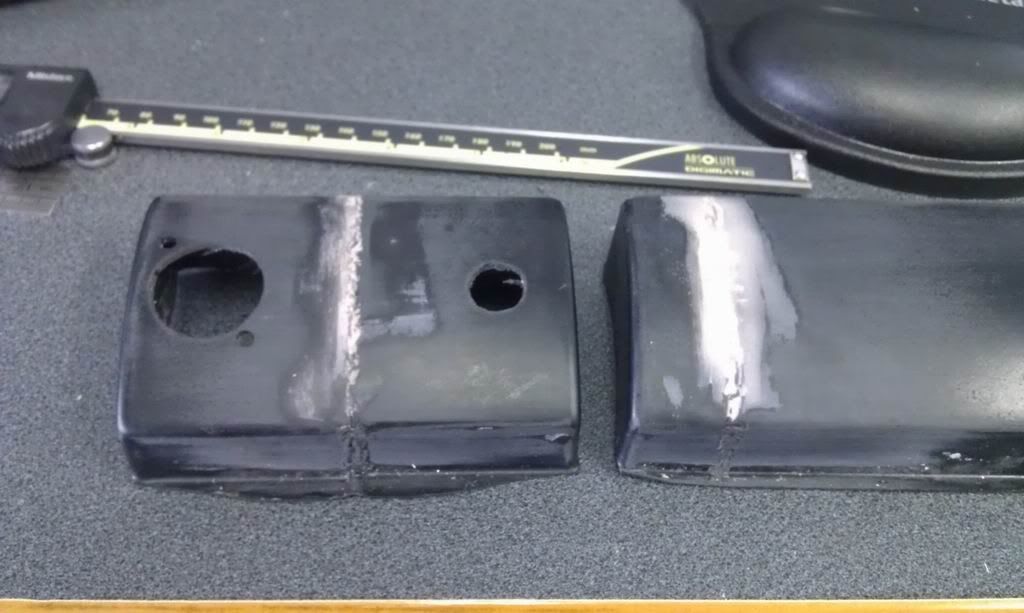
Yesterday I bogged and sanded the dash trim pieces smooth at the join so that the join won't show once upholstered. I also drilled the openings for the extinguisher trigger button and the communications port. I've left some space in the middle for a 12v power supply to go should I want to add one in the future.

Today I ran into a bit of a glitch with the Lifeline extinguisher control box. This is to fit flush in beween the two dash pieces in the photo above, with the trim with the holes in it being to its right. I had measured it all up and allowed space for the cable to run concealed behind this trim piece. However, when test-fitting it today I realised that the connector stuck out WAY further than I'd allowed for. It fouled the communications port connector by a long way.
To resolve this, I took the Lifeline box to bits and found that there was a good bit of free space inside it I could use. I spent an hour or two making up an aluminium plate to blank off the original opening and to mount the connector inside. It's a shame I don't have any pics of this because I made a really nice job of it and it came out looking like it was meant to be that way all along

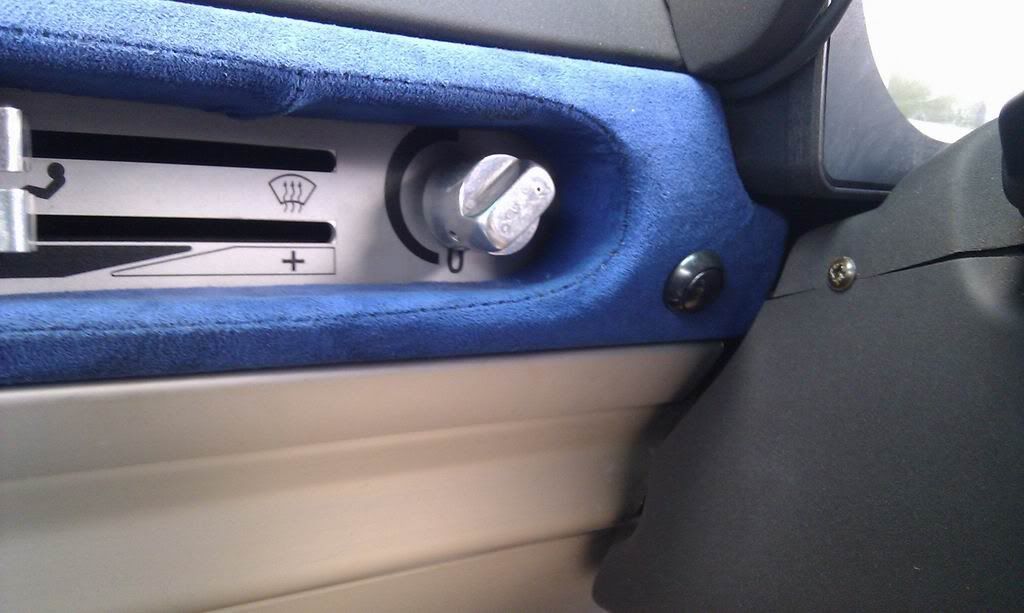
With this done, I was able to modify the heater surround trim to mount the page-select button for the MoTeC MDD display. Until now I just had this hanging on a cord until I could figure out where I wanted it. I ended up putting it here as it's easy to reach when strapped in, and I've now got a spare heater surround trim to re-fit should I ever want to go back to the factory-standard look. It's nice and tidy and out of the way, but really easy to use, I wish I'd not waited so long to do it as it's so much better like this!


Then I was able to permanently fit the MDD display in place, and then test-fit the rest of the dash. You can see the result below. Imagine the trims upholstered in blue like the rest of the original dash bits and with button-head screws in place of the cap-heads on the com-port I've used here. Should look pretty lush when all finished!


-
Well, another long night on the car complete, and this one will hopefully be the last.
Tonight I got the handbrake adjusted finally (well overdue), then managed to repopulate the engine bay, get the coolant refilled and bled. The legendary Richy came around and gave me a hand to get the clam and engine cover back on as well as some well-needed moral support and then left me to it getting all the good stuff back on her.
I've still got a couple more jobs to do Sunday afternoon like an oil and filter change (back to an OEM one while I figure out what to do with the Canton filter) as well as degreasing the floorpan and re-affixing the number plate. If I get an extra pair of hands I'll also give the brakes and clutch an overdue bleed.
But for now, have some pictures and I'm off to bed.


I'm pretty happy with how it's turned out... perhaps a BIT blingy, but overall, I think it looks brilliant.
-
And from a company called DEI in the states, they specialise in such things.. it's not cheap though.. cost about $400 for that lot including freight. It is good stuff though!
-
Another night slaving away in the workshop. I'm running out of holiday and am back at work on Monday so am going to have to move sharpish to get this thing back together!
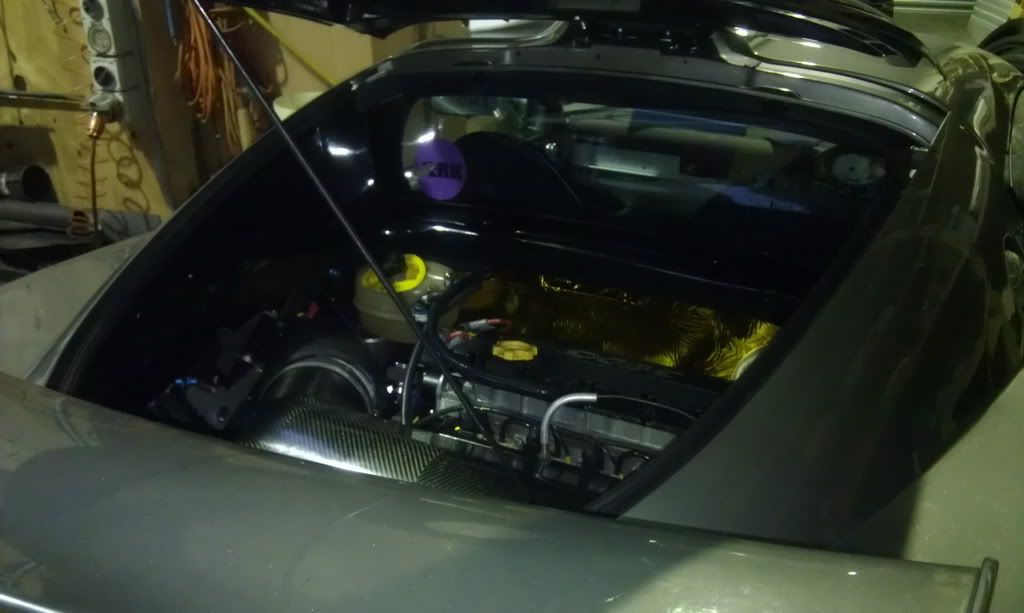
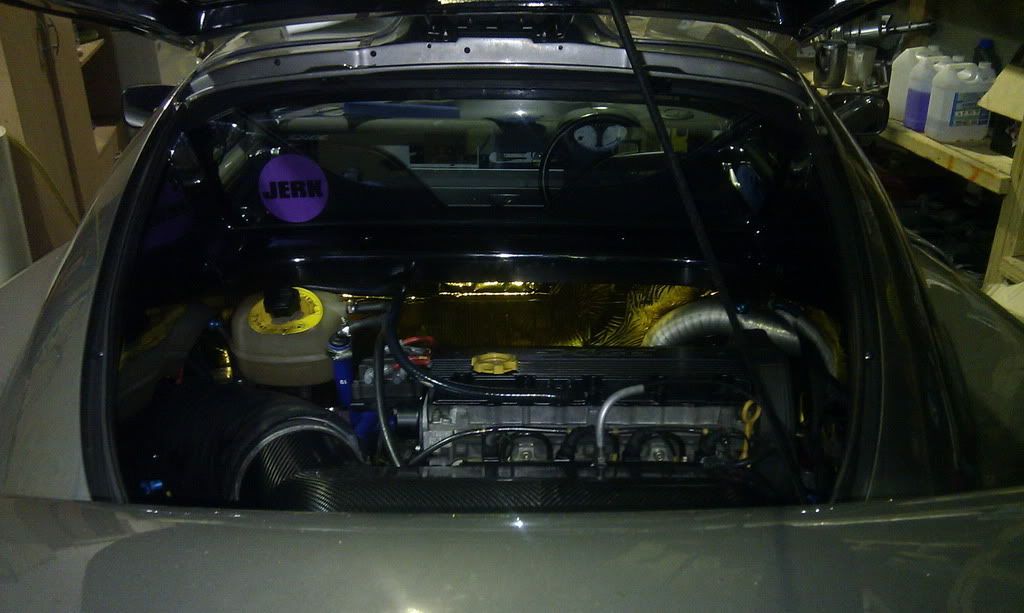
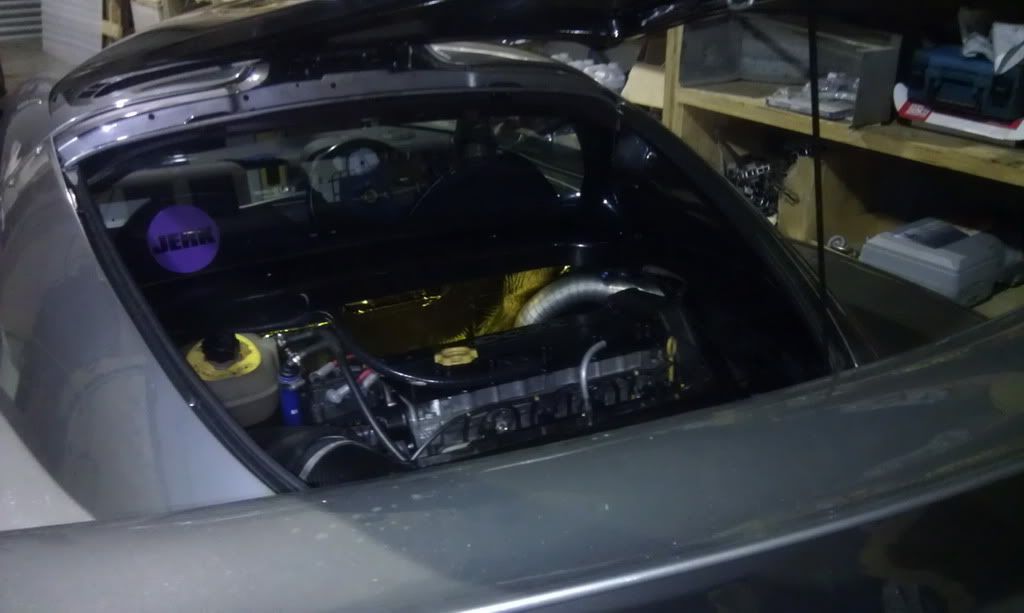
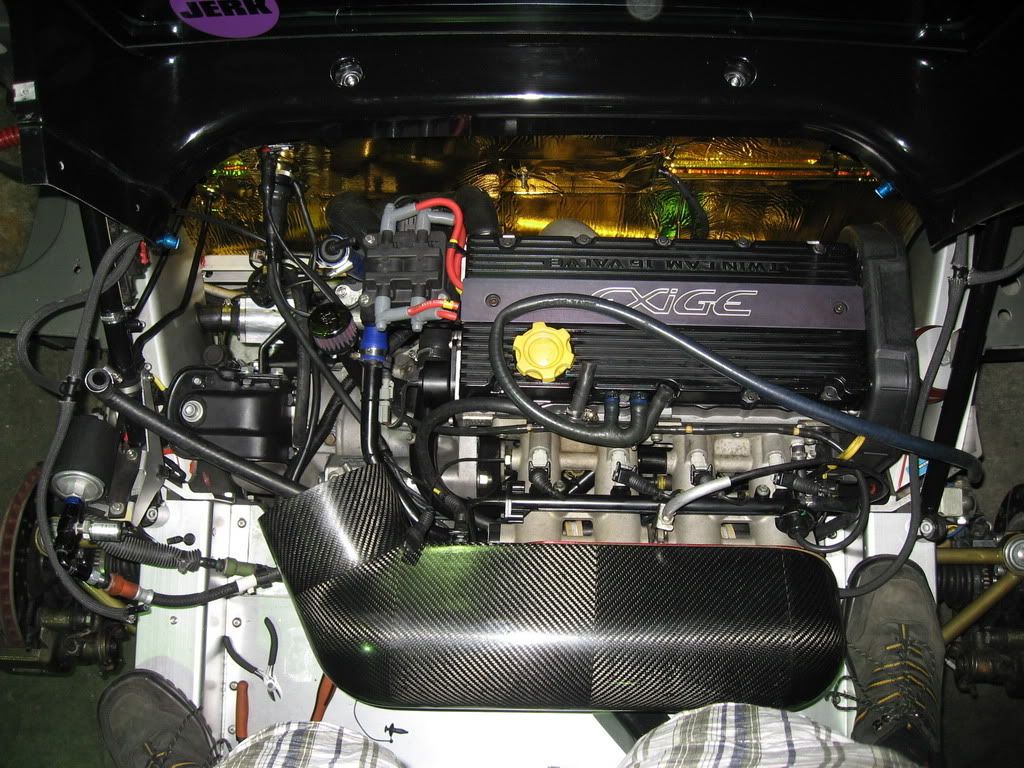
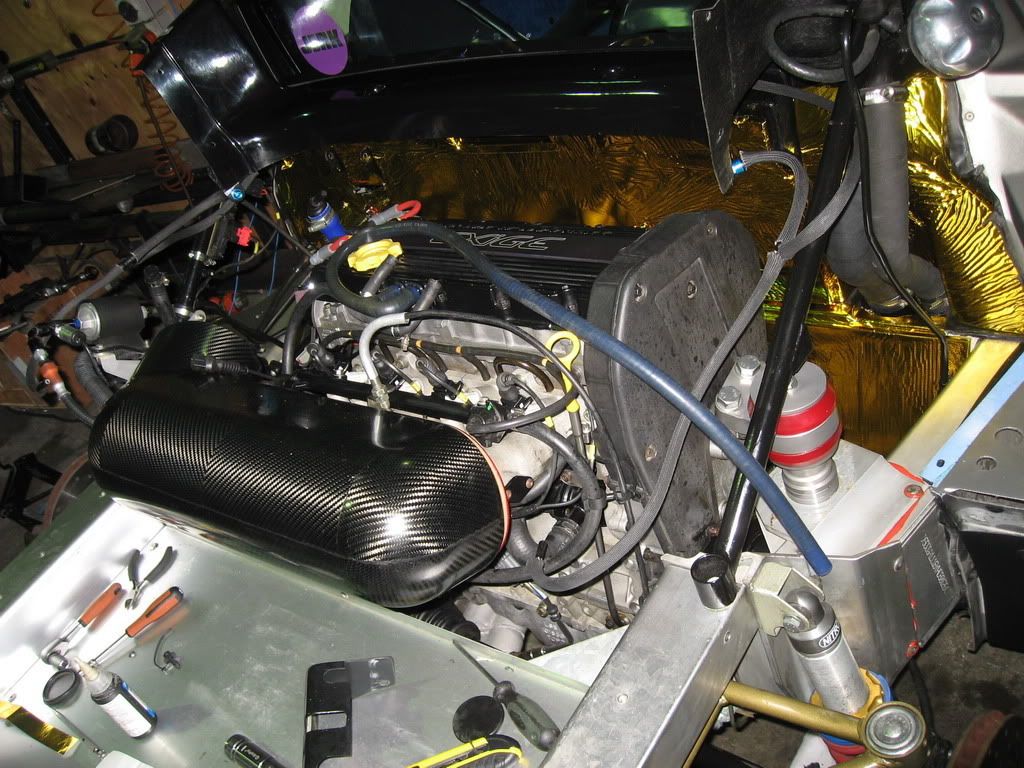
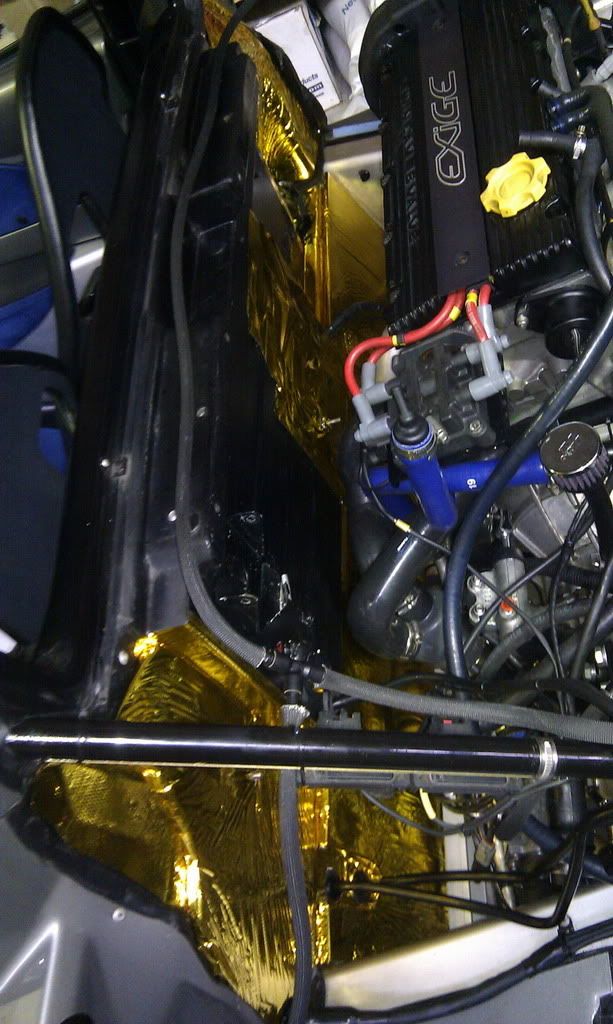
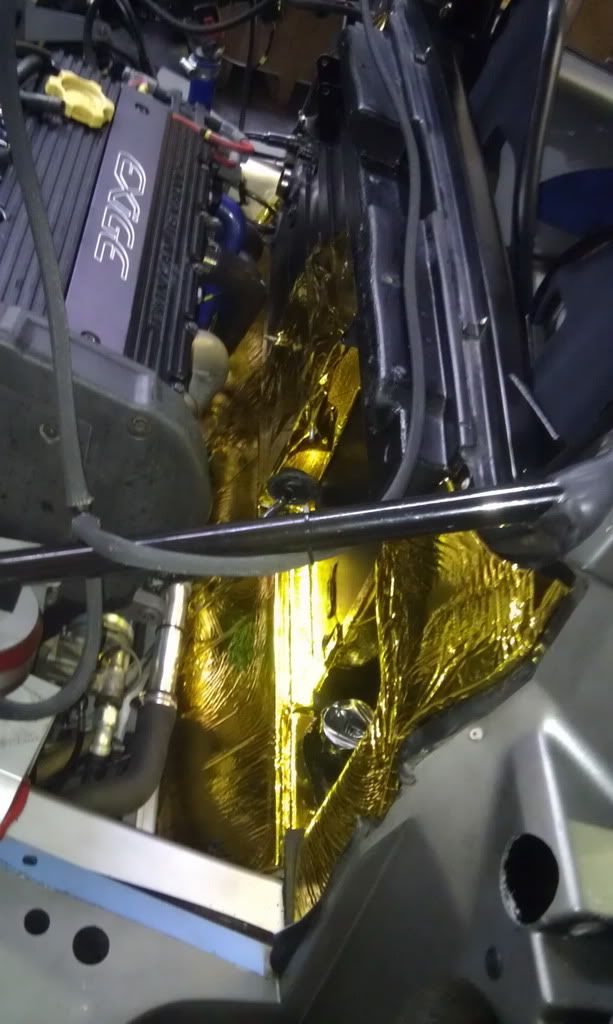
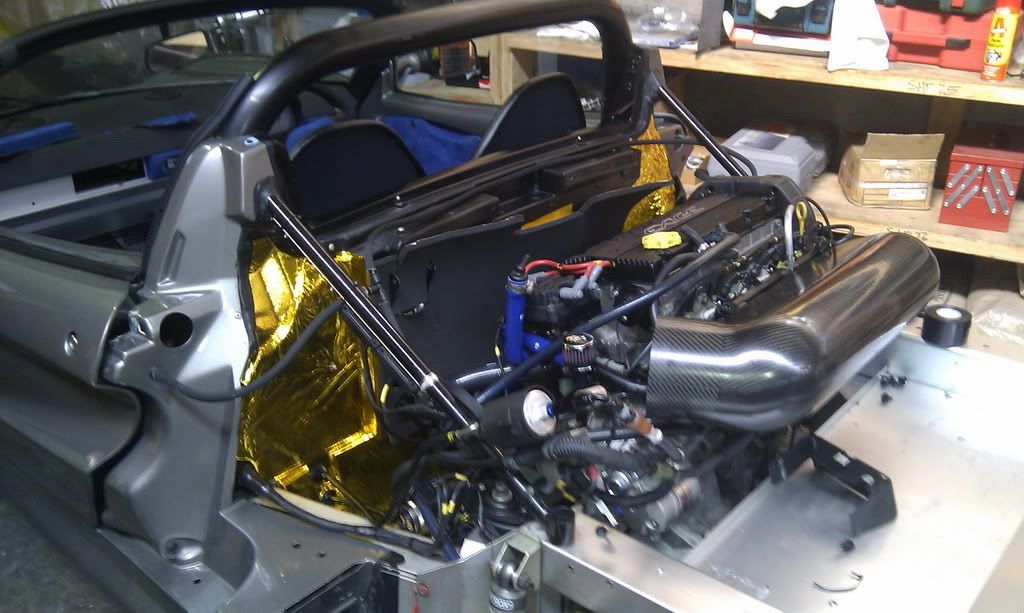
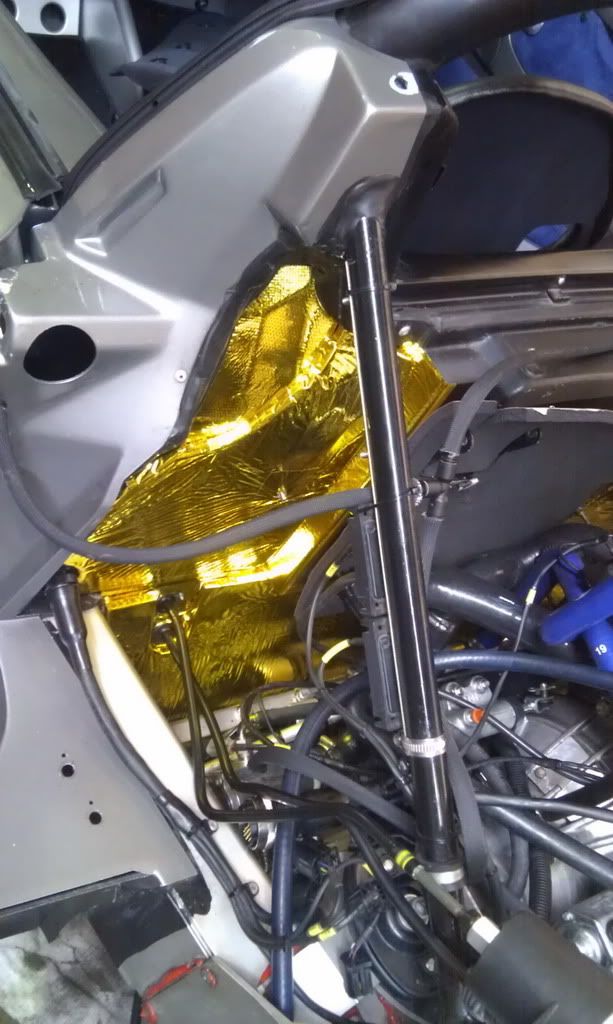
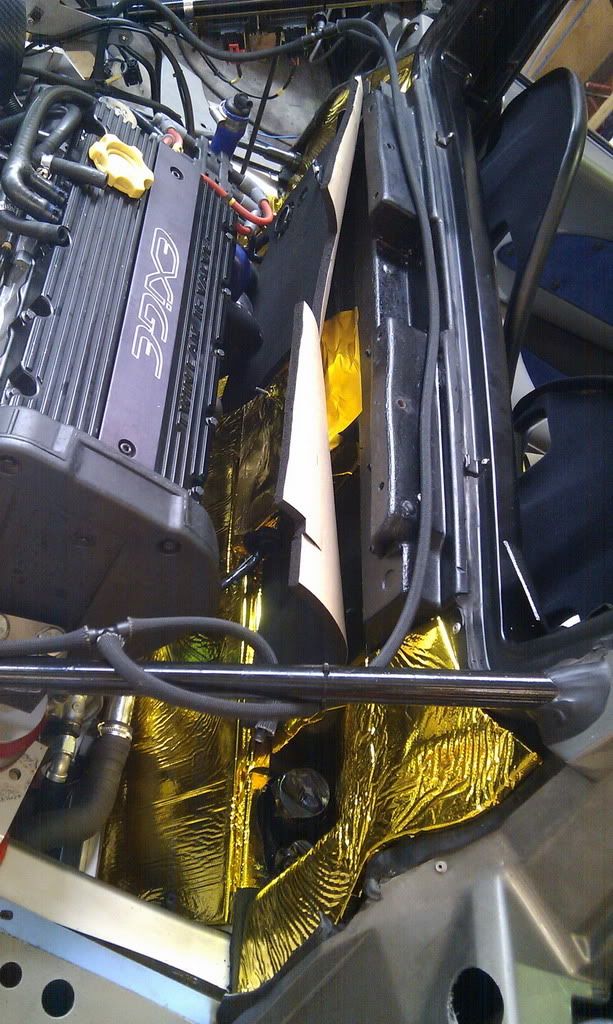
Just a quick few shots of the now completed firewall heat shield installed. I've started to reassemble things now, and will work for a couple more hours tonight to try to get a few more small jobs done.
Pics:


Forgive the state of the cambelt cover... I've not cleaned the oil splash off that bit yet

-
Well a LONG night's work on the car last night, 11 hours solid and I'm nucking fackered!
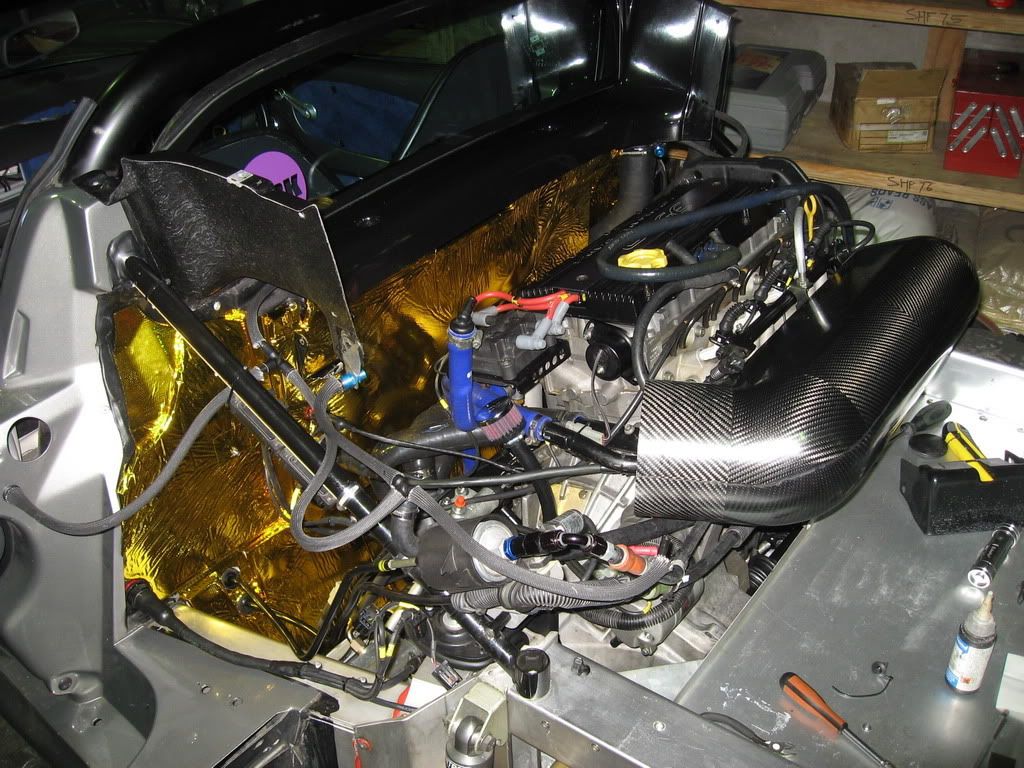
Last night was all about fabricating the firewall heat shield, a long and careful process to make sure the result comes out as functional and tidy as possible.
Now, if you look back earlier in this build you'll see that I've redone this firewall heat shield before, but in light of the fire, and how the last heat shield fared, as well as the benefit of hindsight on previous installs I thought I'd do things a bit differently this time around.
The previous installs were all the same as the OEM heat shield. That is to say it was cut in one piece. This time, however I've decided to make it in several pieces so that the thick foam doesn't have to do some of the more torturous folds. The foiled foam doesn't really do sharp bends, so by making the shield in several pieces of foiled foam, with the sharp corners being insulated separately in just the foam. This way there's an all-encompassing heat shield, with the foam shield / sound deadener only covering about 95% of the firewall.
This won't look like the OEM shield, but given that I've gone for performance rather than looks now, there's no way it's gonna look original so I may as well make it look nice!

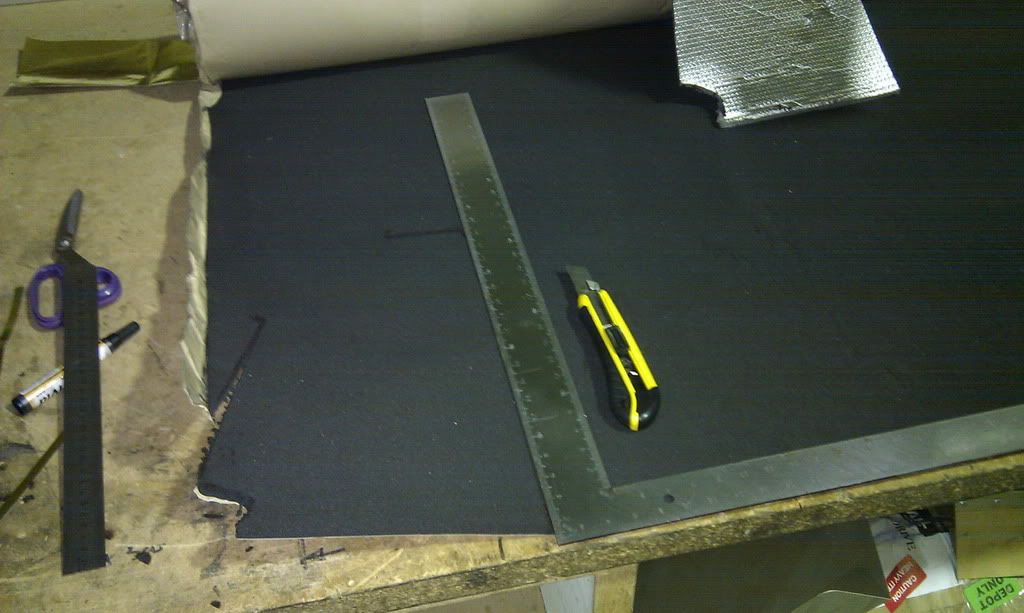
The night has involved a LOT of this:

Marking up, measuring, cutting, test-fitting and repeat.
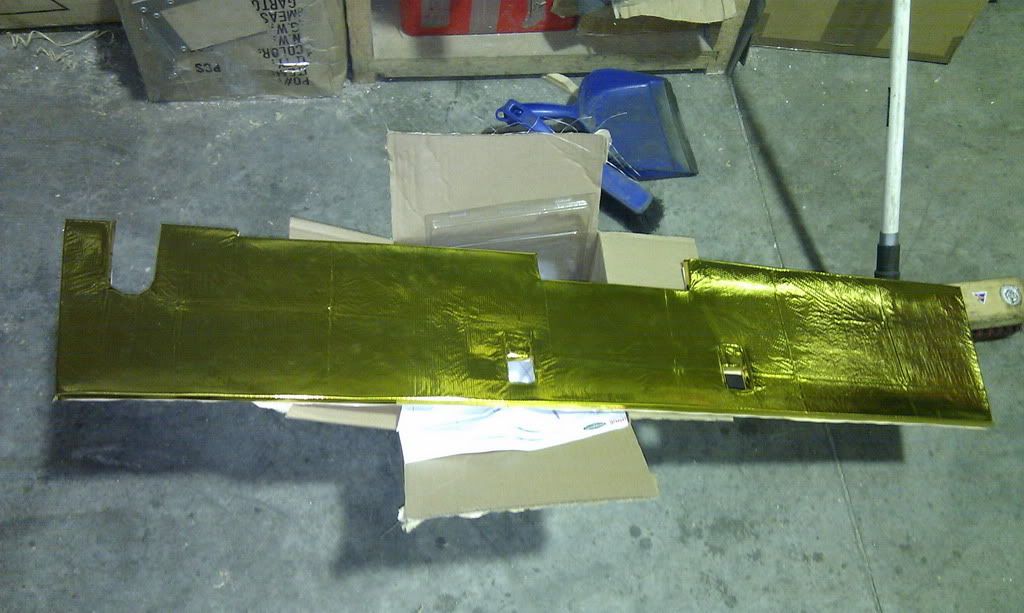
Once the foam pieces were cut, they were wrapped in the DEI reinforced gold foil, including wrapping all edges. The following photo shows the lower firewall (the aluminium bulkhead bit) heat shield section ready for installation:

From here I was able to begin putting some of the parts and foil onto the firewall:
Here's a couple of photos mid-install:


I had hoped to get it all finished, but I didn't quite manage it. I've got everything installed bar the upper middle section. I've cut the foam for this, but need to wrap it in foil and install it. Probably another 1.5 to 2 hours work... but for now I'm off to bed. Here's a couple of pics of the current state of play.... getting there!


-
Tonight I spent another 6 or so hours on the car. I got into the workshop at about 10pm and started work on removing the glue and goop and oil from the firewall. Last night I managed to remove most of the remnants of foam from the firewall, which was a pig of a job in itself, tonight's job was much easier, just a 50/50 mix of acetone and elbow grease on a rag.
The job was made all the easier by my friend Richard 'Snoozin' Opie, Esq. Between the two of us we had the firewall clean enough to eat one's dinner from by about midnight, whereupon we retired upstairs to consume alcoholic beverages and talk codswallop.
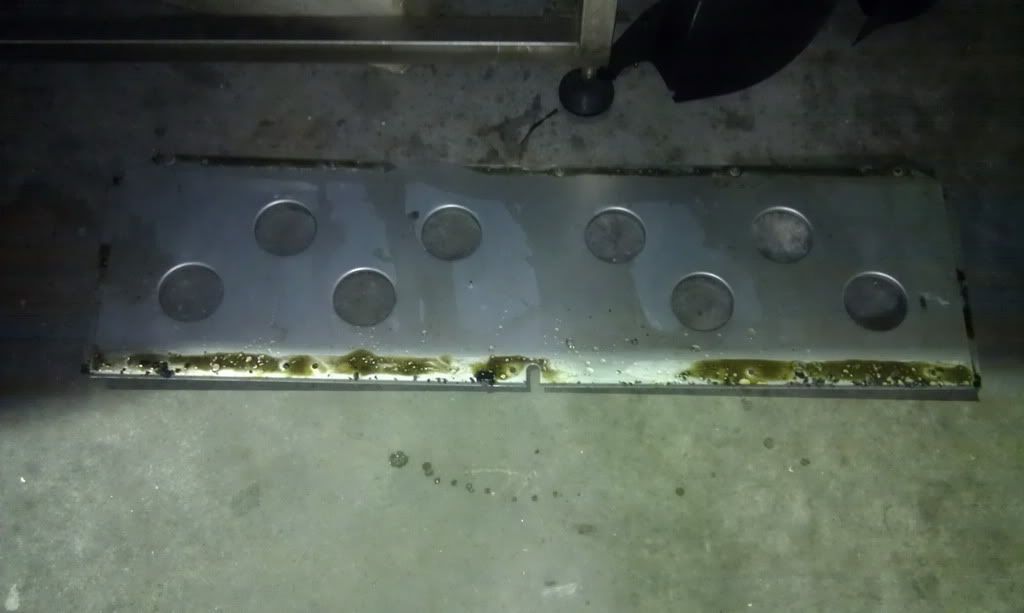
After Richy left, I went back downstairs to do a little tidying up and to remove the shear panel beneath the fuel tank. Given that oil was still dripping from here profusely, I reckoned there was a lot of crap still sitting atop it. After removing it, I found I was right!:

This is when things took a turn for the worse. For those not in the know, the shear panel is held in by 10 M8 fasteners. The rearmost 5 bolt through an extrusion with nuts on the other side. The foremost screw into a hollow section aluminium extrusion with rivnuts inserted.
When I last installed the shear panel I noticed one of the screws into the rivnut went a bit "soft" when I torqued it to the requisite 24Nm. I figured the rivnut had spun a little and I figured I'd tighten it up next time I had the panel off.... i.e. Now.
Upon inspecting the rivnut it was clear that it hasn't spun, but it had indeed stripped the thread.... bugger.
Thankfully, I had a helicoil set handy so I figured there should be enough meat in the rivnut to retap and helicoil it.
I drilled the rivnut out to helicoil size and then started tapping to M8 helicoil size. All went fine until it came time to back the tap out and it went a little tight. It then loosened up and I spun it out... or at least I thought I was until I realised the rivnut was now spinning in the hole!
Great, so now I had a rivnut, spinning in a hole with a tap stuck right through the middle of it! How the f*ck do I solve this one?
I tried backing the rivnut off the tap with a pin punch, but this failed to work. Next, I tried drilling a 2.5mm hole half through the edge of the rivnut flange and half into the alloy surrounding it. Once this hole was in place, I then inserted the shank of the bit into this hole, in an attempt to key the rivnut to the chassis to allow me to spin the tap out. THANKFULLY, after some careful work, this was successful and I managed to get the tap out! Much to my relief.
After that, the helicoil went in smoothly and the rivnut had a thread again. I then made up a little tool to try to pull the rivnut tight again to hopefully stop it spinning again. I also used this tool on the other four rivnuts to ensure they were nice and tight too, as well as ensuring their threads were clean by running a plug tap through them.... I DON'T want to have any more issues with these! I suspect at some point in the past, that bad one had been over-torqued.
While it's possible to drill out one of these rivnuts and insert a new one, the hollow section they go into is completely closed in.... there's no way to get the remnants of the old rivnut out and stop it rattling around each time you go round a corner.
Fingers crossed that in future, given careful torquing, I should have no further issues with them.
Tomorrow, I get busy with the degreaser and rags and then the strip-down and clean-up is finished. The following task will be to fabricate and install the new firewall heat shield (1-1.5 days work) and then reassemble the car (1-1.5 days work). Given my father will be coming up to help, I'm pretty confident I can have the car back on the road by the end of the coming weekend.

-
Basically the same as what I'm using, except the stuff I'm using is better

I'm also using some sound deadening because the car is loud and hot enough as it is, for a road car at least




Bullitt's Lotus
in Other Projects
Posted
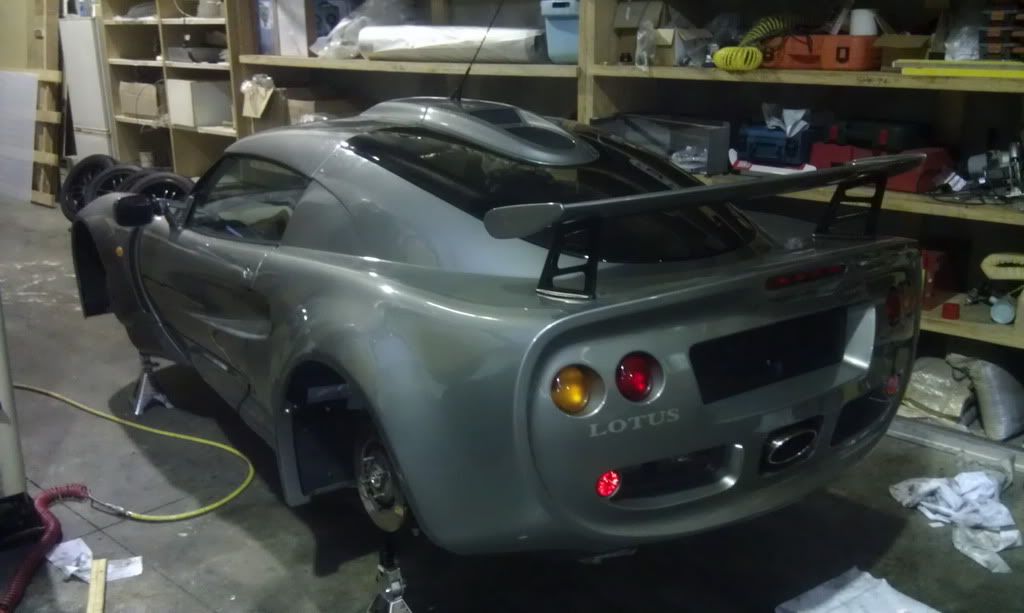
LOL those are the sidelights, which are incandescent. HIDs in Paul's car are dazzle-spec. Thankfully the rear of the Exige is high and tinted