


Escortn
-
Posts
138 -
Joined
-
Last visited
Posts posted by Escortn
-
-
Has it got some way to drain out the fat etc?
Keen to see this in action though.
There's a tray that sits inside that you can take out which collects the majority but on the bottom of the spit itself there's a 25mm hole so when it gets cleaned you just lift up at the handle and it drains out.
I'm keen to see it in action aswell haha
-
 1
1
-
-
Welded a length of tubing ontop of the motor mount so that the motor doesnt twist heaps with weight on it

You can also see the wheels we used, they have a piece of rubber with a nut each side so all you do is push it in and tighten the bottom nut and that expands the rubber and holds it in.
Then it was just a matter of cleaning the welds and making sure it lights.
If i was to do another one (which i should do, because i want one now) id put more tabs on the gas elements. As they got hotter they started to get a little bow in them, nothing to extreme however but always good to improve i spose.
-
6
-
-
With the delivery of the gas i welded a nut on the top of the end of the elements, then bent a piece of angle that fits onto the gas fitting and bolts to the weled nut.
So, obviously cant have the lid going all the way back. By using more of that rod i cut some small 8-10mm pieces to use as spacers and a longer piece and welded them on the side.
Then cut a piece of scrap long enough so that when you put the lid back the weight of it holds itself up, this also had 10mm each side folded on itself as a safety edge.
-
1
-
-
Alrighty then, this thing is all finished. Finished it last week work week of the year but havnt had a chance to upload anything.
Mounted the lid by using a 10mm rod and a pipe for it to slide through. Cut the pipe into 3 pieces and welded like so
Also cut some little pieces of the rod to make spacers for the lid, gives it a bit more air flow.
Using the same rod i bent up some handles, one to lift up the lid and one on the end of it so you can pull it along.
Heated it up with the torch and bent em round.
-
1
-
-
Outside the cardrona hotel today, I'm down in wanaka for New years and have seen a SHITLOAD of old falcons and kingswoods. Ultra pine
-
5
-
-
Cheers! I'm in Auckland, in between west and the shore. Does the Haynes manual have a decent amount of info? I've been looking at grabbing one myself, that way I can get it filthy and not feel too bad about it
-
Looking good mate, i love this thing.
Hey do you know of any good books or sites that have standard measurements / dimensions for the essex motor? The one i bought seems to have been pulled apart previously and im interested to see if anythings bigger than standard
-
Motor turned up aswell so i made the mount for it and sent the rod away to be turned to fit into the motor.
Welded the mount on and trial fit that shit
i didnt get a pic with the rod in it but it fits, i swear
-
Righto, got a bit done these past few days.
Started on the gas rails,
I used a 2mm drill bit, If you do this USE A DRILL PRESS!! The drill press i have at work only takes a min size drill bit of 3mm so i had to drill all of these with a cordless. My wrist hurts so bad its like im 13 again.
Idea of the spacing ive done. Theres no holes drilled 100mm from each end either.
Then welded them in and also put some tabs in halfway through to help support the chambers.
-
The bleed nipples on the back of the right rear drum. The brake line goes from the engine bay, through the left rear slave cylinder and then on to the right rear. (hope that makes sense)
-
Can you make a steam engine powered by the burners to turn it? Cause that would be sweet
Haha shit yeah! That's an awesome idea.
I wish I had the brain power for that
-
Next up was to weld everything and make sure the lid and base fit together,
After that i rolled up some bits to go on the base that the rod holding all the glorious meat can sit on so that its not rotating on a sharp edge
Next up was the legs, their 600 high so it puts the top of the base at a decent height,
and thats where its at now.
Motor turns up on monday and ill be making up the elements and welding them in along with finishing the welding on the legs.
*waits for spit roasting jokes*
-
8
-
-
So works pretty quiet this week and the next so ive been given the job of making 2 spits, one for a client and one for our workshop.
Thought id put the progress of it up here incase anyones interested in the process.
Luckily ive got a plasma cutter and press brake at work to make this a shitload easier.
First marked out all my pieces on turbocad the cut them on the guillotine and plasma,
This is after i folded the lips on the press brake, the holes in the one piece is for the gas elements to go through.
Rolled the lid and tacked it together next,
Folded the base and tacked those pieces in place...
-
3
-
-
So does the cruise have anything to do with Roger Rodas?
the other guy that died in the accident...
-
3
-
-
Cheers!
I've got a type 9 5 speed in it now and may have found a bell housing that will join the two but I've read that they don't handle the torque to well unless it's a later type 9 out of a v6 Sierra, so if one ever happens to pop up I'll look into that.
Haha your grille still trumps my console.
Should be getting stuck into the brackets next week so I'll chuck up a few pics and dimensions of whatever I can come up with
-
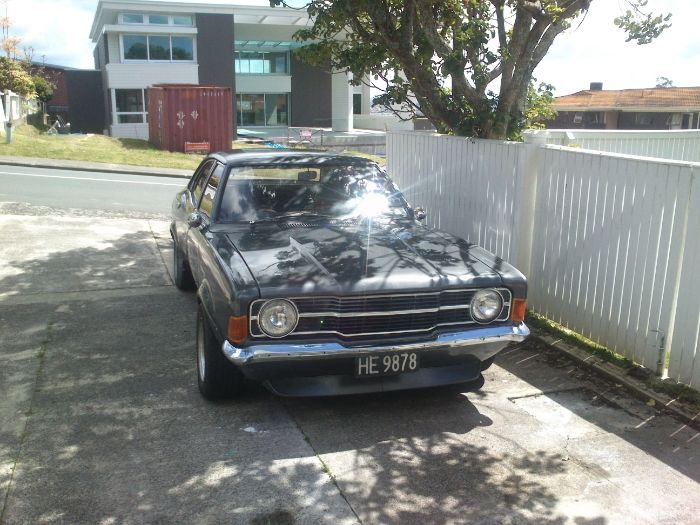
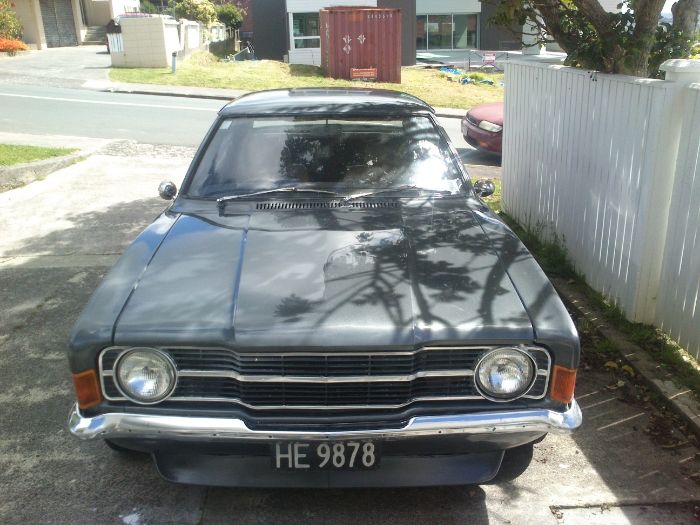
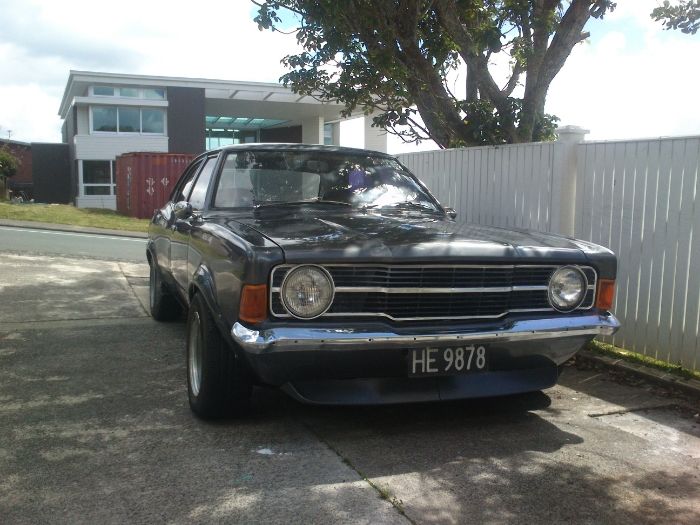
Wooop got the cortina a WOF on tuesday stoked as.
Theeeen i kind of bought what i like to think as a 'the cortina got a warrant present'
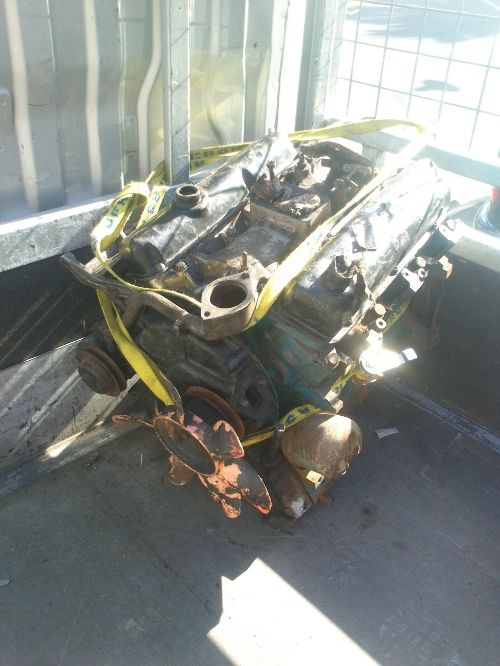
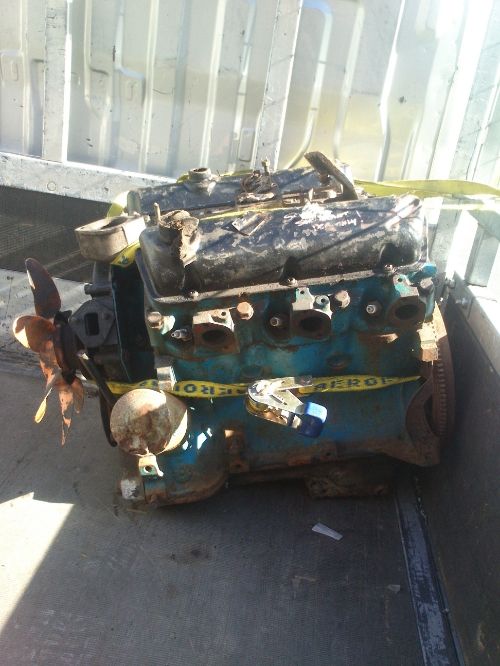
The famed 3L V6 Essex motor out of a Capri!
Haven't had a chance to pull it apart yet but im not expecting anything perfect, it was cheap. From the looks of the sump however someones had it apart previously and cut and welded the sump either bigger or to fit into something.
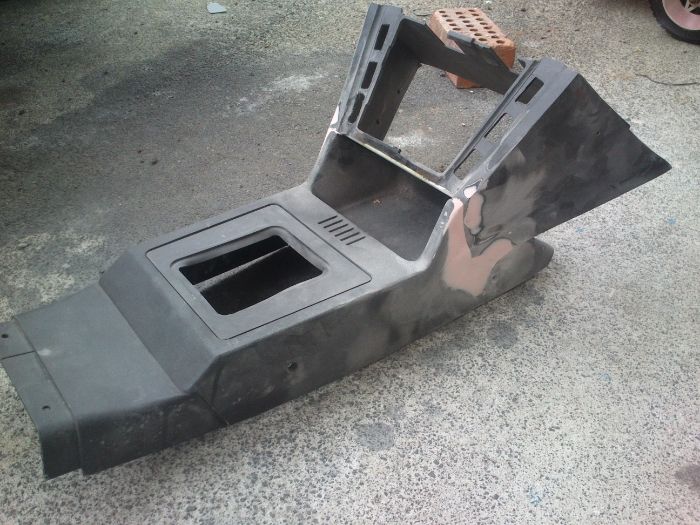
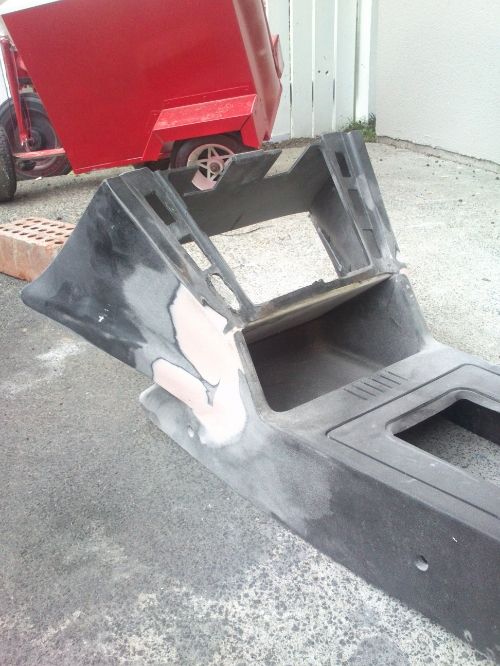
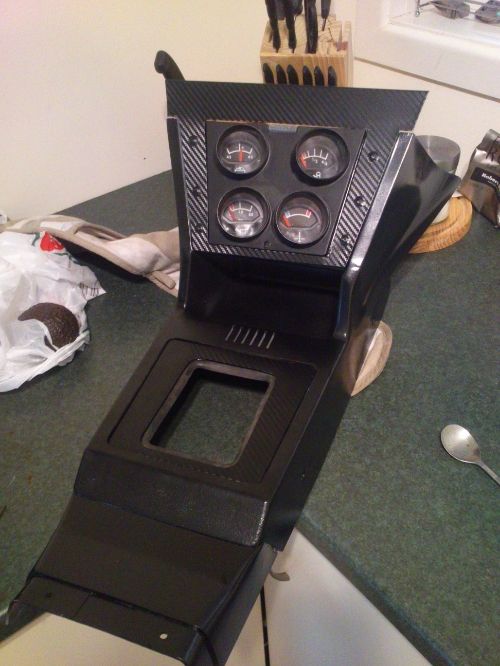
Ive also been playing around with the centre console. A while ago i bought a centre console gauge cluster out of a MK3 GT Cortina but it was a bit cracked in places and was missing the piece that went over the gear stick and joins to the piece that goes over the handbrake, i then found a MK5 cortina center console that just covered the gearstick and joins up to the handbrake cover luckily. So with some rivets and plastic putty i came up with this...
I used a small sheet of ali to cover the top of the mk5 piece to make a tidy compartment.
Along the line someones cut the rectangle holes in there (no one needs that many switches) so i made a cover and used those to mount it. The GTs dash is different to mine and slopes down steeply where mine is more like that of a mk2 escort so i made the cover to also try and fill the gap and bring the console into line with the dash.
Painted it all black and used that carbon vinyl crap for my front cover (covers up the rivets and scratches really well i reckon) Now to make mounts to fit it to the tunnel and see if it looks any good in the car.
-
4
-
-
I have no words, this is just so sweet man! You changed the shocks to spax, but you didnt change the springs?
Cheers mate, I actually changed the springs the weekend after I got the car, it had horrible dobi springs in it I think and they where as hard as rocks.
Here's the link to the discussion thread if you wana ask any thing else
//oldschool.co.nz/index.php?/topic/34512-escortns-74-mk3-cortina/page-2#entry1145299
-
Go to znoelli man, they can custom make them to what you want
-
I painted my car with one of those supershit kits and it came out fine, just gota make sure you keep the tip clean.
Get some wax and grease remover to get rid of all the grease and shit and use it to wipe everything down after sanding/before painting
-
Finally finished polishing and got it running mint with the electronic ignition. No more smoke out the exhaust either wooop
-
3
-
-
Hi guys, That's me with the listings on TM. I can do better prices out of trade me and mention oldschool for another 10% off.
The range includes full electronic dizzys as well as the DIY kits, just get in touch, I'm happy to answer any questions.
Matt
I ended up buying this one (I swung by yours yesterday to swap for the Bosch dizzy one) really helpful and easy as to deal with. Thanks heaps man.
-
Ah sweet many more hoons it is then!
Ah very good, I've had my eye on these ones aswell. Cheers for that
-
Have been cut and polishing this thing in the spare time i have, pictures will be a plenty when i finish doing it and take some.
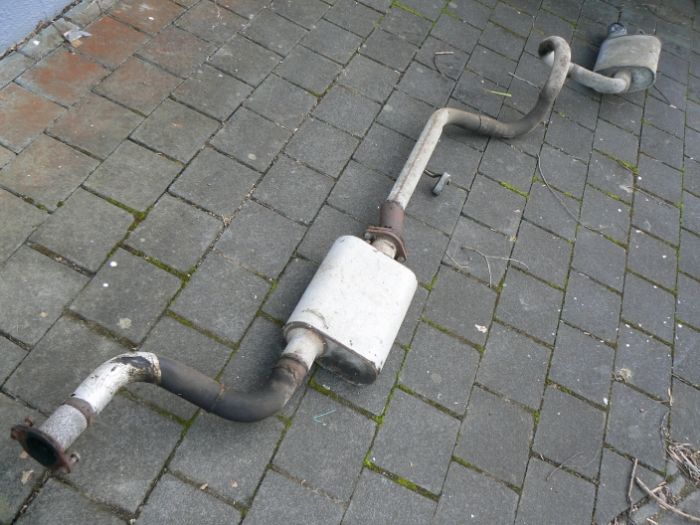
Scored a decent exhaust system off tardme today.
It was off a mk4 cortina originally but all i had to do was shorten the pipe where it bolts to the extractors.
Its 2 1/4" piping with a flowmaster muffler in the front and a super turbo muffler at the back.
Took it for a hoon and sounds heaps better. I did notice that when i had the revs high and foot to the floor it blew out heaps of white/greyish smoke, am i right to think that its all the crud and shit burning out of the 2nd hand exhaust ive just put on???
Ease my paranoia: //oldschool.co.nz/index.php?/topic/34512-escortns-74-mk3-cortina/page-2#entry1145299
Also ive been looking into electronic ignition, What brands have people here used and whats the price like? ive been recommended this one: http://www.trademe.co.nz/motors/car-parts-accessories/performance/electronics/auction-645106022.htm but i dont want to pay that much if one of the trademe 100buk jobbys will do the same thing.
-
Sweet, interested to see how everything goes. Haha have at it


Escortn's 74 Mk3 Cortina
in Projects and Build Ups
Posted
So my front brakes packed up a few weeks ago. Front right siezed so i decided to strip, clean and rebuild both fronts.
They were both in pretty bad nick when i pulled them apart, looks as tho they hadnt been bled in years!
One of the pistons was siezed in so i boiled it for a bit then popped it out with a compresser. (Dont do this if your better half is going to come home within an hour, it makes your place reek!)
Chucked in a new seal kit and gave em a lick of paint.
After i bled them the pedal was still going down way to far. Had a look at the master and found some fluid leaking down from where it bolts onto the vaccuum doofer, so chucked a seal kit through that aswell (no pics coz it was giving me the shits).
Bled again and it was alot better but it still feels like it goes a bit to far. Ive bought some braided lines aswell but their yet to go on. Looking into getting the master resleeved then putting them in. Theeen i can concentrate on getting my gauges and centre console in.