


solidstripe
-
Posts
949 -
Joined
-
Last visited
Posts posted by solidstripe
-
-
13 hours ago, Positive Ape said:
And for Solidstripe being back on the forum. What happened to that nissan van project you had, Solidstripe?
You know you're O/S when you remember me haha...
We used that for short camping trips but sold it quite a few years ago. Man I miss it! Hopefully it pops up on here sometime in the near future.
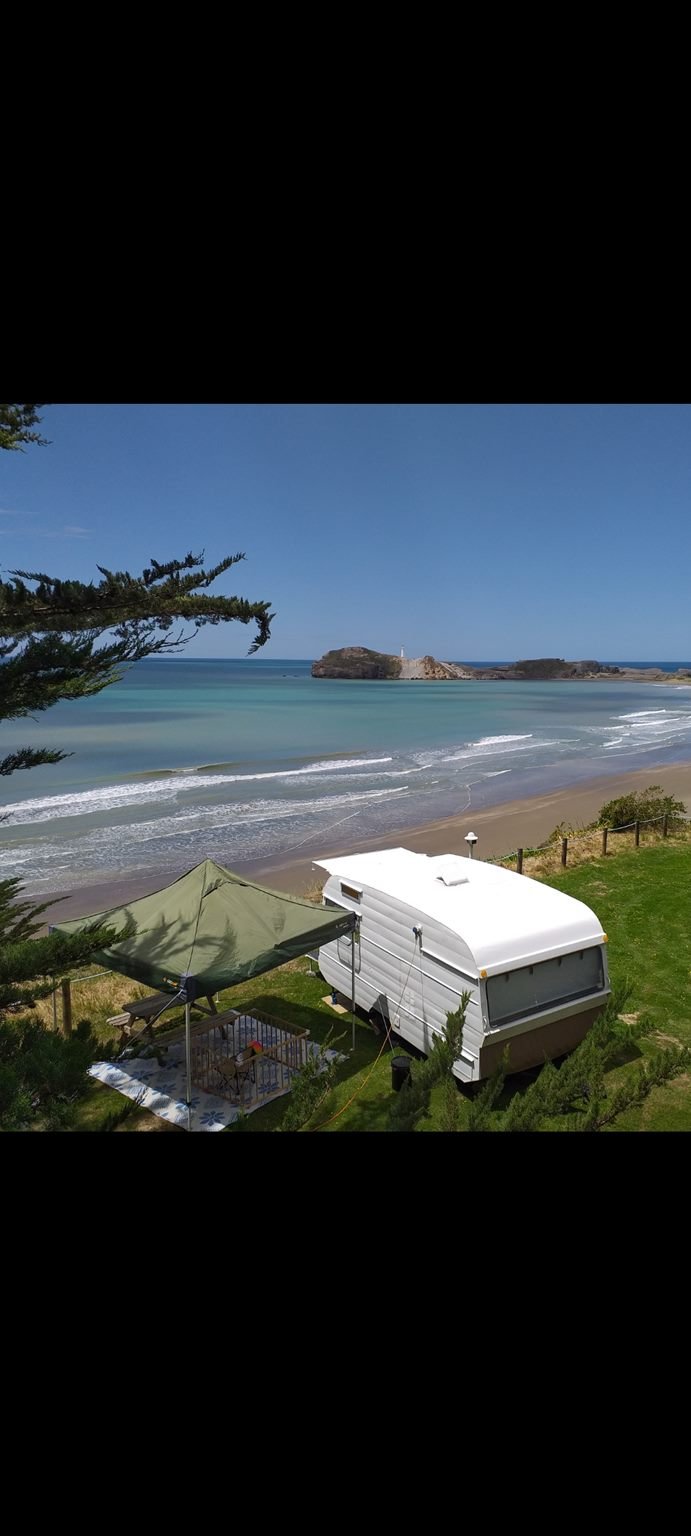
And yep, Castlepoint is awesome! Had never been there before but didn't want to leave, truely epic spot.
-
- Popular Post
- Popular Post

-
 12
12
-
-
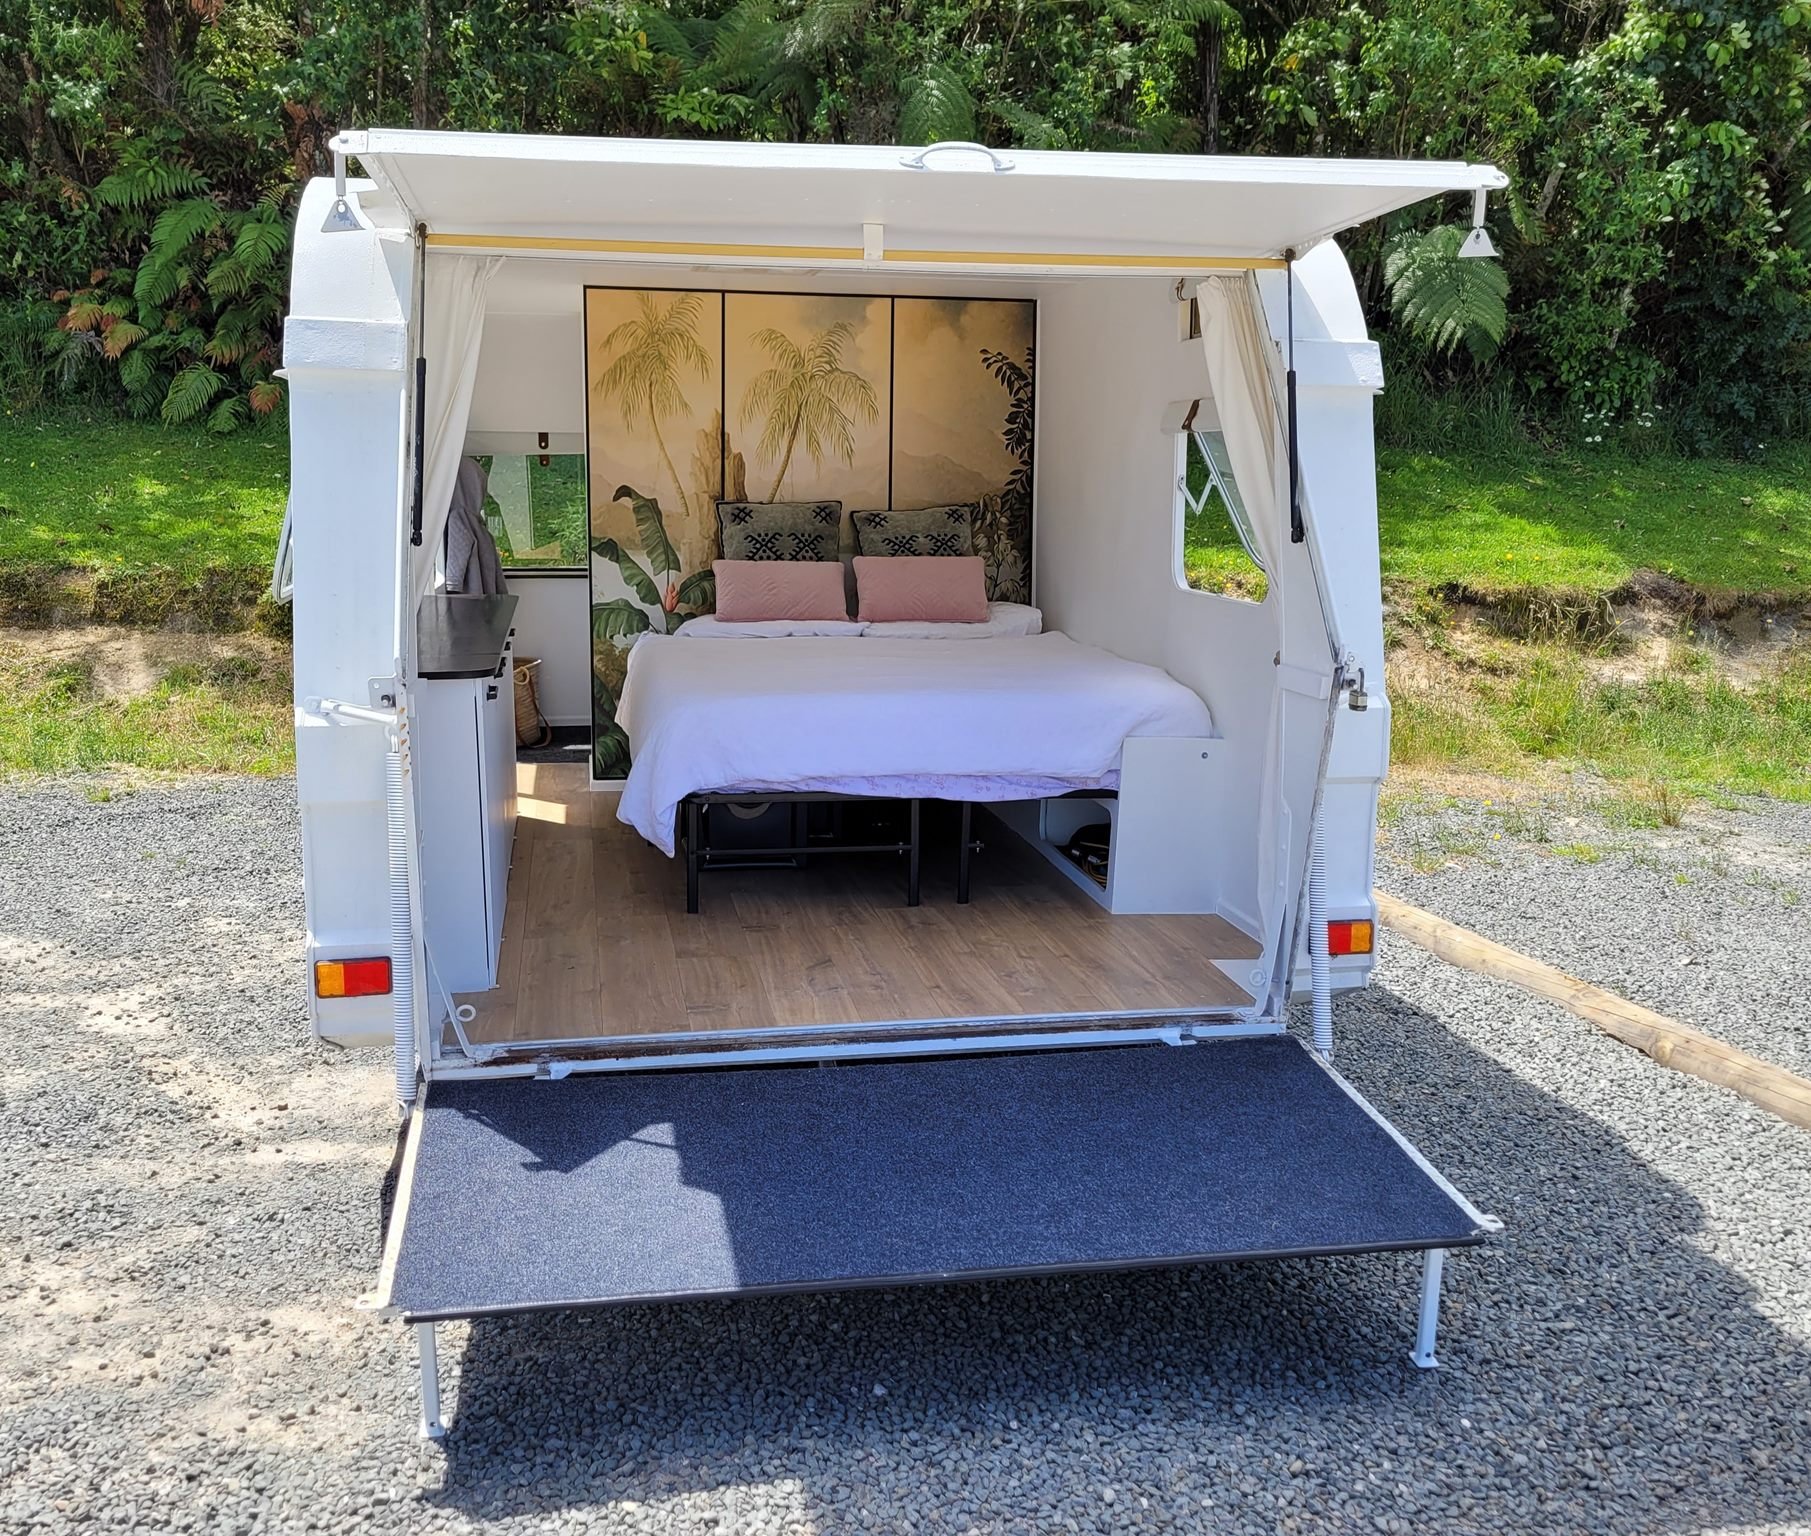
Opps! Forgot to update this! Toy hauler has been finished for some time and is awesome! Get's comments everywhere it goes.
Currently up for sale on TradeMe:
The perfect way to get all your bikes to that next O/S meet / camping weekend.
Can be set up as an office or mobile shop/takeways so a sweet tax write off if anyones keen

Just ready for someone to add their final touches.

-
4
-
-
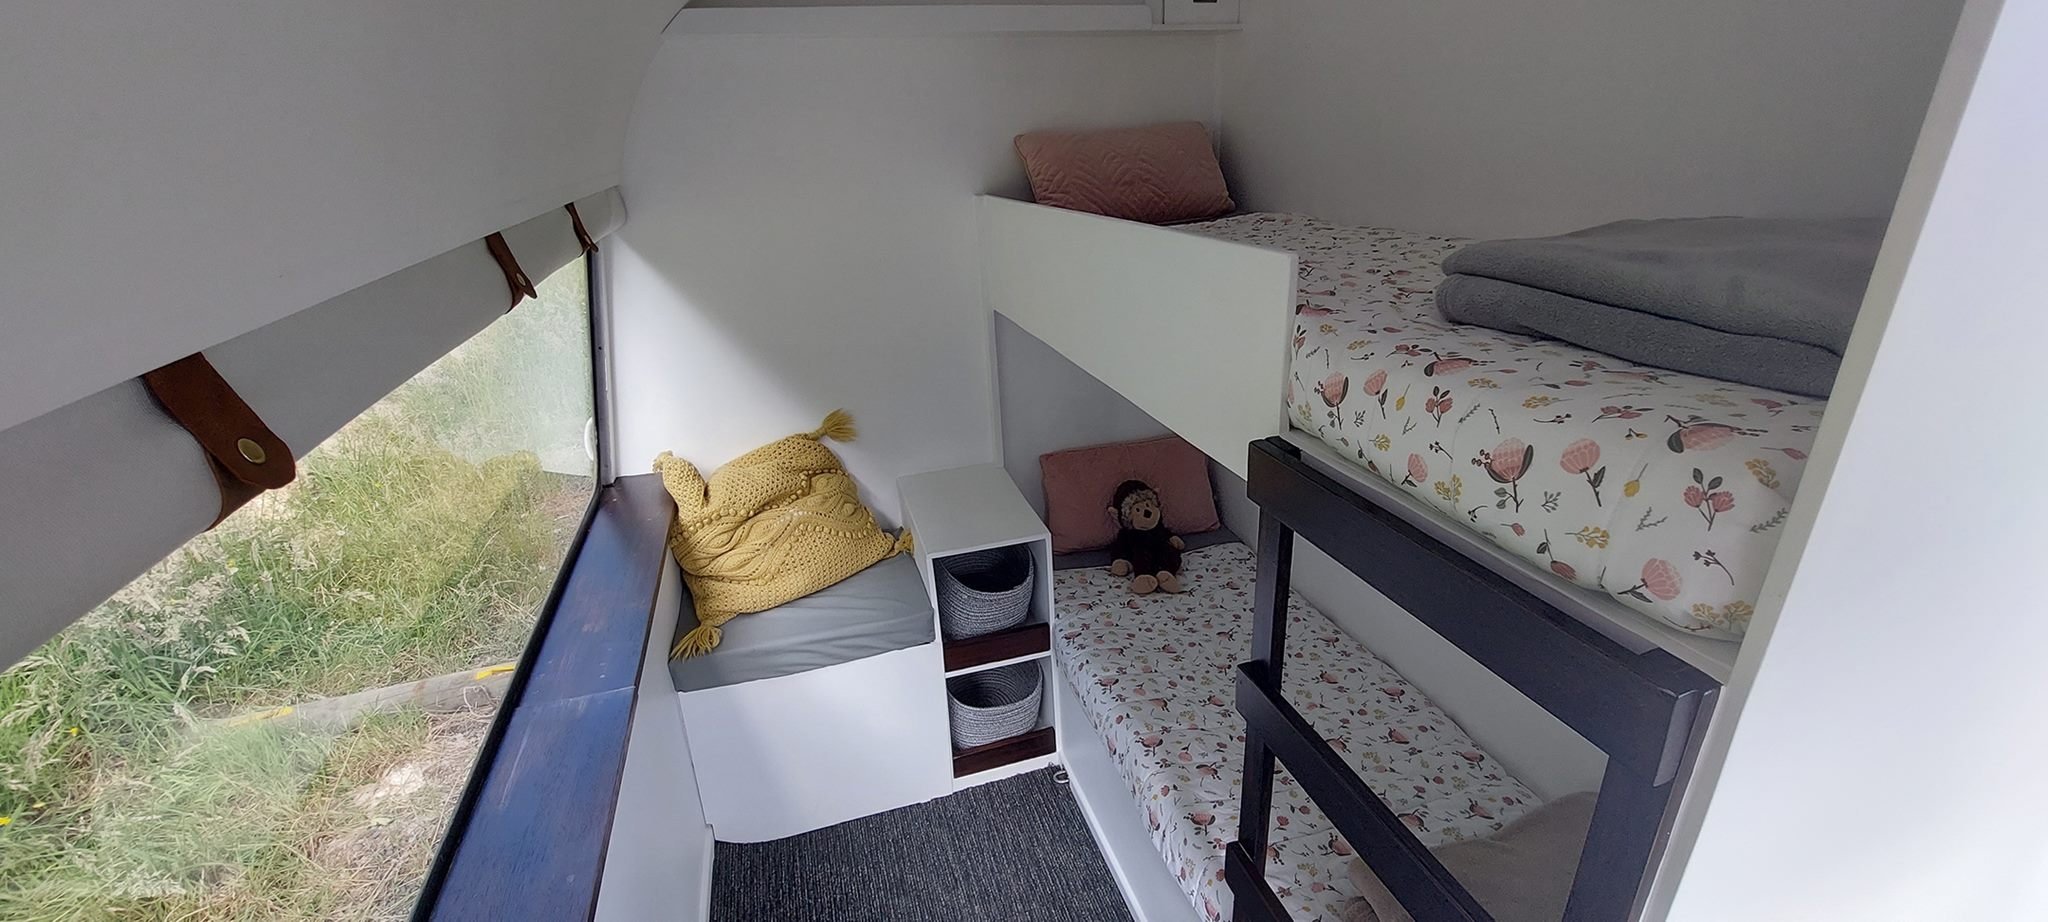
Going to change the top from ply to acacia to match the bench top. New carpet square's for the kids room courtesy of Rosie O'Grady's Irish Pub (RIP) Mt Maunganui:
-
6
-
-
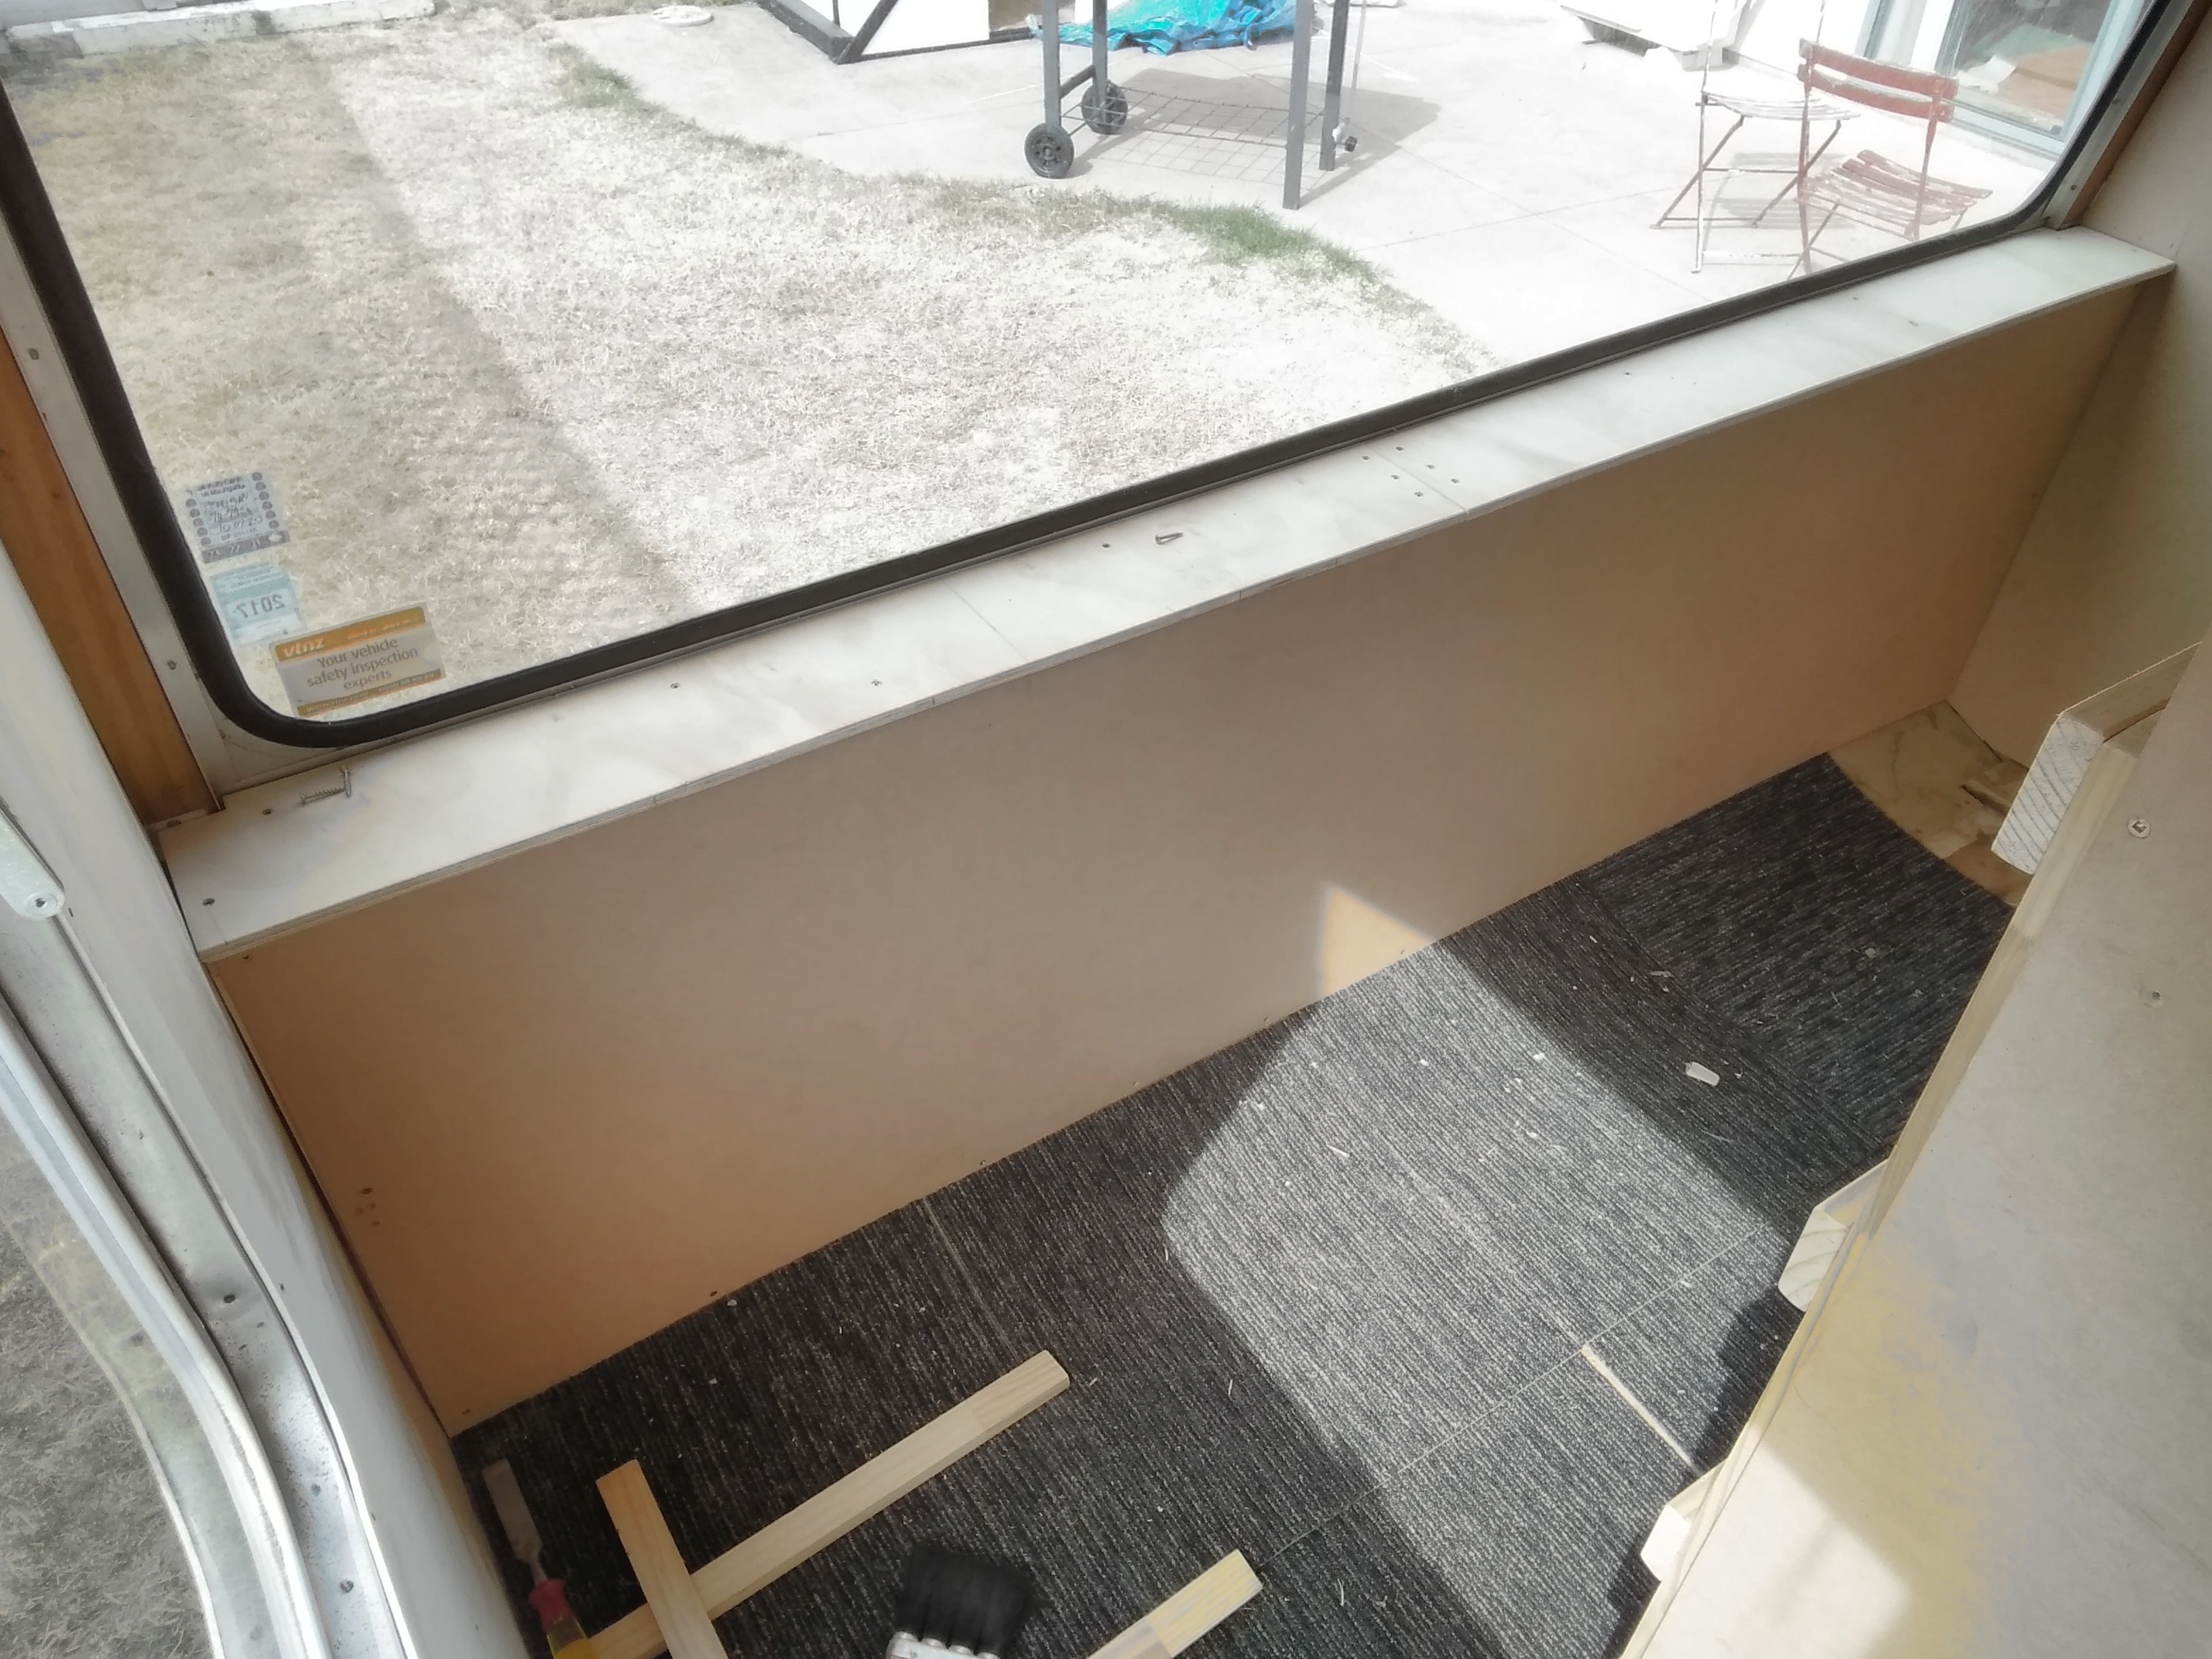
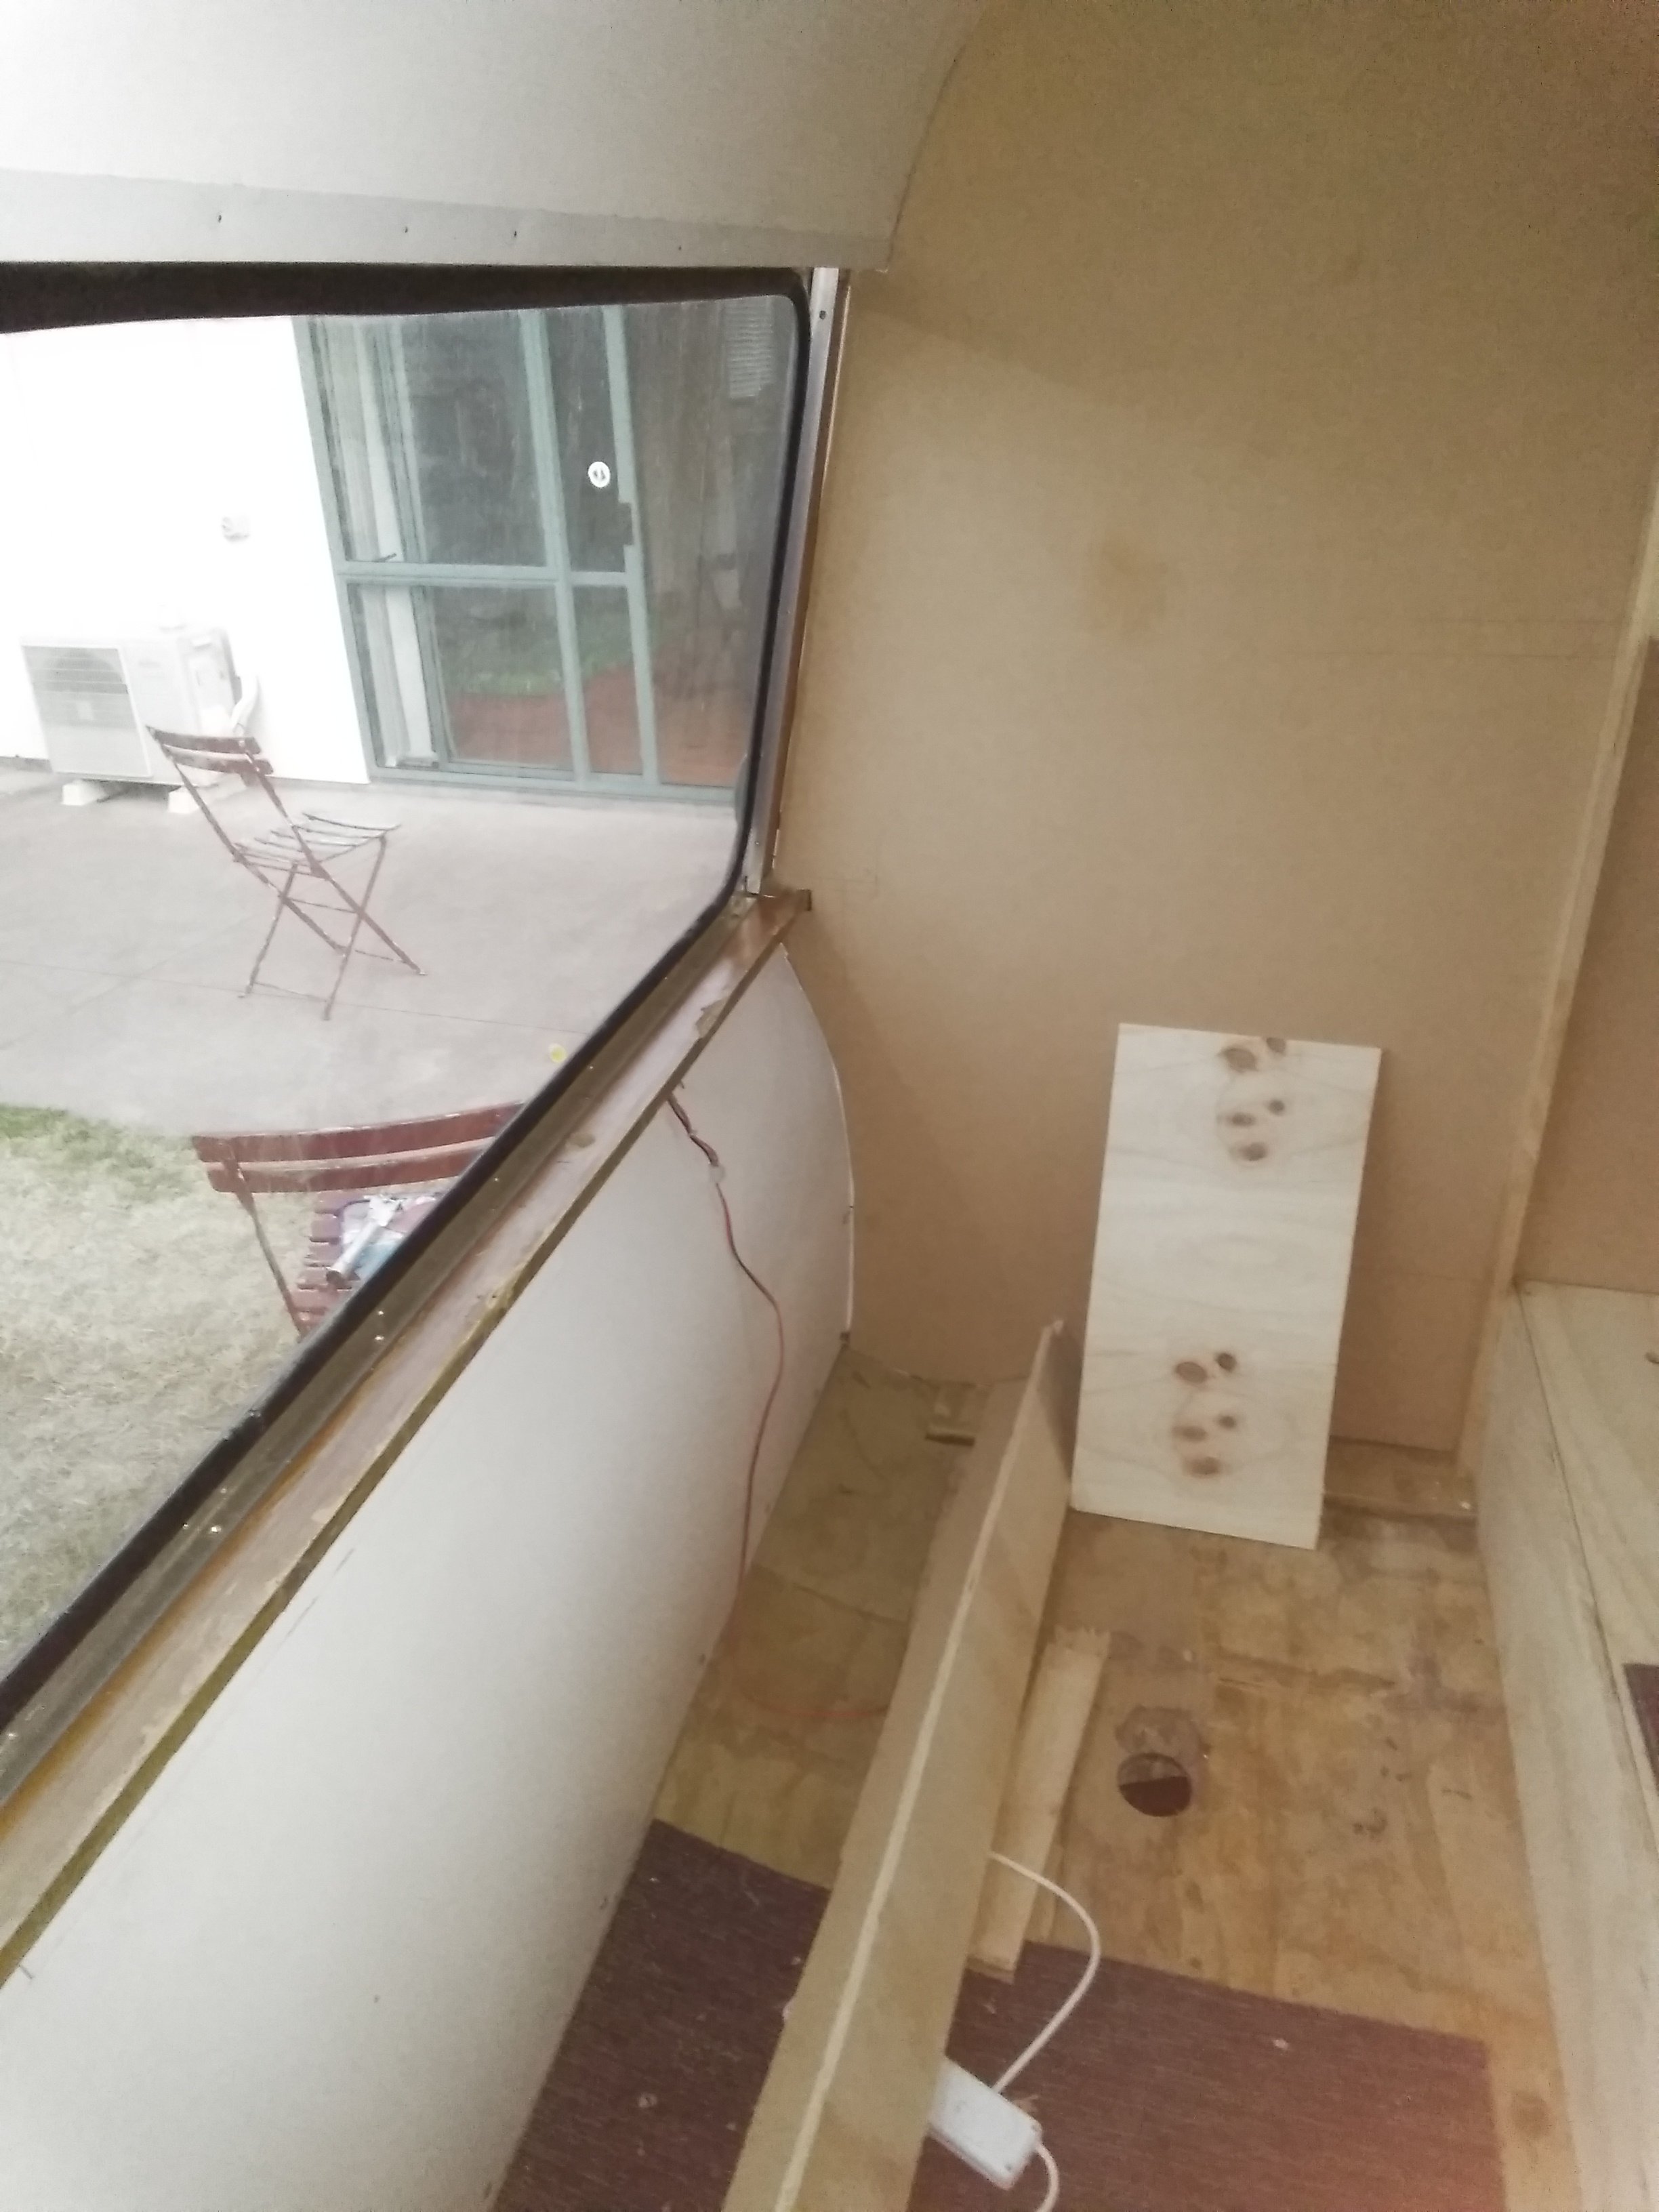
This curved piece was bugging me so decided to square it up and make a shelf under the window:
-
1
-
-
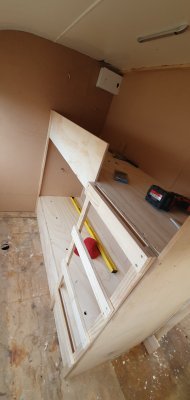
Bunks with storage under, boom:
Emergency loo (for self containment) and shelves to go to the left.
-
2
-
-
New quality laminate flooring and relining done. Wall to separate the kids room and provide support for the new bunks:
-
2
-
 1
1
-
-
I'd like to thank our sponser, My Food Bag for the sweet insulation
Worked a treat where windows have been deleted.
-
3
-
1
-
-
Hahaha, by the looks of it, the IQ requirements aren't too high so I might be in with a shot
The nozzle on the Swartz (something like that) gun that comes with the kit is HUGE when compared to normal spray gun. I am unsure if a normal gun would function properly and might get blocked easy and either stop, or start spraying uneven clumps anyway. I would suggest thinning it up, and running low pressure and then moderate your distance and speed to get the desired finish. Also, beware they only have a 1 hr pot life once mixed, so you have to work fast and ideally have someone else mixing the next one for you while you spray as you don't want the gun line to clog up. We worked pretty quickly and ran acetone through every second bottle used to keep the line and gun clean and flowing free.
-
1
-
-
You can also thin it with acetone and tutu with the air pressure/flow rate to increase the coverage and alter the finished surface texture too. However, if you add the tint, there is only a tiny amount of volume/space left for any extra thinners in the bottles (at least in the Raptor bottles). I mean I'm no Bottle Scientist, but you would think Industrial Design 101 would be to have a bottle size that's adequate to accommodate the product, the allowable level of thinner AND tint.
-
1
-
-
On 30/09/2020 at 10:03, Sambo said:
Where do you buy Raptor, and what does it cost?
Keen to do the bumpers and wheel arches on my Paj with it, since it can be colour matched.
I obtained mine through Resene Auto in Tauranga - awesome team there, really helpful.
I used a mates trade account and the cost worked out way more affordable than typical auto paint. I was surprised at the price without the horrific retail mark up. A car would likely work out cheaper still due to surface area differential. The salesperson says they can't understand how Raptor can produce it at such an affordable price when compared to other two pot auto paints.
I also used the Resene etch primer instead of the Raptor - same stuff, massive price difference. If I were to do it again, I would definitely try tint the etch primer to be matching the top coat colour as if it's a bit thin it wouldn't show through as much.
Sorry for the thread hijack, any Q's, DM me if you want. Sweet job on the trailer guy!
-
2
-
-
Dude, that is a lot of hard work, almost there!
Loving the speed holes
I'm off to go lighten my draw bar and windows haha...
That slat pull out is looking pretty classy too. Love your work!
-
1
-
-
I have a box of left over Raptor traction sand that you can mix in for the bonnet so it's extra grippy for all the deer/boars that get slung over the bonnet from hunting haha
-
4
-
-
OMG!1! (Davie504 ref)
I second the Raptor motion
-
1
-
-
- Popular Post
- Popular Post
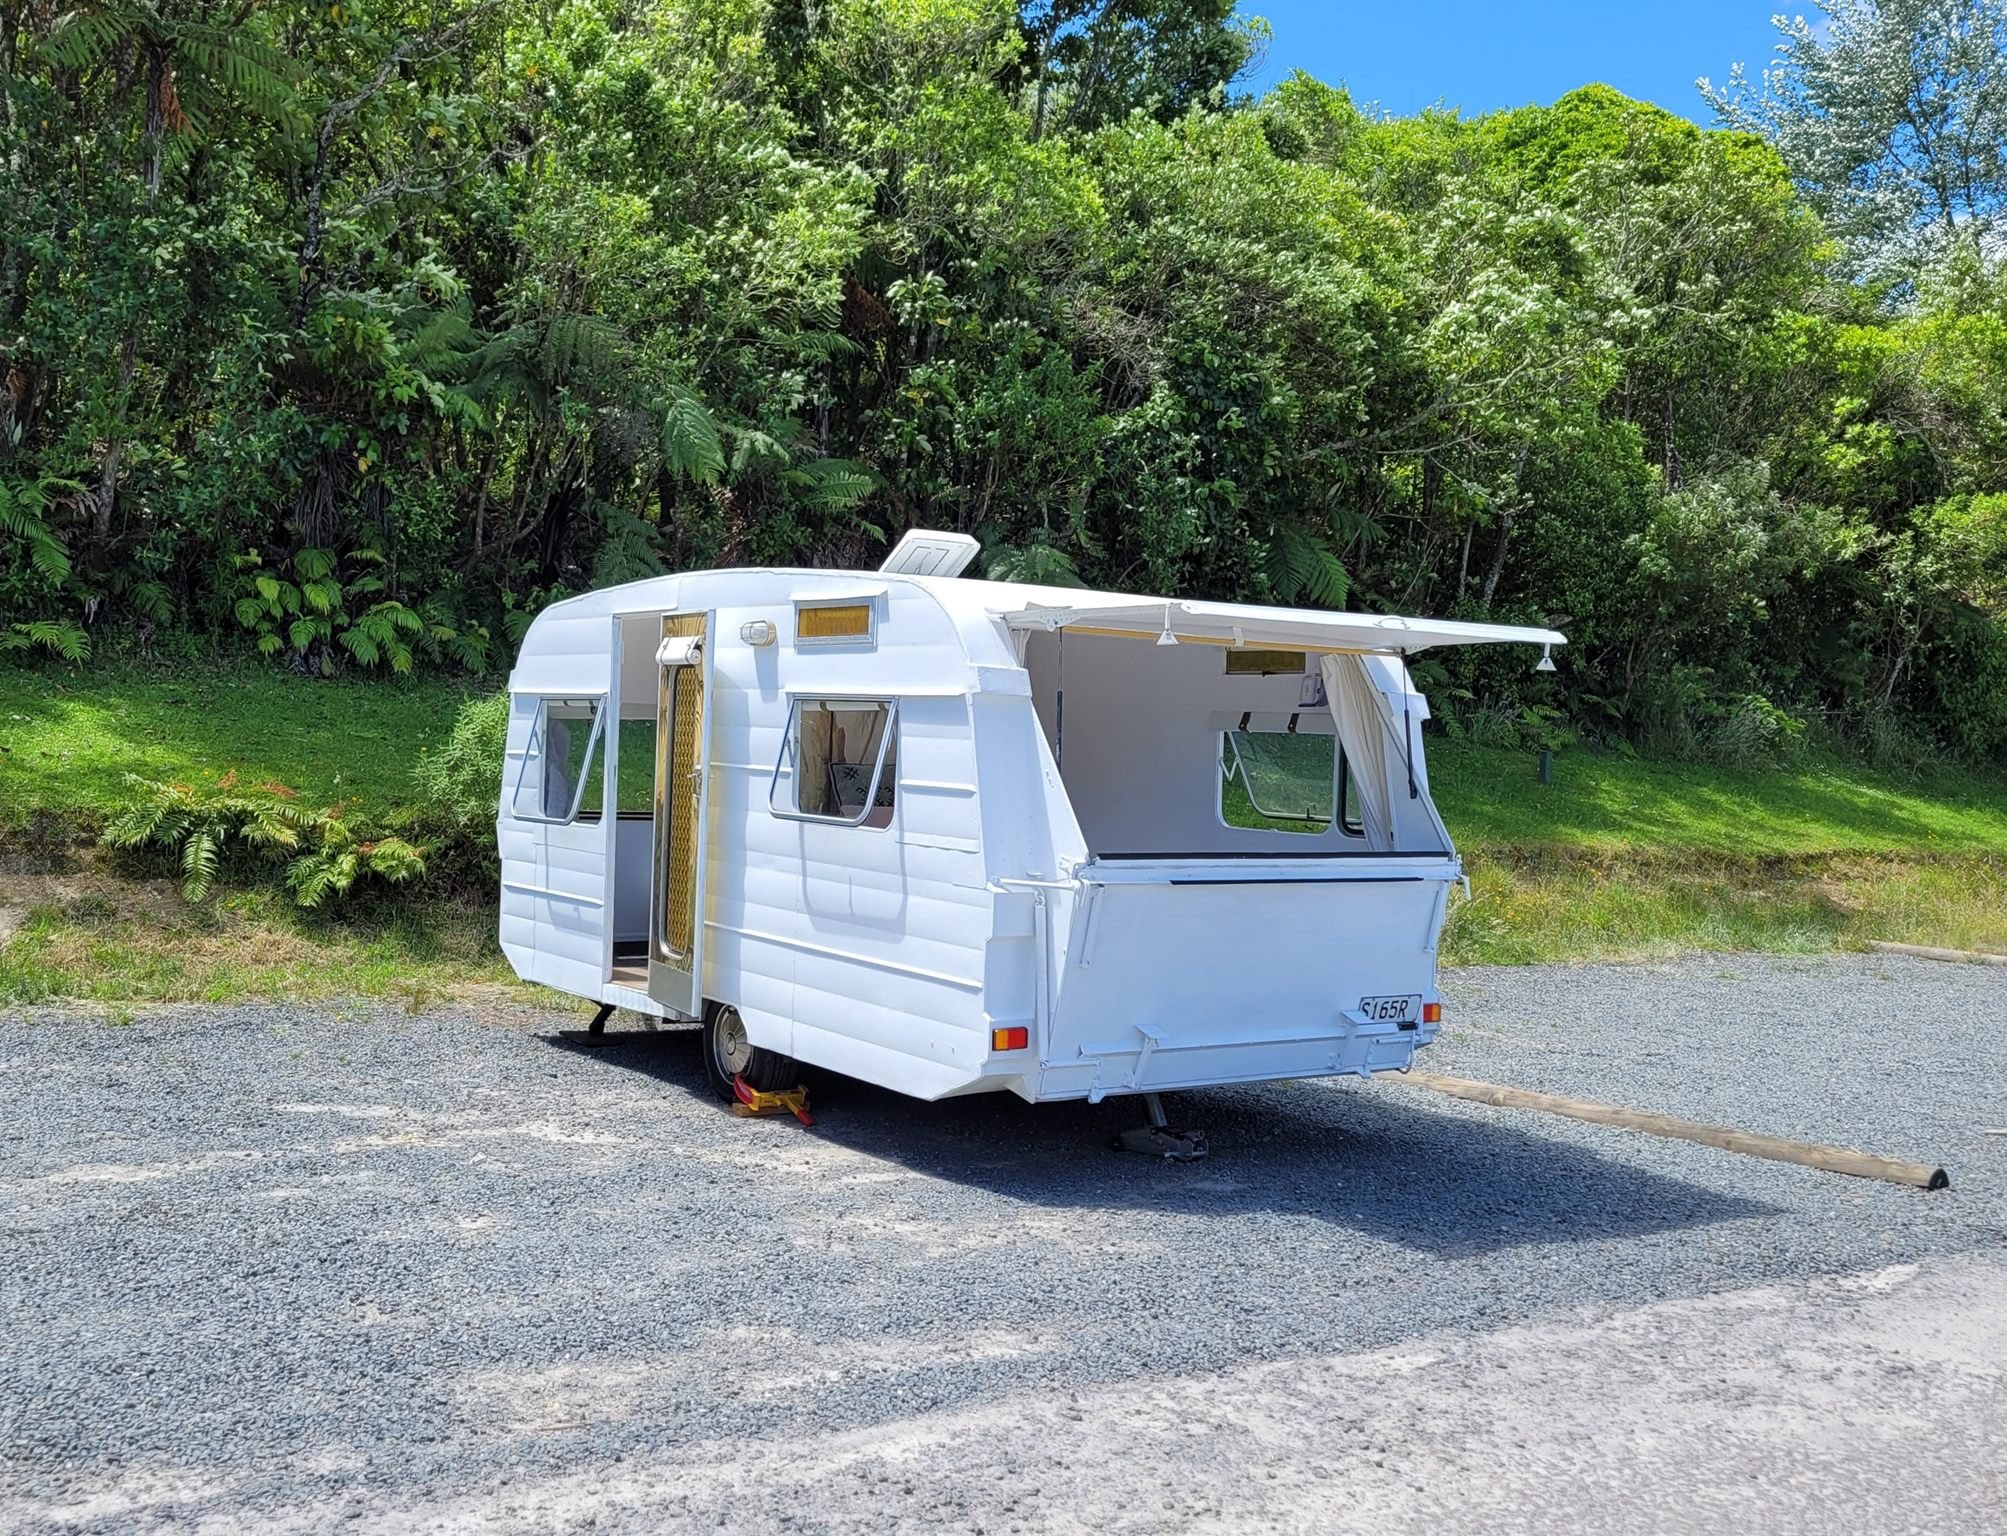
Nek minit:
-
14
-
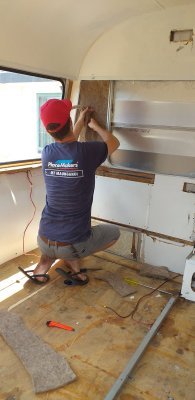
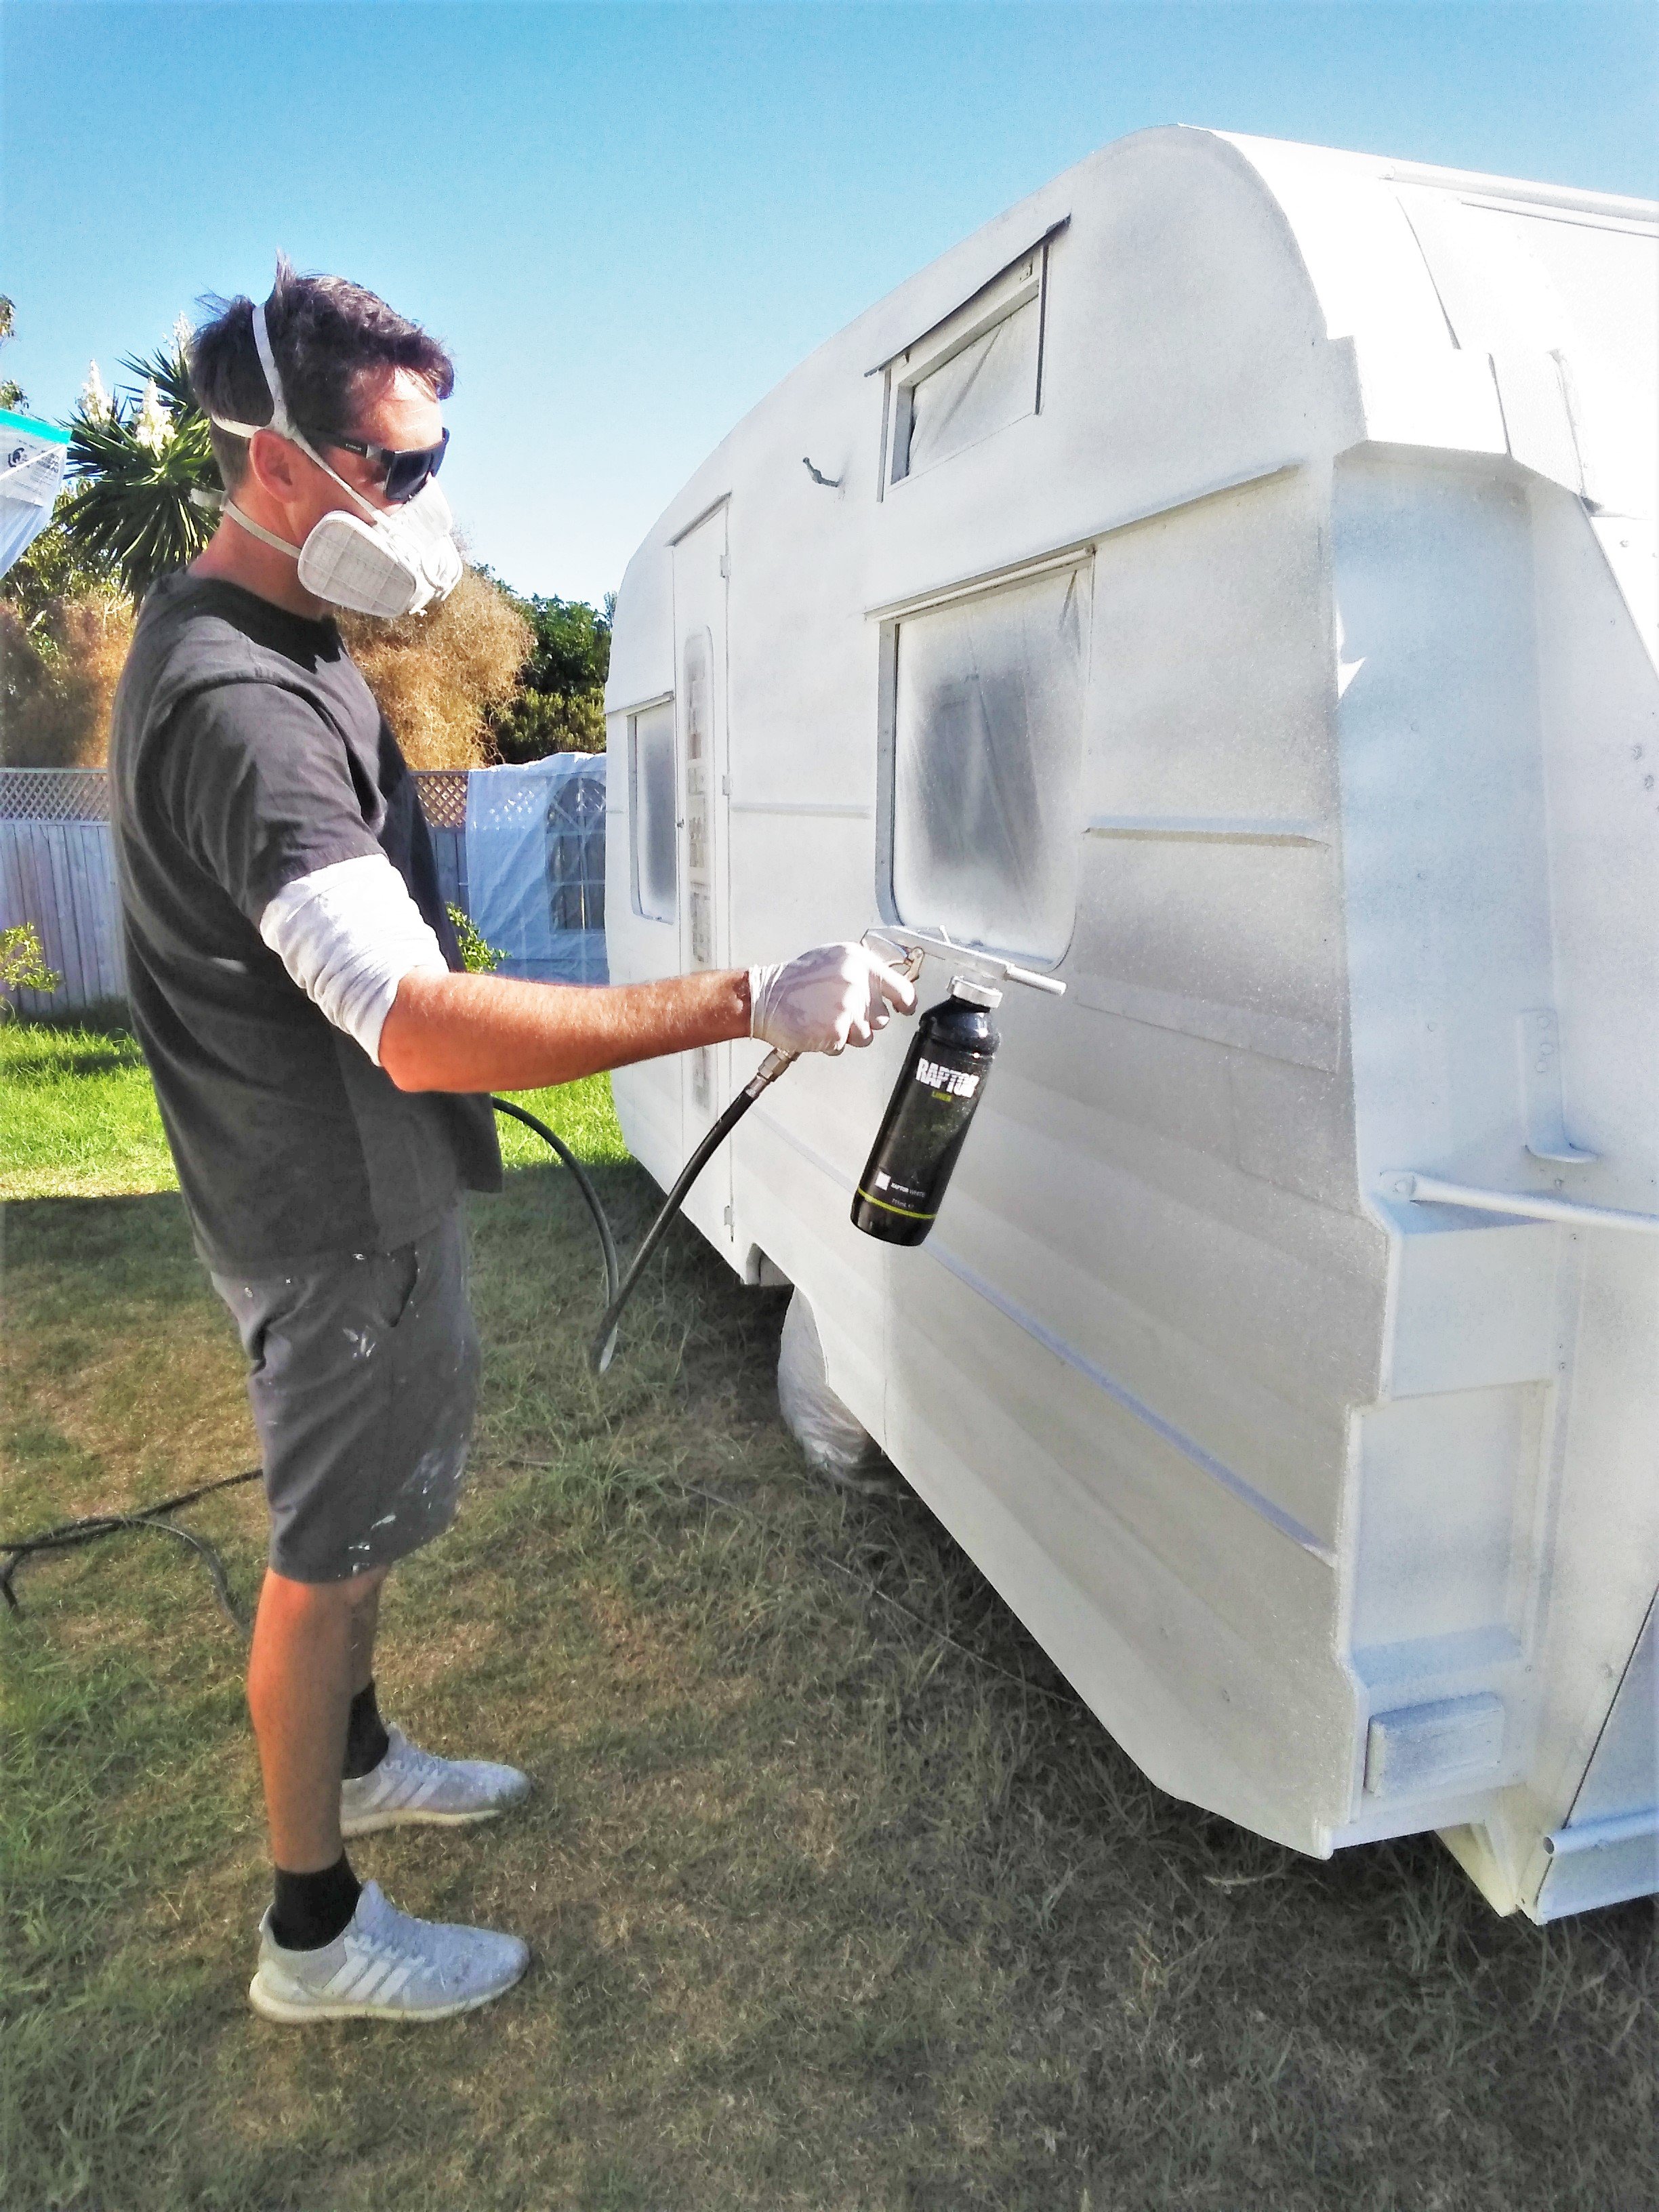
Old mate helping with spraying the raptor liner. If you have a decent compressor the kits come with the 2 pot paint and the gun. It is way cheaper than normal auto paint, more durable, uv resistant, scratch resistant, flexible and provides good waterproofing properties etc. so is a good option if you don't mind the rugged texture look, which I'm a fan of. Tip for players: If I was to do this again, I would tint the etch primer undercoat the same colour as the Raptor Liner to help with coverage. This stuff can be tinted any colour and is available from your local Resene Auto shop. As you can see, we were able to do it in the back yard on a still day. It's pretty easy for DIYer's too as it doesn't appear to run despite the high DFT.
-
2
-
-
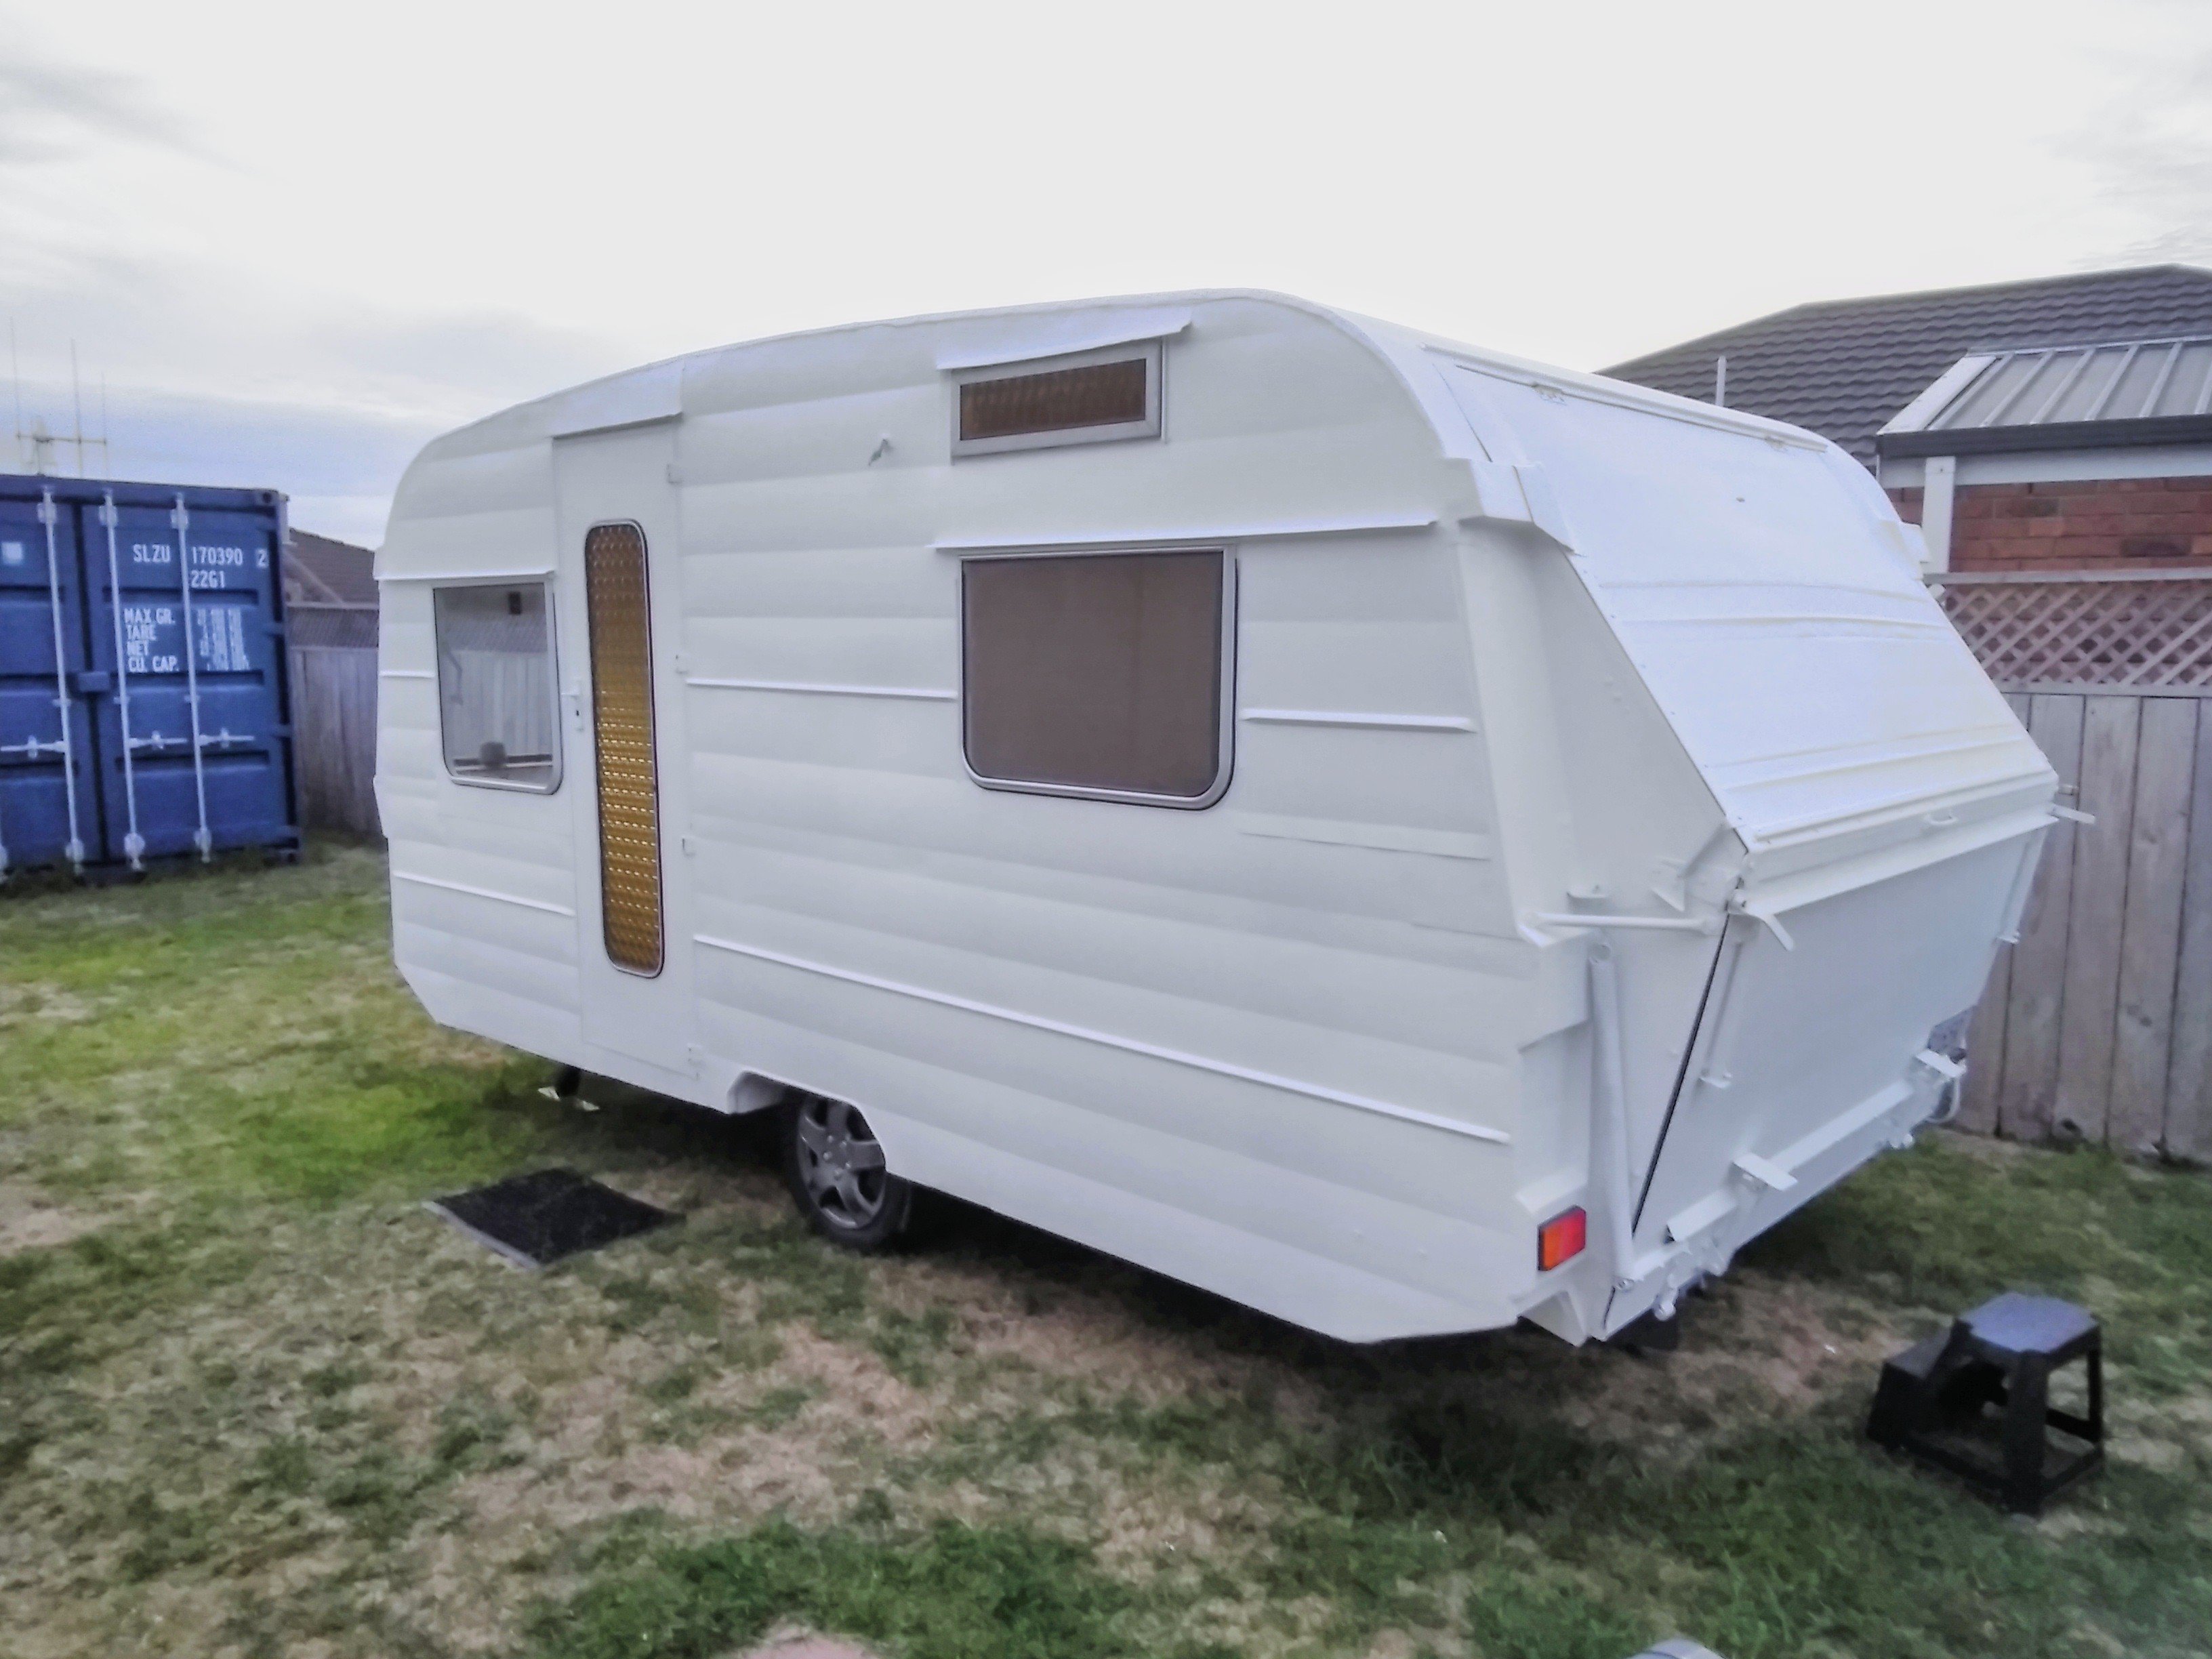
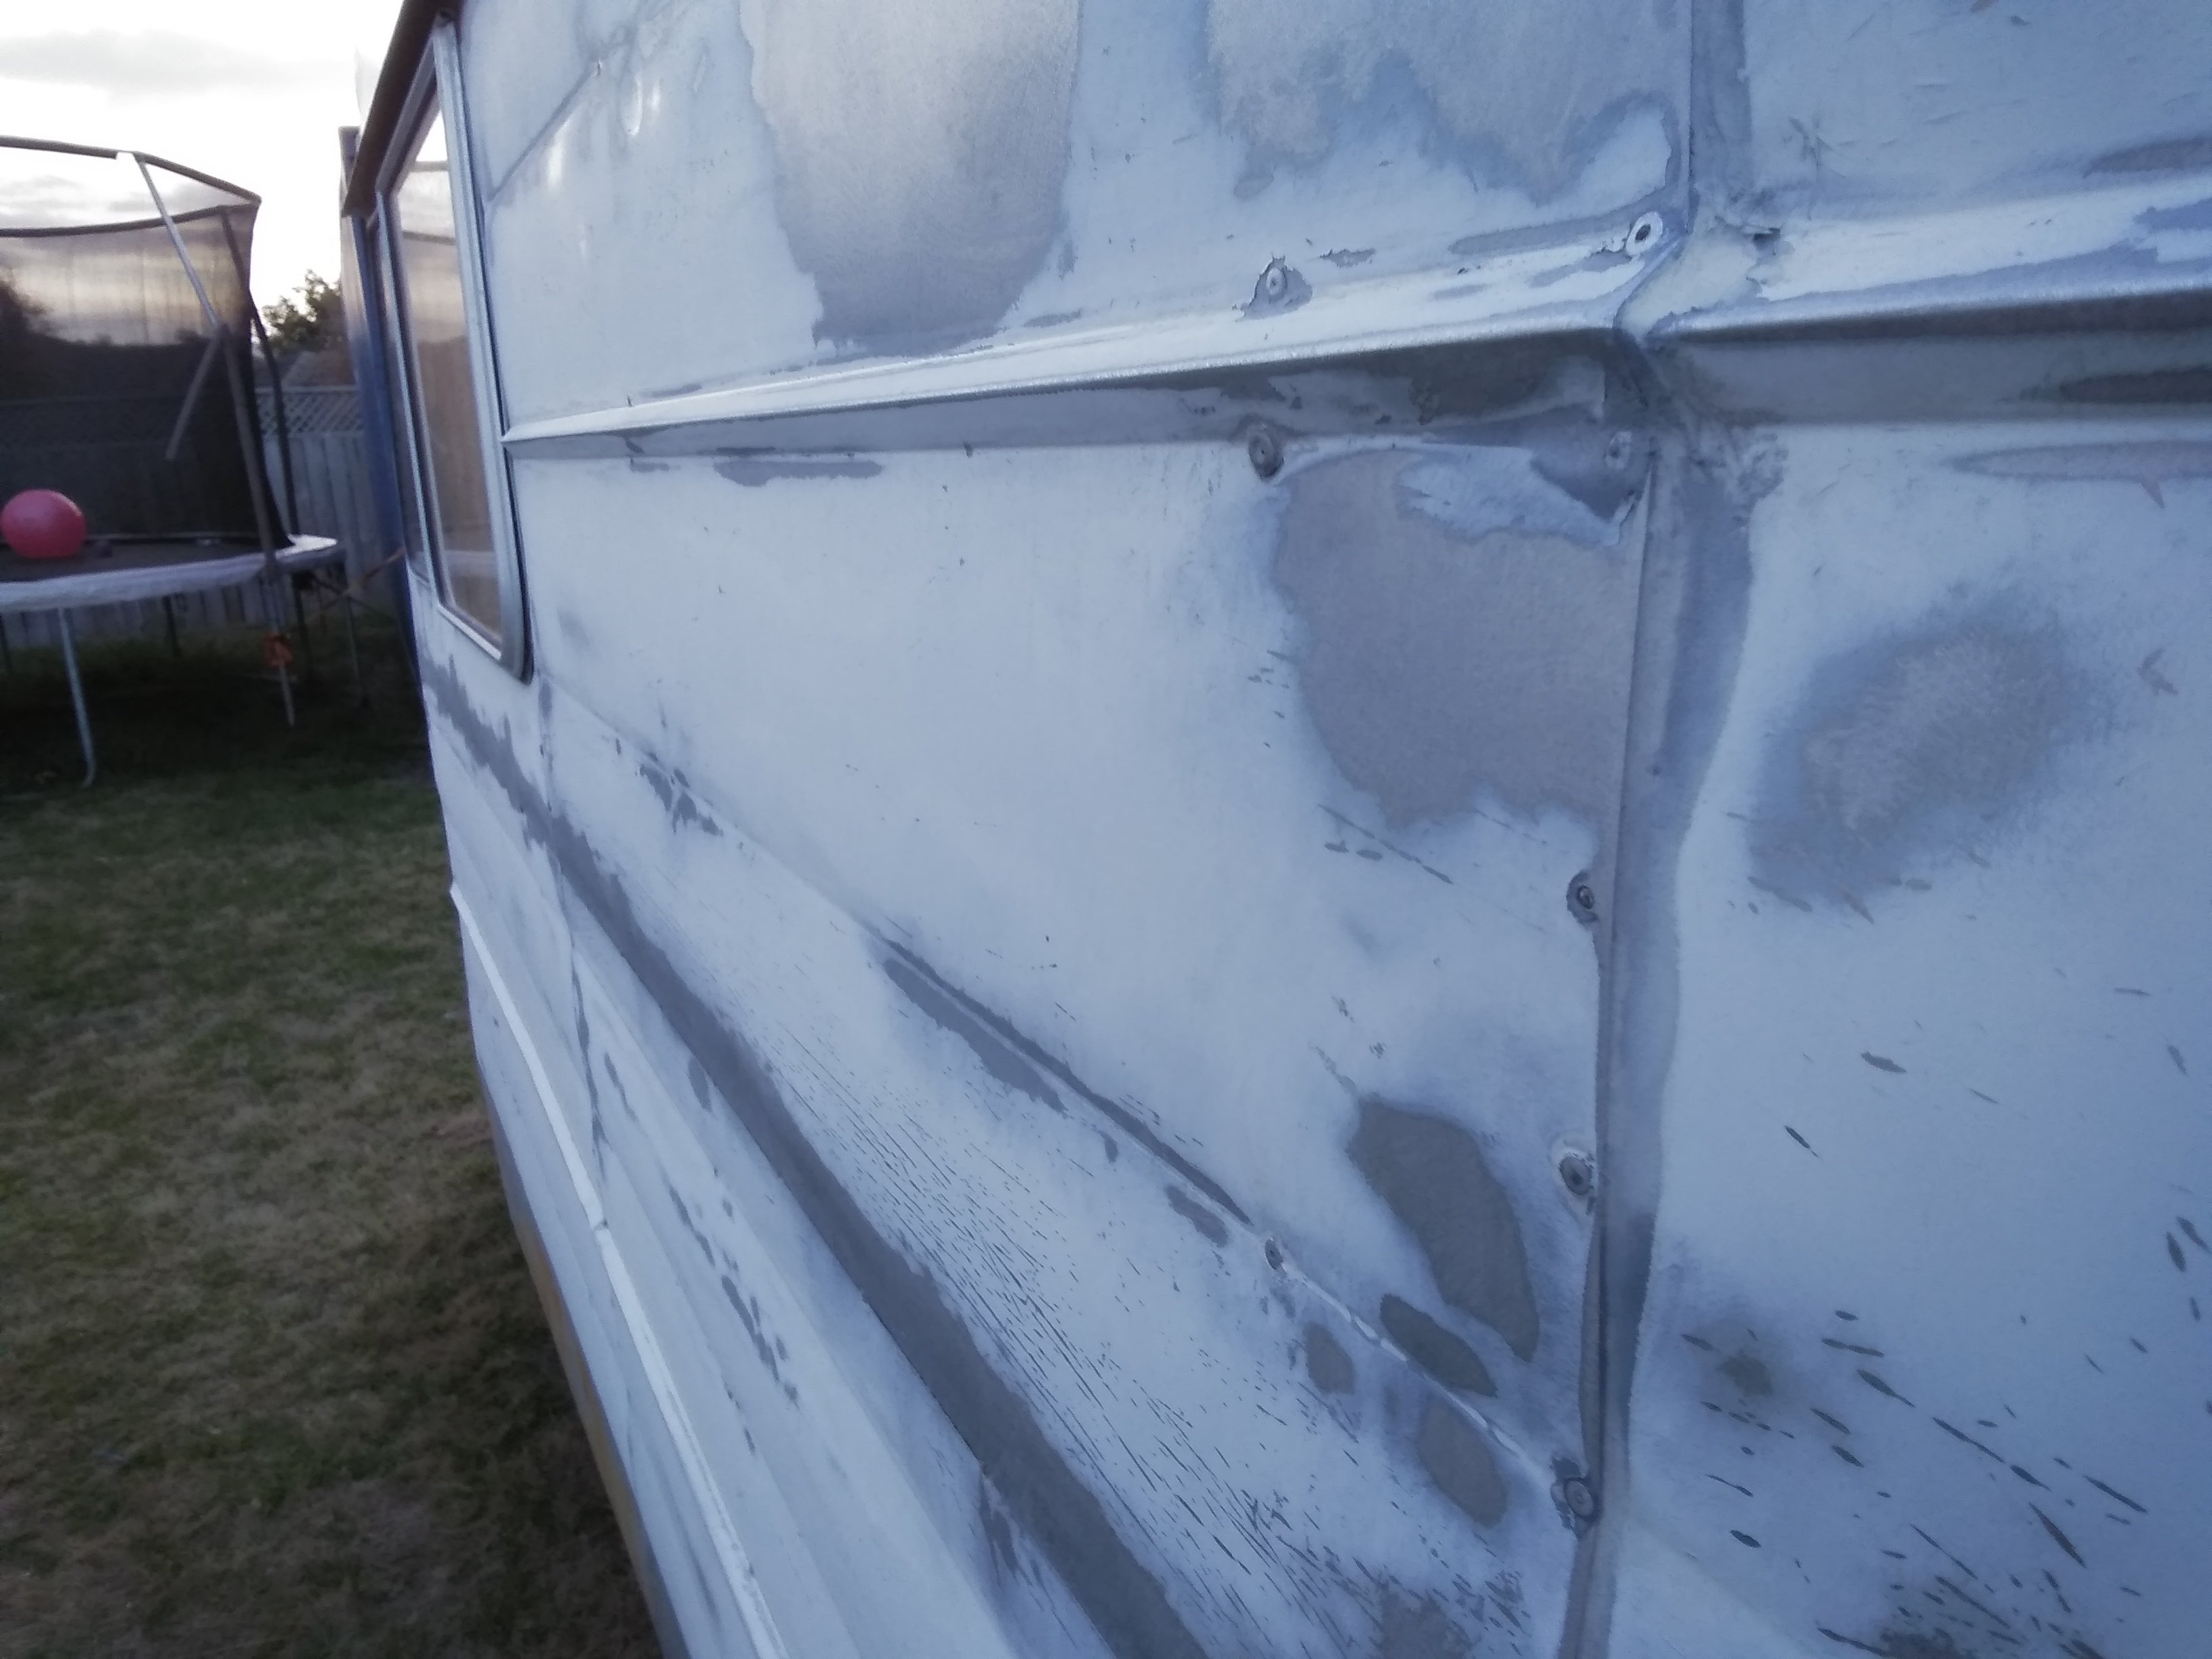
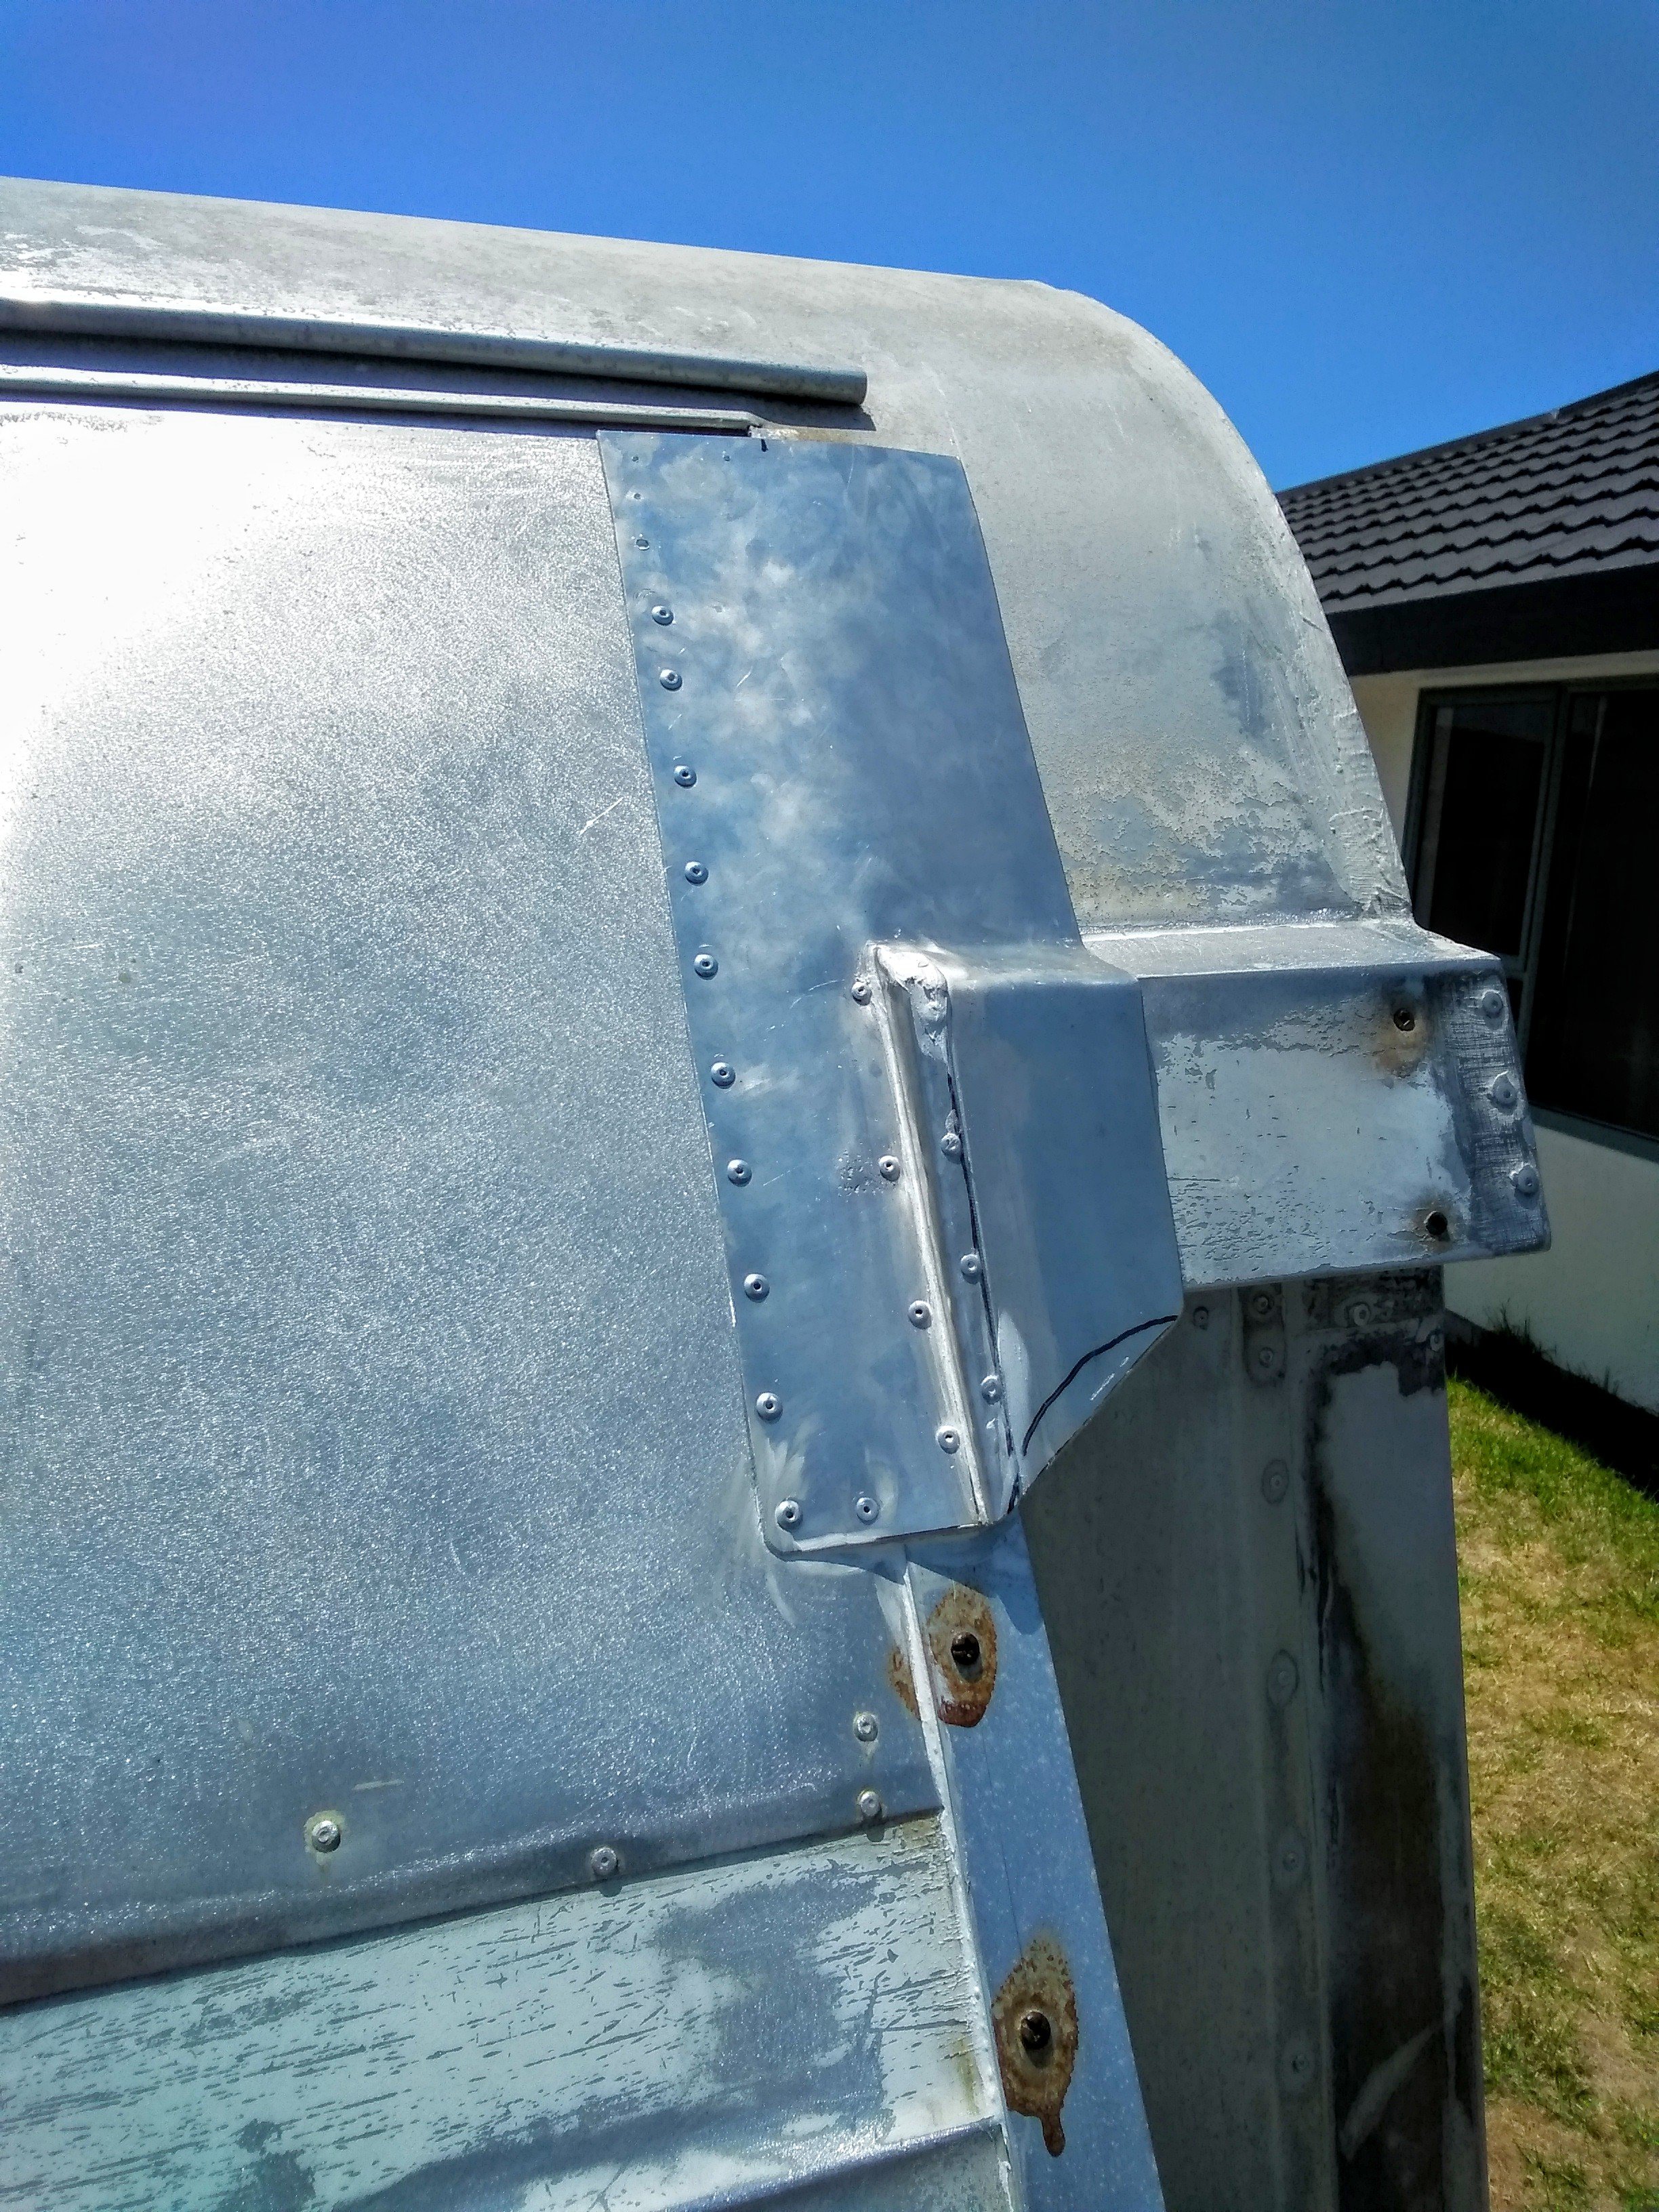
Here's a pic that shows the paint height variation, if you painted with a typical glossy paint (even matt) it would look terrible.
However we eneded up painting straight over this surface - with Raptor Liner!
-
3
-
-
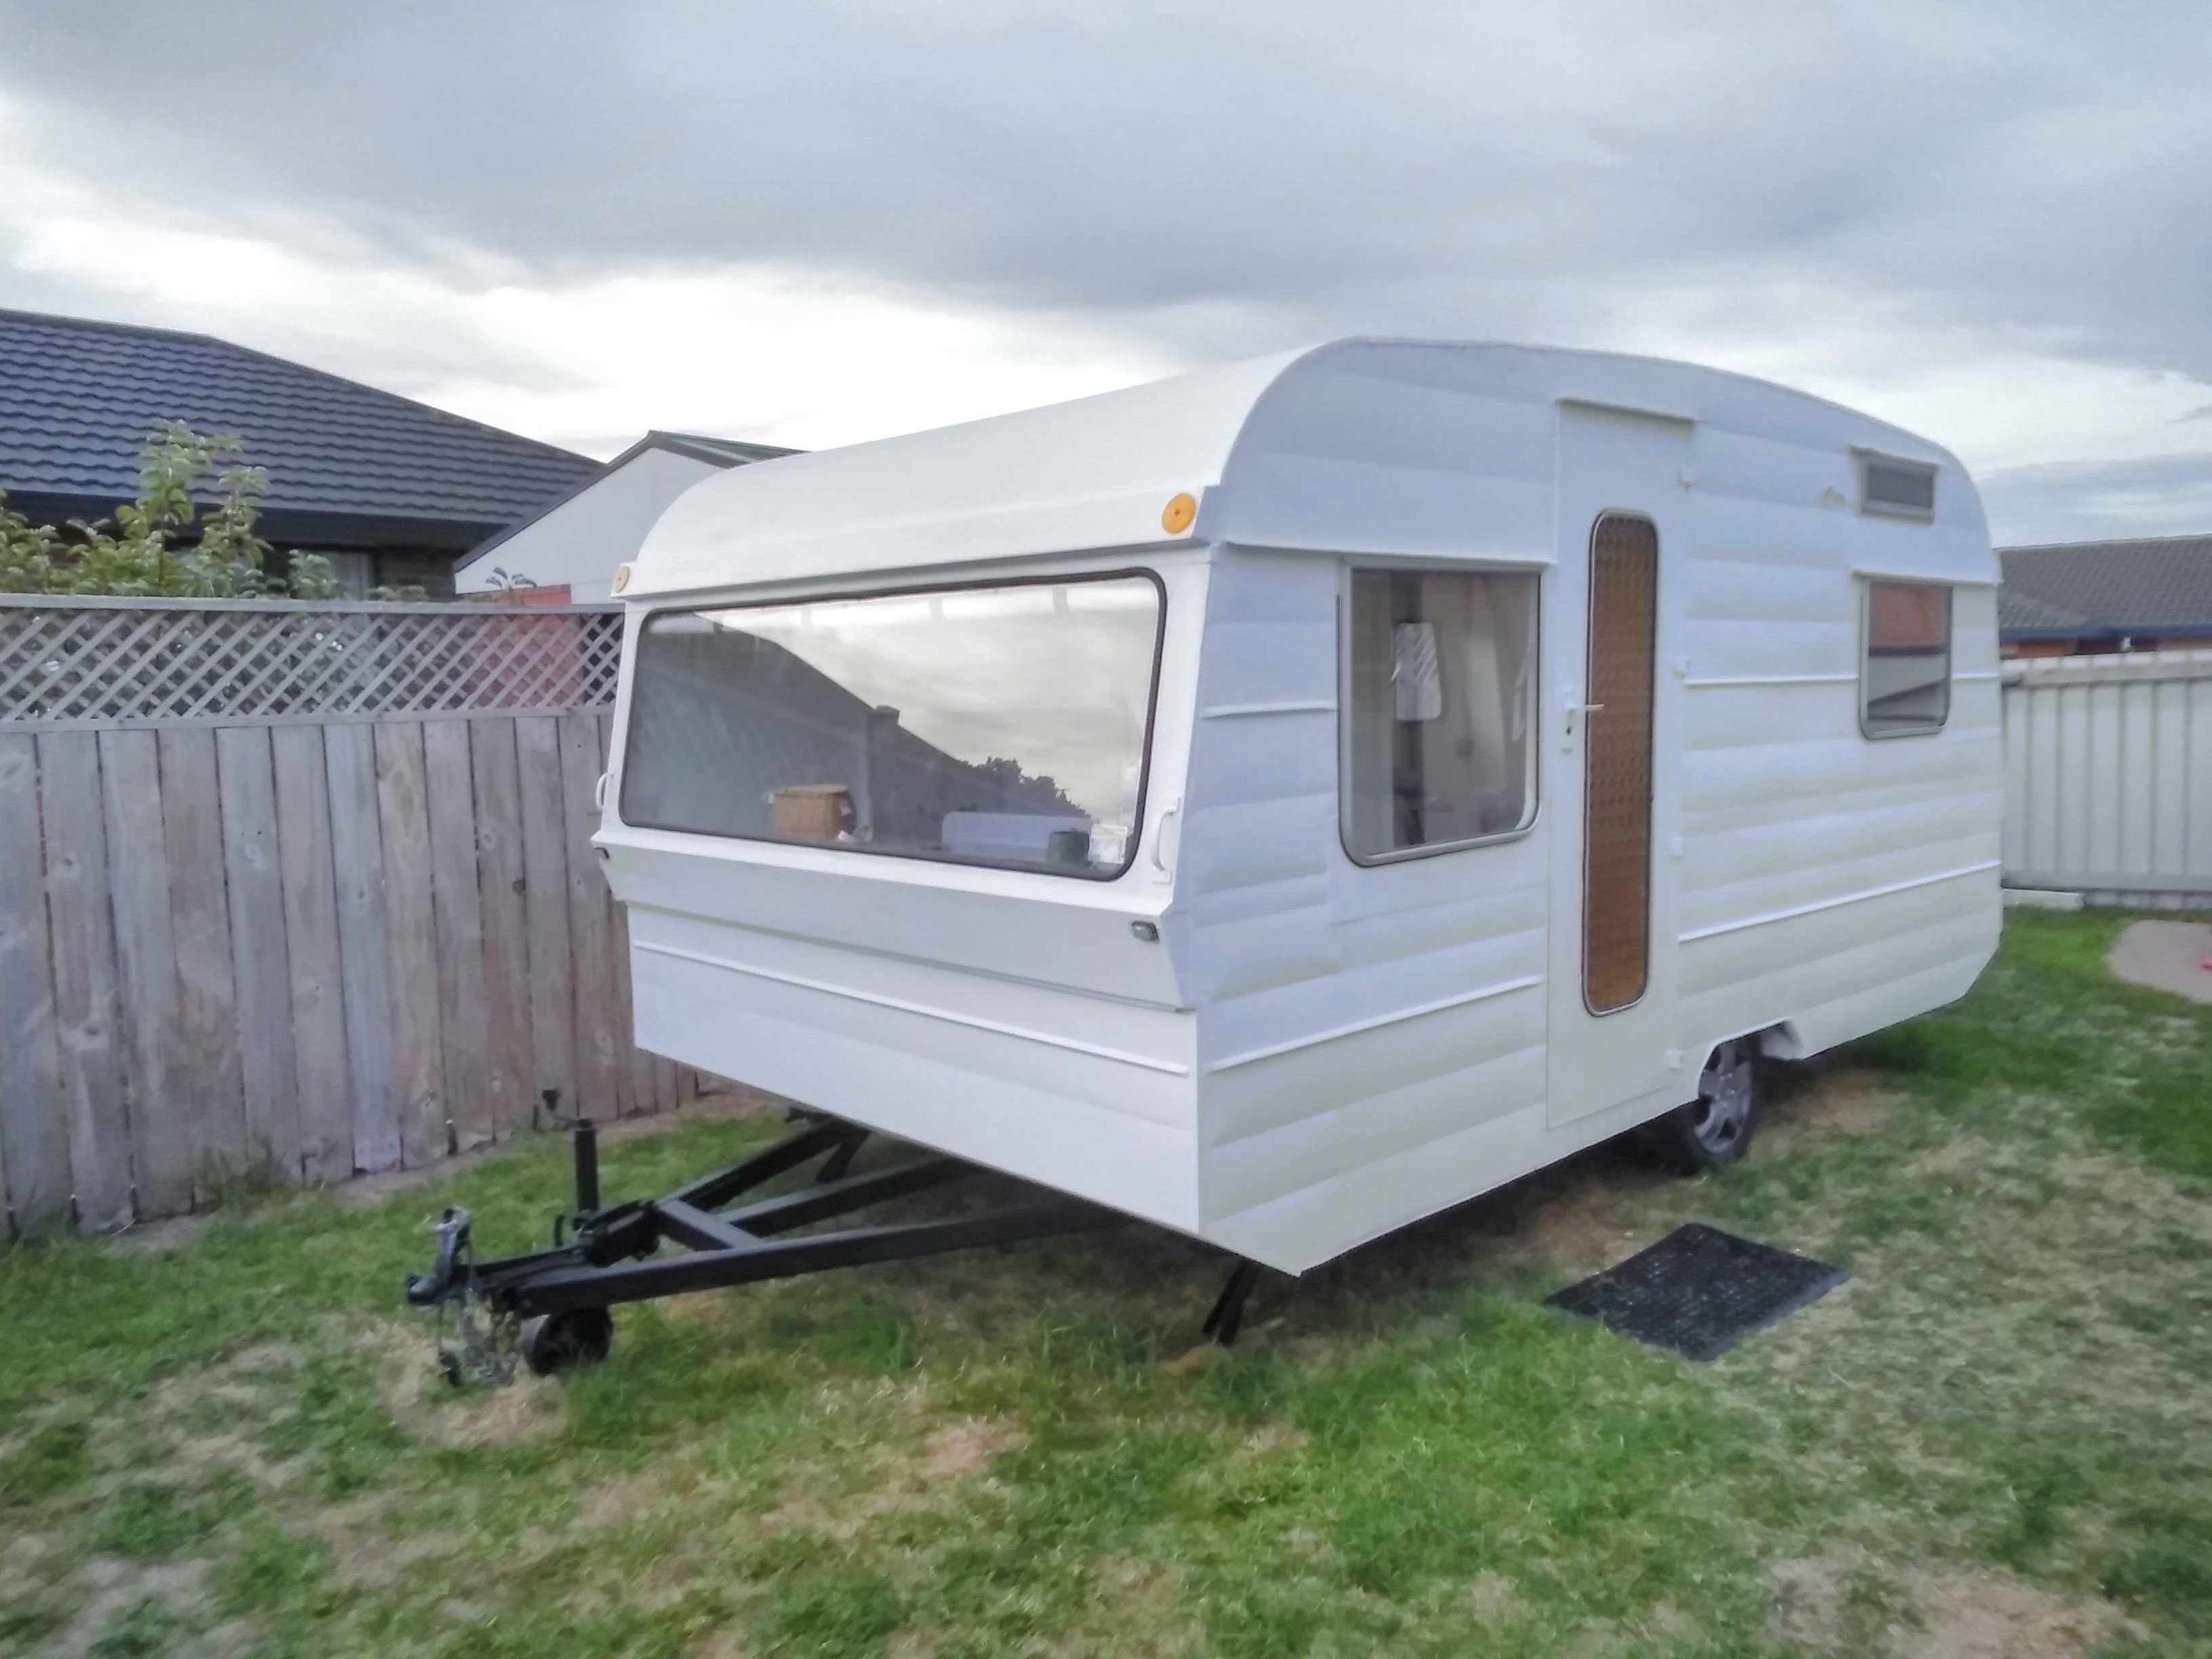
This is about as flat as we got it. Got all the flakey bits off however the height difference between the metal and the paint surface was still quite uneven, quite a few microns. There's no typical auto paint that could look good on that surface - However, the coating system I had in mind was thicker than the micron difference and stuck like high school nick name. I just hope it would work as I hadn't seen it applied to such a rugged surface.
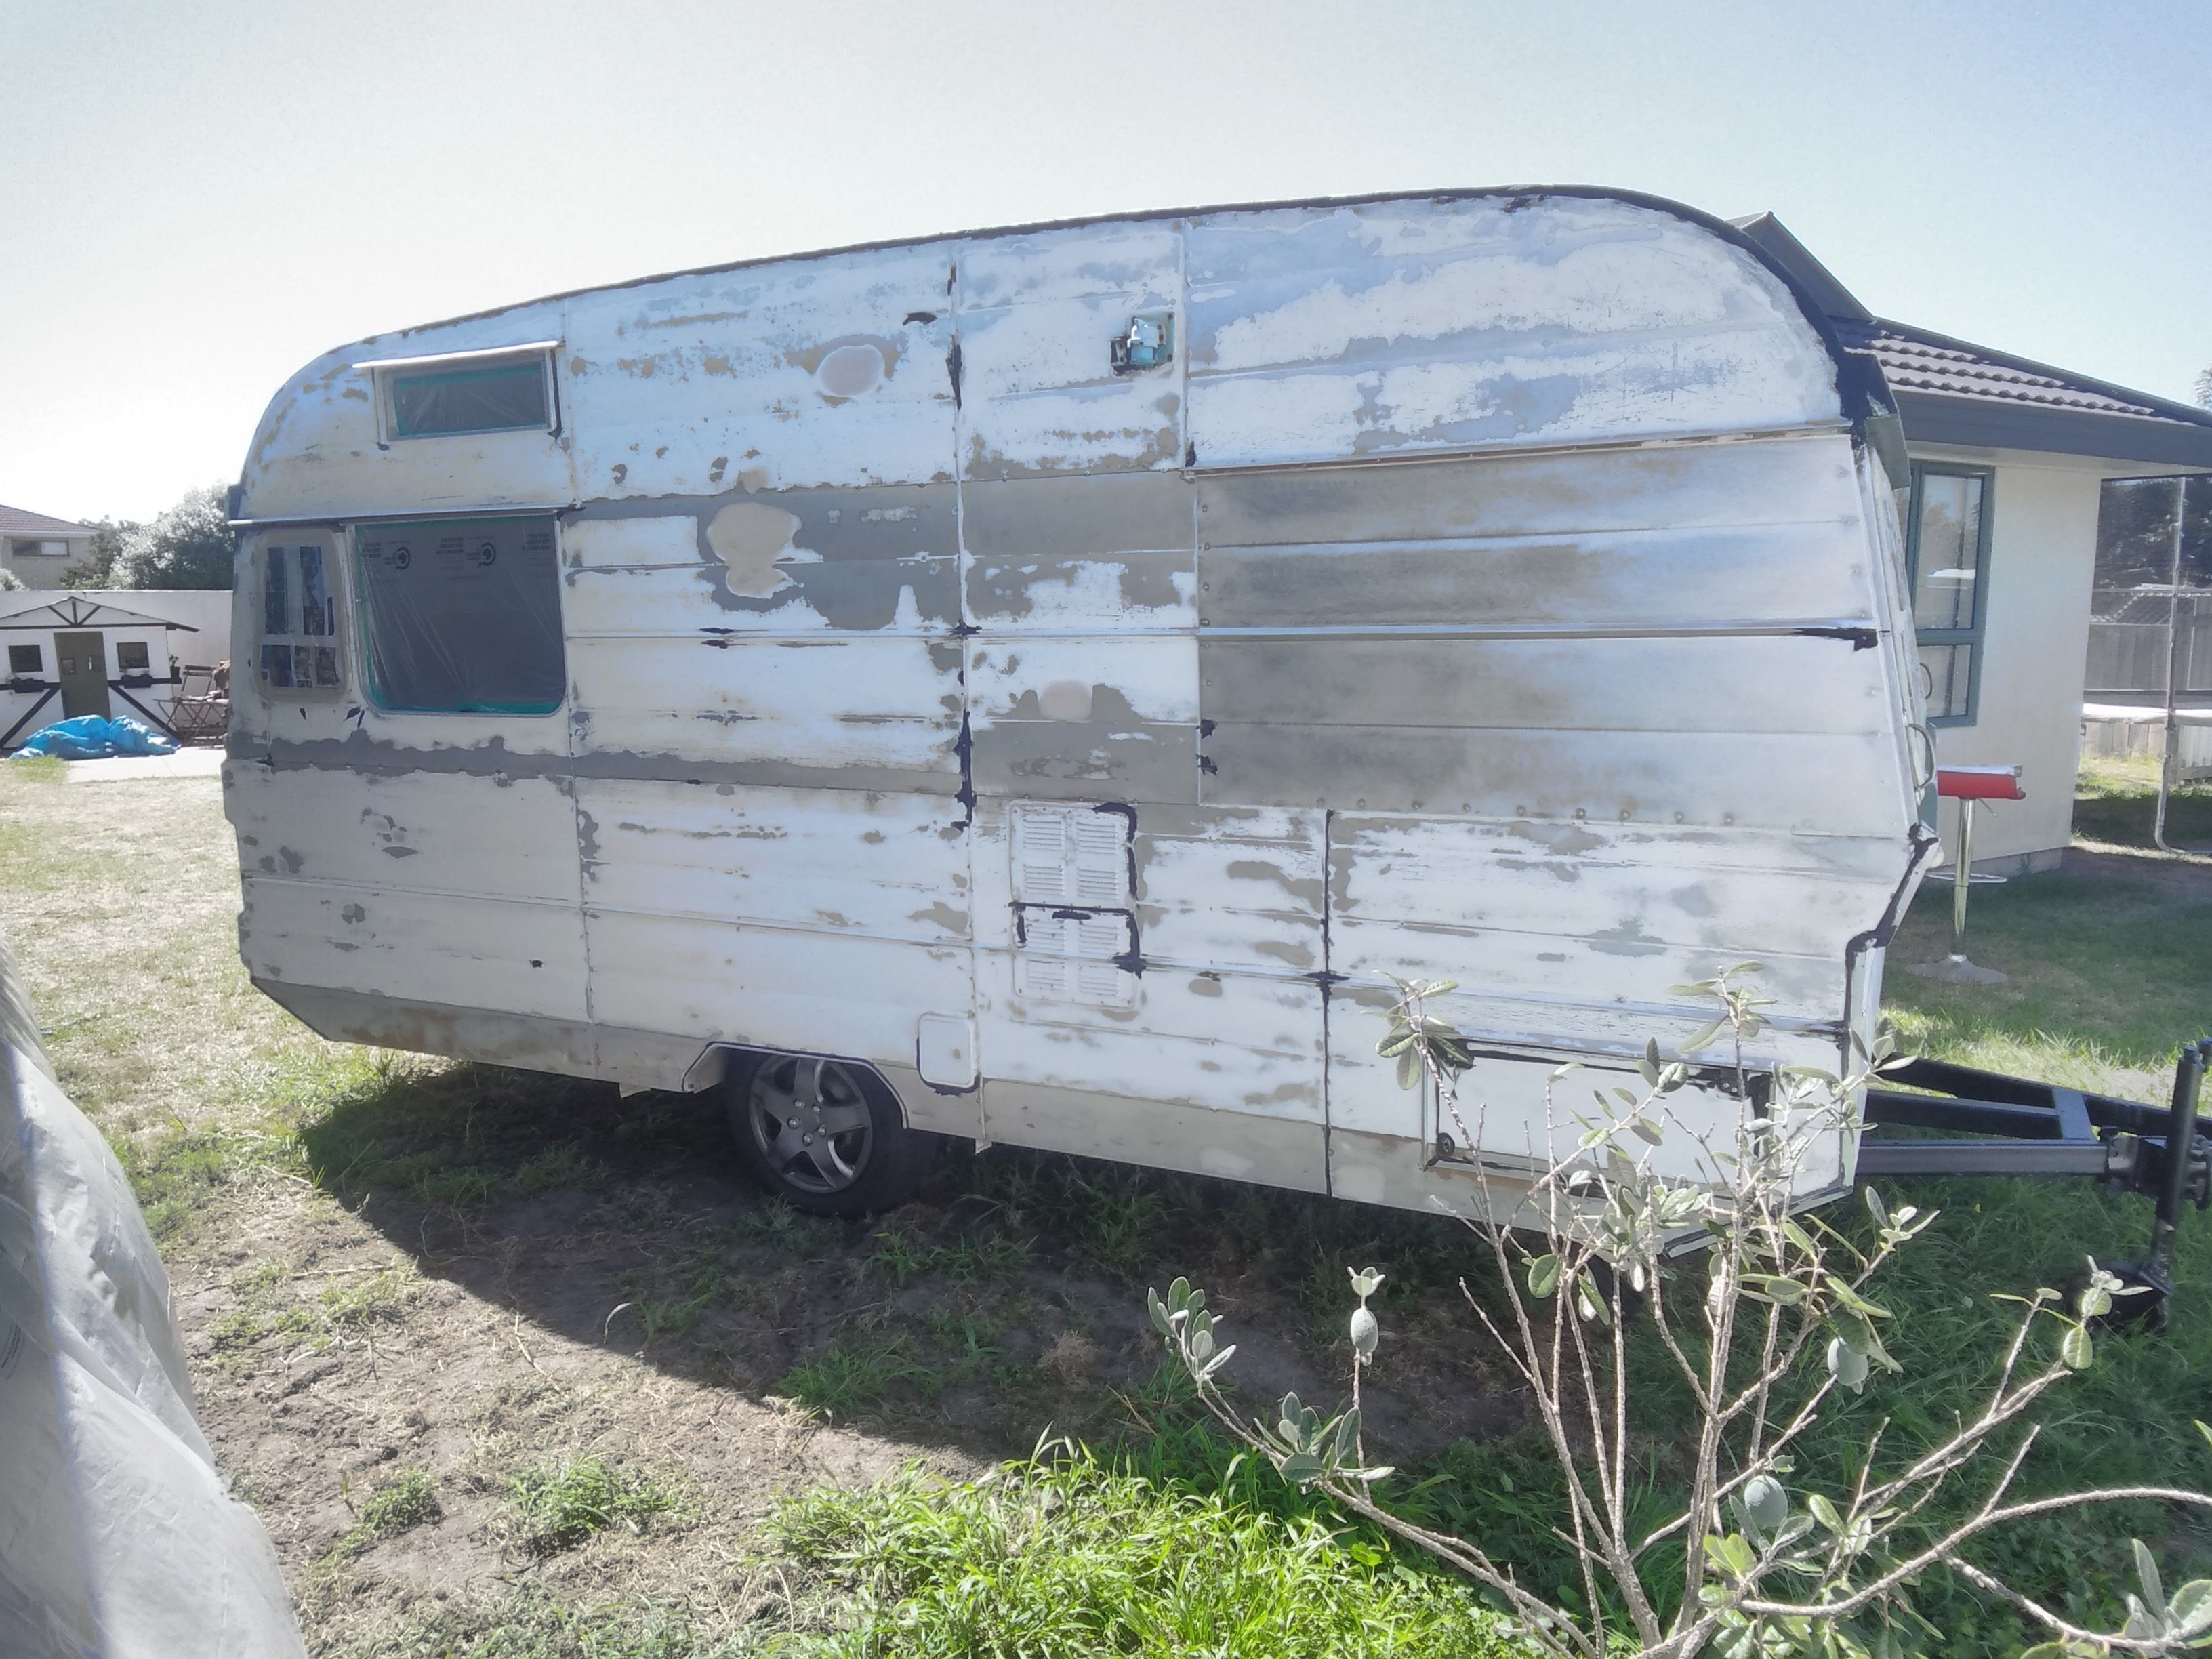
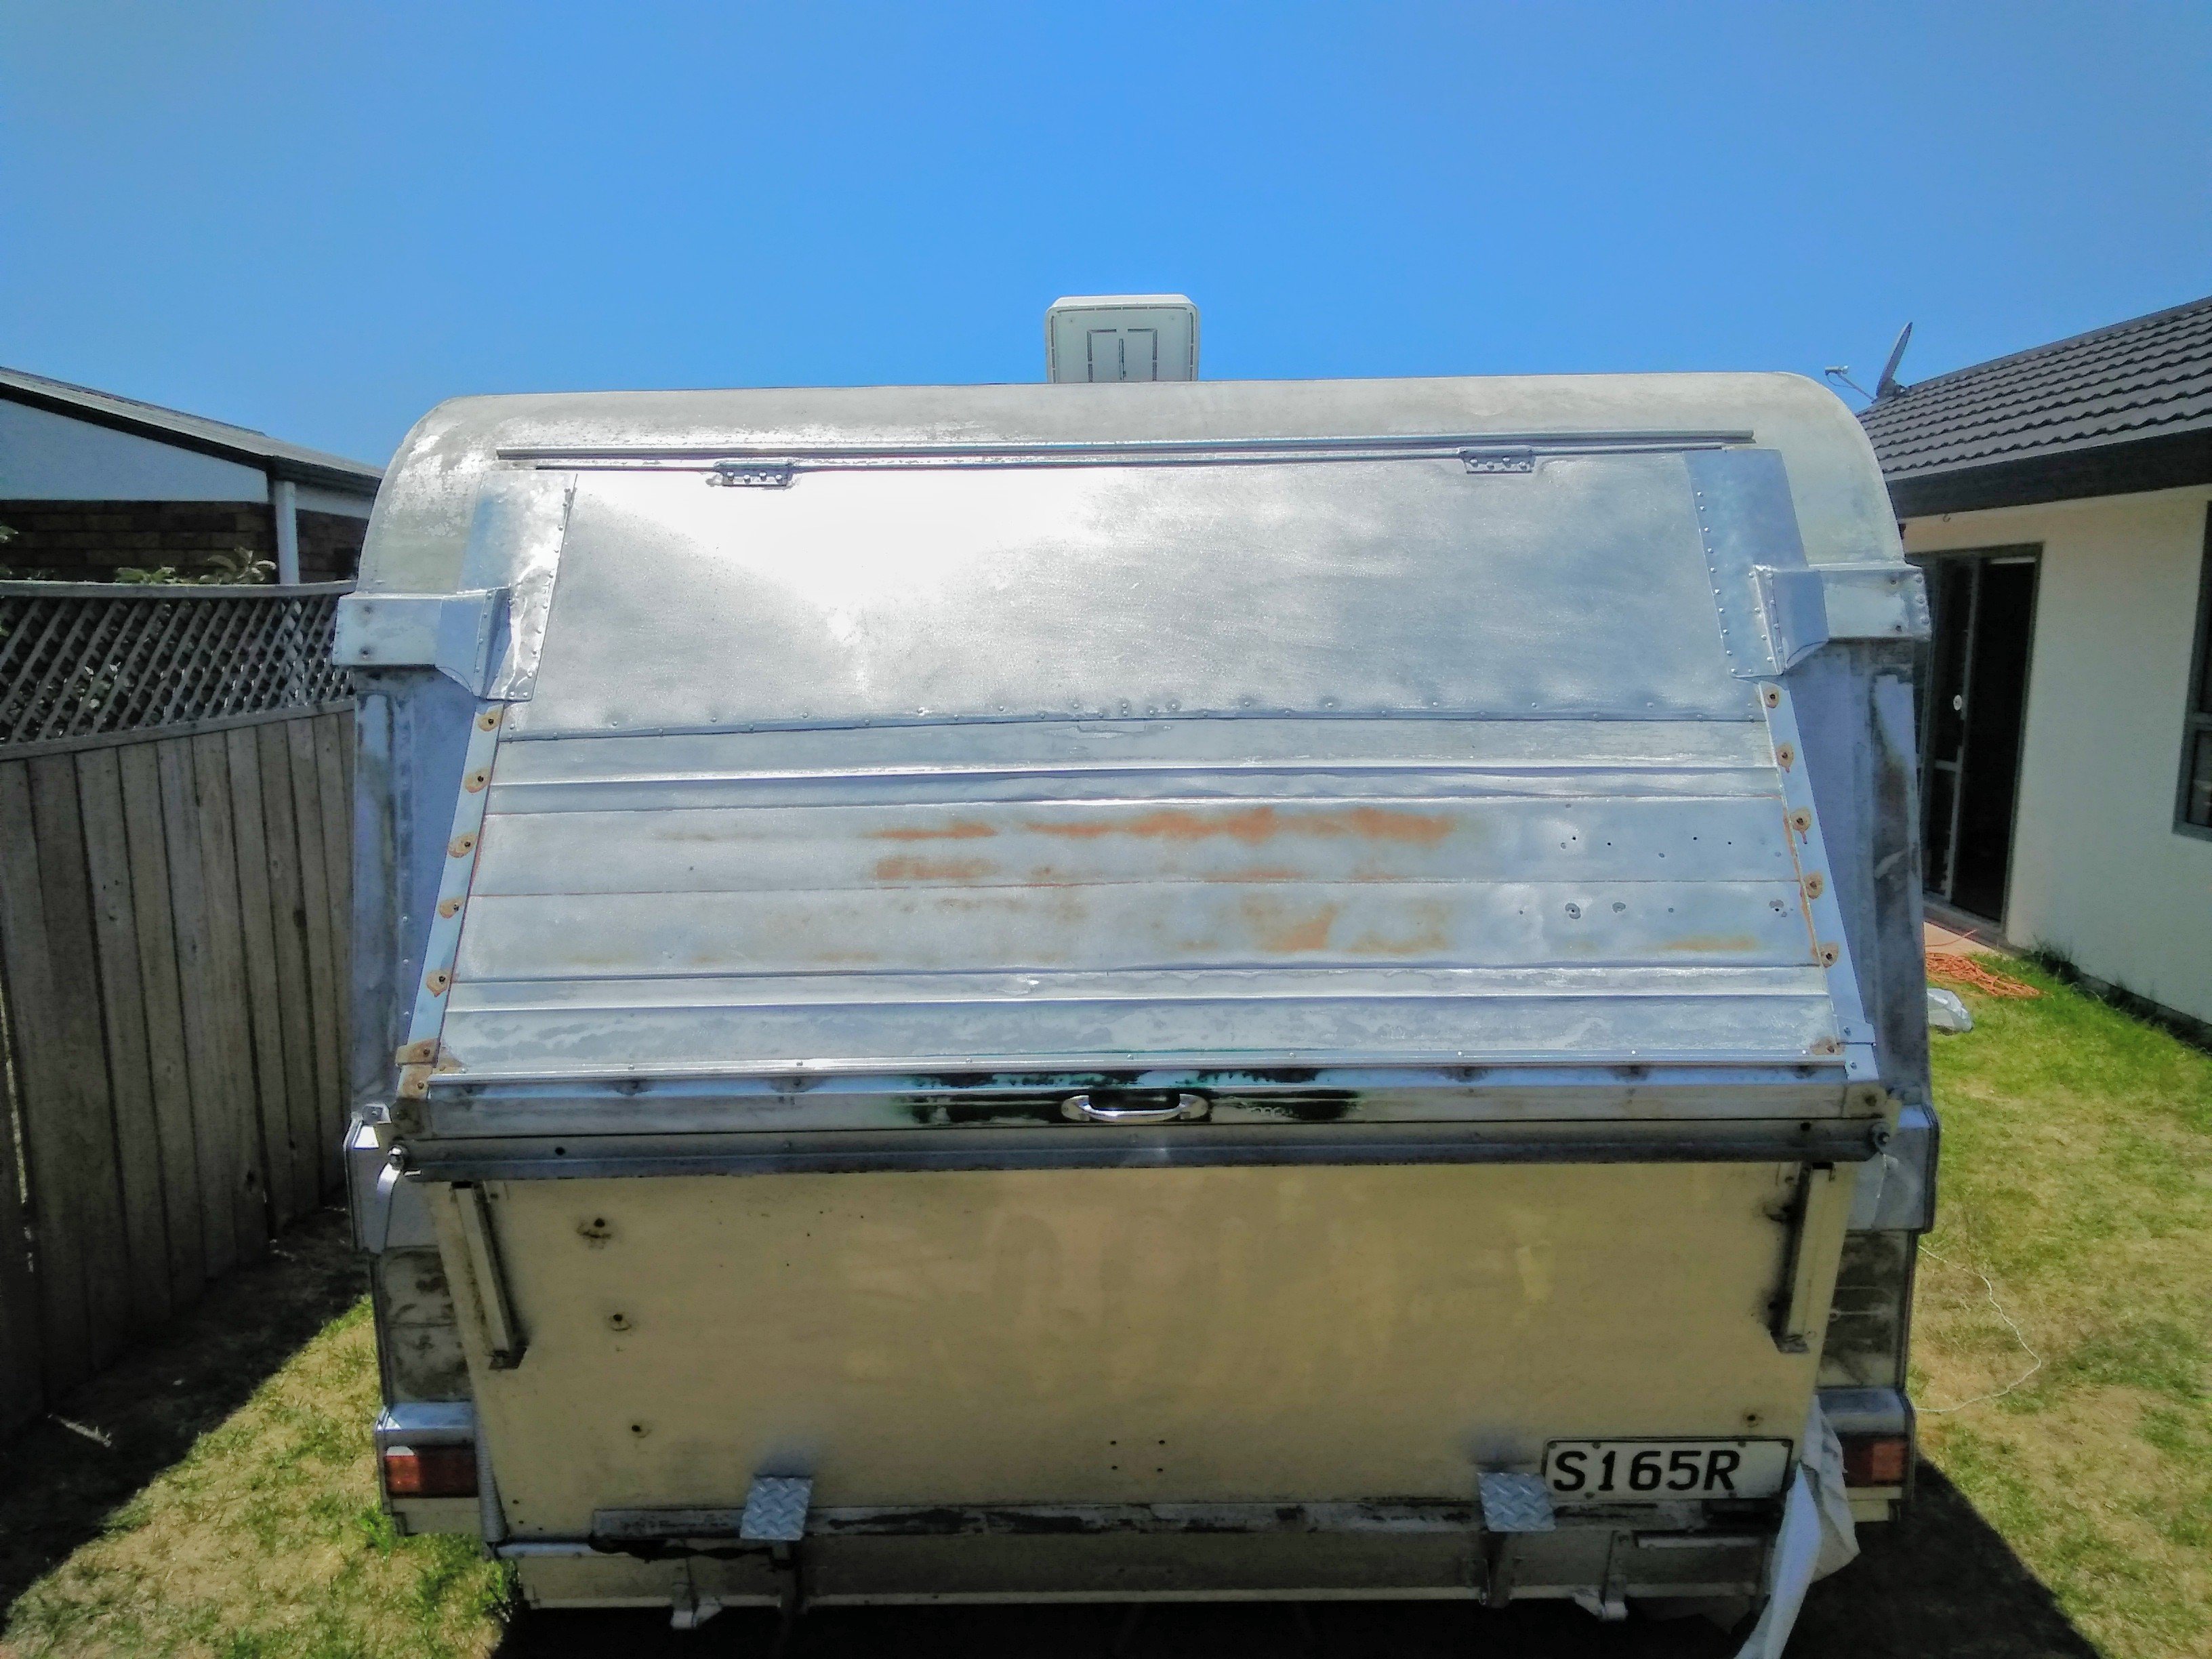
Here's a pic of it prepped and waterproofed. We took it camping like this looking all ratty, was crack up watching all the people looking at it in disgust when it arrived at the campground but a few came by to say they thought the opening back end was pretty cool. I was tempted to leave it like this but also wanted to ensure it was waterproof so ended up painting it.
-
3
-
-
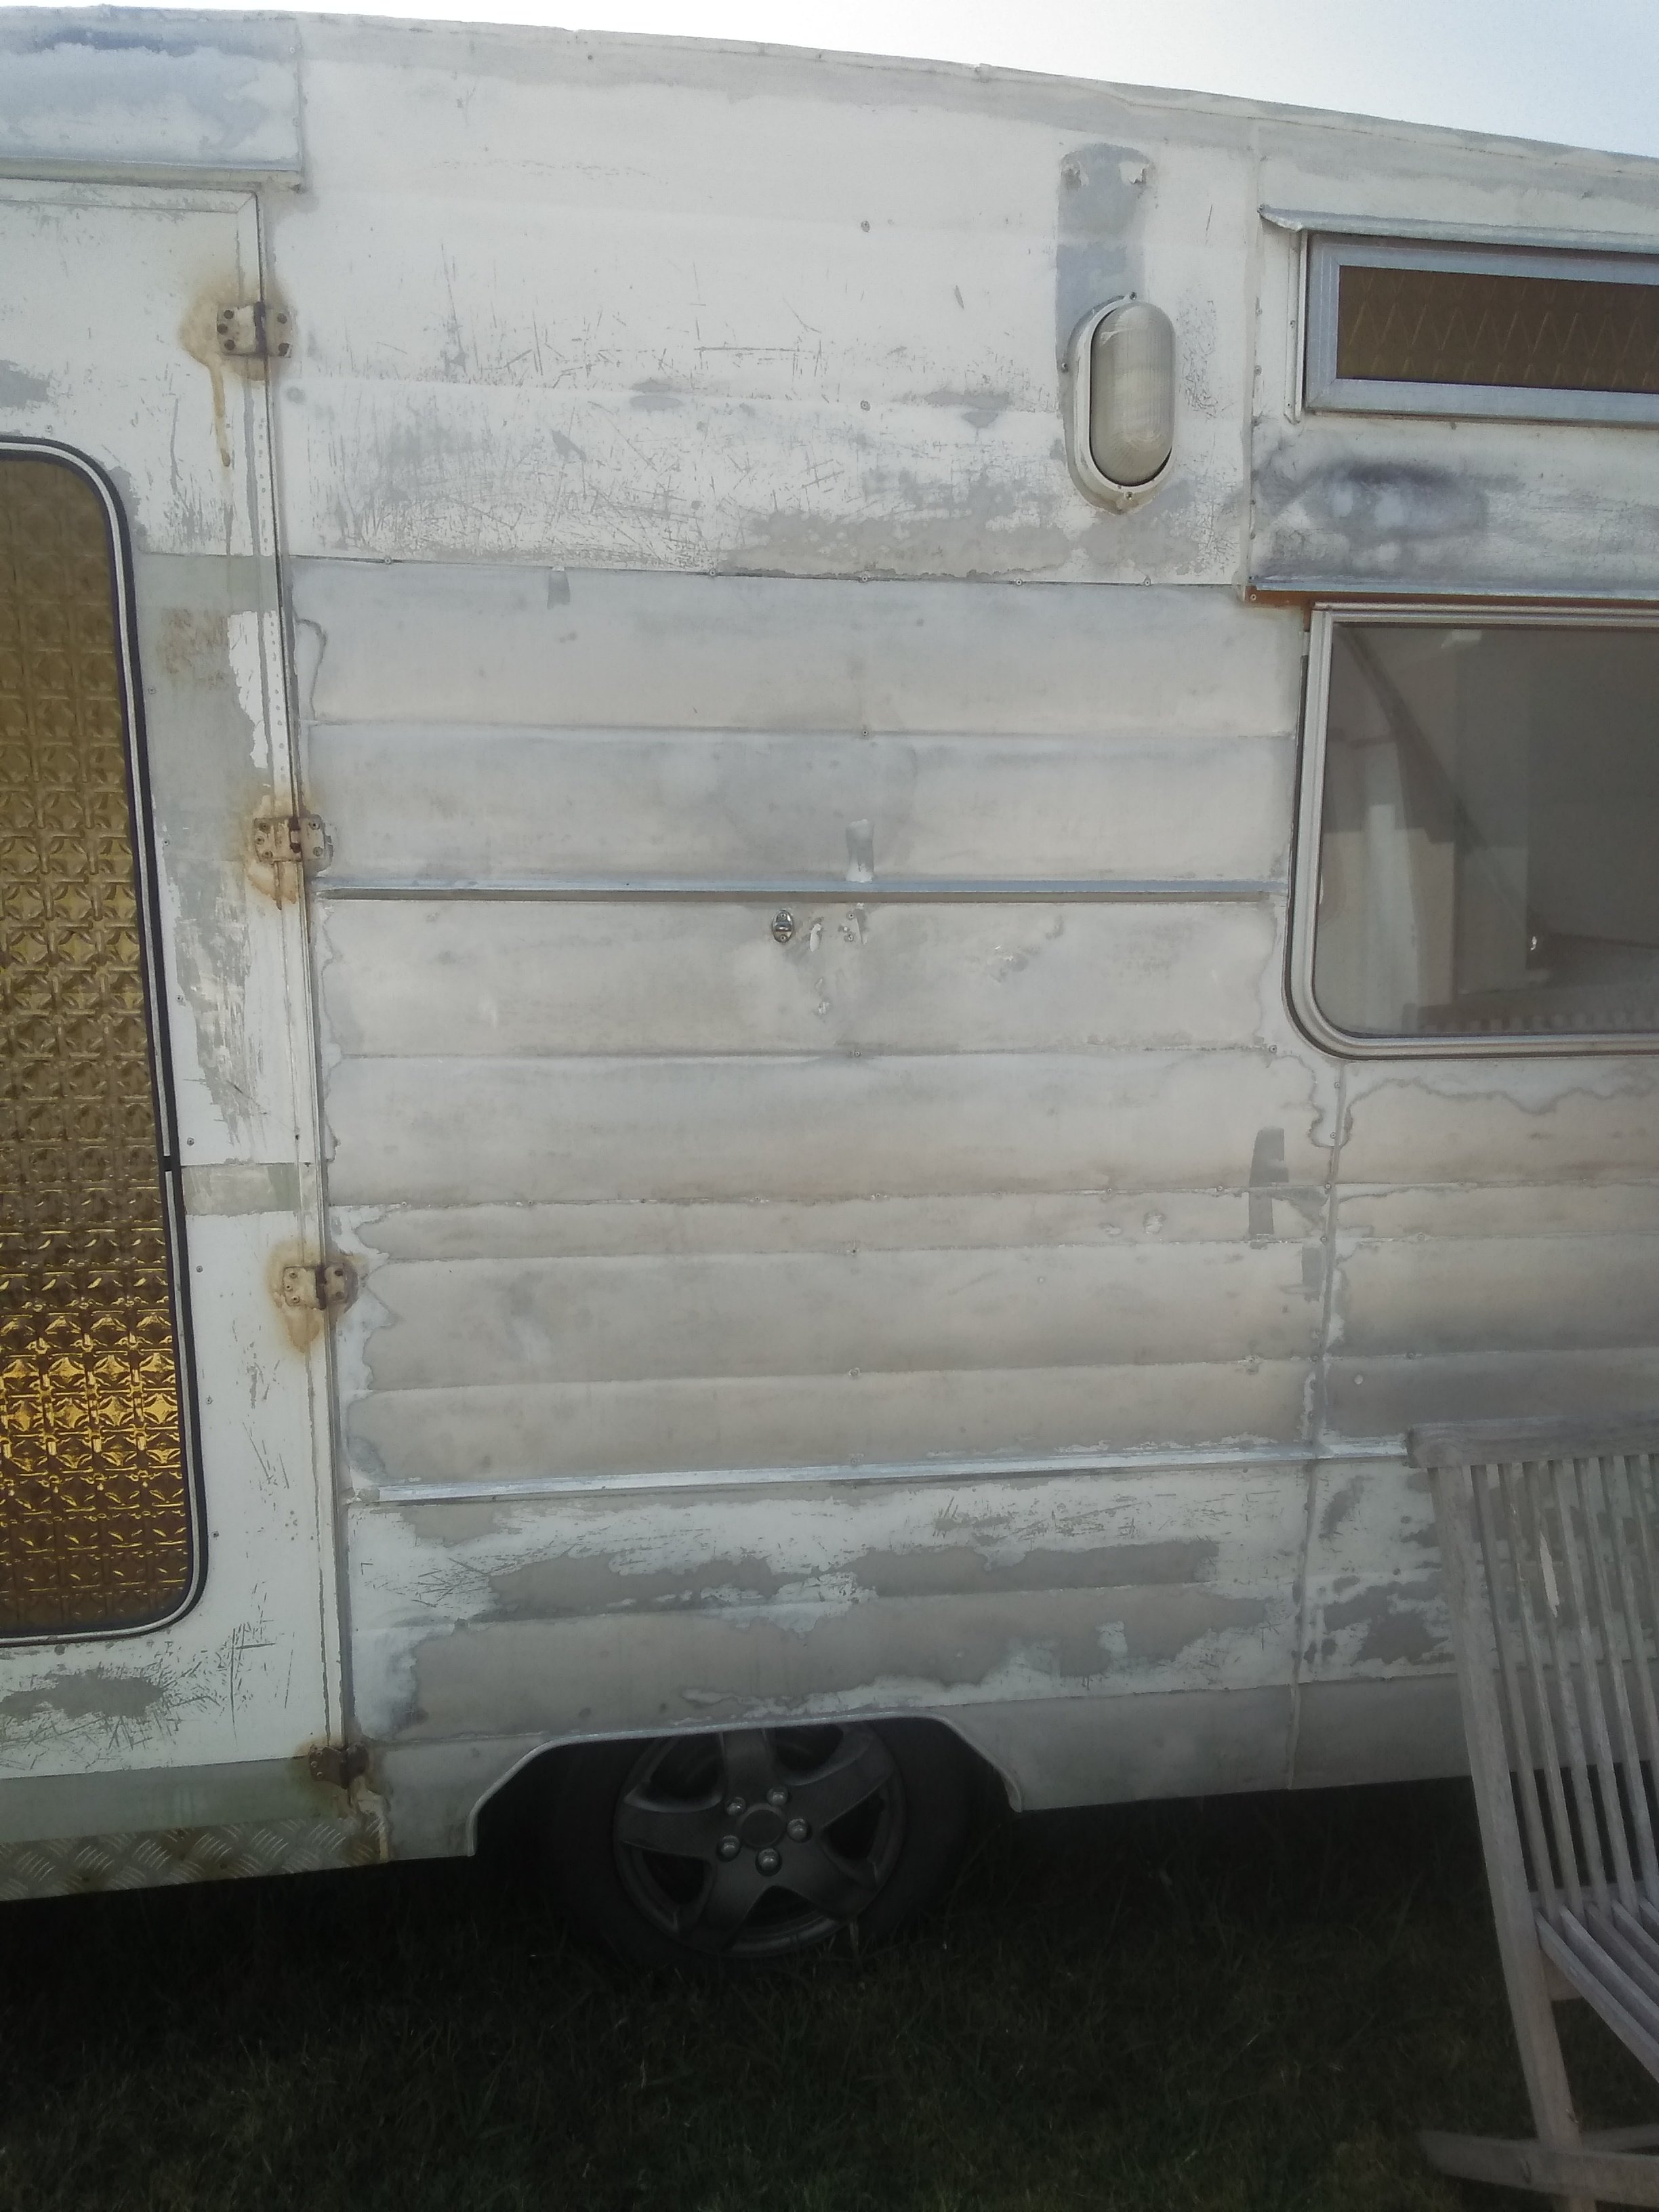
Ok, onto the paint prep. Now I've been around a paint can once or twice, but I have no idea what paint they used on this, it was the oddest stuff - as can be seen in the photos, the original paint was crazy cracking everywhere, yet for some reason it was impossible to sand off, even with the most gnarliest sandpaper I could find for the orbital sander (I think I was down to 60 grit? and it still wouldn't budge). Despite all the elbow grease and the abrasion it wouldn't sand off. I have no idea how something could be so flaky, yet still somehow have such awesome adhesion! Which turned out to be a bad thing, but a good thing, as you will see.
We ended up trying some paint stripper, two coats didn't work so tried the "cling wrap" method which worked a lot better. This is were you put the paint stripper on, then lay cling wrap over it straight away to try stop the VOC's from off gassing as quick and keeps it more reactive for longer. While it improved the performance, it was still slow going and tedious. The photo below where there's a square of mostly raw metal took ALOT of sanding and several coats of stripper to achieve. Considering the amount of m2 real estate on this badboy, I was not impressed with the ET calculations, so had to come up with another plan...
-
1
-
-
13 hours ago, azzurro said:
this is OS M9
Looks choice, cool idea, conversion and nice save, surprised they are not more common TBH.
Mate, there's enough space to have O/S jazzersize classes haha - Enroll now!
Yeah I thought it would be more common. But it's the only O/S toy hauler I've seen in NZ. There's quite a few modern ones.
-
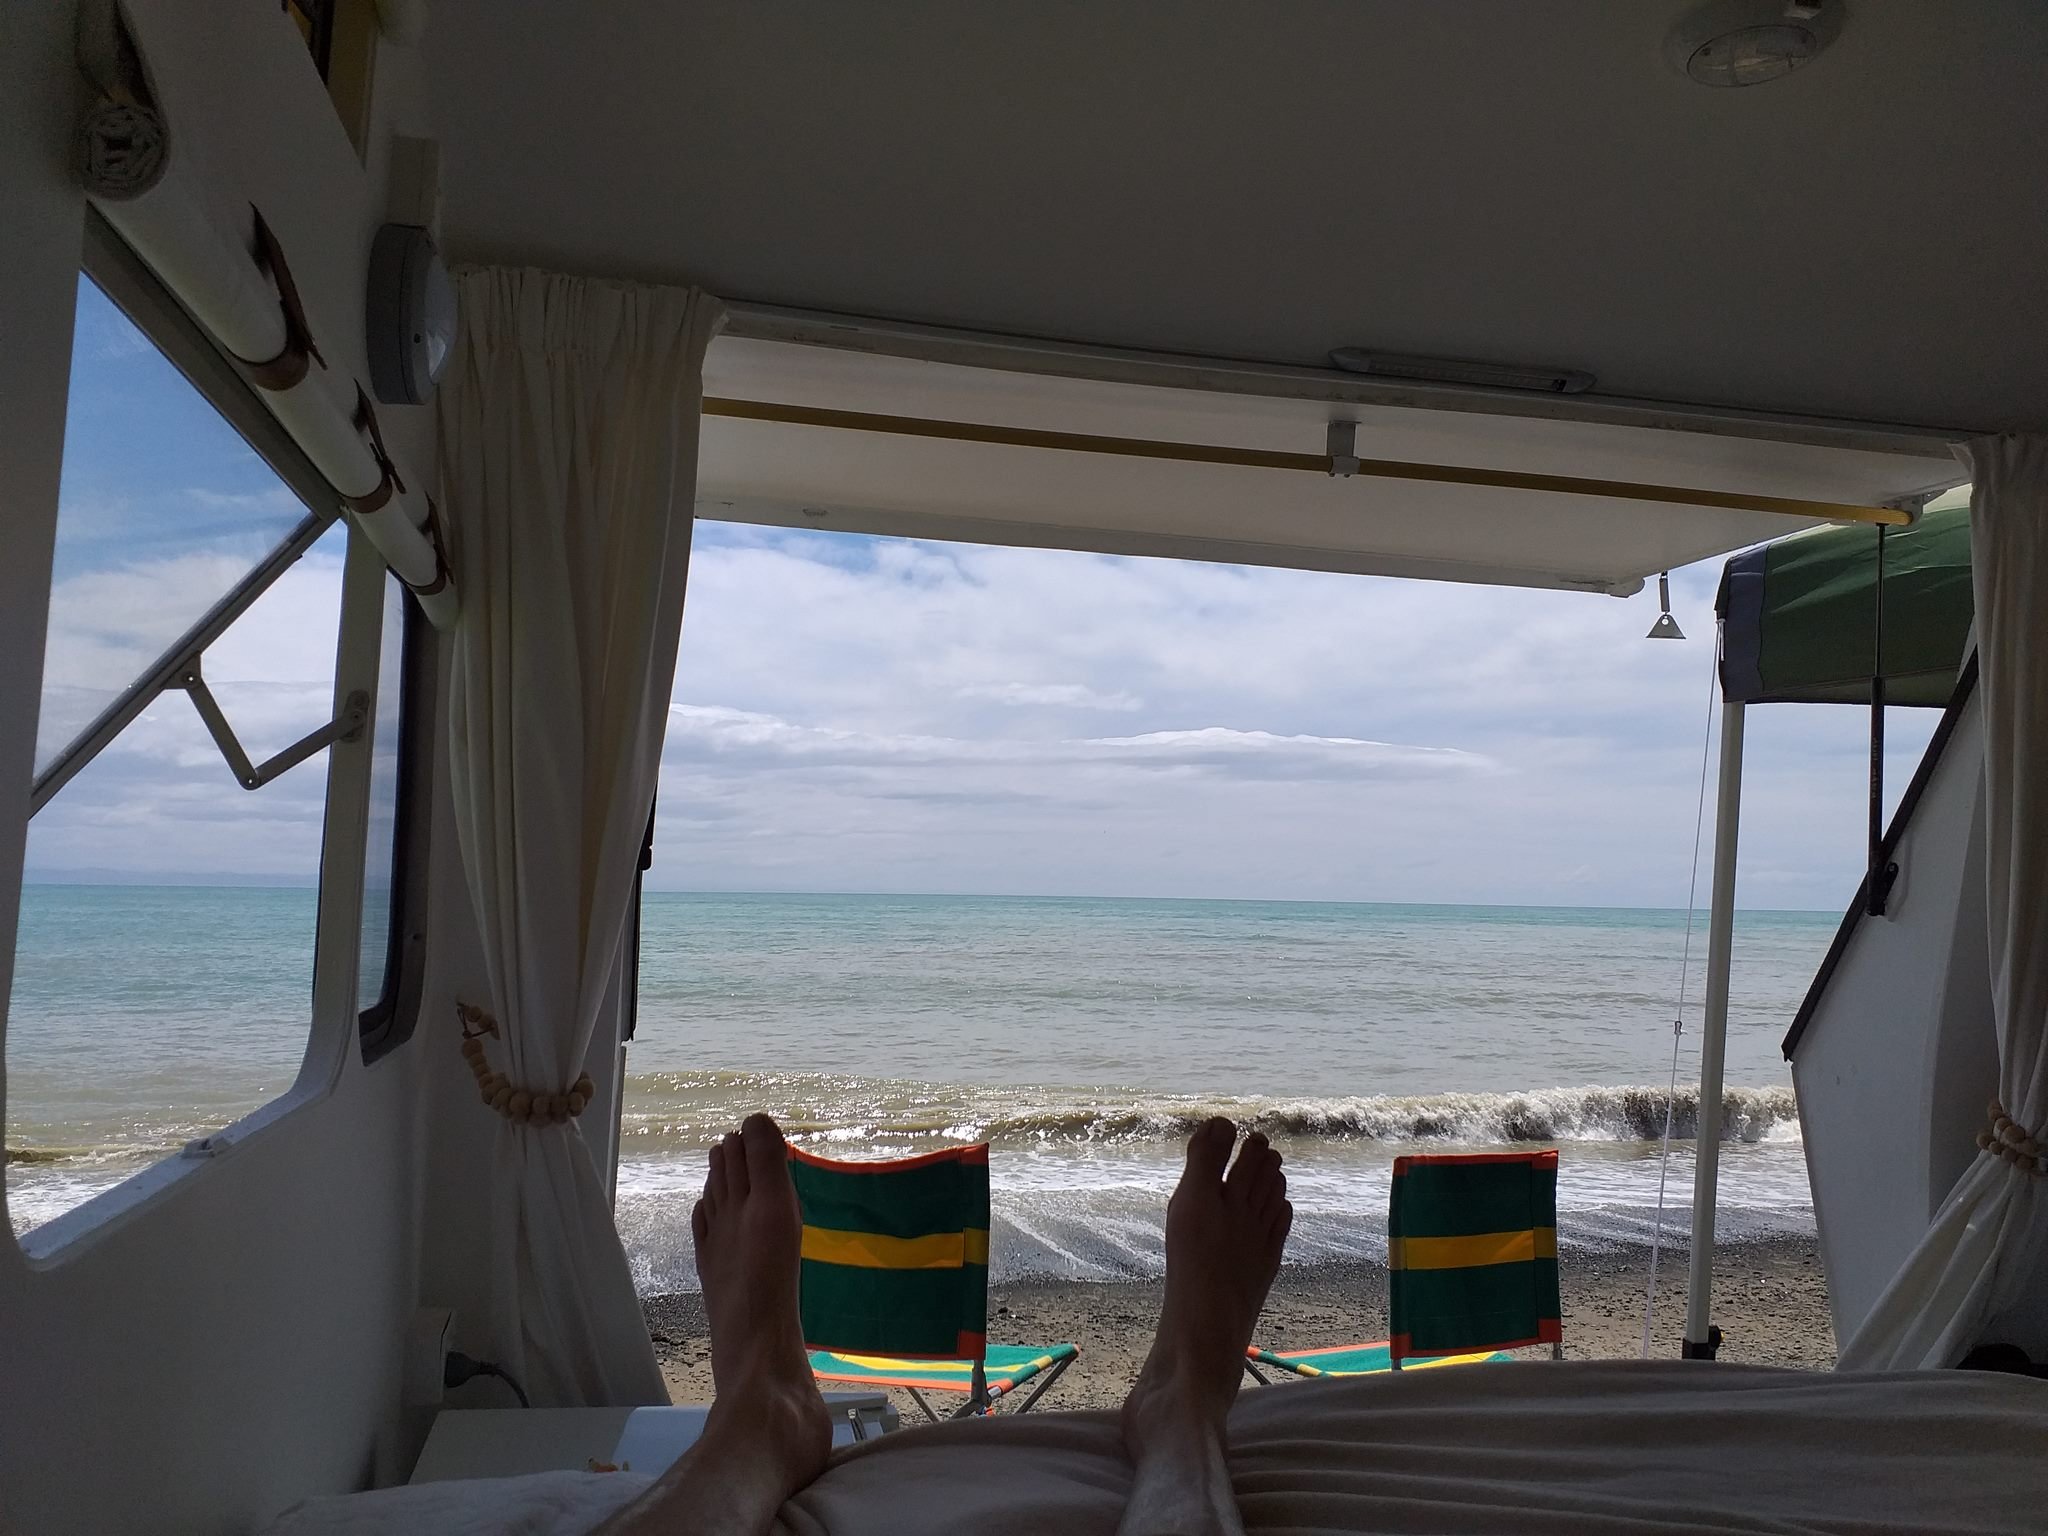
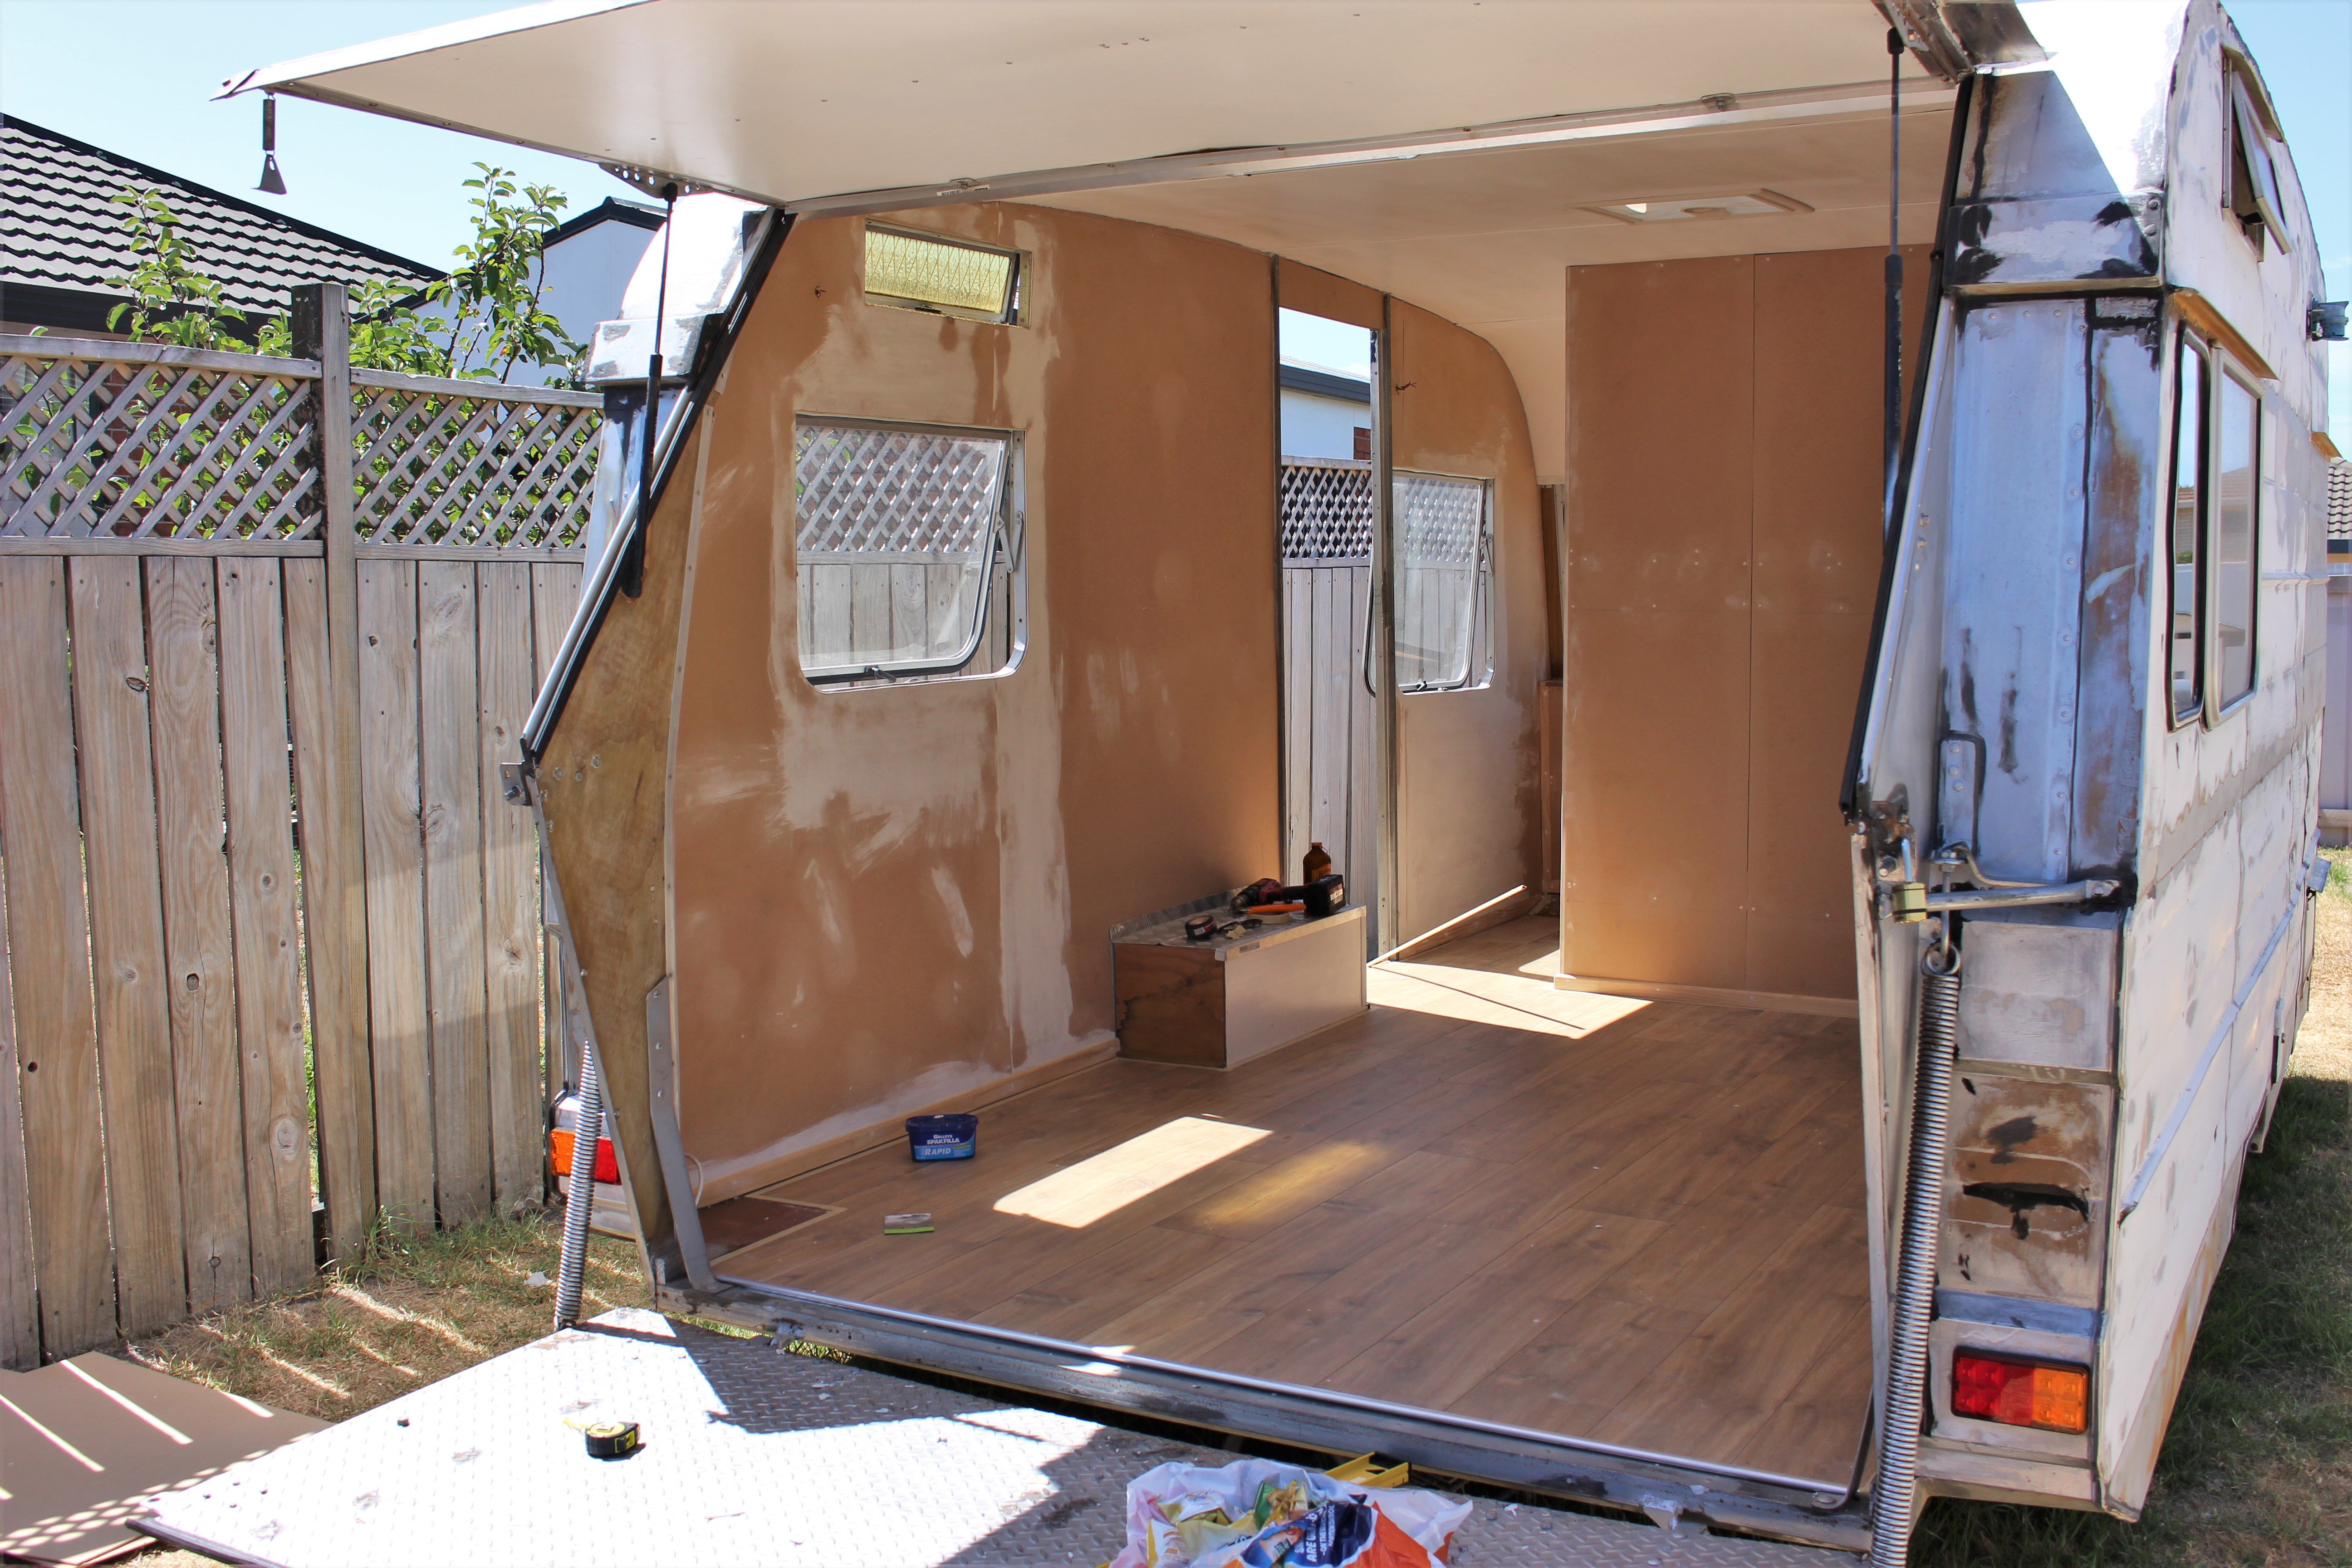
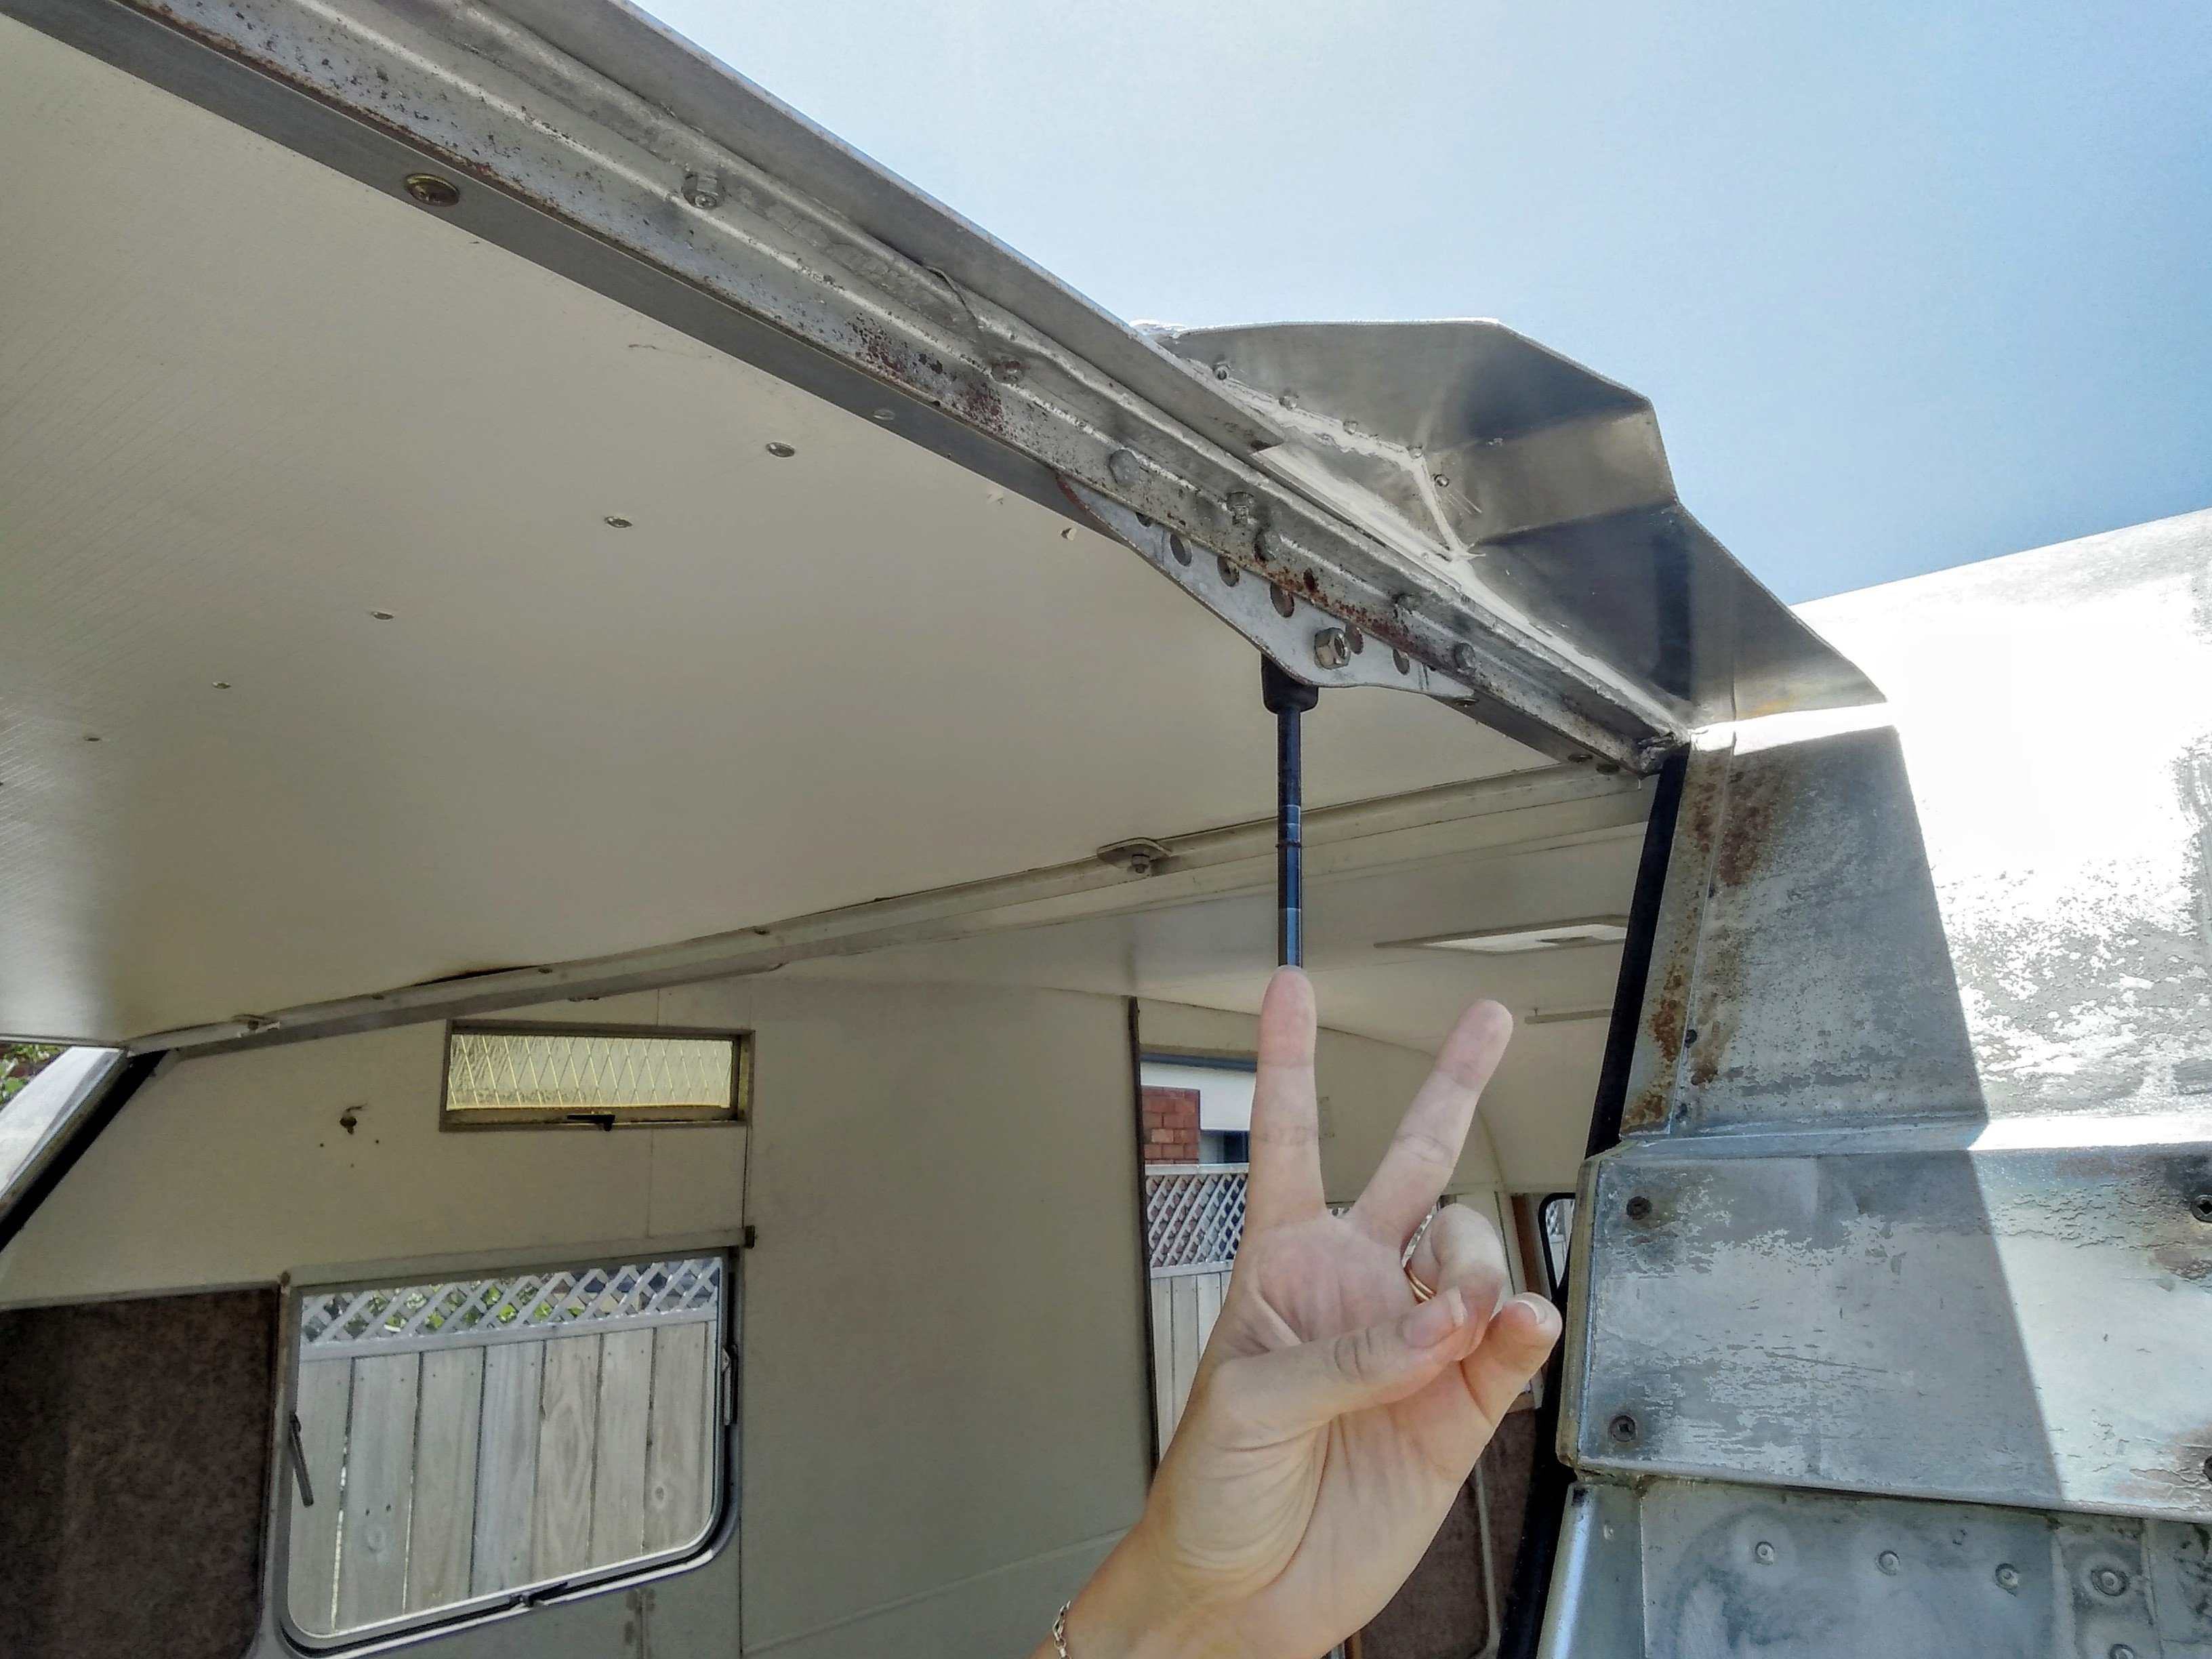
Look at all this floor space! You could do aerobics in here
-
1
-
-
And the rear door can still open fully:
-
3
-
-
So knocked up these:
And run draft stop strips underneath, boom, no more leaks.
-
4
-

.jpg.dbc875fb8a97ece24e61f26e9739dd80.jpg)

Solidstripe's O/S Toy Hauler
in Other Projects
Posted
SOLD