


Naoks
-
Posts
33 -
Joined
-
Last visited
Posts posted by Naoks
-
-
The factory relay started showing its age and it sometimes doesn’t work so I have decided to replace with a new one (MISUBA brand) same spec, but it is smaller.
-
Thank you
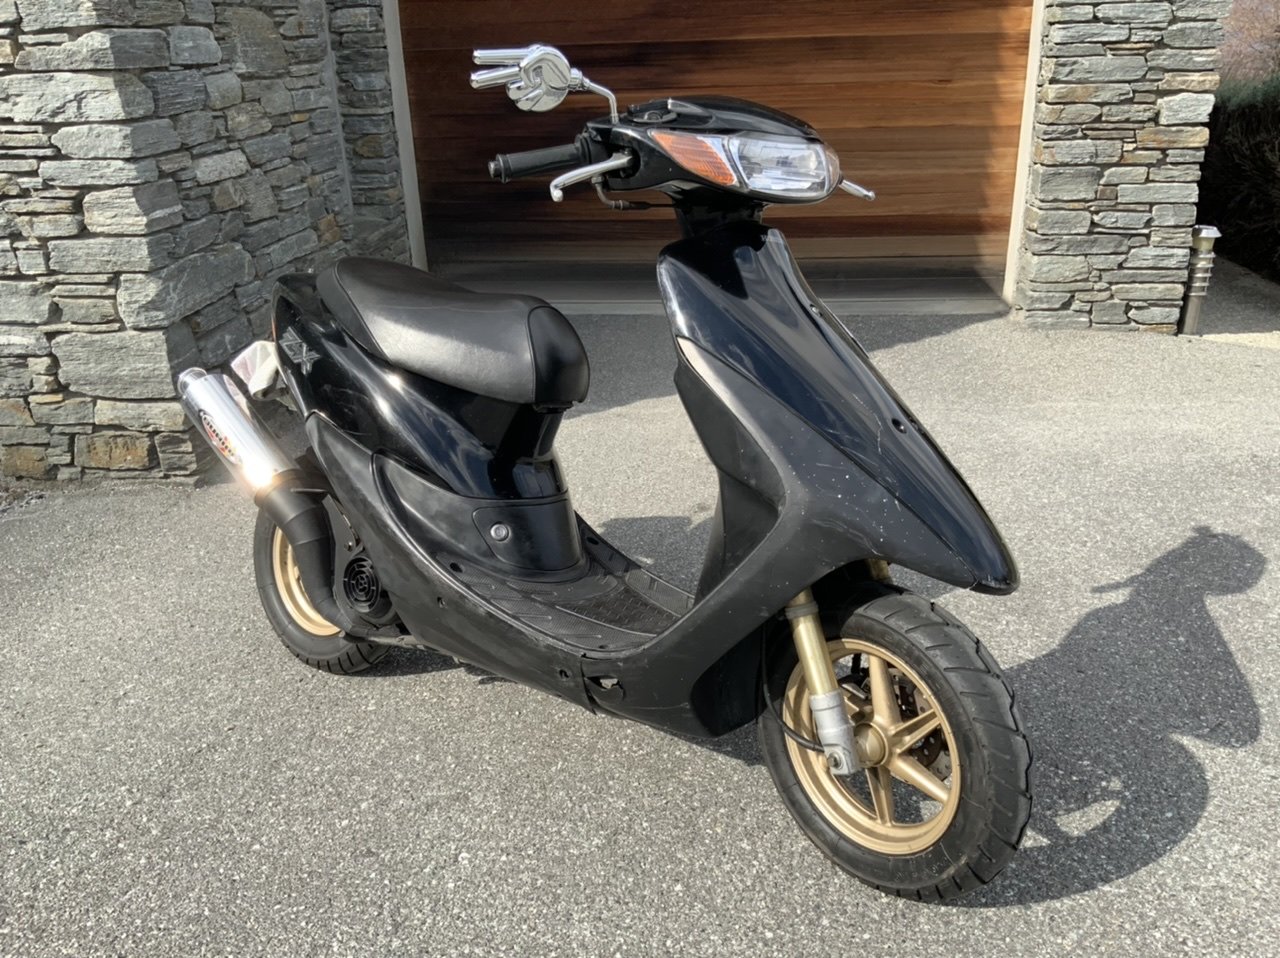
") I am based in Queenstown! yes, I would like to join that group, but I need to sell this beauty as my circumstances changed
I am based in Queenstown! yes, I would like to join that group, but I need to sell this beauty as my circumstances changed
-
-
Photo NO.1 SERVICE AT 4000KM
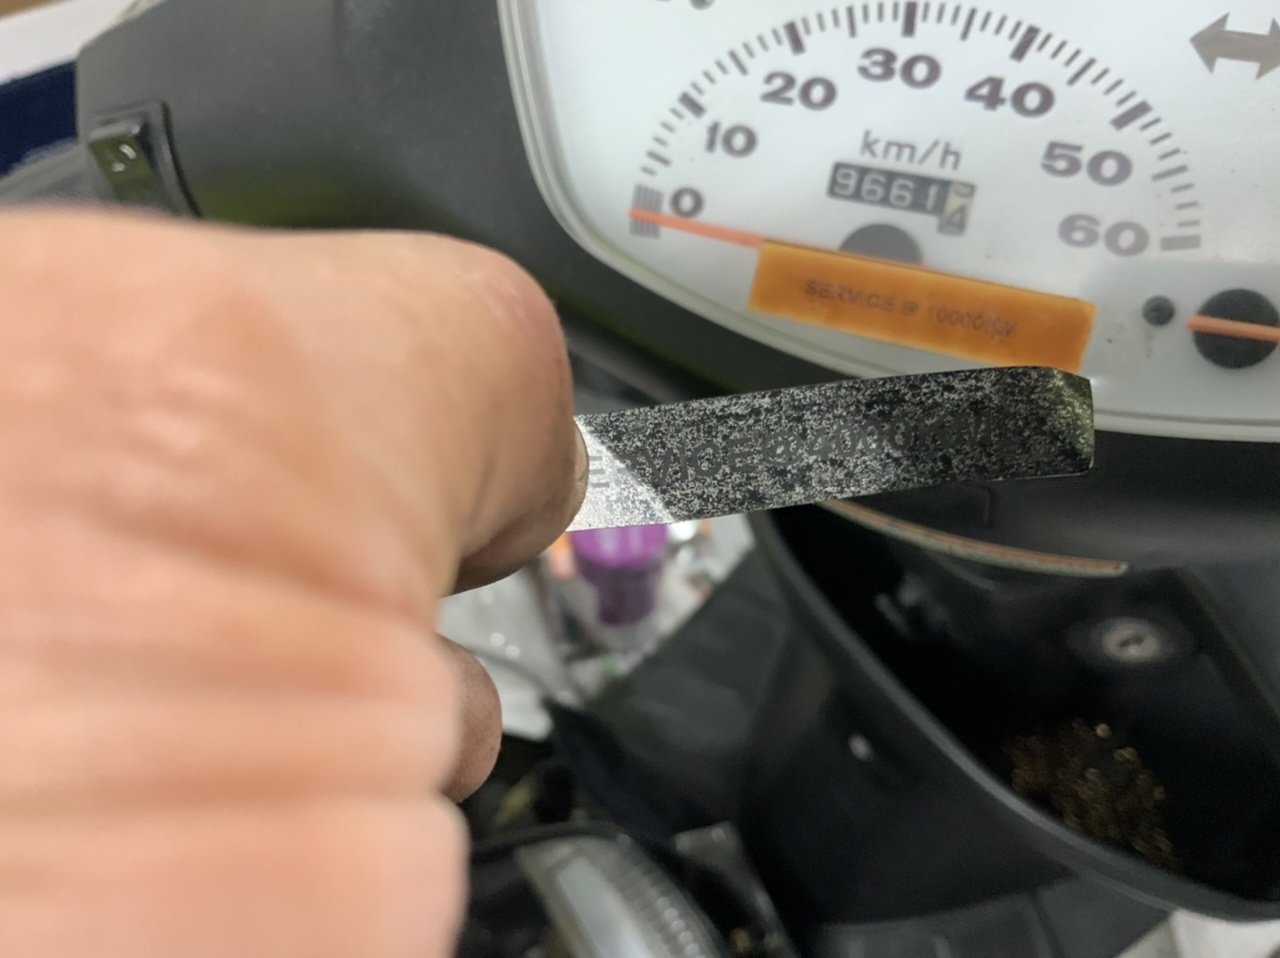
Photo NO.2 SERVICE AT 10000KM
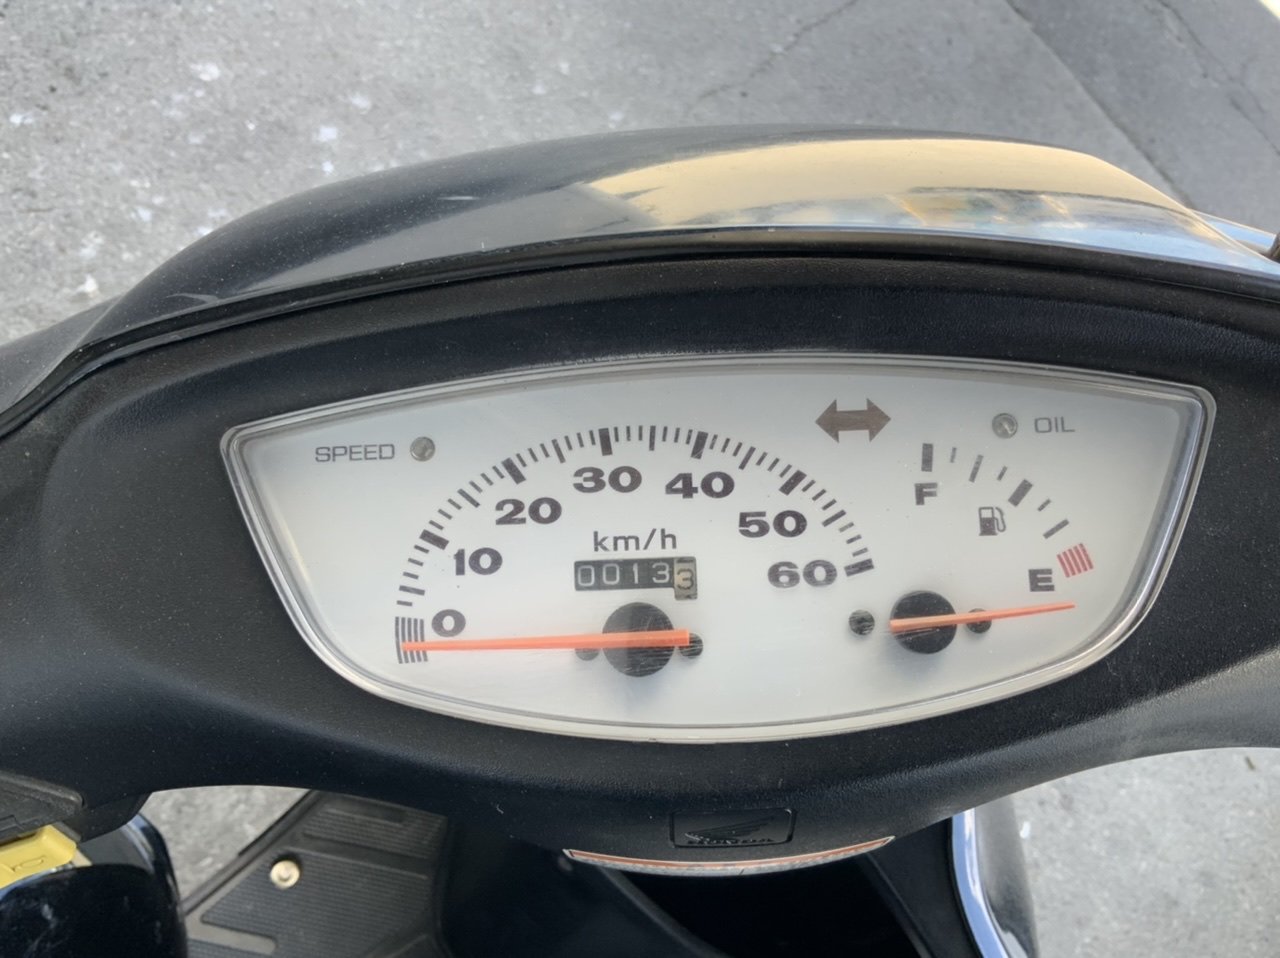
Photo NO.3 current ODO AT 13Km. Possibly this Odometer has been ‘ around the clock ‘ 2 times?
She is 22 year old, but Thanks to HONDA ! They still make most of her parts like
13110-GBL-020 piston
13110-GBL-010 piston rings
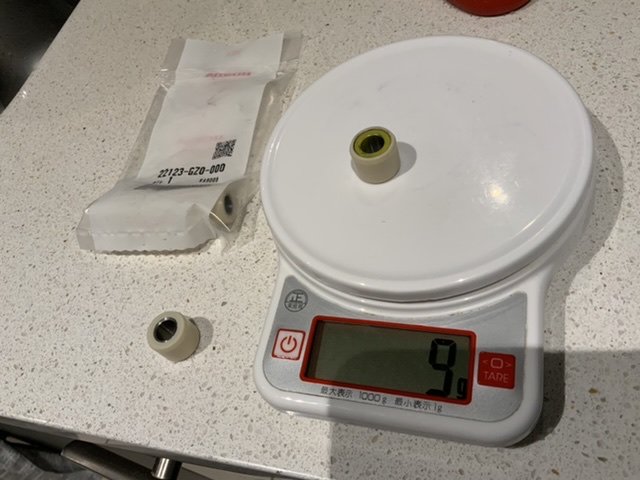
13111-GZ0-000 piston pin
13115-156-000 piston circlip
etc...

-
oops I accidentally deleted photos on the previous post...

-
 5
5
-
-
my project was completed. Yes I think so.
I intended to get new plastics, but my circumstances have changed and I need to stop myself spending money!!
-
1
-
-
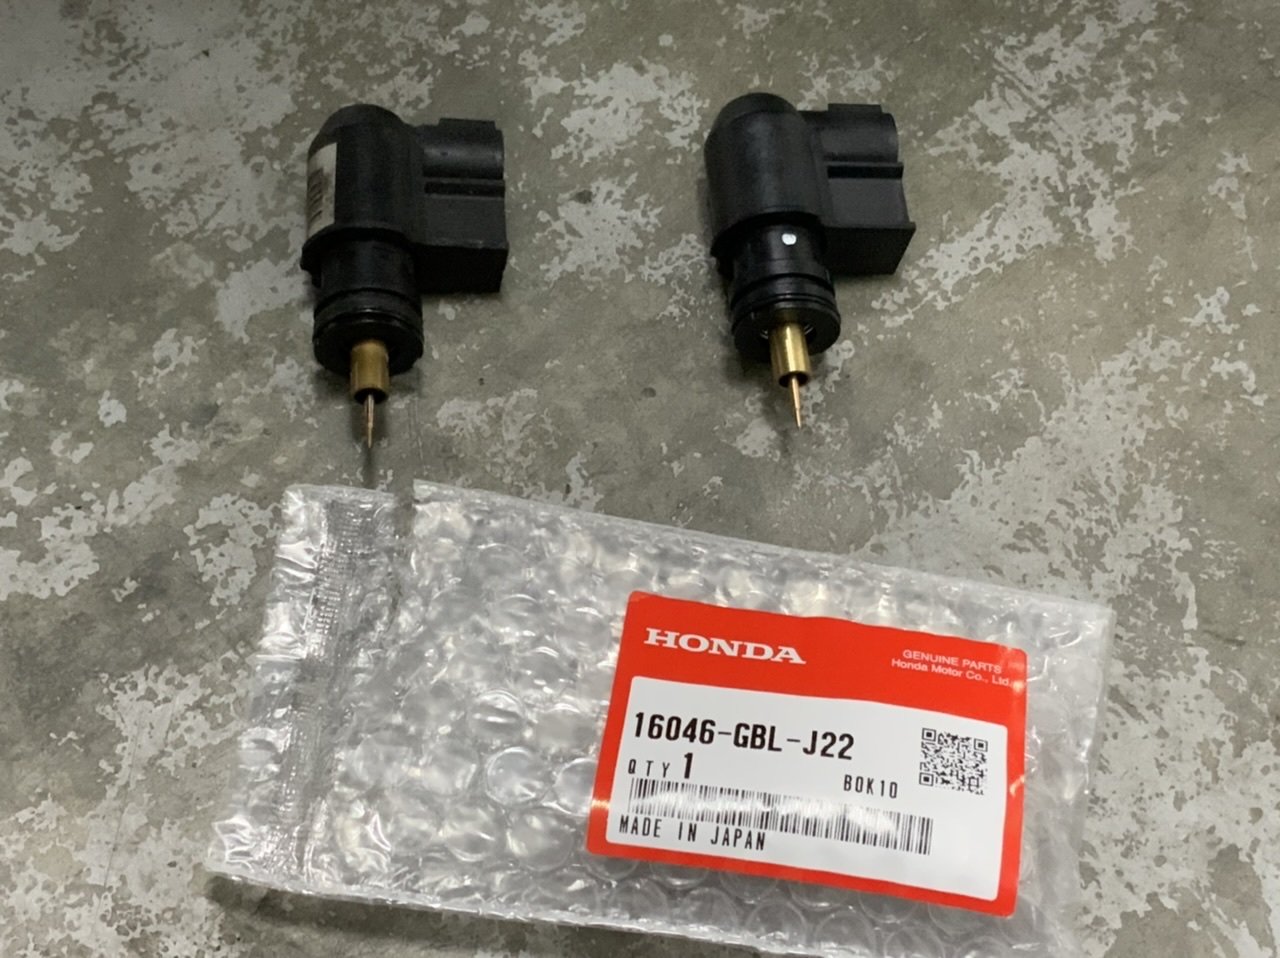
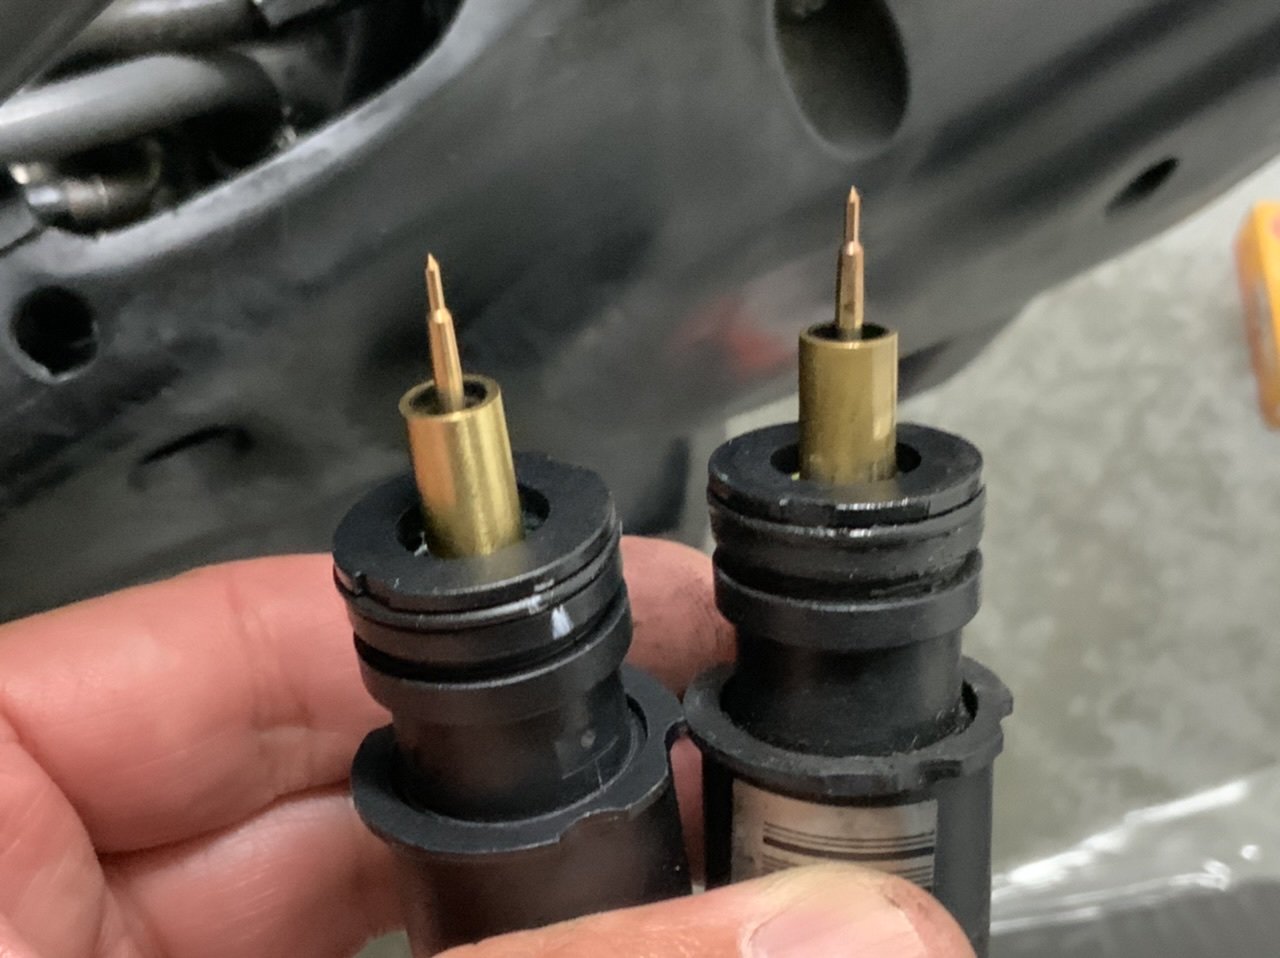
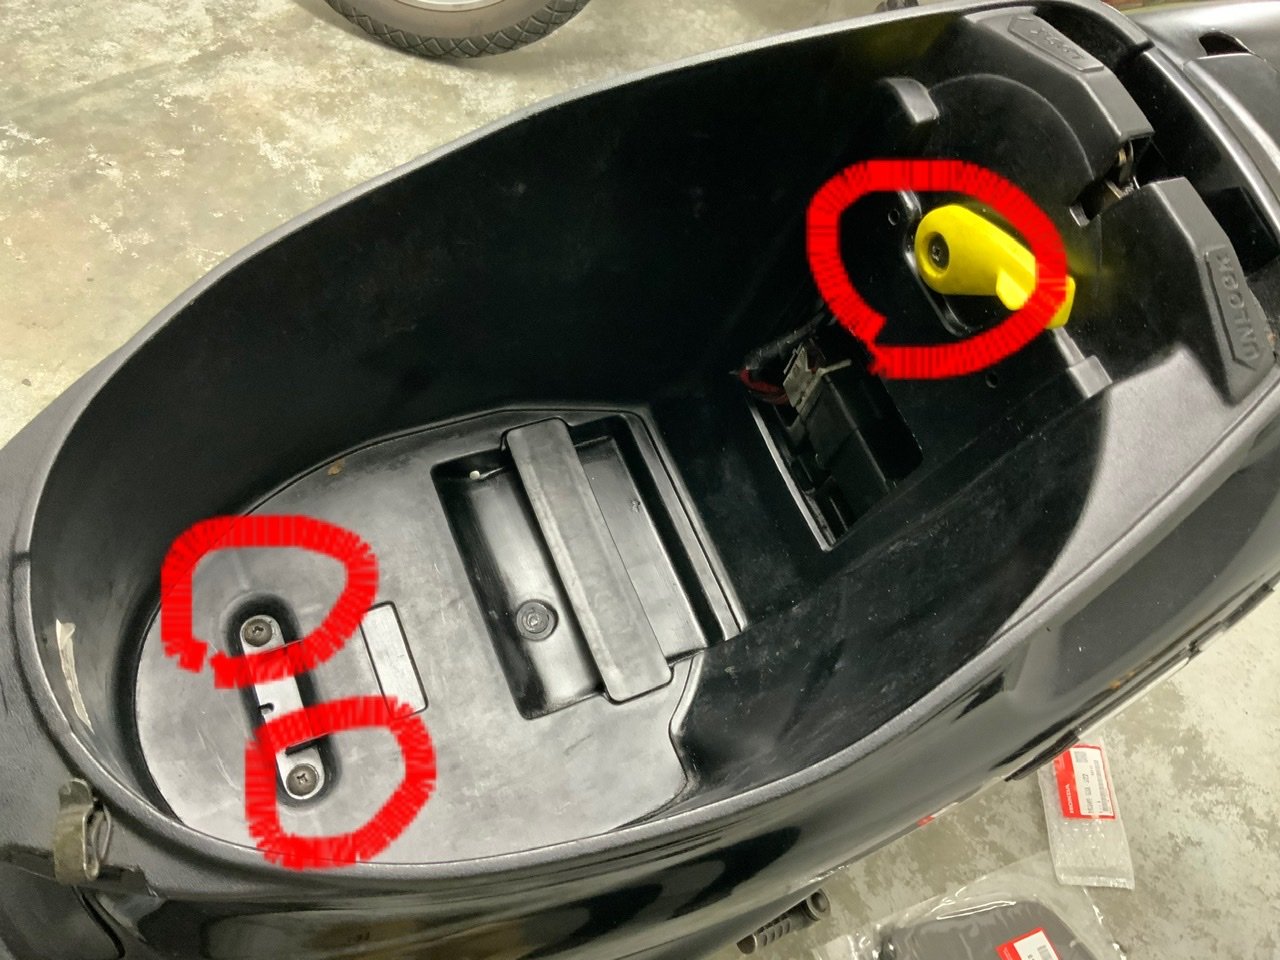
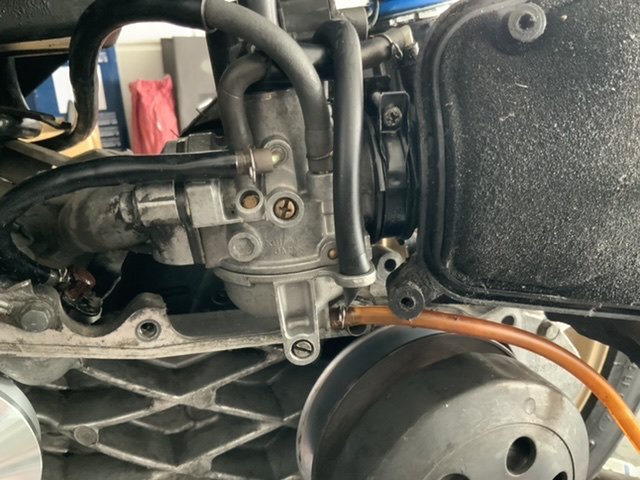
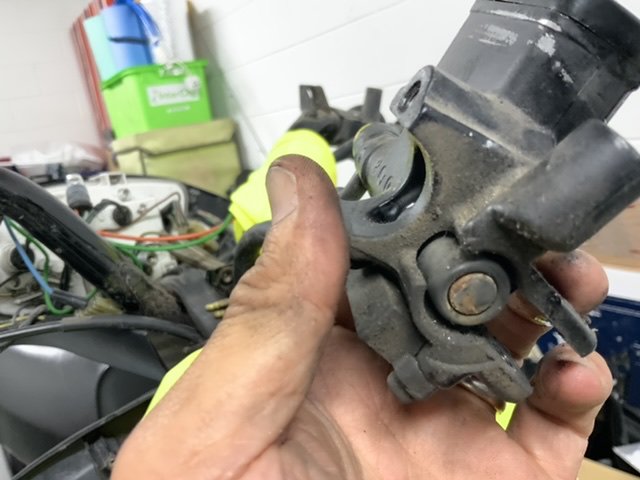
replaced the auto choke.
1. remove 3 screws in the hamlet case
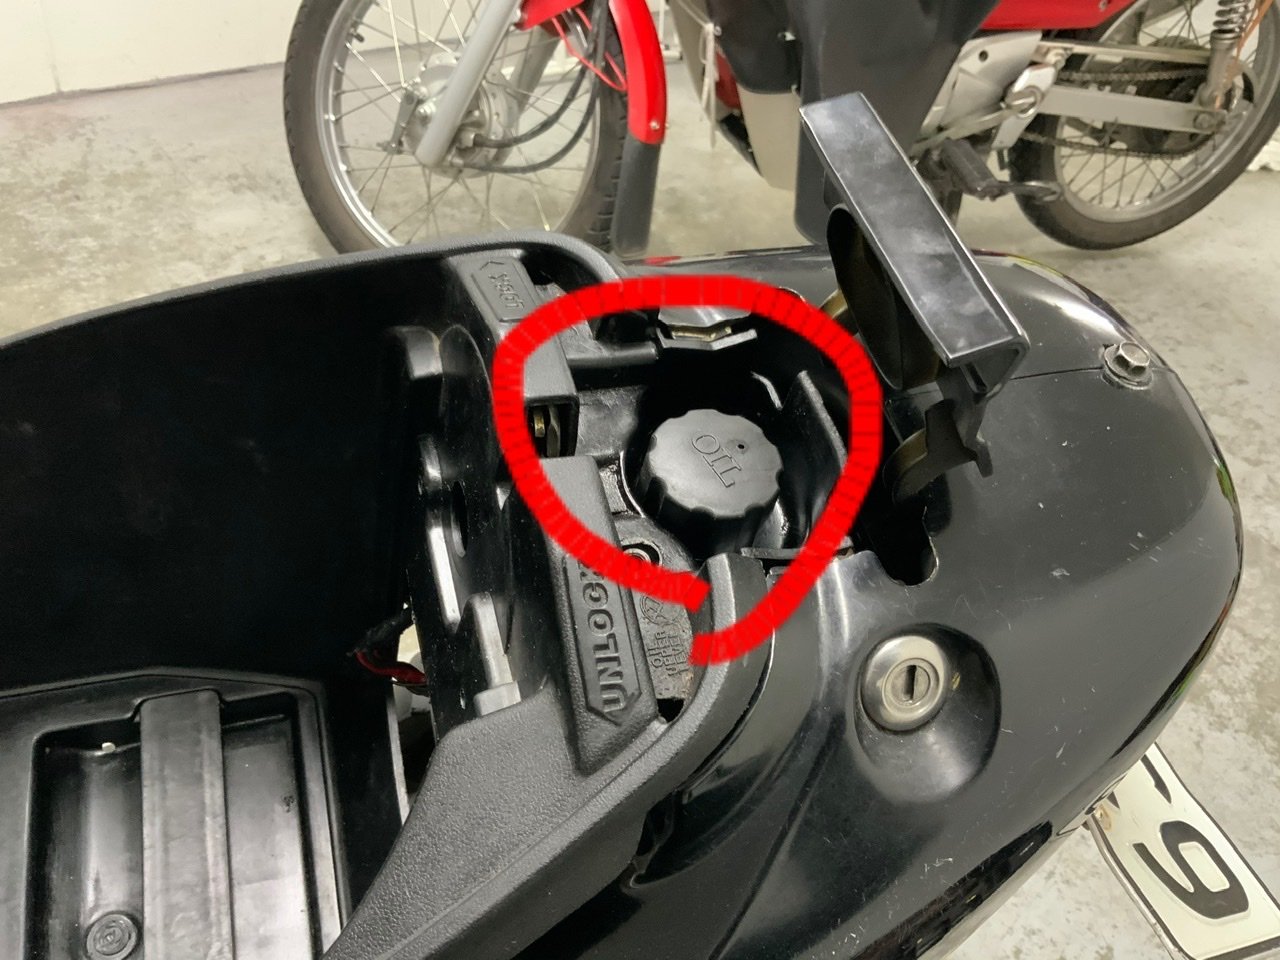
2. remove the oil tank cap
3. remove 2 screws on the auto-choke and the steel plate.
4. pull the coupler for the auto- choke
5. you can now remove the auto- choke
Yes the bike goes much better than before. I know I still need to adjust the SJ as the engine is running rich when it’s cold,
but can’t be bothered.Ride it for a while and it gets smoother


-
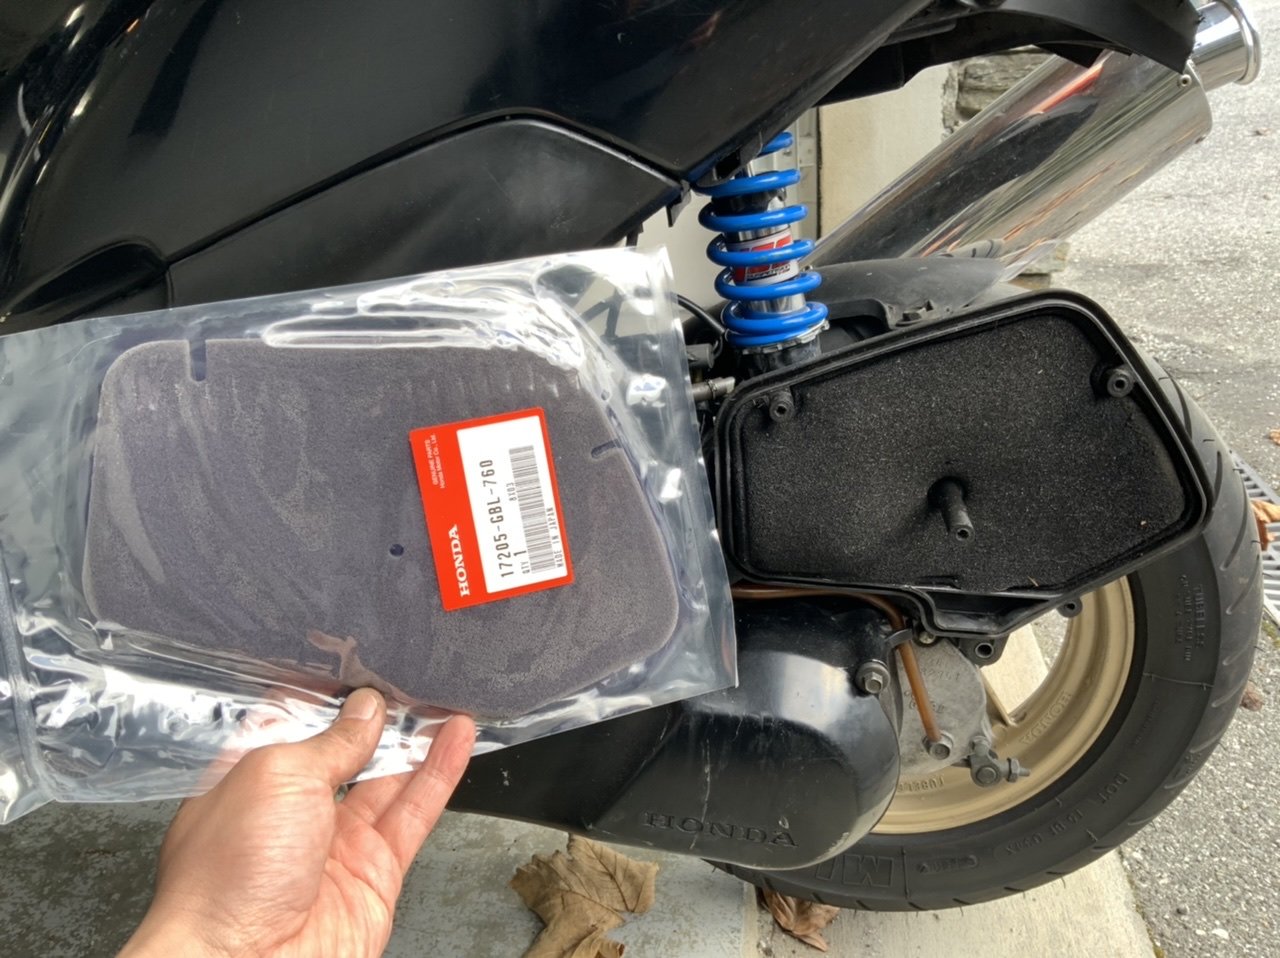
New Air filter fitted.
-
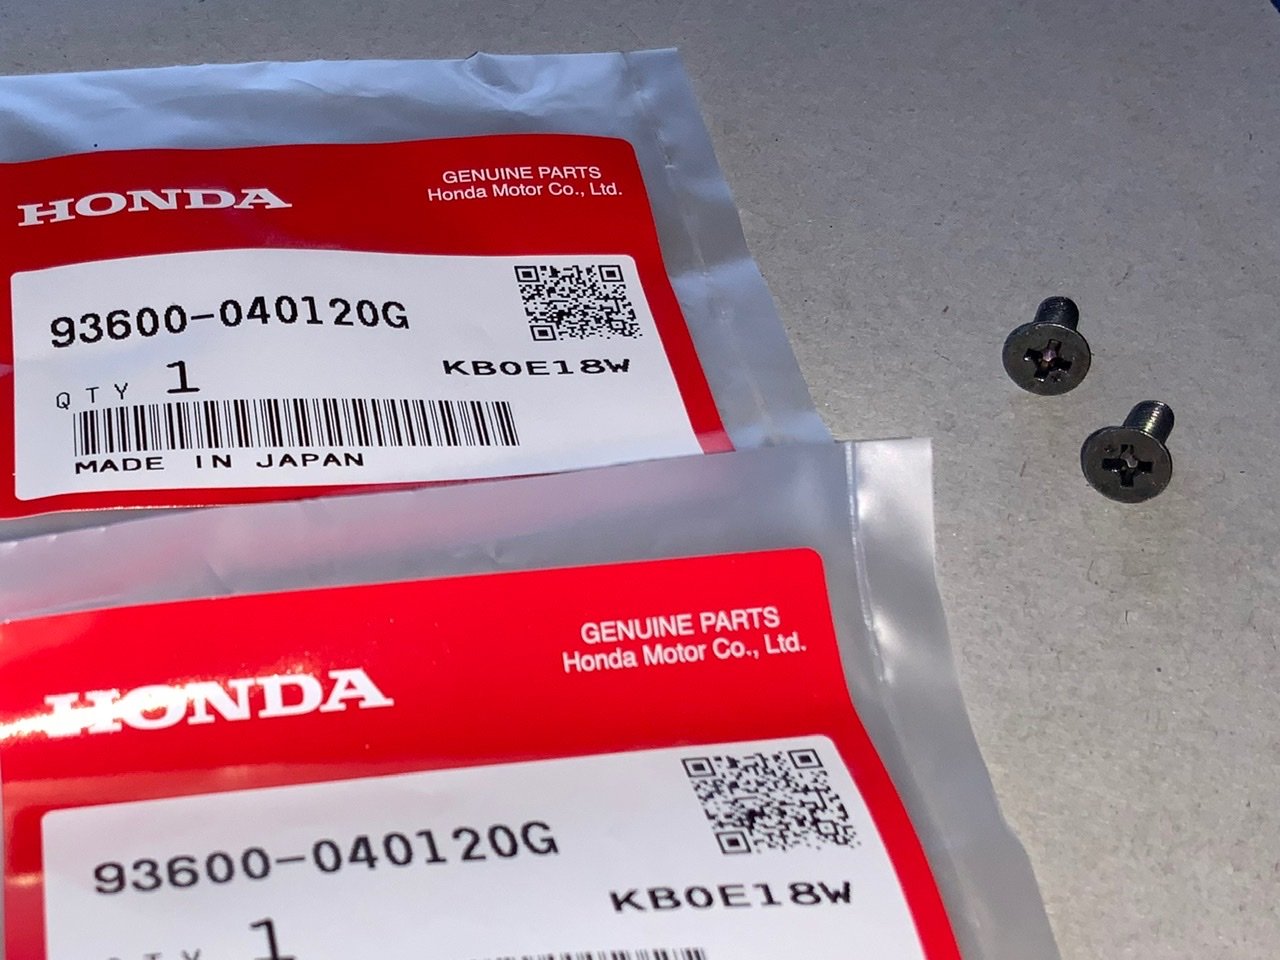
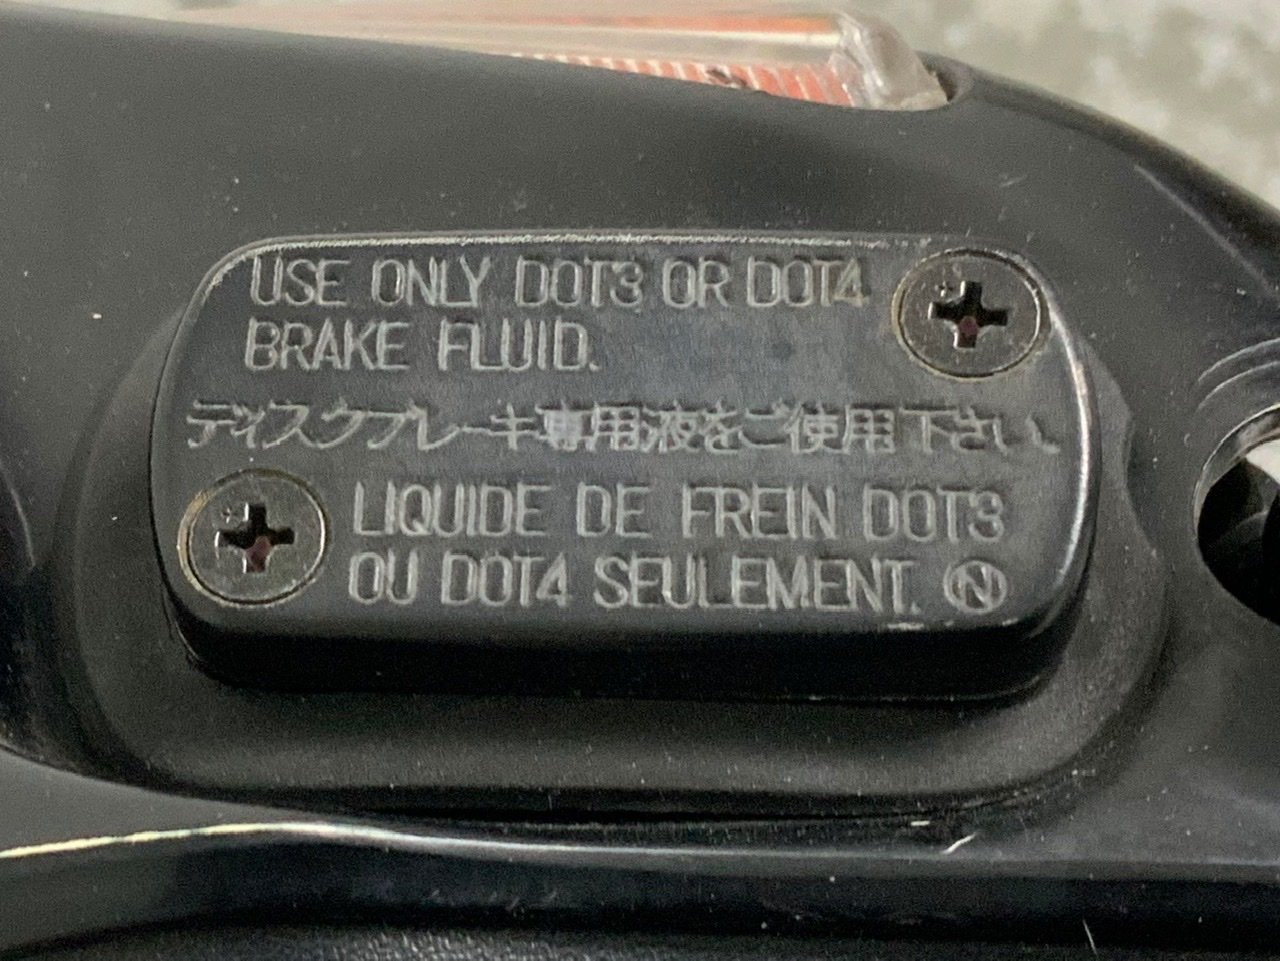
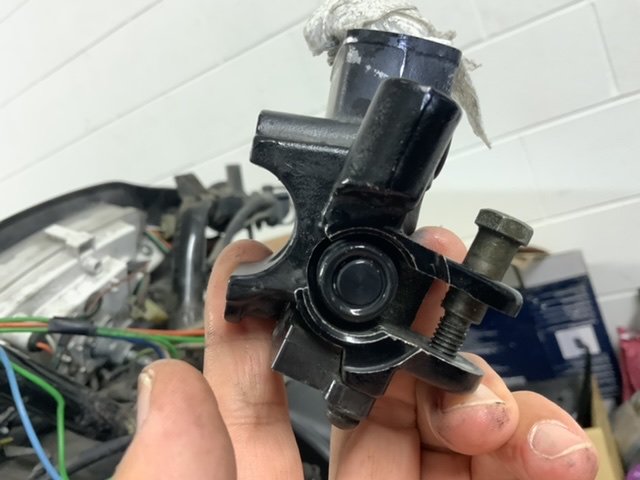
Only a small thing but makes difference. the screws have been replaced.
Please see the photo NO.4 and you can confirm that the screw head and master cylinder case are at the same level which means
the cover doesn’t hold water and prevents getting rusted.
-
3
-
-
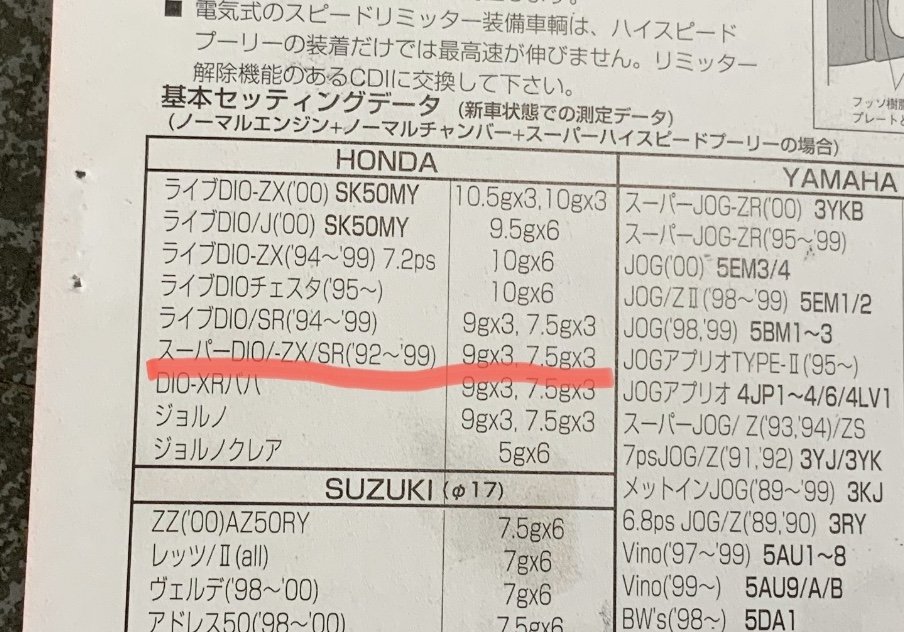
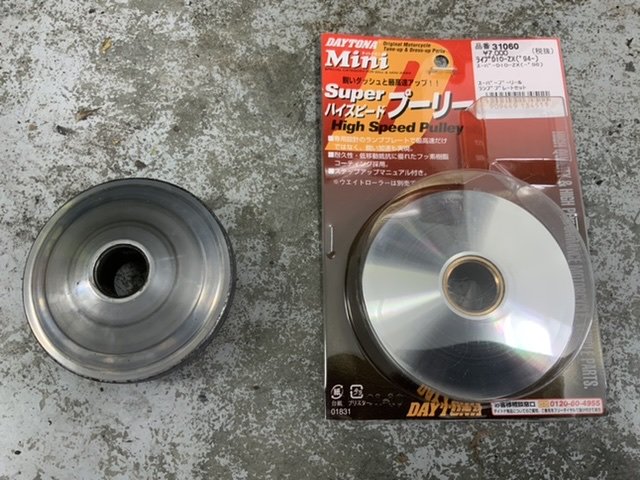
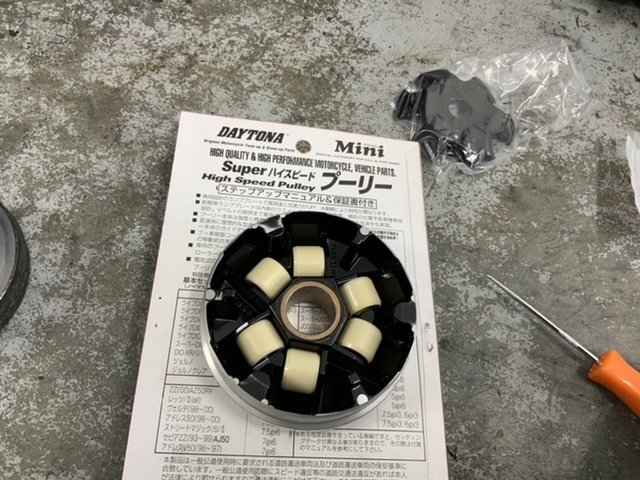
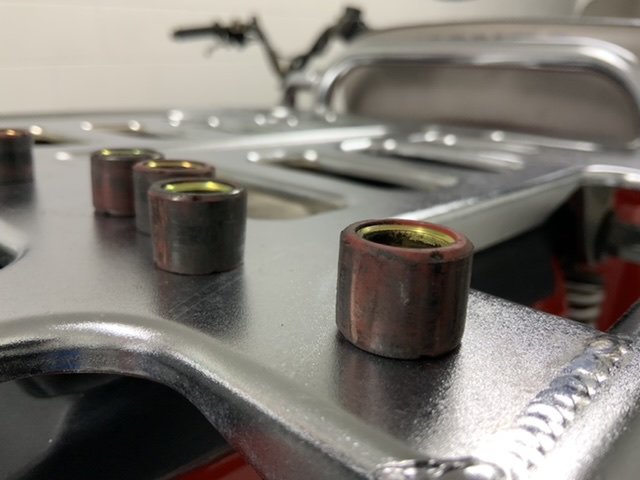
Instruction for the daytona super high speed pulley
-
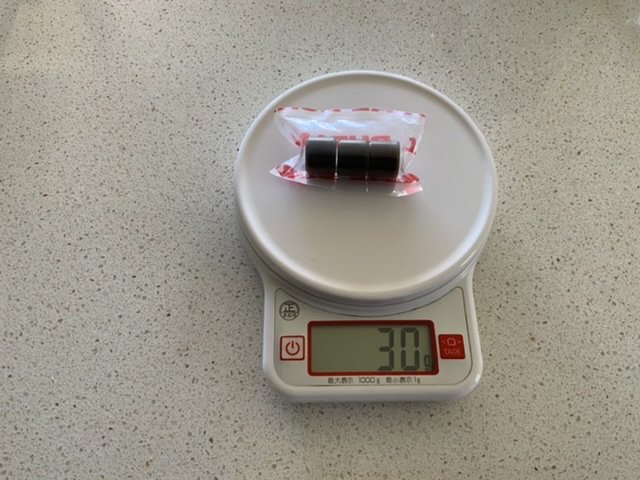
9gx3, 7.5gx3 i just followed instruction of super high speed pully
-
Same 6P, but cable position is different
It is now clear after I checked the body side of 6p.
-
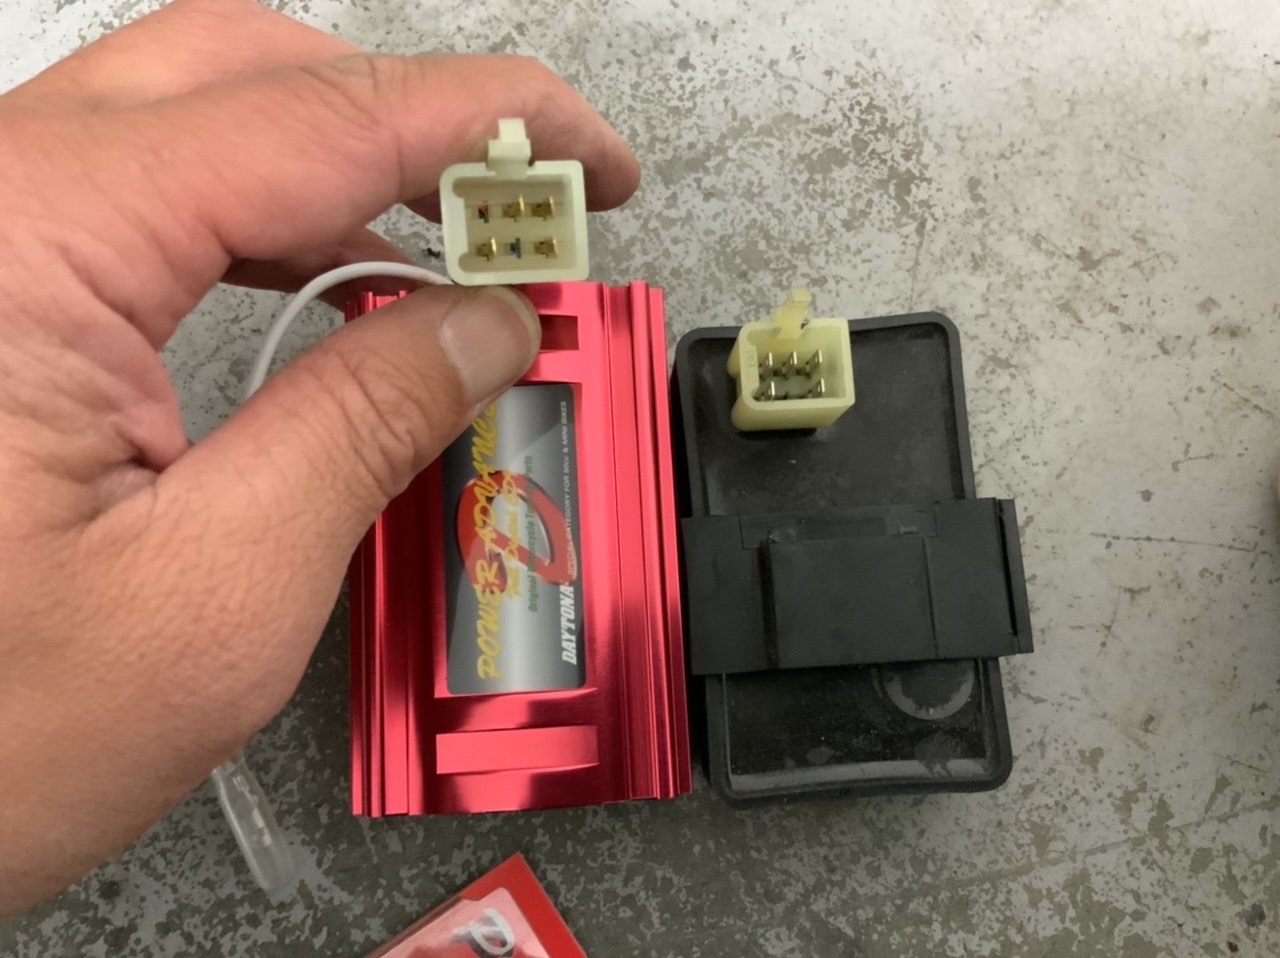
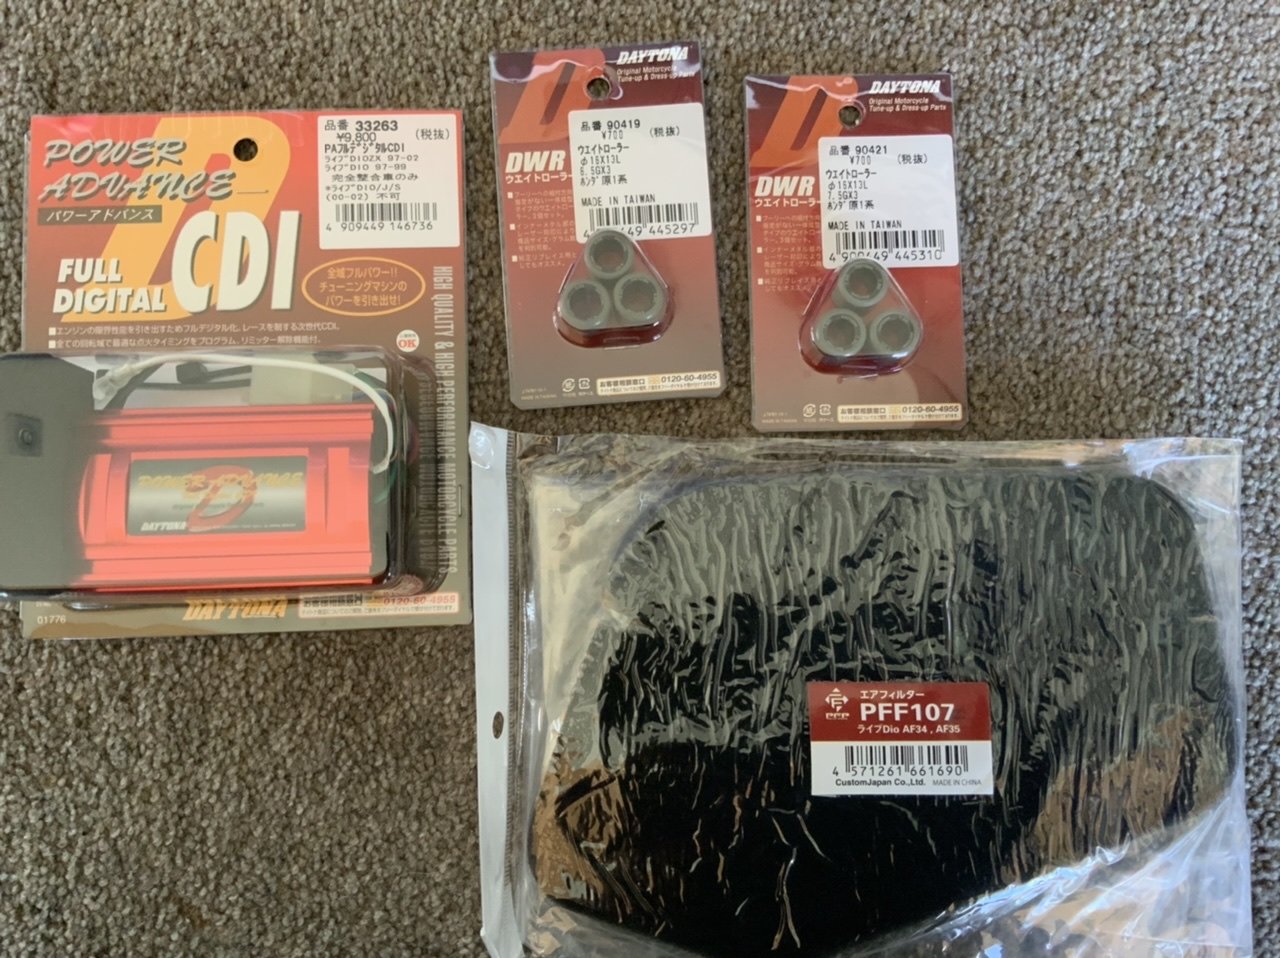
Finally they got here! Daytona full degital CDI, WRs 6.5g and 7.5g and air filter.
-
On 01/03/2020 at 08:18, Abarth said:
If it’s staying 50cc I’d go with 5 - 4.5g rollers. This will keep the rpm’s up while it goes up hills and it’ll still do 70kph on the flat.
To test it out you can add only three 9g rollers evenly spread which would have similar total weight as running 5g rollers. 9x3 = 27g vs 5x6 = 30g.
Thank you for your advice and I put 10gx3 WRs which came with the exhaust pipe. No offense taken but, what happened to the bike is I could not go faster than 30km/h and I almost cooked the E/g
that is because of I put the super high speed pulley? um...I have to get some WRs
-
I thought I purchased 6.5g weight rollers but somehow I have got 9g WRs...I know that’s too heavy...
and I Installed a Daytona super high speed pulley. Then put the carburetor back after I have cleaned it.
As I mentioned earlier that this bikes E/g has been replaced with the de tuned one
( honda had to meet the new exhaust gas emission regulation)
so carburetor is different from the 7.2hp E/g. But I believe this E/g is more reliable?
You can unscrew MJ and SJ to clean (MJ78 SJ35 for this model) but I recommend you do not touch the air screw when you clean the whole carb (only if the engine is alive before you clean the carb)
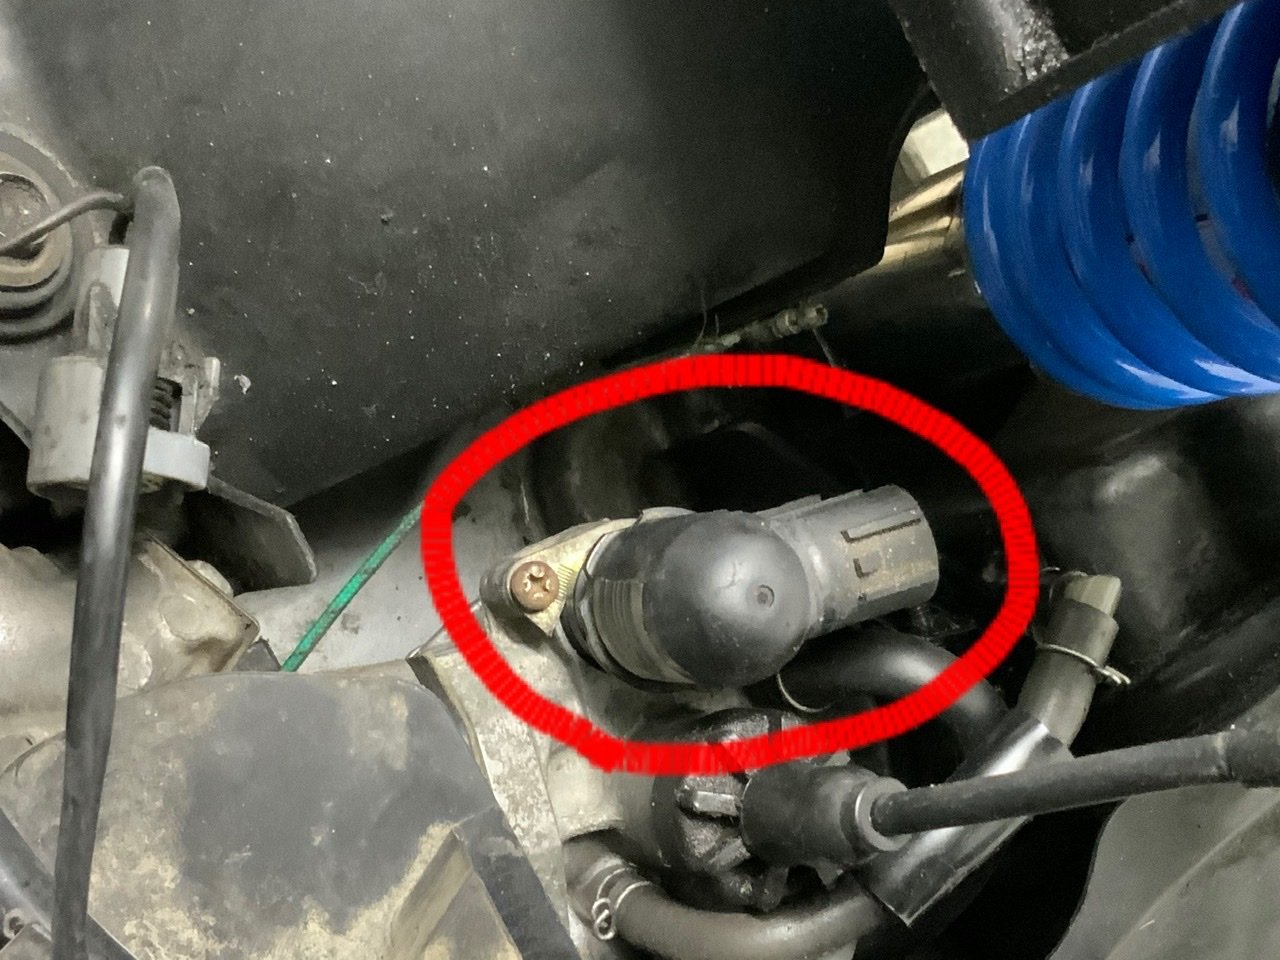
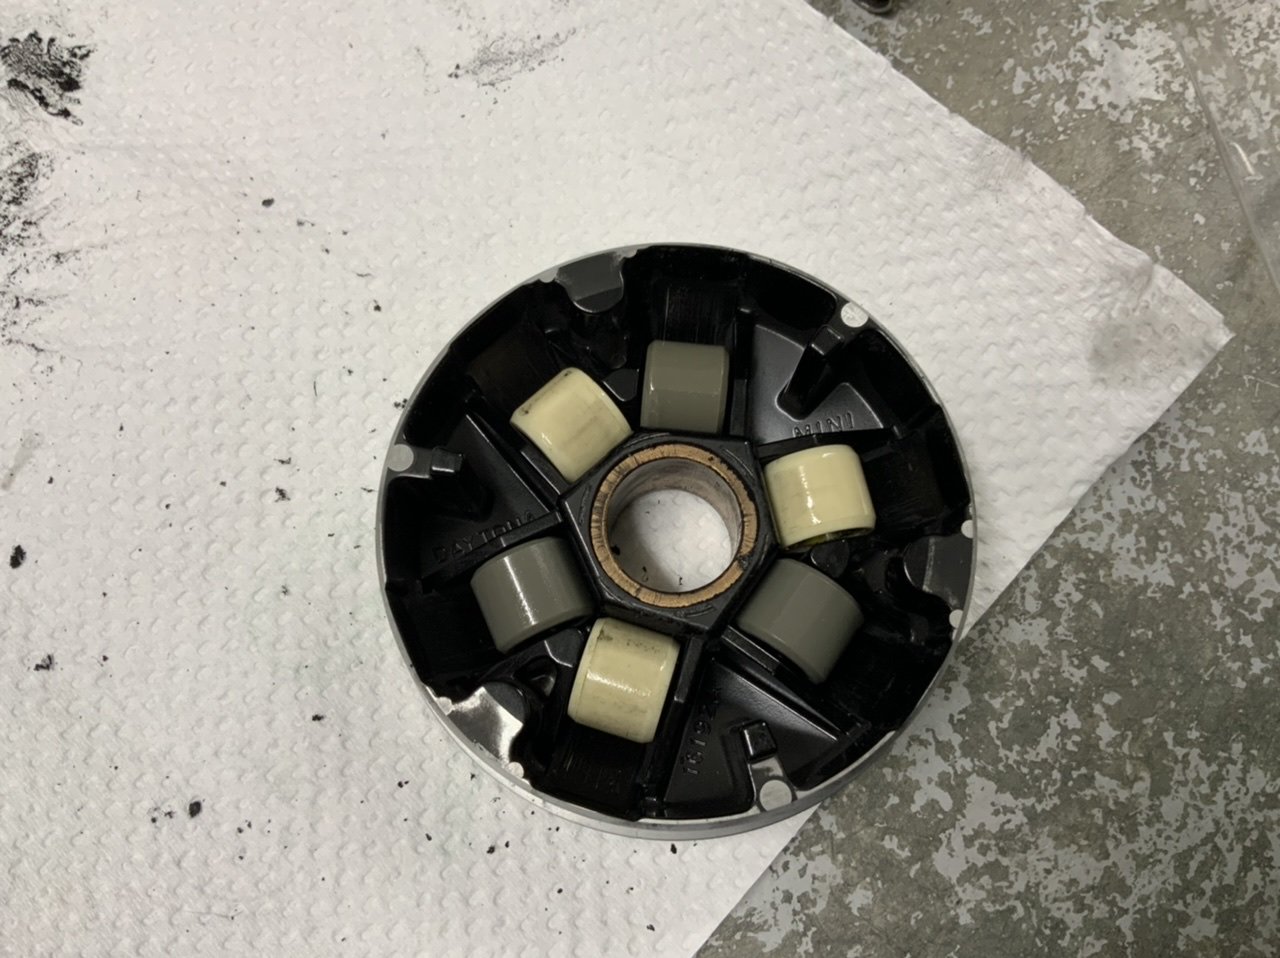
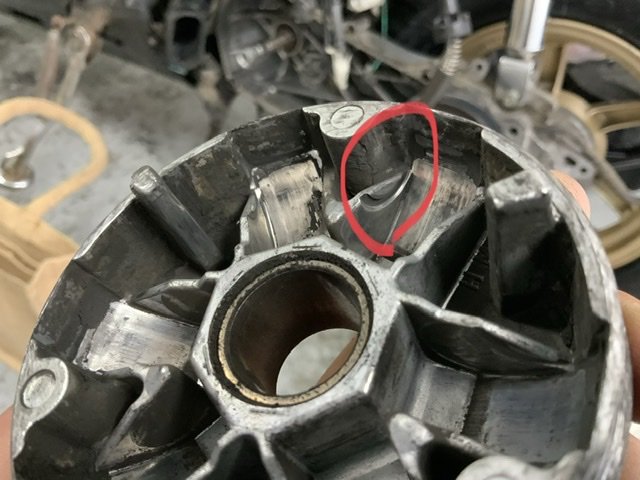
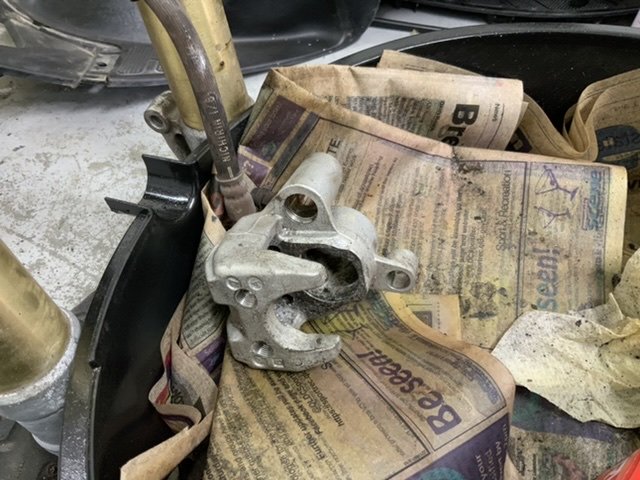
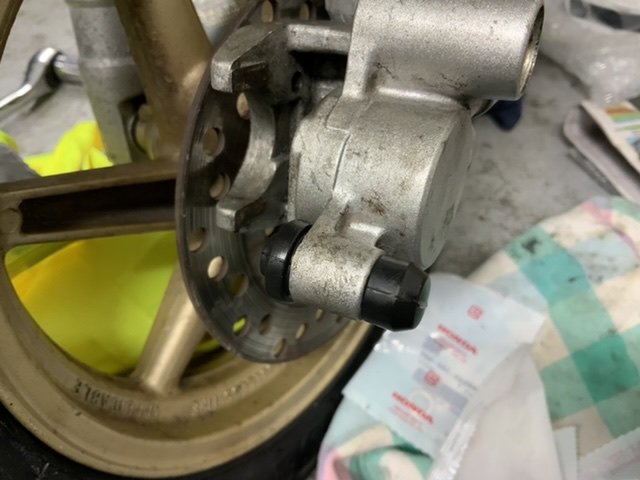
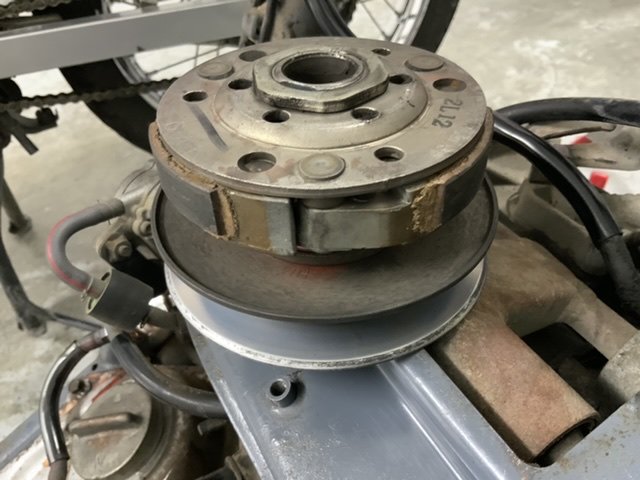
The old pulley has some damages see the red circle on the photo....
-
1
-
-
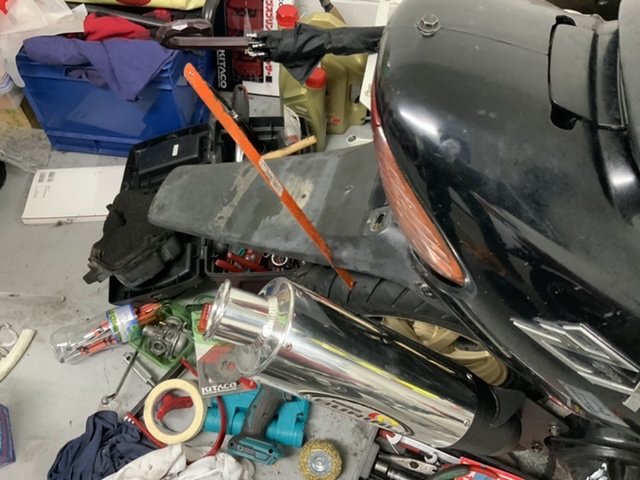
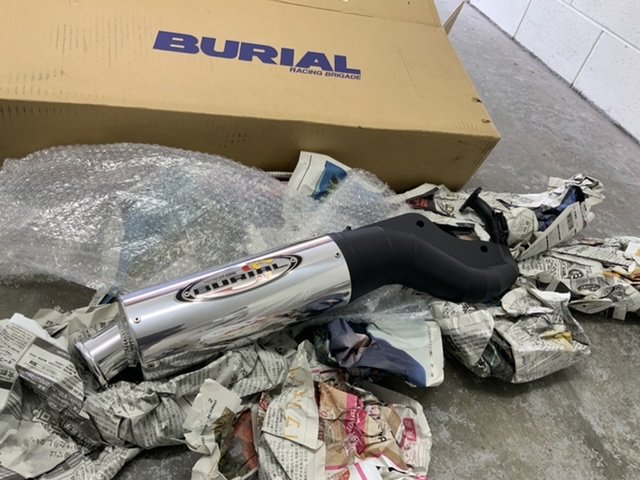
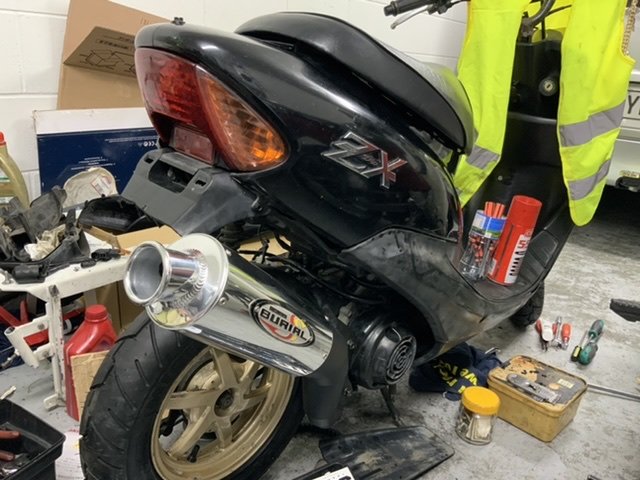
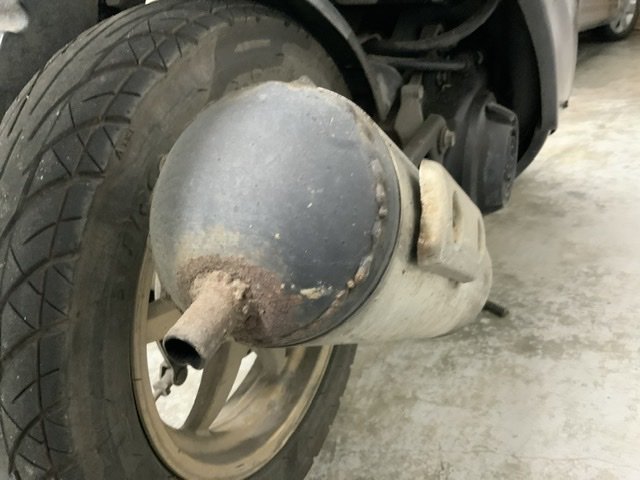
Got a BURIAL pipe that was my brother’s recommendation
Cut a rear fender with a hand saw blade.
Gee I bought this pipe about a month ago and that was the right timing. Look at foreign exchange rates now.... well done Coronavirus....
I thought I have got all parts here but I have just realized I need few More things like lighter weight rollers, air filter and digital cdi...
-
1
-
-
9 minutes ago, Bellicose said:
I'm interested in these if Naoks isn't.
I am all good. I have already got parts here so you could talk to Abarth??
-
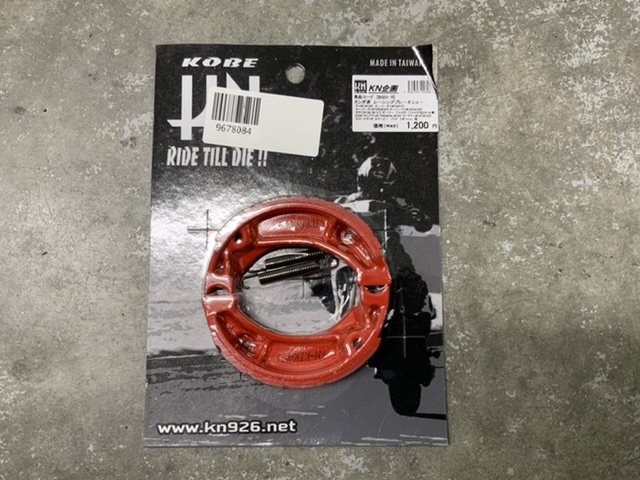
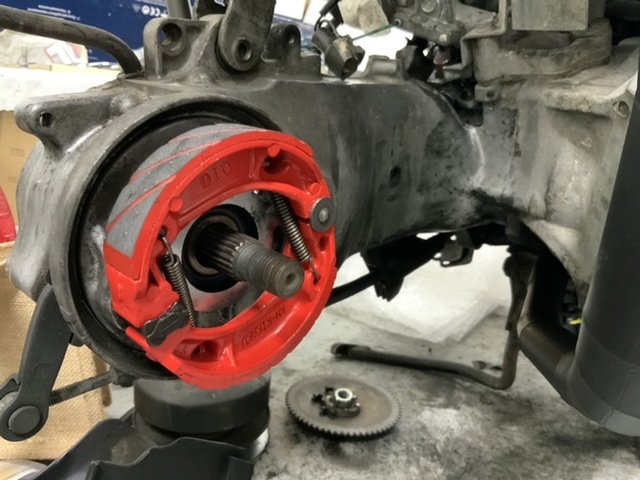
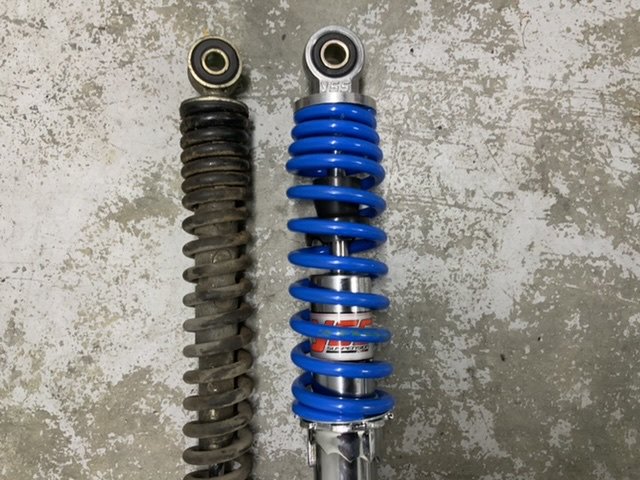
New rear break shoe(KN Kikaku), new front break pads ( KITACO ) and new rear shock ( YSS )
-
8
-
-
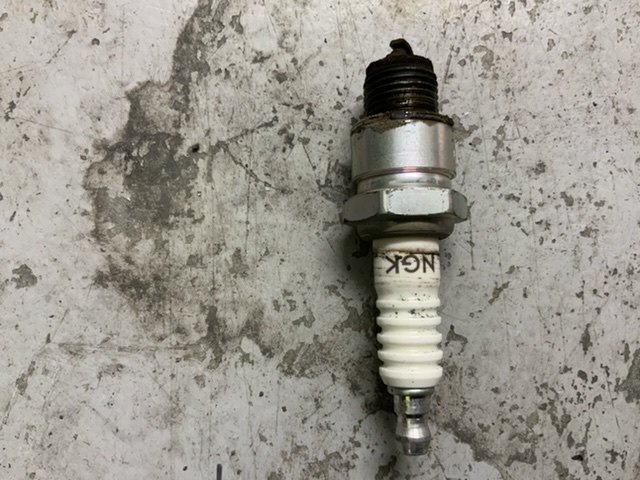
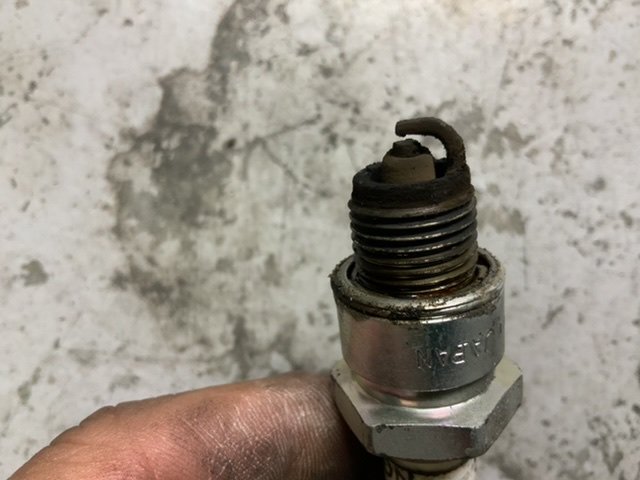
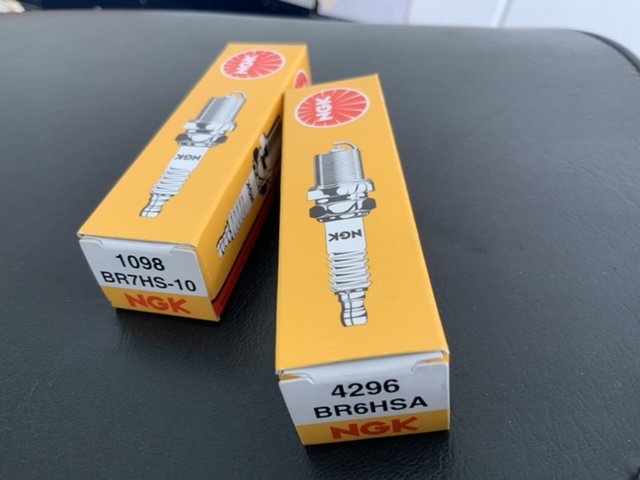
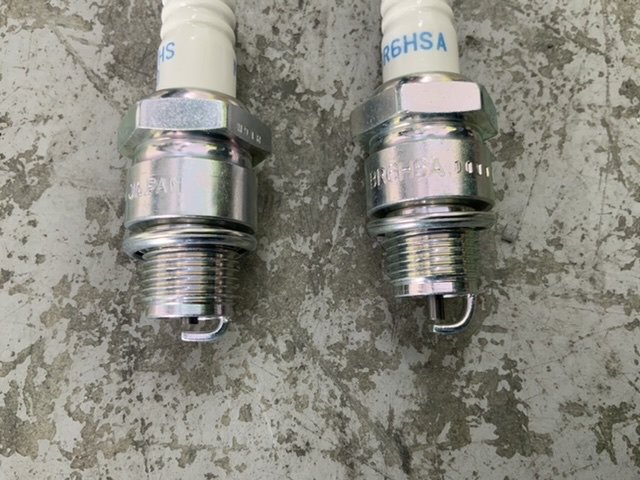
Checked the plug, found the previous owner put BP7HS , but I will put a BR6HSA that is the factory standard. Bought a BR7HS- 10 plug just in case.
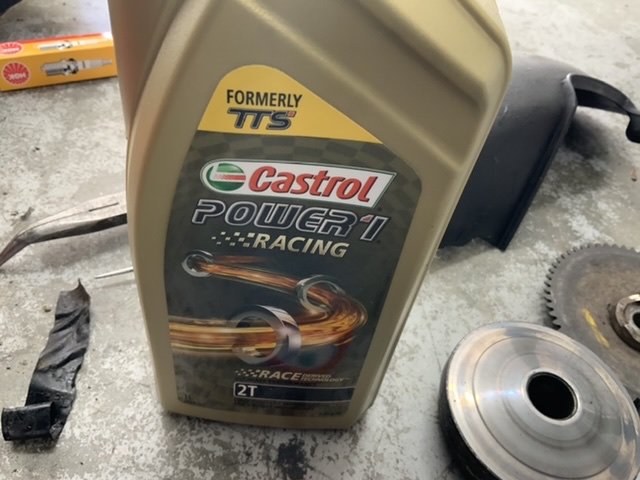
I have also purchased a bottle of High quality oil.
-
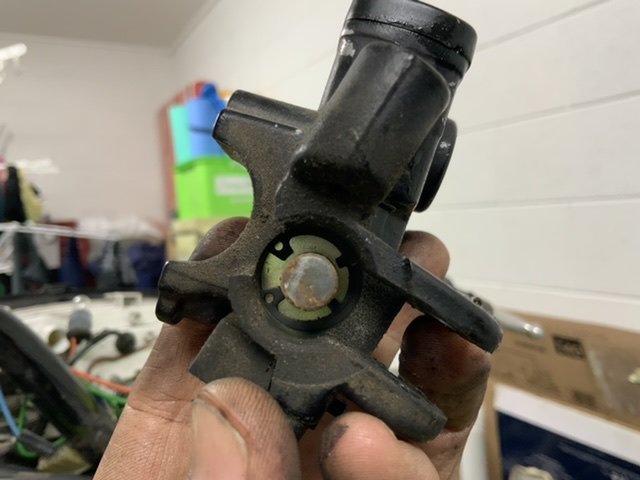
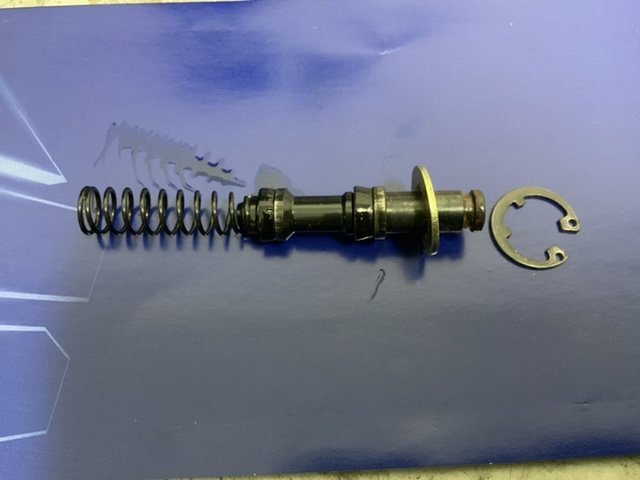
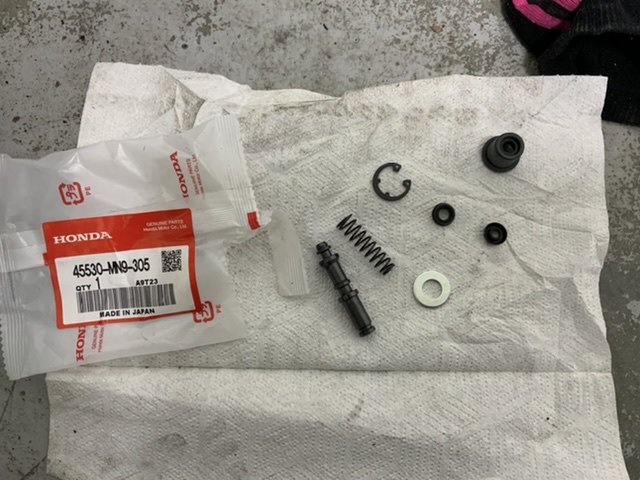
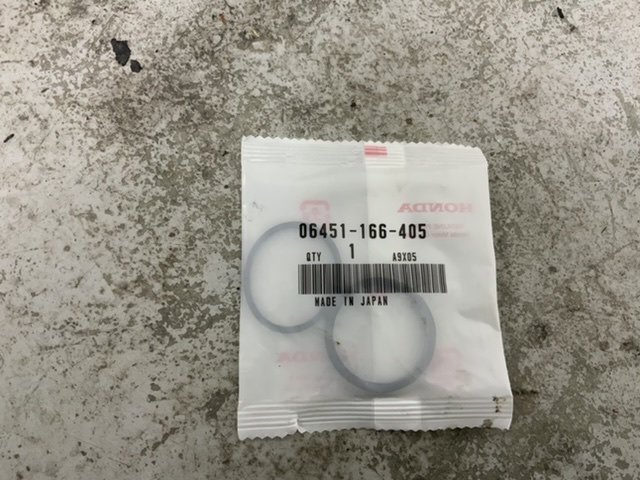
Yes, of course I needed to replace the master cylinder piston. I have taken off the rubber cap then I needed to remove the circlip .
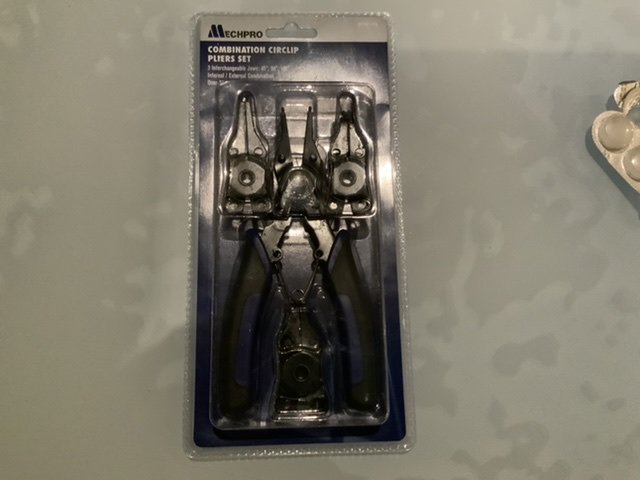
I had a 90 degree circlip pliers which didn’t work so got a pair of pliers at repco ($16 they are cheap, but I still had a difficulty removing the circlip
)
and have used the 180 degree attachment.
After I put the new piston, I put the new rubber cap with some silicone grease.
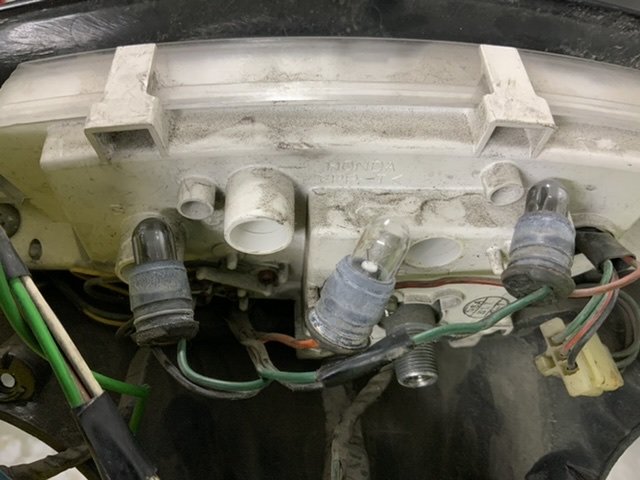
At the same time, I replaced the 3 bulbs for the speed meter as well. Got two 3w bulbs from repco and one 5w bulb was a leftover from my previous project.
-
2
-
-
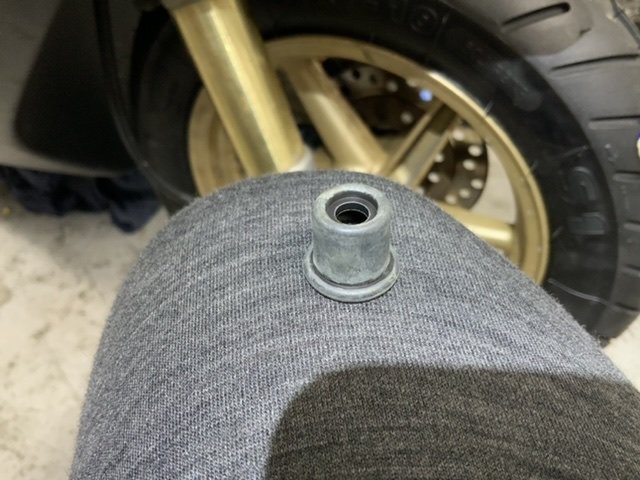
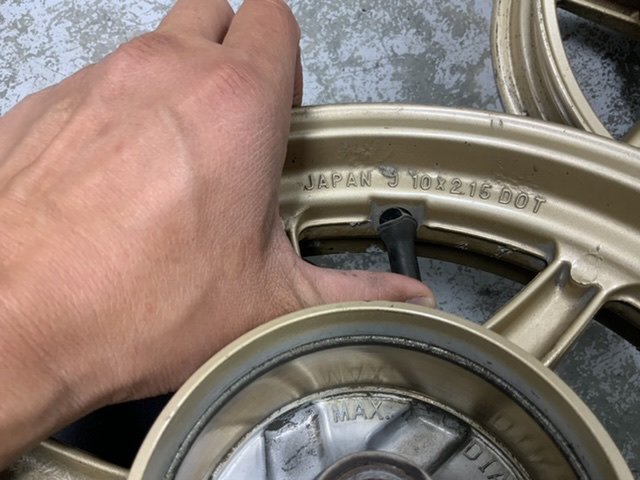
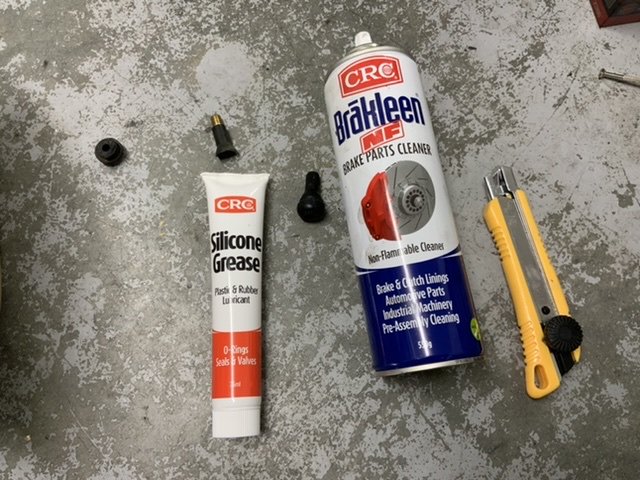
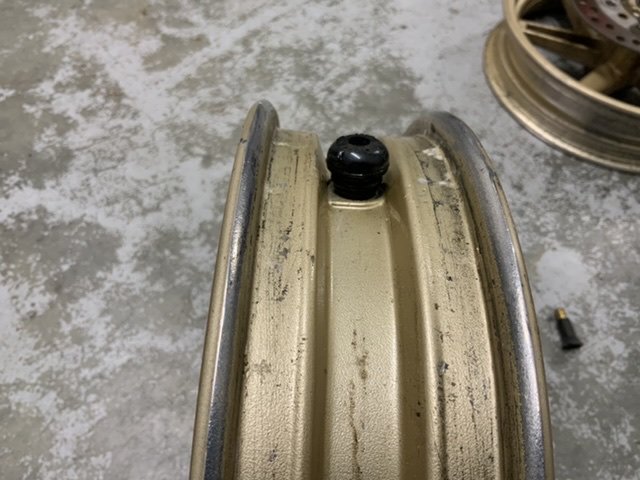
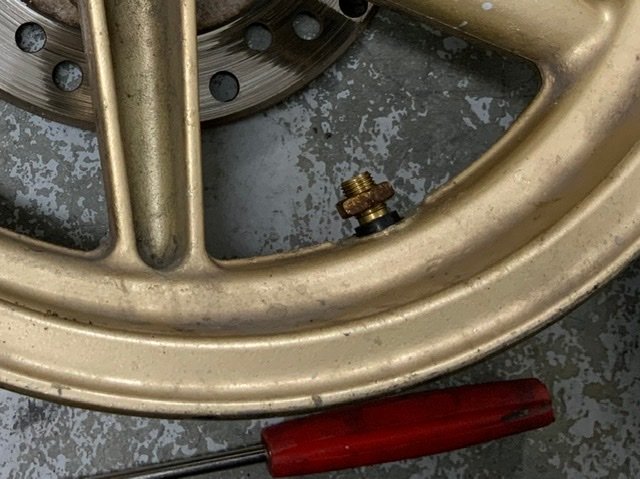
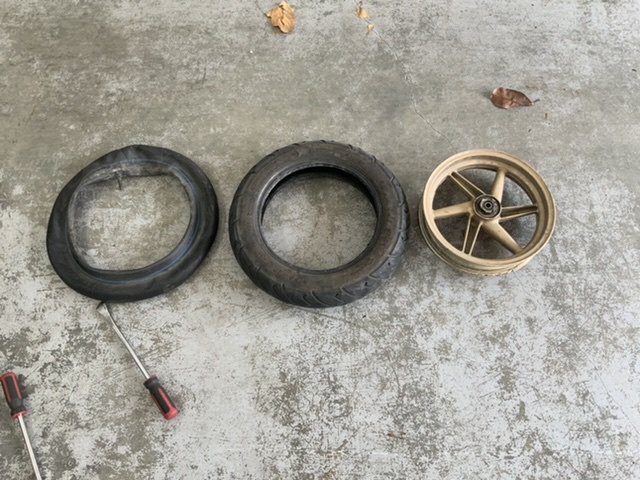
I have taken out the old valve and have put a new one. you do not have to buy a special tool to put a valve, just put a nut and pull the nut by using pliers.
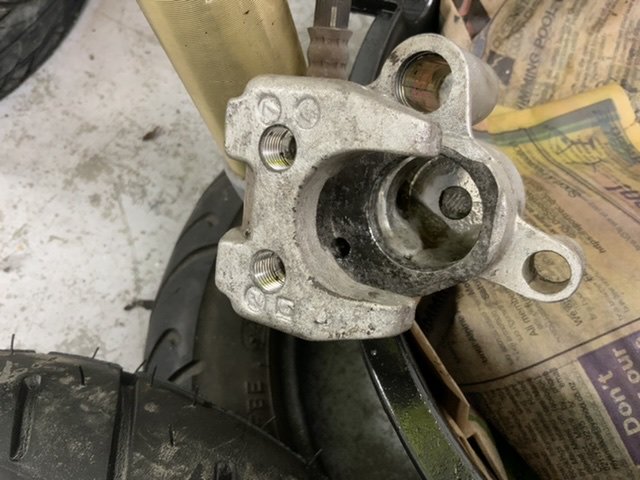
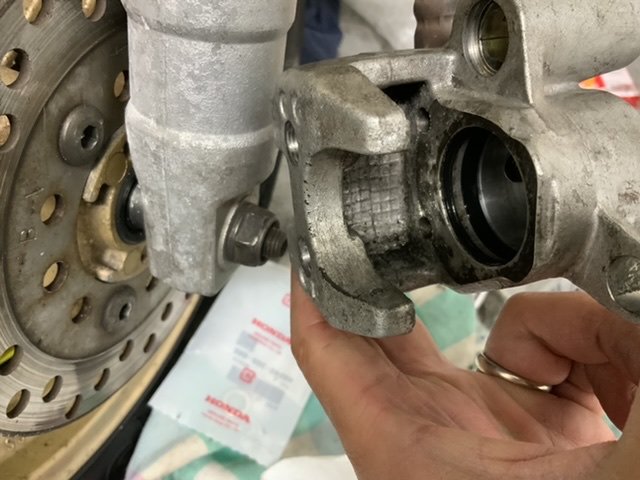
Put new tyres on. I have chosen Michelin S-1. Then cleaned the front break caliper with a tooth pick. I could have used pick tool but I have prevented myself damaging the caliper.
When I put the rest of rubber parts, I used a Hex key to put then put reasonable amount of silicone grease.
-
4
-
-
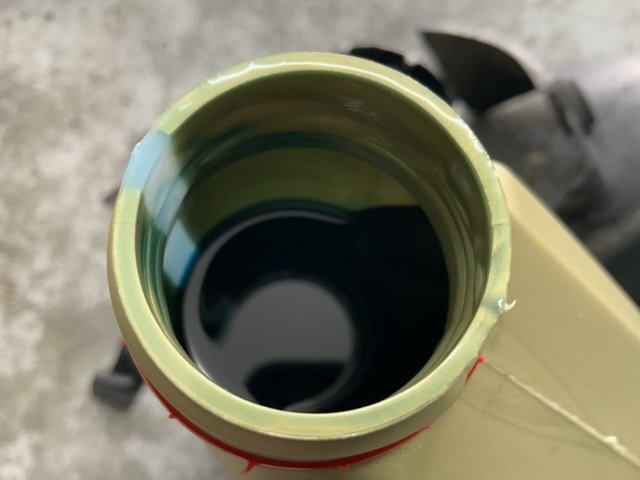
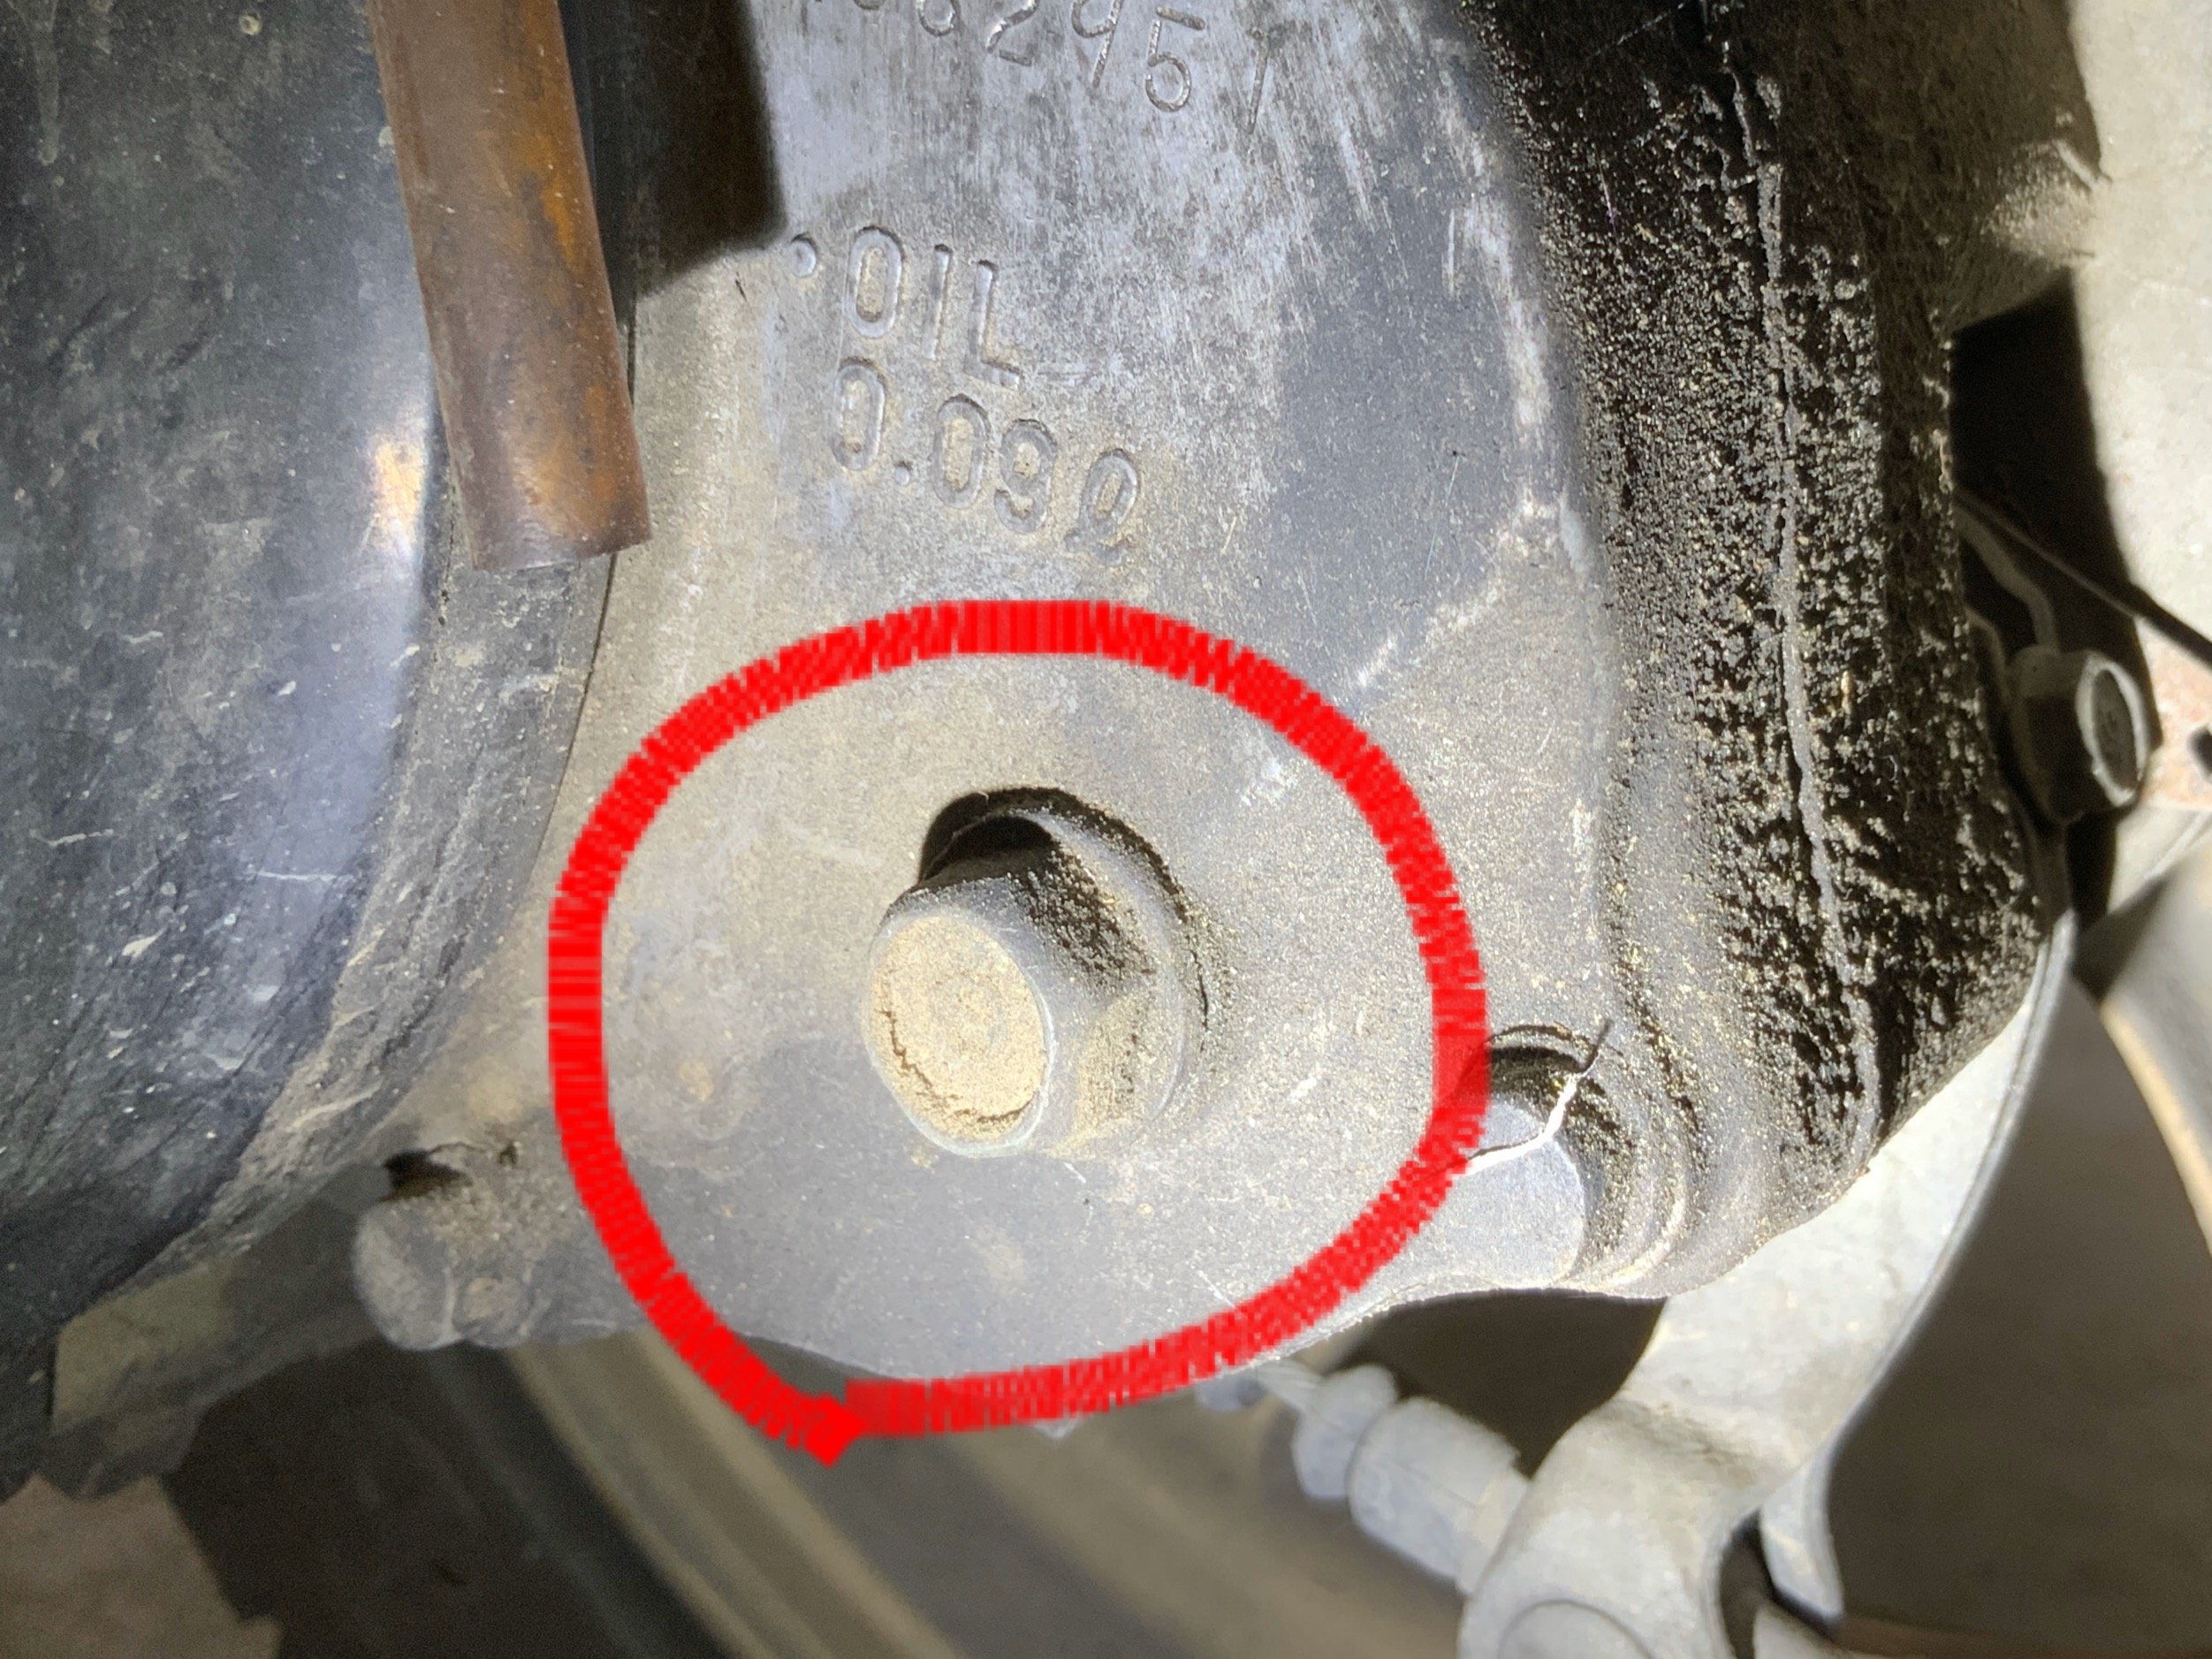
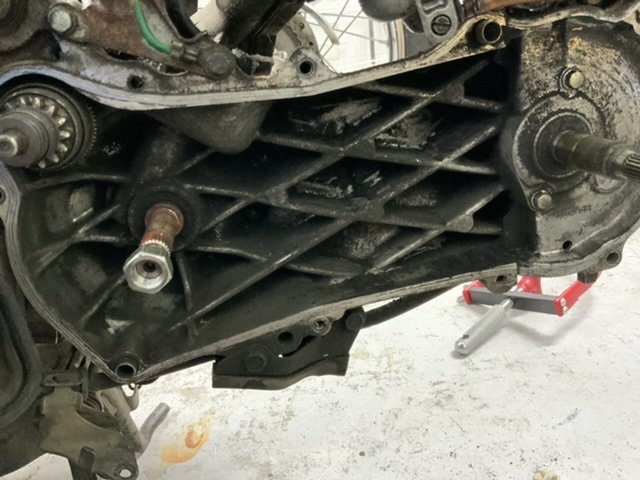
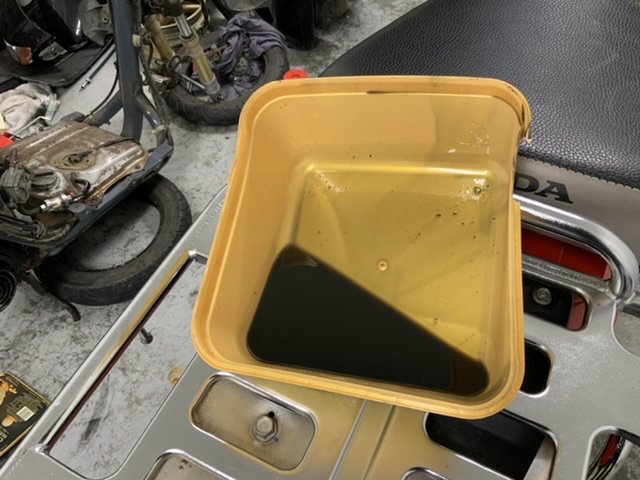
I needed to lay the bike on its side to drain the mission oil.
-
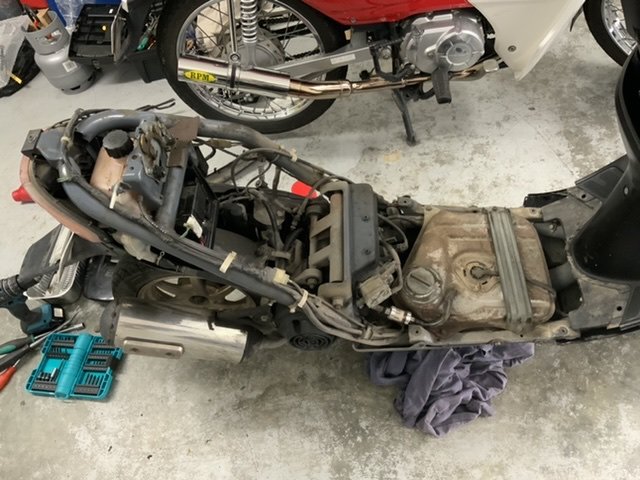
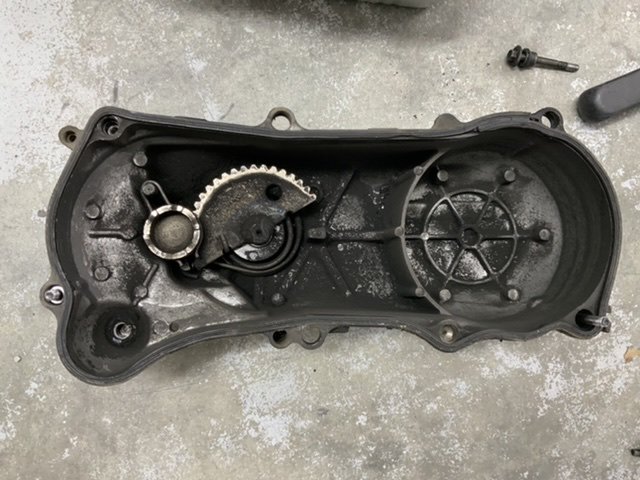
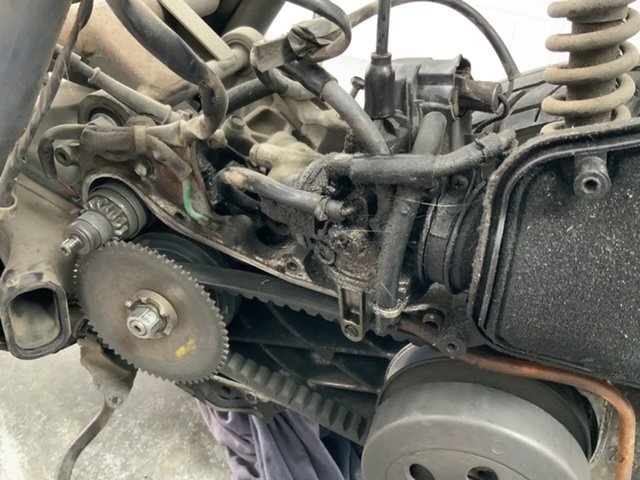
Removed all plastics then opened the crank cover to check the belt, pulley, weight rollers and clutch.
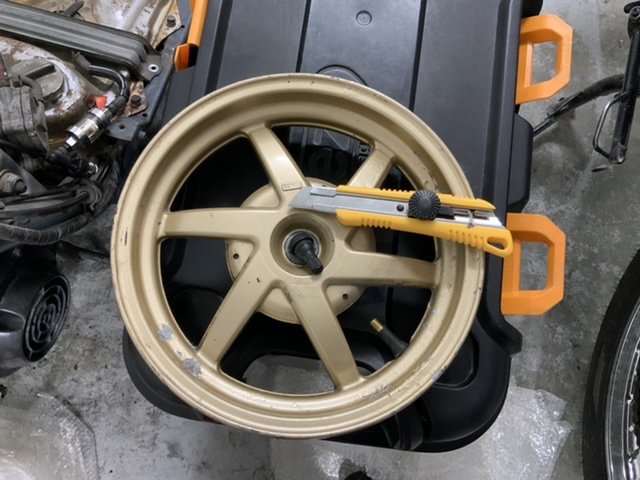
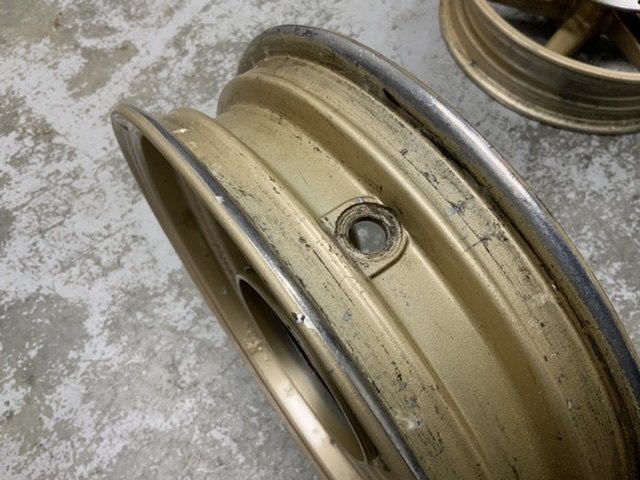
Most of the parts except clutch are worn out and I decided to replace them. Why did the previous owner put the tube tyre? That is a tubeless rim
And I changed mission oil and Put 4st Castrol engine oil.
-
1
-
-
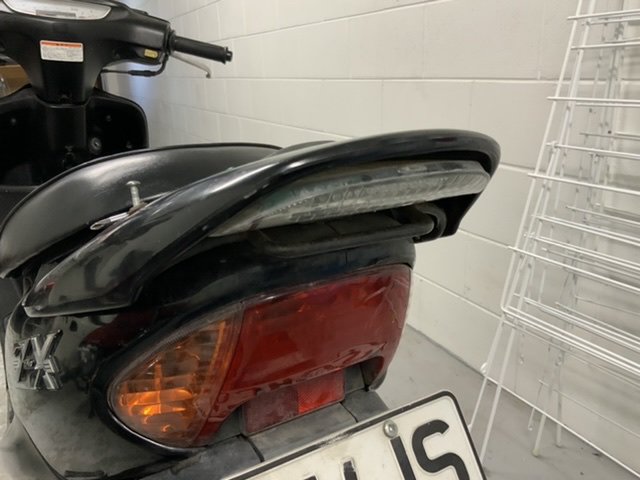
Few things I have noticed that Exhaust tail end is welded, the rear tyre is fitted wrongly, the case is covered by Petrol and oil, it should have a 7.2hp engine but been replaced with a 6.3hp E/g, the front tyre is worn out, the LED light of the rear spoiler almost come off.


 that is because of I put the super high speed pulley? um...I have to get some WRs


Dio ZX AF35
in Two Wheels
Posted
And I have put lighter weight rollers. current setting is 5.5g x6. I will see how she goes tomorrow!