Hurmeez
-
Posts
314 -
Joined
-
Last visited
-
Days Won
1
Everything posted by Hurmeez
-
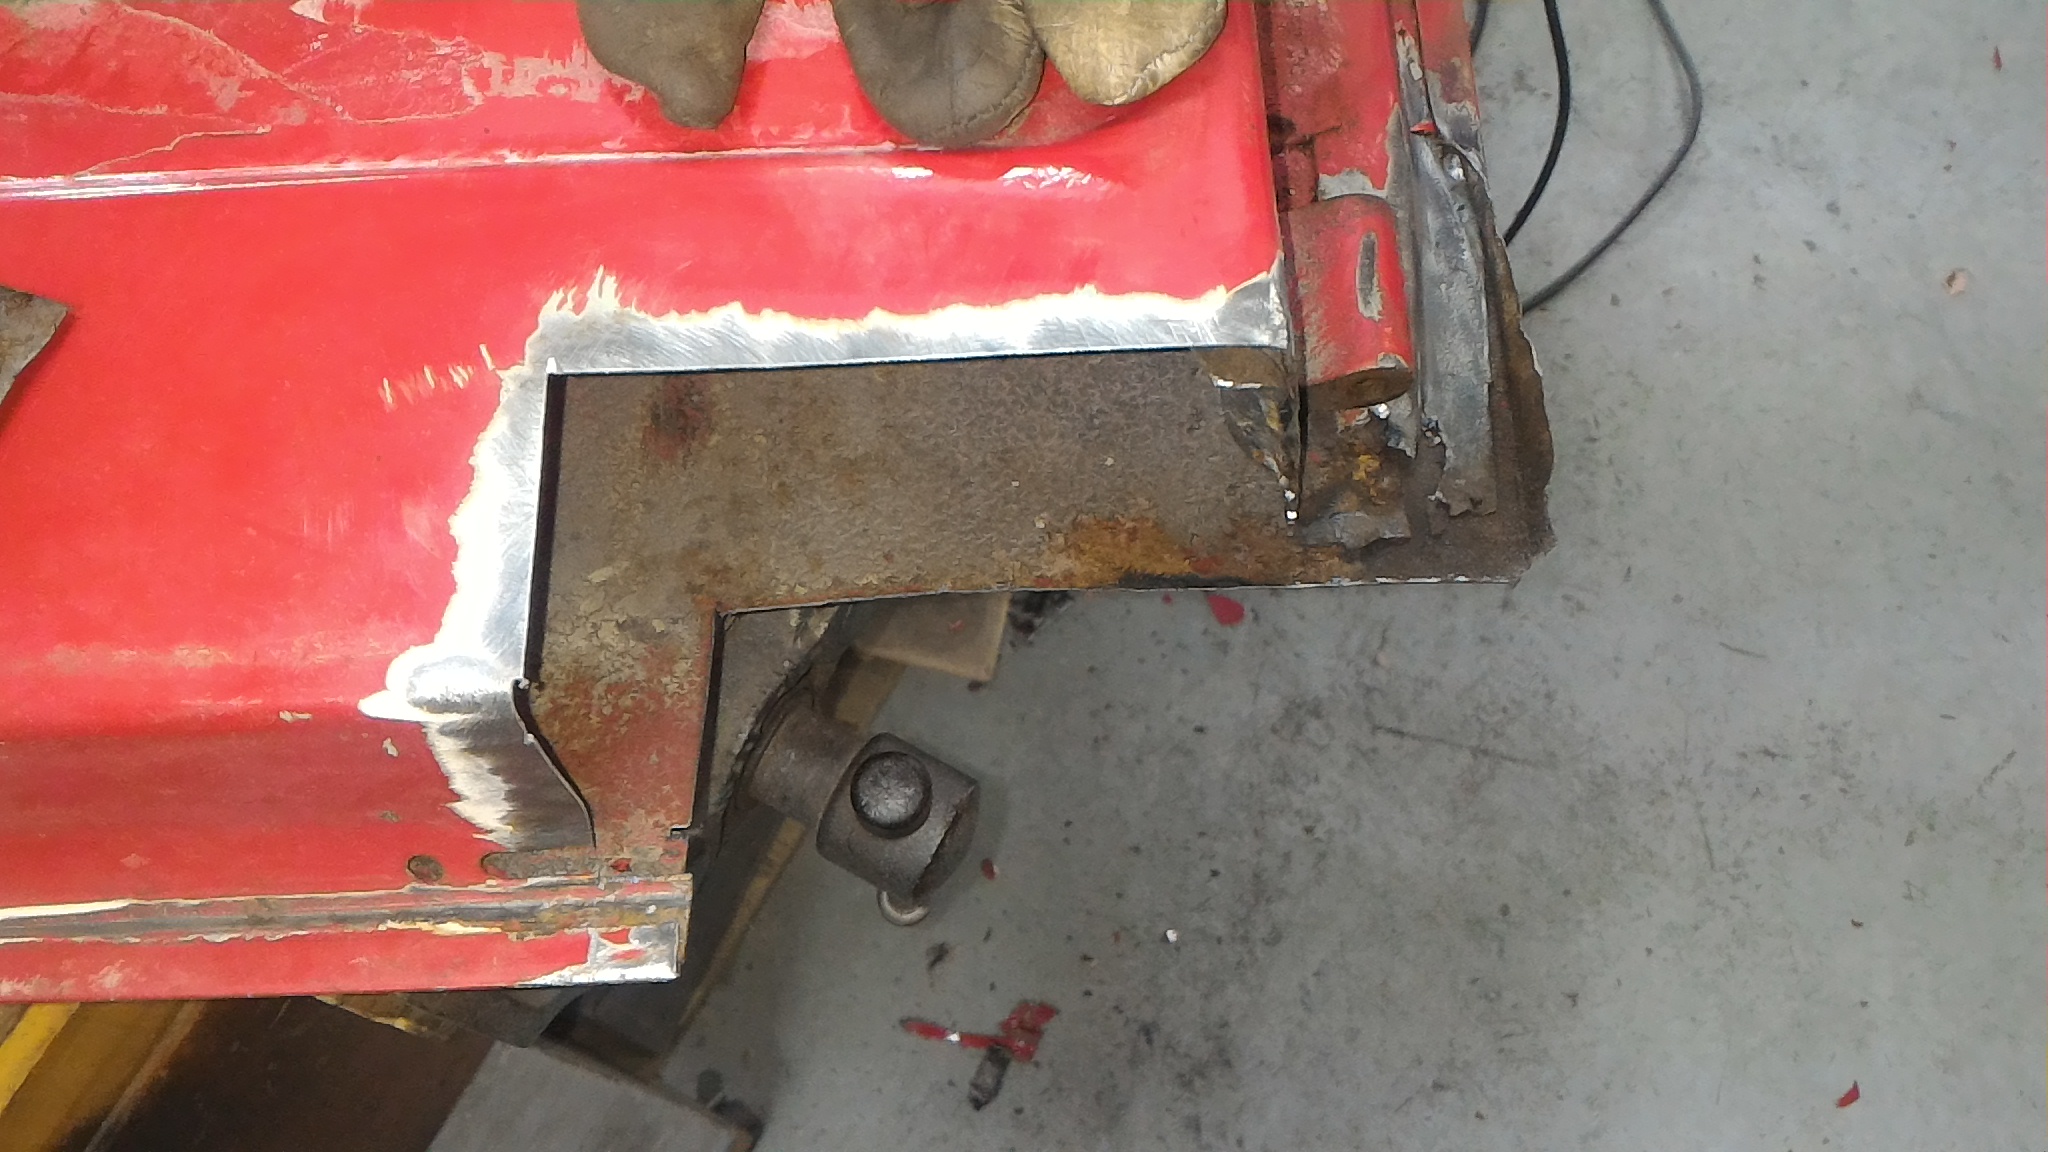
Then I had to rebuild the bottom flange too. I could have just enlarged it by welding more on the edge but when I looked at the state of them It was better to do this And then this. I'm leaving it just tacked for now to give it some adjustability for fiddling while I make it fit.

-
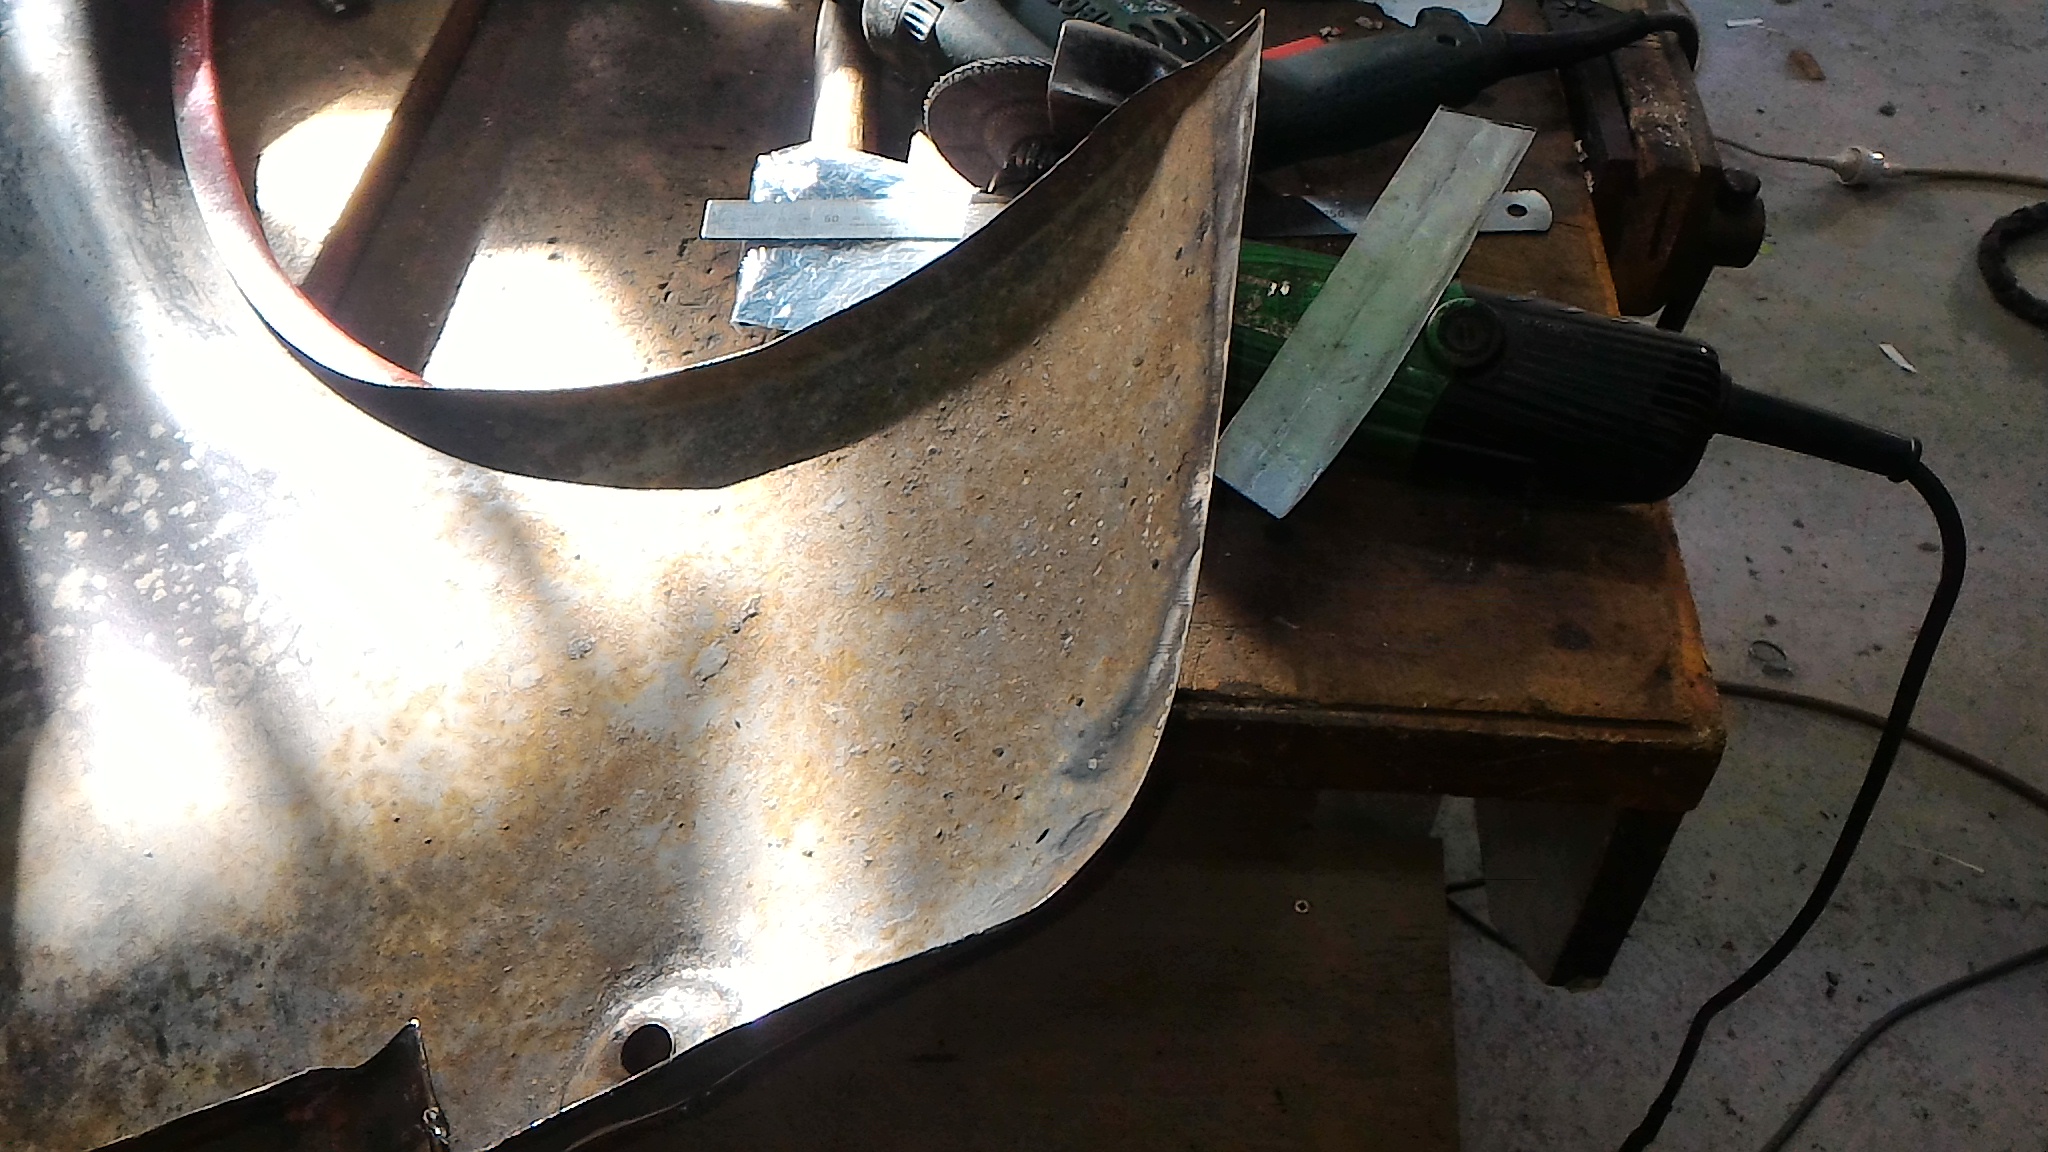
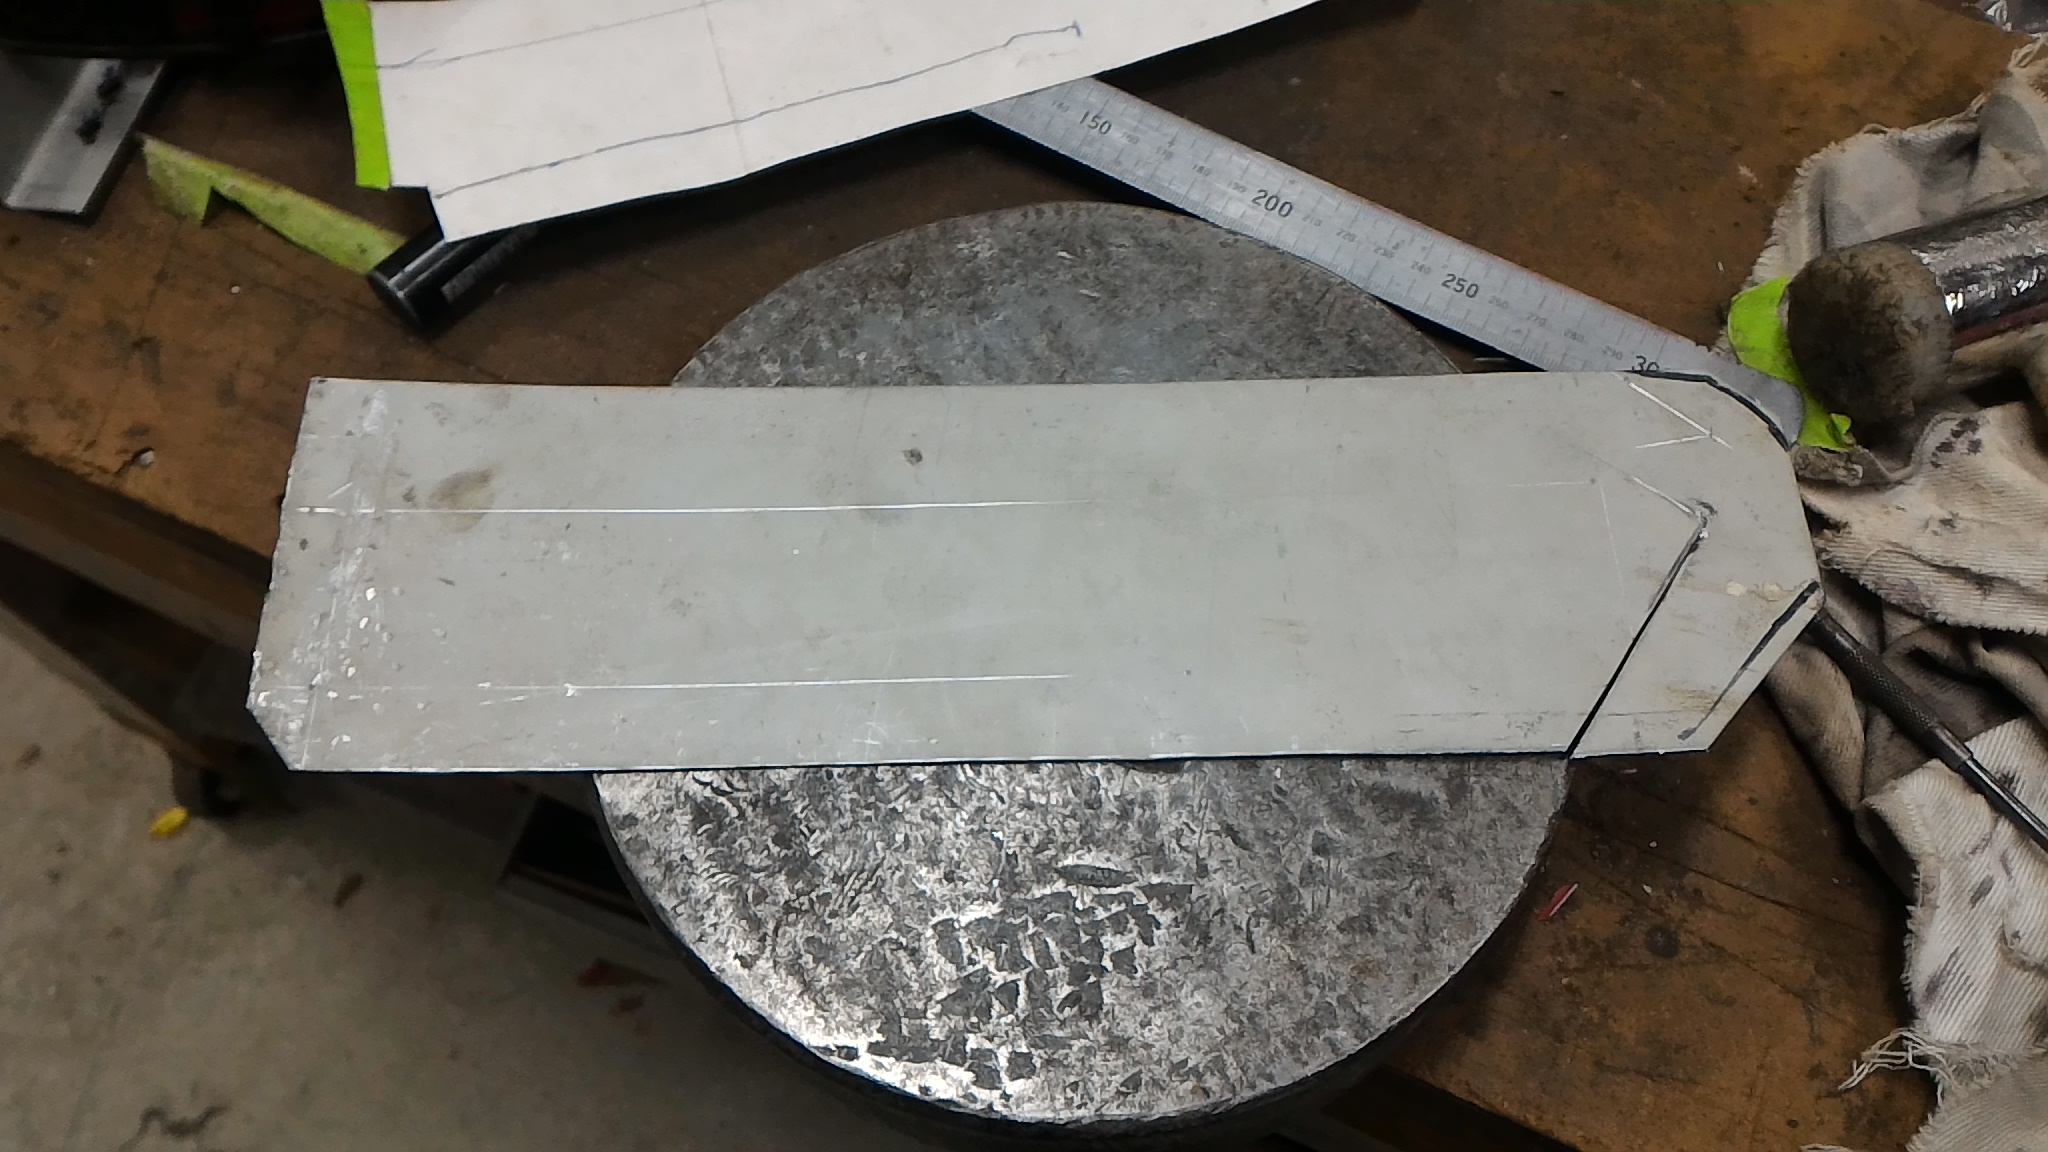
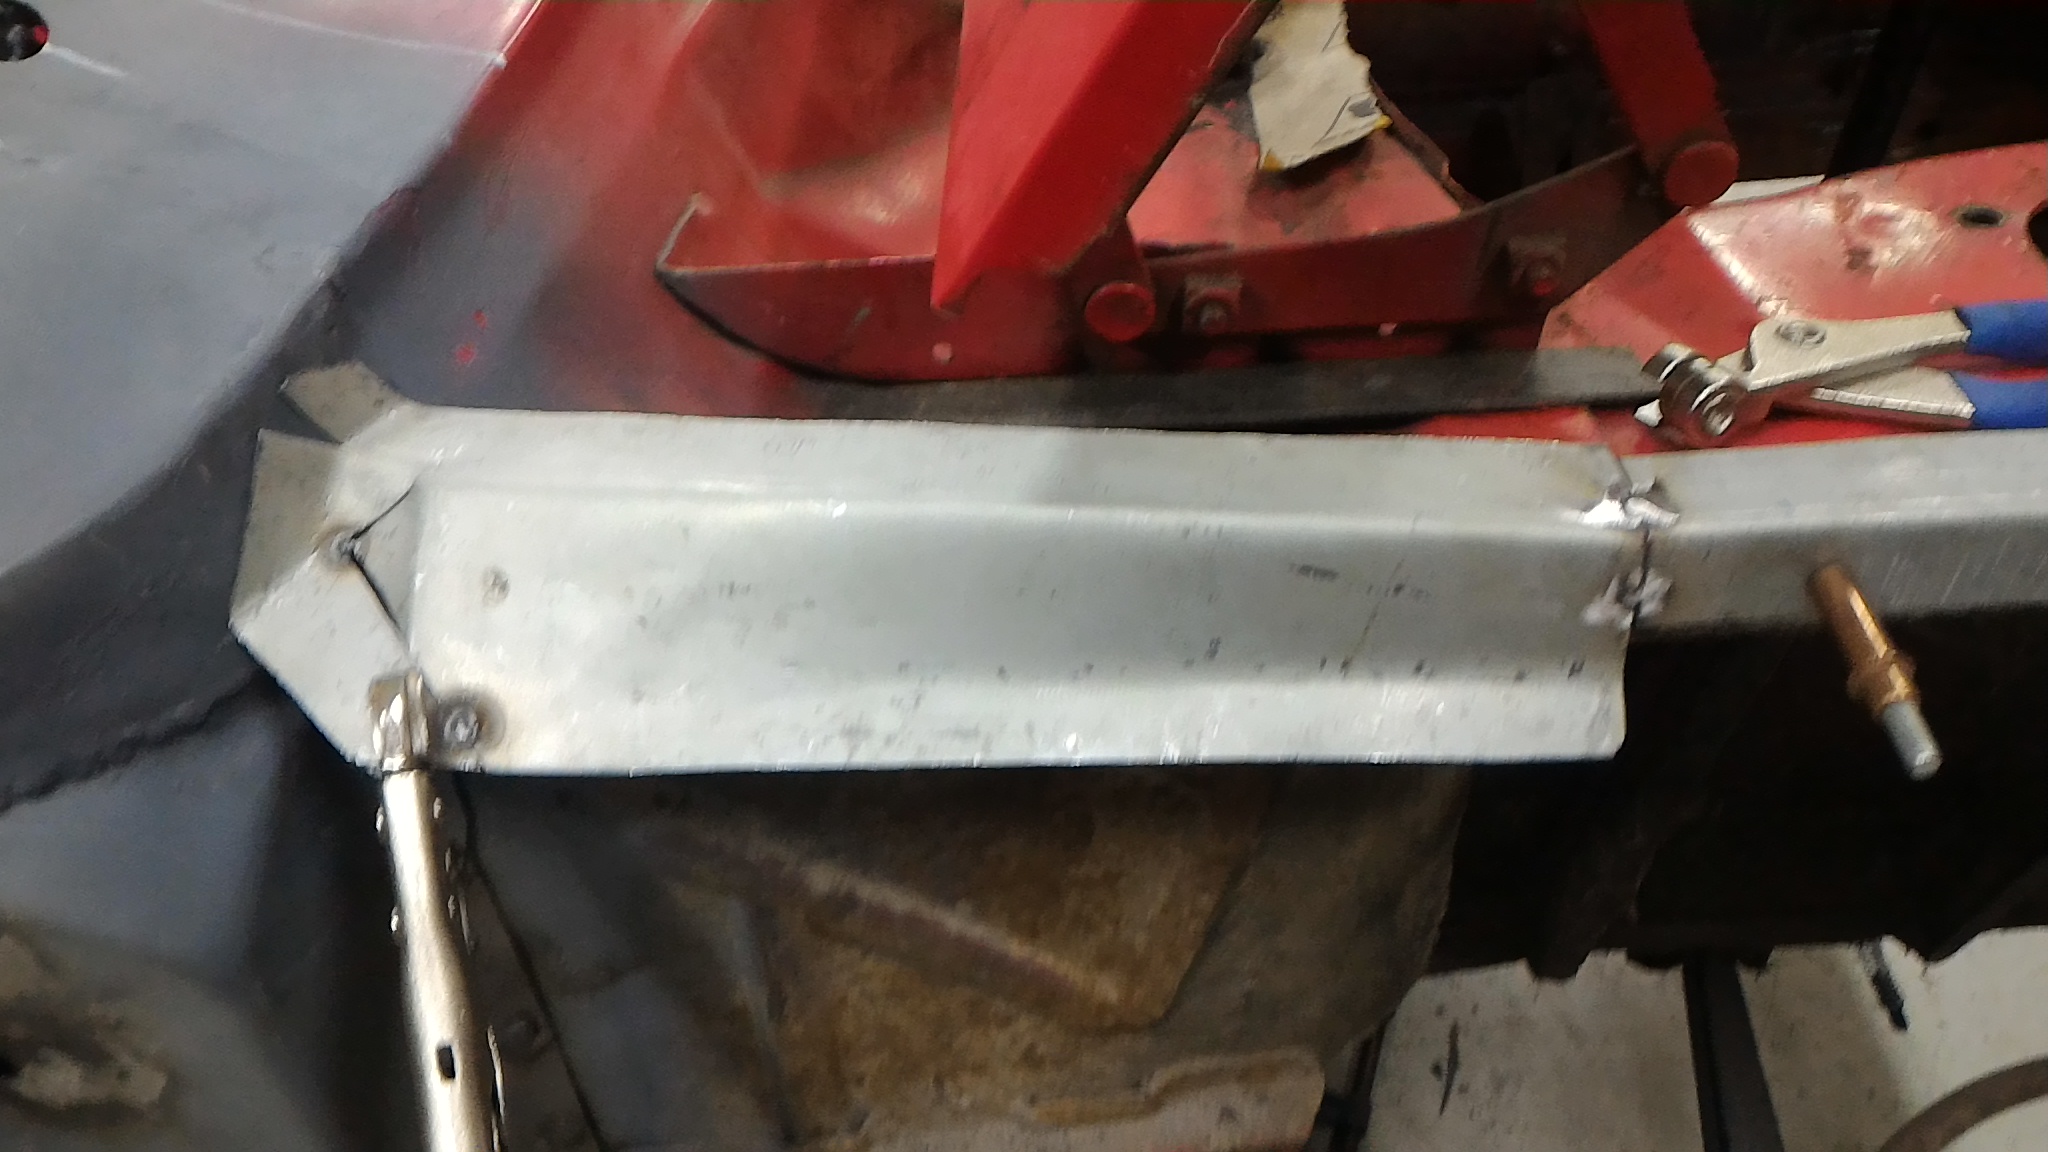
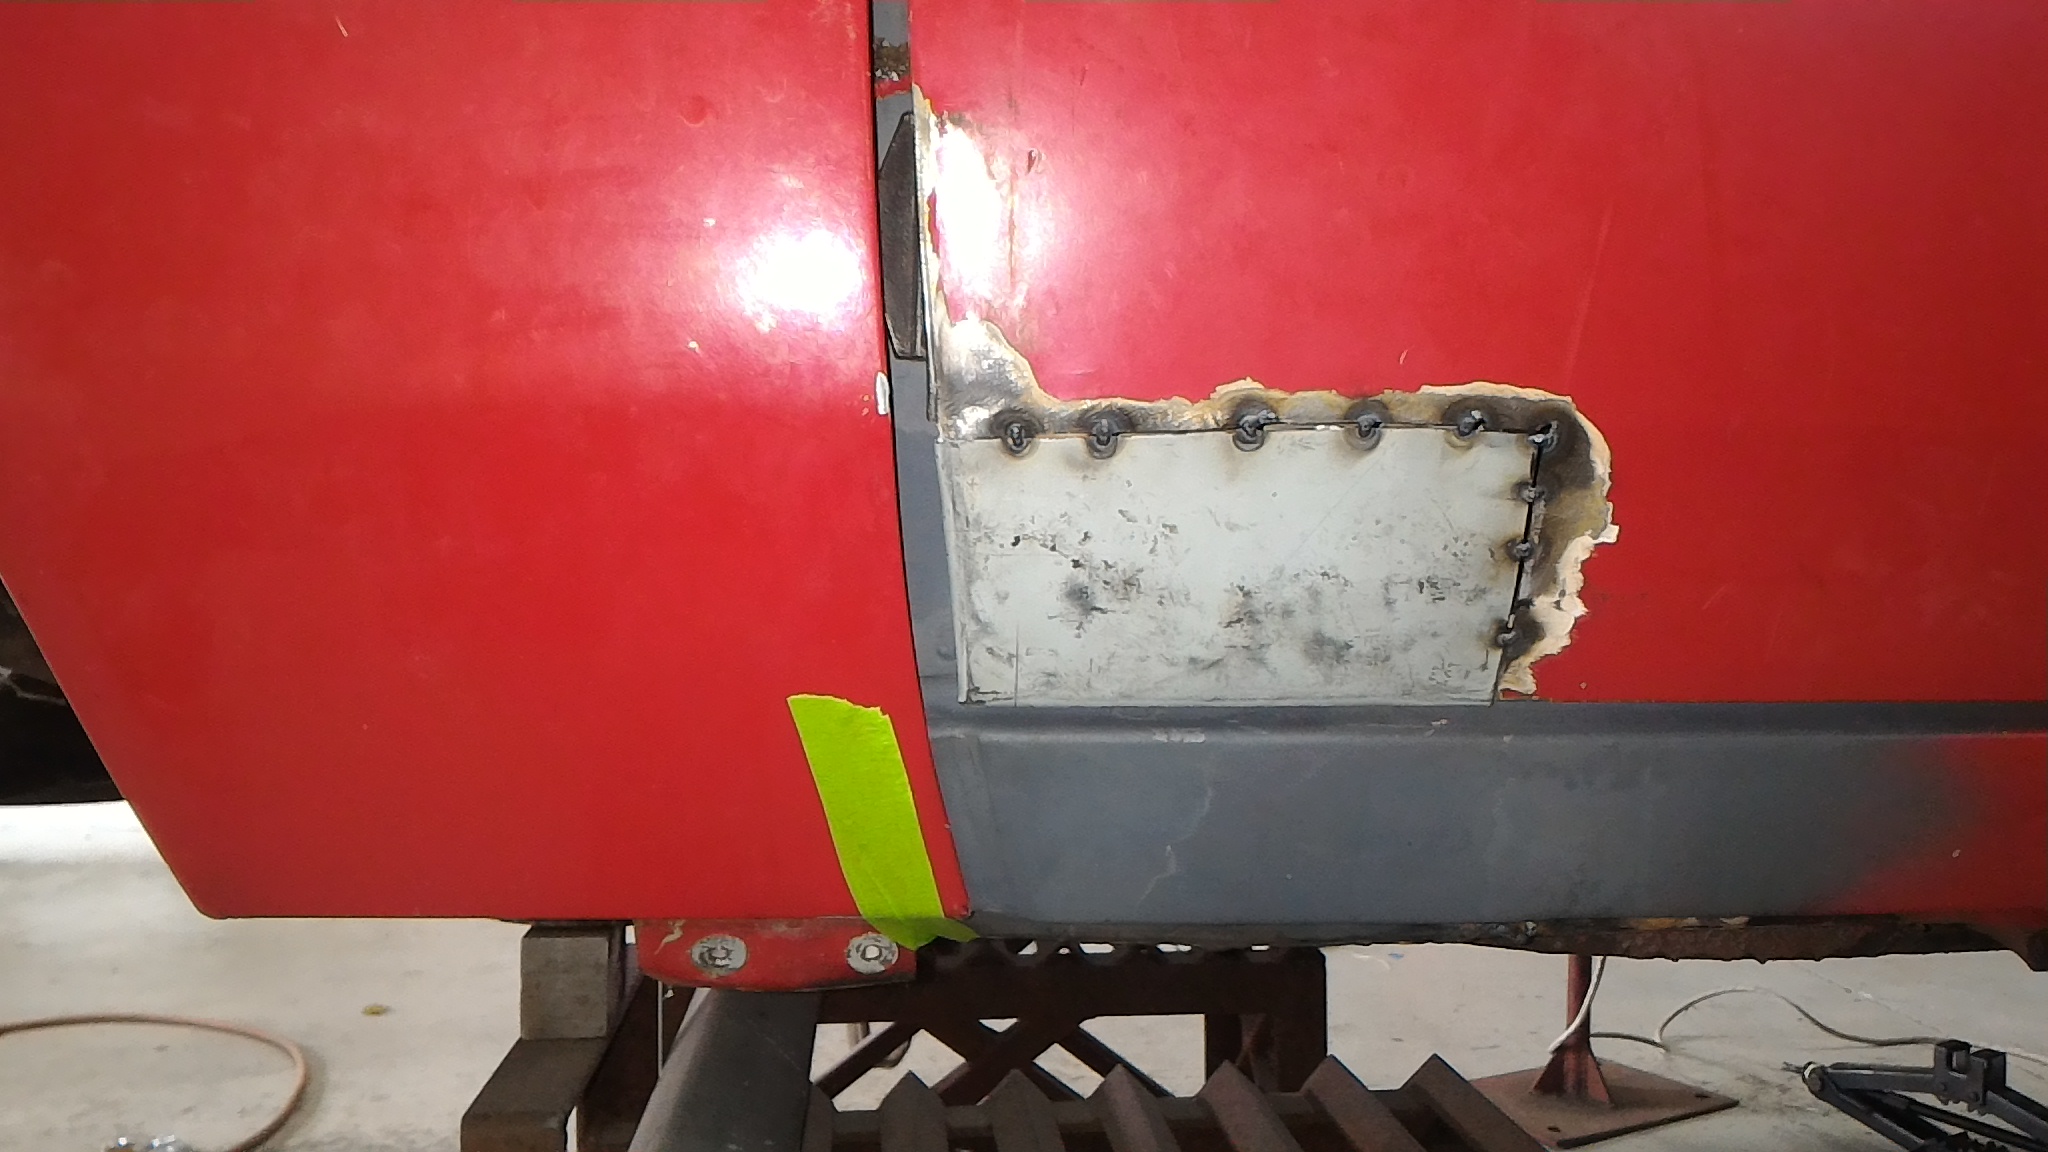
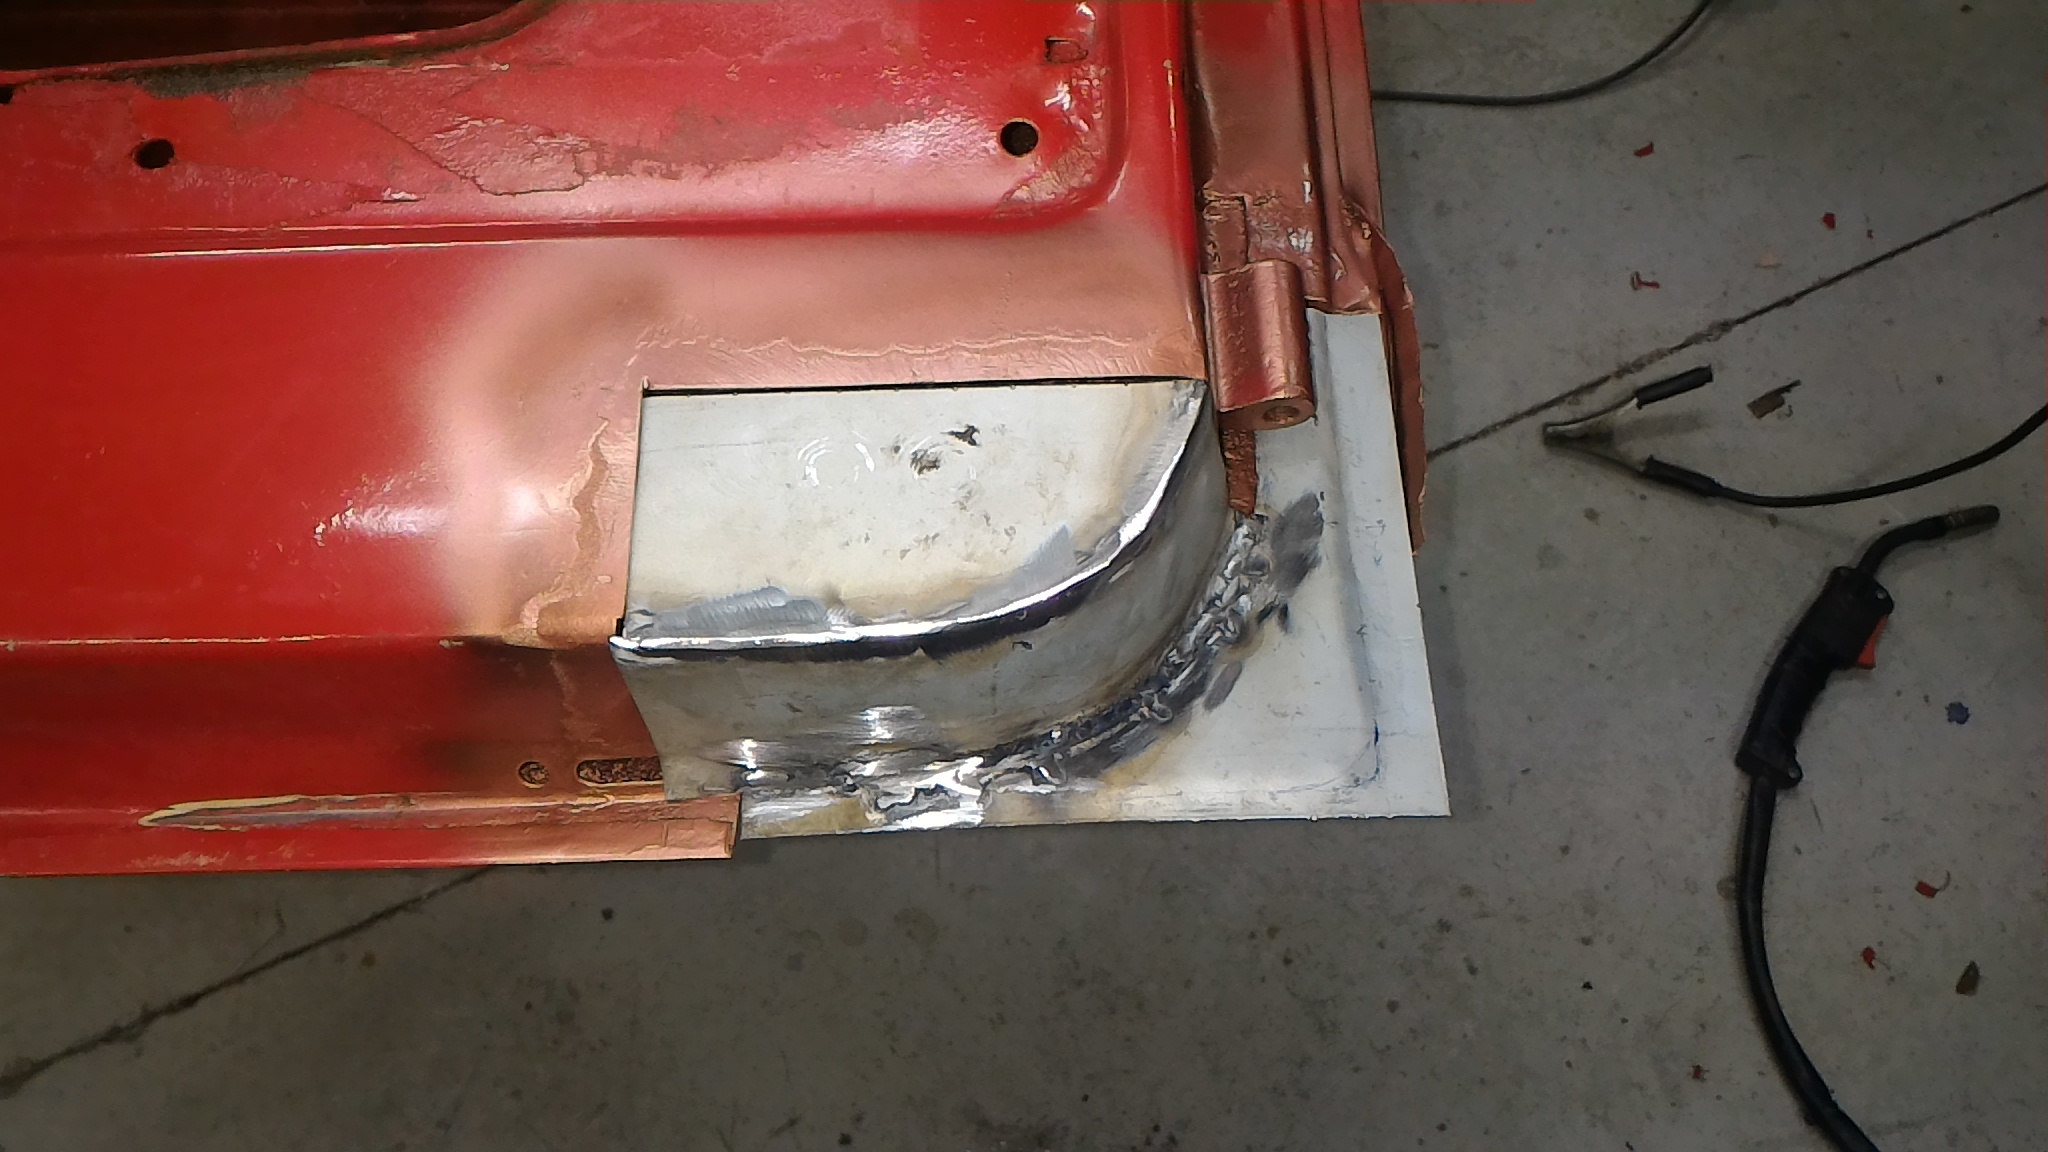
In the end I did snap the tacks and pulled off the bracing panel for welding. But after that I tacked it back on again and this was the result. I ground it back after this photo to make it look a bit prettier but other than that this is the final panel. Then I had to make the outer guard side of the mounting flange. This is the channel section I cut and folded at a local engineering shop (some jobs are just a little beyond dad's extensive tool collection). I marked on it where it needed to be stretched and shrunk to match the contour of the inner guard flange...... and then did exactly that. Sweet. Now to get rid of this abomination And replace it with this You can see the cleco pins holding the flange on for now. Eventually this will get spot welded together but for ease of fit checking I'm leaving it like this for now. I know from doing the other side that the amount of times I'm going to have to put the guard on and pull it off make this a very good idea.
-
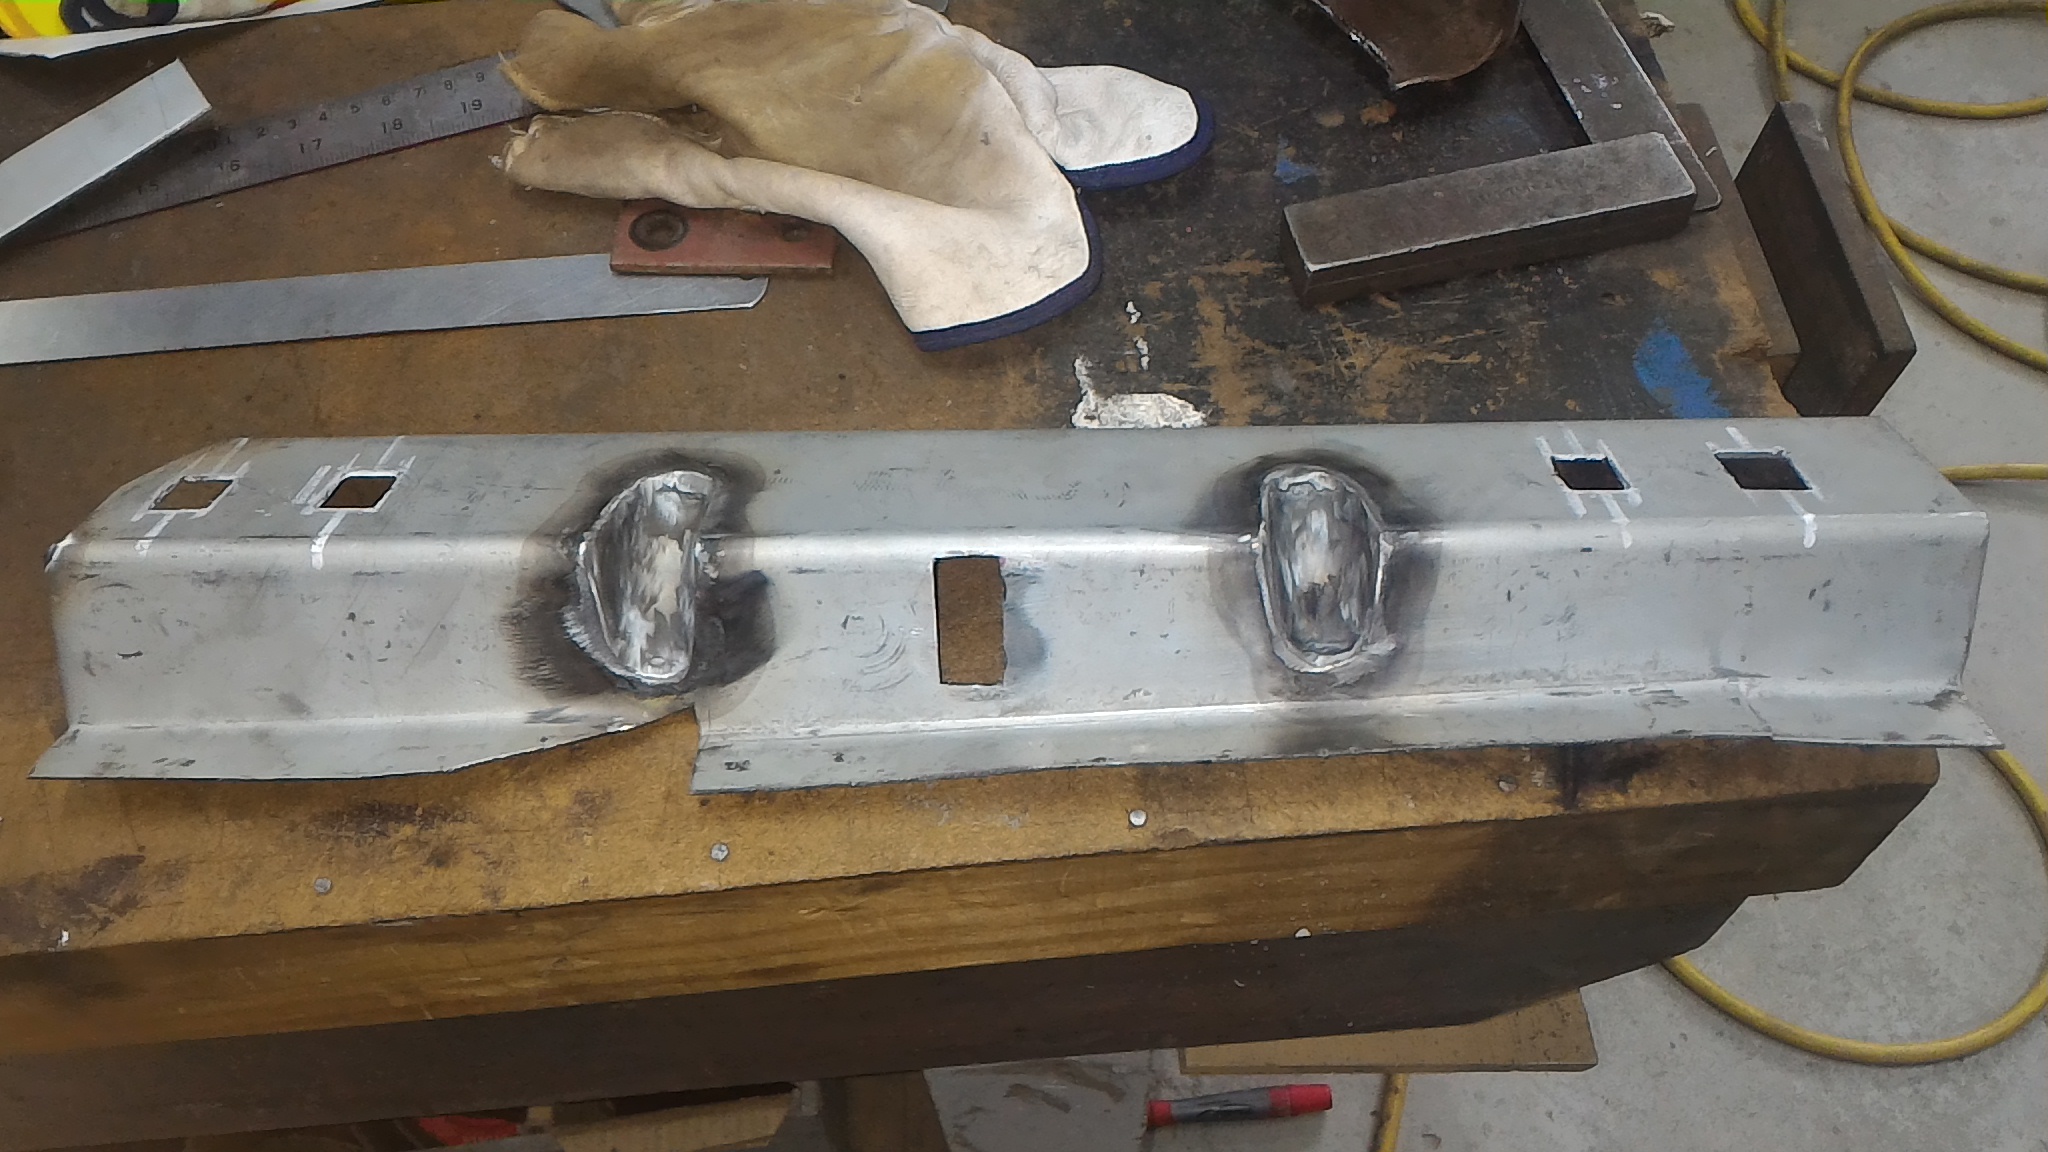
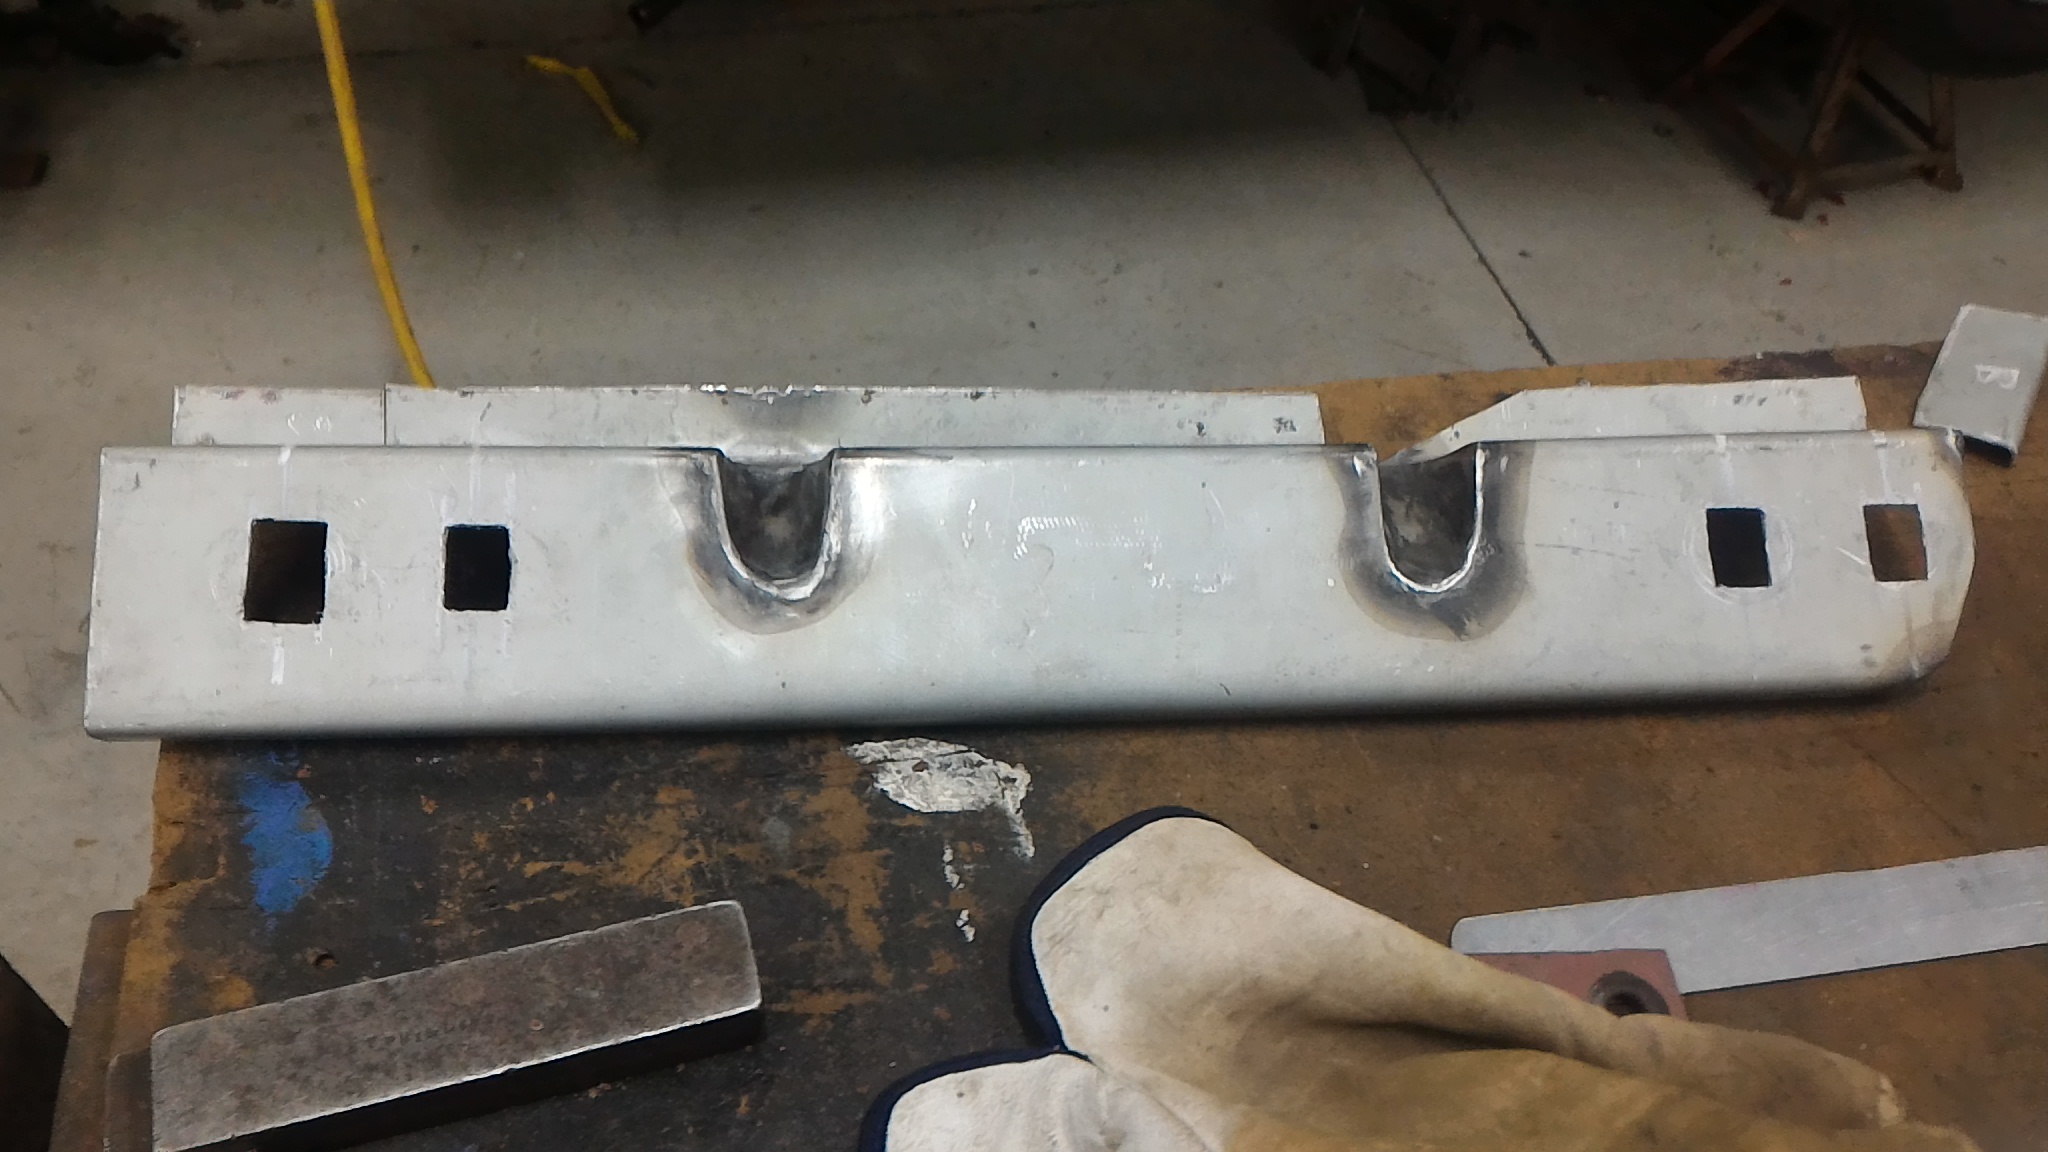
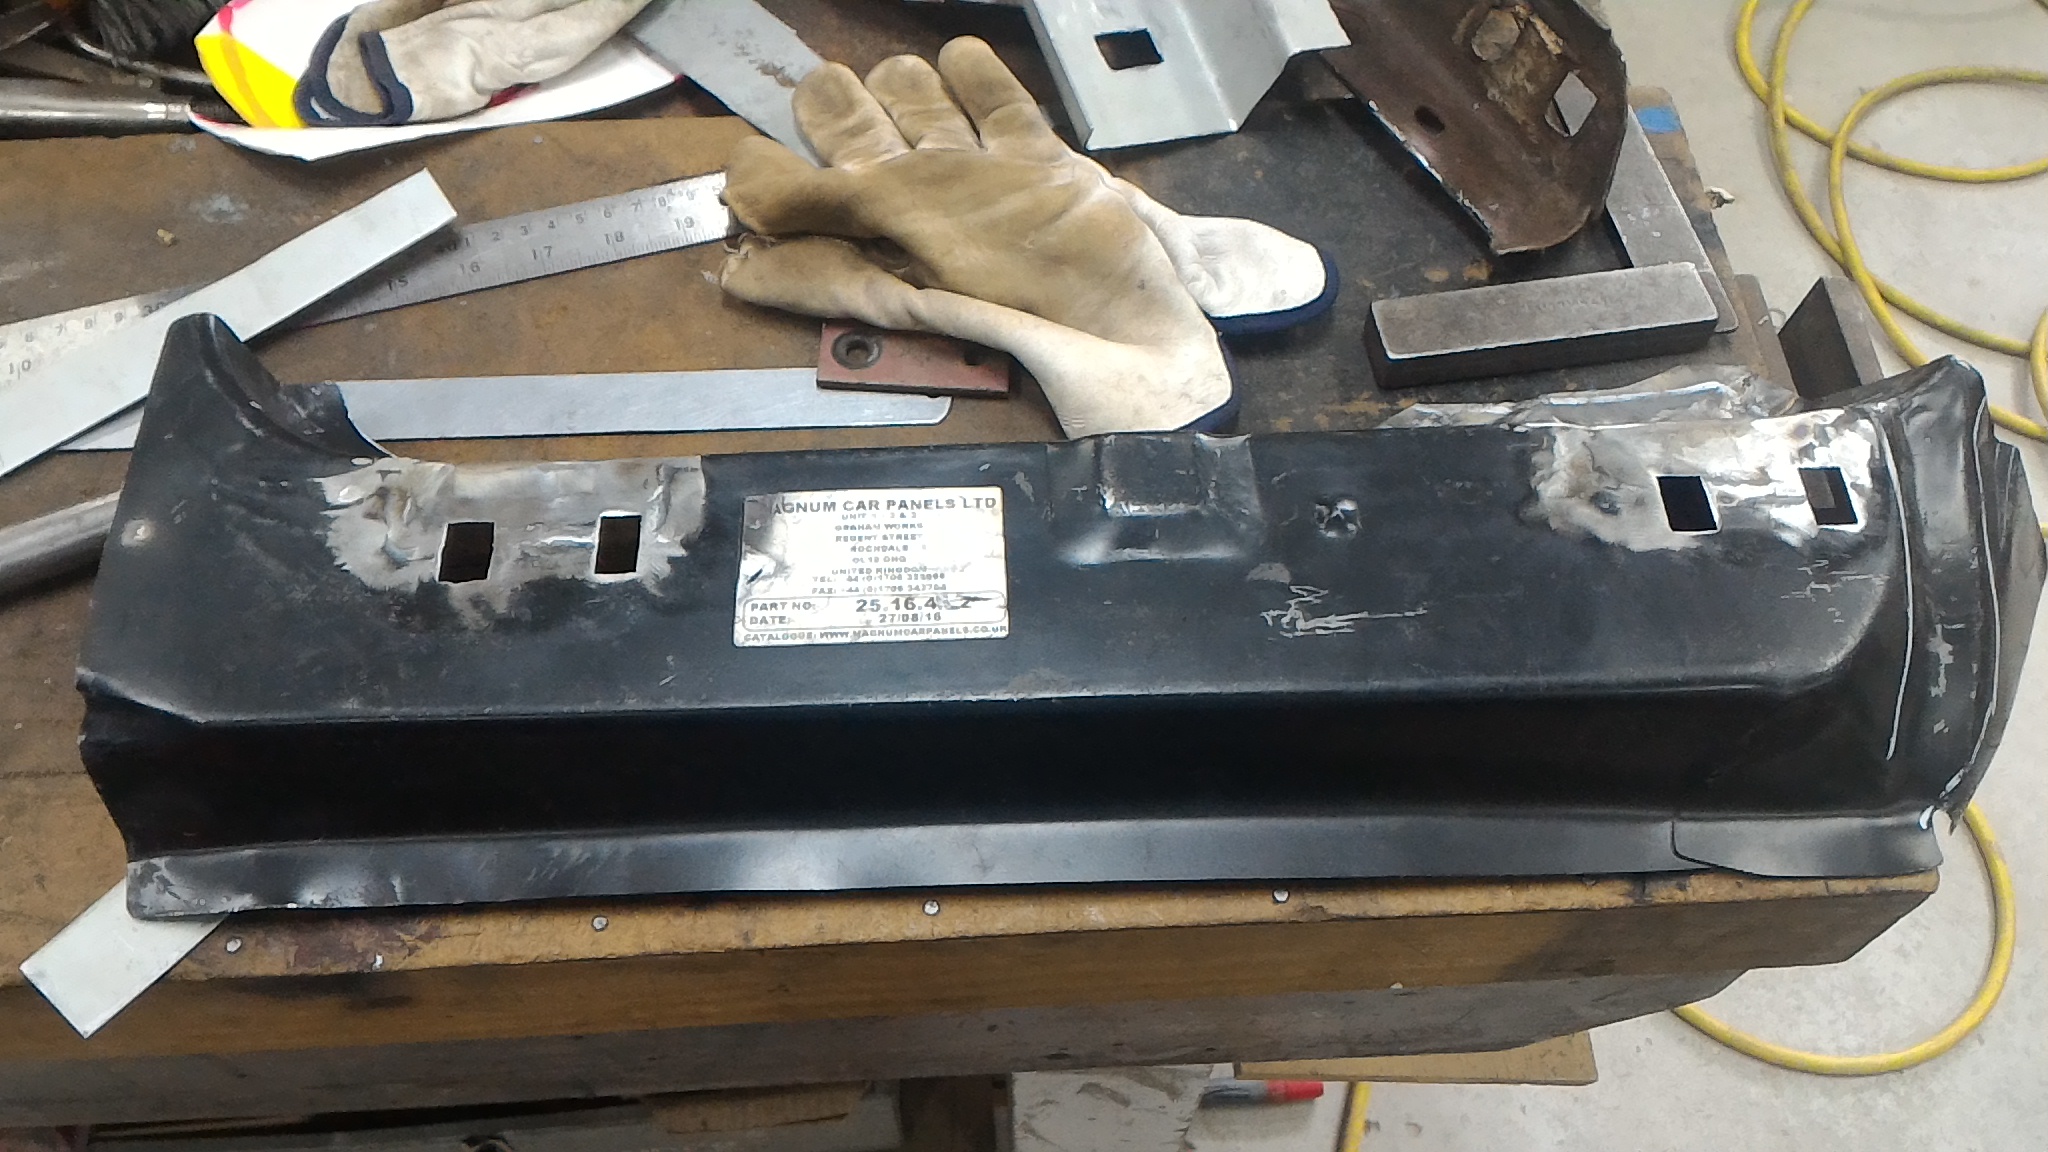
Finally got back into it tonight. Started on the driver's side guard mounts by rebuilding the rearmost part of the inner guard mounting flange. This started with the template I used for the passenger's side (I knew I saved it for a reason) and a piece of steel from the scrap bin. Then I cut it out and made the slices necessary to form the factory pressed bracing structure. Started to form it up And finished forming it up. I've tacked it to the main rail part of the flange for now and that might come back to bite me when I want to fully weld the bracing triangle part up. We'll see. For now though that's it for tonight. Hopefully more to show tomorrow night. As a bonus, here is the panel it is replacing. Hopefully you can somewhat see the resemblance.
-
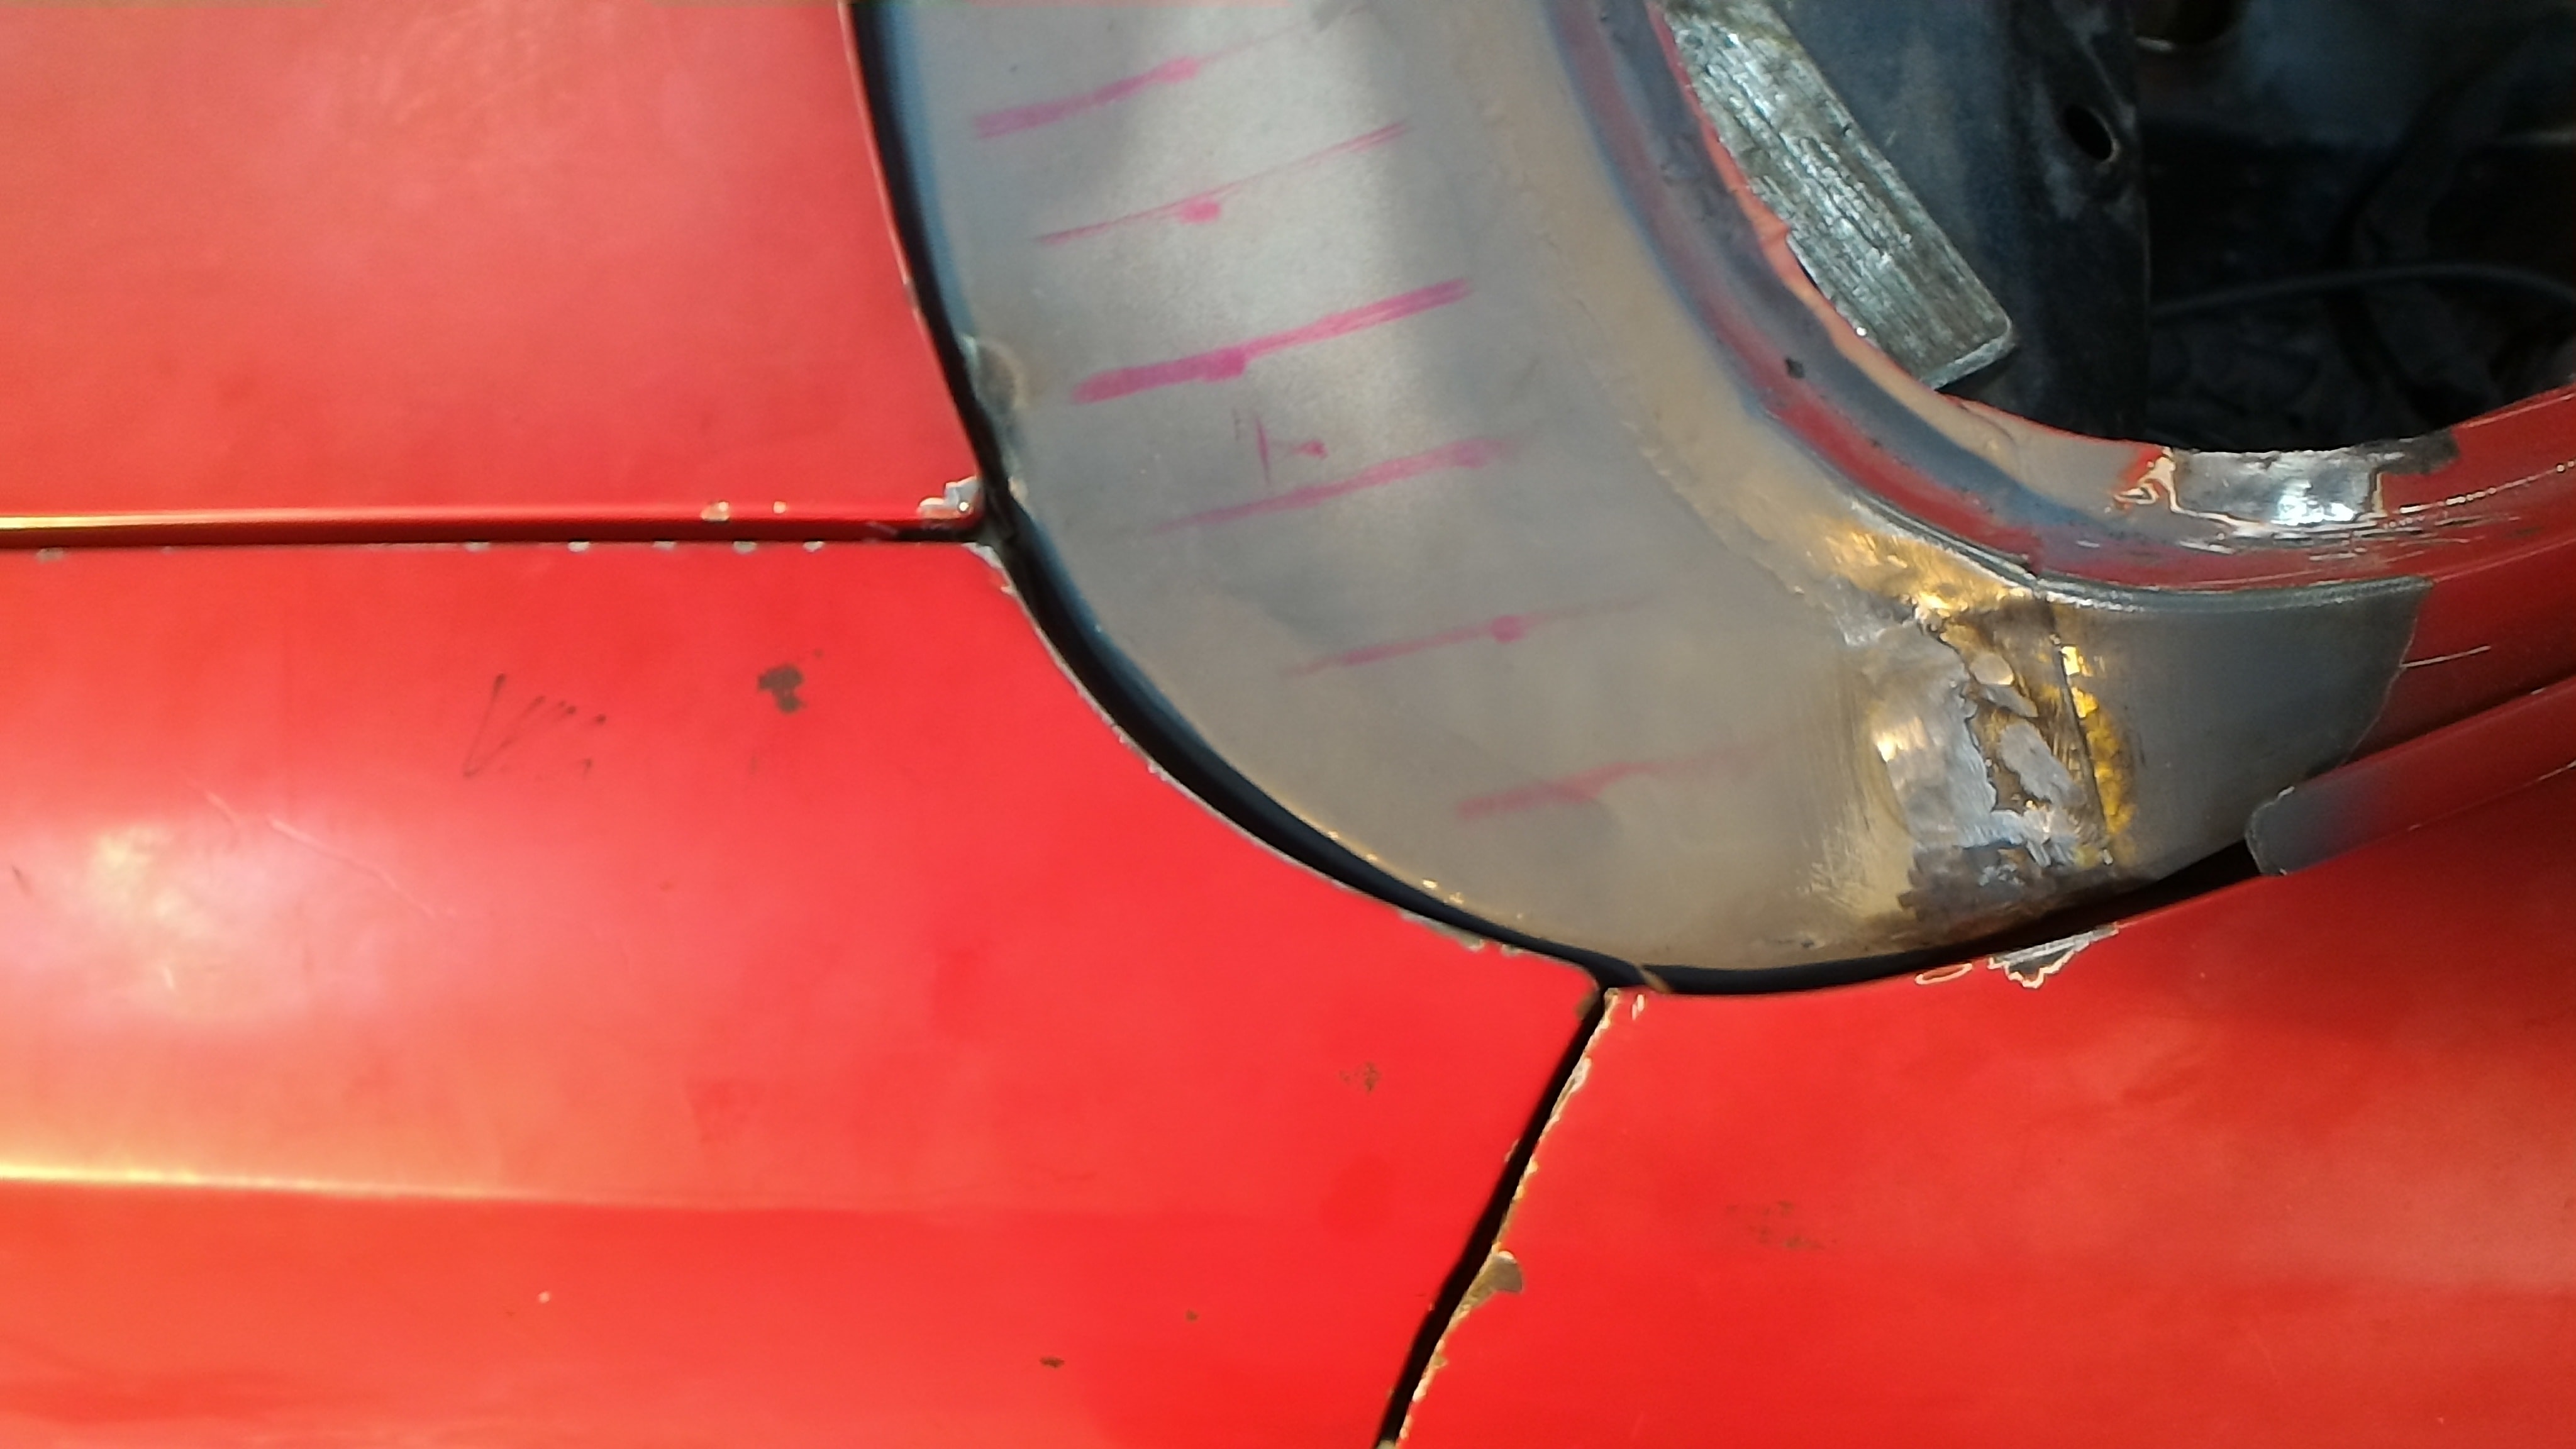
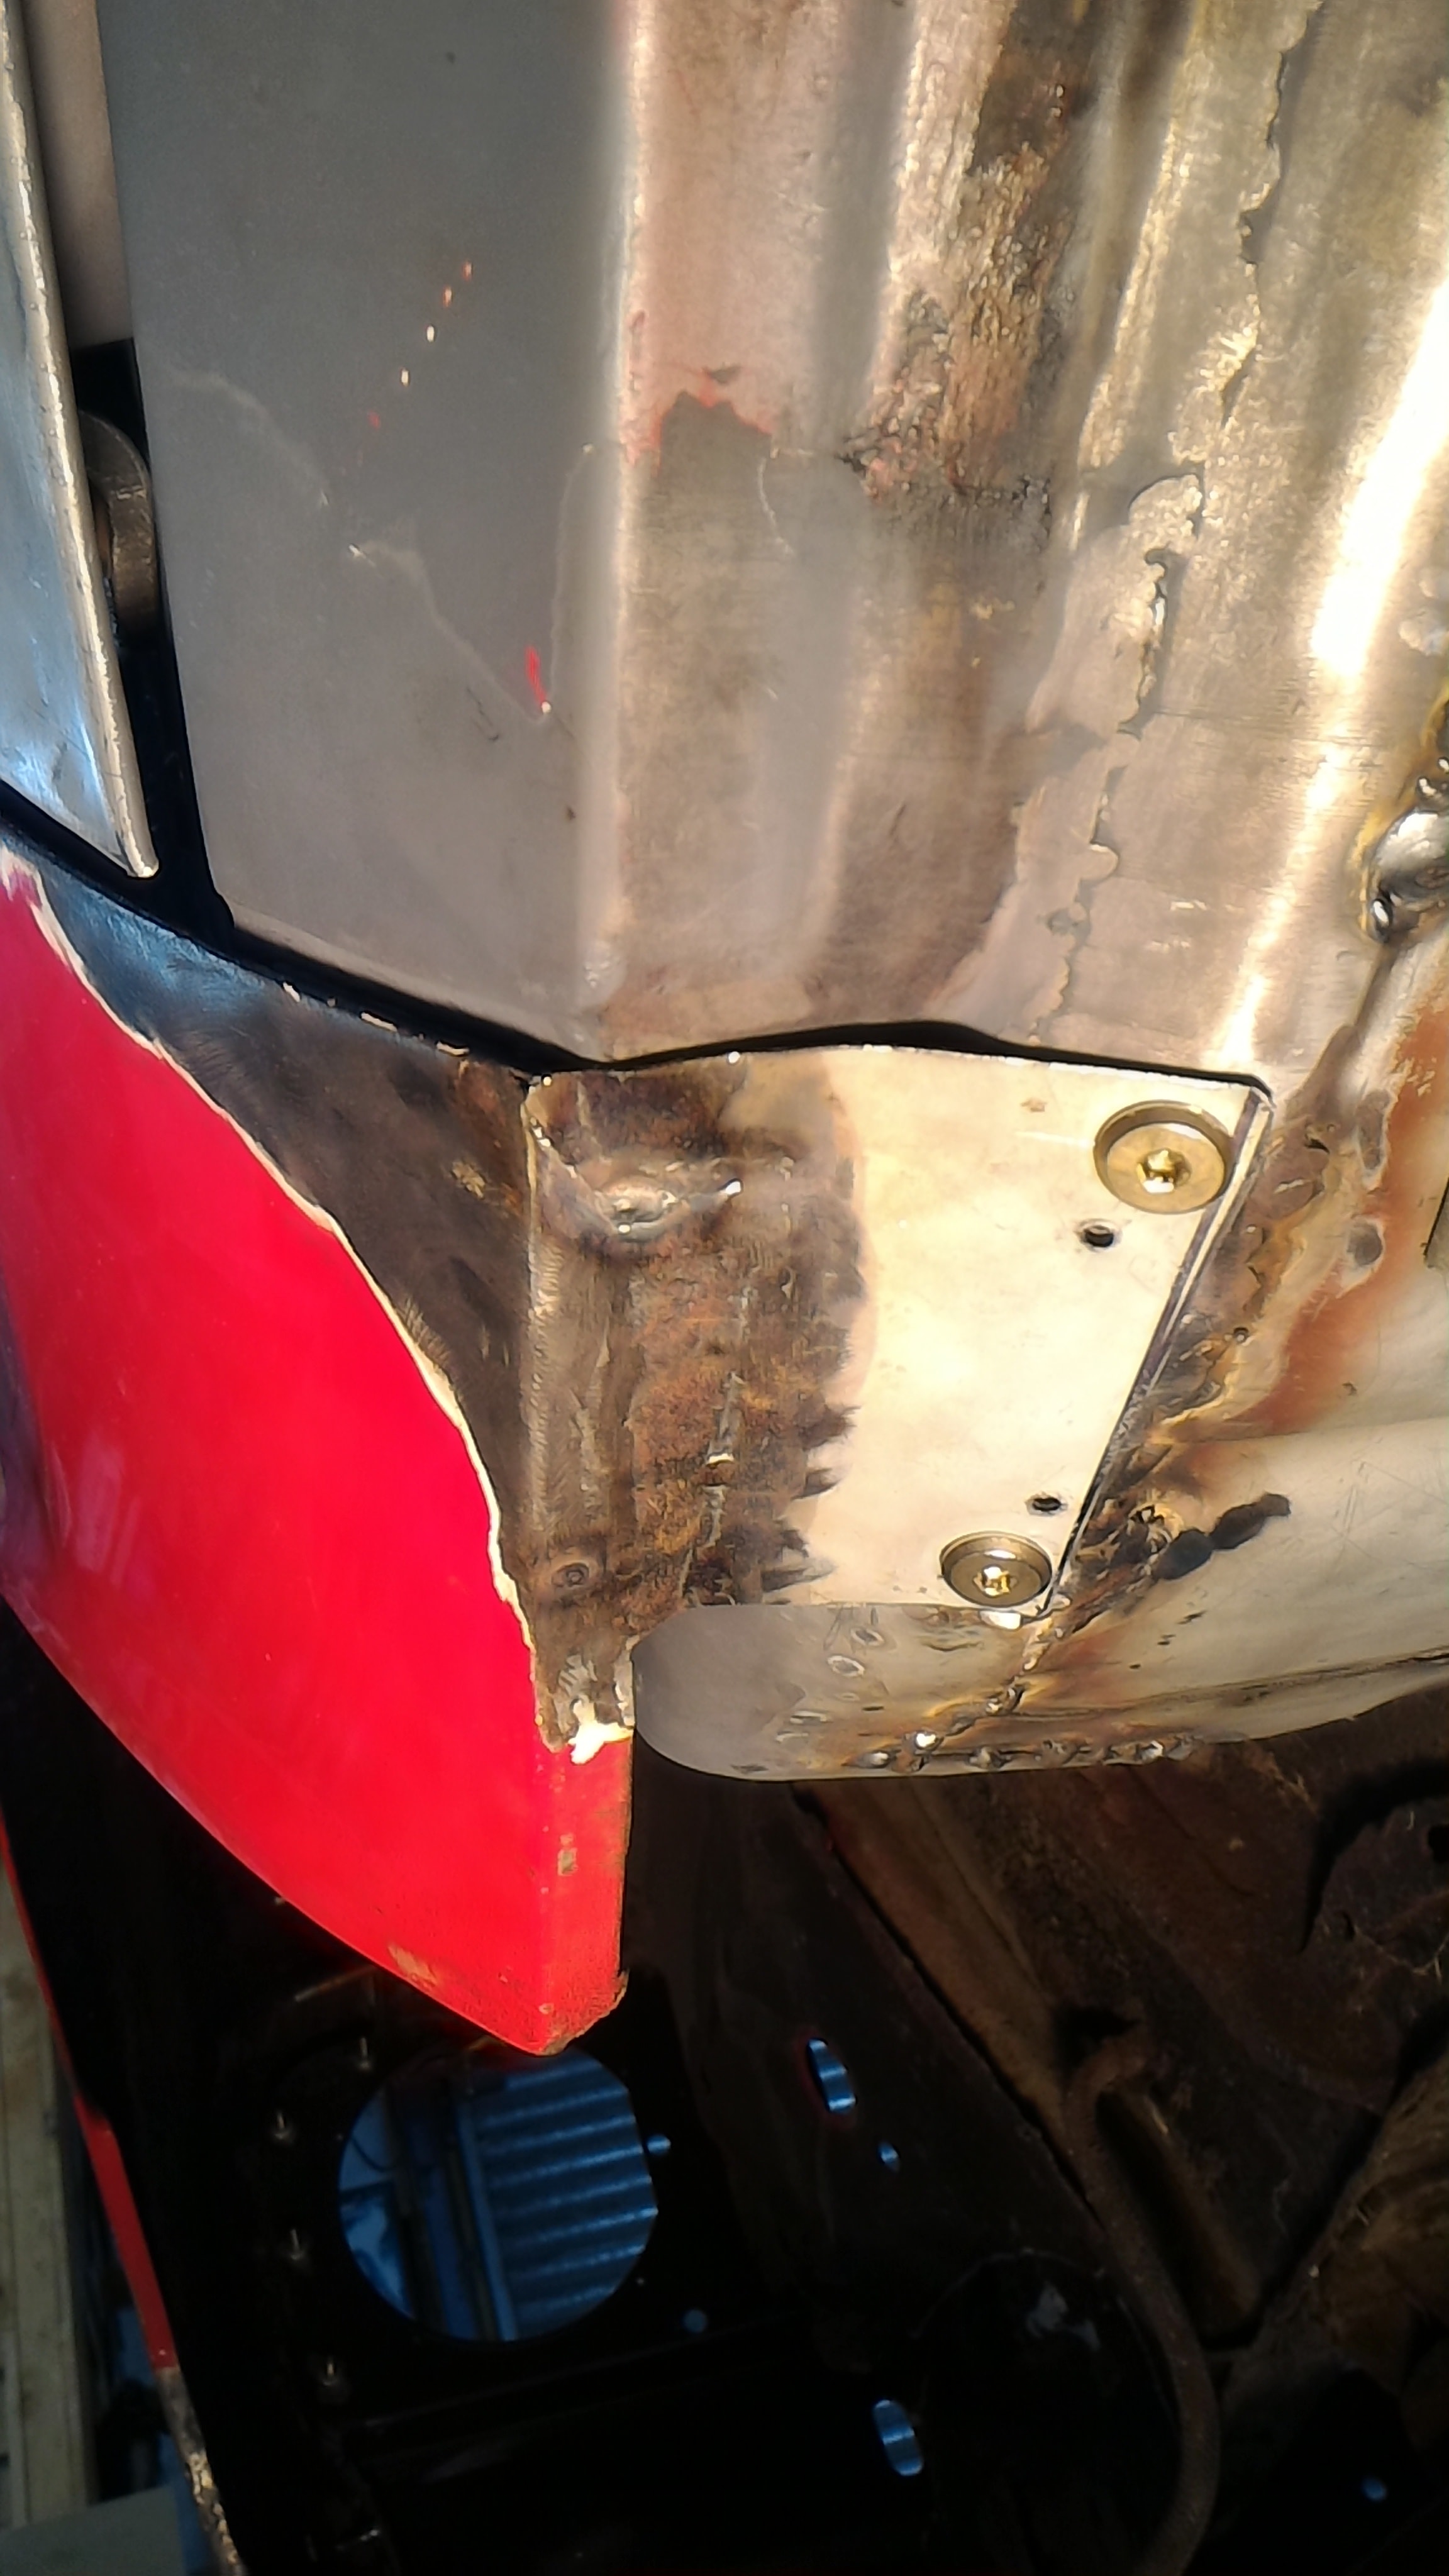
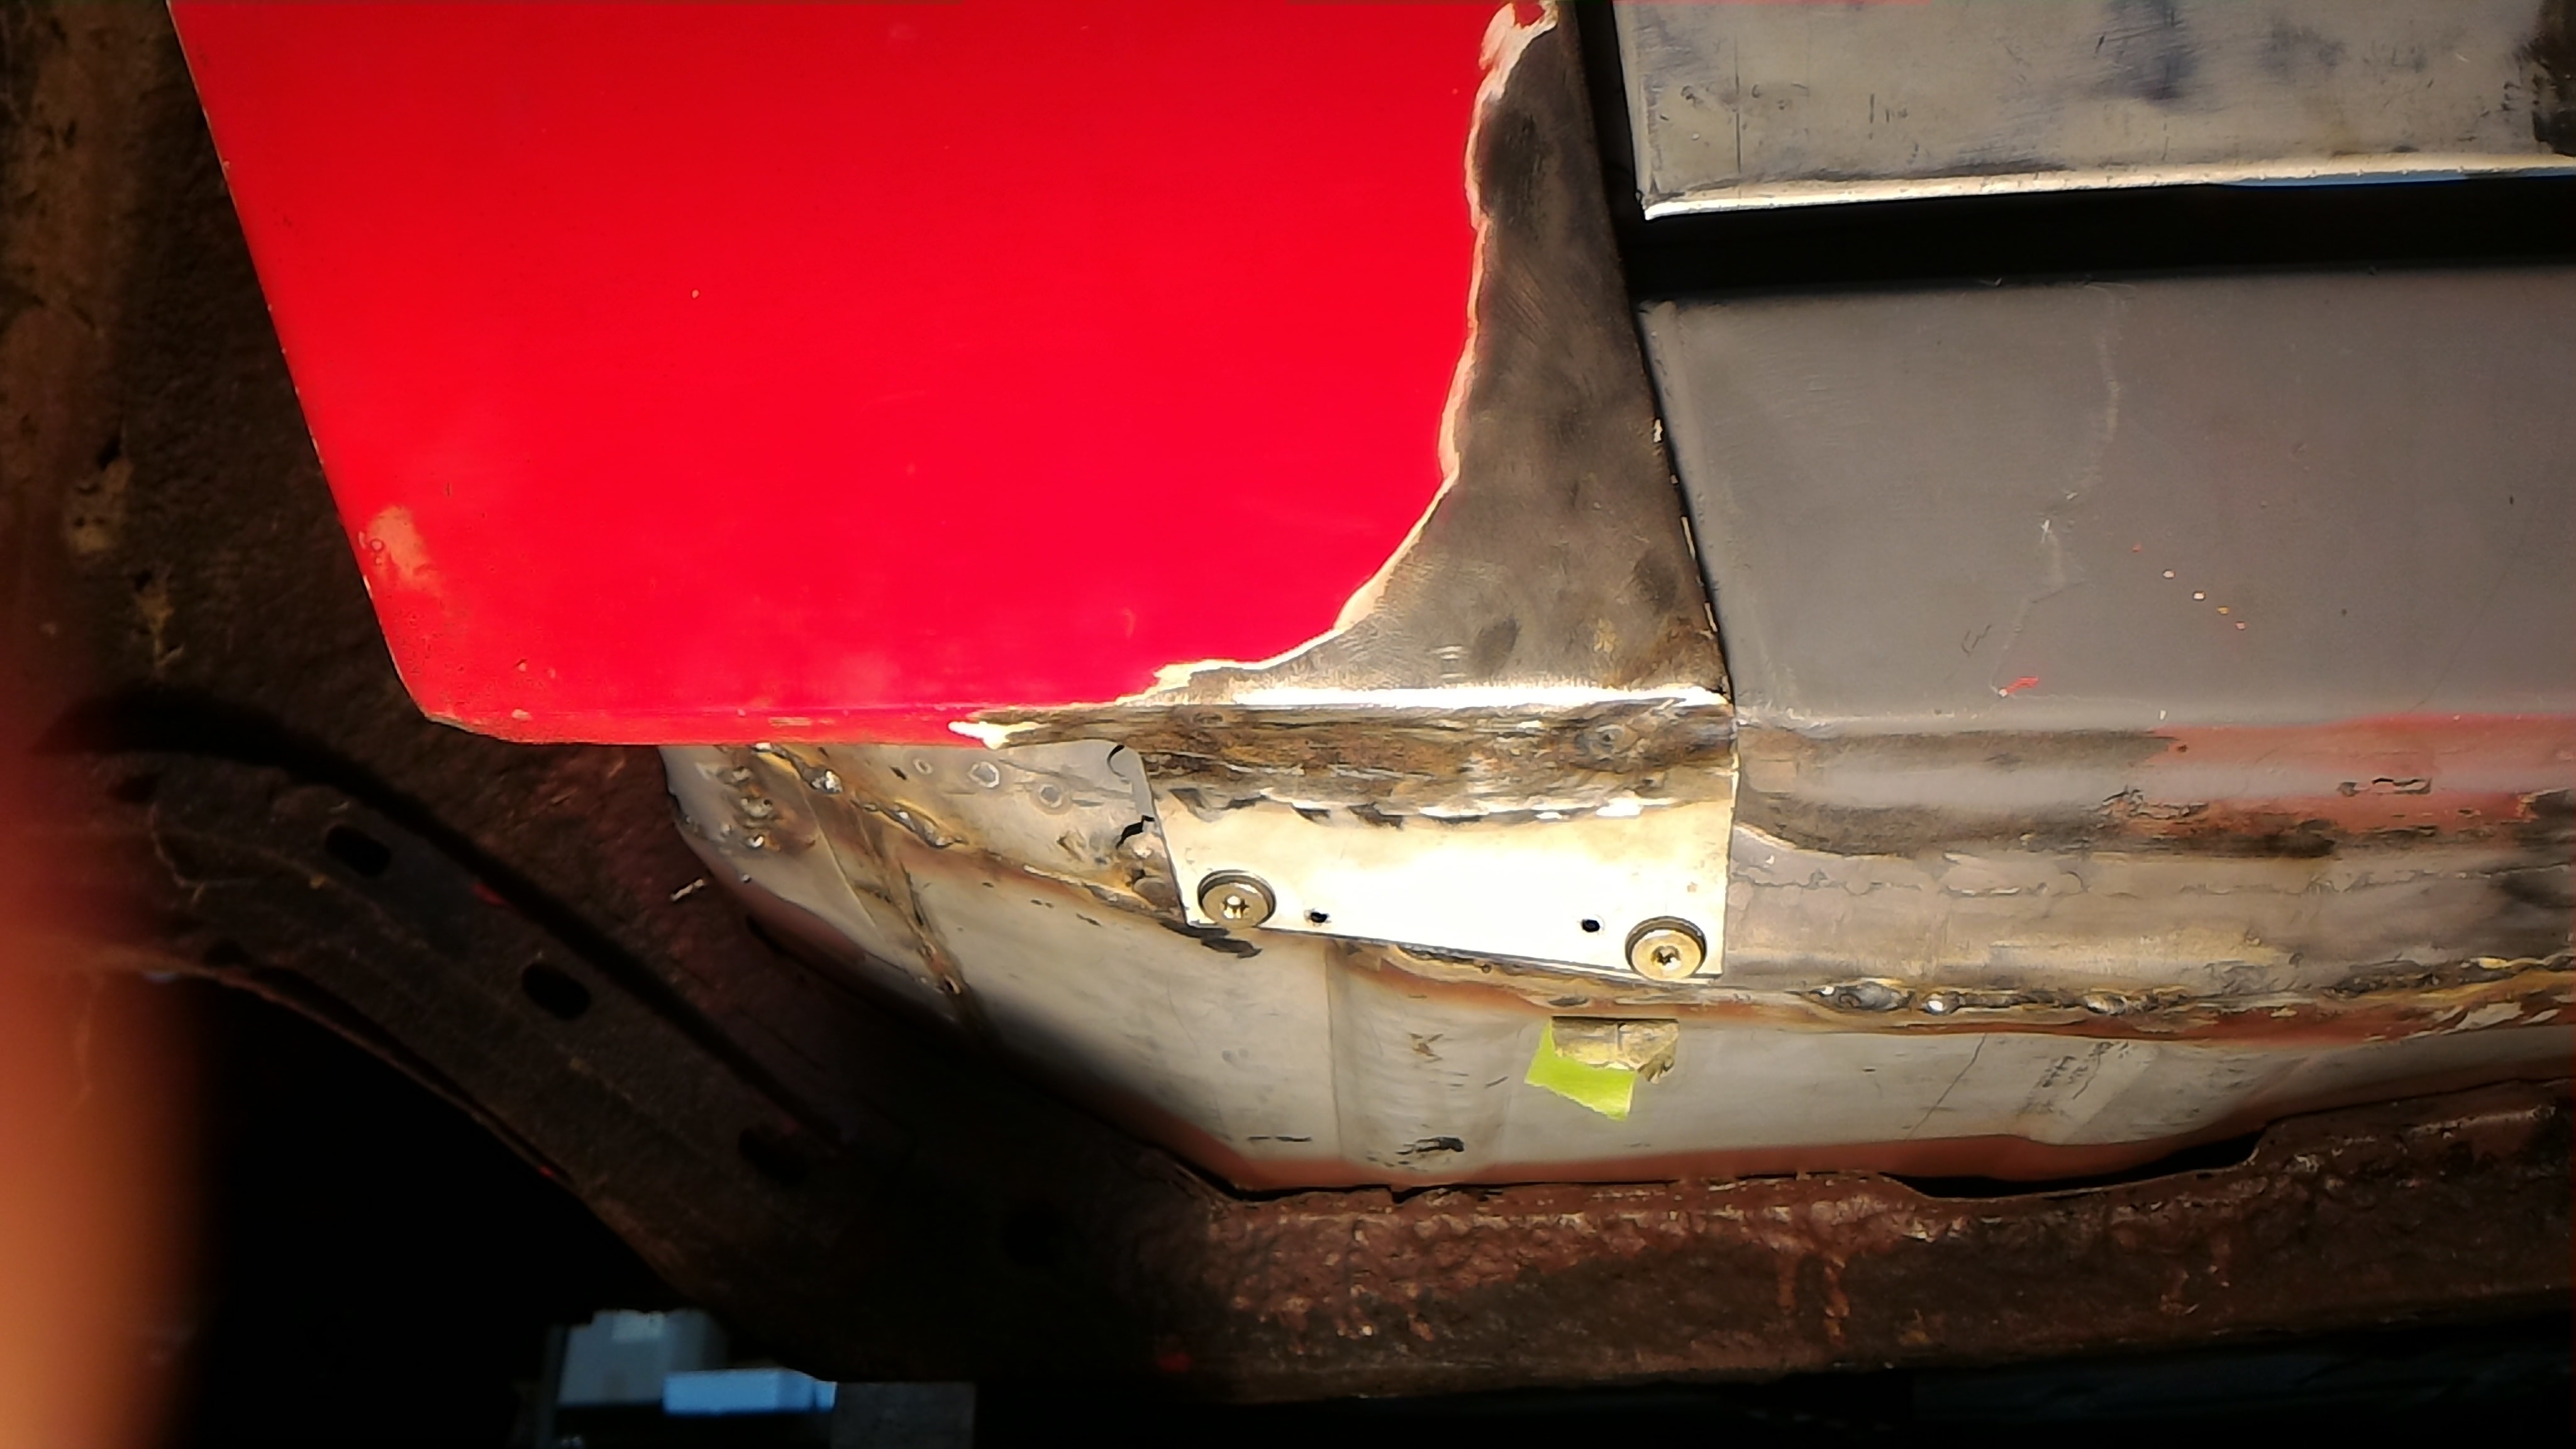
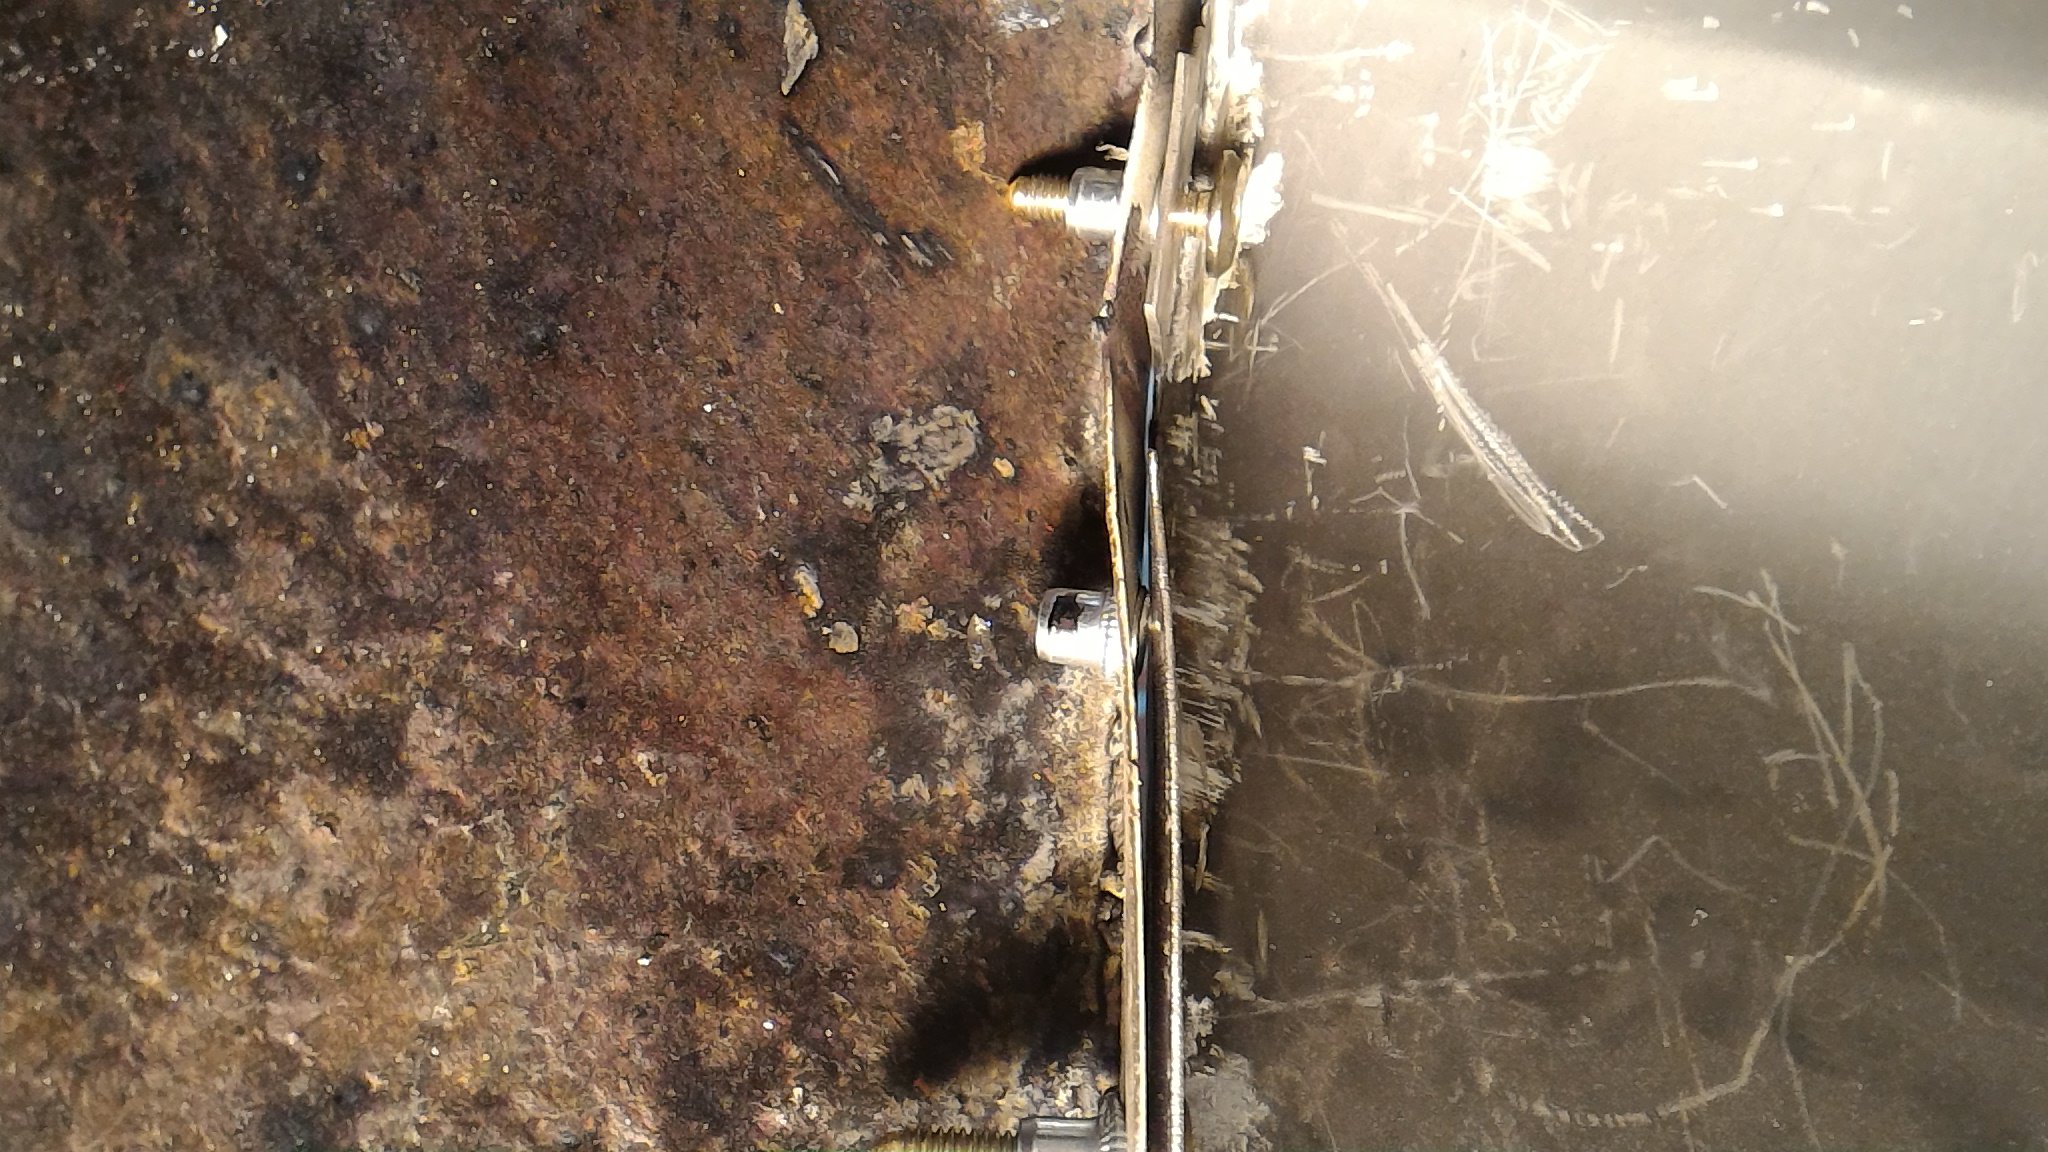
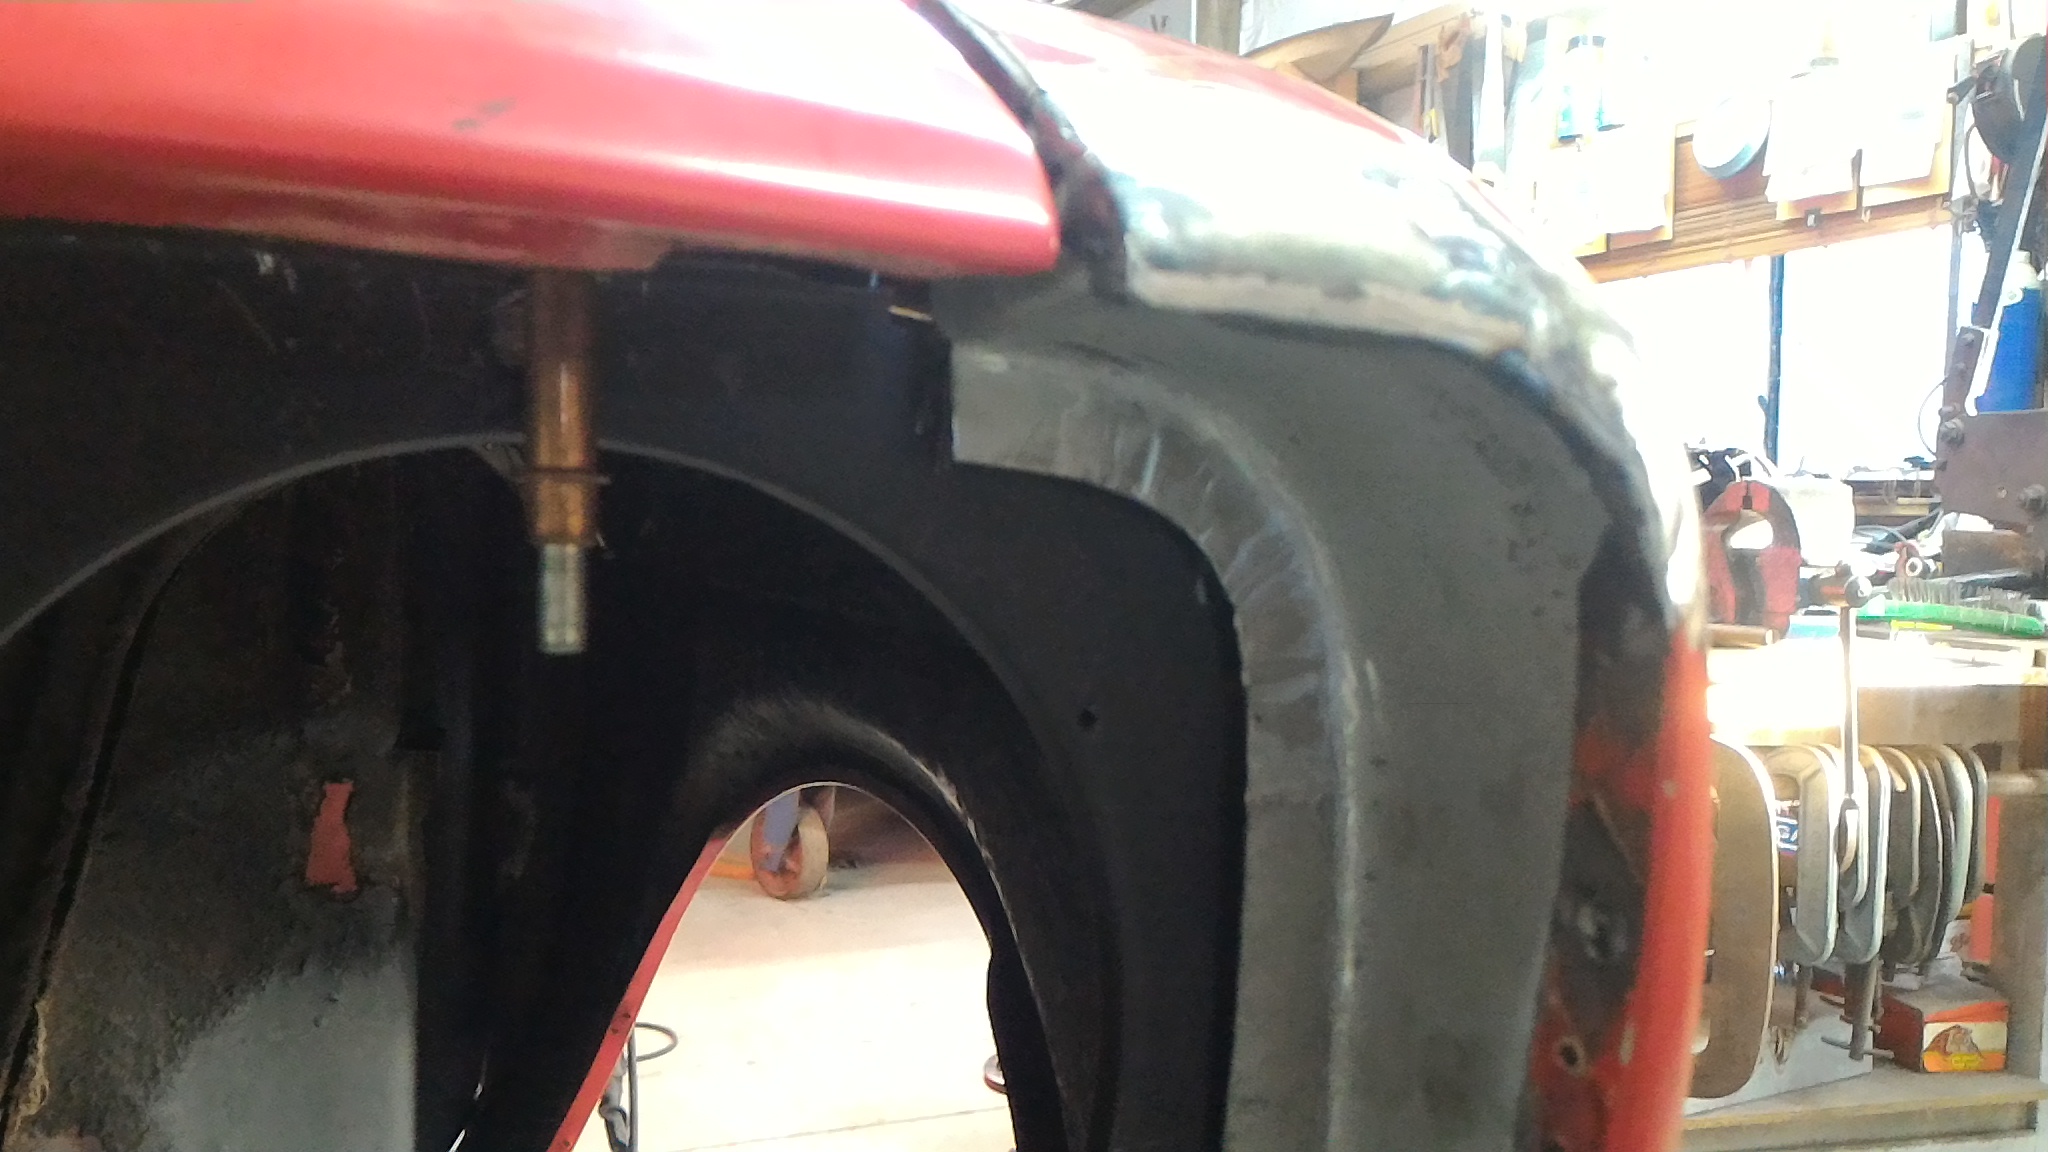
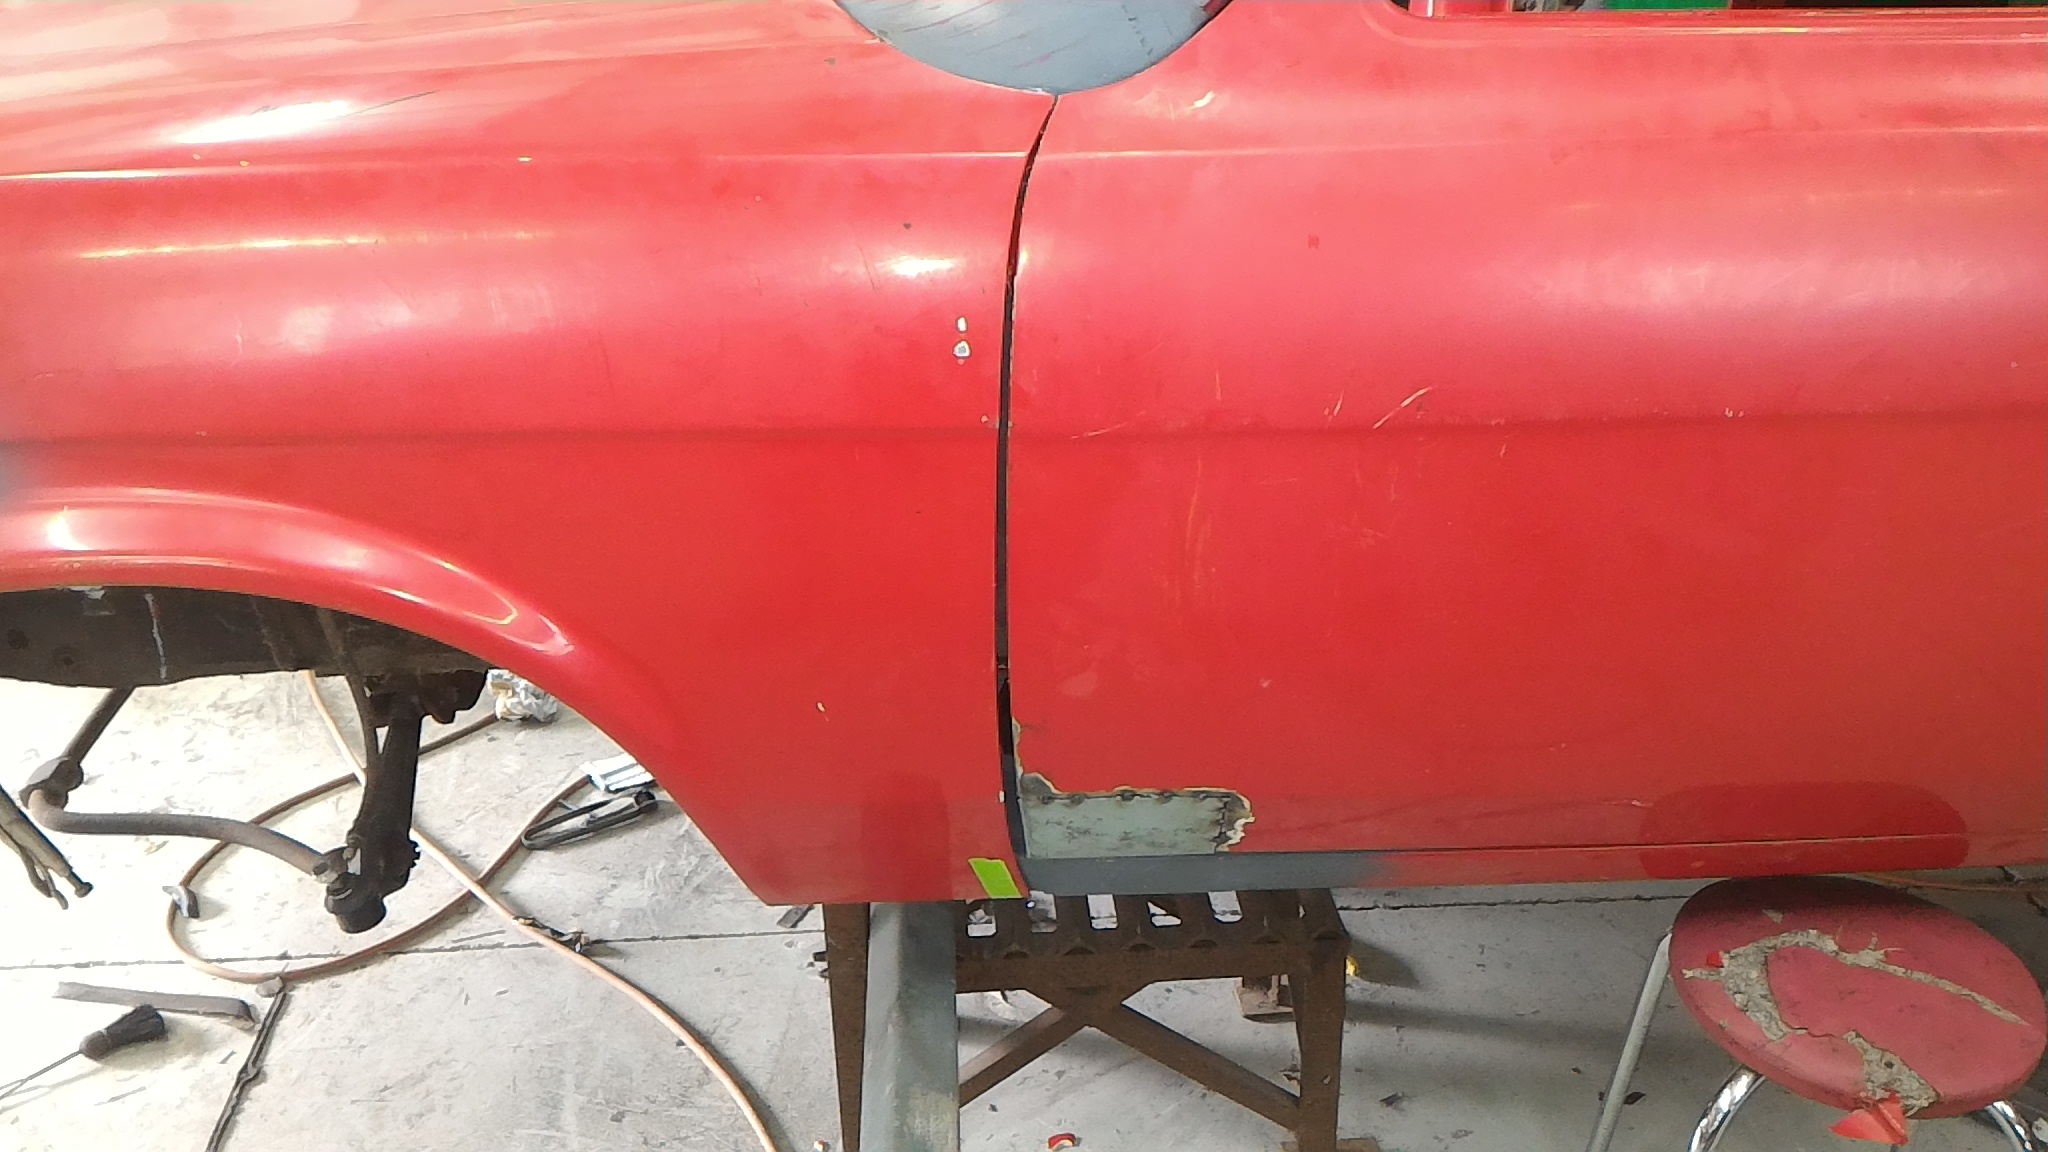
When I went to test fit the guard to the car I found that a couple of the riv-nuts had pulled up crooked, as you can see here... This meant I couldn't get a bolt in there to save myself. So out came the drill and out came the cocked up riv-nuts. Once some new ones were in there nice and straight, I bolted it all up tight and stood back. Here are the results. This is how I ended up fixing the lower rear corner. And these are the panel gaps Not perfect but not awful. Likewise. Especially considering all of the grey panel is brand new. And this brings us up to the present. My plan over the next couple of nights is to repeat the guard work on the driver's side and get the mounting flanges and rust repairs all fabricated up. Obviously updates will slow down a bit now as I actually have to do the work in real time. I'll post some more pics up soon. Hurmeez
-
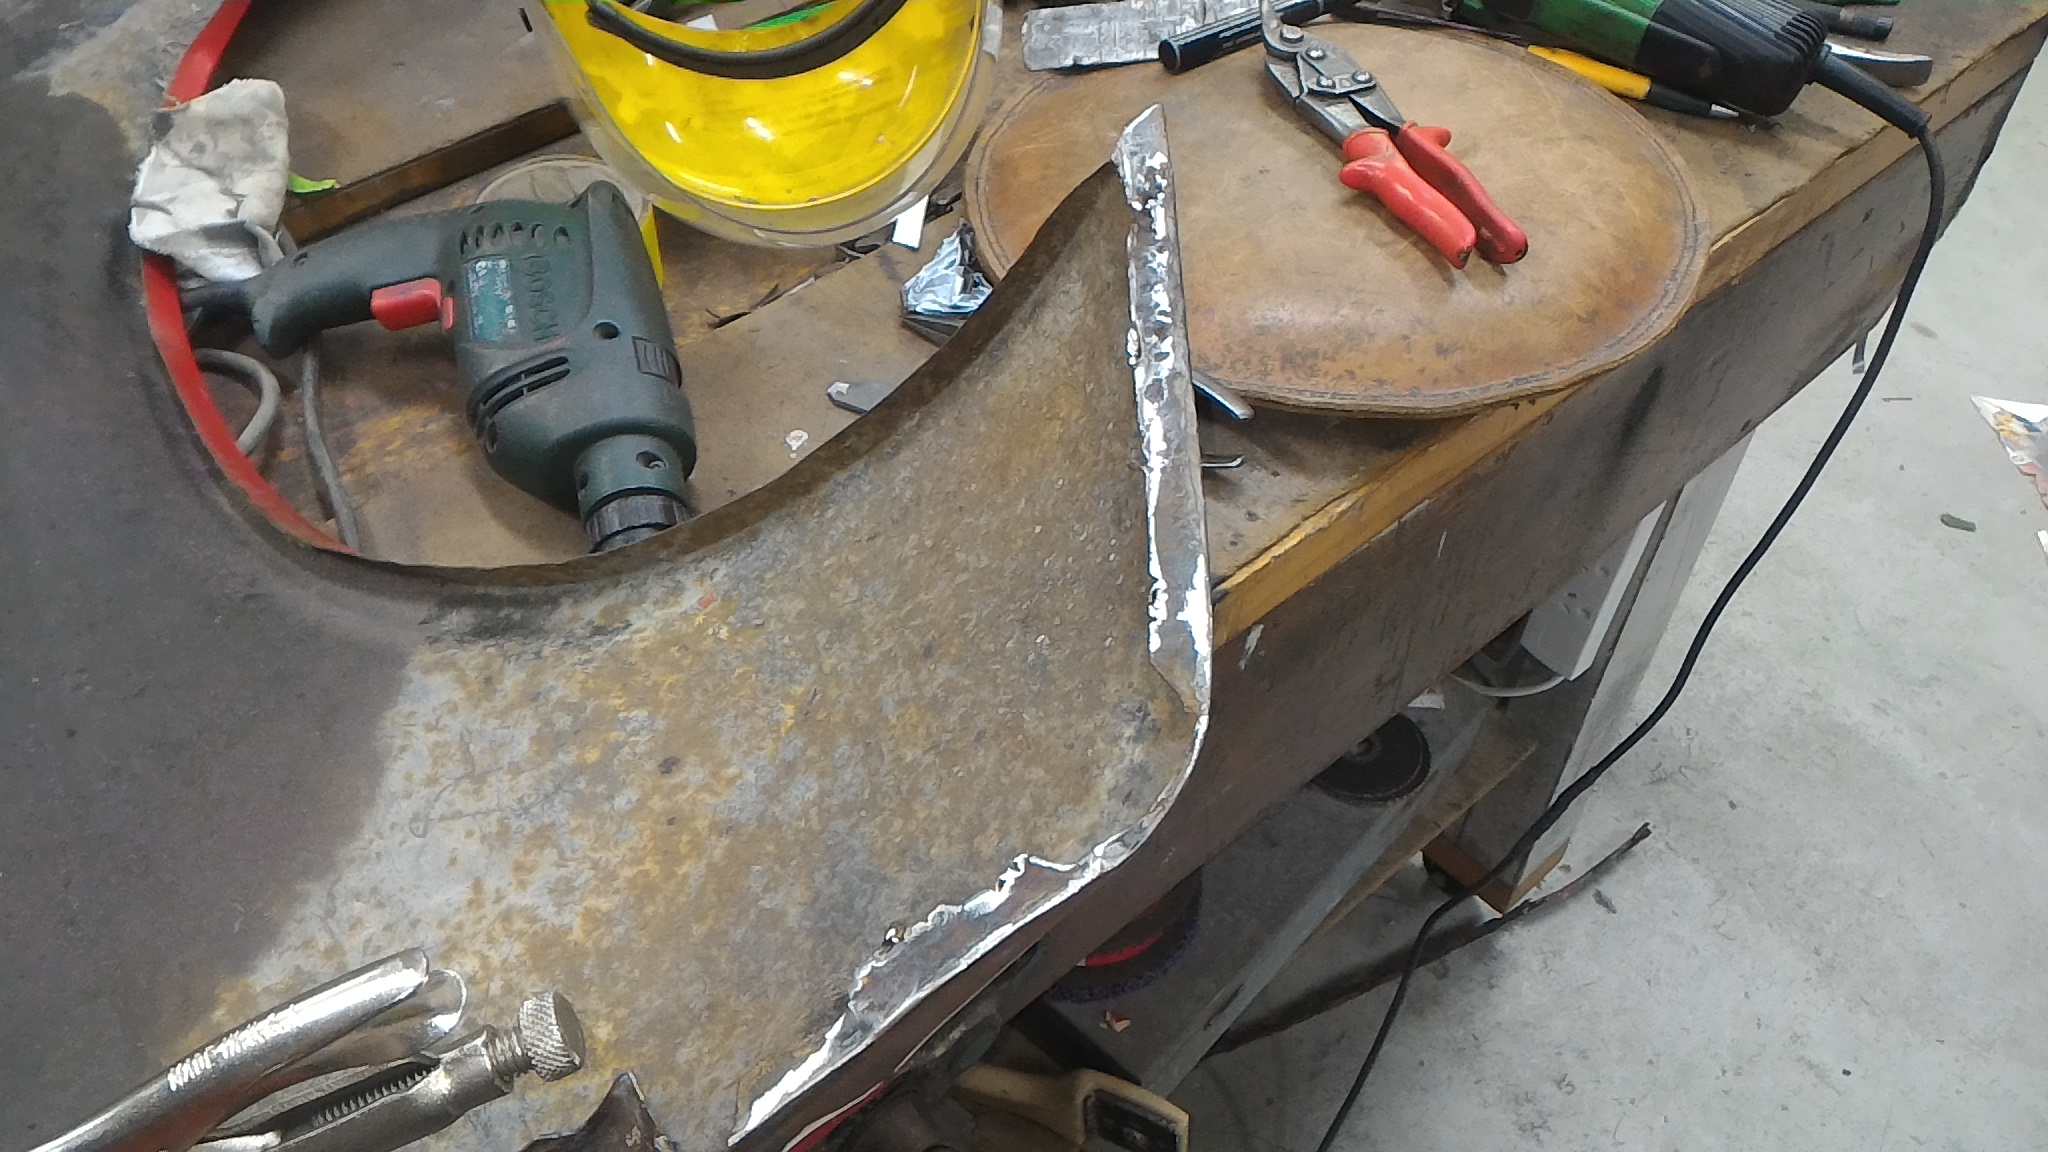
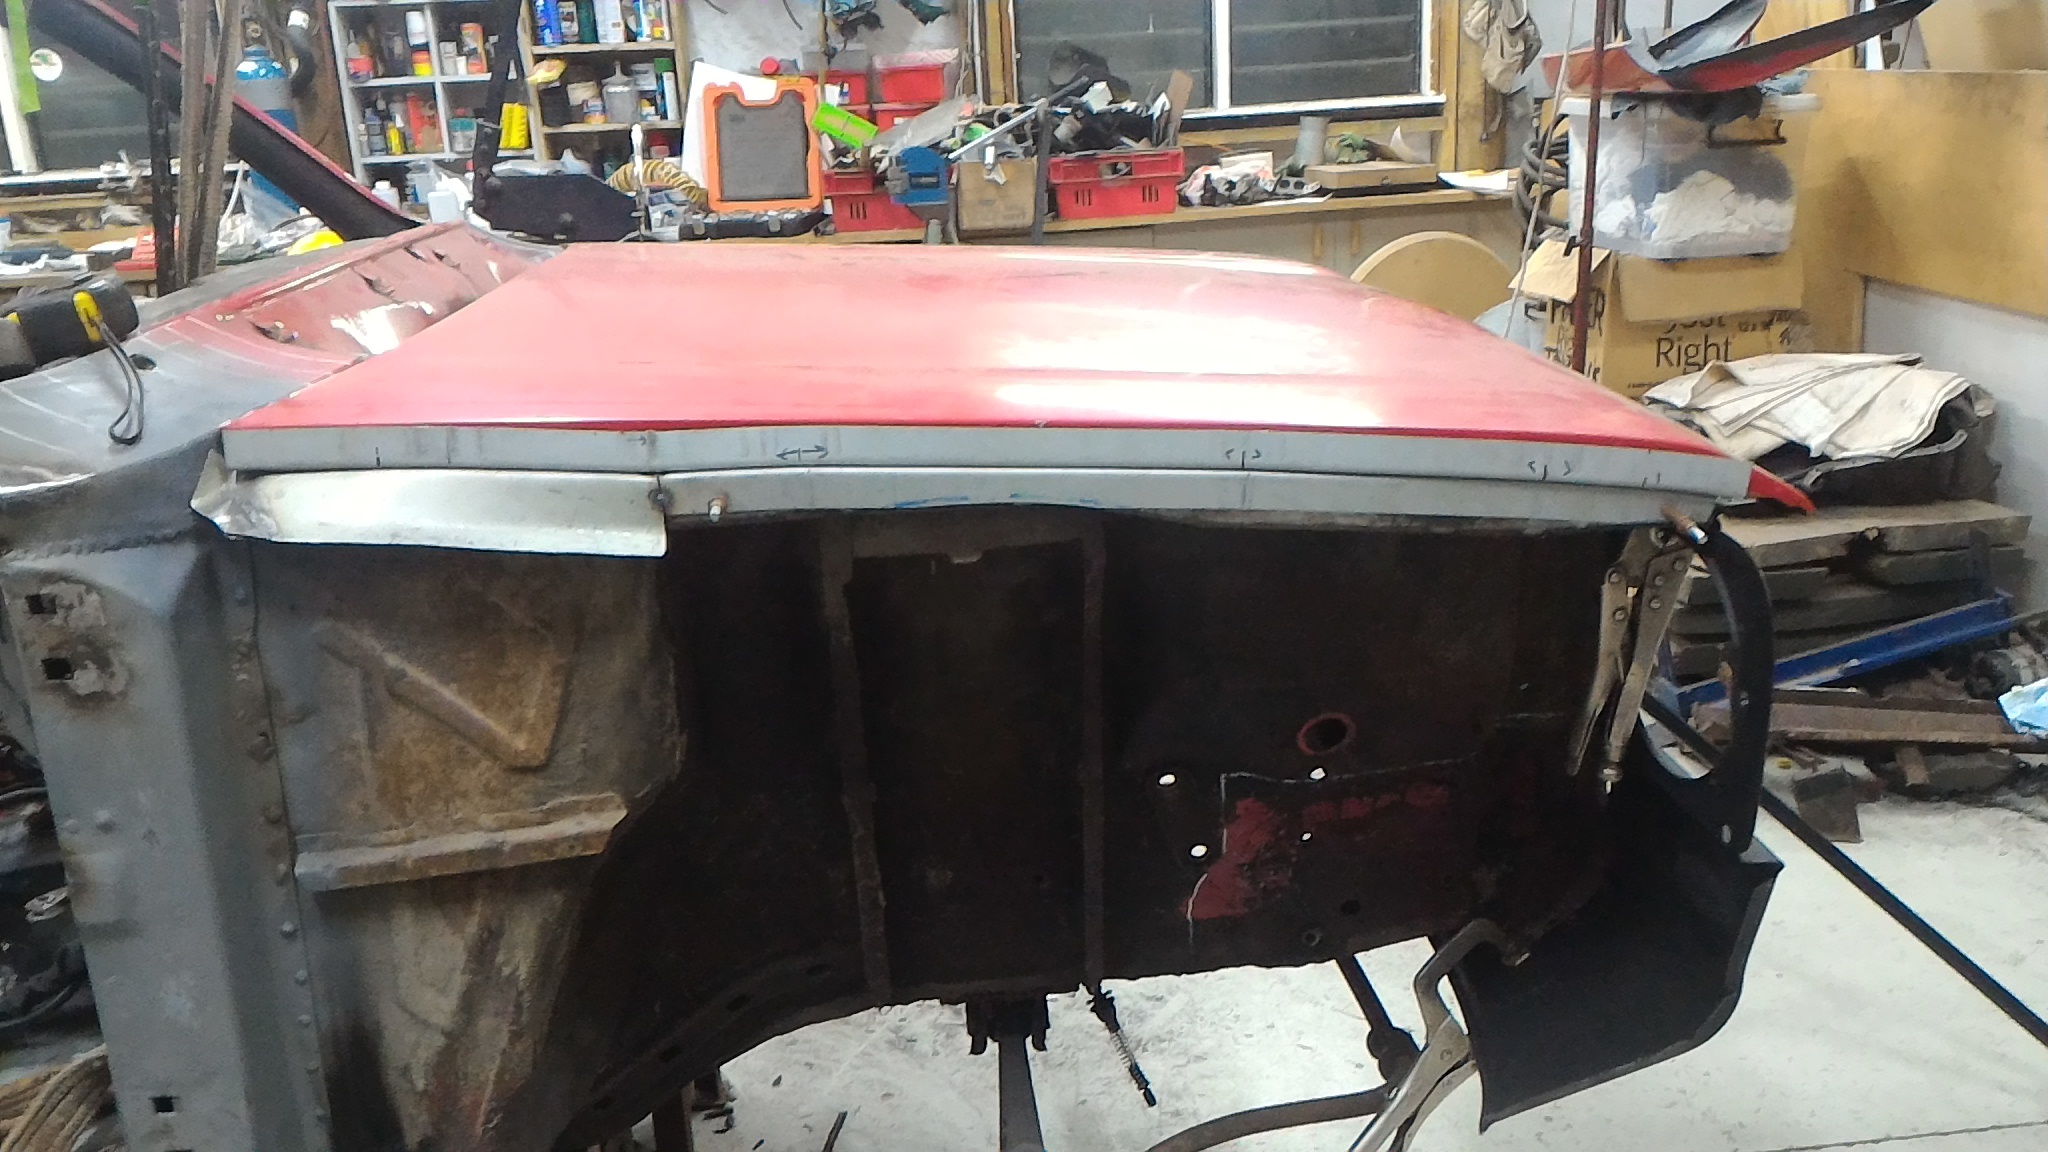
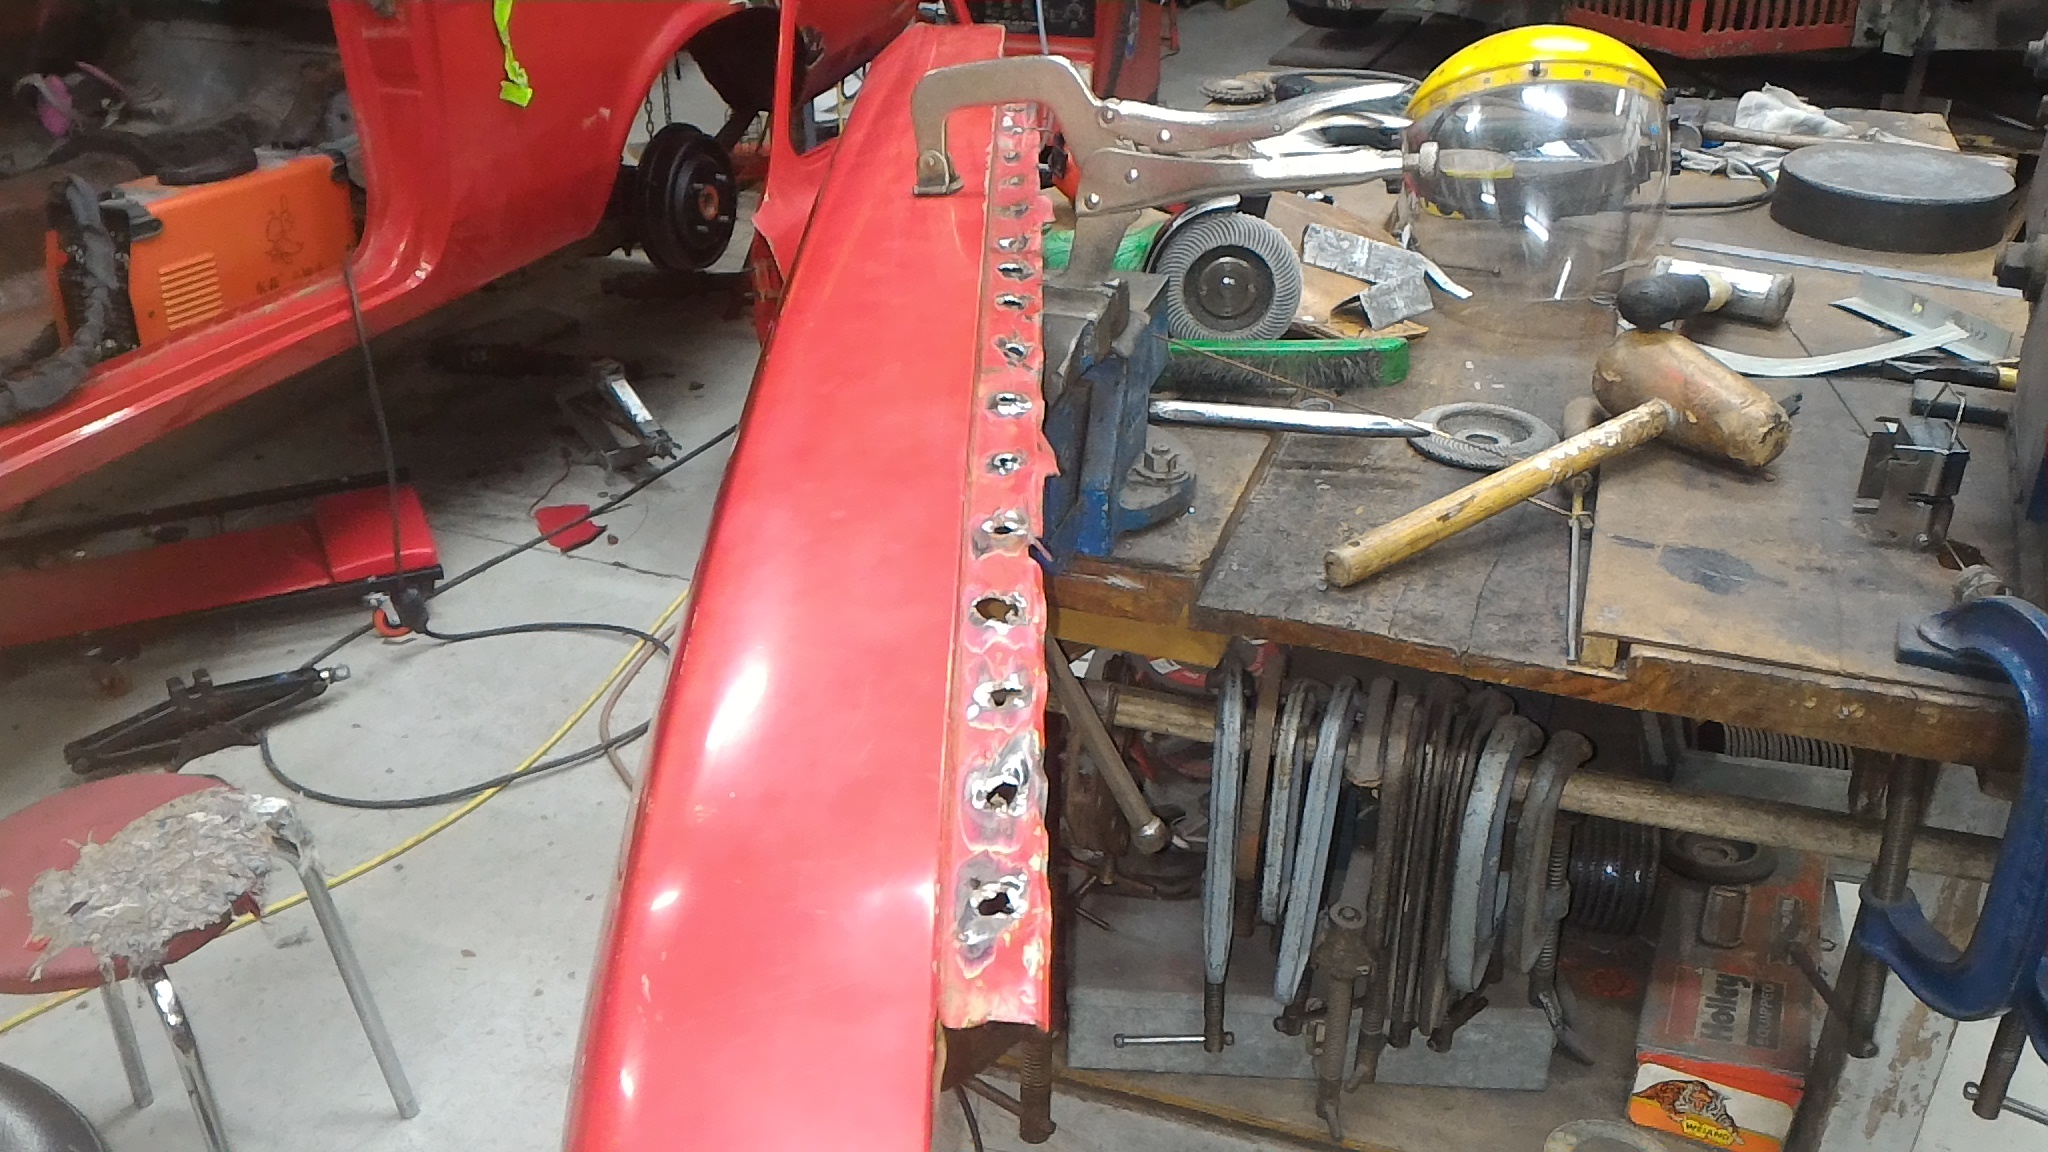
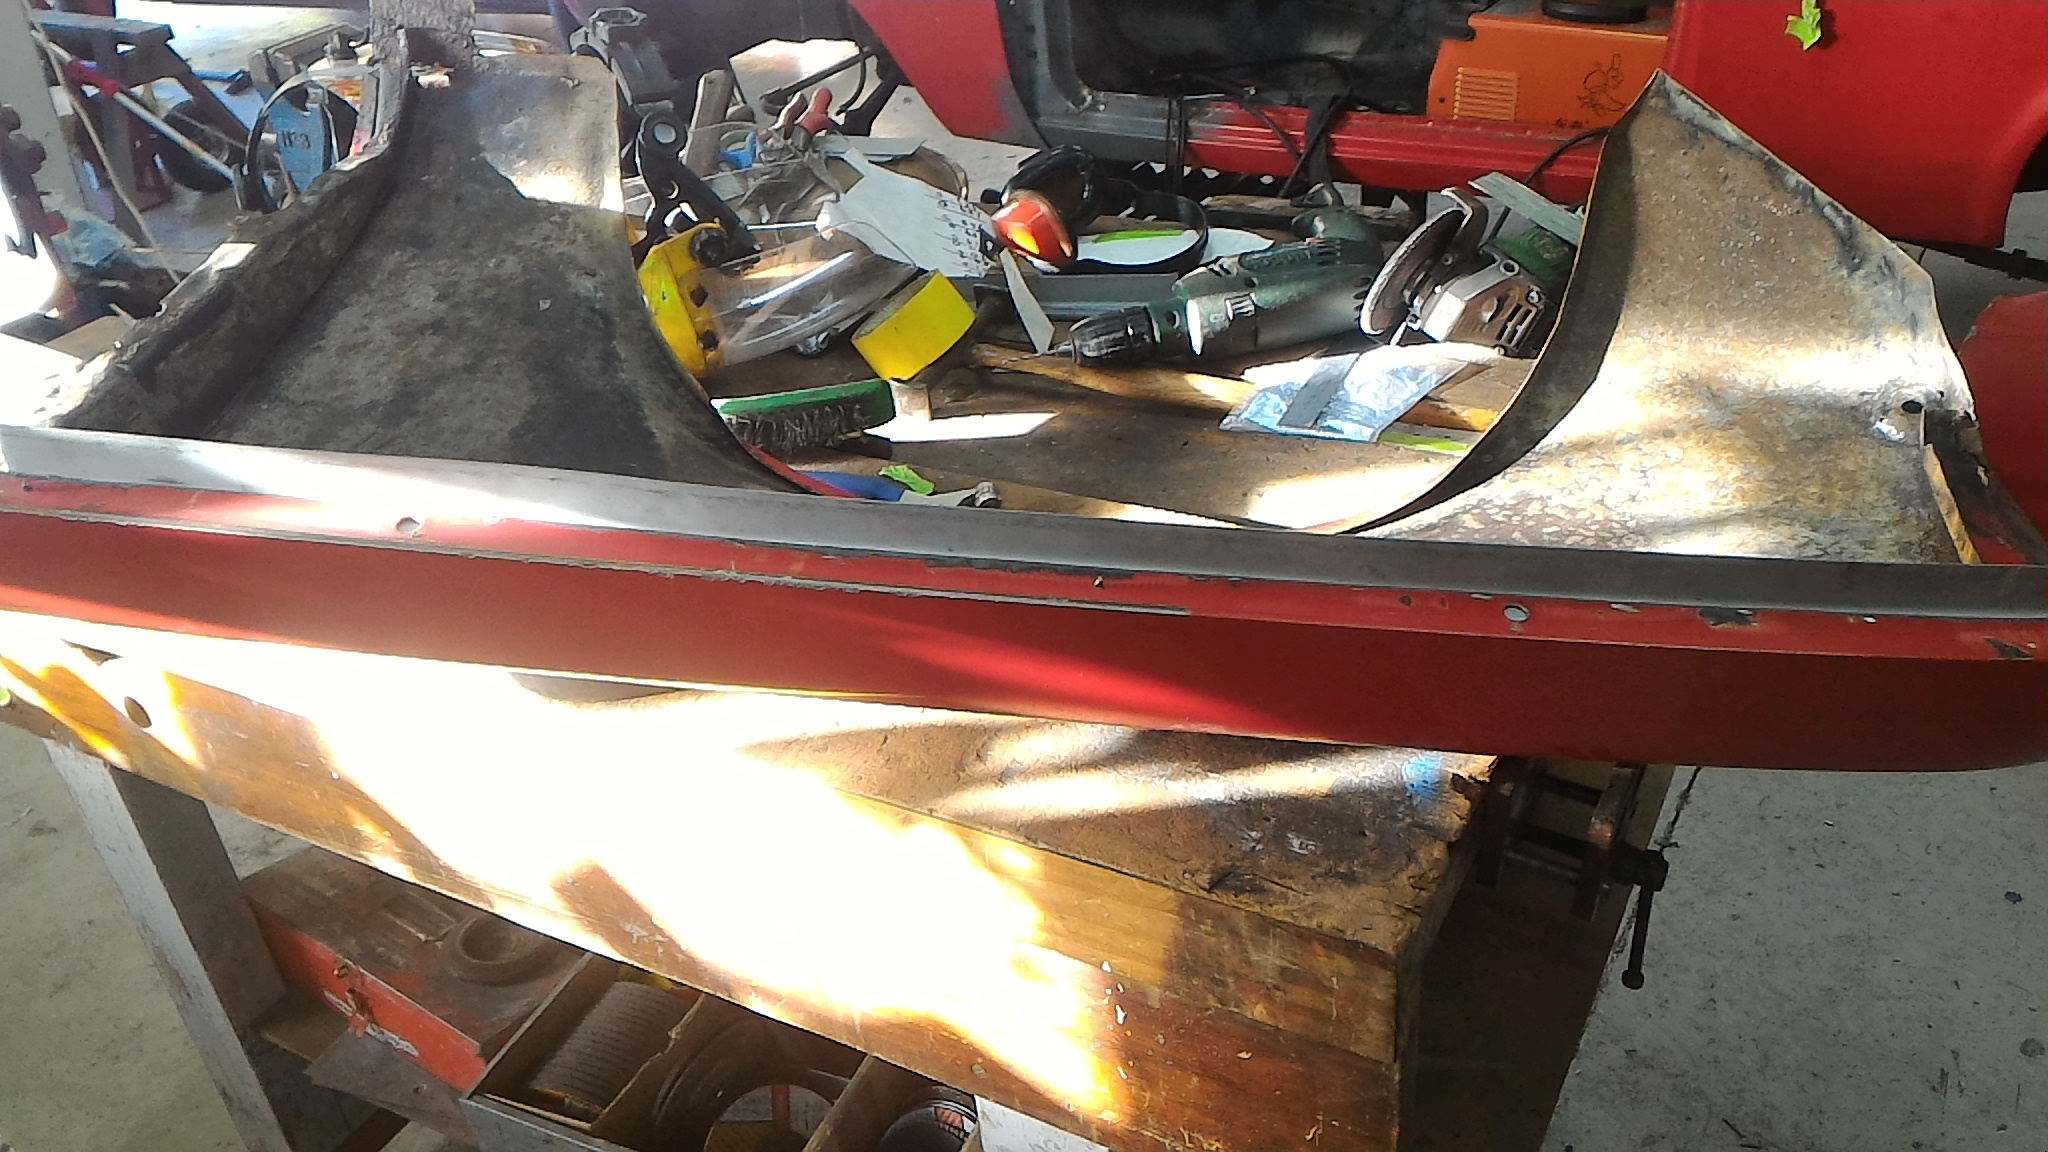
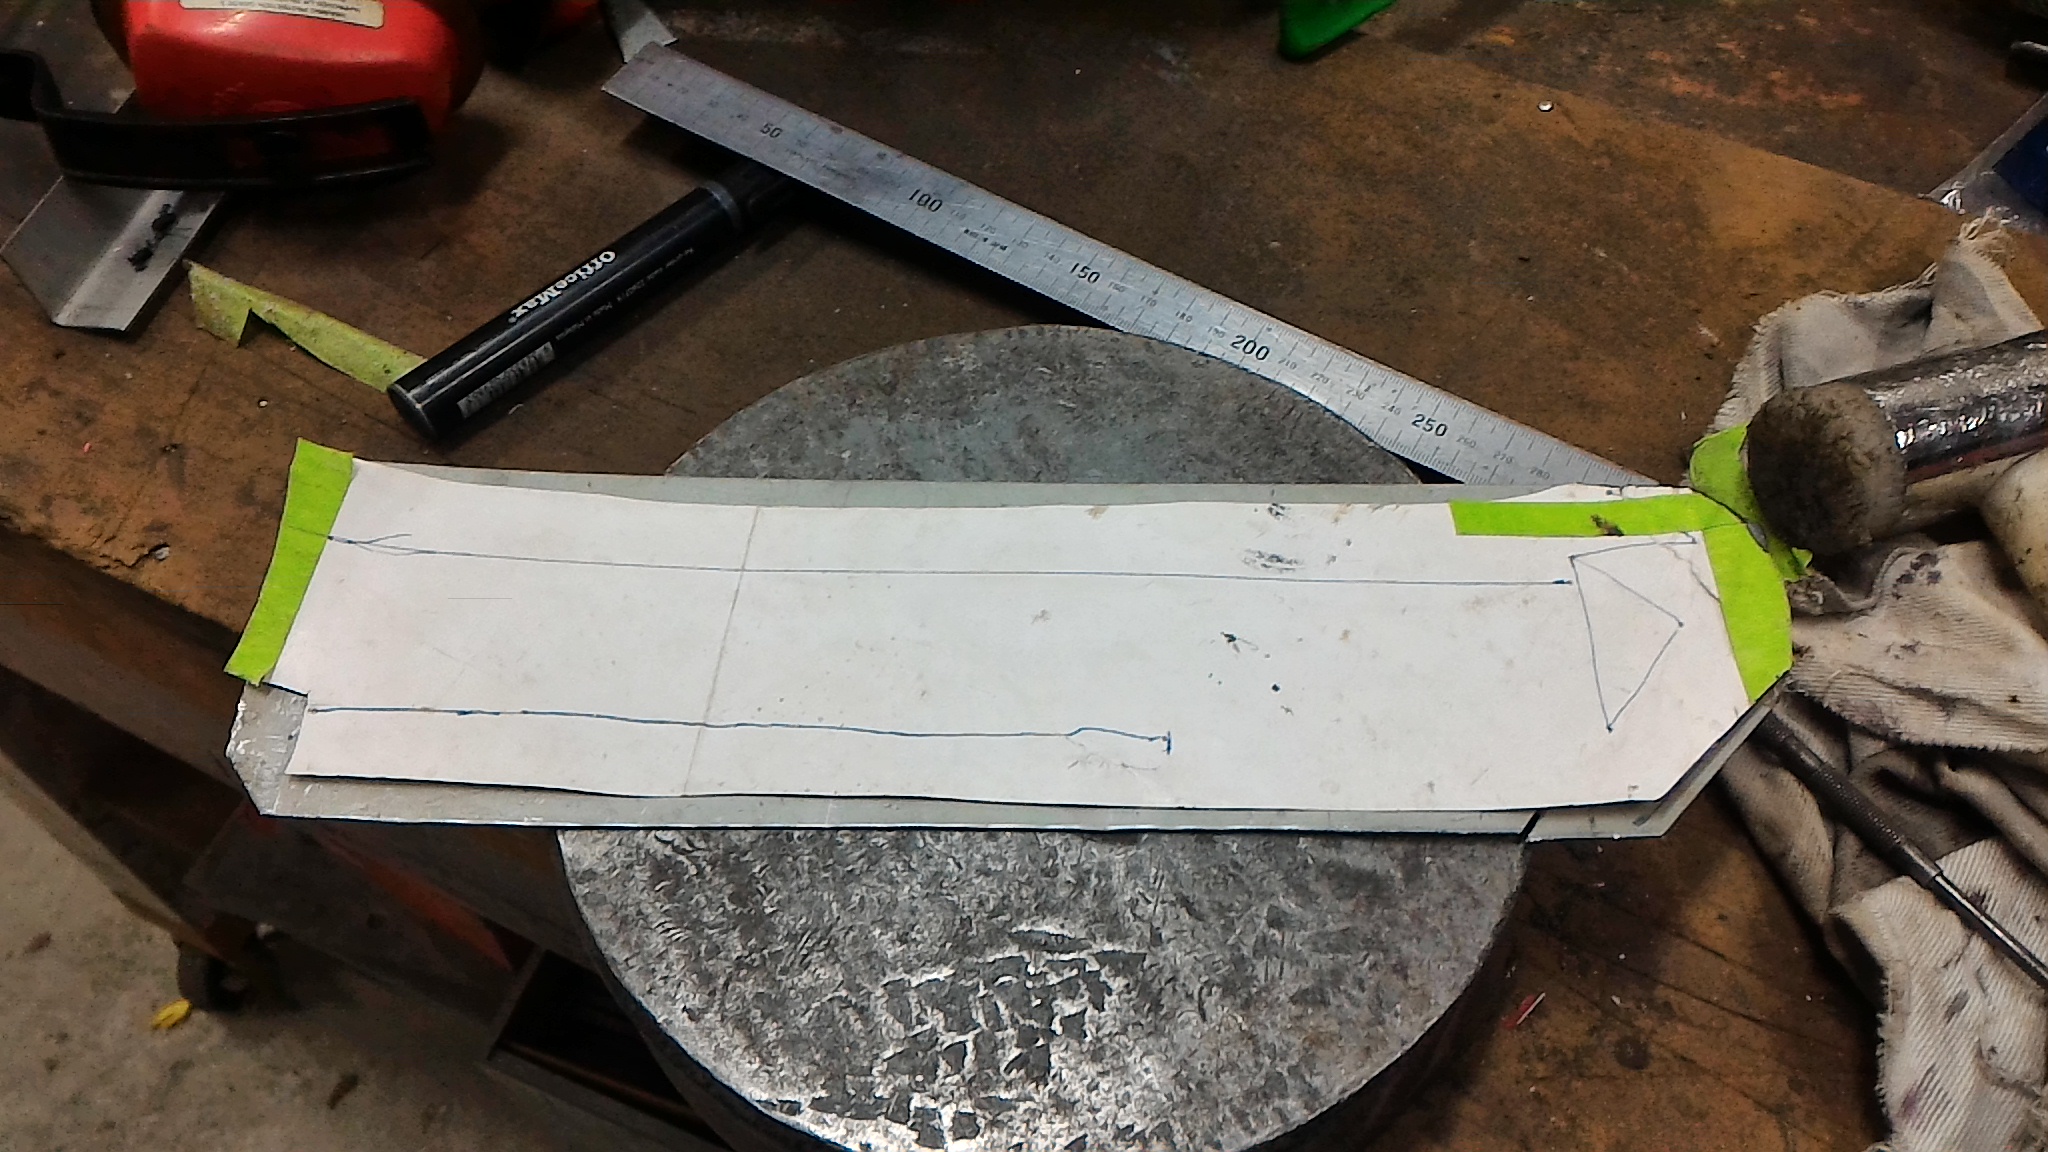
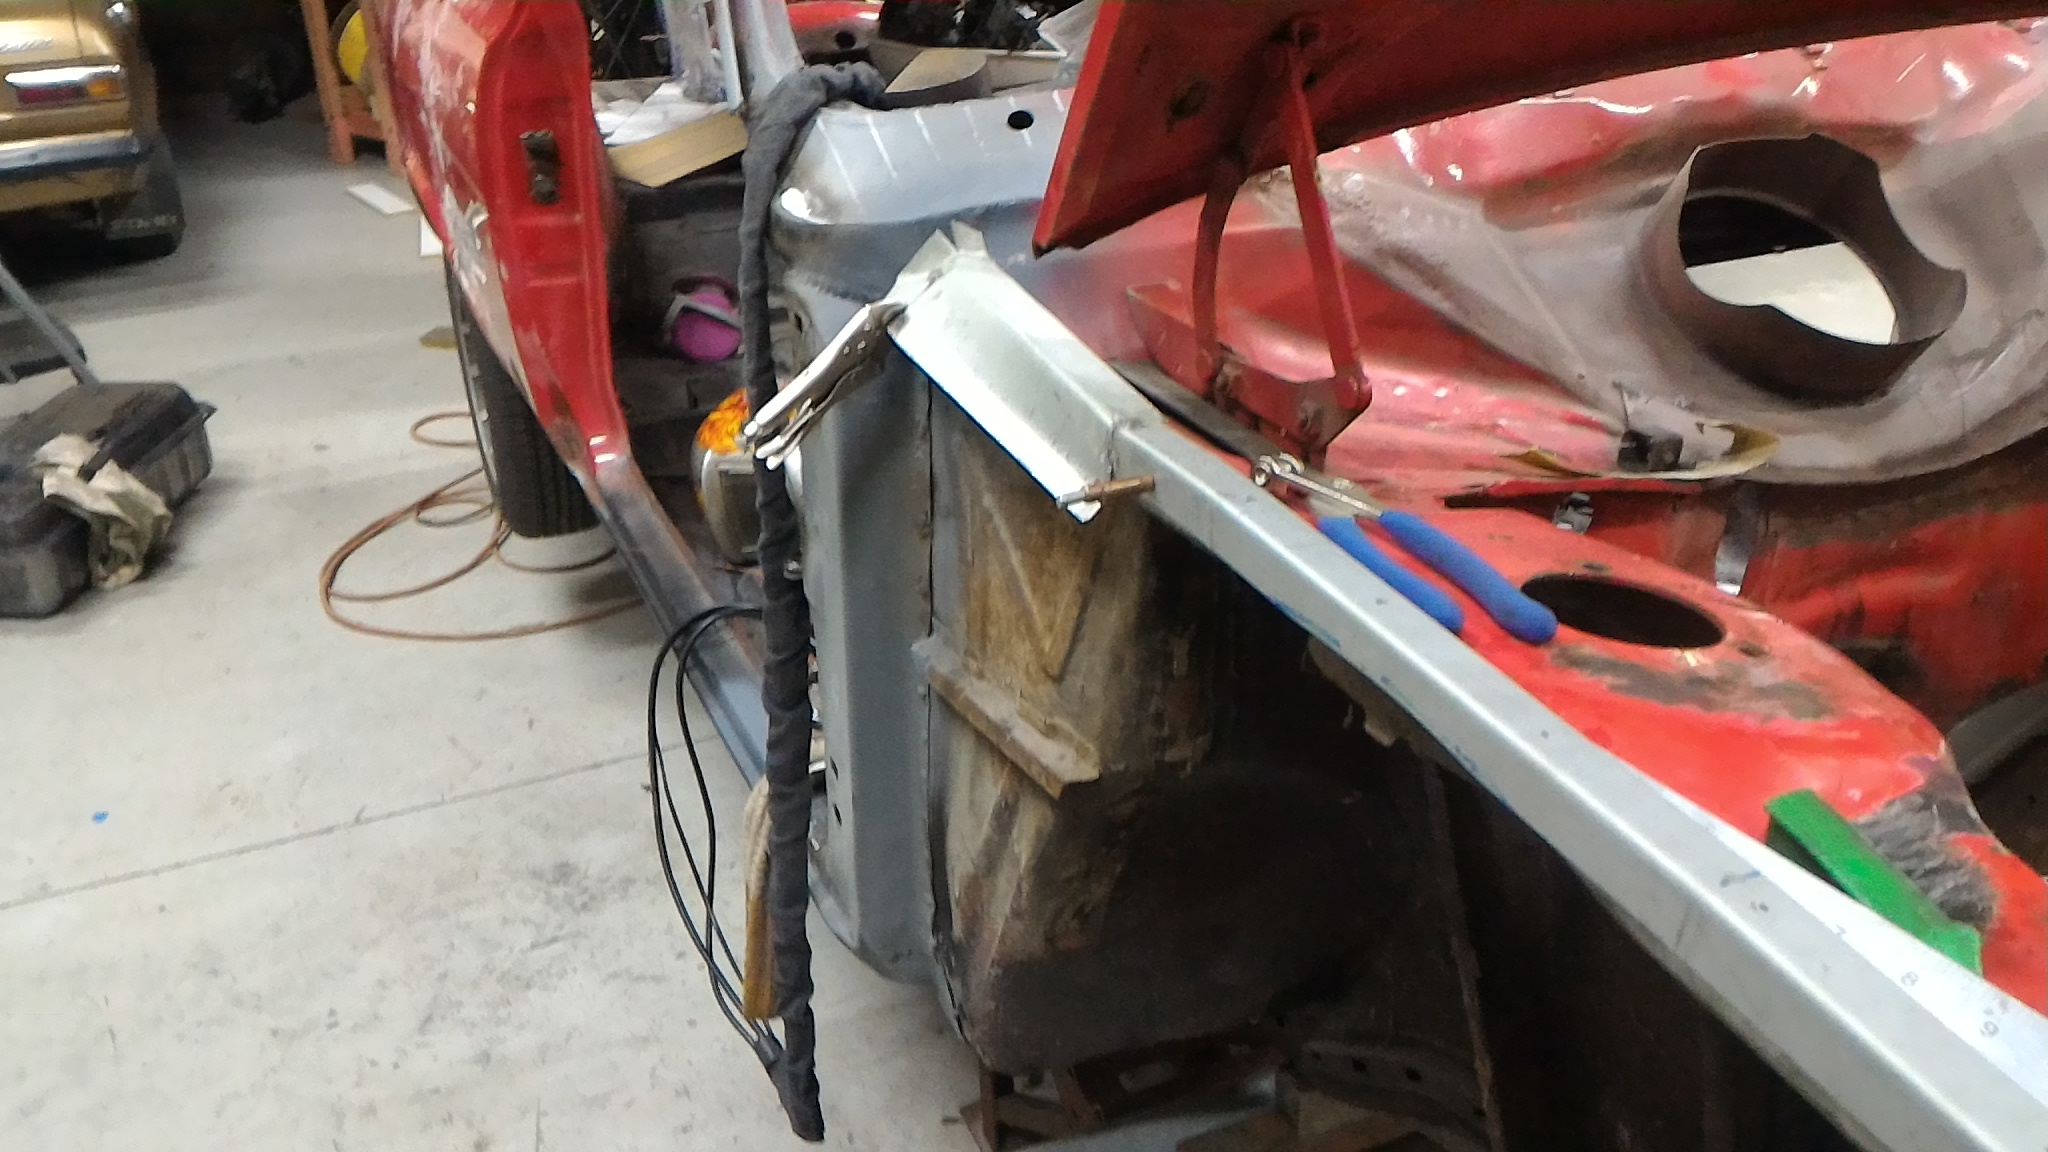
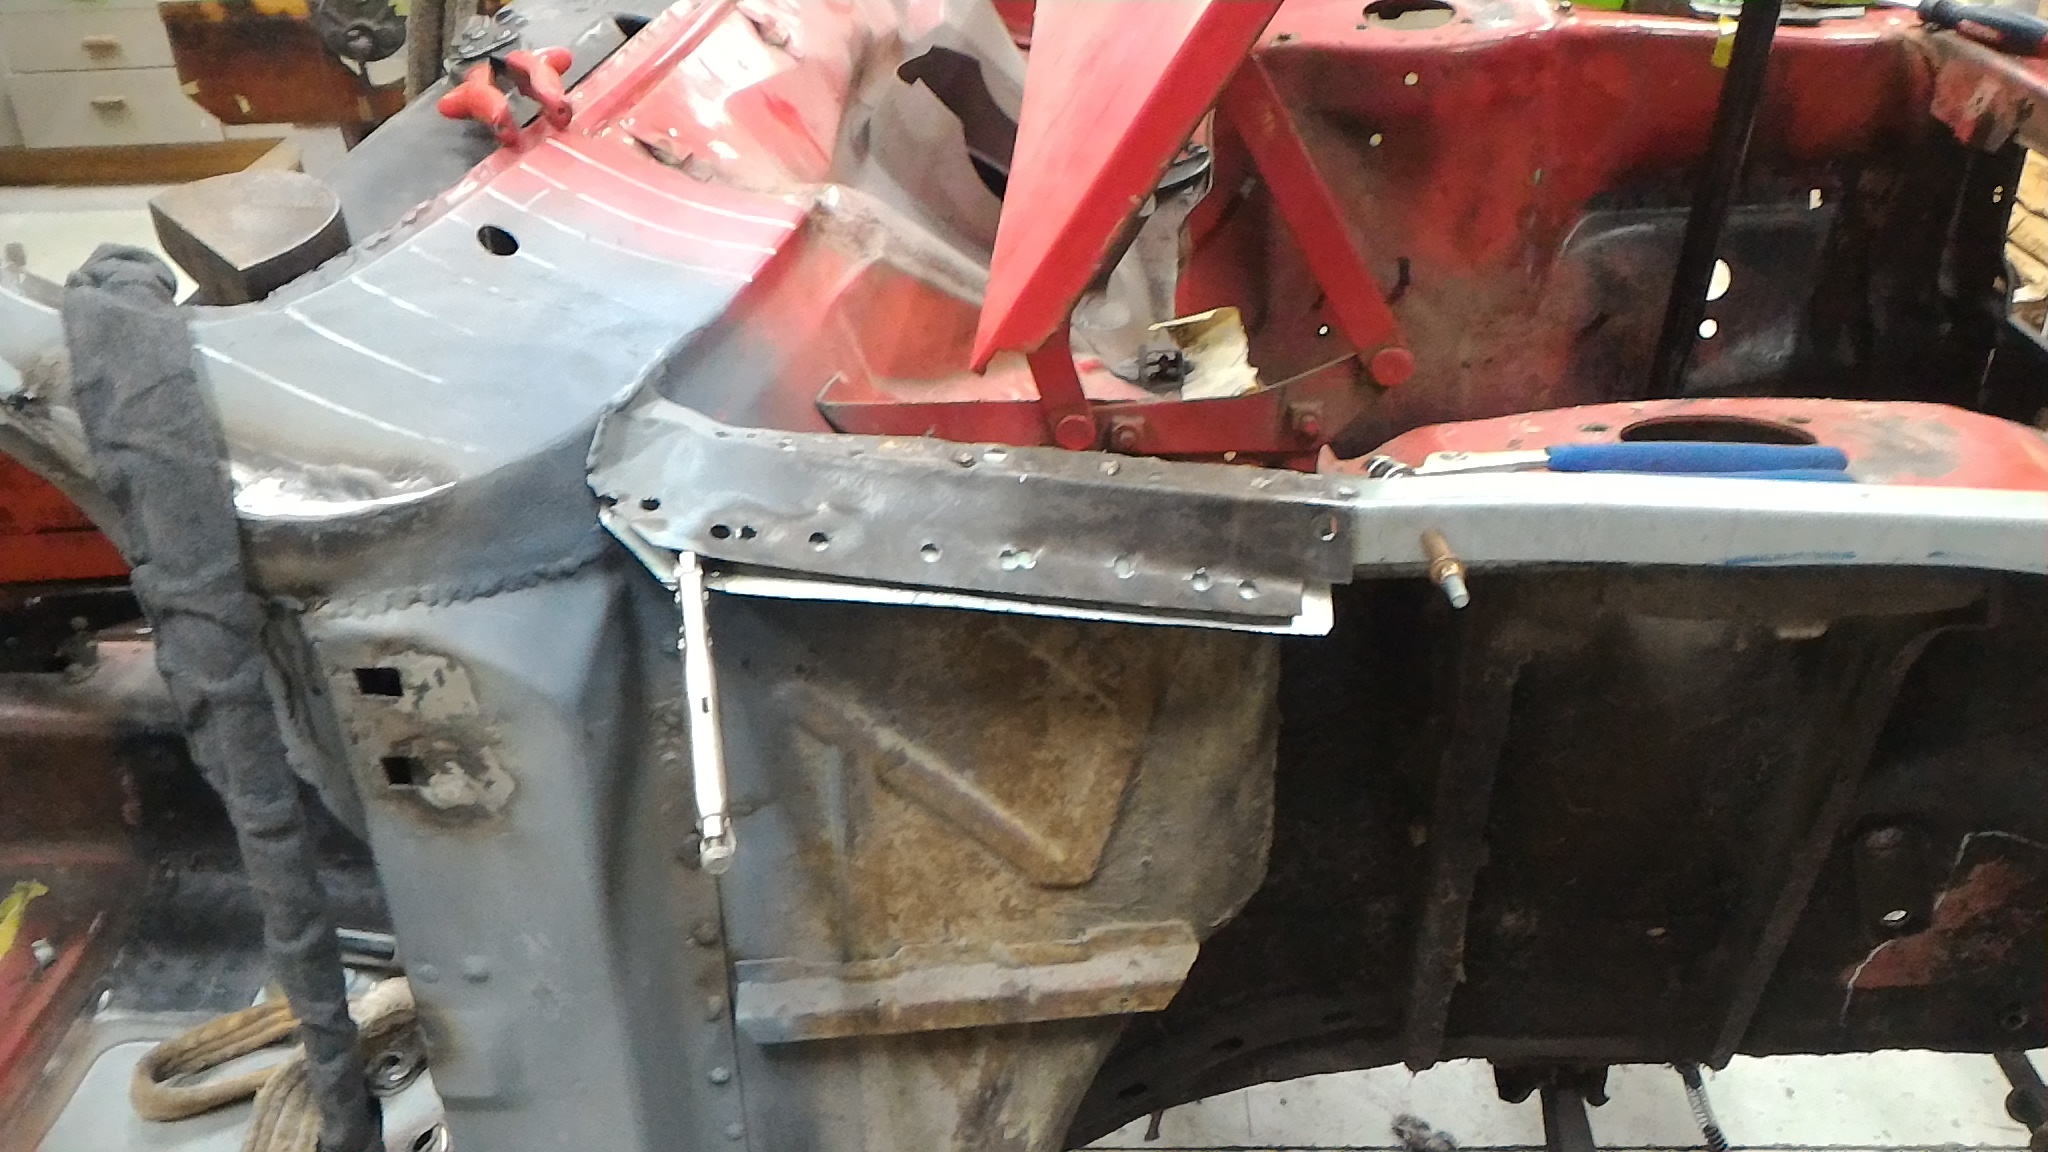
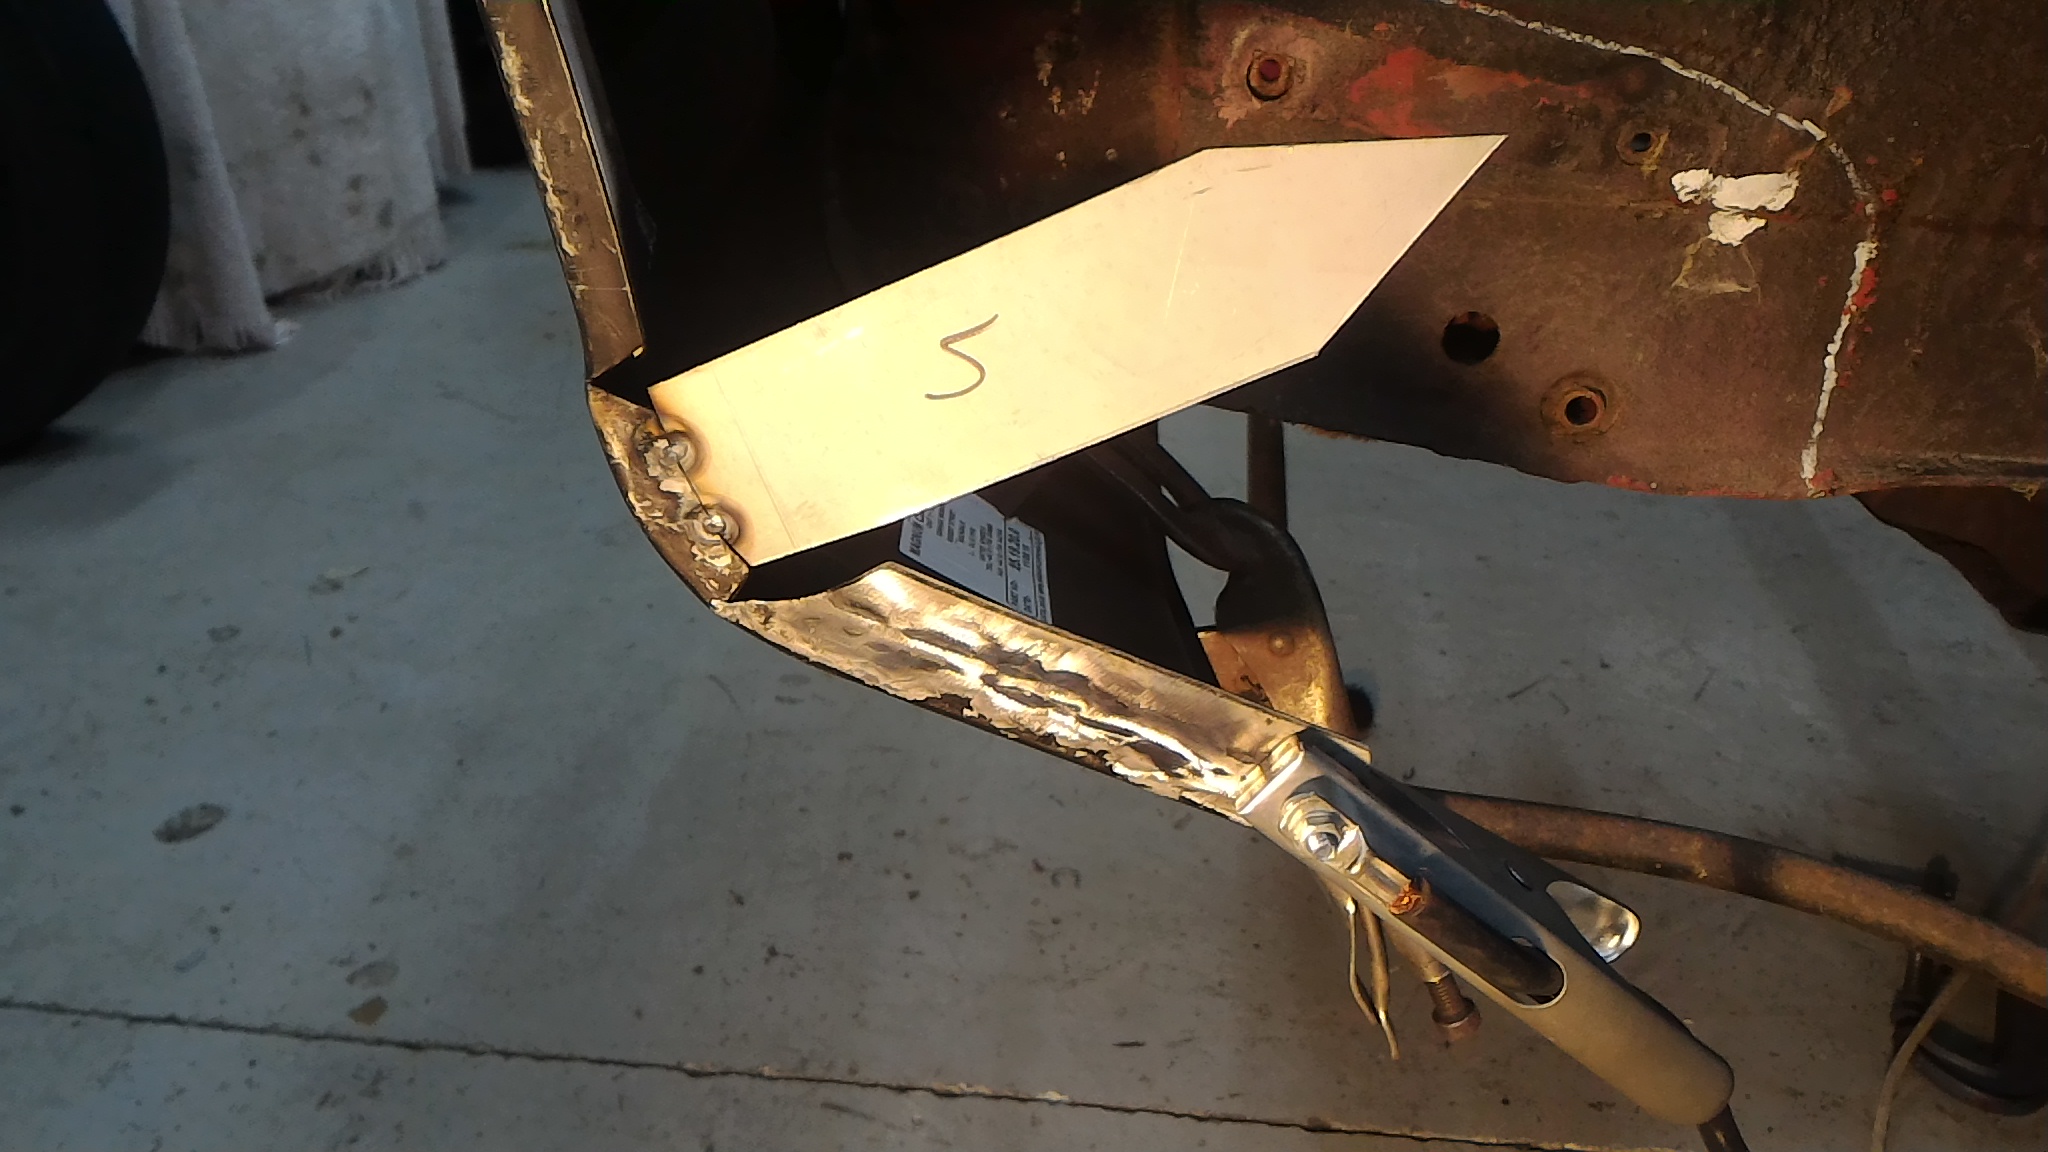
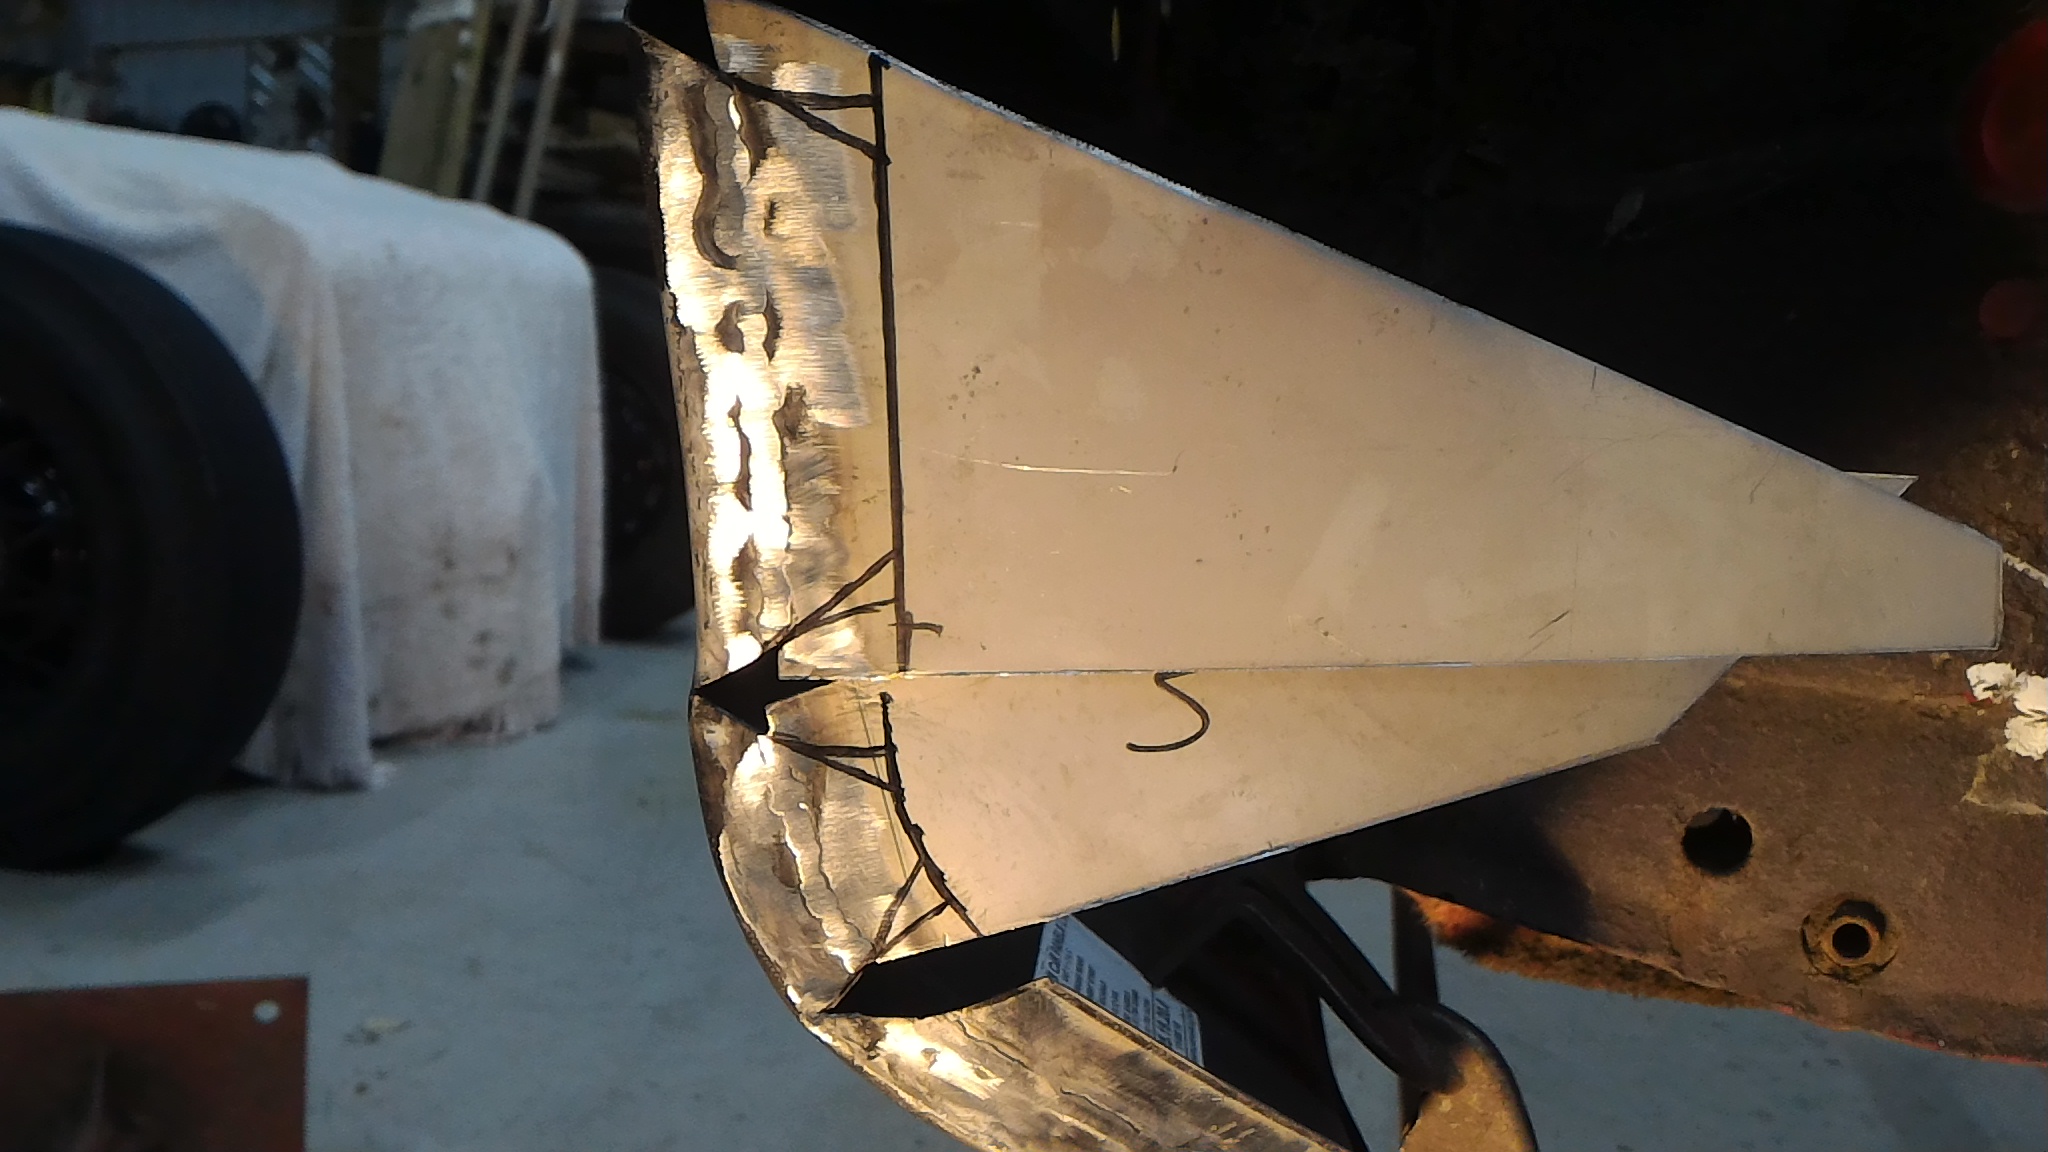
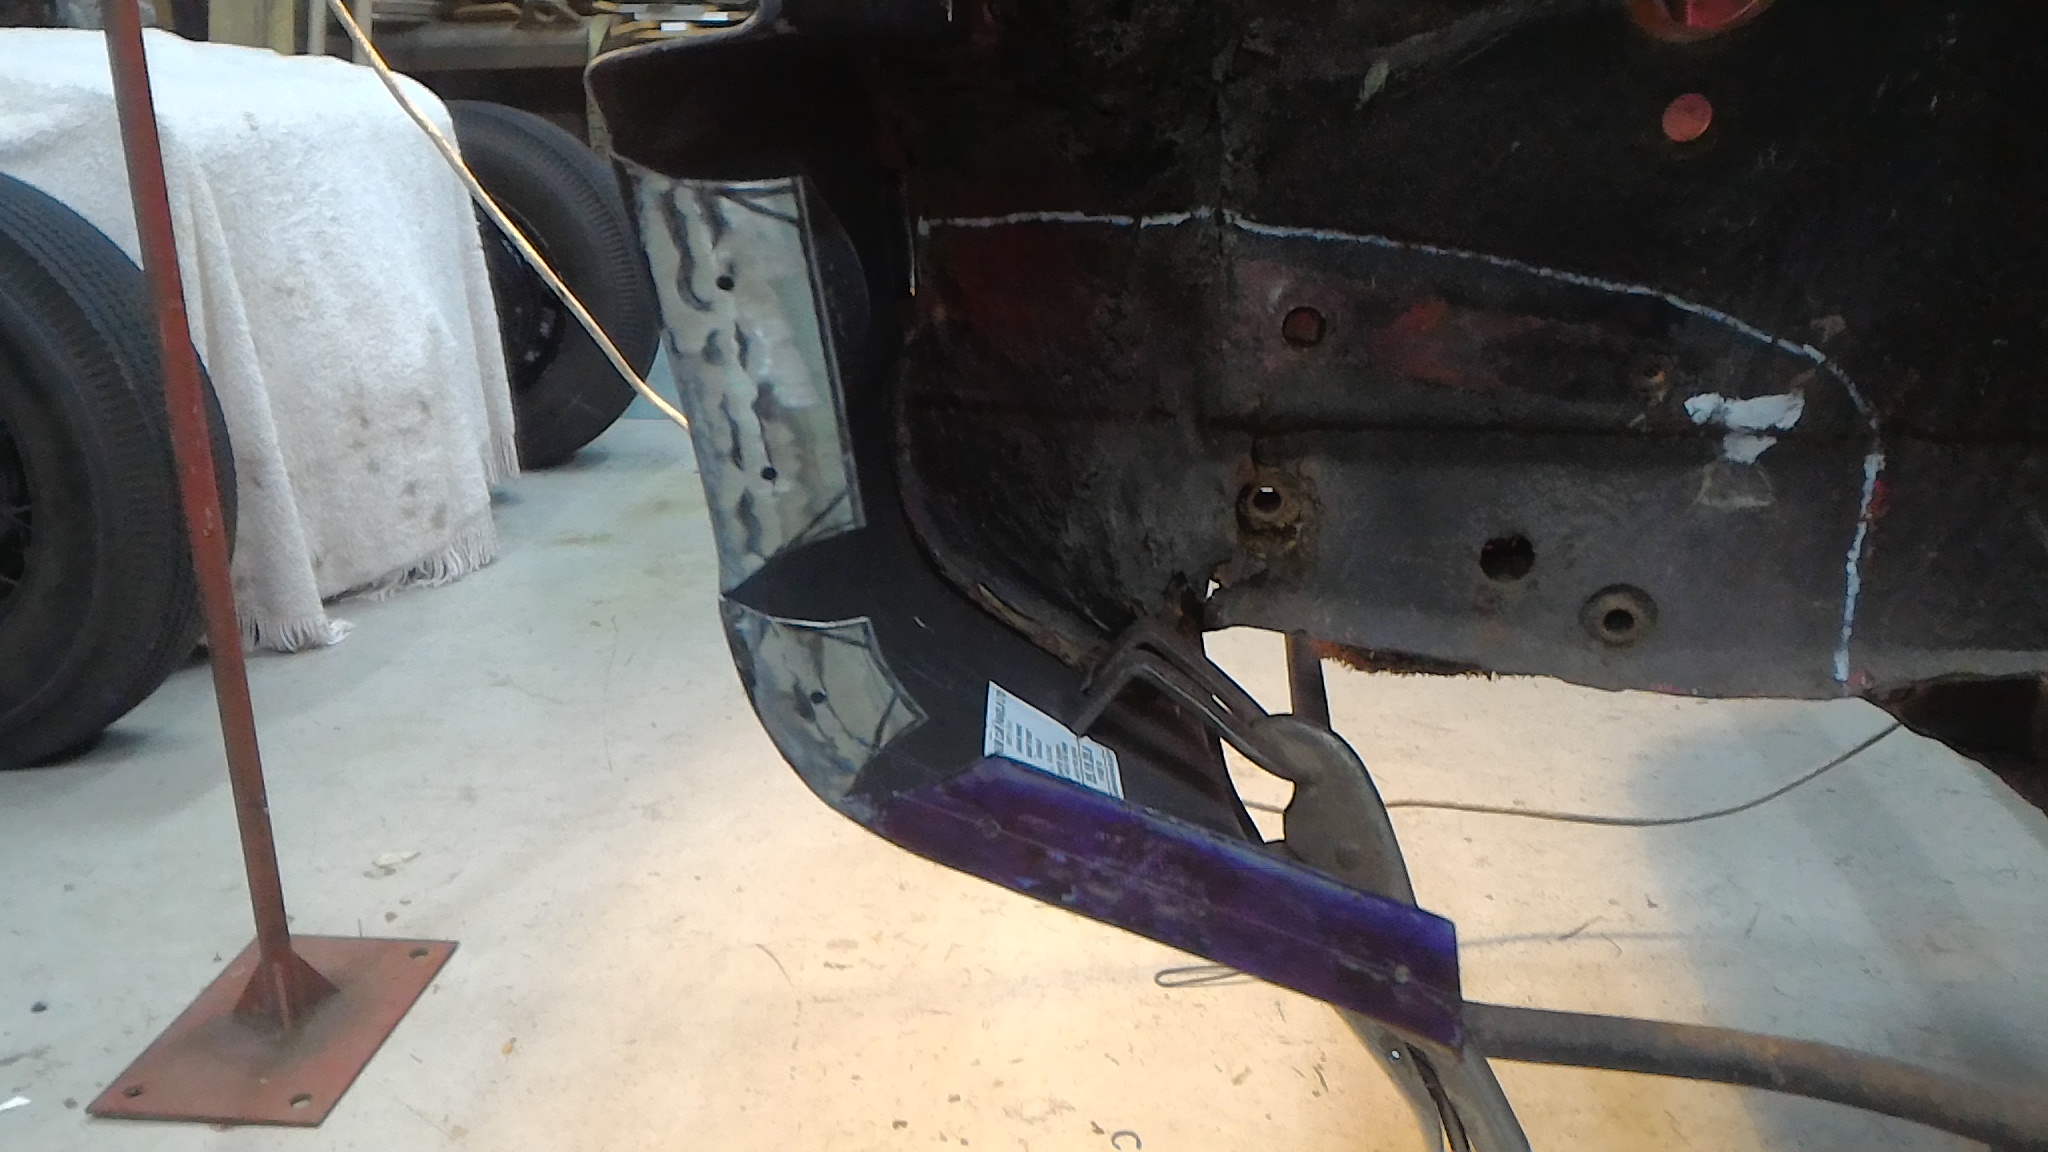
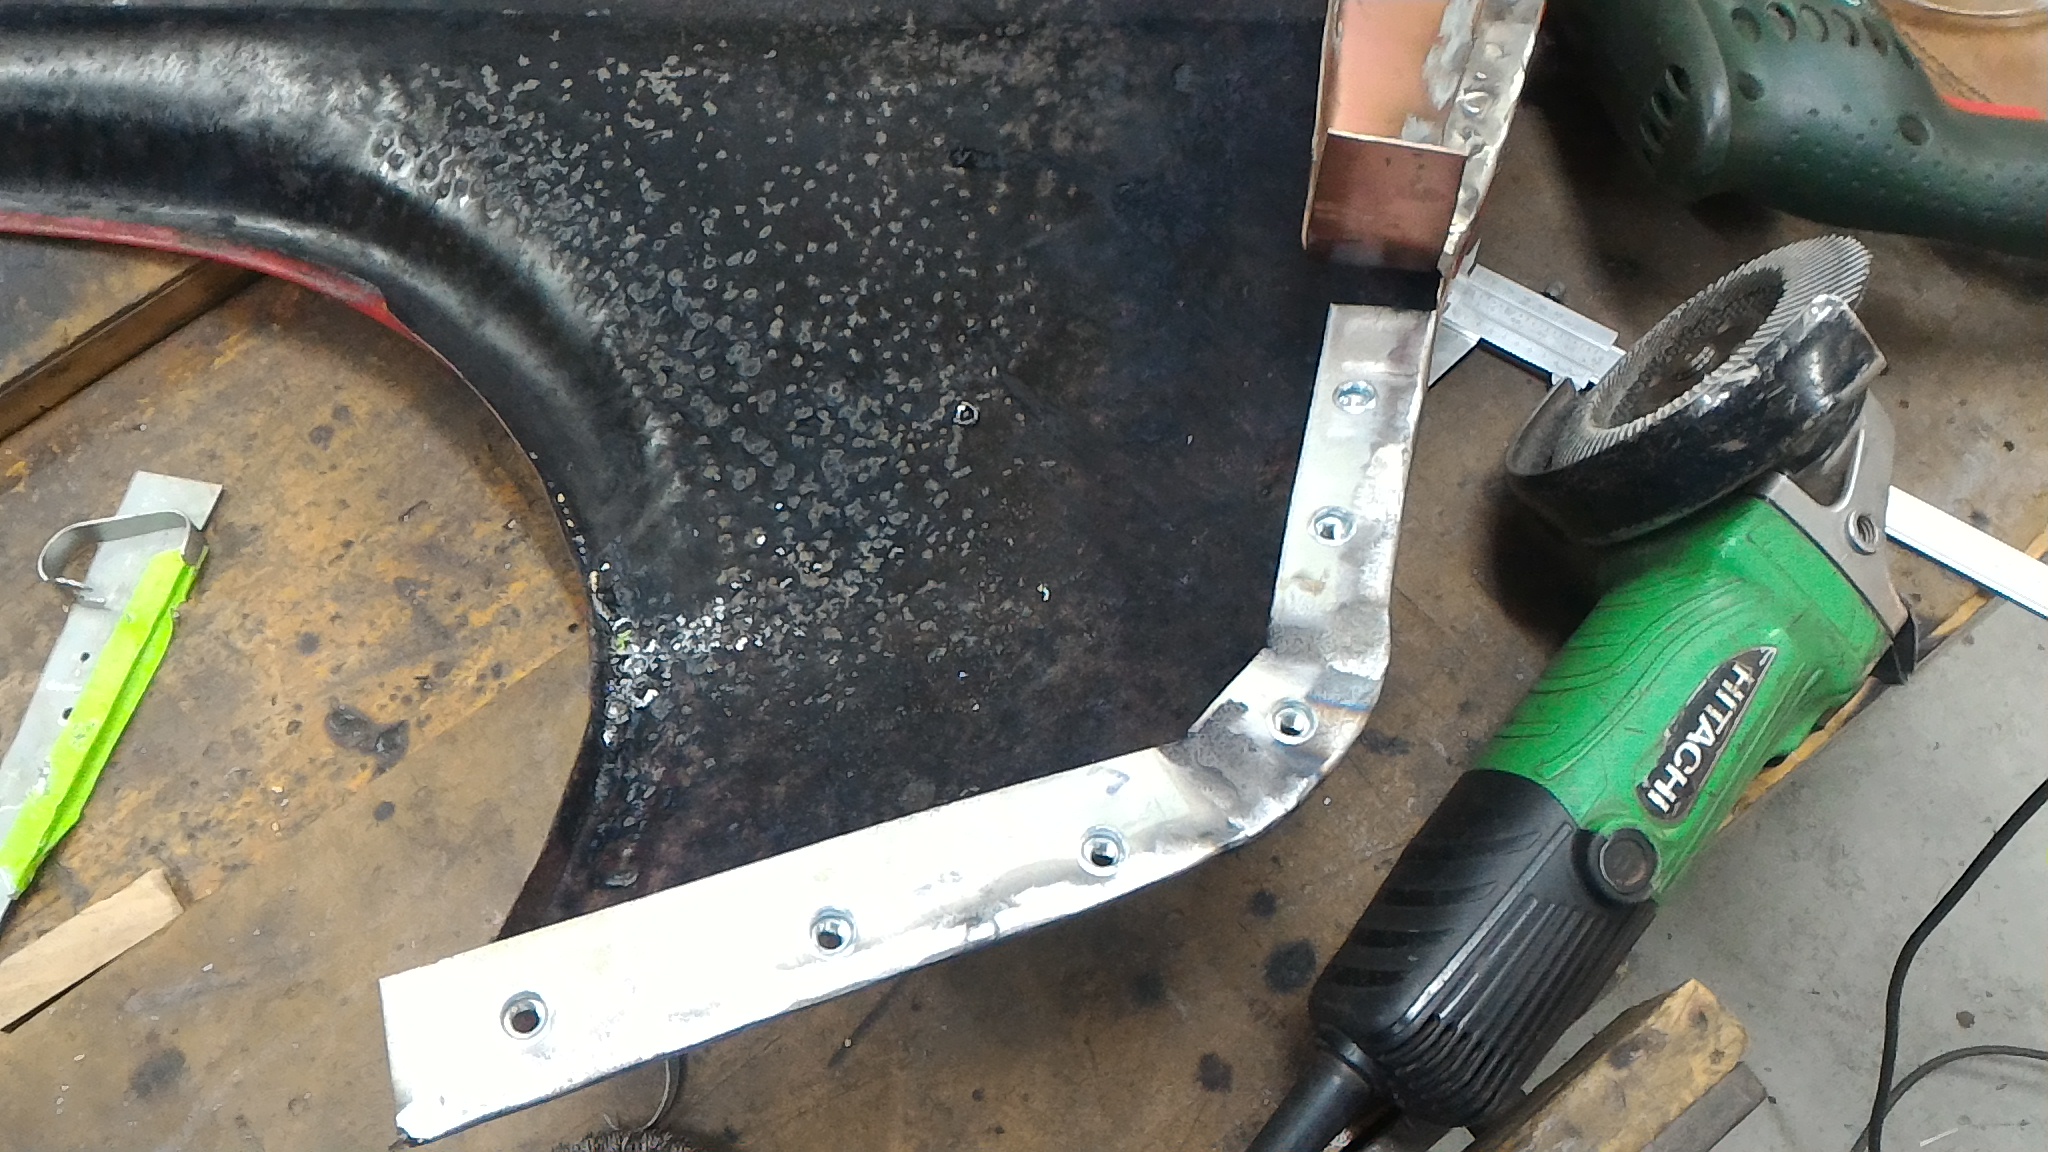
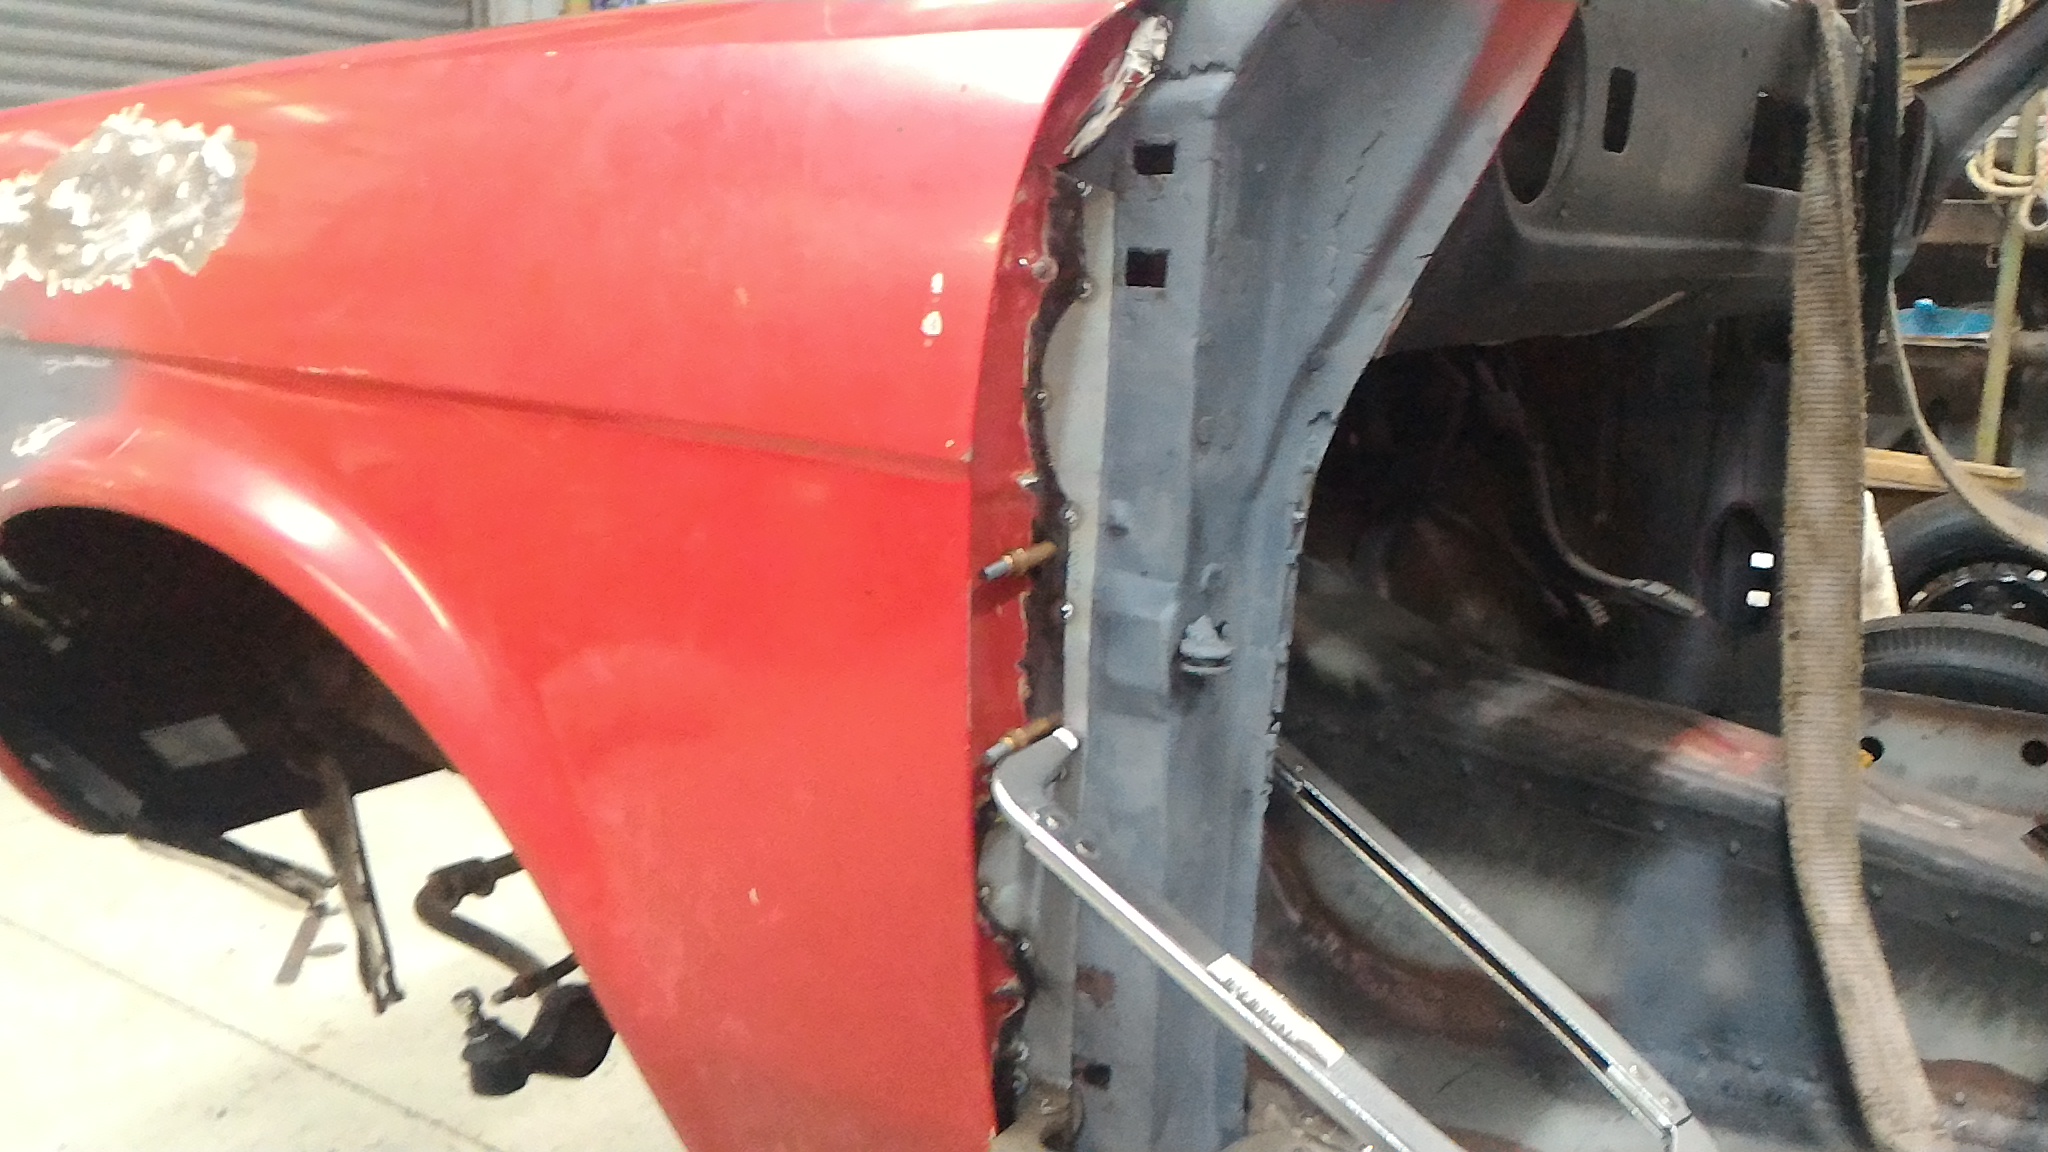
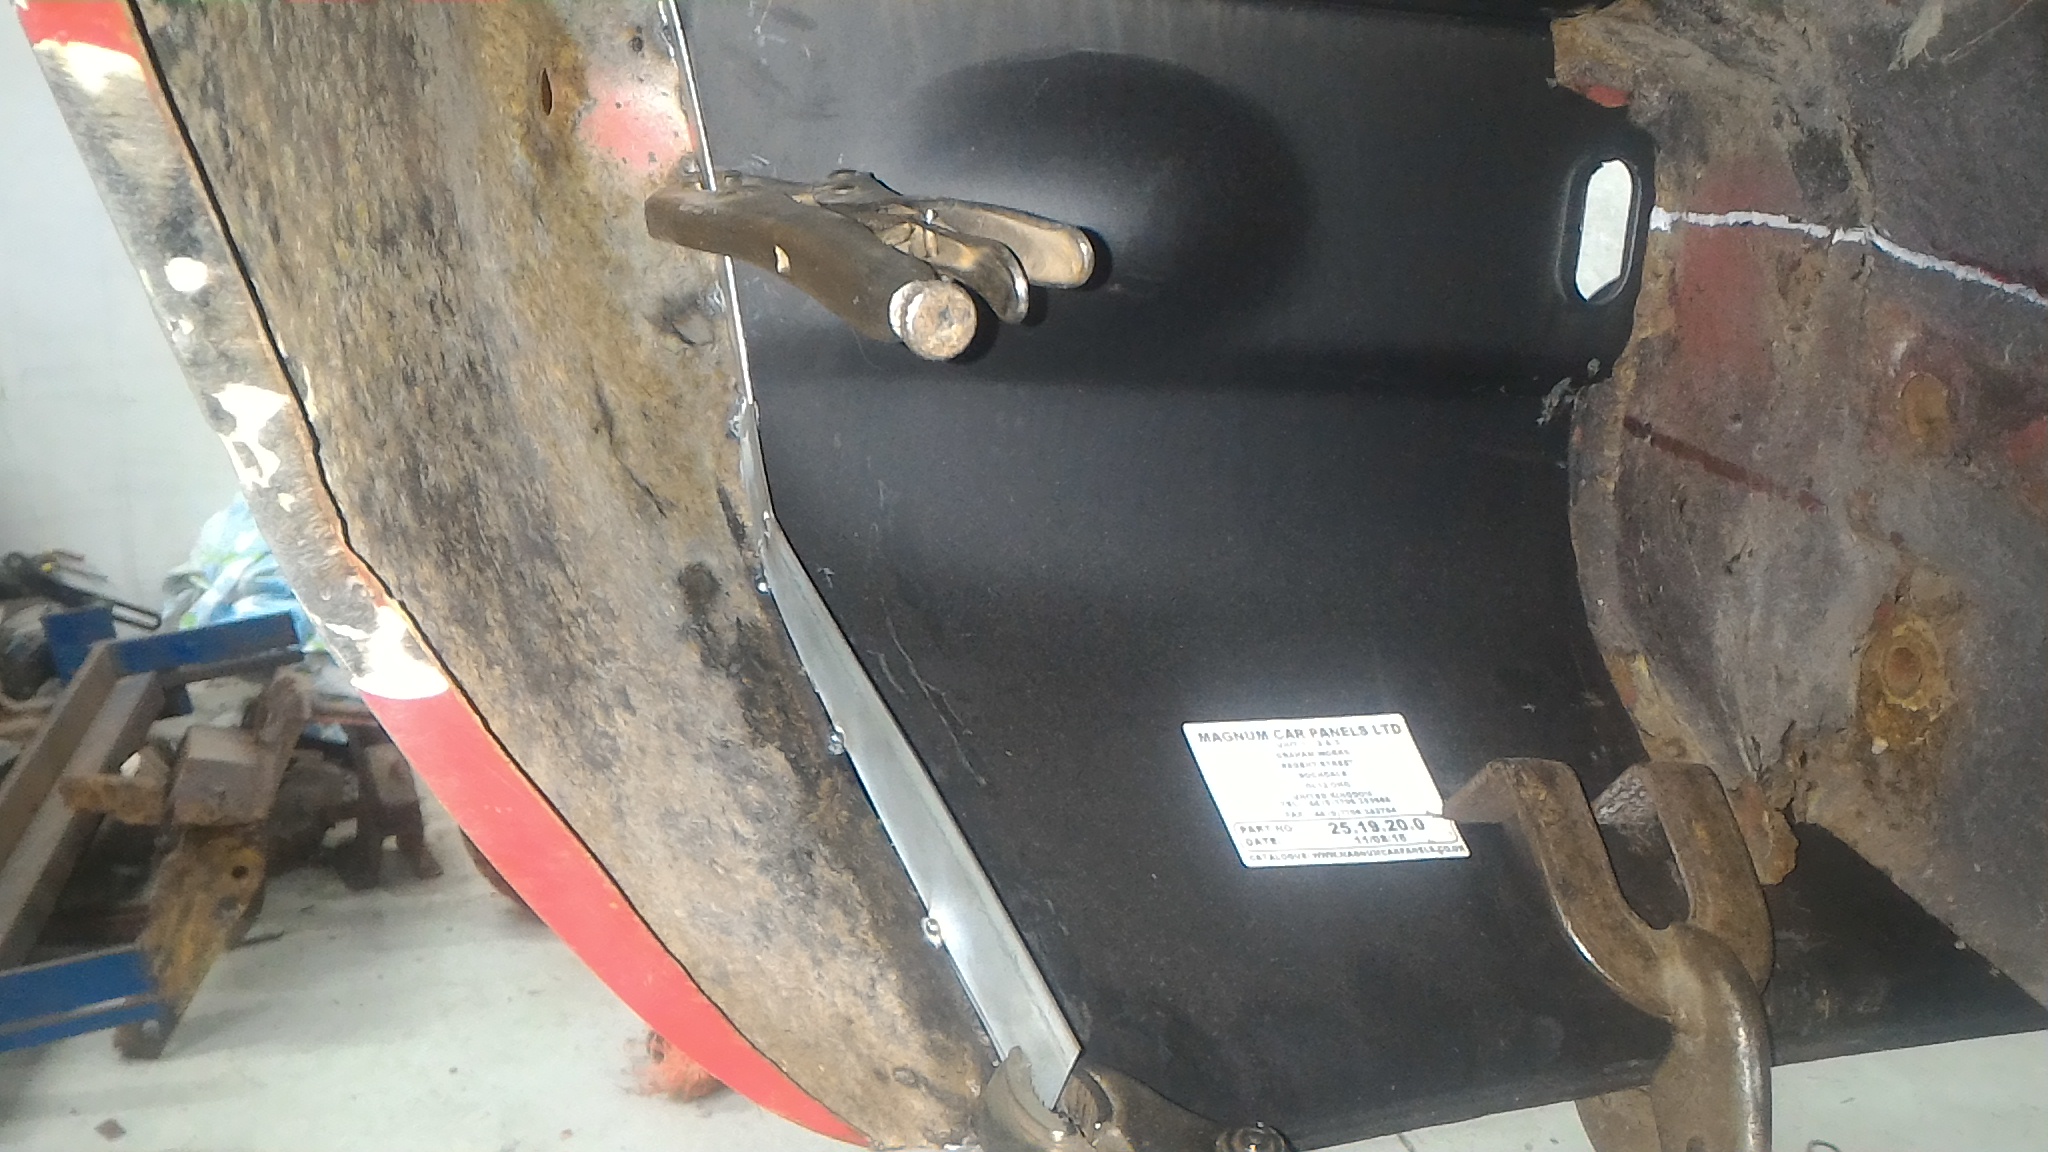
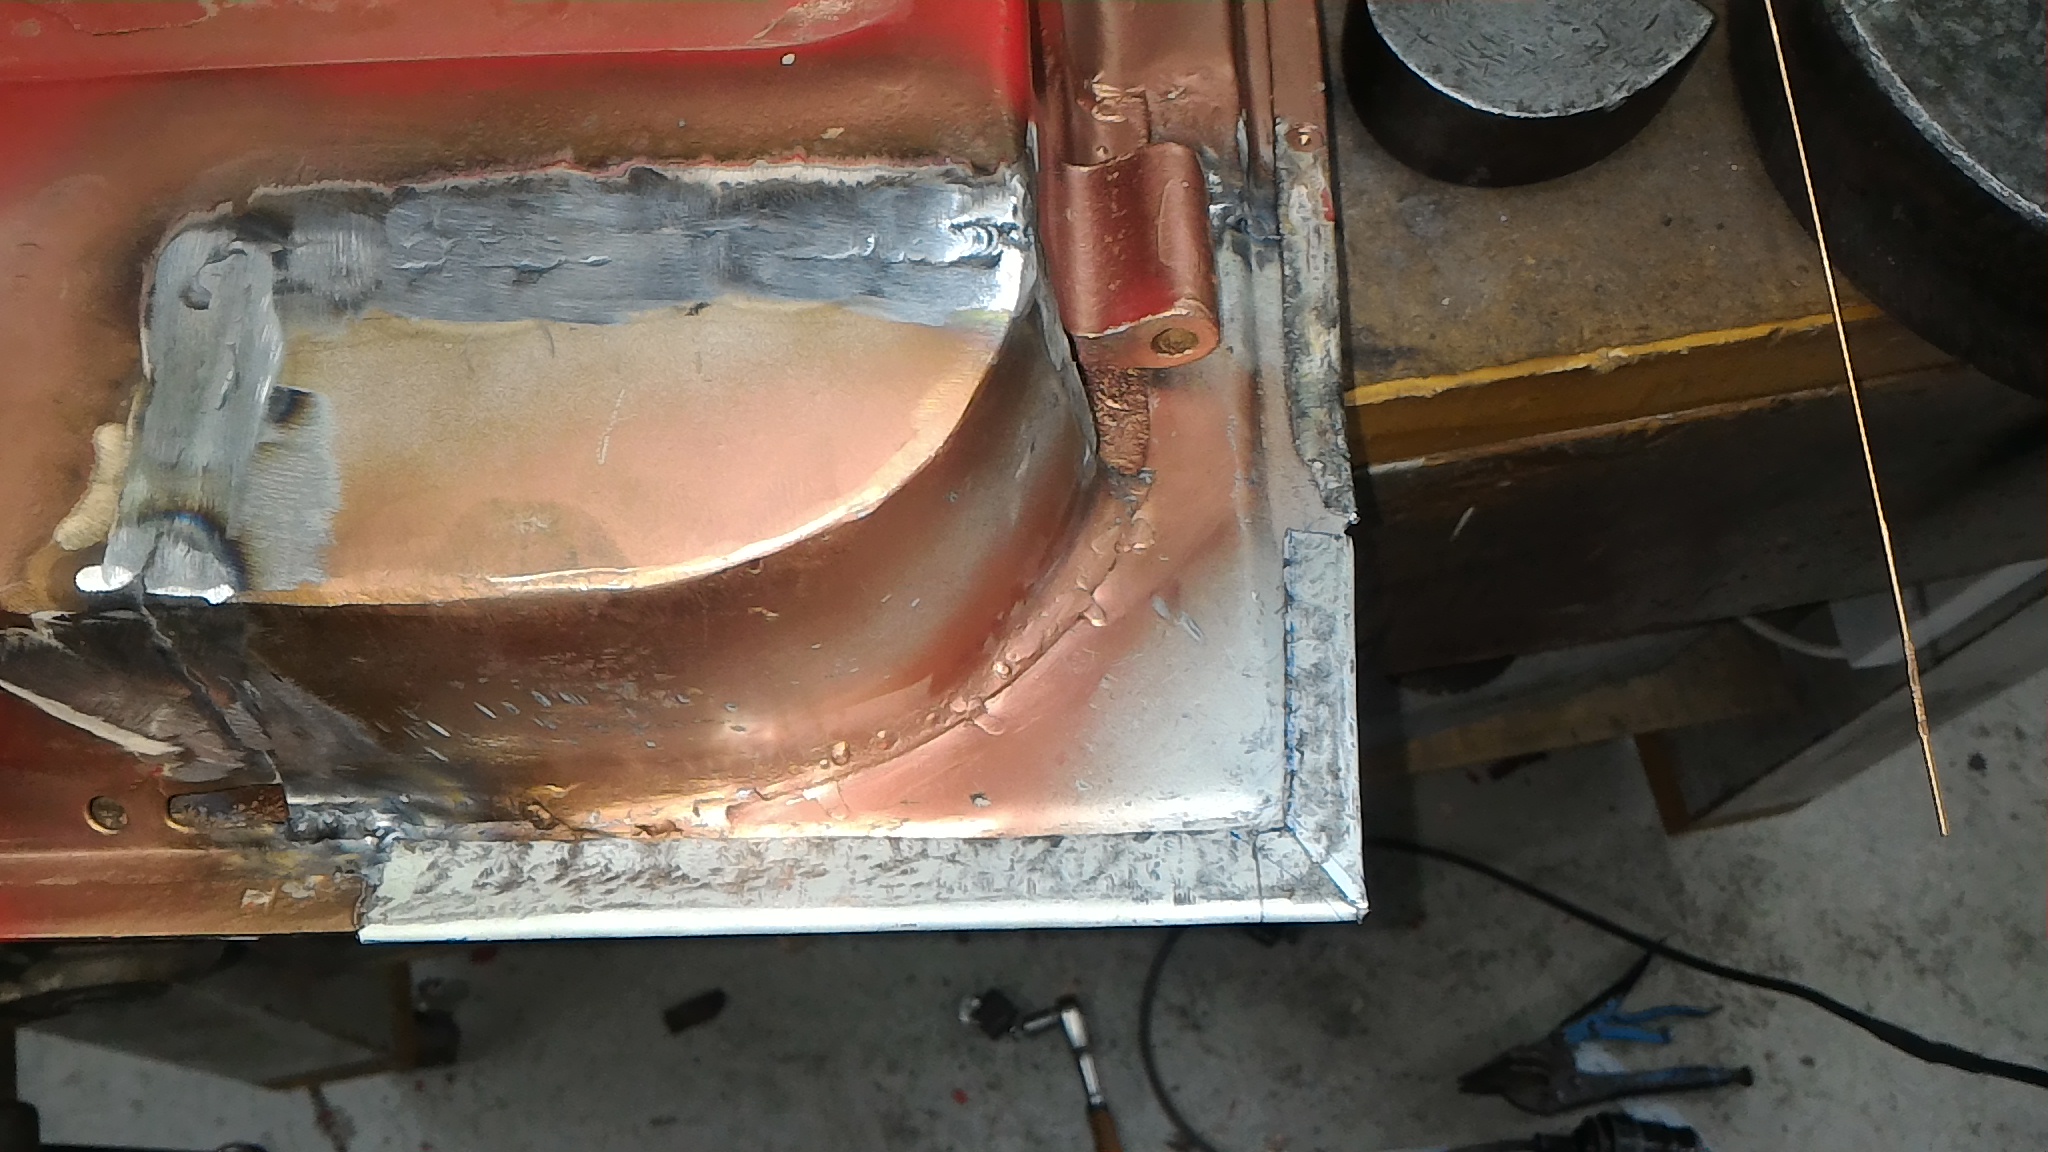
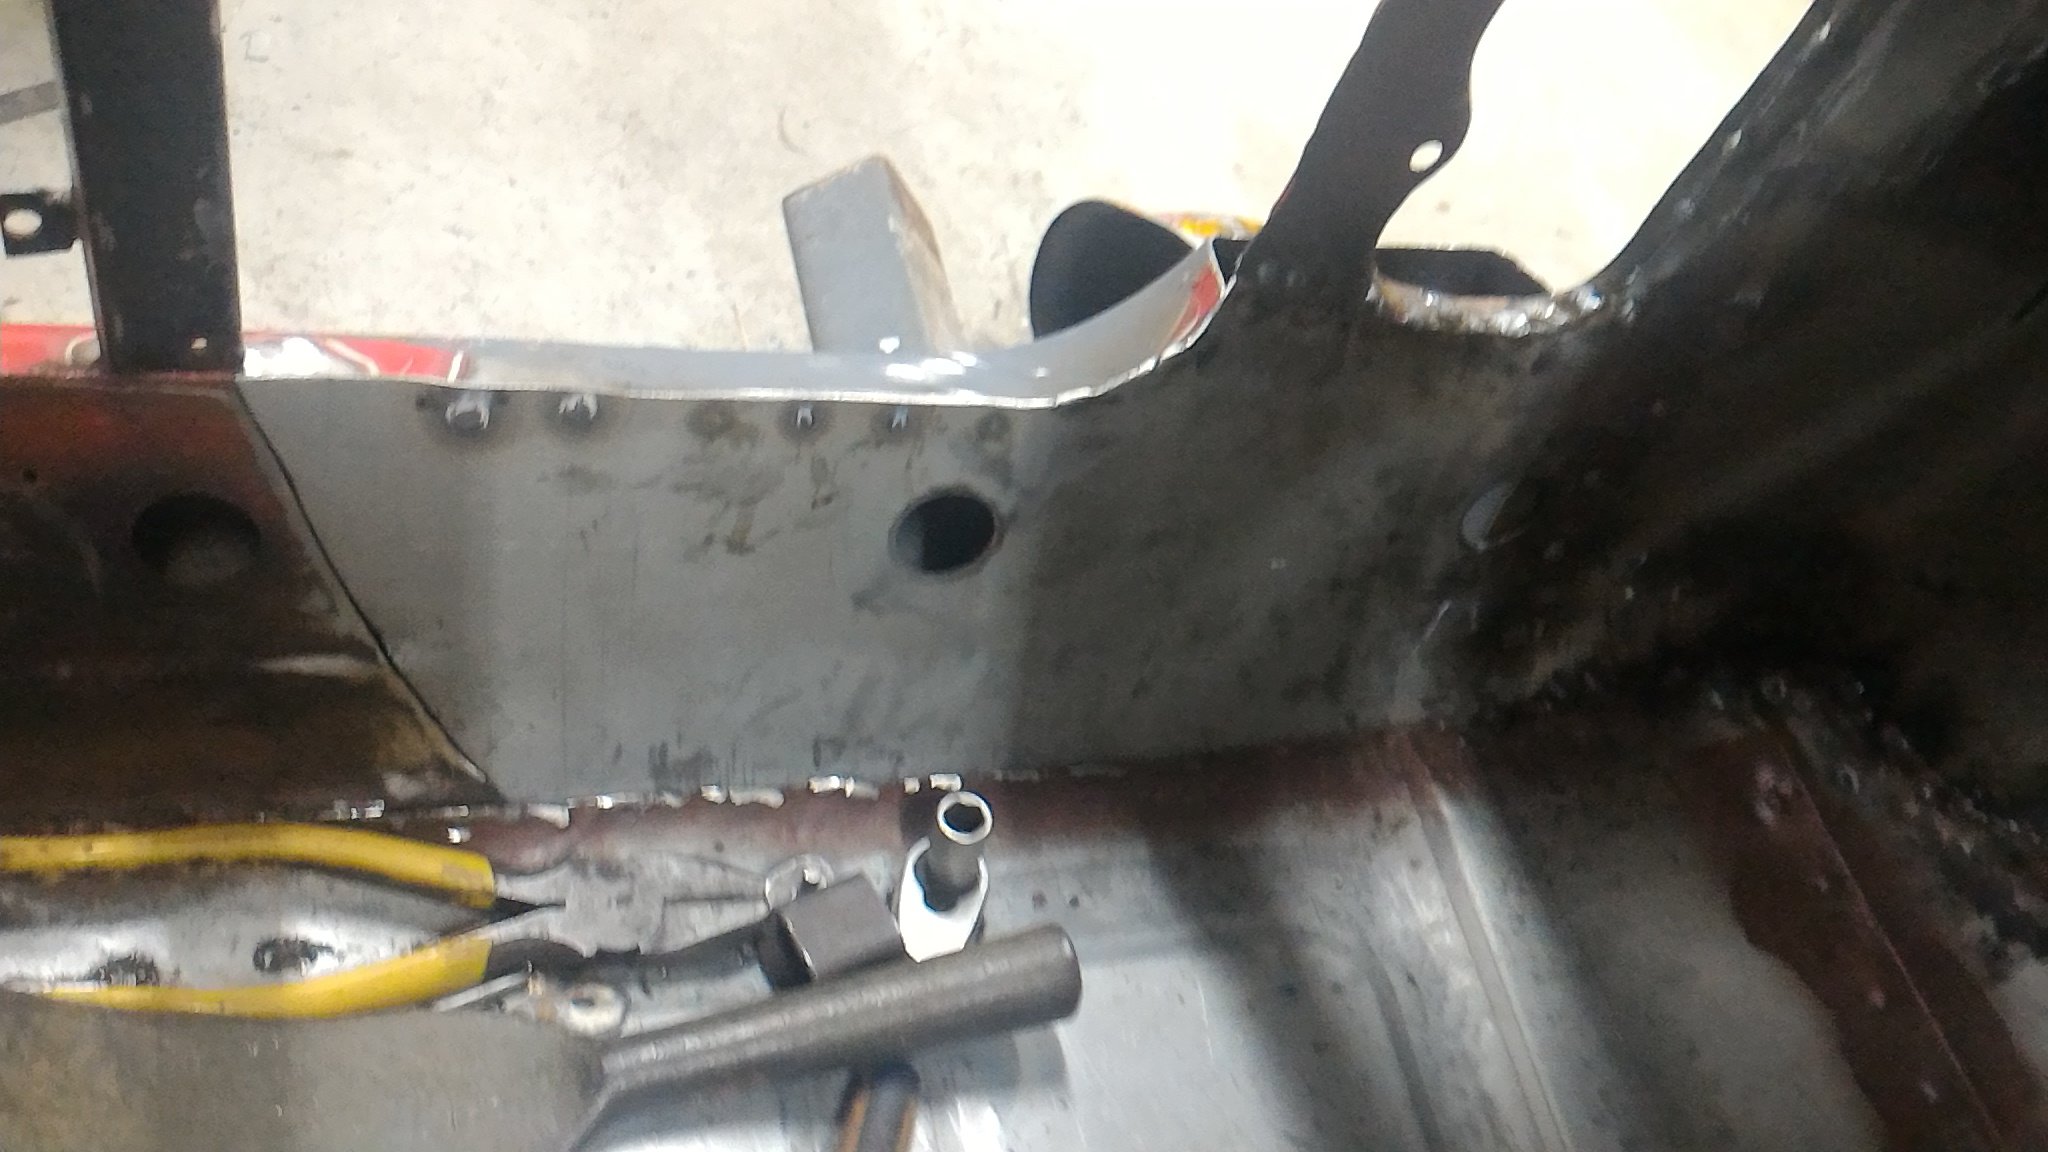
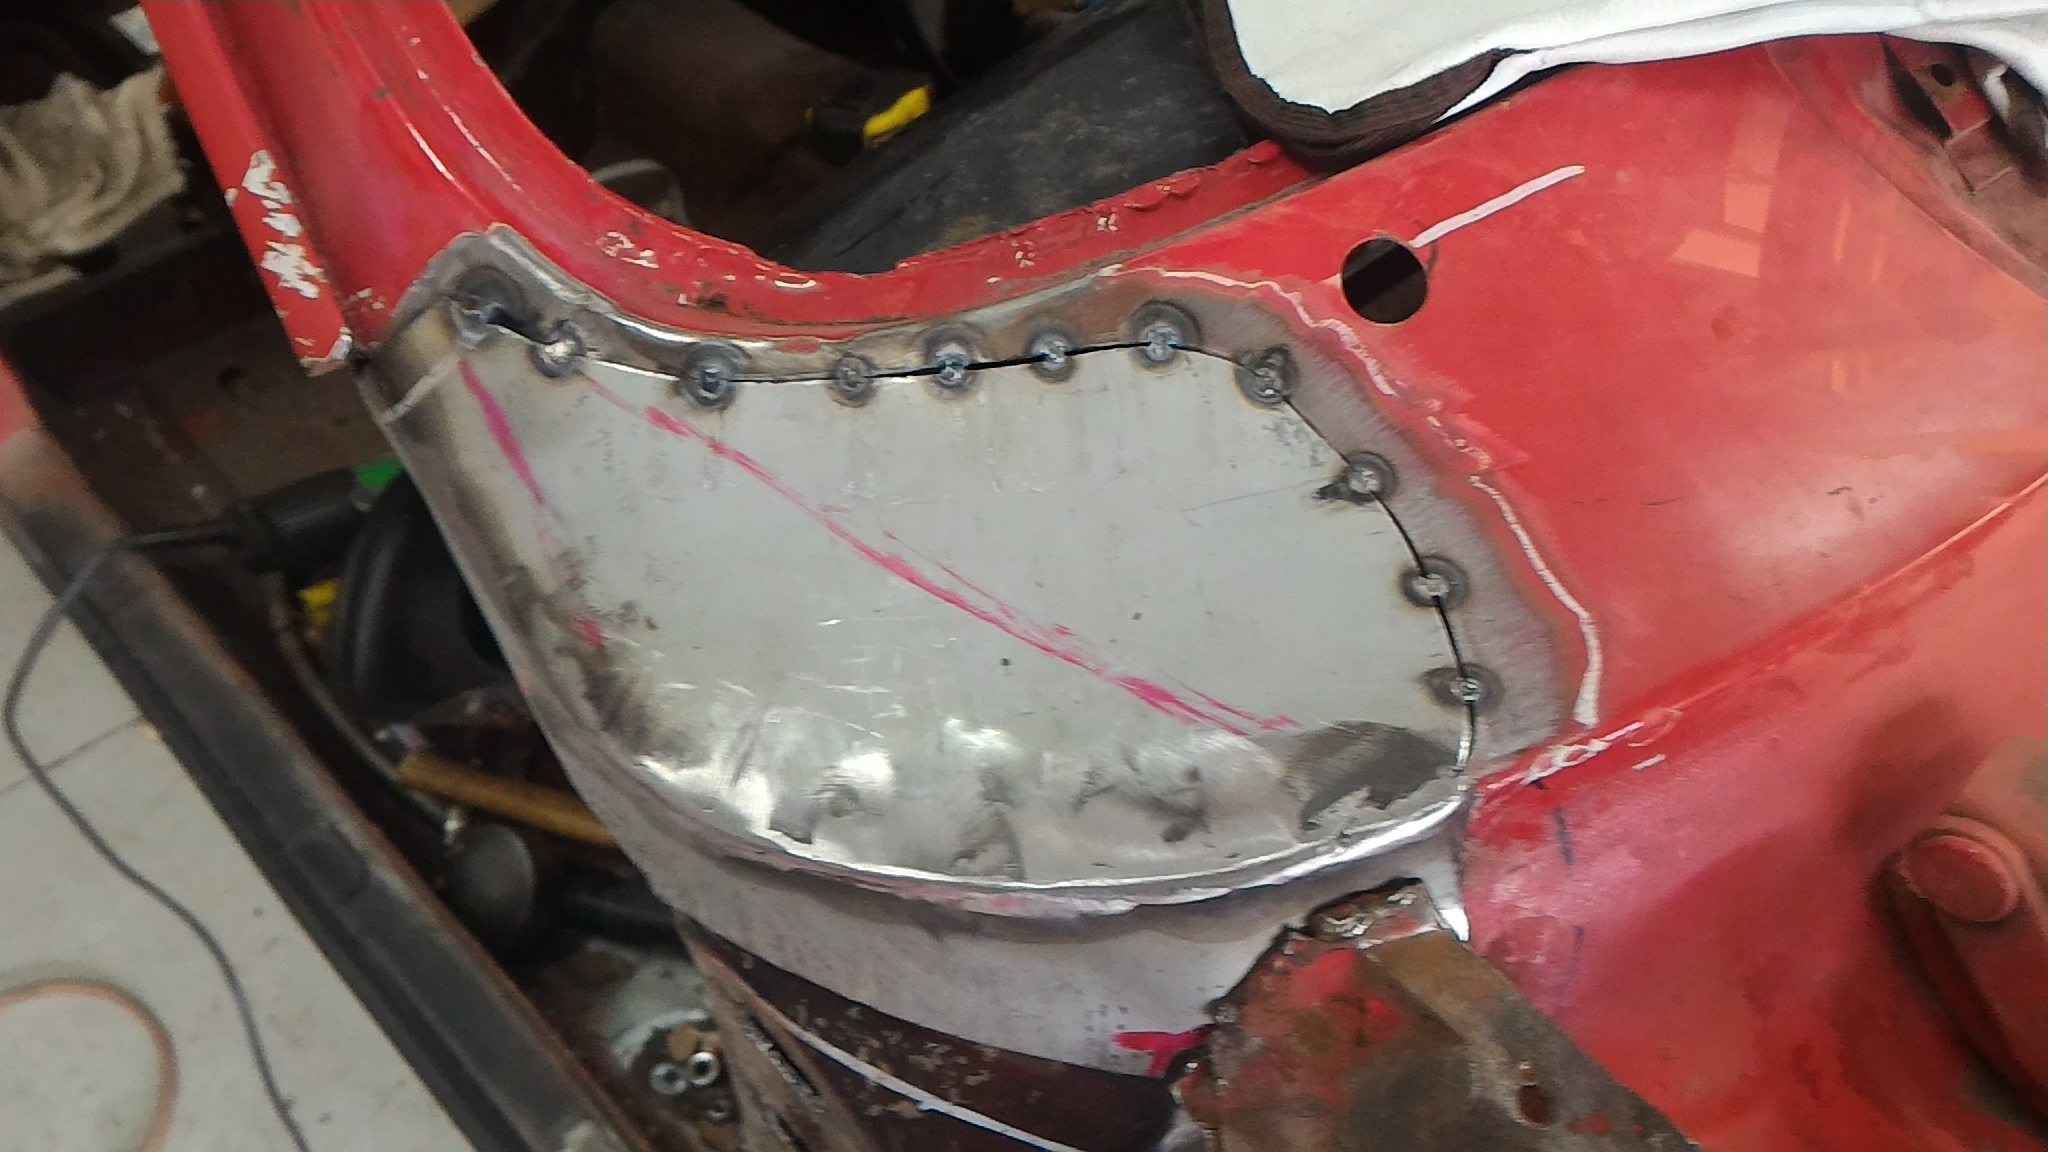
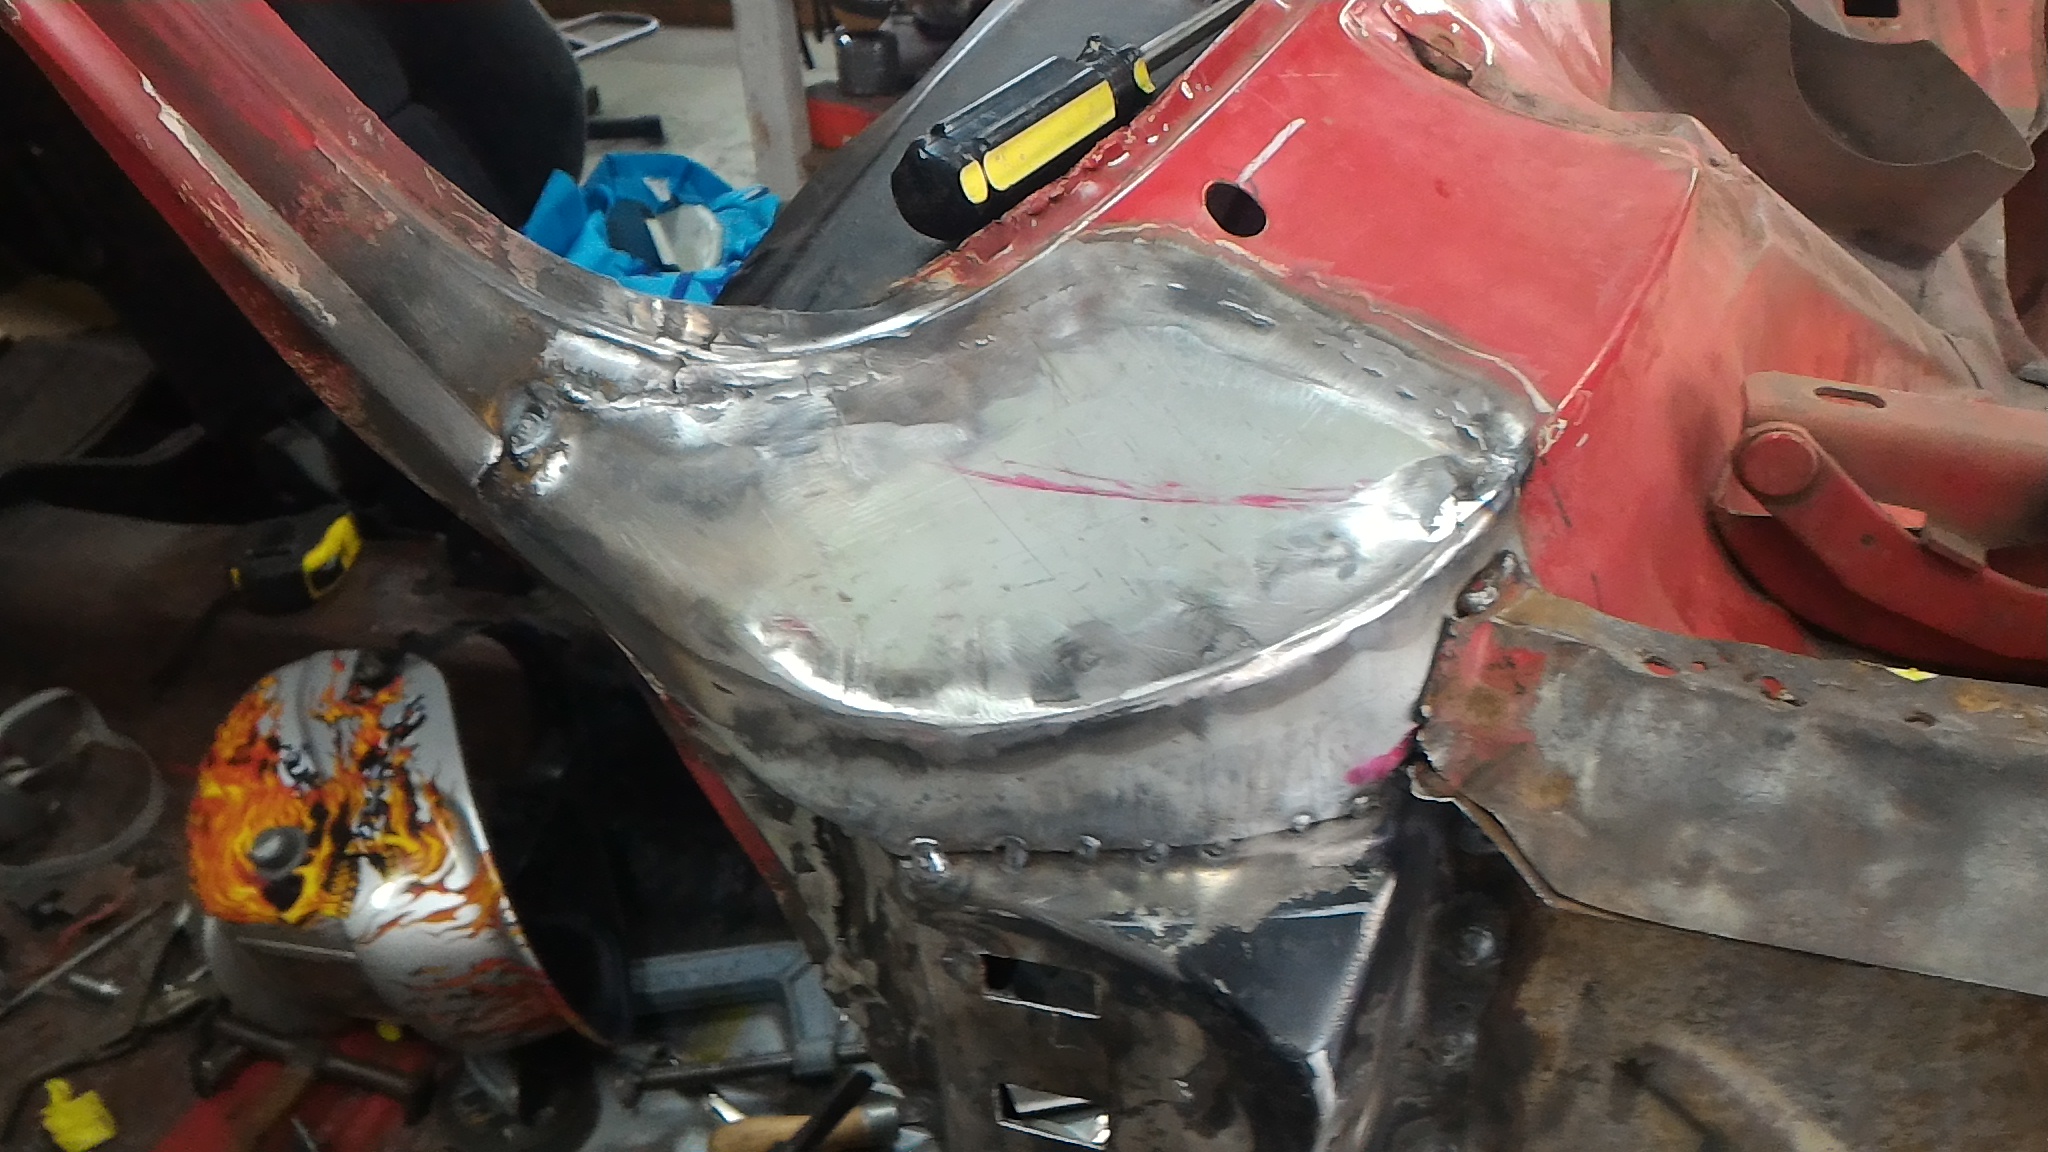
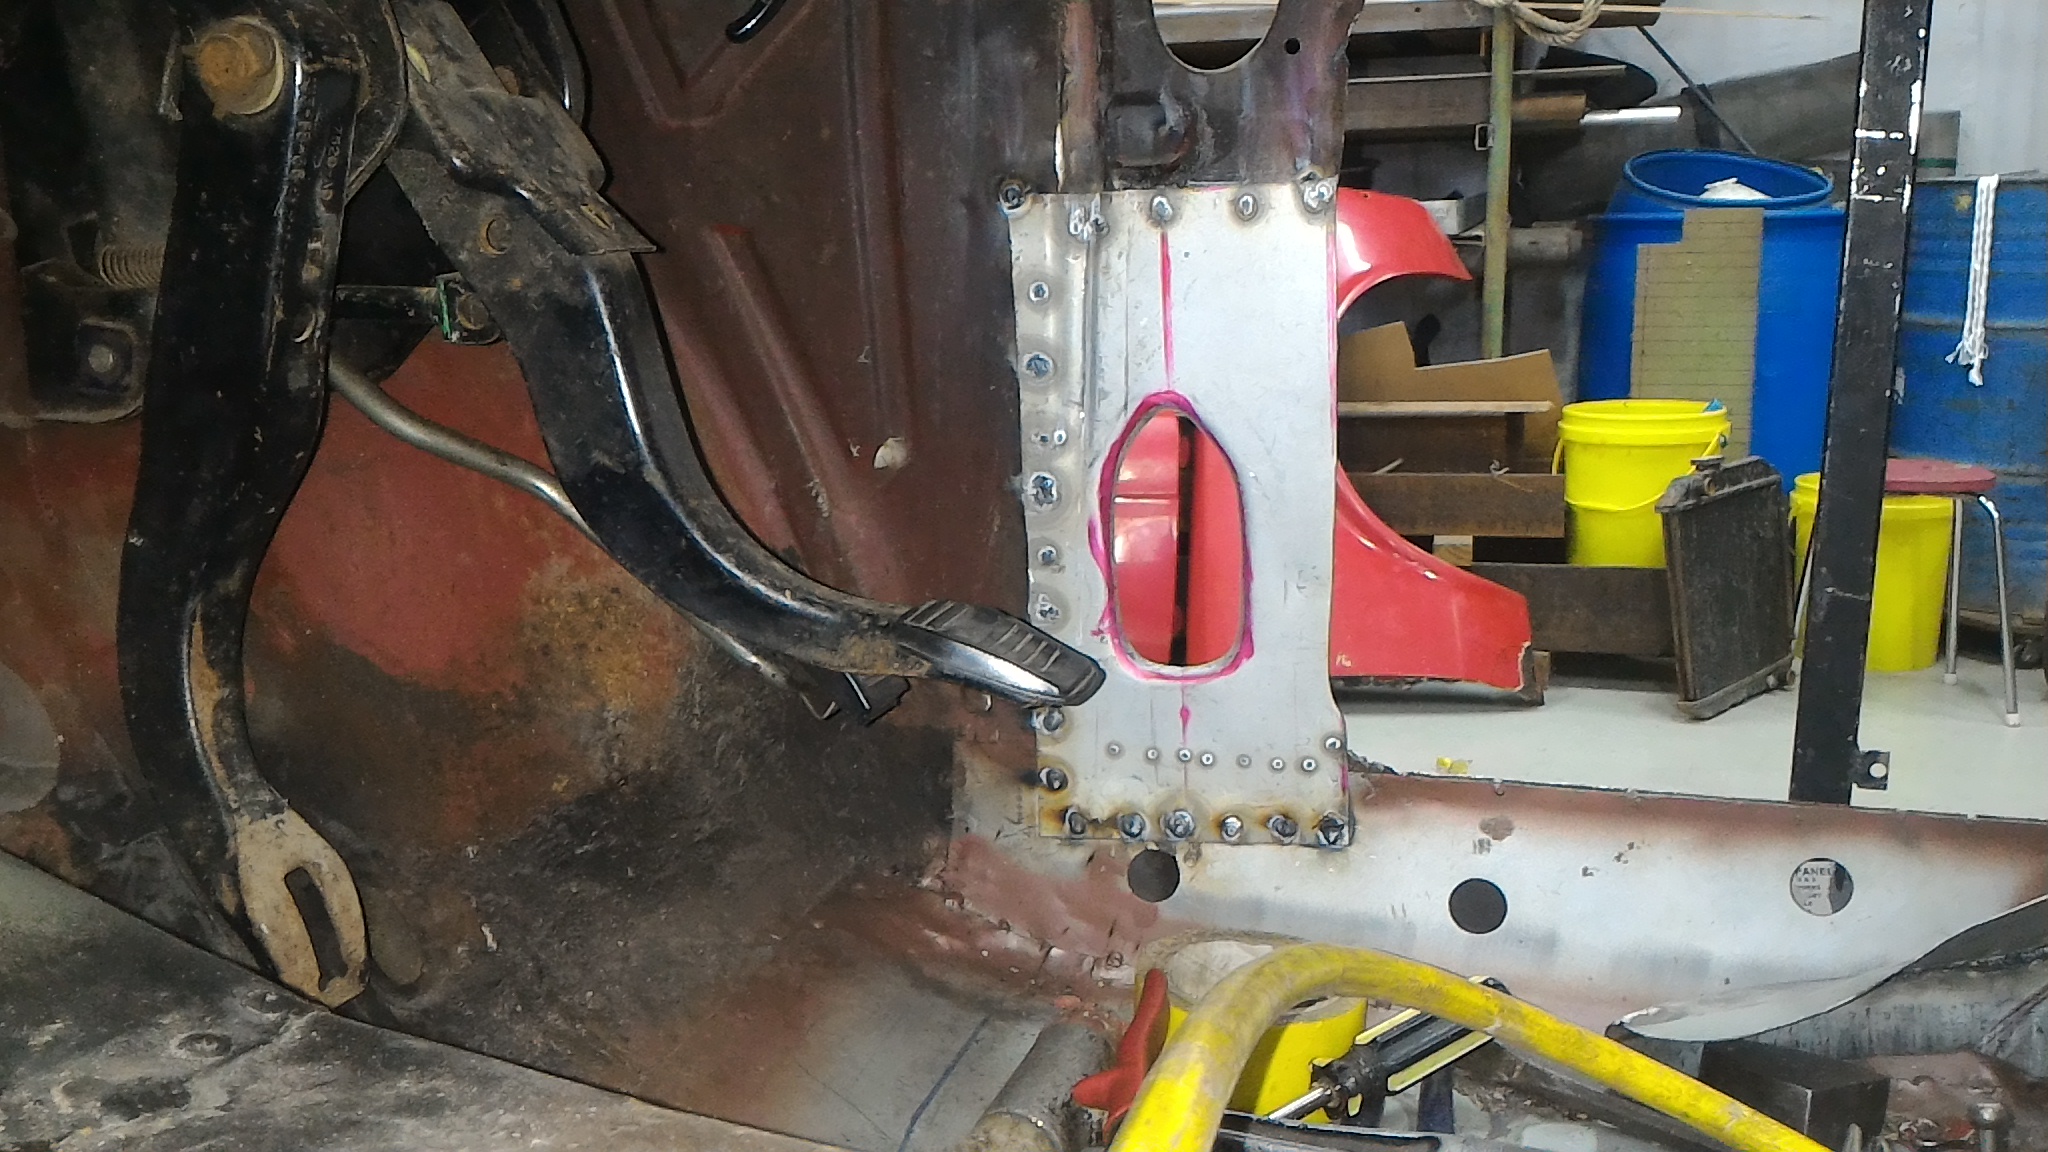
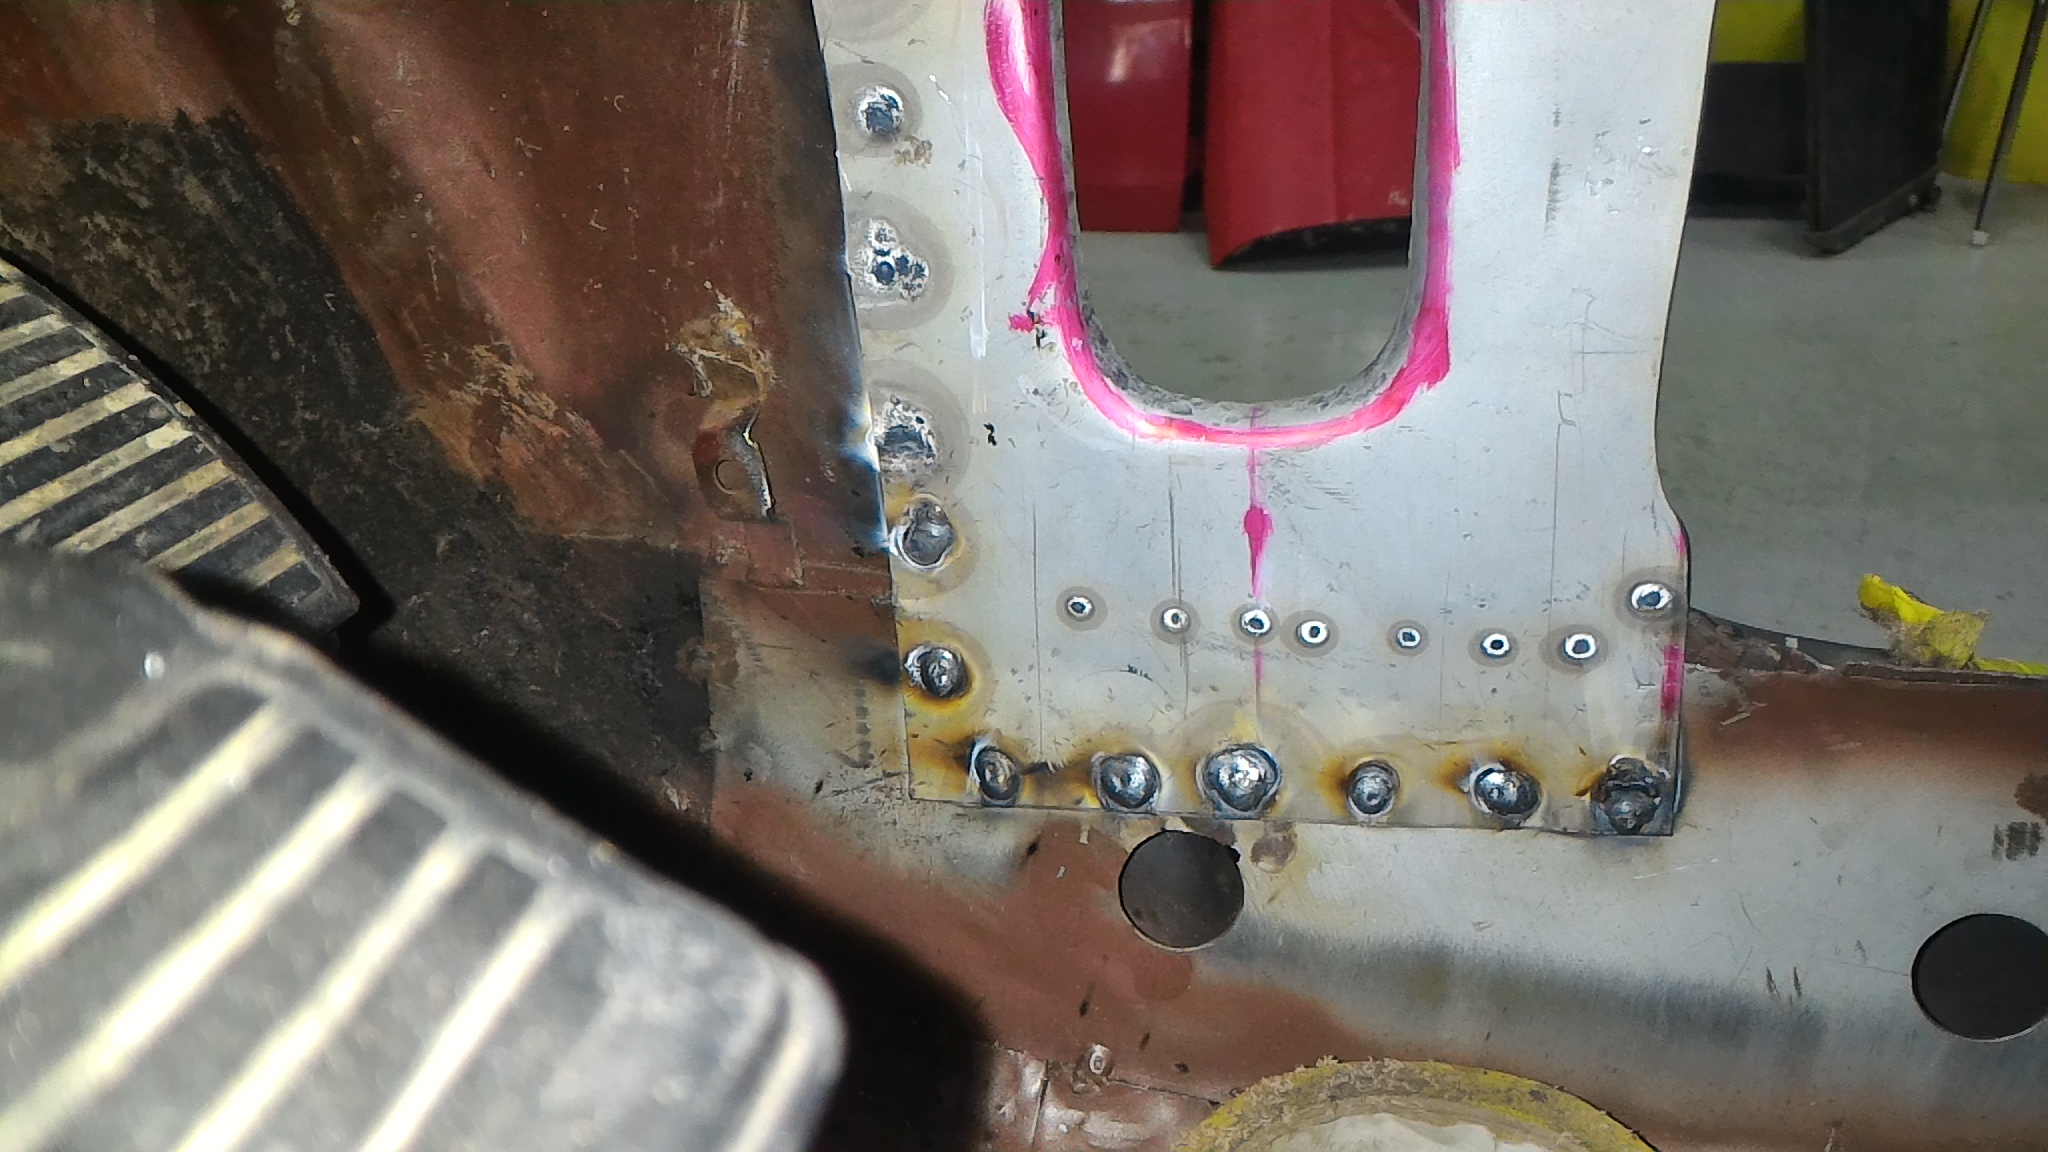
Now it is a matter of working my way around each of the mounting flanges on the guard and putting holes and riv-nuts in the right spots. Before I could do that though I had to enlarge the flange on the scuttle panel that the front bottom edge of the guard would be mounting to. I used a paper template to get the shape of one edge of each part of the flange and shaped a piece of panel steel to fit closely. Then I welded it on. Not how I've used a hugely over sized piece for the job. This acted like a heat sink to help prevent distortion of the welded panel. You can see the paper template for the very front flange folded over in this pic. Then it was rinse and repeat. Tacked, Fully welded (plus the front flange too) Trimmed to shape I then drilled 4mm holes in the desired locations for each bolt and clamped the guard into place firmly. By pushing a vivid into the hole from the back and spinning it I was able to find the location of the holes on the guard flanges. These were then drilled out and fitted with riv-nuts. Looking good. While this was happening I did a similar job on the A-pillar flange and got that all mounted up but neglected to take any photos. Again, I'll make sure I do when I do the driver's side guard.
-
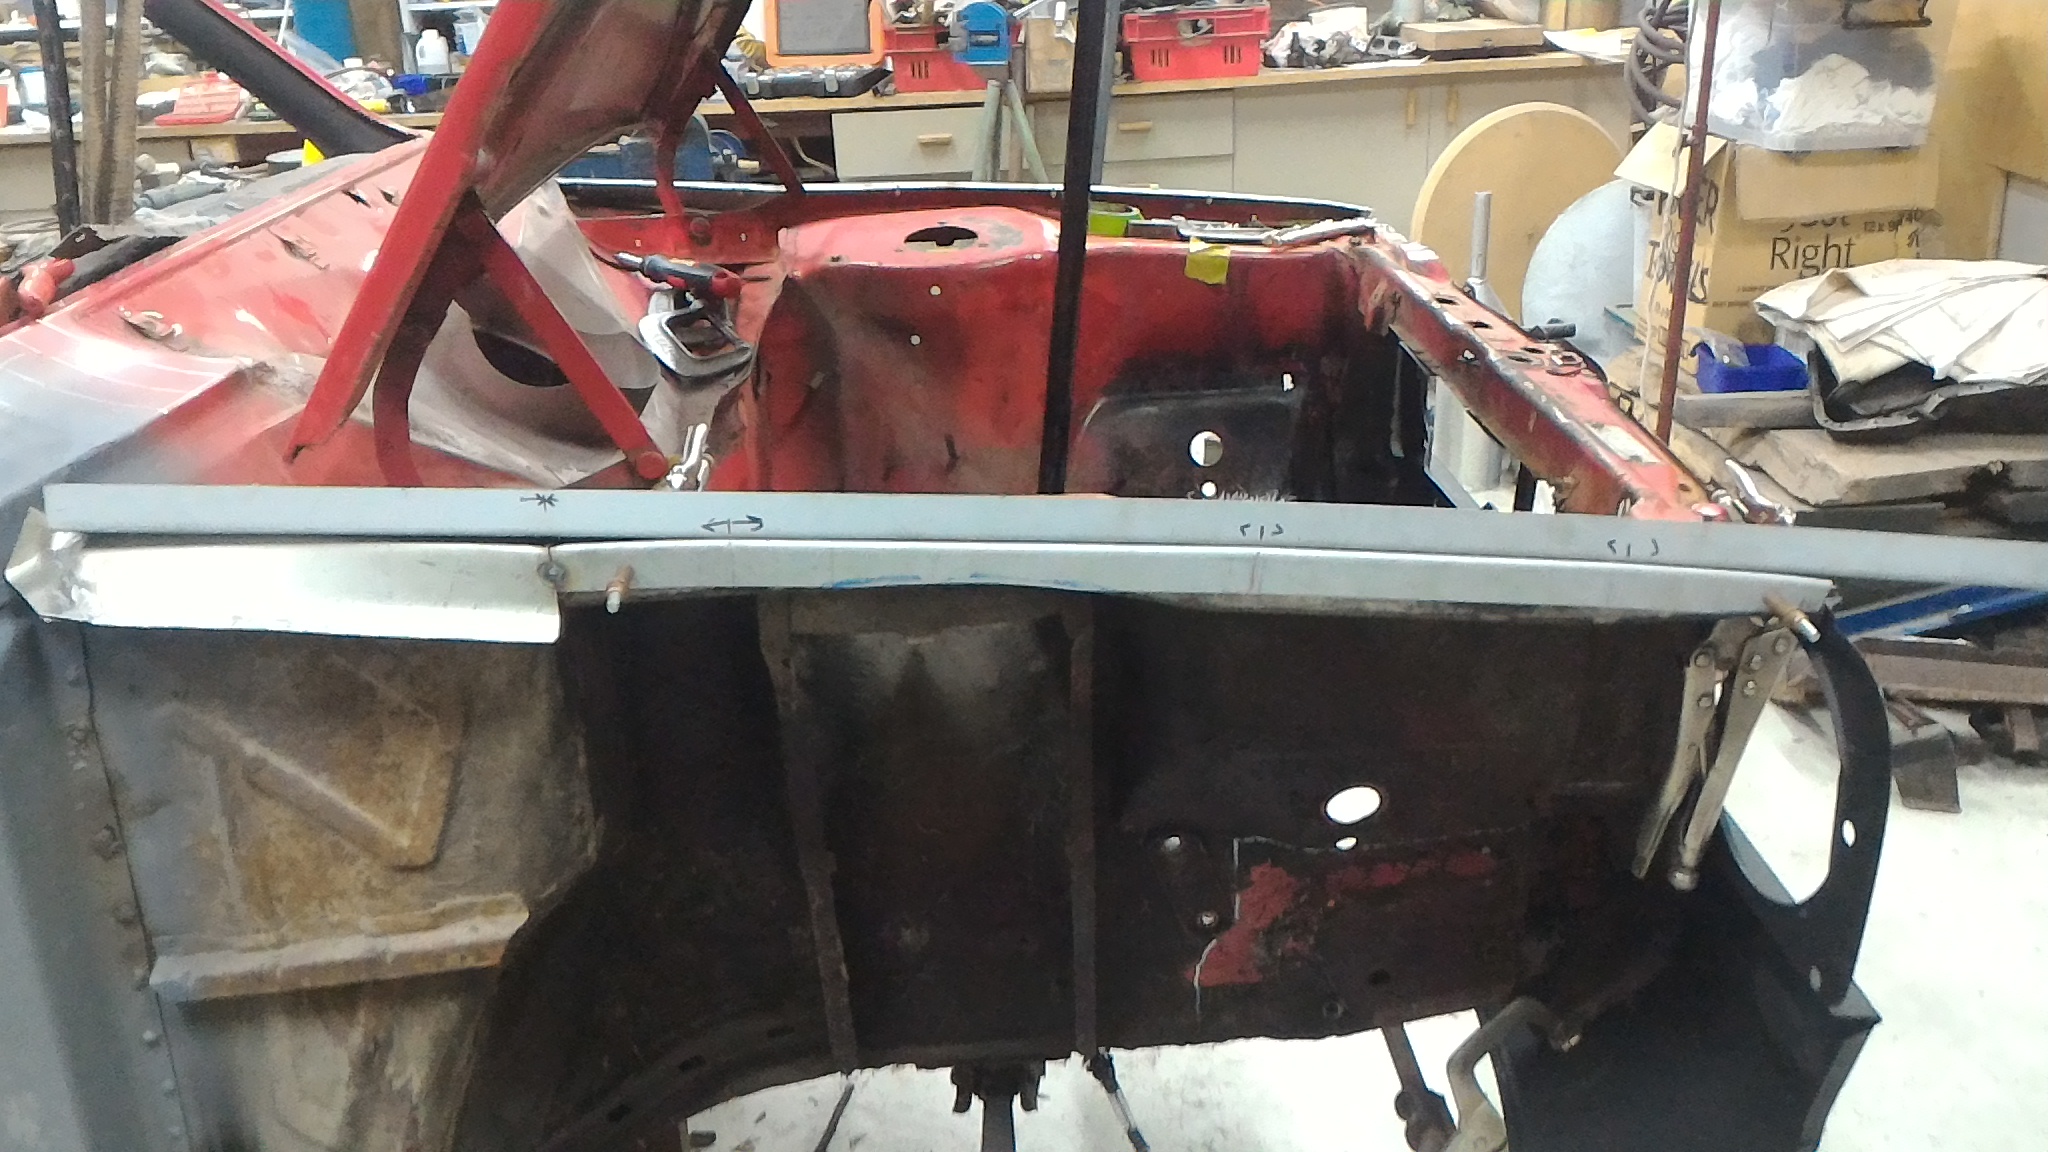
With the front end of the guards all set it was time to sort out the back end. The original welded A pillar mounting flange was pretty buggered so I chopped out all the rot and made a template to rebuild the flange. Then cut it out of steel and tacked it on. Looks good. So I fully welded it on. Then I threw the door and bonnet back on to check the panel gaps Not too shabby. Next was to take the plunge and start putting holes in my panels. I started by drilling a 3mm hole through both top flanges while the guard was clamped in place to ensure the holes would line up perfectly. Then I pulled it all apart and drilled the outer flange out to 7mm and the inner to less than that (I can't remember what it was exactly but it fit the riv-nuts perfectly). I put the riv-nuts in place and pulled them up tight before throwing it all back together with bolts this time to check the fitment. Looks good to me. I learned that the final bolts I'm going to use can be and should be much shorter than the furniture screws I am using to mock everything up, but other than that everything fits up great. I didn't take any photos of making the inner and outer flanges on the top of the guard for this side, but I still have the other side to do yet and I'll be sure to document that when I do it.
-
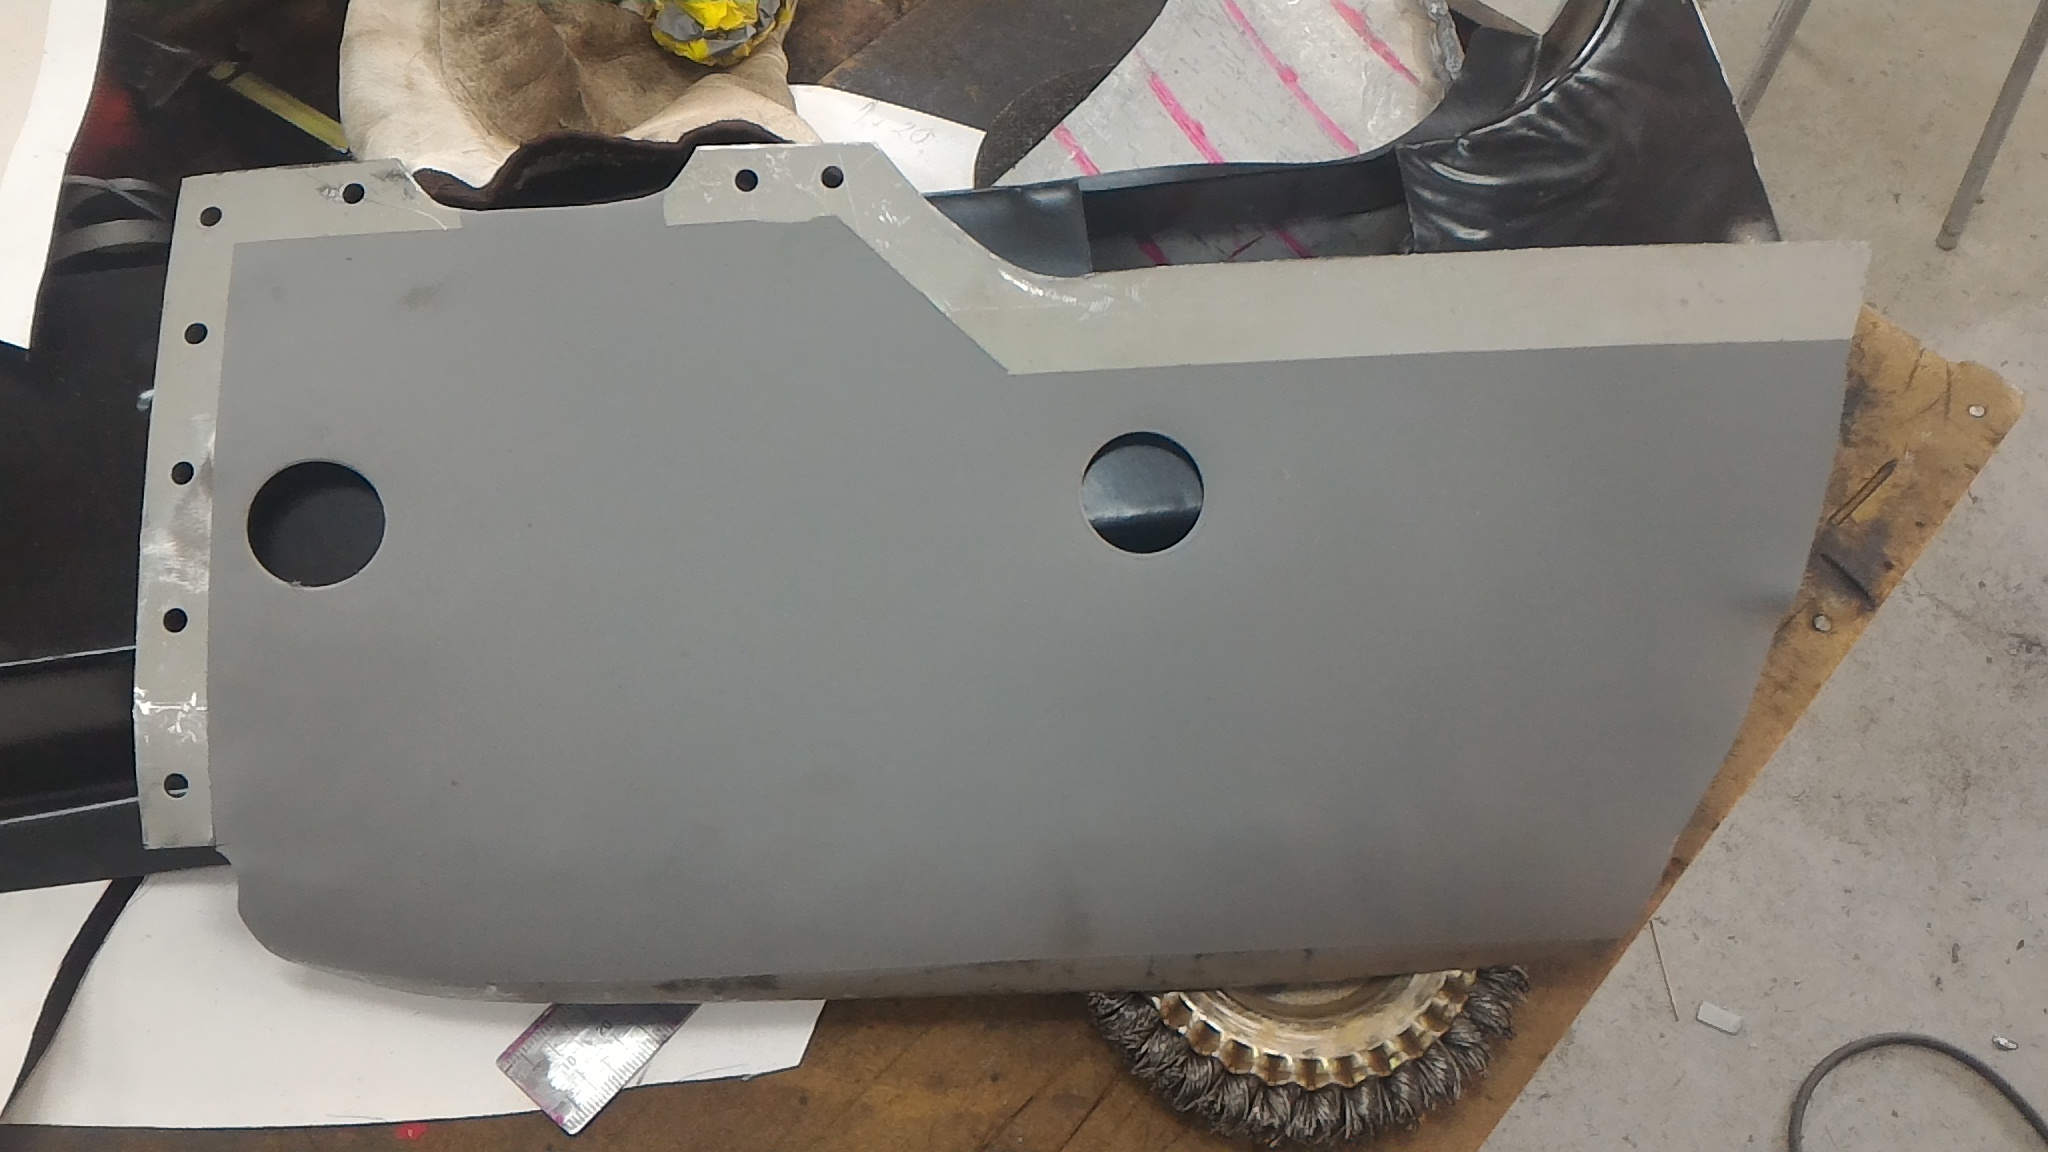
The plan has always been to convert the guards to bolt on to help with repairs and access to the wheel arch and inner wing. If I was made of money I would buy some NOS guards from the UK but because they're so hard to find it would cost me near $1500, or $1000 for brand new fiberglass ones from down south. Either way that is money that I don't have and so I have to go about repairing the ones I have. That first meant making a new inner panel for the top front of the guard with bigger flanges to put bolts through. Originally I was just going to weld some bigger flanges onto what was there but after I looked into it it would be easier to make a whole new replacement panel than weld to the rusty flanges that were there. So it was paper template then steel as per normal. The next flanges I would need to enlarge to fit bolts were those on the inside guard forward of the wheel arch. Here they are tacked into place. So now there is at least 20mm of flange to put bolts through everywhere along this edge. The top front corner of the guard was a mess of pinholes so I filled them up carefully with the TIG but no matter how careful I was I blew some holes and had to put a fair bit of filler wire in to fill them up. Ultimately this made for a nice smooth outer skin but a lumpy mess on the other side. It was also in a really hard spot to get to to grind it back and because of that it was stopping my shiny new upper panel from fitting anymore. So I decided once again to do what I should have done in the first place and cut the affected area out and replace it with good new steel. Firstly I had to cut out the shitty piece... Showing me this on the back side Then I had to get around to making up a repair panel. It wasn't long before it was looking something like this. And once the inner panel was welded in this front part was done.
-
After that was welded in I made up a skin repair panel, tacked it in place and folded it over. The fold didn't turn out great but I should be able to skim the edge with a bit of filler and it should sort it out. It's a similar story with the skin patch too. Because of where it is there isn't really an opportunity to get a dolly behind it so it warped a fair bit from the welding. It was also a bit heavy gauge steel for a skin which didn't help. If I were to do it again I'd probably weld the skin patch in first so I can beat it a bit then weld the inner panel in afterward since it's not as crucial to get it straight. The right way would have been repairing the inner panel and fully replacing the door skin so if anyone has a cheap mk1 escort door skin replacement panel available let me know and I can do the whole lot properly and feel much better about myself. Either way, there's good steel in there now and no issues bog wont fix. Now I'm going to sack up and tackle the guard issues.
-
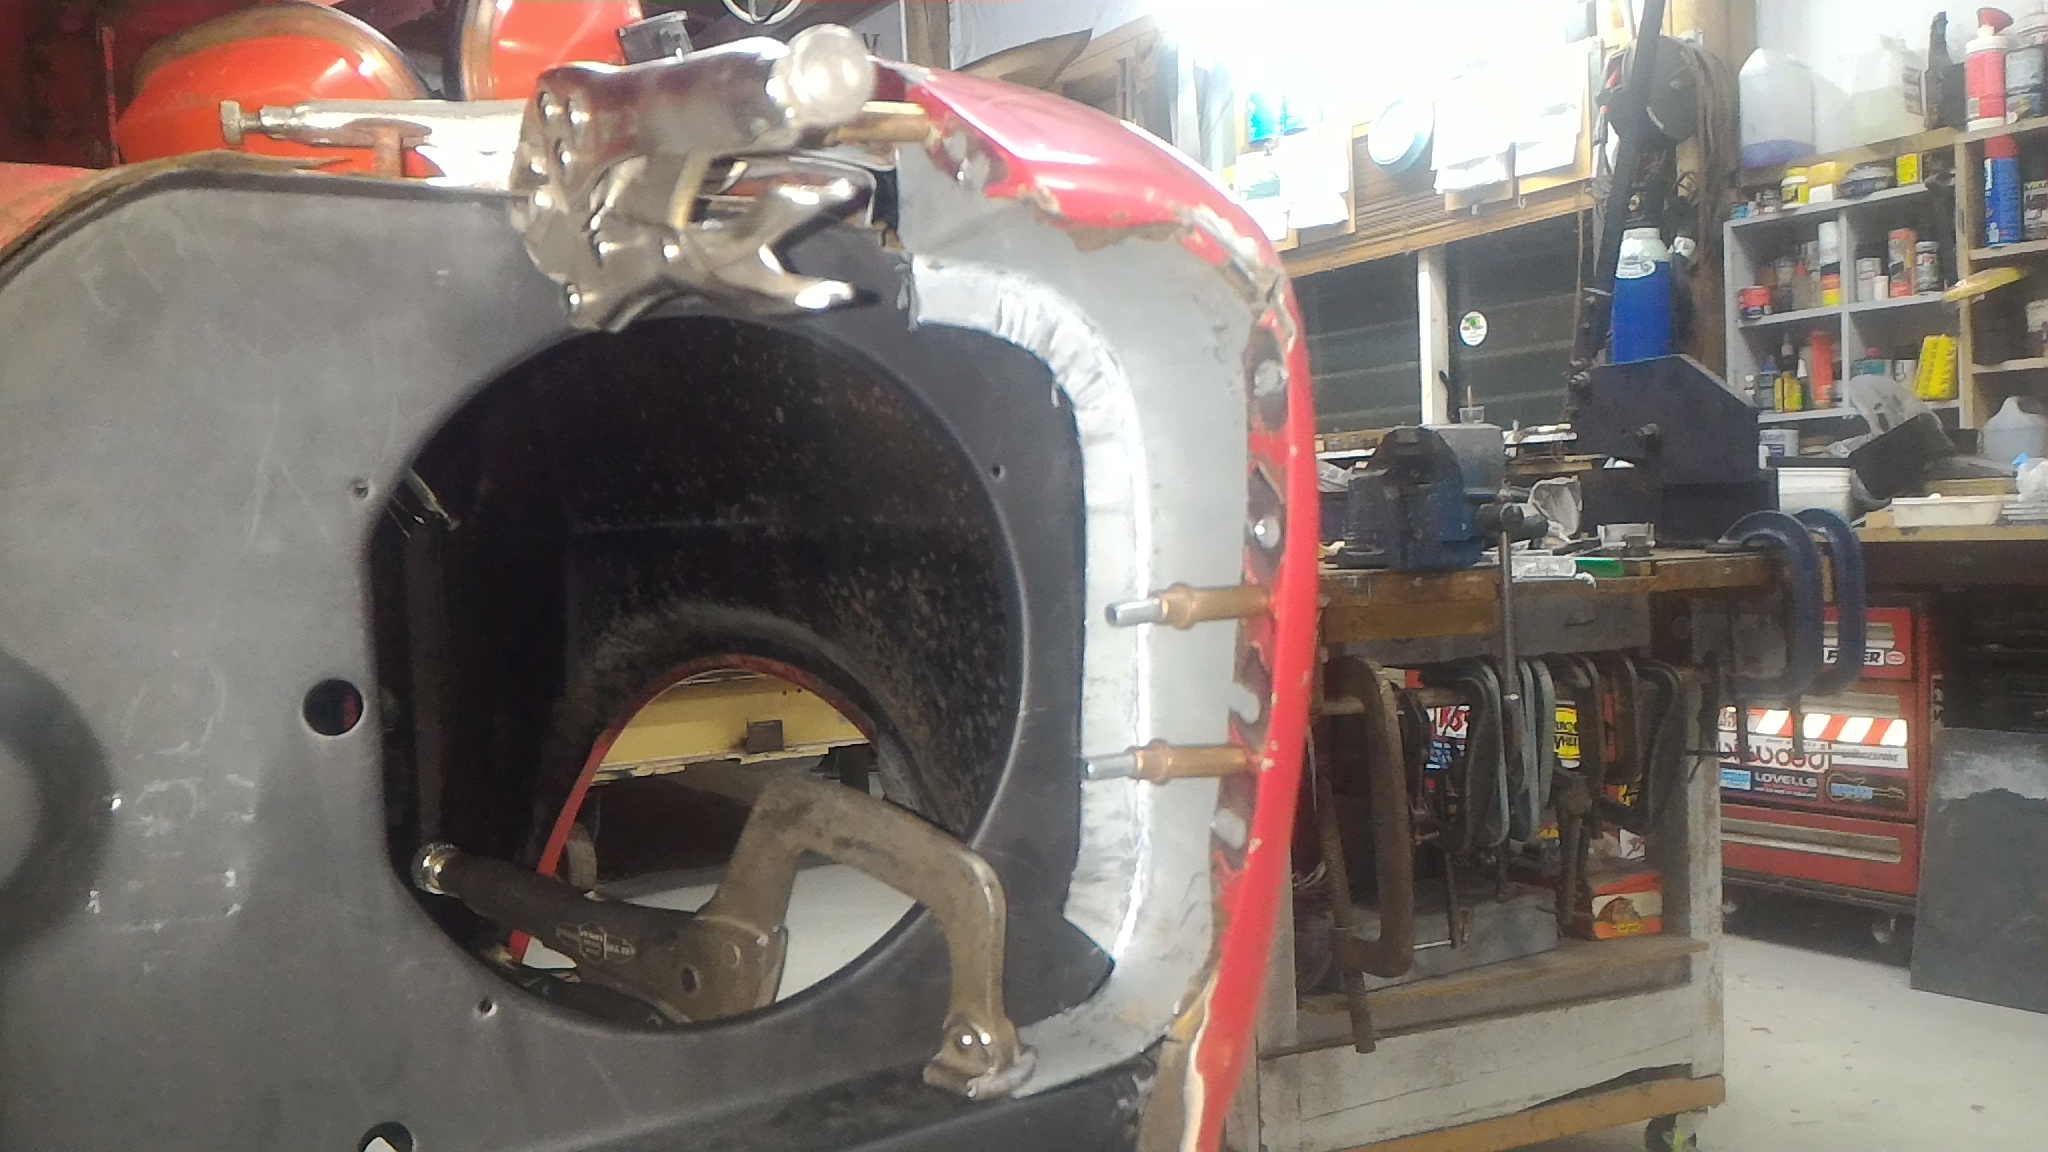
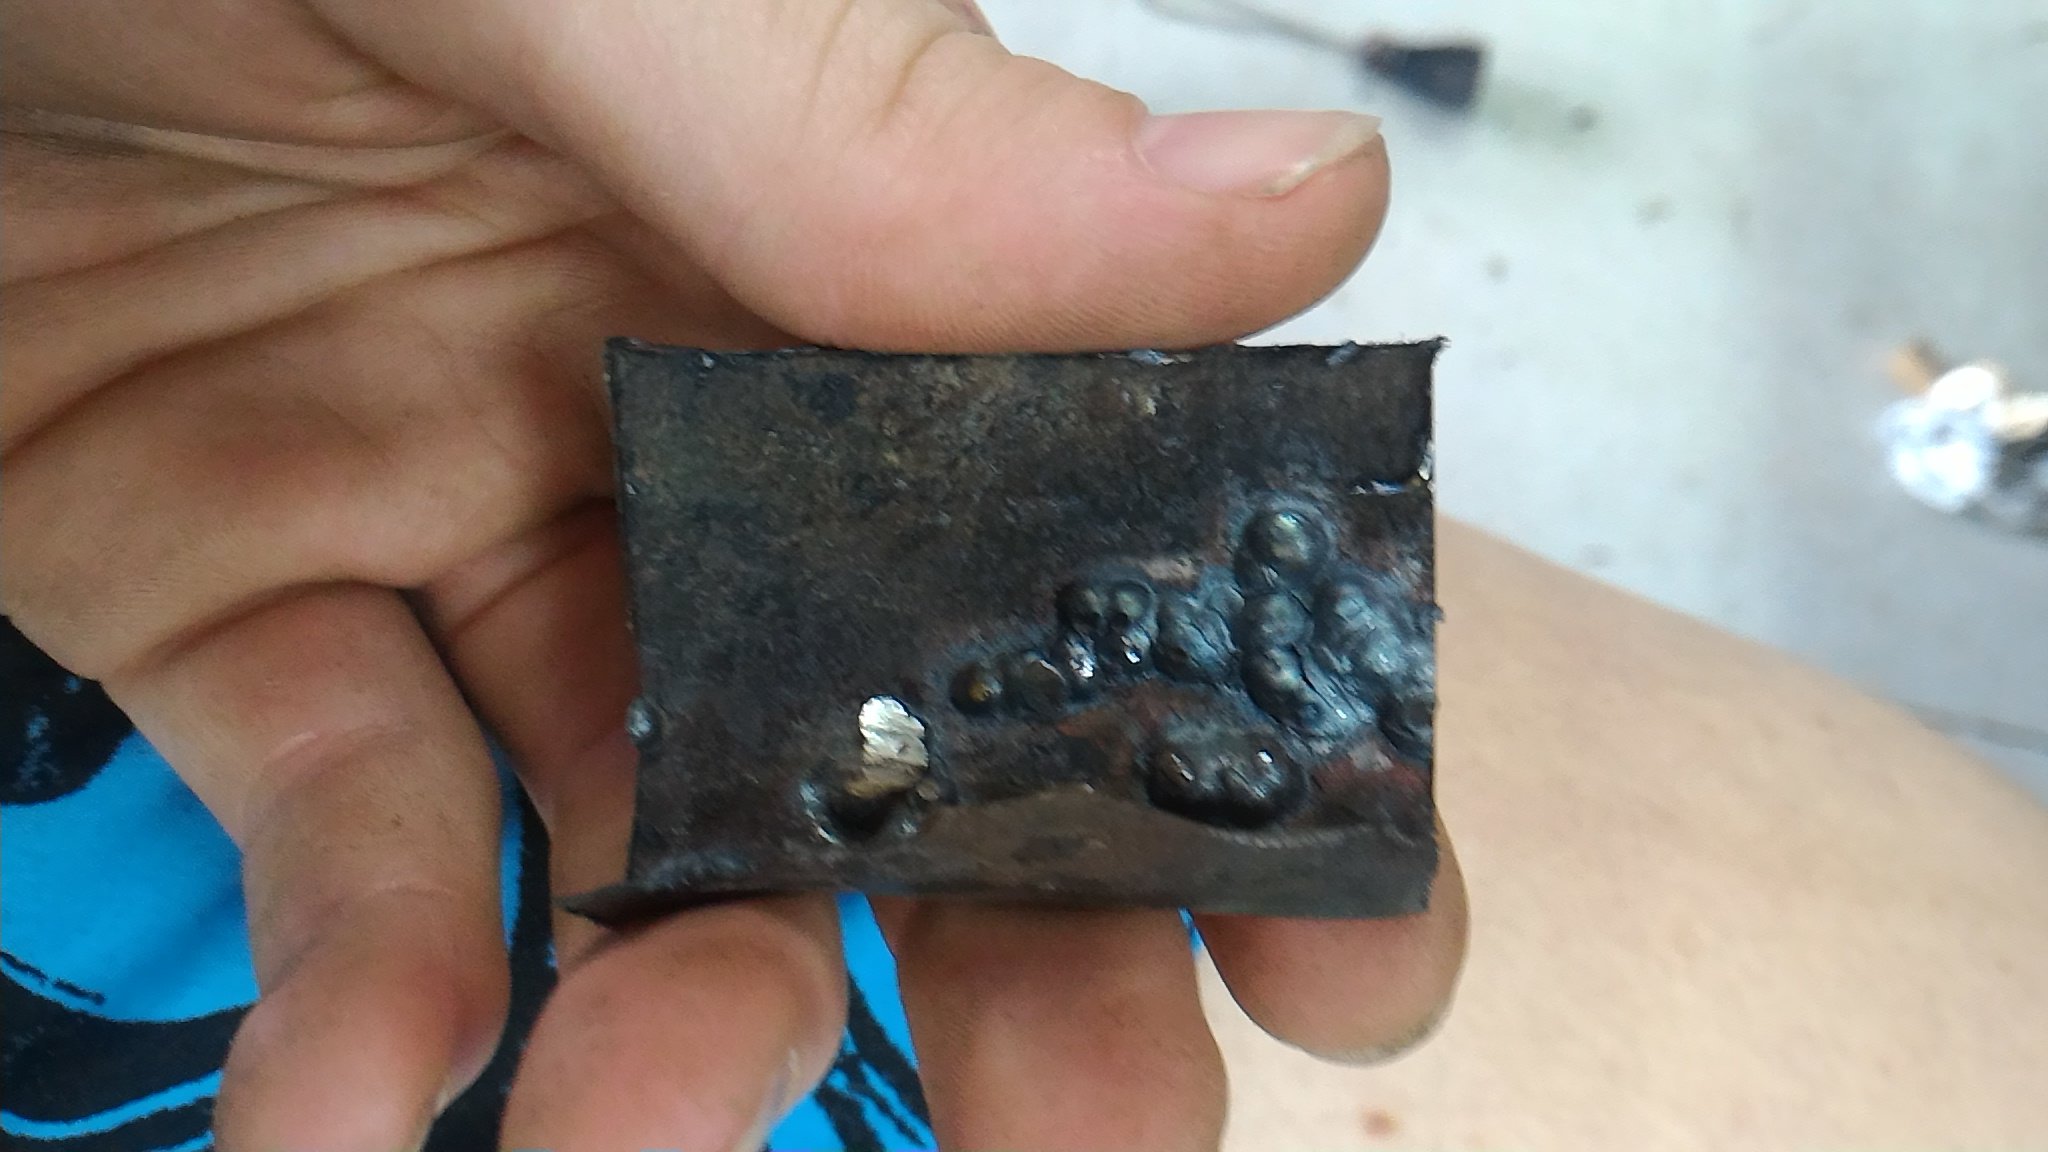
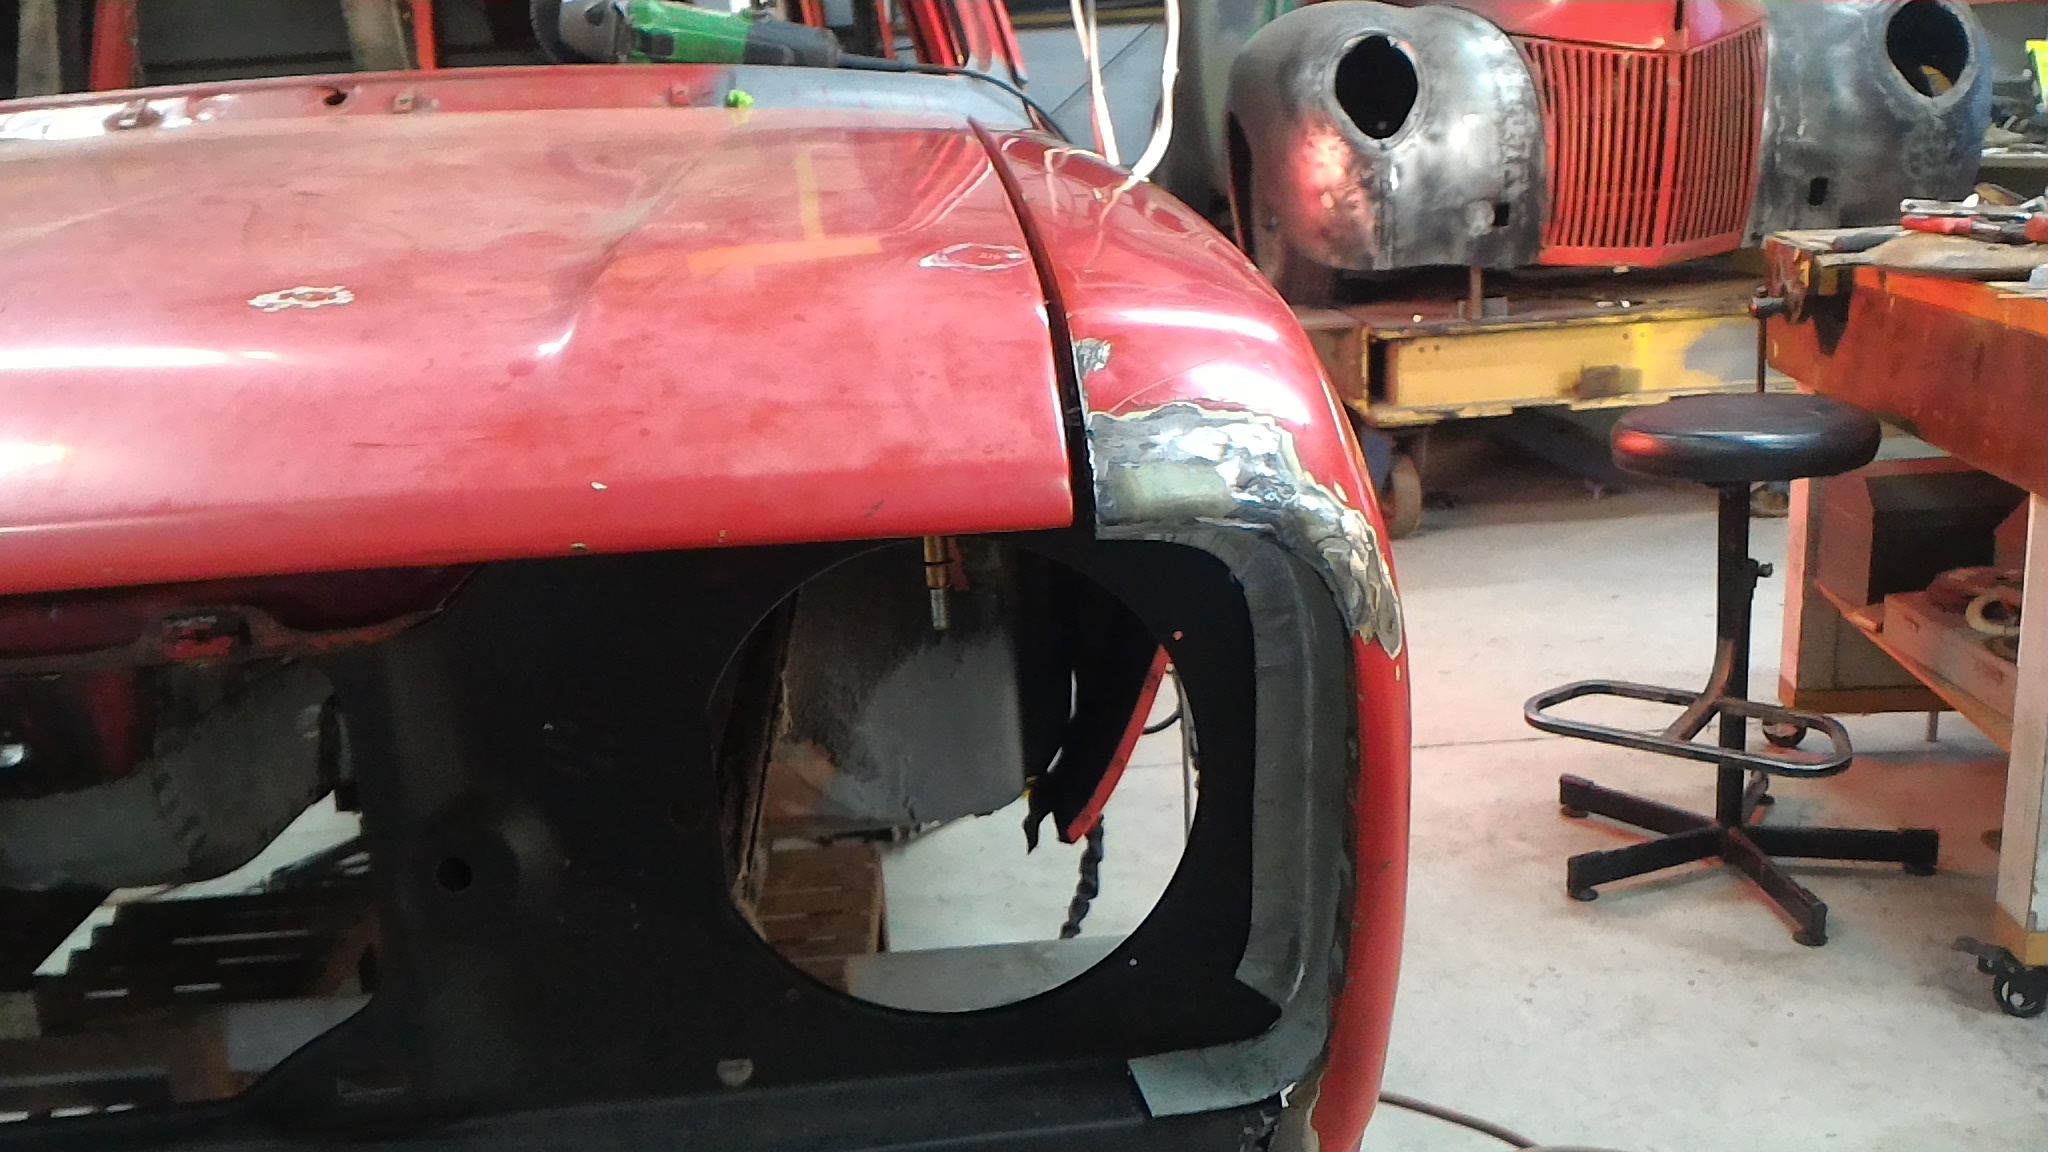
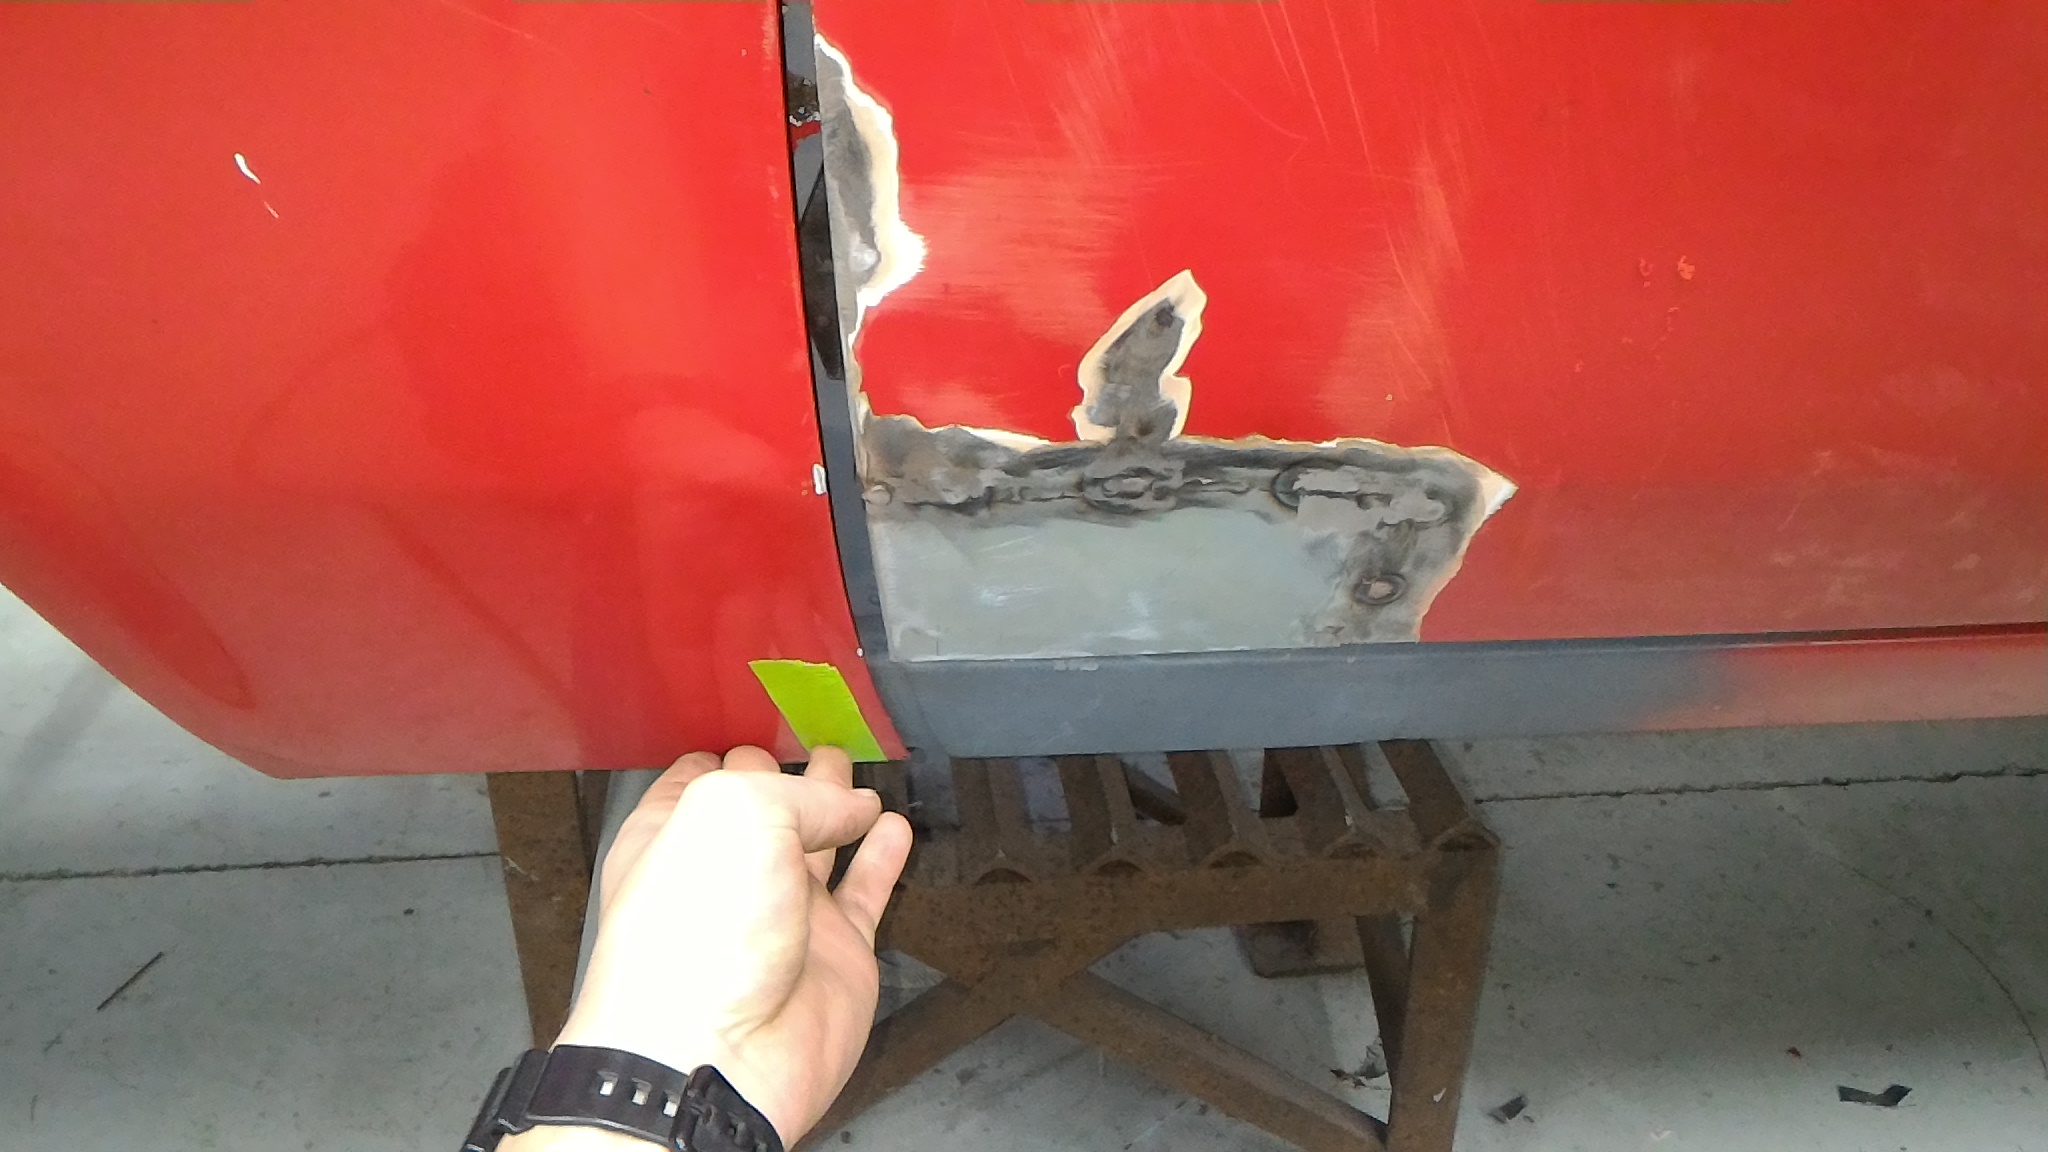
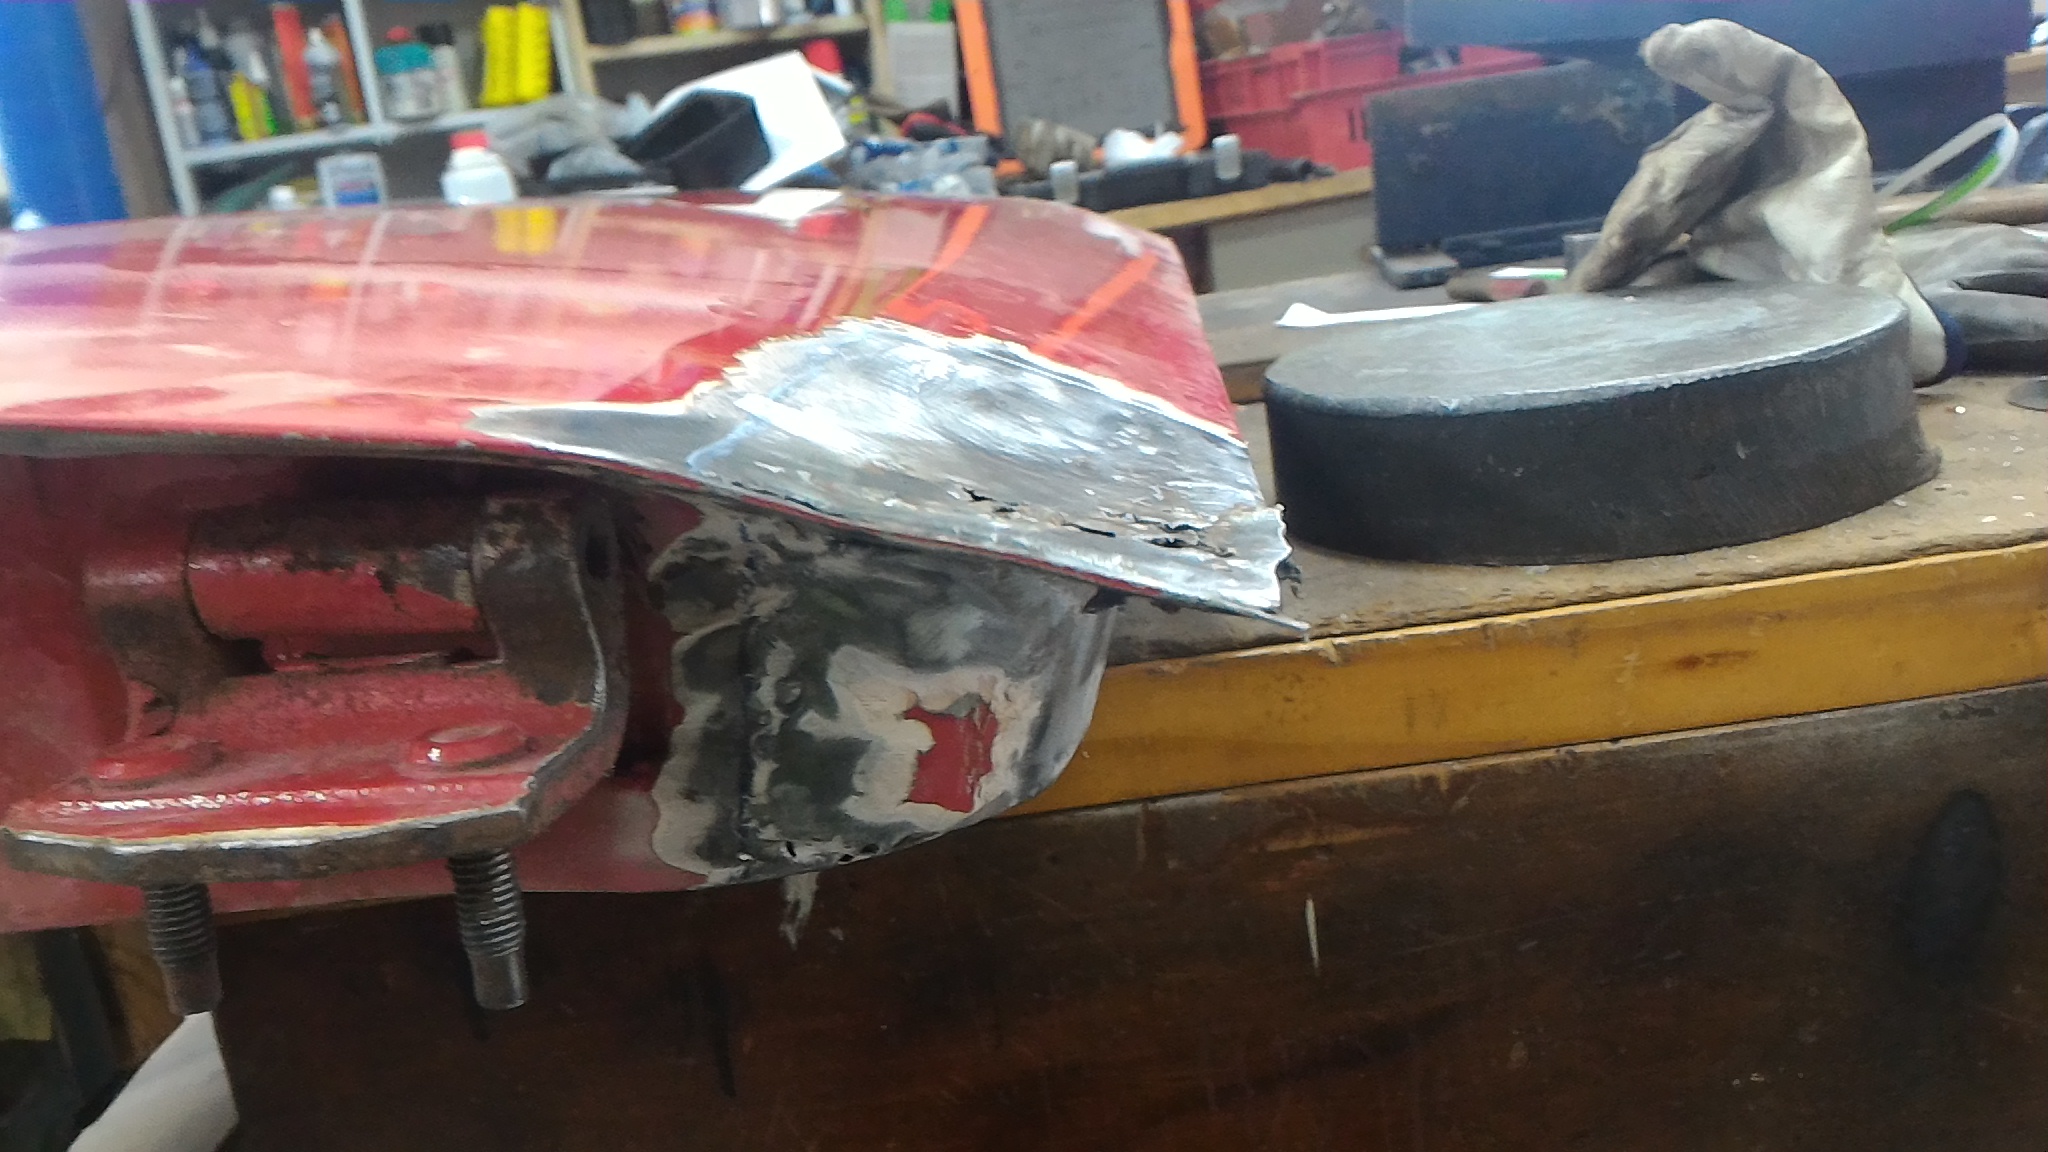
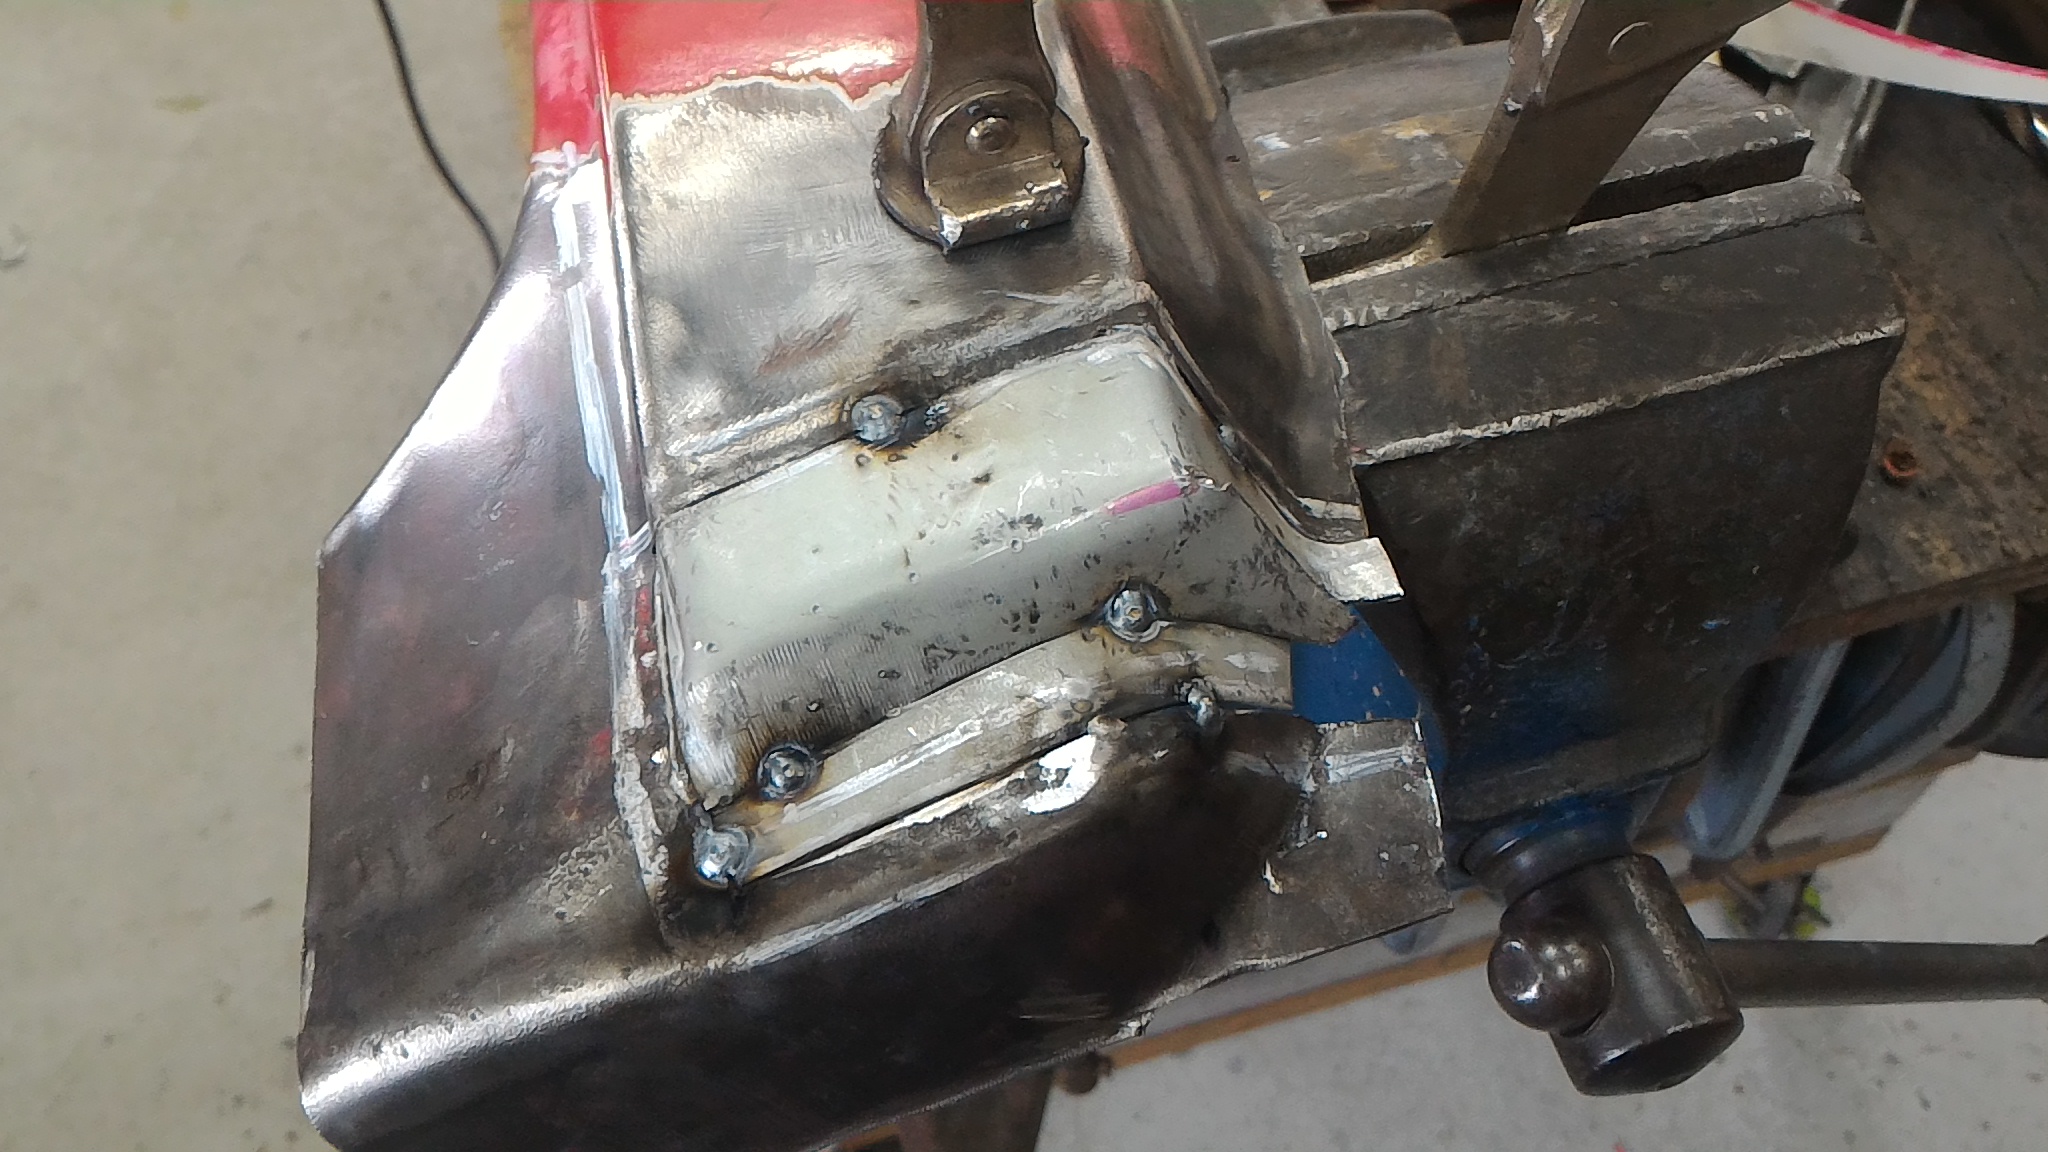
I'd known there was a bubble here for a while but while offering up the guard to see how the panel gap was I pushed on the front bottom corner and the hole thing flexed with a distinctly crunchy sound. So I chipped and wire wheeled the bog off the top and found this. Note the "repair." So out came the slitting disk and out came the rot I would have liked to go higher up the hinge panel but there is a reinforcing panel behind the hinges. It was in good condition and I couldn't be arsed to deal with the can off worms shifting the hinge would have done so it was this far and no further. Then it was time for a template Then spray the paper with some silver paint And bam, brand new steel
-
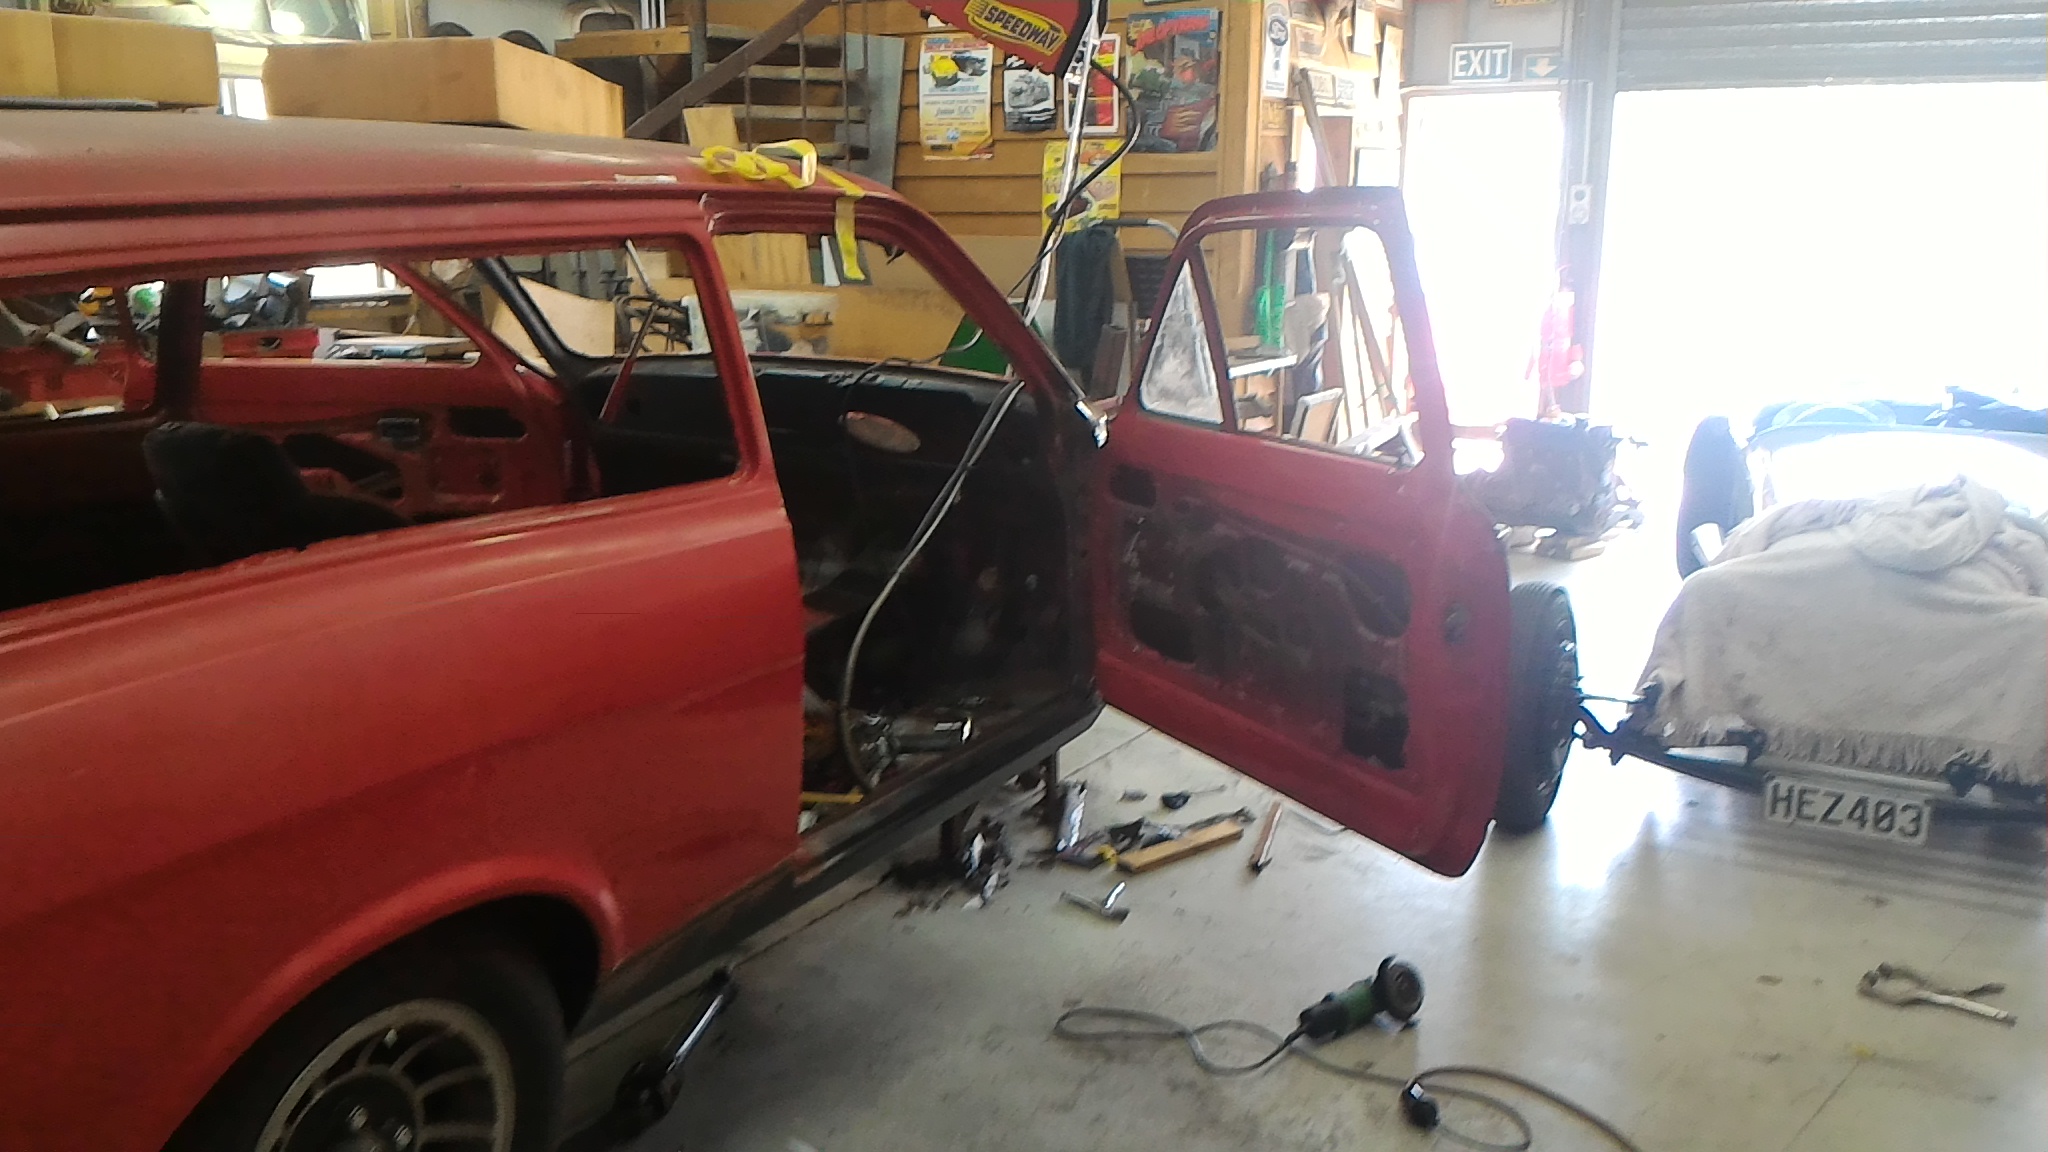
...The guards. Right. So I started by stripping the paint off of the passenger side guard to find this... It's not easy to see but someone has beat the shit out of it with a ball peen hammer and then bogged over it to bring it back to straight. I really shouldn't be surprised at this point. Even so, this sort of work was a bit much for me to handle at that point and it was a bit discouraging but I bravely soldiered on and got stuck into the passengers side door. Obviously . To be continued...
-
Something like this This angle shows just how close the shape is to the unmolested cowl. I'm quite happy with that So cool, A pillar rebuild is basically complete. For those of you paying attention that means I can now move on to...
-
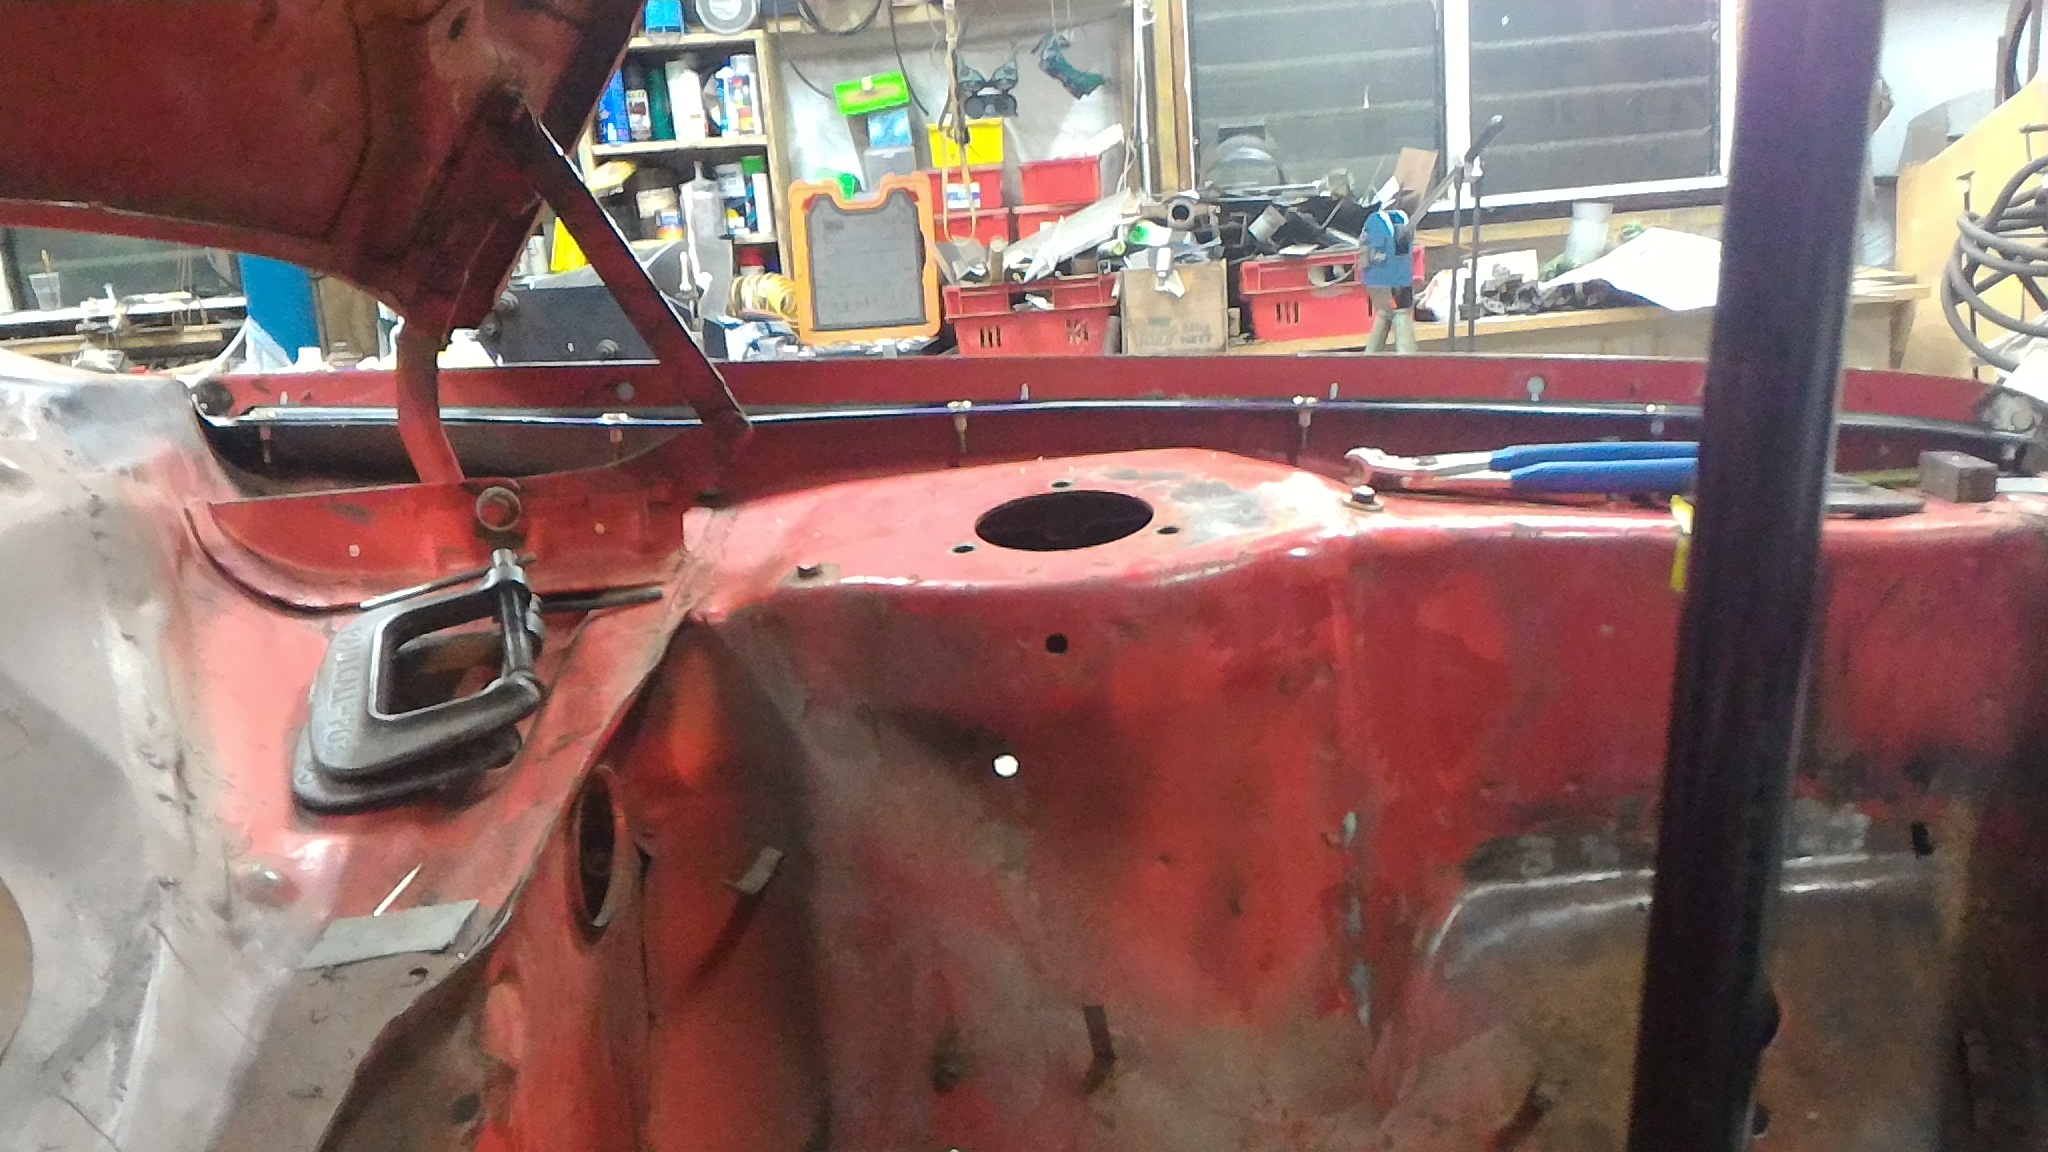
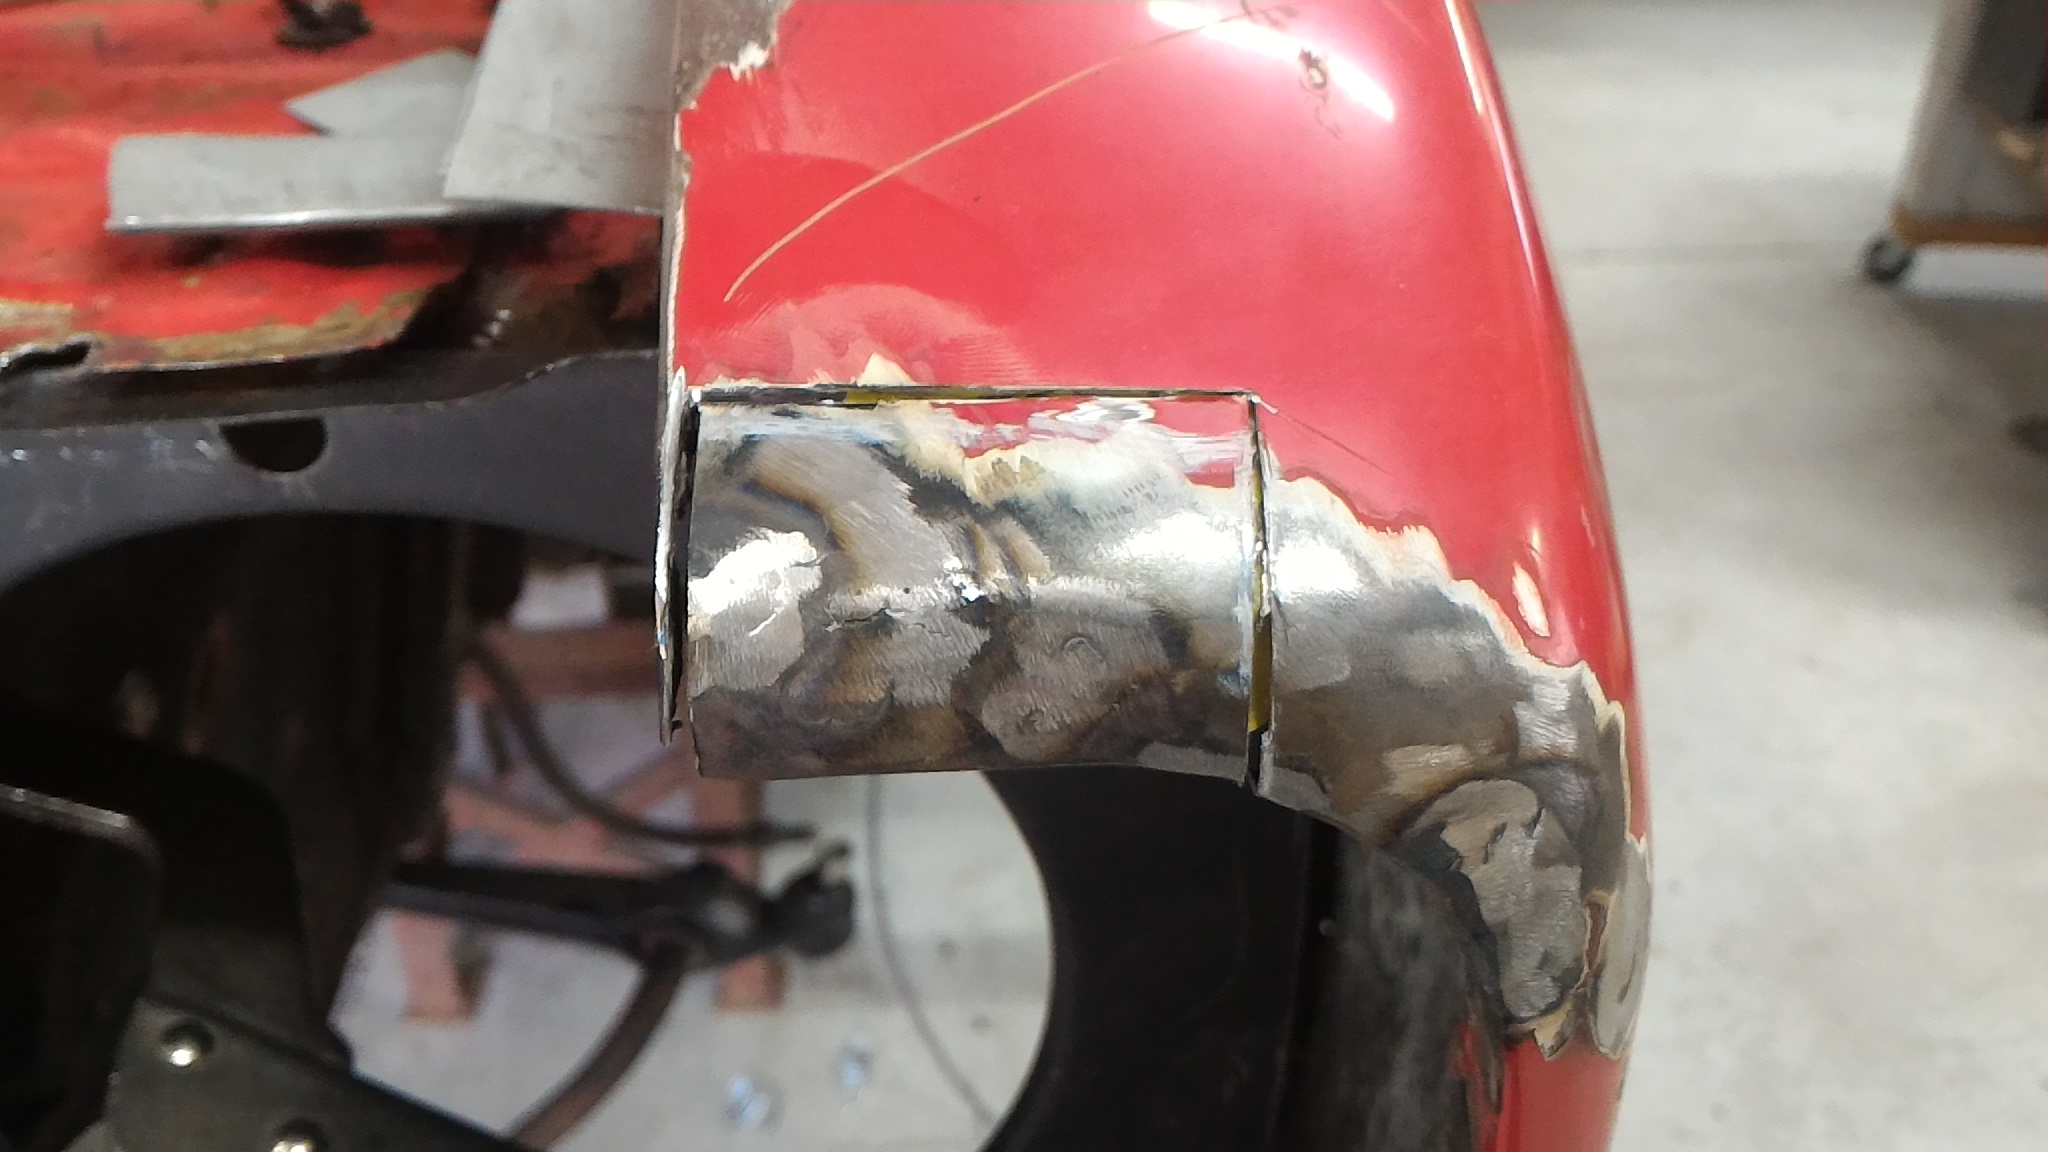
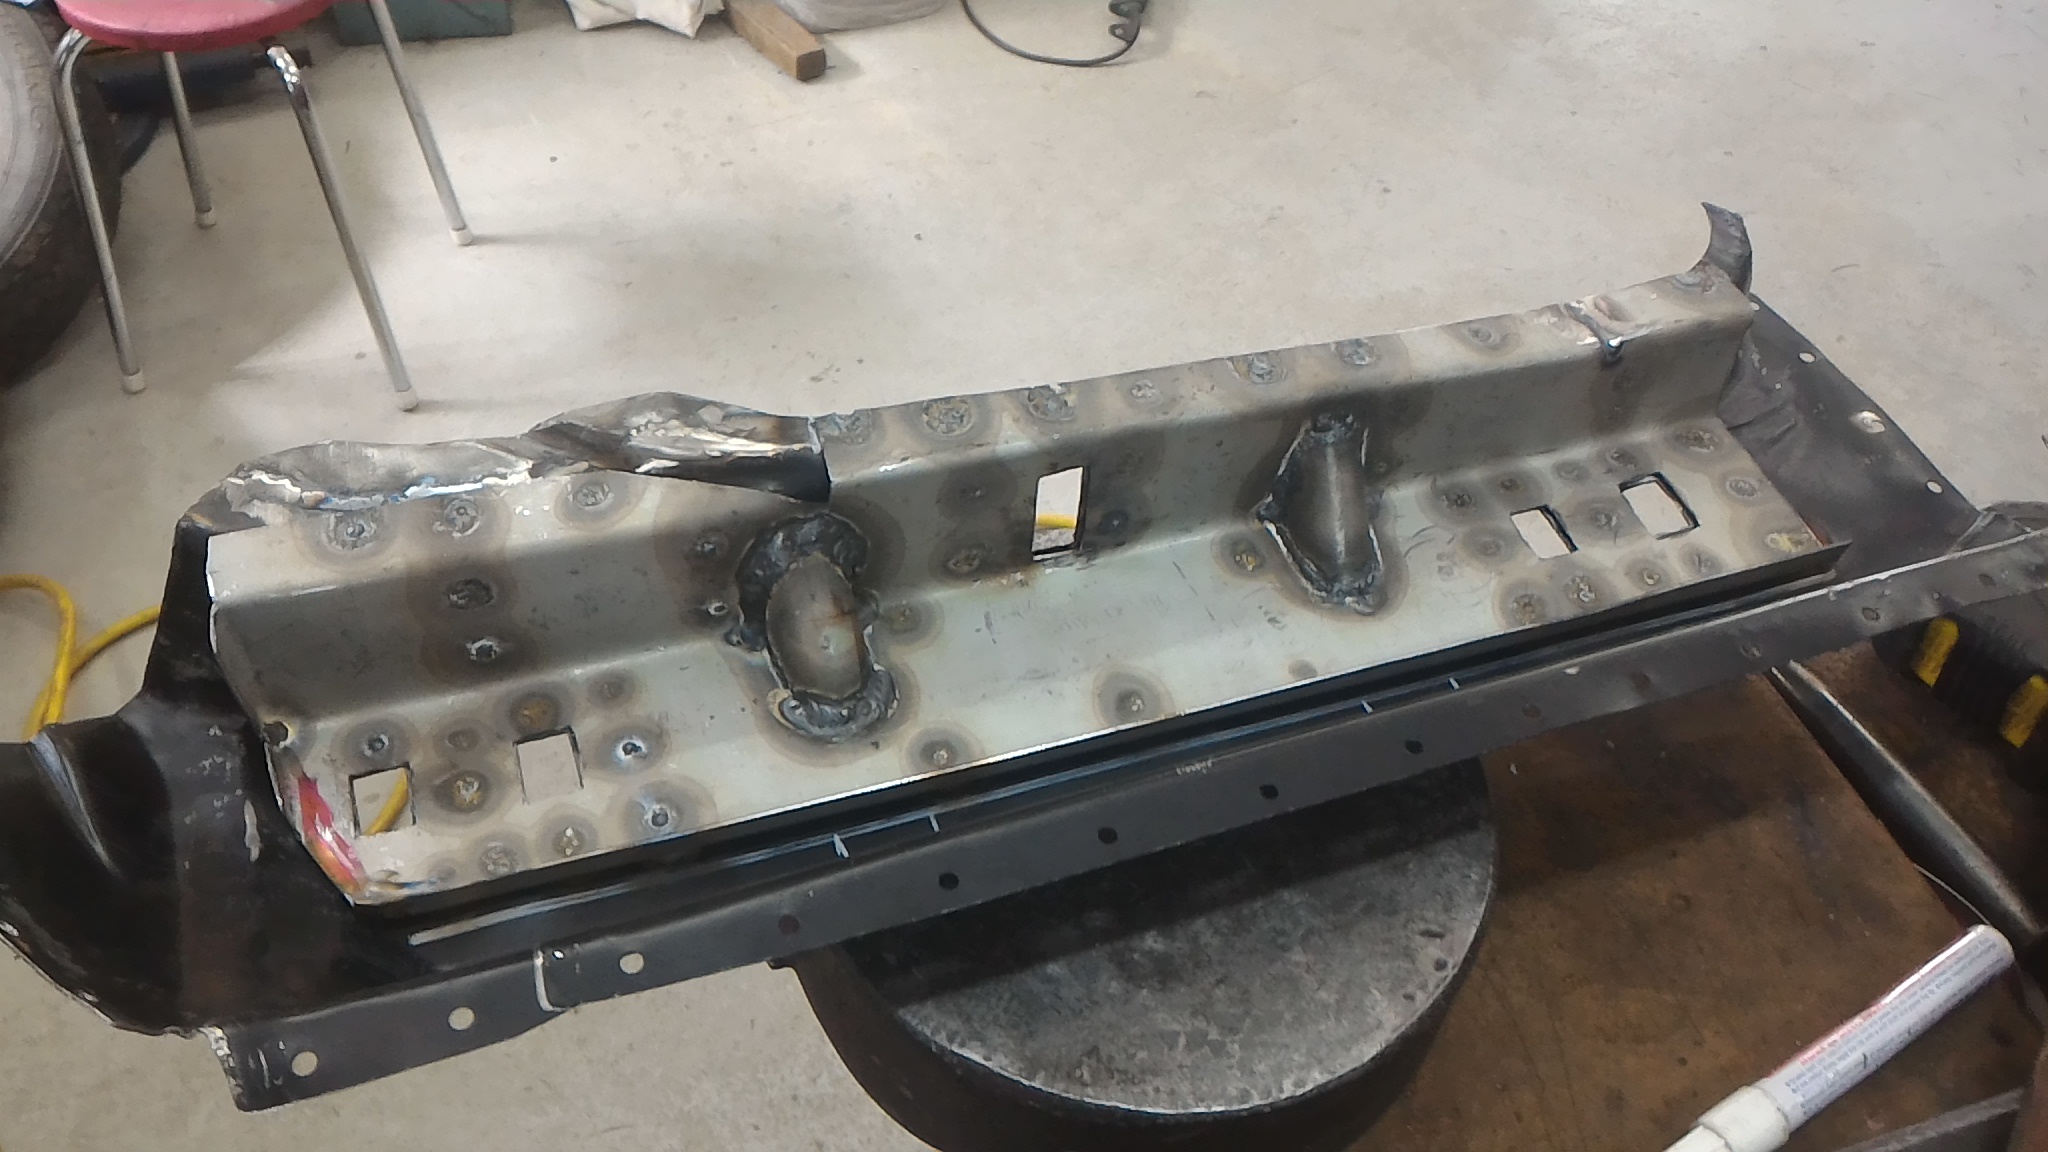
As much as the extra cowl vent would have improved airflow into the cabin, I feel I should fill it up with some new steel. The patch on this side stretches further along than the other side because someone had punched the cowl in along here by about 15mm and filled it with bog to bring it back to shape. I see a pattern forming with the technique of whoever the previous panel beater was. So I sliced out the dented panel and formed a new one to match the driver's side shape. Tacked in and checked for shape and fit Then it was time to fill up some holes and weld it all in
-
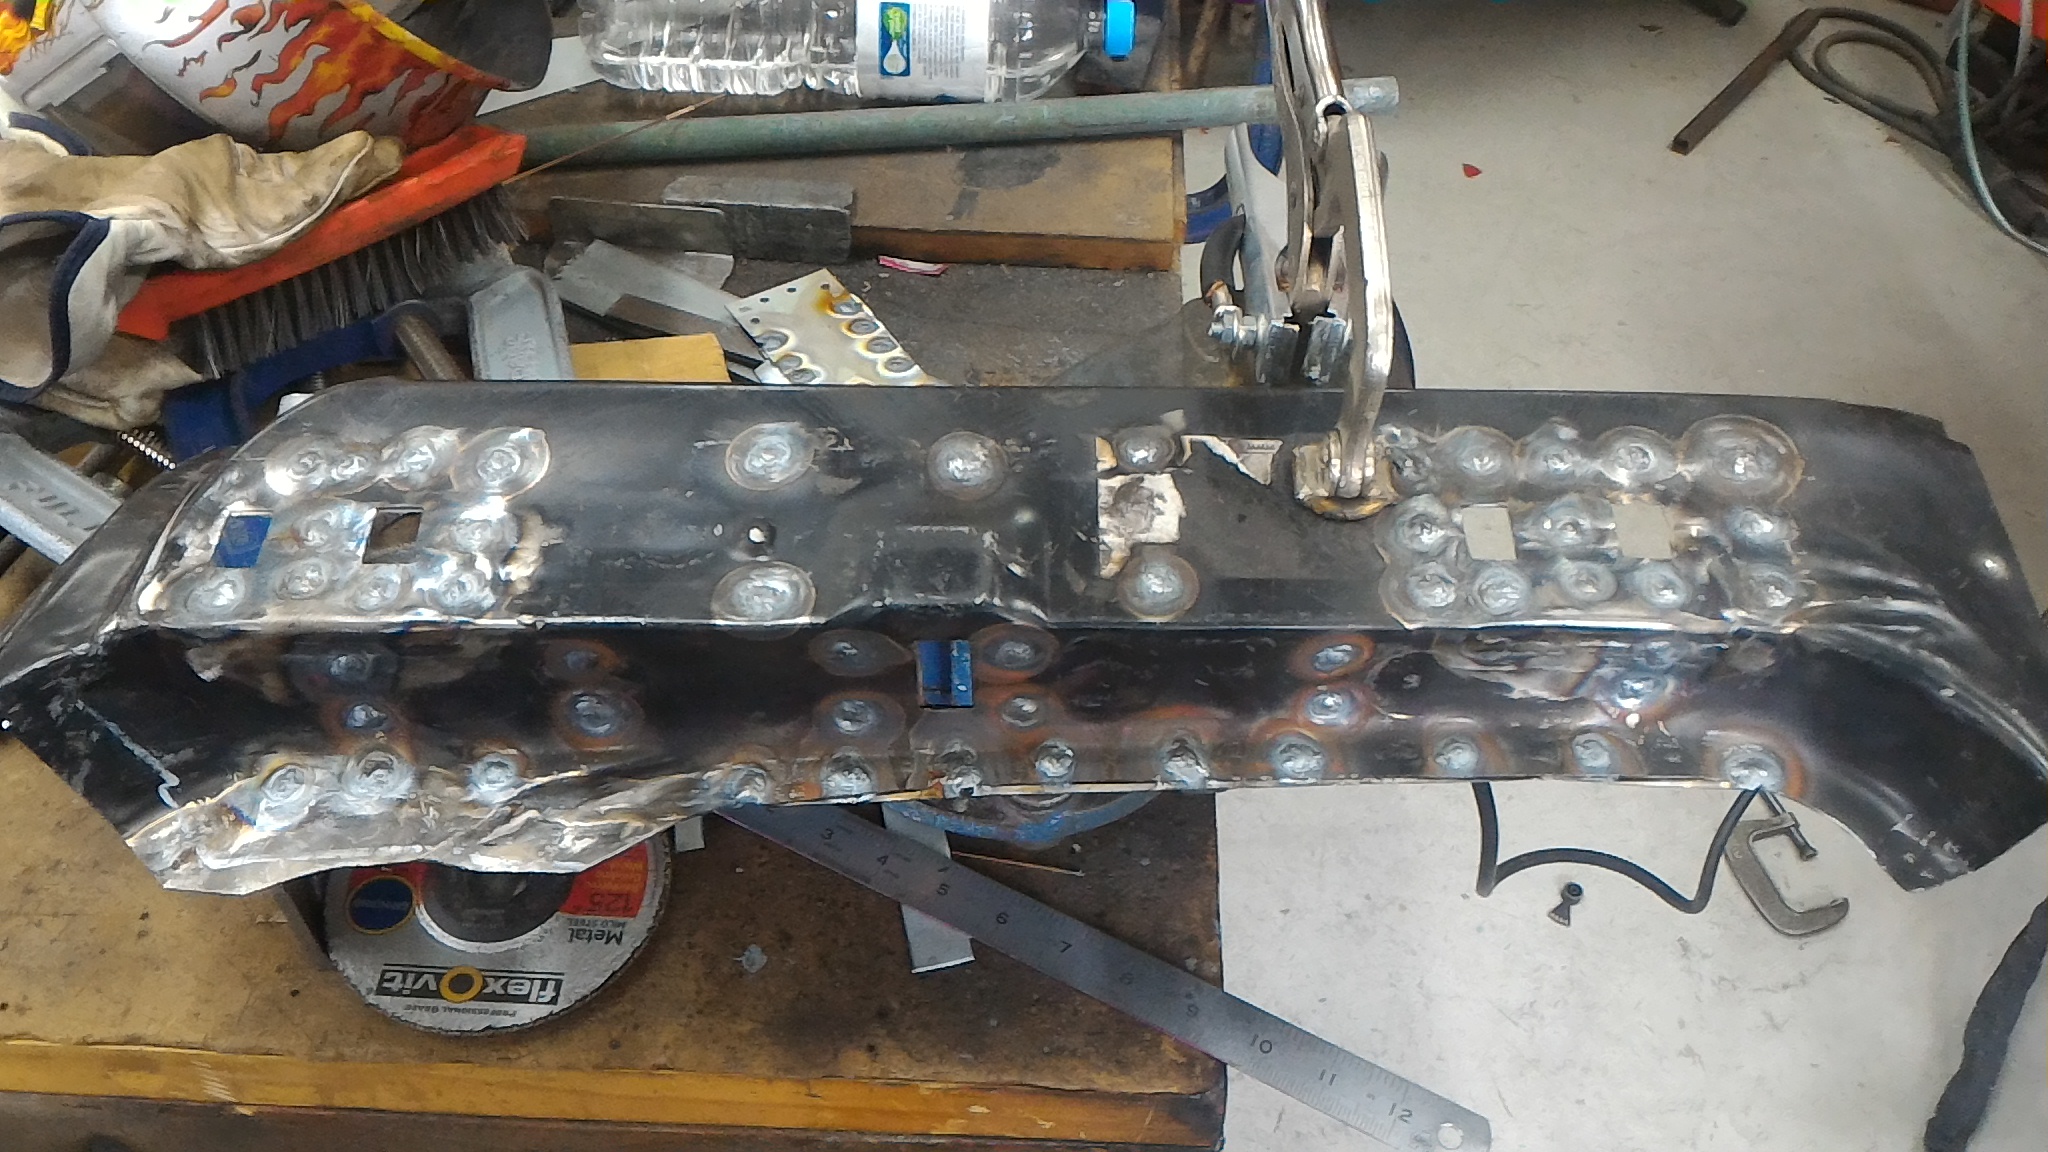
With that sorted I could move on to the outer skin and brace panel. You've seen this all before so it's more of the same. Lots of plug welds, Tacked in place and hung the door to check panel gaps/alignment Then these all got fully welded. There was a couple of fairly big gaps to fill up but taking my time I got them all sorted.
-
I accounted for the shrinkage of the ally by finding out how much aluminium is known to shrink from casting and increasing the size of the model by that much. There was a bit of porosity and some voids that had to be ground out and welded up but that was more down to the quality of the printing more than anything. If I were to do it again I'd do much more work on making nice rounded corners on everything to help the flow, rather than smoothing sharp edges with a die grinder like I'm going to have to. Also I'd try to get a higher quality print out of a better printer. It was made with a home built printer after all, and that showed in the final finish of the model. The port shapes aren't quite bang on but there's plenty of meat there to grind out to port match it nicely. If you look at it objectively the cost was really high at $500 for what it is, but it was more about the experiment on what was possible with the cool tech I had available to me. Thanks
-
To finish off the sill part of the operation I needed to make up an inner sill panel. So that's what went and did. Efficient aye? So paper template, steel, hole, no hole, And all welded up. Only took about 20 minutes...(hahahahahahahah not)
-
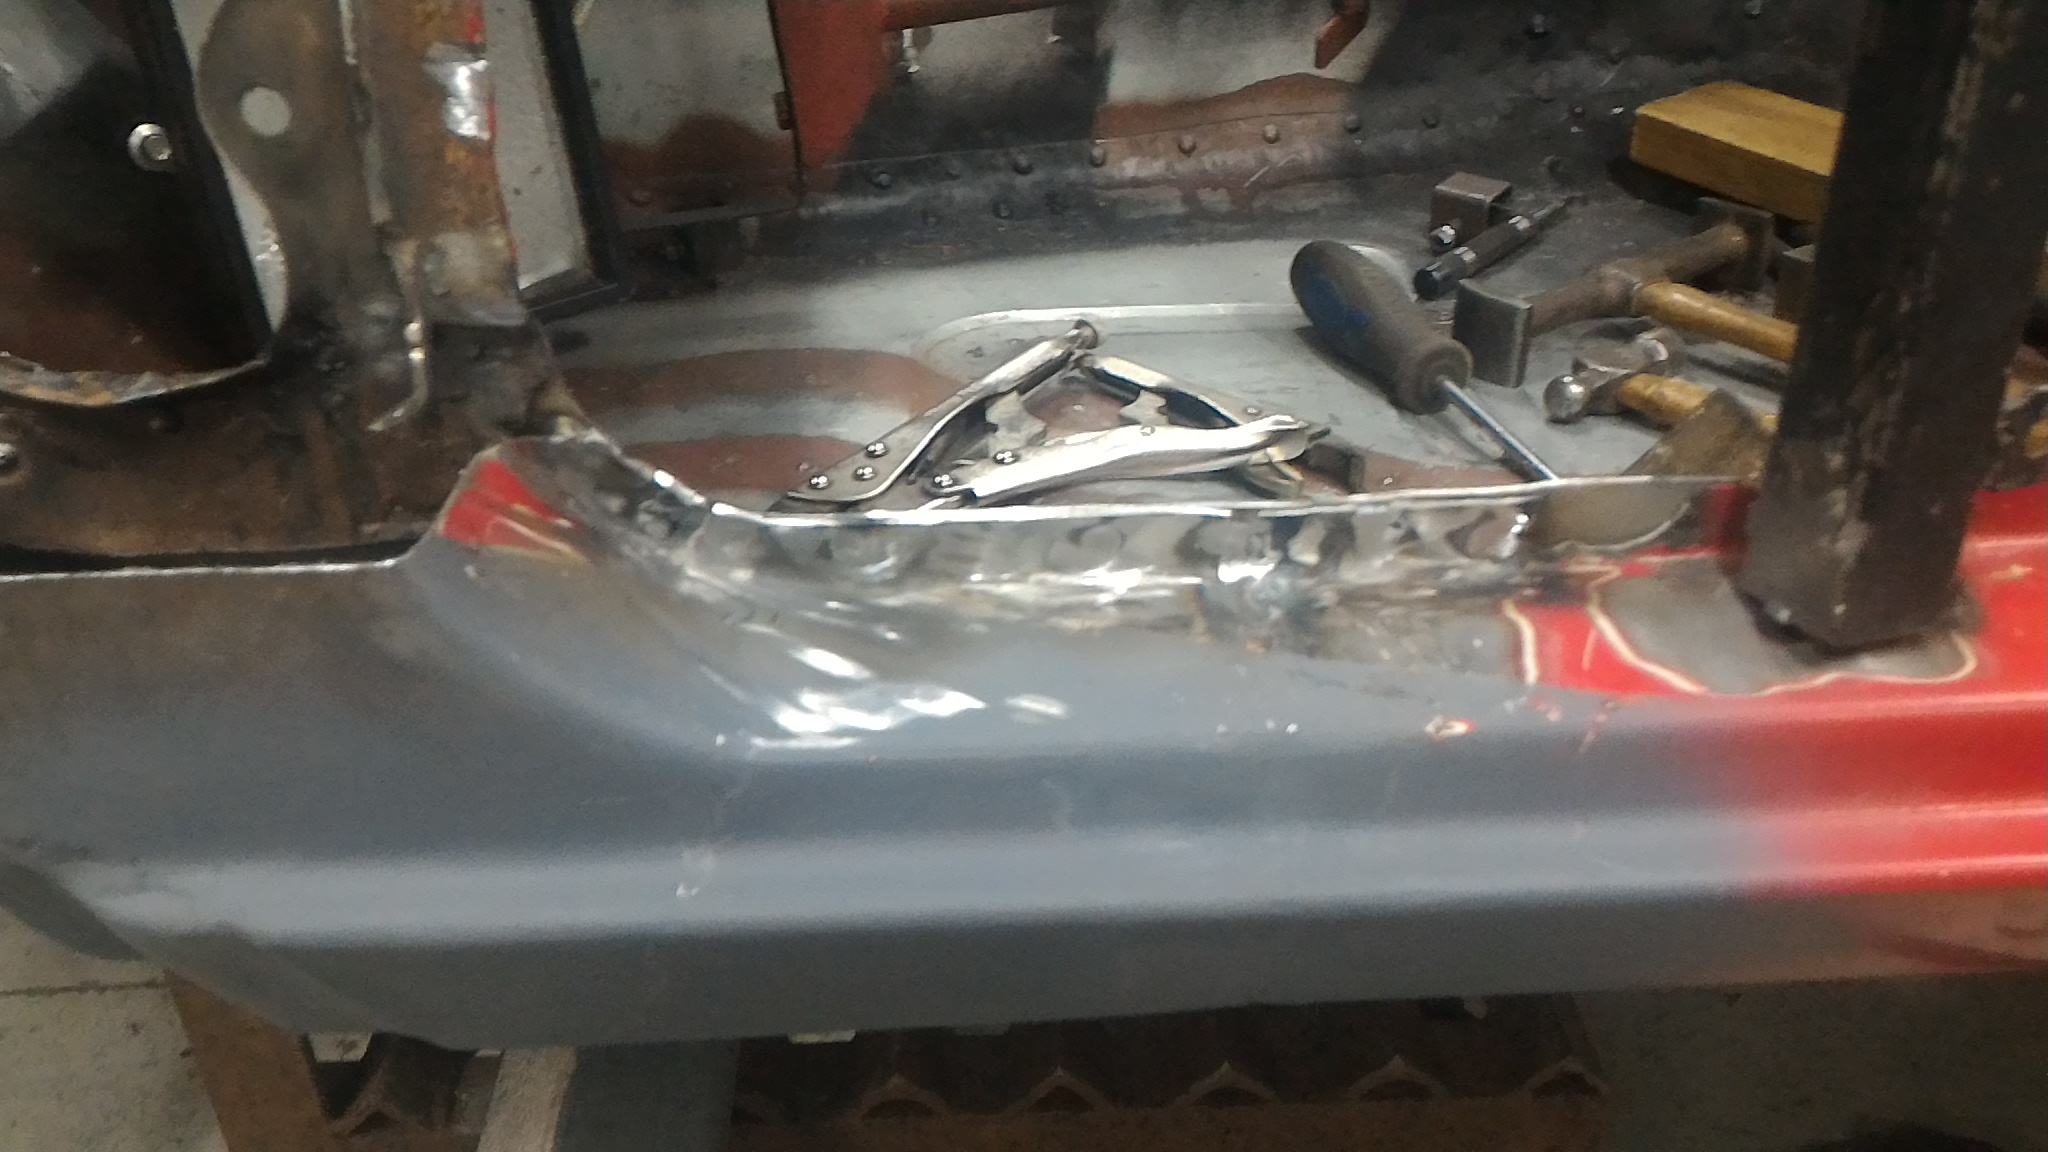
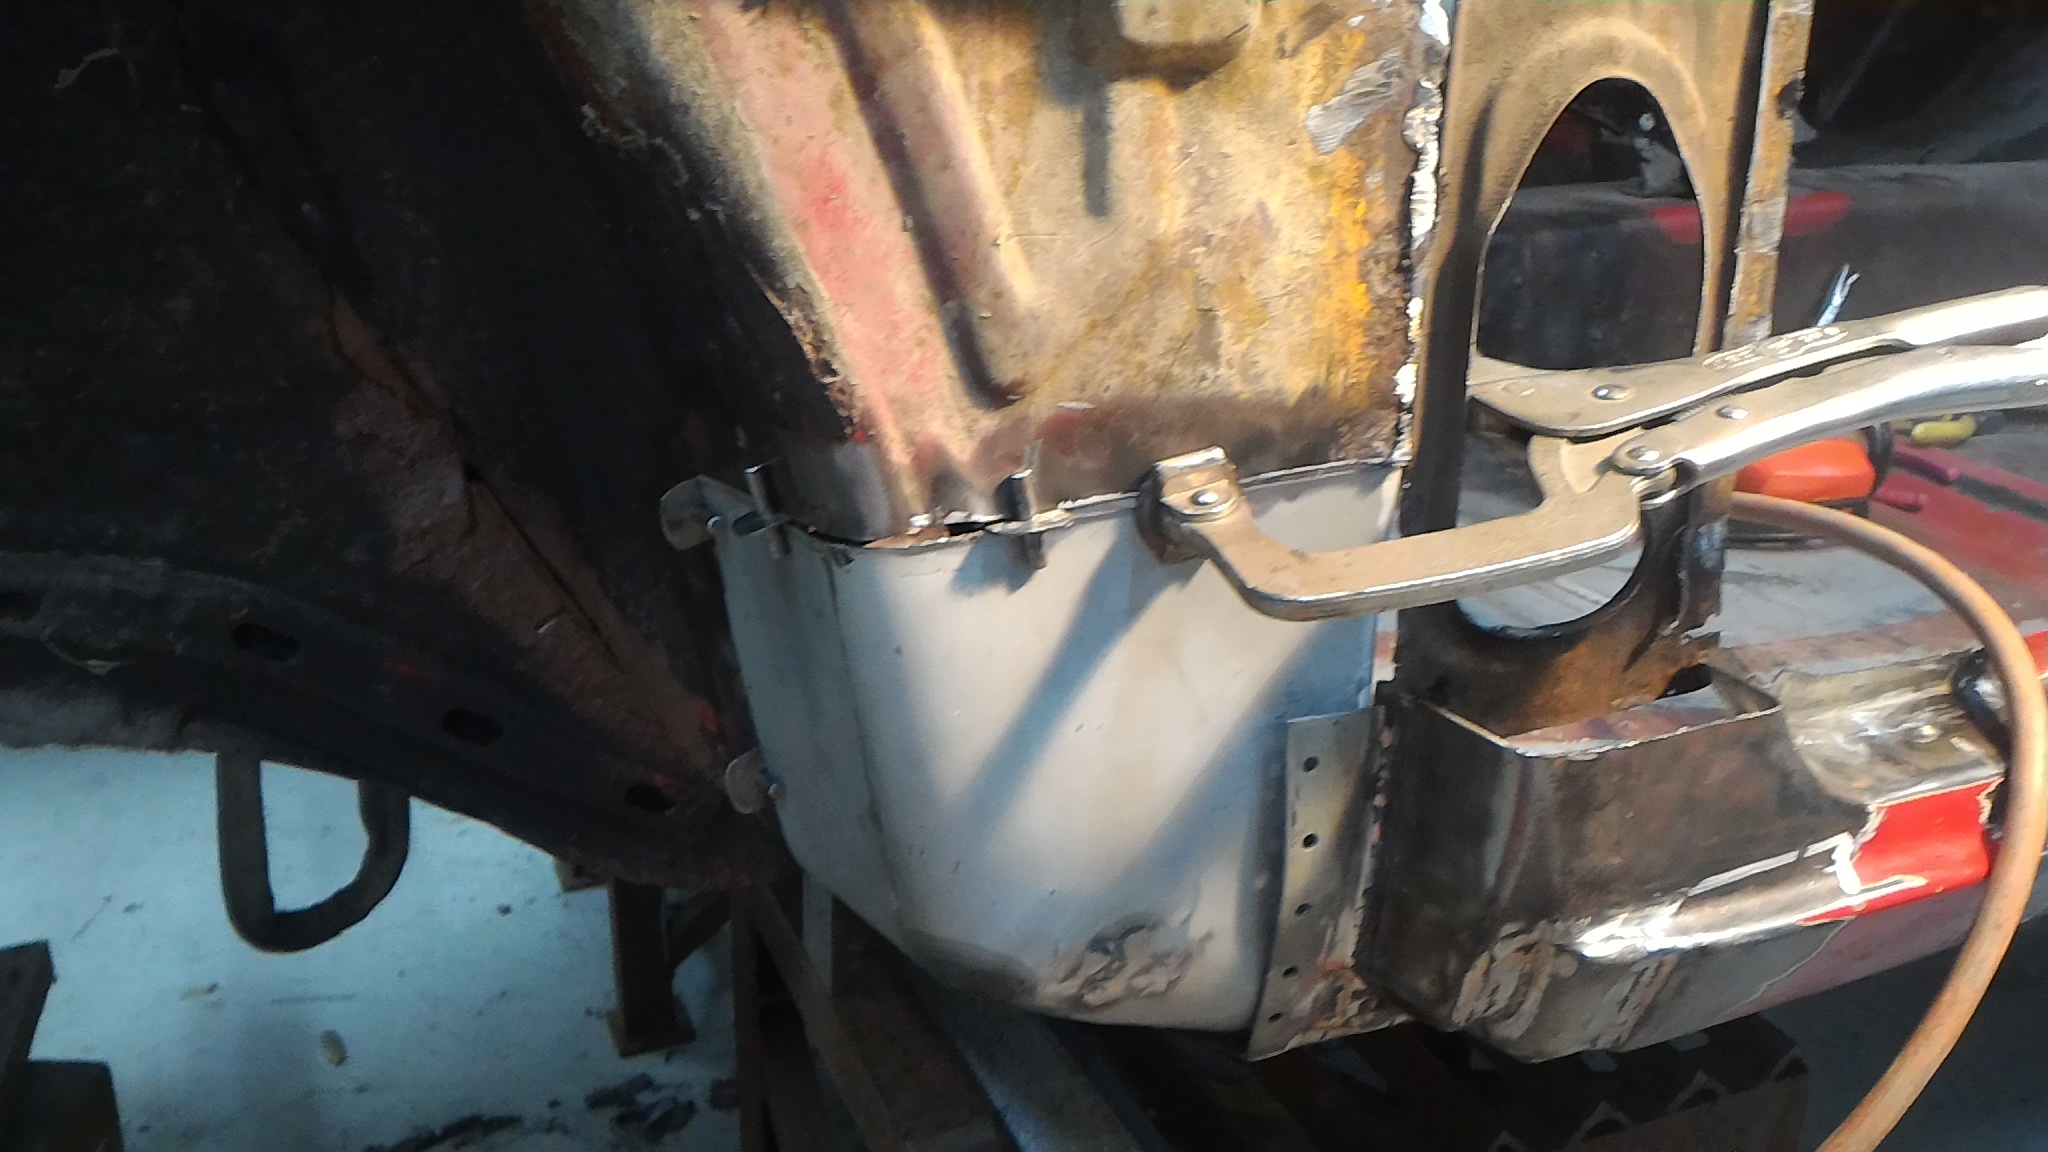
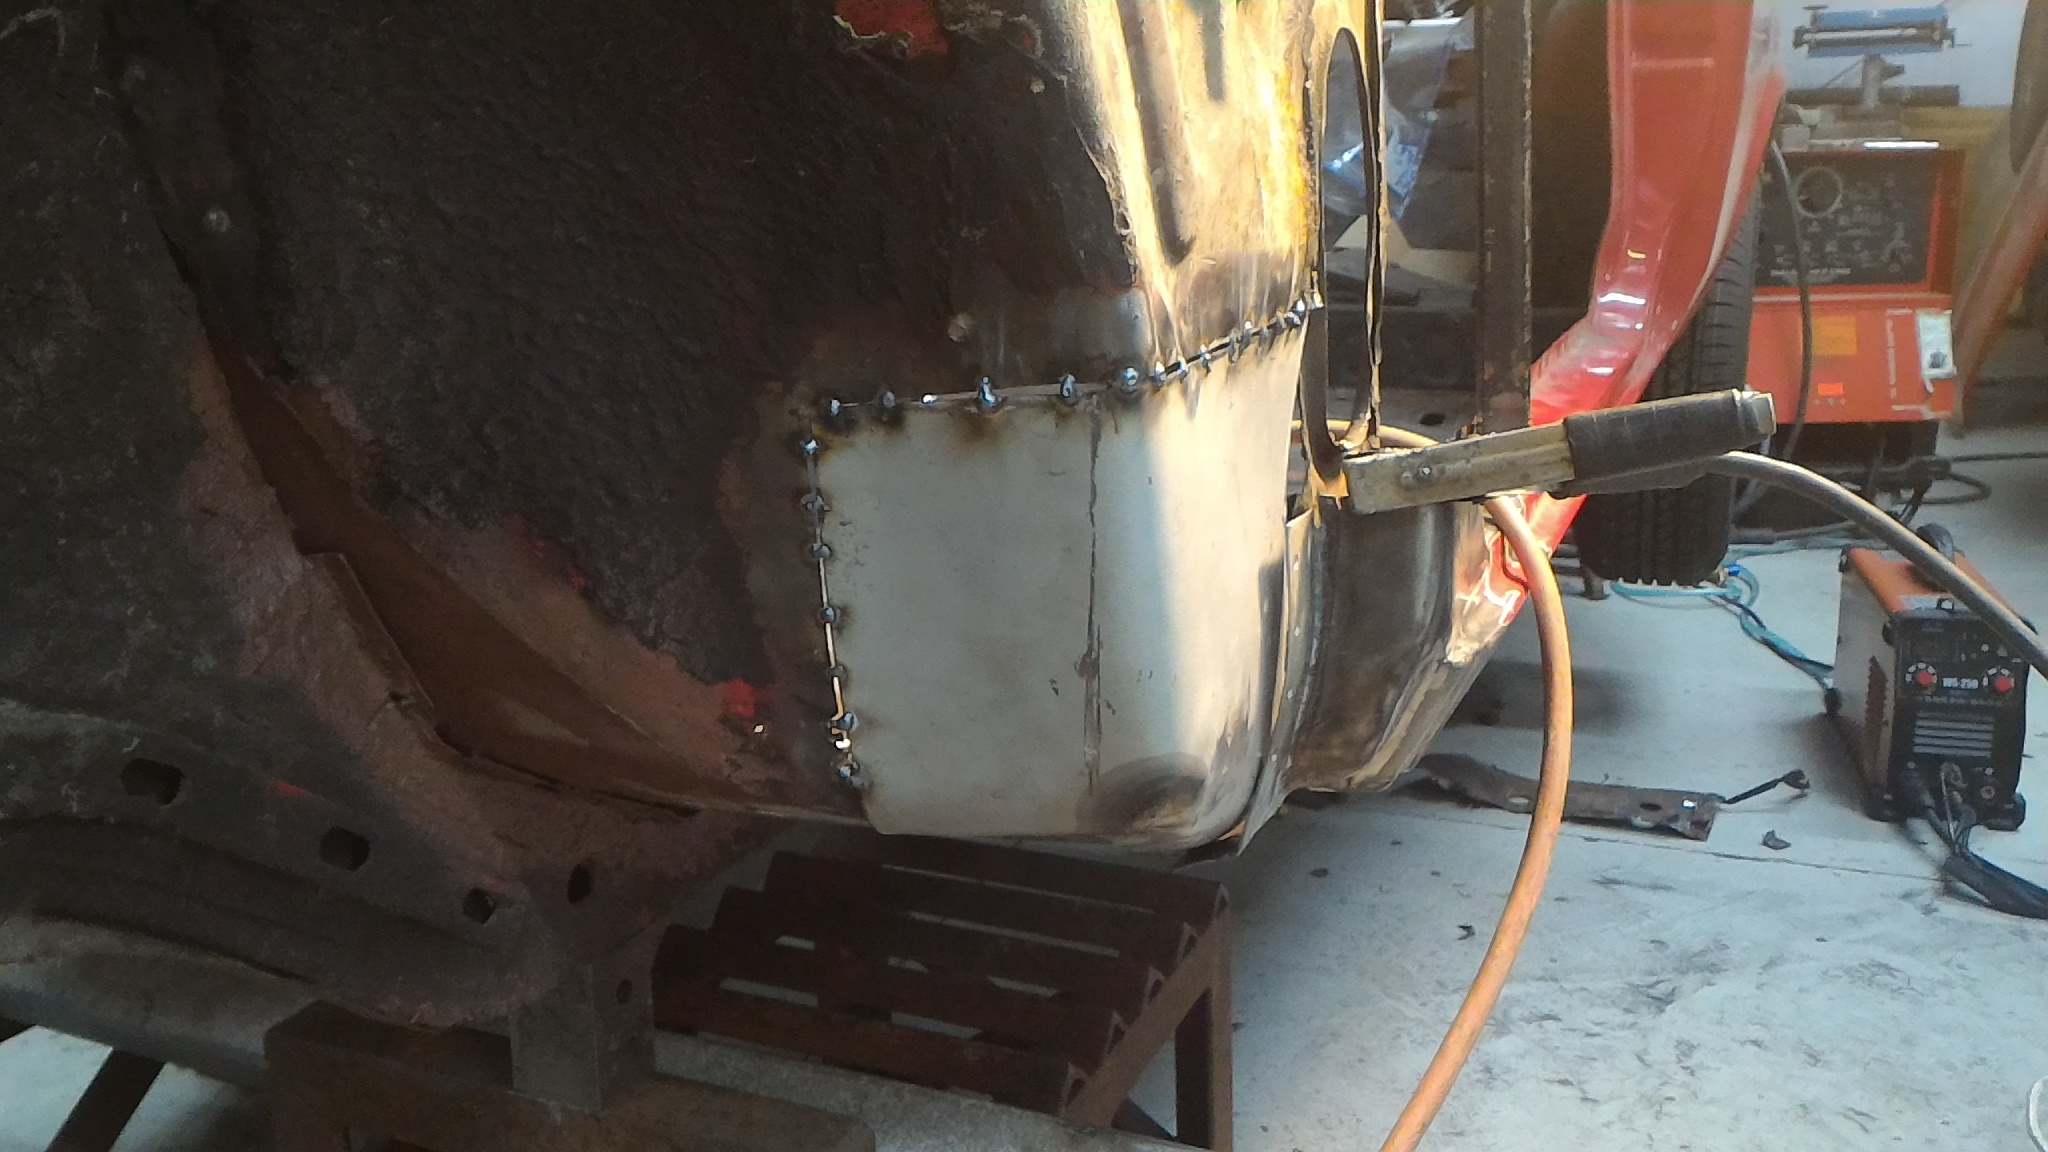
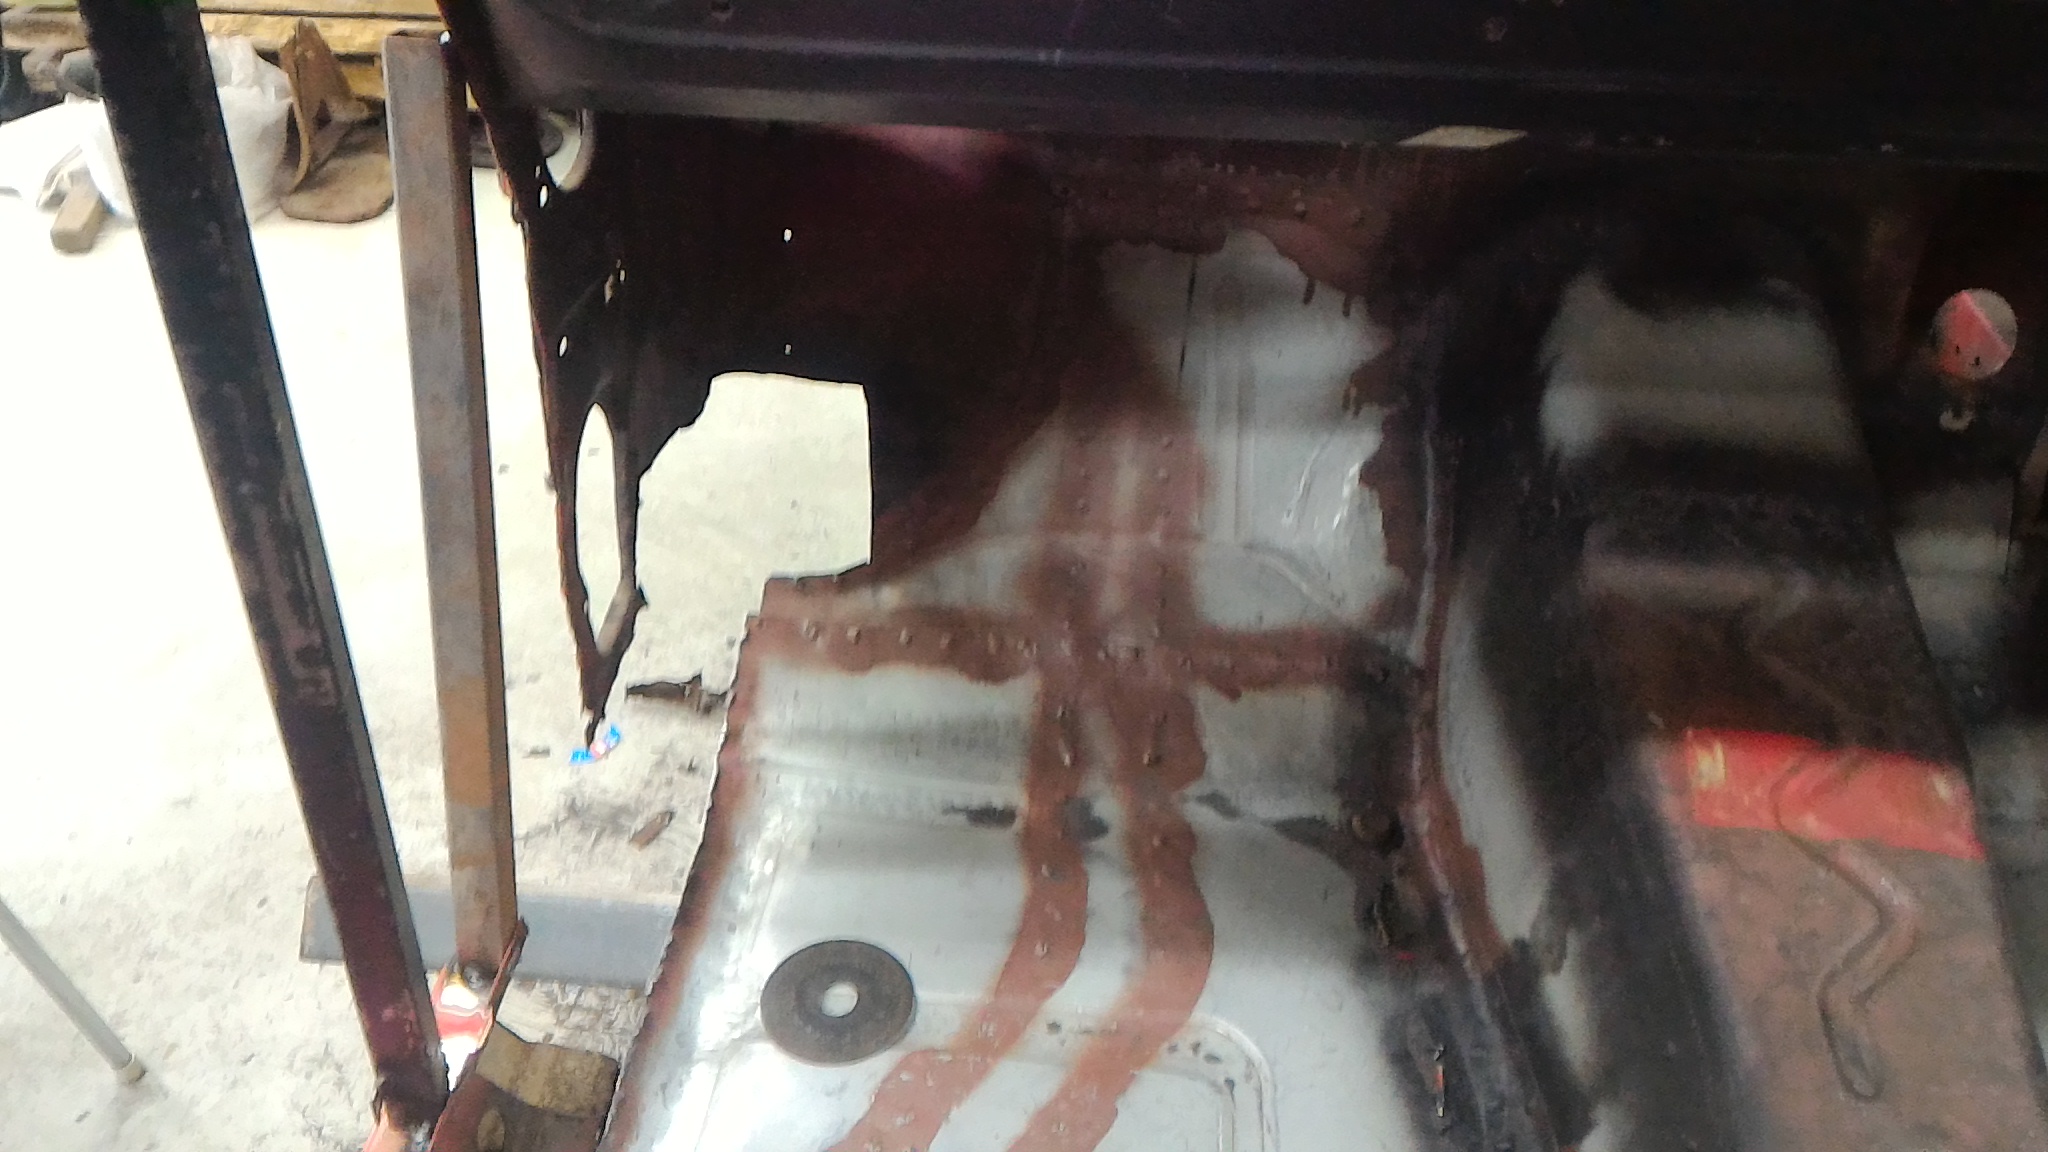
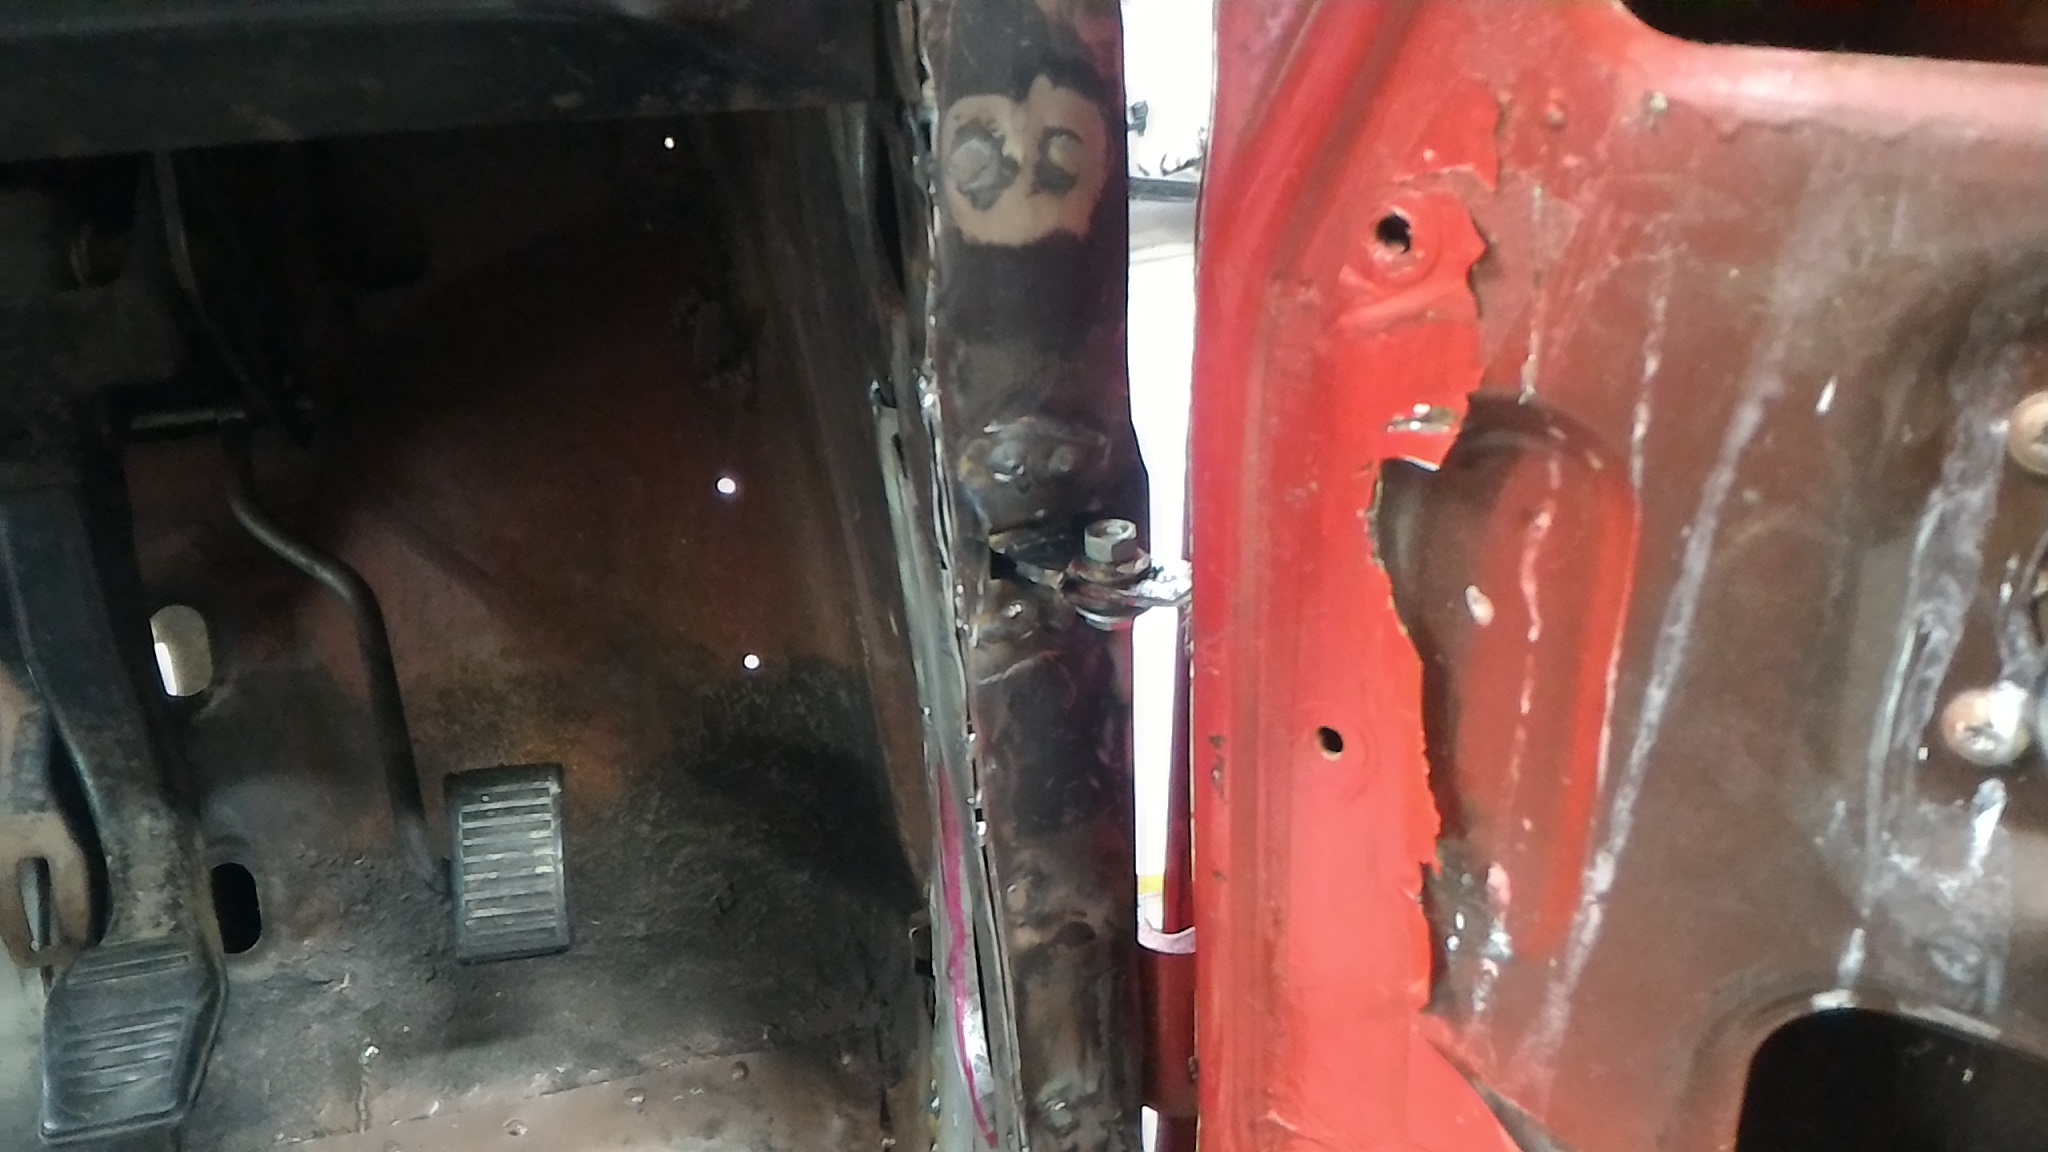
Now it's on to filling up that massive hole in the wheel well. I made up a quick and dirty paper template and transferred it to steel. Formed it up and offered it up to the hole. After some fettling I got it clamped up and tacked in. It was about now that I wanted to sort out that join between the splash panel and the inner A pillar. I could have replaced the whole panel but I'd rather not cut out any good steel if possible. So I cut out the rust and brazing over rust (wtf?) and made up a strip to fit in the gap. Plug welded it on as well as fully welding the wheel well panel and jobs a good'un Each bit done is one more bit I don't have to do.
-
Thanks very much
-
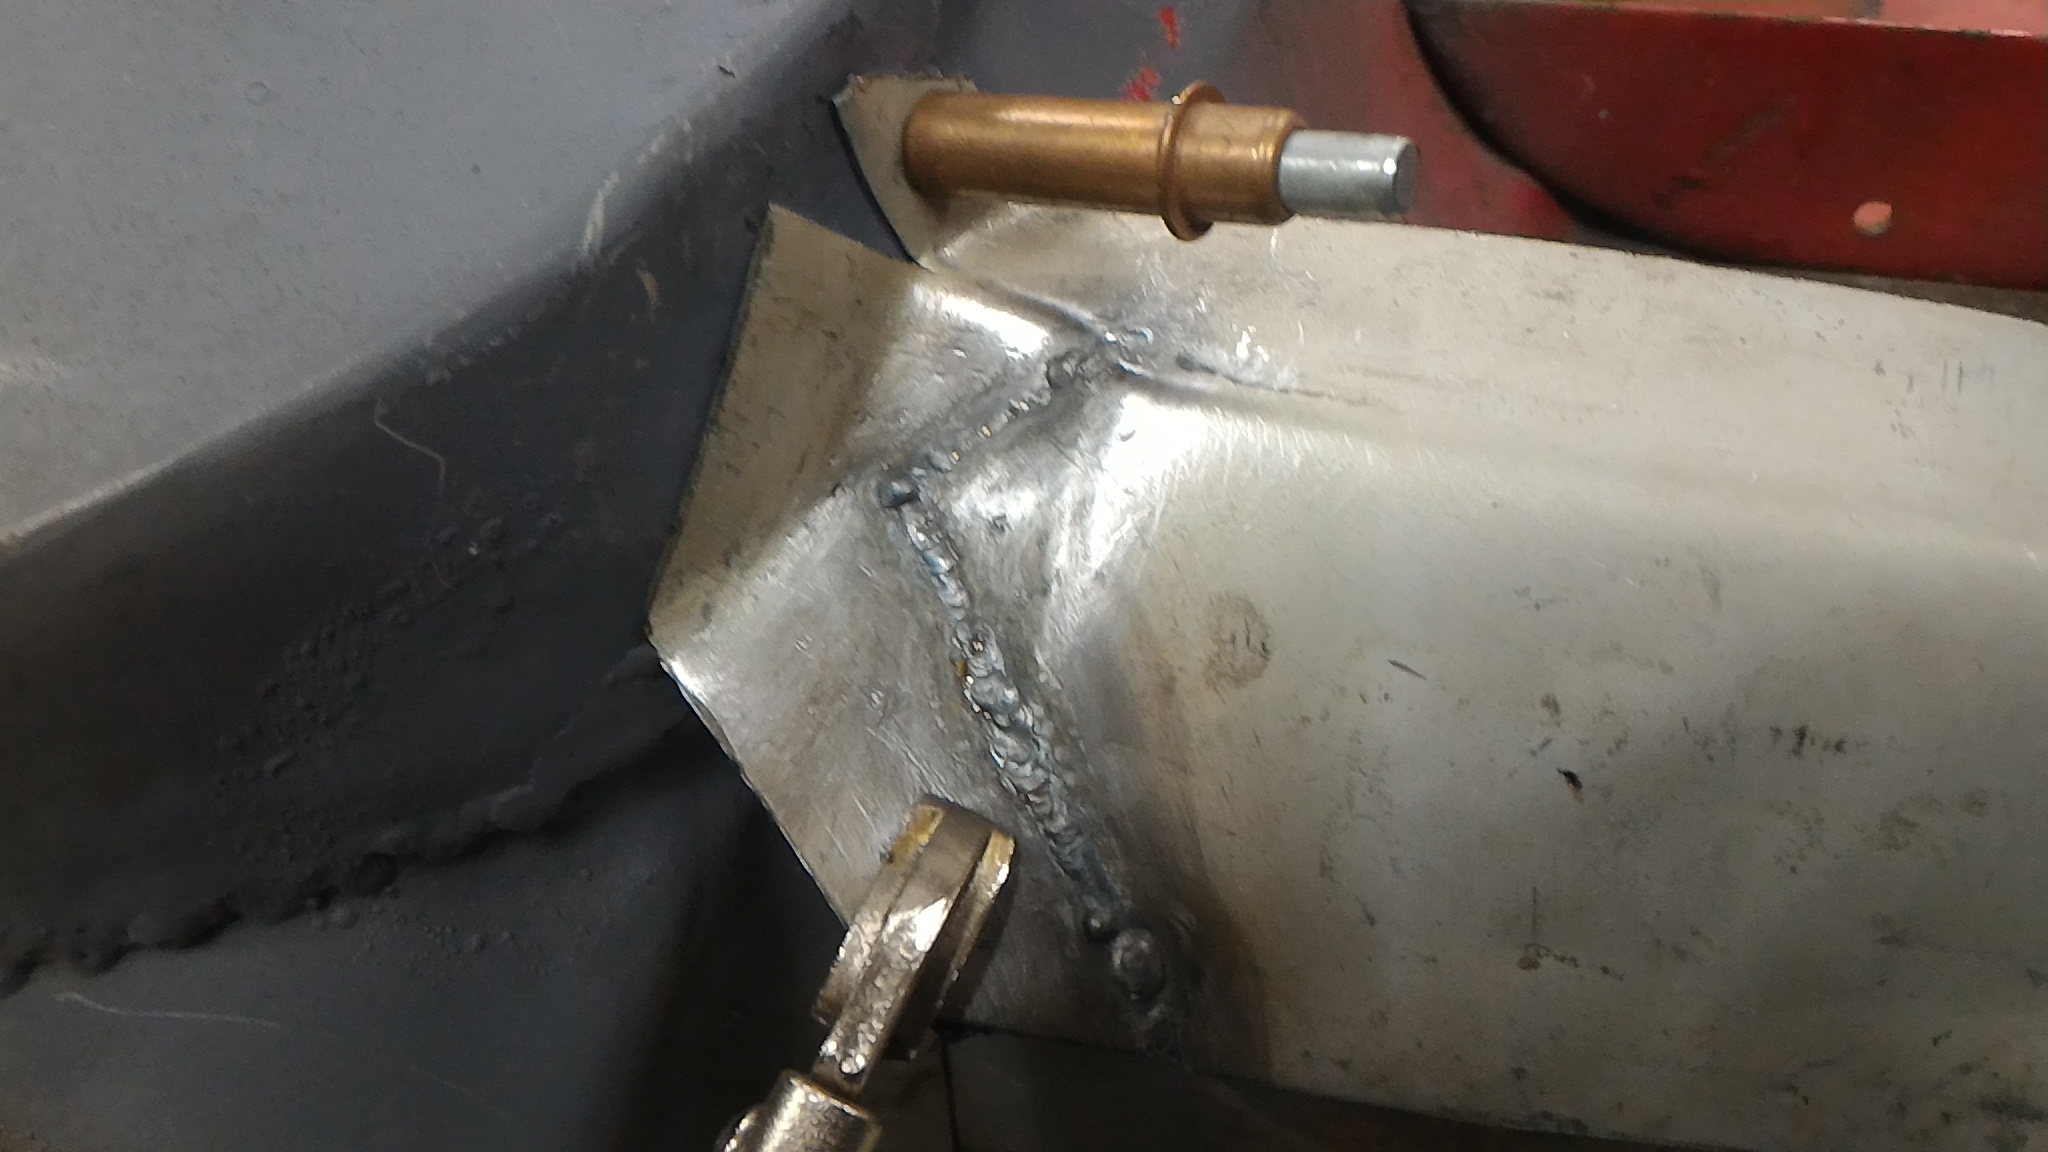
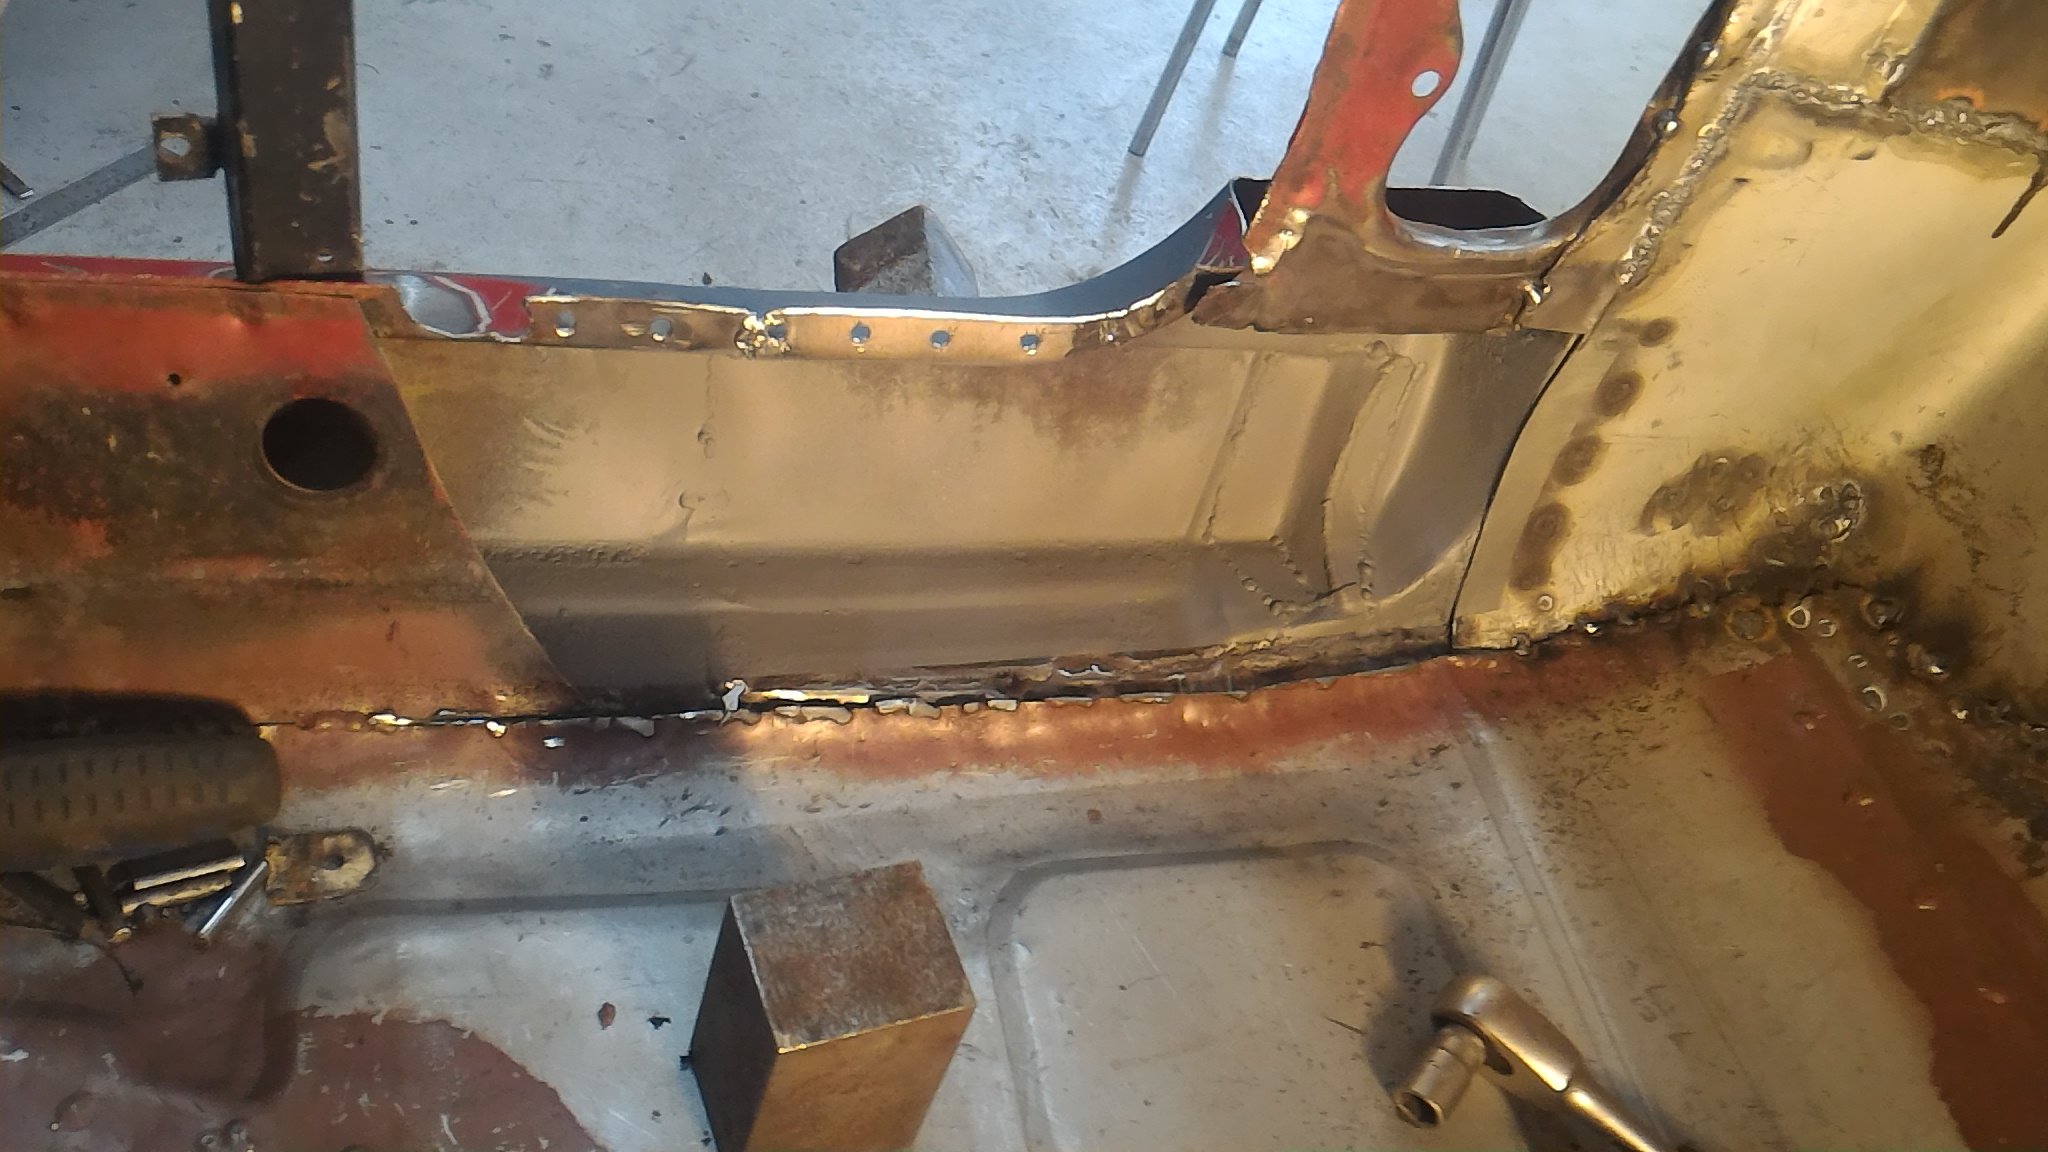
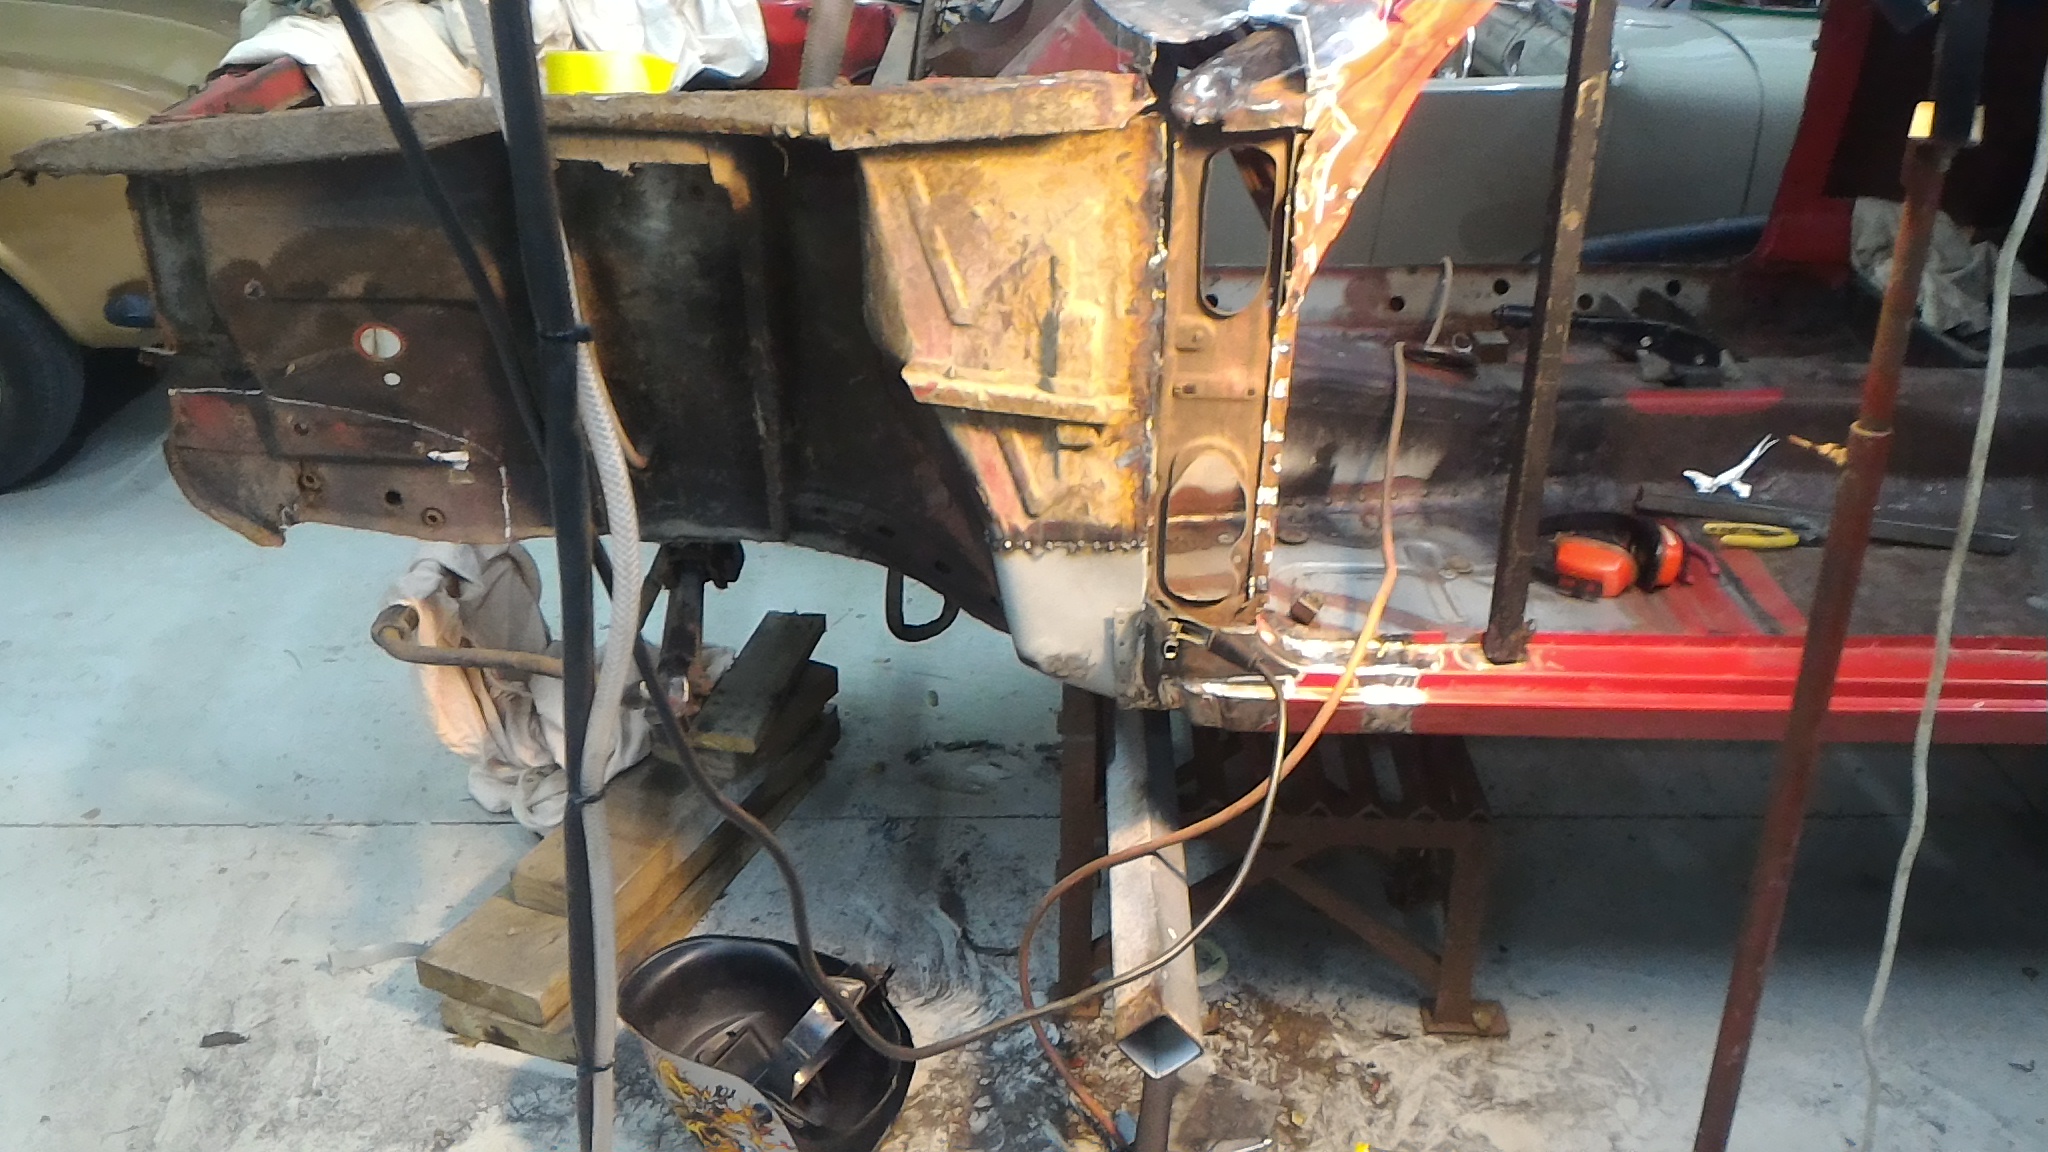
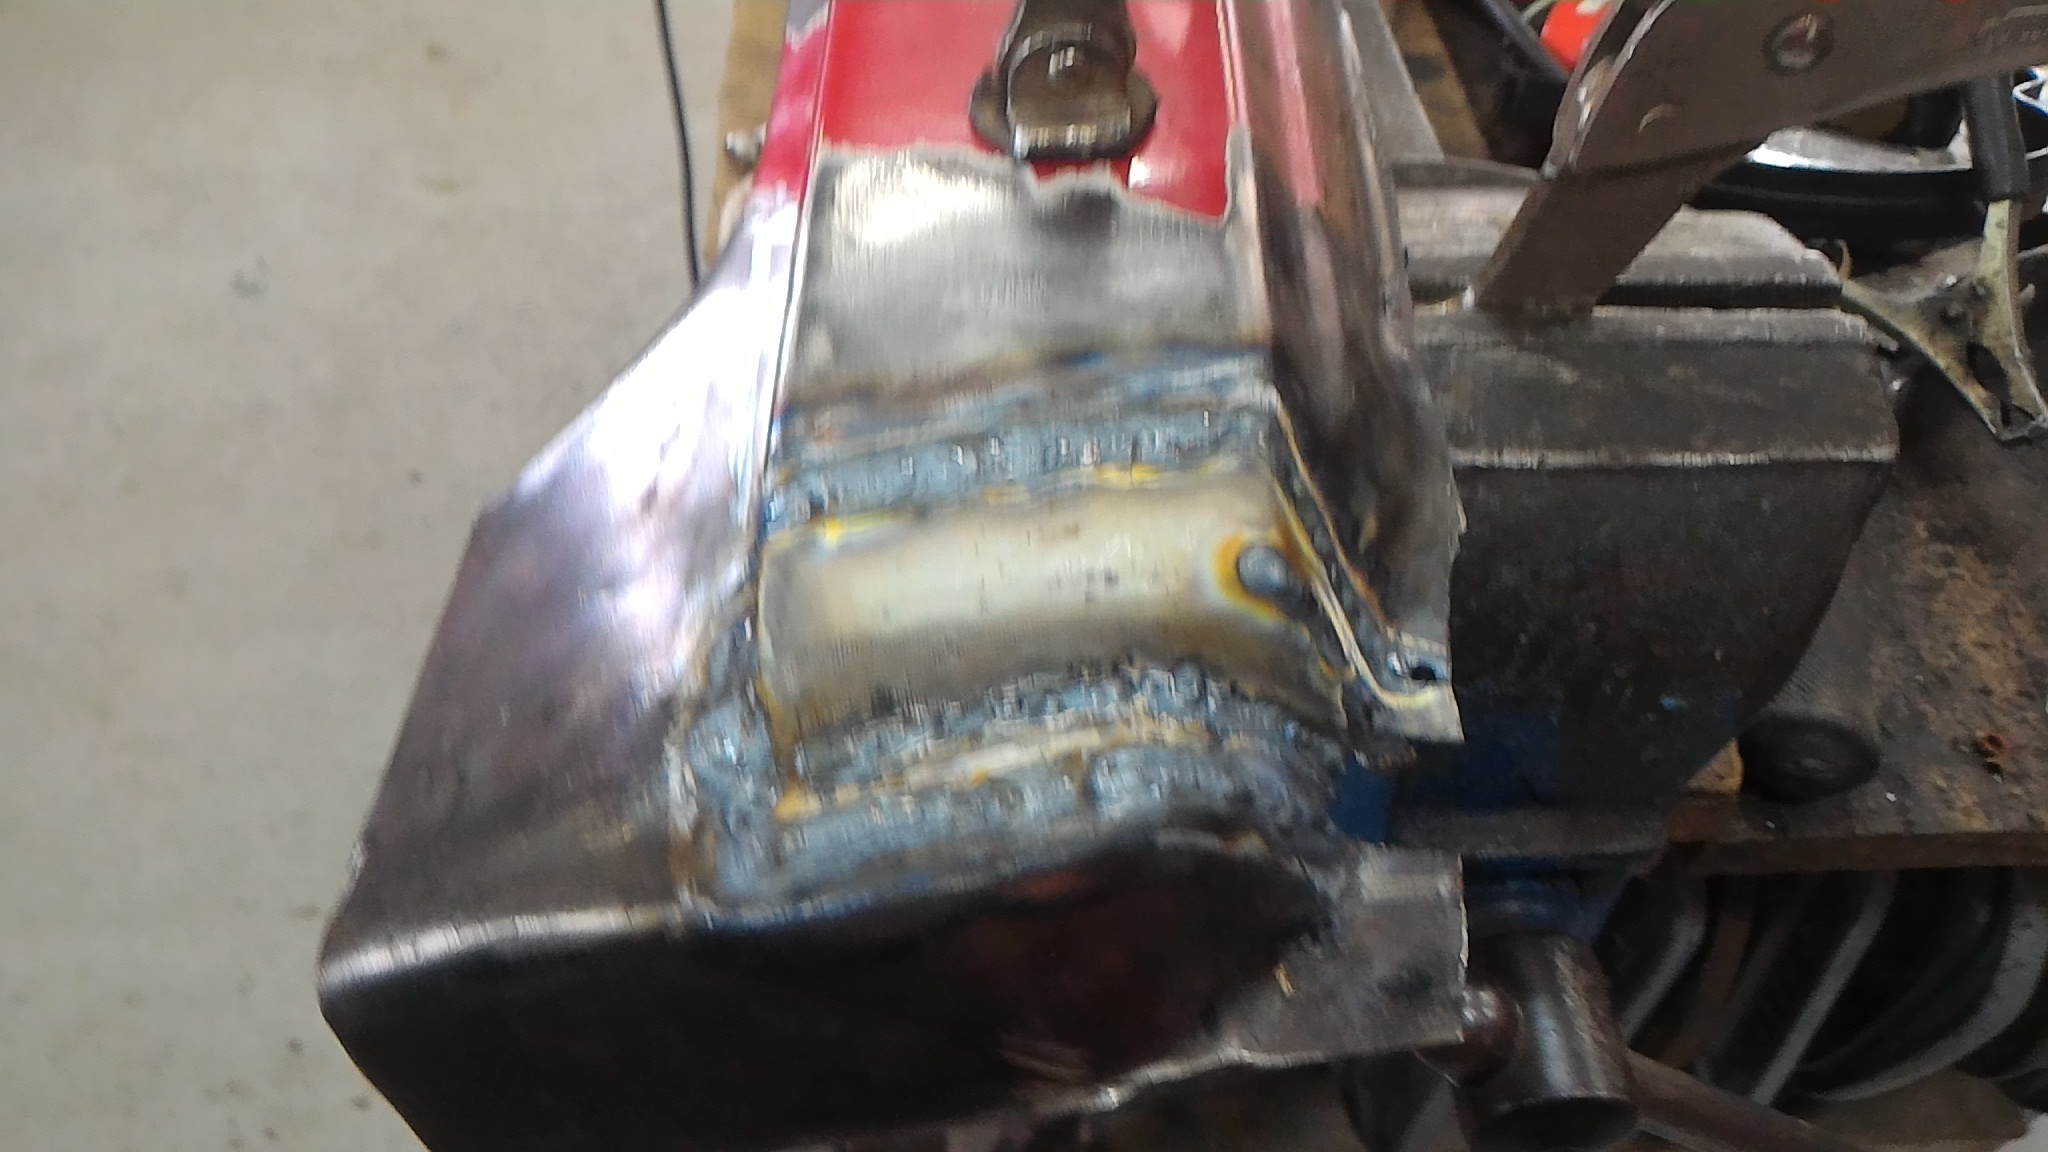
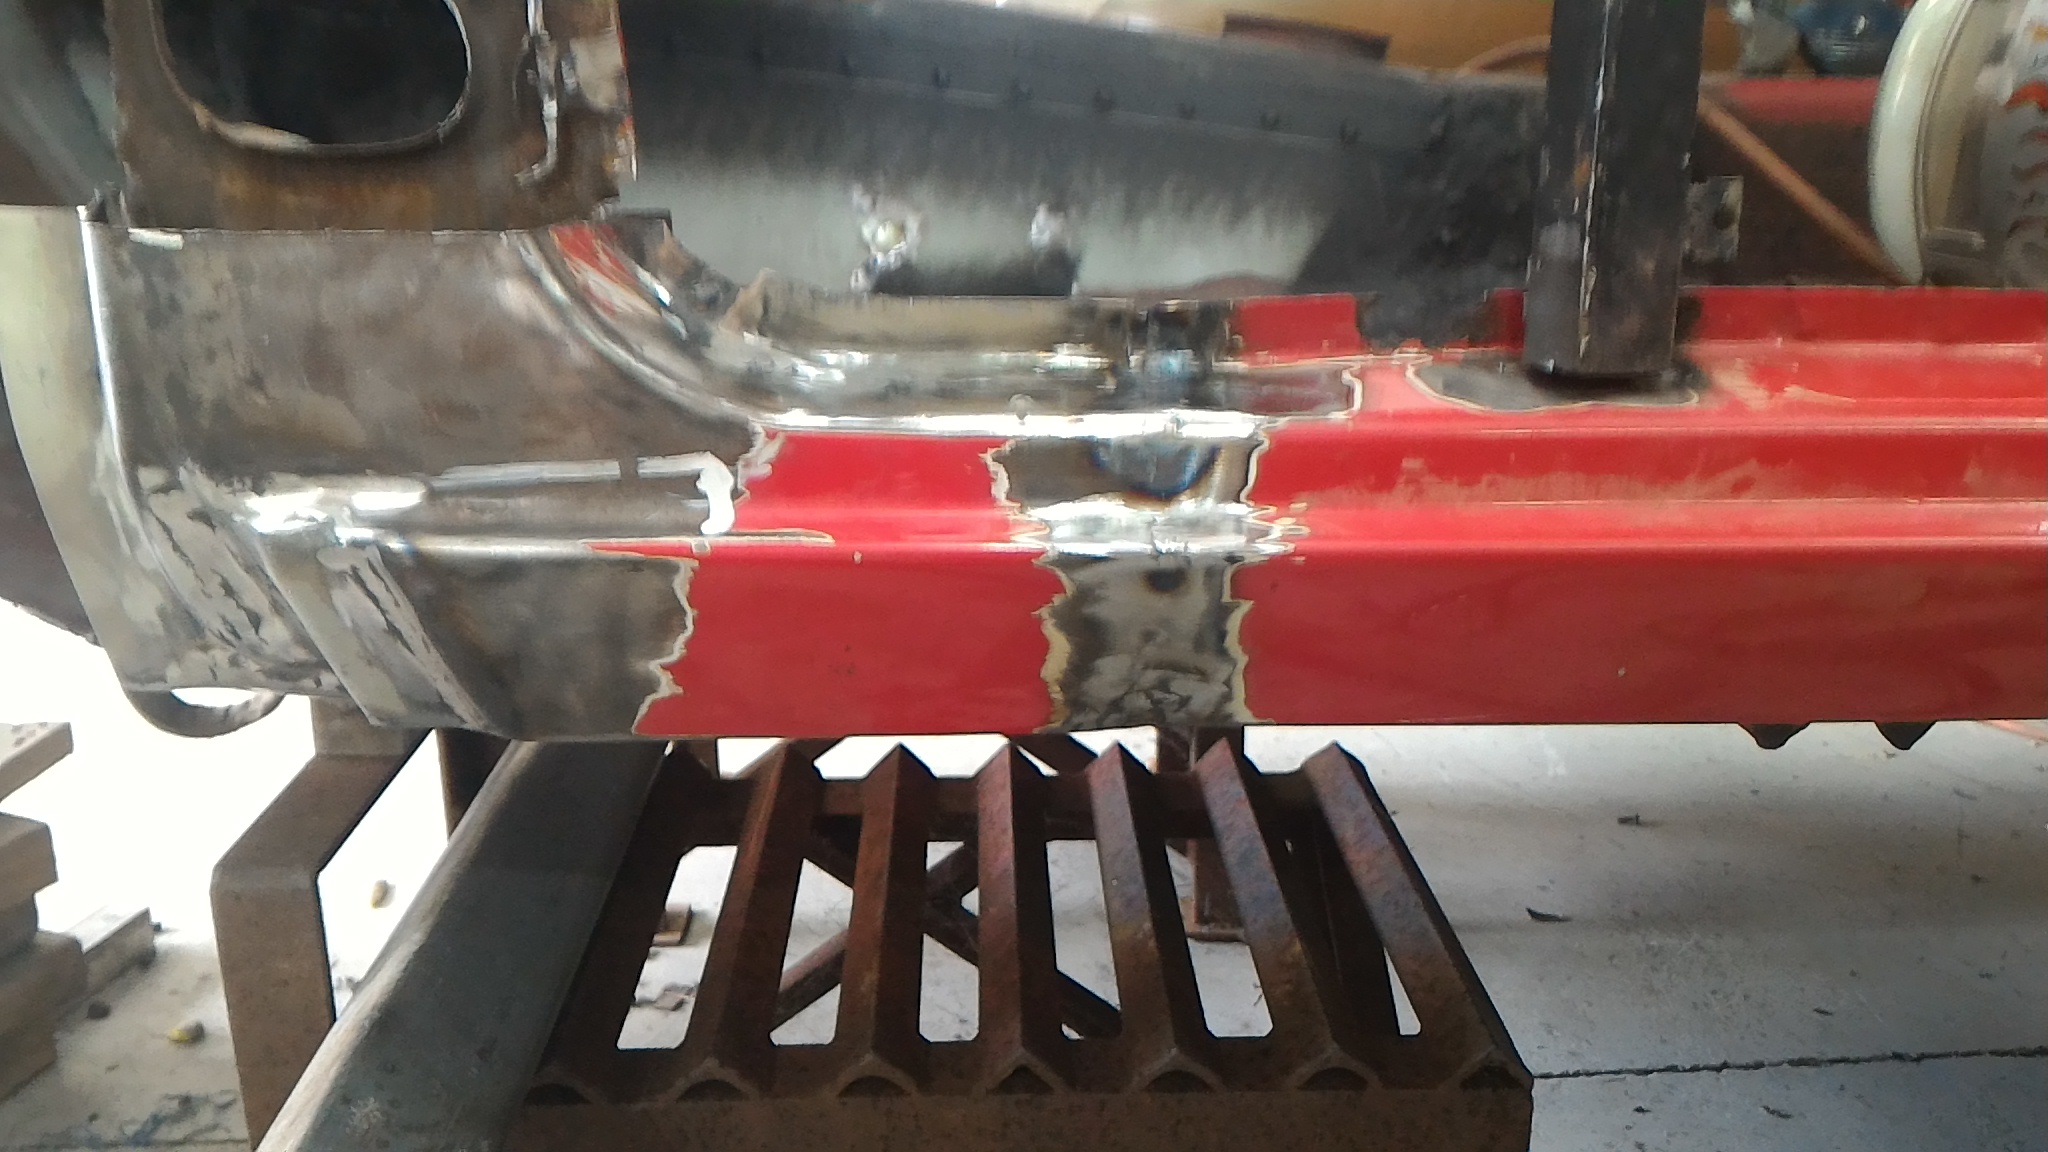
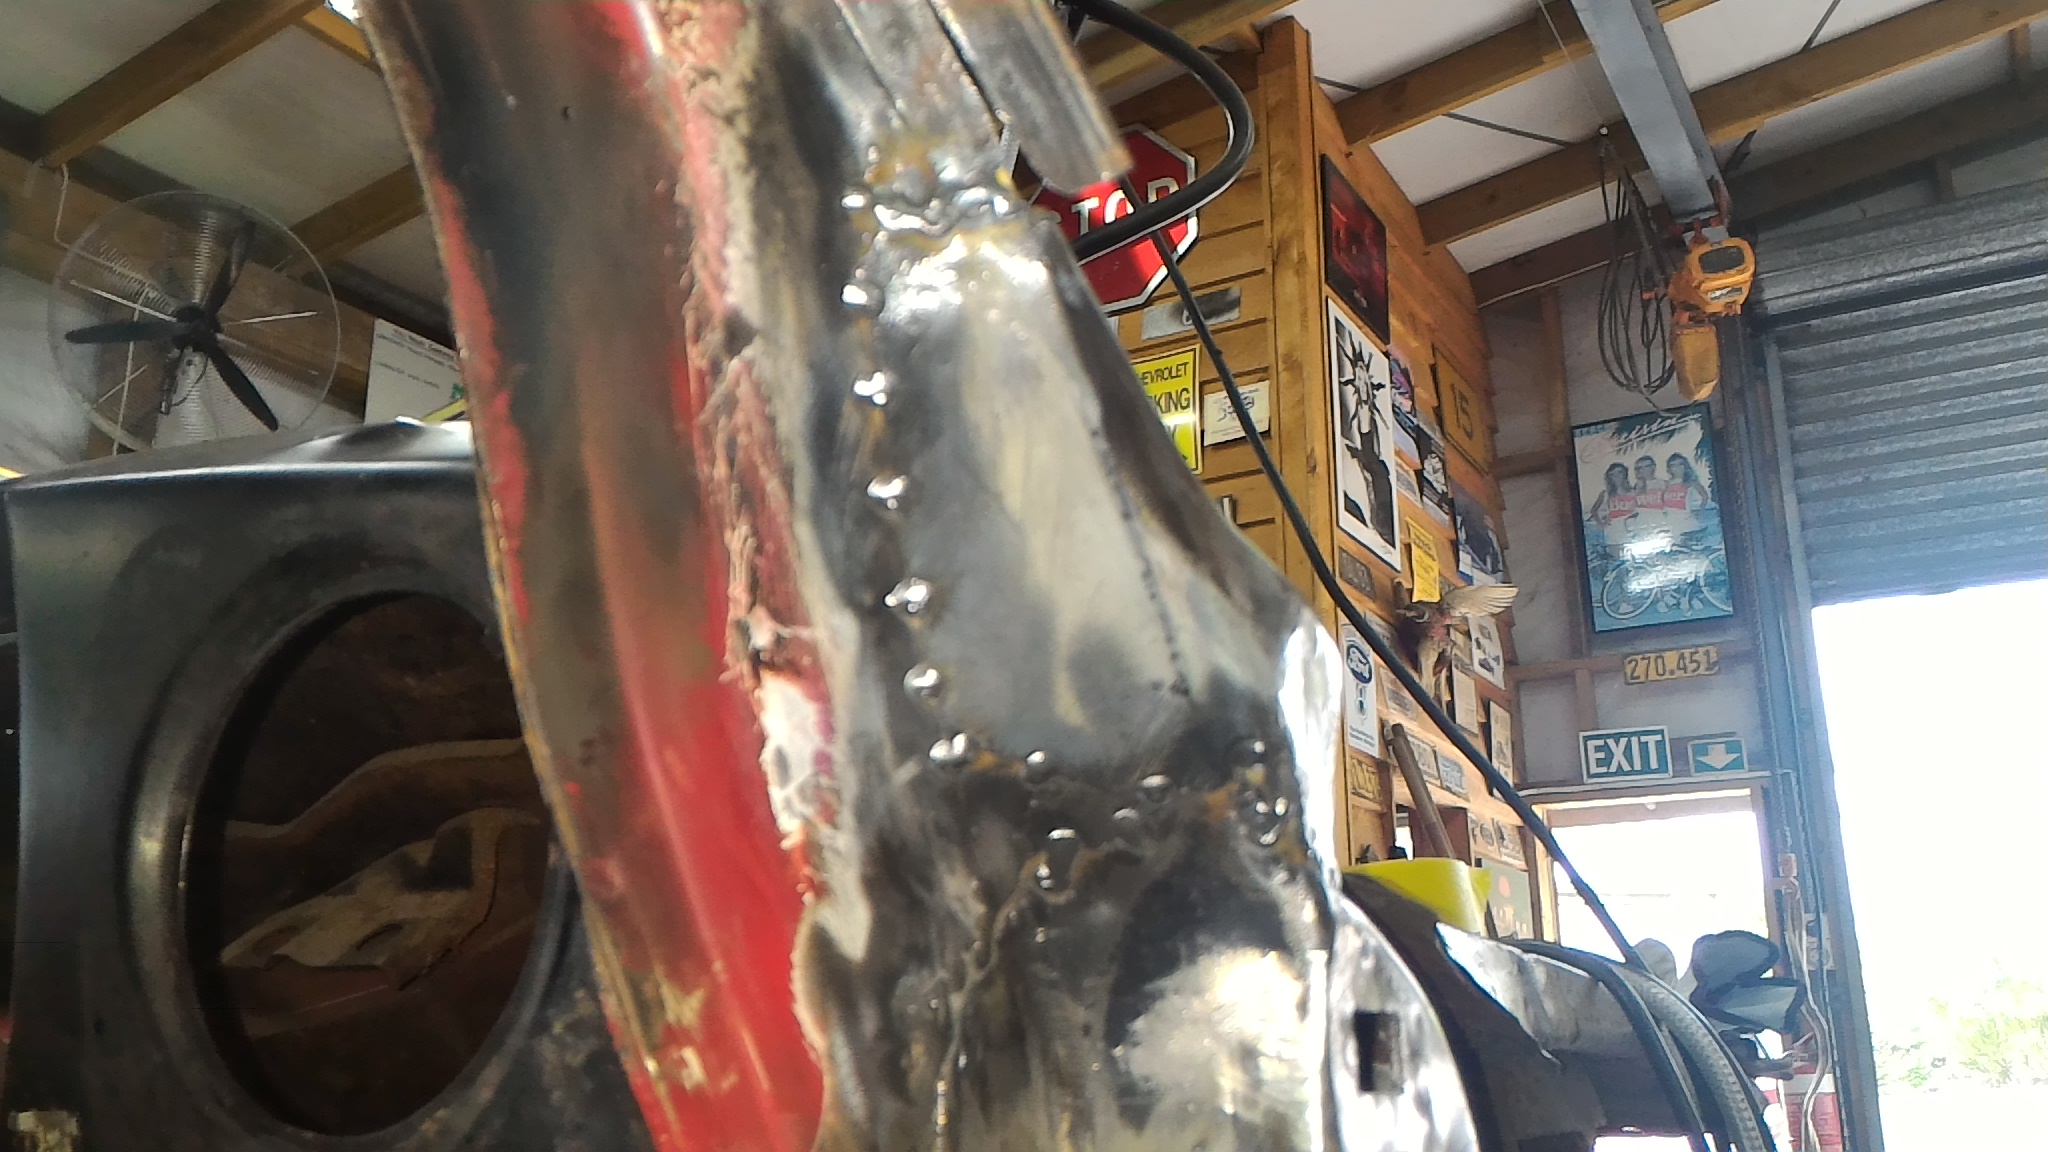
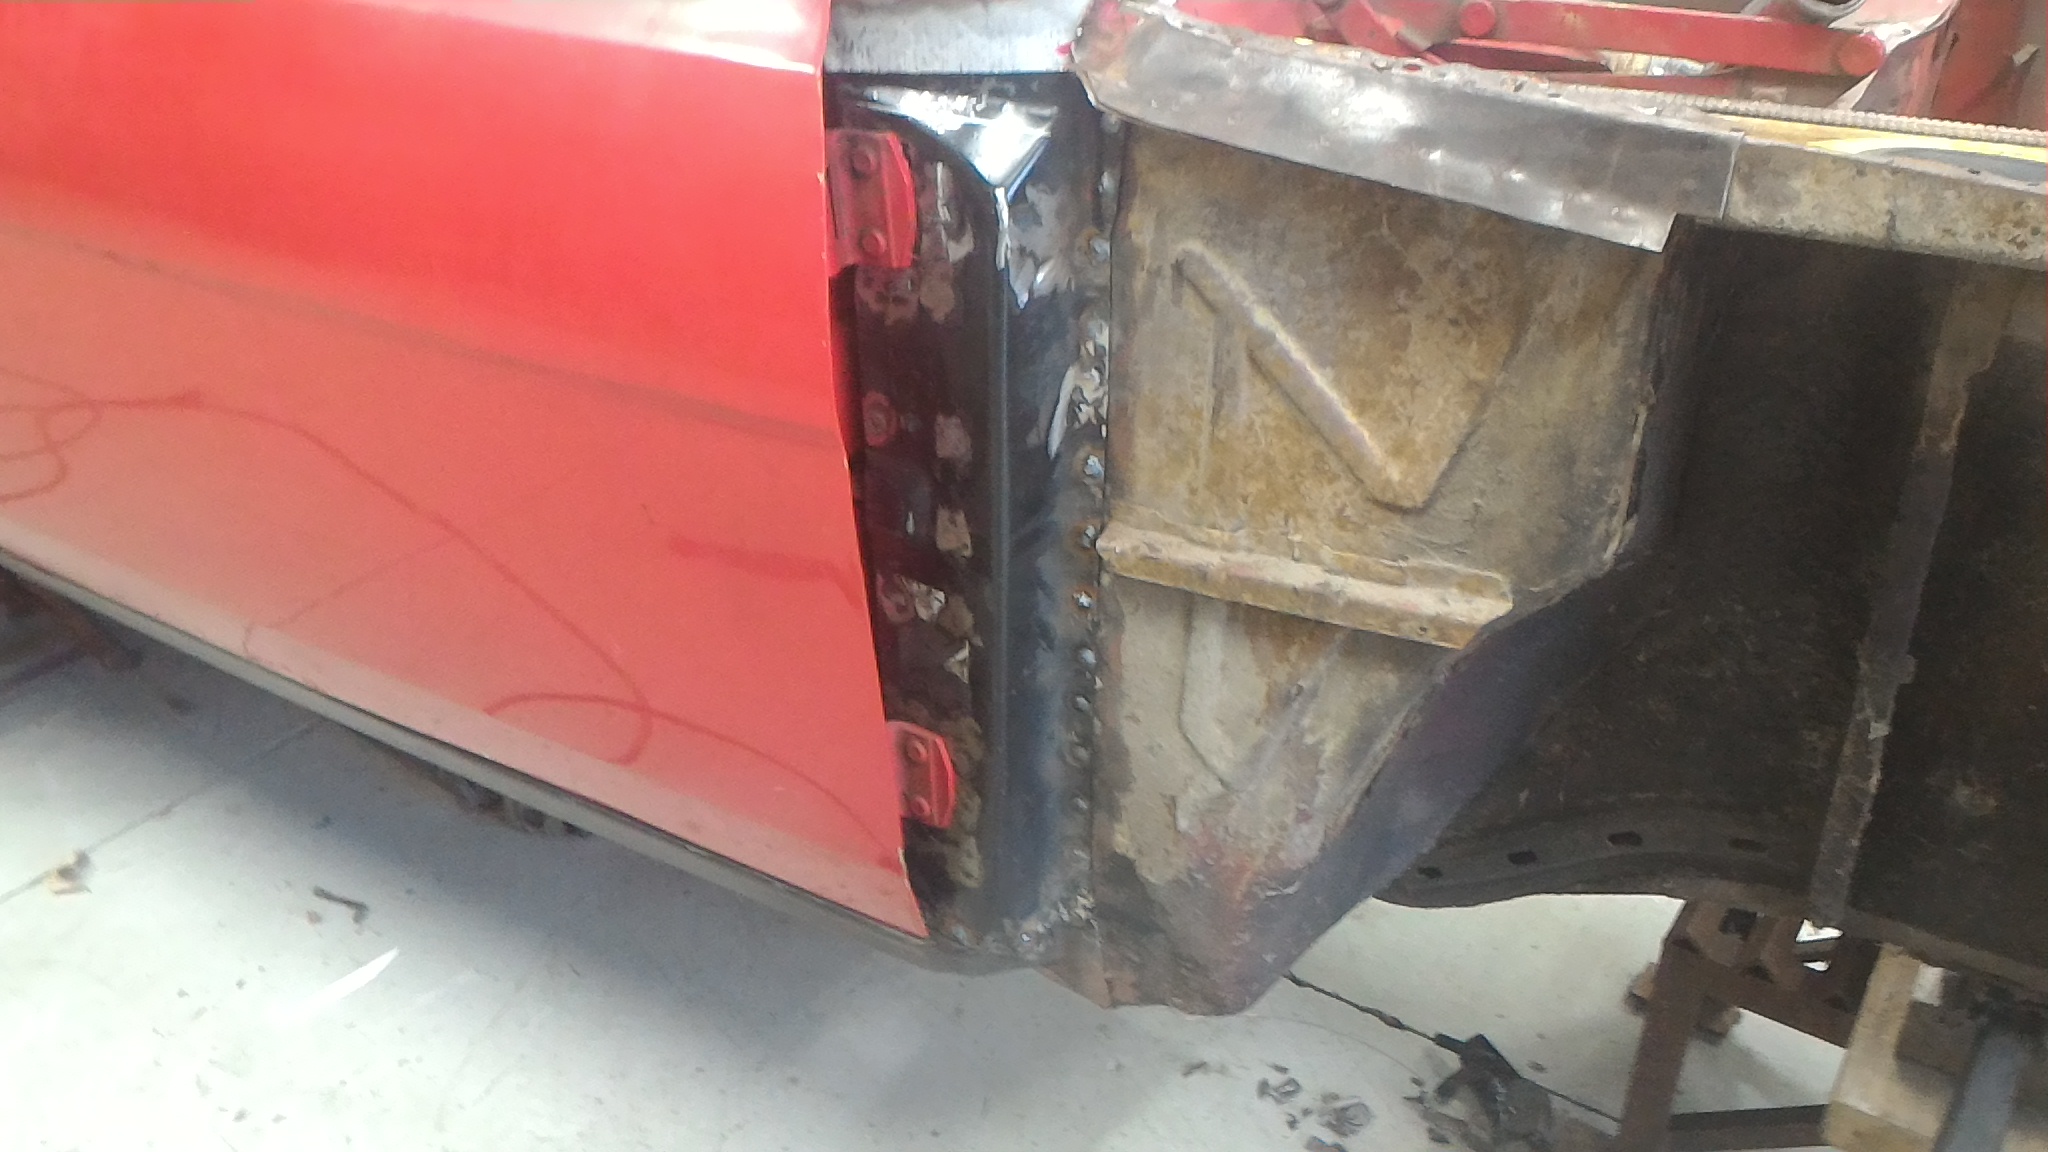
On to the other side. I tore the A pillar off this side and found another piss poor repair attempt in the wheel arch. So while I was there I cut it all out as well as the front portion of the sill which needed rust repairs as well. When I cut the sill off I was particularly careful to keep the steel I ground out to a minimum. I used the thinnest slitting disk we have as you can see in the last photo, and kept it down to about 1mm or so lost material. The inner sill was cut out too for the same reasons. As you can see I also added in some bracing since I'm taking out so much structural material and I'd rather be safe than sorry. Then I set about rebuilding the front of the sill. I preferred at this stage to tack with the MIG and do the proper welding with the TIG as the photos show. Again, not my best work but as they say, "a grinder and paint make me the welder I aint" Then I used the through panel clamps to hold the sill in place while I tacked it back on. I used the original splitting disk to set the root gap of the weld to make doubly sure it was in exactly the same place as when it came off. Then it was tacked and fully welded back on, taking breaks and letting it cool to keep distortion down to a minimum. Turned out pretty good. Skim of filler, paint, you'll never know.
-
Keen eye on you @Valiant. Dad's got a 39 ford coupe deluxe in the back with some pretty awesome panel work being done on it. Here's his build thread if you're interested... https://www.jalopyjournal.com/forum/threads/kiwi-1939-coupe-de-jure-runnin-from-johnny-law.853214/
-
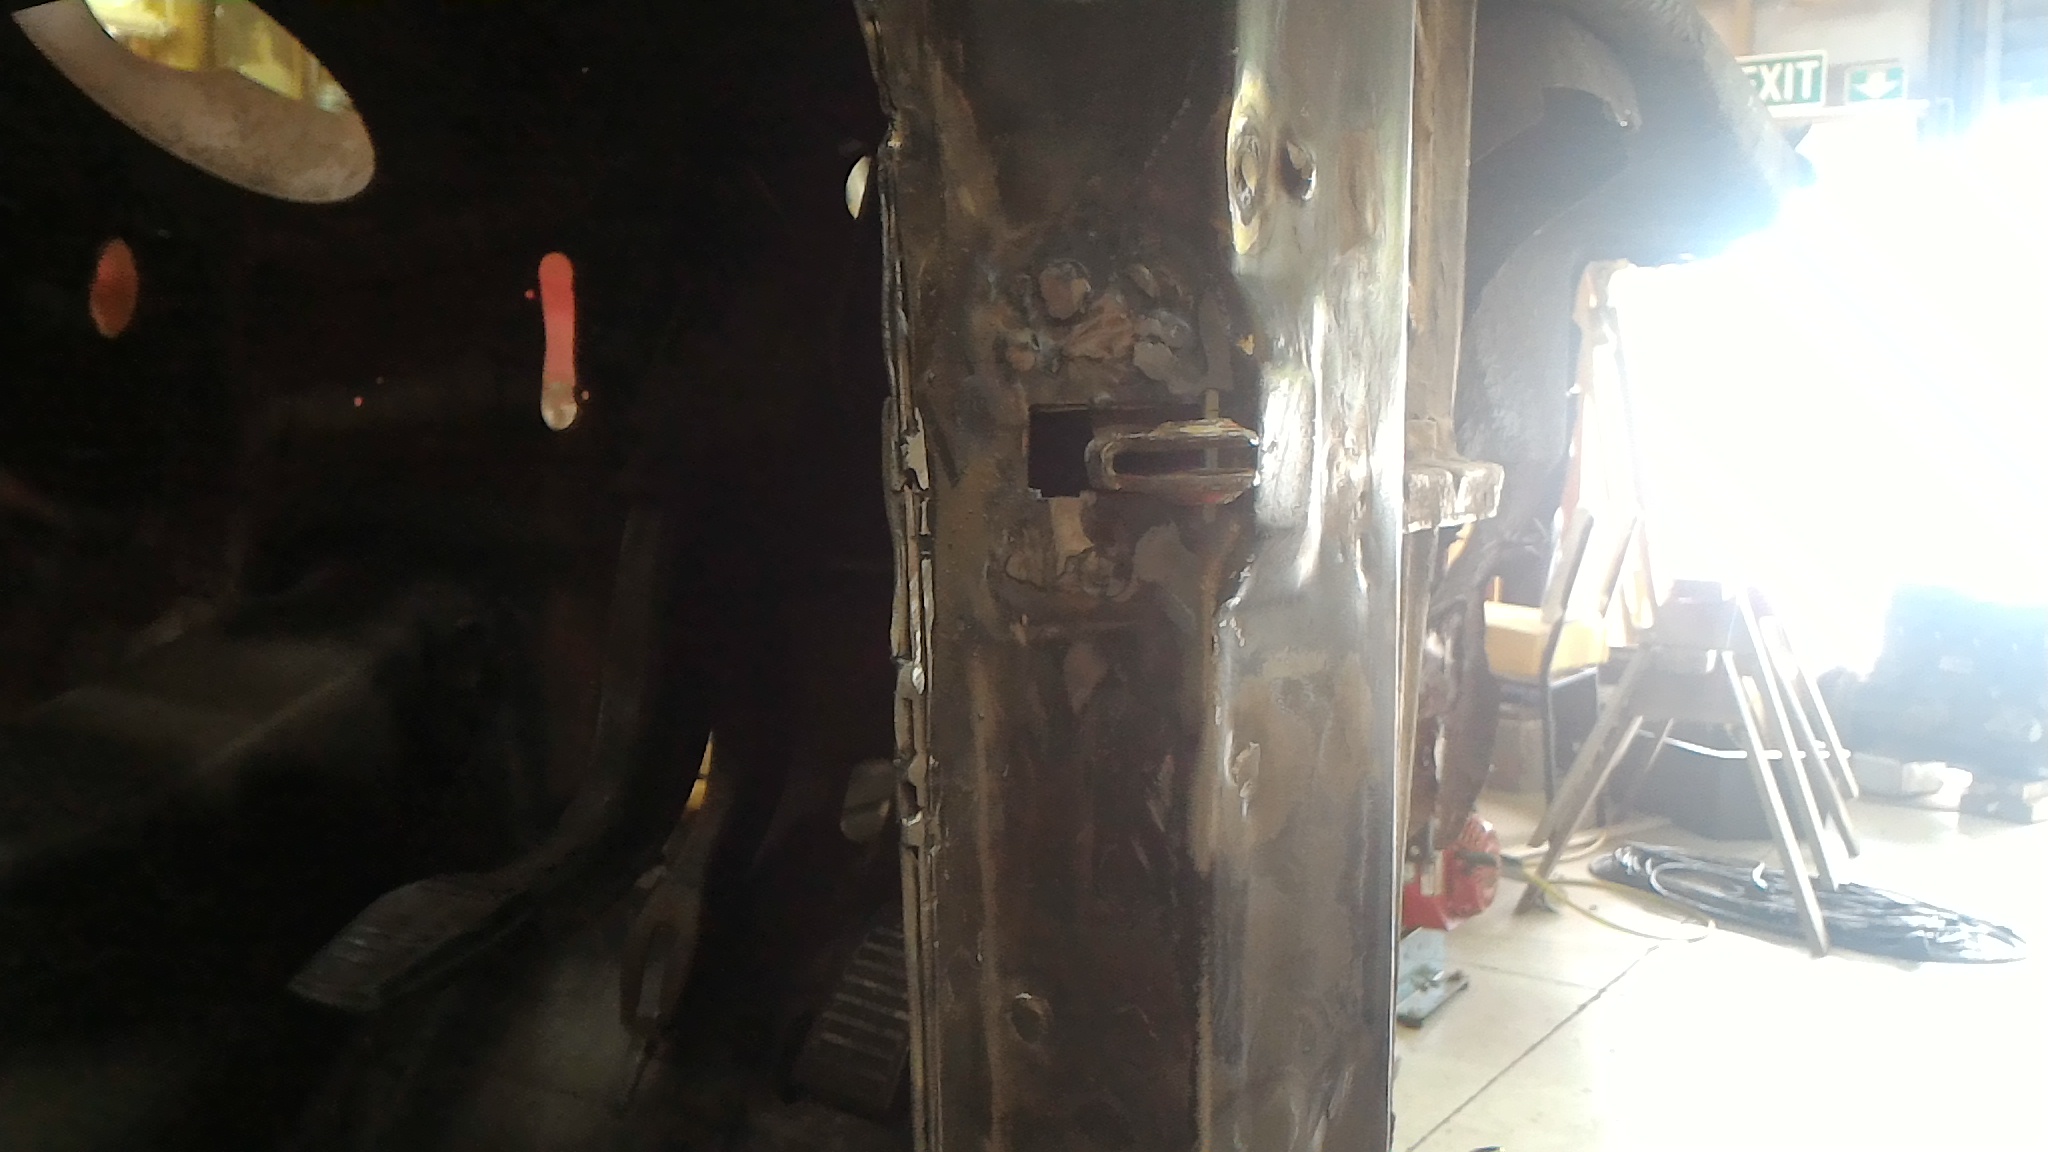
So I slapped that bracket in and bolted to door up to look at the fitment. As you can see, somethings not right. The door doesn't open near far enough and after some investigation I realised that the check strap bracket was about 5mm to far inboard. That meant the check strap couldn't extend far enough to allow the door to open properly. So out had to come the check strap bracket. Unfortunately some dick had plug welded the snot out of it and so I had to drill out the welds, shift it over, and weld it back in. I love making more work for myself.
-
Then it was just weld the new cowl panel in. Tacked first Then slowly and carefully fully weld it all back in. Here it is all ground back And stitched around the bottom When I fitted the door I found that the patch was slightly too girthy () and the edge of the door would touch it when it was shut. My solution at the time was to make up some spacers for the hinge to hold the door out from the cowl. Like so... You can see the plate sandwiched between the hinge and the pillar. Now don't roast me. I know this is a terrible solution to a problem I have created myself. Don't fret. It gets fixed. This all happened six months ago remember. I then went and welded in the door check strap bracket. This was the beginning of another debacle, as the next post will detail...
-
And boom! It's on the car.
-
Next job was to prep the new repro A pillar panels for welding in. The original pillar has a reinforcing panel welded in the back side of the outer skin. So I set about reproducing that from some shiny new steel. The gussets are there to replace swages that continued around the fold in the panel. I can tell you first hand that they are a real bitch to try and replicate (read: I fucked one royally and had to start the whole lot over trying to do it) so I opted to do these gusset type things instead. They provide much more stiffness than the stock piece anyway. Then I had to modify a mk1 escort A pillar repair panel because the mk2 estate pillar is very similar but uses mk2 style bolt on door hinges instead of the welded on mk1 style. Like so... Then the two get zapped together with a bajillion plug welds to make sure that shit aint going nowhere. I used the TIG for all these plug welds but it was such a pain in the butt and took so long that I would use the MIG next time. It came out pretty neat though I thought.
-
So I tore the A pillar off and removed the rusted lower half of the inner pillar and replaced it with nice new steel. The welds weren't my finest work but it't not coming out any time soon.
-
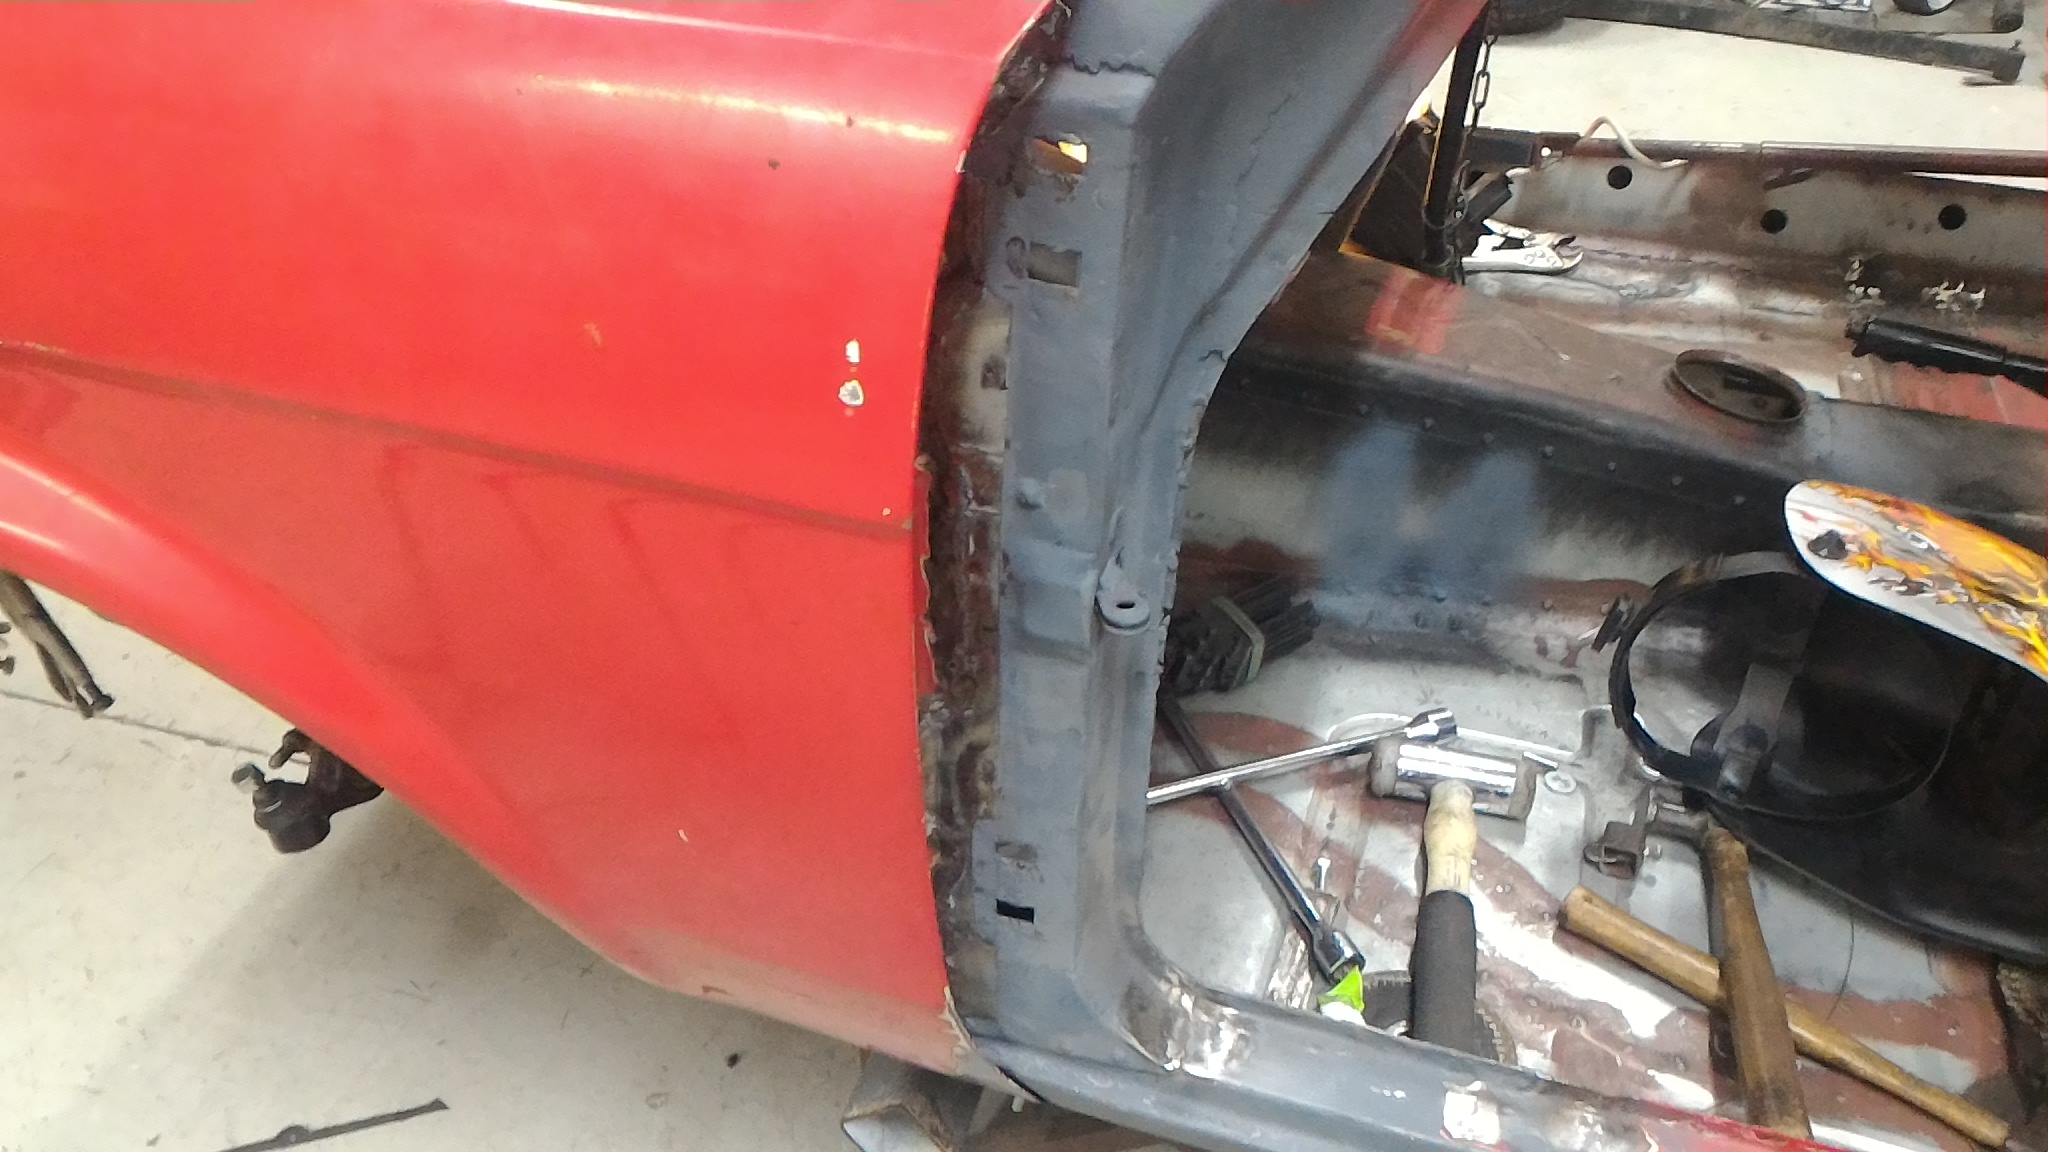
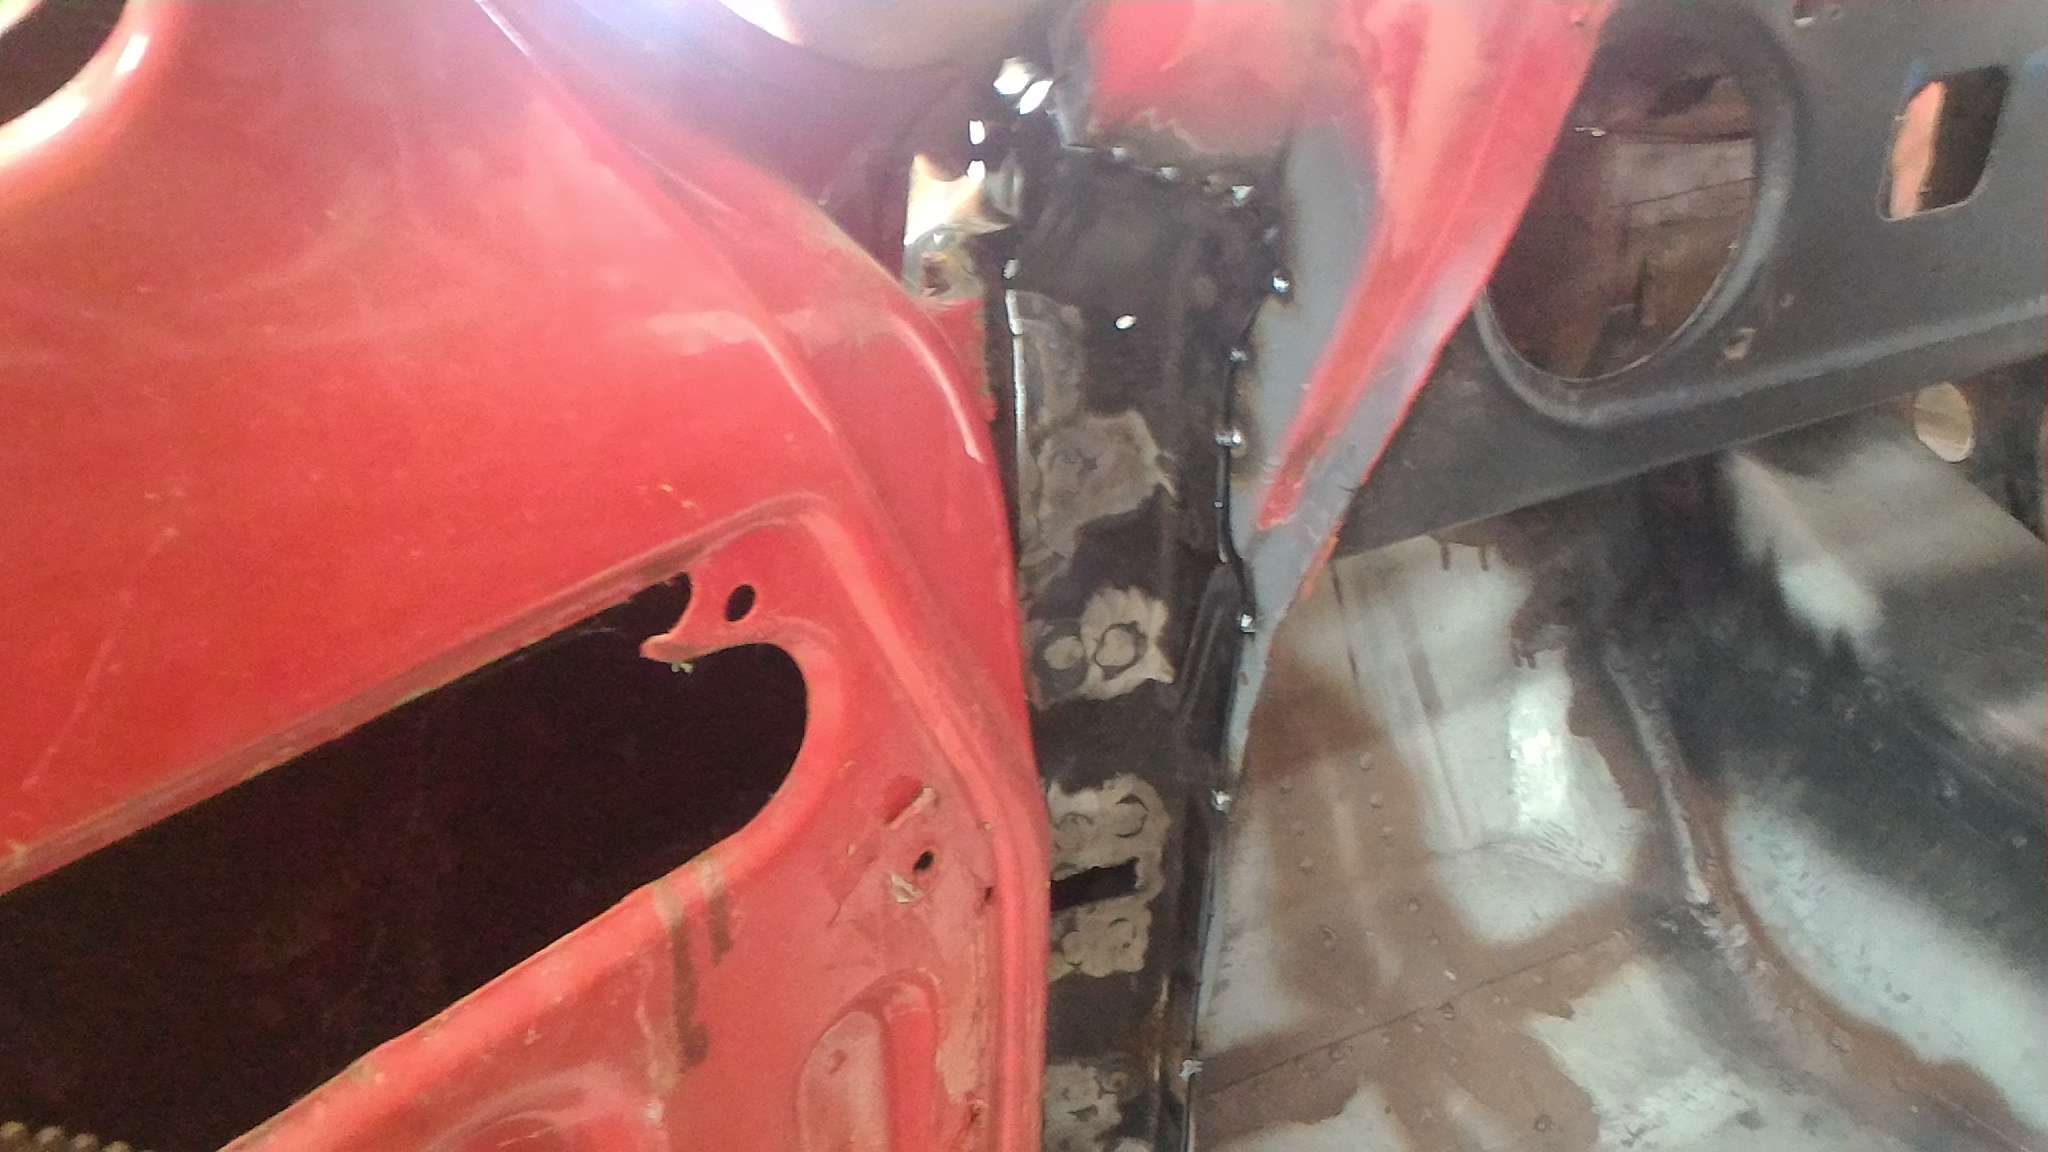
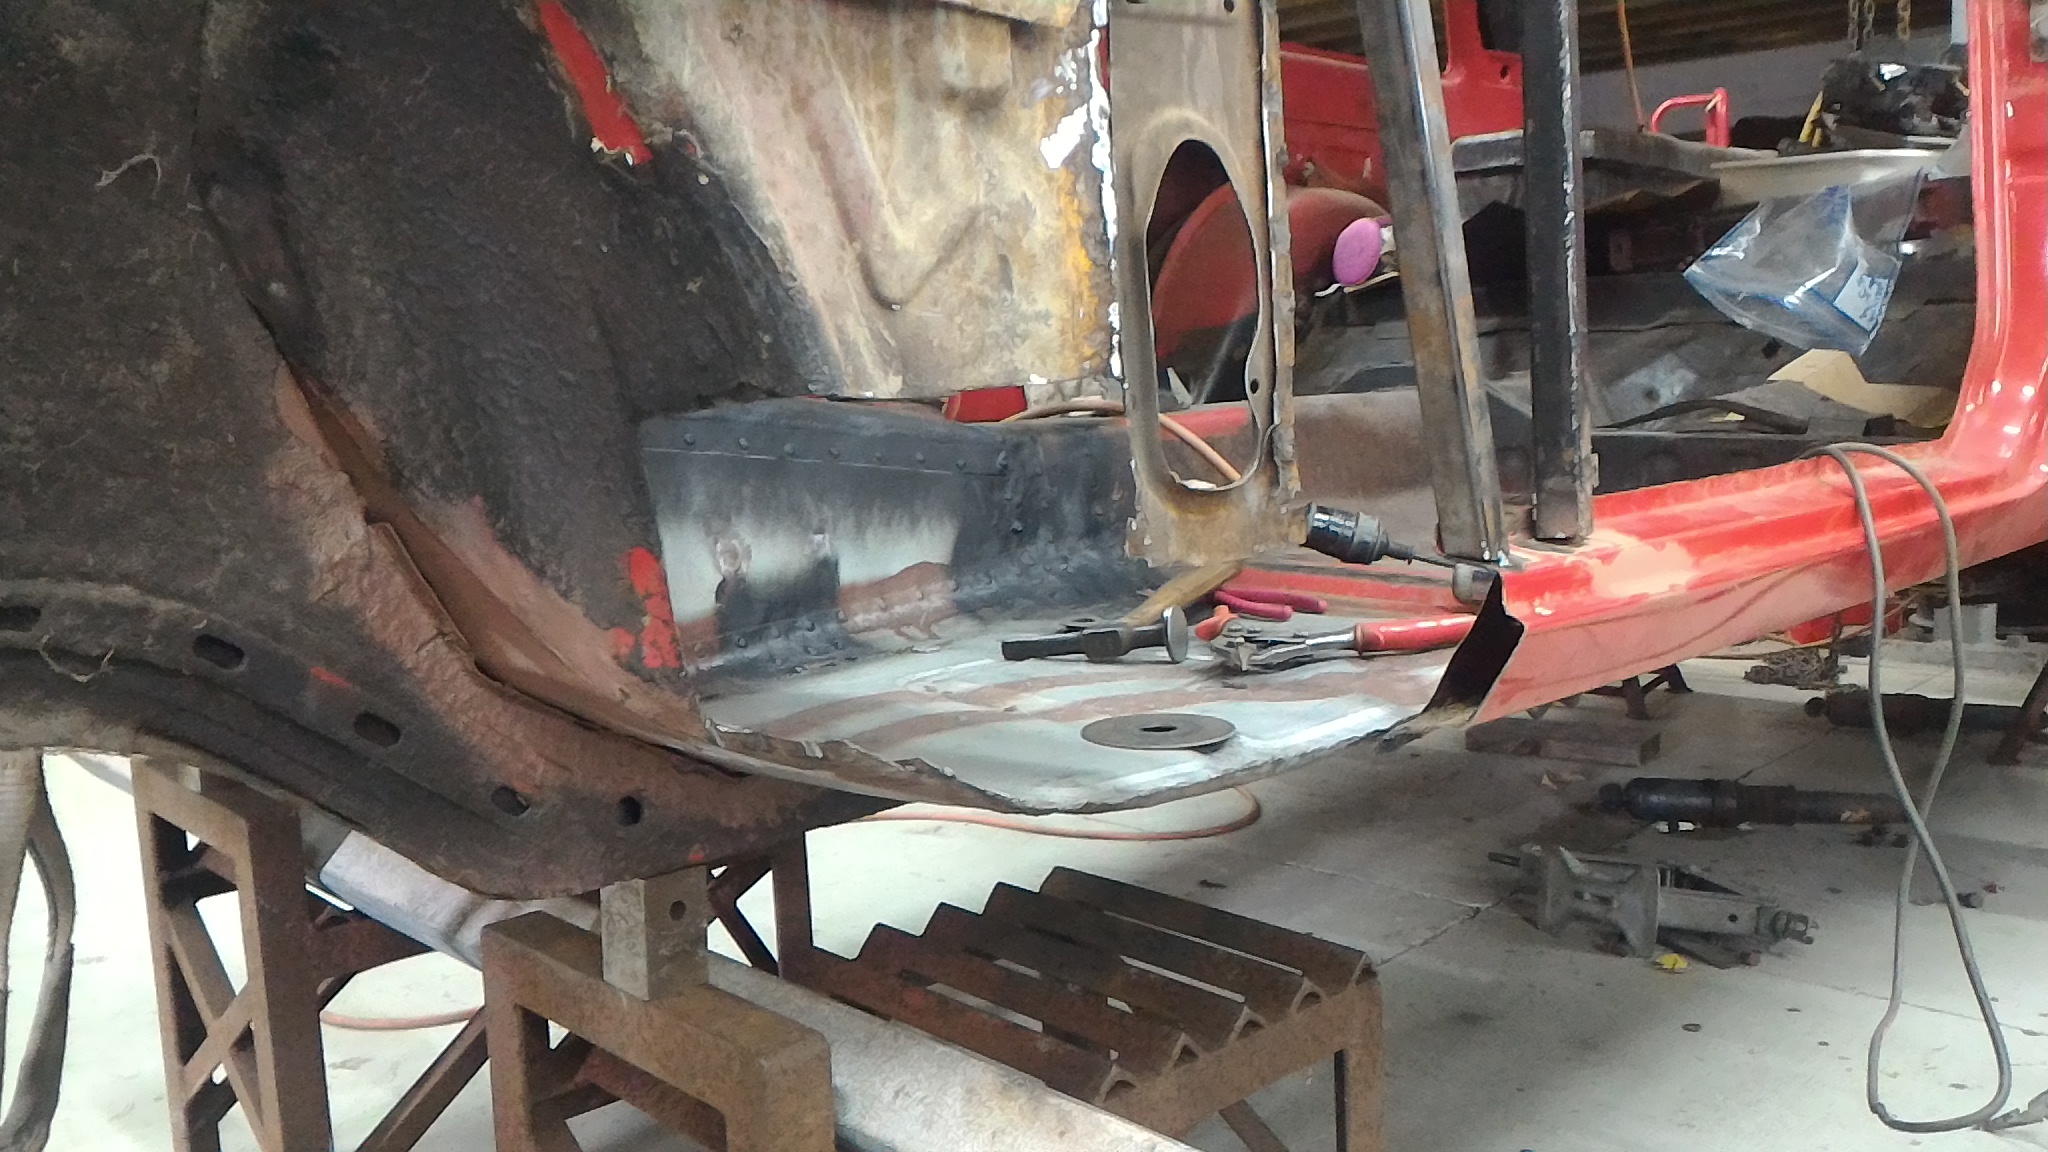
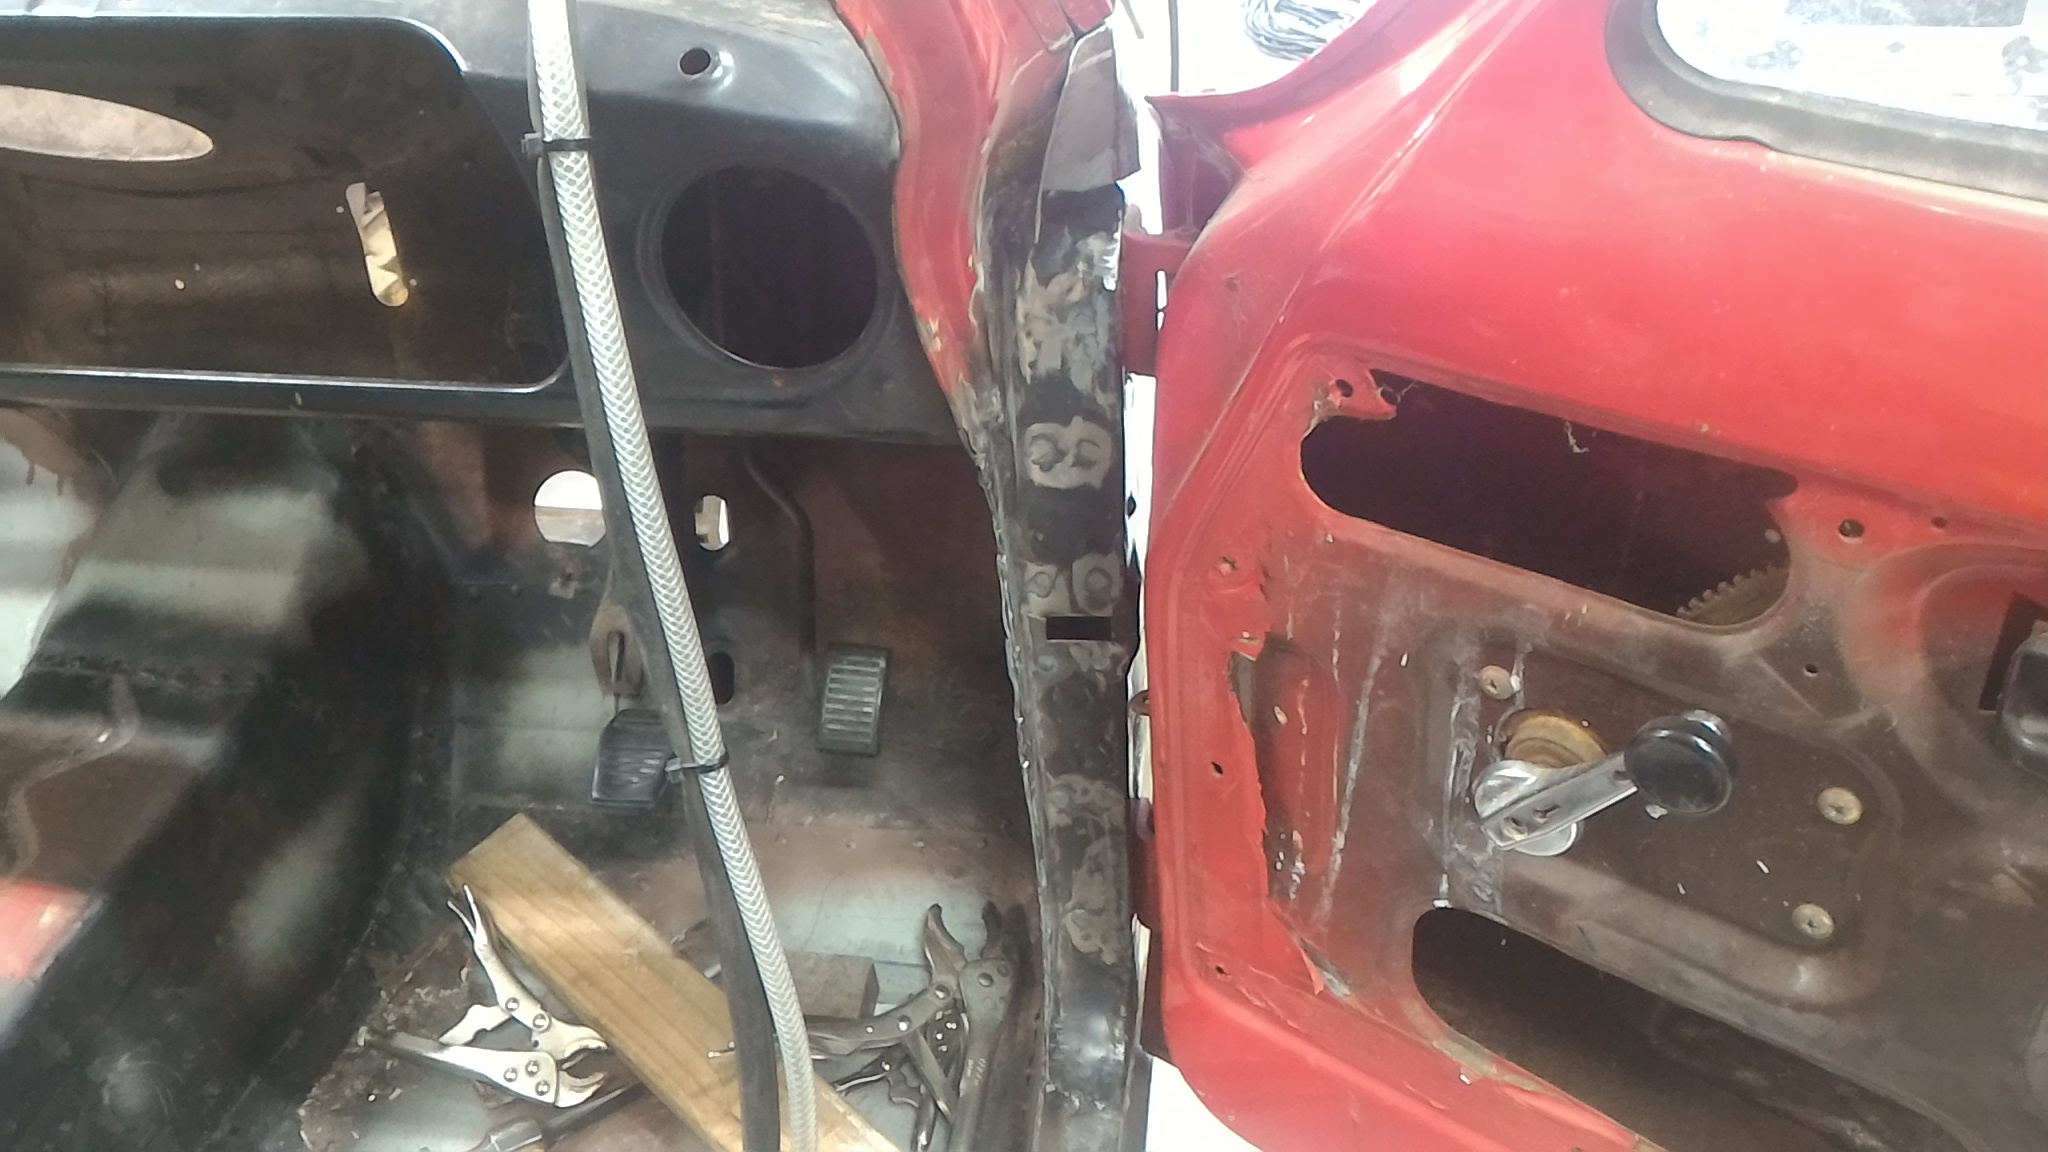
It was at this point that I realised that I couldn't weld any of these panels in yet. To weld them in I would need to know exactly where the front panel wanted to go. To know where the front panel wants to go I need to know where the guards want to go so I can match all the lines up. Since I need to repair the guards I need to pull them off. To know where to put them back on after I repair them I need to know where the doors are to match up the lines. To make sure the doors are hung in the right spot I need to sort out the A-pillars. So that's whats next. Well sort of. Looking at the state of the a pillar after cleaning all the paint and shit off it tells me that the whole shebang needs binning and starting over. To pull the old a pillar out and replace it properly I need to get to the top of it. Are you spotting a pattern here yet? So I need to cut a part of the corner of the cowl out to gain access and I'll just weld it back in later on. Or so was the initial plan. I cleaned back the pain around the lower corner of the windscreen post to see what I'm dealing with a find a big old ugly patch. So now this has turned into another rust/"repair" repair. Before I cut out all the bad steel I formed up the replacement panel over the top to get the right shape. So that's that panel tacked up into shape. Now I can move on to deeper and dirtier bits of the beast.