


Ashkellybarr
-
Posts
512 -
Joined
-
Last visited
Content Type
Forums
Downloads
Events
Gallery
Posts posted by Ashkellybarr
-
-
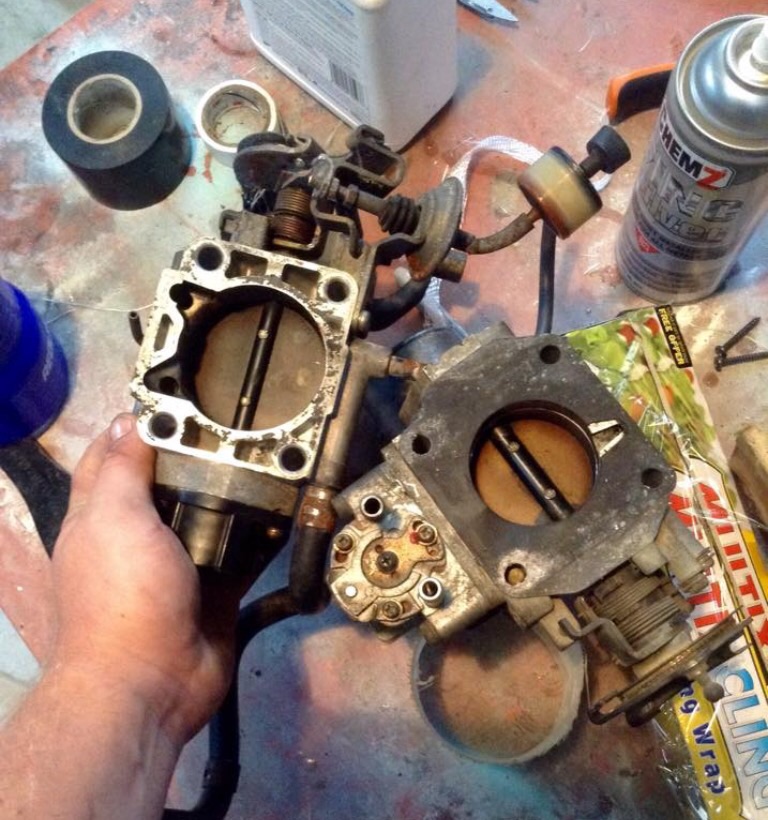
OEM 4agze throttles pretty small. NA's not much bigger.
On the left is a 7MGTE throttle. Good as it has the same style cold start mech and TPS' are interchangeable. 7MGTE take 2.75 silicone.
Good little upgrade to this bottle neck in the system

Will take the NA intake manifold opening out and get a mounting plate welded on to put the bigger throttle
Progressive plenum would probably be better but I'll invest on one later down the track.
Sorting out a decent intake in these things is a pain in the ass. Air flow and heat soak being the biggest dramas. Have played around with a filter in the boot.
maybe adding a vent on passenger side same as drivers and build an air box onto that, il do this at a later stage before cert.
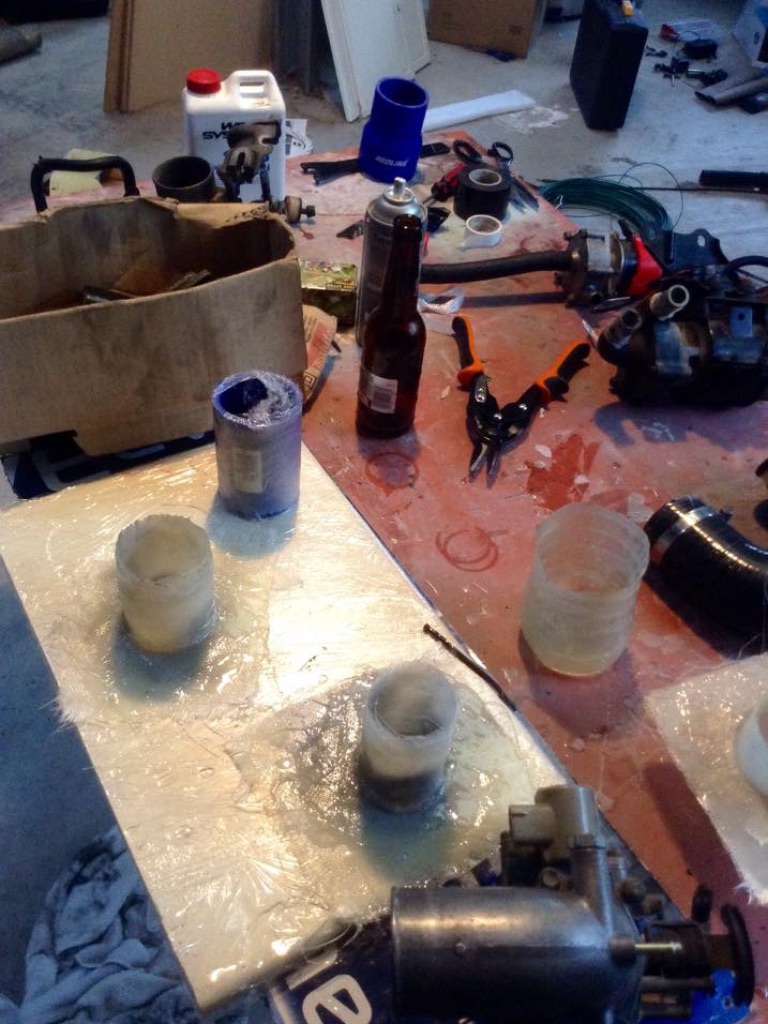
Fibre glass flanges and intake piping aren't hard to make, a lot lighter then alloy. Allthough I'm not sure about heat and pressure resistance. I've got to get some carbon mat so I'll have a play around
-
 3
3
-
-
Hey didnt manage to get the numbers sorry mate. Could only read CD-40??
Rest was in jap aside from a heat warning
-
Rigging up a vacuum cleaner to the angle grinder to suck up the dust is worth the effort, the stuff is horrible!
Watch cut off wheels closely, they work but kinda burn through the thicker sections.
The vac ideas a goodie
wash, wash, and wash, don't want to breathe that crap in.
And yeah your'll stuff the epoxi if you heat it to much.
Fast and sharp blades at a slow cut rate works good
-
1
-
-
I've doing quite a bit with matt and epoxi. Just used and angle grinder and a really good dust mask.
Cuts it clean as.
Depending on the mat I'd sometimes just give it a light paint in epoxi resin to stop if fraying.
Cuts where always clean so didn't haft to worry about splinters.
Usually rinse it down after to get rid of the dust so I'm not breathing it in
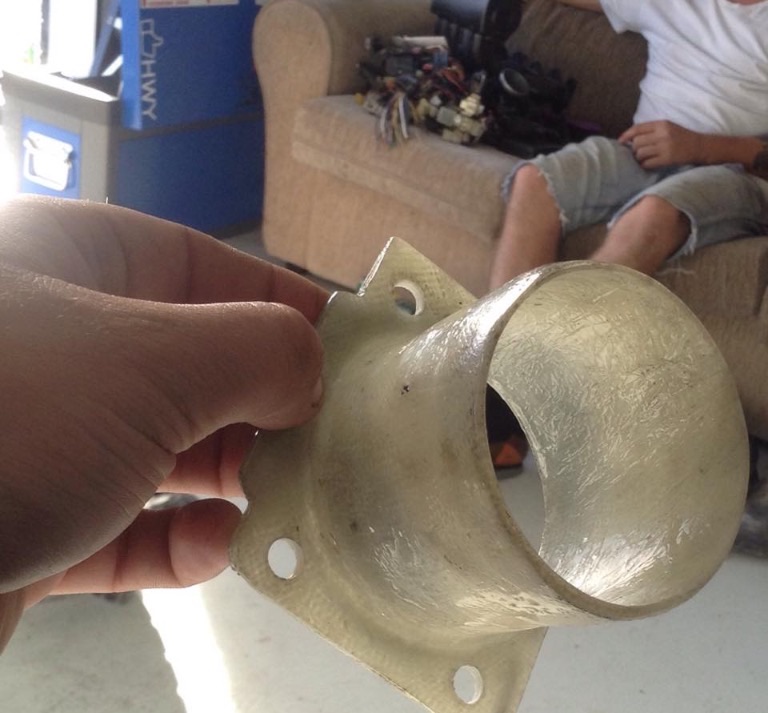
Here a photo of a flange I made, cut with a grinder, and drilled on a drill press. Then painted in a thin coat of epoxi
-
2
-
-
Braided brake lines in after a bit of pissing around
Started playing around with the BC's, might look into shorter springs as I'm a bit worried about the having to add to much pre-load to get the ride hight I want. Will haft to crunch some numbers on spring rates and preload and see what's up.
Form&function
I've just ordered some rear camber plates so wait till those turn up then drop it and start sorting hight and then sort spring lengths and rates to get it handling nice at the track.
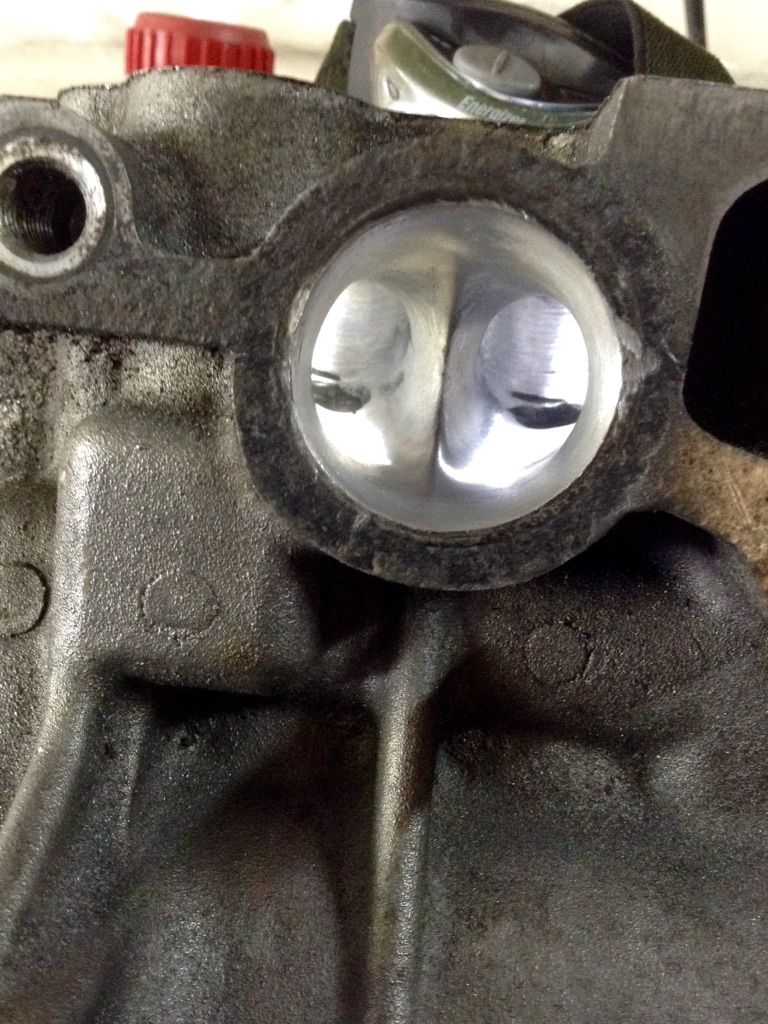
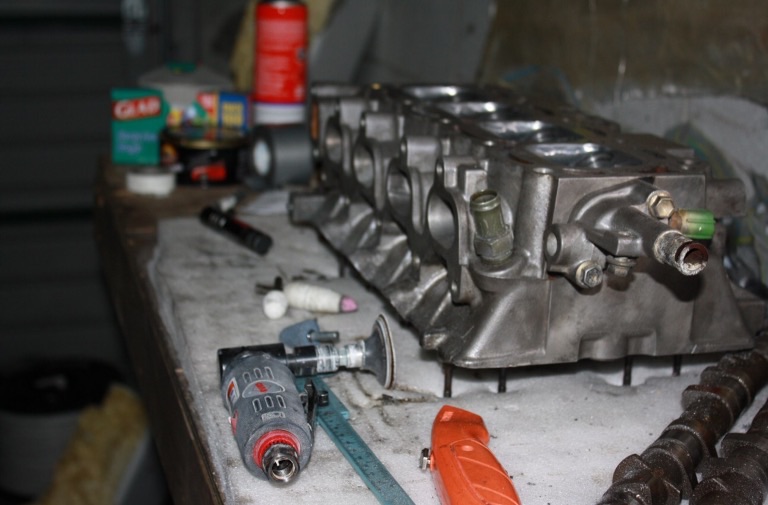
Here's some more photos of the head, cutting out mostly done, about ready to take it through the grades and start on compound.
There's some annoying grooves around the guides I can't get out as I don't want to take it out to far, Orwell...
Oh and that ports not on the piss, photos taken on an angle, your'd be amazed how hard it is to get photos of shiny ports
-
So motor wise there's a fair bit happening on the rebuild.
Bens old 7AGTE
Bottom end is getting 8.9:1 +0.5mm
The rods are mint, huge pauter bastards as thick as my wrist, quite heavy hey I'm not gonna go spending 700 or more so save a little weight
Crank seemed in good nick and bearing wear was good as far as I could tell.
The most part that bothered me was the use of the 7A stuff so a 4AG oil pump and pick up will be used as they pump a bit more.
The other is the timing belt set up. The belt was lose between ex cam and crank gear.
I'm unsure of this arrangement but I read it requires adjustable cam gears witch is awesome cause now I have some cam gear to play with
So the MRP timing kit will be bought to solve this and give me reassurance.
Now after crunching some numbers it turns out the 8.9:1 Pistons actually gives you near 10:1
Wanting to use a TRD 0.8mm HG (OEM are 1.2) to reduce my squish gap this would put my 8.9:1 Pistons and 36ml head chambers to 10.3:1
Now that's to high and after talking to some guys they all said to drop it into the 9's.
Barry saying 9.2 is ideal.
Sooo
i needed to lower my comp. the factory 4a head has some pretty ridiculous casting marks in the ports and cylander so I desided that taking casting and machine edges out of the head chambers was the option, aiding in cylander operation, lowering chances of det, and at the same time dropping the compression to where I would like.
After crunching some number I came to taking the chambers out from 36ml to 42ml
At the same time I'm sorting out the ports.
Now the ex ports are pretty small on the 16v heads being a little less then 30mm maybe 28mm.
The ex port on a blacktop head are 32mm and some people take those out for racing
The formula Atlantic heads are a whopping 38mm
So I took the ex ports port out to 32mm witch should help the flow once the turbos spooled.
The bowls taken out as well, and all of the guide support material removed. Then taken to a mirror finish with A polishing compound
The intake ports are quite big, even on the small port heads I've got so those have been left pretty un molestered, the wall was thinned between the valve ports, all casting marks removed, and as much of the guide support as I could.
The cams are pretty cool, their an old cam you can't get anymore. They were a joint venture between wade and Toyota Australia as an upgrade for the 4agze aw11
They measure 267 and 220 at .50 with I think 9mm lift from what I can remember??
Valves and springs we'll haft to wait and see but I've got some HKS and tomei springs sitting here with OE valves and retainers
Head still got more work to be done, I've spent maybe 30hrs on it and probably have more then that to go still.
I'll post some photos when I've got some spare time
-
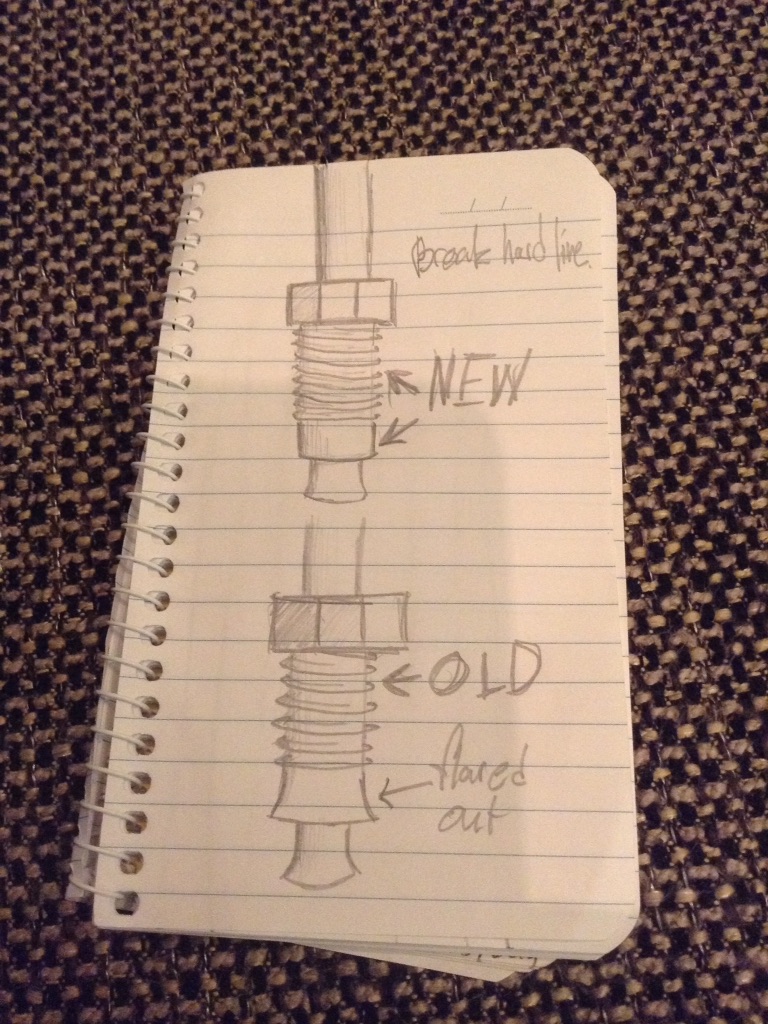
If you don't mind being there for a few hours, not to mention the slap you're gunna get when she finds out. LOL Something along the lines of the 2 on the left would be ideal.
Good point, nail polish and brake fluid don't mix I suppose haha
Alrighty I'll see what I've got and give that ago
Cheers for the replys
-
Used to have this problem all the time and I would get a medium coarseness file and file the flares on the pipe nut down, turning the pipe nut a little bit at a time after each stroke.
It takes a bit of time but its important to not rush it and risk accidentally fuck the thread.
Or could also cut off the flare, replace the flare nut and reflare the pipe. (but that would be only if you have the correct tools at hand)
Thanks! that was my other idea but I wasn't to sure if that was alright. I'll see what files I've got and give that a go.
Think the miss' nail file might be coarse enough??
-
So I'm changing to braided brake lines at the moment.
Old ones are out, nice and easy
But lining up the new ones isnt so easy.
I've two done already but I'm having trouble doing the other two.
Seems the nut things (I'm not a mechanic btw) on the hard lines are flared out and simply don't want to play ball.
Obviously I don't want to stuff them.
Any ideas?
Didn't want to plyers as I might dent them so..
Was thinking I could make die to put in portable vice to press them back down?
-
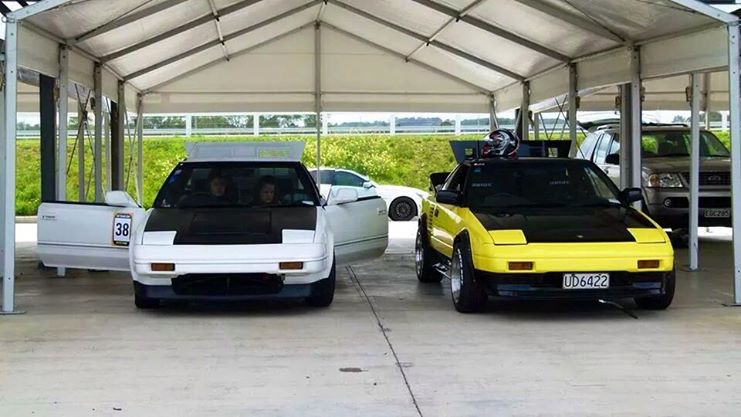
My mate Kris's AW (yellow one in my thread) is pre facelift and had factory shocks when he got it. The left rear had a tab but the right rear didn't have a tab haha
They were definitely the factory shocks too.
Definitely seems like something went astray when they were putting them together.
I know a lot of parts are shared with other cars. The rear hubs are the same as a FWD Rolla.
Maybe the aw ones were ment to have tabs but ran low and grabbed some shocks ment for anouther car until more with tabs were made??
-
Sweet man I'll clean EM up and take some snaps tomorrow.
My aw came with them when I bought it, I don't know much about them, thought they were an option on FL??
Maybe not, I know my car had some work done years ago
Mine also came with 18mm front sway and 14mm rear sway.
I have what I think is a sw20 18mm rear sway here too??
-
The main area aw's get rust are the parts that aren't plastic or rubber.
Haha oh yeah those areas too! How can I forget
-
Ah sorry man dunno where the downs came from, maybe confused with anouther forum guy.Just wanted to say cool build but then I saw what's happened to my red mr2. I sold that car to Harry :'(. I'm struggling to see how it could have ended up being wrecked. I had thought about removing the 7a also but car would still have been worth a few bob even with a smallport or 20v.
Christ
Also I dunno who Ben Down's is but that's not me.
Yeah I know. I felt really bad but I got it pretty much for free with the bc's, brakes and everything so I would have been stupid not to take it. Unfortunately it was around Christmas and I was changing jobs so had literally no cash to put even a ST in it. And then I was given a 2 week period in witch to do something with it.
If it helps my crapy car butching reason Harry had the shell with everything, reg on hold, cert plate etc on trade me and FB for some time with no takers.
He contacted me about as his mum was sick of it sitting in her one off st car park and said she would call the wreckers if it wasn't gone.
So technically it would have been wrecked anyway, just as a complete she'll on adjusties and all so at least it help some people out on its way out
No one wanted the shell, just vultures from mr2ocnz wanting rust cuts and panels
Then not even 3 months later Harry offered me the complete 7A witch really pissed me off, if I had the motor I would have swopped all the good stuff off my white one into it and restored mine to stock (I still have unmolestered panels)
It really pissed me off because it was a mint shell. Aside from some paint fade and butchered rear guards from Harry but that wasn't a biggie
The roof is being used as a sun roof delete for a road/track car
Boot and engine lid save one car on rust
Rear lower c pillars saved anouther
Side vents getting used to make duel vents on mine
What was left was sold to a guy to use as serious rust cuts for his miss's
I've still got all the glass and trims
I'm using some of the trims to make molds so I can make carbon copy's when I have more time (their ready to be gel coated, just need some carbon mat)
But hey it save 3 or more aw's from the wreckers and also some mint spares and gear for mine :/
Sorry man
-
Ash, I just moved that post. Please don't post in the project threads, that's what the discussion thread is for.
That way when you're looking up someone's sweet, sweet whip you only see goodness and don't have to wade through 50 pages of "Good work!" to actually see the good work.
Coooooool bananas
No worries man! Makes sense
-
Hey mate nice aw! Will be mint once it's done!Back at the panelbeaters' this week for further compliance repairs.
I never knew that certifiers/compliance inspectors were allowed to find new items to fail on subsequent rechecks, but now I do!
This sucks man, I'm pretty sure WOF guys can do the same :/
I've resently pulled my factory shocks out, they all have sway tabs and all are damper adjustable, would you be interested in the part numbers to see how they differ?
Cheers
Ash
-
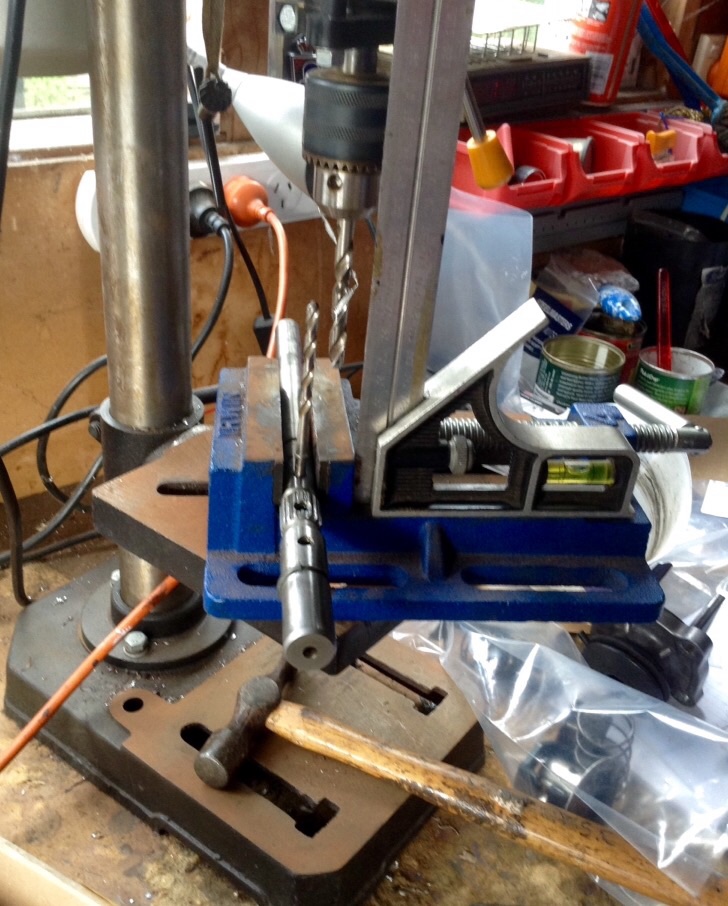
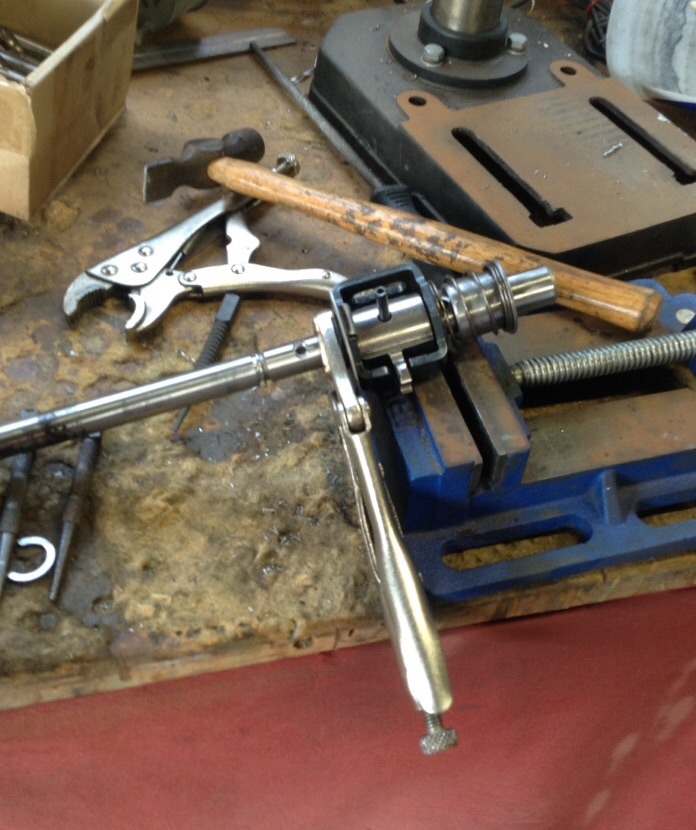
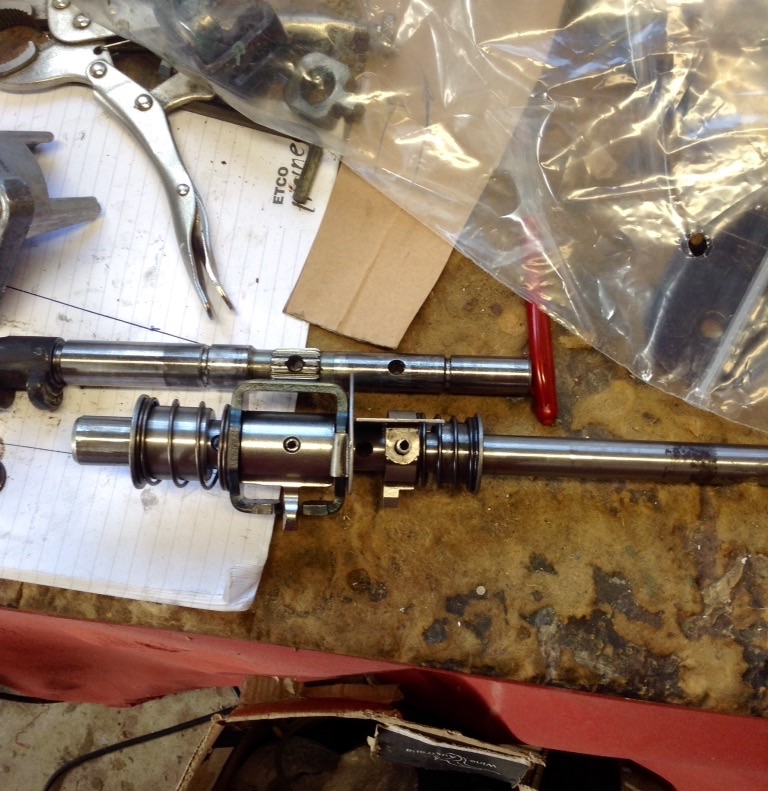
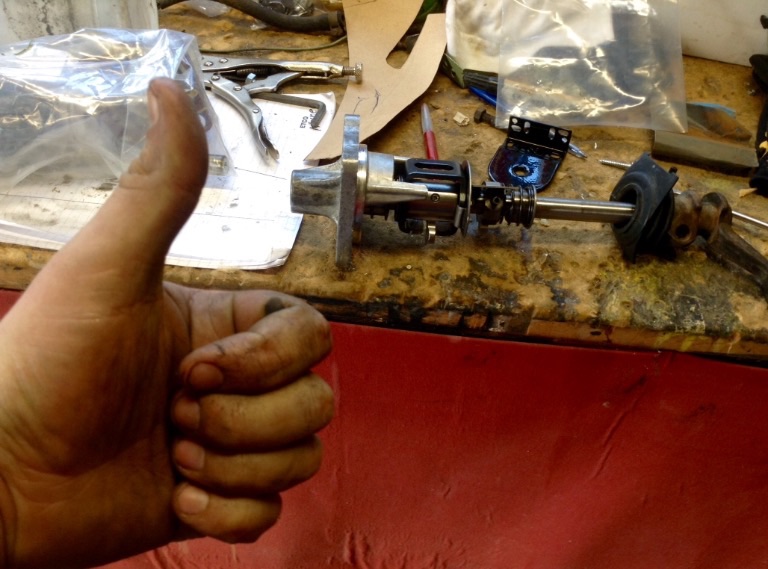
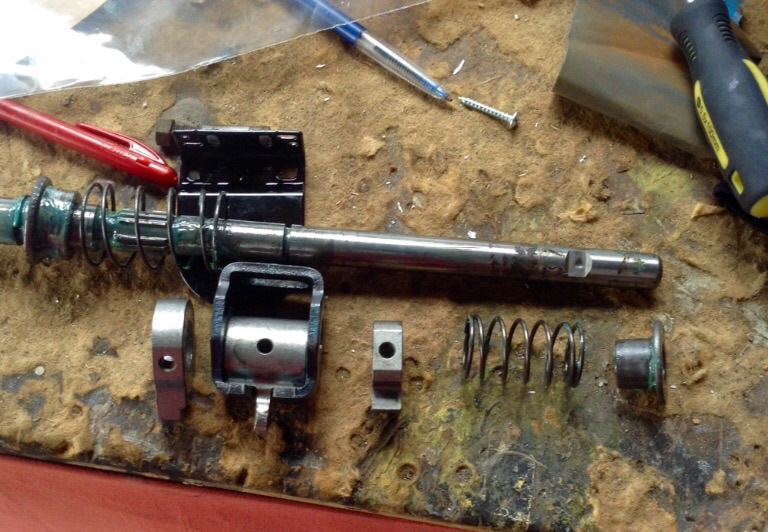
The other thing I had to do was drill the other side of the gear box casing then press a seal in for the new leaver location
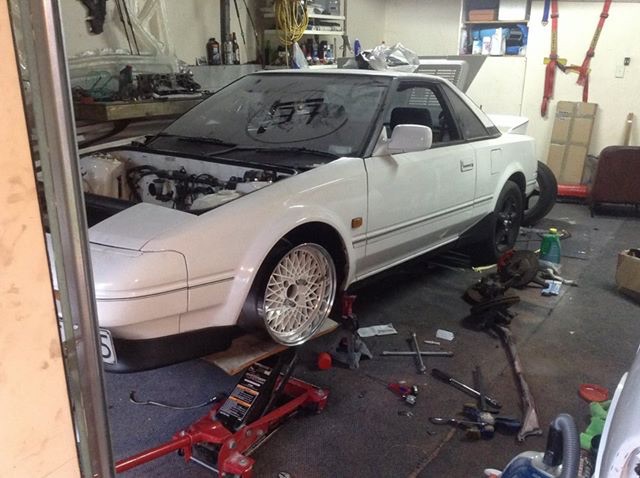
So here's where I am now
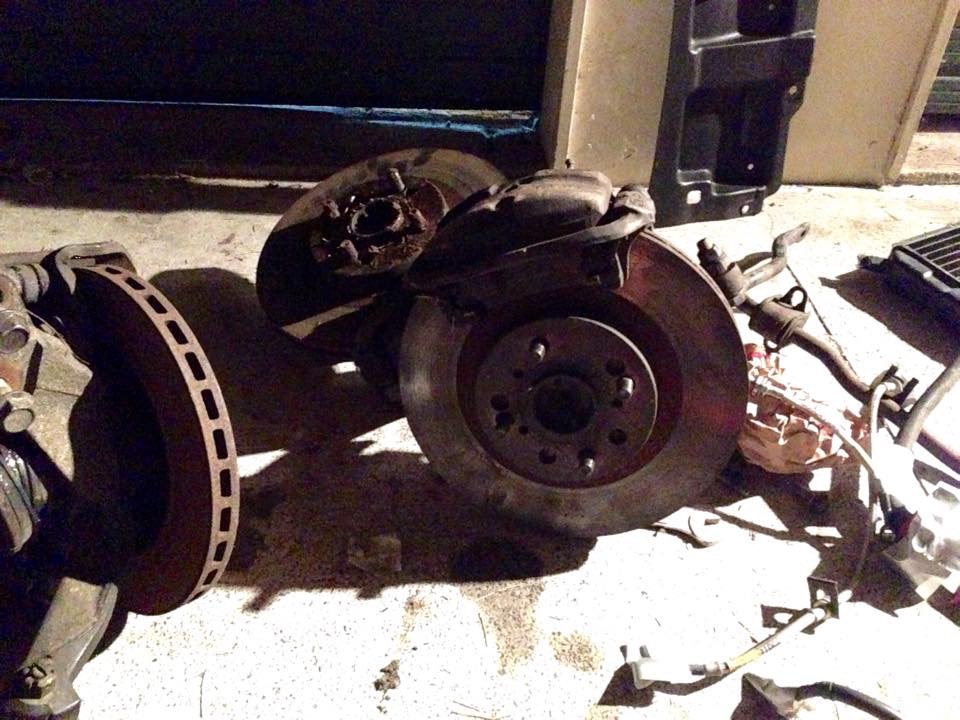
SSR formal mesh 4x100 15x7.5 15x8.5 +20
How ever to clear the brakes I'm getting spacers CNC'd so they will poke anouther 10mm, maybe 15mm on the front.
Believe it or not it's cheaper to get them cnc'd then made in a lathe
Spacers will fixed to the hubs for cert
Flyers an old flyer from 85 from the Toyota dealership advertising the AW
-
8
-
-
So to get to work..
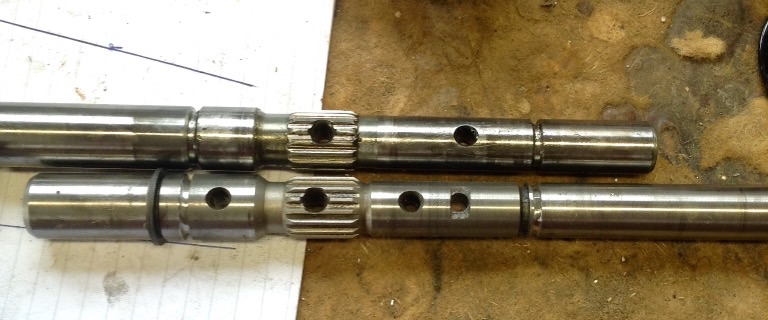
Shafts hardened steel so I had to grind threw about 3mm before it was soft enough to drill.
The grooves I just cut with a thin angle grinder disk, and just turned the shft in a table vice.
Worked better then I thought, and taking my time it came up mint, all the clips fitted perfect
-
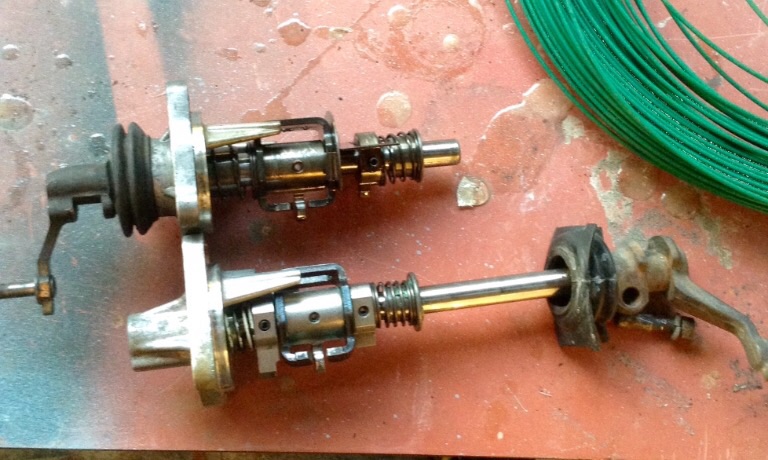
With my Gbox developing a little crunch into 3rd it got me thinking about Gbox options.
The e51 is a strong box don't get me wrong, mine being LSD too, and it might just need a fluid change.
But the e58 shifts far better (duel syncro's and better leaver arrangement I'm told) and coming with a tighter LSD I thought it might be a good idea.
One came up cheap with axels and ae111 twin pots
And anouther that seems in good nick I got for $80 so I cant complain!
Only problem was the shifter!
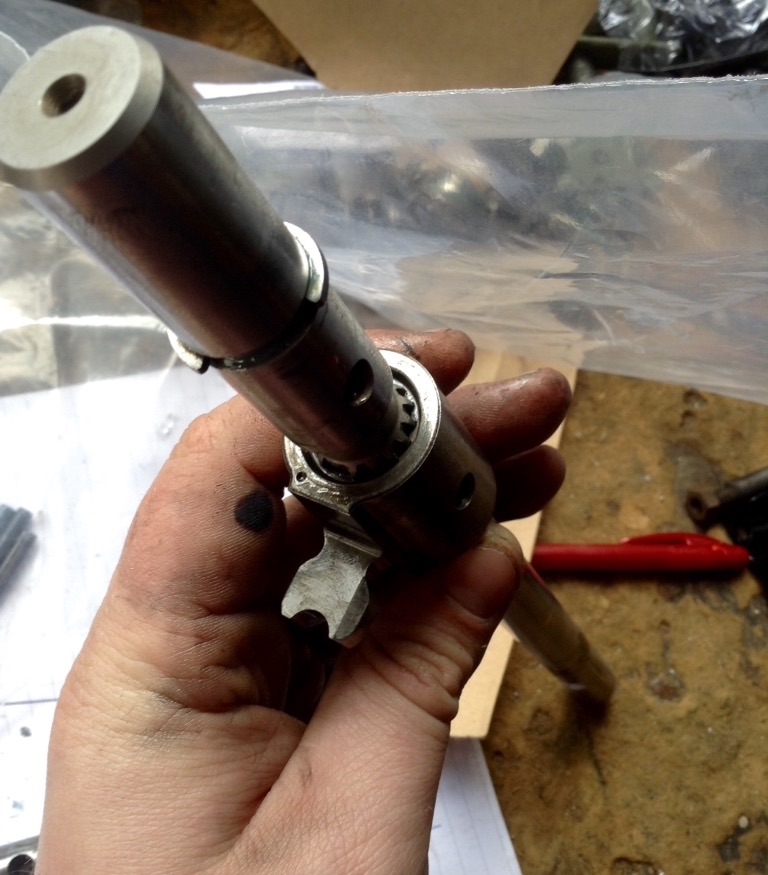
I had a c52 aw11 shifter assmembly sitting around and measured them up.
The c52 shifter case cover bolted onto the e58 as well
And the selector spines on the shafts are the same too
-
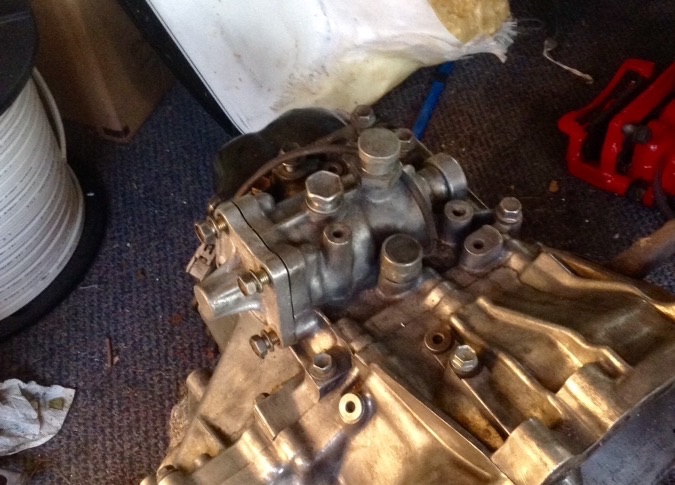
Now some time after cutting up the burgundy aw Harry offered me the 7a :/
Orwell.
So its been pulled apart and rebuilt.
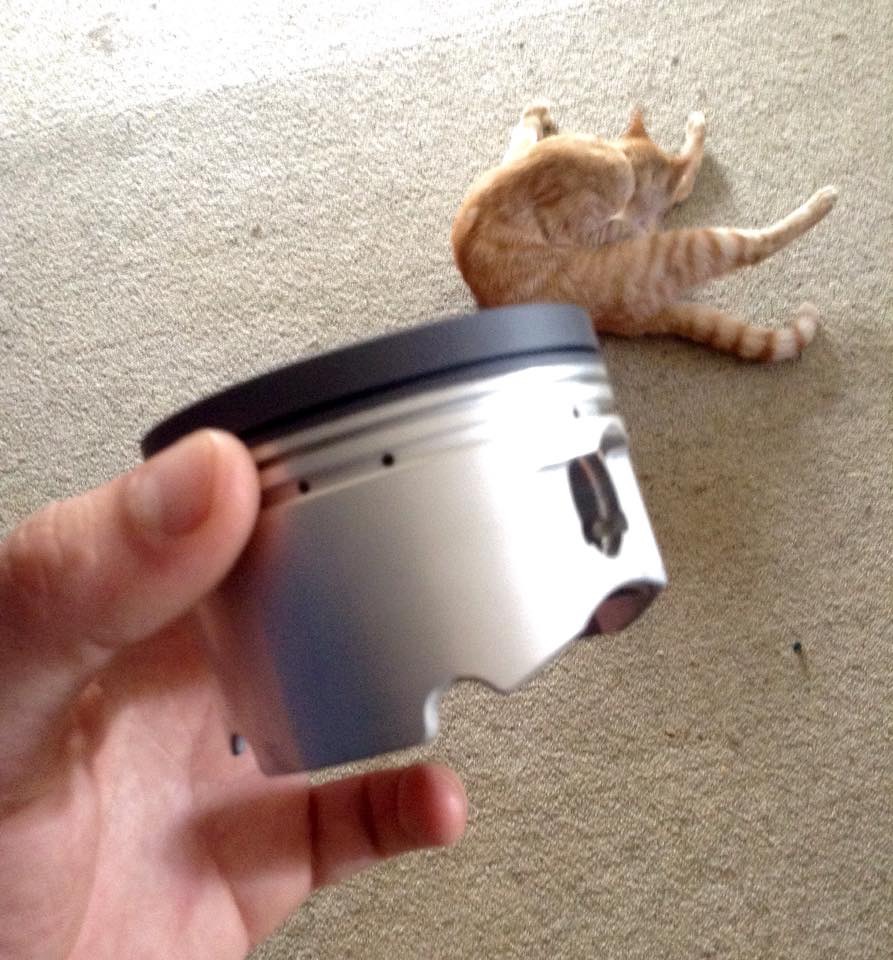
New motor for the aw will be
Full ported and polished head.
267/270 cams
8.9:1 Pistons
Turbo I'm yet to buy but I've got my head set on a garret gtx2871r or a gtx3071r as aevo9 upgrade so I can still use the Same manifold and don't haft to run an external gate
With the 3071 I should be able to crack 400hp with the bigger cams, head work and better IC set up
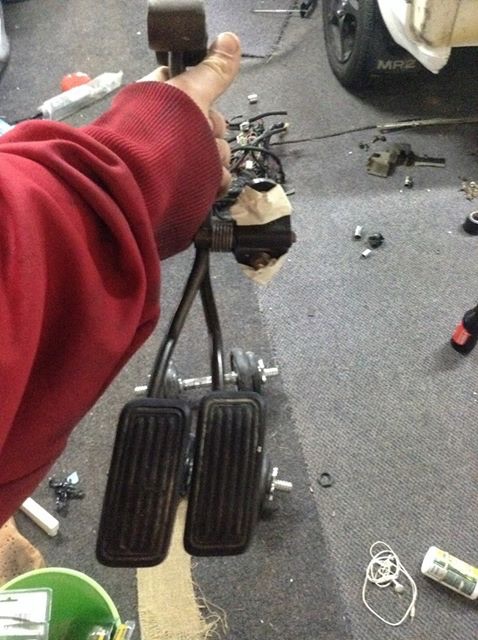
Pedals is one I've modified to sit out and over more to help reduce movement needed to heal toe
-
1
-
-
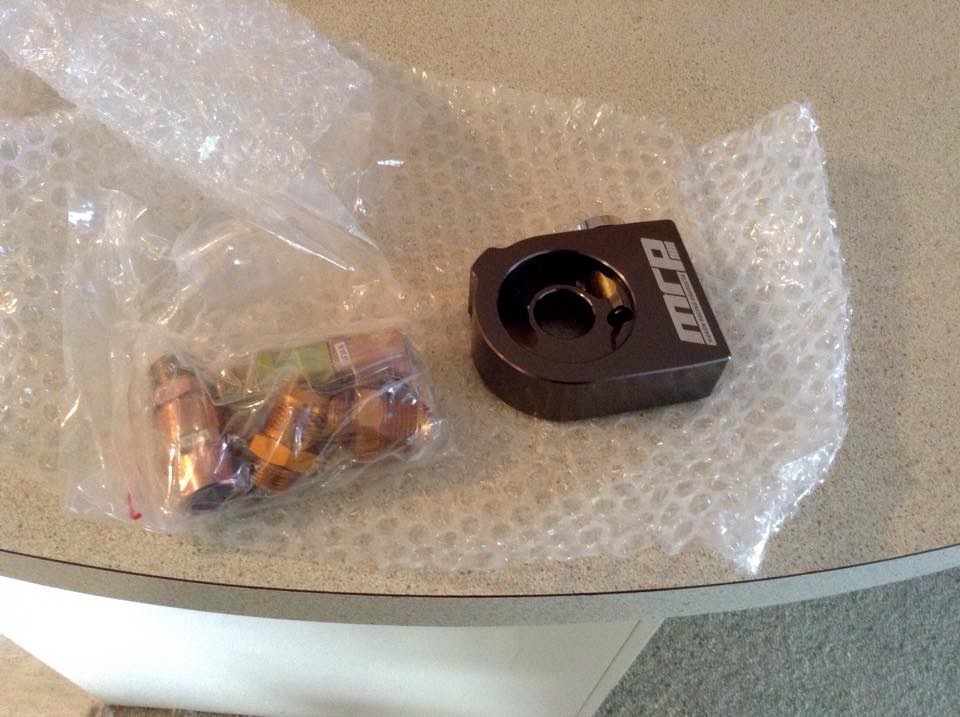
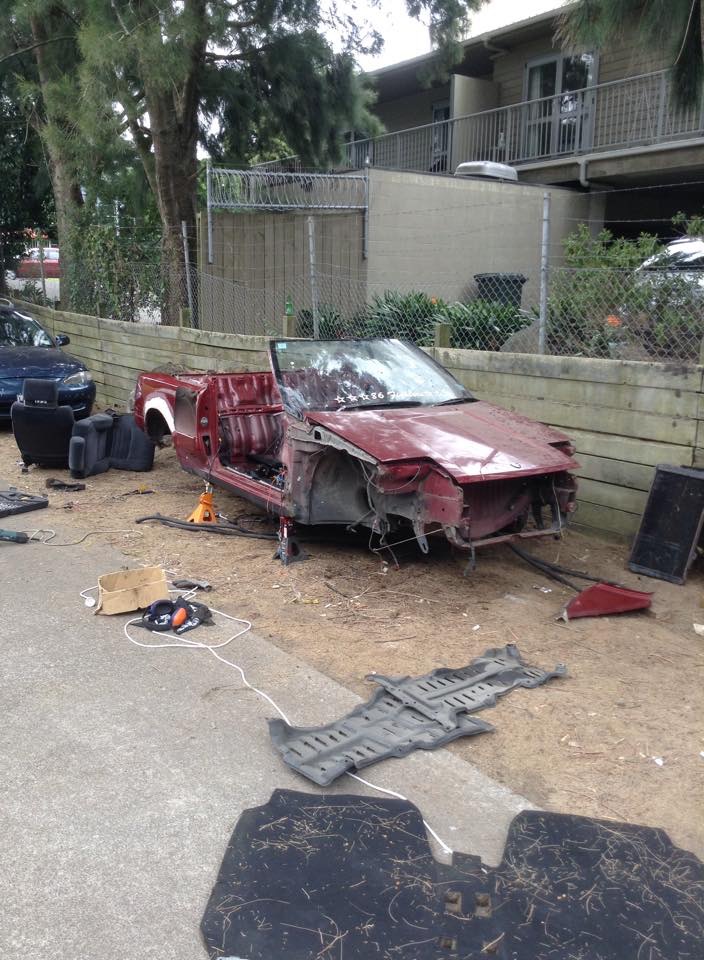
The good news is panels and rust cuts save three other aw11's
That and I got some snazy parts for free
-
3
-
-
Now an old mate of mine from school had a burgundy aw11 with a trick 7agte. Now he pulled the engine to put in something else.
Something to go drifting I can only presume.
However that then left a snazzy aw11 with some snazzy parts. So I bought it haha this was ben old car, I found links to old school on his build thread
Now for the Sad part.
I had no space. Nor an engine handy, nor did I want to have two cars and spend money on it.
Soooo..
-
1
-
-
Puke
-
3
-
-
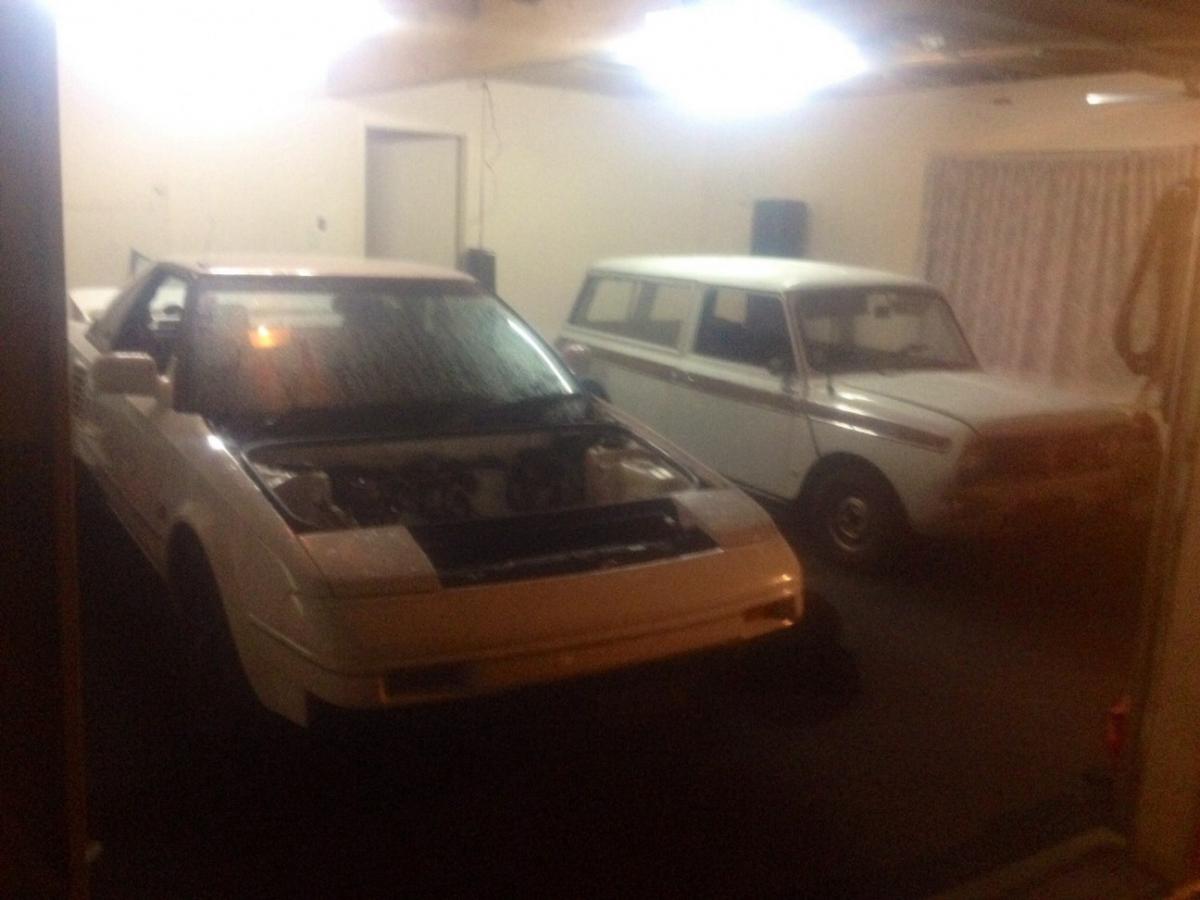
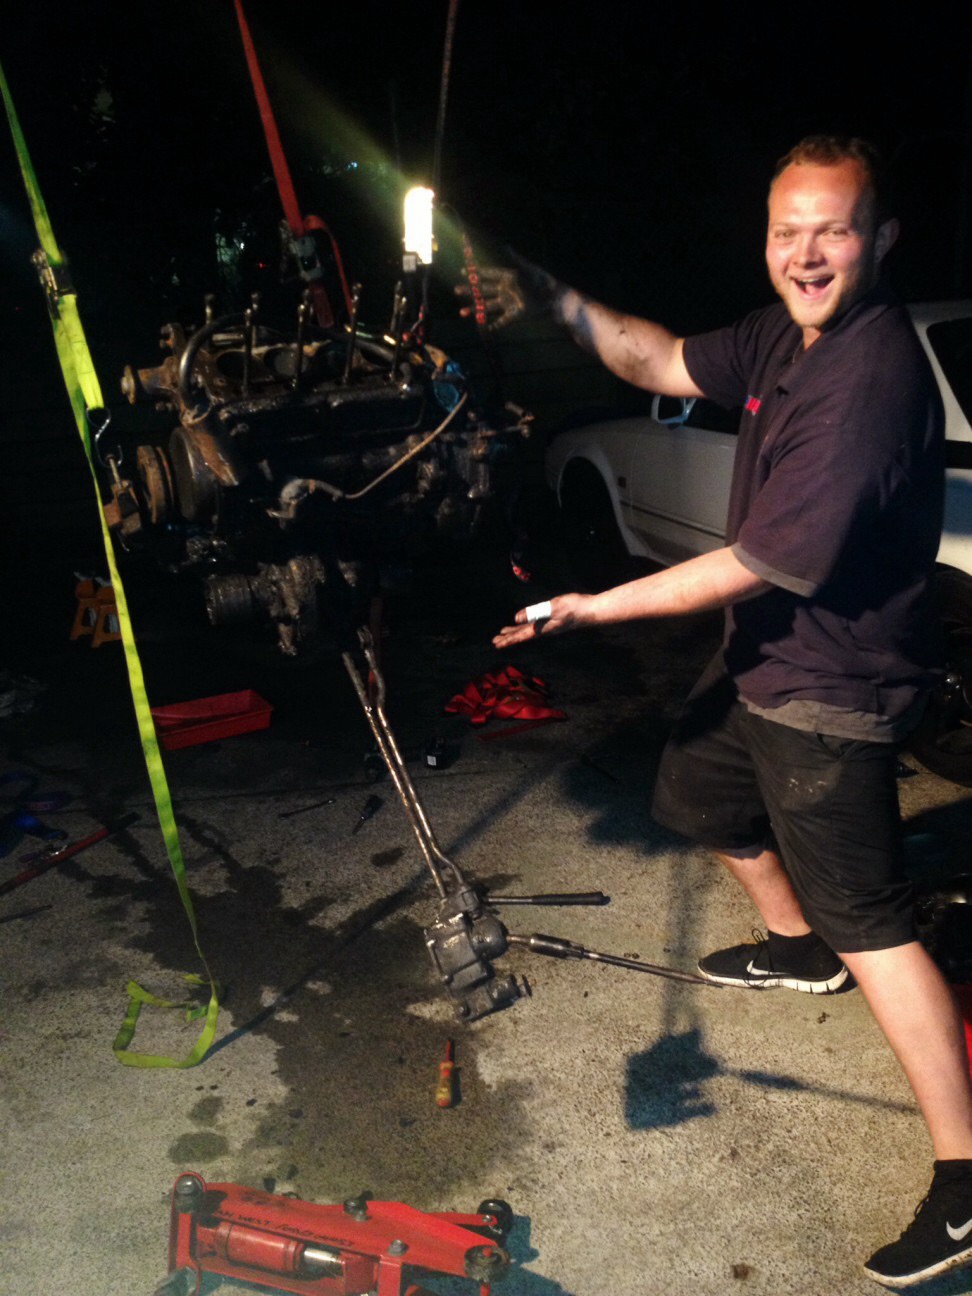
Not really AW related but my flat mate bough a mini clubman estate.
Since then we pulled the motor out, re-built it. Re-sprayed the whole car in factory color.
Didn't have a crane when we pulled the motor out so pulled it using some strops hooked onto the deck
-
2
-
-
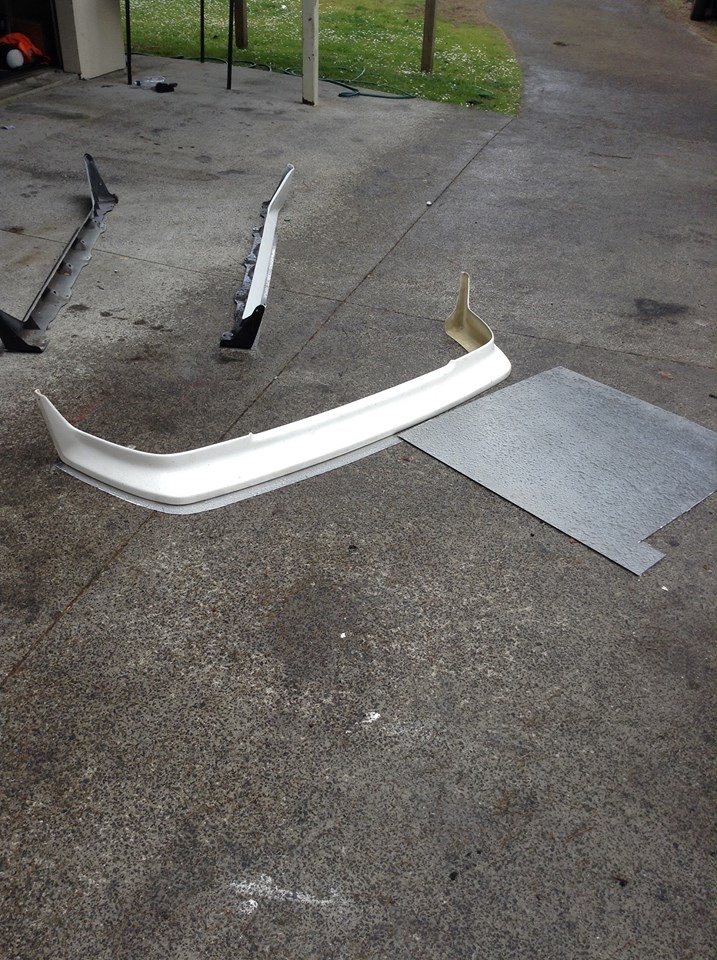
Picked up an aero tech front lip at the same time. Made some alloy lip, side skirt and spoiler extensions. Going to laminate them in carbon mat with a clear epoxi
-
1
-


'80S KID Part II: Ed's AW11 SC chit-chat
in Project Discussion
Posted
Yeah they were pretty faint compared to those. Yeah sure! I'll measure them next when I'm back in AKL next week for ya