


Ashkellybarr
-
Posts
512 -
Joined
-
Last visited
Posts posted by Ashkellybarr
-
-
Nah I gave up on rollers, had to use to much thinners to clean them properly and then they still get stuck and haft to throw them out.Awesome. Do you have paddle and grooves rollers? They work pretty damn good.
Are those rear skins your final guard Or the mould?
You Can always roll down pieces if mylar and peel off when cured. The mylar holds everything down flat and smooth and makes sanding etc really easy
I bulk buy paint brushes at less then 50cents each so I just throw them away after every use. Takes bit longer then the rollers but you don't get that pull in the weave when some straind gets cought in the roller then pulls all the weave haha
I don't miss that.
The Mylar's a good idea! Have used glad wrap before haha
Made an intake for a friend by getting lots of 1.5L nz pure water bottles and cut the ends off, joins them together and bent where I needed around an engine bay and wrapped tightly in glad wrap. Was pretty crude haha but after some heavy sanding and another two ply of glass it came up nice, super light and the perfect shape
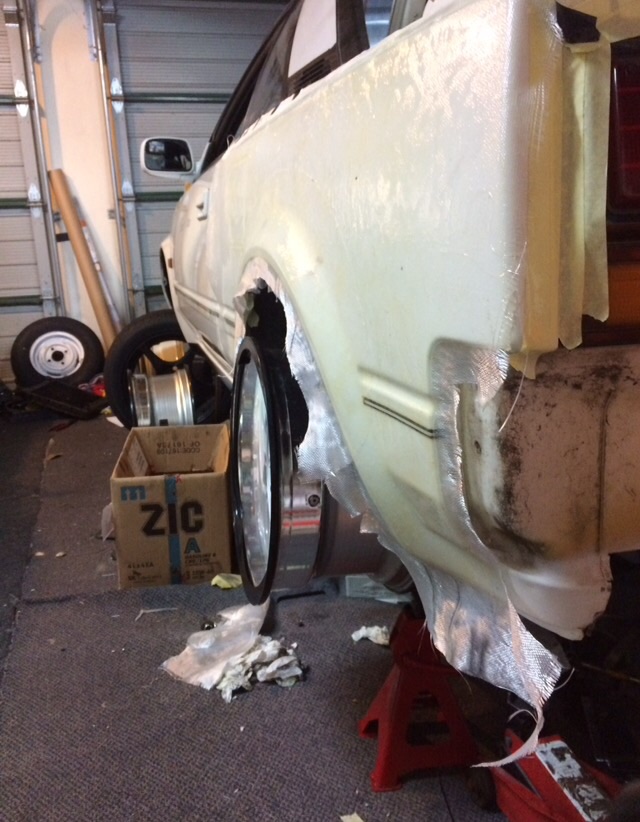
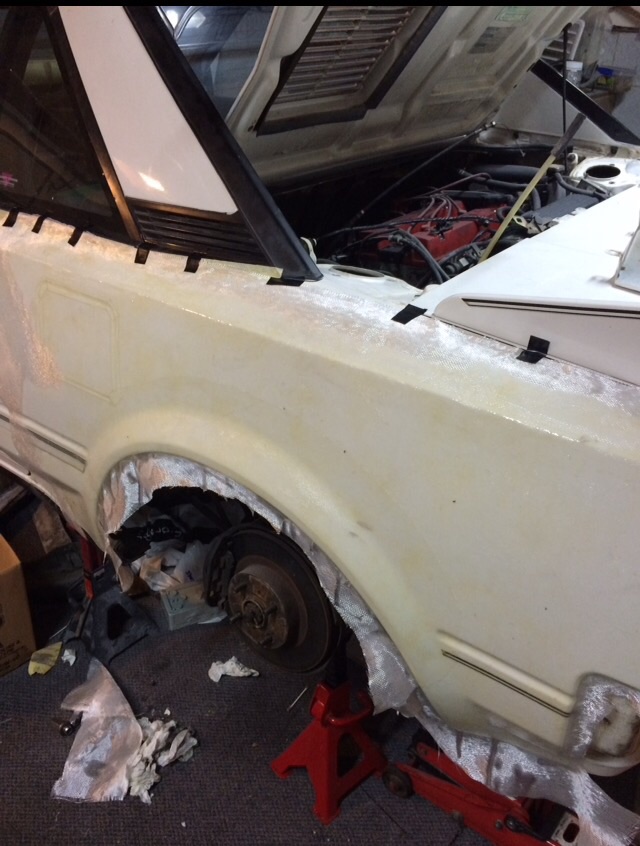
And yeah they will be I final. Only did two ply so I can space it out and reshape whole guard then add strength.
I want to make the guards a bit bigger then factory so using the positive and building on the outside will help, it's a bit of a backwards way to do it I know but time and material wise it work out pretty good. Will just mean lots of sanding before its ready to prep for paint
-
Love your work.
Have your tried vacuum bagging your carbon ?
Nah not yet! I'd like to but don't have a pump and it seems like a lot more work.
I've just been sanding with 600 then giving it another light coat of laminate epoxi to get that wet look
After pulling the over fender skins off the rear and seeing how smooth and strong it came out I don't think I'll bother vac bagging for the bonnet or boot. Paint brushes and stippling the air out seems to work, and net a good result when taking time with a summer resin to work it all through.
After doing the rear guard molds and having a good result has made me a lot more eager to do the bonnet and boot.
Maybe a replica of my factory fibre glass engine lid so I can mod that instead of cutting the factory one witch I don't want to do since their so sort after
-
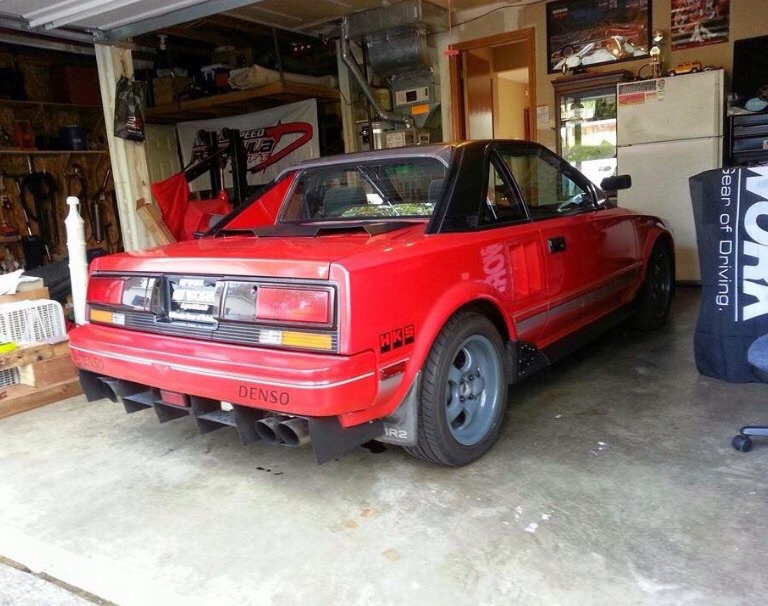
Cheers man, the wheels were a pure impulse buy. I always see them for sale in Japan but at ridiculous prices... so when these came up I thought I'd take a punt on them. Wasn't expecting to win but there you go.
It probably helped that the seller listed them with the wrong tyre size, and the leading bidders retracted all their bids as a result.
Now I have to try and figure out what other wheels from my stash I need to sell to recoup costs. Possibly the Enkei Peaks that came off the car, but they are super ugly so I don't think there would be much resale value, will hang on to them and perhaps use them as track/drag strip wheels.
I haven't had any luck finding a replacement GZE valley cover, if you have one for sale I'd be willing to buy it off you.
Yeah I saw how much you got them for on the expired page listings, good score! And their pretty different too.
Kind of the same era look I'm trying to achieve with my TOM's racing wheels
You can have them for free. The only thing is my spare ZE ones have been painted wrinkle red with black lettering. If you wanted to strip and re-paint them to factory it wouldn't be hard.
I've got the paint code for 16v cover colour some where in my data stores
And for lettering I actually use nail polish as it's cheap, hard wearing and comes in loads of colours making it easy to get it bang on factory colour
-
 1
1
-
-
Didn't know that they were different, that'll be something to add to my 4A-GE encyclopedia.
I had a look on Yahoo! japan and didn't see any on there either.
Their pretty much all different, I've got server always copy's of of 4 variations all with different height spark plug seal plates. Let me know if your still looking as I need to get rid of some haha.
Sweet wheels man! Those are too cool!
-
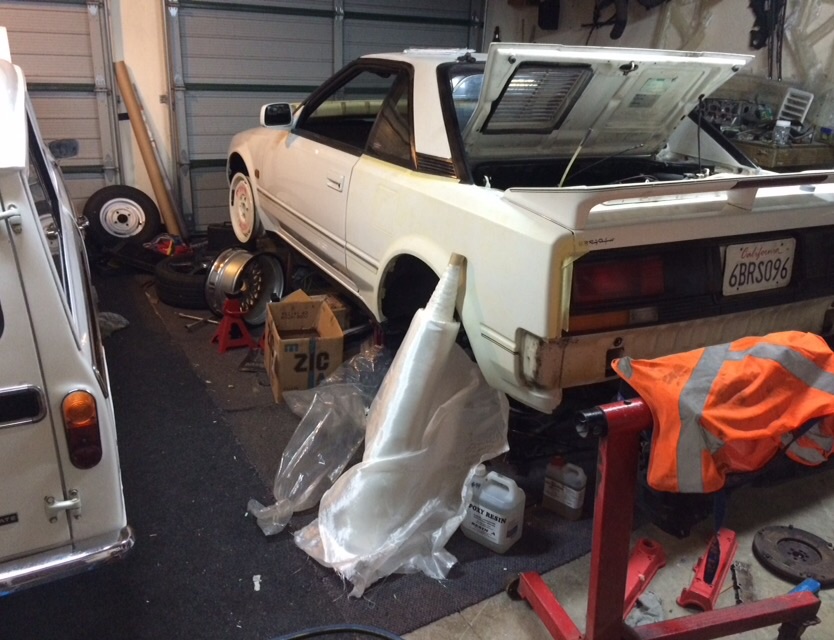
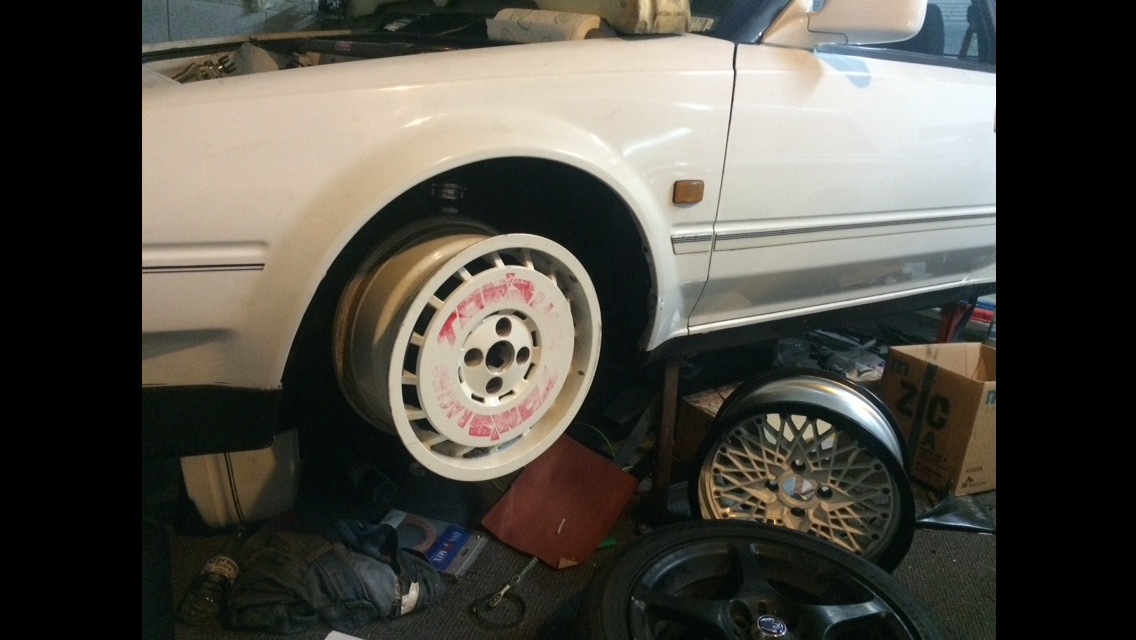
Did a rough measure with the spacers on and dam there's a lot of poke. About an inch maybe.
Soooo
Whole front guards will get pulled to suit, no biggie here
Rears will get cut right back and welded so there will be no arch what so ever
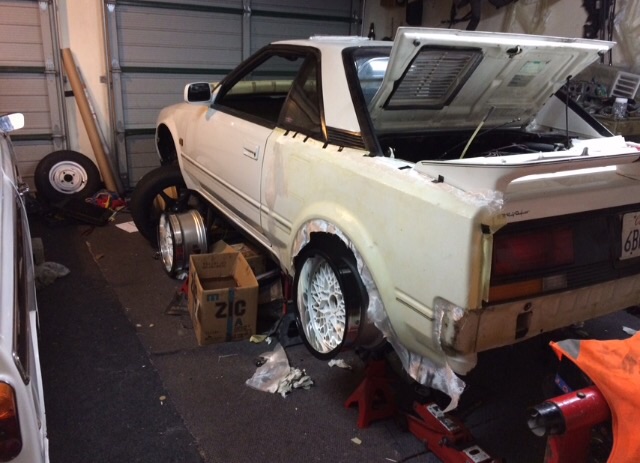
After much debate about rear guards and looking into e30 m3 replica rear box guards I decided something a bit more Subtle would net a better out come, so I've made some mold of the rear quarters out of glass, witch will have a bit of a pull and bigger arch to allow for the wider wheels
AW's don't seem to have much allowance for 8.5-9" wide wheels, especially with some track rubber with a bit of wall
Gotta find something to remove the realise wax off the positive, tried PPG's wax and grease remover and it did sweet FA. It had been sitting for years however, think it's from when denim painted that red crown wagon black.
Using meguiars mirror glaze so will see what the bloke at nz fibre glass says

-
More wheels to refurb
Wheel nuts and rubber and it's all go
-
2
-
-
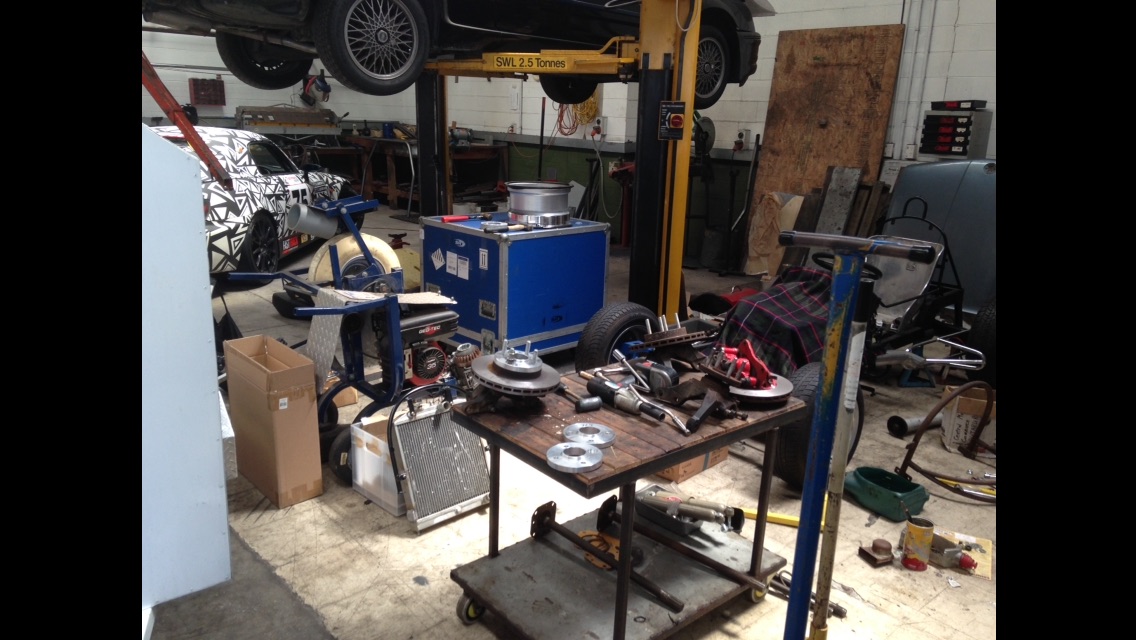
Picked up hubs from the road race and rally.
Pretty dam happy. Good service too!
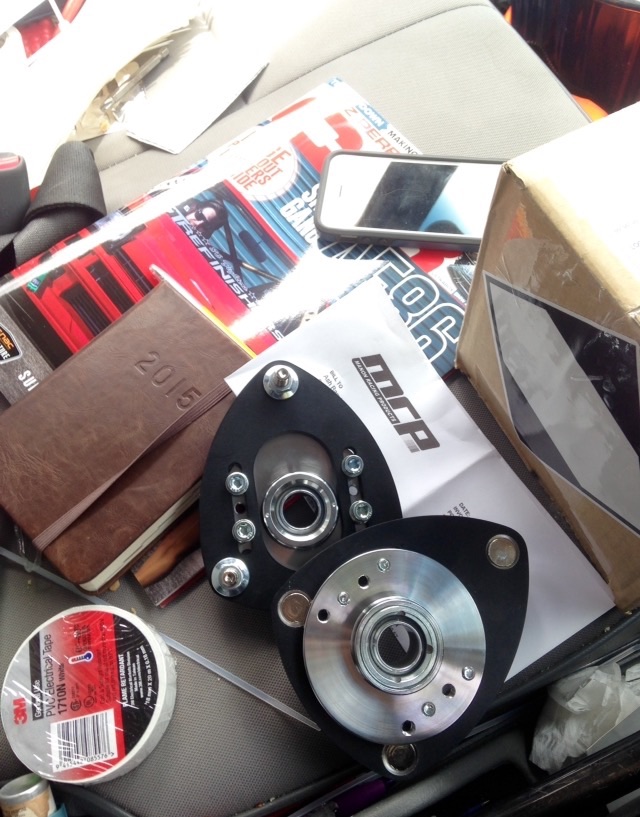
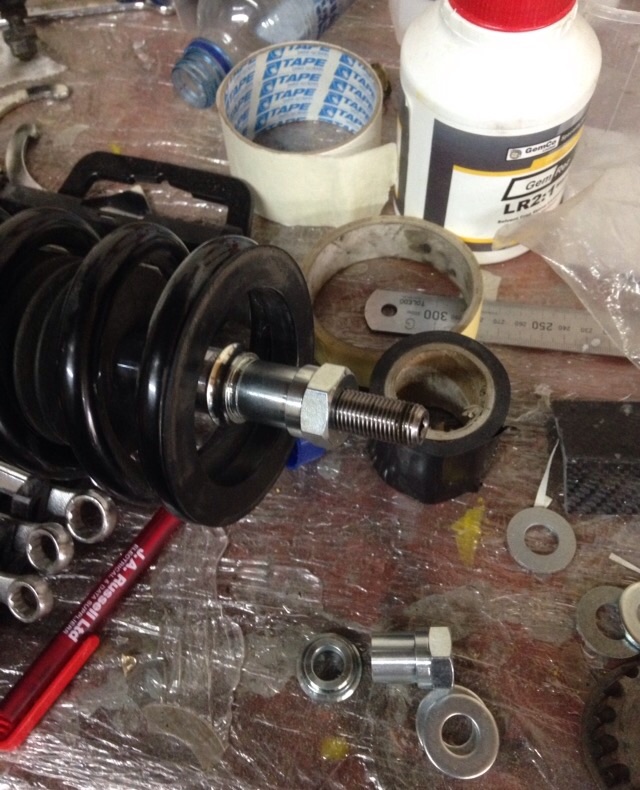
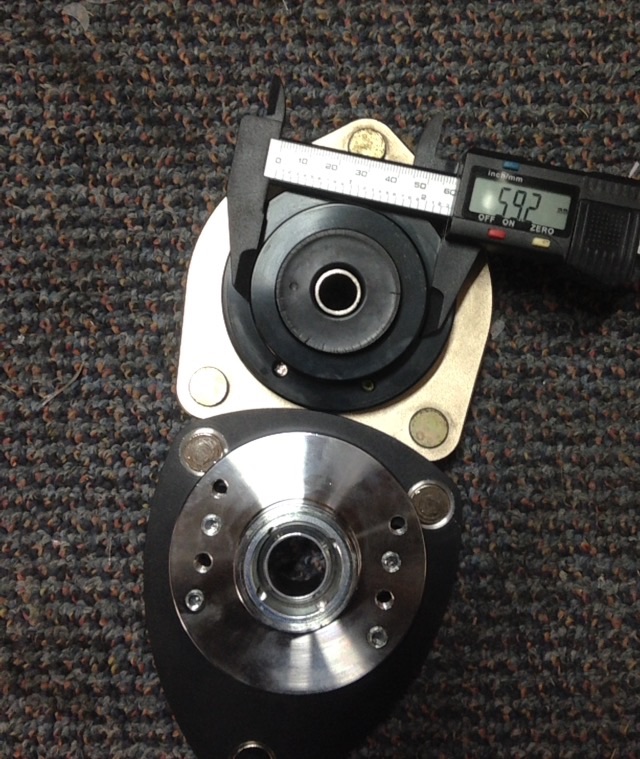
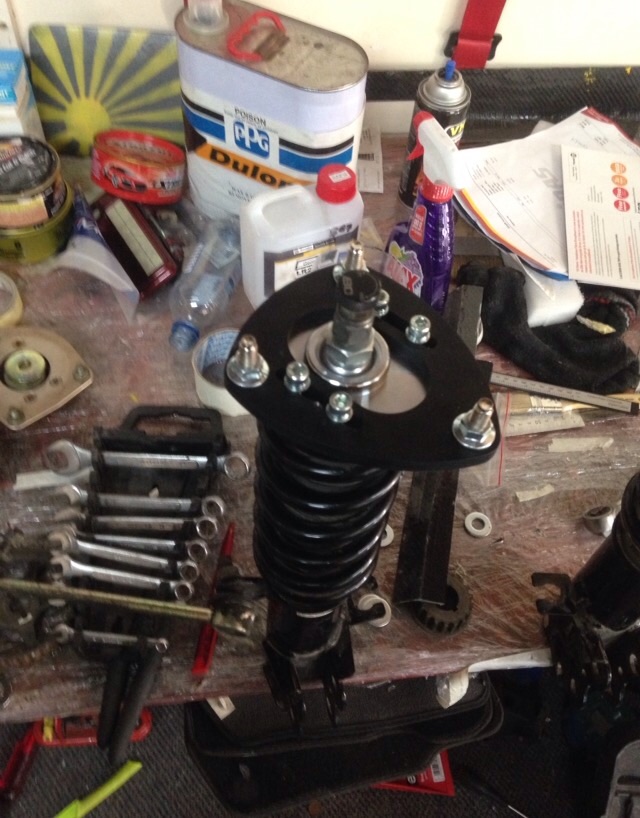
Just need washers to space spring perch from camber plates
Wheels nuts
Tires
Pull front guards
Fibre glass rear guards
-
Get more / \
Nice product, seem really high quality
Got them anodised black
Need spring pirchs still to hold springs aligned
Hubs and wheels should be back next, just need to call the bloke at road, race and rally
-
1
-
-
I have for rear trims if you want them.
Also celica front calipers if you want an upgrade.
Still haven't measured those shocks sorry mate, their at about her property where I store stuff and haven't been there since
-
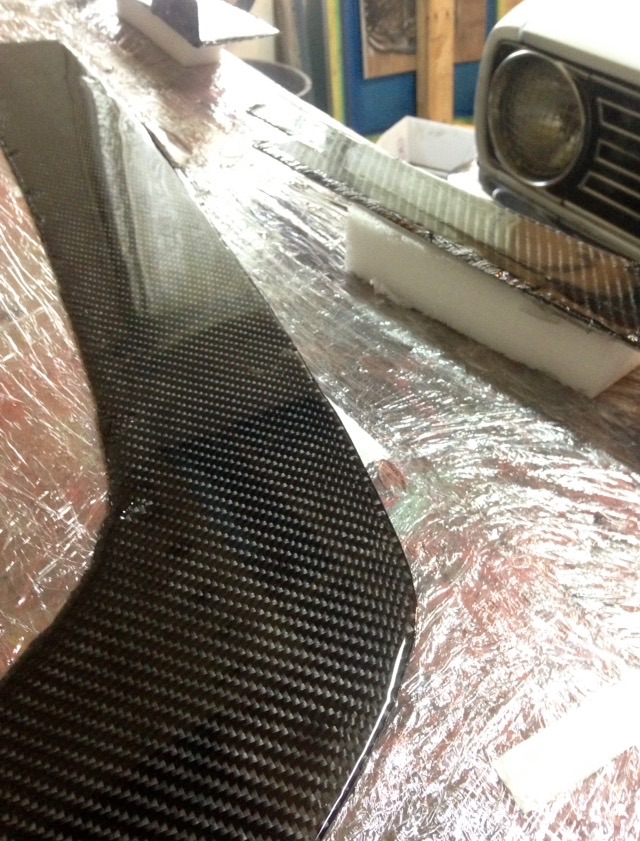
Visor extent io and front splitter.
Got so slower epoxi thinking it would give me more time to play around, unfortunately it's so slow even with a heater and dehumidifier it's taking a couple days to get it rock solid
UV resistant self levelling epoxi sea to take a lot longer the the west system stuff I've been using
-
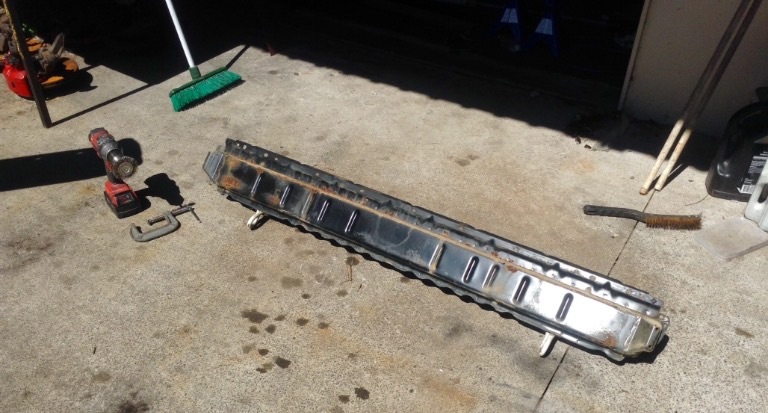
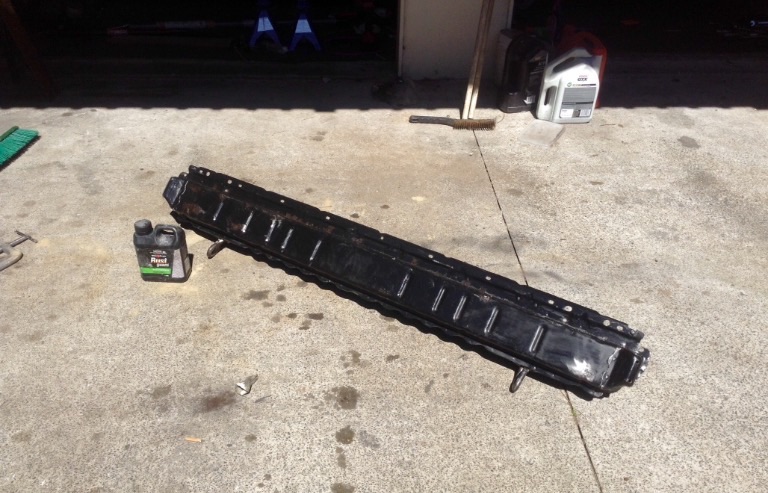
Further progress on the rear bumper
Hubs are getting new bearings, longer studs, and slotted disks on the front
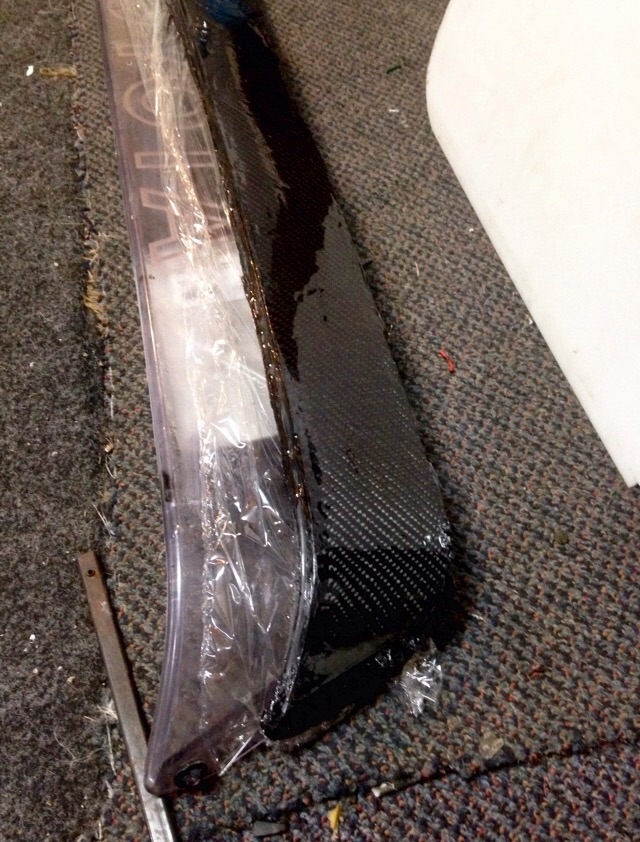
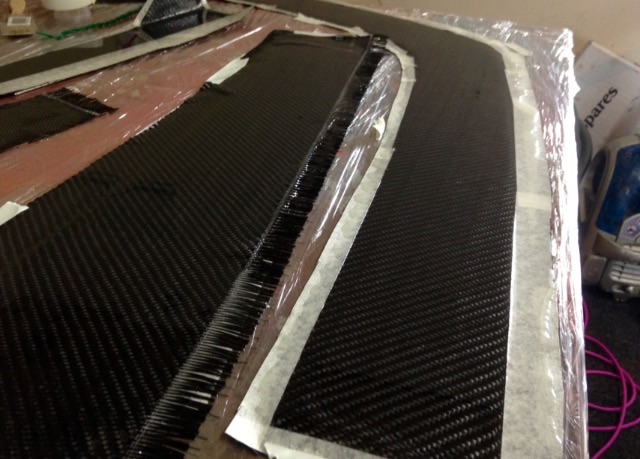
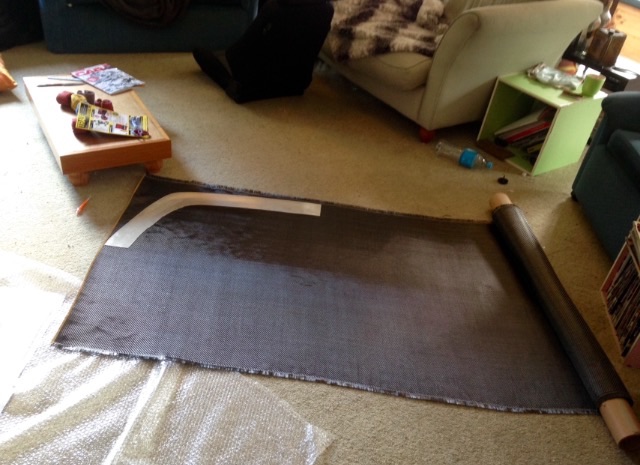
Finally got started on carbon parts.
Front splitter
Side skirt extensions
Rear defuser
Spoiler extension
-
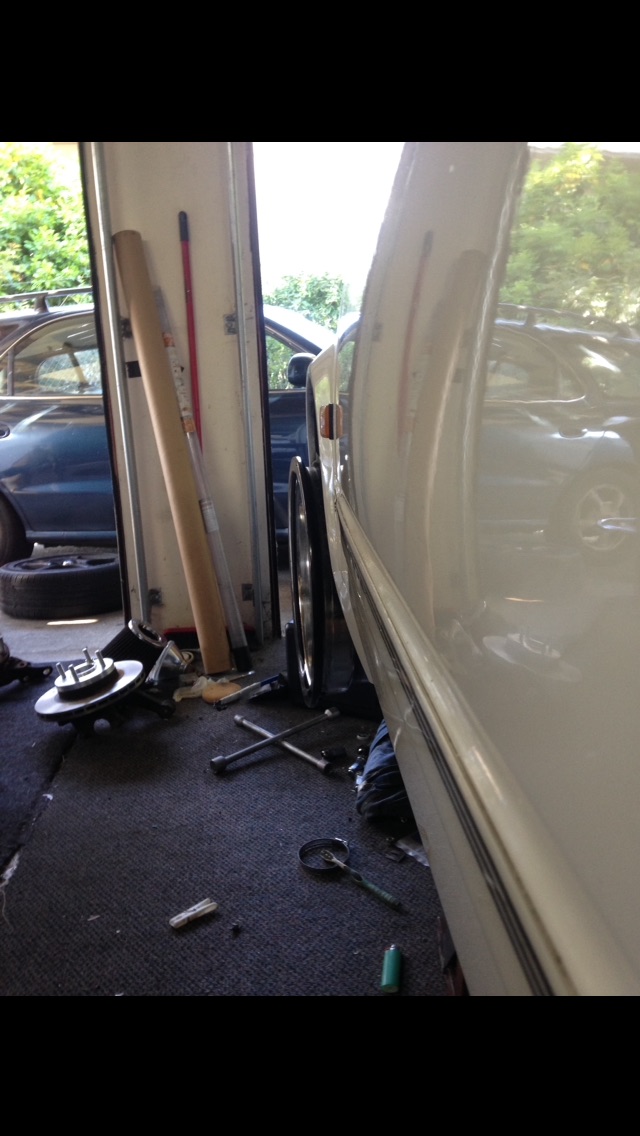
So I've got no idea where my camber plates are, cars still on stands
Reckon they will turn up this week they said
Did a bit of sorting on the rear while its up.
Full rust removal.
Cut the back out under the bumper too, want to make a rear defuser kind of like this red one.
Possably out of alloy the same as my front and side lips.
I've now got some more free time and extra dosh so might get the hubs sorted within the next couple weeks too all going to plan
P.S Simon I'm no longer with that crowd so flick me a PM
-
If you go DE you might find it easier finding manifolds etc
Might even find a full second hand set up ready to go for 25de for not to much.
I'm unsure what's involved in a +D conversion but I'm sure it's not hard to find info
I'm also unsure of Nissan RWD Gboxs but it might be something to look into if a cam and snail could possibly double your power output
-
2
-
-
Just 4g63 with OEM loom and ecu? Unless there's a 63 thats carby already your'd haft to make a manifold and piss around setting up a carb.
Better yet shell out for lancer turbo fwd or evo front cut?
-
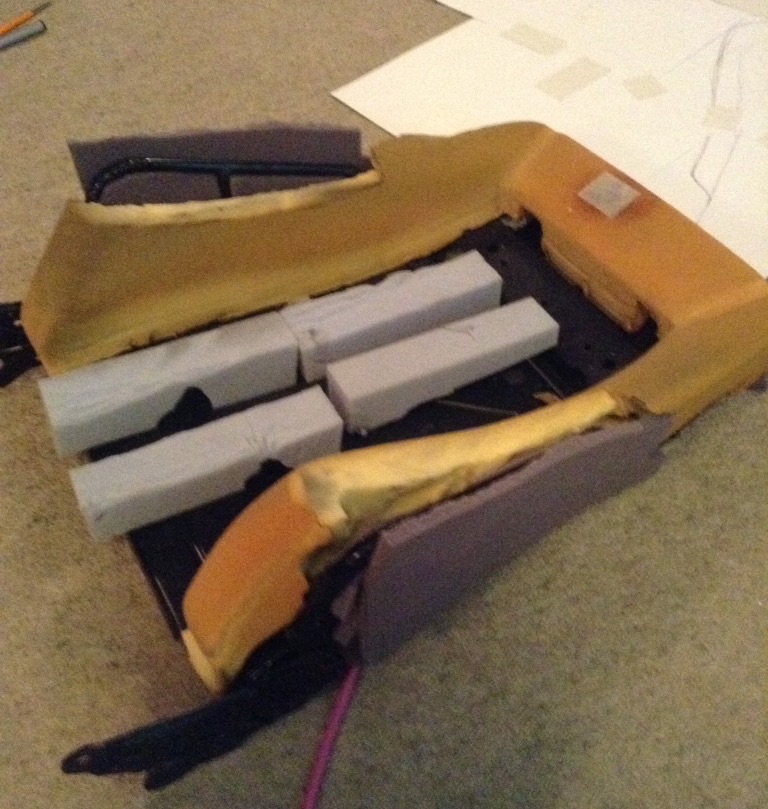
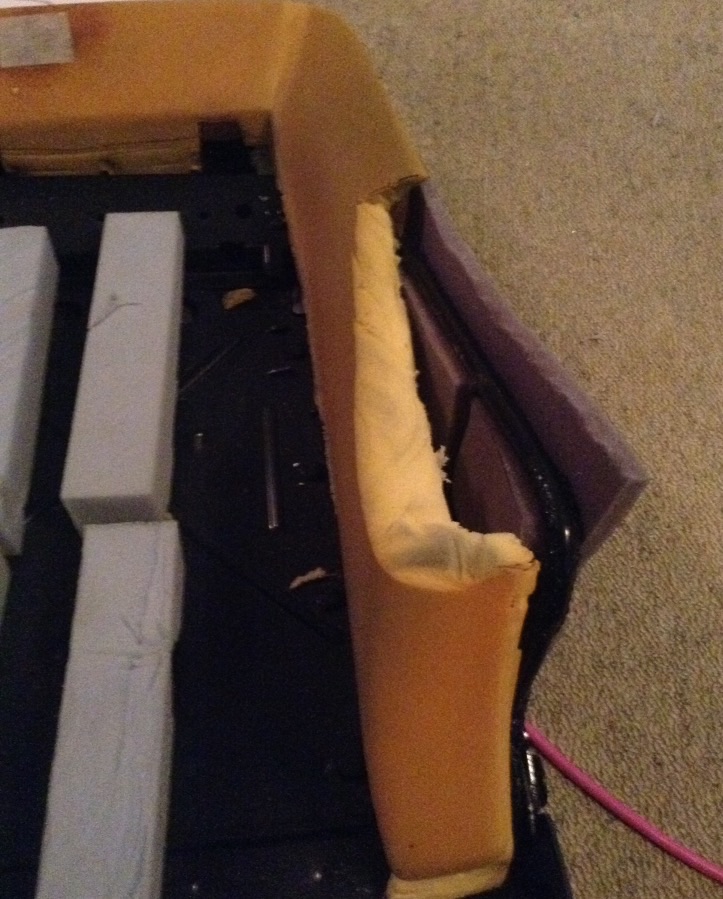
sides mostly done
Little bit lumpy but I'll play with it.
Maybe foam backed cloth will take it out a bit too.
Holds ya snug though! No movement at all
-
1
-
-
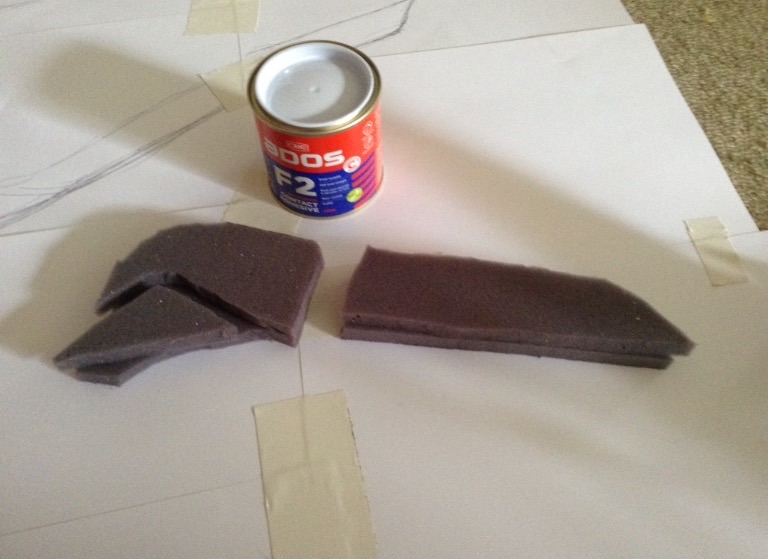
Reinforcement filler.
Ados F2 is good stuff
Tin snips worked a treat for cutting the foam
-
Found bride RO rails fit recaro lx-c.. However.. They retail at 220+gst per rail
+500 pretty speny
Guy in mr2ocnz said nzkw do aw11 ones but their not listed on their site. nzkw around 150 per rail
-
Welded some tube onto the sides.
Bends look rough as I dont have a tube bender so just cut notches then ran over them with the welder once bent to place
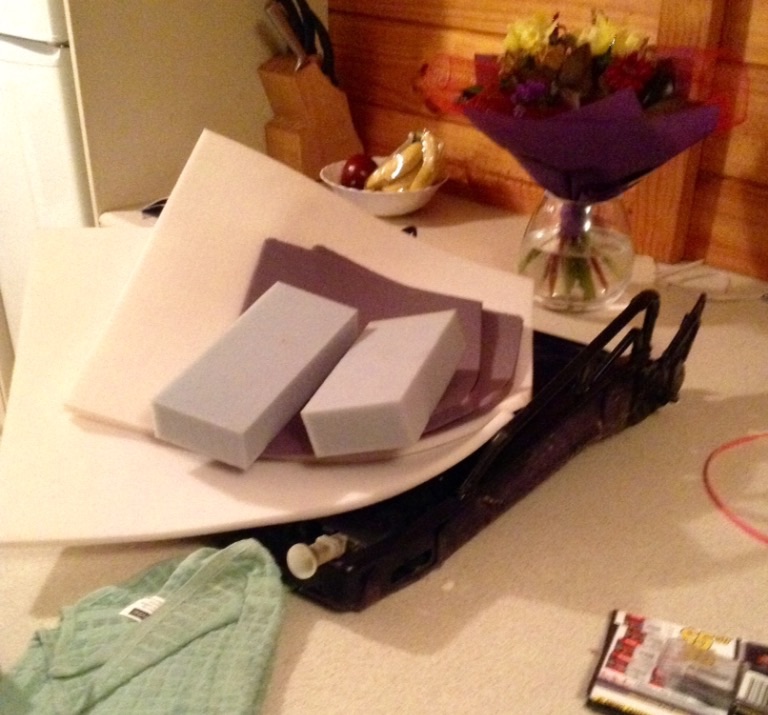
Picked up foam from para rubber. Went through the cut offs and go the lot for $12.
Picked up some ados f2 contact adhesive to glue All the foam together.
Dunno how I'll cut it, couldn't find a cheap enough elec bread knife (all +$60) so I'll try the angle grinder with a thin cutting disk.
Woohoo! Recaro reclinable buckets on their way
-
2
-
-
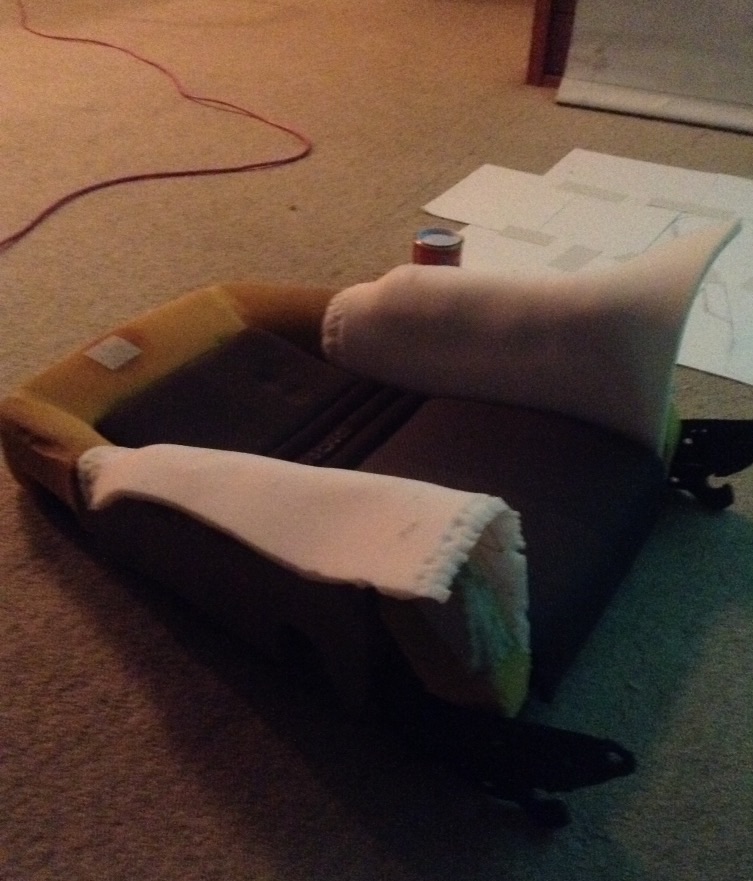
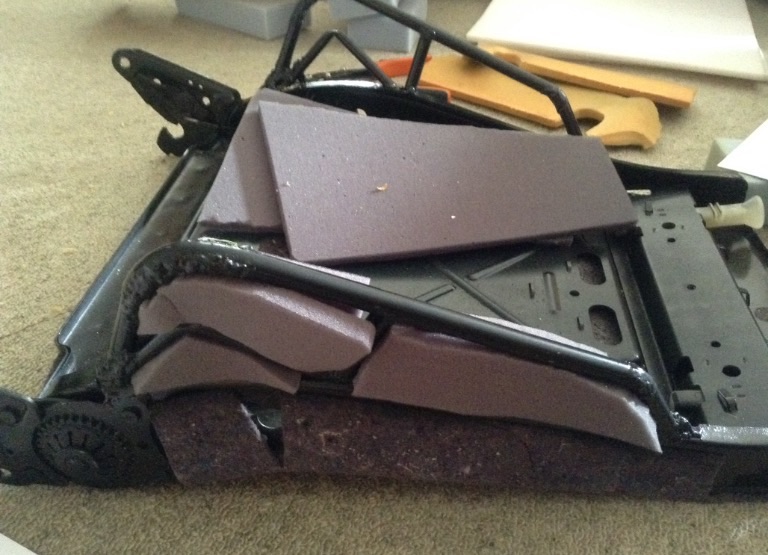
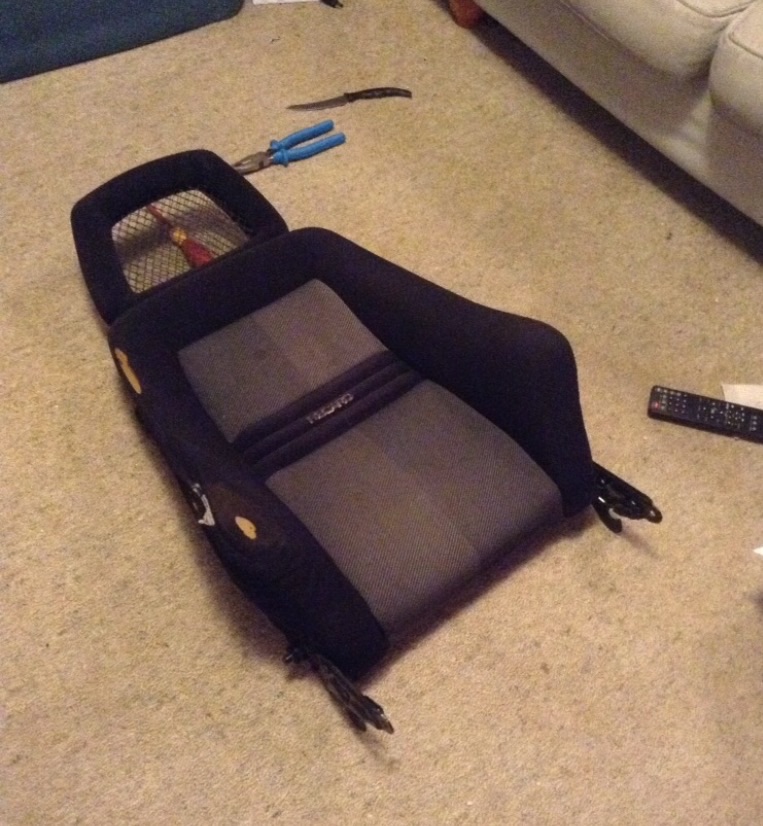
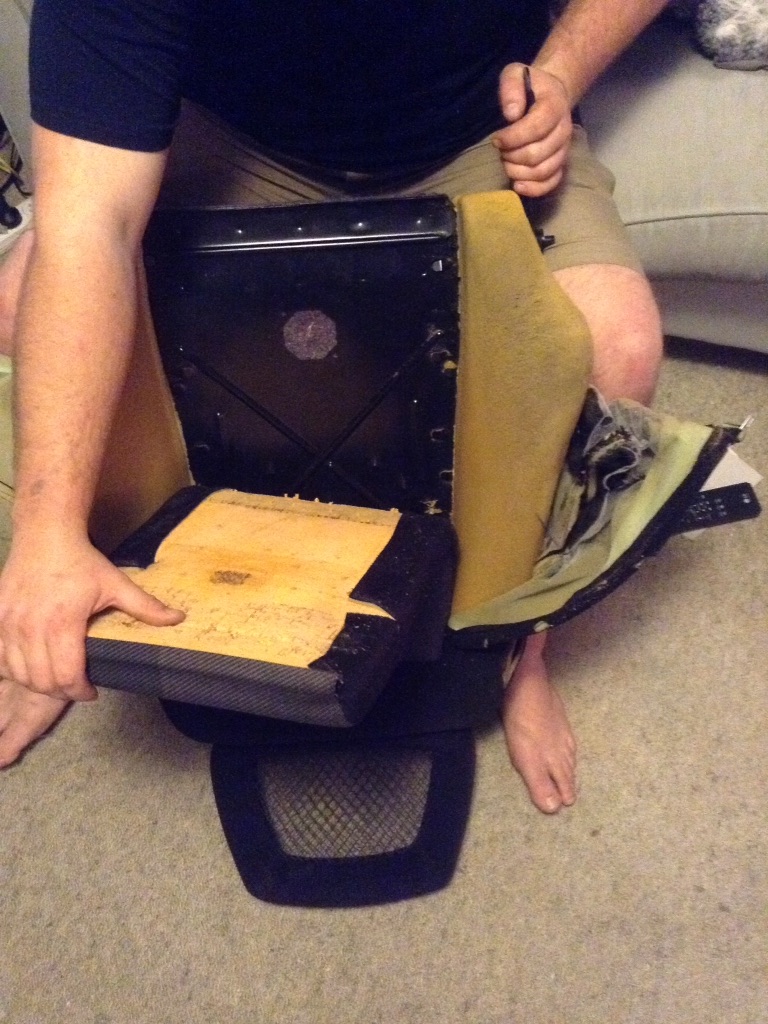
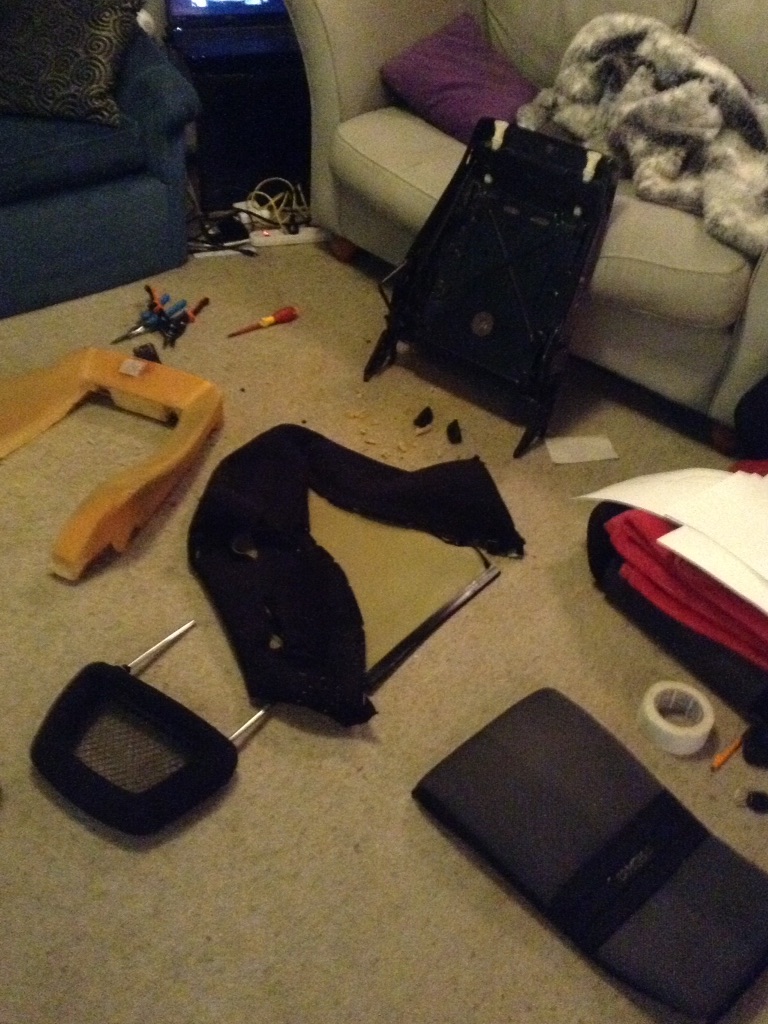
Got started on the seat this evening while watching TV
Kinda nice, flat mates and miss' tend to kick up a storm when I bring stuff inside.
Bits of wire from a wire wheel in a drill stuck through all the carpet was a good one
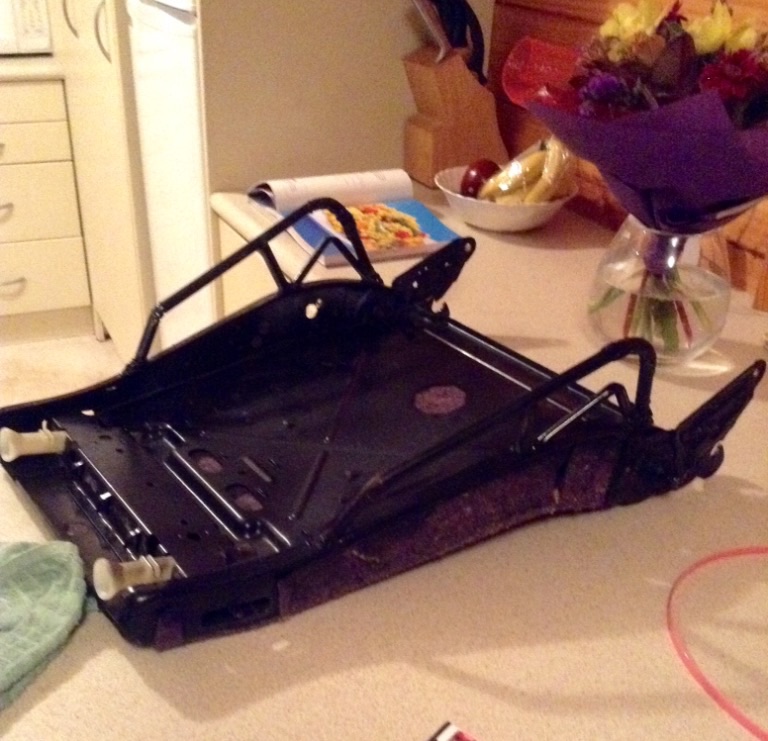
Probably the easiest seat I've ever pulled apart.
Centres take 5mins to take out. Possably change centres between different recaro's if the frame the same
There's some factory side enforcement already so I'll weld some 12mm tube the same to build out the sides more.
No idea for foam. Maybe two part stuff to build off the original foam inner then cut it to shape??
Luckily my mums pretty handy with a sowing machine so I've conned her into sorting a pattern and fabric
FYI I don't normally have this much free time, I've been off work for two weeks so making up for lost time
-
1
-
-
Already done.
From the sounds of it, I've snapped up the last two bumper supports available.
Do I dare ask what they set you back?
I've got one spare mint one, was thinking of getting it galvanised haha
-
1
-
-
I priced up a pair of "Vanner" branded AW11 seat rails out of Japan to suit Recaro LX, came to about ~$350 plus shipping through Stacked.
You can't just chop up standard AW11 ones, as you'll probably have noticed they are integrated into the seat frames.
Yeah I had a look at some rails I've got from the burgundy one and it would be ruff to try jimmy something up.
That and their +30mm to wide on each side so would need cross brace mounts
Sw20 seats fit pretty easily. Late model ones have recaros. Good luck finding any of those however. Ling post.
If SW seats fit easy then maybe pick up some recaro rails for an SW ya reckon?
I'd like to do it properly
Surely there's someone in AKL that I can take the AW rails to and get them to make some up to suit the recaros??
-
Working threw little gremlins atm while I wait on some suspension and hub parts to roll in
Swopping booster and hilux cylinder over too.
Old one had leaked, pealing the paint underneath it. Seems to be a common thing in these
Sanded it back and painted it, it's a couple shades off so hopefully no WOF guys get funny about it
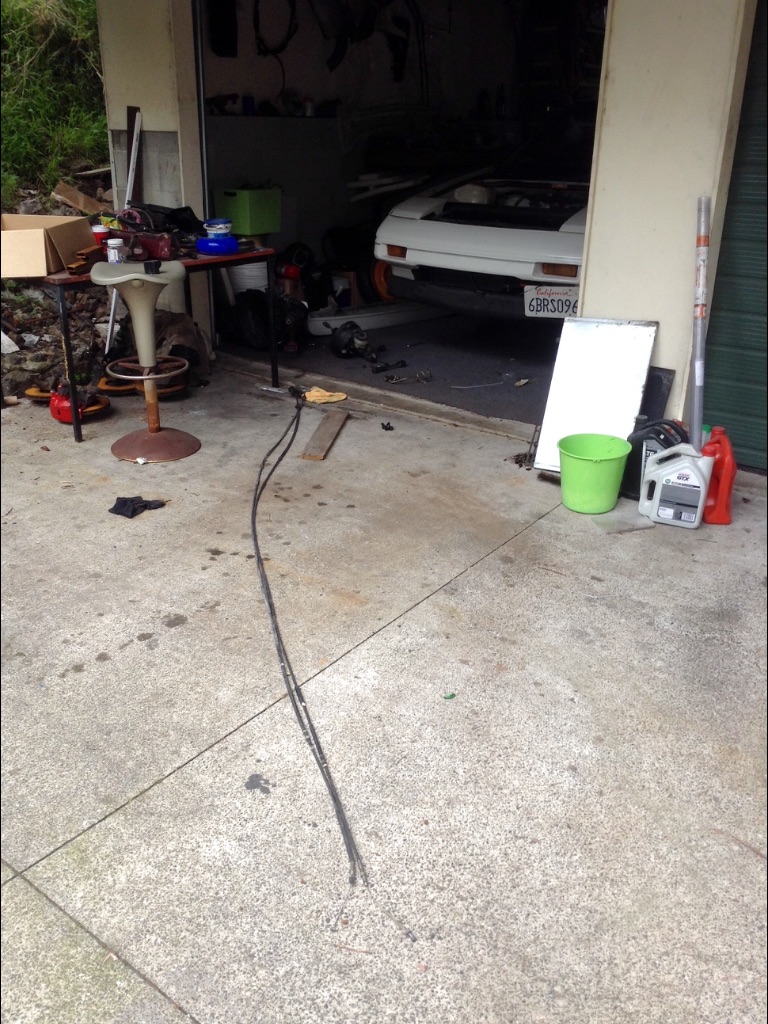
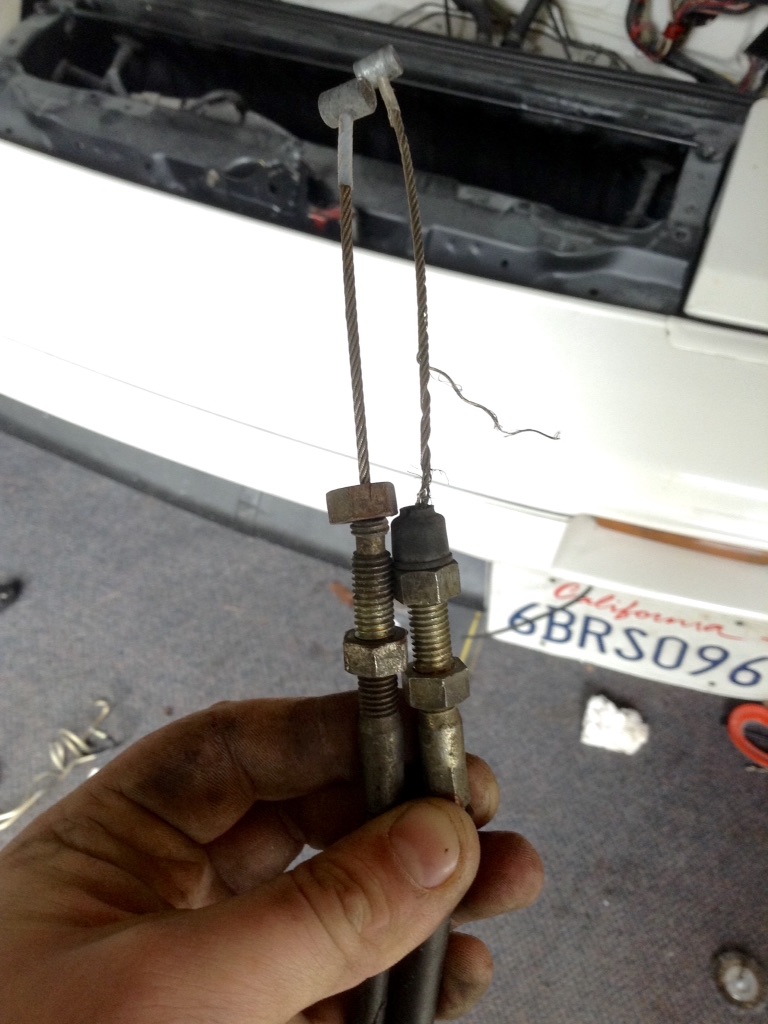
Long ass acsel cable
Hanging on by a thread
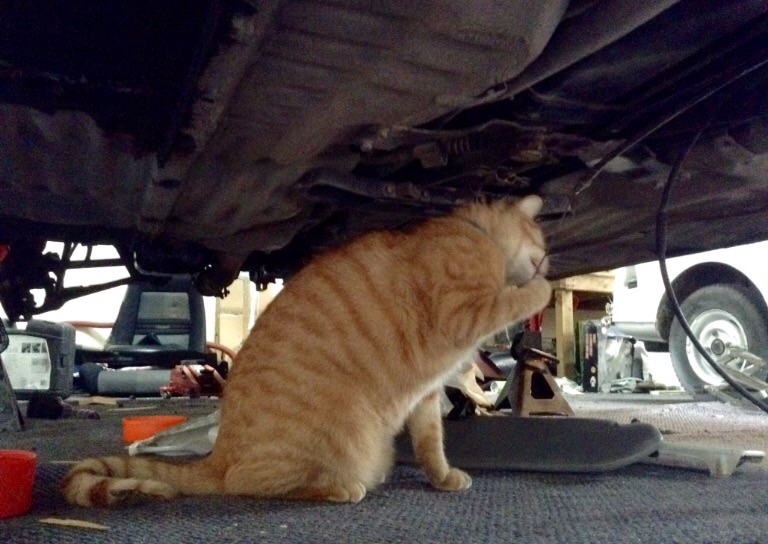
Finley found it fun too
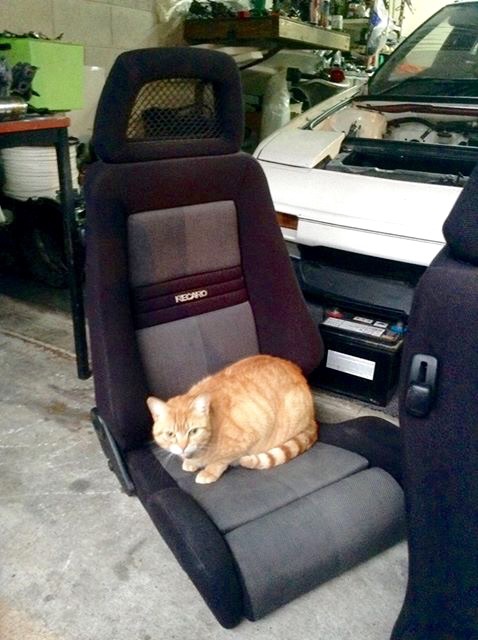
Started on the drivers chair too, will make sure to do a good write up on that
-
1
-
-
Toyota still sell front bumper irons
And strips for the top of the windscreen.
Sounds like your having fun, just keep reminding your self of when it's all finished
-
Picked up some fish nets
(yes anouther Toyota with fishnets)Finley seems to like them too
Drivers sides woren as per usual how ever I'm gonna pull it apart and add more support in the sides.
Kinda need bucket seats but I think new style buckets are out of place and finding a same pair of retro buckets at a reasonable price is un realistic. Plus I like putting stuff behind my seat so reclinable is nice
How I'll add more support I have no idea! haha maybe some alloy sides and glue foam either side??
Sand or bread knife the form to shape??
Oh and I have no idea for rails. Any one got ideas? Could buy some form NZKW or someone??

Ash's 89 AYDUB11
in Projects and Build Ups
Posted
Getting there. Foam to pad it out to get some pull before adding more glass to thicken it up.
Nearly an inch of pull
Works good, shapes coming together
Couldn't find my small quick grips (suspected flat mate) but multi grips and cable ties saved the day