


Ashkellybarr
-
Posts
512 -
Joined
-
Last visited
Posts posted by Ashkellybarr
-
-
Link for yarns
if anyone’s wondering why I’ve called it a crumpy, here’s a brief wiki explanation and videos for entertainment
https://en.m.wikipedia.org/wiki/Barry_Crump
Onwards with the crumpy it’s self.
turns out old hilux parts are cheap.
while driving it up the other weekend a mate went and bought a water pump for me, changed it the following day, only took an hour and bit and spent more time looking for my 12mm socket.
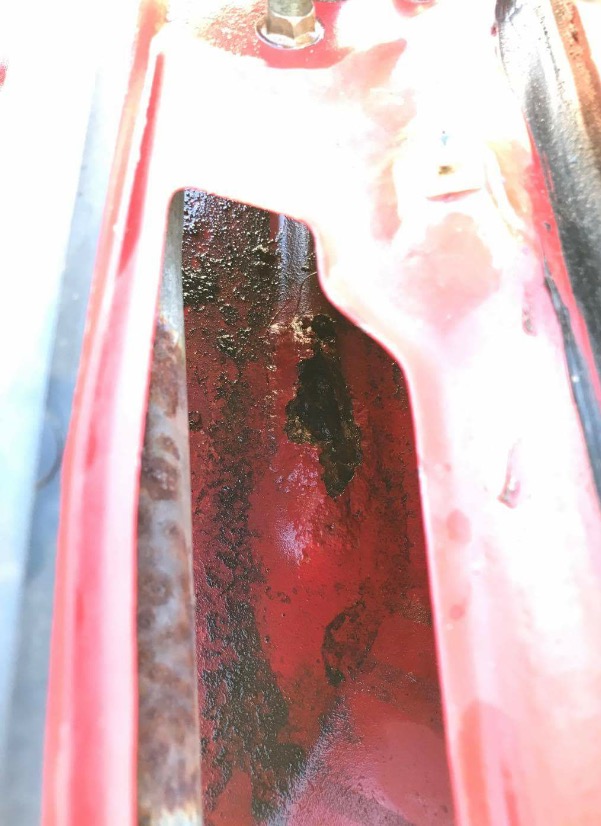
jumped in it last Saturday morning to get coffees for me and miss’ and the clutch went straight to the floor.
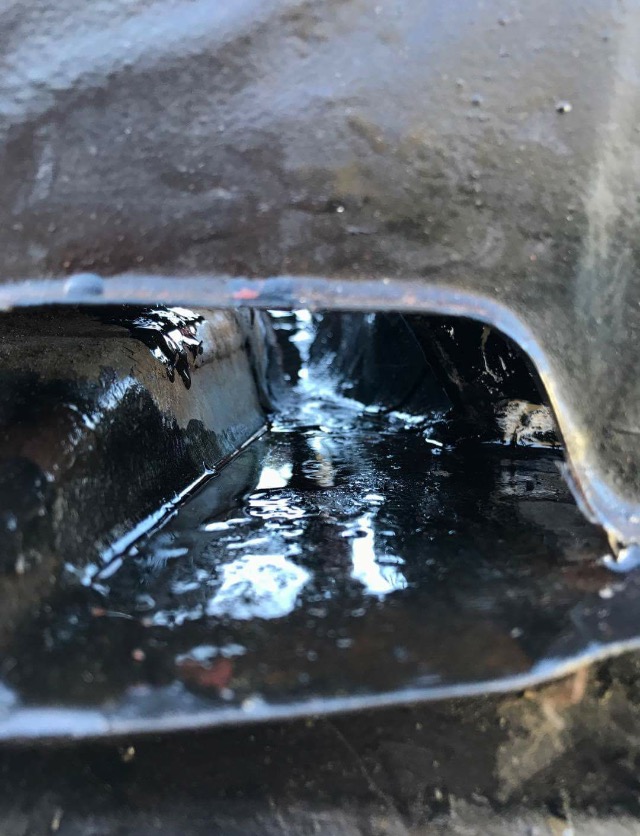
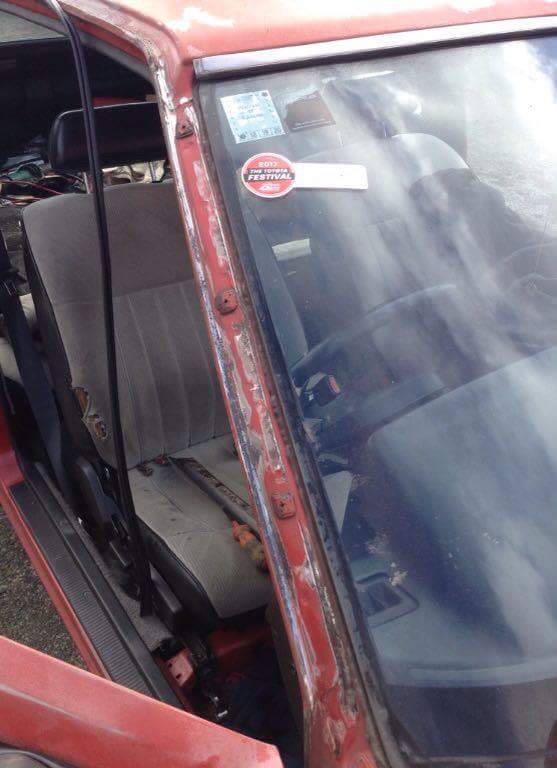
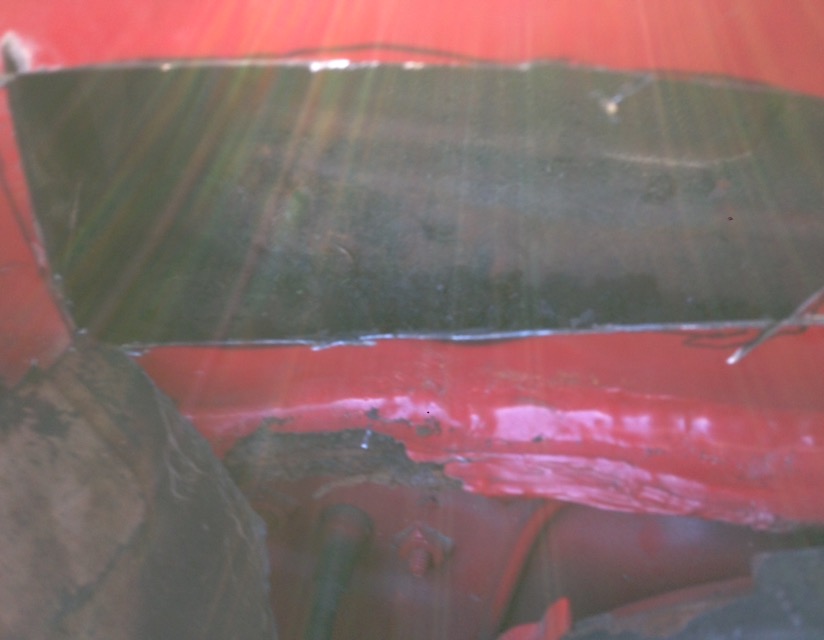
poped the bonnet, and there’s brake fluid all over the fire wall and the paints pealing.
mint.
when straight to BNT off Lincoln where the hotty behind the counter sorted me out. 2hours later brand new clutch master and slave are installed and bleed.
bit of a pain cutting 6mm off the rod with an angle grinder while holding the master full of fluid in the other hand.. owell
actually love this thing already cause I don’t even haft to jack it to work on it, let alone drive it on 6x2 blocks.
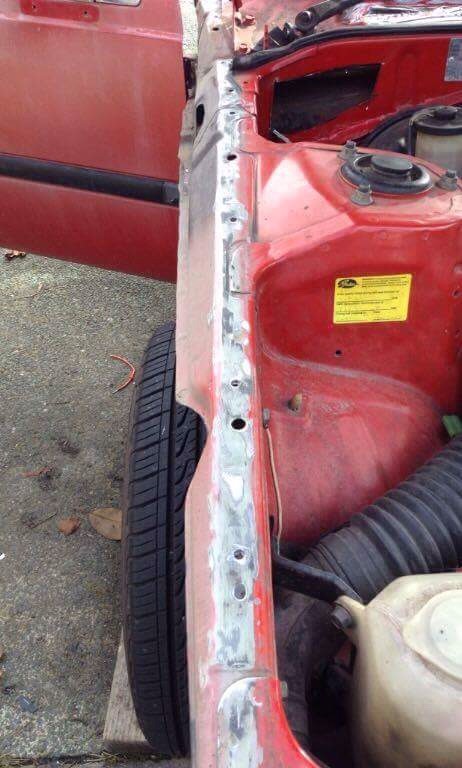
picked up up a swivel hub rebuild kit and will hopefully do those and clean the rust water that got sprayed around the engine bay when I’m not being slammed at work

-
 8
8
-
-
Link to thread
Feel free to poke fun, offer advice, or add photos of cats sitting on other pick ups
-
- Popular Post
- Popular Post
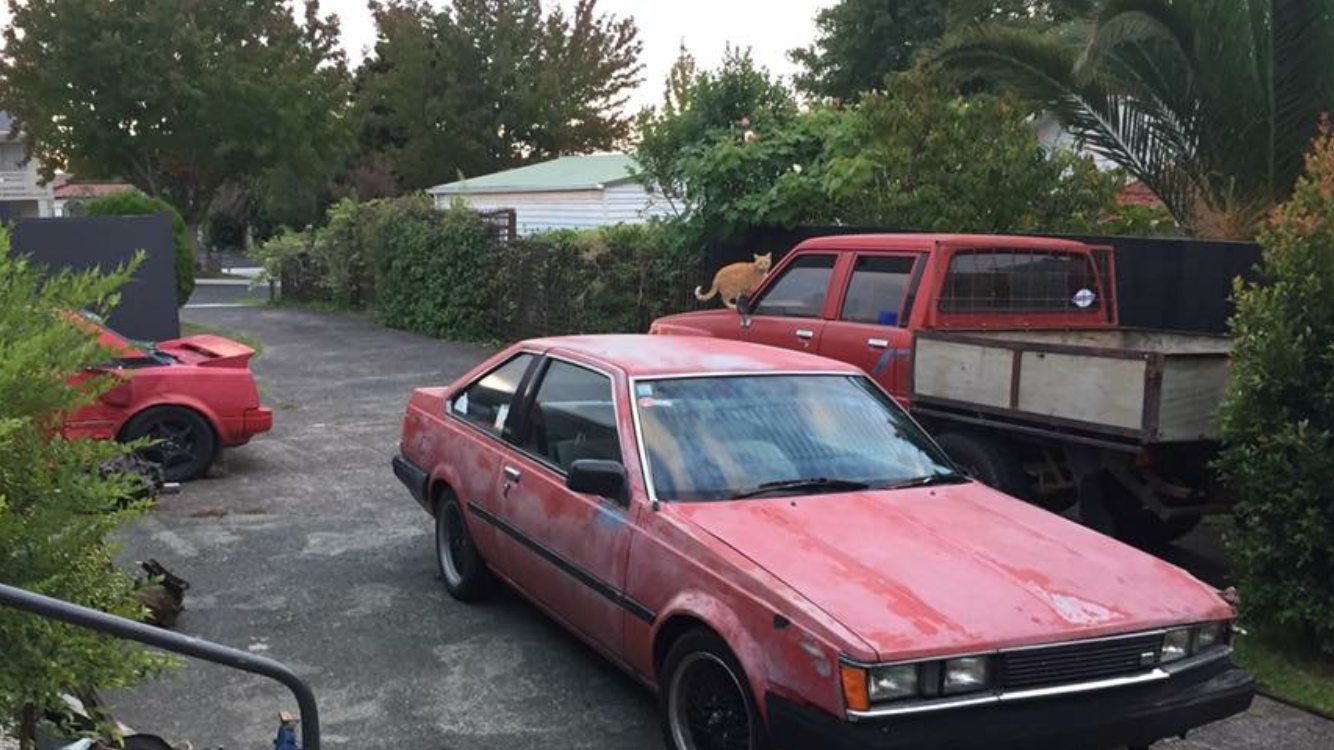
Here’s my 1985 Toyota hilux, and long boring blurb on how I came to have it.
Always had the plan of having three cars.
The small powerfull weekend/track car.
A low power RWD to beat on that’s something different for a daily.
And a 4wd for towing said cars and family trips with occasional off roading.
Didn’t plan on buying one until after we bought our house. But with the unfortunate event of the daily being damaged, WOF running out and it’s future still being unclear. I started looking at shitty $500 cars to get around. After a week the Miss’ suggested just going for it and getting a 4wd, with the condition of it having 4doors. Otherwise I’d then have 4 2dr cars haha
now armed with cash I started looking for the 70 series landcrusier I’ve alway wanted. Couple weeks of looking, and nothing turned up. All the 4drs were auto and 2.4L. All the 3.4L manual turbos where two door and either rough and thrashed or just out of my price range.
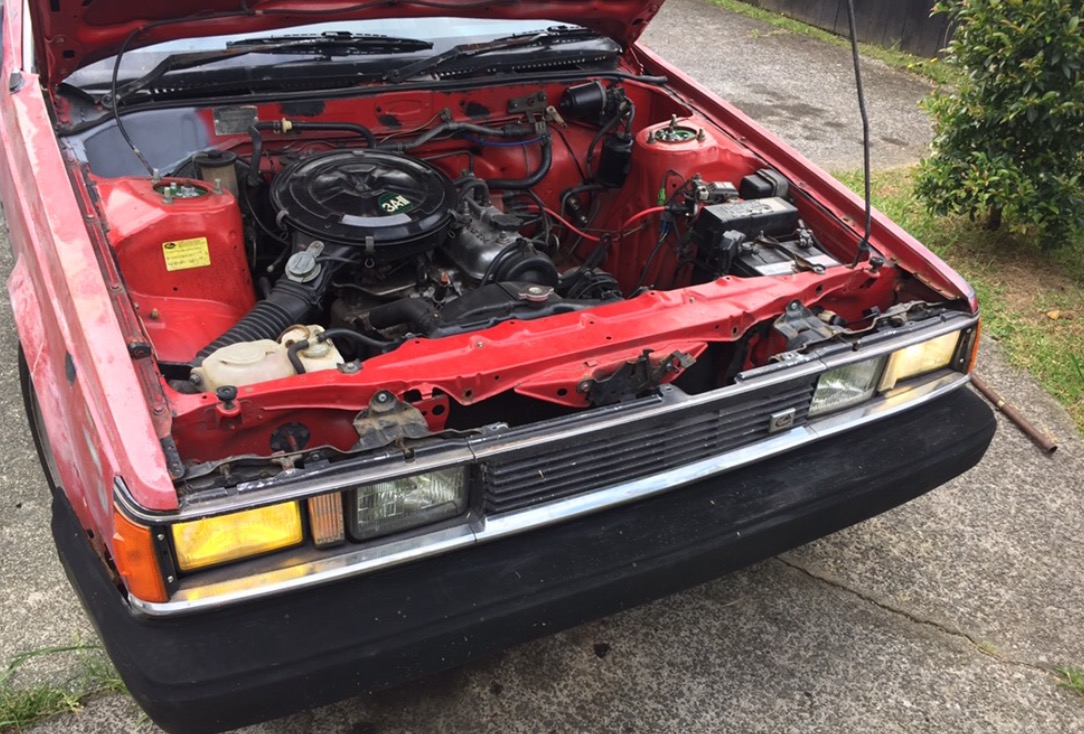
Then I came across this..
nz new 1985 toyota YN65 hilux.
i was drew to it by being 4wd, solid front axle, 187,000kms, ten years worth of wof sheets, orginal black plates, and being in the South Island they seem to have less rust.
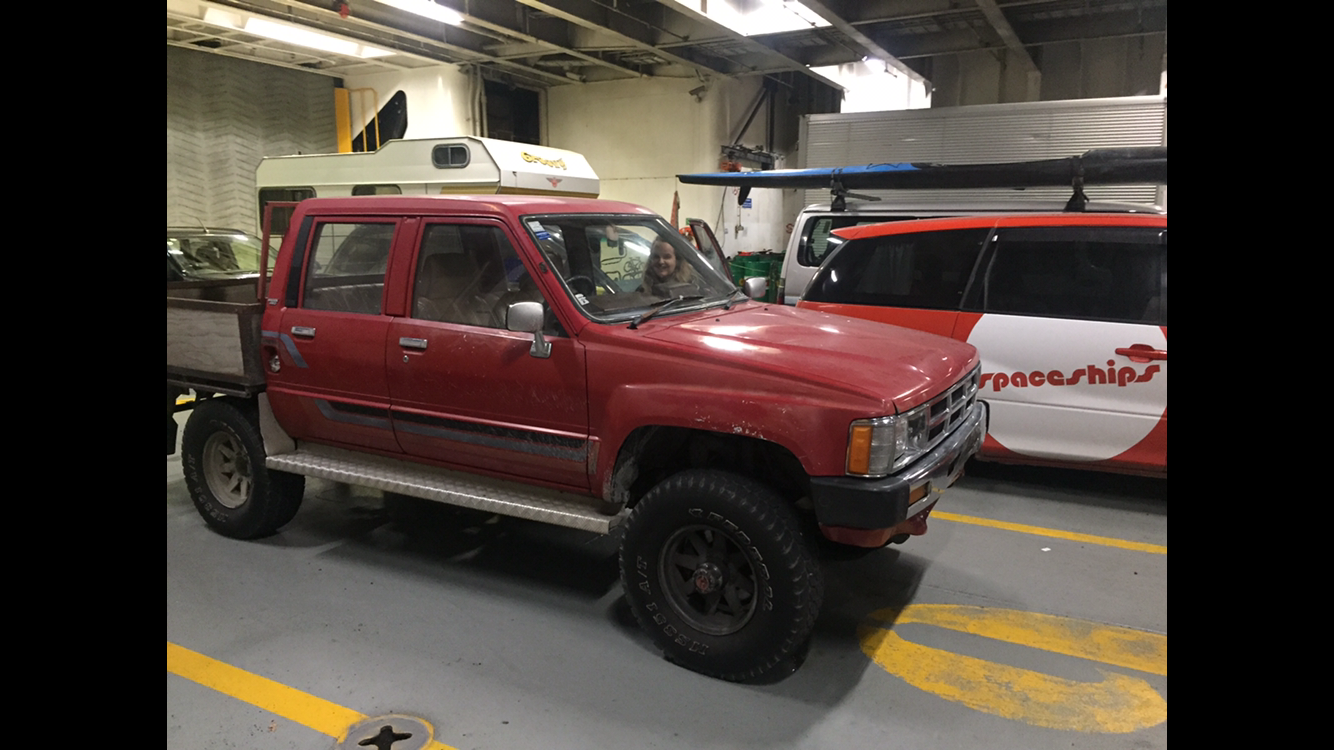
had a mate in chch in the auto industry check it over for me on the Tuesday, negotiated price and bought it Wednesday, flew down Friday after work to pick it up.
checked it over that night, and left on our adventure 4.45am on the Saturday.
dove the beaten up coastal witch was cool, never been through there. Definitely a lot of work that needs to be done after the quakes.
caught the interislander witch is also a first.
Made it a bit over 580km’s before we had any trouble. Rad cap had a tiny leak, and over the trip all the coolant had evaded out.
Before we realised we’d made a wrong turn and trying to make it back to SH1 to get to our motel in turangi the temp flew sky high.
now stuck on a random back road, no cell phone reception, a nice old boy pulled over to lend a hand. He’d had a few beers and had 6 gutted and skinned sheep sitting bare on the tray of Ute, followed him up to his for a yarn and some water and continued on.
After 9.5 hours driving we were glad to made it to the motel just after midnight.
Sunday morning we made it toTaupo and got a new rad cap from Repco and continued on, only for it start over heating quicker and quicker. Water pump seal had gone and it was now pumping water out of the motor..
with no water pumps close to SH1 and minimal tools the decision was made to continue on.
driving 10mins, topping it up 1.5L of water, driving 10mins, topping it up 1.5L of water, dri....
stopped at every single gas station aside from takanini to top up the bottles we bought in Taupo.
turned a 4.5hr drive into a 8.5hr drive..
but hey, made it home and had a lot fun along the way

-
23
-
Never seen you with some much motivation haha
-
Cortina heading te Atatu peninsula.
bad side of the sun for lighting but it was cool two tone roof and panel
-
2
-
-
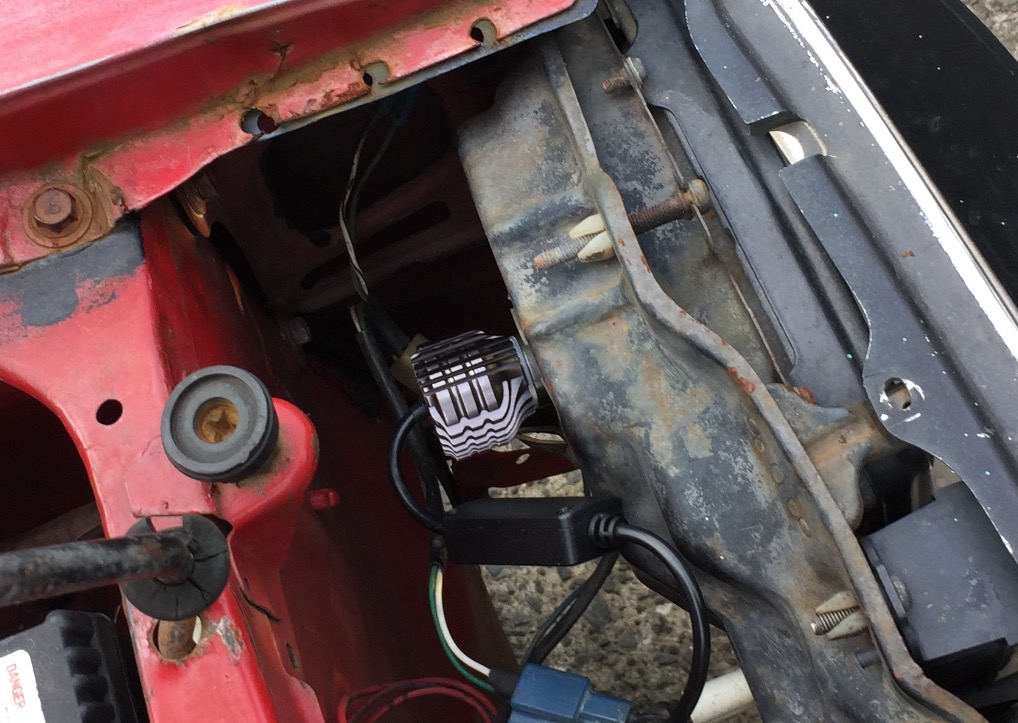
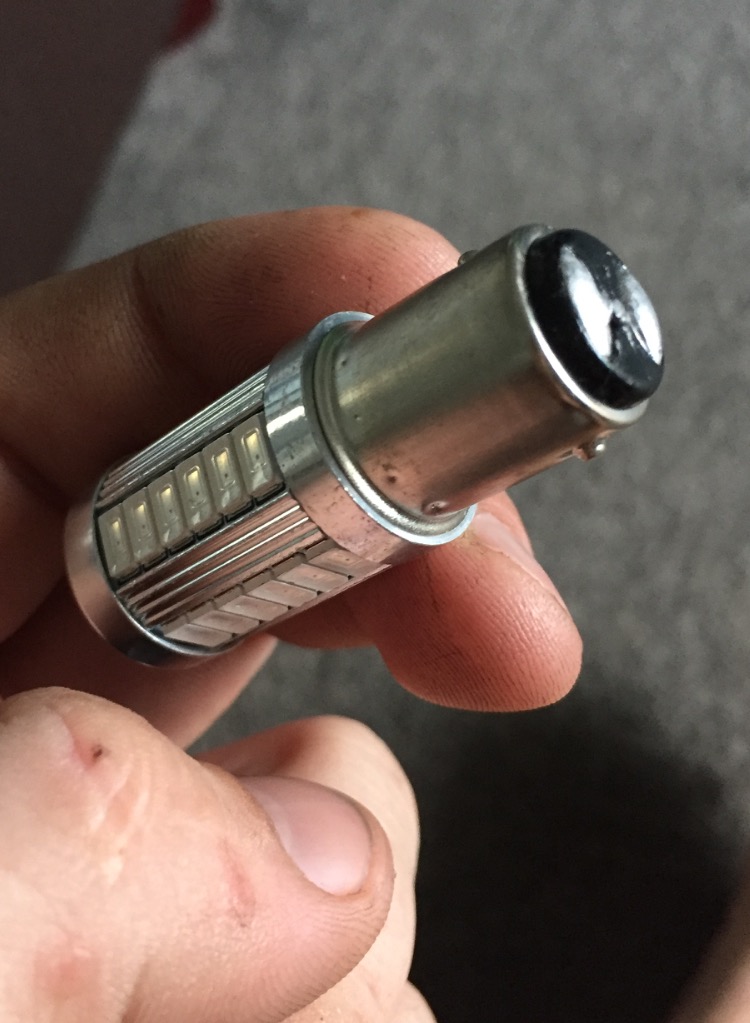
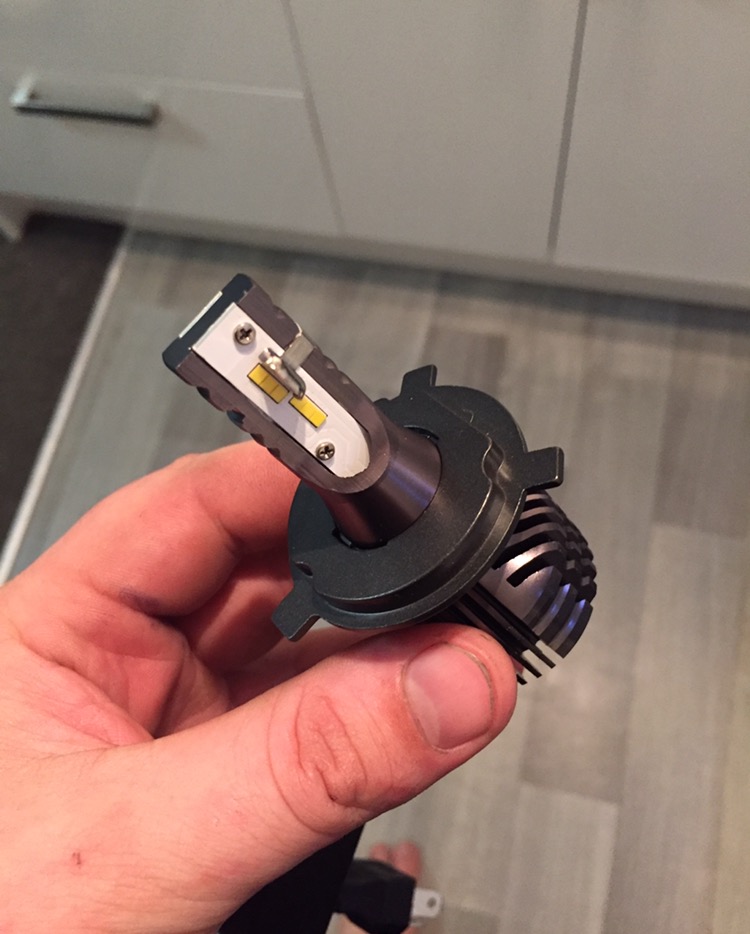
Swapped all the lights to LED. Brighter and less draw on they old alt.
i didn't want modern bright white head lights so tried a 3000k colour (drivers side) but was far to yellow for my liking.
opted for a 4300k colour on the passengers side.
All off Ali pretty cheap, some less then a dollar each with free shipping.
if anyone wants to buy the 3000k lights let me know, H4 fit
waiting this twin head light adaptor kit and some new semi sealed head lights from oldscoolauto for the centre lights
https://www.aliexpress.com/item/32808553308/32808553308.html
-
Brisbane, AUS
on SSR mesh, couple stickers, bit of a swing ding.
id definitely daily it
-
4
-
-
Fairenough
They can be made to look pretty sweet and simple.
ive seen setups with pumps hidden in the grill so all you see is the intercooler. With water fittinging facing down to their hidden
but yeah understand thecwant to keep it simple and running being first priority
-
On 6/14/2017 at 13:26, Fliboi said:
No plans for an intercooler if I can get away with it, it'll be an absolute nightmare trying to get pipes out the front. Only going to be running around 5-6 psi so shouldn't have any issue.
Google "barrel water to air intercooler"
ive got pumps and heat exchangers I'm not using witch would save on kit cost
-
1
-
-
Hey guys.
so I'm going threw my Aw11 at the moment.
running link ECU and because I'm running COP ign I'll use an output on the ECU to run the factory tacho.
ive pulled a spare AW cluster apart and found the component to change.
pages have confirmed it's the 30Kohm resistor in R4.
where I'm getting stuck is what to change it too..
someone (see pic) has said to change it to a 12.5Kohm resister witch doesn't sound correct.
following the link in OS search I've found this article
now it states the coil voltage to be 200-400v
however if I use the calc ( HV/30Kohm=X, LV/X=?) in 200v and then 400 it's a big difference, double in case you hadn't figured
one being 900ohm and the other 1.8Kohm.
so how do I actually find the EXSACT factory 4A voltage EMF on the coil neg?
-
Video of launch please
-
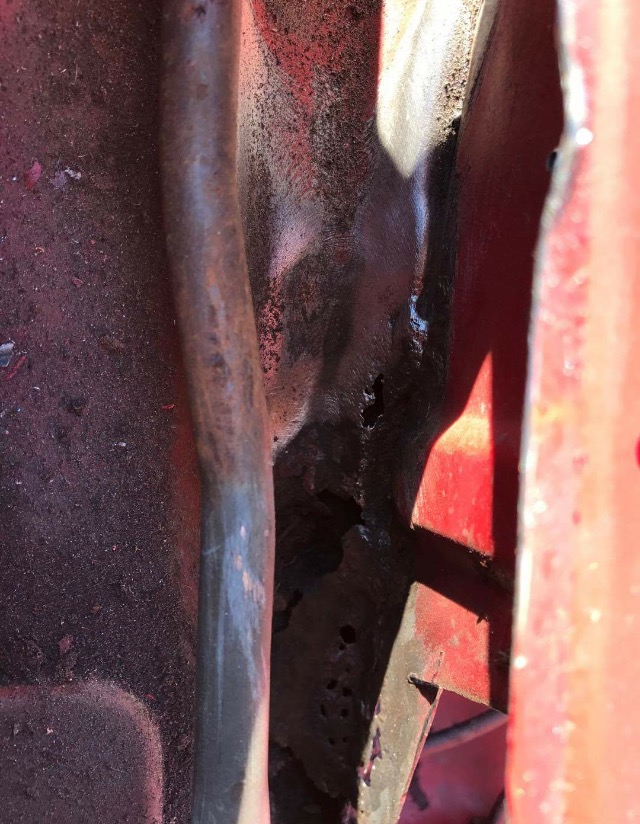
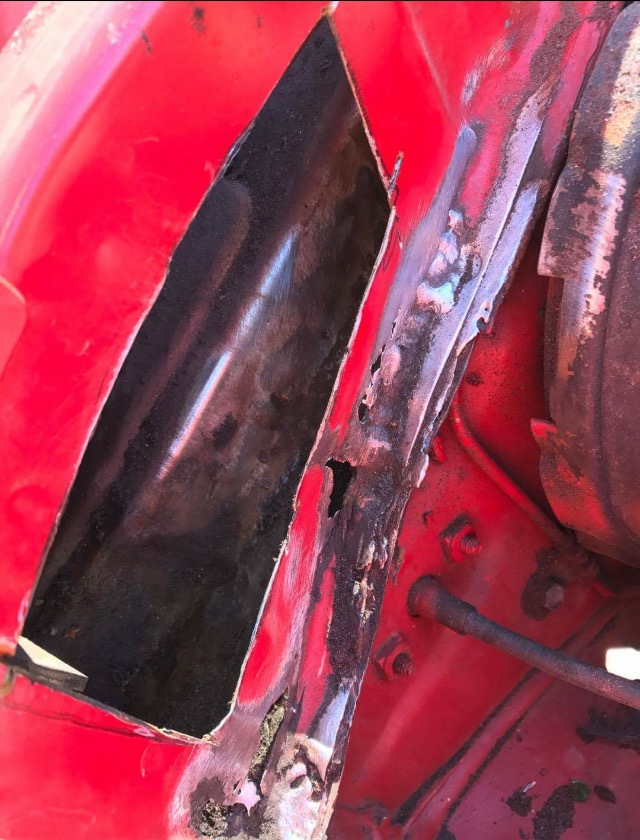
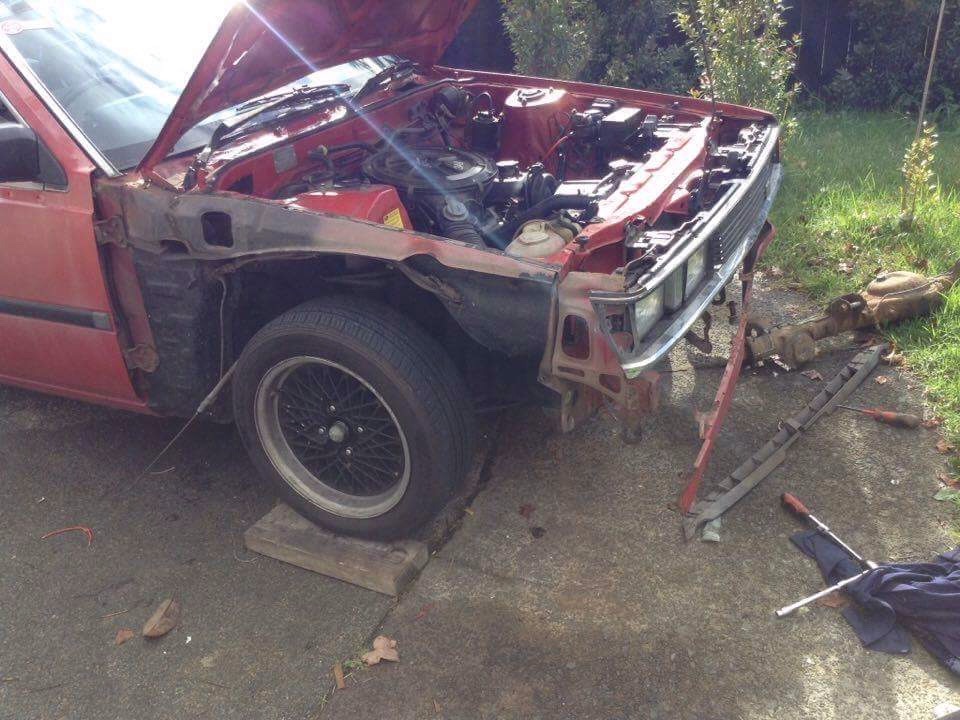
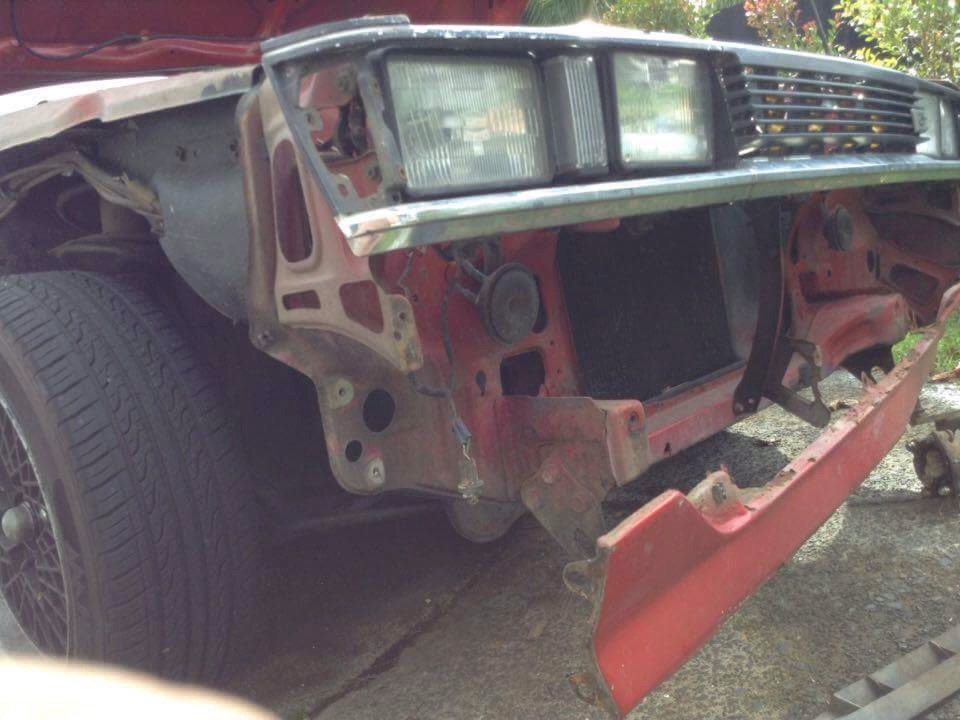
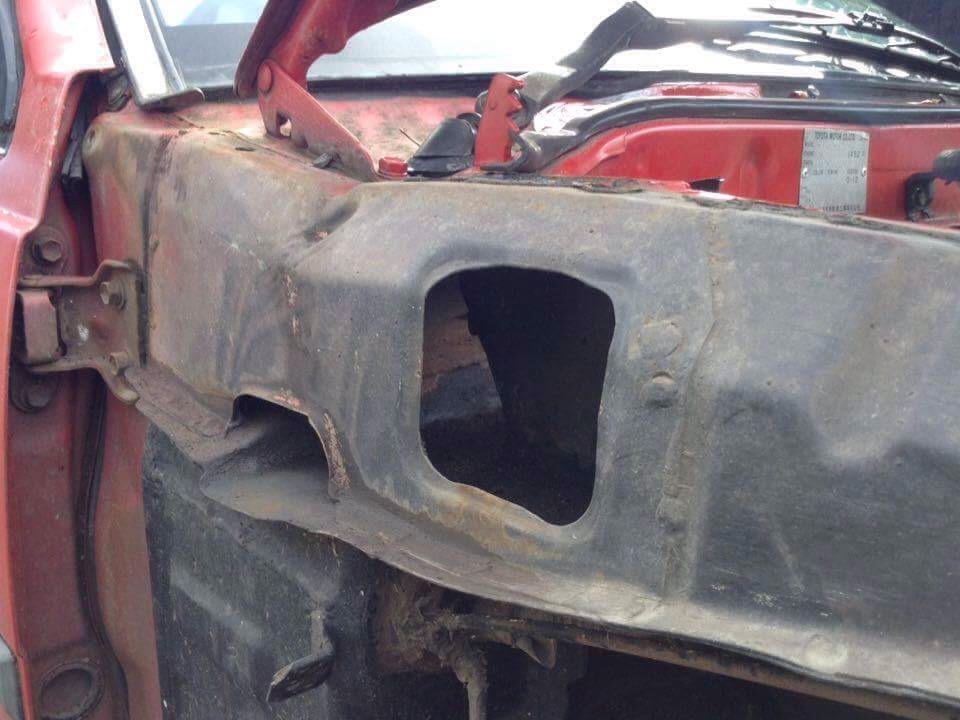
Found them!! Two holes in the sill, both 20mmx40mm
took it all back to bare metal, cut some bit out.
welded some back in. Pretty tricky, not using a gas welder for nearly 10 years and the metal being so thin. There were multiple tools thrown across the driveway.
but I got it done. Then started on the epoxi treatment.
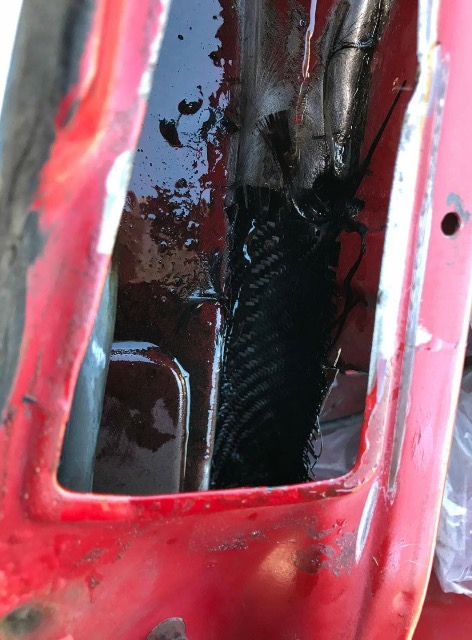
gave a layer carbon fibre to the effected areas (off cuts from another project) I mixed up to much resin so the whole sill got a coat.
unfortunitly cause I use the car as a daily (literally every day) I had to put it all back together this evening, and didn't get to do a full layer of boat cloth. Next weekend hopefully.
feels good to get rid of the last of the rust! Nearly there
-
1
-
-
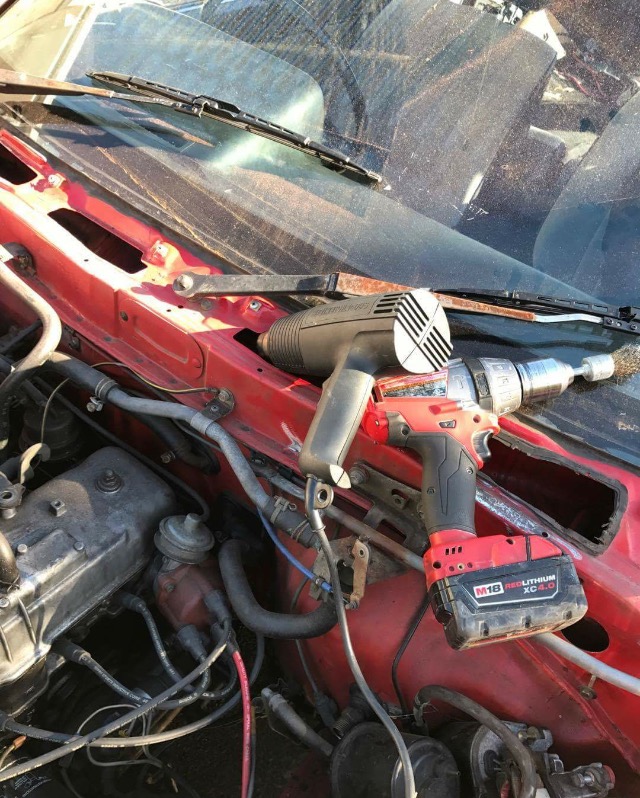
Picked up a media blaster to sort the windscreen sill out.
want to give it a layer of boat cloth and westsystem epoxi then paint.
bits of trim were also hiding forren objects.
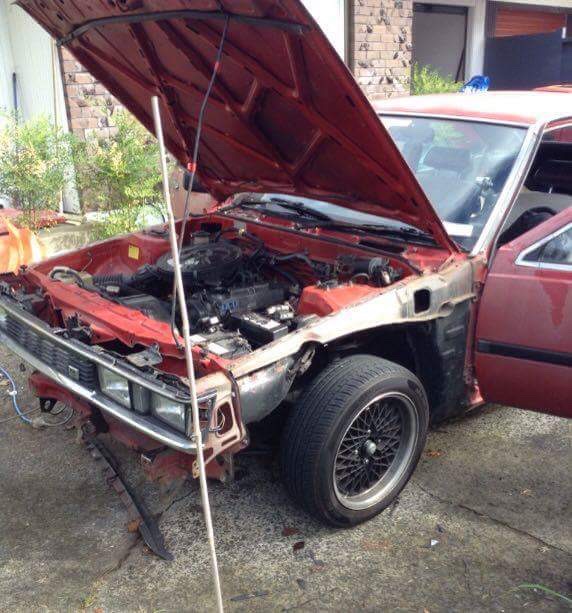
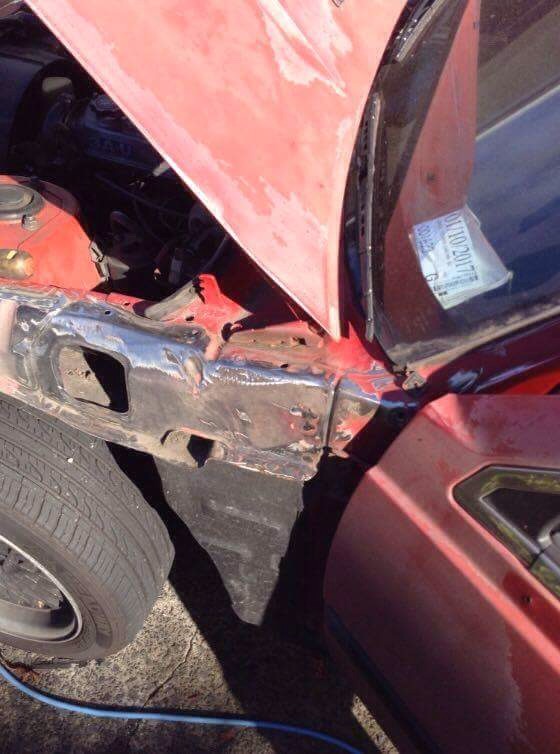
glad all the chassis works nearly finished, just need panel and paint
-
2
-
-
For hype, here some photos of Aw11 drag cars from 1991 when drag racing started taking off in jap, and most popular chassis for it was a 240z
under the miffker those are duel waste gates
-
3
-
-
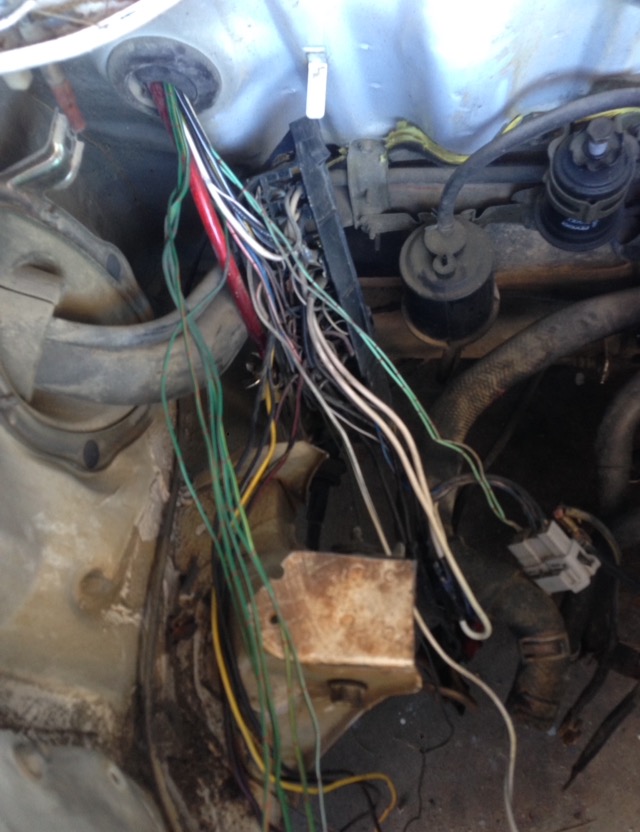
So the 4agze came out a while back. The v6 swap is under way.
when I bought the donor car the wiring in it was pretty av and just a get it going sort of setup.
think the plan was to get it running and certed then work away at it. By nature once it was running none of it was taken further and enjoying the car was the frame of mind from then on.
for me, once the motors in I don't want to pull it out again.
that said, it's gone from "riding wiring" and tiding up the engine bay. To me wanting to do it properly as I wish the car to be as the final product, as I know once it's done I won't want to deal with it again.
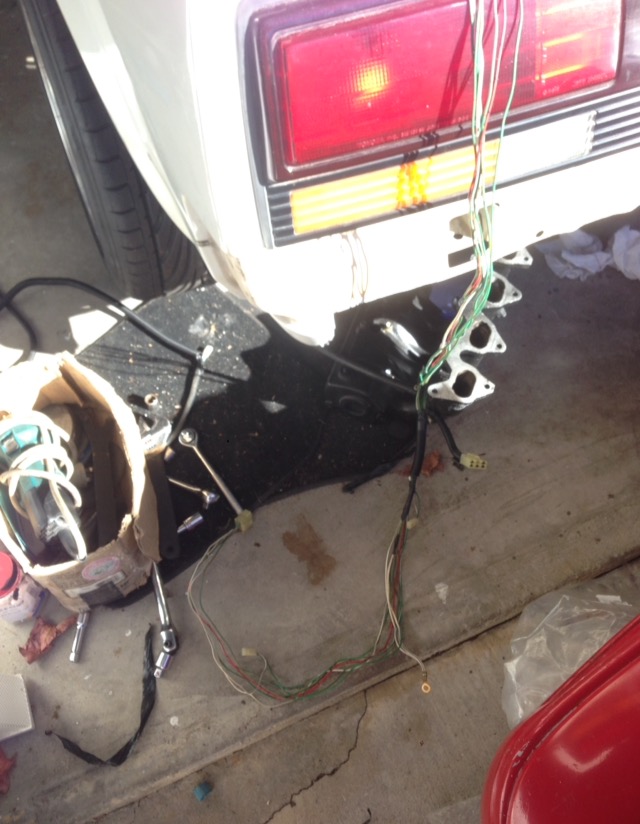
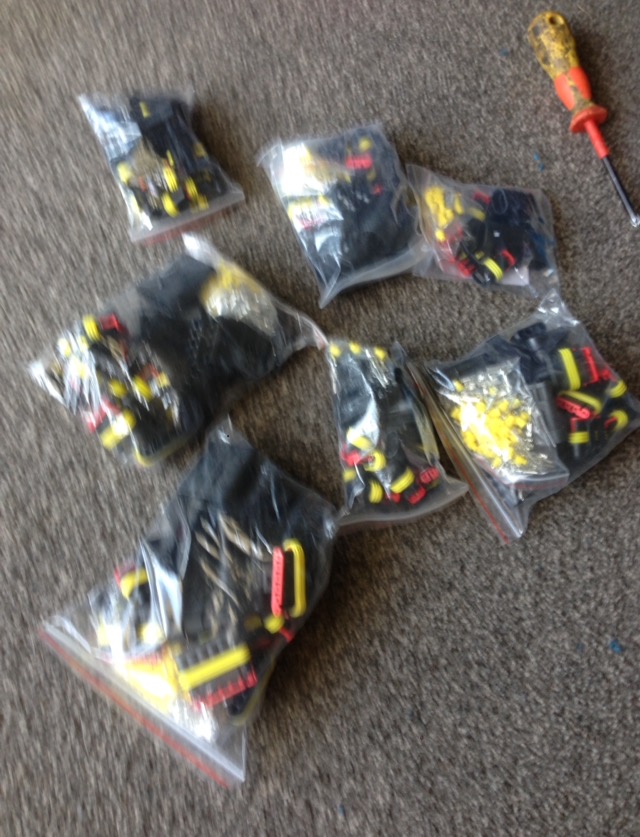
so I've pulled the entire loom apart. Cutting all the rear wiring open, and from the rear strut back it's literally just the tail lights and number plate wiring.
feeds back to the ecu have been cut at the engine loom plugs and labeled and pulled all the way back threw past the fuse box to the cabin. Some of witch wil become redundant, others like "engine check" light and rpm input will be intergrated into out puts on the new ECU.
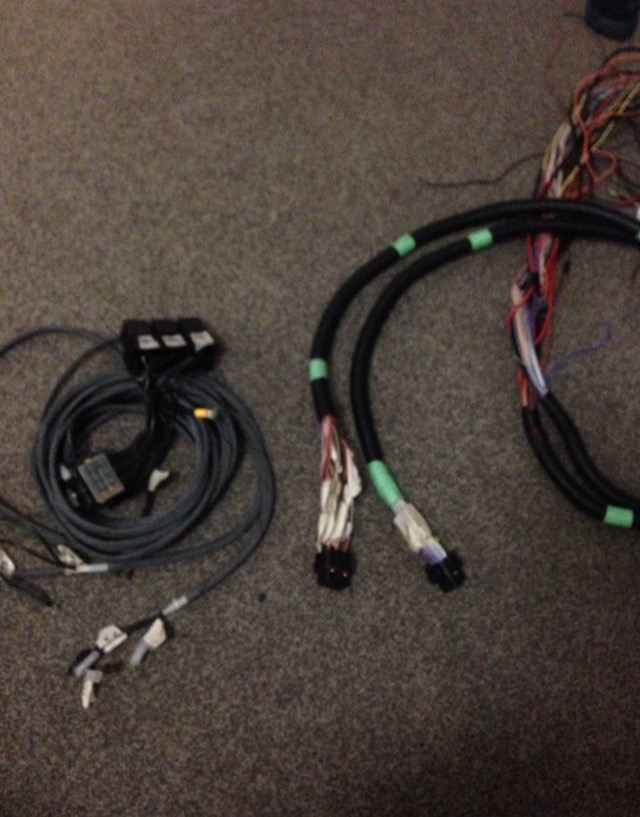
ecu is link G4+ xtreme. Witch is sitting here. I've got most of the link loom sorted and labeled ready for the lump to go in to get lengths for fitting off.
sorting IO list Atm, couple unusual things like having rad fan plus engine bay cooling fan. Mr2's have factory fans in the vents to push hot amibiant air out of the bay.
so I've got extra relays etc to order/wire.
wanting to do it right I'll finish up the wiring diagrams and get the elect engineer at work to put them into a pro format to keep with the car
photos are crap sorry but know you guys request photos because
-
Started assessing the last of the rust repairs. Drivers sides been lecking into the floor for a little while. See if I can borrow a media blaster attachment for my compressor
think I'll pull the gaurds off and hit it with the black epoxi sealer. Maybe some boat cloth glass threw the windshield sill
Heading overseas for works meaning I'm short on car time more and more. And as much as I love the rustic look, the paint jobs no longer sealed so a full respray is more and more imminent
-
1
-
-
Yeah! He cut slots where the studs go so it fits anything 4 stud.
cut the end off so he could weld to the mild steel core
the the holes to put the socket threw to undo the retainer plate are still there. So I could leave it bolted on and tap it back in while doing the nuts up
-
1
-
-
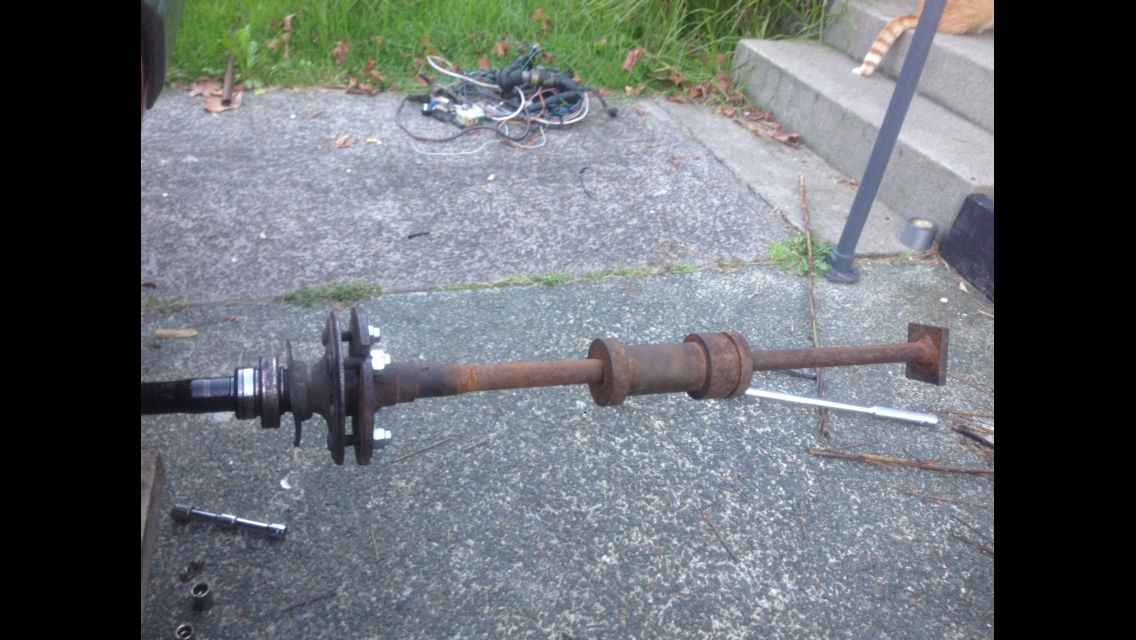
Winner! Finally!
Old axle turned into a slide hammer curtacy of a work mate
-
3
-
-
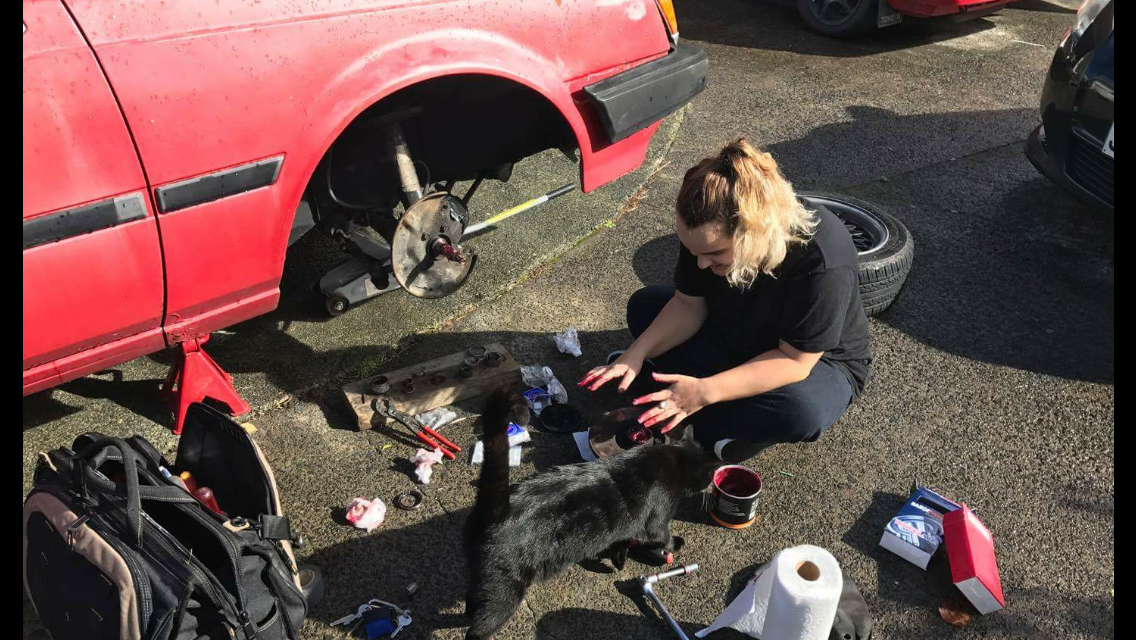
Got the misso doing the front wheel bearings.
think the drivers side has gone due to the caliper constantly pressing on it.
ive free'd up the piston and regreased the slider pins so hopefully that sorts it.
plugs and pins turned so I can get started on the wiring over the next week, hopefully smash lots out next weekend
-
3
-
-
Spotted in Warrnambool vic, Aus
is 3T and manual
also spotted a mint EJ Holden wagon in a light navy blue, seems to be daily driven but yet to snap a pic
-
1
-
-
On 5/4/2017 at 13:50, grunta said:
ive used a bit of chain and a 10kg dumbbell as a slide hammer/puller and that worked well !
Good idea, I've got both of those.
On 5/4/2017 at 13:55, locost_bryan said:This tip was recommended on another site for removing reluctant hubs :-
"If you undo the rear hub nut a turn or so, then drive the car around the yard a bit - especially going from 1st to reverse a few times - the horsepower will do the job for you, and loosen the hub from its taper.
If it works - and most do - you can jack the car up and disassemble the brake drum etc, remove the axle nut and simply slide the hub off - no 20 ton press required.
This allows removal of the axle and bearing in a very straightforward manner."I gave this ago also threw recommendation of a guy on RCIS.
i undid the 4 nuts holding the retainer plate on till they only had 3-4 turns holding them.
drove around west Auckland for 30mins.
pulled back in to find nuts undone, and I'd mostly been driving around with just the axle being stuck in
-
On 5/2/2017 at 15:17, kiwi808 said:
On the rx3 we used to bolt the wheel back on and kick the fuck out of it till the half shafts popped out. Is this not possible with yours? Wondering why no one else suggested it.
Gave that ago with no luck. Lay under it and had two feet booting it, she's pretty stuck
On 5/3/2017 at 05:10, JoKer said:hah RCIS poster dude!
Haha
-
2
-
-
Cheers guys, yeah I see, I need to shock it, timber and electrical cable maybe aren't transferring it that well.
Mate at work has a big slide hammer with flange for hubs especially for it so I'll give that a go when I'm back from over seas.
-
1
-
-
Hey guys. Yup their all undone. Drivers side came out sweet. Seems to have rust-welded it self in.
ive got quite a few tips from some other people. I'll try some things tomorrow but I feel as though I try anything harder it'all bend the flange
-
1
-


Ash 85 crumpy yarns
in Project Discussion
Posted
Yeah that things awesome!
not much to be honest
ive picked up a 5sp box to replace the 4sp.
Just tidy it up and daily it. Do the under body, maybe see if EFS do new leafs and shocks for it.
missing some bits and bobs so I’ll put up a list soon