soaps101
-
Posts
23 -
Joined
-
Last visited
Everything posted by soaps101
-
And the day my old man got his garage back.

- 13 replies
-
- 11
-

-
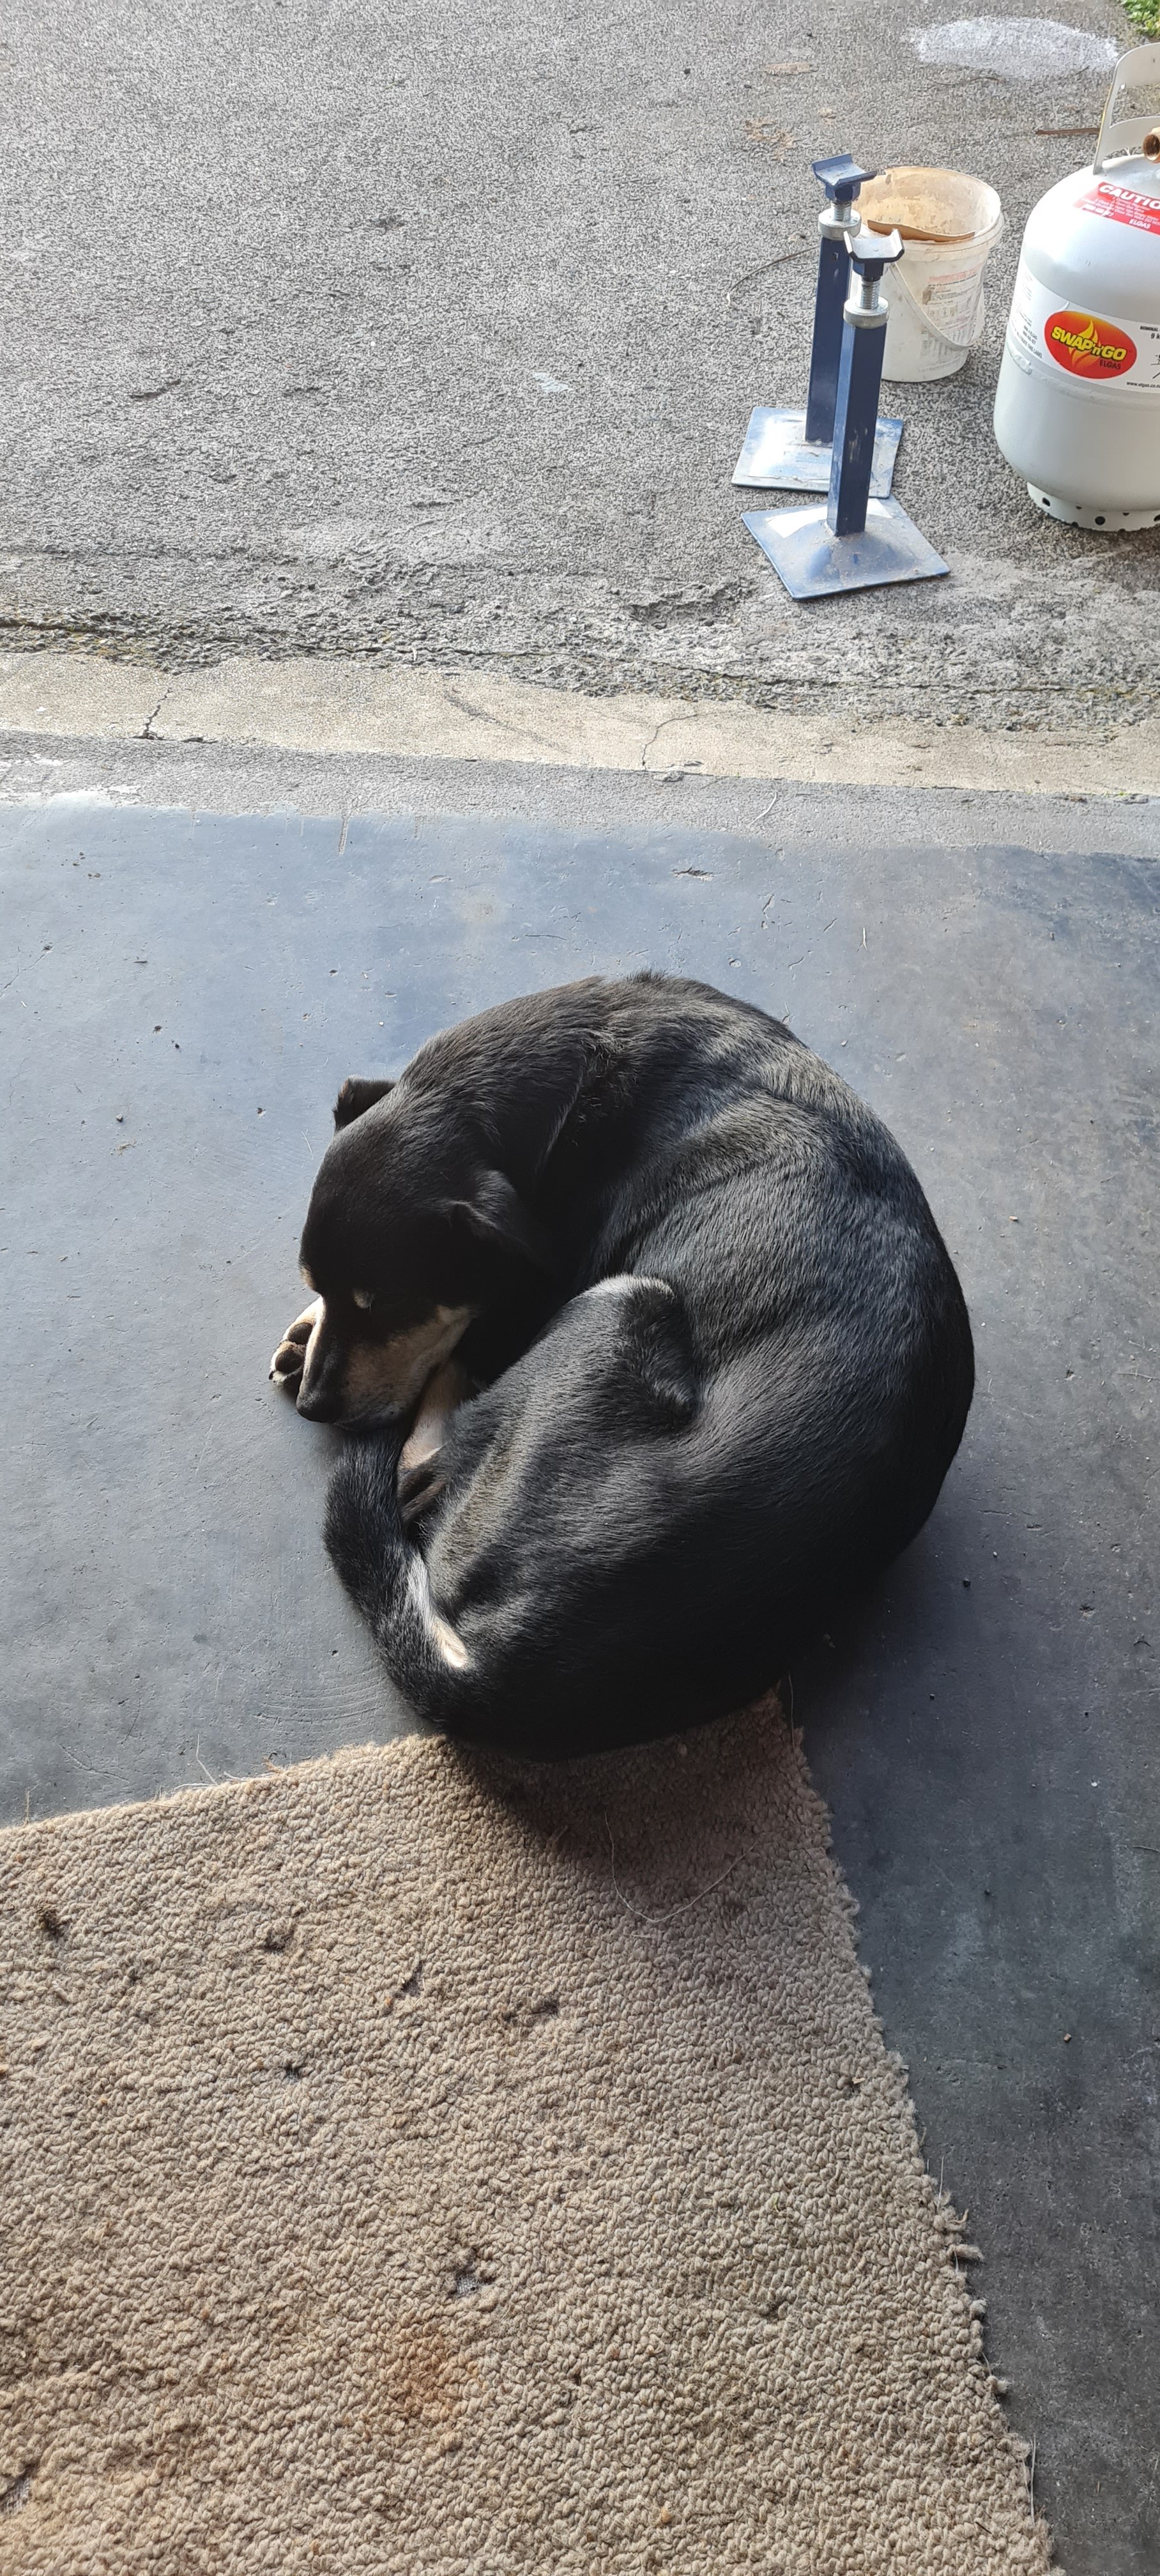
Night shift proof
-
I also had my other worker there too but he's not much help, old and about to retire or something like that...
-
-
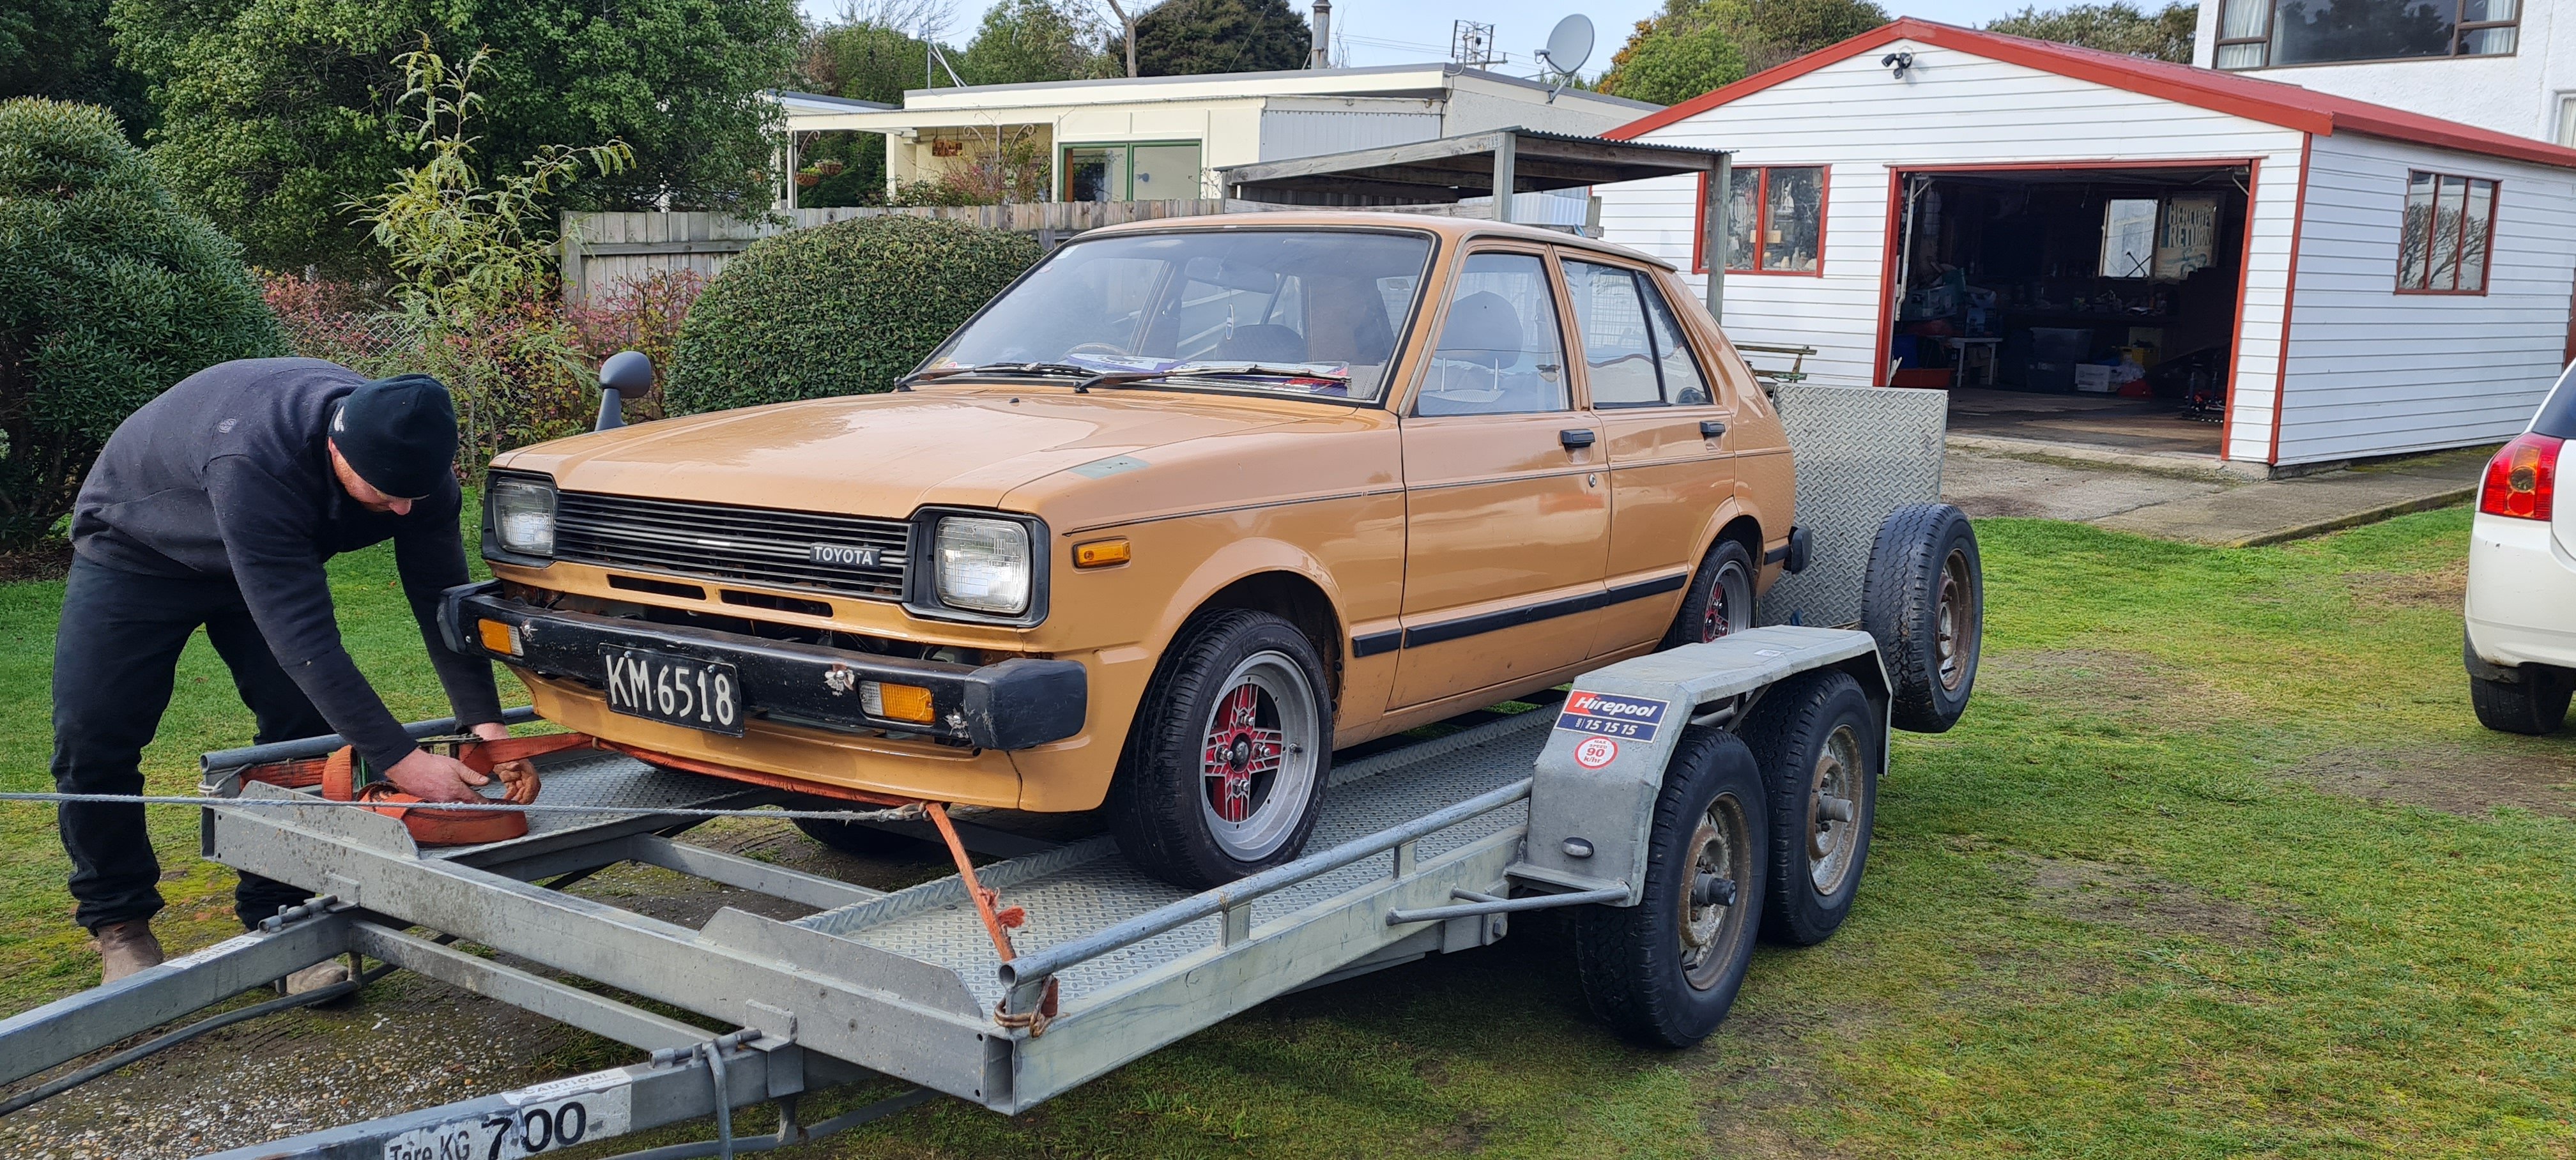
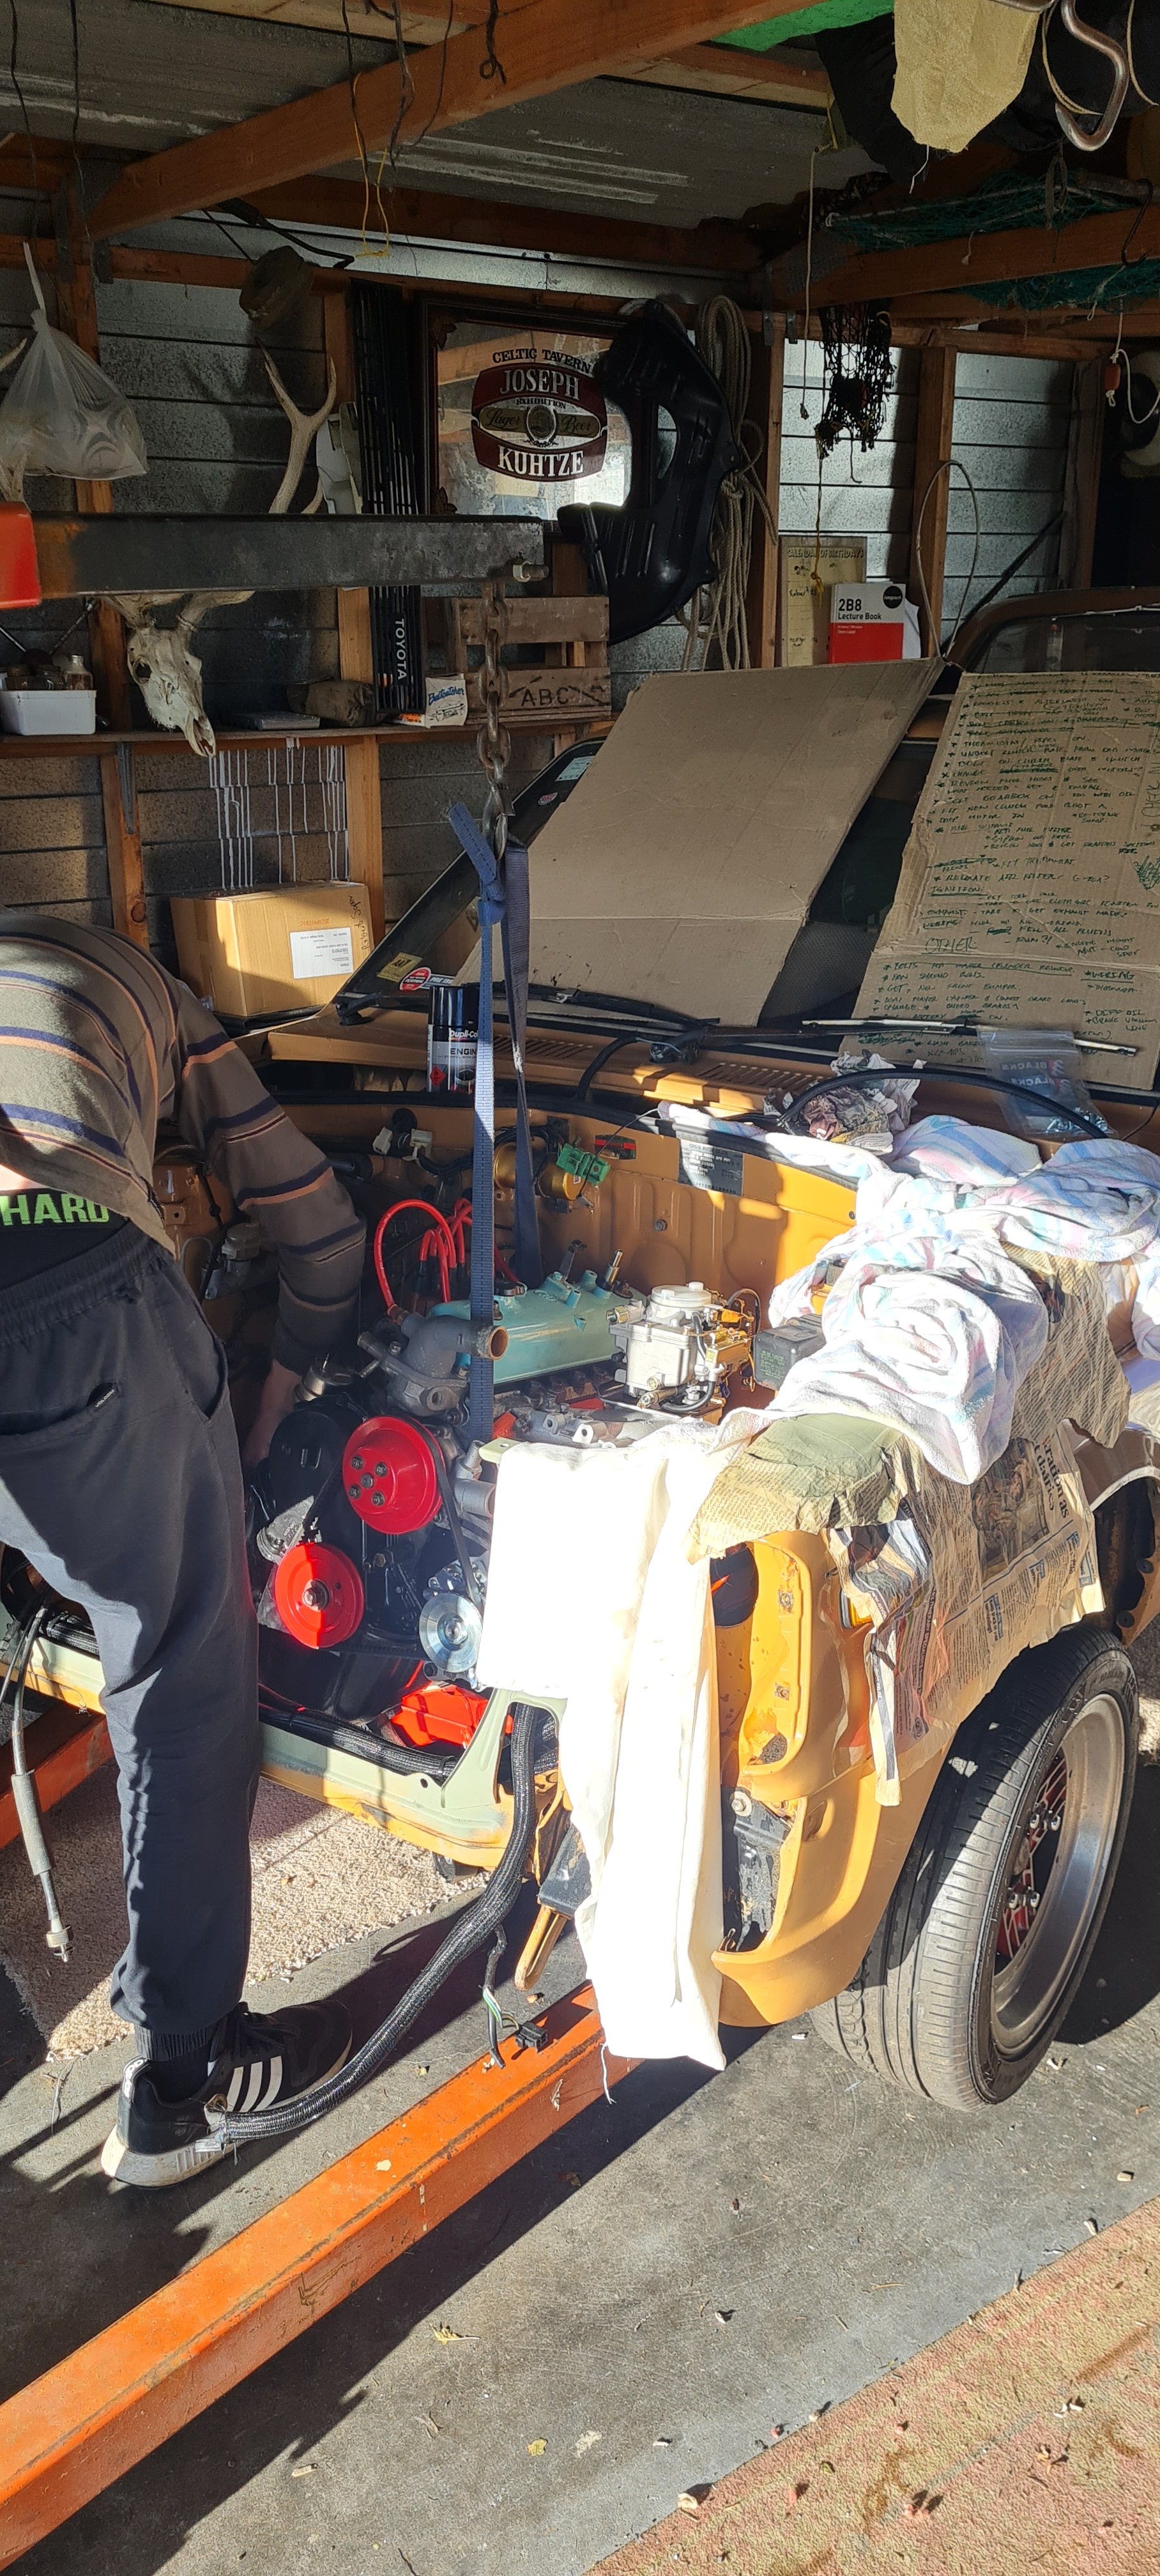
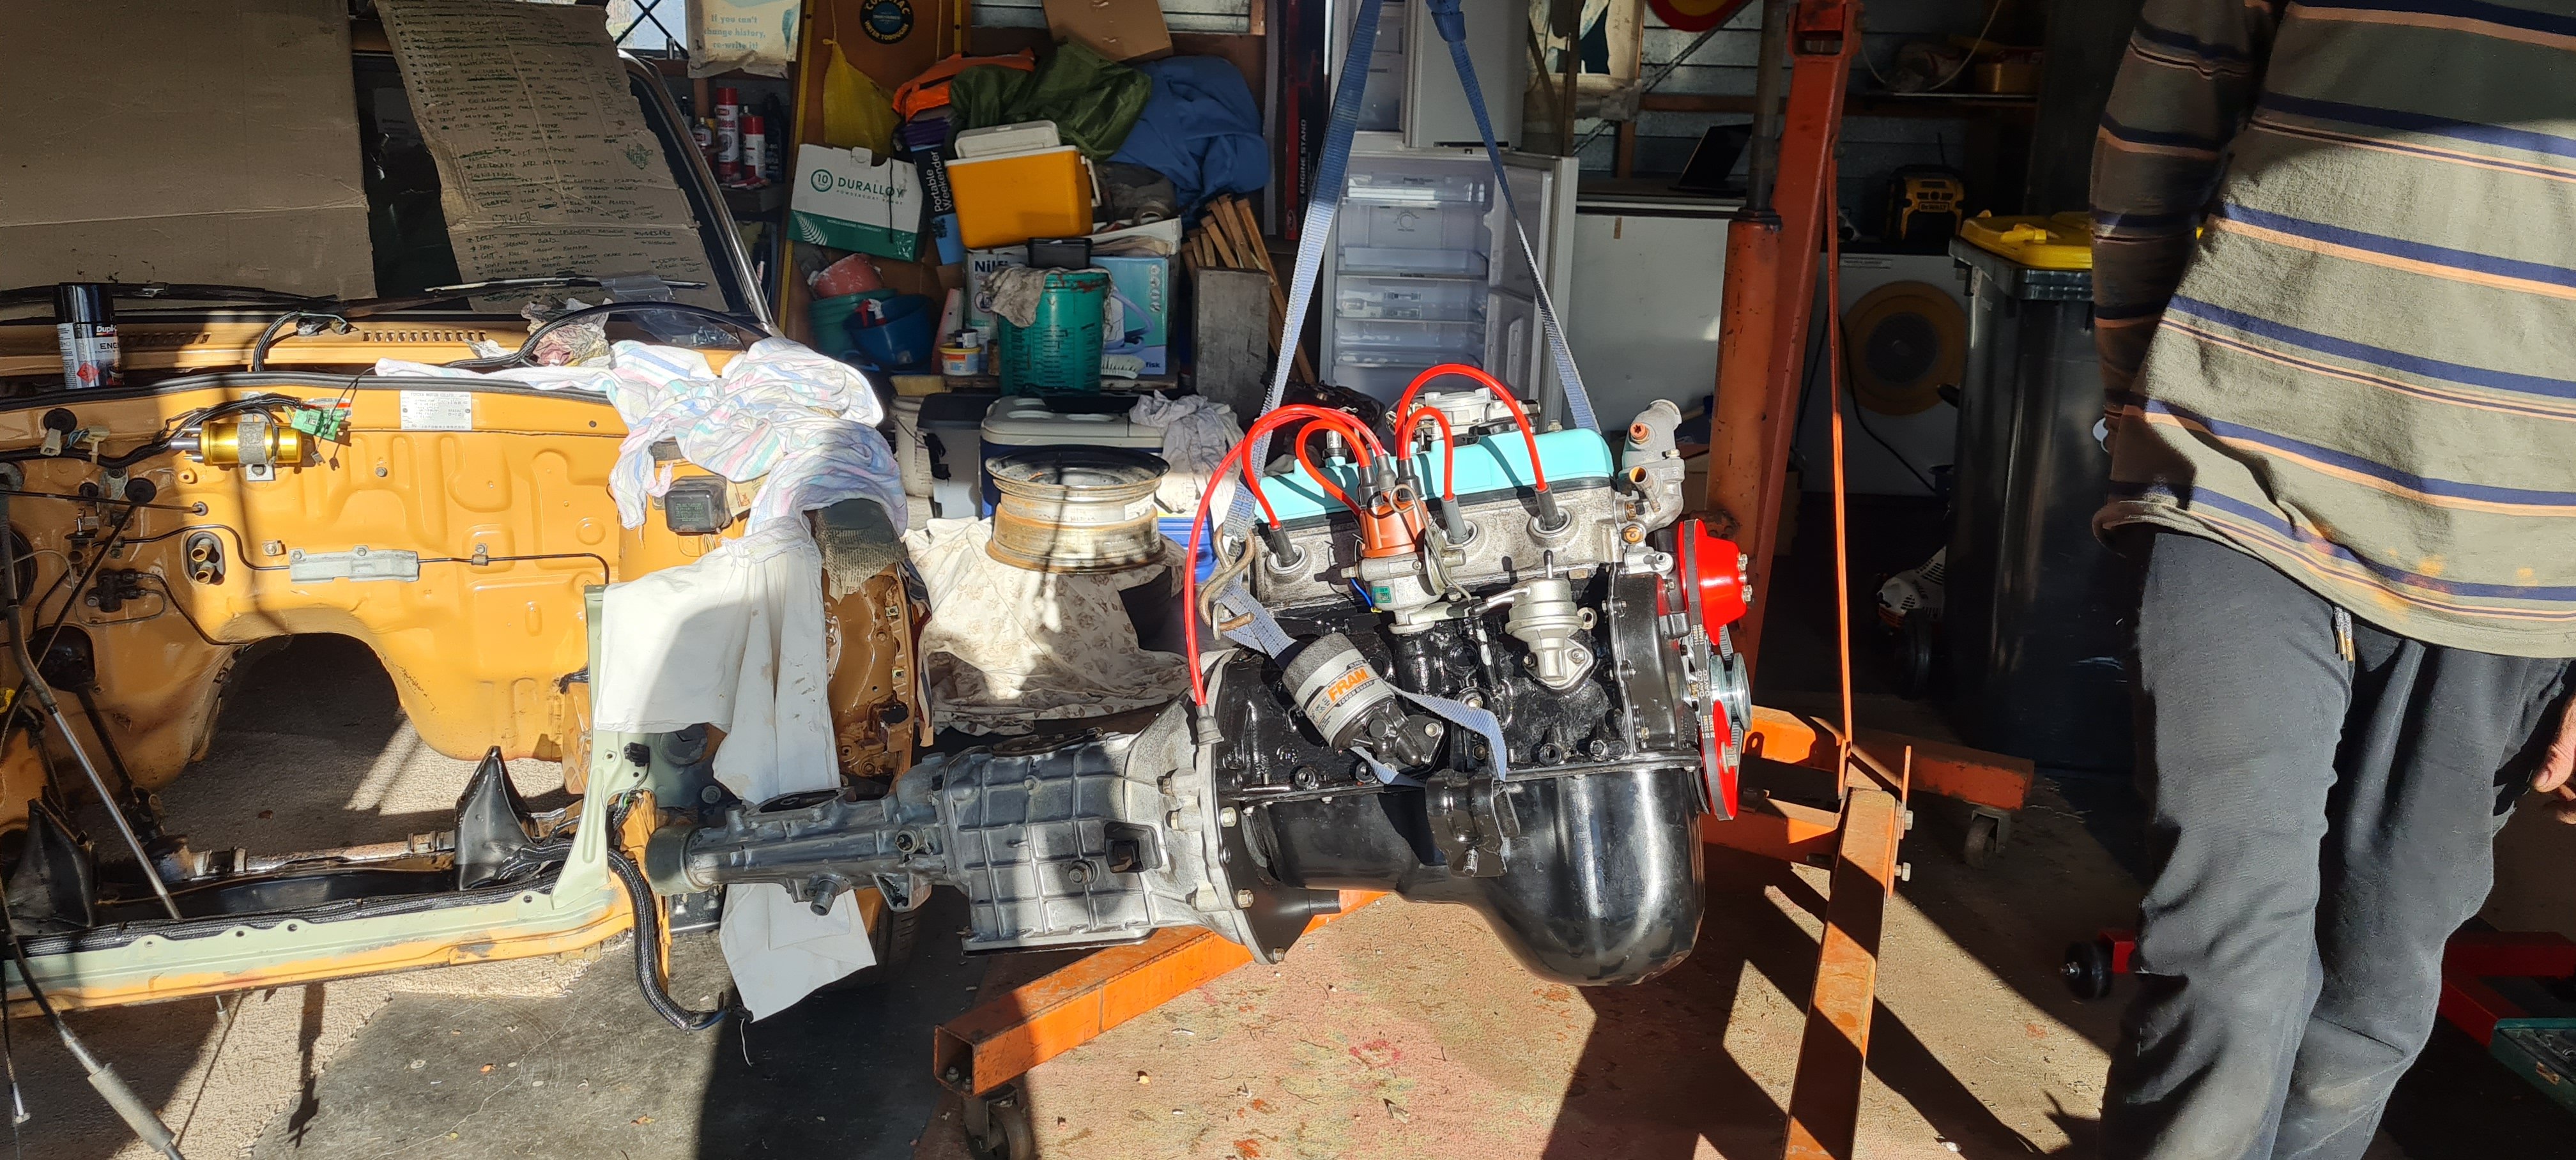
She's back. After some big days and a night or two here and there, and then throwing my peasant savings, and then my subsequent paychecks for a few more weeks at this thing we managed to get it running, wof'd and on the road. A summary of events begins below: Put in a big day and with the help of my brother (the apprentice mechanic, wish he had helped more than one day) got the motor back in the car. Once in, spent some time trying to connect everything up & reinstating the front end as best as I could. Que mad rush to get as much on as possible before a self imposed D Day where I had booked in the exhaust to be fabricated in the big smoke. Que the day! after 6 years it left the corner of the garage, and made the 30 min haul into magoo for an exhaust. Old mate Tom there turned it around within a day, and was a rooster to deal with. Love your work Tom. The exhaust is 2" pipe all the way, one muffler at the rear. I had said "make it as grouse as you can but it needs to be legal" and then let them do their thing. Cranked the tip over quite a bit and stuck it out as much as was legal. Maybe one day will run something cheeky we can bolt on and off but for now, its a treat. From there it took one more trailer trip around to my uncles garage where I had booked him in to button up some final bits that he could do much faster and easier than I. He's worked on a few K motors in his time so knows them in and out. Que the pain. I've never been one for timing, turns out this applies to engines I build also. Managed to get the cam timing right (thank f**k) but the ignition timing...well I put the dizzy in so it fitted and that was about it (Yep forgot to do any kind of ignition timing) Uncle nailed it, along with some other small things. After a couple of days and a couple of attempts... Bang. It fired up! Surely now its mint, done, awesome, cheers, all that letstakeitforaspi- no chance. Not getting fuel - of course everythings a bit blocked up after 5 years in the shed. Well, its not leaving my uncles shed until its done. At this point I've decided ill concede and use my poor, bleeding wallet to get it over the line. Go nuts uncle, get her going mate. To be continued...
-
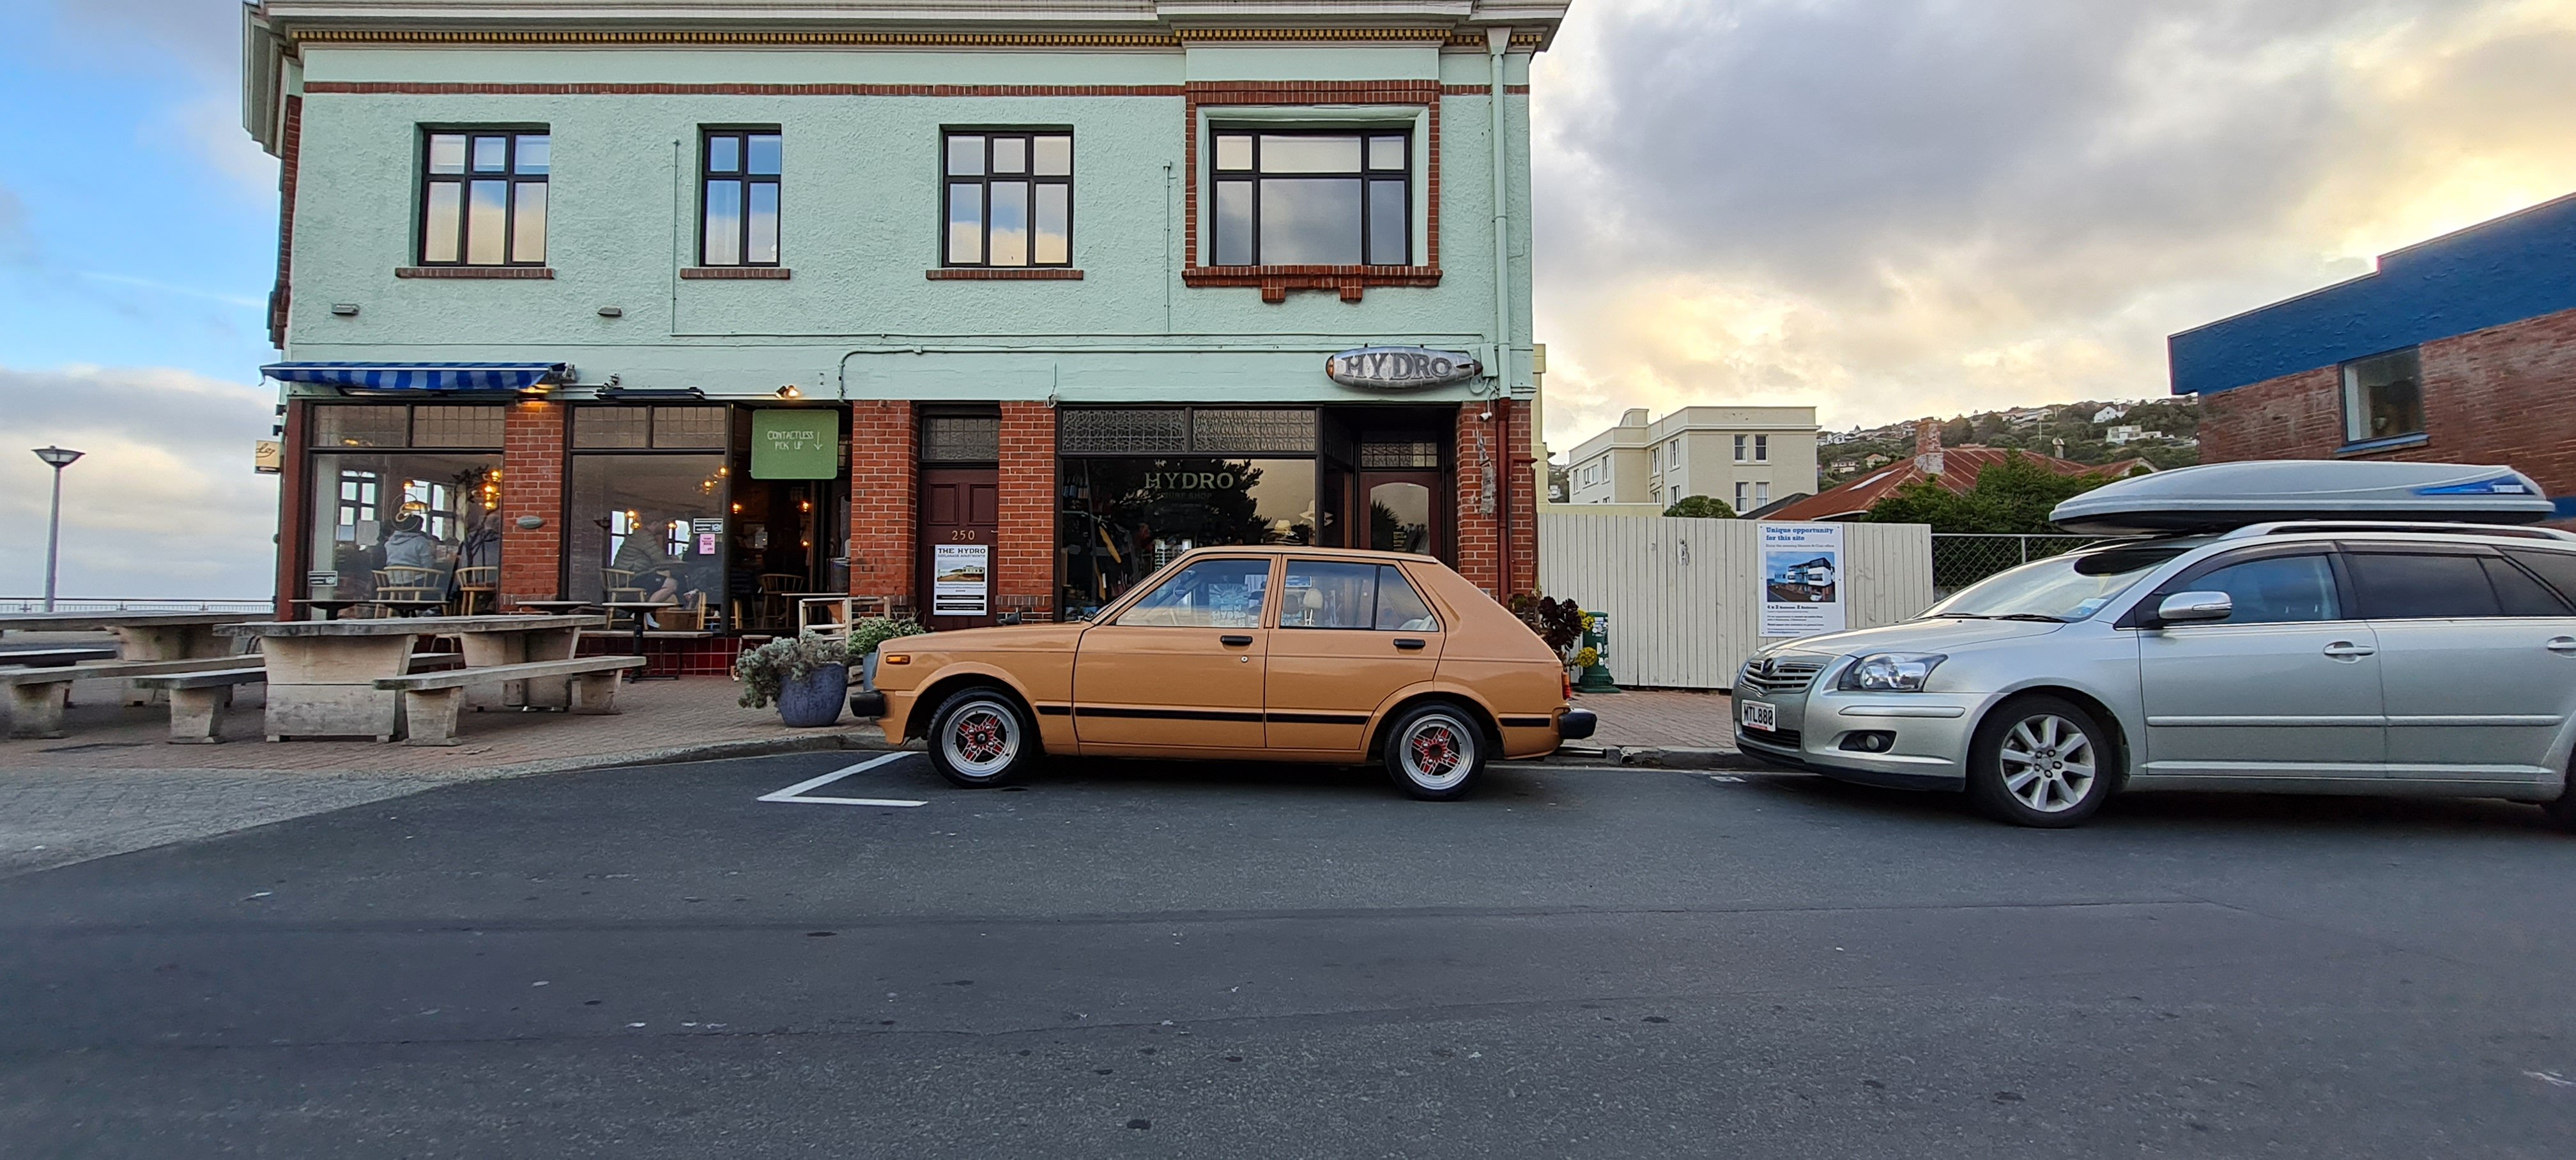
Well its been a minute - ill drop this one in first:
-
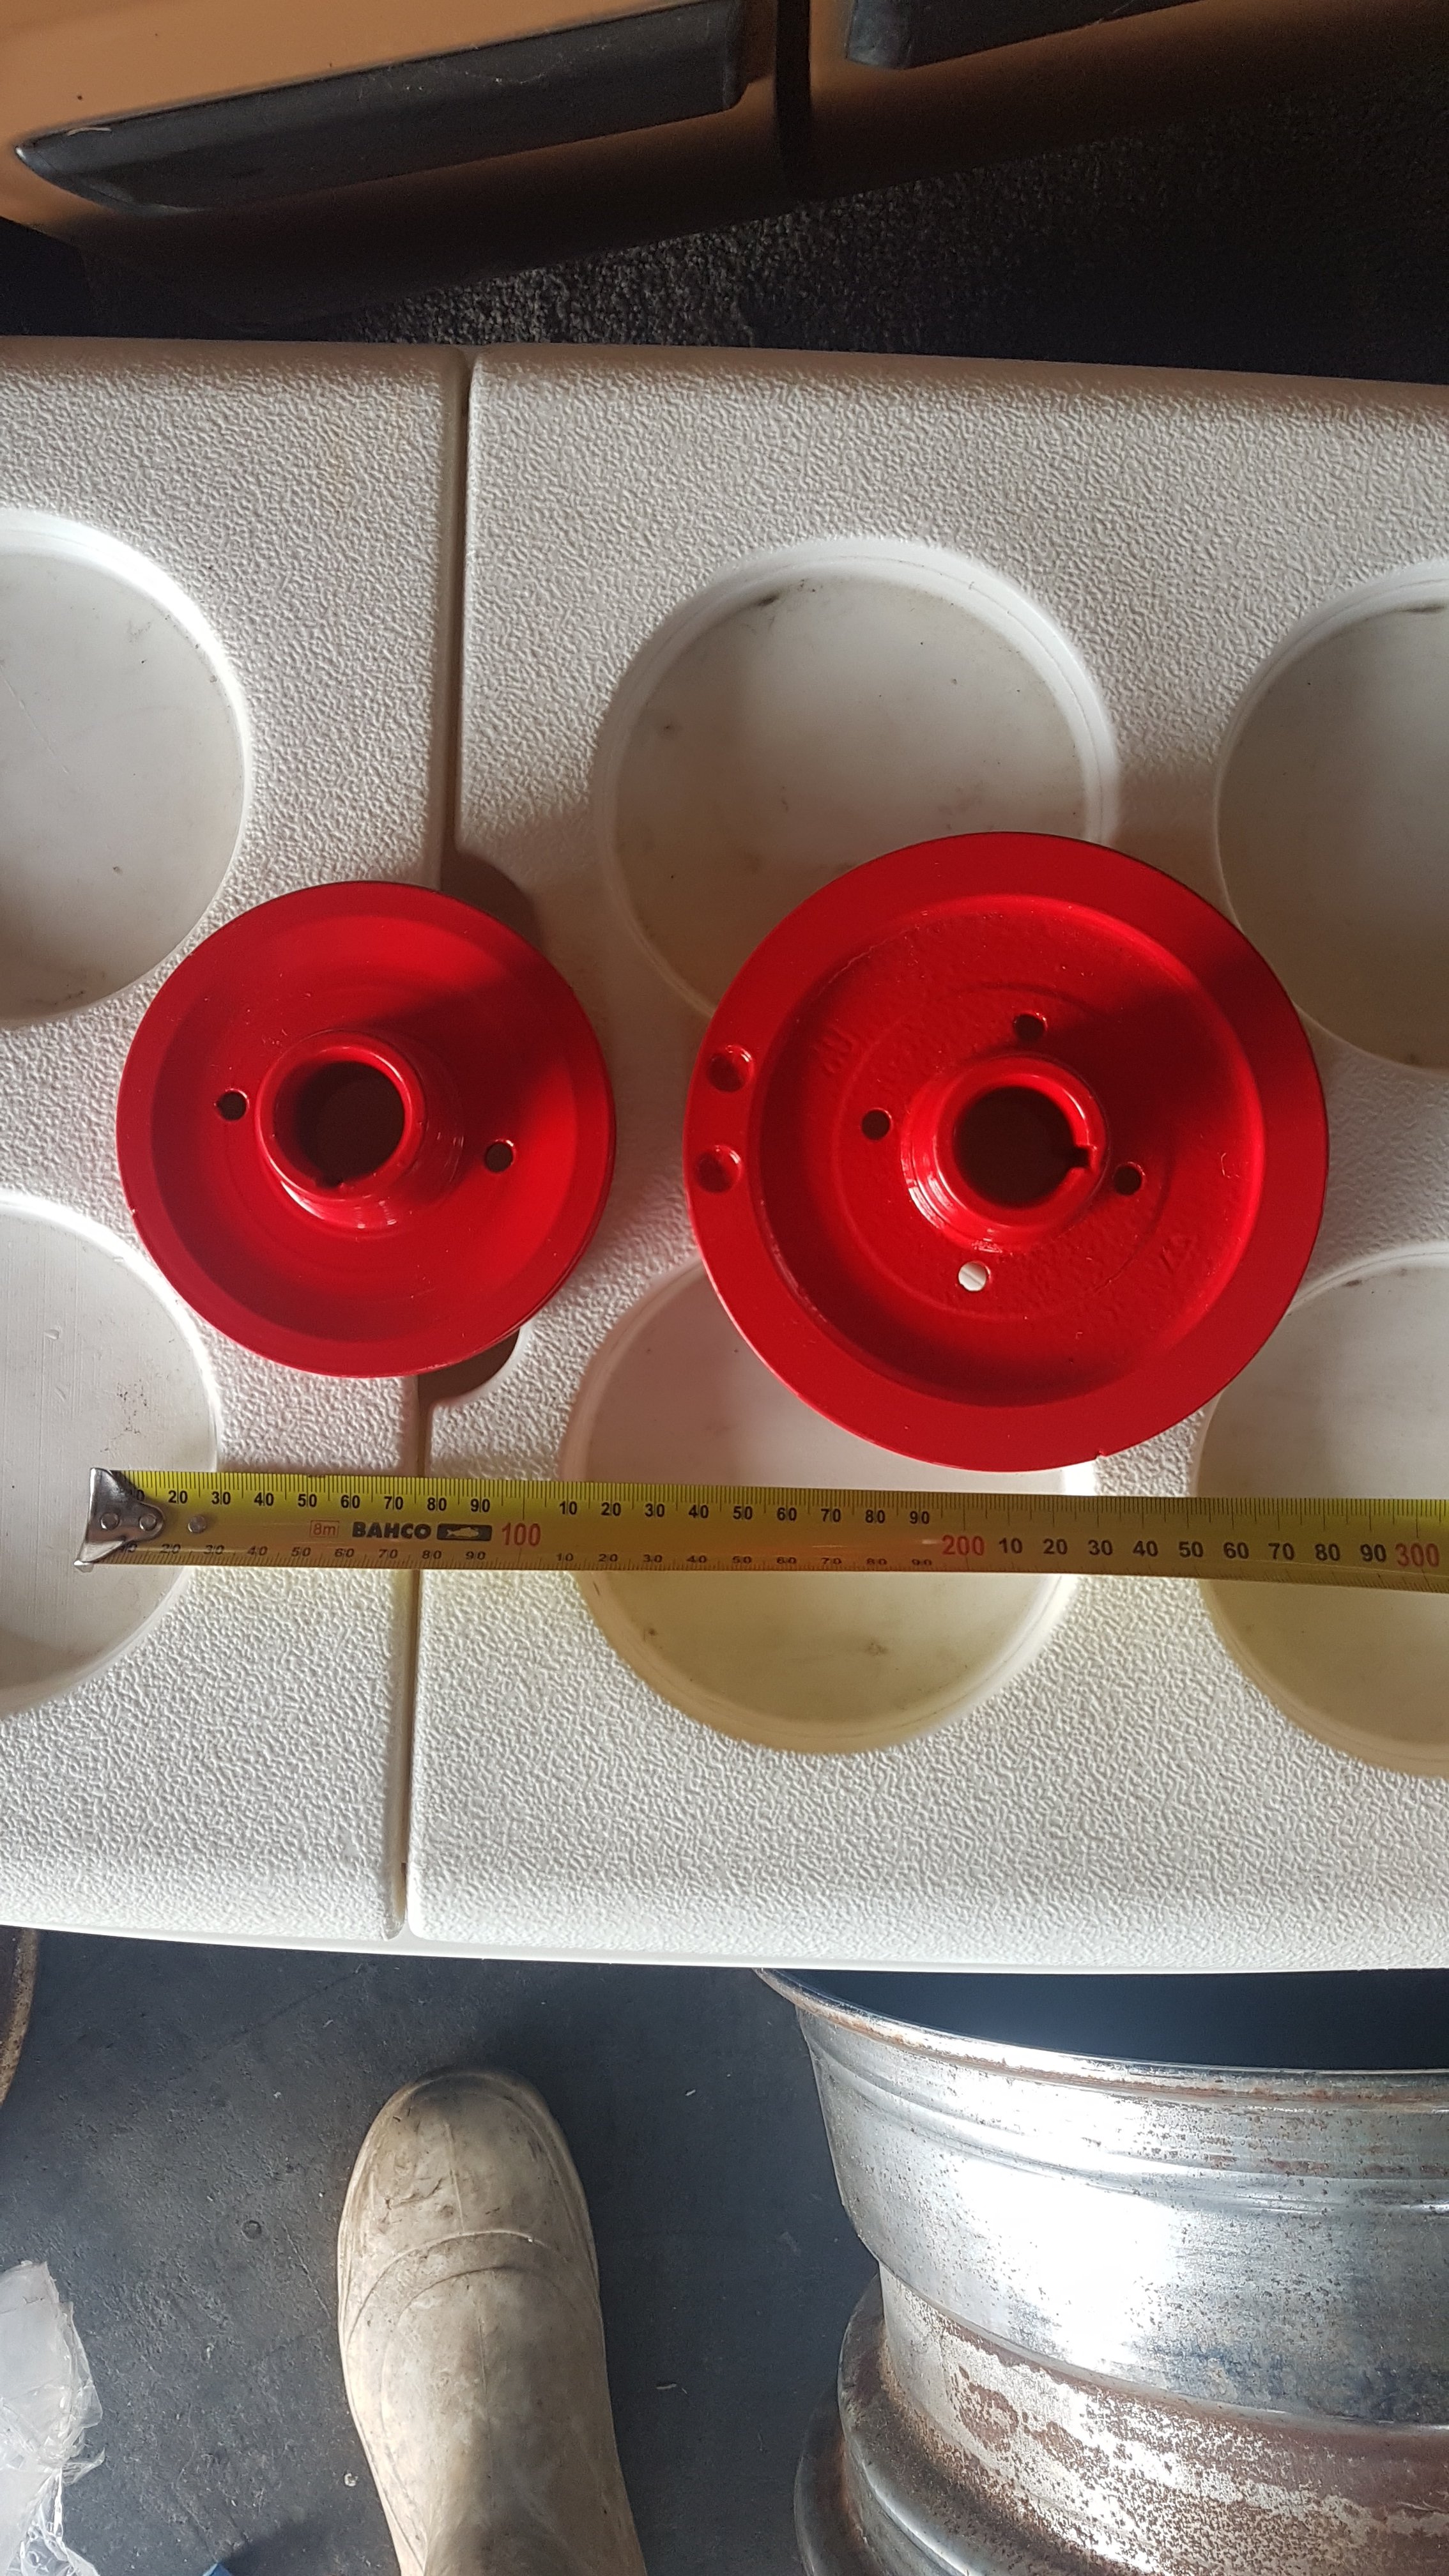
And the two pulleys. Bigger one about 240mm dia & smaller one about 115mm... two threaded holes vs 4.
-
Update. A couple of months of life and hunting through the roar later. A little more progress (photos below). Been working through piecing things together from two slightly different 3k motors, but its starting to come together (who knows if it will run). The latest issue is crank pulleys - the two pulleys I have are different sizes, refer to pic below. I have taken a punt on the smaller one being right... but would love confirmation from some of you legends if possible. Also trying to remember how the alternator bolts up, now that I've removed the snapped bolt from it . Hopefully ill have a few good weekends ahead to make some inroads and get it back in the car
-
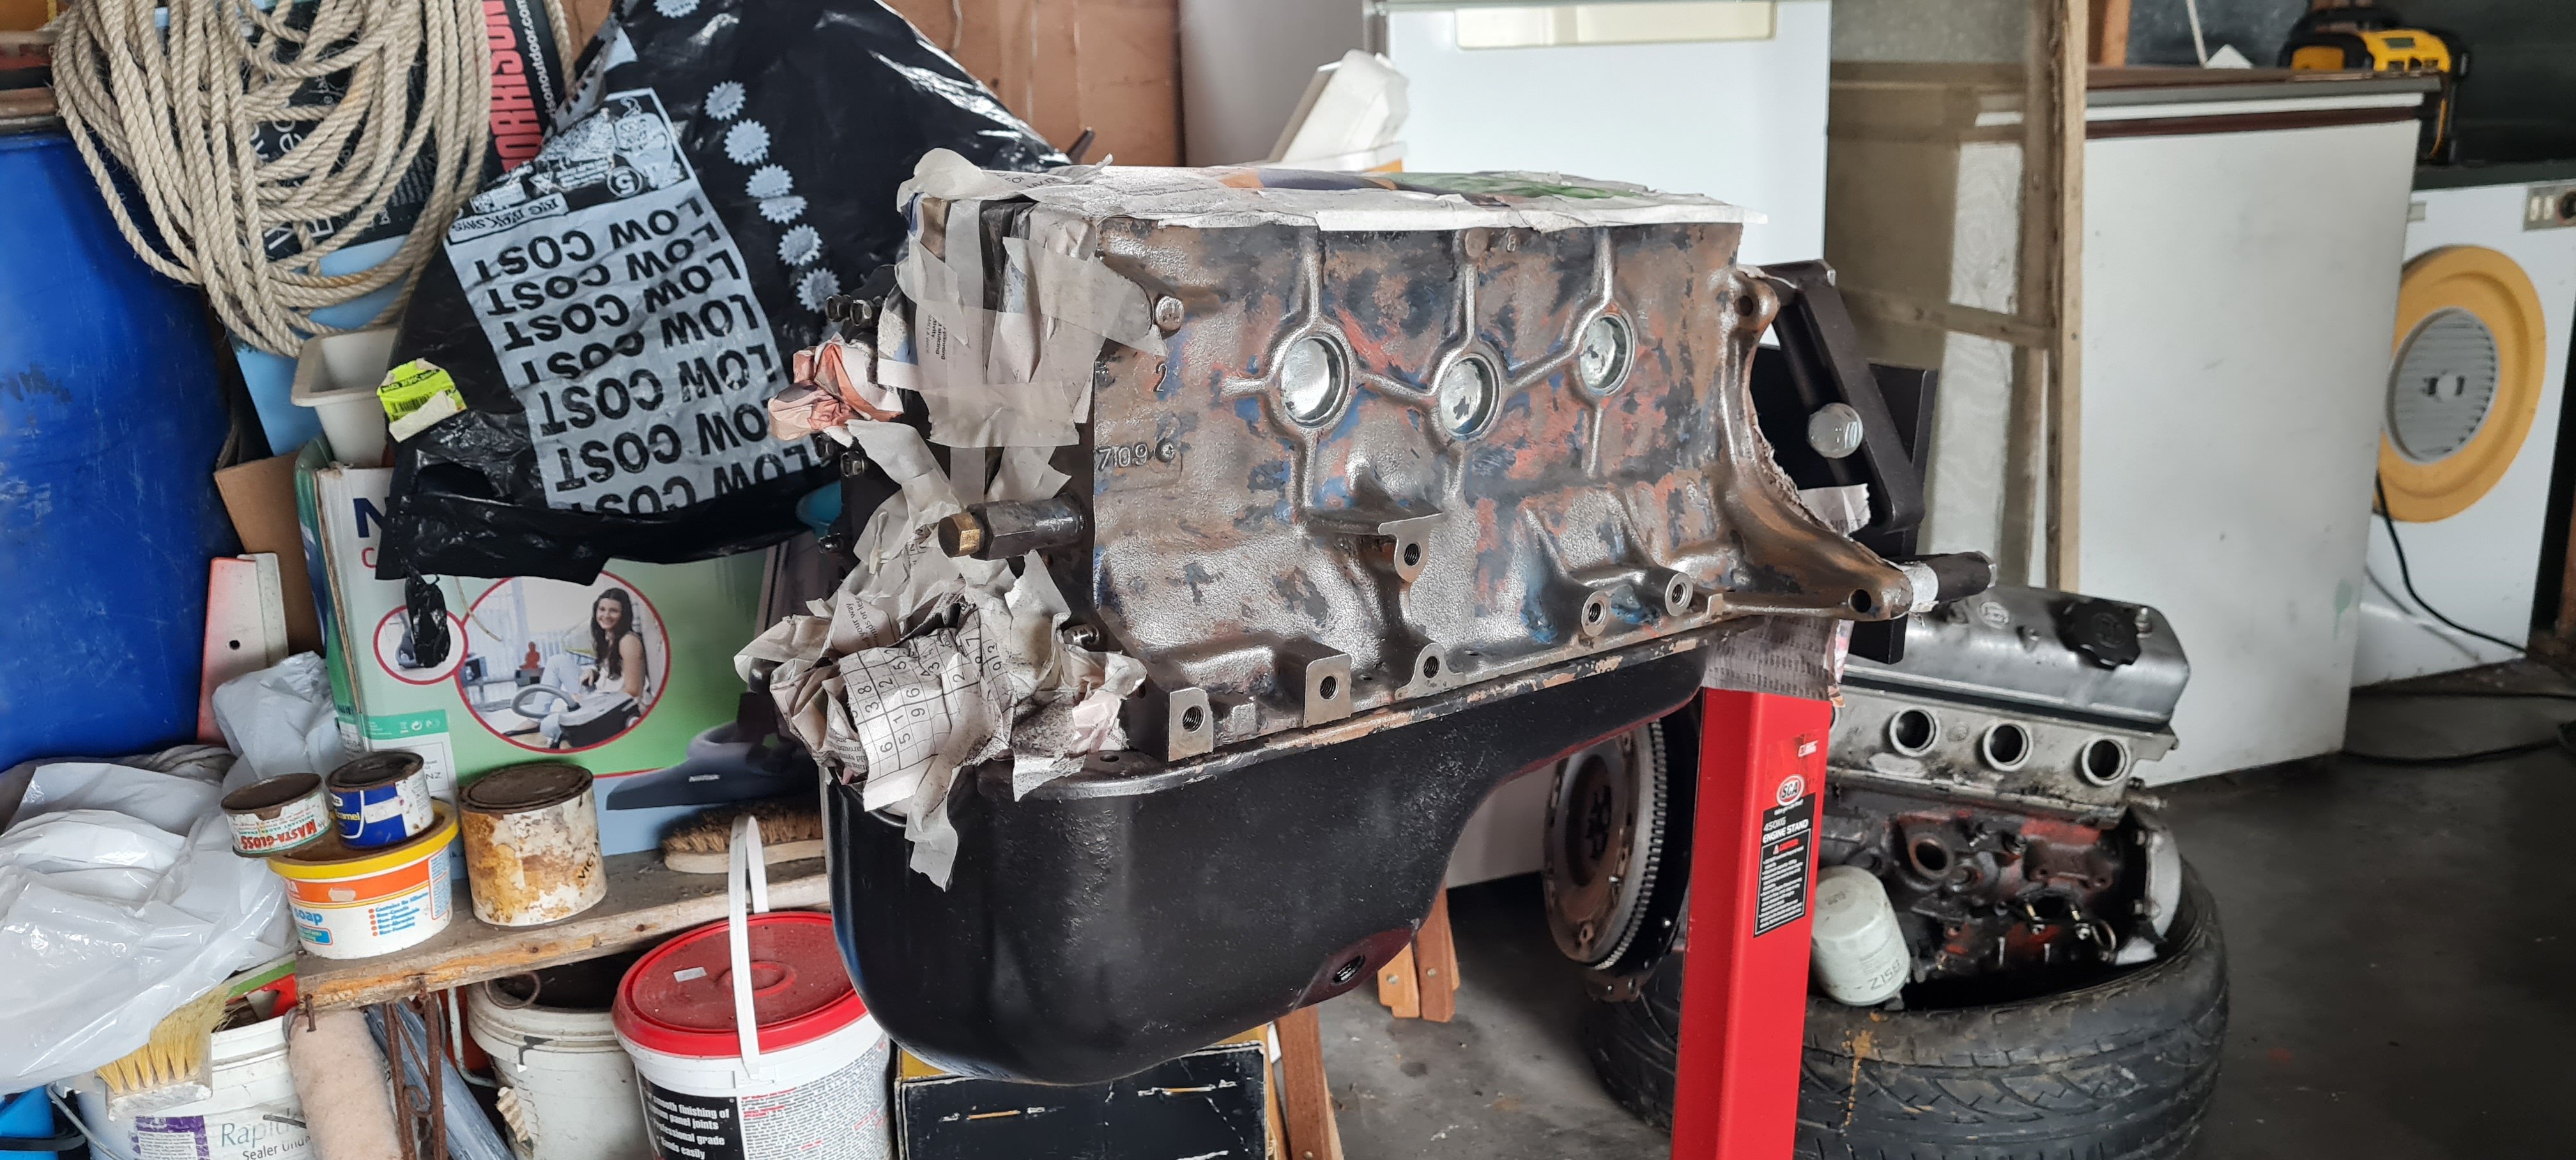
@AE25 Think you might have been bang on about the sump - lower section of pan is different in shape/length. Original one maybe 40-50mm shorter N/S without a decent measure. May have to fit this one instead to clear cross member?... Thanks!
-
Thanks to the above ^^^ 3. I will head down these avenues - I managed to source some bolts, but others still need finding. AE25 ill check the sumps this weekend - a rookie like me didn't notice anything out of the ordinary! Definitely not the same era motor as original - noticing some subtle differences between the two. Need to do my homework and try and establish exactly what breed/year of 3k I'm dealing with...
-
-
-
A couple more pics to compliment the above.
-
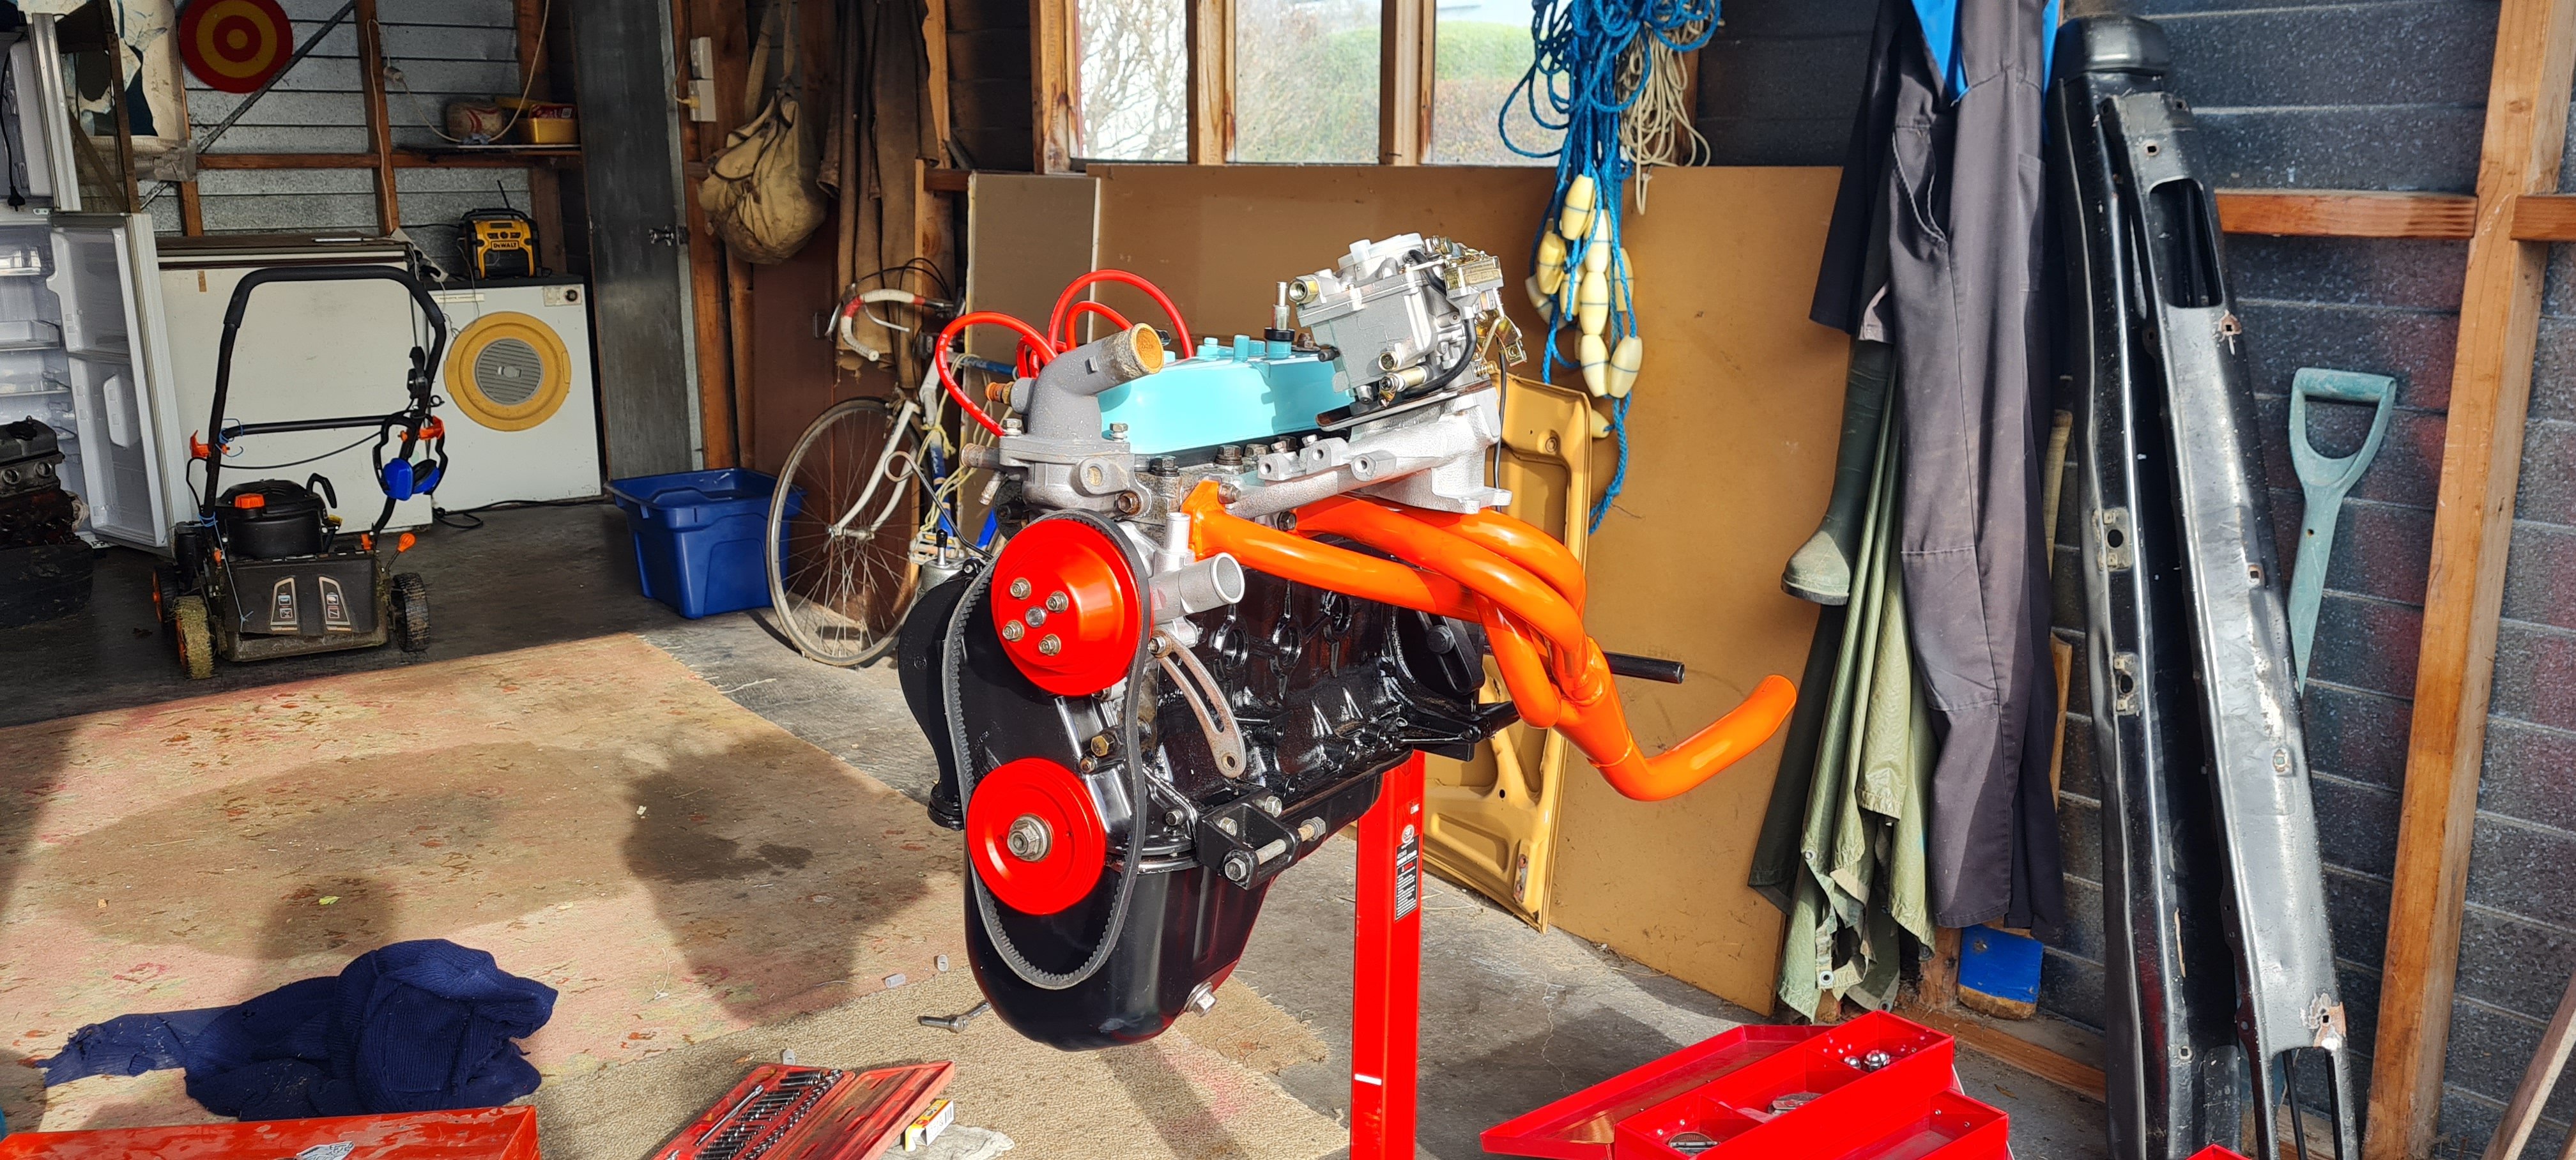
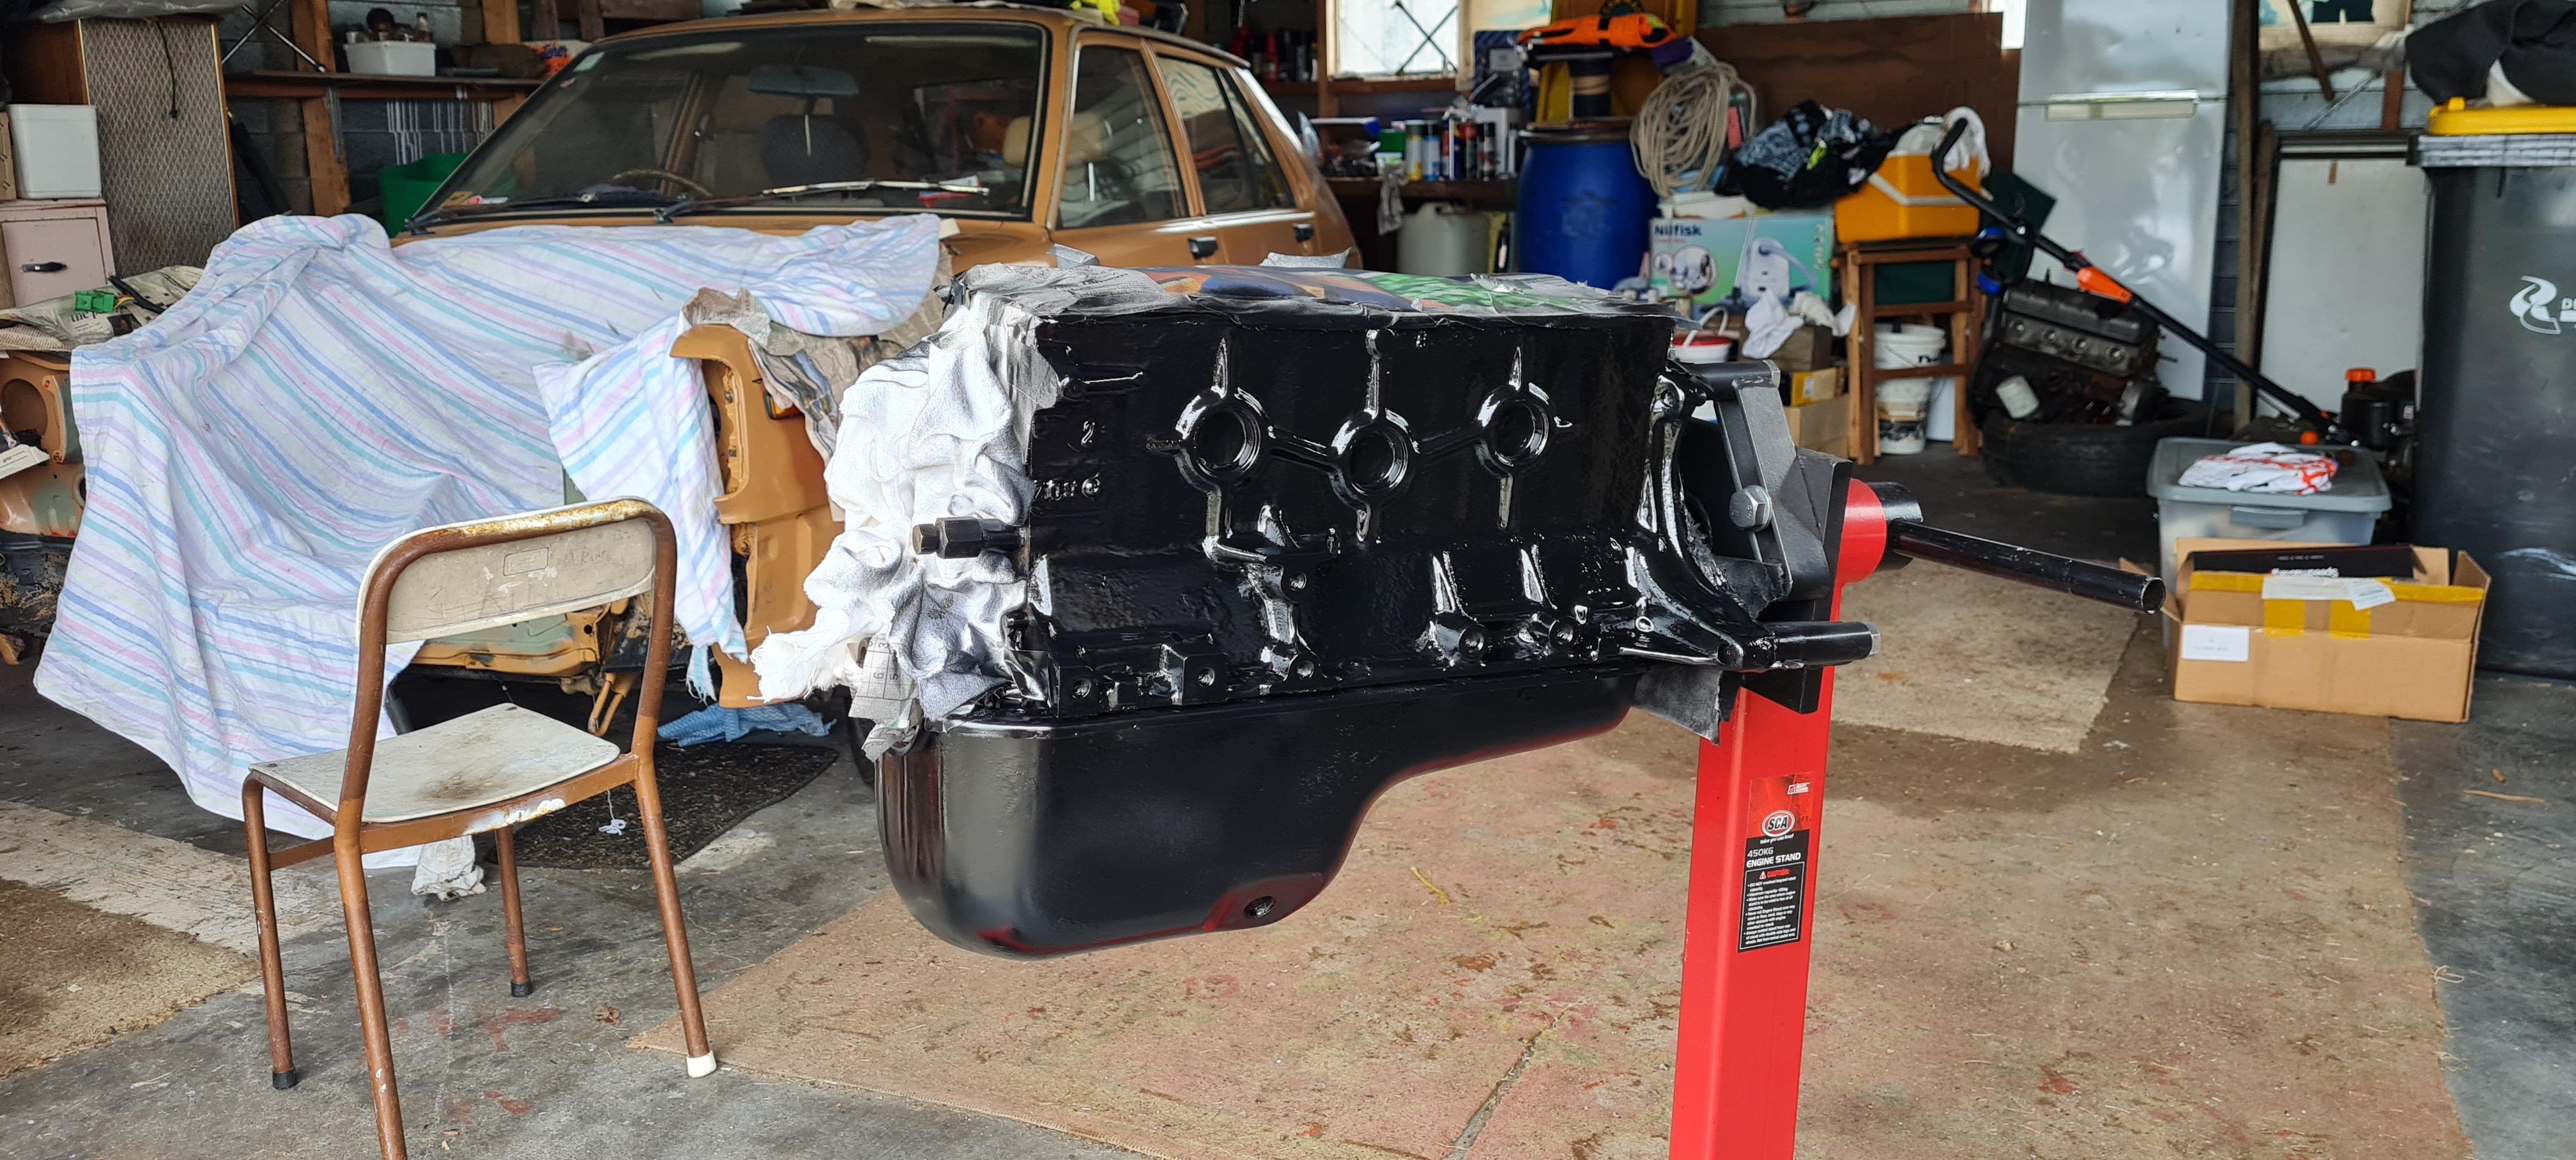
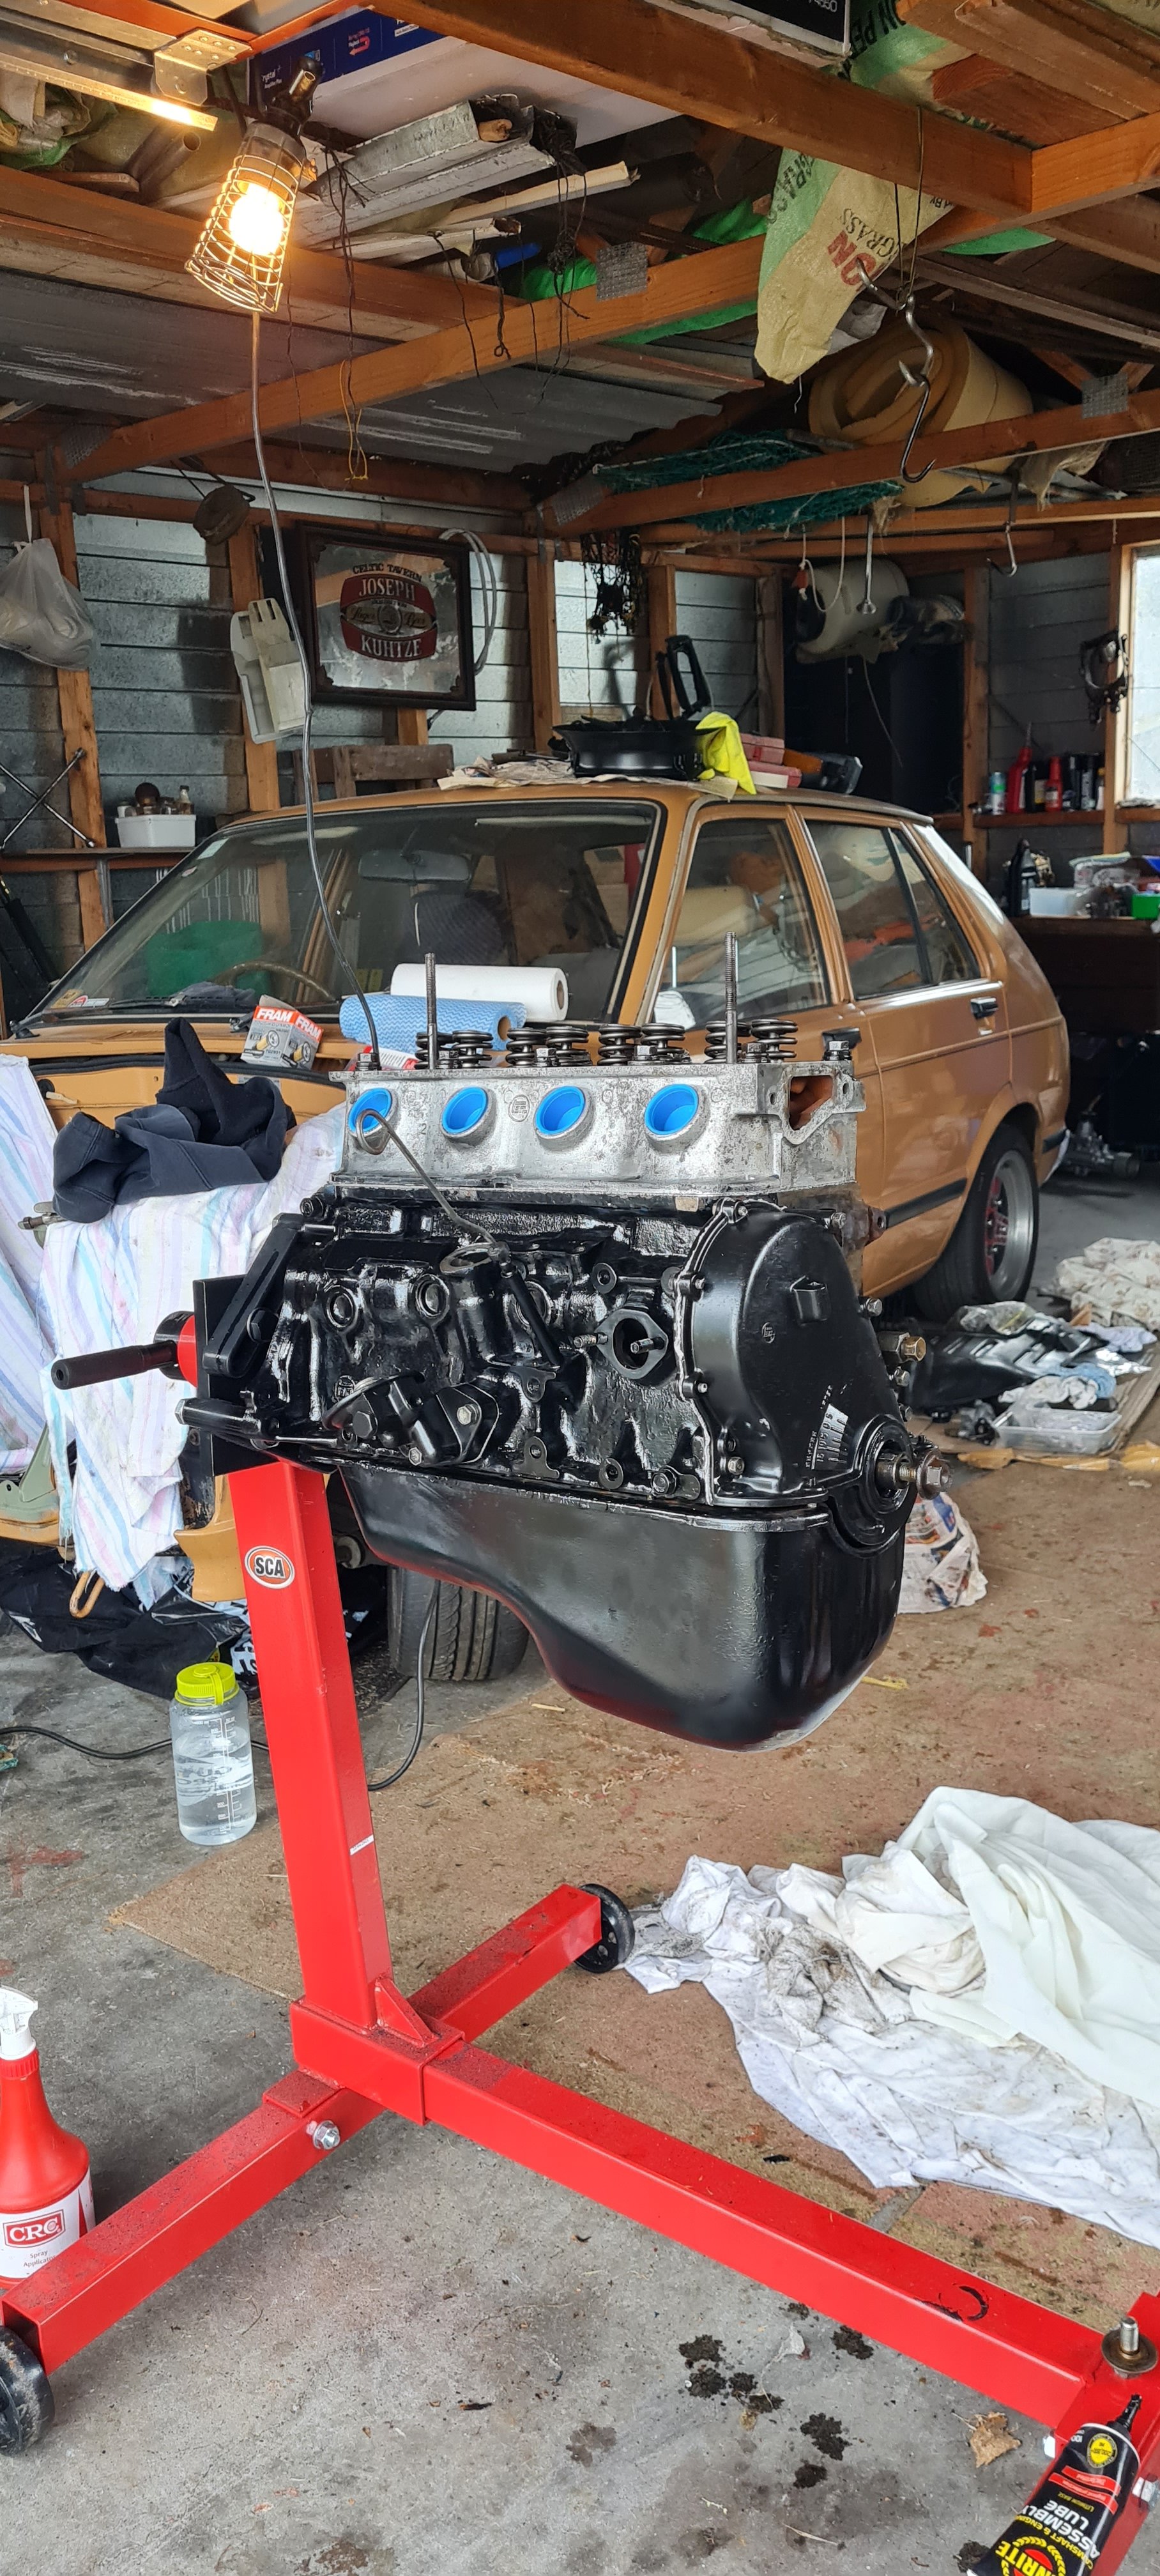
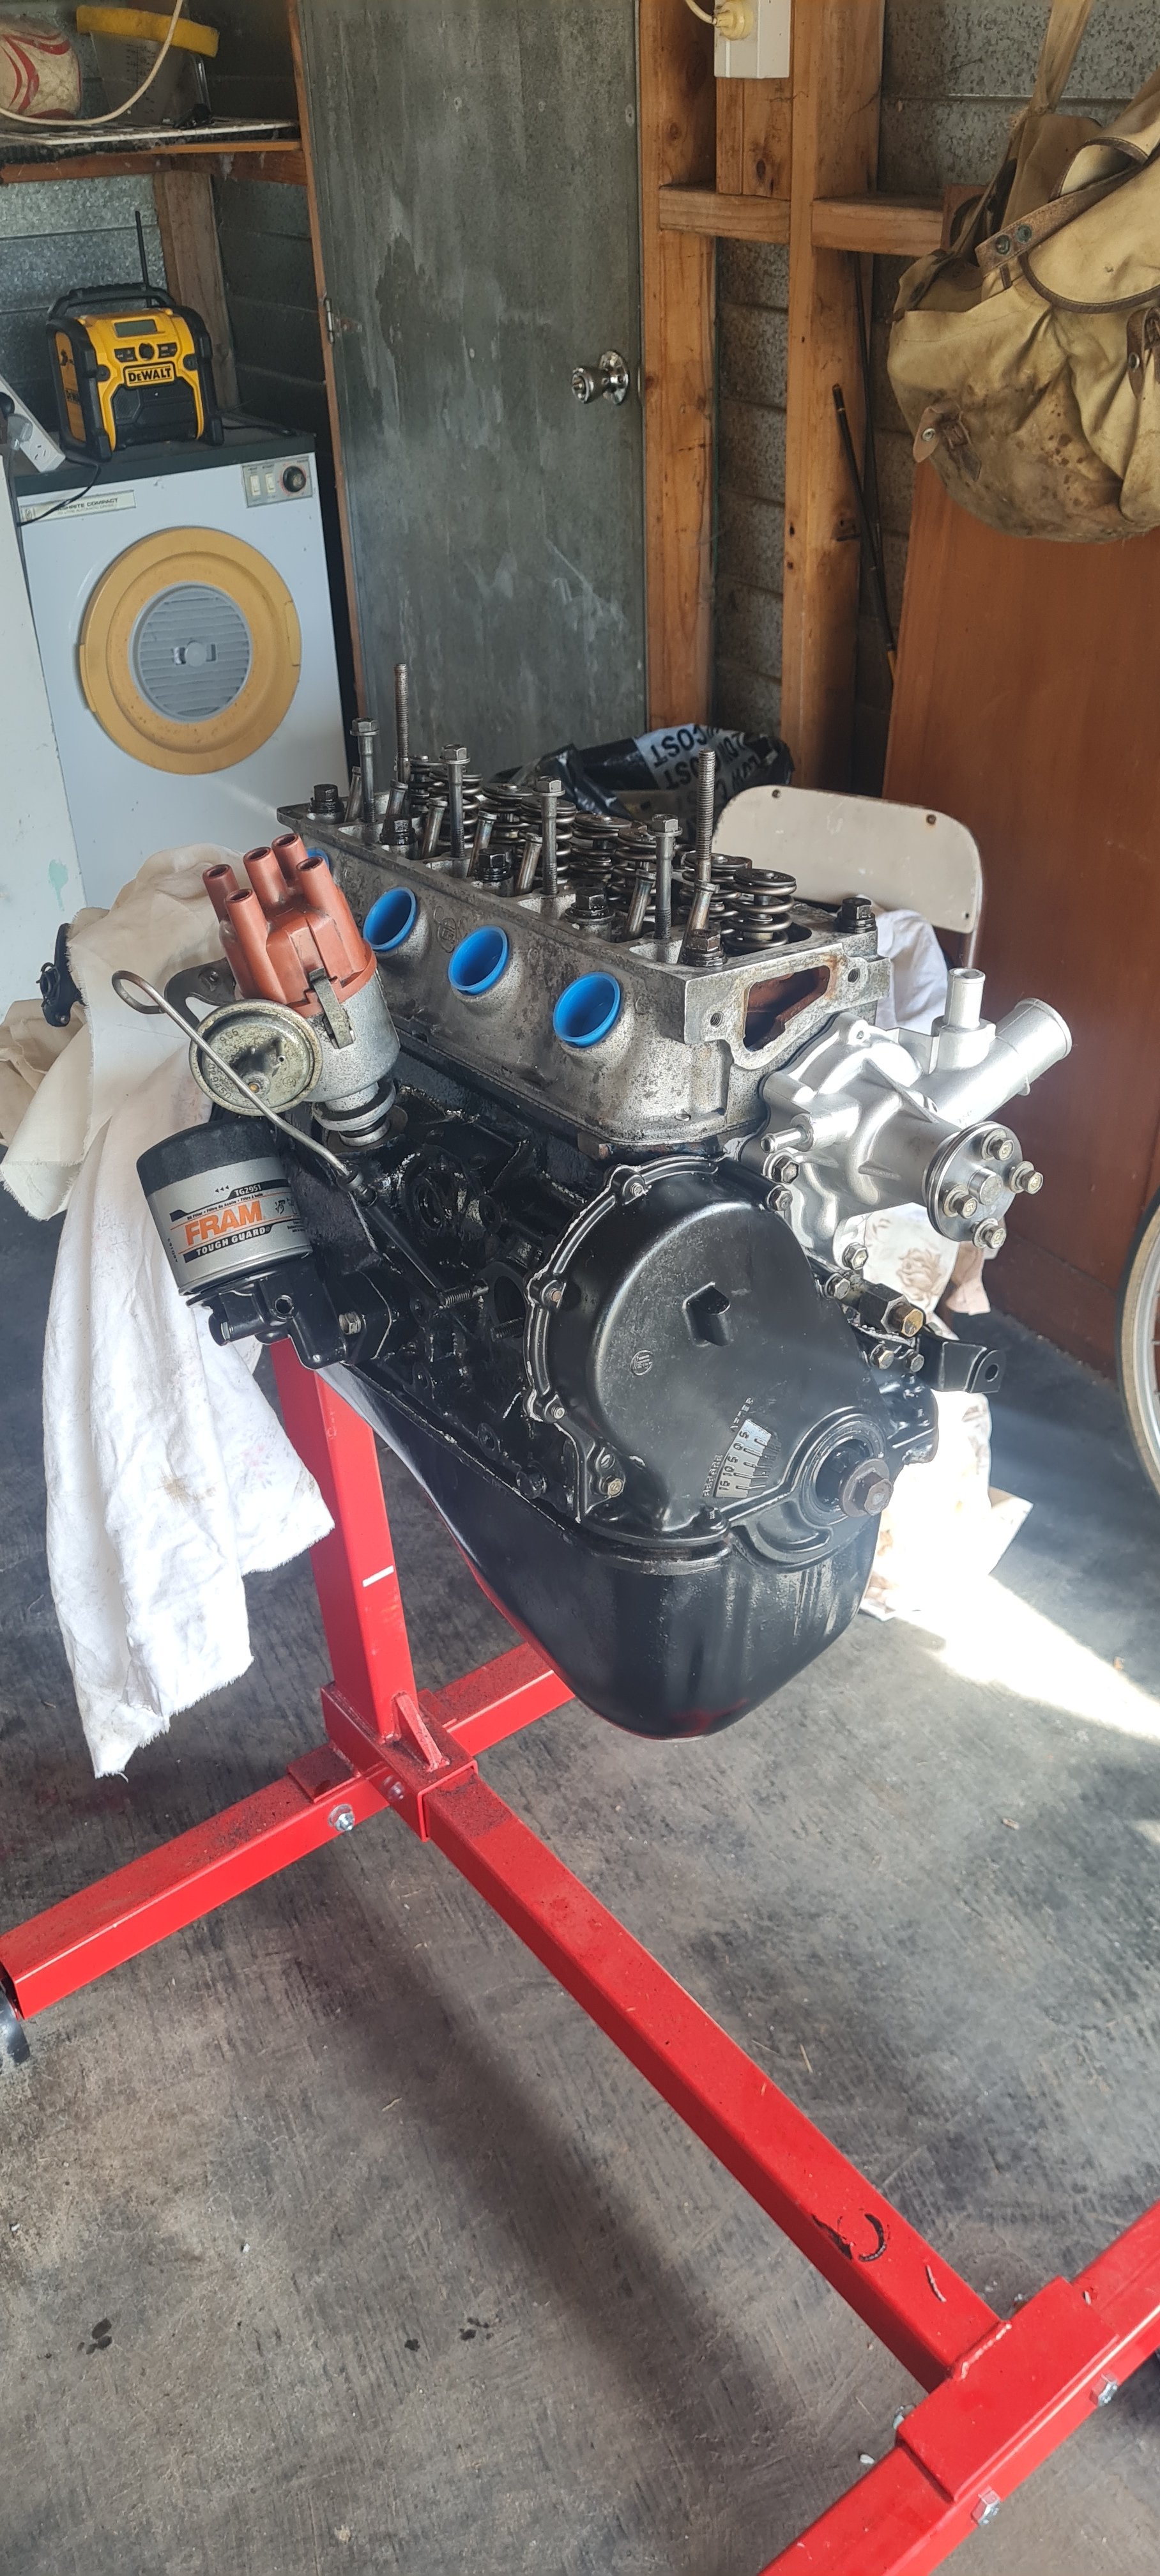
Update - crack a brew and wrap your laughing gear around this. Its been a few weeks - & the battle has begun. As usual nothings easy... the rebuilt motor was not really that rebuilt. Long story short I cracked the head off and found a pretty average looking block surface - so had to get that machined. Gave old Rod at the engine shop my yarn so far and at the mention of a lumpy cam he raised an eyebrow, pulled out a small cylinder of metal from the block (I now know these are called cam followers), took one look and said "These need refaced too they aren't looking so great" Son of a - . So as I do I trusted him being the expert... and he turned the whole lot around pretty quick for me. Not only that but the "repainted" block was quickly reverting to painted... Old mate had sprayed straight over the previous paint with no prep so it was peeling off just by looking at it the wrong way almost. Got stuck in as best as I could - sanded back and resprayed in classic gloss black - give me shit below. The worked cam turned up & heavy duty valve springs to match. Suddenly I realised I also needed to put said valve springs in - of course I don't have the tools/know how/time right now, so went back to Rod a few days later and he threw them in for no cost. A big thanks mate! Now the real assembly could begin... but not without a repco lube trip, wasn't going to tell her to bite the pillow this time. Swapped the oil pickup/pump over from my OG motor. Got the camshaft back in. Worth mentioning here that I got as many ancillary engine parts powdercoated because.. well read from the mantras posted above. Also worth mentioning at this stage some of these I've already had to scrape back to fit/install them back on.. did I mention I'm an absolute rookie? Oil filter pickup on (post scraping). Got a mate around & put the head back on - First time on the torque wrench. We also put the timing chain and gear on. After reading and re-reading, a youtube video, checking, re-reading some more we managed to step our way through it (well f**k lets hope so). Remember how nothings easy? We got halfway through this and realised the bolts for the timing gear cover don't match between the motors.. (its a slightly newer 3k, I think from a slant front? Discuss here: https://oldschool.co.nz/index.php?/topic/81216-soaps101s-82-kp62-starlet-discussion/&tab=comments#comment-2439653 ) And old mate hadn't supplied any with it (insert expletive). Managed to get him on the blower, and lo and behold they were still in his shed. Good thing gasket cement doesn't set too quickly and after a quick hour long trip across the way back we had it sorted. I'll park it there for now.. stay tuned for the next installment of missing bolts 3k building with Soaps.
-
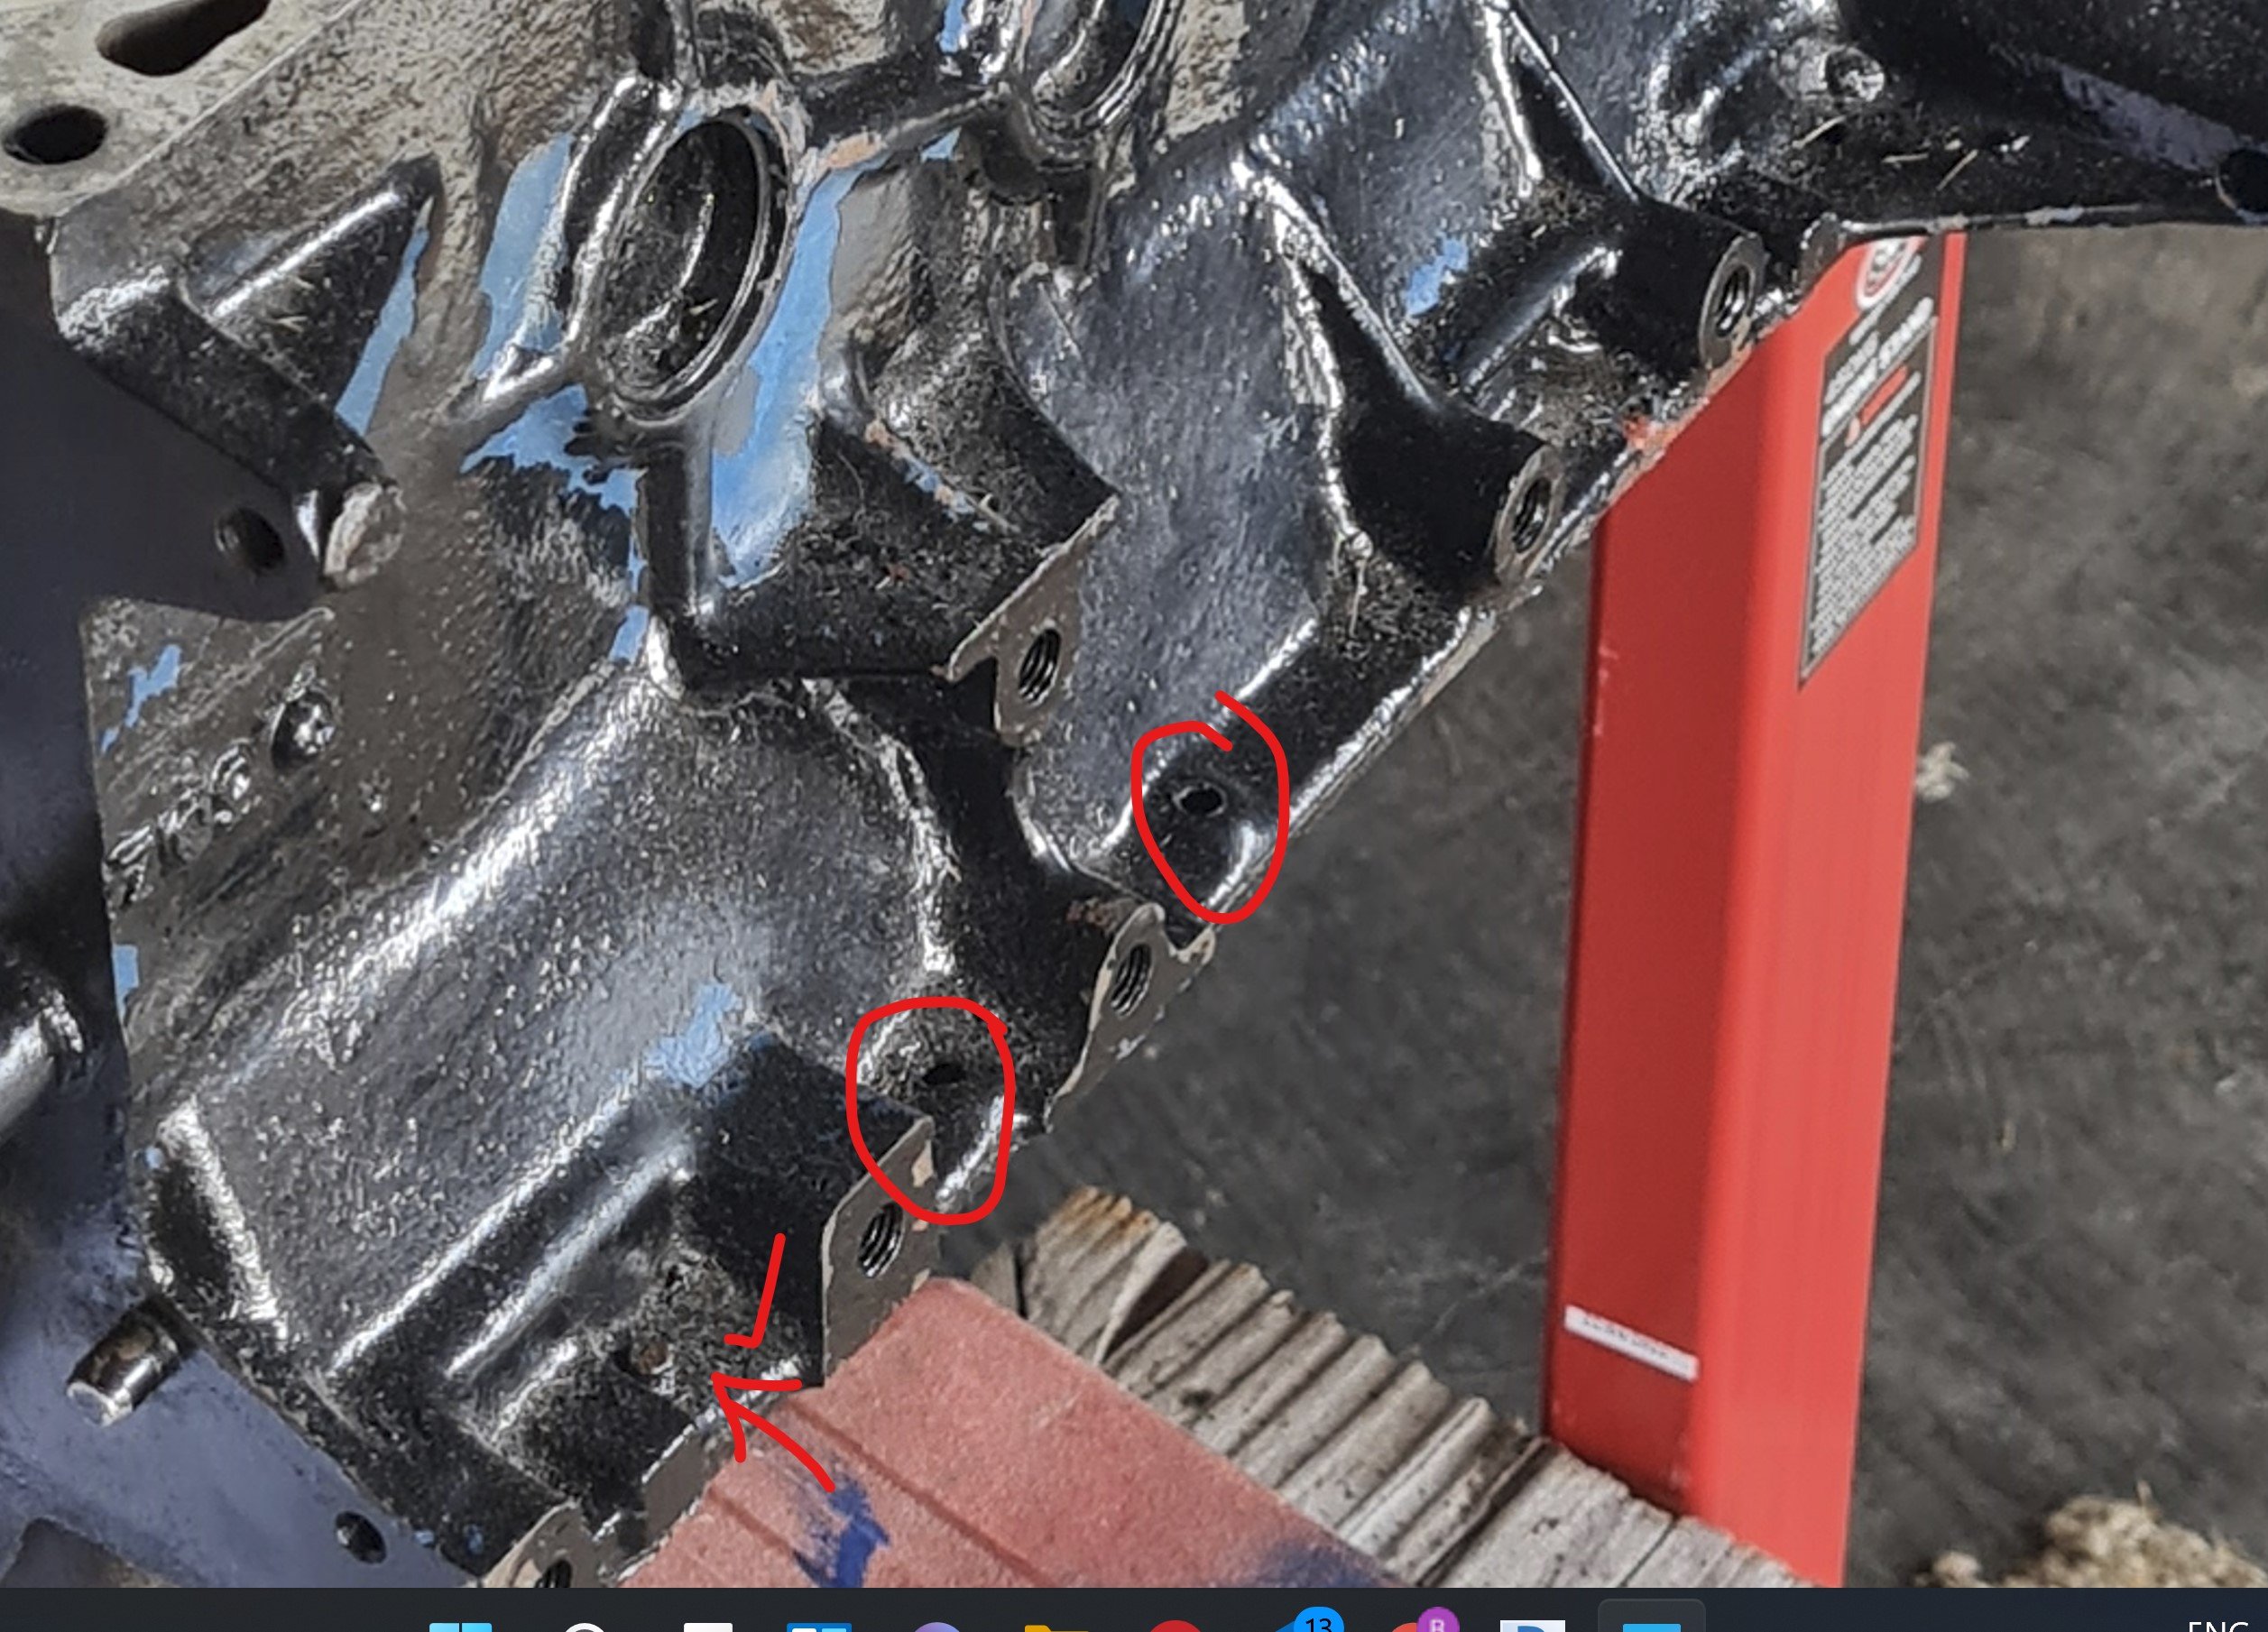
So first cab off the rank I'm keen to dig into is the nuts and bolts.. literally. Long story short my rebuilt motor didn't come with many and I've also managed to misplace a few here and there so I'm trying to figure out the best course of action. What would you normally do if you're trying to replace fixings? Can you get bolt kits for these old cars? Or best to just try to measure & replace? How do you work out size/threads if you don't have the fixing anymore? I've been to blacks fasteners etc, they have helped me source some but others are a bit of a myth.. Any cunning plans/tricks/ideas I'm all ears. Replacements needed so far are: Threads/bolts for sump to block (image attached) Brake reservoir bolts/screws. Fan shroud screws - to fix the fan motor back to the shroud
-
Thanks guys, I think we're on the right track now.
-
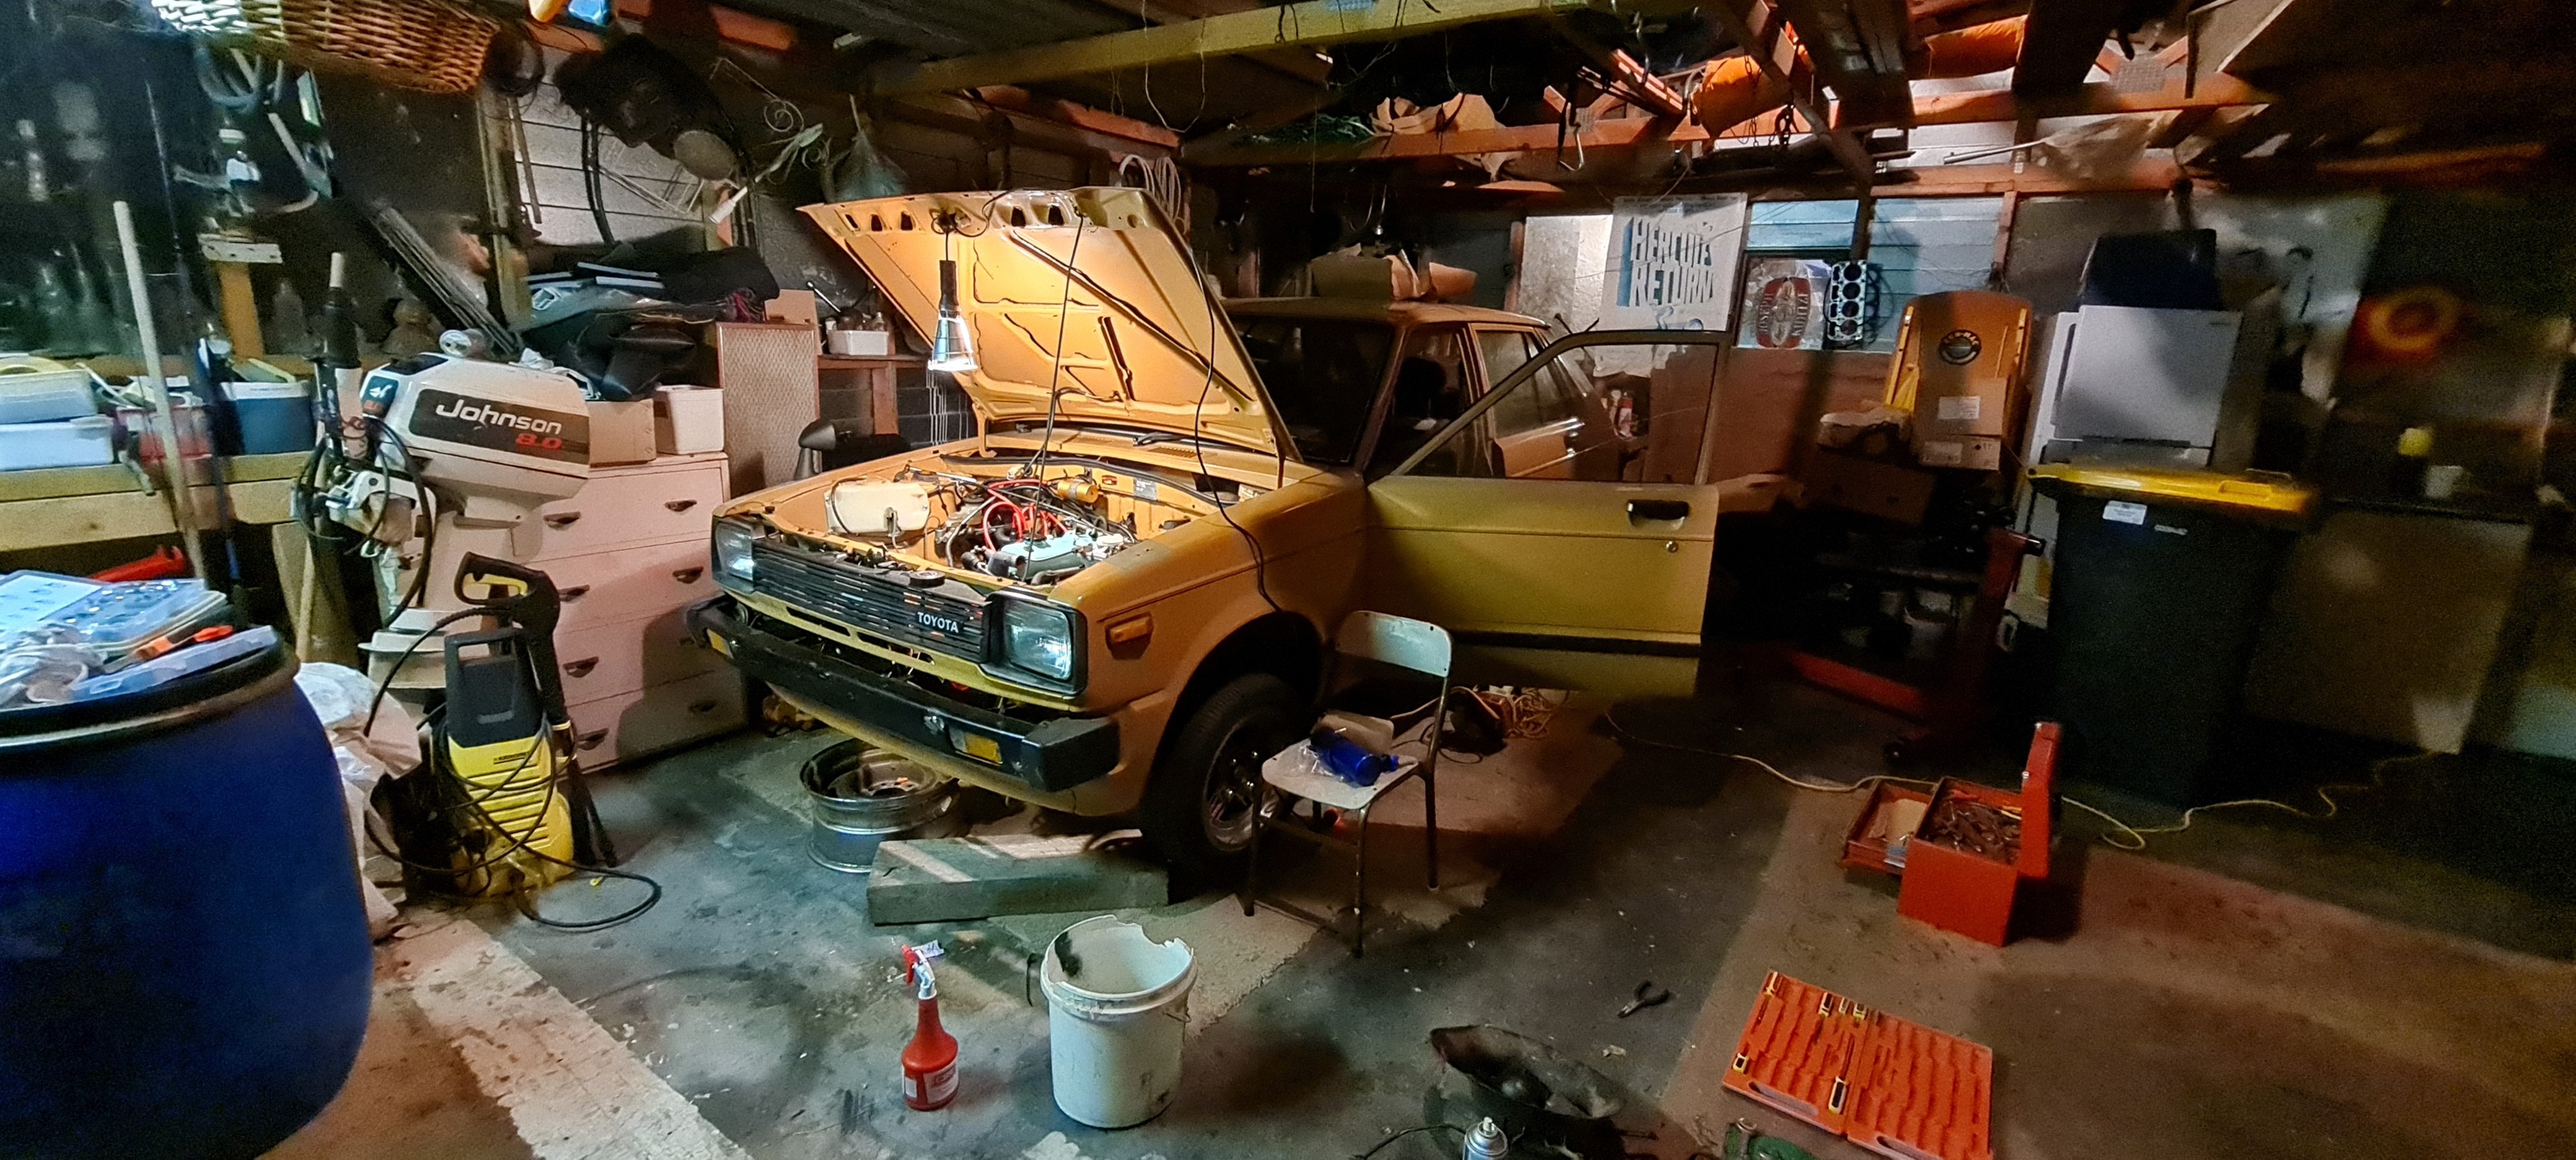
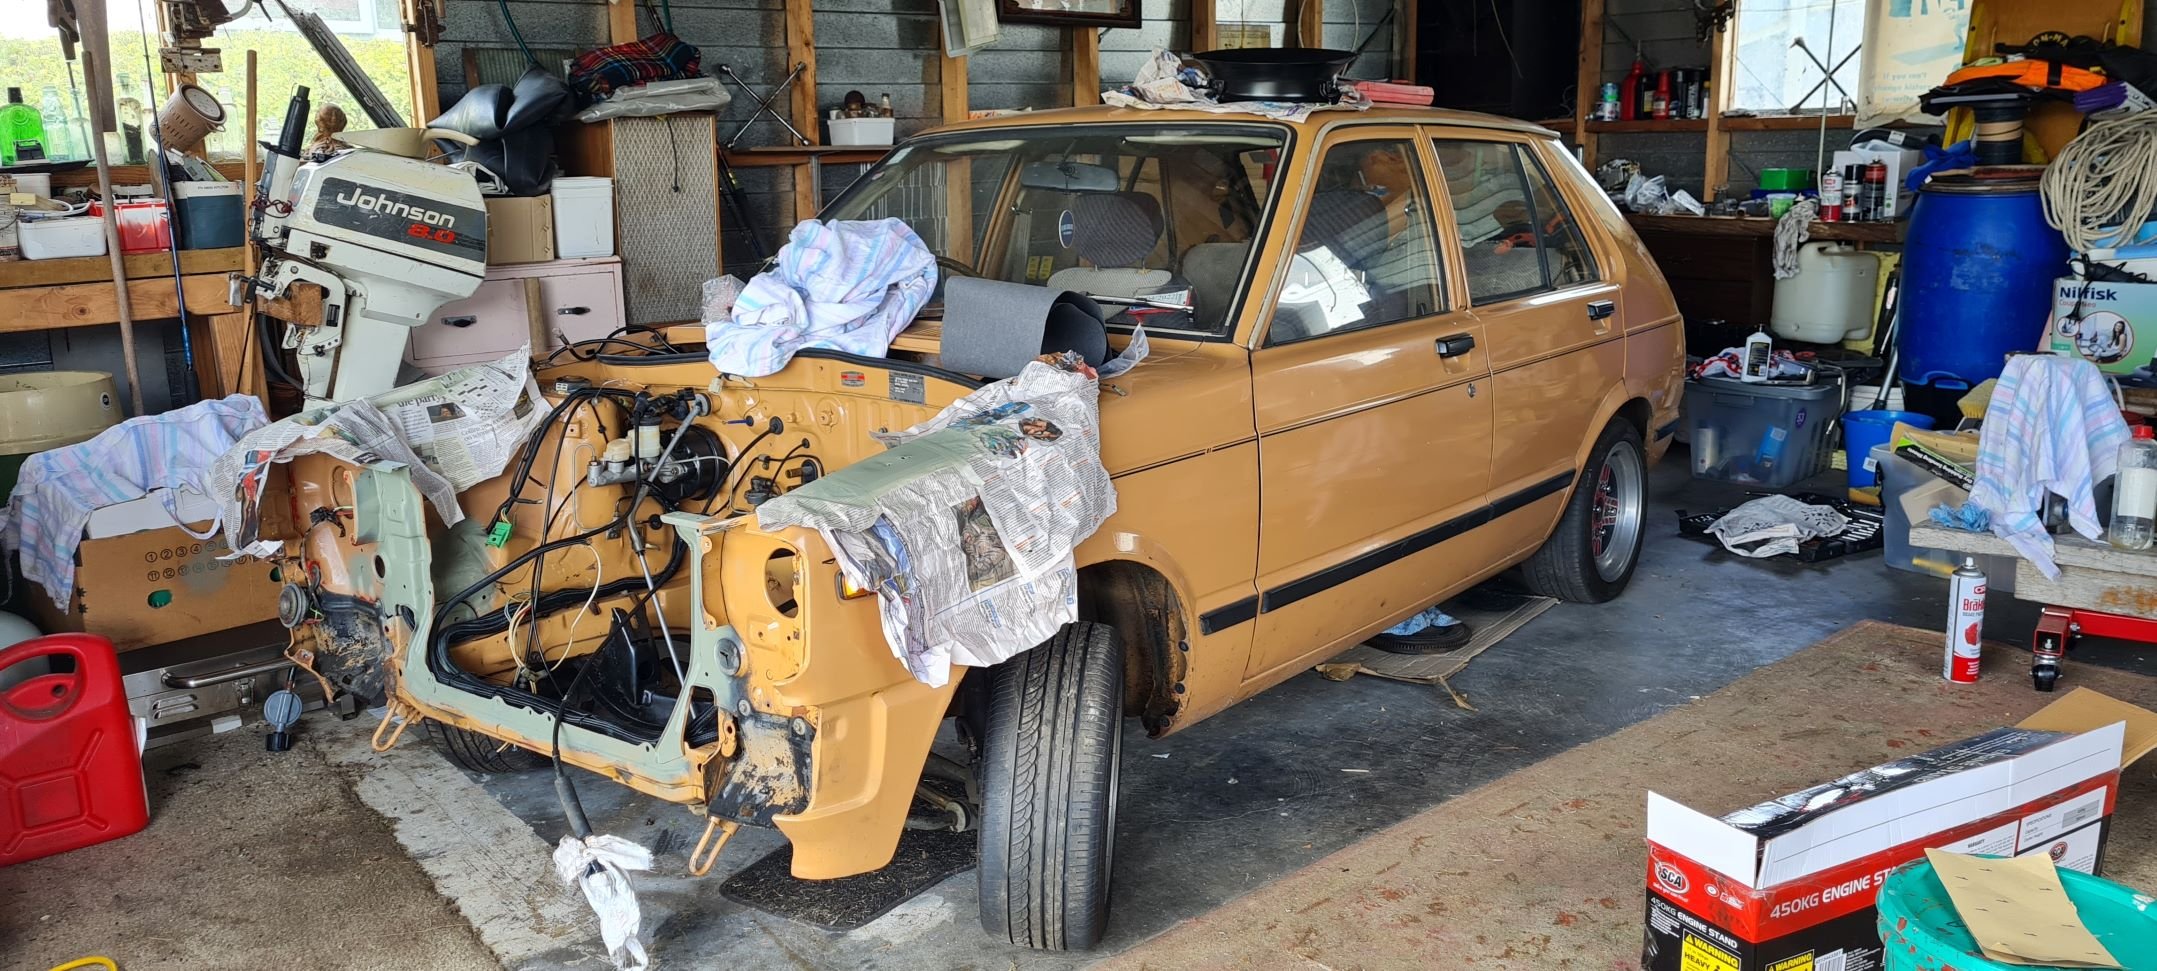
Now that I'm back in good internet, a couple of dusty state of the nation pics. Currently no motor/box, front end off and I'm trying to tidy up bits and pieces while I can. Looks like its had a prang in the front drivers corner and the front section has been replaced at some stage, can see the original red paint underneath in this area. So much for an original car...
- 13 replies
-
- 16
-
-
Discussion for my Starlet Project, thread here: https://oldschool.co.nz/index.php?/topic/81214-soaps101s-82-kp62-starlet/&tab=comments#comment-2439537 More to come once I figure out how to upload pics without getting errors...
-
Hi All, Long time listener first time caller. Finally around to posting this up as I've now made a start with it. "It" being my 1982 KP62 Starlet. Shes a 4 door example, in beautiful tan/poo/brown/orange colour (no pics from her previous life for now sorry). I've owned for about 8 years, and had it as my daily for 3 of those, but in 2016 took it off the road due to a very tired motor and an exhaust that was in two large pieces. Being young and dumb I thought why not pull the motor and hook into a rebuild? Well taking the motor out was no problems, but then life stepped in (figures). Being in my parents garage a 3.5 hour drive away didn't help etc etc, and so there it remained, a sad looking shell taking up precious space in my old mans cave. 5 years and a move back down to the dirty Duds later, here we are. Towards the end of last year I went bugger it I'll have a go at getting this thing on the road. Now at this point I must disclose I have minimal mechanical knowledge and experience (can do a service on my car etc.) but the plan has always been to learn as I go and call on help from mates/others in the classic kiwi way. The dream has always been 4AGE. Redtop, smallport, maybe supercharge. That dream is still a dream for now due to a few reasons (money, time, all the good ones). So the plan was to rebuild the old 3K, get a new exhaust built and just enjoy it for a few summers. But plans often change... So what's actually happened you my ask? Well just before I was about to make a start, I stumbled across a rebuilt 3K head and block for basically the cost of the rebuild. Figured would be silly not to grab it and save myself some money and time... But there's another problem, I'm a bit of a perfectionist and a bit "all or nothing"... So once I had this rebuilt base and began pulling tired, crusty old parts off the original motor to swap over I thought, why not try and replace/restore/rejuvenate these? Or even better thoughts like "Why not upgrade?" or "You've come this far" or "you're not going to do it later are you?". And that's where the wallet opened up and the previous comment about saving money and time needed to be redacted. So where are we at today - well I have managed to get most of the bits I wanted for the rebuilt motor. Just waiting on the camshaft (regrind) and valve springs to come back. Also have to order an upgraded alternator from the guys at Olds Cool up north (among some other bits I'm praying they have, we'll get to those). And then we can finally start assembling the motor. We've hit a few roadblocks, which I'll throw up once I get a discussion thread up. But lets leave it at that for now, will follow up with some pics soon. Looking forward to the times ahead, I hope you lot are as well.. or at least at having a chuckle as I battle along! Rob.
- 13 replies
-
- 13
-