


HumberSS
-
Posts
311 -
Joined
-
Last visited
-
Days Won
1
Posts posted by HumberSS
-
-
- Popular Post
- Popular Post
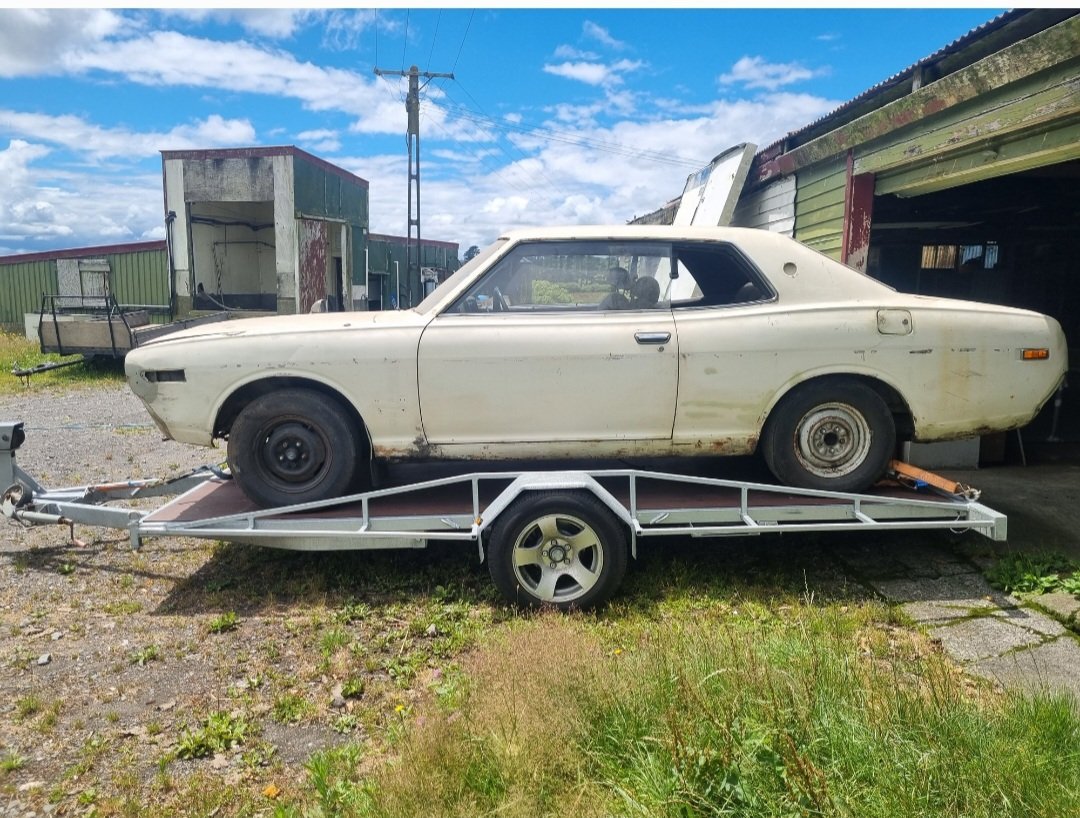
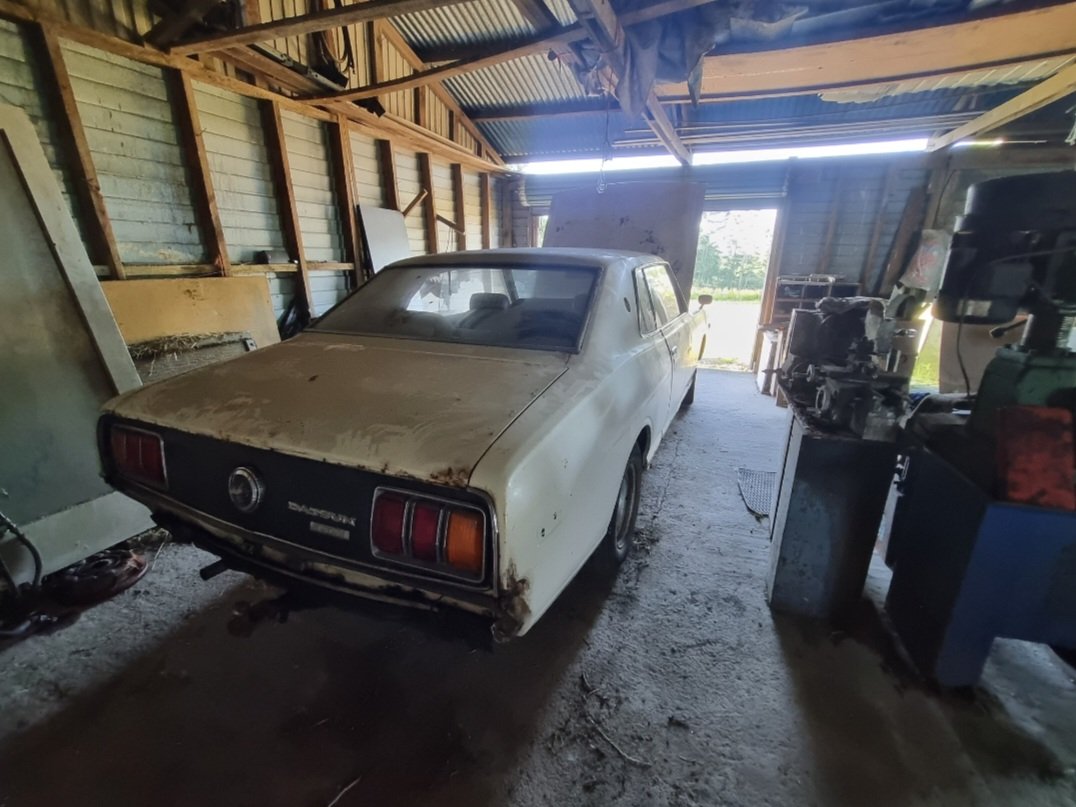
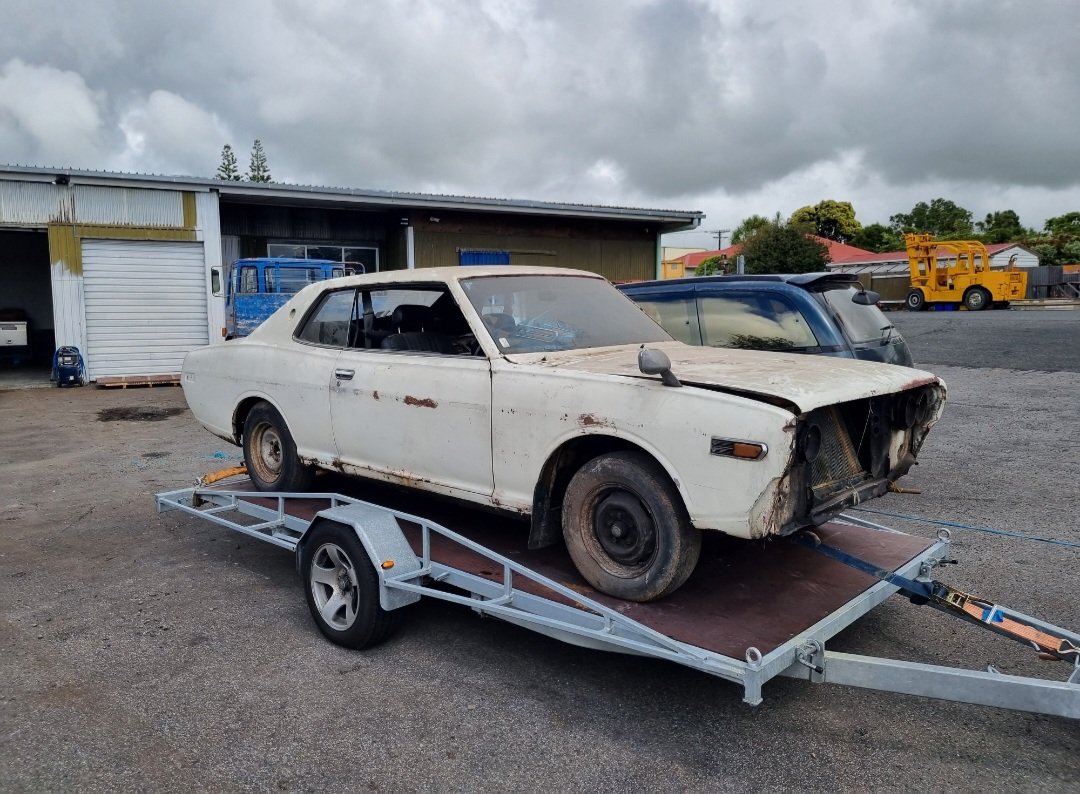
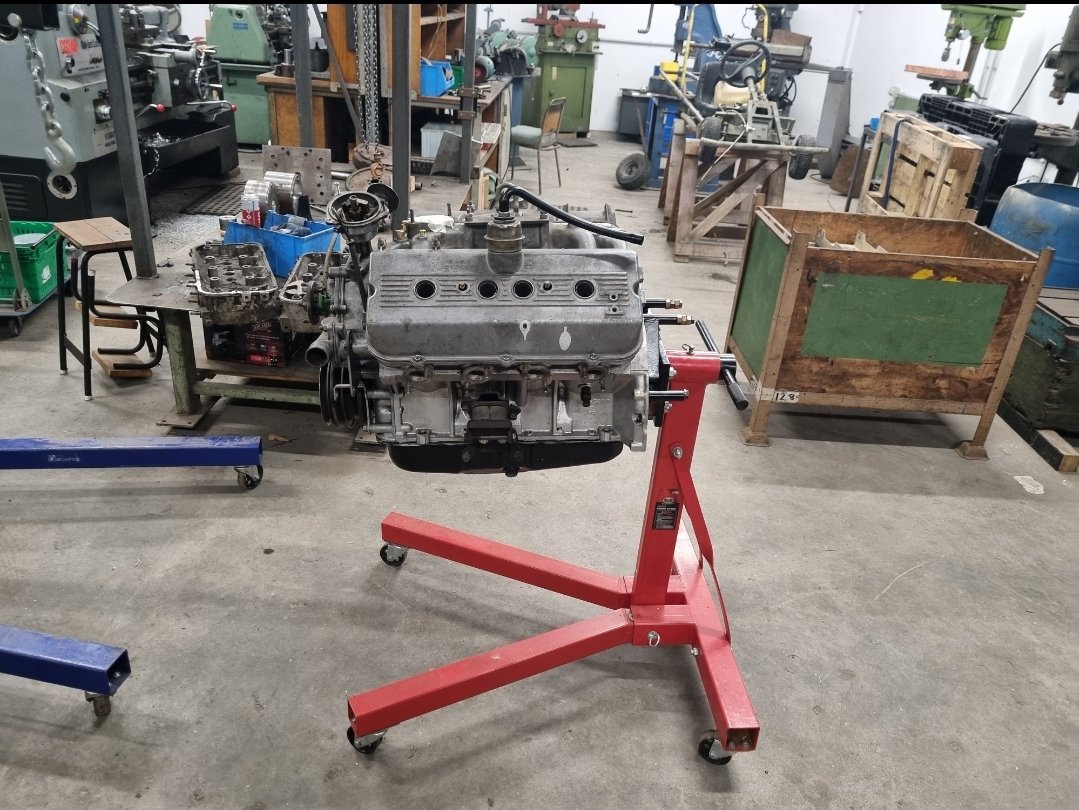
So, I brought a thing. Consider this my 'home project' as the camper is at work and on weeks I have my kids there is no ability to do after hours on that. Hence this, curbing my porn and doomscrolling with rusty Datsun goodness. Also my son is starting to show an interest and I want to attempt to pass on some skills and keep him off devices. Wishful.
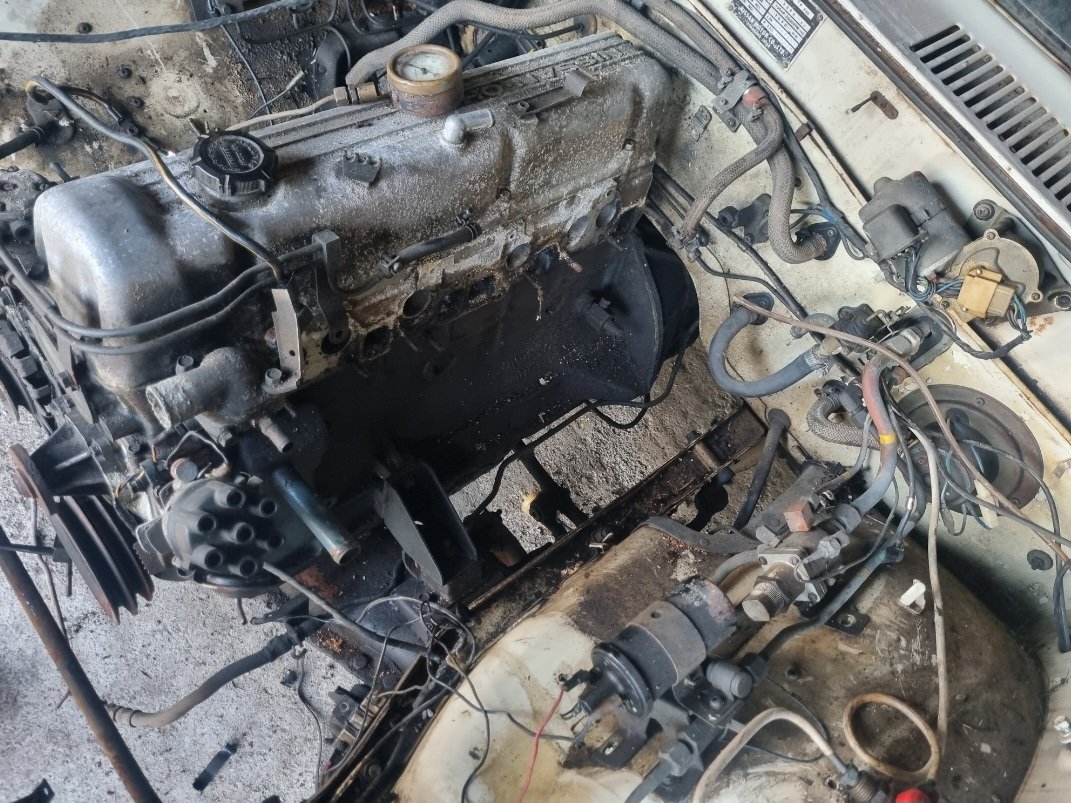
Anyway. 71 240c coupe. Dereg but mostly complete, shed stored 30 plus years. 77000 on the clock. L24 auto. Rust in sills, lower rear quarters, boot floor and odd little bits here and there. Fairly straight, mint floor, bulkhead and engine bay. Engine turns freely by hand but was partially pulled apart so hoping it was just a leaky gasket or something, but first mish is to clean engine bay and fire the old girl into life, then proceed from there with cutty rusty things. Thanks to the GC @fletch for some solid Datsun Intel/leads and a few little items I needed to fire the old girl up.
Chur.
https://oldschool.co.nz/index.php?/topic/88976-humbersss-datsun-240c-coupe-of-irrationality-yarns/

-
 57
57
-
 1
1
-
https://www.trademe.co.nz/a/motors/car-parts-accessories/ford/exterior/listing/4491015804
Maybe be worth asking for some measurements.
-
1
-
-
6 hours ago, Nominal said:
You should have got this one in New Plymouth somewhere for $2300
It's now been moved to Auckland, repainted, and listed for $8000
Looked better unpainted. I missed that one. grrr.
-
On 27/12/2023 at 14:51, JR said:
Hmmm, shit that's a worry. To me the bellhousing looks fine. Sounds like you have had a bad experience with them? What happened?
Mk2 and 3 are the same but MK1 are a fair bit different. I might have to try and find someone locally with a MK2 or 3 and just try to copy theirs. Does anyone have one in Christchurch they wouldn't mind me making some cardboard templates of? A box of beers in it.
Cheers, yeah pretty happy with how the engine is looking.
Meant to say clutch... Woops
-
Not sure I would use the bell housing either...
Old-school autos have some Capris in their pile, not sure if mk1 and MK2 rad supports are different but I cant imagine by much. It looks like a simple bit of fab if you have one to copy off?
Engines looking great!
-
Has it still got your sweet modded engine cover? Is it with motor, and sidedrafts, and your headers??
-
Some boxes you can also buy standalone ECUs for. Th700, ford AODE, Toyota A340, Merc 722.6 etc.
-
This thing is beautiful. Don't happen to have colour code for the delicious brown hue do you?
-
Descale the ugly bits and brunox for now
-
1
-
-
On 07/11/2023 at 12:31, NickJ said:
I’m running linuxcnc on my router, can’t praise it enough, does what you want.
only downside might be the cost, between the mesa boards, pc and peripherals there was over $1k but totally worth it for my setup
Mate runs mach3 on his fullsheet router, gets by ok.
I agree, Linuxcnc is great. I am doing cam inside Solidworks using the hsmworks plugin and it's pretty slick. Keeps my cam file inside my cad file too so easy to update
-
1
-
-
12 minutes ago, Nominal said:
I thought it would have sold, the rust probably didn't help.
Yeah it's probably not a bad machine with a bit of love
-
On 07/11/2023 at 10:42, Nominal said:
Been a couple of Pullmax P13 on TM just lately, I didn't see the buy now on the first, but the auction starting price was 4K.
This one just came up, also 4k start, looks a bit neglected but has a bit of tooling
Followed that,didn't sell. I was quite keen but wonder if it was a little overpriced?? Missed the others that have come up, need to keeps me eyes peeled...unless someone on here wants to sell theirs??!
-
- Popular Post
- Popular Post
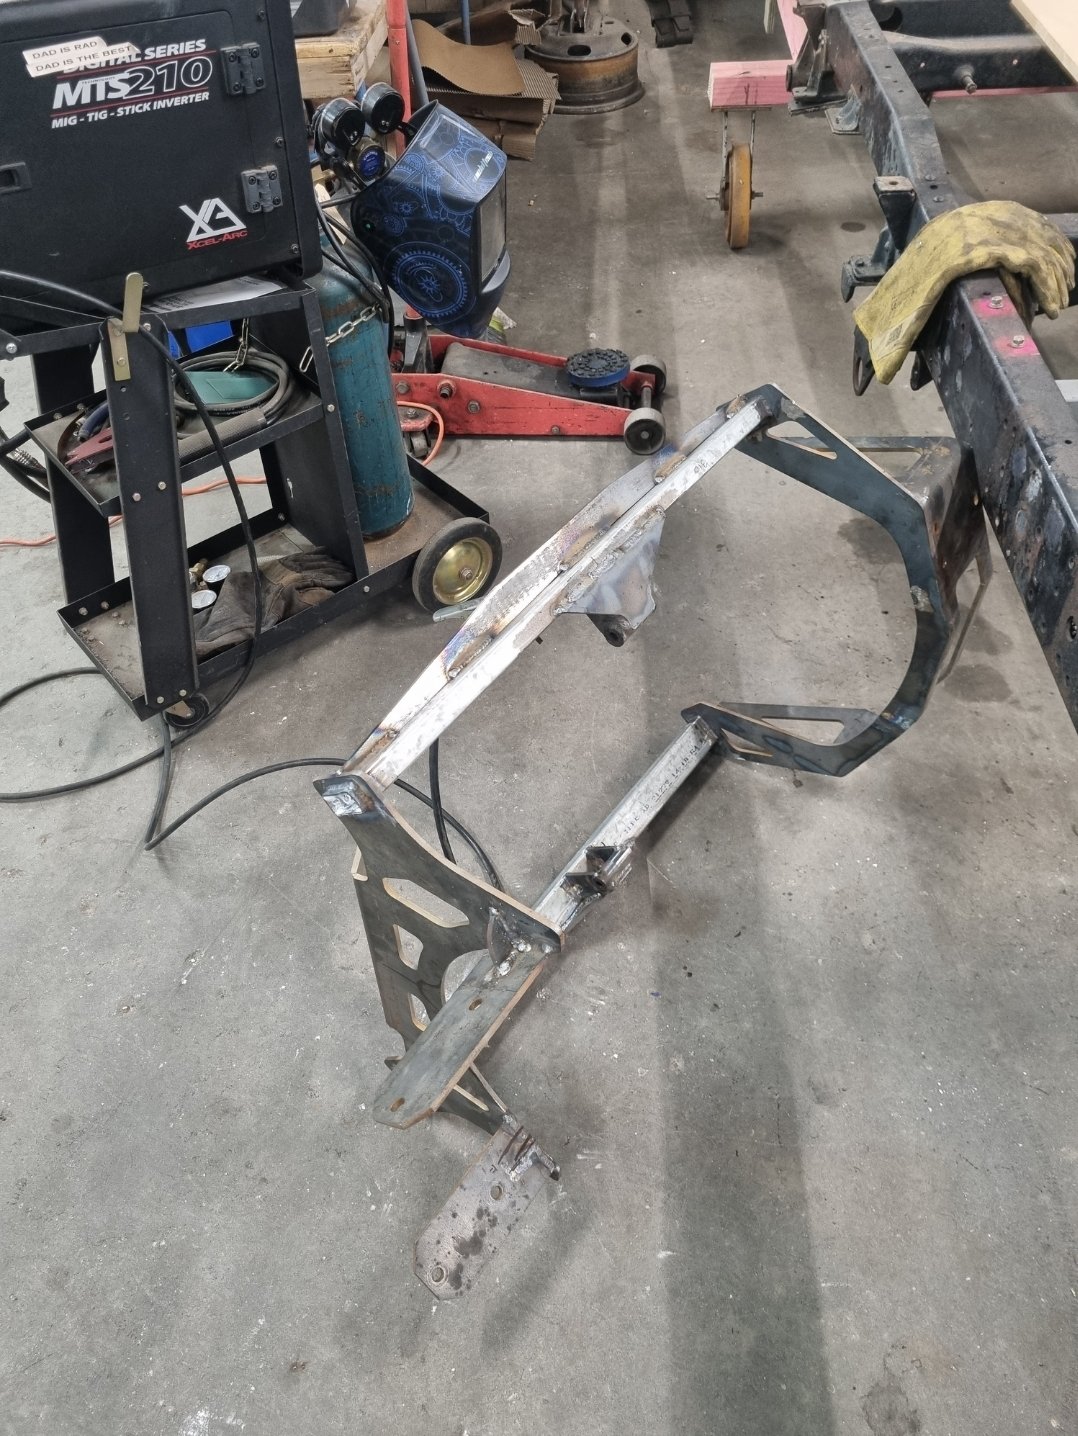
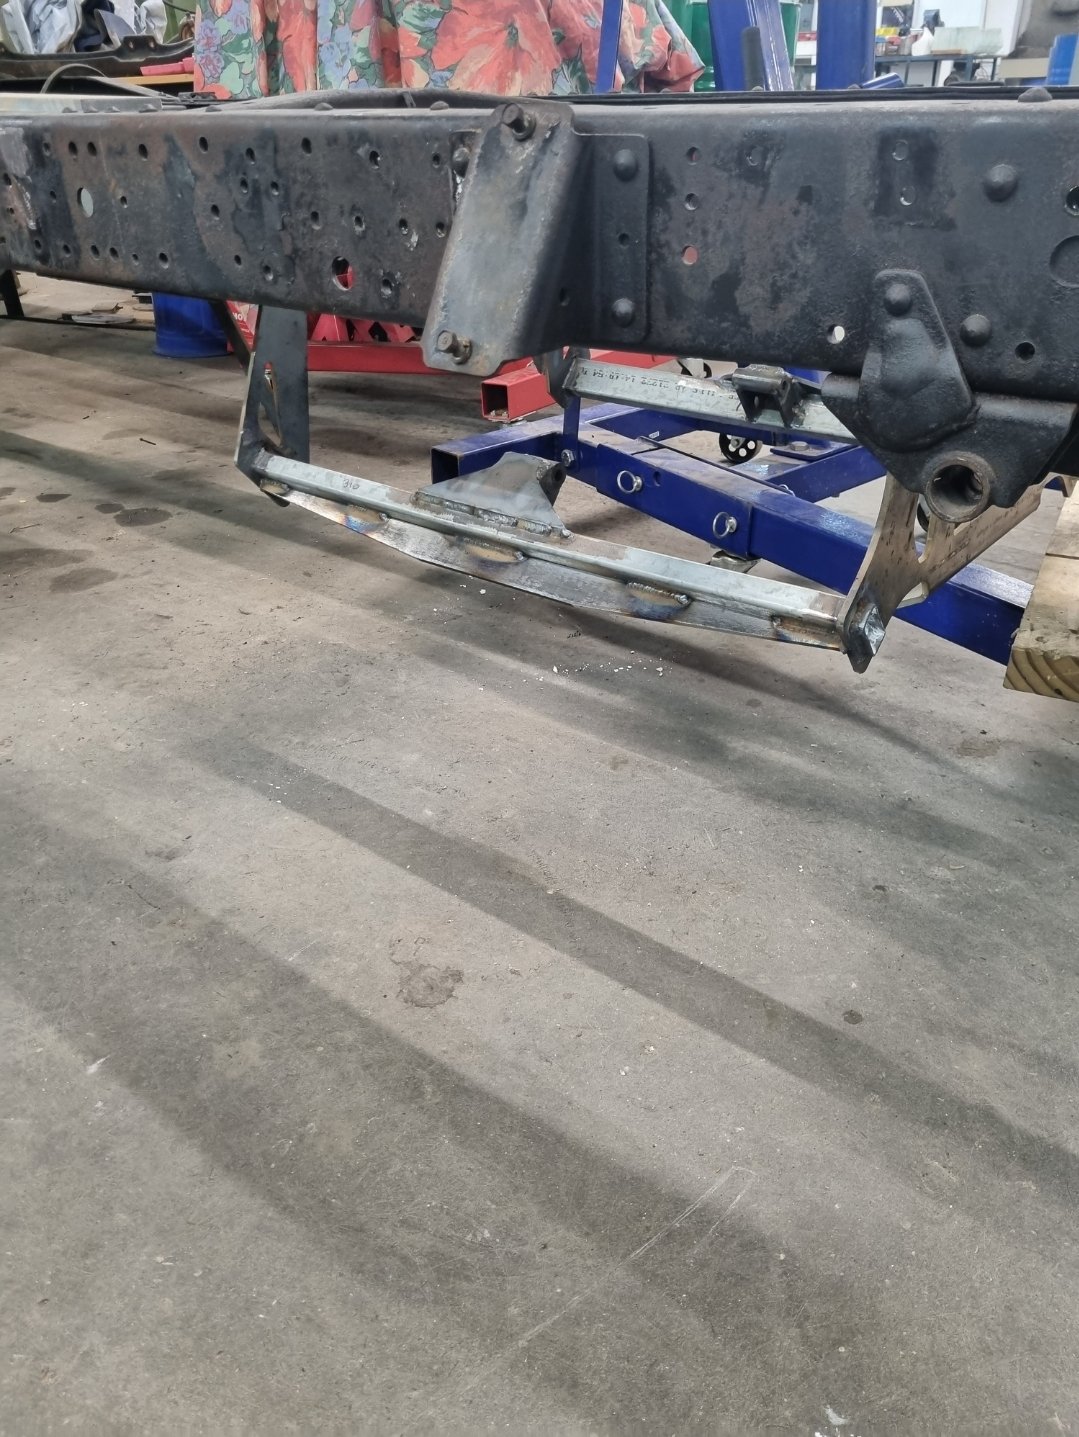
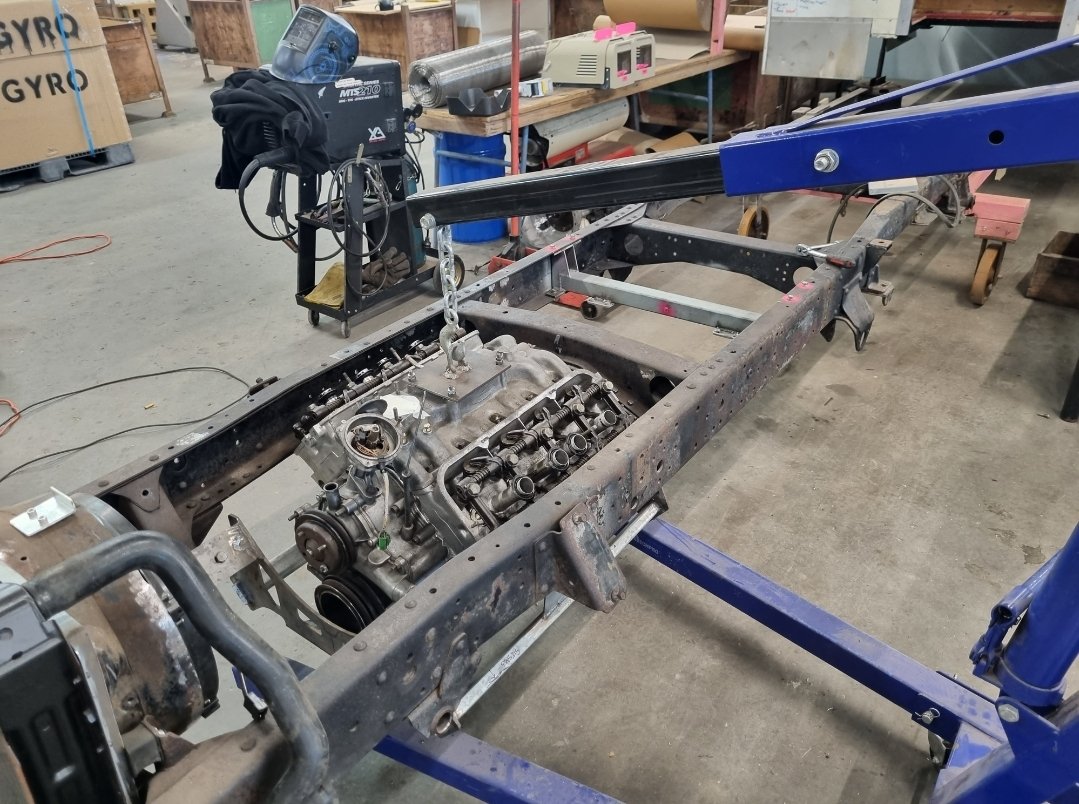
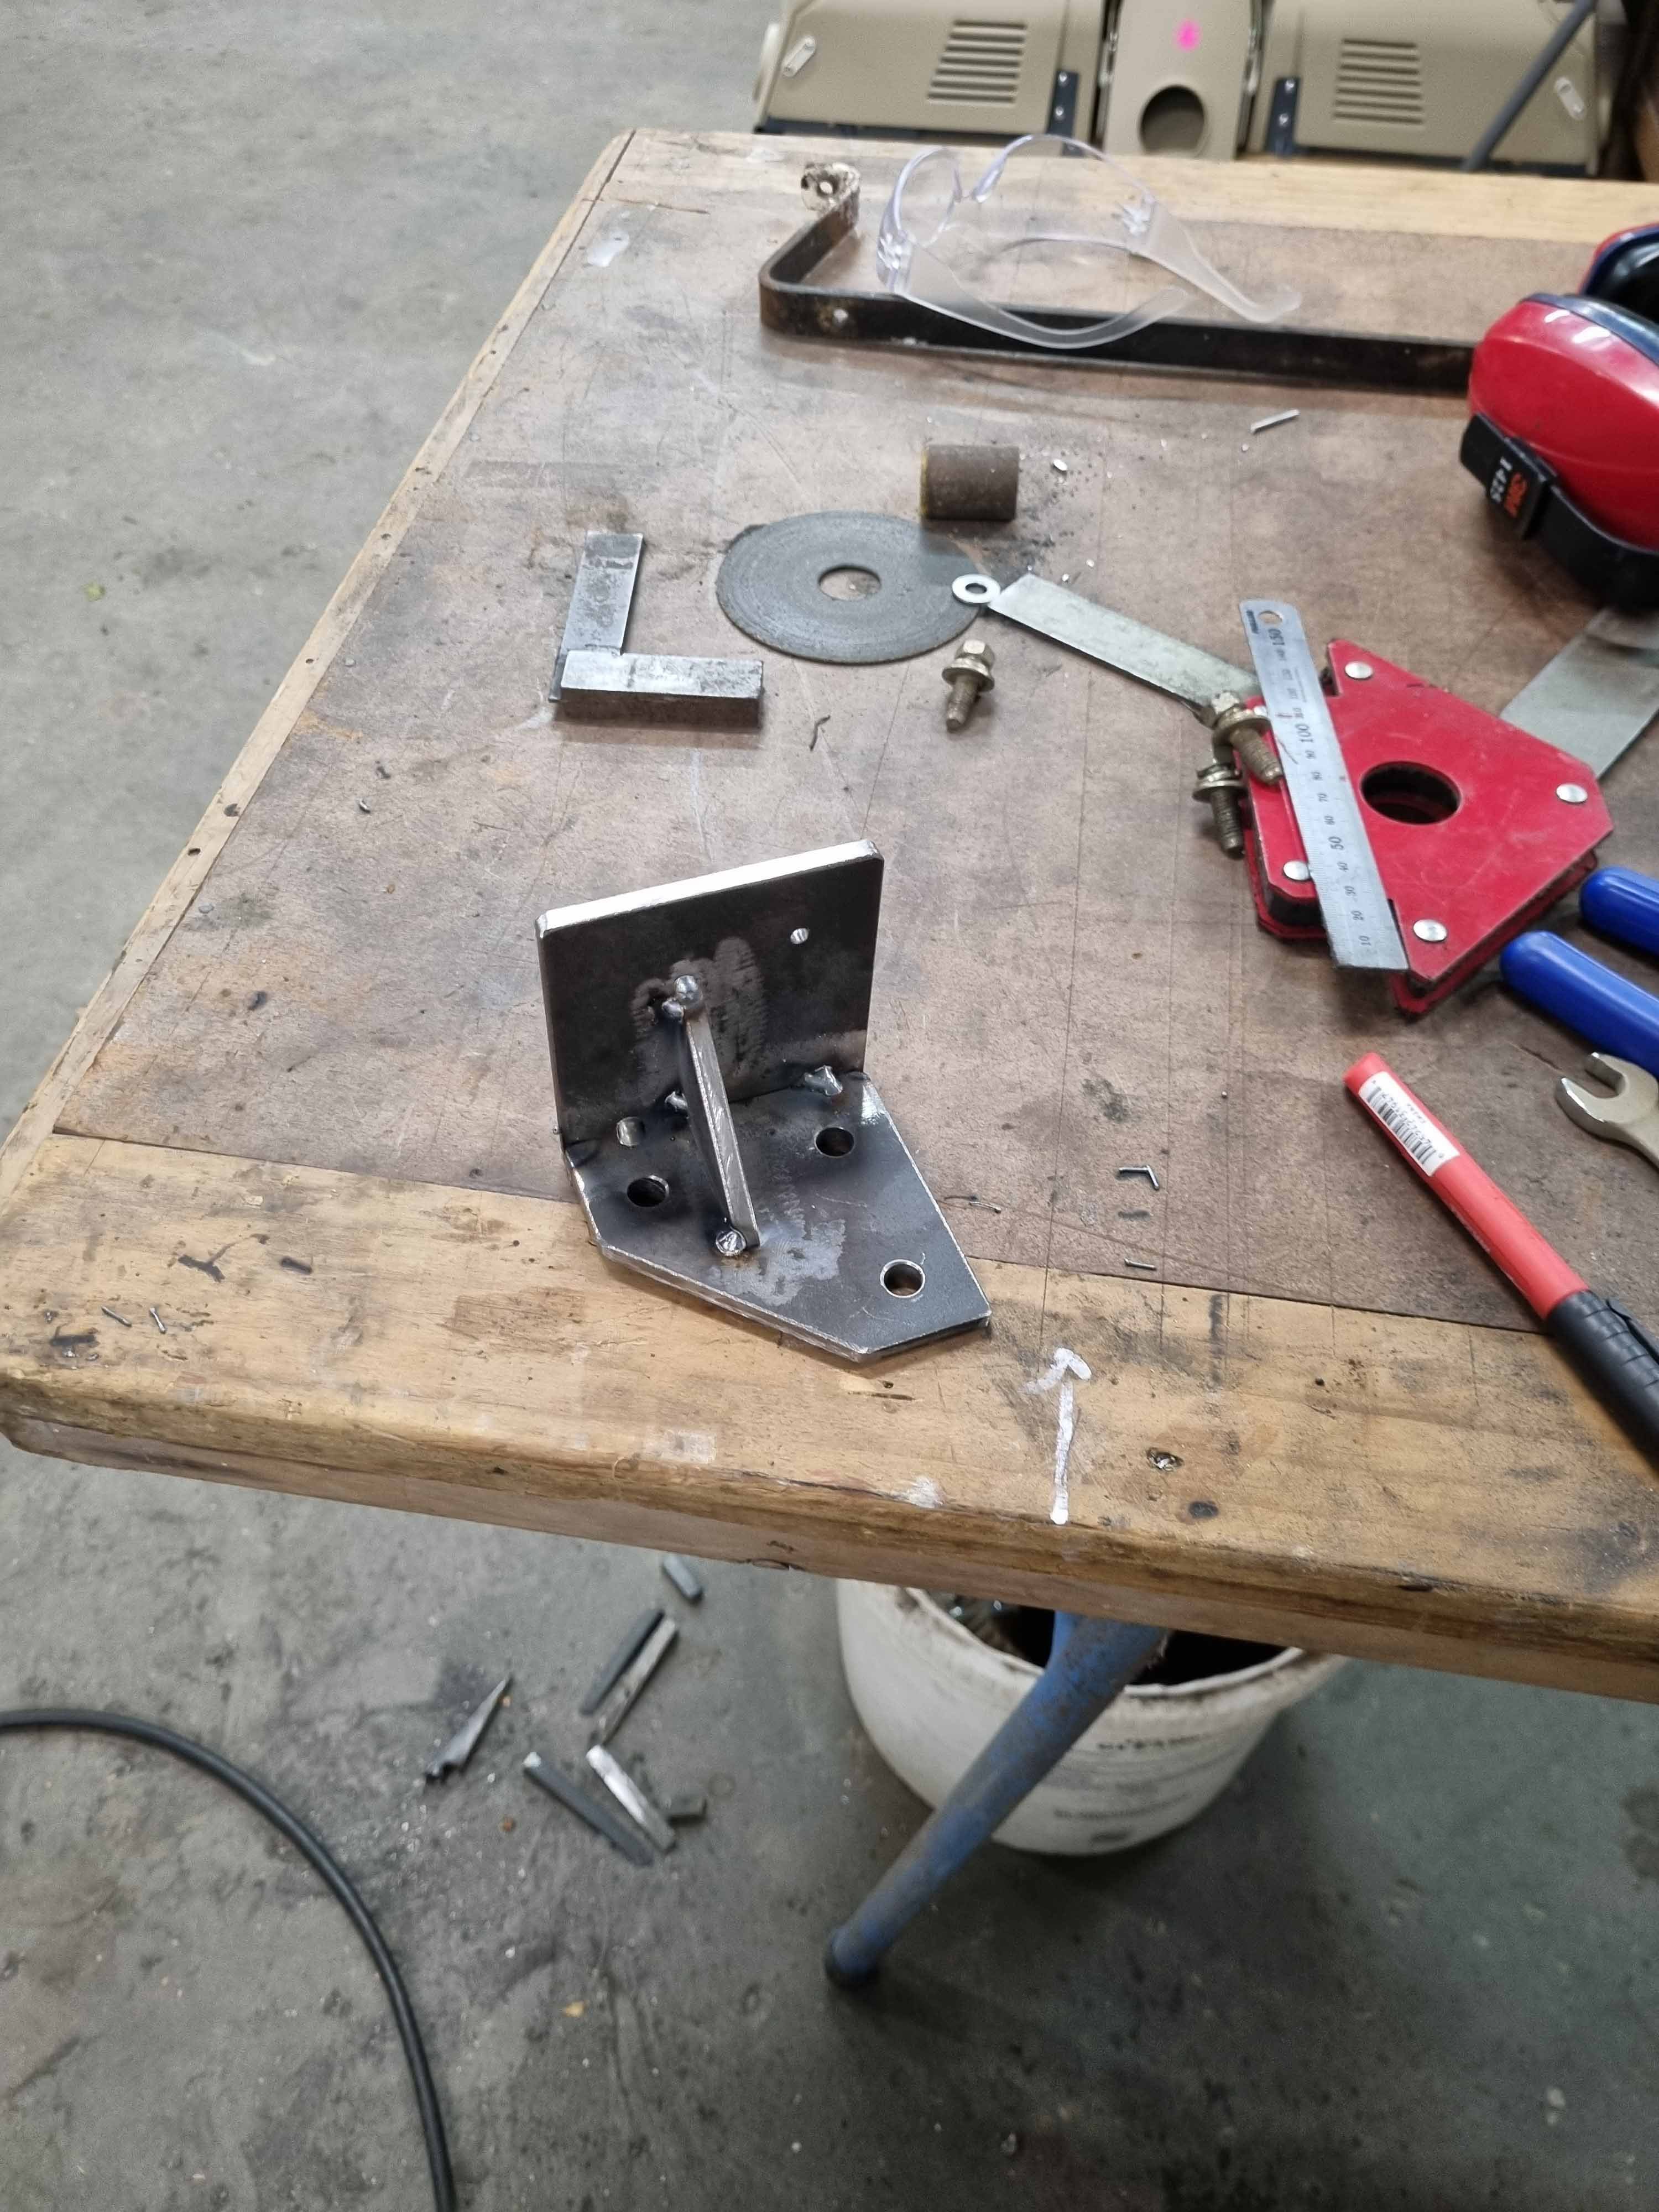
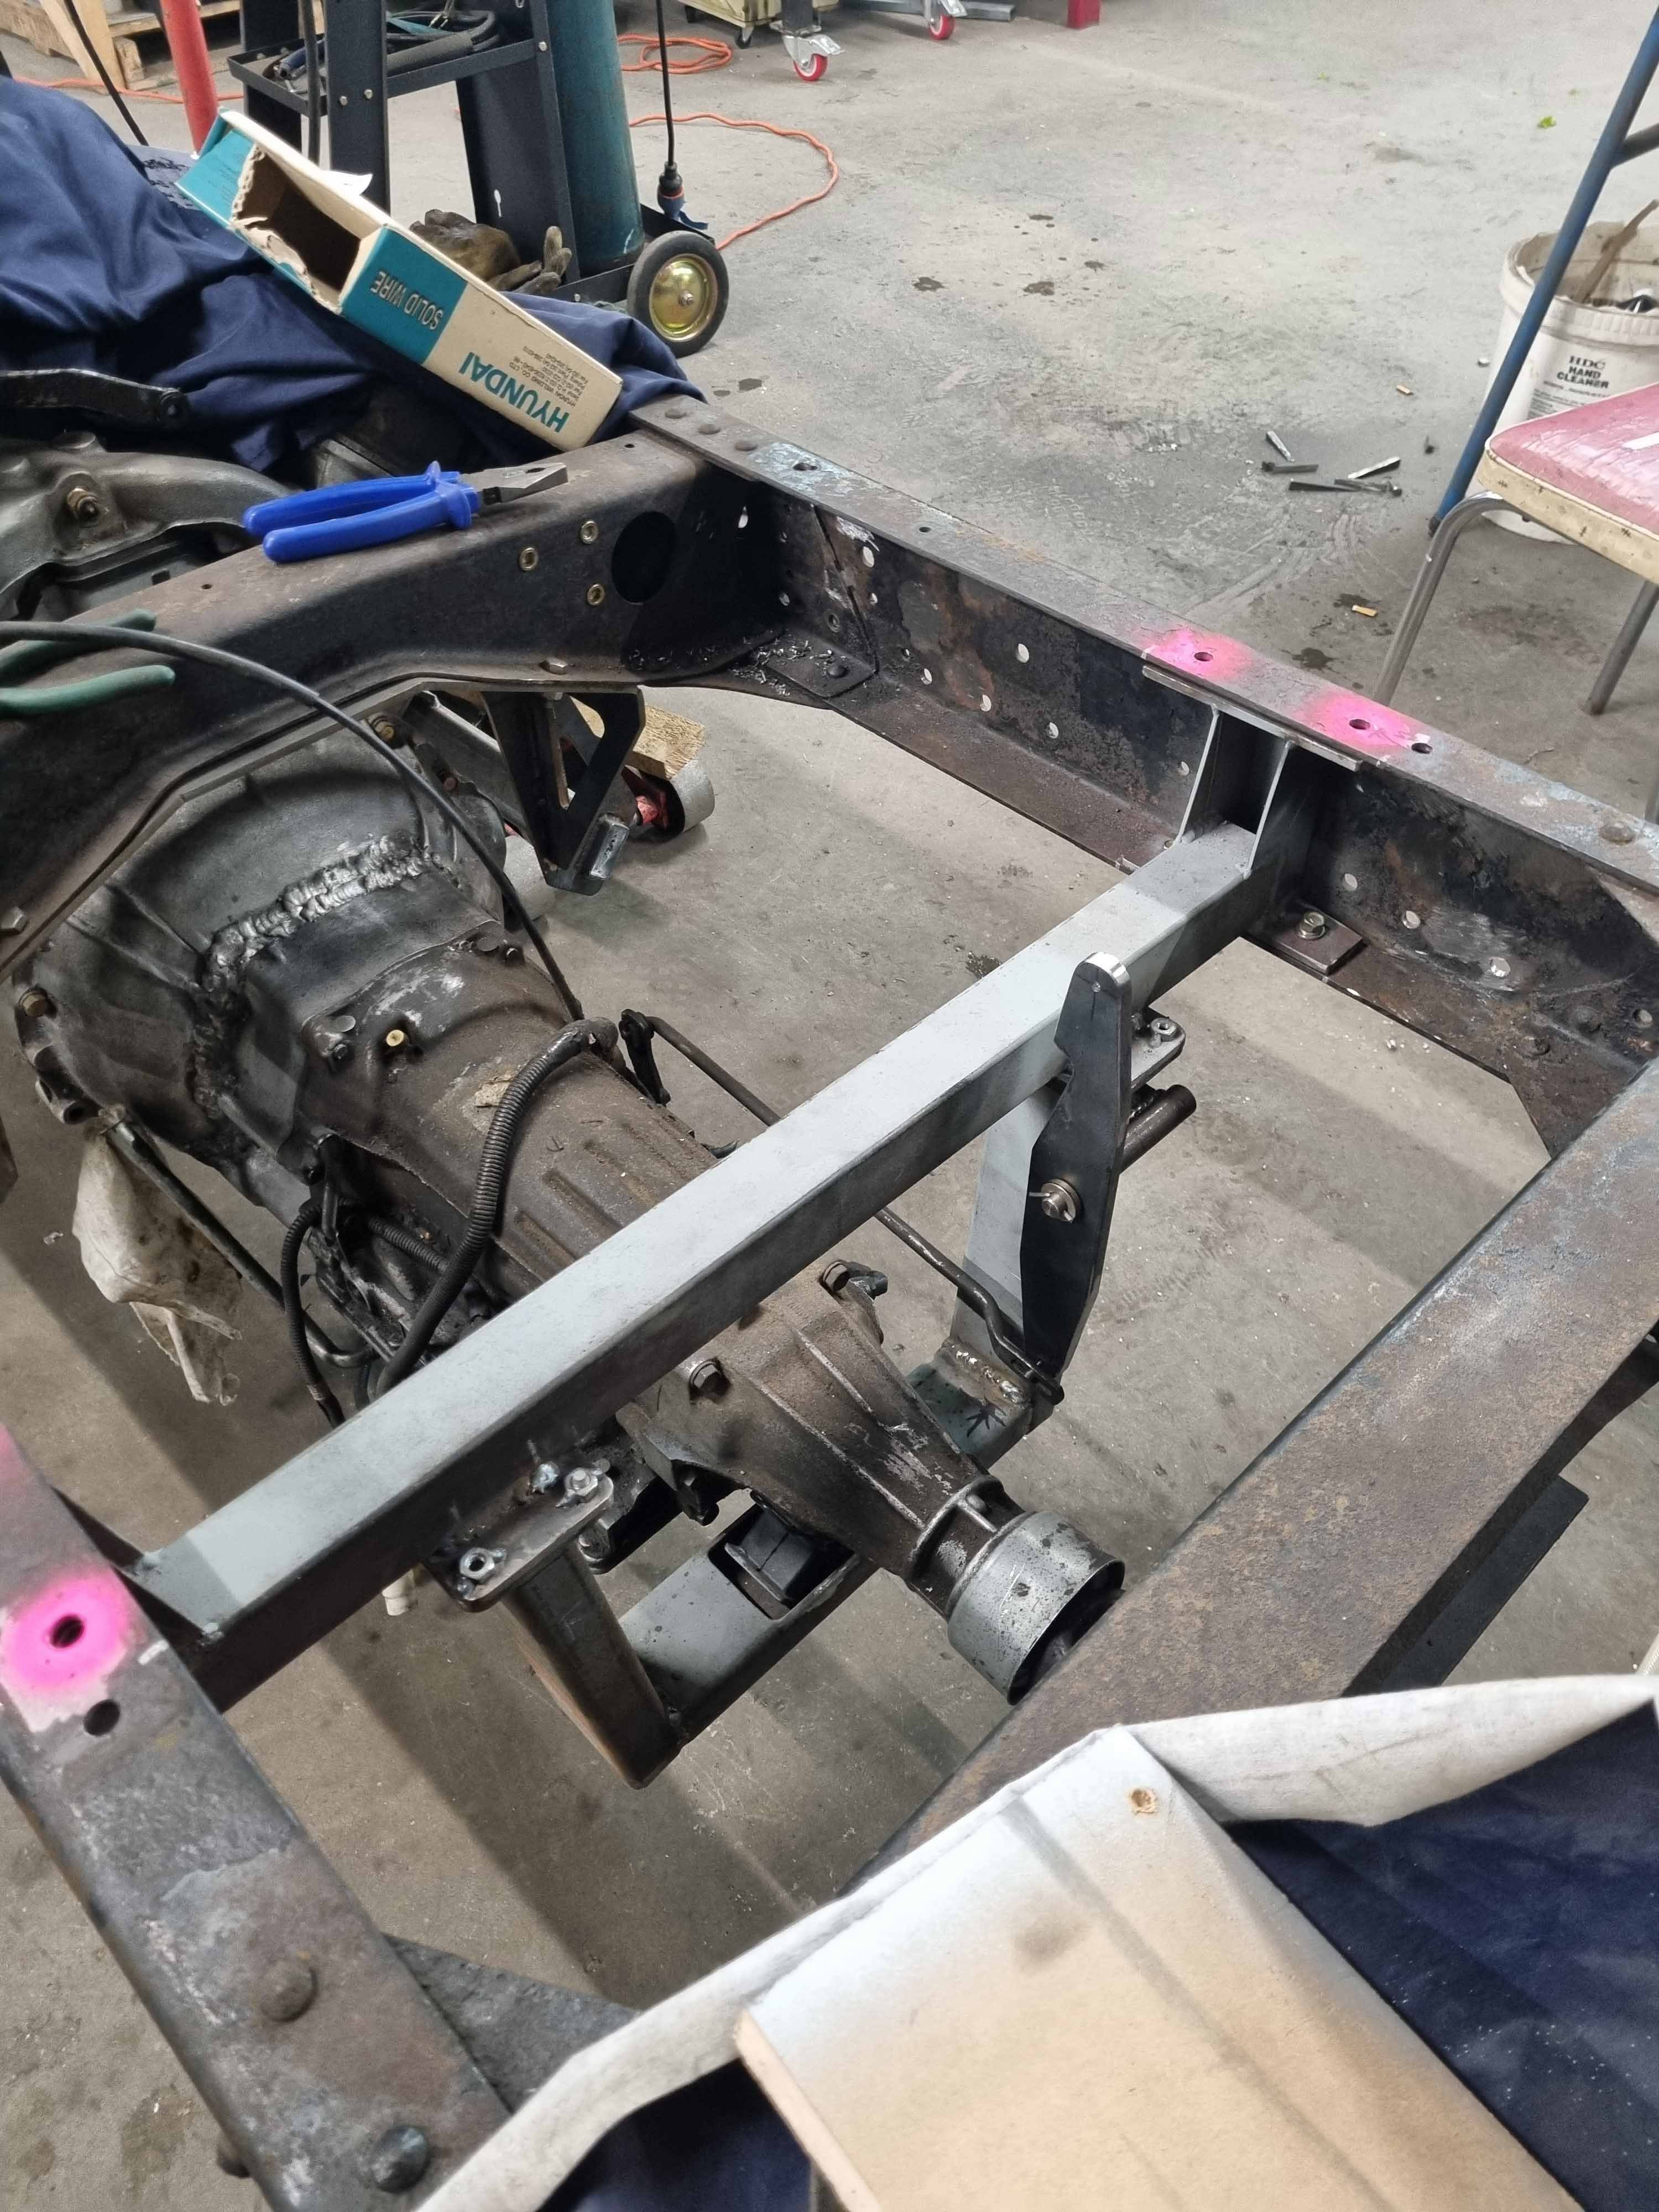
Tonight's mish was to try finish off the cradle. I made some braces for the engine mount box sections, as recommended by someone here. Good call, looks more appropriate. Ran out of Tig gas, and was hoping to have the water pipes mounted too, but after finishing my alternator mount I think I need to throw motor back in to double check my intentions as it's all a bit tight trying to route bottom rad hose to water pump.
Progress.

-
10
-
- Popular Post
- Popular Post
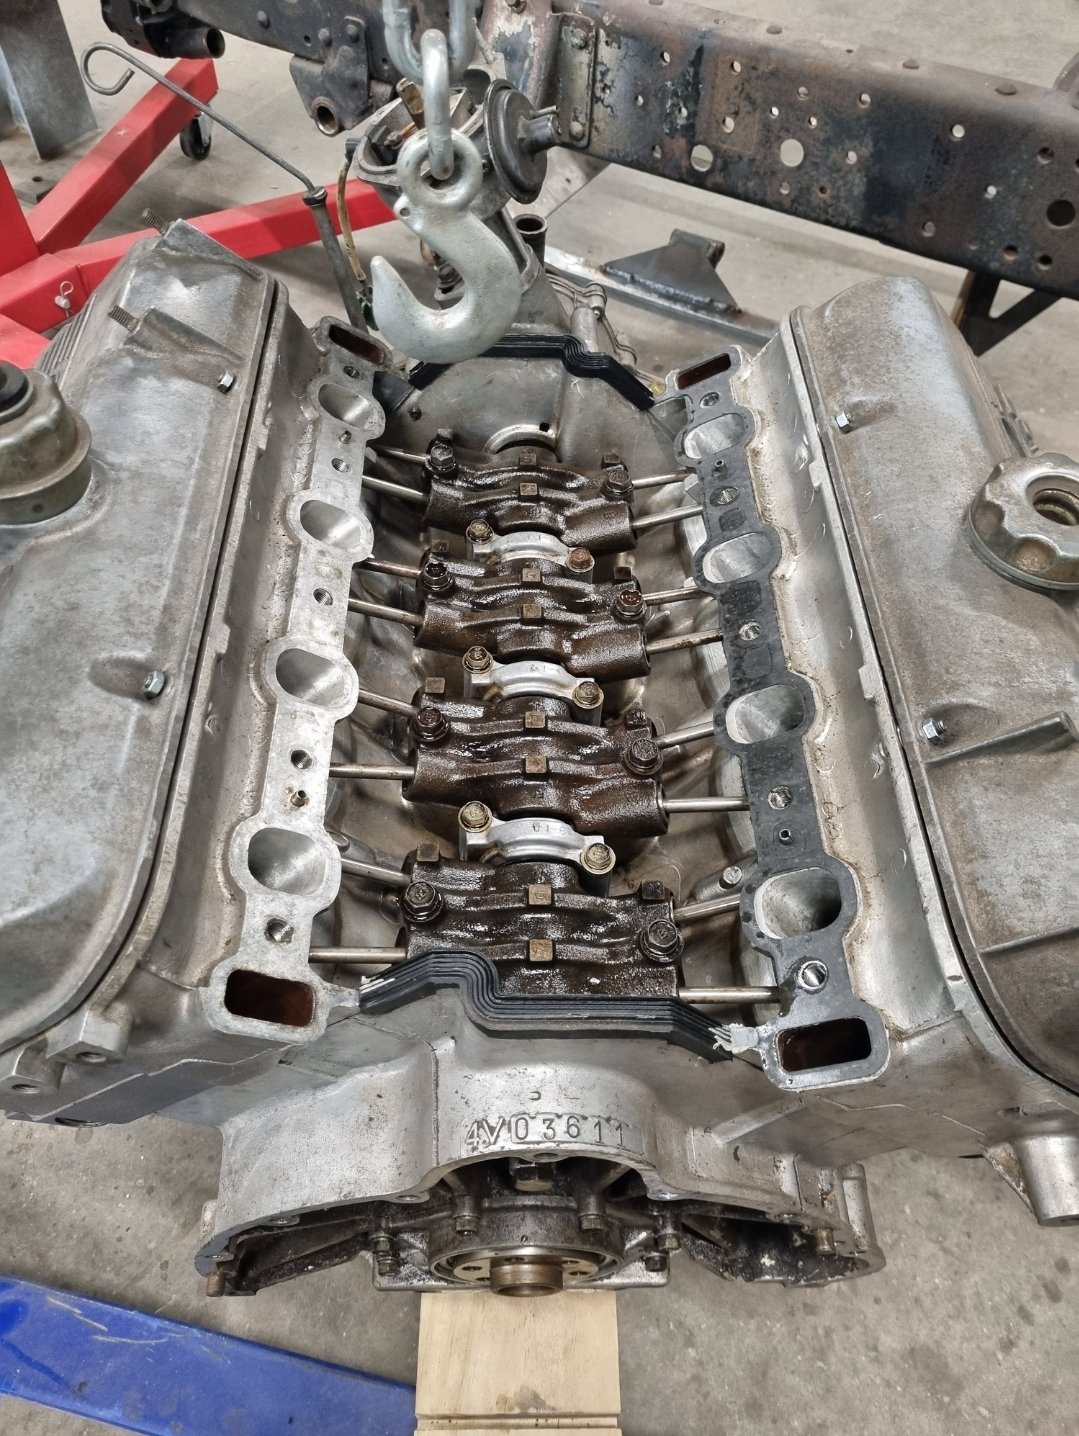
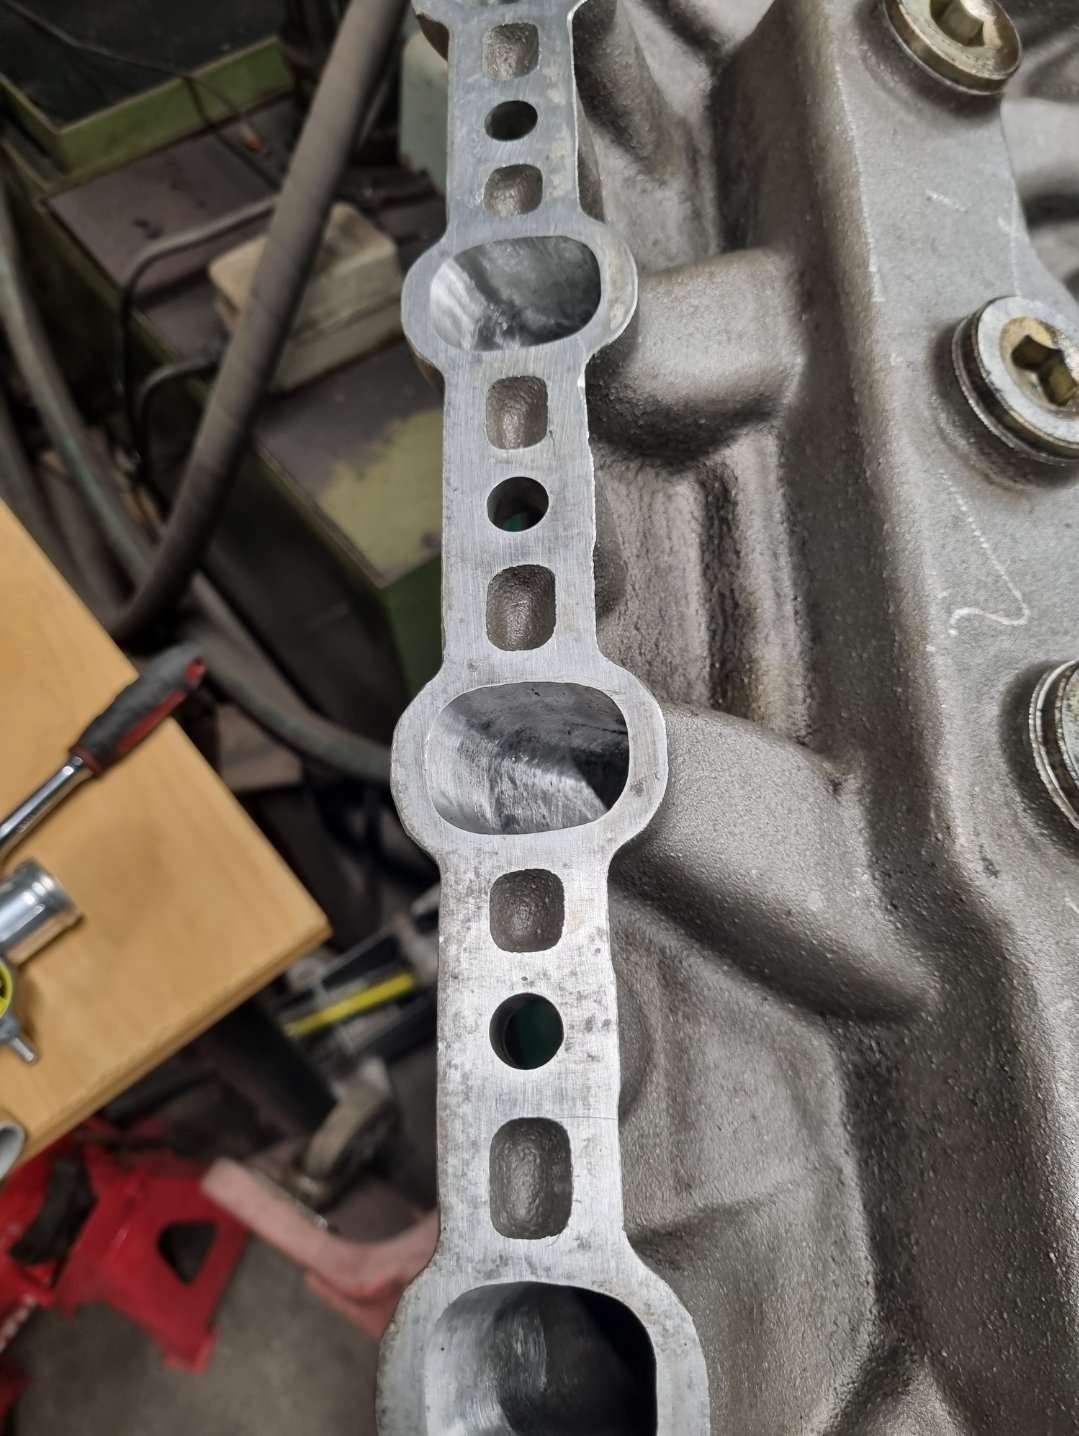
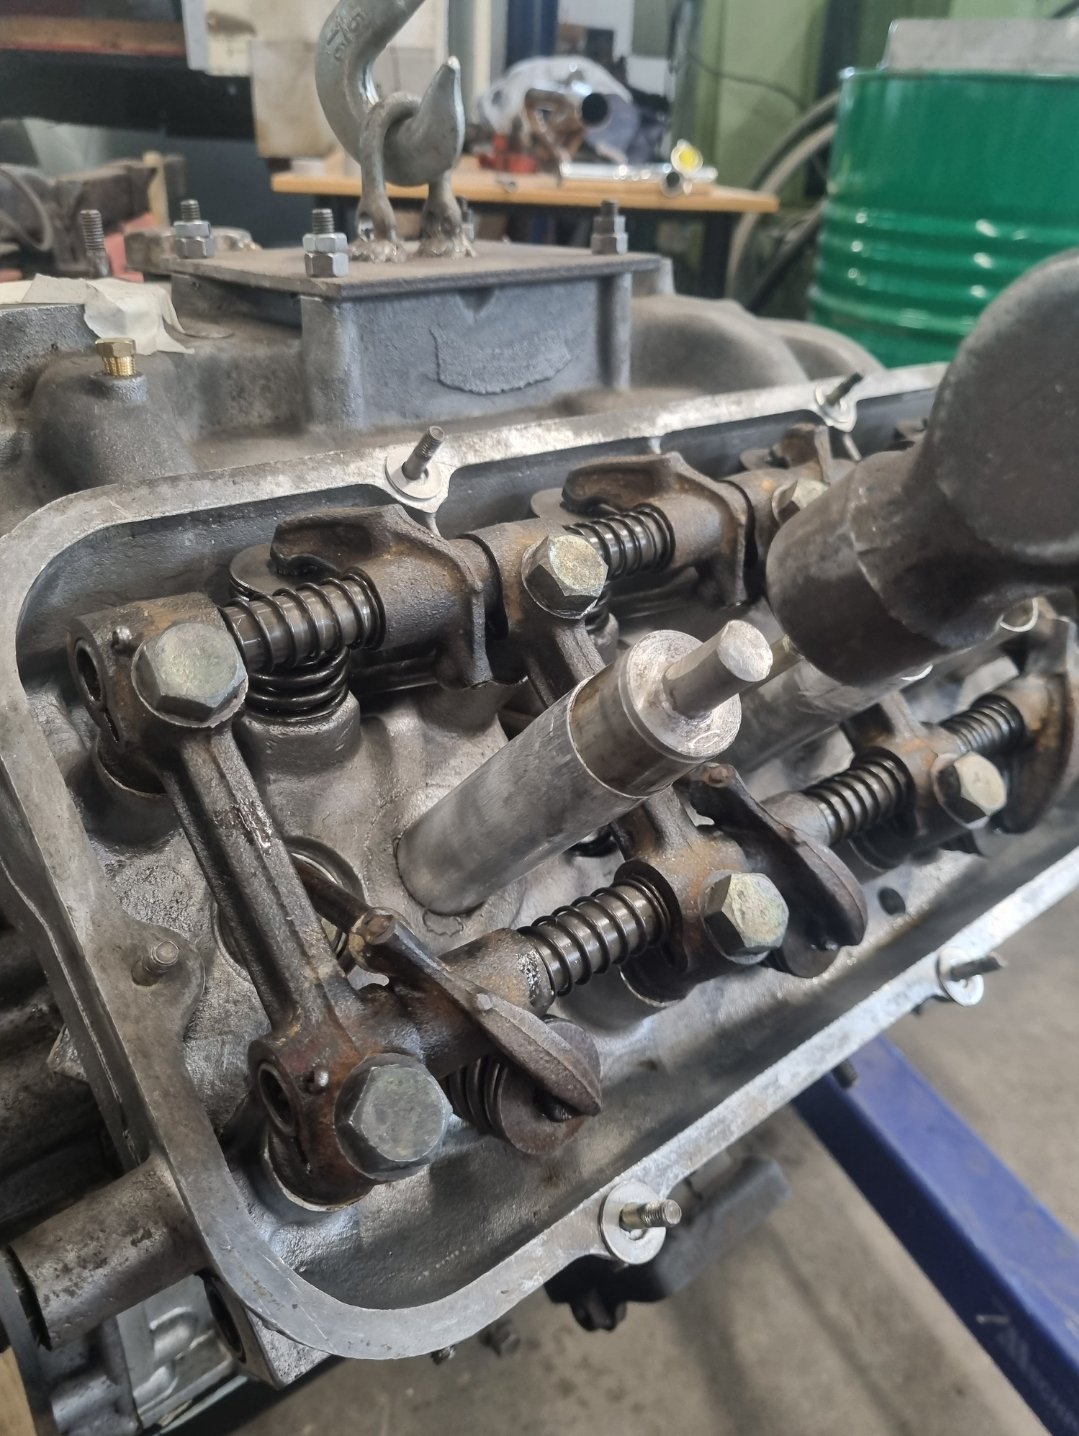
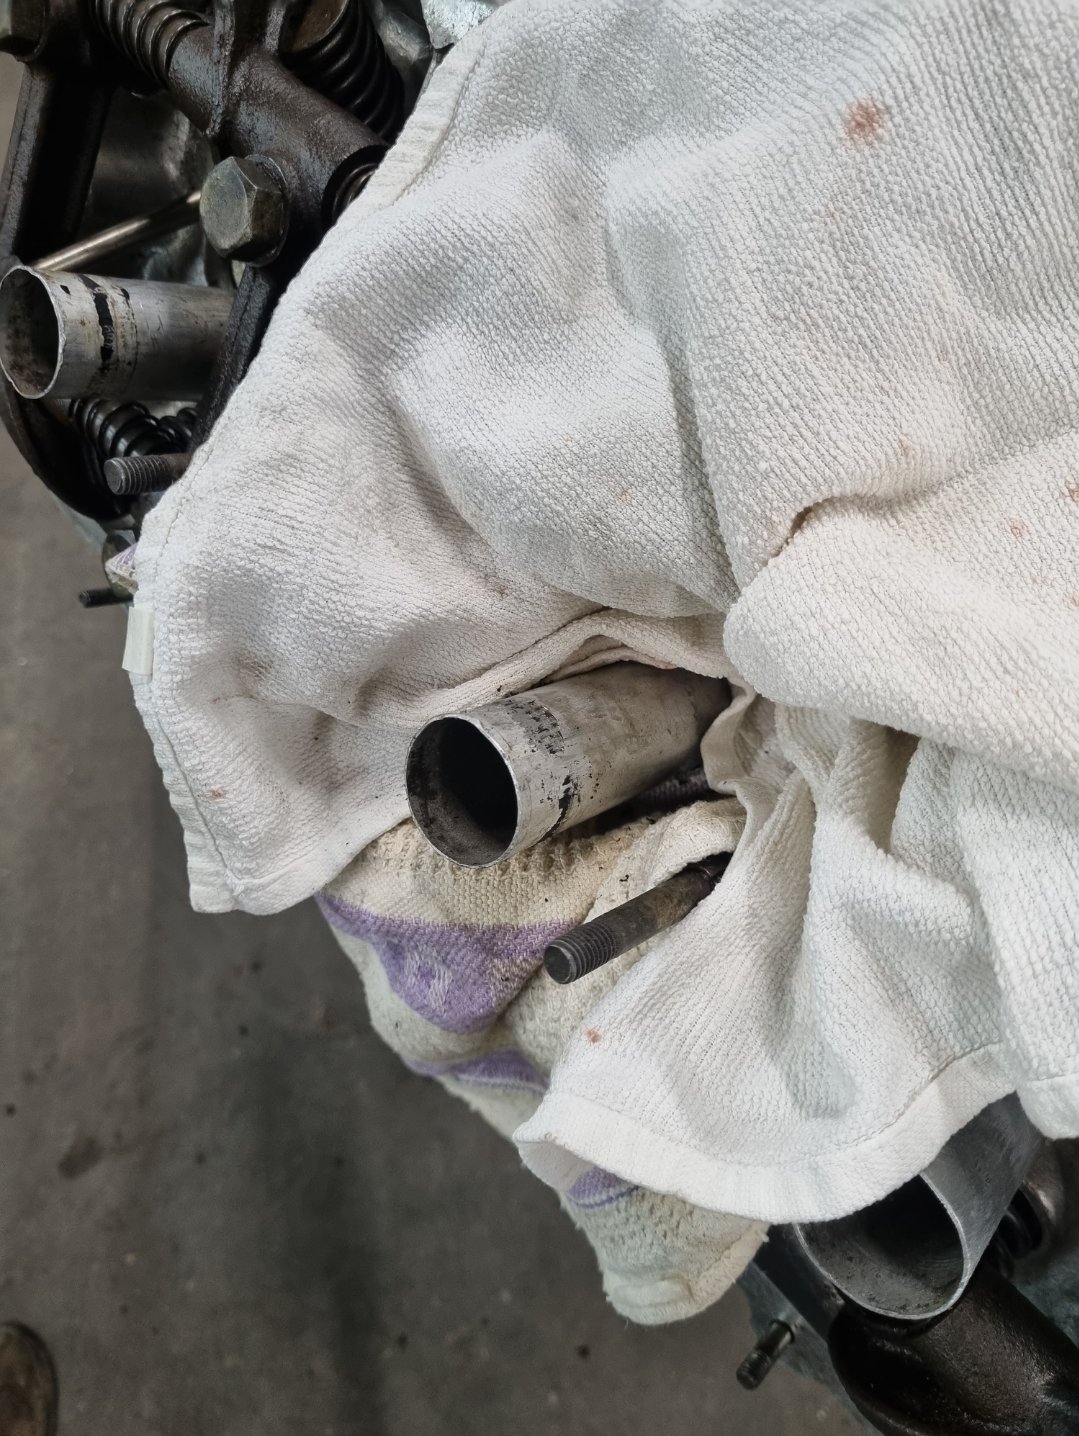
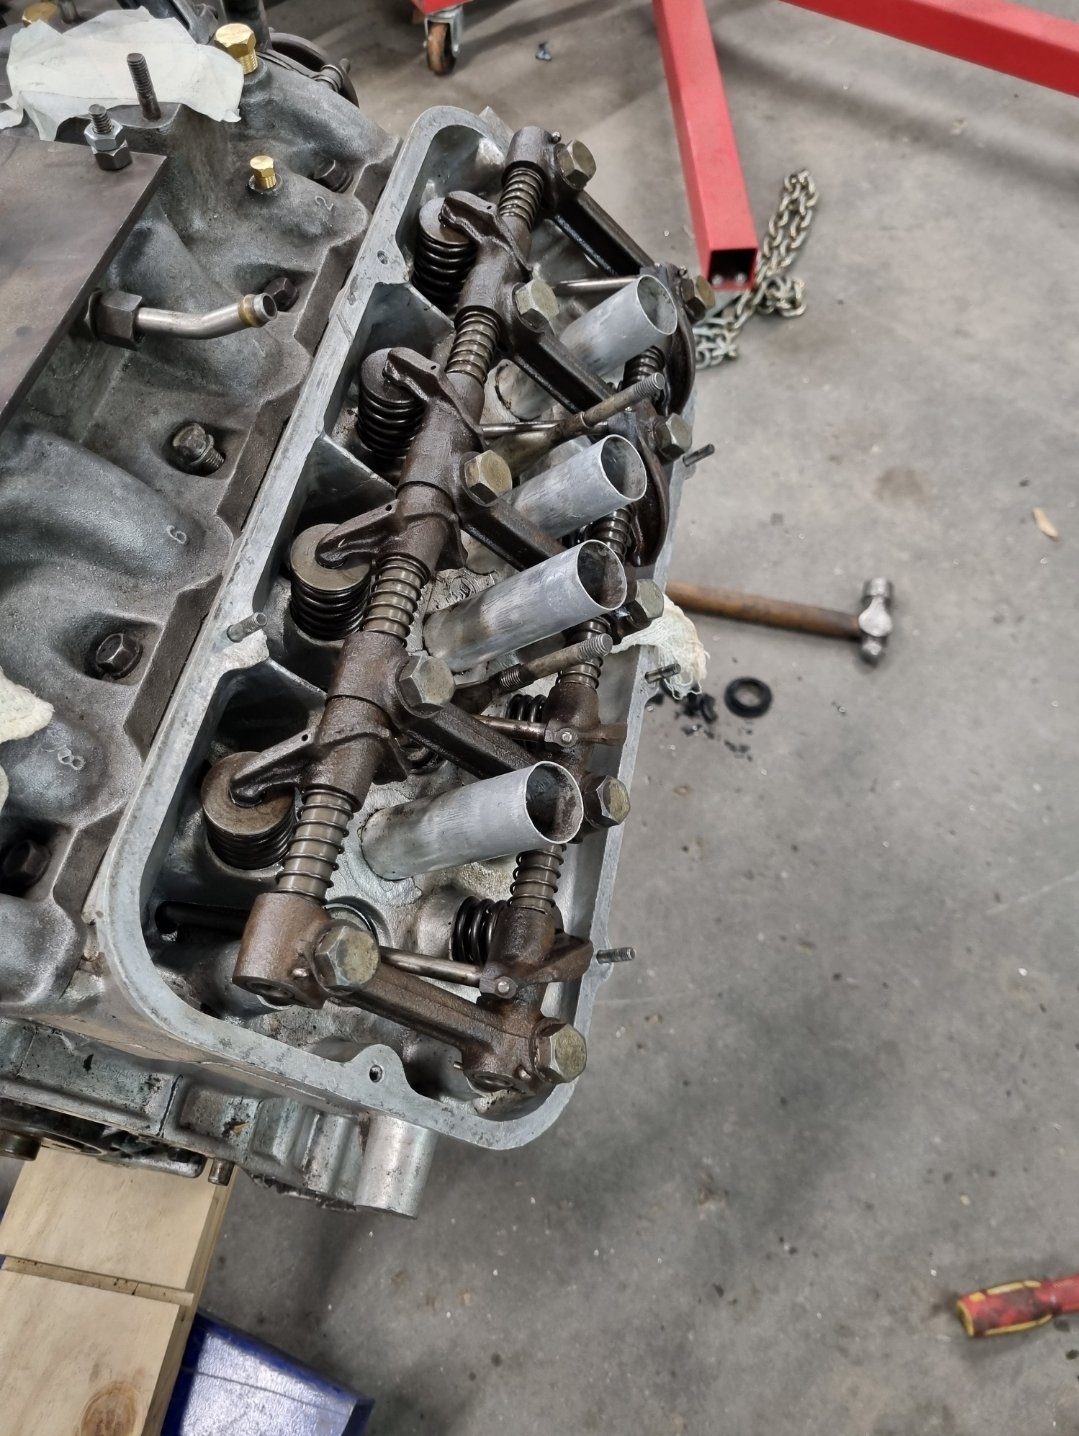
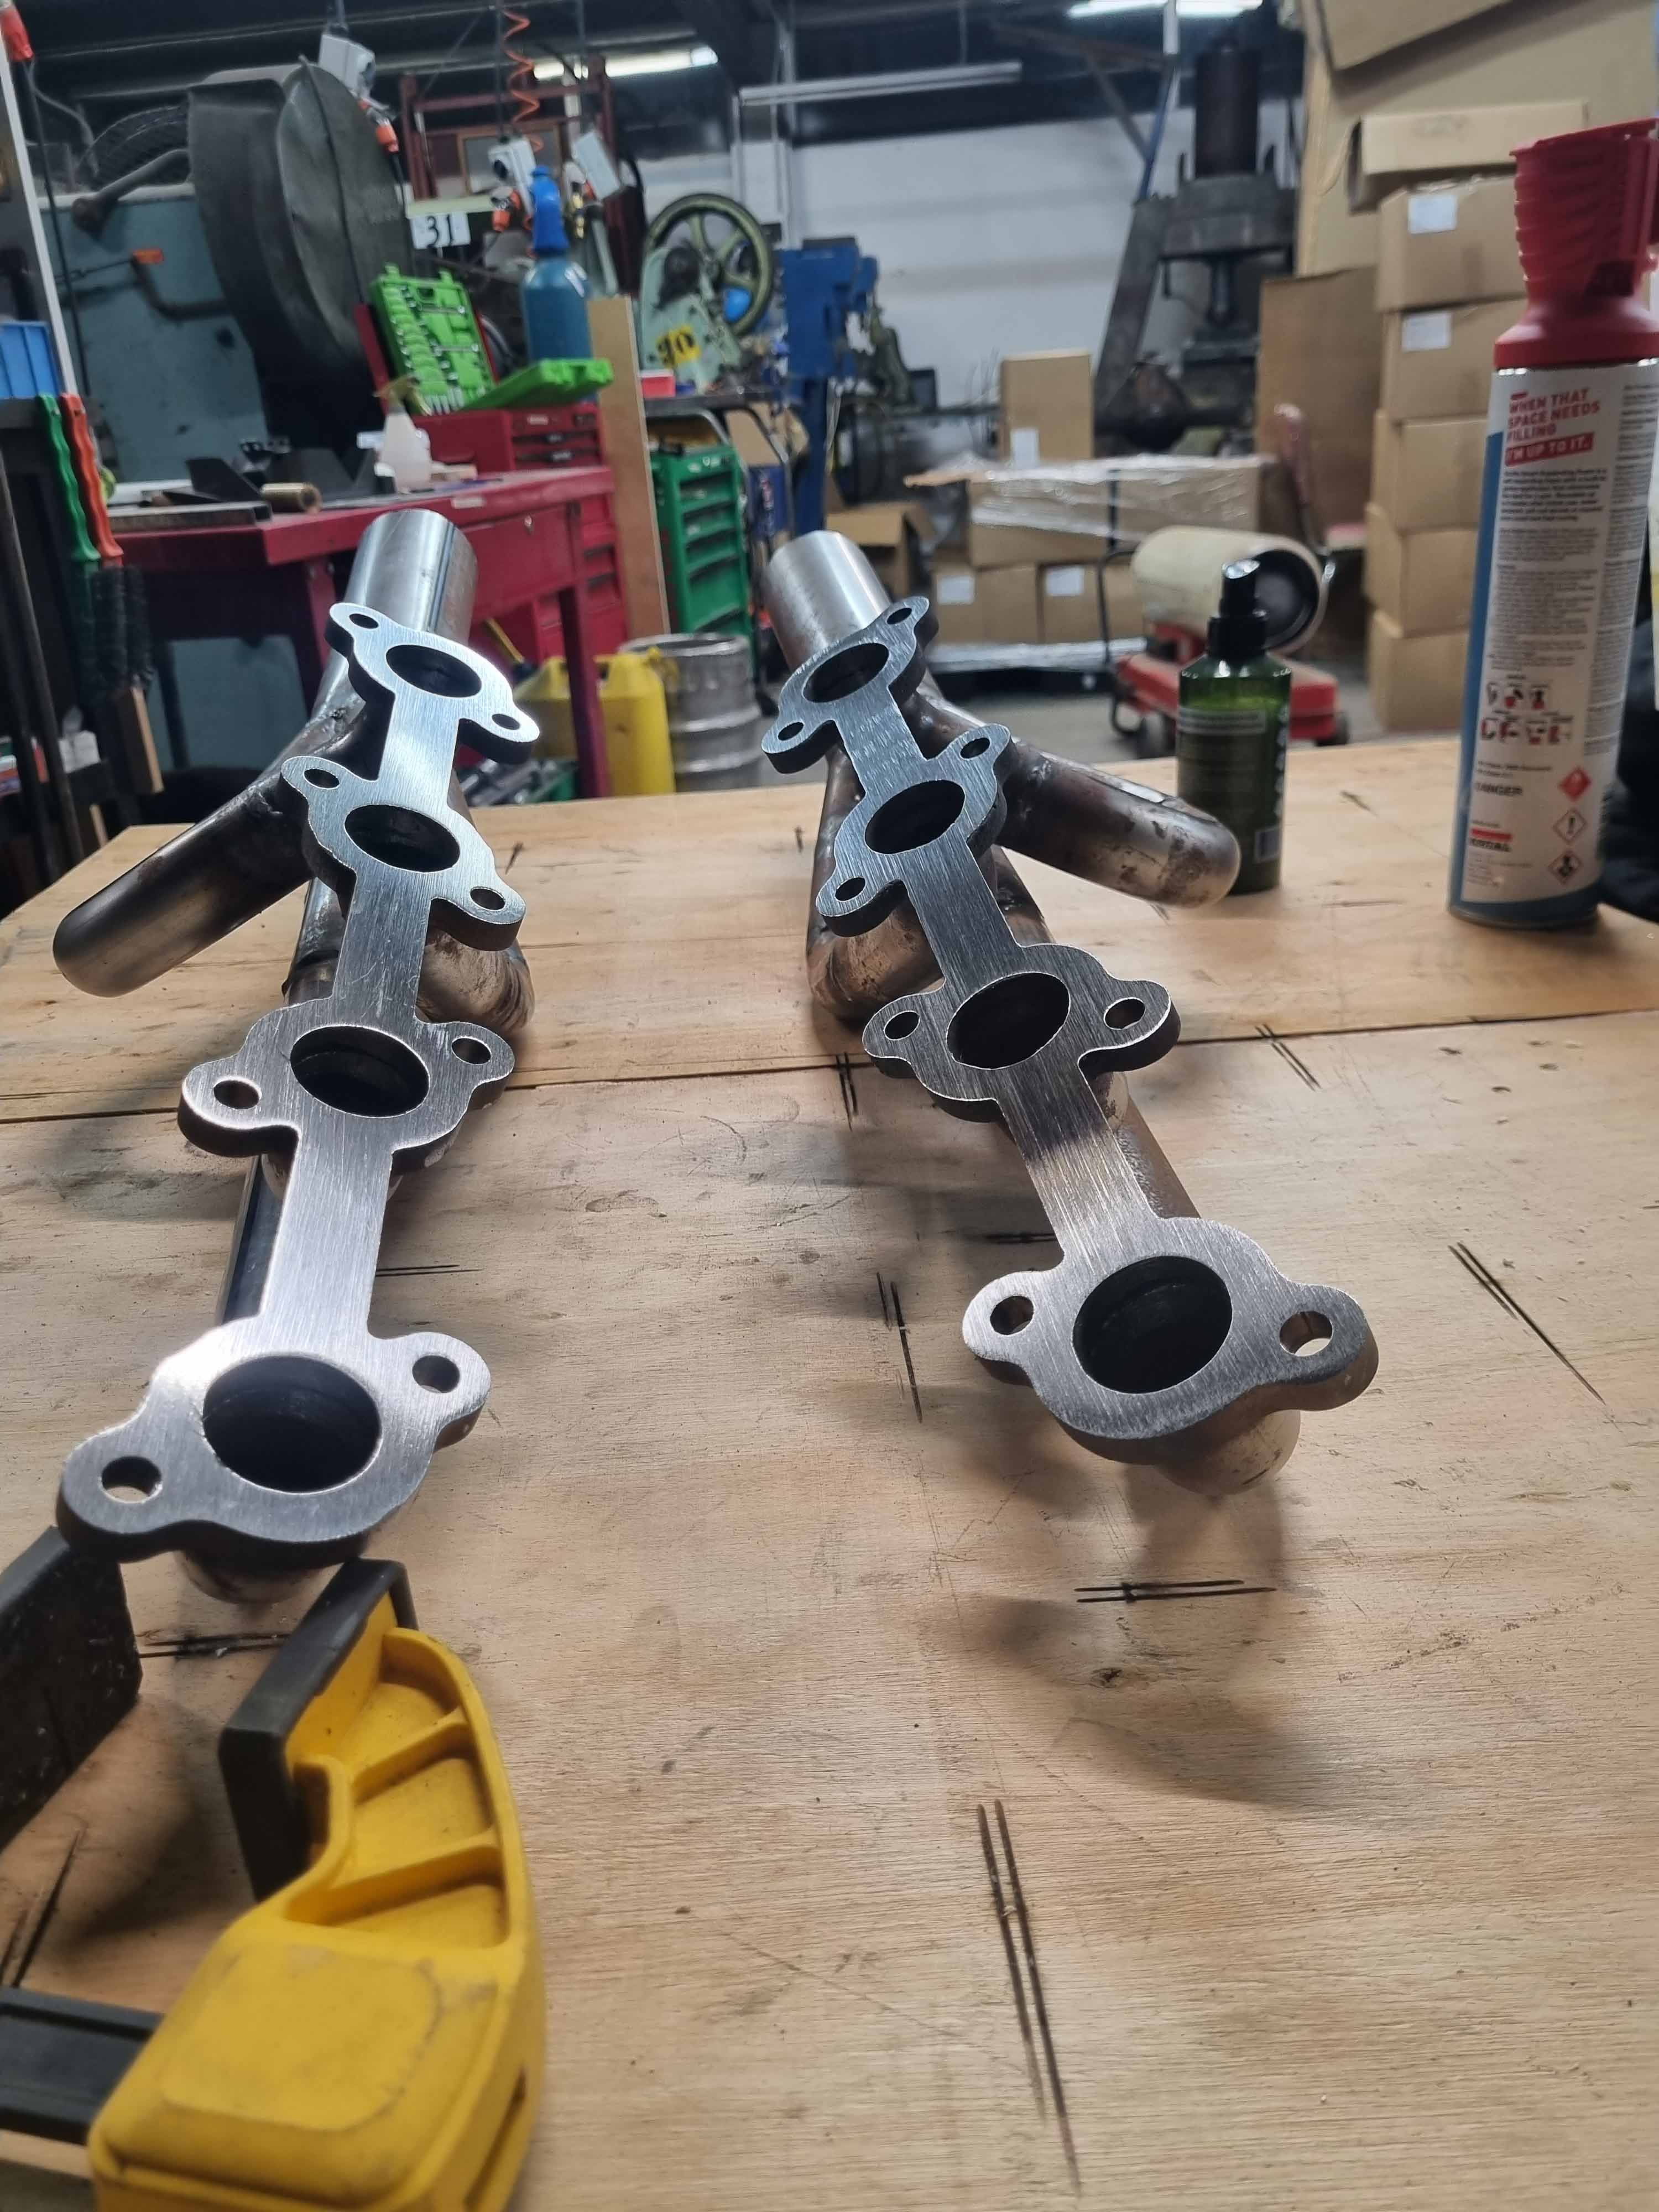
Gave inside of heads a thorough clean from any potential debris that may have gone wayward. Blocked off oil return gallery prior and removed manifold afterwards to ensure nothing made its way into the valley through the pushrod tubes. Took a pic of some of the porting on the manifold and headsfor brags. Gasket was overlapping a couple of ports too so sorted that.
-
10
-
- Popular Post
- Popular Post
-
10
-
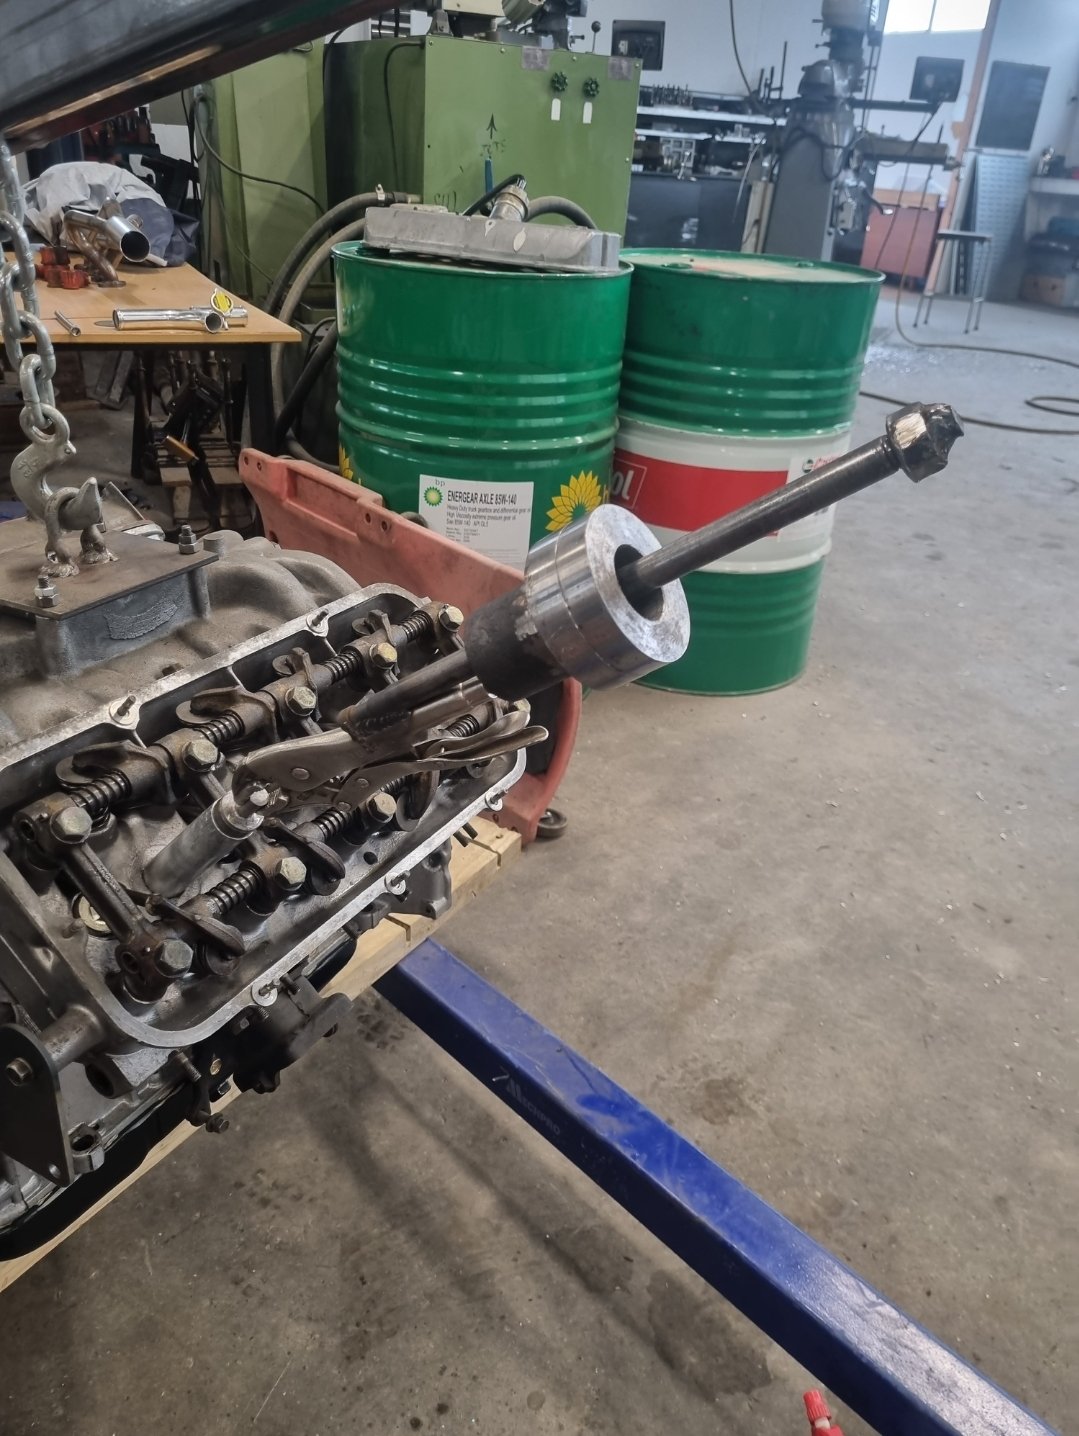
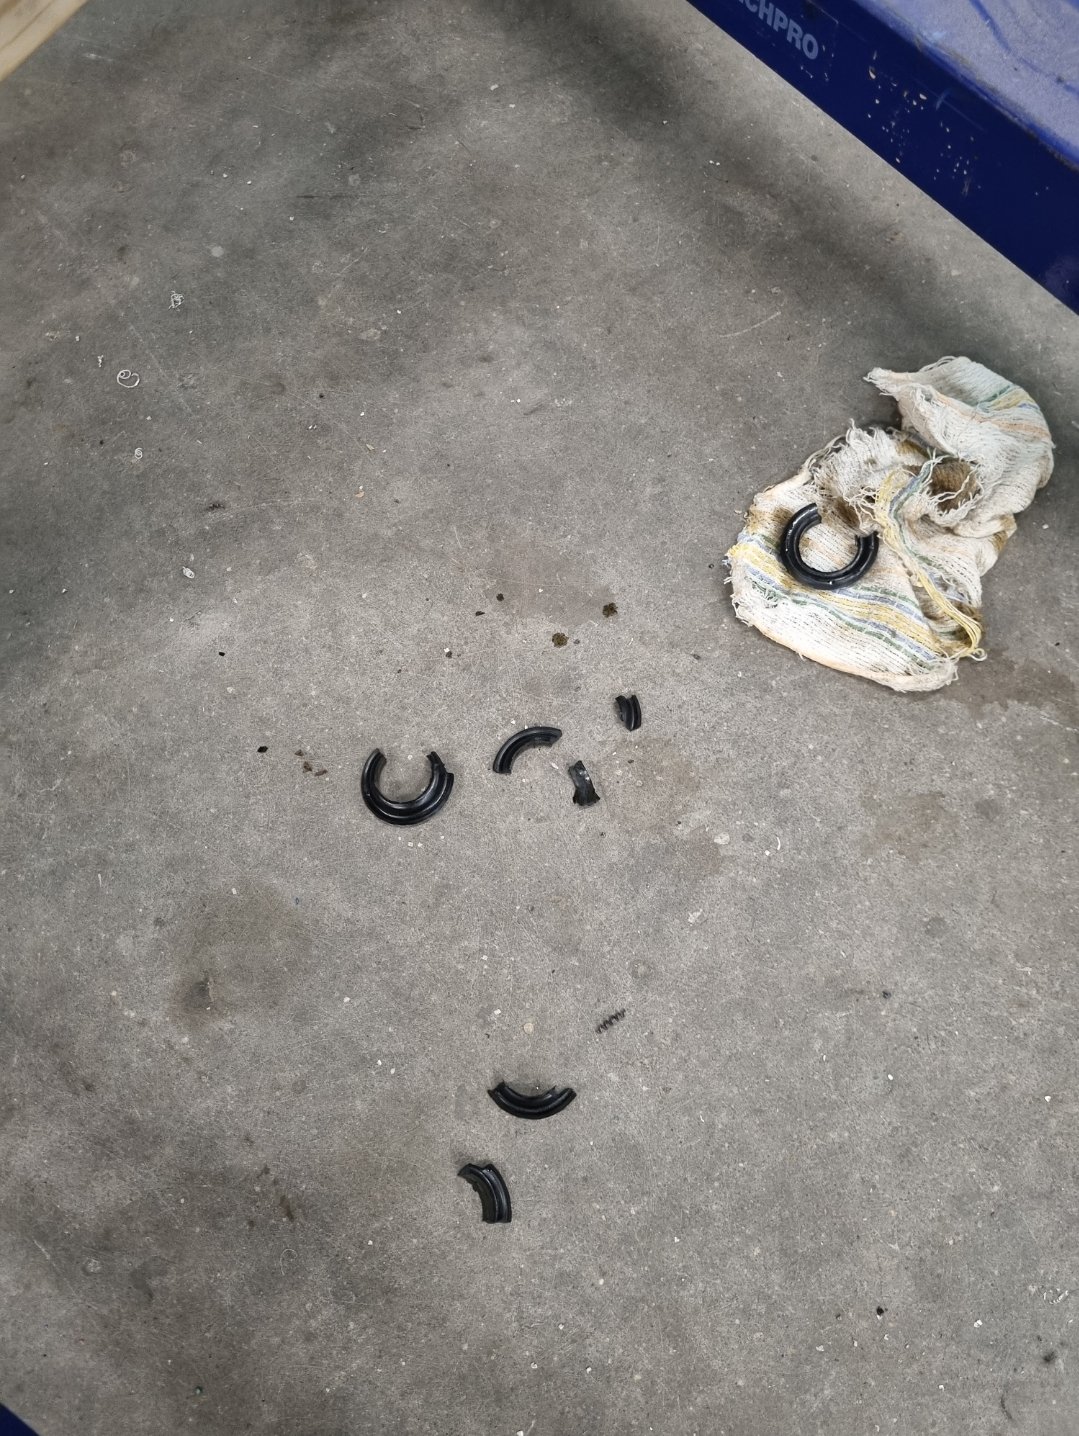
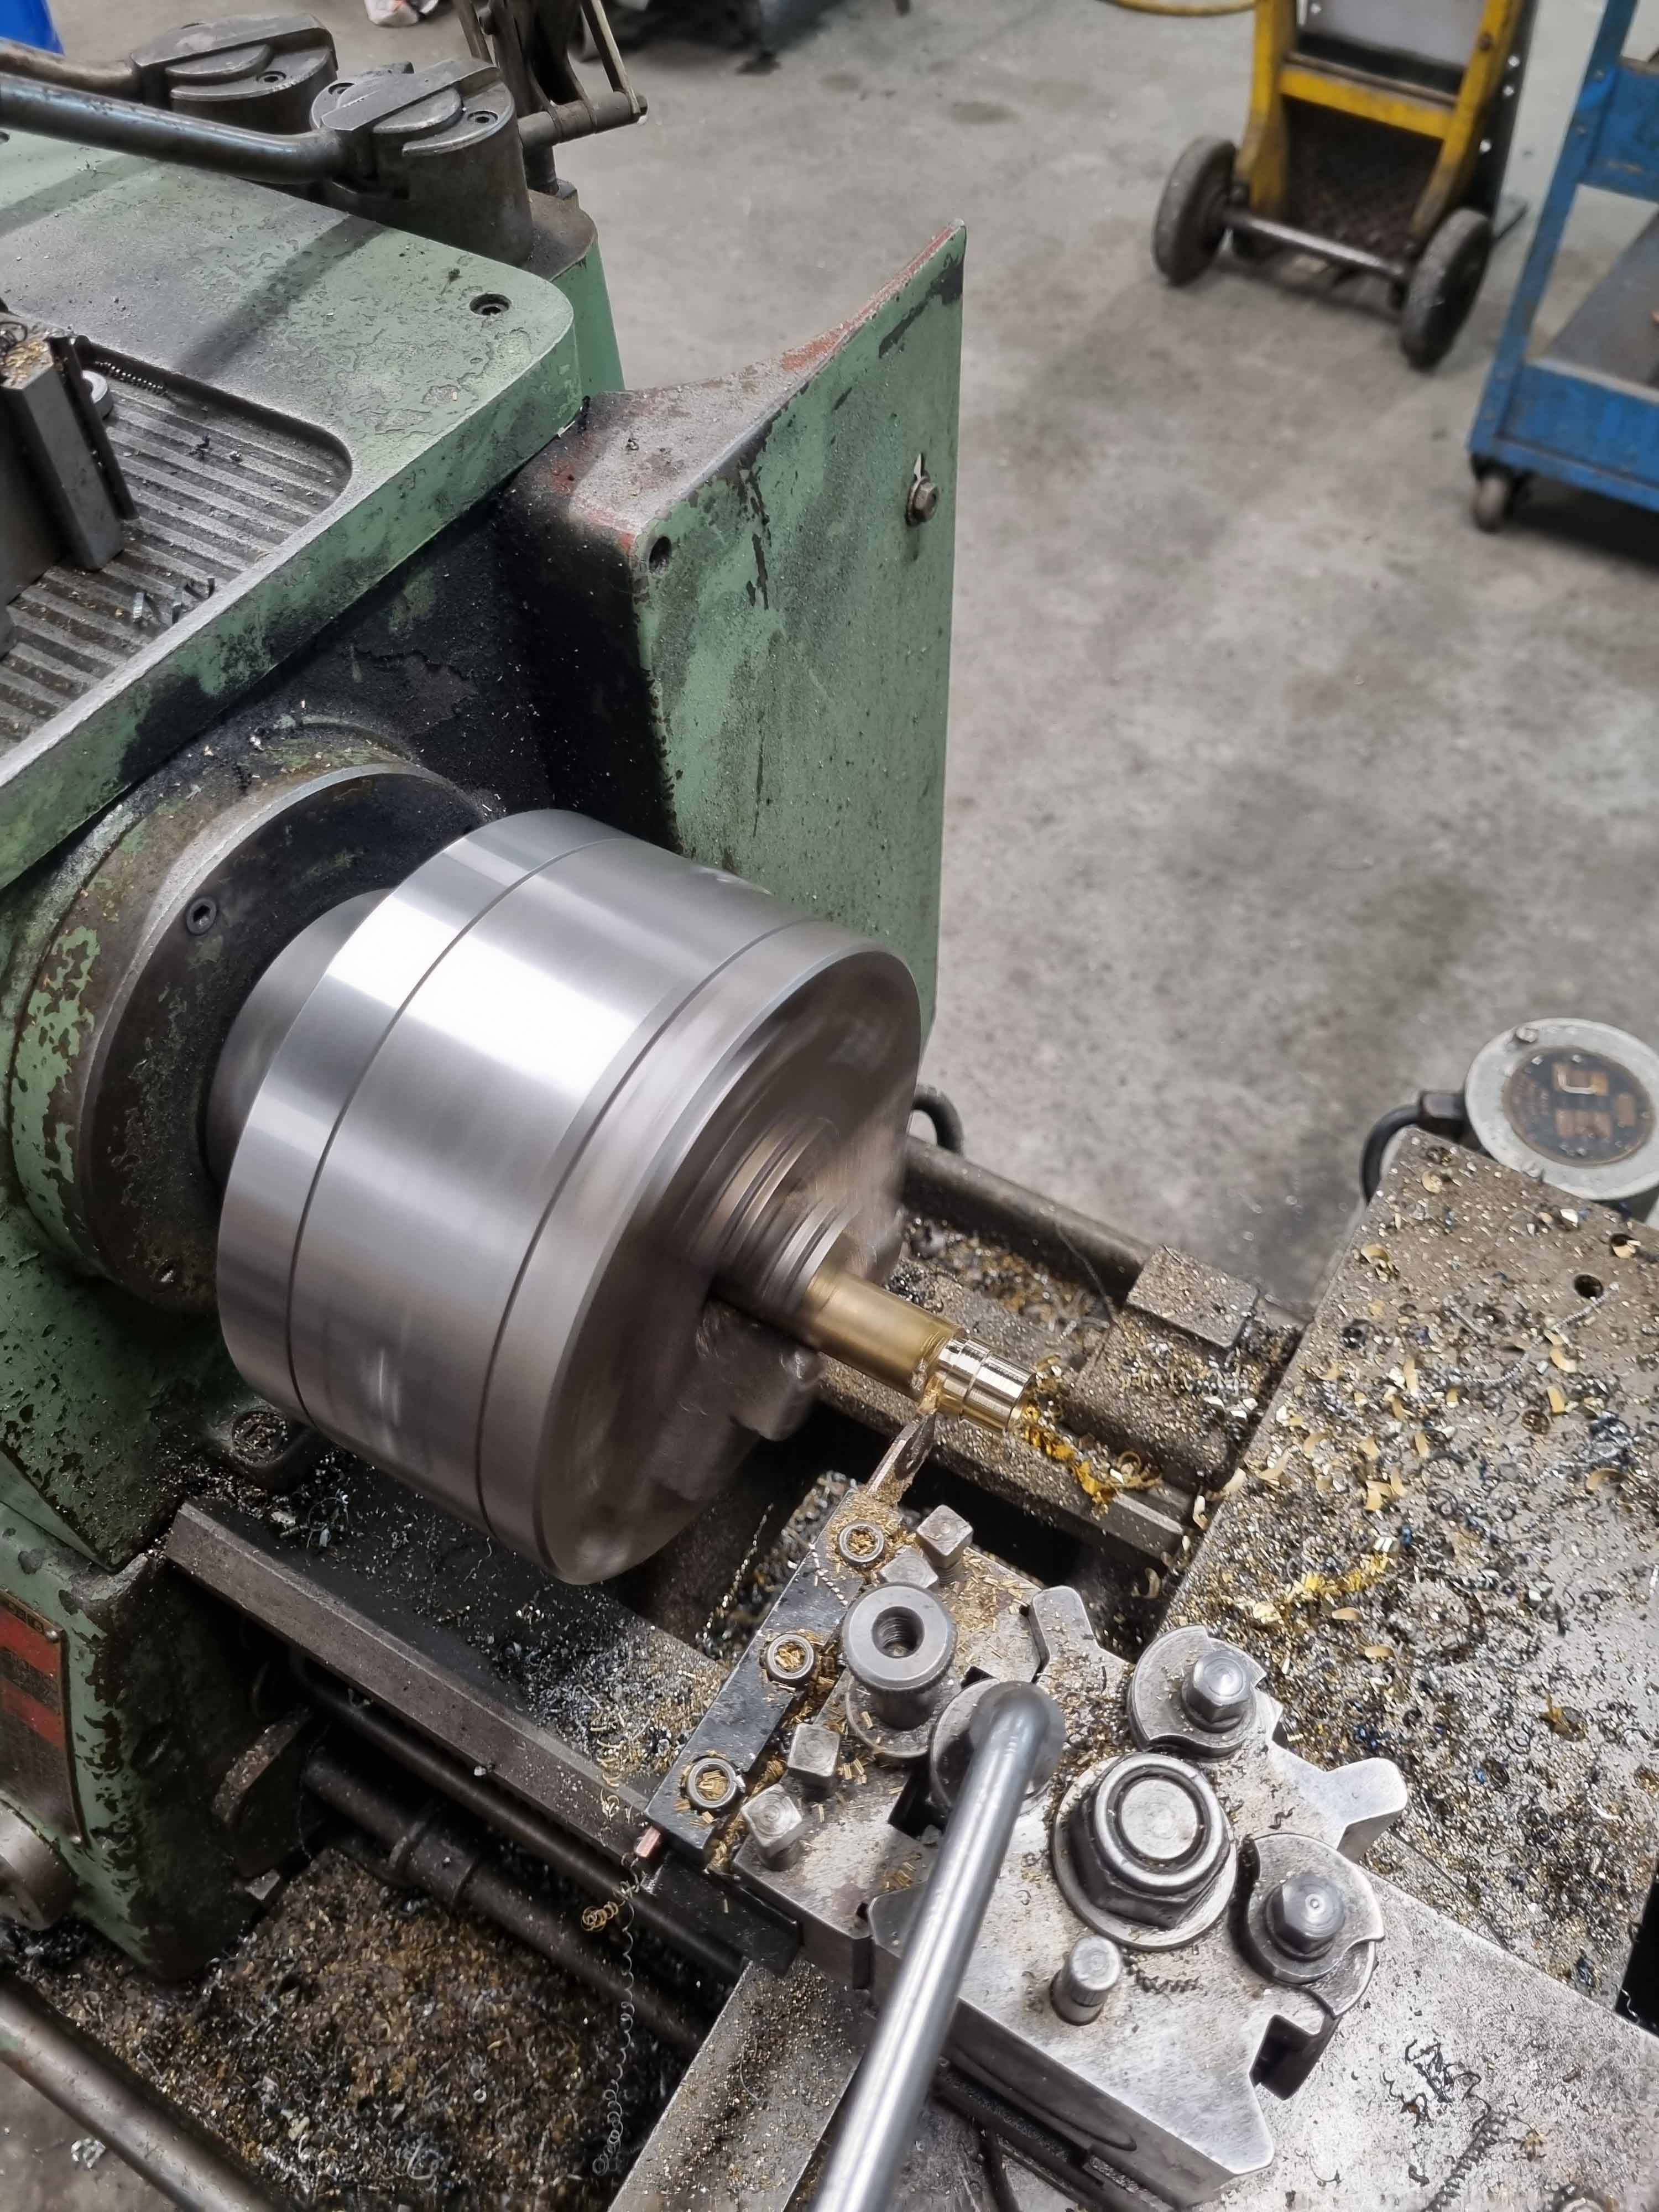
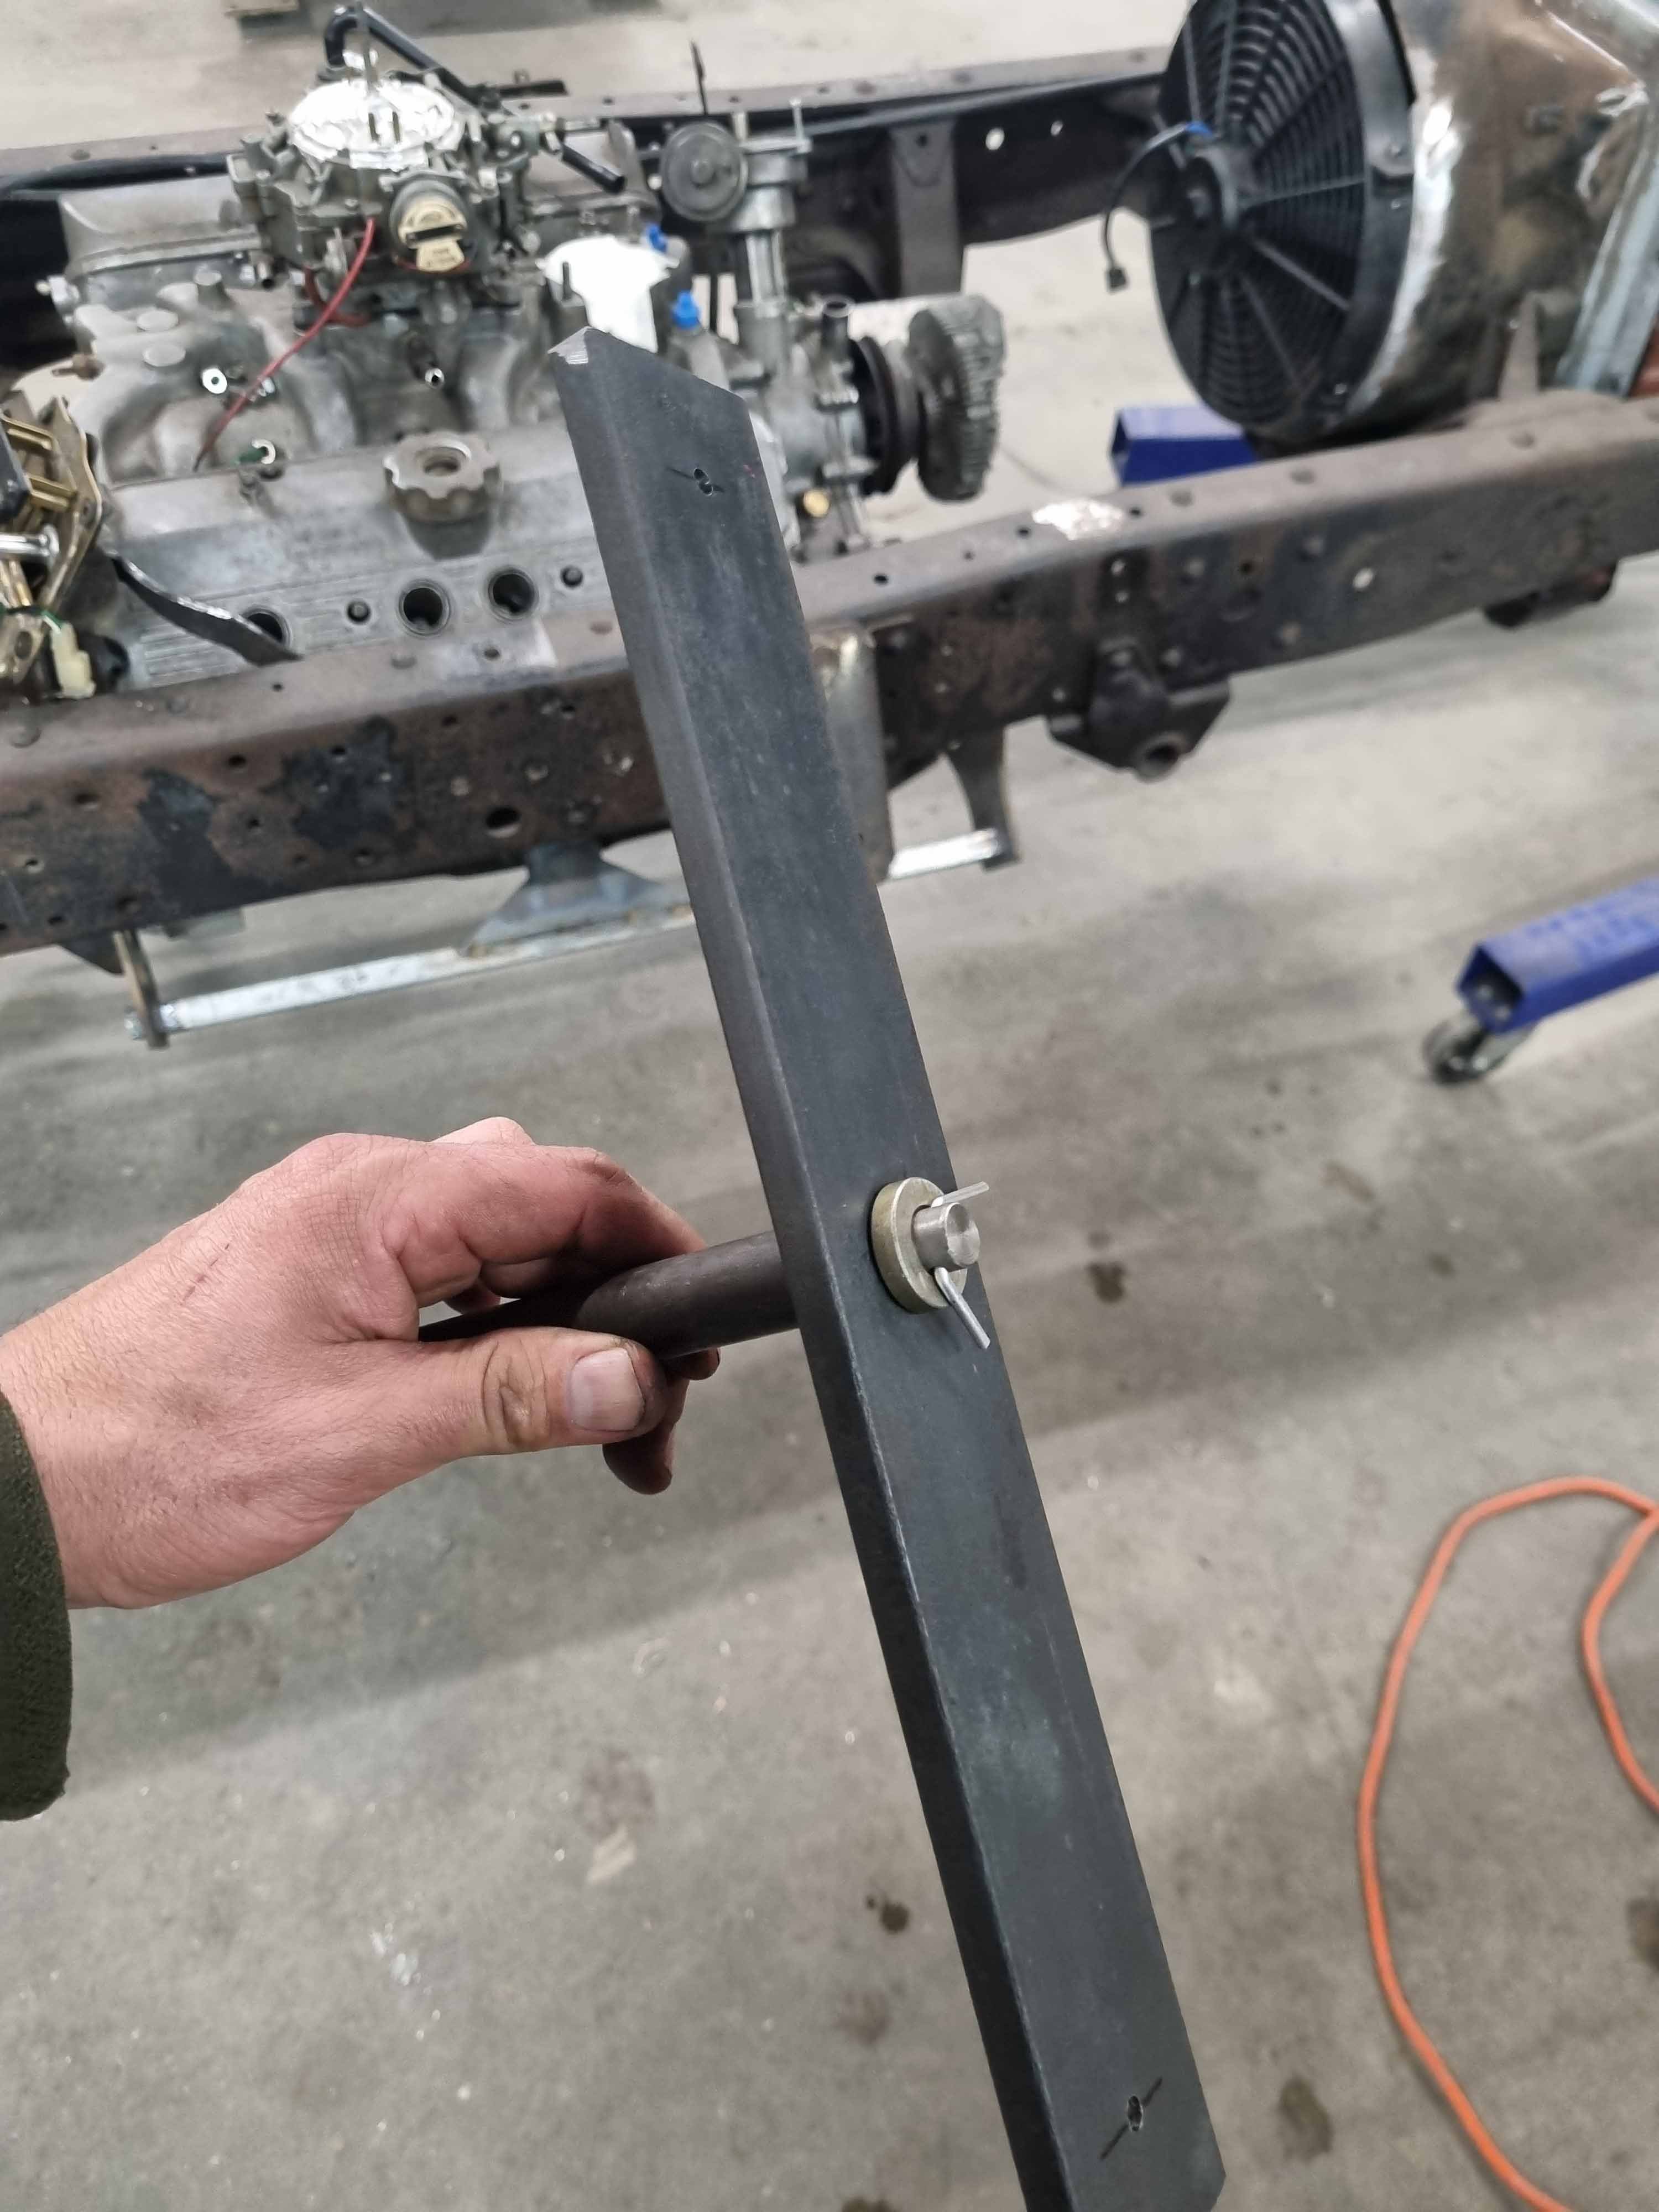
Next up I got involved in the plug tube seals that I had previously machined up above. It was a bit of a cunt measuring up the plug tubes initially and my intention for a good fit was not quite met. It was more of a slide fit, so I devised a plan to ram a mandrel down the tube to flare it out a little so that the seal perches I machined would be a press fit. As luck would have it I found a scrap of round bar that was perfect for the job, and just machined a little taper on the nose to ease it down the tube. It even had a little bit on the back for my shitty home built slide hammer to grab on to pull it out. I had some old plug tubes from a parts engine to try the theory on and it worked a treat so I proceeded to the main event. Had to chisel the old seals off and clean up with some p240. They were truly fucked.
-
8
-
-
- Popular Post
- Popular Post
Carved out a bit of space to get stuck into engine and trans related bits.
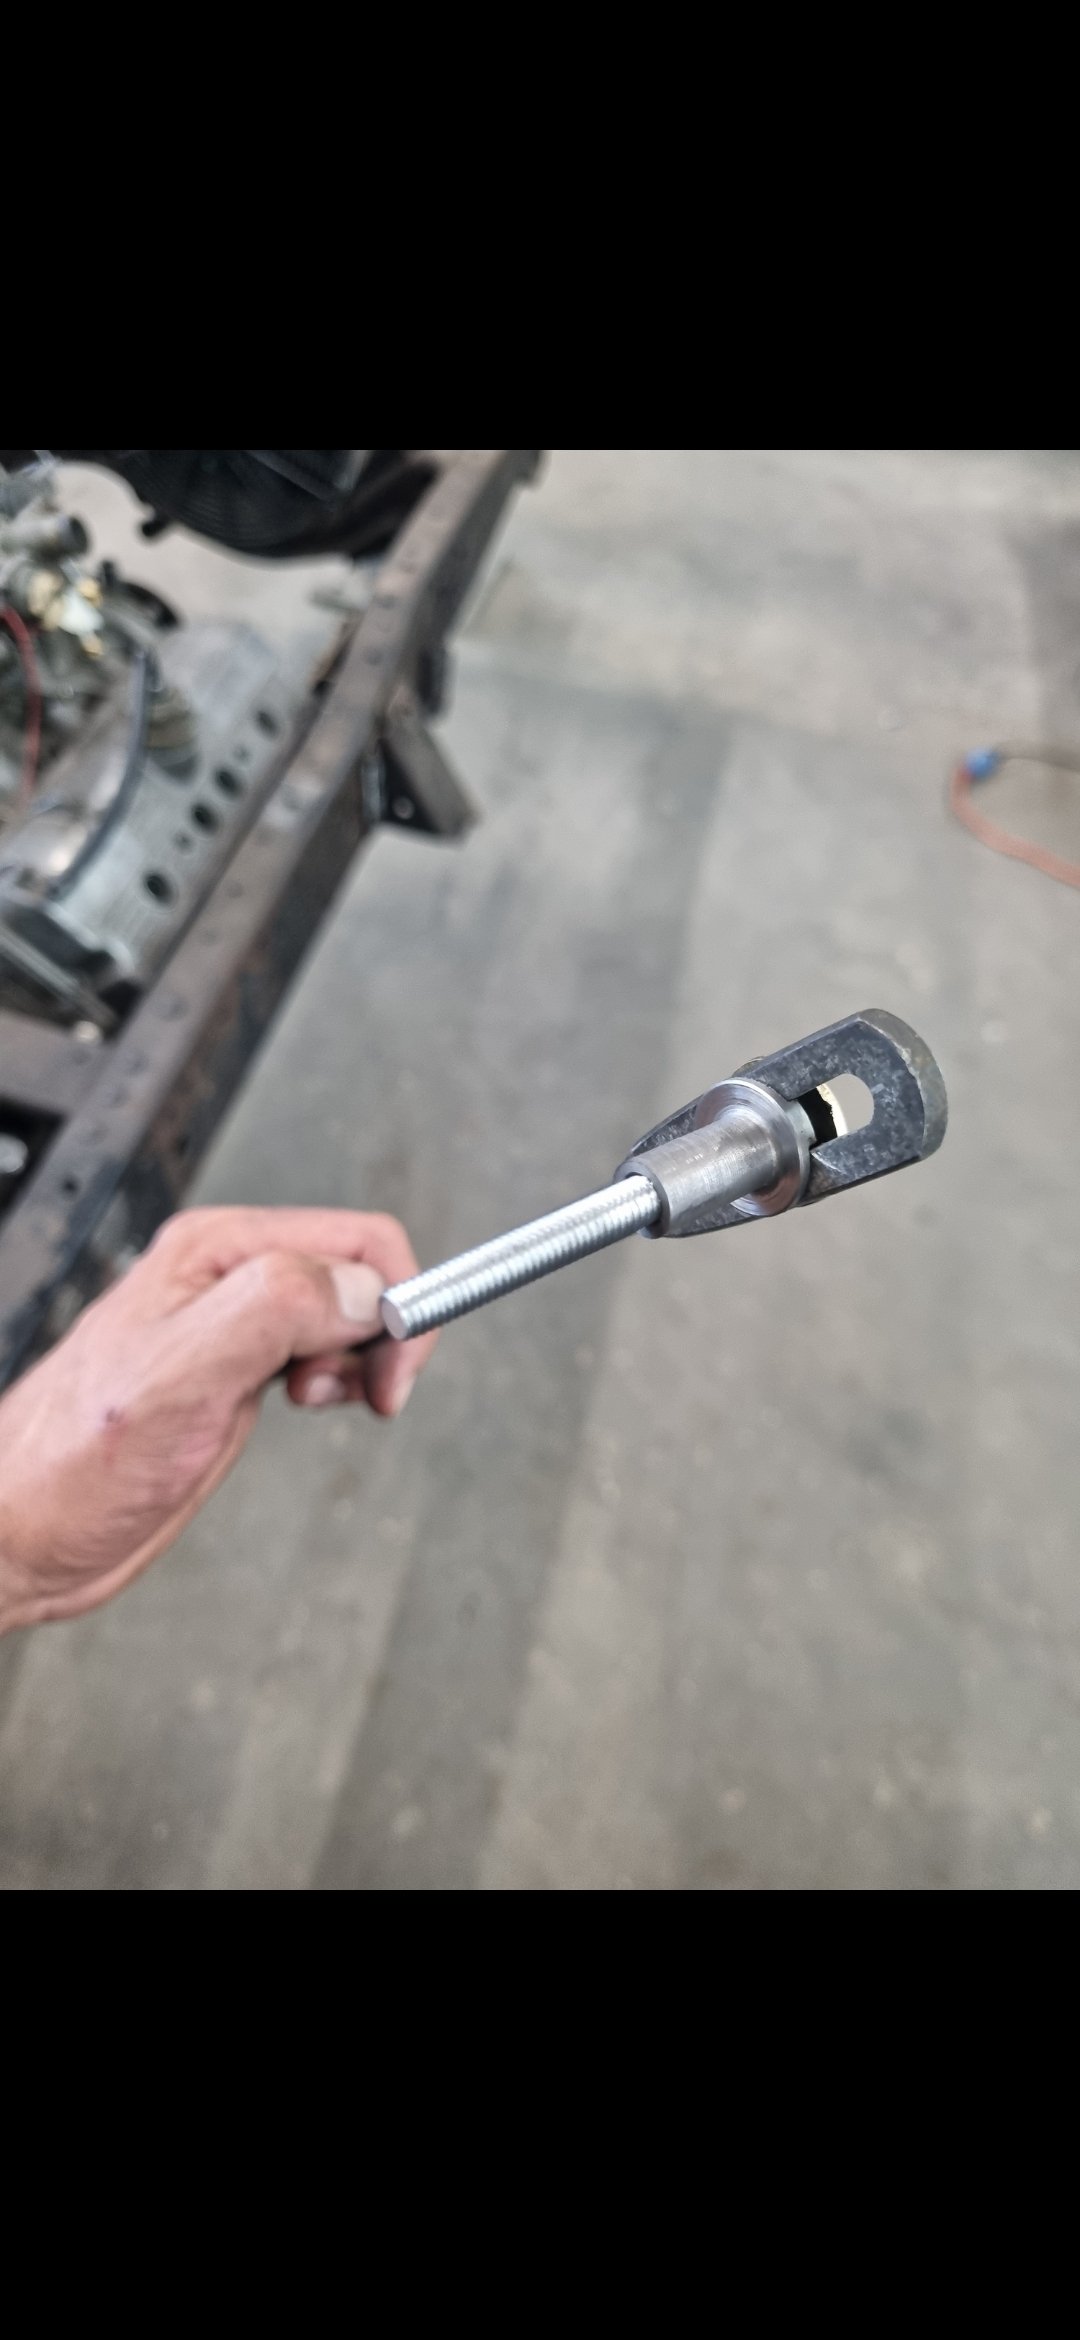
Started off by finishing off the shifter adjuster bush thingy. Works a treat.
-
10
-
2 minutes ago, Nominal said:
You know it's a long weekend, right?
Nice work, good to see it coming together and the tricky issues get worked out.
Ah, I wish. Solo dad,have kids this weekend. Hopefully carve out a slot in the next week or 2. Cheers bro
-
2
-
-
- Popular Post
- Popular Post
-
18
-
- Popular Post
- Popular Post
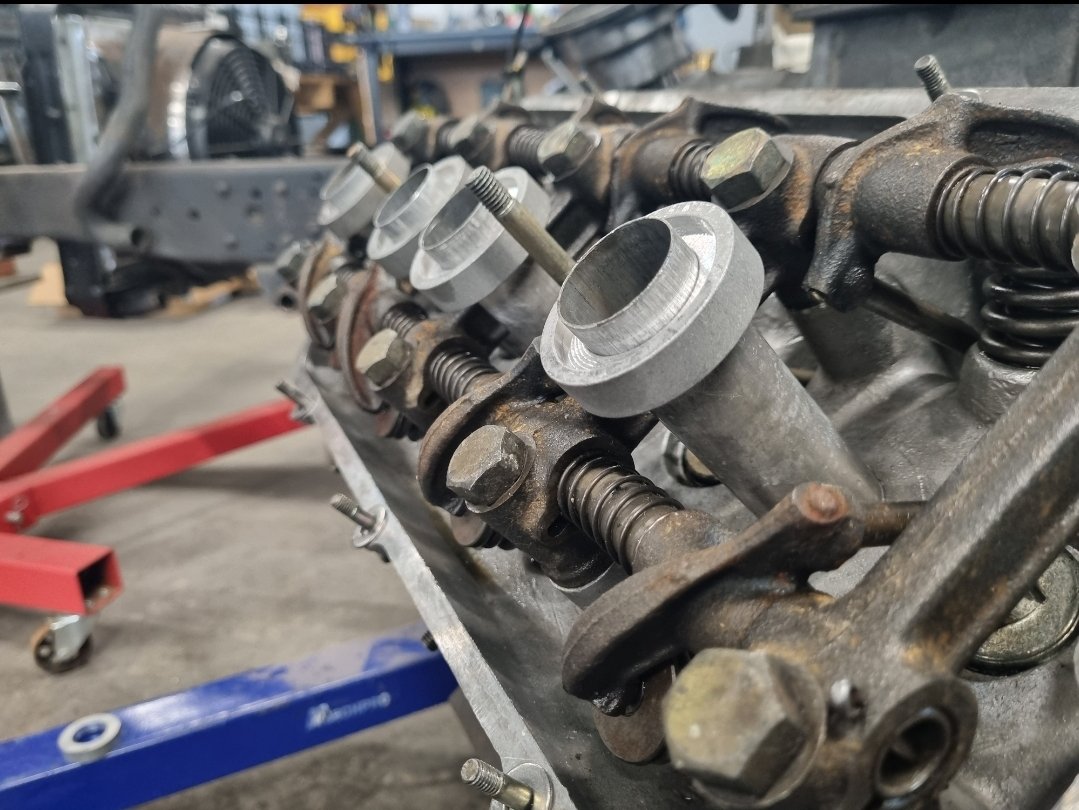
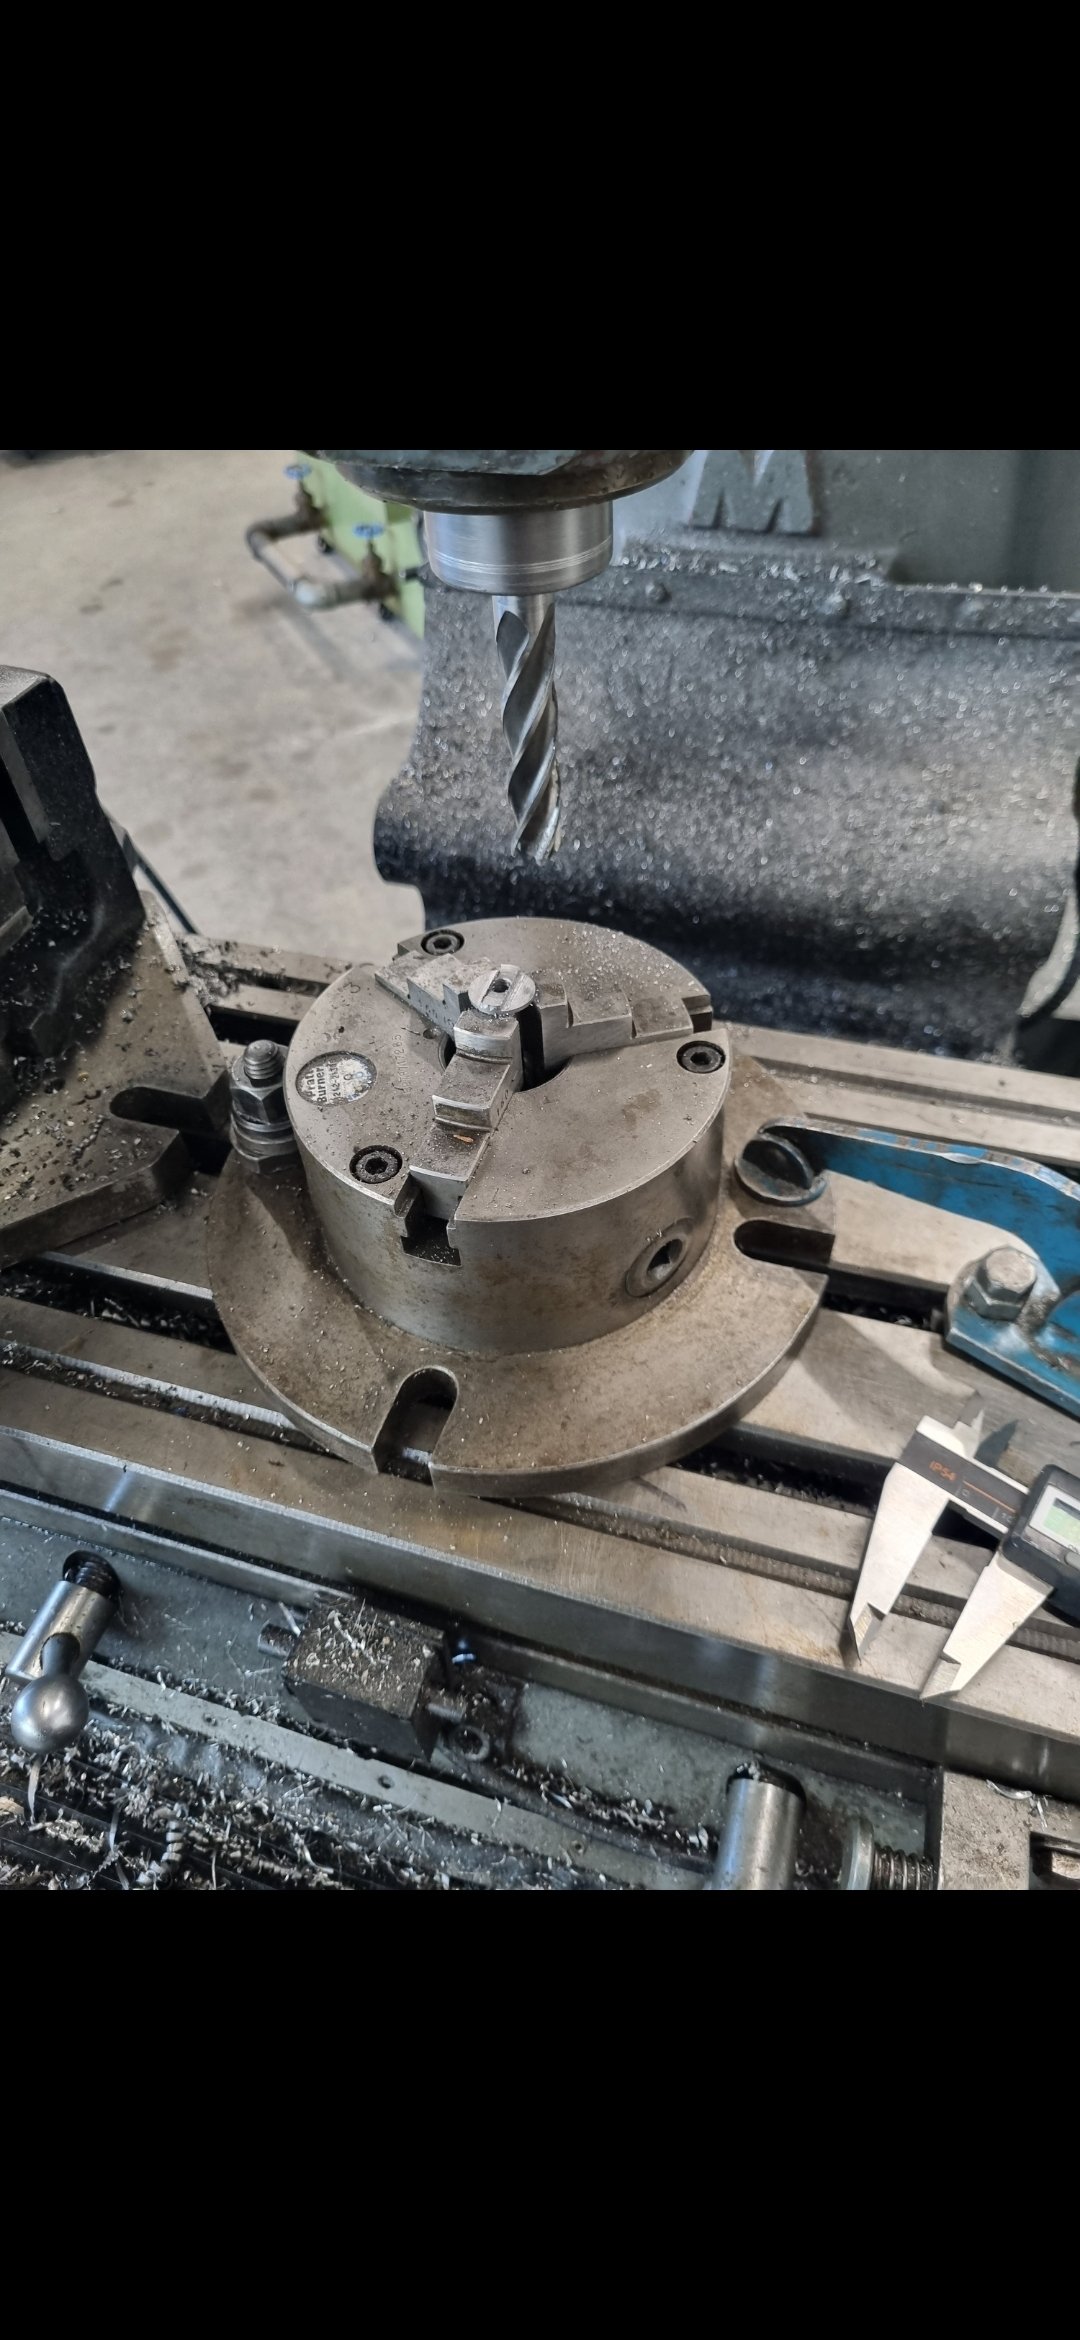
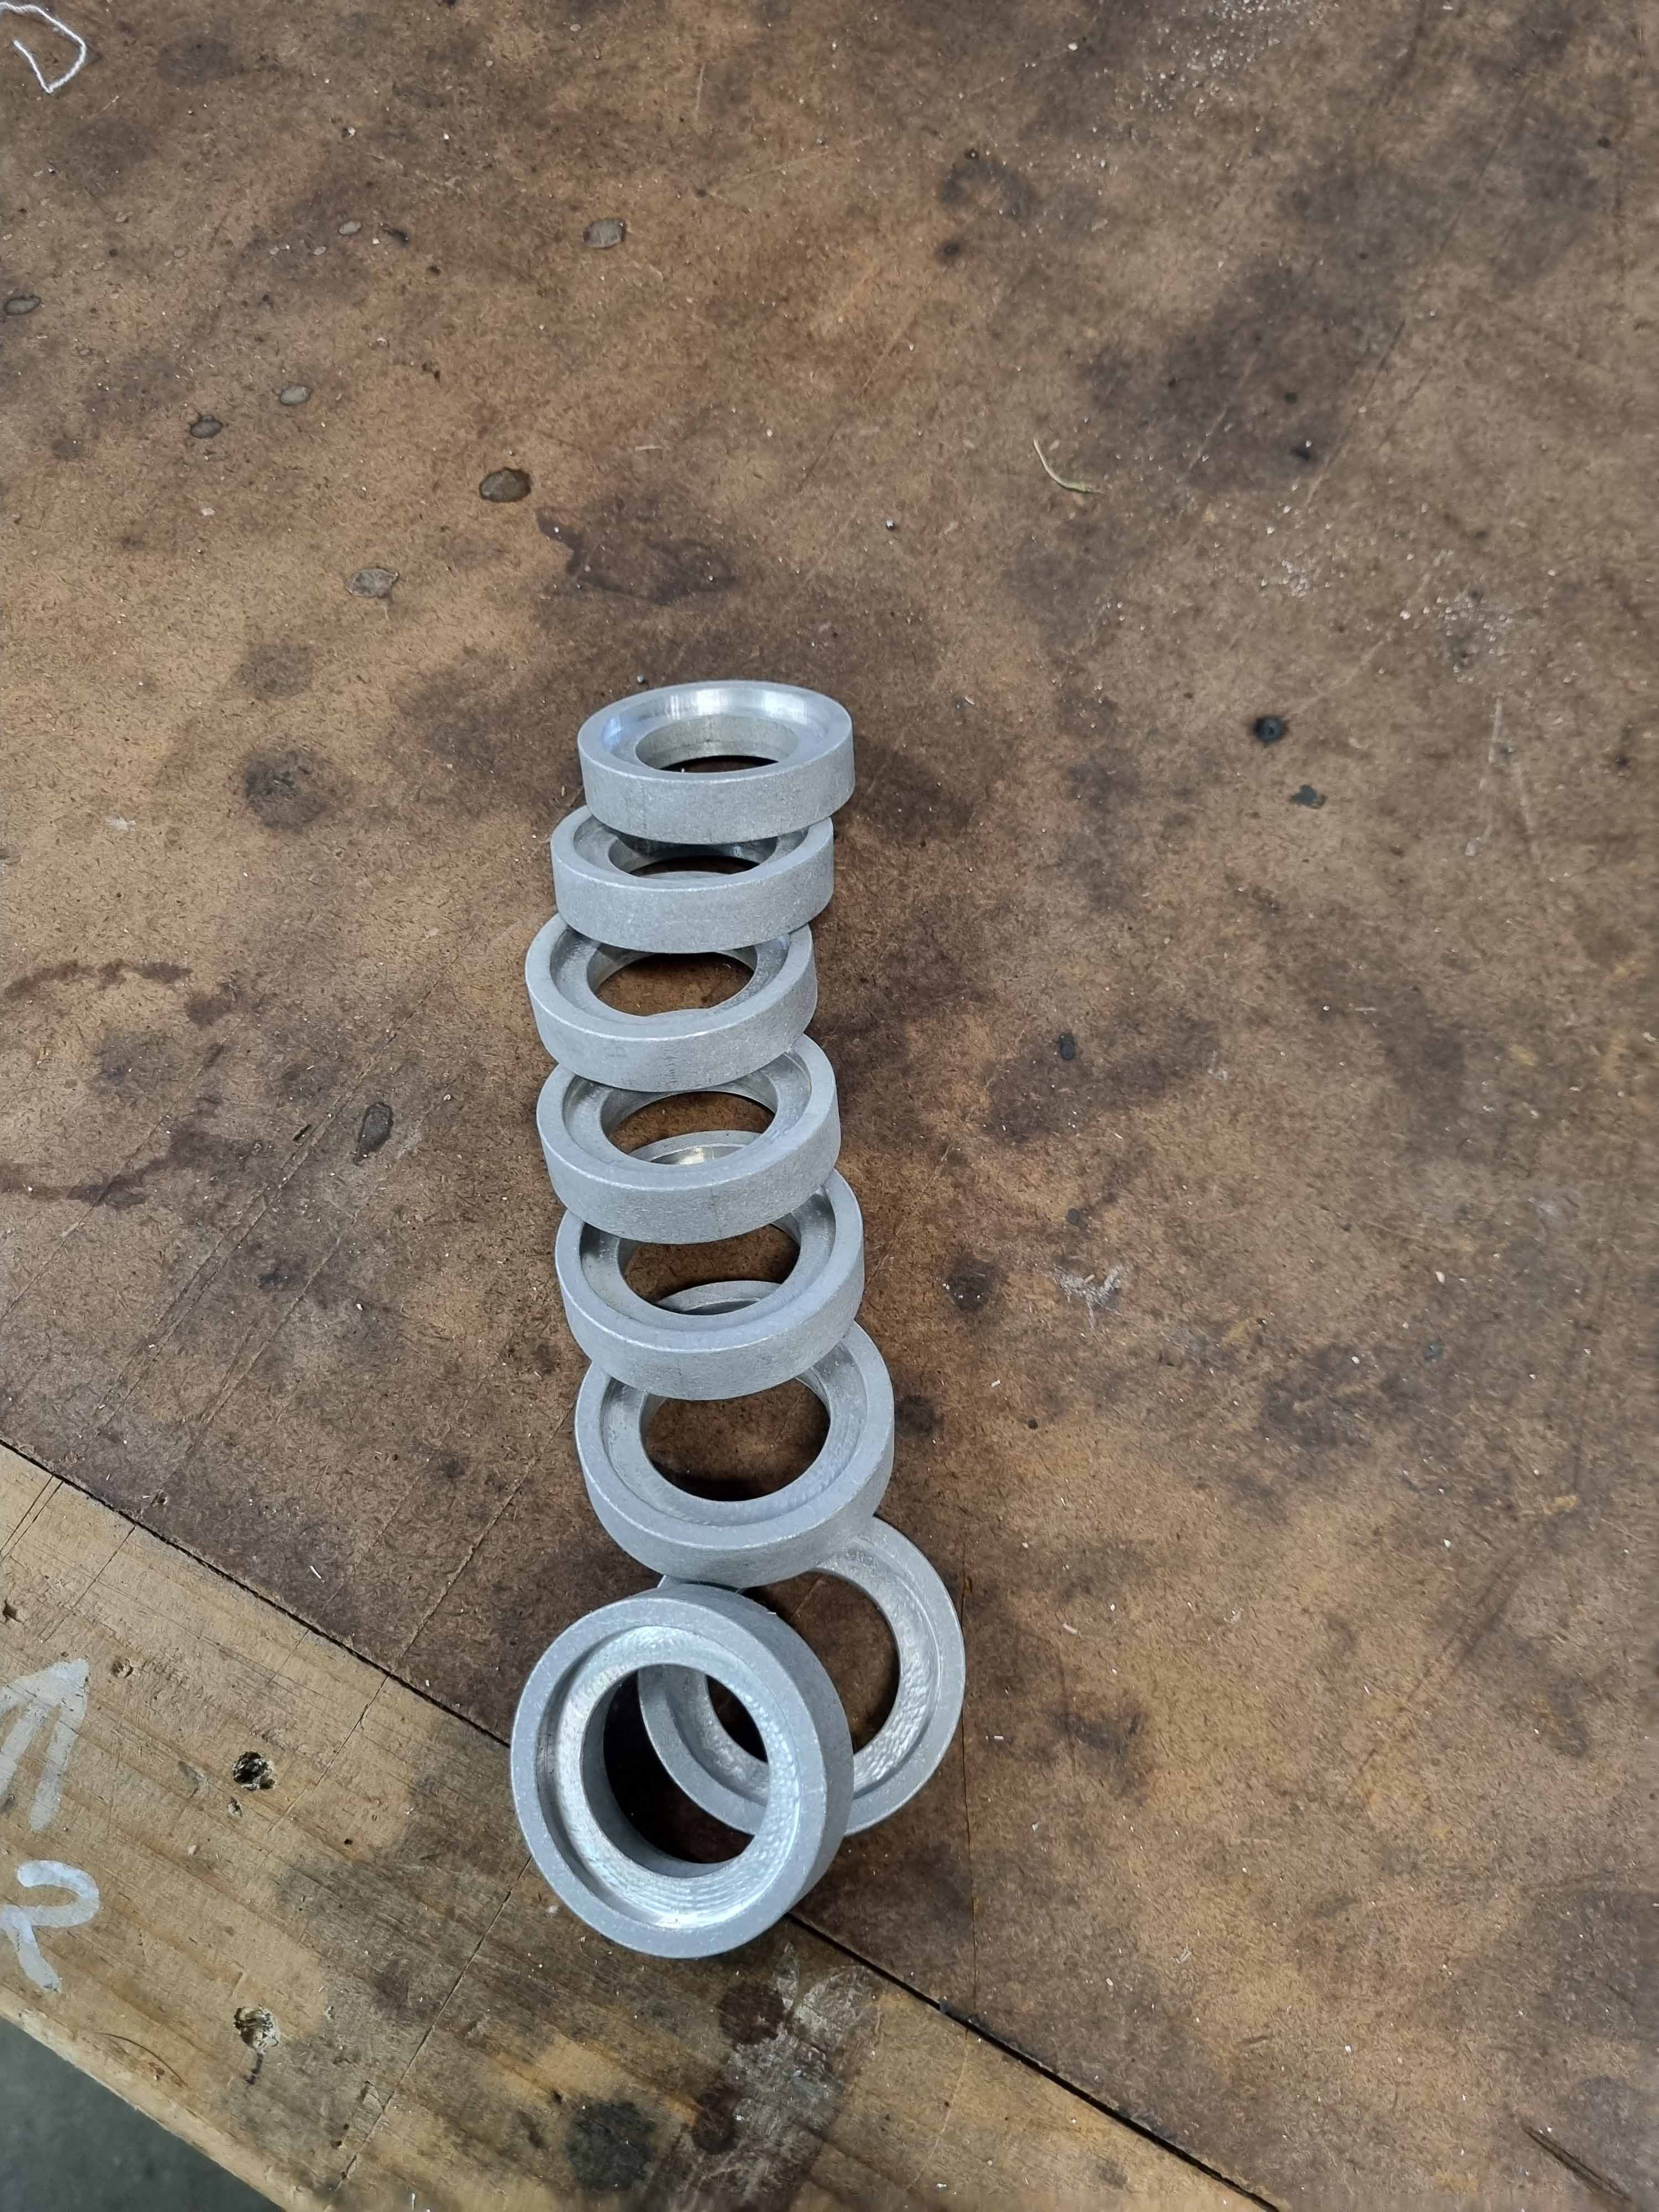
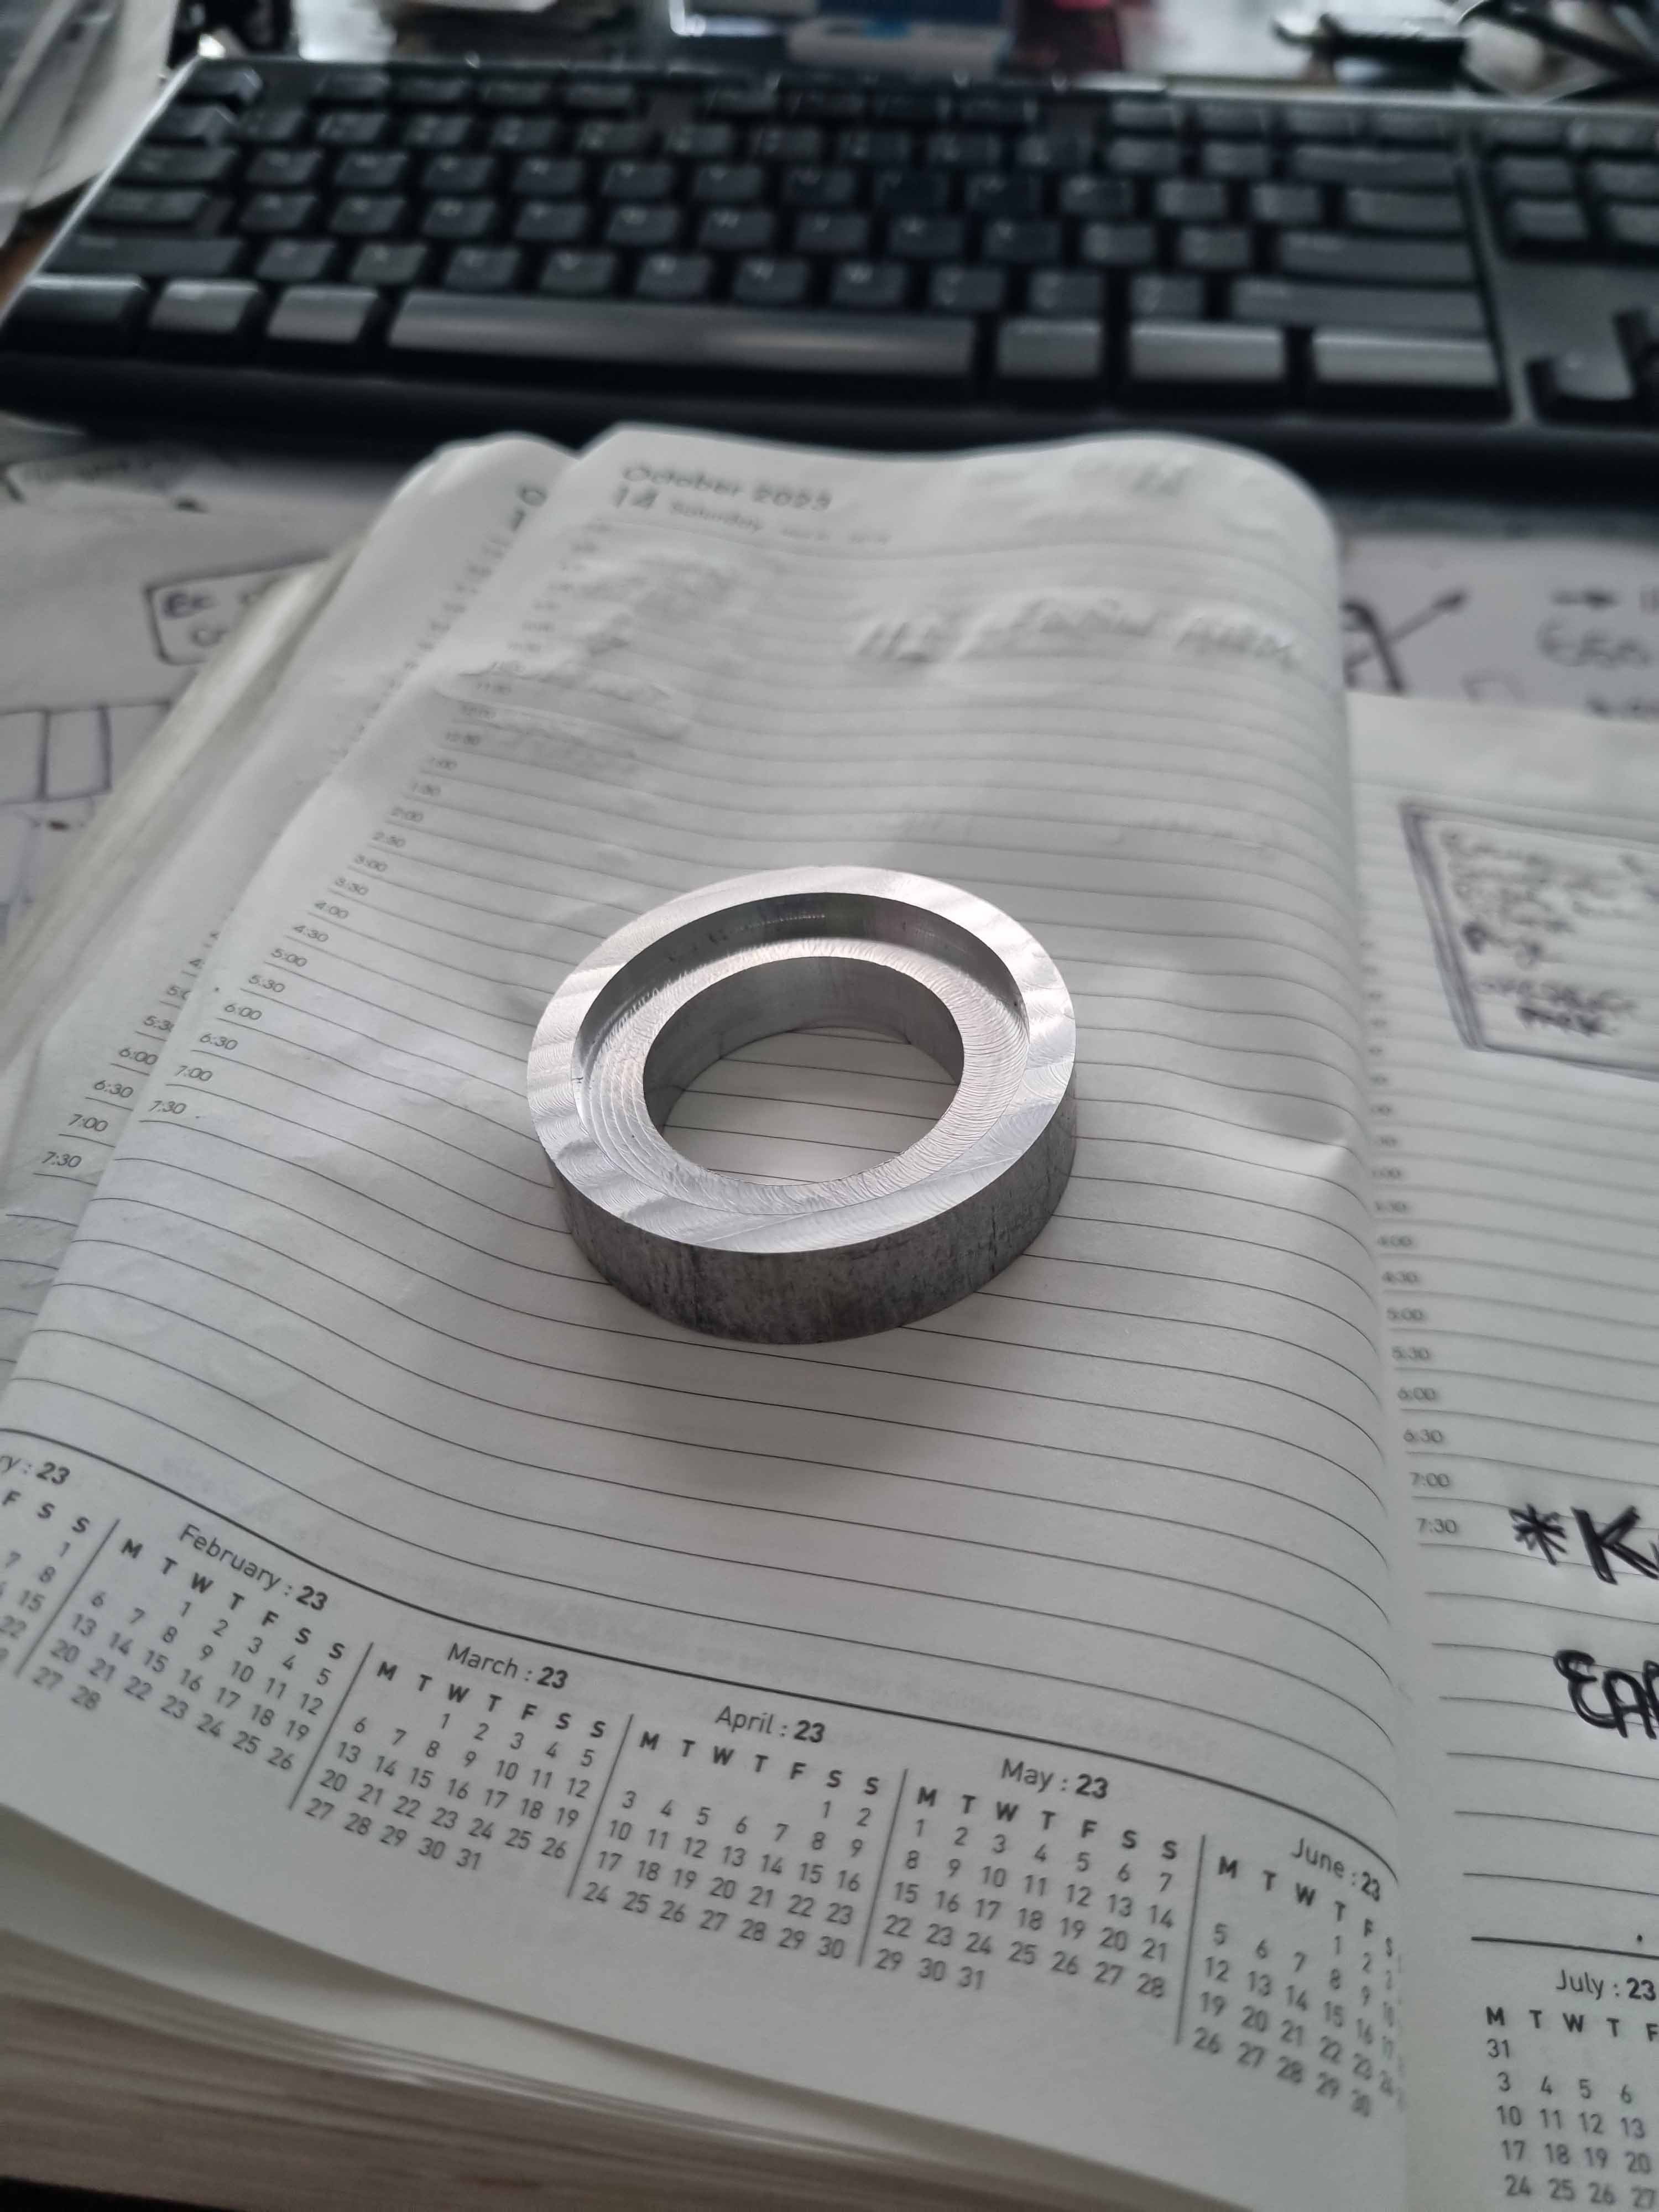
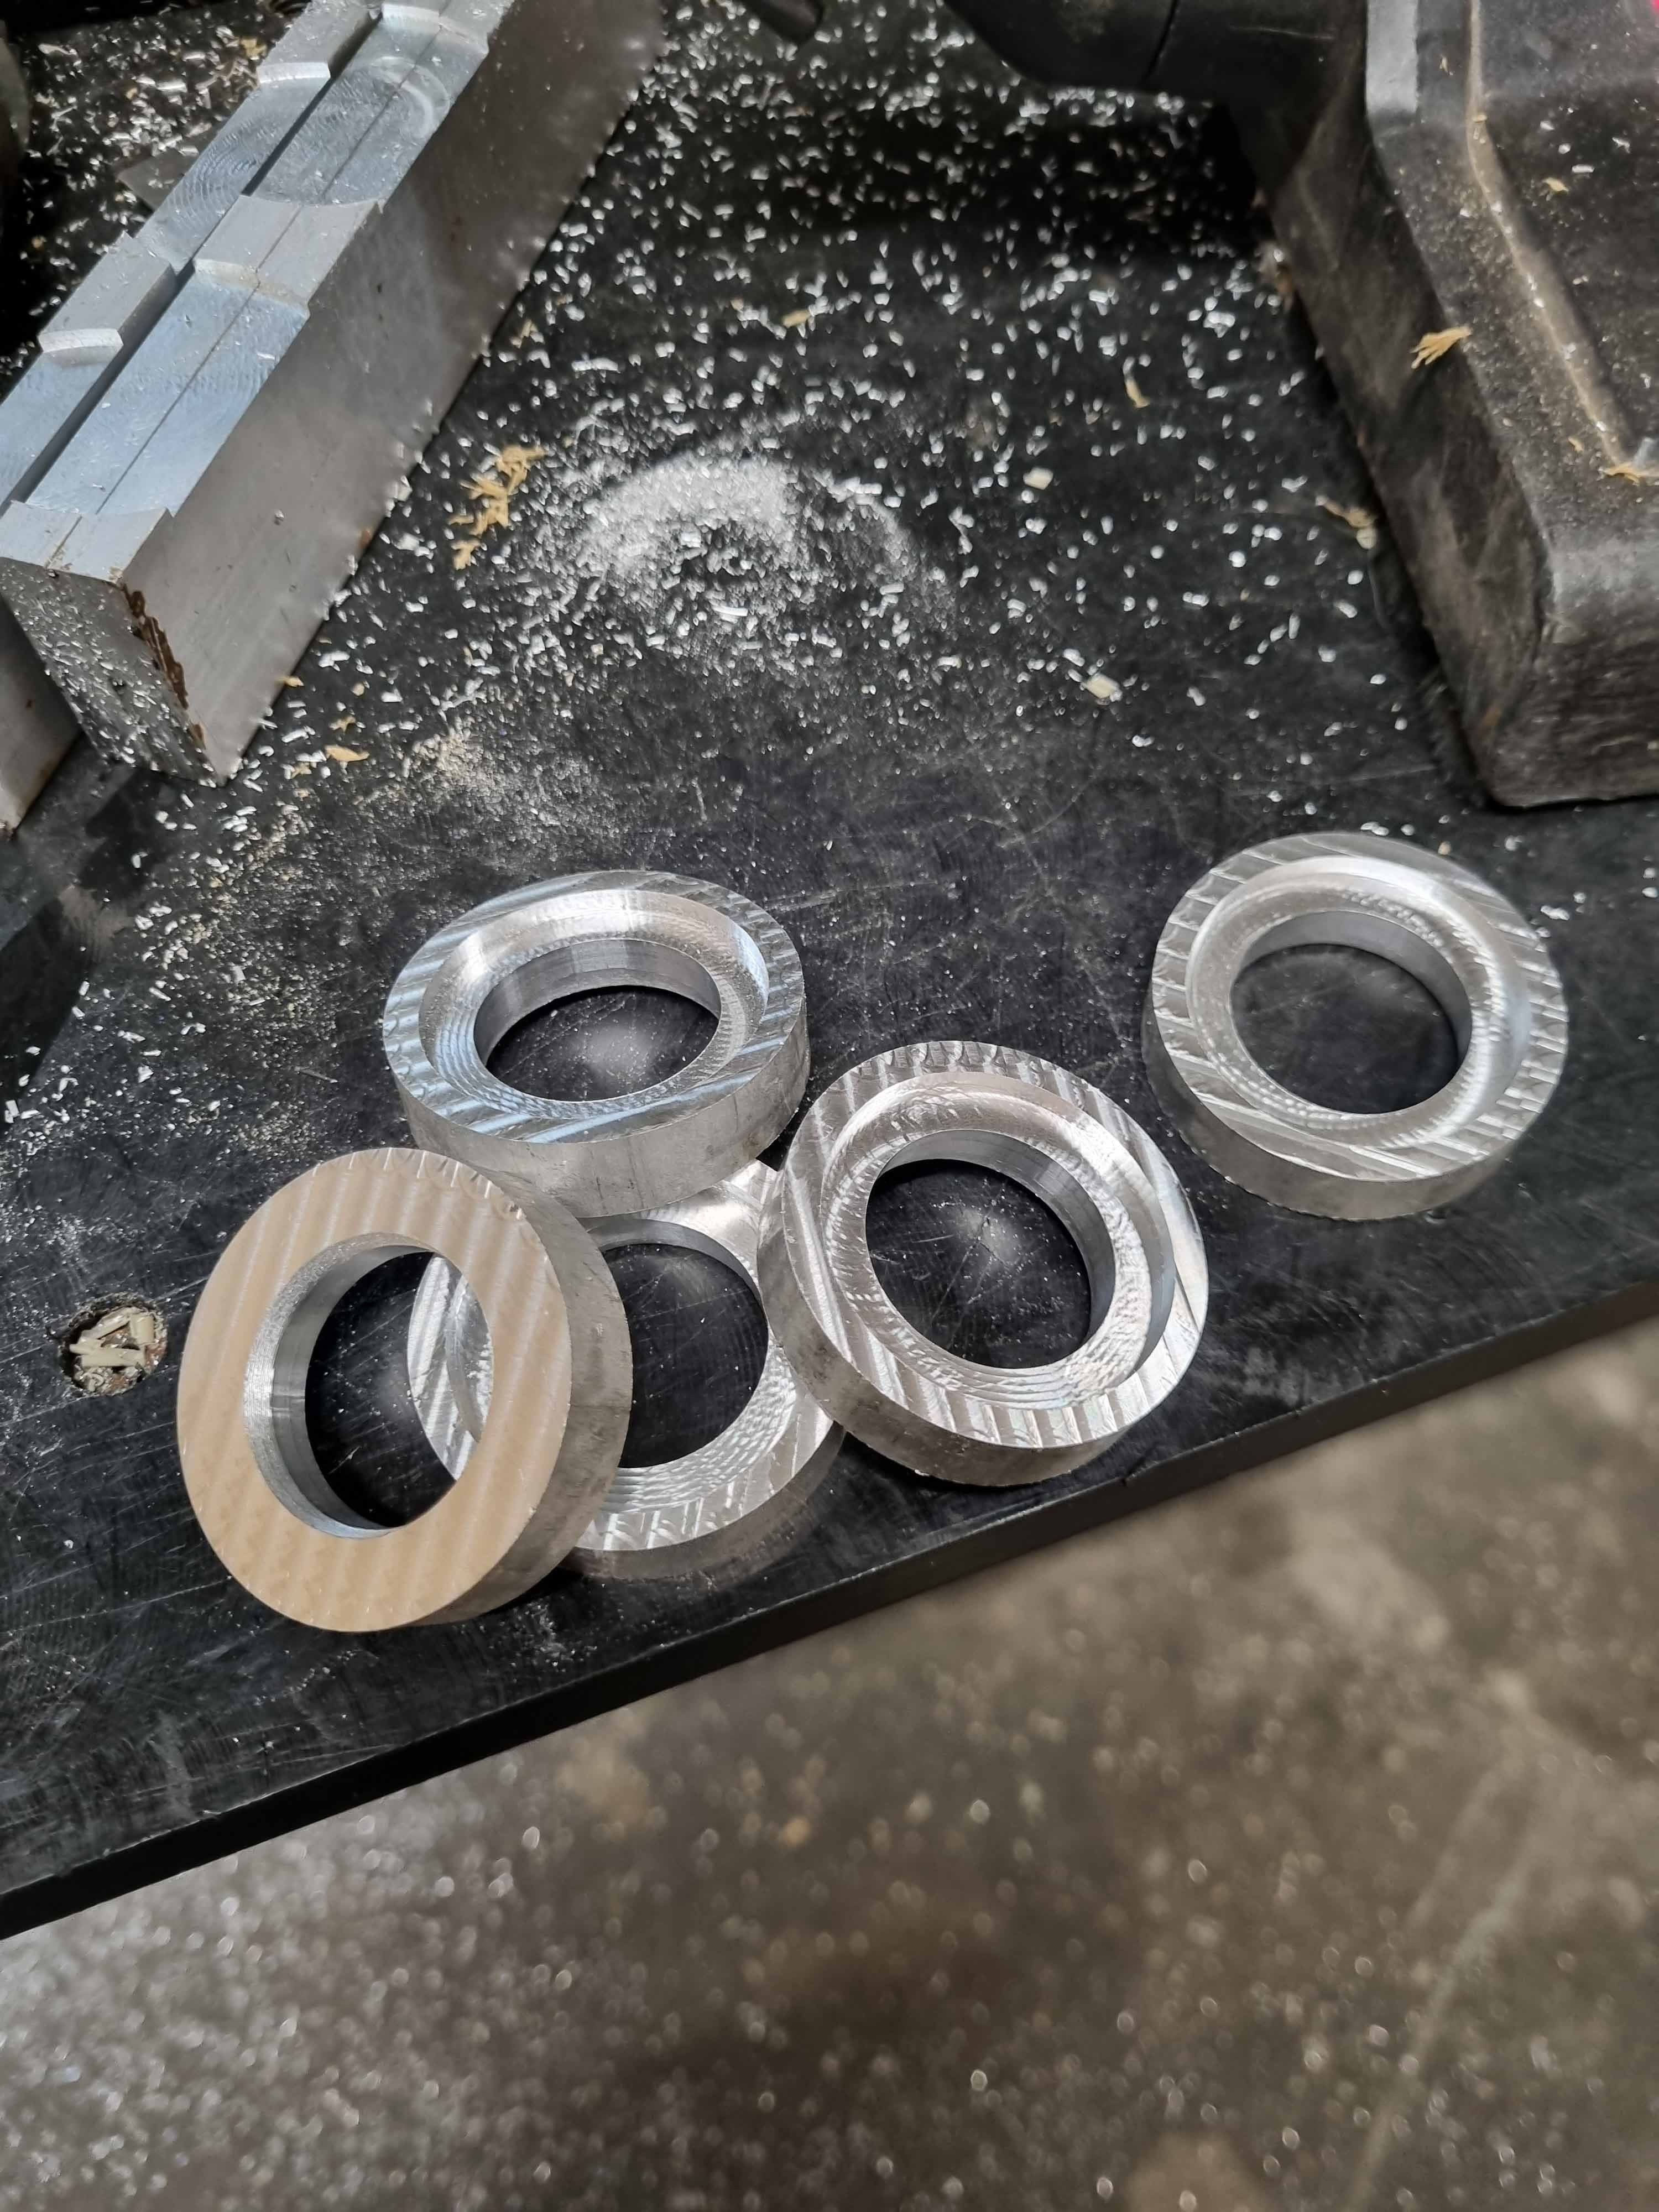
Most recent events have been to make some little alloy disks that sit under the rocker covers around the spark plug tubes and hold an oring that seals up against inside of the rocker cover.
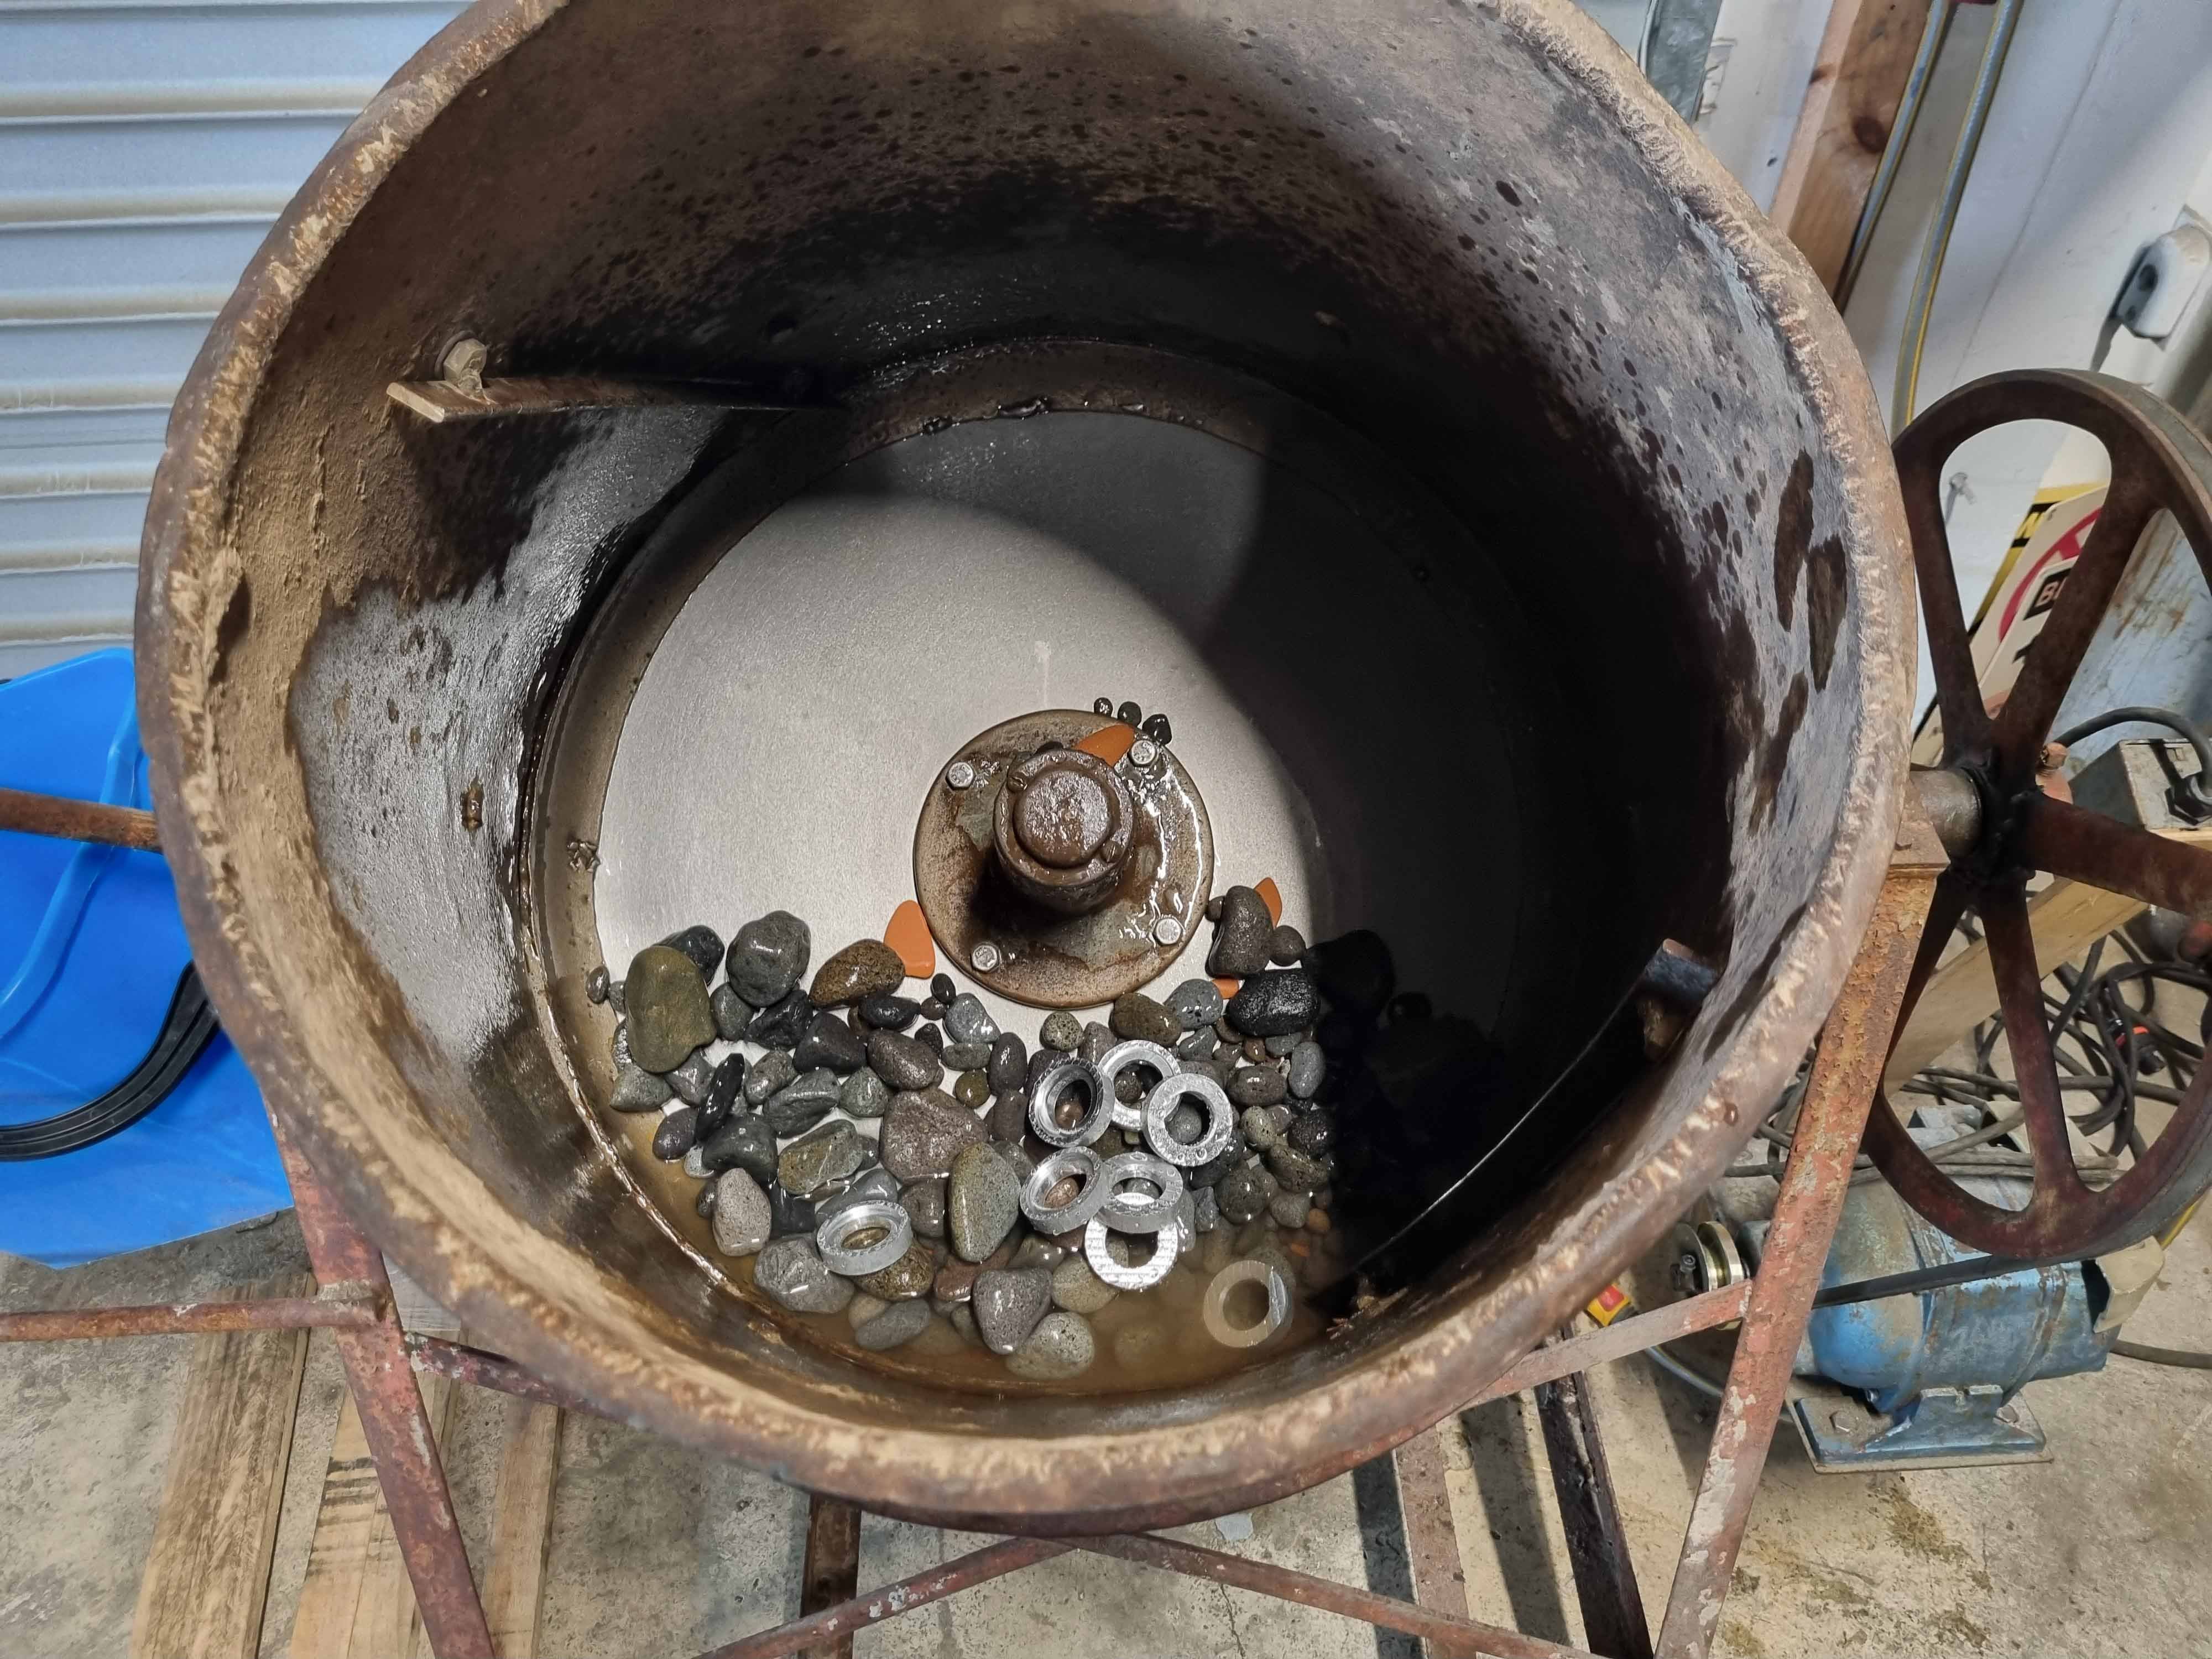
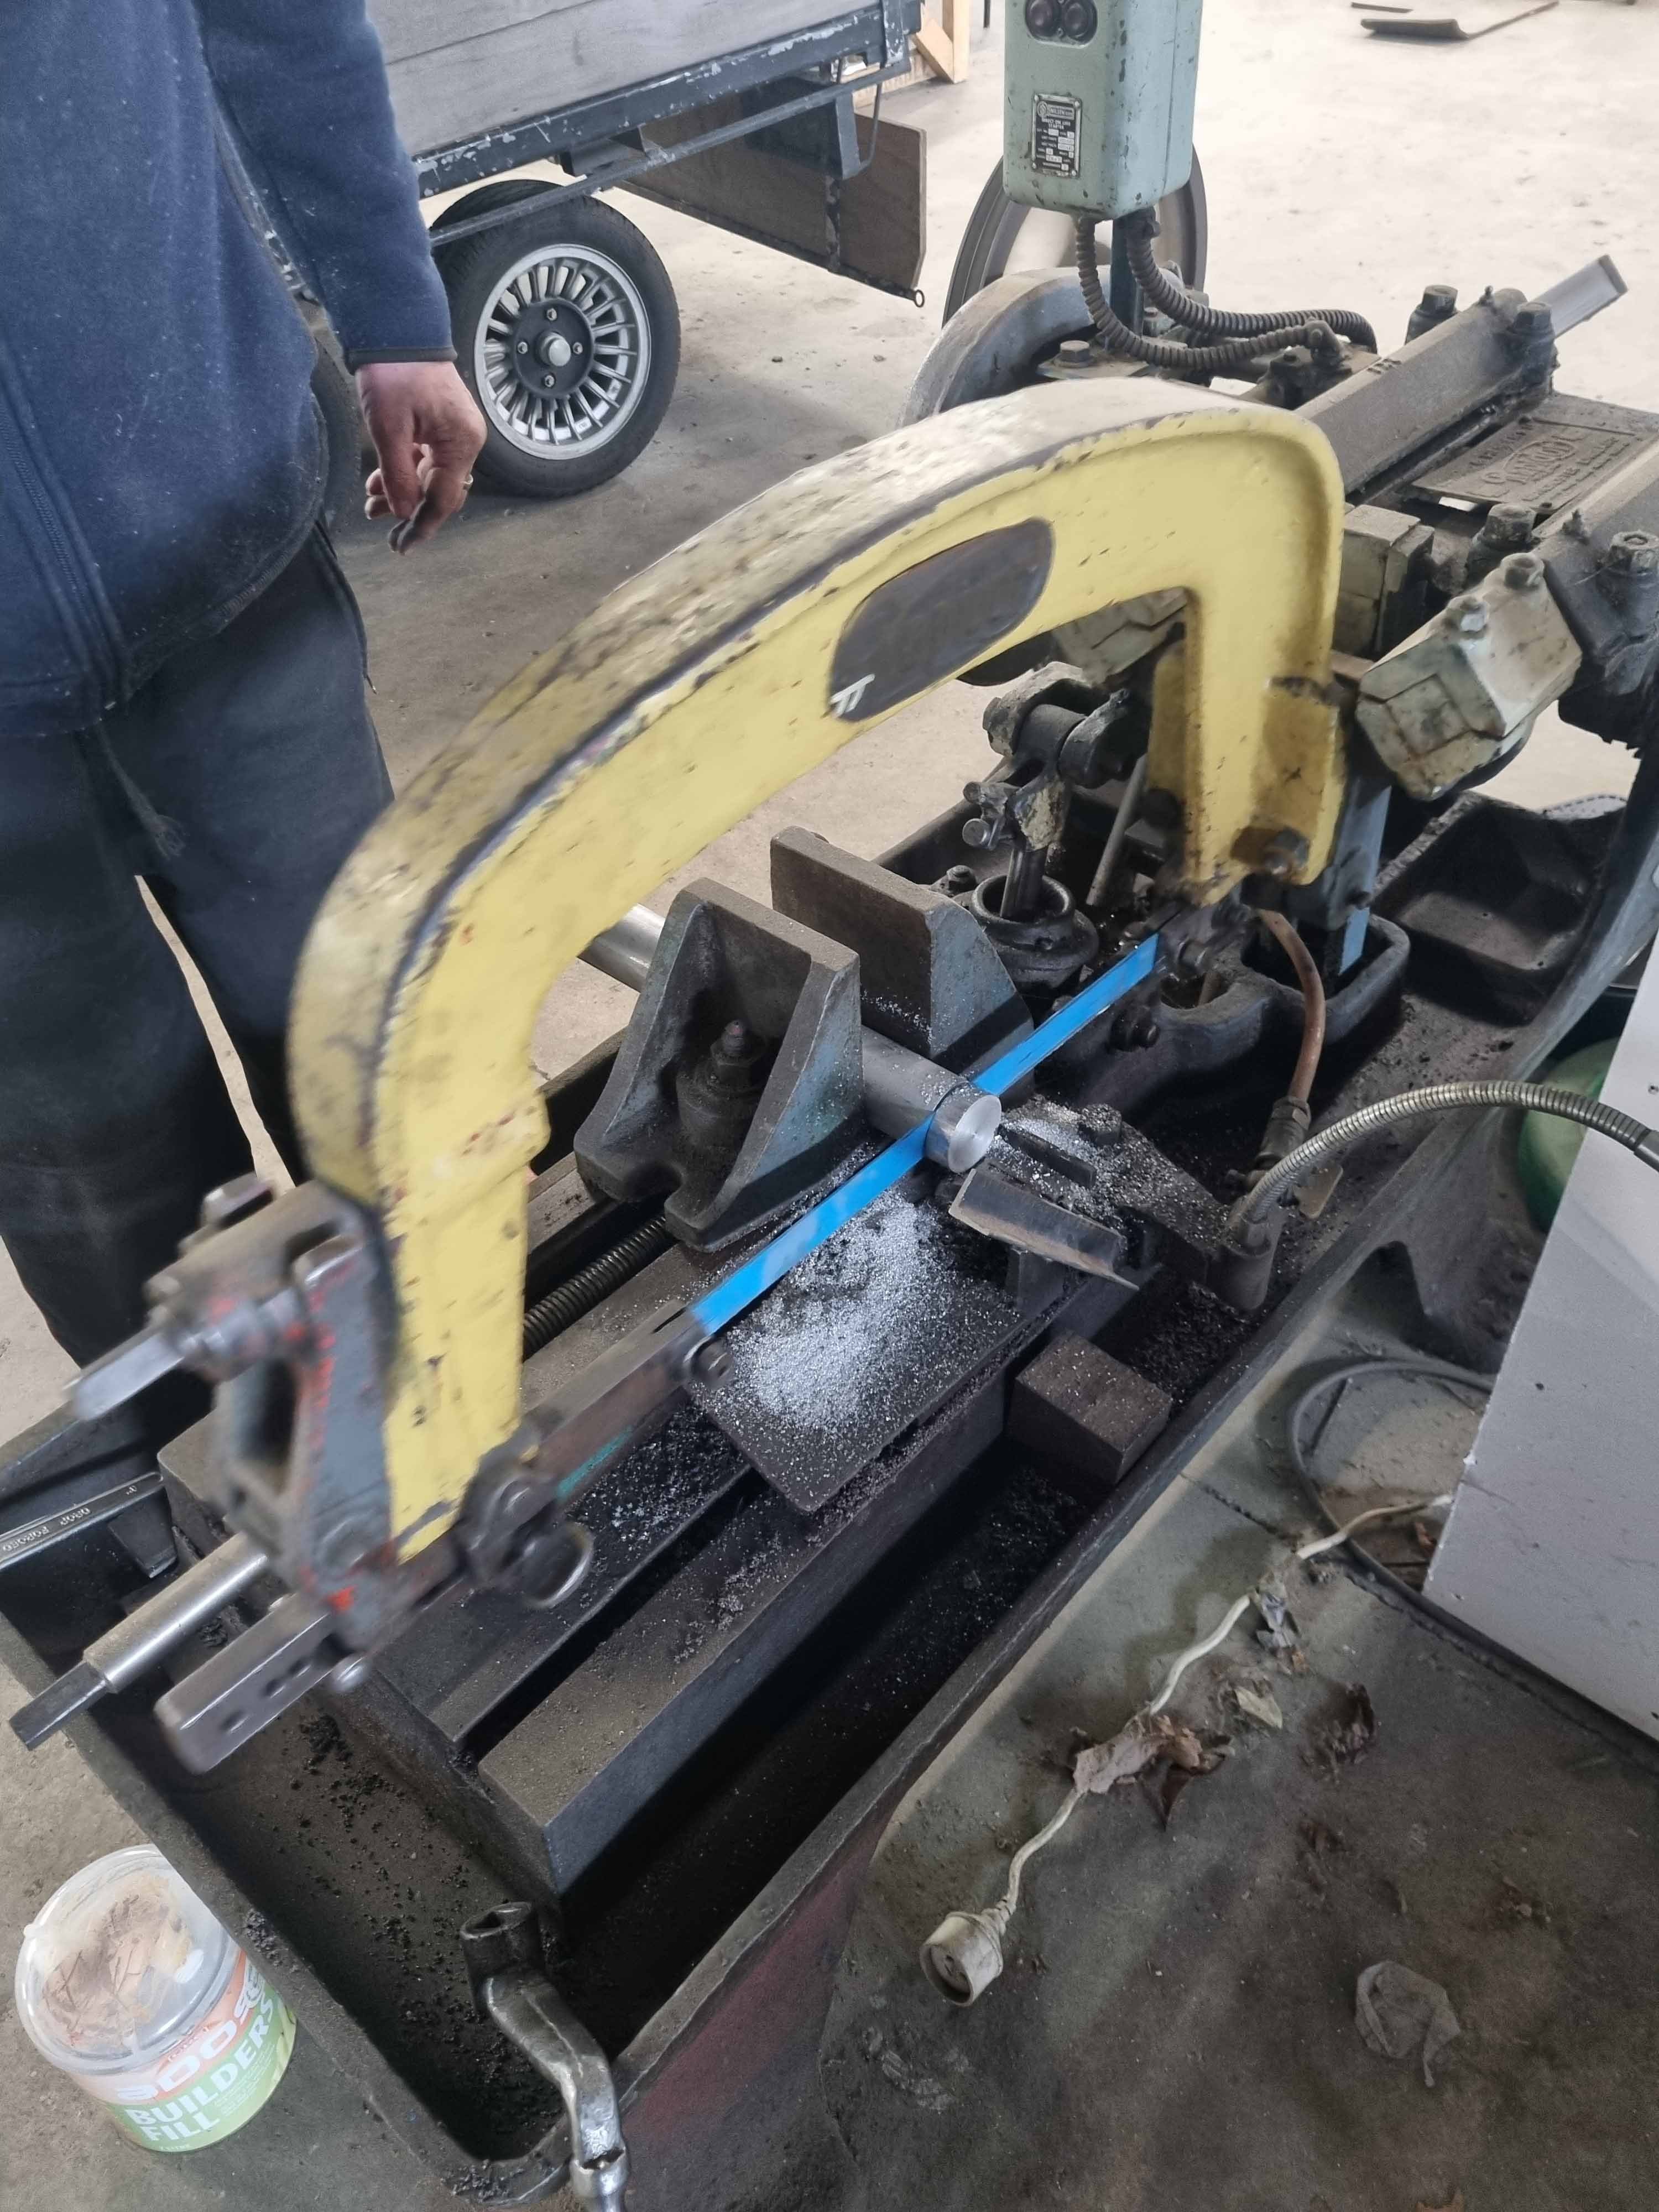
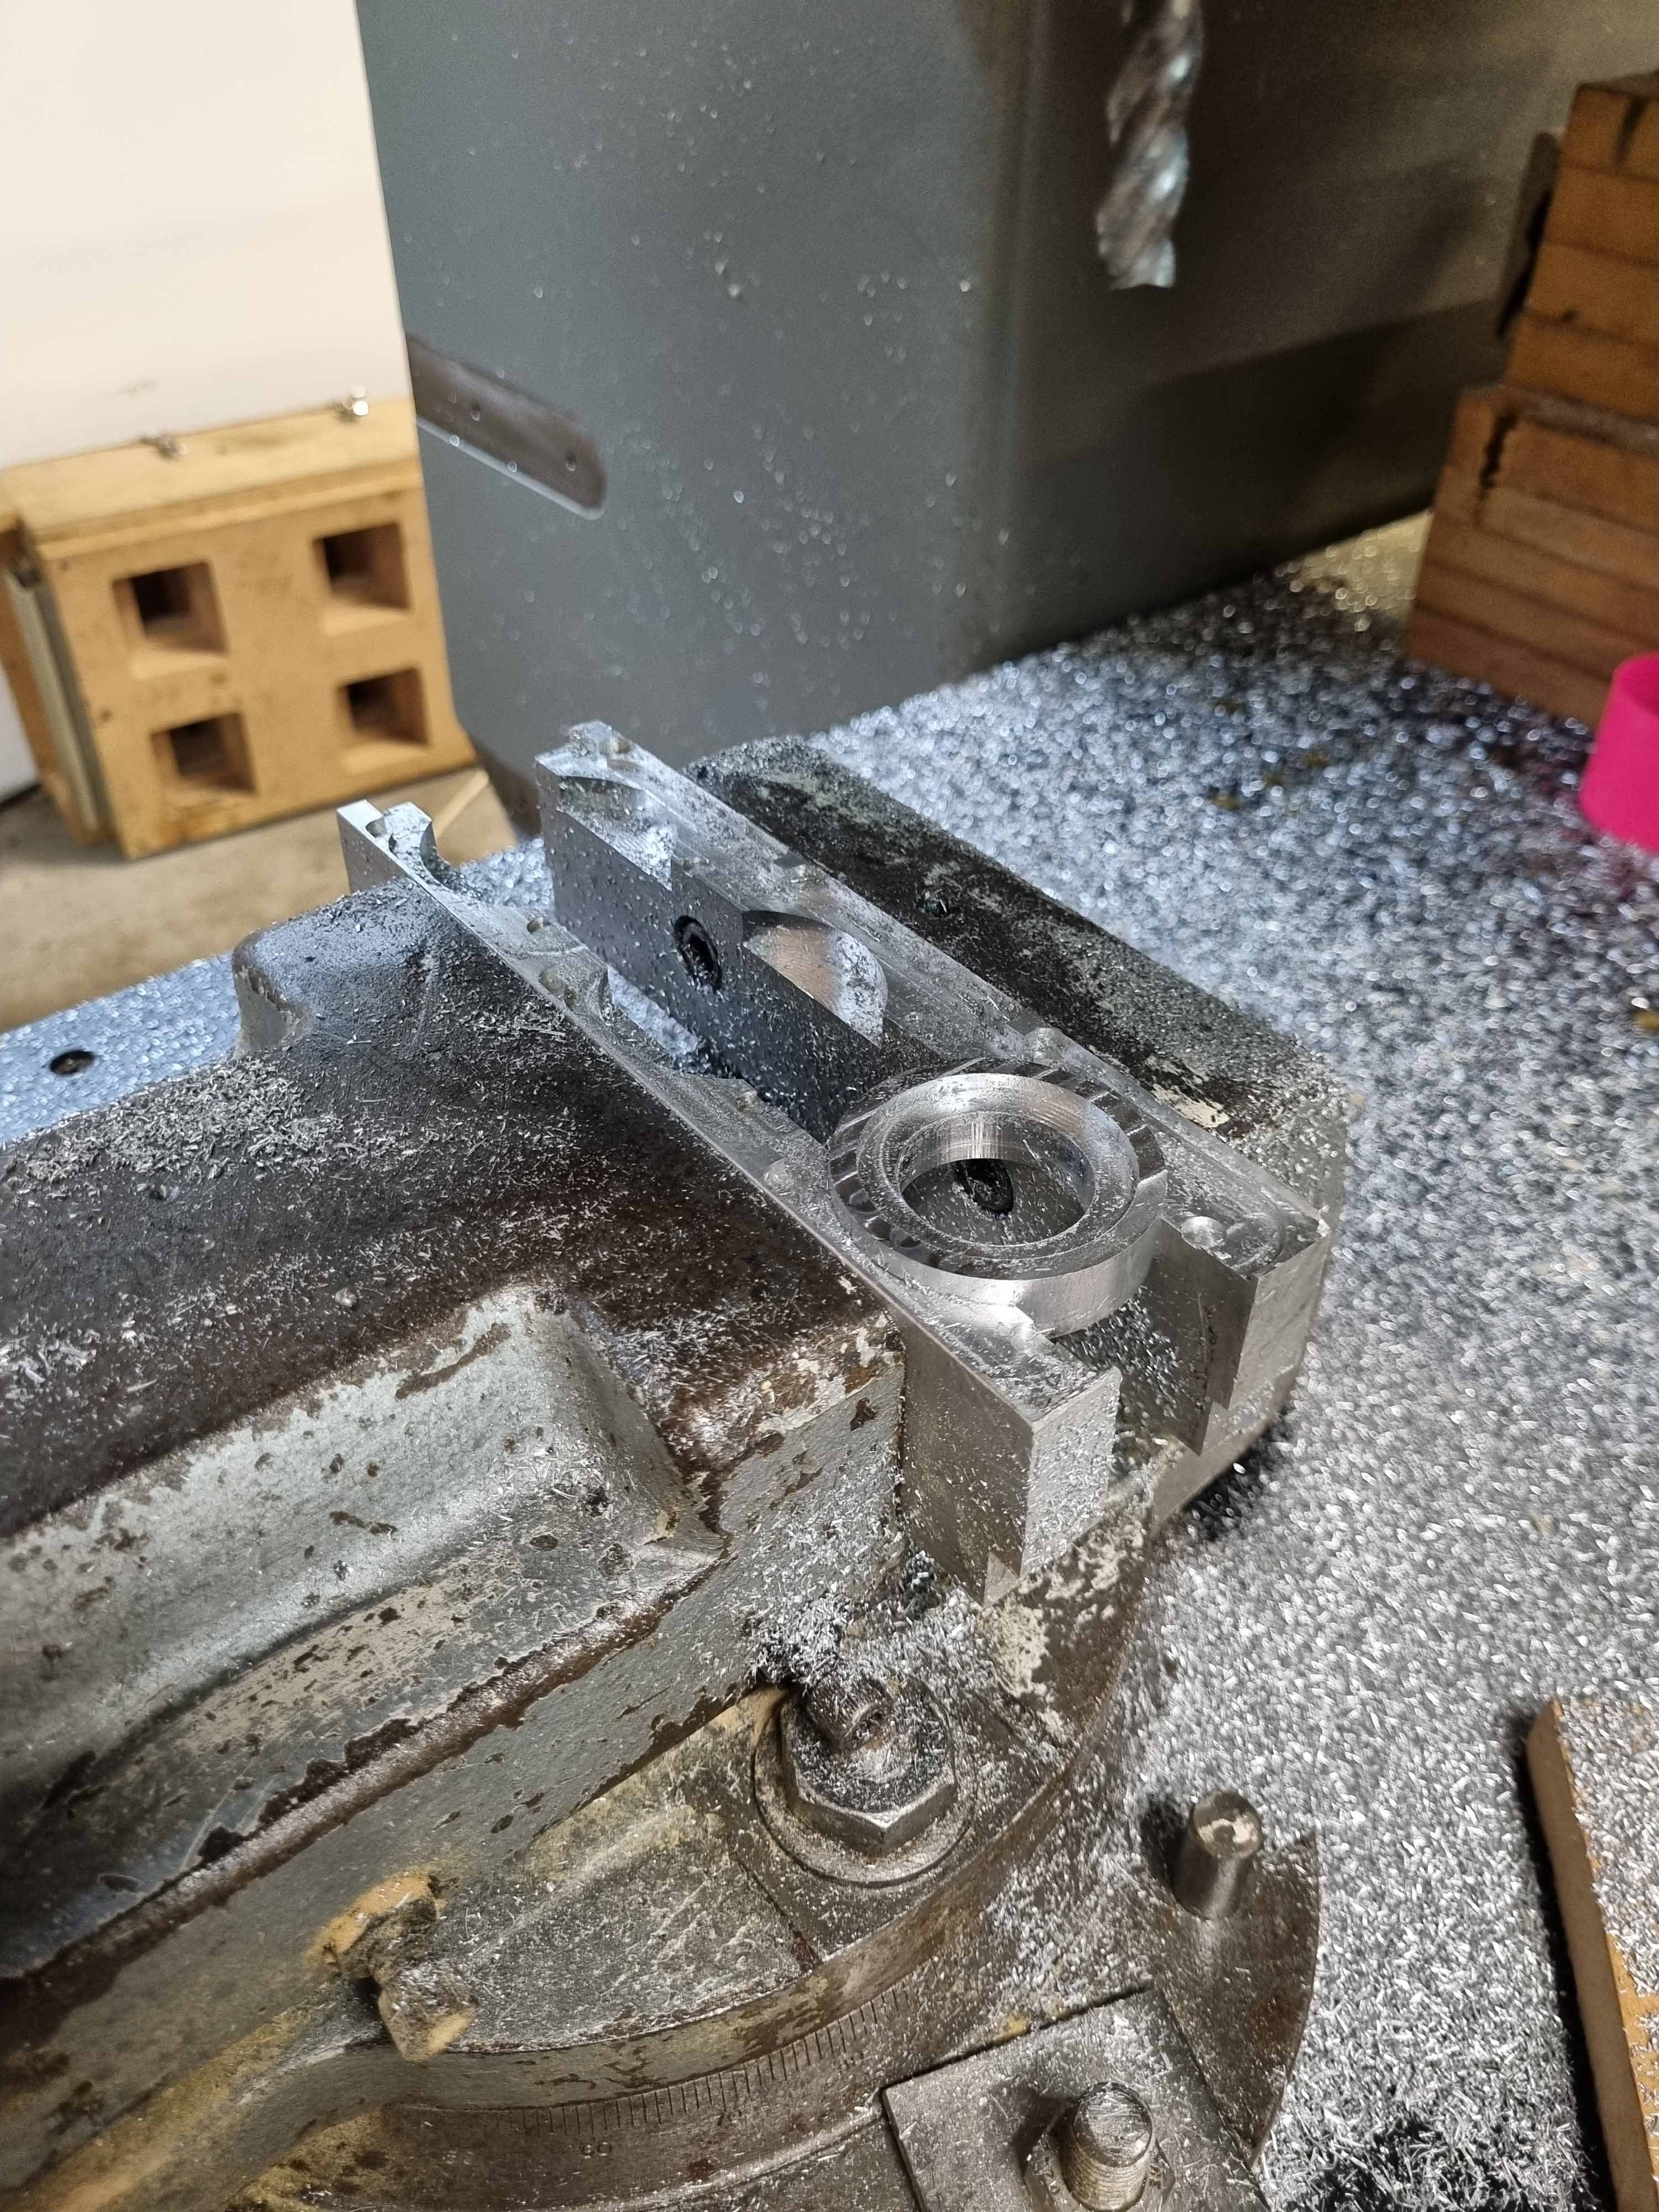
I had a fun day last weekend on the CNC making these as it was arse outside. Wacked a feature into the soft jaws then went at it from both sides. Threw them in the concrete mixer with a few rocks to knock the sharps off them.
Toyota originally cast some rubber in-situ but after 50 years its turned to bakelite and chipped away, so the plan was to make these a mild interference fit, and being ally they should expand/contract accordingly with other things around them. Im planning on also wicking some loctite into the back sides of them to ensure permanent location. Will try and find a seal of appropriate shore hardness in due course.
Id actually like to get the engine fired up in a few weeks as there is really not much stopping me now. I have a lot of little jobs like finishing some water pipes and finishing the alternator bracket, and just some clearance holes and slots here and there. Really after this about the only thing stopping me from sending chassis stuff off to get painted, aside from the benjamins, is the handbrake setup on the diff. Feeling like progress, but goddamn slow at the mo. Anywho, Ill just get my fix watching you lot finish your projects
")
-
10
-
- Popular Post
- Popular Post
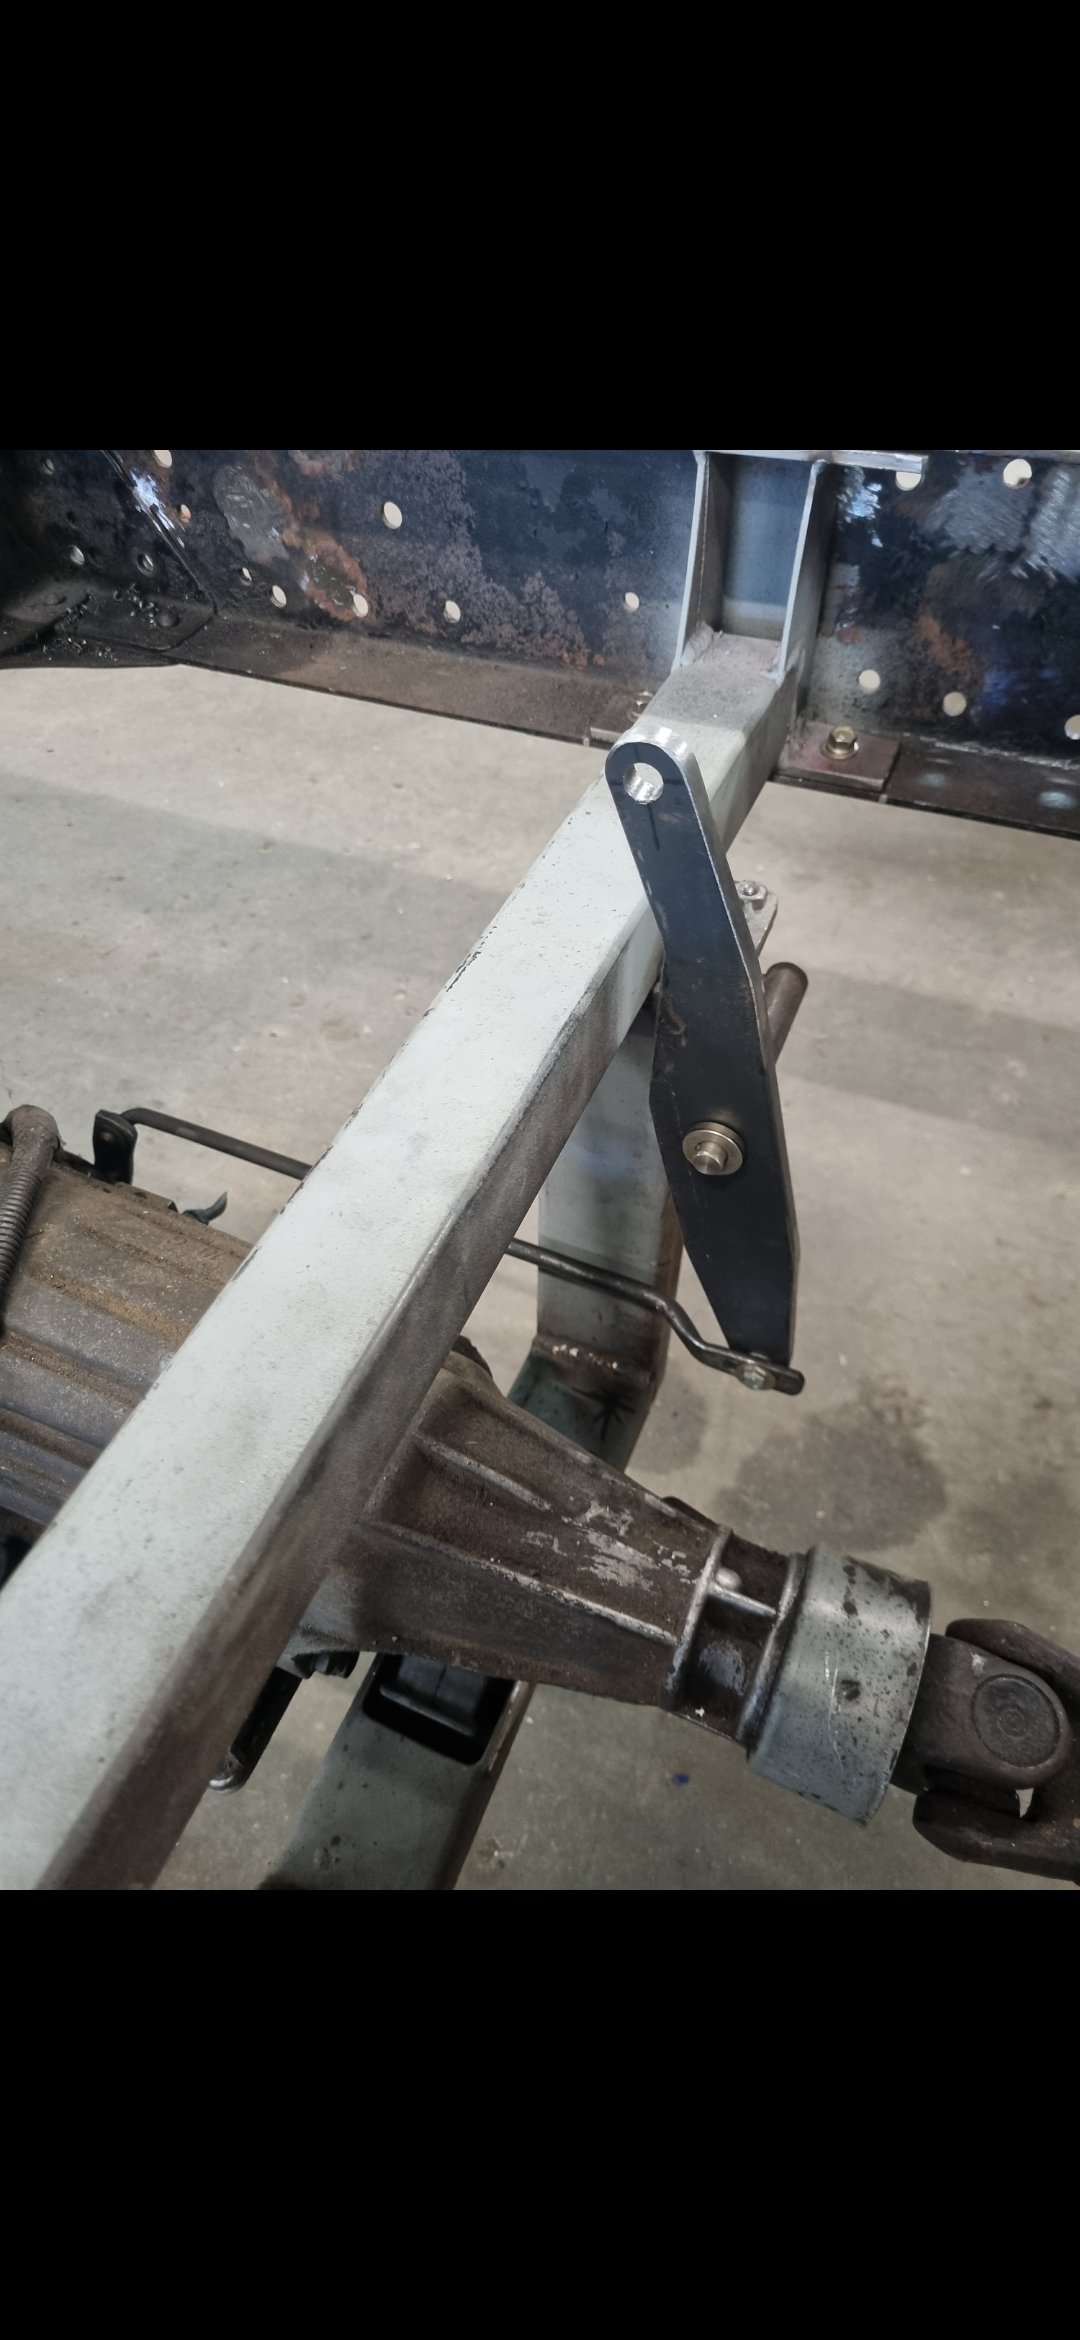
need to order a few rod-ends from China to finish this off but I think it should work.
-
12
-
Next was onto making a trim for the front of the hole. This still isnt finished but consider this a note to future self to stop being a useless cunt.
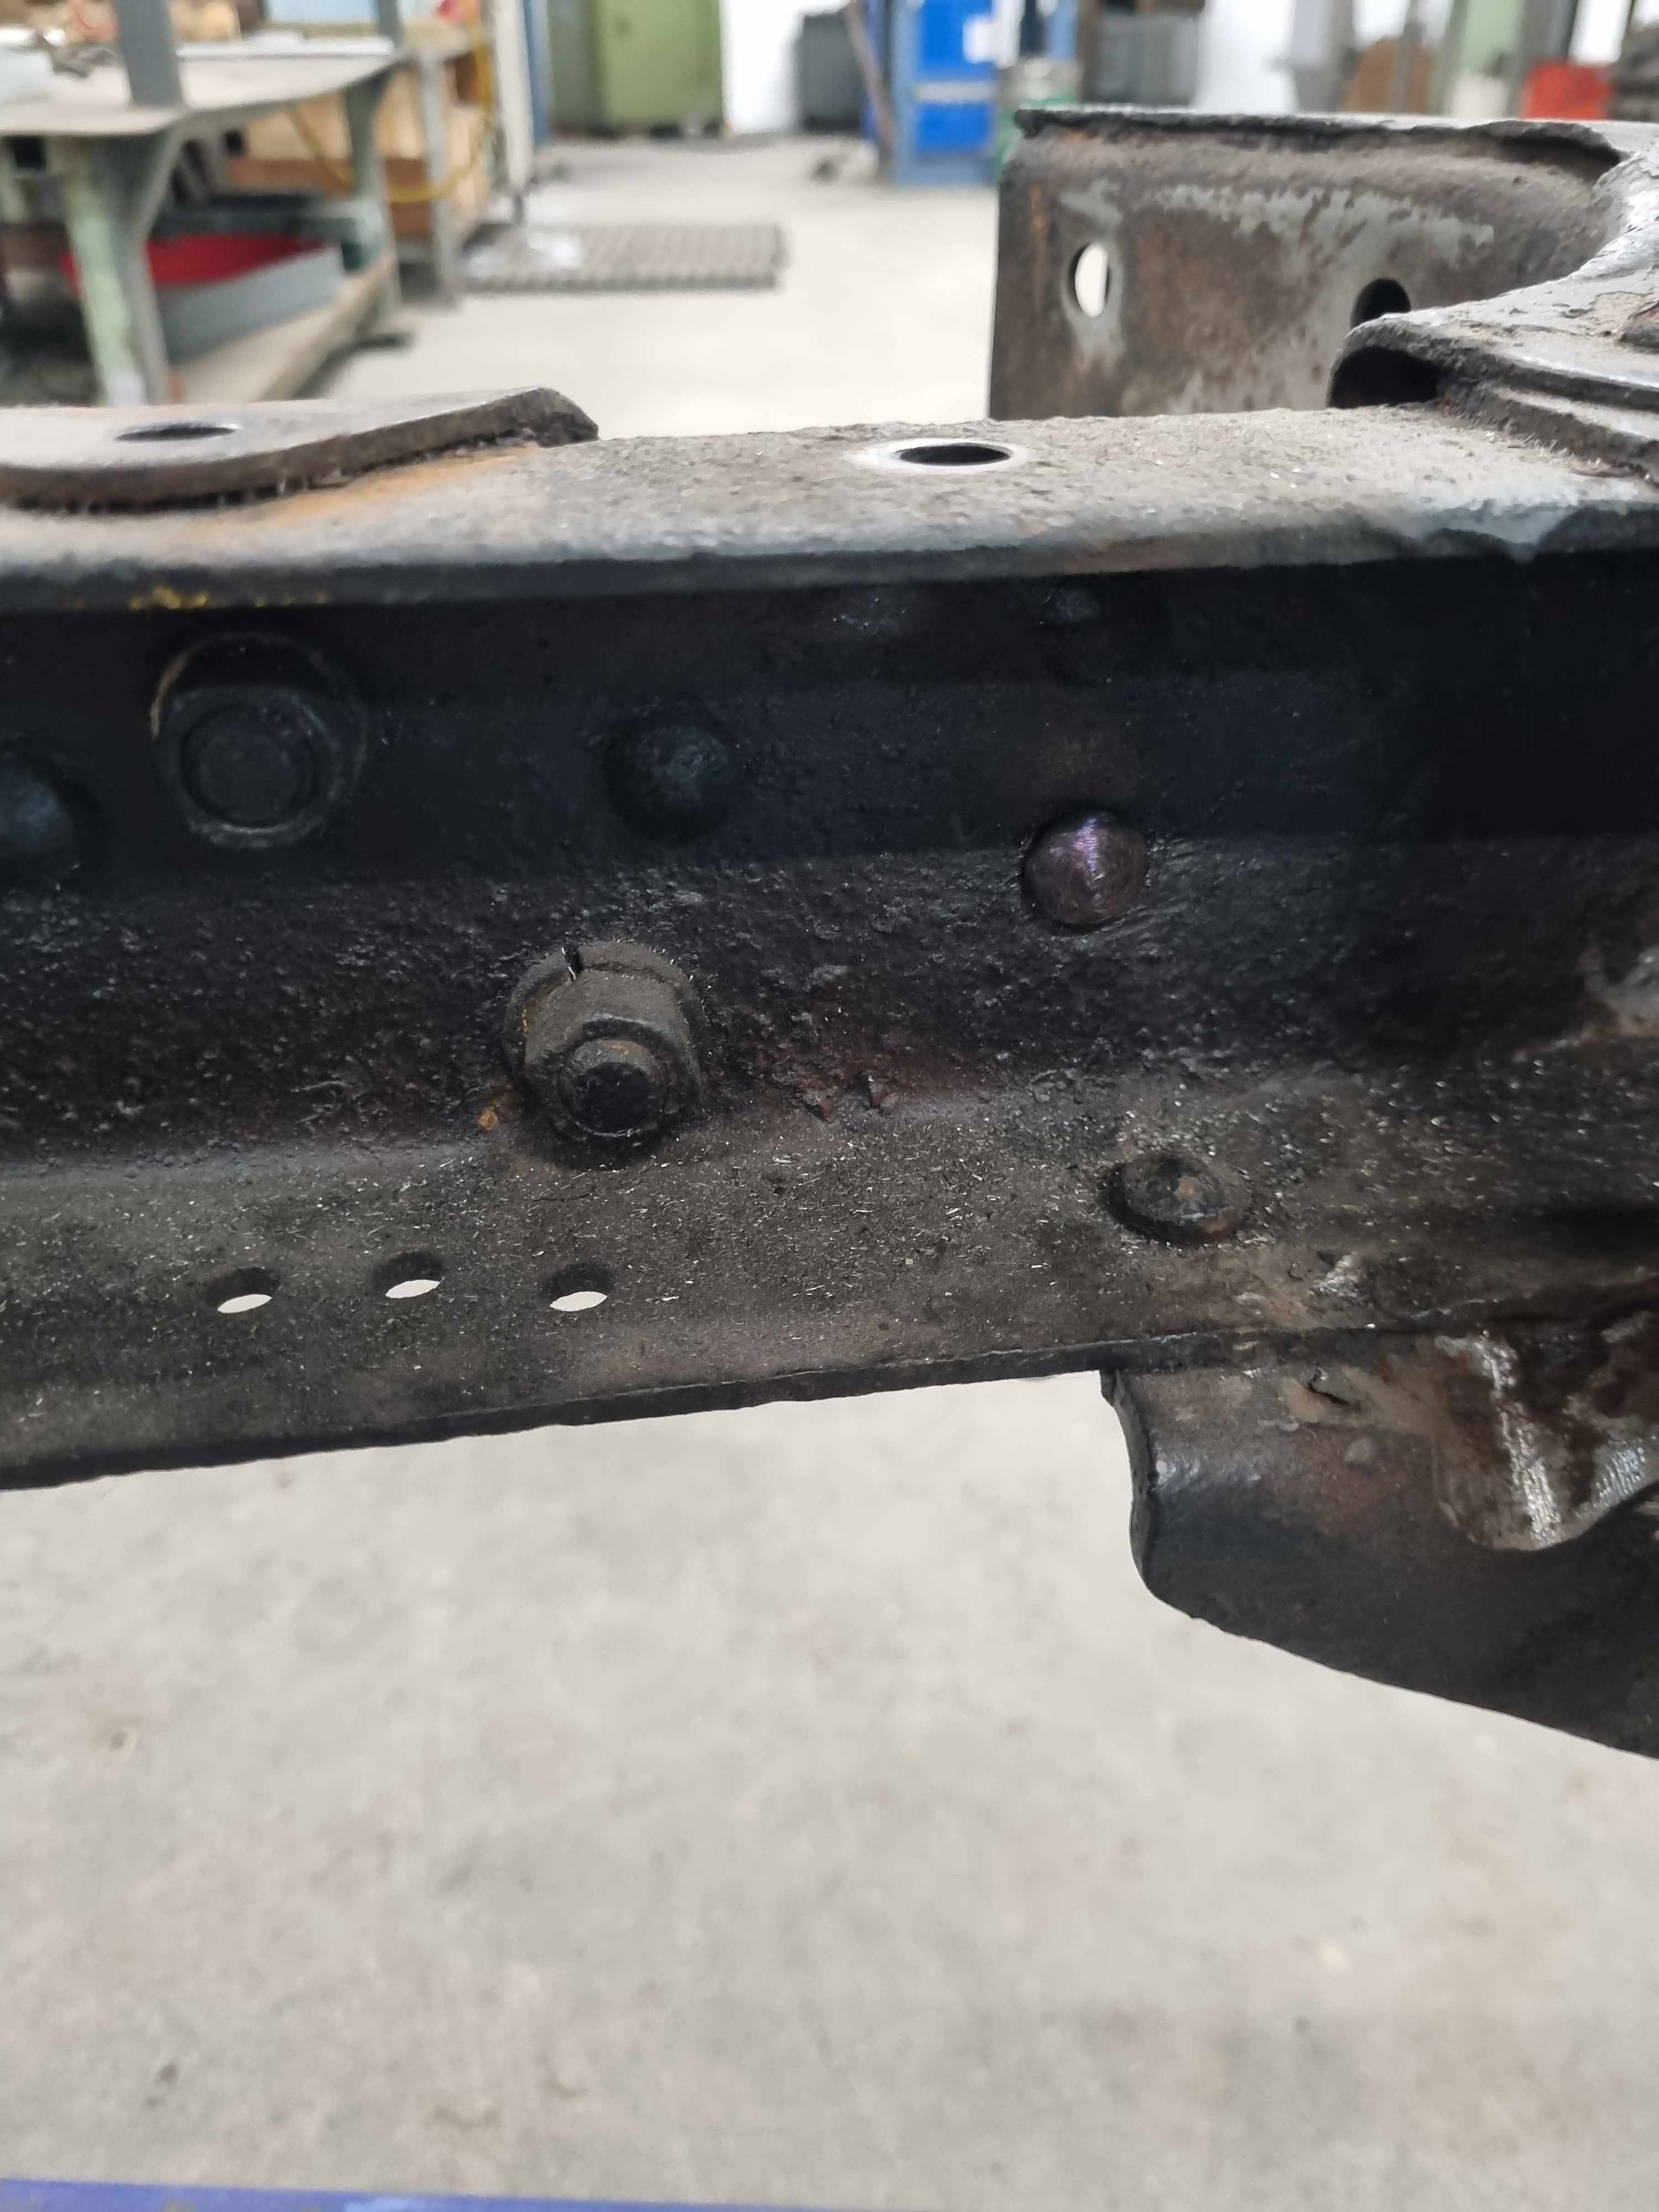
Next up replacing a bolt that was identifying as a rivet in the chassis. I did not make not an actual rivet but with some heat and persuasion and the welder it is achieving said goal, and looking legitimate in the process.
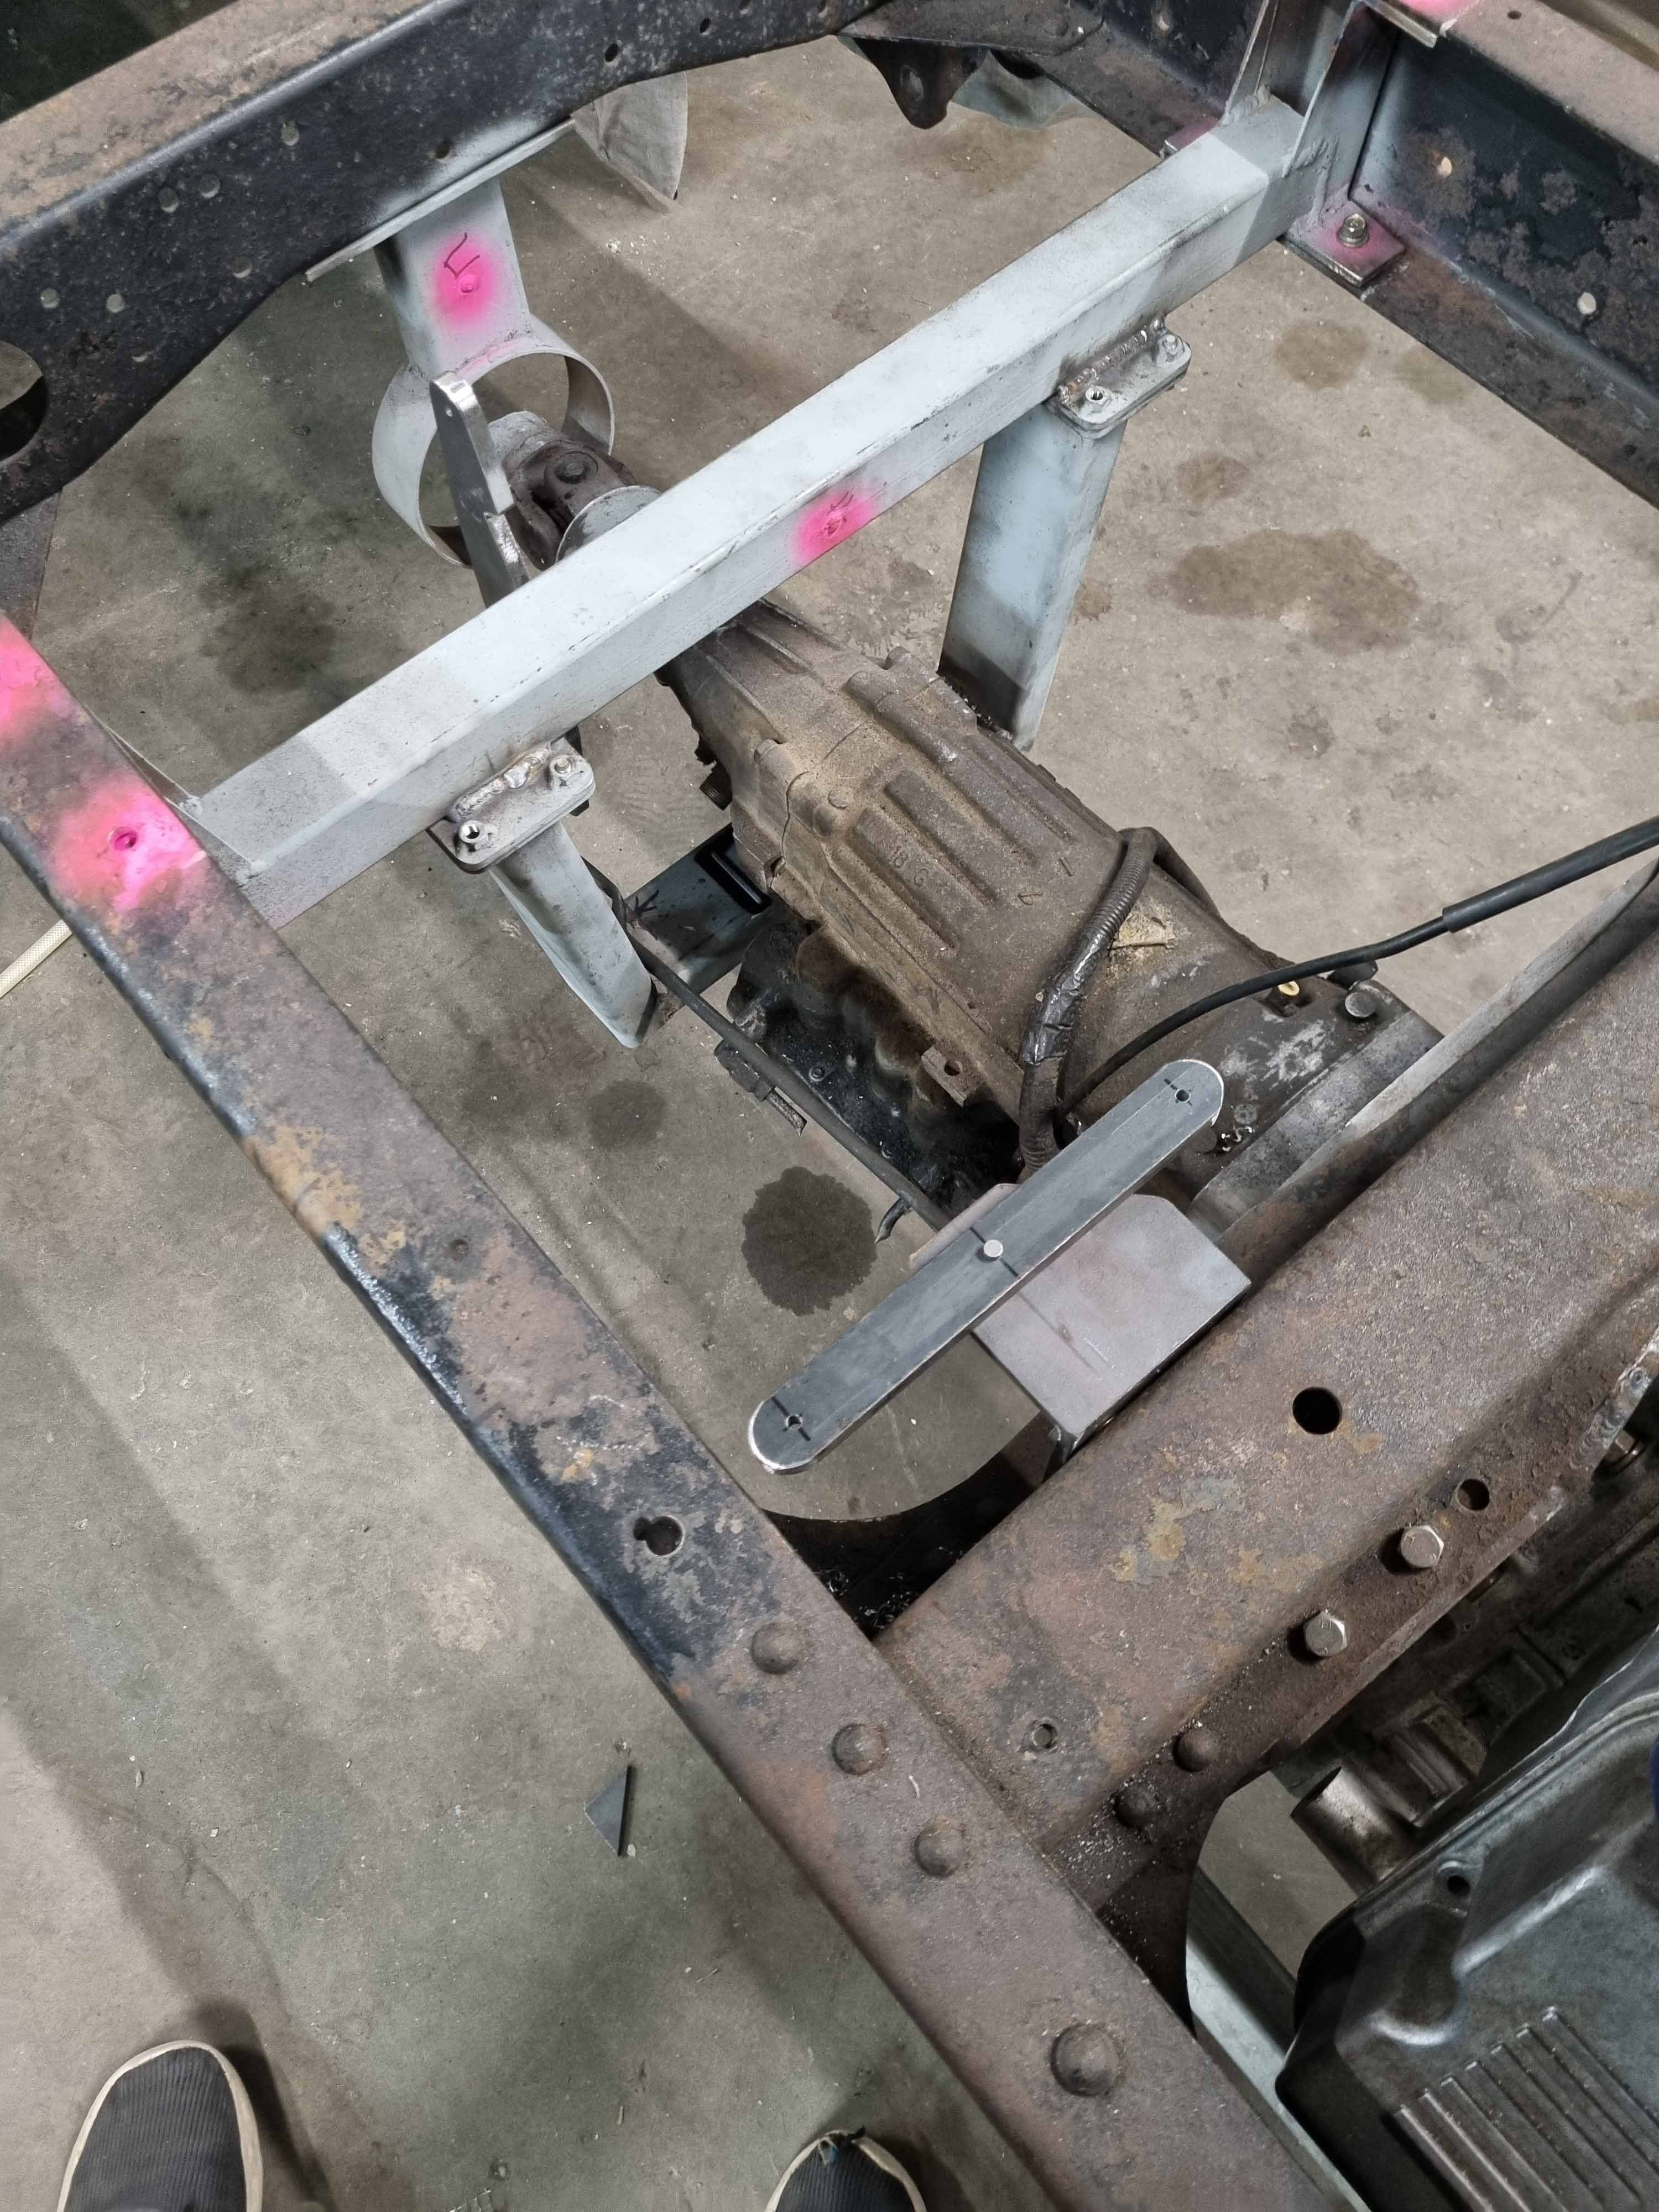
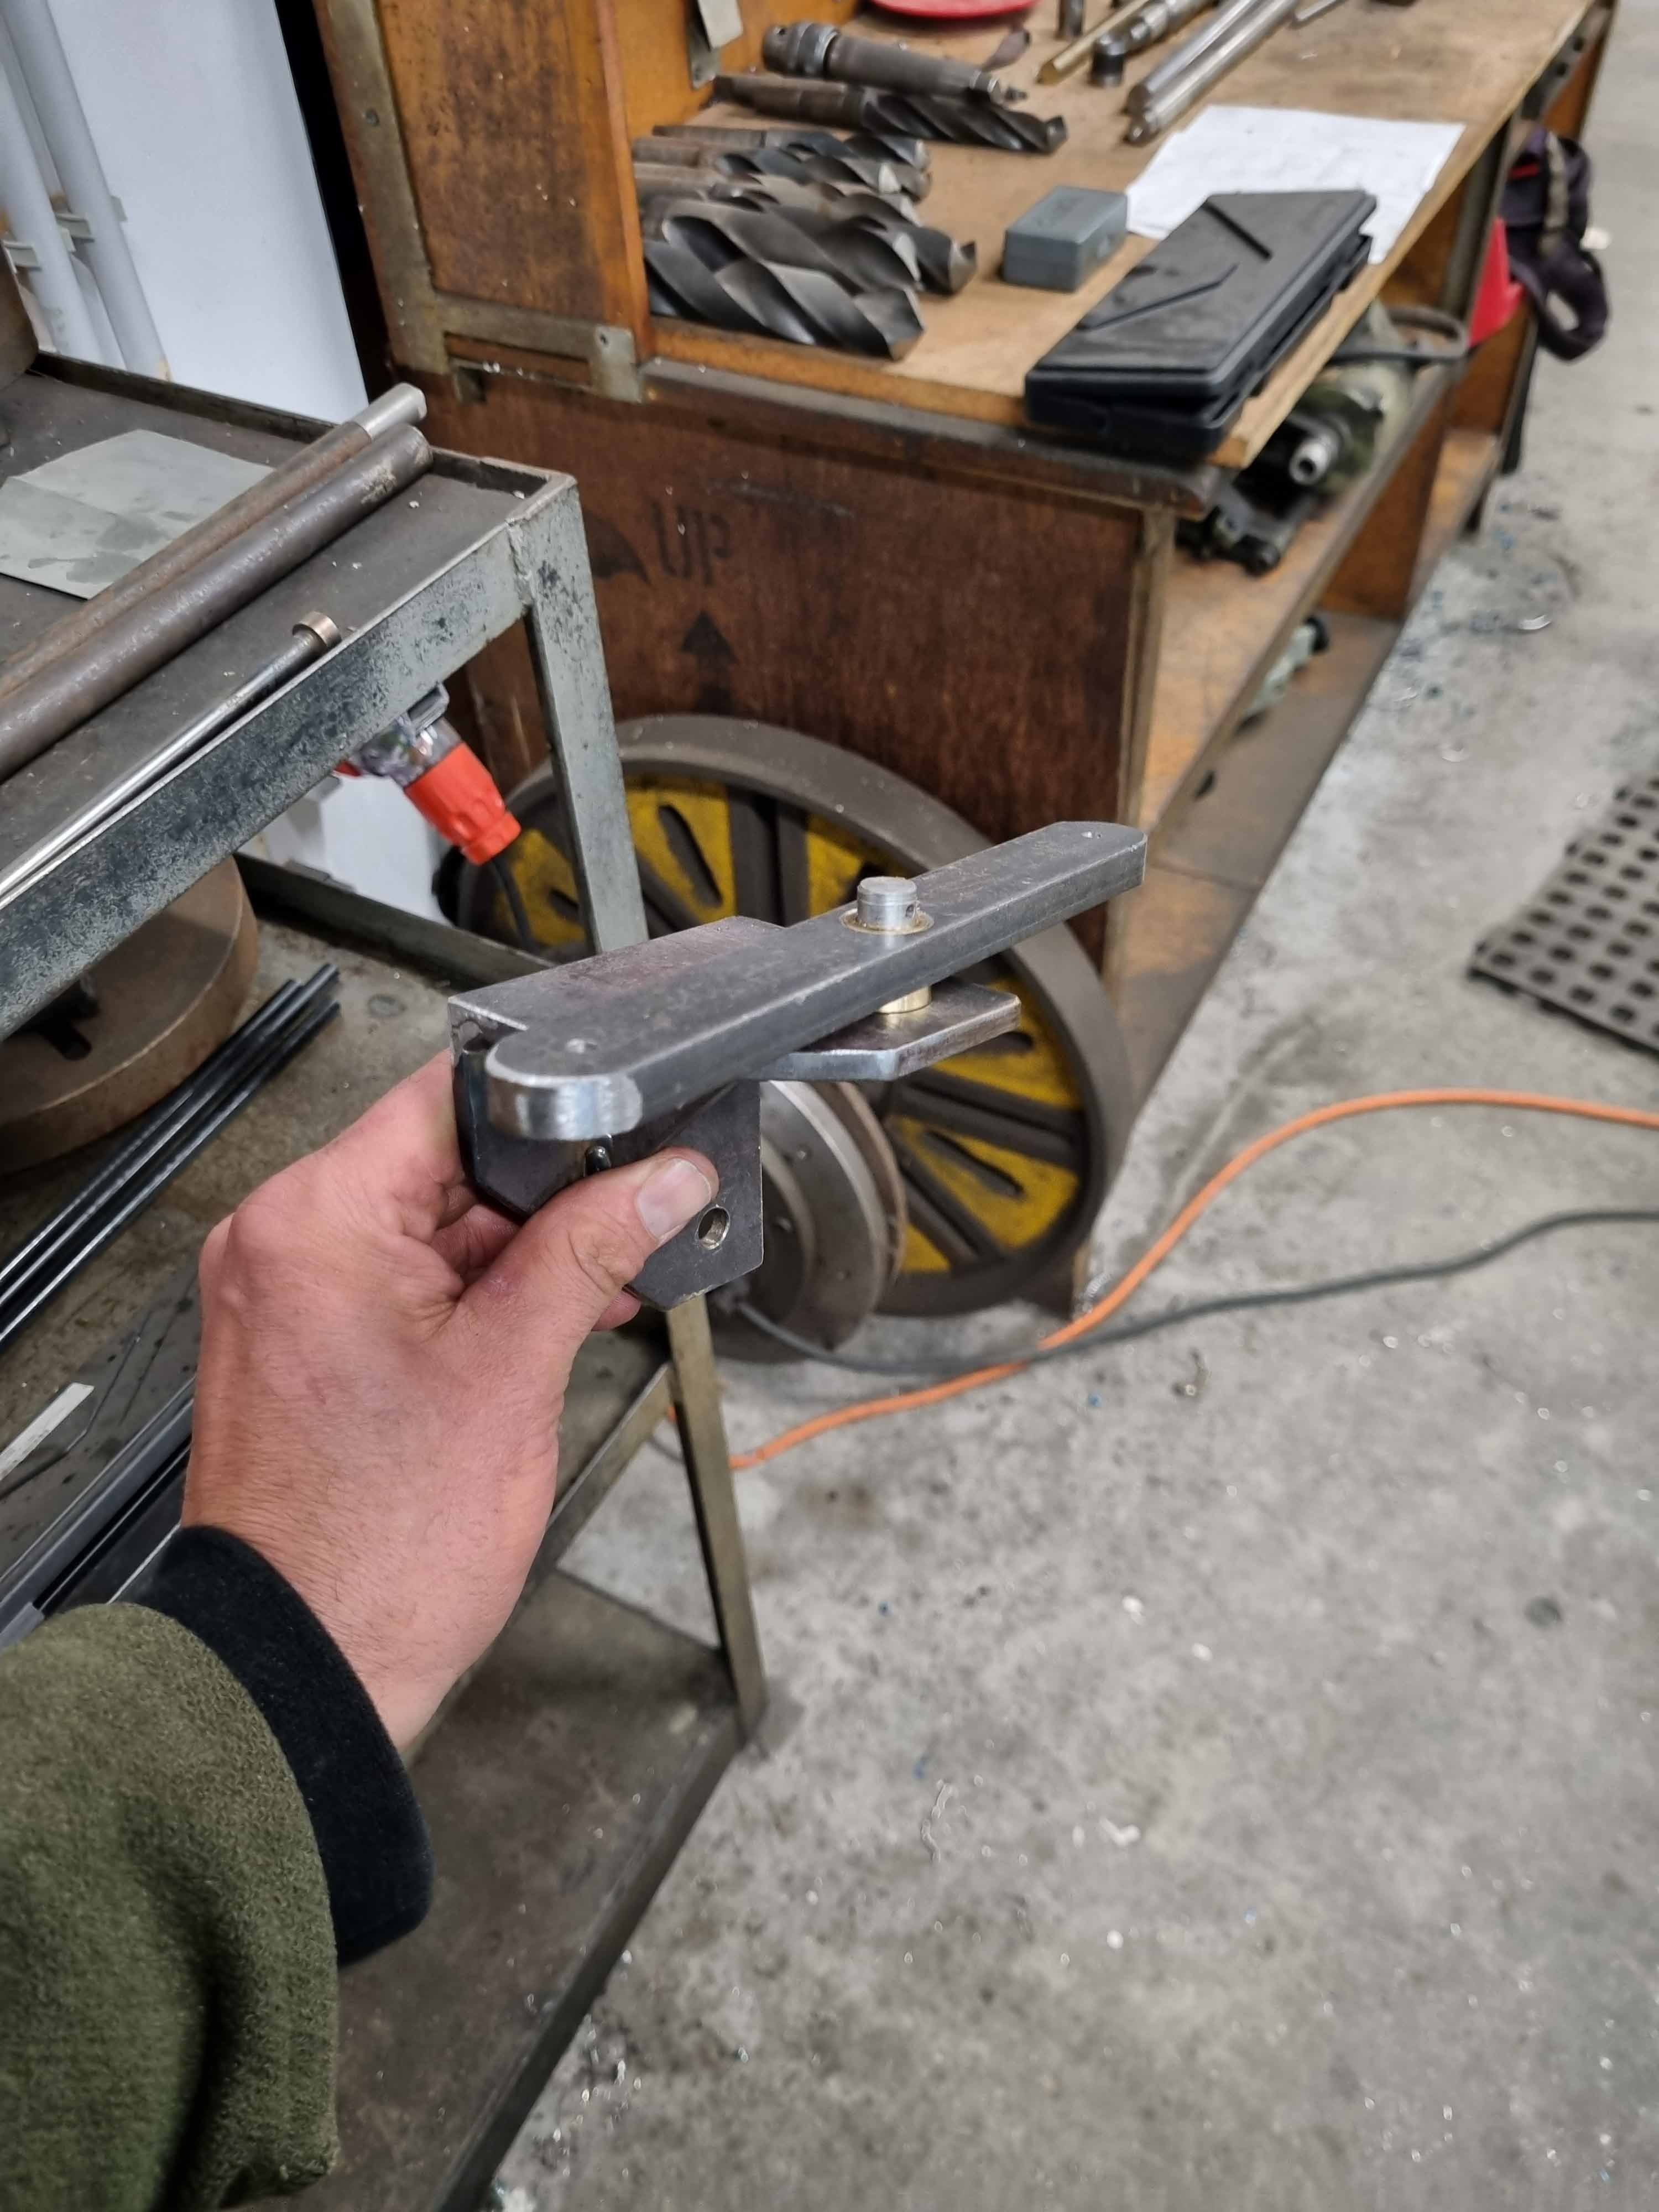
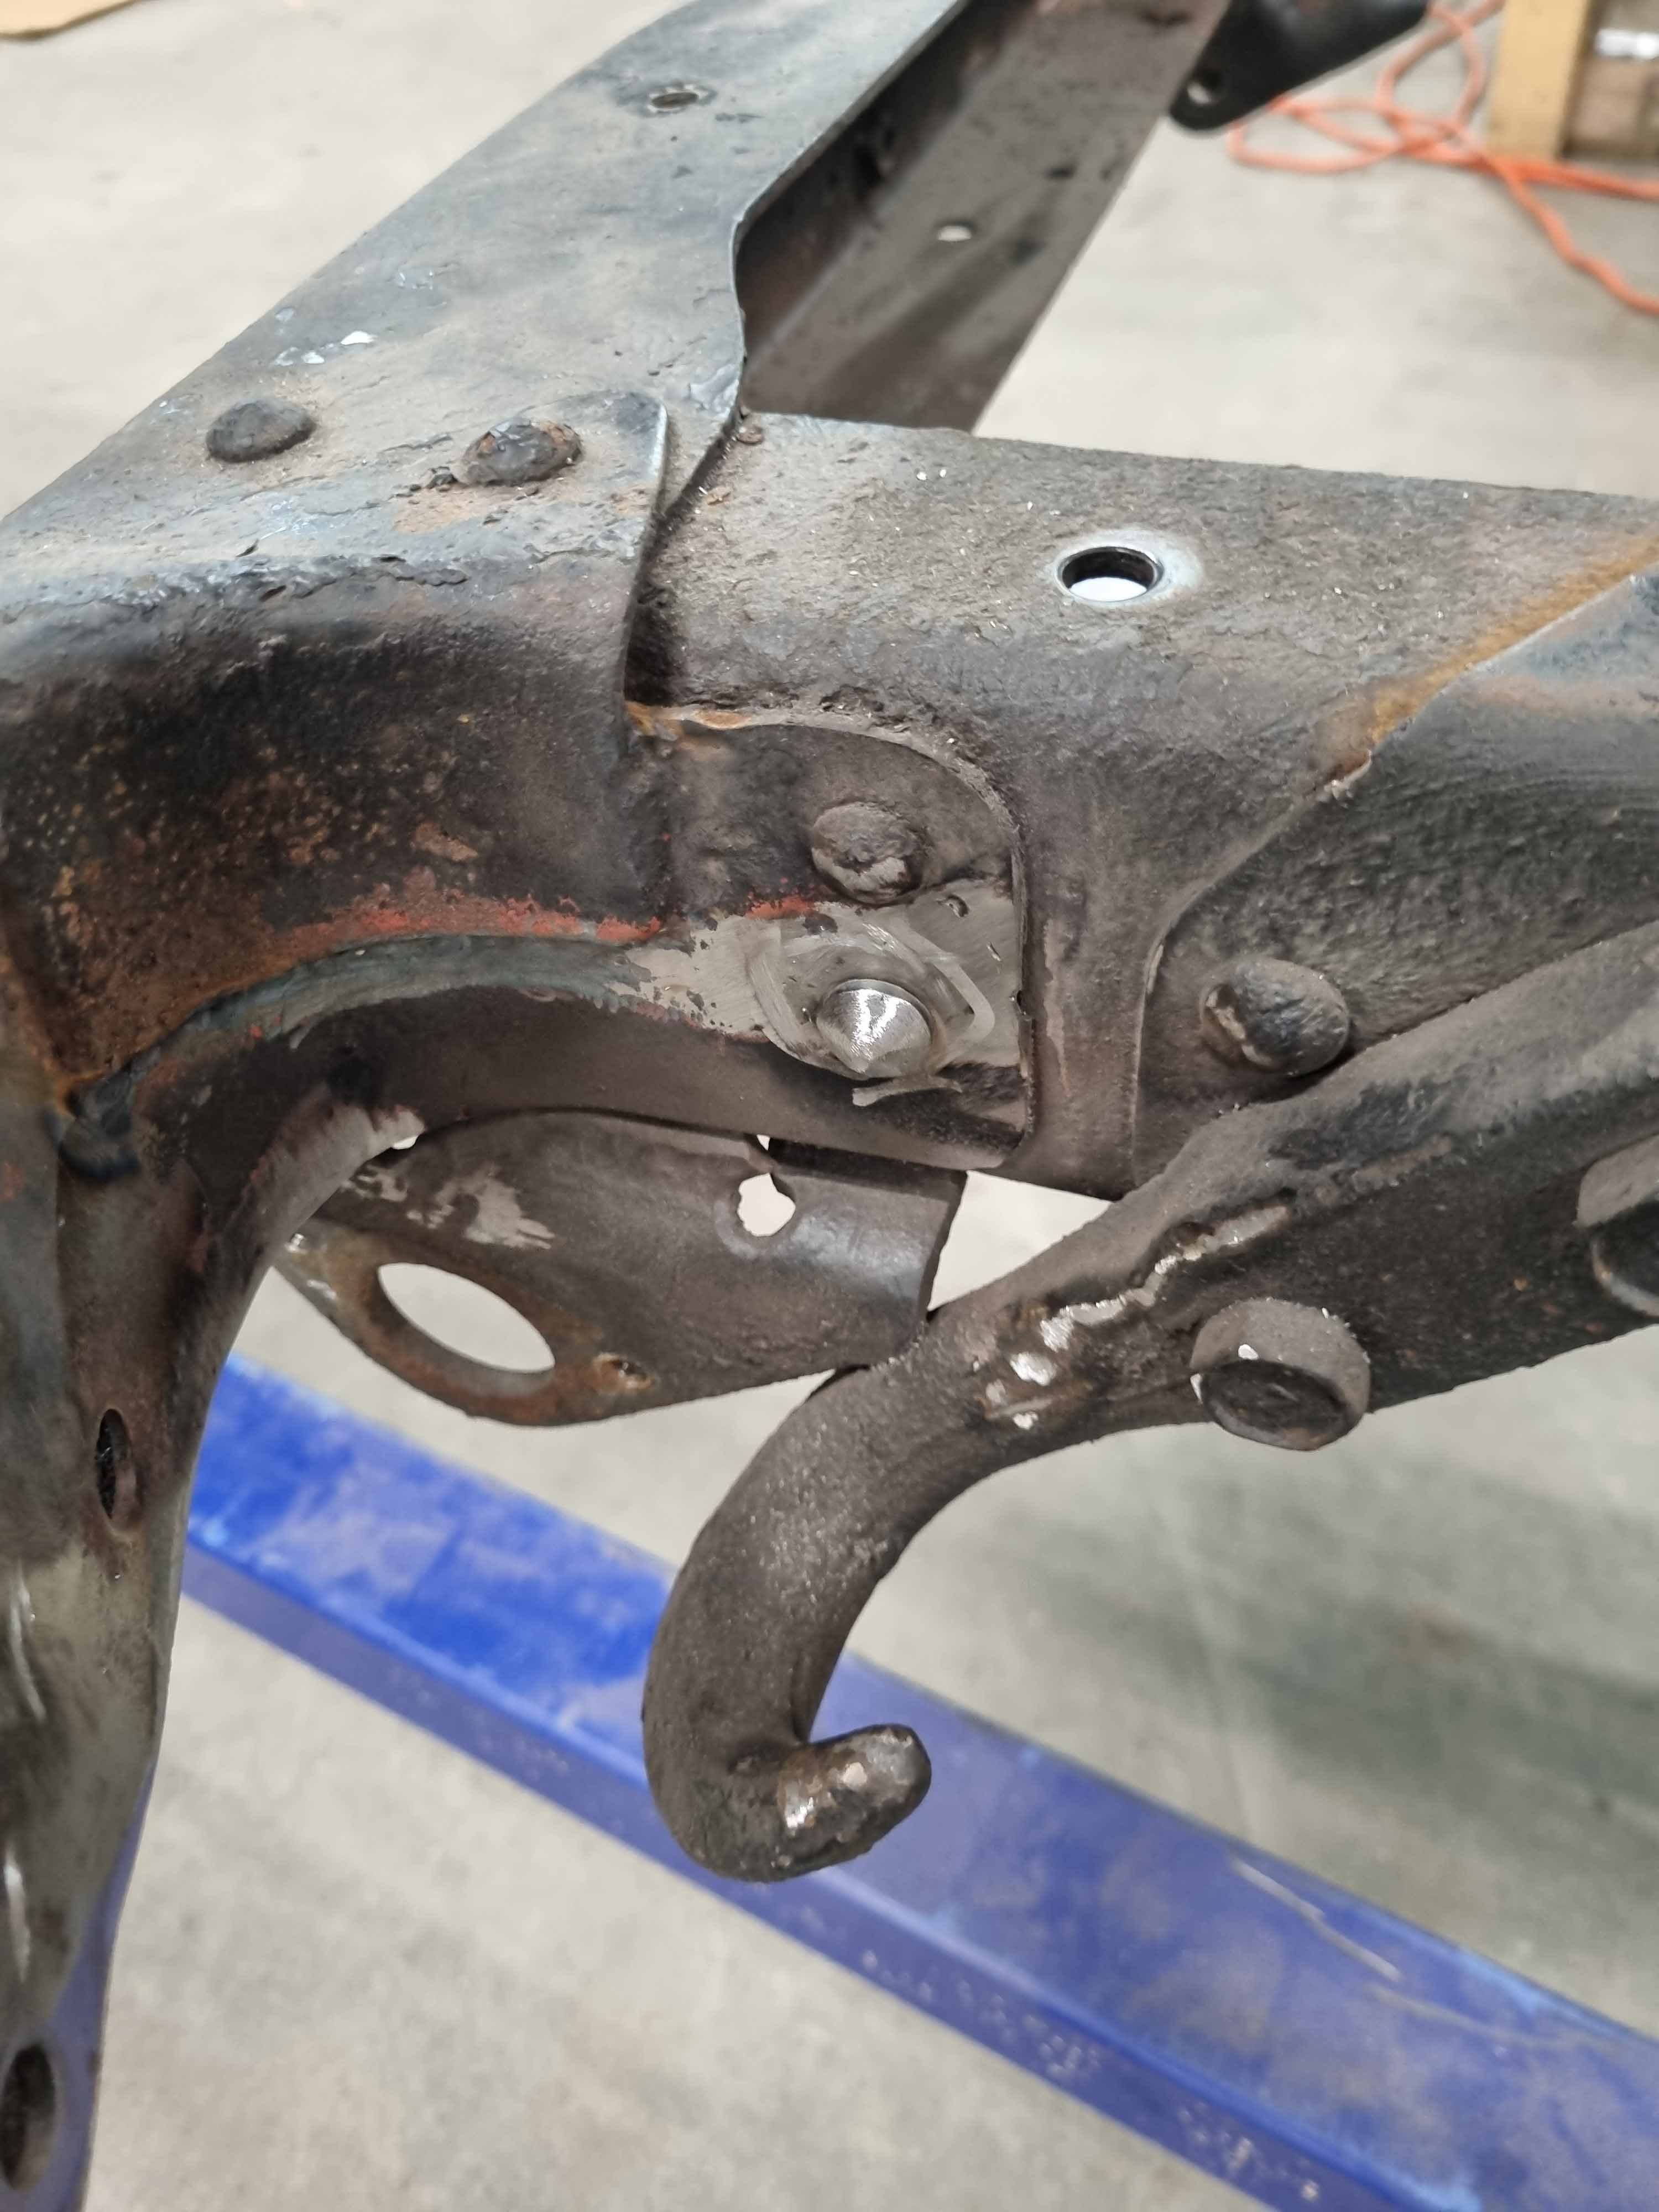
Onwards to things gear shifting things. I had to make basically two levers to act as a 'double negative' in order to translate the movement to where I needed and it still shifting in the normal pattern. 1:1 levers and I will be using a factory supra shifter so ratios should all be legit. A lot of little machined bushes and bracketry to achieve the desired result. A few rivnuts in le chassis to holed one of the brackets and the other welded to the gbox xmember. Also made a tricky little bush for the linkage adjustment at the gearbox as per Sheepers intel as to how they work. You will have to imagine that piece though, because I havent taken a photo.
-
9
-
-
- Popular Post
- Popular Post
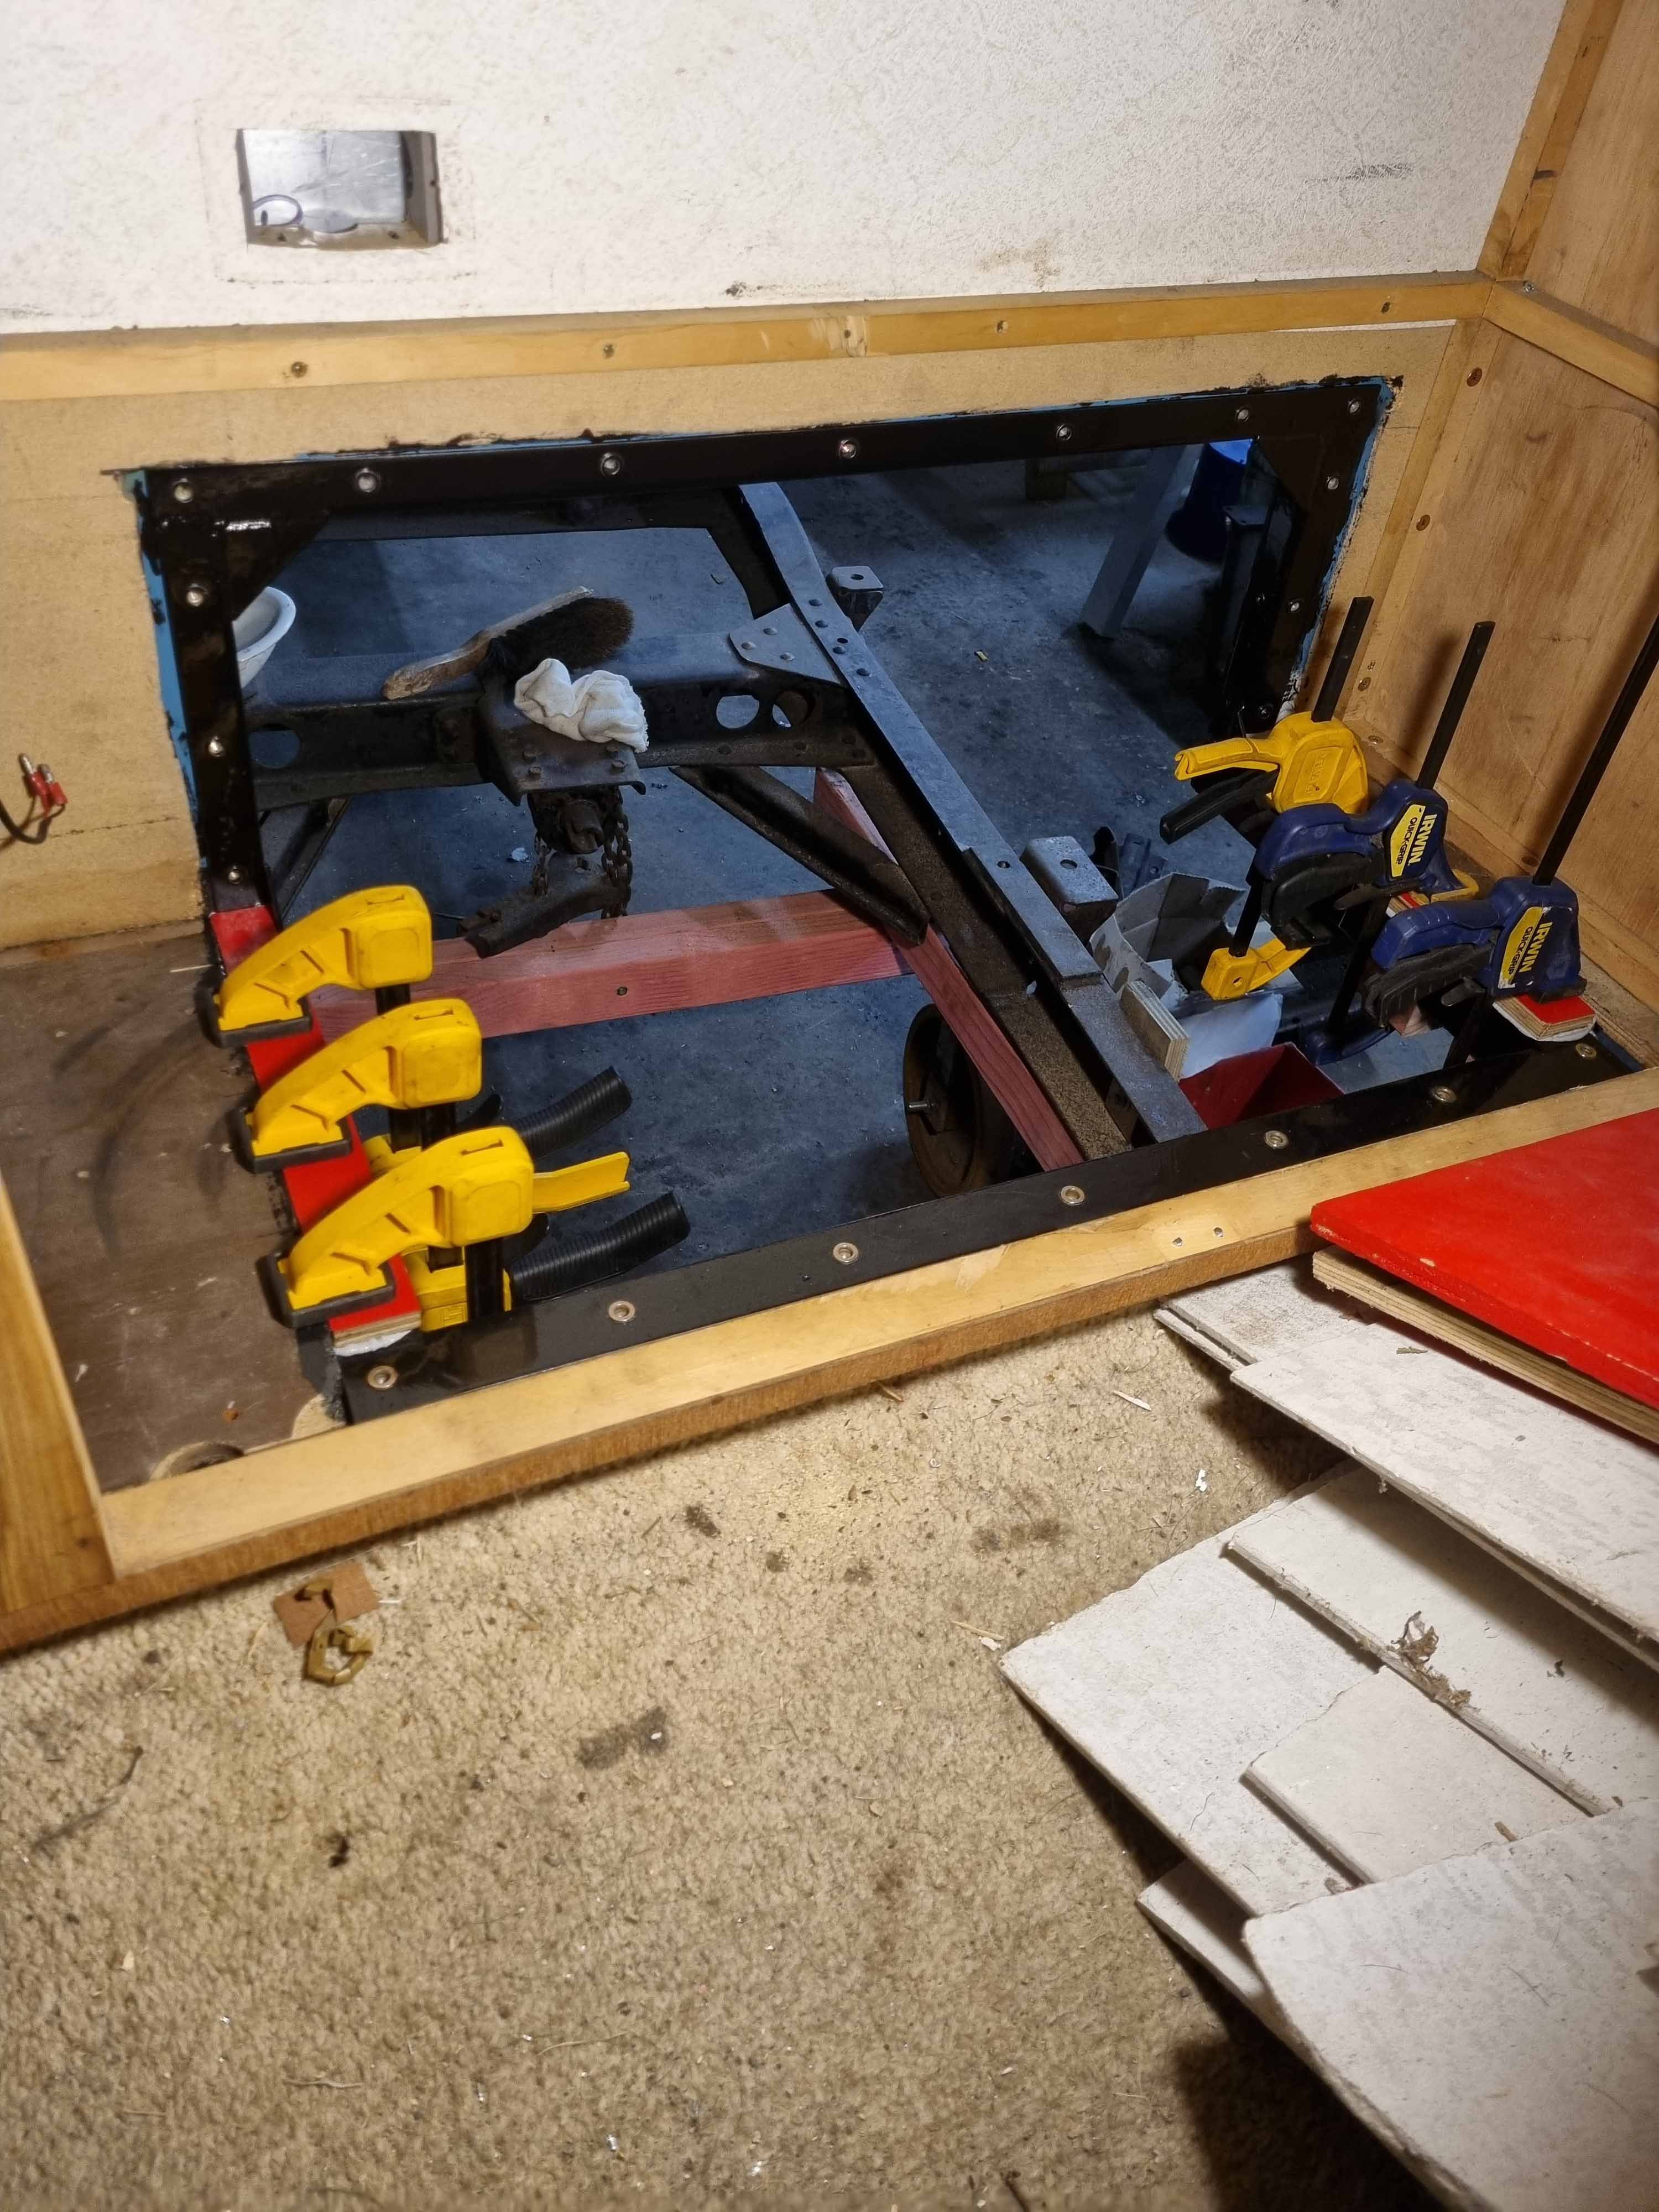
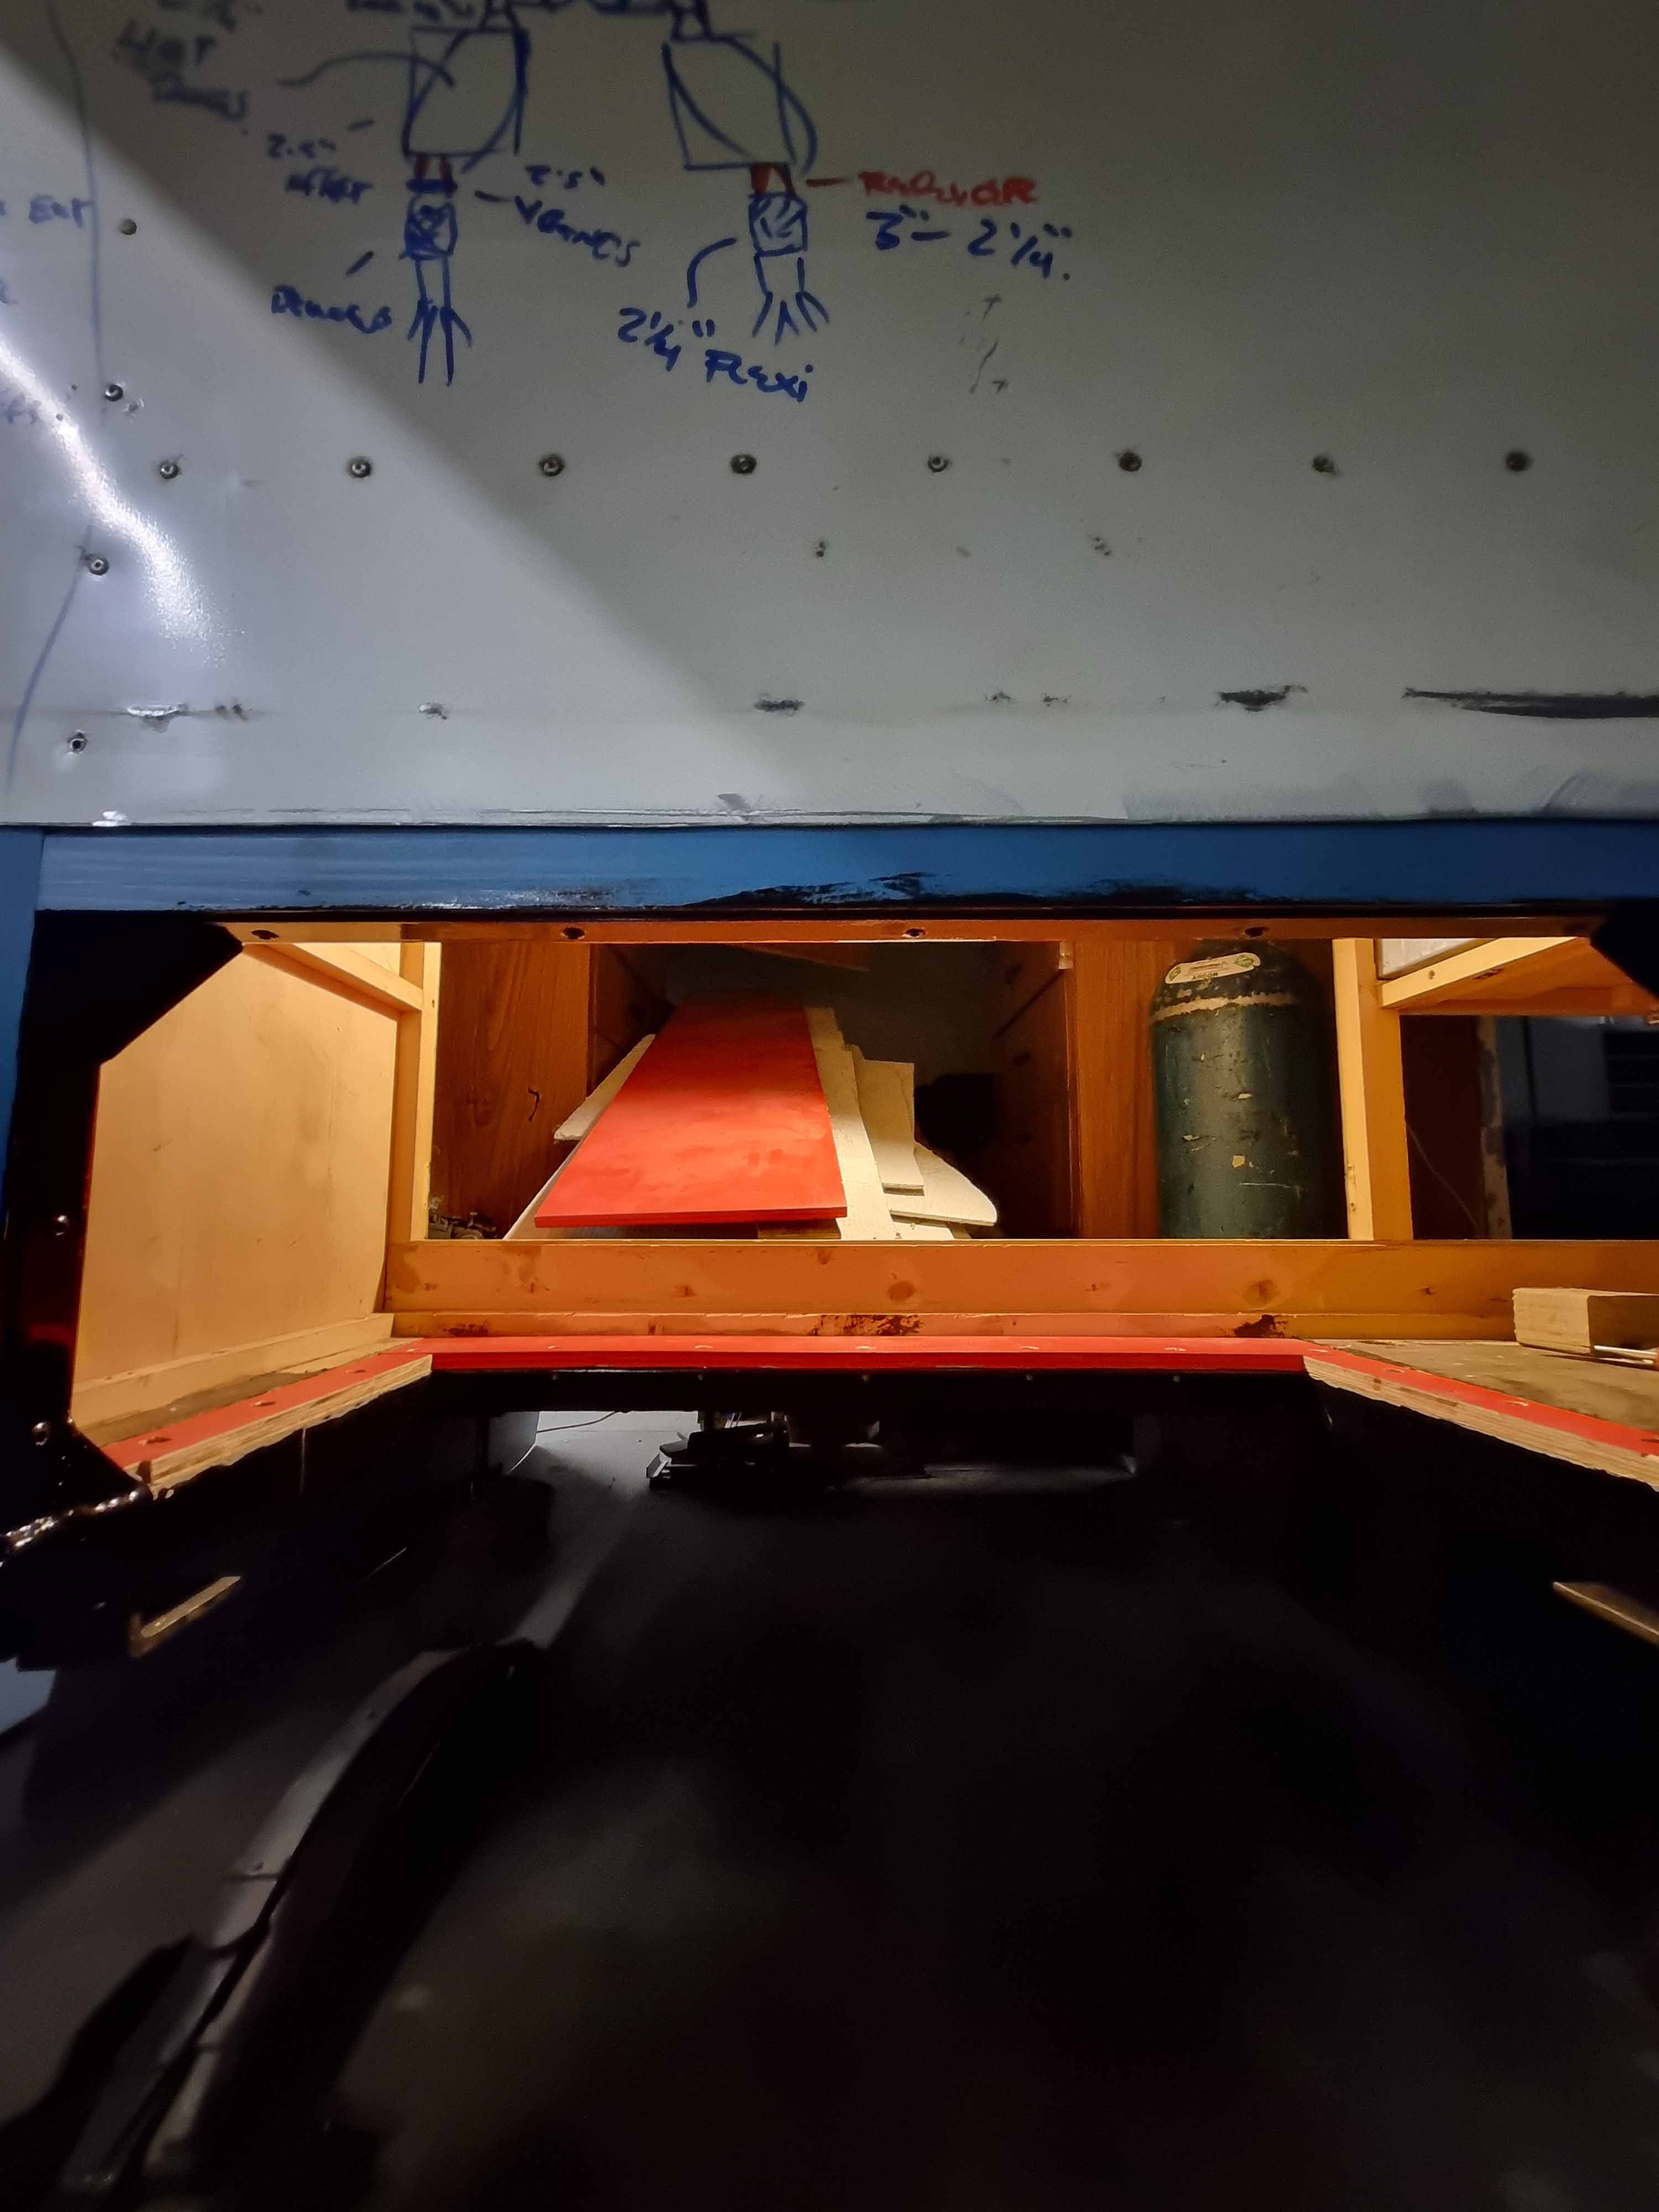
Been a while between drinks. Looking through my photos on my phone I have been busier than I realised over the last few months. Building a lot of machines for work, all manner of kids stuff, new lady on the scene, fixing other cunce shit, gardens, cetera. Poor old Dynasaur has been languishing in the naughty corner. I thought however, what little progress I have made should be regurgitated in the interests of perceived progress, and to give me the much needed enthusiasm from the dopamine hits I get from all your likes. BTW, none of this shit is actually finished. Ive done lots of half jobs. I reckon a day or 2 and Ive have a lot of things actual completed.
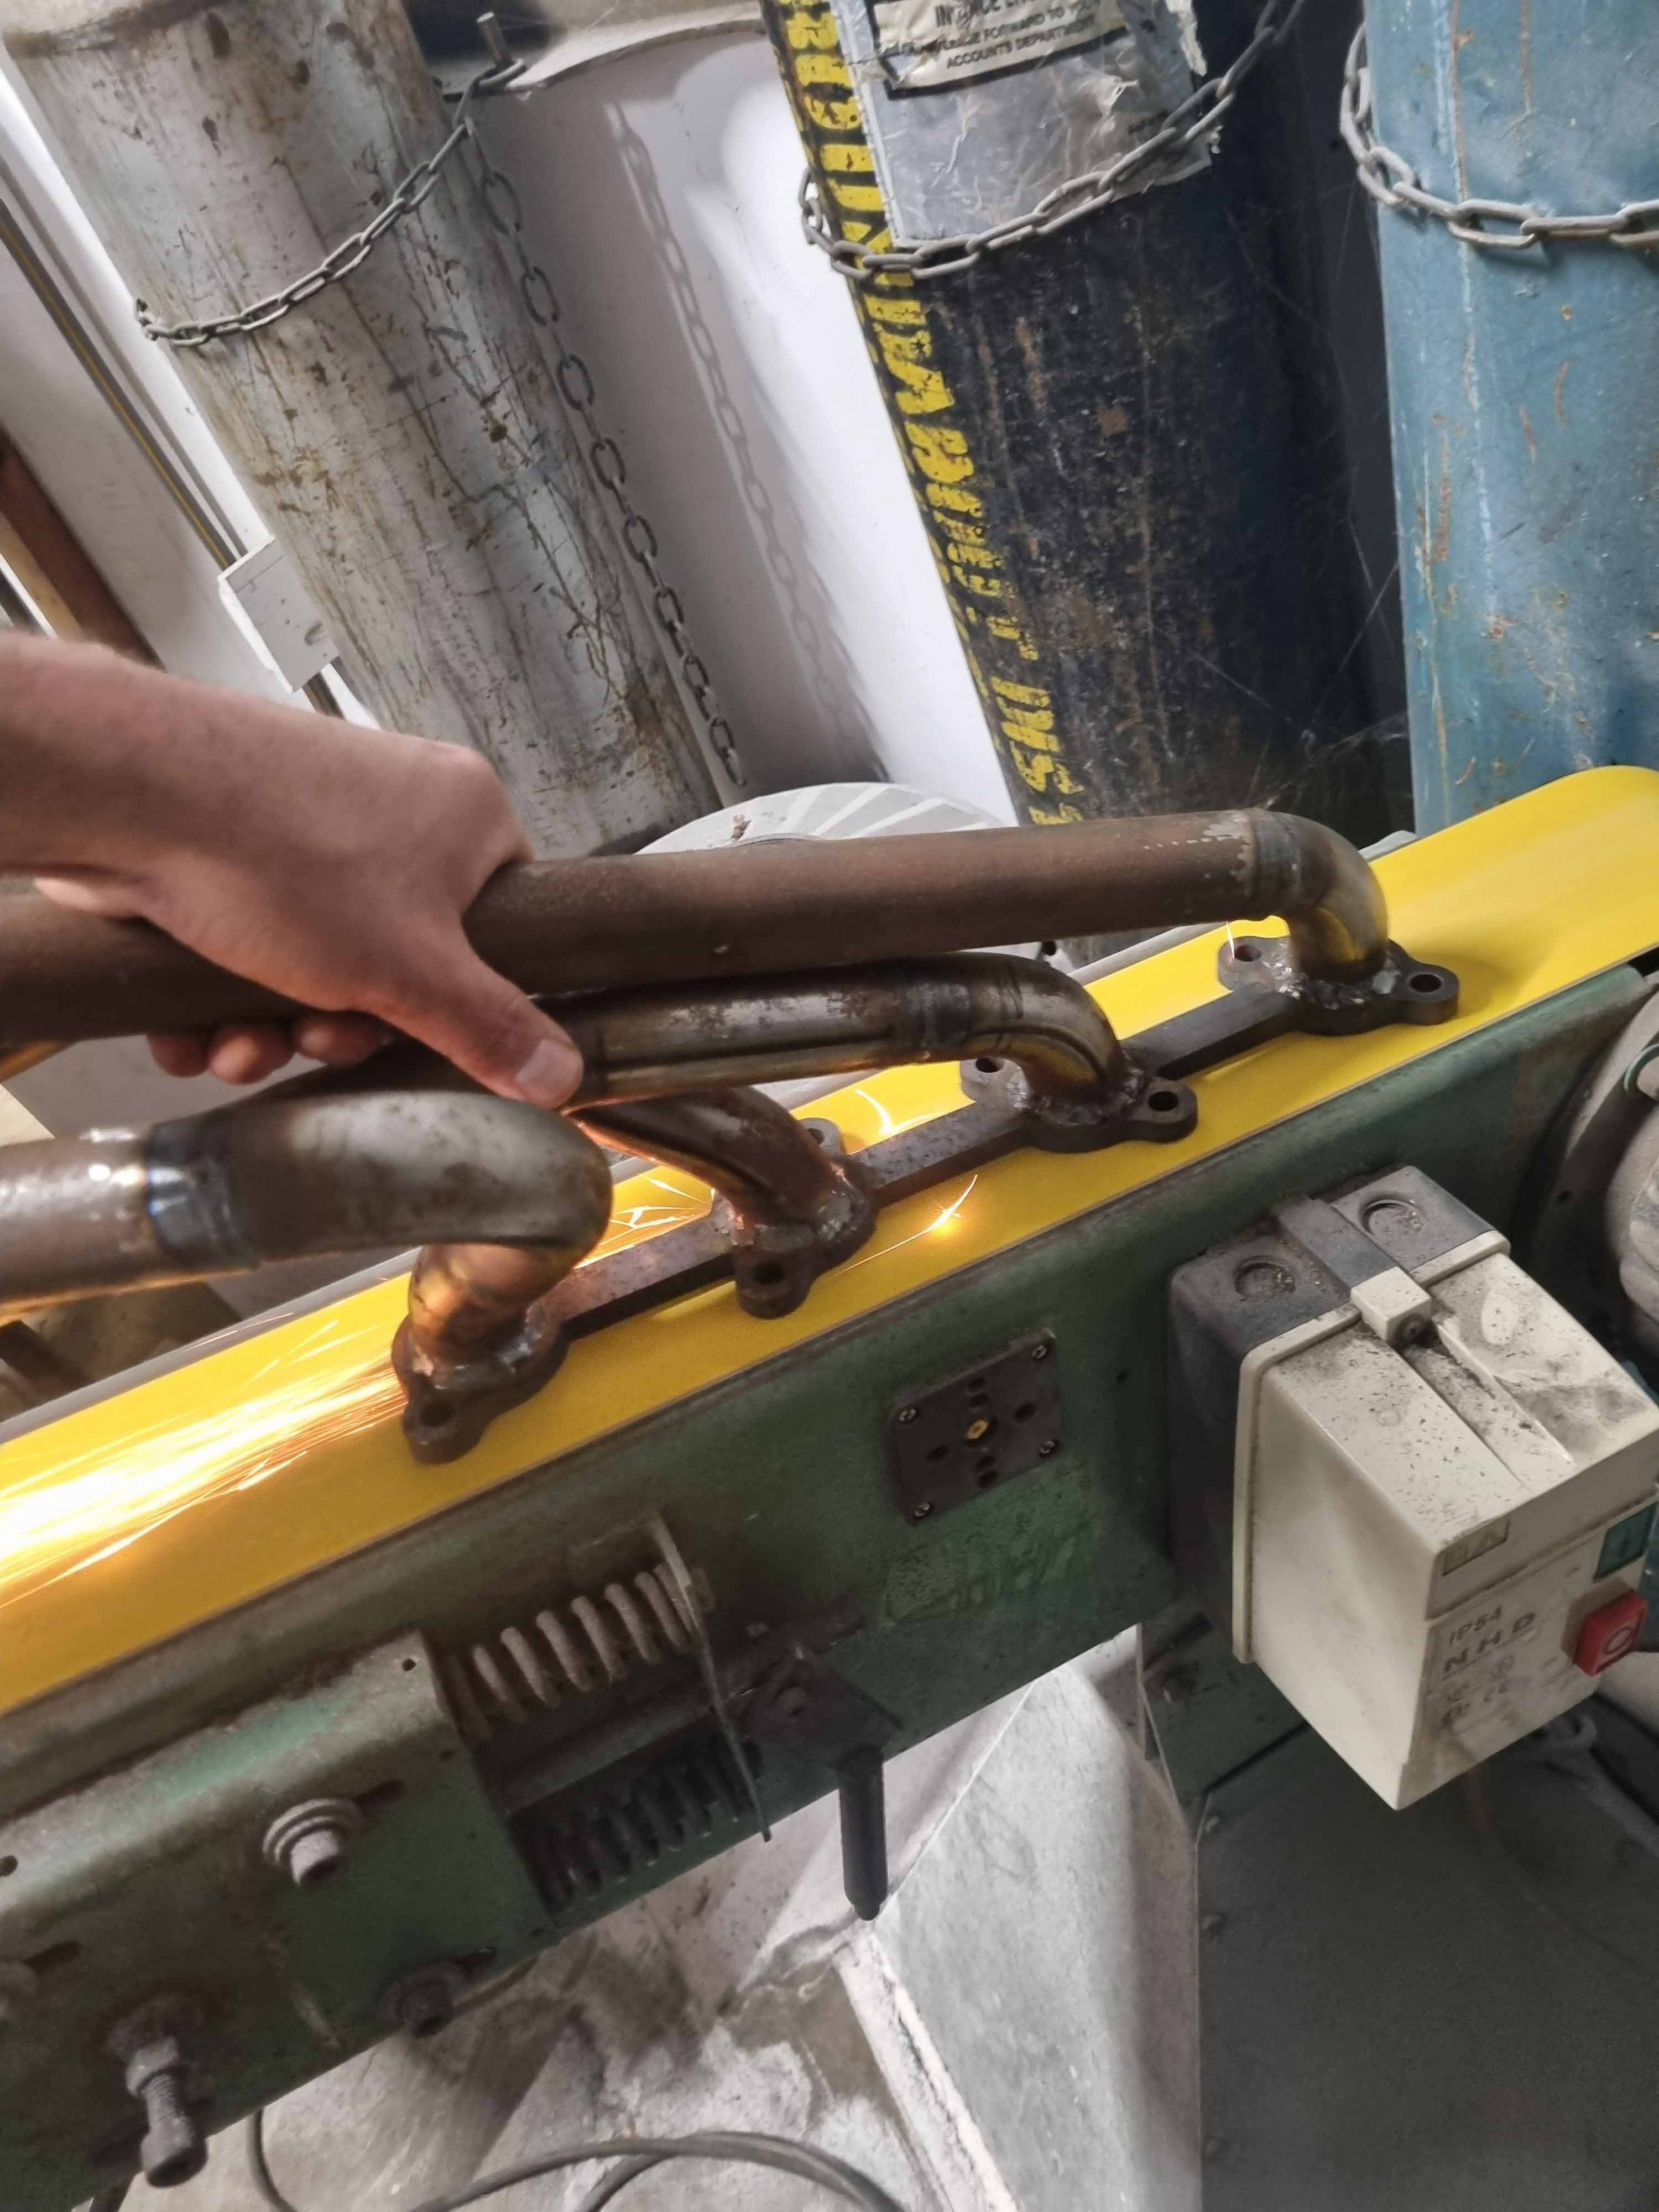
First mish was to sort out my slightly warped headers on the linisher. New P40 belt. It went well.
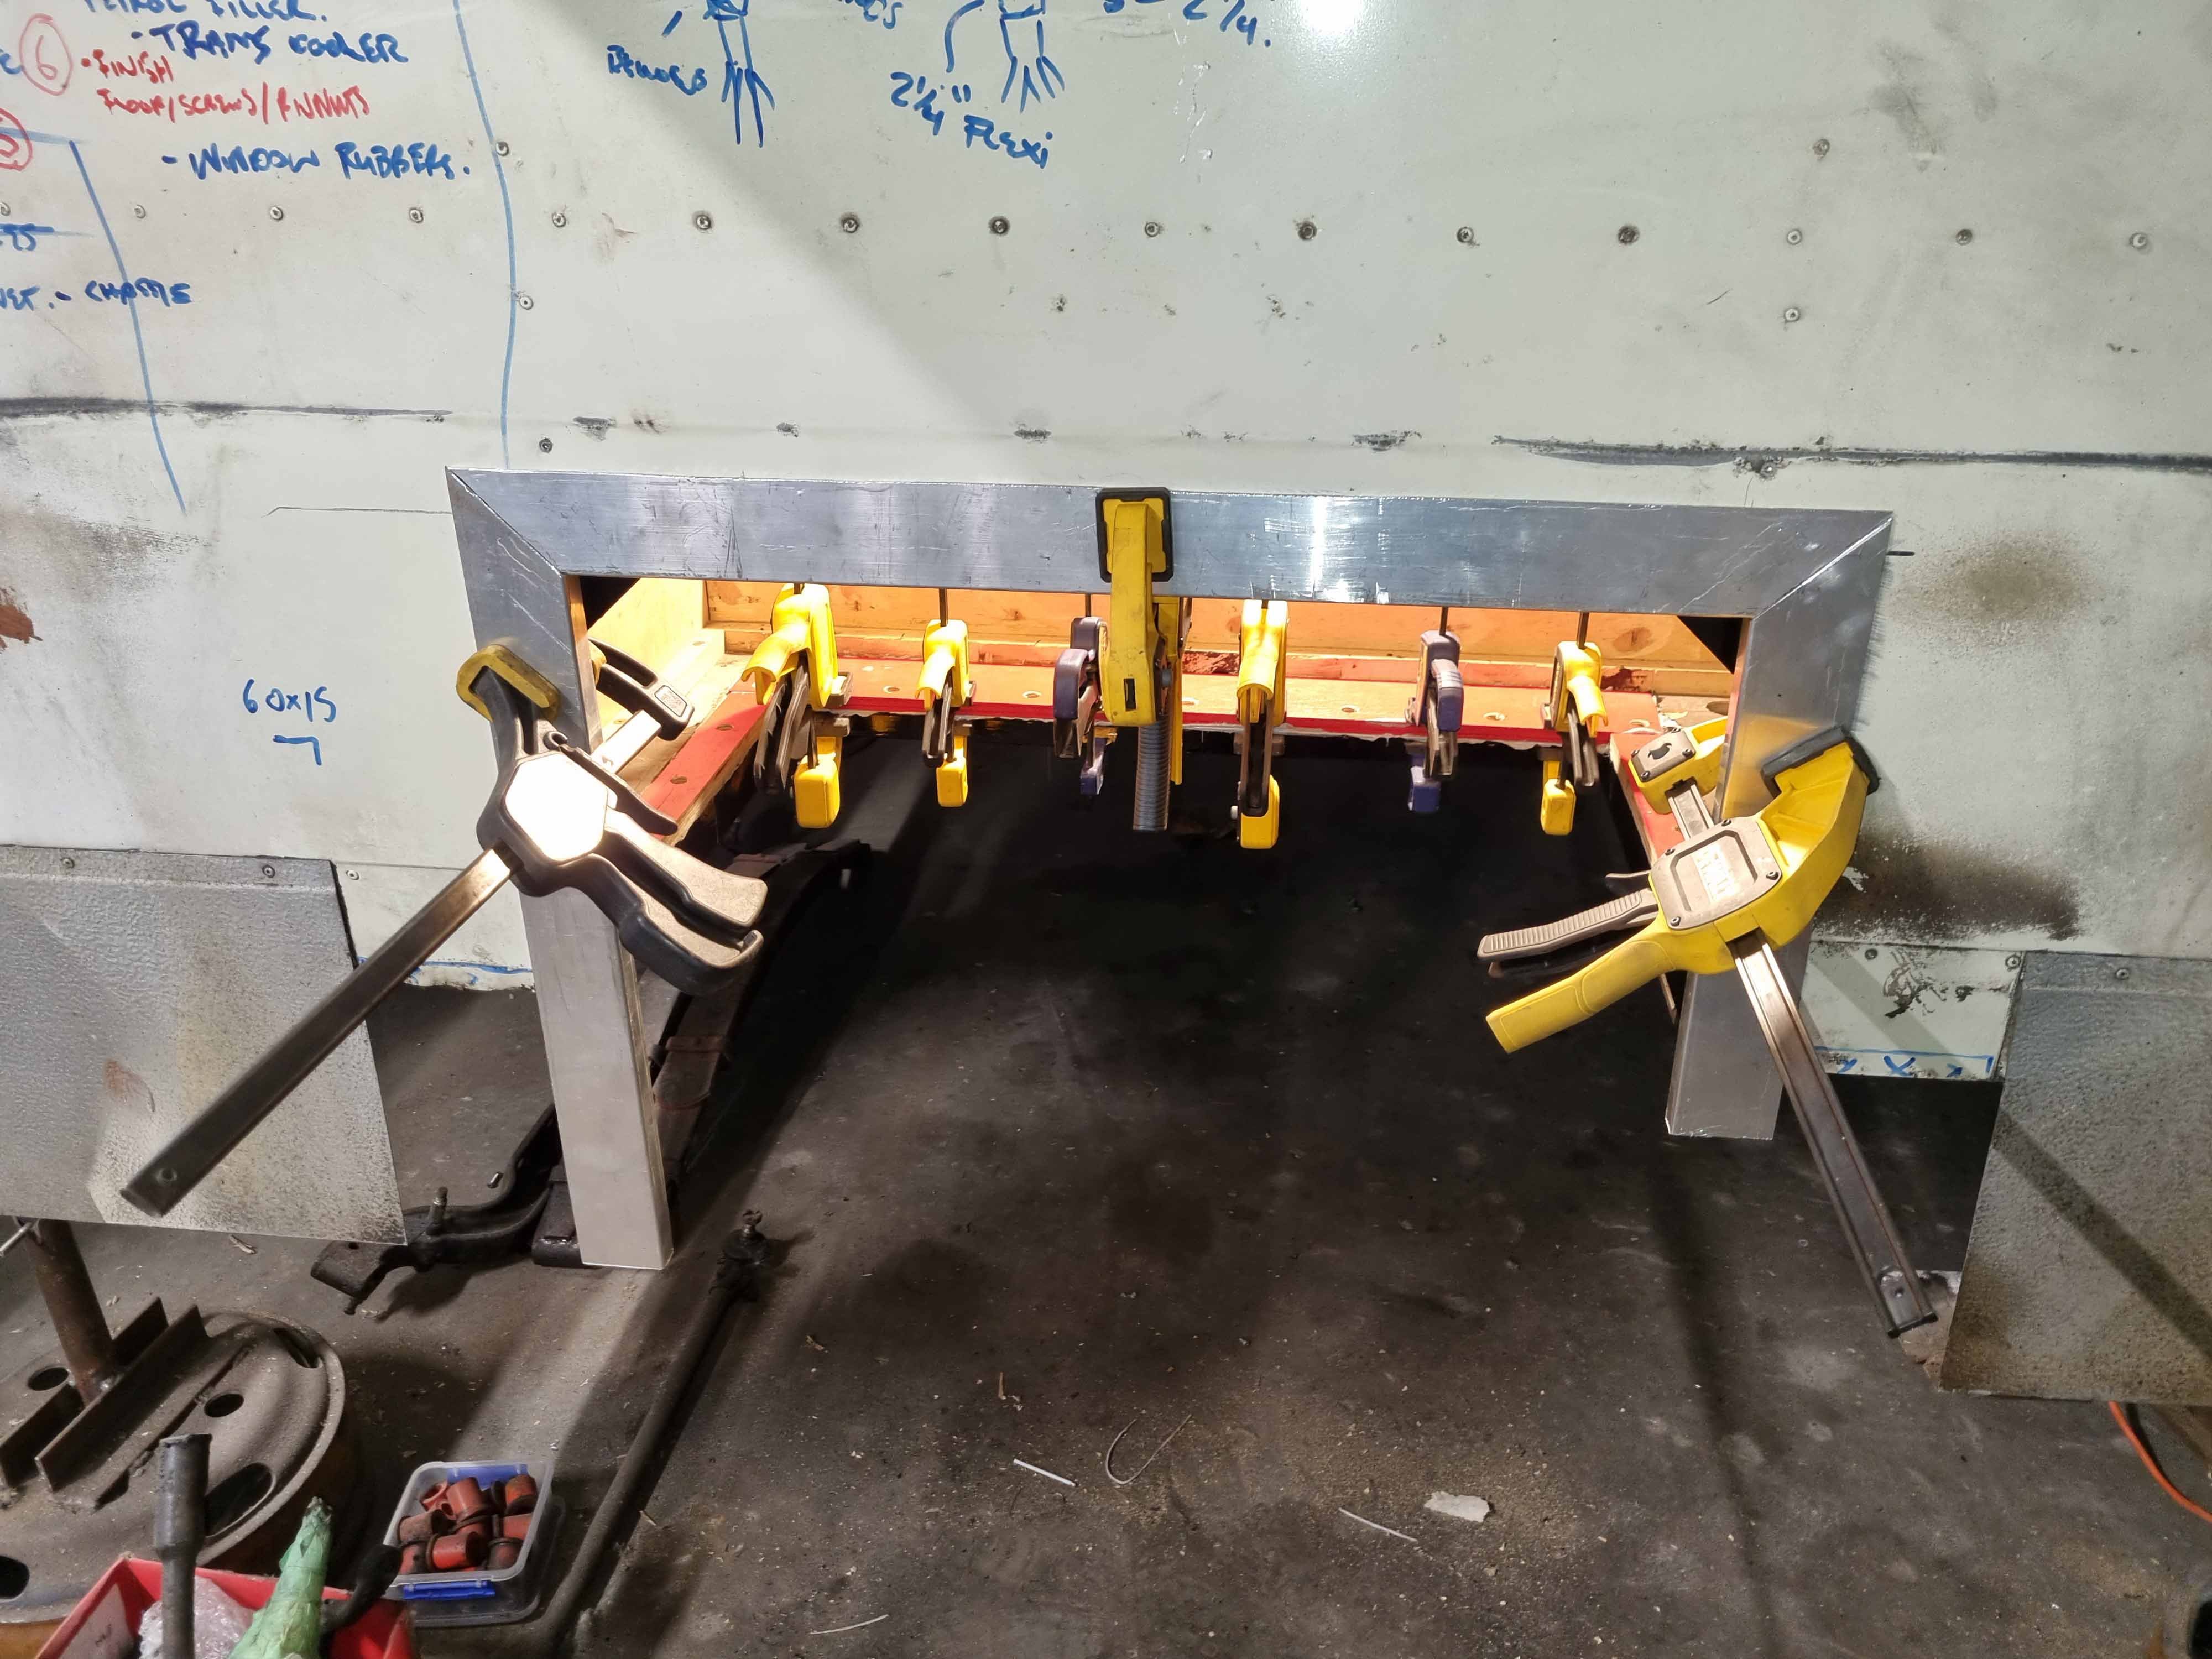
I then moved on to matters of body hole. Made some plywood pieces to reinstate the areas where I had to oversize the hole to make all the framing for the engine cover to mount to. Am now trying to figure if Ill lay another thin sheet of ply over all of this to tidy it up, or maybe a piece of lino. Not sure yet. Probably whatever I can scavenge..
-
11
-
Might be a little low brow compared to the current high standards, but could you tap a fitting into the horizontal section of your filler tube and another into the vertical section, with elbow, and run a short length of clear tube between, kinda like a classic smoko room Zip?
-
1
-


HumberSS's Datsun 240c coupe of irrationality yarns
in Project Discussion
Posted
Have at it
https://oldschool.co.nz/index.php?/topic/88975-humbersss-datsun-240c-coupe-of-irrationality/#comment-2612701