

88fc3s
-
Posts
95 -
Joined
-
Last visited
Posts posted by 88fc3s
-
-
Yeah shandangles that's correct as far as I'm aware as well but cause its only slight bends they let you get away with it. I've done two cages now both this way that have passed homologation
-
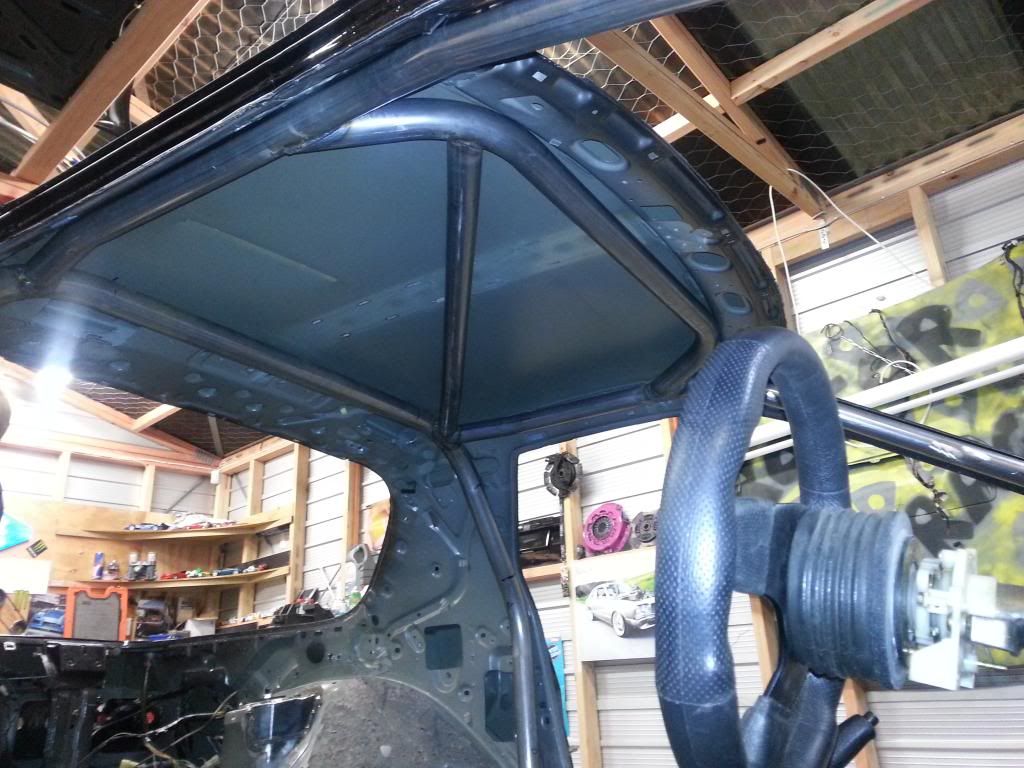
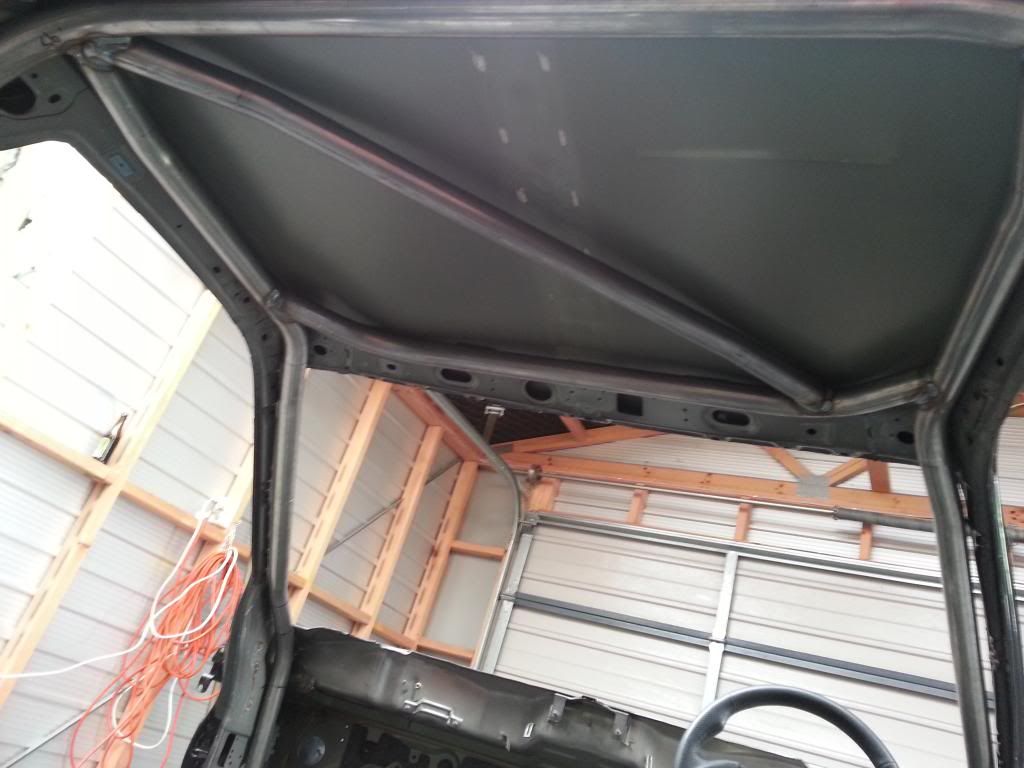
The first step on the cage was to make all the footing plates. I fully welded the front and rear plates but I only tacked in the hoop plates so I can remove them later to drop cage through the floor. The next step was to tack in the hoop then notch the front lateral bars and tack them in place then tack and fabricate the roof setup
-
 7
7
-
-
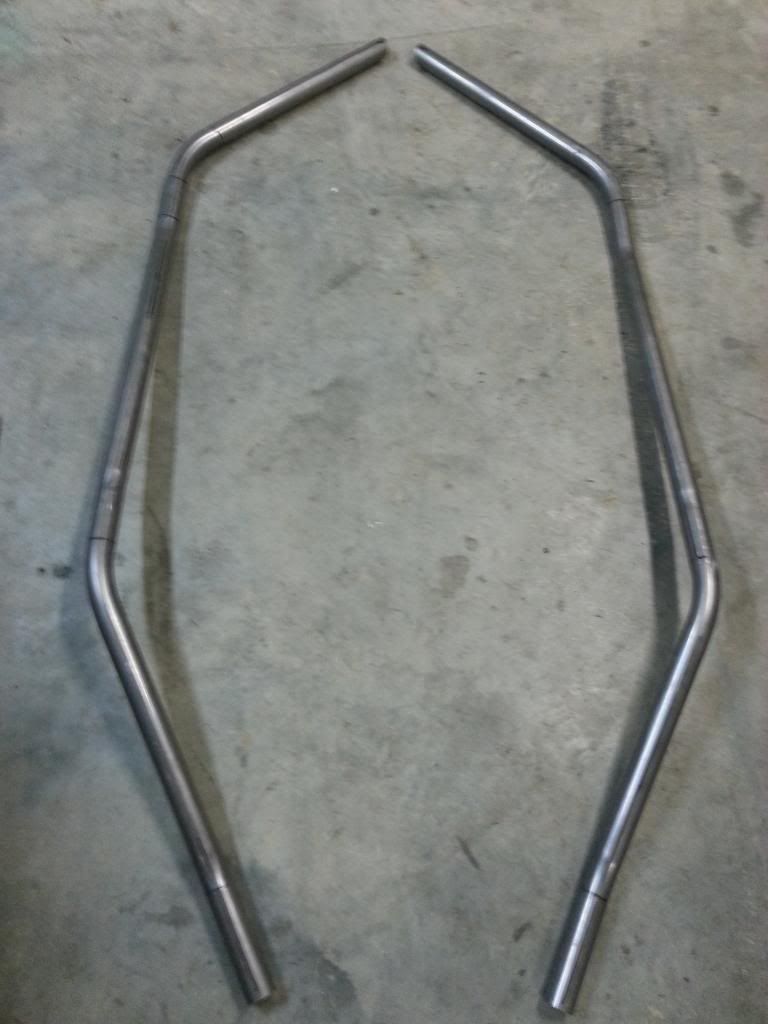
The next big issue was sorting out a pipe bender for the rollcage. I picked up the 44mm and 38mm tube but now I needed a bender. One that wouldn't crush the pipe because then it wouldn't pass homologation. They are so pricey to purchase so I ended up getting in contact with a local cage builder and I took the car to him and he bent my main hoop, front lateral bars and roof bars. He does awesome work and the fitment was amazing
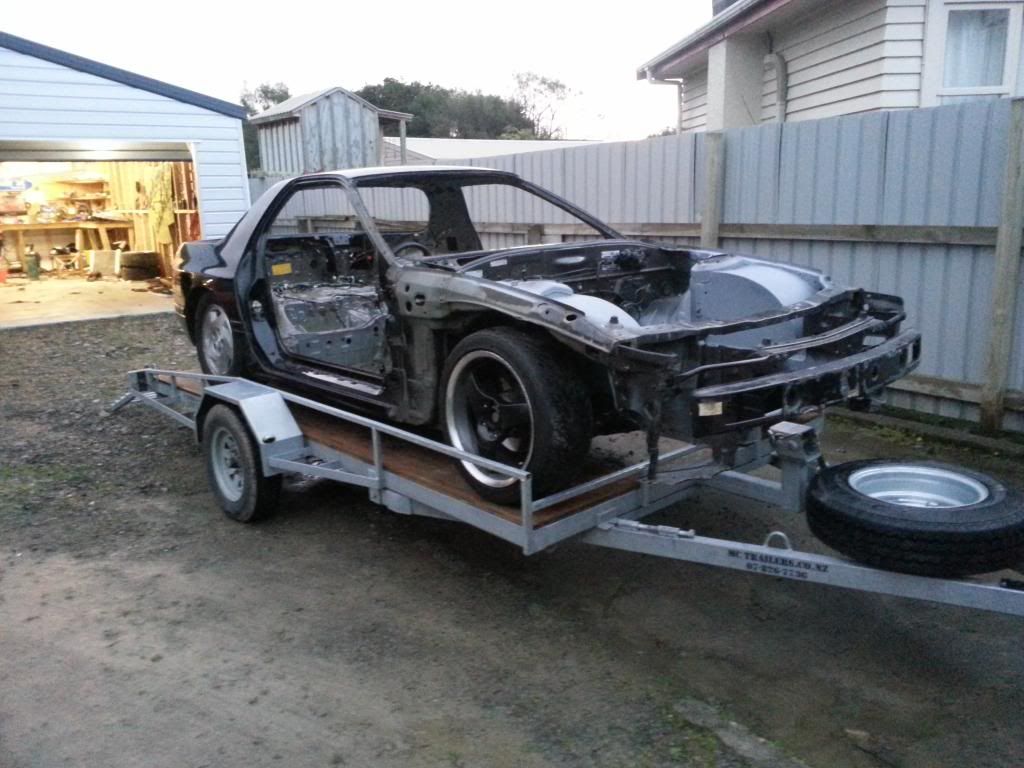
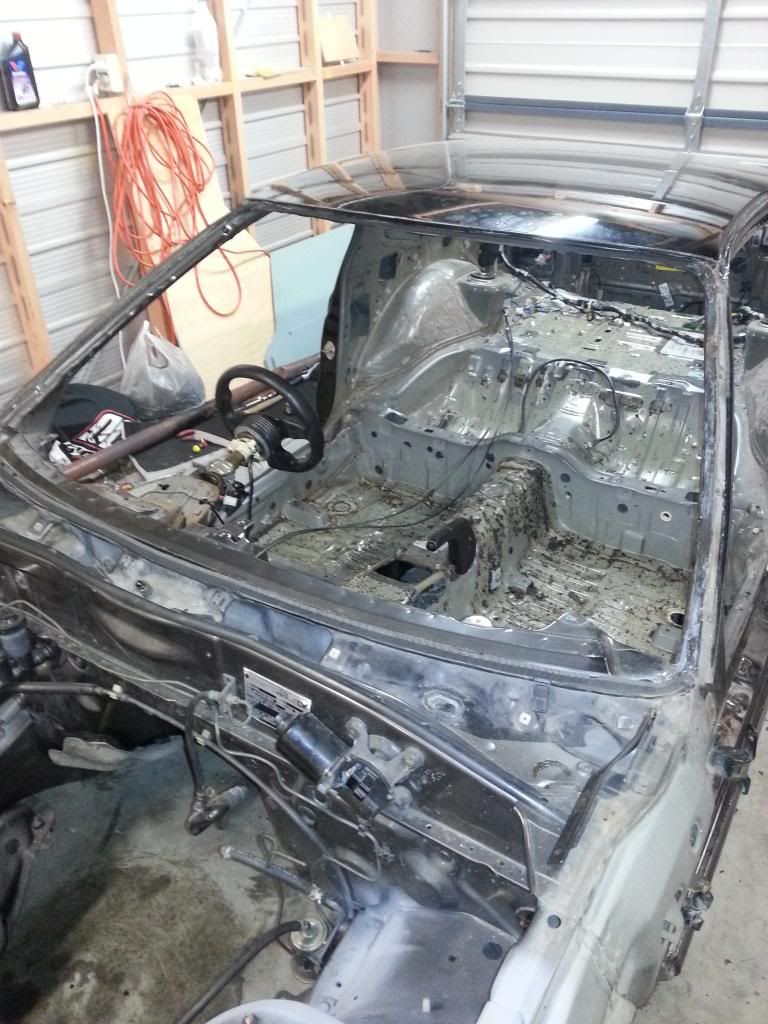
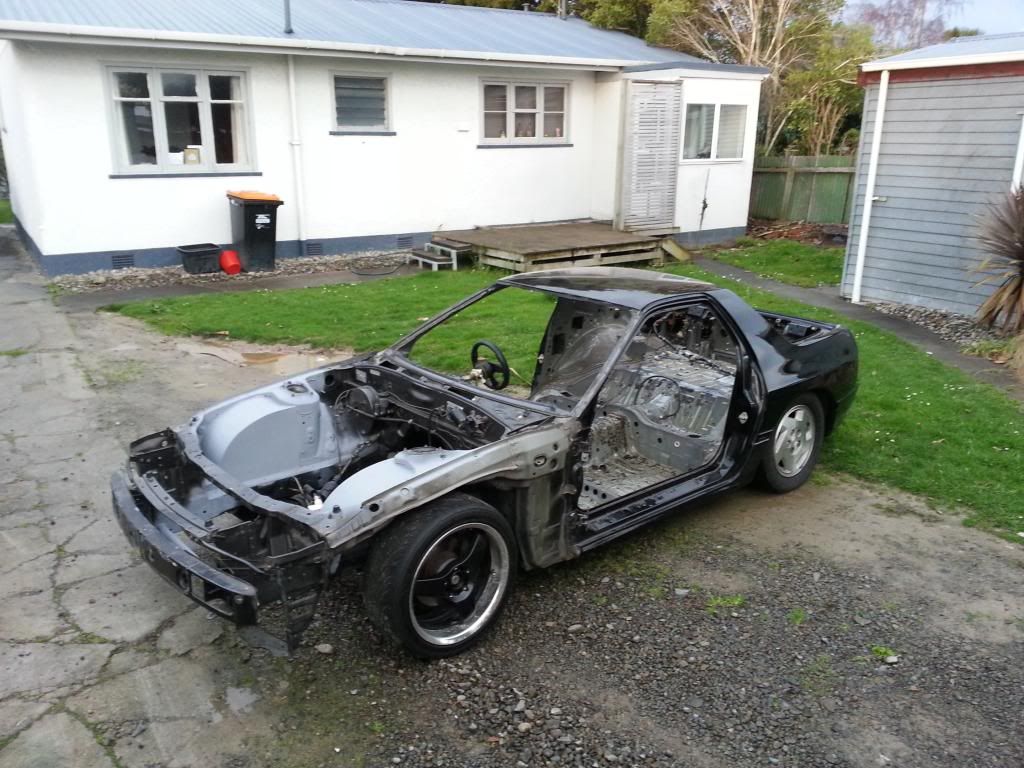
This is a few pics of the car, main hoop and the bars I ended up with
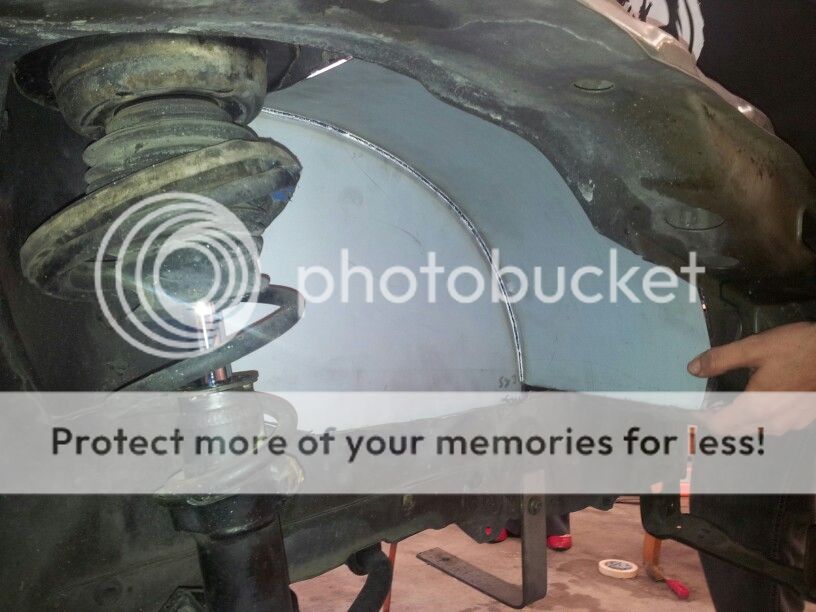
I cut holes through the body to drop hoop through the floor before trimming it. And so I can drop the cage down later to weld the tops
-
 2
2
-
-
-
Cheers mitch. Yeah they took a lot of work to get them looking that way but it was worth it.
-
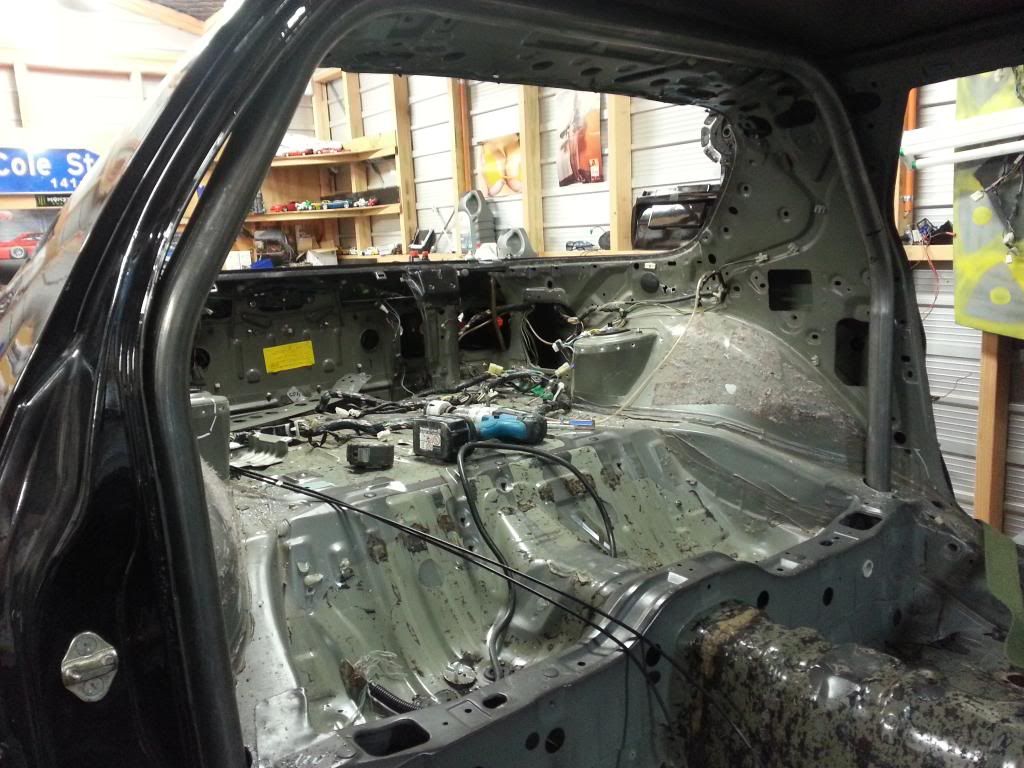
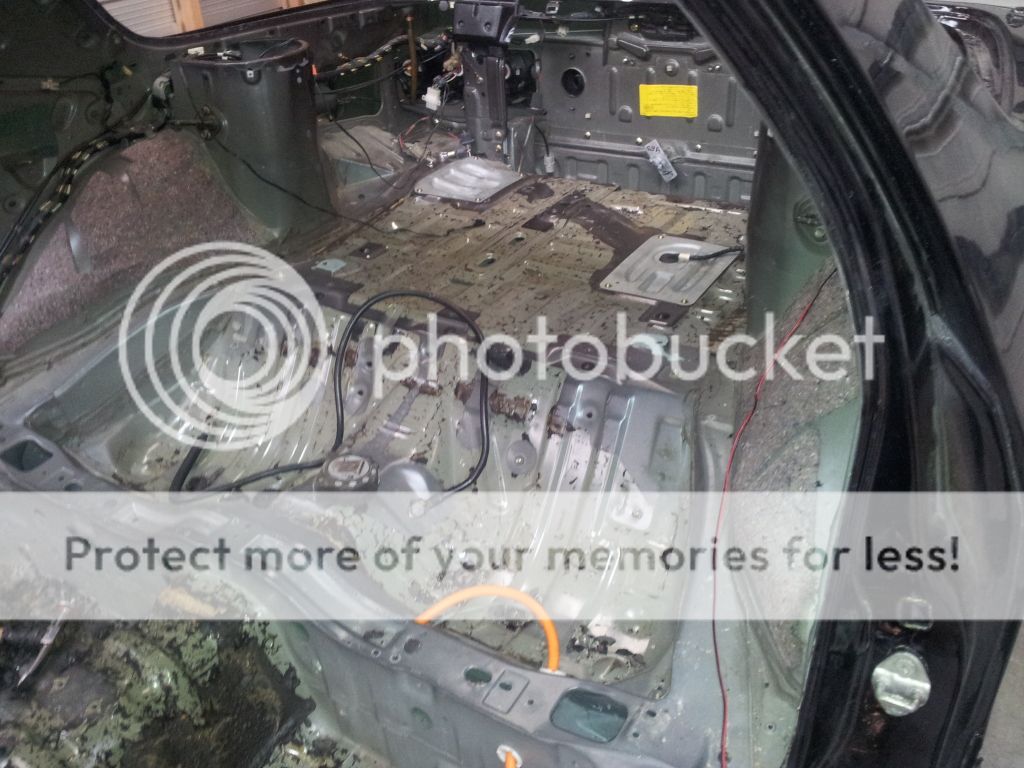
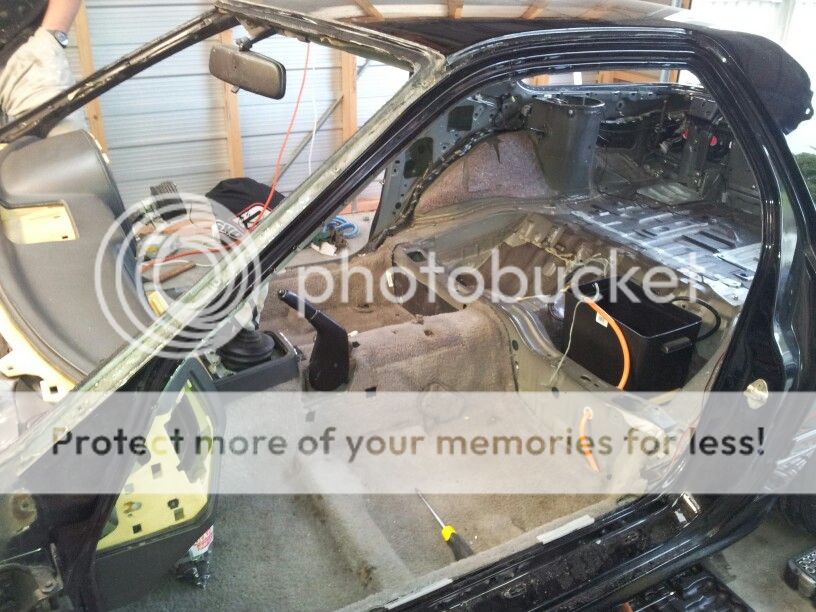
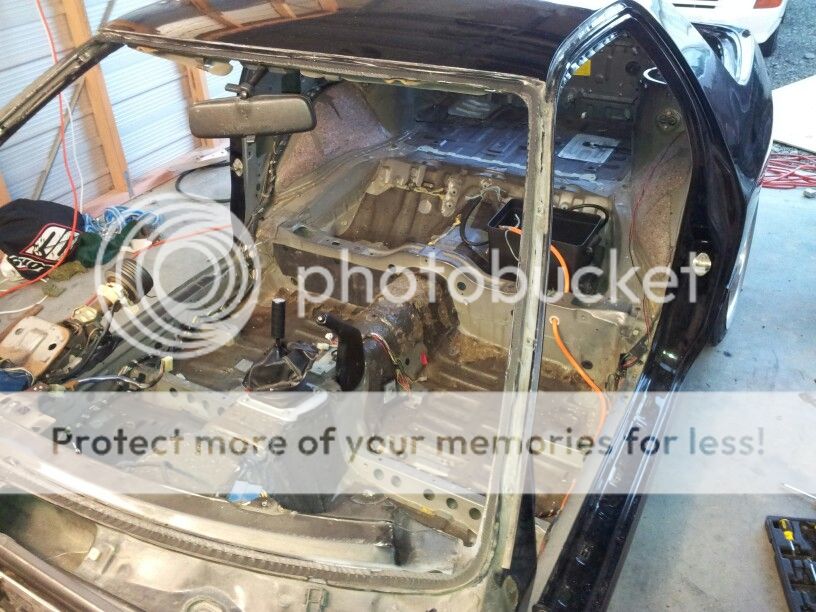
Out came all the sound deading. The carpet will be going back as I don't want it to feel to much like a track car.
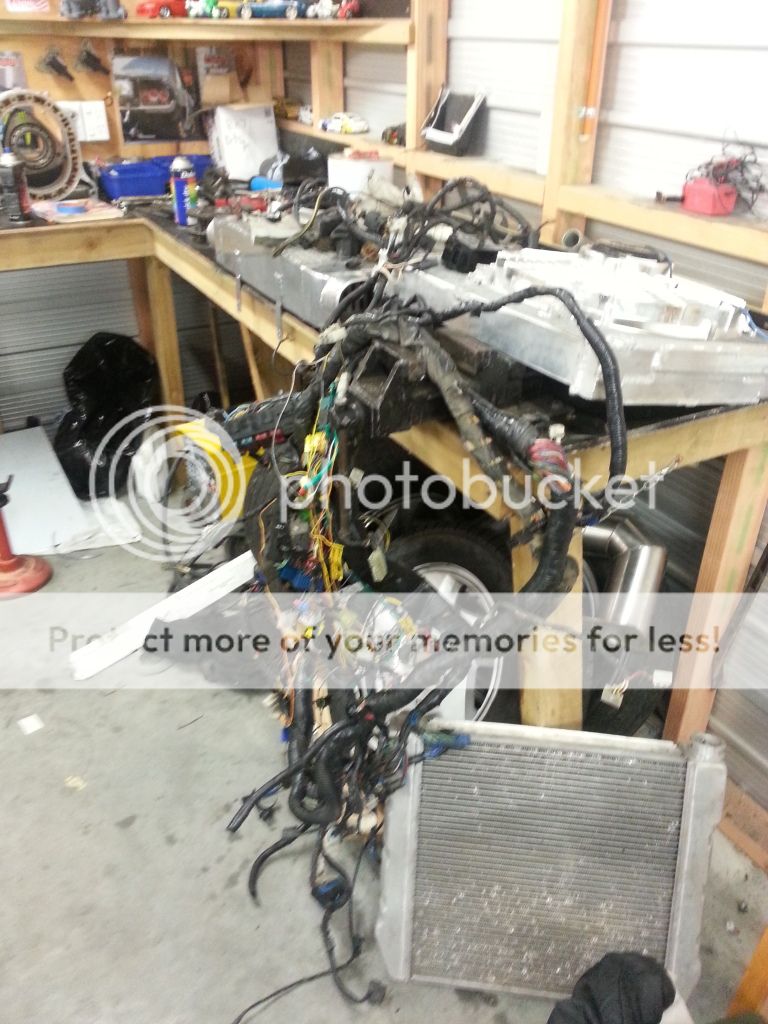
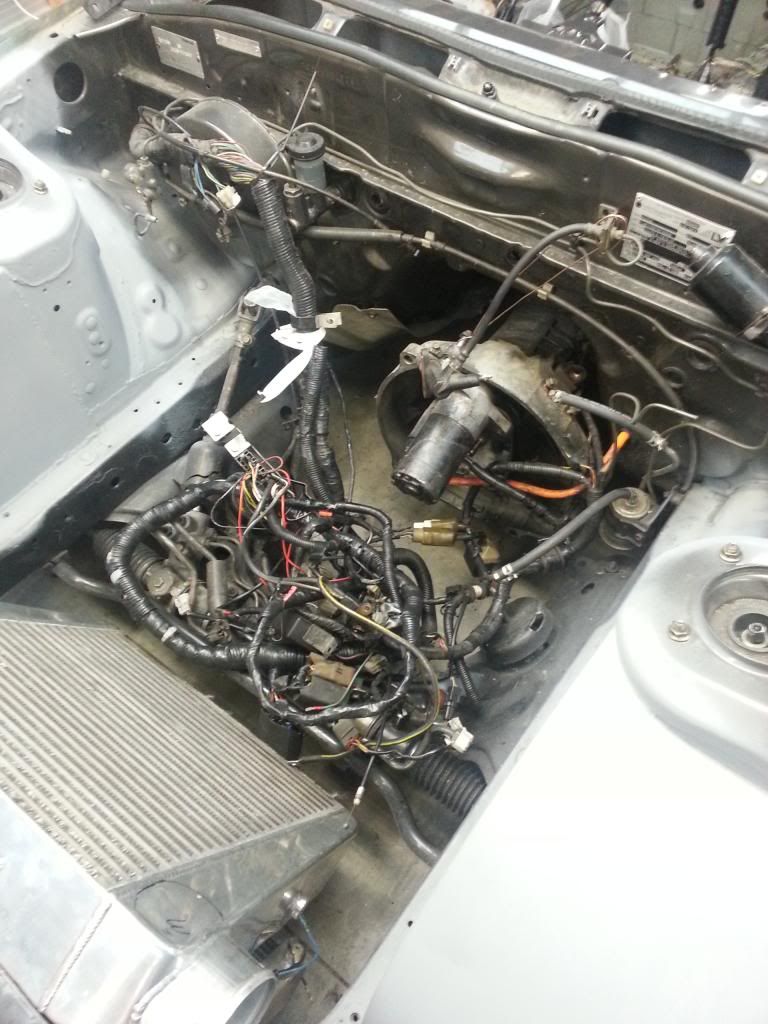
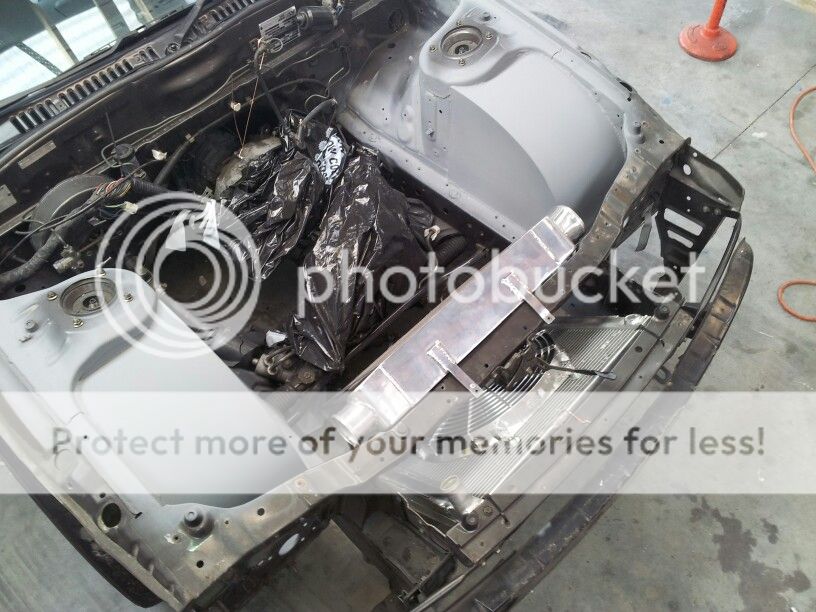
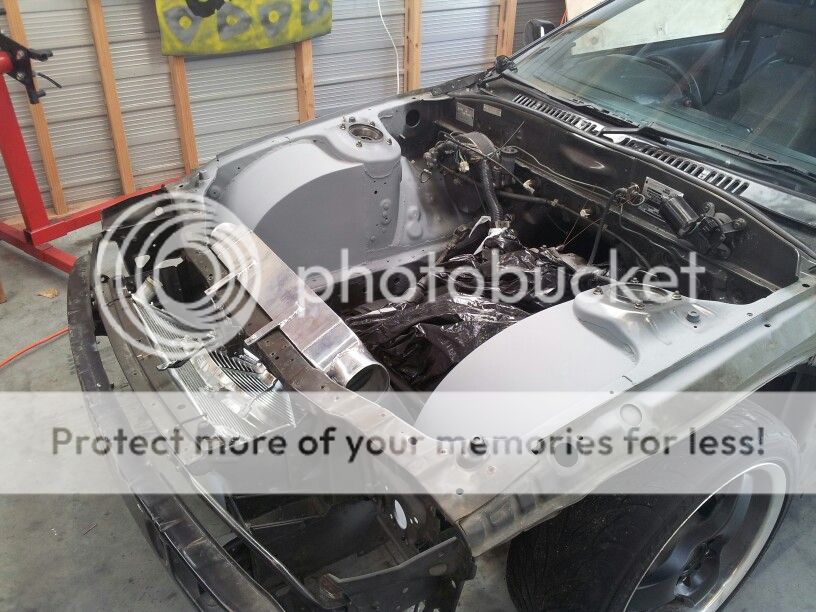
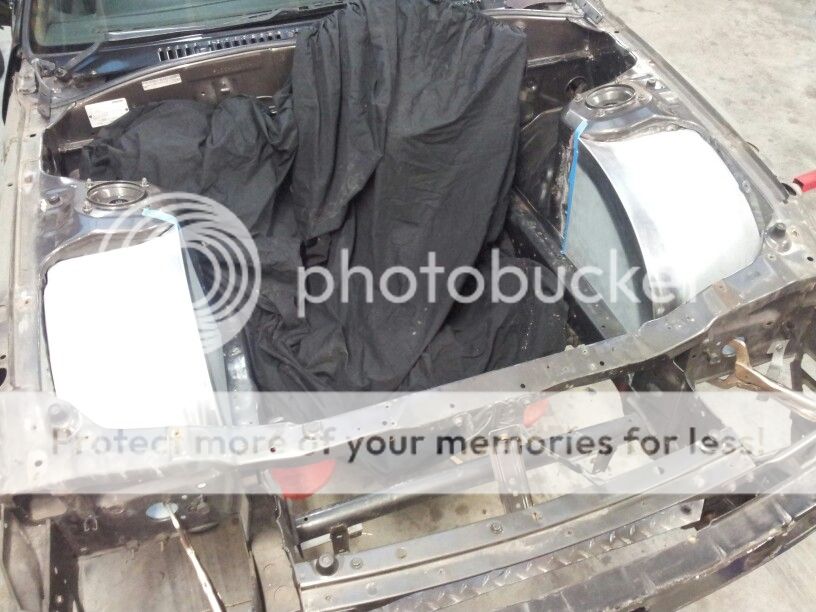
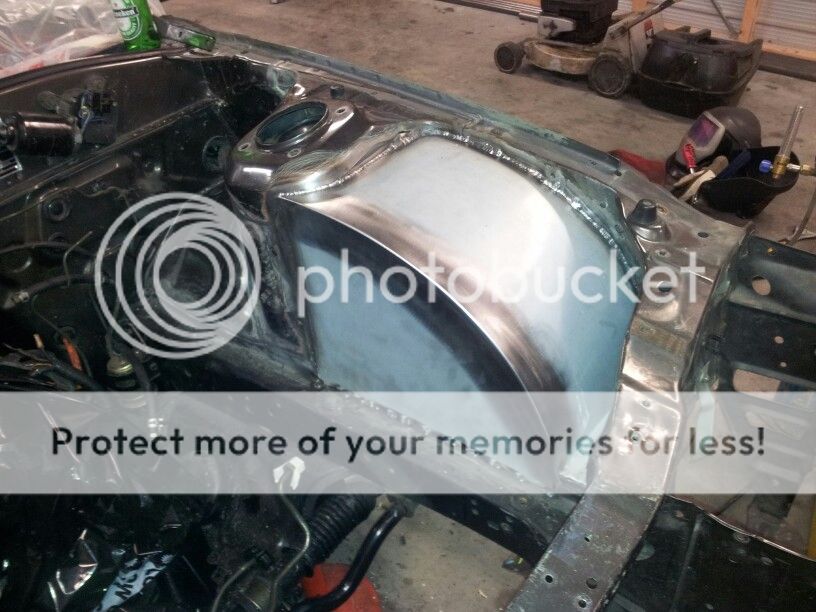
The next issue was the loom. I hate electrical issues and untidy wiring so it had to be sorted. Because this car was orginally auto. With all the optional extras like electronic suspension. Cruise control etc it had so much wiring. A job I started that ended up taking months to complete. Here's some pics of the loom etc
-
 1
1
-
-
-
I thought about this next decision for awhile. Mainly because of the hassle of it being still a weekend "street" car.
In the end I decided that I'd build a nz motorsport rollcage. The pro's really for me was the fact I'll be building this car to be used for fun track days and I'd like my friends and family to enjoy the car on track as much as possible and safely as possible. The con's being mainly the paperwork to be street use and the Hassle of it becoming difficult to use on the street.
-
-
It didn't come with a radio sorry mate! Plans were a tidy street track car. I'll post up updates pretty rapidly over the next week
-
 1
1
-
-
-
-
-
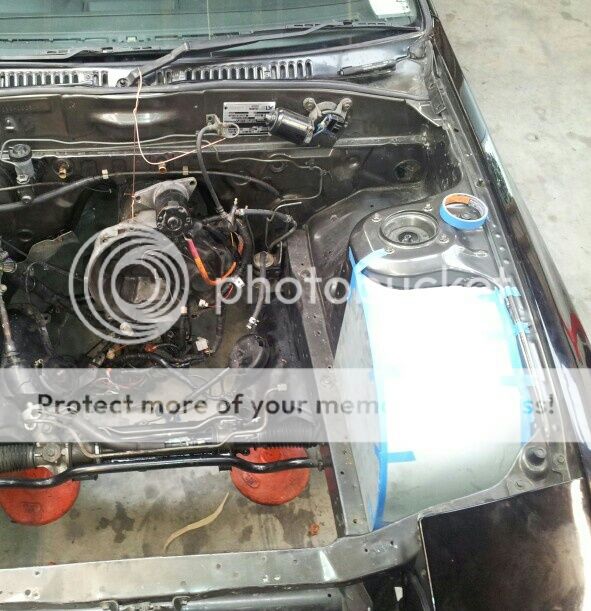
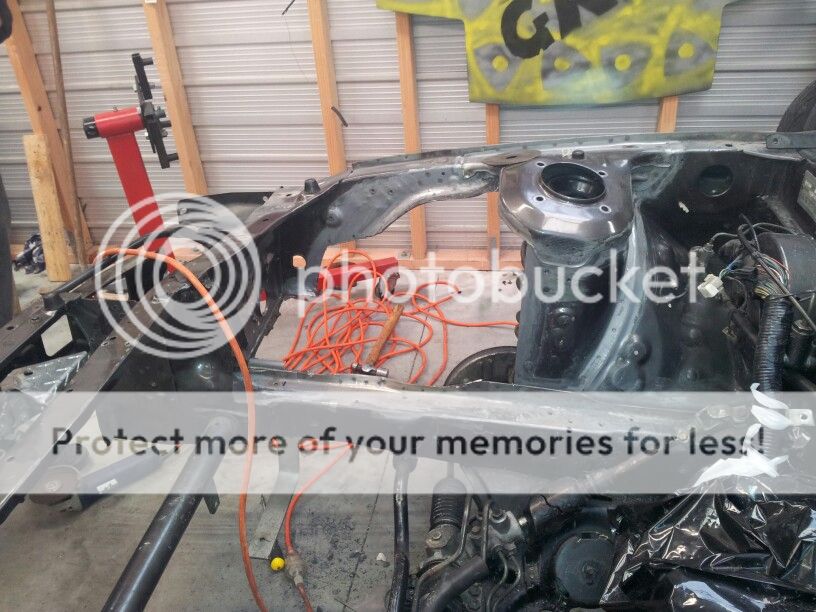
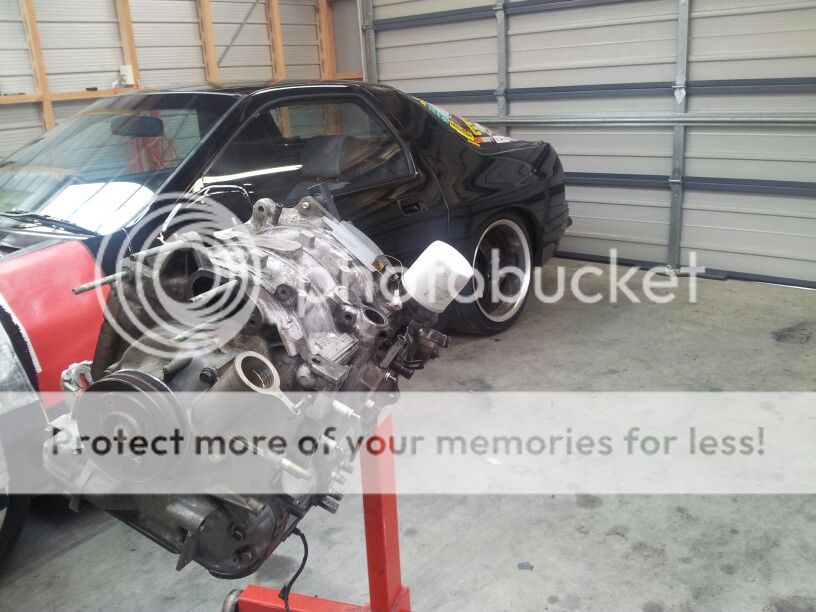
After driving the car around for a month I decided to get the project underway (and because I done a compression test and it wasn't good) I knew the motor was shot prior to purchasing the car because of the really bad cold start. So before it popped I pulled it out
Then I stripped the block and sold it cheap. I had plans that didn't include using it. Although I wish I hung onto it as a dummy block I needed all the funds I could get
-
 1
1
-
-
-
-
Hey guys.
After meeting sparkle recently he told me to come have a look at the old school forums and I'd like to share my project build that I have just recently finished.
I know it's possibly on the limit of being old school and after reading the post rules I'd like to post it in here as it was sold first in 1986. (Feel free to move it otherwise) to me it's old school and I always loved the squared shape of the fc3s
Anyway after selling my 1978 323 I decided that it was time to do a complete build from the ground up. I wanted a car I could drive in the weekends then take it to the track and have some fun from time to time
So I purchased a pretty stock 1988 fc3s. (The 2nd 88 fc that I've owned)
-
 4
4
-
-
Name. Cole
Location. Palmerston north
Cars I own. 1988 rx7
Mods. Pulse block. Garrett turbo. Equips. Cage.
Link to pics.(hope I've done this correctly) http://i1274.photobucket.com/albums/y425/colerobinson1986/IMG_8590053347694_zpsg8mtwltf.jpeg
How I found out about old school. Sparkle
Anything else. Look forward to seeing a few of you guys round and I'm probably going to do a project build on here as I've just finished my fc







88fc3s. 1988 fc3s rx7
in Projects and Build Ups
Posted
What I did next was fabricate the side intrusions. I done a extra fixing point on the side in the middle of the door jam for two reasons. One was to make exiting the seat slightly easier because if it was a full x it would be quite high to get your legs over. And the other reason was to make cage stronger from side on.
Anyway here's a couple of pictures