-
Posts
69 -
Joined
-
Last visited
Posts posted by nzvohc
-
-
Bit of an update as I've got some plans underway.
Having not being entirely happy with how my front seats came out I have been on the lookout for some suitable replacements that will give extra support and retain a similar look as the originals, and finally came up with some I like which are ex Rover Tomcat. It took 6 weeks for the guy to drop them off at the Mainfreight depot, but finally they arrived.
Today I pulled the passengers seat out to see they would match up with the existing mount holes. Not great, but nothing a bit of cutting and welding can't fix (ahem!..yoeddynz).
Looks good in the car.
Thought it's time to add some sounds to the old girl too, but with no console to take one I have started to mock one up in cardboard. It will get made in 12mm plywood and covered in black vinyl. On the look out now for a suitable radio, not really interested in anything modern, something old and cool, maybe even with a tape deck!
Another job completed recently was installing a H/D anti-sway bar to the rear of the car. This is a new 7/8th inch unit ex Jensen Healey that I bought out of the US when I was there. Super easy to install, utilises the spring mount hole for one mount and one extra hole drilled through the swing arm for the second bolt.
Attended the Vauxhall Nationals in Blenheim last month, turned out to be a bit of a fizzer, but was still a good drive to meet up with Alex & Hannah. A couple of pics of our cars at the Show & Shine day.
My wife is heading home to the US with our 10 month old daughter in a week, then I follow to meet them there for Xmas, so I have a couple of weeks of evenings and weekends that I haven't had in almost a year to make some progress on my next little mission. Looking forward to it!
-
 7
7
-
-
Good to see your car on here Aaron. Look forward to seeing what you do with it.
I'm going to get in here before Alex and tell you to upgrade to a nice torquey 2300 OHC unit!
 You know it's the right thing to do...
-
 1
1
-
-
Did you end up cutting those corners out from the front of the wings to clear tyres on lock.
Looking good expecting to see this on run to kaiteriteri on November meet

No not yet, think I will drop the front first and see how much is needed then. Considering putting the 15mm lifting blocks back in the rear to help with clearance issues as its the easiest fix, but not my favourite option!
-
- Popular Post
- Popular Post
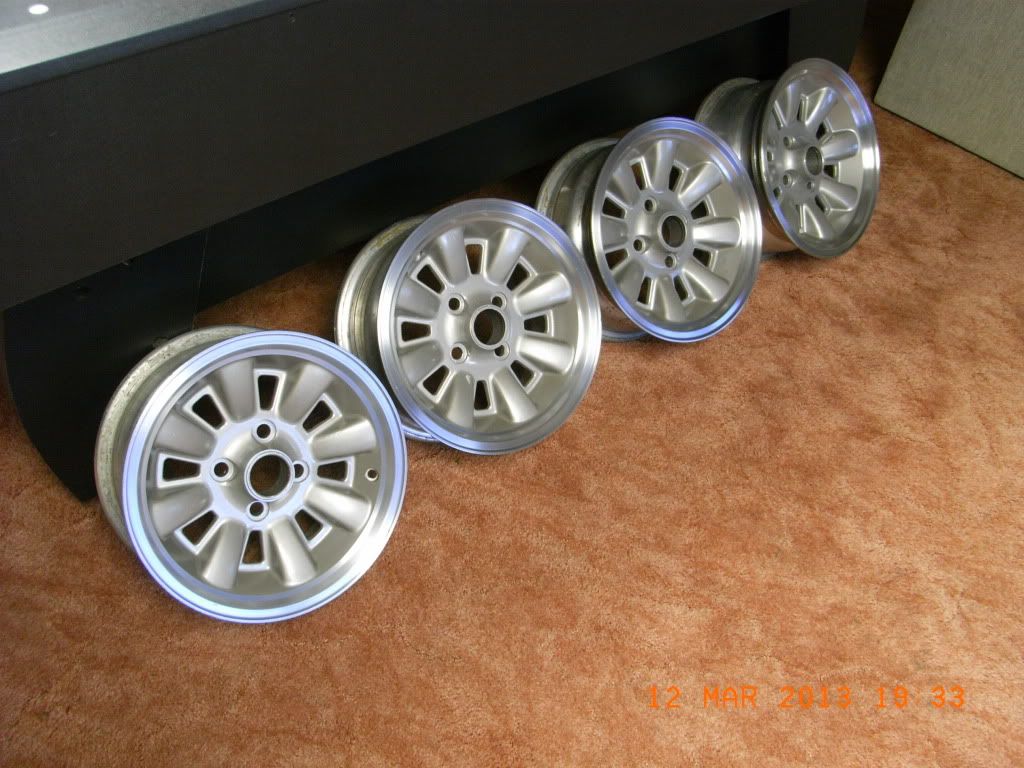
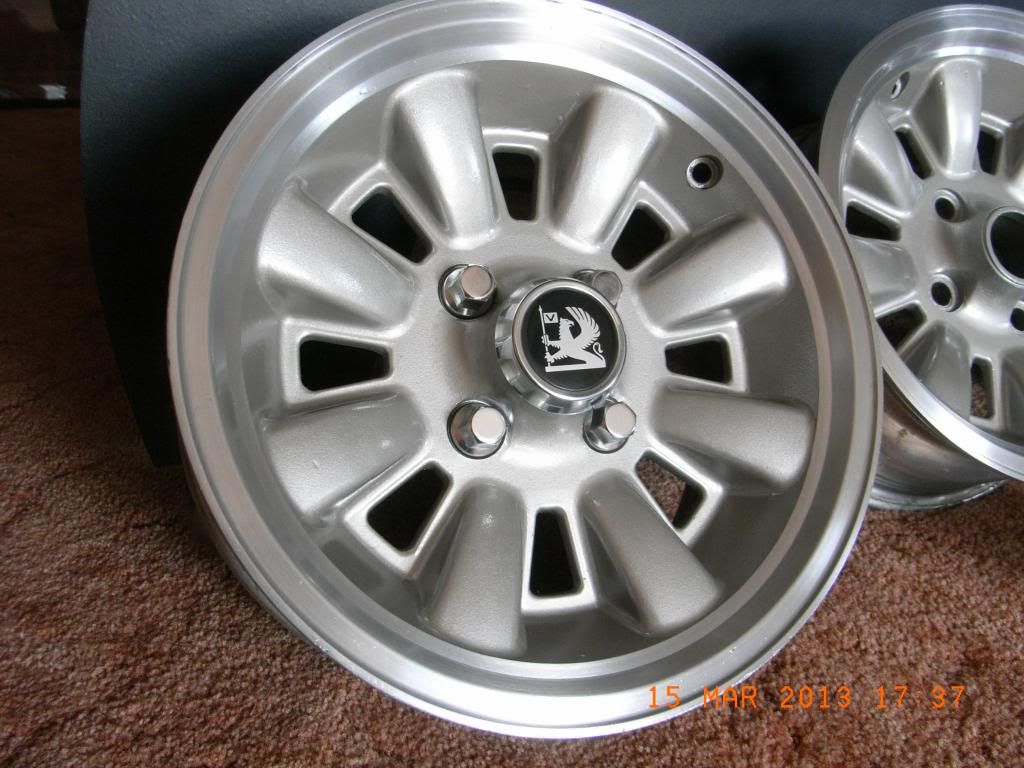
So my wheels came back from the painter last week and I wasted no time getting new rubber put on them.
The aim with these was always to maintain a similar rolling diameter as the original wheels (185/70/13's) so as not mess with the gearing or speedo accuracy, so a little research on my favourite wheel and tyre guide - www.The Wheel & Tyre Bible - told me my 3 main choices in 14" tyres would have to either 175/65's or 195/60's or 205/55's, so on advice my trye guys I went with the 175's for the front and 195's for the back, which gave both sizes the right amount of stretch to keep the walls inside the wheel arch.
This is the 14" rear wheel with new rubber beside the 13" wheel.
And test fit to car..
Bit snug, but I like it!
And the front...
Feeling rapt with the visual result I proceeded to fit all 4 adaptors and wheels securely and take for a careful spin down the road to see if anything rubs going over bumps. Straight away I noticed the tell-tale whir of rubber on metal at the back. Bugger.
It is not bad enough to cut the tyre but definitely needs some massaging at the upper lip edge, so next goal is to work out the best way of doing this without rolling the edge noticeably...I figure if I can gain another 5mm clearance I'll be in the clear, so to speak.
Anyway, took a few pics to show how it looks now.
Another job to take care of very soon will be to drop the front 20-30mm to bring it in line with the rear, and add a heavy duty anti-sway bar to the rear.
One unforseen win is how much lighter the steering is with these wheels, was so heavy before but this combo has made a huge difference, so yay.
-
 11
11
-
Cool! Wicked to see updates. Yeah will for sure help out getting the twink installed. Anything to avoid another boat anchor going in...

Did you find out more about those other two Hbs shane found?
Yet to get hold of the homeowner, will keep trying this week. Might need some help to pull them out too, one is fairly well entrenched within the pines!
-
Another overdue but not terribly significant update on this car..it really needs to come off the road some stage soon for a body restore but having not long done my Firenza the memory of endless nights of bodywork again is still a little fresh...maybe next year..
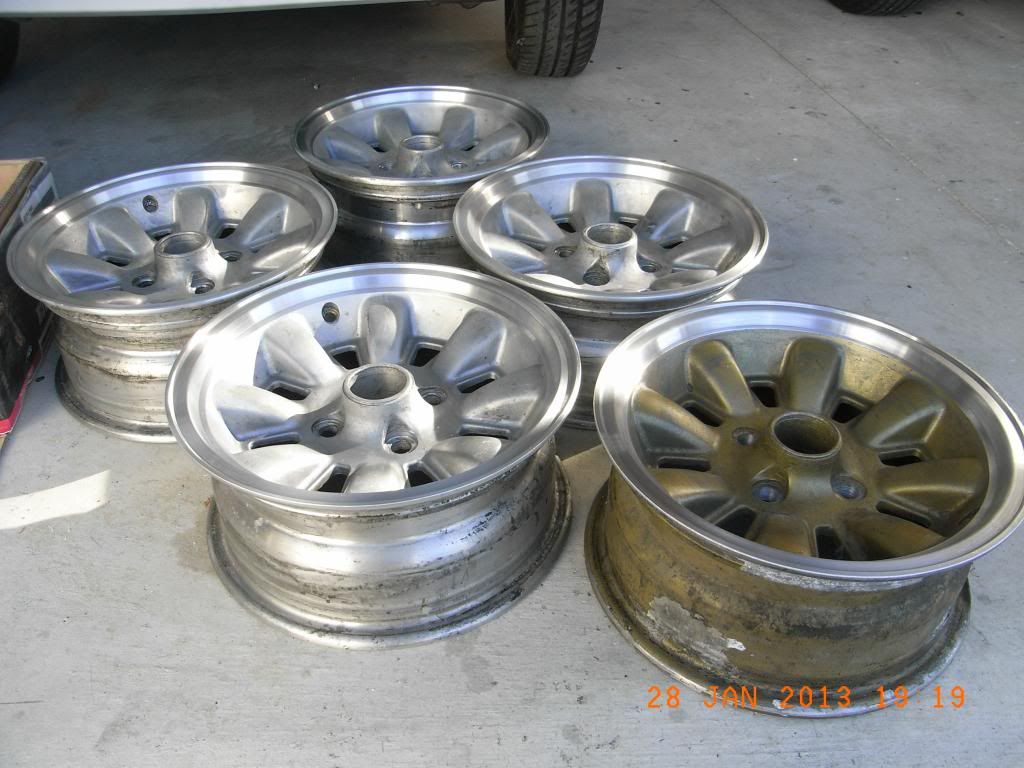
Anyway, meantime I have had the MG rims widened to 7.5" for the rears and 6.5" for the fronts. Because the wheel stud adapter is about 20mm thick I couldn't give them the offset I would have liked for that extra wide rim look, but they still look good. Even as they are I will have to stretch the tyres to roll the walls a bit and give clearance to the guard lip. My guards aren't rolled and I really don't want to have to do that. Will likely need to try a few different tyre combos for best fit.
Test fit pics.
They now need to be sandblasted clean and re-painted, which will begin this week. I bought some paint masks some years back in anticipation of doing this conversion and for making the job of masking the silver/black easier, so should save my painter some time.
Also need to decide whether to install chrome trims or not to these when all done. Thoughts?
More pics when painted.
-
 3
3
-
-
Cheers, happy with how it came out.
The engine was a bargain really, but like most things european buying them is the cheap part, repairing or buying bits for them is where it gets expensive! Hopefully I can get this running without doing a rebuild for a while, when that time comes I will be doing the 2.3 crank swap and get some real hp out of it, well around the 200 mark at least.
Sad part is that this car once had a genuine Vauxhall TC unit in it, but was was swiped for an HSR Chevette by previous owner. Apparently the Vauxhall head out performed the Lotus one too. Oh well, the weight saving should balance things out.
This is the Vauxhall unit.
-
 3
3
-
-
- Popular Post
- Popular Post
Hard to believe it's been 15 months since my last post of this project! Crashed computers, new baby, work.....but pretty sure you don't want to hear any weak excuses so I will do a quick pic dump to show how the car came out.
My goal was to have it ready for the road by Labour Weekend last year to make it to the Vauxhall Nationals in Tauranga, which I did, with just a week to spare. This didn't leave much time for road testing, but I had no need for worry as it made the trip from Nelson to Tauranga and back without missing a beat.
Anyway, this is here all put back together.
This is when I pushed her outside for first time with most of the assembly done but minus the headlight lenses and bumpers.
`
Then I had later model reclinable seats bolstered up for more lateral support and painted them with vinyl paint.
Old versus new.
Getting close to all done at this stage.
Lights working!
Interior shot. Not great but you get the idea.
Some pics of the car beside some other flat front Firenza's at the nationals in Tauranga.
And some pics on our way back down the North Island.
So I have barely done a thing to the car since then except put some more miles on it and plan the final stage, which is the engine and engine bay, which is still green. The plan had been to build up a good 2300 slant motor with some goodies I have collected over last few years...but then this little gem came up on TM and it was too tempting to pass up...
This is a Lotus 907 all alloy twin cam 2.0L out of a Jensen Healey.These engines are basically an alloy version of the Vauxhall unit, but with the extra cam. Lotus actually developed the head on the iron Vauxhall block before casting their own alloy blocks. They are rated at about 140hp and considerably lighter than the Vauxhall unit. You can install the Vauxhall 2.3 crank to strock it up to 2.2L.
It is a bit of an unknown as far as condition, but I have hooked up a starter motor and battery to do a compression test and it came up good on 3 cylinders, with the 4th a little low, but hopefully that will come up with some use. Regardless it should run. It just needs a few bits like headers and water pump. The sump will have to be cut around the crossmember too, which is the biggest job.
Luckily it came with a twin sidedraft manifold and I have a new set of 45 Webers to go with that. Could resist mocking those up for a quick pic too.
So that's where I am up to with this, just sorting the bits needed to complete the conversion and then to rope Alex (yoeddy) into doing the tricky bits for me.
Hopefully this stage won't take another 15 months...
 better pull finger!
-
 17
17
-
Came to realise that's it's been over a year since the last update on this car. Nothing major achieved, just a few mods here and there to catch up on.
Up until I started work on the Firenza we had been out in it most weekends, bot WOF is run out now and needs a little TLC before next one so will be onto this again soon.
A while back it developed a crack at the header flange and started sounded like a tractor, so that went in for repairs. The guys did a nice job, had to replace and he re-shape the spagetti so they look a bit more even and swept back but remain equal length. They are a 2 piece design for these slant motors as not much room to work with, so 2 pipes run around under the engine mount.
and back in the car.
Next up I removed my home made cold air intake, was just too big and made the engine difficult to work on. I cleaned up the trumpets and got some trumpet filters to go on them.
Also spent some time dicking around with a replacement gearbox for the car, 4 spd as per the original, as you can see they have a interesting little setup with external linkages. When the pivot bolts and holes get worn they tend to get pretty sloppy, so I went through those and re-shimmed what I could to tighten things back up.
Also added my own little mod and installed a nice strong spring between the linkages, what this does is help the gearstick return to central position, so instead of just flopping around it wants to return to the natural position between changing gears easier.
You can see the new spring in the lower right of the pic.
I need to get the internals checked out by an an expert sometime before installing the box, hopefully it's better than the current one.
Also swapped out the steering wheel for a wood (fake) rimmed one originally out of an Opel GT, has a nice dish which is what I was wanted, the previous wheel I could literally stretch my fingers out when holding the top of the wheel and touch the windscreen!
My next mod is to change the rims from 13" Rostyles to 14" MG Rostyles. Been wanting to do this just to get a slightly bigger wheel/lower profile tyre look, but also open up a few more tyre choices. Been thinking on this for awhile, have had the rims sitting for ages, issue being that the Vauxhall PCD is 4" and the MG ones are 4.5". I had been researching suitable adaptors out of the states when some came up on TM randomly, so snatched them up.
On the car.
And MG rim on and checked for guard clearance.
All looks good, still have room to widen the rims outwards by an inch, and inwards an inch to make them 7" overall, which is the next step, then repaint them to original silver/black.
So that's about it for now, will add a couple of glamour shots taken after installing a chin spoiler late last year.
-
 2
2
-
-
The new stance looks good. A little bit of low really sets these cars off.
-
Good to hear the car is getting all legit and that he was easy to deal with, will have to go see him soon too.
-
Shit Andre this Is looking wicked. The photo you sent a while back to my phone never worked as I'm pay as you go.
How many bolts hold that nose cone on?
Droid you get the HB door seals from Rare Spares? Are they a good profile compared to the originals?
I just figured you must of fainted and hit your head..
There's 6 fastenings across the slam panel, 3 down each guard flange, 4 to the brackets underneath. Enough to hold it on at high speed! Or at least when overtaking blue Viva's....
The rubbers are on TM, listed for LC-LJ Torana 2 doors...packaging is Betta Rubber. They are a different profile around the frame I think, but they seem to work ok. I am toying with getting a length of pinch weld trim that has a built in seal via Para Rubber, would guarantee no drafts.
-
is it just me or does this look like a baby trans-am
The head designer for Vauxhall back in the day was an american, Wayne Cherry who went on to work for GM USA, so not hard to see his influence in both breeds.
I have actually mocked up some trans am type arch flares for the rear that looked ok and I might do something more with them, depending on comments here!

-
Hey all, enough done lately for an update..
Got my bits back from the powder coaters and have been putting those back on the car. First up was the tail lights.
I gave the lenses a clean up with 2000g wet and dry paper first, then a good rub with a mild cut and polish. Then re-attached the black trims.
and back on the car
Next was rear wheel arch and sill trims.
Then the door handles. Had to shave a bit of the coating off in places as things got a bit too tight with the build up of paint for the the button to work properly. Ended up working well though.
About the same time the nosecone came back from the painter. Was a big day seeing this on for the first time and all the same colour. Real happy with how it's looking now.
Have also been putting the doors back together. The top part of the door had to be re-upholstered with black vinyl, so took care of that first. Used 3mm foam underneath to pad it out a bit. Came out alright.
Then had the fun task of re-installing the glass and winder etc. You know you had fun because there's smears of your blood on the paintwork..
So finished off with all the outside window trims and seals, and finally the wing mirrors.
The passengers door is taking a bit more time becaue I had to deal with this first...
doesn't make for good uppy-downy windows. I picked up a spare recently so took to swapping out old stuff with not so old stuff.
new versus old. Will urethane the good one back onto the window and be good as new.
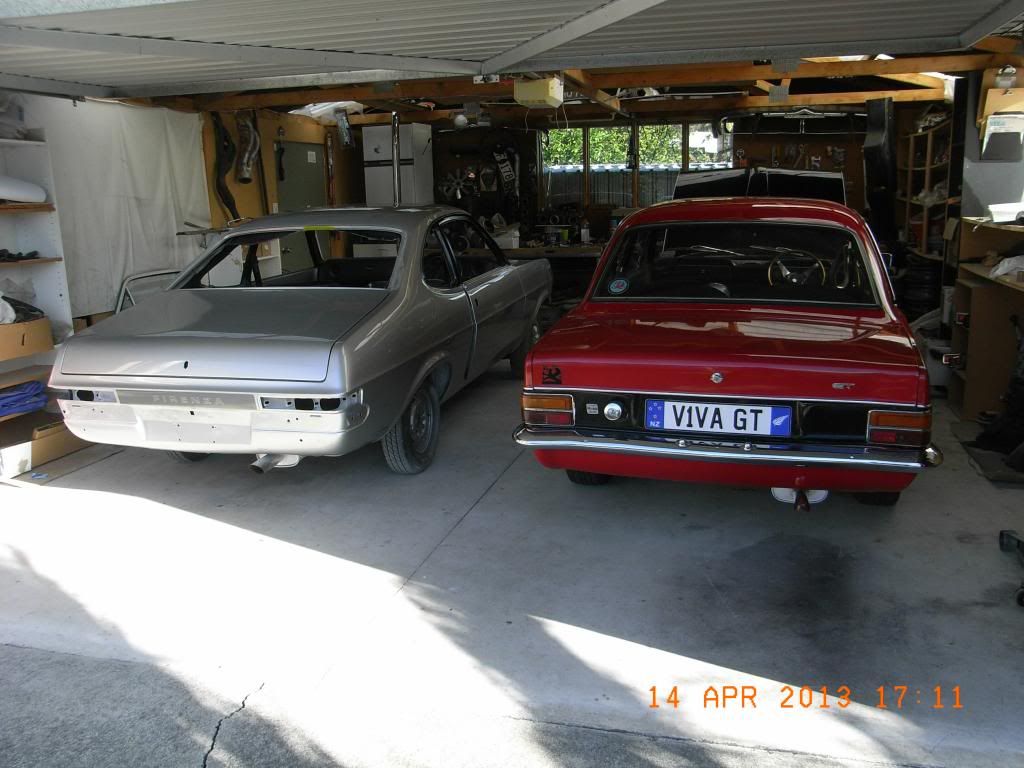
Next job I think will be to fit the nosecone permanently and fit the headlights etc. Happy with progress so far and couldn't resist a quick pic of the two beasts beside each other as I was enjoying a drink. Not long to go now...
.
-
 9
9
-
-
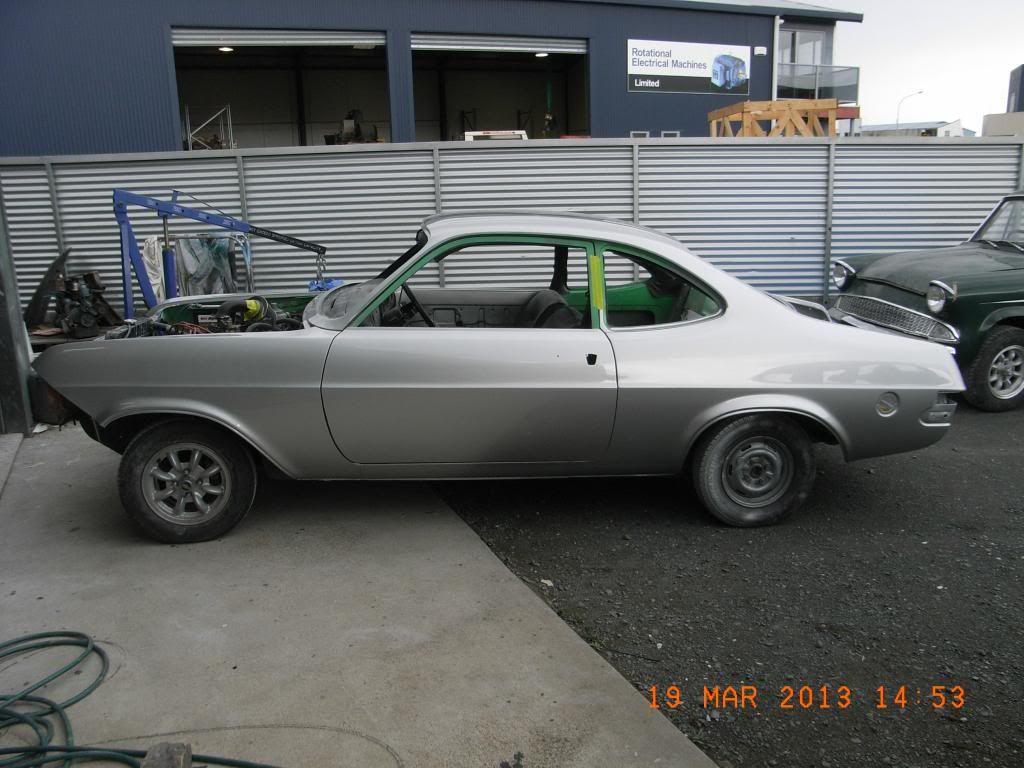
So 3 mths since my last post, slack bastard, but to be fair I have been out of the country for 1 month of that, and I have a note from my mother, so...
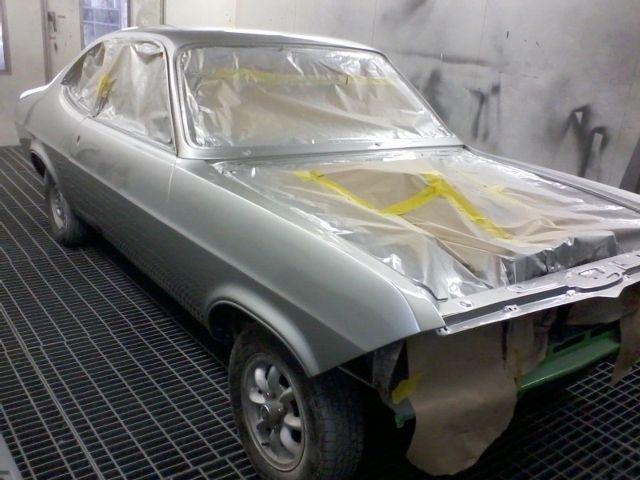
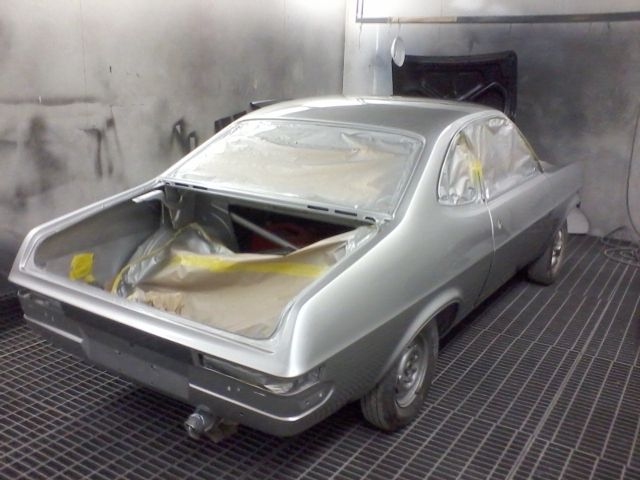
bit of a photo dump to show progress, main news..IT'S PAINTED!!
Now finally the fun part begins of putting it back together, which I have started doing over the last week or so.
Booth pics
I had the rims spun to clean up the lips..
and the painted them...
and with the shiney bits on...
The painter was a good bugger and dropped the car back at the house for me while I was away, so good to open the garage door to this!
I took a few shots to try and show off the finish but a bit tricky in confined space, will get some better shots outside soon.
No shots with the nosecone on yet as the painter is yet to finish that, I think he must like having it around...
Today the rims finally went back on with new Hankook 205/60/13's. Love these wheels and make such a difference to the overall look of the car.
Today I installed the new door seals. There are no new ones being made for the Firenza's, but after a quick measure up of my HB GT it was obvious that the seals on that would work ok on the Firenza, which are being remade thanks to the Aussie HB Torana's having spares coming online. The top part of the door frame is perfect fit, but the pins for the bottom half didn't line up at all except for maybe 2 or 3. It's an easy task though to move these by adding holes in the rubber in the right spot to suit the door. I used a soldering iron to burn a nice clean hole, much less chance of the hole tearing when inserting the pins this way over trying to cut a hole.
Anyway, that job's done, the doors are tight on the opening but will get better as they wear in.
Also re-painted the metal top of the dash today in preperation for re-installing the front windscreen this weekend. Much easier to do now!
Bought a can of black body deadner/underseal and painted out the wheel wells today as well, thought one can would do all four corners but I wanted it nice and thick and basically used a whole can on just the rear, so another can needed tomorrow.
I dropped off all the chrome and stainless trim to the powdercoaters the other day and hoping they will be ready to pick up tomorrow afternoon so I can start putting those back on this week too.
I have a major dose of enthusiasm again now after a long haul of seemingly endless bodywork and hoping to get the majority of the assembly completed within a couple of weeks, then onto getting her road legal! then a new motor...then new suspension...then new brakes....then new...you know the rest of the story.
Happy chappy.
-
 5
5
-
-
Quick pic update, progress has been slower than predicted but the old girl finally made it into the booth yesterday for a coat of "Spritzfiller". This is basically spray bog, gives a nice thick all-over coating which is easy to sand (half ends up on the floor) and smooths out all the lines.
After I have finished sanding this back it will be back in the hands of the painter for first primer coat.
I will likely remove the bonnet and bootlid this week so the undersides can be prepped, and door openings will be done at the same time.
Fun fun!


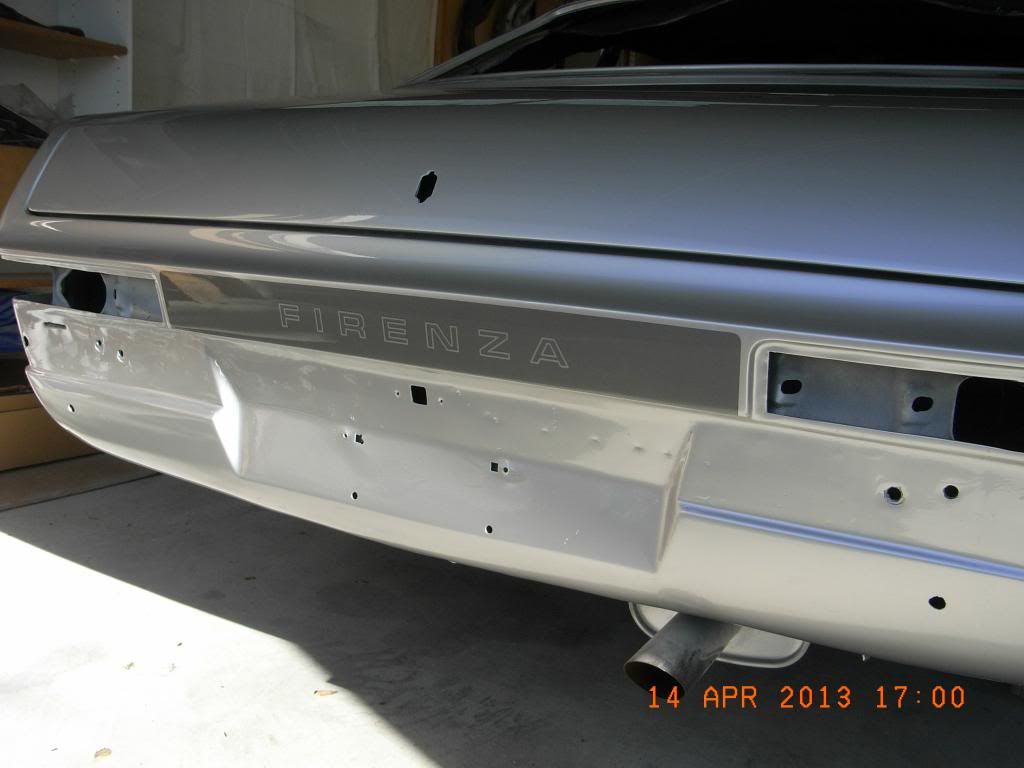
Also mocked up the template for the rear decal. Will be stencil cut and sprayed on.

-
Just had the morning on the car today, glued in the light buckets to the nosecone so it's a complete assembly now.
Sat the glass lenses in to check fitment, all good and very Daytona-ish!
Probably go in tomorrow for a few hours and spray inside and outside of the nosecone with the black expoxy sealer.

-
It's gonna be sweet this!
A little birdy tells me you have been looking at lotus engines.....
Want to go look at that Jensen tomorrow?
-
Great progress. Bodywork is the worst bit! I like how the nose cone has become one with the car, earlier photos it looked a bit out of place but now it's fantastic.
Paint it silver, with green and red Castrol-like colours... then fit Lotus 907 engine twin cam

Definately going with silver and have toyed with adding the Castrol colours somehow. Going 907 is tempting but apparently freakin expensive to re-build. Spotted a Jensen Healey (runs 907) for sale locally today so might take a look at that tomorrow and see if that sways me.
-
Are you running lenses/plastic over the headlamps?
I have the original toughened glass covers for it. They are slightly curved to match the nose.
-
What colour are you going to paint it?
Looking cracker sweet!
Cheers. The droopsnoots only came out in "Silver Starfire" so that's what I am going with, much to my amazement my local paint supplier had the swatch and code to match this colour,
-
So it's been a while since my last post, been many long hours of filling and fairing which is not terribly exciting to post pics of, but have finally got the car to the stage where I have now taken it to the paintshop for final prep. The nosecone took alot of fettling, taking it on and off to get the fit just right but pretty happy with final gapping now.
Most recent job was to fit the new light buckets purchased from the UK, they are made oversize for trimming to suit. Have also had to epoxy the headlight mounting brackets to them. Tomorrow's plan is to glue the buckets to the nosecone and then coat the whole thing in expoxy sealer to stabilise the glass, same principal as gelcoat.
Hope to start having colour applied to door openings, boot area and under bonnet early next week, and all going well paint the remainder of the car at the end of next week.


Getting jazzed about seeing it finished now...
-
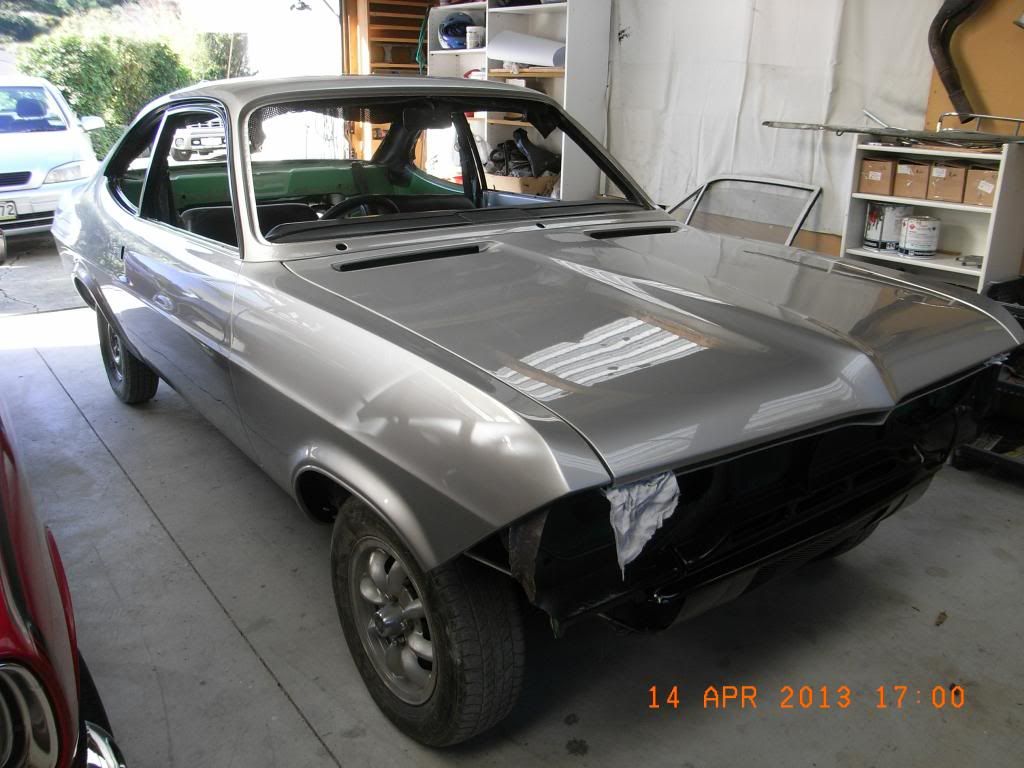
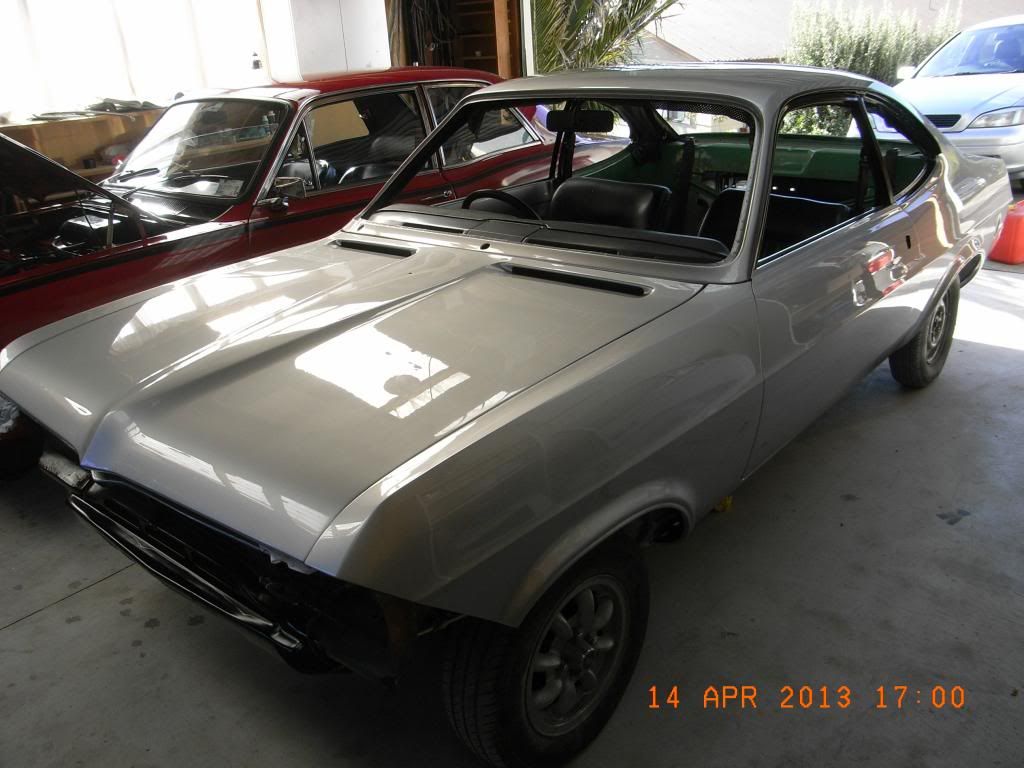
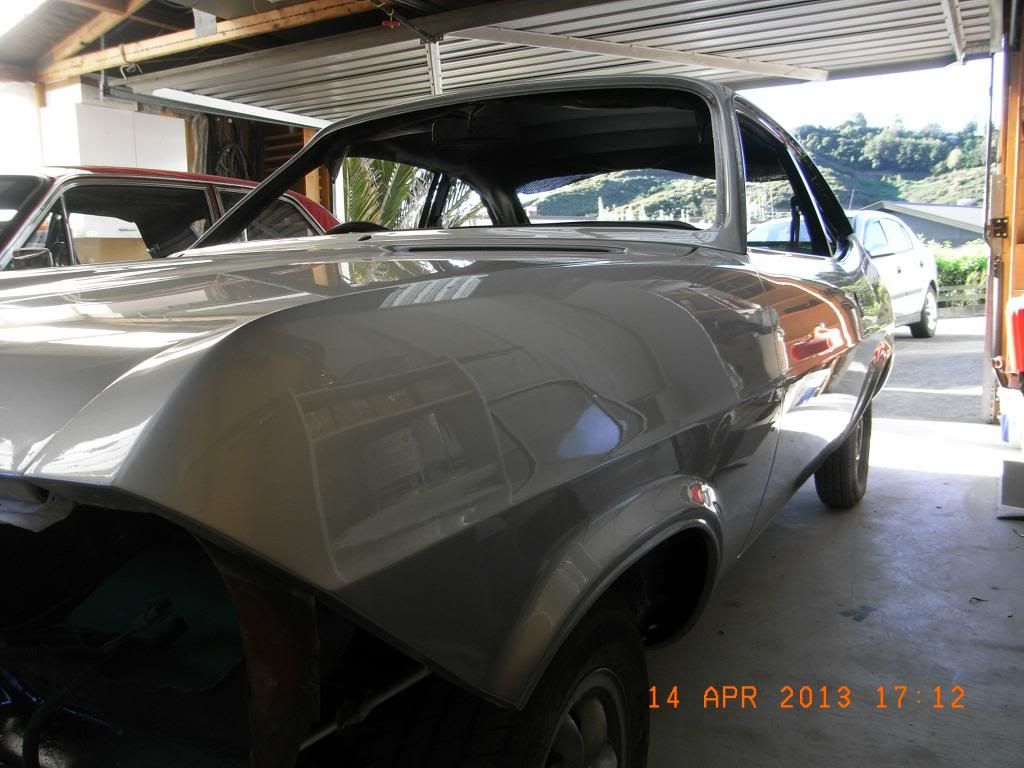
Quick pic update.
Top panels and rear guard sanded clean and coated in 2 pot epoxy sealer. Working on having one panel done per day to get them sealed up asap.
.


-
Good job! Any plans to lower it a little?







Alex's 1968 'oldman special' HB Viva discussion....
in Project Discussion
Posted
Most excellent! Look forward to seeing the footage and comments from Matt. Credit to your work and ethusiam to all things Viva-ish.
Wouldn't it be awesome to cruise LA/Hollywood Hills in your car...a word in his ear perhaps...