legendlives
-
Posts
475 -
Joined
-
Last visited
-
Days Won
1
Everything posted by legendlives
-
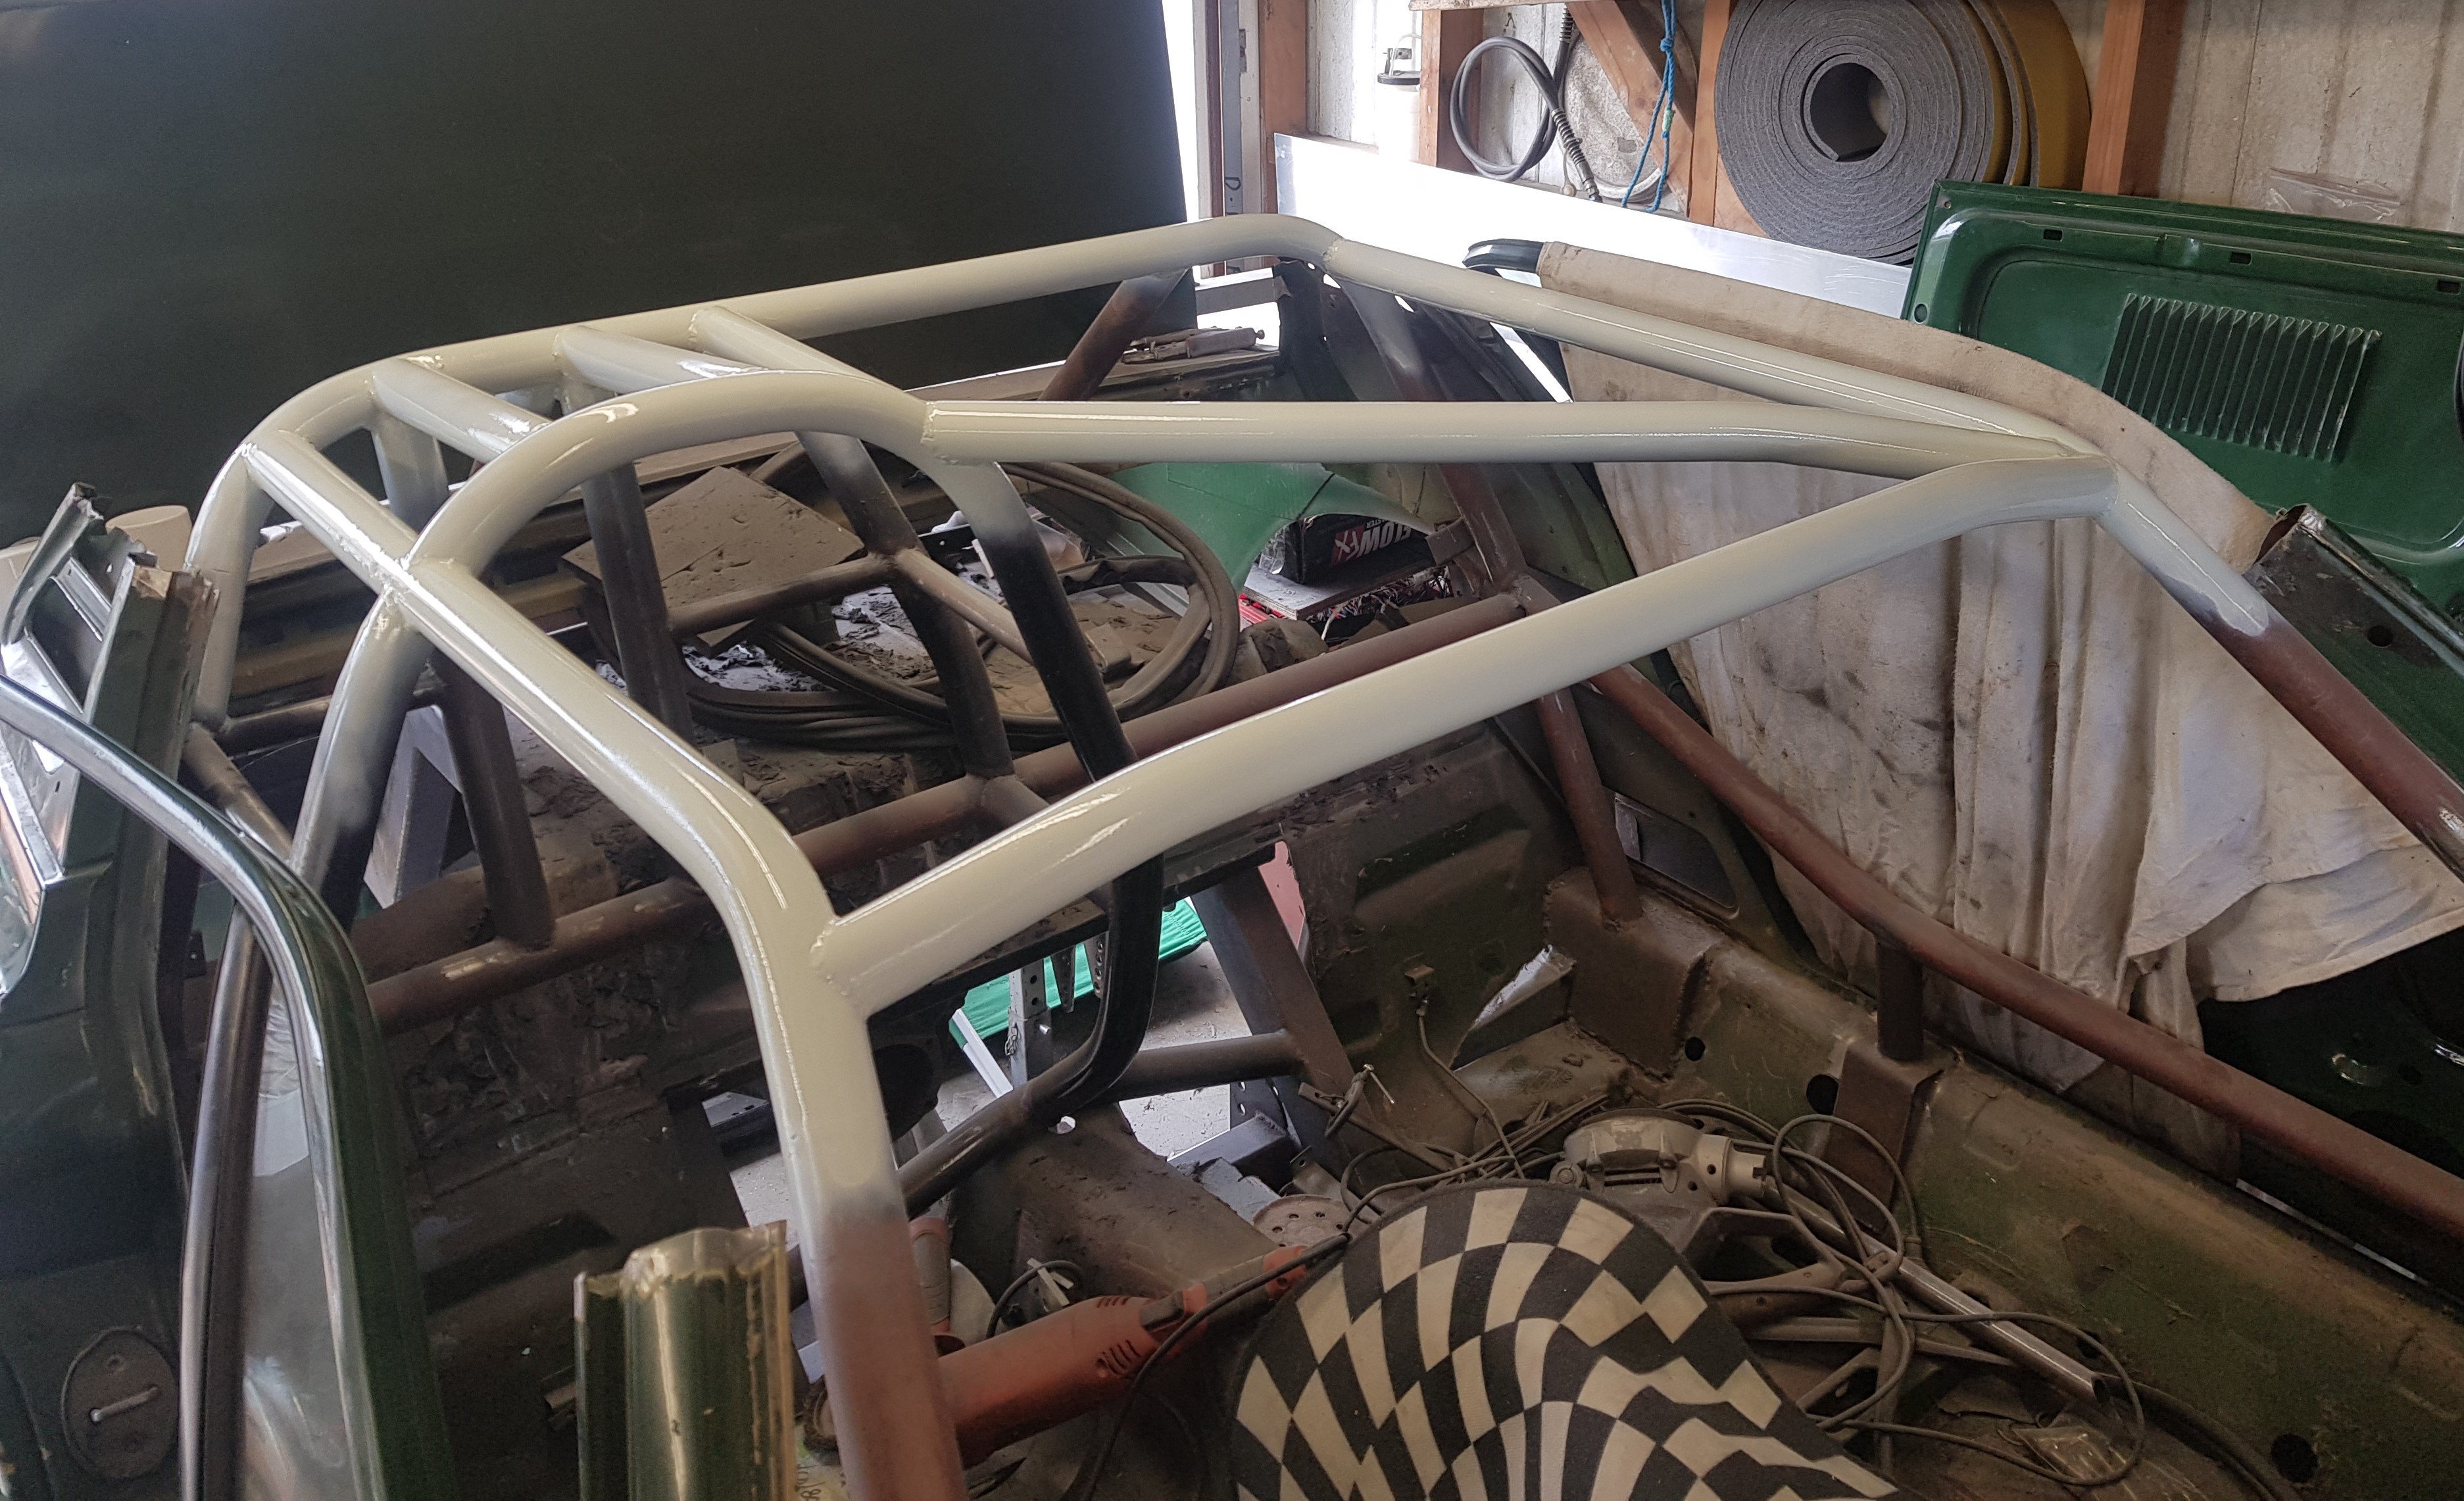
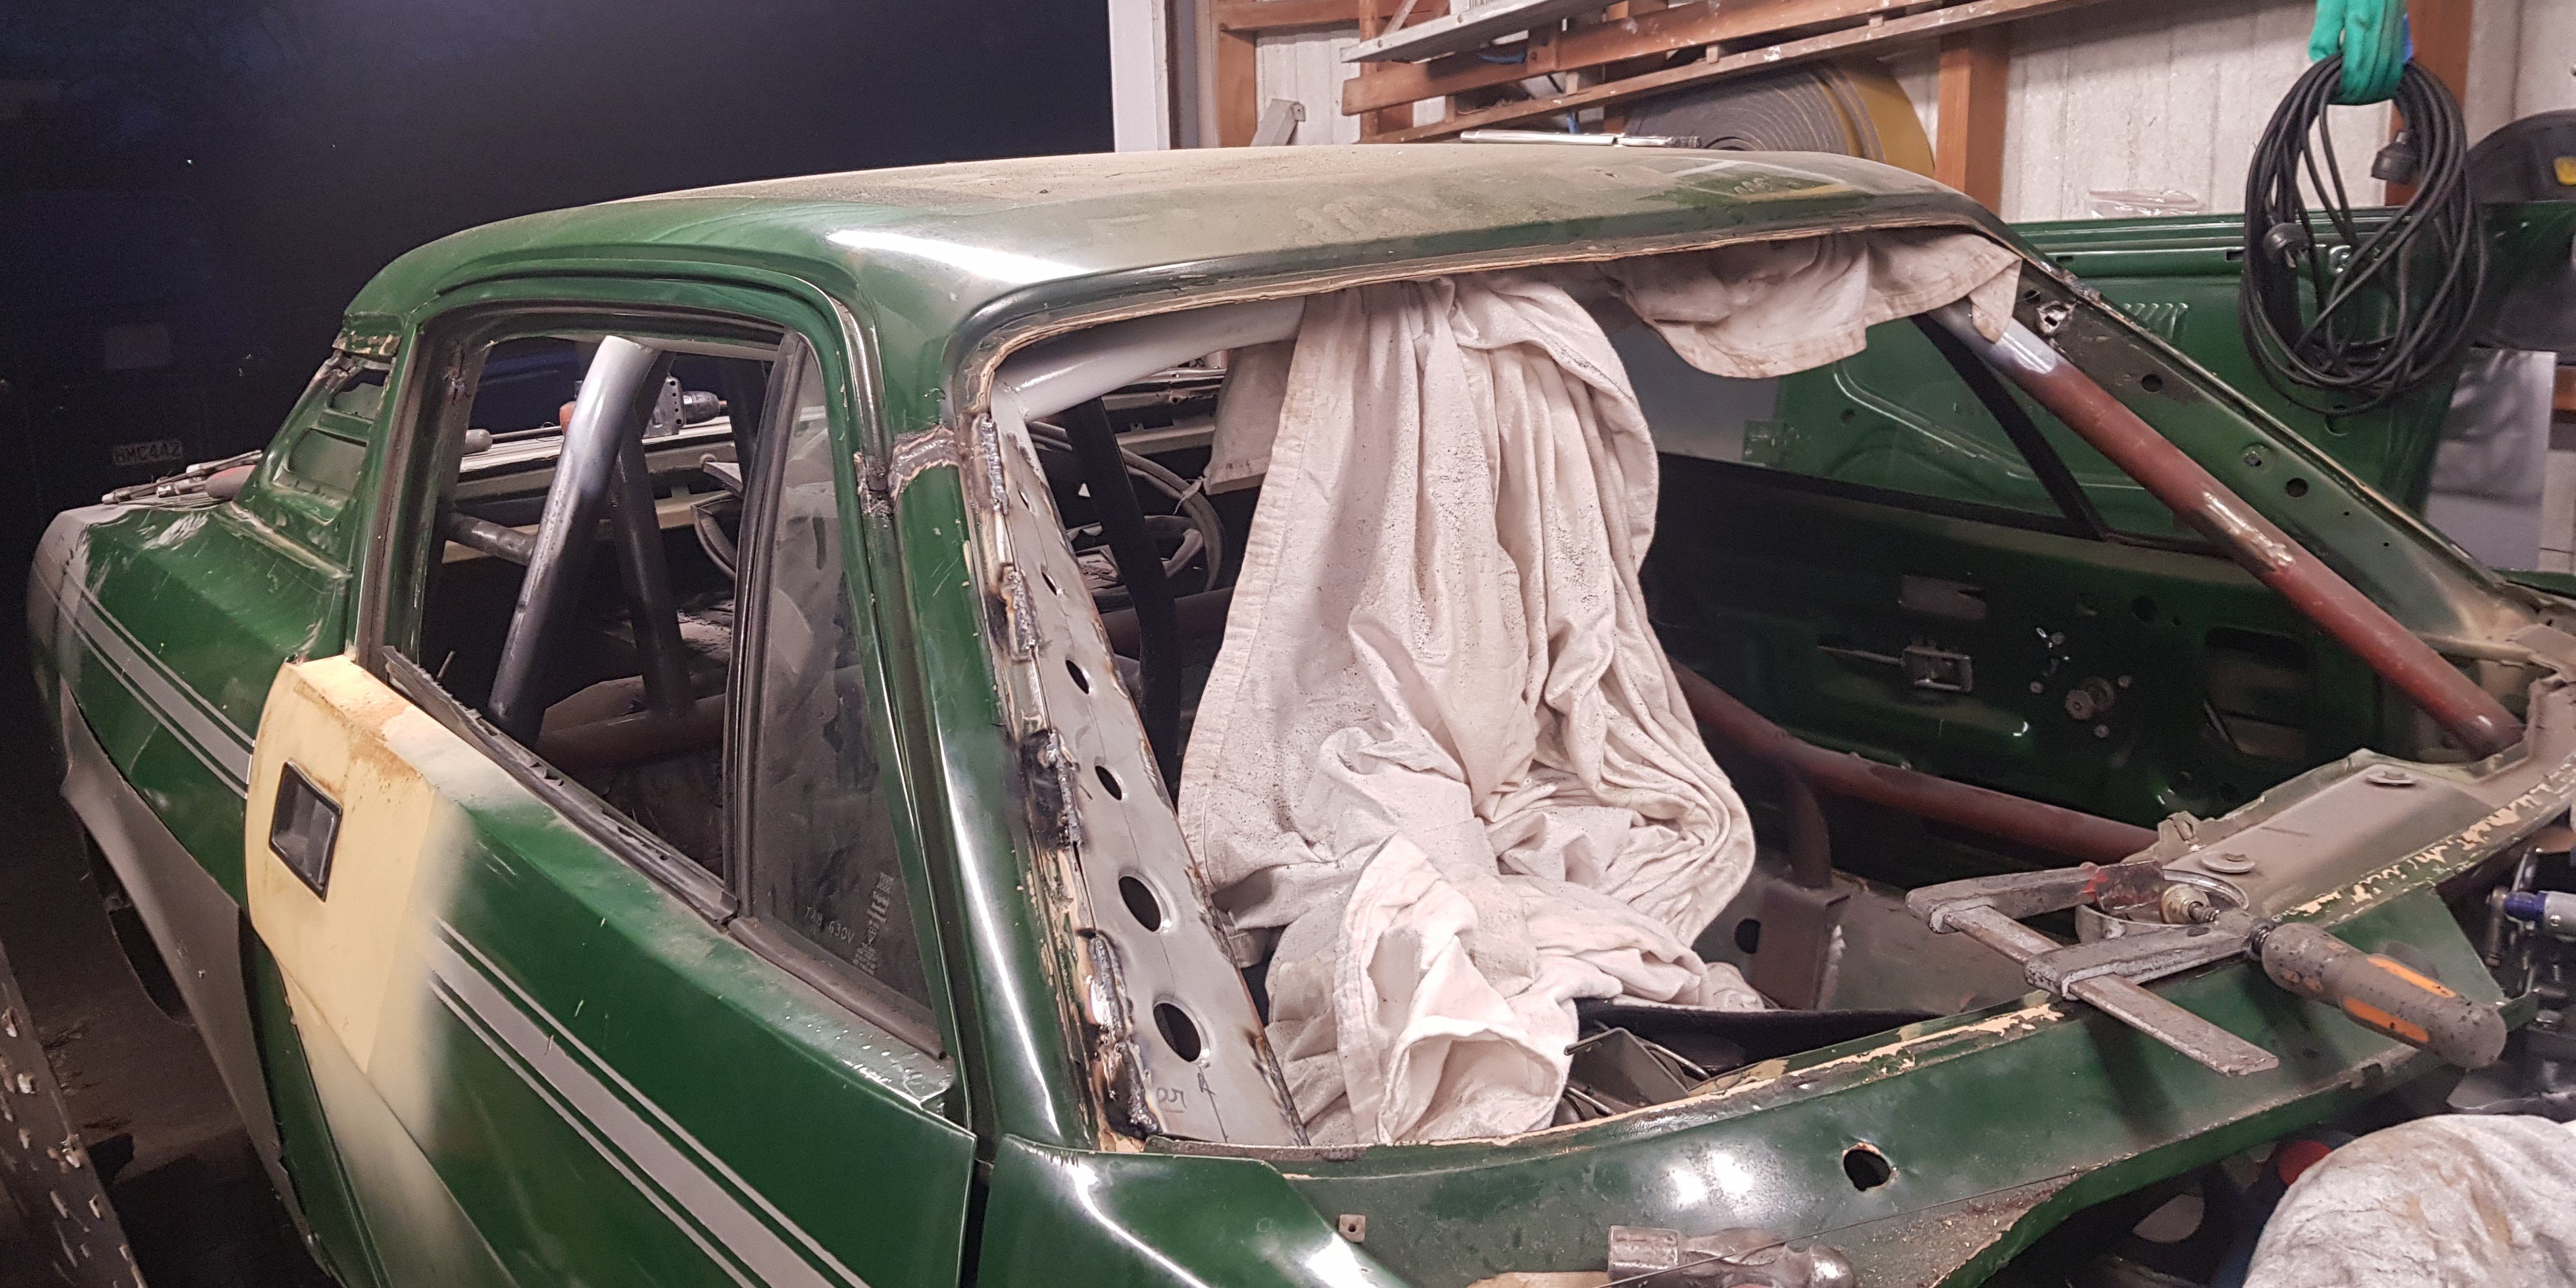
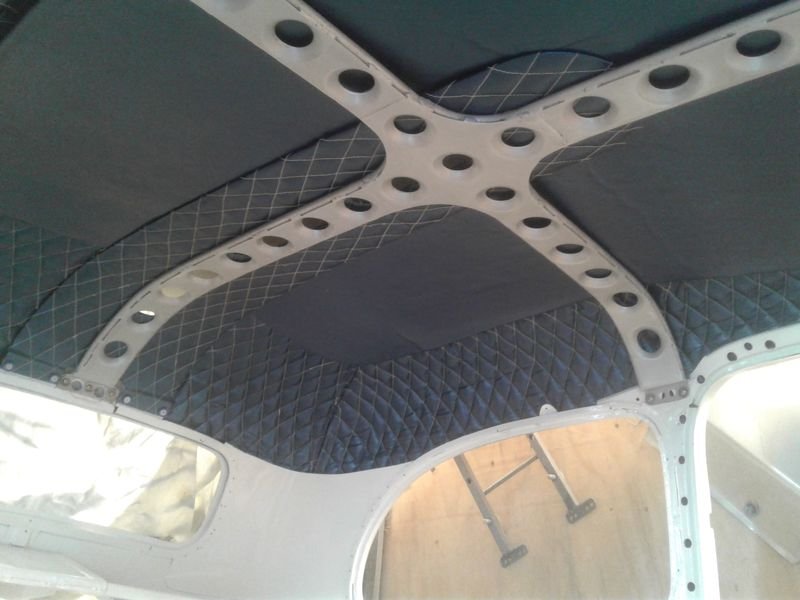
The top of the rollcage has been painted. This was done as, with the roof fitted there is no way I could get paint all around it. And with that done, the roof can go back on: One of the dimple-died screen gussets in place, the other will follow shortly....

-
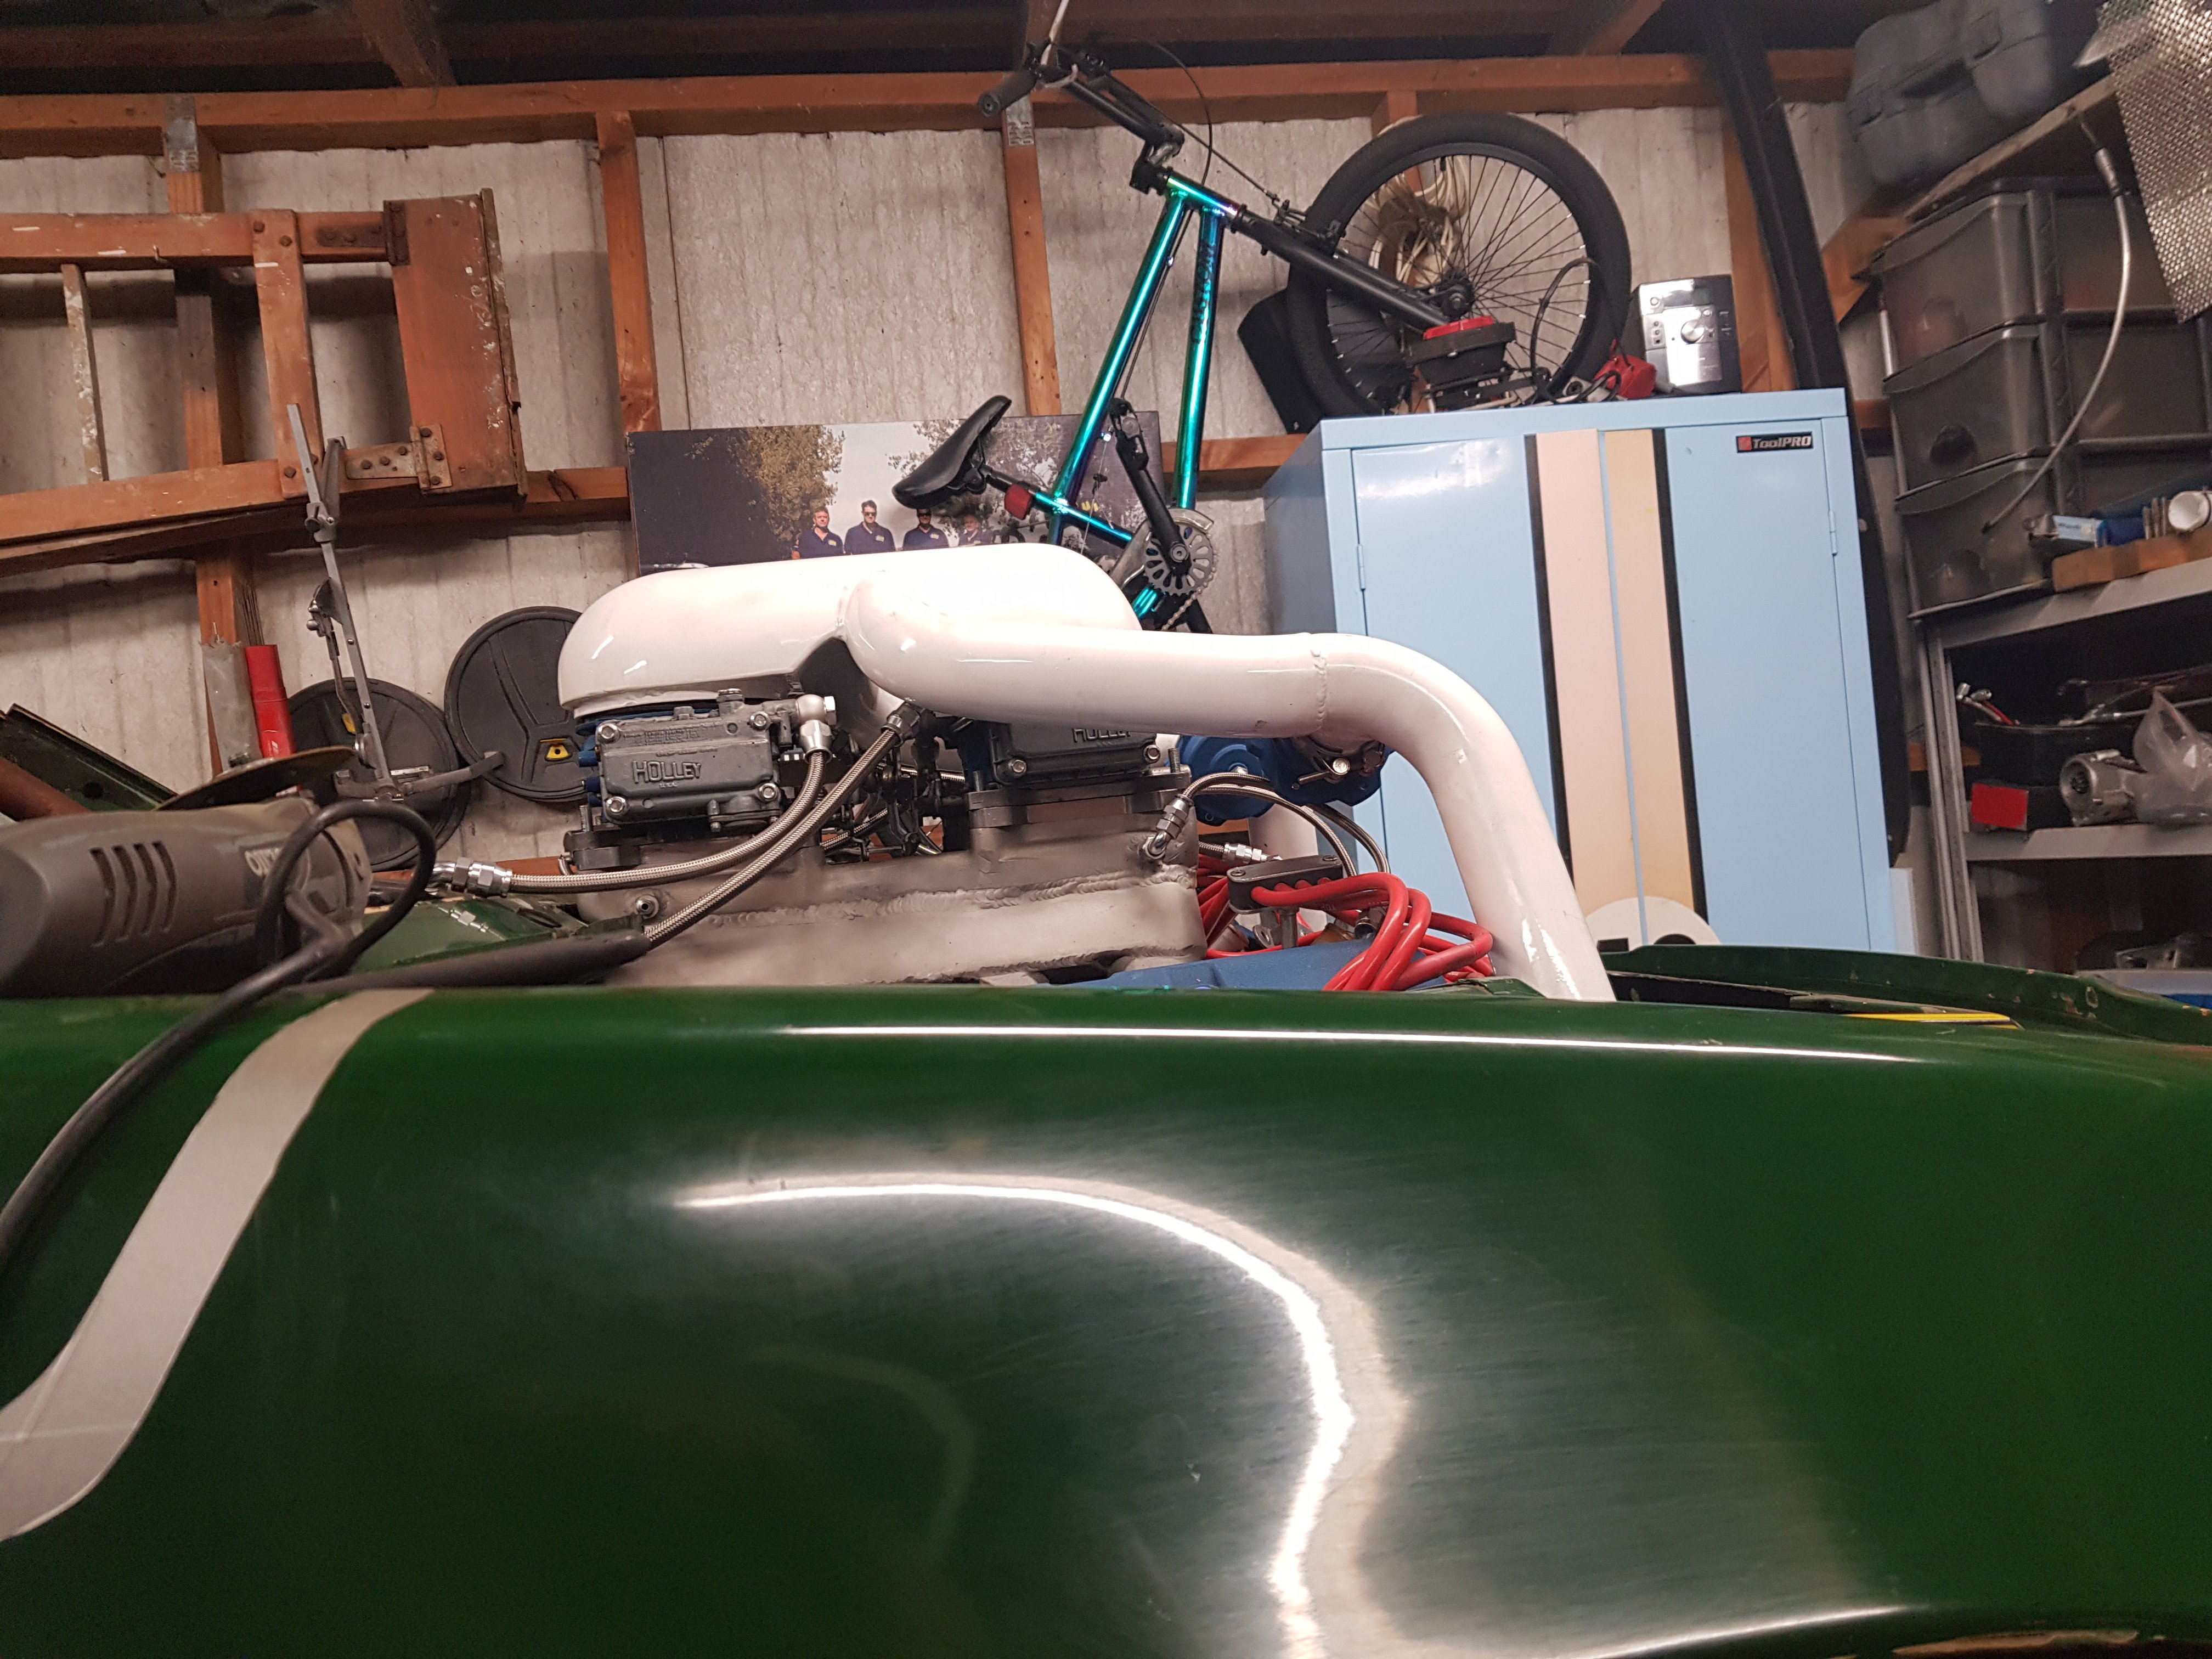
Thanks for the comment. Glad you like it! The new airbox / pressure hat has now been manufactured, complete with BOV flanges and fittings for wastegate and fuel regulator: It now sits a whole lot lower than when I started. The curvature of the bonnet means that it will only need about 100mm of bonnet bulge! Obviously it will need either painting or polishing, but the fabrication work is done.
- 58 replies
-
- 10
-

-
Now all smoothed, inside and out. Looks like a bought one!
- 58 replies
-
- 17
-
-
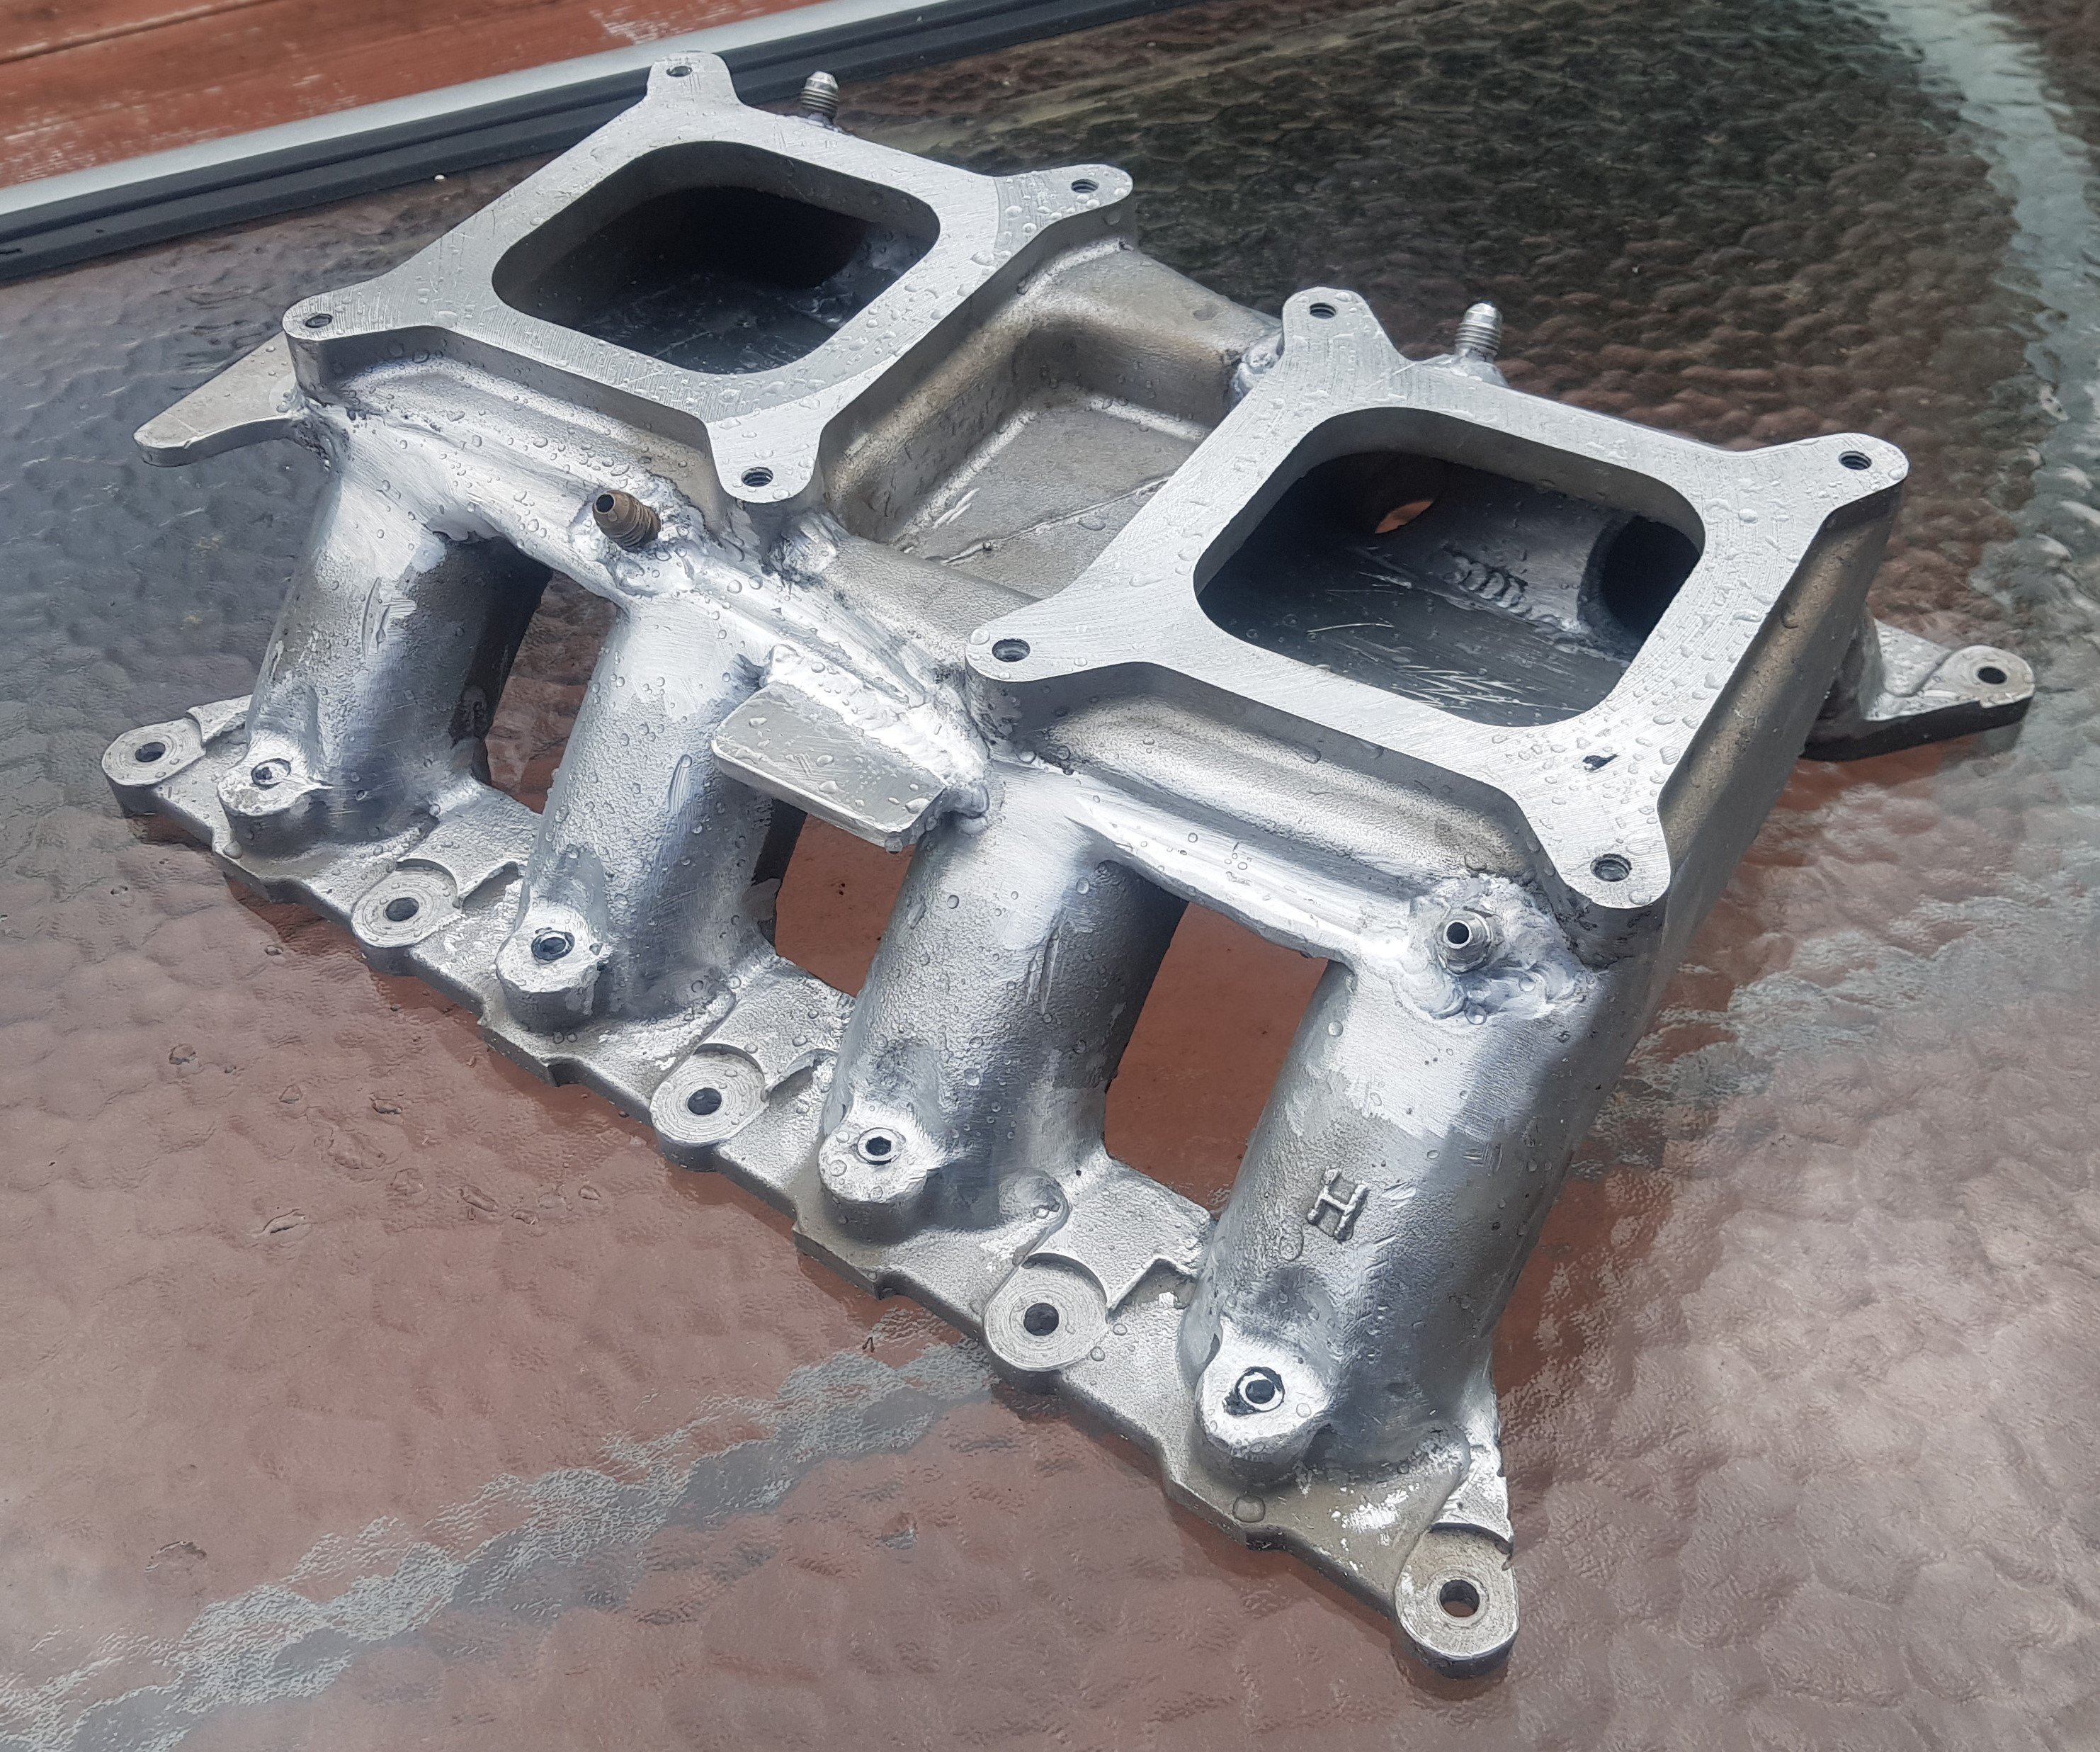
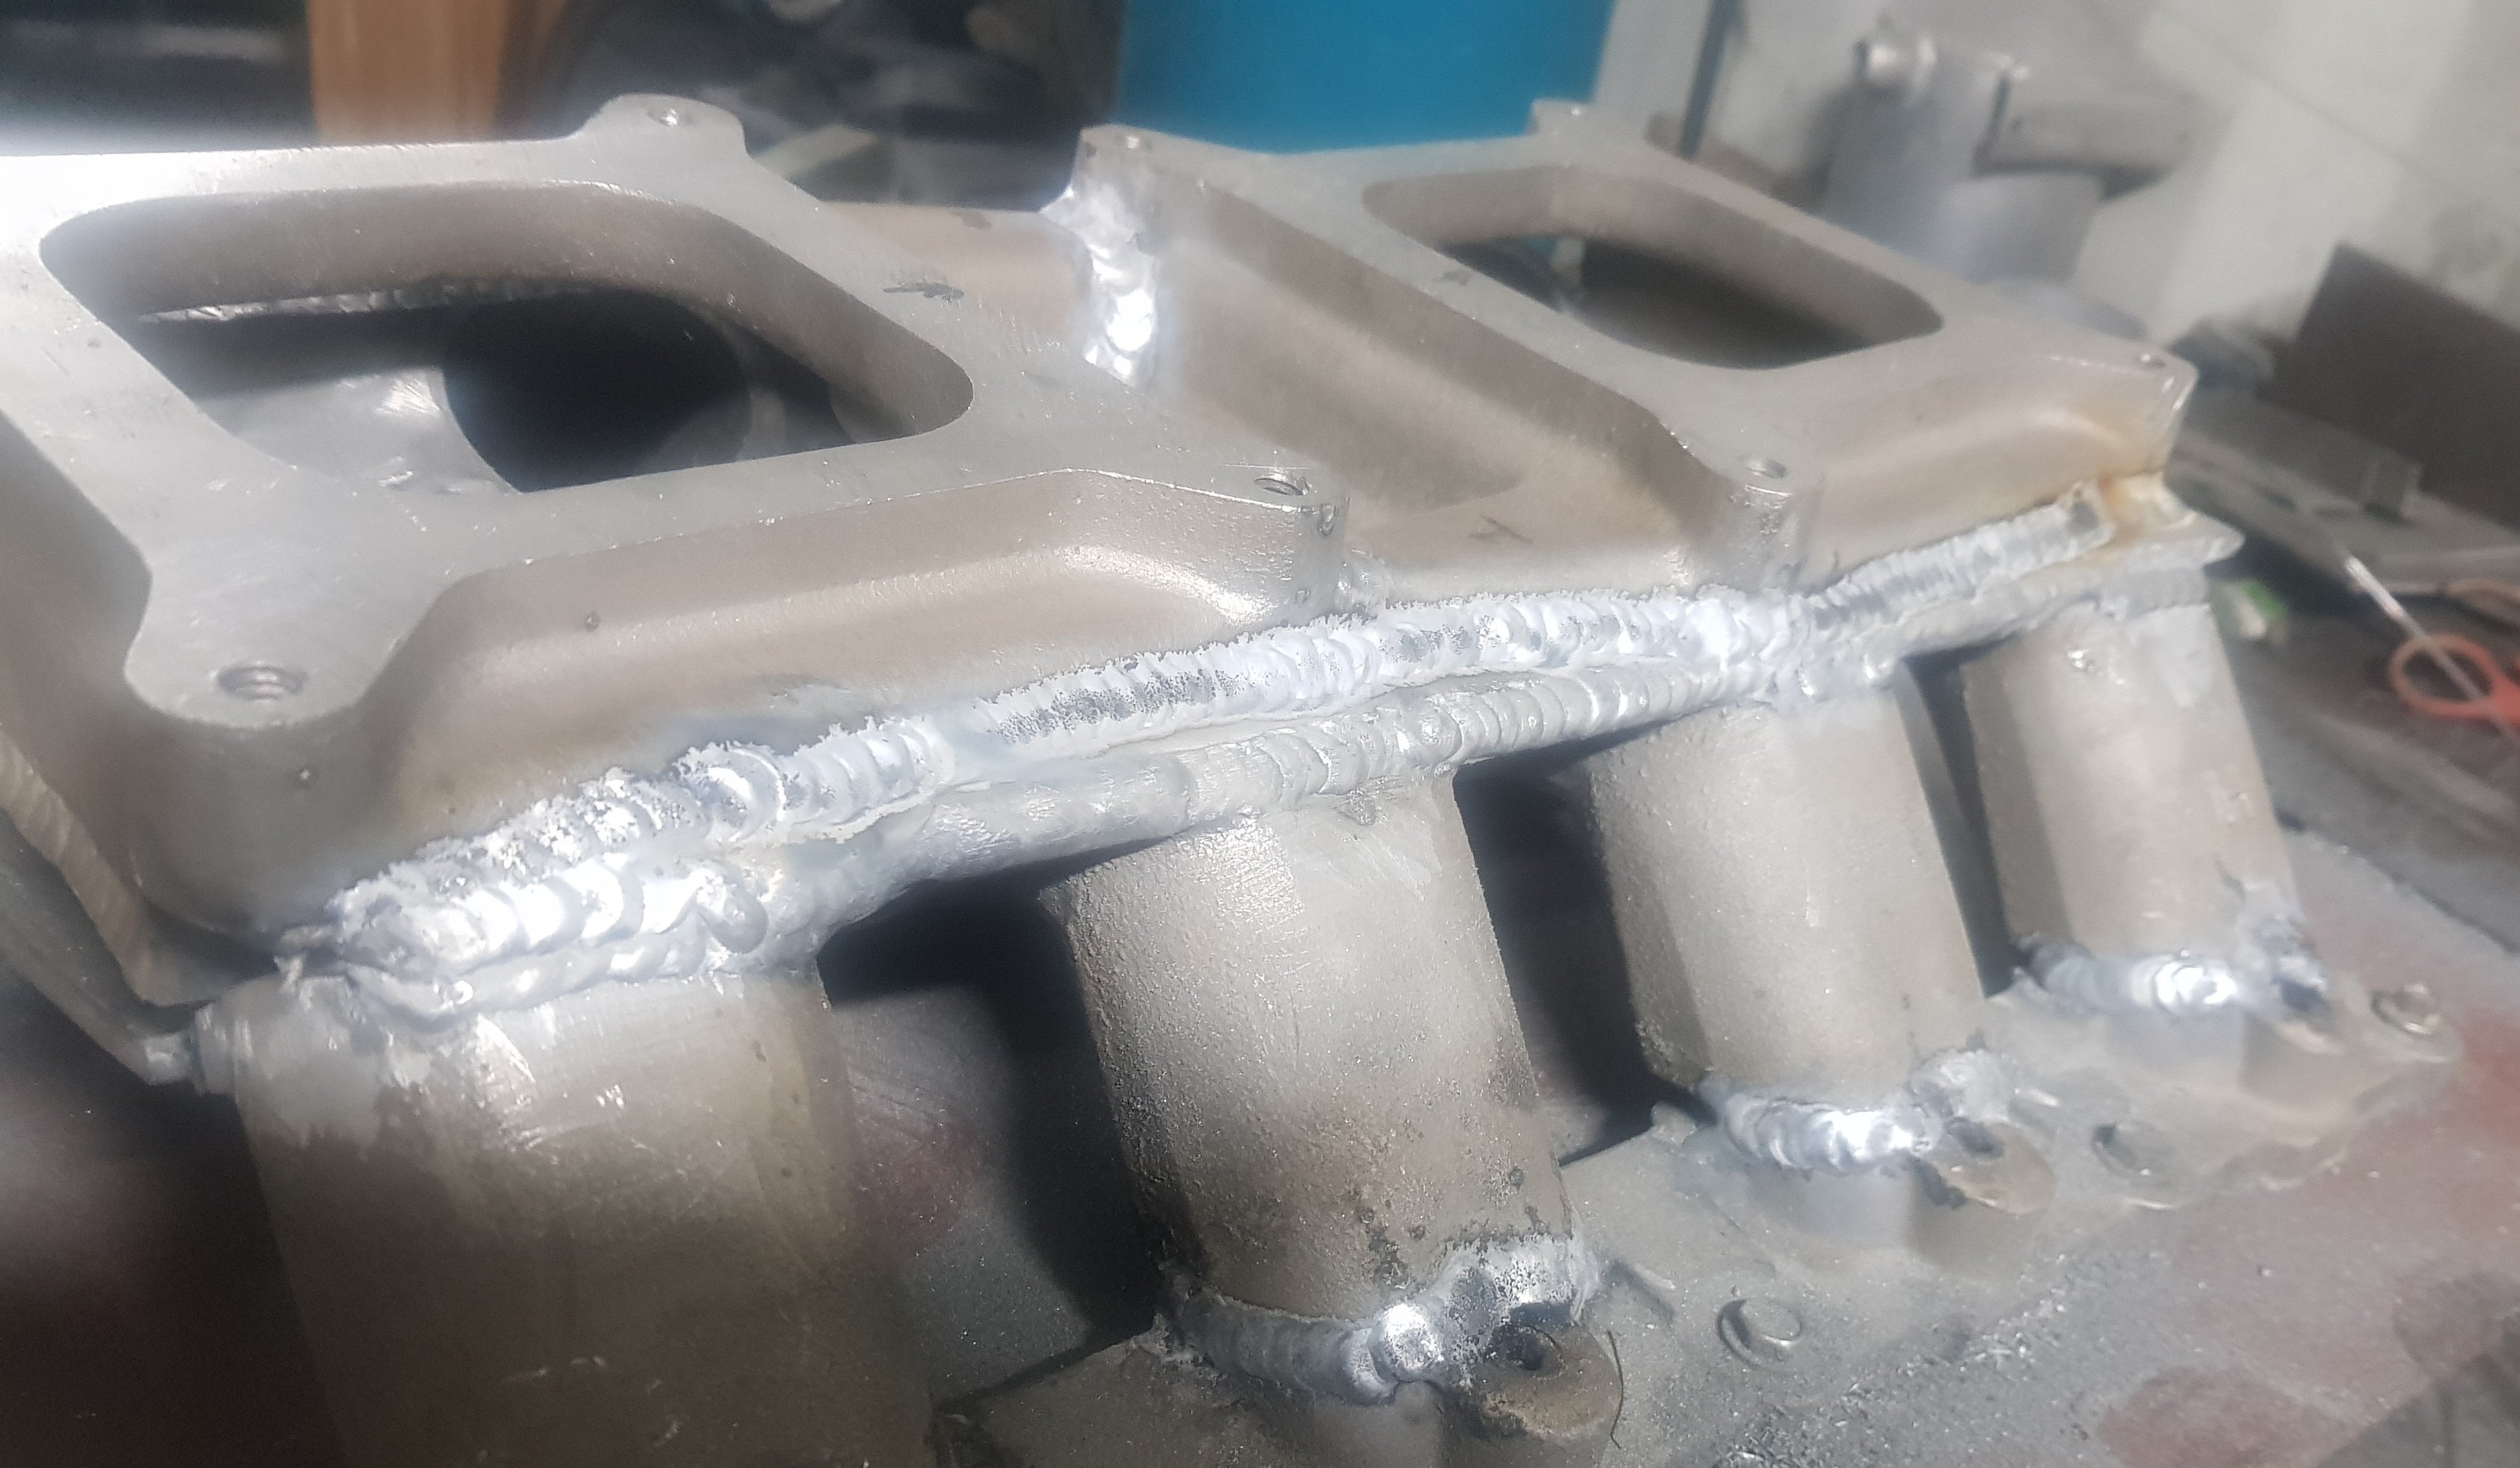
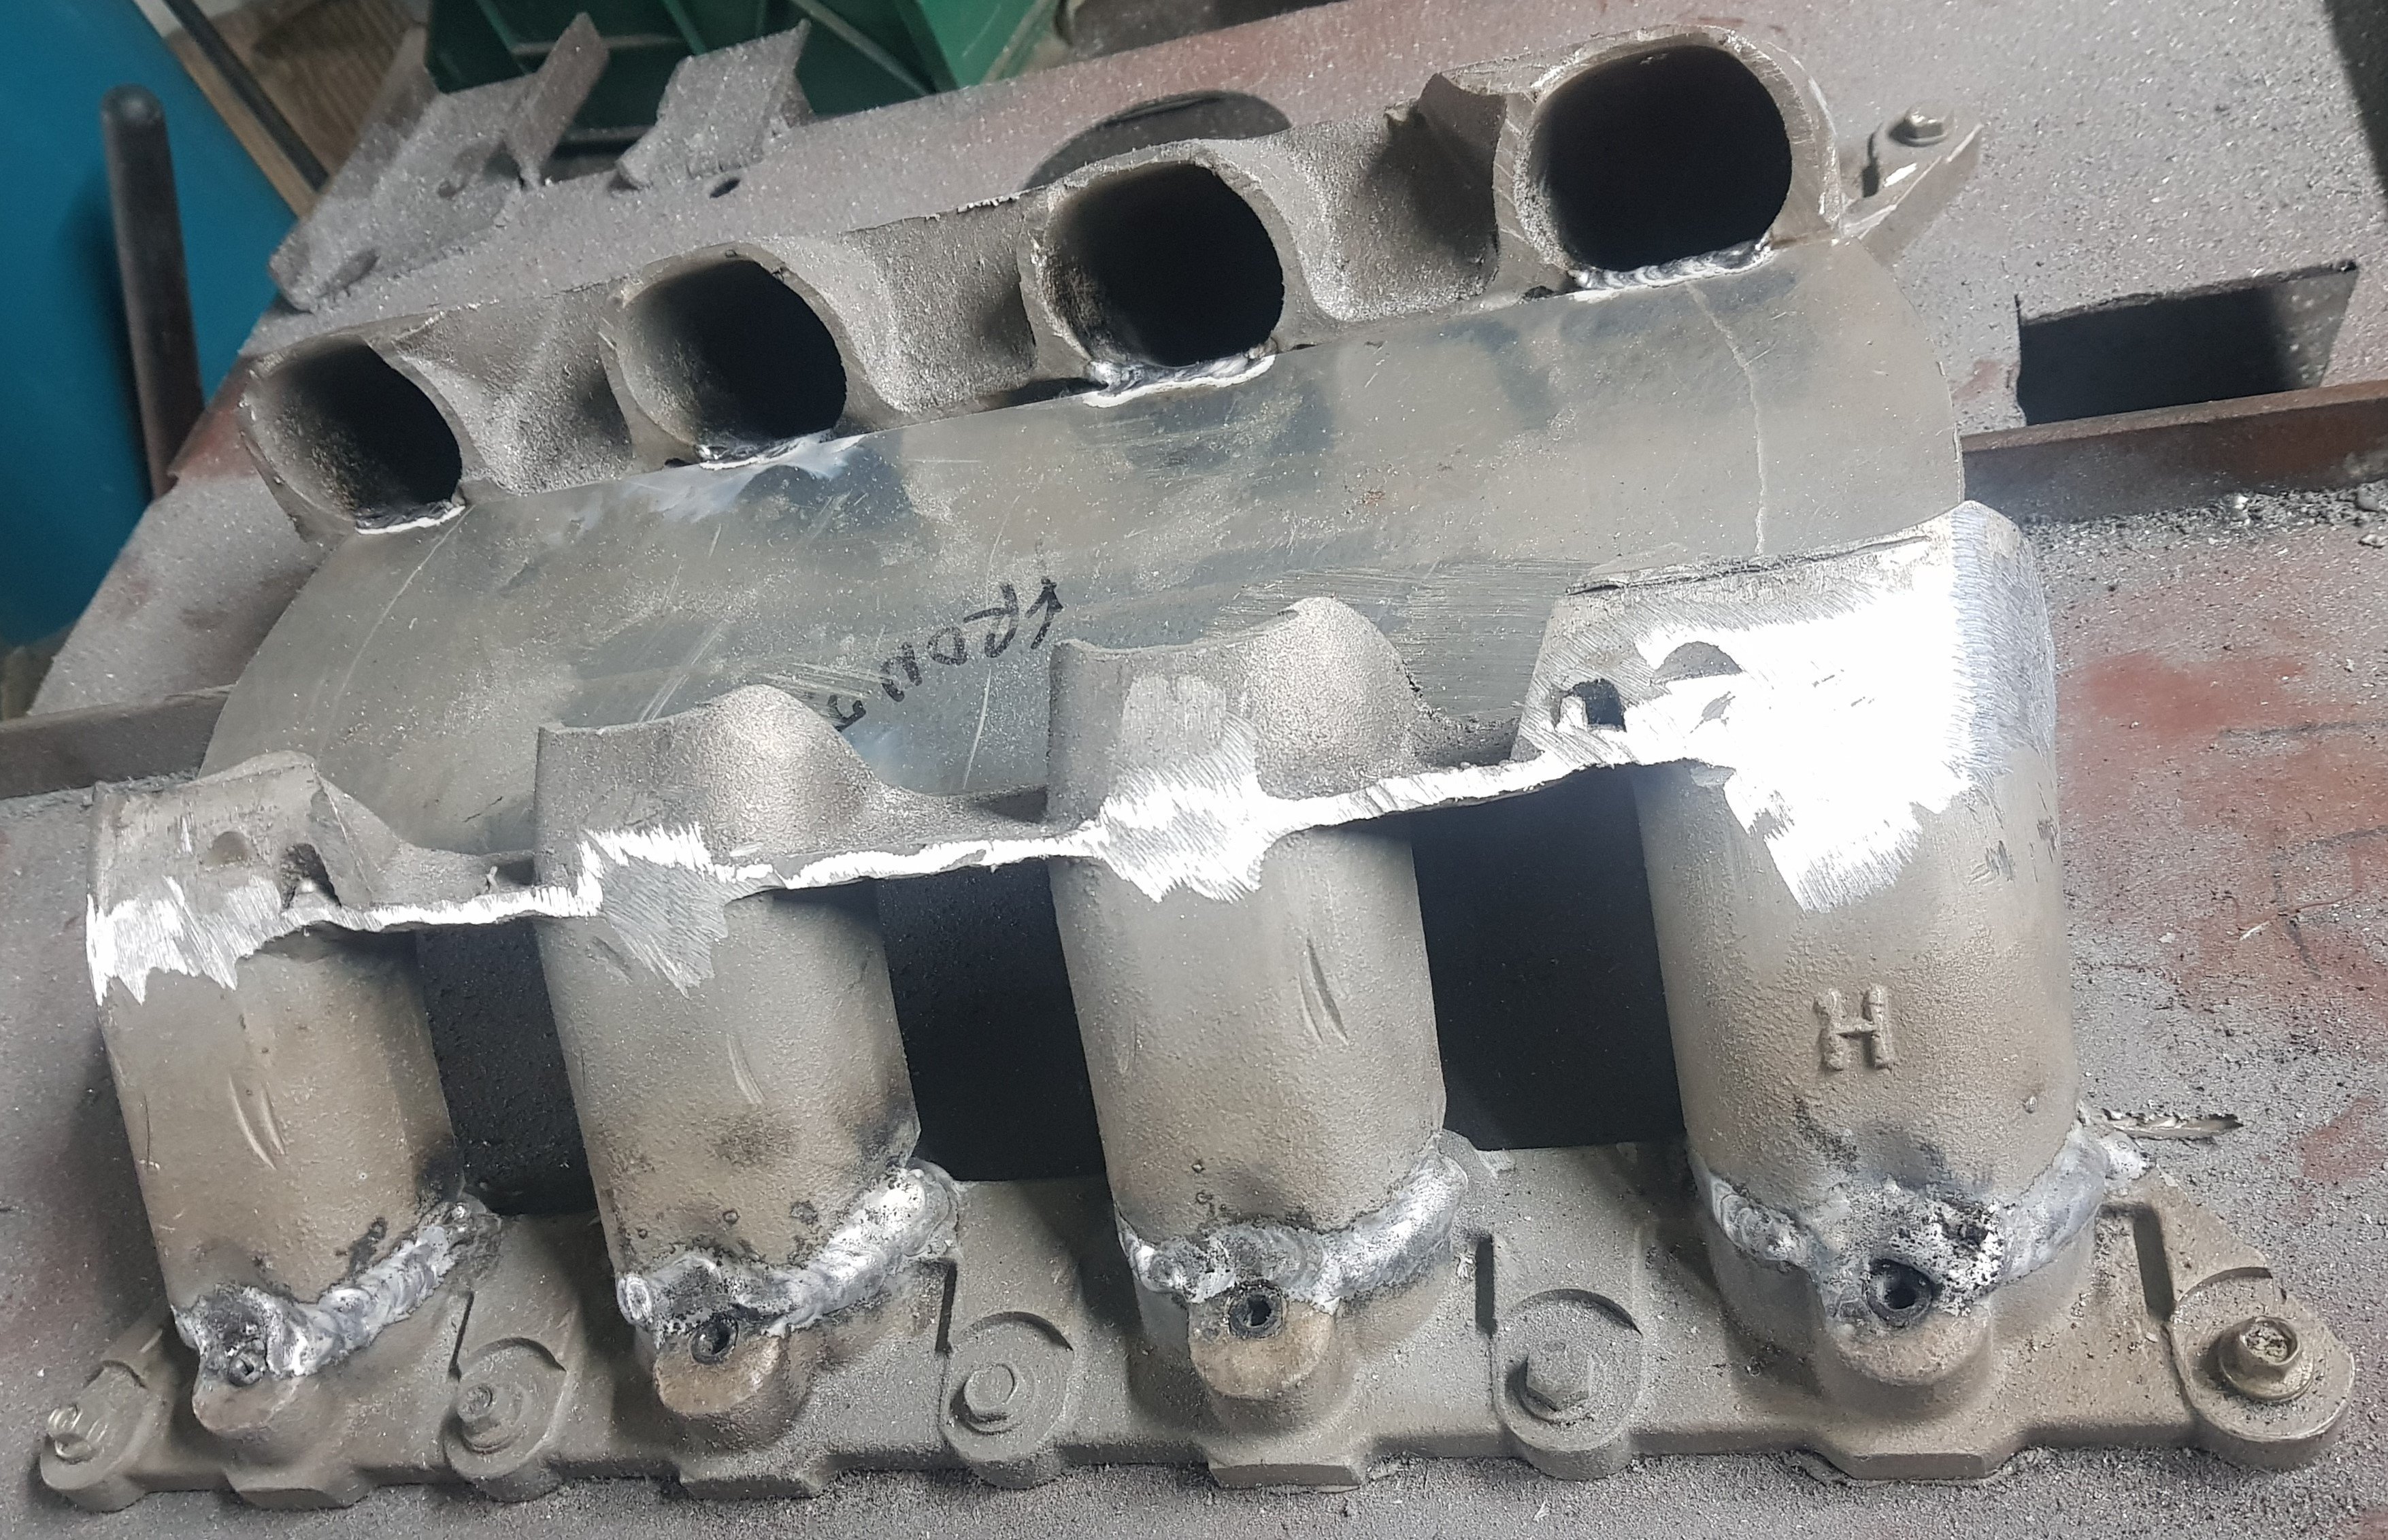
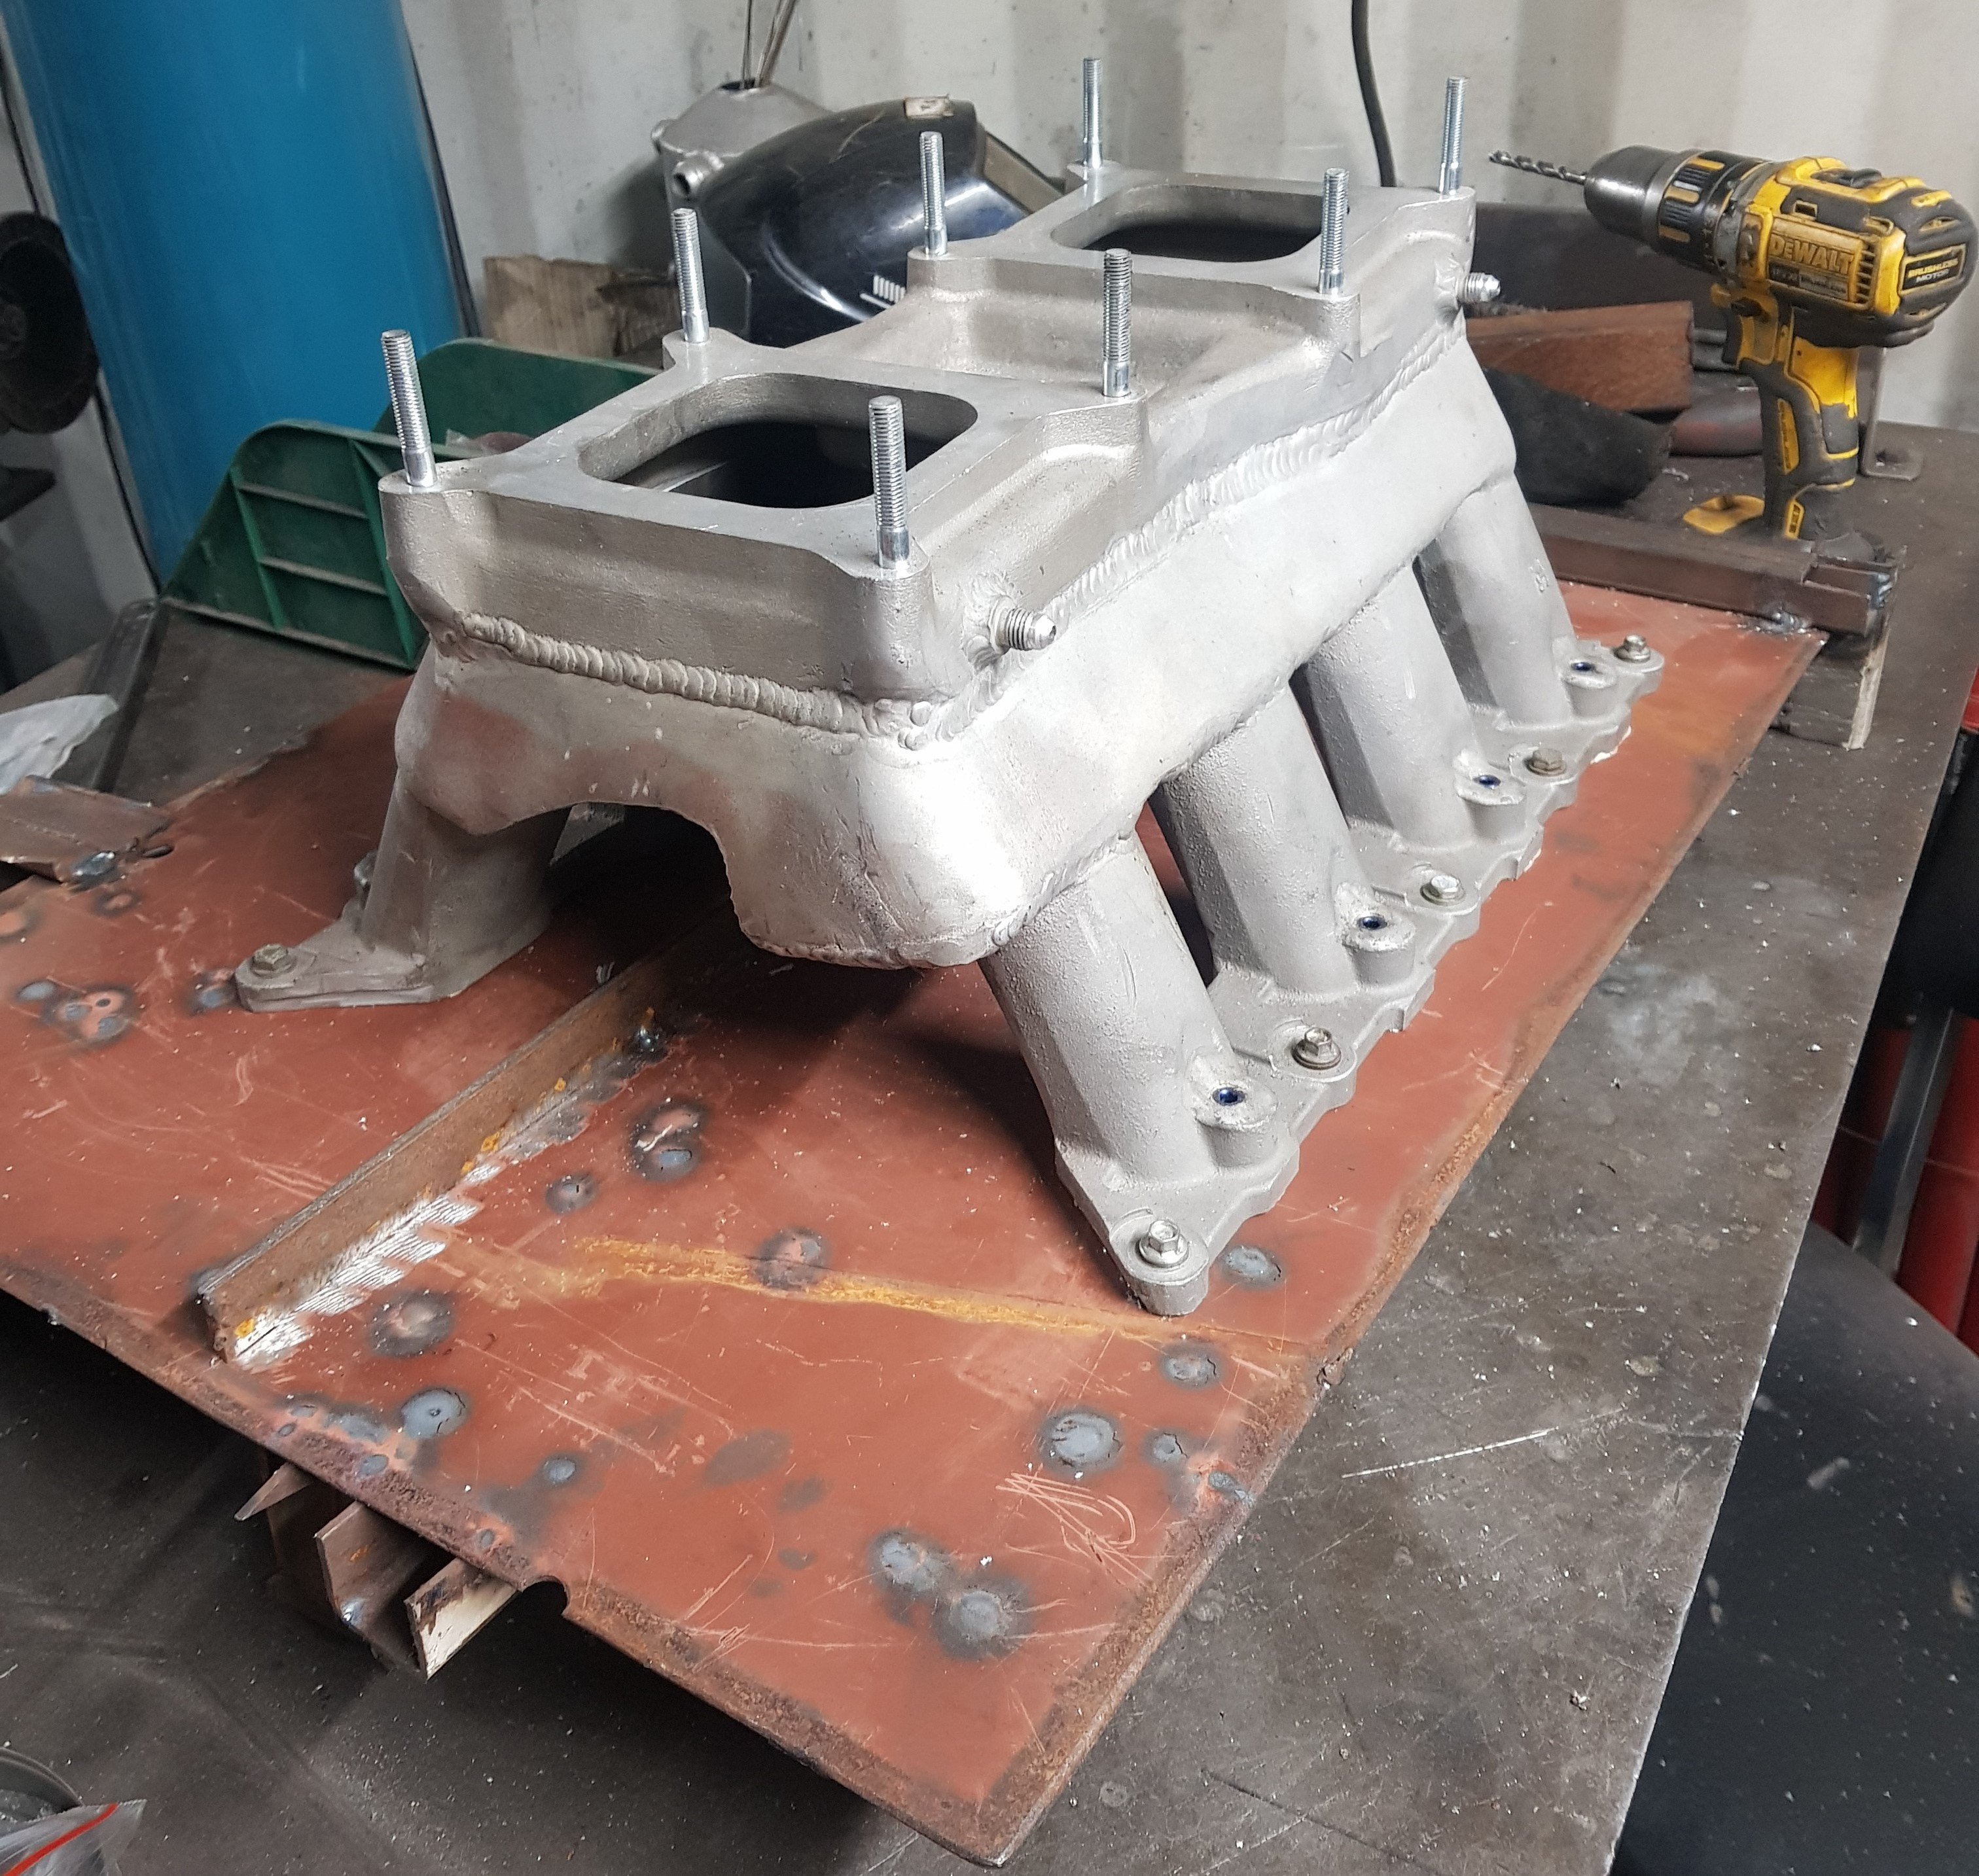
Then it was all welded back together: It's not quite finished yet. The welds will be smoothed off and the manifold sandblasted to give a 'cast' effect. It will also need to be faced top and bottom after all of those heat cycles. The work has dropped the total height by over 75mm which makes it far more 'bulge' friendly:
- 58 replies
-
- 27
-
-
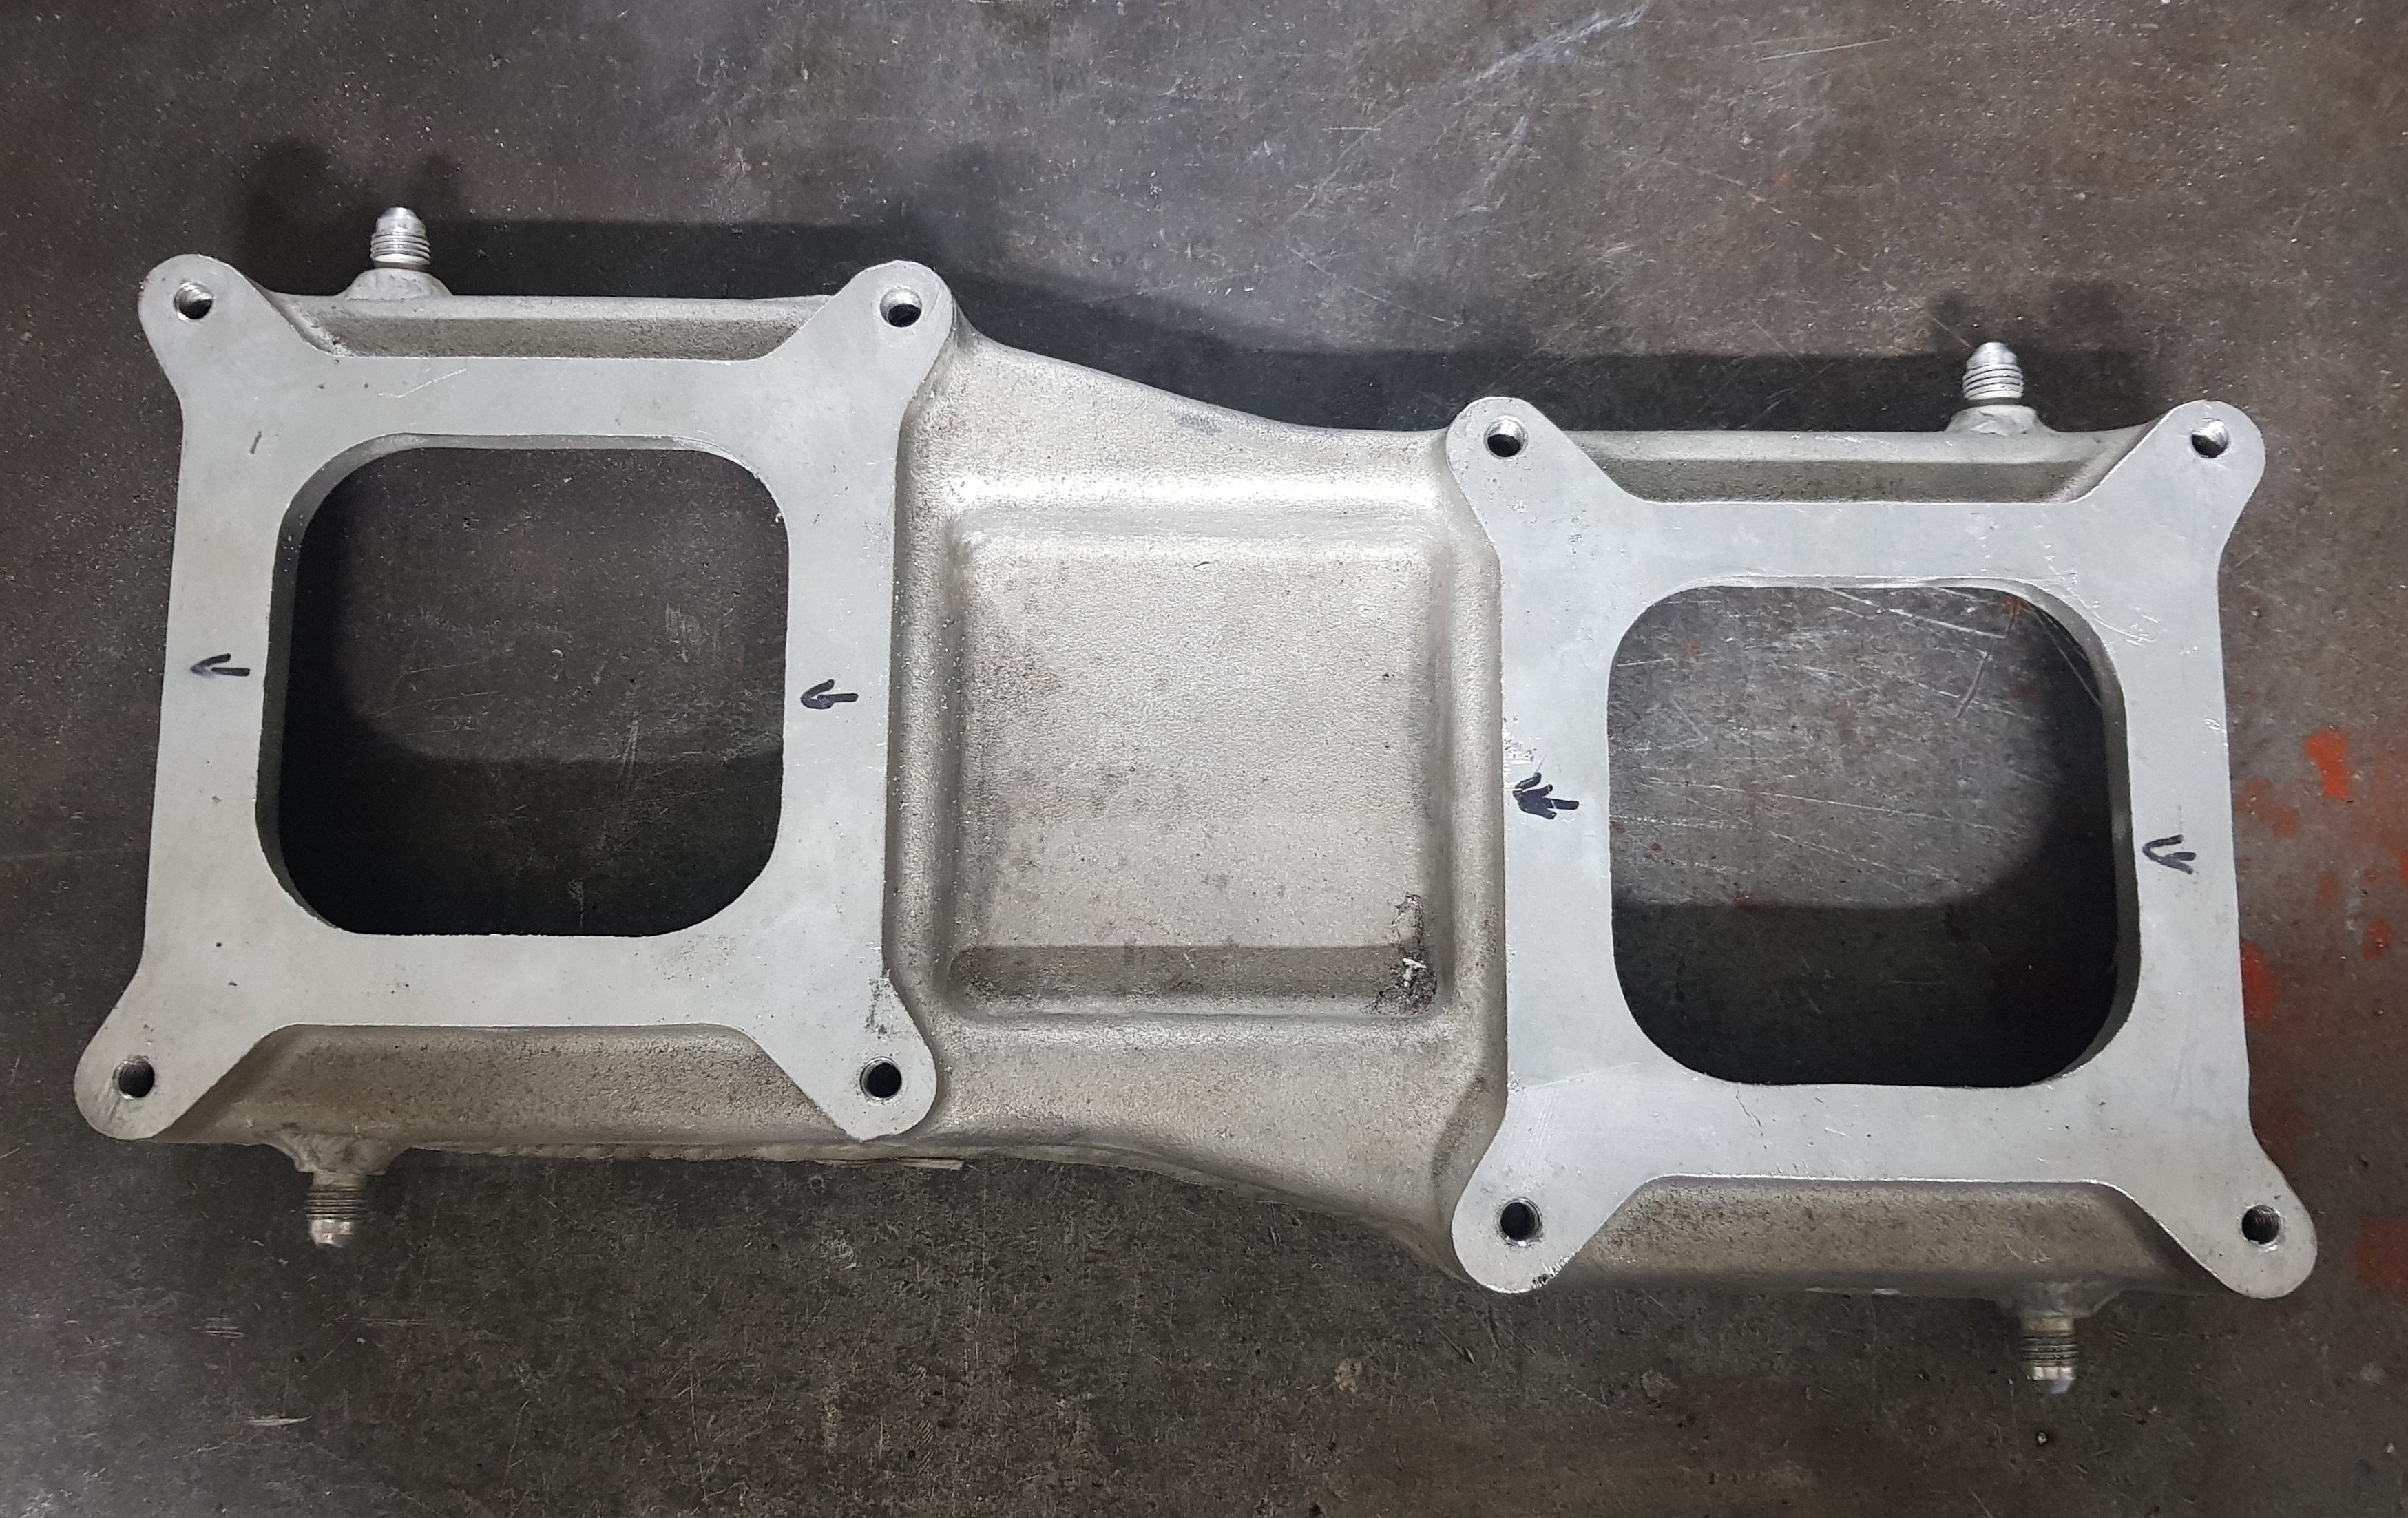
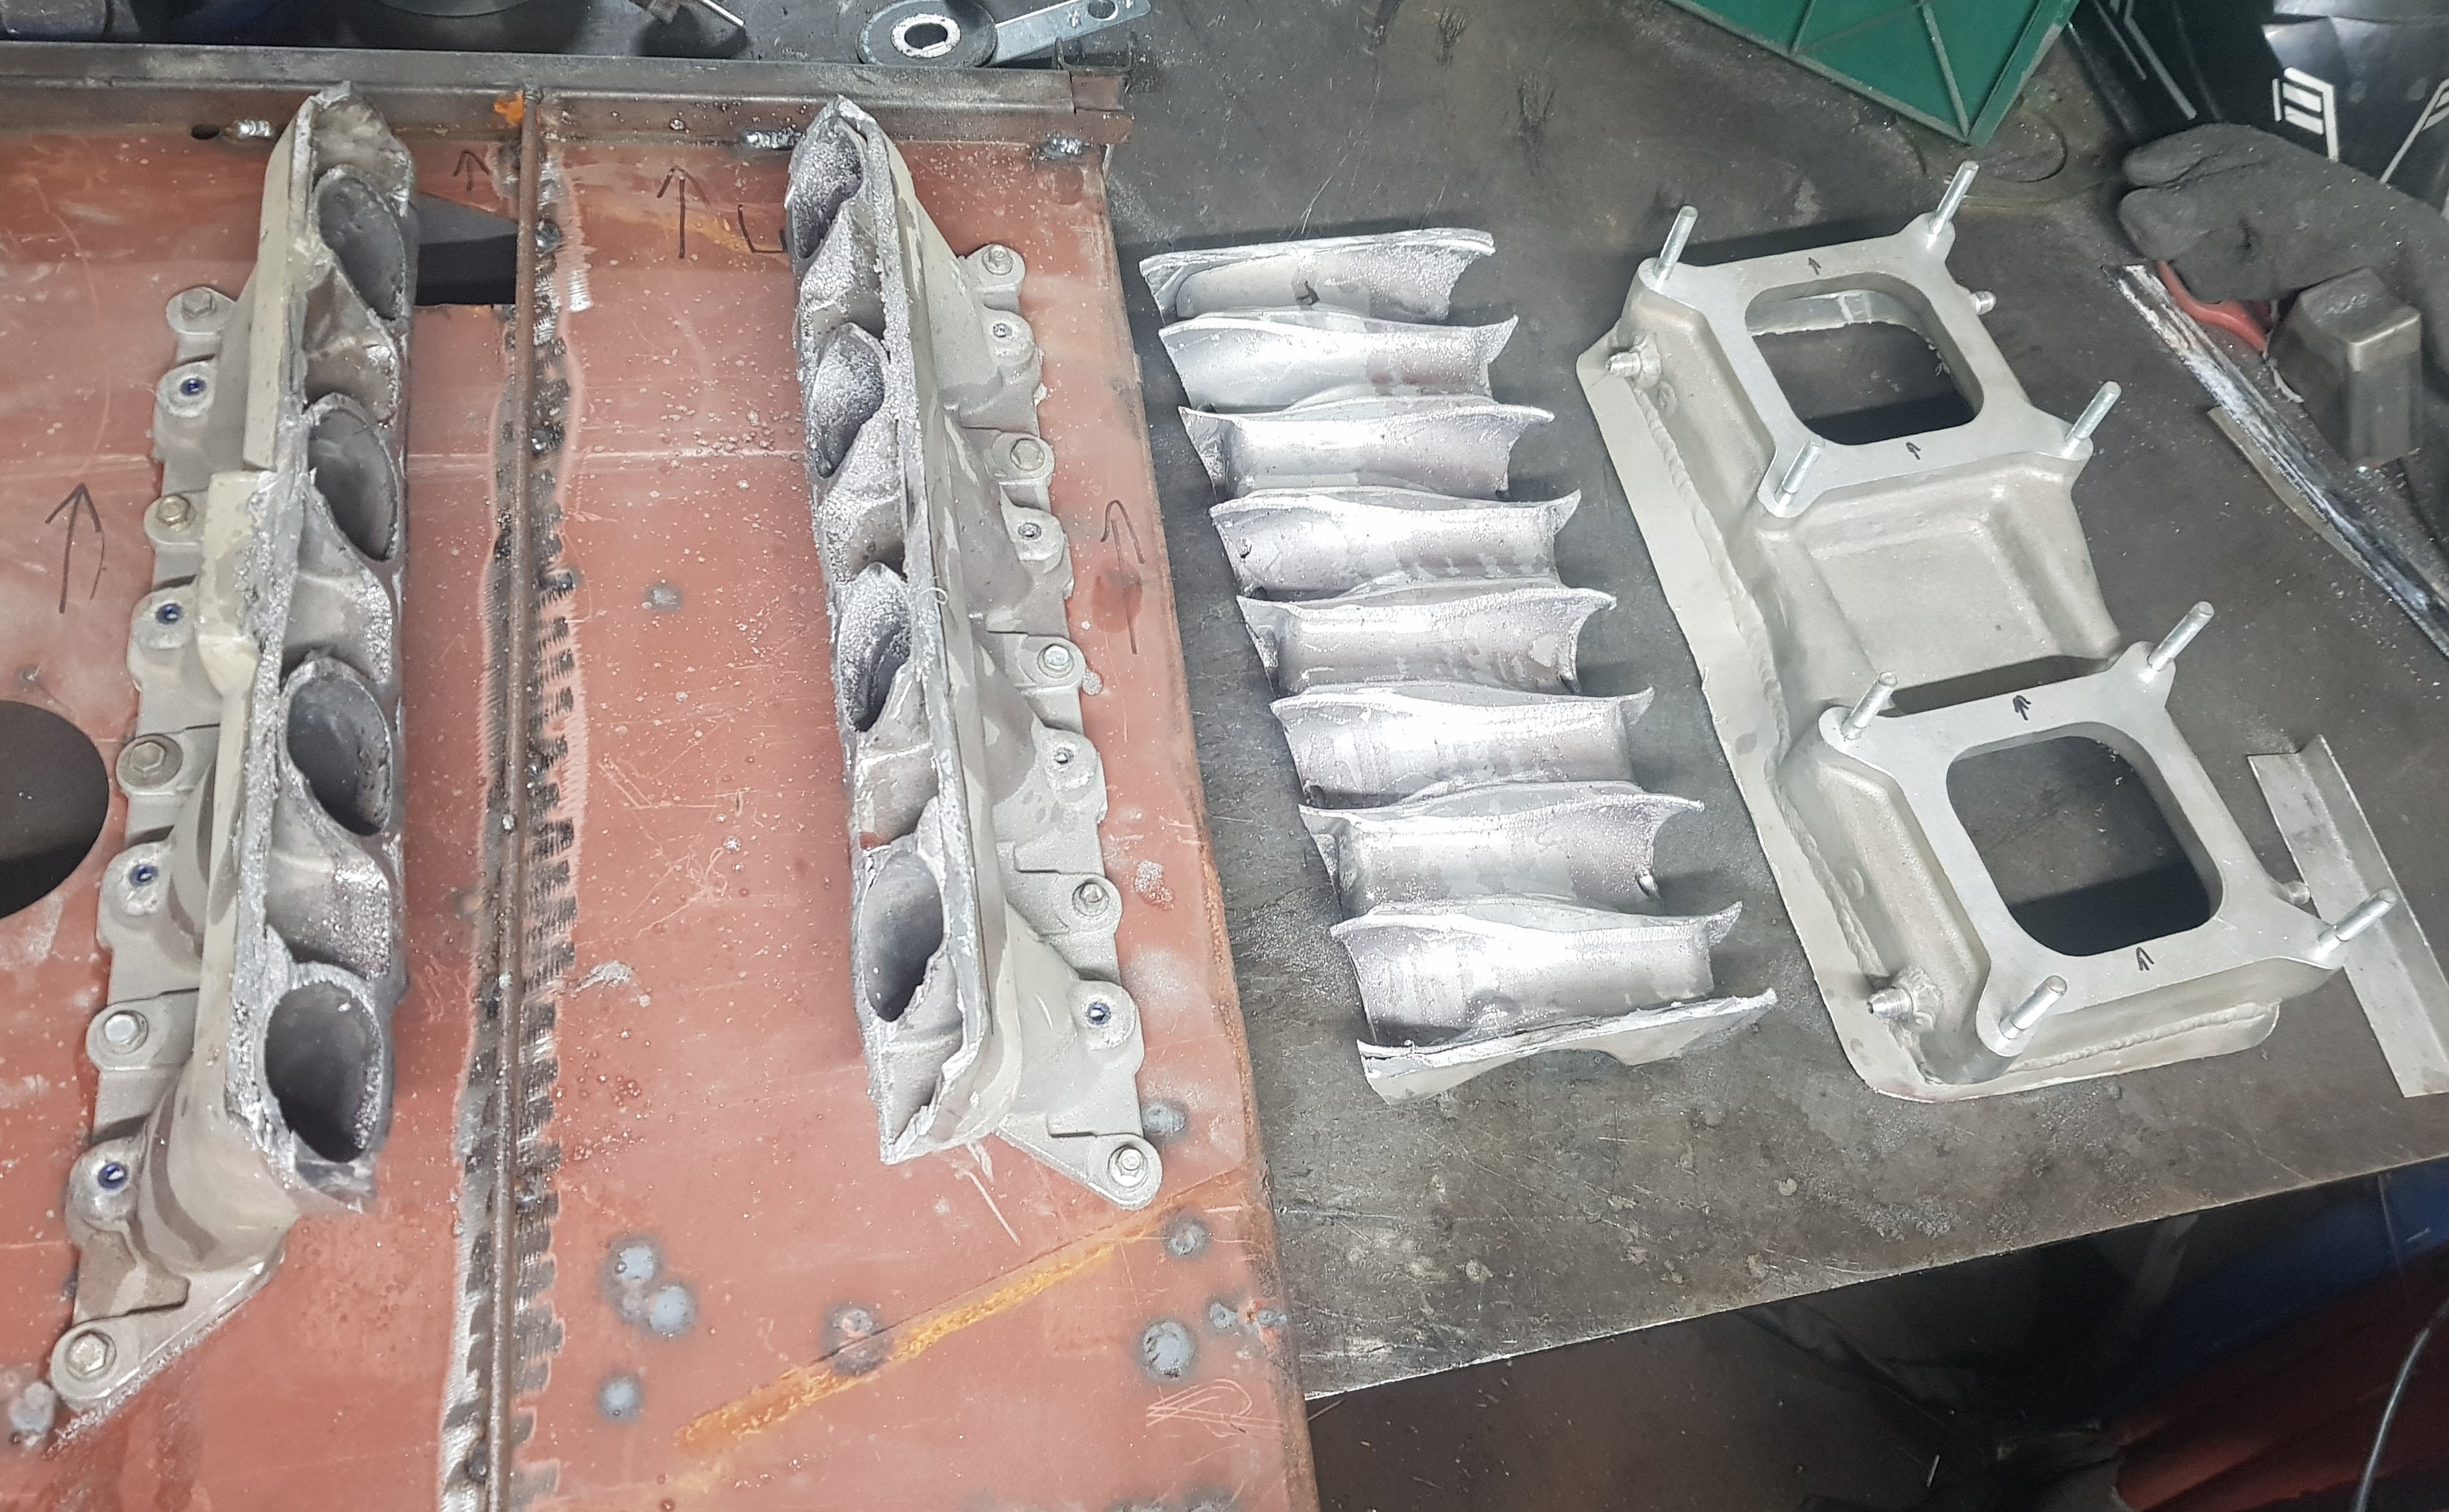
The top plate also lost some length:
-
Then added a new plenum floor:
-
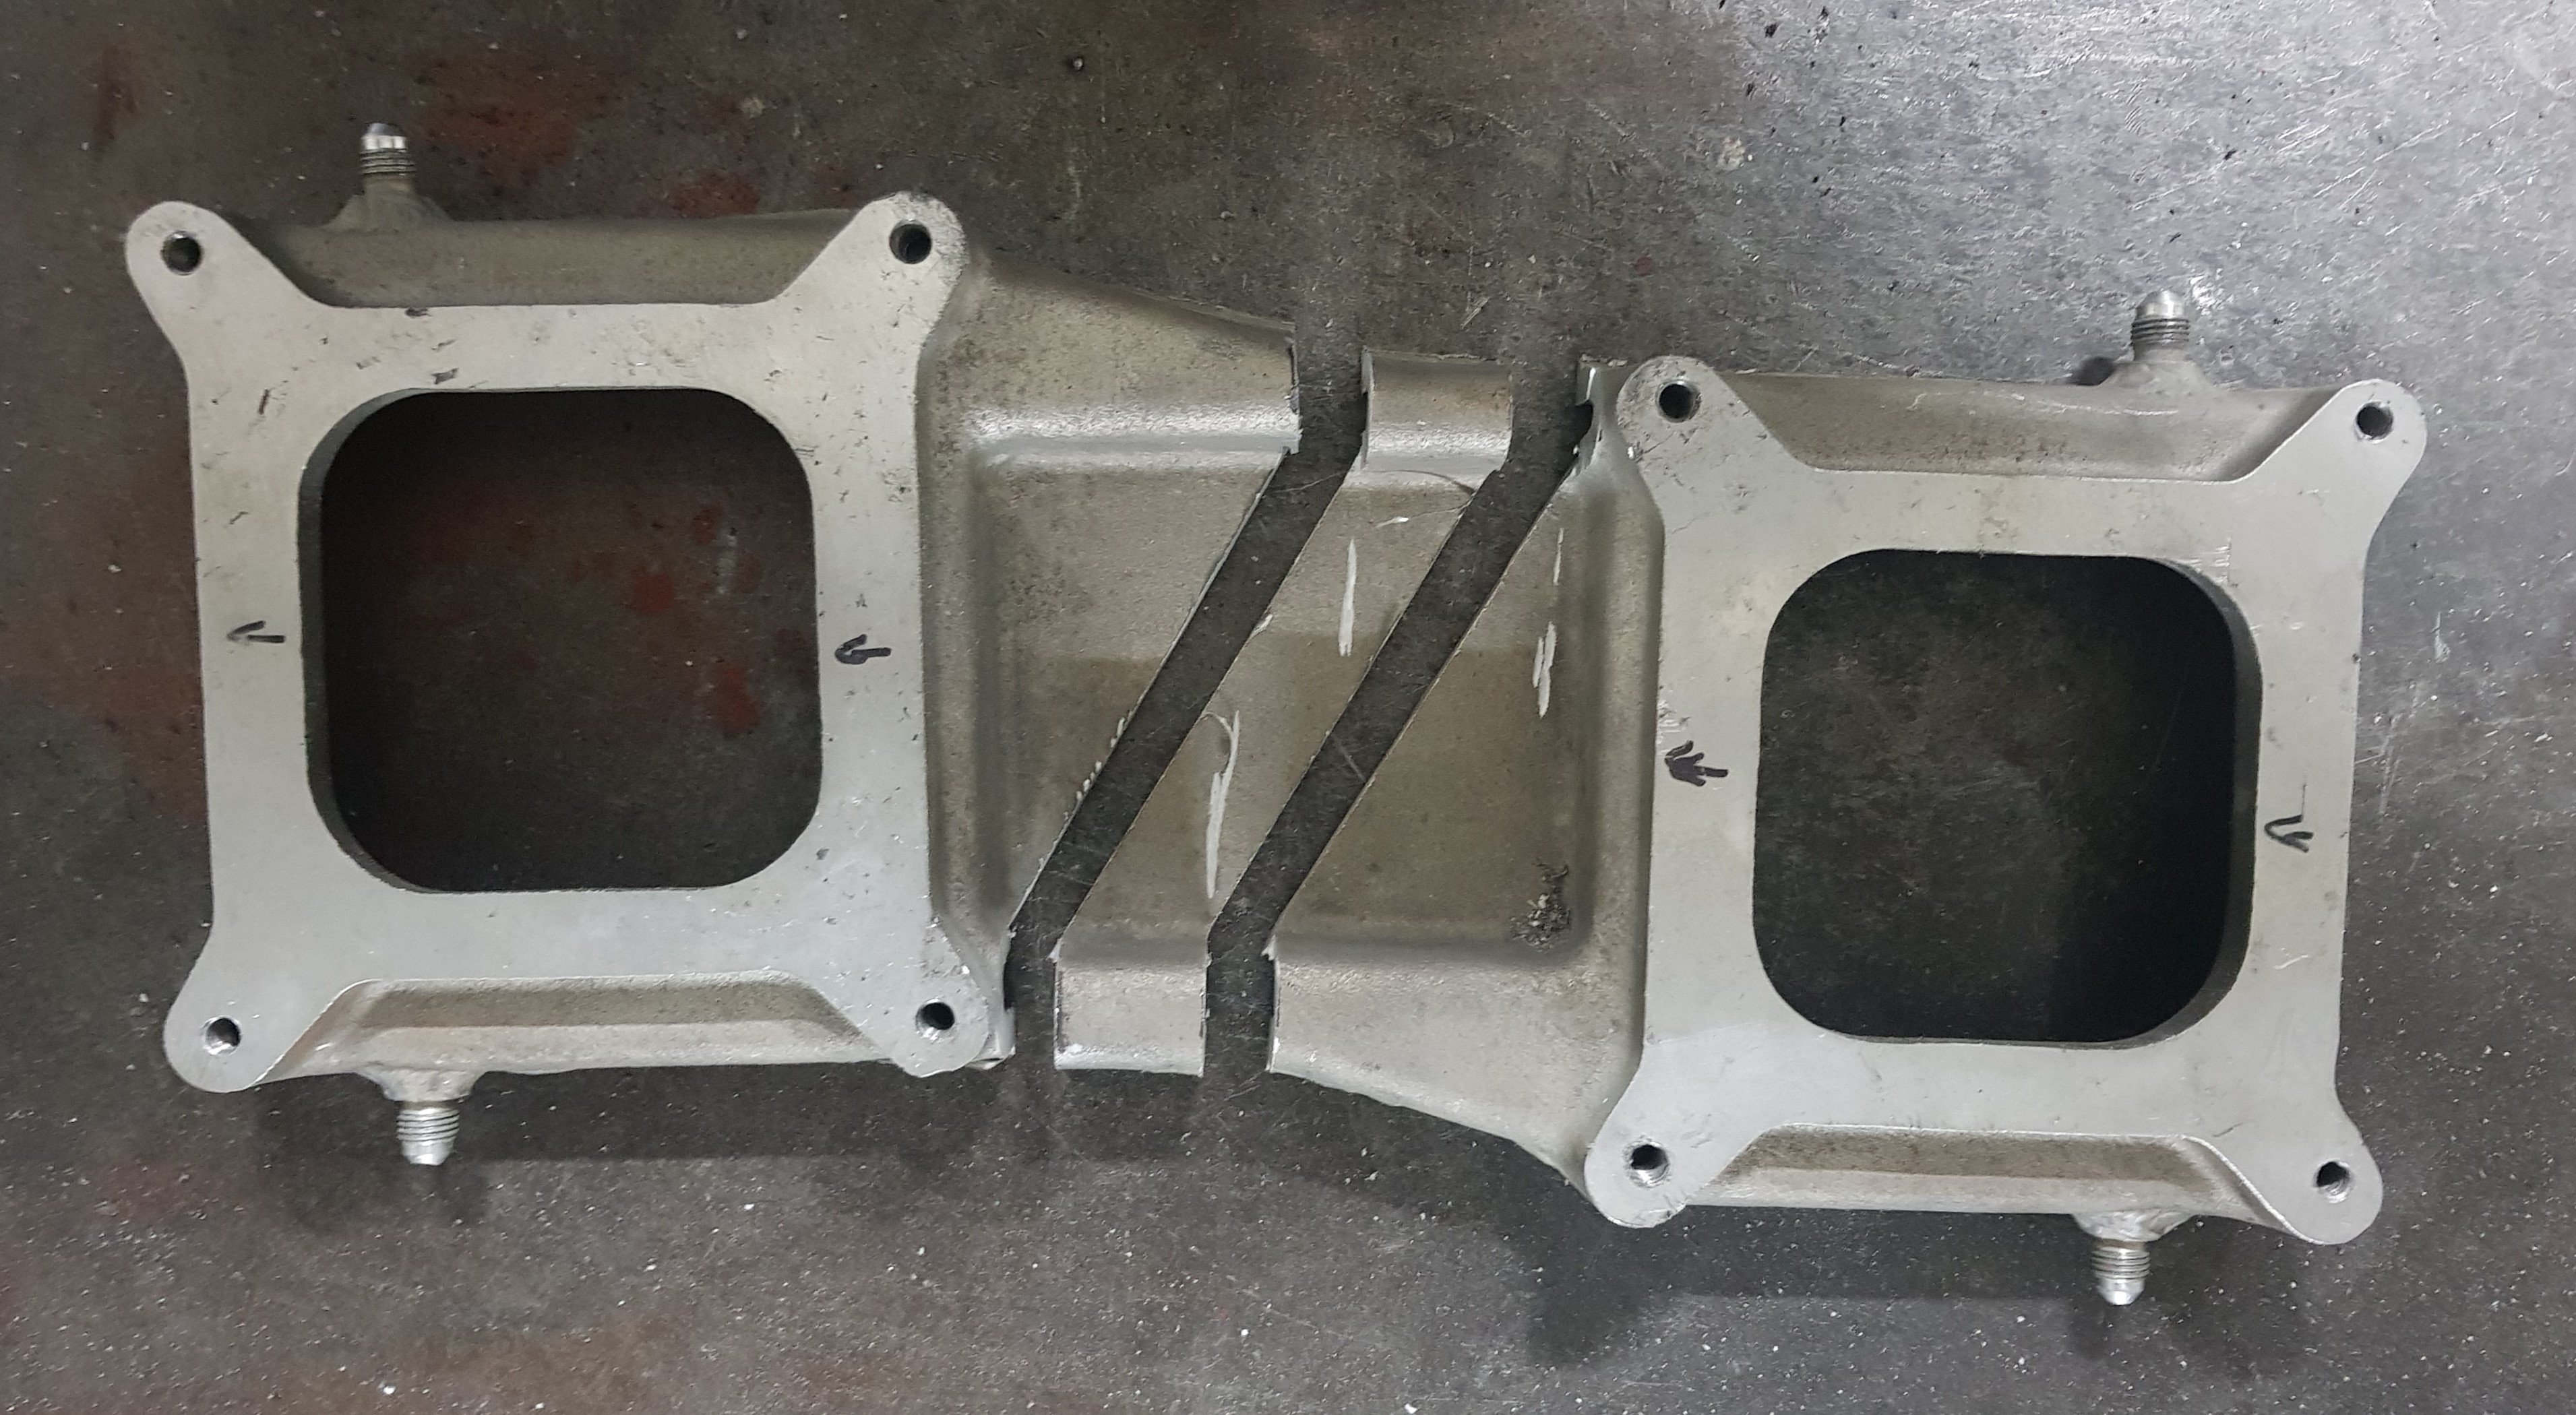
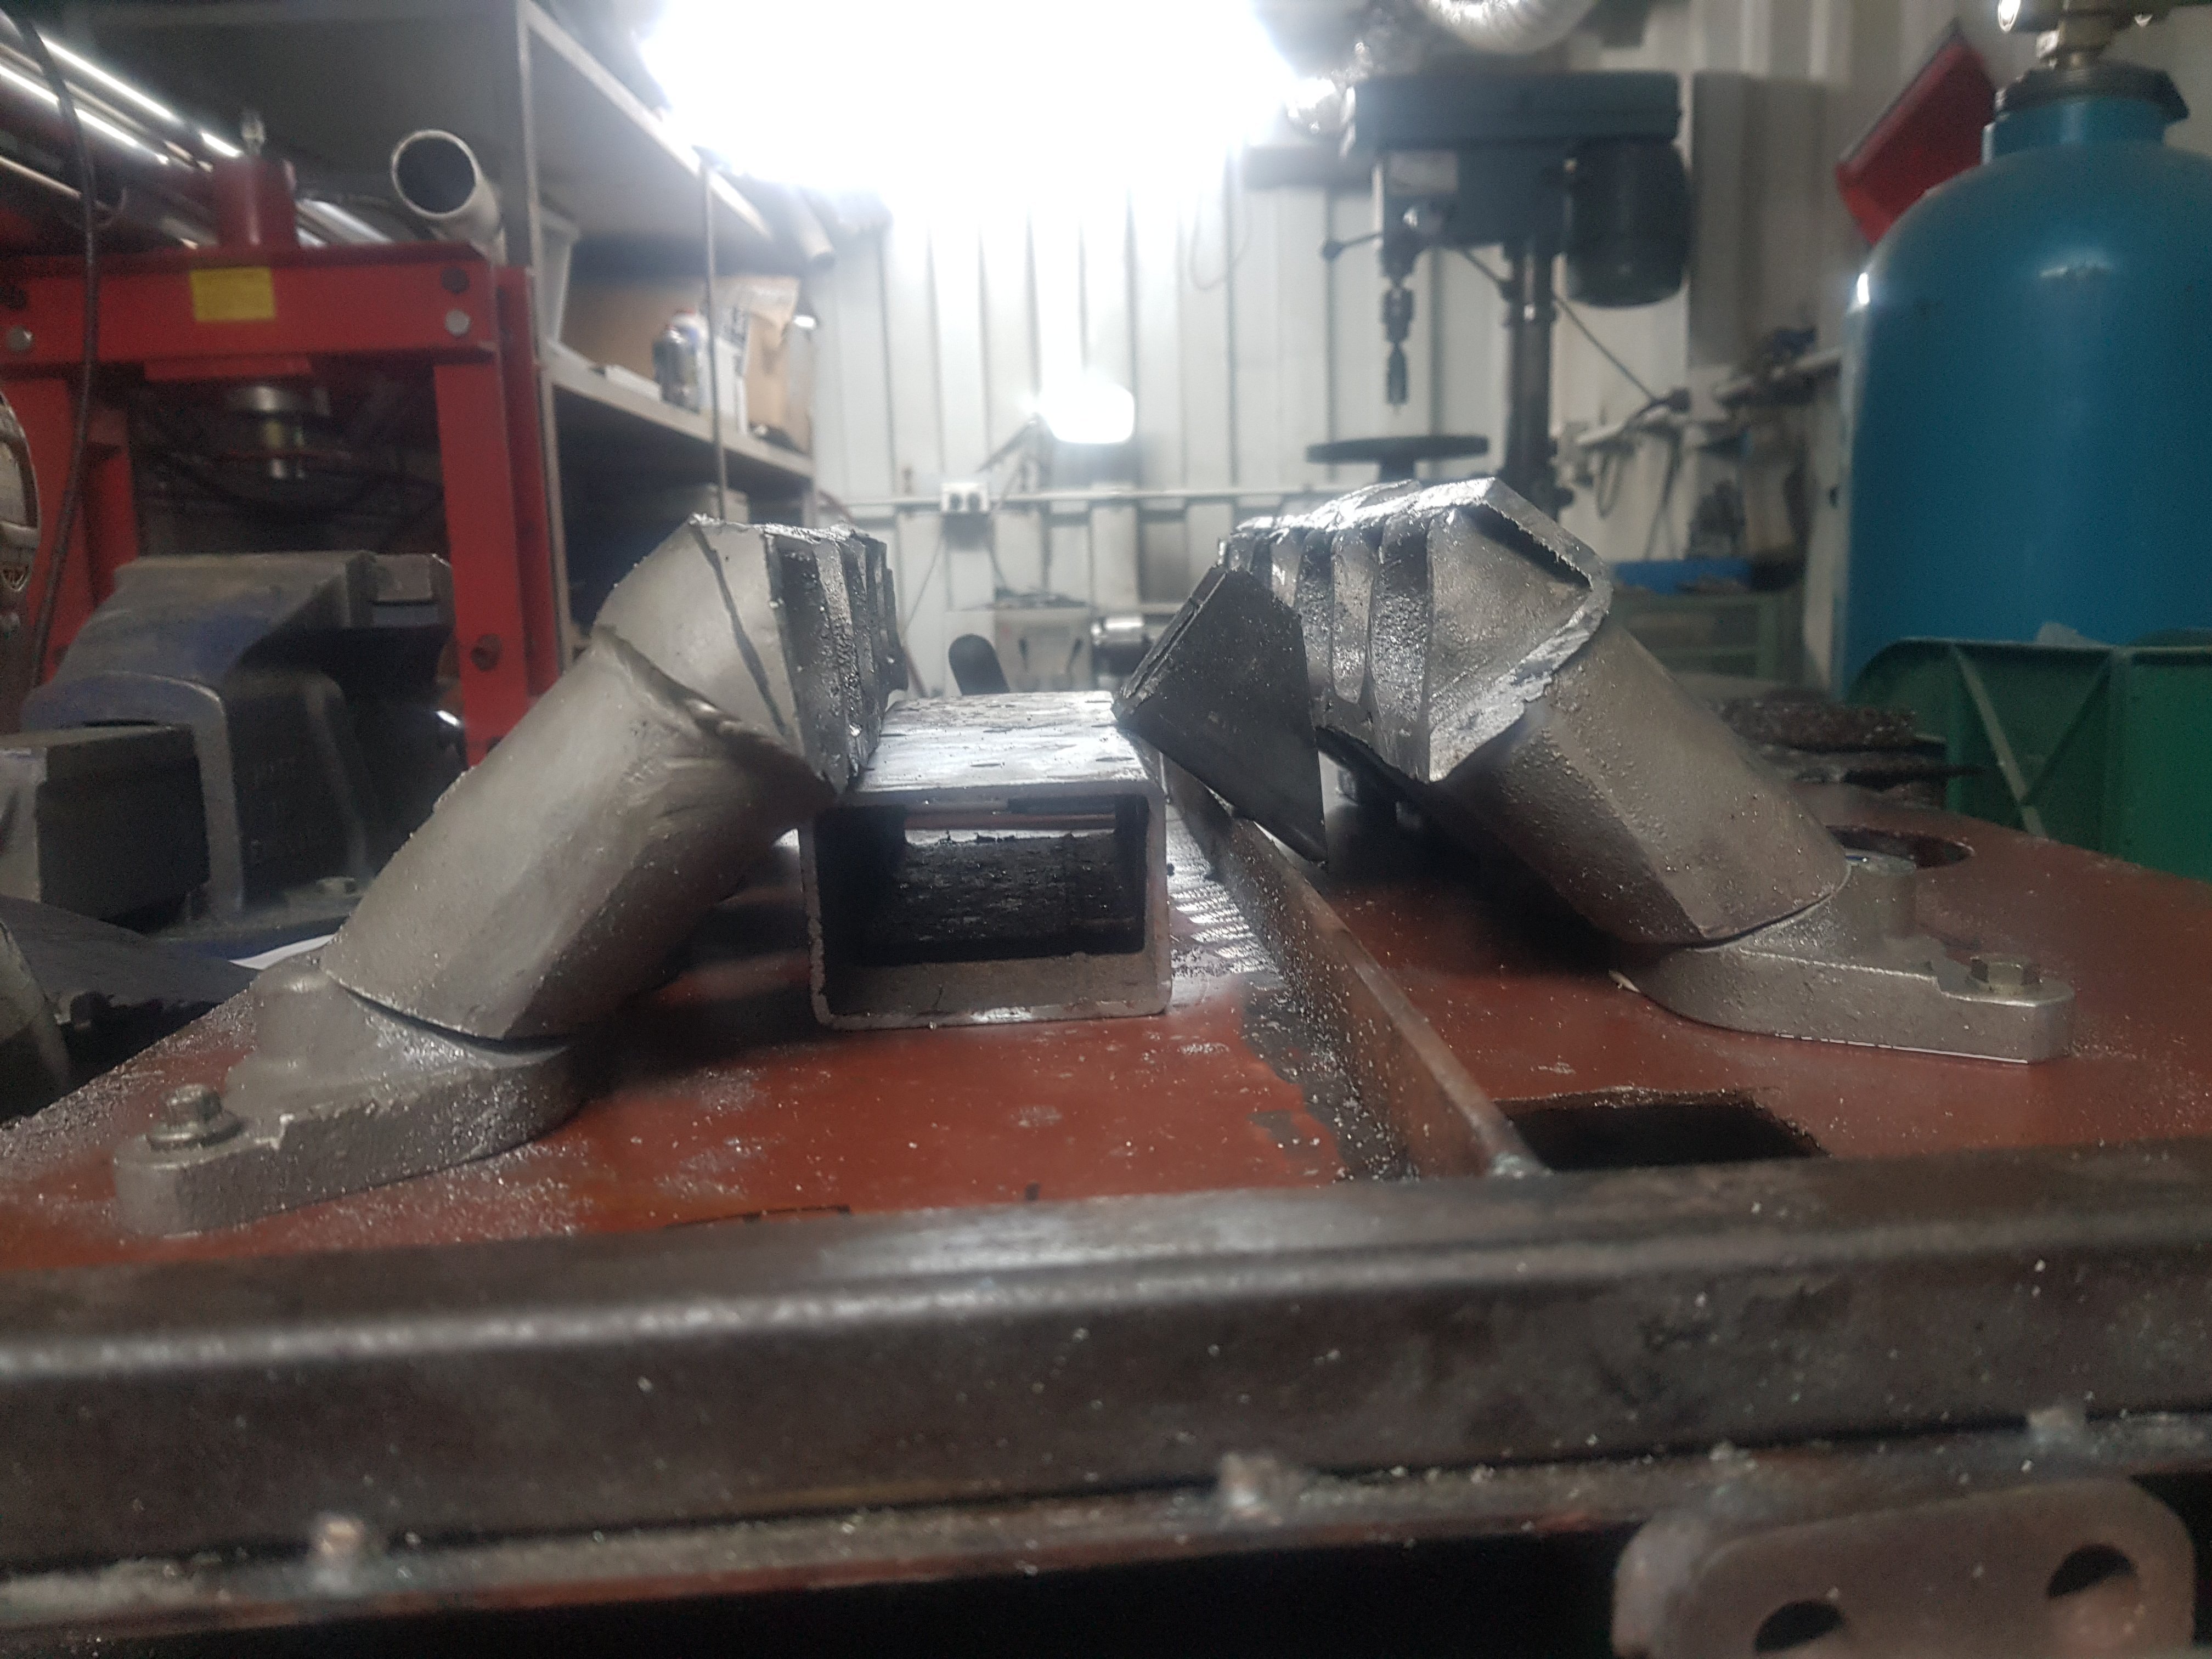
So I modified it. Slightly: Then shortened and angled the runners in:
-
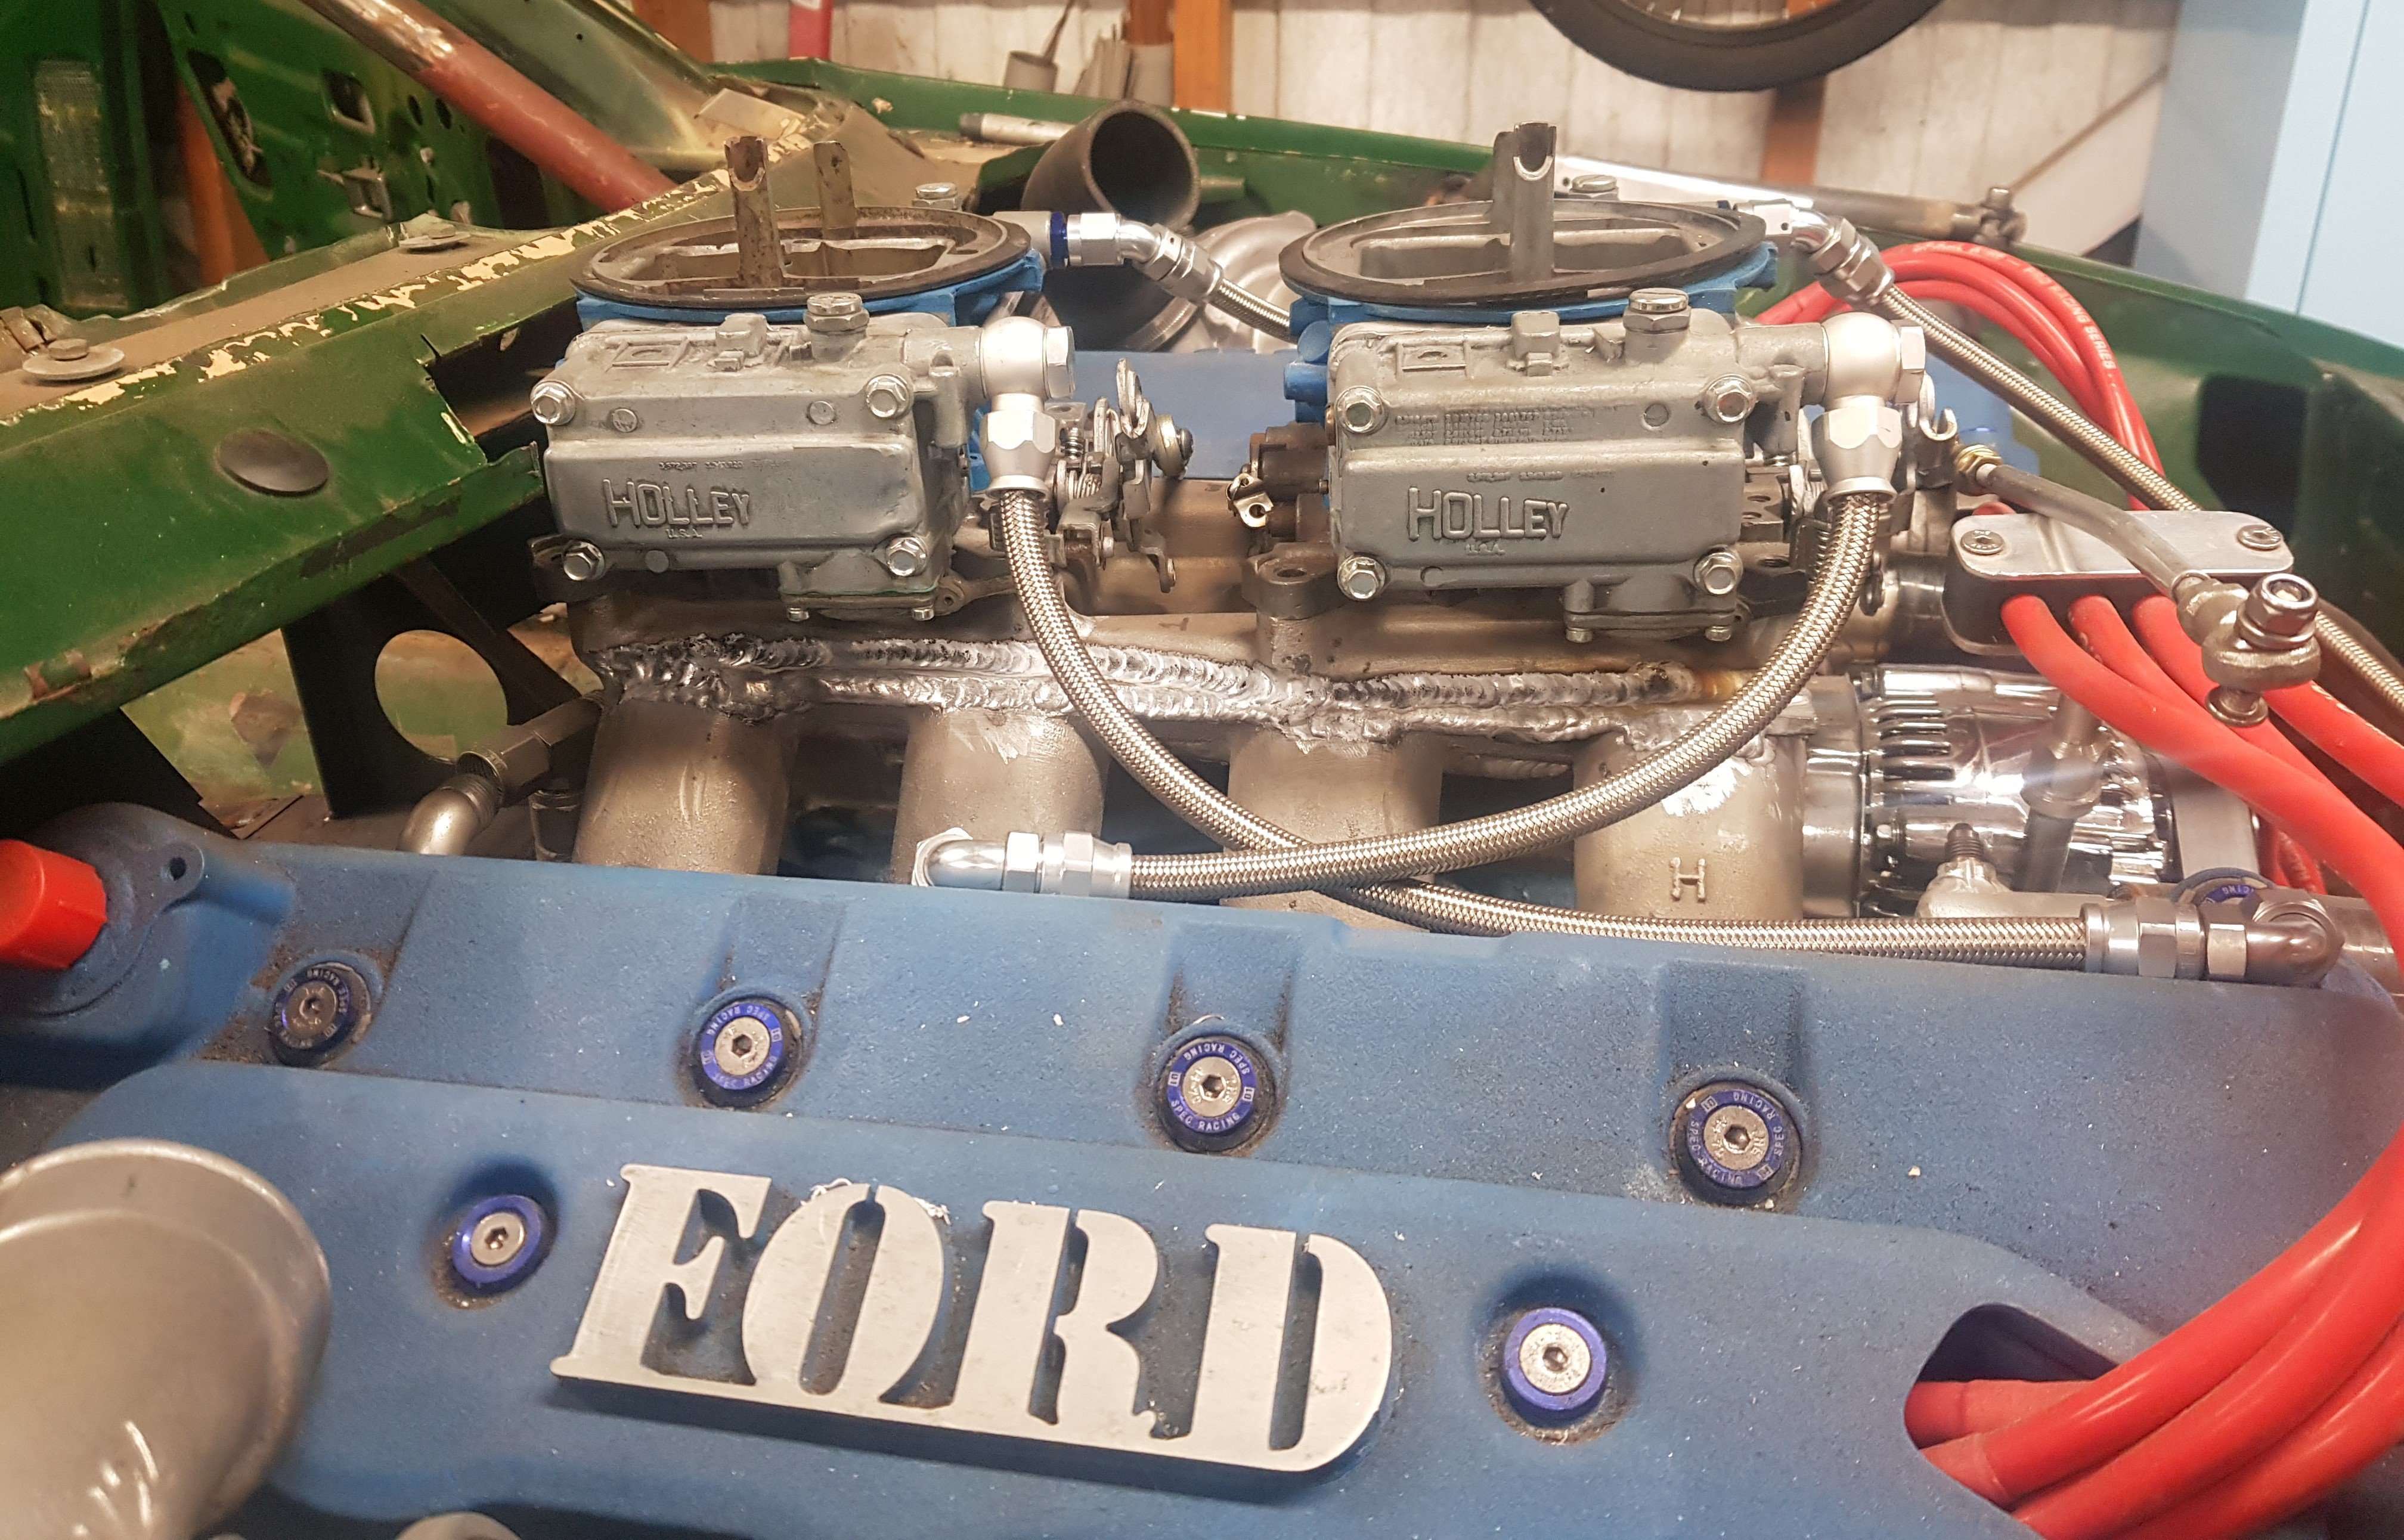
The engine is quite a tight fit in the bay, and the available height is a lot less than my old car that the engine came out of. The 'old' intake manifold was quite tall and would have required a huge bulge to cover it, the two blow-through Holley 4-barrel carbs and the pressure hat. The manifold stood nearly 200mm tall:
-
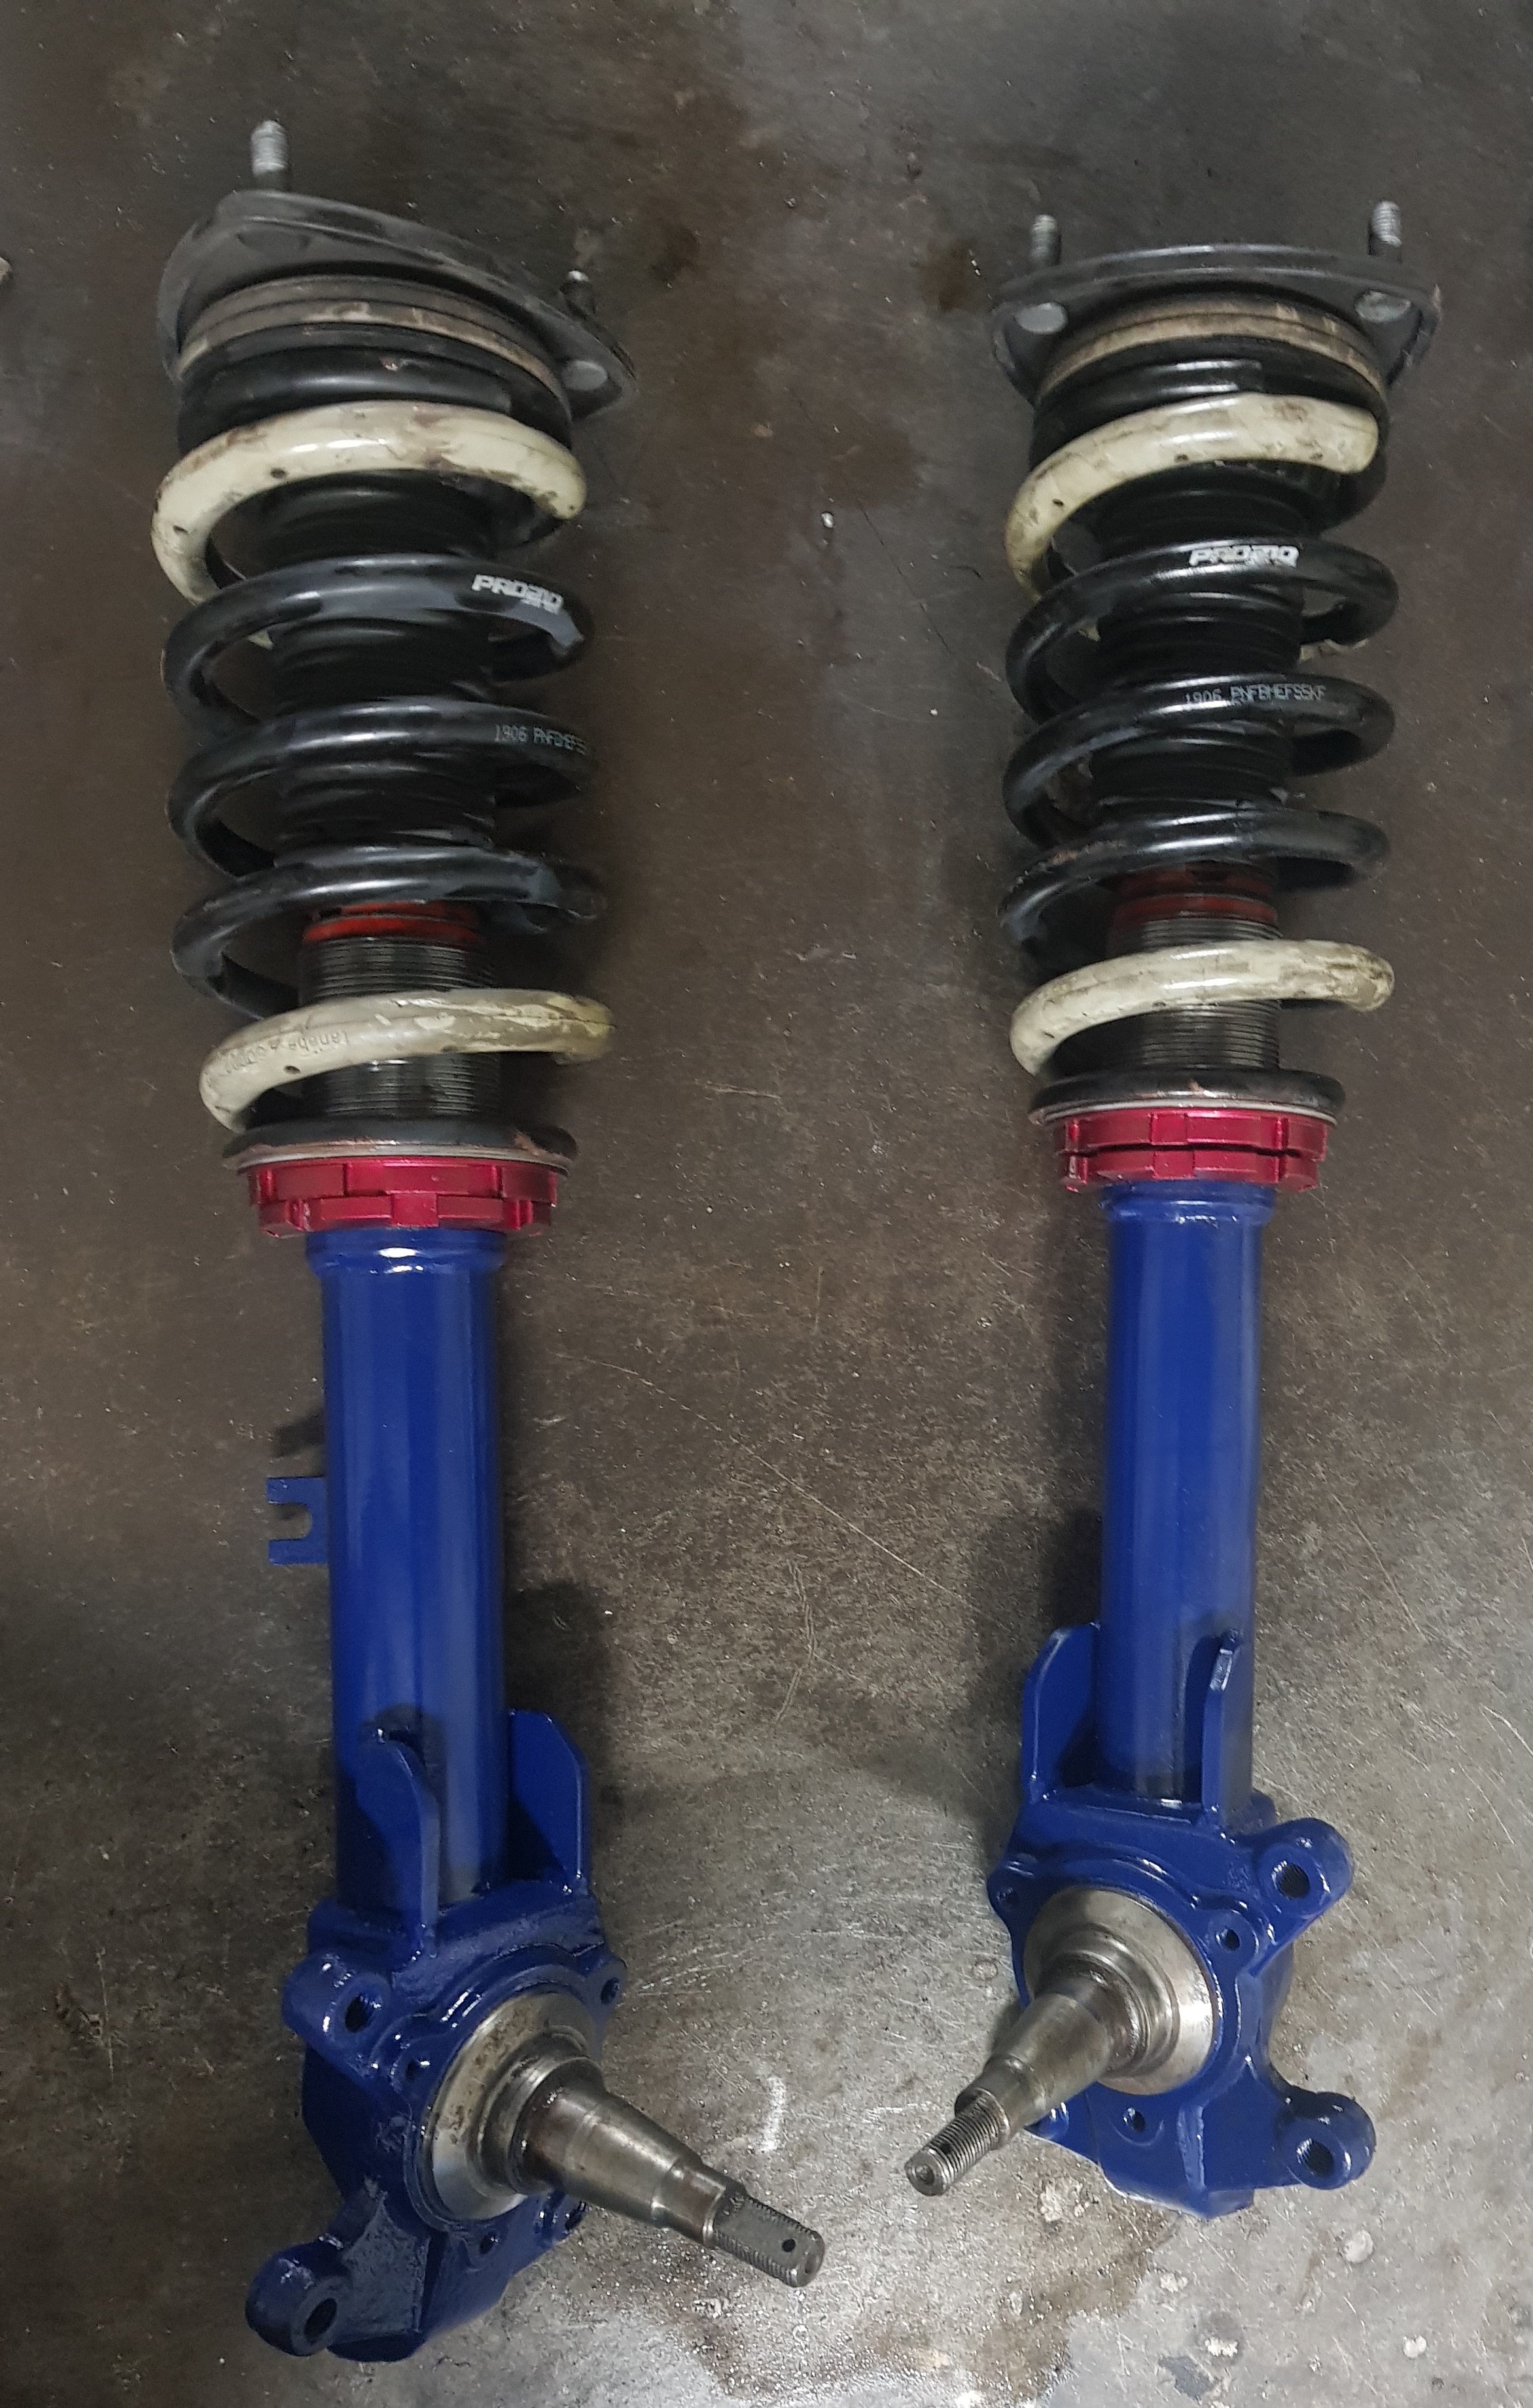
Front suspension is TR7 struts, with Mazda Axela springs, dampers and top mounts. The original Axela struts were cut to donate the adjustable spring platforms. Brakes are Toyota Hilux vented rotors with Austin Princess 4-pot calipers suitably stretched to fit.
- 58 replies
-
- 11
-
-
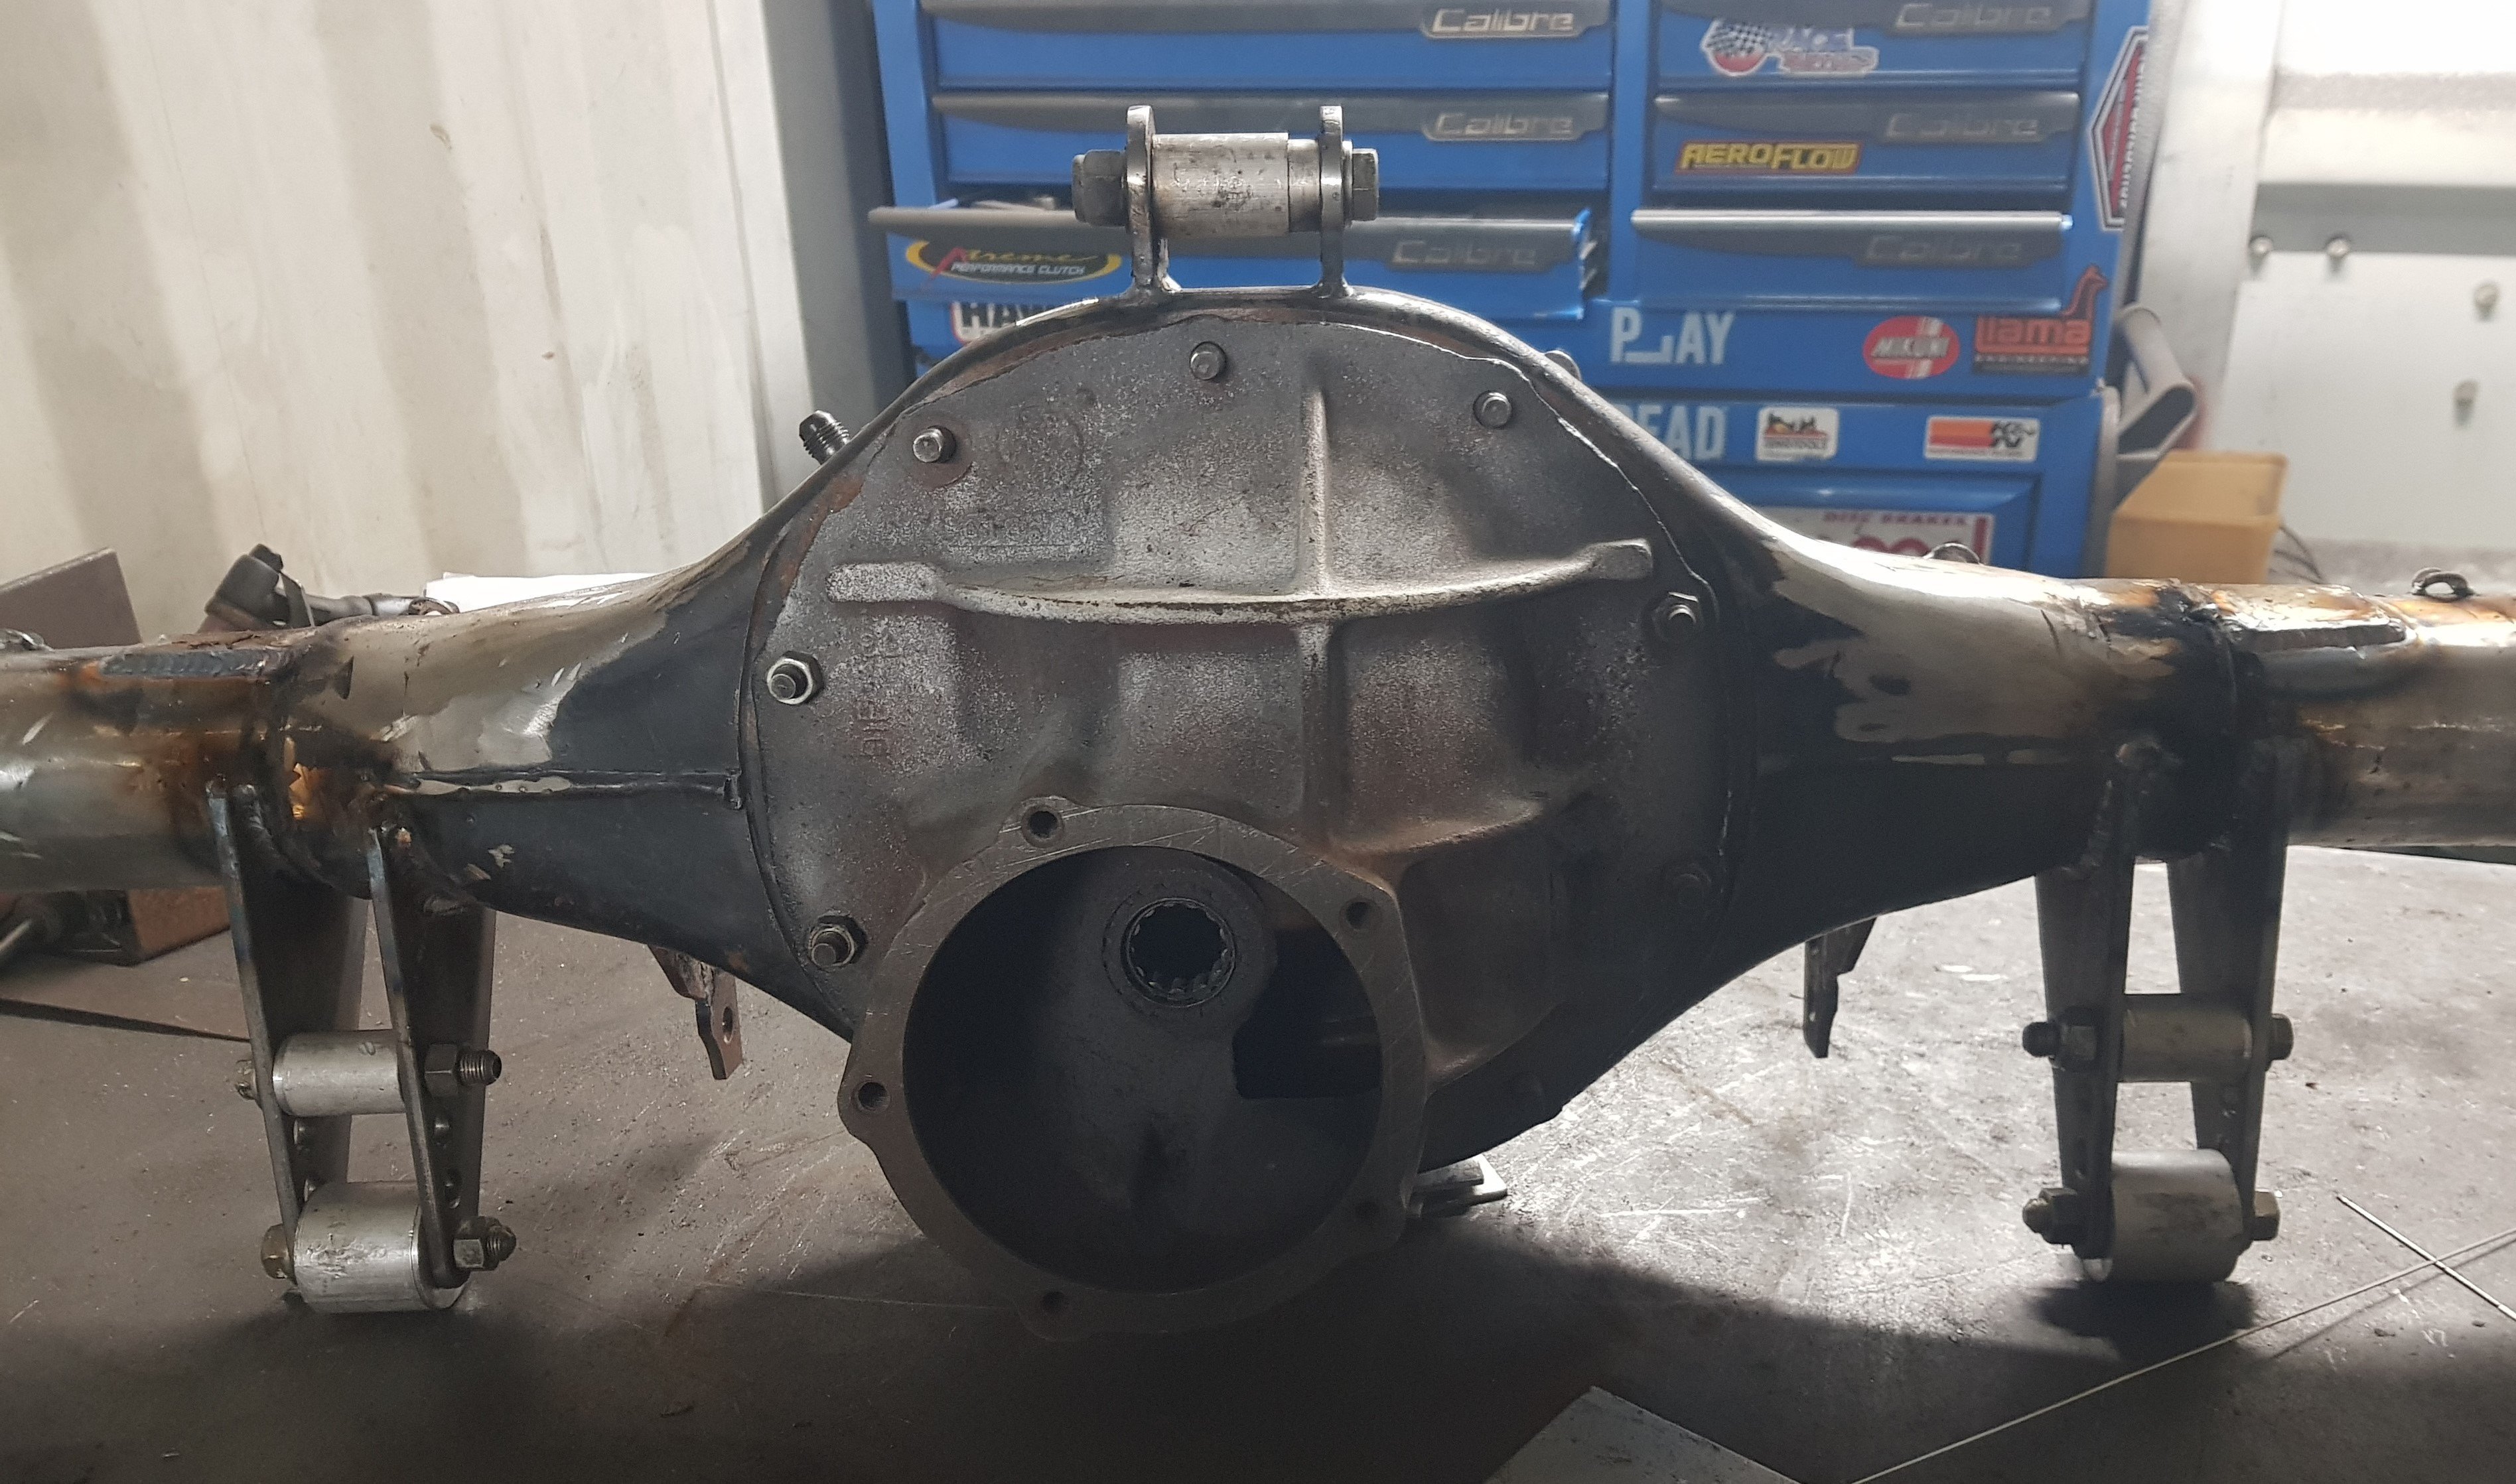
Rear axle is a severely narrowed Ford 9" It has 35 spline shafts, Strange centre section with Strange spool and 4.11 gears. Suspension will be adjustable coil-overs and adjustable 3-link. Rear brakes are Falcon rotors, calipers and internal handbrake.
-
Will look pretty good once it's done IMHO.
- 58 replies
-
- 25
-
-
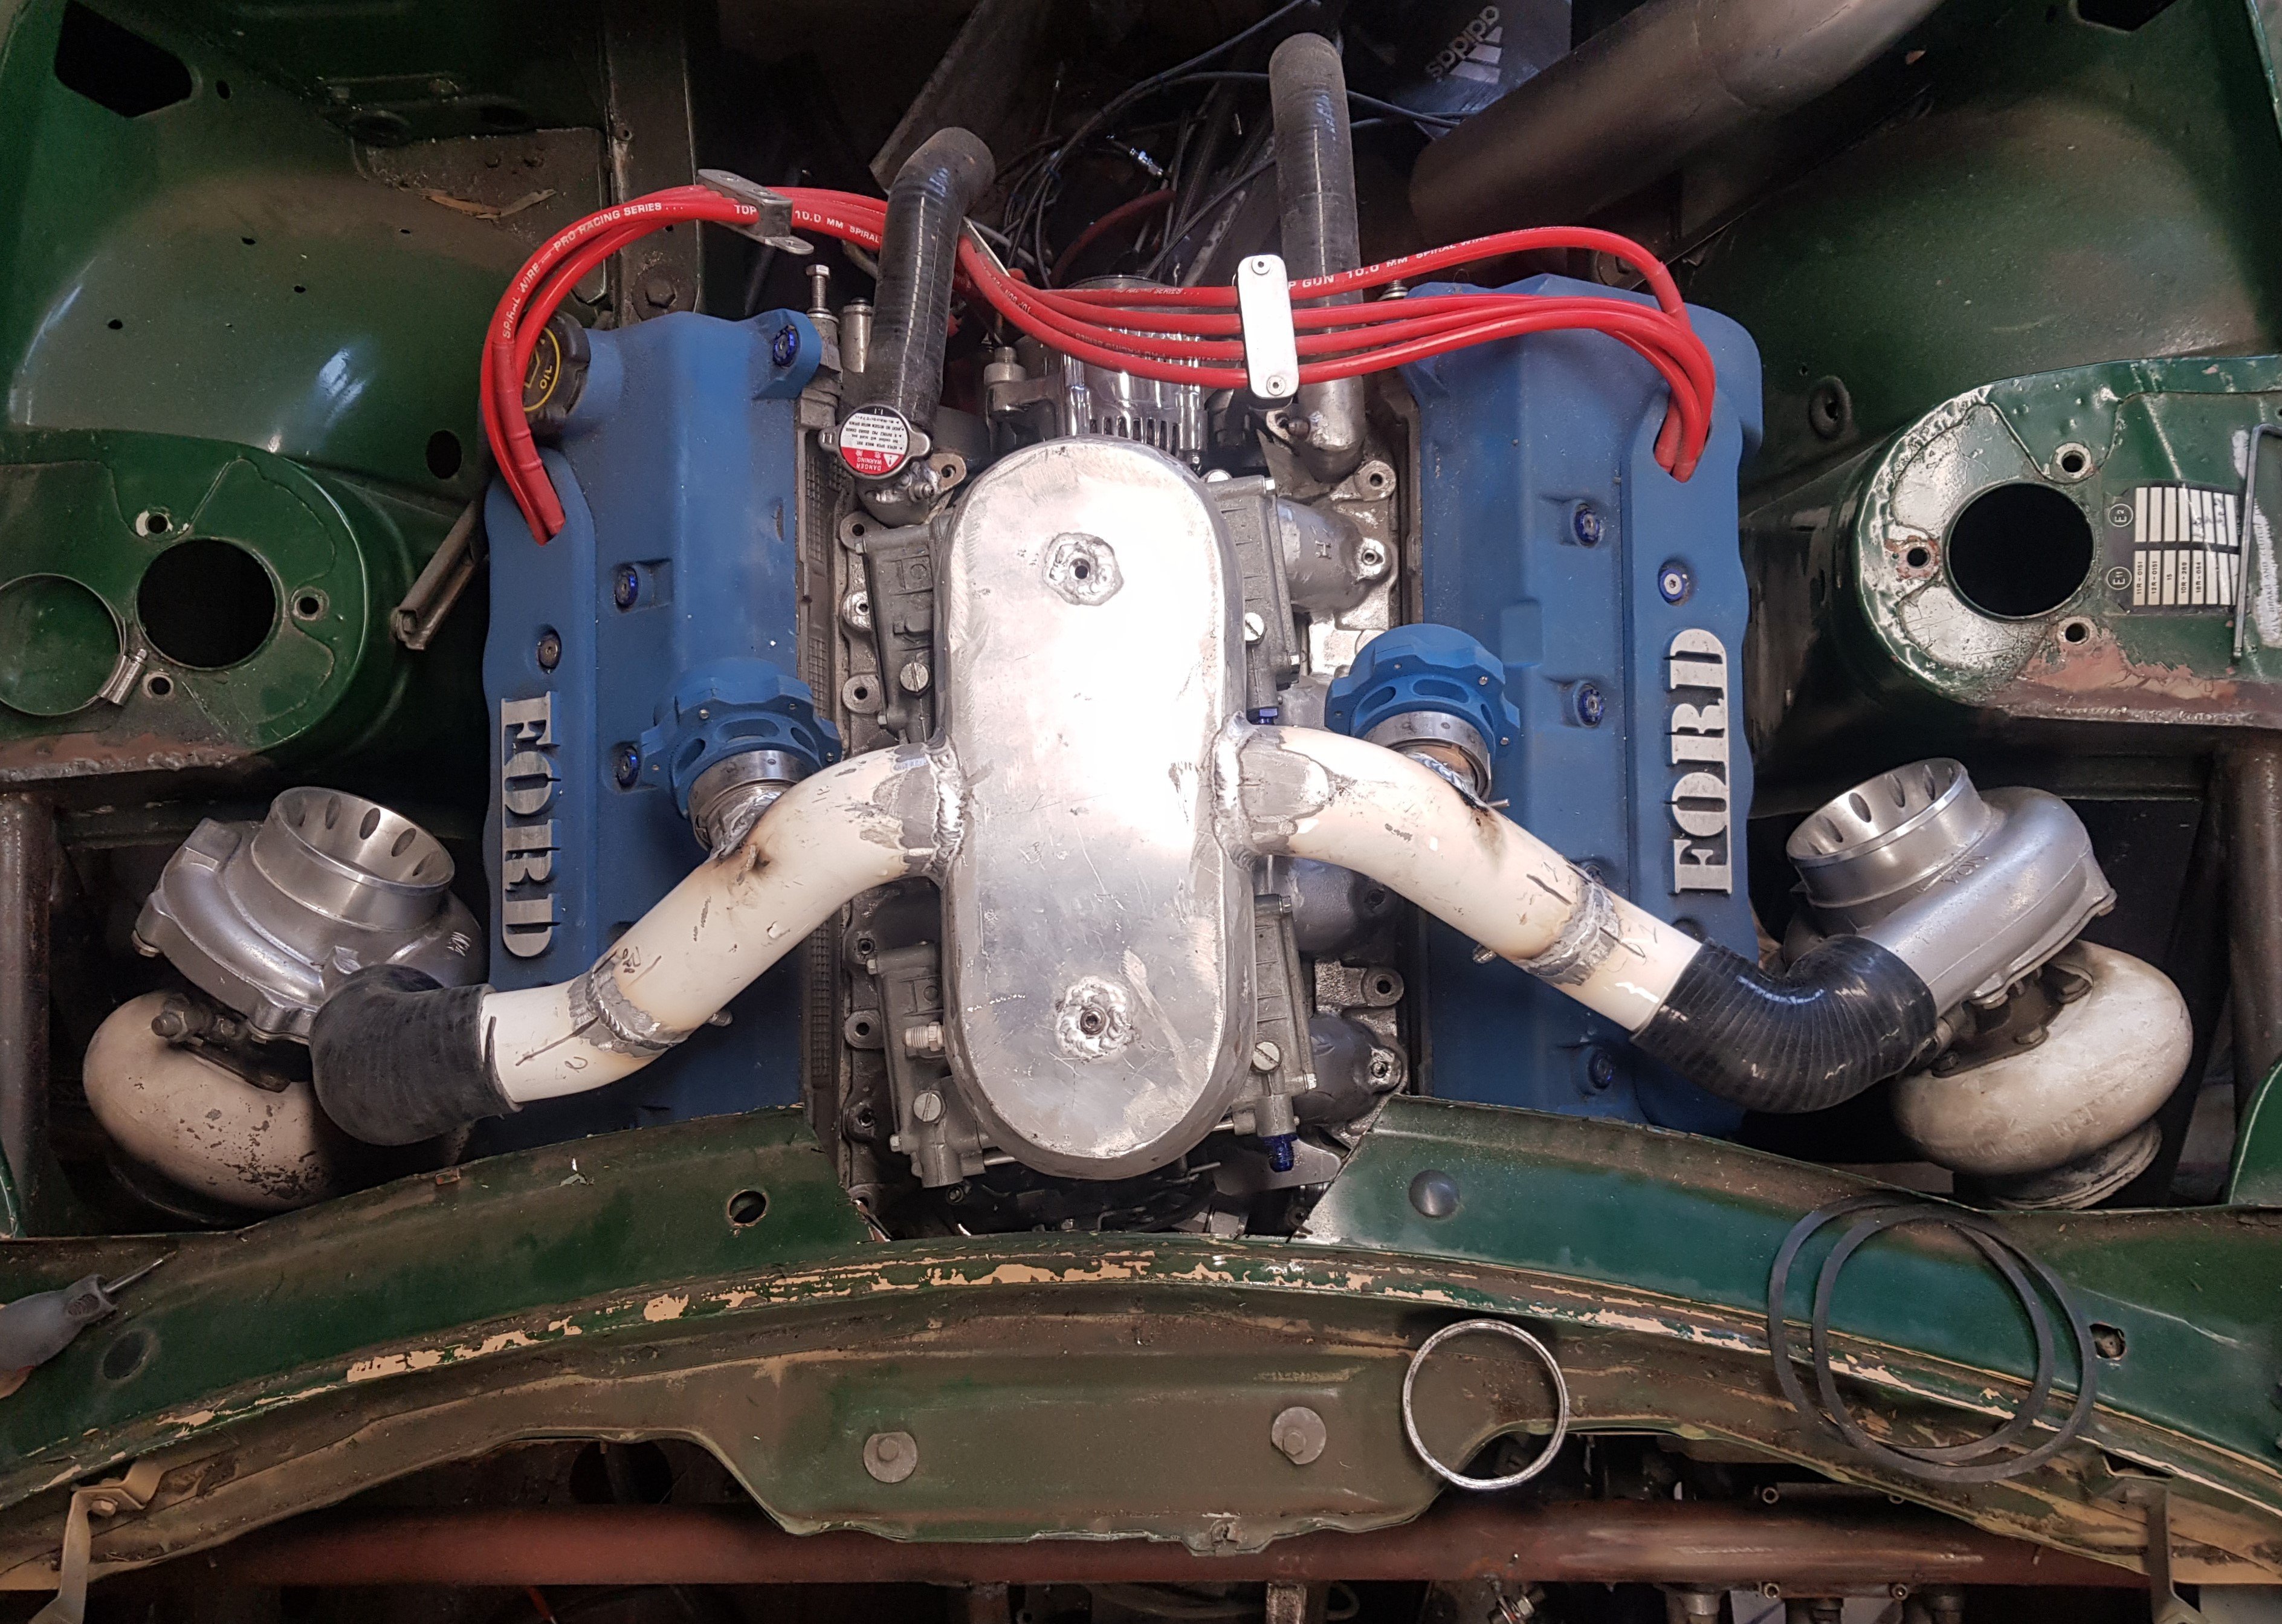
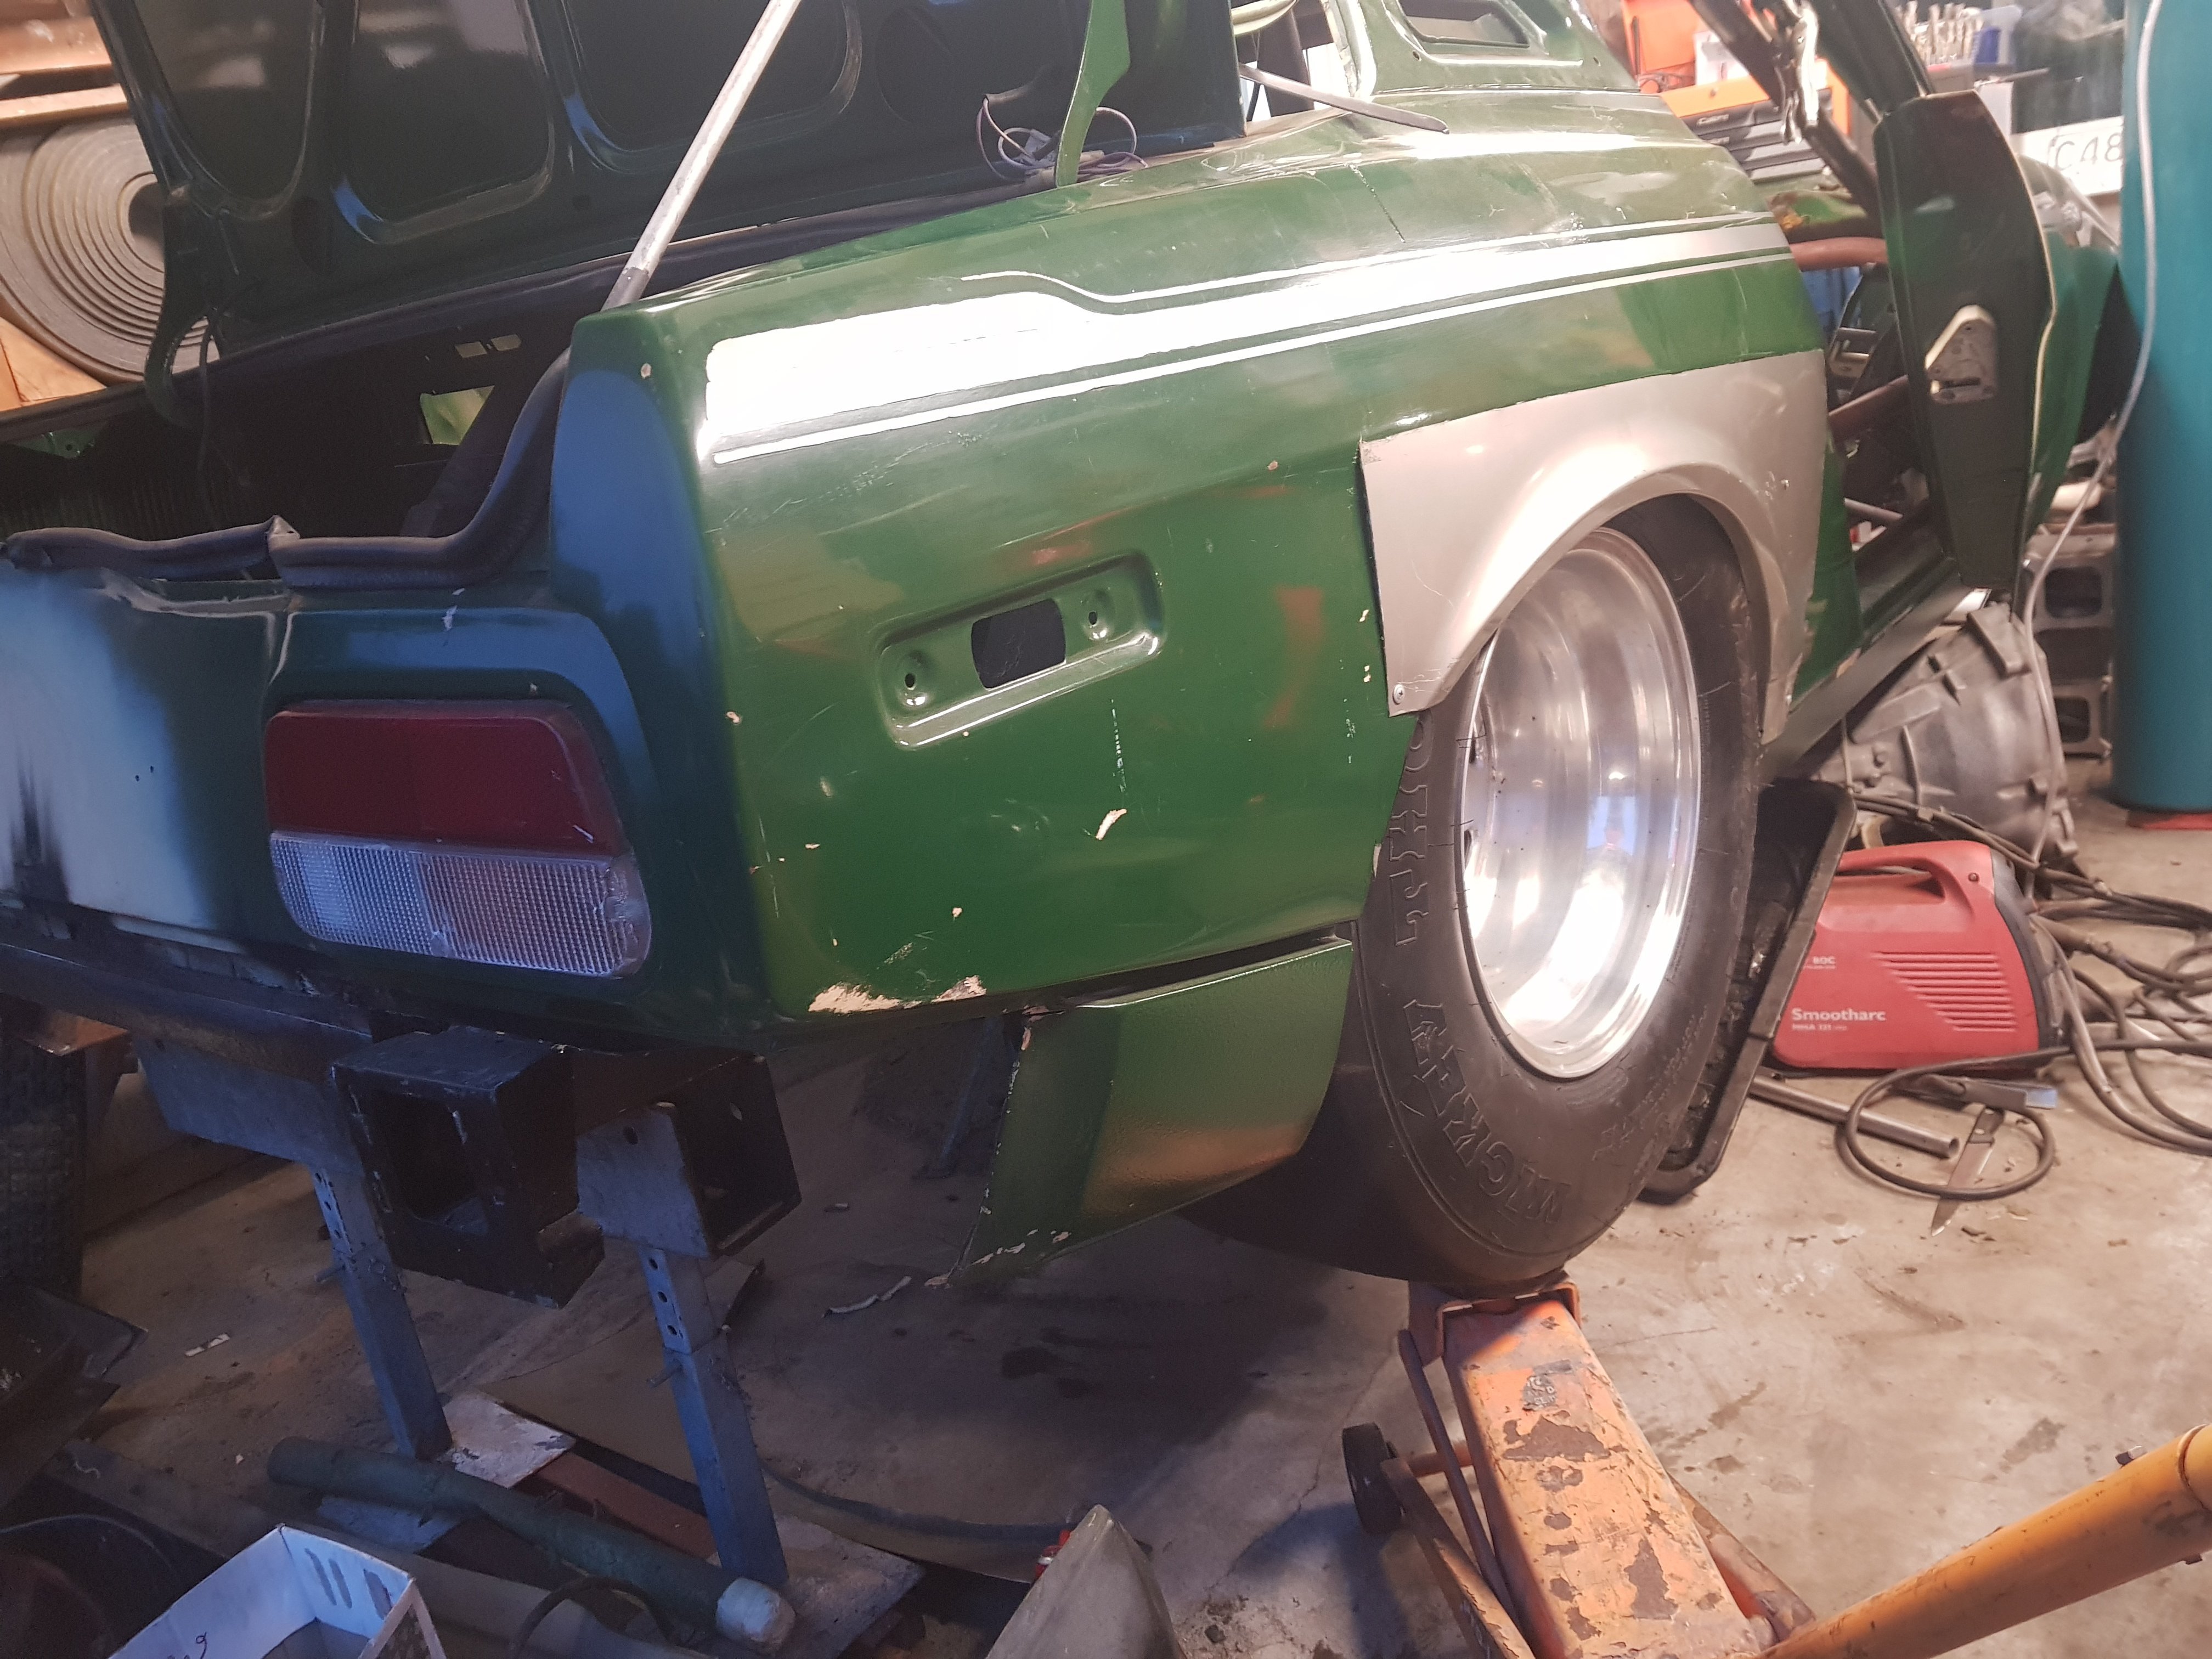
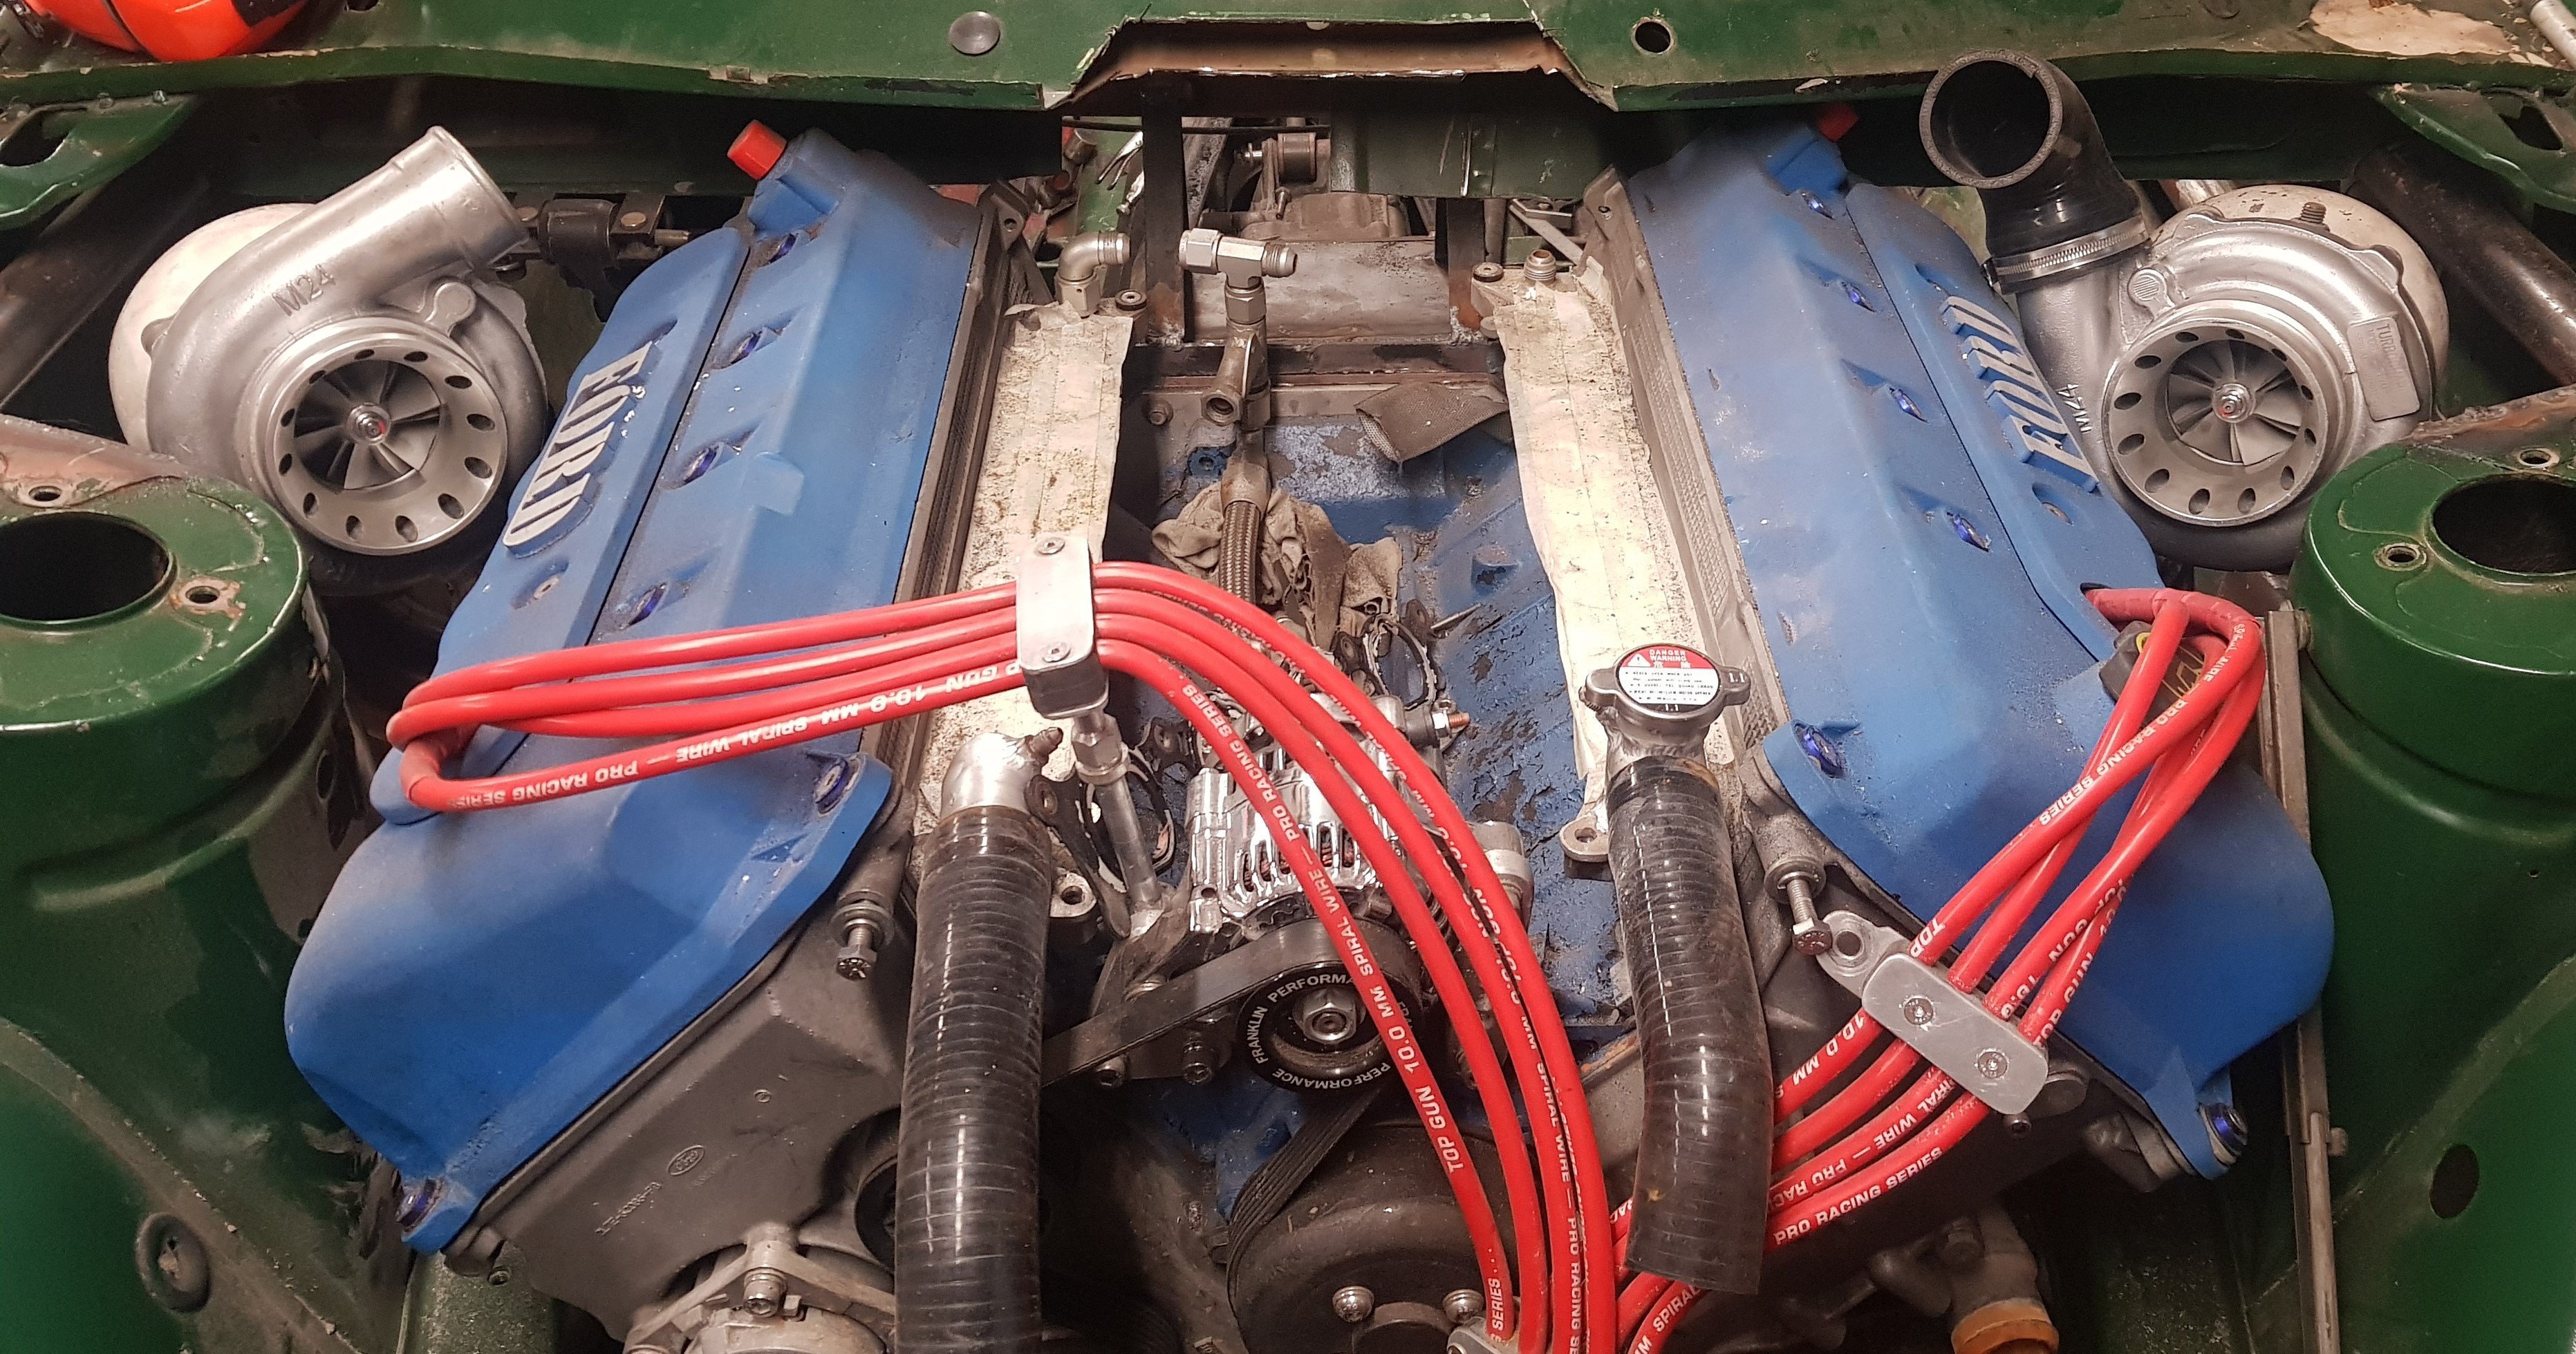
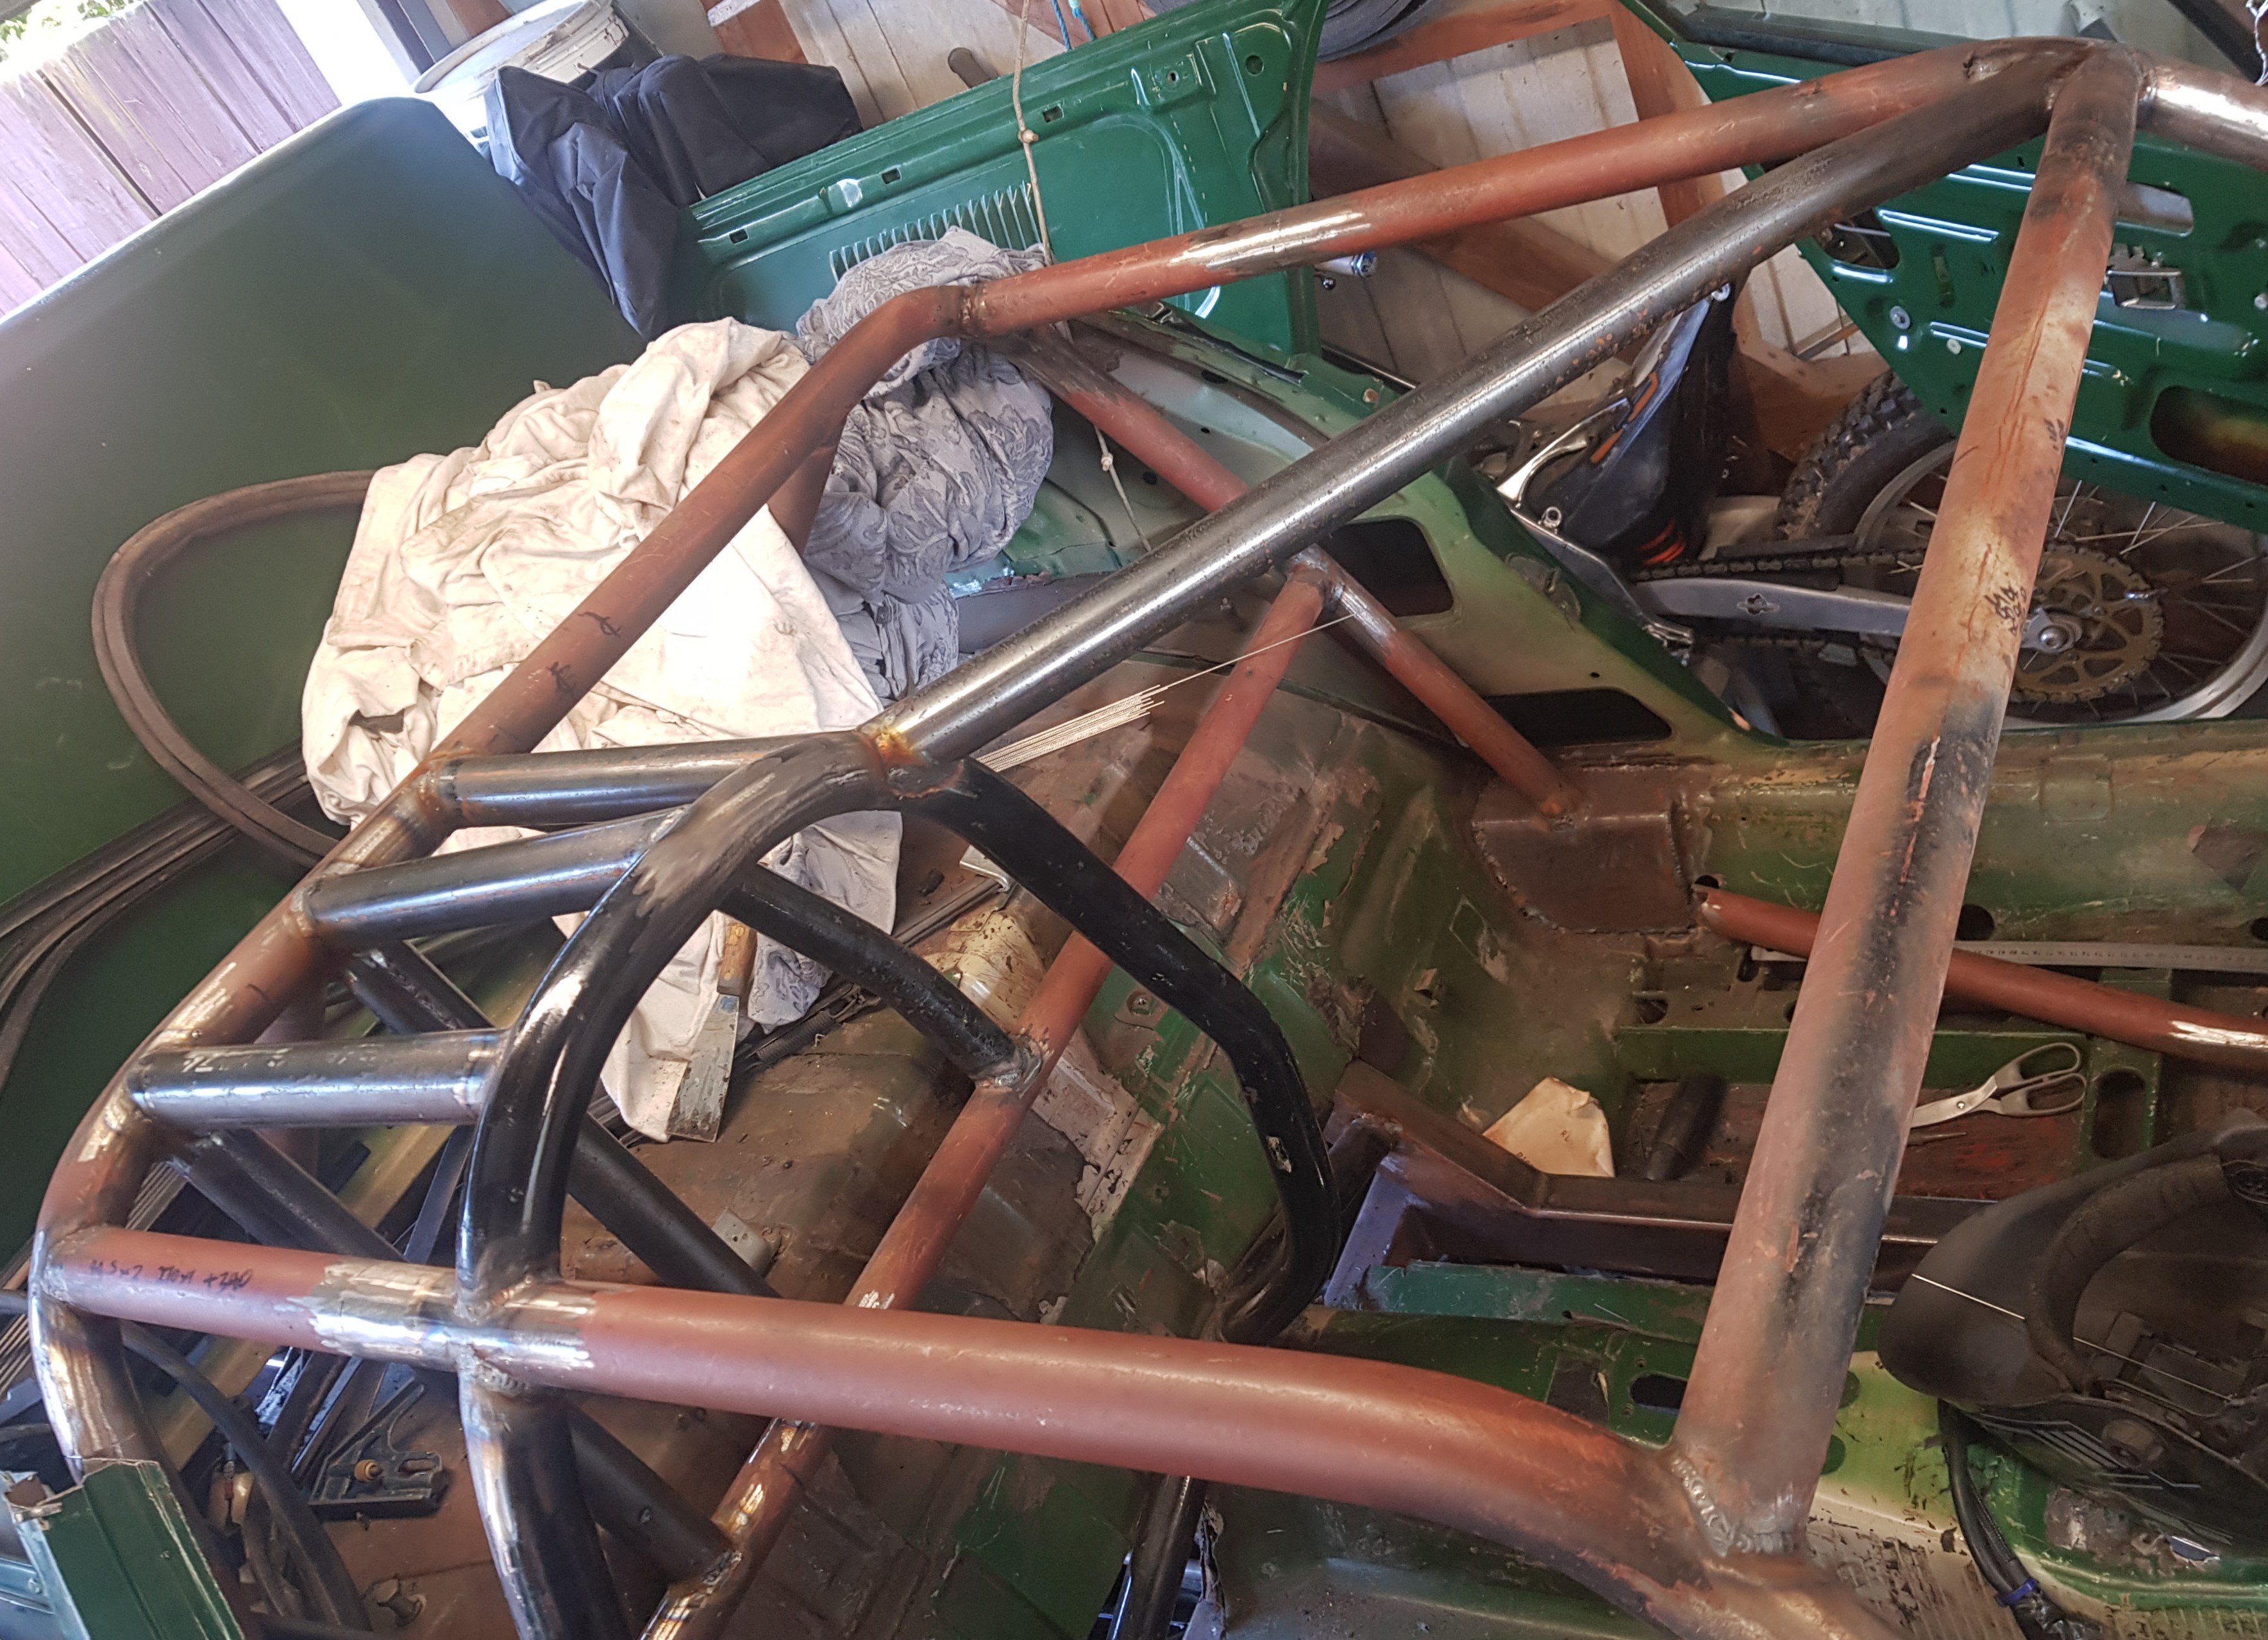
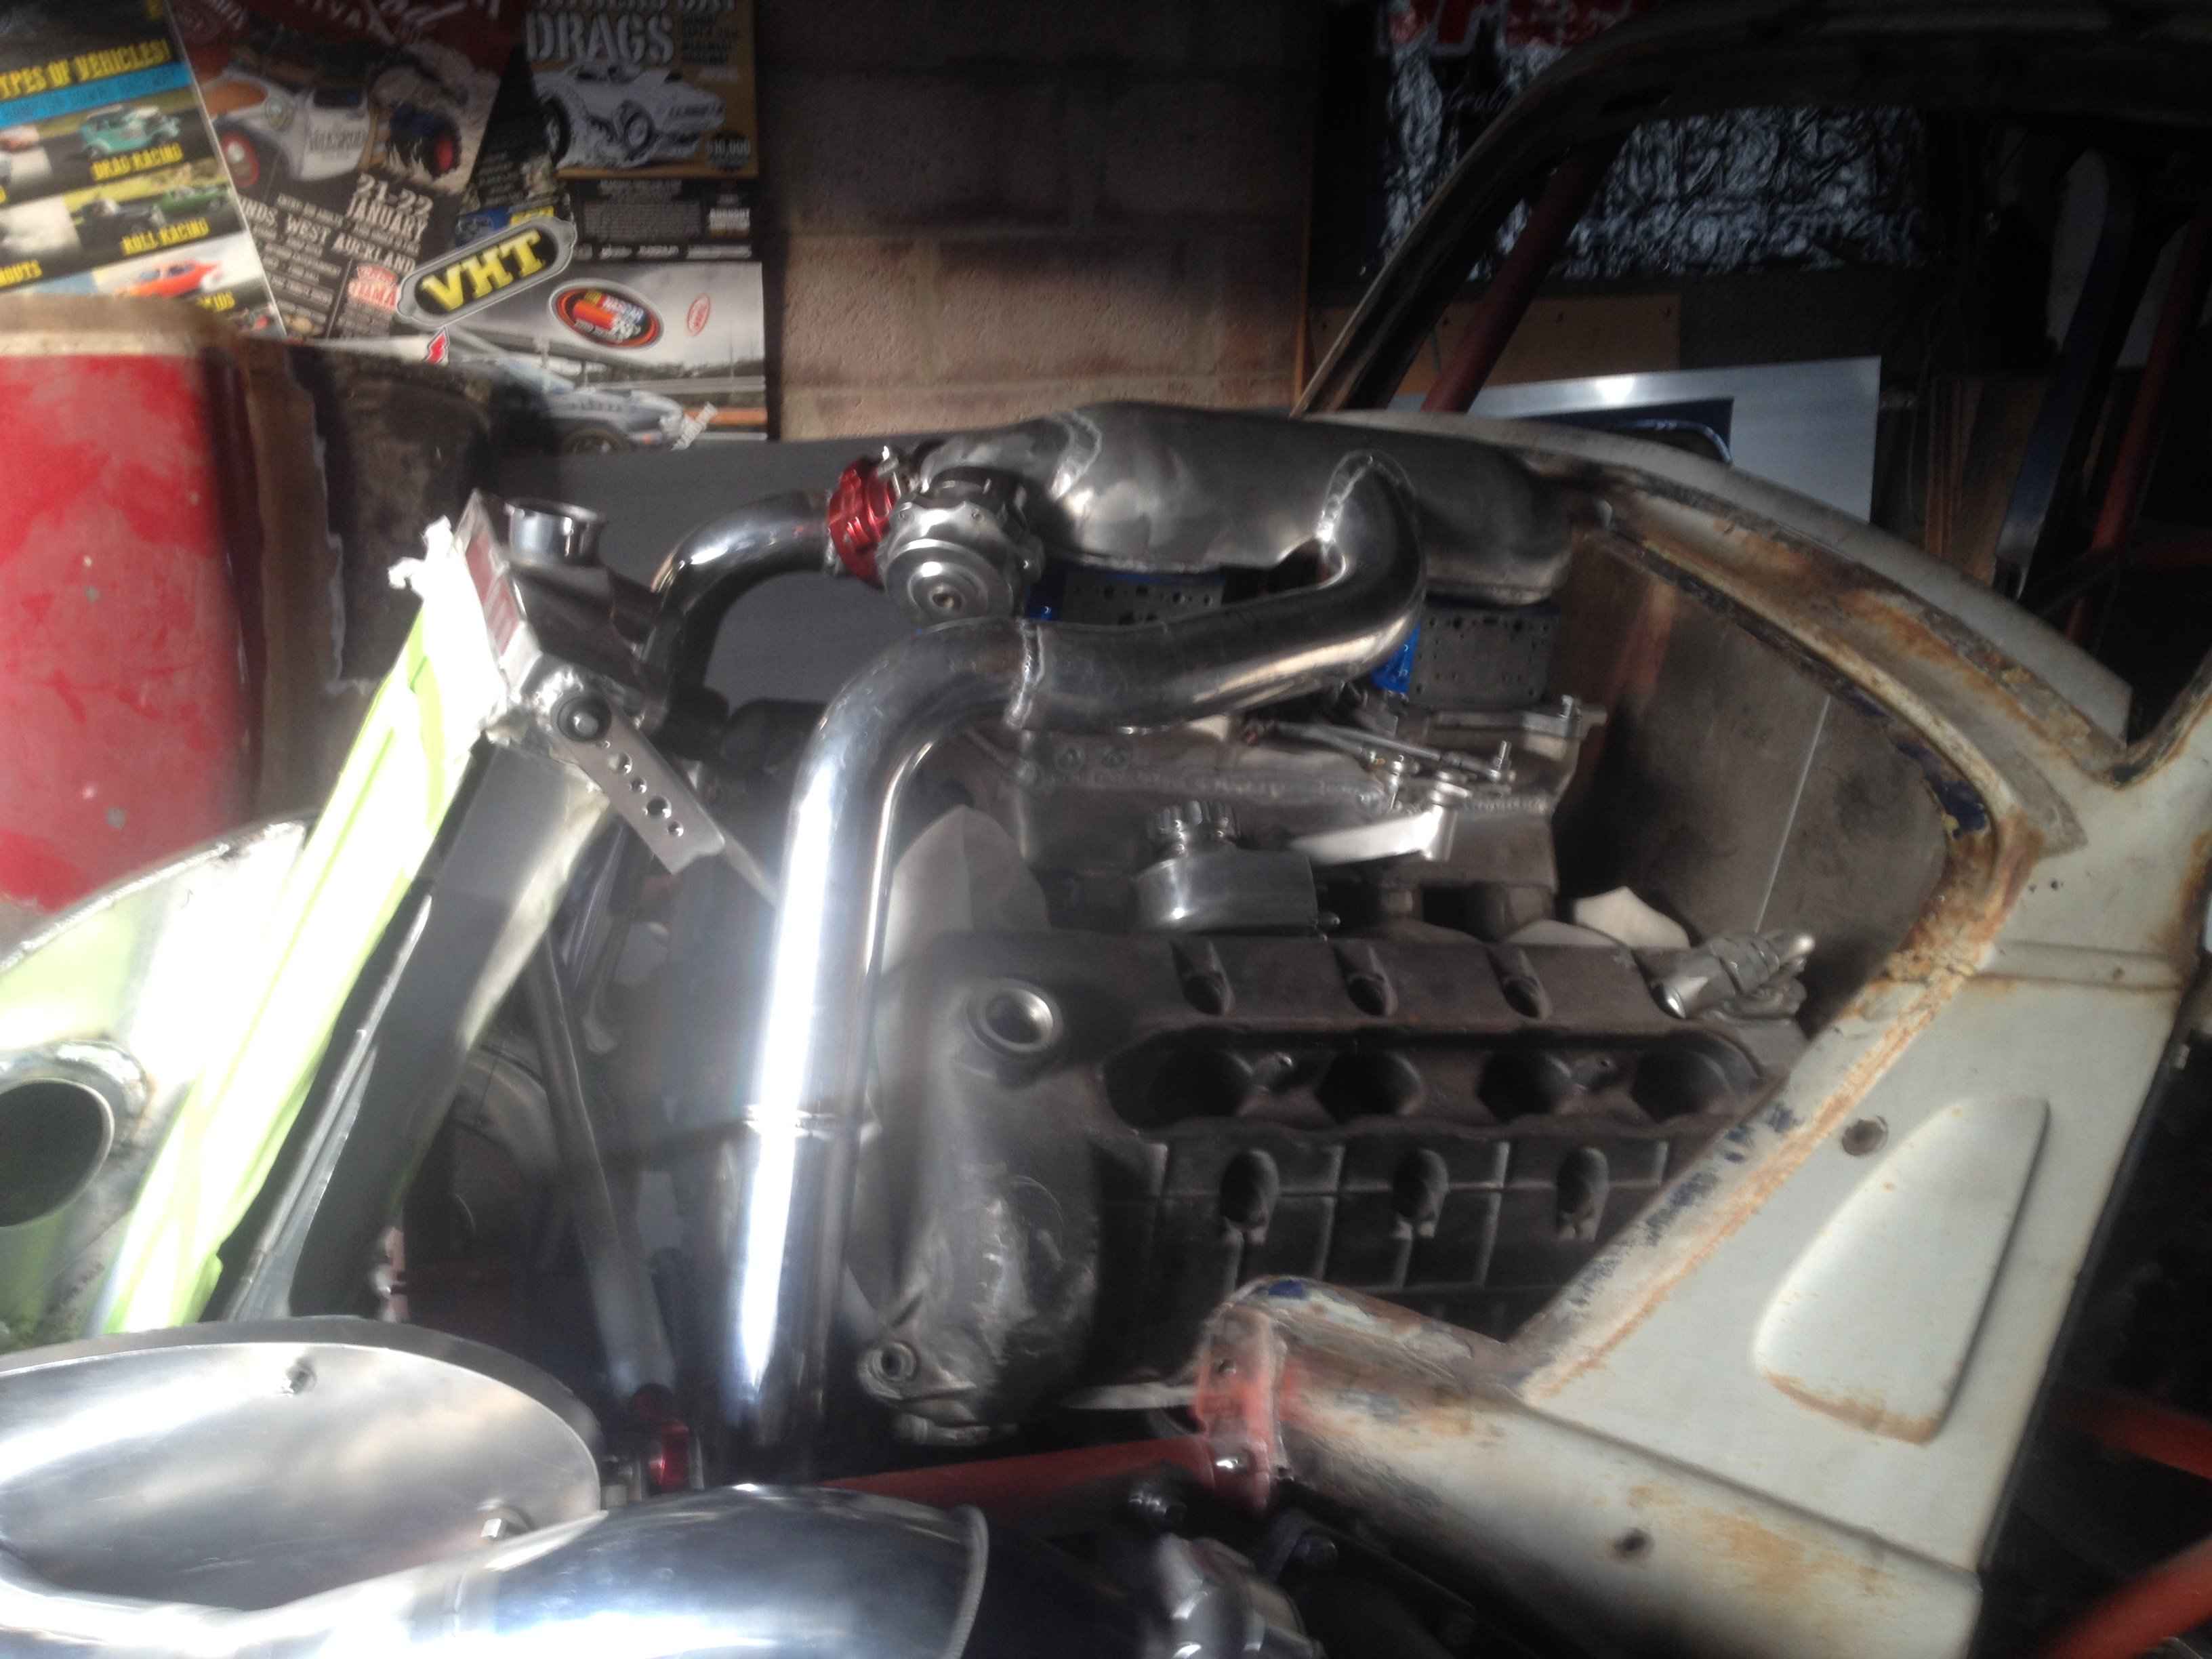
I've been working on it a few months now. All of the rear chassis has been cut out and replaced with a RHS 'back-half' section, suitably narrow enough to allow the use of 12" wide wheels under the arches. Engine is in, and turbo's are mounted. It will all have to come out to paint but I'm really pleased with the way it all fits.
- 58 replies
-
- 19
-
-

-
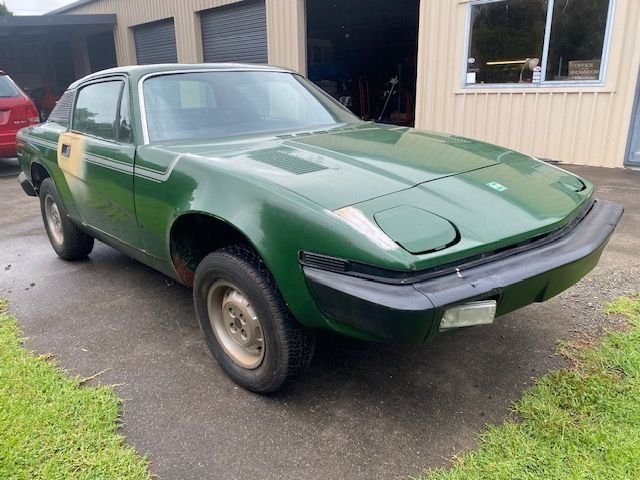
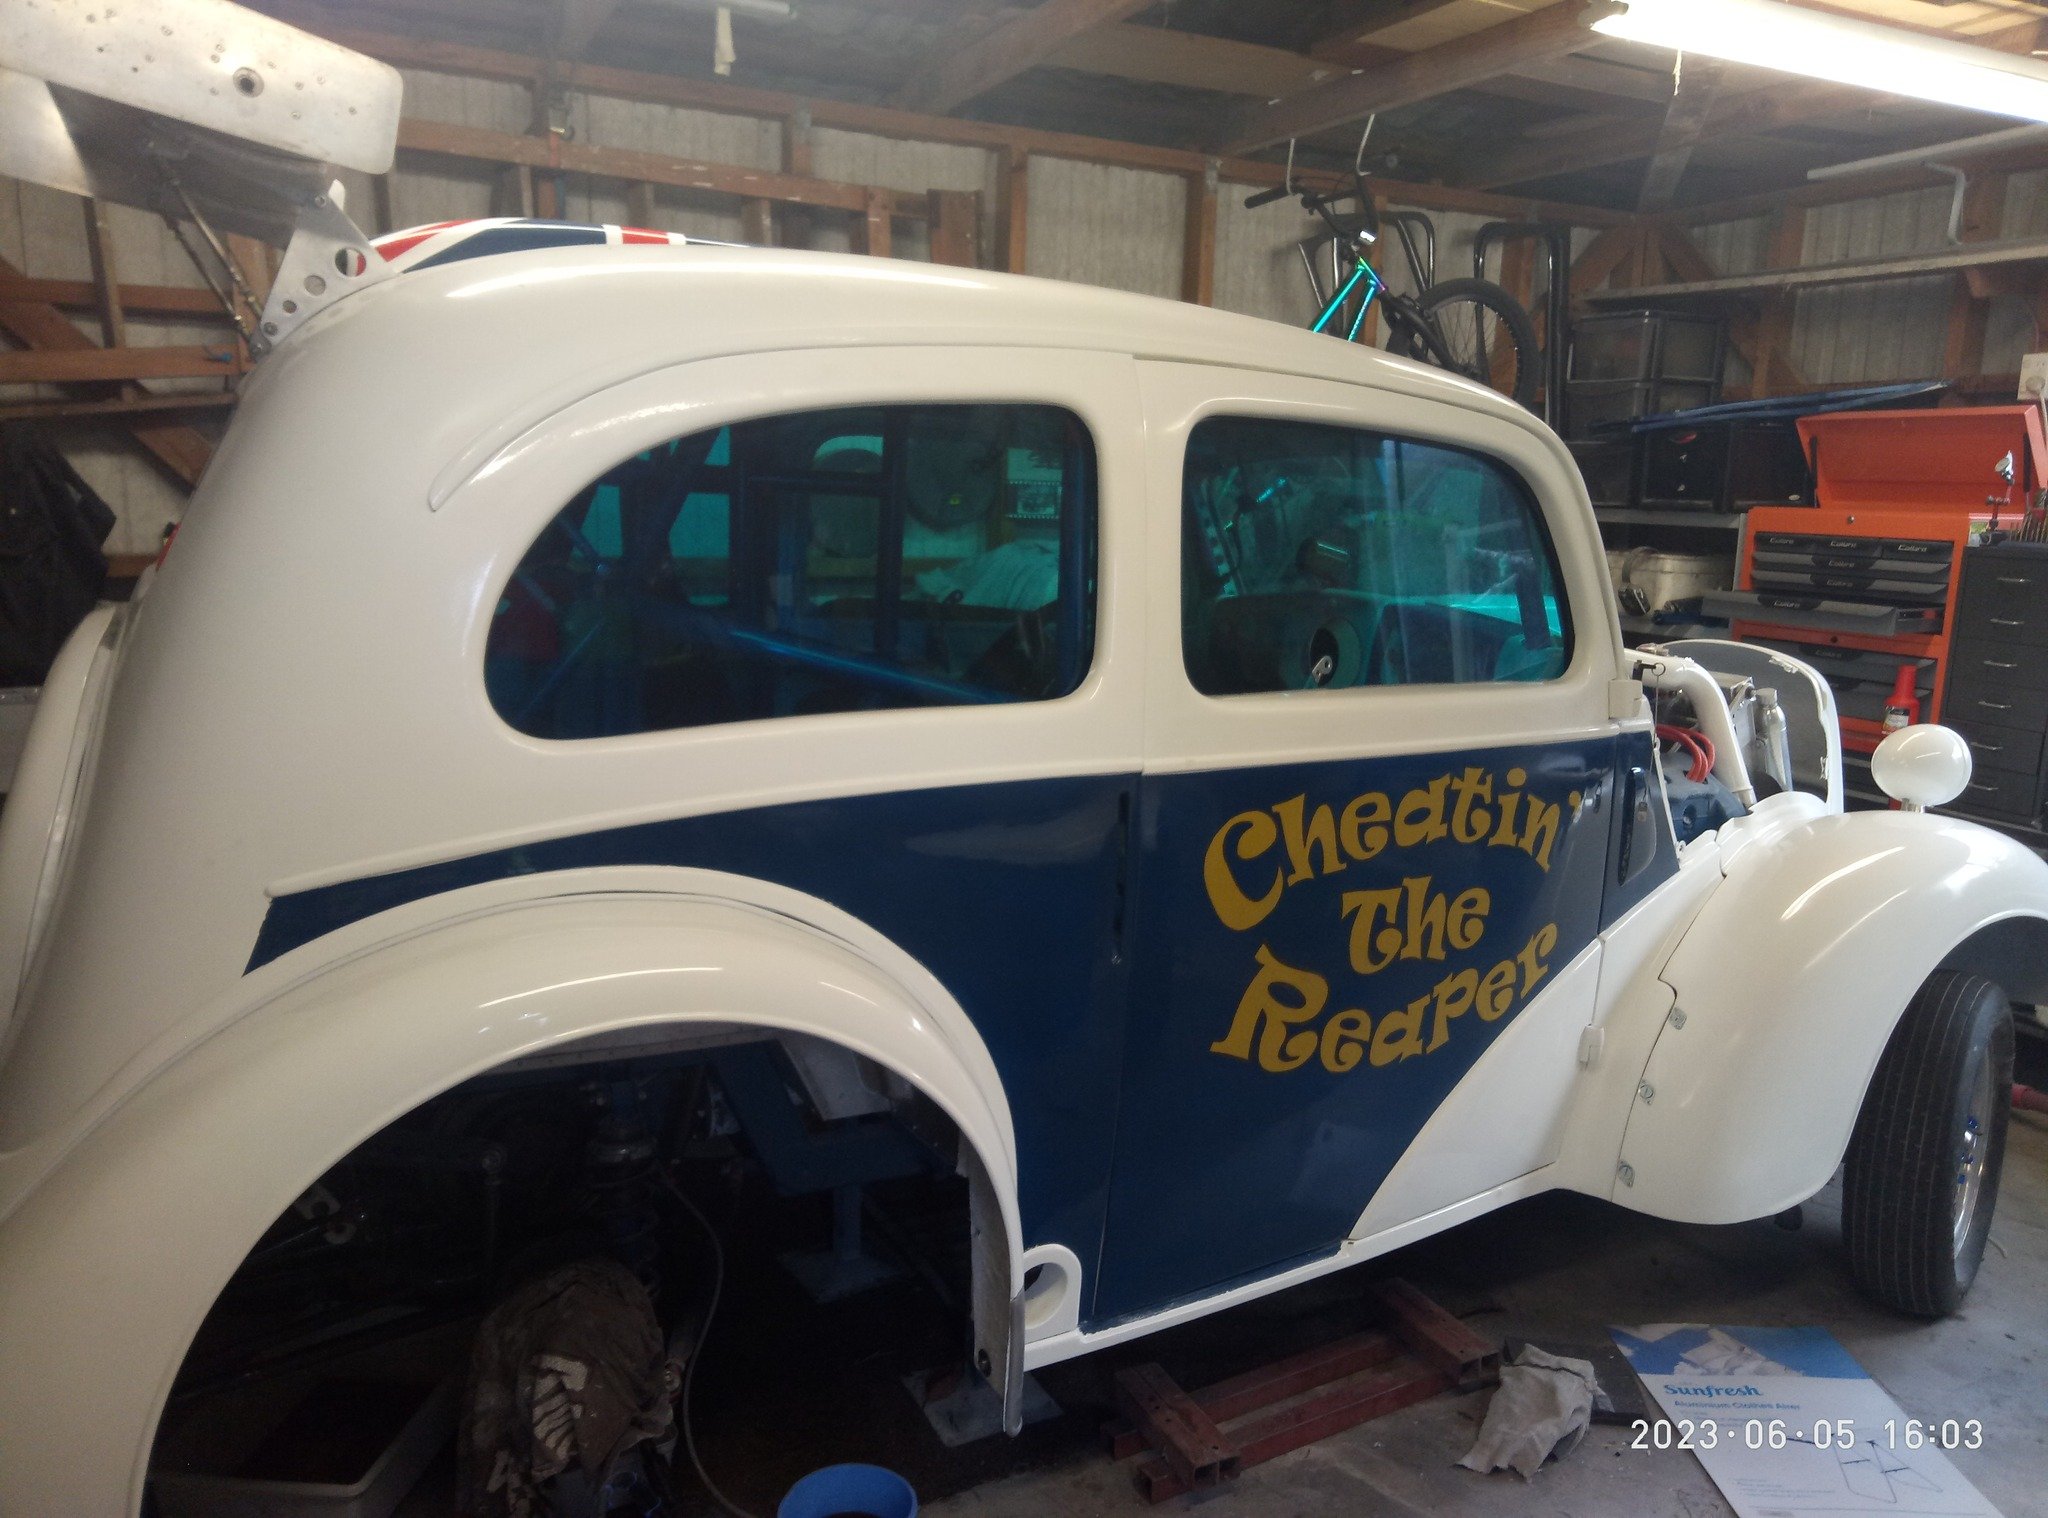
Well, following on with the disaster that was my 'Cheatin' The Reaper' 38 7Y, I have regrouped and decided to put the running gear (engine & box), seats, gauges, fuel system into another vehicle. My criteria was: It had to be a Ford, or at least a member of the 'blue oval' wider family. Left hand drive, so US origin. Road registered so I can have some legal fun. Modern. When I say modern I mean at least into the 1990's. So that was what I was searching the auction sites and Farcebook Marketplace earnestly looking for. What I ended up buying is none of the above! Nope, it's a late 70's / early 80's Triumph TR7 The shell is really clean so will not need any remedial rust work. Engine bay is wide enough to take my 5.4 quad-cam, so minimal cutting and fettling in the engine bay. The nice thing is that the bit's I'm transferring over are already made and/or already there, so there shouldn't be much fabrication work to do. I'm not going to be as anal with this build. It will be nice (hopefully) but not overly trick.
- 58 replies
-
- 20
-
-

-

legendlives 1938 Ford 8. The Reaper's return
legendlives replied to legendlives's topic in Projects and Build Ups
Another year on and it's nearly finished. Outside is painted and signwritten, the seat covers were fitted last weekend, and aside from a small wiring job and a good polish it's pretty well done!
- 49 replies
-
- 21
-
-
legendlives 1938 Ford 8. The Reaper's return
legendlives replied to legendlives's topic in Projects and Build Ups
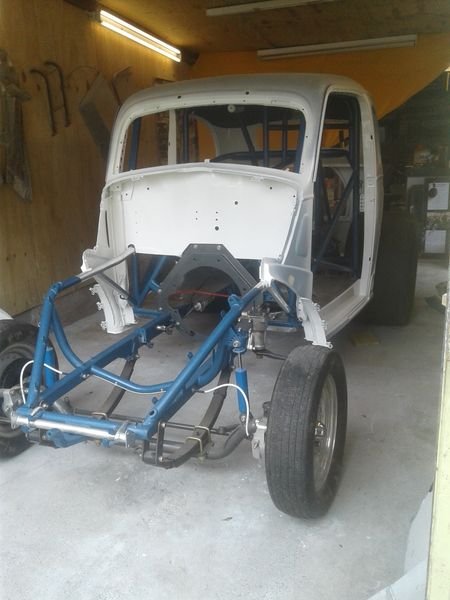
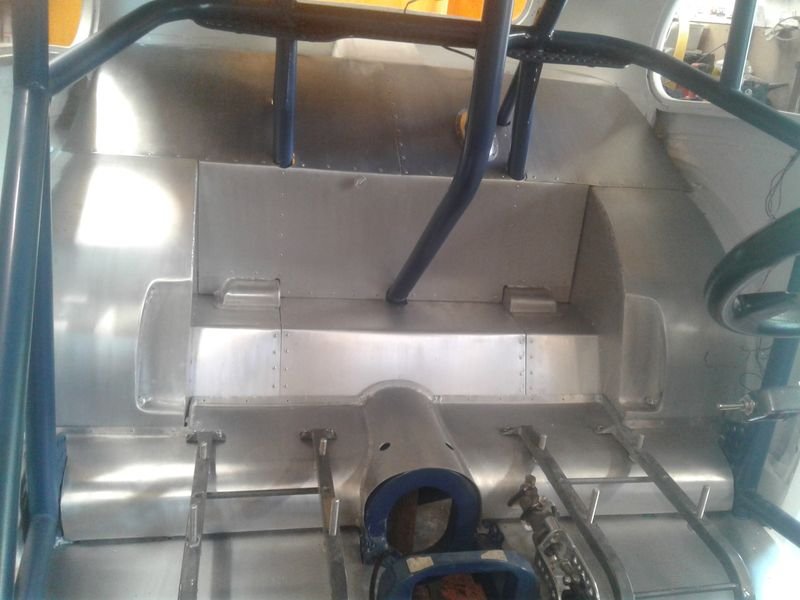
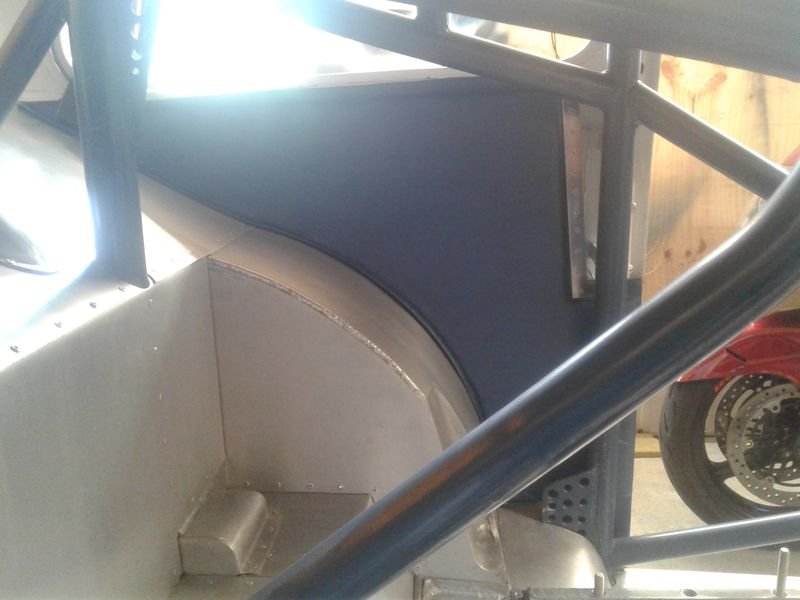
It's come a long way since 2019. Since I last posted the chassis and body were separated, the chassis, suspension and axle components painted, the inside of the car painted, the headliner made and fitted (had to be fitted before the body and frame were reunited) and the body/chassis put back together. Interior panel work is largely complete. All in brushed aluminium with the rear 1/4 panels and the overhead console trimmed in metallic blue vinyl. Seats have also been trimmed in diamond-stitched blue vinyl. The wiring looms are mostly in place, only the engine loom needs finalising when the engine goes back in. Not long now, but unfortunately missed another Christmas deadline! Happy 2022 everyone!
- 49 replies
-
- 23
-
-
-
The Mu'Tang Clan - 1979 Mustang GT
legendlives replied to legendlives's topic in Projects and Build Ups
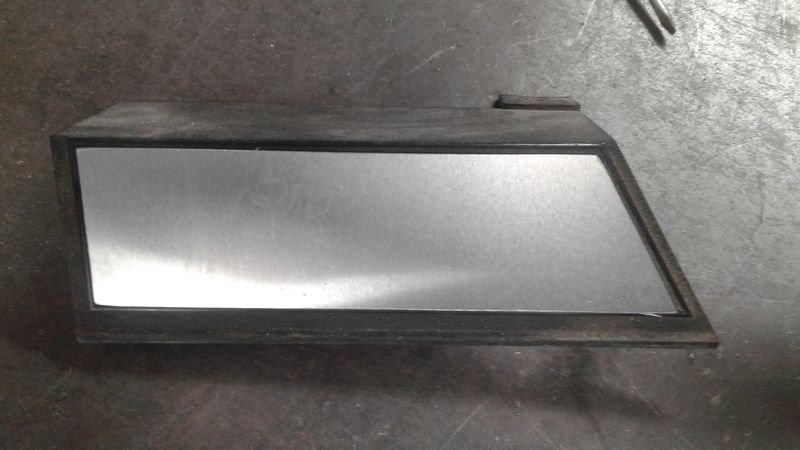
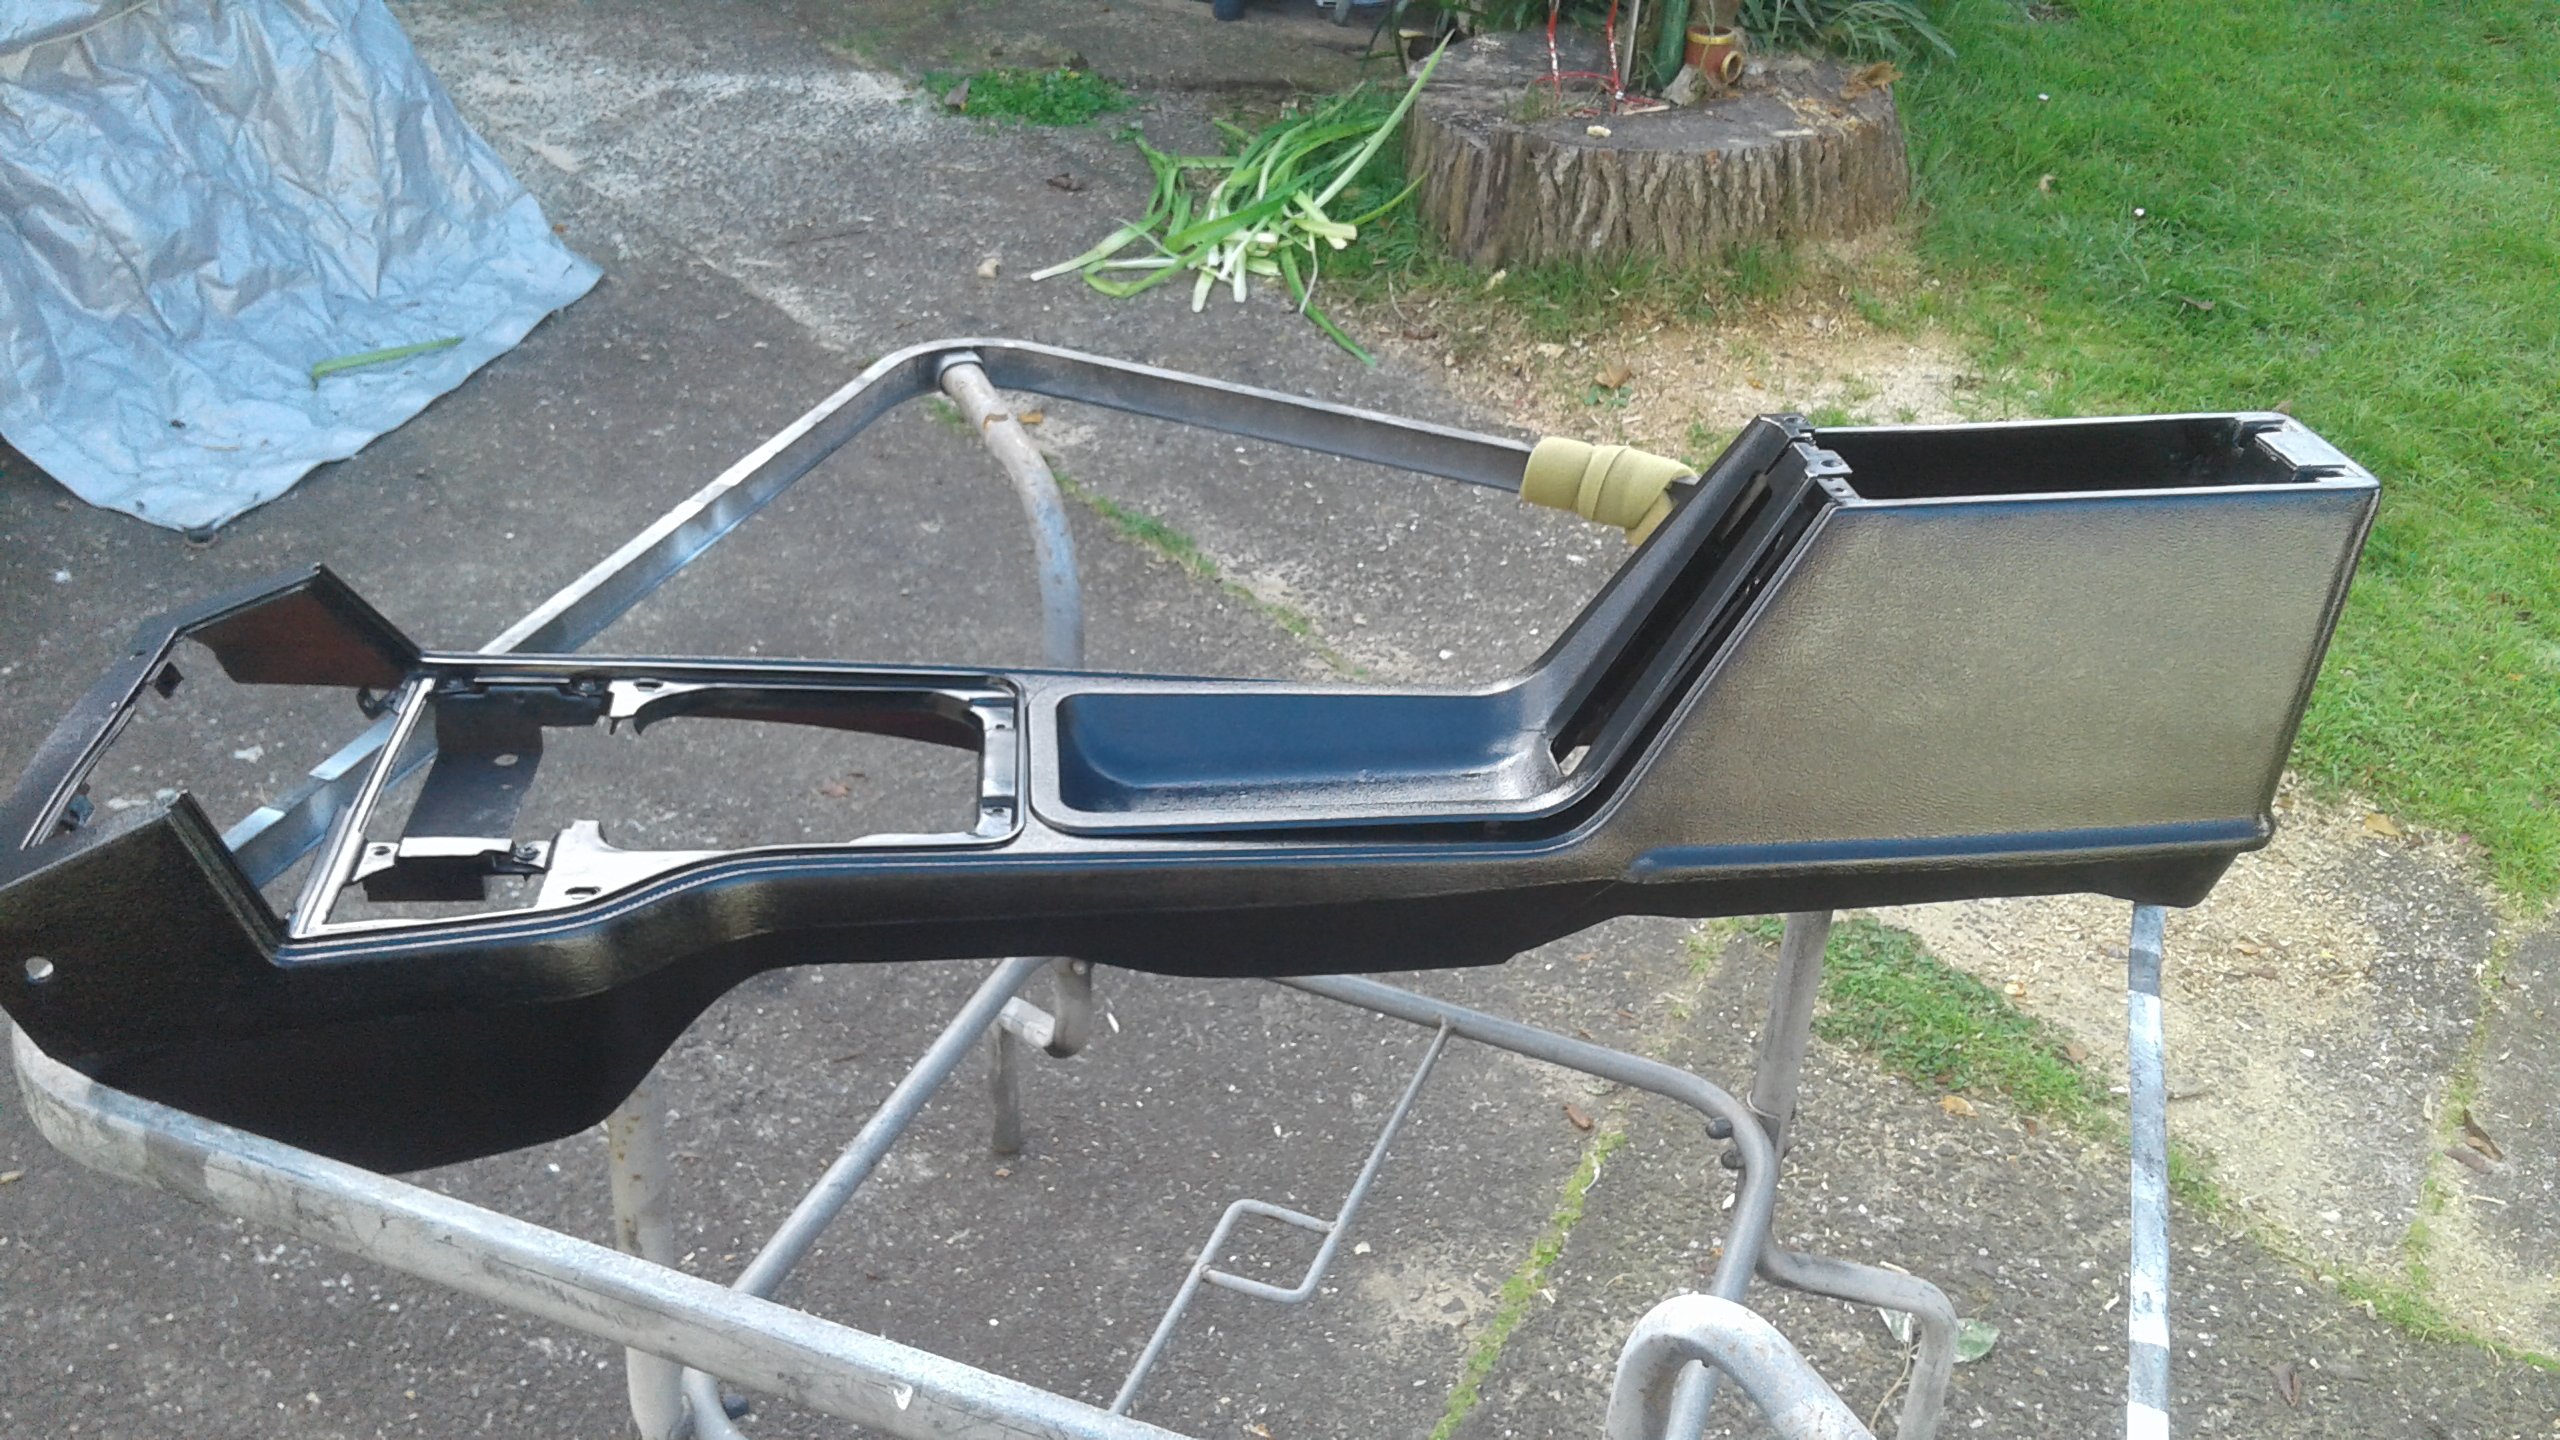
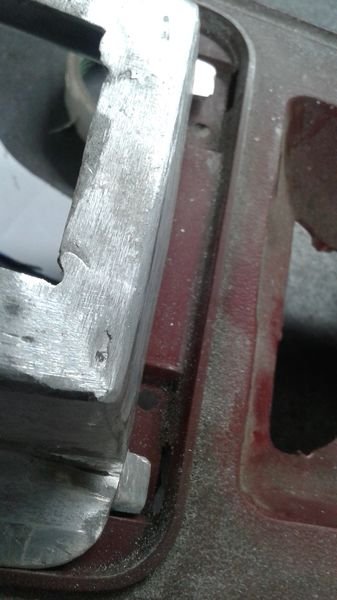
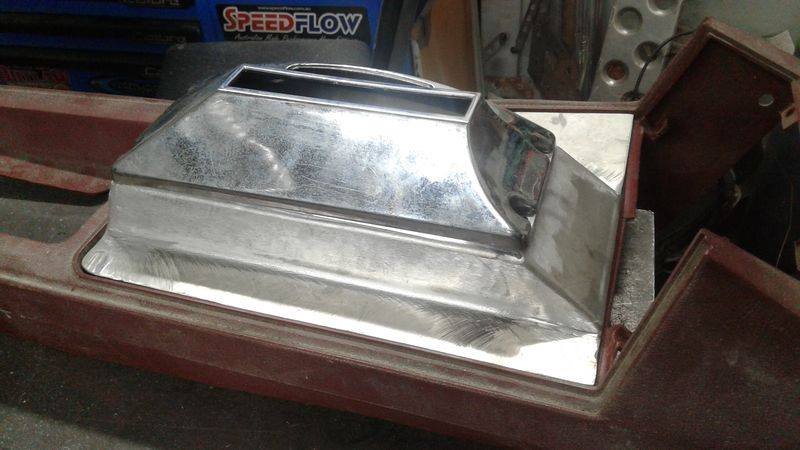
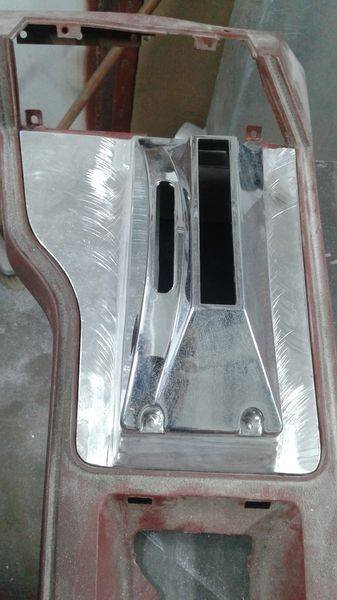
Added a couple of little tags to locate in the original slots ' A small infill panel to cover where the clock and 'warning light' came out of. Then thoroughly scrubbed, degreased and painted the console with proper plastic paint!
-
The Mu'Tang Clan - 1979 Mustang GT
legendlives replied to legendlives's topic in Projects and Build Ups
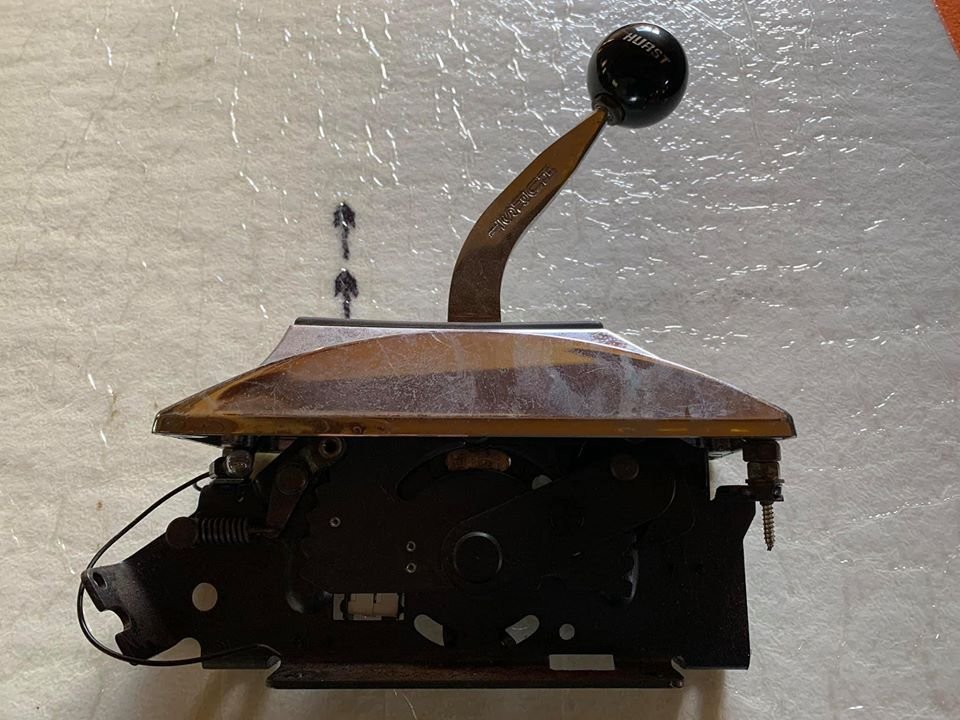
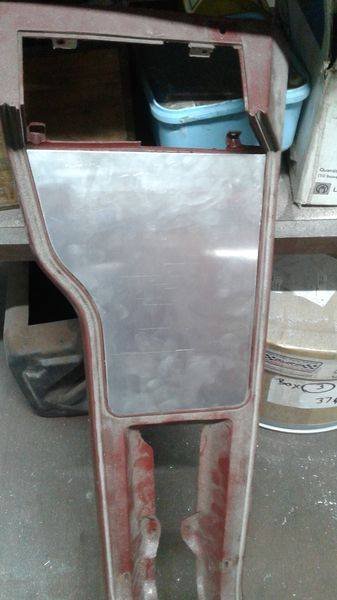
It's a 302 V8 backed with a C4 automatic gearbox. I toyed with fitting a manual but concerns about cert made me stay with the auto. However, it will be converted to full manual operation (new valve body) so the original gear selector won't work. I bought a ratchet shifter and made a new console trim to fit round it. This replaces the original trim, the ash tray and the cigarette lighter as the shifter is over twice as long as the original.
-
The Mu'Tang Clan - 1979 Mustang GT
legendlives replied to legendlives's topic in Projects and Build Ups
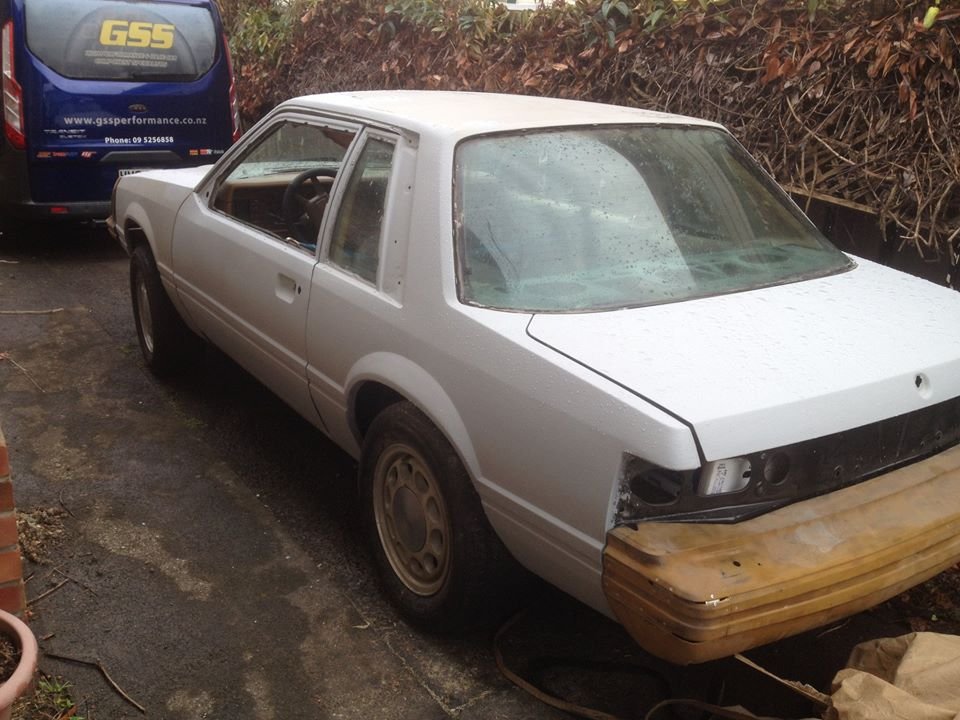
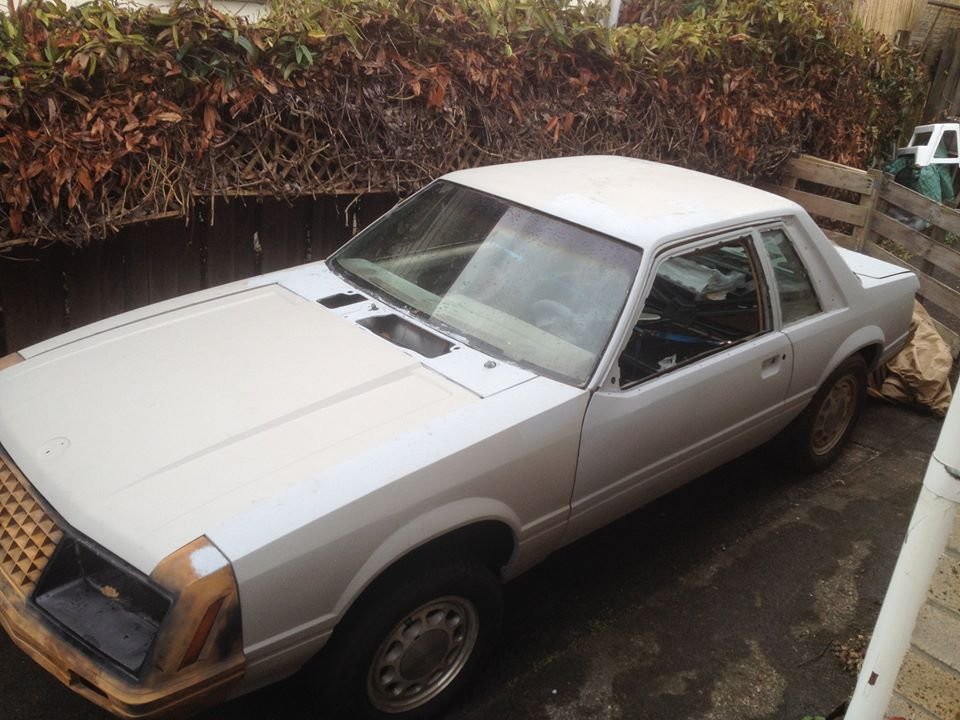
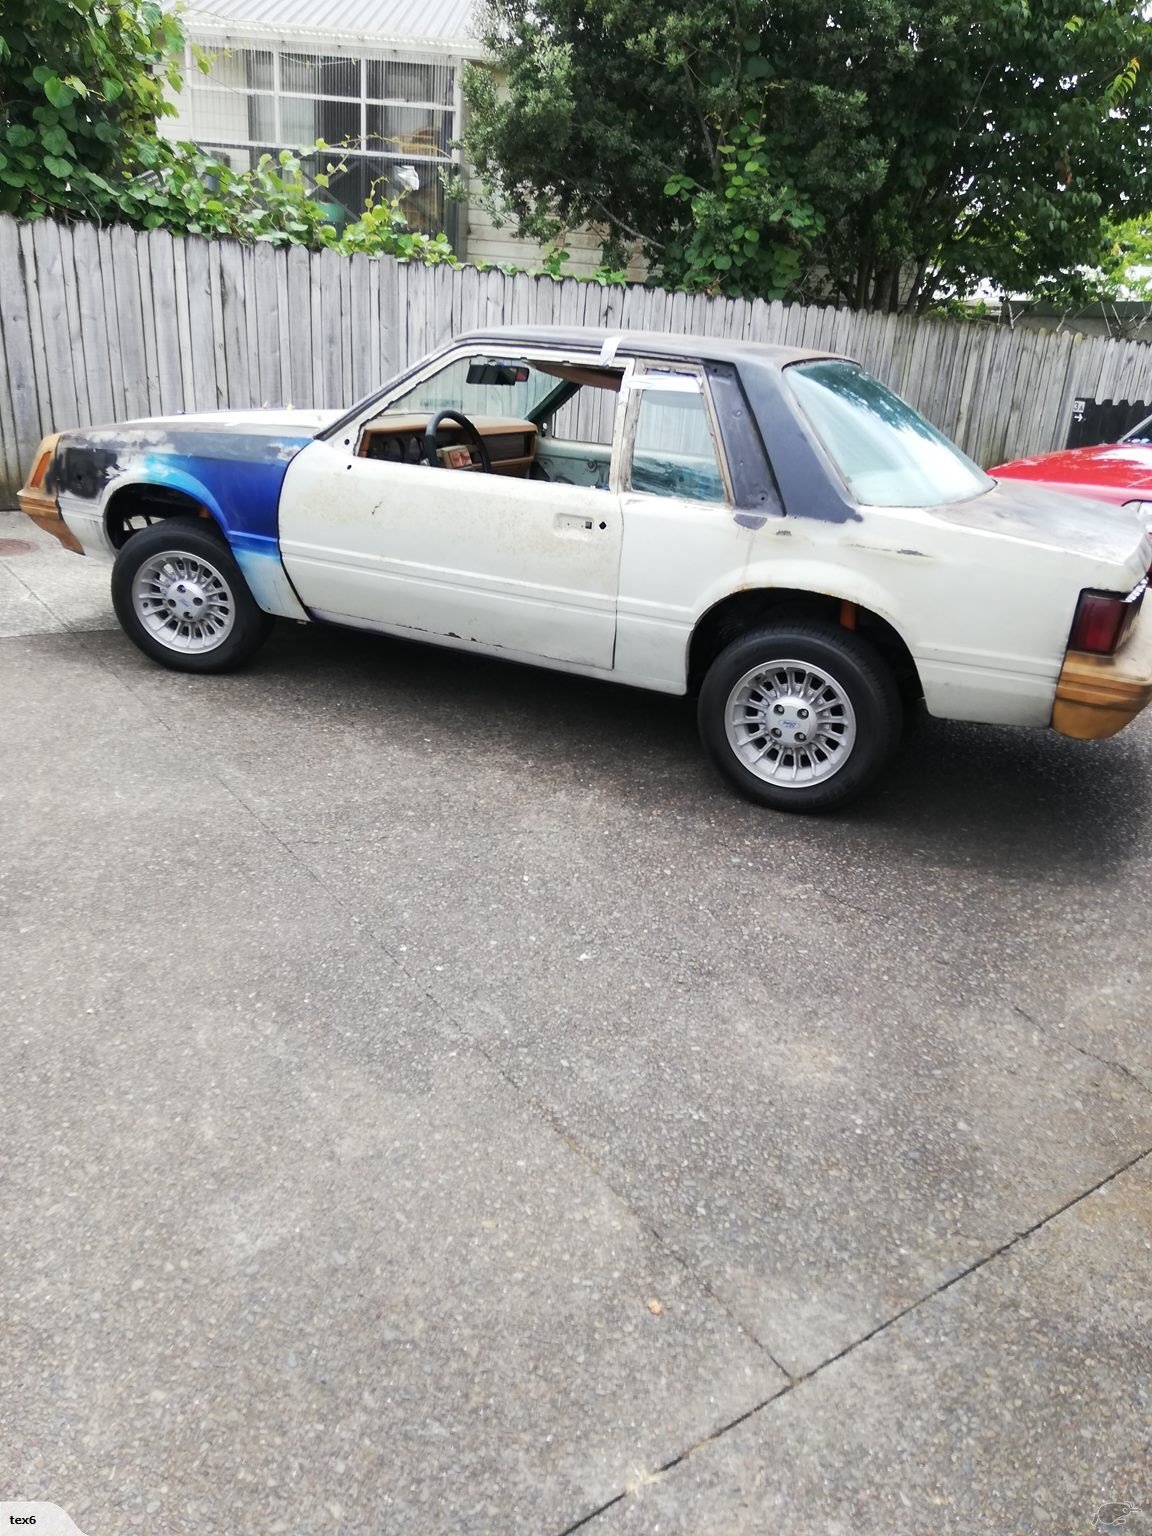
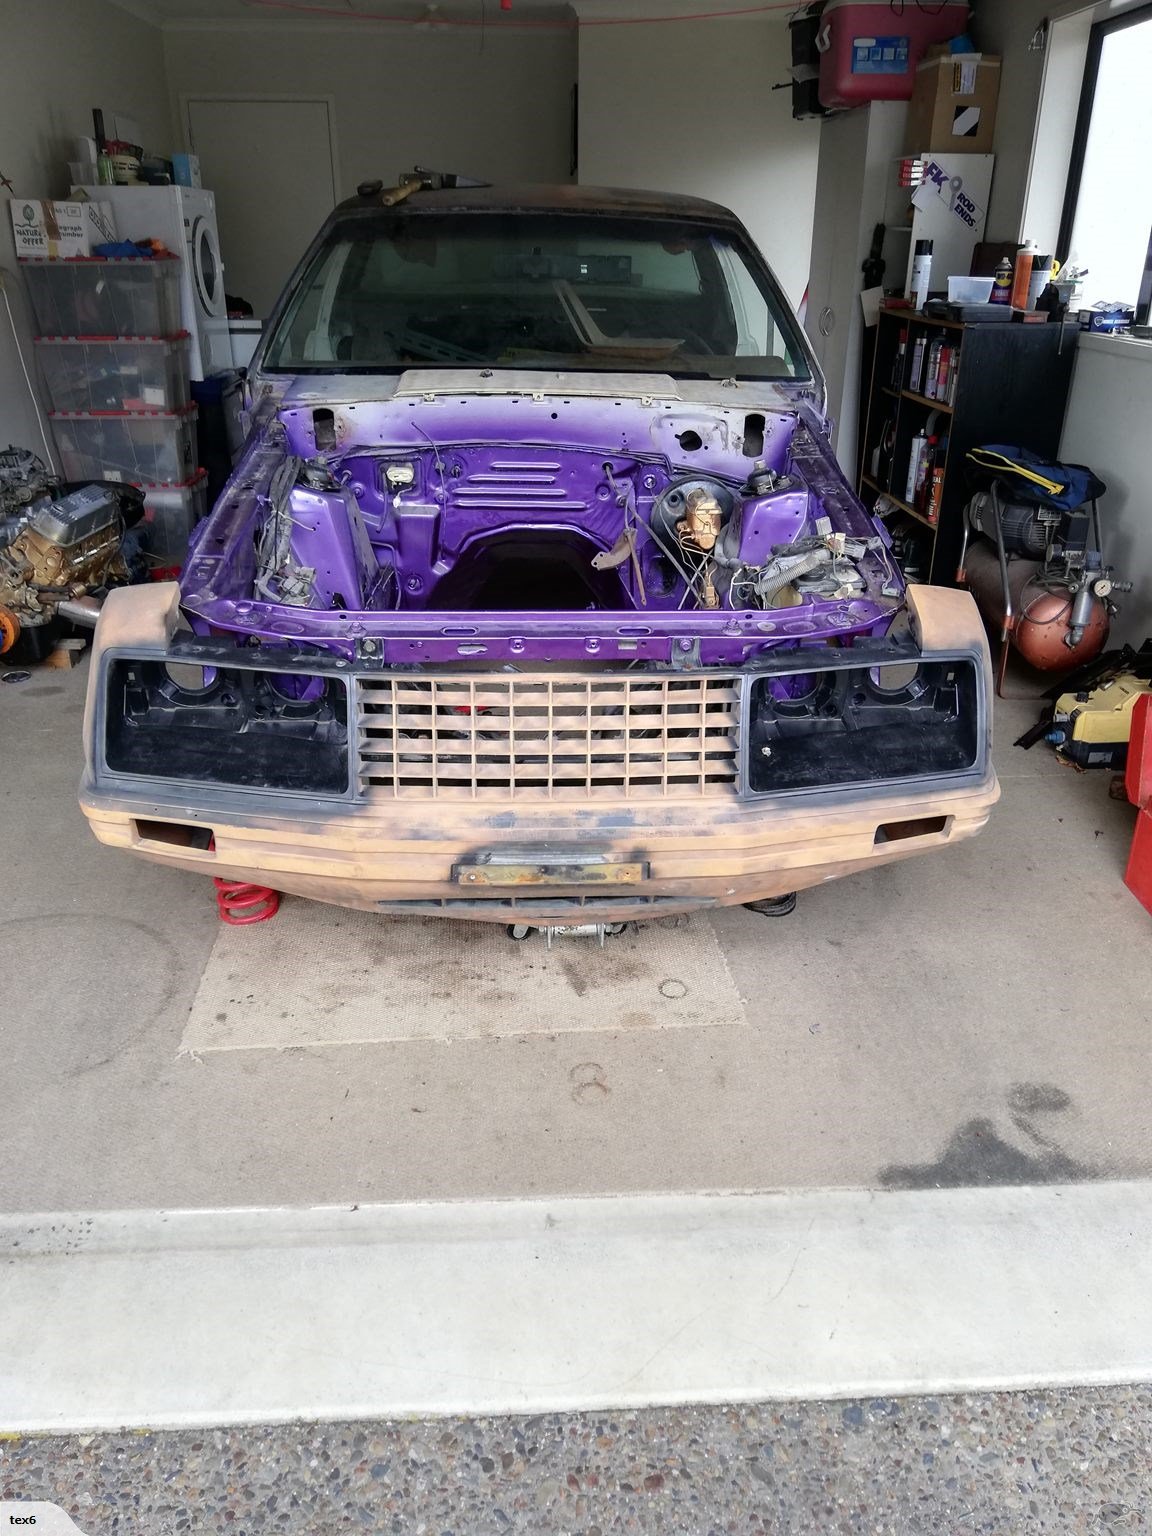
Here is the car as it is now. All rust-prevented and with gobs of primer-filler. The bumpers are ABS plastic so will need different filler and primer when we get to that time!
- 6 replies
-
- 10
-
-
The Mu'Tang Clan - 1979 Mustang GT
legendlives replied to legendlives's topic in Projects and Build Ups
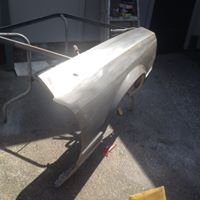
Front wings had no damage, but there were holes for side-markers, aerial and mudflaps that needed to be gone.
-
The Mu'Tang Clan - 1979 Mustang GT
legendlives replied to legendlives's topic in Projects and Build Ups
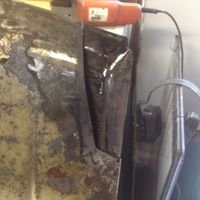
The doors were hideous! Lots of previous repairs that hadn't really been done well. Lots of welding ensued. The filler you can see is like a politician - covers a large area but has no depth!
-
The Mu'Tang Clan - 1979 Mustang GT
legendlives replied to legendlives's topic in Projects and Build Ups
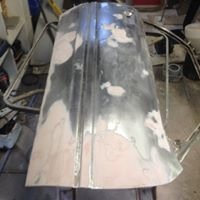
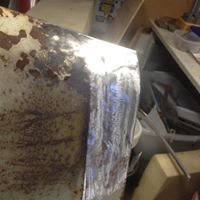
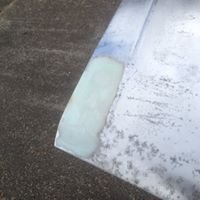
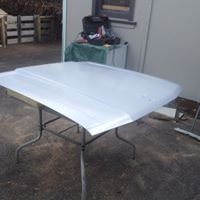
Bonnet looked like it had been stored on it's side and had rotted out in the front right corner. Cut it out, added new metal, filled, rustproofed and primed.
-
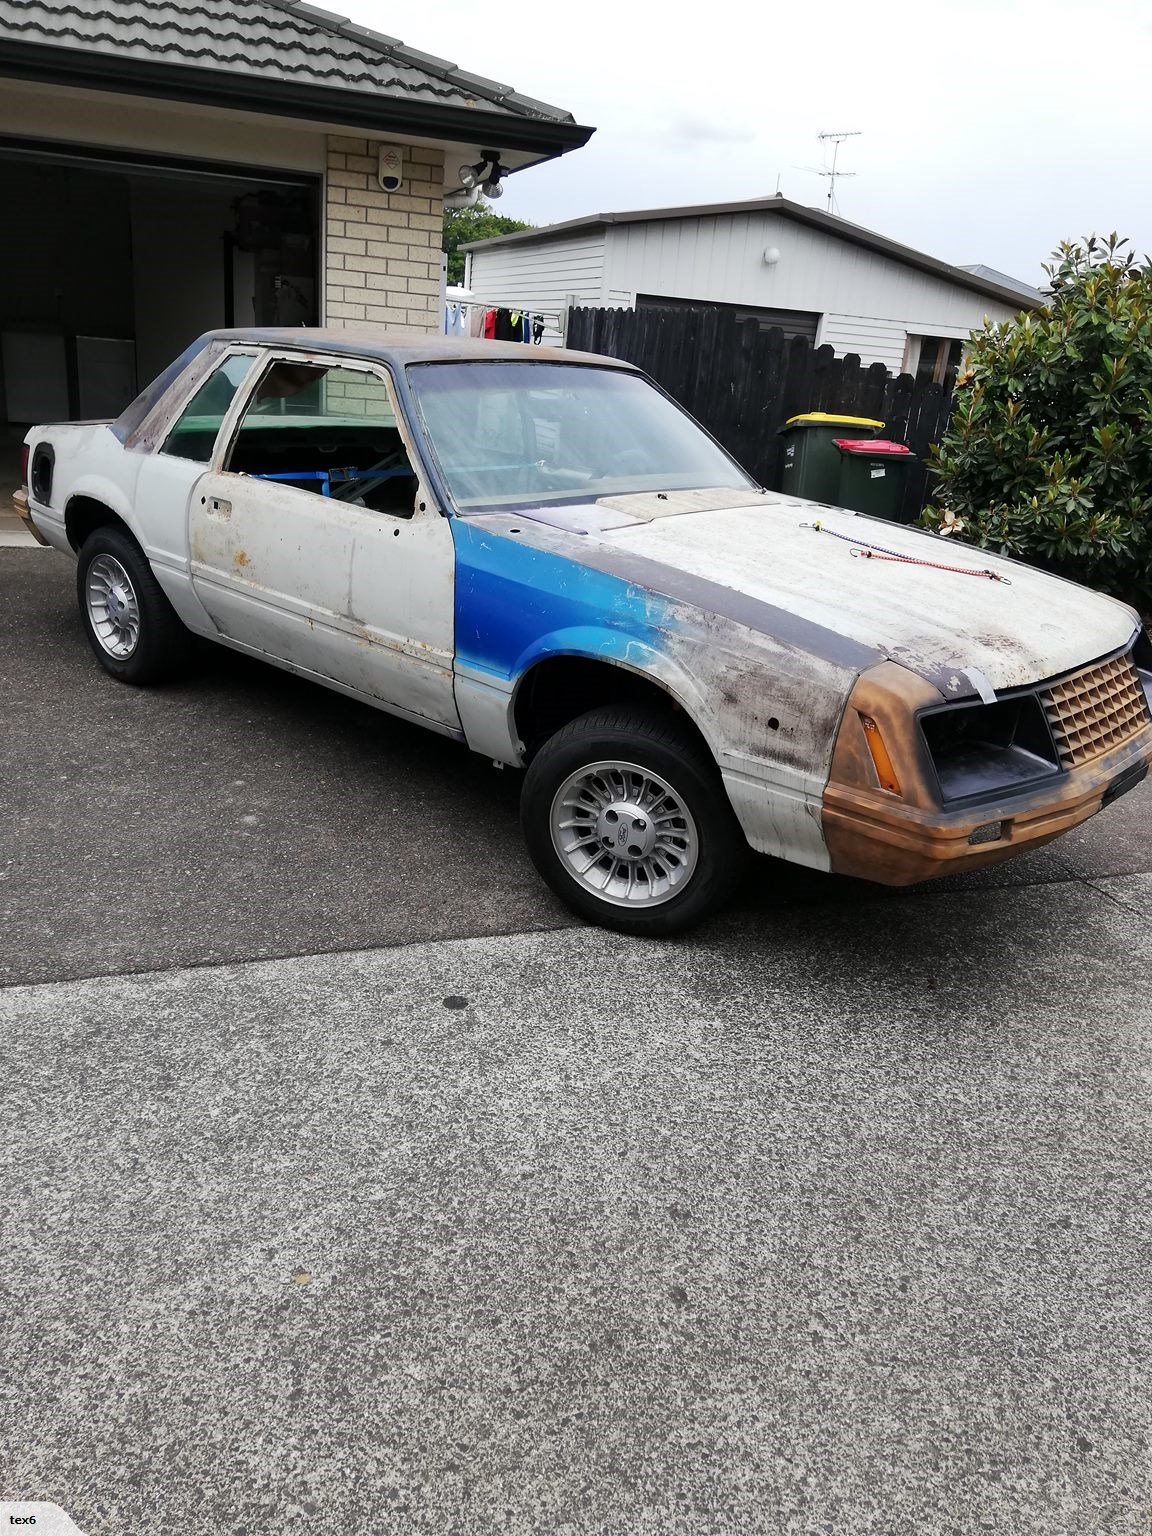
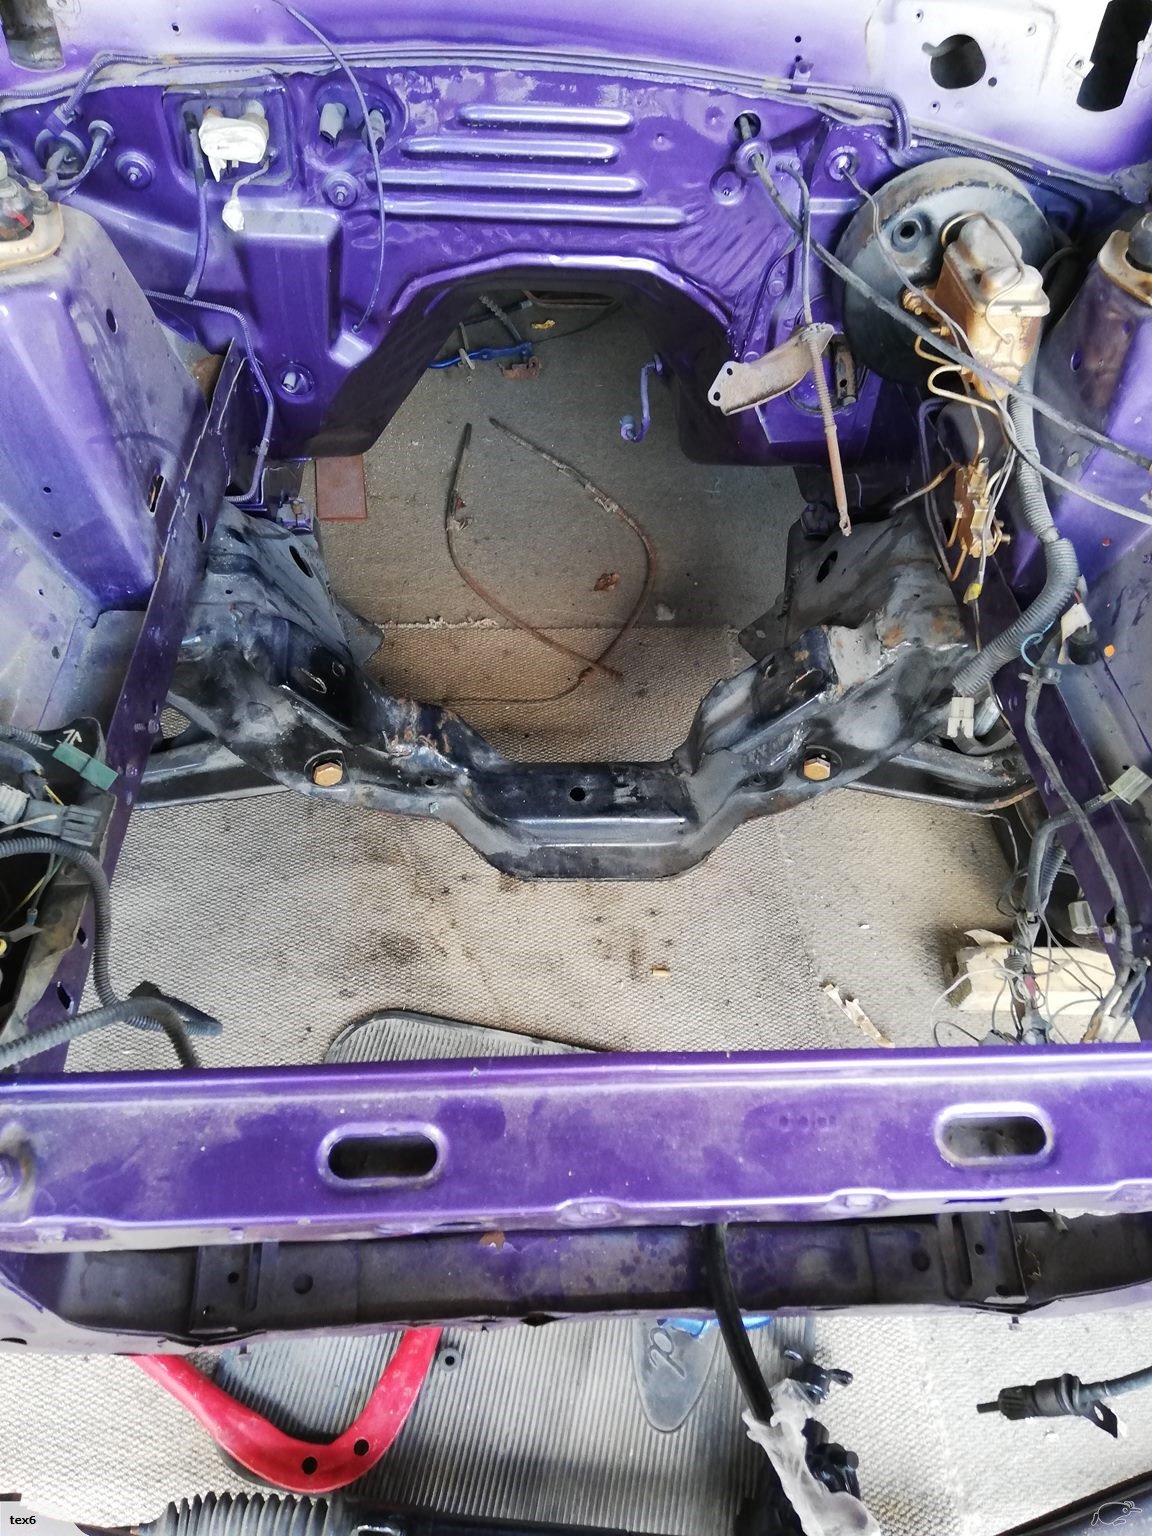
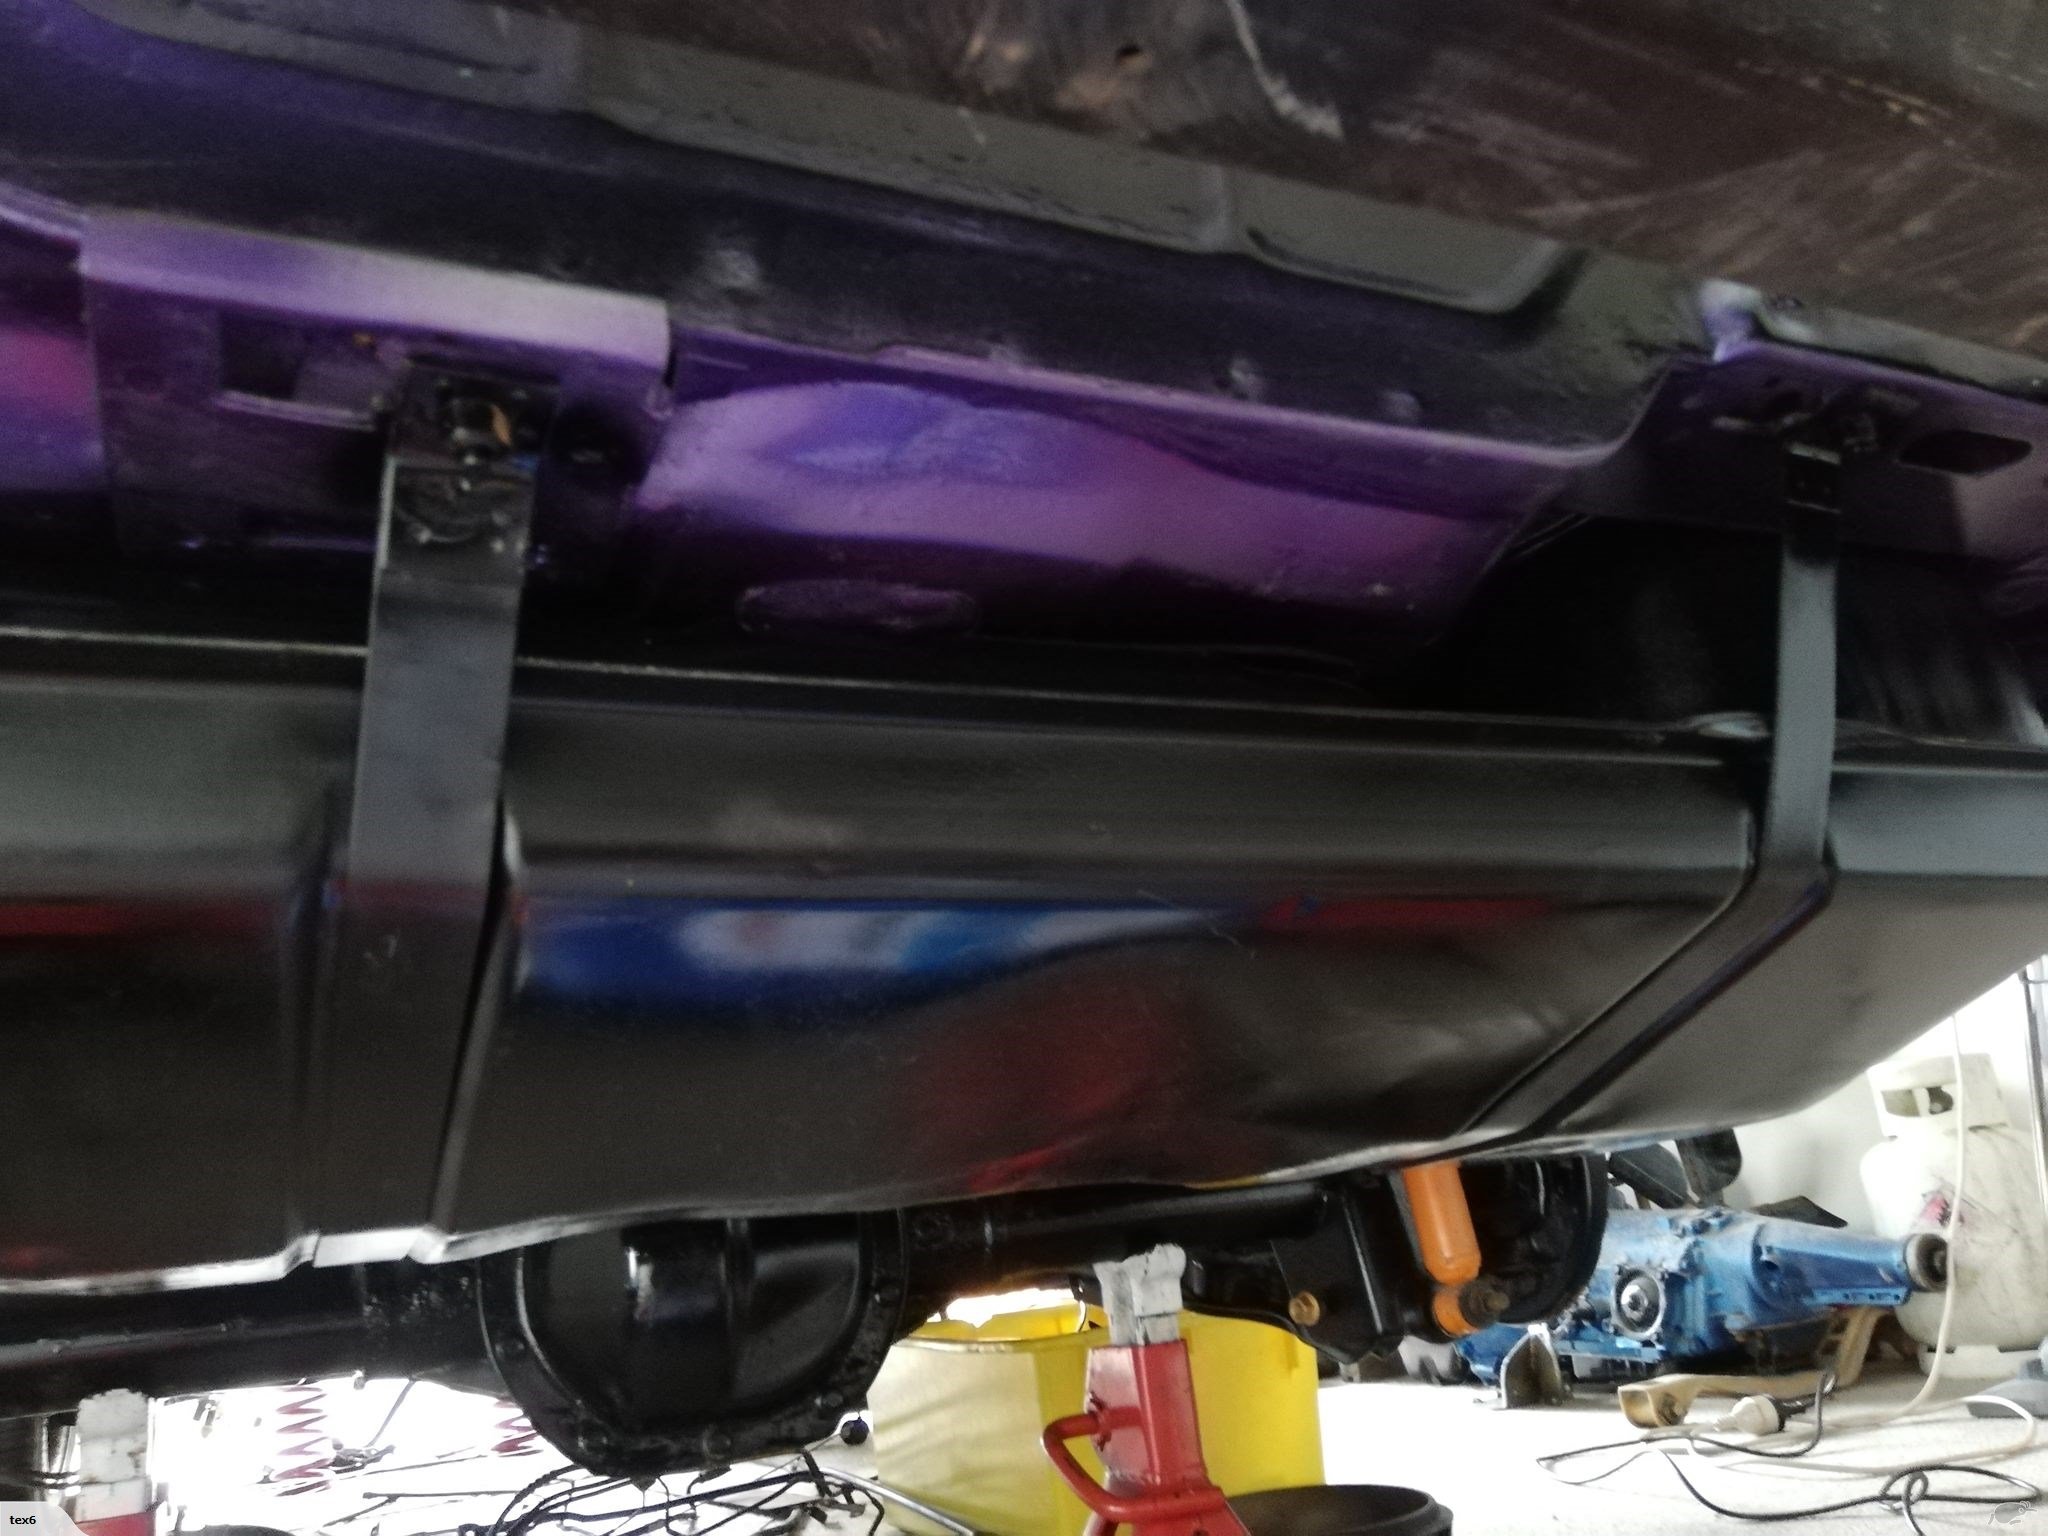
Just before lockdown I acquired another project in the shape of a 1979 Mustang GT 'Fox'. This is my fifth or sixth Fox bodied Mustang and, like them or loathe them it's one of my favourite Mustangs. It's been off the road for 18 years, but the plates are (thankfully) still live. One of the previous owners has done a stunning job cleaning and painting the underside and engine bay of the car (in purple!) and there is no rust in the bottom half at all. The owner either ran out of money and/or time as he managed to bare-metal the shell but only put a light coat of primer over to protect it. The result was a fair amount of surface rust. Then came lockdown with 4 weeks of spare time. Interspersed with home improvements and work on my Hot Rod I re-bare metalled the shell, repaired any panels that needed it, dug out all of the filler and re-panelled the damage, and filled the holes for aerial and door mirrors. I'm now at the stage of starting serious modifications: The original puny rear axle has been scrapped and a much stronger one is currently winging it's way from the lower North, the seats have gone and a pair of RX8 leather seats will live in their place. The fuel tank has gone to make way for a larger aluminium racing tank and I've started a few other mods which I'll update at they progress.
- 6 replies
-
- 12
-
-
legendlives 1938 Ford 8. The Reaper's return
legendlives replied to legendlives's topic in Projects and Build Ups
Scary isn't it?
-
legendlives 1938 Ford 8. The Reaper's return
legendlives replied to legendlives's topic in Projects and Build Ups
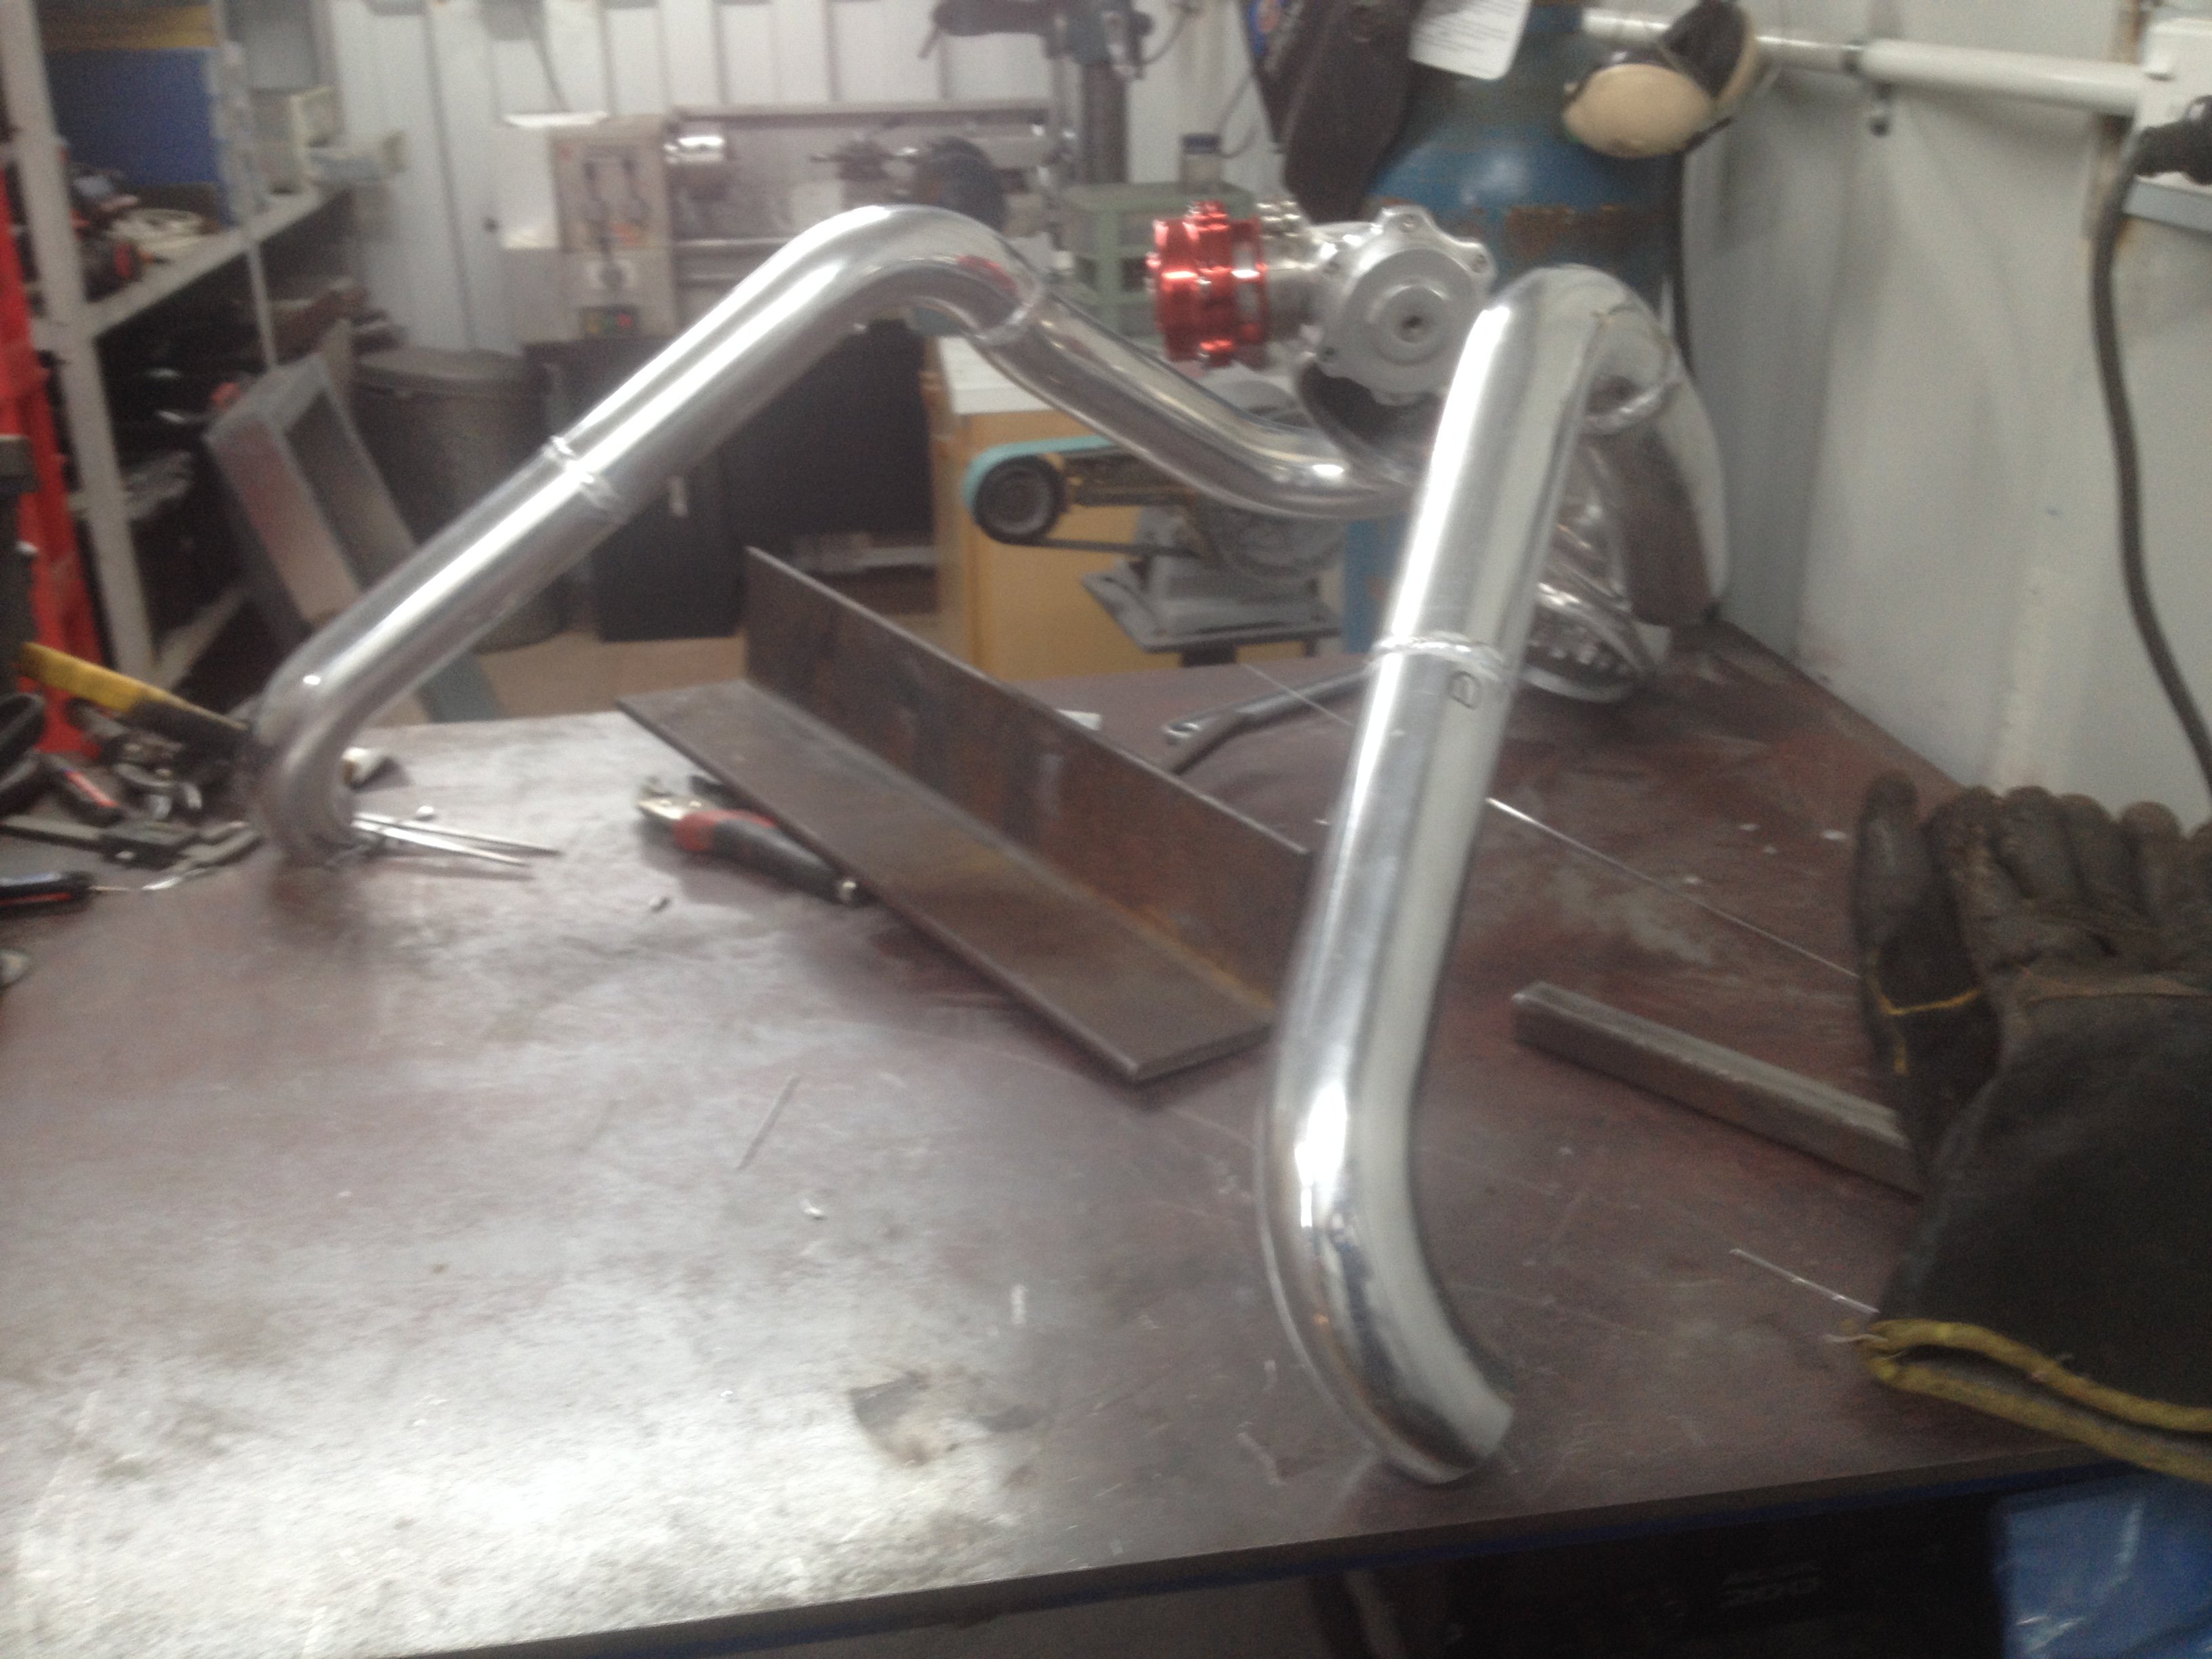
The pipes from the turbos to the pressure hat are now finished and in place. We're getting there.....
-
legendlives 1938 Ford 8. The Reaper's return
legendlives replied to legendlives's topic in Projects and Build Ups
Now with the snorkels welded into closing panels, and vertical panels at the side of the rad to try and force as much air through the rad as possible.