


fagoff
-
Posts
119 -
Joined
-
Last visited
Posts posted by fagoff
-
-
That's pretty awesome repair work for a first time effort. Your right grinding also distorts metal .but we learn from it and that's priceless eh. Enjoying following your work.
-
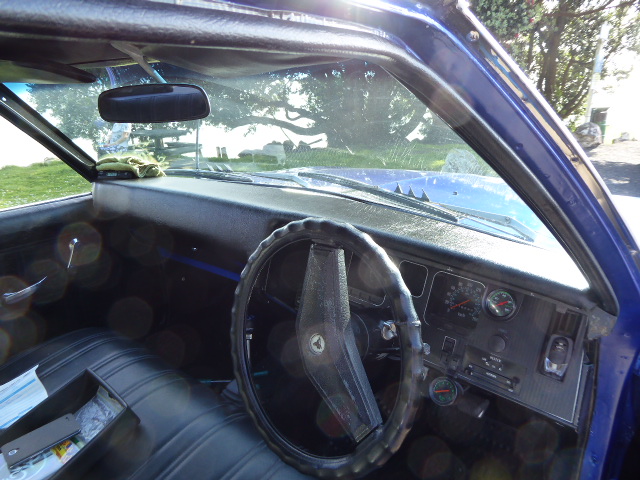
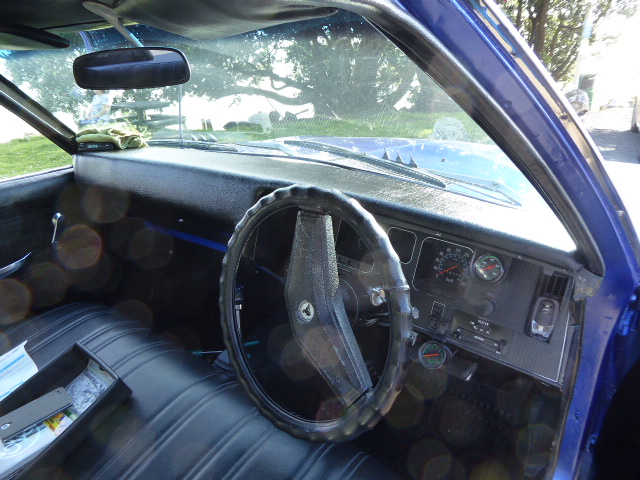
I reupholstered the dash to match the new door cards.

-
 1
1
-
-
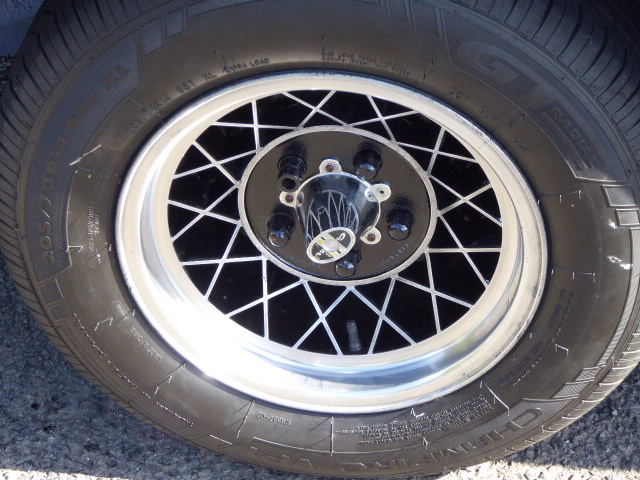
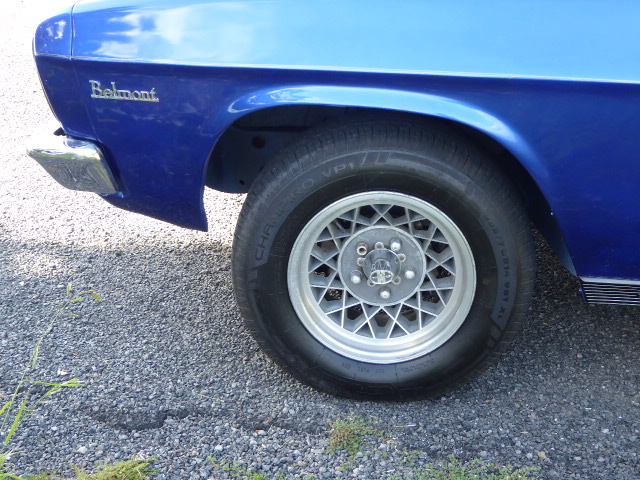
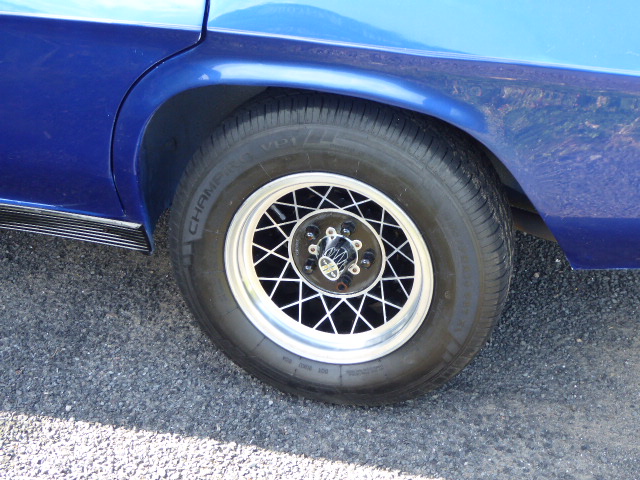
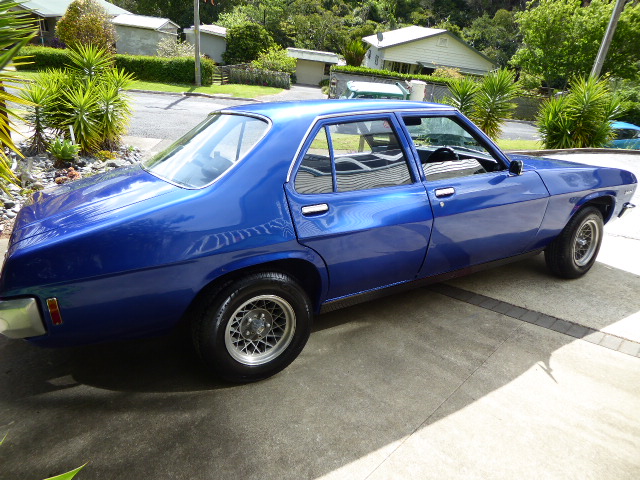
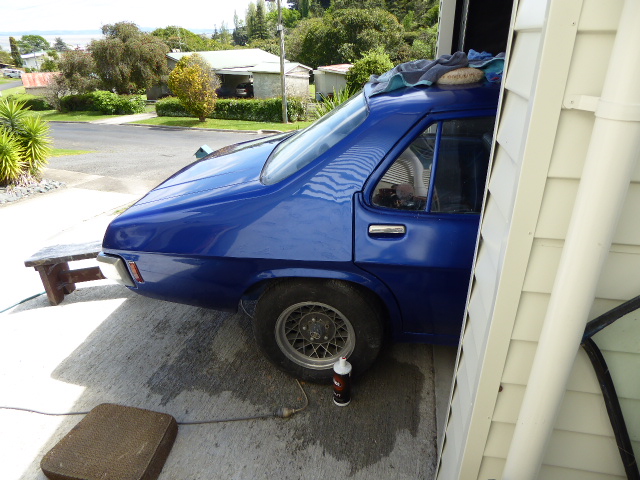
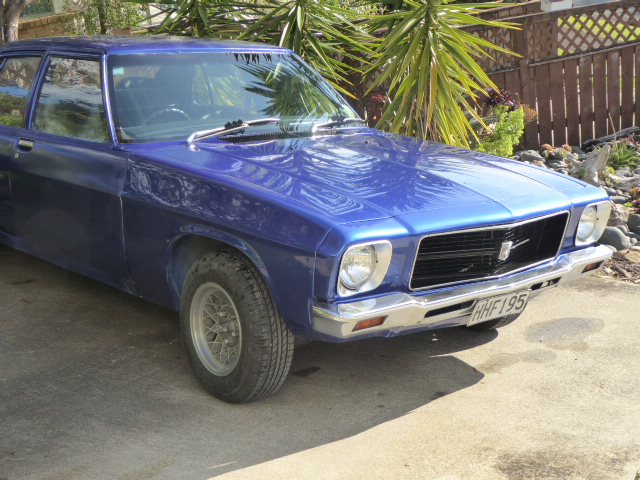
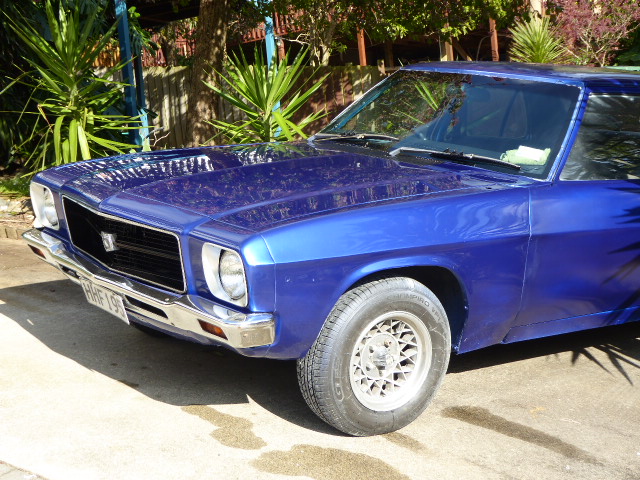
Decided to tidy up the wheels .painted between the spokes, then sanded the bare metel with 1000grt w/d paper, hand rubbed them with aluminium rubbing compound then polished with Meguiars wax polish. still got front wheels to do.
-
1
-
-
enjoy watching your progress, looking good.
-
1
-
-
Primer was Resenes 440 industrial epoxy primer,two pack, dries very tough and hard to sand off. topcoat is Lucite LC 400, metallic acrylic lacquer,and lacquer clears, gun is an AMX MP 400.
I machine sanded with 180 grt dry discs then by hand with 320 w/d paper before primer then 600 w/d paper before topcoat, clearcoat. Then flatted off with 1200 w/d cut with Evercoat, heavyduty rubbing compound ,then finished off with Juice cutting compound which took all the swirl marks out and polished like glass.
-
2
-
-
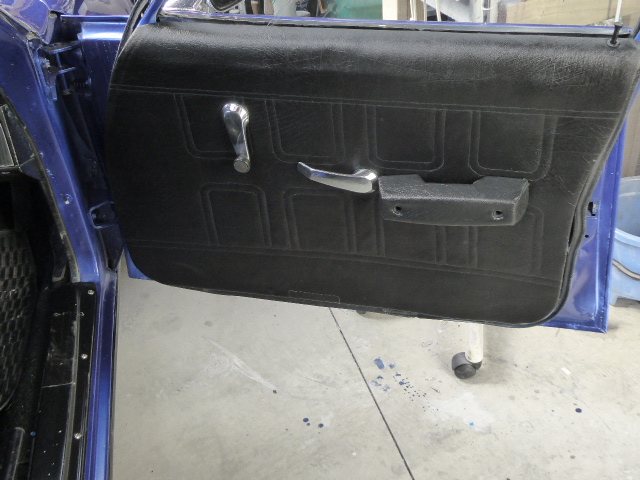
The door cards turned out great ,the pics don't do them justice really. I did them myself , my wife did the sewed pattern for me.
Ill make up a list of what products I used tomoro.
-
last one
-
5
-
-
Some more pics as well as the front doors with reupholstering done
-
3
-
-
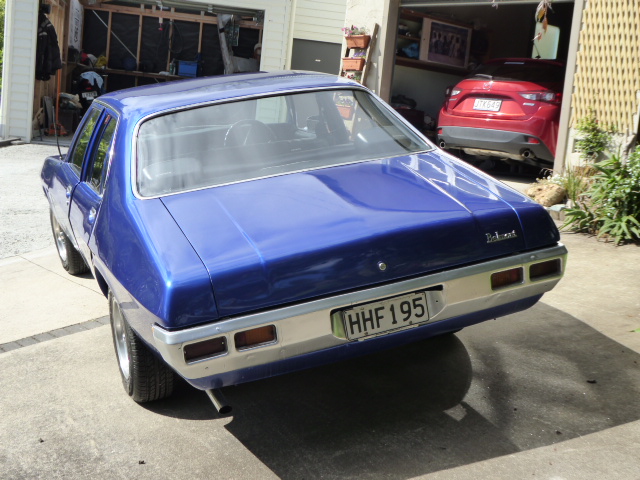
Finished ,cutting and polishing not the most fun jobs .There were a few blemishes here and there ,but overall it looks pretty good.
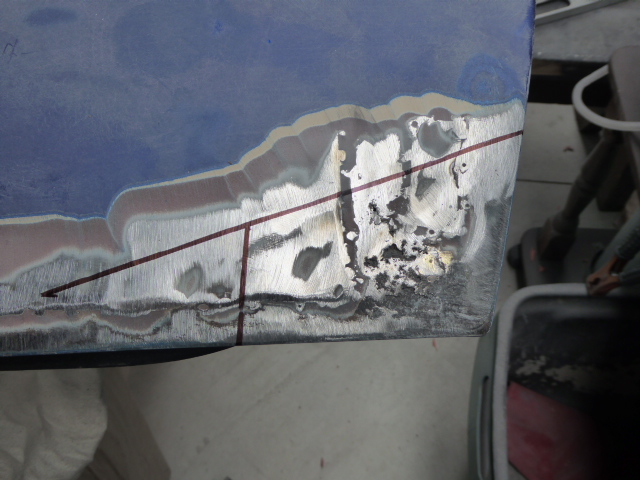
When refitting trim I replaced all the old steel screws with stainless steel to ward off rust in those places. I refitted the black trim along the bottom as it hides the crap welding repair job a professional guy did when I first got the car recerted and regod , there was rust all along the bottom edges which had to be cut out and replaced, at the time I thought the repair looked amateur but cost heaps.
-
3
-
-
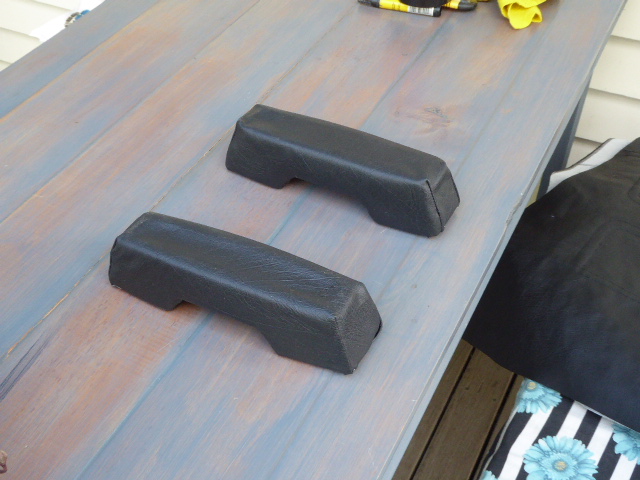
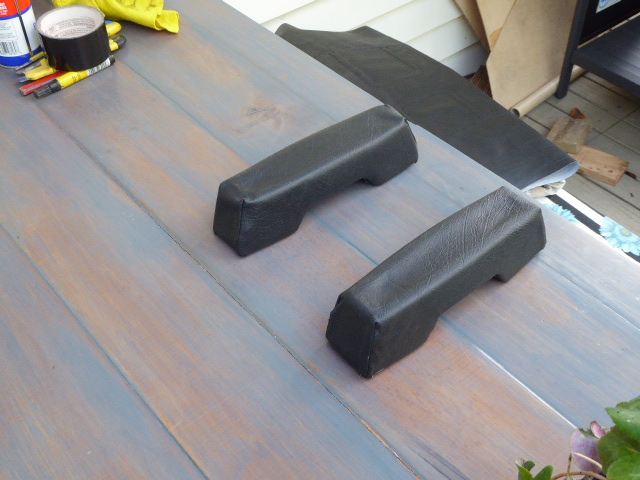
Reupholstered my two front hand grabs.
-
as ever frosty your on to it, no radiator shroud on my car .do you think if I built one it would make enough difference, ,with my existing set up ?, or would it be better with the two electric fans I got .I would need to make up a shroud to suit them as well as they are a bit wider than my radiator.
-
I cant believe the mileage I am getting now. My 186, 1973 HQ Belmont used to get between 18 to 23 mpg on a good run. Now with new manifold ,freeflows ,weber carb and ported head I'm getting 27 to 28 mpg, or 10 lt/100 km or 9.9 km/lt . I checked my speedo using a speedview app, on a couple of decent runs, my gauge is 0.154 km short per km recorded so I add that amount on per km recorded to get true reading. When I was having trouble recently with the second hand weber that was undersized, I was getting from 11 to 19 mpg mostly around 11/13 mpg using the same procedure. I was hoping for an improvement along with more power but didn't expect anything like this. I went to Auckland airport yesterday and did notice engine was still getting a bit hot while stuck in damn traffic.
I picked up a set of electric fans today which I will set up and replace the mechanical fan with. Hopefully I can get someone here in Thames to make up a fitting to go into my radiator for it.
-
I am too.(-:
-
one more
-
1
-
-
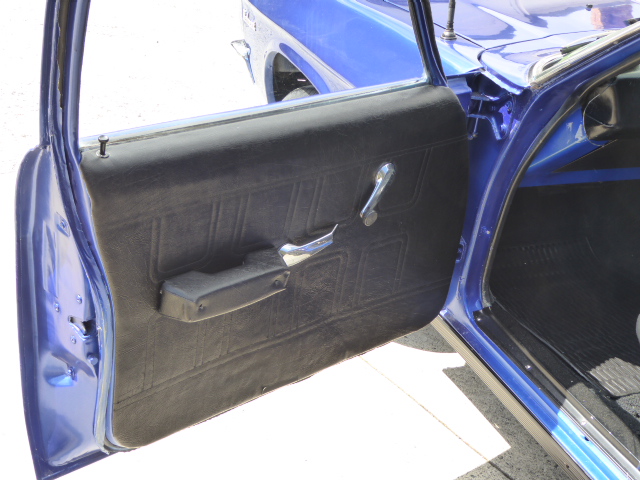
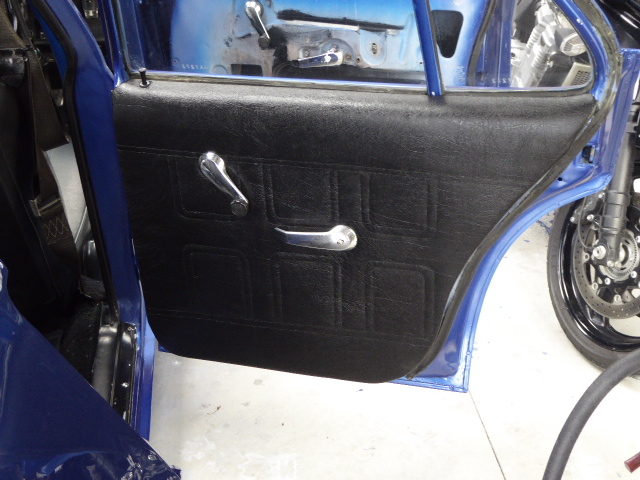
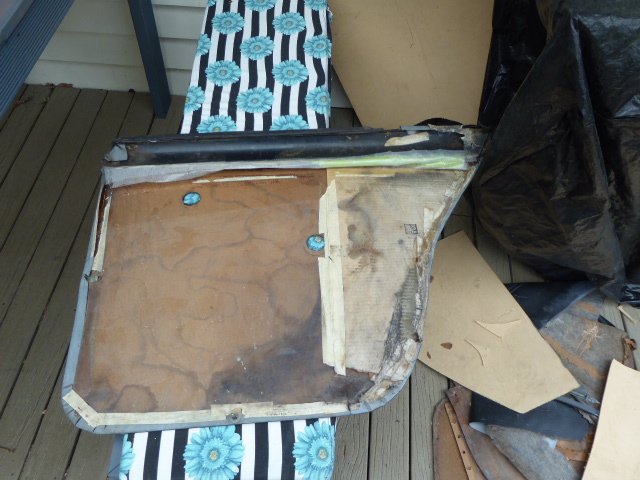
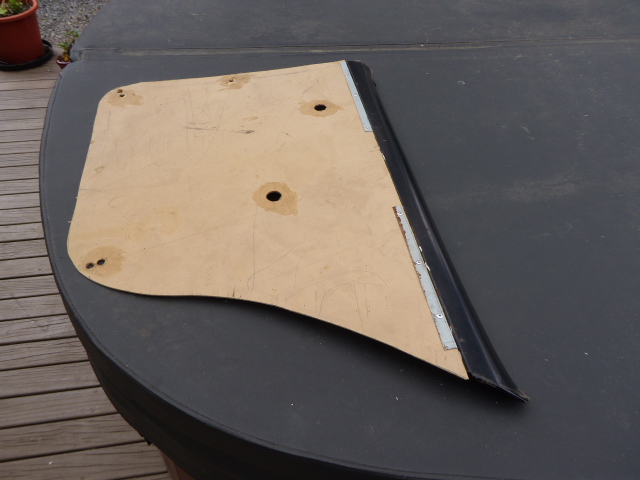
Decided to have a break from sanding and polishing. Two of my door cards are pretty stuffed ,So in a joint effort with my beloved, we made up a new door card and upholstered it as well. It was previously that fake sewed design look now it is the sewed design look. I used spray on contact glue which is brilliant stuff to use. I did a rear one first in case it didn't go to well.It is slightly bunched at the bottom , still looks good though , now we know what to do with the rest of them. I'm really stoked with our efforts. Onto the next one.
-
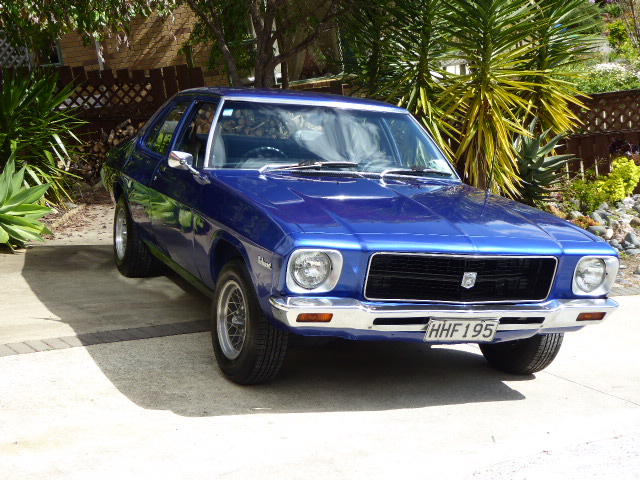
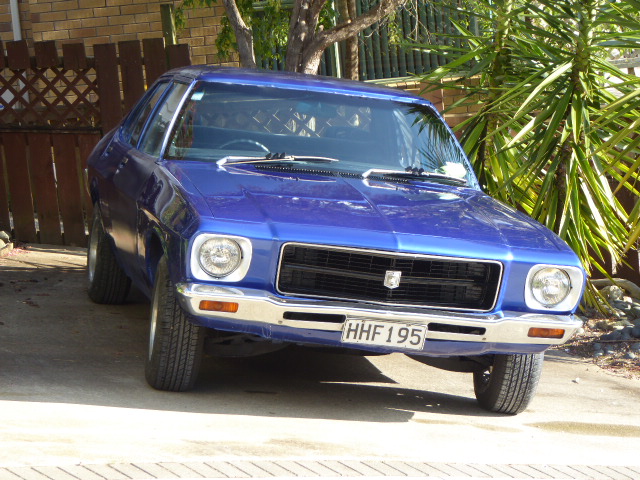
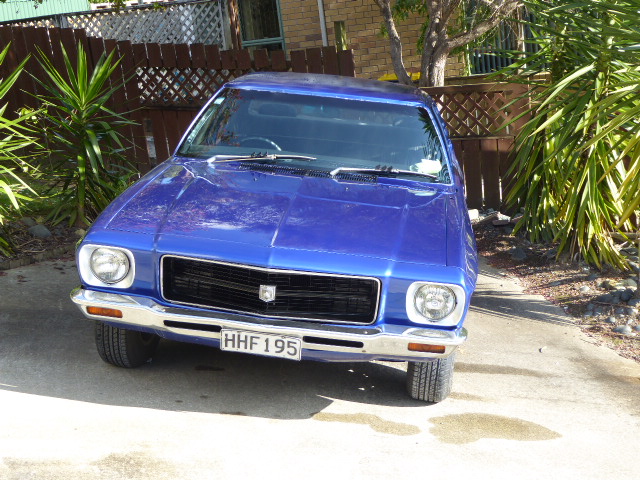
I repainted the front grille satin black ,with the stainless steel trim looks pretty good I reckon and painted black inside around the radiator too. I redid the headlight surrounds as well.
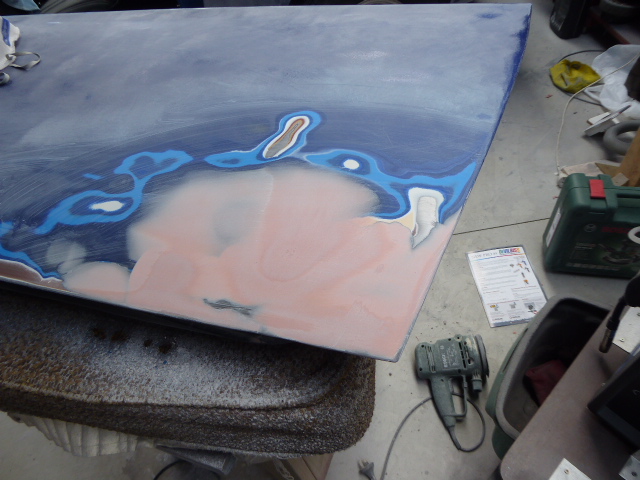
Ive cut and polished the boot and also the right rear quarter panel,this is the one I cut the big piece out of and put new metal into.
I'm pretty rapt with the result, especially the way the lines all match up so well. So far ive only sanded through the paint in one spot on that rear panel, peed me off a bit.I touched it up by hand but its still noticeable to me. Might repaint that part one day.
-
4
-
-
some more.pics
-
2
-
-
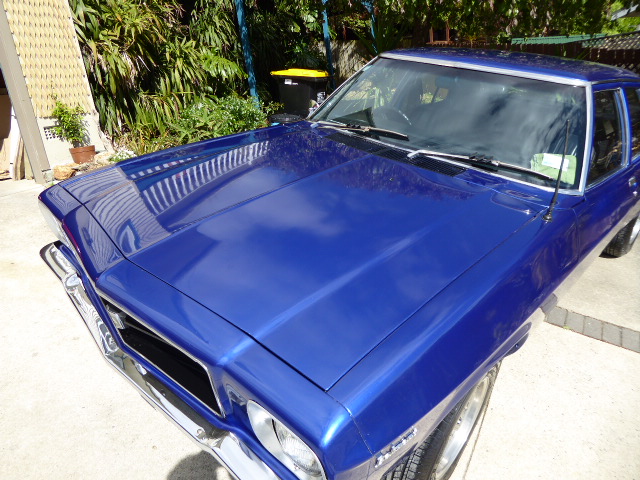
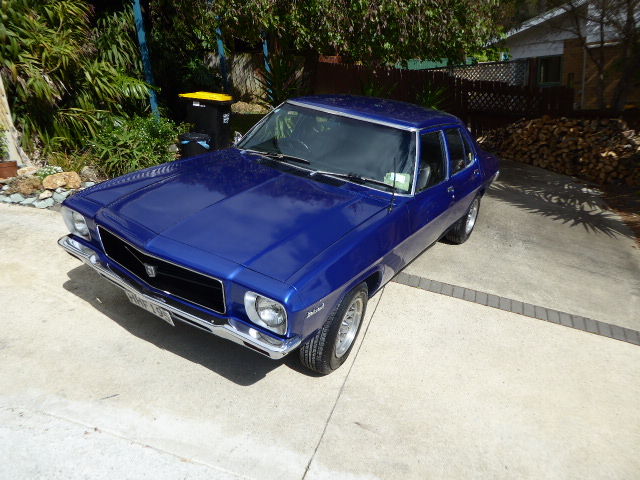
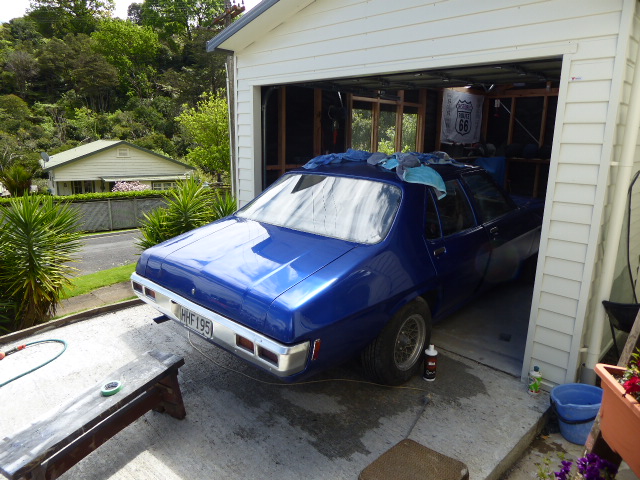
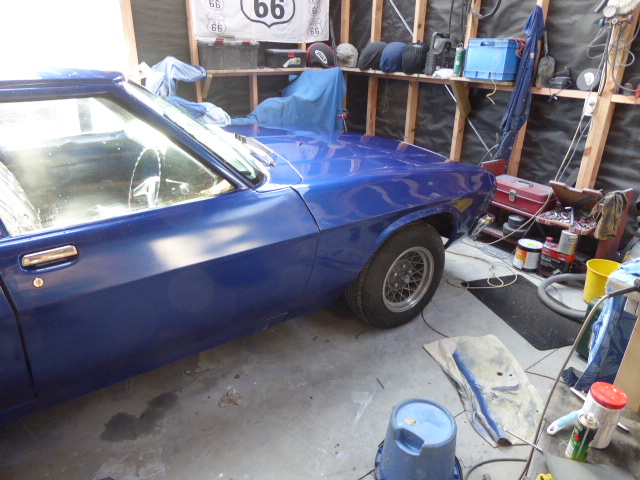
New paint on . Ive flated off ,cut and polished the bonnet and two front guards. I used 1200 grt paper and a medium cutting compound then finished off with a fine cut compound I got from resenes that leaves a lovely mirror finish. I could probably have taken more paint off to get a better finish ,but I'm always worried about going to far and through the clearcoat. I'm reasonably happy with how it looks so far. I havnt decided if I will redo the black on bonnet and boot like it was before. Think ill live with it a while and decide later.
-
5
-
-
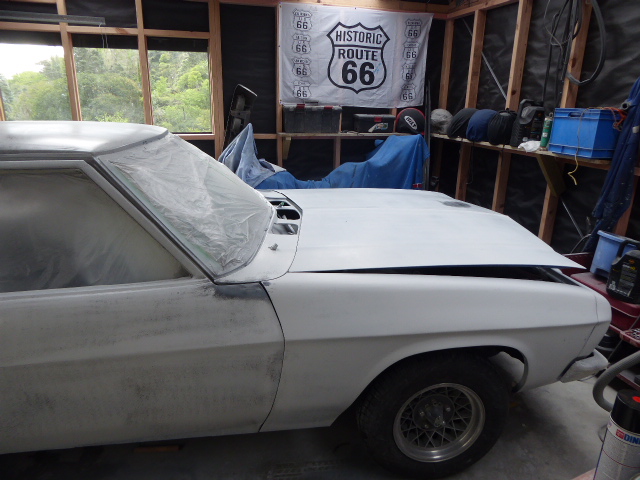
Epoxy primer on. then a black guide coat Found a few tiny dings and scratches that needed dealing to as well. Ive wet sanded the front almost ready for paint ,maybe tomoro.
Picked up a new gun that operates from 5.9 to 9.5 cfm so that should do a good job putting paint on.
I'm quite pleased with the cost of all, this paint and everything including new gun less than $ 900.00.
I have found Anna from resene automotive in Tauranga fantastic to deal with.
-
1
-
-
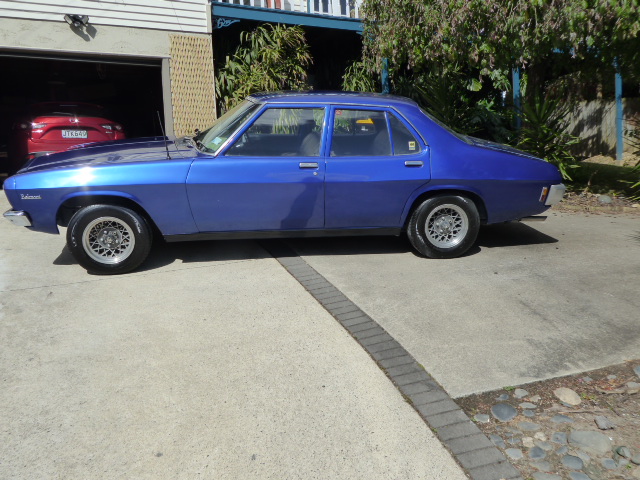
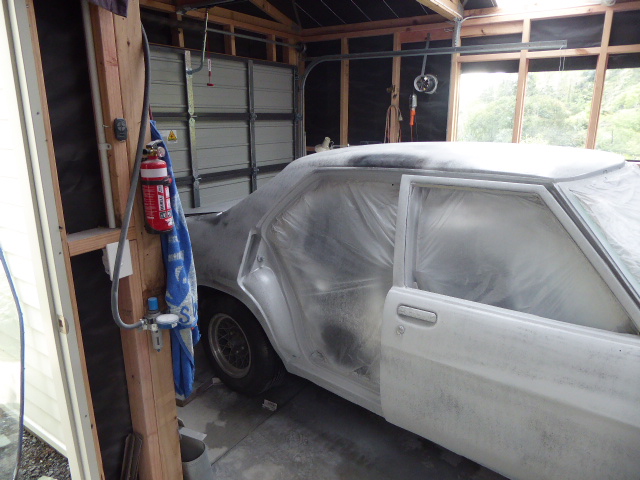
Ive finished sanding car, I finished off with 320 grt so it should have a good key for undercoat too stick too. Im halfway through masking up now . This time I'm doing inside doors as well so its uniform throughout, I didn't bother last time as the previous color was similar enough. Ive got an industrial epoxy primer to go on ,which should give a good solid base, to smooth out most imperfections. As ive gone over the car ive found not much lines up perfectly its obviously had a hard life before I got it. Previous owners have done repairs then just bogged up to edges losing all the correct contour in the process, ive managed to sand quite a bit off to restore it closer to original contours.
Short of spending huge dollaroes ,which would be more than cars worth Ive accepted it will never be a show car. I have managed to straiten up quite a few panels, but my meager skills only go so far. I am happy with it so far and looking forward to getting some paint on her, hopefully Monday .more pics when undercoats on.
-
1
-
-
I did think that too when I first saw it but it sands off back to clean metal its like a brown undercoat or something .
-
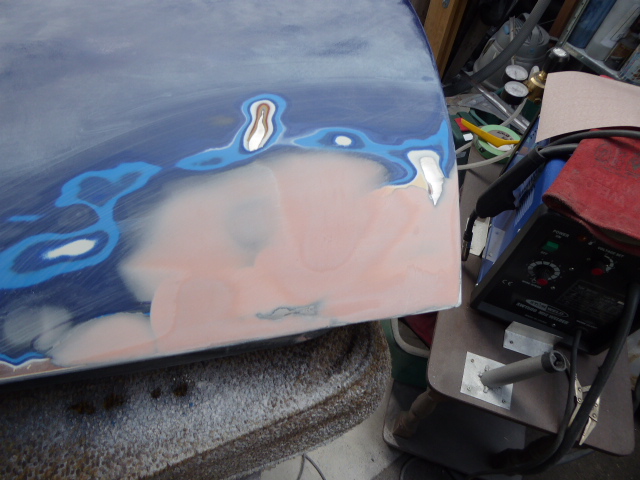
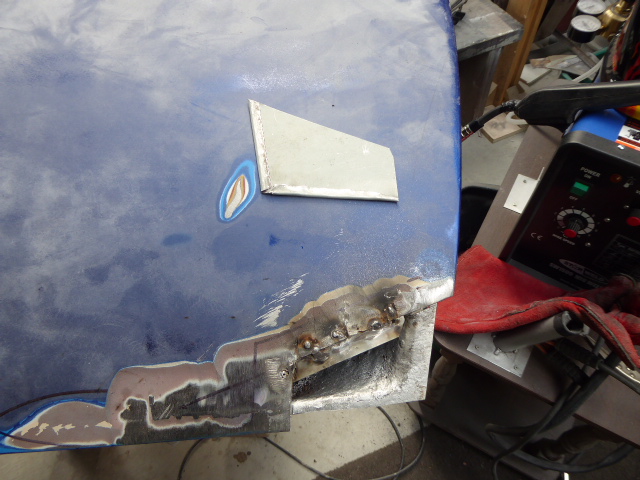
Patch welded in and bogged up ready for undercoat. I've started going round the car machine sanding, not my favorite part really, prepping .I'm trying to take my time and be a bit more fussy ,which usually means redoing little imperfections so I don't look at it later and go why didn't I spend more time on that bit.
-
1
-
-
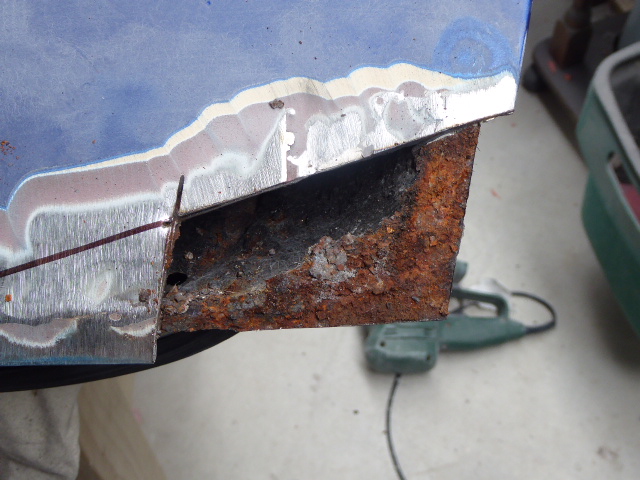
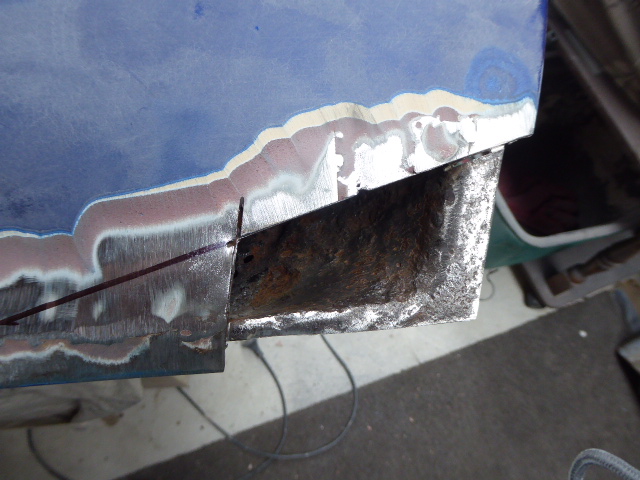
Ive started machine sanding the whole car. Ive done the roof, bonnet and one front quarter before I found more lovely rust in the drivers door front bottom corner. I cut out the rusty patch and looked underneath thinking bugger have to replace bottom skin too . I machine wire brushed it and I think most of the crappy rust stuff was debri that had collected there. The metal cleaned up really good .So made up a corner patch with two edges bent over and welded it in. Resenes dropped off a two pack industrial undercoat too me today that will seal up the car and give me a very tough coating under the paint and that I can topcoat directly onto. Im hoping too be ready for that this weekend or early next week.
-
1
-
-
the HVLP type I want is gravity fed and works off a conventional compressor ,though they don't need as much cfm as a conventional gun. mine needs less than 10 cfm to operate at less than 20 psi and supposedly puts more paint on the car so less wastage and overspray. I did paint the HQ with it last time and have been told its not a bad finish. I just figure a better quality one should do a better job. Mine was off the interweb and cost less than $ 100. I am going to spend more time and effort on prep this time as I know that's the key to a better finish. I have done a few cars before . I'm not going back to bare metal . I'm machine sanding with 120 grt then 240 grt then dry hand sand with 320 or 400 if I can find some. Seal coat then wet and dry with 800 gt. Topcoat then flat off with 1500 gt then machine cut and polish and glaze.
That's the plan anyway.


leaking head gasket
in Tech Talk
Posted
One small issue I havnt been able to improve much is restarting engine after its been running. It wont start again after being off for more than 5 minutes without pumping the accelerator pedal. when engines warmed up it should just need key turning ,but I have to pump pedal which is basicly flooding engine. I had .45 idle jets in and had to open mixture screws more than 2 1/2 turns from seated to run smooth which according to weber tunning instructions indicates too small jets. I changed them to .50 jets and now mixture screws are out 3/4 of a turn from being seated, runs smoothest and fastest there. They are allowed to be from 1/2 to 1 1/2 turns out for .50 jets, so I'm in the right range. Engine starts first time with choke, runs and idles great ,apart from annoying restart issue. Any ideas. ?