-
Posts
75 -
Joined
-
Last visited
Posts posted by Datsun280z
-
-
Made a bit more progress on this thing.
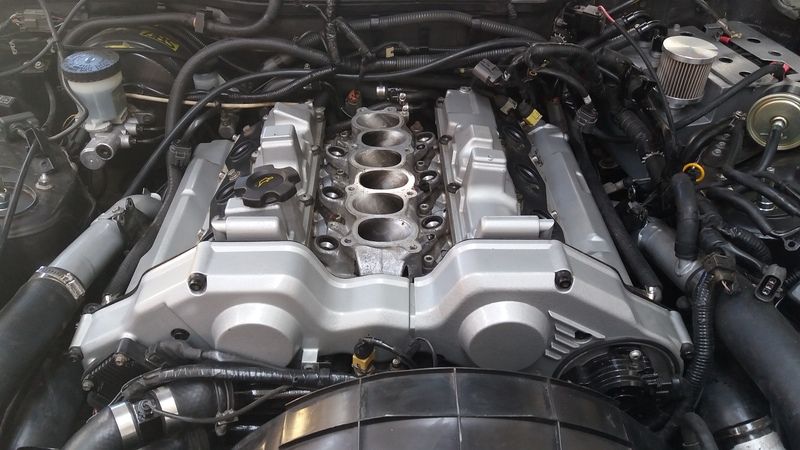
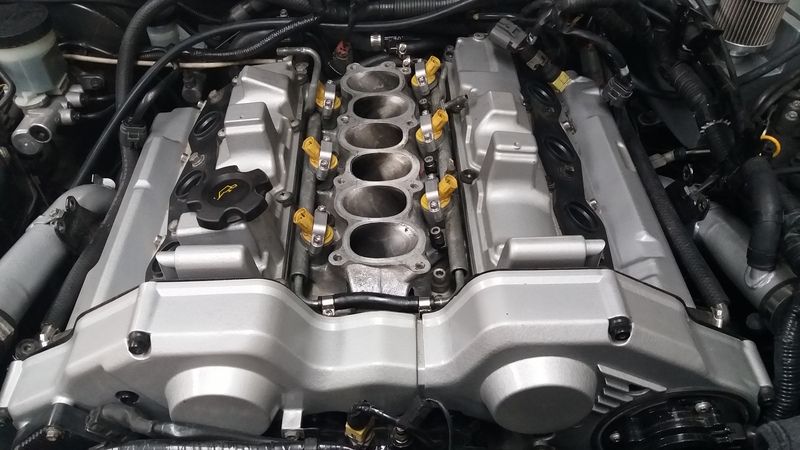
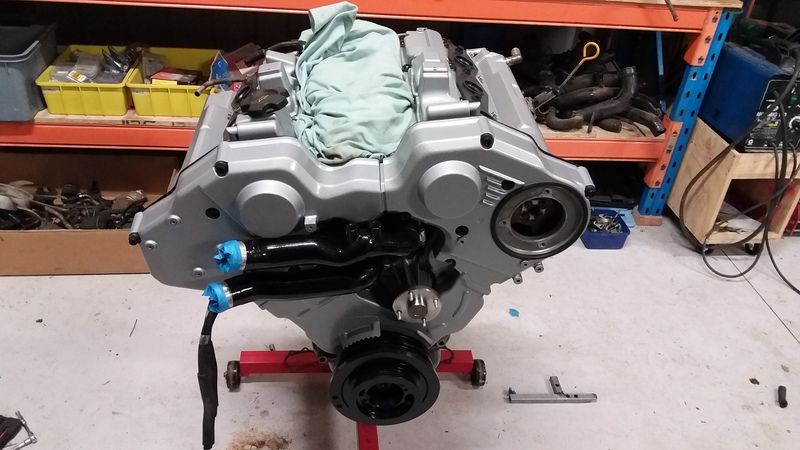
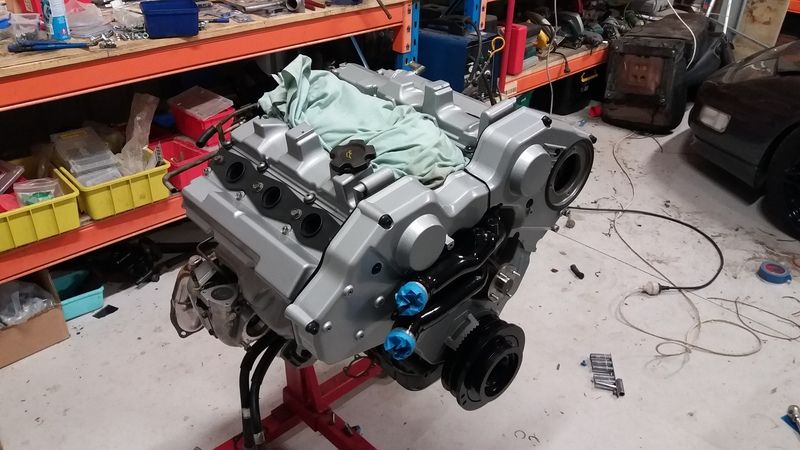
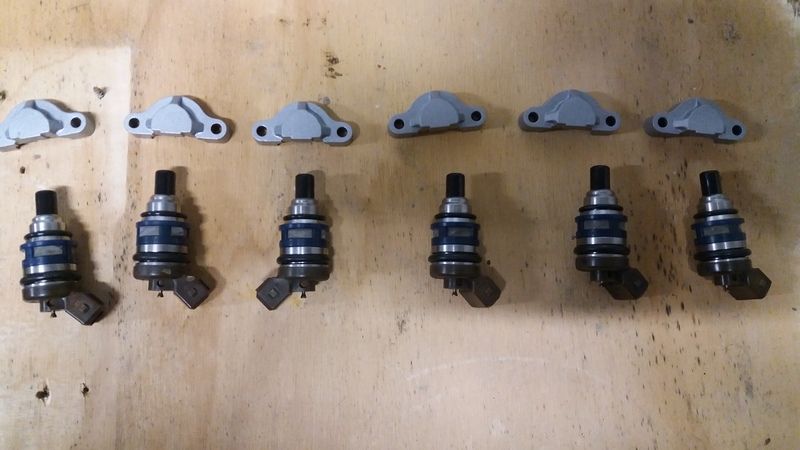
Fired up the car and noticed fuel leaking out of one of the stock injectors. Decided this was a good time to replace them. I scored some 550CC side injectors for a decent price, these are the newer style side feeds so you need an adapter kit to fit them to the early model Z32s. I ordered a kit online then threw them in.
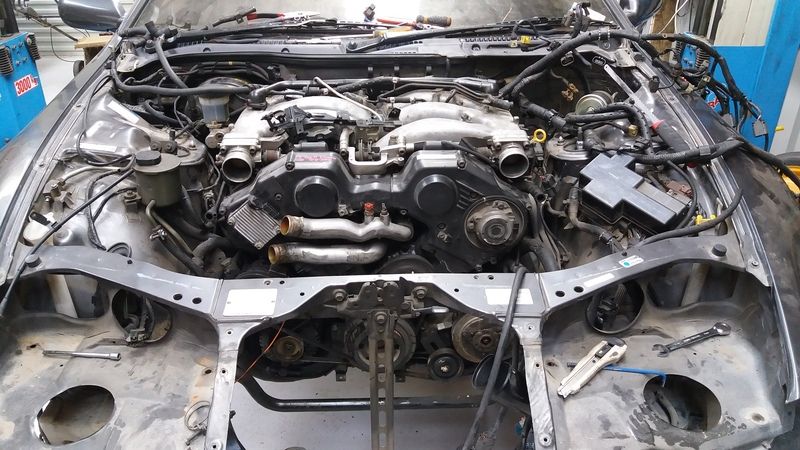
Stripped off plenum, removed injectors and fuel rails.

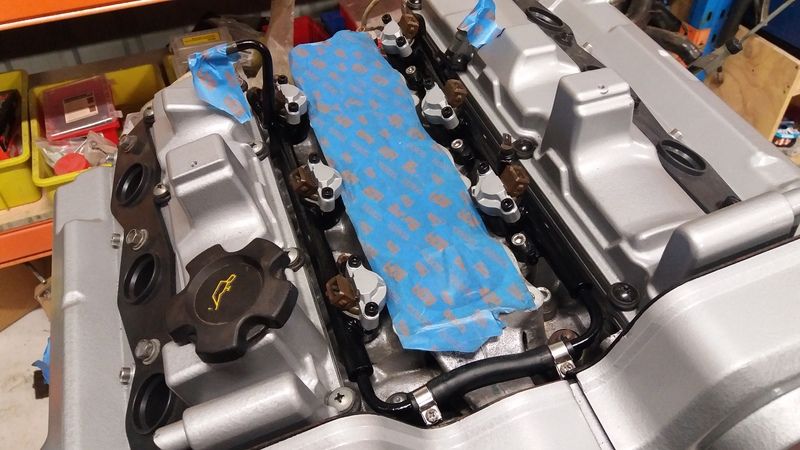
Installed new injectors and adapter kits in the rails and then put back on the engine.

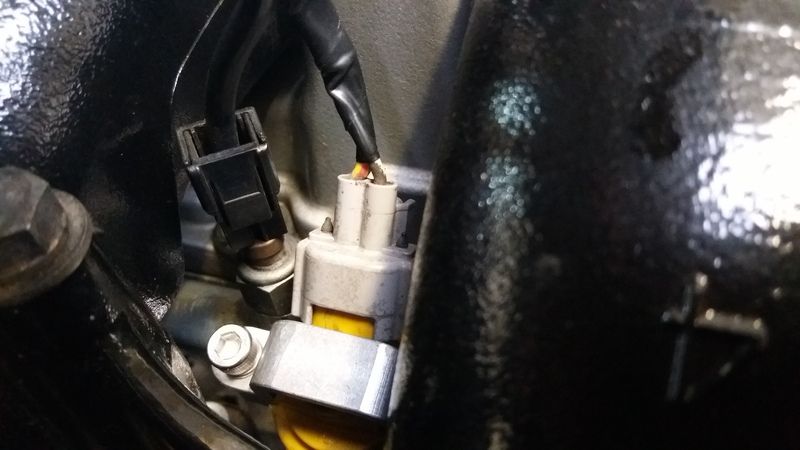
As the injectors are the newer style I also had to replace the factory Z32 injector plugs with new style ones. I scored a second hand set cut from an old nissan loom and wired in. Thes plugs are so much nicer than the original Z32 ones which are a bitch to unplug and crack when you look at them.

Plenum and other hardware reinstalled

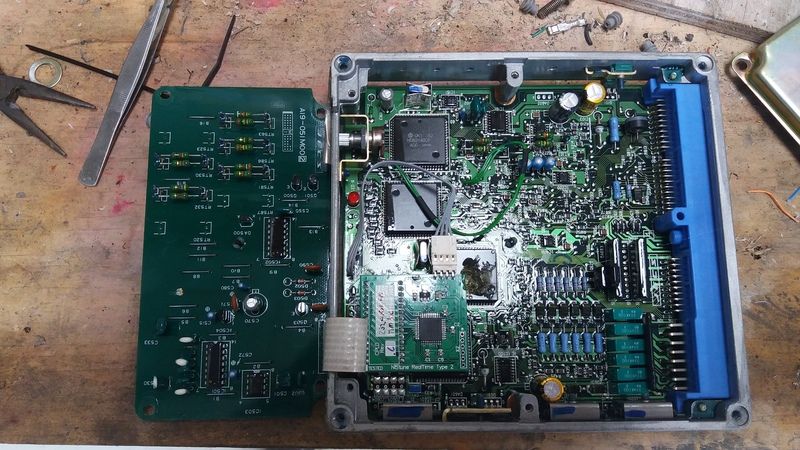
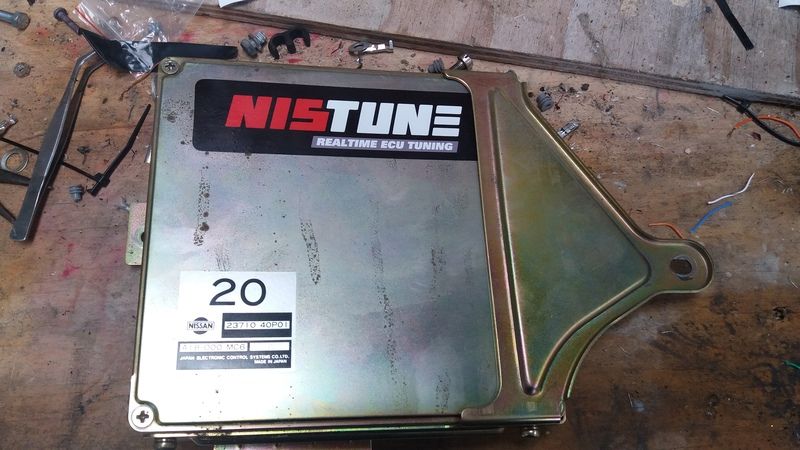
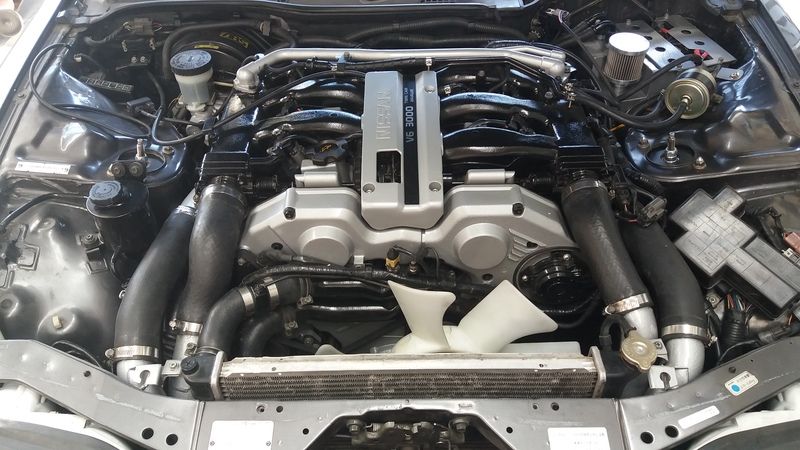
Due to new larger injectors the ECU needs to be modified to suit. You can socket the factory ECU and burn a new chip for it but I decided to go with the Nistune solution. Once your factory ECU is socketed you simply plug it in and have a fully programmable ECU. You can see the Nistune chip plugged in to the socket, you need to solder a few additional power wires and its sorted.

Nistune are always adding functionality to their system. They now include features like flexfuel/e85 compatability, launch control and boost by gear etc. You simply tune via the laptop plugged into the factory nissan consult port. Thay have a pretty comprehensive software package to go along with it.
Ready to go back in the car.

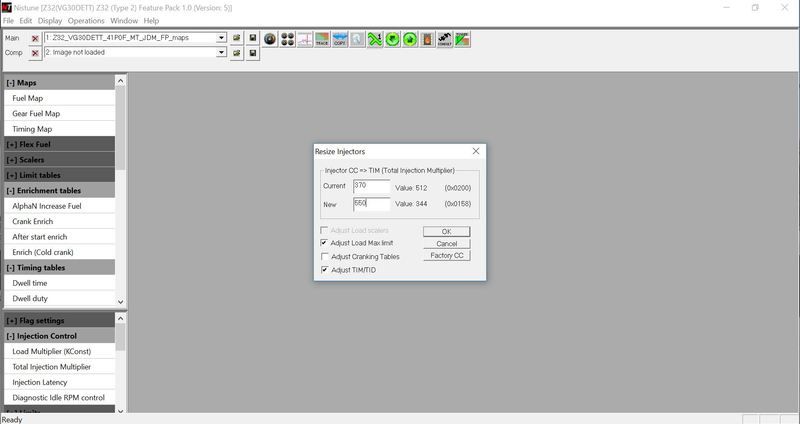
Then its a case of firing up the laptop, using the resize injector feature in the software to enter the new injector size and you are away. There is additional tuning required to some settings to get idle and mixtures completely correct but the car fired up fine after the resize was done.

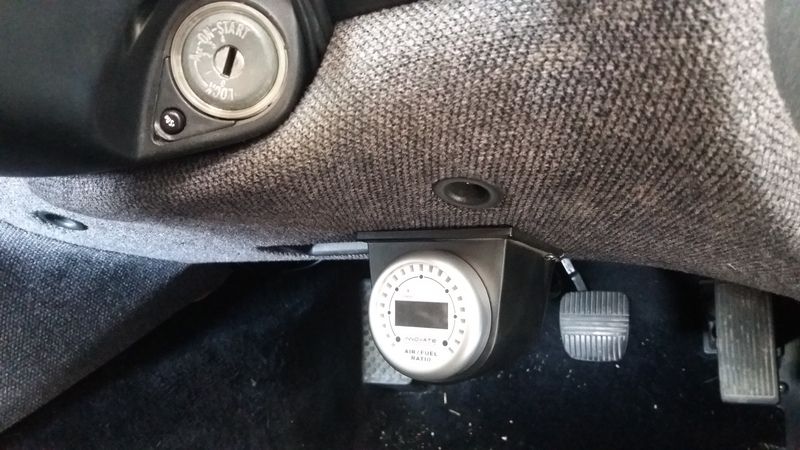
Installed an Innovative MTX-L wideband to try and stop me turning the engine to flames

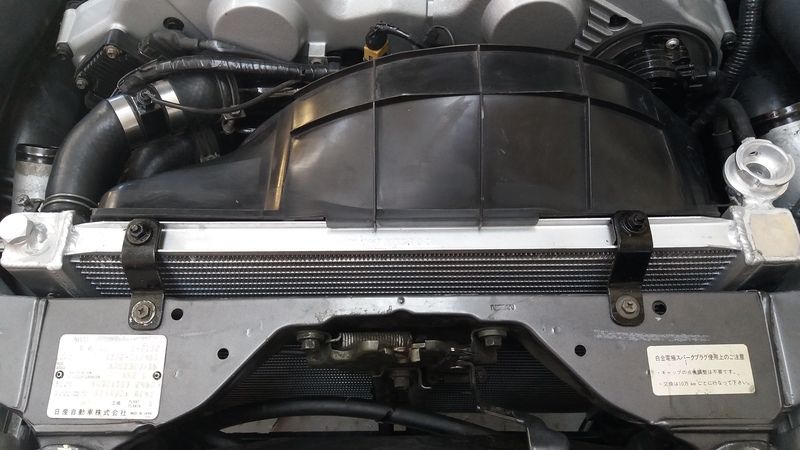
I also installed a new alloy radiator as the old stock one I had found was pretty sketchy. Had to make up some new top mounting brackets. I also tracked down a factory fan shroud so chucked that on also.

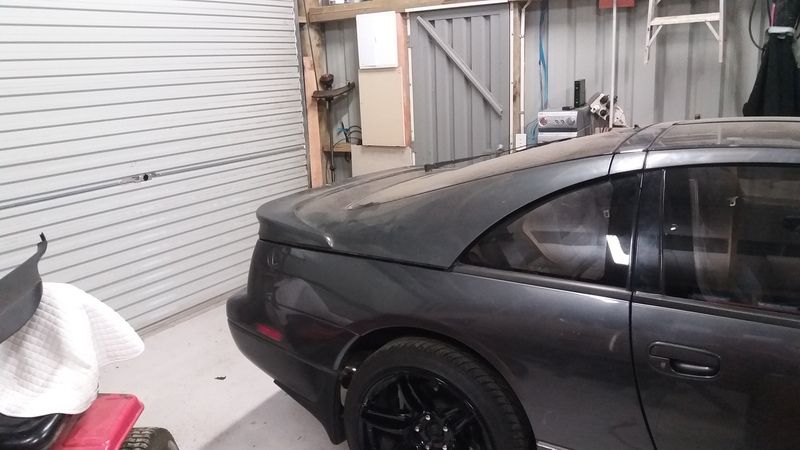
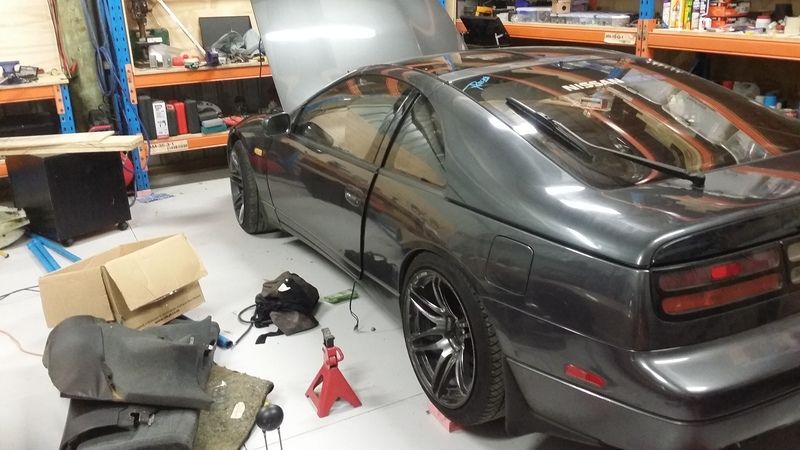
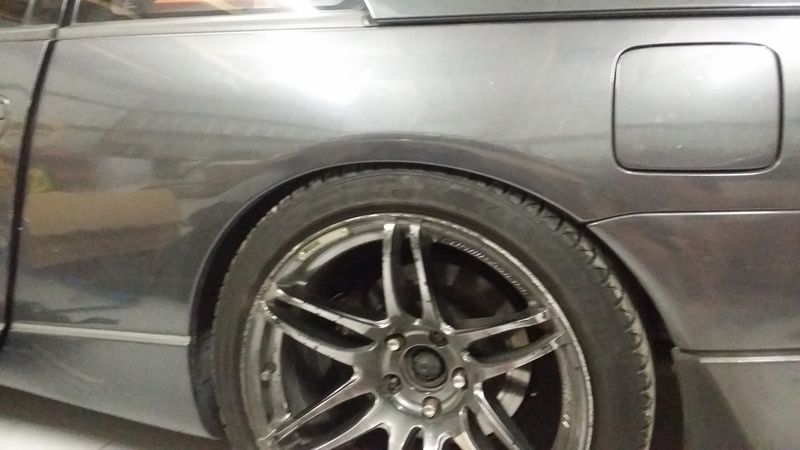
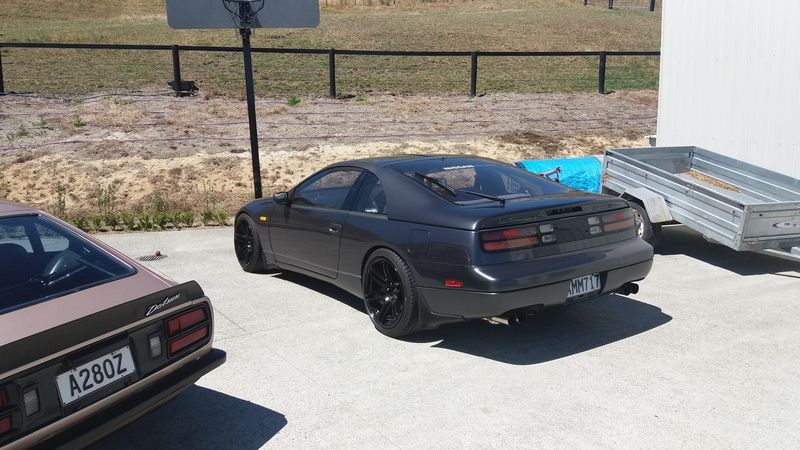
I managed to find another rear hatch that had the factory spoiler on it. Its in pretty rough condition but decided to fit it , I think I prefer the look over the wingless version. It will need some tidying up in the future.

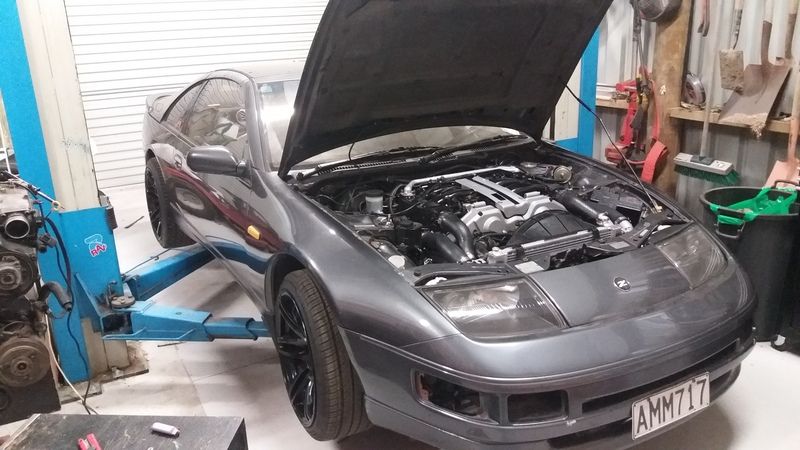
Still have interior stuff to tidy, front lip to install and lots of tuning to do...
-
 6
6
-
-
Awesome build man, so so much win here...
-
3 hours ago, flyingbrick said:
Awesome! Have been googling stuff like this recently (because for some reason I never do things the easy way)
Can ya tell me what they are?
these guys bro
-
21 hours ago, flyingbrick said:
Wait a minute.. do you have two batteries in there?
Yea two small sealed 12v batteries in parallel. Craig hooks me up with them for the sharp price of free. I run two in the 280 also.
-
 1
1
-
-
7 hours ago, sheepers said:
Super great detailing as always.
great job man!
Cheers bro!
-
15 hours ago, ~Slideways~ said:
This is cool, totally a project I want to have. Was thinking of doing something stupid like a 4 cylinder turbo, just because.
They are a really nice car to drive, good bang for buck i reckon.
-
8 hours ago, RUNAMUCK said:
Would it be rude to ask what kind of $$$ a non turbo manual one of these sells for now days?
I have heard they're a bit tight to work on too.
They are around the 4 to 5K mark mate depending on condition etc.
Yea engine bay is cosy alright but not all that hard really.
-
 1
1
-
-
Summer is mint

-
 9
9
-
-
- Popular Post
- Popular Post
Dont think this car is old enough for the main forum, 1989???
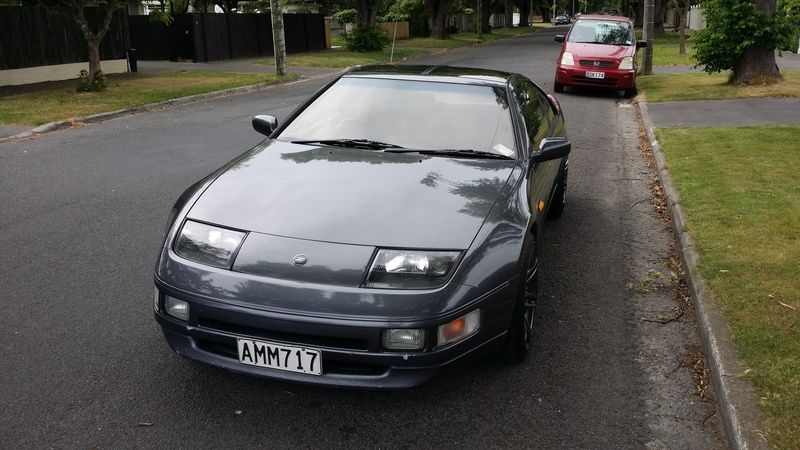
So I decided to get another project to muck around with to stop me pulling things apart on the 280Z plus Craig is building lots of cool shit and I am jealous. Requirements were it had to be Nissan, be cheap, have 4 seats (the 280Z is not overly family friendly) and be cheap.
I have always liked the old Z32 300zx's so decided to go down that path, they are a love it or hate it car but Im cool with that. Upsides of the Z32 are obviously you can pick them up for next to nothing these days, there are lots of spare parts available for them and they are quite a lot of car for the money. The downside is they are are a bitch to work on due to engine layout/space restrictions, you have to pull the engine to change the washer fluid.
Plan for this thing is just a fun budget build, use cheap or second hand parts where possible, take to the odd track day and drive it.
So knowing it was probably a stupid idea i started looking around and found cheap semi tidy 2+2 NA manual in Christchurch. So site unseen, Craig and I jumped on a plane flew down, met the guy at the airport, dropped some cash on the thing and road tripped it back to Aucks which was mint.
When we picked it up


Mean trip home

The car has over 200K Kms on it and leaked oil from every seal imaginable, interior was filthy and it had an horrific pitstop special exhaust system that was stupidly loud and totally shit. Good points were body was fairly tidy, came on some rough 18x9.5s, gearbox felt ok and car drove pretty sweet.
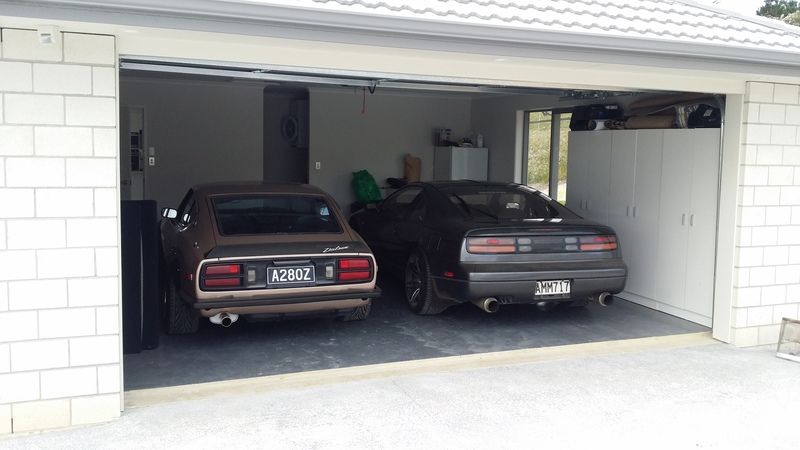
At home with the 280

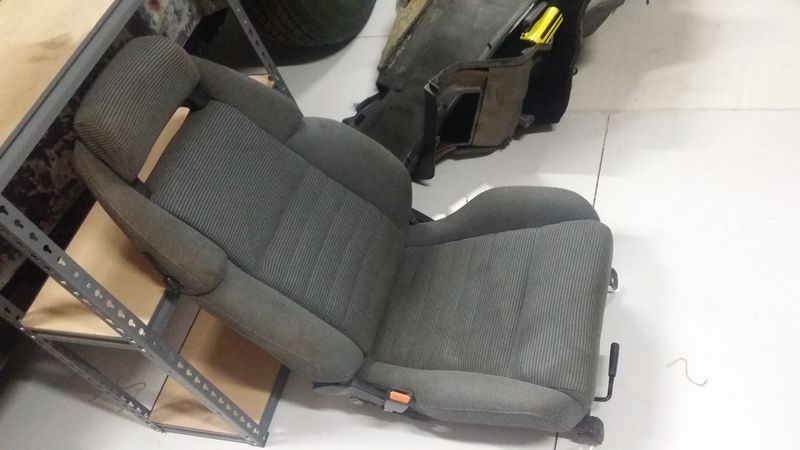
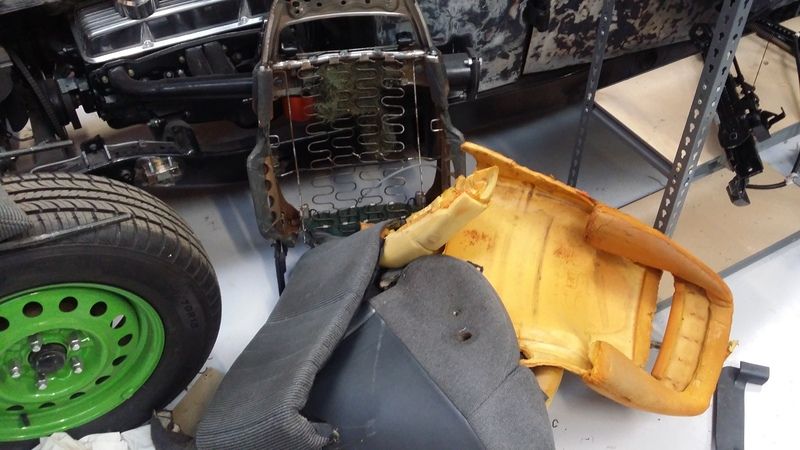
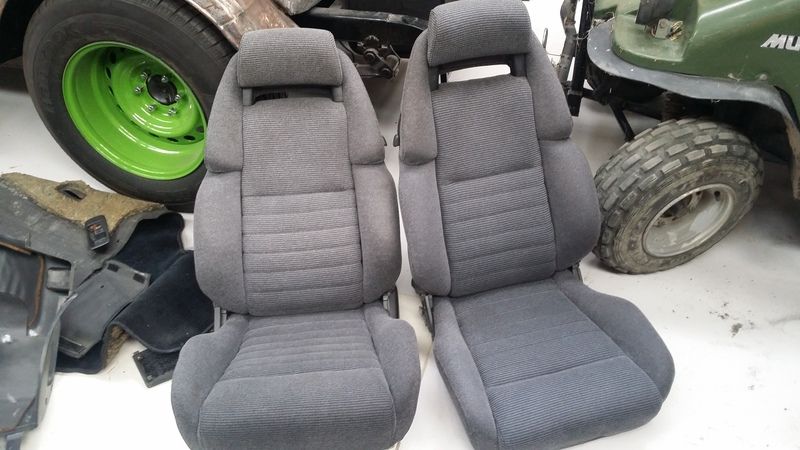
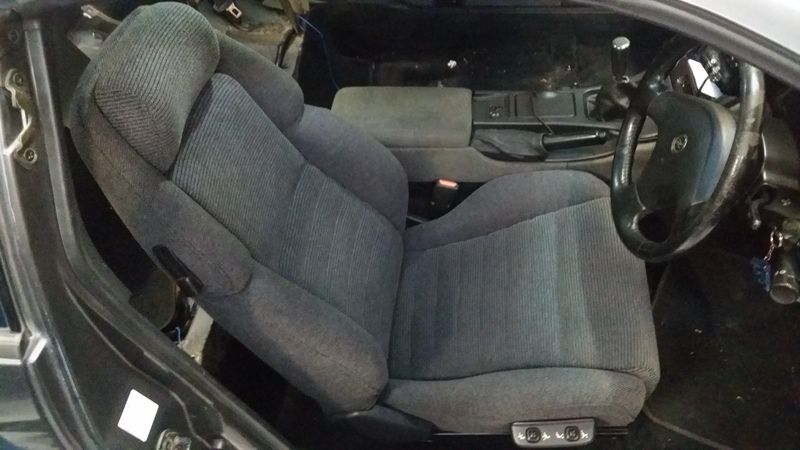
When i got it home the first thing that needed attention was the bio-hazard of an interior. It was disgusting, the drivers seat was torn and the dash was lifting around the windscreen air vent which I believe is fairly common. Every old 300zx has a torn drivers seat which looks crap, i wanted to keep the seats as they are cool 90s retro with motors in them so decided to re skin the drivers seat. I found a tidy passenger seat online then proceeded to strip it down and swap the skin over to the original drivers seat. This was a mission that took forever, I dont recommend.
Spare passenger seat I found

after ripping it to pieces

lots of scrubbing out years of filth, ended up with two fairly tidy seats with no rips etc. They are still wet in this pic

One non torn drivers seat back in the car

Rest of the interior got a full on scrub down, it was unreal how much crud came out of everything. I also pulled out the dash and glued down the area that was lifting around the air vent. Another job I did was to tidy up the vinyl trim on the rear quarter panel interior trims that were torn.
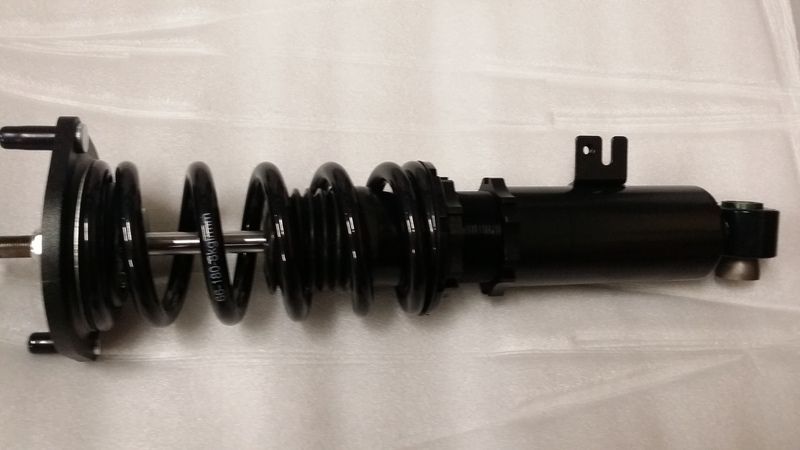
Next job was address the ride height. The car was rocking full on 4x4 spec stock suspension which had to go. Cheapest option I found was some dodgy ebay style coil overs, yep they are probably made from recycled watties baked bean cans but they were cheap so they were in.

Threw them in and adjusted height to something that looked more respectable


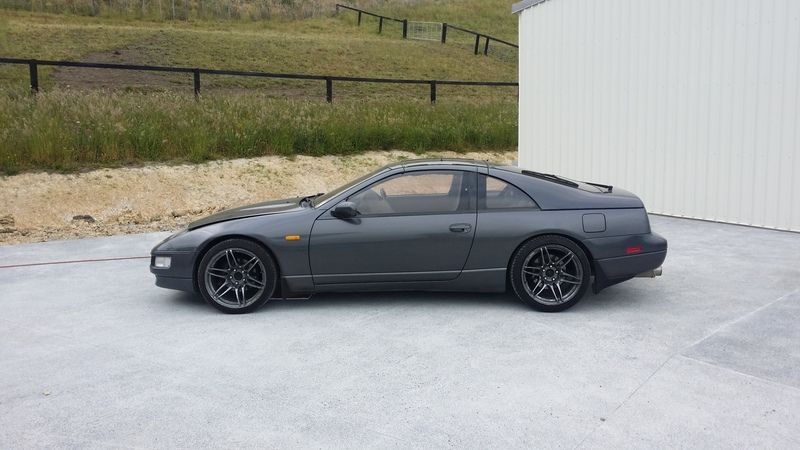
There is still scope to go lower but looks better for now

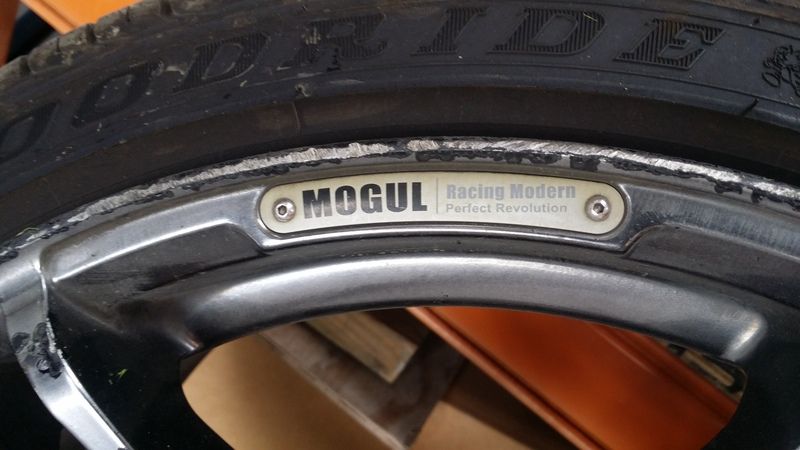
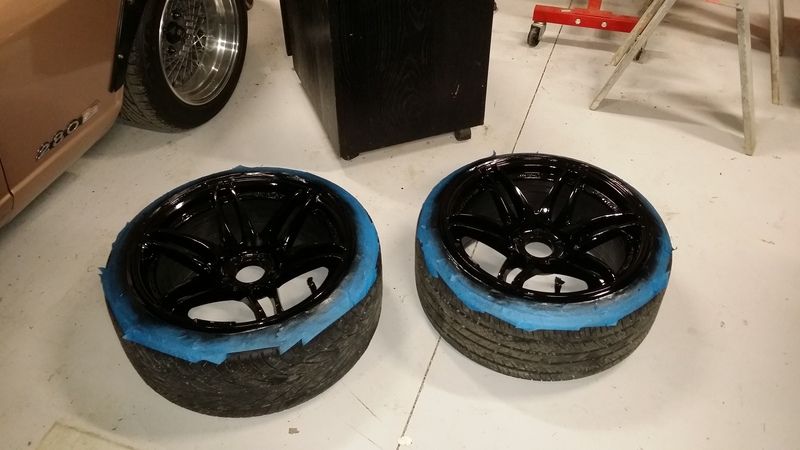
The car came on a set of 18x9.5 +15ET china spec Cosmis wheels. They were were in a pretty sad state with some curbing and stone chips etc. In an ideal world I should replace them with something decent but thats not happening so decided to tidy them up as best I could.
You have to be a mogul when you are racing modern...WTF

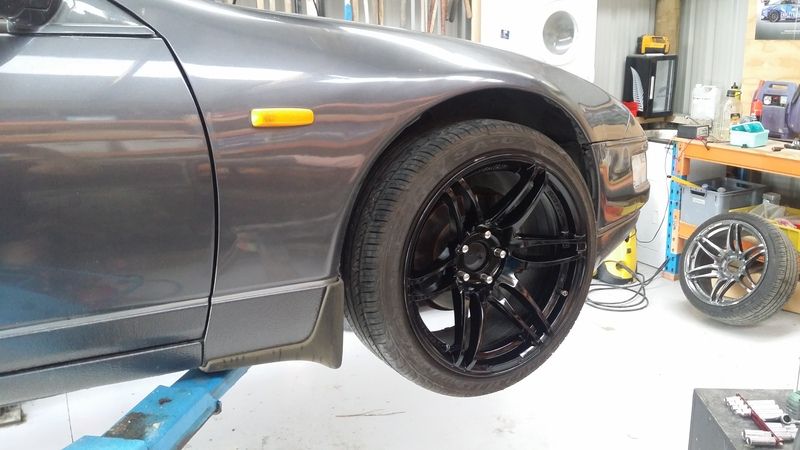
Spent a fair but of time sanding down all the chips and marks. Then sprayed gloss black to hide the evidence.

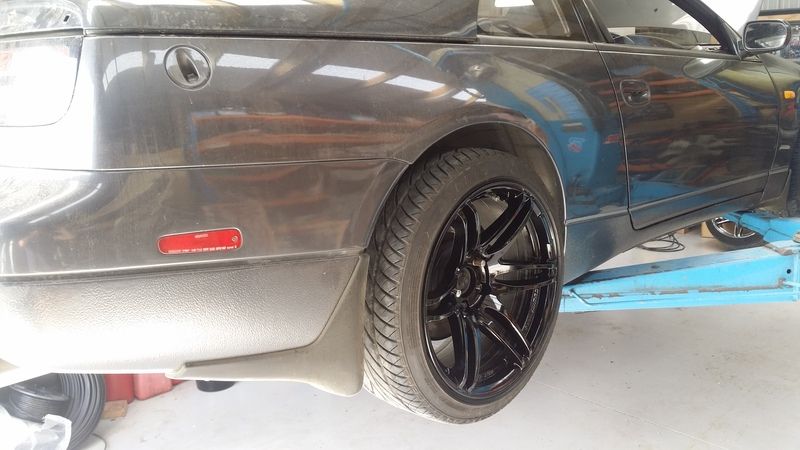
They look 100 times better than they did so they are staying for now. Need to change the wheel nuts to something non chrome


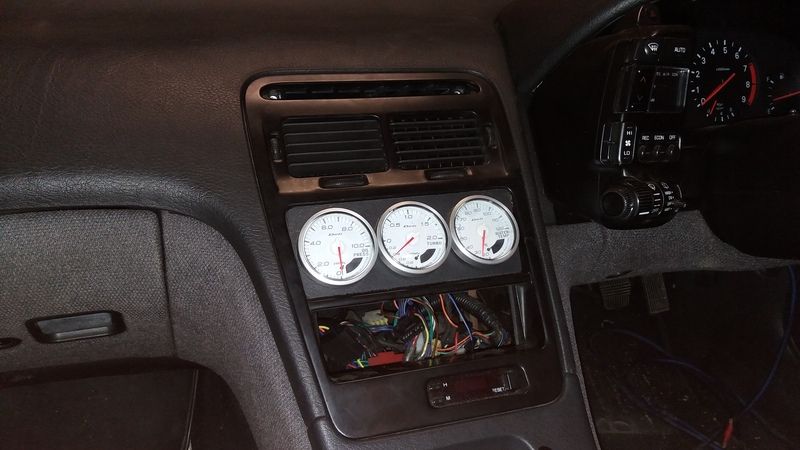
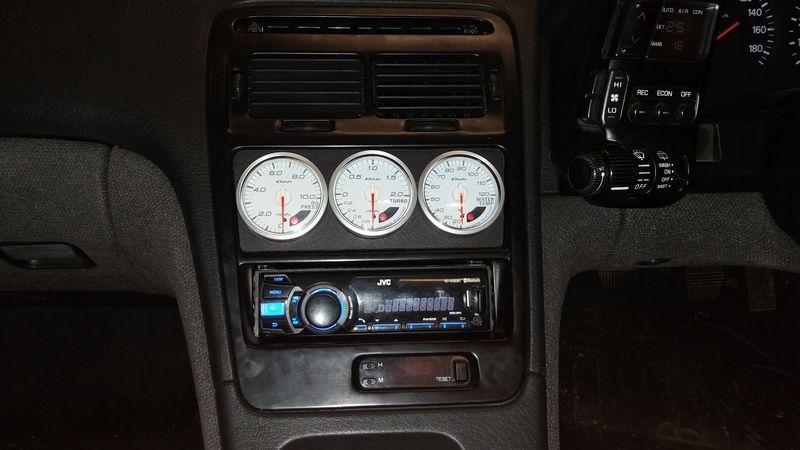
Old mate Craig had a super legit set of Defi gauges gathering dust on his shelf so i stole them, hacked up the center console and made them fit. Gauges are worth more than the whole car, cheers bro!


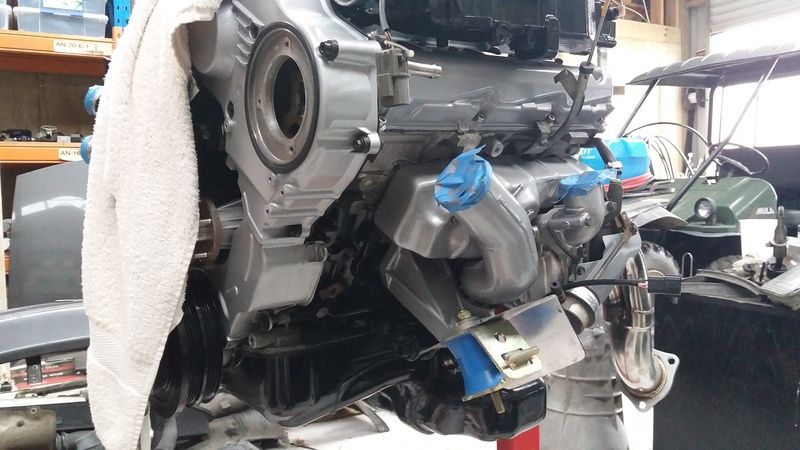
Next thing to address is the engine. The tired VG30DE had to go, it was leaking oil real bad and is slow. I had initially thought of throwing in a RB25 for something different but by chance ended up getting hold of a supposedly low km VG30DETT twin turbo motor for super cheap from the Mrs uncle who randomly had it sitting around in his shed. Fitting a VG30DETT into a NA Z32 is meant to be relatively straight forward, you can use the NA loom etc. My car is factory manual, the NA and TT gearbox internals are identical but the TT version has a slightly larger bell housing, the internet told me it should all fit somehow...
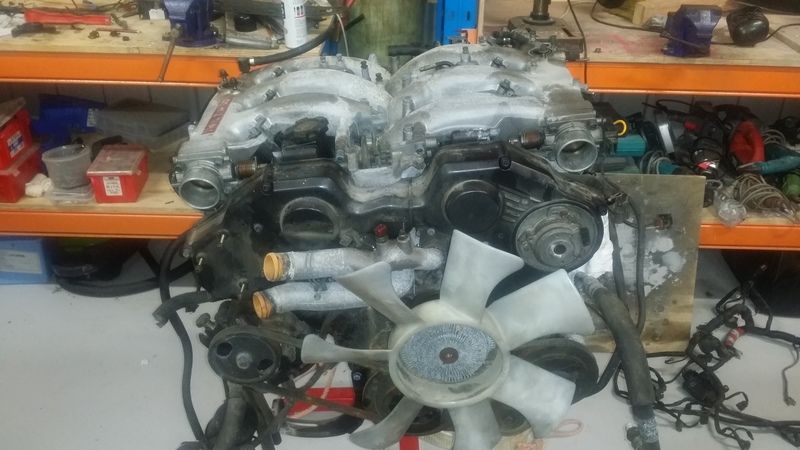
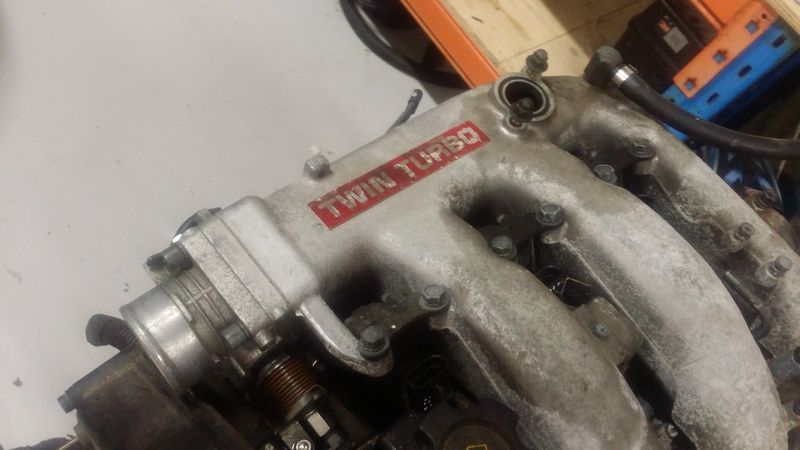
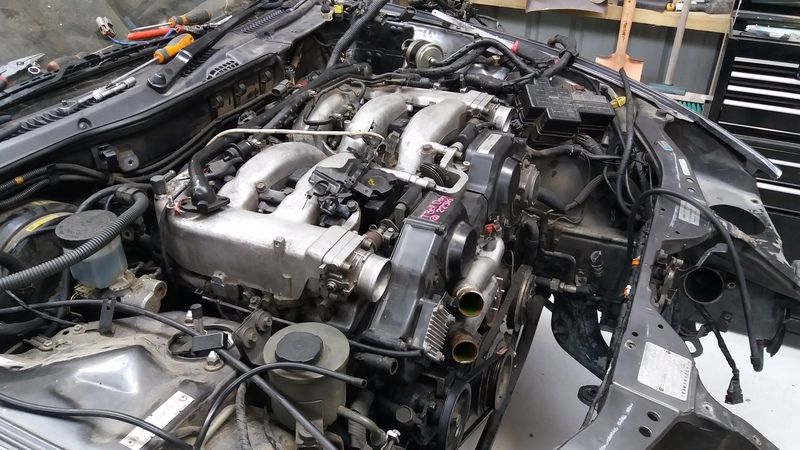
The turbo engine had been sitting in his shed for years so was looking a little worse for wear. It turned over freely so figured I would take a chance on it. This was how it looked when i got it home.


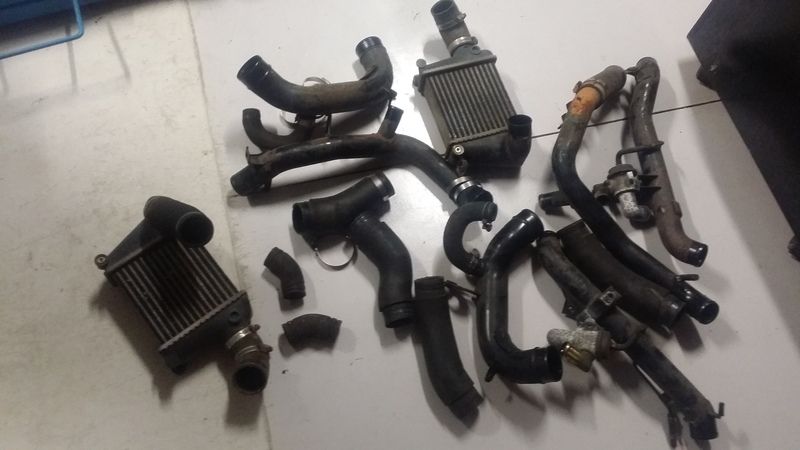
I also tracked down a complete stock intercooler plumbing kit

I gave it a good de-grease and waterblast then started stripping things off to tidy it up a bit. I didnt know anything about VGs so was going to be interesting.
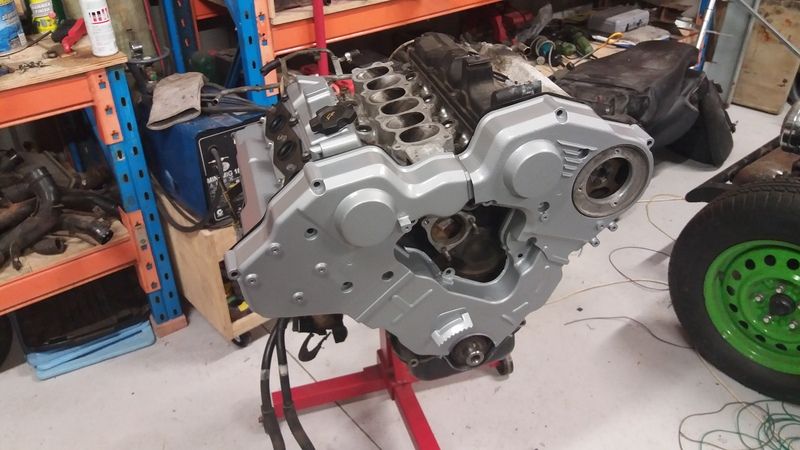
I ordered a timing belt kit, water pump and rocker cover gasket kit from the states. Then proceeded to pull things off, clean, sand, prime, paint, refit, repeat...

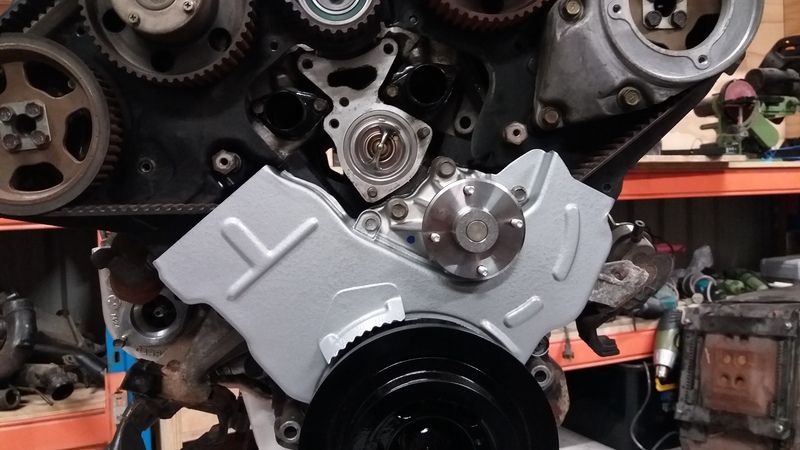
Fitted new timing belt, idlers, water pump, thermostat etc

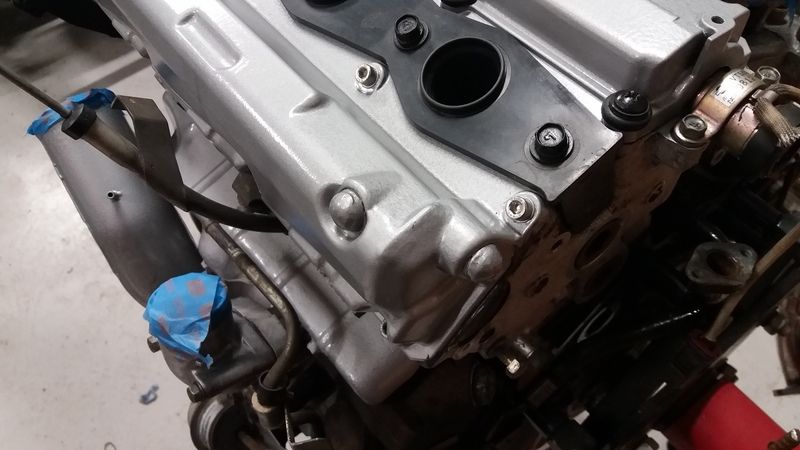
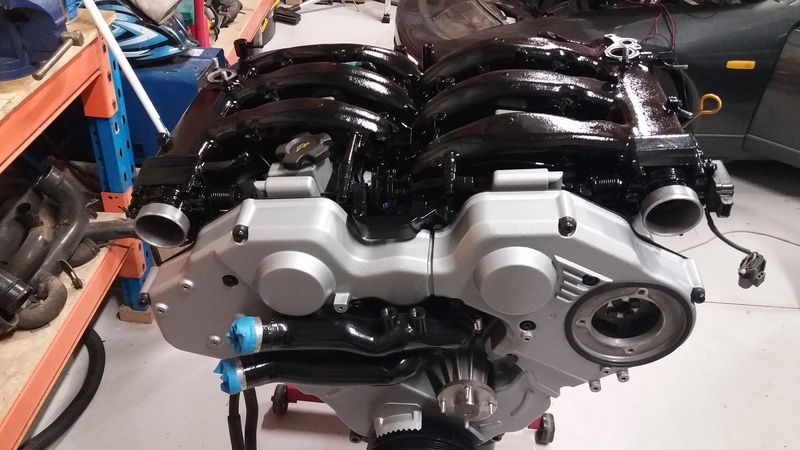
Painted up the timing covers so they look a but different, every VG i have seen has the stock black covers.

The stock T25 turbos looked in fairly good condition, no large amounts of shaft play and rotated nice and freely

I ordered a set of dump pipes from ebay in the states, they were ridiculously cheap and seem OK.


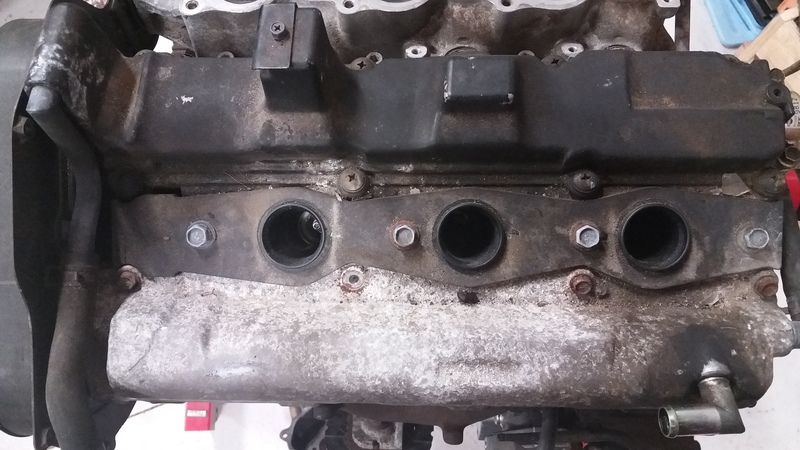
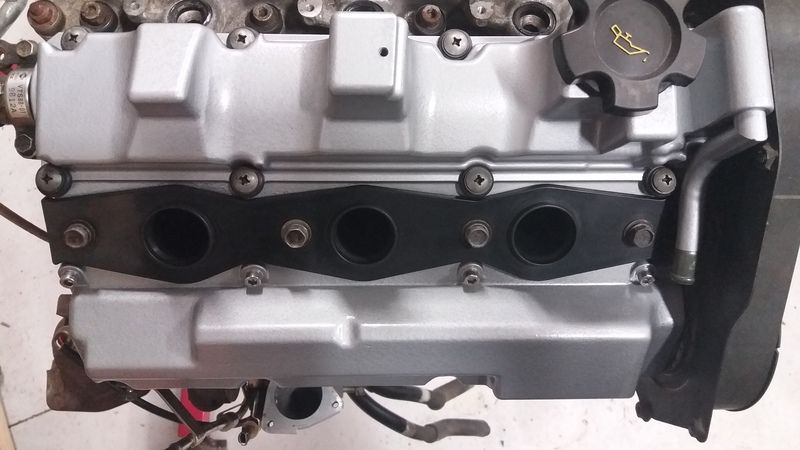
Painted the water inlet and outlet pipes black just to mix things up from the normal alloy finish most are


Pulled the injectors and replaced the o-rings and pintle caps

Painted the fuel rail gloss black

Nissan engineers were on acid back in the 90s and decided to try and include lots of crazy technology into the VG engine. The engine has an exhaust recycling system to reduce emissions on startup. It is known to fail over time so I deleted it and welded up the pipe on the manifold.

I also removed the PCV plumbing and welded up the ports on the rocker cover. I will be using an external oil breather tank.

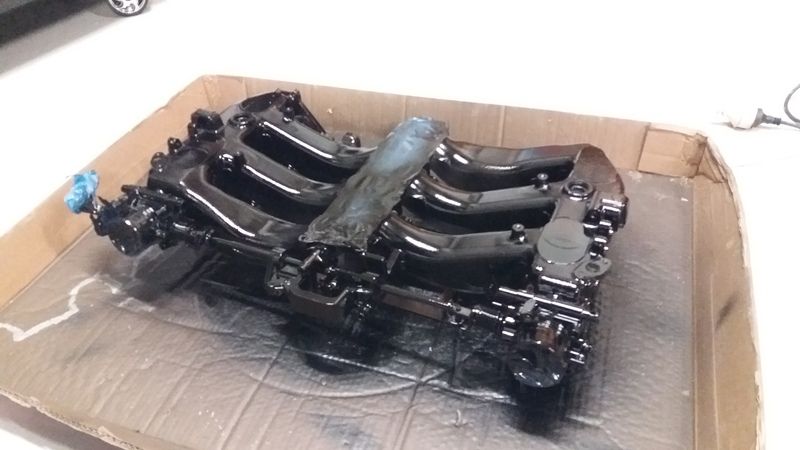
I also deleted all the additional water cooling lines that run under the plenum. Again these apparently begin to leak over time and arent needed. I stripped down and painted the plenum exoxy gloss black to match the rest of the engine colors.


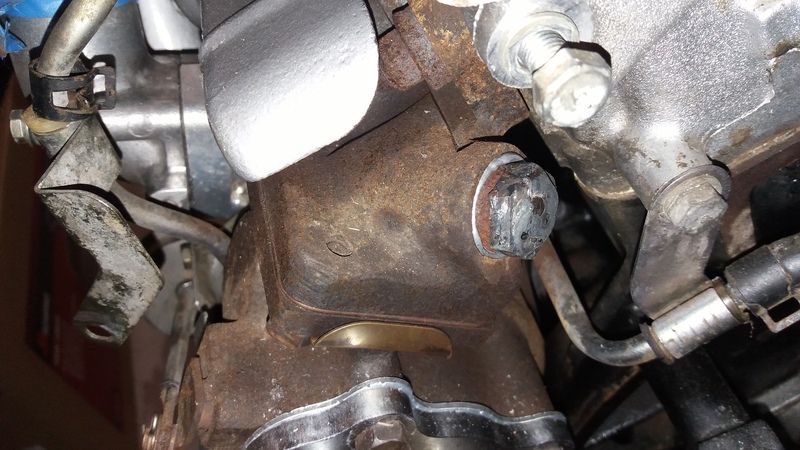
Also painted up the heat shields and other small bits, waste of time really as you will never see any of it. The factory NA engine mounts from my old engine were shot, they had cracked right through. I found some cheap nolathane ones online, I made some alloy heat shields for them as some threads online said the nolathane mounts can fail due to heat.

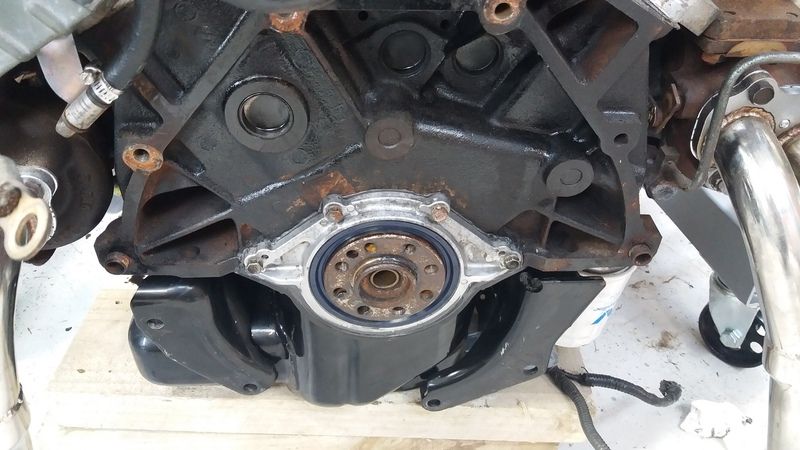
Also replaced the rear main seal while everything was apart

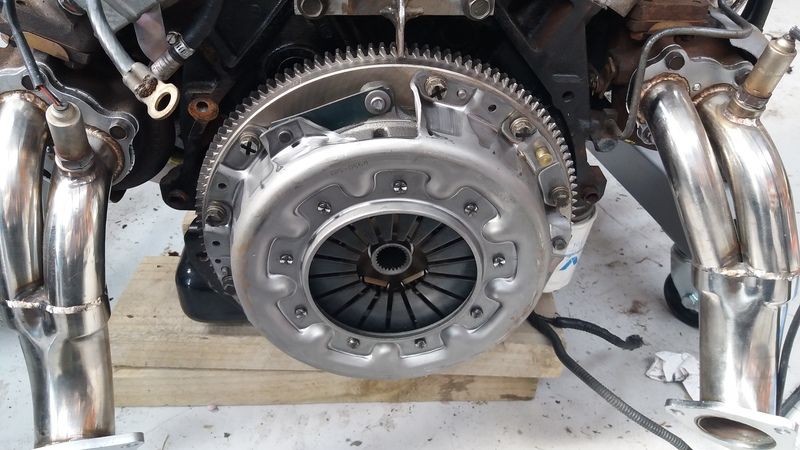
I reused the flywheel from the old NA engine, it is smaller than the one that comes with the TT motor but it fits with my gearbox so had no option there. NA VGs use the same clutch layout as RBs so I fitted a heavy duty Clutch Industries RB25DET clutch.

Out came the tired old DE, getting at some of the plugs was a real bitch. You really need to be the size of a leprechaun to work on these engines.


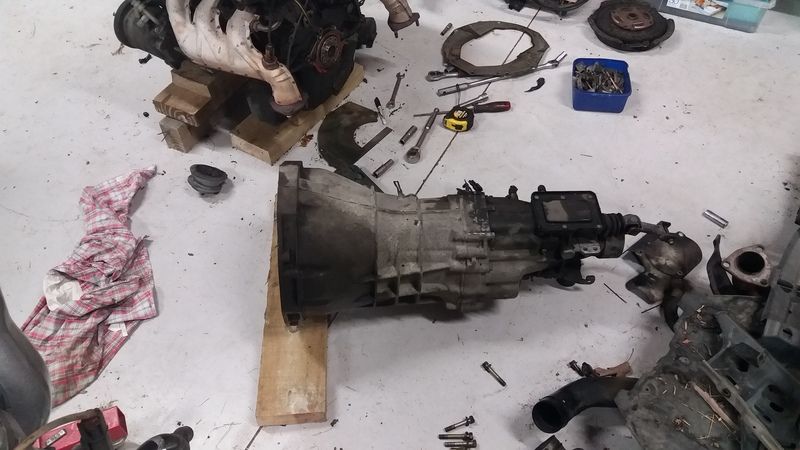
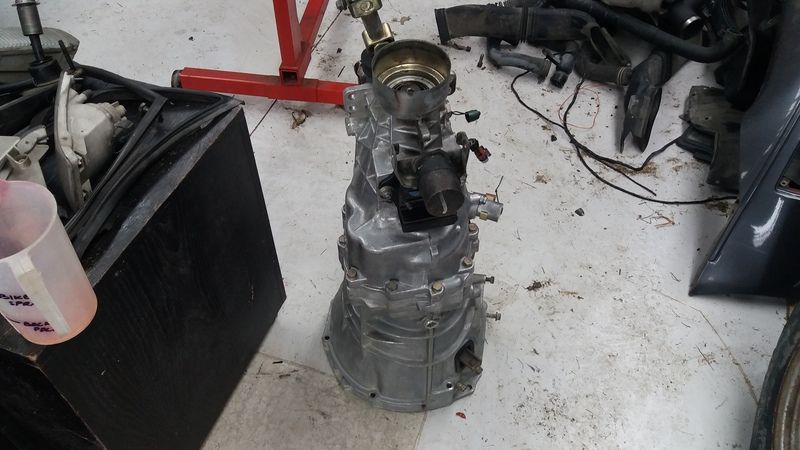
removed the gearbox and its 20+ years of grime

Used degreaser and oven cleaner to clean it up as best I could

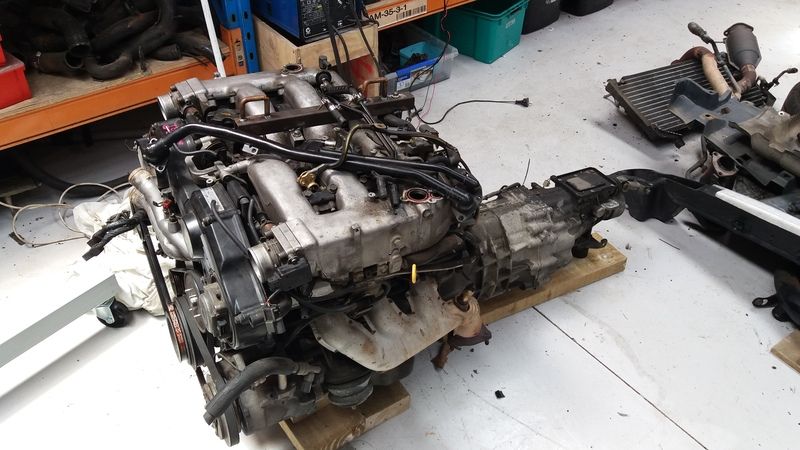
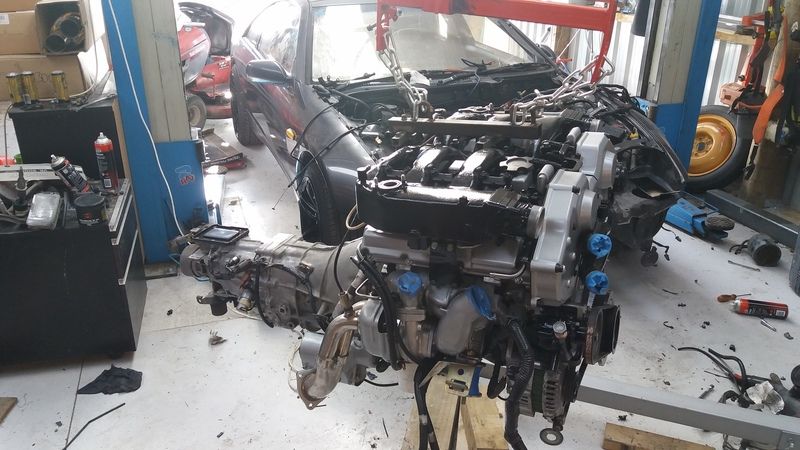
Engine and gearbox mated up, ready to go in car

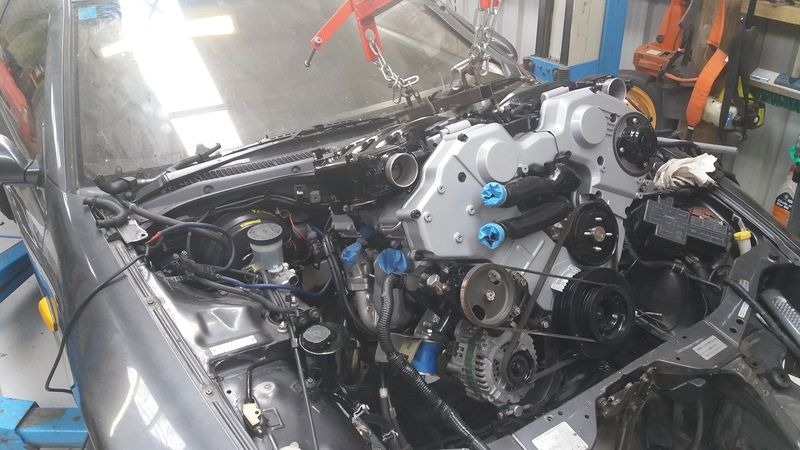
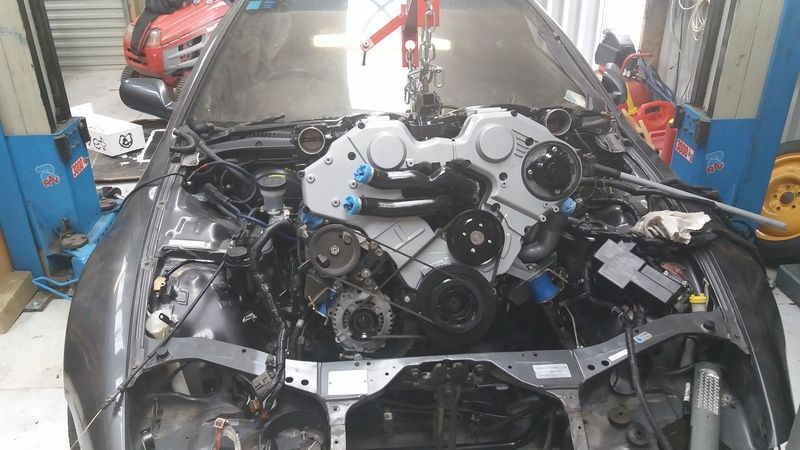
In goes the DETT


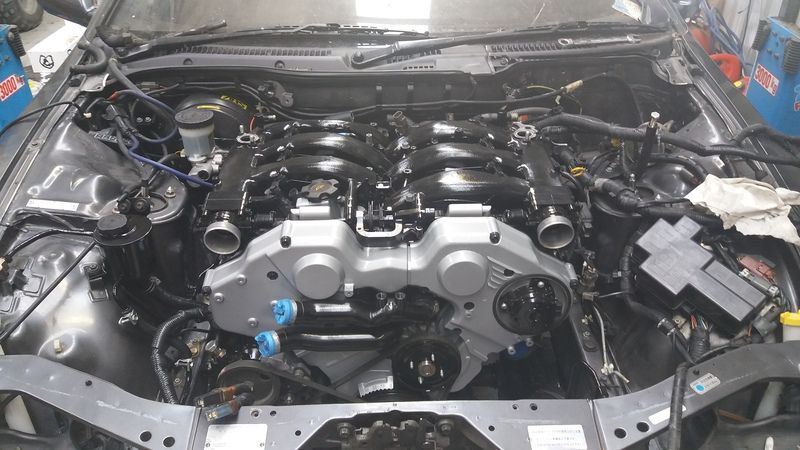
Boom

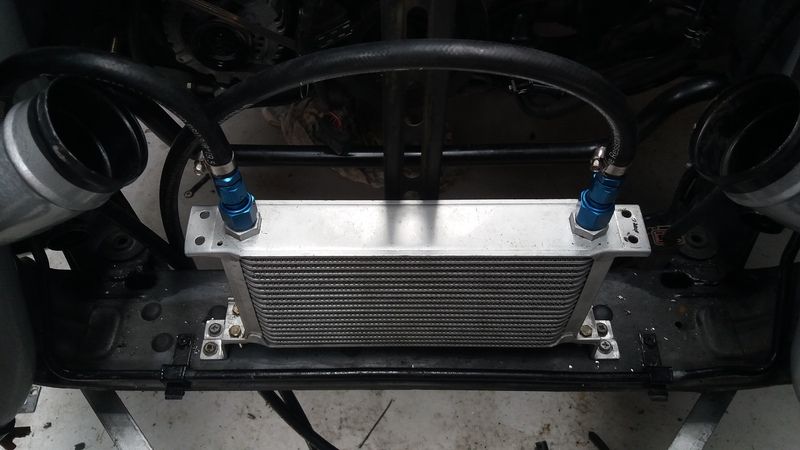
Factory twin turbo cars have a stock external oil cooler, NA versions dont so raided Craigs parts bin again. Added a few AN fittings and sorted.

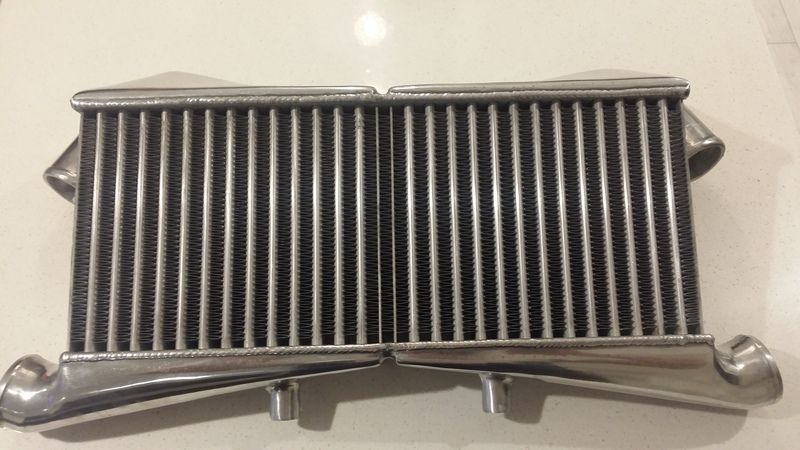
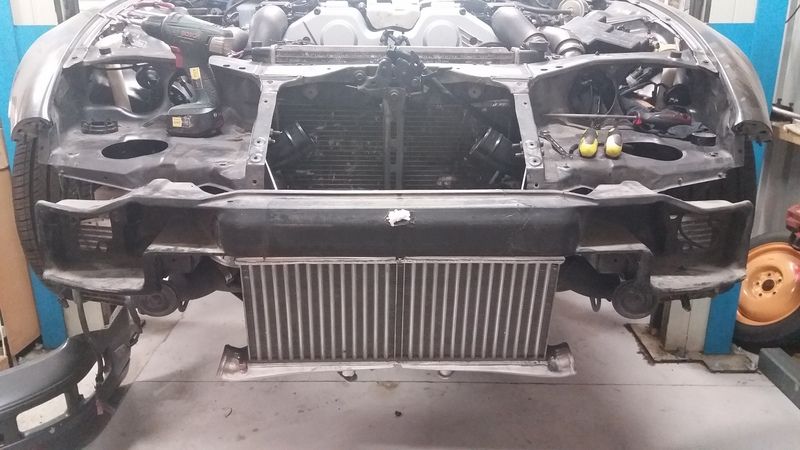
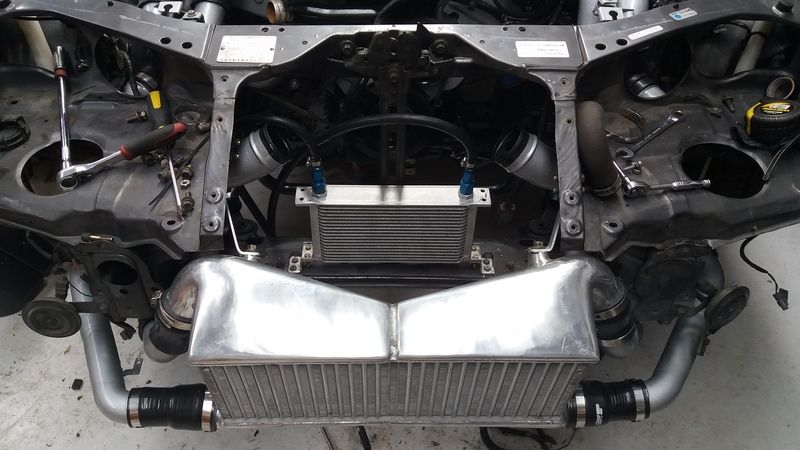
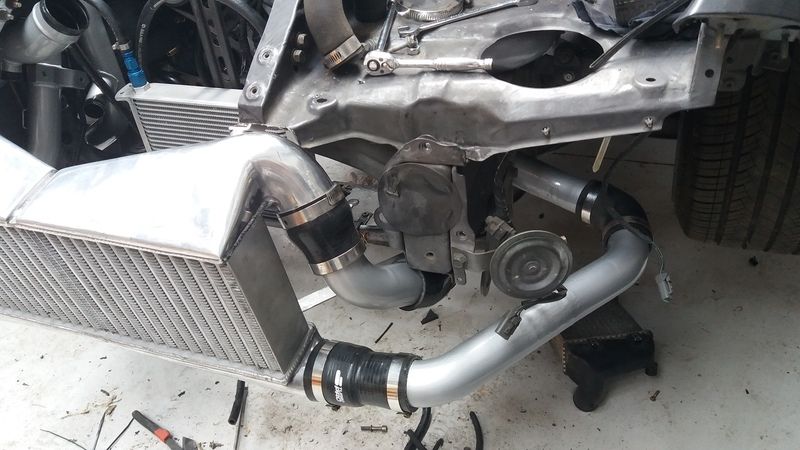
I was going to used the stock intecoolers that I scored but ended up buying a dirt cheap ebay split front mount cooler for some stupid reason. I think it is a copy of the Greddy version?

It is a tight fit, had to cut away some of the plastic bumper support to make room


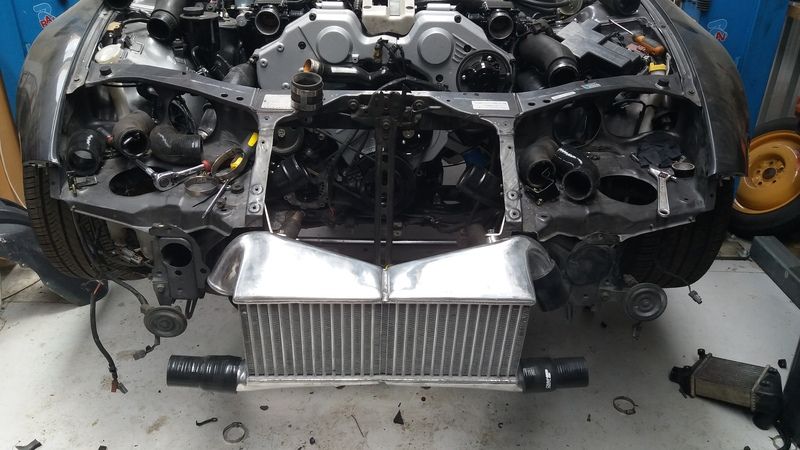
Then I made up a set of cooler pipes to fit by cutting up the stock ones I had, combined with some silicone joiners it worked out pretty sweet


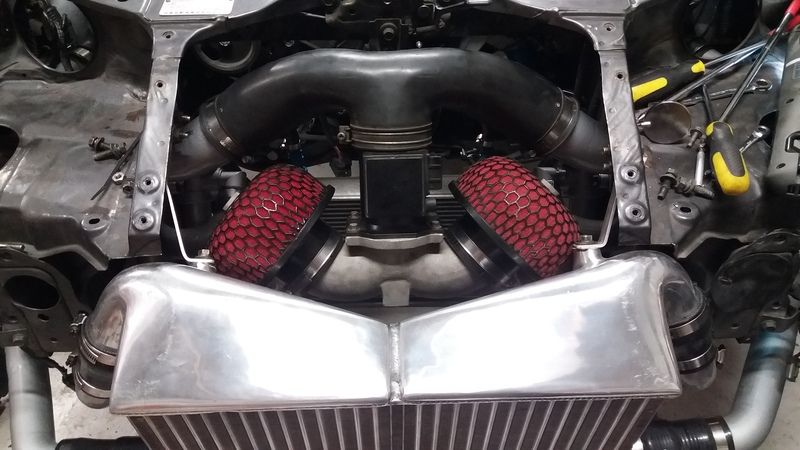
My car came with a china spec Greddy copy twin mushroom intake pipe

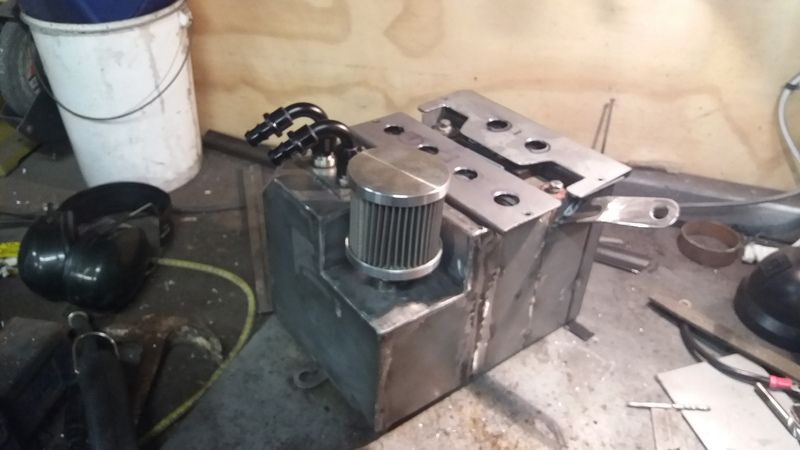
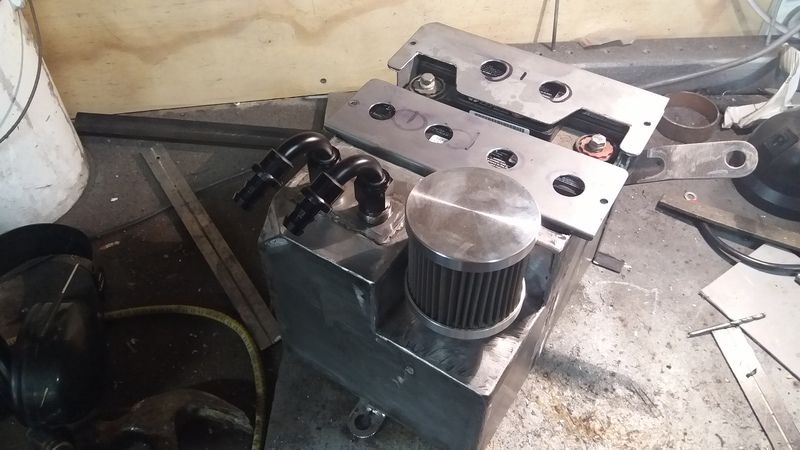
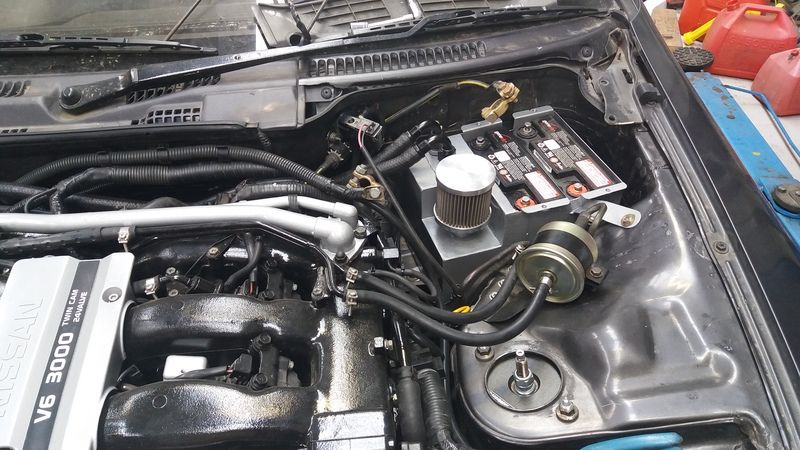
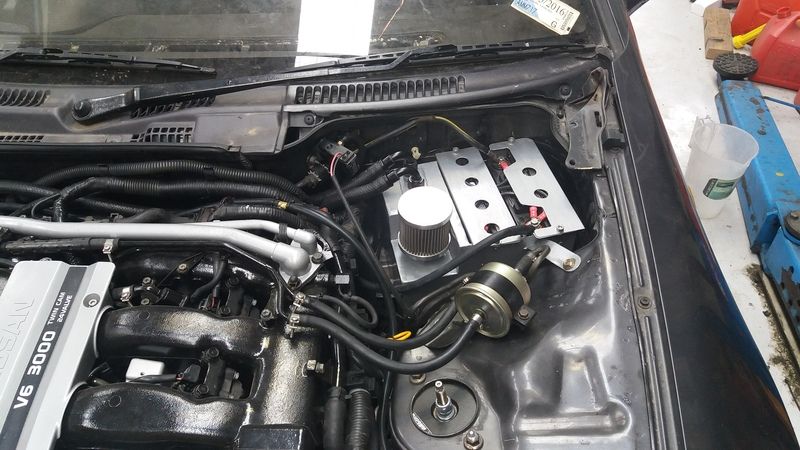
I needed to fit an oil breather tank somewhere in the engine bay so decided to run with a small batter setup and combine that with a breather. Knocked up with this disaster


Painted up and installed

Will do the job

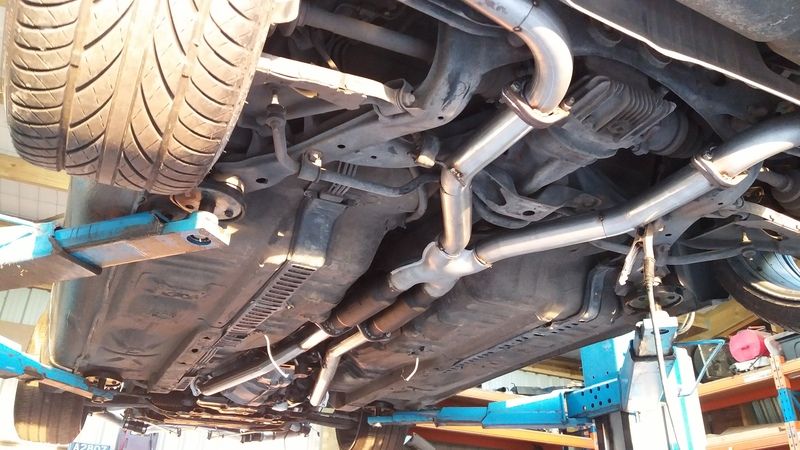
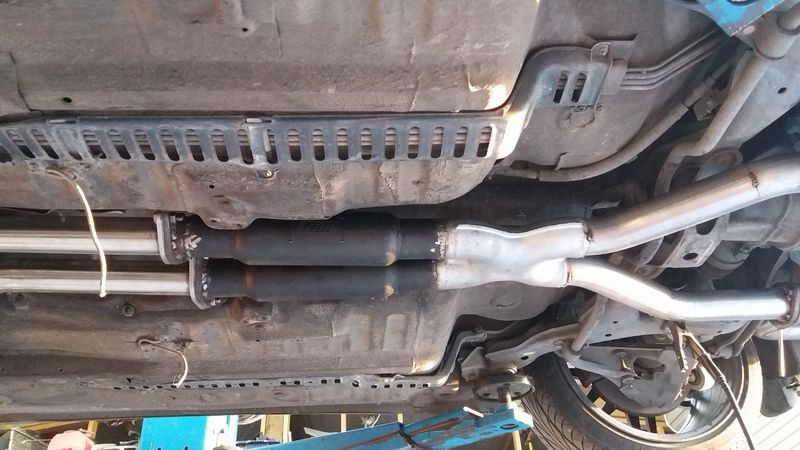
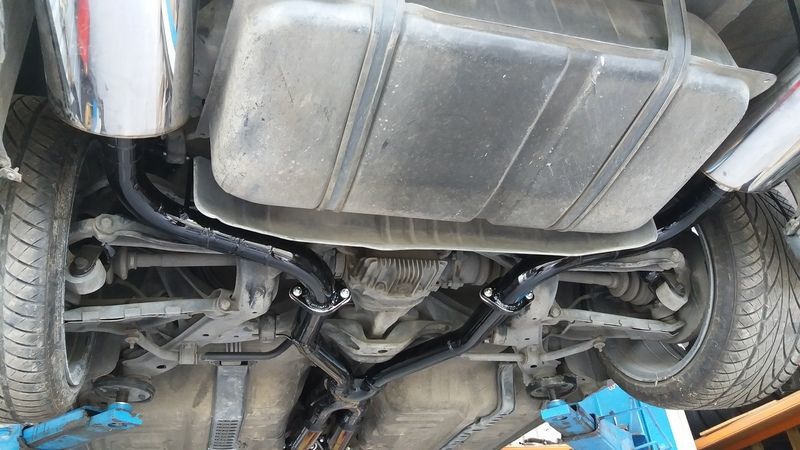
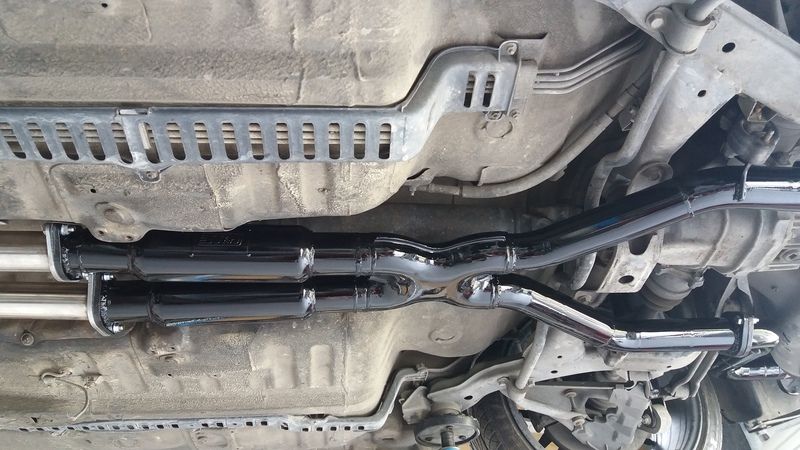
Next job was to make up an exhaust.
The dump pipes i bought off ebay included mid pipes so i was one third of the way there.
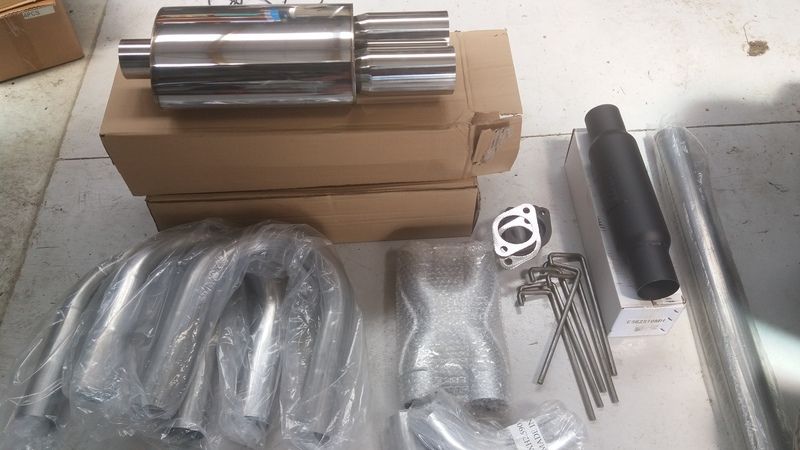
Picked up a bunch of 2.5 inch bends and mufflers etc

Started piecing it all together, just tacked in place to suss out the layout

Went with a crossover section and two small mid resonators

Once i had the layout sorted welded it all up and painted.


Fitted the NA loom up to the motor. Some of the old coil plugs were broken so replaced them with new ones. I had to relocate the lower radiator mounts as the TT radiator is narrower and thicker than the NA version.
I had one small issue with one of the loom grounds resulting in no power to the coils but once I sorted that the engine fired up nicely which was awesome. Used a consult cable to make sure everything was working as it should. Adjusted CAS to match engine timing to ecu timing. Oil pressure seems good, temp OK and idles nice and smooth so fingers crossed.
I am waiting on a few small parts to arrive, alloy radiator as the factory one I have is a bit sketchy, factory fan shroud and radiator top mounting brackets.

I have taken for a few drives up and down the road an everything seems OK so far. Car is only on wastegate boost at this stage (7psi) but I have a profec boost controller installed so will have a play with that and turn it up a bit.
Washed it for the first time in forever, was such a mint weekend


280 got a clean also

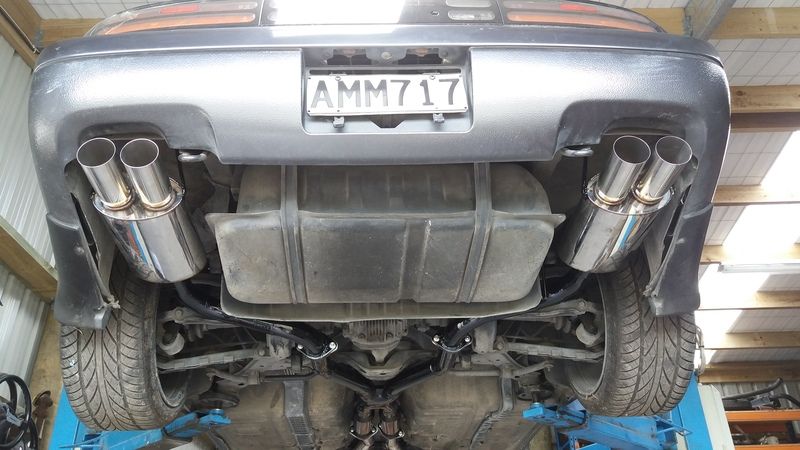
Next step is tidy a few small things and get a new warrant for it. Then I will fit a wide band to it and may have a play with the ECU using Nistune software or romulator. I will need to upgrade the injectors at some stage and it will need a bigger fuel pump also.
Fun times
-
 34
34
-
oh man, how have I only stumbled across this thread now! Far out you do some great work, this zed is looking swish!!
cheers bro
-
- Popular Post
- Popular Post
Getting a few small jobs done over winter.
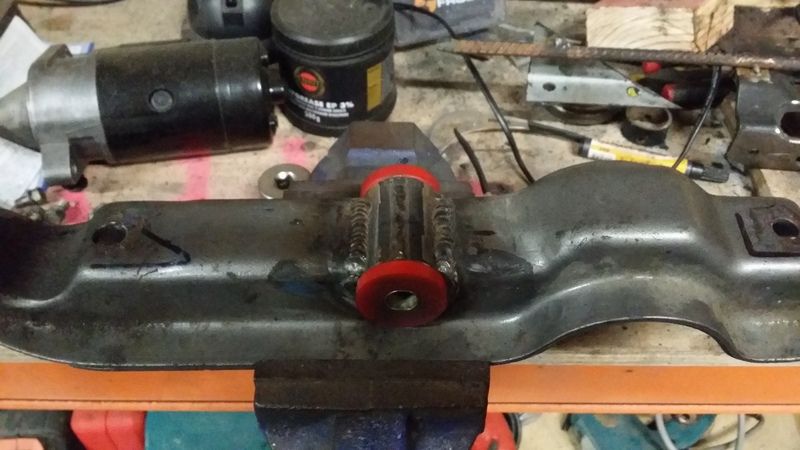
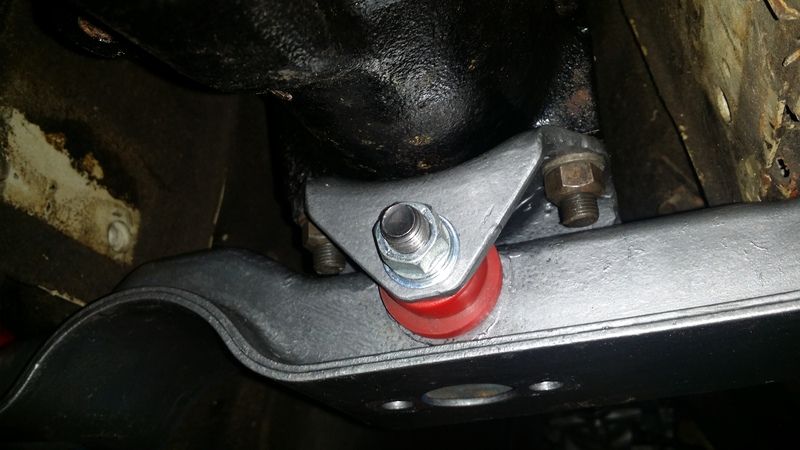
Wanted to build a new front diff mount as the Datsun factory setup is a pretty crap design that allows the diff nose to lift under load. I had hacked a factory mount up and doweled it (essentially making it sold mount) but that was not overly ideal so had another crack at it. Thanks to Mike for the idea on this style.Cut up the factory mount and built a jig to keep diff aligned. Welded in steel tube that fits a poly bush I had floating around. All mounted up. Holds the diff nice and solid with no lifting issues and also makes diff easier to remove as just slide out the main bolt.
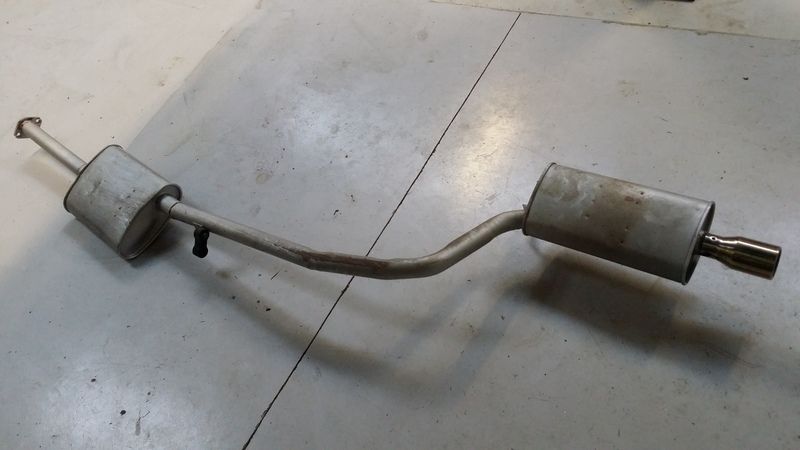
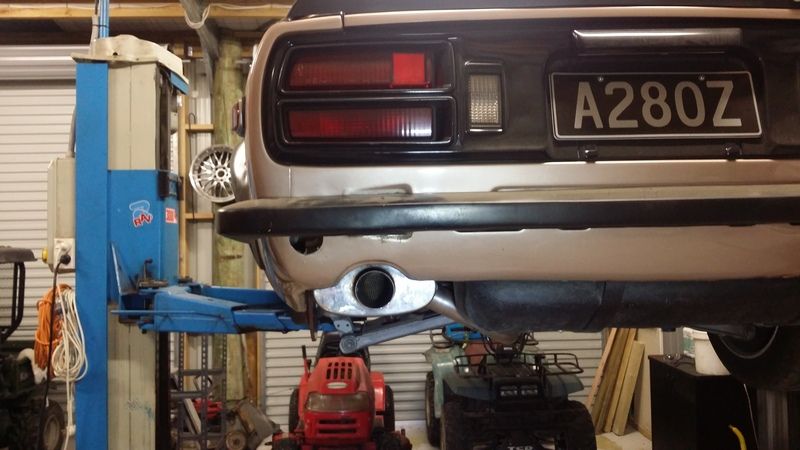
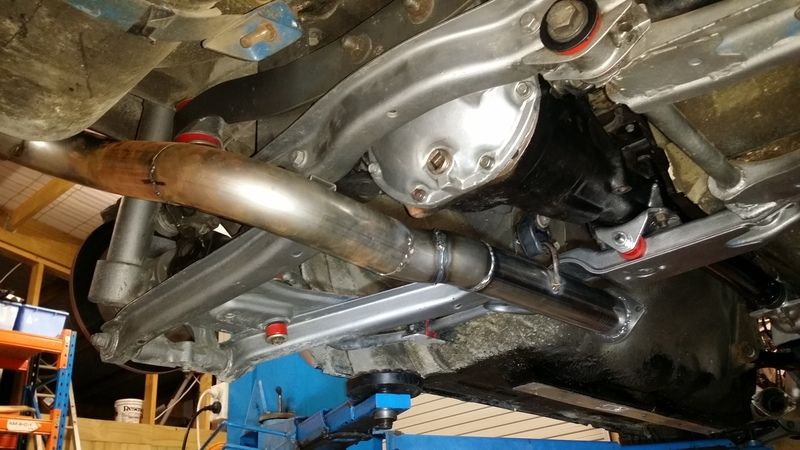
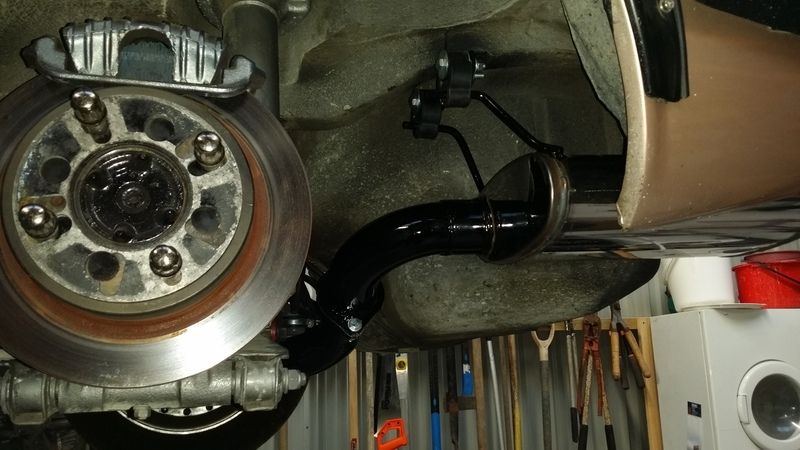
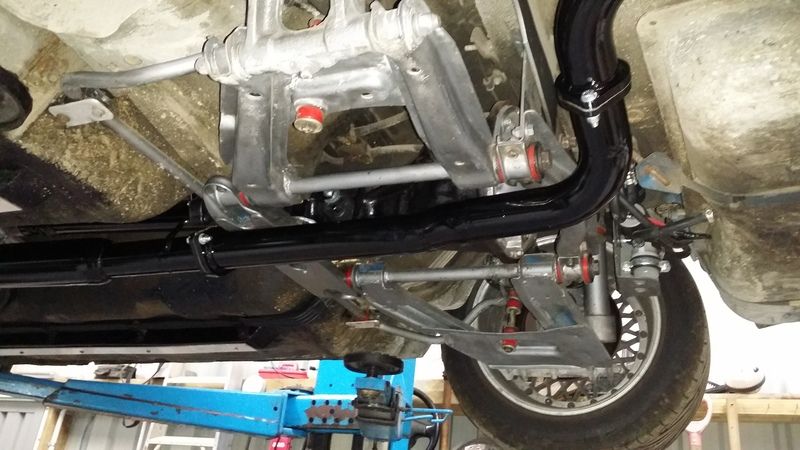
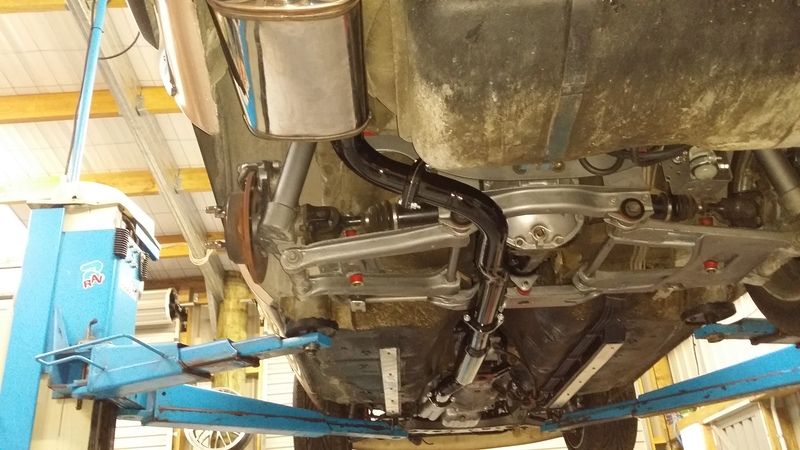
 Next job was the exhaust. The car came with a nasty old press bent 2" system that I have always wanted to get rid of. It hung way low and looked shit. Decided to go with a 2.5 inch system which is way overkill for my engine but what the hell.Hoist makes this job 1 billion times easier than trying to do under the car.
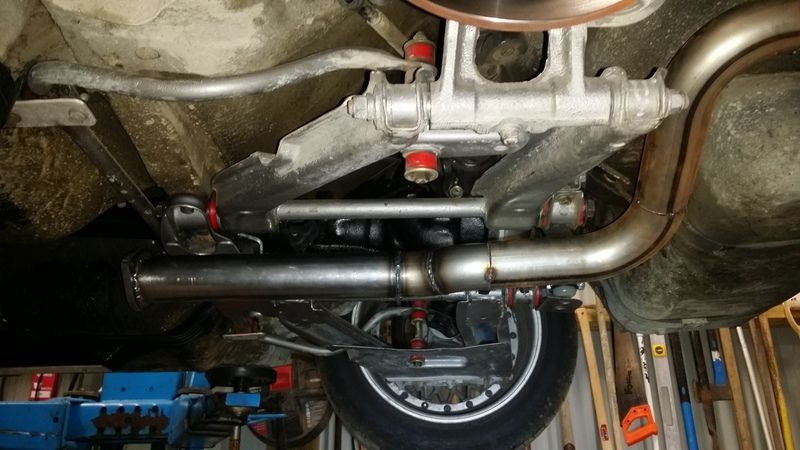
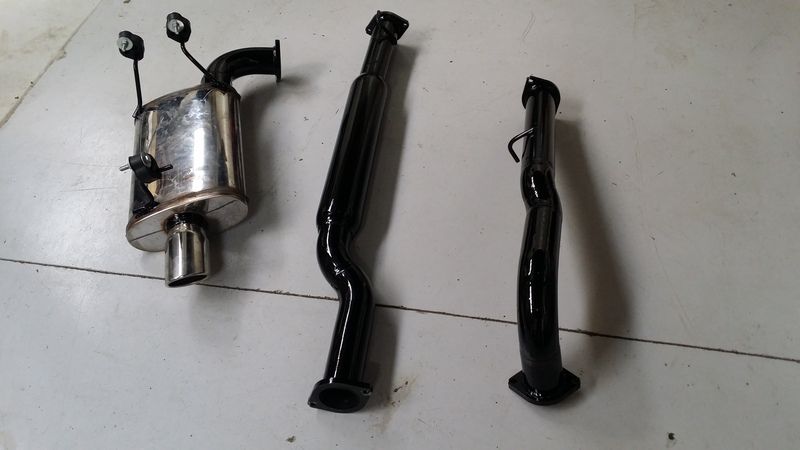
 I wanted it tucked up as to the body as possible. The system that came with the car only had 2 hanging points and was one piece so wobbled like crazy and was a mission to get on and off. New system is to have multiple hanging points and be 3 piece to make removal easier. The headers I stole from Craig had a reducer taking the outlet pipe from 2.5 to 2 inch so I simply cut off the reducer and added a 2.5 inch flange to match the rest of the system.Started with a small straight through stainless rear muffler and added a angled tip that looked OK. The rear muffler has 3 mounting points so it is nice and solid.
 Then worked my way forward, trying to keep the piping as close to the body as possible
 Went with a basic straight through resonator mid system. Once happy with the layout I added flanges so that I can take out the middle section of exhaust to gain access to diff etc. Then cleaned up and painted, knowing it will burn off 30 seconds after starting the car.
 Came out OK and sounds better than the old one so I am calling it a win


-
 18
18
-
.. That shed. Dam man, living the life.
Cheers bro. Just need the hoist now...
-
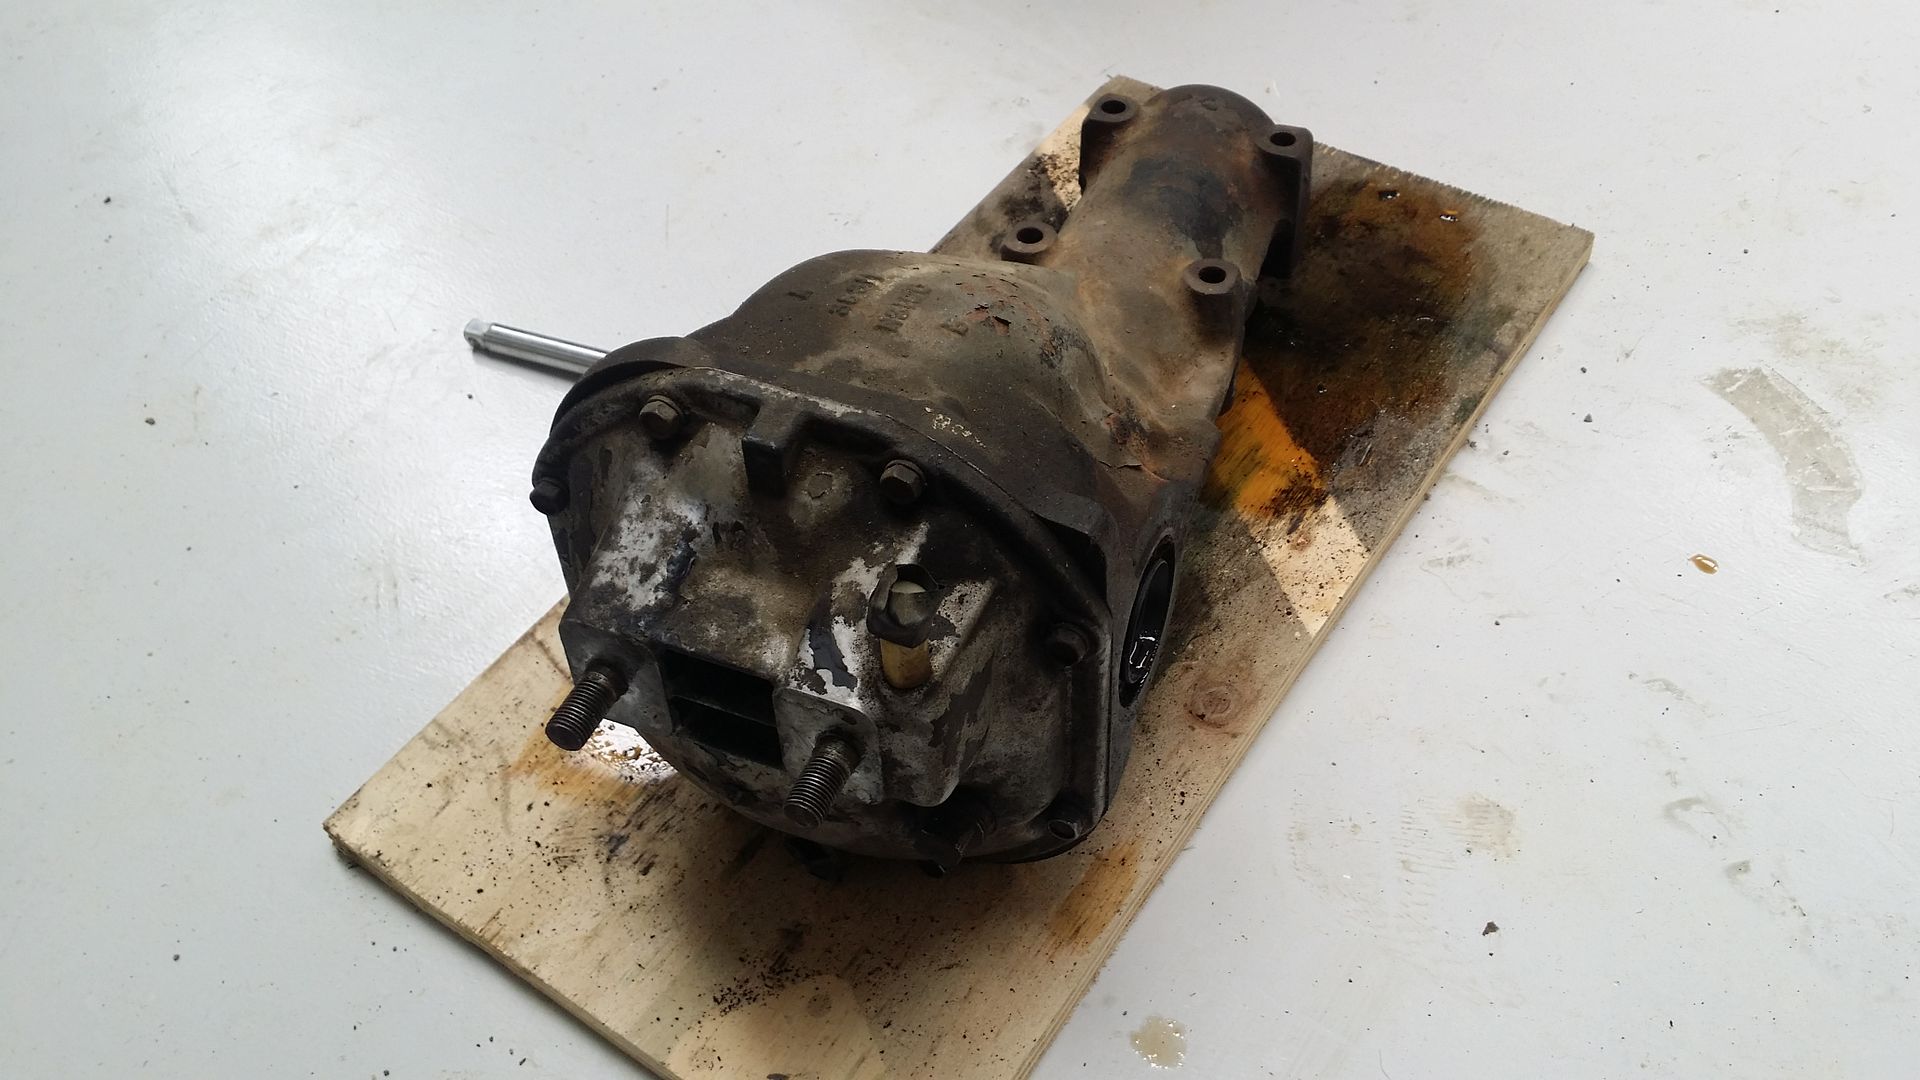
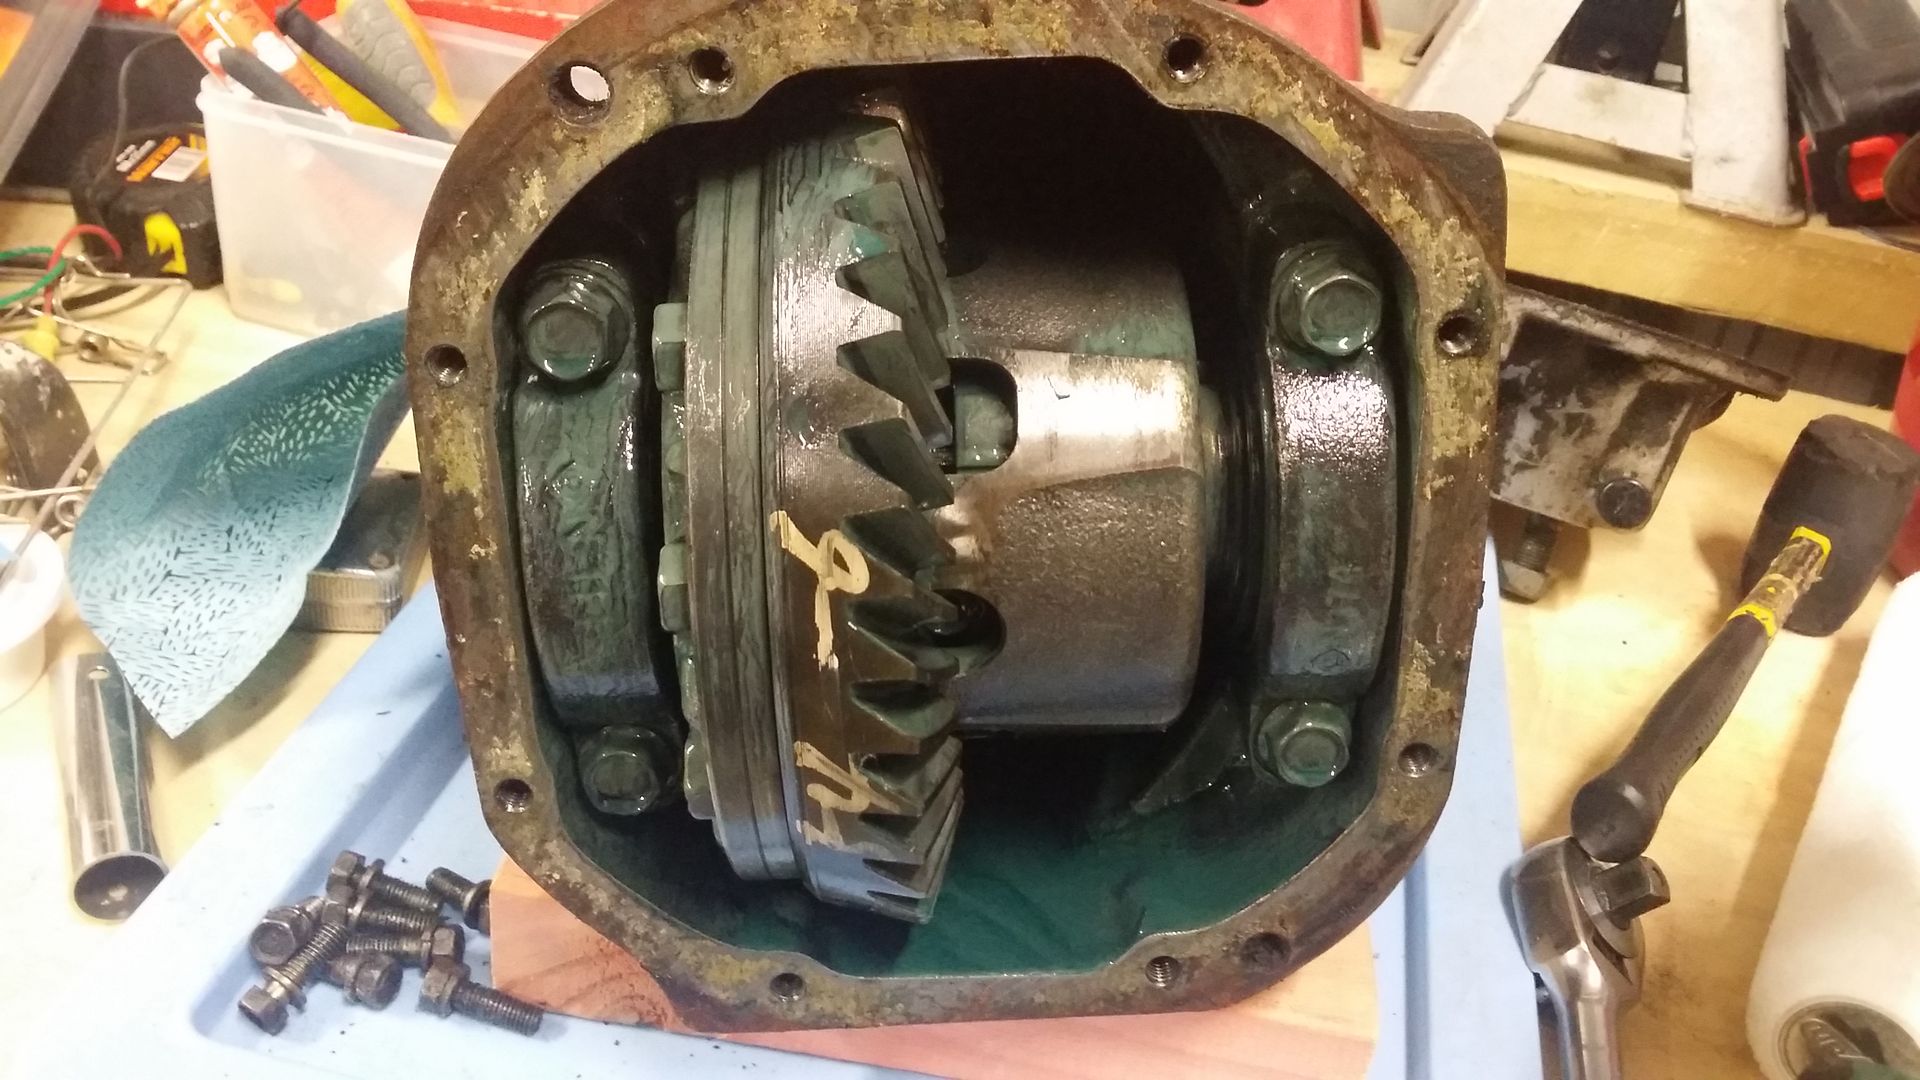
So I managed to score a z31 CLSD R200 with a NISMO center by a lucky fluke earlier this year. As far as I am aware it has a 3.7 ratio.Ripped out the old 3.3 (I was told, will open and confirm) open wheeler. Only thing that needs swapping over is the front drive shaft flange as the Z31 one is different. Cool thing about this swap is the S30 stub axles plug straight into the Z31 CLSD center so it is a really easy conversion.
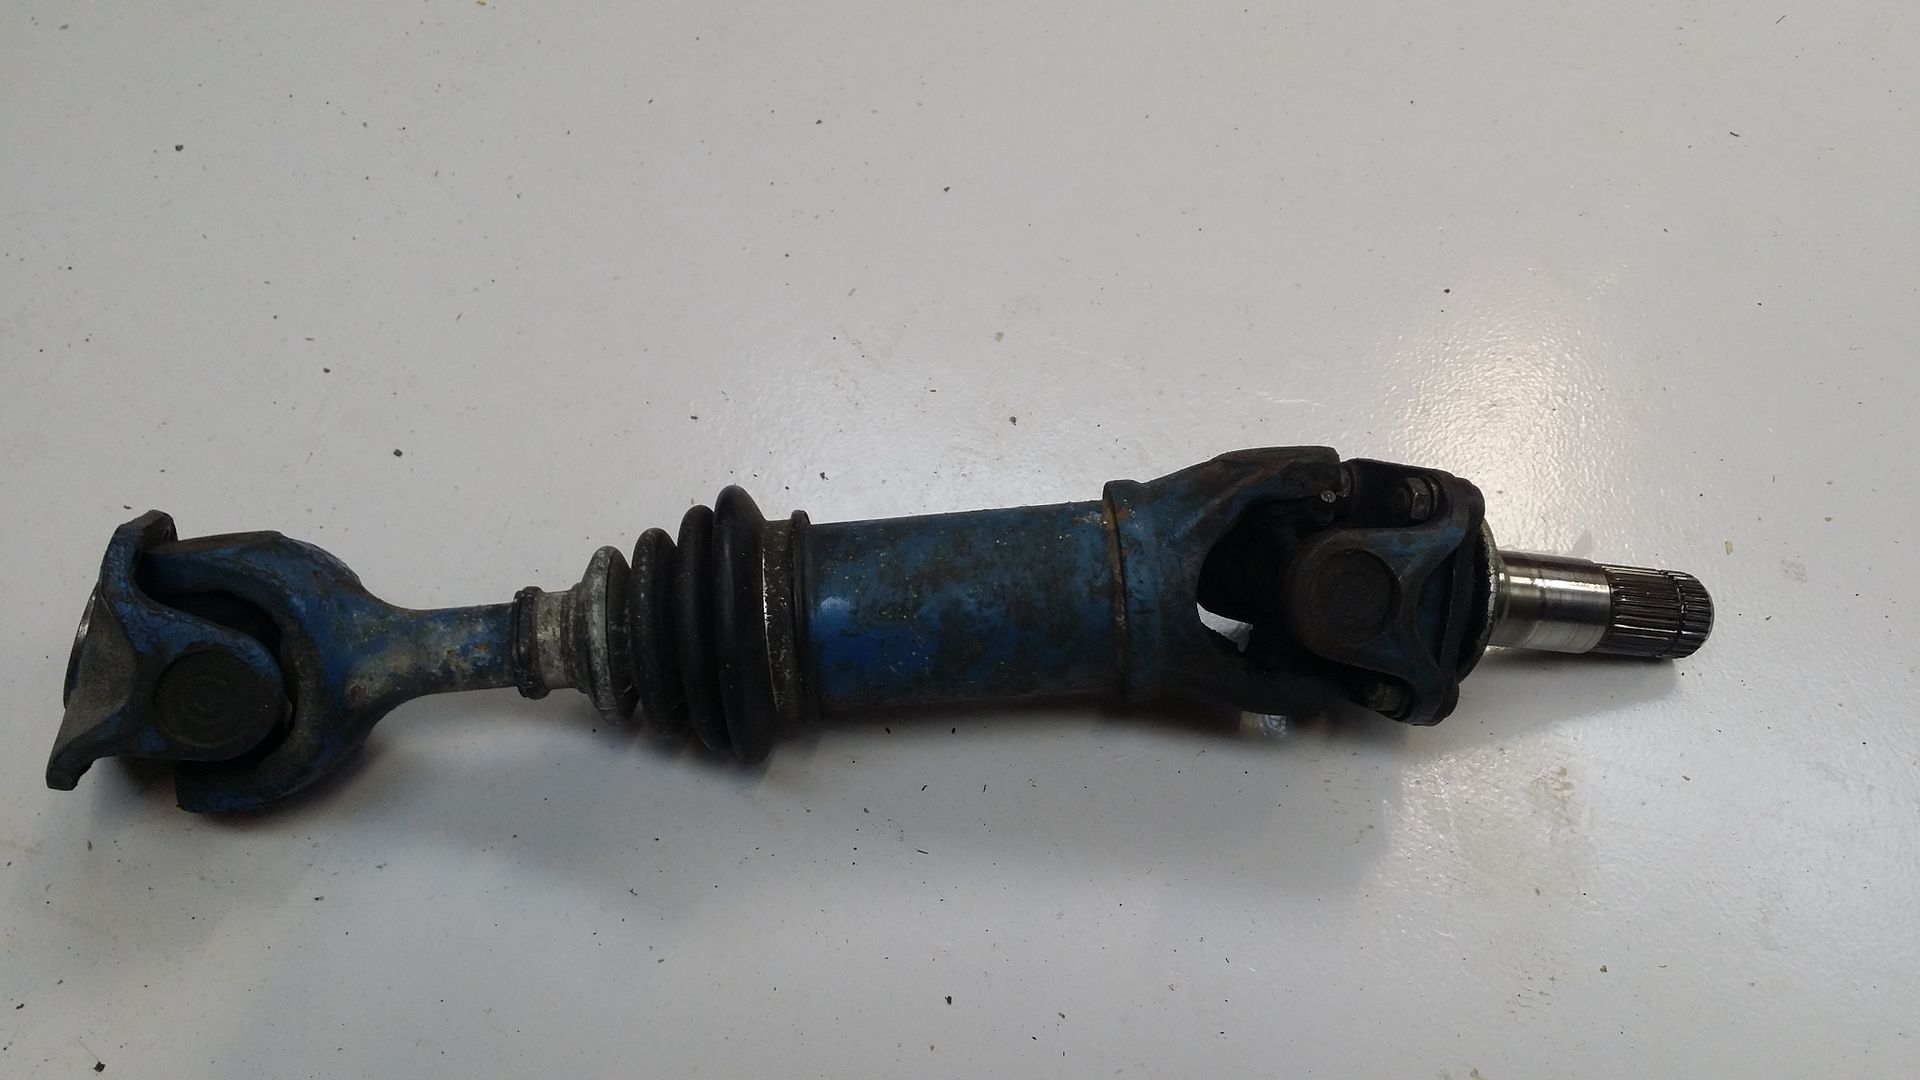
 And the uni half shafts as they were looking pretty blue and shit. I actually have a set of Z31 CV half shafts I want to install to get rid of the uni's but I still have to suss out some adapters for that job so uni's stay for now.
 I dont know what state the new CLSD is in but looked pretty tidy inside from what I can tell so best just to throw it in and see what happens
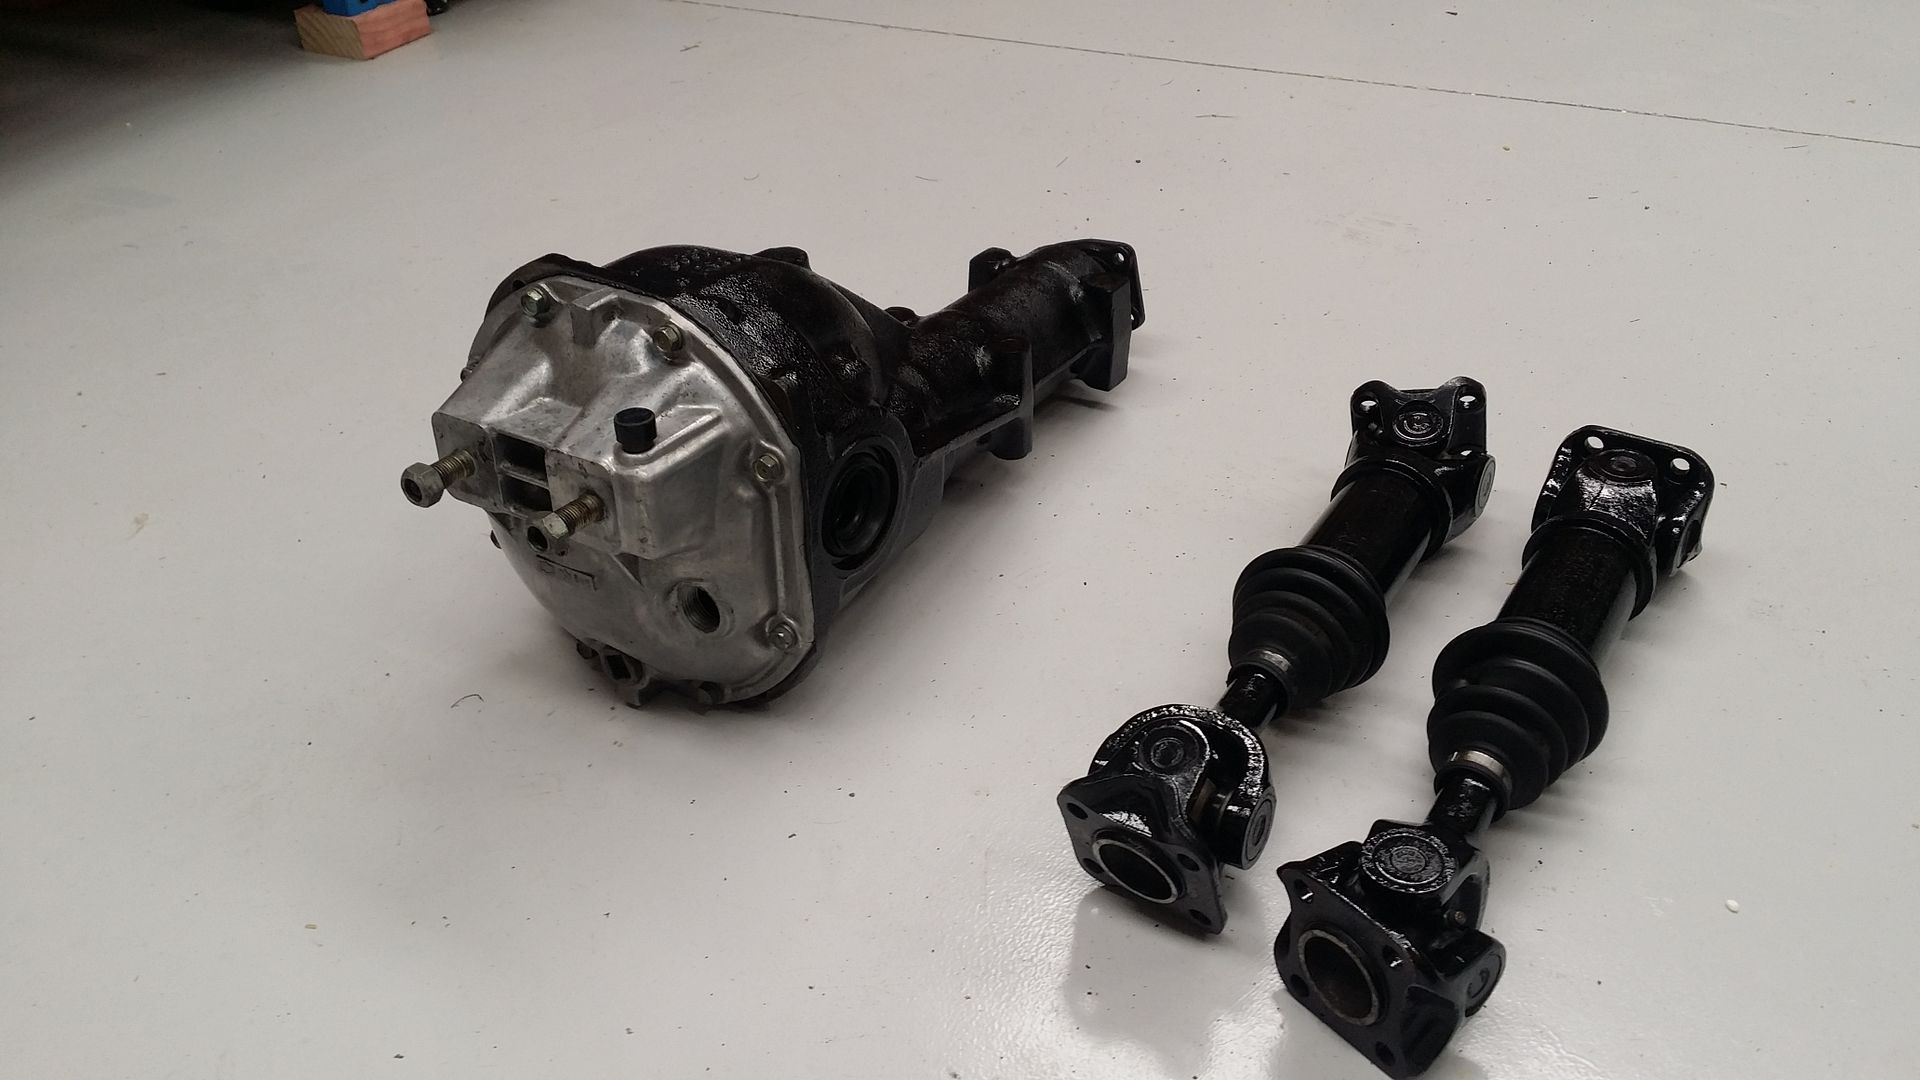
 Gave the diff and half shafts a tidy up
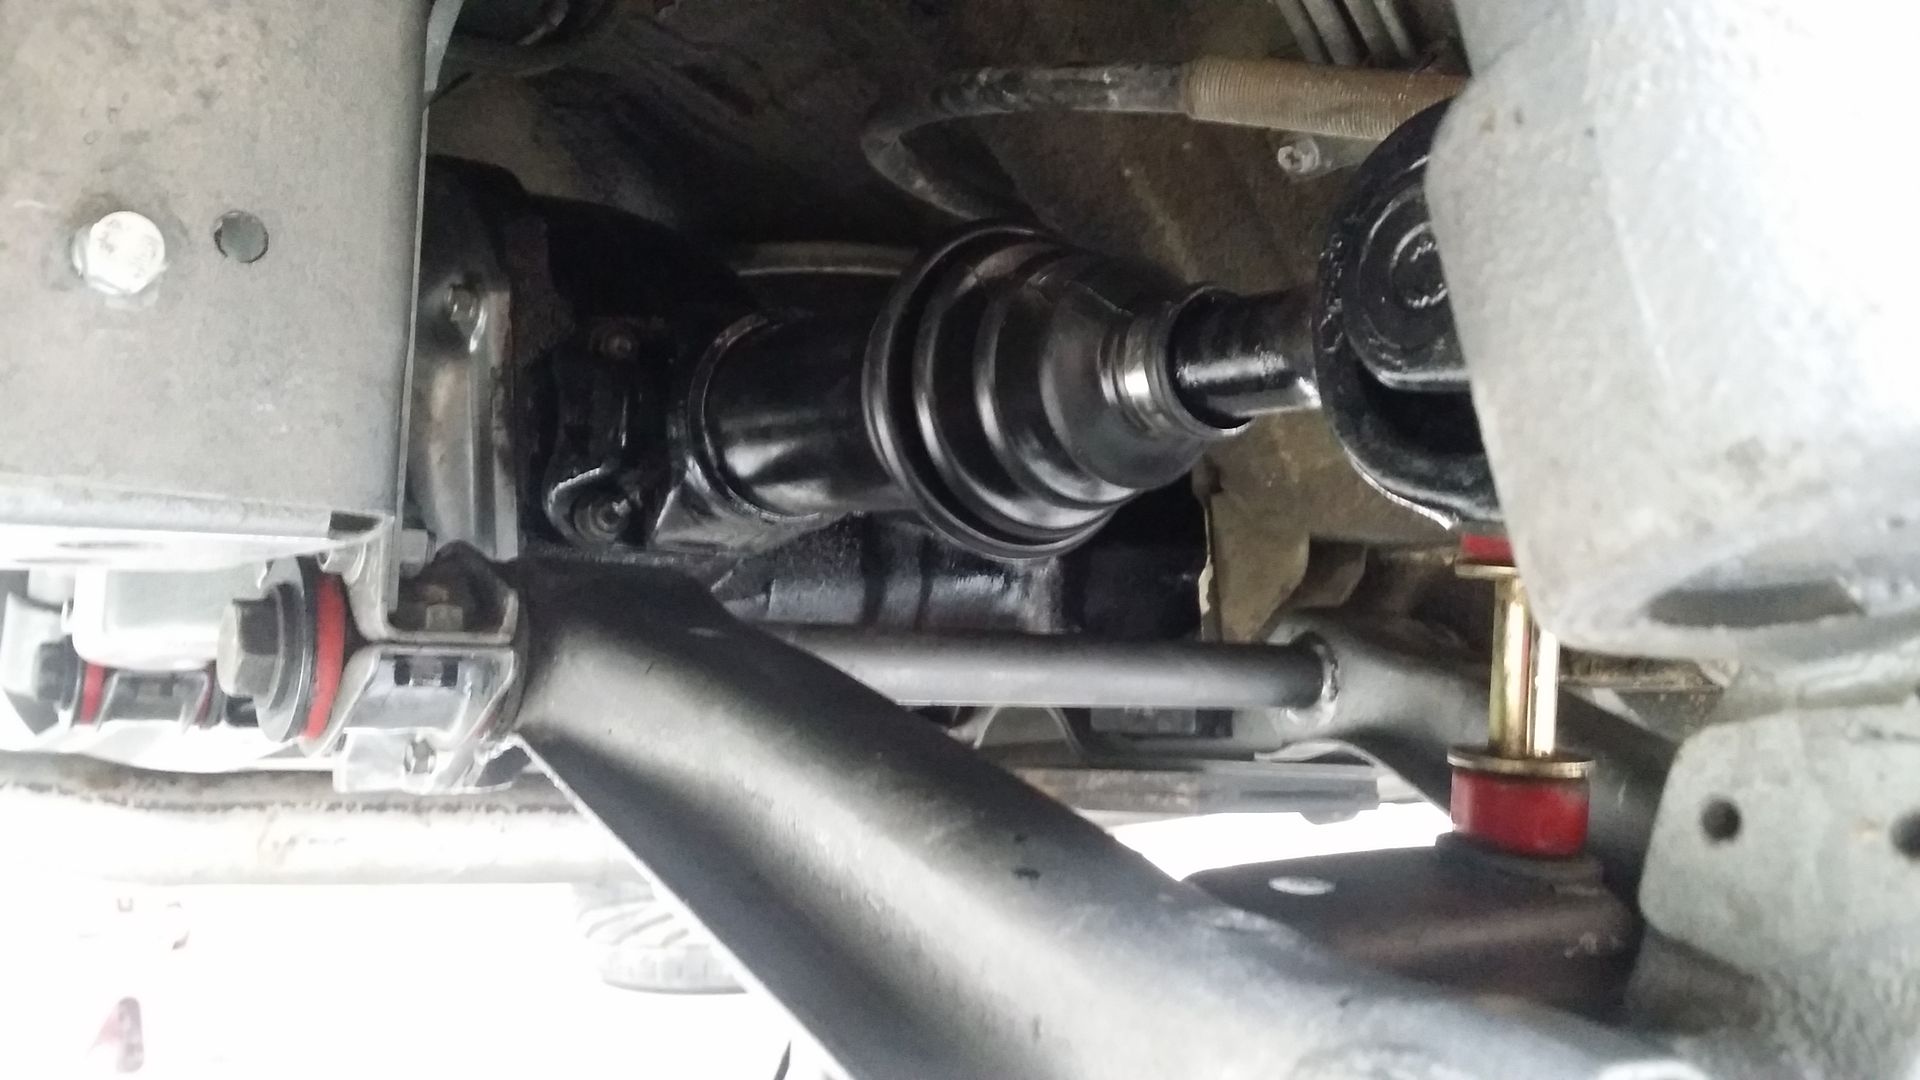
 Threw it all back in with some new oil and job done. Went out for test drive and nothing blew up, it is not overly noisy at all and seems to lock up OK. I tried to do a mandatory sweet skid but only succeeded in skidding up my shit house clutch so that is now on the list to get replaced stat.
-
 8
8
-
-
- Popular Post
- Popular Post
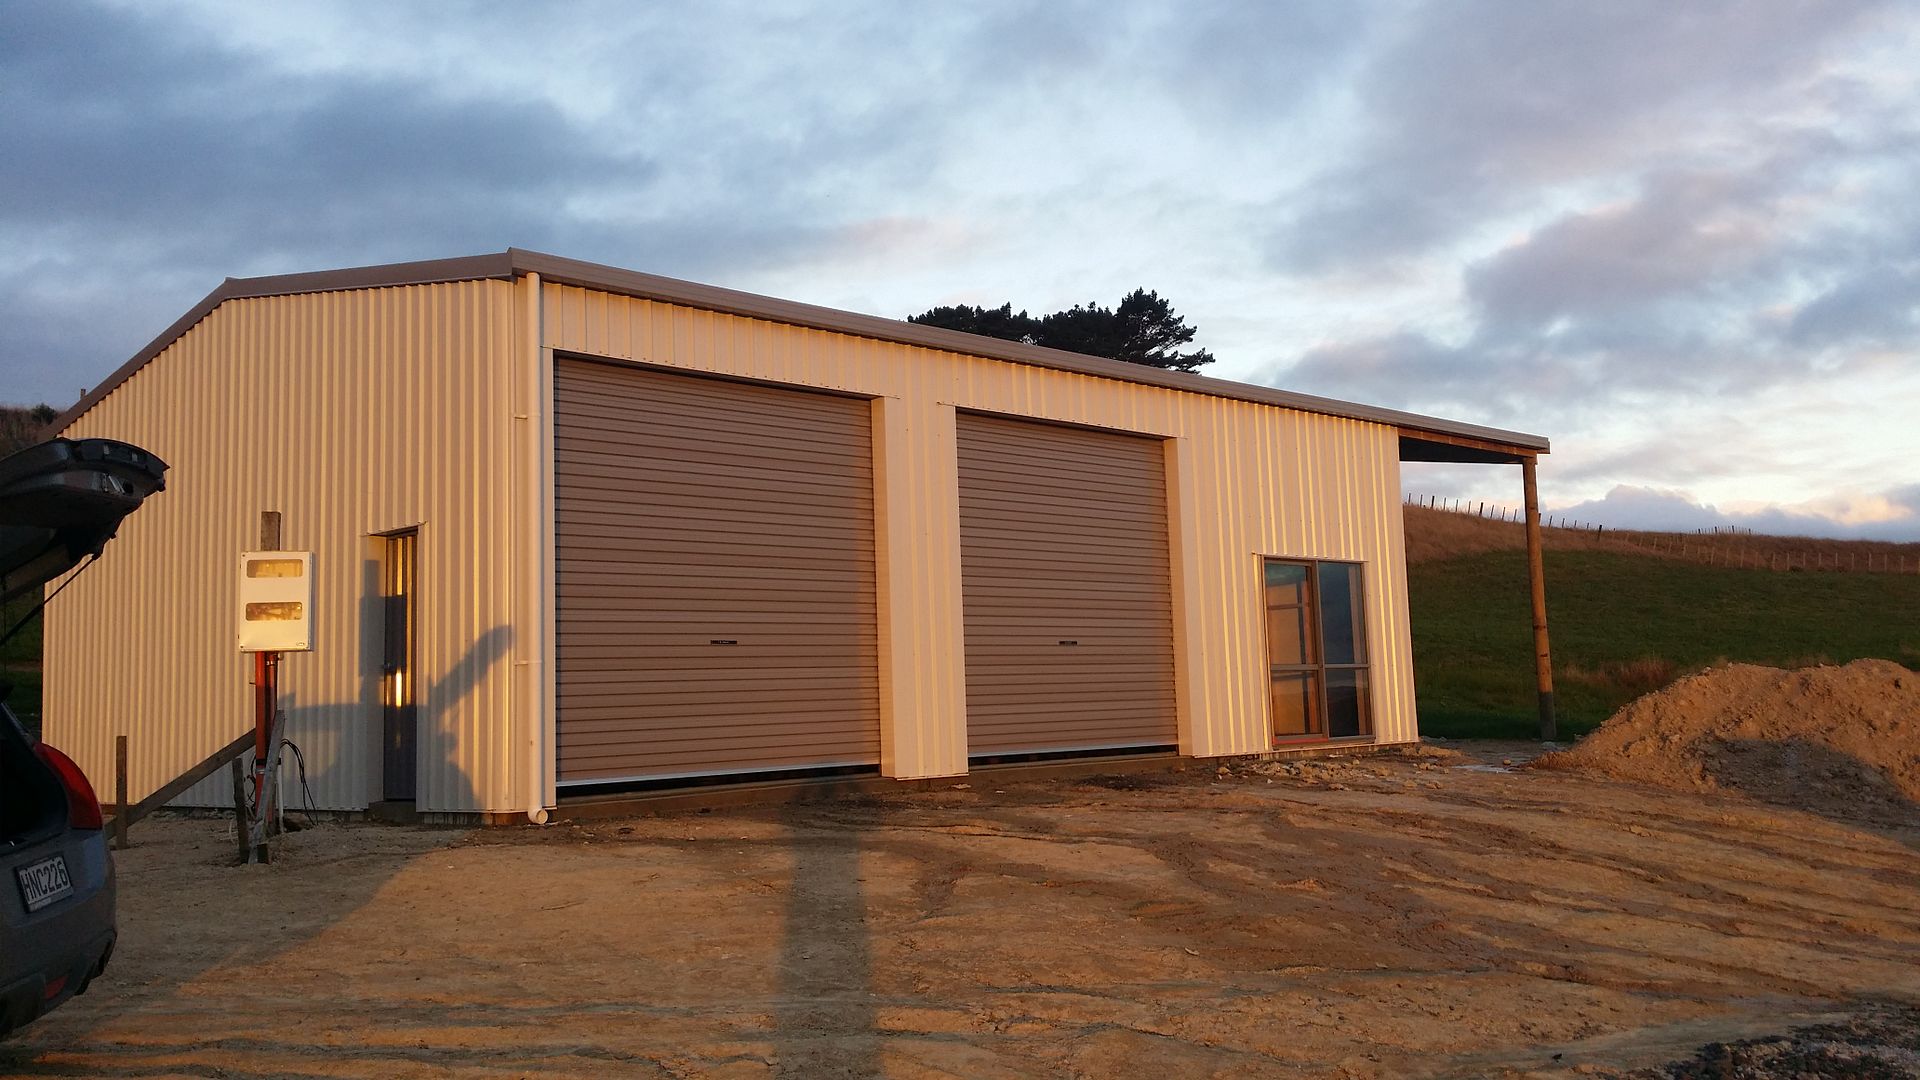
So have not driven the car at all over winter due to doing stupid stuff like building a new house and moving etc. But one bonus is built a decent shed to fill with cars...

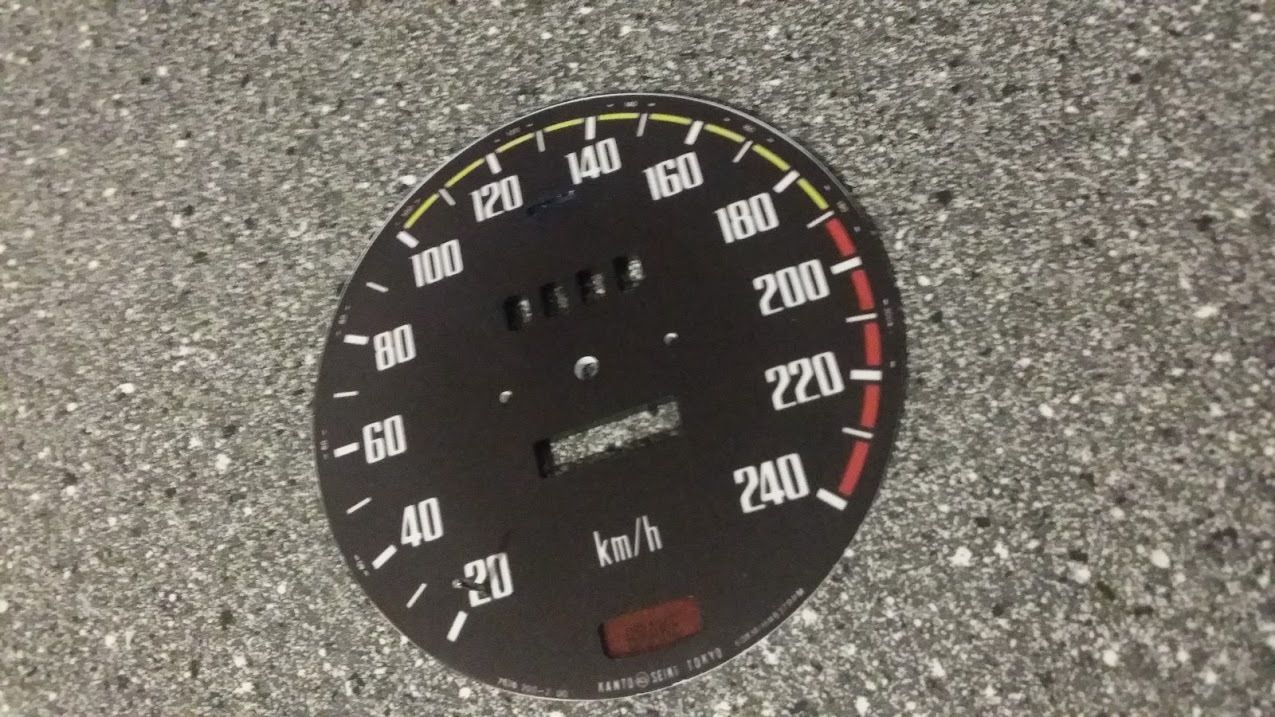
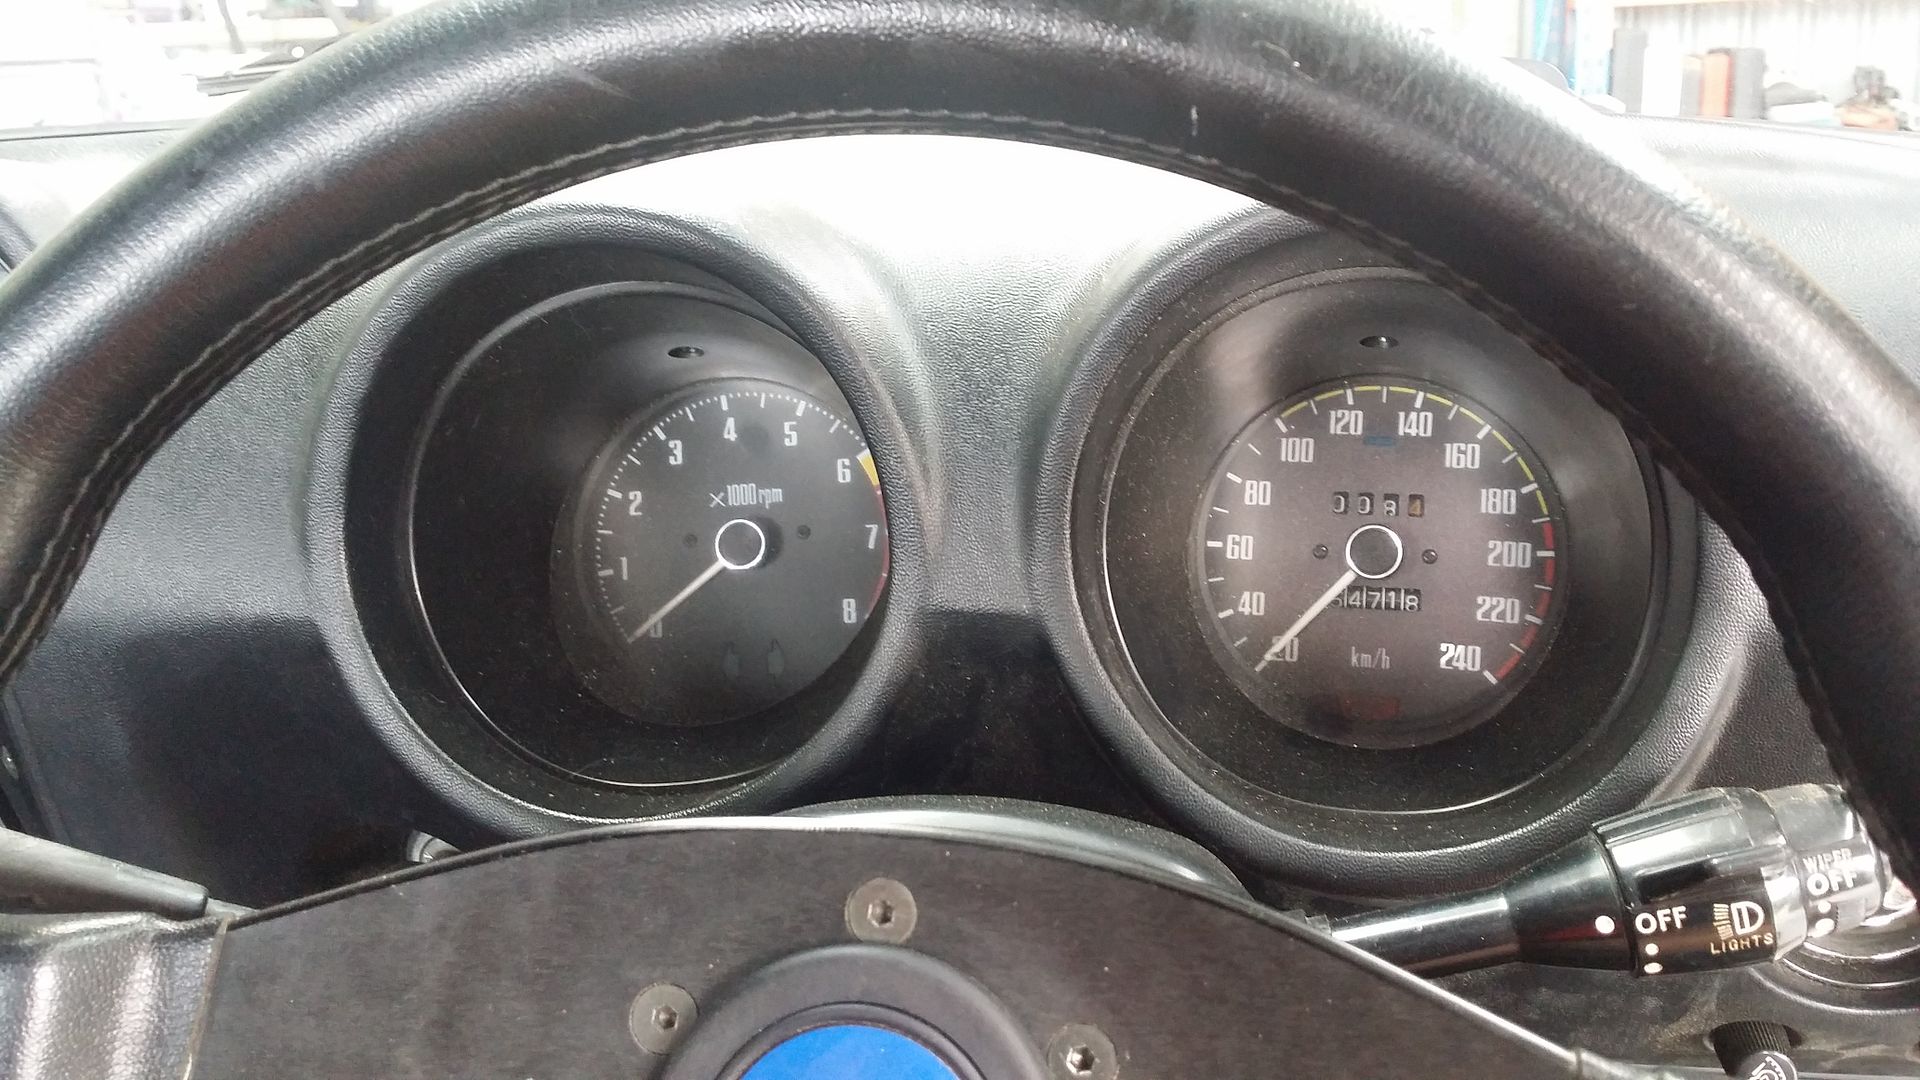
 Have lots of small things to do to the car over summer. New jets for the triples to test, LSD to go in etc. One small thing I have done is convert my speedo.Being as my car is originally from the the USA it had a MPH speedo which was a bit of a pain in the ass. I found a guy in Sweden who had designed his own re-pro KMPH face plates and had done a small production run so bought one to give a try.
 The quality is not to bad so I stripped down my old speedo and swapped over the faces. I now have a KMPH version so all good.
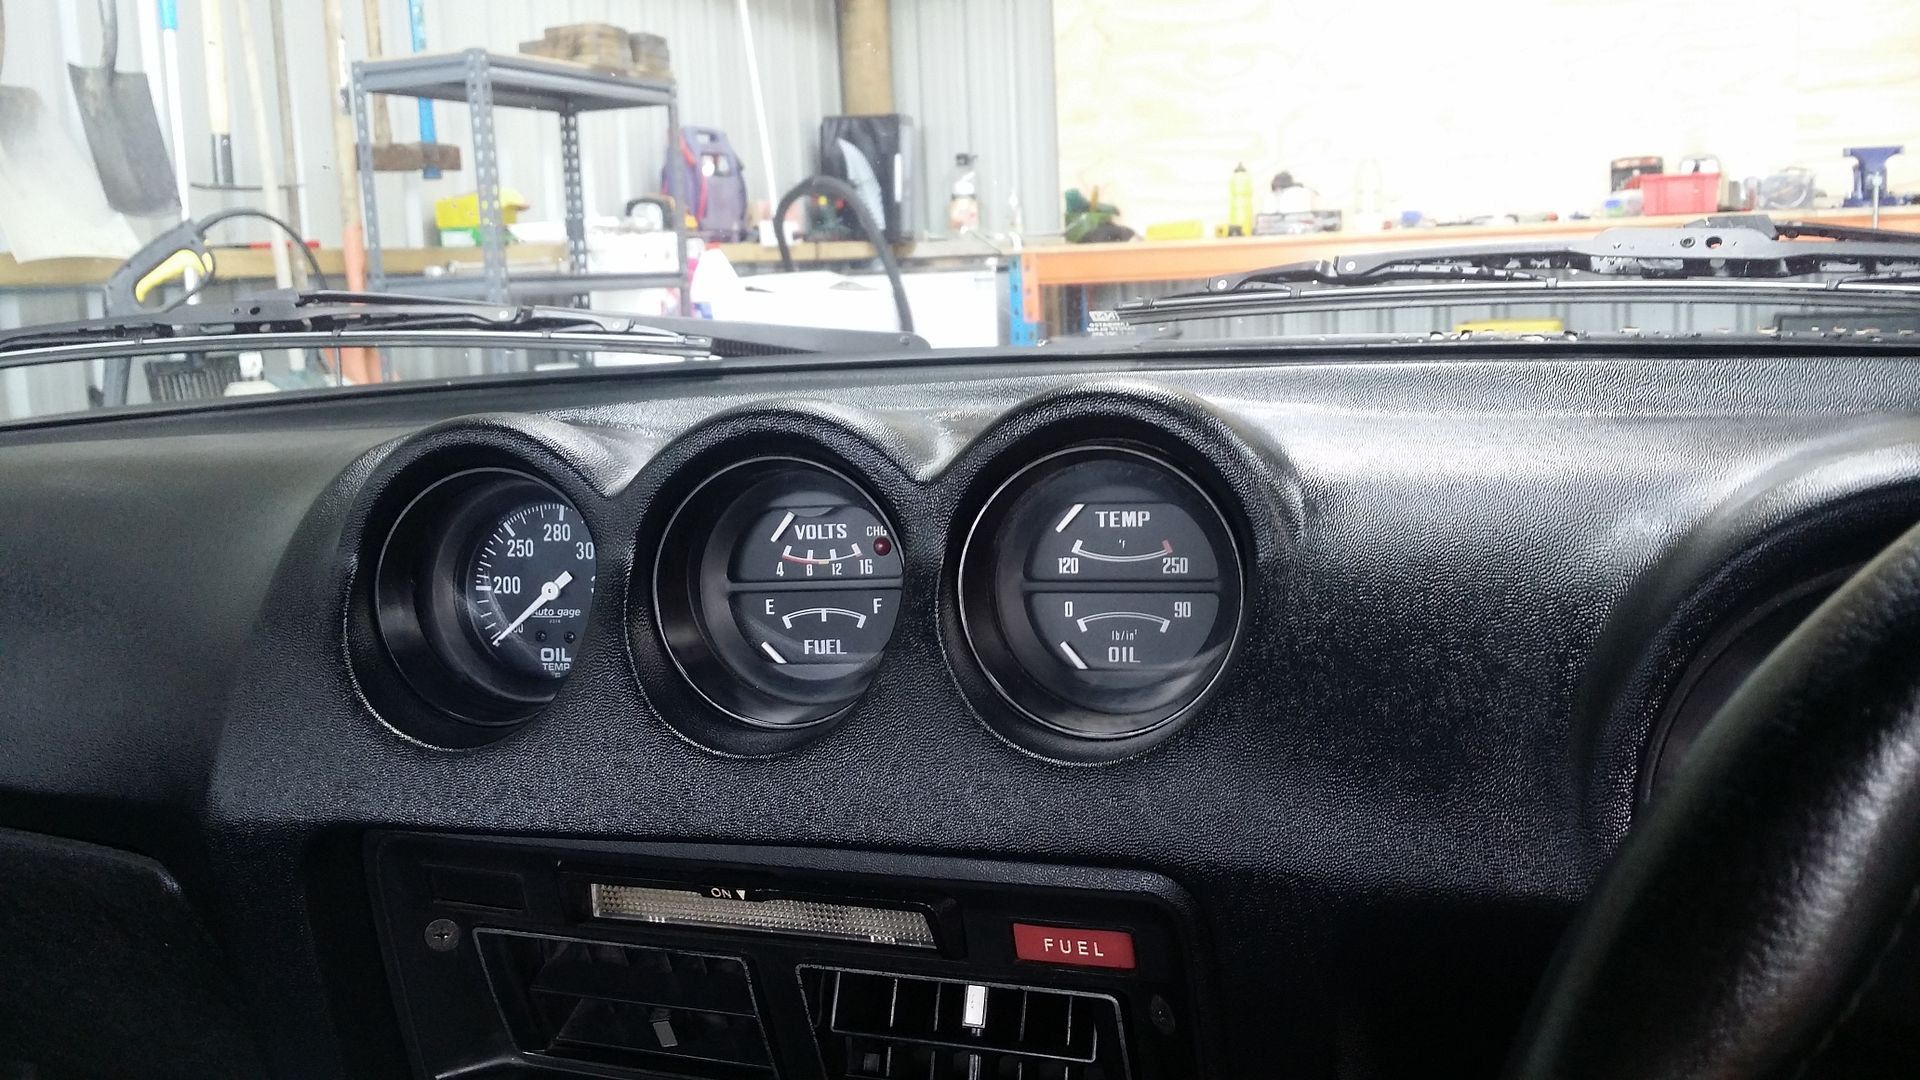
 I also swapped out the old clock in the dash as it has never worked. I found an oil temp gauge with a similar look to the stock gauges.
 LSD install next on the list.
-
 19
19
-
You're welcome to the axles, they're just taking up valuable space. [/size]
And gimme ya email and I can send you the drawings I have for the brake brackets. Keep in mind I've not actually used the drawings to make any brackets from. This chap used it as a starting point and CNC'd some thou: //oldschool.co.nz/index.php?/topic/43593-datsun280zs-datsun-280z/?p=1323846
Ha ha yea that chump is good at stealing your hard work... Sweet that would be awesome bro, keen as to check out your car at some stage too..
My email is: anthony@soons.co.nz
-
Would be interesting to see how those S15 axels compare to the Navara ones I have. Sounds like you are one step ahead of me here (like the brake caliper bracket) with regards to the adapter, if you dont mind I would be keen to check it out and maybe 3D print one. I should probably not be a dick and get the Wolf Creek setup...
-
Sweet, so your front mount is solid now? That was an option too but I was worried about vibrations. Also some peeps reckon it's a bad idea to have the diff part solid and part soft mounted as things start cracking, but I've got no experience with that.
I was keen to go to CV's as well, but have left it for a later project. I'd probably just go this route if I did it to save all the hassle: http://www.wolfcreekracing.com/index.php?option=com_content&view=article&id=72&Itemid=61
My diff is a Nismo CLSD.
Yea front mount is solid which stopped the banging when the diff nose lifted. Probably not really the best idea to do it how I have but was always meant to be a short term solution plus my engine doesnt make anywhere near the power yours does. Doesn't seem to have caused any major vibration issues (there always seems to be weird noises coming from the diff/uni's all the time anyway!) I am trying to use some hybrid abomination of Navara and Skyline stuff with the plan being that I can use an R33 CLSD or similar when it is all done. That wolf creek kit is definitely the best way to do it.
-
It's so much better. It still gets some vibes but nothing like it used to. It happens when I accelerate from 50-100kph with the foot flat. It never used to happen with the old engine but it's just 'cos the new one can twist the diff nose higher.
Most people put in something called a Ron Tyler diff mount but it's a bit of a hack if you ask me.
Been liking ya build BTW; great attention to detail.
Yea man I like your design, I havent seen it done like that before but makes a lot of sense. As a temp fix for mine i put dowels through the existing front diff mount so basicly it is one piece now, does the trick but not very elegant. I have been amassing diffs, axels, cvs and other junk to attempt to convert mine away from the old uni's as they clunk pretty hard. That is the winter project fingers crossed. What LSD are you now running?
-
Nice work on the diff mount my man, how is it to drive now?
-
nice car man! love the mesh wheels
Cheers bro!
-
- Popular Post
- Popular Post
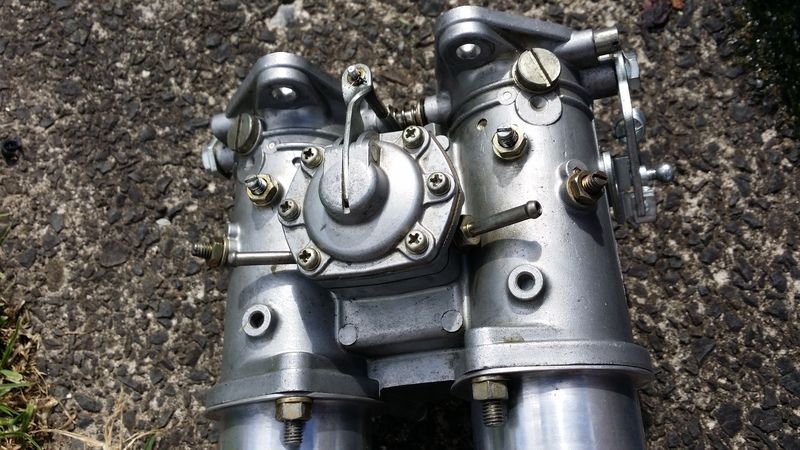
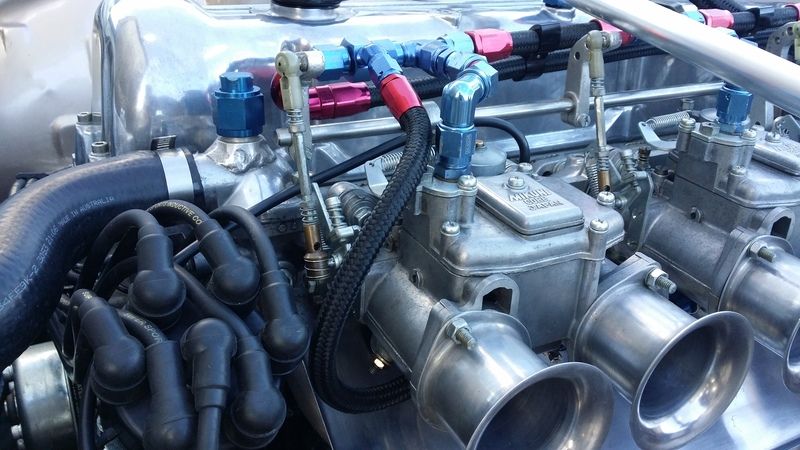
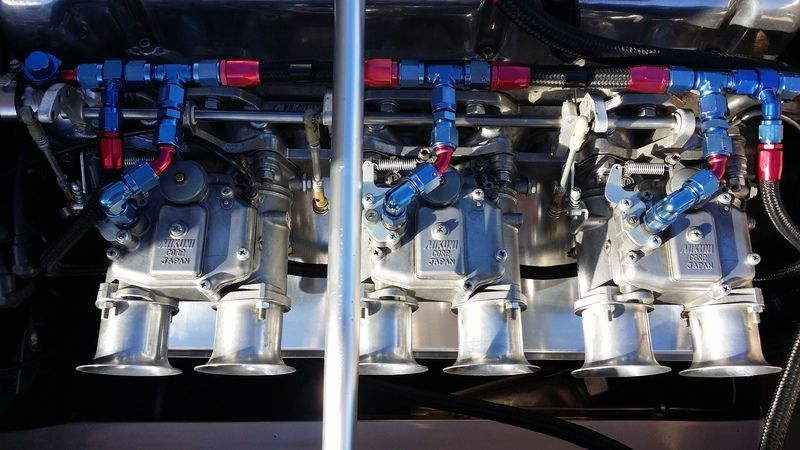
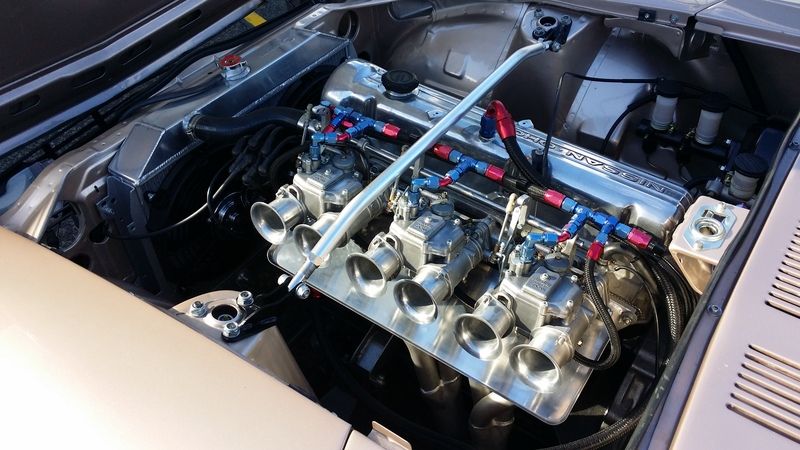
So a problem that some people have with triple Mikunis is a slight lean spot or 'stutter' when you stab on the gas. My car has always had this same issue so wanted to try and get rid of it if possible. It is more noticeable when the car is hot and has been idling in traffic for a while. After doing some reading it sounds like it is caused by fuel in the accelerator pumps boiling and thus not providing enough fuel when you initially hit the gas. Lots of people fit heat shields under the carbs to keep them a bit cooler so I thought Id give it a go too.Made up an alloy shield which while hopefully helping with keeping heat off the carbs will also have the added bonus of stopping any fuel leaks from dripping onto the hot extractors. My 44s also came with additional cooling blocks attached to the accelerator pumps (Thanks to Mike for pointing out what these things actually were). Apparently they were used in racing applications back in the day? I figure if I have them might as well use them right.
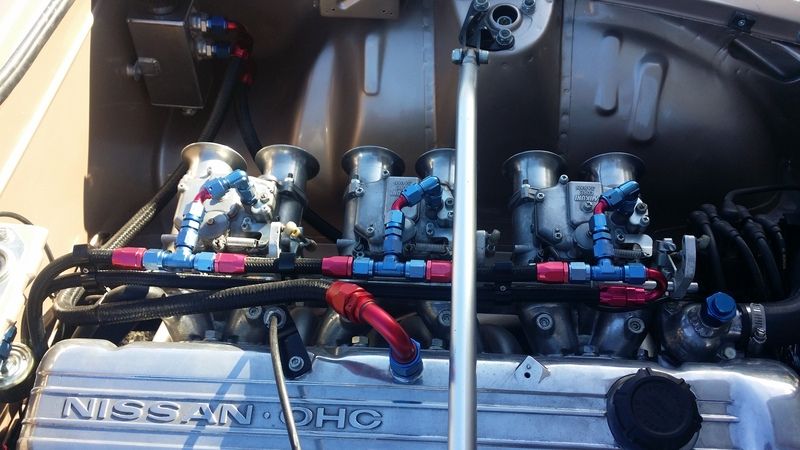
 I took a fuel feed from the in and out of the fuel rail and plumed in the cooling blocks. Yes there is way too much AN fitting action going on, I think I might make a proper fuel rail up to get rid of some of it...
 Here you can see the fuel line under each carb linking the circuit together.
 Everything back together with heat shield added.
 Happy to say it looks to have completely resolved the lean spot on initial throttle stab. If anything now the wide-band is showing things are a bit rich but that's something I can possibly tune out with some jet changes. Car no longer stumbles when you first hit the gas so I am claiming a win...
-
 18
18
-
- Popular Post
- Popular Post
Time to solve my fueling issues once and for all (hopefully)
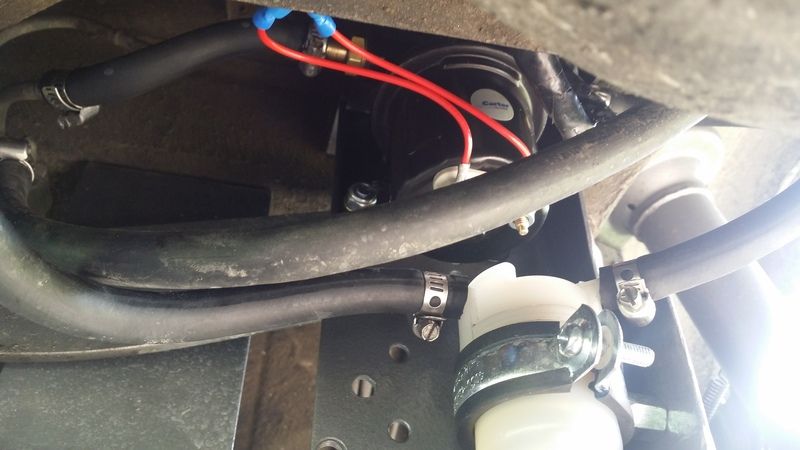
So my experiments with the Fuel Flow pumps was an epic fail, even rocking two of them wouldn't do the trick. Did what I should have done from the start and got another tried and true Carter pump. Ordered the black "competition" version as it is meant to flow the most. To my surprise it is actually not that loud which is a bonus.

Swapped out the dead head style regulator I was using as I wanted to switch to a return line setup as I think I was getting some vapor lock issues also.

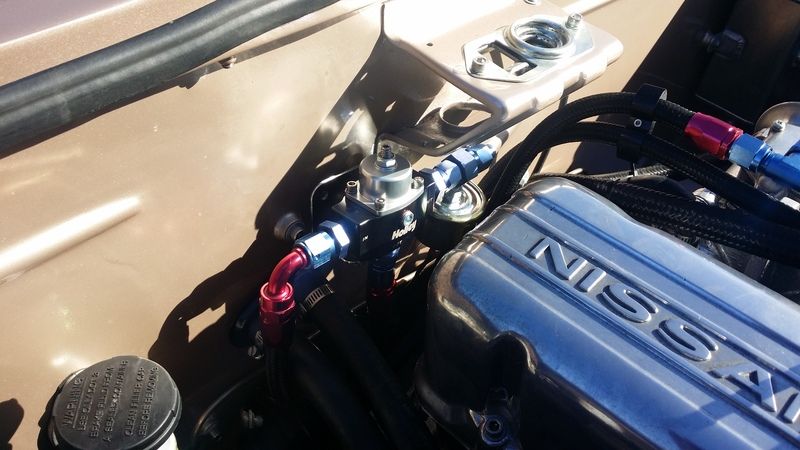
Here you can see the return line off the last carb. Also hooked up a fuel pressure gauge so I can see what is happening while driving.

So far things are looking good, getting rock solid pressure throughout the rev range now so fingers crossed problem is solved..

-
 12
12
-
Been doing a few small things
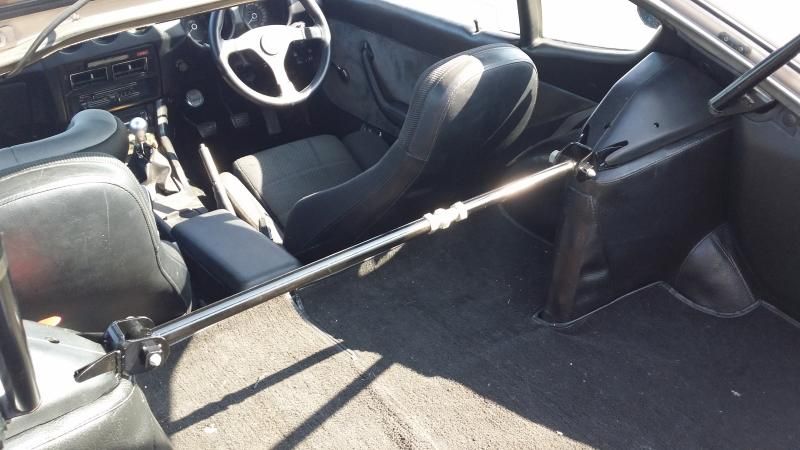
Made up a rear strut brace out of an old R33 one.

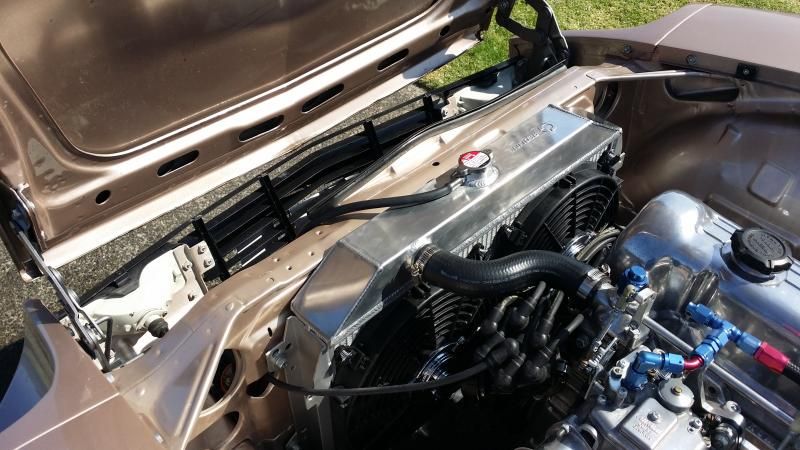
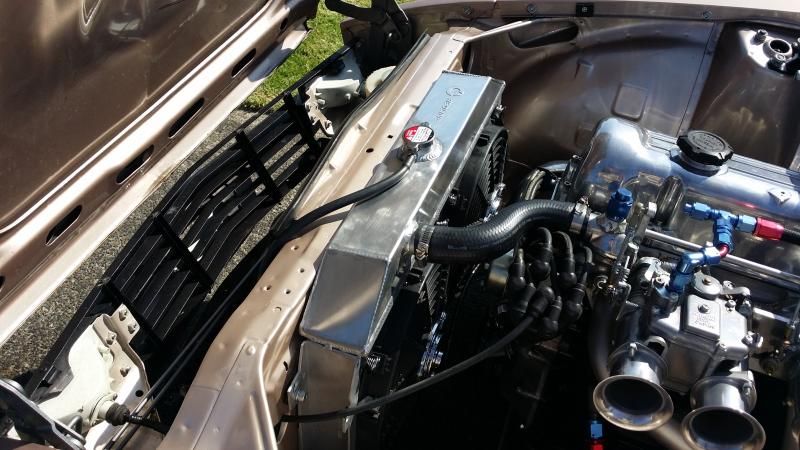
Car had been struggling to stay cool when in slow moving traffic this summer with the alloy radiator I had fitted so upgraded to a bigger one and added double fans. Seems to have done the trick.


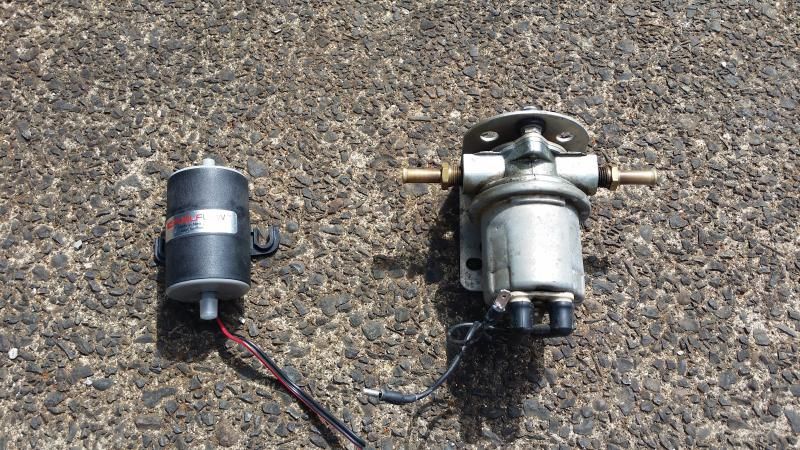
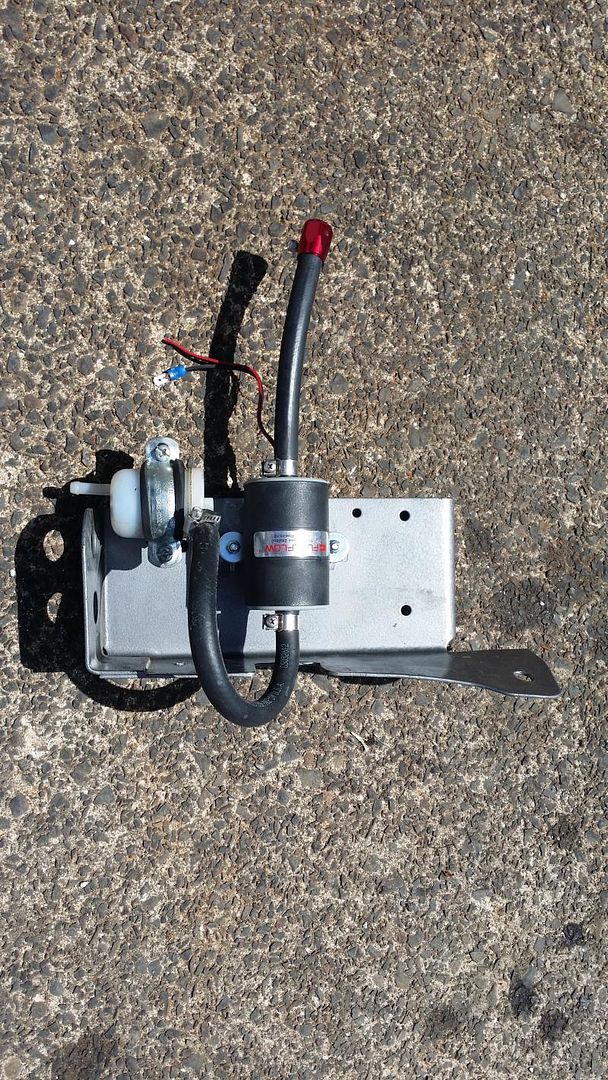
I have been using a Carter fuel pump I scored from my parts sponsor Craig but it has been dying a noisey painful death. Not only did it scream when operating but it was struggling to make the required pressure. Looked at different options and decided to give a kiwi company Fuel Flow a go. Their pump seemed to match the specs I need, is well priced and is made in NZ so worth a shot. The pump runs nice and quiet and is easy to mount. Good bunch to deal with too...
Here it is compared to the old Carter

Mounted to pump bracket

Will do some driving tomorrow to see how it goes...

-
 6
6
-
-
One ride in SAMURI and trust me, you will be all for L31 stroker.
Yea man that car is rad. Was at the Z track day last year. Goes hard...


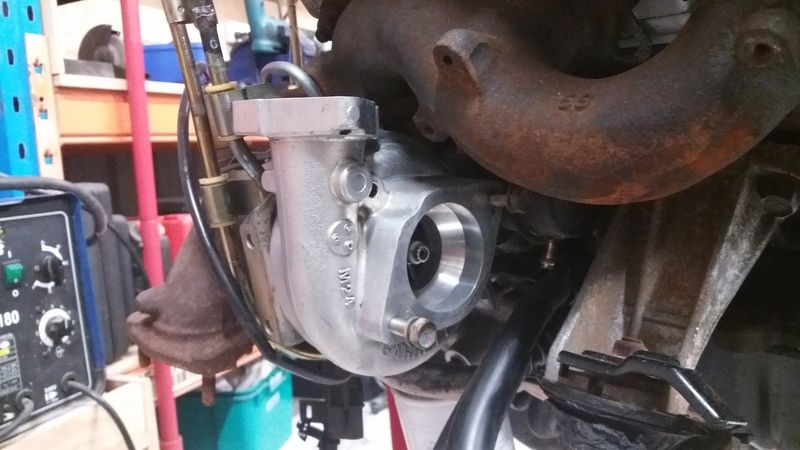
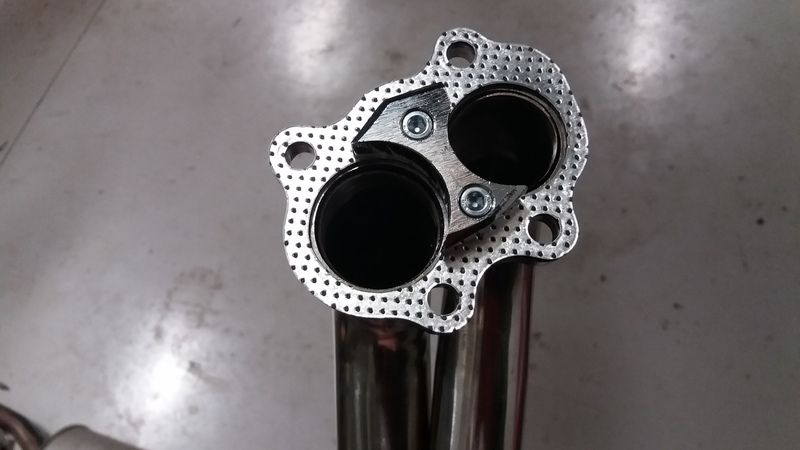
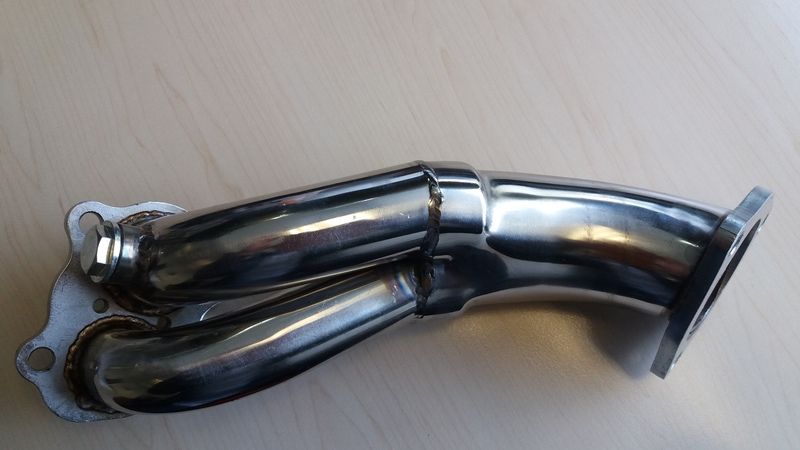
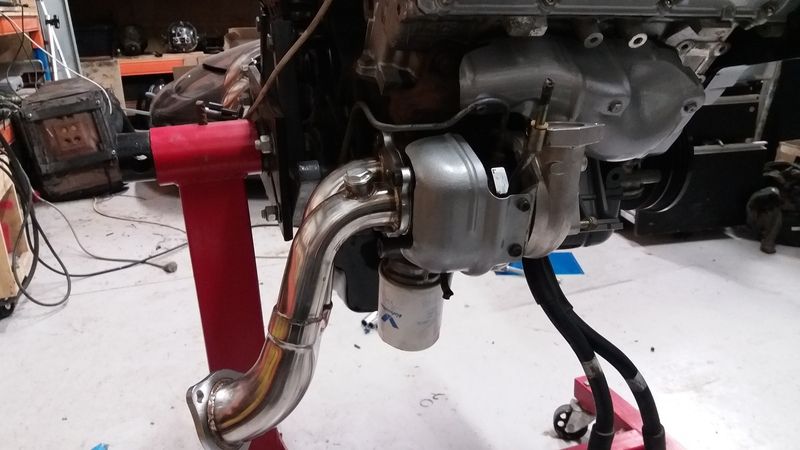
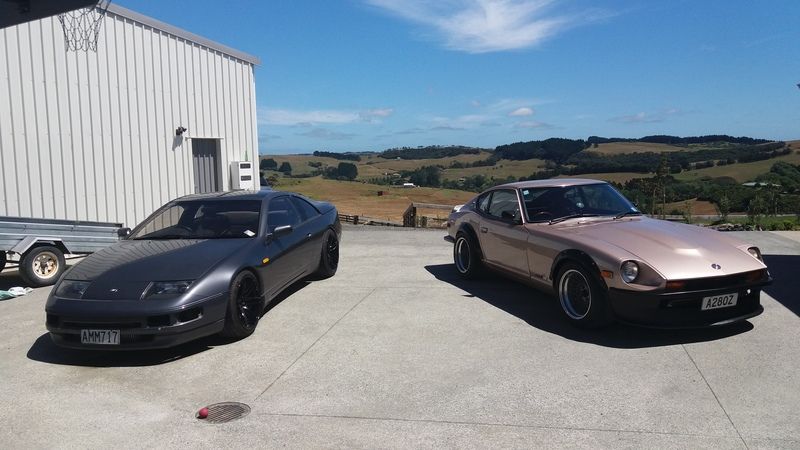
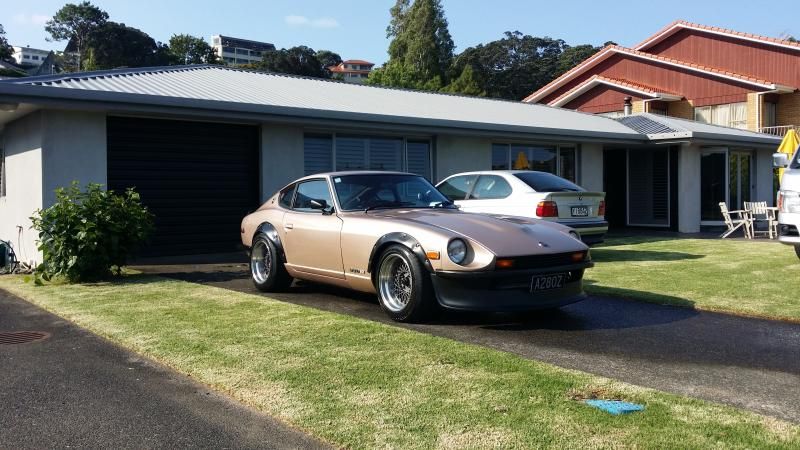
A 300ZX - NA to TT fun times
in Other Projects
Posted
So i had some issue with the car intermittently dying. I traced it to the PTU (Coil igniter) which from what I have read on line can be a pain in the ass as they supposedly fail quite often. I have a few spares lying around so switched out the one that was causing the problem. Lots of guys online relocate off the engine to a location with less heat and vibration so I did the same.
Was just a simple job or extending some wiring and making a quick bracket to mount it. I decide to put it up in the nose as there is plenty of room and its easy to get at.
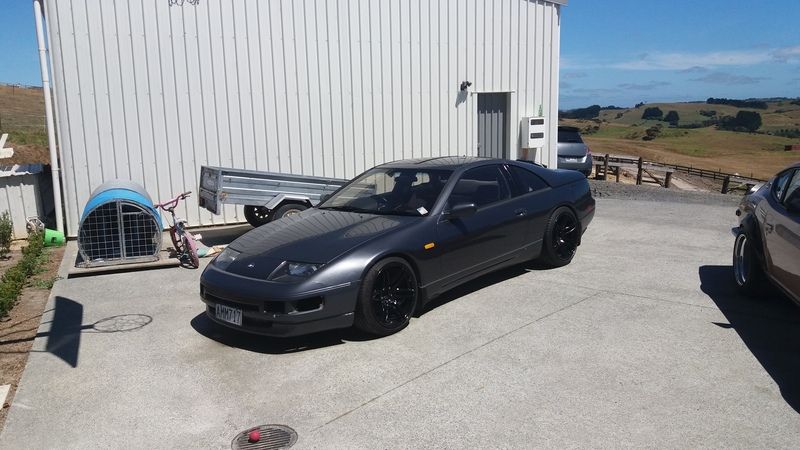
Next up was the front bumper. The lower lip in my bumper was badly cracked and pretty worse for wear. I picked up a fiberglass front lip to try and tidy things up a bit.
I used a strong flexible glue to bond the lip to the factory bumper, there was lots of trimming to the old lip to get the new part to fit.
Screws helped hold the lip in place while the glue went off
The F/G lip was obviously designed for a TT bumper not my NA one so it was too long, I had to cut around 25mm from each end and then re fiberglass new ends to get it to fit ok.
Once the glue was hardened i used expanding foam to add some strength between what was left of the old lip and the new F/G one. It looks like a disaster before I trimmed away the excess, the foam makes things a lot more rigid.
Then was a case of sanding. priming and painting. I have just used satin black at this stage as the whole bumper needs a respray in the future.
Turned out OK. I added some steel brackets to mount the front of the lip back to the body, it is held on pretty well now.
Fun times...