All Activity
- Past hour
-

Discuss here about Yoeddynz's little Imp project...
Raizer replied to yoeddynz's topic in Project Discussion
That's a lush muff! I've used FMF exhaust packing sheet on a couple bike mufflers, seems to hold up well and the packaging says it adds something like 4hp haha Got any plans on how to hide the valve actuators etc for cert/WOF? Could try make the cable look like it's coming from an O2 sensor lol -
I’ve got Max putting the guts of a blacktop 4age dizzy into the 2tg dizzy at the moment so that should sort triggers, 2tg injectors run a resistor box so need to find some injectors that don’t need that. It looks like the Speeduino is similar to a megasquirt. I’ve been watching tuner studio videos to get my head around that
-
Speeduino is very flexible, so sensors won't be an issue as long as you can work out the calibration of them, and most trigger patterns are supported now. Its basically just a cheaper, more frequently updated, Megasquirt these days. Cool project, looking forward to seeing more progress
-

Discuss here about Yoeddynz's little Imp project...
yoeddynz replied to yoeddynz's topic in Project Discussion
OK cool. I'll look into it. I do have a local fibreglass specialist down the road who I was going to see about some stuff. I've used pink batts packed over stainless scrubbers in the Datsun exhaust and its actually lasted quite well - its just the steel can rusting away that has not done so well. Btw - there's a great exhaust thread on exhaust stuff here on OS that I had skimmed through a while back but damned if I can find it! It was old but gold. Full of some good info. -

Discuss here about Yoeddynz's little Imp project...
HumberSS replied to yoeddynz's topic in Project Discussion
Stainless steelo pads are also a thing all over Yt muffler build jobs... Not sure how long they'd hold up though..? Maybe just pack it with all the swarf off your lathe! -

Random slightly cool stuff you built but not worth its own thread, thread
vivaspeed replied to h4nd's topic in Other Projects
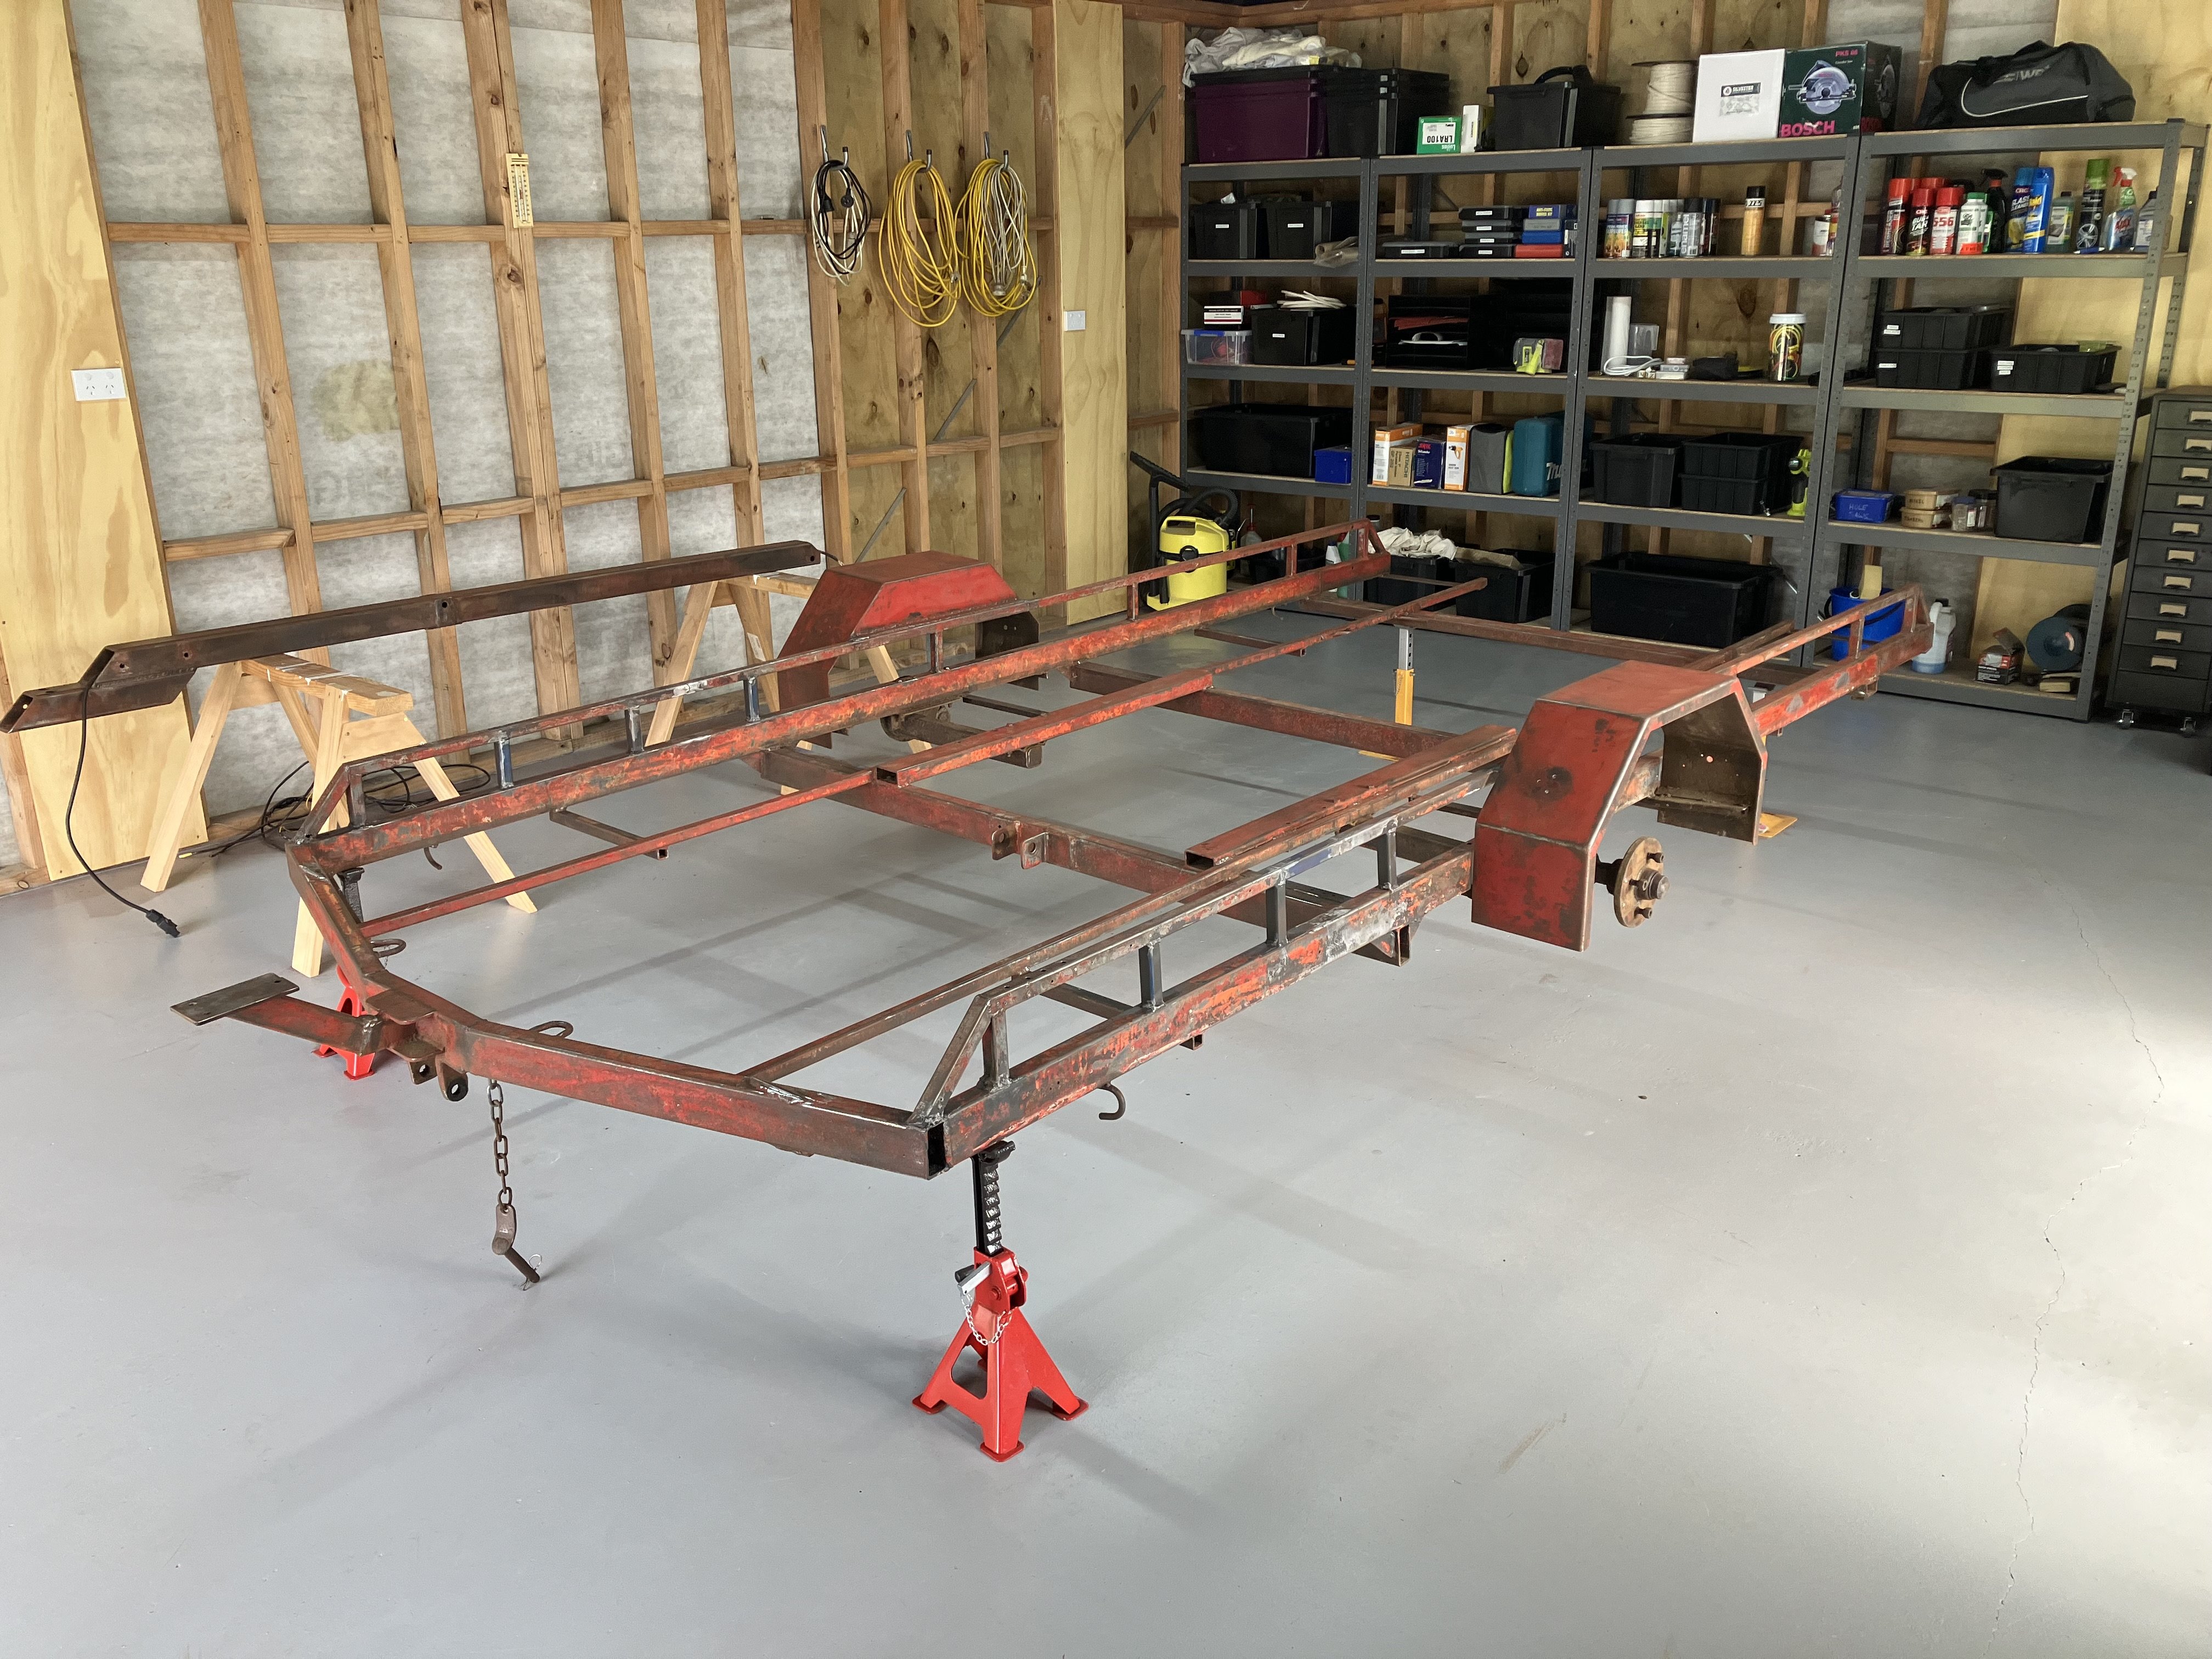
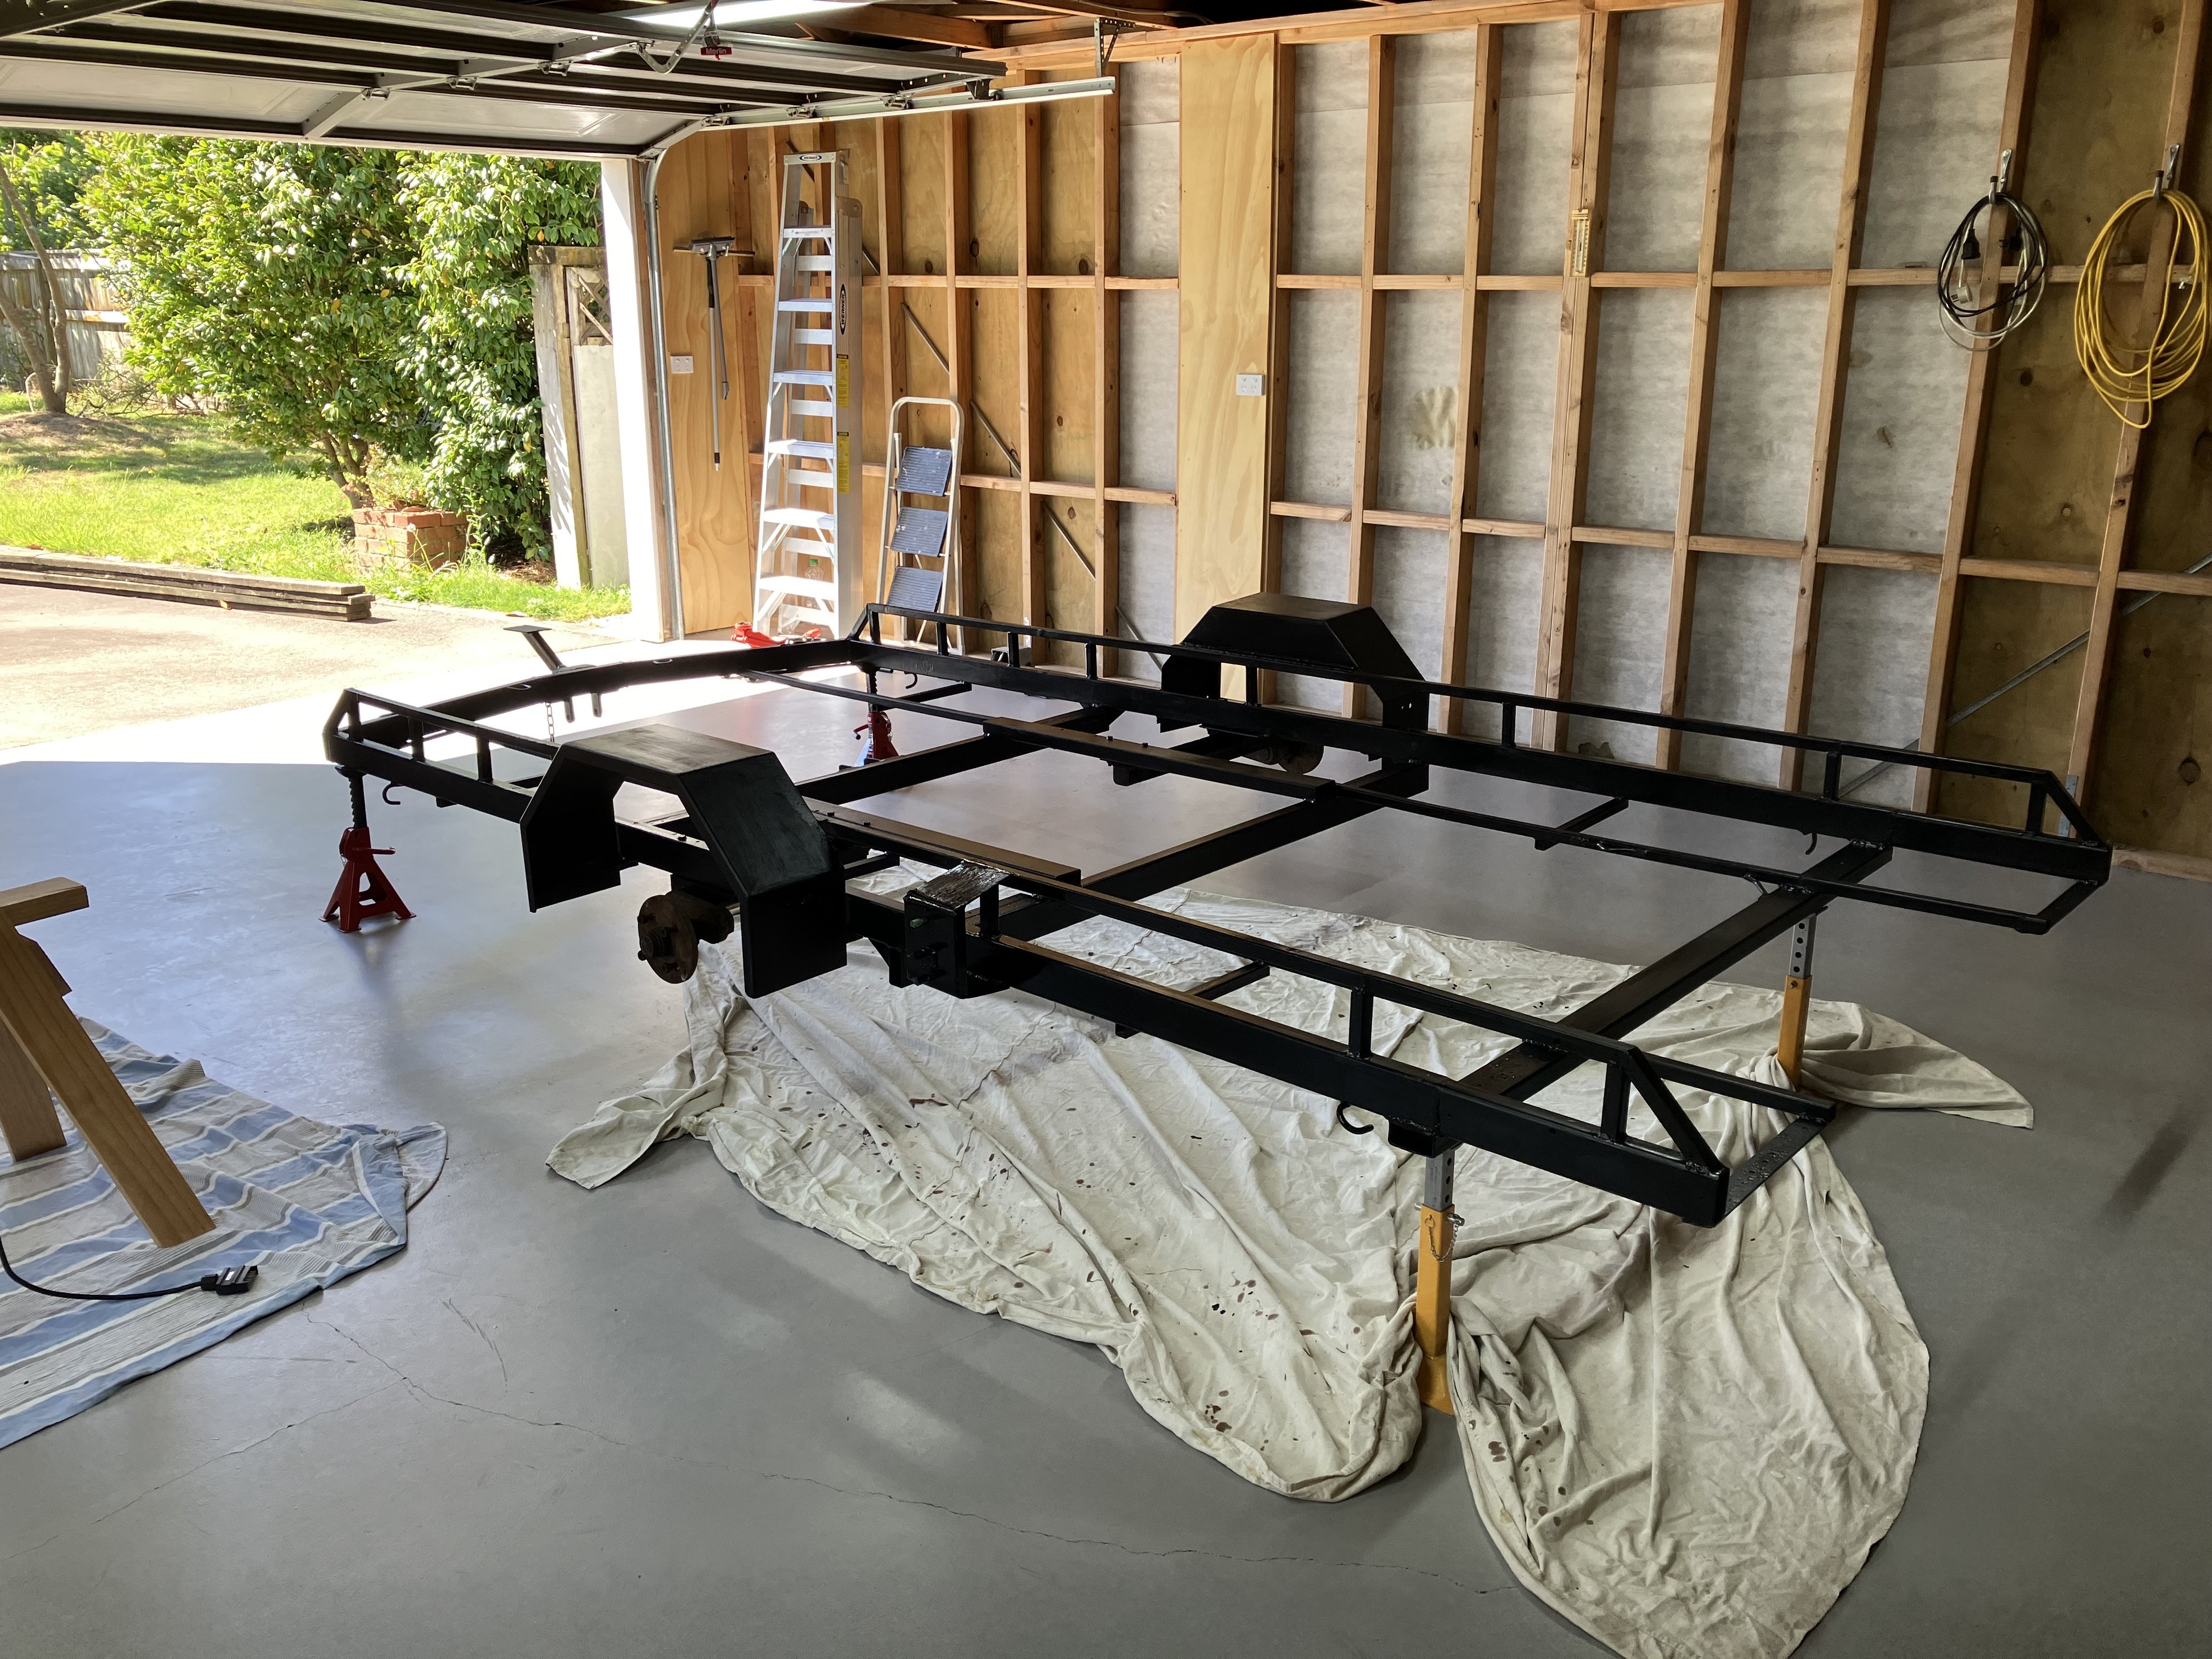
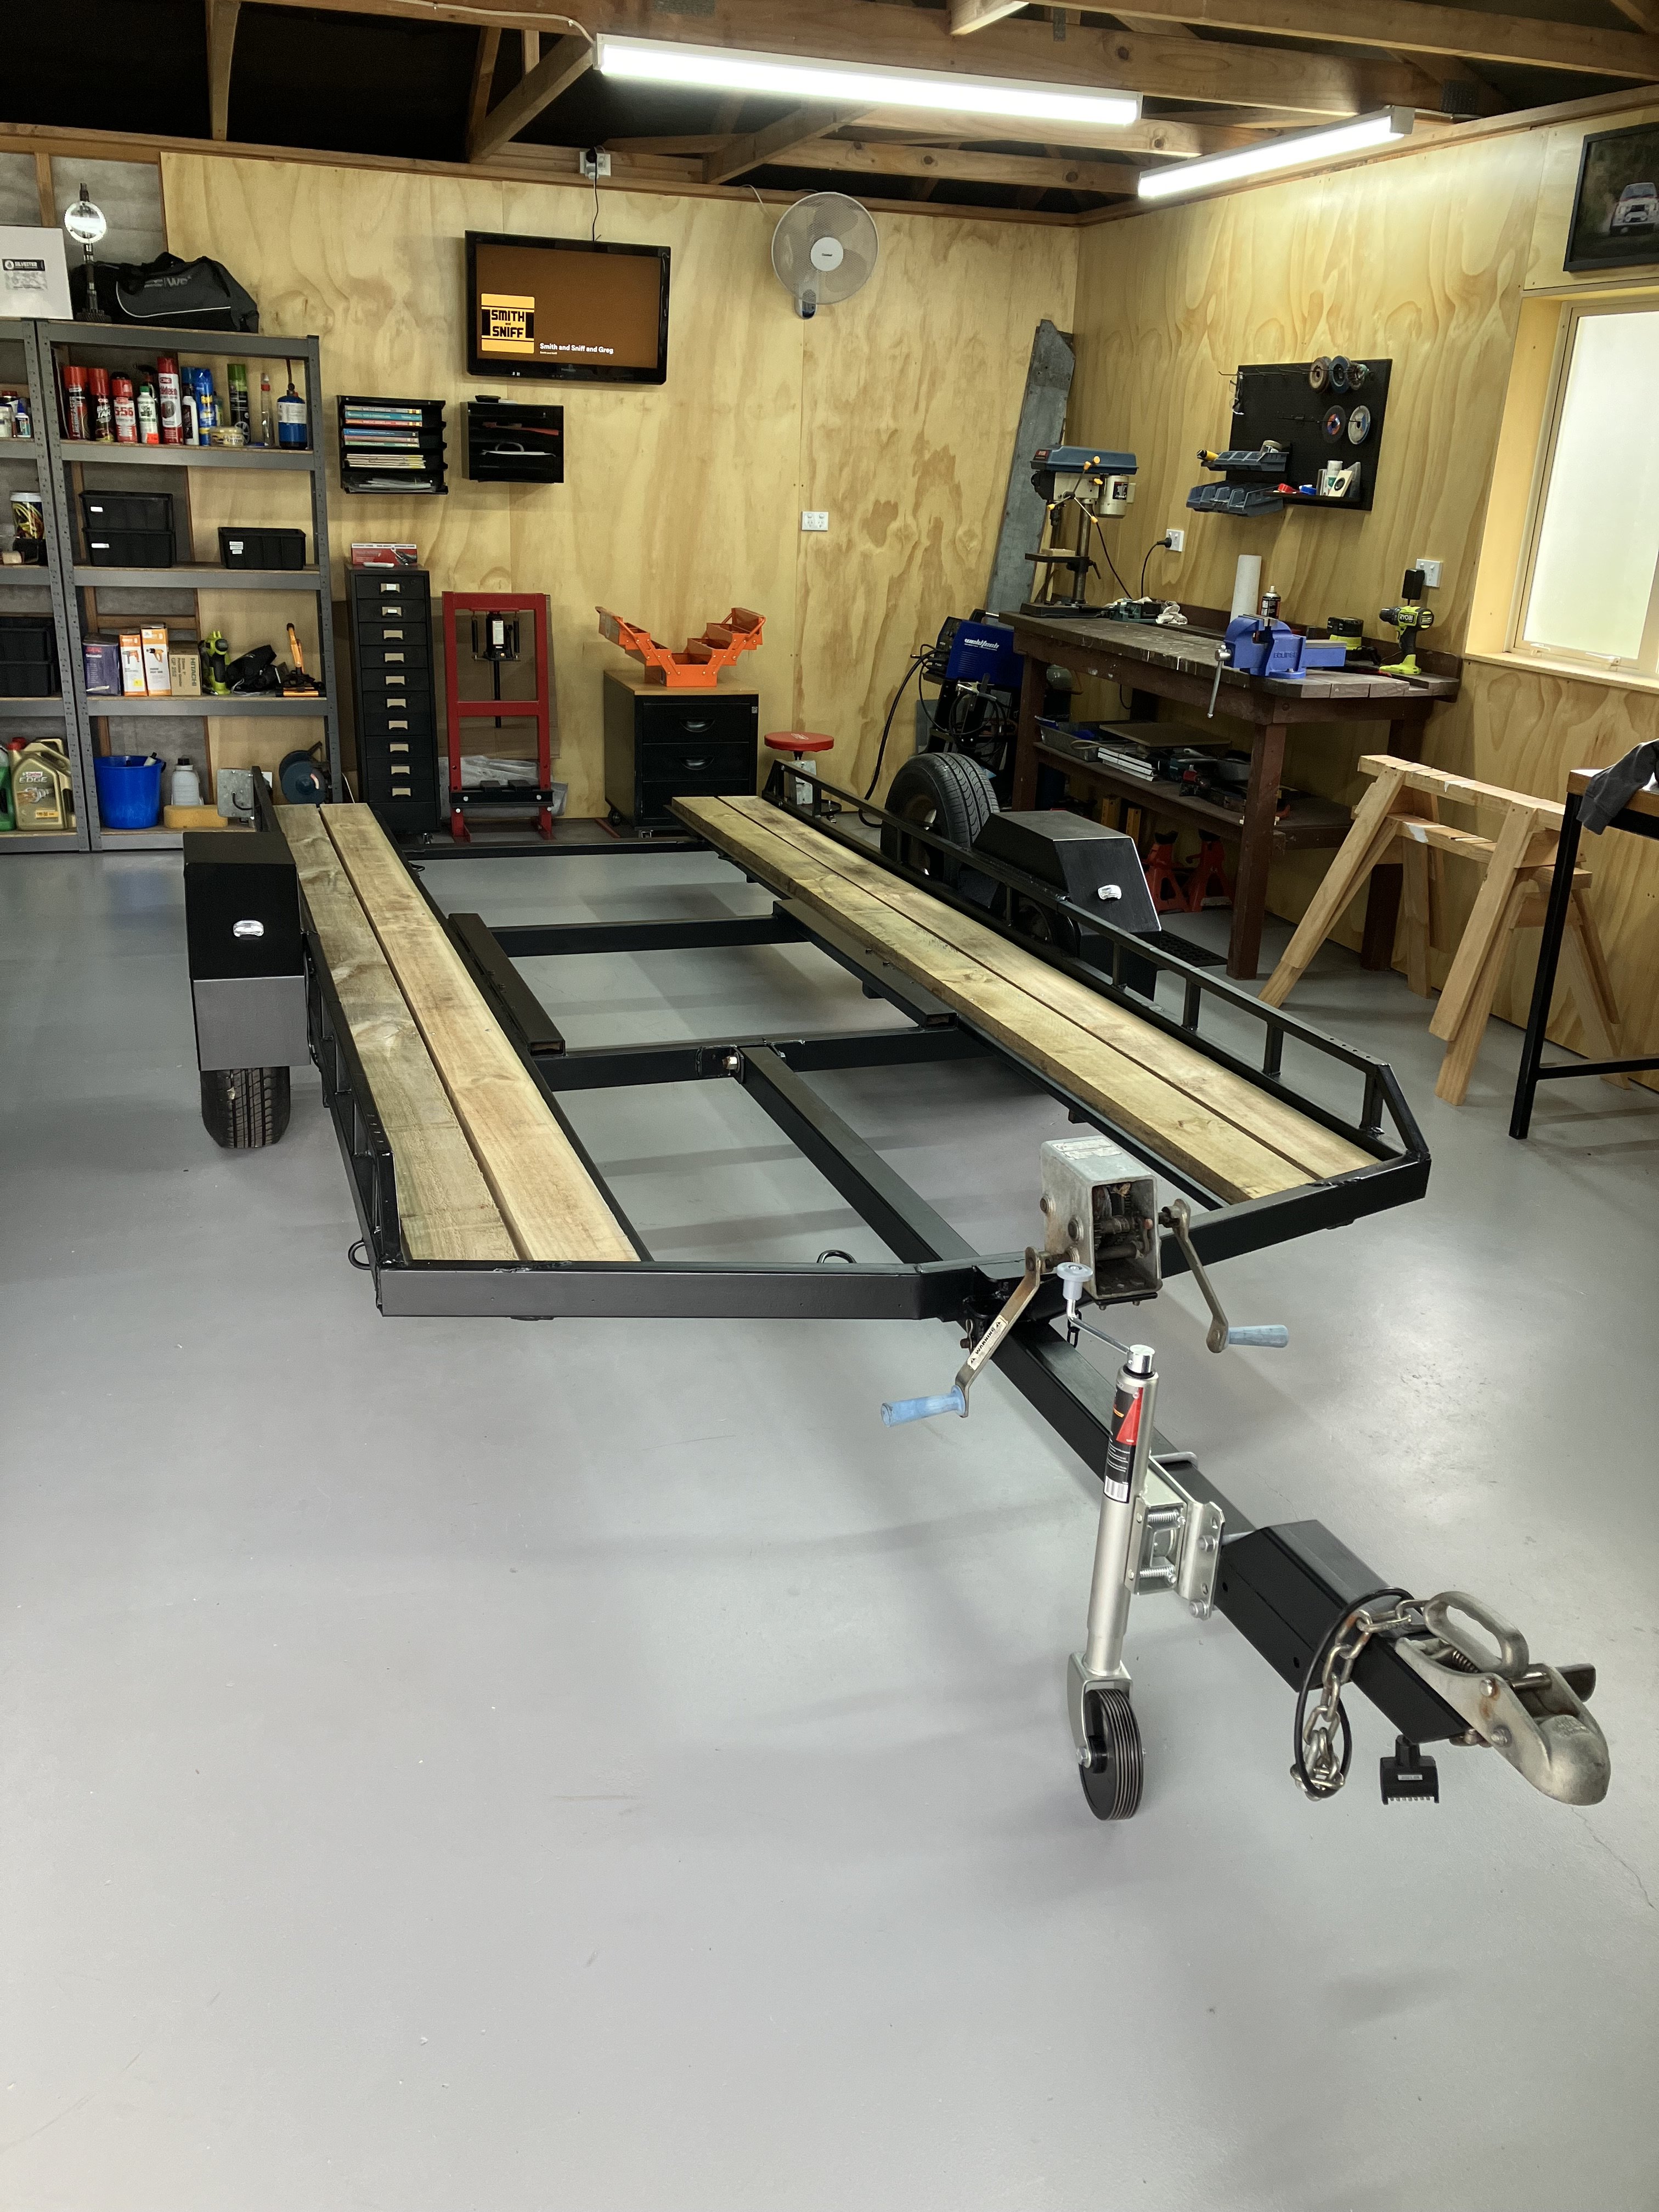
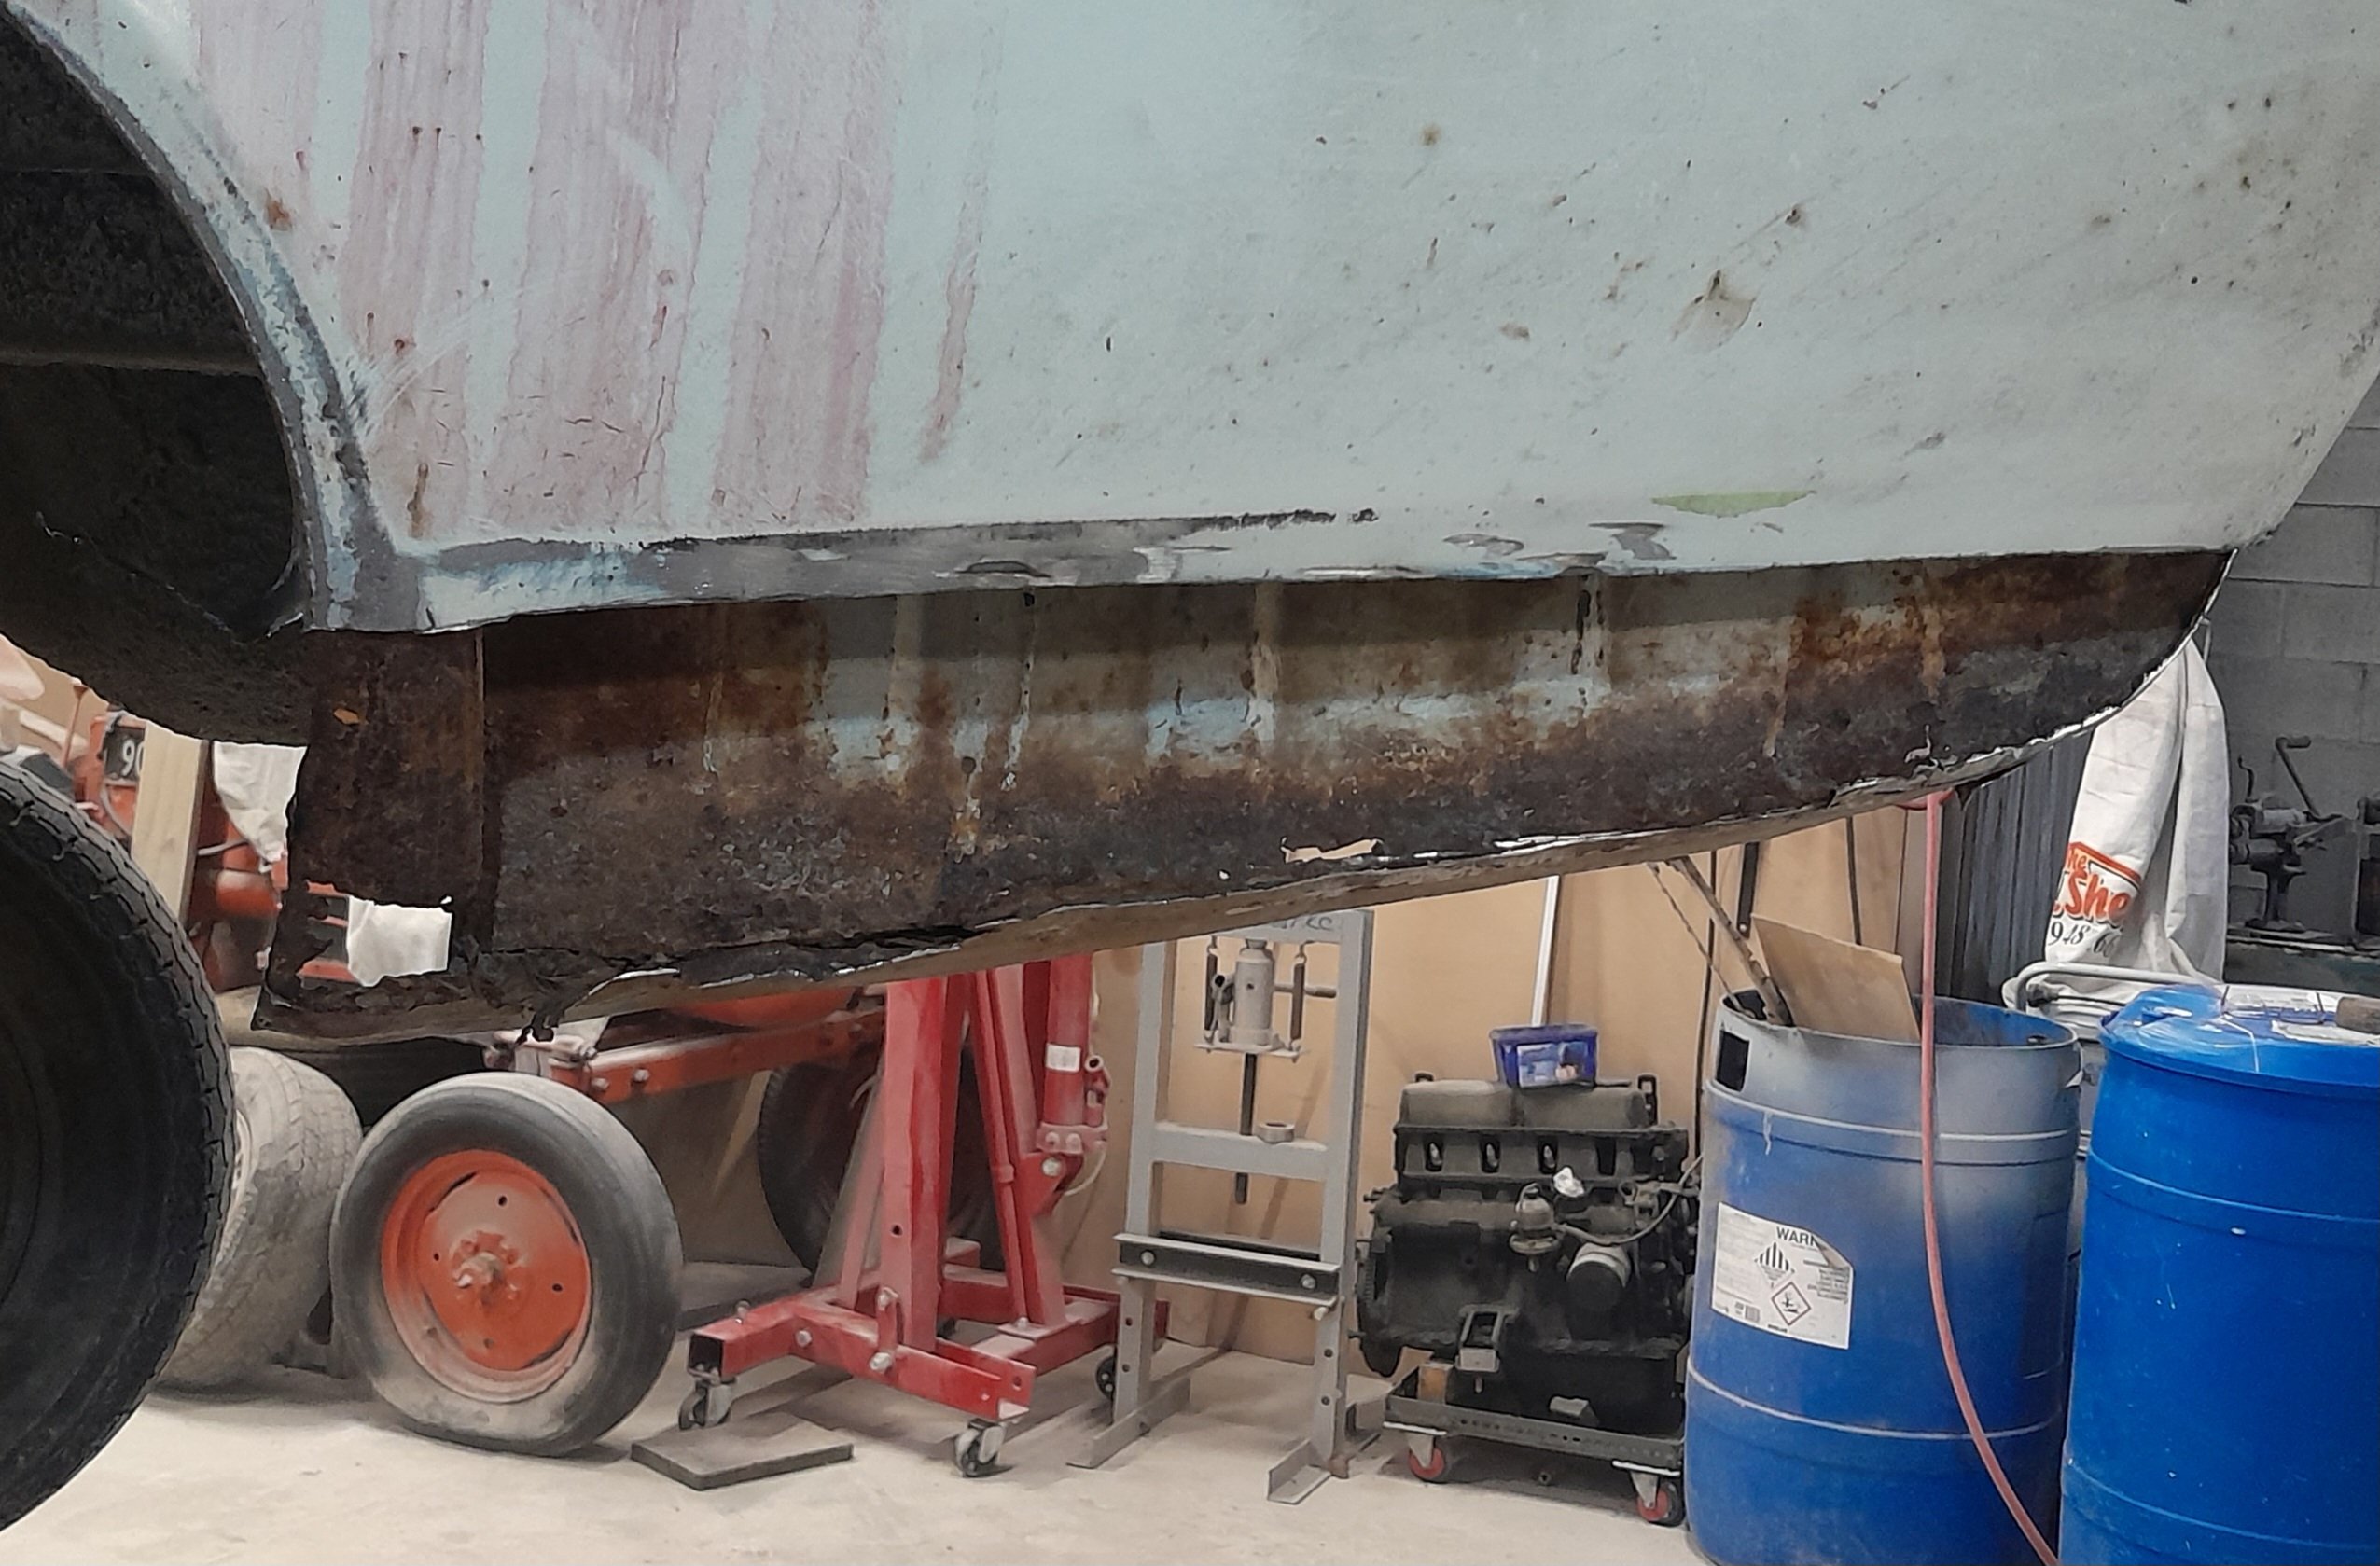
This is kind of random project thread worthy. So I’ve owned this old single axle car transporter for over 20 years (apart from a short period where a mate owned it, then I bought it back). In about 2005 I gave it a rough wire brush and painted it tractor red and put a new timber deck on it (necessitated by a mates Fiat 131R almost falling through the rotten old deck). I’ve been meaning to give it a refurb for ages, but it kept passing wofs and just looked like shit. It progressively got worse until @azzurro borrowed it and it had some structural failures where the spare wheel mounted (coincidentally while also towing a Fiat on it). He kindly patched it up before returning it but it needed attention. After moving back up north I decided it was time to tackle it and strip it right down and give it a birthday. Fix a few bad welds. Paint, new electrics, new deck etc. Anyway. After a few solid weekends of work it’s just like a new one. P.S. if you want to buy it, hit me up. It’s only small (suit Viva, 1200, Escort, Starlet etc).
-
Interested to see how this goes. Haven't personally seen speeduino used as an engine ecu etc. Usually megasquirt or mainstream ecus. Id just make sure the ecu can work with the particular sensors and the trigger wheel lobe count. I have a few 2tgeu spares if required.
-

Discuss here about Yoeddynz's little Imp project...
GregT replied to yoeddynz's topic in Project Discussion
If you're still going to pack the muffler, rather than fiberglass try what I use on racebike mufflers. Kart shops sell a muffler repack material which is a woven material in sheets about 500X500. It's quite thin so I think would fit between the perf tubes. I usually use stainless wire to hold it onto a perf core. It seems to have a long life in 4 strokes. The 2T karts saturate it in oil which is why they repack. -
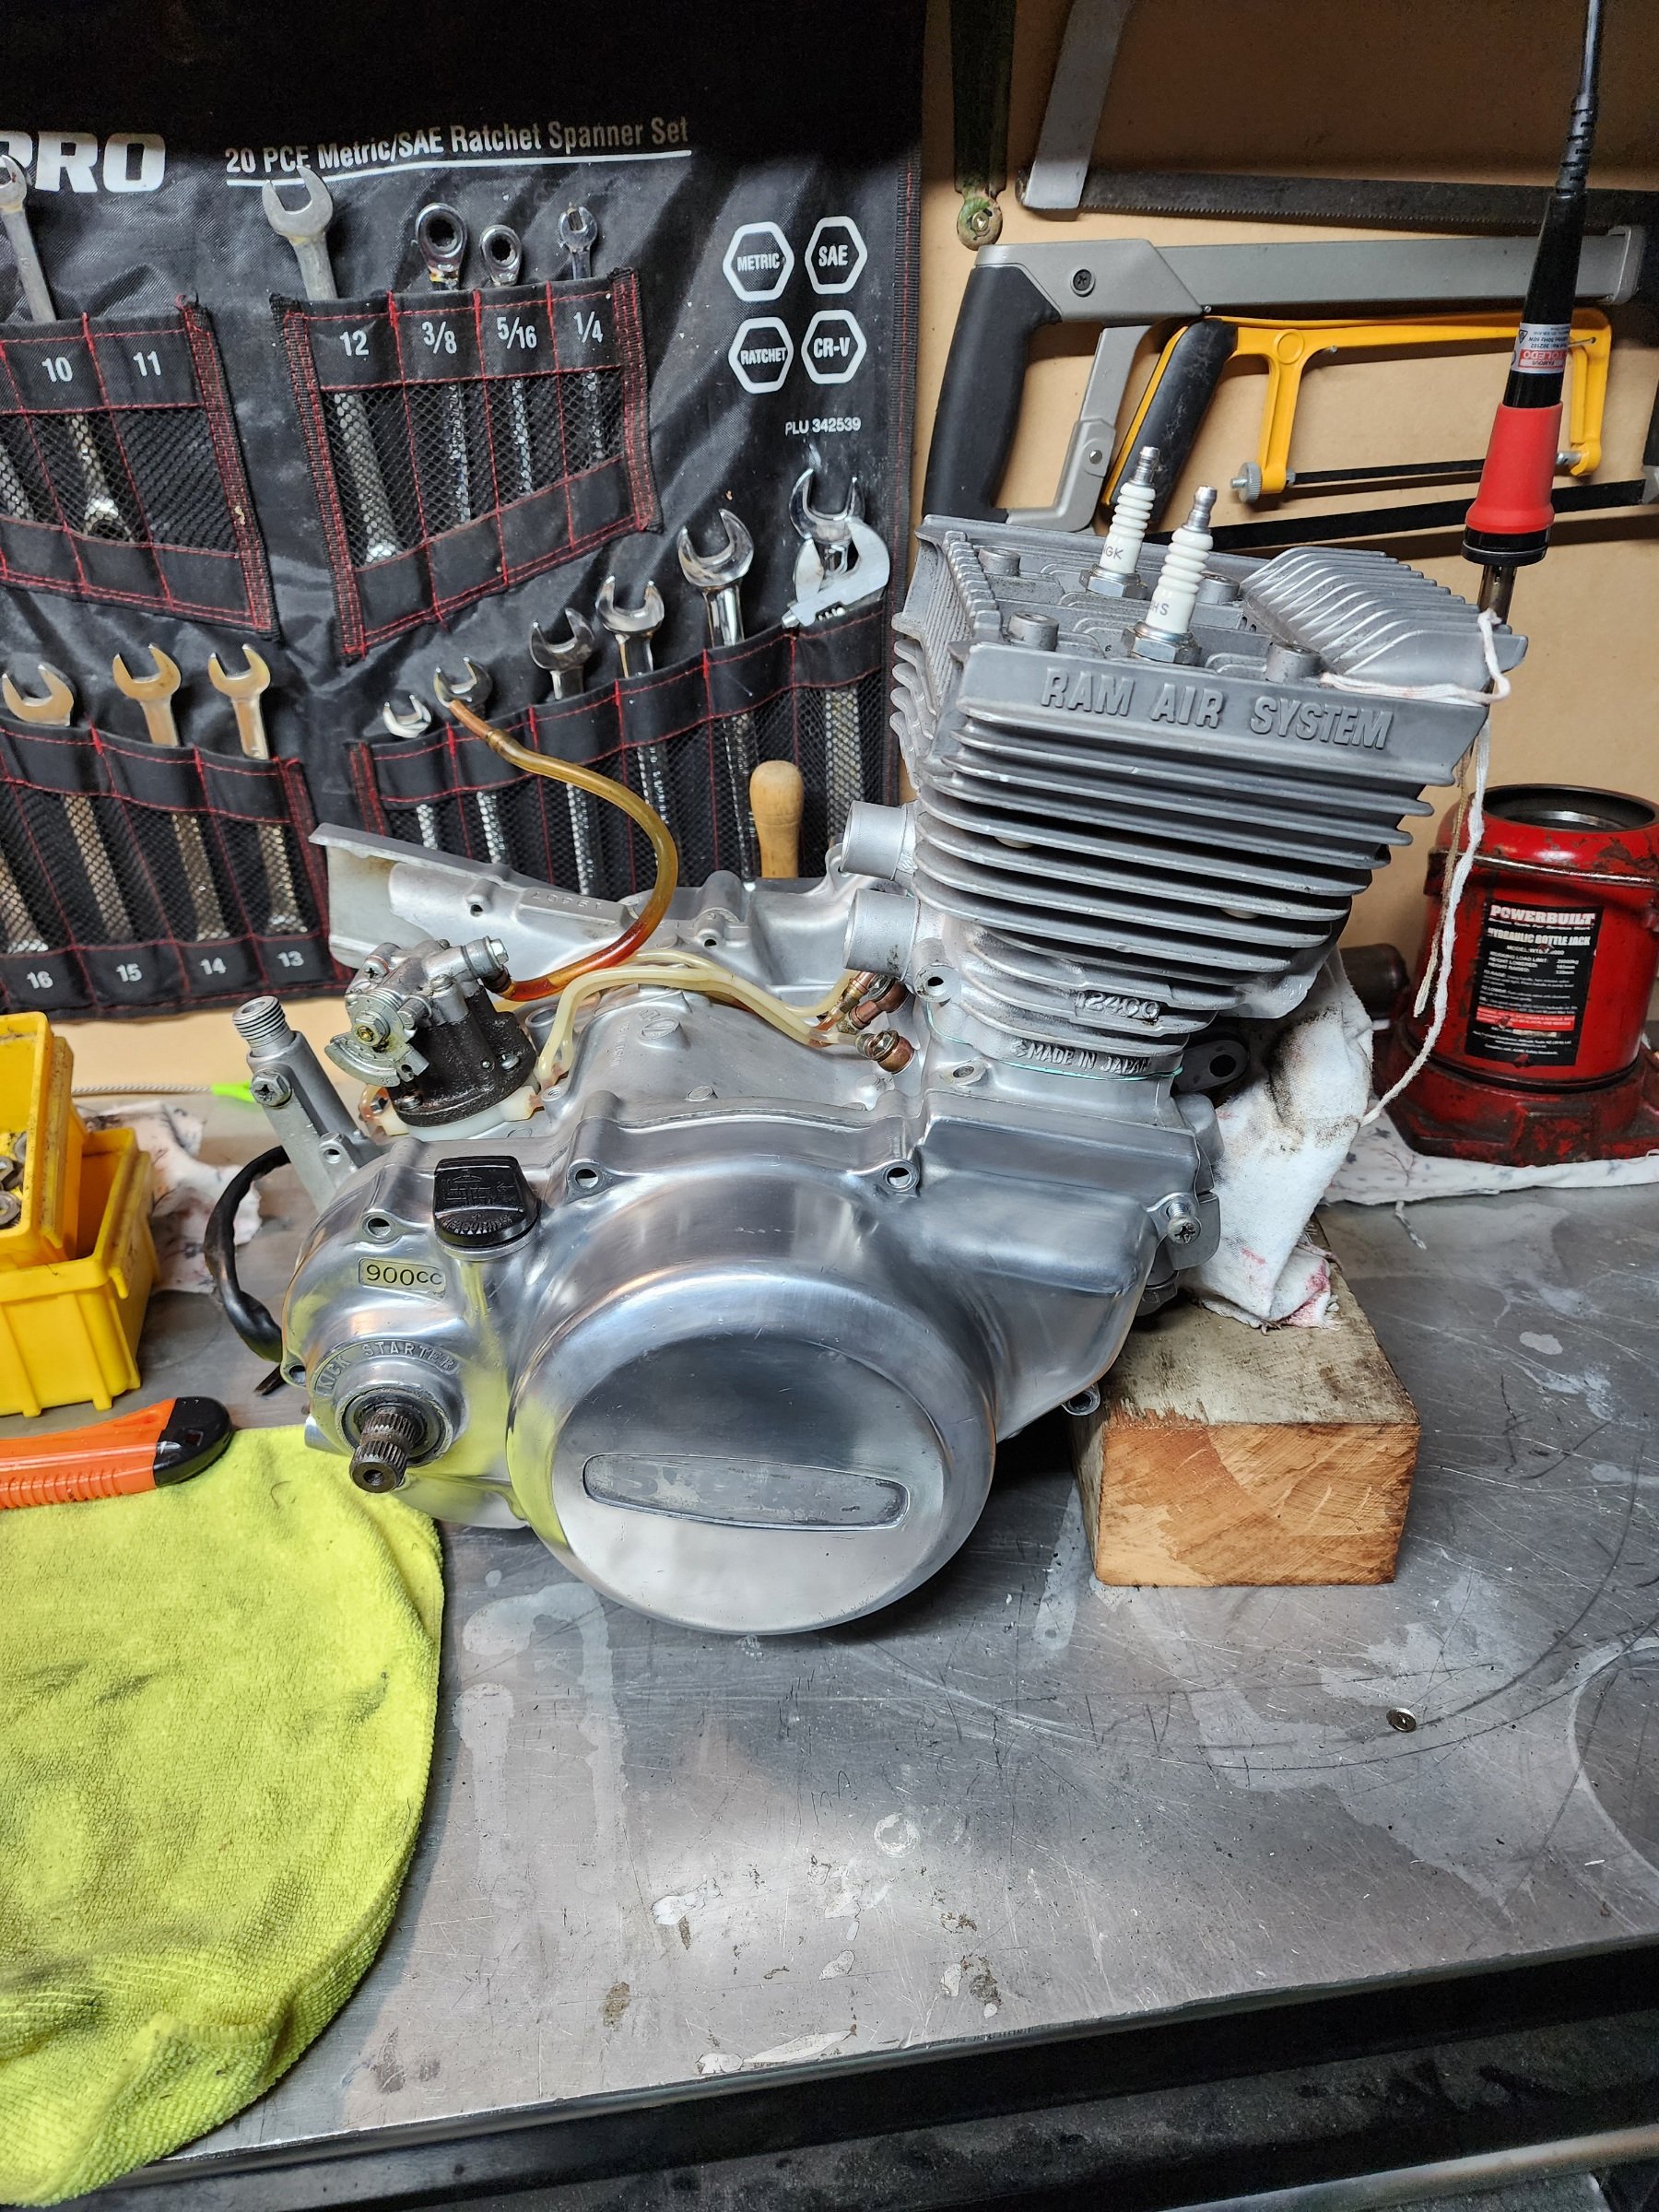
The spark plug cover? I'm missing one of those. Seem like hens dicks to find too
-
As per the title this next stage of building the exhaust silencer/muffler/back box/ take your pick has taken much more time and effort than I had always expected. I started by taking the blue imp apart. To Woolf valley garage I went.... ..where I removed (rusty mild steel) exhaust, bumper and rear valance.. Popped it onto rusty imp shell... Now I knew exactly how much room I have to play with. Whatever I was going to build had to work with several things. I wanted the box to be mounted higher than the existing one behind the Datsun engine as I was sick of scraping it on steep driveway exits. It had to be built completely of stainless steel, no exceptions. No more corrosion. It had to look tidy and fit within the bumper line, tailpipes excluded. The tailpipes were to be twin centre exit. I had a very specific look in mind and they have to be just right. It had to be quiet enough and yet still sound sporty. This last one is tricky and will most likely need modifications to get right hence the last design point... It has to be modular, easy enough to disassemble and repack with sound deadening (most likely glass fibre) Now I knew the size I could build it to I started by making some flanges. This so I can unbolt the flexible sections between the V clamps and the box. Made to suit the 44mm tube as per the tube off the V clamps. Lifted the big folder we'd made onto the bench top and folded up some 1.2mm stainless. Although heftier than I could have used I've gone with this thickness to helped avoid the tinny sound thin stainless boxes can make. I wanted perforated stainless tube but couldn't find any within NZ. Got some perforated sheet instead - again 1.2... Which I cut strips from and formed up into tubes as such... Welded... Now I had the start of a box and some tube. I could sit down and nut out a design. I have had some basic ideas for ages on how it might look inside but it was really good to sit down and see how it might work. Drew some ideas up.. Nutted out something I think would work well and be easy enough to change if need be. Time to commit. I had to cut some blue steel. First actual act of modification to the imp in my quest to plonk a flat six in it. Now I could double check box sizing and weld the flanges in place. Folded up the second box side.. Complete with captive nuts to suit a lid.. Tail pipe time. I almost went with twin 2" exits but they were just a tad too big. Settled on twin 45mm. Tacked them to yet another stainless pair of flanges to work with the modular design aspect. Happy with the look I then fully welded them on the inside. The flanges will be sealed with a soft copper gasket. Happy I had the look right I cut the centre top from the box, created a recessed bit and carefully welded in the second threaded flange. So now I have inlets and outlets where I want them and just have to connect the dots. Ideally a nice long a route to dampen sound while keeping it as smooth flowing as possible. Plus, as per original brief, it has to allow for easy disassembly and re-packing. There was quite a bit of head scratching with this bit of the build but eventually I sorted a design out. I cut various bit of sheet and put big holes in them with a nice brand new holesaw set. Made little boxes with more big holes... Shaped bits like a heart...(#putmyheartandsoulintoit.....) Welded the ends onto the main box, curved in bit to help with flow and also hide the external bobbin mounts from view a little. Now I had a collection of parts that would come together and form a london underground of tubeways for the exhaust gases to follow. I was pretty happy with the layout for its potential silencing effect. However I now wondered if it might just end up being a touch too quiet and restrictive. Luckily I had come up with an idea early on where I could add some valves. Quite a little bit of extra work involved but the more I'd thought about it the more I was convinced it could work well. With this in mind I had built the middle chamber width to allow for some valves and made sure they could be removed to fit said valves in place. I cut some 44mm holes in the middle chamber lids and made some to valves to suit... Whipped up a little press form to create brackets.. Valves mounted. Underside of lids have the heart halves which help direct flow from one tube back too the next, or up and out through the open valves.. Valve shafts stick out through back of box. Sealing will be by a combination of spring loaded fibre and silicone washers. Now for an exciting point in life that every shed 'Barry' looks forward to. Emptying out those boxes of little random fittings that have been stashed away 'just in case you might need them'... Such fun! I selected my (stainless!!!) treats and scribbled on some alloy. Made lots of alloy swarf.. Ended up with these levers. Pinch bolted to the shafts along with added grub screws. The short length of threaded rod will be changed for a long length of stainless rod, actuation method from within the car yet undecided. Possibly a 12volt door lock motor etc or maybe mechanically with a bicycle cable. Recessed the backs to allow for seals.. So yeah. Lots of parts! Compulsory photo of thing exploded into many bits... All together now with some arrows. Remember each side is just a mirror of the other side (there is a small cross over hole in the centre plate that separates the sides) Valve closed... Valve open... I think it'll be quite a difference in sound and look forward to hearing it. Valves can be seen in action in this very exciting video... So It's pretty much complete except for the mount points which I'll do once I've got some bobbins from engineering shop along with seals. The lid will be sealed by running a bead of silicone which I'll let set before clamping the lid down. The box will be painted satin/matt black leaving the tailpipes shiny. Silencer mounted in place... View from above showing plenty of room for the valve linkages in place. I ended up cutting a tiny bit more of the valance away so there's room for a stainless heatshield. I then covered the valance with some masking tape to help prevent it getting too scratched while I put back in some internal strengthening and capping it all off. I'll also be adding mount areas for the bobbins. I'll remove the engine next and add in the big multi-pin connector to the engine loom. Then I'll be seriously very close to removing the Datsun engine and cutting out the under seat area just as I have on this rusty shell. Wow!!
- Today
-

Wellington Monthly Meet - Discussion thread
Mourning Cupcake replied to KKtrips's topic in Lower North Island Region
@vivaspeed could do Wednesday 15th? -
"Compared to conventional type bolts, torque to yield bolts offer the engine manufacturer a number of advantages including; greater flexibility of design, reductions in component costs, more accurate assembly and reliability of seal. Engines designed utilising torque to yield (TTY) head bolts require fewer head bolts to achieve the desired clamping loads than those using conventional bolts. With fewer bolts the engine manufacturer has more flexibility in cylinder head and block design as well as reducing the cost of the engine."
-
gettinroundtuits 73 avenger
gettinroundtuit replied to gettinroundtuit's topic in Projects and Build Ups
More of the same......
-
Have you got the cover for the cylinder head ? That at least should be polished. It's the one thing that makes the ramair versions stand out.
-
Double dugga post
-
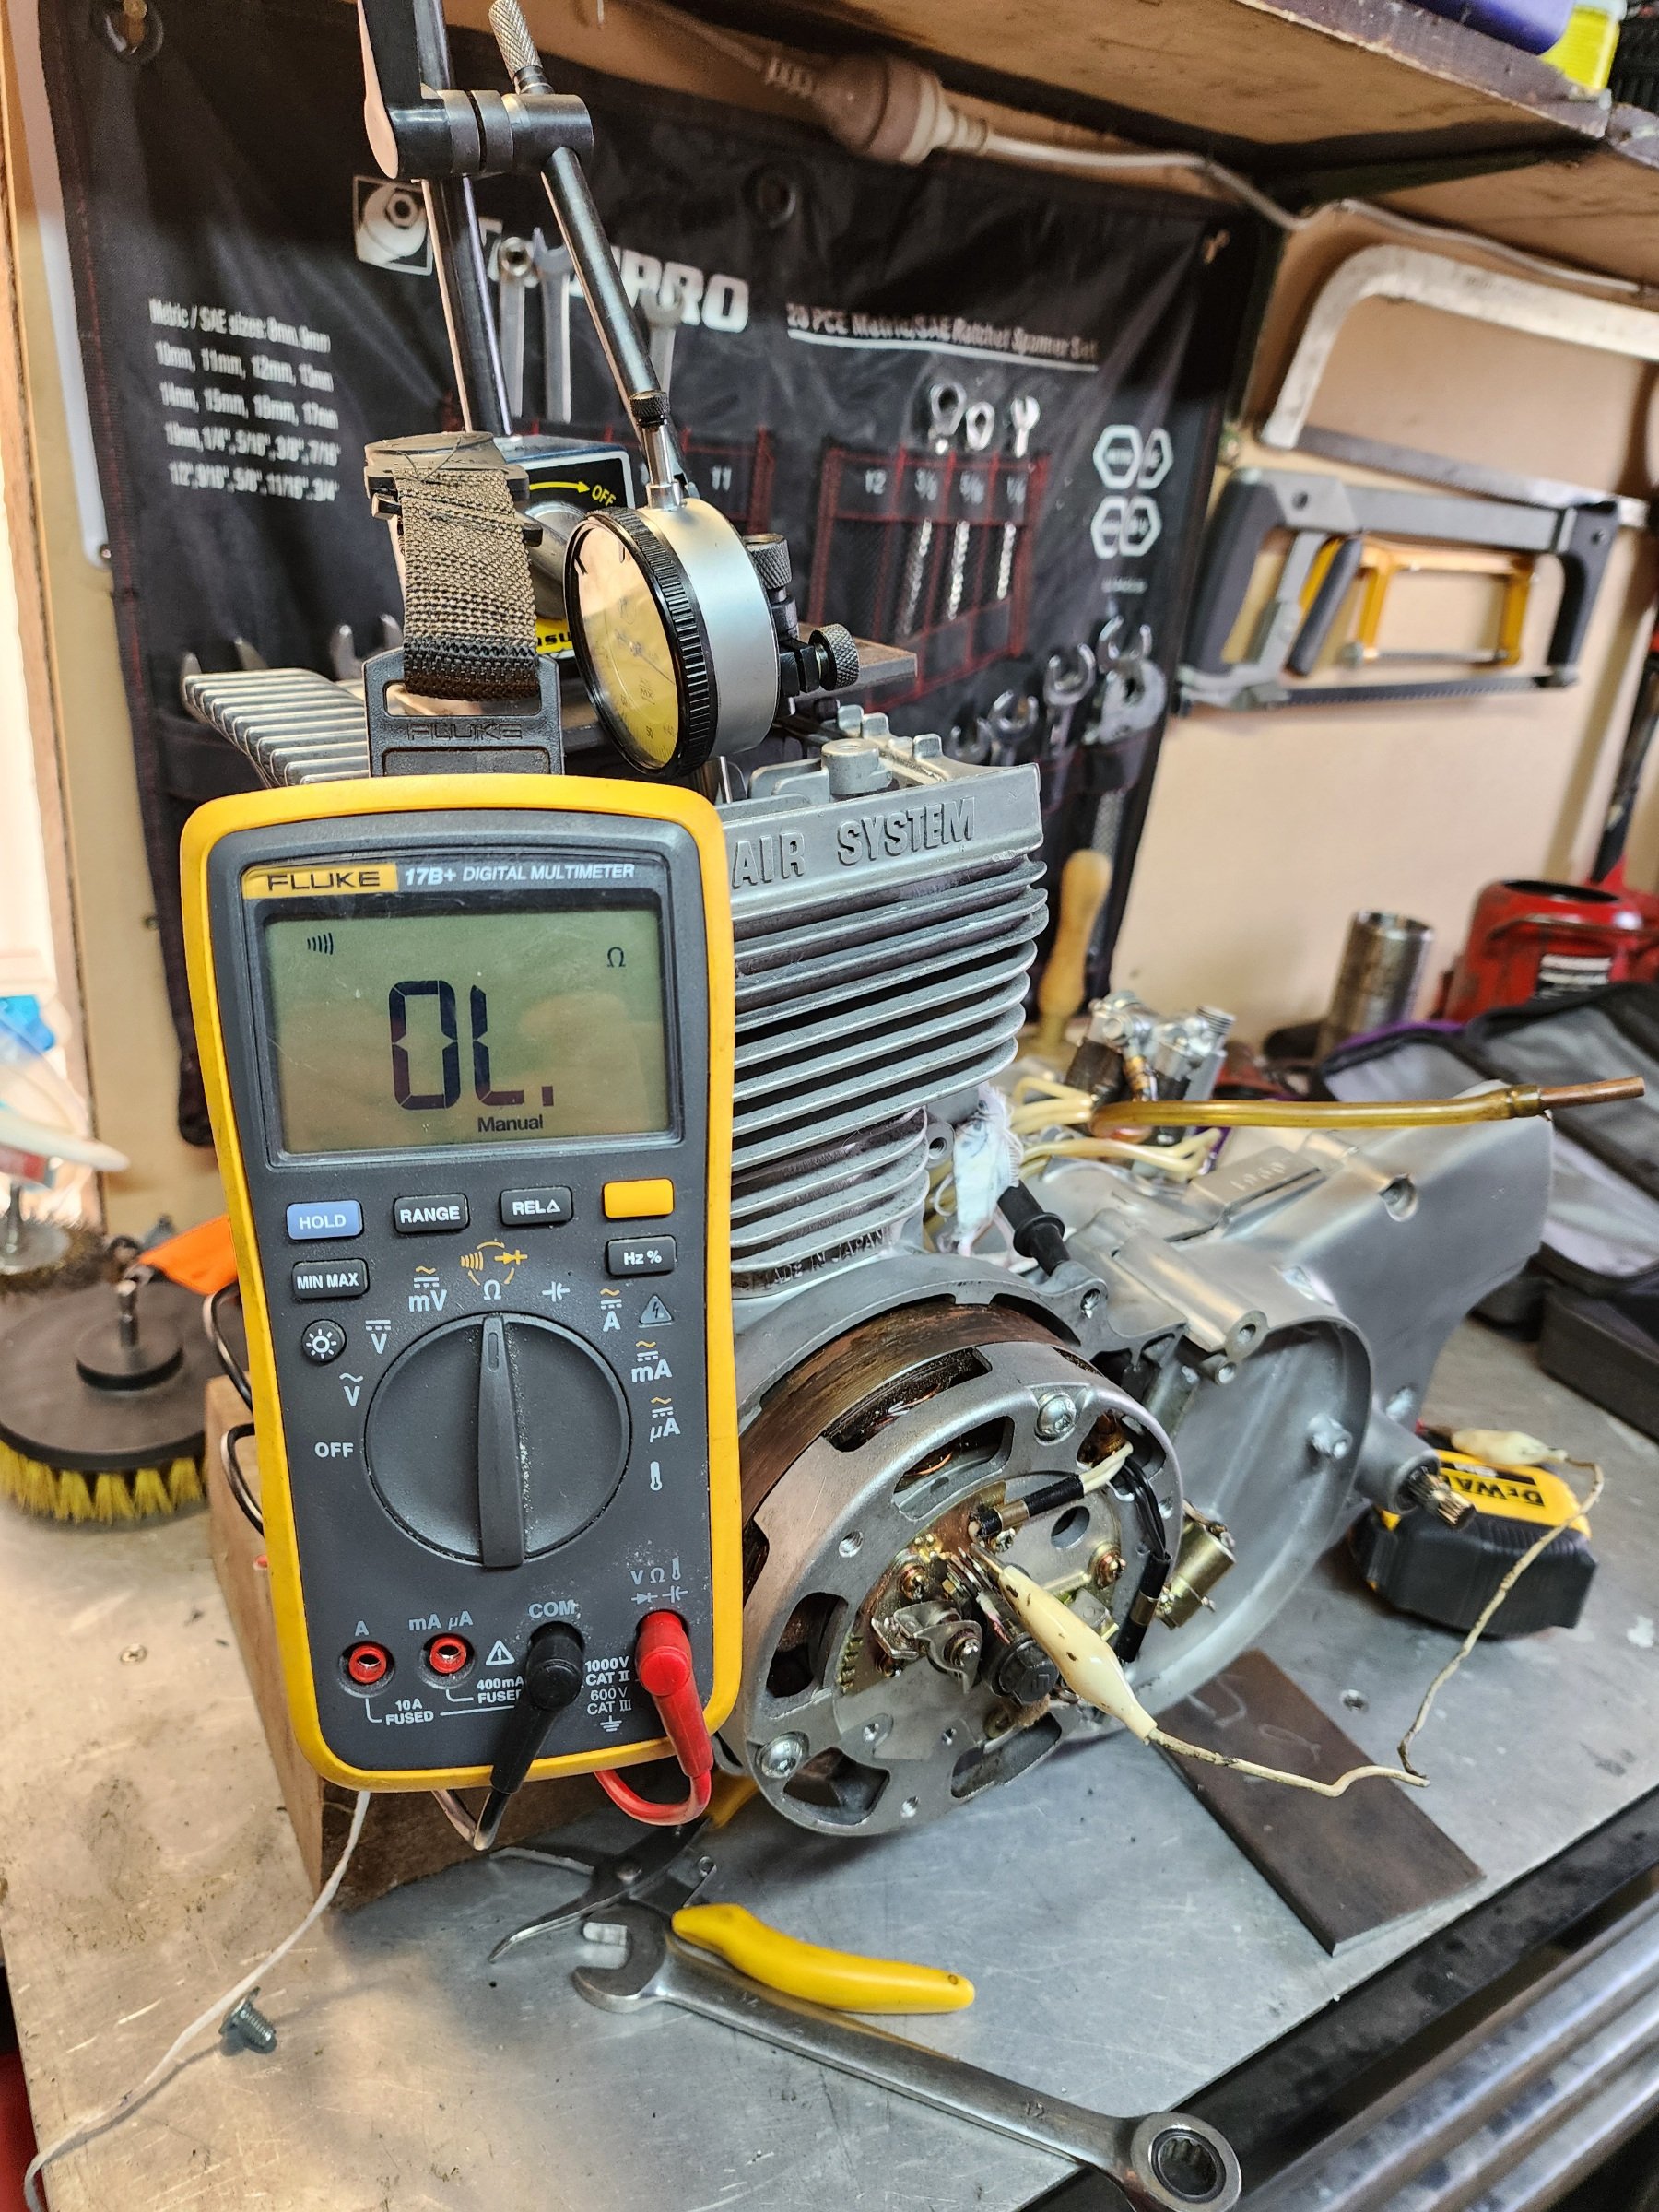
I ended up pulling the whole loom out to check things on the bench. It took a few hours to figure things out, I had made a few mistakes. Since I have pullup resistors on all of the cam angle sensors, the 5v supply on that loom plug splits 4 ways and joins to the signals. However I'd swapped the 5v supply wire with one of the 5v/DI signals on one half of the plug. So looking with a multimeter it still showed the correct amount of resistance on that DI, but, it was the wrong way around. Then I also found a broken wire at the plug end of one of the other DIs. Then I also found one of the pins in one of the plug halves was pushing back out when you put the plug together. So replaced the plug. I've got all of them responding on/off when holding steel against the sensors. While I was there I also changed the supply to 8v instead, hopefully less chance of trigger errors. Hopefully it'll all work okay now.
-
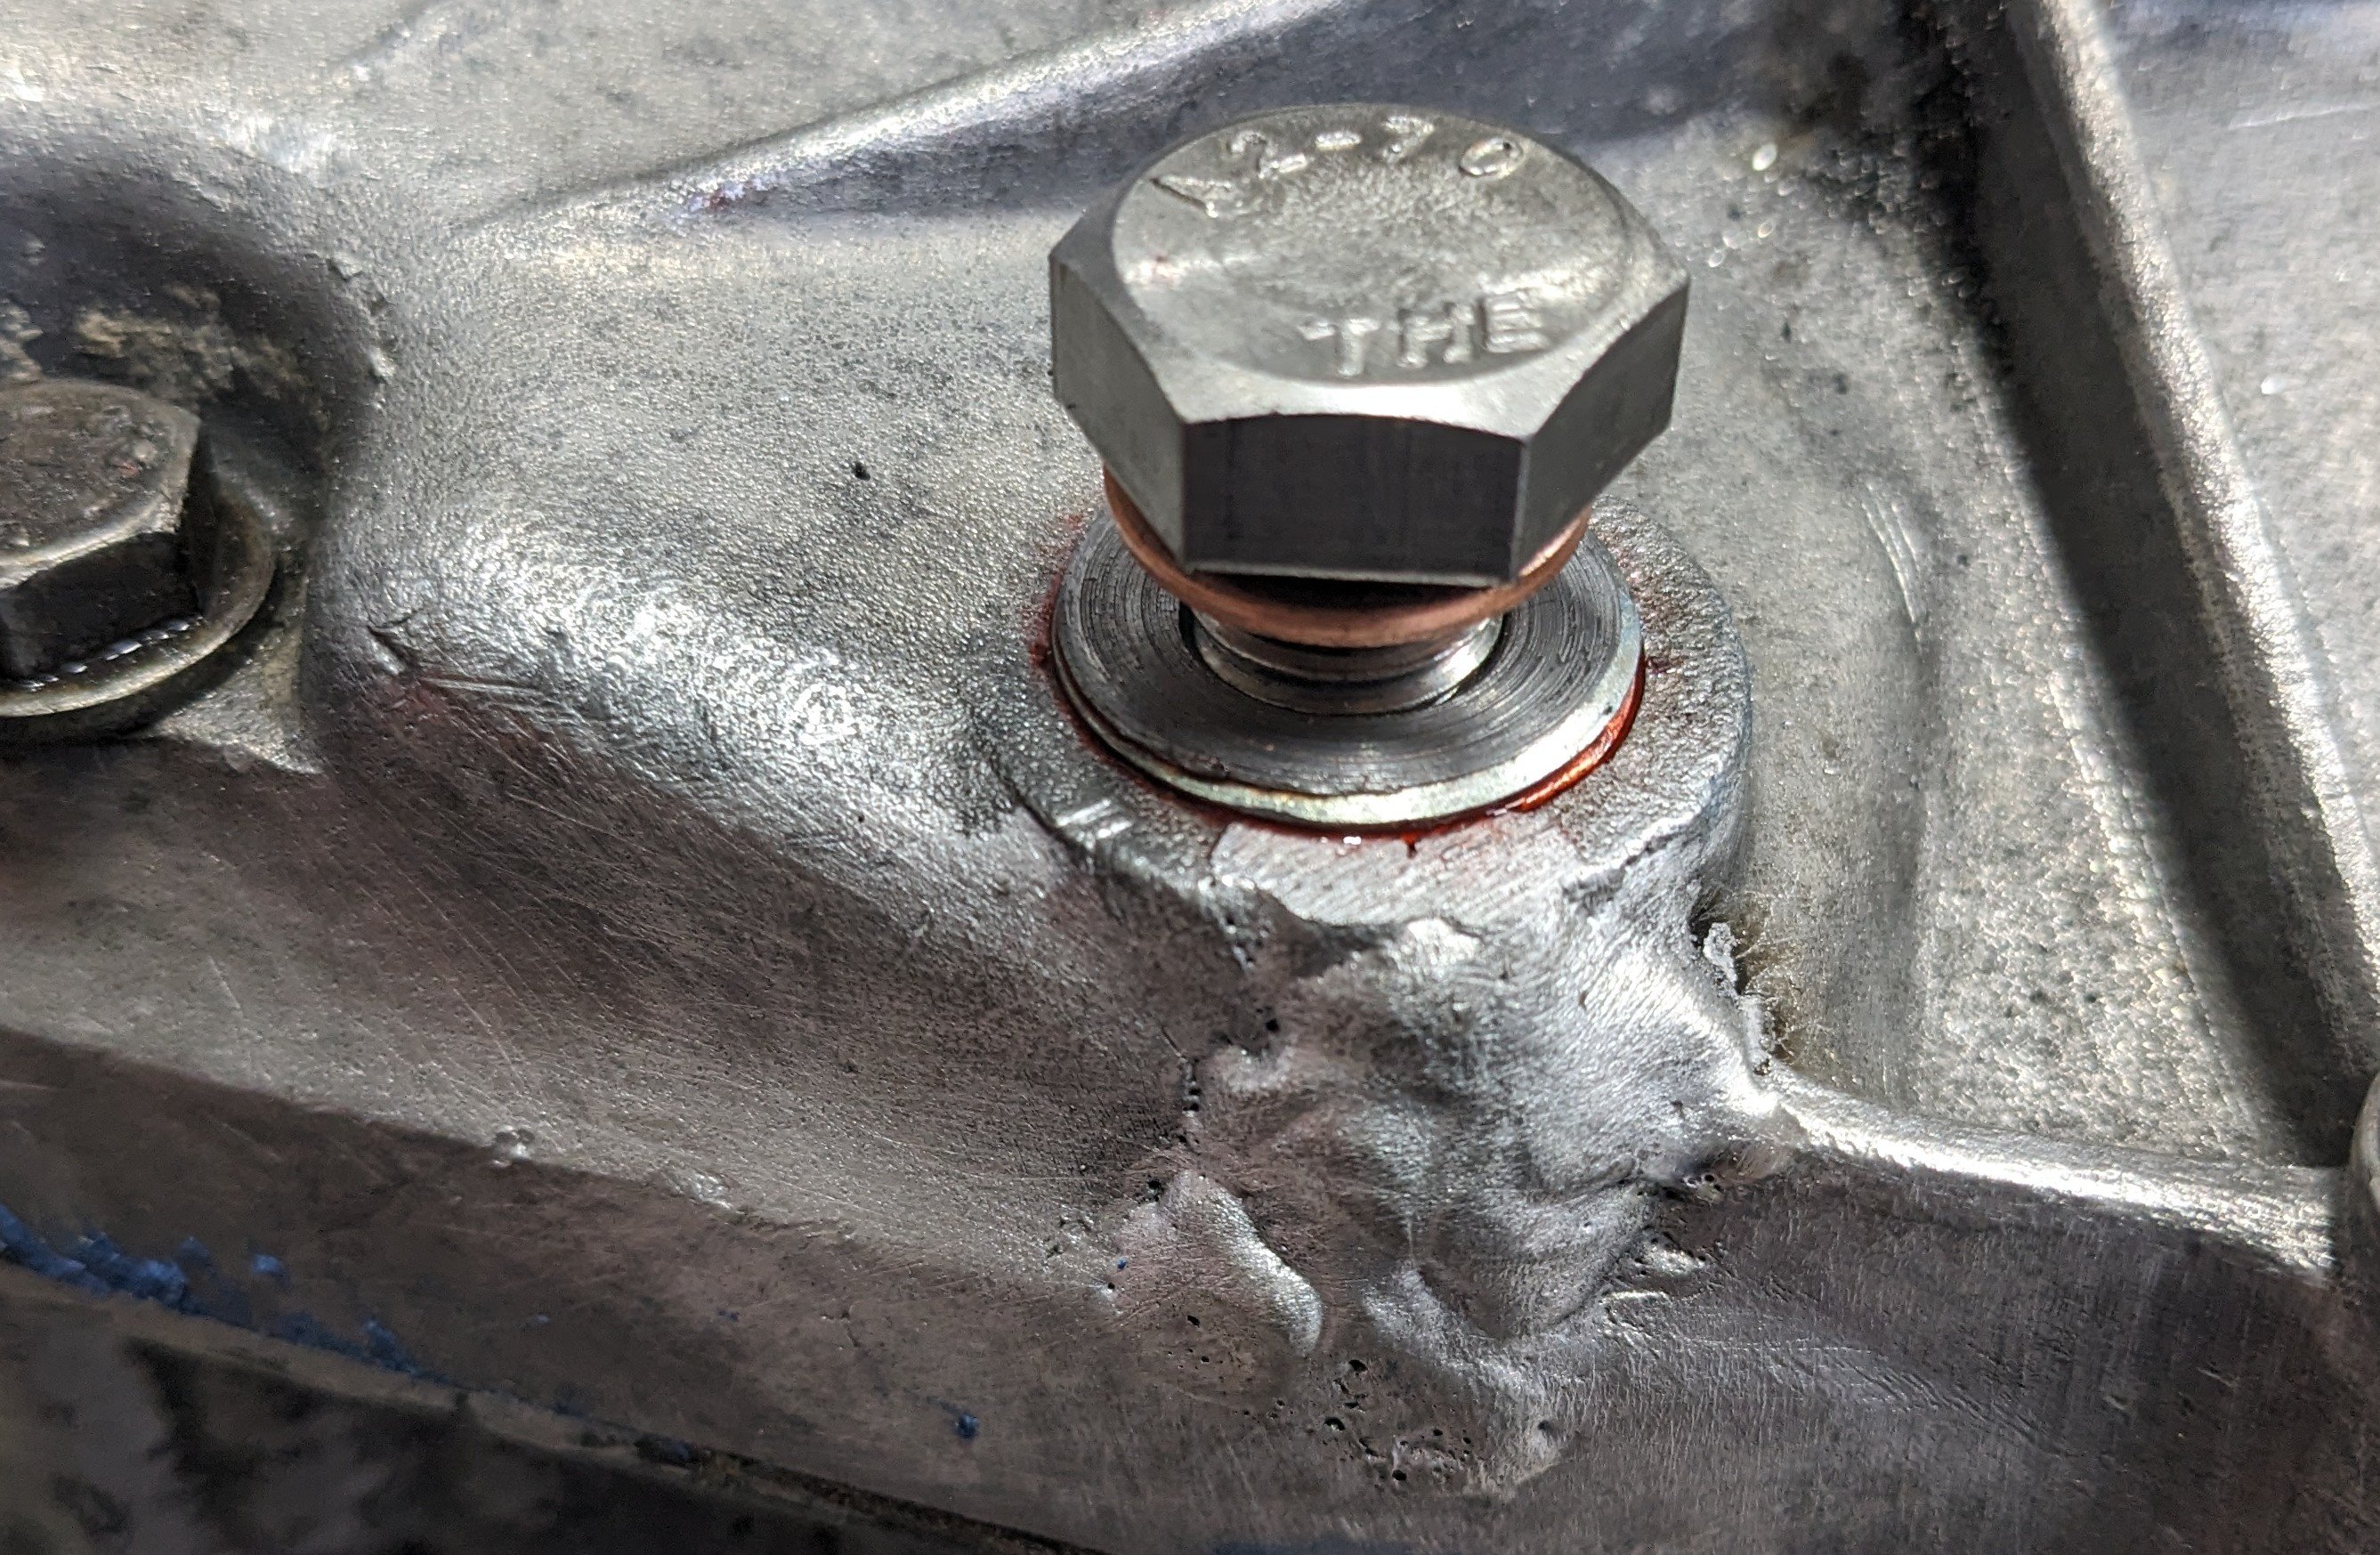
That nut was noticeably looser than the one on the other shaft... I gave both a few duggas.
-
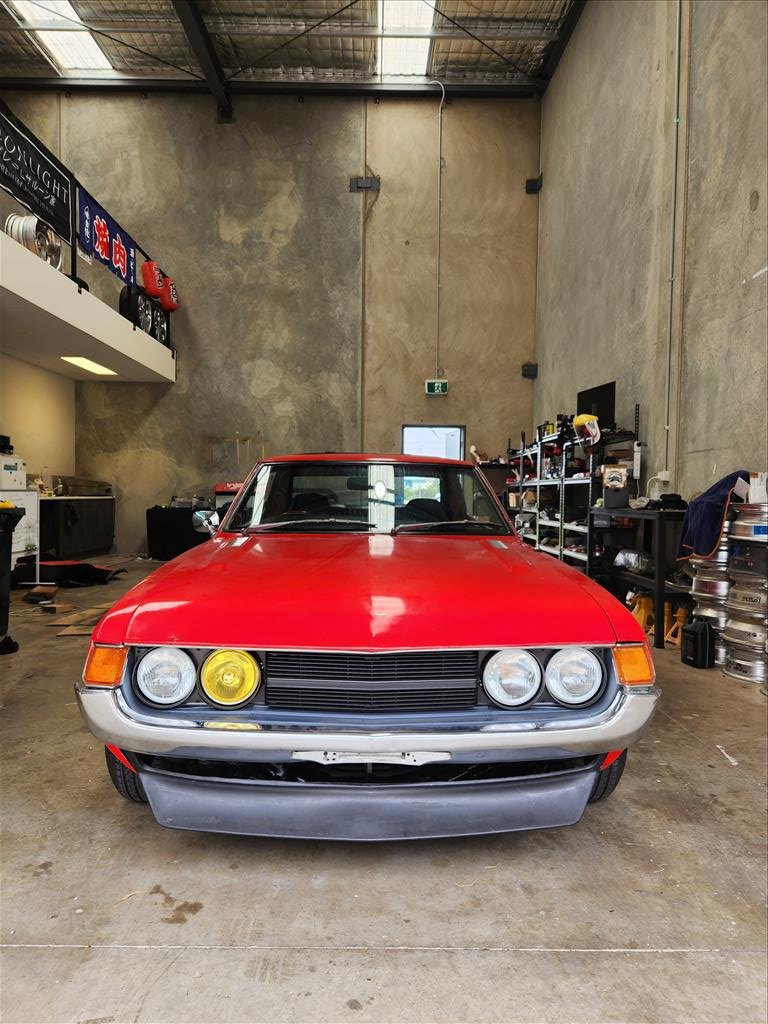
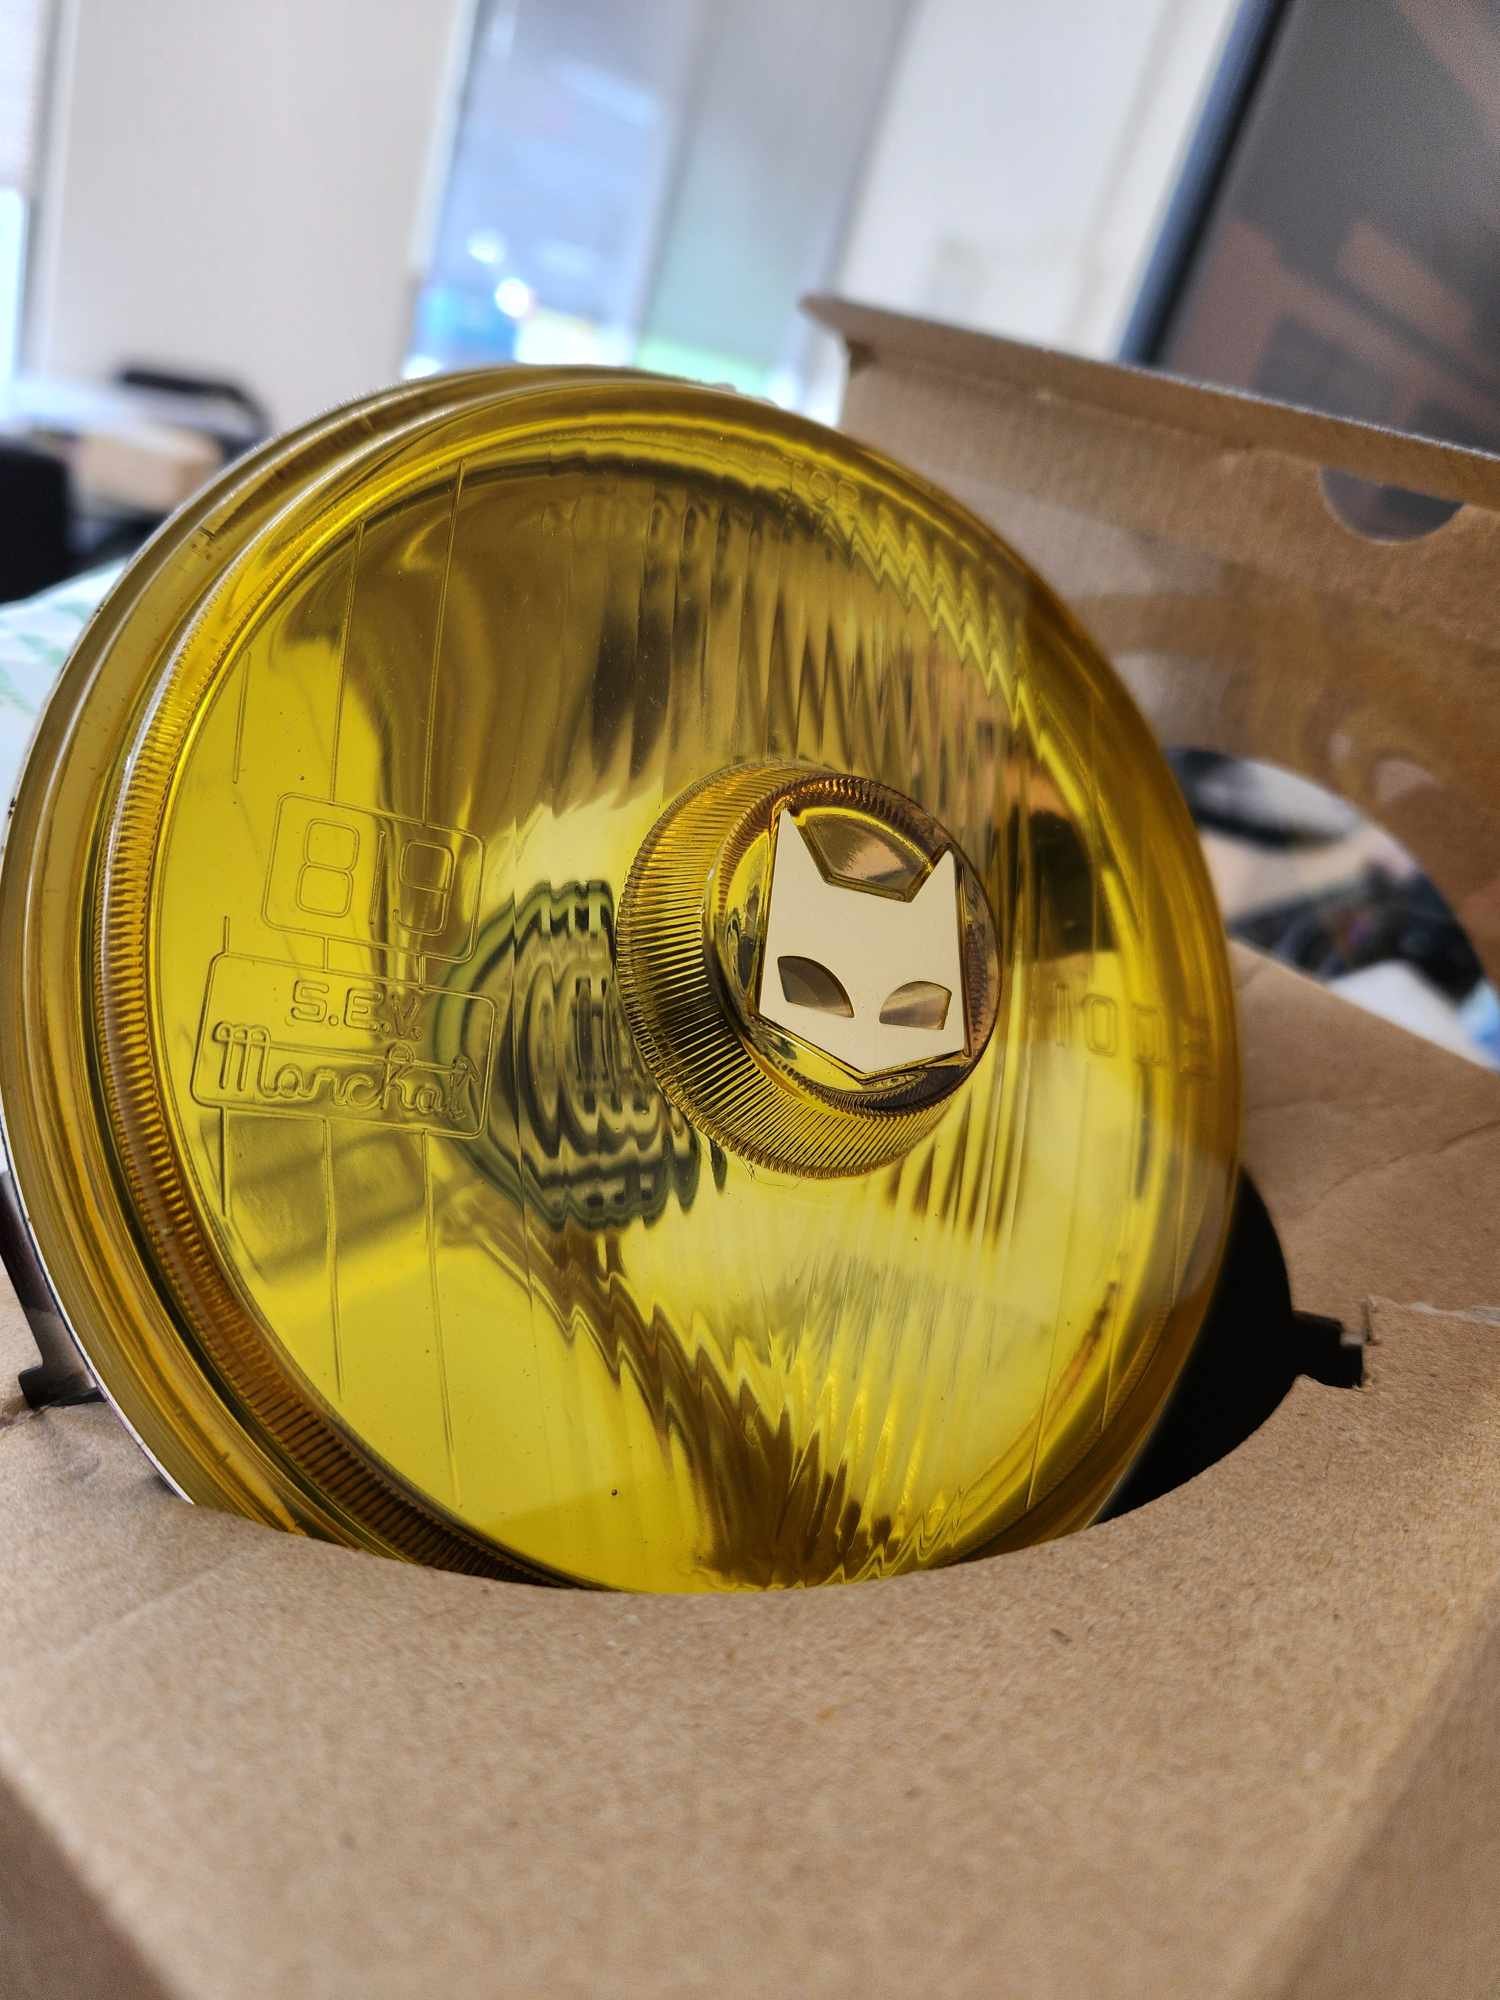
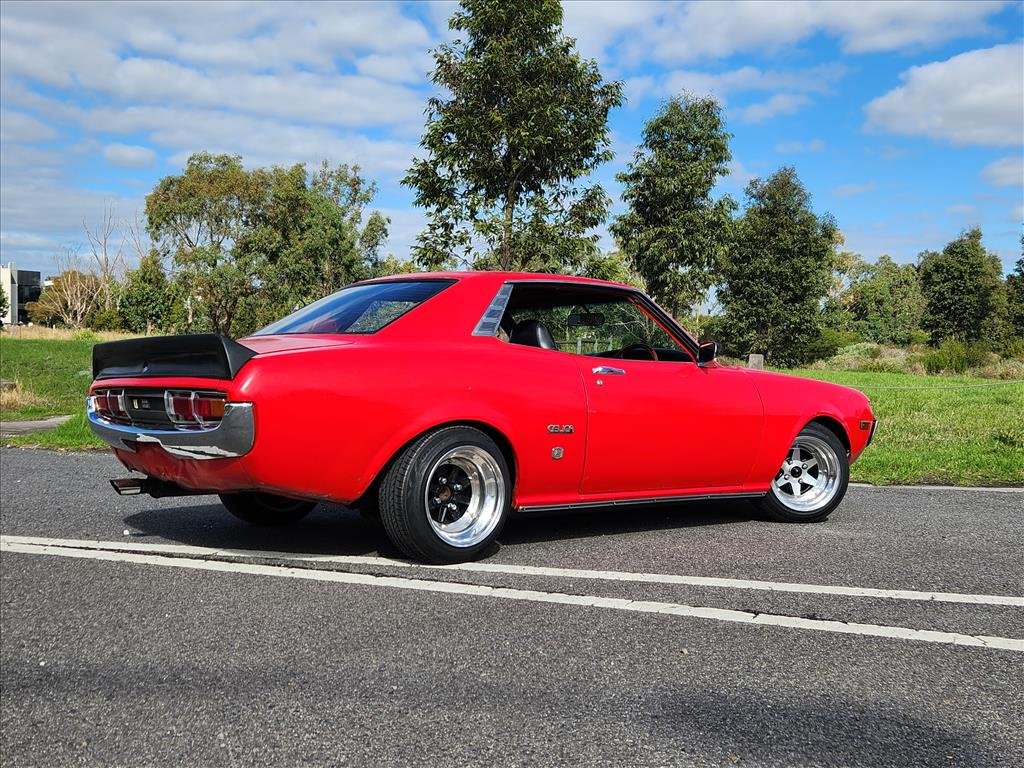
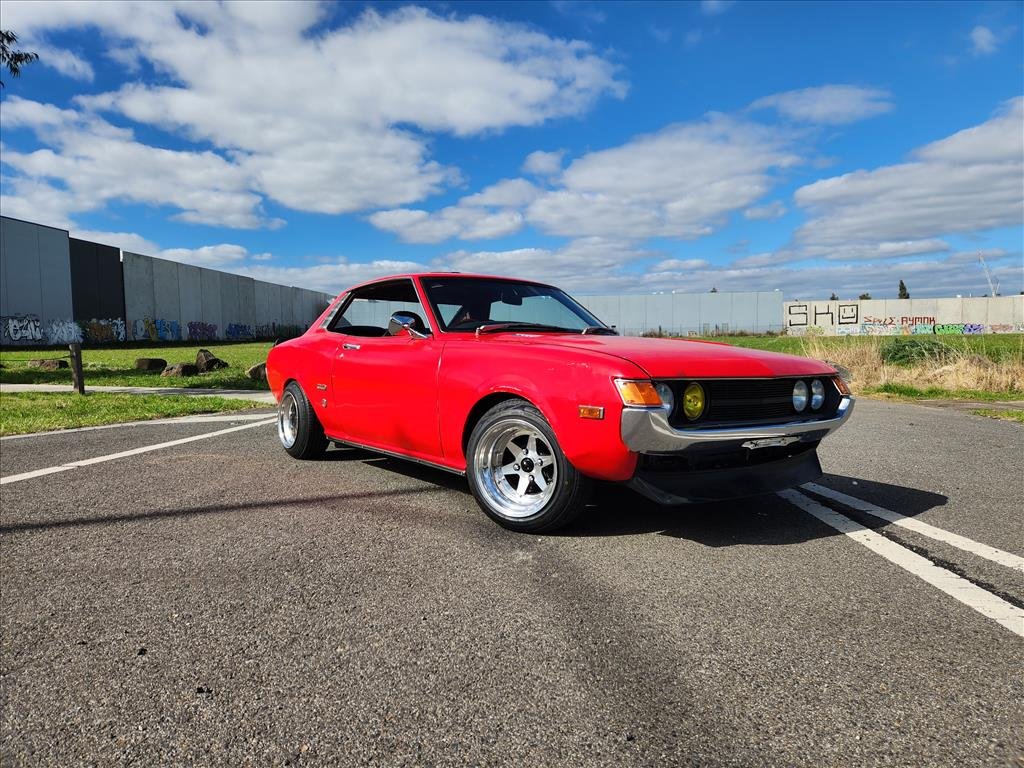
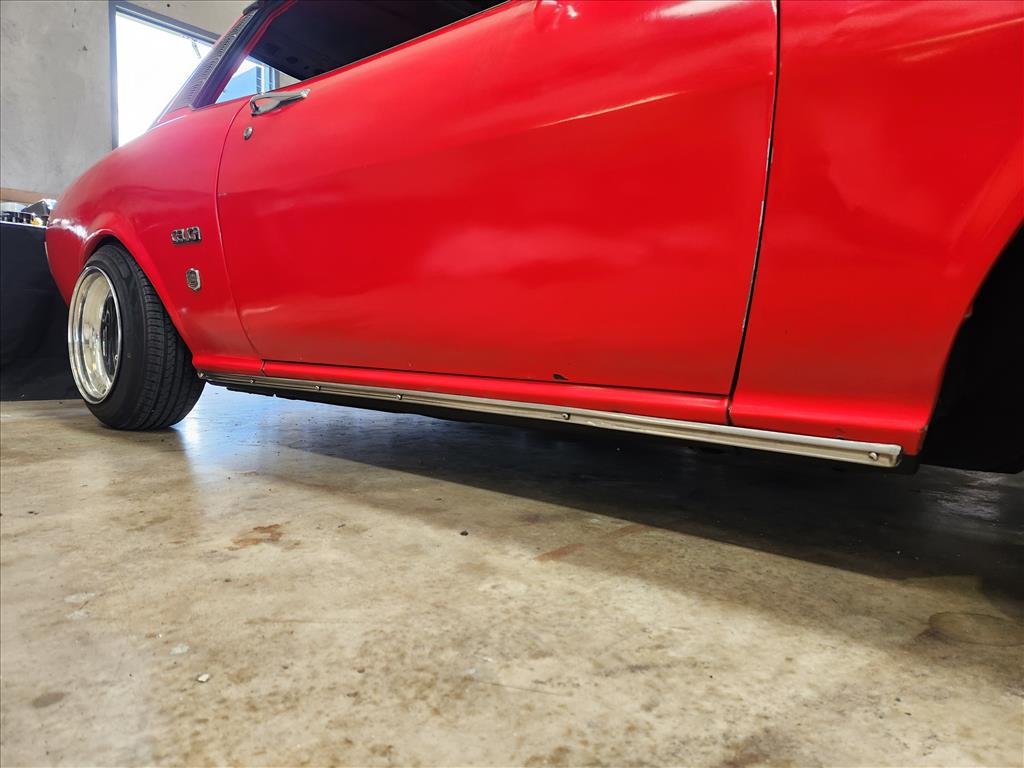
Not too much done today, but I did get a replacement headlight for the one I broke ages ago when I was fitting the others. It was not actually intentionally meant to be a blank space. SEV Marchal! I always liked the look of yellow and of course the sweet cat logo. I will just run one, a little bit of style perhaps. Plugged it in and it works fine so that was easy. Although I need to figure out why the passenger outer light turns off when the high beams are on. Not super high on my list of priorities seeing as it's unlikely to ever be used anyway. I finished putting undercoat on the driver side so installed the side metal trims just using some screws. Not the best but it's what I could find that fits. Gotta fuck with the dick you got. Not sure they will stay in there securely so I'll have to keep an eye on it. When I was out taking these photos just down the road some guy gave us a toot and a thumbs up on the way past and I was only out there for about 2 mins! Unfortunately (but probably not unexpected) my front demister blower isn't working. I can't remember if it ever worked but I might look at trying to get that going again as it could come in handy. The rear demister I'm fairly sure is totally cooked but that's not such an issue as the front.
-
Slowly putting the GT125 back together. Built a 20t big bench top press to do the crank, all the cheaper presses I looked at were poxy piles of shit. And of course I didn't take pics once I finished it Ignition timing set. Just finishing off getting the right surface finish on the side covers, it's kinda half ass polished in all the pics and how the bike arrived. So keeping it that way. New old stock emblems coming for the covers. Cases all glass blasted and re-treated, pretty chuffed with how they look. Now on to the carbs, need to remember to order the intake gasket thingymabobs from somewhere, strange wee carbs the VM18s. The resin/phenolic spacer inside the bore is not listed in the Suzuki parts book, but it looks like you can get a newer and much sexier alternative nowadays. So my final hurdle is, some parts of the frame aren't super tidy but it is original paint. I'll have to see how the OCD vs originality battle goes once I put the engine in
-
Good recovery on both the problems. For some reason the X1/9's seem to have 2 or 3 jesus nuts. which if they come loose do serious damage. That shaft damage was most likely caused by the nut loosening. I found on ours the guy who fixed a rear suspension balljoint hadn't adequately tightened the nut on the end of the axle/hub carrier. Discovered it on a test drive and limped it back before anything major fell off. Wheel could go in and out 2 inches when i got back. Good design doesn't leave things up to how tight a nut is done up.
-
 yeah i figured its a club liability caveat i just thought it would be funny to call the friendliest group of people i know fascists. Foaming for this event though. Have made a plan to deliver my Suzuki Swift GTI to my bush block so i can bring that instead of the boring CRV
 -
I used epotec 408 on some panel repairs to the Defender cos its all I had a the time and its still sticking. Think @nzstato had some fancy aluminium primer for his?
-
That was my first thought too. Thieving roguing bastards.
-
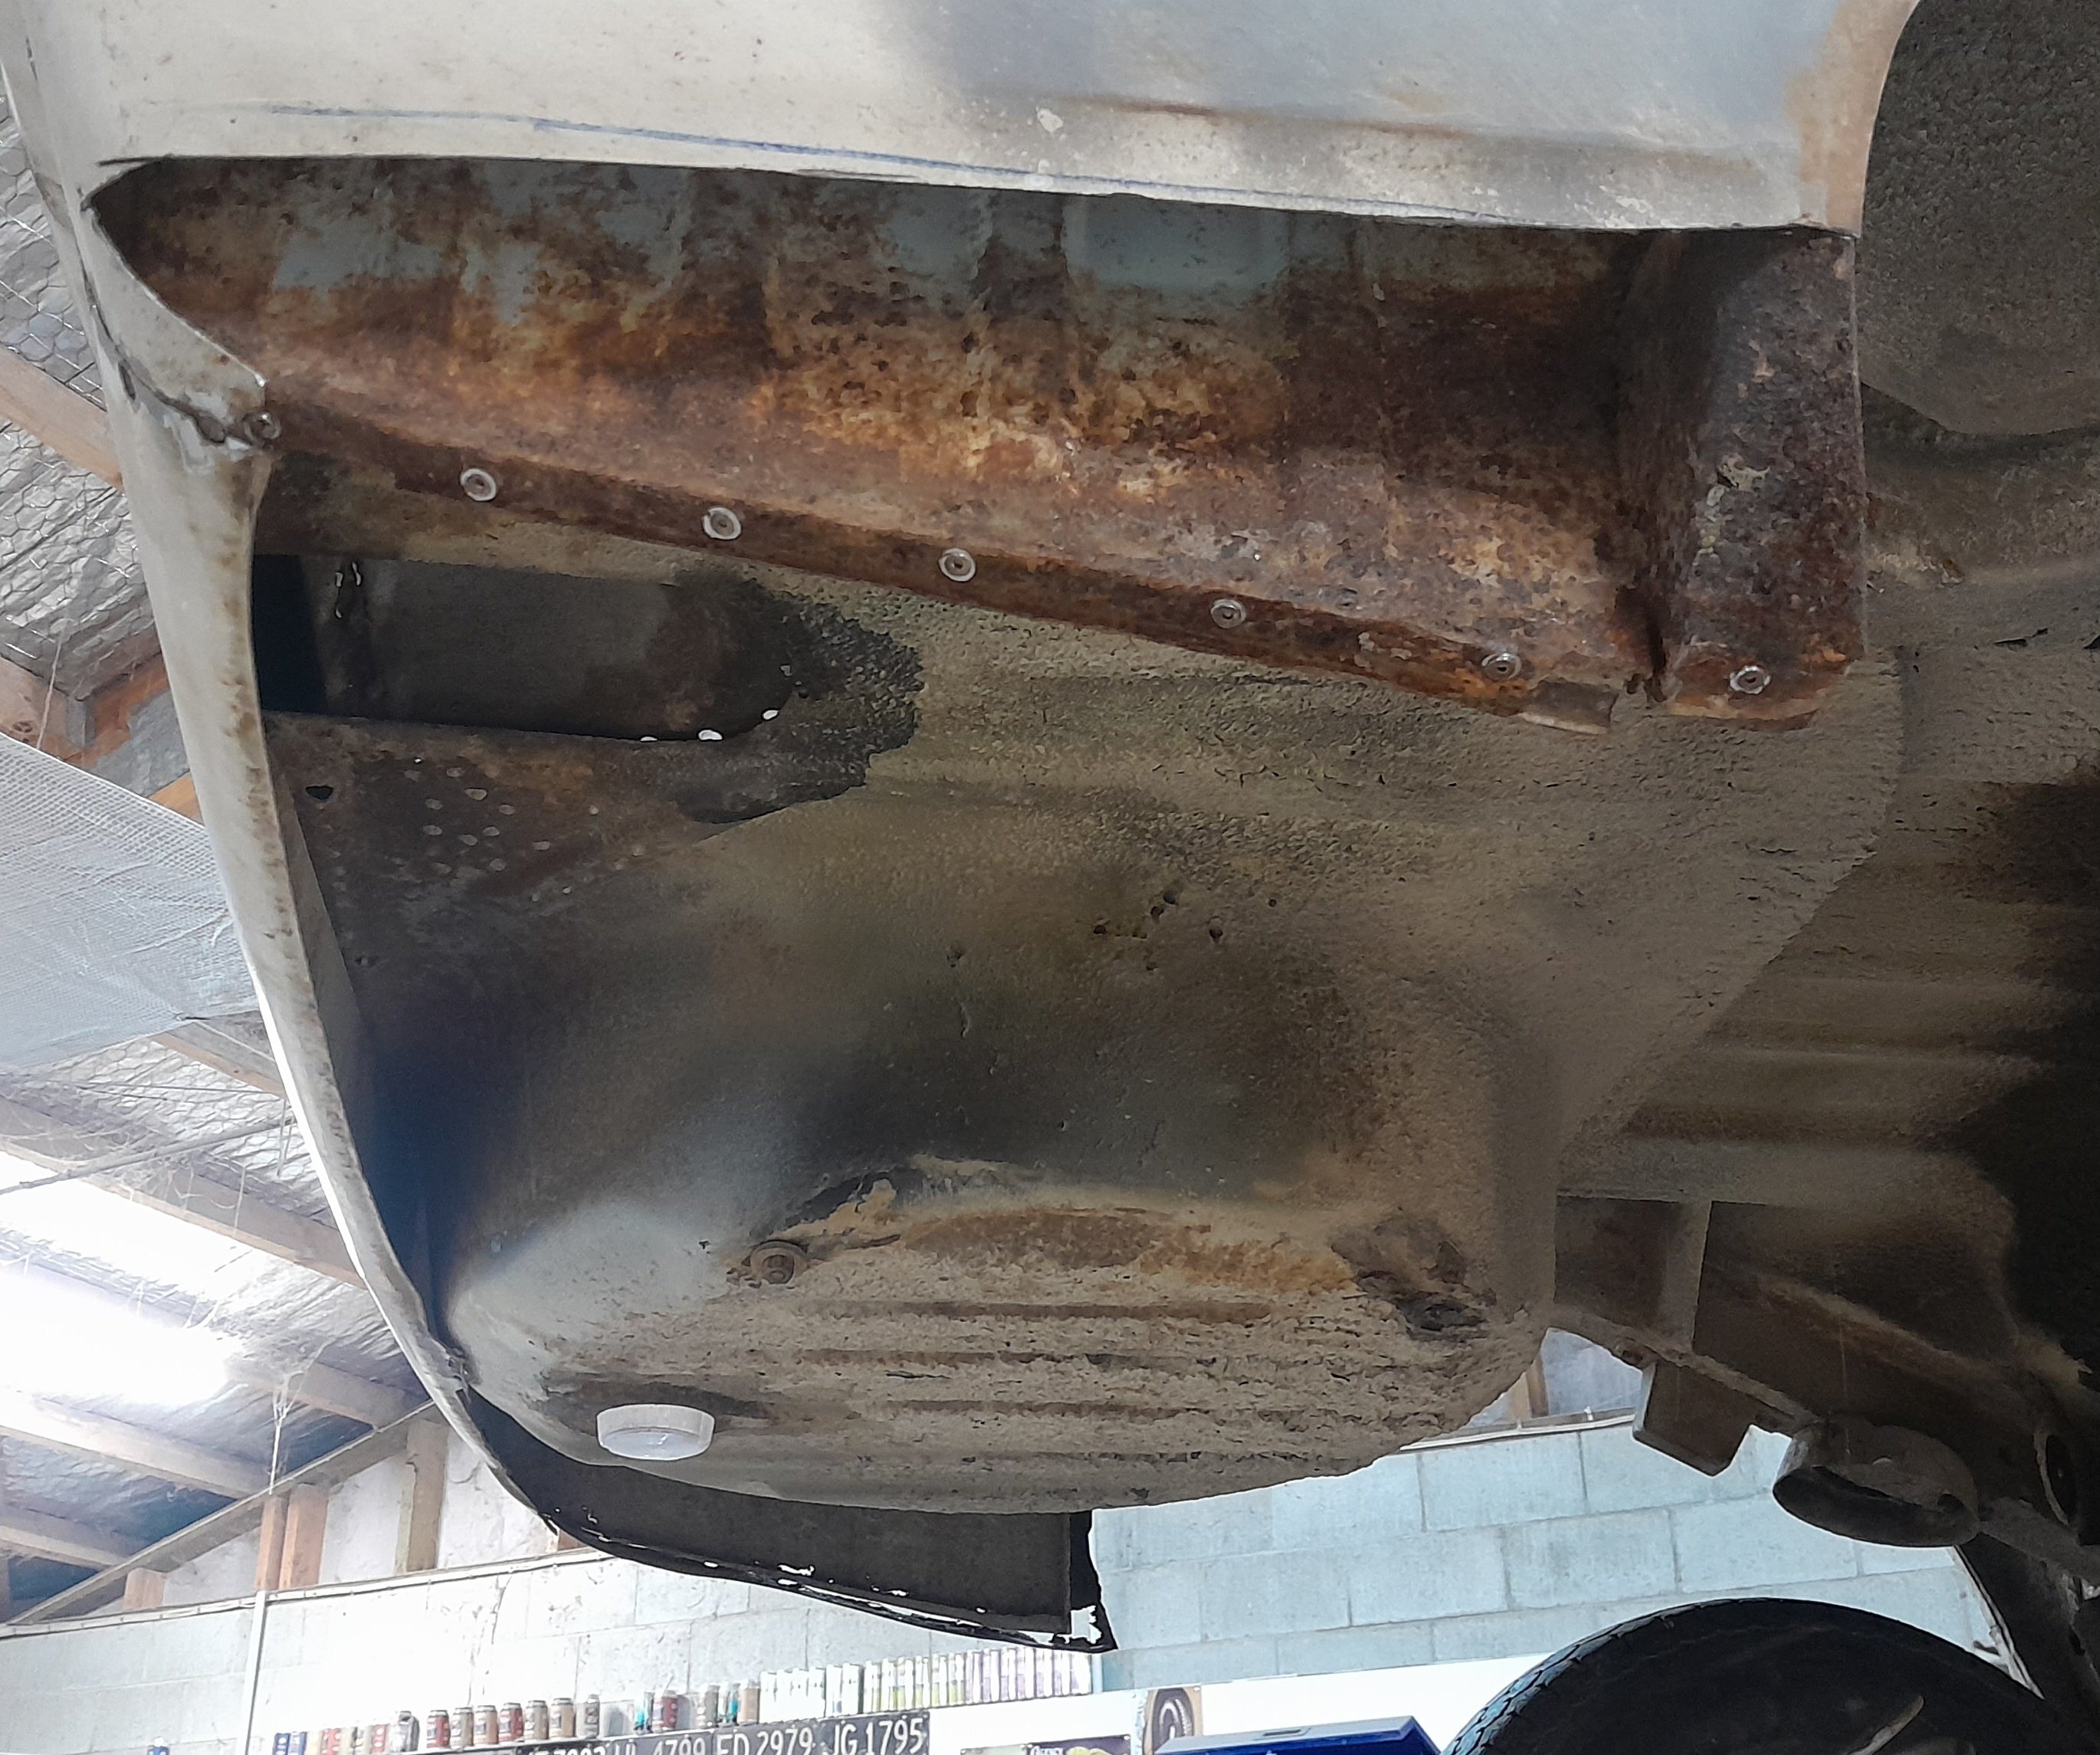
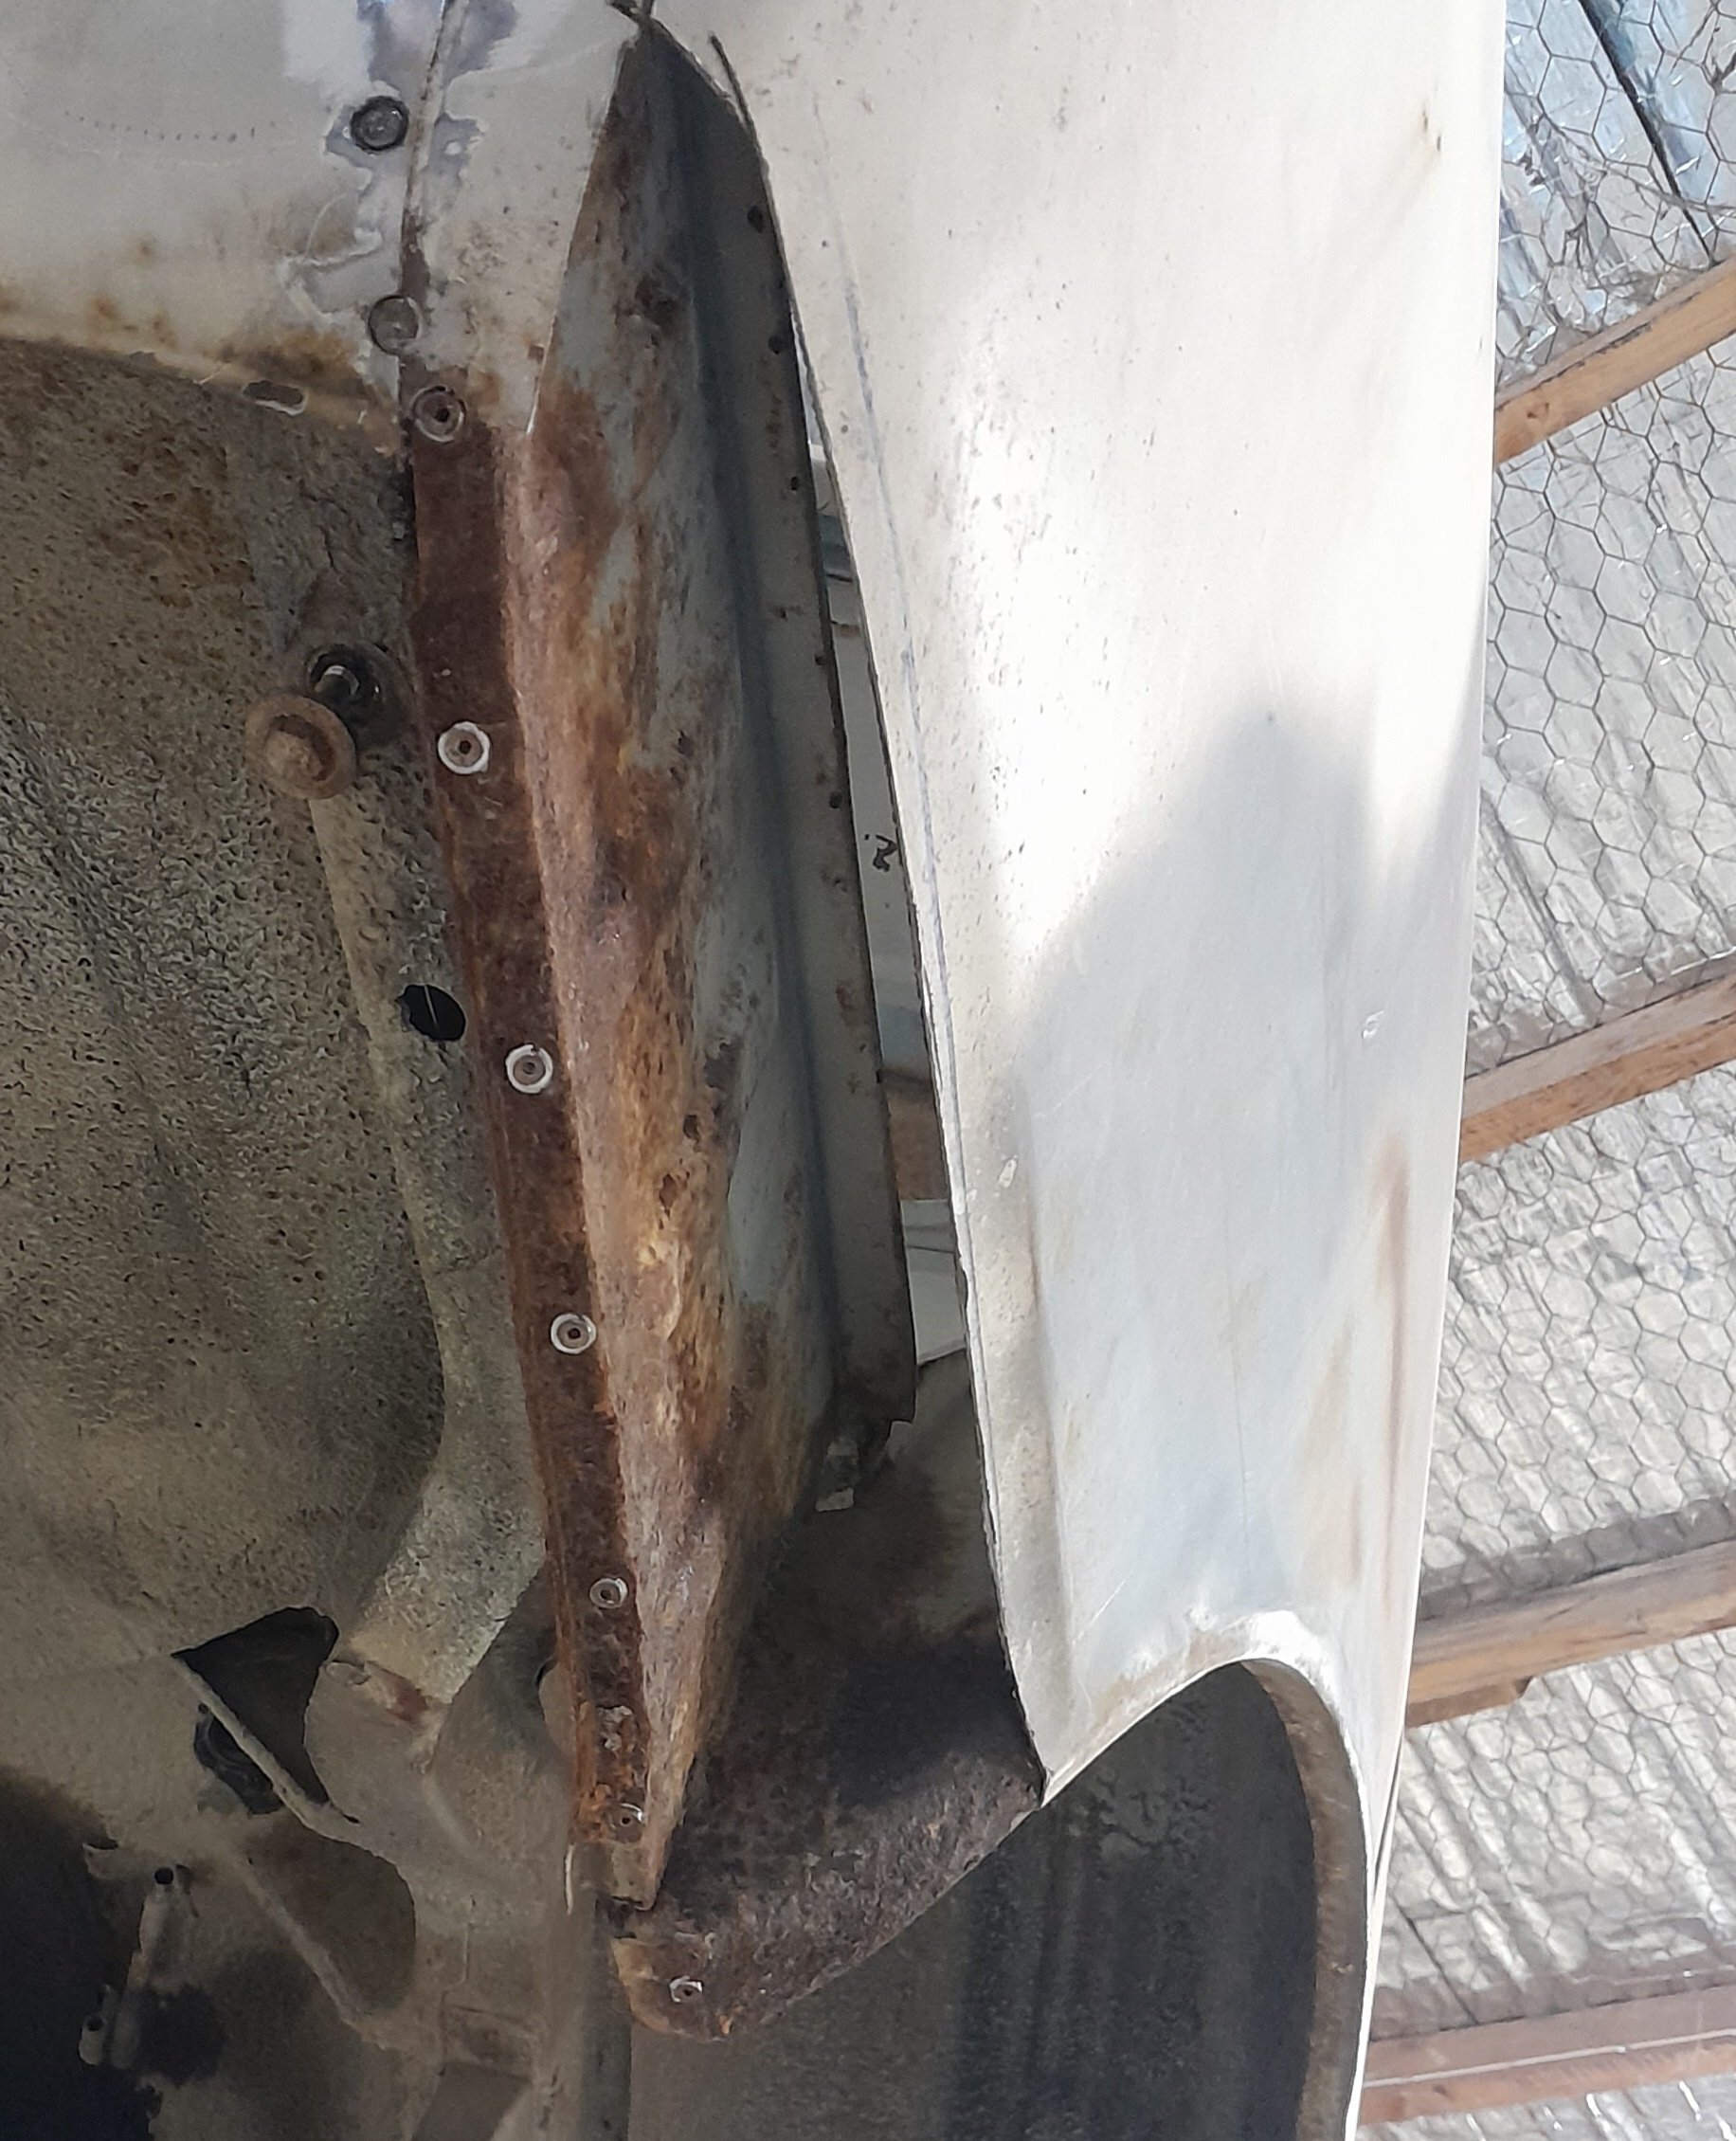
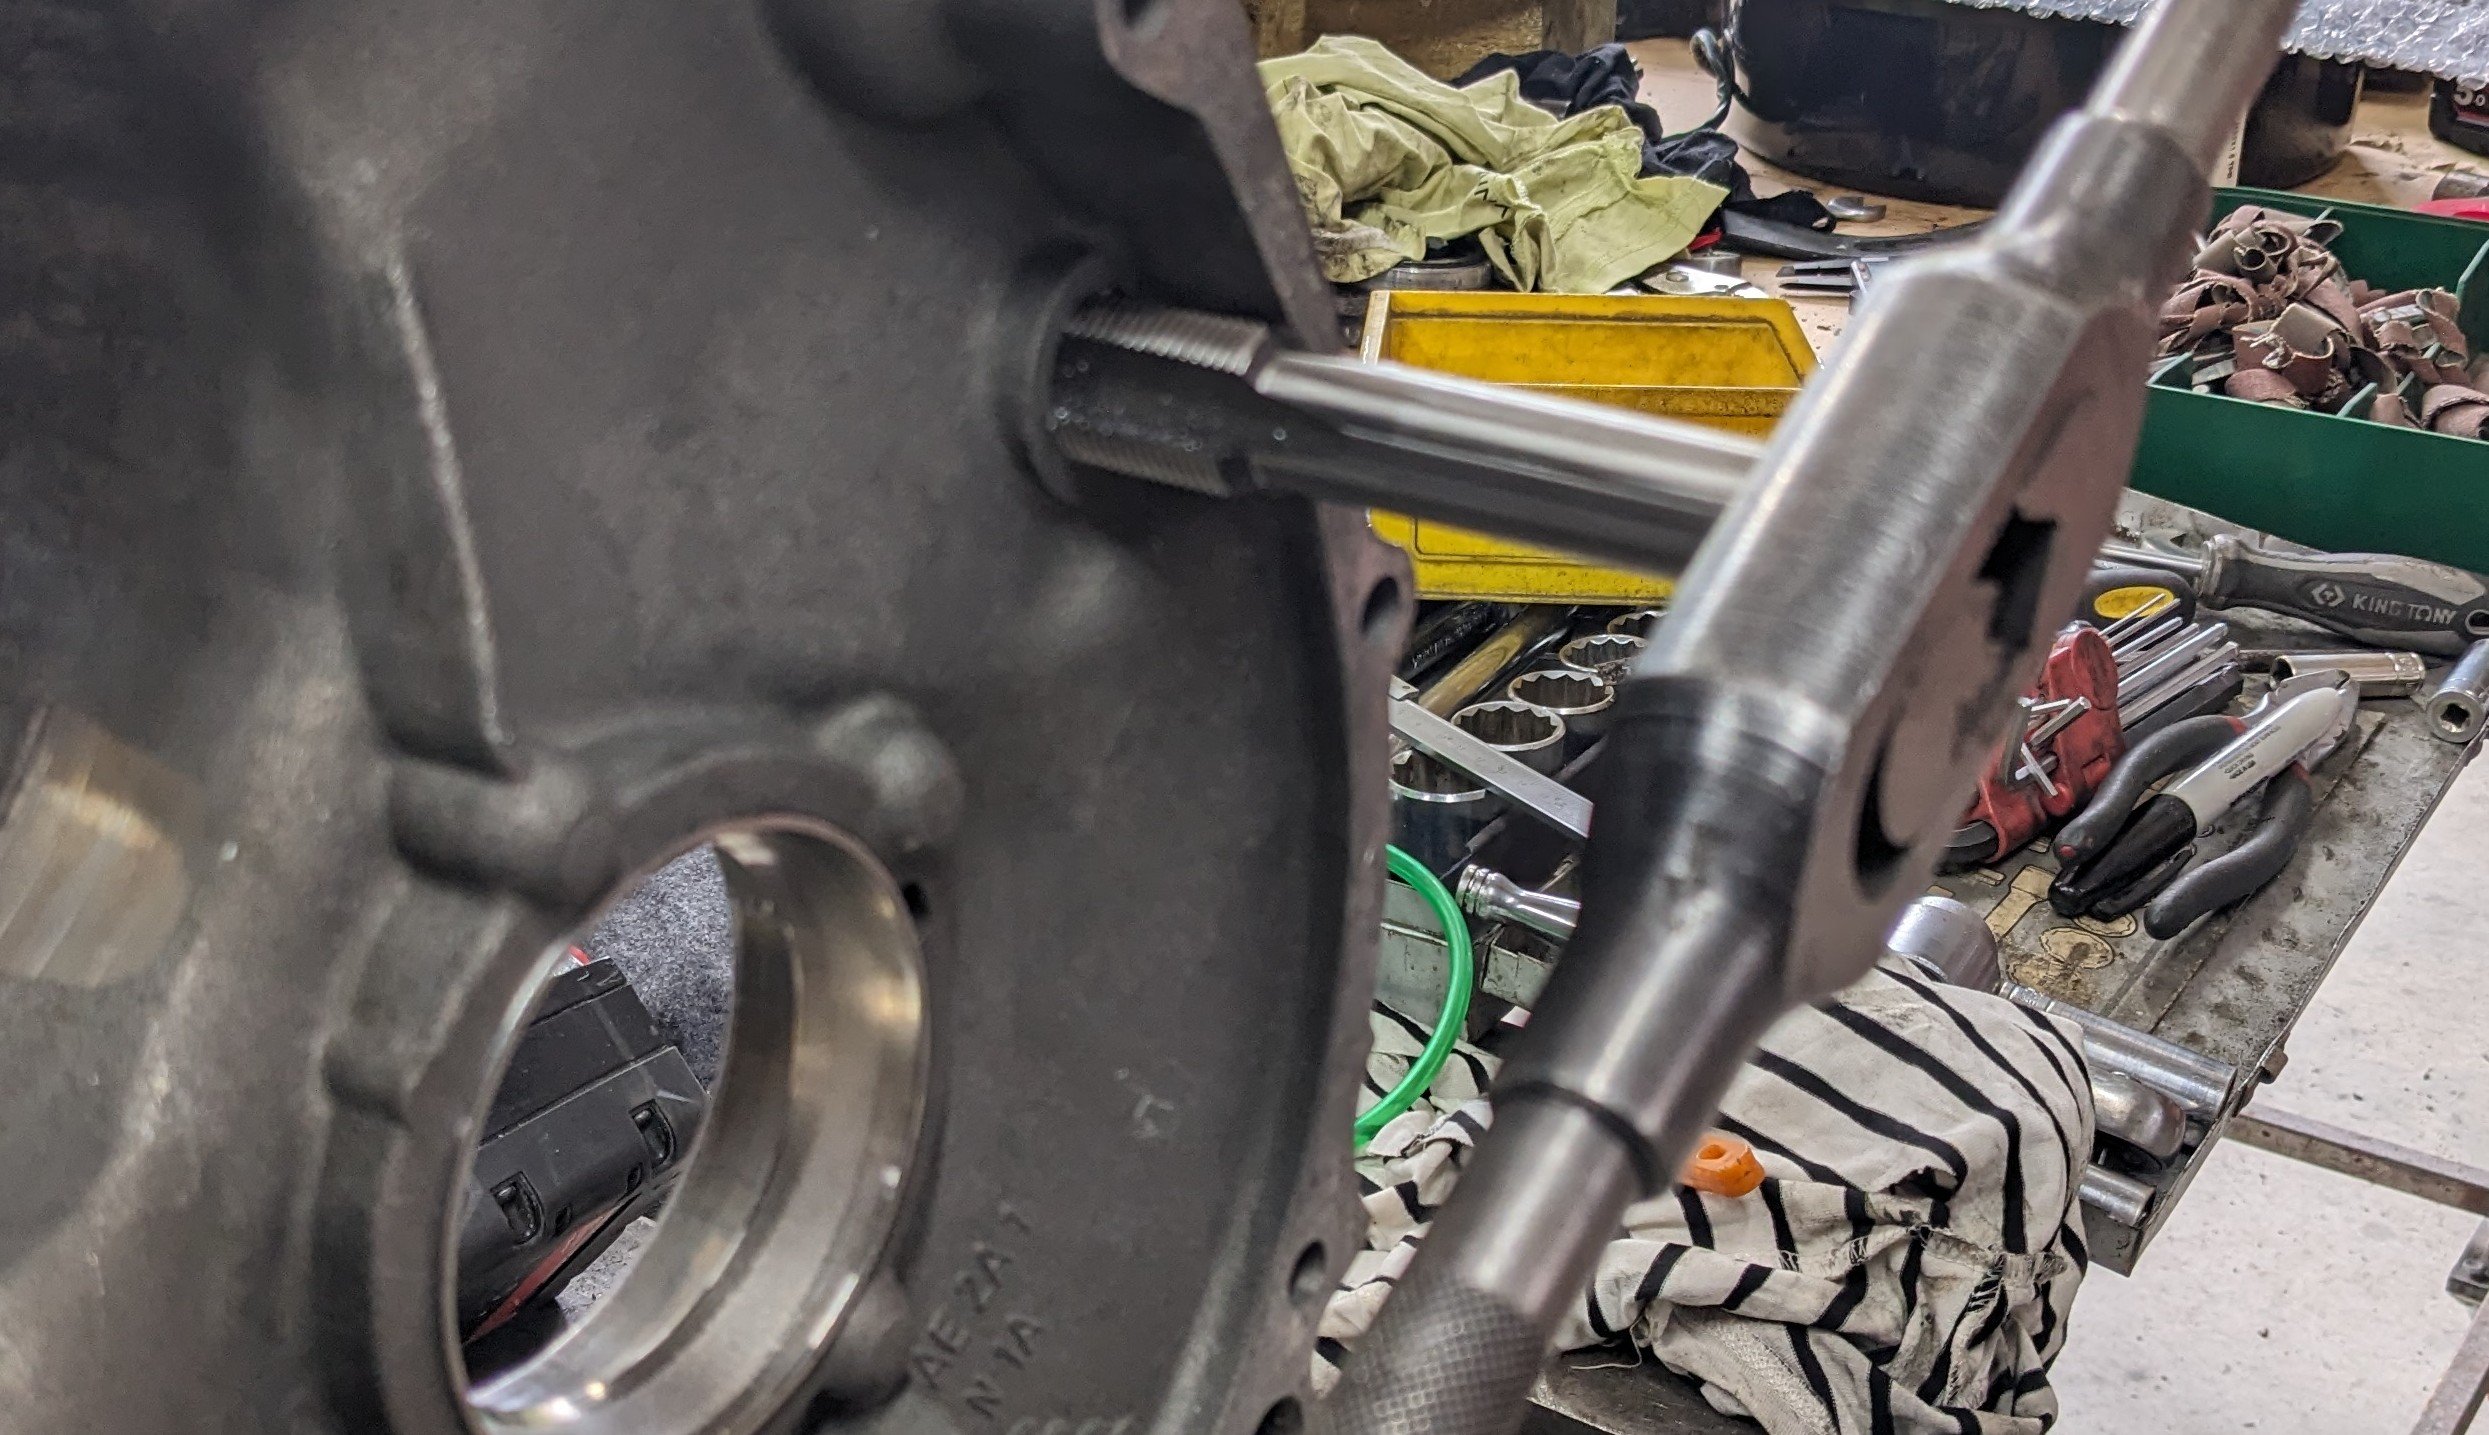
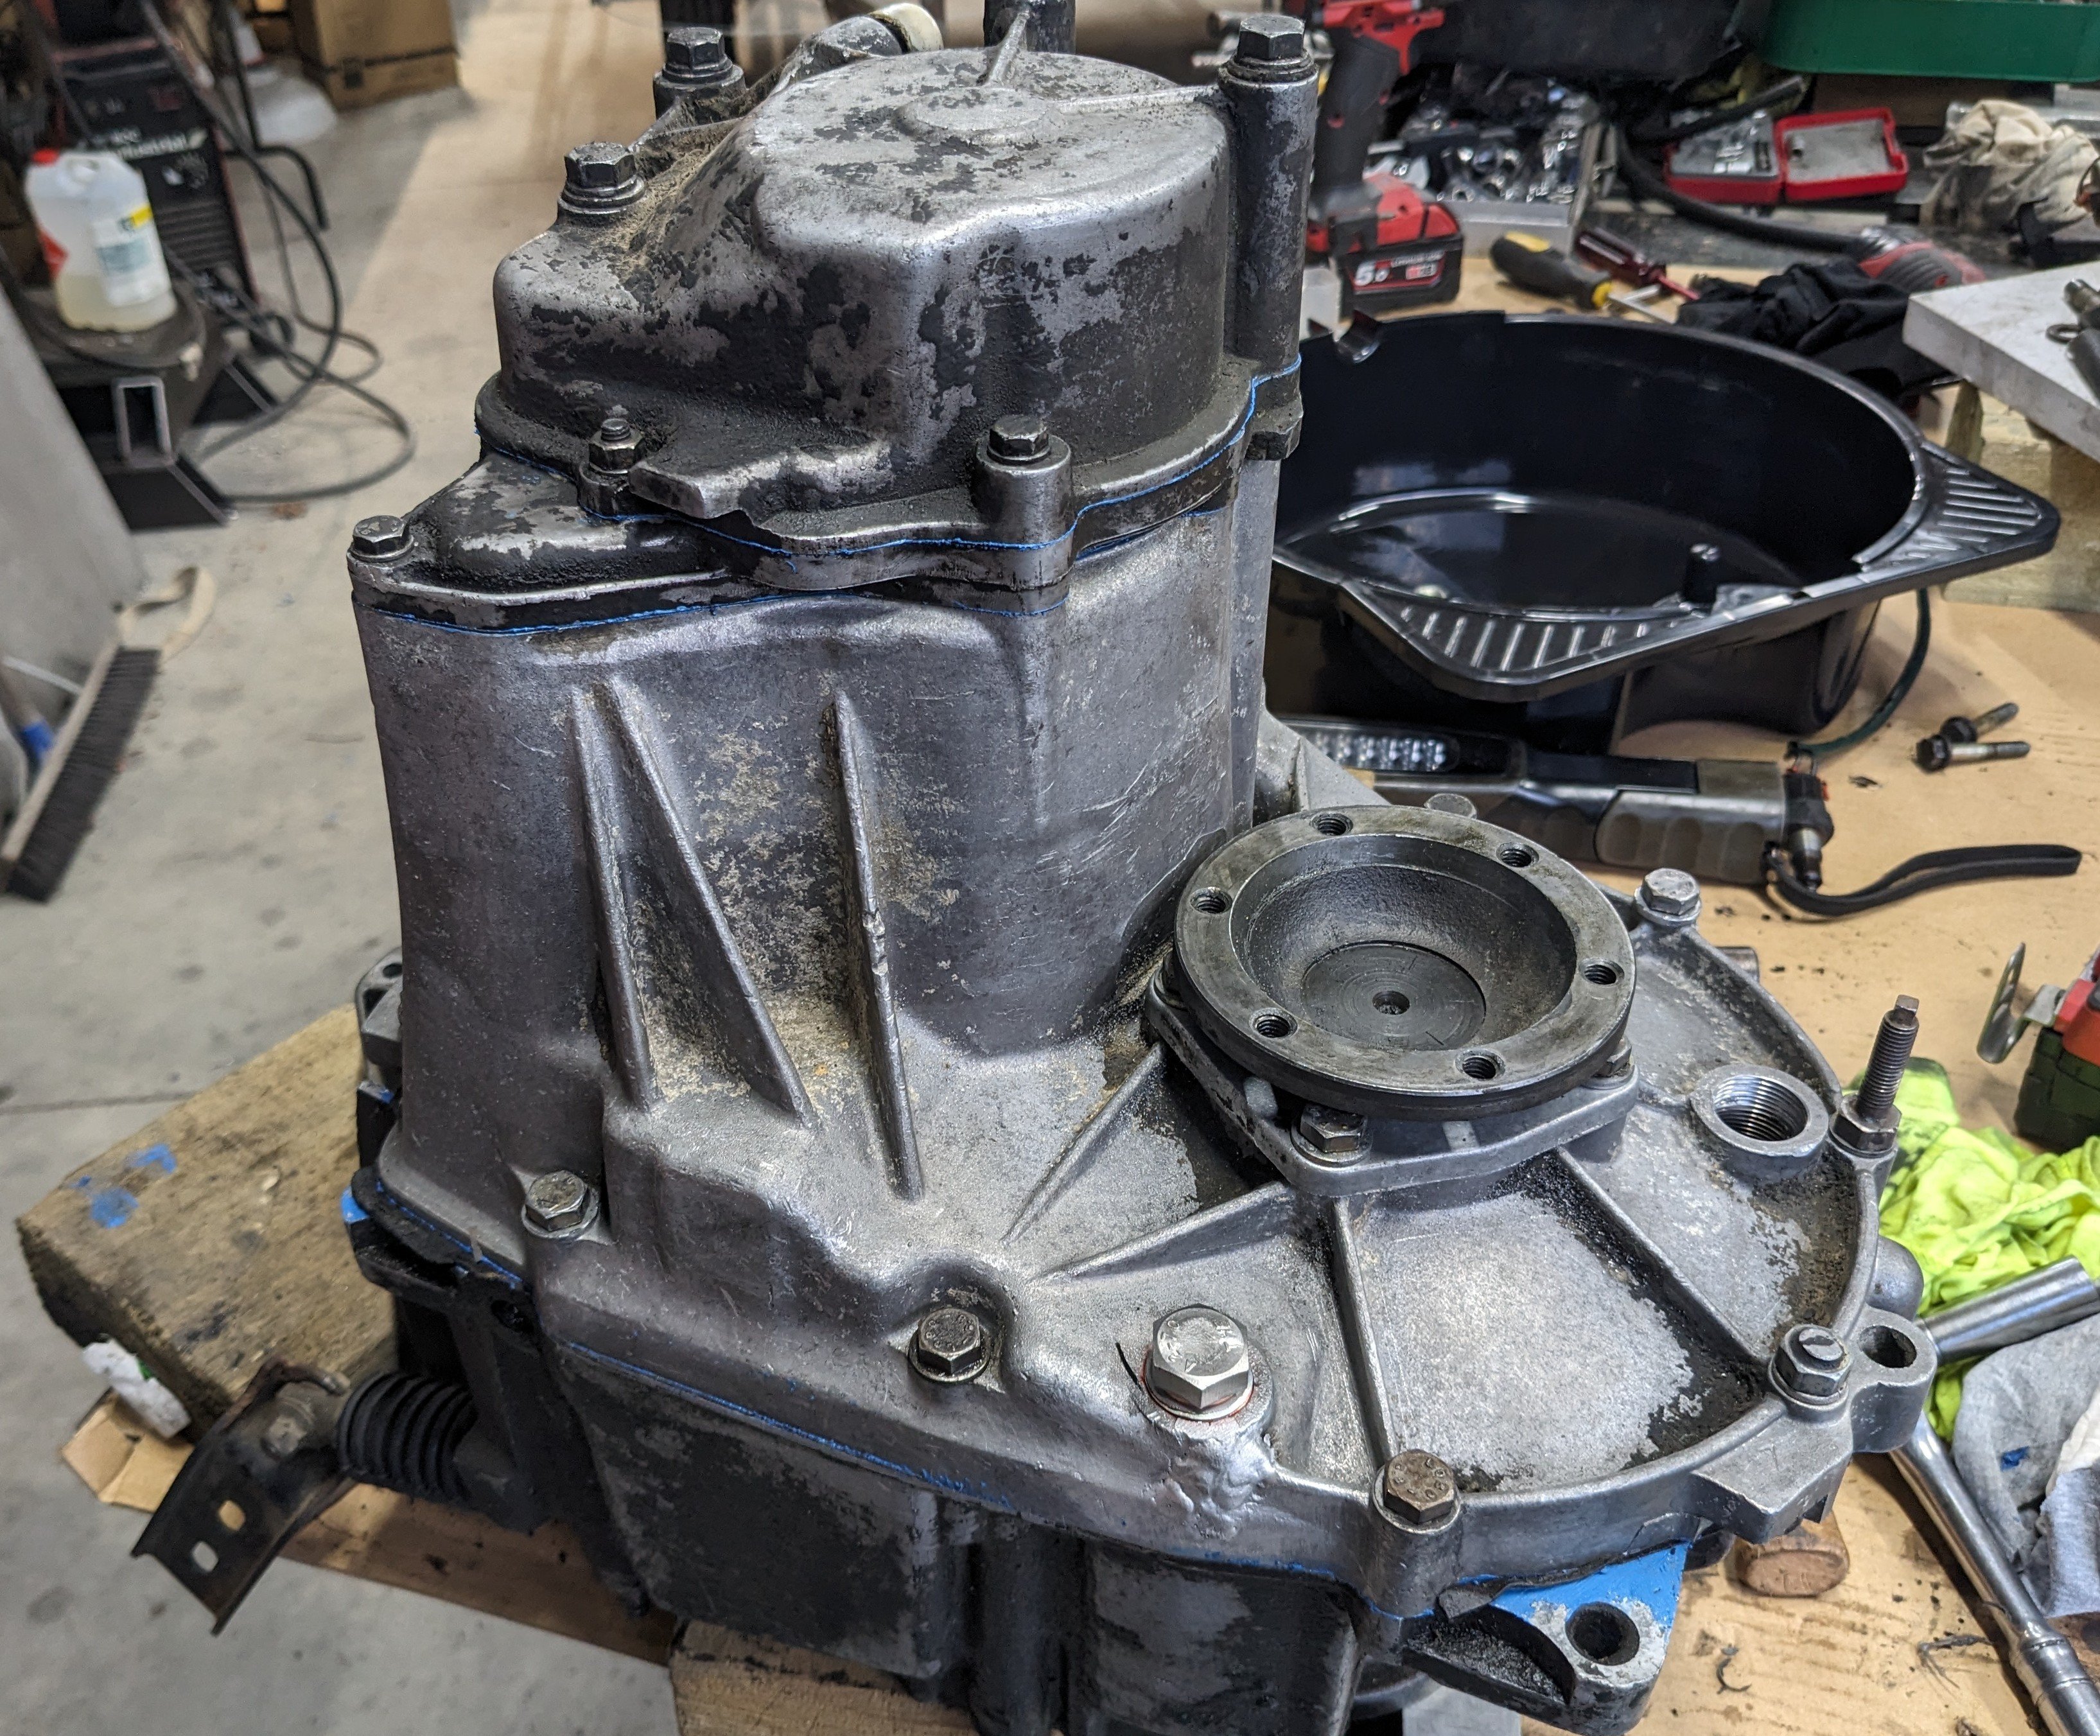
I did a thing. First I went to visit @yoeddynz who kindly welded the crack up. I also got a preview of exciting Imp developments.... When I got home I had a look to see what that plug thread was. Interestingly it appeared to be an M22x1.5 parallel thread, which meant a tapered plug made very little sense. And it just so happened that I had an M22x1.5 tap and some threaded rod. So I messed around for a while to get this; I put some pretty mega threadlocker on the insert, so it shouldn't go anywhere. Now the fucked shaft. It was pretty obvious that the broken bit wasnt a new development, and that the box had basically been working ok like that, so I did the obvious thing and just put it back together with the broken bit back in place, retained by the gear and the retaining nut. It feels fine. I figure that worst case I lose 5th at some point, by which time I will have a new box to go in. I will lift an optimistic pint to that notion tonight....
- 120 replies
-
- 12
-

-
gettinroundtuits 73 avenger
gettinroundtuit replied to gettinroundtuit's topic in Projects and Build Ups
Chop time