Adoom
-
Posts
2188 -
Joined
-
Last visited
Everything posted by Adoom
-
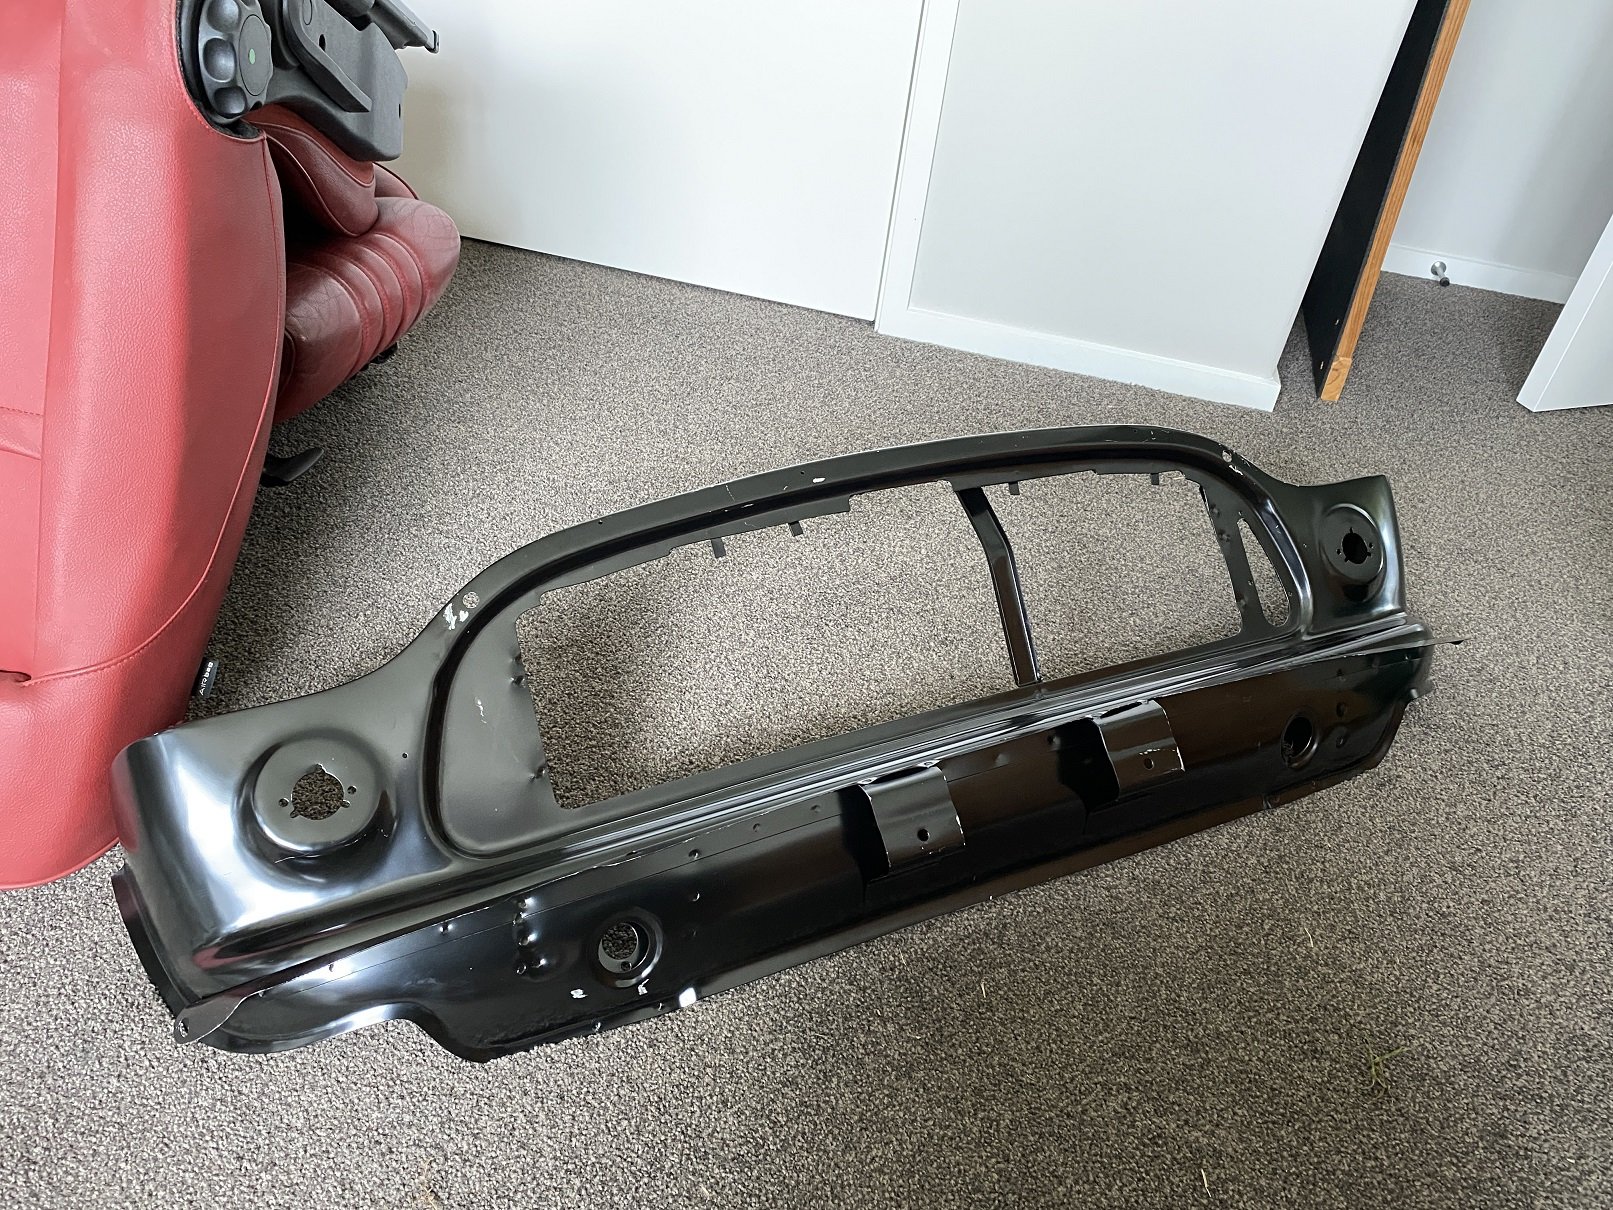
This just arrived, it is the "cheap" non-genuine front panel. Still $300 in NZ, twice what it costs in UK. I've not checked if it would have been any cheaper to import it myself. Minor shipping damage. It was just in bubblewrap. The end of the bumper lip is bent. I think I'll go over the edges with a file, some of them are quite sharp. It looks okay, the ugly spot welds are mostly covered by the grill and bumper. Hopefully it fits to the guards without too much work. I guess I'll have to remove all the black before I can paint any of it. I'll epoxy the backside while it's off the car.

- 48 replies
-
- 16
-

-
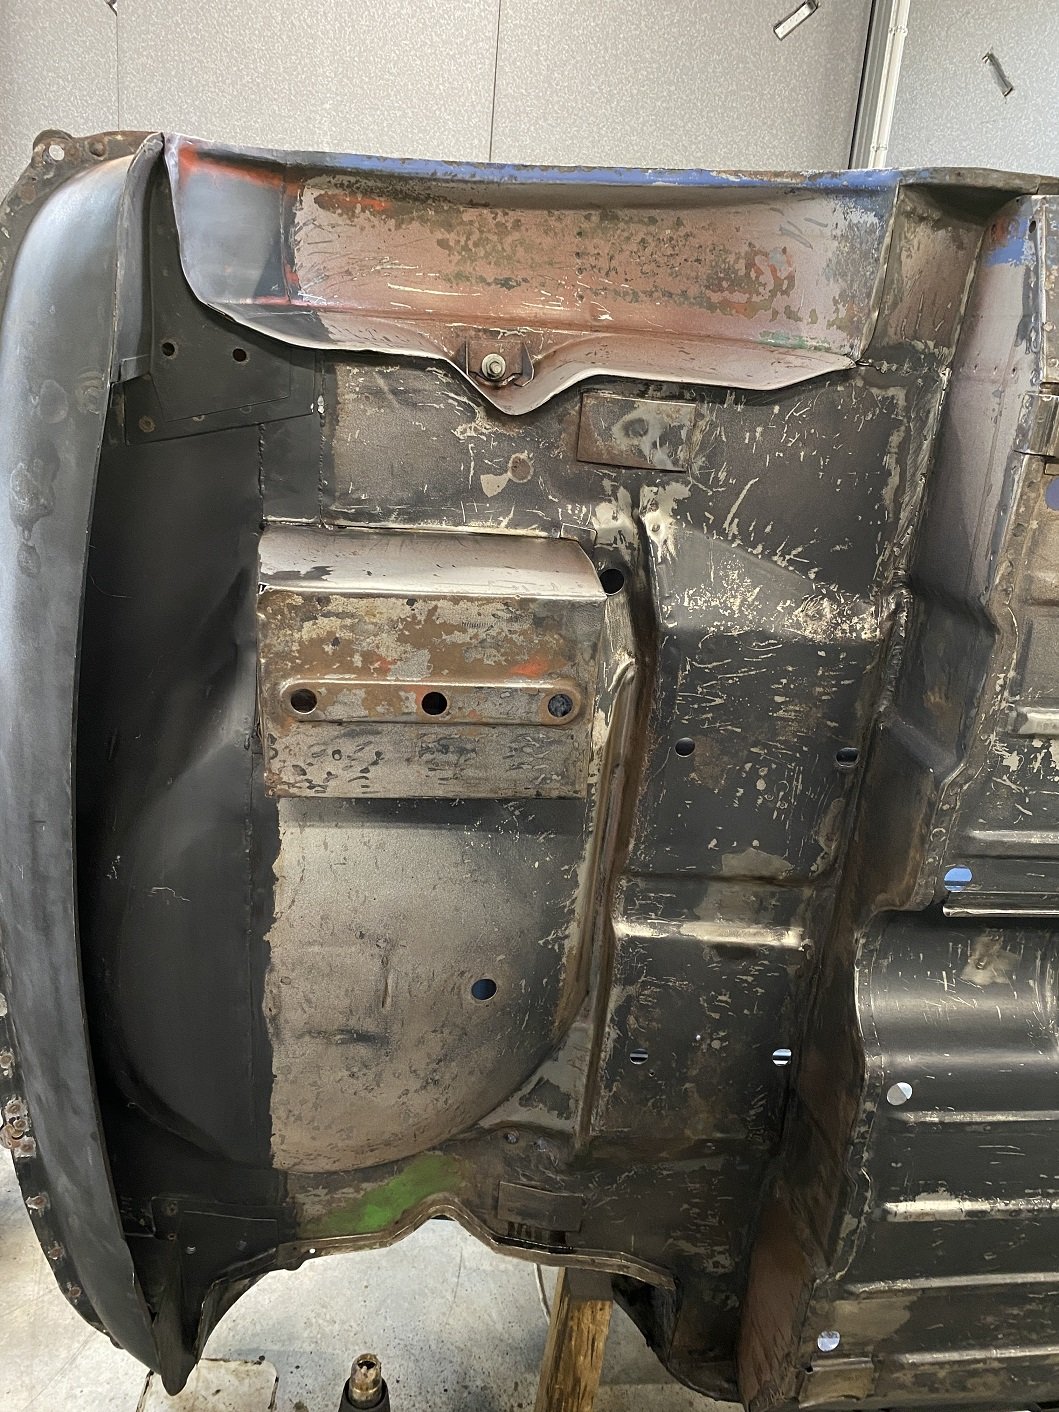
Cleaned out most of the underseal under this guard. Didn't find any rust just redy browny paint. I need some of those rubber gloves the cow midwives use... so I don't keep getting the black all up my arms
-
LOL. I keep forgetting that you still have it.
-
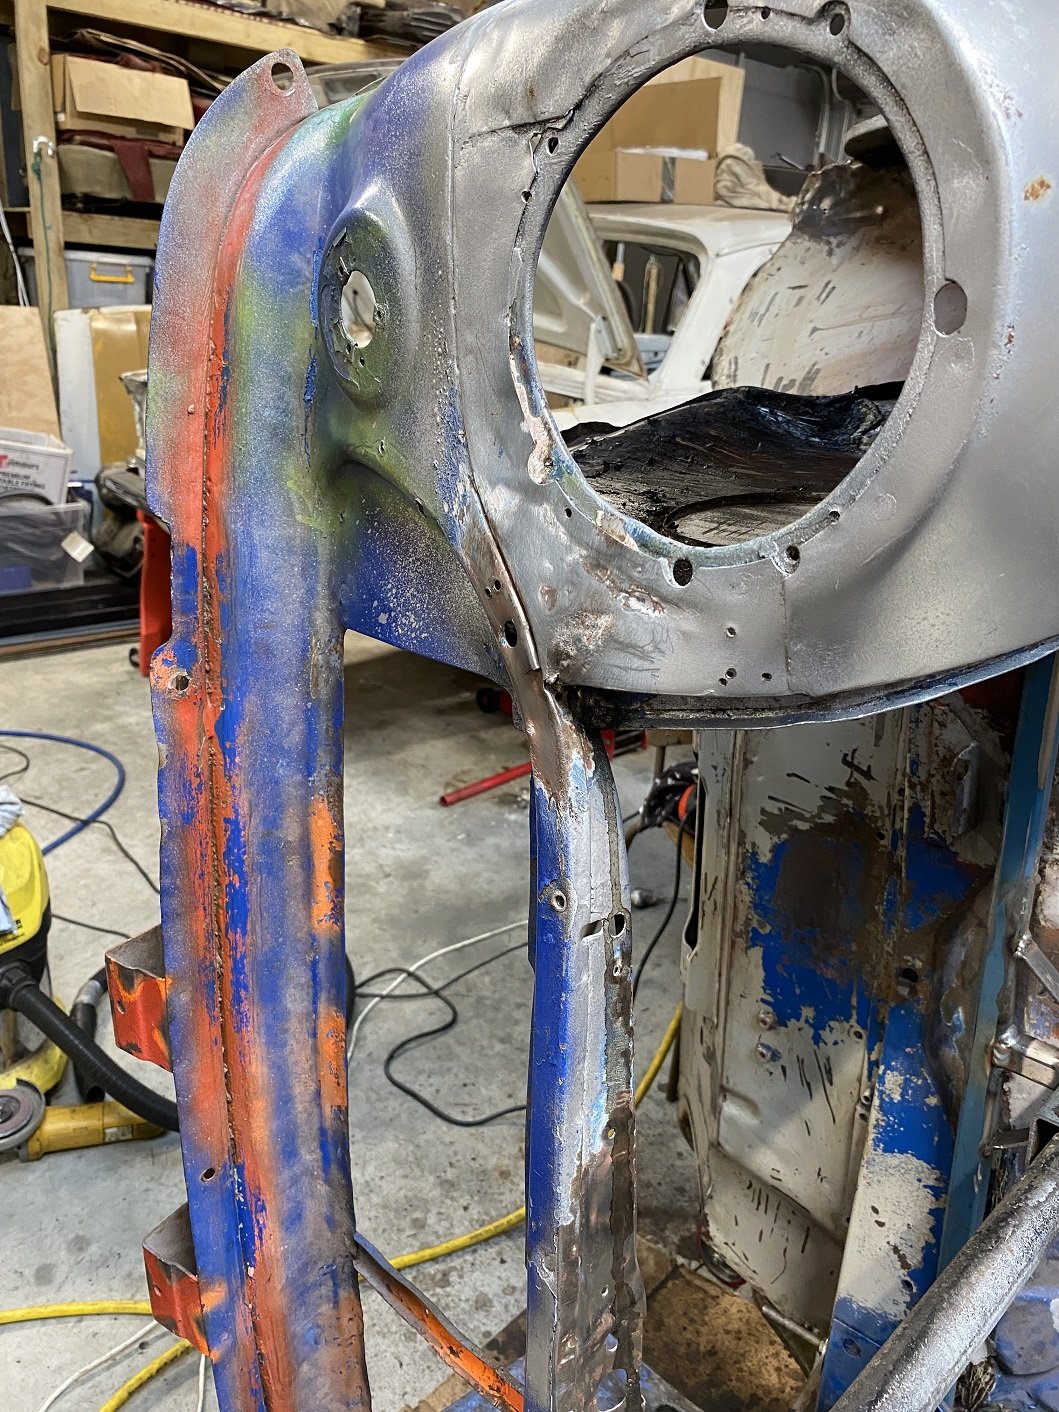
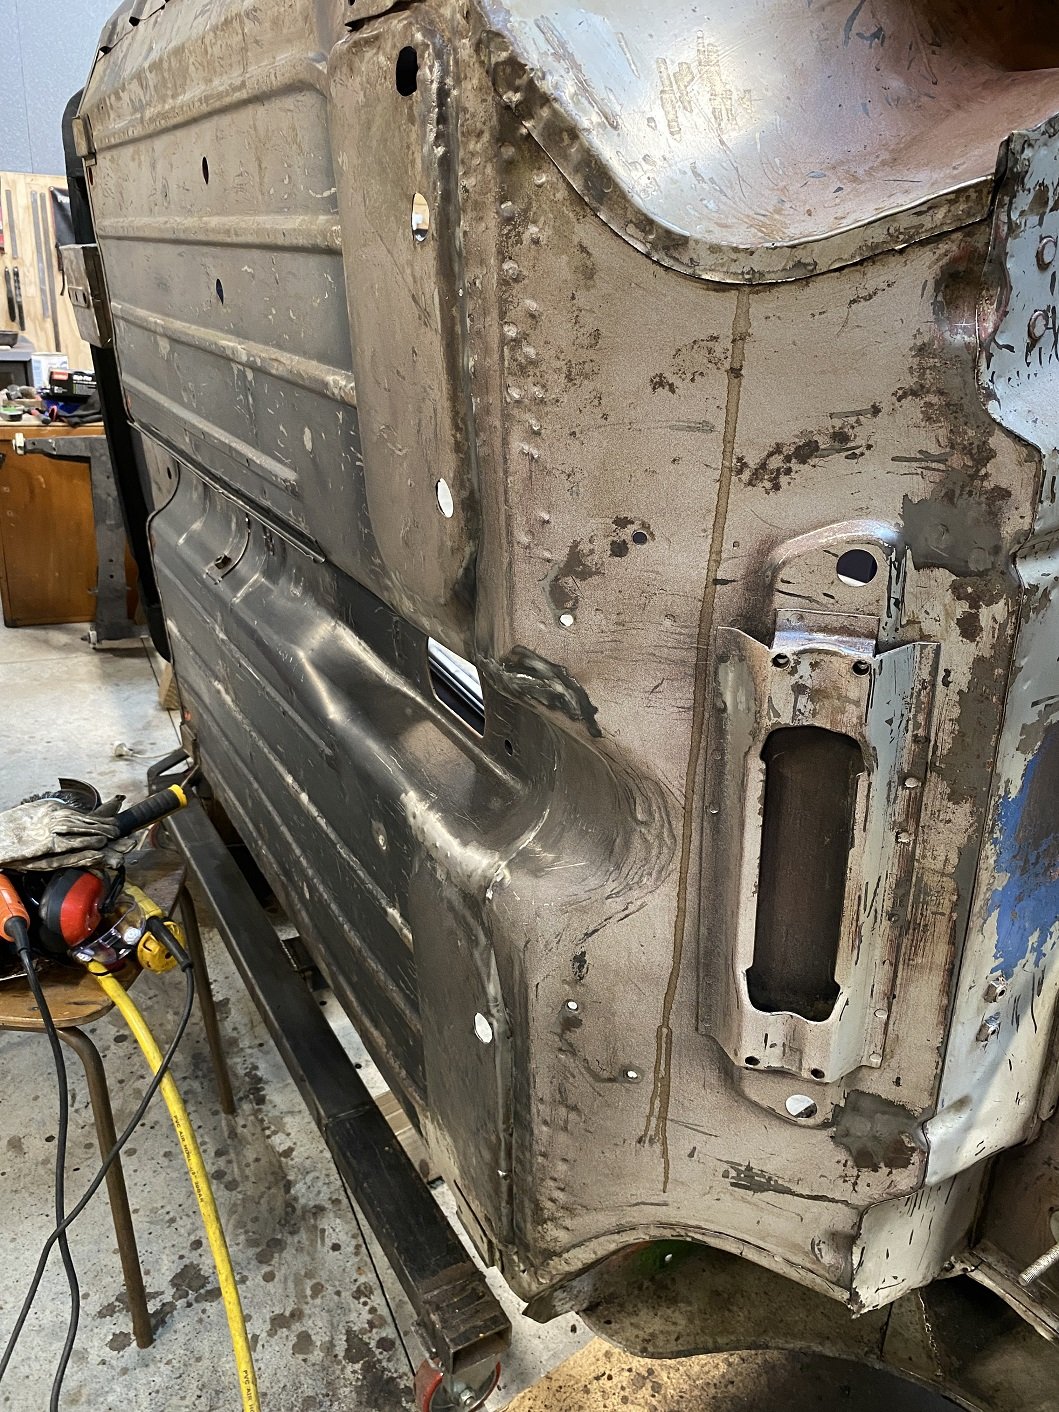
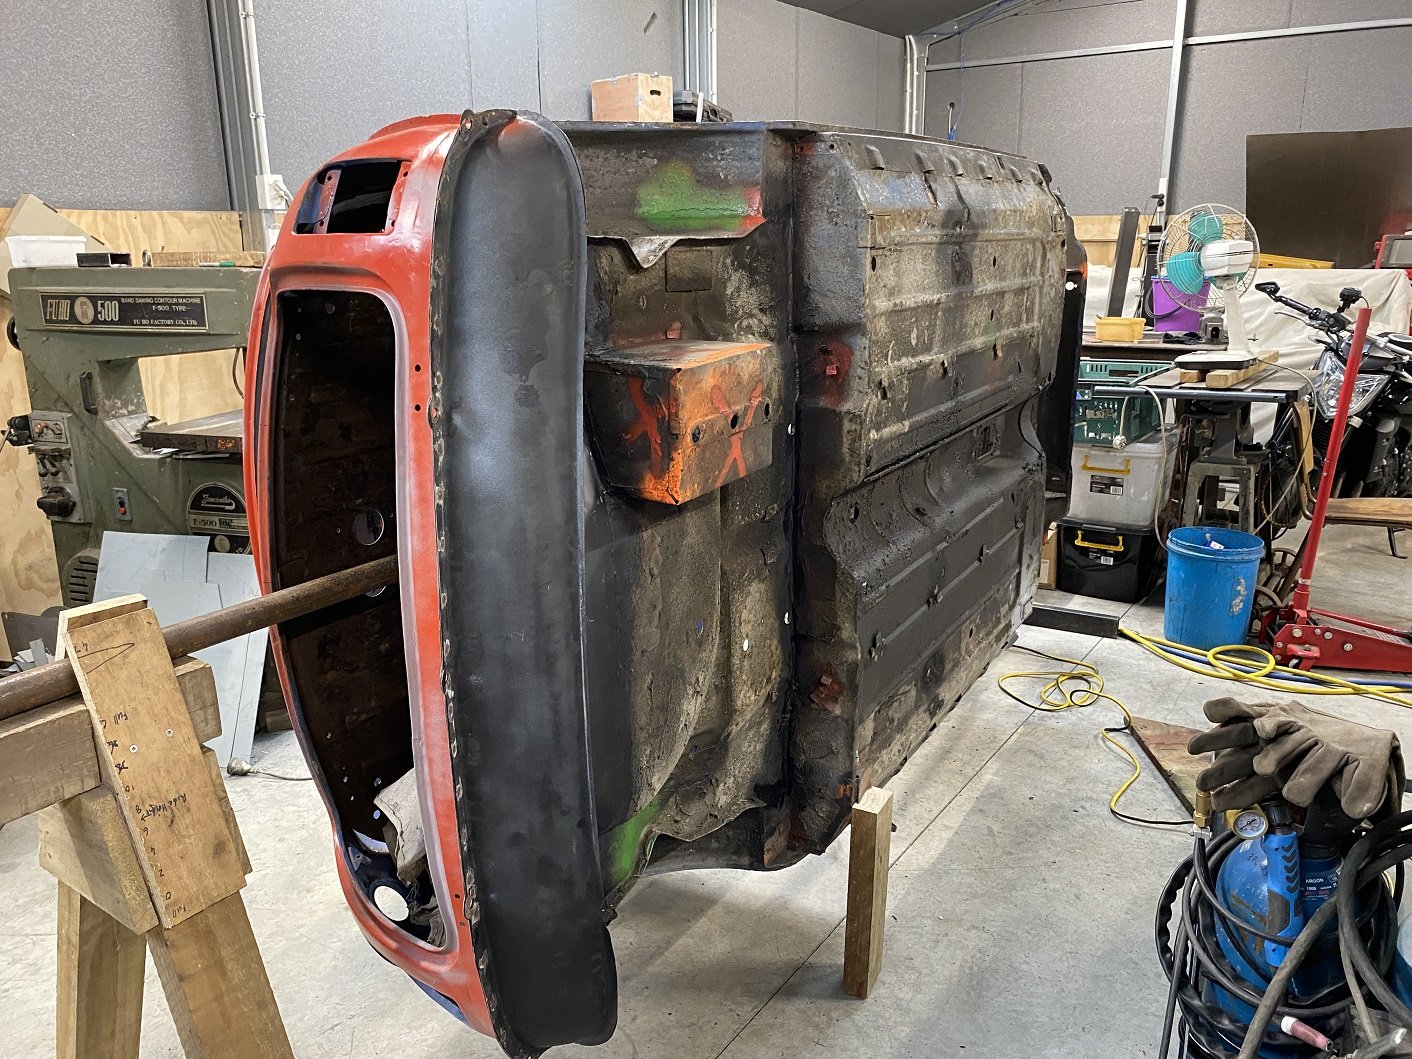
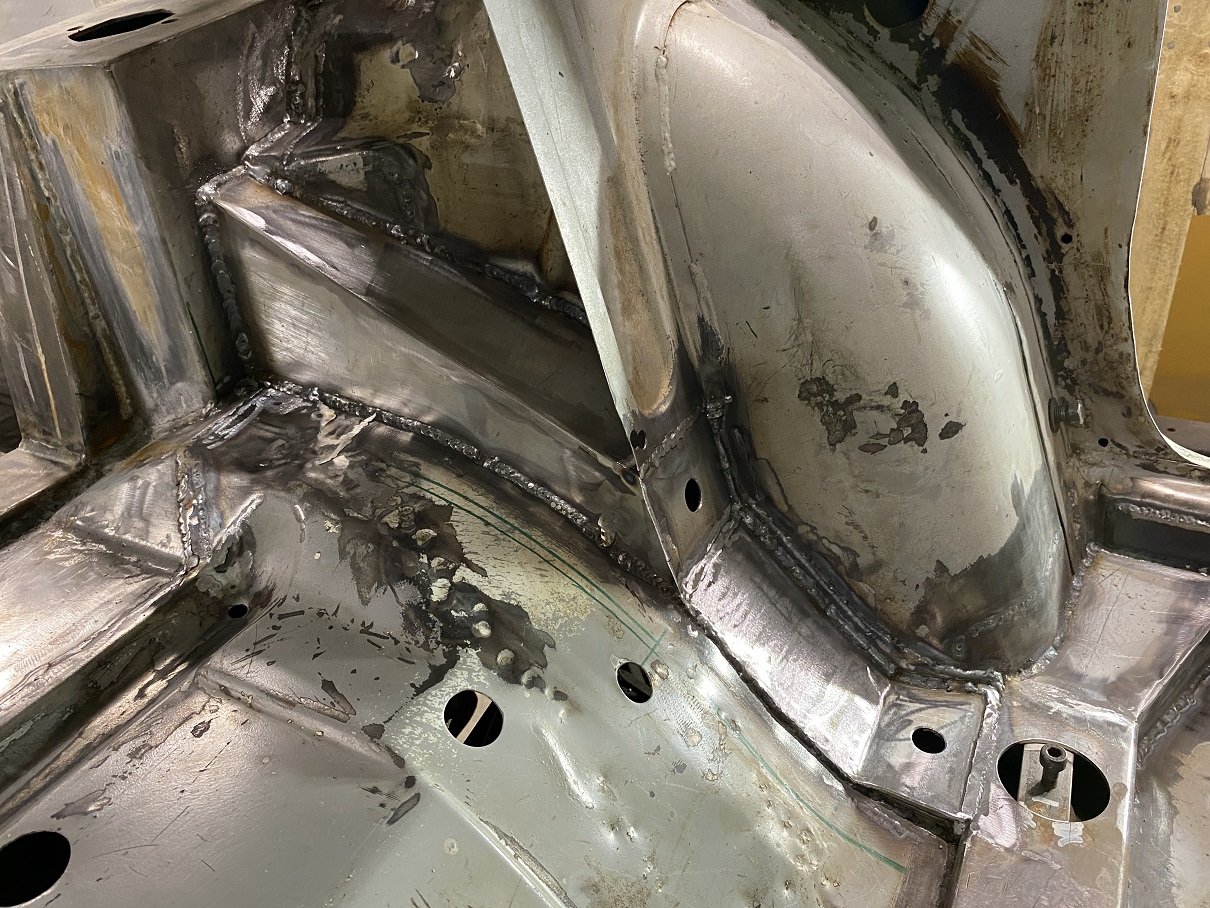
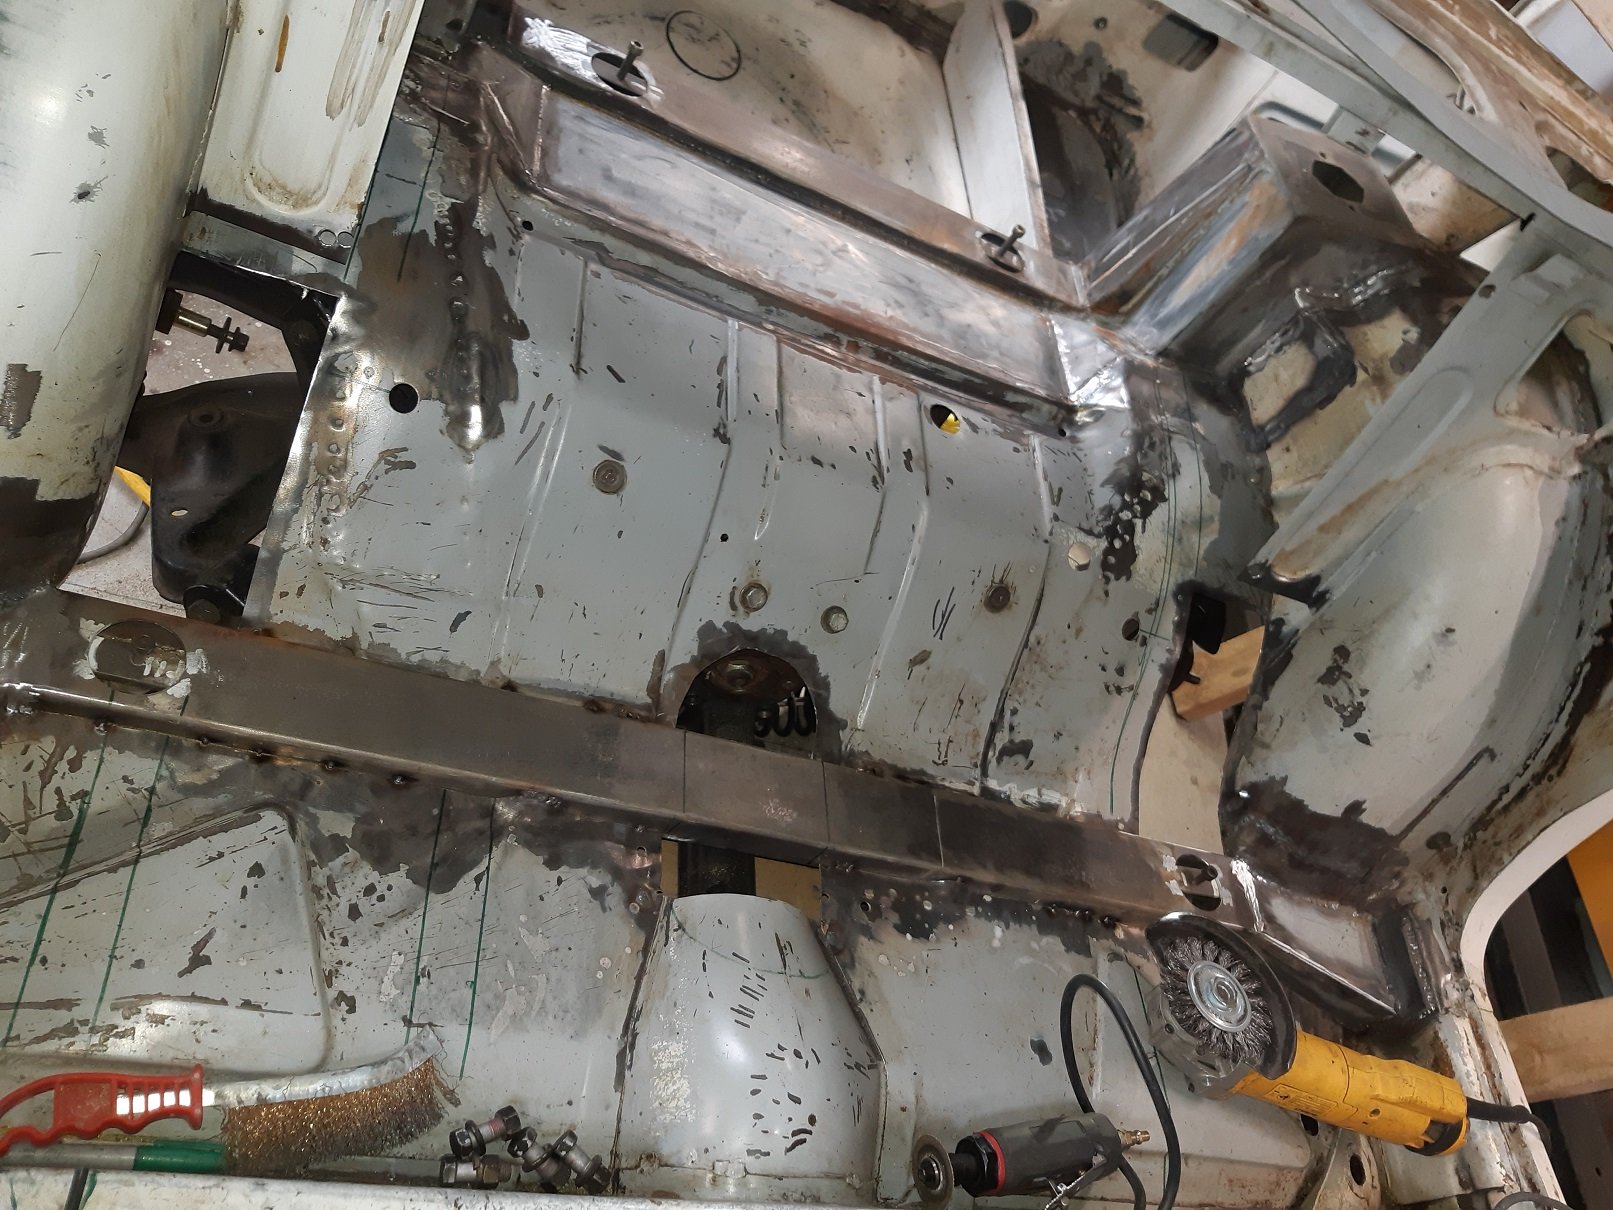
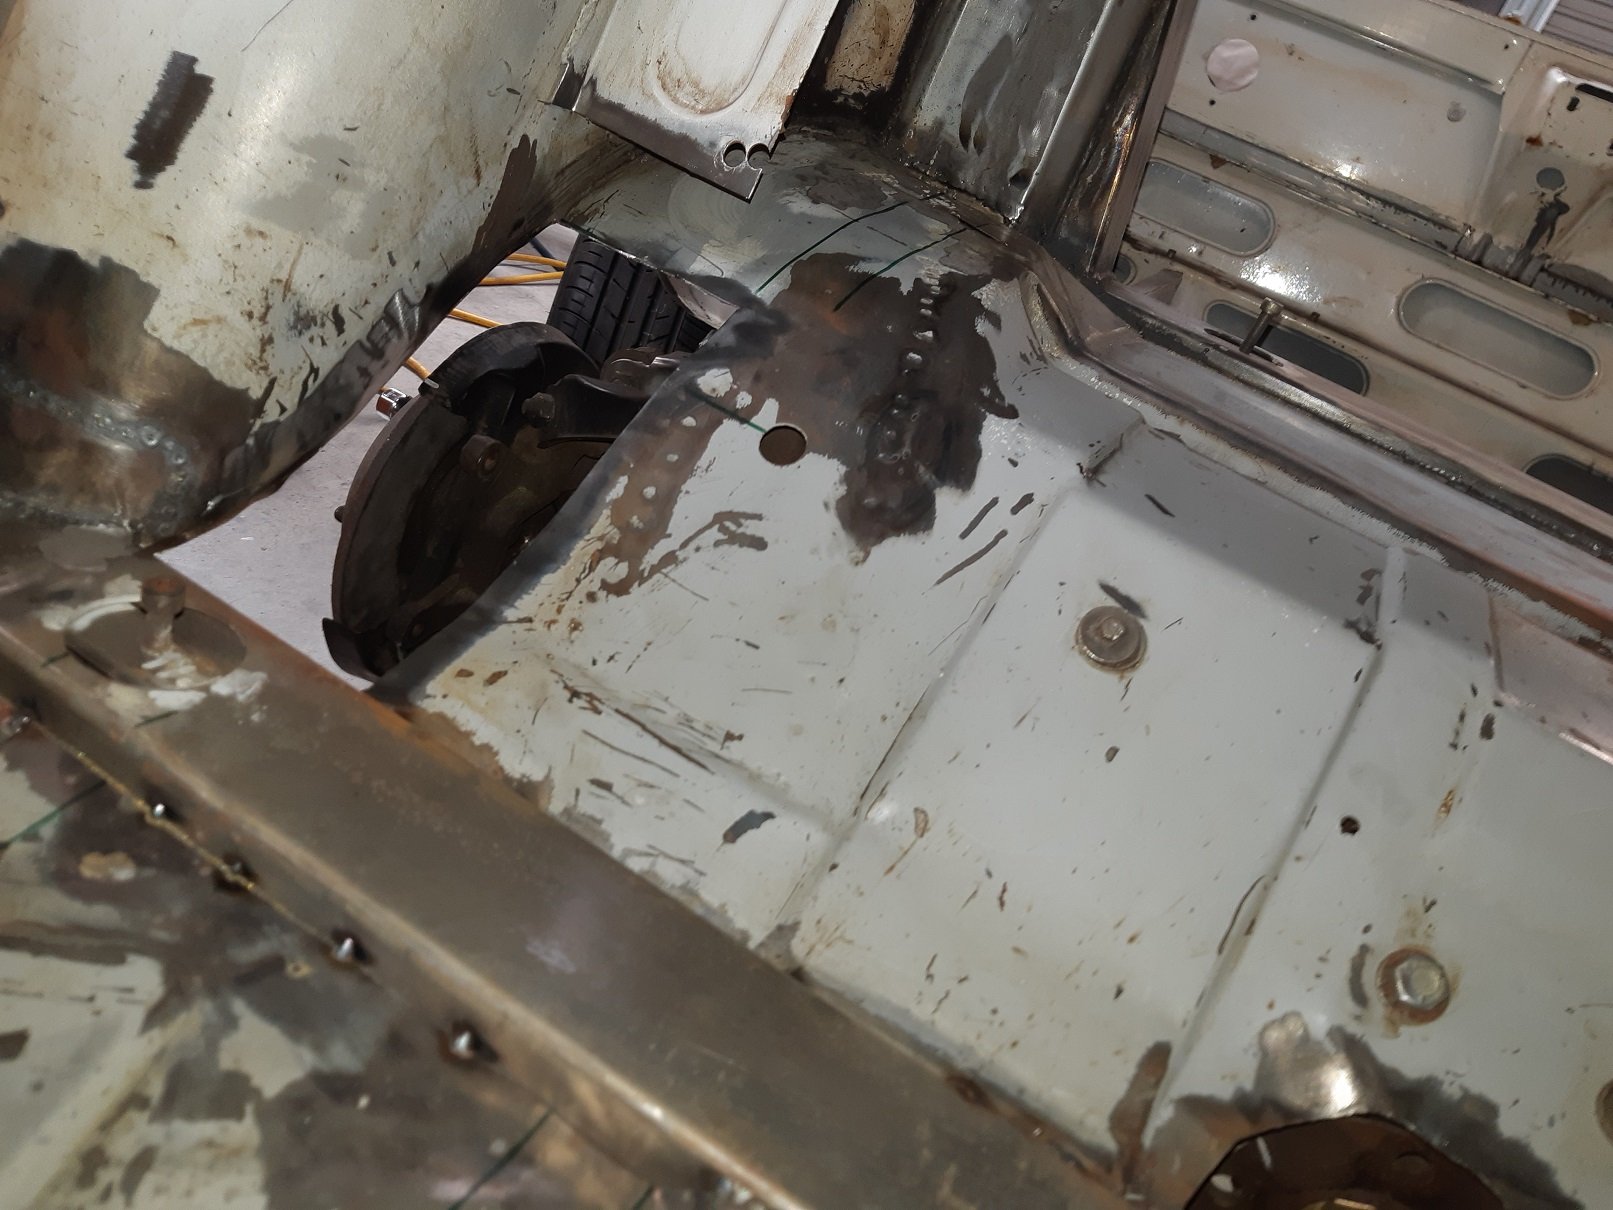
I've got most of the underseal off the underside. Starting off with the heat gun and some narrow paint scrapers with the corners ground off. Then wet it down with turps. I started off with kerosene, but it takes ages to evaporate. The turps seems to work better, it's the cheapest solvent I could find. $5 per L when you get it in 4L. It evaporates, but not as fast as thinners(which is super spendy from Mitre10). Agitate the wet turps with a brush and steel wool to dislodge/dissolve the underseal. Wet it down some more with the brush. Make a big mess on the floor. Then use a rag to wipe up all the dissolved underseal. Change the rag when you run out of clean sections. Repeat until no more underseal. I decided to remove all the bent strips of metal they use to hold the brake and fuel lines, etc... down. I'll put rivnuts in and use p-clips instead. I also did some panel beating along the bulkhead seams to tidy up the edges and make them sit flush. The spinning death wheel uncovered some pin holes around the front end of the drives side sill. So I went exploring. Looks like a really straightforward repair. I'll replace that section of inner sill and the little bit of floor. And I'll have to re-use the vent thingy and make a new outer sill section. Looks like 1.2mm... I'll have to get some. The 1.6mm I have is a bit overkill. The front end has kissed something once upon a time and the area below the headlight has been pushed in about 10mm. I've had a go bashing it out but it's not keen to move. The front panel is rusty all the way across behind the bumper lip and the bonnet slam panel doesn't look so good either. I can get the whole front panel for $300, it's not worth the effort trying to repair what's there. The small panel below the headlight also needs replacing, but it's not available separately. Hopefully I can get it cut from another one. It's all curvy so I'd rather not have to make one.
- 48 replies
-
- 14
-
-
It's an option, but I think I may end up spending quite a bit on the extra bits and pieces that aren't covered by "complete engine and manual box". I'm in no rush, it's just the initial excitement, I can wait for "the right car".
-
I've still got the question of how much should I pay for a parts car. And which, if any parts are worth the effort to try sell.
-
When you say "facelift", what year is that? I don't think you mean the >2002 models, they have a different engine, right? I was planning on using only the wiring(thinner for same current) and some connectors(not shit lucas) to build a new loom, but still use the mini lights, switches. The smaller flywheel is probably fine. The mini is ~200kg lighter than a K11 and the CG alloy engine/gearbox is ~40kg lighter than the iron mini engine. Tell me more about this Nistune board. Can it cope with forced induction? The guy I met in trentham, Matt, said I was welcome to come round and take photos and measurements of his. It's really well done, he seems to have a high standard of work. He also has a race mini with a Swift GTI engine in it. He said it was a bit more complicated to do and the CG swap is much easier.
-
I made a cradle, so now I can play airplane with my diff. It also does away with the dodgy balancing to try lift it straight onto the mounting studs.
- 190 replies
-
- 18
-
-
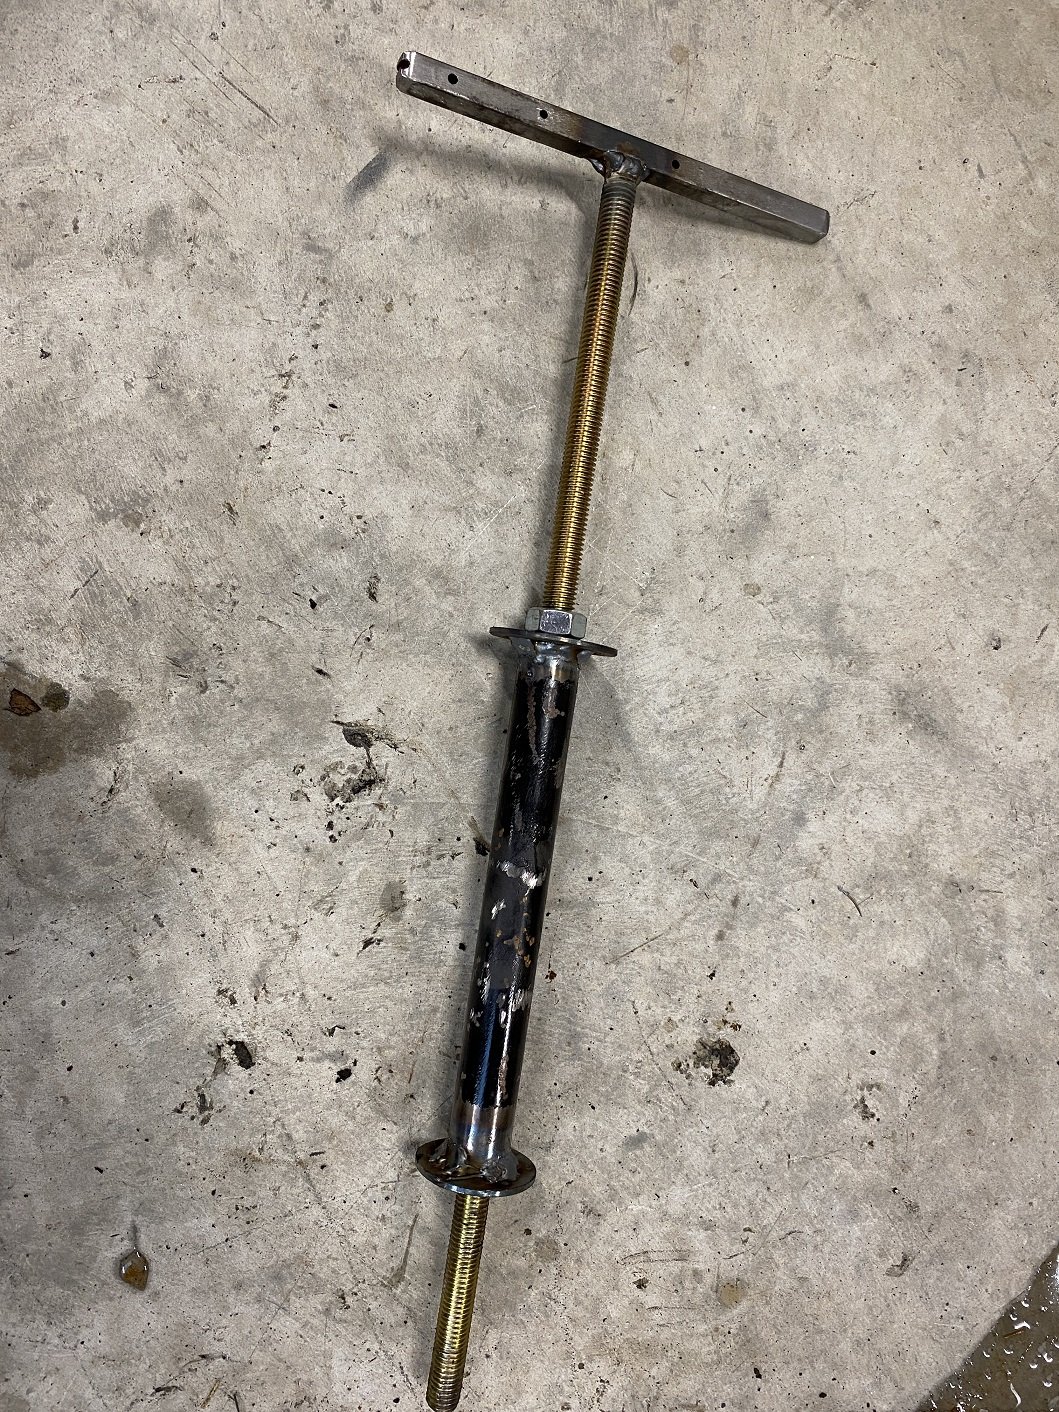
I made a cone compressor so I could finish disassembling the front subframe. It owes me $40 but there is enough rod left to make another. A bought one is $99. So... Winning? M14X2 doesn't seem to be a common size for threaded rod, I had to get it from a proper fastener supplier.
- 48 replies
-
- 10
-
-
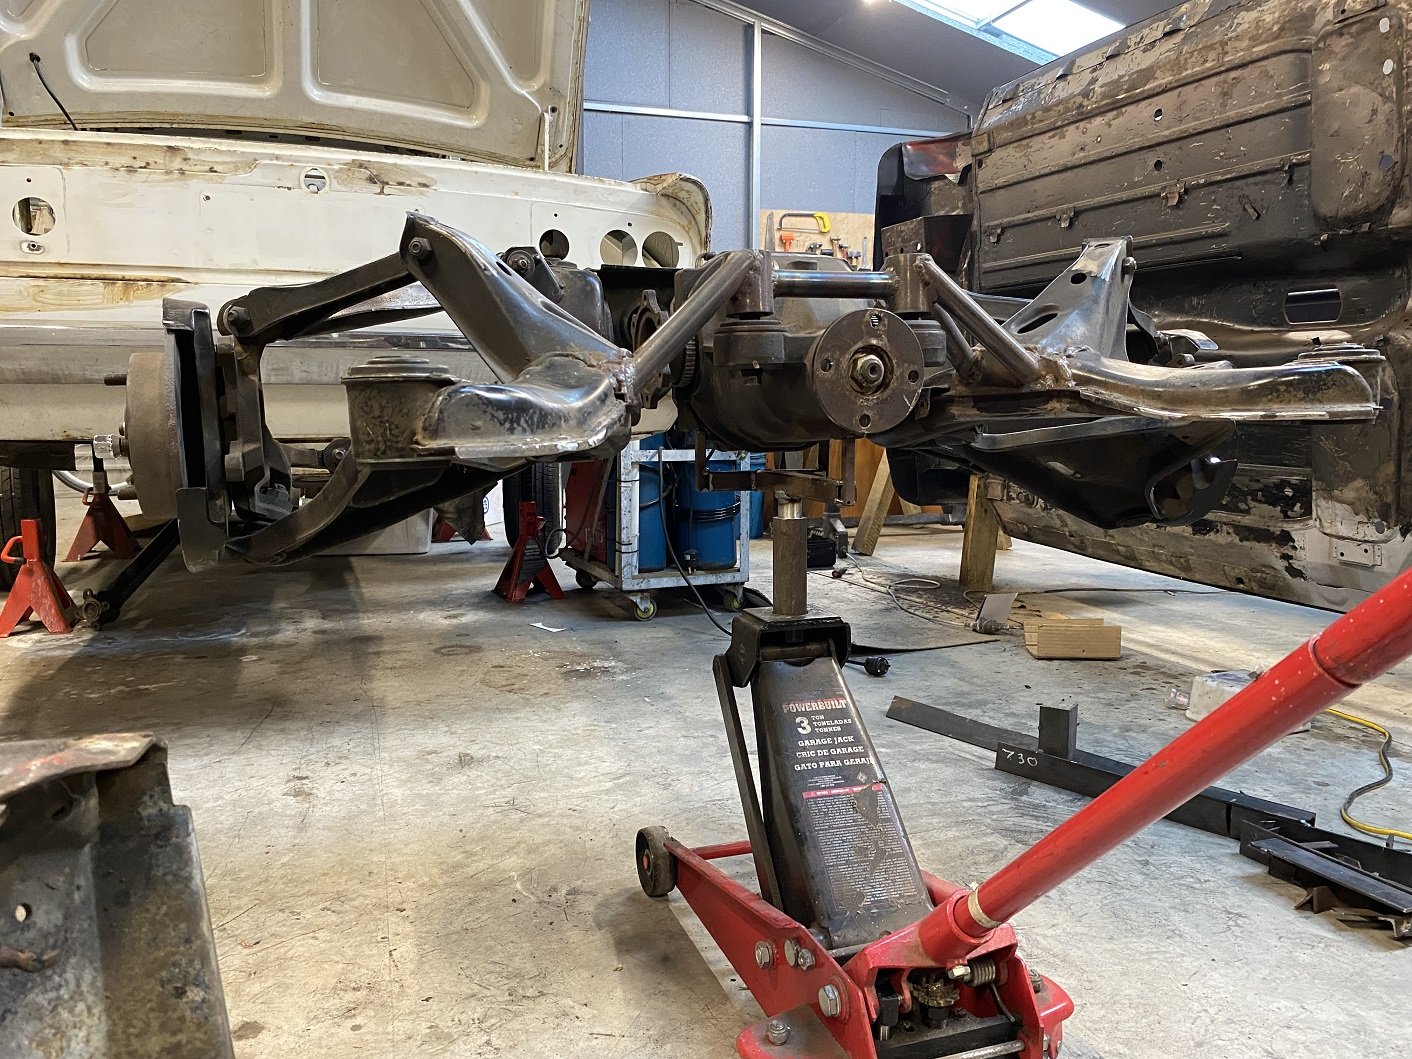
Got good news from LVVTA today. My suspension/steering modifications don't meet the threshold to require design approval because the geometry is still OEM nissan/triumph. The suitability of the floor pan mods and mounting can be determined by the certifier.
- 190 replies
-
- 21
-
-
It's SO light! No problem lifting each end onto thingies by myself. Just a little bottom heavy with the pipe where it is. Got to clean up under the floor and get it ready to chuck some epoxy on there and seam sealer.
- 48 replies
-
- 18
-
-
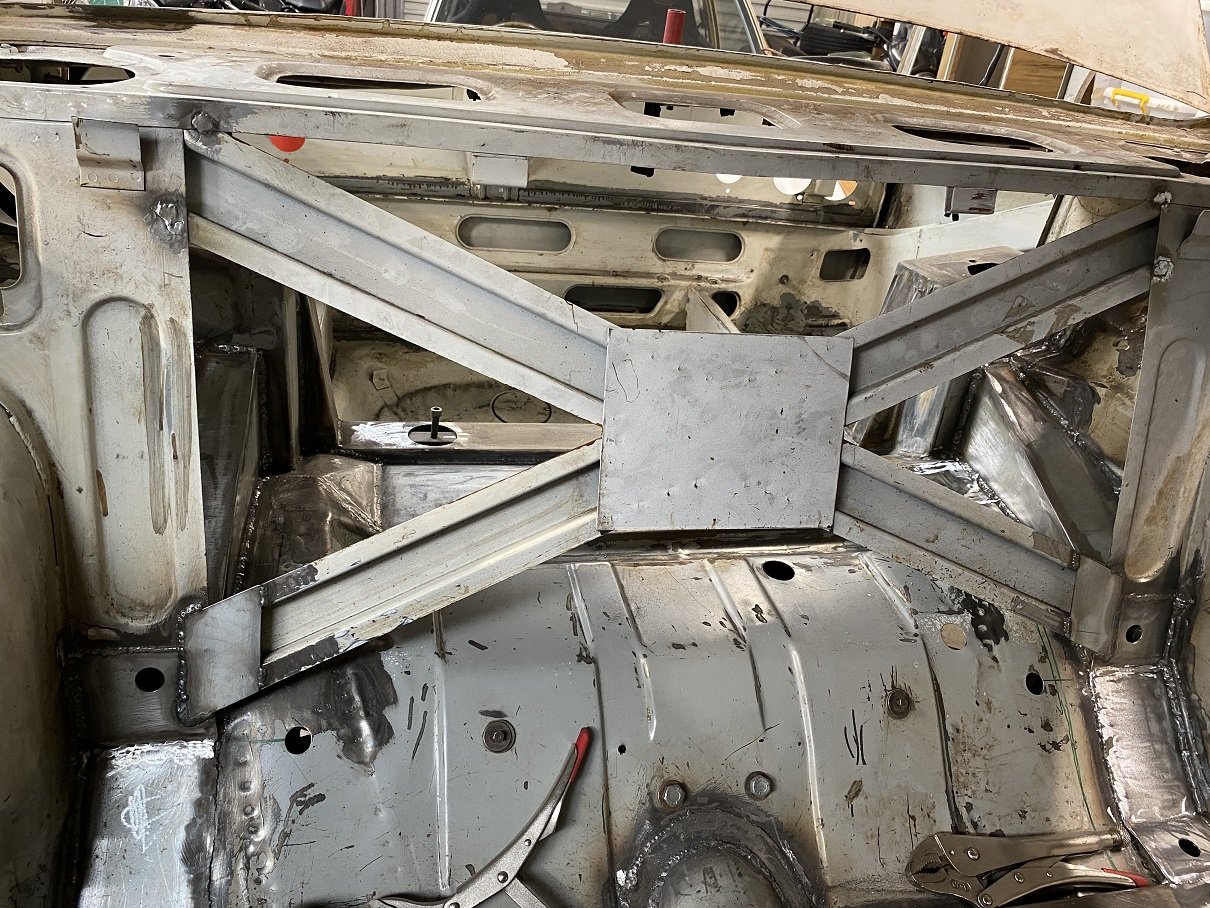
Zapped the seat brace X thing back in.
- 190 replies
-
- 14
-
-
Lunchtime zipzap Evening zipzap
- 190 replies
-
- 13
-
-
Finished this side.
-
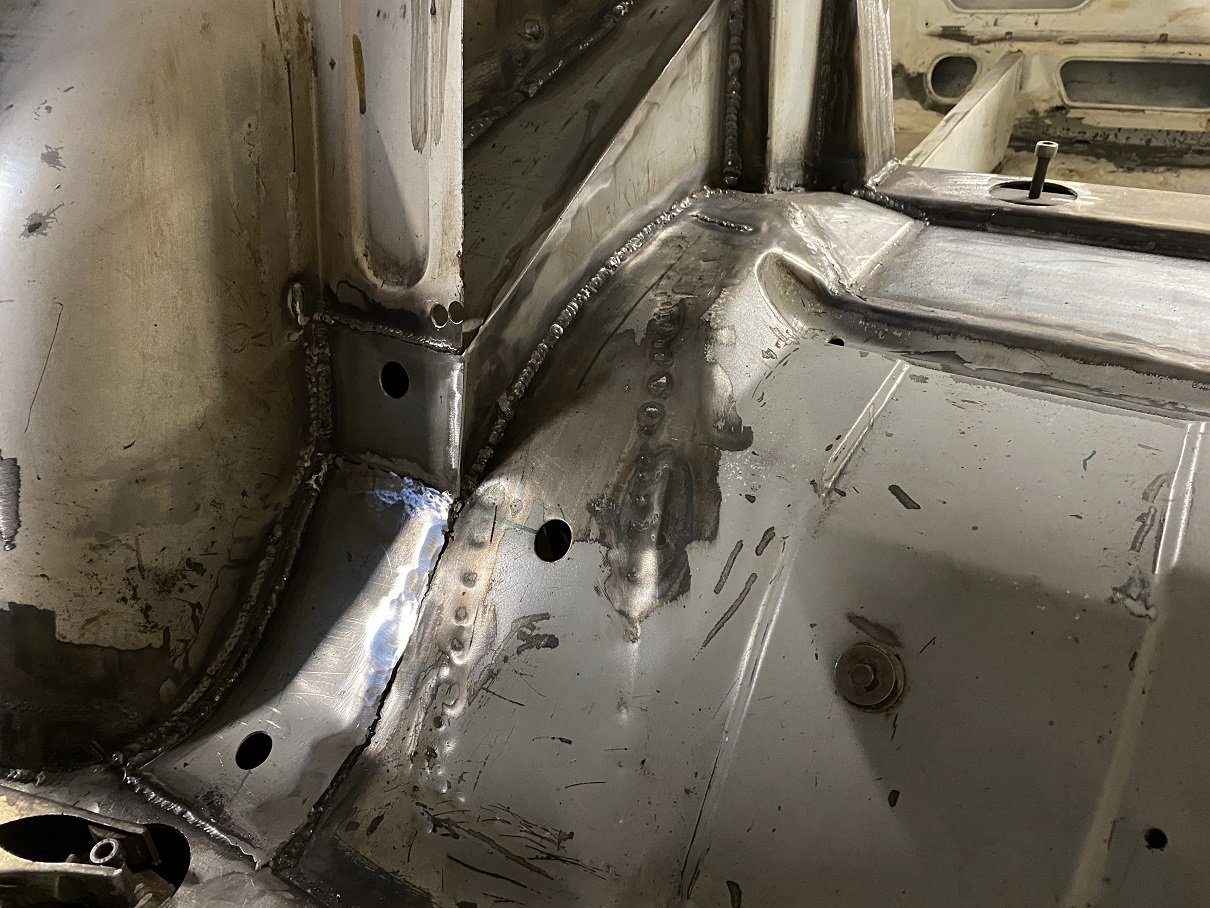
Linished... The holes are so I can spray some oily waxy antirust stuff in later. Then I started on the other side. Then I got distracted because I got some new blades for the reciprocating saw and chopped the gap for the tunnel. Then fit the tunnel. I decided it would be too hard to bend a flange on the end so I will cut the flange as a separate piece and weld it on.
- 190 replies
-
- 14
-
-
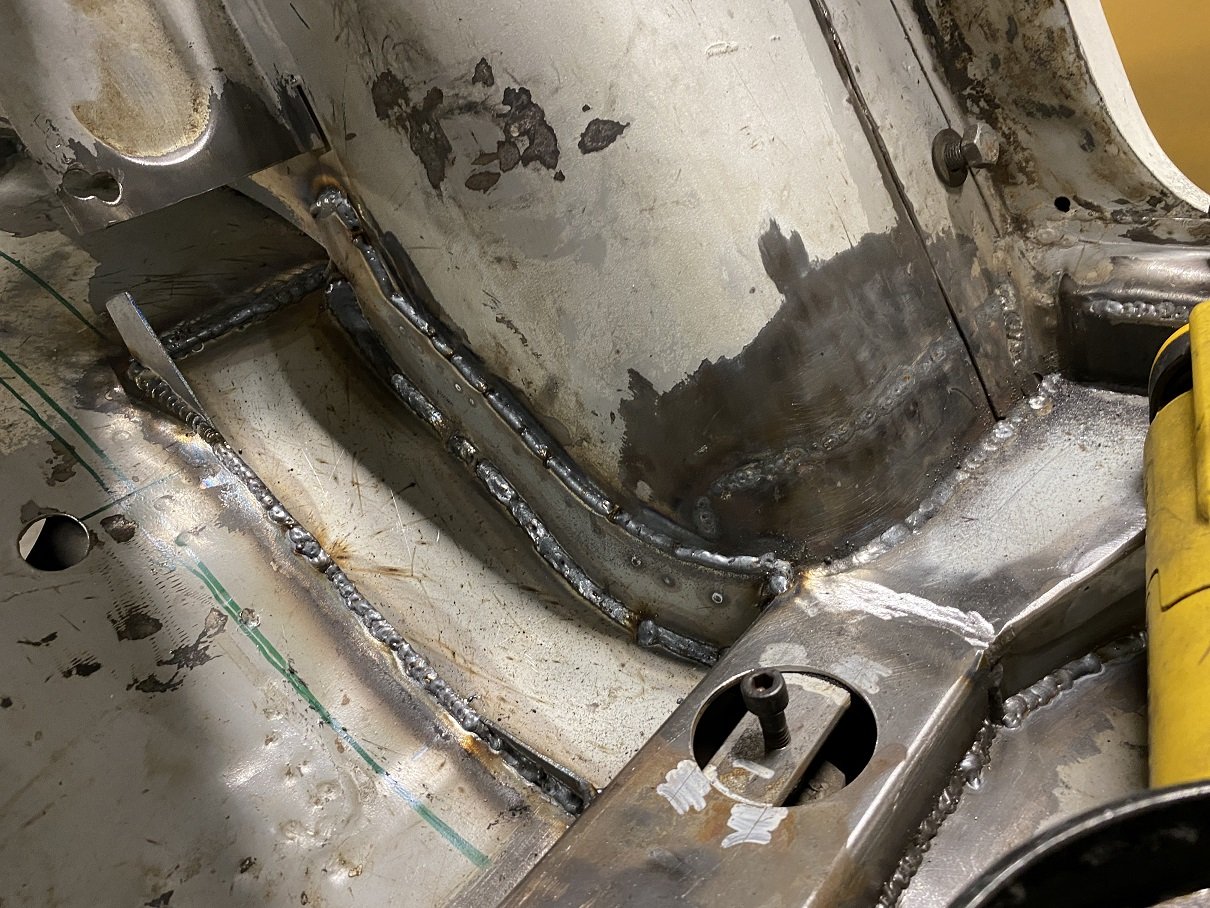
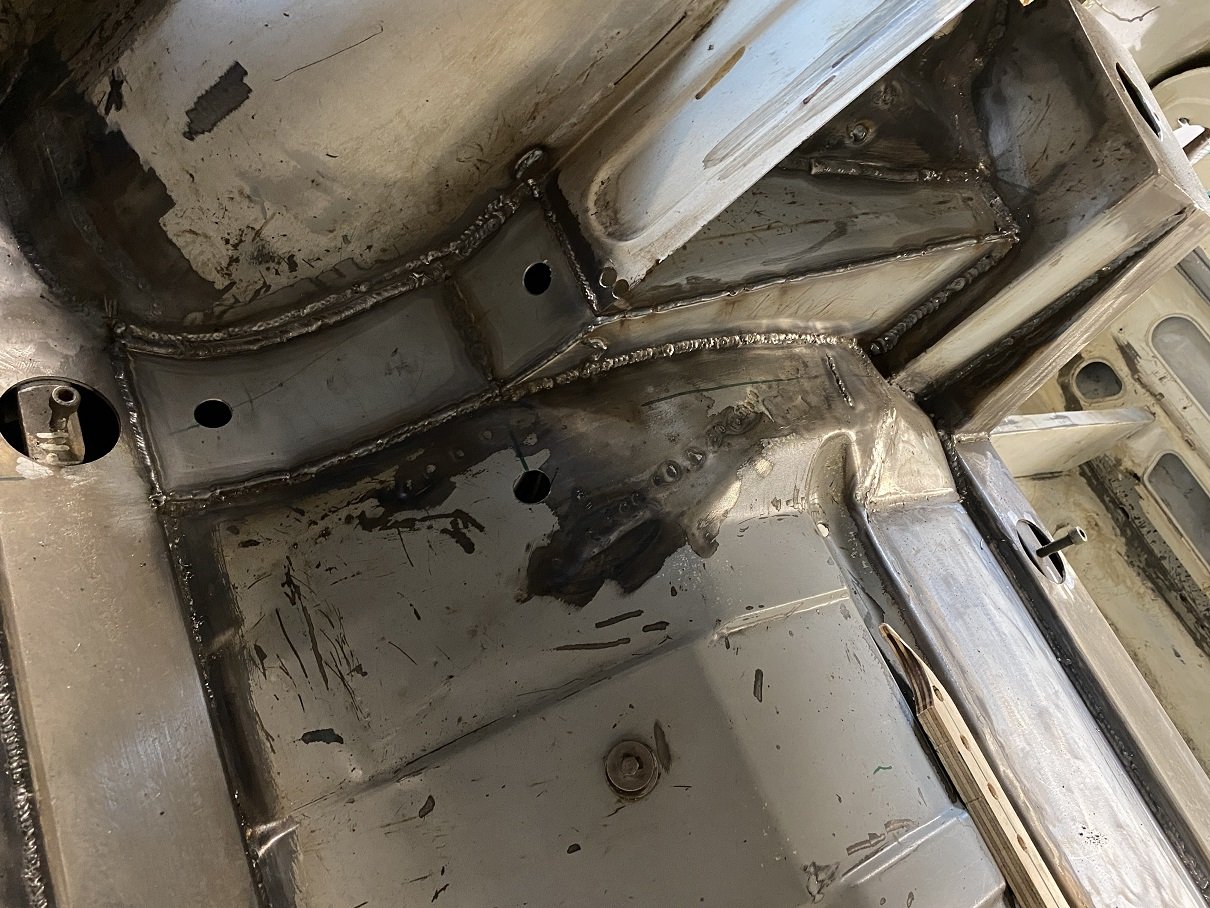
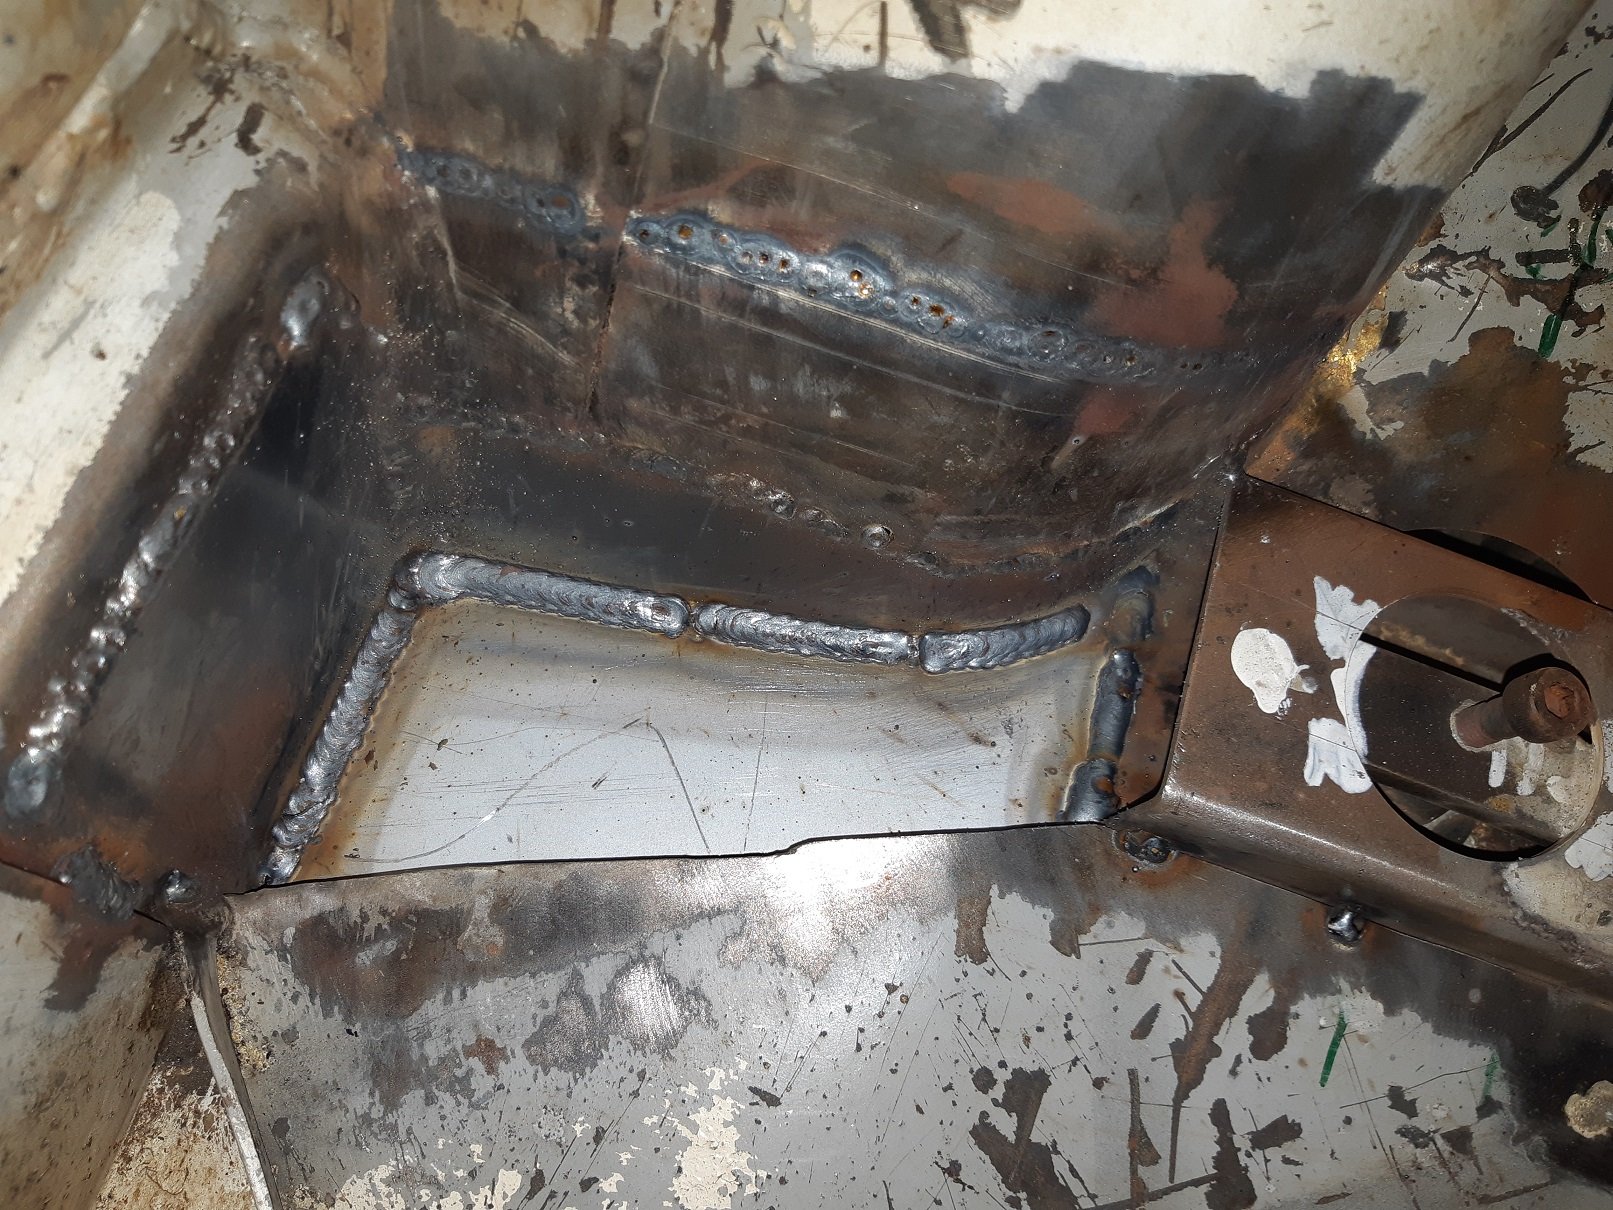
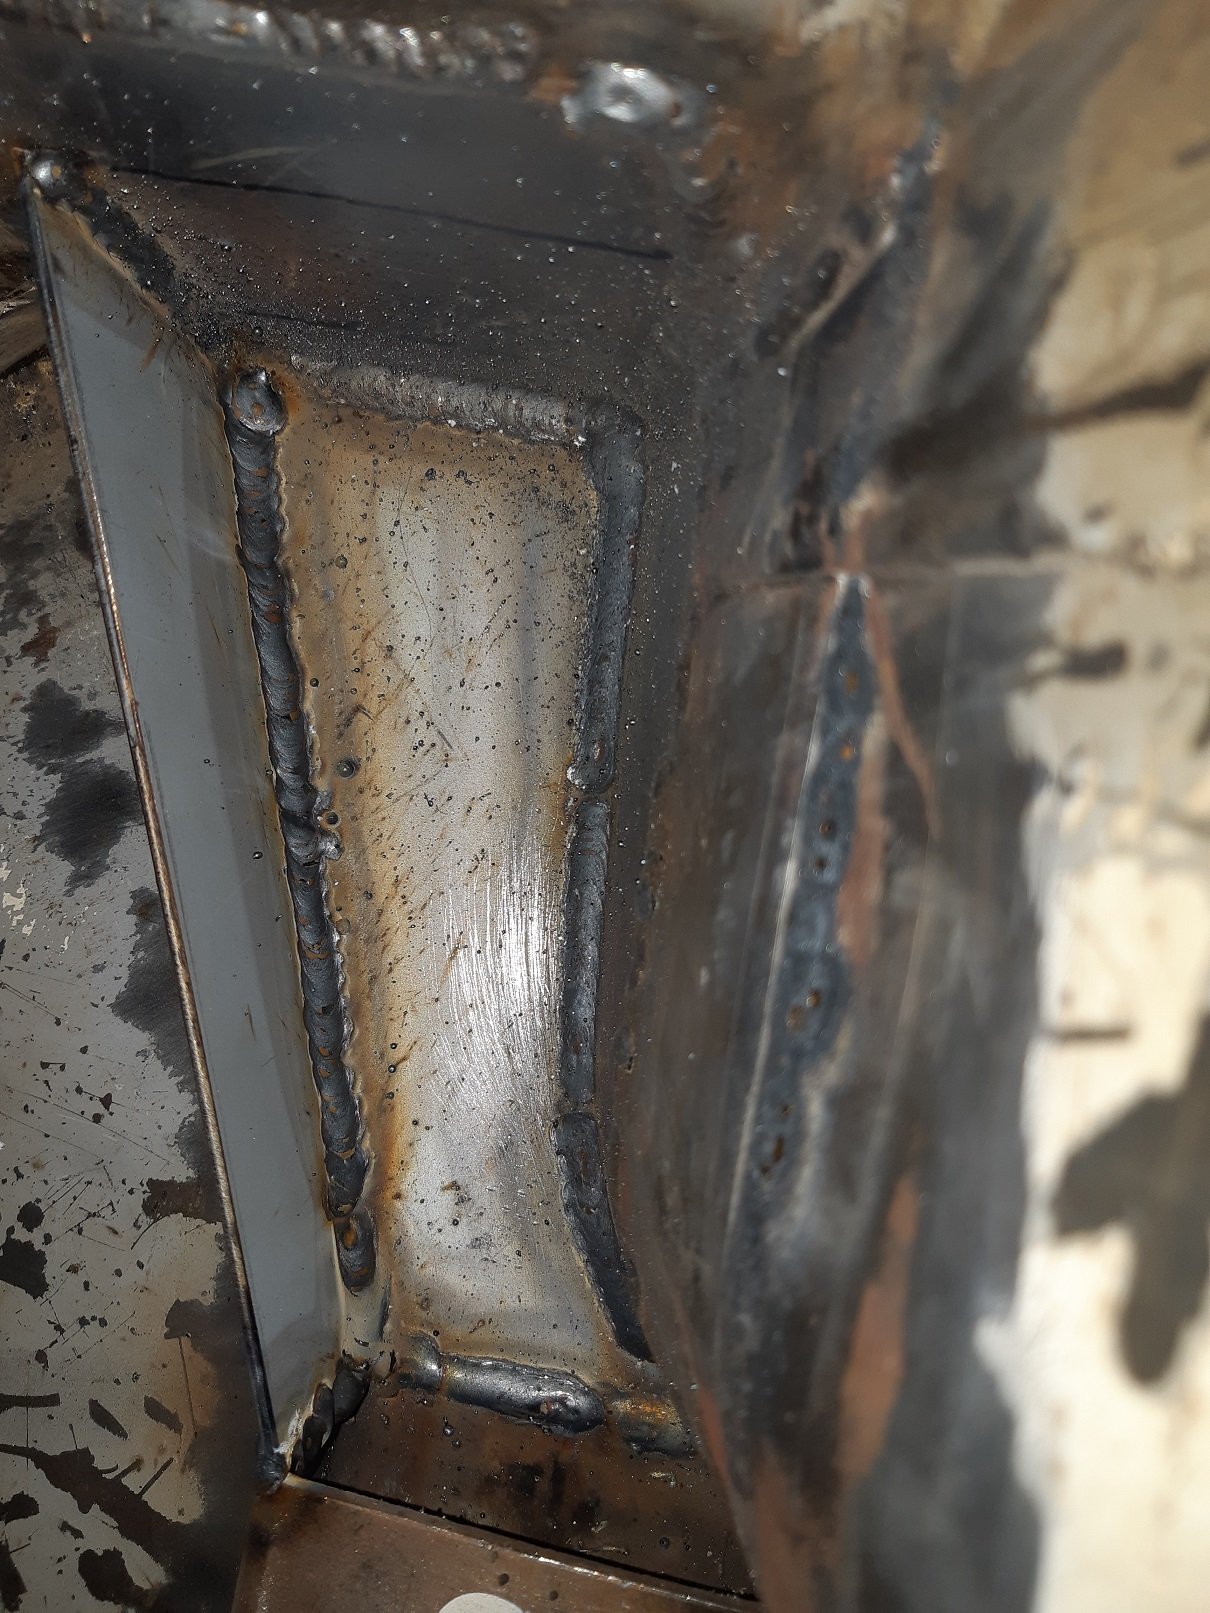
This side chassis rail... box section... whatever, is all welded. I'll linish back some of the welds.
- 190 replies
-
- 11
-
-
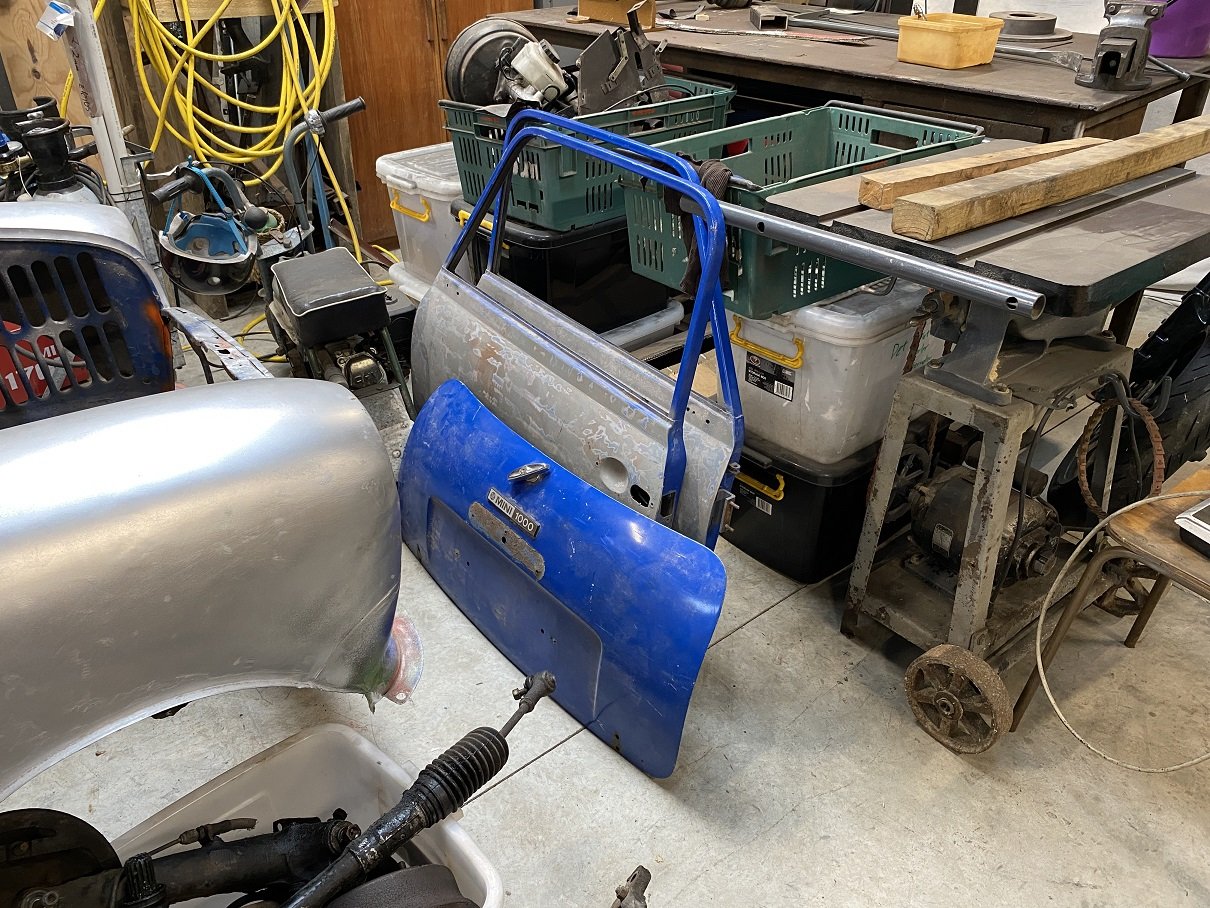
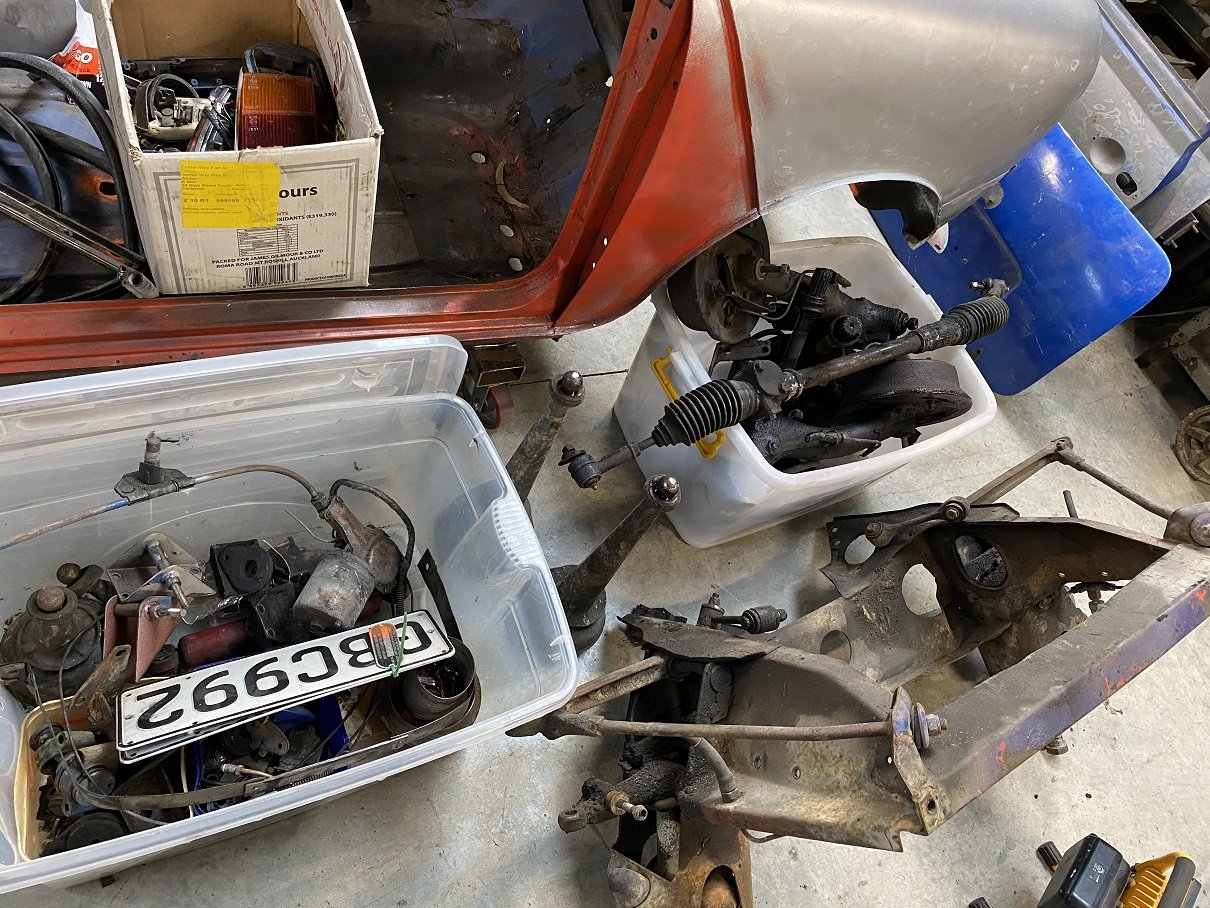
Random photos of the bits I have acquired so far.
- 48 replies
-
- 23
-
-
Tell me it's a dumb idea, because I've already got a project, here! Project thread. https://oldschool.co.nz/index.php?/topic/81725-adooms-1981-mini-1000/
-
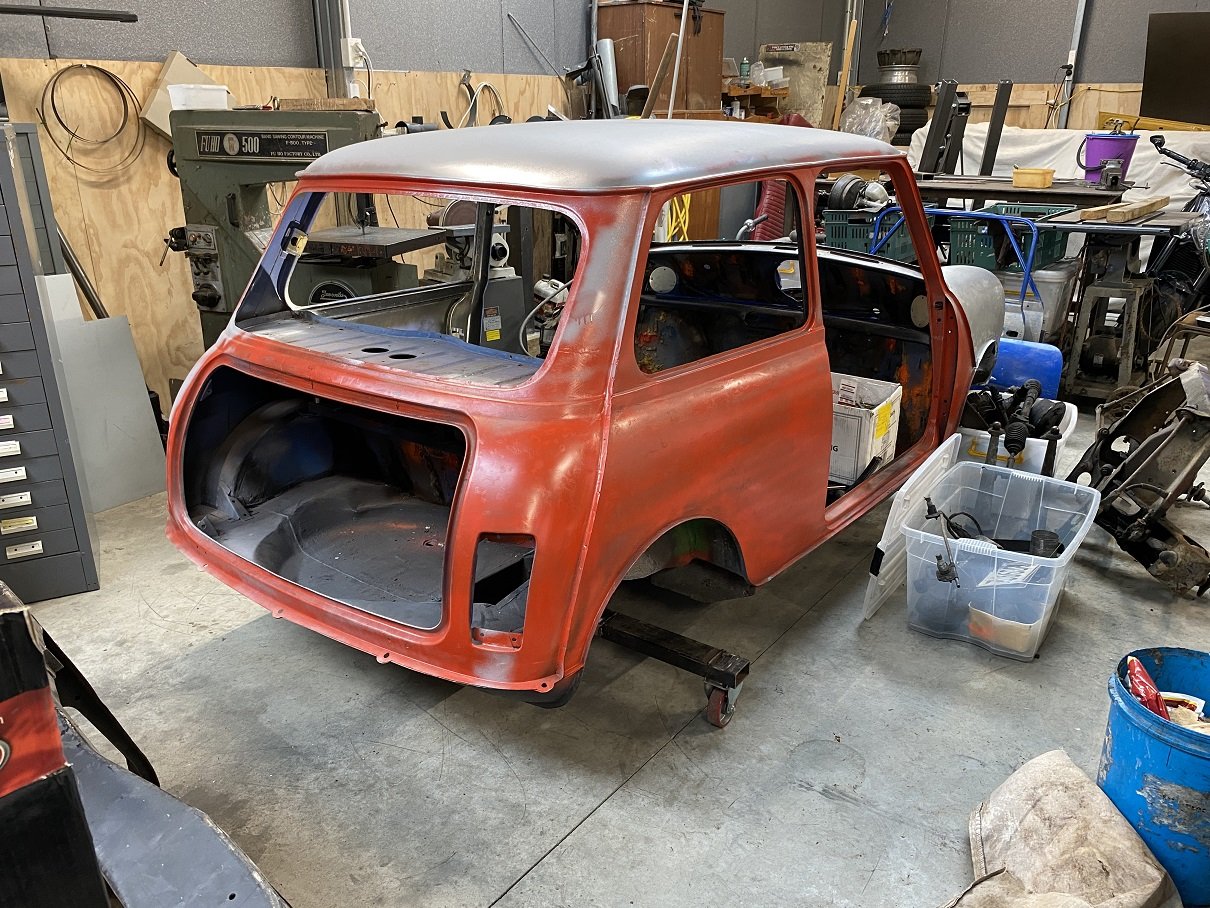
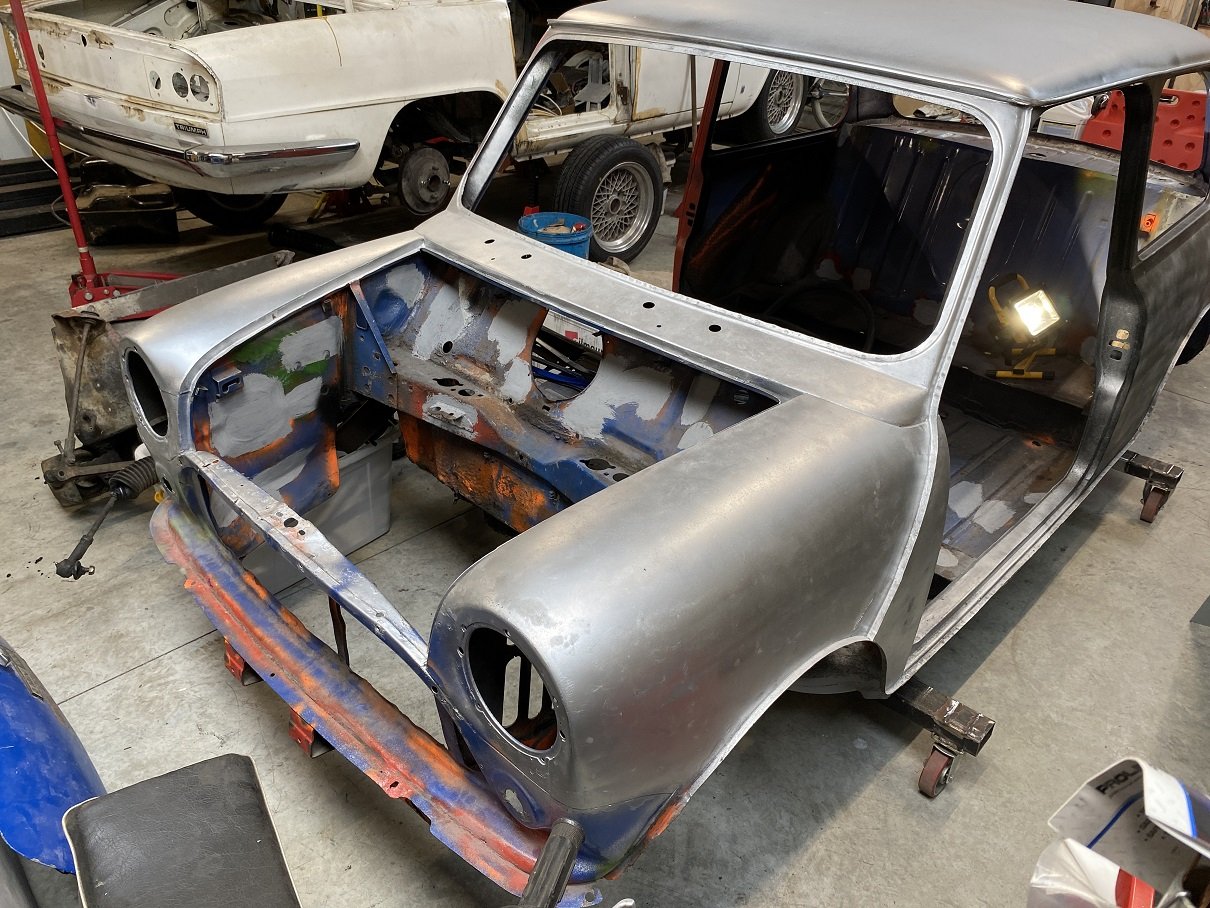
So, grape vine told me about a round nose mini shell that has rego on hold. And all the rust repairs had already been done to a high standard. It's only in primer so you can see the butt welded joins and spot welds done with a mig. It all looks really well done. It will need minimal filling for paint. But, there were plans to make it a racecar, so a number of holes have been filled that I probably need and the rear seat and storage pockets have been cut out. It was also only 15 minutes down the road. So now it's mine. It had P-Plates in the past, so no black plates. It was only a stripped shell with doors and a boot lid. He did find me some things from his stores. Front and rear subframes and some suspension bits and glass. But I still need LOTS of bits. I know of another rusty shell that is being turned into body cuts to fix a racecar. It's also hydrolastic and the current owner wants all the hydrolastic specific bits, like subframes and suspension bits. I've hopefully got dibs on the remaining bits. Engine/box, wiring, interior, trim, the storage pockets and seat panel. That should see me most of the way to a complete set of mini parts. Of course everything will need to be rebuilt/repaired. Discuss! https://oldschool.co.nz/index.php?/topic/81726-adooms-1981-mini-1000-discussion/
- 48 replies
-
- 18
-
-

-
WD40 didn't do much. I gave it a polish with jif. Definitely an improvement, the staining is much reduced, but it's a little hazy still. Clearer than it was before, but not like new. Still want to get some new ones.
-
Does anyone else have an Optrel panoramaxx helmet? I need some of the replacement front lenses. 5000.270. Mine are all burnt and stained. I might have a go polishing an old one... like plastic headlights. Looks like they will cost about $90(incl freight) for 5 from Proline Welding supplies. I guess $18 each doesn't sound so bad... for a molded bit of plastic. Is this pretty much how much they cost everywhere, or is there somewhere better to get them?
-
Well shit. Apparently I was running real low on 0.9 mig wire. I just ran out mid-bead. Sigheth. I changed over to the 0.6 roll and swapped jobs to seam welding the thin edge of the cut floor to the cross member. Hopefully the local hardware store BOC agent has mig wire as well as gas.
-
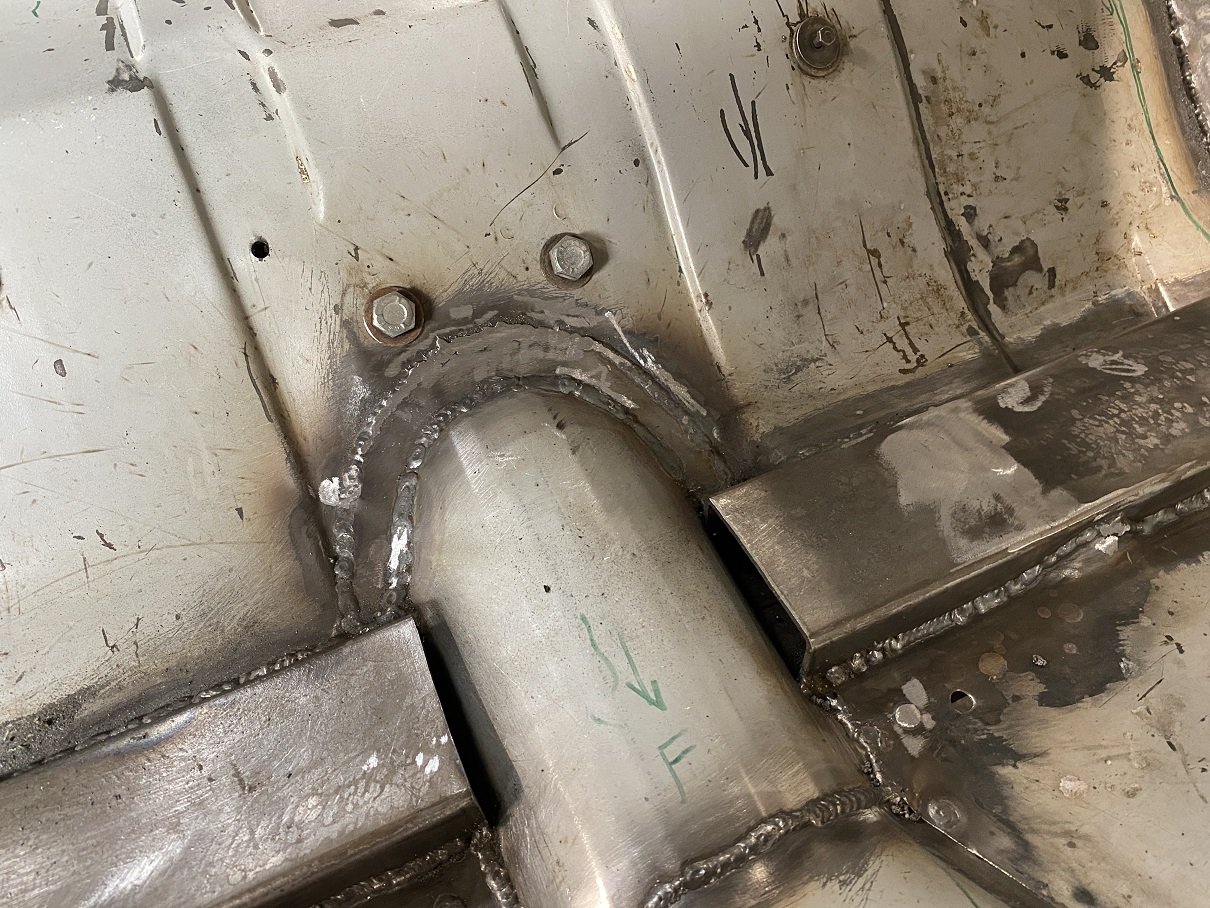
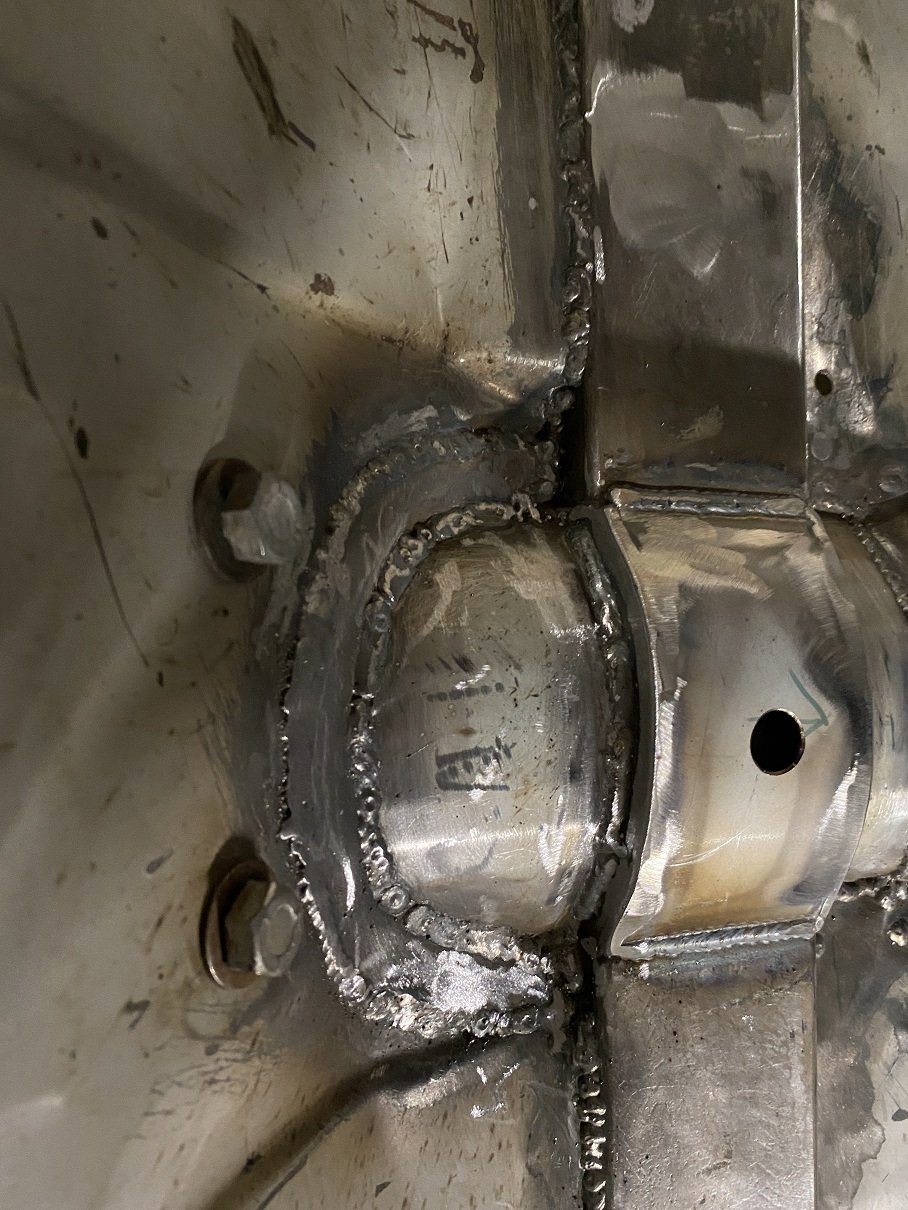
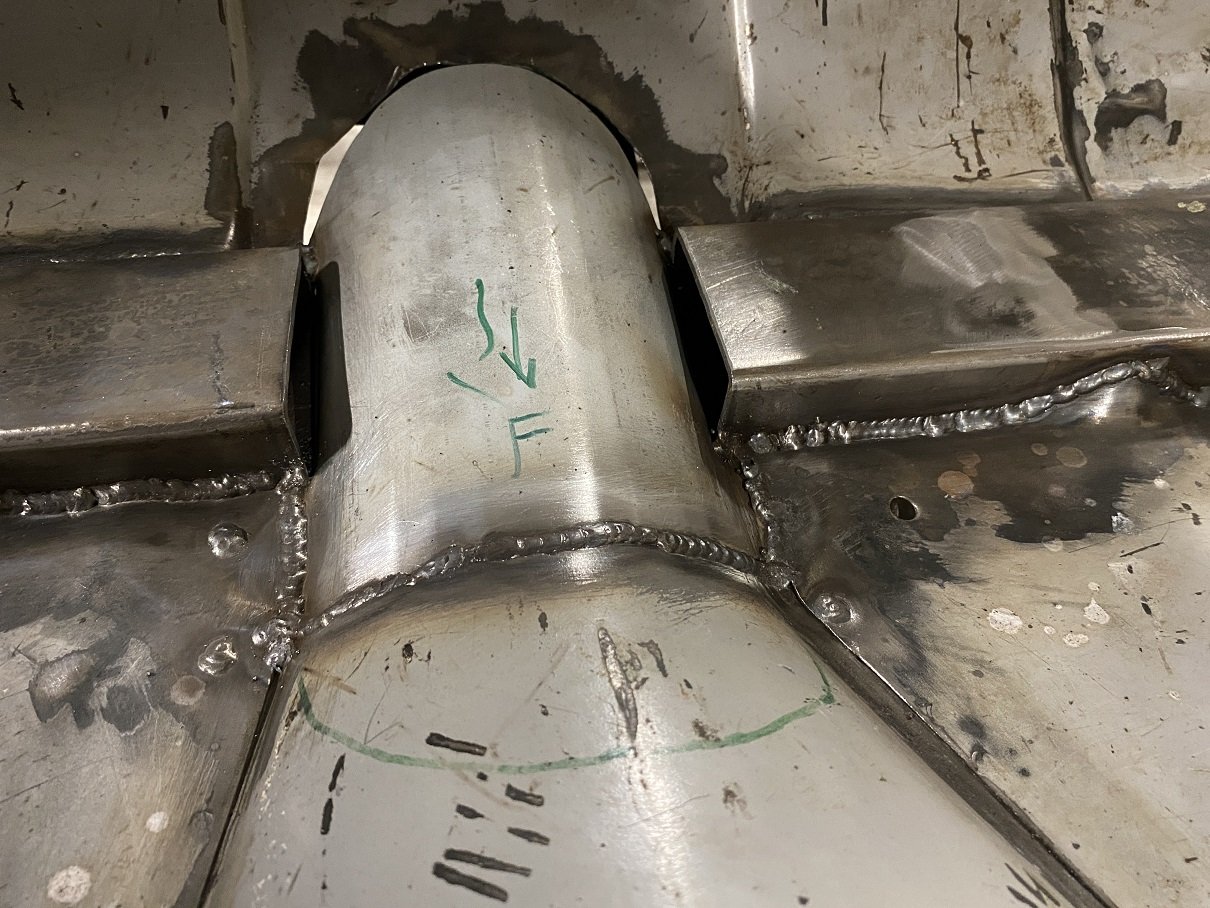
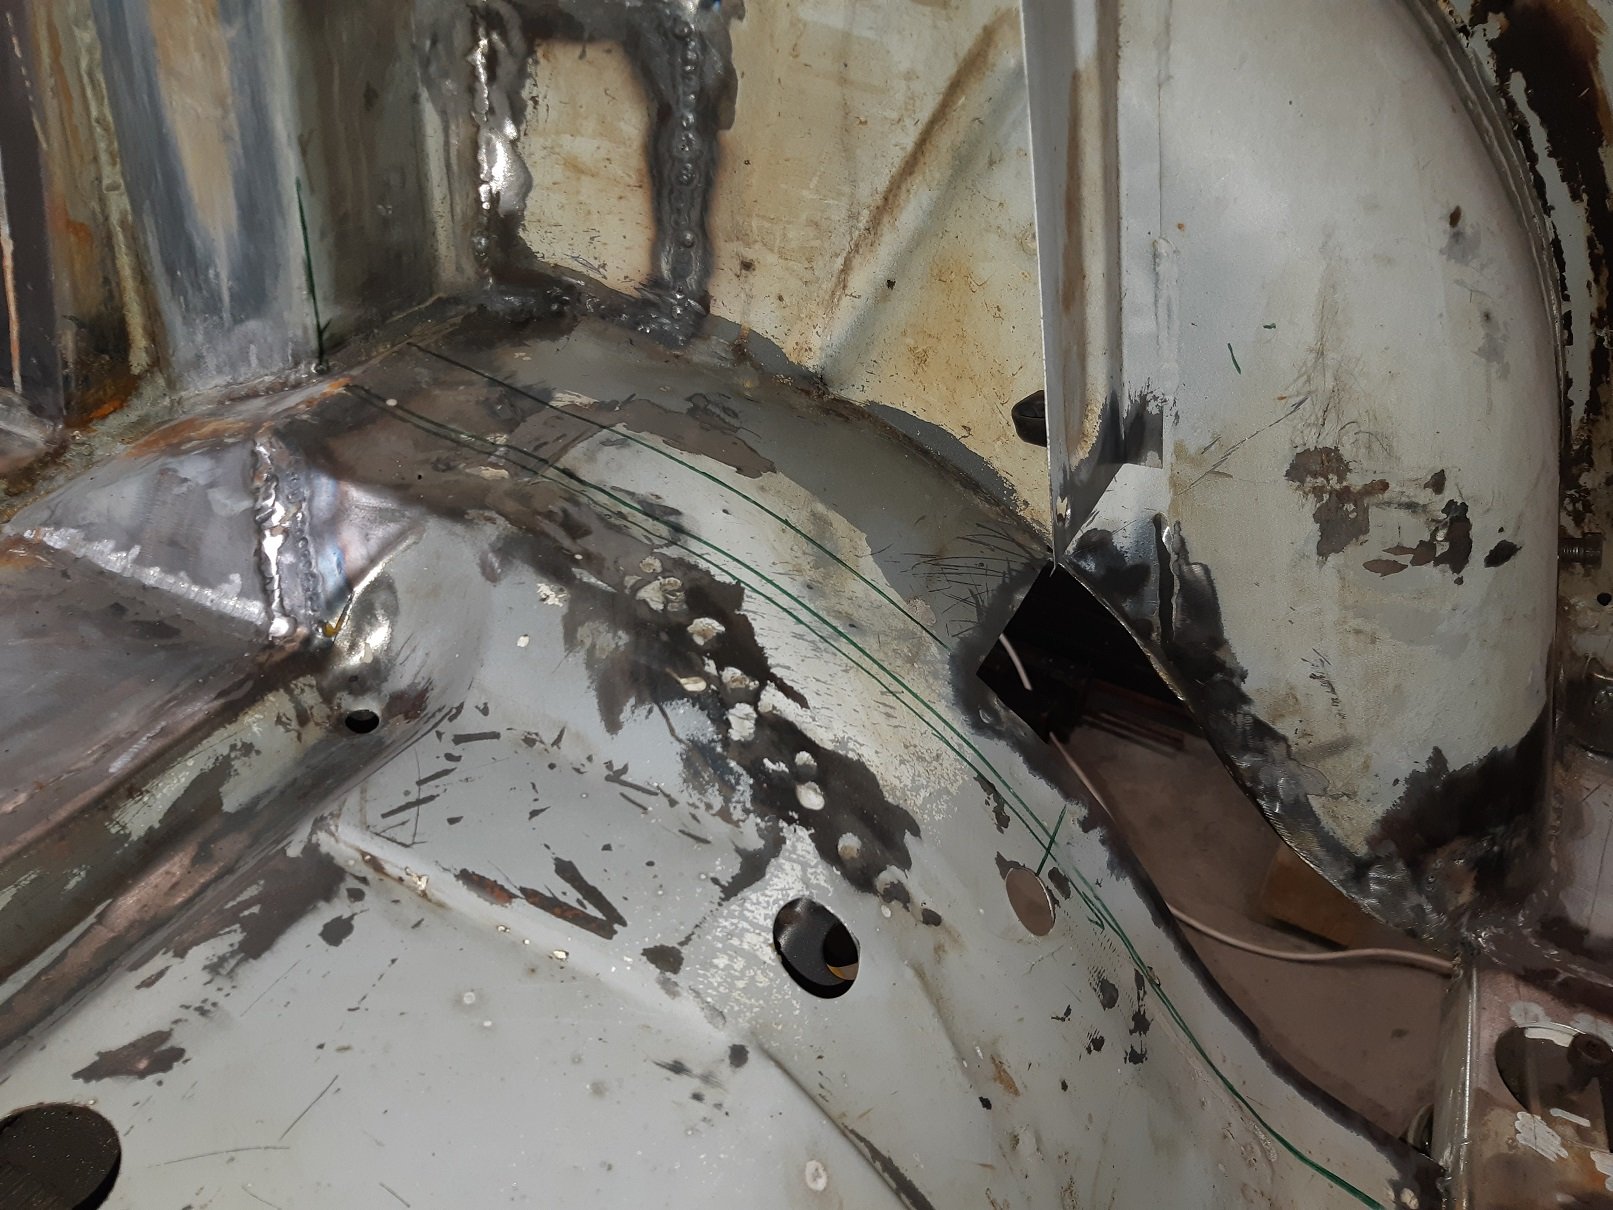
Join this bit to that bit. First, makes some holes. So as not to intrude into the seat space, the front part goes under the floor. To avoid a suspension pivot point, the back part goes above the floor, also to tie into the strut tower.
-
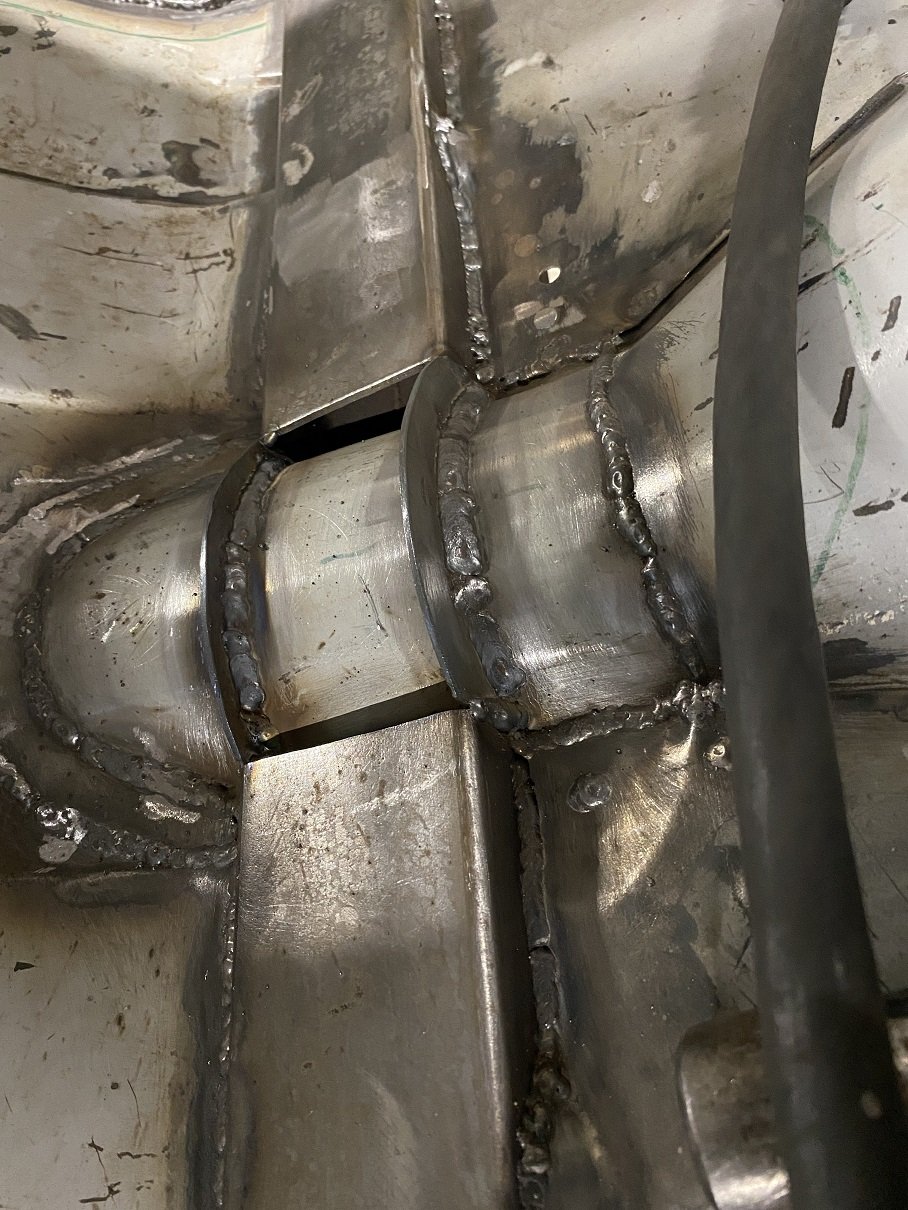
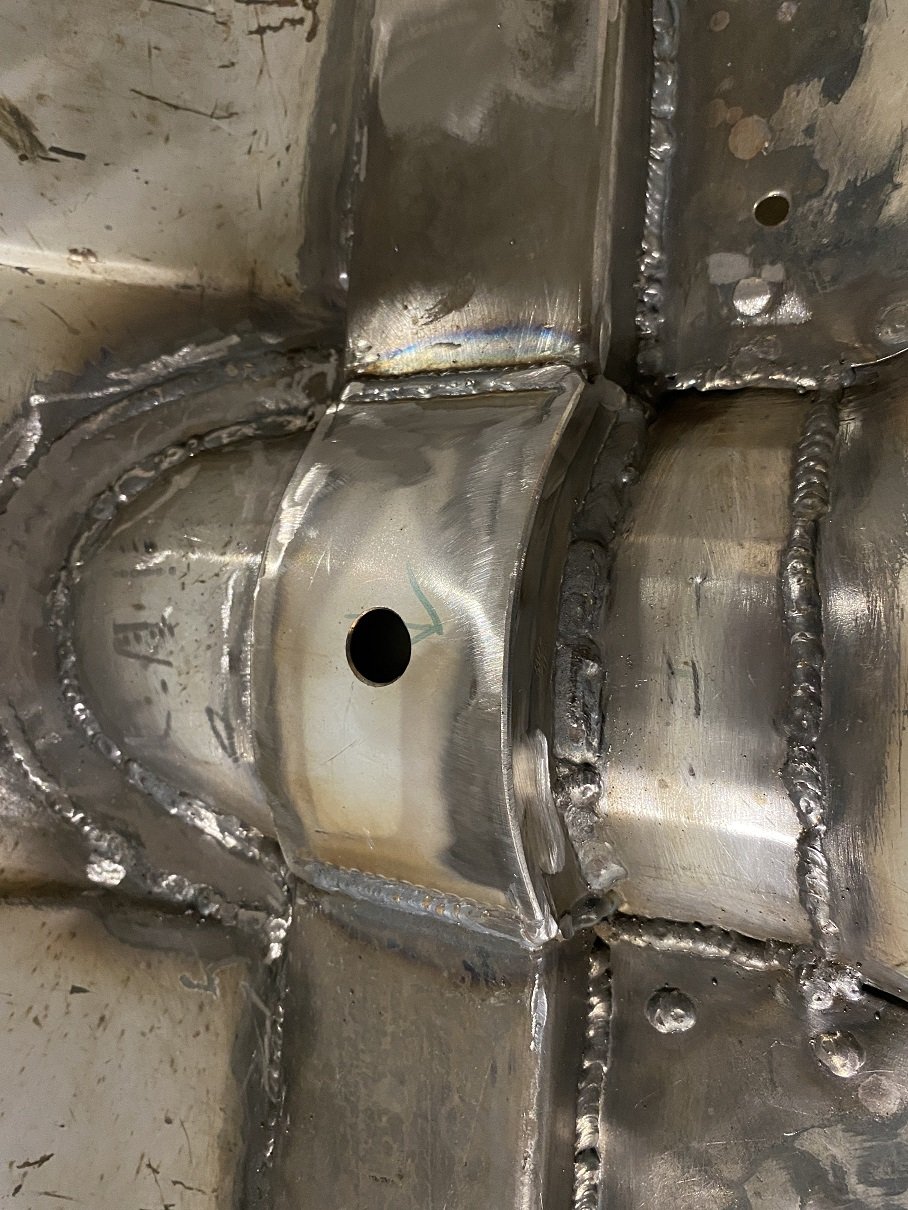
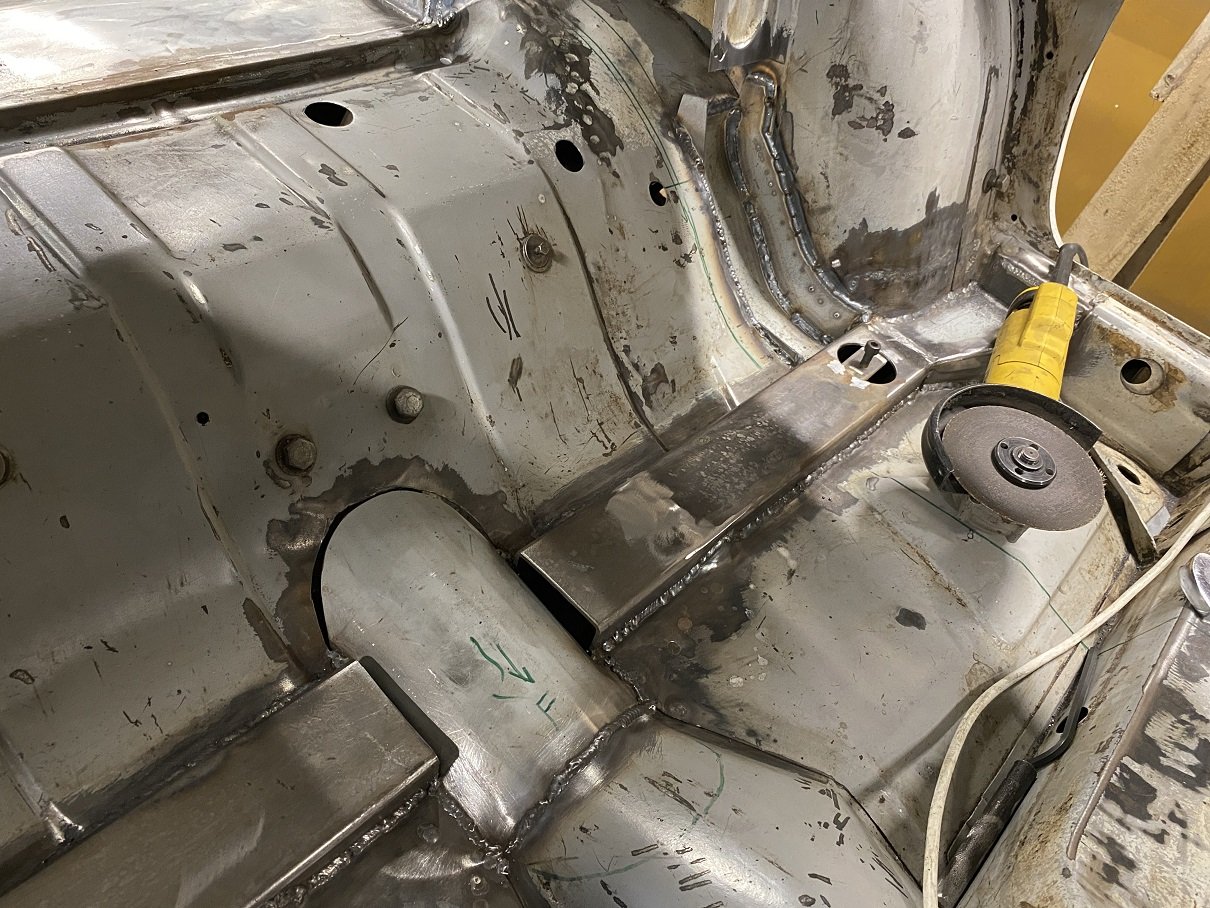
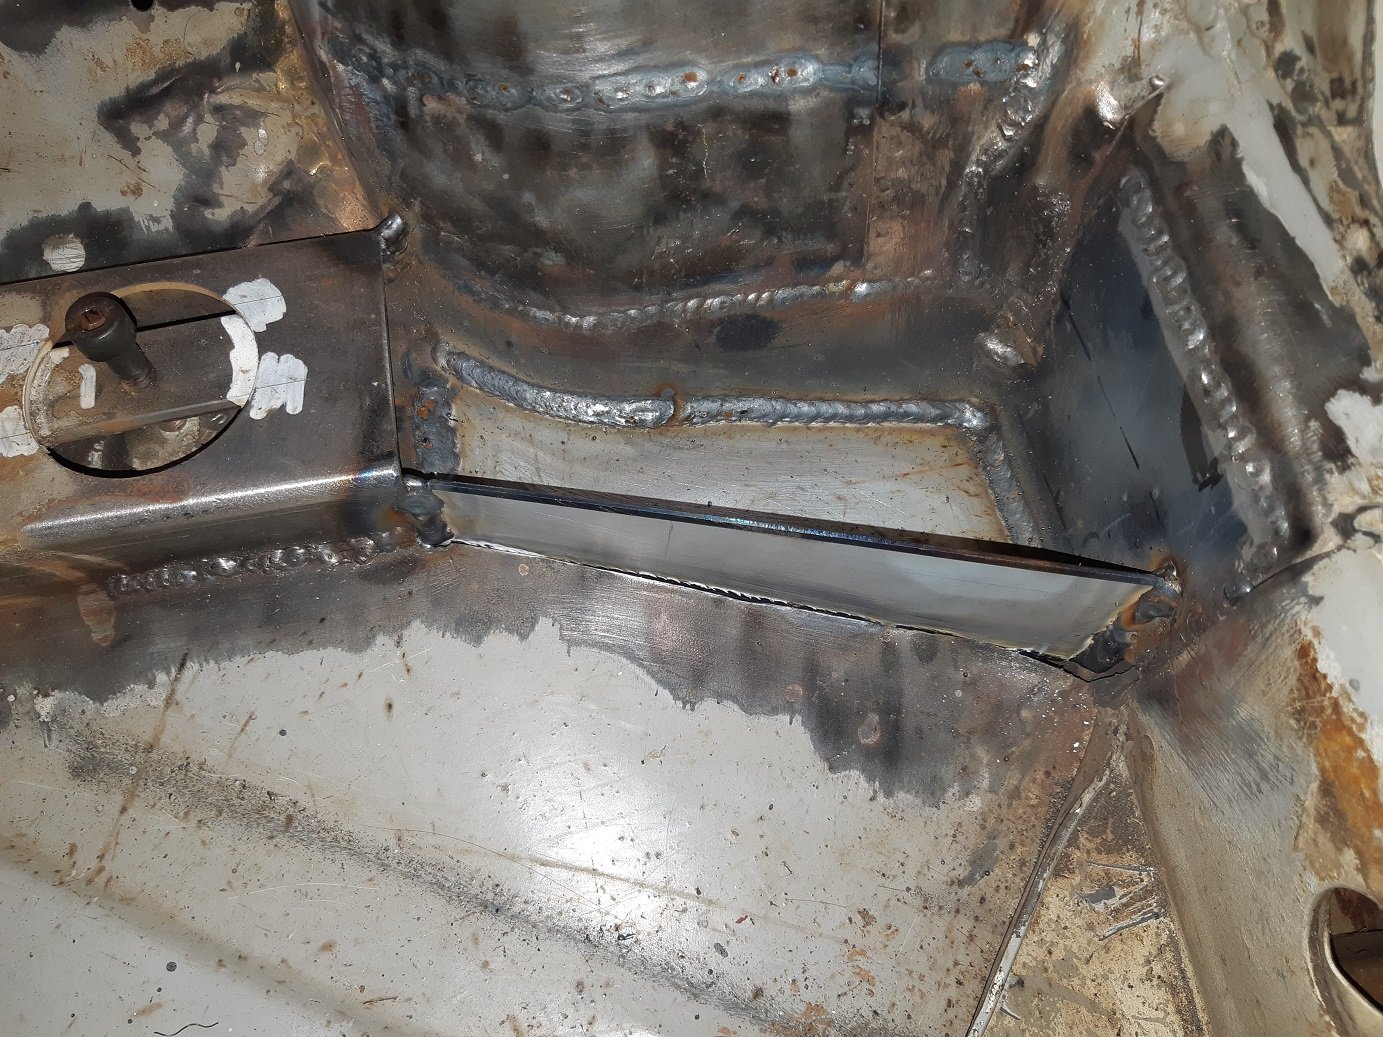
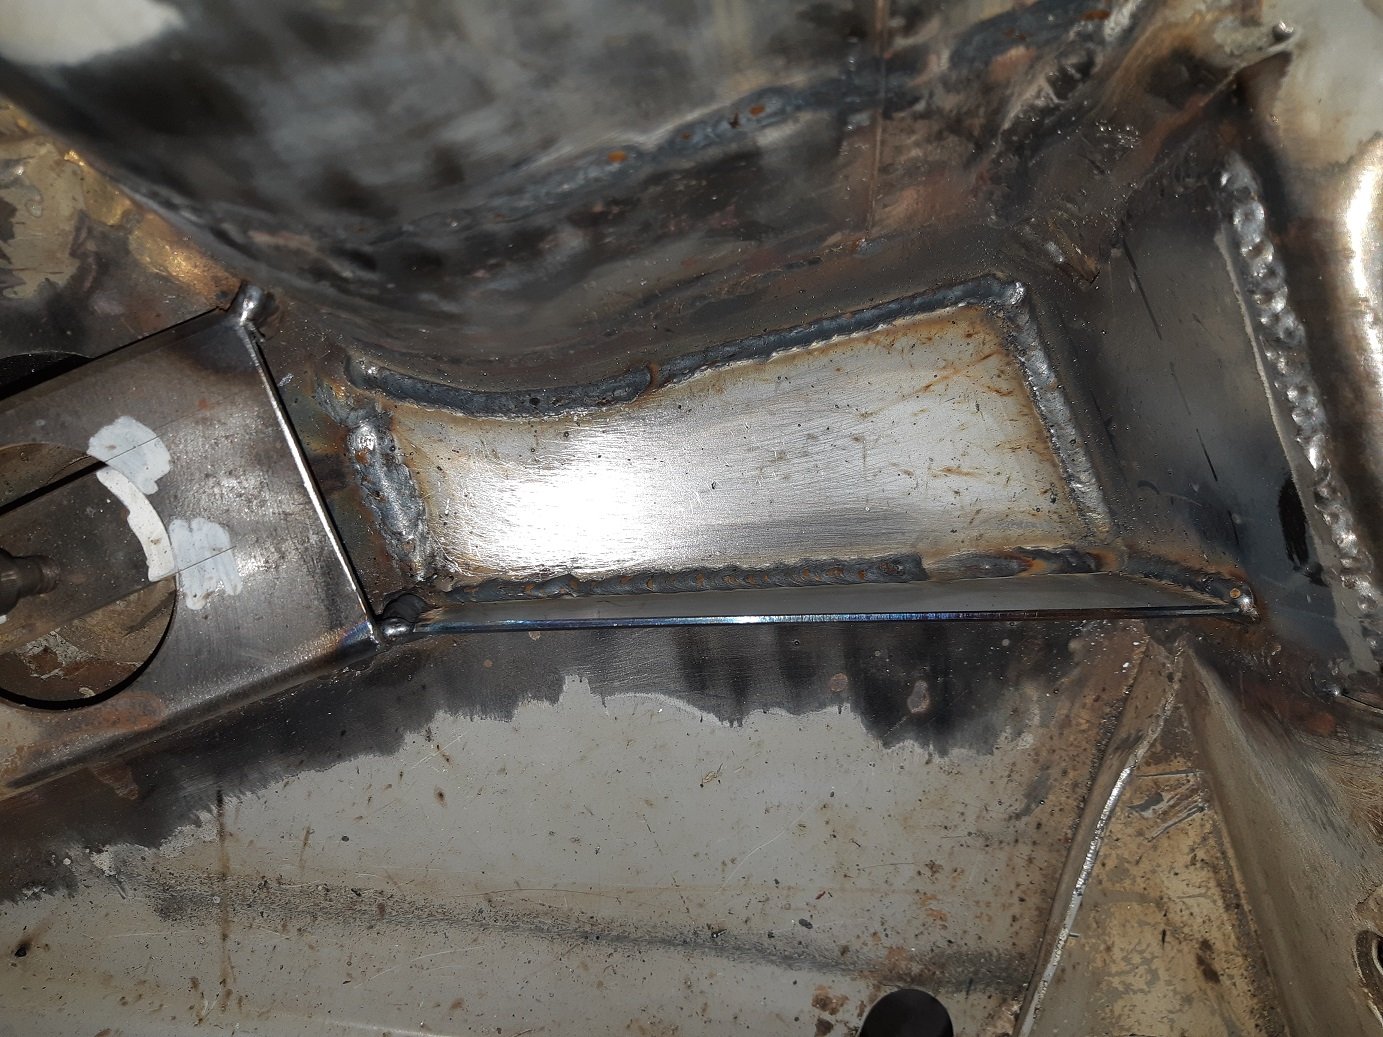
Got some more 2.5mm. Zip zap building a box.
- 190 replies
-
- 14
-