63Ragtop
-
Posts
17055 -
Joined
-
Last visited
-
Days Won
91
Everything posted by 63Ragtop
-

K-Trips 1982 Holden Commodore VH Discussion
63Ragtop replied to KKtrips's topic in Project Discussion
Fuck yeah! What a mission, well done KK. -
That would be awesome @sluggy Think I could pop in on Friday morning?? Did you install both of them in the pressure switch hole? Thanks Guys! Bit of a rollercoaster for sure!
-
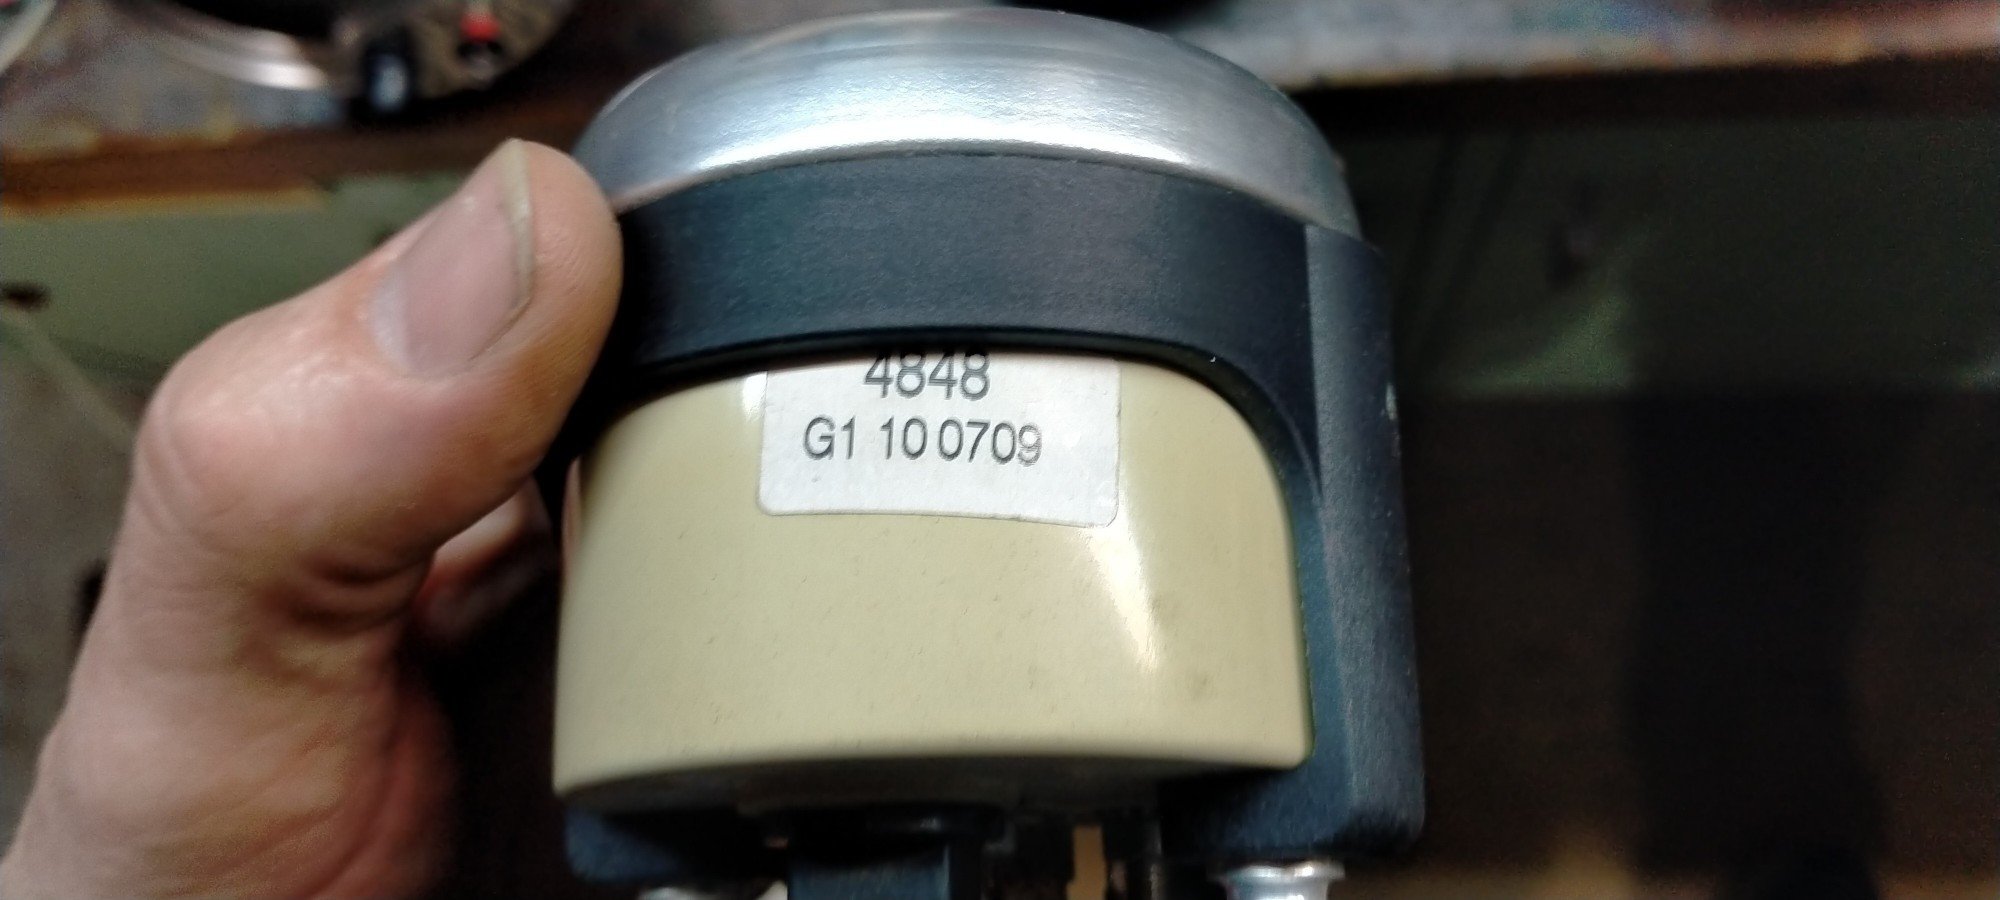
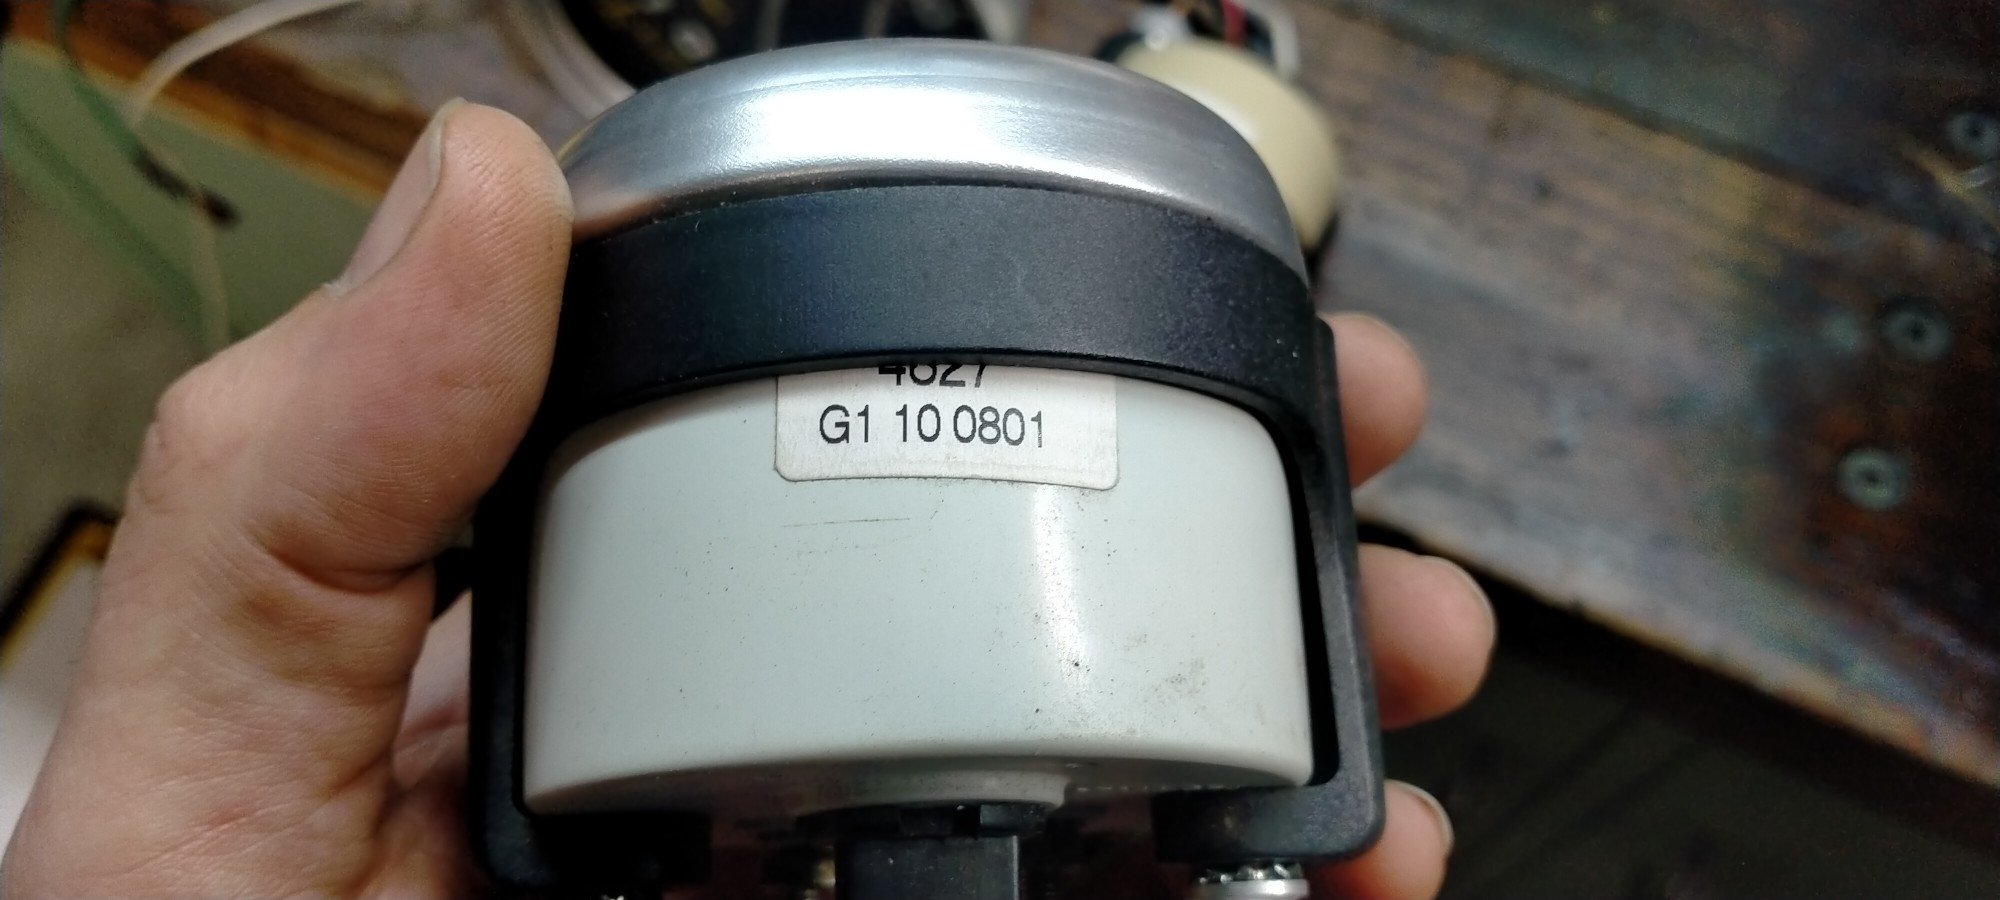
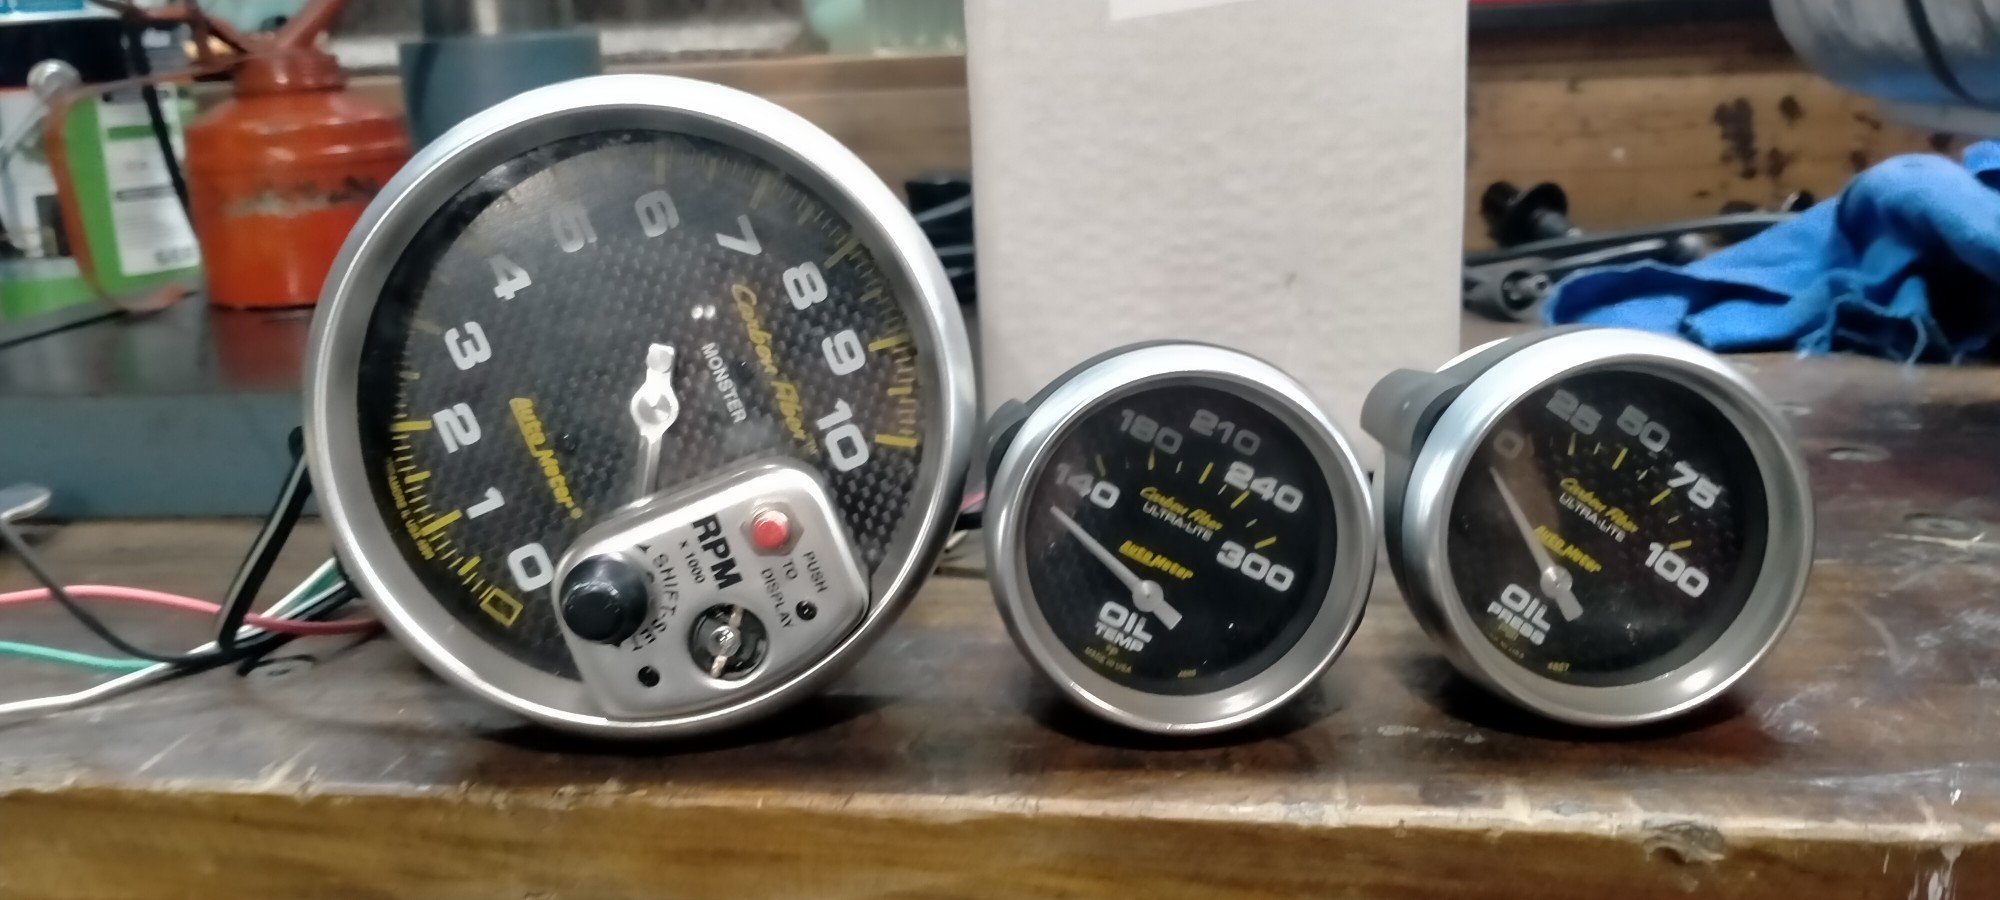
Monster is fairly straight forward. I think one of these might work? https://www.trademe.co.nz/a/motors/car-parts-accessories/performance/gauges/listing/4121551413 Or this one? https://www.trademe.co.nz/a/motors/car-parts-accessories/performance/gauges/listing/4122943438 For the pressure gauge.

-
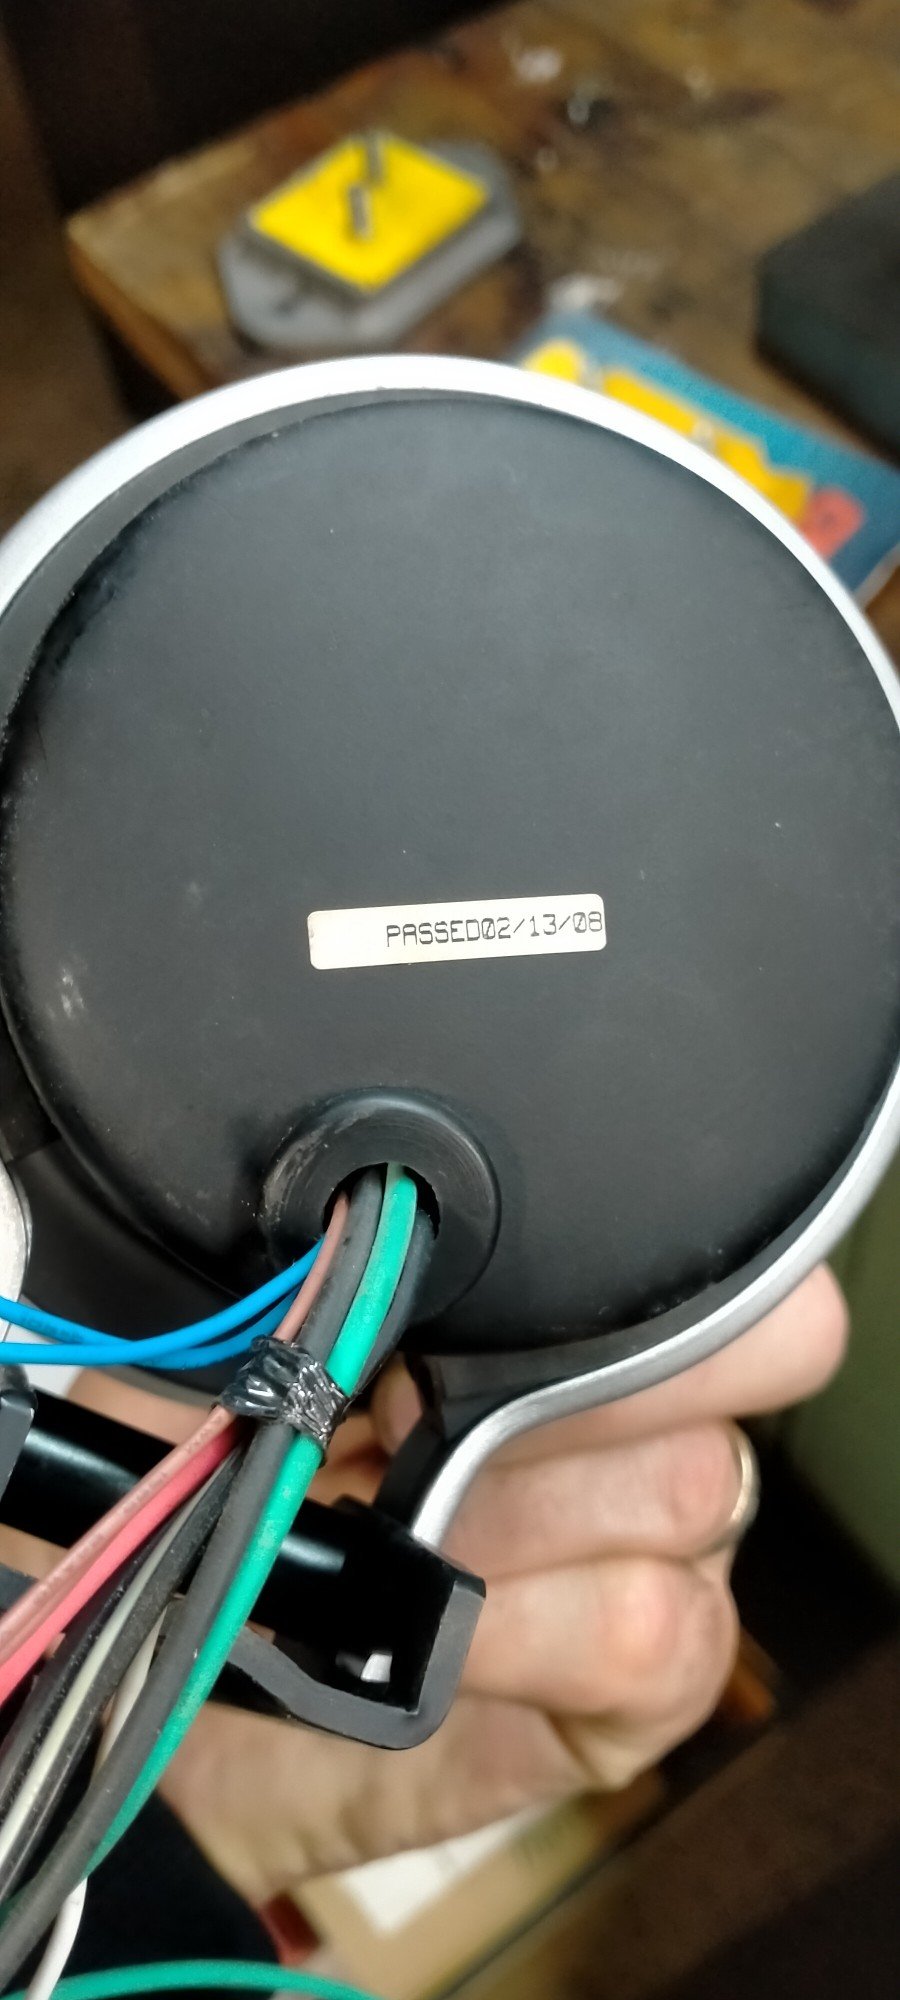
Anyone know how these work? Both oil gauges are electric, any ideas?
-
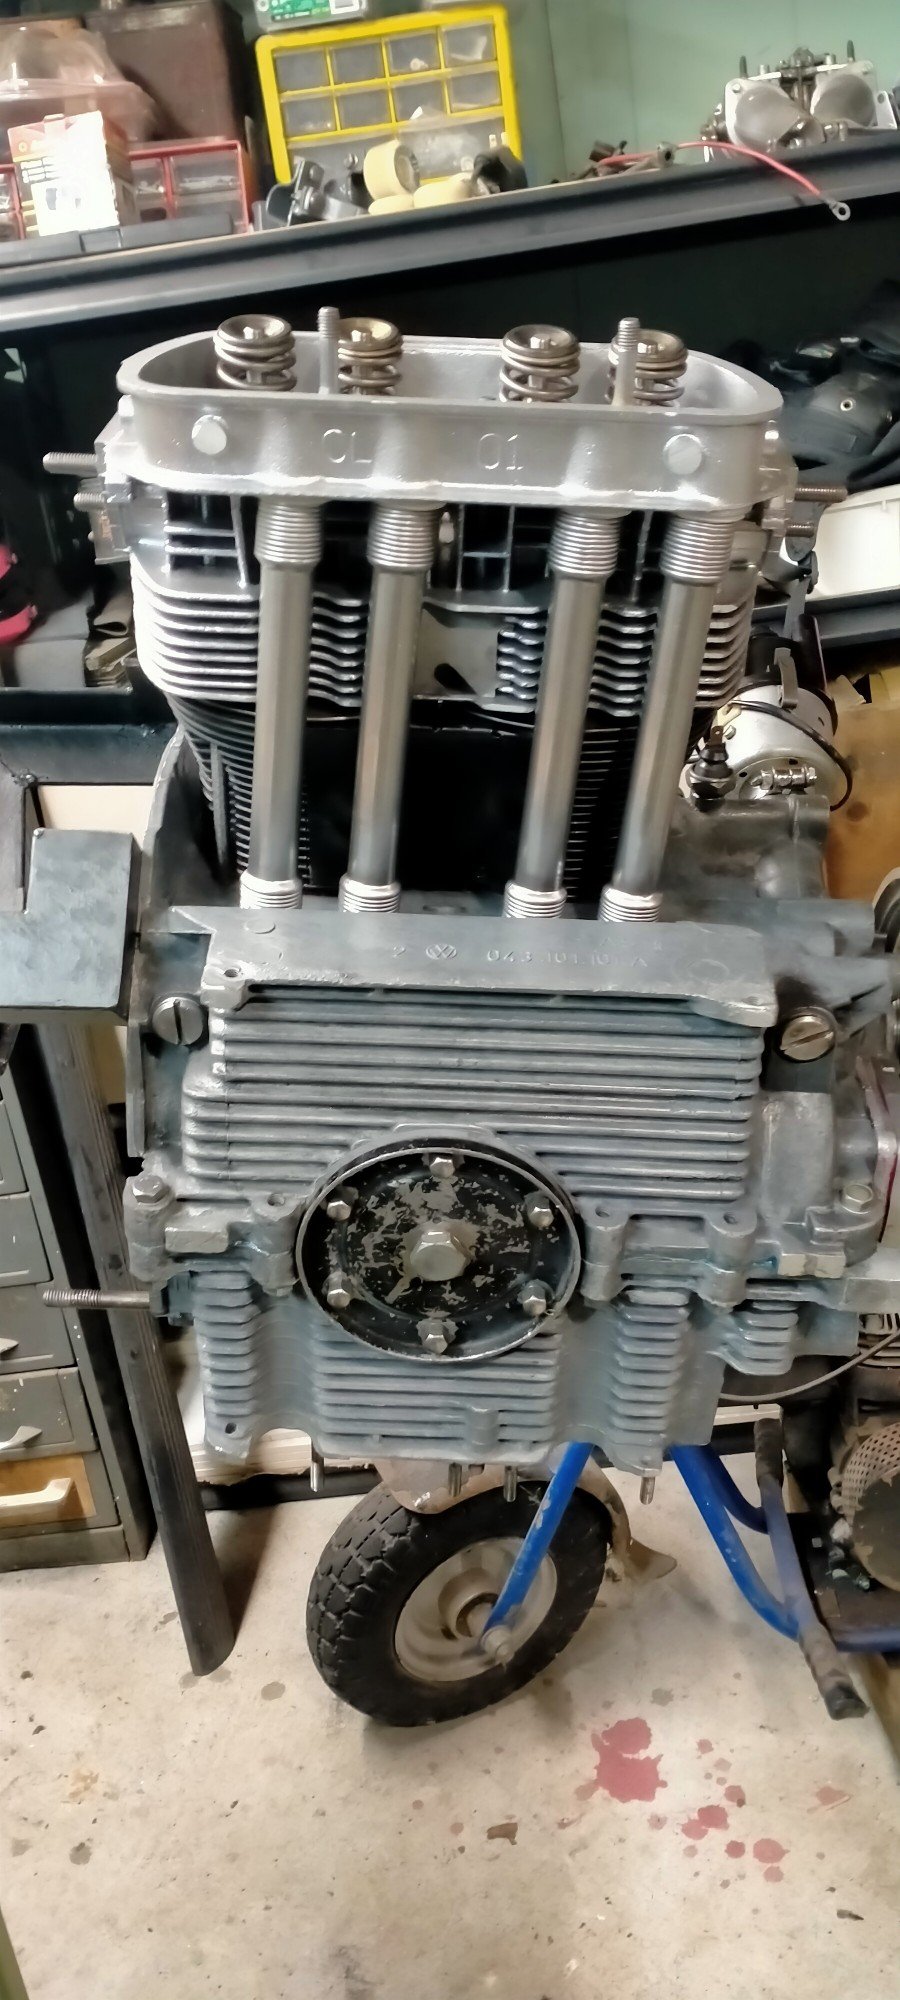
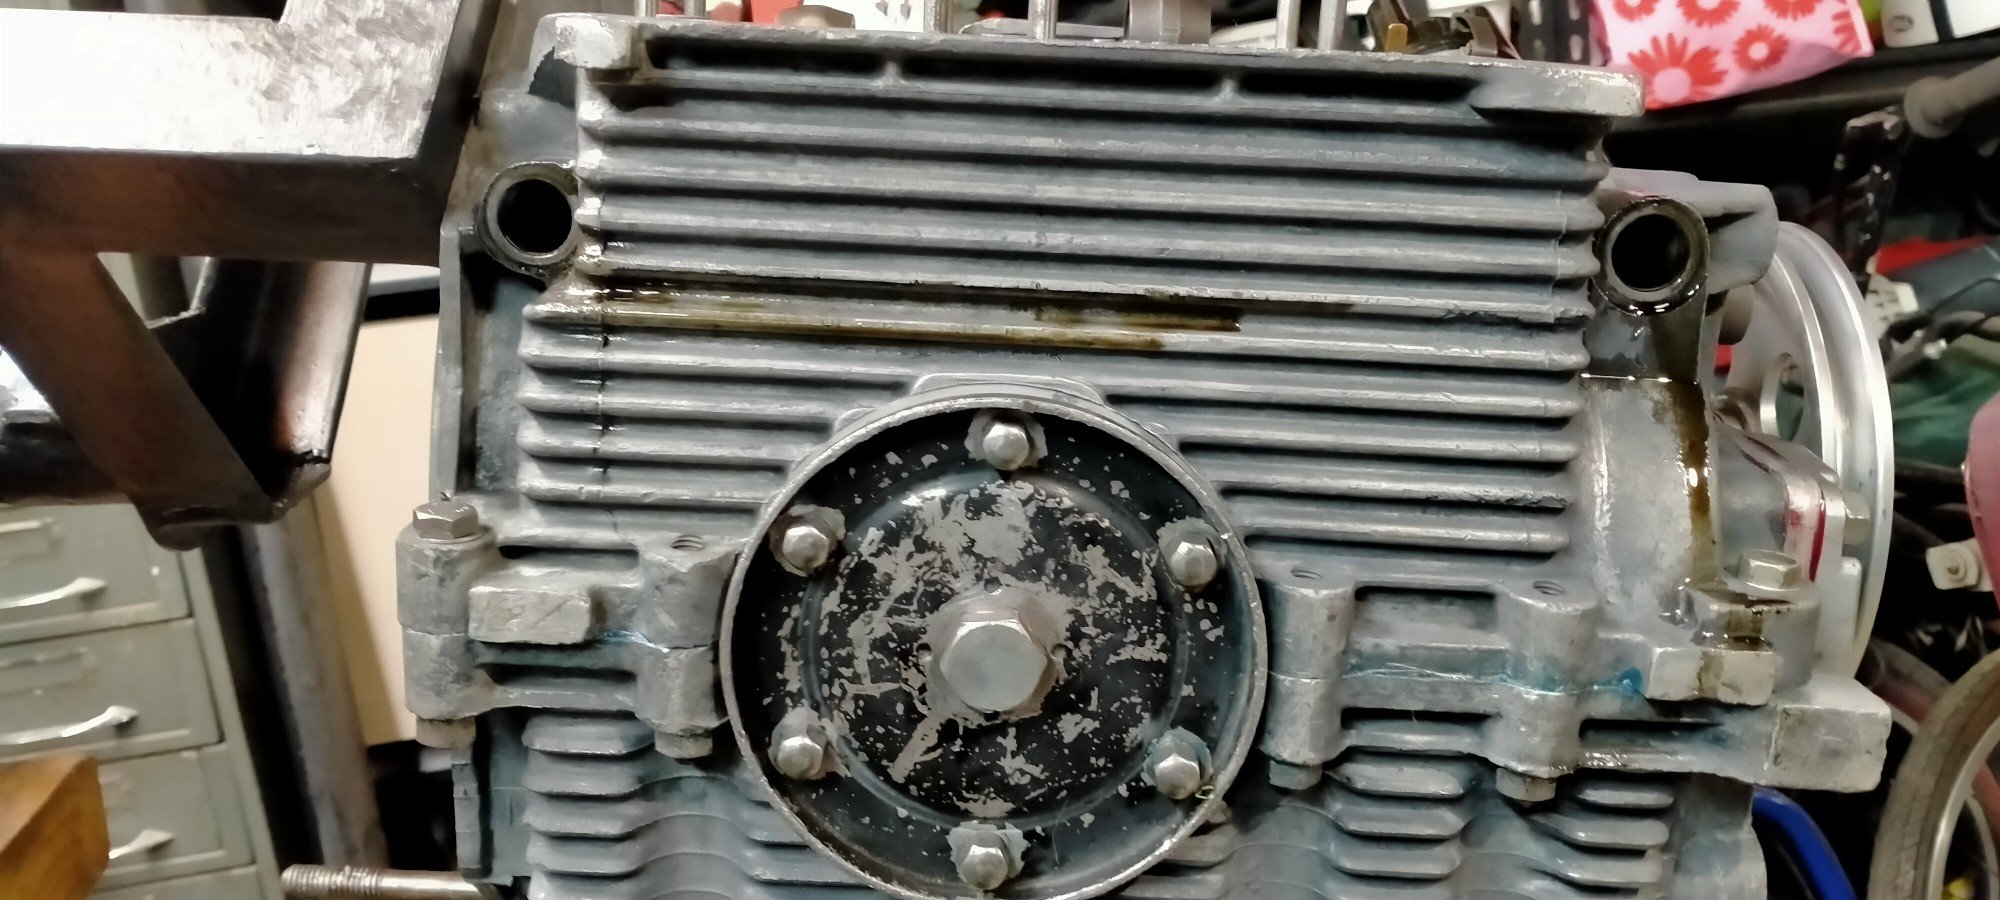
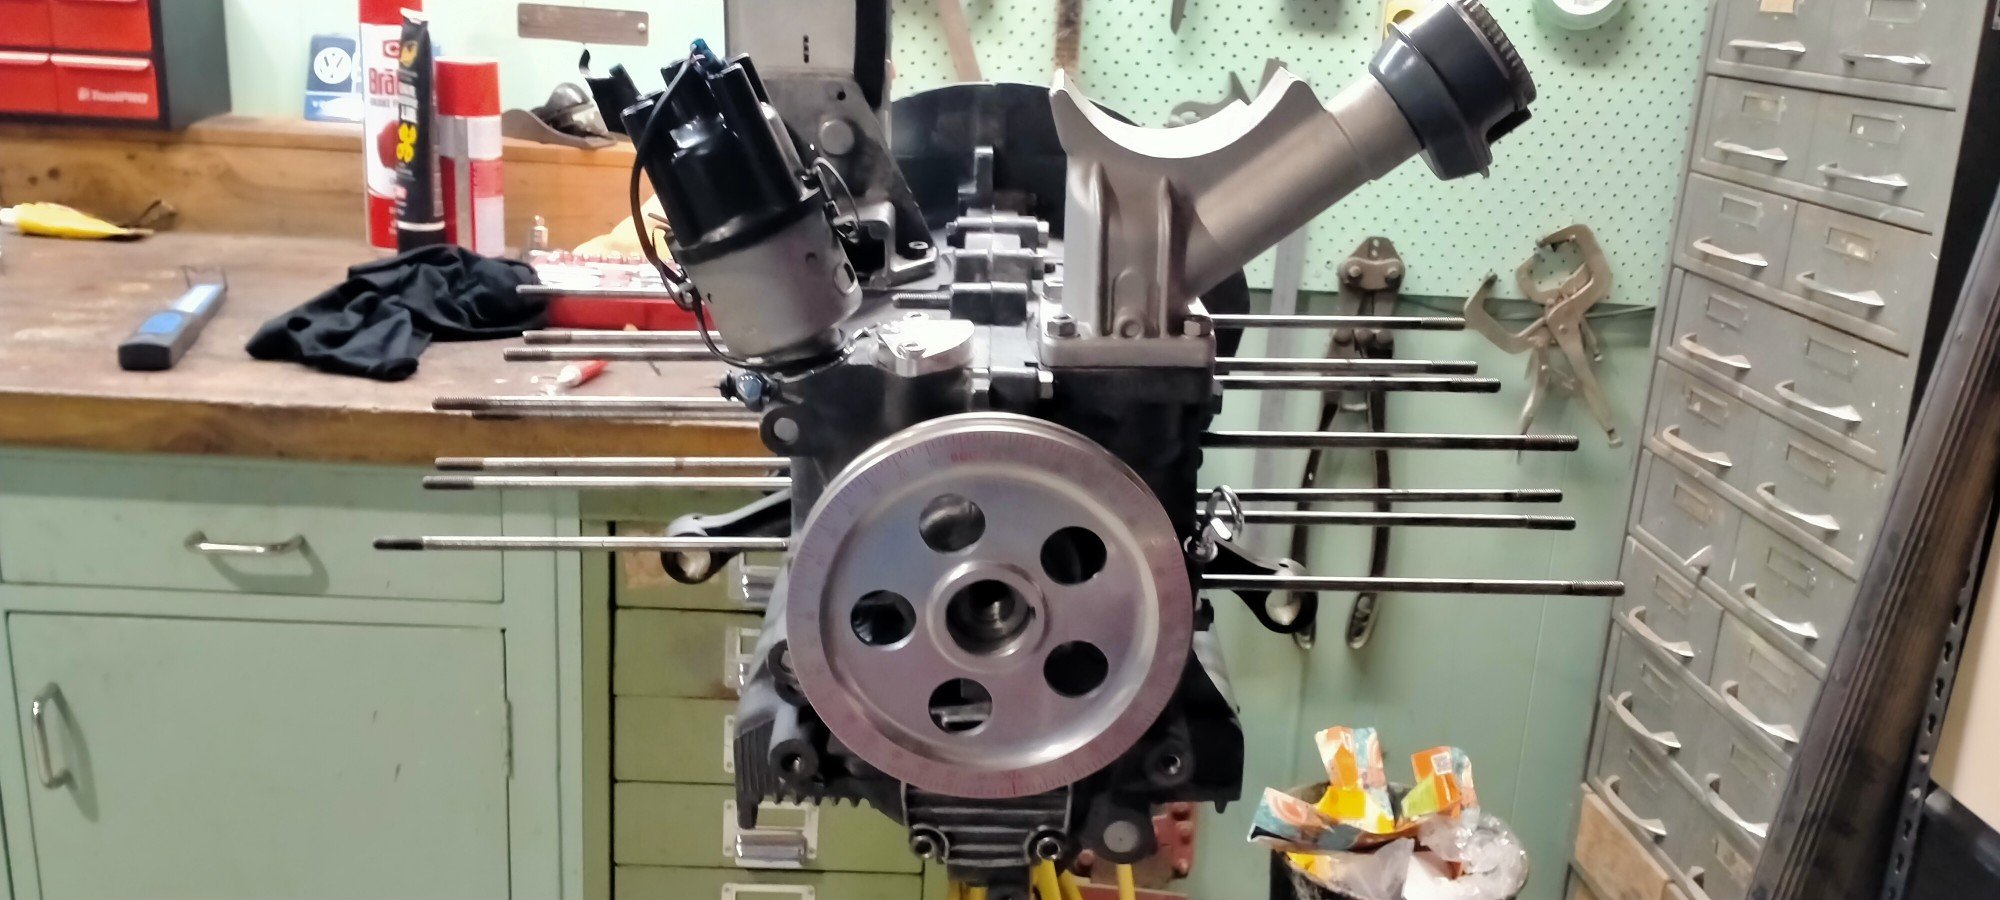
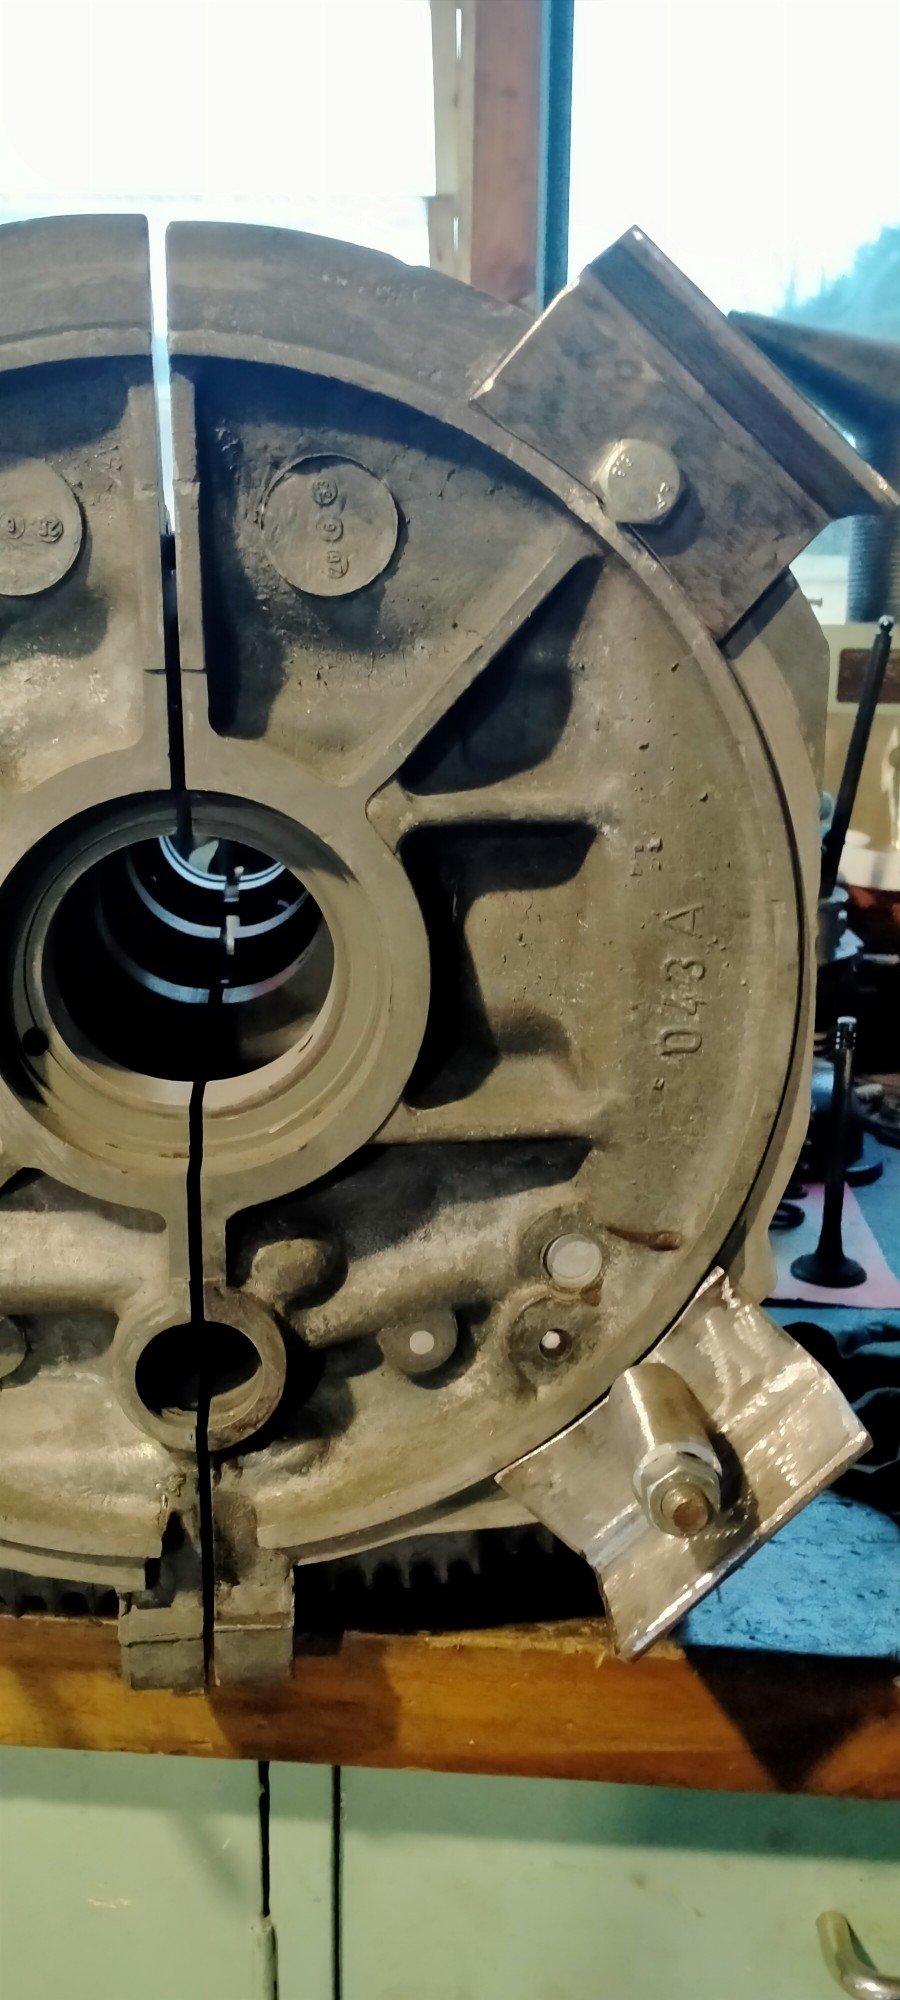
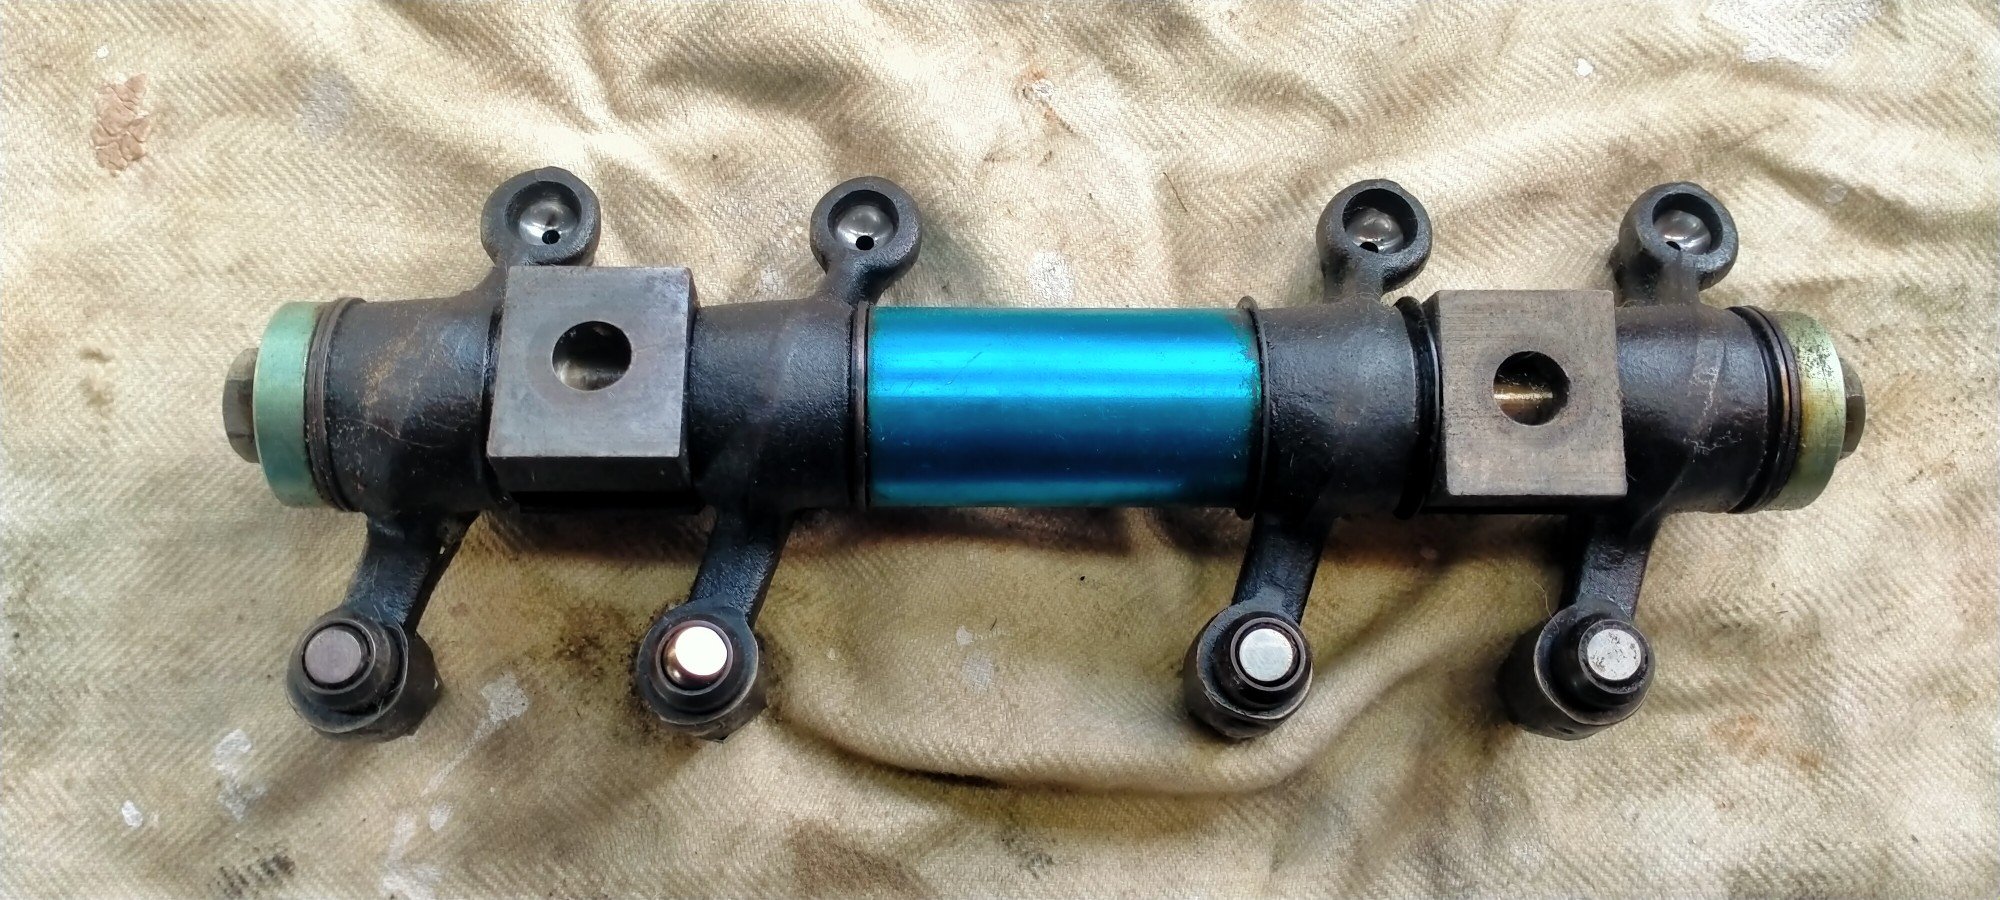
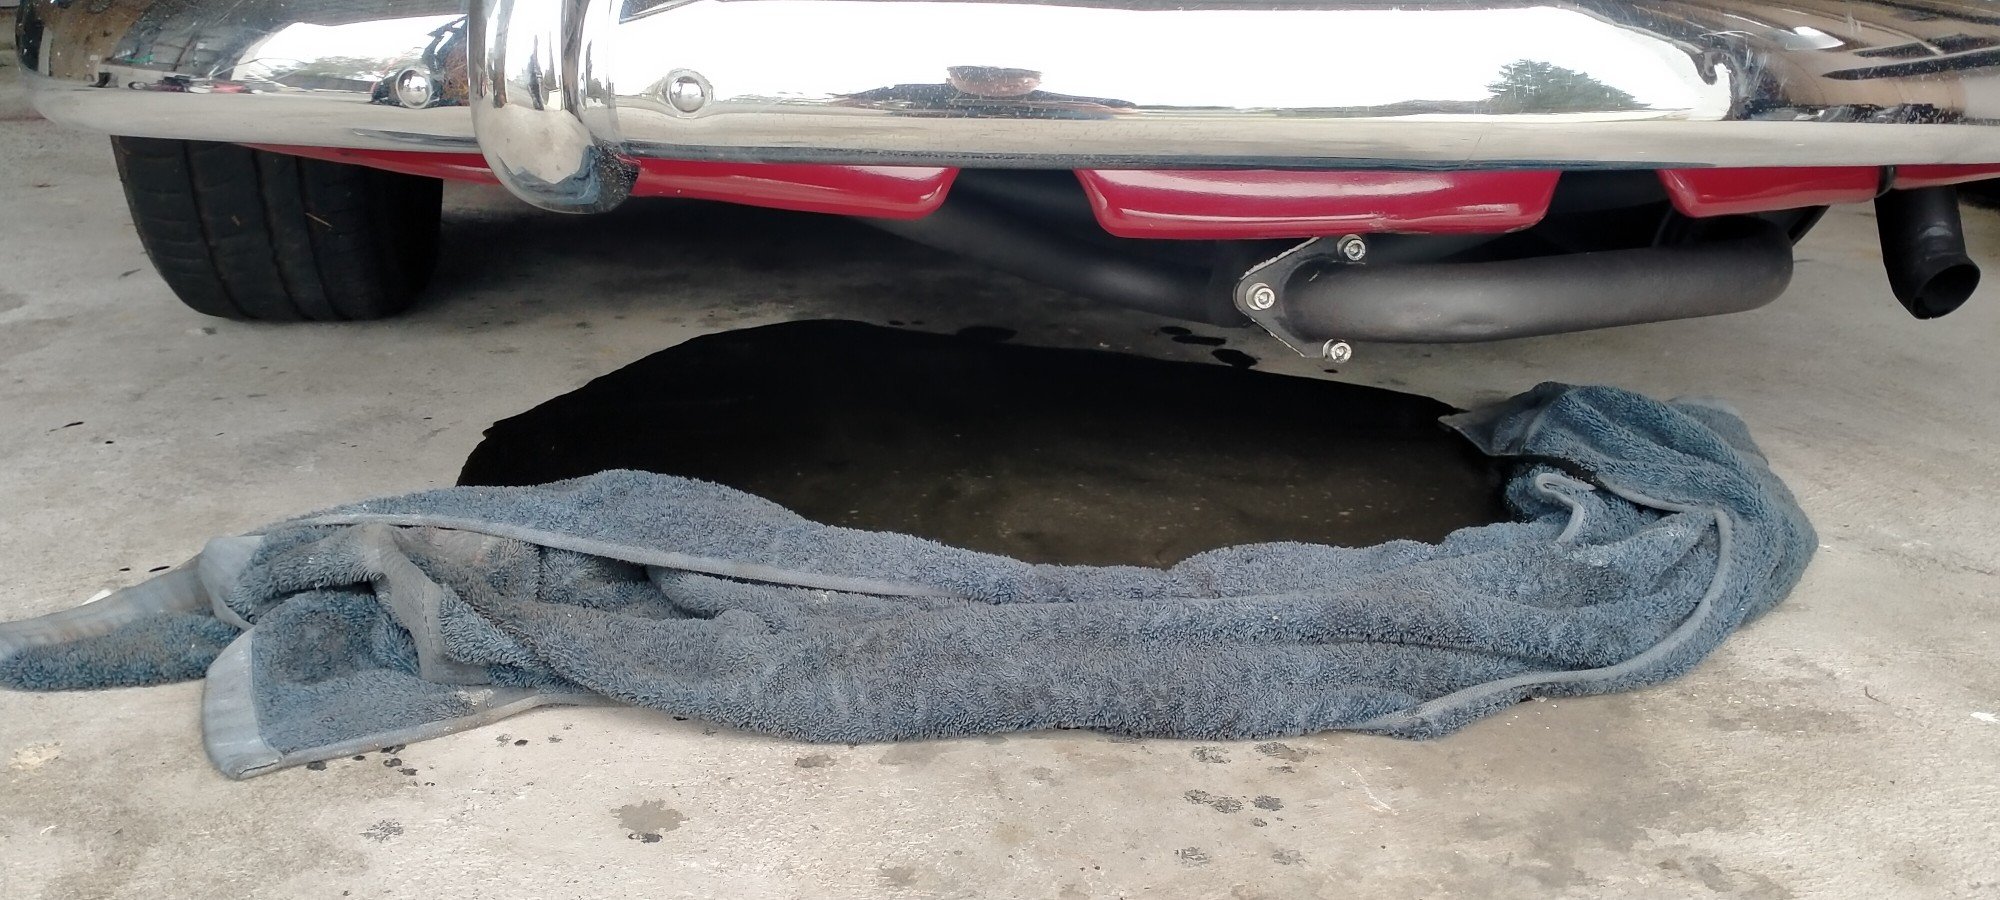
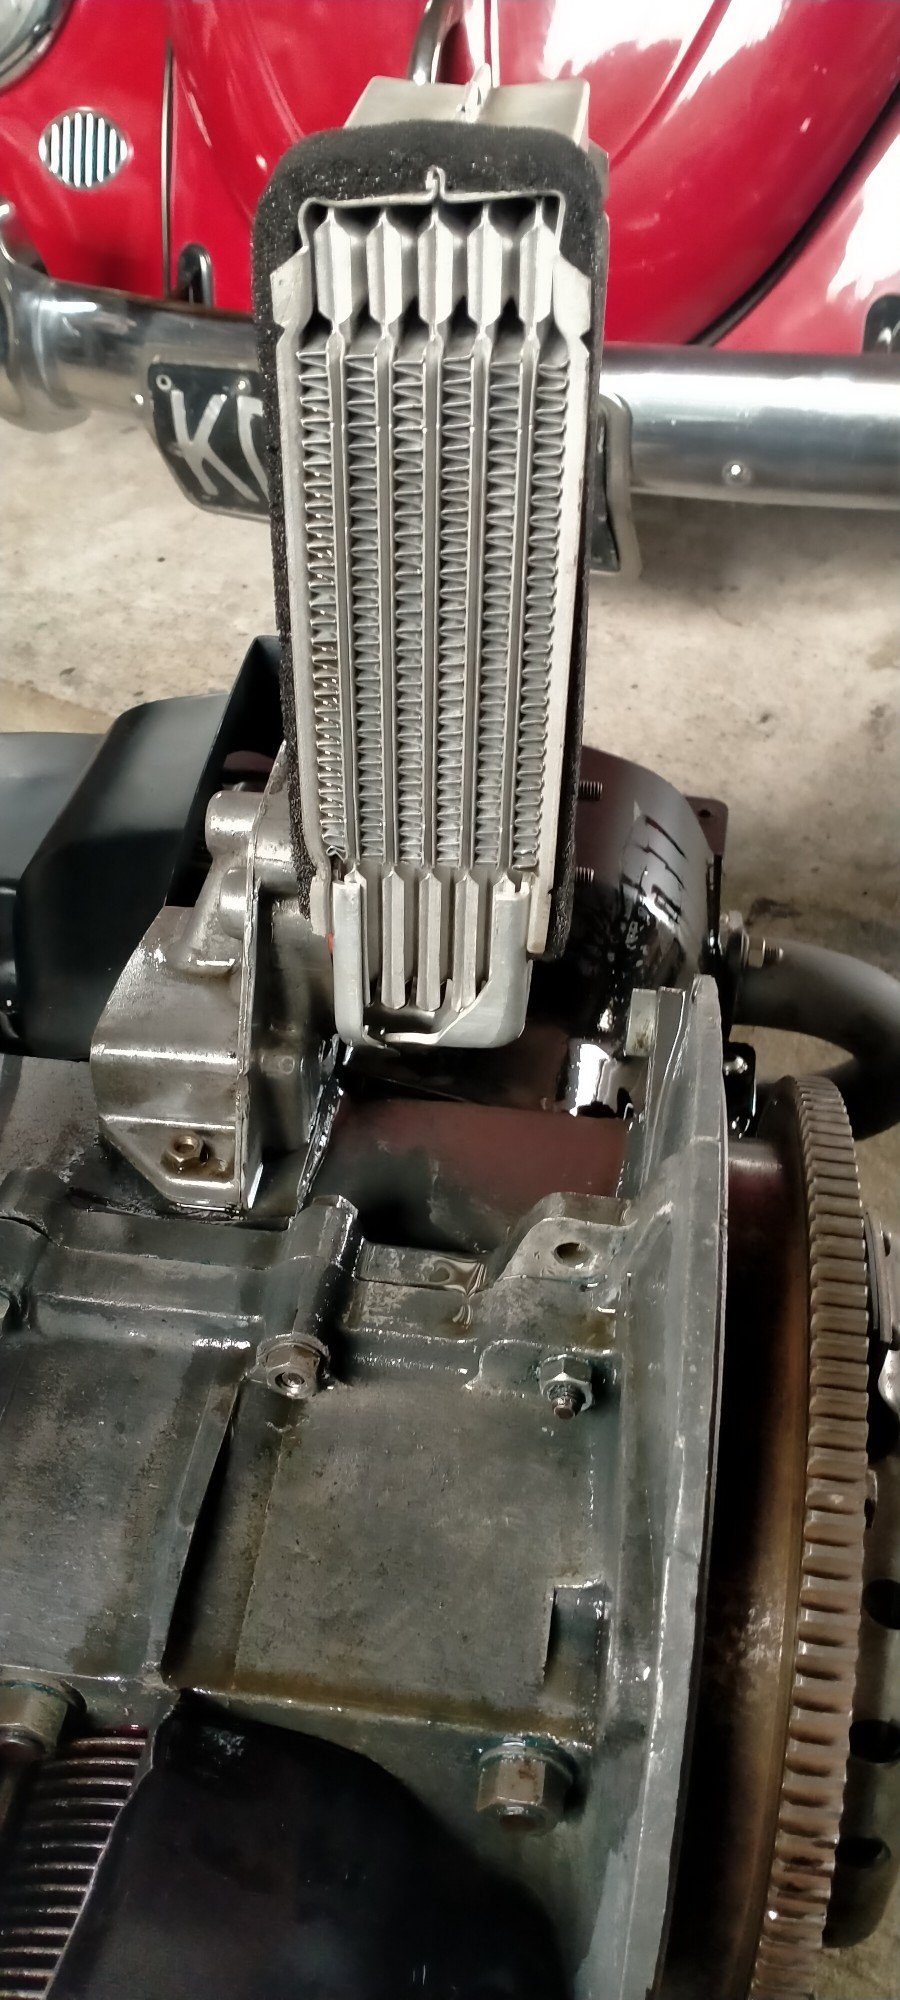
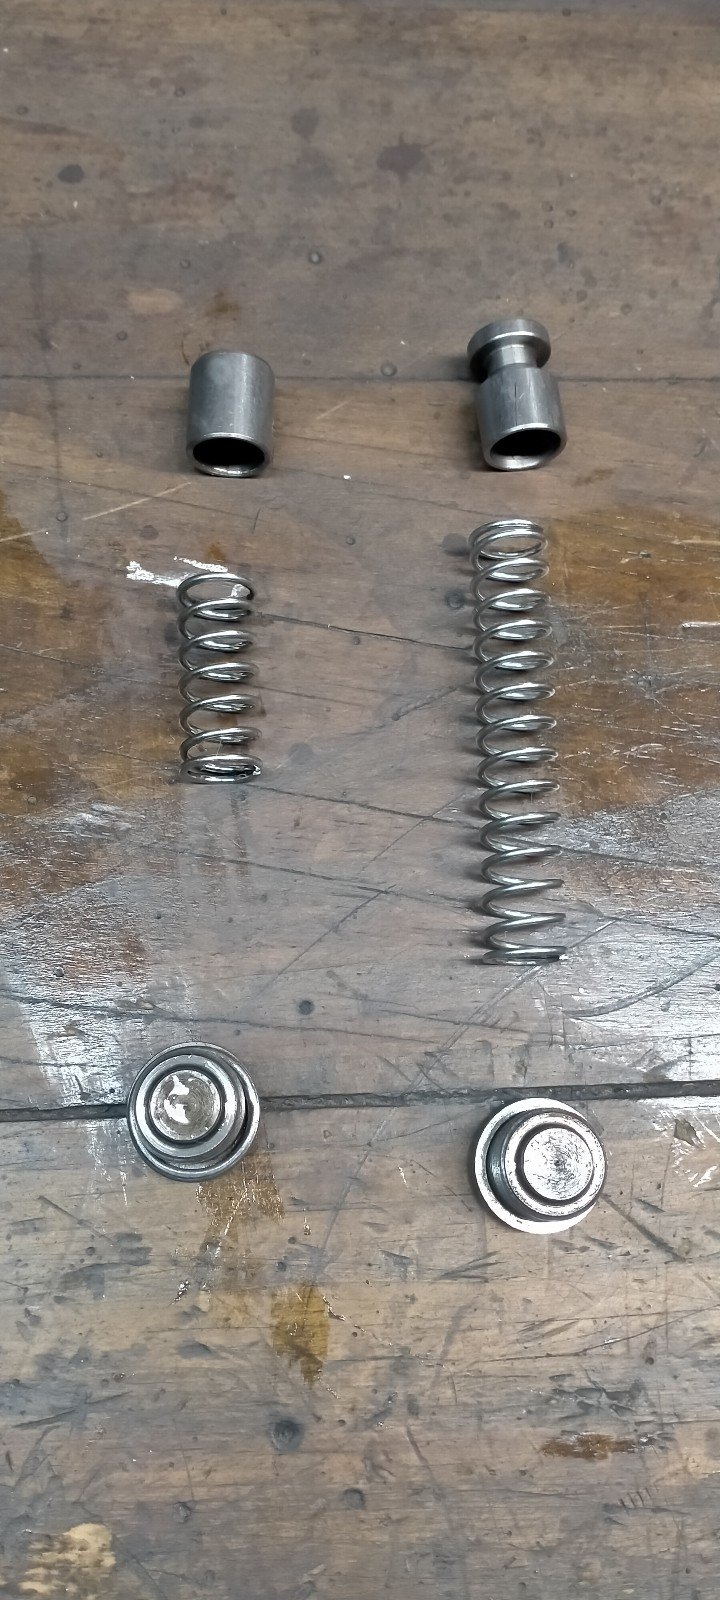
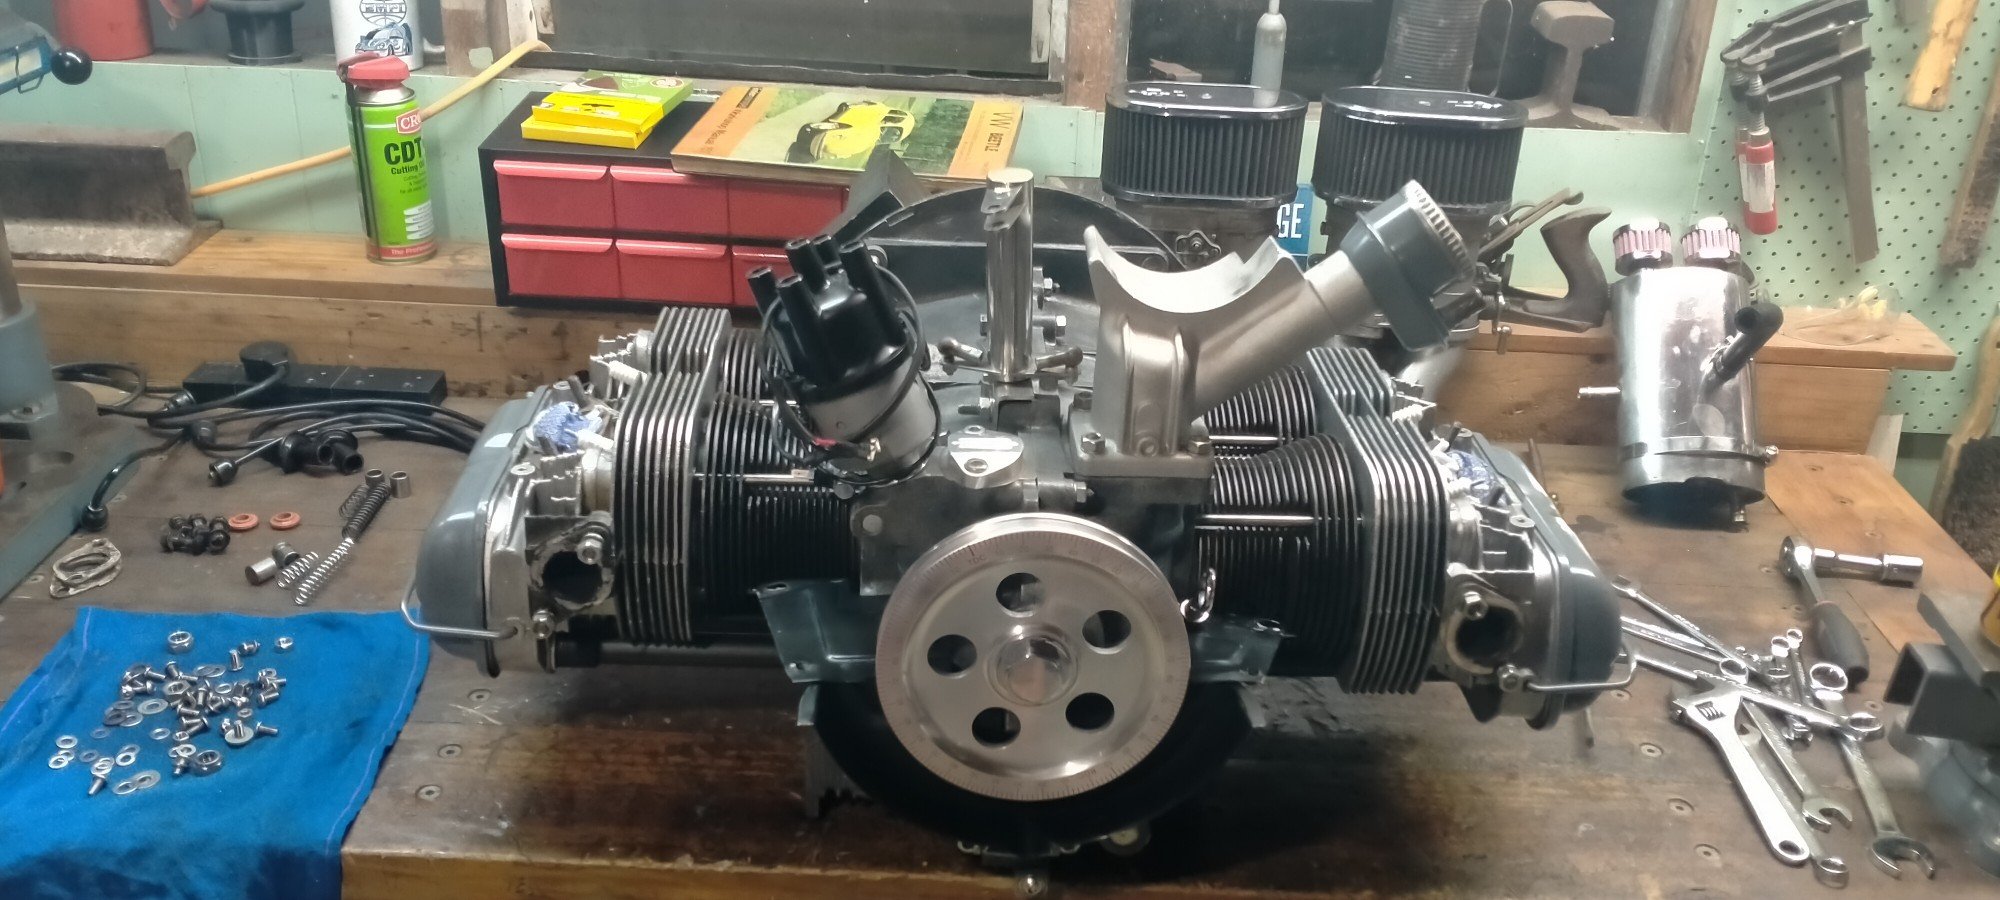
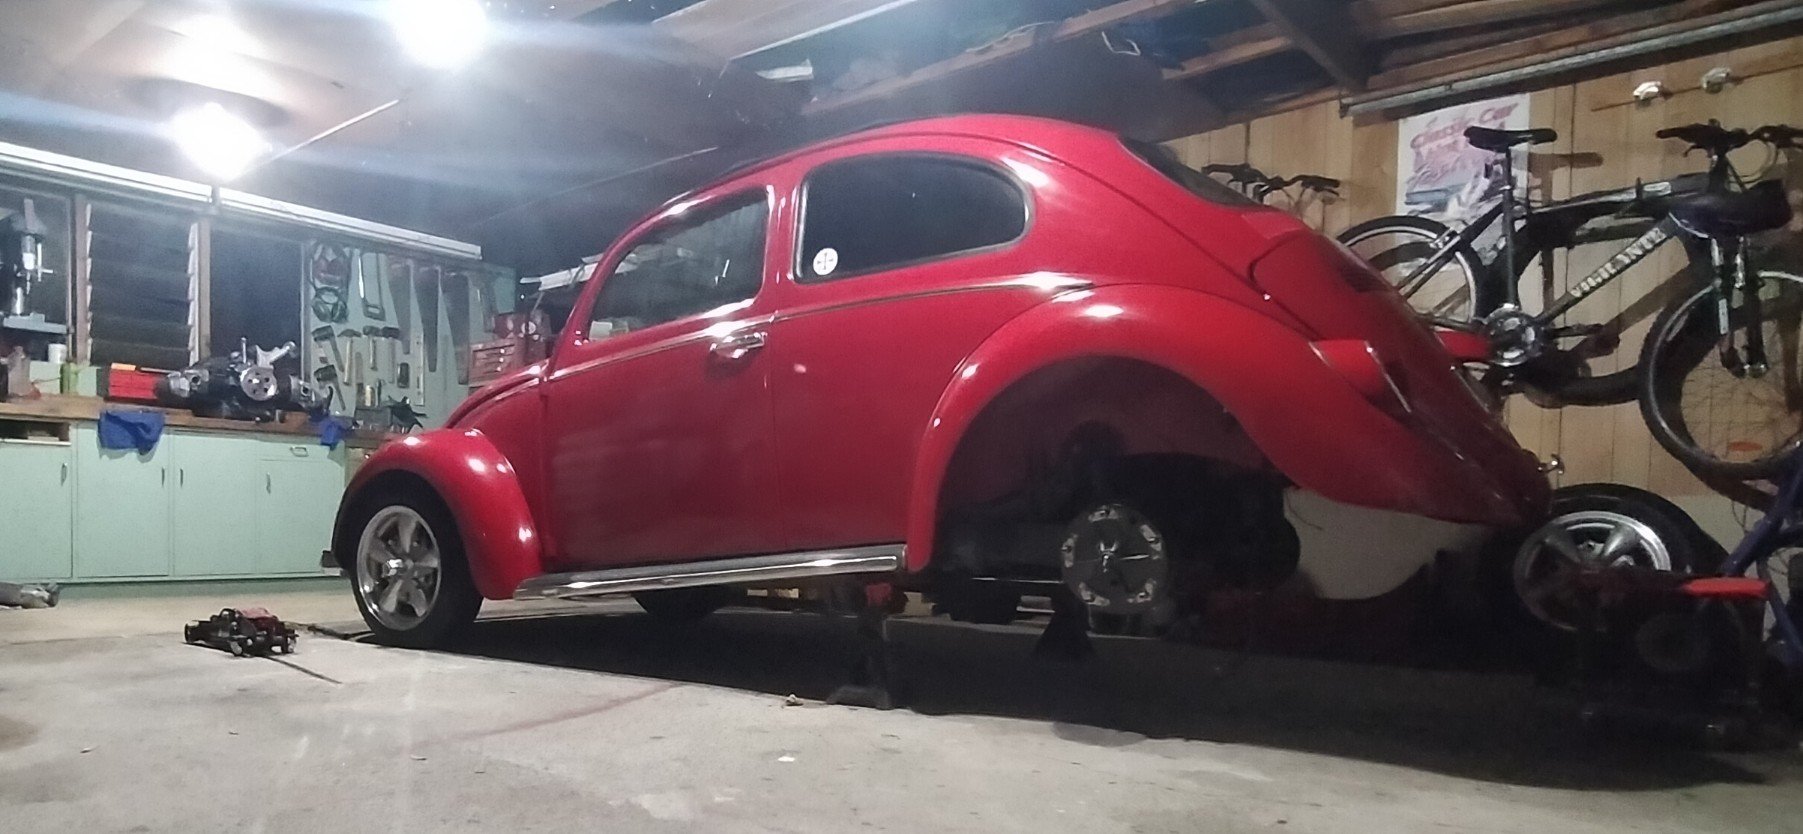
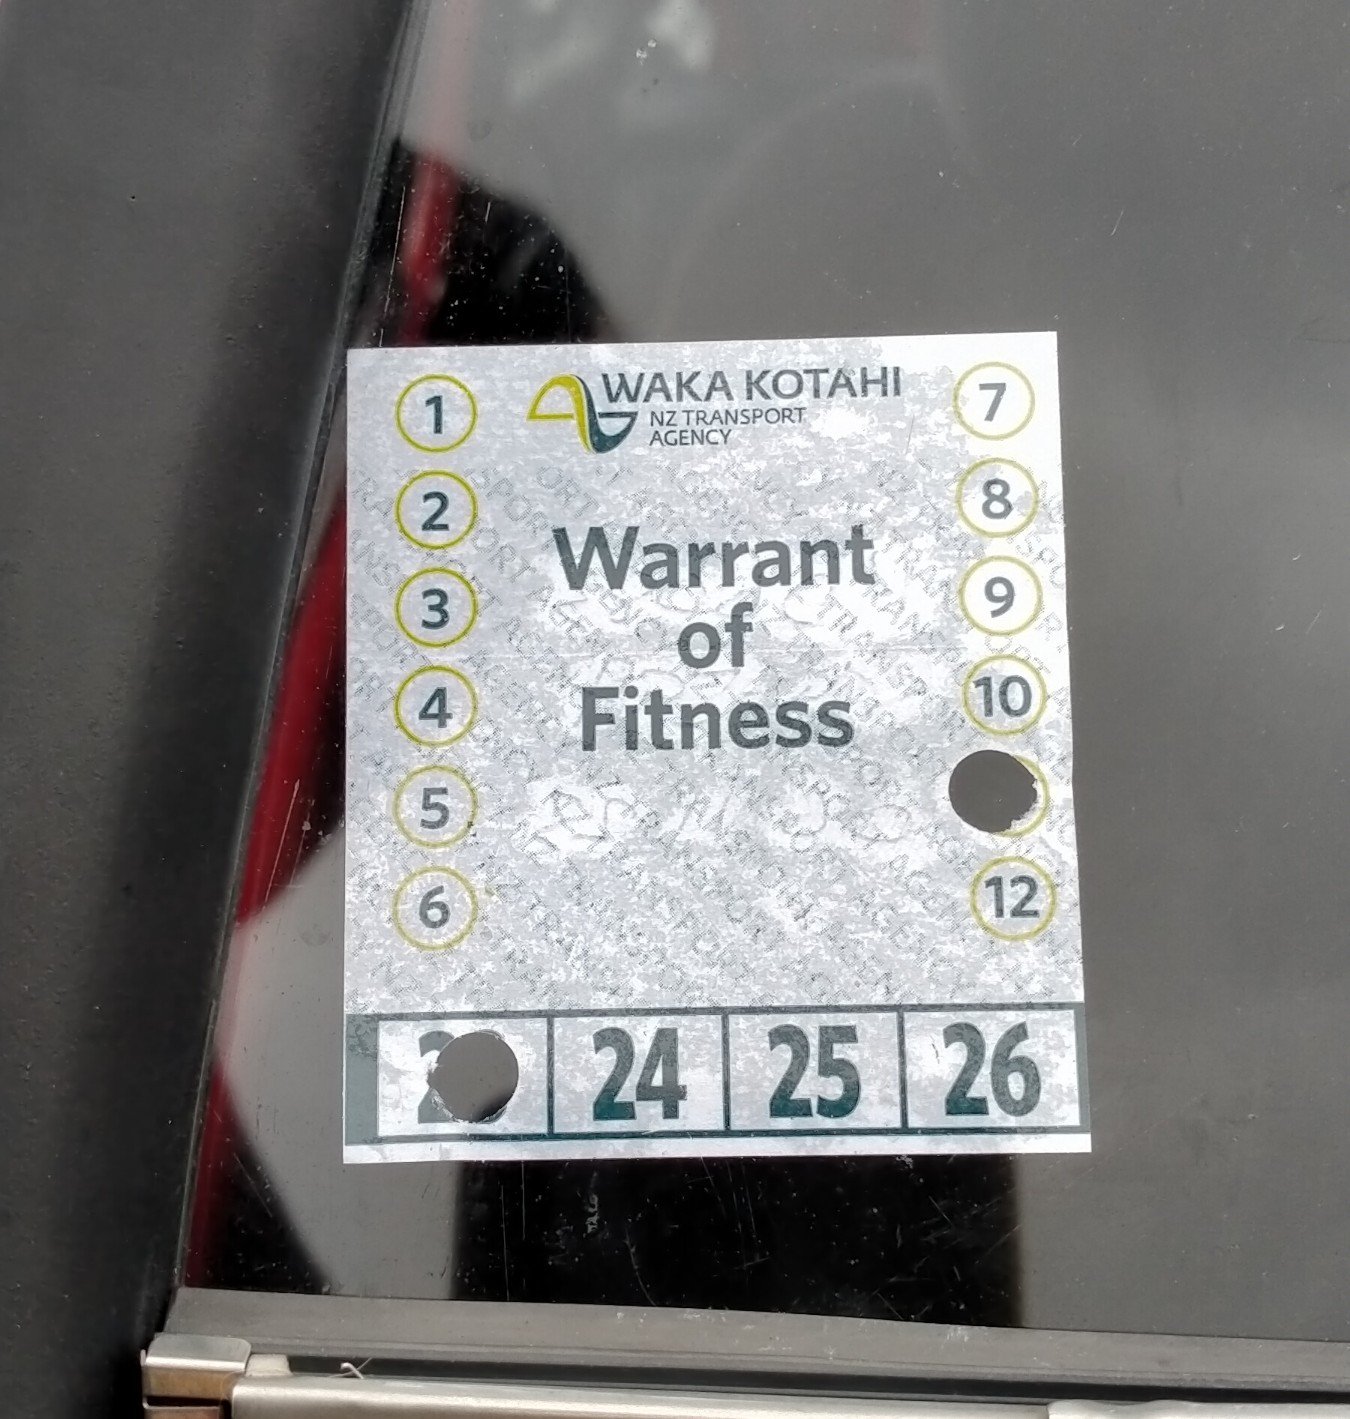
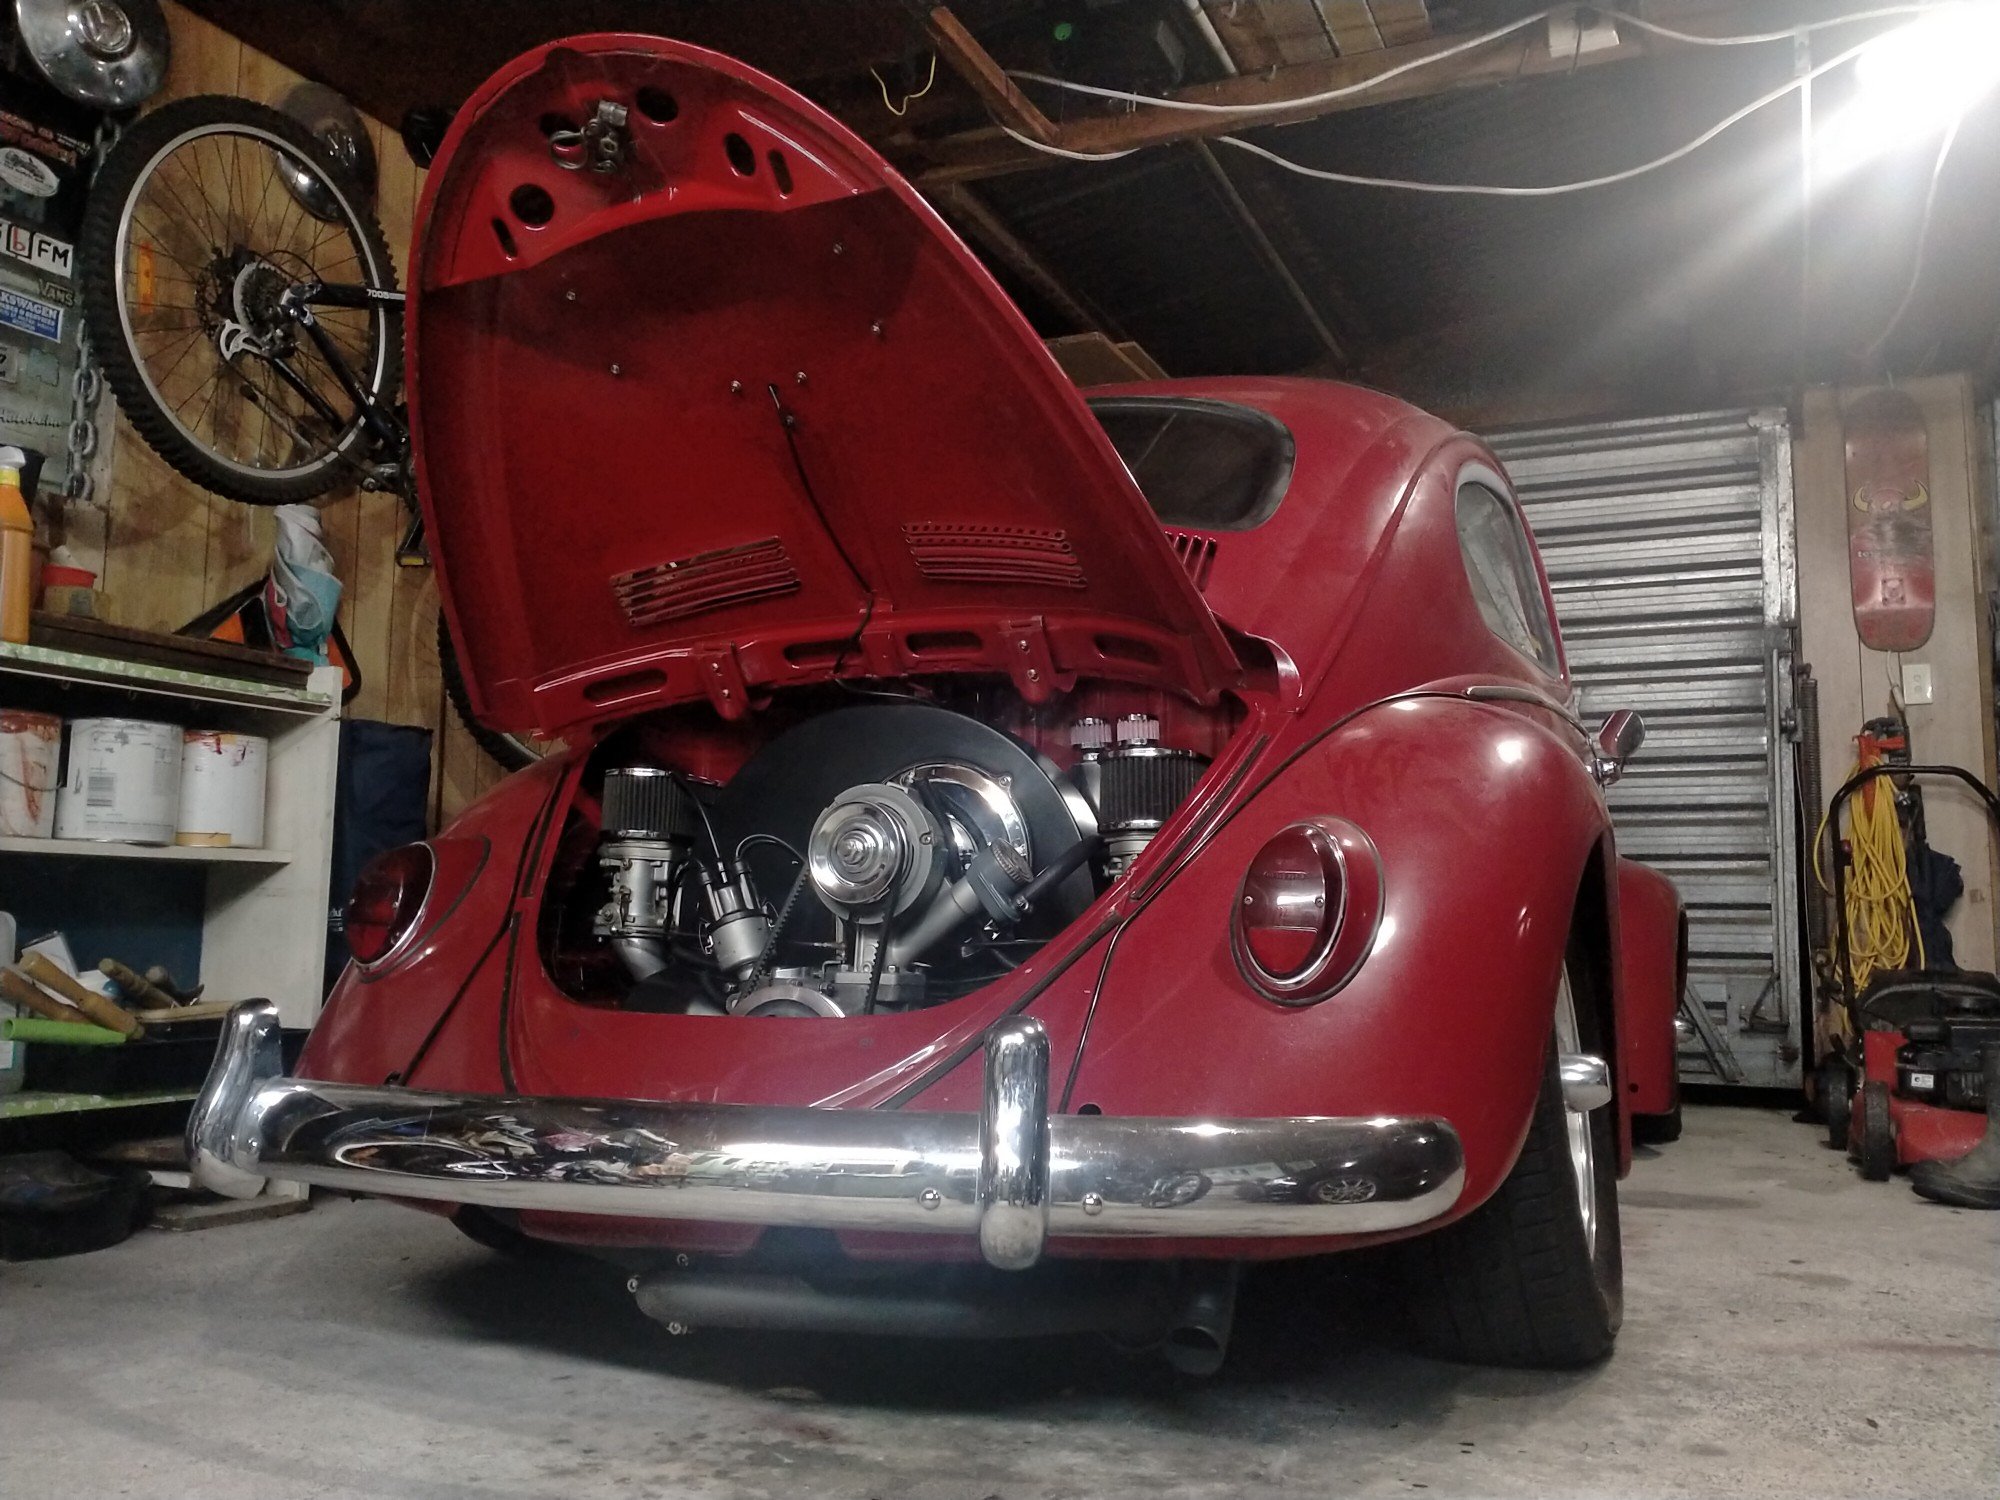
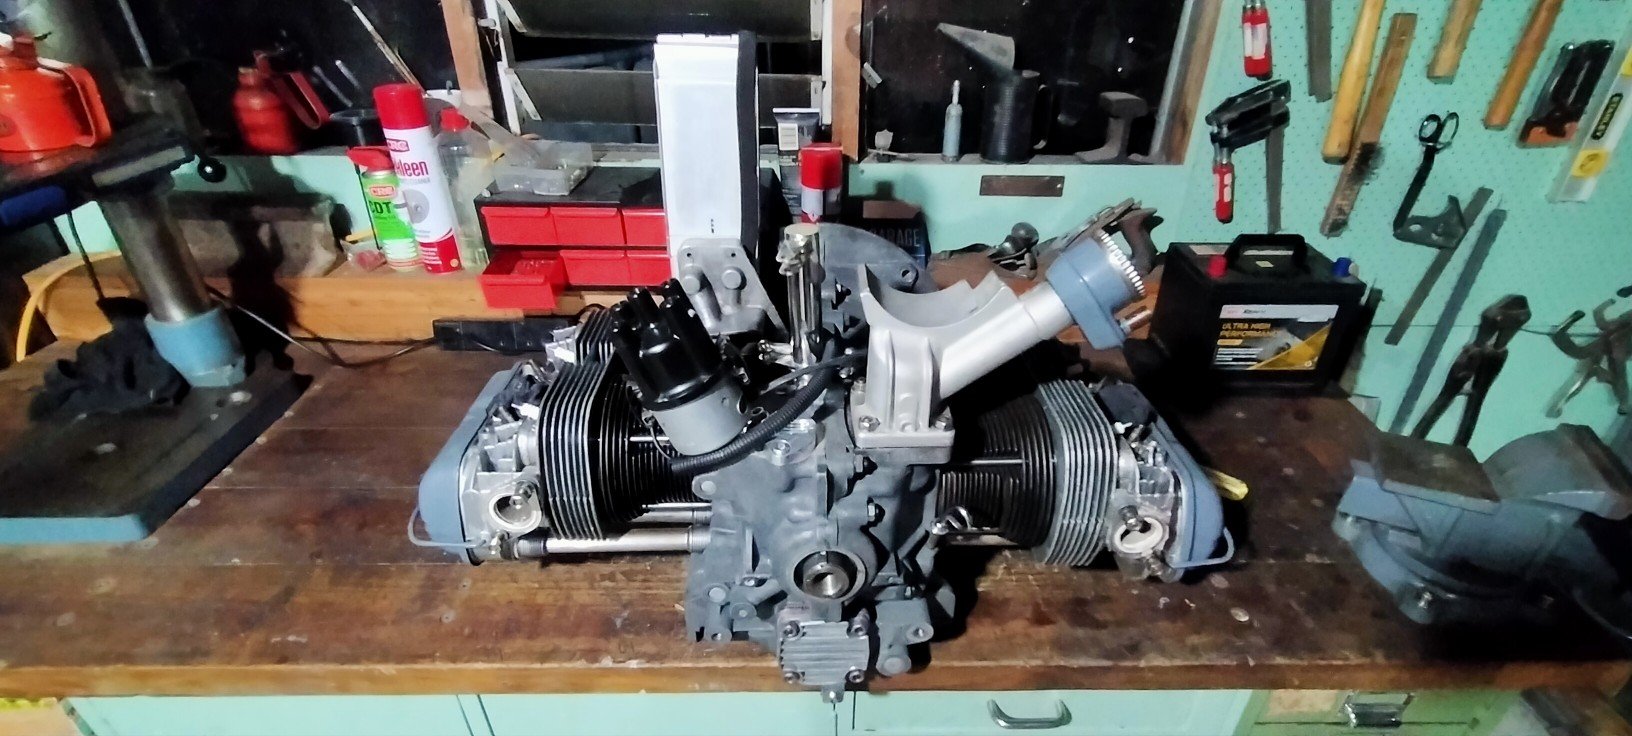
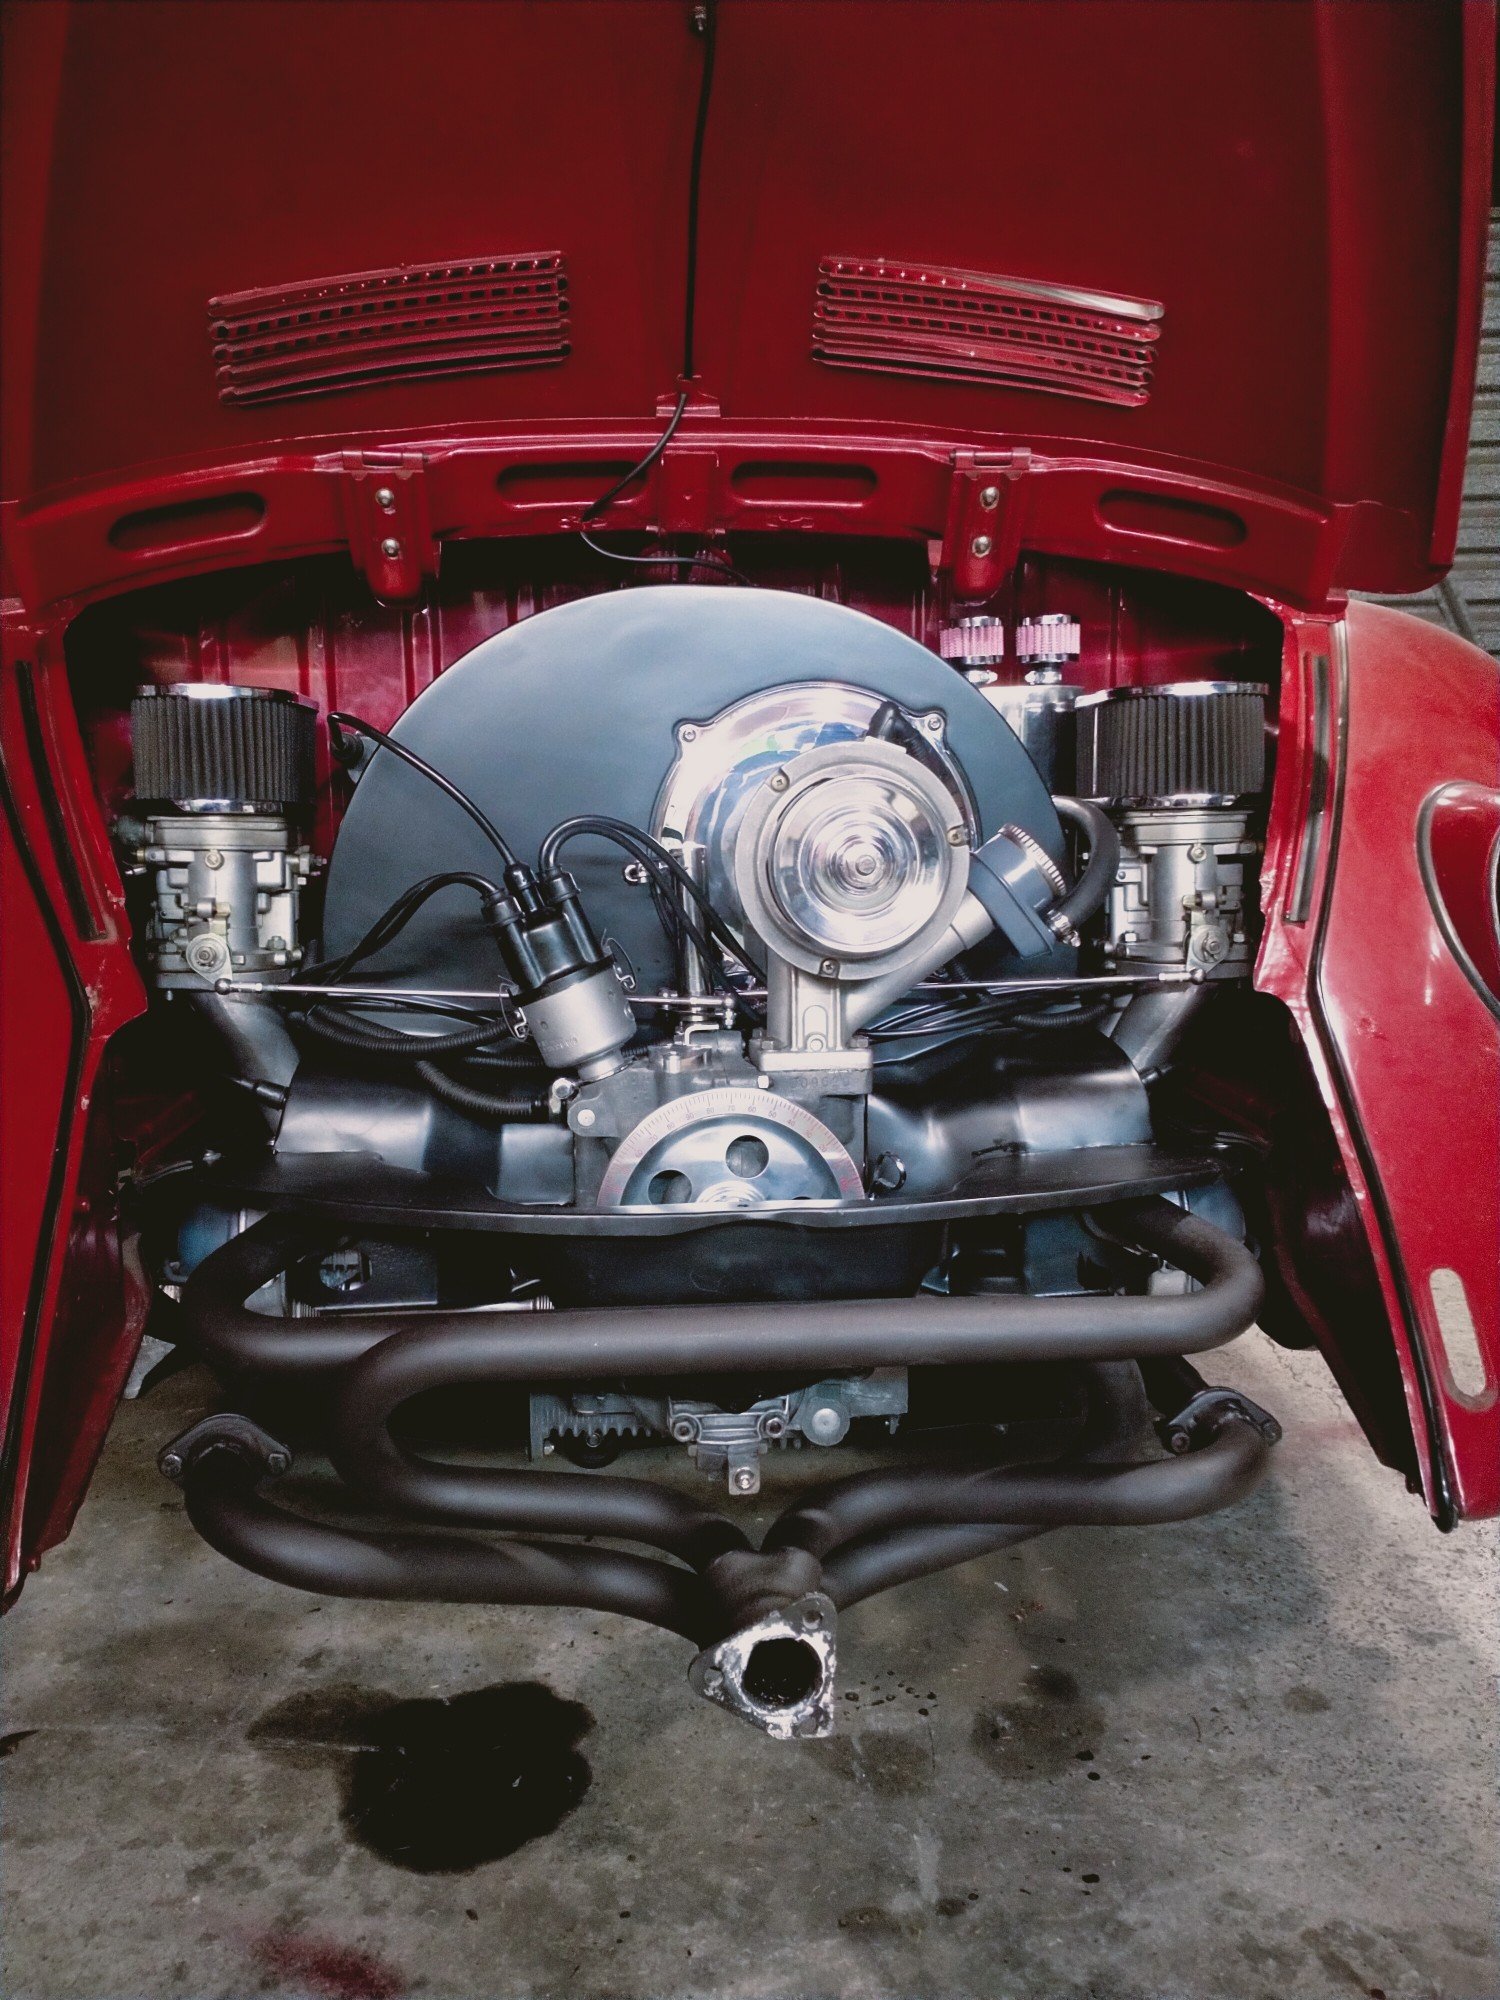
Well that's gotta be a new record even for this fucking thing! 23hrs? Wof,Reg and running. All the oil fell out! Luckily it happened in the garage and a very short time running, barely warm so bearings should be fine. Pretty sure I know what happened. New oil cooler shit itself. Everywhere. Had dismantled and the engine out on the floor in 1.5hours, getting fast. These, are the oil pressure valves, or ones a oil pressure relief valve or something. Being a 1600 70s engine, mine has two. Earlier engines 1200-1500 only had the one tall spring unit. The 1500 type3s had a habit of overheating their pancake style engines so vw added the grooved piston to up the pressure or let more oil into the cooler. None of which is needed for a duel valve block, which is fucking annoying when you think you are being prudent and replacing the old parts with new and improved. So here we are, again. honestly you've just got to laugh!! I picked up a new cooler today and will reinstall the old valves, should be fine. @sluggy gave me a bunch of VW parts awhile back, which included a monster tach!! And a pair of gauges for oil pressure and temperature, thinking it might be a good idea to get them installed.
- 254 replies
-
- 26
-

-

-

-
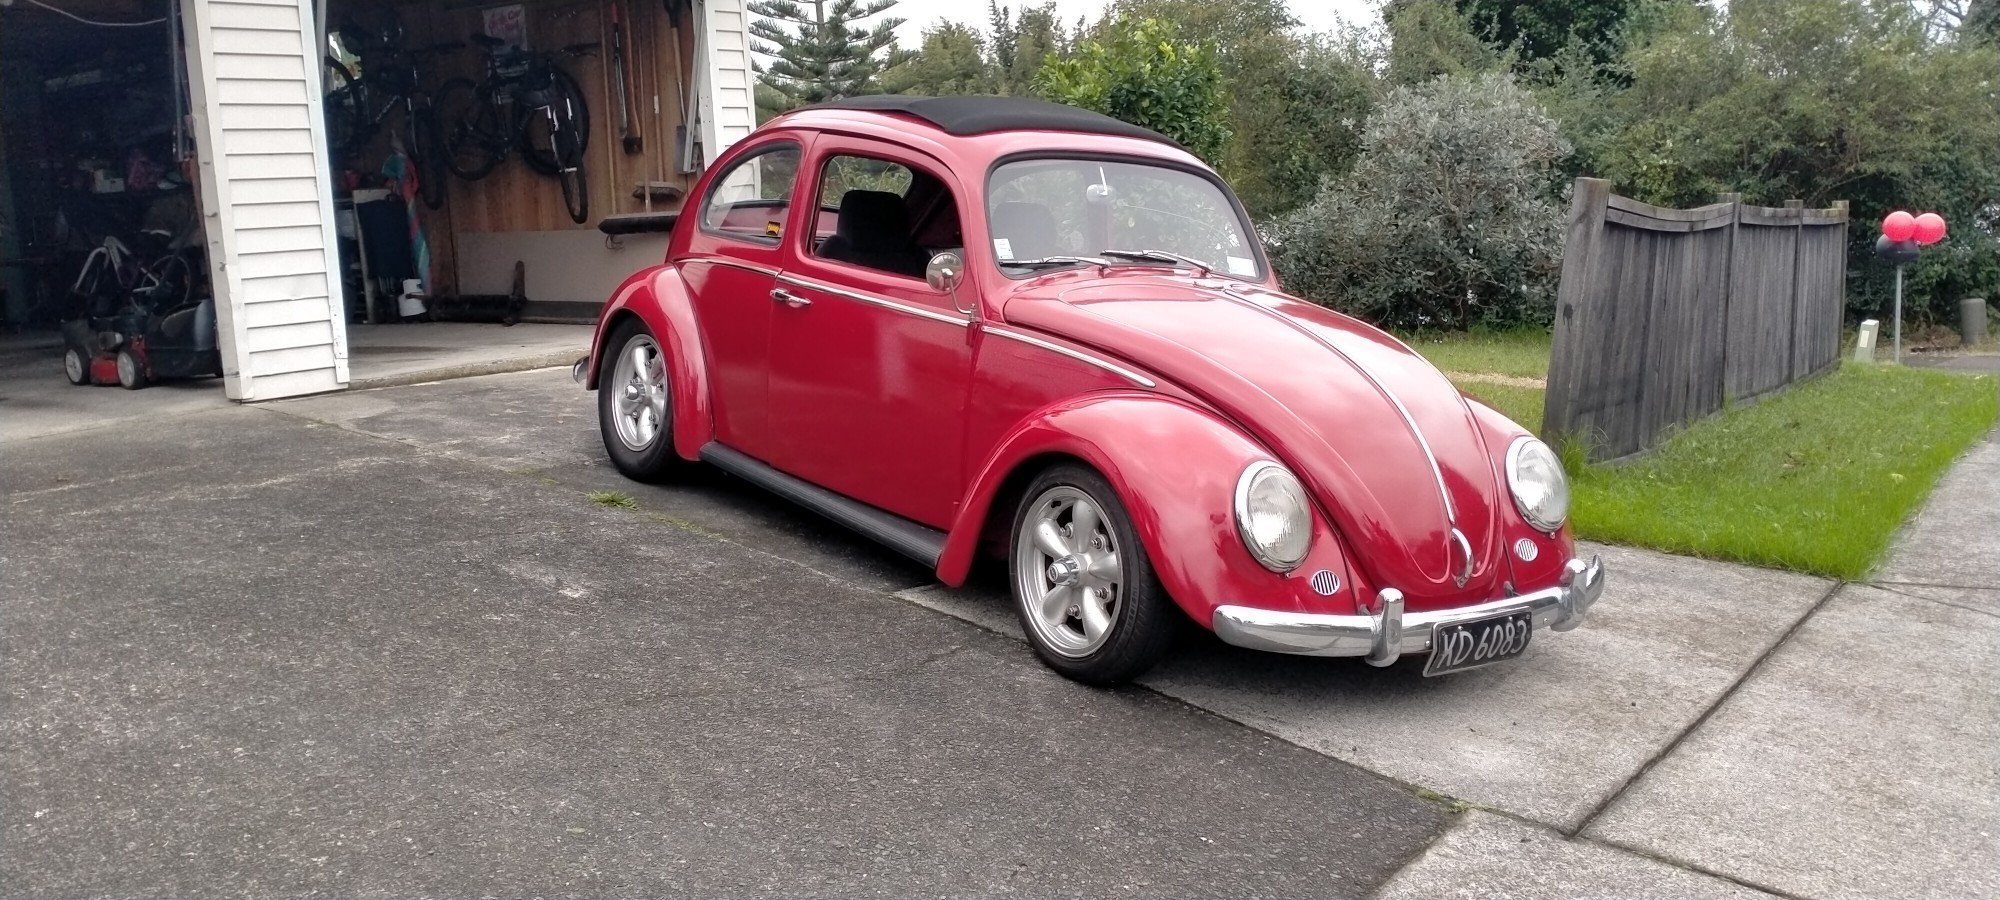
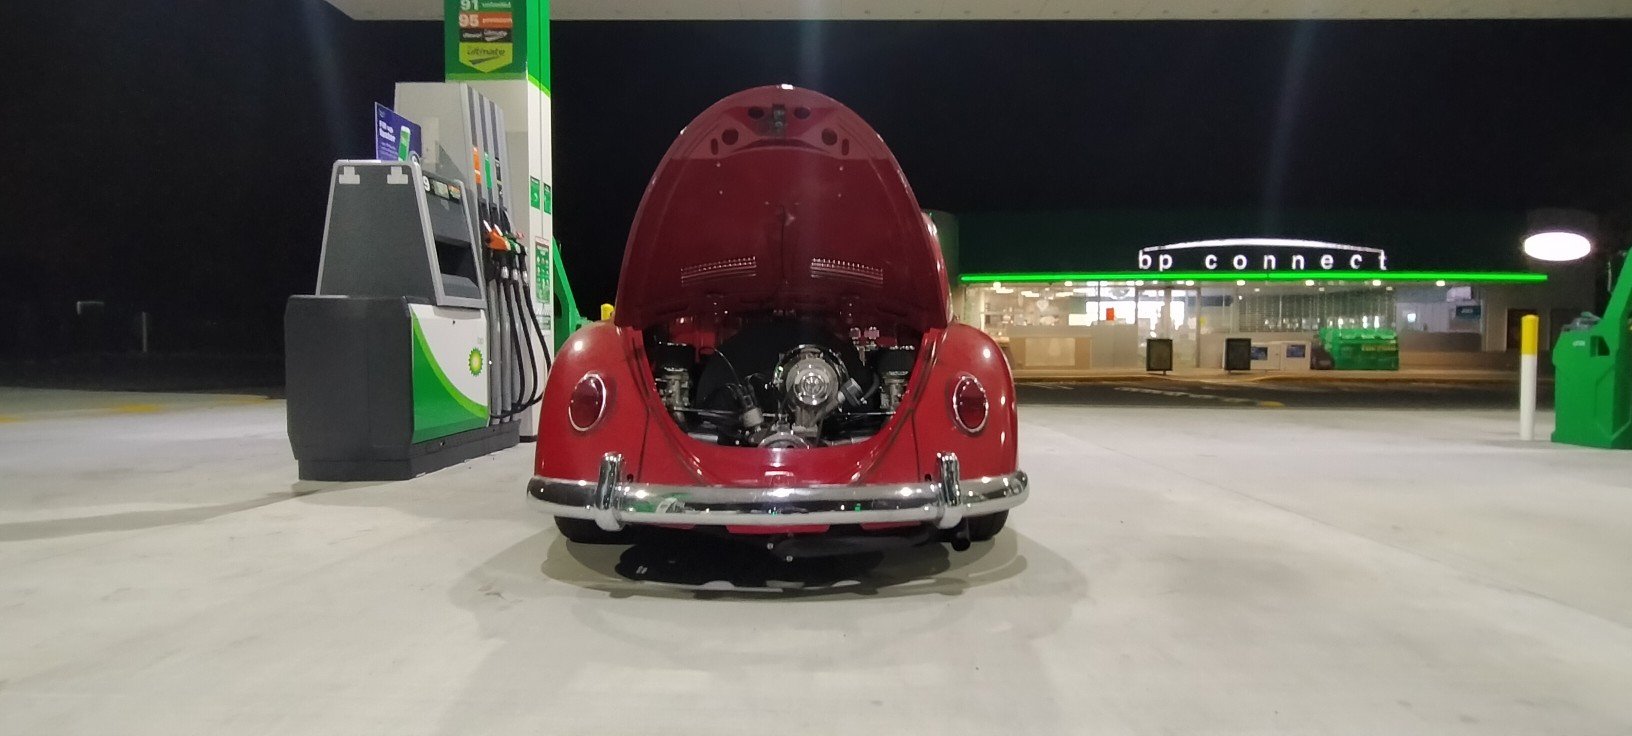
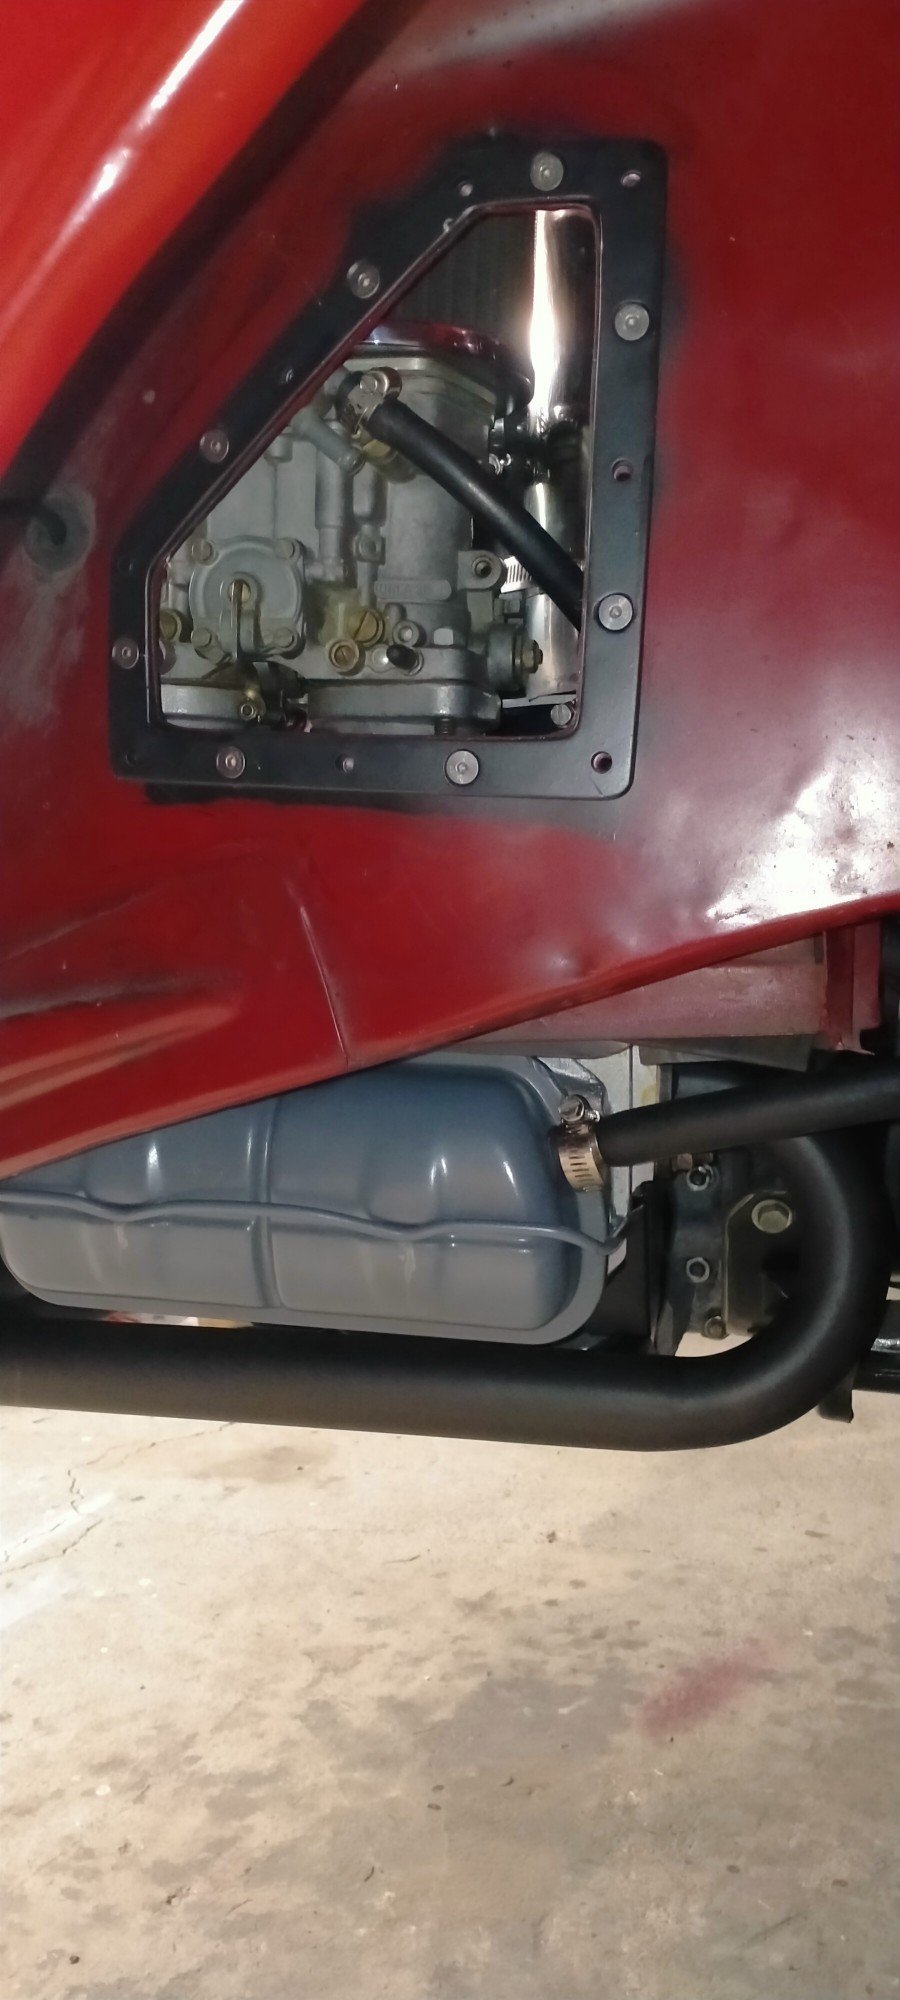
So up with slightly blurry eyes this morning, after a evening of sometimes literally blowing the cobwebs out. Clean sheet baby! Spent the rest of the day cleaning and polishing. Celebrated with a drive to Bunnings and had a sausage In bread. Couple details to finish up in here, idle is a touch low but starts sweet.
- 254 replies
-
- 36
-
-
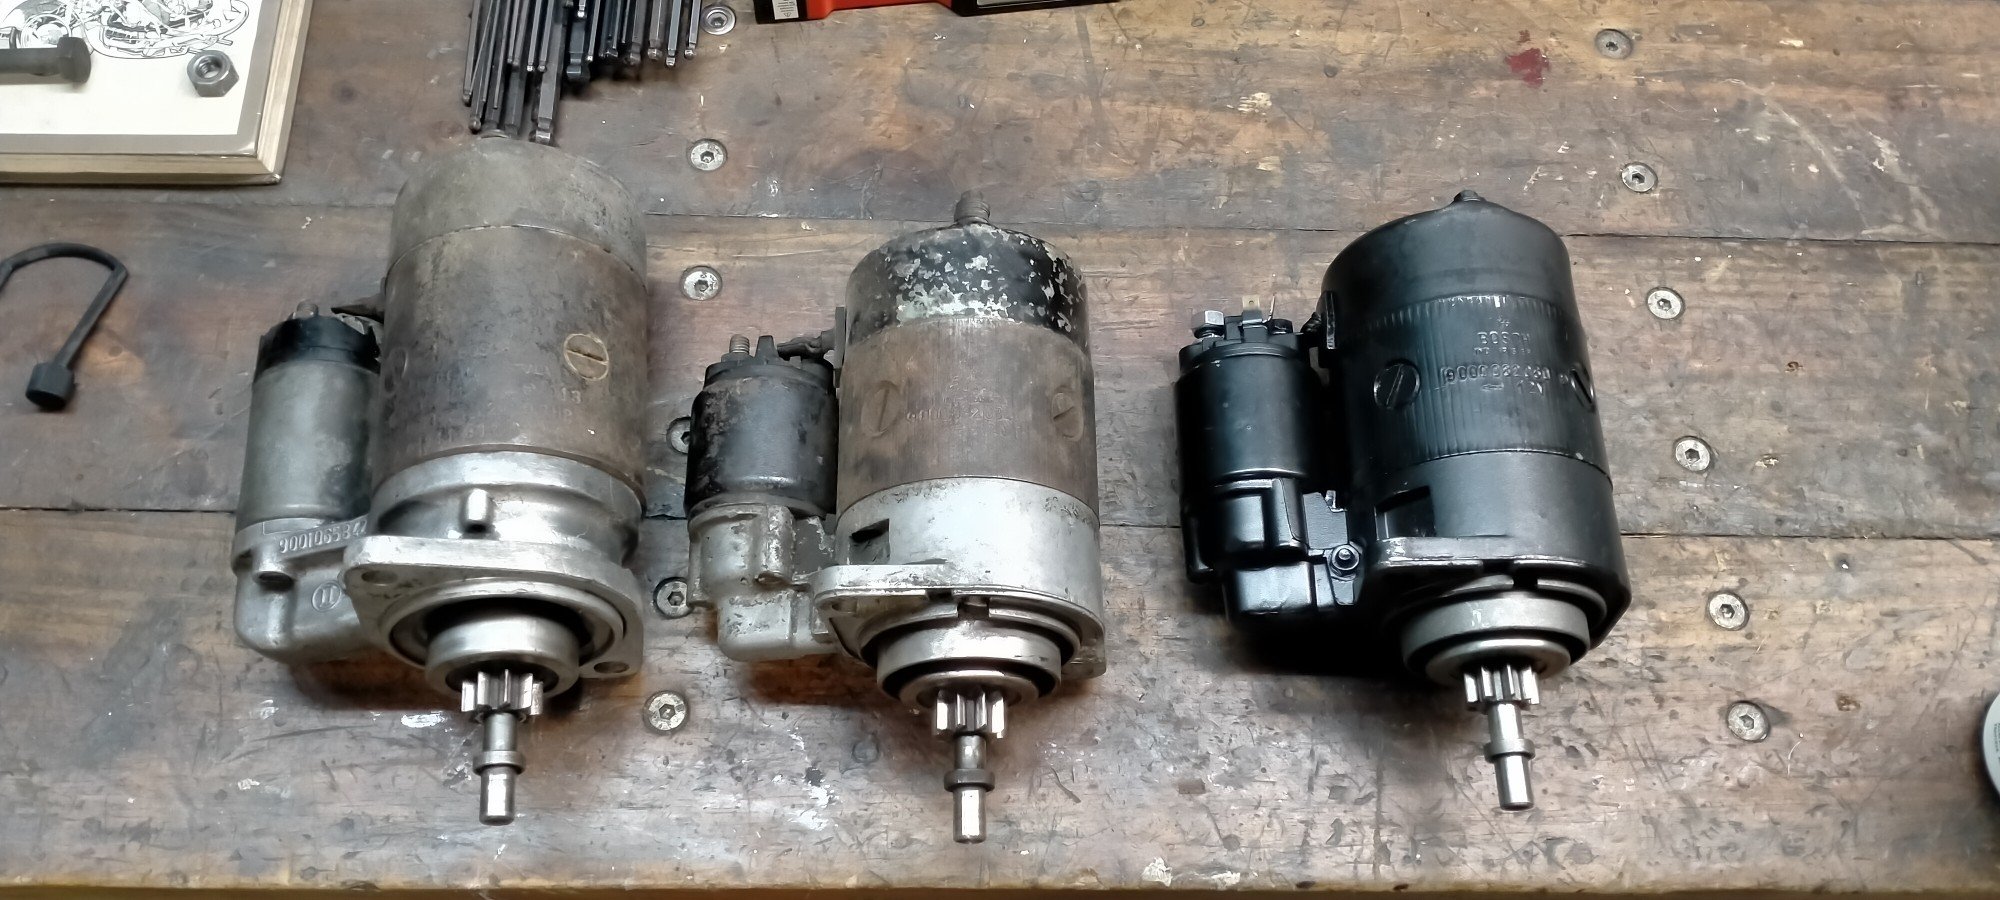
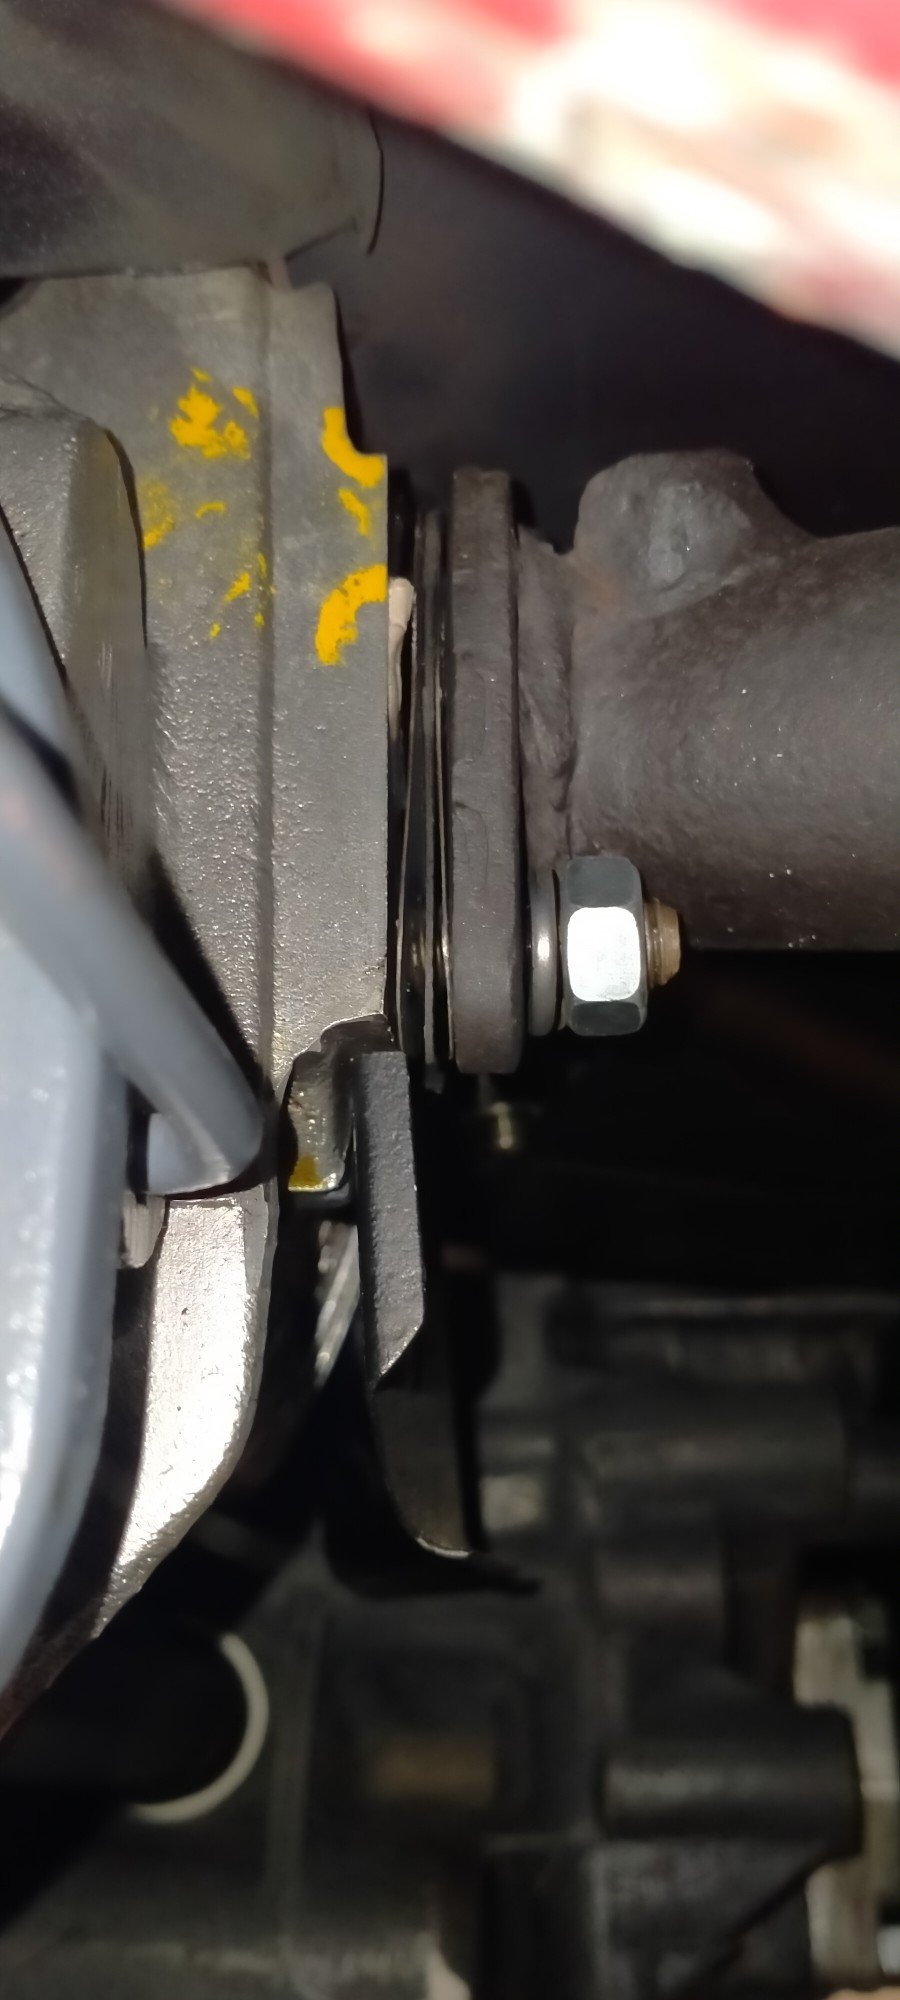
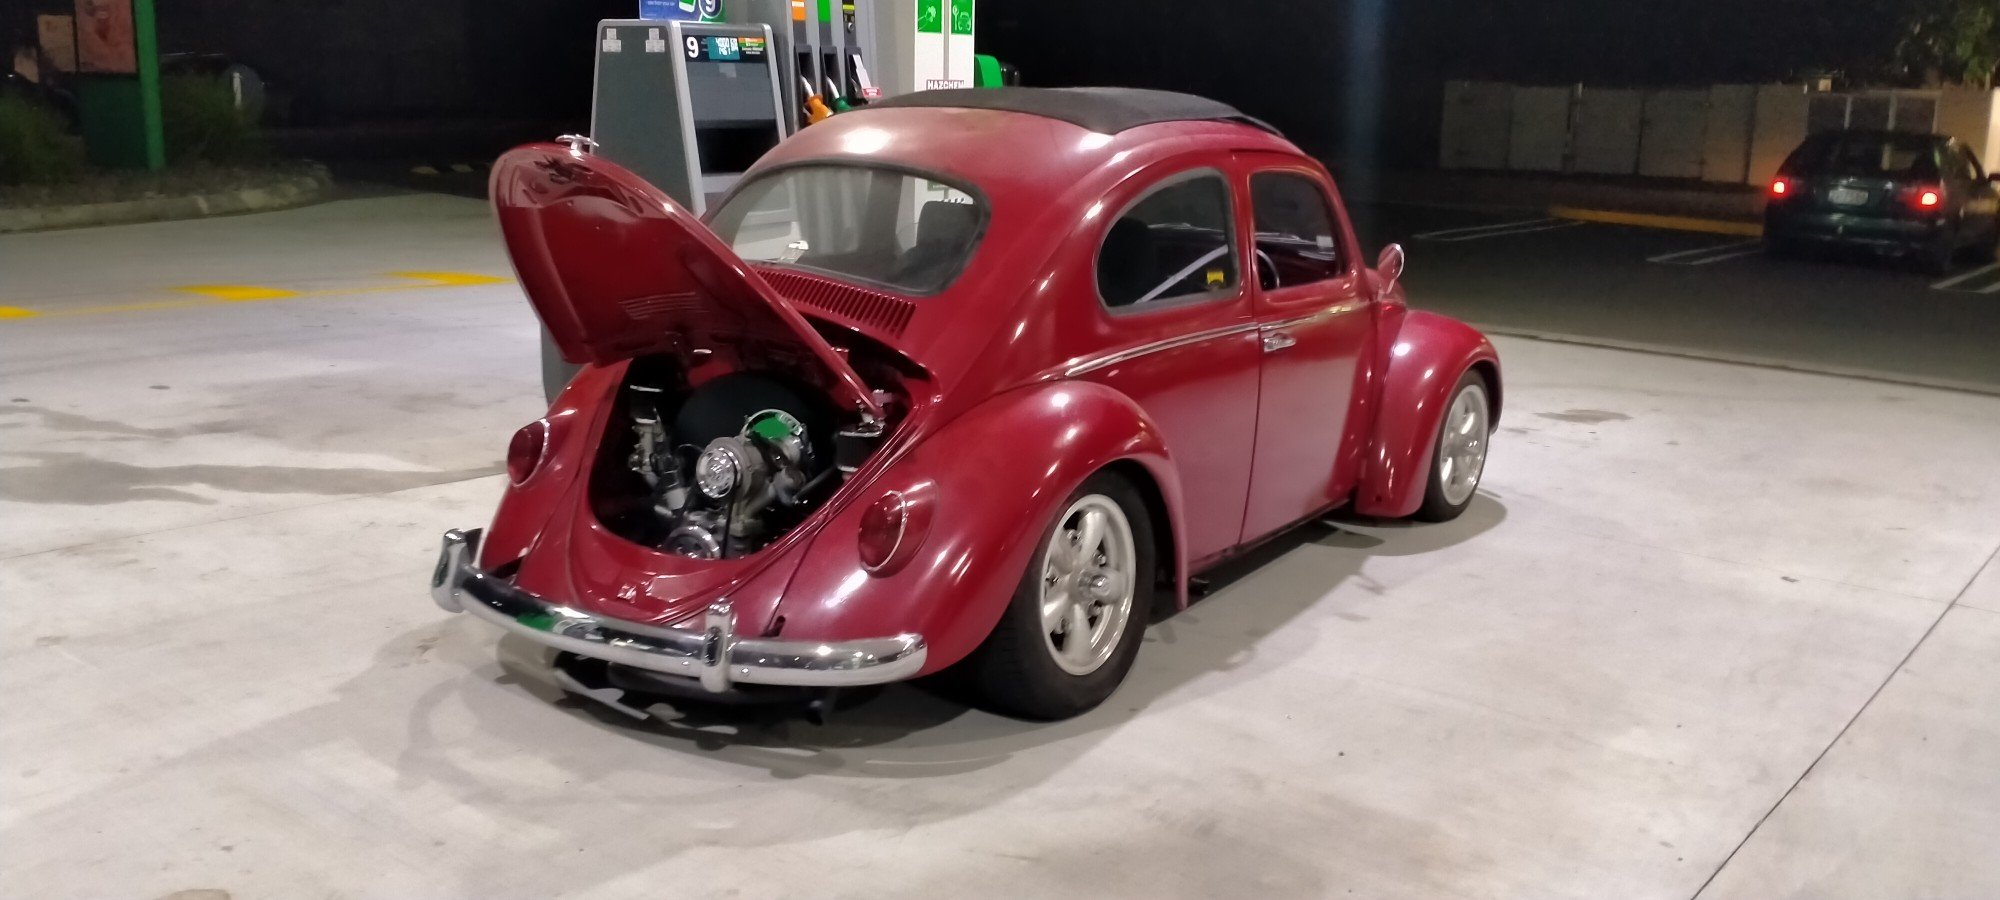
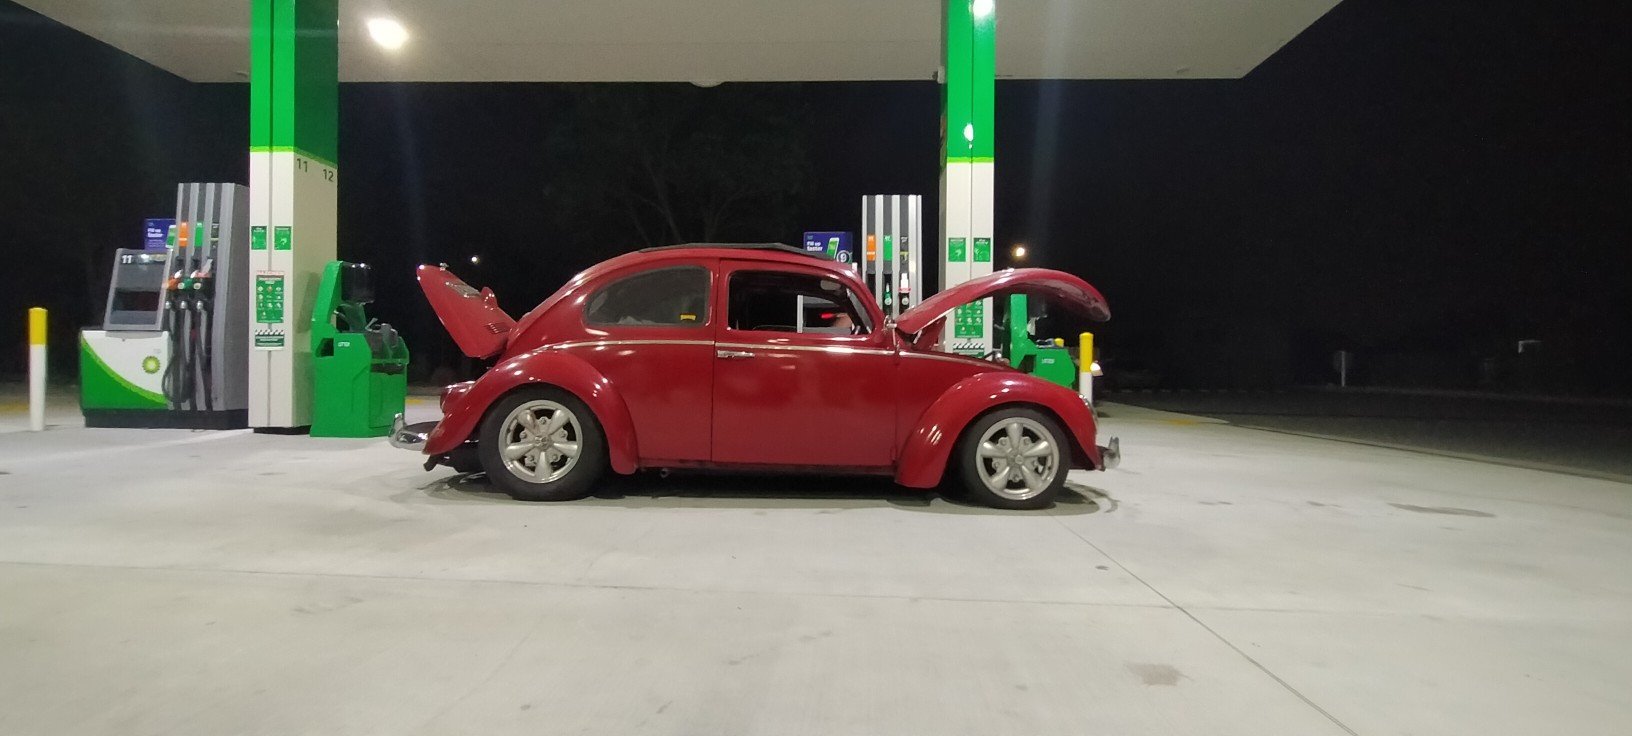
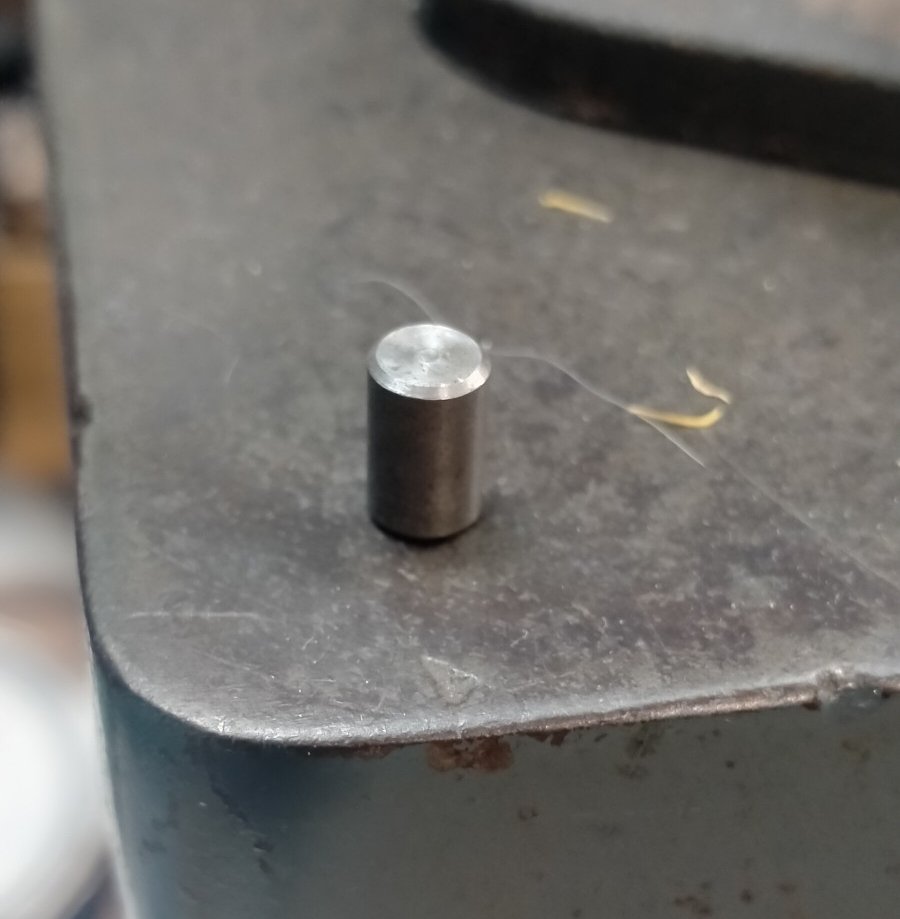
Decided to roll the dice on the dowel pin, fairly sure it's not from the engine by the look of it, time will tell! Got everything hooked up, turned it over and fuck me if it was lazy as shit still and barely spun!? Battery is new and charged, guess the starter is dead? A couple hundy later... One of these things an't fucked like the others... Little bit of a mission to install because some fool mounted a oil catch can right above the nut that also holds the starter in, so carb off, can out, then the starter can come out. And after forgetting to check the sparkplugs where hooked up correctly, it fired into life for the first time, sounded terrible, like a massive exhaust leak but ran okay, had a check underneath... That will be why!!! Decided it needed some fresh gas. Drove pretty good, timing might need a tune, tyres need some air, forgot how terrible drum brakes are! But I'm sitting here in absolute disbelief at what just happened. The motor ran smooth and pulled well, revving out just like before. I was fully prepared to pull it apart again and chalk it up to a good learning. Very happy.
- 254 replies
-
- 29
-
-
-
Prepping the final few bits and pieces tonight, getting pretty good at this part now, spun the engine around on the bench and heard something small fall on the ground. What the fuck are you doing there dowel pin? You're supposed to be inside the case, stopping one of the bearings from spinning you little cunt!
- 254 replies
-
- 15
-
-
-
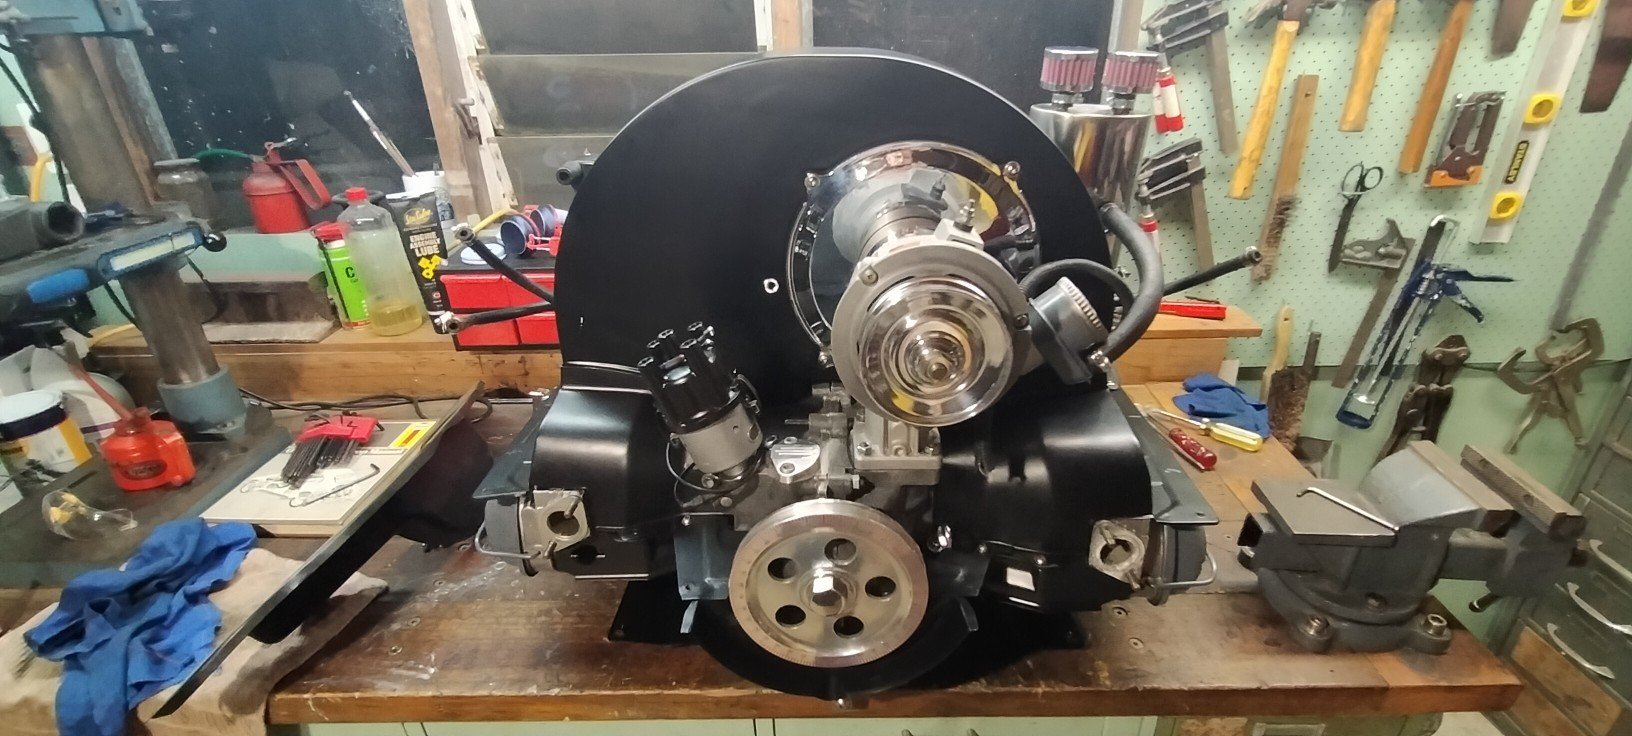
Several months later... Took it all apart, cleaner all the parts, took it back to the vw guy to check all the clearances etc, everything checked out, I think I may have lost track of the timing whist assembling my first engine.
- 254 replies
-
- 11
-
-
Surly an RX3ute needs an RX3 dash!? awesome dude, if it sits as well as the old one you'll be happy!
-
So far I checked the end float, seems good, 0.012mm. Double checked the pulley wasn't rubbing, checked timing, valve clearance. Strip it down this weekend if I have time, what a ballache.
-
Yeah, trying to not let it get me down, pretty ballsy thinking I could build a engine with no formal training and it would start first pop. I'm certainly learning.
-
Random slightly cool stuff you built but not worth its own thread, thread
63Ragtop replied to h4nd's topic in Other Projects
I thought he was all proud of his hot coco! Nice work man, next time I build a gate it's getting a steel frame, my gates weigh about 40kgs each! -
Nice if it ran!!! Thanks man.
-
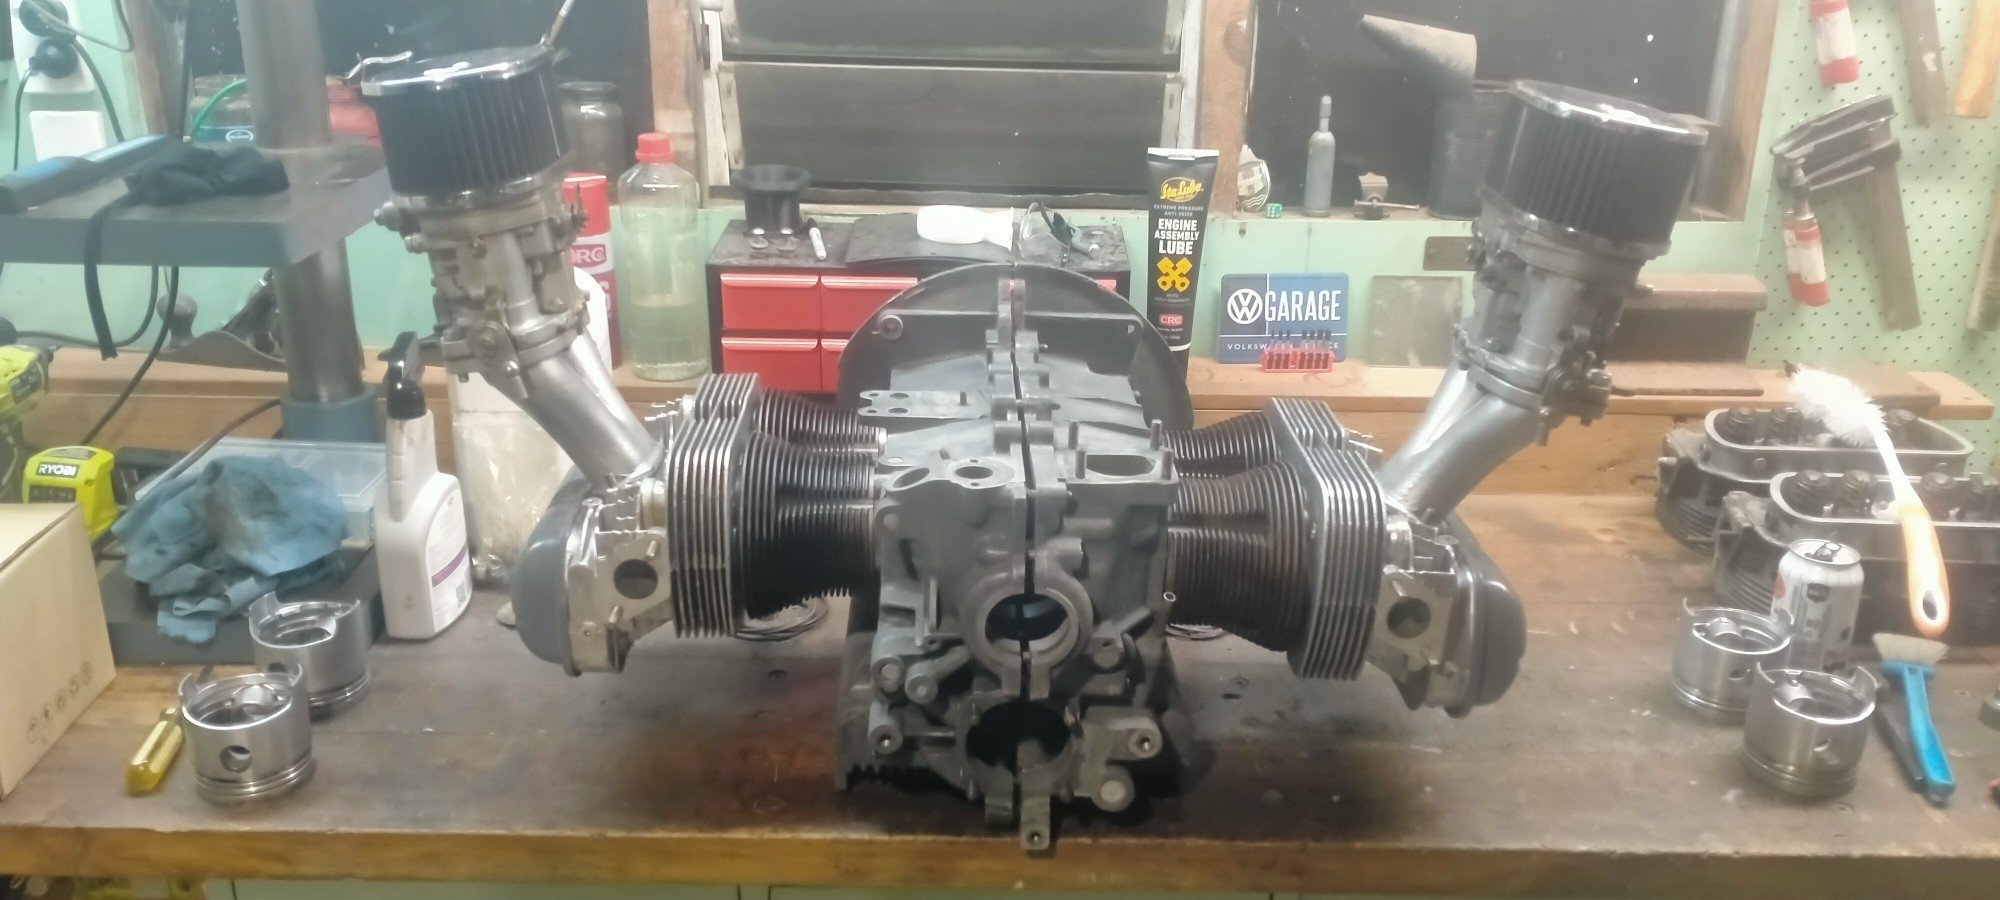
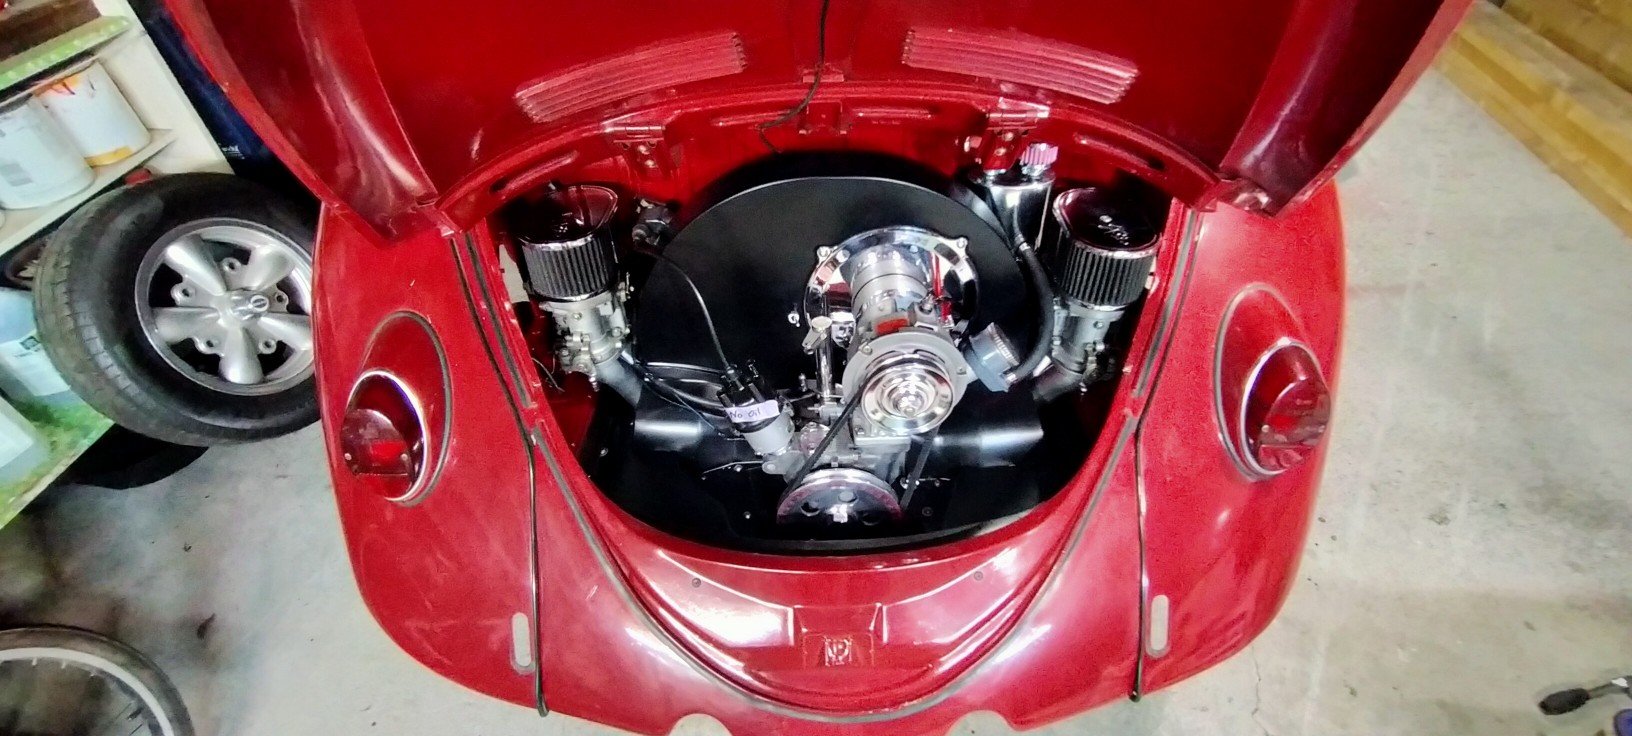
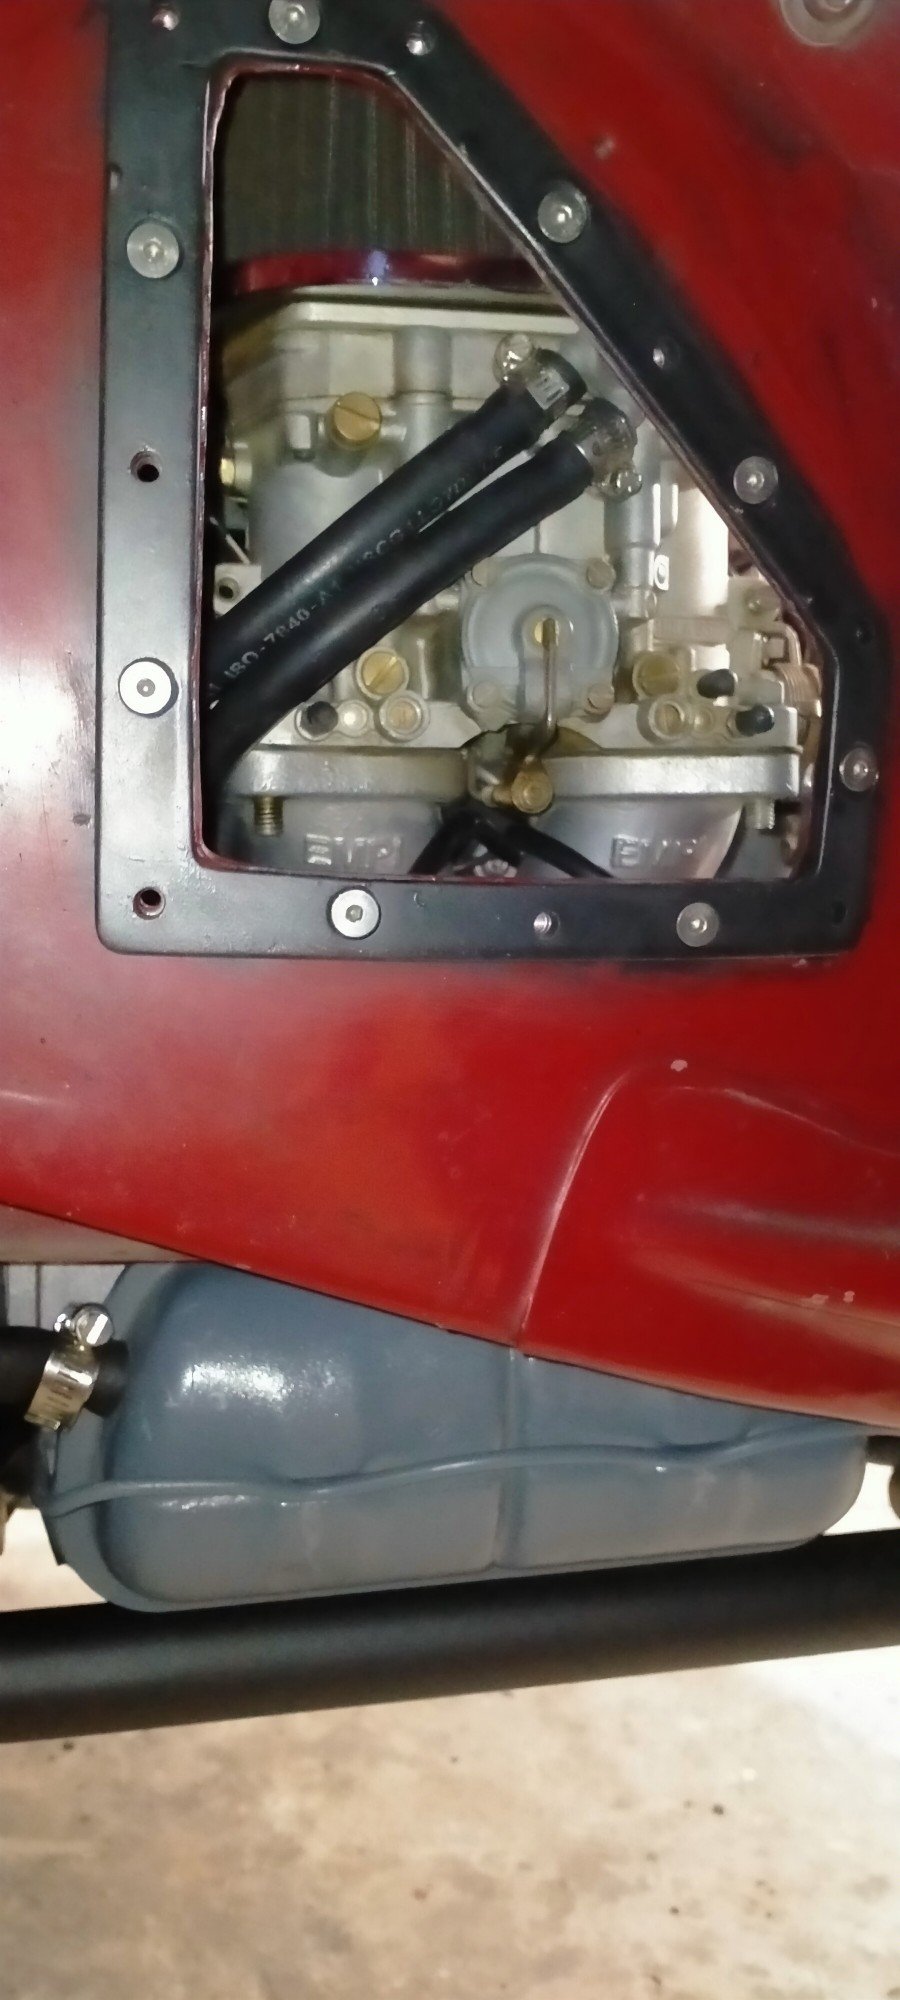
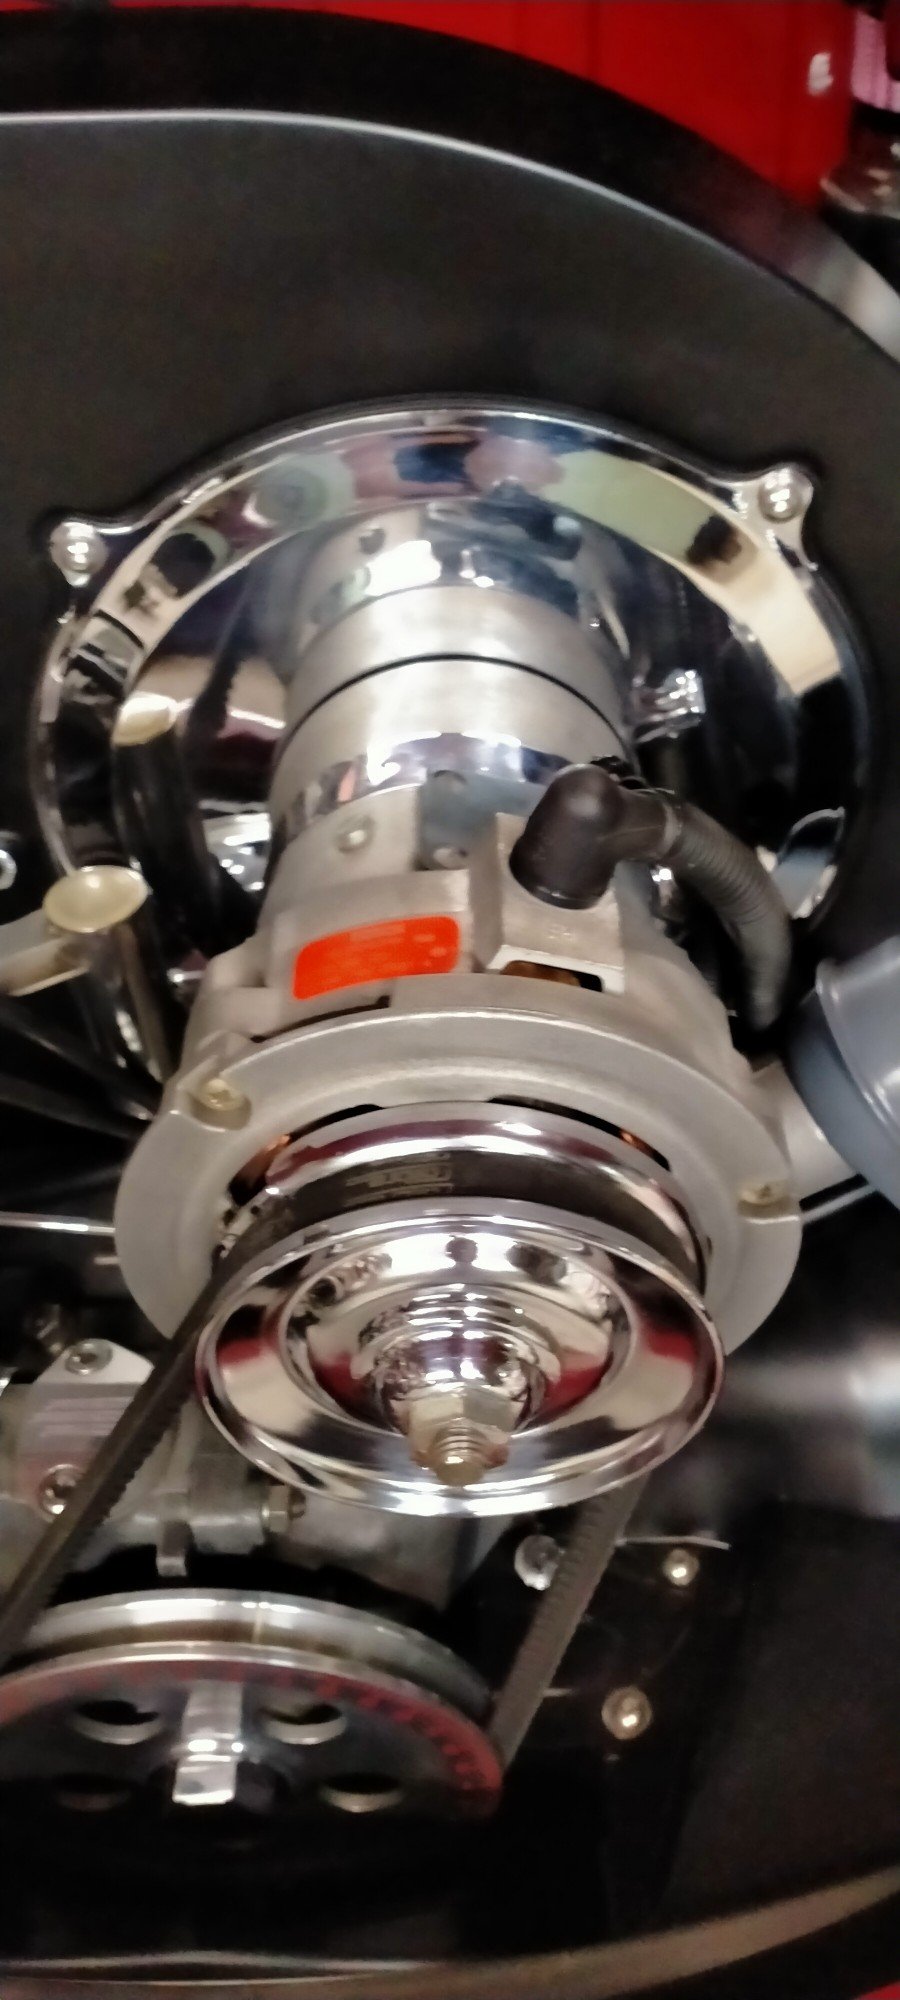
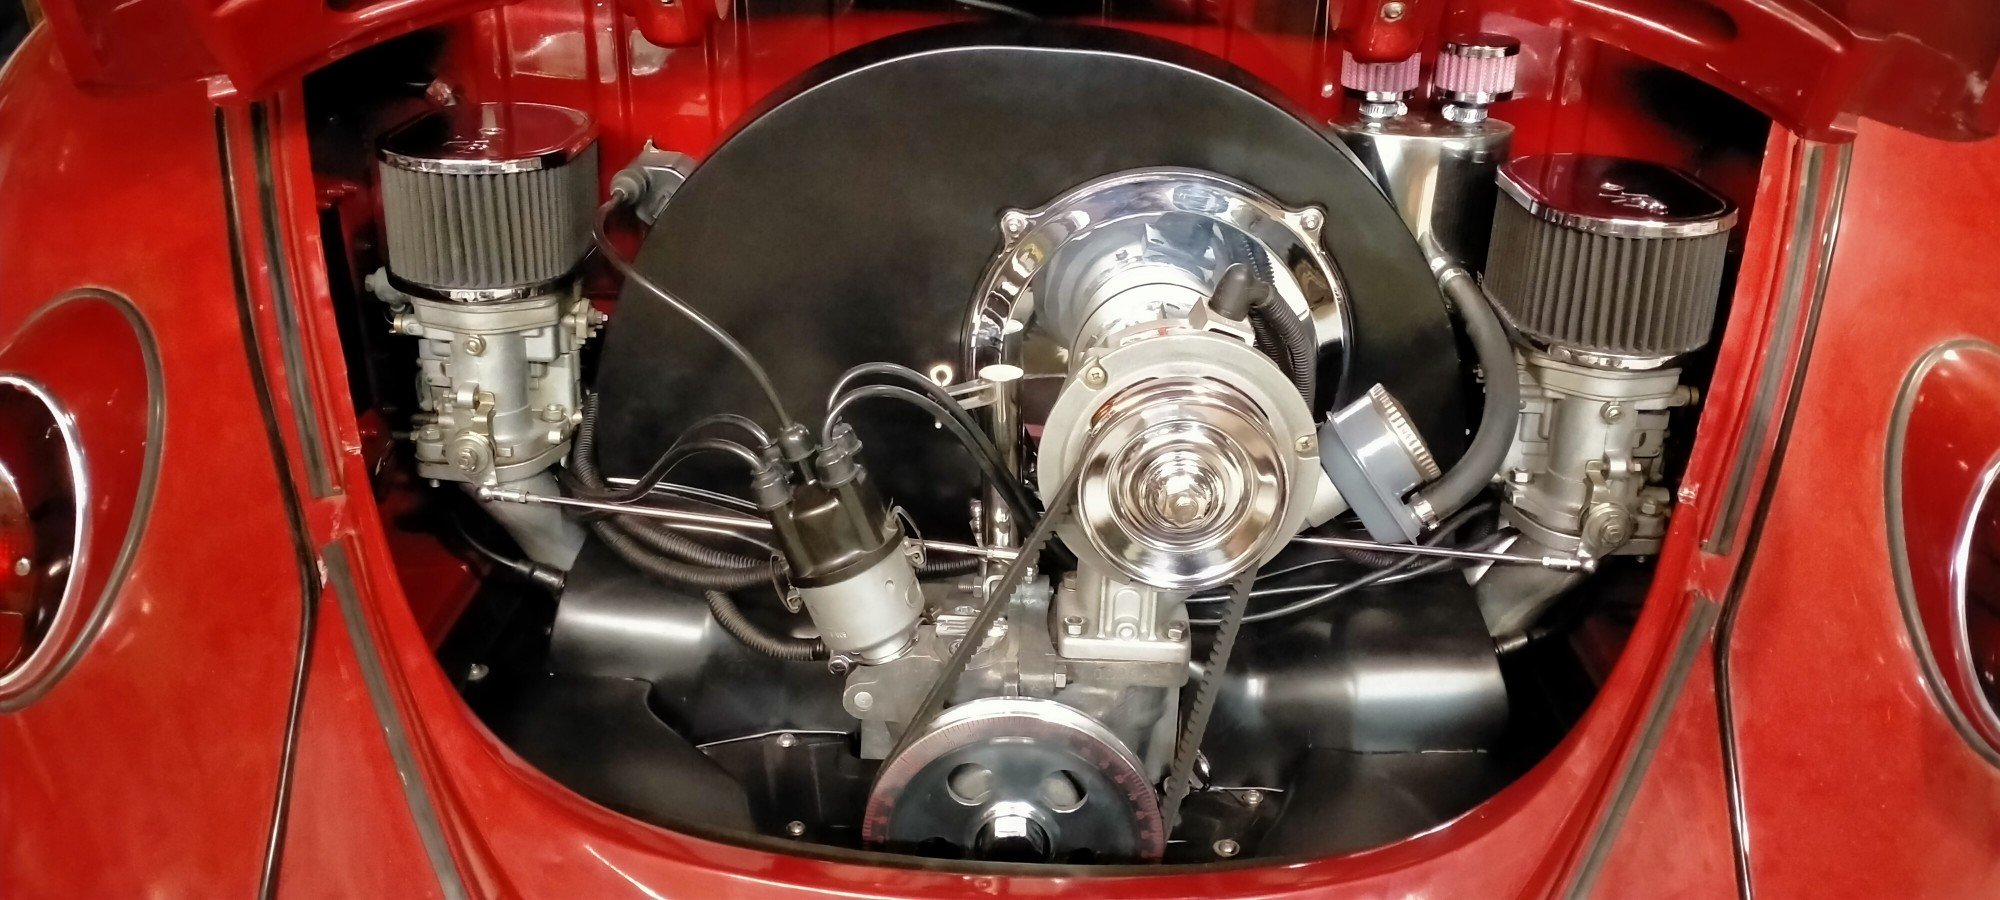
And in it went, like butter. Funny story, the family was around one weekend, so I asked my brother in-law to help pull the engine out when I was test fitting it, he has two old Holdens and a zephyr, how longs that gunna take!? He says, not long, I can do it myself but just need help lifting it onto the bench, what! Can looks perfect. I was hoping I could have it all installed on the bench so the engine would be one unit and just slot in like a stock motor, most people attach these catch cans to the firewall, anyway... These windows I made sure down make things easier, usually takes 10 minutes to install the engine and 2 hours to install the carbs. Want I didn't think about is the VW engine isn't symmetrical, so this side is further back... And this side further forward. Still, much better access to everything. I've always hated the connection point on the alternator, just a big ugly screw thing, I think some late model cars had a cover. I pulled this small sparkplug end of the minibikes old motor, I had to butcher the back to make it fit and cable tie it on, it's the details. With everything ready, connected and plugged in ready to go, the moment of truth had arrived! It turned over okay, got oil pressure, made some very small chuffing sounds, but wouldn't start. So the gas is a year old, pulled the line, pumped as much out as I could, fulled up with 10 ltrs of fresh 98, still no good, battery got slower, tried charging it, no change, well it's been sitting for a year as well, new battery no change, it actually seemed slower! Double checked everything. Tired turning it over by hand, it should not be that hard! Took the sparkplugs out, still hard to turn, so it's not just compression. Squirted a bit old oil down the plug holes, it did loosen it up a wee bit but still tight. So I'm thinking a bearing has moved or something doesn't have enough clearance. When I built the bottom end, it moved smoothly with no tight spots, but maybe it needs to spin more? So here we are, back on the bench. Hopefully I haven't damaged anything major. Only one way to see!
- 254 replies
-
- 26
-
-
-

-
-
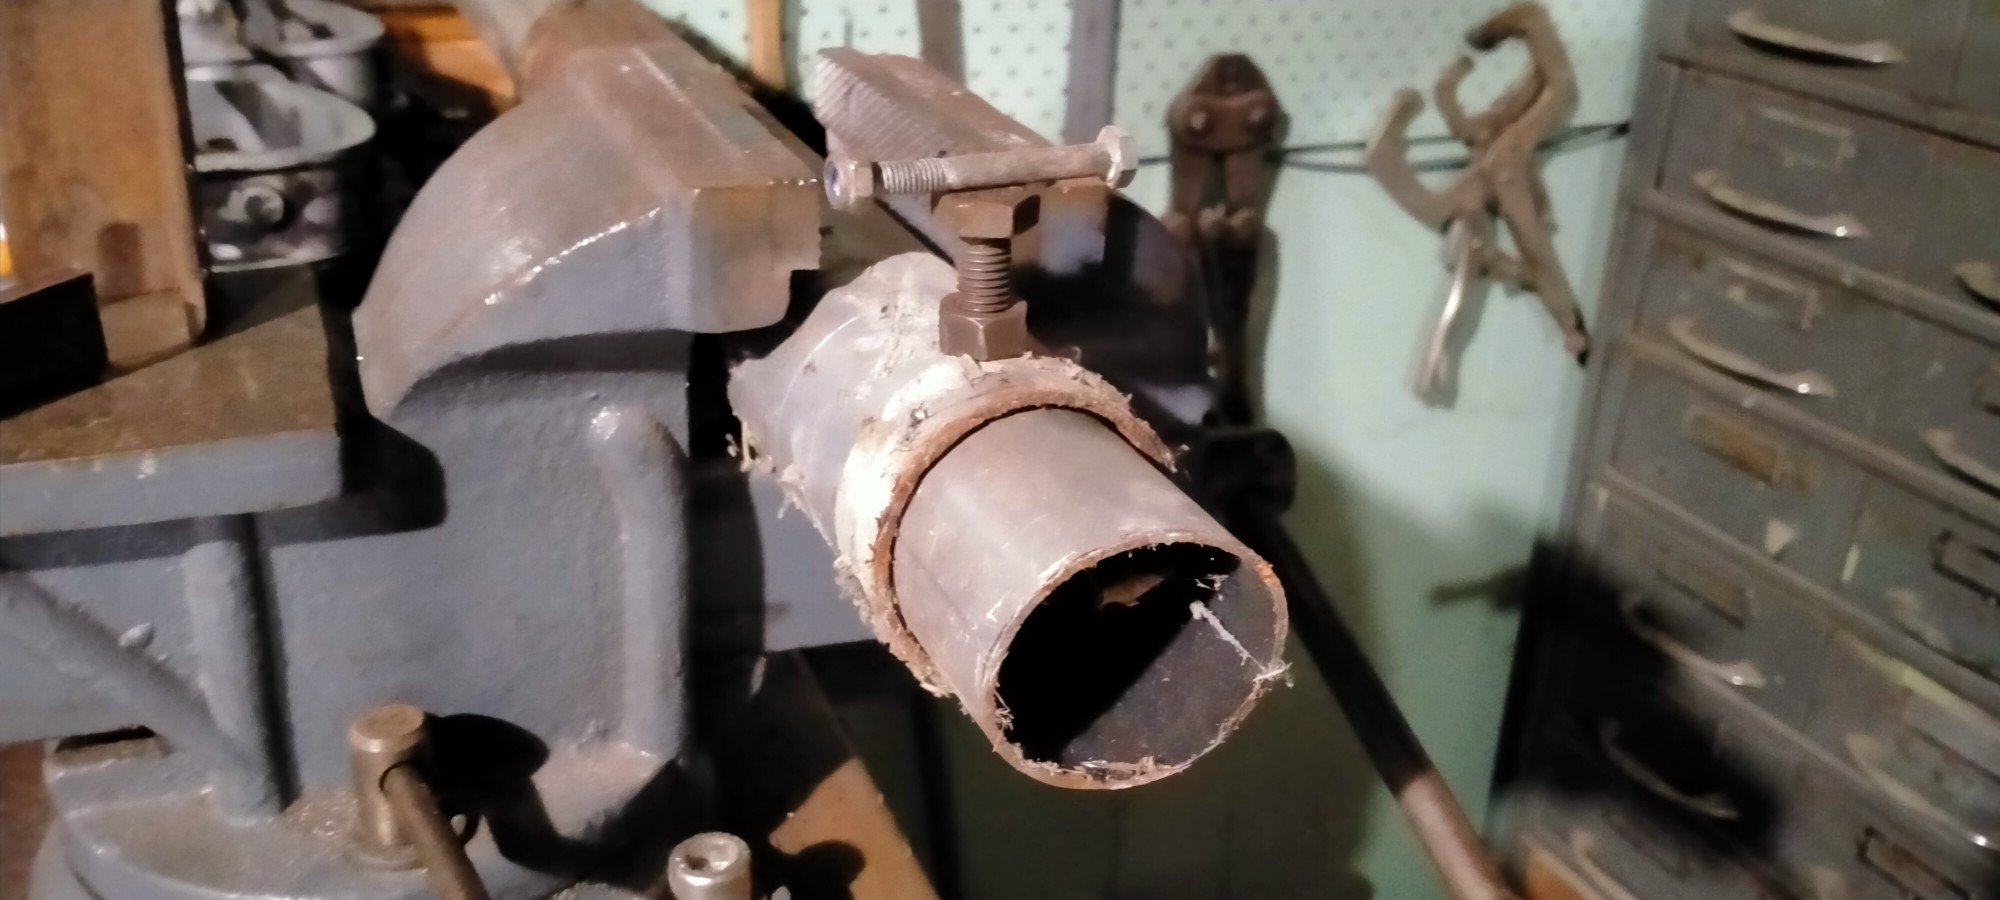
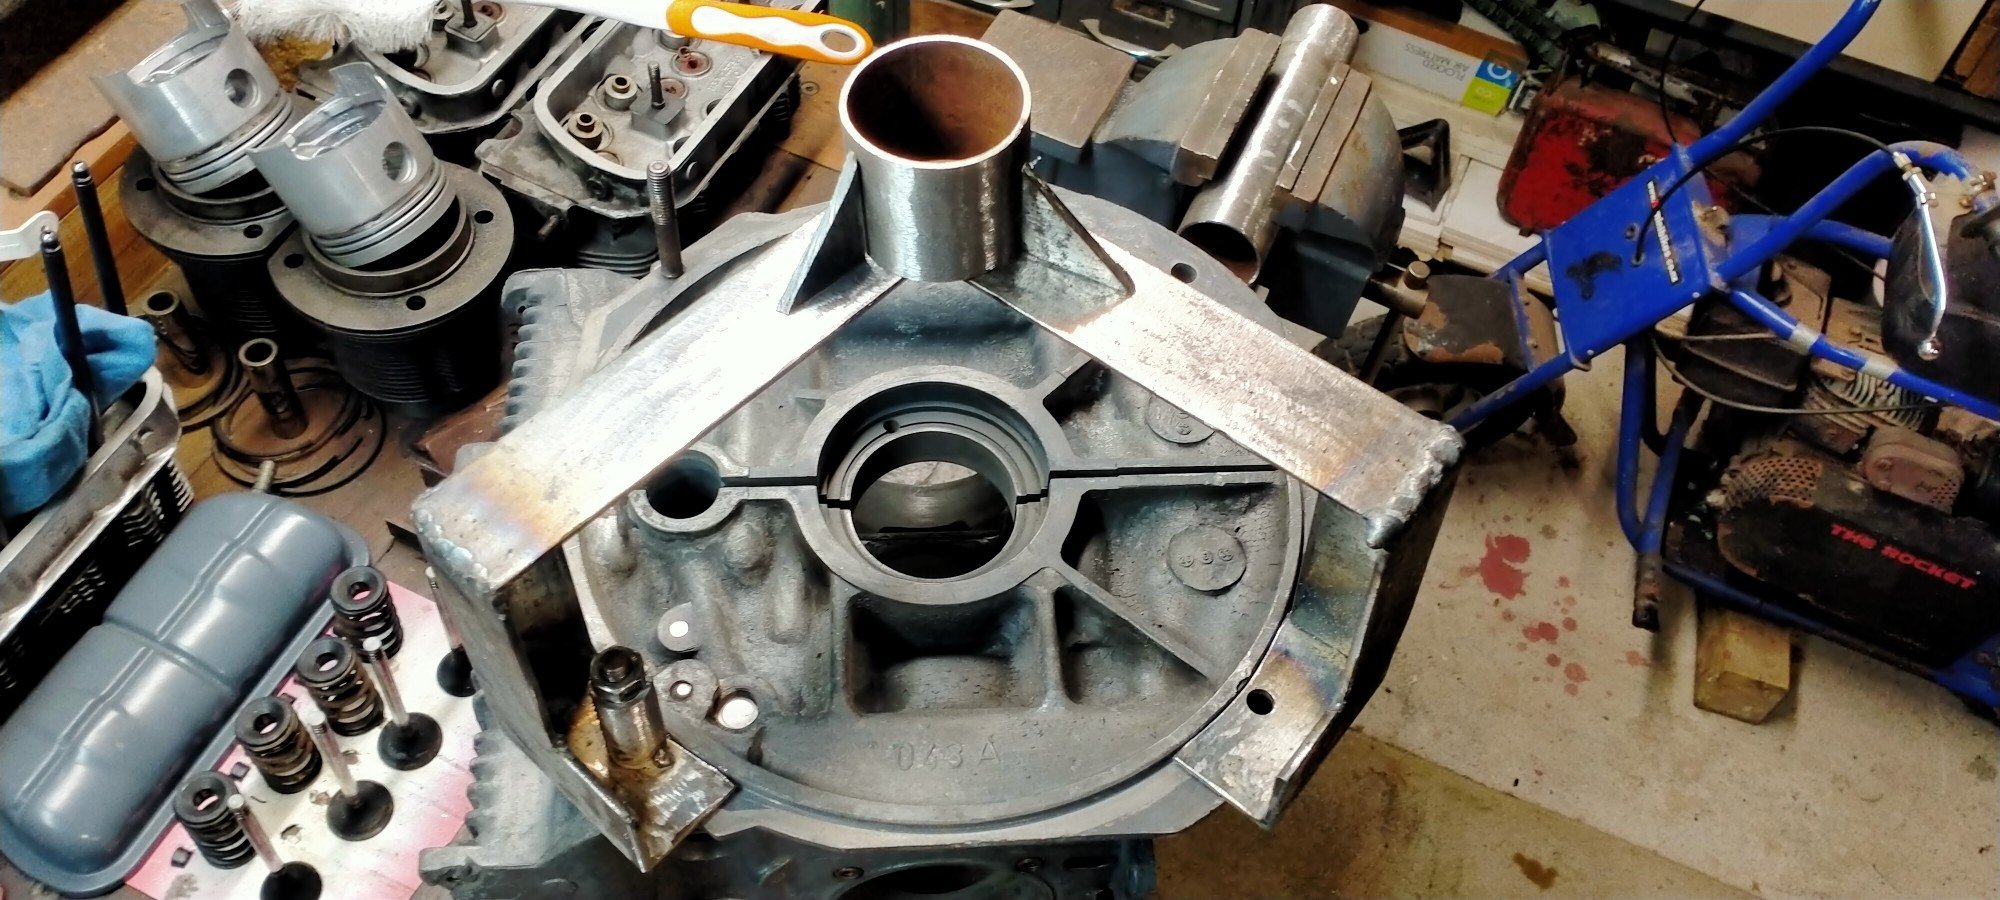
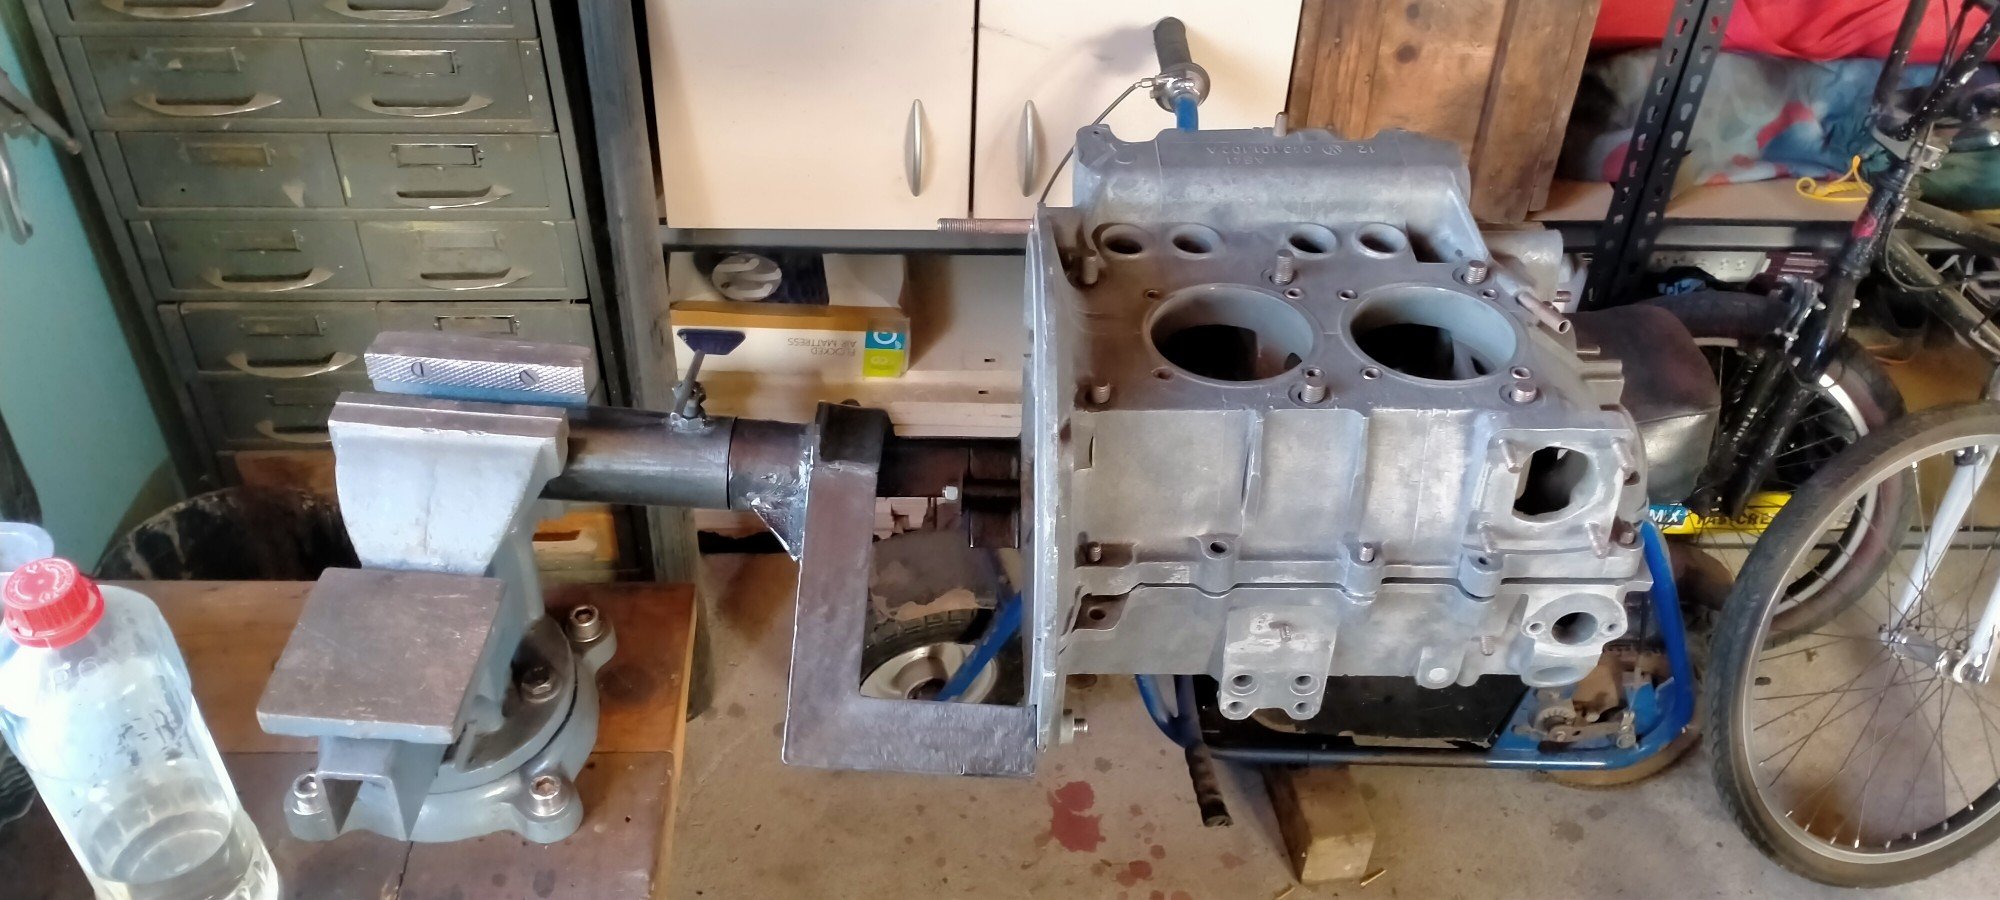
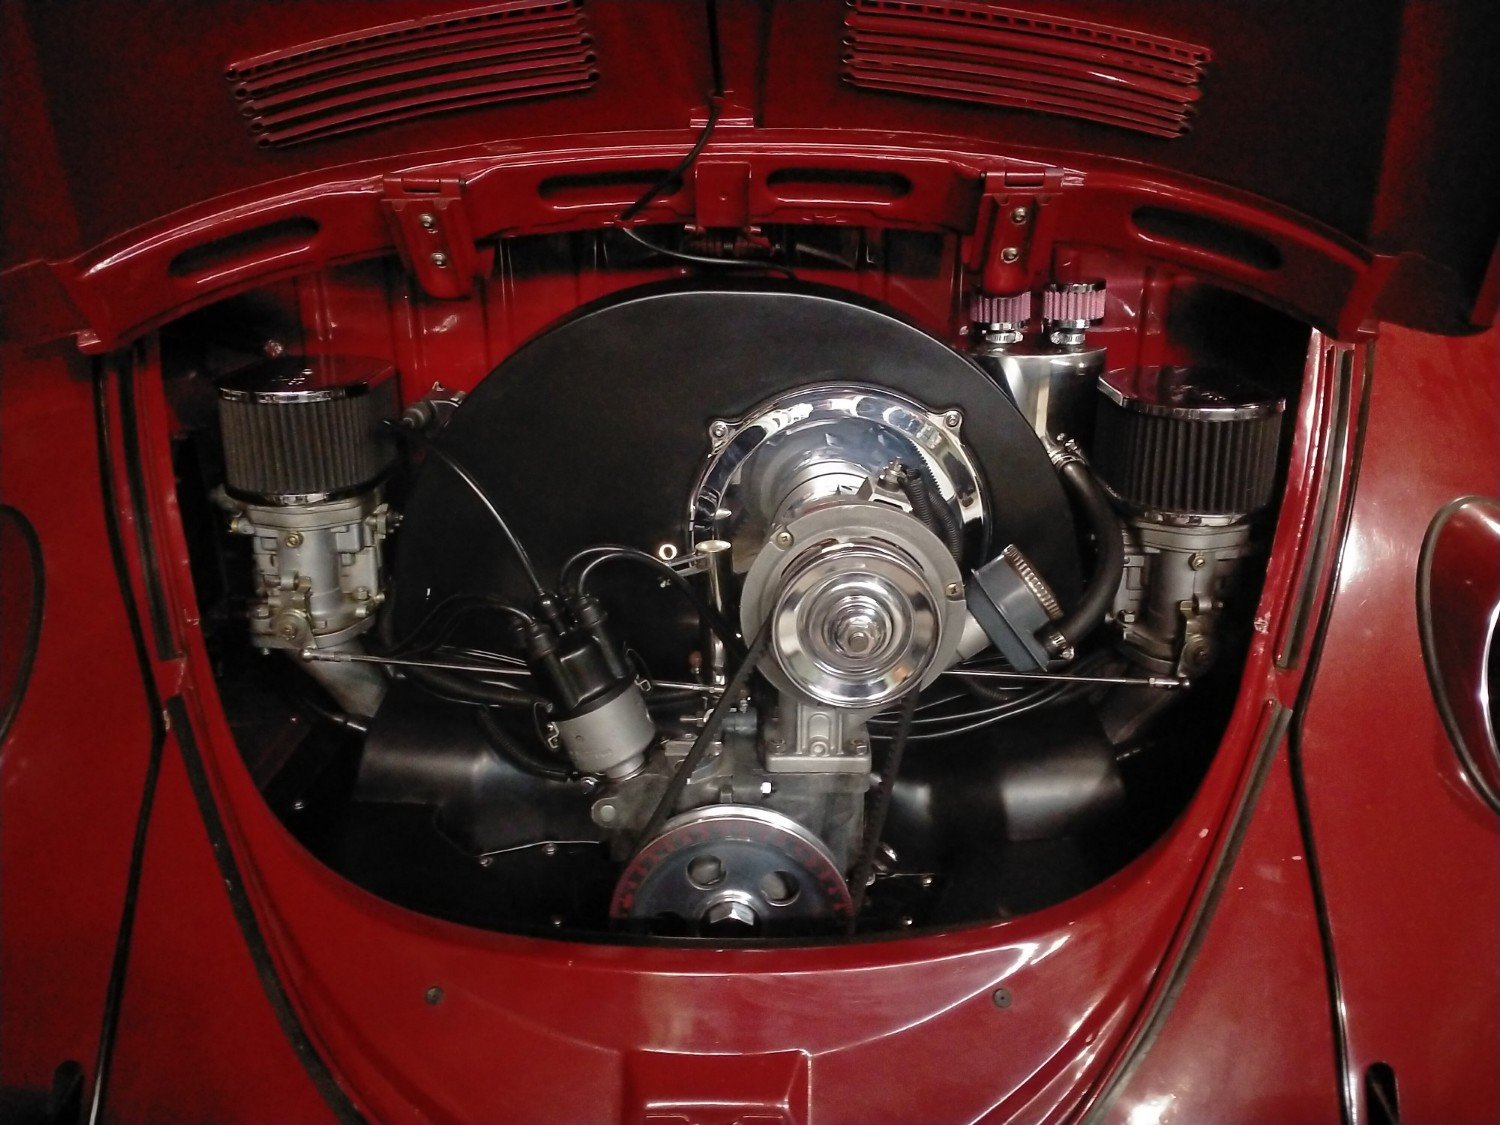
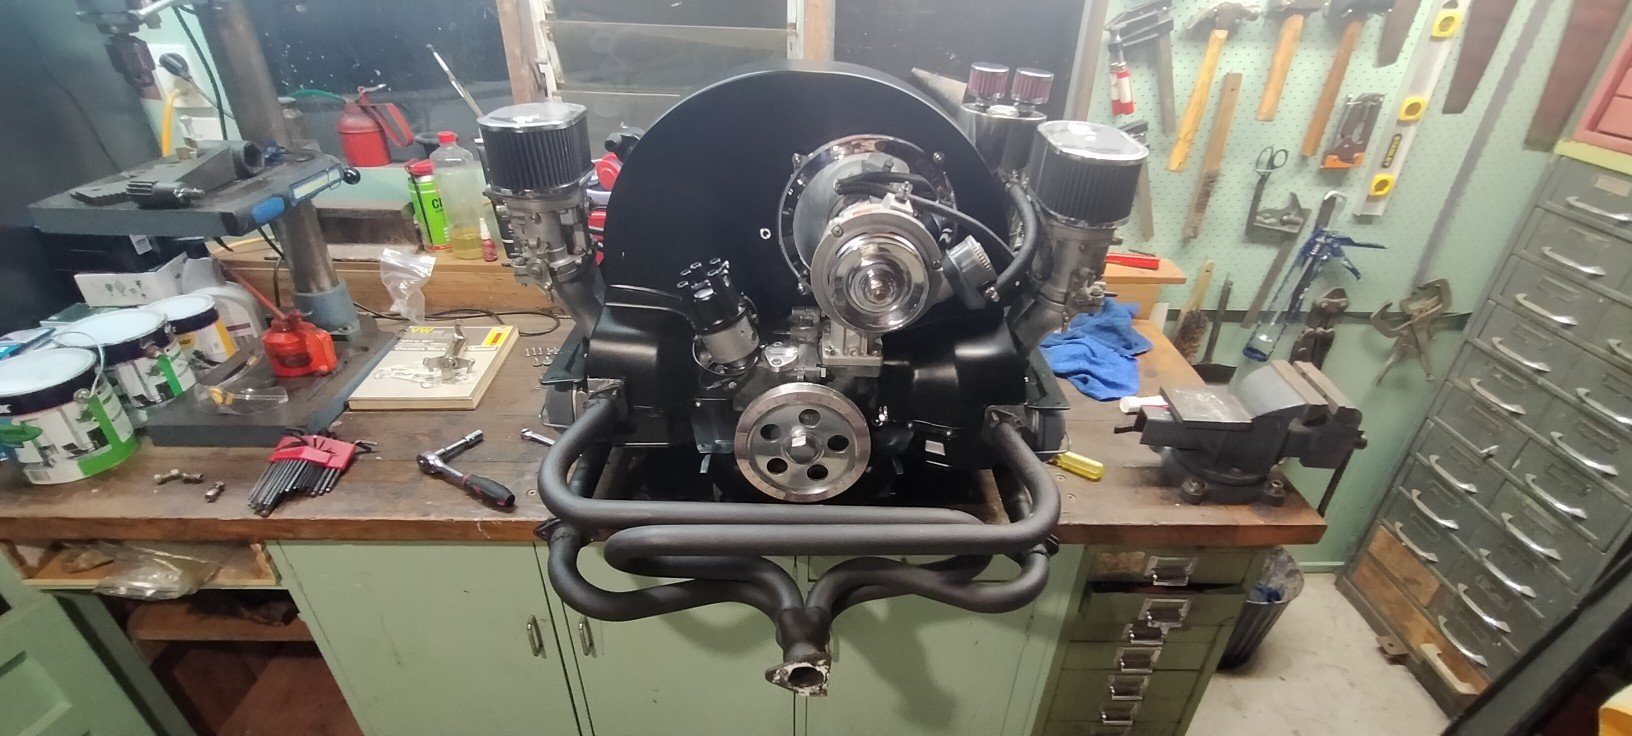
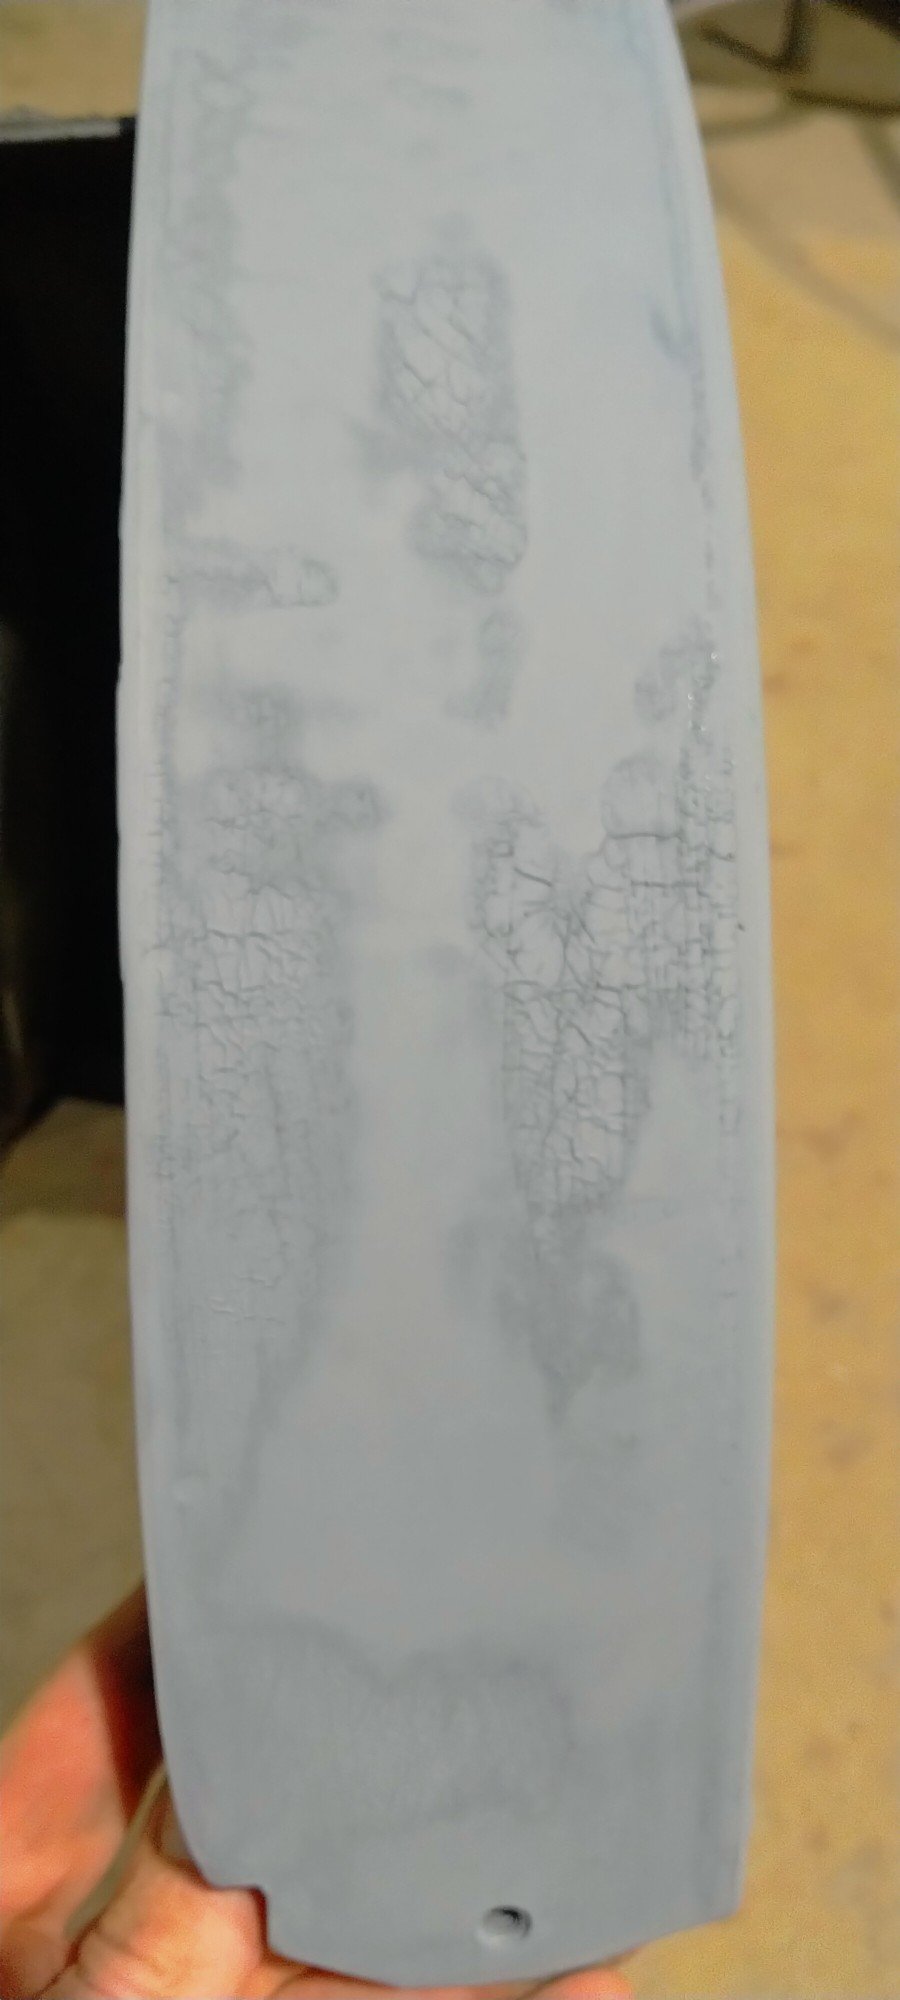
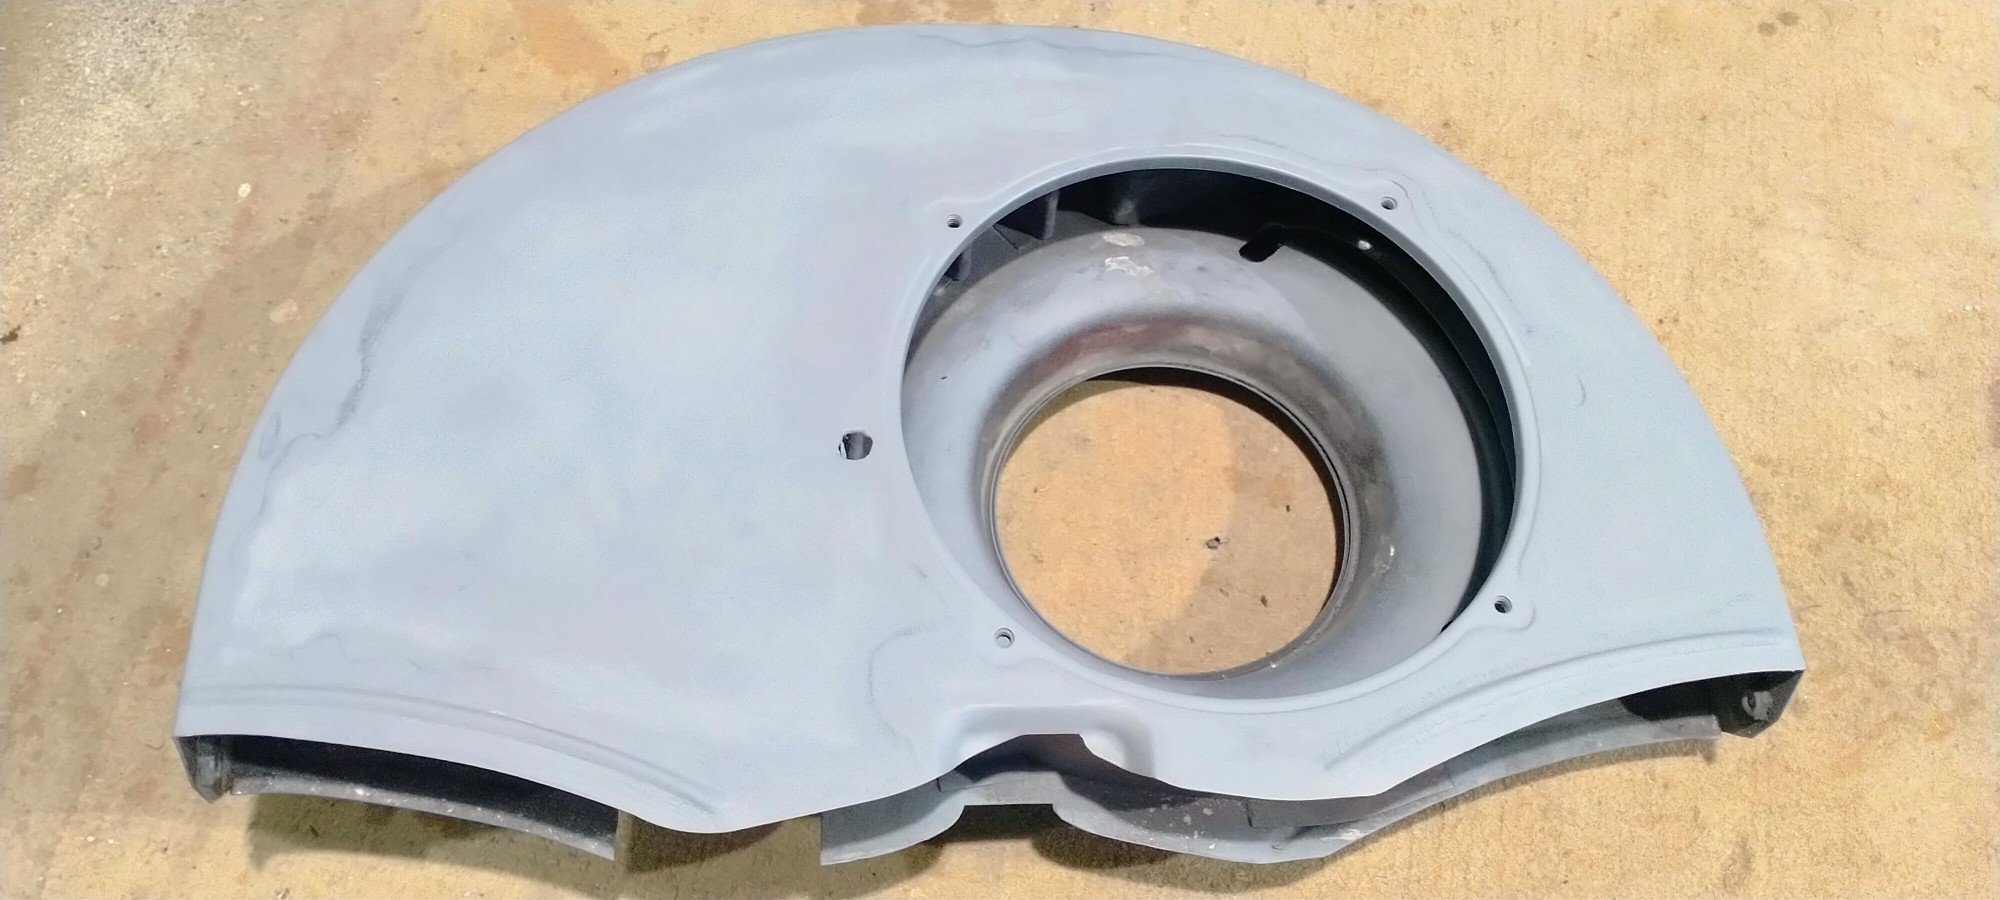
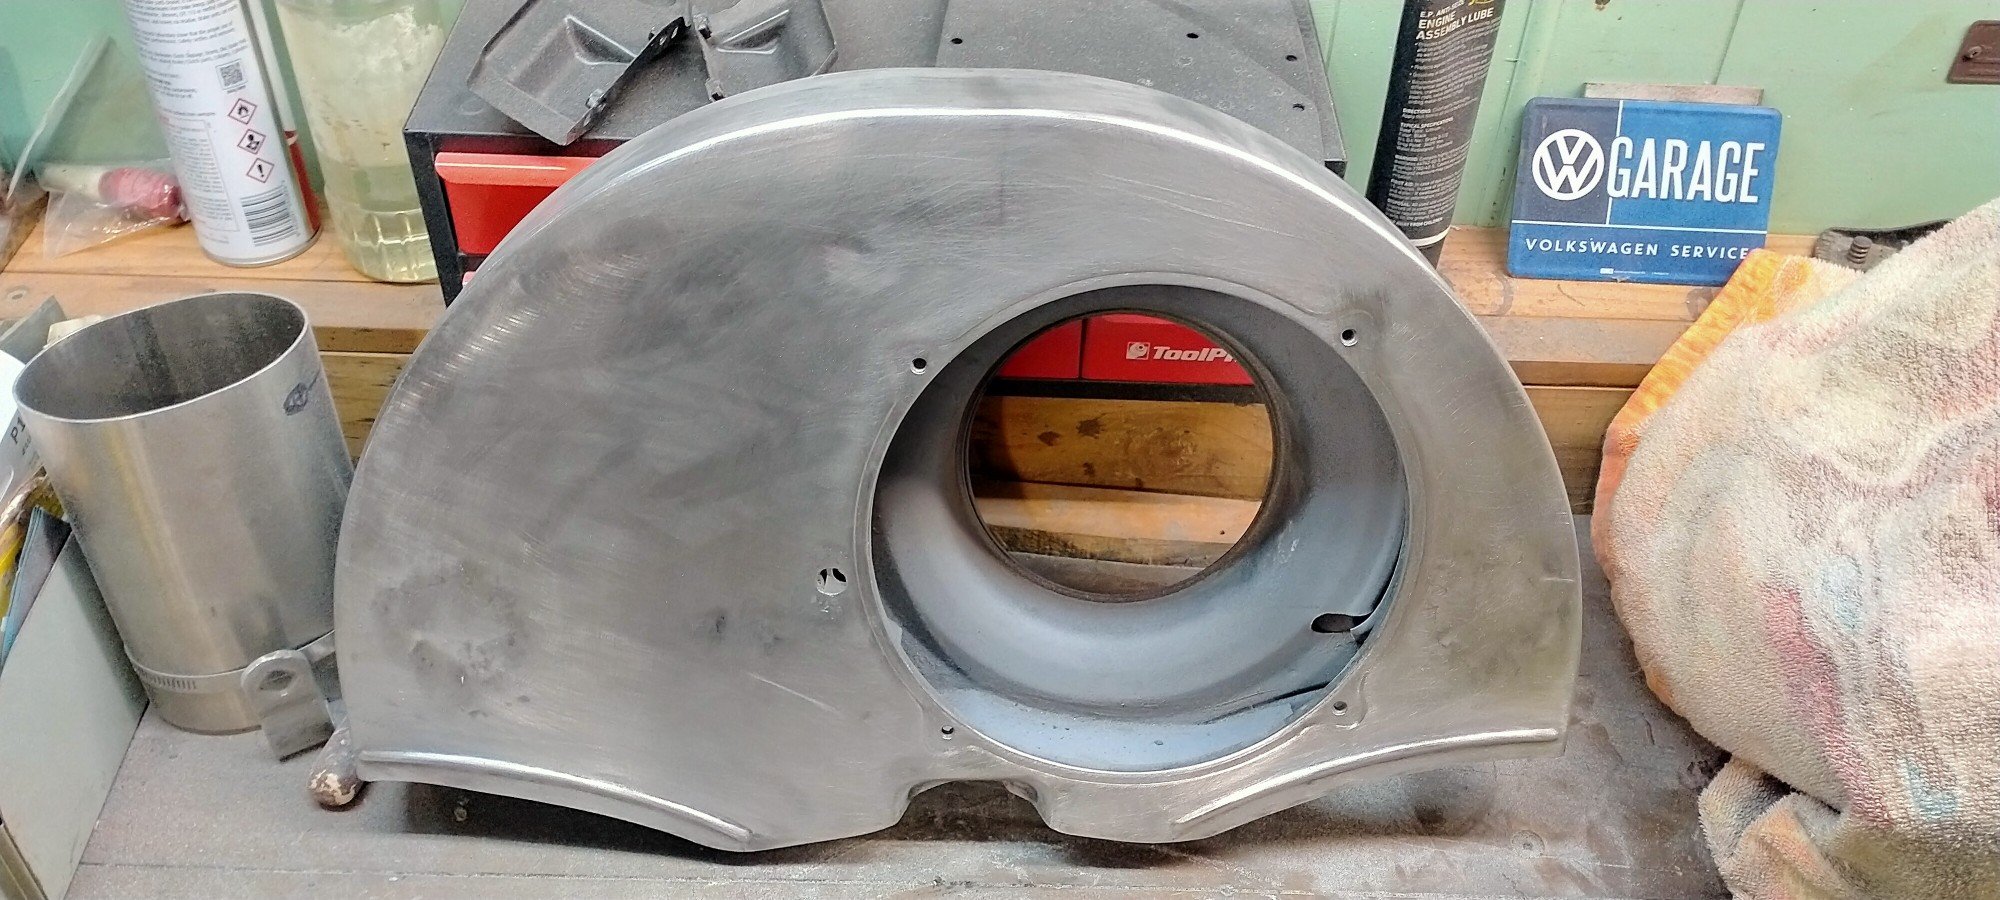
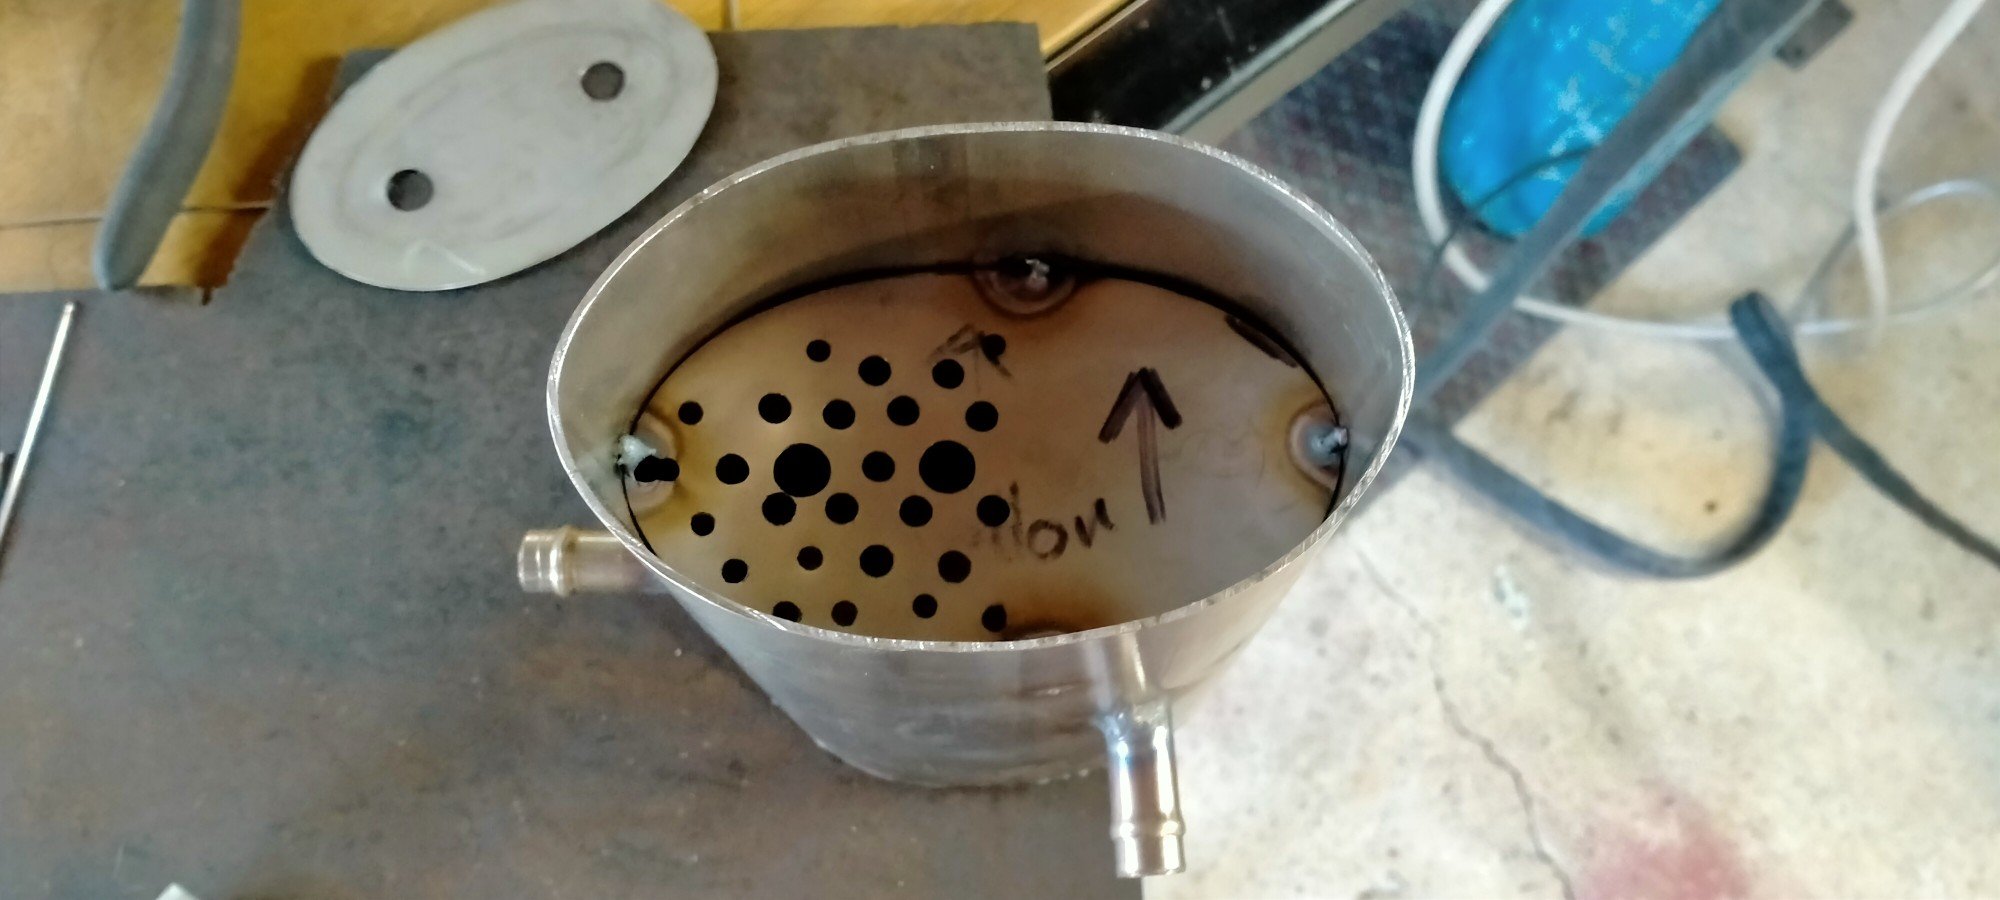
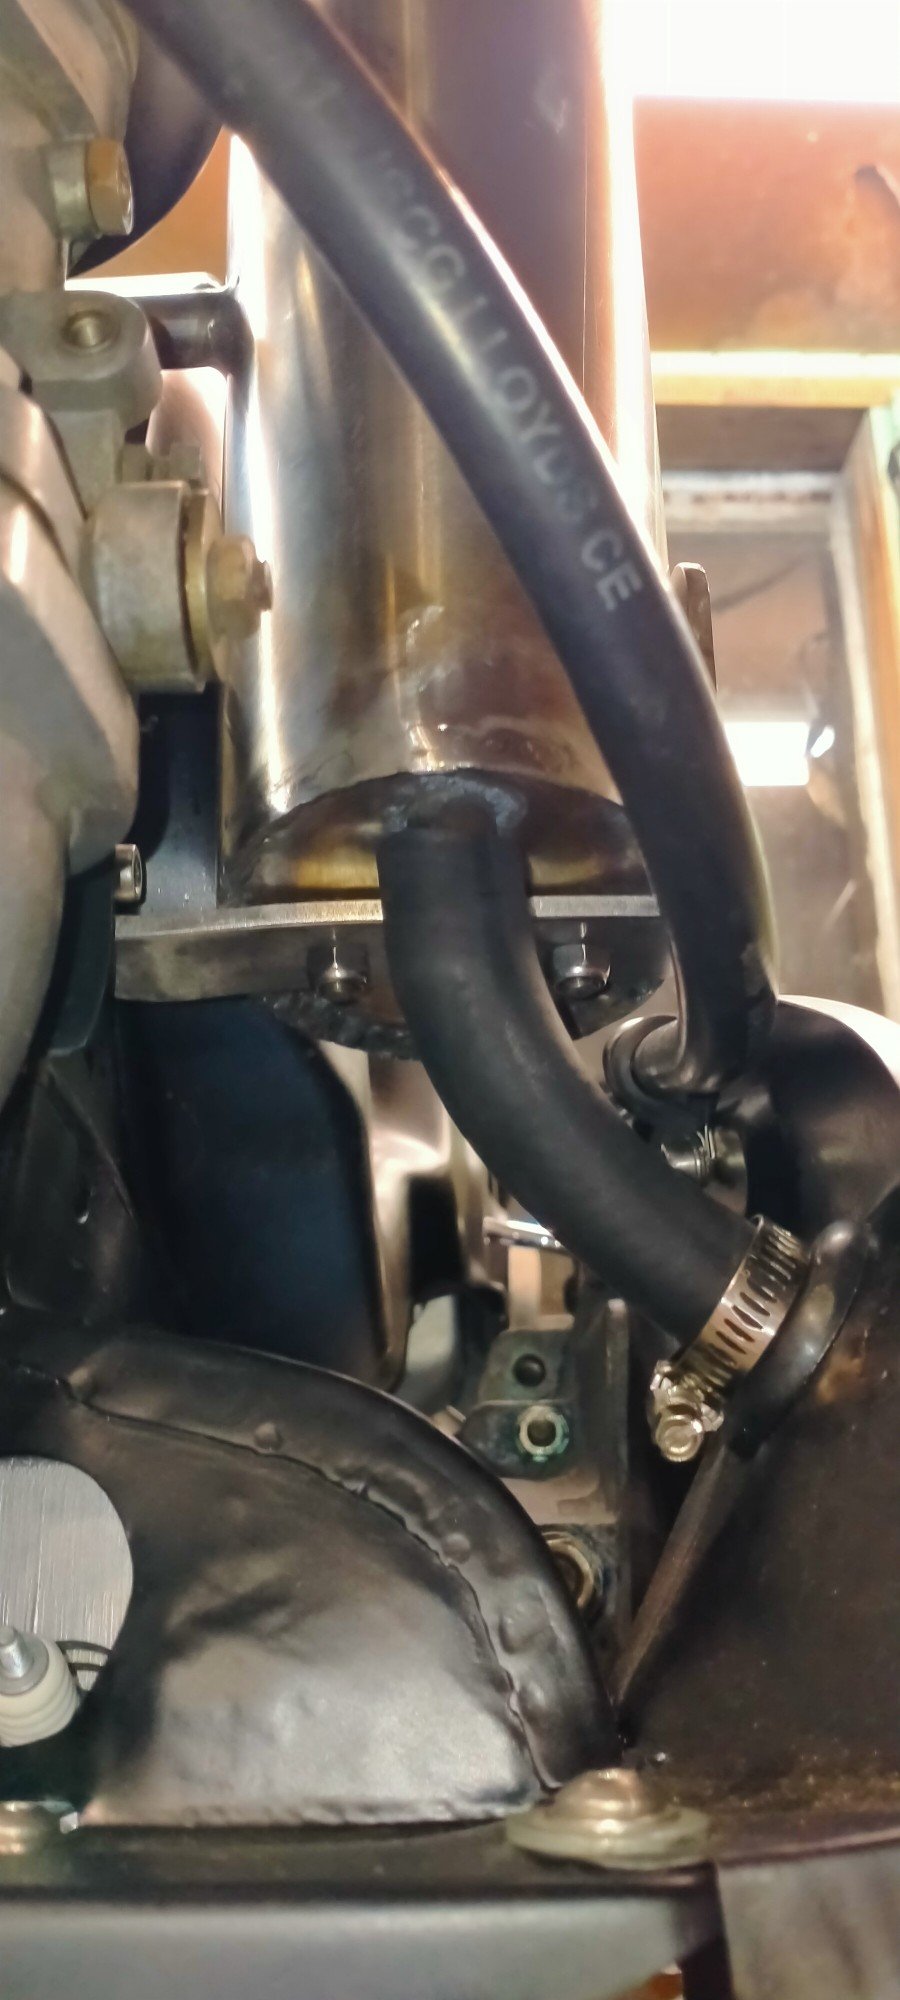
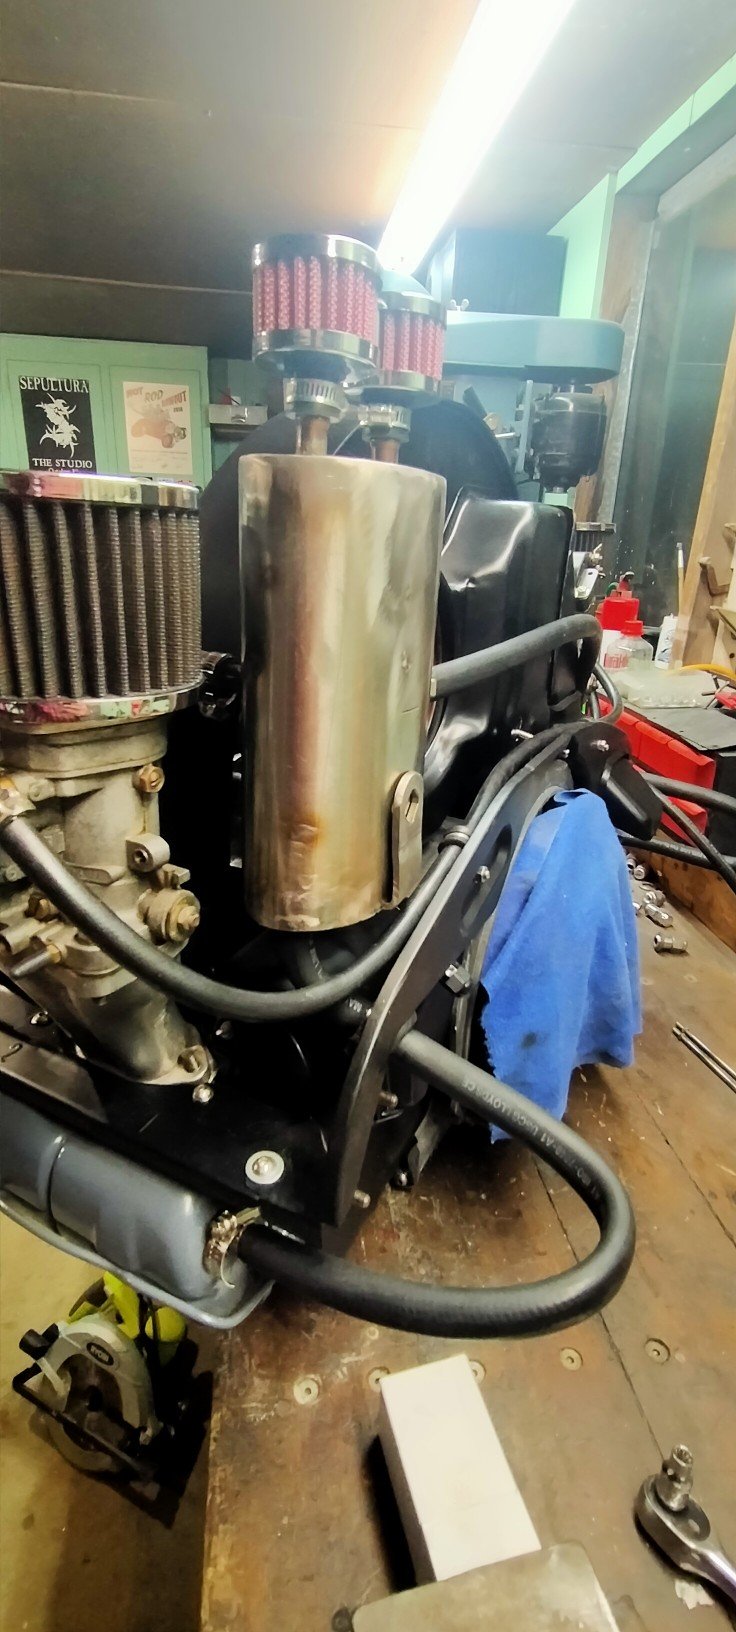
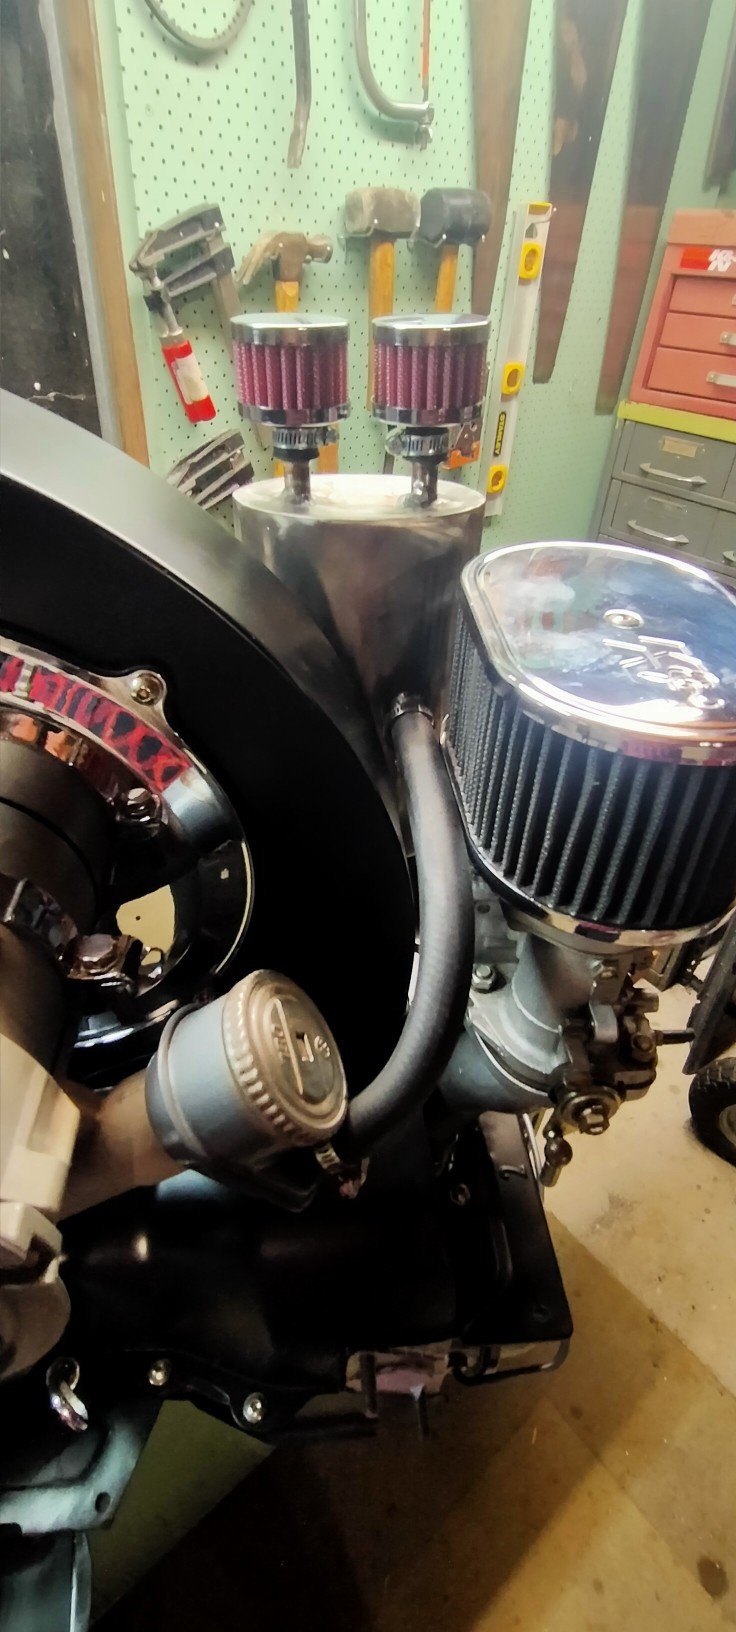
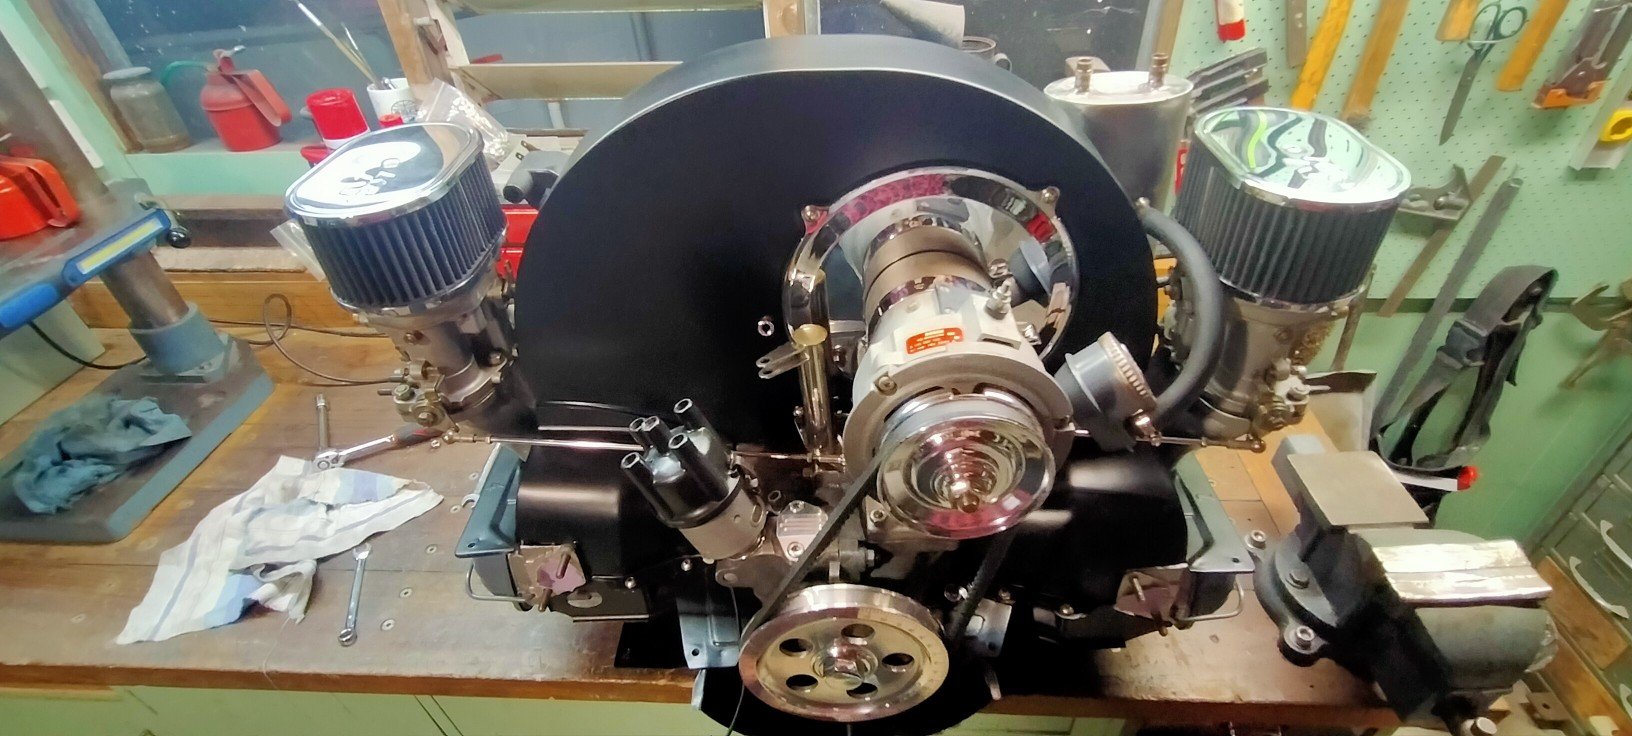
Have been slowly working towards reinstalling the engine into the actual car. Mocked up all the tinwear and even test fitted it in the engine bay to check all my mods and changes have improved anything and to also fit and design the oil breather can. Spent a lot of time getting the fan shroud looking nice, only to have the primer fry up on the old primer the was now under the bog, fuck me. What a mess. So... Stripped it all back and started again. My workmate volunteered to TIG up this thing I dreamed up. Looked for a off the shelf item but none were right. Made a mount from a old stainless vat handle I had laying about, the bottom pipe runs back into the rocker cover. The other cover and the crankcase breather go up top, air goes out the little air filters, hopefully. It has two studs welded on the bottom and I've got a big hose clamp to help secure it. After all the bog and paint and polishing, it does look pretty awesome.
- 254 replies
-
- 22
-
-
-
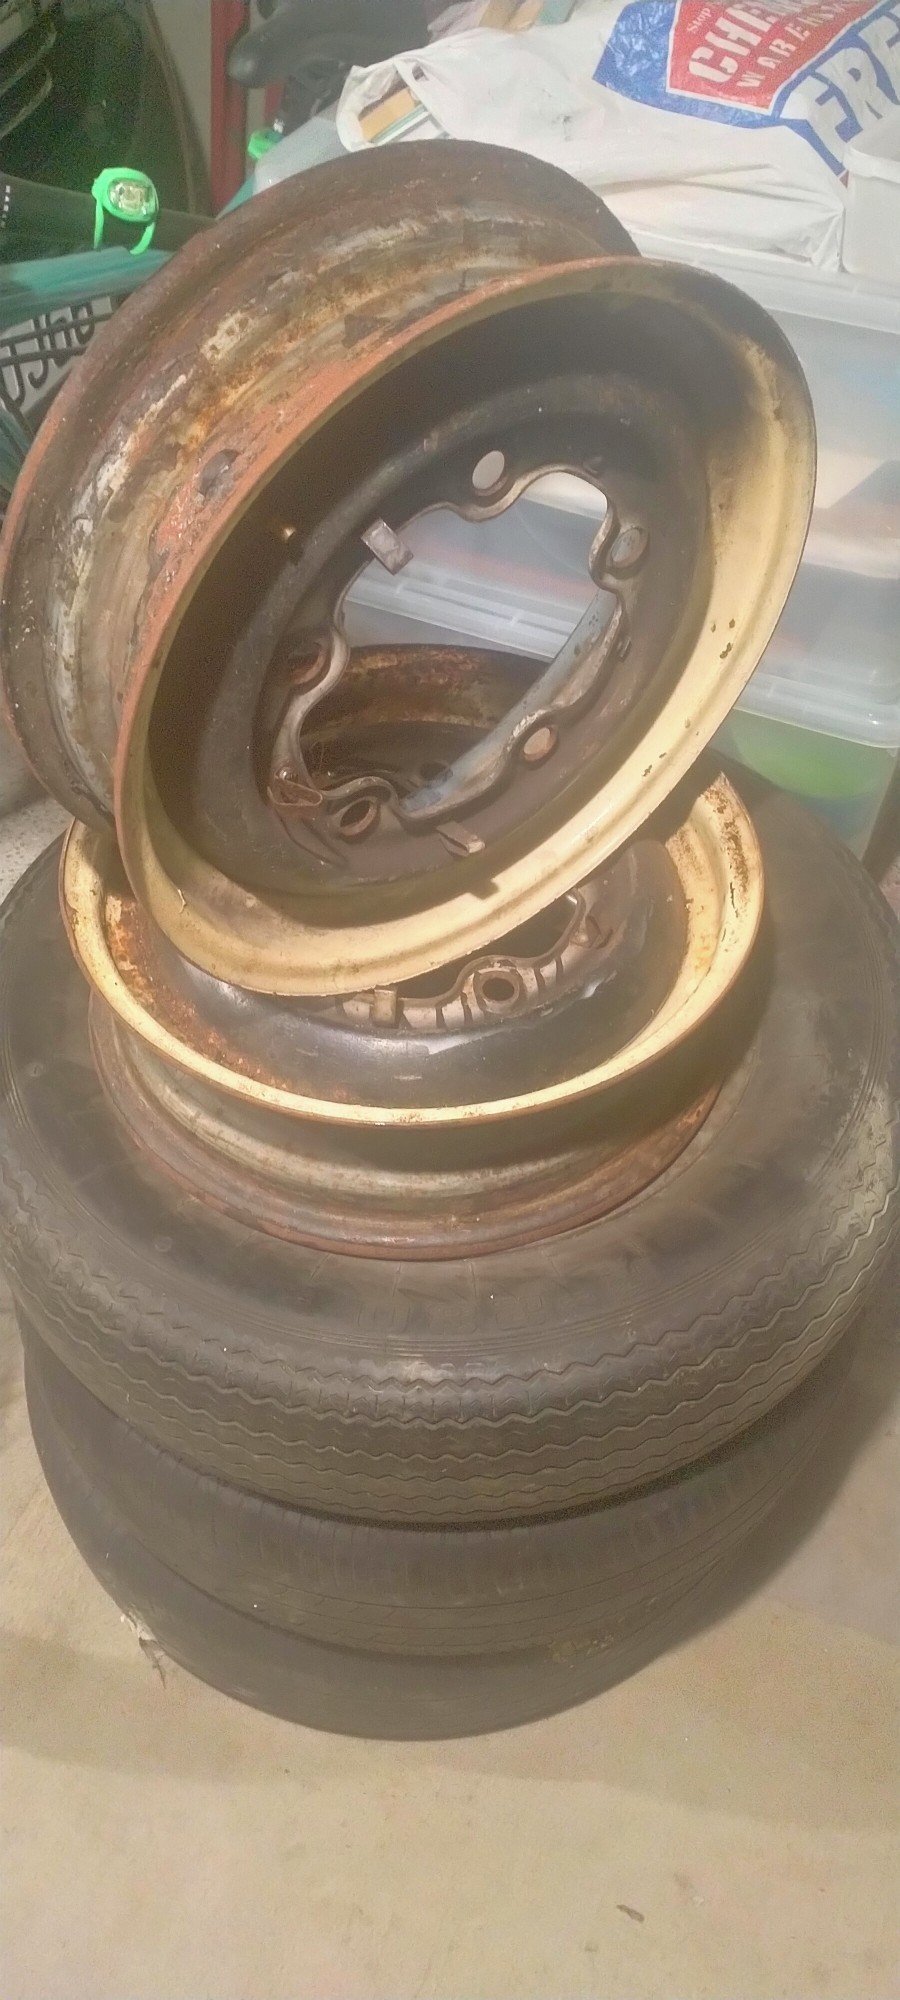
Appear to be 5inch wide also. Thanks, actually got a set of 4 plus one other and I have my spare wheel.
-
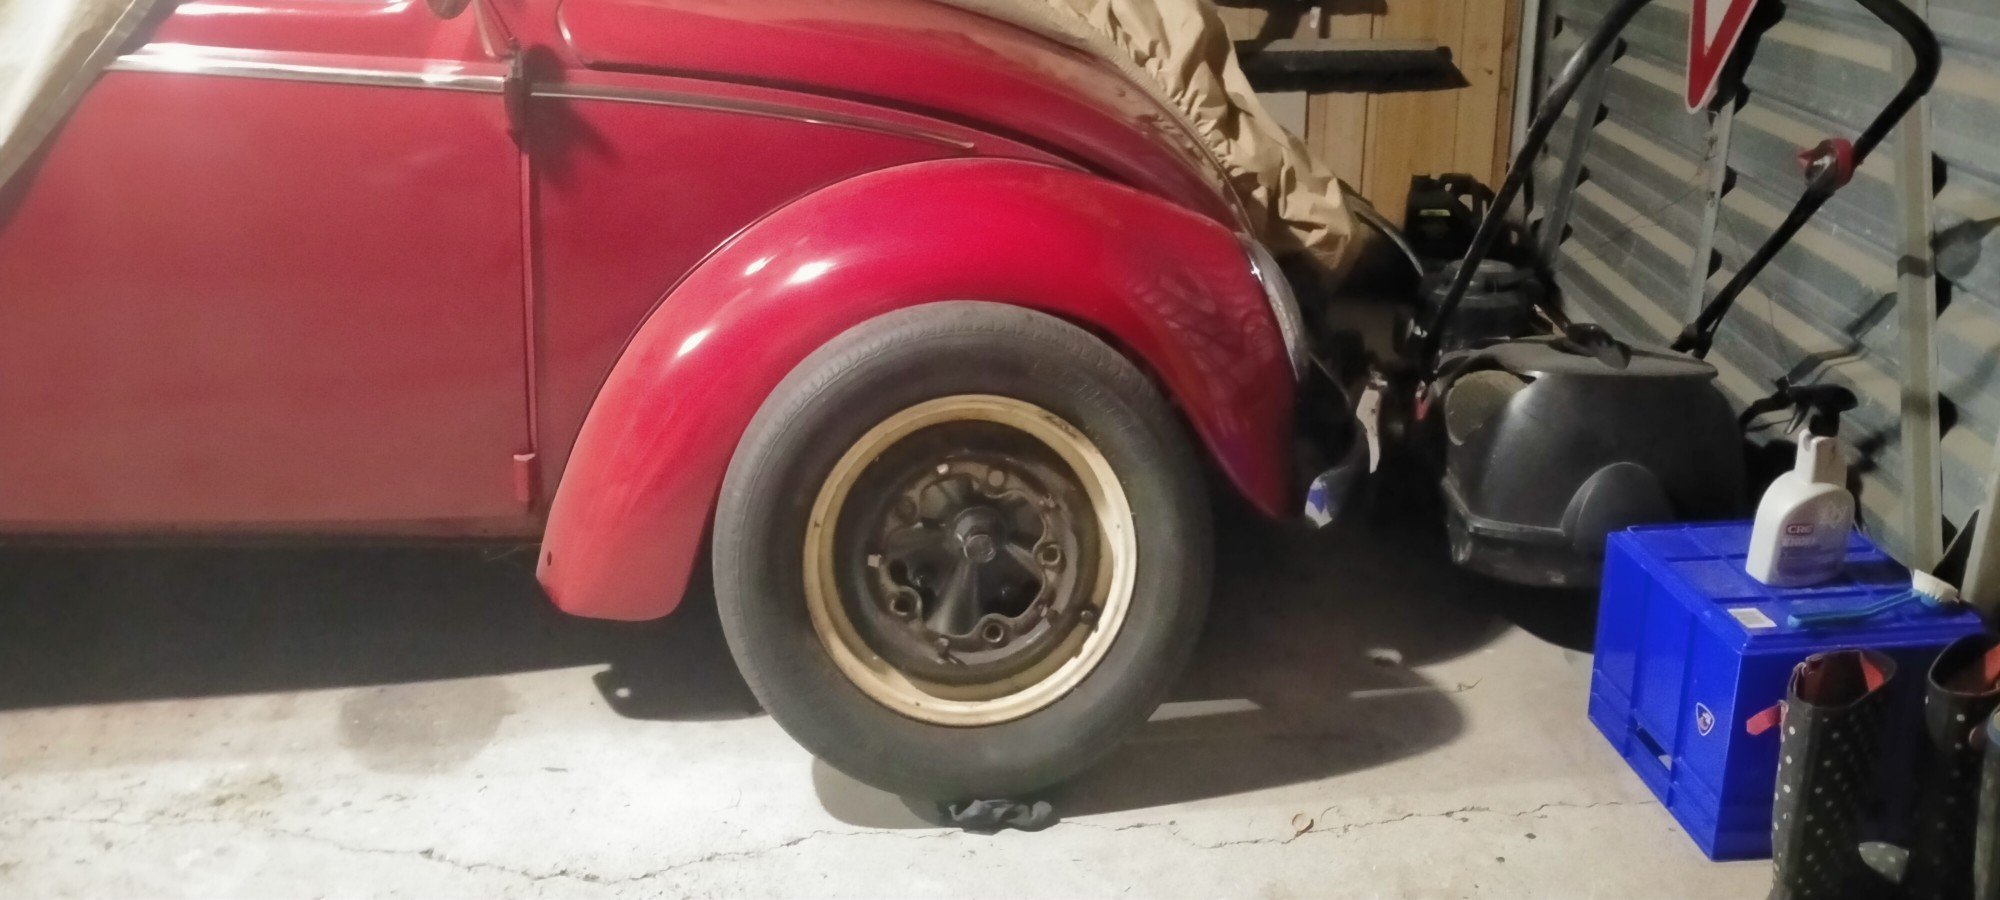
I've been looking for some steel rims for ages, the empi 5s could do with a repaint and I think they might polish up nice. Found these on TM and snapped them up for 20bucks! So these will need striping and painting then swapped out and then the alloys can have a birthday. Would completely change the look.
- 254 replies
-
- 16
-
-
-
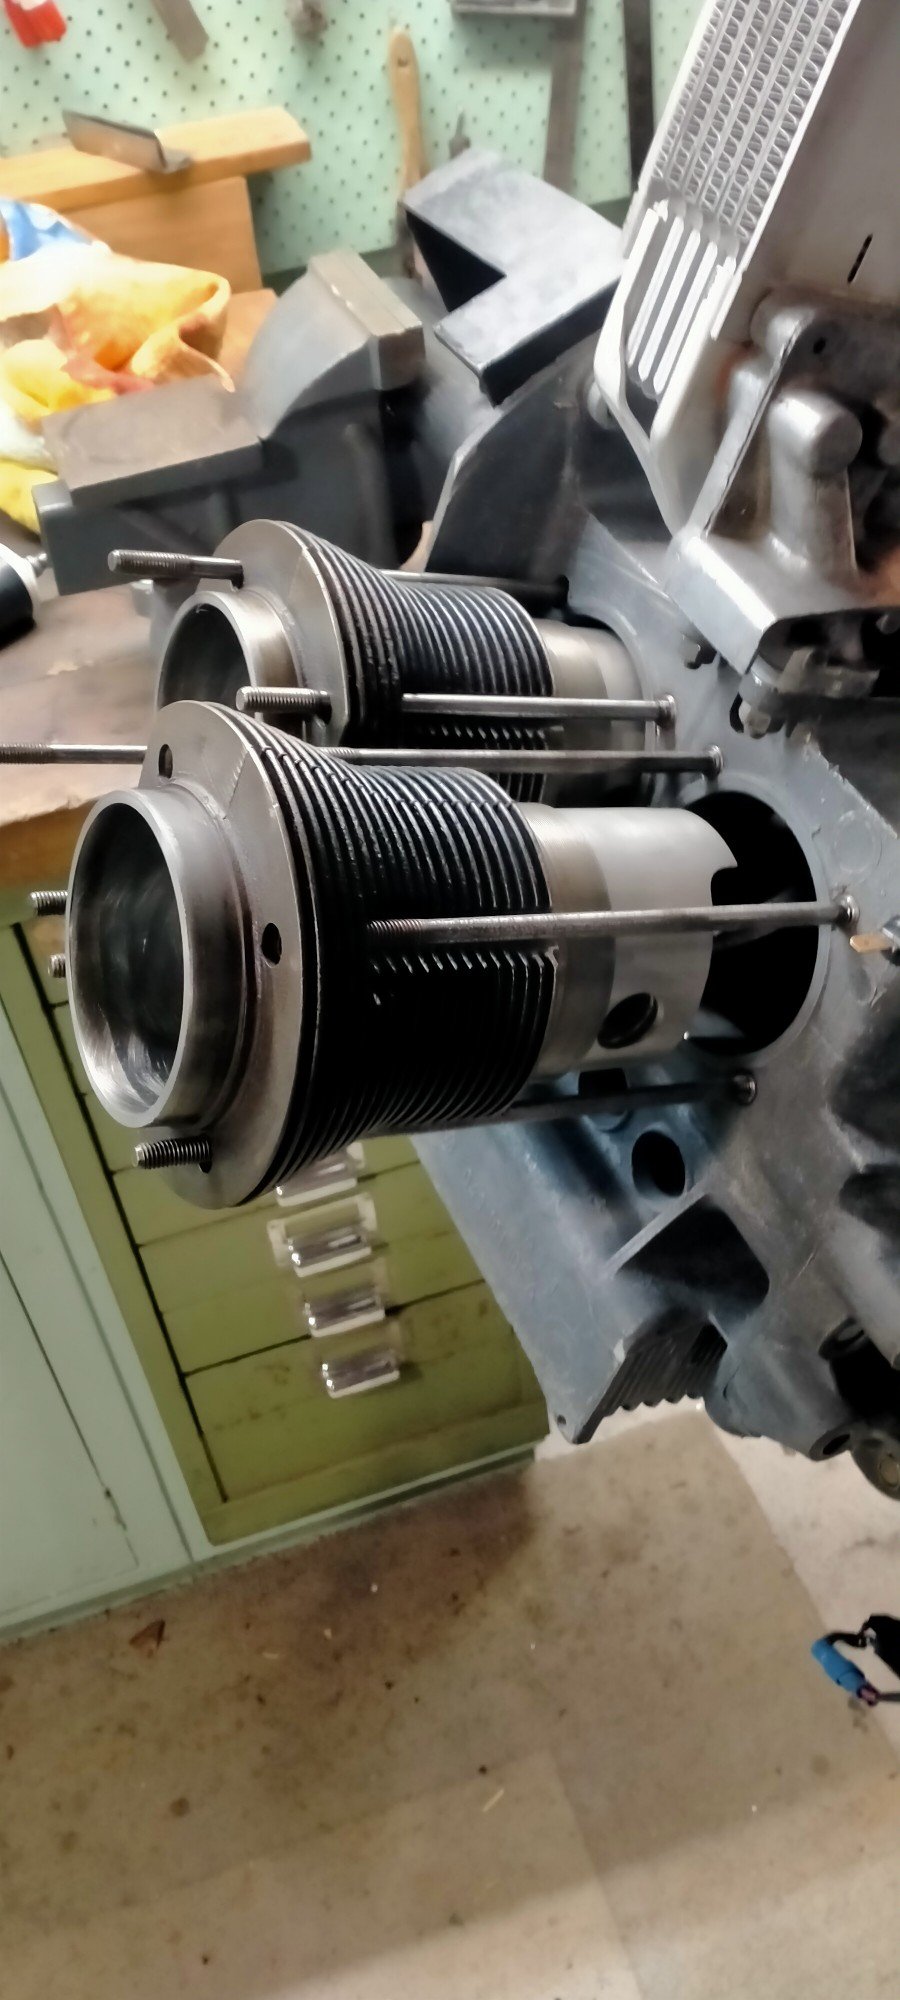
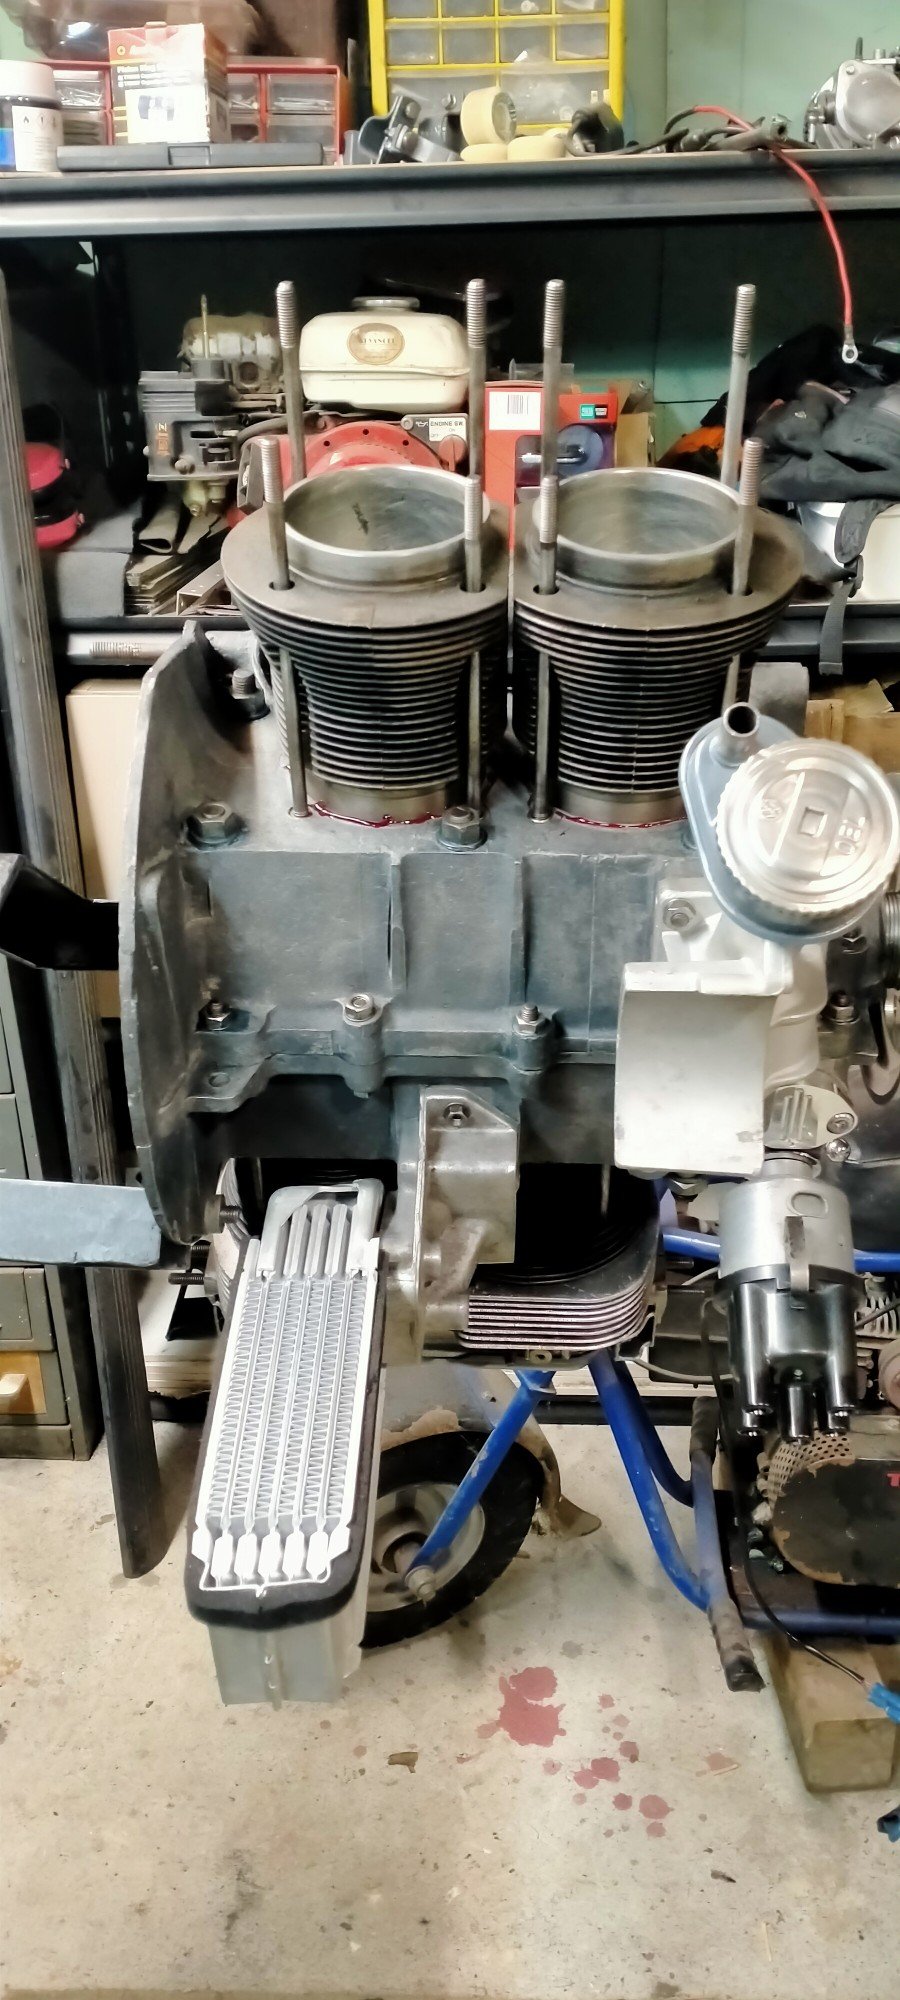
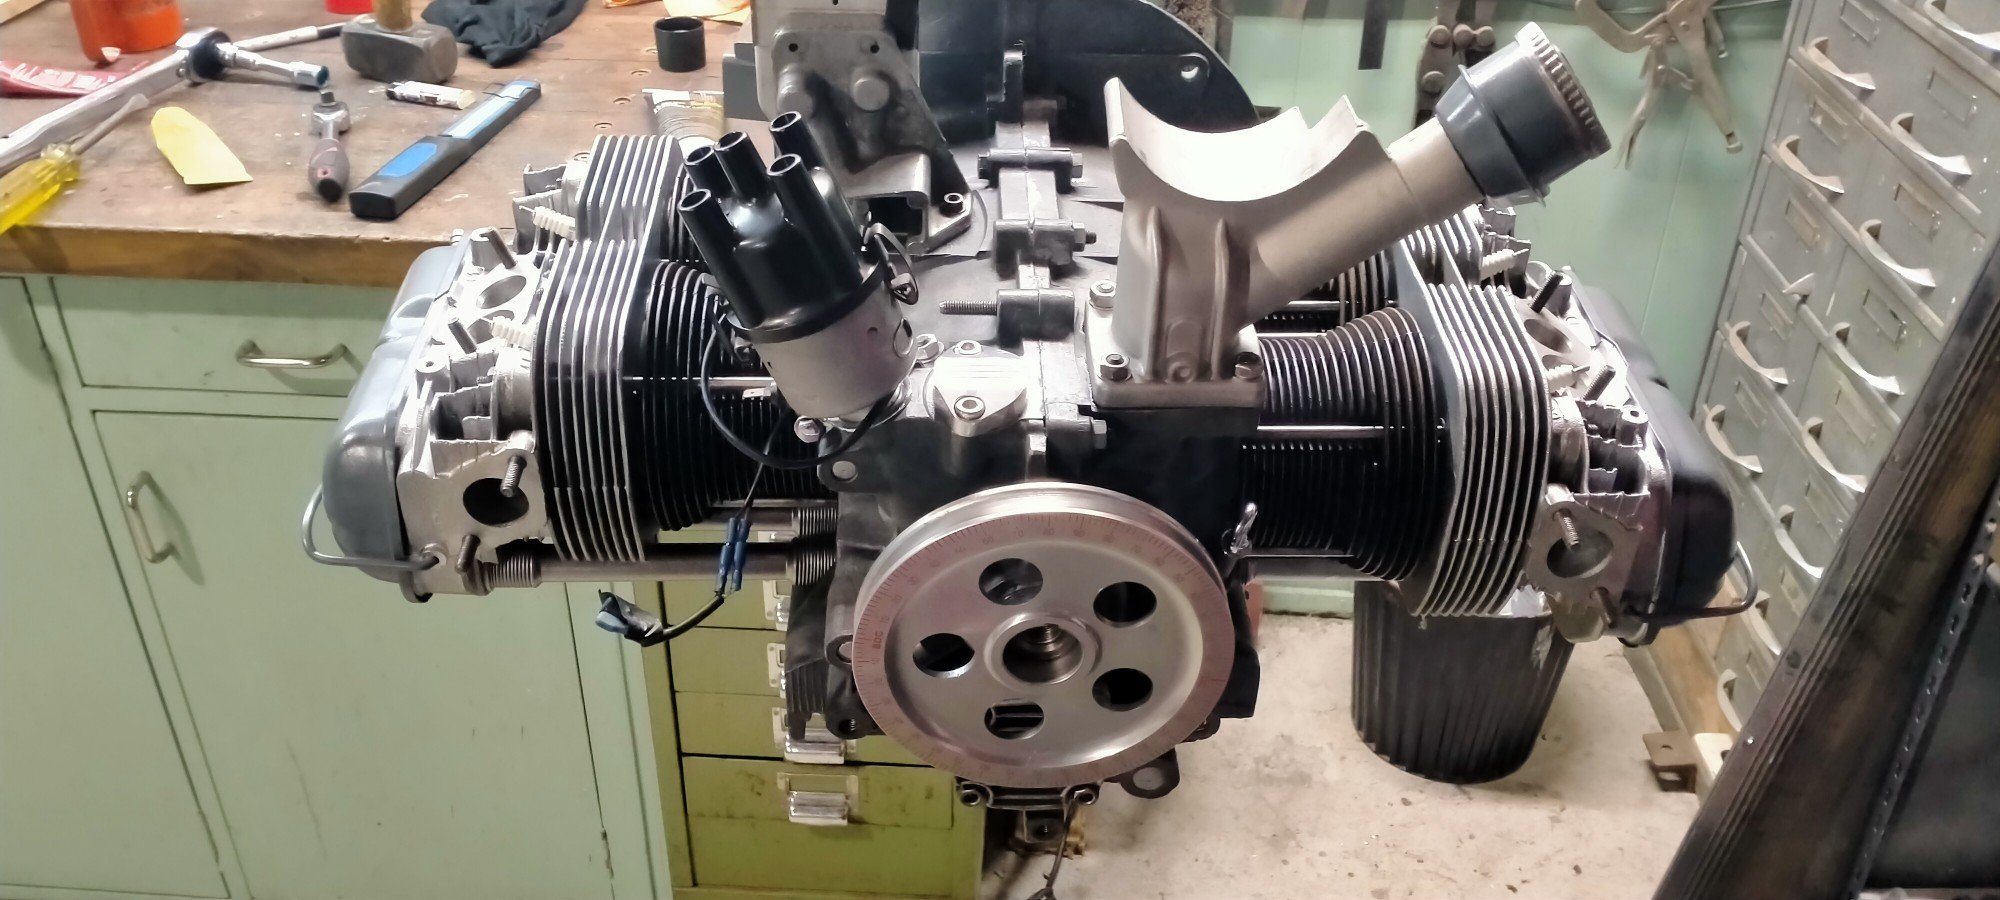
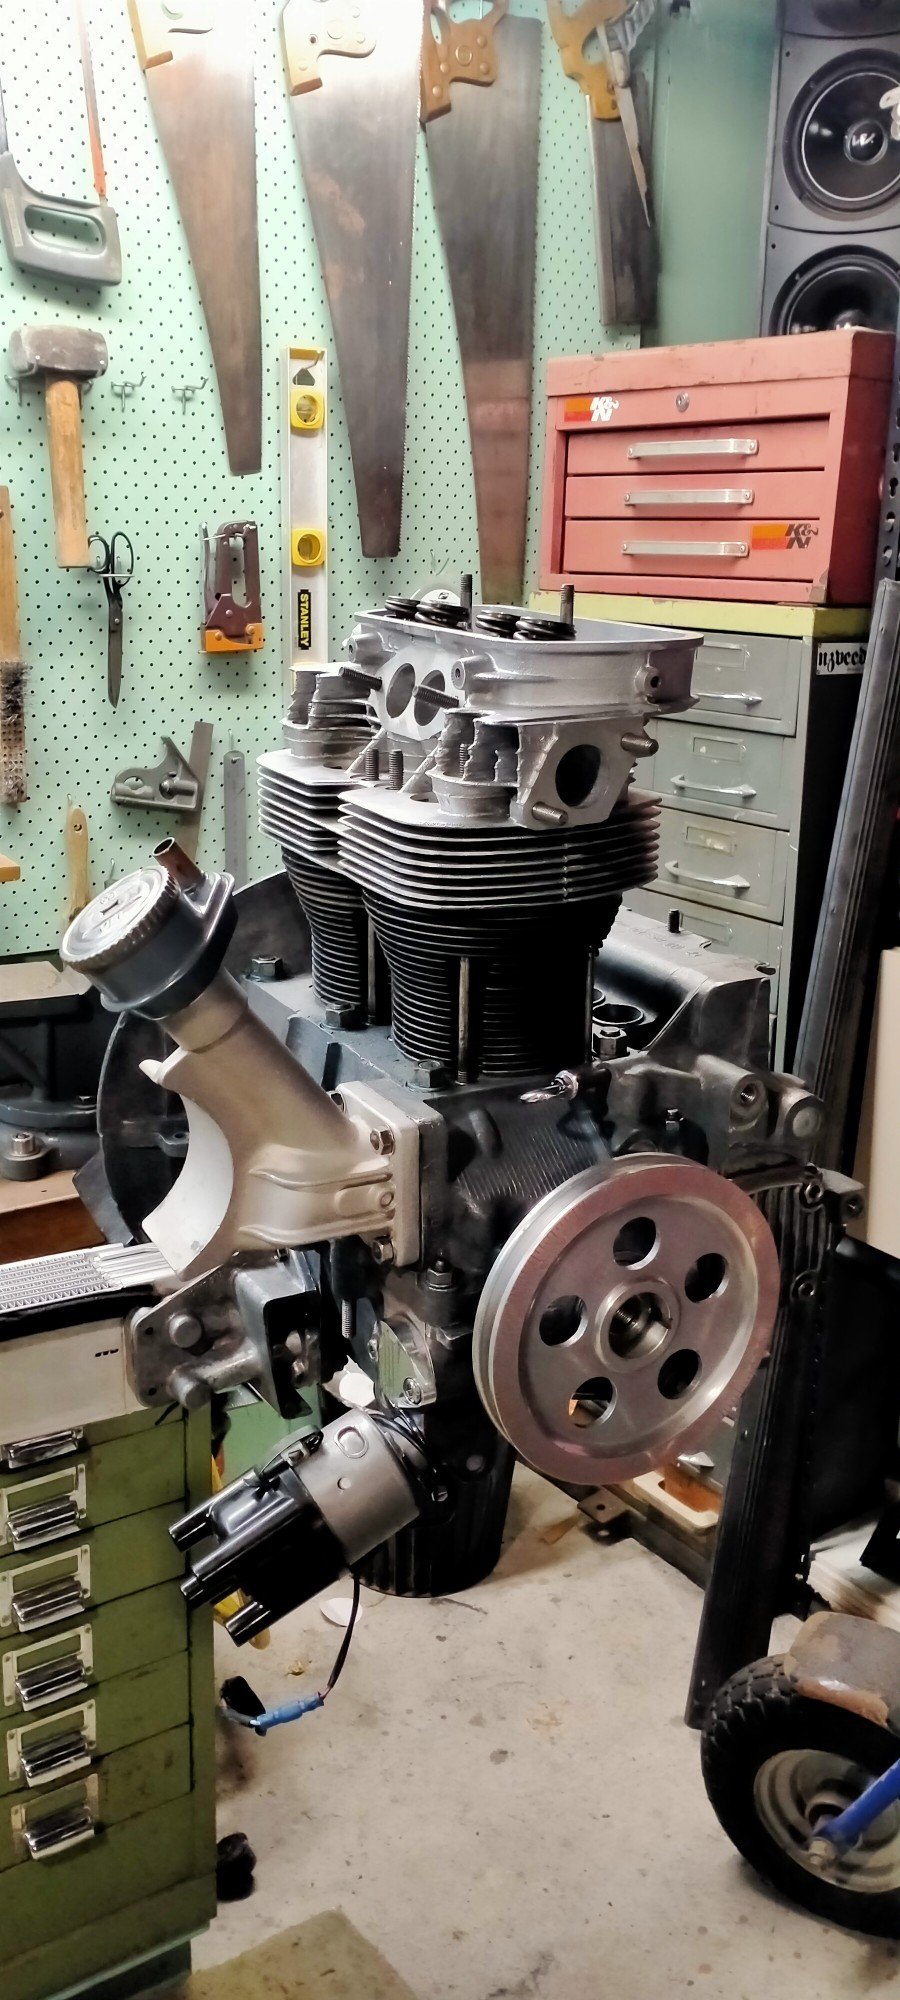
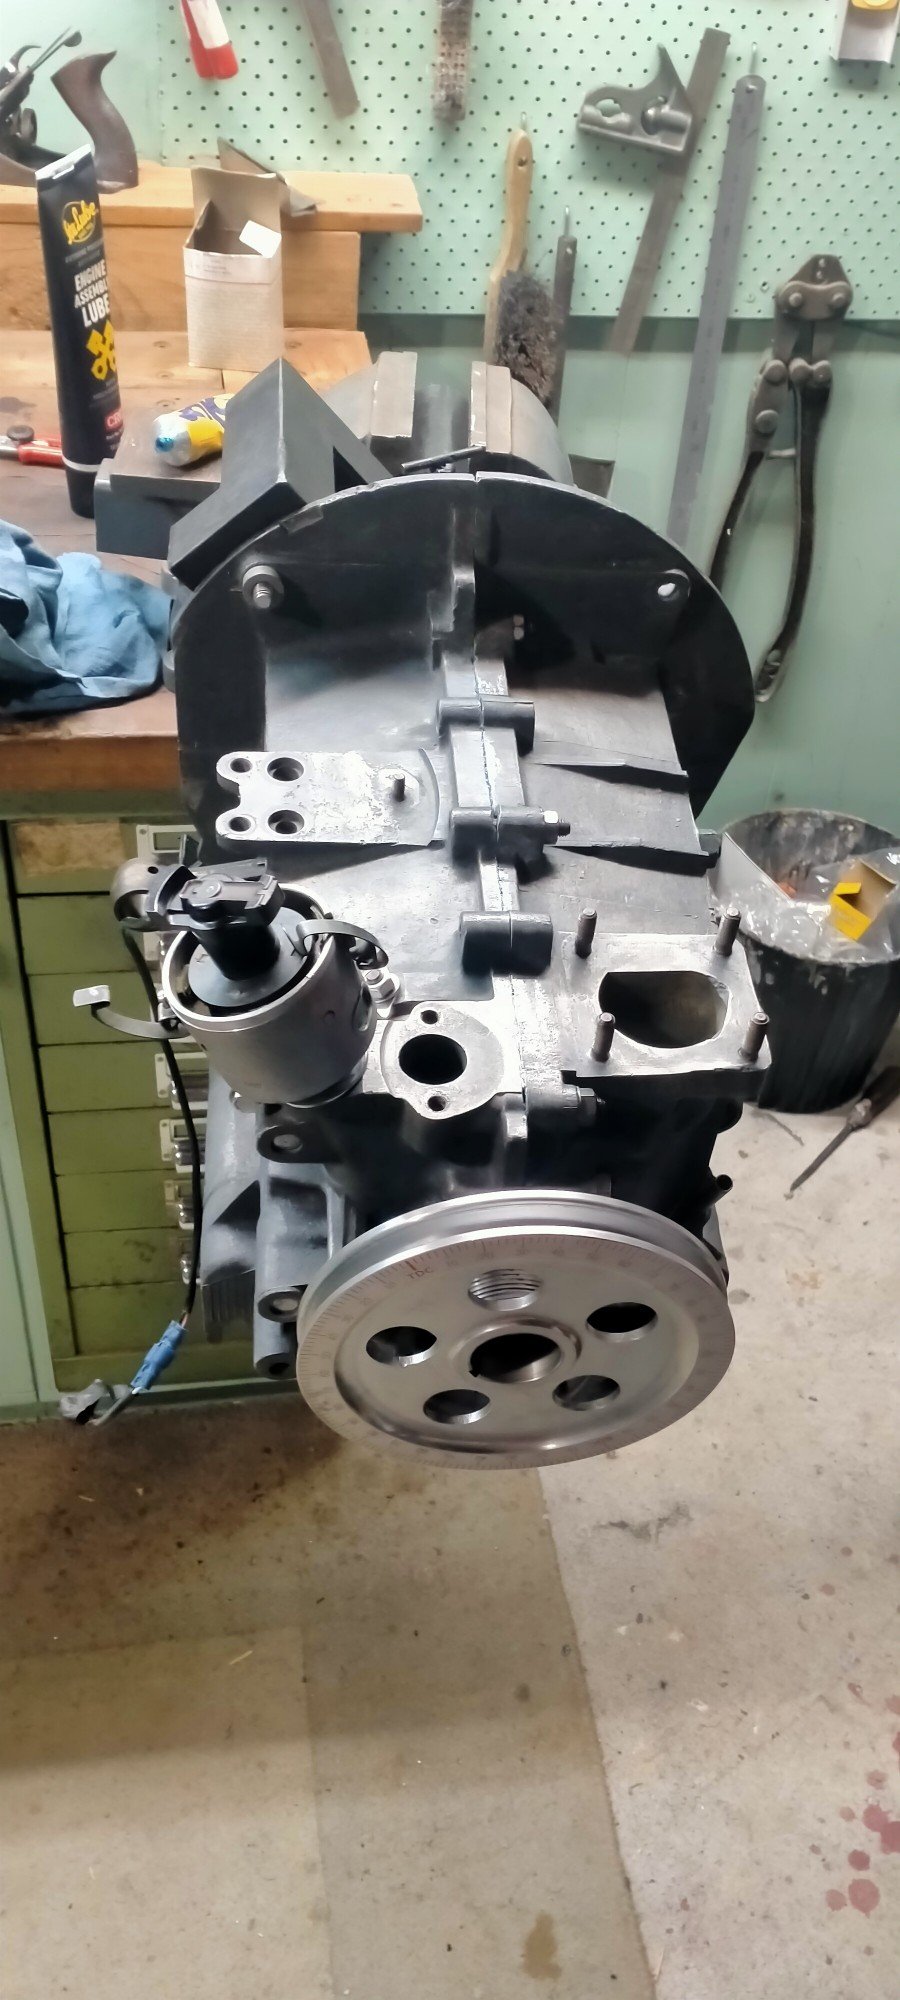
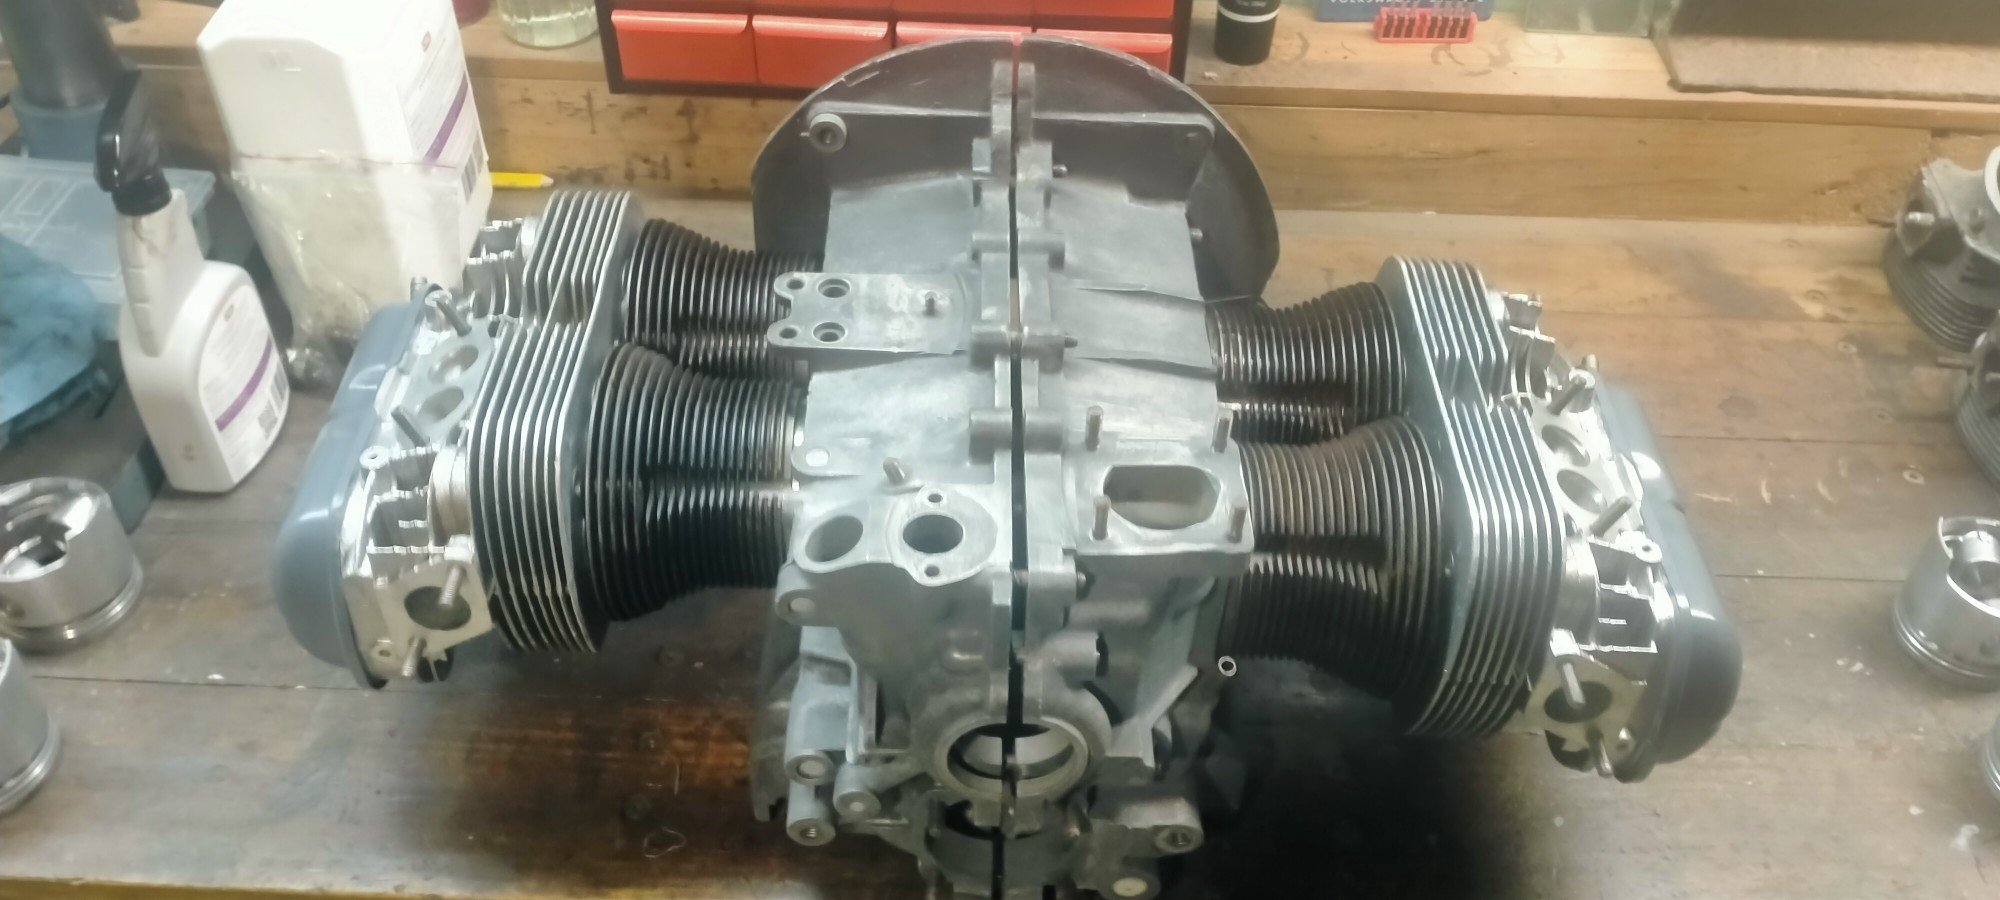
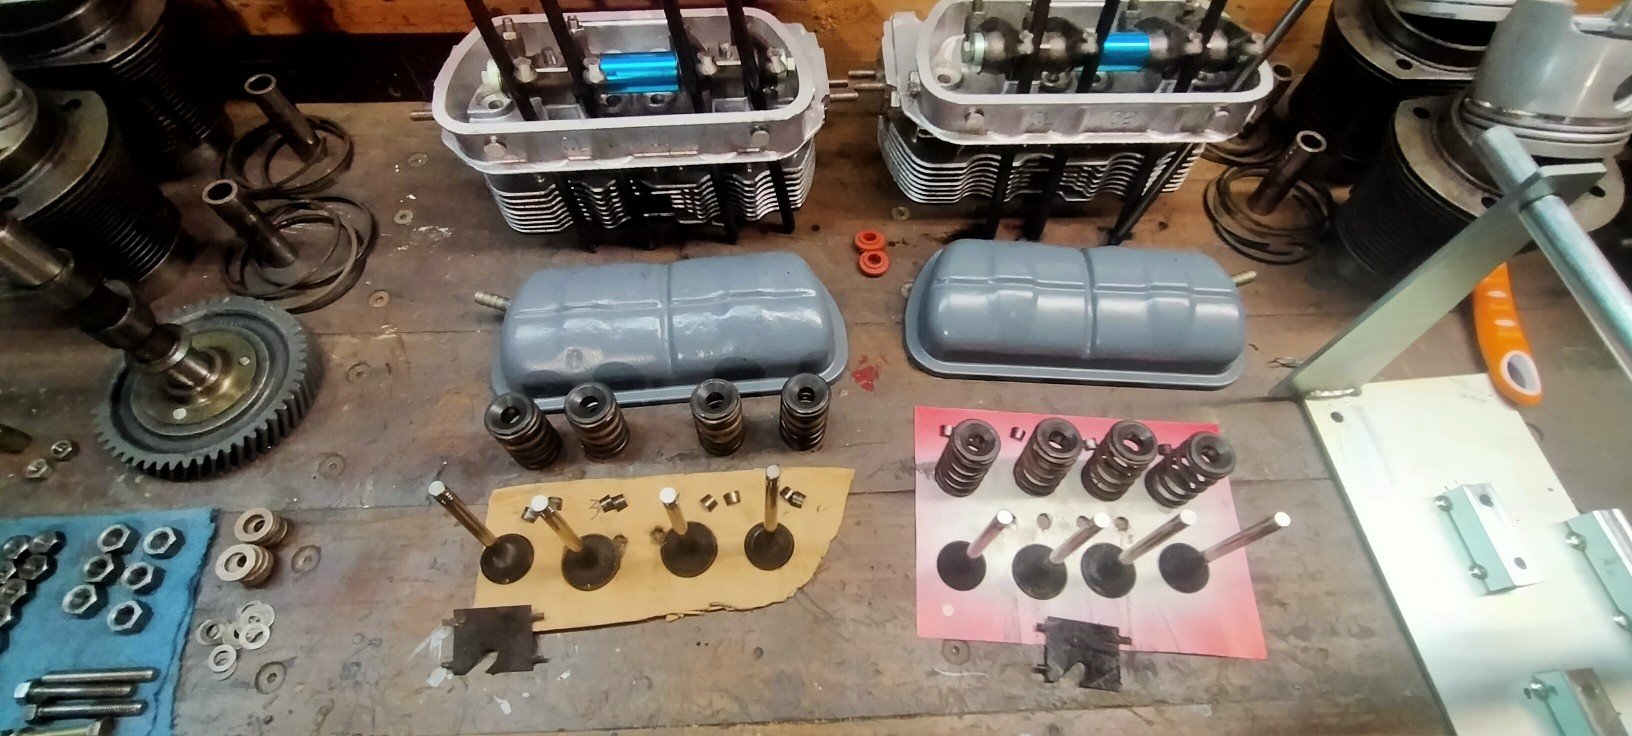
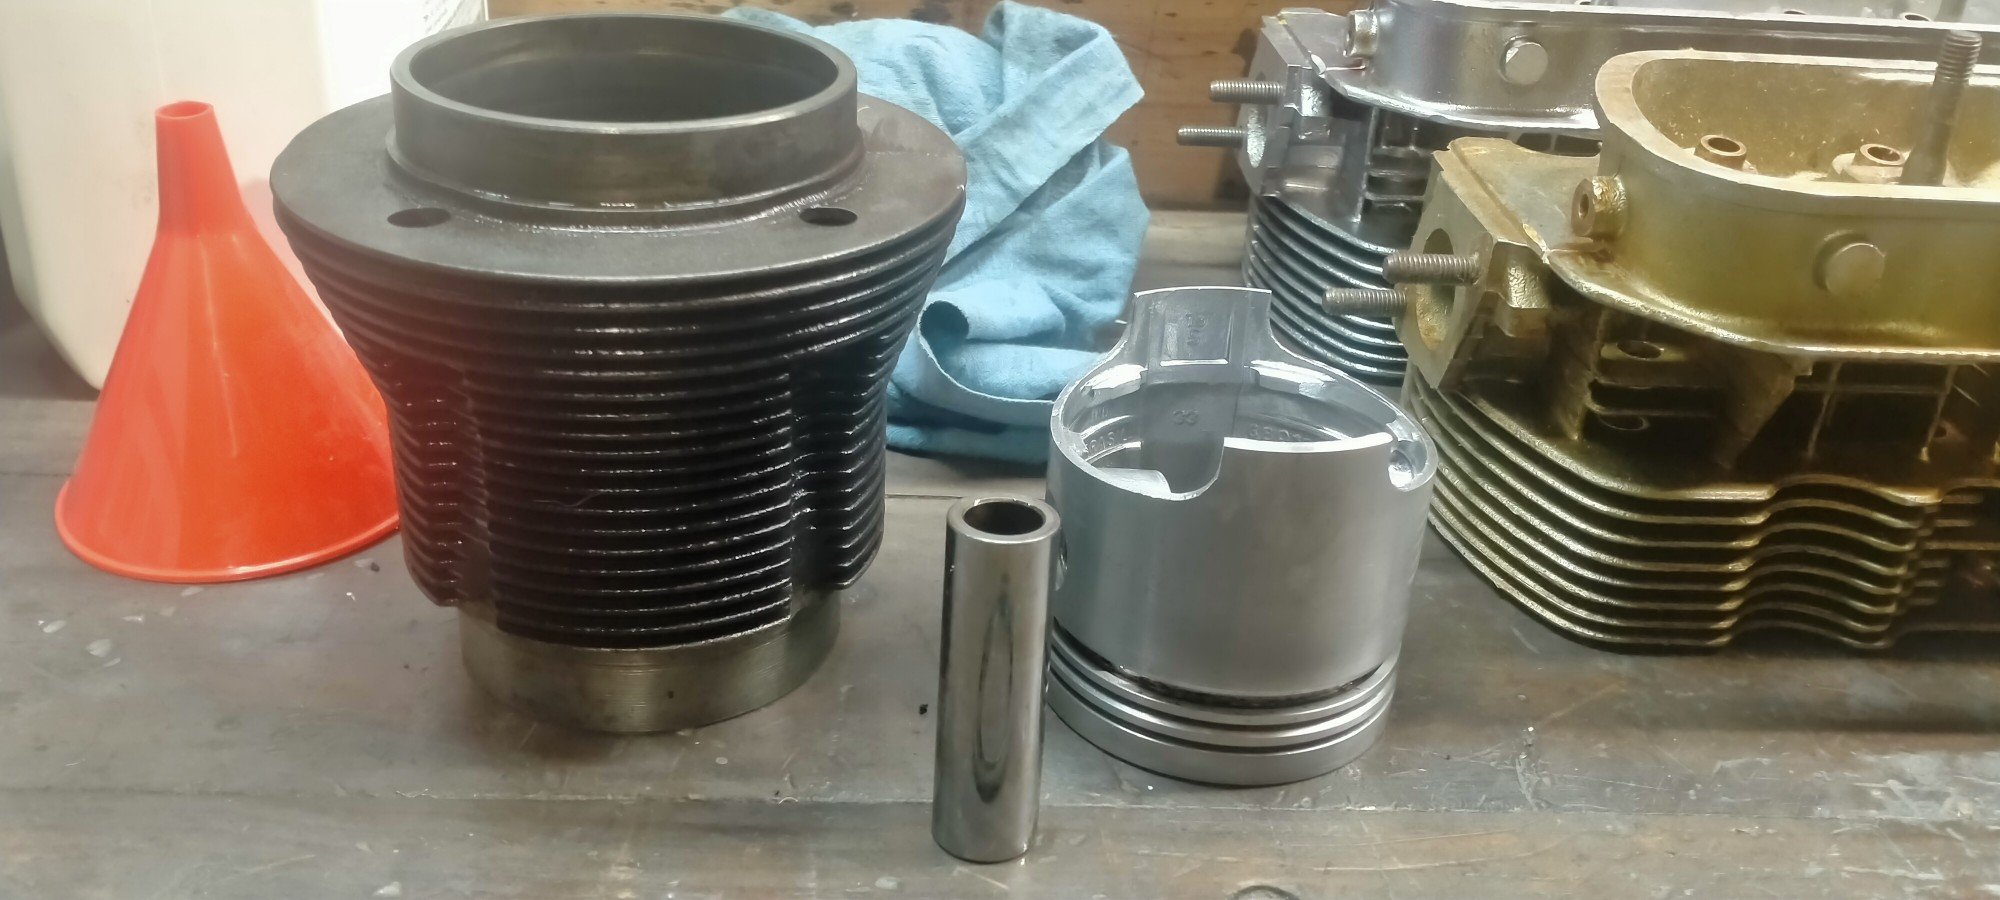
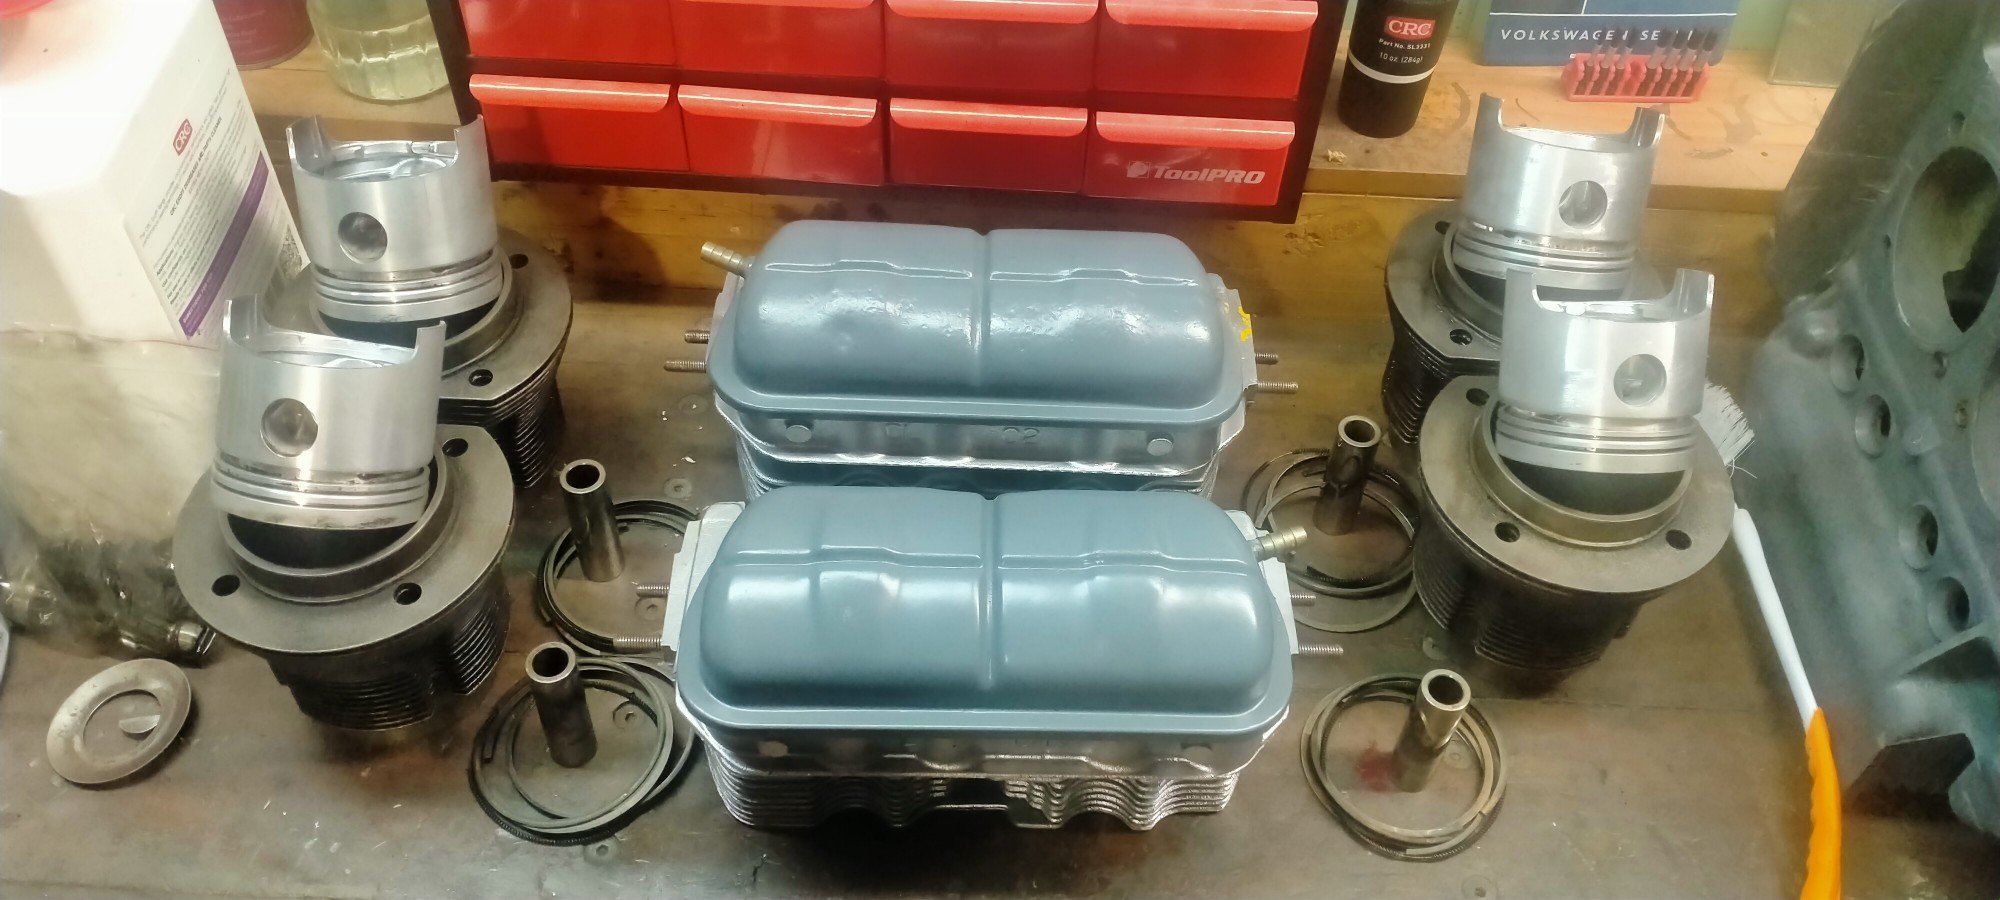
So with the short block done and the heads prepped, it was time to close it all up together. Also a good time to attach the oil cooler. Sparkplugs will never be this easy to install. Inside will never be this clean! Borrowed Darrell's hone and refreshed the cylinders. The trick is to use the ring compressor to install the pistons inside the jugs, then slide them onto the head rods, install the pins through the conrods and then seal the cylinders to the case and bolt on the heads. Quite the fuck around. All the while holding the pushrod tubes in place. Not forgetting to install the lower air deflectors like me! 180 degrees and repeat. Nearly a complete vw engine!
- 254 replies
-
- 36
-
-
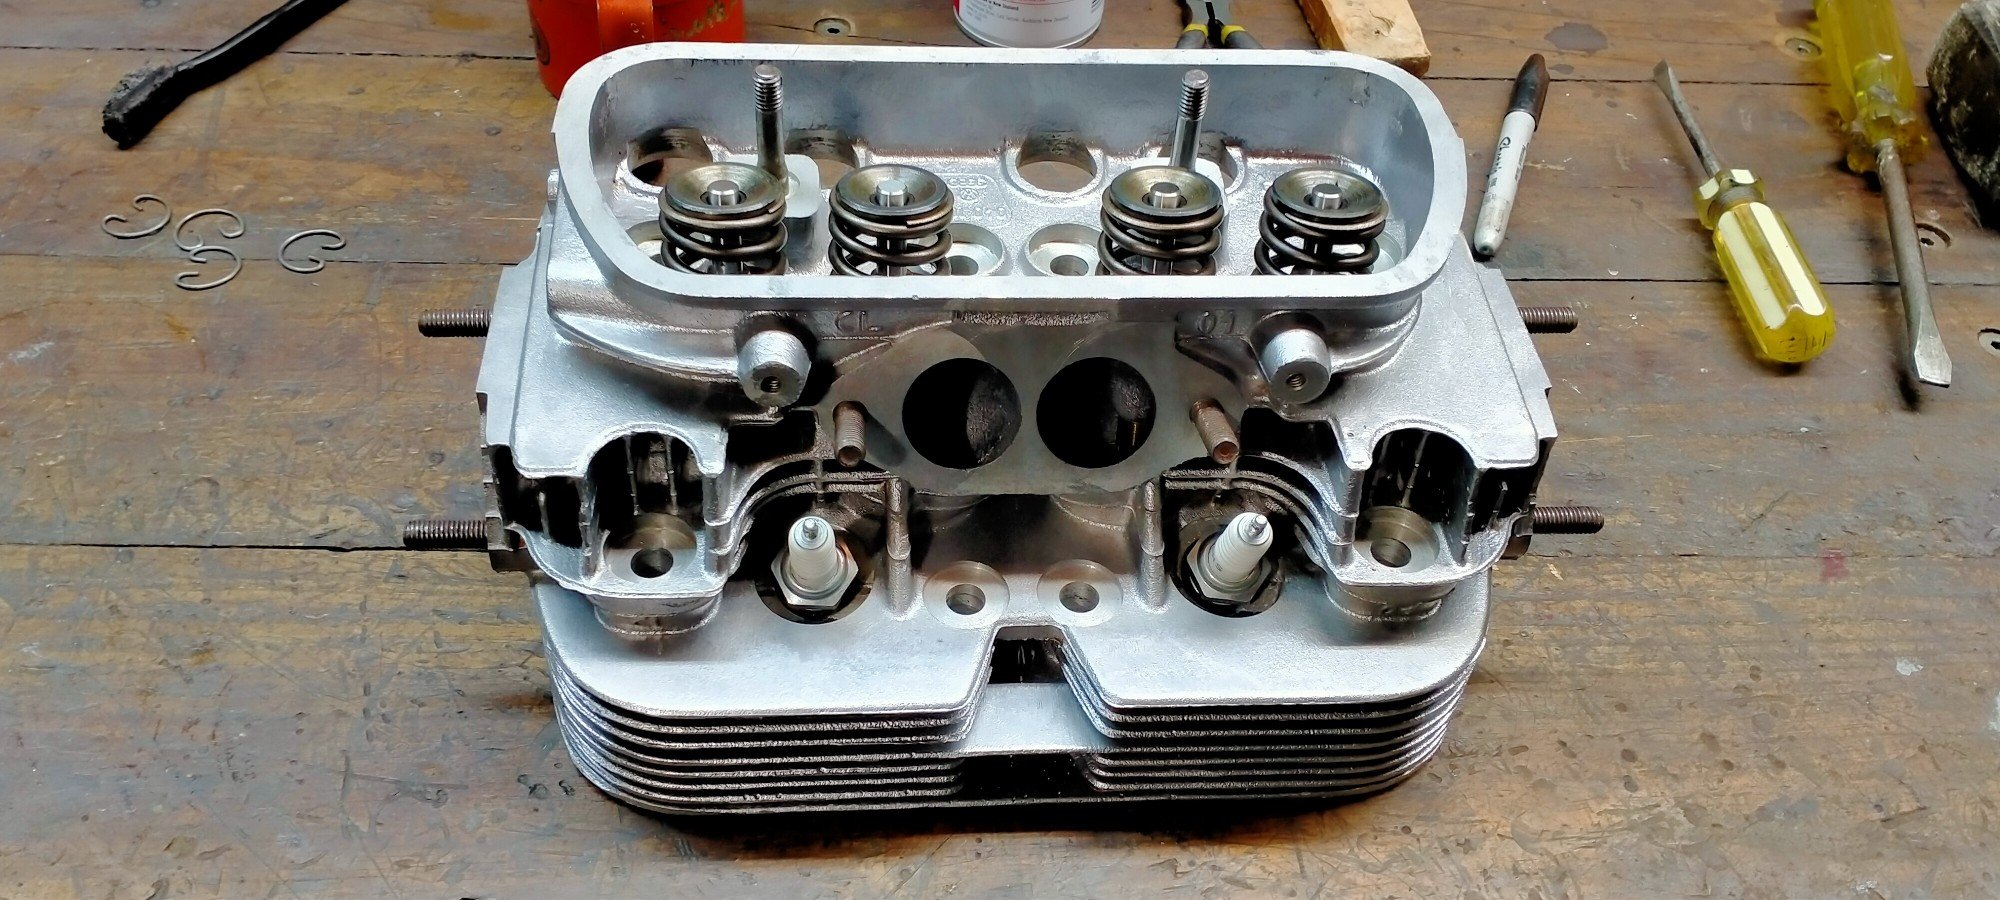
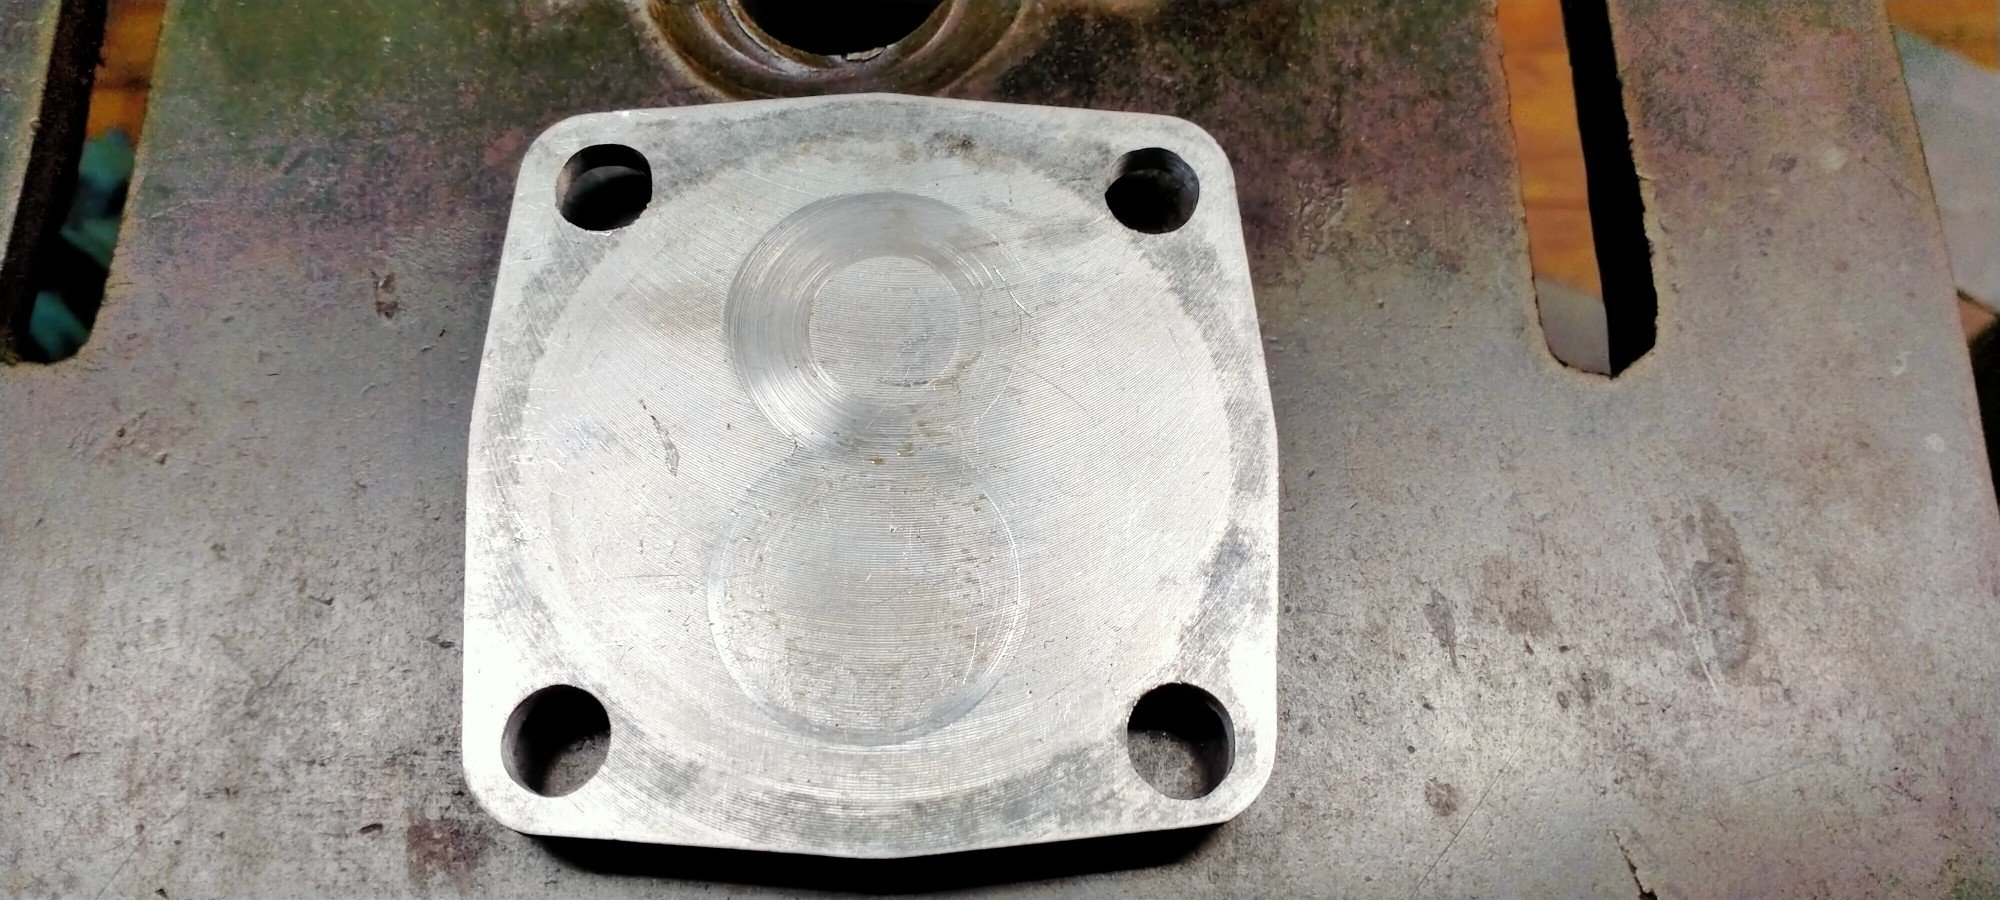
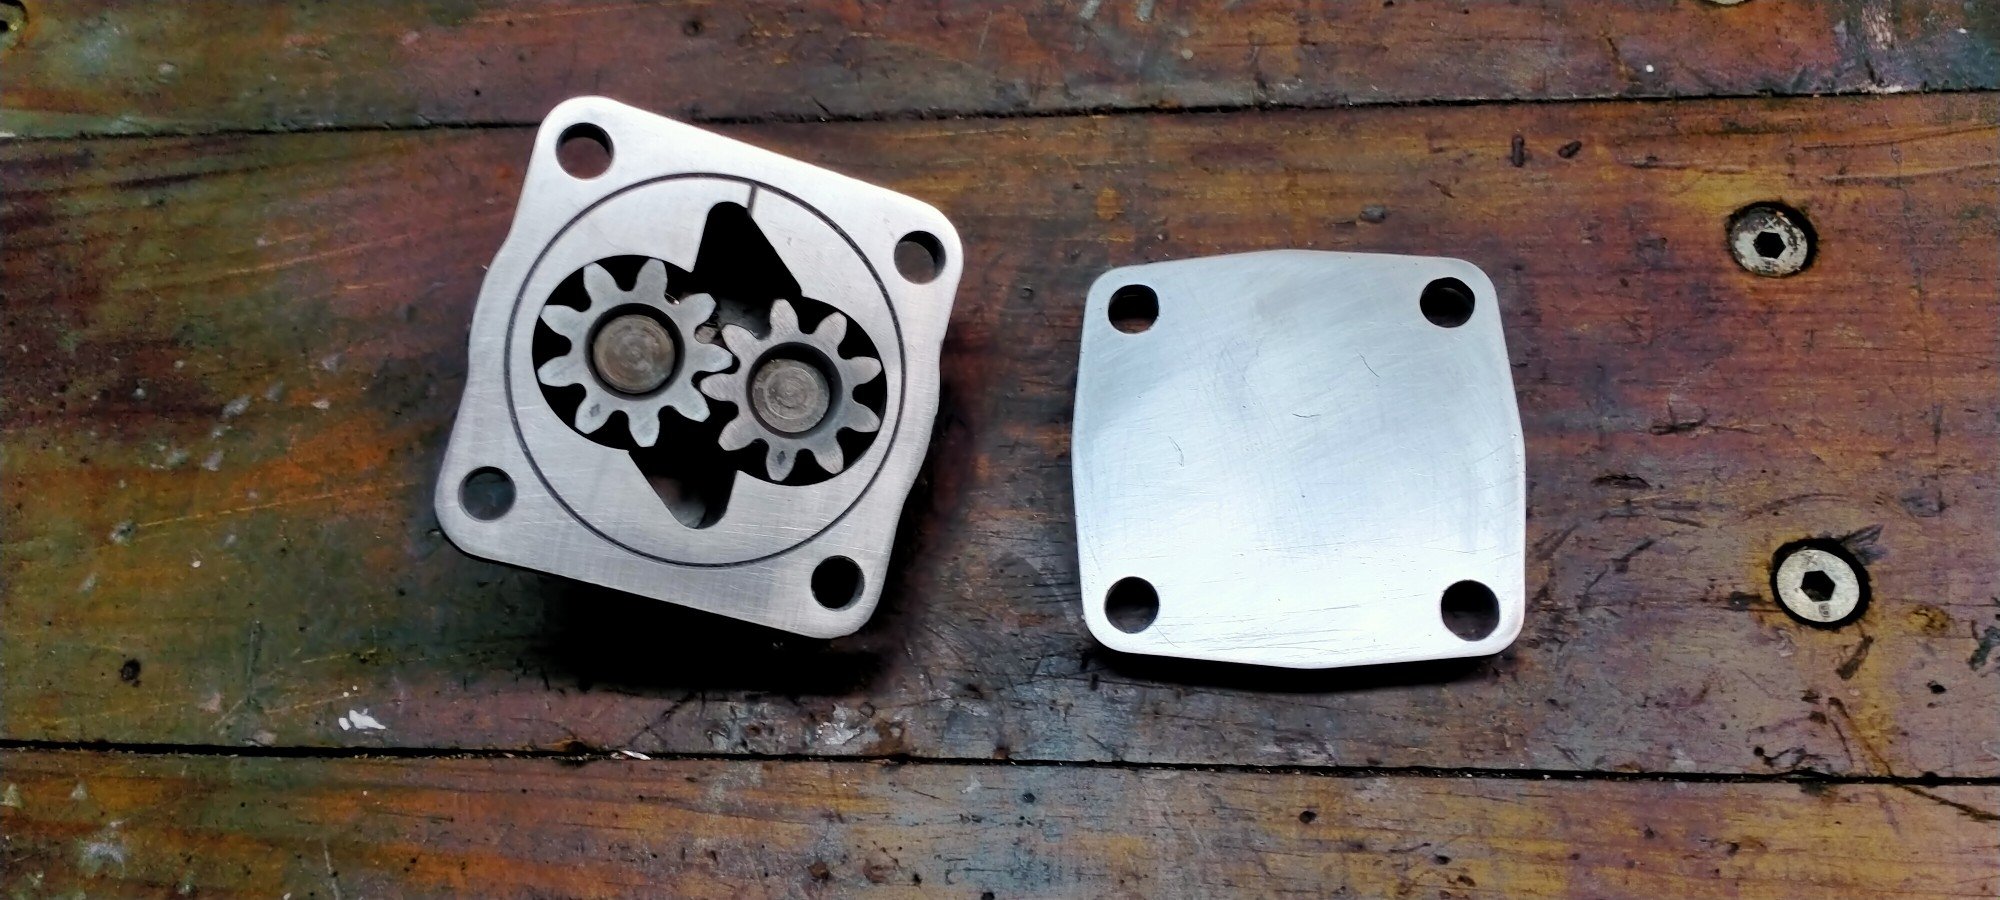
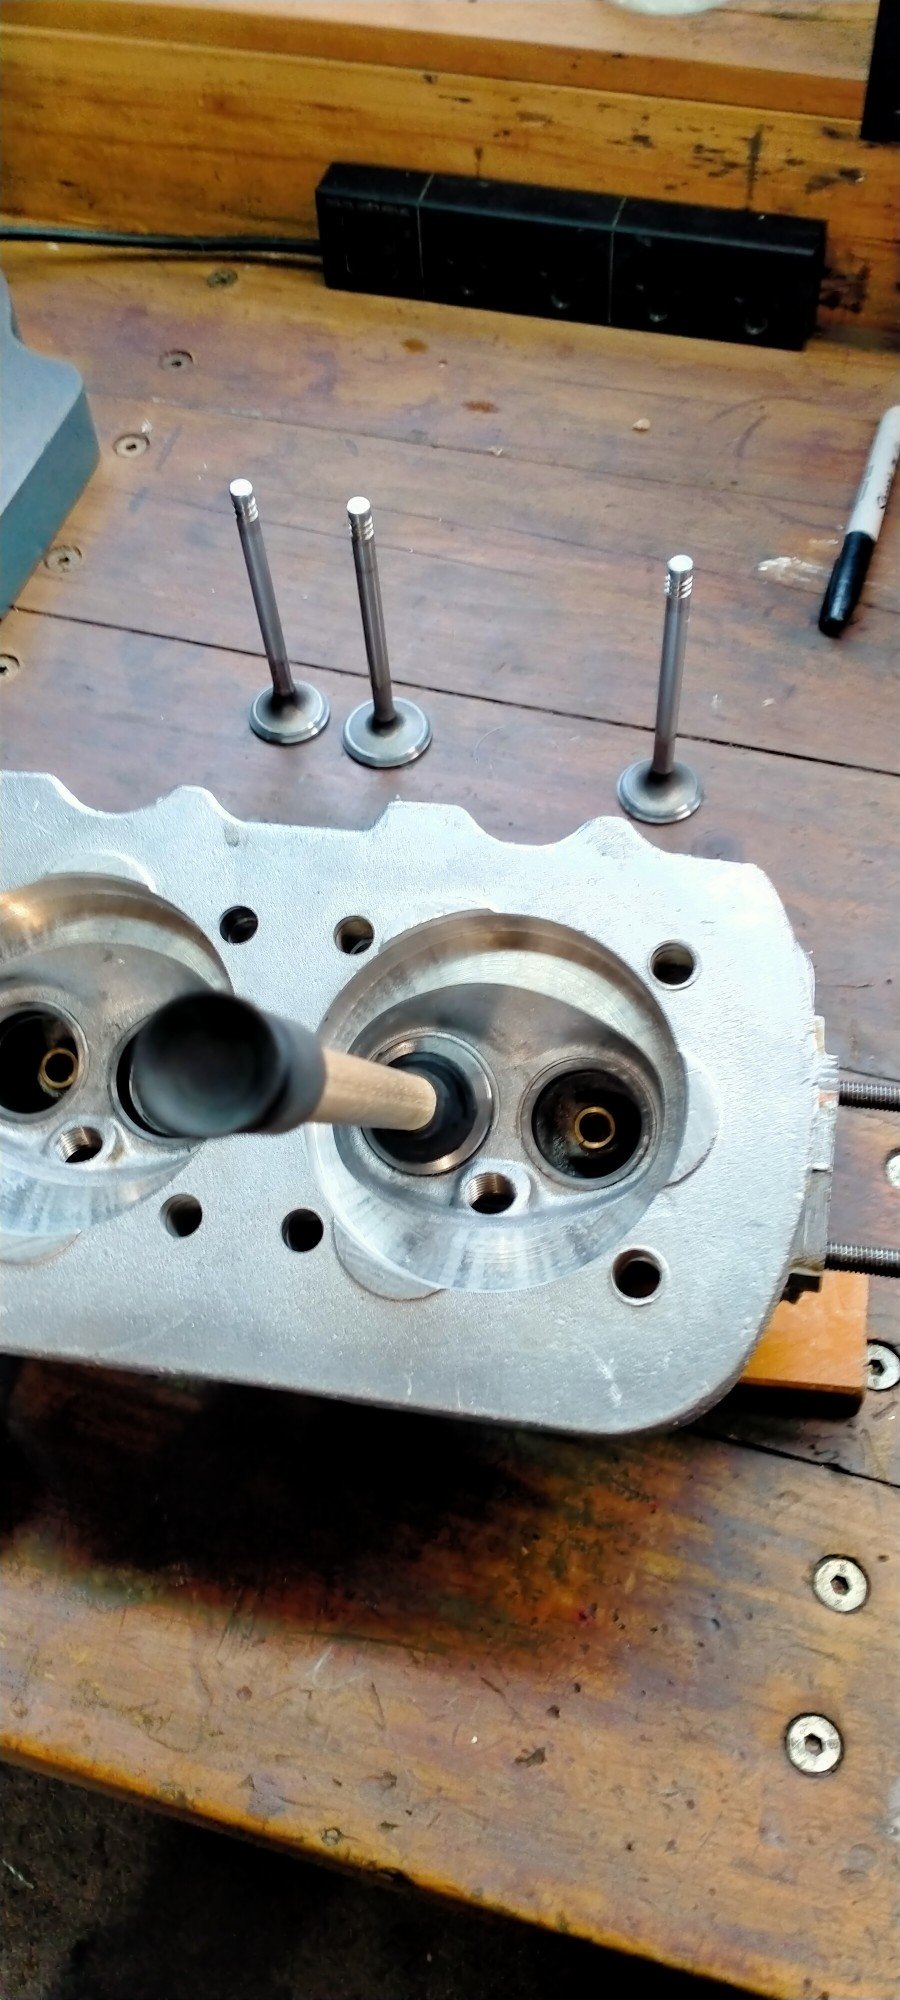
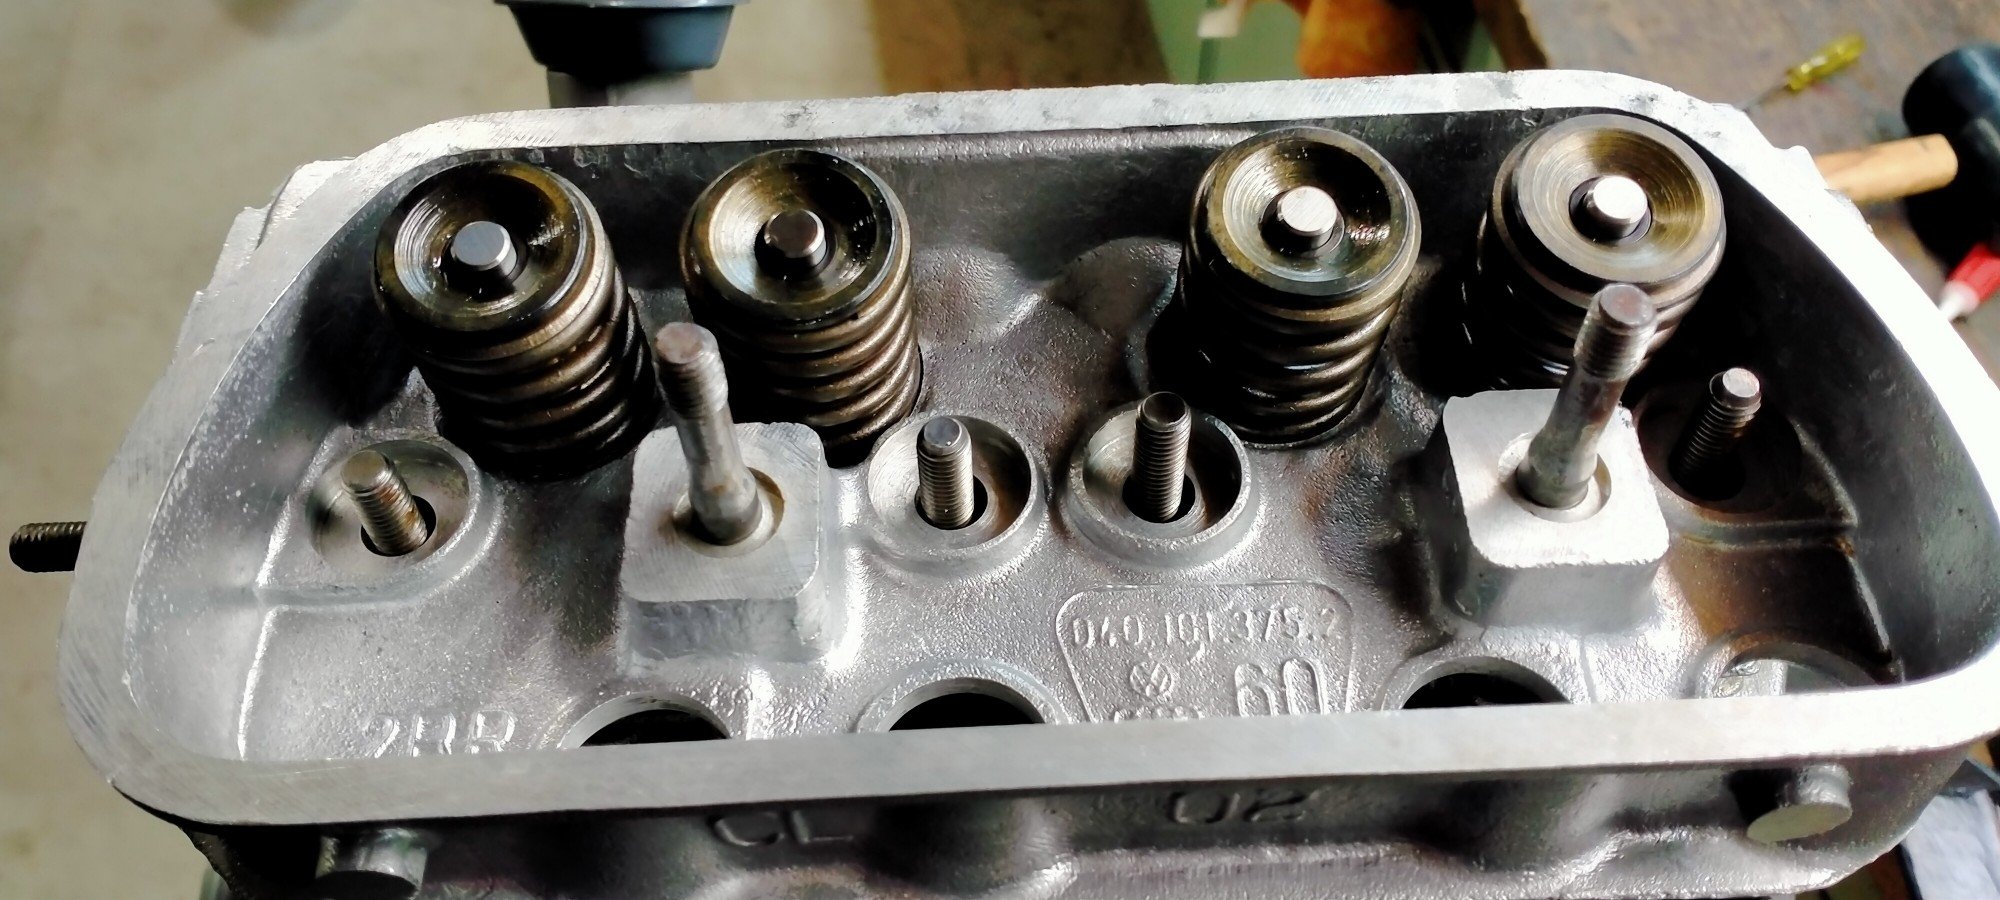
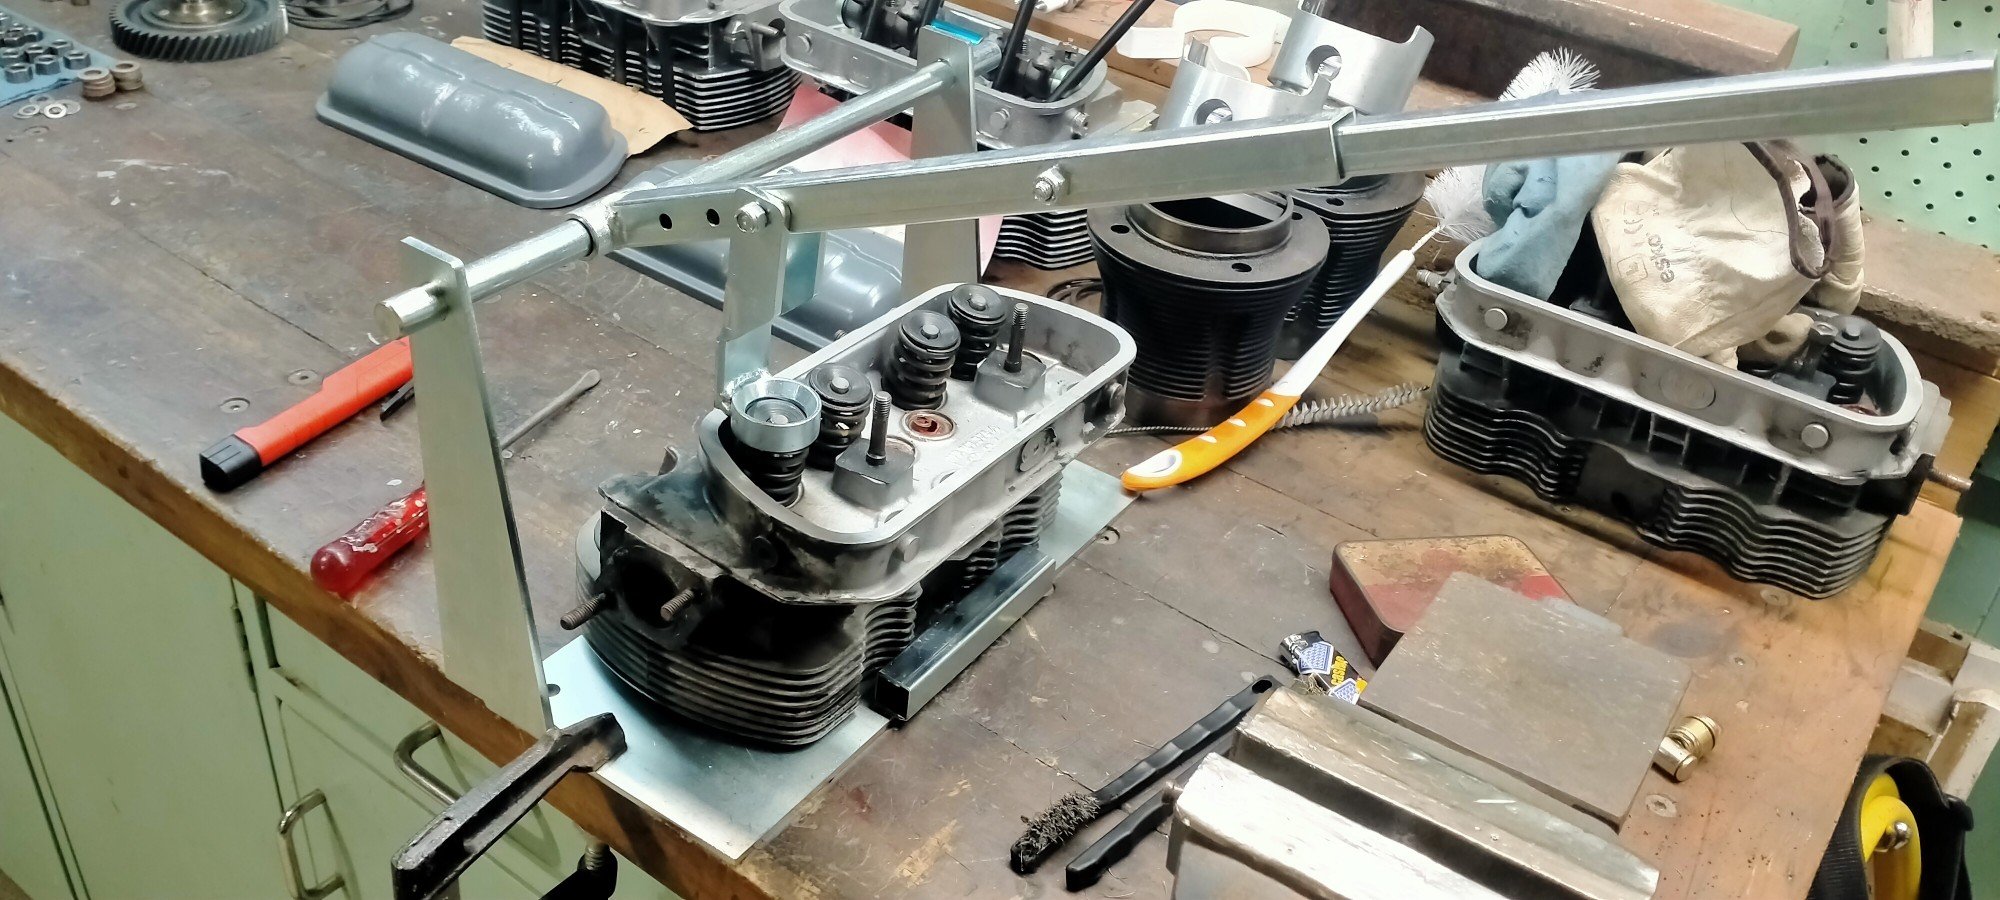
Before the case half's are completely tightened, the oil pump is installed. This requires the back of the cover to be flat so no oil sneaks past the pump. Like so. Also gave the pump face a wee shine up, being careful not to mess with the small channel. Sump cover and oil "filter" installed with a set of nice new acorn nut which help hold all the oil in. Cleaned and wire brushed the head rods, use a little medium threadlock. Both sides obviously. After their one millionth wash, the heads are looking good. Lapped the new valves into their new homes. Noice. Darrell gave me a hand with the fiddly retainers, much easier with two sets of hands. Test fitting as there are three different lengths of head rods. See
- 254 replies
-
- 18
-
-
Nice car man, the tyres haven't been sitting in the shed all those years have they?
-
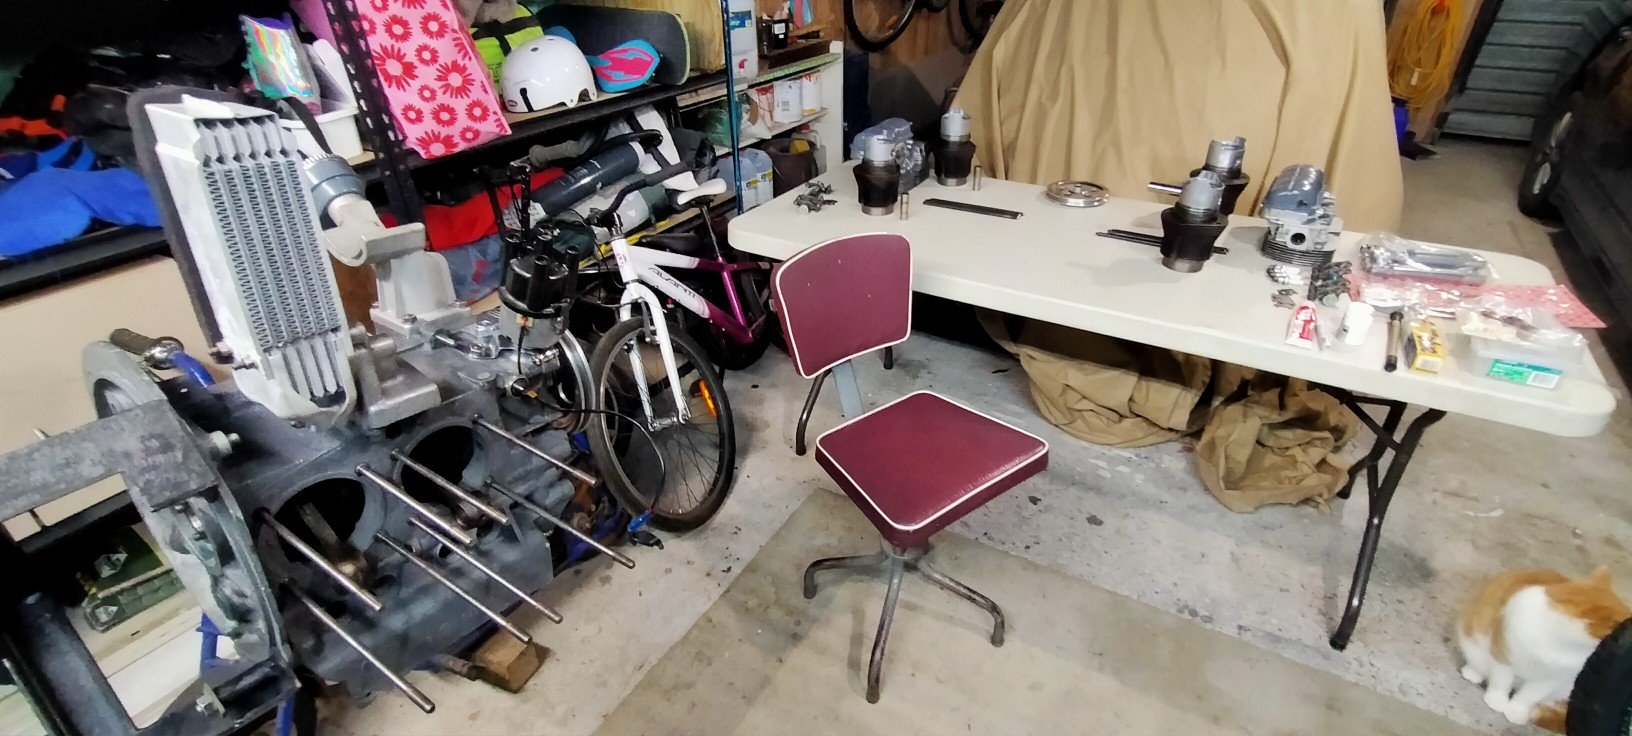
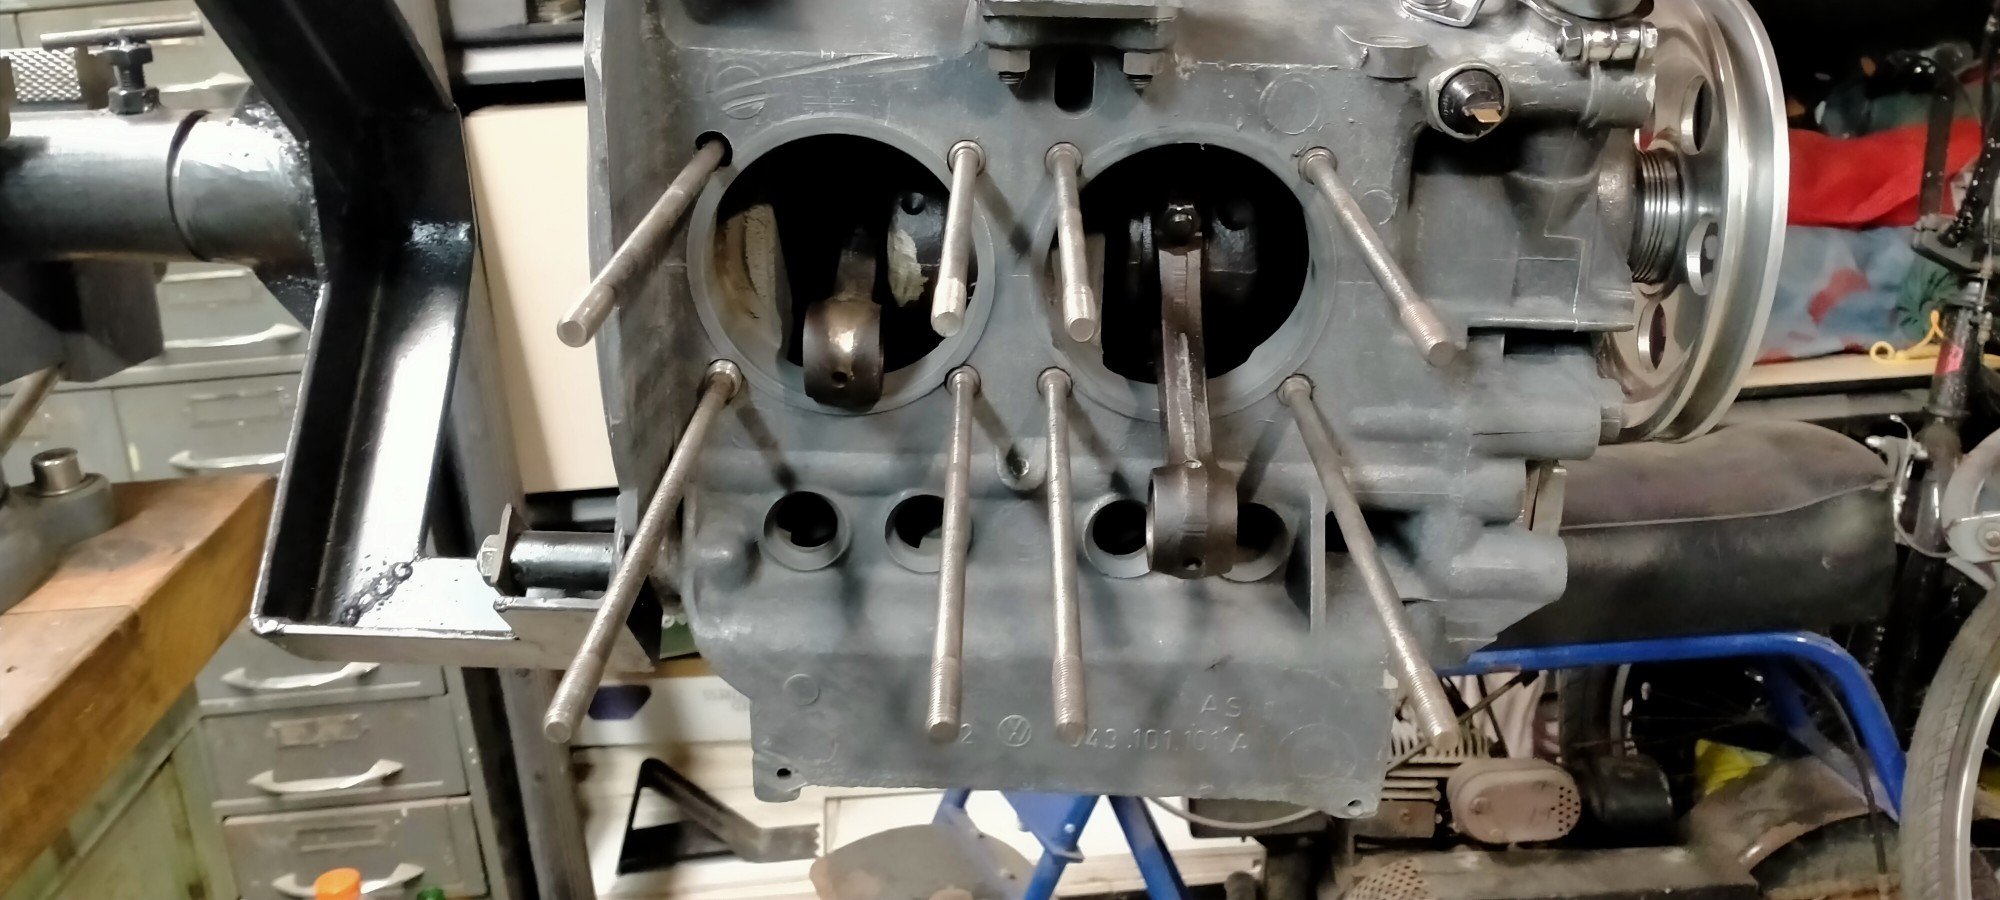
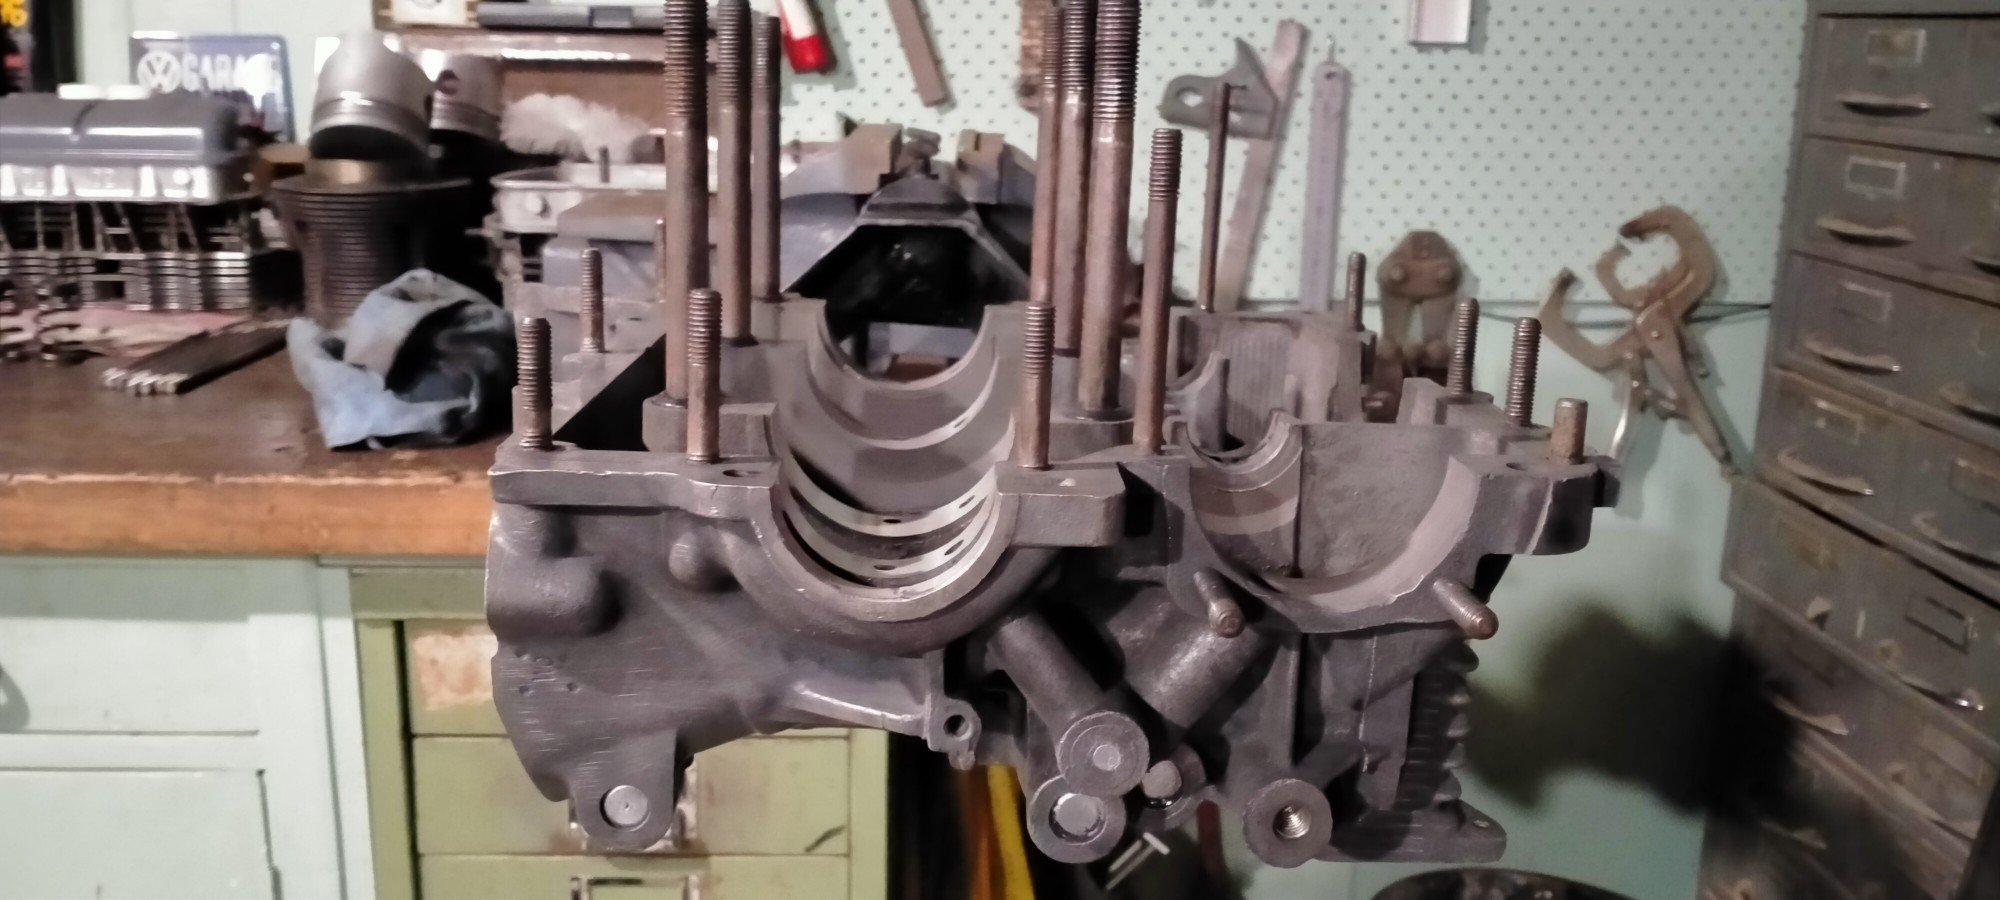
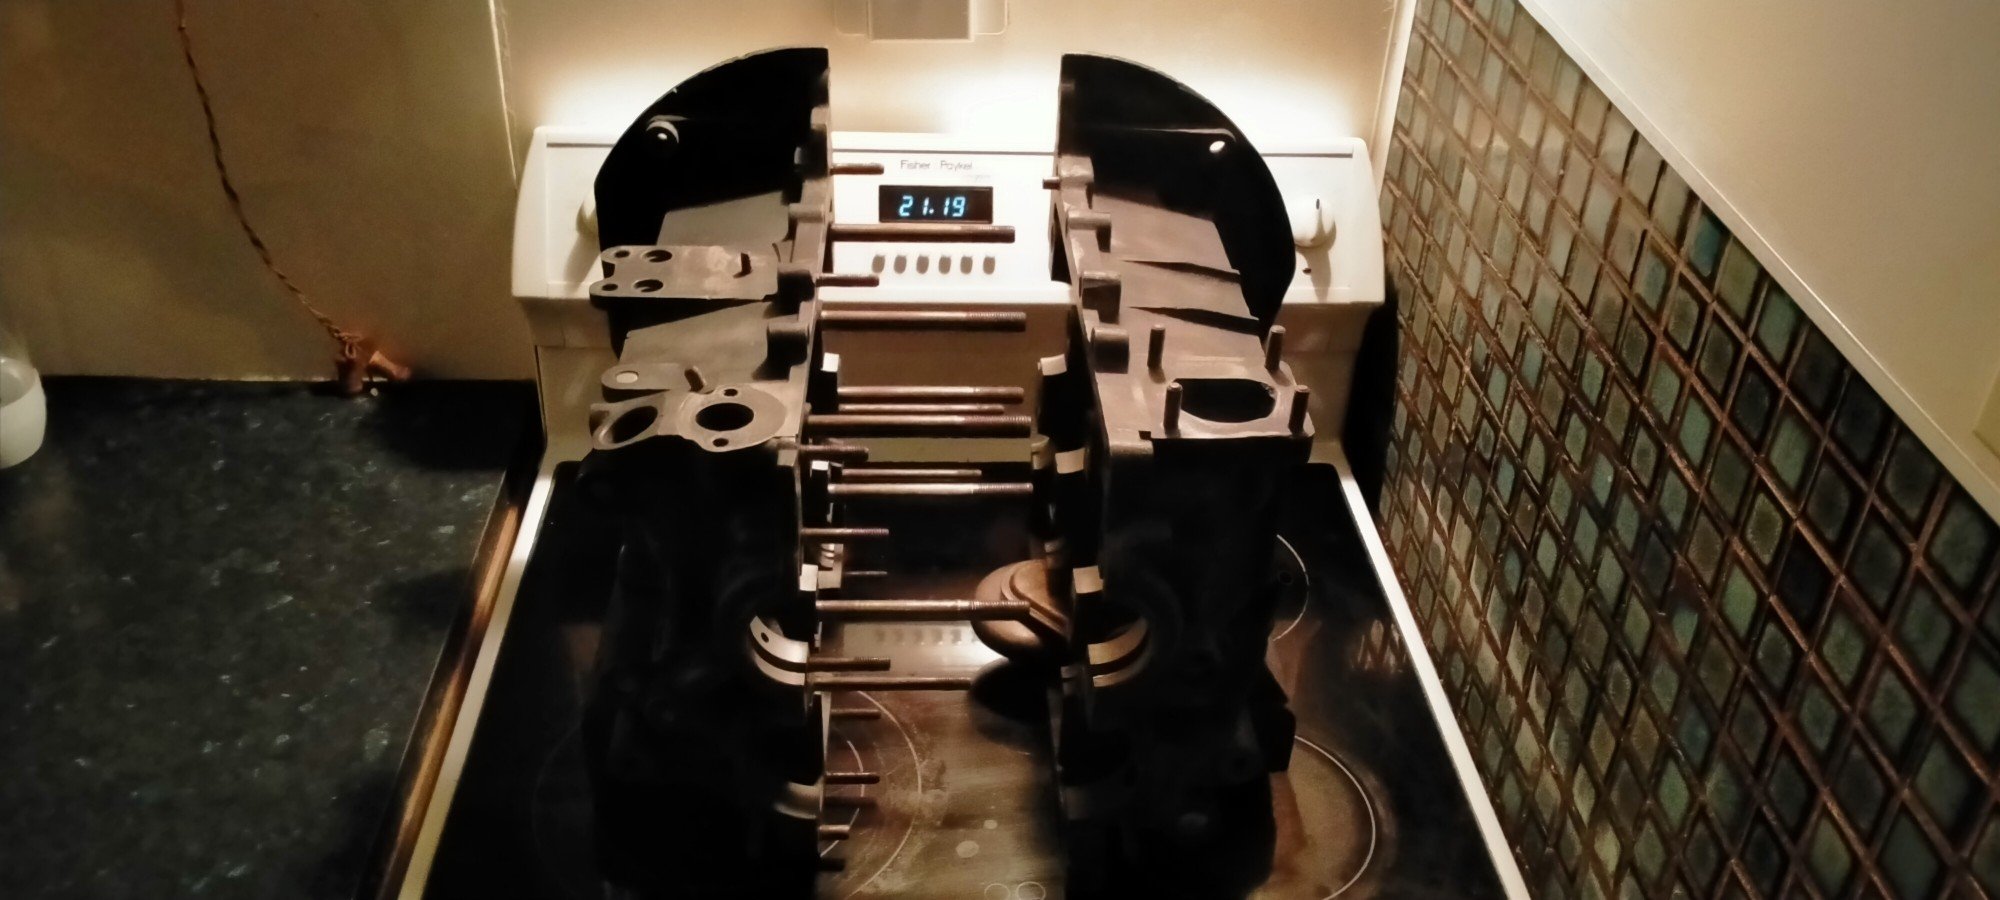
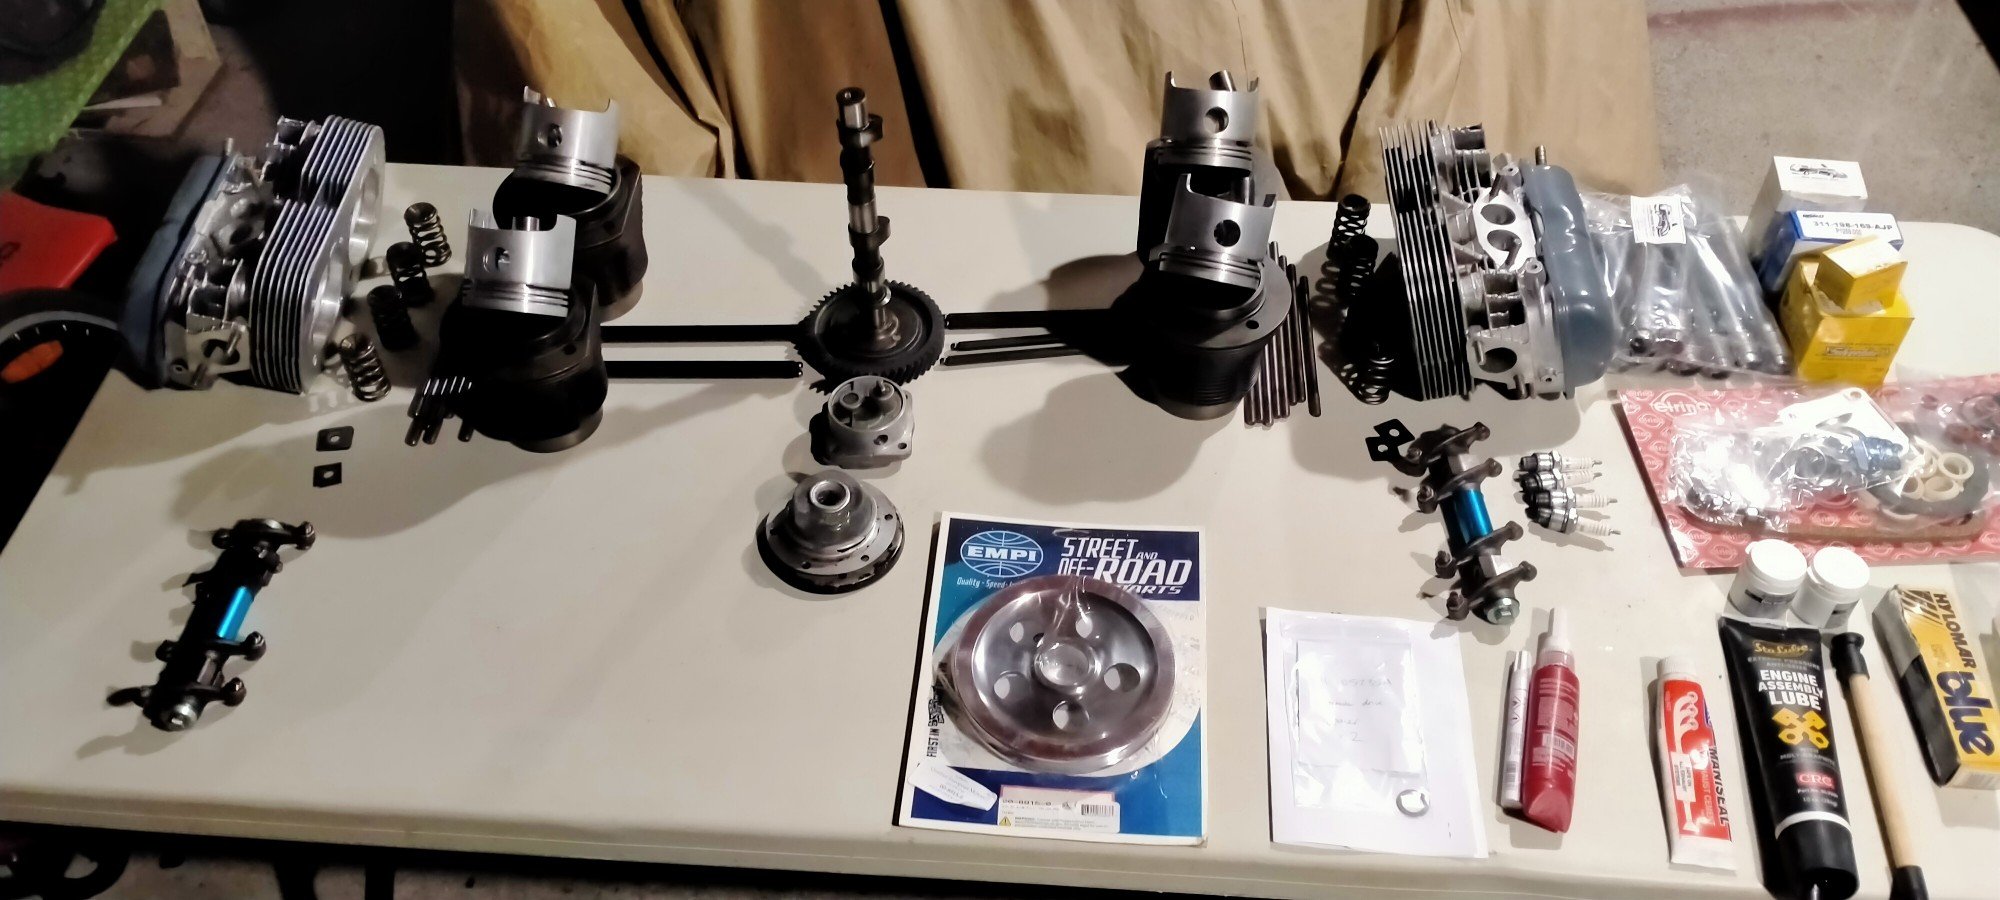
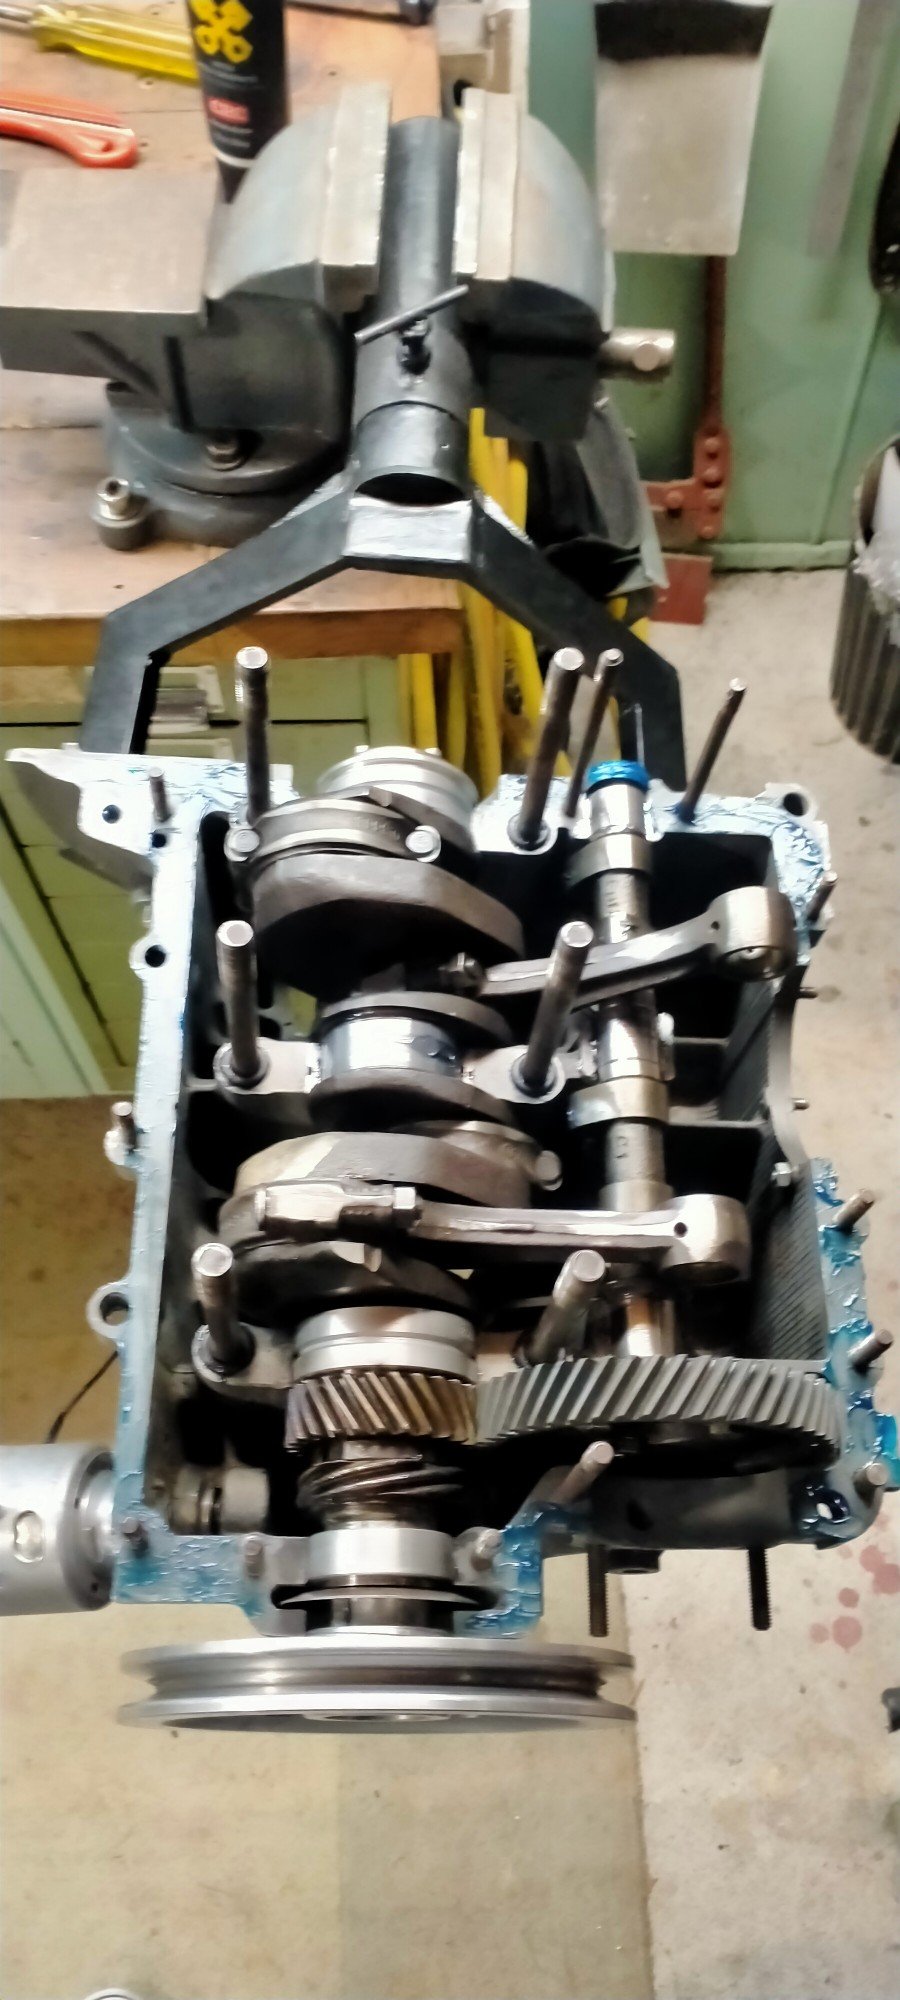
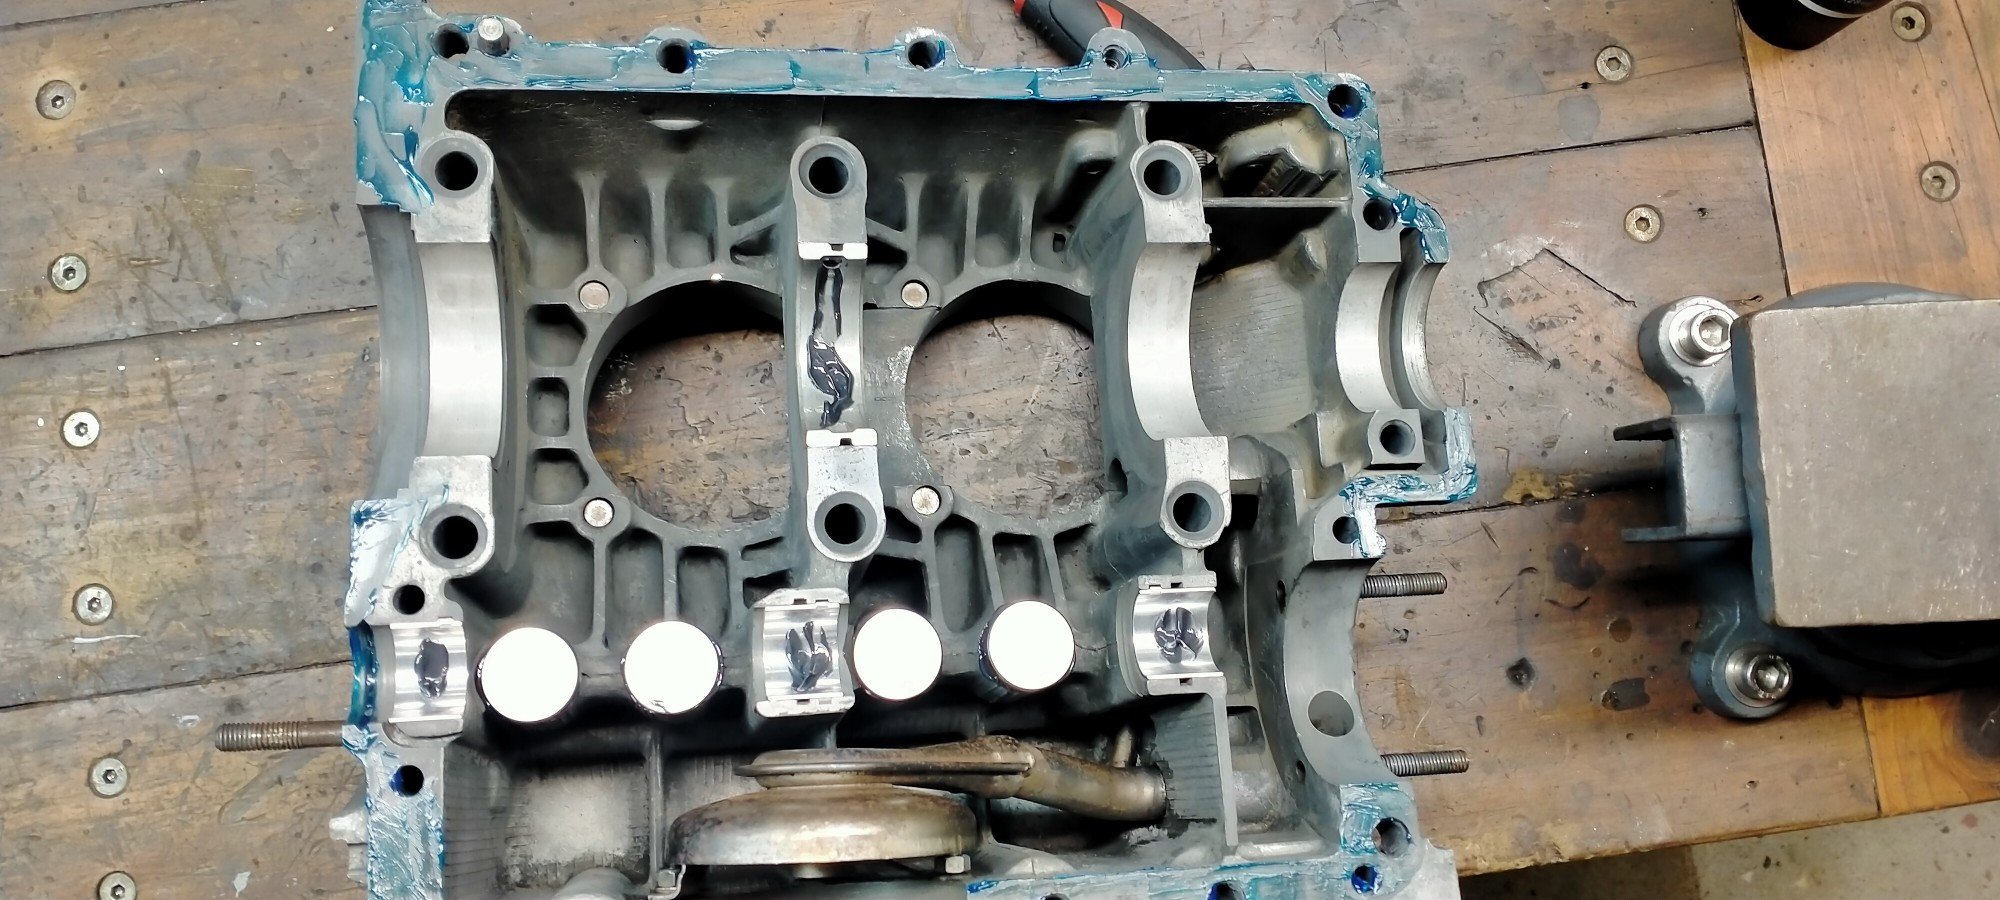
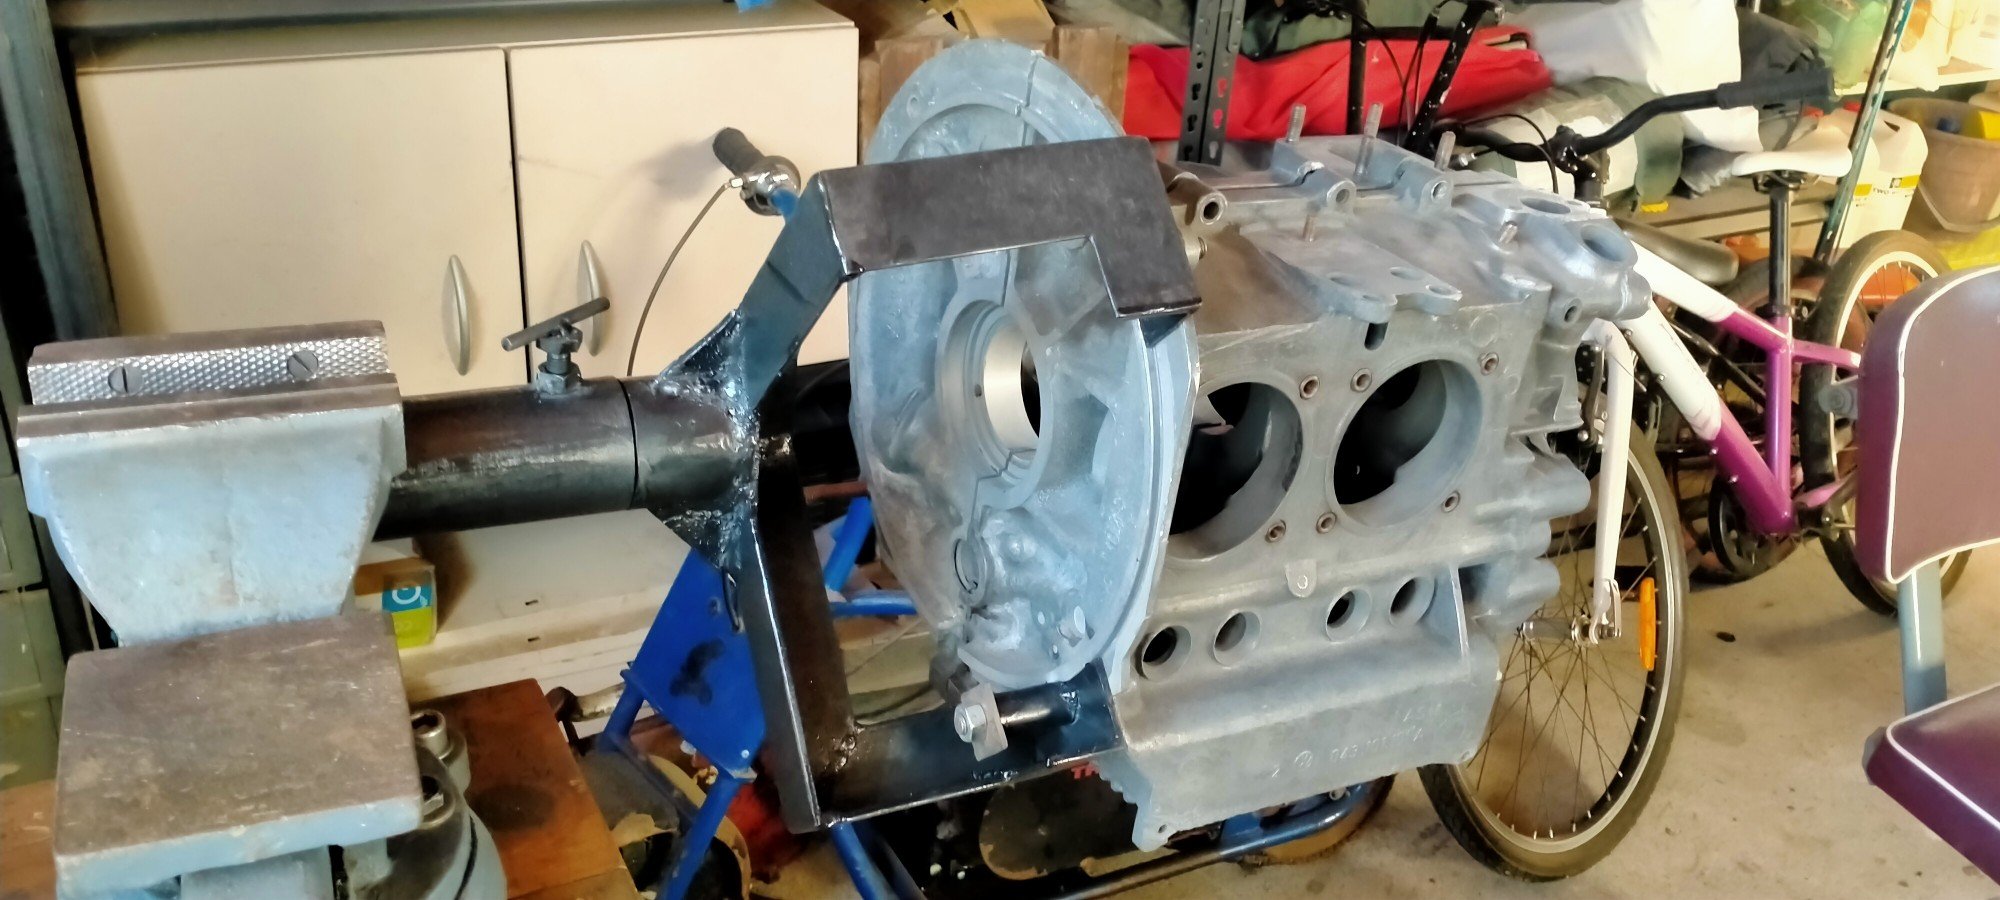
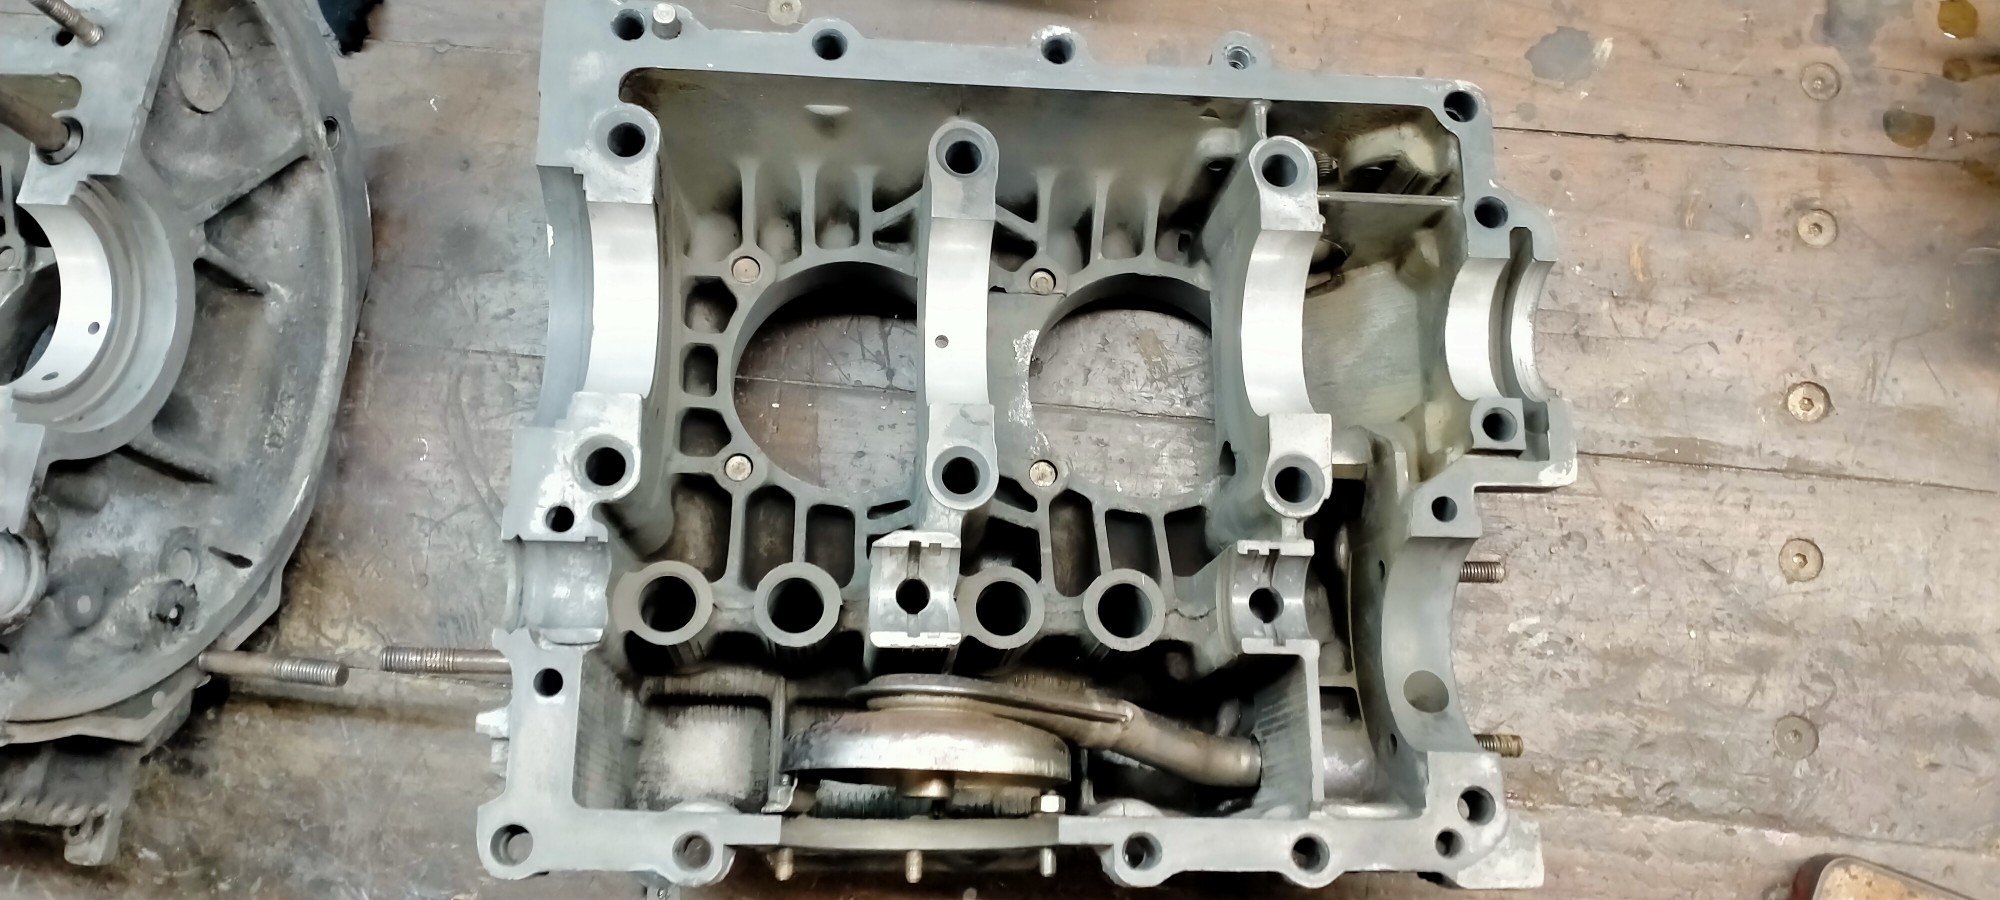
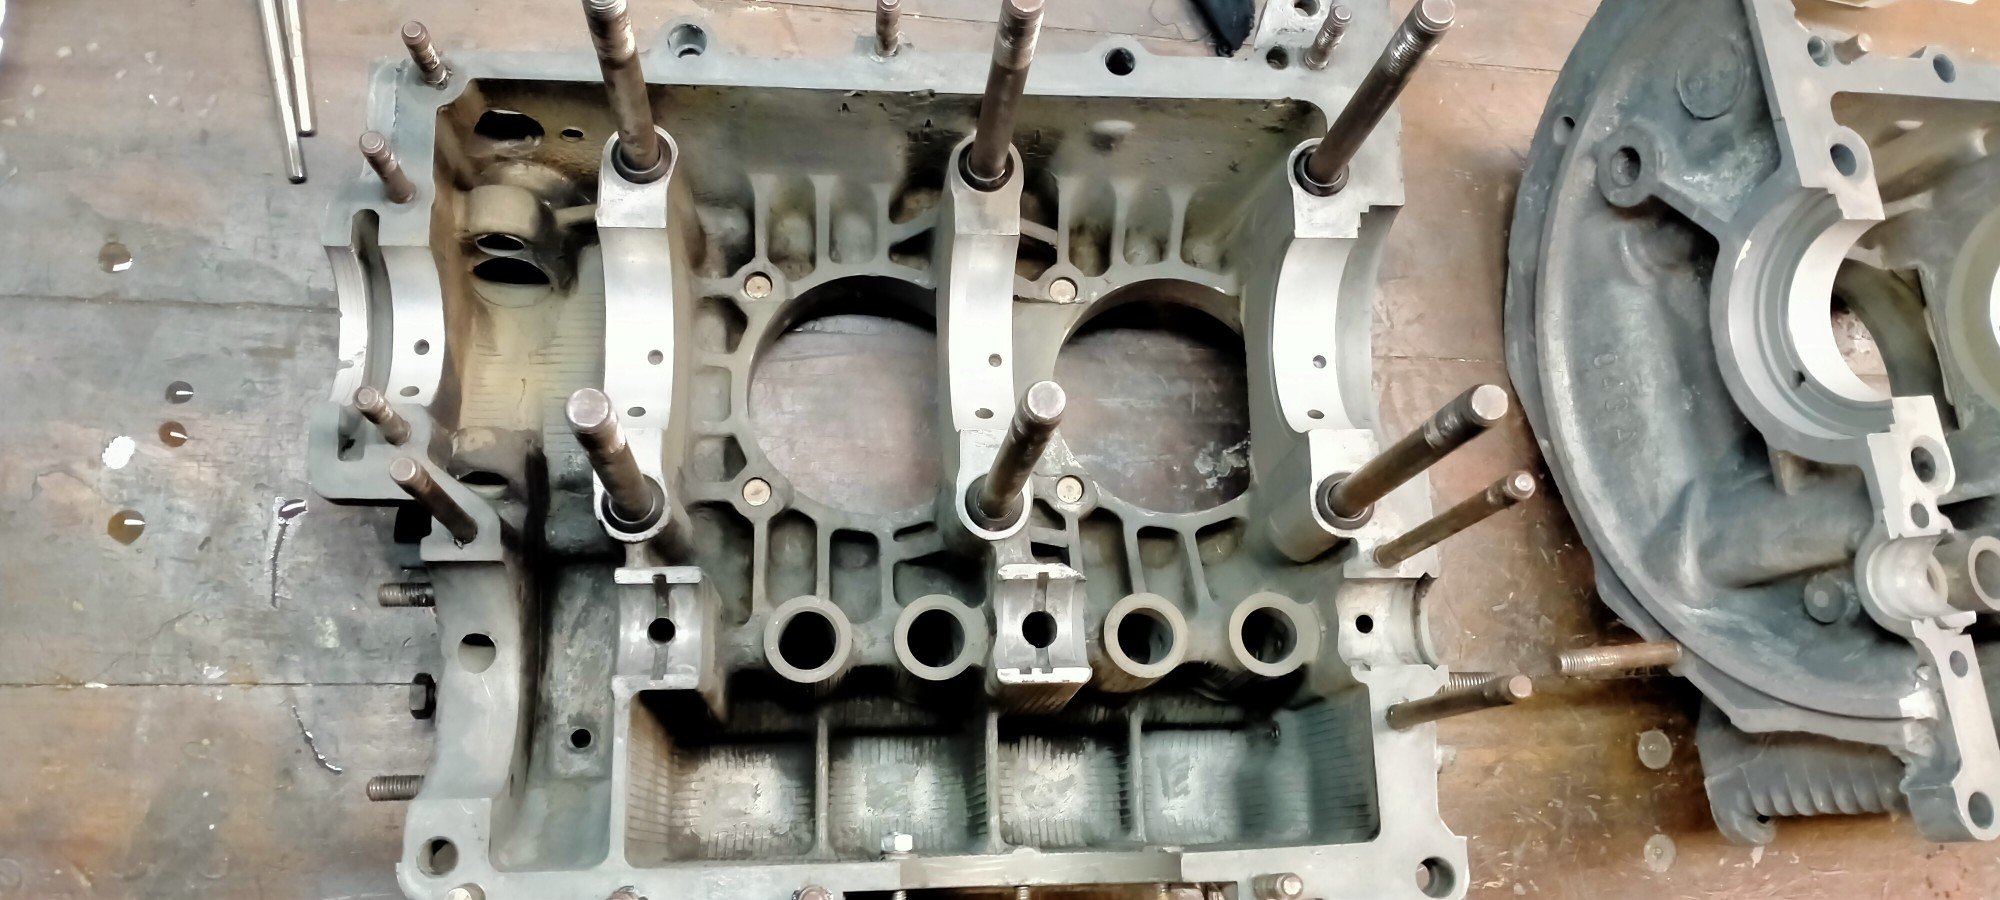
Shopping complete, I layed everything out in an effort to not screw anything up. If I ever have to wash any engine parts again, it will be to soon! Here is the case drying out one evening on top of the stove after dinner, obviously lighter than a SBC. Mounted on my handy dandy engine stand. This made assembly much easier. Many bullets where sweated this evening, making sure the bearings stayed put, matching timing marks, not really a lot inside these things eh? Top half ready to be dropped on, forgot to take a pic of the 3D printed lifter clips I printed at work, you can get metal spring clips but why not I thought!? These keep the lifter in place as you lower the top half over the crank and cam side. Just as l was getting to this point, my neighbor turned up with a beer having just returned from a party and keen to continue, took every piece of control I had to concentrate on the torque pattern!
- 254 replies
-
- 14
-
-
Random slightly cool stuff you built but not worth its own thread, thread
63Ragtop replied to h4nd's topic in Other Projects
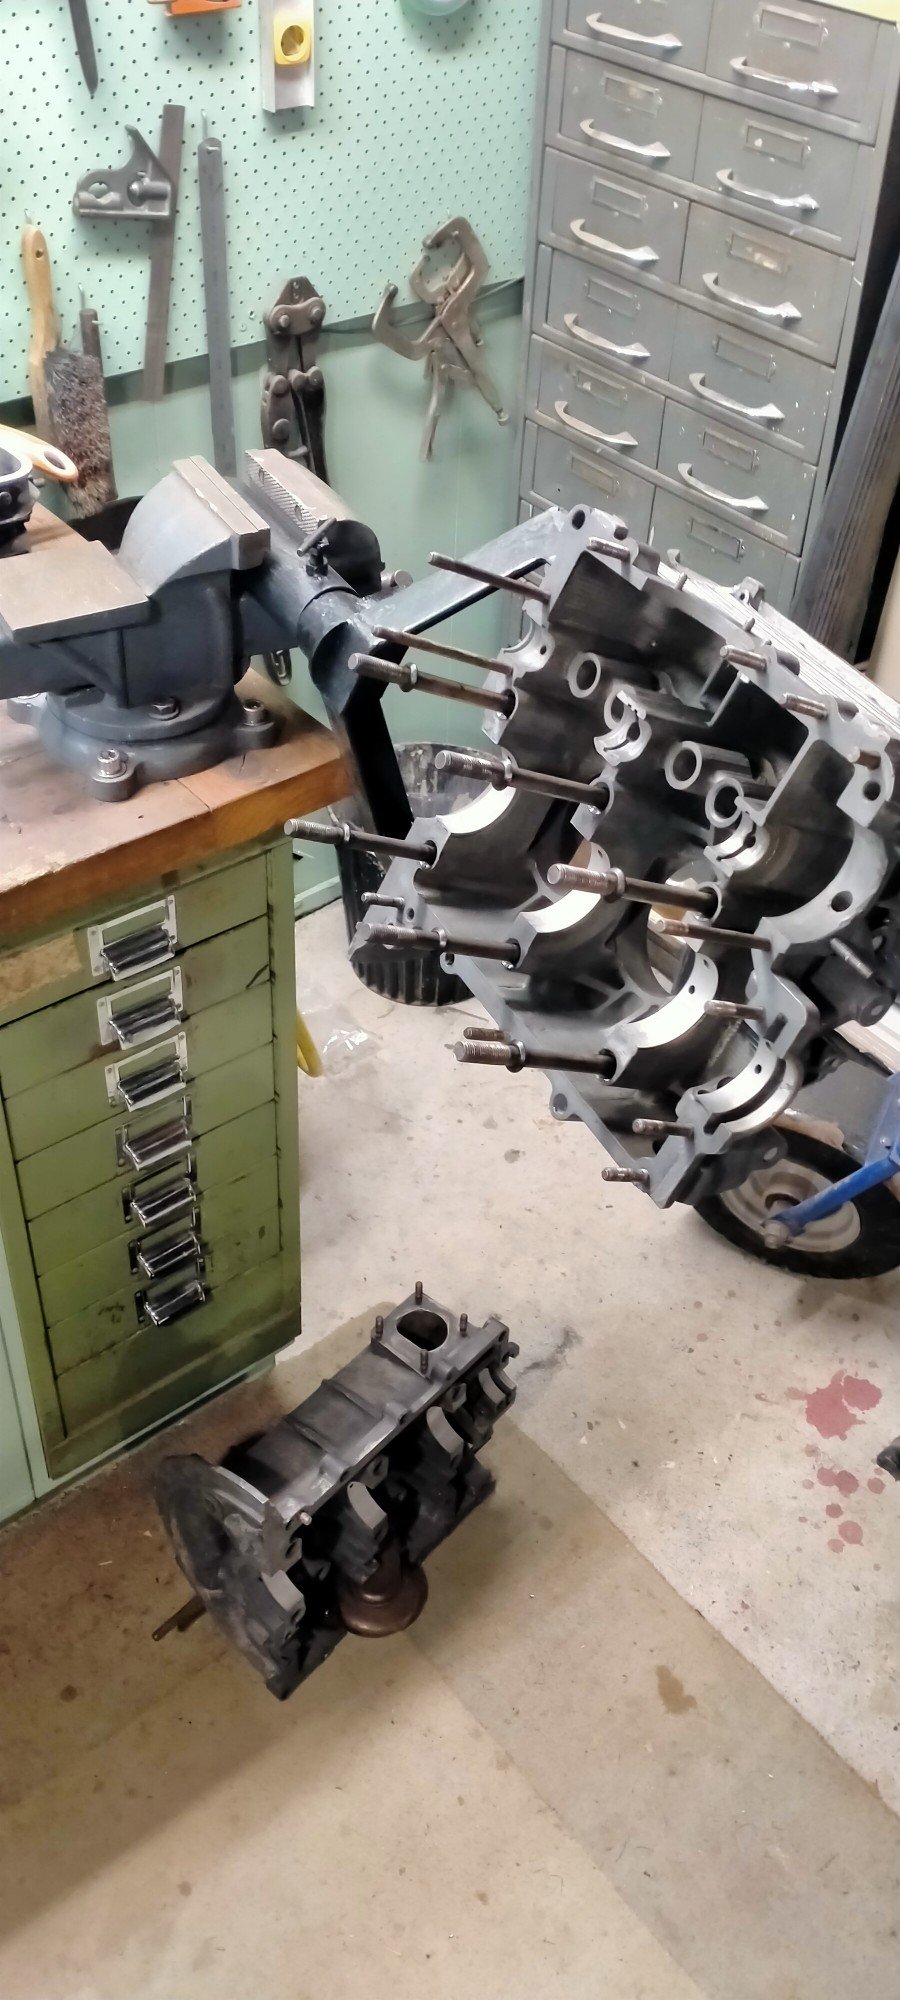
Was going to buy one of these but thought, what I need is another project! Salvaged some angle steel. Some other junk. Weldie weldie. Welder was running like a bag of dick's, finished it off with my bros. Seems to work. So this will allow the case to be open, receive the crank, cam etc. Then get sandwiched with the top half.
-
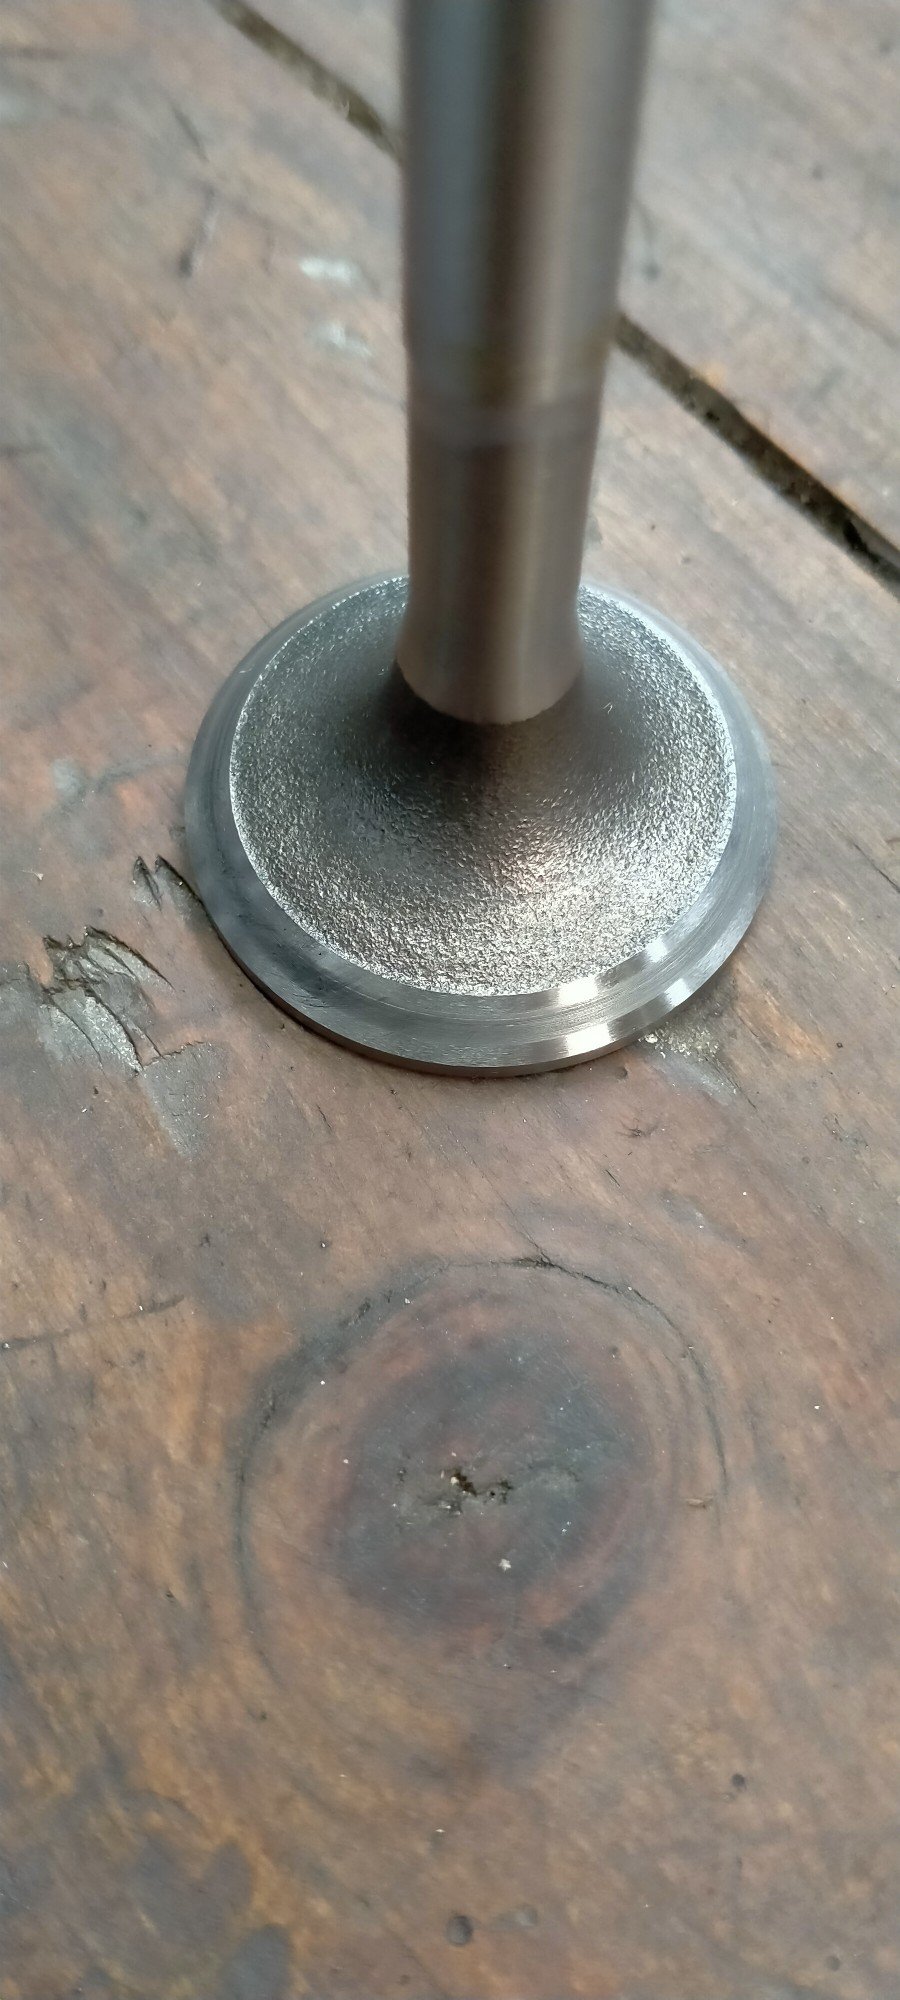
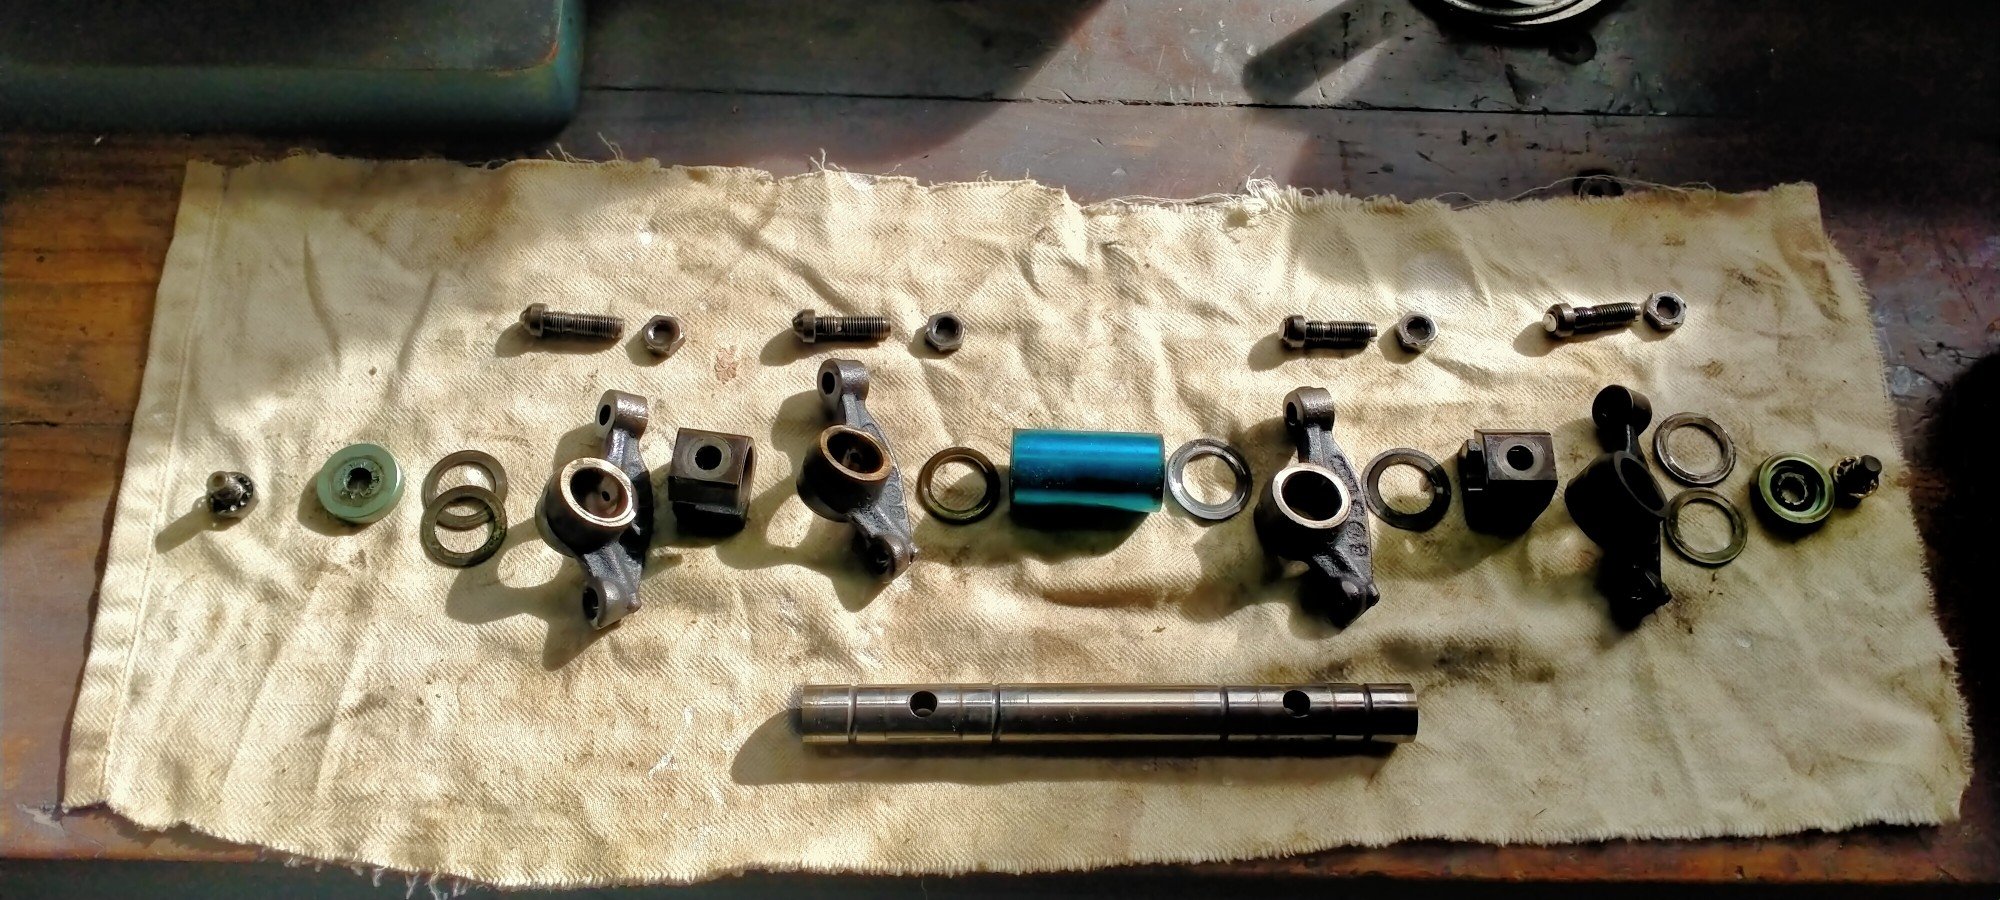
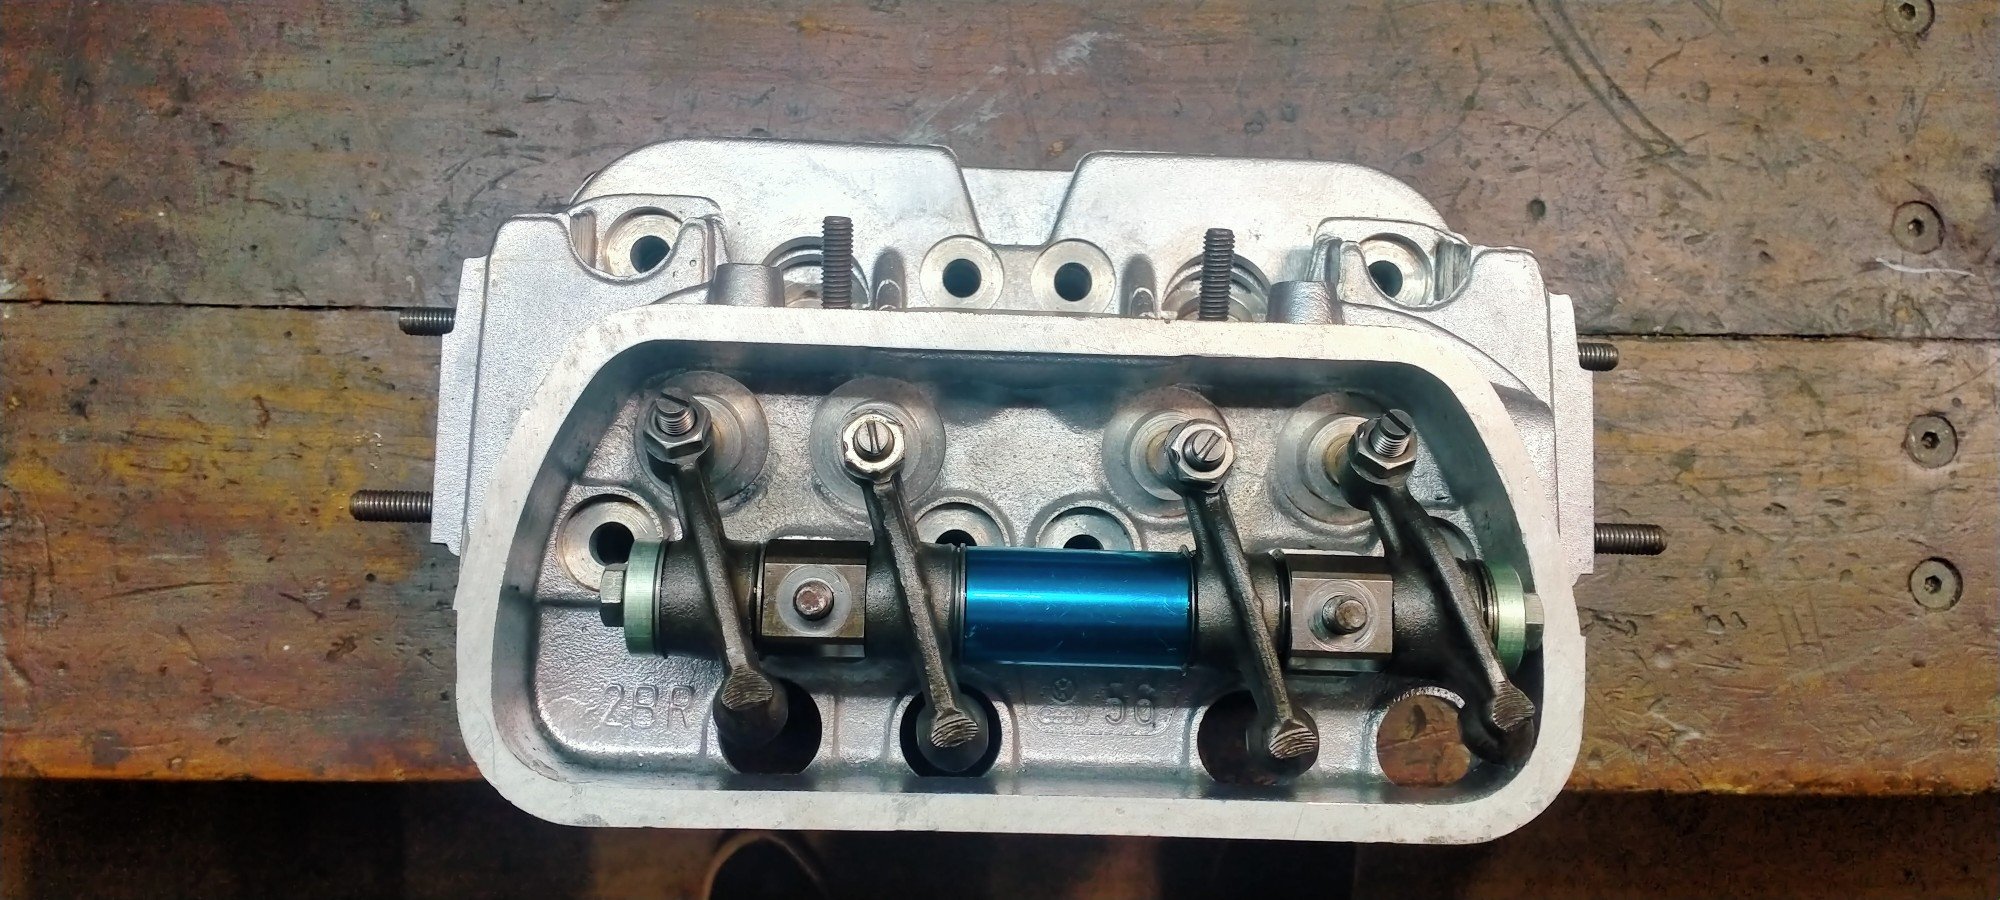
More dissembly and cleaning. On one side, 3 of the 4 adjusters didn't want to come out, didn't want to damage anything, so left them in. Will see how they go. Might be a good excuse for ratio rockers. Had to mock it up. And try the carbs on. Always good to see a cardboard box. The right tool for the job. So it's now all completely apart. On the shopping list is, new rings, exhaust valves, lifters and I think that's everything.
- 254 replies
-
- 23
-
-
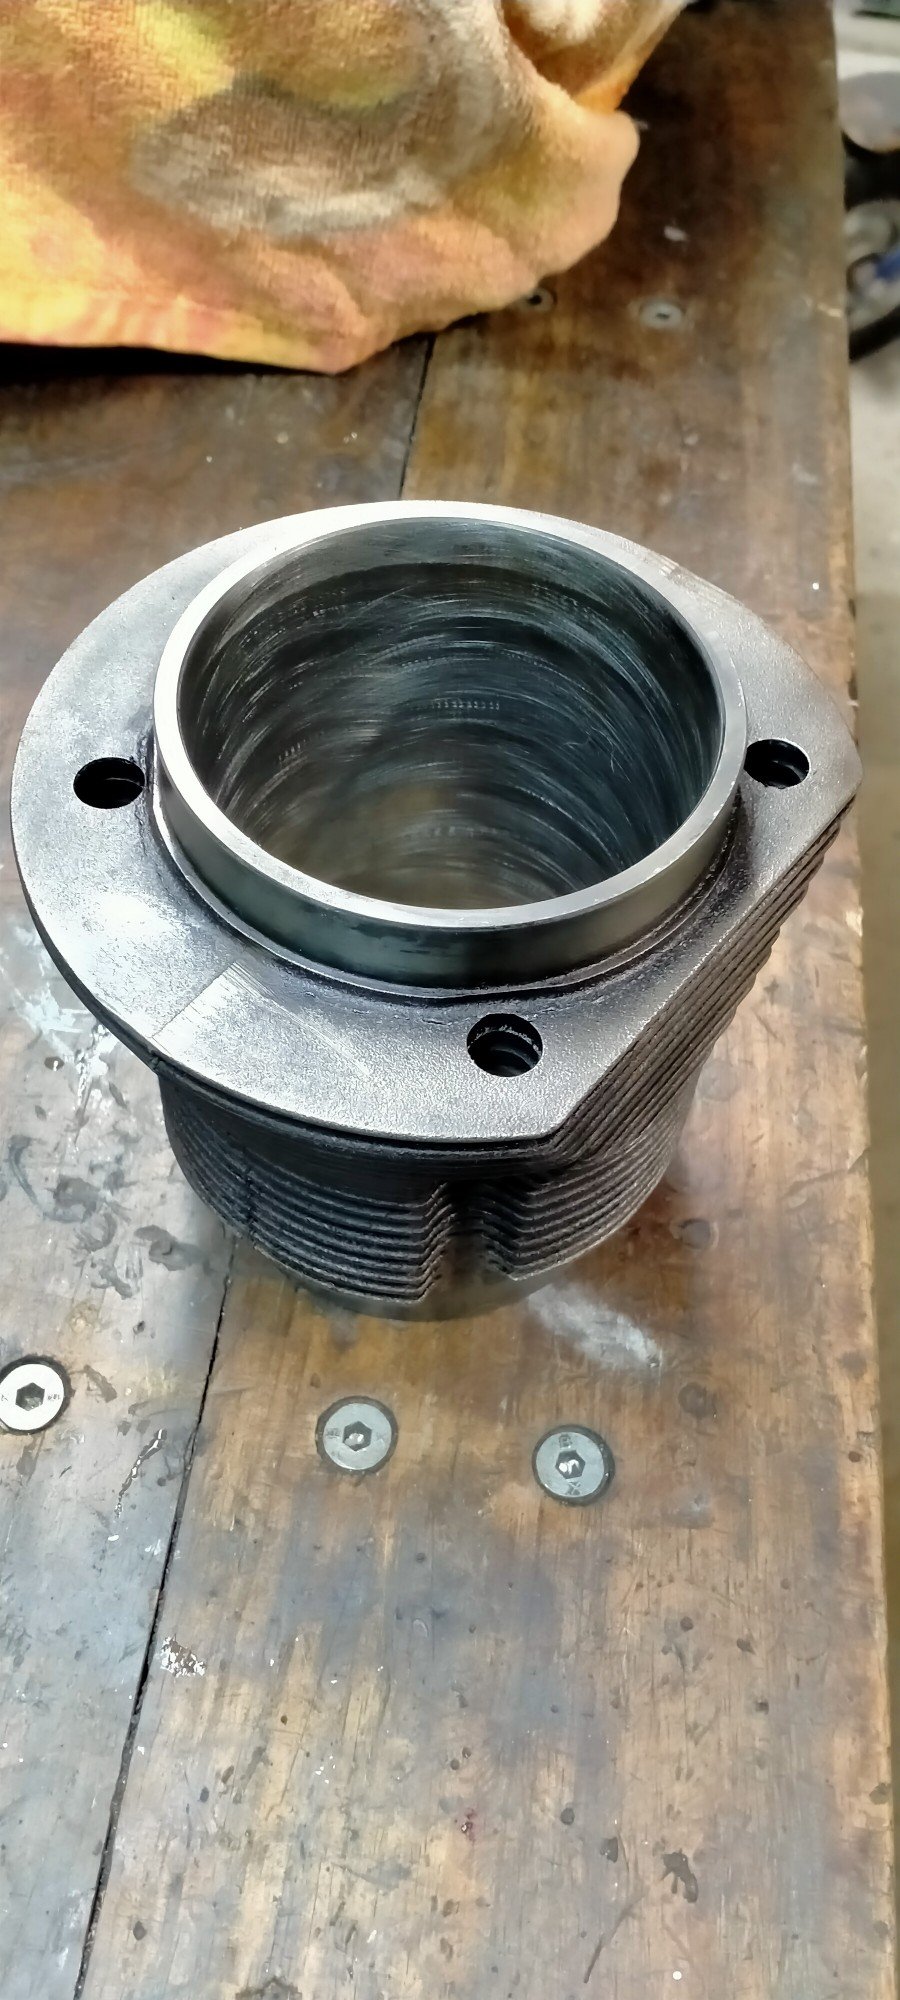
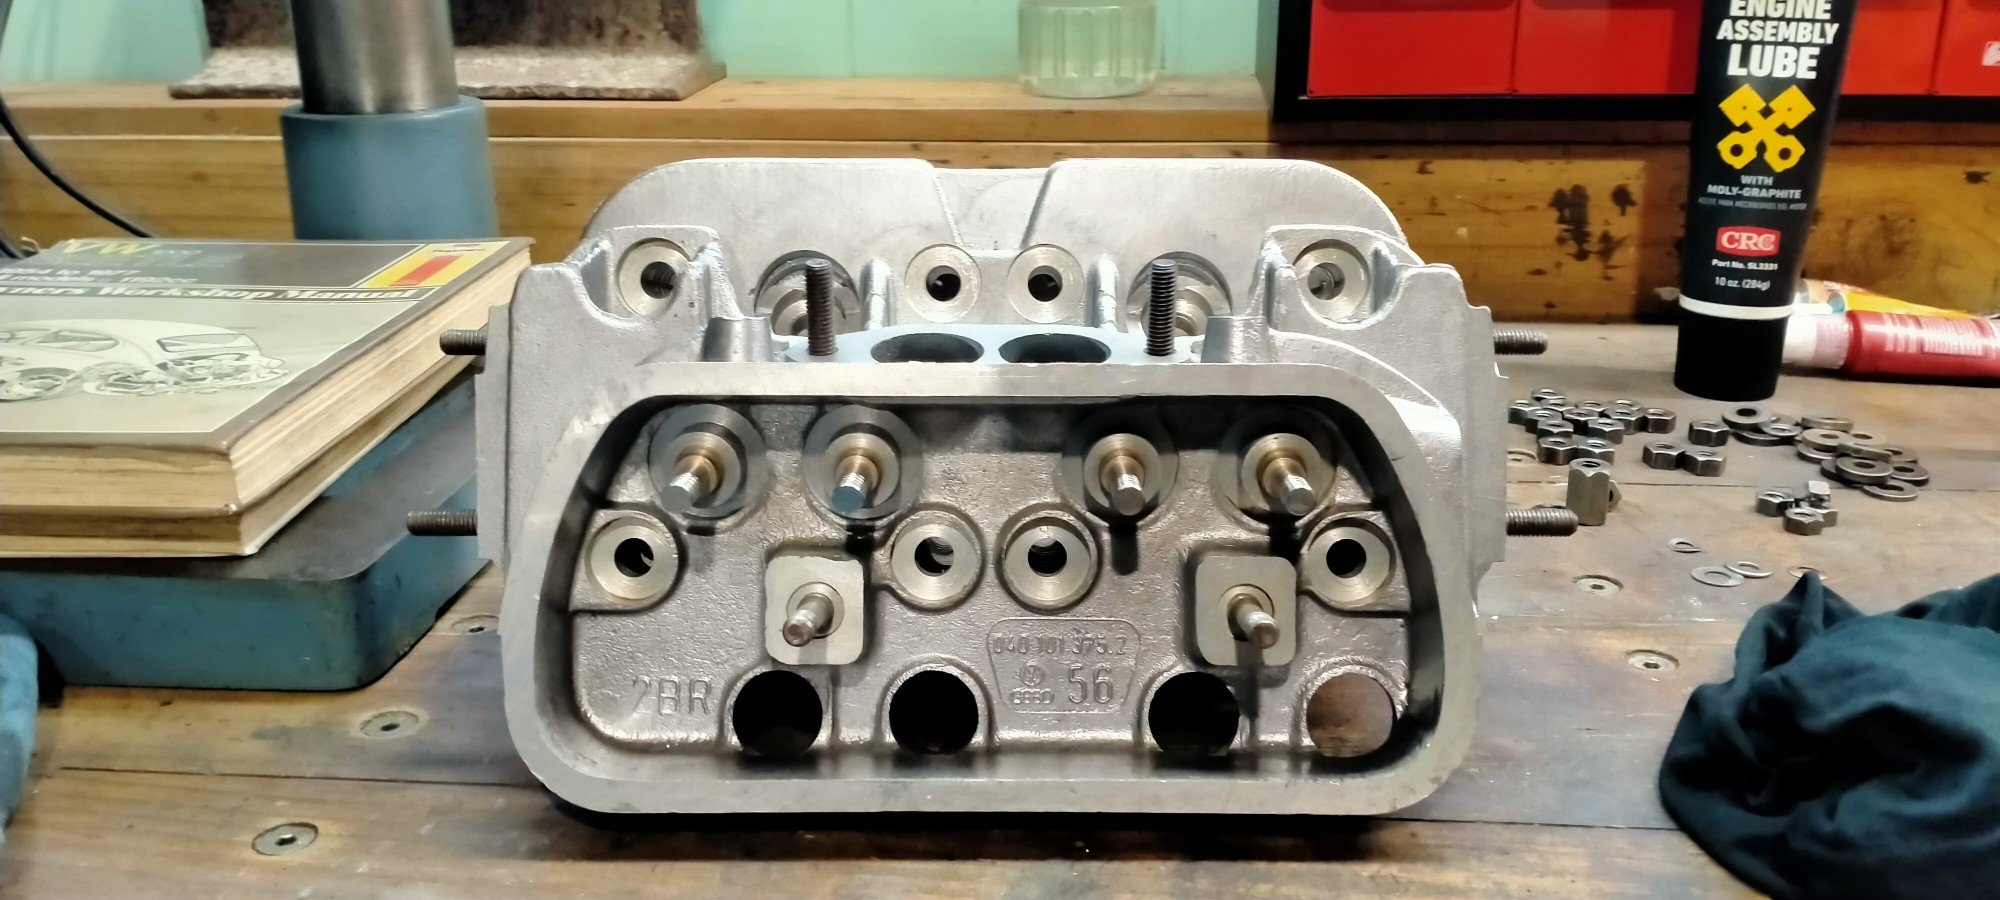
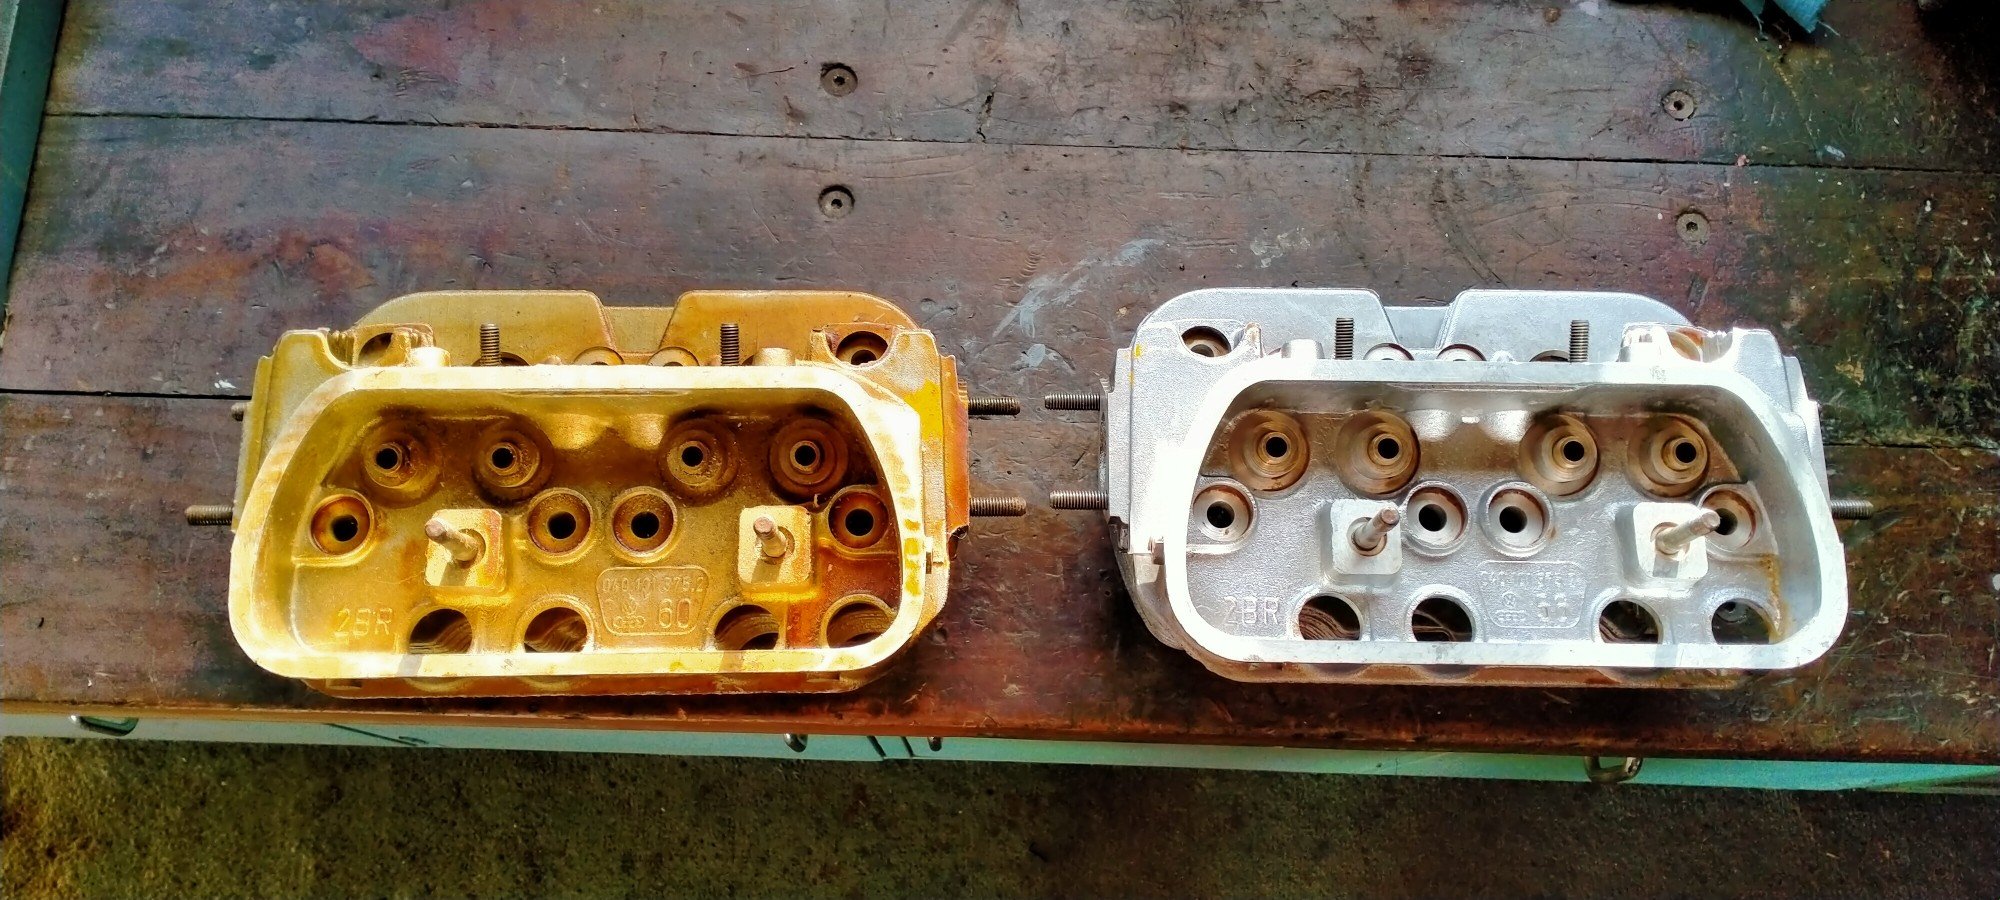
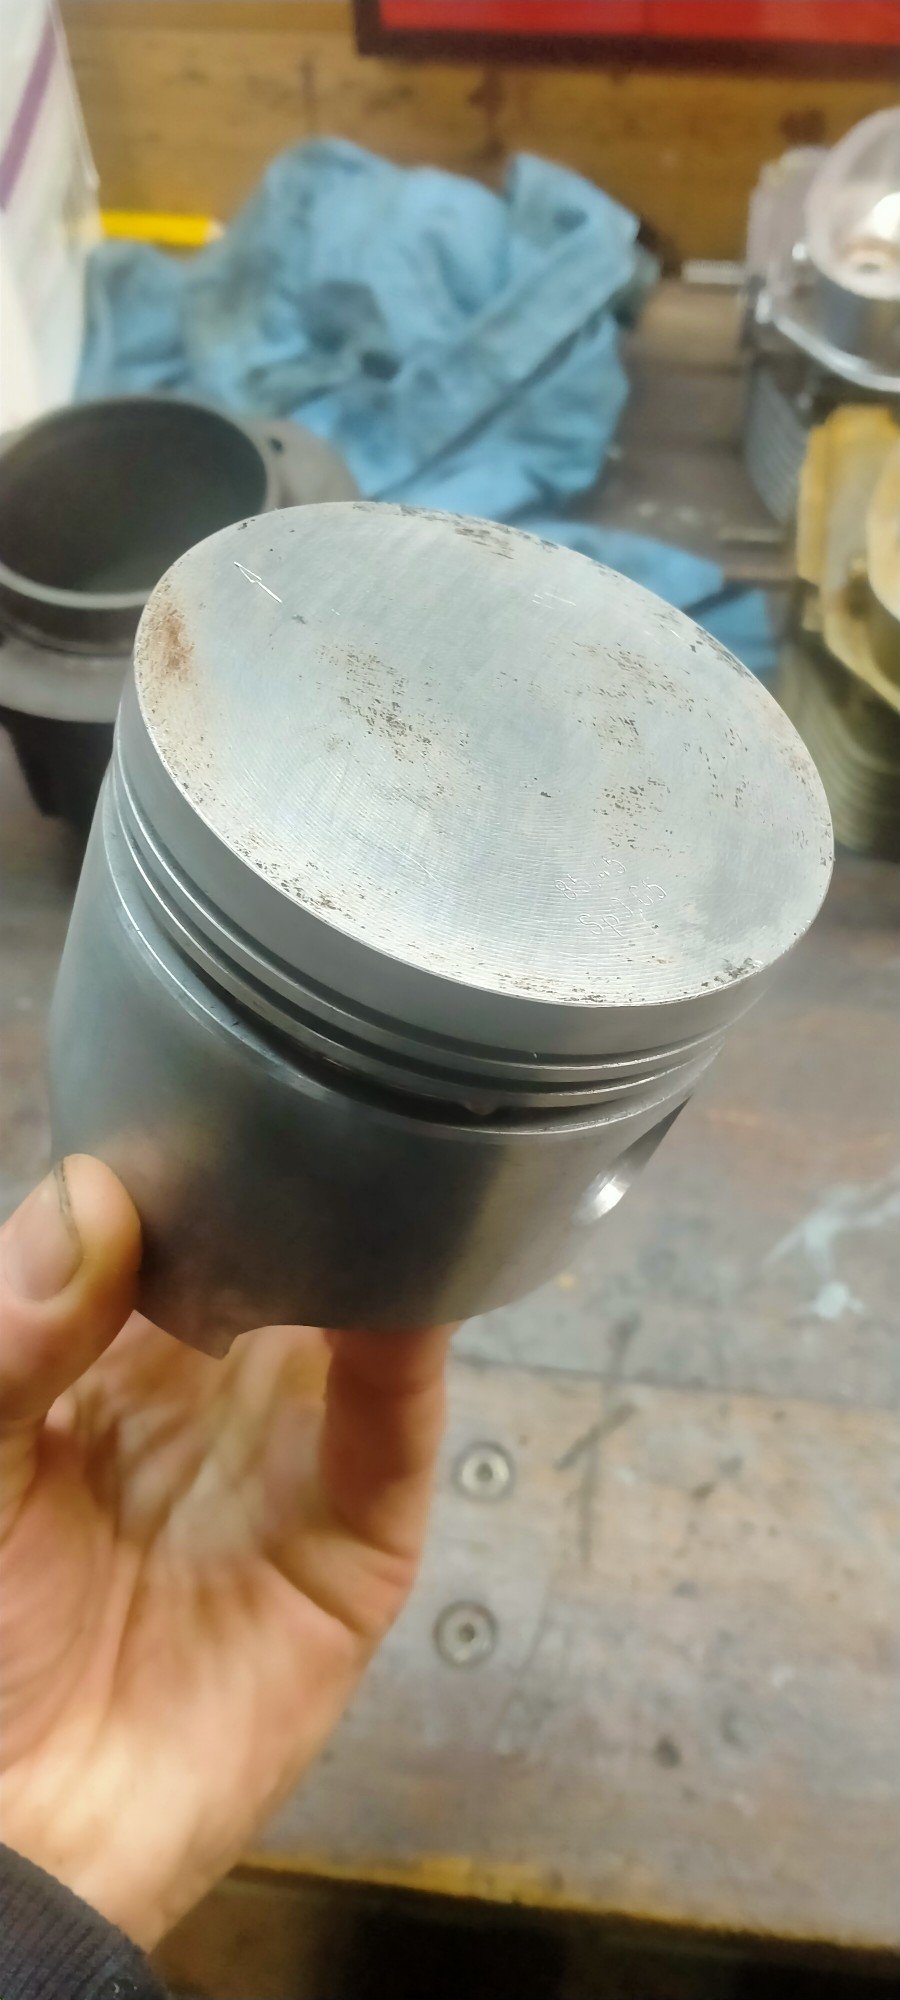
Found a crc product, exoff. It's a pretty good degreaser and with a couple small wire brushes I got the gold stuff off. Took the rings off and cleaned all the nasty black carbon shit off. Some new rings and this stuff should be good to go. Done some research about the step around the edge of the combustion chamber. The new heads will have a tighter squish, hopefully not to much! Gave the inside of the casehalfs a good scrub, will need another before assembly. 1 2 3 4.
- 254 replies
-
- 14
-


.jpeg.bea24b8980dfb334752a3f68bb8c3faa.jpeg)