Bling
-
Posts
22845 -
Joined
-
Last visited
-
Days Won
3
Everything posted by Bling
-
Print the whole thing? At least that way you can mess with the distances the lever pulls vs what it needs to pull. For someone with your gear it seems like a relatively easy job.
-
I did wonder about rotating it, measurements seem to check out based on the 1mm missing from the round section. Assuming that puts the hose all up the wazoo direction wise?
-
Do you know a rough start time? Not needing exact times, just easier for me personally to ditch other commitments now rather than on the day and get frowny face. Will dig out some tools to bring. But if there is something you know you need that you don't have maybe chuck it up so people can bring.
-
Nah that's cool. Was just wondering as on my calipers you screw a fitting in first then the swivel nut of the braided line connects to that. Just figured if yours was similar you could swap a different fitting in. I tended to find 2-3 options for each problem I came across when building my car. So always thinking outside of the box.
-
I can't answer your question. But can you get an adaptor that fits in that area, then fasten your hose on to that? Just spit-balling.
-
How important is your steering to you? That should answer your question.
-
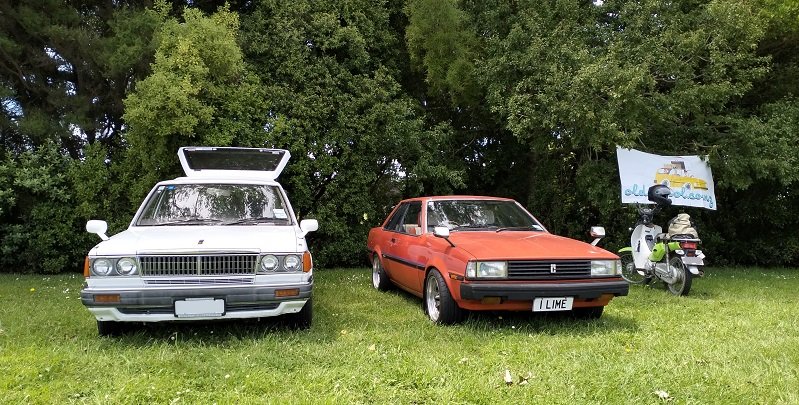
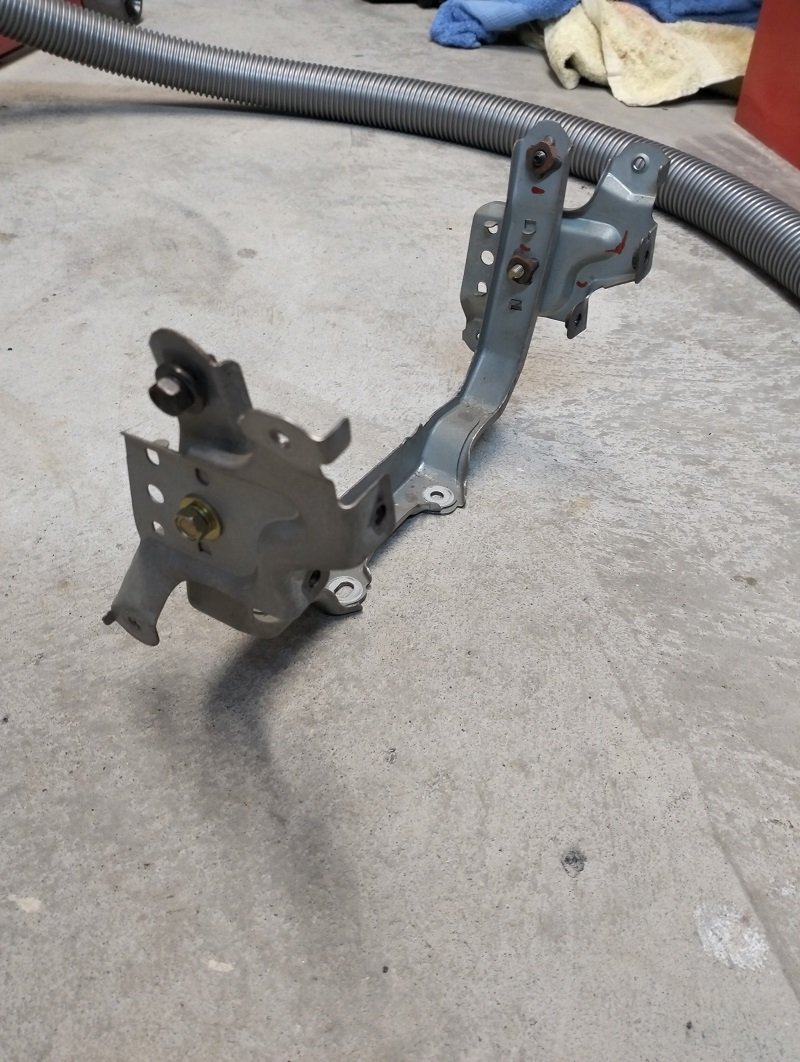
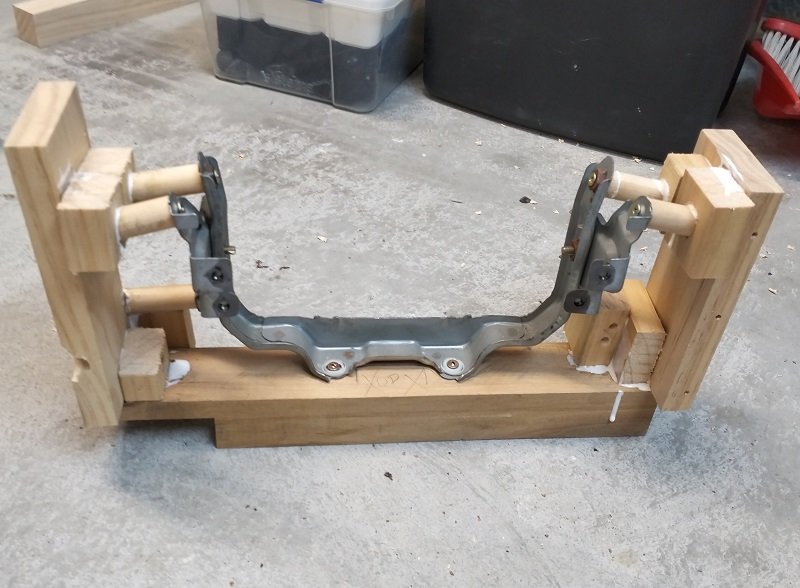
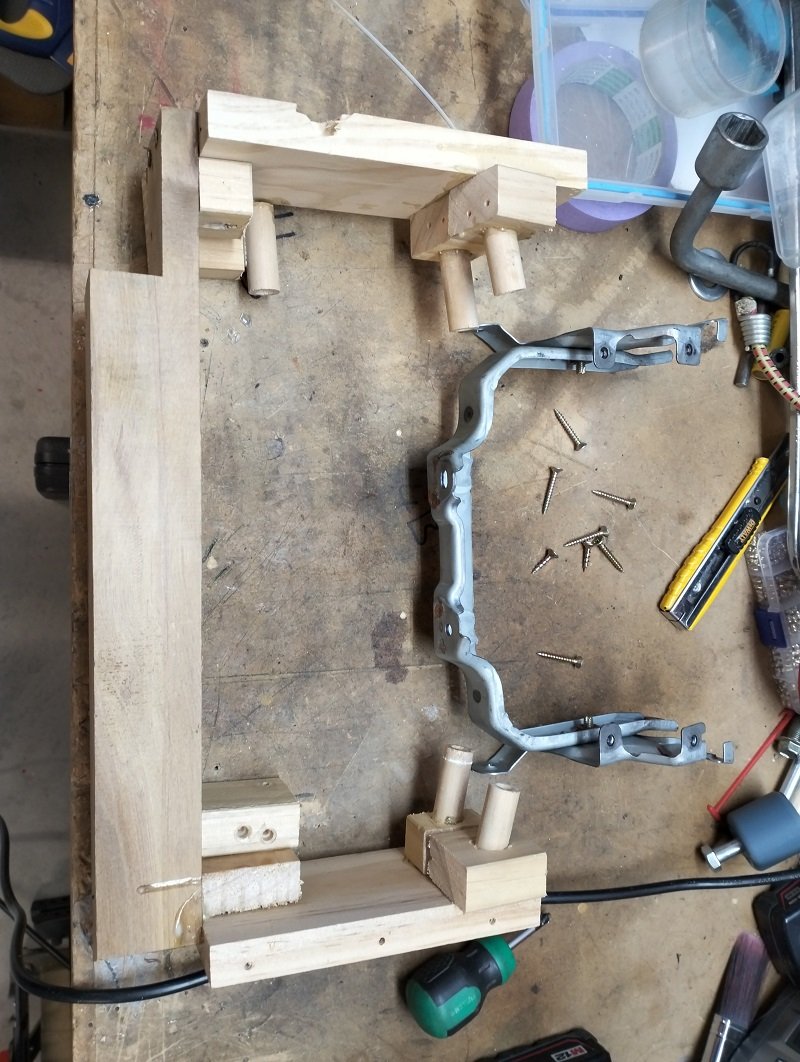
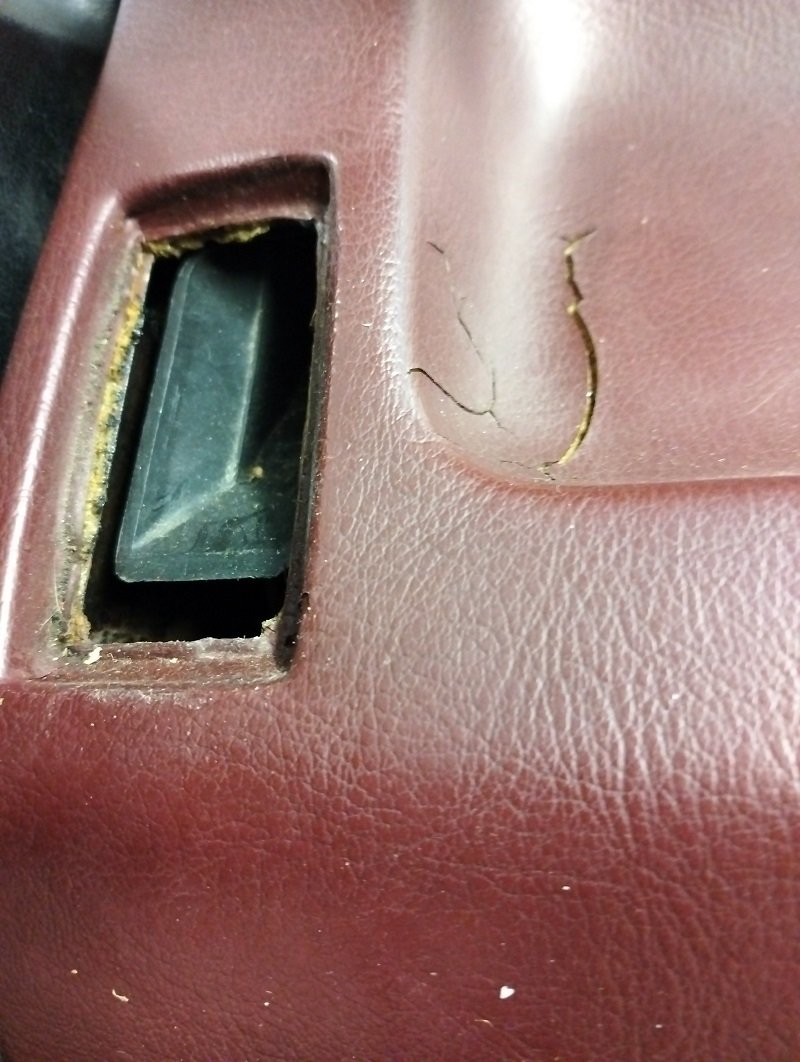
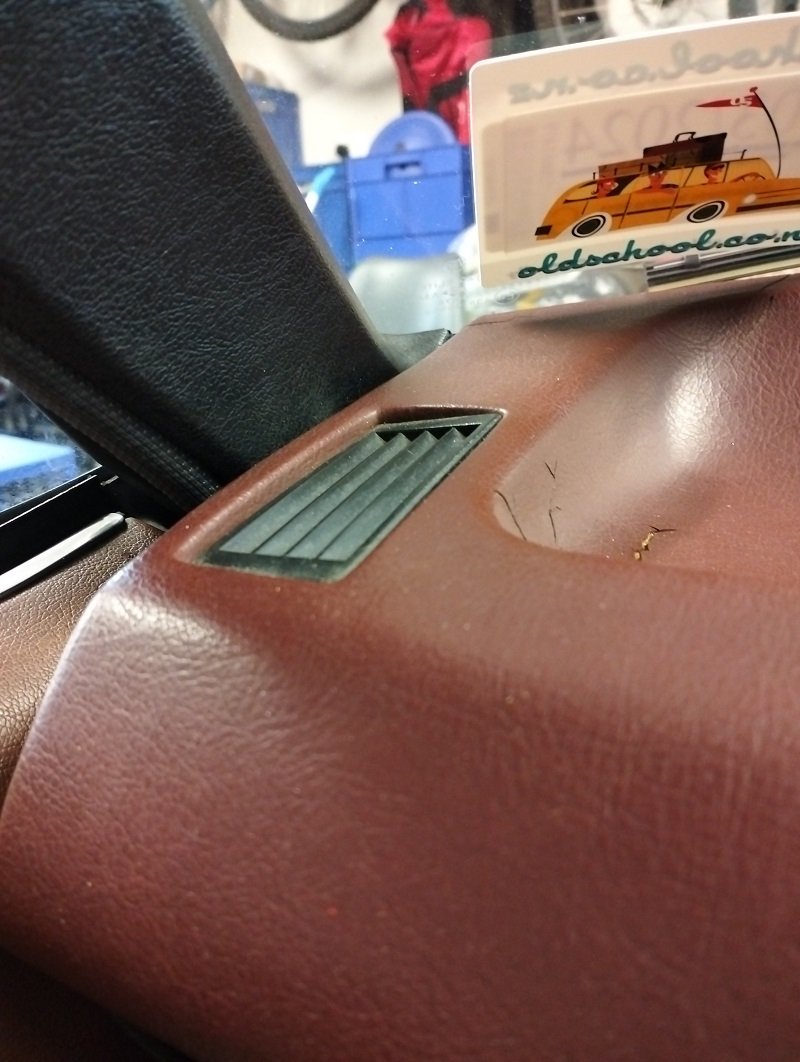
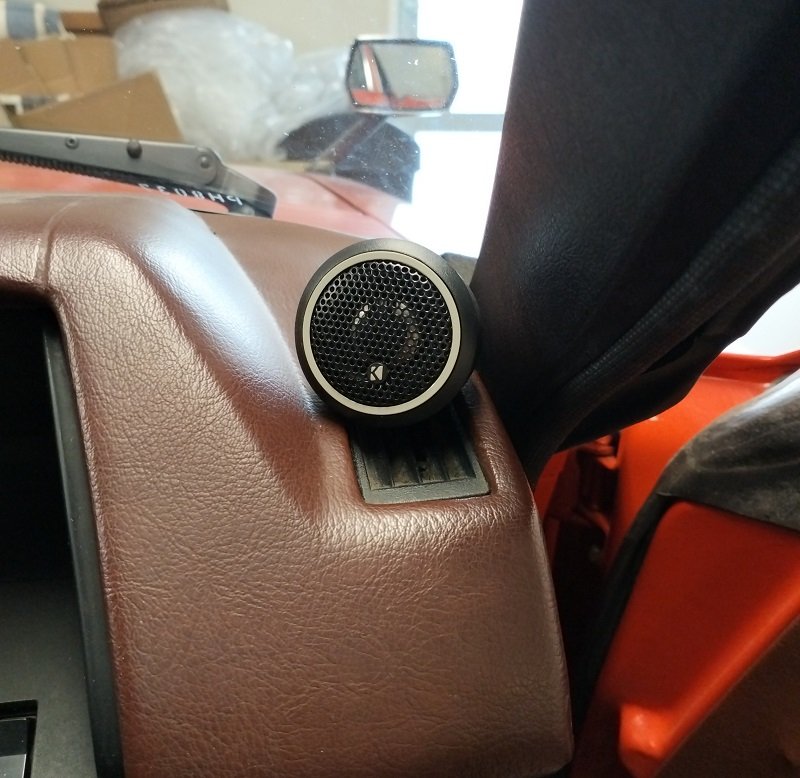
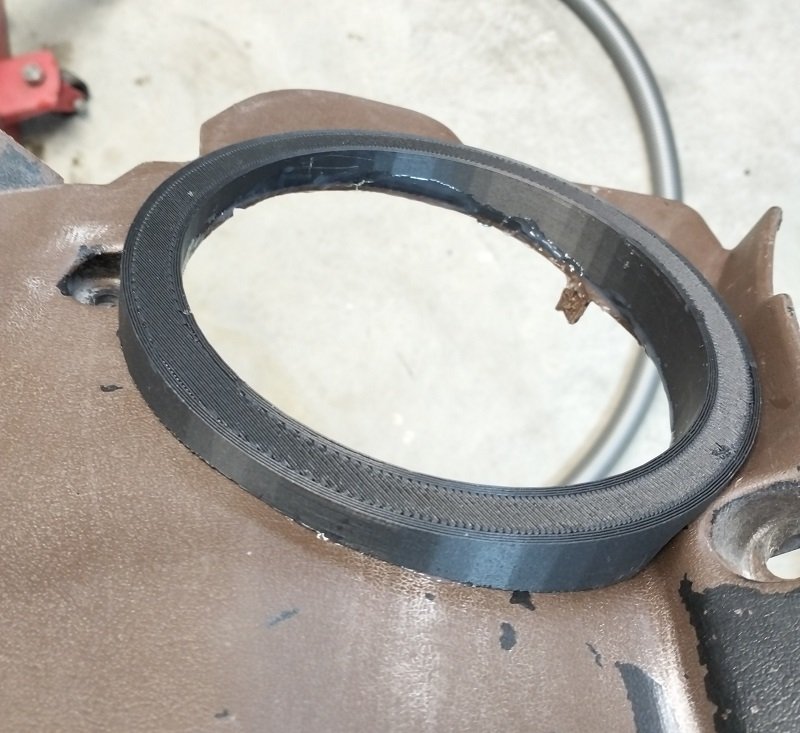
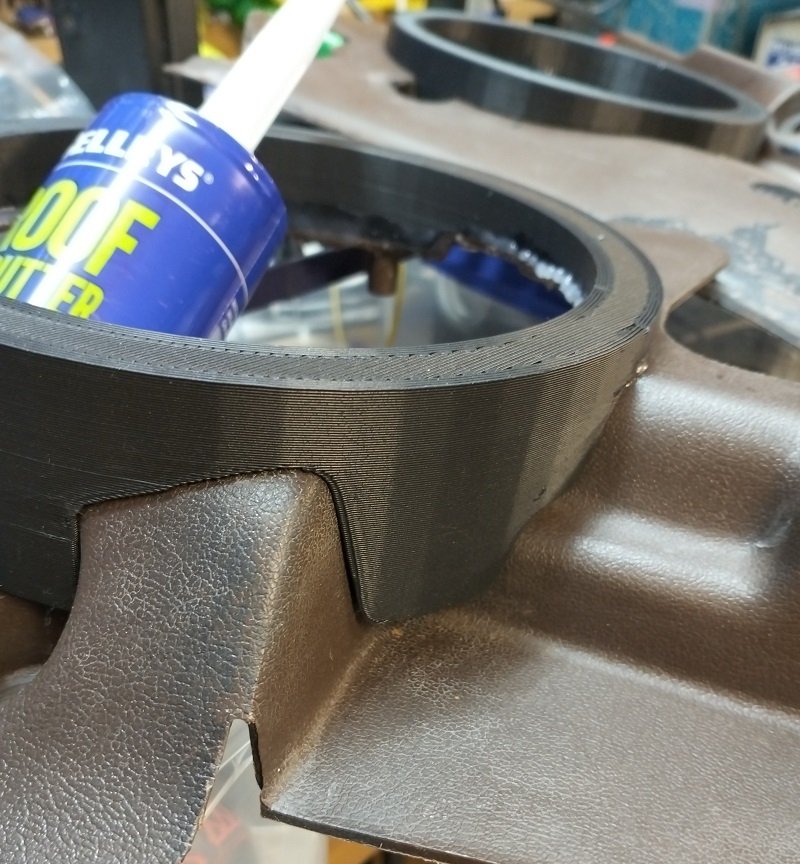
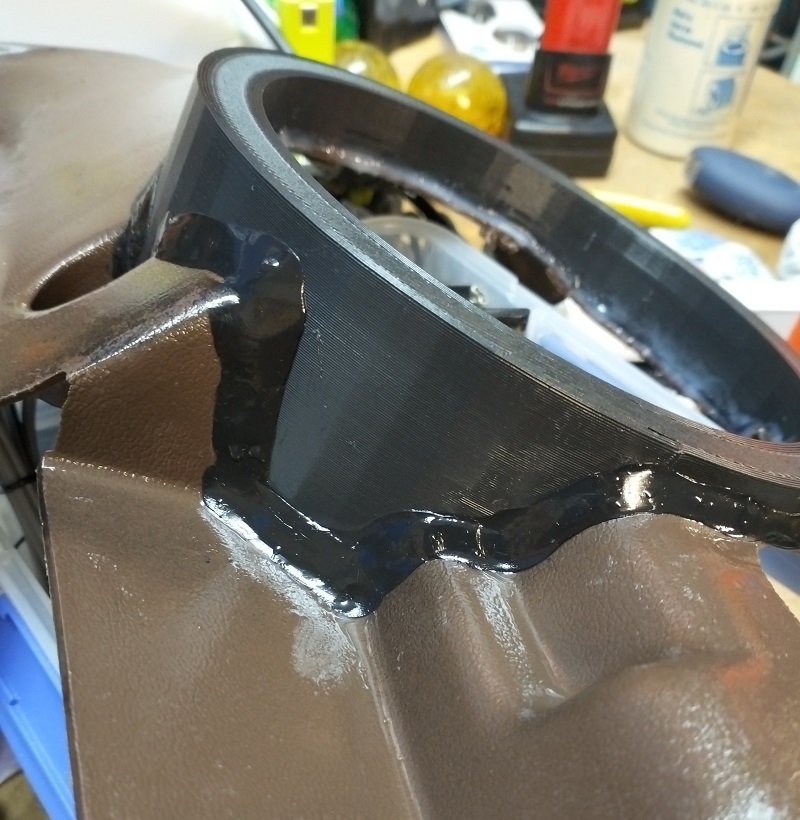
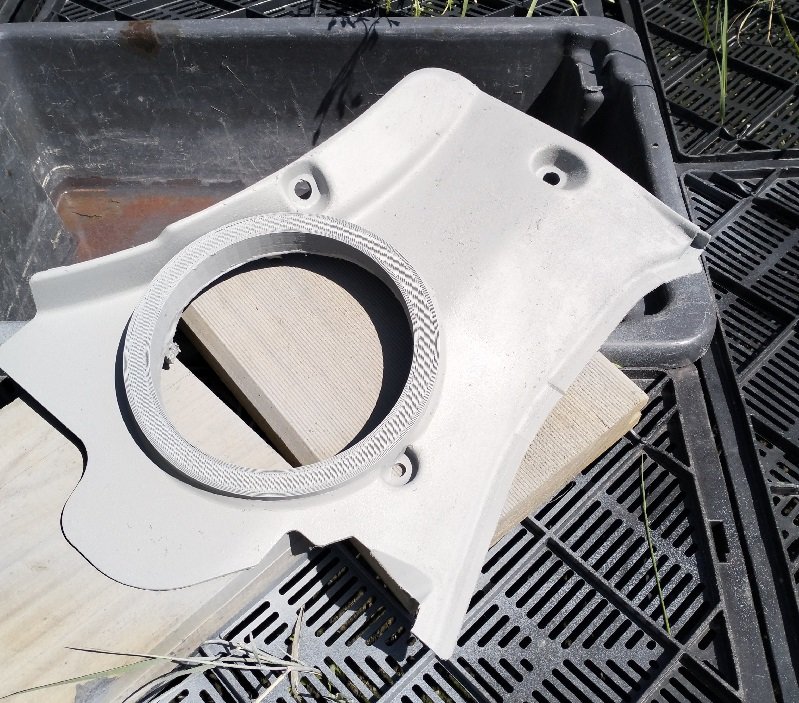
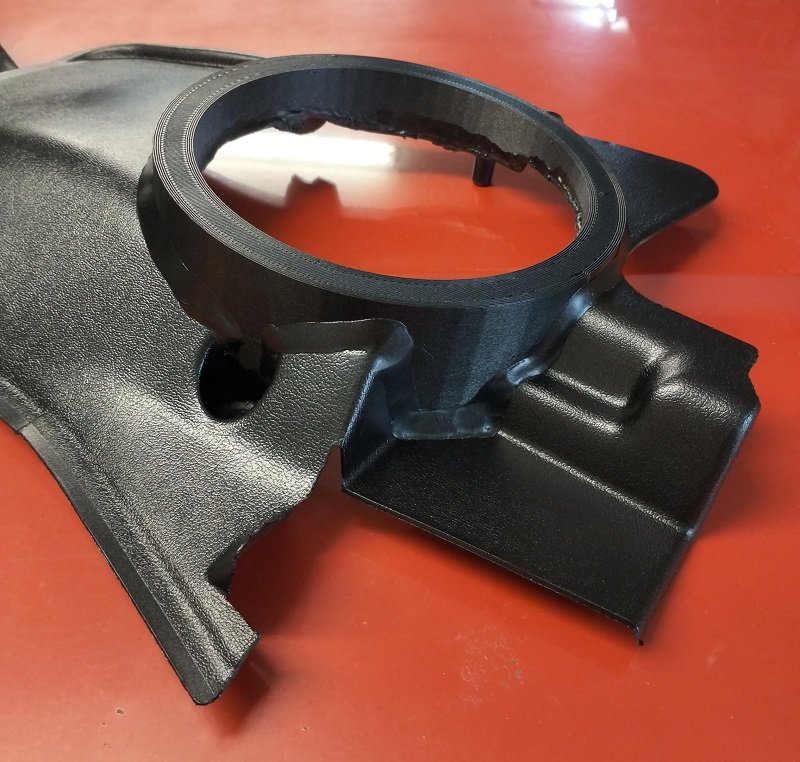
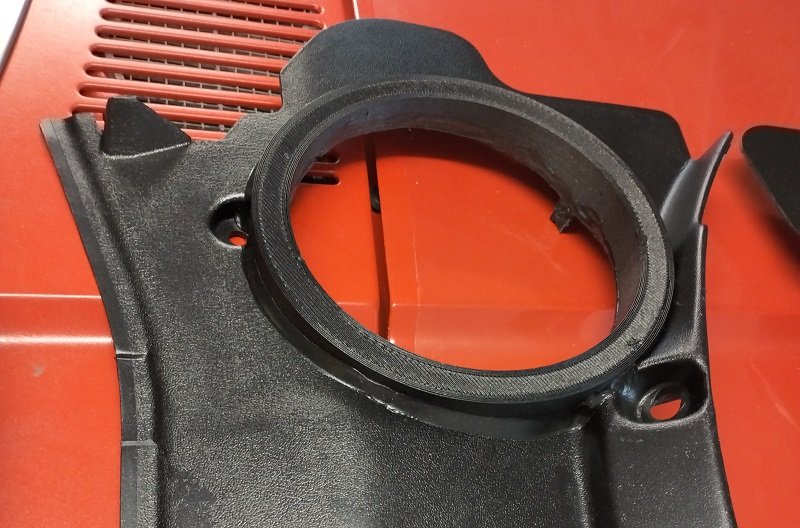
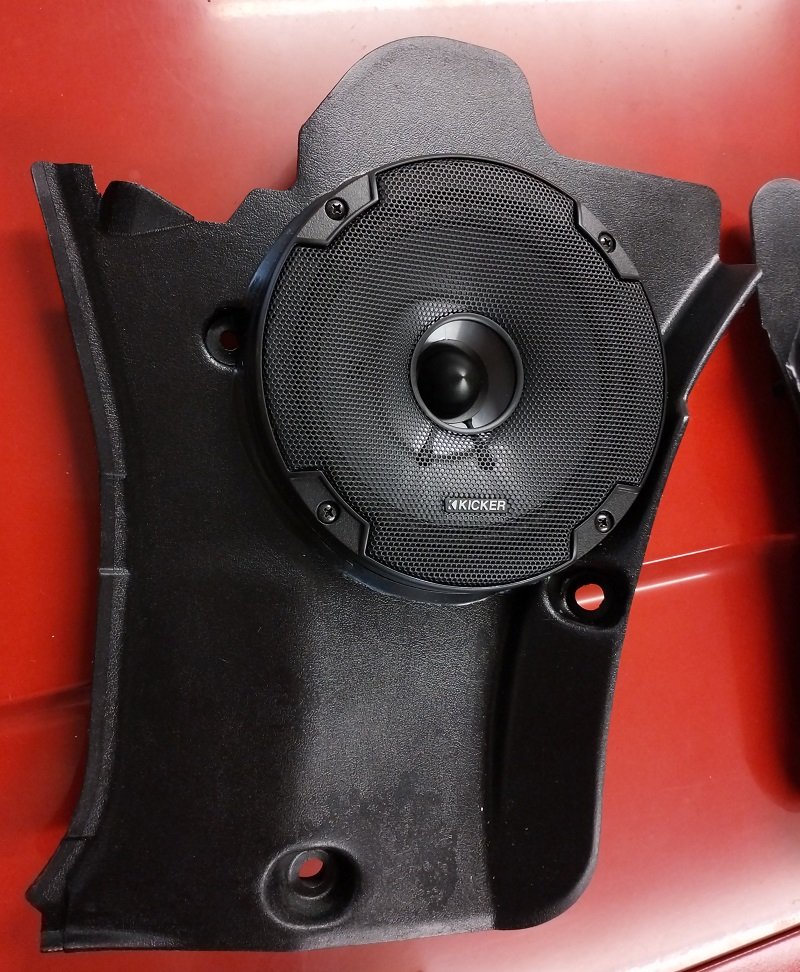
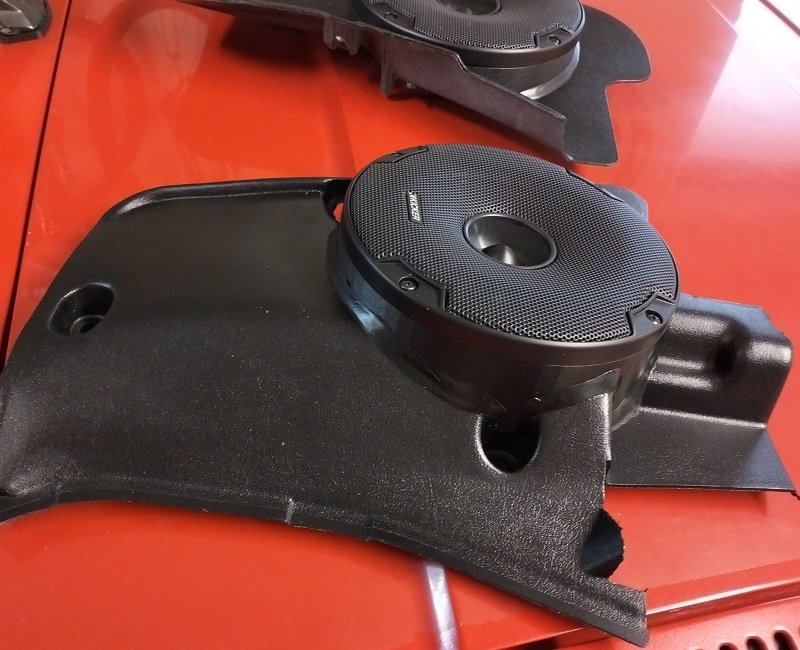
Small update today. Took it for a WOF a while ago now and just had a few minor things to sort. Took it to the OS BBQ meat this month so took a quick snap of it next to Karls sweet wags. Oh and Bart's whip features too. Didn't take any other pics because lazy. Have been working on the stereo since the mrs finished work for the year. I get very limited garage time these days so need to take the time when it's there. Made a template for the stereo surround bracket as this car didn't have one. So removed the frame from the other Corolla and got to work. Was going to do it in steel but gave up as getting the welder out is a PITA. So next logical option was wood. So I made this: I've started making a replacement frame, but it requires getting the welder out, so job for another day. I need to make it pretty low profile so that the stereo fits inside it, there isn't a huge amount of space. I installed the tweeters in approximate locations, may fine tune their direction, but for now I just want to get them in and wire and will worry about that, probably never. Popped out and broke one of the top dash vents. Thankfully there is lots of clearance between the duct and the vent to run the wiring. So have done that and placed them back for now. Plenty of wire to the crossover so can easily whip them back out later on and sort if they need it. May hide a bracket on the underside so they can't fly out at me. But for now the speakers are cable tied to the vent via the tweeter base, which I assume you'd normally screw to the dash them slide the tweeter on. So it's pretty secure with no effort. Ignore the fact I go from passenger side to drivers side in the photos. Current project is the front kick space speakers. Pretty much done now, just need to pop them in with a bit more securing to the car, and plug them into the crossover. The amp I ended up getting is for boats, so its pretty small and is all coated for moist install locations. It's two channel and when bridged will give me 90w @ 4ohm. The whole amp makes me scratch my head as the wiring loom it has, its a lot smaller gauge that I would expect for the power output. But it must be right so i'll just install it so that the main power feed is as short as practical. Anyway, continuing on from my 3D scanned and printed speaker mounts, I printed some more in black. Not really necessary given they are painted, but figured if someone does actually kick one (and never rides again) it will at least still be black underneath. Tried a few glues to stick the PLA parts to the car plastics. Some glues work on each of them but none seem to work well on both surfaces. So I resorted to using roof silicone in the end as I have tubes of that, that will go off anyway. So I first did a coat of silicone that came with my pergola for sealing (and that I didn't use because had roof sealant open). It seem to glue the parts together solid. I installed short wood screws for gluing and just left them in. Then I got out my roof silicone and sealed up the join, to make it a bit tidier. Could have done a smaller bead easily, but when you have fuck all time and just want shit done you just slap it on and call it a day. Then it was wet sanded to remove the last paint job the panels got. Then plastic primer times a few, then satin black times a few. Then I installed the speakers in the holes, then the grilles and it was done. Will install them in the next few days all going well and will continue making a frame for the stereo surround to bolt to. That's it for now really, pics: Glued with pergola silicone, would have made sense to sand the panels before doing this, but oh well. Fitment: Goo'd up. As mentioned, could have used a lot less as you can see the gap above isn't big. But messing around making a small bead look good isn't something I can be bothered with when none of this is even visible when installed. Primered, including rag attached to paint. Foam pad sanded a few times before paint and came up sweet in end. Finished product: Speaker in the hole: Discussion thing https://oldschool.co.nz/index.php?/topic/59519-blings-ae70-hardtop-discussion/

- 23 replies
-
- 24
-

-

-
Flick me a PM, will dig it out. I'm based in Prebbleton so south area. Not worried about coin, better it gets used than goes to waste here.
-
Need to be spray on? I have brush on in CHCH I don't plan to use anytime soon. Kicker is would need to have someone grab it as posting it will be a ballache.
-
Yeah I wonder if that loop hole has been closed yet. You know what I mean though, *puts on tinfoil hat*. Zero interest in decal plates or homemade plates forever, then all of a sudden they care.
-
It's for safety, we swear. Guess that means they want to be able to read the plates... so... lets see what comes next.
-
Wait for part 2.
-
You guys can get new jobs you know, OS meat, new year, new job, winning.
-
Best idea to send all that through. I had to do some welding for recheck and sent through photos for checking. Got the ok to paint and final check was done with it all finished.
-
It's ok I have AA plus. /I always have tools
-
Is there another option? I should really sort my uber high idle before this. But I know if I mess with it, i'll get it wrong. And will have to boring daily it again, so i'll just charge the battery and send it. I really need to enroll in carb fettling 101.
-
Just shop talk, but the rear design of those means the amount of height adjustment you have is fuck all. I found this out when building my car with other brand stuff. I ended up swapping my short sleeves for longer ones for nothing, but I imagine they will be a this is it take it or leave it. Just a heads up anyway, my solution was easy, yours might not be if the height is exactly what you want out of the box.
-
Is the head off? What about just filling the bores with coke? Sounds like it's chooched anyway so nothing to lose? Rinse and repeat till it eats away at the rust holding the piston rings.
-
Could be a go'er. Xmas BBQ catch up this month?
-
I'd be more proactive about fixing it than just for WOF if my car locked up the rear when pushed. Not exactly a safe setup. 2c Could just as likely be shit tyres? Though you mention imbalance too. So that would be worth sorting, though I don't think it's going to solve the whole problem.
-
Would it be locking up as from the factory it had a proper rear cargo setup so has less weight now? Add some weight on and see if anything changes.
-
If the other mount was already welded there, then it's probably passed WOF's for years without a problem. I'd just avoid welding to factory stuff when possible personally. Obviously it's already do so just carry on. If there was ever an issue you could remove it and tidy the crossmember back up to be like it was never done. When I put a whole new exhaust in mine, it built it from scratch so it didn't match original design. I just bolted up mounts to existing holes then welded on rod bent as hangers to suit those locations.
-
Is there nowhere to bolt a mount? Pretty sure all the hangers on my car are bolted on. I'd try and do it that way, or make a hanger that can link to the existing mount and weld it where possible on the exhaust. Pic might help?
-
 @ajg193 ?
 -
I get all my 125 sanding discs from Spaystore (Smits). They might just not list them online. I never had a problem sourcing them and I needed a fair few for the project. Often they just had to get them from behind the counter rather than the limited options on the store shelves.