
KKtrips
-
Posts
26381 -
Joined
-
Last visited
-
Days Won
82
Everything posted by KKtrips
-
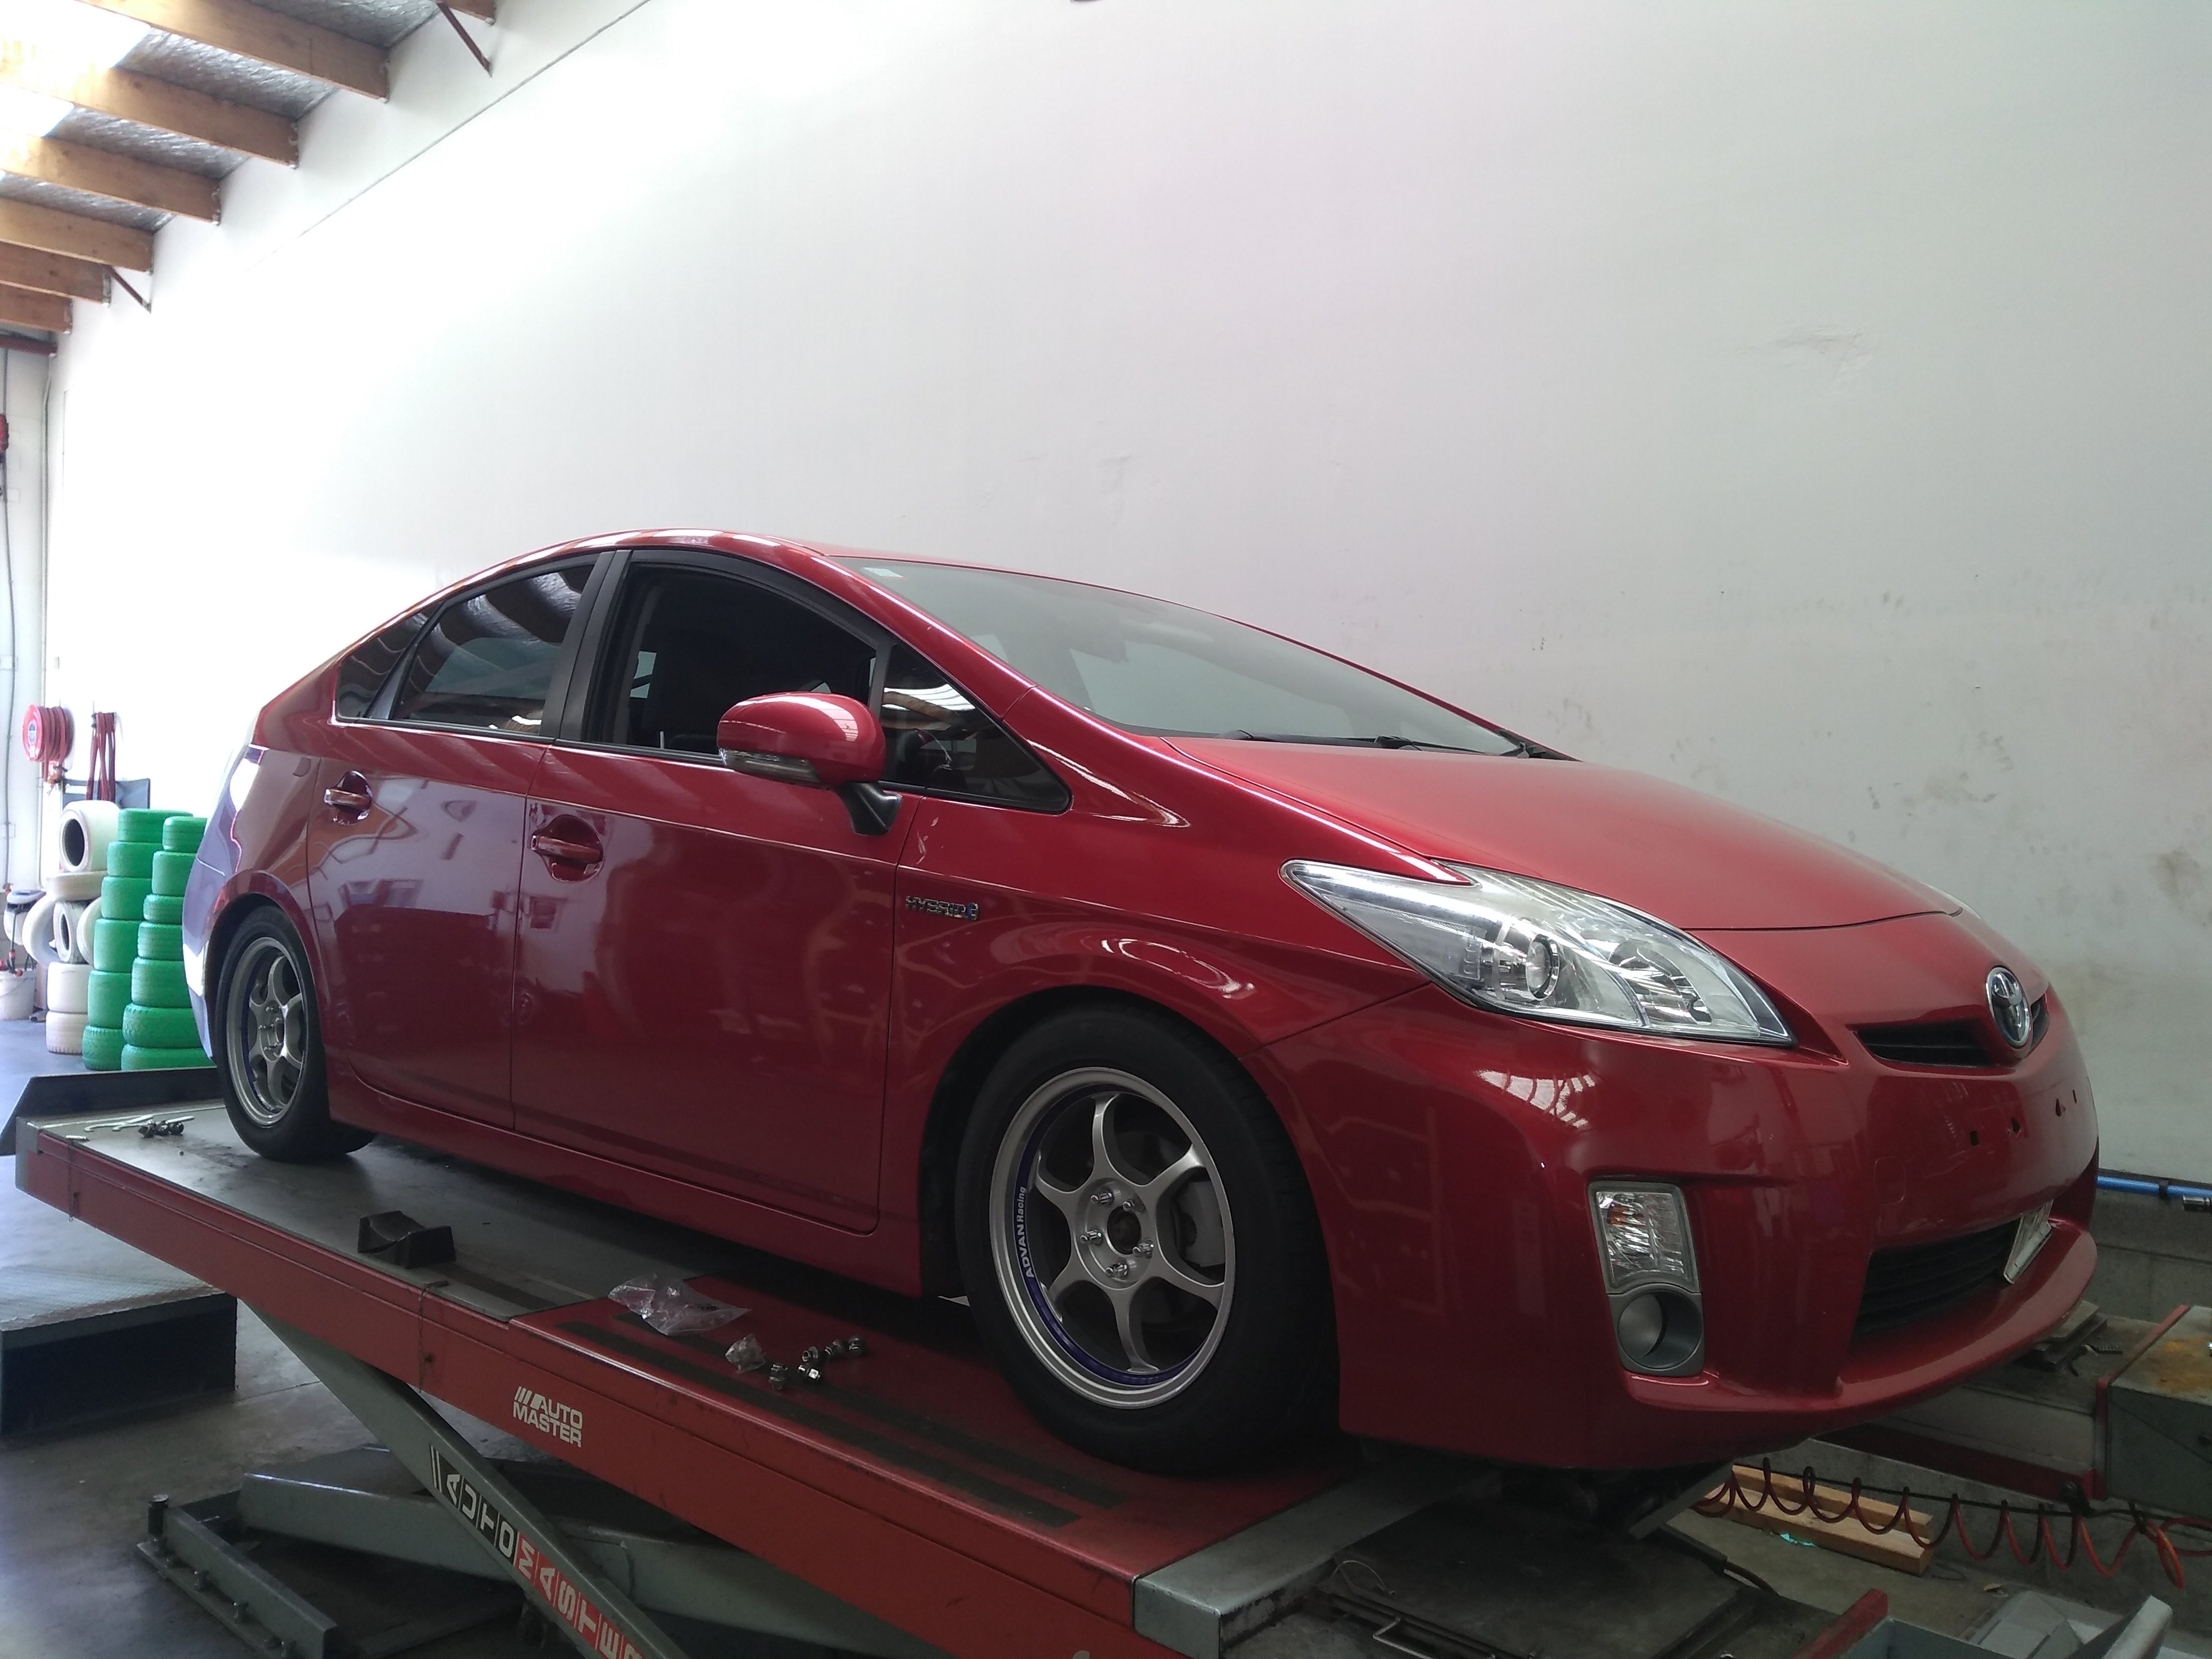
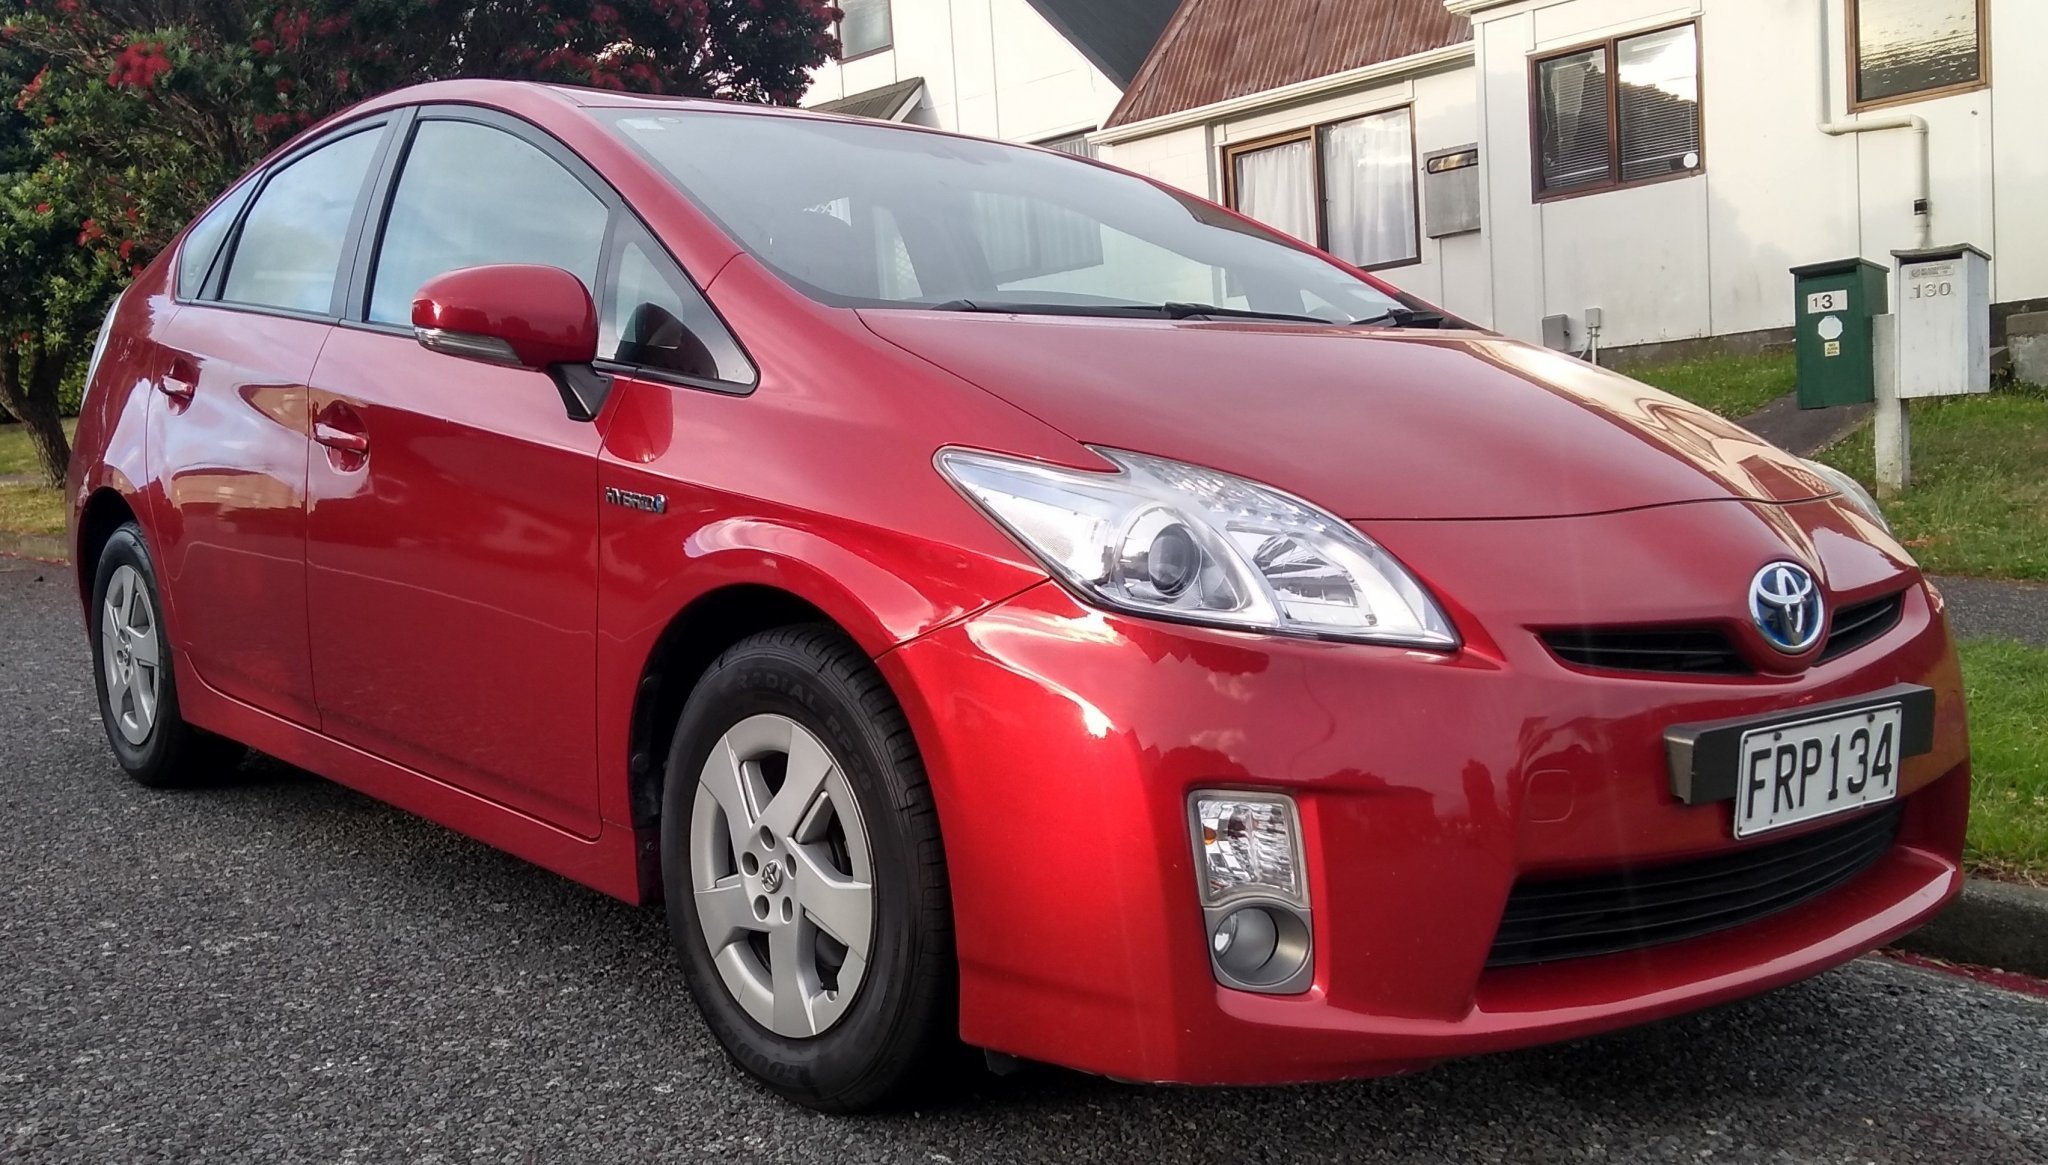
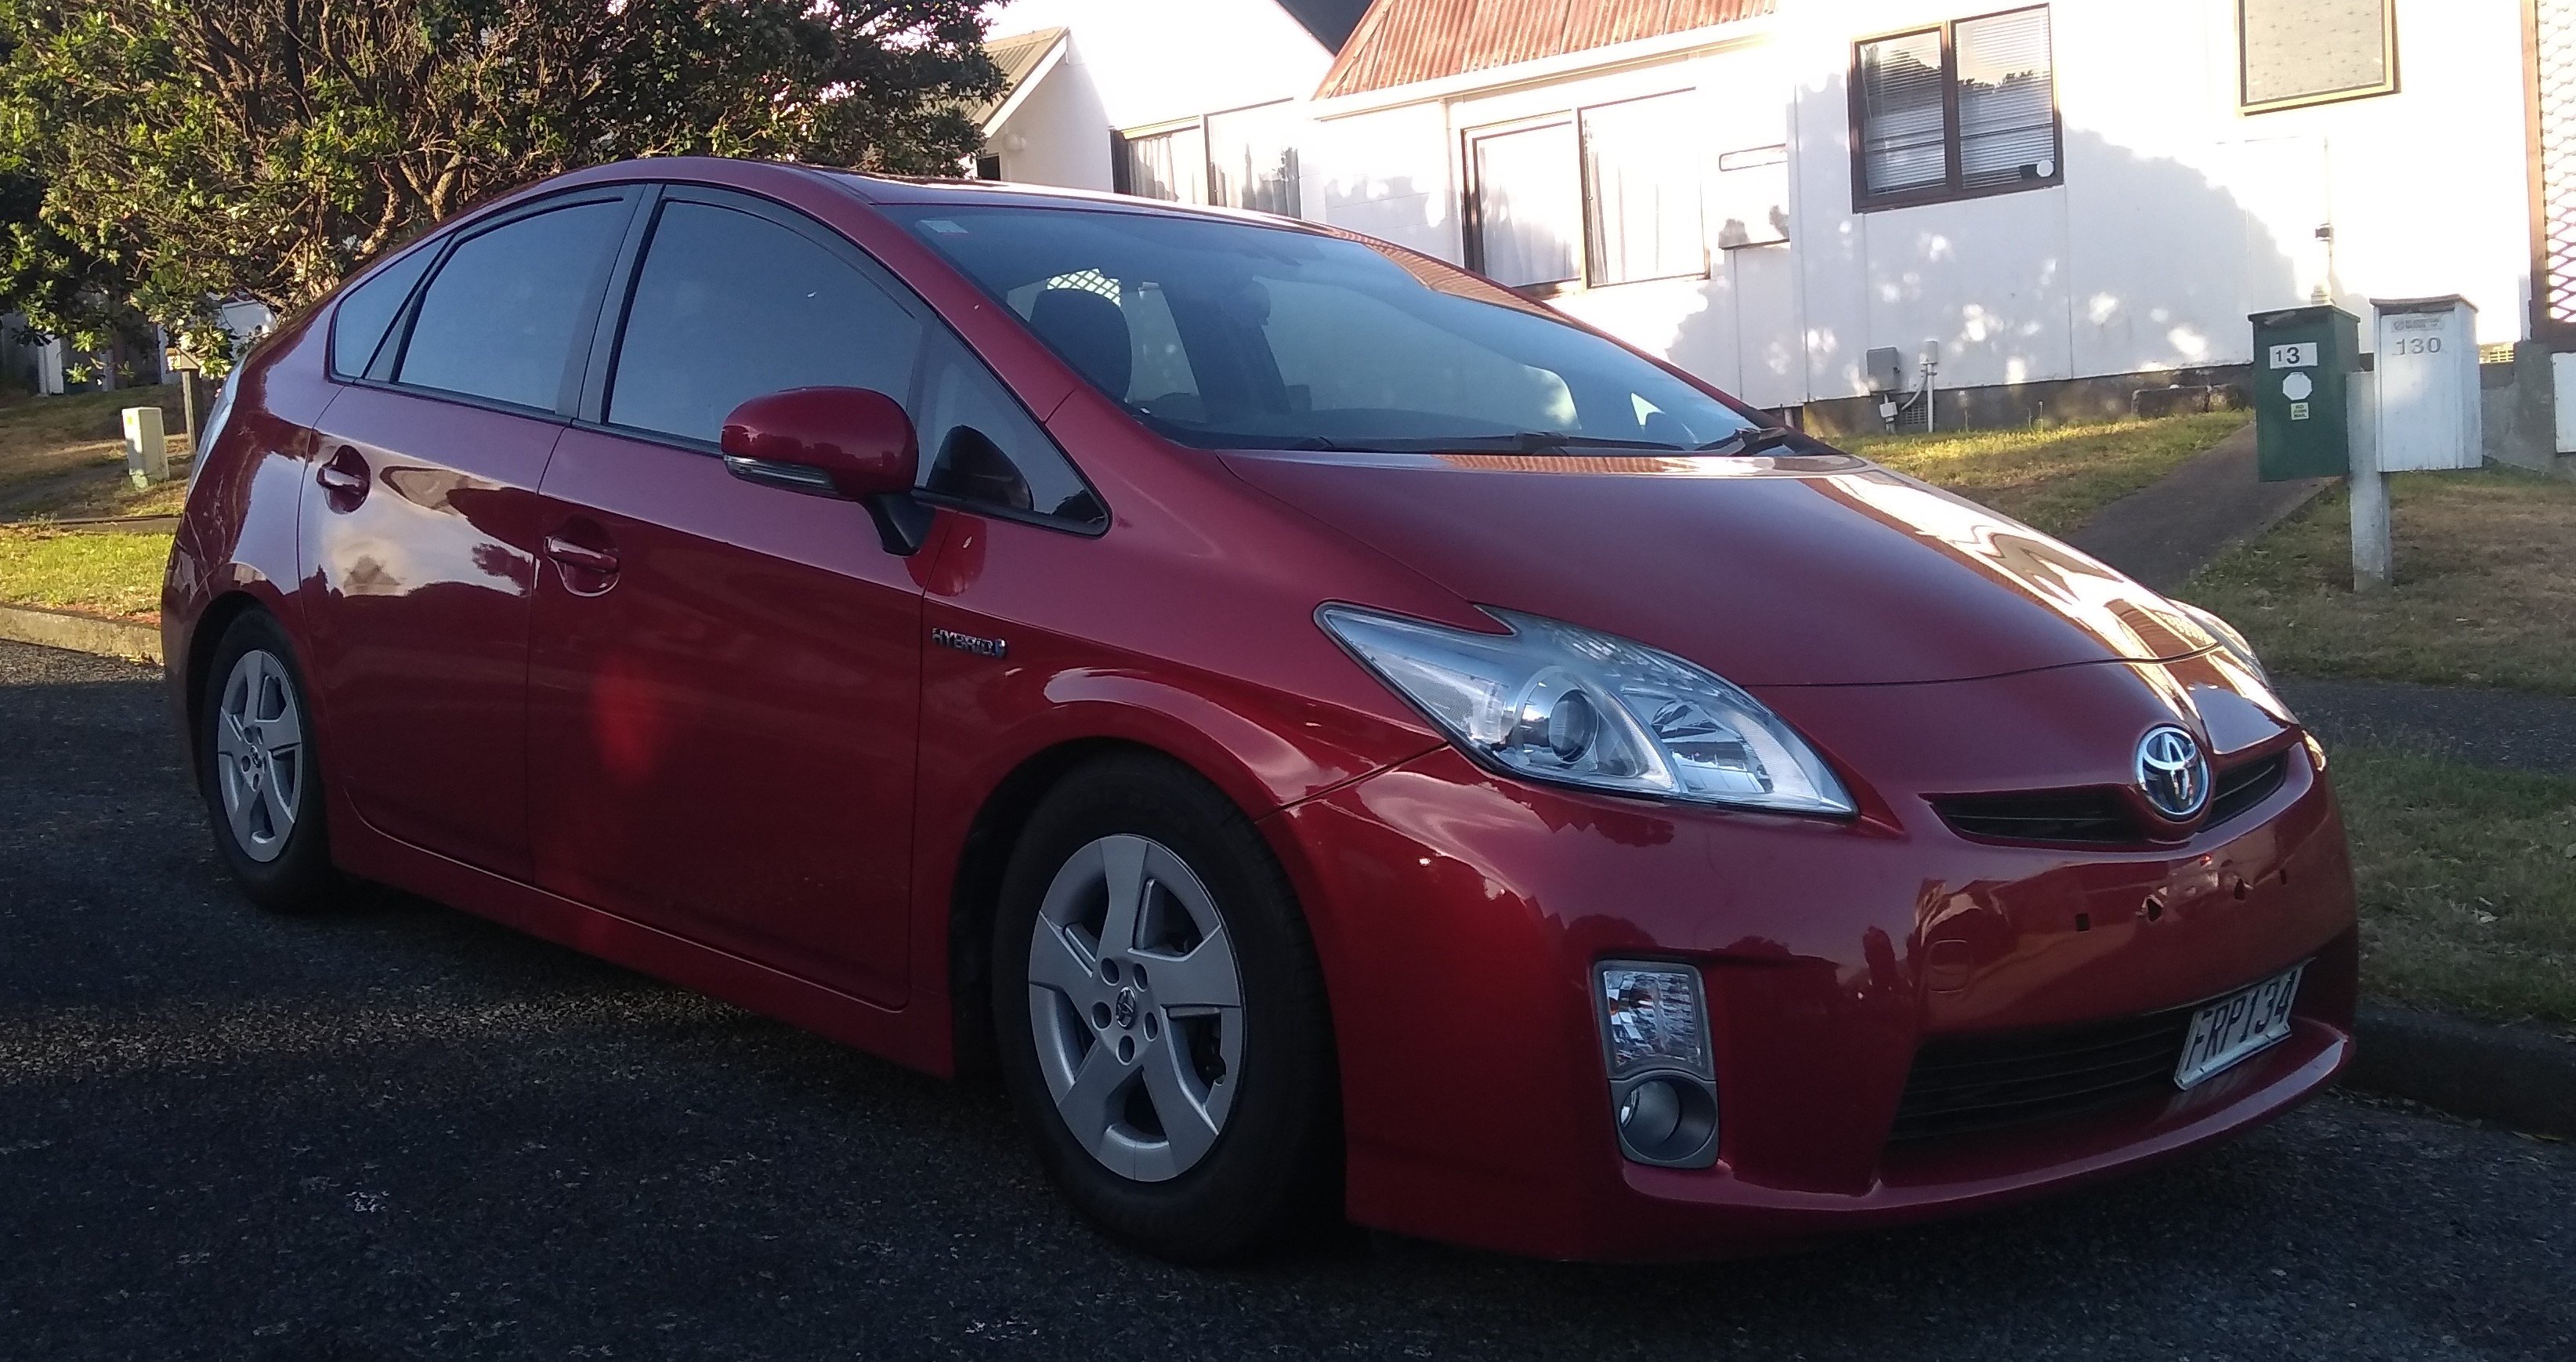
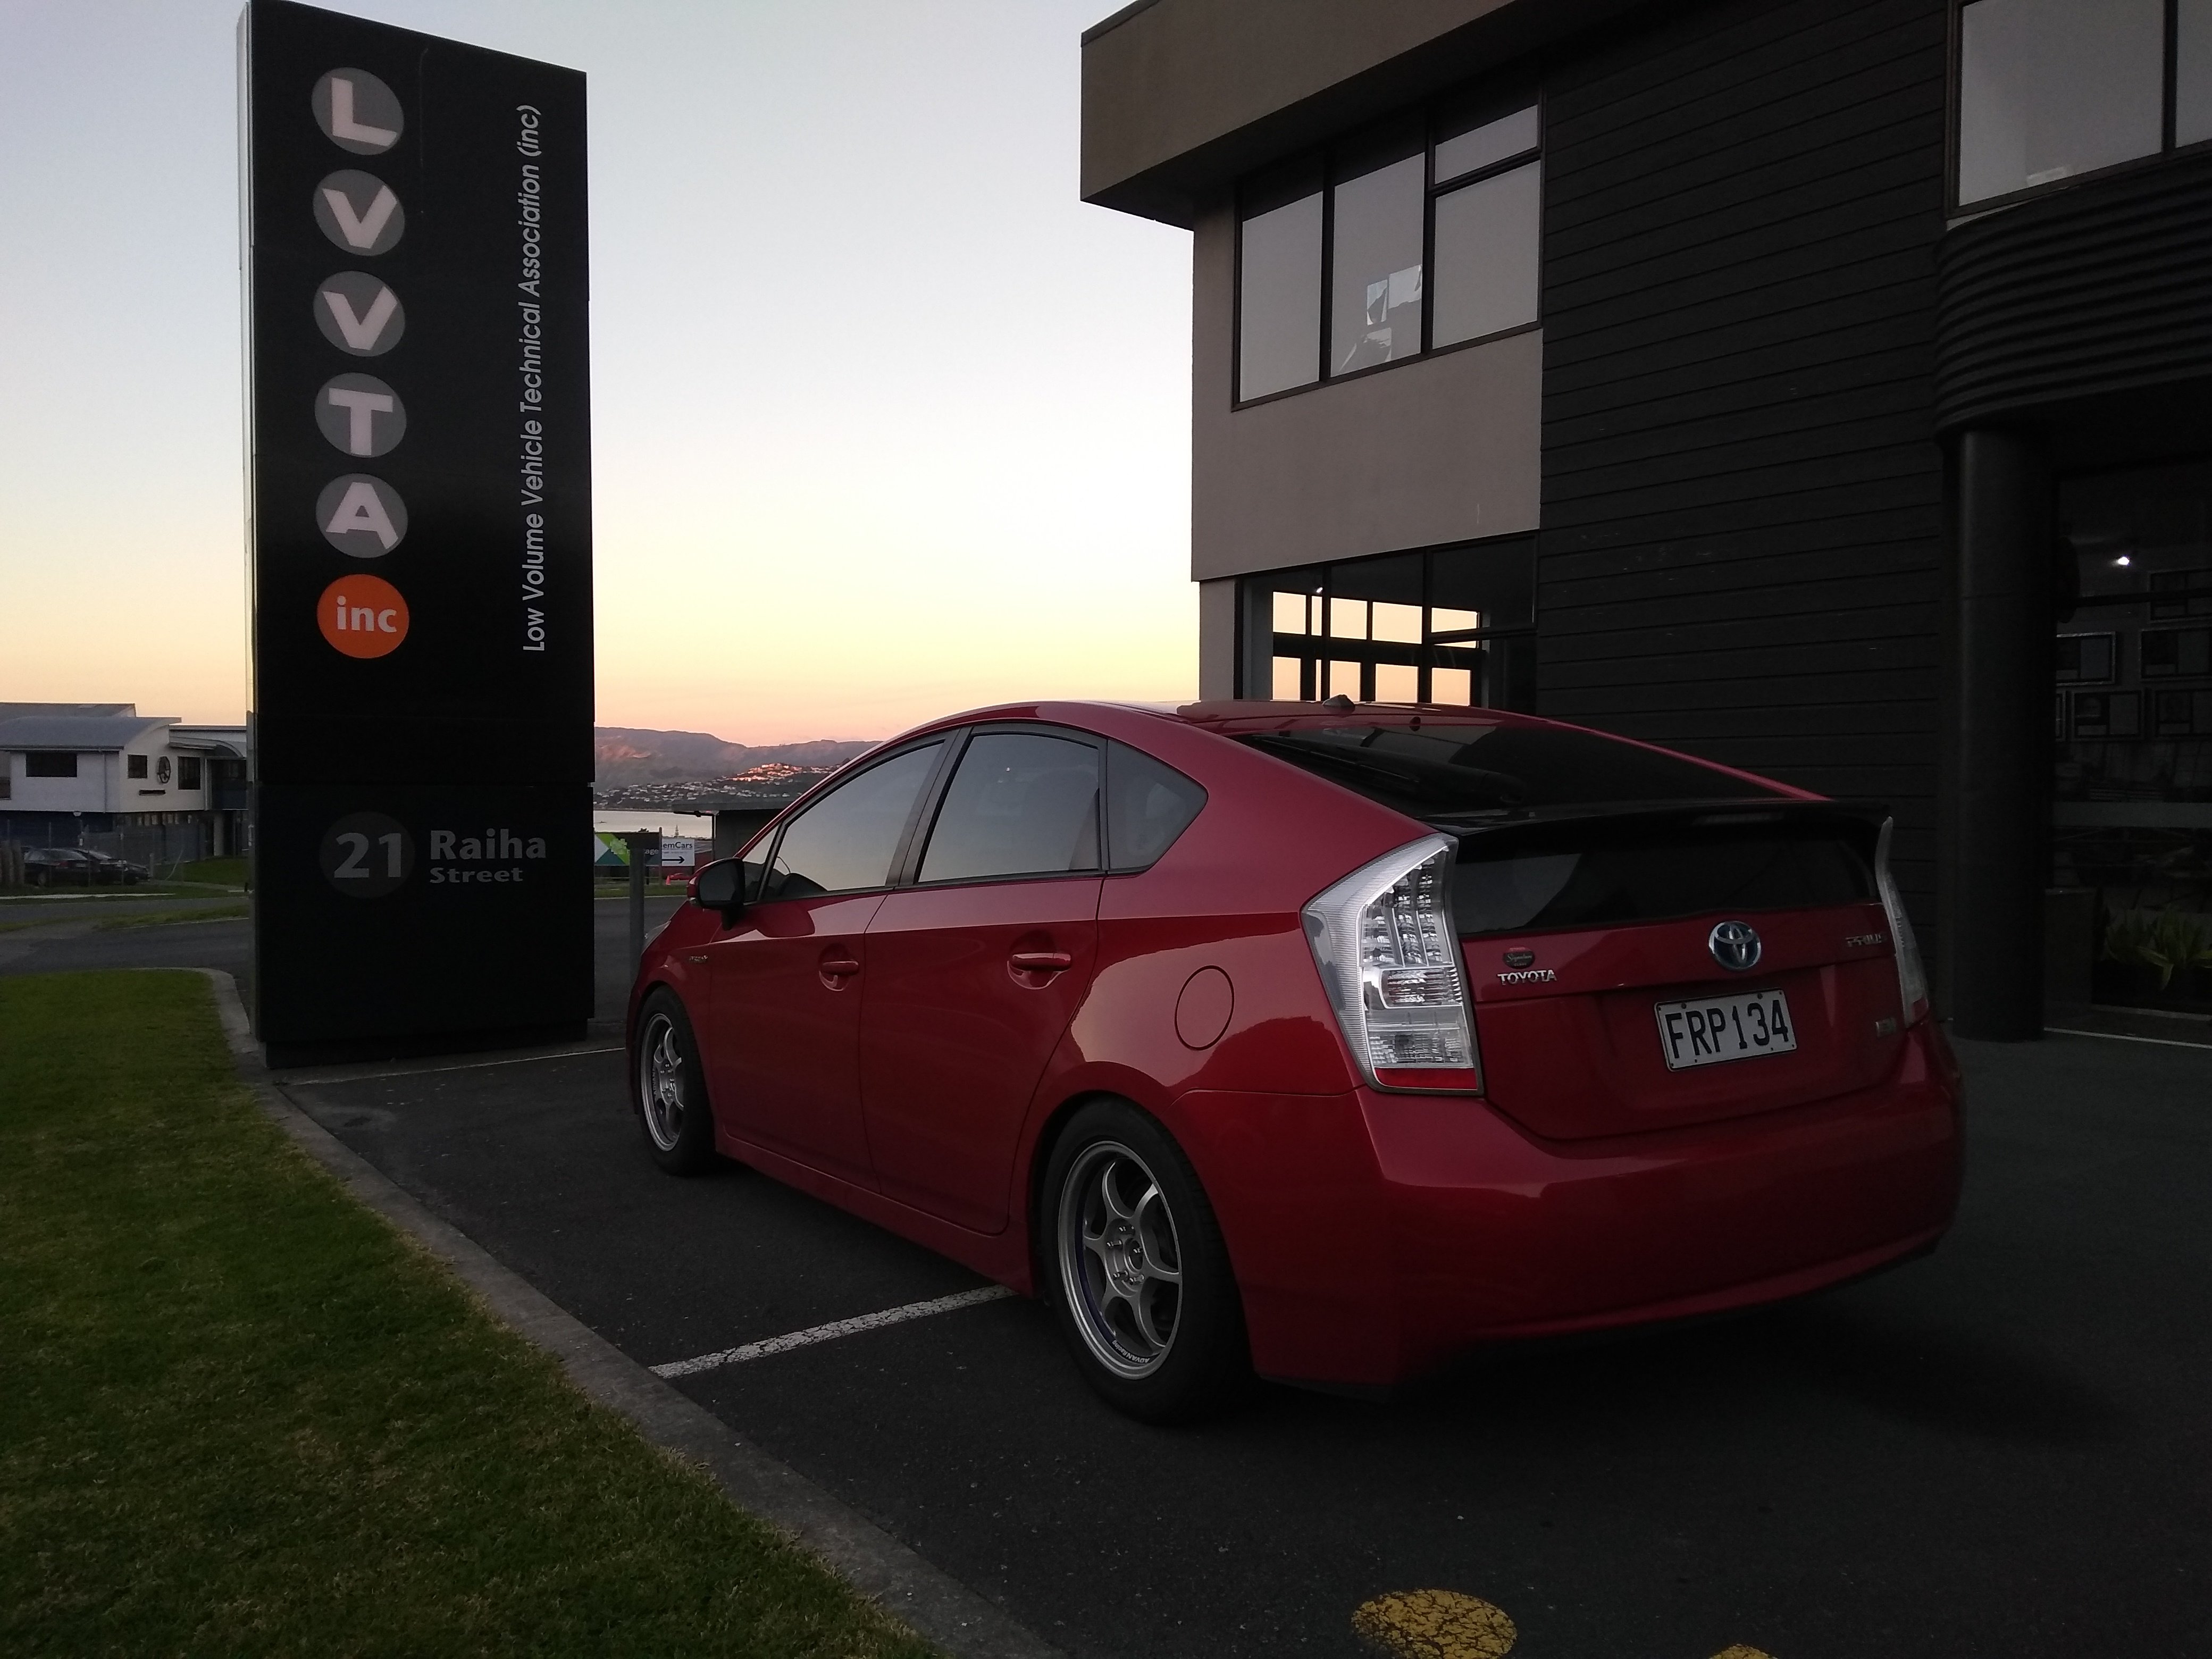
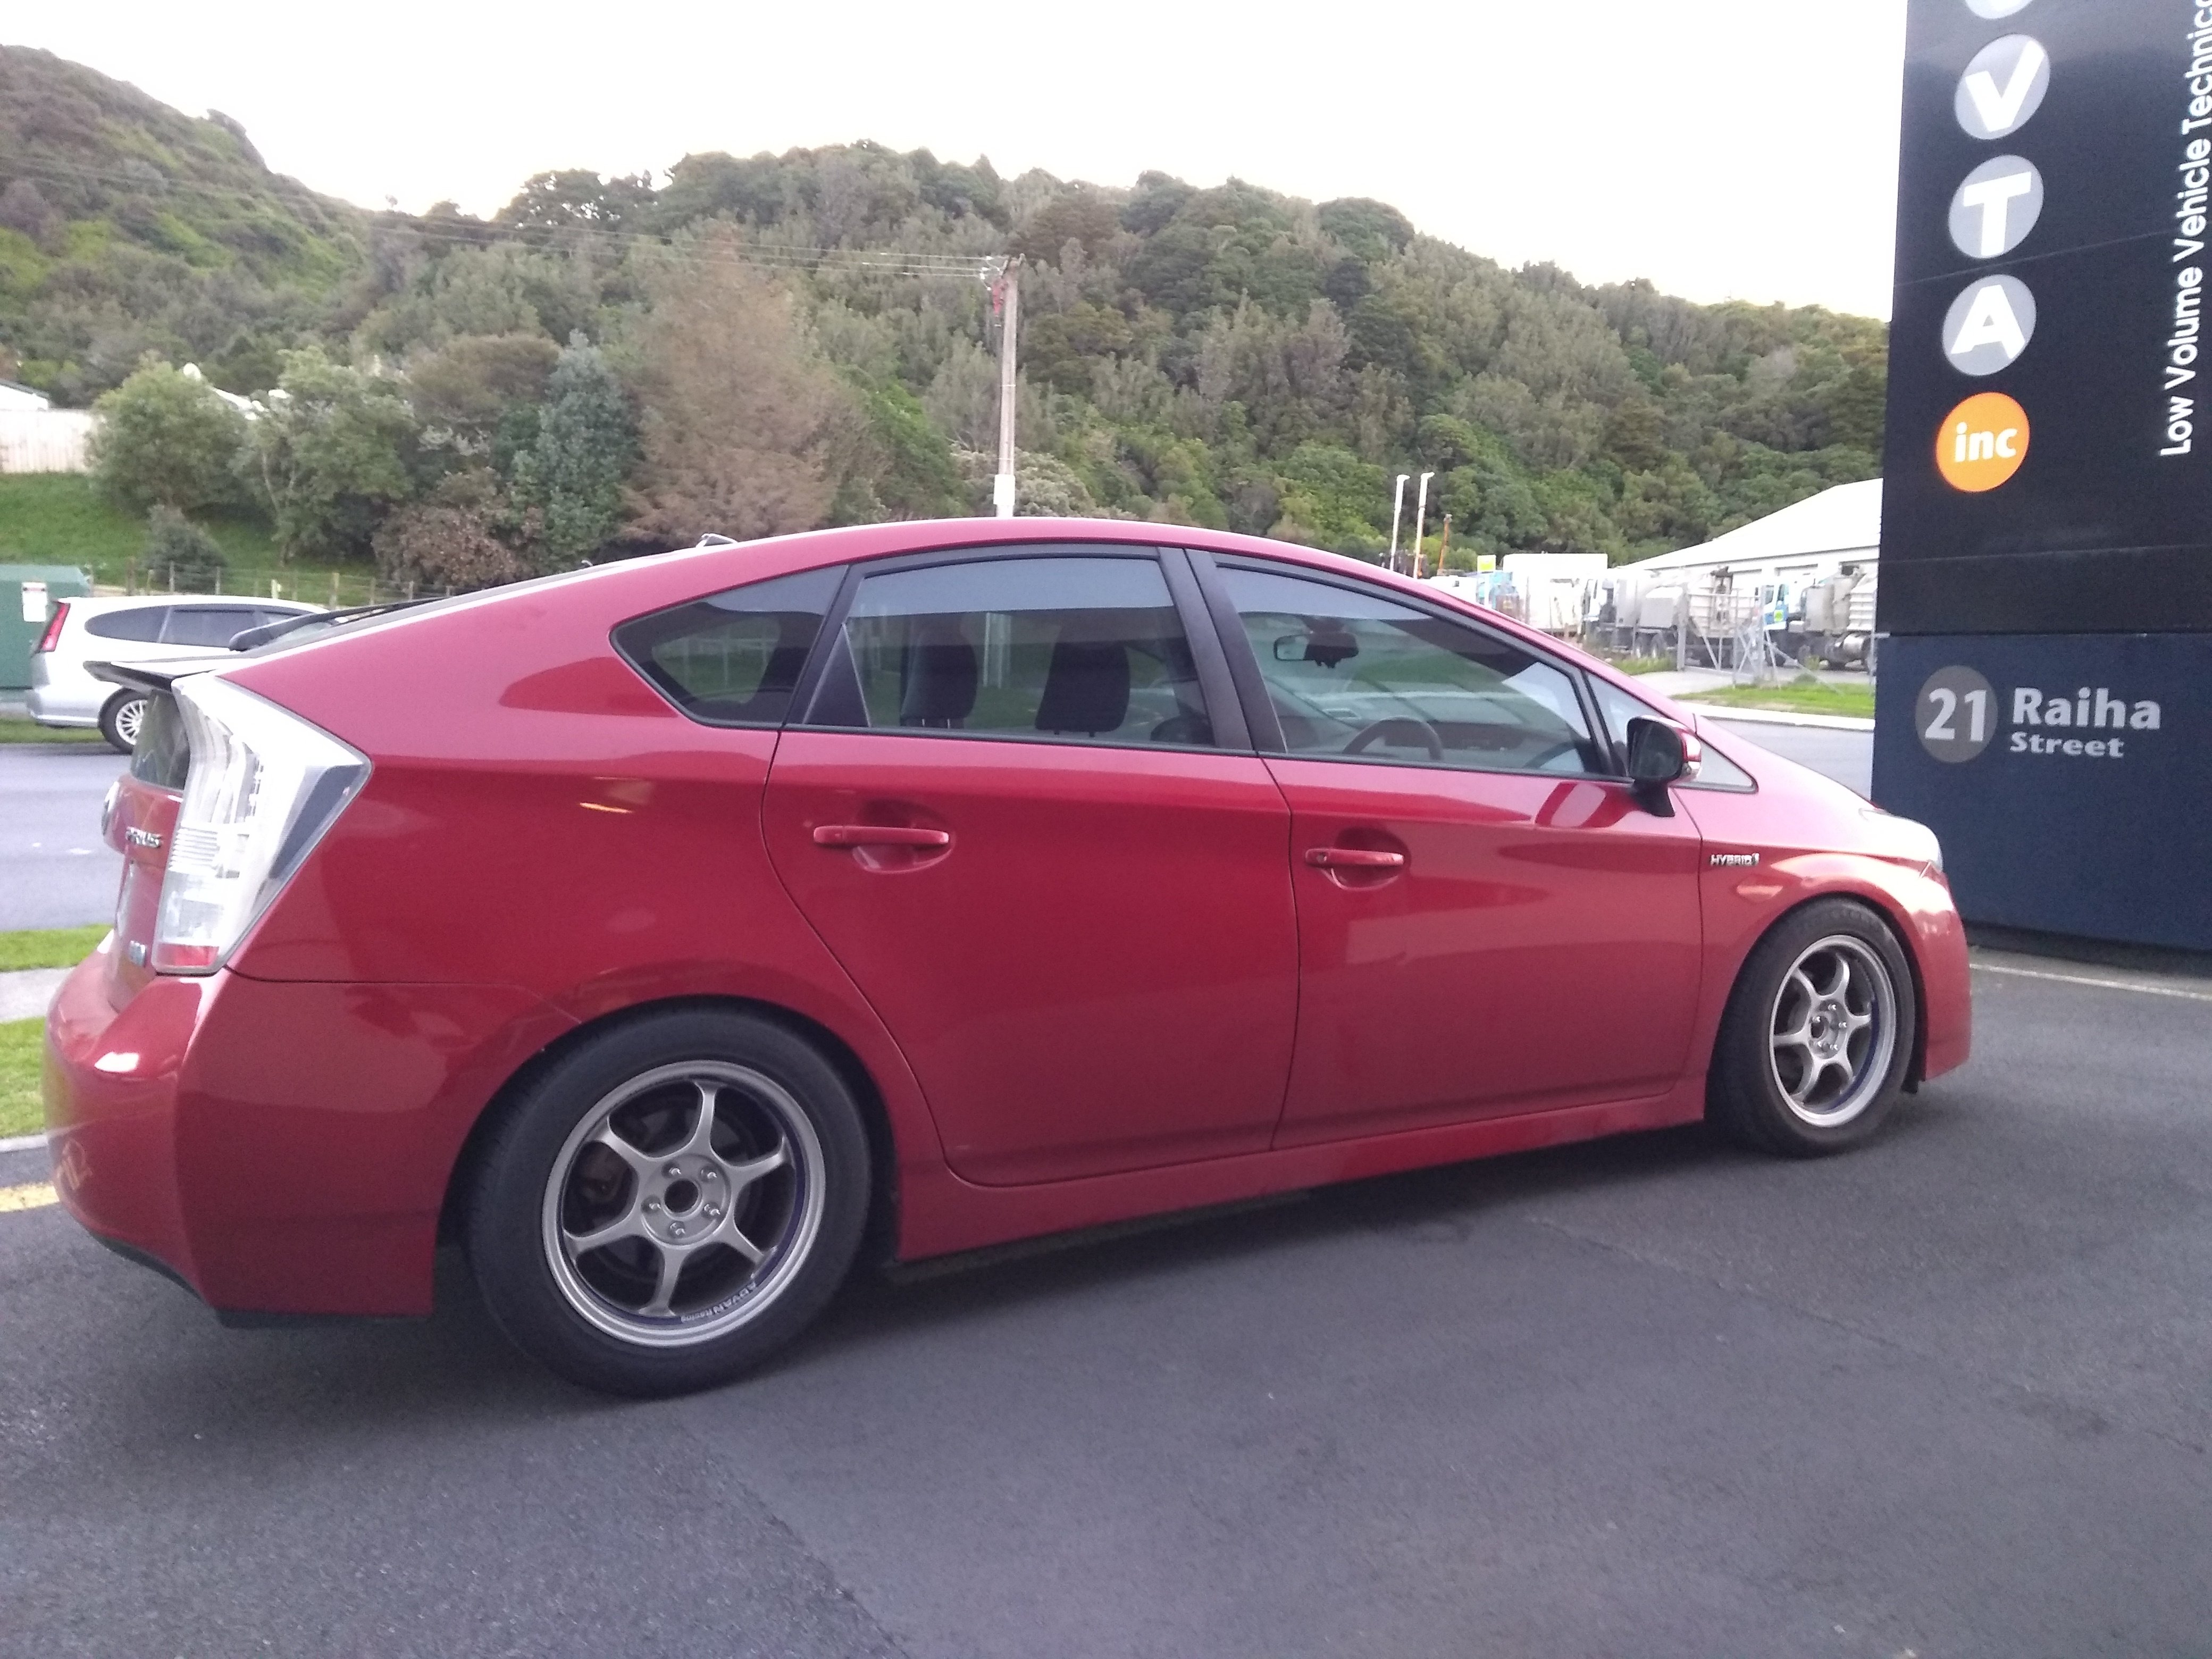
Fitted adaptors to the wheels last night to pump out the wheels a little as the spacers didn't cut the mustard. (custom made jobbies by Znoelli in Auckland - who did a great job on them) Took a nice sunset picture parked outside work last night which was unintentionally framed but caught my eye when going through the pics just now. Getting cert inspection today (fingers crossed)

- 137 replies
-
- 17
-

-

-
Is you vehicle already certified?
-
This is the infosheet for design approval, effectively you are wanting custom IFS, so will need to be assessed via the Technical Advisory Committee (TAC) https://lvvta.org.nz/documents/infosheets/LVVTA_Info_01-2016_LVV_Custom_Independent_Front_and_Rear_Suspension_Approval_Application_Guide.pdf Background:The NZ Hobby Car Technical Manual (HCTM) requires that any custom independent front or rear suspension (IFS/IRS) assembly obtains approval from the LVVTA’s Technical Advisory Committee. This includes any situation where an original equipment (OE) IFS has been transplanted into a different vehicle and where its OE suspension arm pivot-point locations have changed to non-OE locations, or where the relocation of any geometry-critical pivot points has taken place, thereby altering the suspension systems pre-set geometry.
-
All certs are full certs, except a wheel and tyres update and partial/full return to standard. The amount of time difference between doing a "minor paperwork update" and a full recert is not that much so you might save a little, but not a whole bunch. Keeping in mind the certifier has to check that all previously certified mods are still compliant and that there are no other obvious mods that have taken place since the last cert. FYI - plating fee is approx $200 which is what pays for the LVVTA system, the rest of the cost is the certifiers time and their costs. (a plate reprint for a partial return to standard or a wheels and tyres change is about half that)
-
Links shouldn't be dead? I'll check now. edit - nope it's there https://lvvta.org.nz/documents/infosheets/LVVTA_Info_01-2009_V3_Tyre_Size_to_Wheel_Size_Compatibility_Guide.pdf Will hopefully be updating that again sometime soon. (I have the wheels and tyres standard on my desk for updating)
-
If that was modified to that extent at the time of the declaration then it would be covered by the declaration.
-
Very little, but in service replacements only. ie: anything that could be expected to wear out. One other thing you need to remember about a declaration, it is NOT a statement of safety, all it is, is a document that confirms that a vehicle was modified at the time the declaration was issued. It says NOTHING about how safe it is or isn't.
-
Yes, but see your certifier to get an NDT form to make sure they are NDTed to the correct standard by an appropriately qualified person. Also known as an "F008 - LVVVTA Non-destructive Test Request Form"
-
She makes a mean carrot cake...
-
Awesome man, who's doing the cert? Julian?
-
In the next Moonlight Racing container. It's due in a month or so.
-
"'notha jug Bill" or something like that.
-
Had to take it off for the tints gee.
-
https://www.facebook.com/KustomTinting/ He did my XE and the Prius, will get him to do the BA too, and the Commy when that is back on the road. He is mobile or you can drop it to his house, he came to work and did it the workshop there. On time and no hassle. Cost $300 for the Prius (and $350 for the XE from memory)
-
Turd polished. Now to start preparing for Wagnats. edit - oops - somehow I deleted my previous post.
- 137 replies
-
- 26
-
-
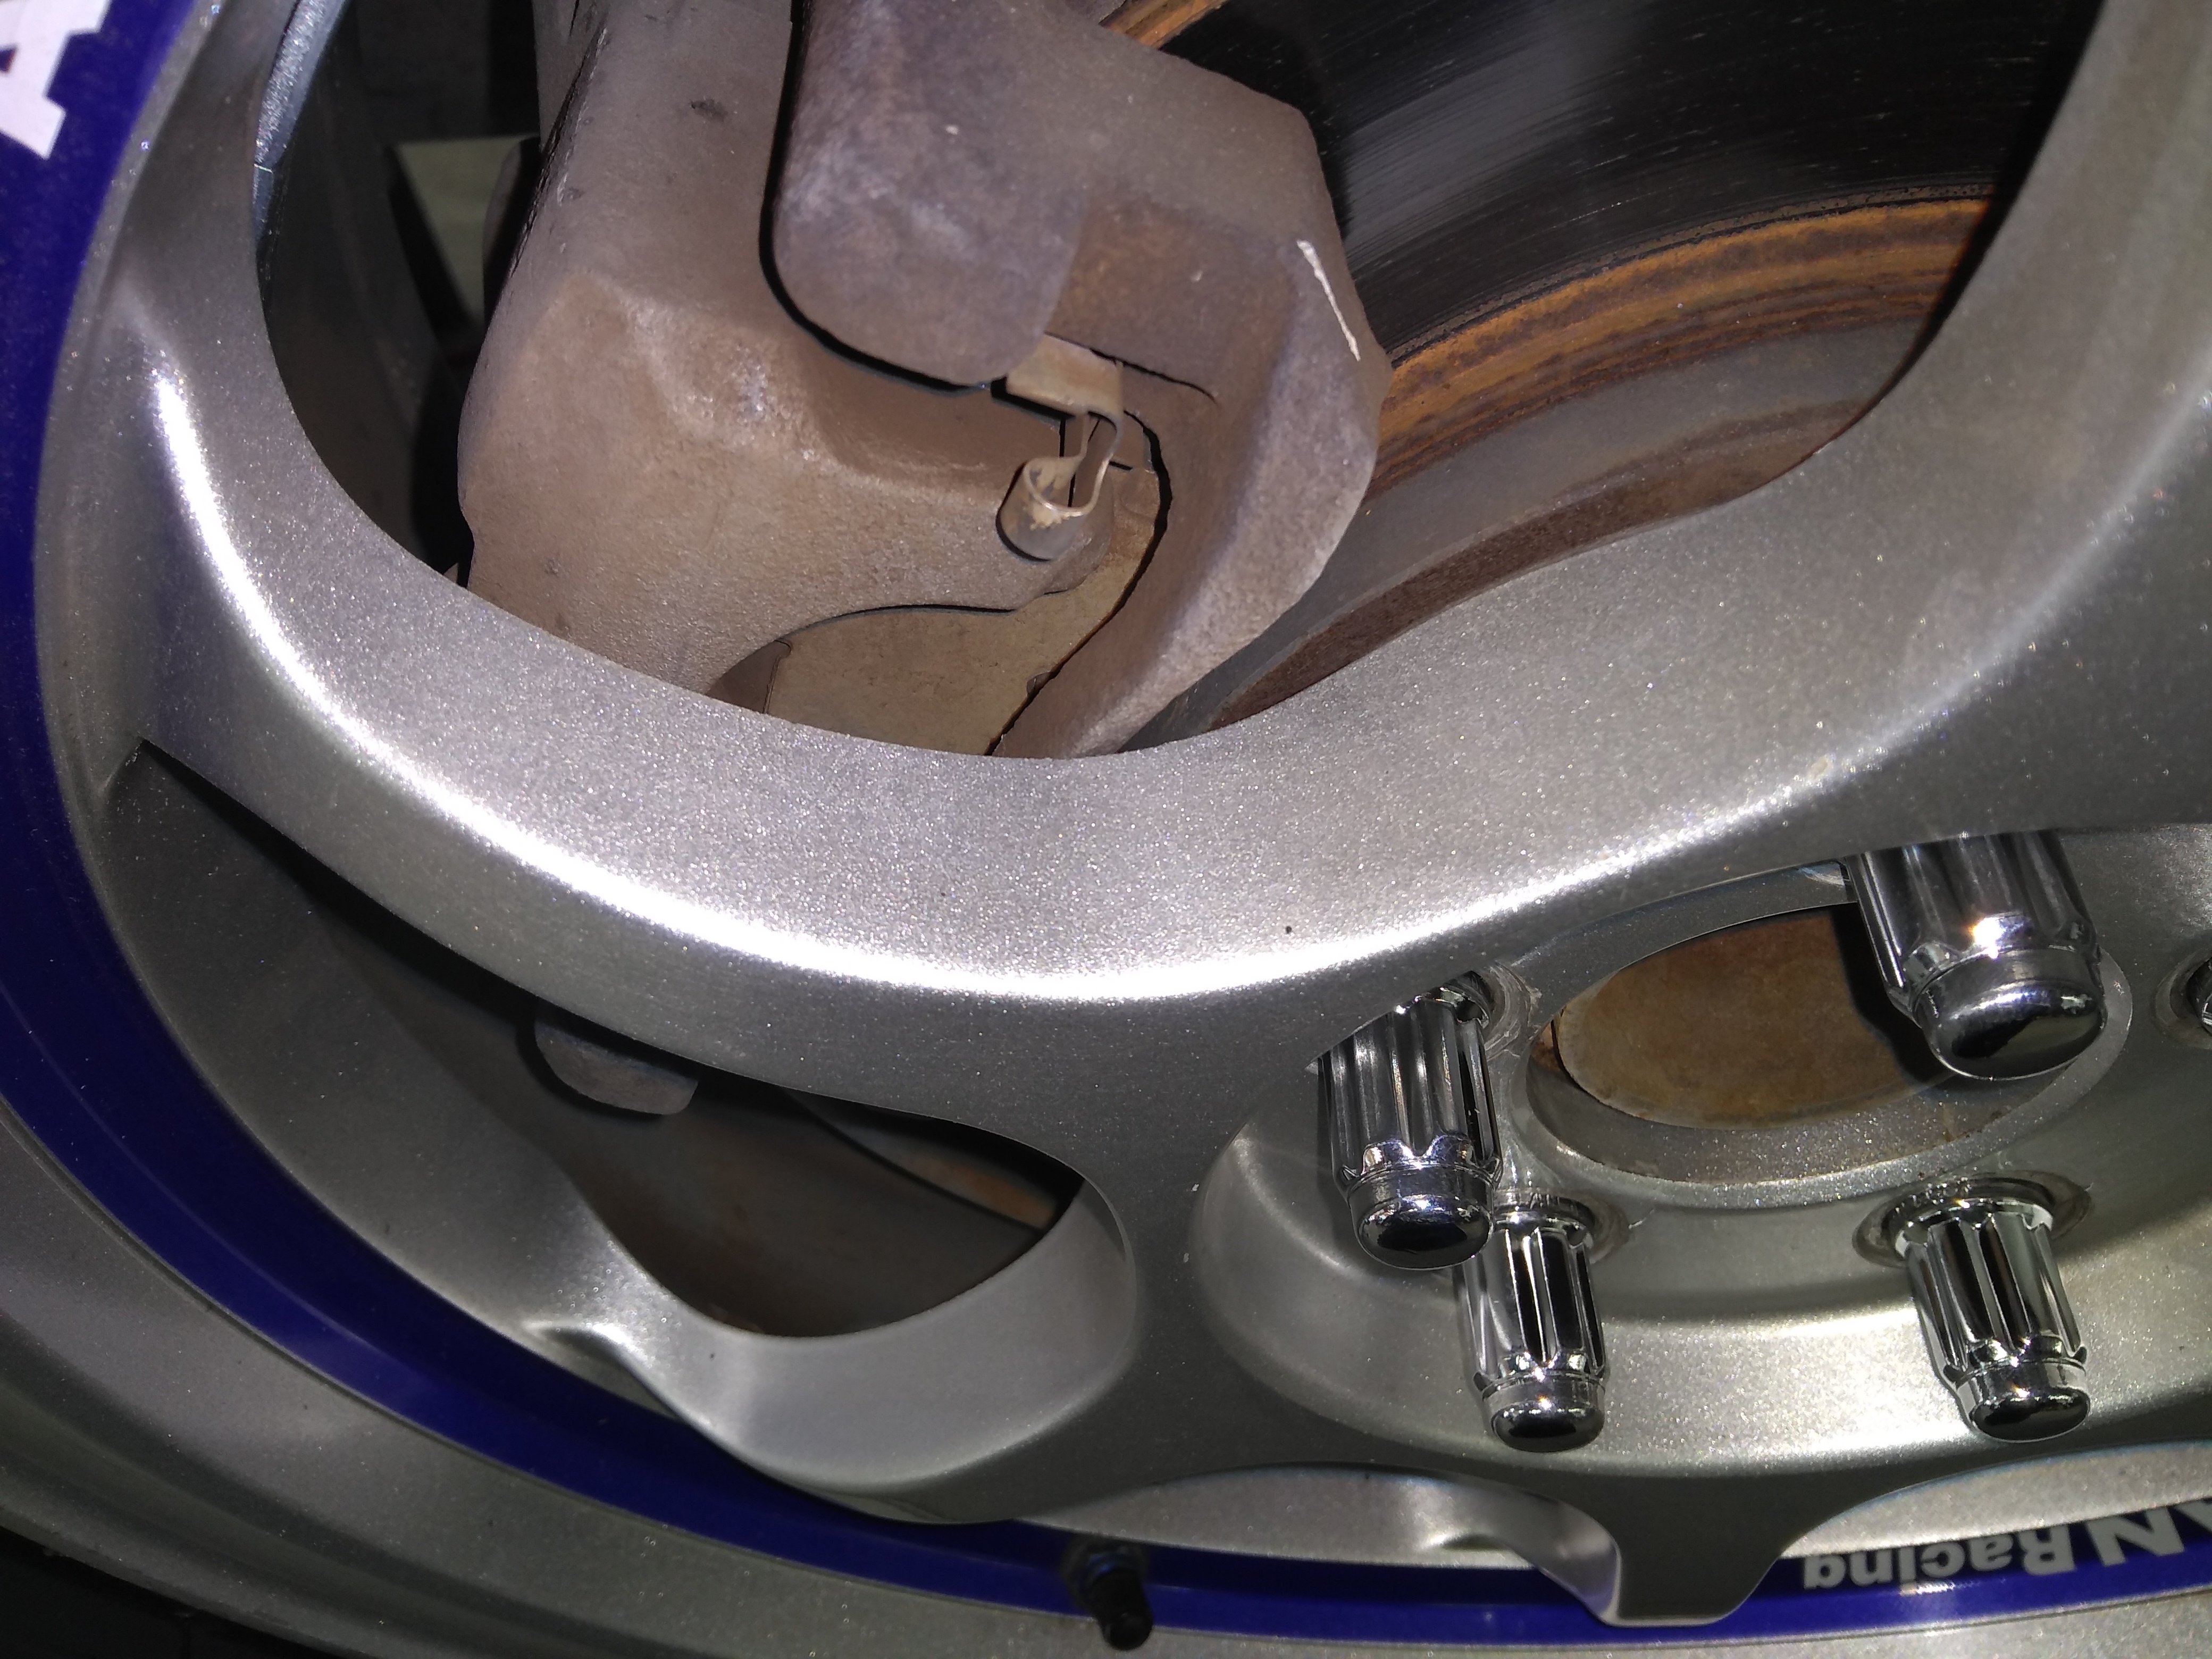
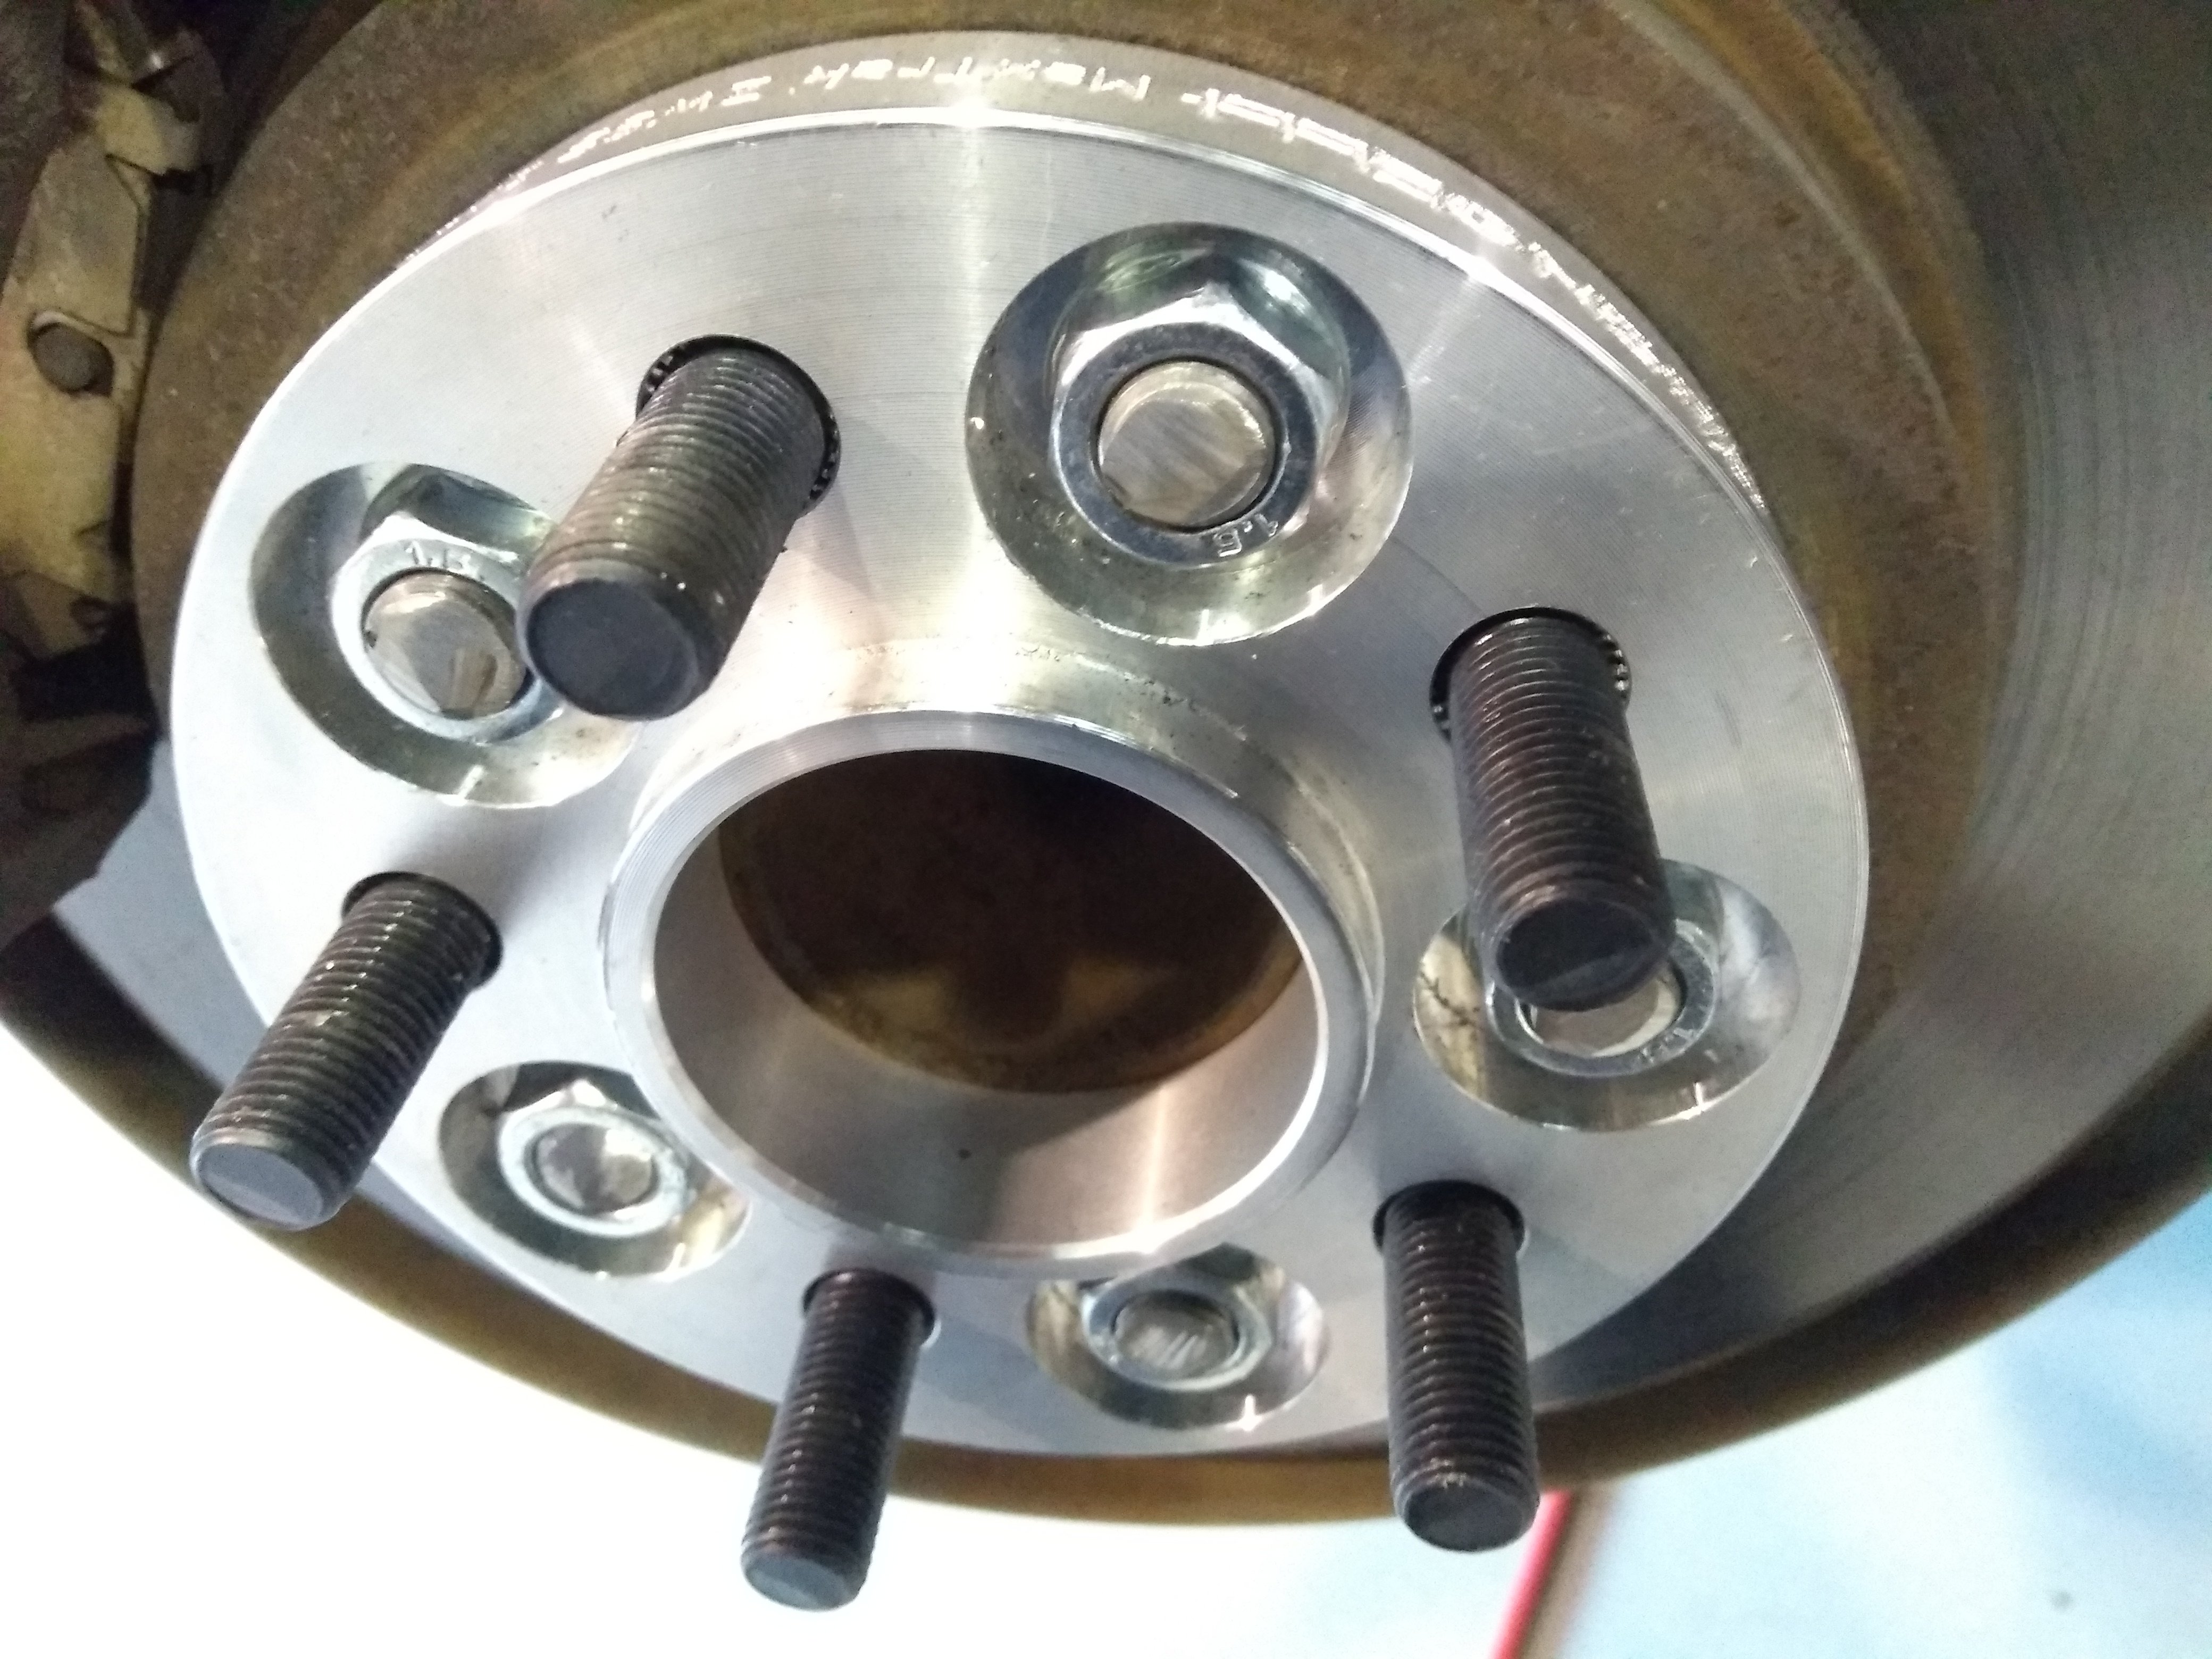
Spokes rub on the outside of the mount, not the caliper. Also I've checked the studs, there is at least 10 turns. 1.5mm pitch into 5mm spacers will drop that down to 7ish turns. Alternatively I could space the caliper inboard about 3mm with a thick washer behind each mount bolt but it's not really the right way to do it. *waits for you to tell me its a legit way to fix it*
-
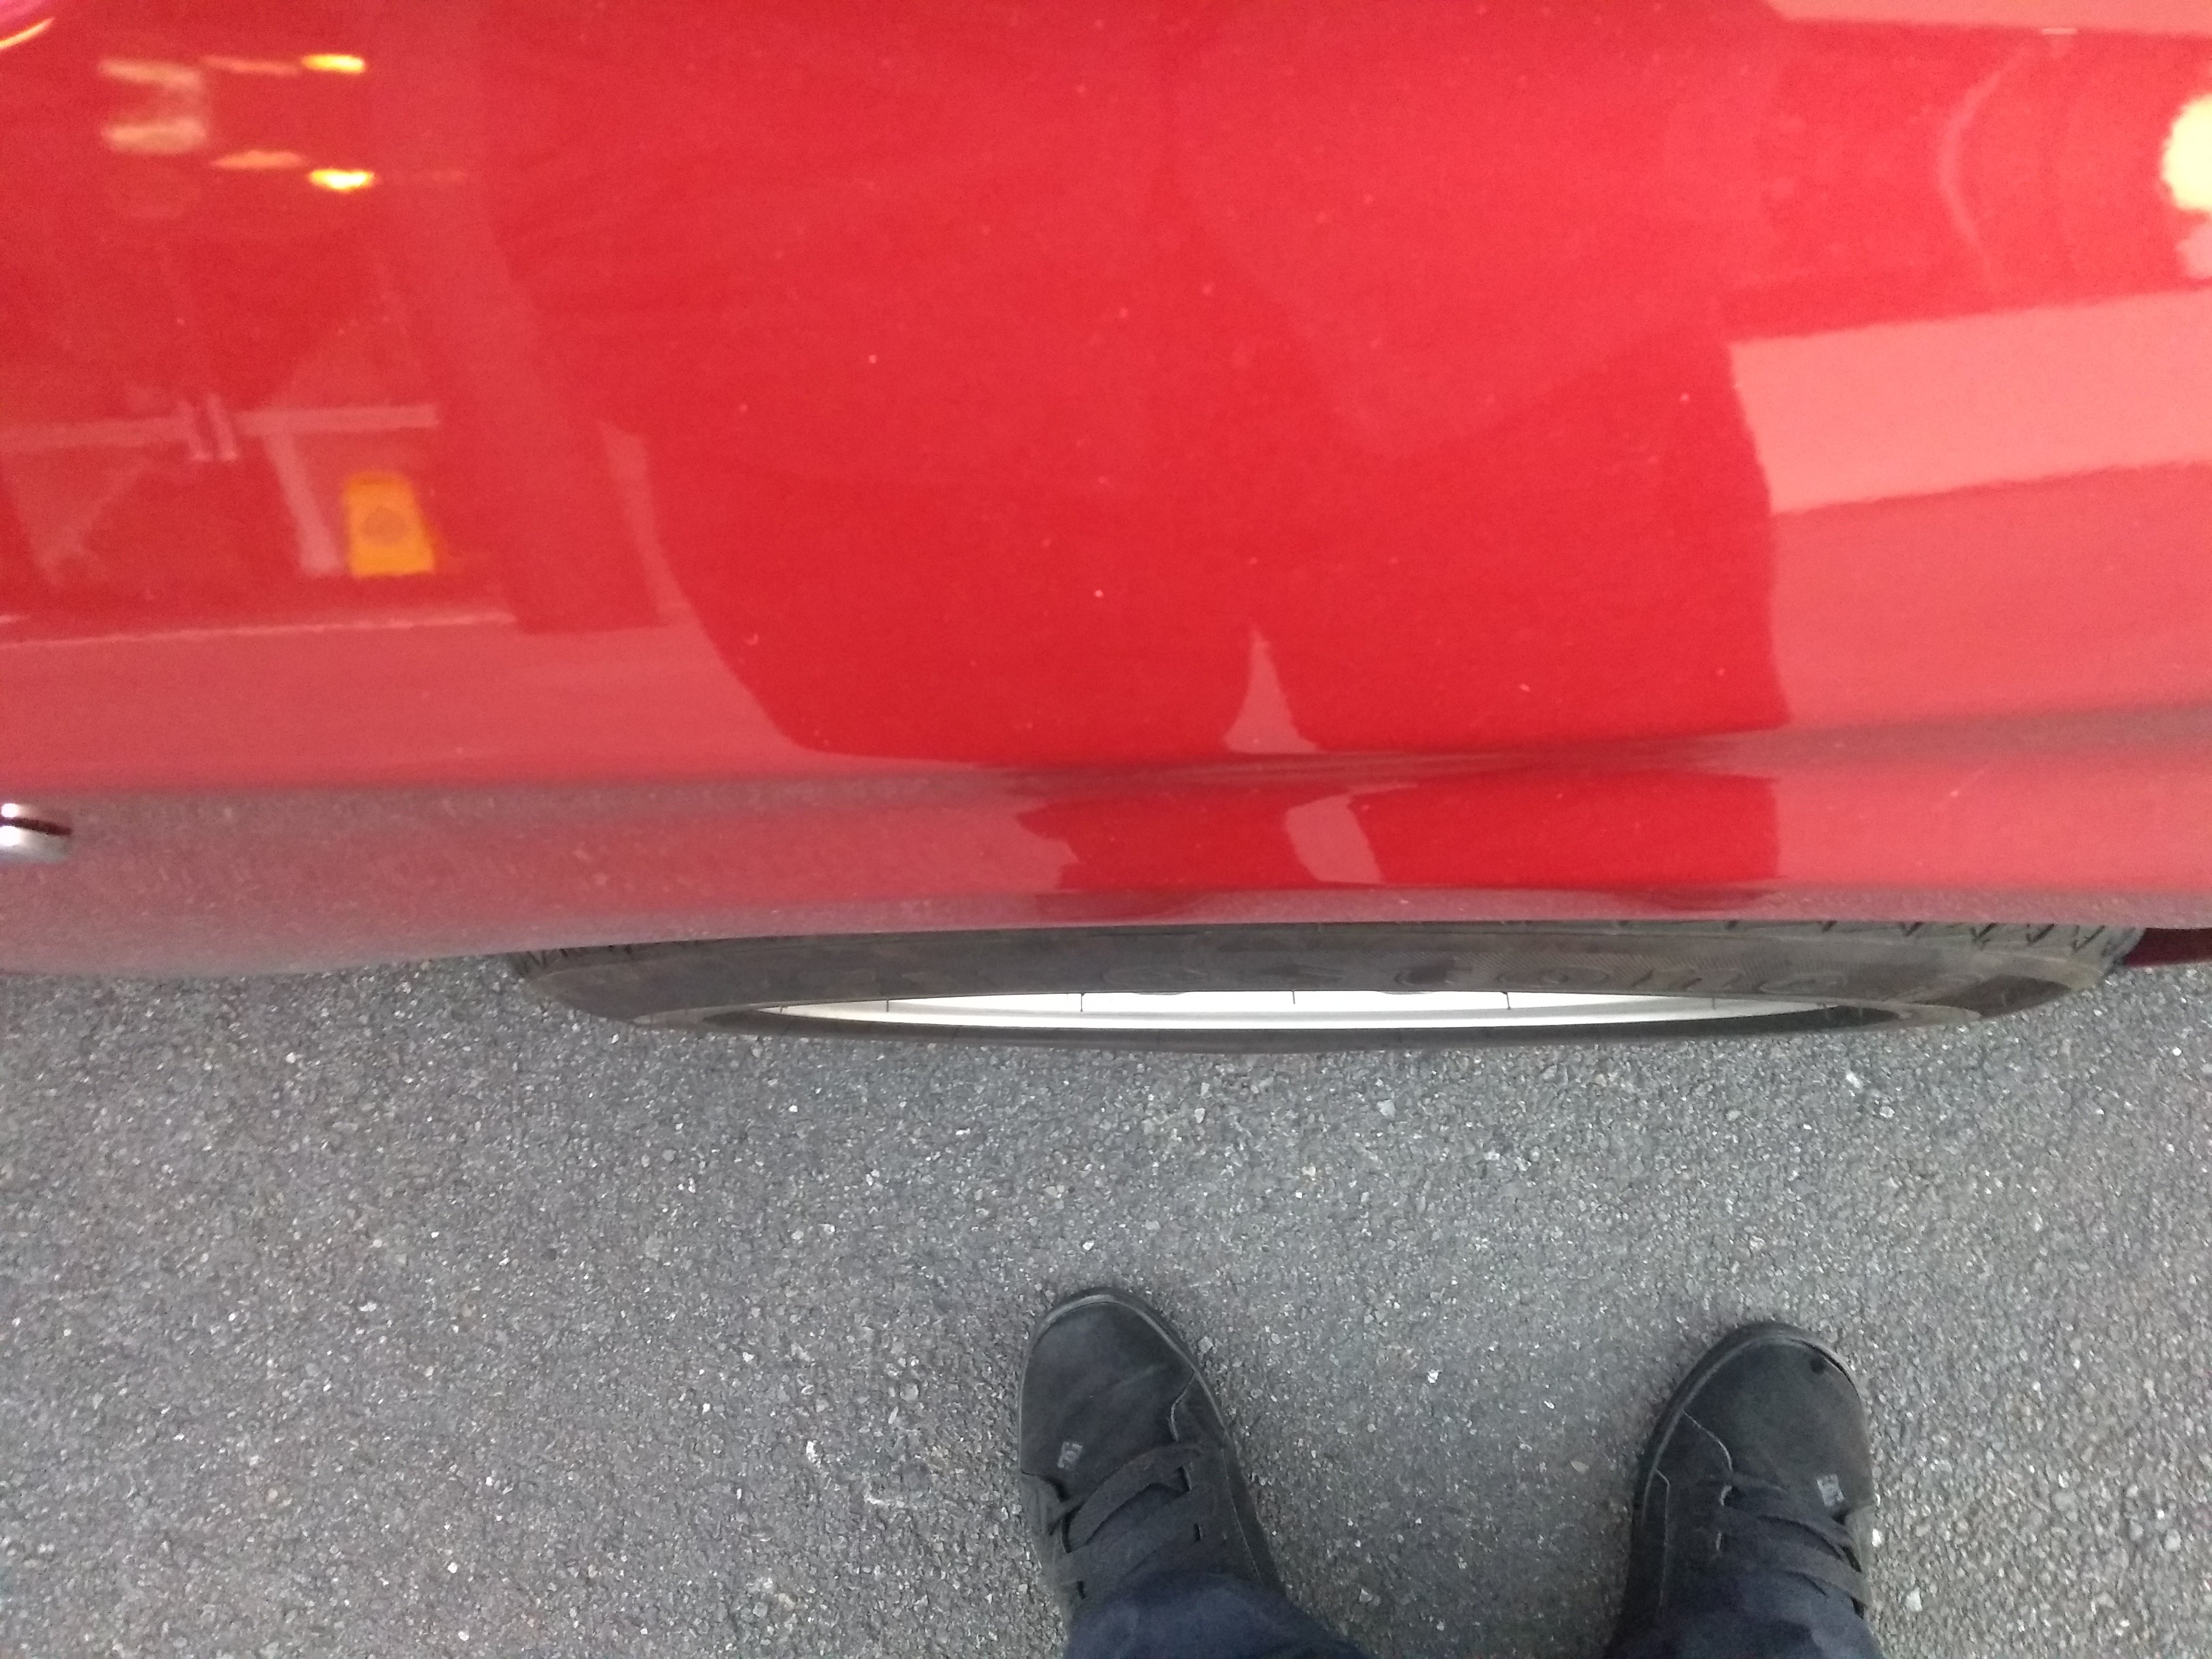
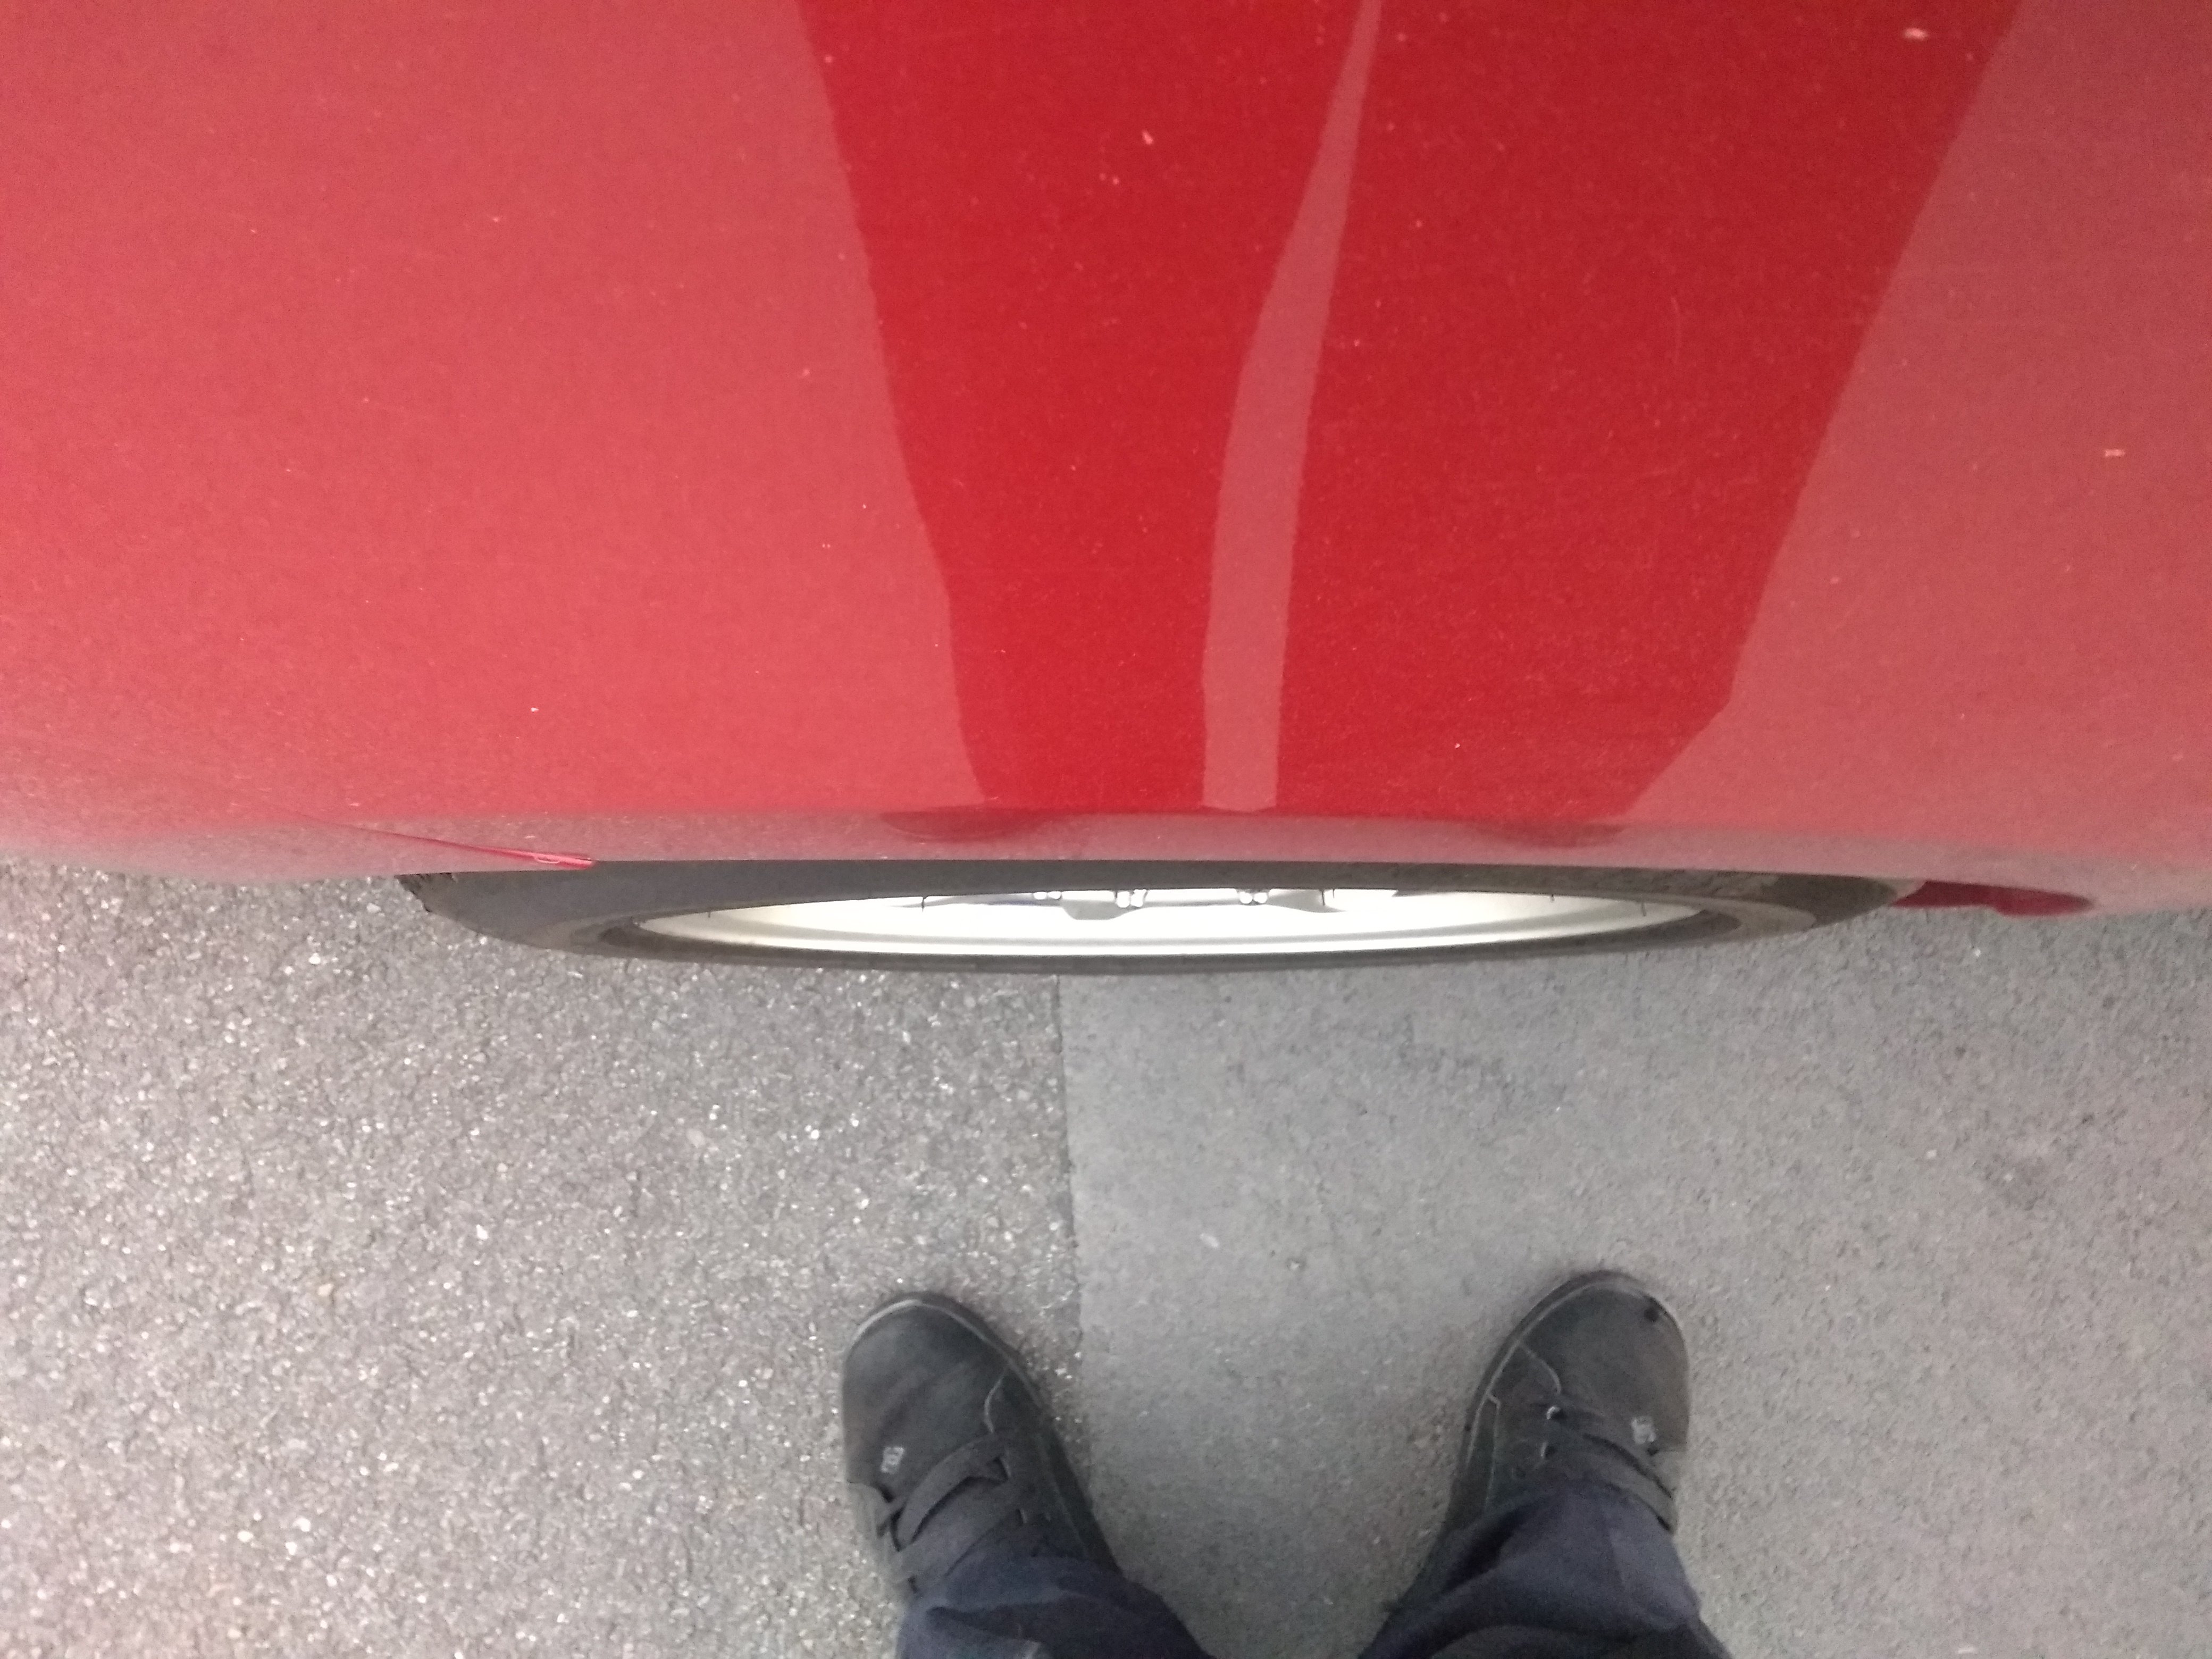
Fitted wheels and tyres today. But the wheels rub marginally on the callipers on both left hand side wheels. It is literally a zig-zag paper thickness clearance. So am ordering a set of 5mm spacers and will be good to go. It'll sit a little lower after I roll it back and forth a couple of times but this is a good idea of how it will look for now.
- 137 replies
-
- 23
-
-
-
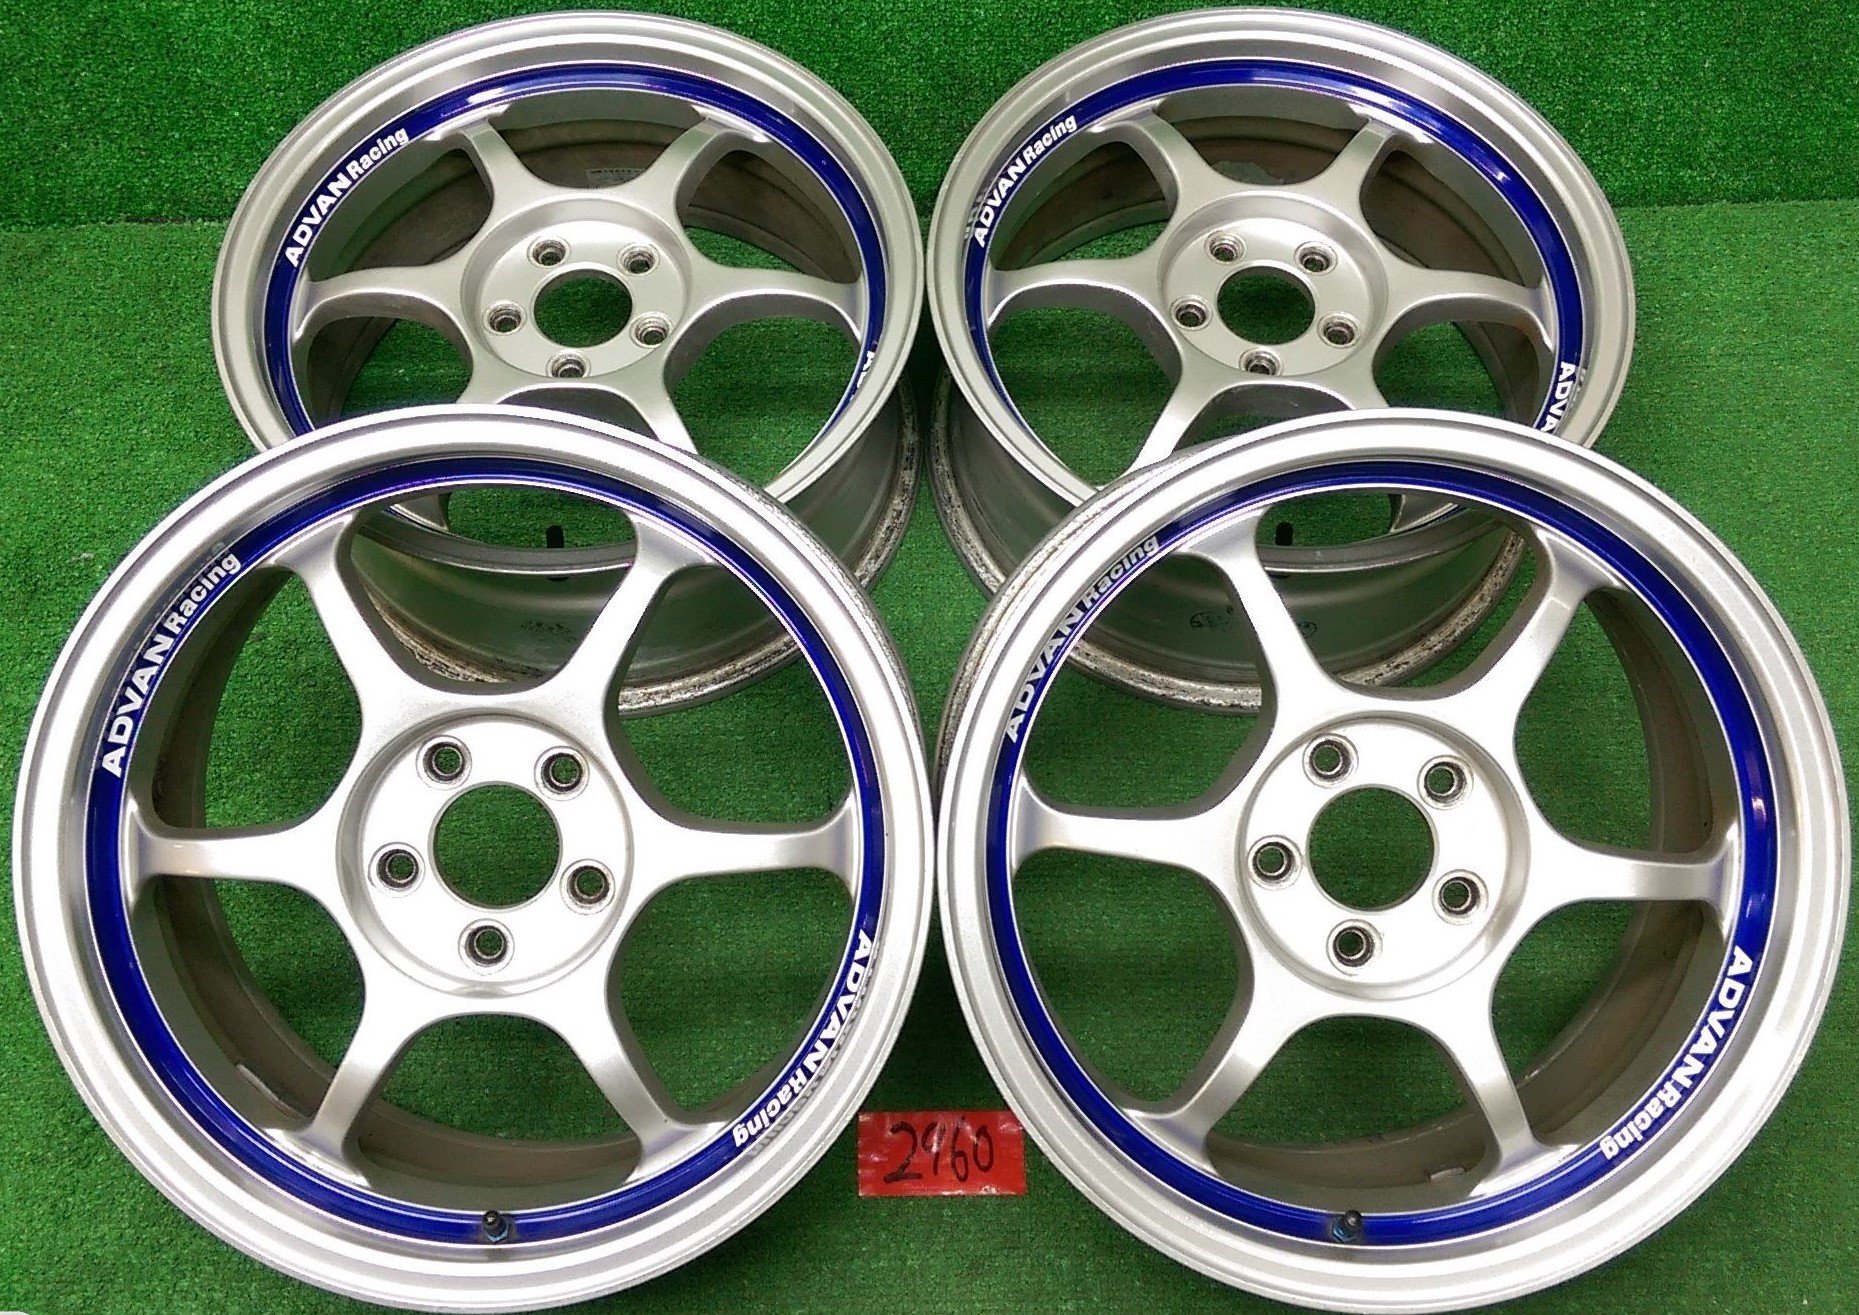
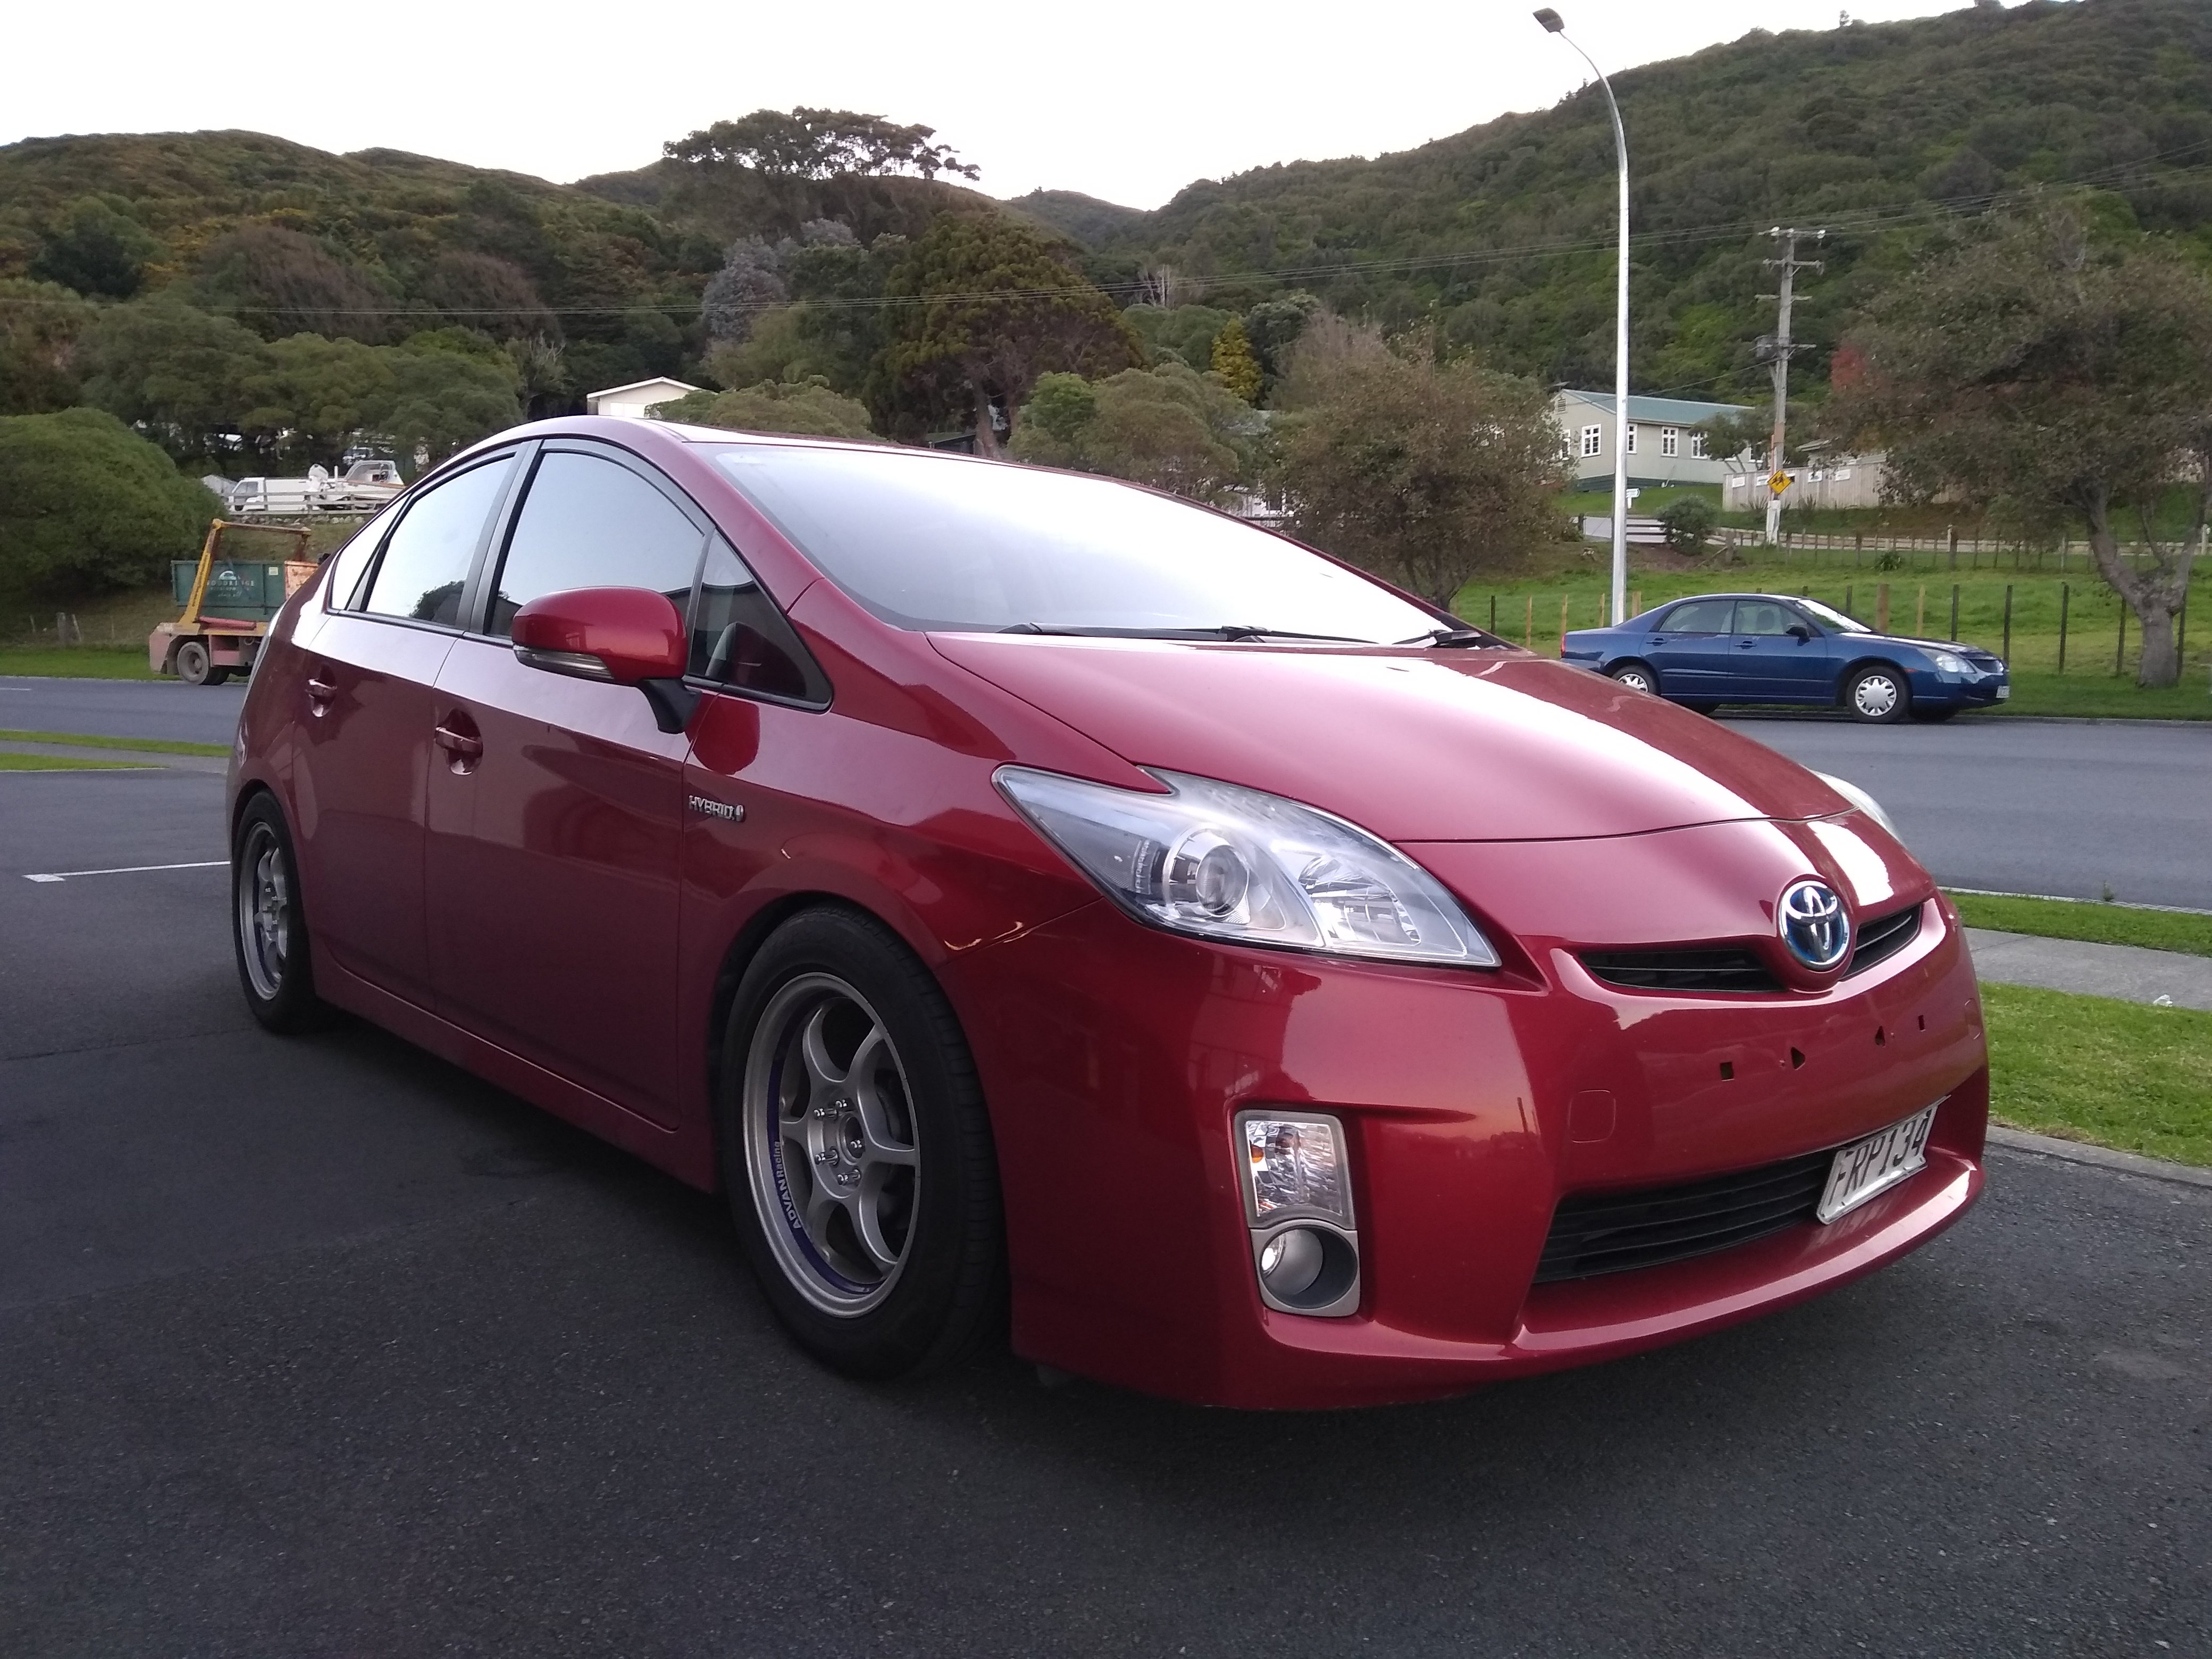
Hopefully tomorrow. Rims are Advan RG's in 16x7 and tyres I'm anticipating will be 205-55-16s so should be same rolling circumference as factory tyres, maybe a teeny tiny bit bigger. These are the new rims here.
- 137 replies
-
- 17
-
-
No I haven't. I shall do so when it is on the 4 poster next.
-
6 clicks up fron softest on the rear and 3 clicks up from softest on the front. (I think it is 16 clicks from softest to hardest on both ends)
-
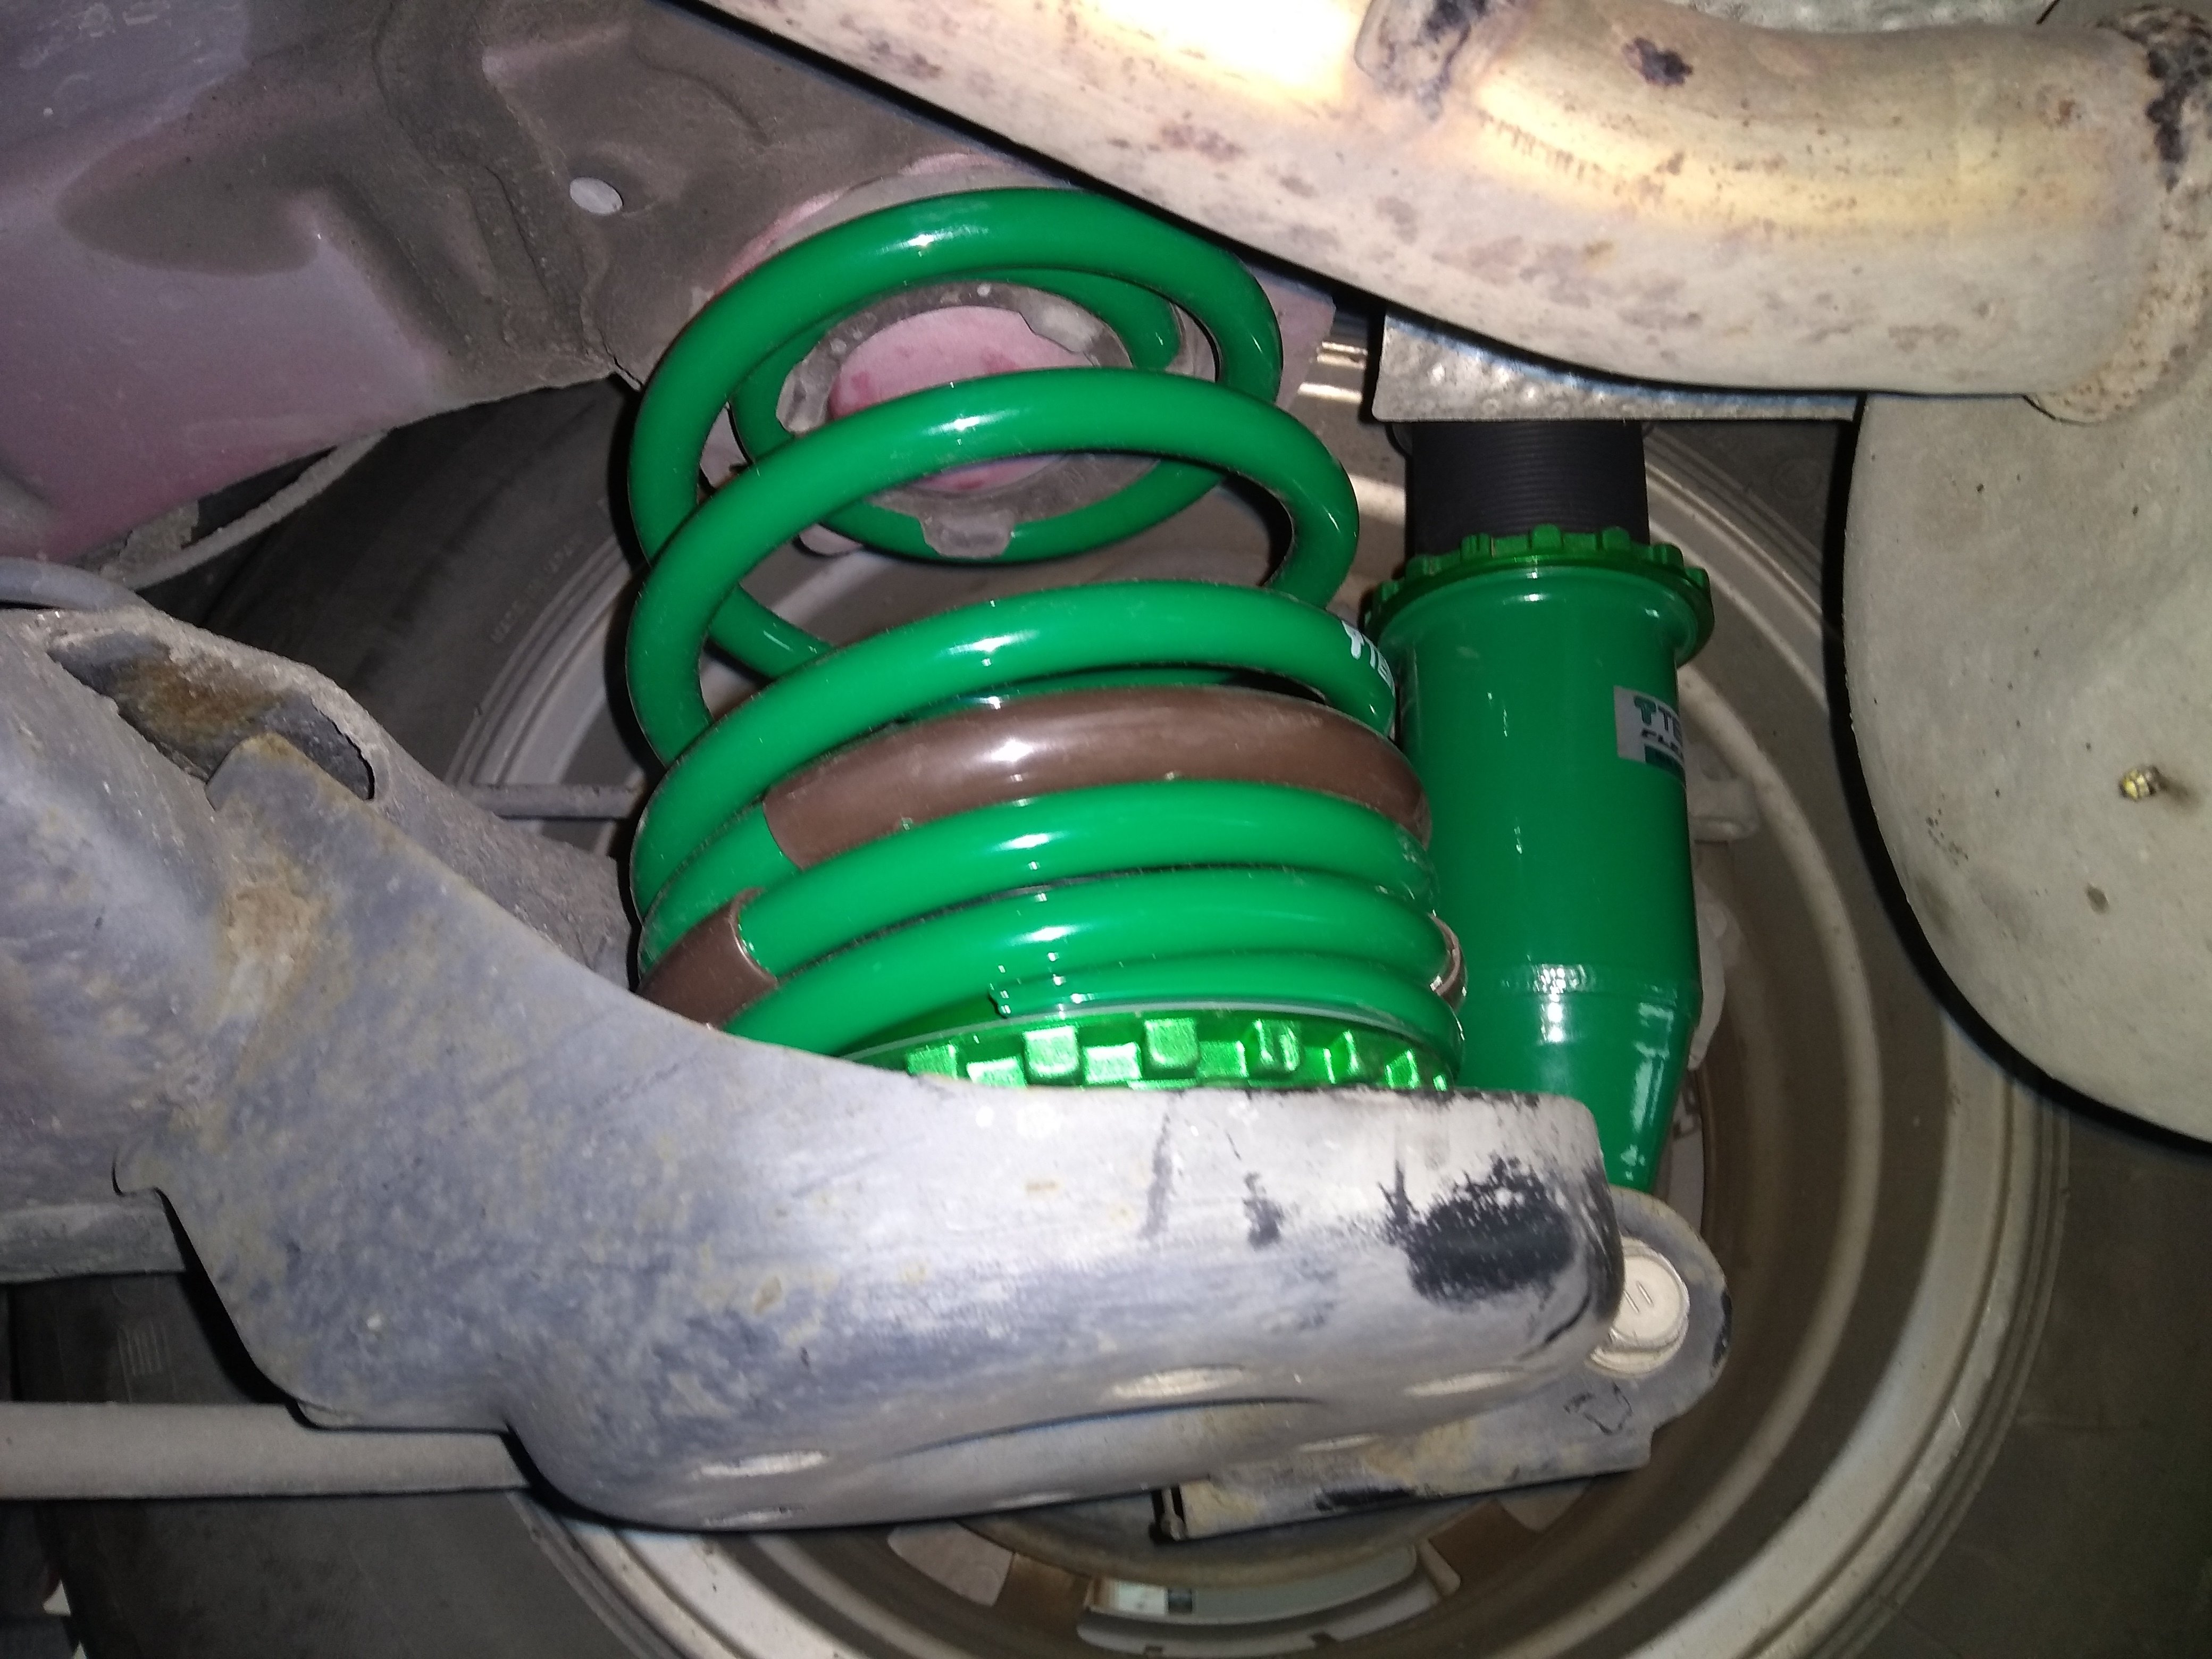
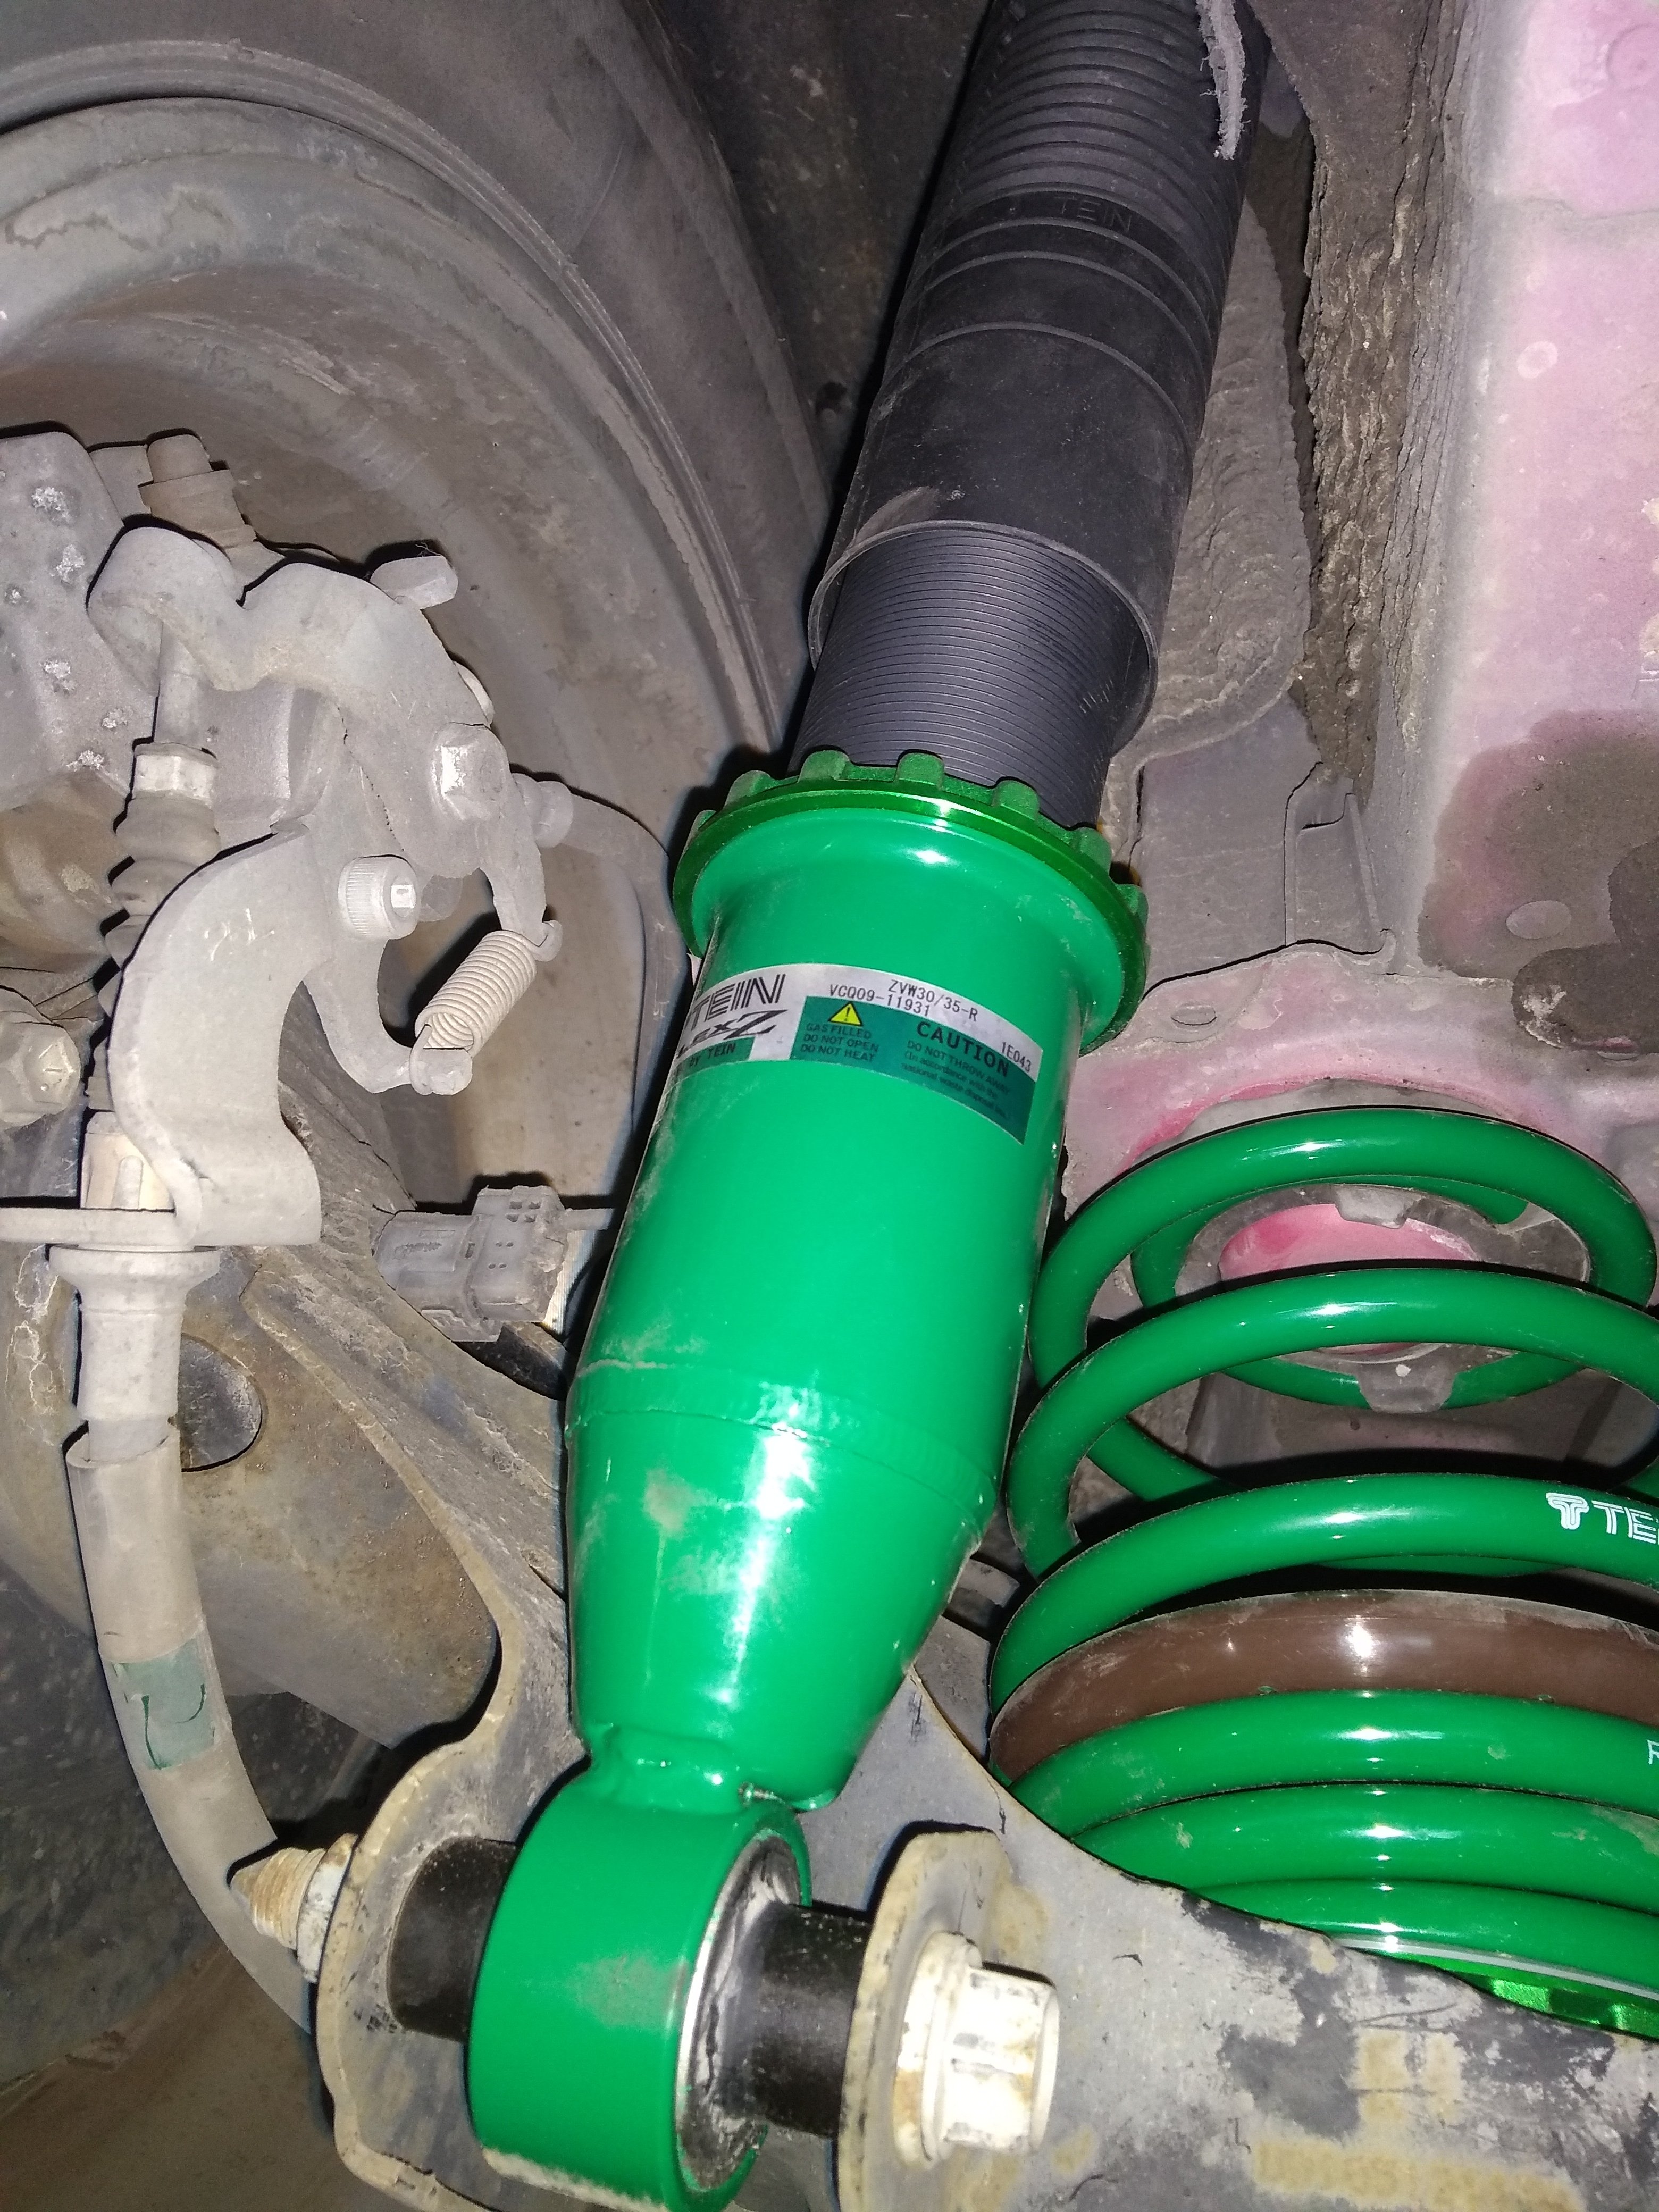
So tonight, I physically ran out of downwards adjustment. Could barely drive it off the hoist, well actually I couldn't with the front so had to put it on blocks of wood. Obviously that means its still not low enough in the rear - damn it. Next step is remove one or both of the adjuster rings and just roll the threaded locater. I'm kinda hoping it sags a little more. But thats as low as she goes in the front folks. Behaved OK going home and no rubbing or scraping I could detect.. Maybe need to get someone who knows what they are doing with stiffness adjustments to help because it feels a bit pogo like, though I';m not sure if its the front or rear causing it... Check out my photoshop skills.
- 137 replies
-
- 21
-
-
Booked in for a cert monday after this - gives me a few days to get the heights sorted and new tyres/wheels on. I'll do my best, but I do still have to daily it 300+Km a week.
-
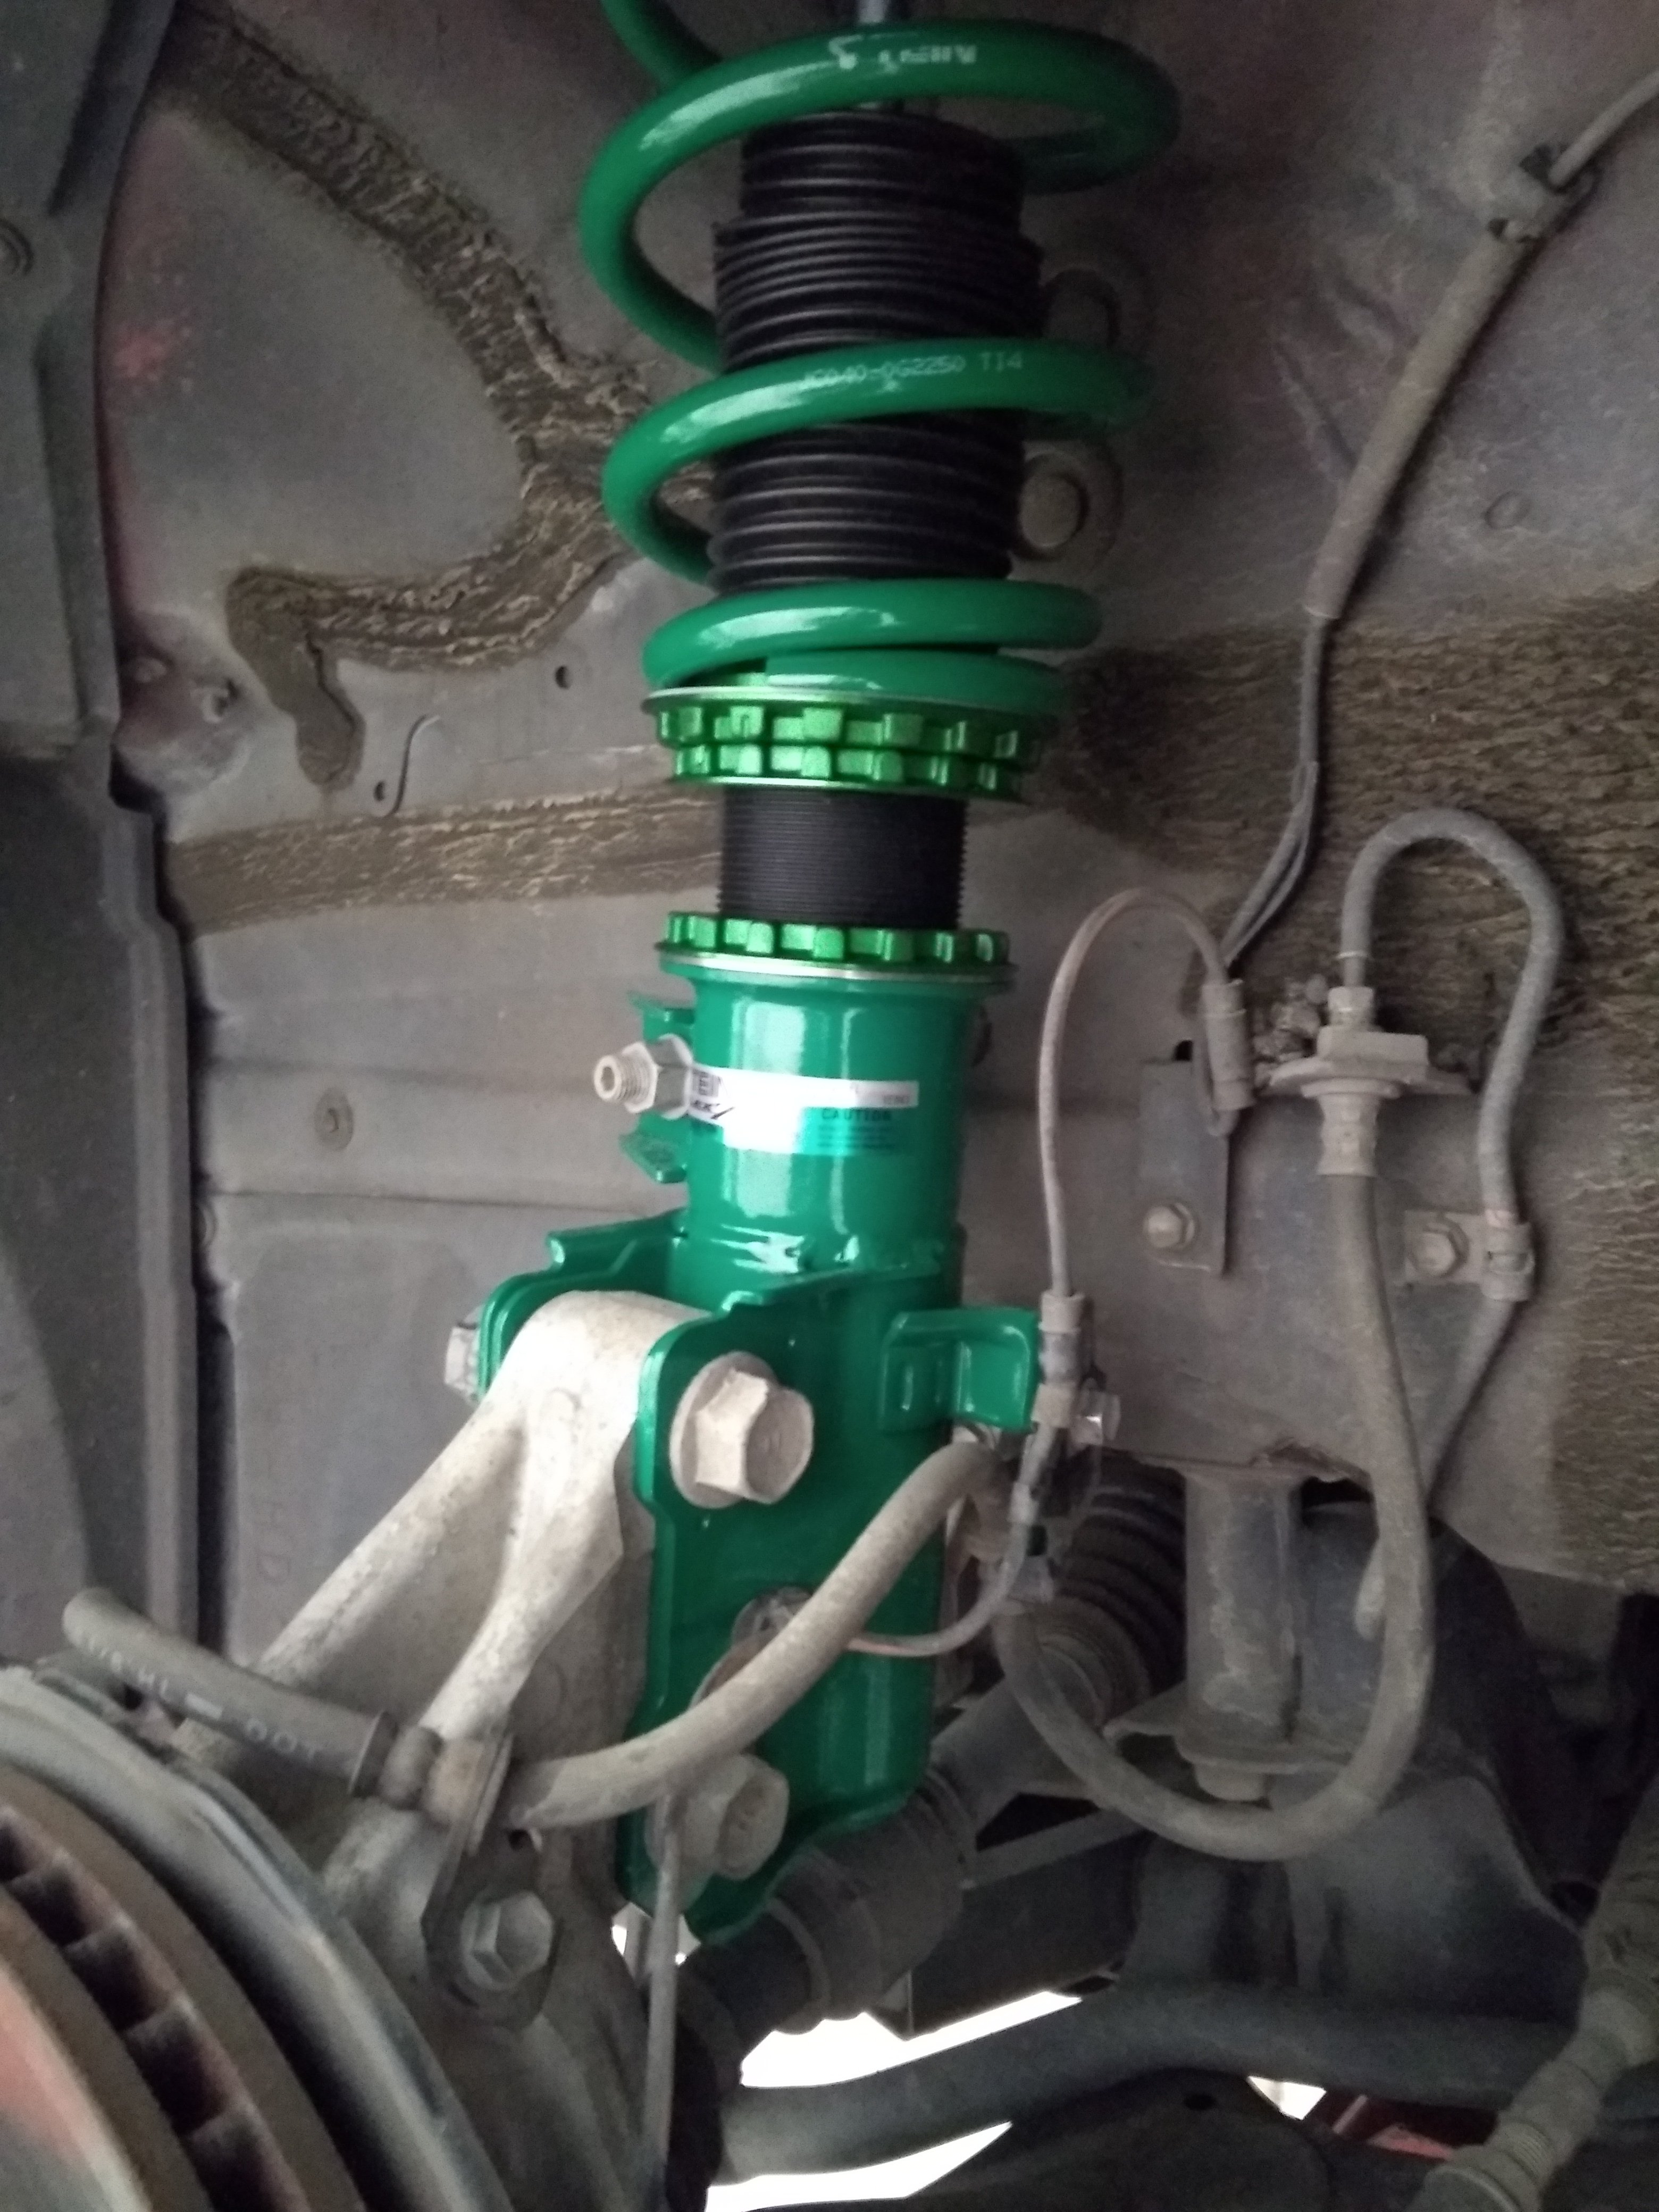
Put in some green lowering springs tonight after work. Spent about 3 hours to chuck them in, probably have half an hour worth of reinstalling the last bits of trim and shit. Need to spend a couple hours tuning the heights and shock stiffness. But for slapping them in it is already about perfect in the bum (maybe 5-10mm more) but needs to come down probably 30-40mm in the front and stiffen it up all around a smidge (it's currently on max soft) Will upload picture of slammage once I'm happy with it...
- 137 replies
-
- 21
-
-
-
R - N - D is self explanatory, B is regenerative braking, but I only select it on long downhills. The gear lever sits in the same spot (neutral) the whole time, and you just nudge it into R, D or B like a momentary switch. There is also a P button above the gear lever that puts it in Park. Plus there is a foot operated e-brake down the left hand side of the brake pedal.


.thumb.jpg.a2db281d9c23049231ffe92932a2a4af.jpg.82856884f74f9f19661bab062dfdc1be.jpg)