d.p.n.s
-
Posts
3118 -
Joined
-
Last visited
Everything posted by d.p.n.s
-
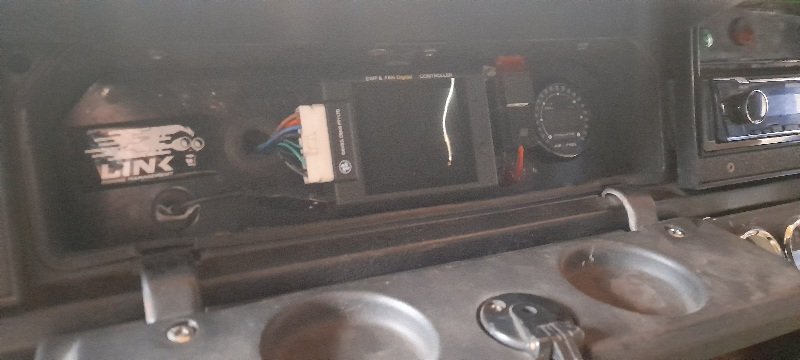
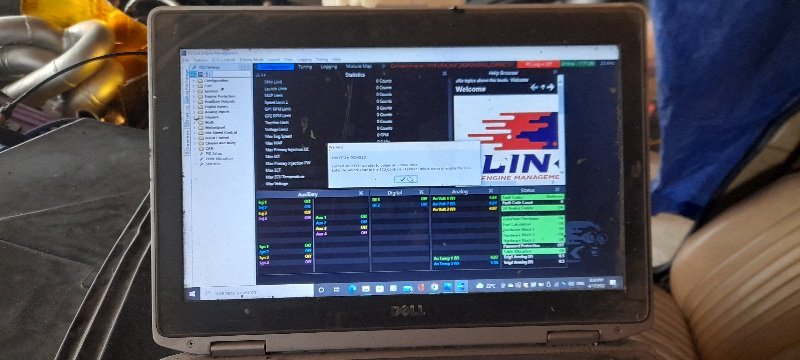
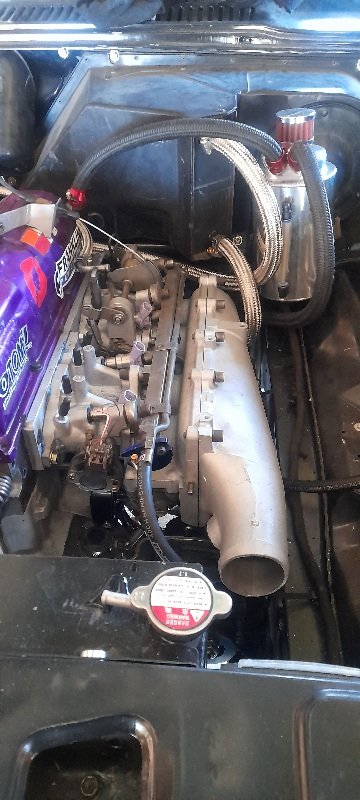
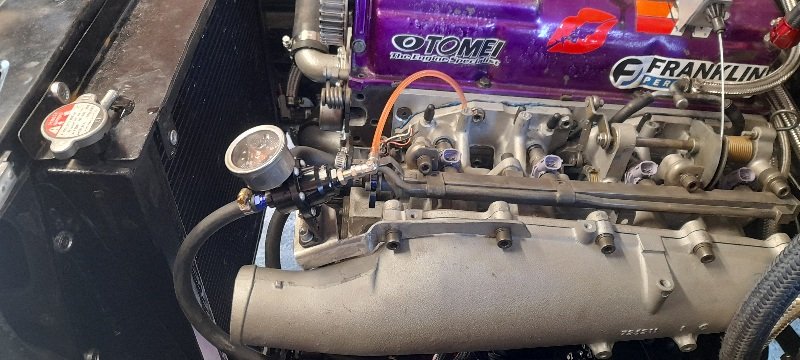
didn't even open the door to that garage last week.... but pulled finger and got some shit done today.. the fuel system is now done and tested ..fuel pressure set to 45psi.. and no leaks. finished up the wiring .*fuel pump relay and trigger * boost controller and switch for low and high boost *shift light * wideband o2 and also wired it to ecu... cleaned it all up .......and even plugged the laptop in to check for ecu....that works but I need an unlock code ... lol bought it 2 years ago and now just using ut so I fired an email off to nzefi and hopefully they can send me one..

-

my new problematic daily....its a mk1 focus st170
d.p.n.s replied to d.p.n.s's topic in Other Projects
yup ... i dont do the ...."can you find me a cheap car as a run around mate" as what i class as cheap and what they class is totally different and i know ill be fixing something..... they think it will be a new car at a cheap price..... And it shows in the suns man..... i have all the time in the world for these lads but i give they dads shit when ever i can .... and have a need to ring and apologize to my dad as soon as they leave.... that man deserves a fucking medal ... but also totally his fault i am the way i am -
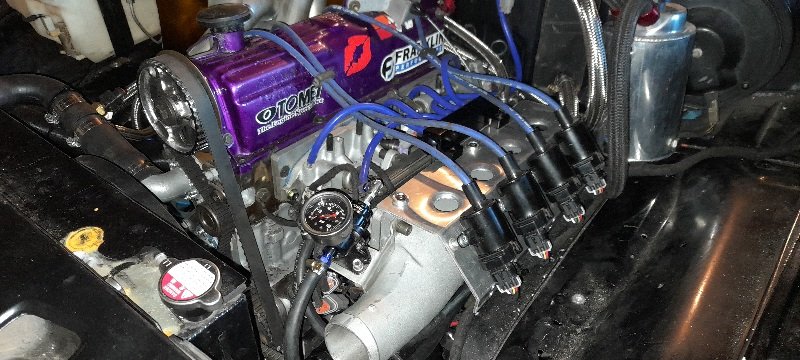
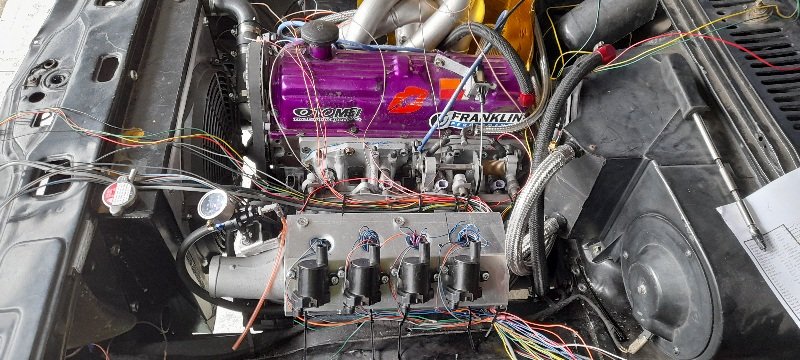
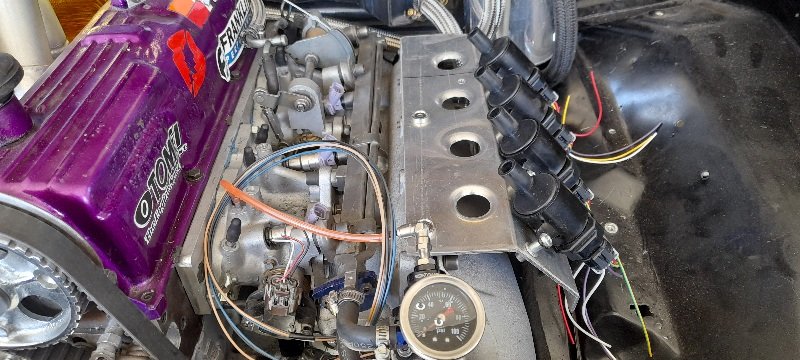
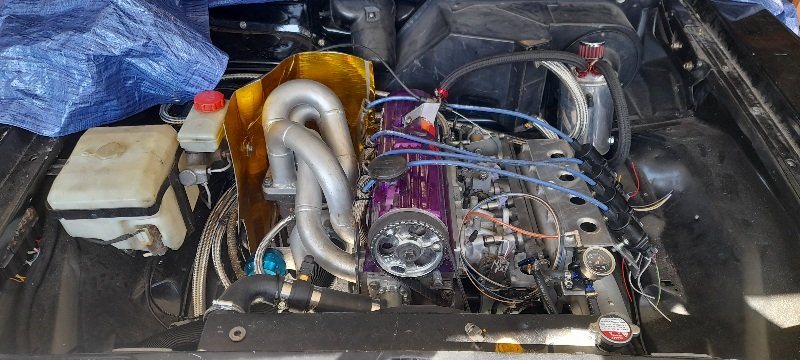
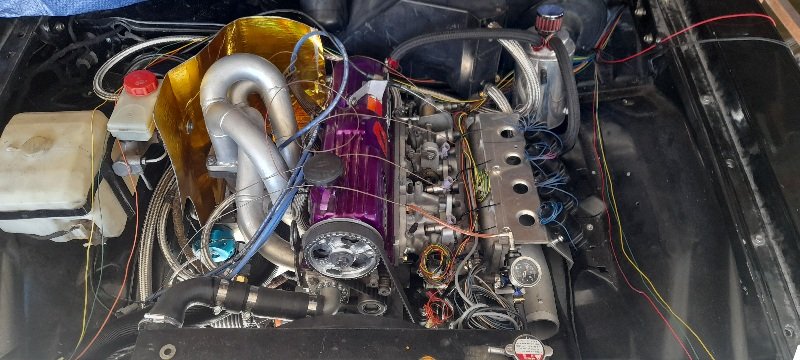
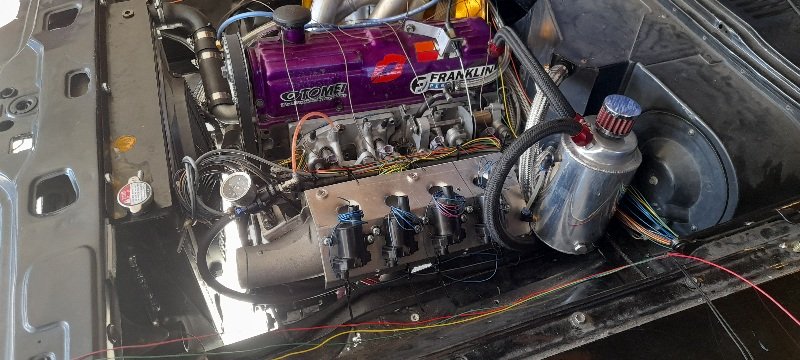
so that the engine side of the ecu all wired up and plugged in .. relays done for ecu main and coil packs... on advice from a mate I ran all 4 ITB runners to 1 vacuum manifold and ran FPR and MAP of that and I also ran brake booster aswell... so thats all vacume hoses done aswell.. still need to run wire to boost switch, boost solenoid , wideband o2 ,.. put a relay in the boot and wire fuel pump...and put ends on spark plug leads.... oh and get spark plugs... but then it might be time to try and fire the old girl up..
-
my new problematic daily....its a mk1 focus st170
d.p.n.s replied to d.p.n.s's topic in Other Projects
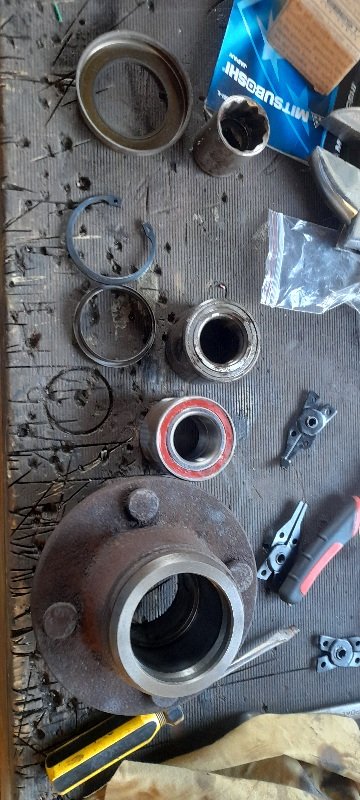
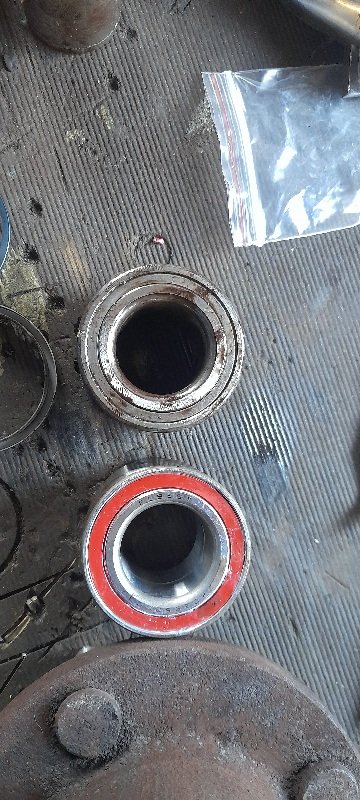
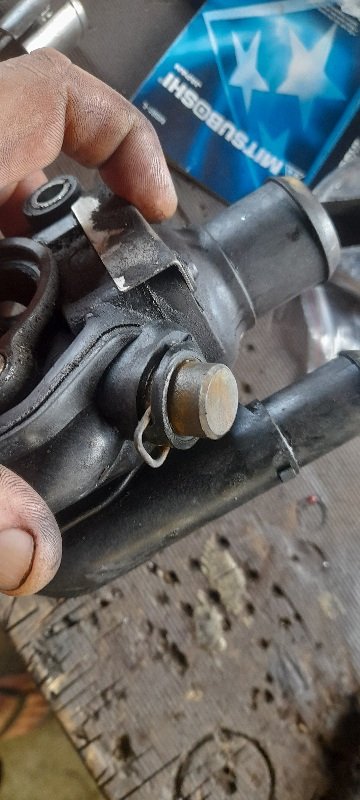
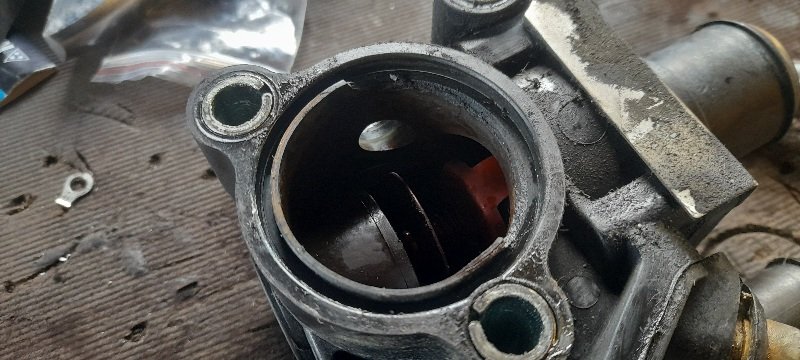
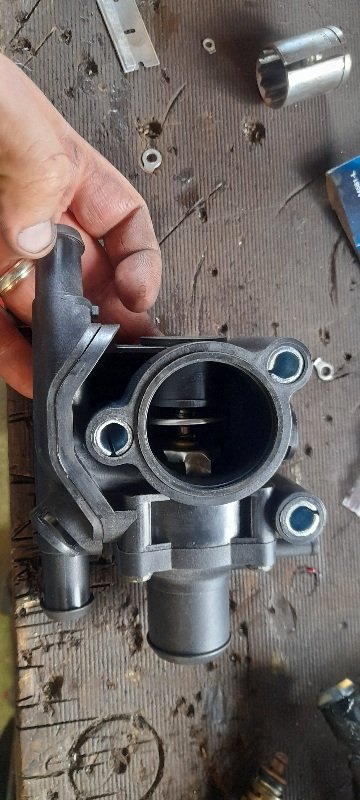
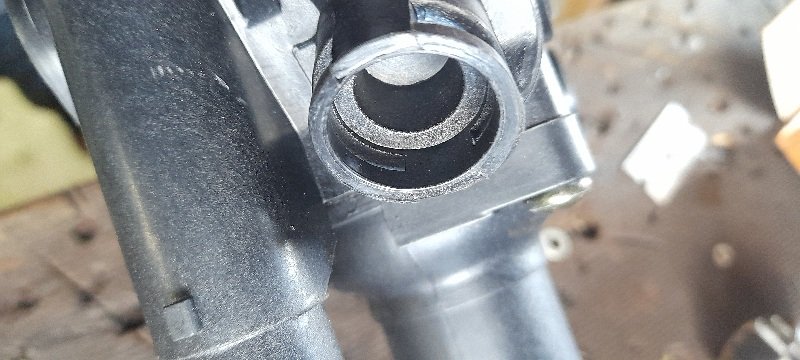
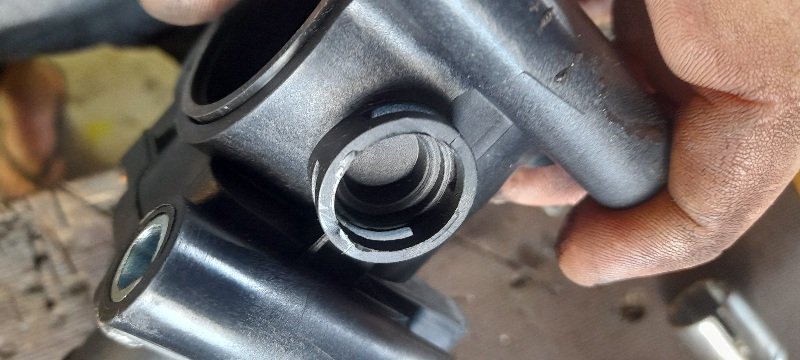
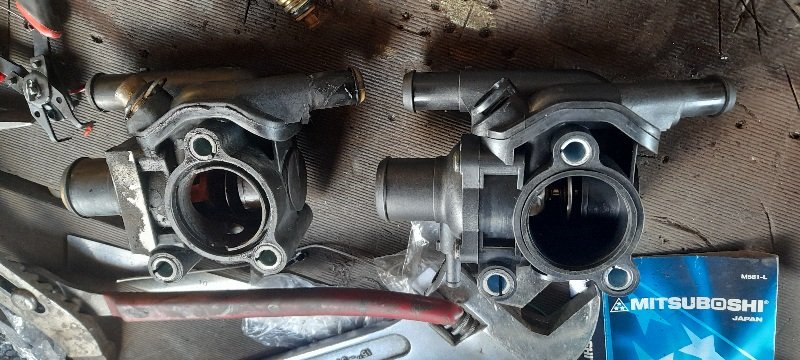
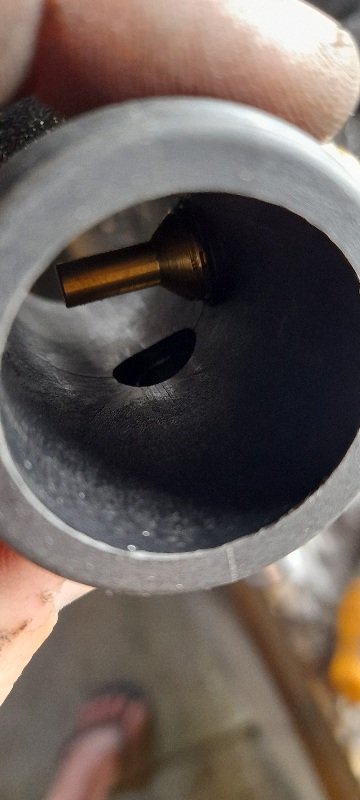
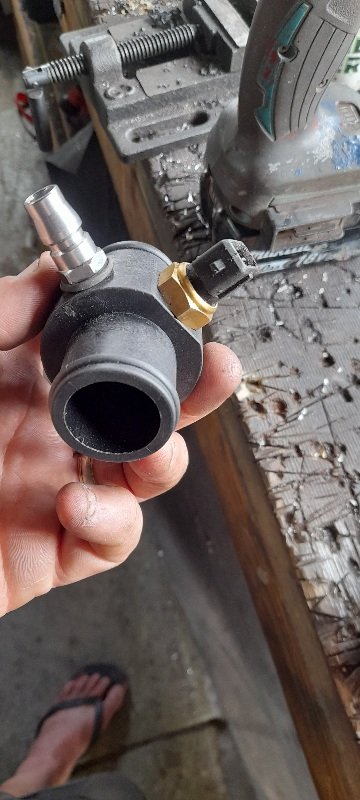
needed to do som maintenance on the focus ... one of the rear wheel bearings was making a hell of a noise so thought I would just do both. you can but a complete hub with studs an all from any focus fiesta with 4 studs.... but replacment bearings where just Over 50bucks to my door..(I've git other projects draining my wallet). next was the thermostat housing..I thought it was leaking from the bung on the bottom (think it's for turbo coolant times on the rs) but turns out that the side of the seal place as gone the new one bought didn't have any of the holes drilled for temp sensor or bottom bung ...so figured it can't leak from there then. I doubled up on the temp sensor o ring then put the clip in ... and no leaks. gets up to temp quicker and the heater is amazing... think the old one was stuck open (191 odd thousand ks) as this is the 1st time the temp Gaughan gone to half way and stayed there ... use to hover around 1/4..
- 36 replies
-
- 11
-

-
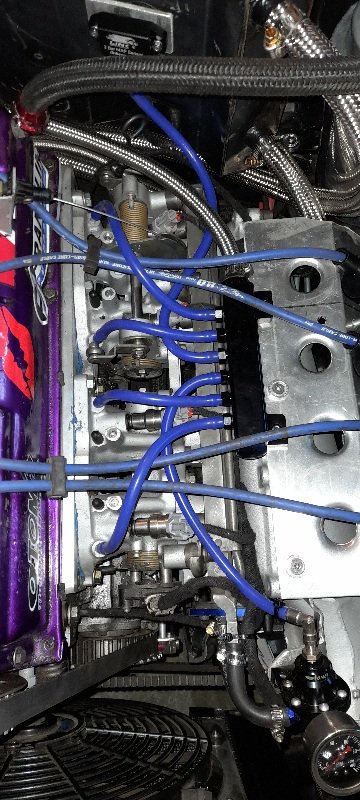
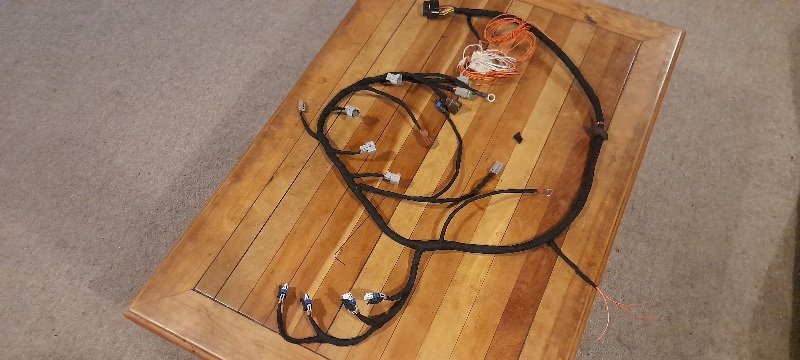
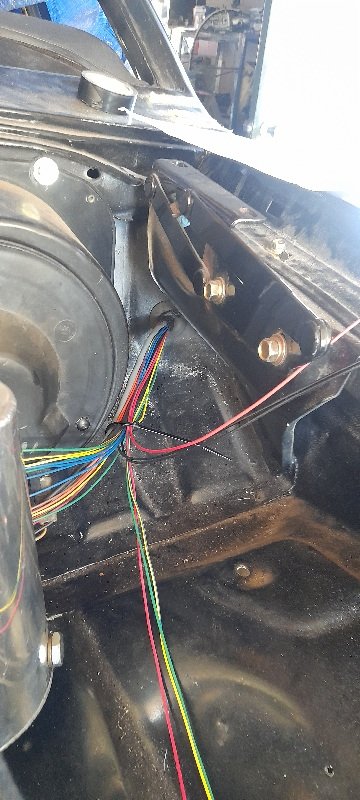
few wire to run inside and 2 relays in the engine bay .... but thats the main harness done ,checked and wrapped
-
when I got home from work yesterday I started again and rerouted the wires.. I just need to add ignition +from the fuel box to the engine bay side for the main relay.... and the signal and positive for the boost solenoid out the drives side.... but that is all the engine bay wires run..... I am really starting to get my head around it and the HP academy videos have helped a lot...
-
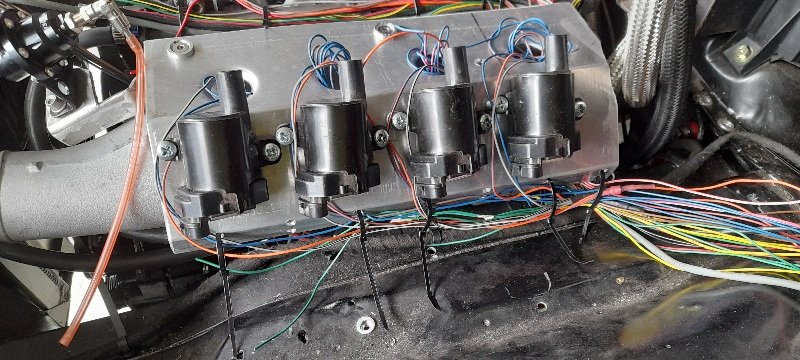
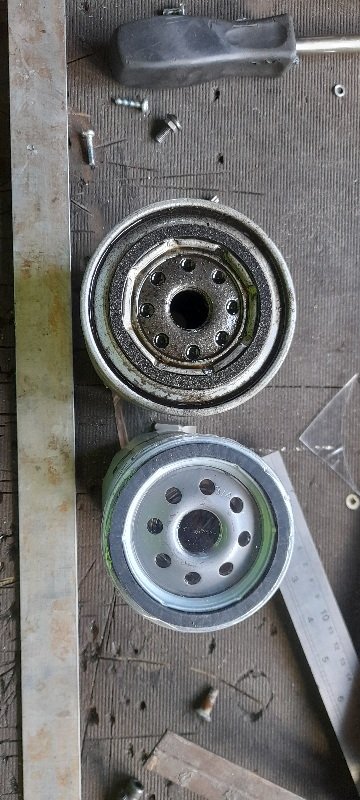
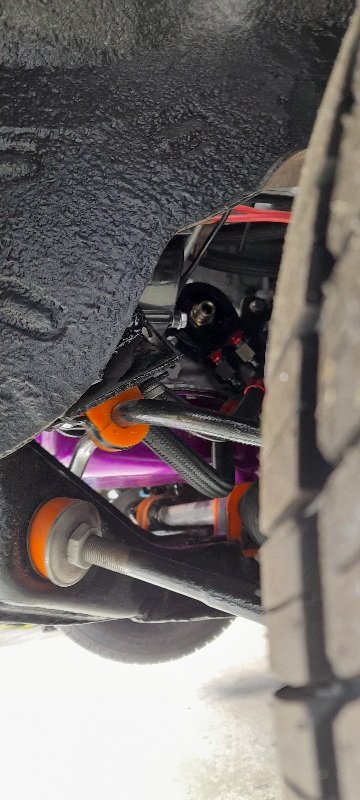
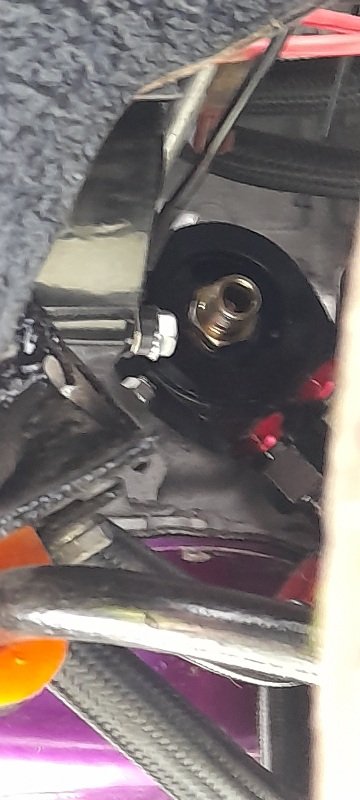
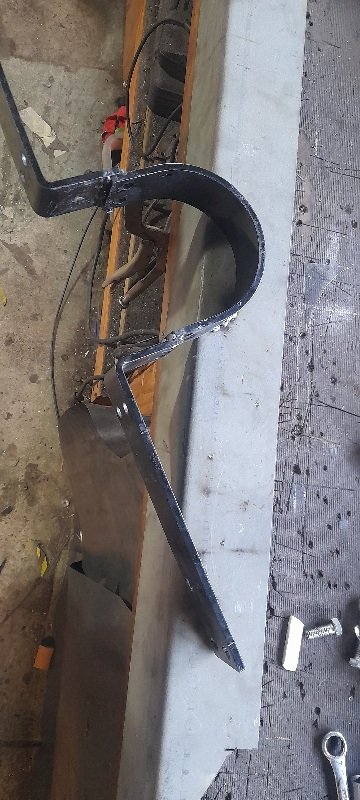
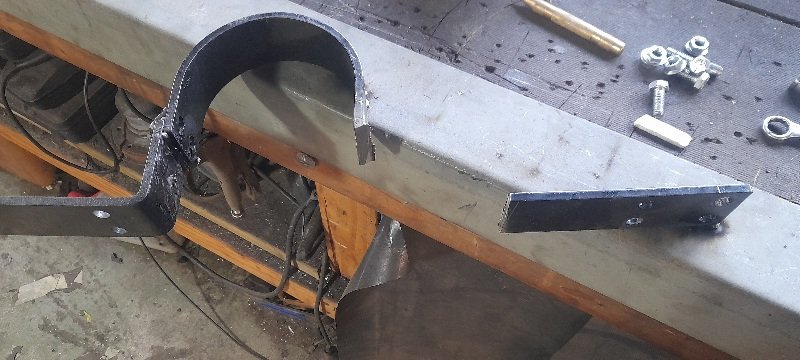
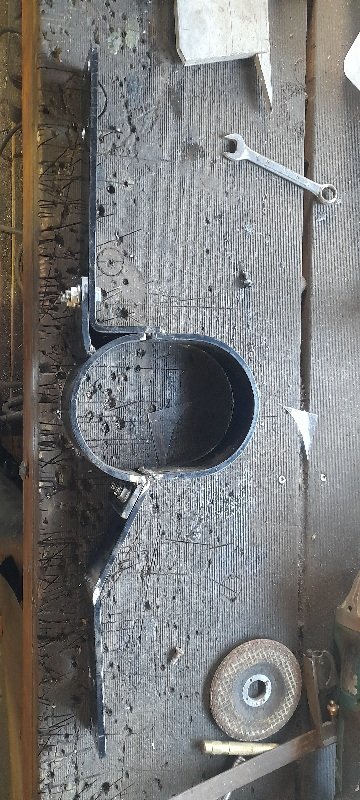
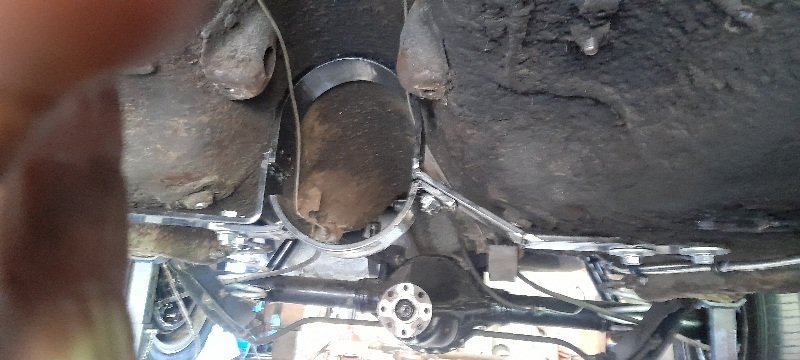
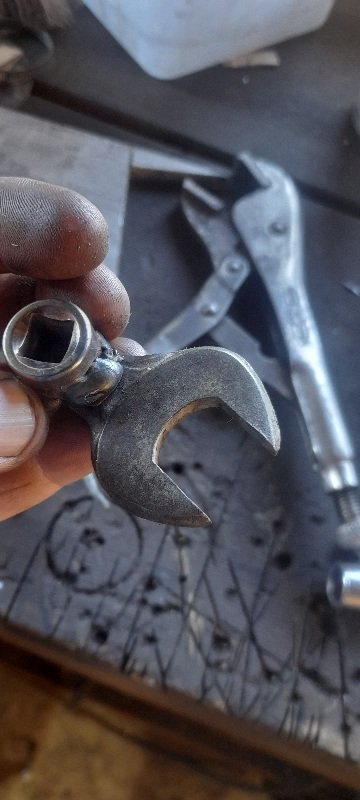
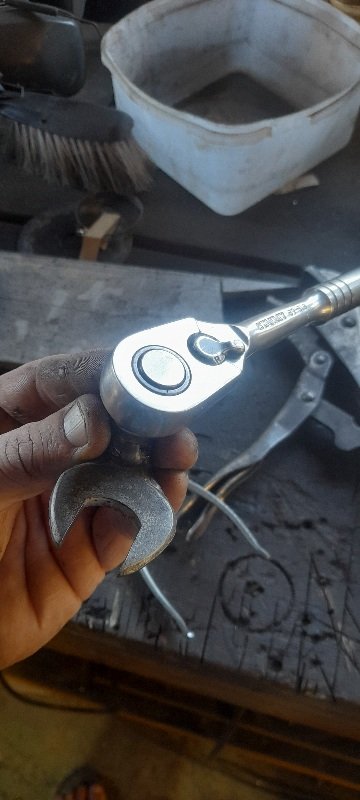
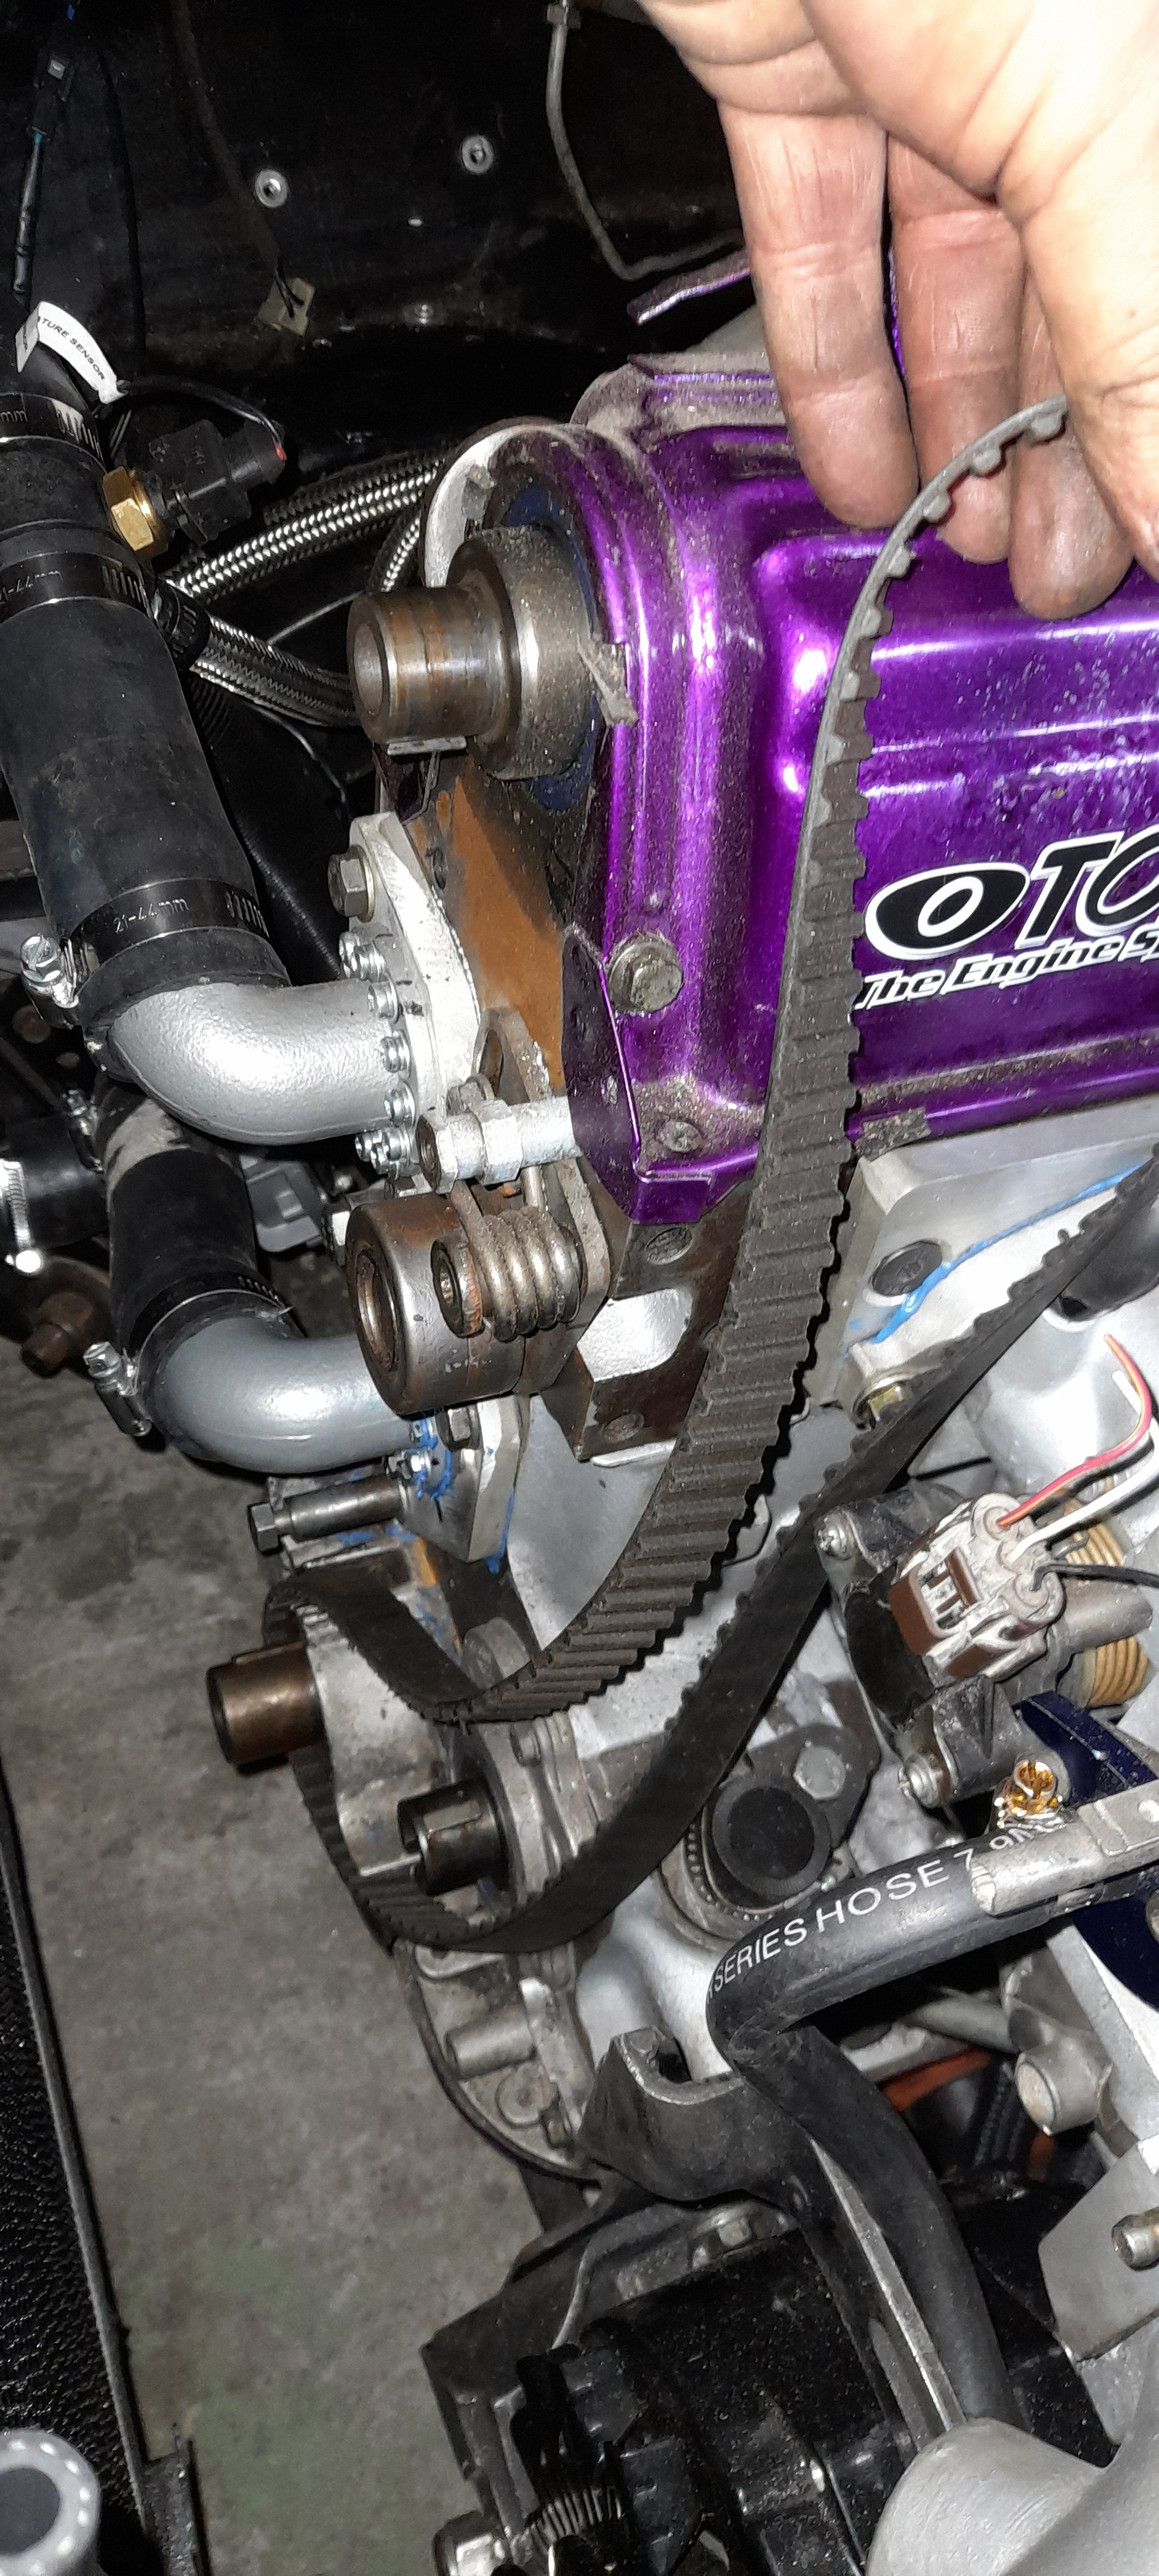
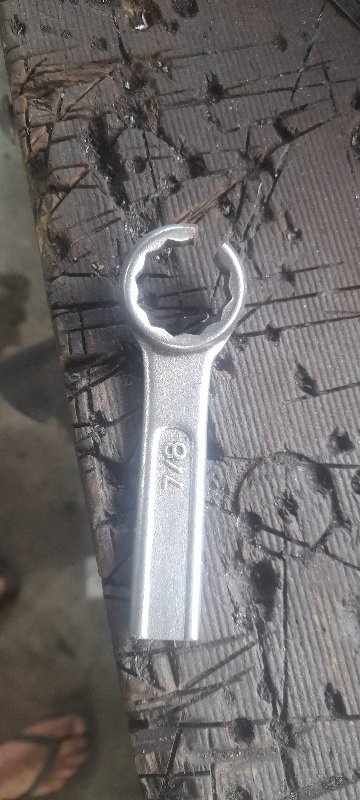
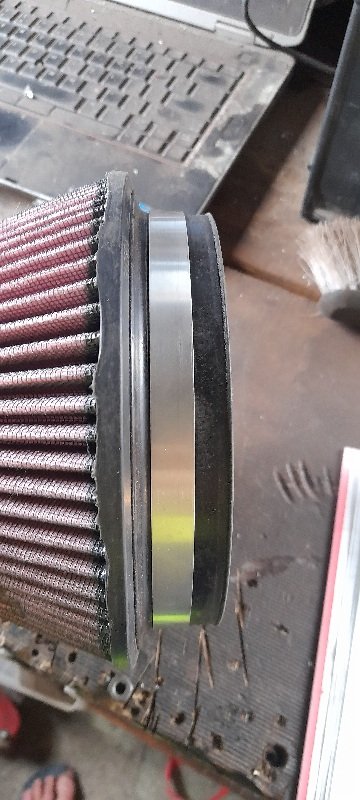
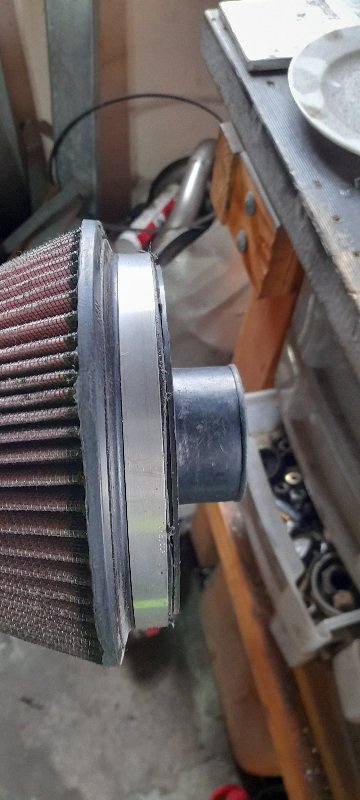
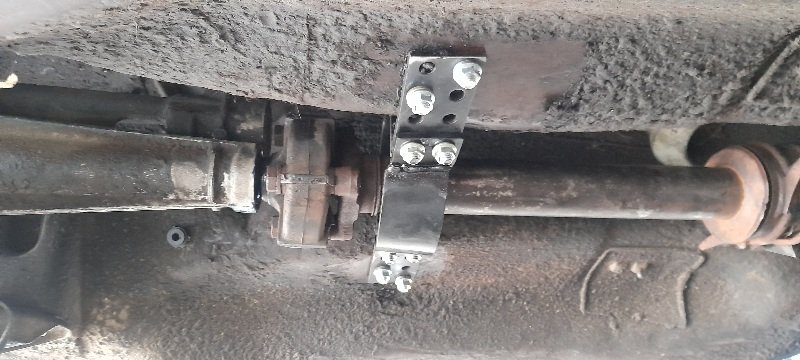
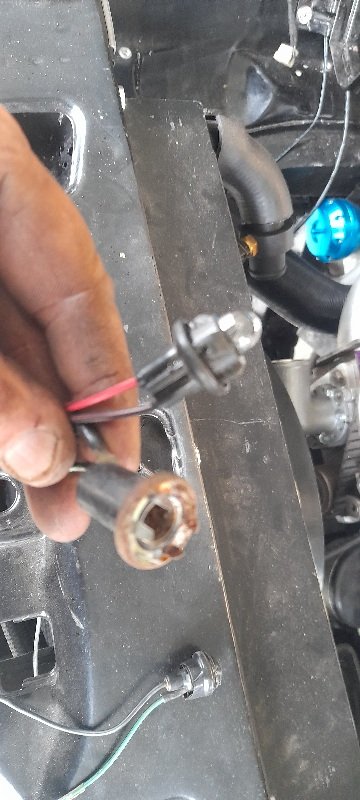
got a few things done this week. 1st was the oil filter .. the pinto one hots the plug end of the IACV. so I did some professional googling and found the xflow has the same 70mm diameter seal but is only 80mm in diameter and the pinto was 92mm. getting to the oil filter is a weeeee bit harder now .. just need to get in from the aide behind the passenger front wheel also filled it with new oil... the new cam belt turned up with the filter and oil so I I put that on with all the timing marks spot on......that then allowed me to be able to bolt the crank and home triggerwheels on. I had noticed a few things when I was under the car... one of them being the drive shaft wasn't sitting right and the rear drifeshaft hoop needs modification to be able to get an exhaust past it...... so out they came ( luckily out and back in without having to remove the full interior to get to the bolts ). once I had the hoop out I tacked it to some steel cut a section out and remade it... the bottom section can still be removed and bolted back on... and that should allow some room for a sneaky exhaust. the issue with the drivshaft was the flange on the front section close to the center bearing was hitting the center bearing ... I made new slotted tabs and welded them back on. I then left those bolt lose while the rest of the drive shaft was in place . and I jacked the diff up and from full drop to all the way up the center bearing moves about 20mm... so with the diff all the way up I tightened the center bolts and that flange had about 5 mm clearance and on full drop about 10mm ..so that seems to of fixed that. back to the motor I bolted the trigger sensors on and gapped them I had to tighten them up and had bugger all room so I modified a old spanner with a fucked socket. and with the sensors now on I can put the fan and shroud back on ( still waiting on a smaller fan belt tho) made a bracket and mounted the coil packs started working out ht lead length and tried the heat sleeves and today I started on the eco harness. apart from mounting the Map sensor I'm pretty sure everything is all in the engine bay. this is about all I need I believe.... ( I am excited and nervous about doing this but I want to have a go and I've got some knowledgeable people I can ask when stuck). removed all the wires from the harness I don't need I untangled the loom so it's clean sorted and none crossed over.... I also found a spot in the firewall for a hole and started to run the loom out. still got to mount relays and run powers and earth's.. ect ect but I'll take my time
-
also...... what are some ways of getting heat out of from under the bonnet. I think I'll lift the back of the bonnet up a weeeeeeeee bit but I'm not going to put vent in it.
-
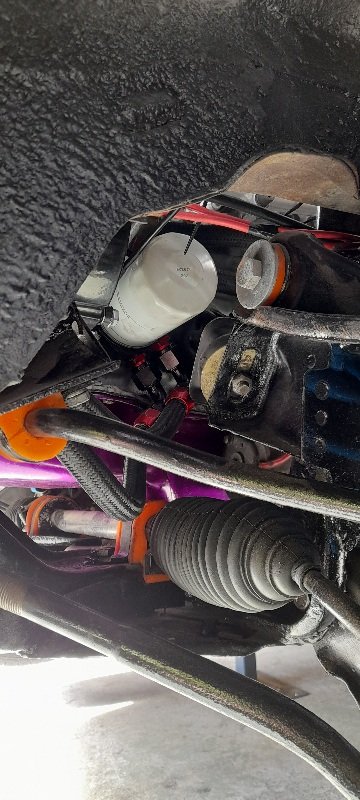
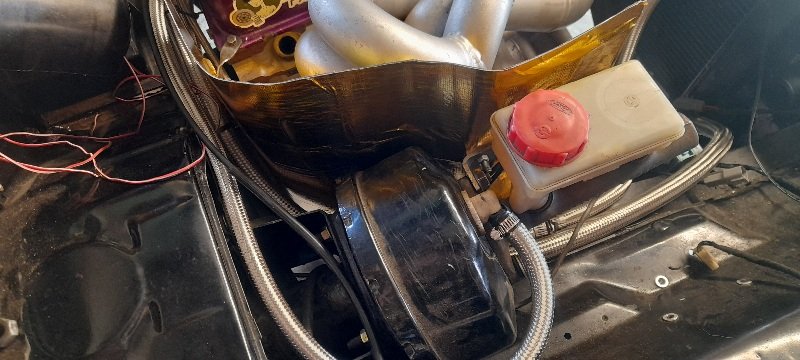
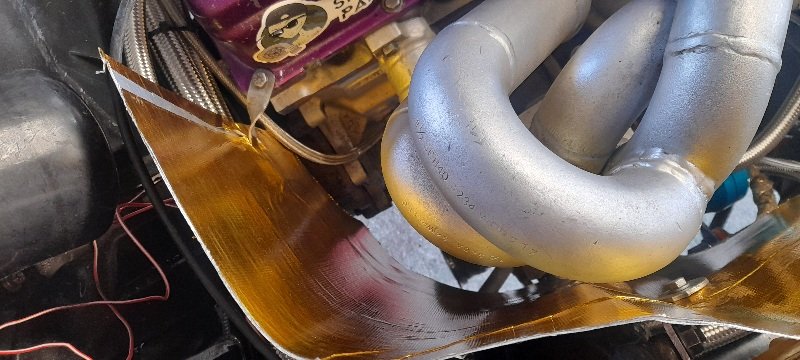
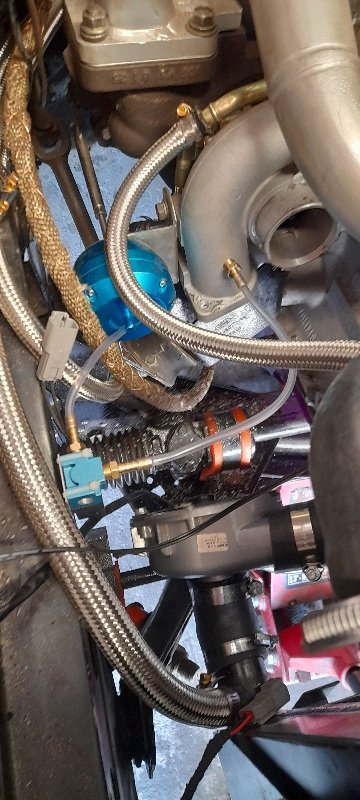
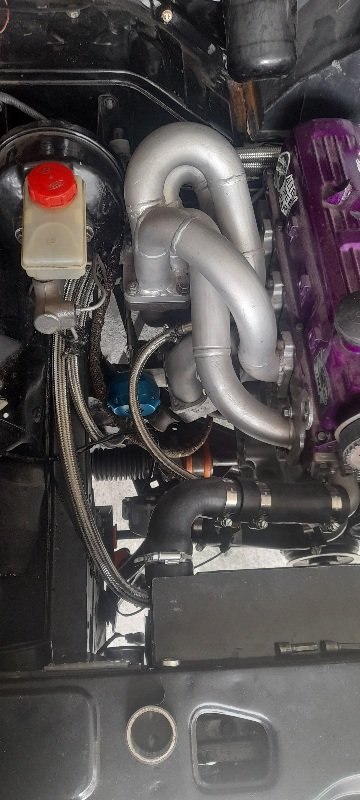
there is no way to make the heat sheld look good apart from maybe ....remove booster , go remote booster and do a heap more brake pipes...... NOT intrested at that so I just made this one...it is so tight between booster and turbo /manifold flange.. but it's a sheet of alloy with like a stick on material on the hot side and I also put one on the back but added strips of exhaust wrap under it around the brake pipe/master cylinder area..... so hopefully it should do the job.. but it's all very tight on the drivers side and I still have an intercooler pipe to go in there.....but there is room.
-
there is no judgment here..... we are all here because we all have the same issues ...... but just like different flavors.
-
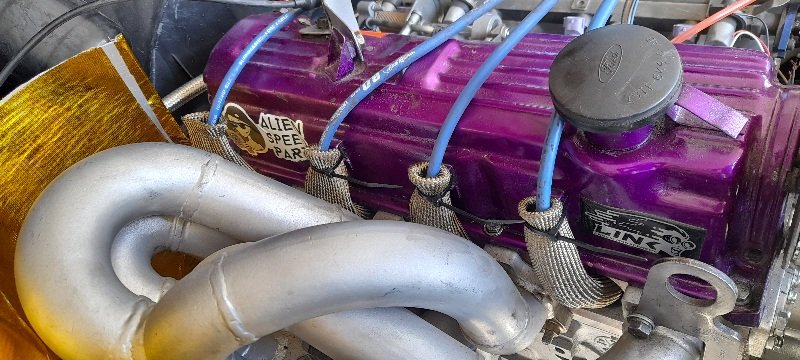
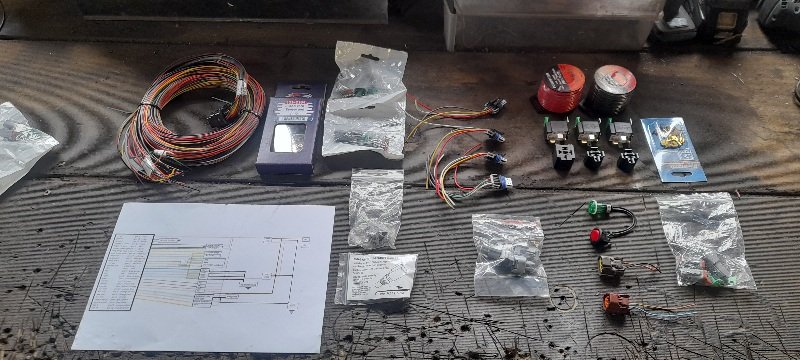
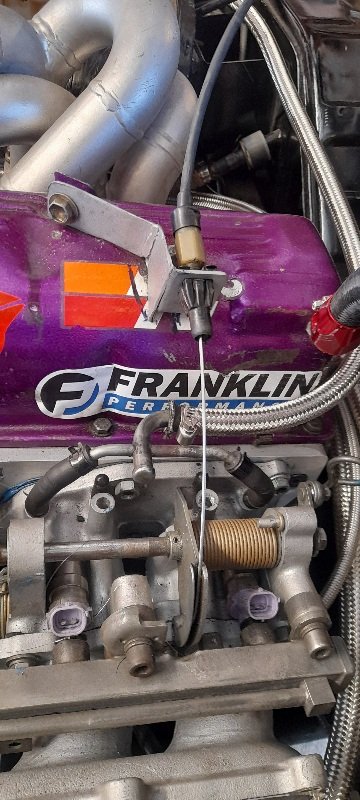
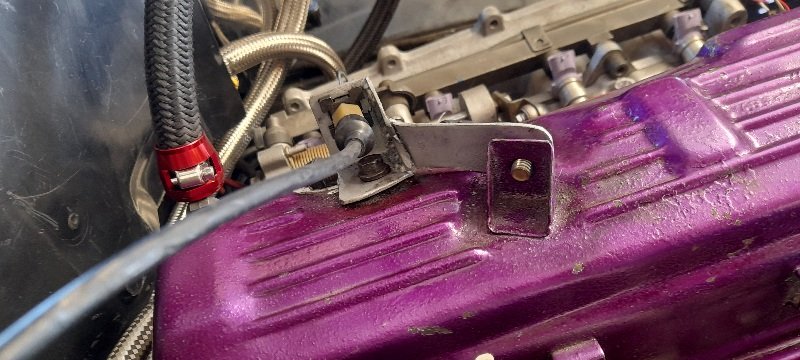
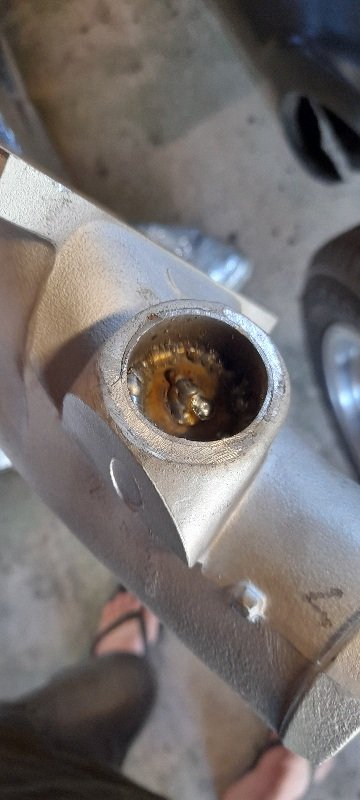
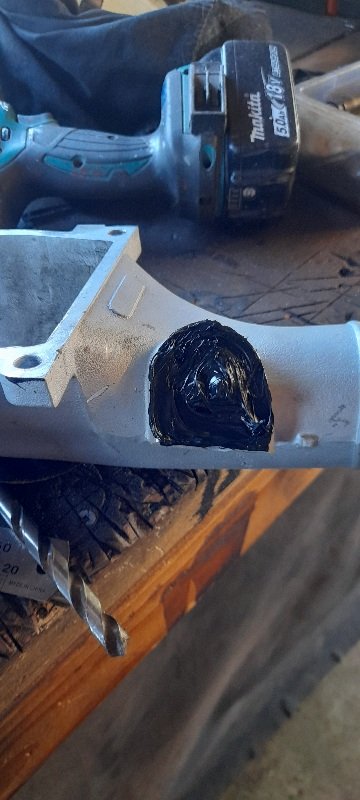
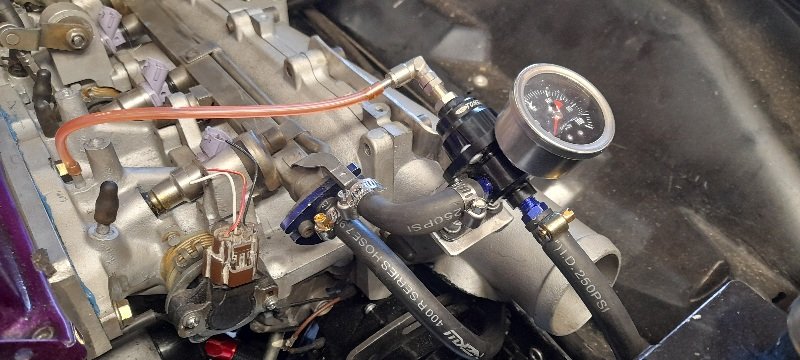
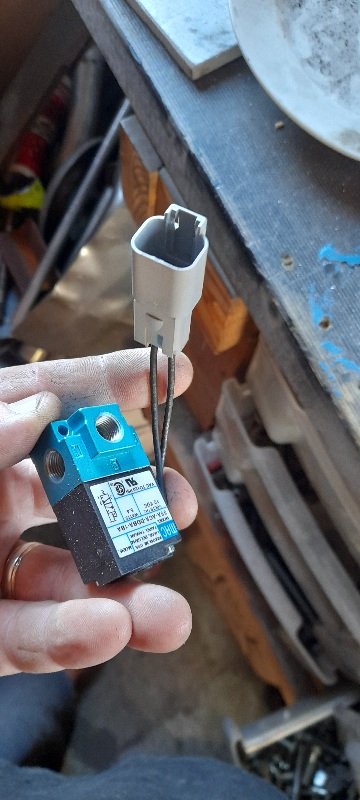
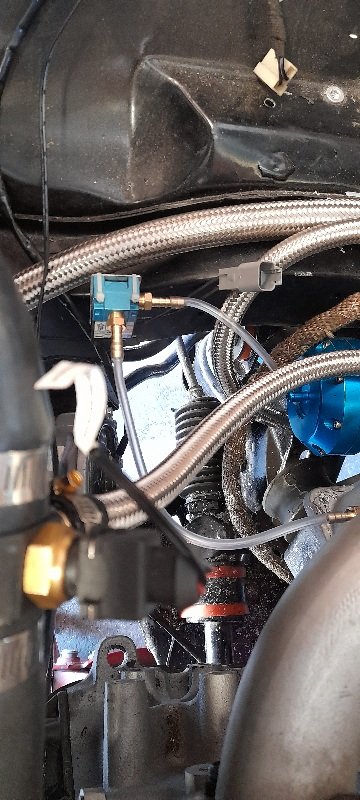
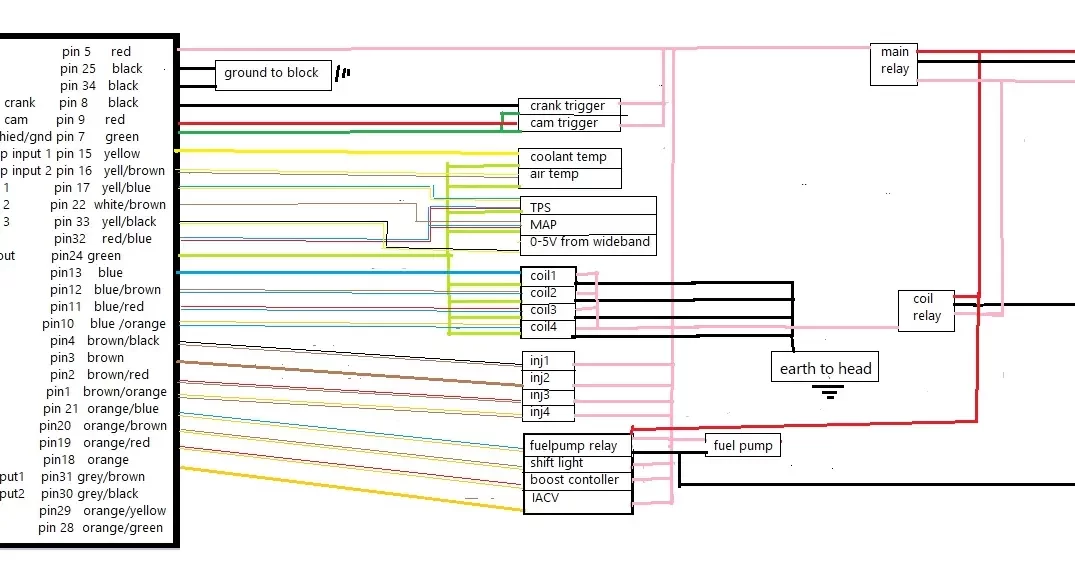
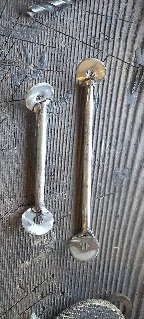
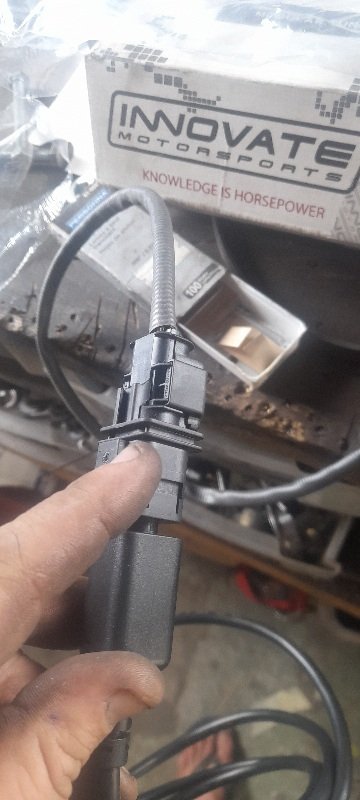
I've been waiting on some bits to trun up ...as per the norm at the moment...shit takes awhile. so I thought I would Crack on and get a few over buts ticked of the list.. one of the buts I'm waiting for is a cam belt...(few bits I can't get on till that's here). worked and and welded up both triggers.. at TDC I put the crank trigger 90° to the sensor and the cam trigger 180° to its sensor.. 1 thing Zac told me when I was annoying him with questions was just make sure they don't trigger at the same time... so I figcarnk turns 2 times to cam so that way they shouldn't. next was the accelerator.. I used the factory cortina outer and a suitable new inner.... made a bracket that used the mount on top of cam cover (and while I had the cover off I drilled a hole and welded a bolt there to help support the bracket). put a pedal in the car and madebthat end work and now have a complete adjustable accelerator pedal. next was to do something about the factory BOV on the plenum...(not going to run a BOV).. so I dropped a washer in...welded it up ...trimmed to down (to clear ALT) and even sealed it up for good measure. inlet plenum on for good now that allowed me to make a bracket for the FPR and mount that..... and that inturn let me complete the fuel system by attaching the hoses I also bought a MAC 3 port boost solenoid. added a Deutch connector made a bracket and mounted that as well as putting a boost reference into the compressor housing I need some proper vacuum hose. and when I do the ecu I'm going to put a on/off switch on the 12v so when uts off it's just wastegate pressure and then on will be what ever is set in the ecu... also on the subject of wiring I'm trying to have ago at all this by myself... I really want to learn it all and also be able to troubleshoot if I have issues so I watched a lot of HP academy videos and made a plan of what I want .. ( it is only a Link atom x but is is also only 4 cylinders). I would like sequential injection, direct spark,MAP,TPS,IACV,boost control, crank trigger,cam trigger ,shift light,coolant temp,air temp,4 injectors, 4 COP (built in ingnitors),hook up MTX-L wideband o2 to ecu,.fuel pump so after doing 1 drawing and getting my head around what I need ...and then doing a cleaner better drawing and posting it on a link ecu FB page for help ... the only suggestion I got was being a 4 cylinder I won't need an injector relay just run on main switched power... so that good.... so I did an updated drawing ..and I I'm honest the more I draw ut out the more I understand... so here is the plan for the ecu ... just need to get some more supplies and I'll.make a start....
-
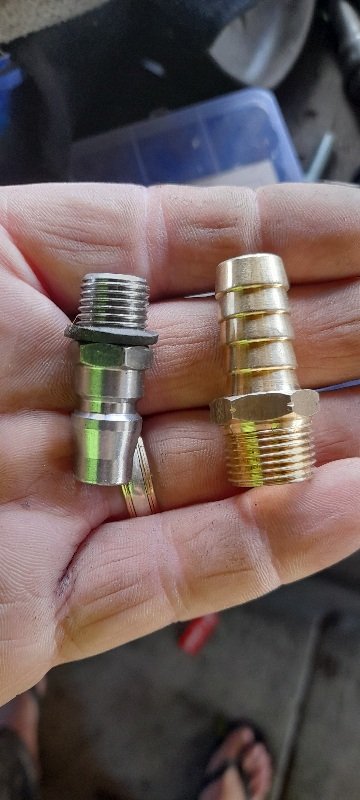
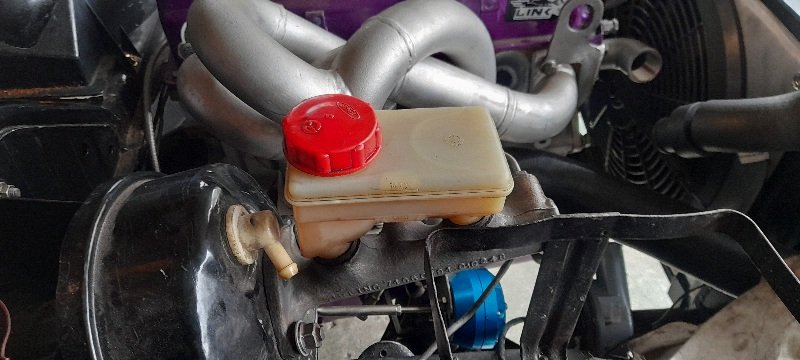
so on Thursday I turned on the EWP and started to check the coolant system so after that 1st test on Saturday I..... 1.swapped out the fitting for coolant line out of turbo to EWP temp sensor housing.. from an airline fitting (I know....I know) 1/2 x1./4 bop to a barbed 1/2 x 1/2 bsp .. also put sealing on it one threded..and threaded it in. 2. bottomed bracket with 90°elbow ( where water pump normally would be). pulled it off and swapped out the m4 screws for m4 bolts to be able to tighten it that little bit more. ( and also get 2 more bolts under the elbow... 3.went through and swapped all clamps out for TRIDON ones. I've had the water pump running for 5mins now and no leaks .... so thats a huge win and also coolant system DONE.... the best news is that temp sensor that I put in the frost pug in the back of the head (I know.... I fucking know).... isn't even weeping..
-
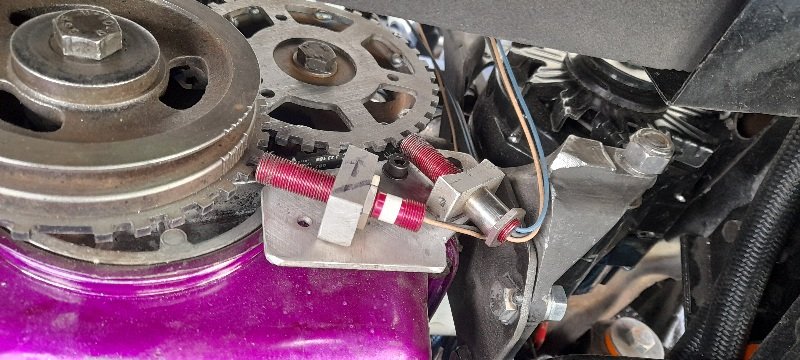
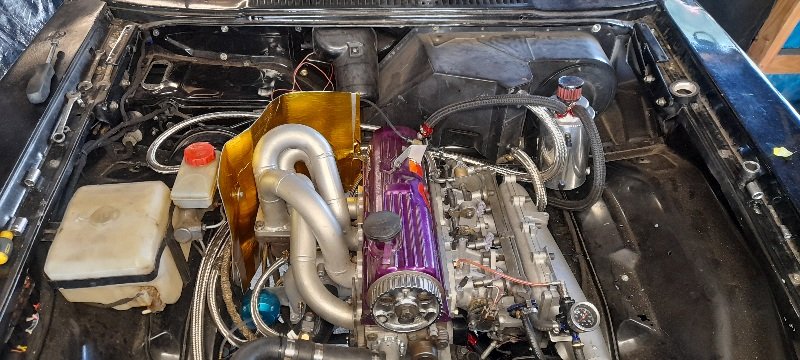
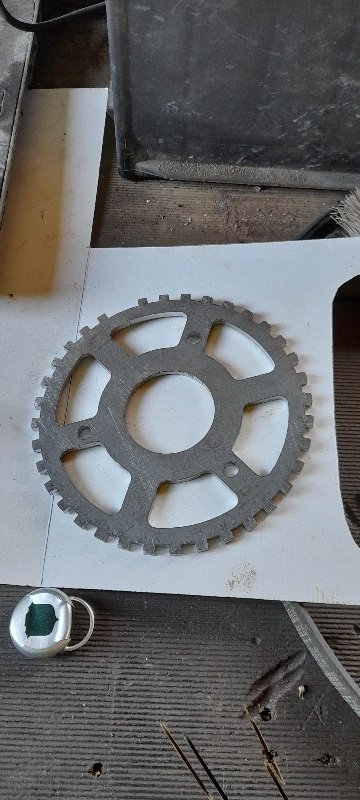
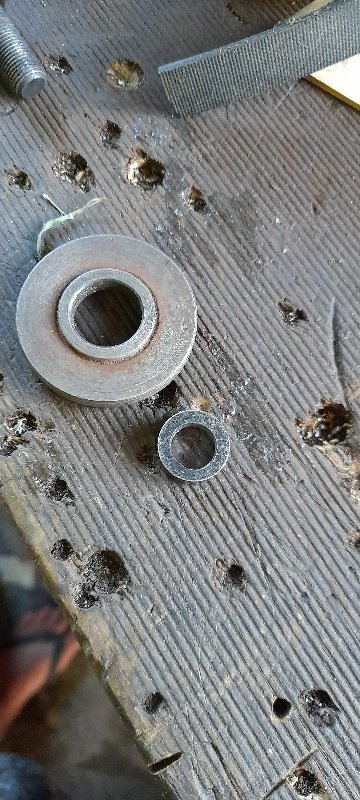
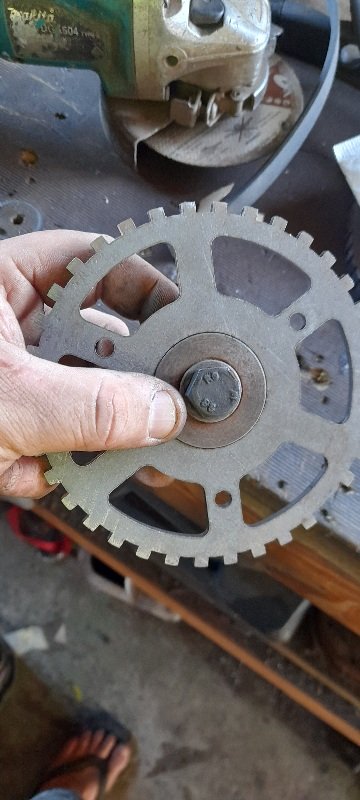
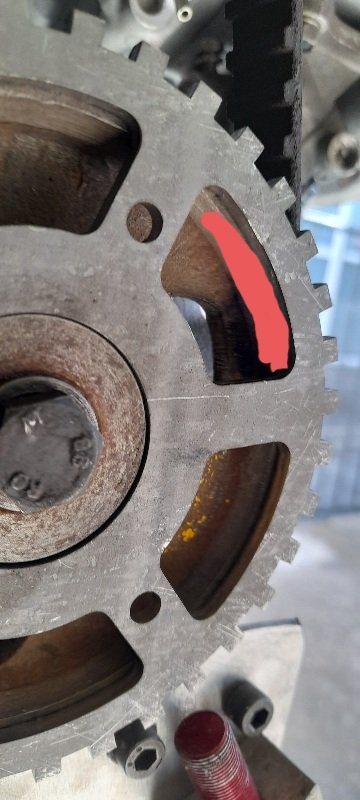
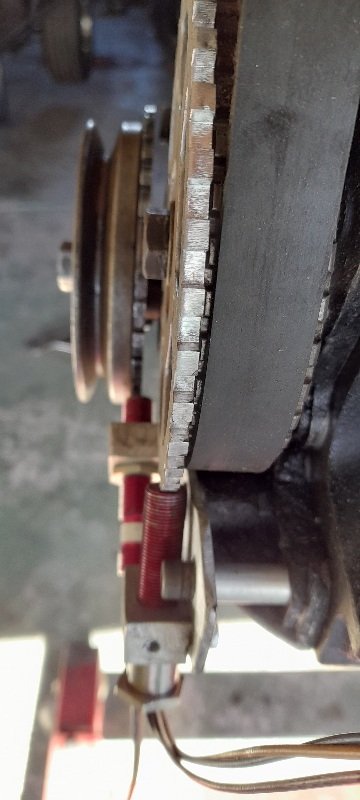
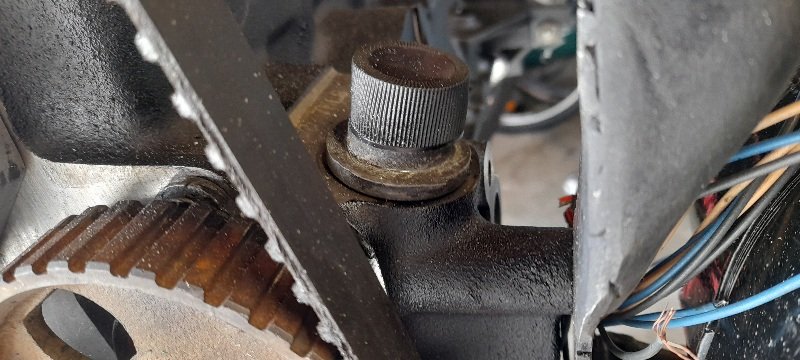
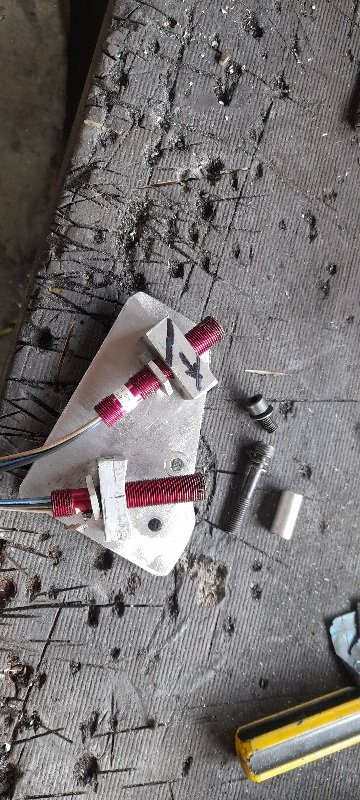
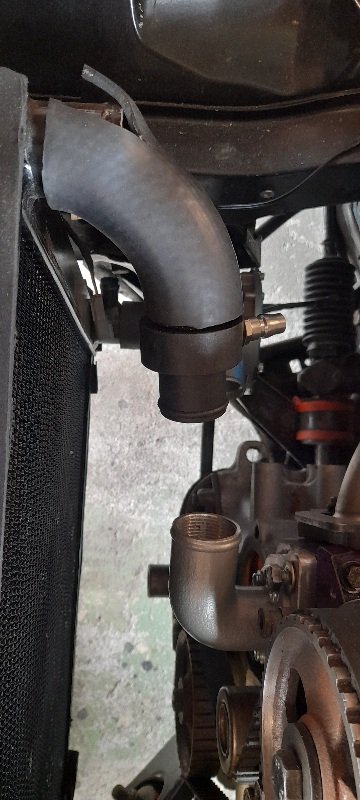
so after work today I got the fuel lines fixed to the shell and the fuel feed and return fubber hose parts done by the fuel tank.... I was about to start looking at making heat shelds ....... and then much like the sound of the ice cream van to my girls...... I heard the sliding door of a courier....and in her hands was the trigger wheel I've been waiting for ..... so I stopped what I was doing and had a look to see if it will fit and not hit on anything.......pretty fucking sweet. found some washers to center it on the idler pulley bolt.. had to move one sensor out... and one sensor in (that also needed the bracket to be cut out so I can use lock nut). I will be able to tack it on ....on the inside edge. but all in all I'm happy with that looks like it will work .... so I can look at getting it all tacked up and on the motor.
-
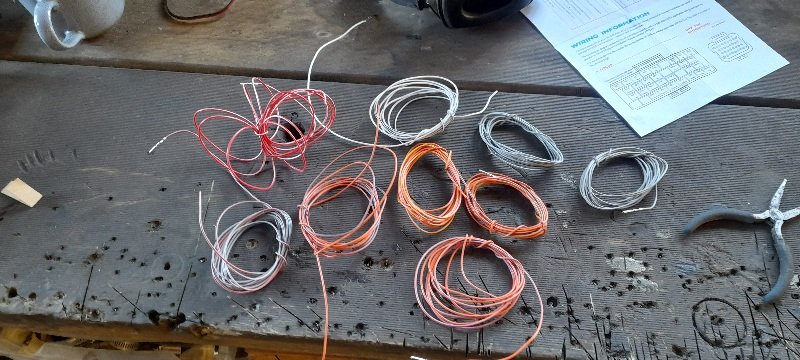
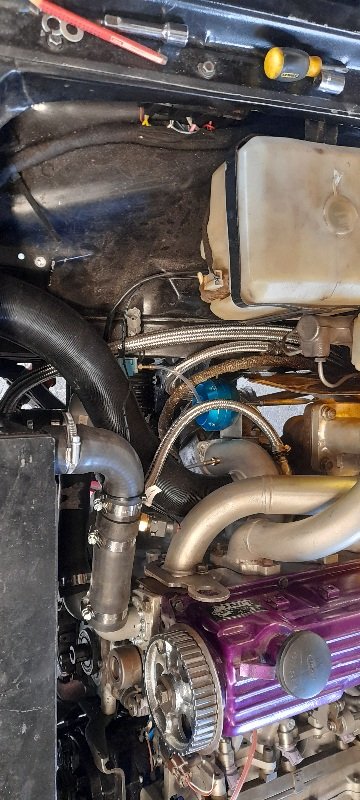
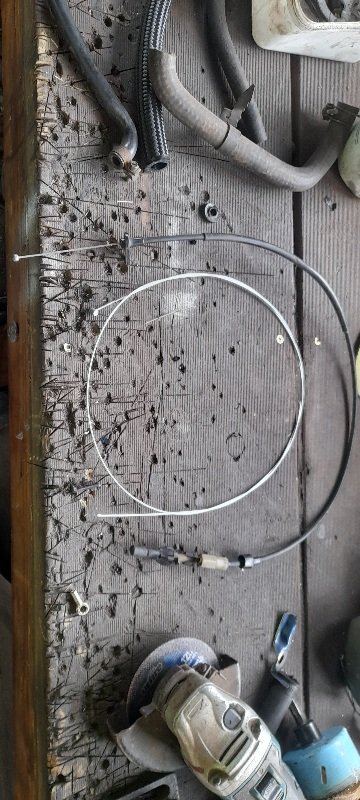
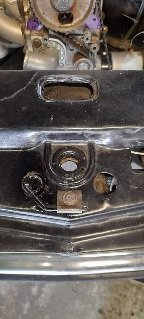
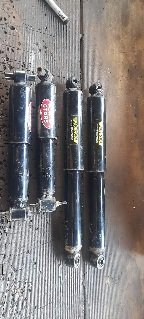
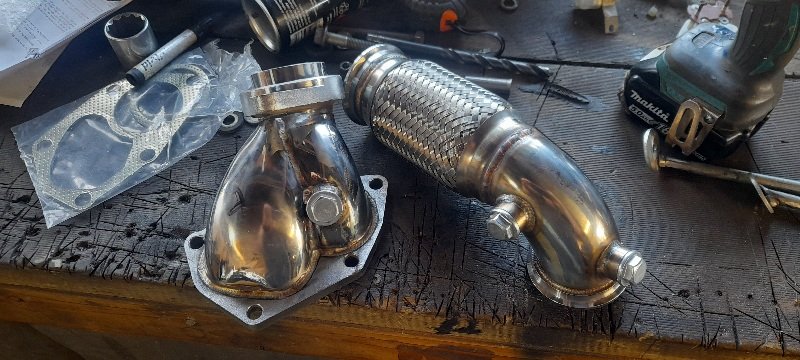
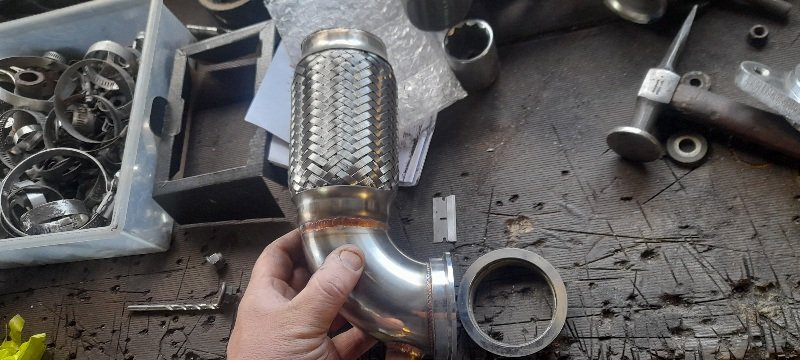
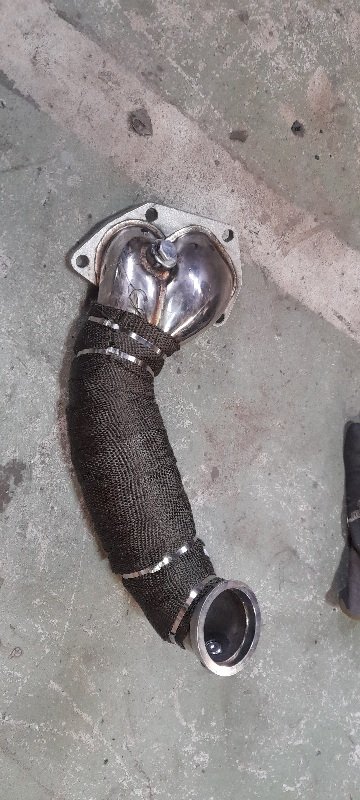
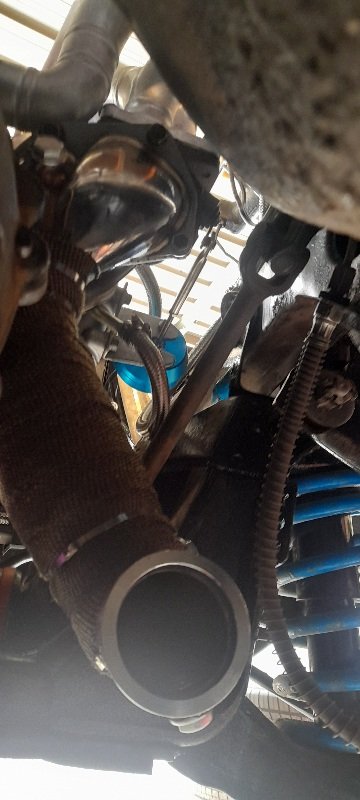
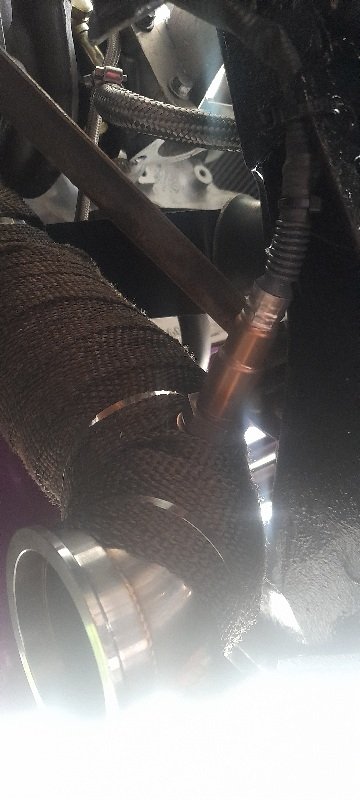
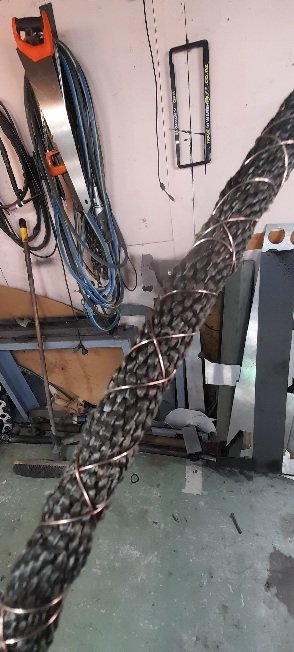
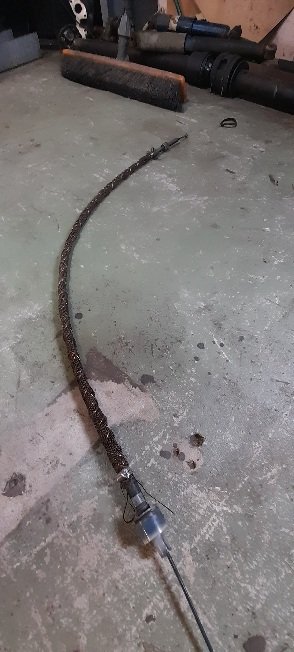
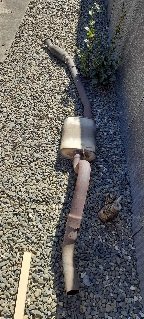
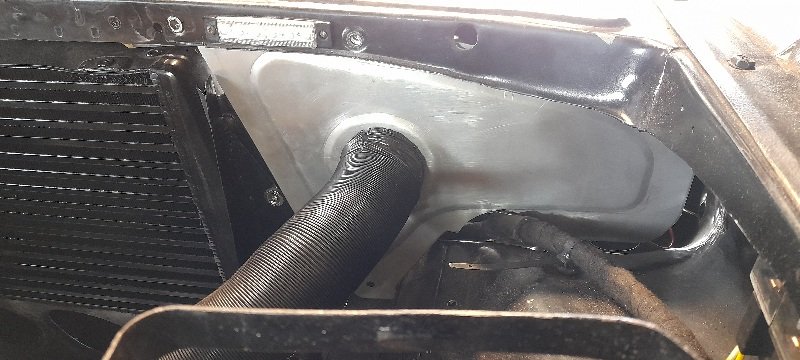
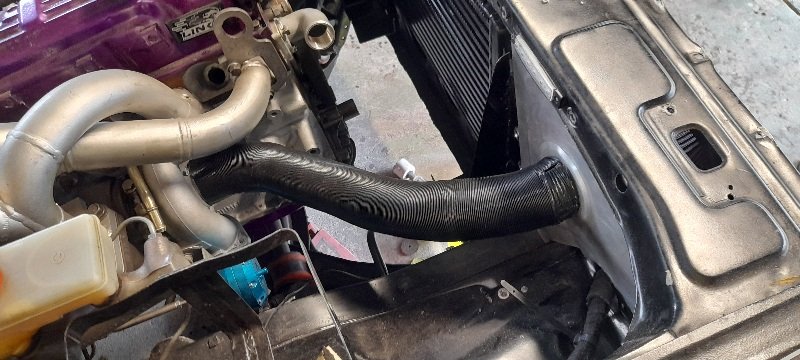
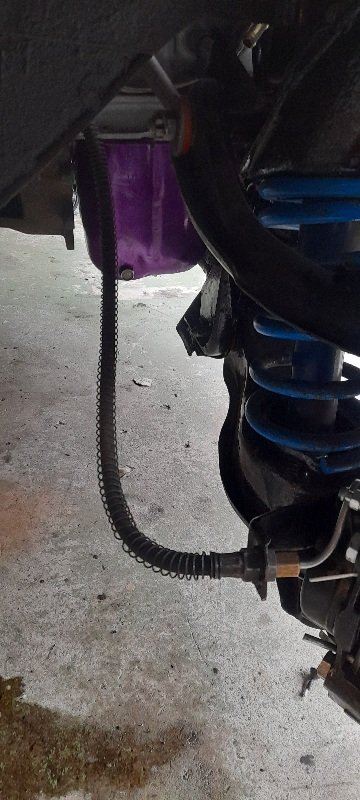
few more items the bonnet lock... I did have 3 different types but I now believe I've given them all away......... and the break anyway... sooooo I bent a bit of rod ... welded ut to the wire lock thingy that's really hard to get in and out and even harder when you weld some more length to it. but now it's like an early mk1 escort ...finger in the grill and push it sideways to relate bonnet... I made some braces for the inlet manifold as its pretty heavy and sticks out a bit very good condition 2nd hand shocks .. the aussie diff has eye to pin and the normal cortina eye to eye... so just had to drill a hole out a bit for bigger bolt and space them out a wee bit..... but the front shocks are so nice to swap out .......all you have to do is.....fuck all. I must have fixed the leak in the diff ...turns out the old interwebs may be right... weeeeeereps out the splines on the pinion and some Sealant with fix that just before you put the nut back on....also topped up the lsd fluids. even filled the gearbox with new ool. I bought some random bits from alliexpress finest catalog. a cheap shitty turbo back for a evo . and a random 2.5" down pipe .. and with a small 2.5" bend I managed to make a down pipe. I double wrapped it in heat wrap to cover up my welds and there is so much going on in that area I need to try and keep Temps down. that allowed me to put the wideband o2 sensor in.... and use the tool I made because I have a focus with 2 sensors in real Cunty places....I also had to sane the connector down to fit through a bulkhead hoke and not drill an other also got some coolant hoses in rad to heater , heater to adapter ,adapter to turbo , turbo to EWP sensor housing as well as rad to EWP , EWP to motor in ( also made that to replace factory water pump) , motor out (made that to replace thermostat housing), to EWP temp sensor housing , and then back into the rad. I wrapped the clutch cable in heat wrap and mig wire to help stop it melting and got that in as you can shit is getting tight around this side of the motor now... will look at heat shelds once every thing is in. and my mate is replacing his exhaust on his Valiant wagon with 2.25 so he gave me his old 2.5 system...perfect for what I need and free is a great price
-
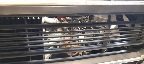
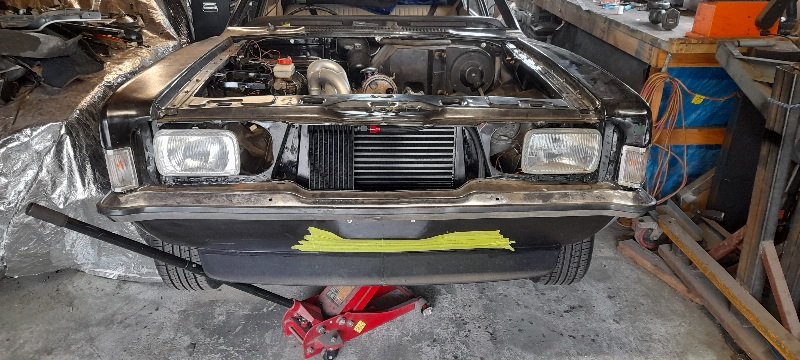
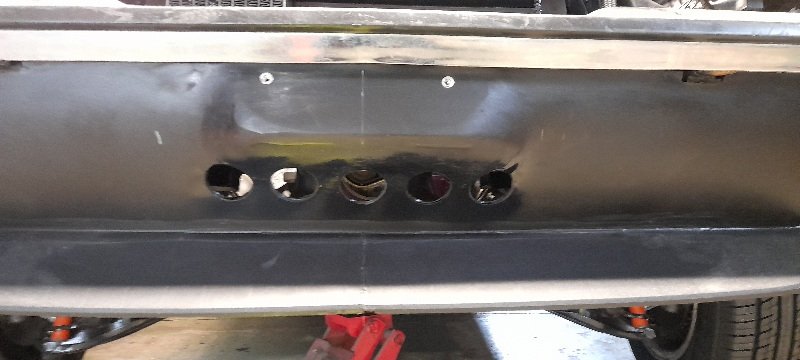
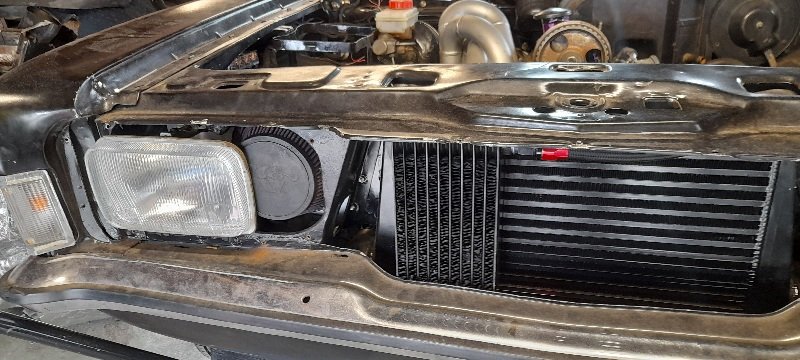
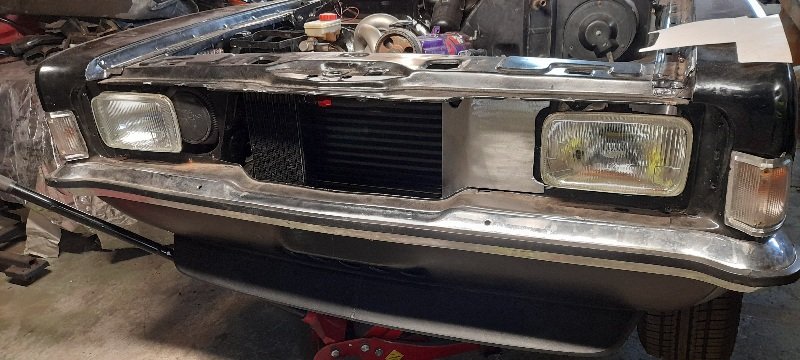
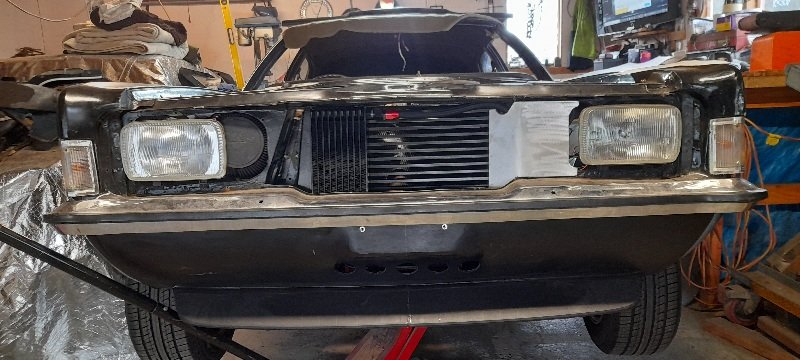
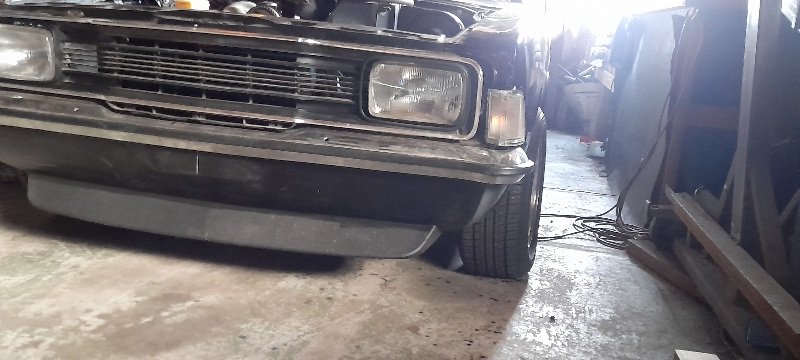
some.more small things done. the radiator sits lower than factory and there is some holes and I've been thinking about making some holes in the front ri help with air flow and cooling..... so but the bullet and did it.. went 50mm holes and around the same length as number plate.. so nit really noticeable but with the chin spoiler good air flow.. I also figured if I push the clamp on the air filter all the way up I can cut about 10mm of that and ut will fit better where I had it with the round lights..... worked a treat. I also made a bit off alloy to help flow air to the intercooler and through the rad.... not to worried about the other side as what does go through the oil cooler goes to the air filter anyway... and number plate bolted on.
-
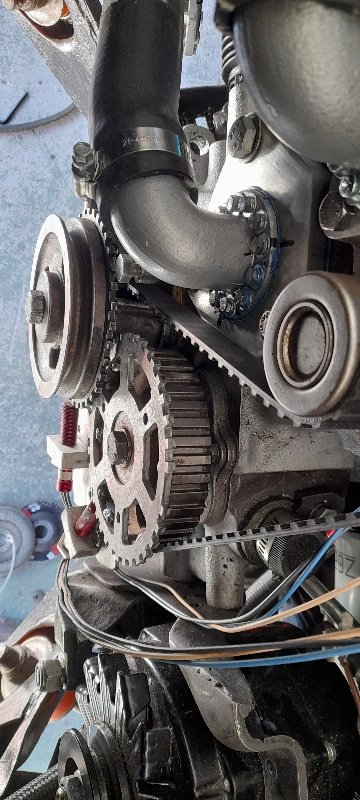
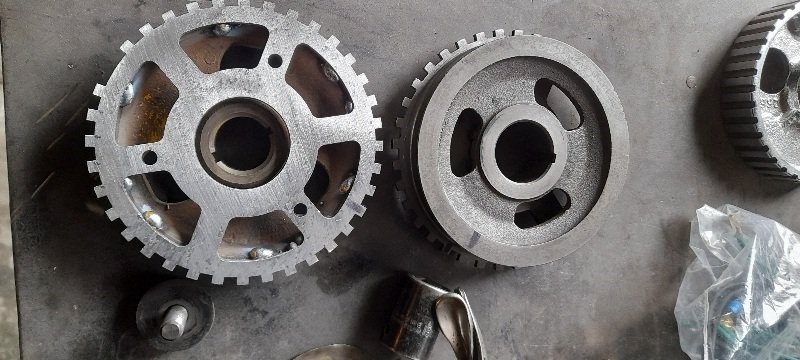
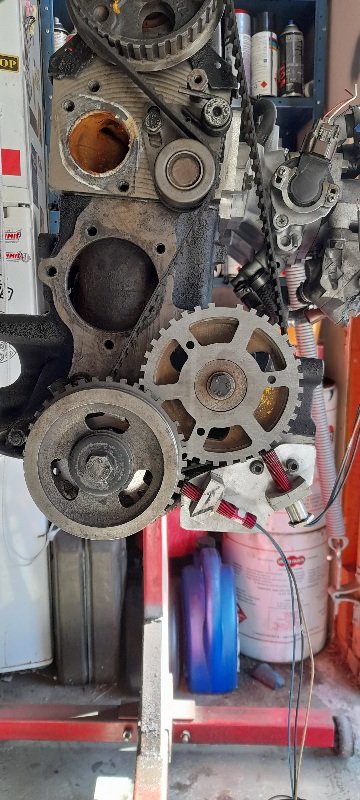
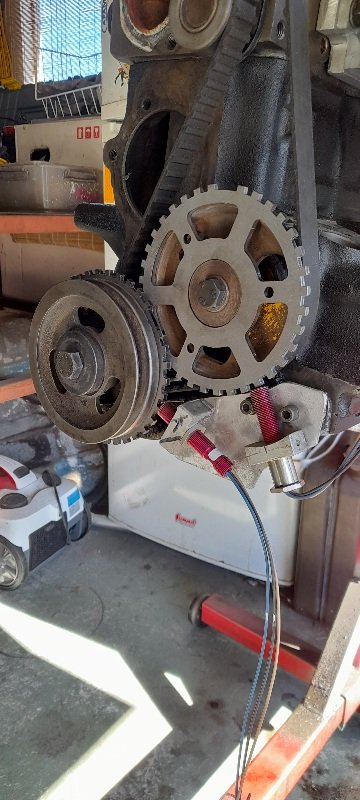
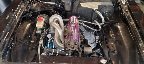
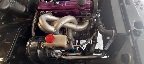
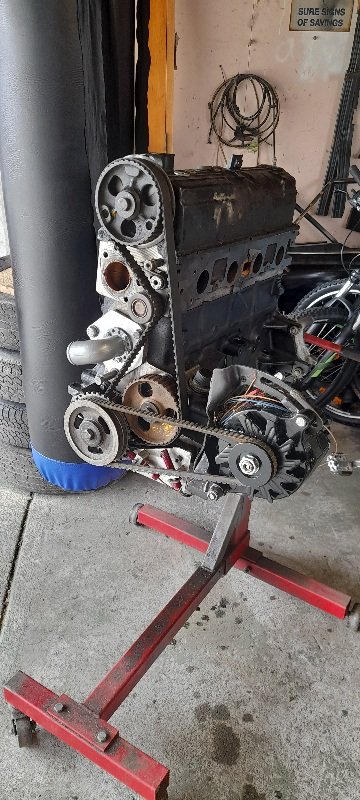
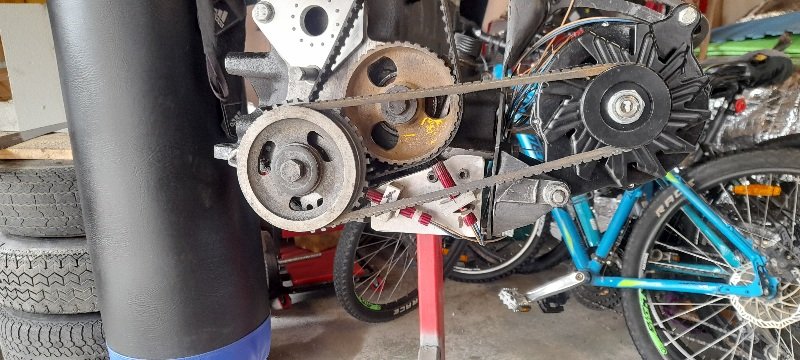
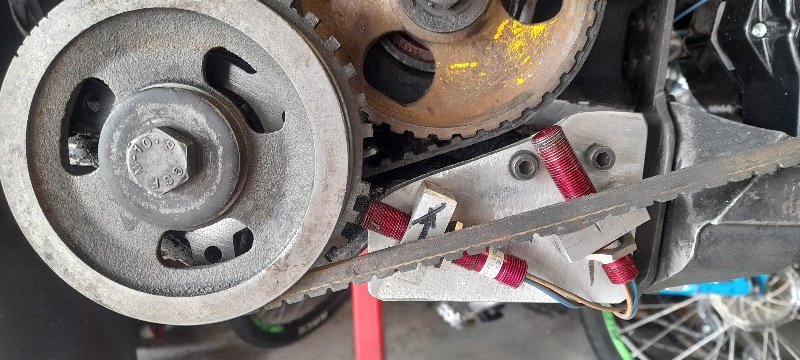
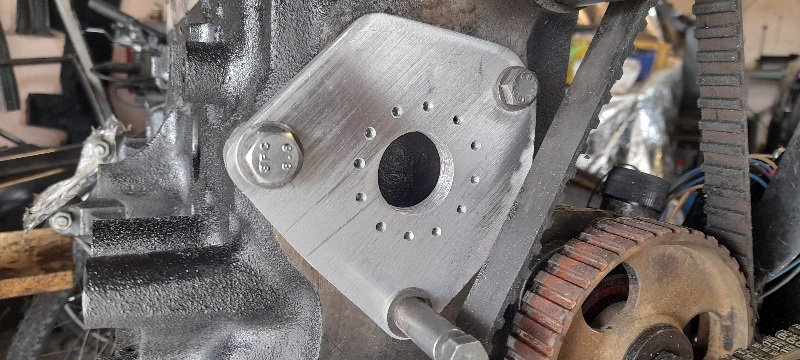
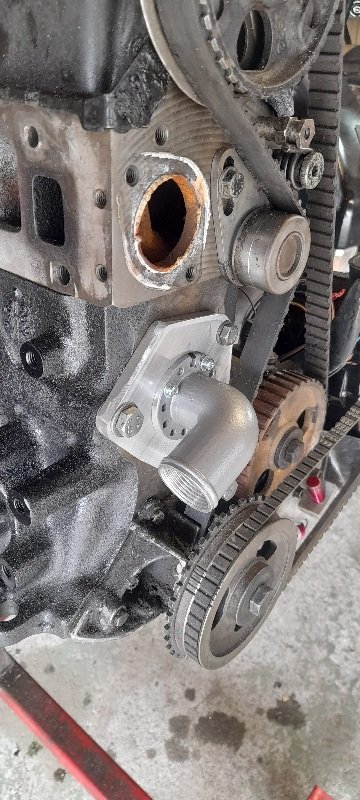
I mocked a motor up (no pistons ,rod ,sump ect ect ) just things I need to k ow what room I have purely because it's easy to work on than through the rad hole in the front.. while I've been working away there have been a few things I've thought about and would like to change ... one of them is the home trigger/signal I made from falcon and pinto dizzy reason being is its right under the inlet manifold and I know all the shit that would have to be disconnected or removed ....just to get the inlet manifold off if I had to do something with the dizzy.. so I removed it and just cut down a old pinto dizzy and slapped a cap on ut for now....only job now is running oil pump. I bought another bigger 36-1 trigger wheel like the one I'm using for the crank trigger (still waiting for it to arrive) and I've git enough room to mount it on the face of the aux pulley... the 2 triggers should run close but not hit... so I took the opportunity to move the crank sensor over to the same side and mount both sensors to 1 plate...easy to get to....easy to work on.....better. will sort them out distance wise and put back on the other motor once the trigger wheel has arrived. I also got made the water IN that will replace the factory waterpump. I also put a fitting in the waterpump temp sensor housing that sits in the top rad hose... that will be for water out of the turbo. and that's it for now....more shut ticked off the list.
-
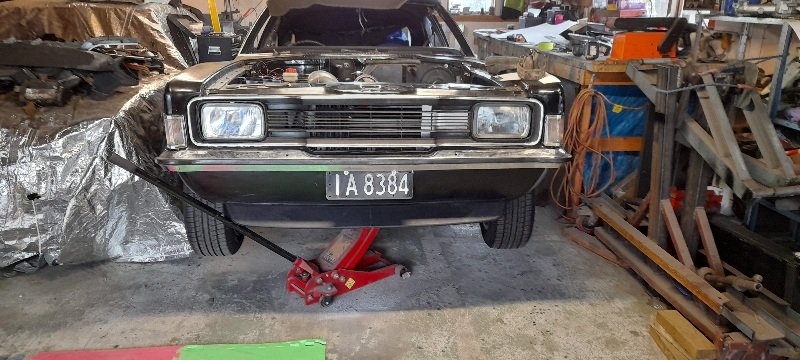
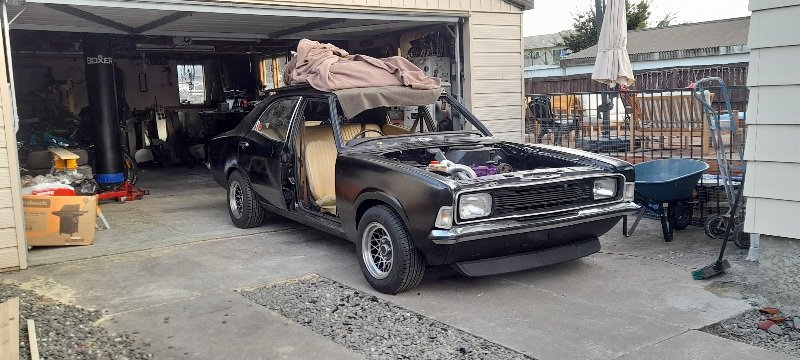
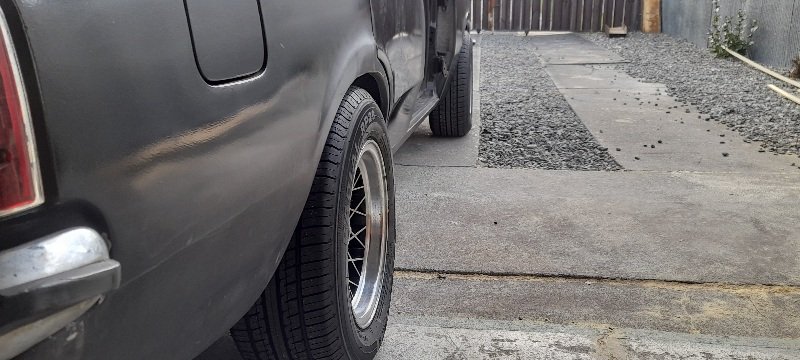
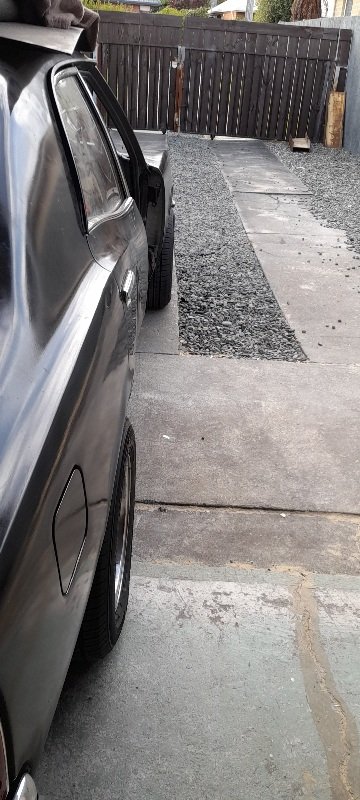
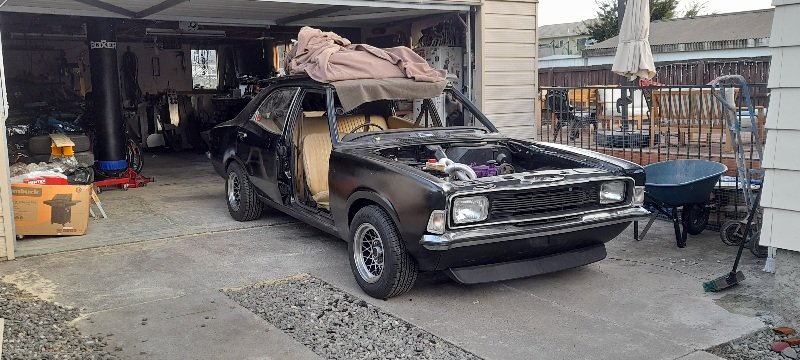
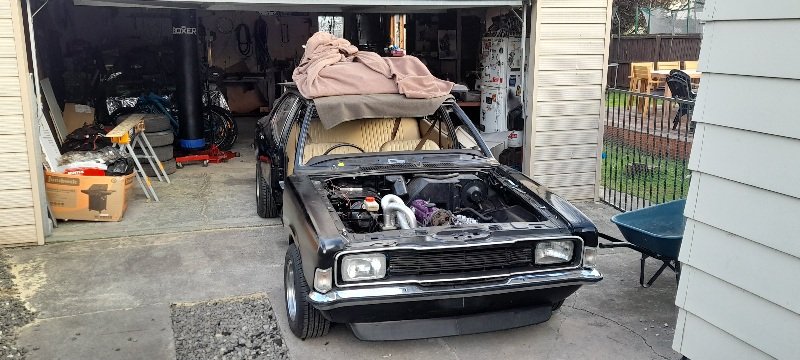
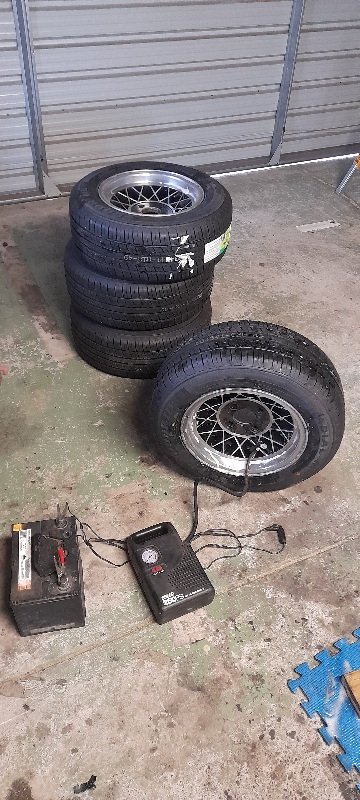
new shoes on and pulled her out for some pics.... not hoping to lie ...pretty stocked .
-
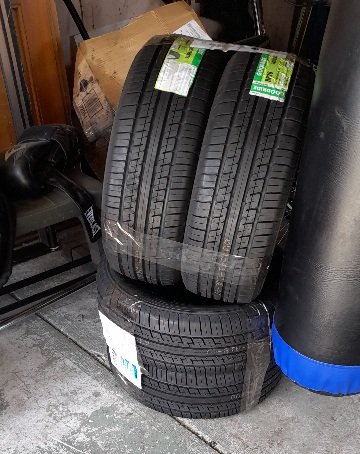
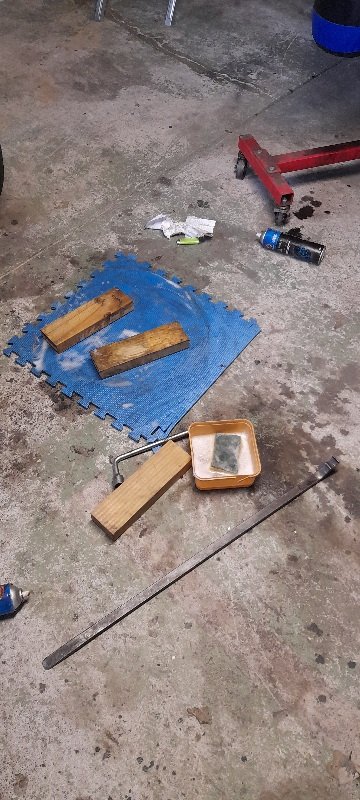
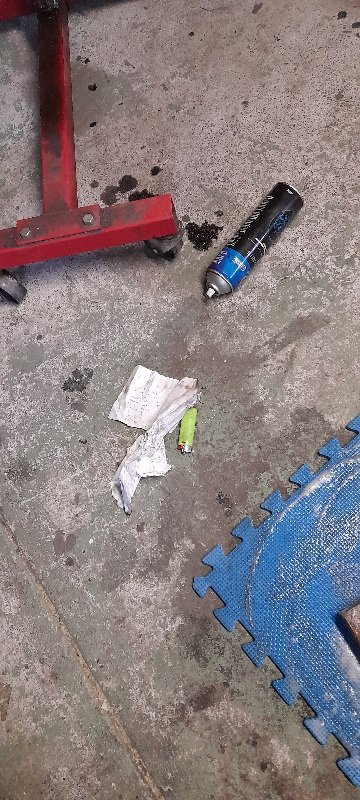
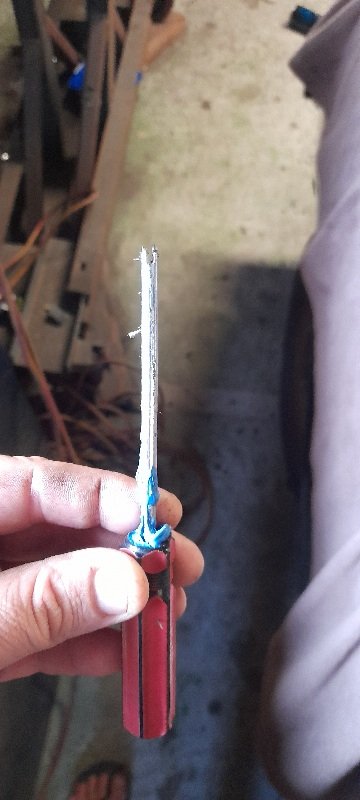
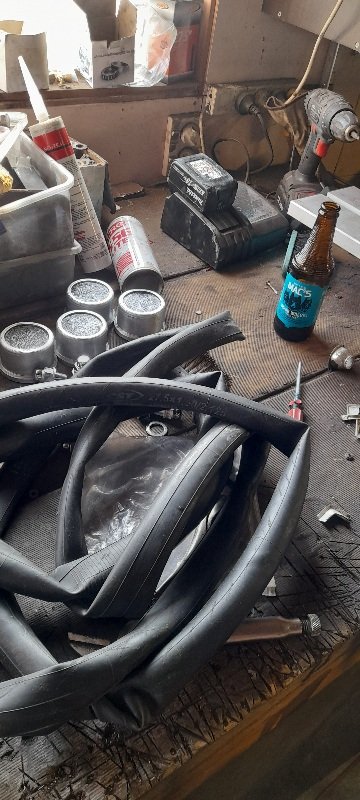
tyres arrived today.. I took a pic of them and left it at that..... then the lack of patience got the better of me ..so I went and grabbed a few beers *put the tyres on *fitted them with brake clean and a lighter.(1st time for that........apparently you don't need much at all lol) *made a valve removal tool *stole the valves out spare mountain bike tubes. *put them in and blow them up with the world's slowest pump. but hay tyres are on
-
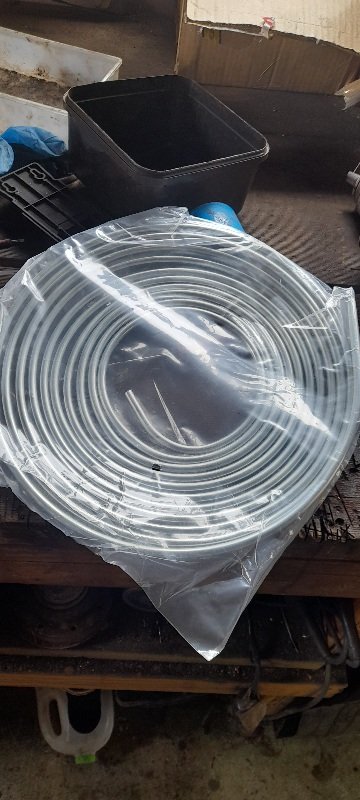
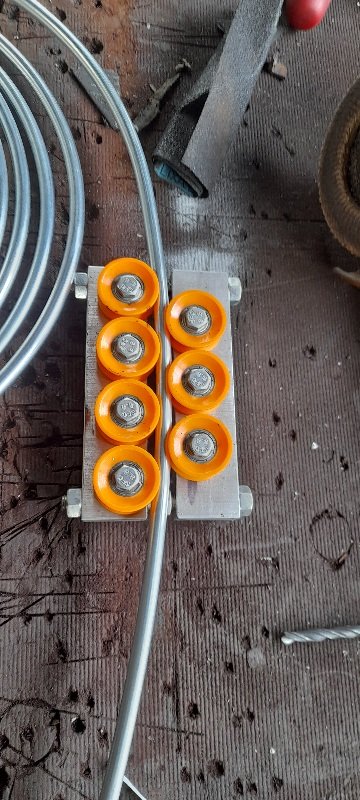
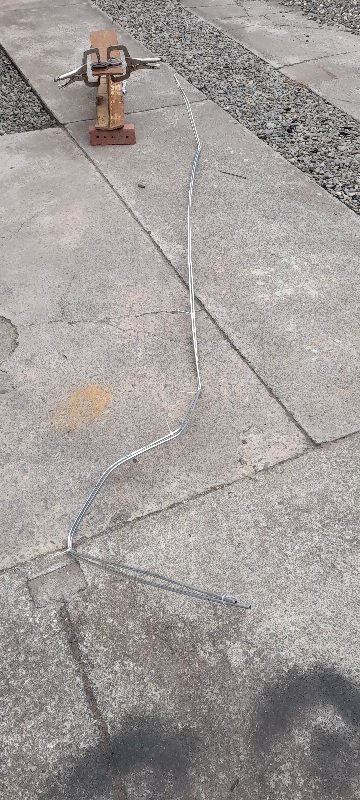
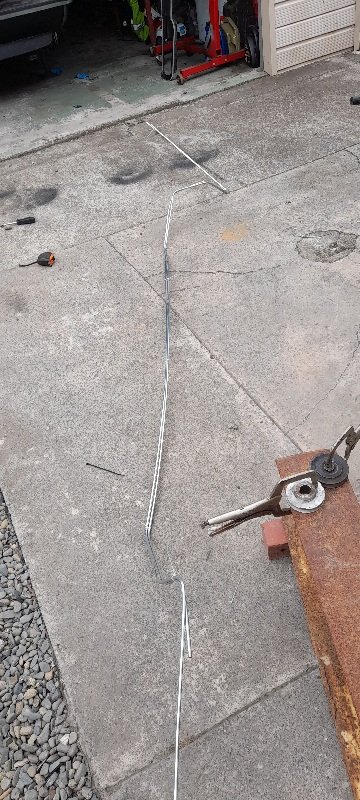
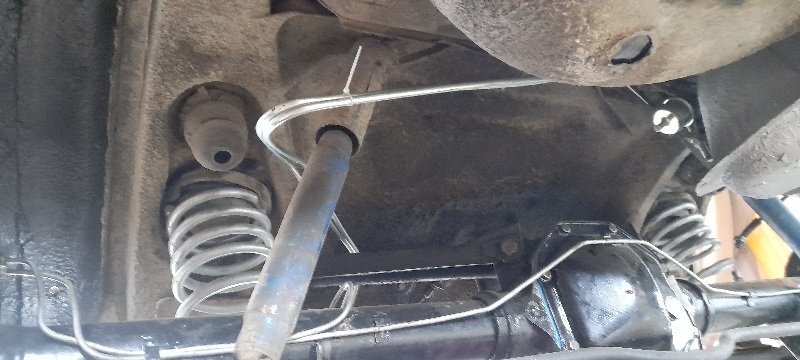
few more ticks of the list. *sealed rear lights *fixed rear number plate light ( power wire was just dead). *rechecked all the wiring and everything is still spot on.. and also made the fuel feed and return lines. my mate Simon made a little tool to straighten the hard line ... but I soon realized you can't really straighten 7.5m of line in a 8x6m garage with 2 cars and heaps of other shit in it... ended up doing it out side ... used a couple of pulleys to do the bending .. and git it all done.... just need to get some clips to bolt ut to the shell..... . would have been so much easier if the diff wasn't in.... but fuck moving that out lol..
-
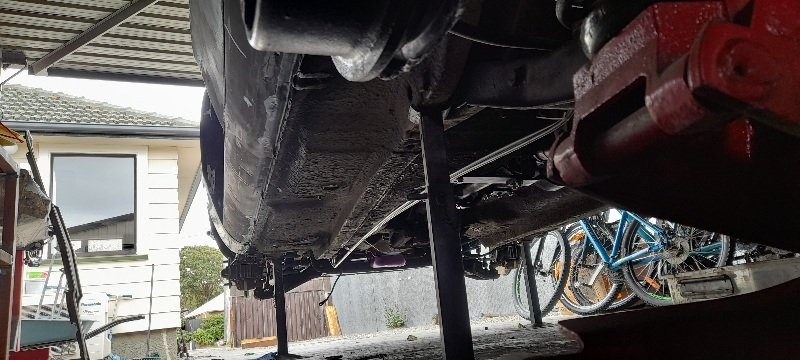
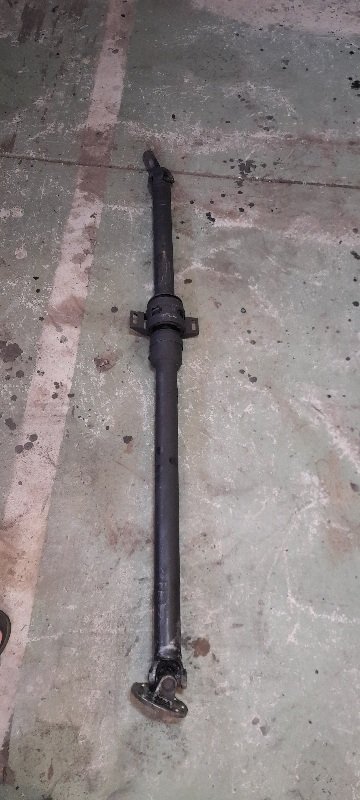
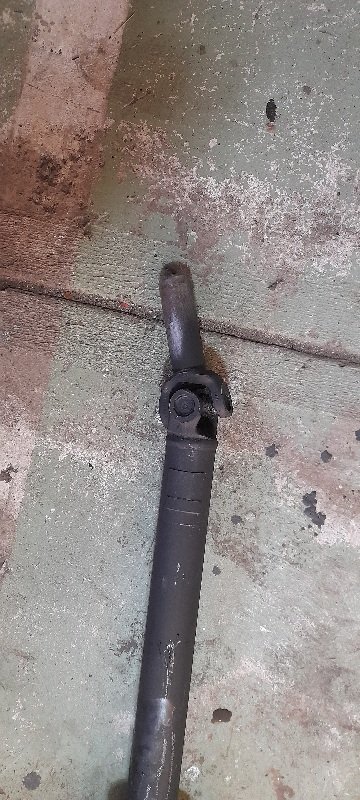
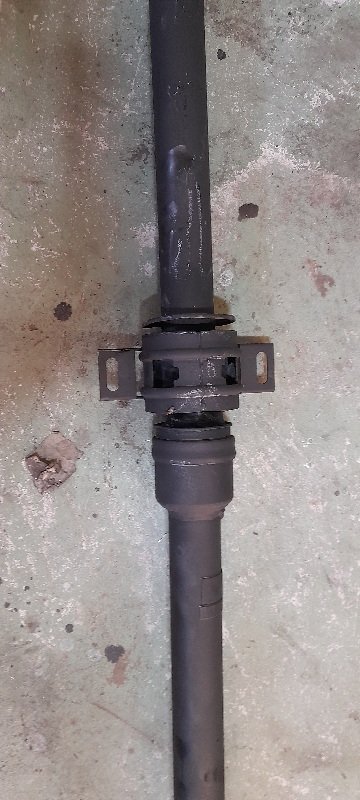
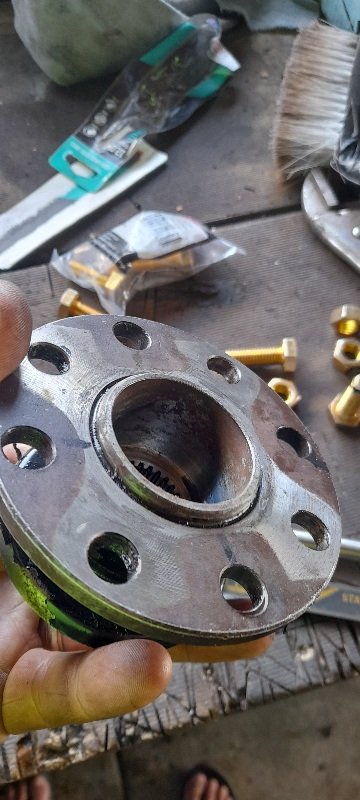
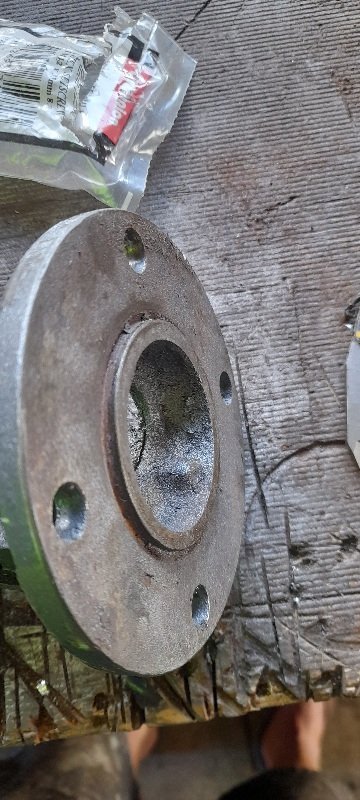
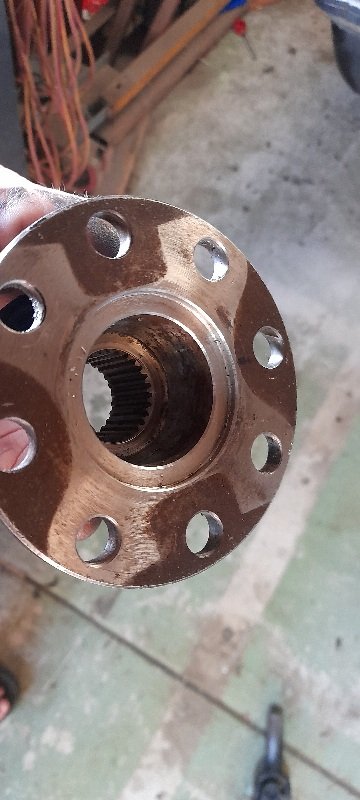
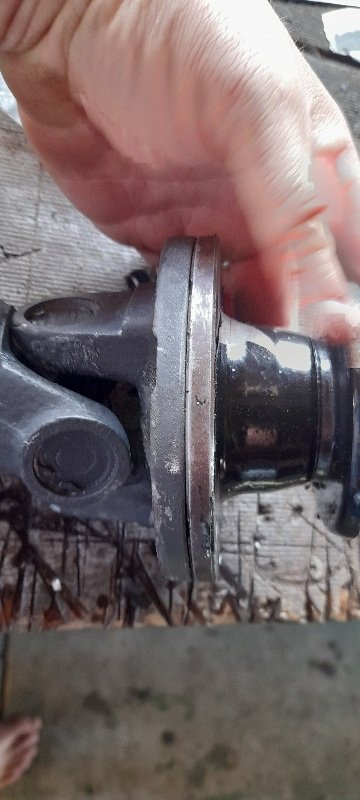
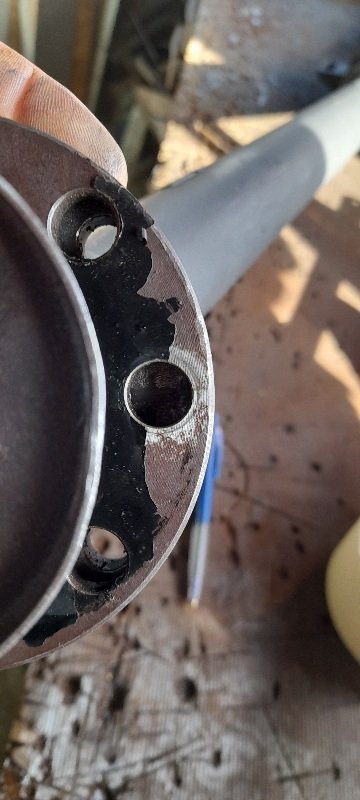
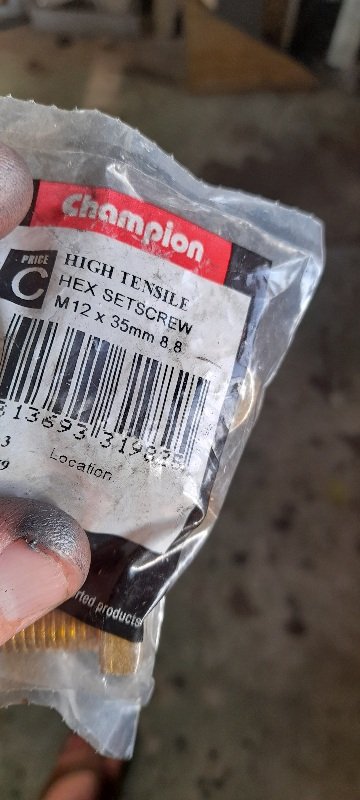
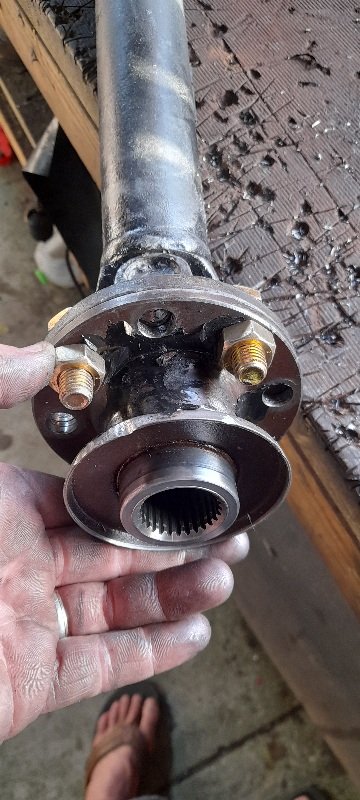
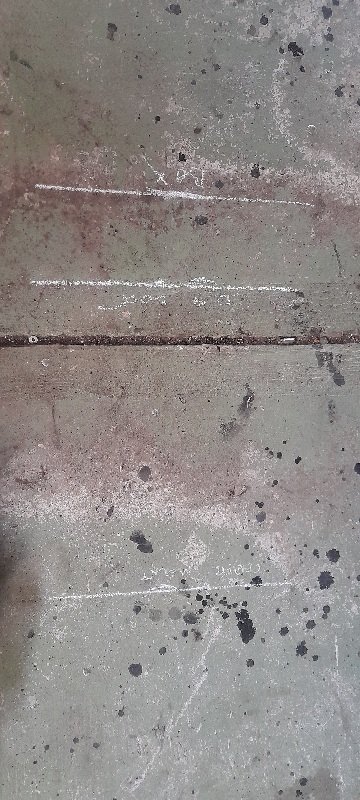
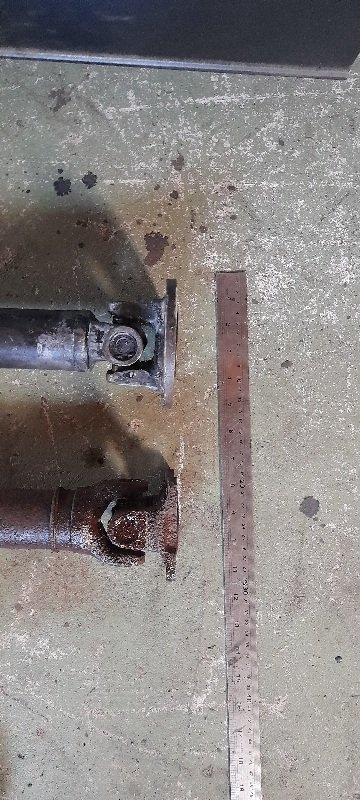
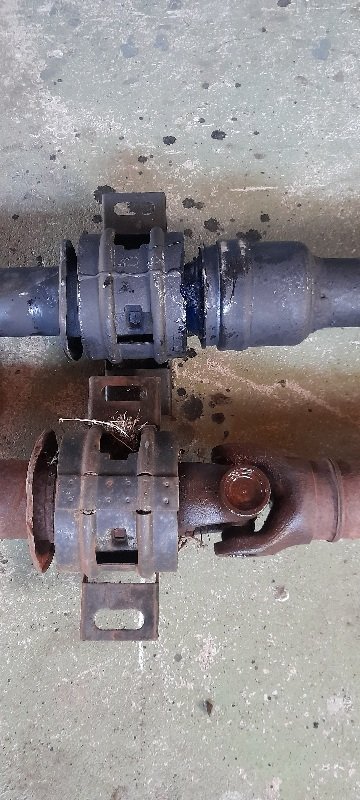
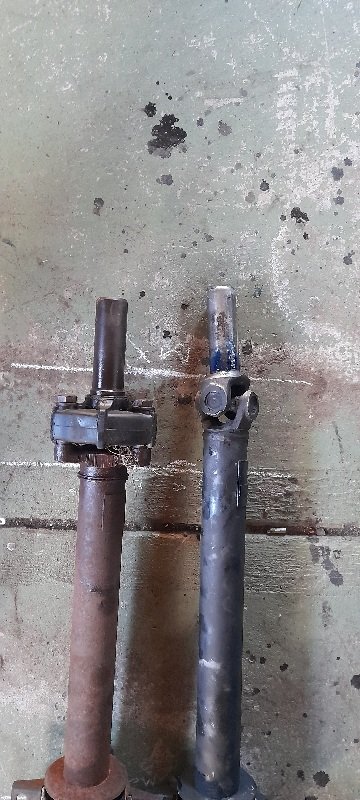
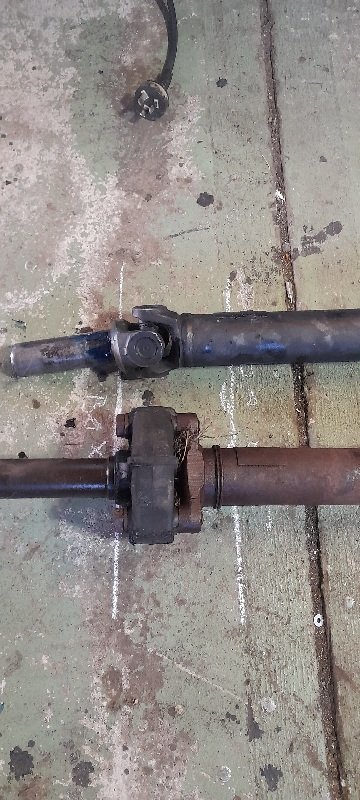
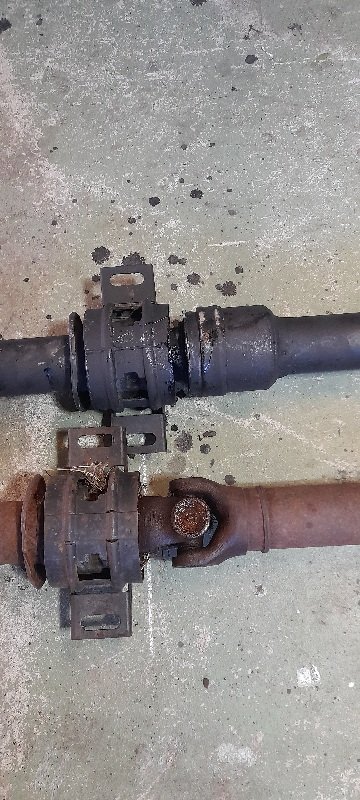
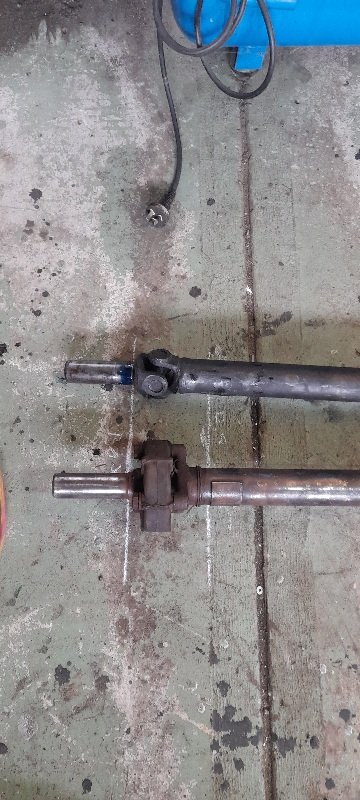
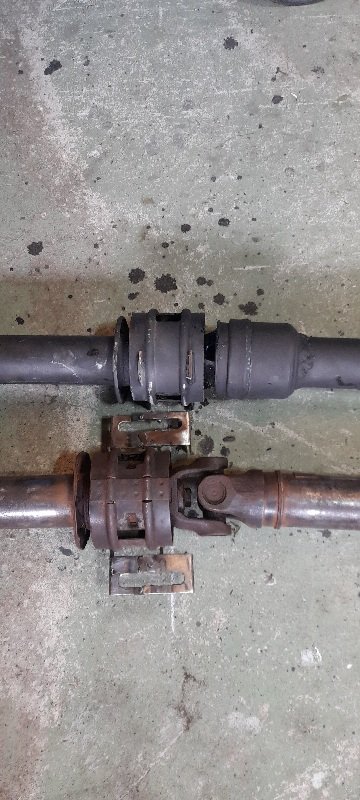
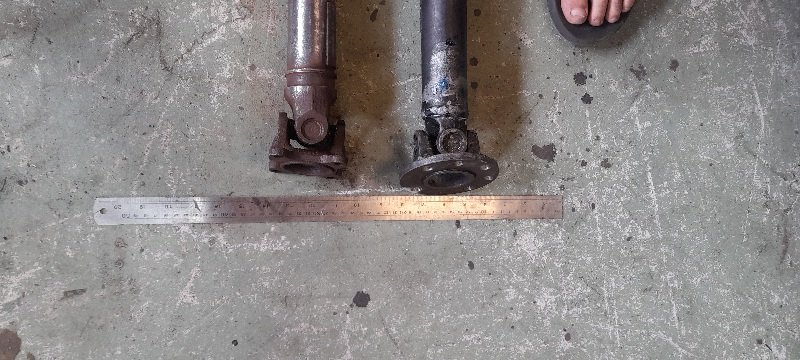
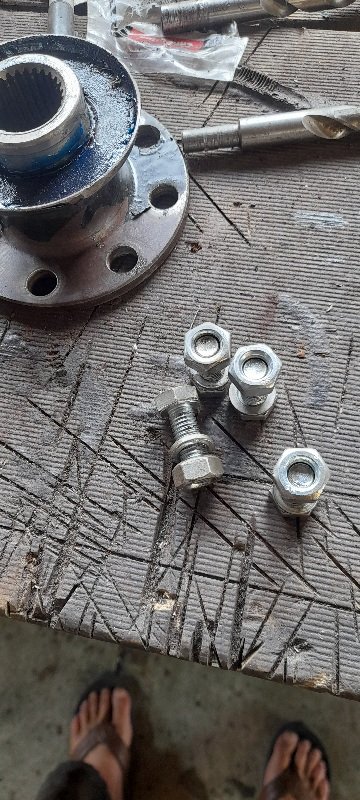
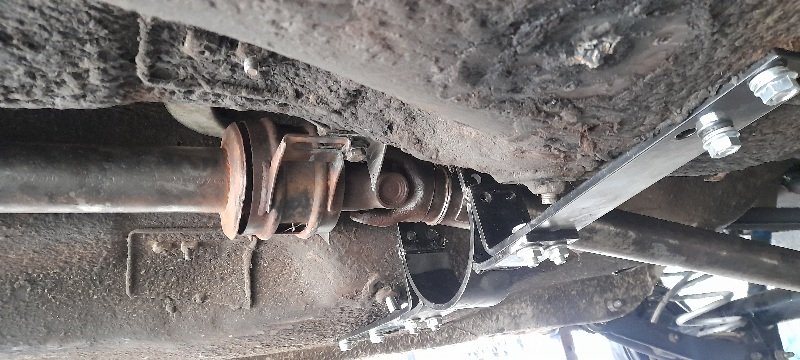
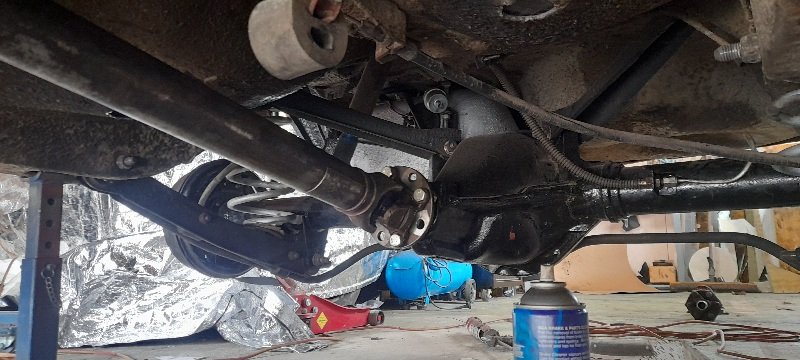
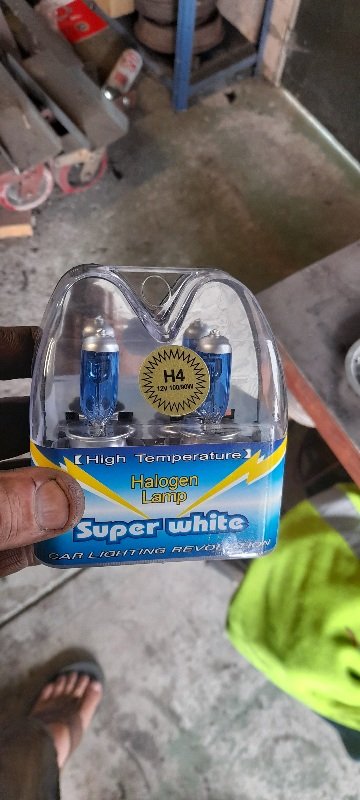
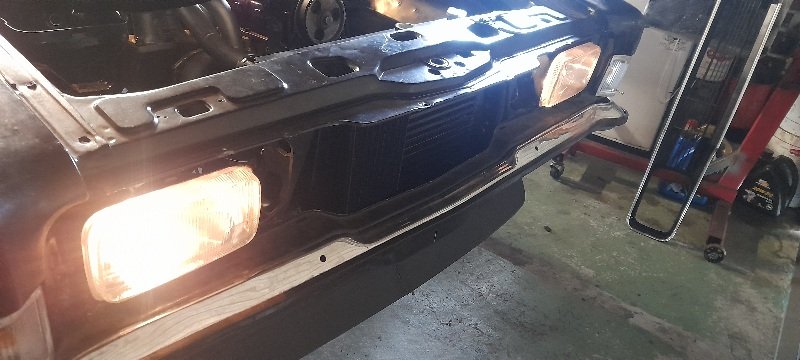
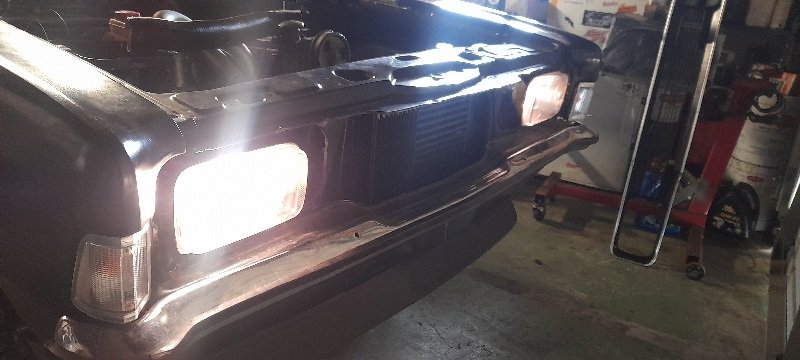
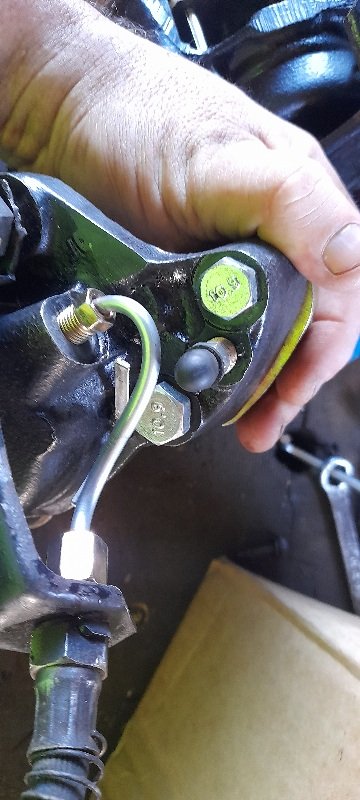
so one of the things on the big list to do is driveshaft. ..and I've been working on that over the week trying to get it sorted. I mocked the driveshaft loops up using the old one from the rusty old parts wagon... its a strange one with no big rubber donut and after the center bearing its a slip joint it has a stick out locator thing but so does the aussie diff flange so I've git a mate with a small metal lathe.. so I got him to remove the locator bit and recess it 57mm and 4mm deep. it's a perfect fit and both outside diameters are sport on . the holes didn't line up but did sort of close and the flange is 12mm and driveshaft 10 so I drilled the holes out to 12mm and git some m12 8.8 nuts and bolts. perfect all done and finished Friday night to go in Saturday morning......... Well I didn't take 1 thing into consideration............. the driveshaft was to long... aussie diff must have a bigger head.... so fuck me ..back to the drawing board.. I have a few drive shafts but I've also put the driveshaft loops in place and now all the interior......and I don't want to remove it all to move driveshaft loops.. so I did some measuring and drew 3 lines on the floor... ( because I'm old and crawling under cars sucks.). *end of gearbox *front edge of driveshaft loop *center bearing bolt holes. ( nit worried about the rest as its straight forward.....back there). one of the drive shafts was a definite no go but the other one...seemed ok-ish. so put the one I was going to use on the marks and then lined the other one up .. diff end center bearing the same and then gearbox end now the DS I was going use was all the way in the gearbox and I noticed if I did the same with the other DS it would pull the whole DS forward... the rubber donut would clear the DS loop the center bearing would move up (not a biggie but it would give me about 25m. at the end and that would be heaps so I welded some tabs to the center bearing so ut can still be bolted up. and everything thing looks like it would clear and work. the end of the DS couldn't be drilled out to 12mm as not enough meat .but the holes were close and with some 10mm 8.8 nuts and bolts it would work and nothing would move. it was a bit of a bitch to get it in there but it fucking worked. yoke in and rubber donut cleared loop center bearing bolted up and everything clears DS to diff I also put a new rear gearbox seal in and hopefully sorted the diff leak..... its had 2 new pinion seals in now and still leaks .... interwebs tells me they can leak from the splines on the shaft and out by the nut ..so used some sealant around the end and made a small gasket and the put the nut on.... so time will tell. also had a play with the front lights .mightyjoe gave me some new parklight sockets and bulbs and the rectangle lights arnt sealed beams so I git some h4 100w super white bulbs to try new park lights new head lights not bad considering it's day light...
-
oh yeah.... I've been in Shane costers blue mk2 with the standard zetec..... thats a fucking fun car man..
-
yeah thats normative way.. you won't be disappointed with it.. I've git my little focus running real well and I would say it's still not the claimed 170hp... but yours will definitely be more than that.
-
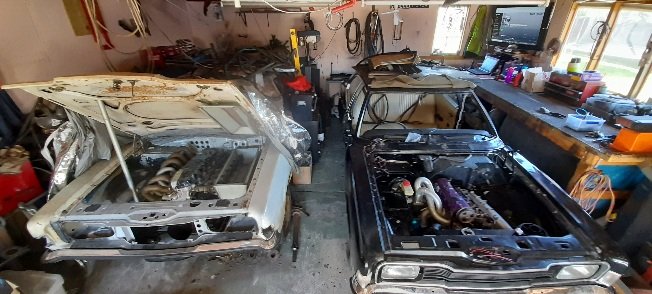
it's looking awesome mate.. hay in one of the pics it looks like you have a motor on the stand and one in the hole.. have you got a mock up motor?
-
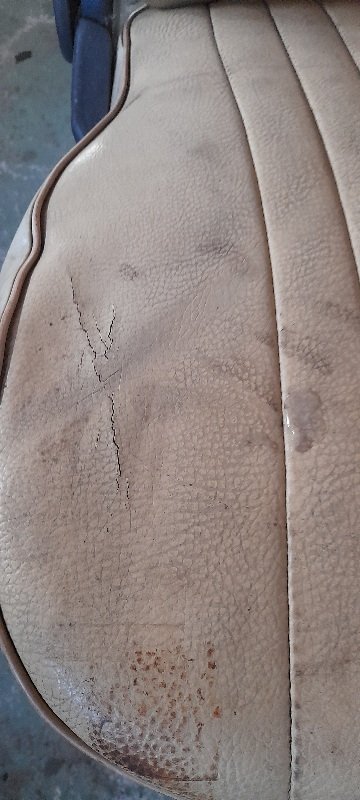
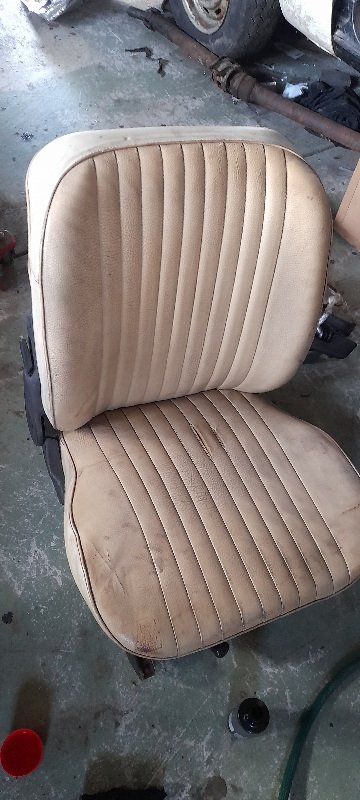
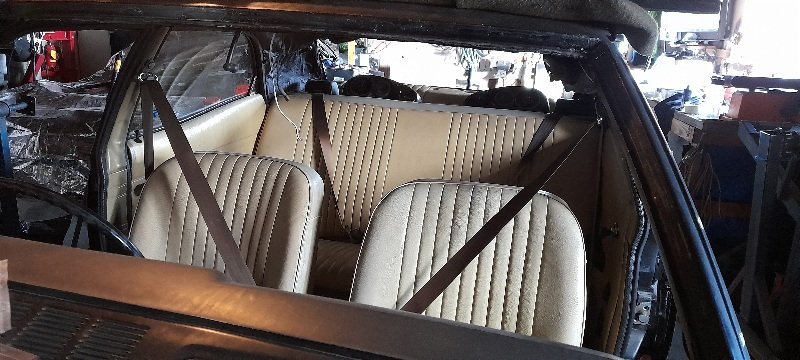
another ticked of the list. front seats.... had to give them a big clean and will need to fix a couple of rips ... but they are pretty sweet.
-
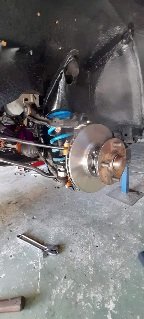
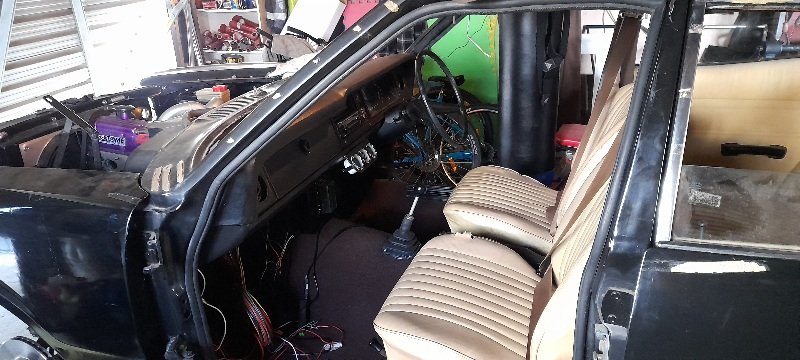
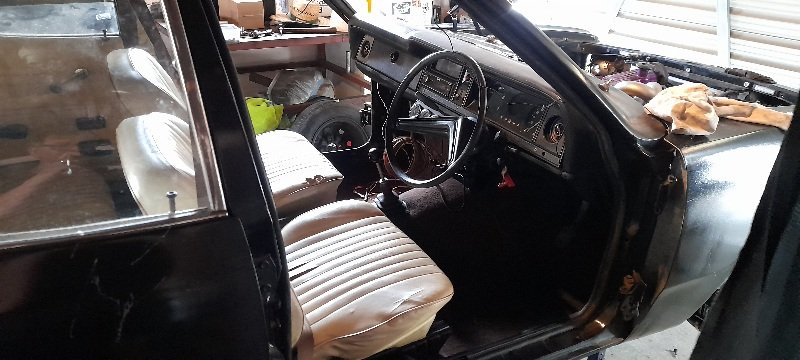
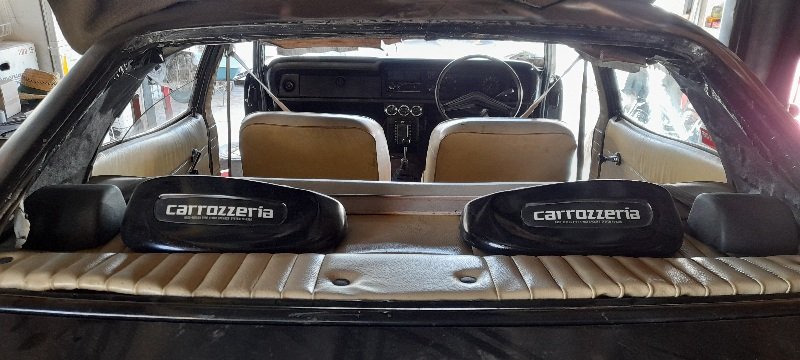
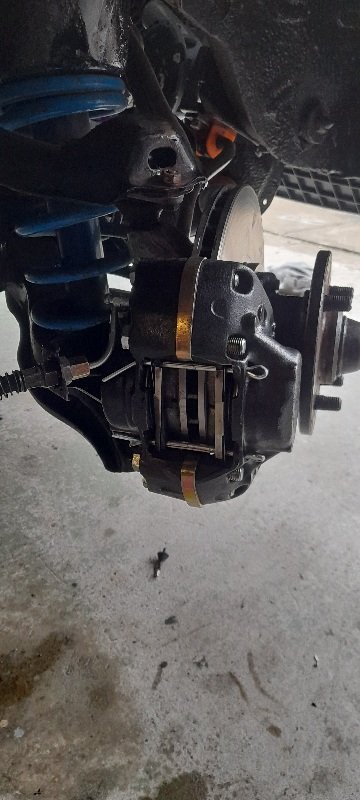
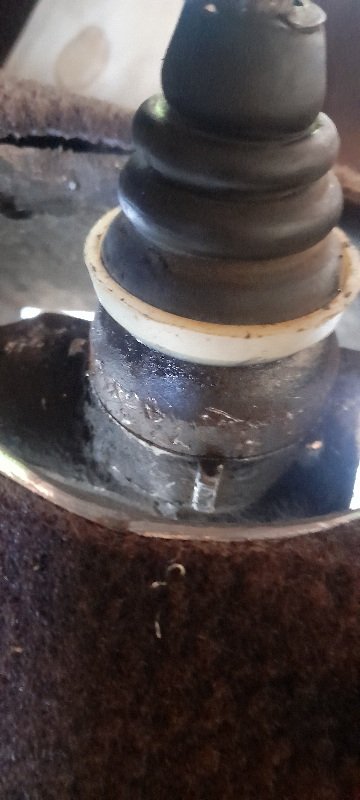
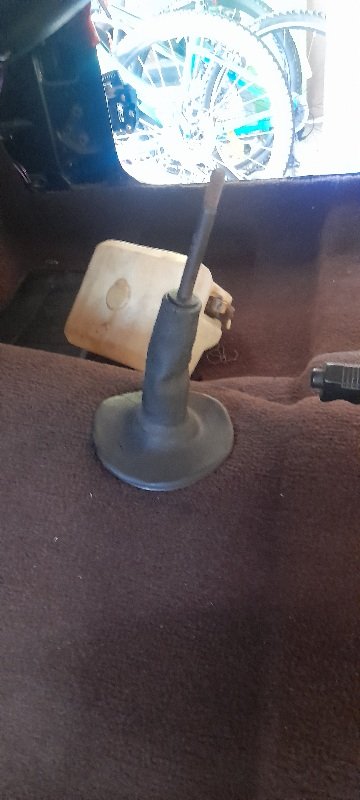
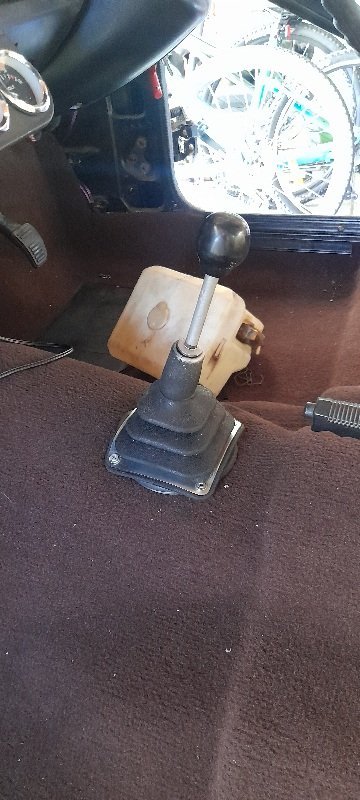
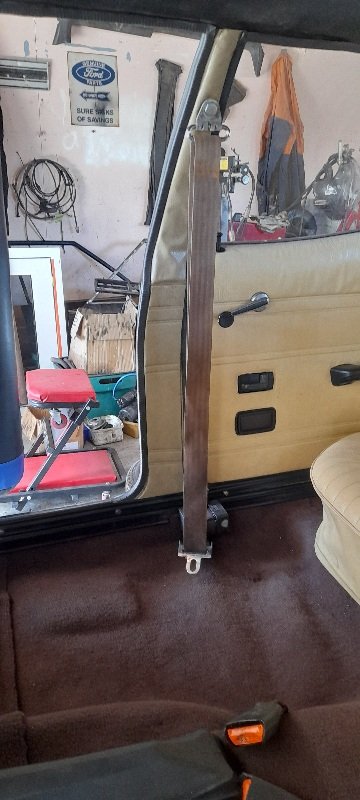
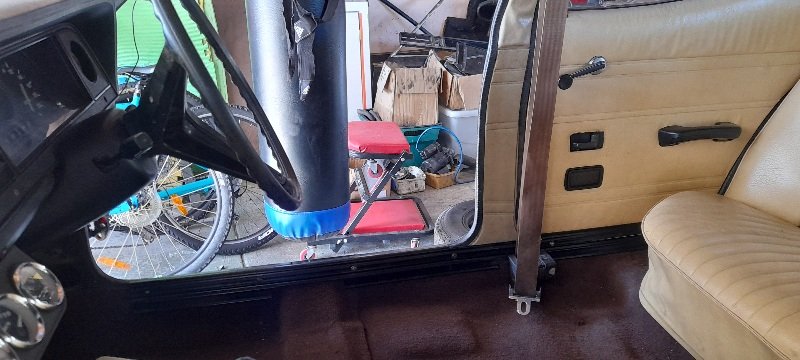
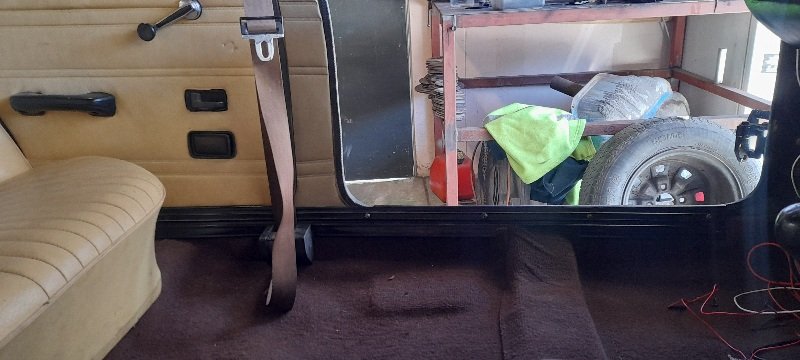
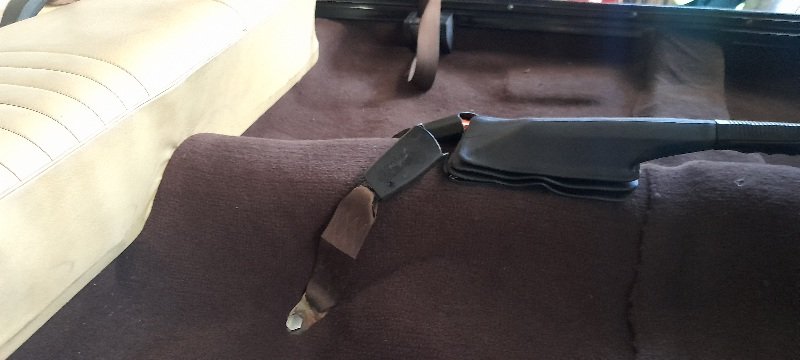
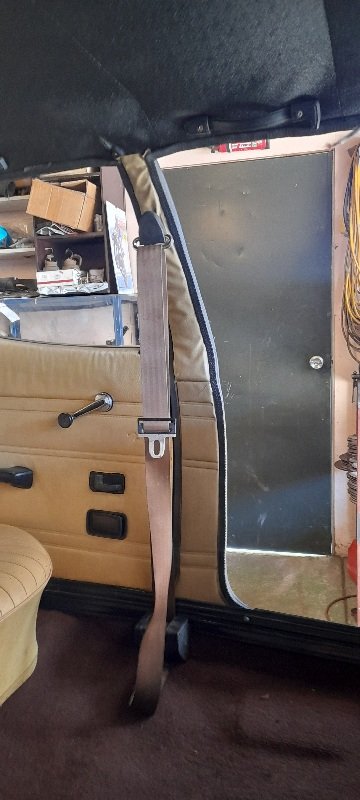
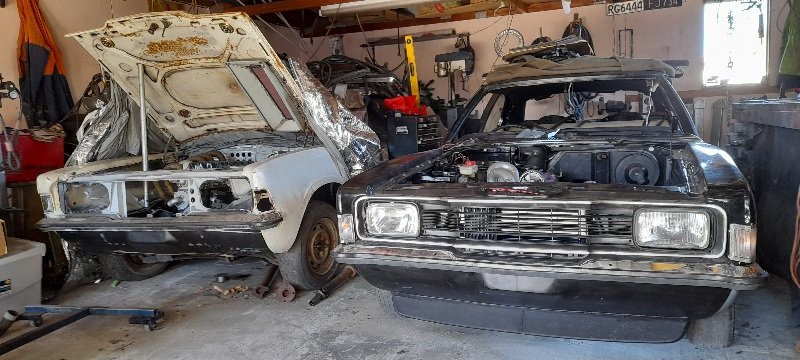
ticked a few things off the list. small hard lines on the caliper made. also managed to get all the hard lines down.. the mk3 has this weirsetup as well ..hoses from calipers to brackets bolted to the subtame ..a hard line from one to the other side bracket and a hard line to a T... I thought fuck that so just went the mk5 route... mk5 master with 1 rear port and 2 front.. fronts to tabs on either side of the chassis rail.... hose to calipers. the master tool a lot to bleed up but I got there and they are all bleed....no leaks.... so thats a win ... between the brakes and car main loom that's the 2 biggest steps I believe and I'm glad they are done. moved on to check some more buts off the list .. * rear doors removed , 1 hinge swapped out .. all the proper nuts and bolts and shims and washer plates done ....all door rubbers in.... all latches bolted on ...rear doors all gapped. that made it possible to fit the B pillar cover ... and the front seatbelts.. , also got the sill plates in... and the front seat buckes ... also the gear stick.....found a steel threaded one on market place ...fitted the 1st rubber boot and then a cover from the likes of a early x something falcon. also had to steel some bits from the white one so got some pics....actually the 1st time I've opened the bonnet in a long time