d.p.n.s
-
Posts
3118 -
Joined
-
Last visited
Everything posted by d.p.n.s
-
hi all. and recommendations on places to use in chch to skim the head. cheers
-
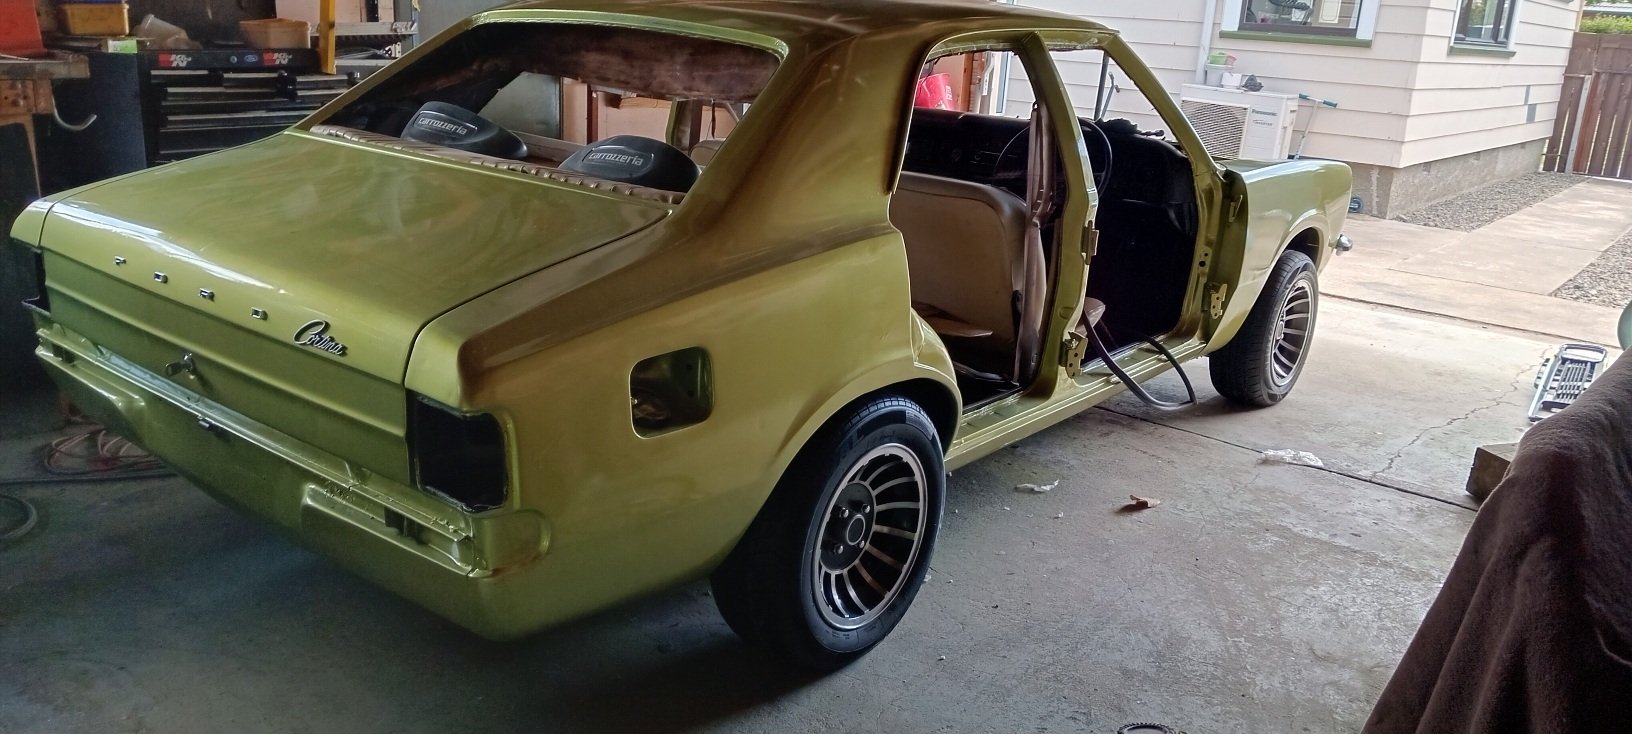
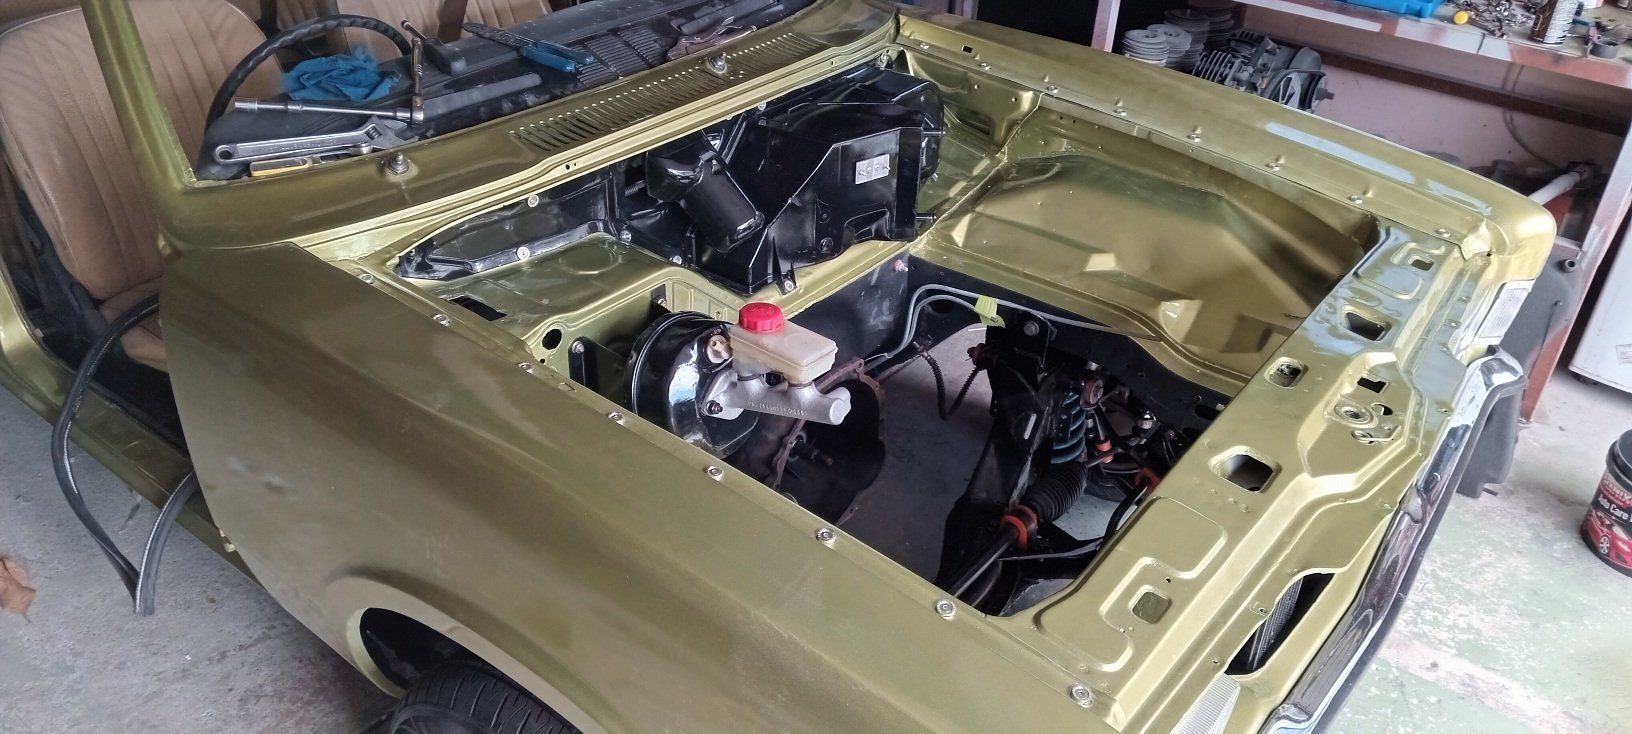
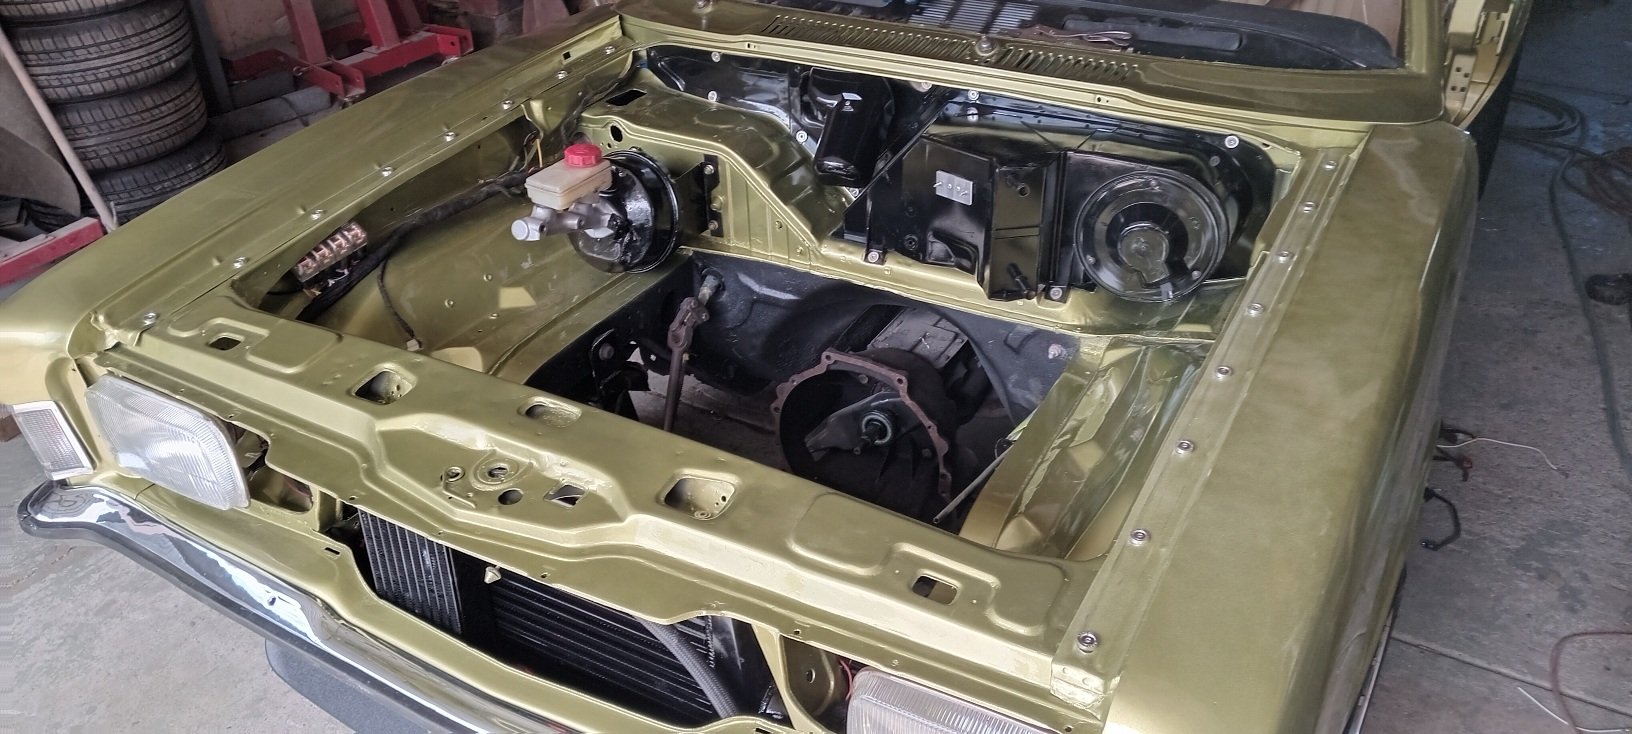
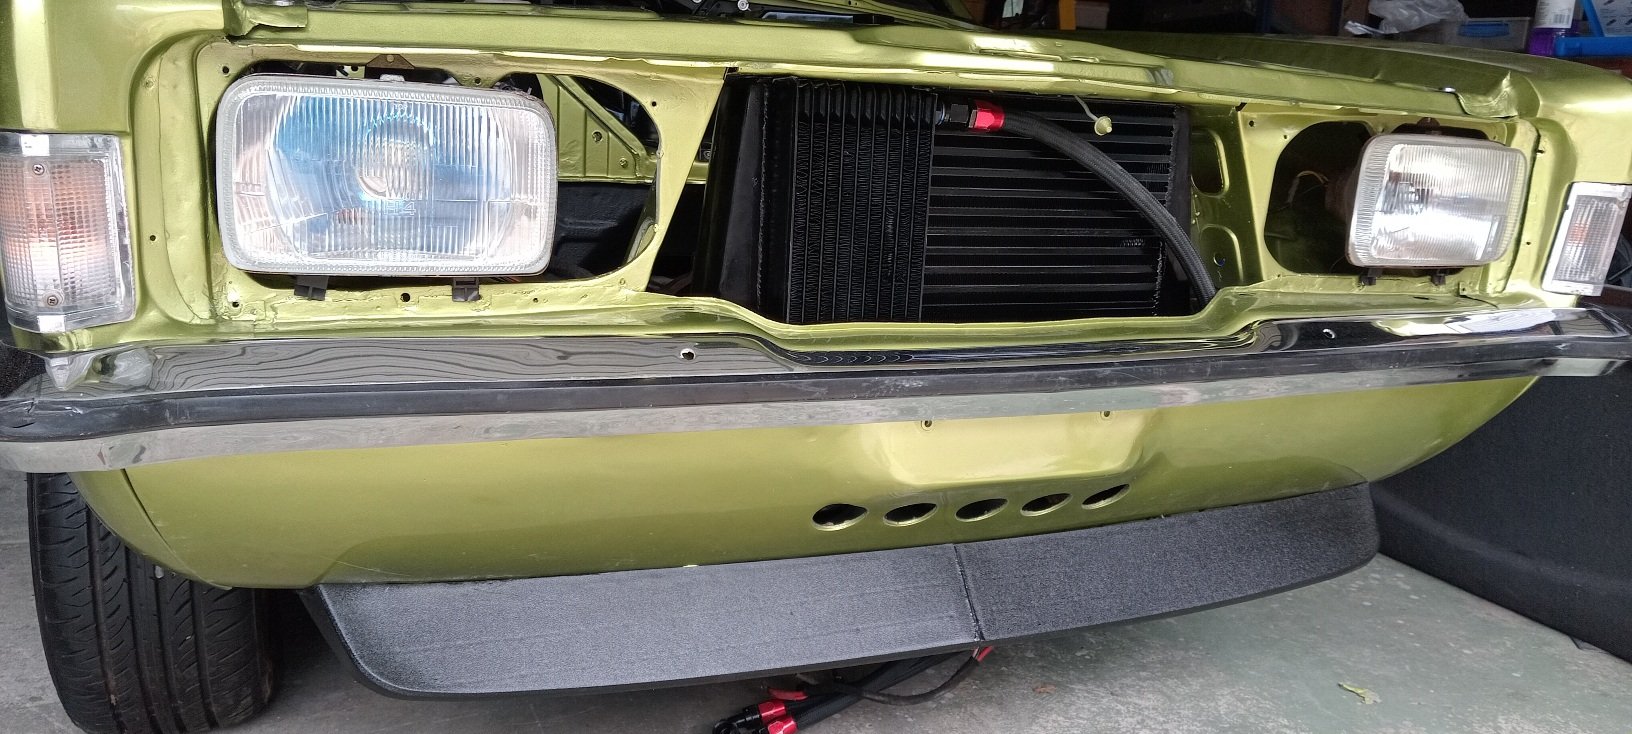
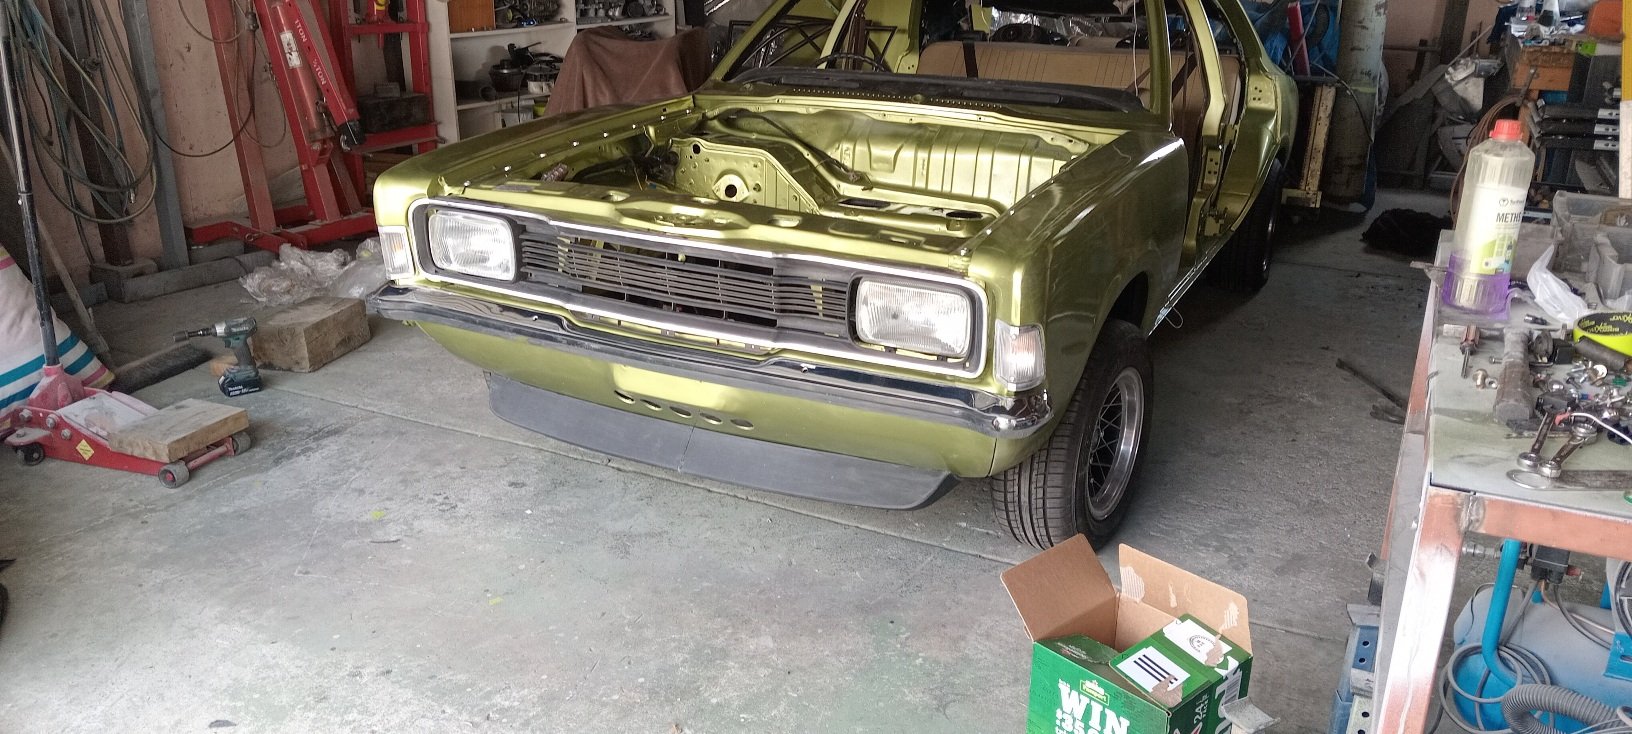
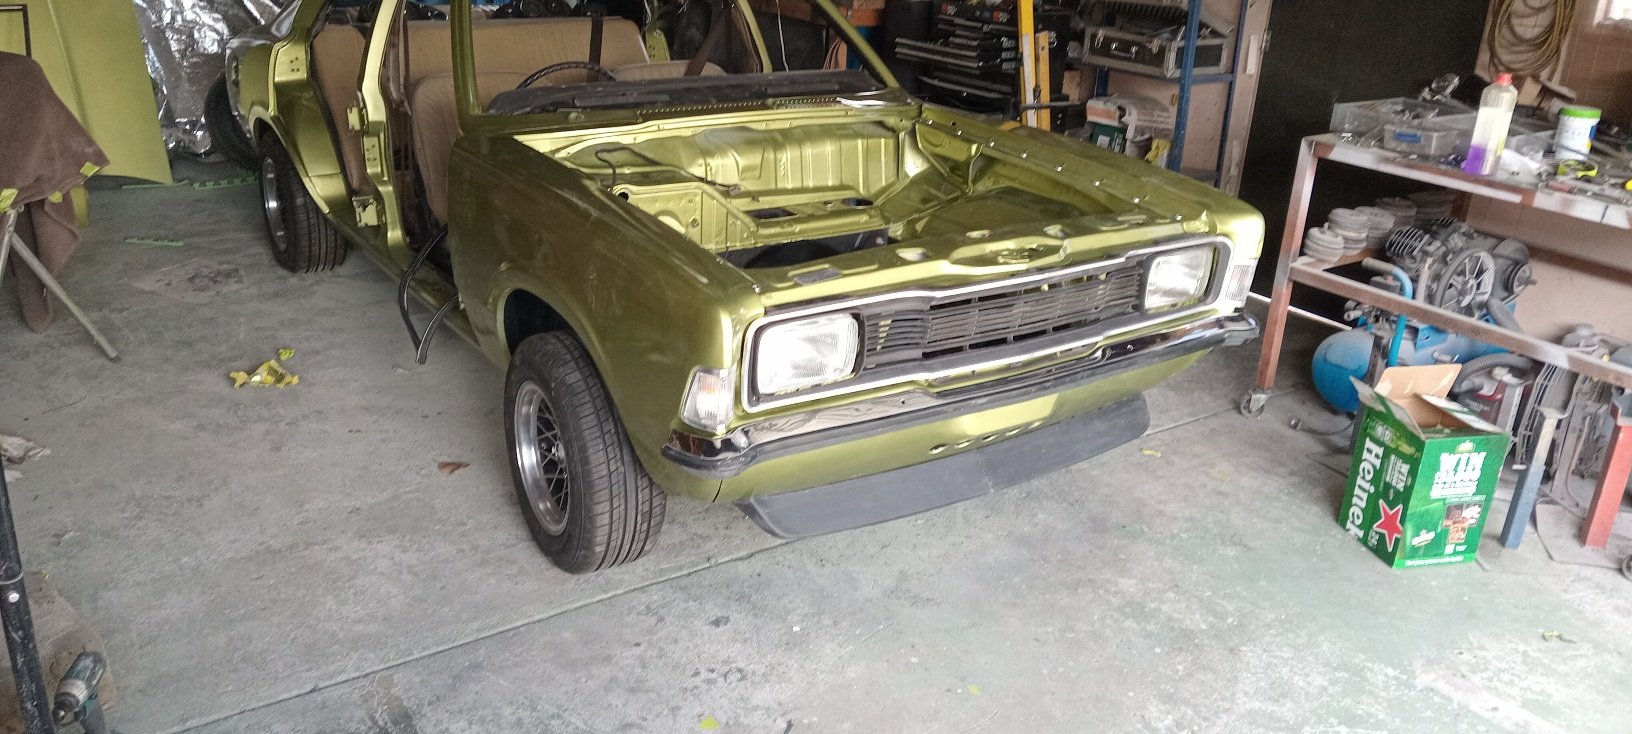
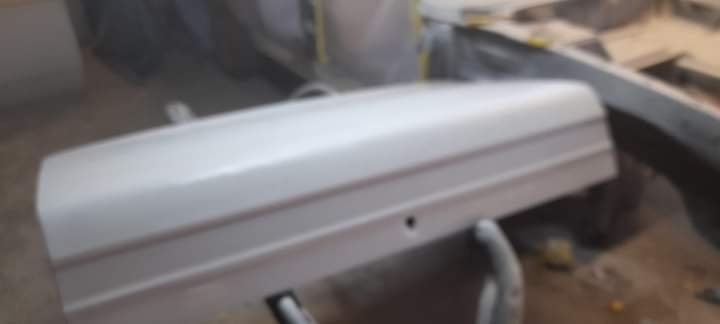
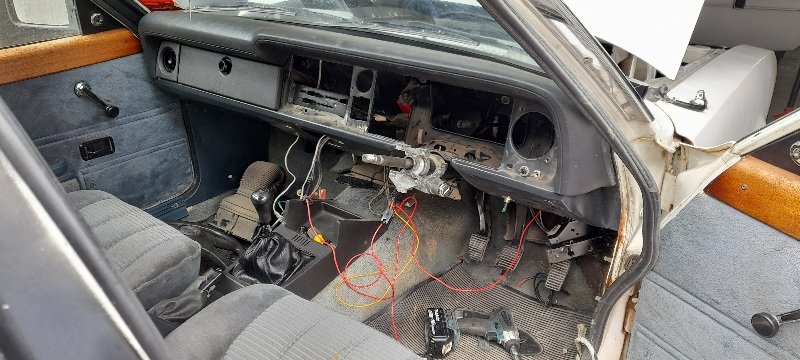
A $600 paint job ,a rattle can of gloss black ,some wanky screws I've had on the shelf for ever and some elbow grease... and the quick clean up job I wanted looks shit loads better than I thought it would. wheels cleaned ,panted and polished. oil cooler in ,intercooler in,heater In, wipers in,engine bay panels in, booster and master cylinder in most of the loom back in.... and boot on

-
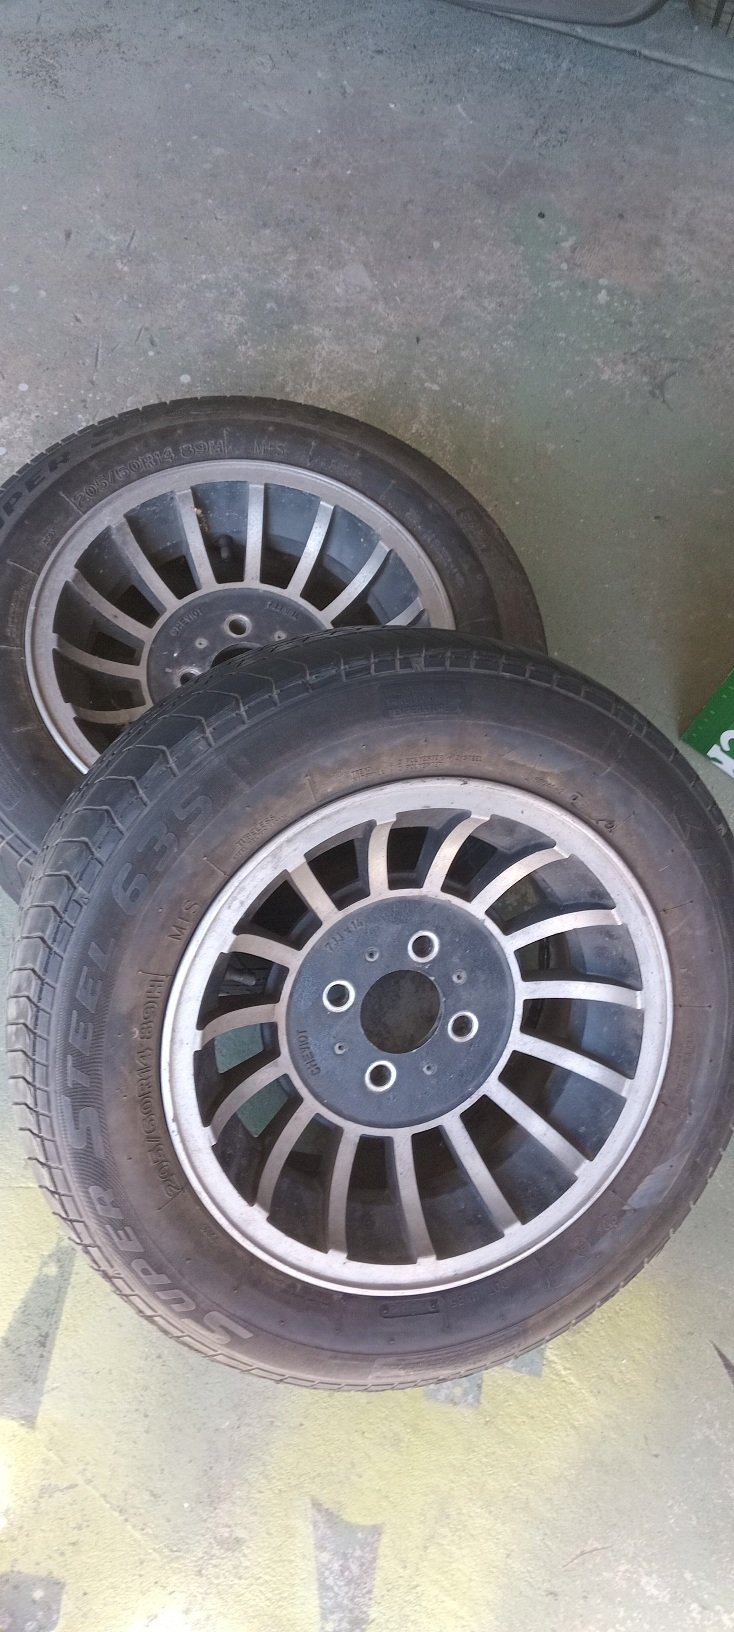
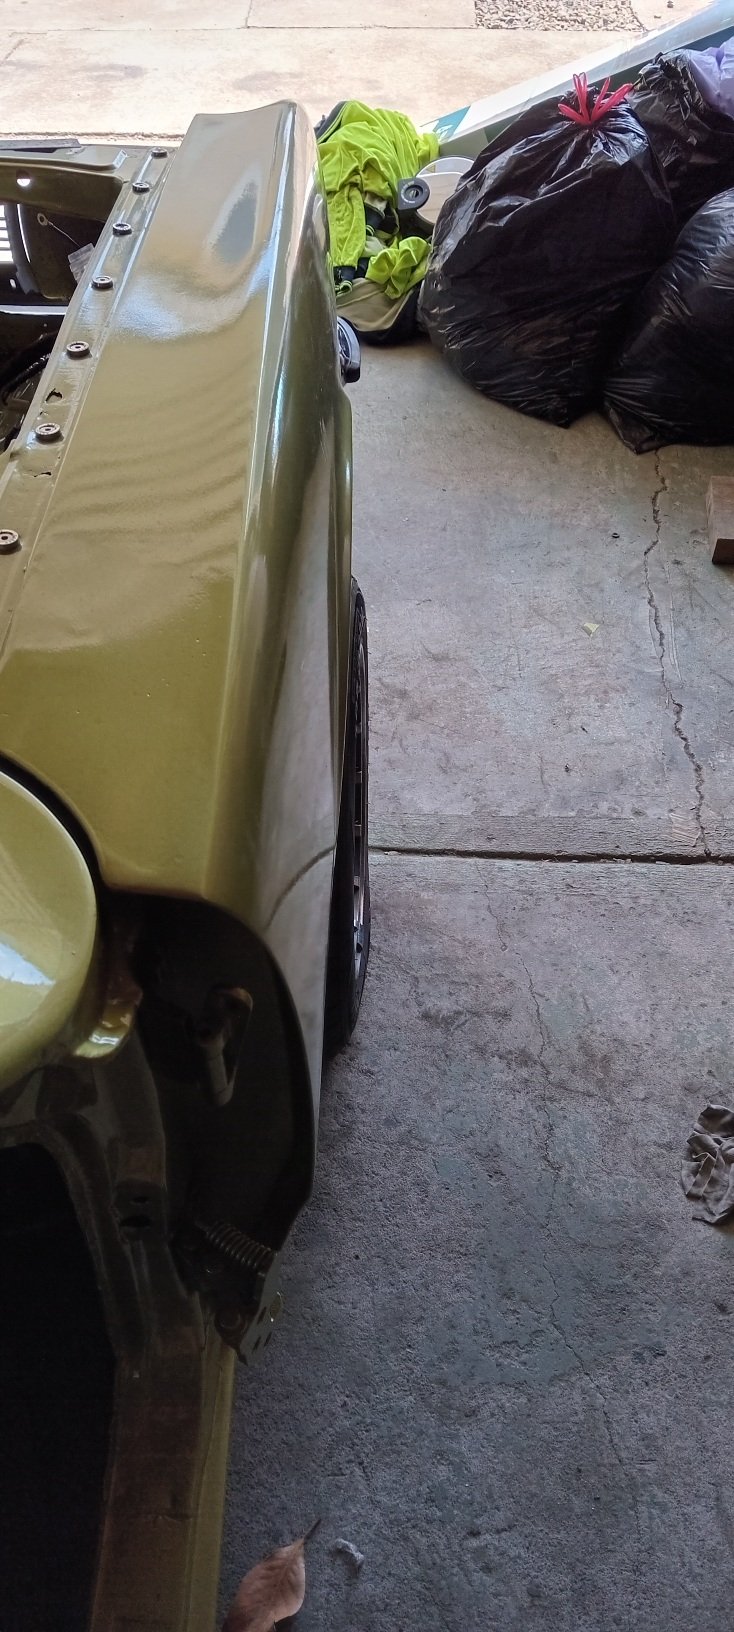
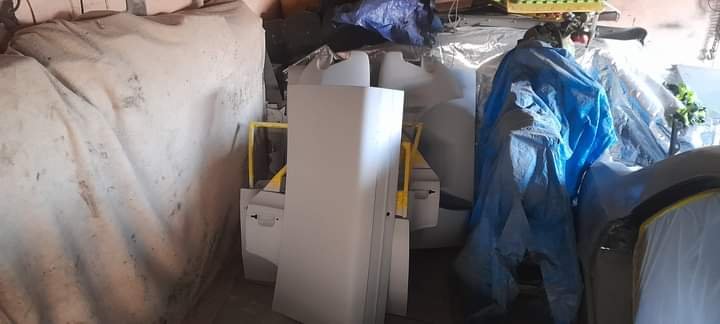
I have been doing a bit of putting back together. I all so bought the old 14x7 turbos back from Karl.. they all ways seem so much bigger than the 13s. but with some 195s they wit very well .the 13s are 205 . but with a clean , paint and polish.... they will look awesome
-

Mr.mk1's Mopar or No Car '70 Dodge Coronet
d.p.n.s replied to RUNAMUCK's topic in Project Discussion
hay man... I am also wanting to do some bits in satin black... what product are you going to use.. also it looks fucking beautiful man -
dug some bits out and put her back to a roller....
-
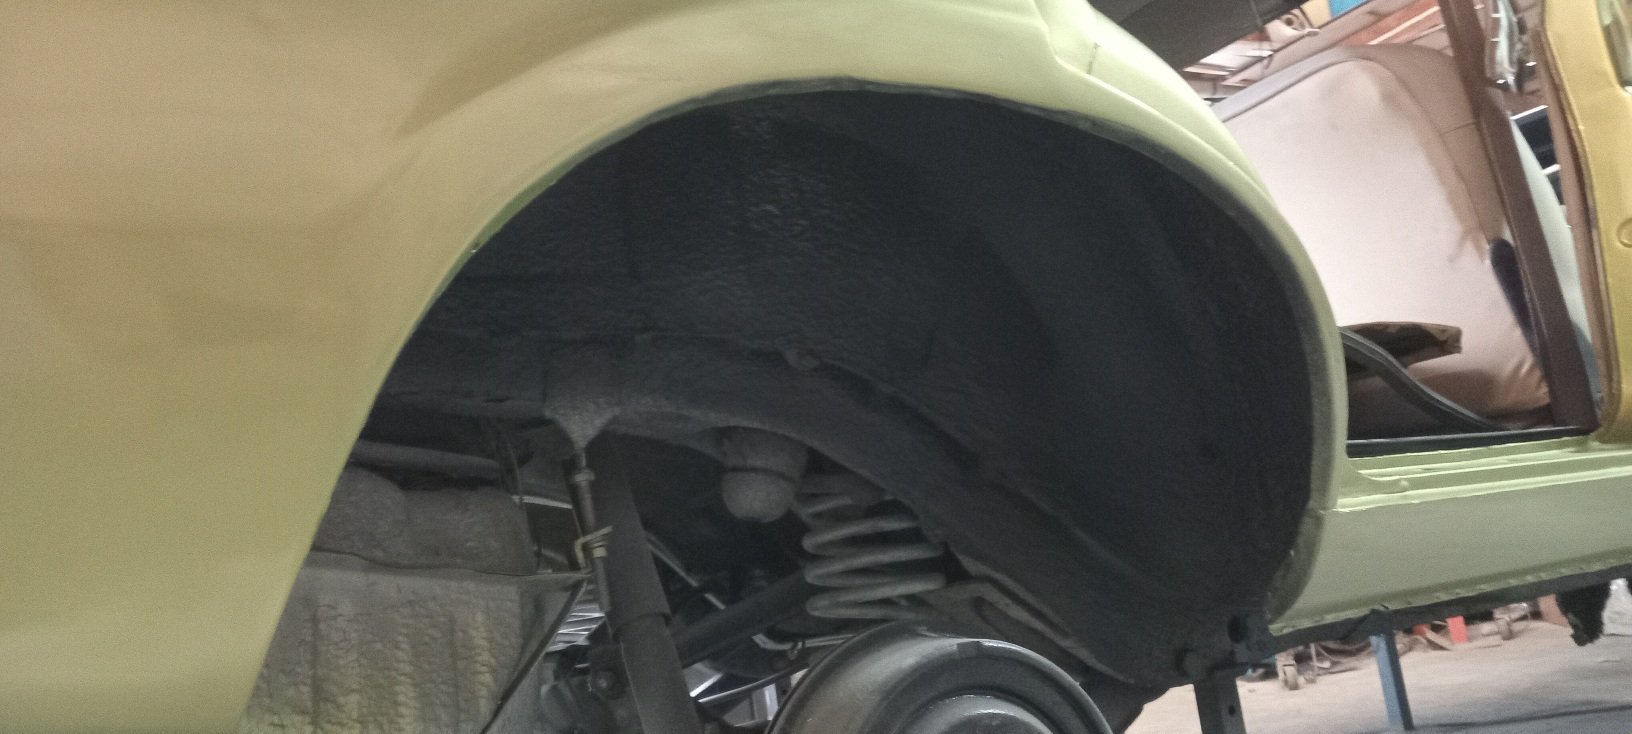
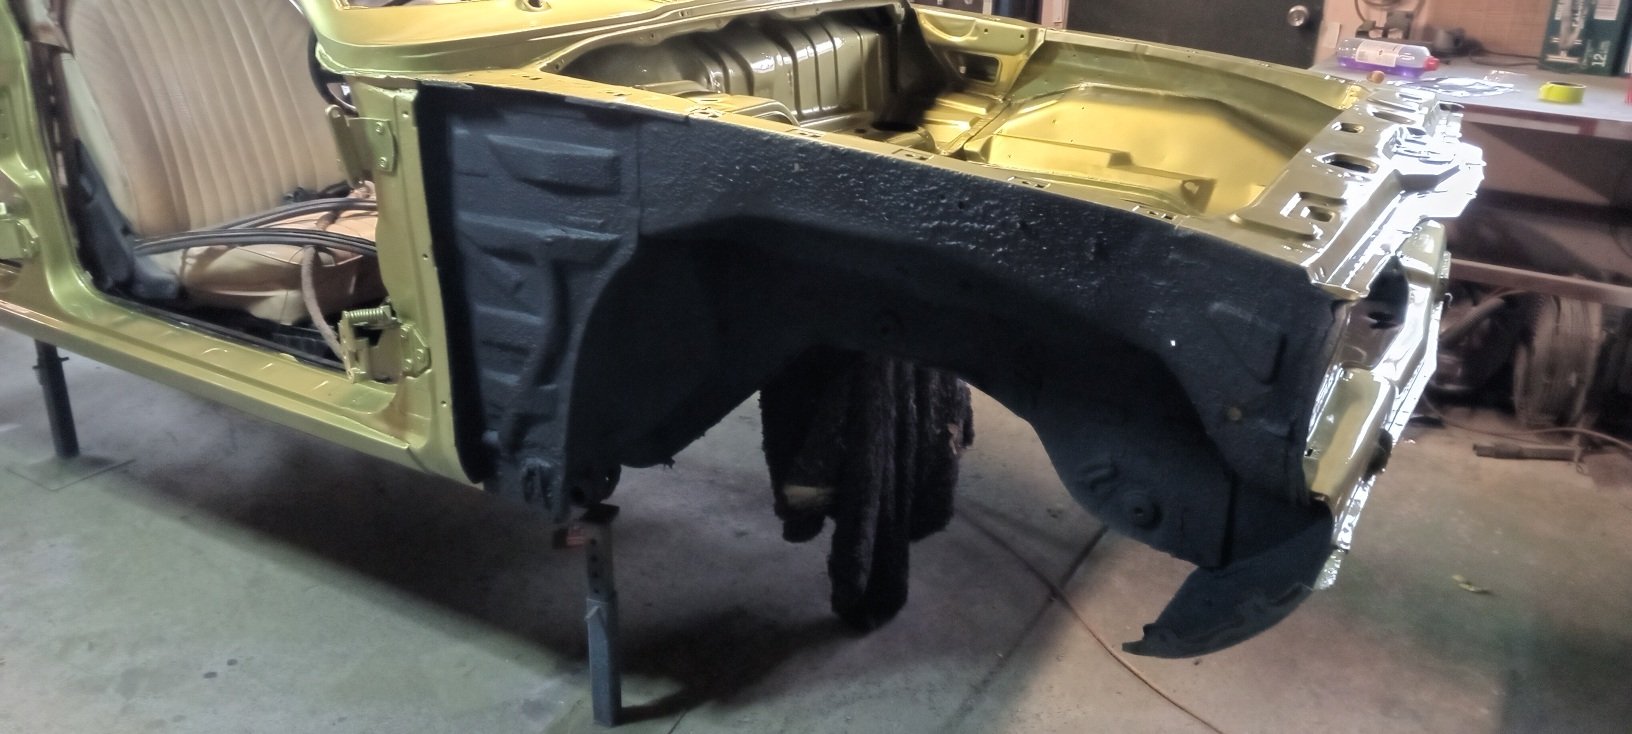
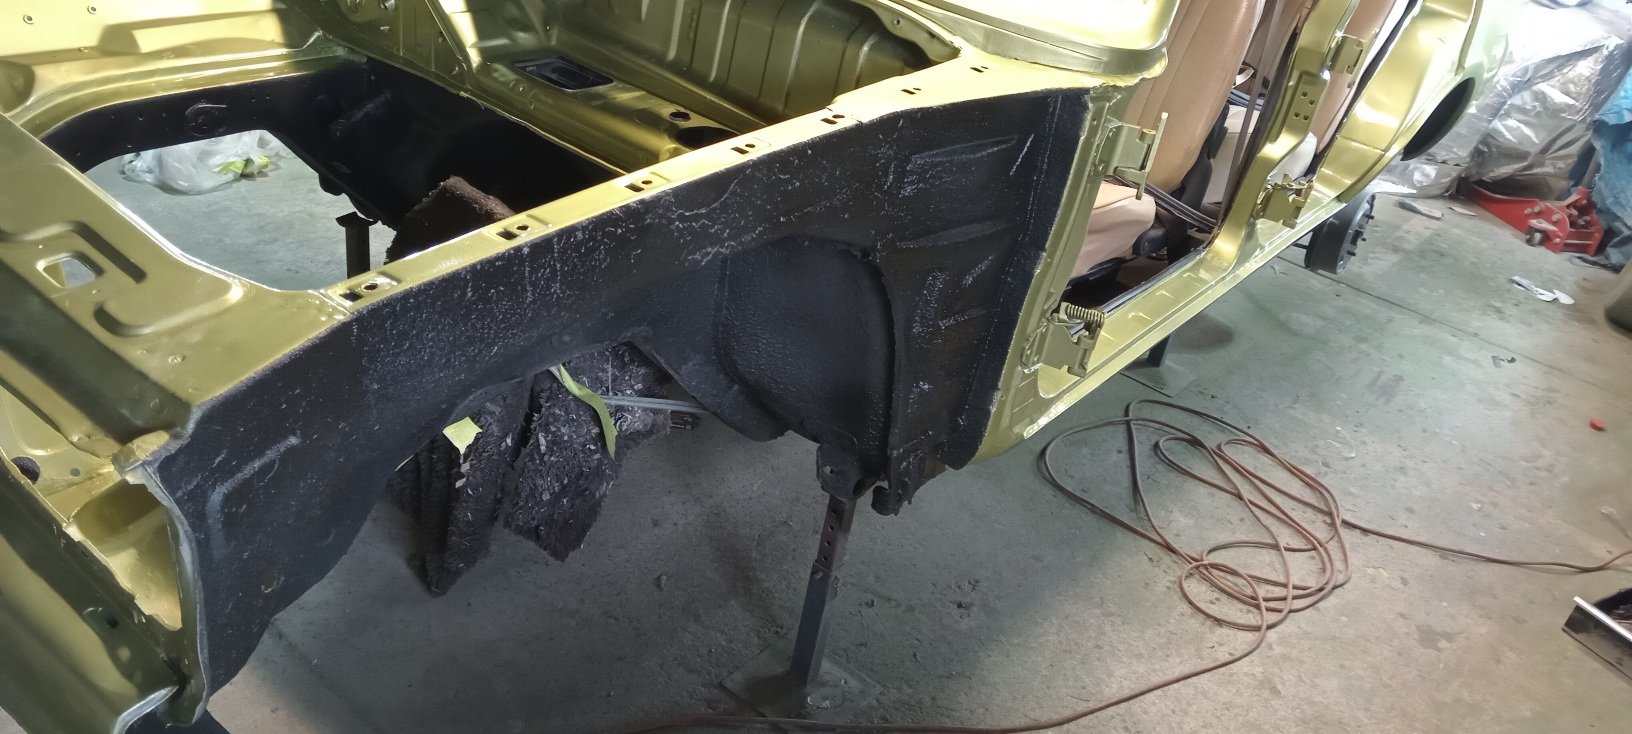
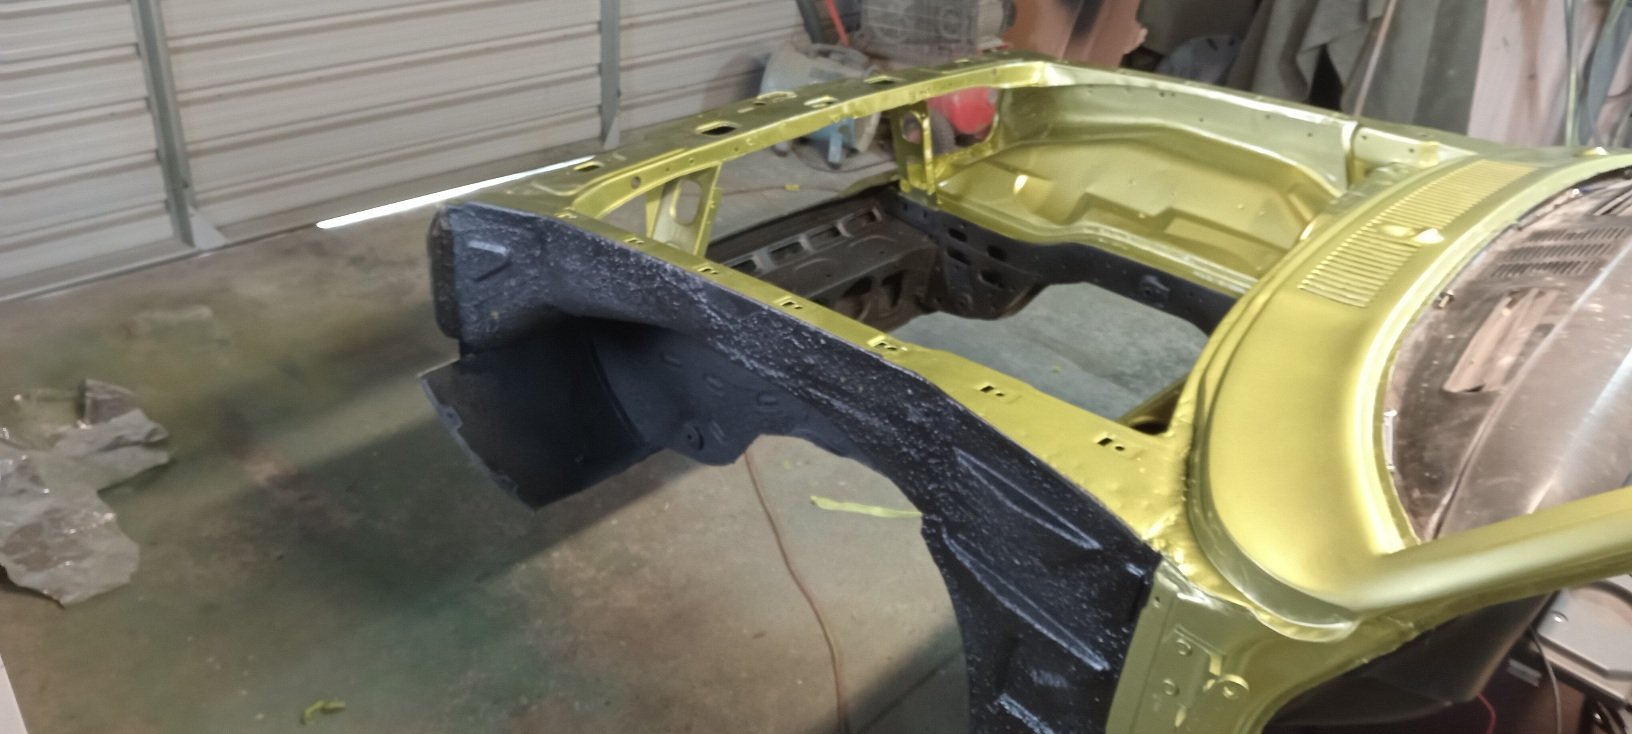
then today I covered up the whole shell and understated the underside ( well most of it)...under the guards and the lower half of the engine bay... looks so clean now.
-
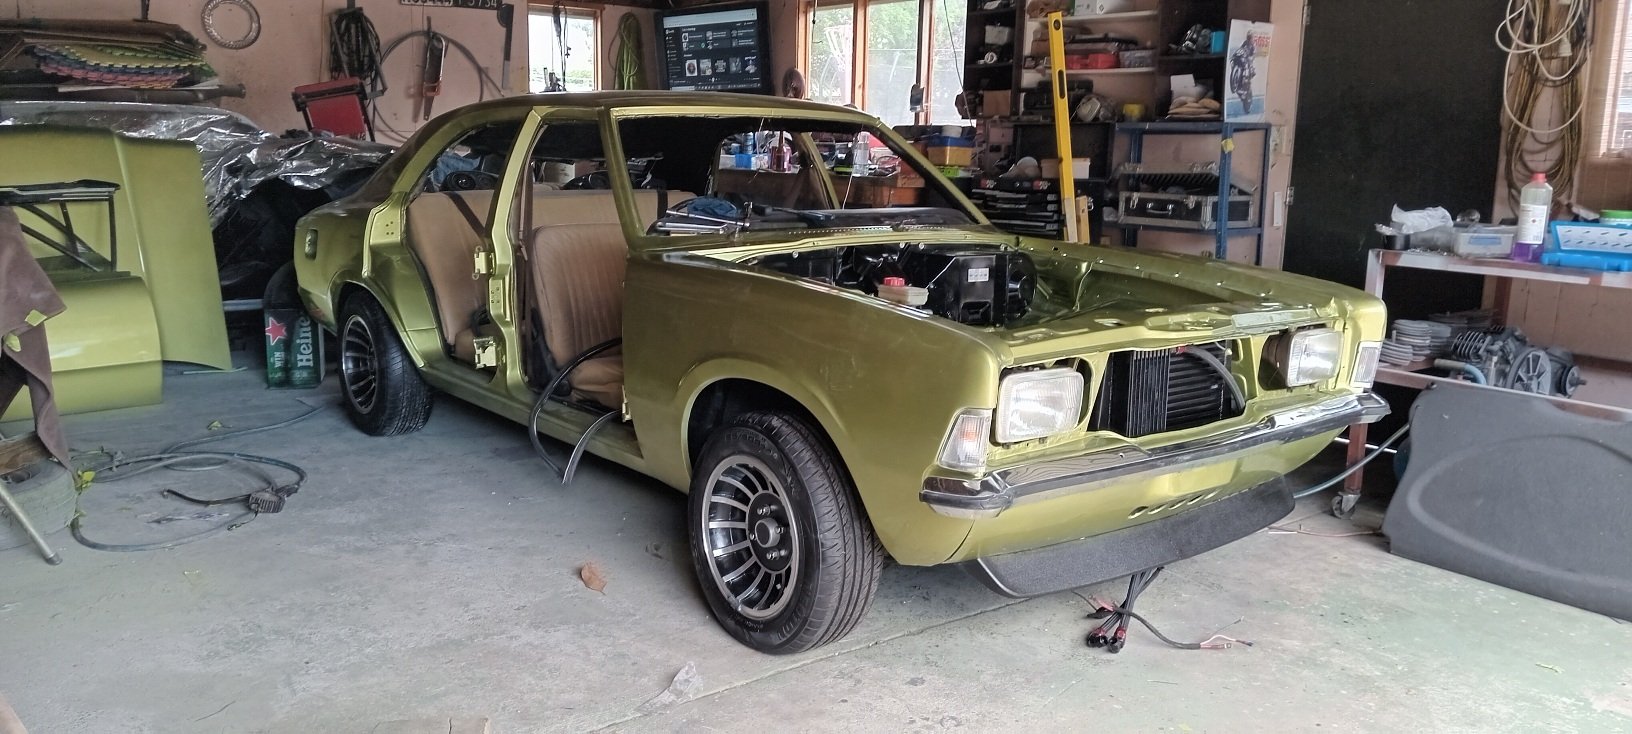
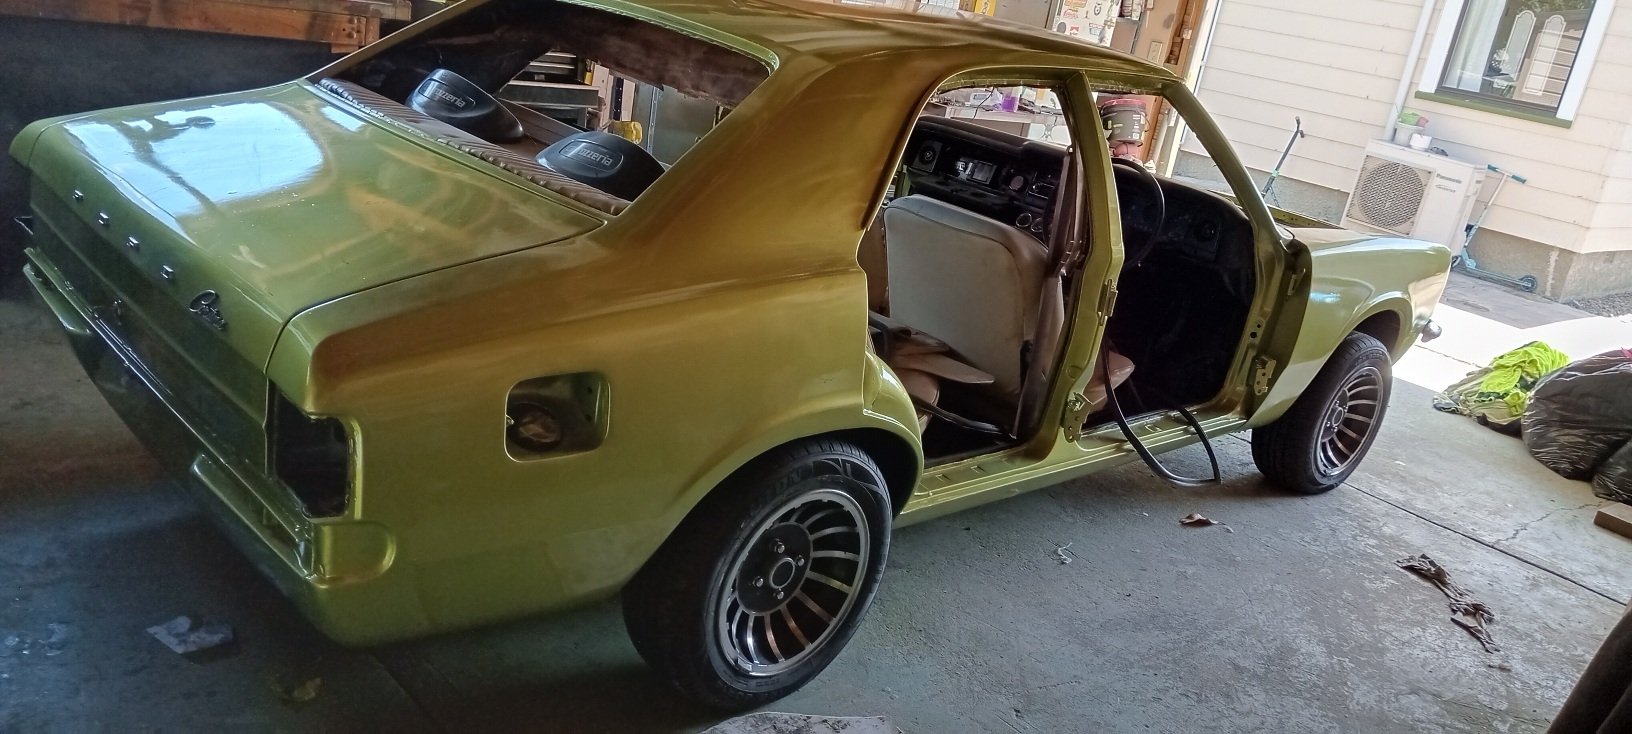
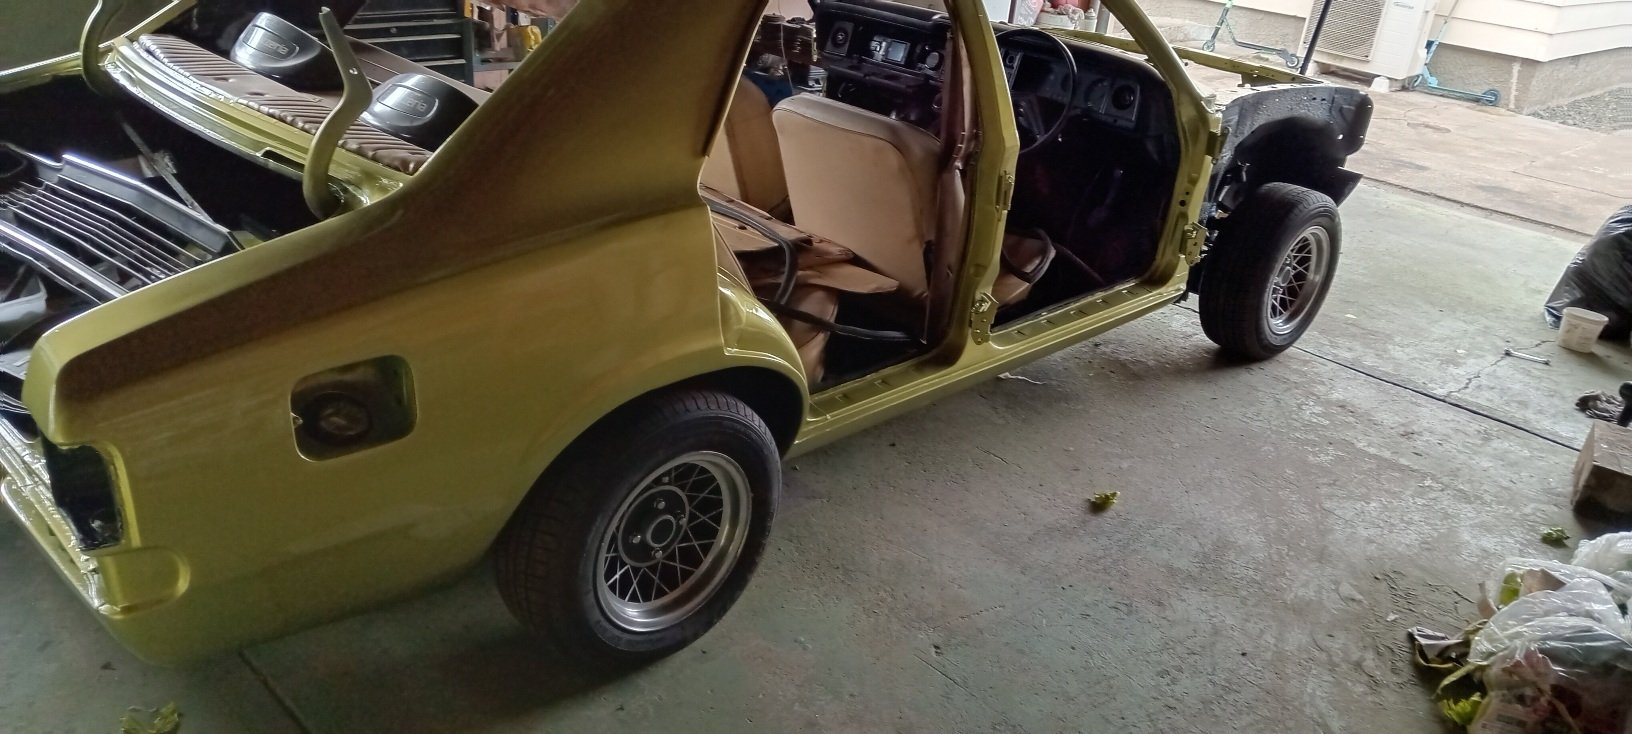
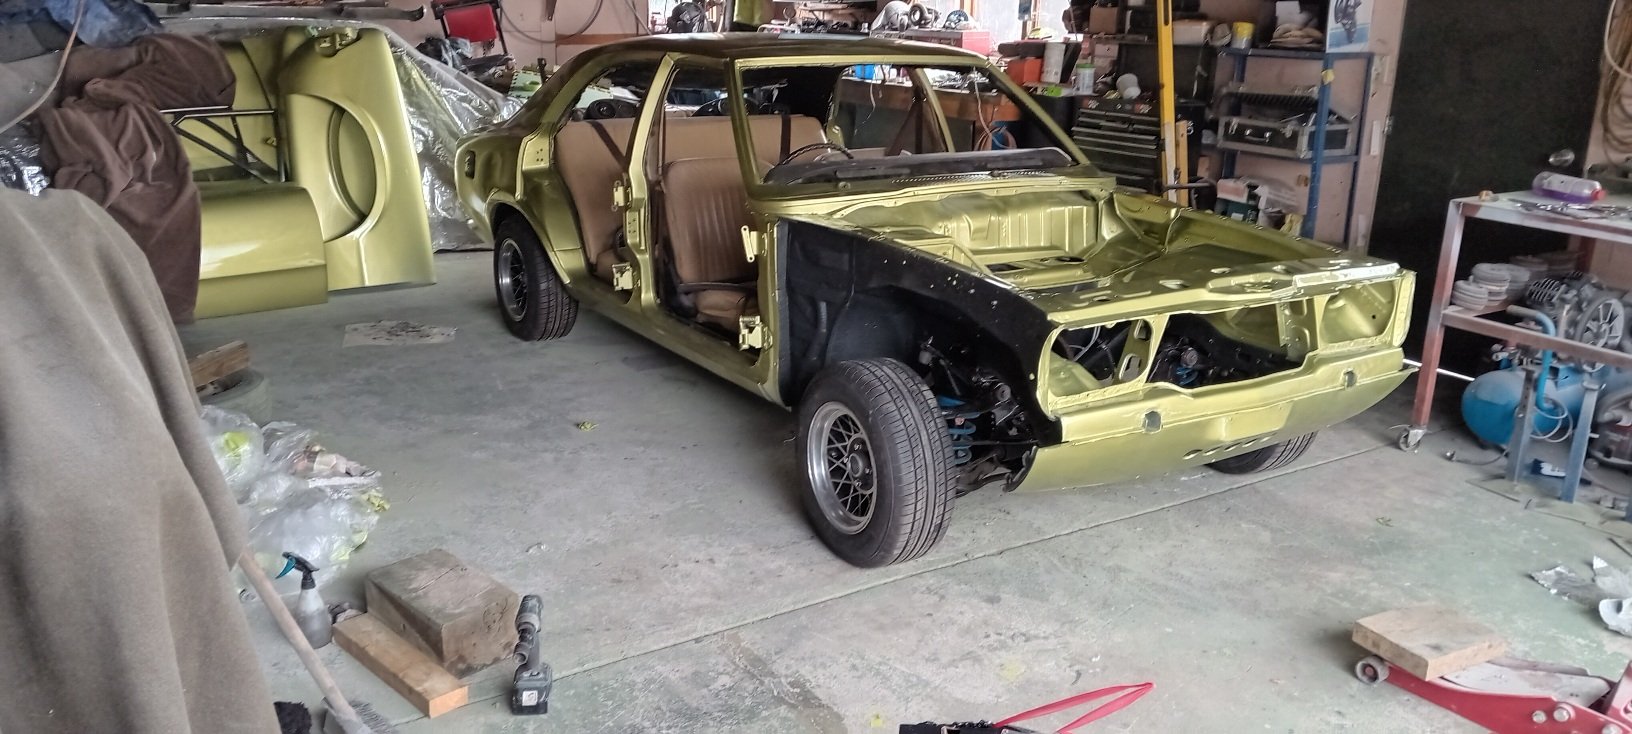
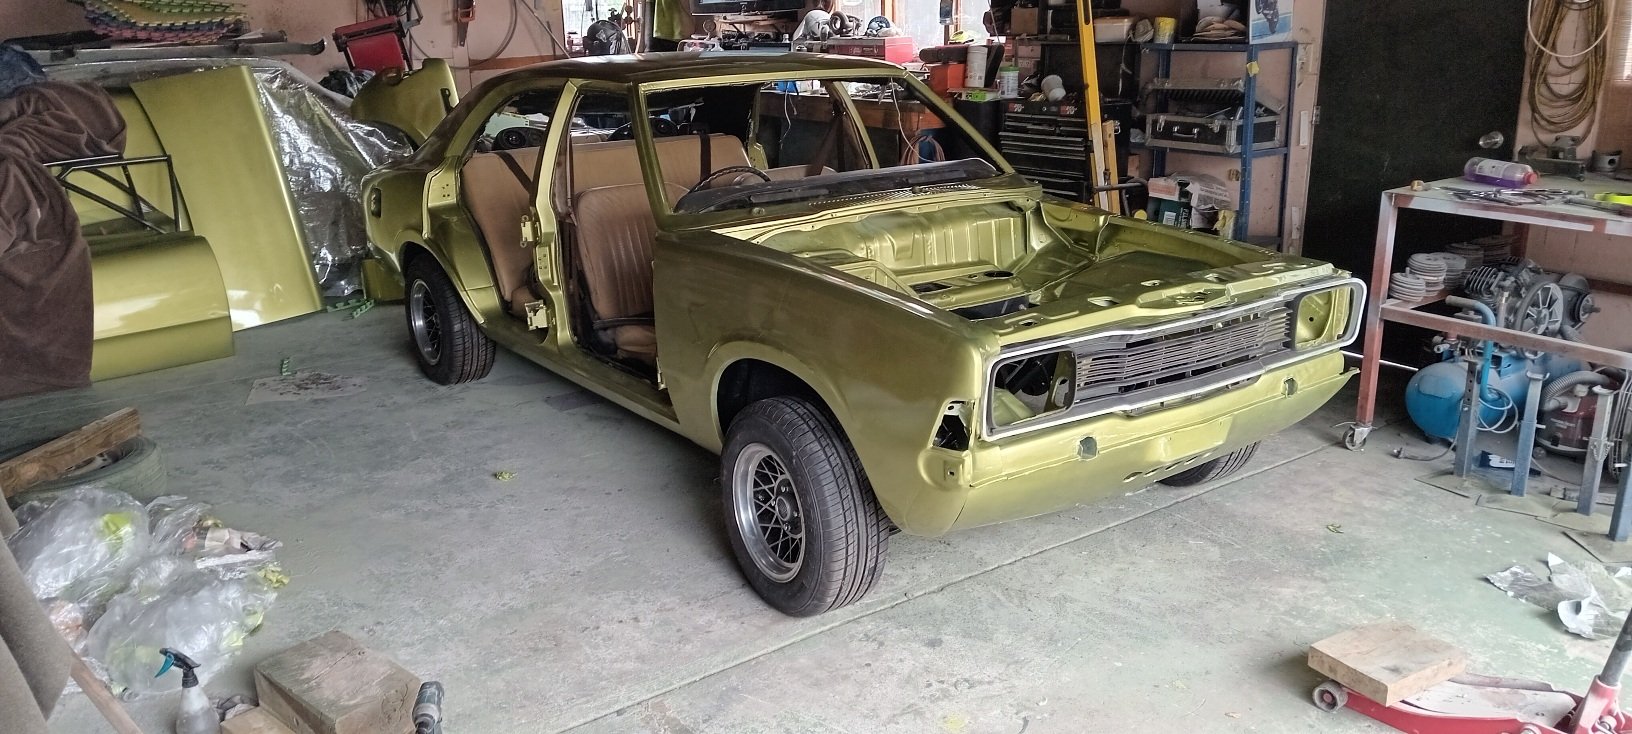
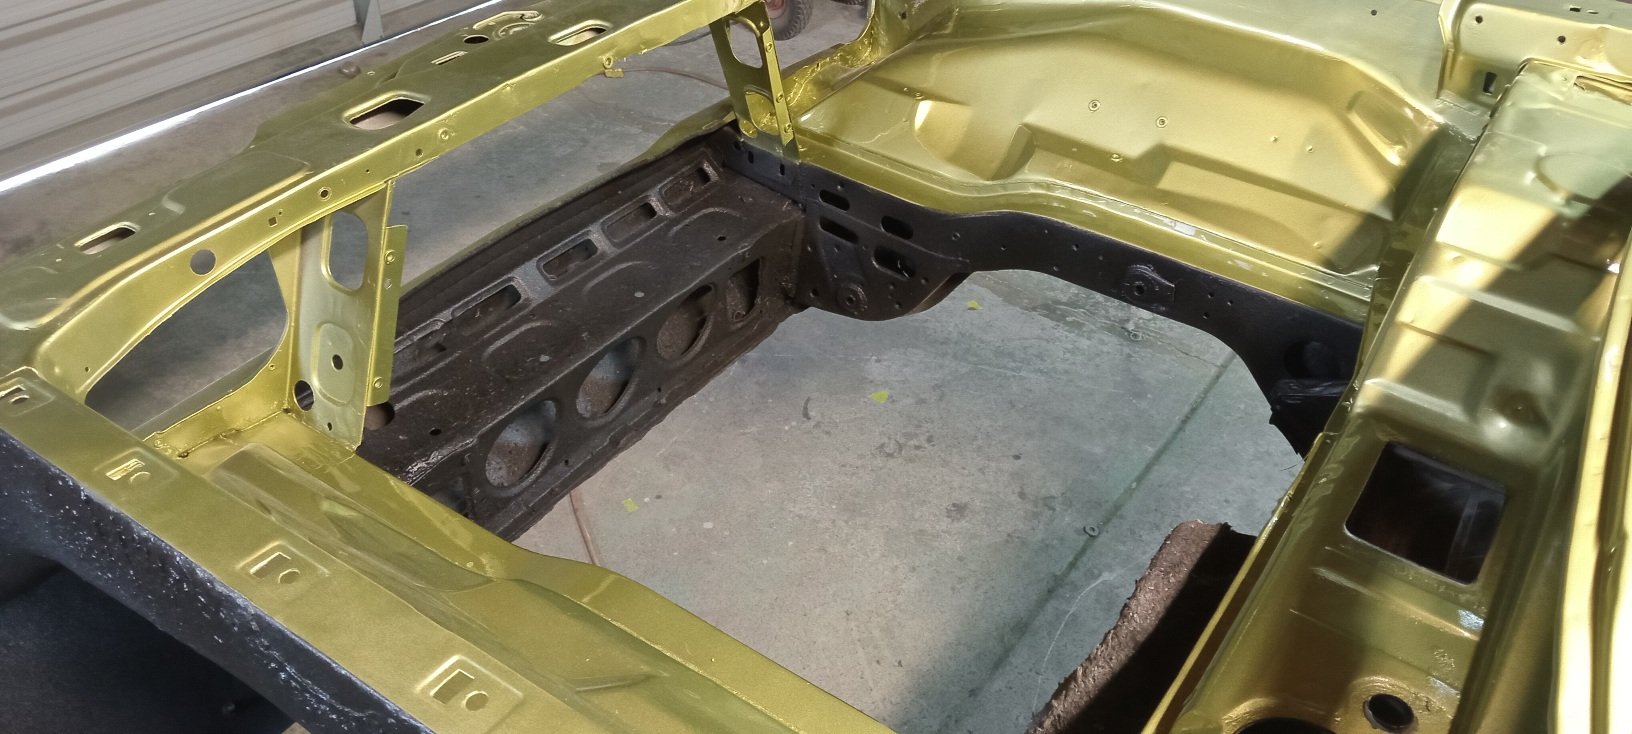
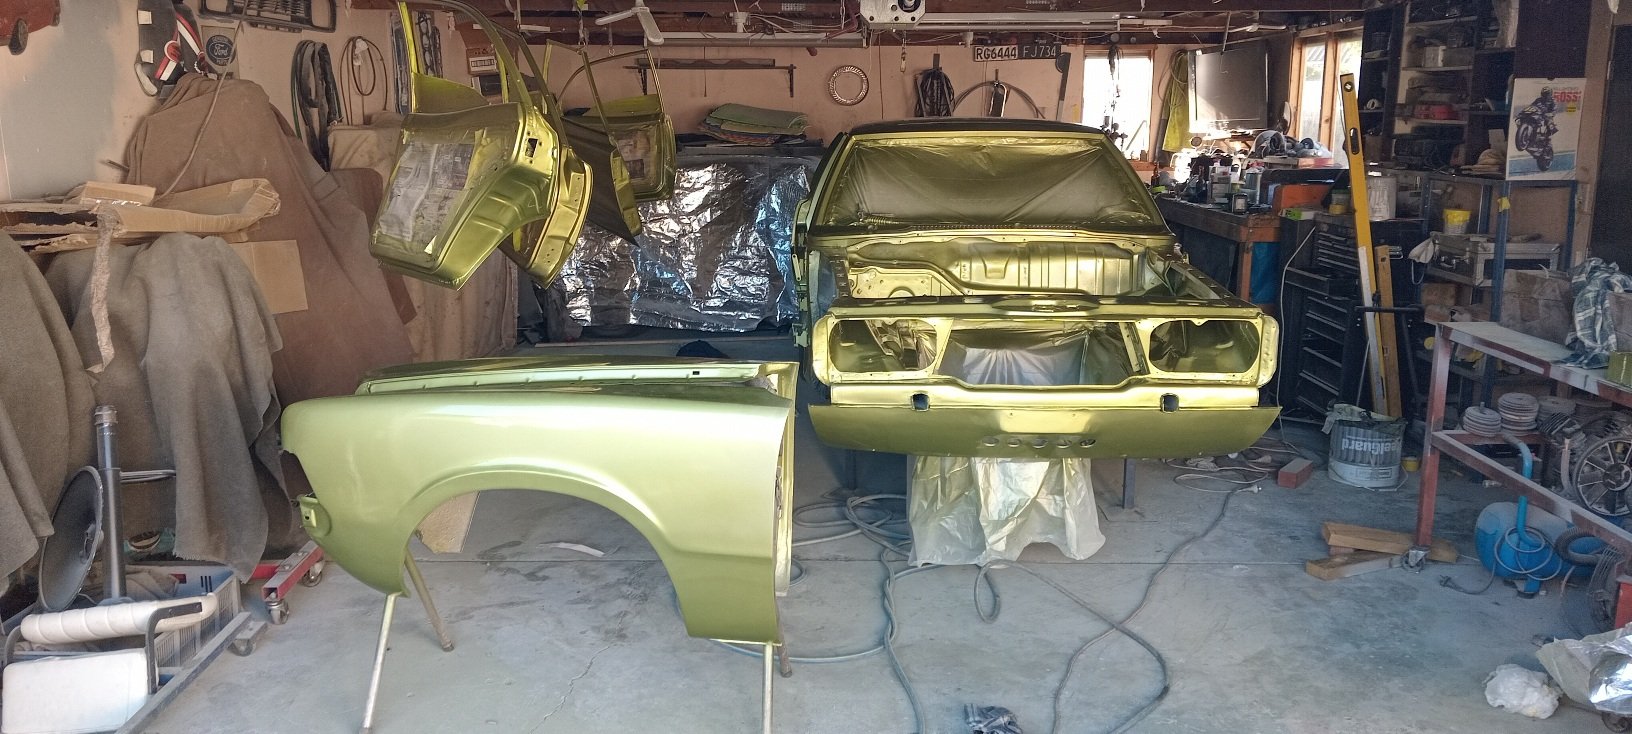
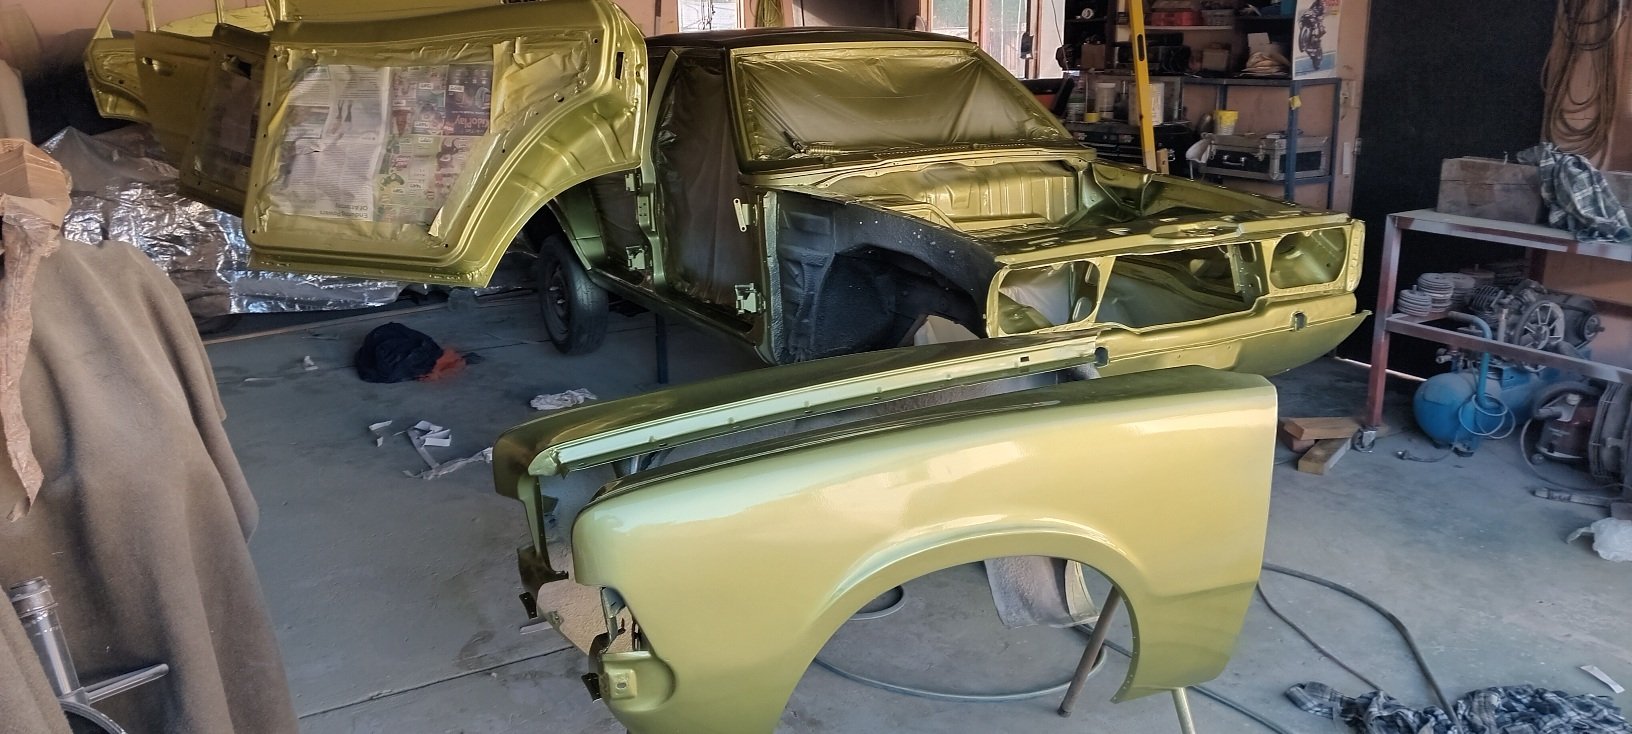
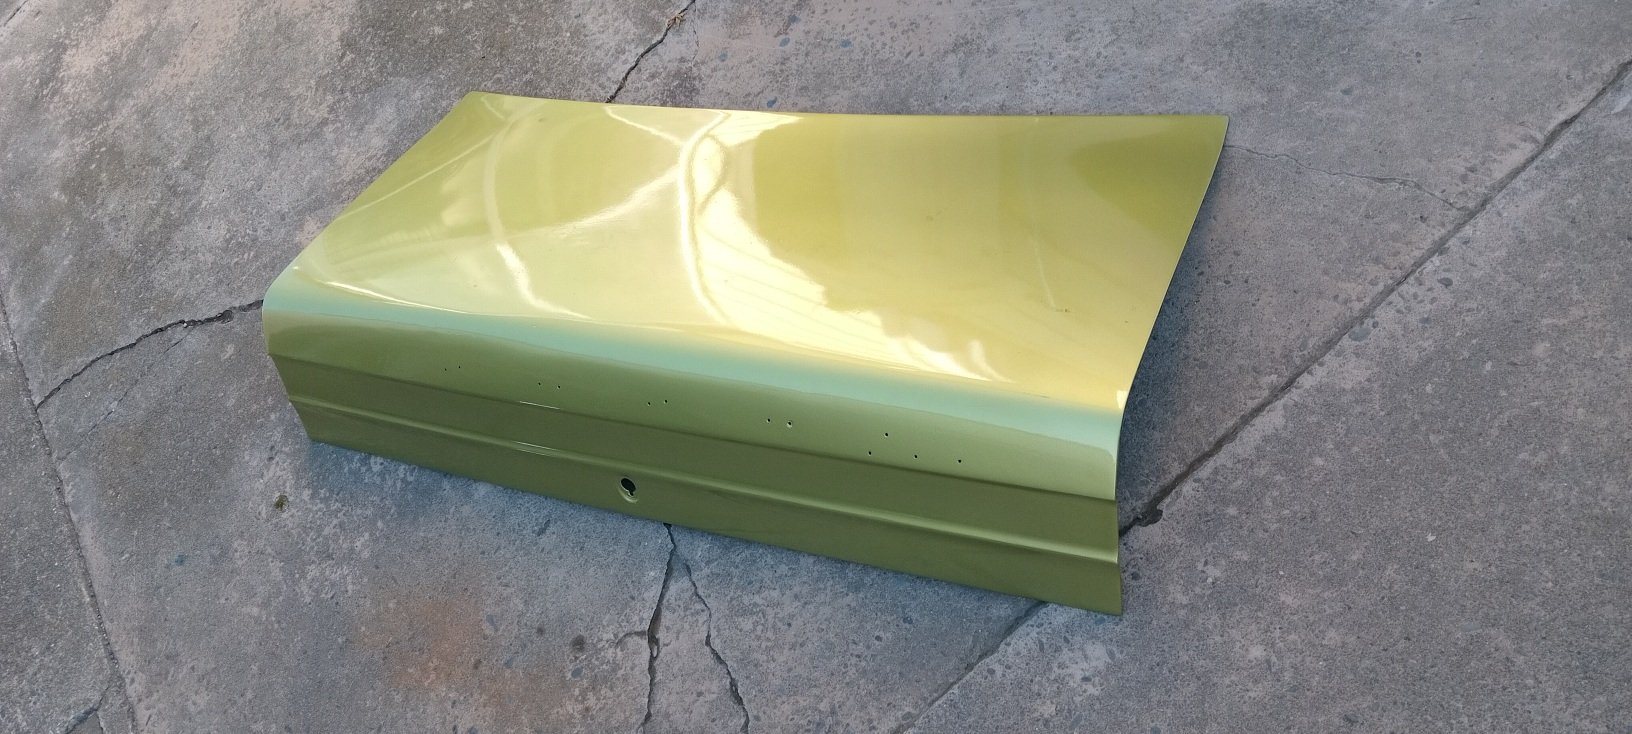
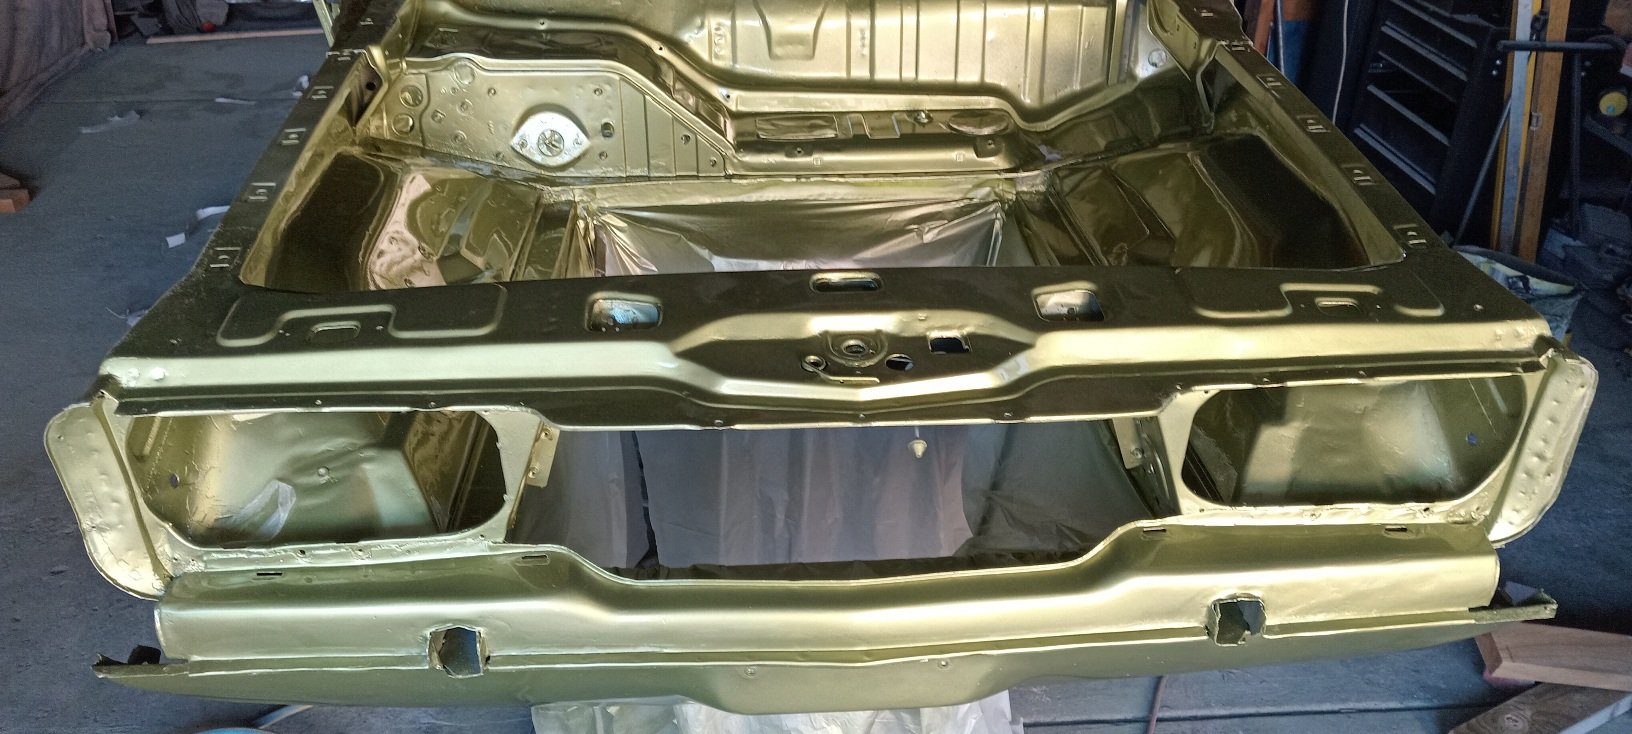
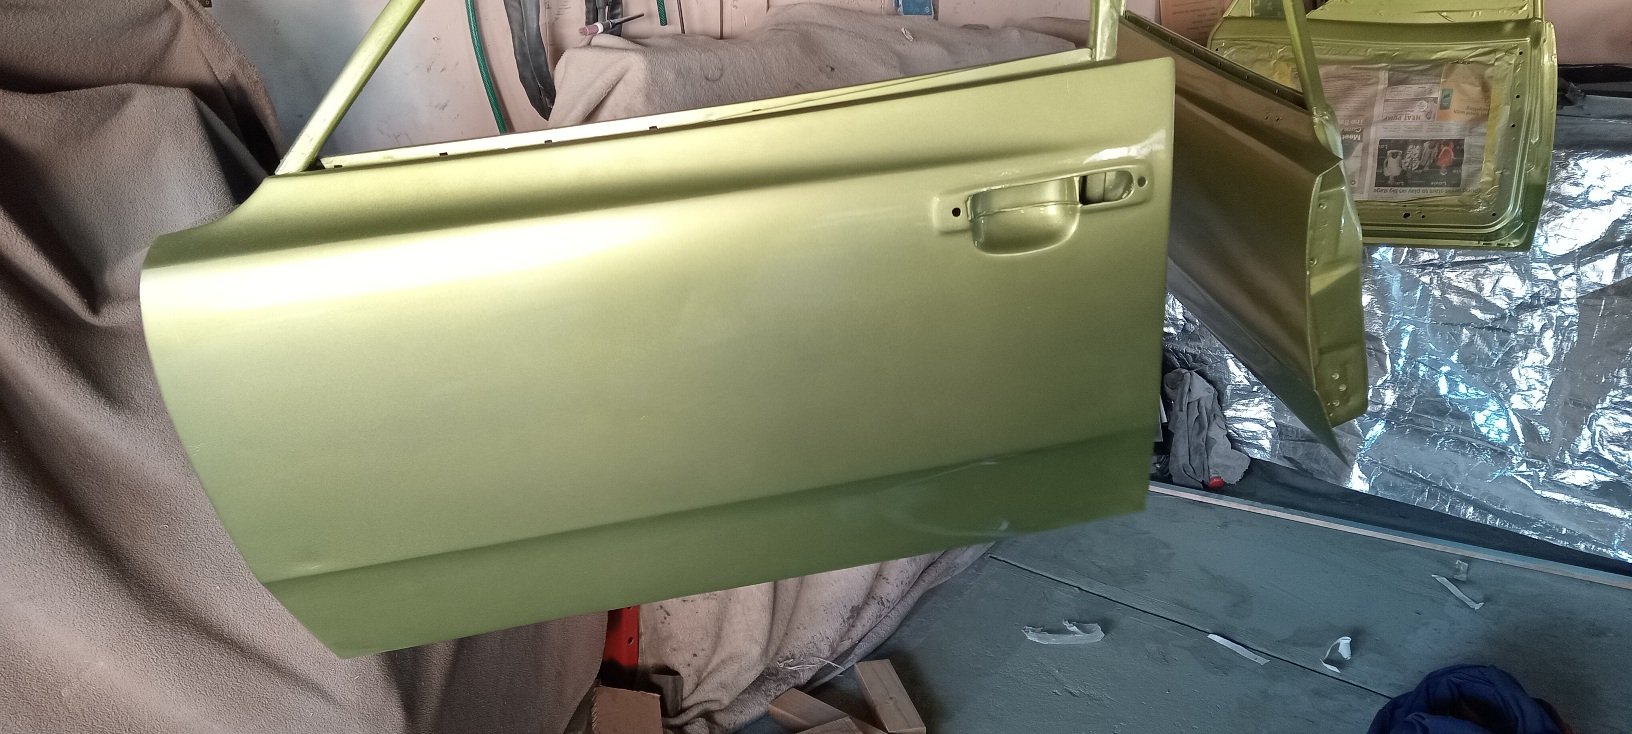
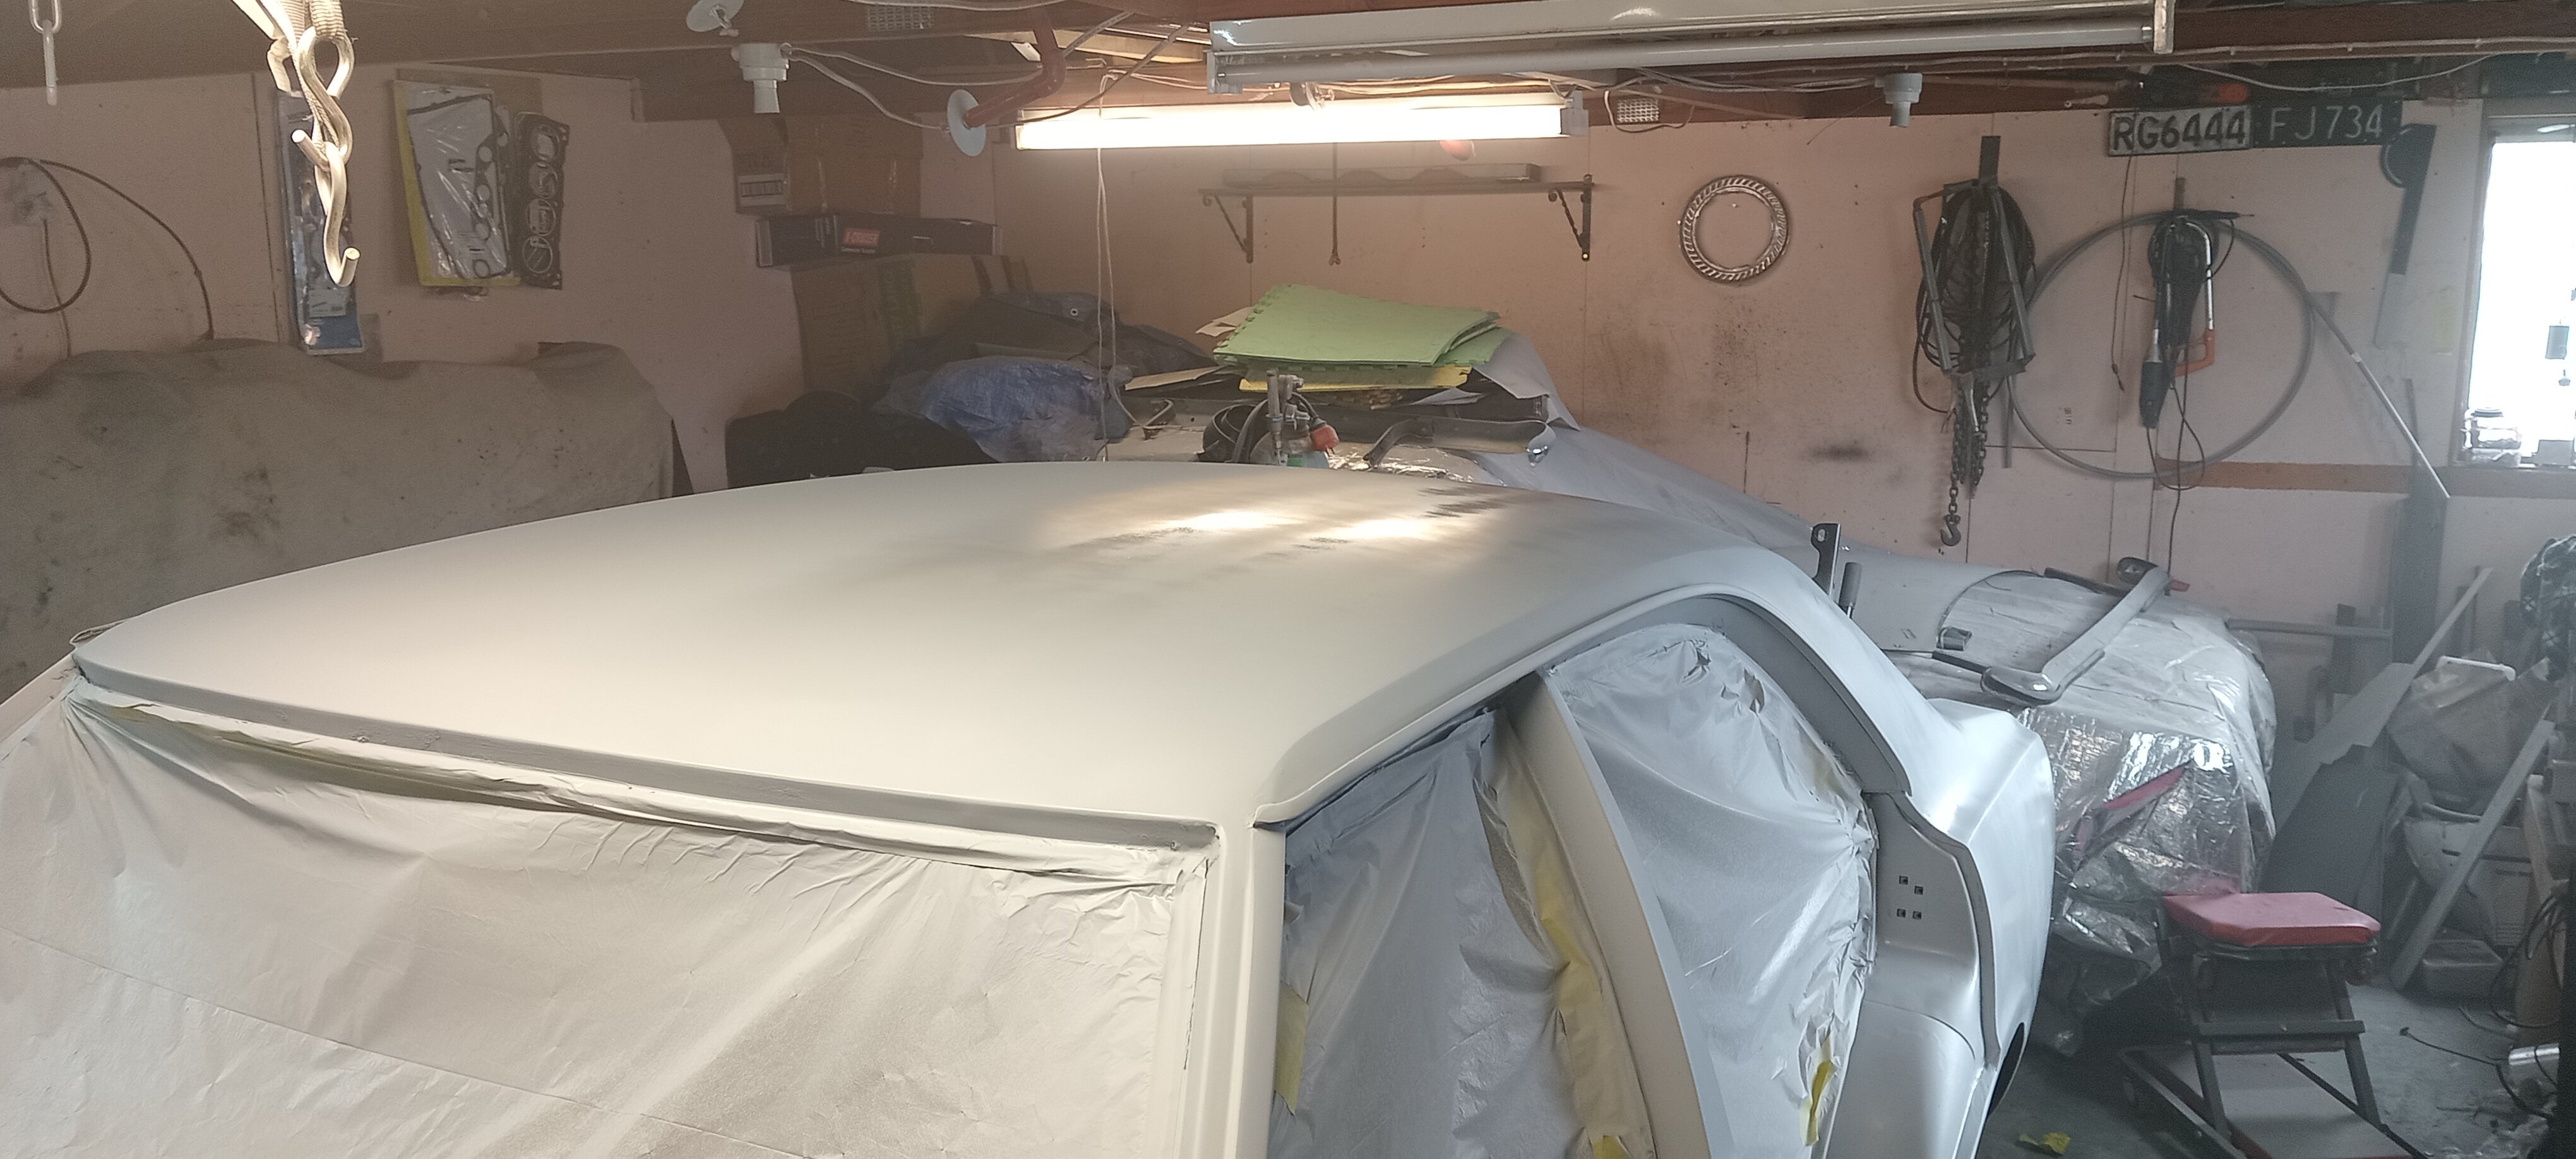
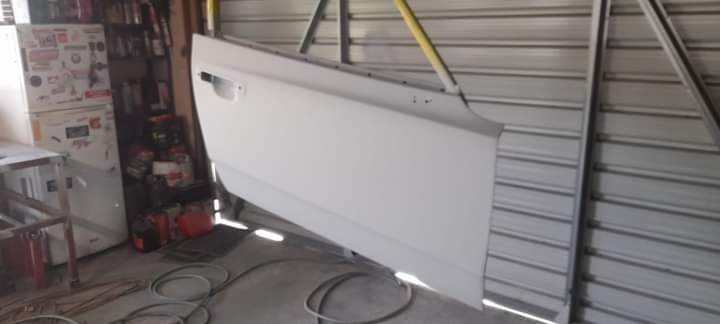
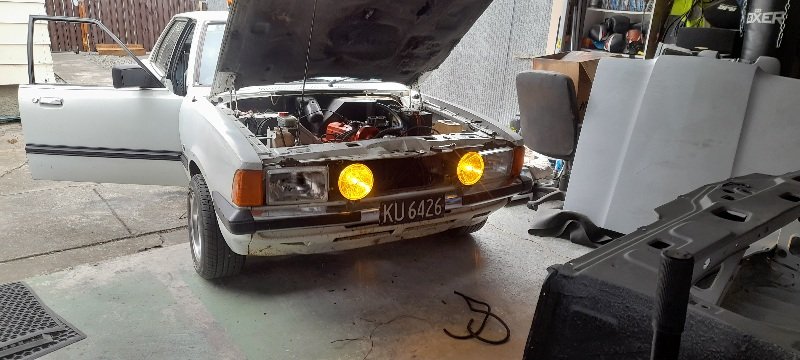
then Wednesday evening I locked my self in the garage and painted the old girl.... no more black... it's not mint it shows up all the dents .. but it's clean..the colour is stunning and I'm stocked .... also cost me less than 600 bucks for all the materials..
-
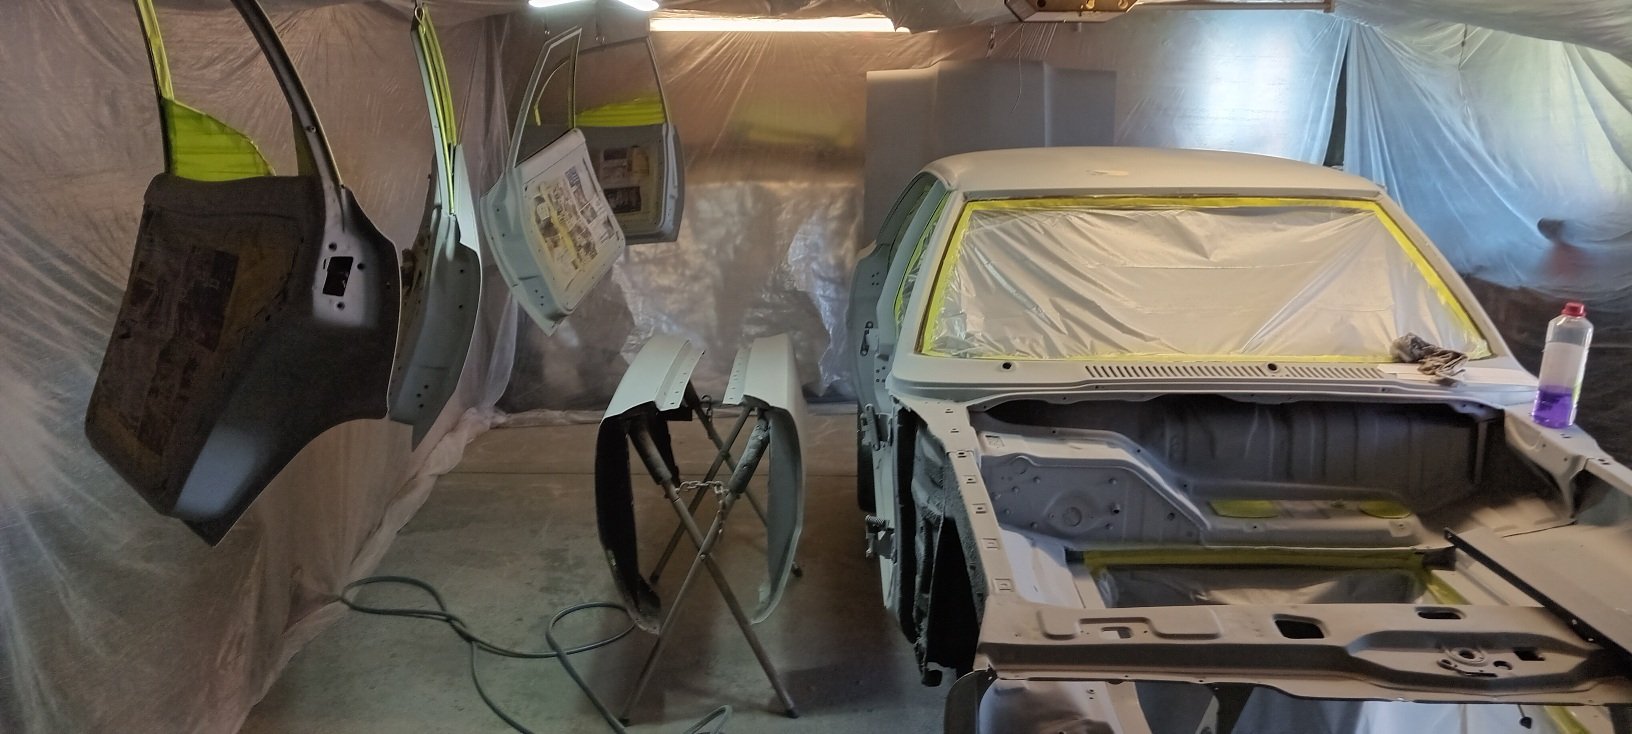
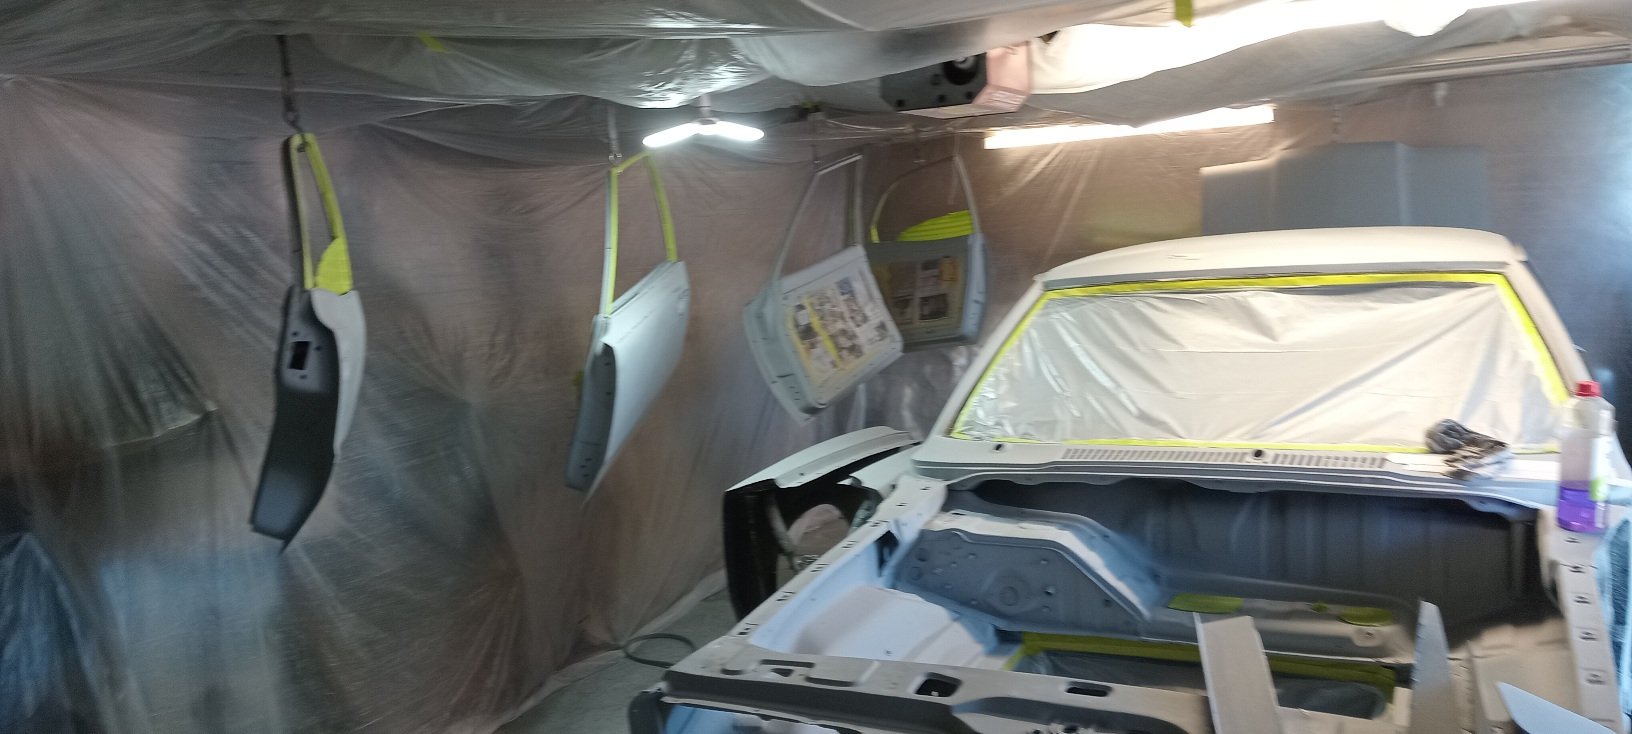
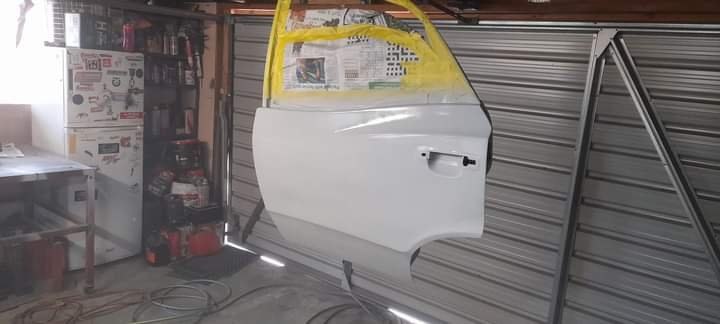
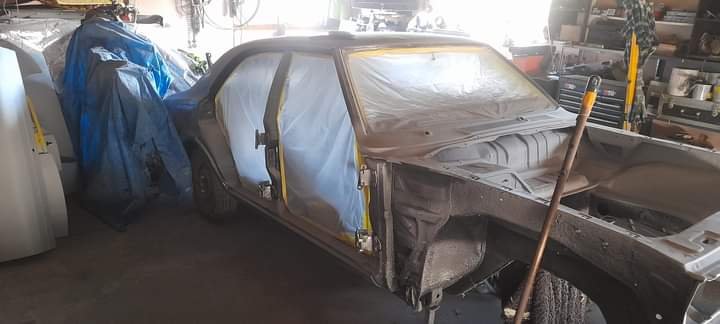
back to my old black mk3... I got everything sanded back 320 then 400 and finally 600. pulled all the masking off the shell and blow it out ..cleaned the garage and re masked the car back up... turned the garage into a bit of a booth to try and keep dust down and overspray of everything.
-
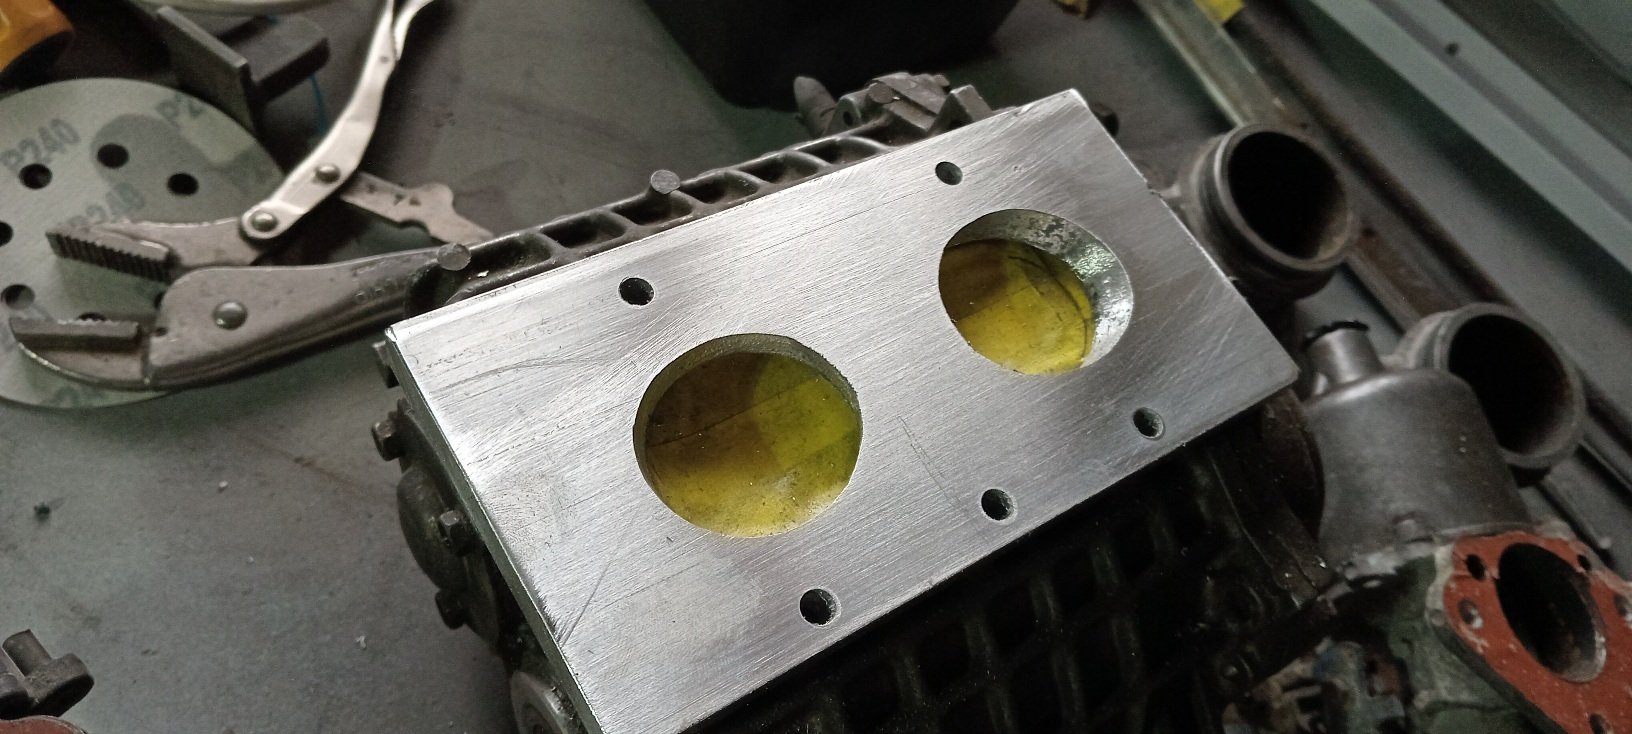
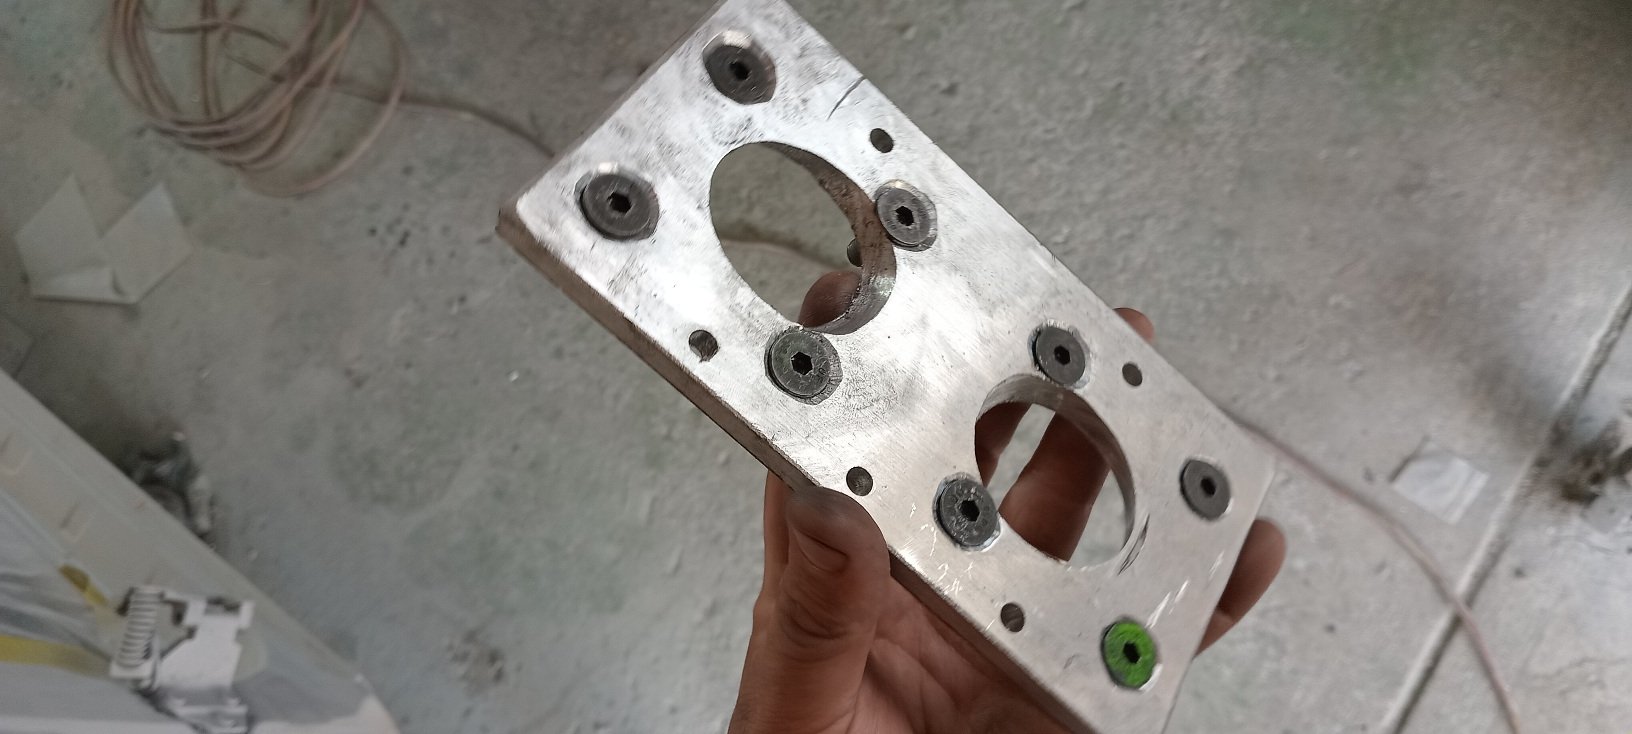
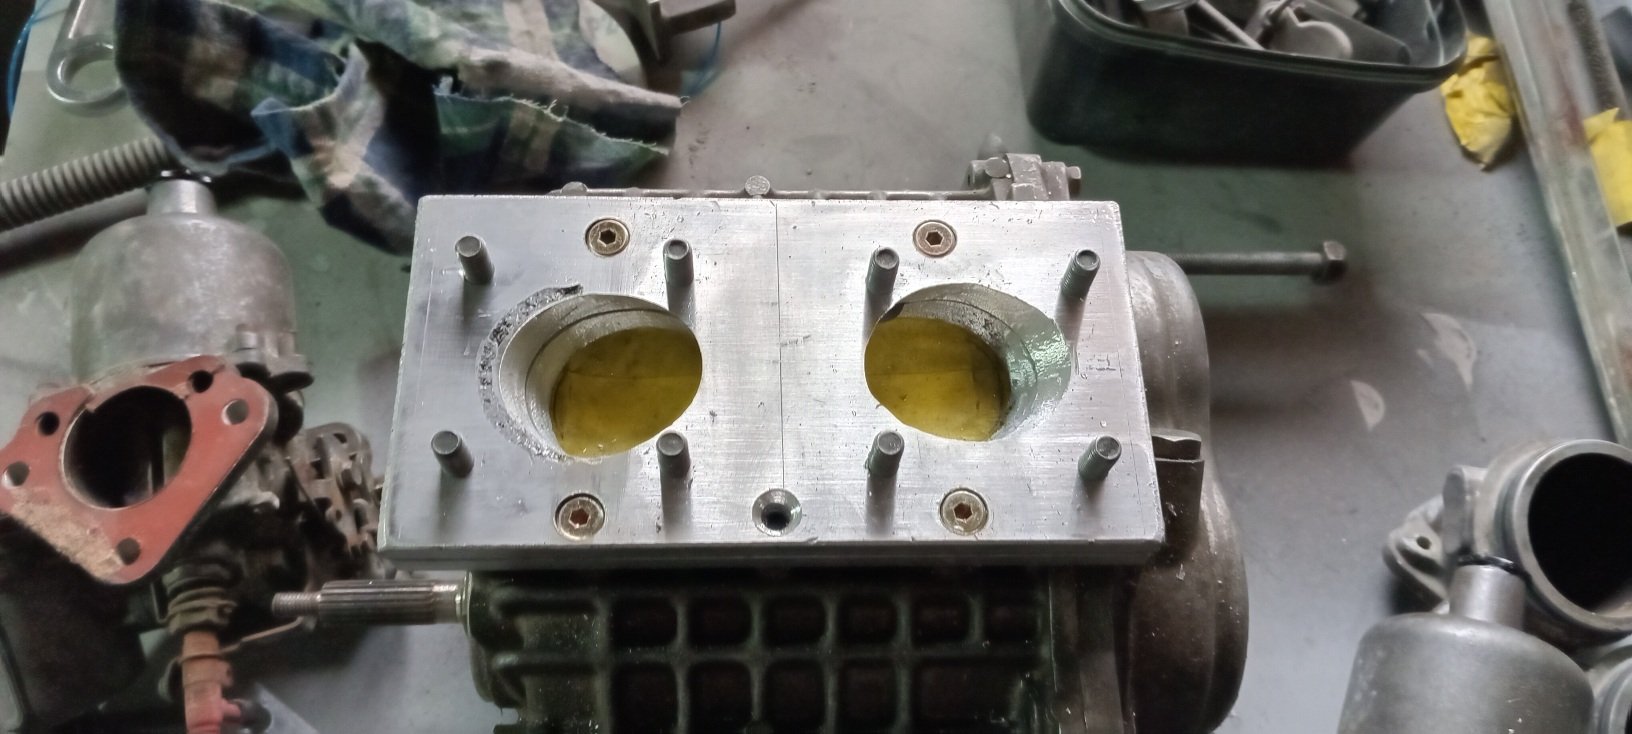
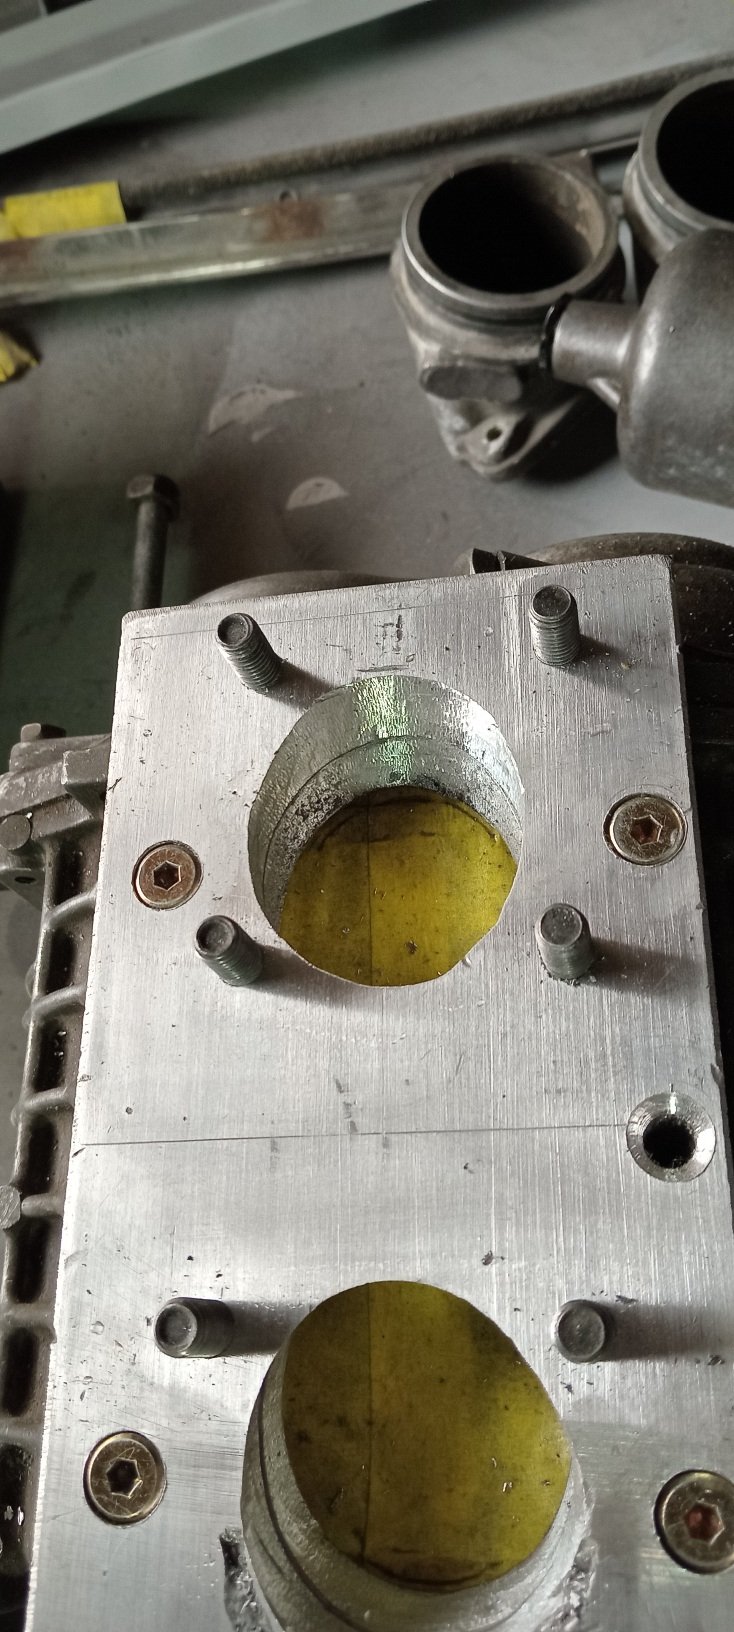
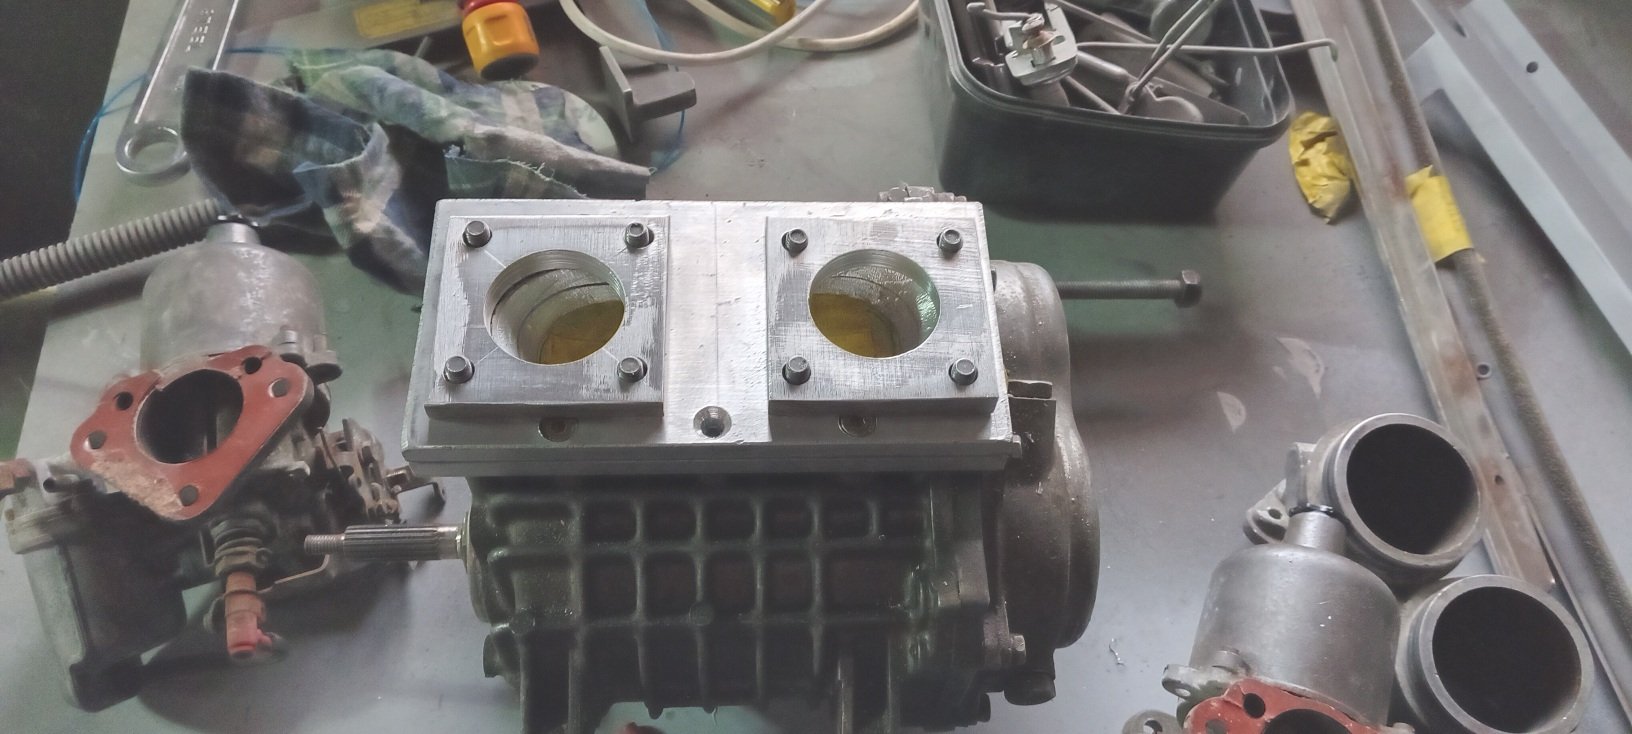
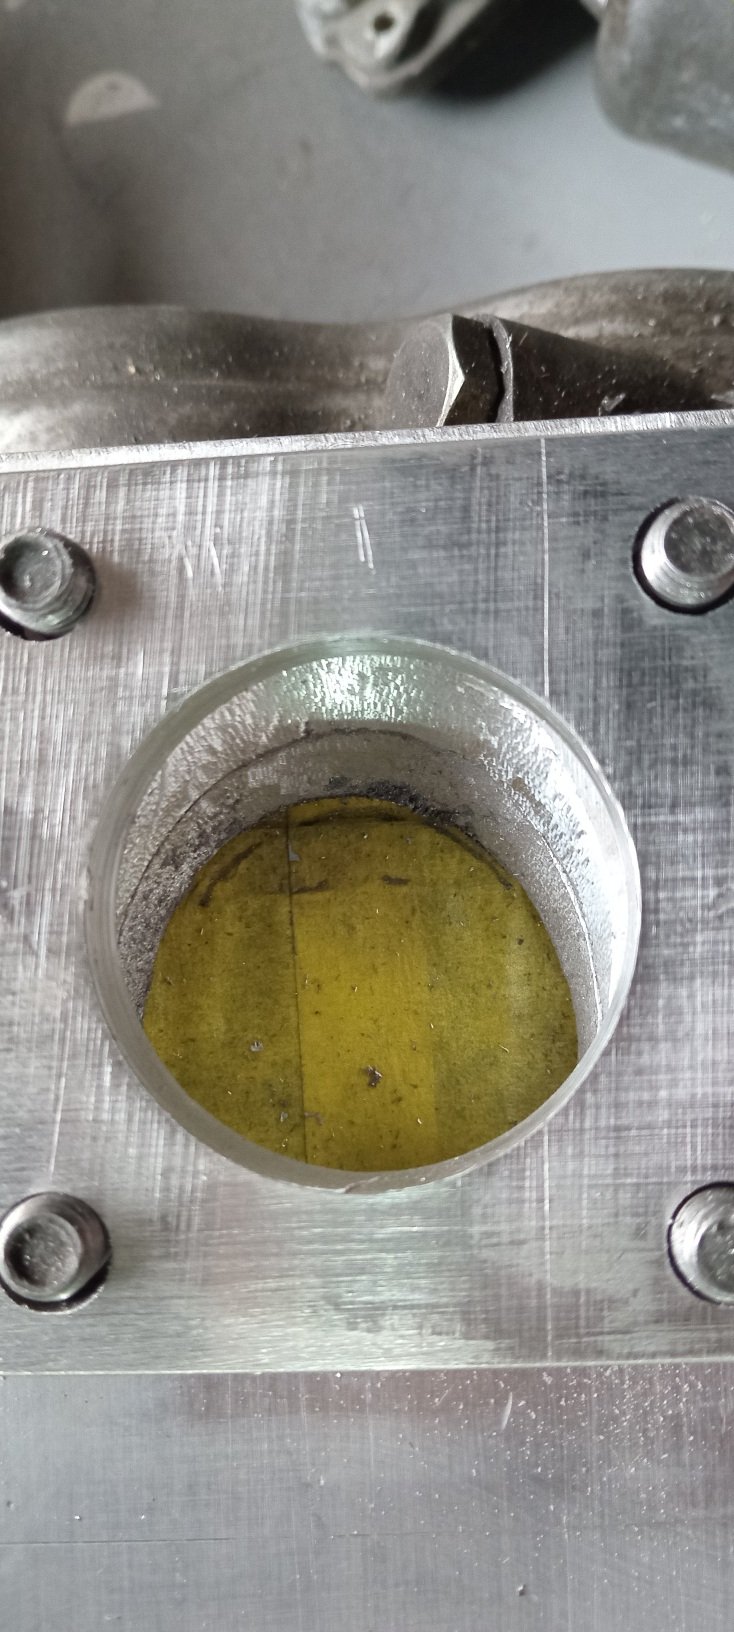
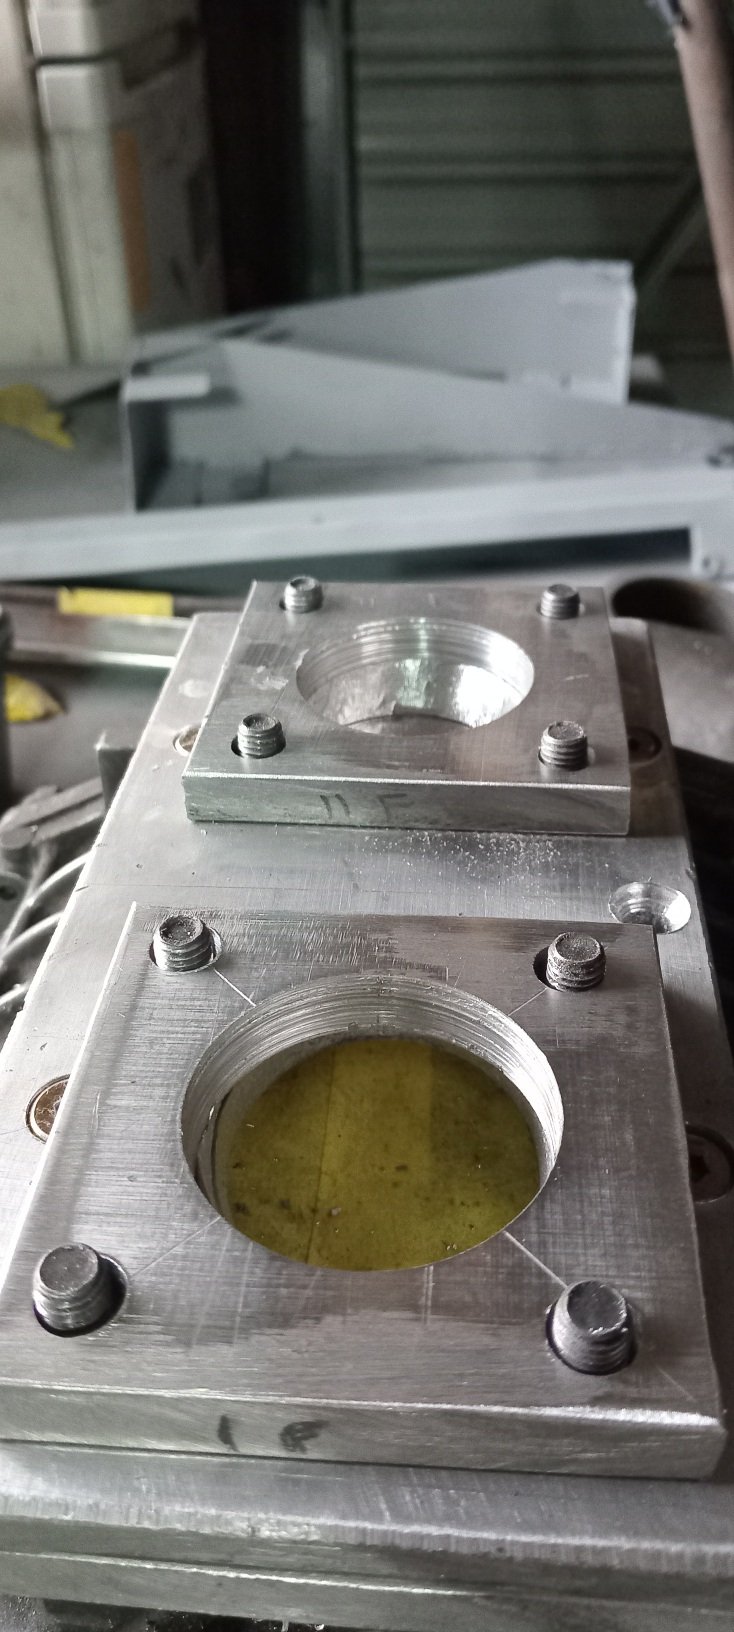
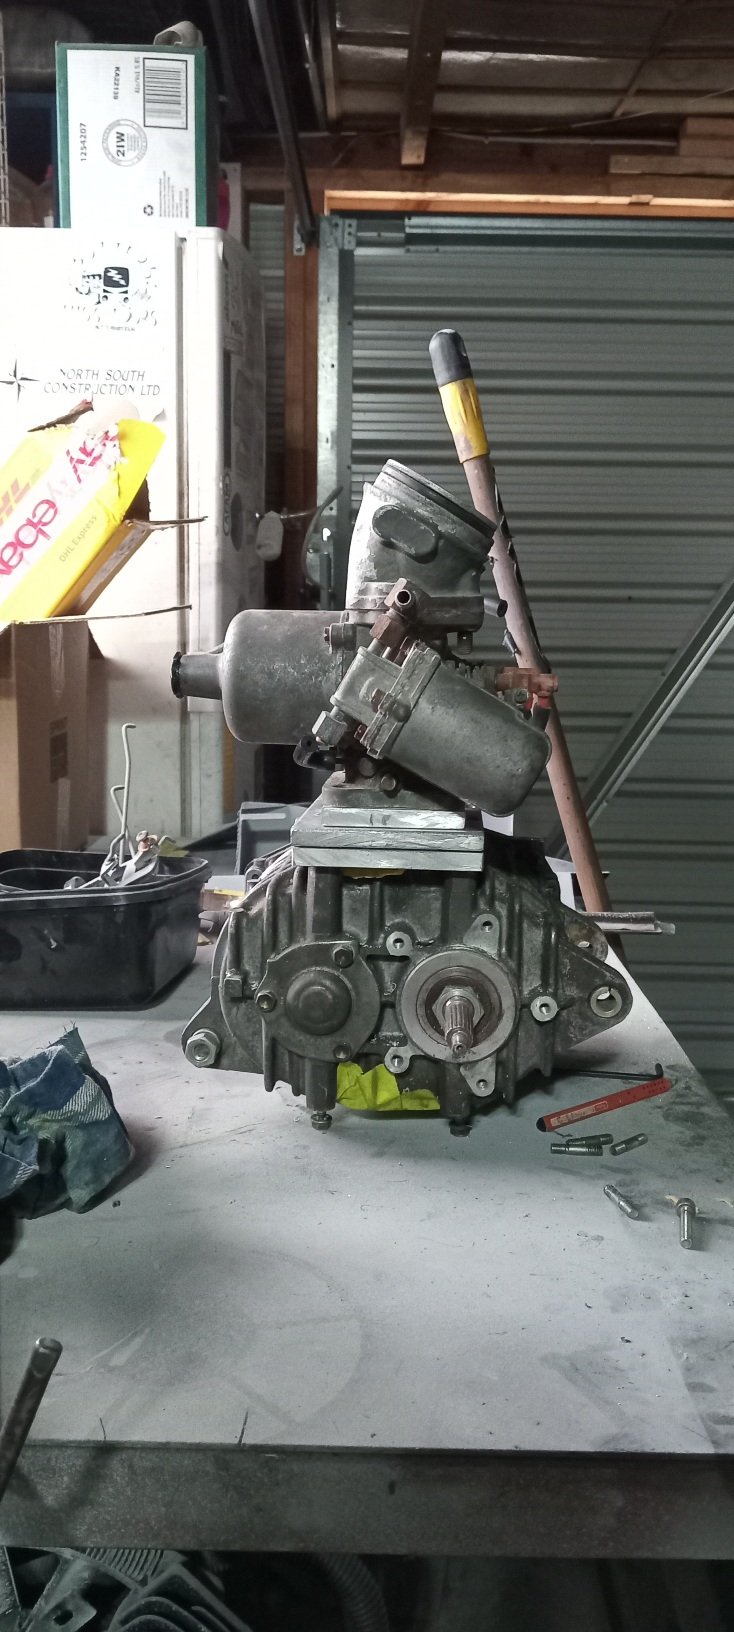
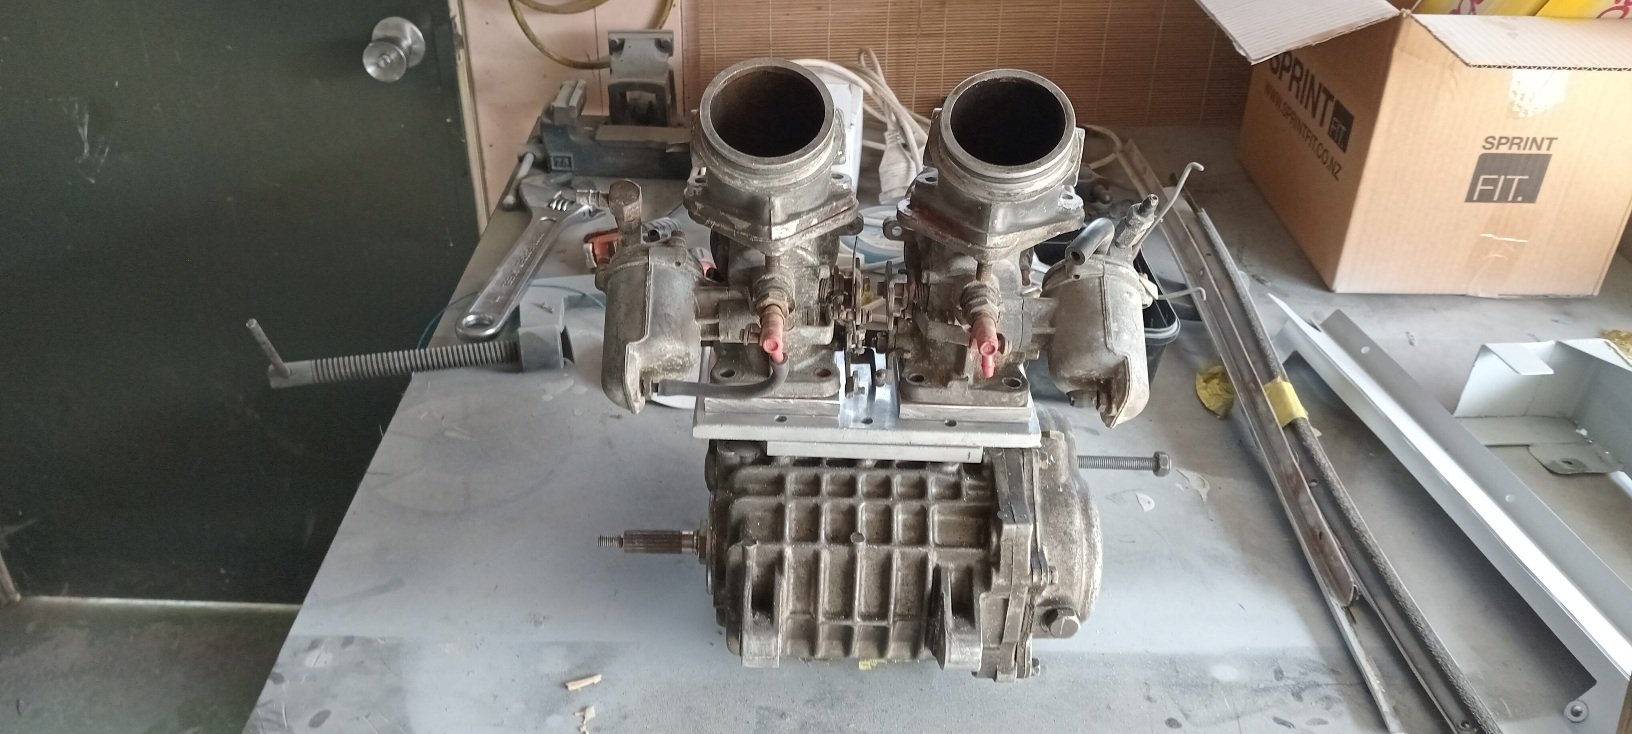
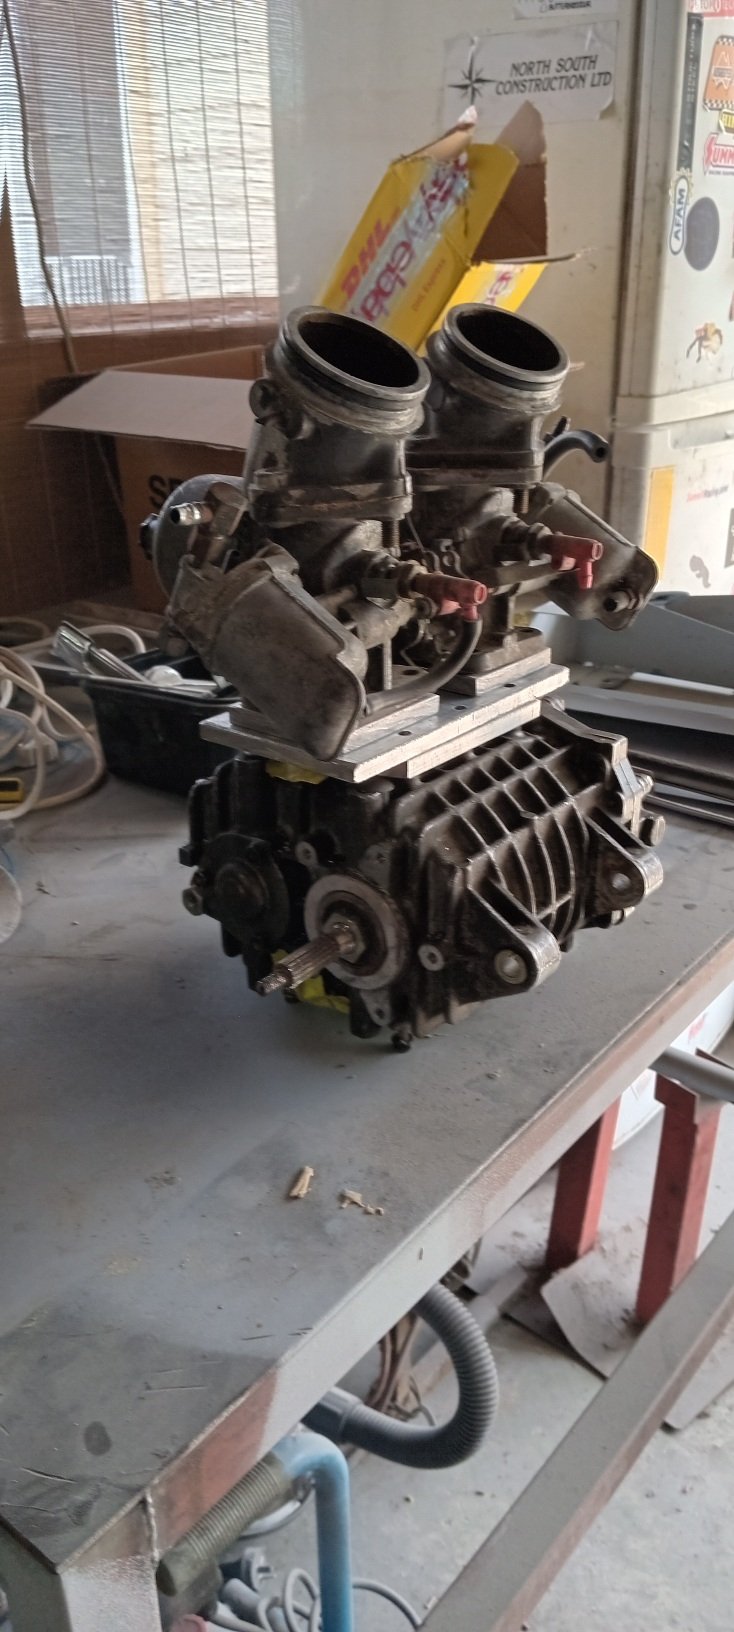
was having a play with the SC14 for my nephew and looking at the carbs. II found him a set of rover v8 carbs and am going to mount them next to each other. Didn't want to make a base plate and a flange for the carbs and weld some runners in as I'm want them as close as I can to the supercharger. so I've had this idea in my head for about a week now. so I made a start. remember I'm not a engineer and it's all done at home with vice grips and a battery drill so I made a base plate....holes drilled same angle as center plate.. center plate I drilled the holes on an angle to try and get them close to the SC inlet ports and port match to base plate... and used some counter sunk screws I had from my set up. (have ordered some longer ones as I Need them as well. and top plates that space the carbs out a bit so the linkages can move and the butter Flys can actually open.. these will all be sandwiched with gaskets and sealant when the time comes.. but they are close enough now to be able to.make 1 linkage to.move both, all fuel pots sit on the outside ... I think it looks fucking awesome by the time I slap some velostacks or filters on.. cheers...
-
awesome work man... I can't wait for this uterus..... how's the old ass muscles working cutting into rx3 parts..
-
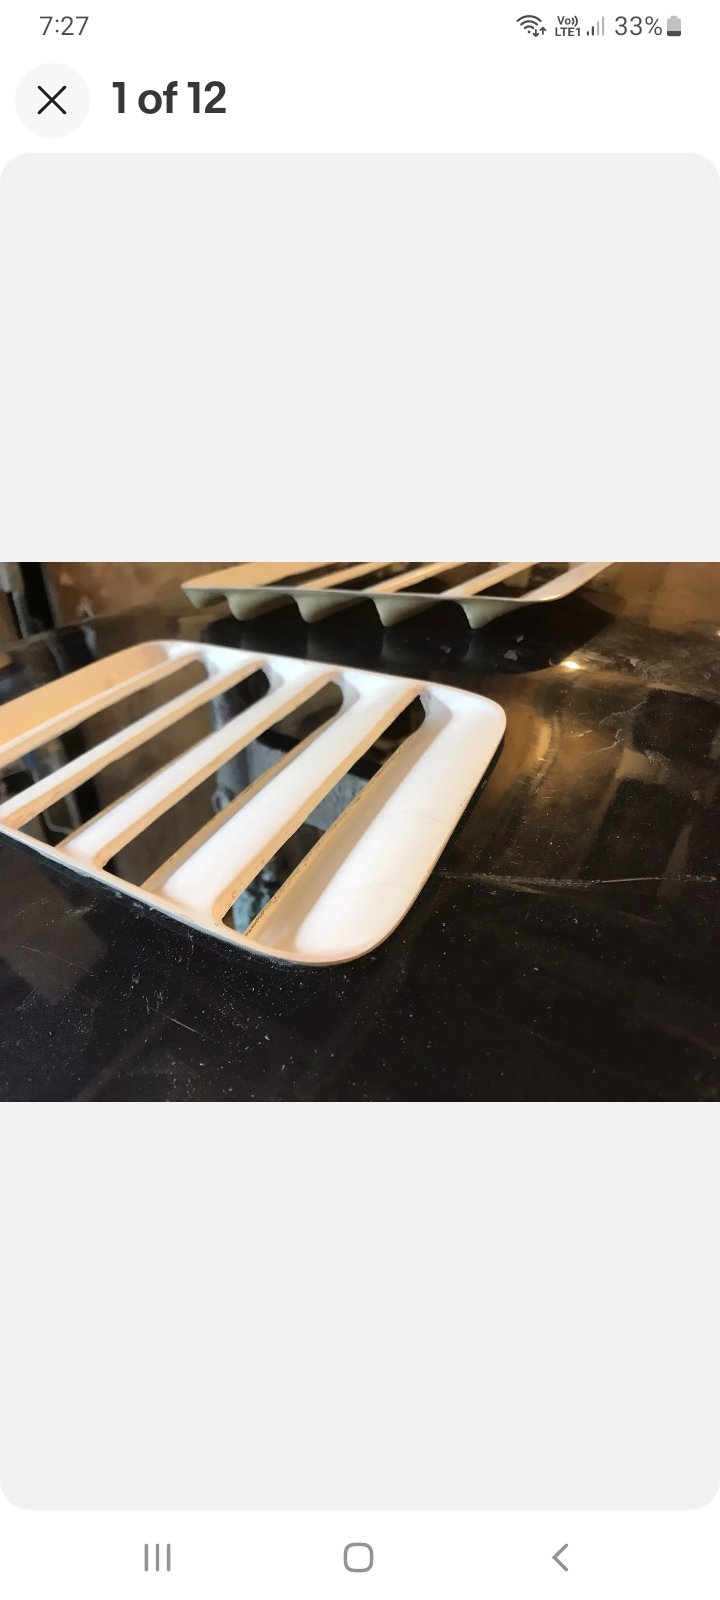
ok so on the bonnet vent situation.. I have set of cheap steel Rendon vents on the way 200x115mm...... not sure I also liked the look of the audi sport quattro front vents ... and in the same sort of place... but hard to find and expensive. and the lancia delta integrale..... just the front one... but again expensive and hard to find. then I looked at the cosworth, escort ..to rounded .. the sierra cosworth almost ..... and then I found them... sierra cosworth rs500... down side won't be here till and of January.. I am hoping he can send me a template of the hole so I can al least cut that and still paint the bonnet.... but might just have to paint that layer on....maybe.
-
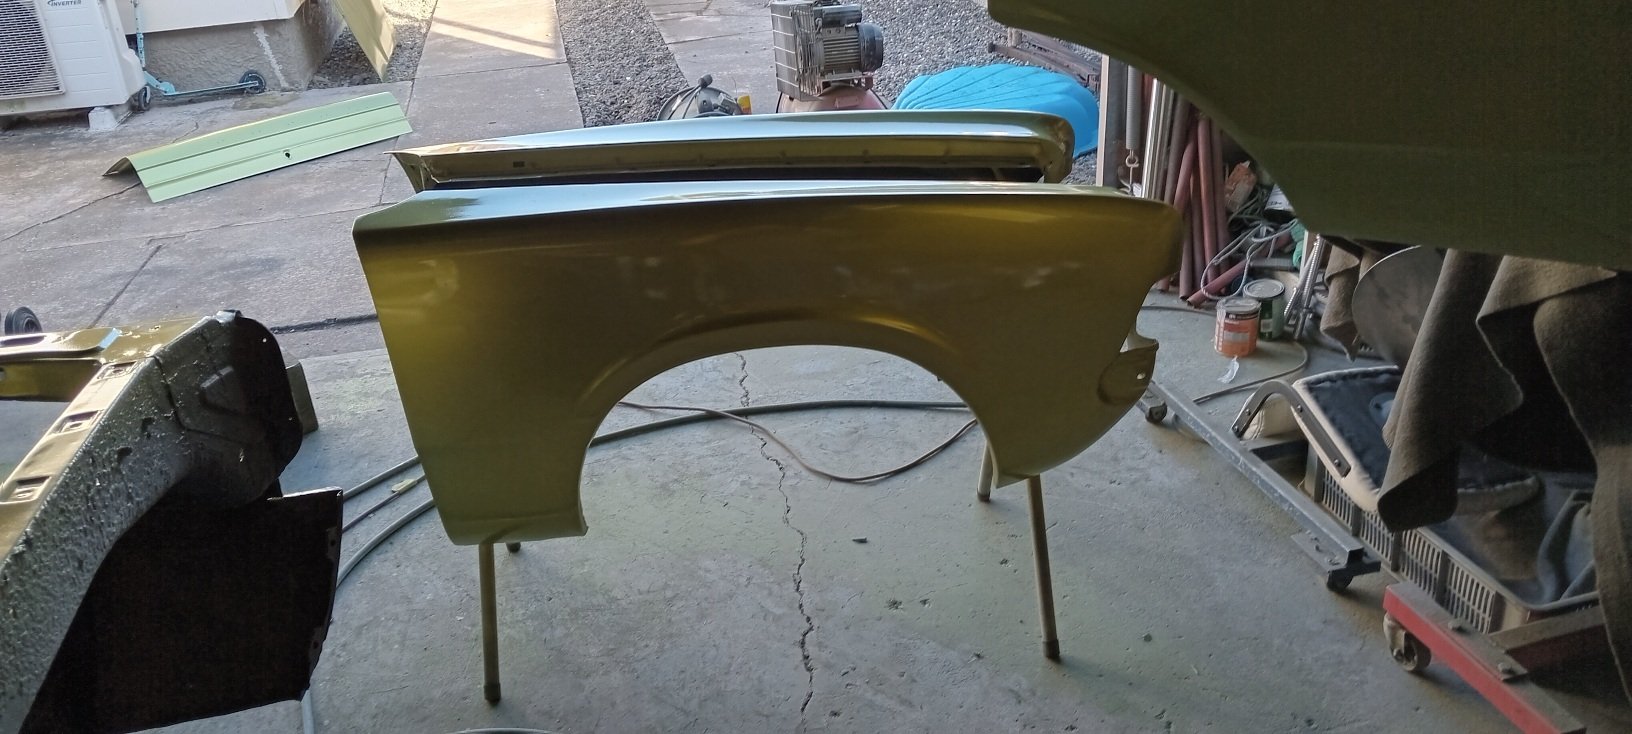
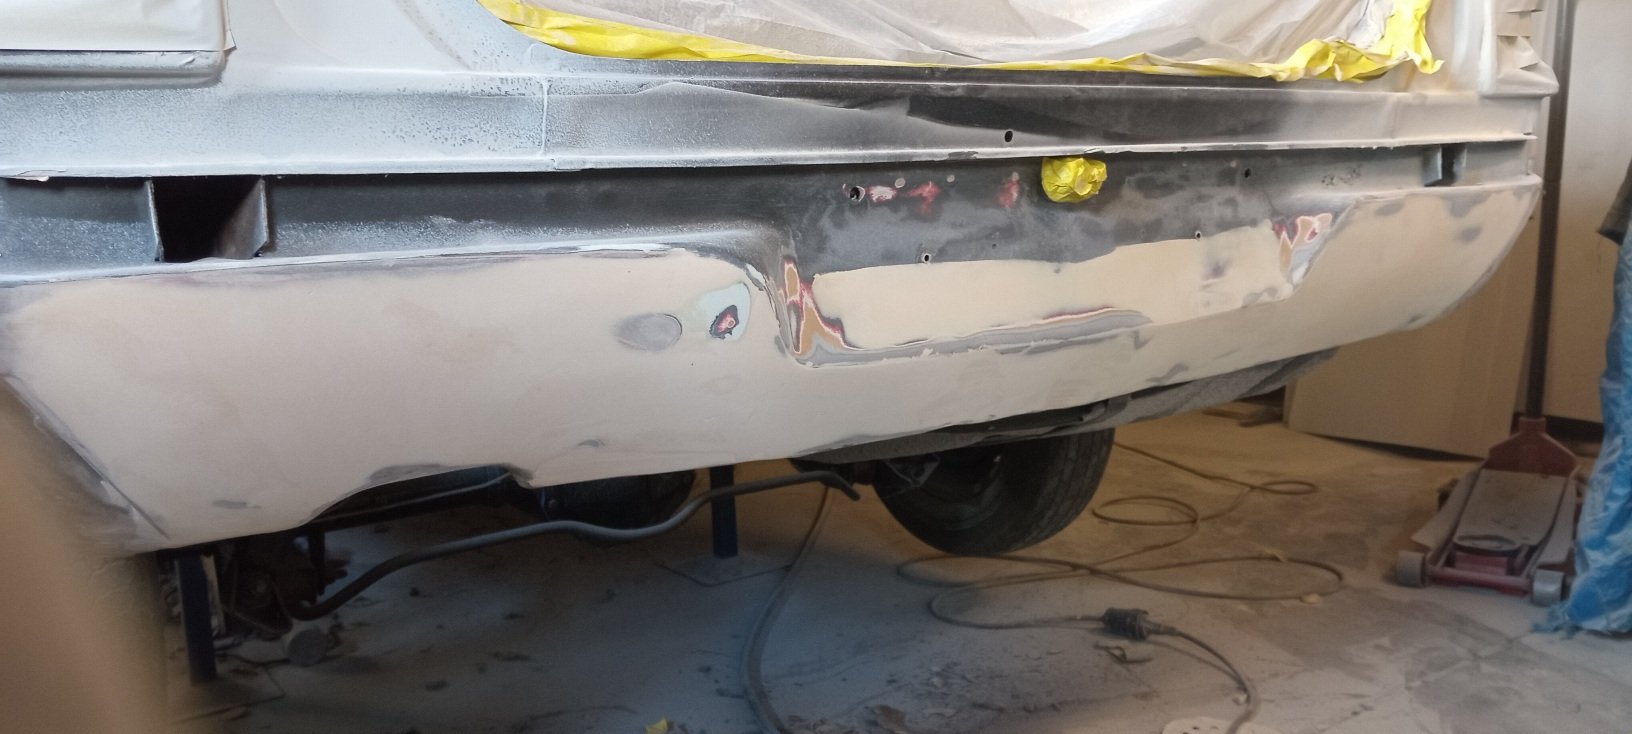
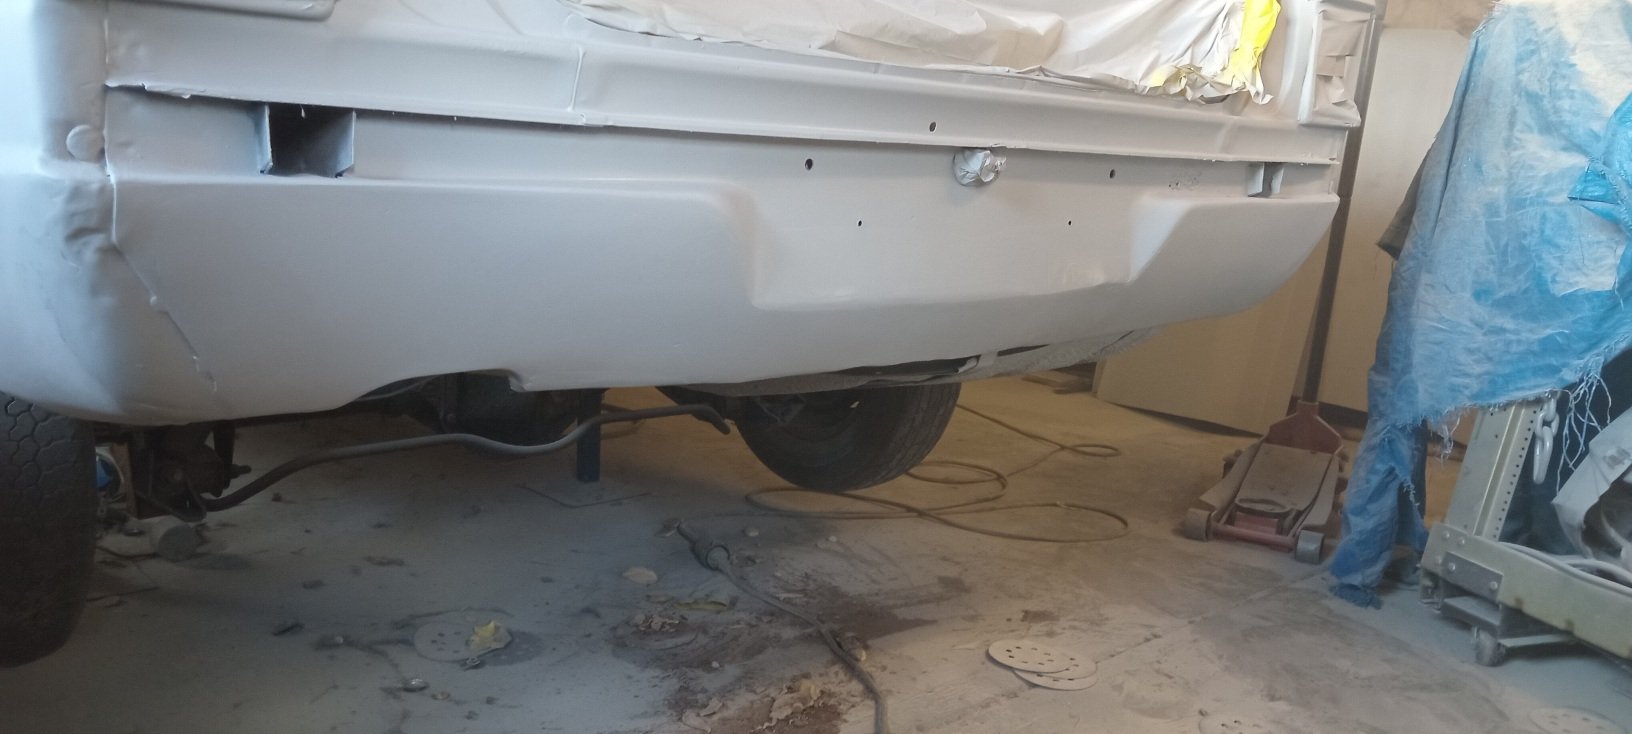
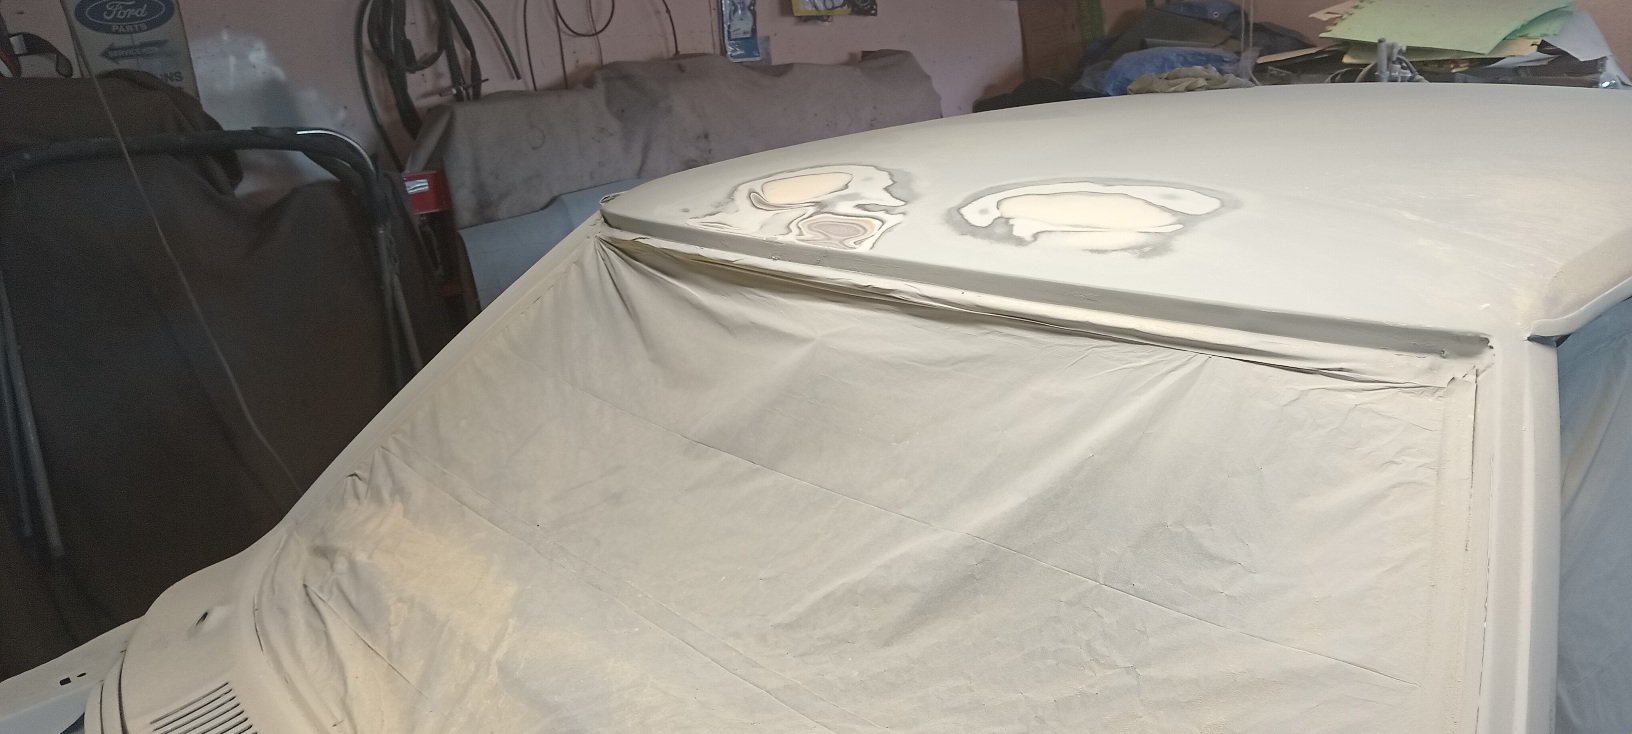
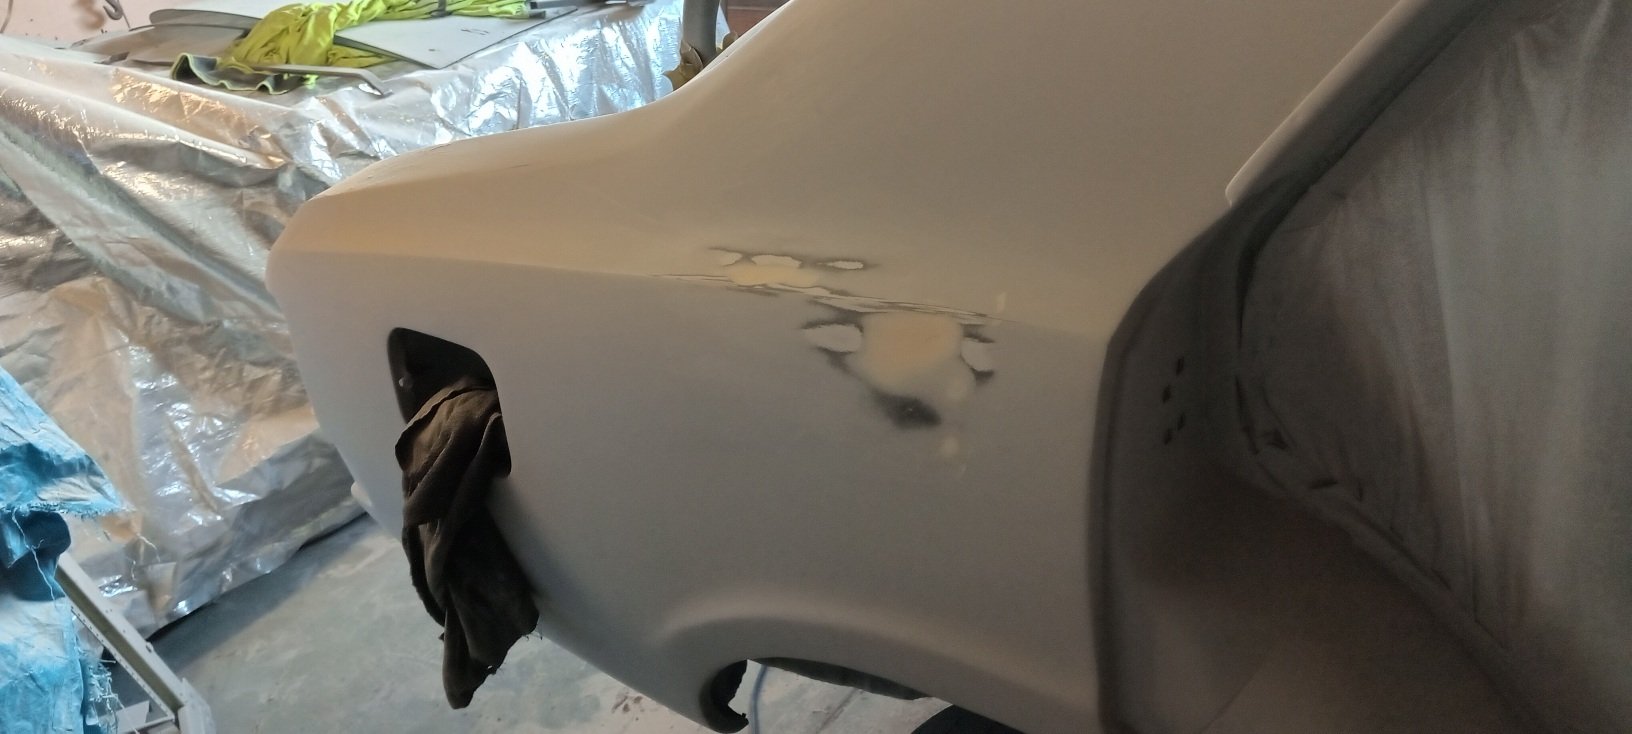
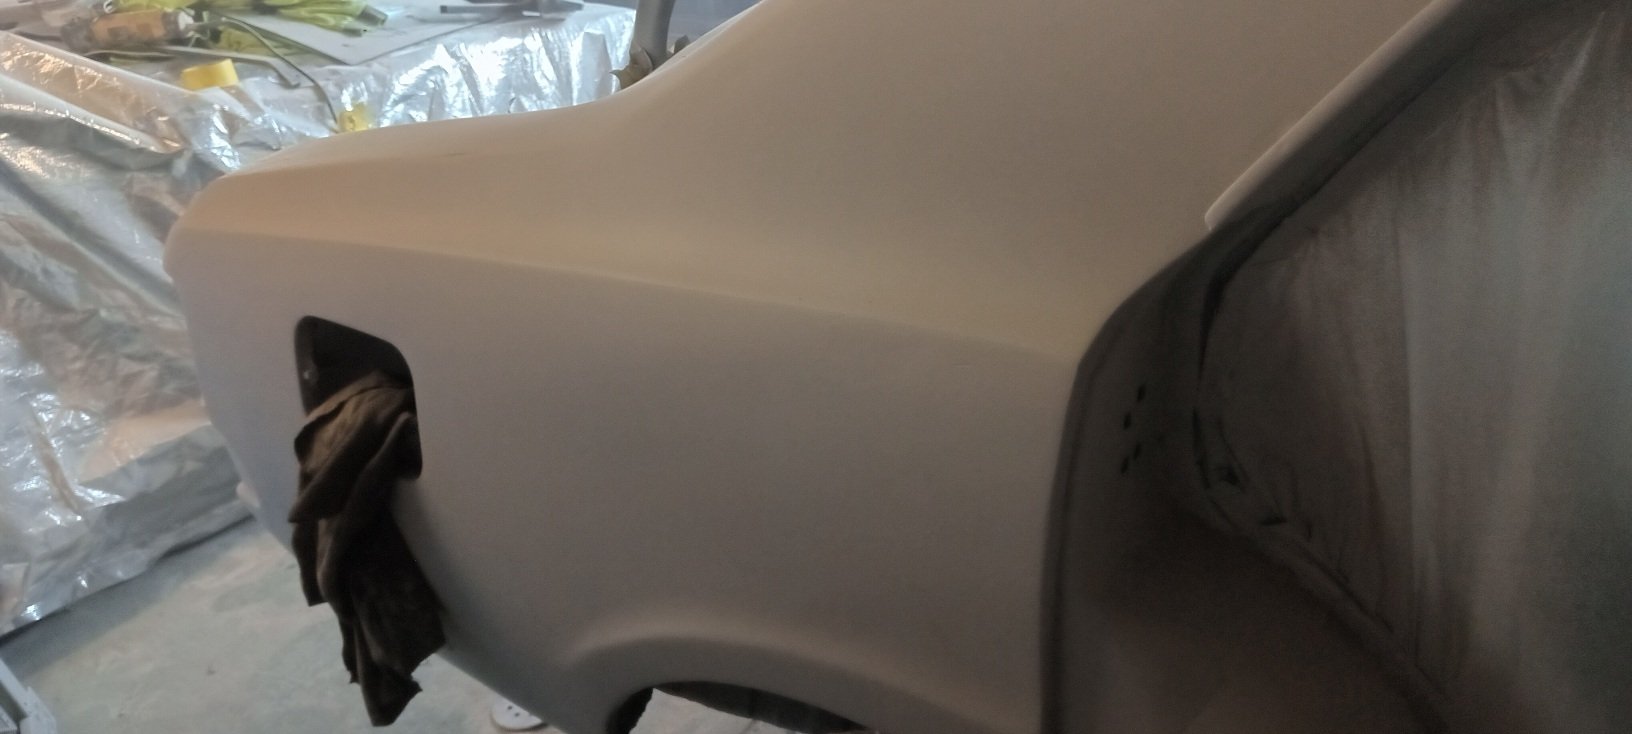
I had a look at the rear valance today ( I had a feeling it was bad ...as they all rust). I stripped it back to bare metal ( if that's what you could call it..... and I didn't even get a pic).. it was full off shifty rust repairs and dents... I did look at palms ideas for a new valance but at over 500 bucks I realized a new valance wasn't on the cards for this old girl......(not yet anyway).... I wasn't to keen on cutting it all out and making it..... so I did the next best thing....... bogged the shut out of it and sanded it back with the orbital sander and primed it........ fucking done. will I had the bog in hand I did a few little spots I had found... 2 on the roof and on the driver's Rea 1/4. and also the petrol flap and radiator mounts. so that's everything that's going bogy colour done.... just have to resend it all with some 400 and fix anything i find.
-
well now I might...
-
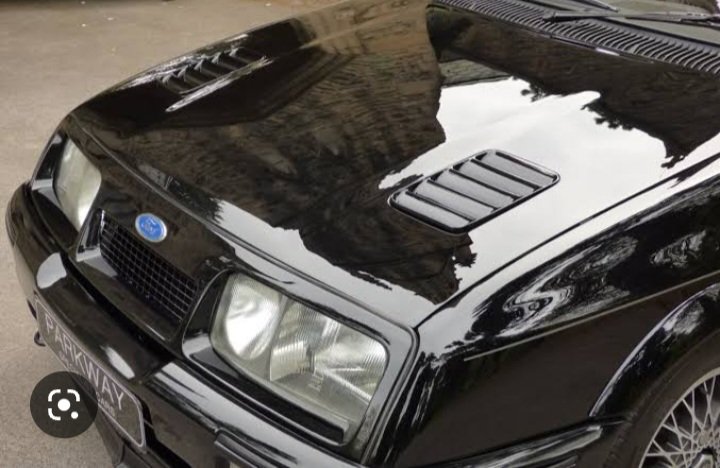
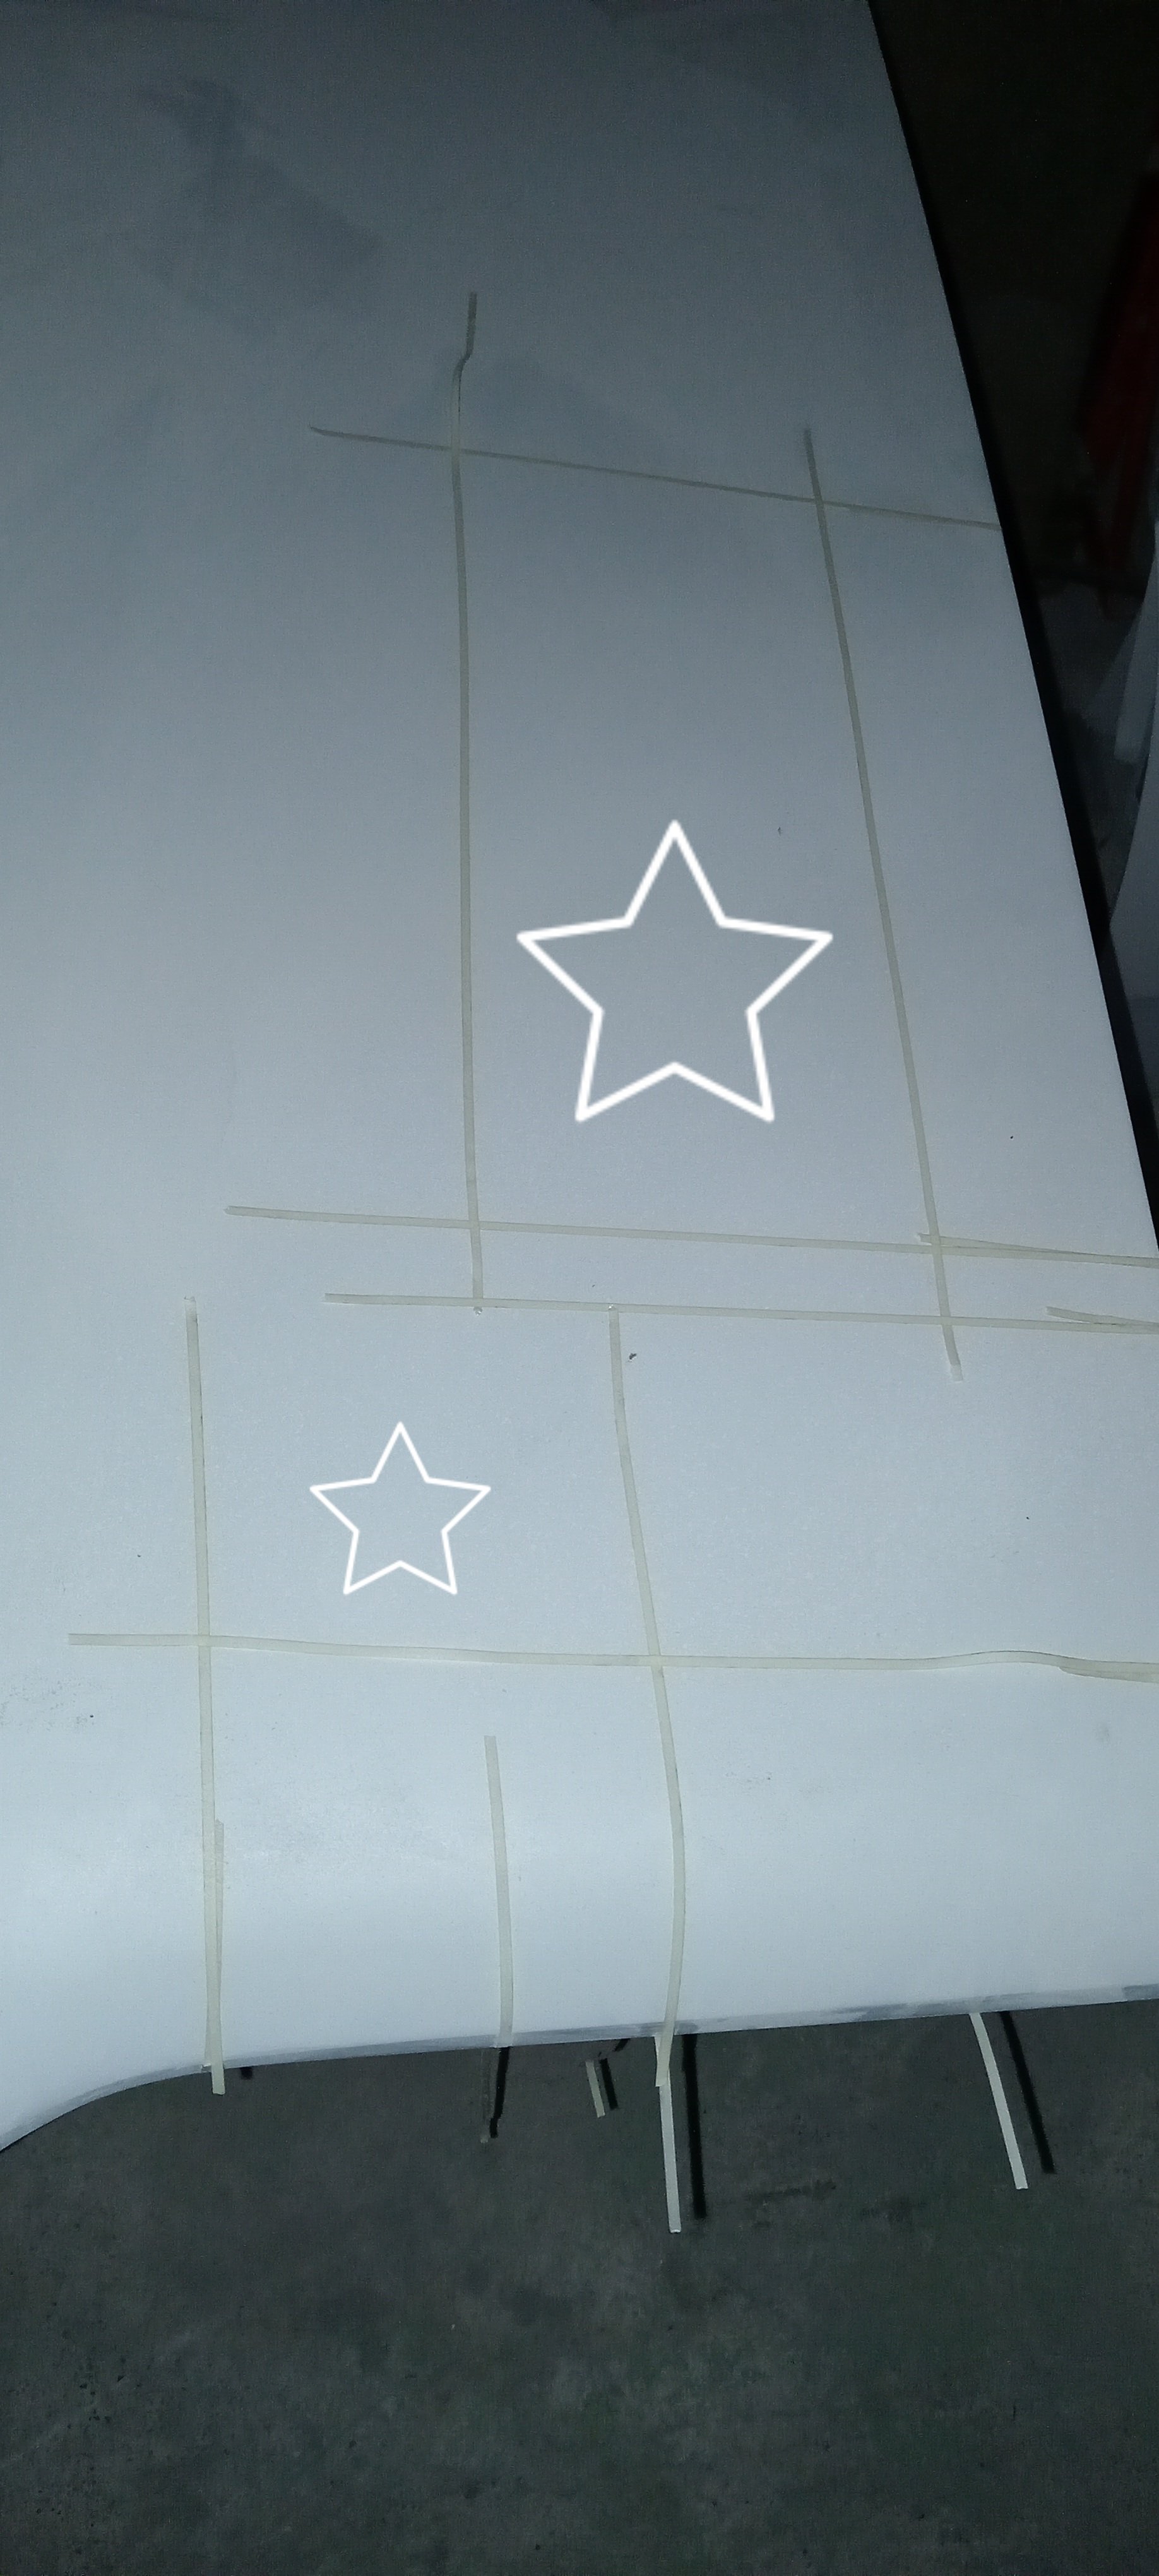
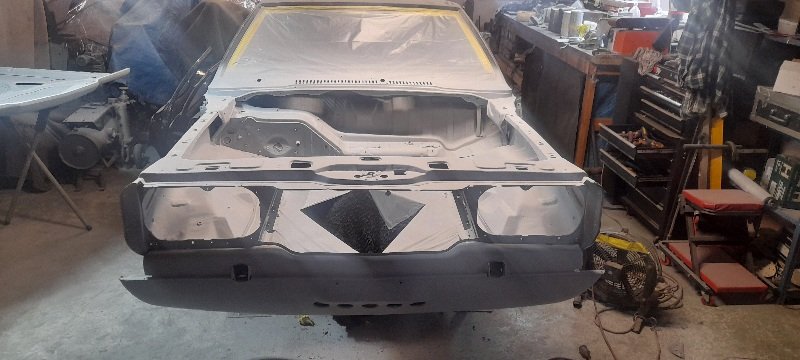
I've also been talking to a mate about under bonnet heat and after much chatting I'm going to need to vent the heat.. I was going to just lift the back of the bonnet and hope for the best ..but we put a model mk3 in a theoretical wind tunnel and the best place to draw heat out of the engine....like most cars is in the front half of the bonnet.....and I want to do that before I paint it... wasn't really wanting to cut holes in a mk3 bonnet...but this car will never not have a turbo motor in it ....so may as well. after looking and marking it out on the underside for room for vents... there are 2 basic areas.... marked with stars..... and I'm probably going with where the big star is.... same area I did on the other mk3. I have a plan though
-
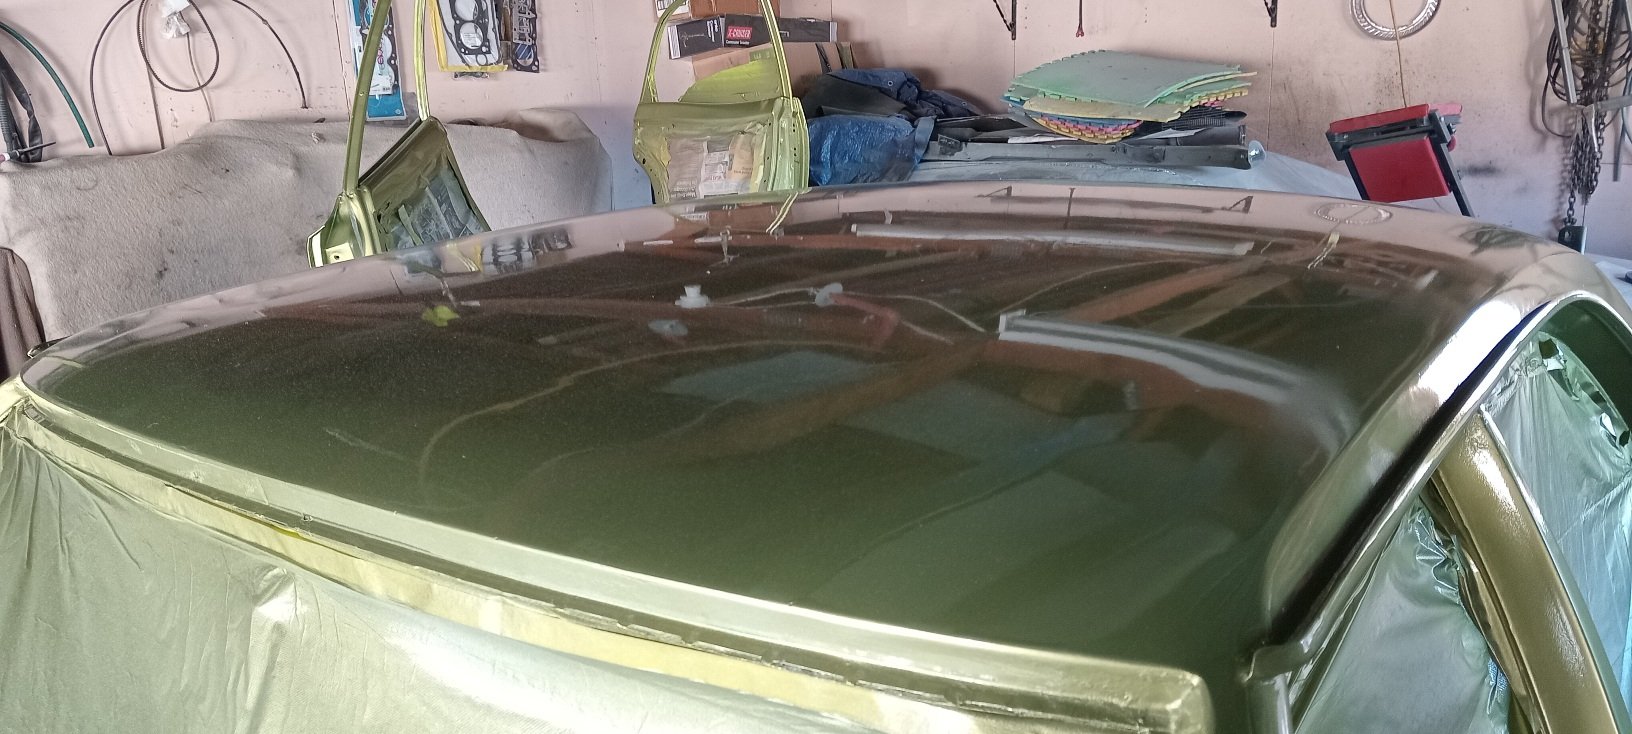
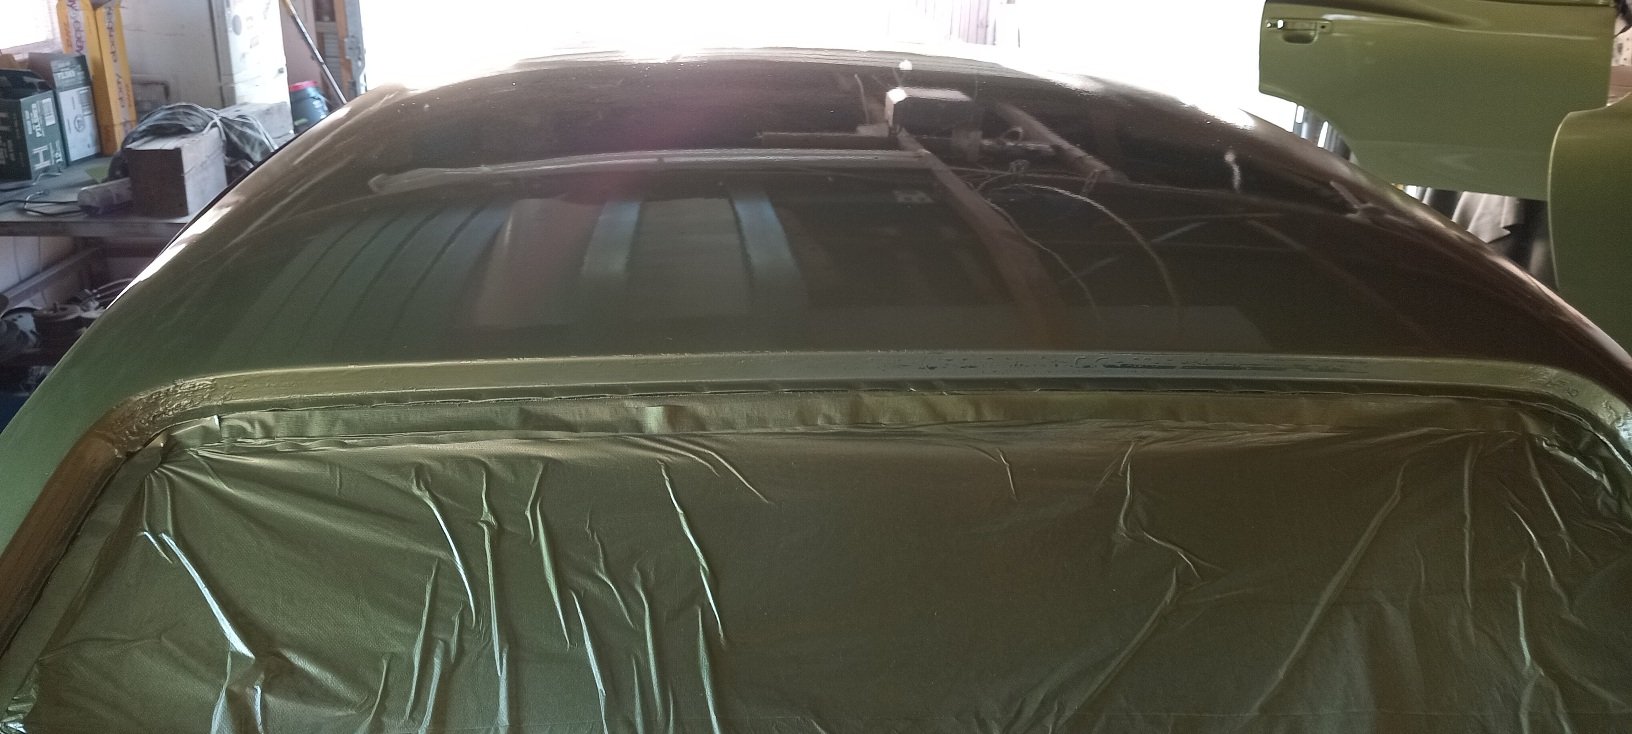
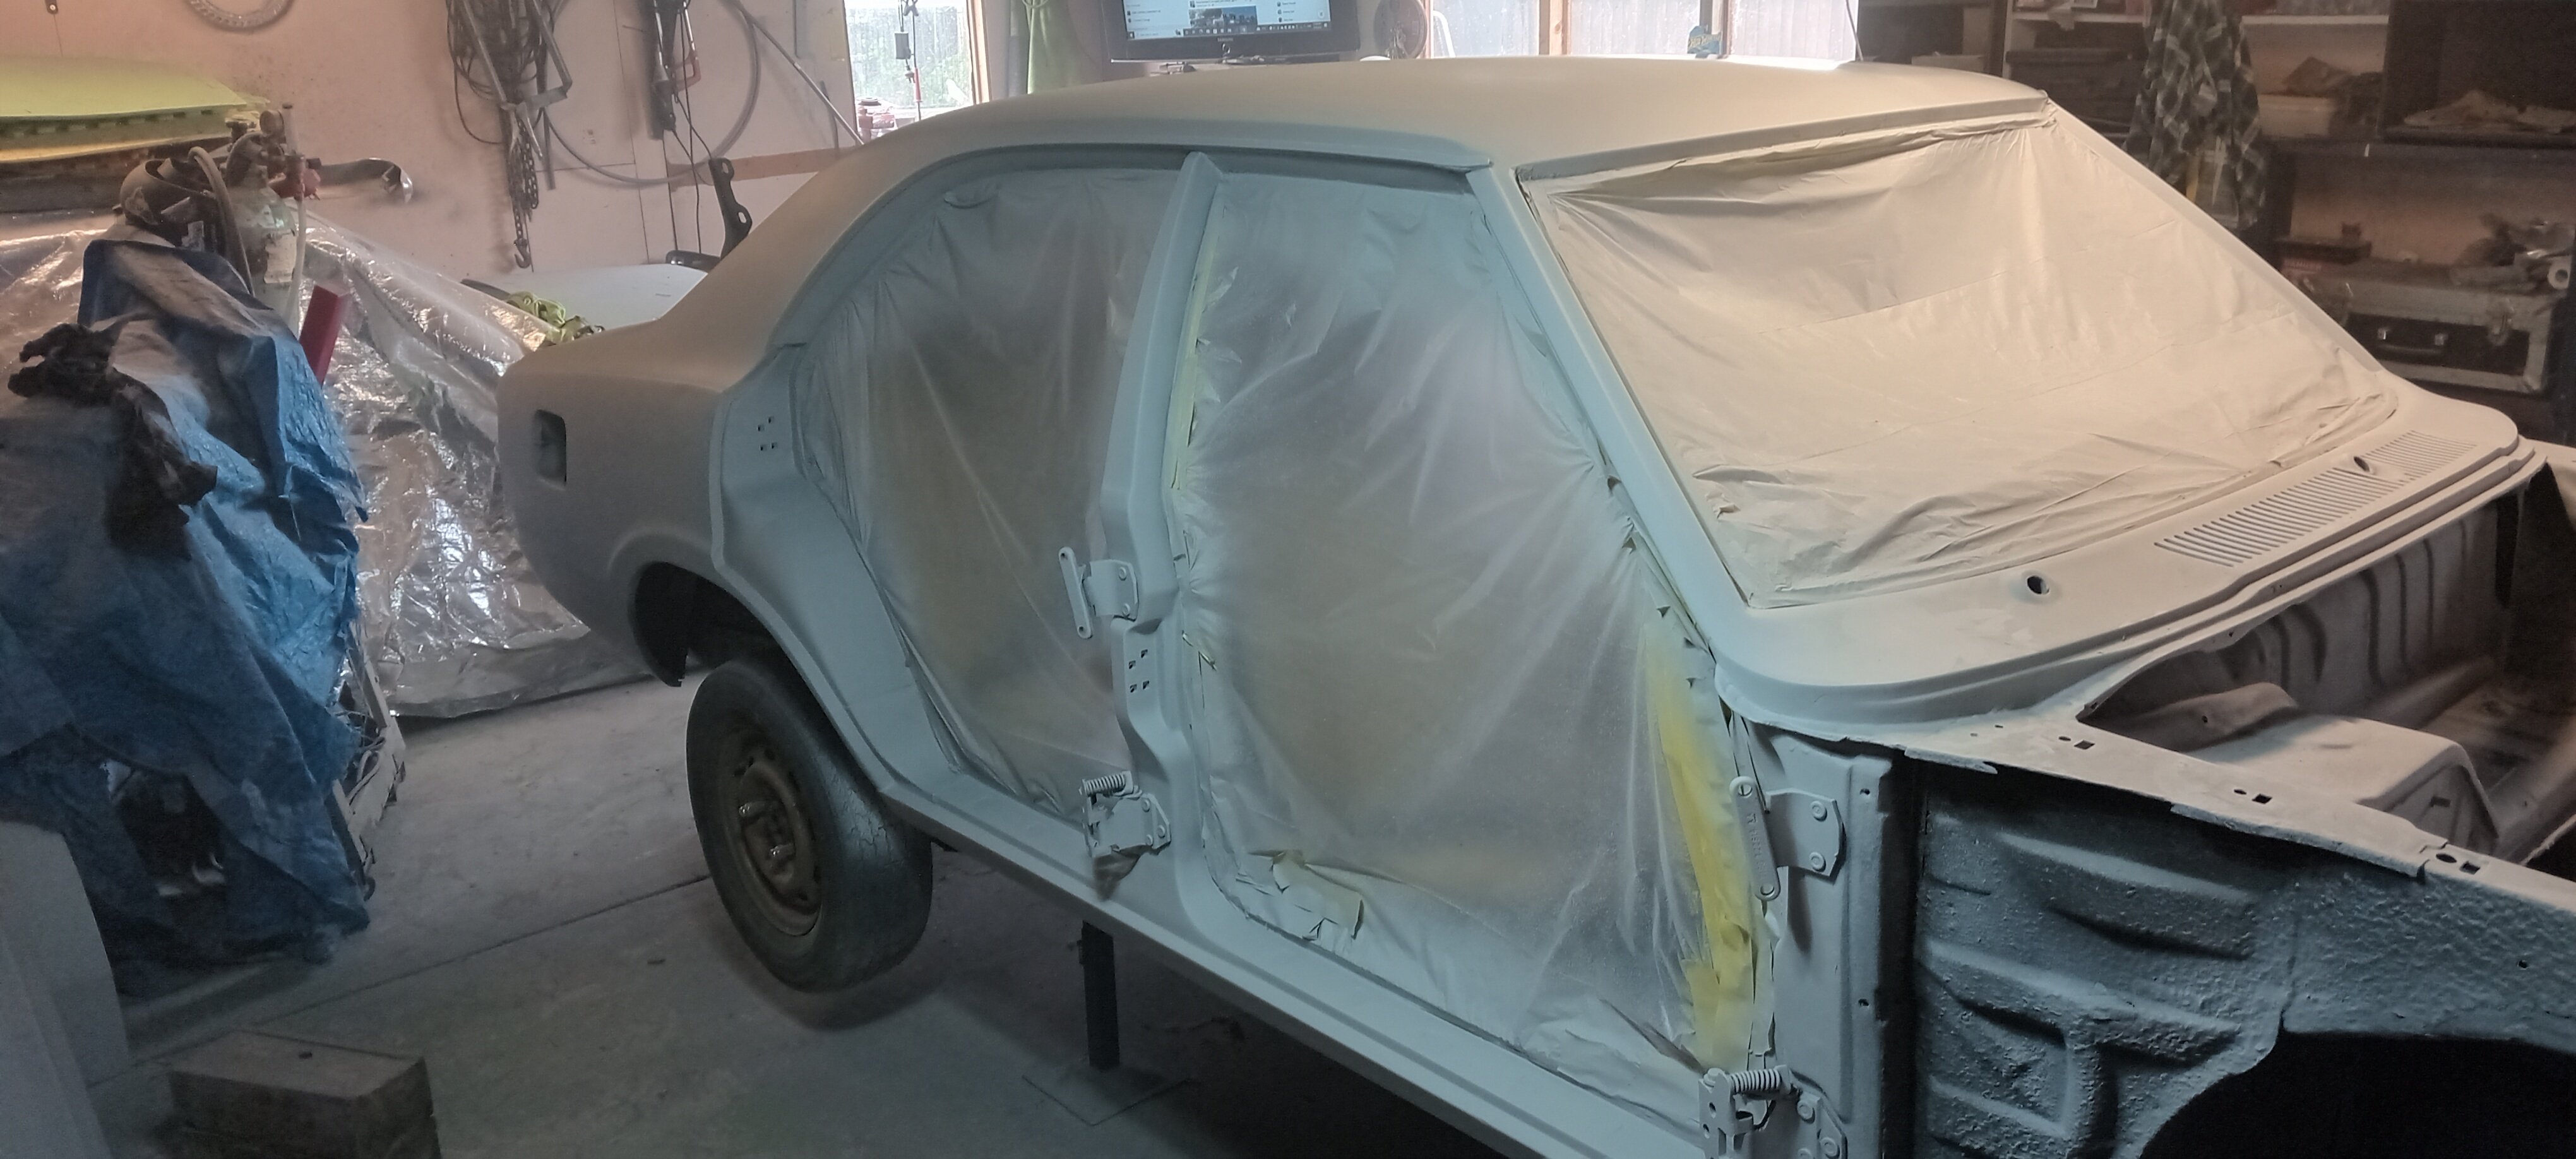
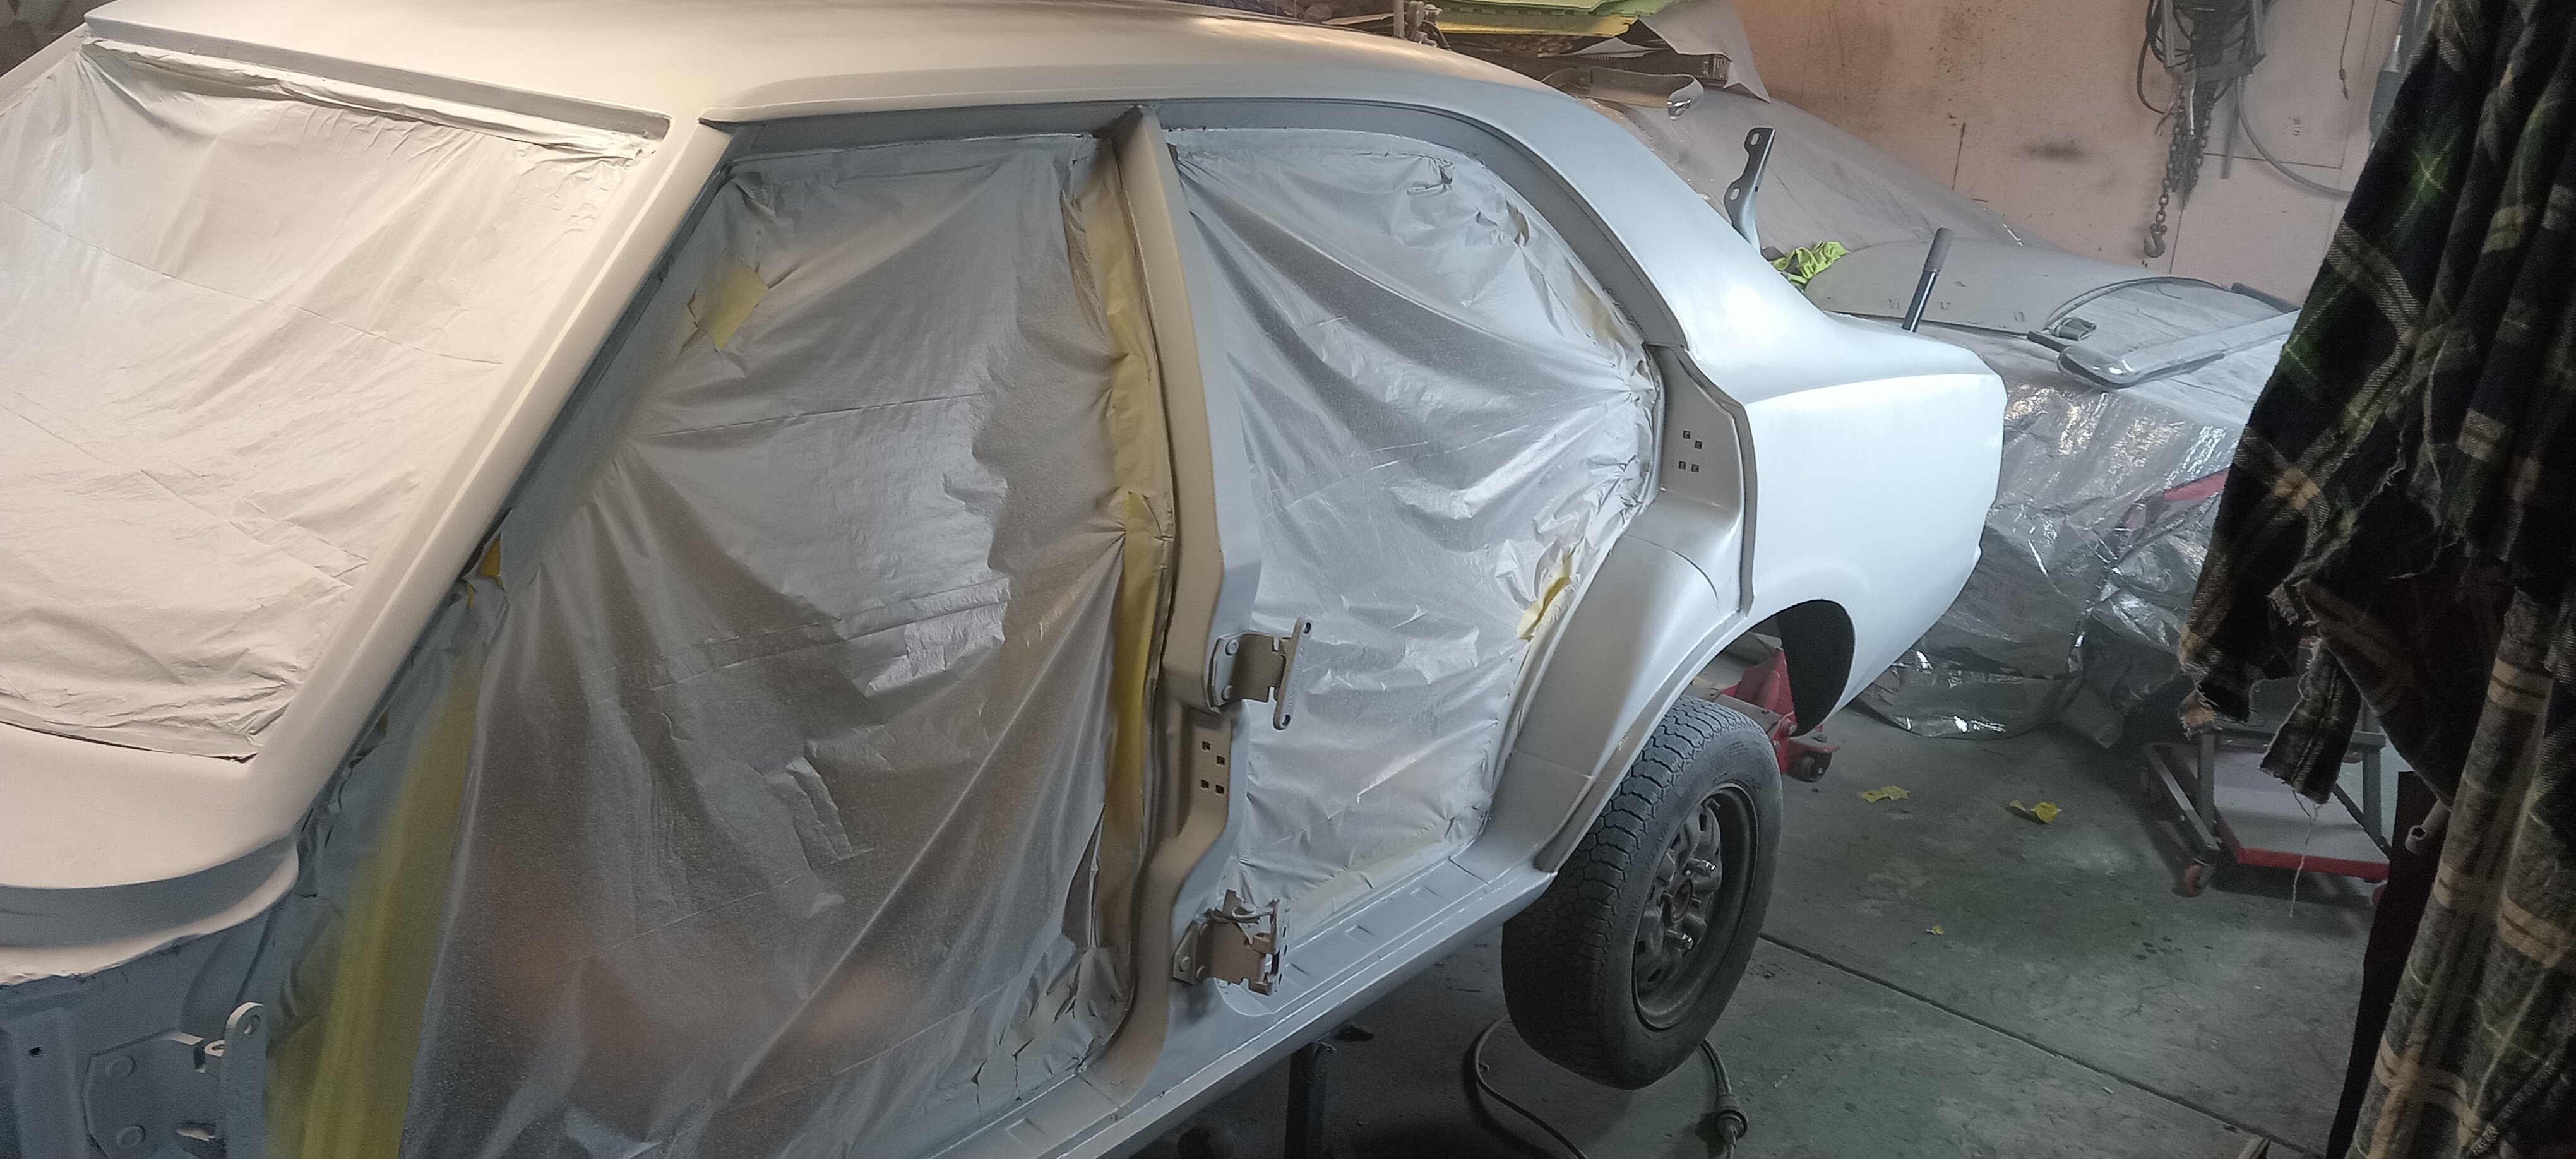
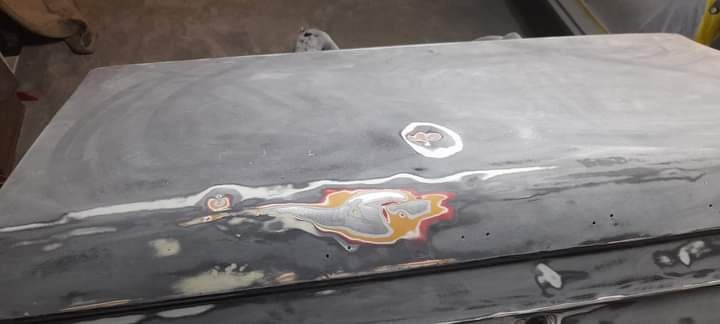
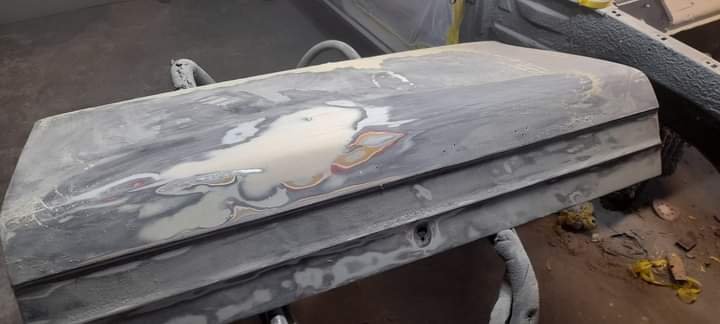
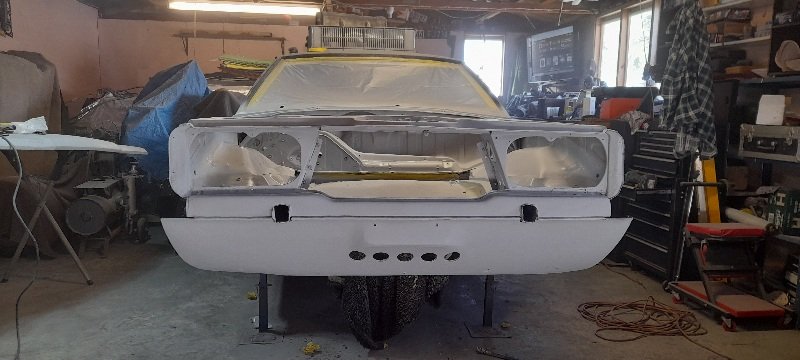
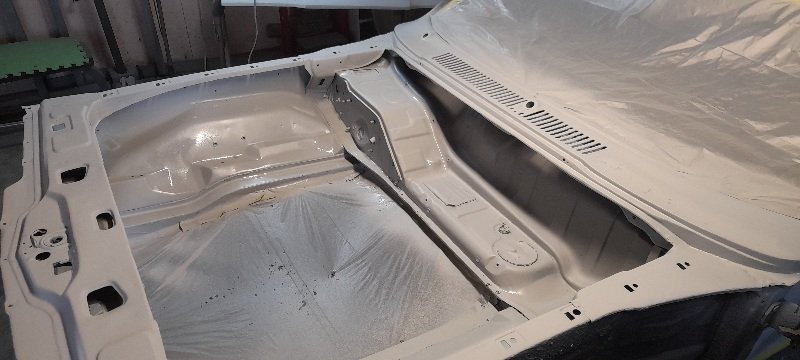
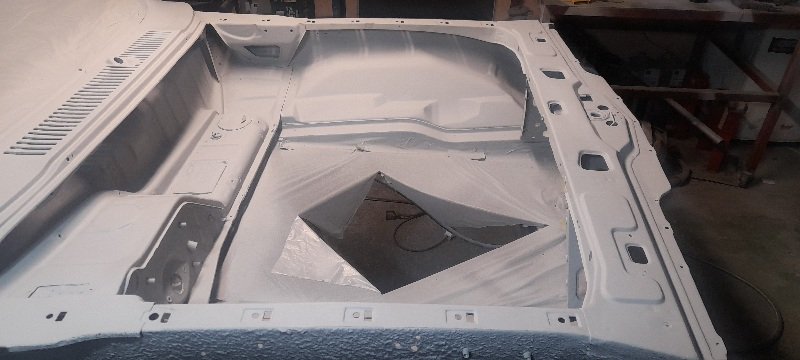
just the rear valance to go now.. almost all the black has gone.. the roof is as good as going to get ....I'm not that keen. this car will be mint from a far but far from mint... I plan on driving this and it's going to get dirty and dented probably ....I just want it looking clean and not black....... it's not a 20 grand paint job ..all of the paint supplies including bog,primer,sand paper,masking sheets and tape,tack rags,panel wipe,paint ,all the thinners and mixing cups ..$580 to my door... but one thing I will say it makes me realize the work that has gone into the other mk3 ....and if it had been this rust free I wouldn't have modified it.... anywhere roof and sides all done..
-
had brand new rear 1/4s for a rx3 coupe ,nose cone and front guards in my dad's panel and paint shop as well as a shelf of escort go faster bits and bobs. in the 90s.. I left for an OE and was gone longer than I planned and by the time I got home dad had sold his business.....
-
yeeeeesssssssssssssssss
-
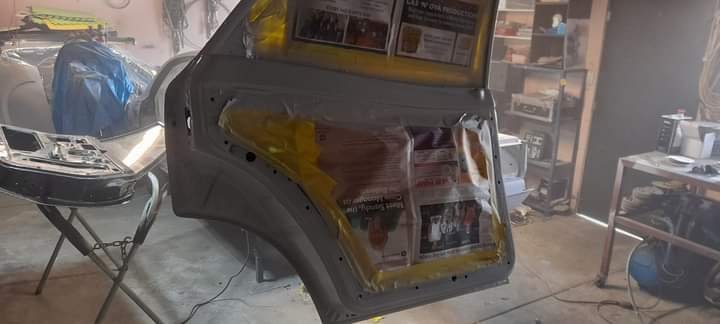
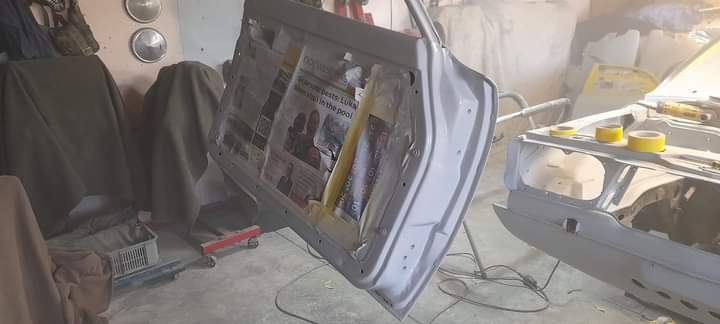
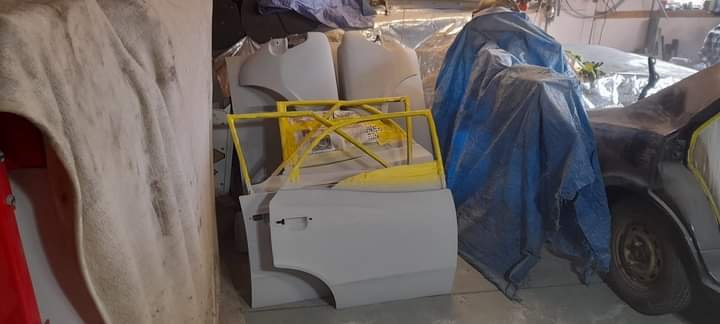
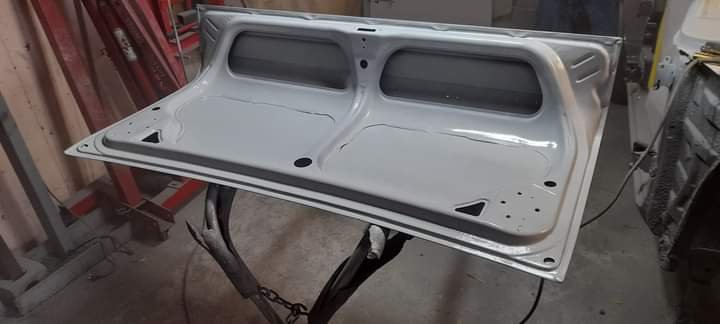
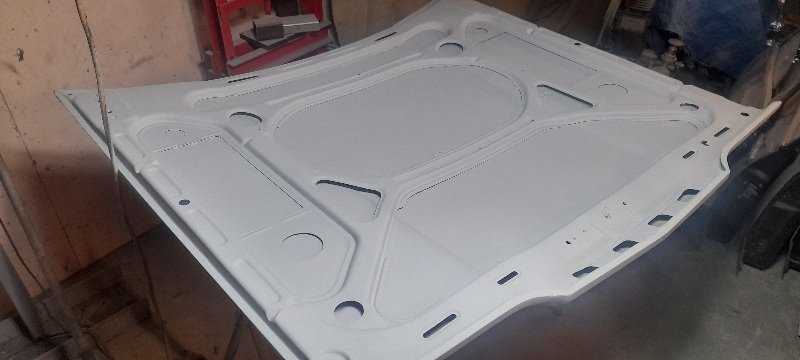
i got all 4 doors sanded down masked and primed.. to be honest the doors are fucking mint.... no sign of any rust.. last was the boot.. I know this had a huge dent right on the curve... I know this as I'm the idiot who did it.. I managed to bash most of it out and then some good old bog and primed top and bottom and last to do is the shell
-
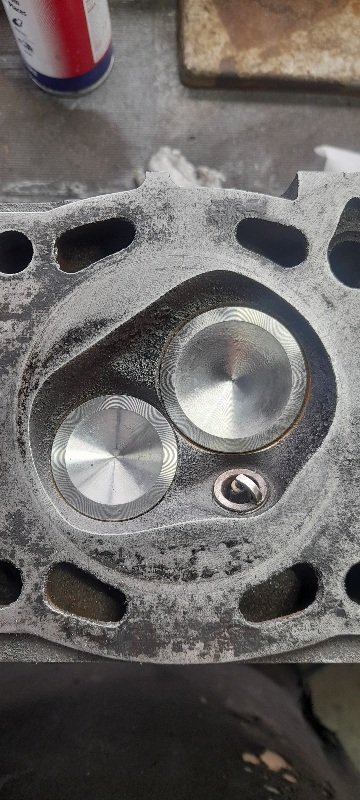
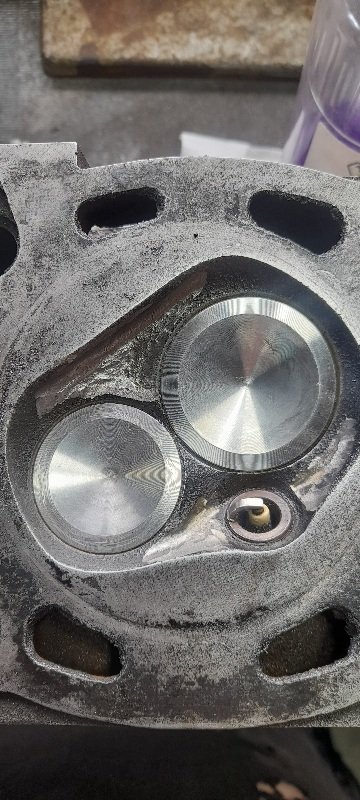
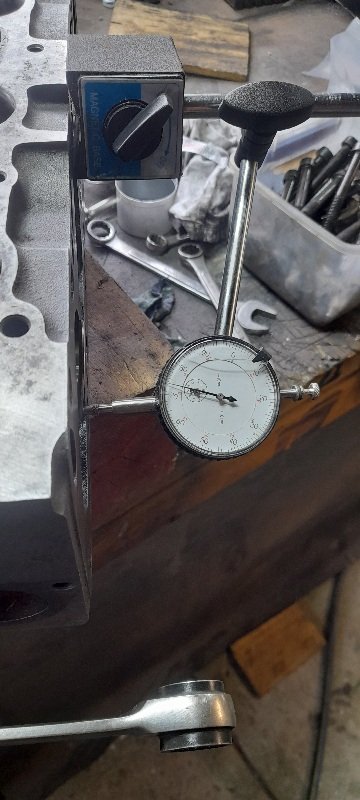
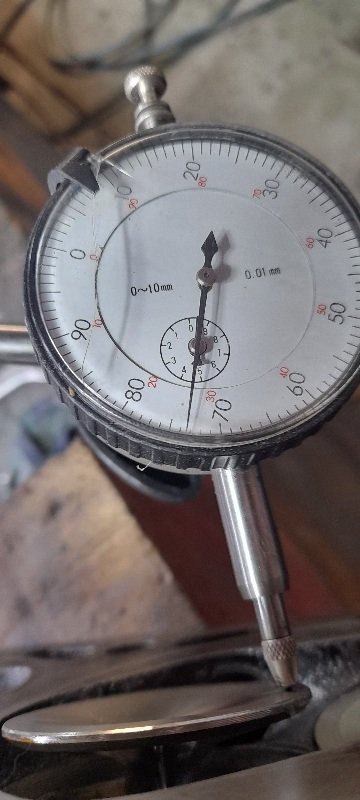
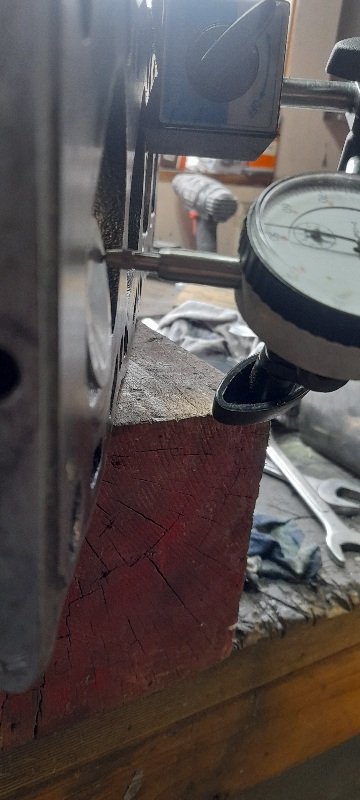
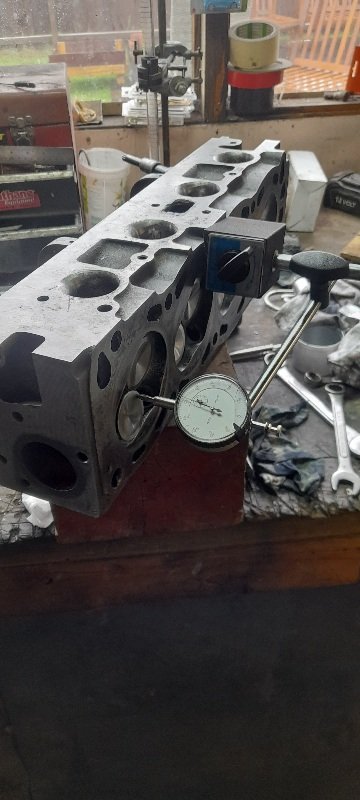
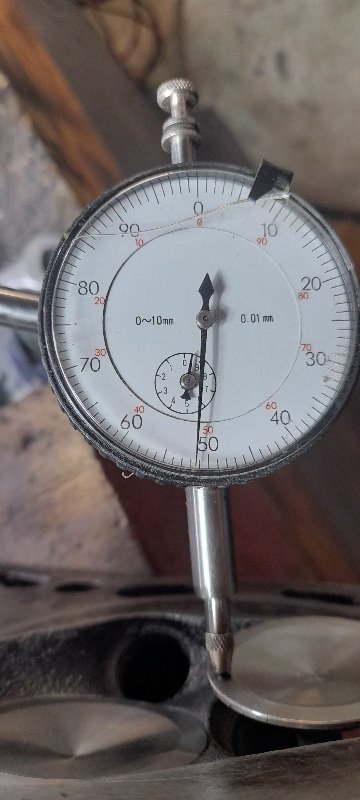
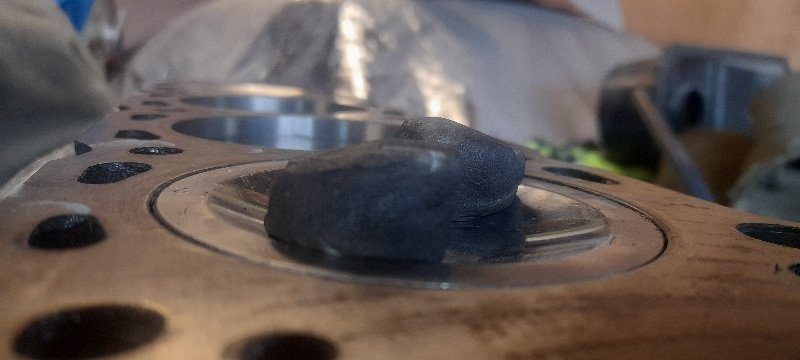
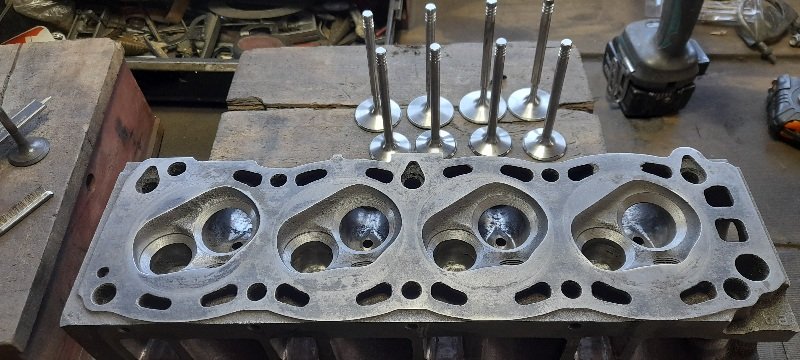
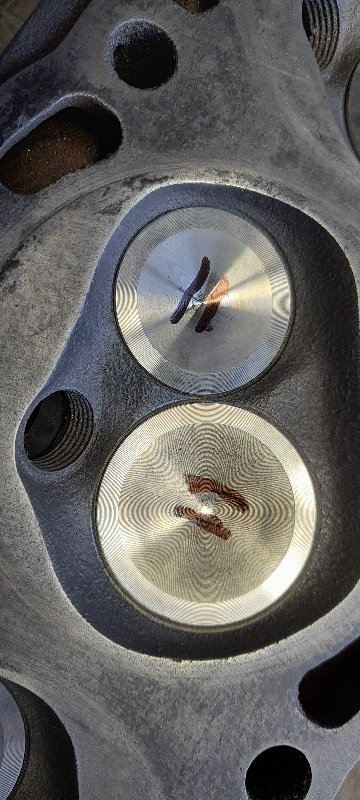
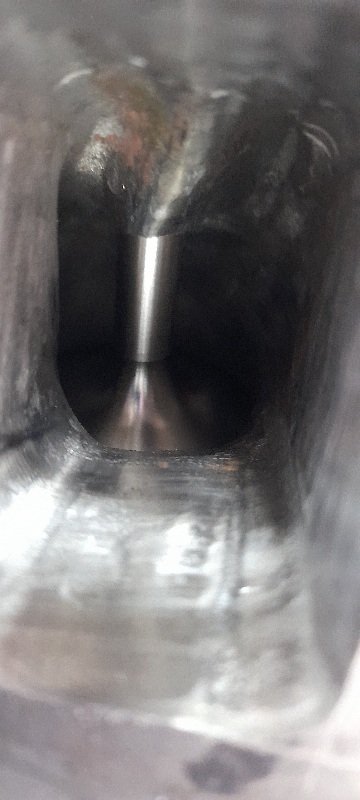
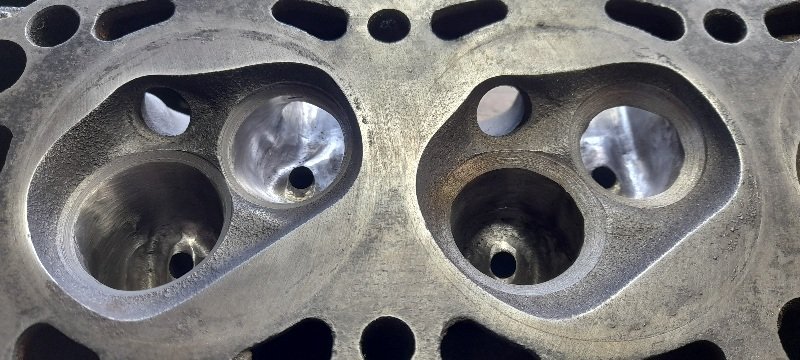
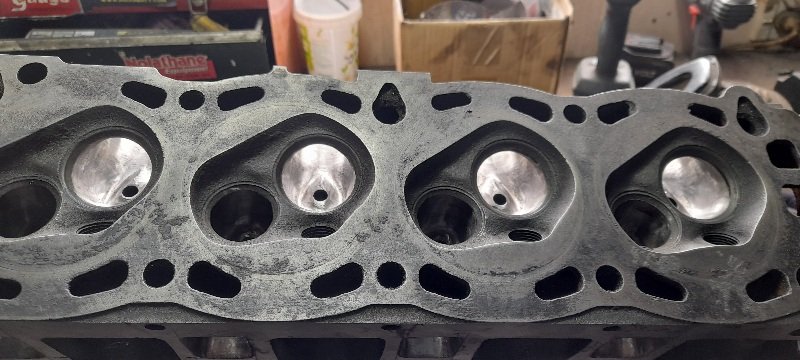
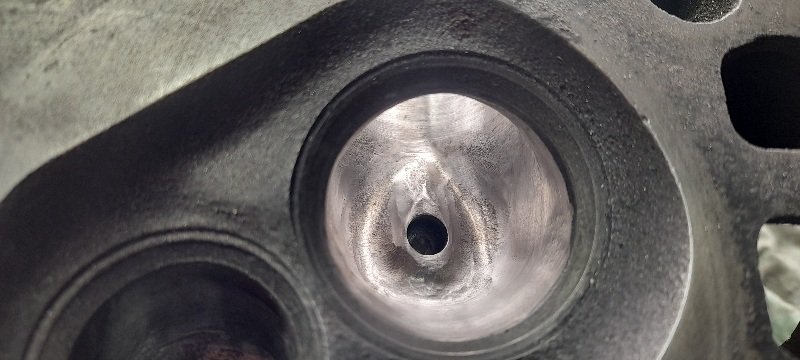
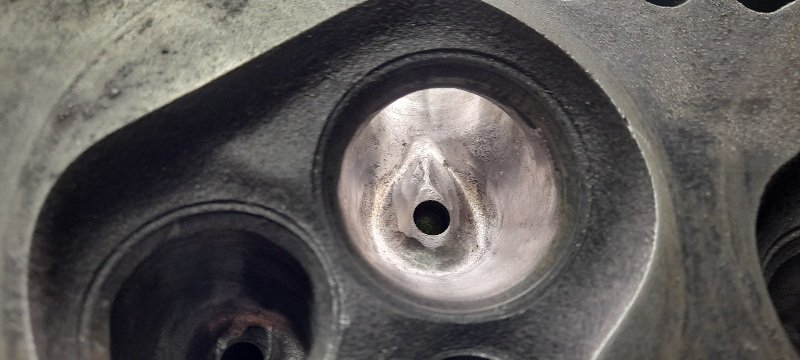
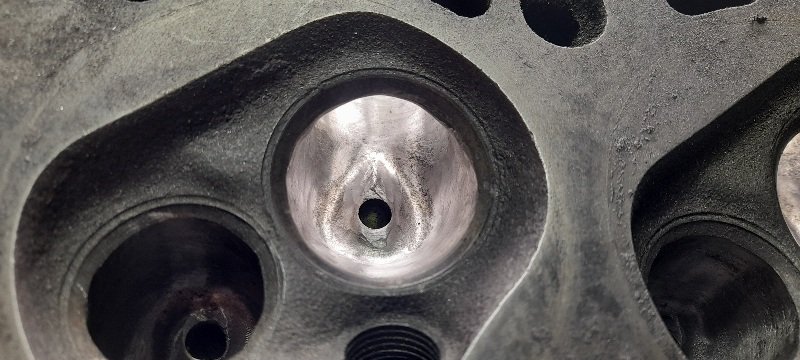
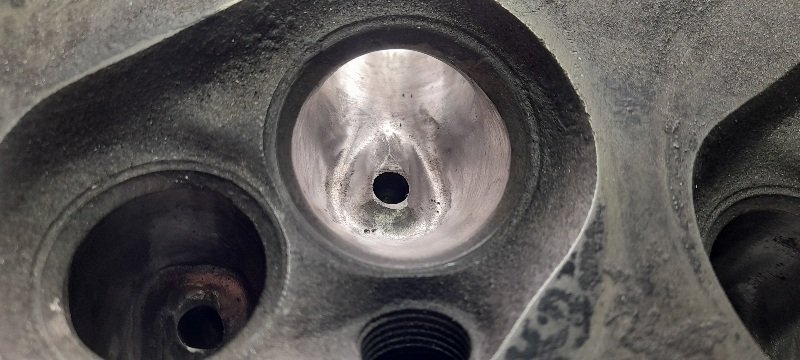
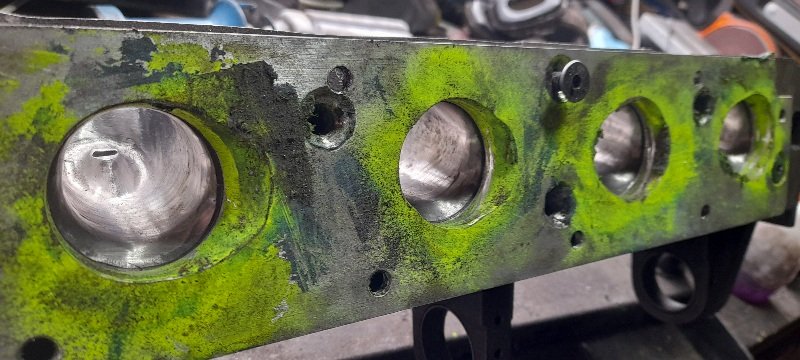
so my mate mentioned to me this morning to see if I can clean up #3 and #4 chamber and get them I bit closer the #2. that made me go and check them again and I found out that #2 was 44.3 and not 43.4 (yup I measured them,looked at them ,and wrote them down..... so yes I screwed myself up lol). so I spent the morning measuring and die grinding and measuring and grinding whike trying to go go through anywhere. but I did get them to #1 44.2cc #2 44.3cc #3 44.1cc #4 44.1cc that's about as close as I'm willing to go... the last 2 took some work.. pics in order.
-
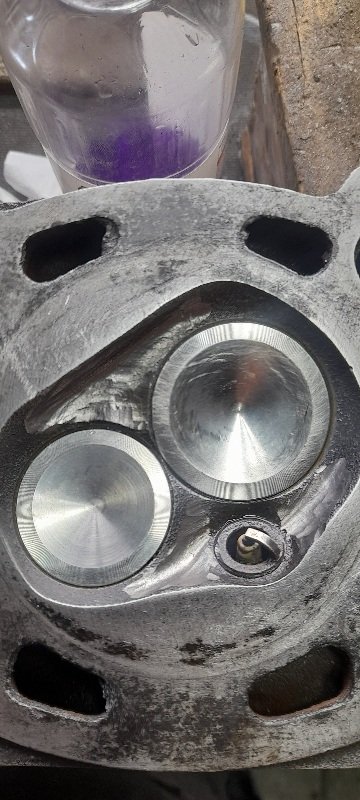
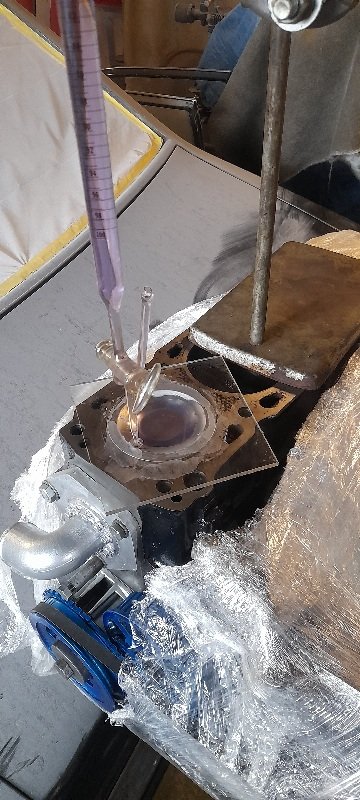
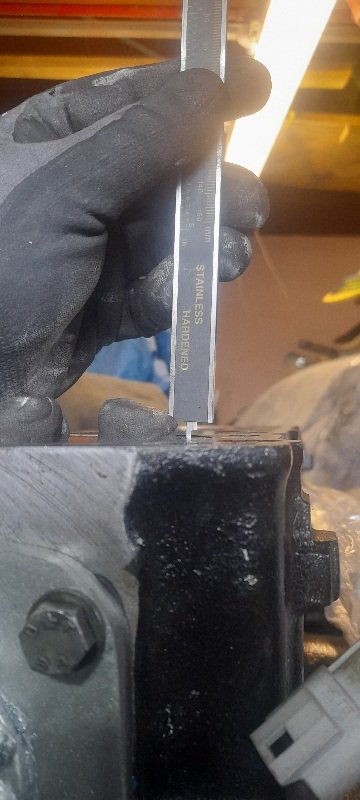
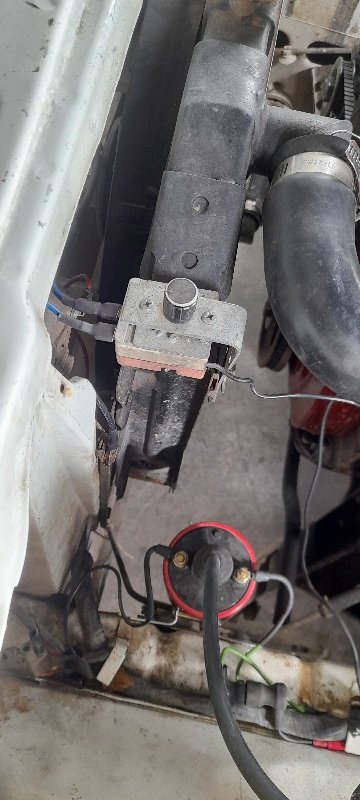
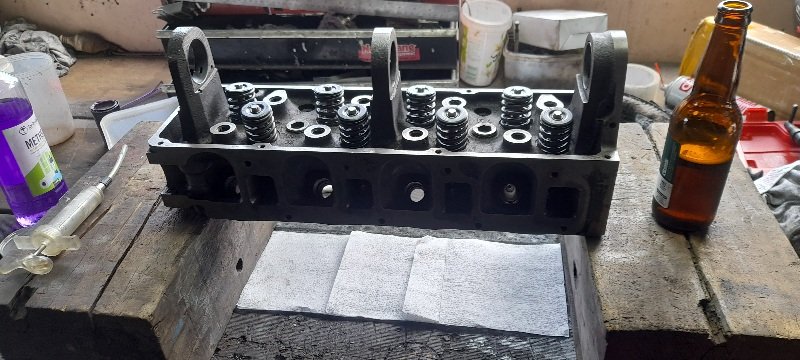
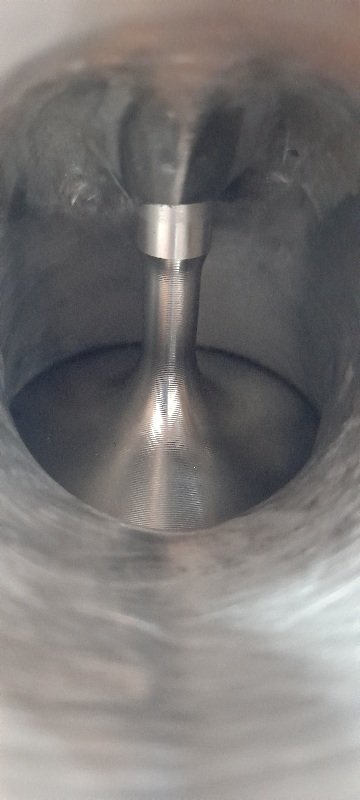
. so today I've been spending time measuring and I'm glad I did.. I measured the combustion chambers (internet said around 47cc factory).. this head has had a skim at somepoint and I got. #1 - 43.1 #2 - 43.4 #3 - 42.8 #4 - 42.9. not sure what is a good tolerance to have between them. measure the dish in the pistons (internet said 19cc -20cc depending on yb cosyears). all of mine came it at 16cc. all that I ended up with 8.873-1 CR I'm after about 9-1 CR so that means if I got the head skimmed 0.2mm that will give me 9.043-1 and if skimmed 0.3mm that will give me 9.131-1 I put some rockers on inlet and exhaust on #1 and also slipped a standard cam in to check some clearances.. inlet lift was 9.73mm and exhaust lift was 9.52mm.. I sacrificed a head gasket and slapped the head on ( with some bluetack ) to see if anything is touching now.... the head gasket squished was 1.67mm (obviously torqued down cold ...but to 85 ft lb) the head gaskets I will be using will be 1.3mm squished. . I realized I had missed an opportunity to see how much room I DO have between valve and piston.... so I stacket up the bluetac and bolted the head down again and put the belt back on.... turns out I've still got about 6mm to play with. so far so good nothing is touching ... so next will be to contact Mr PK at kennelly cams . cheers
-
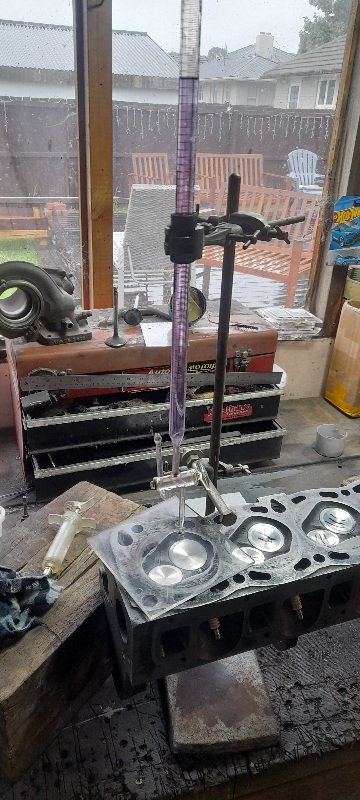
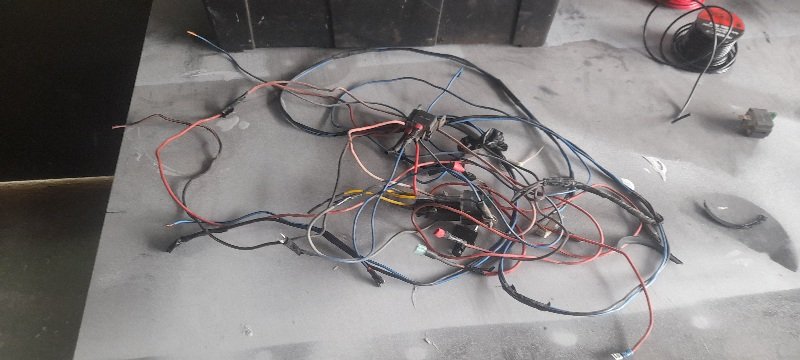
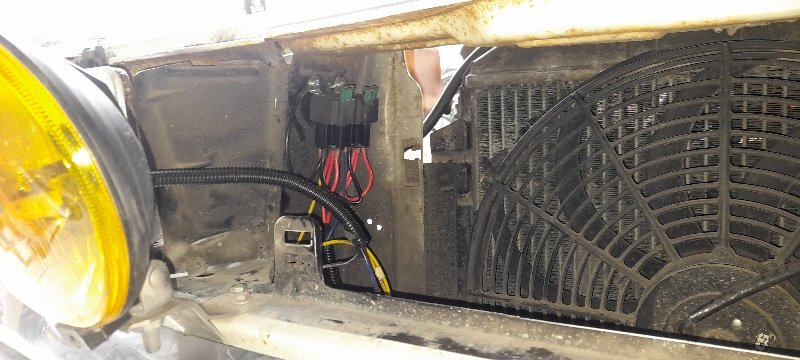
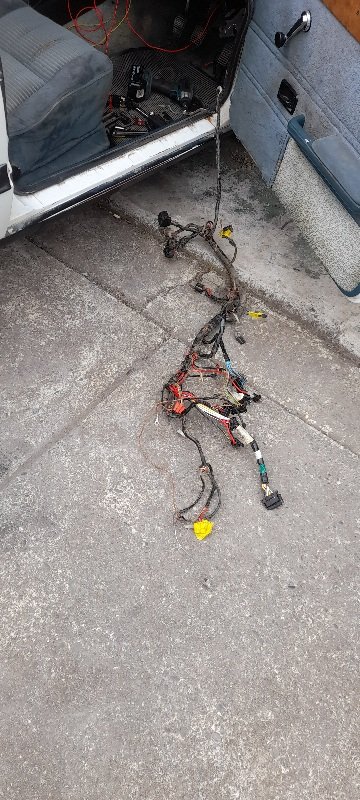
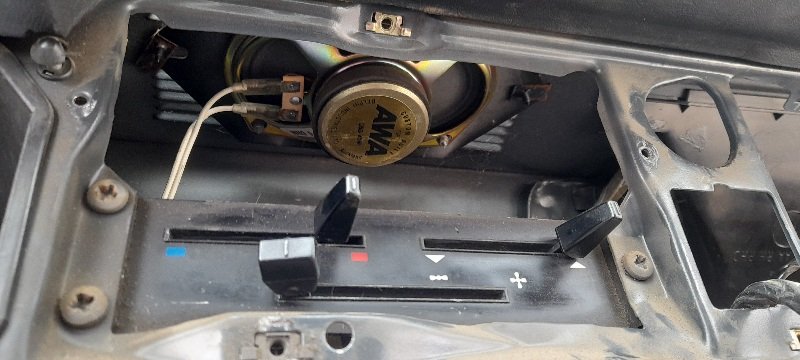
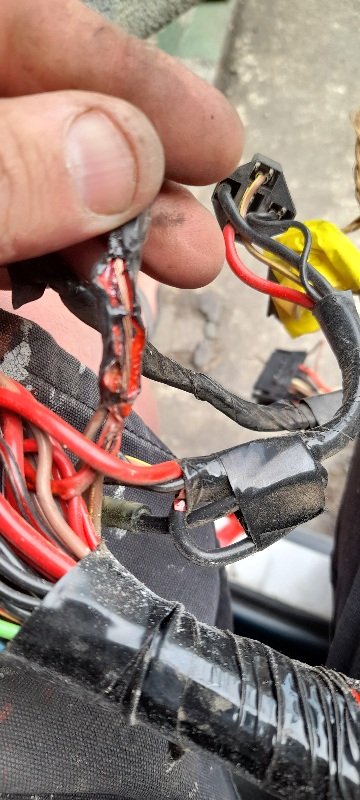
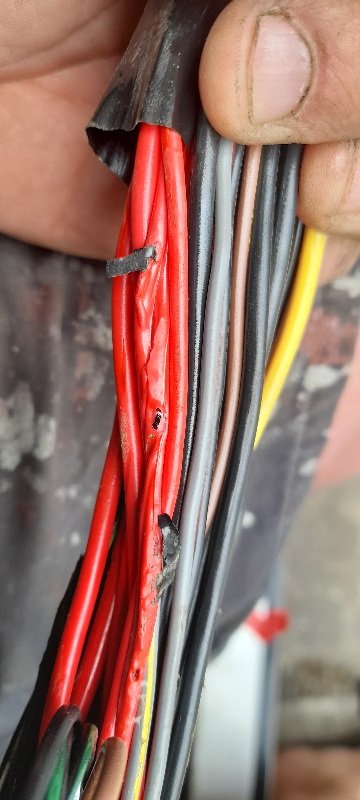
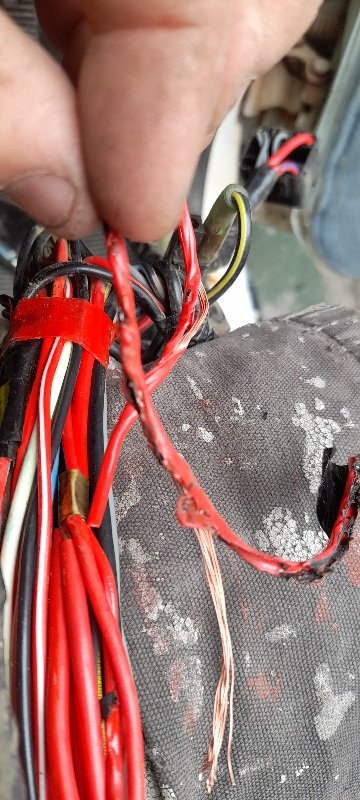
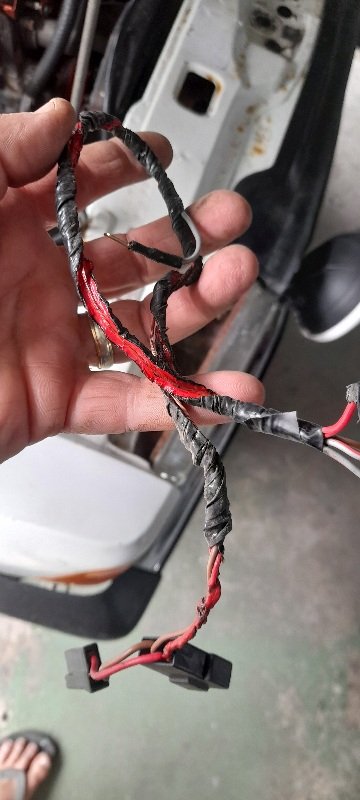
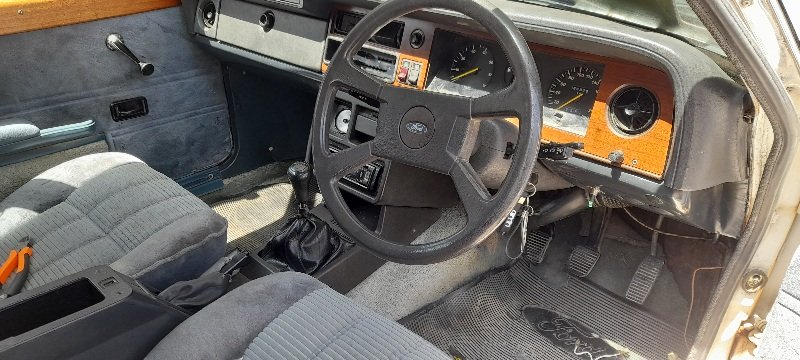
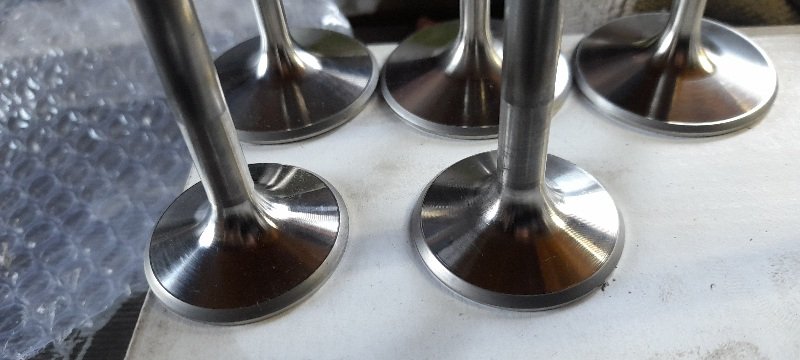
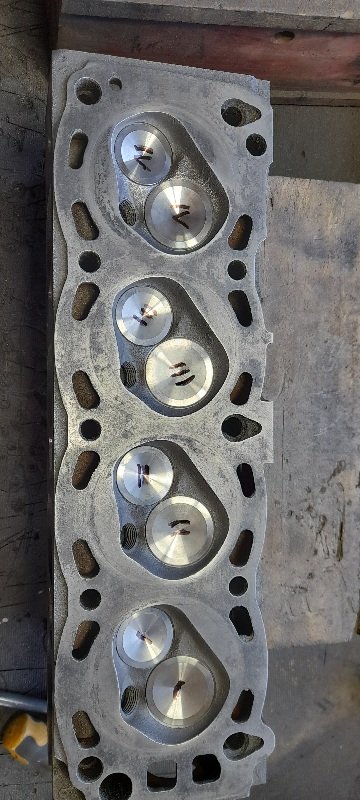
feels like it's been ages..... but with work,family ,house ,blah blah....I've been busy. I've got my nephews mk5 back for some TLC..... looks perfect now sitting on the 13x7 hotwires I cleaned up for him and his brand new 215/50/13 tyres he's having troiwith fuses blowing and the stereo working and not working.... so I decided to remove all wiring for things that arnt factory and re wire them.. wires out new wires ,relays ,battary terminal and all cleaned up and working again. dog supervised it was all done and working well when he said ....." so did you figure out why the hazards lights,horn and washer bottle don't work.... I checked the fuse (they all go to the same one) and ut just blows as soon as I put a fuse even close to it... so out it all came....removed the complete loom just down to the drivers sill. found a perfect condition factory fash speaker (never seen one before) I also found once I started removing the loom tape and tra ing the wires from the fuse that blows...burnt out wires ..from back of ciggy lighter and interior light. all working and back together ready for wof this Tues over the past month I have been working on my body work as well. driver front gaurd sanded down ,rust cut out and welded up,dents removed ,and all primed in max fill primer ready for final sand. passenger gaurd straightened, dents removed ,sanded and in final primer. bonnet has had dents removed ,drivers front edge straightened and both top and bottom in final primer. engine bay cleaned up ,rust work done and all sanded and in final primer..as well as front panel and scuttle panel. and finally I've been struggling getting the valves lapped in by hand and so I bought an air tool for the job.......that turned up yesterday so I made a start. the valves and valve seats came up spot on and I checked sealing as I went through them...and kept going until it did make a seal. once all done I put all valves in and filled all ports with meths and left it sitting...... so after 4 hours there has not even been 1 drop... so ill take that as a win just need to borrow a mates Walter white chemistry set to measure the combustion chambers.. and then figout how much to get the head skimmed... and then it will be cam time.... cheers
-
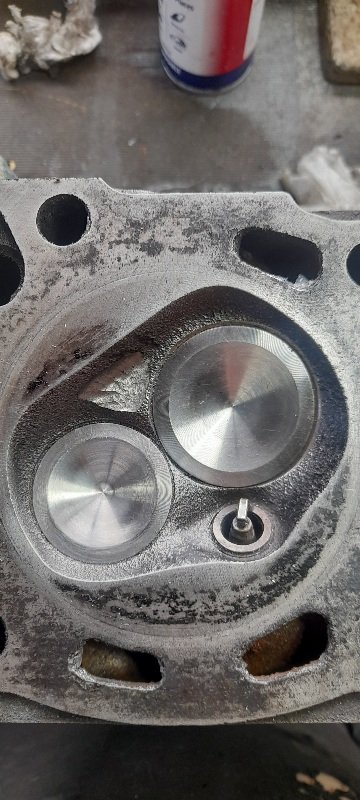
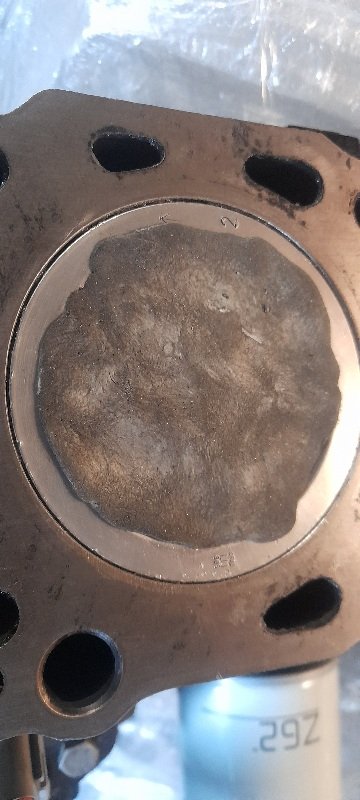
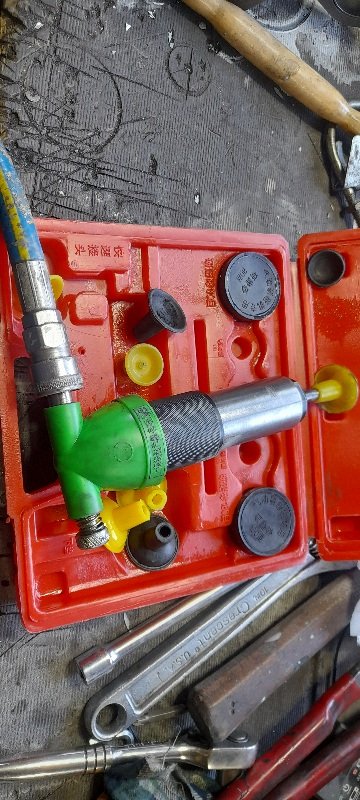
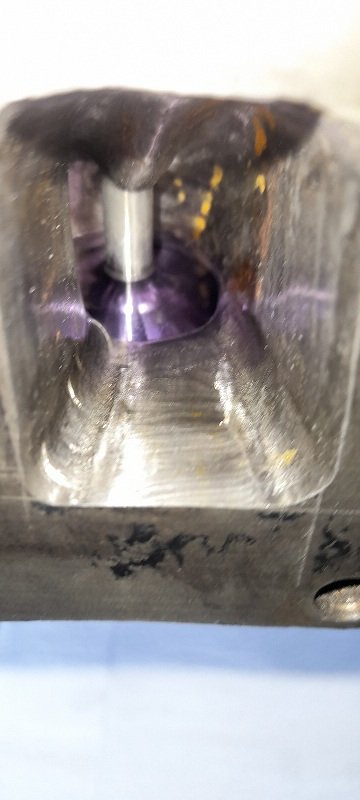
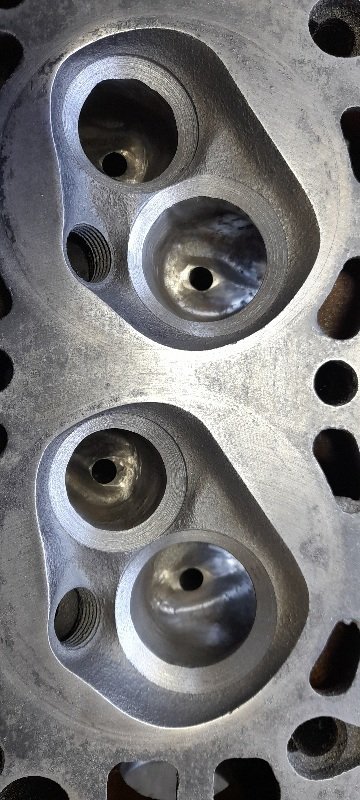
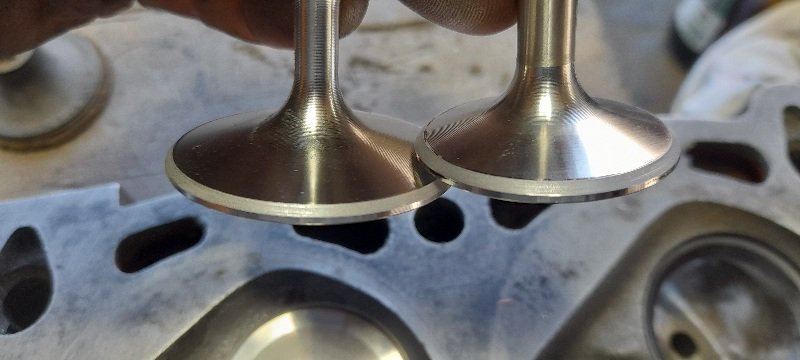
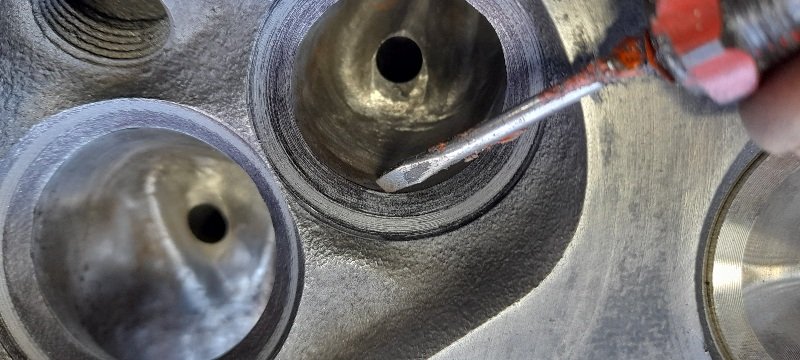
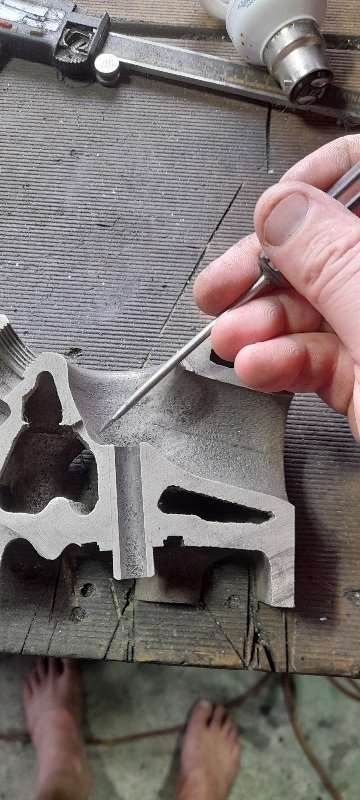
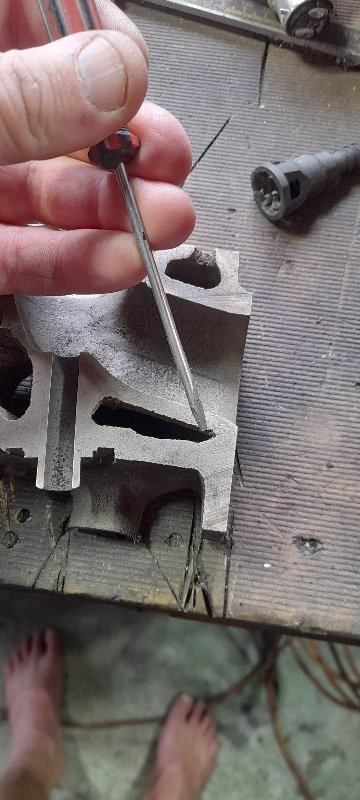
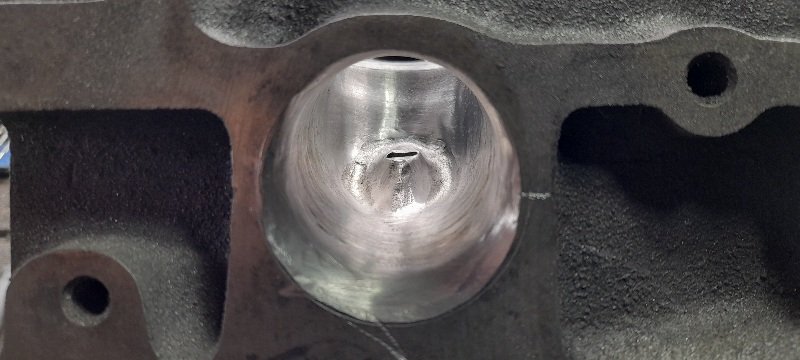
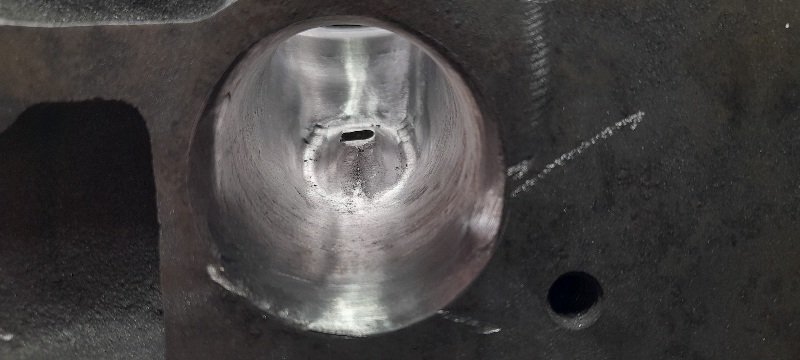
borrowed a mates valves seat cutters and thought it's about time I learnt/ had a go. took some cutting but big valves all in I then got a vivid and cokothe cut face in and lapped the valves. you can see by the black how much I can now open the port upto for the new seat I only got as far as getting #4 done but it certainly opens it and and I was also able to remove heaps more from the inlet port floor where it falls off to the valve seat. opened to valve seats compared to just cut and a shot inside the ports. still got 3 more to do and some cleaning ... then I'll be able to measure the CC and decided how much I want off the head.
-
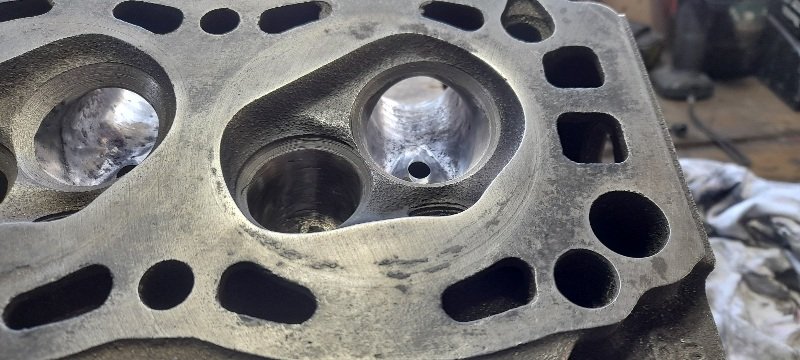
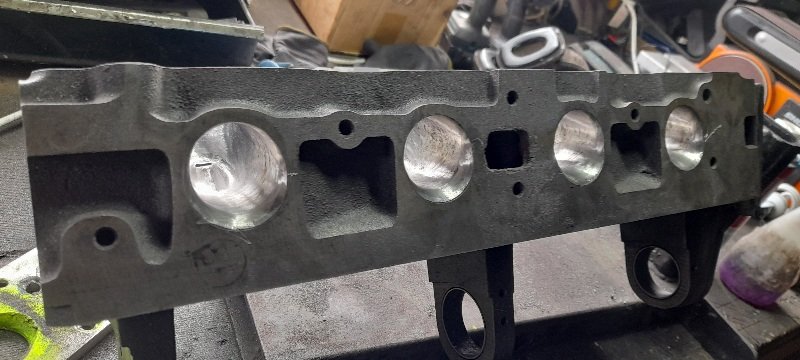
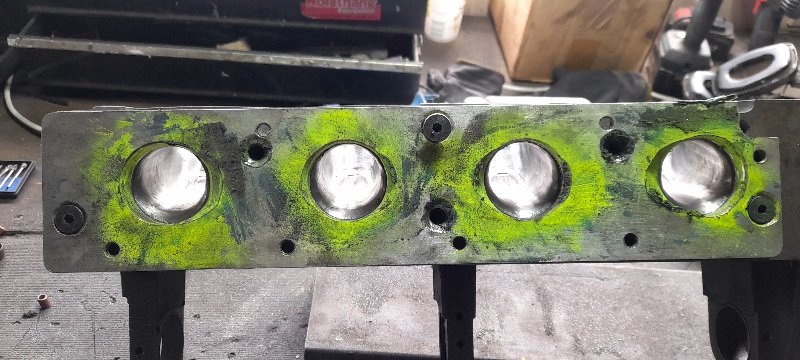
working in and around household and life in general duties I got the inlet ports of the head done... you can see on this section of head how thin it is around that back of the port and where I went through on the last on.... (don't worry about my feet I had my safety jandles on most of the day.) and this is the area I was paranoid about going through at the opening...as I had to open the ends up to match the adapter plate. but that's as far as I'm willing to go. tried to get them as even as possible. and with the plate on
-
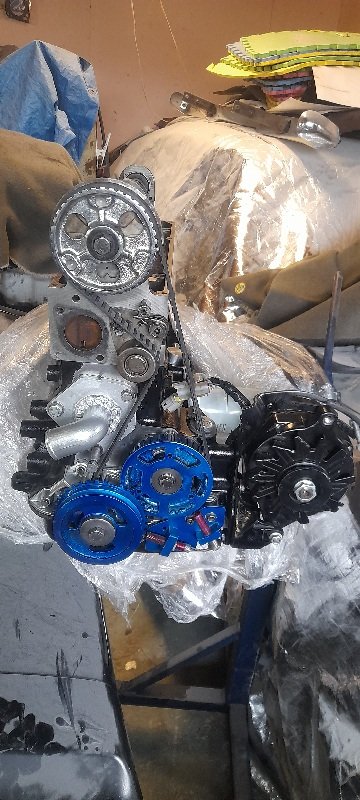
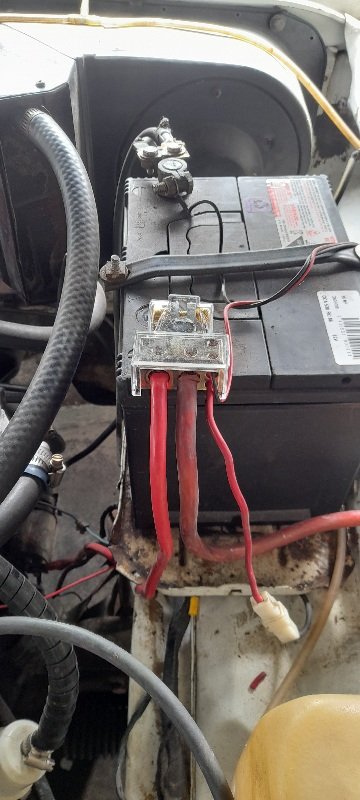
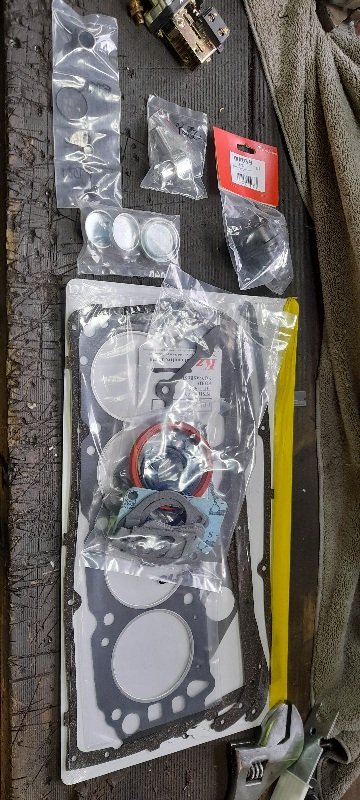
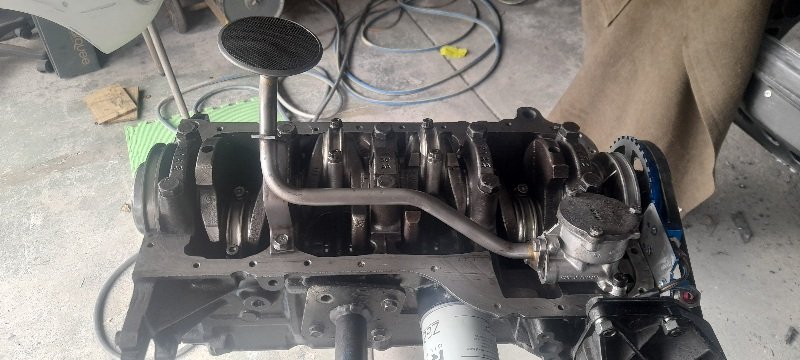
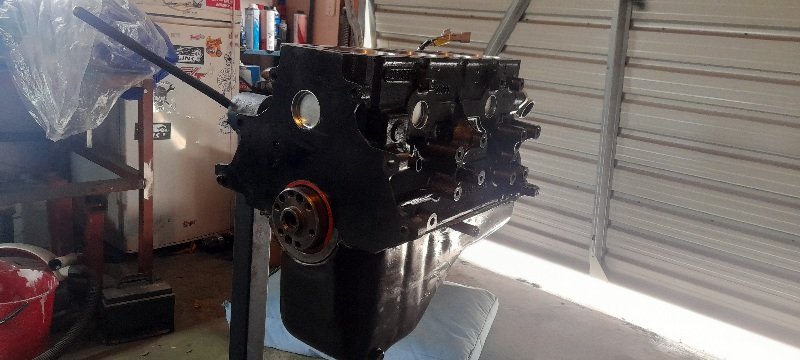
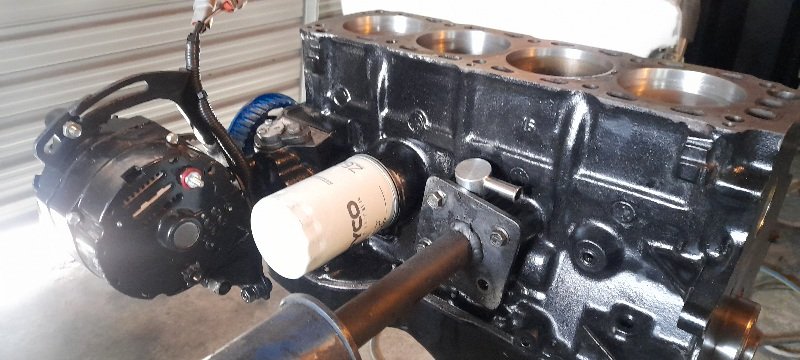
had some parts finally arrive and with some parts that arrived last month and the fact I've given up on the gasket set and head gasket ever showing up..... I but the bullet and grabbed a gasket set from palmside (will look for another head gasket later on.....the one from palmside is fine for a standard rebuild... but maybe not for what I want). so cleaned and area up and cranked on with the bottome end. *new main oil gallery plugs *new stainless frost plugs *burtons block btrather *1600 xflow OIL filter *new spigot bearing *new seals and gaskets. and that most of the bottom end together now.and all wrapped back up and put away.. should really Crack on with the head....and body work. cheers
-
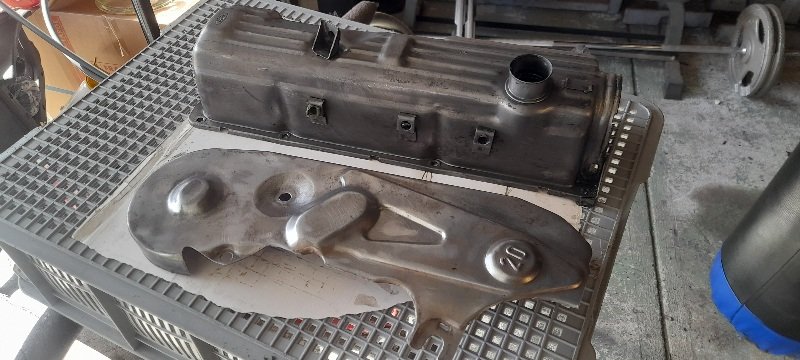
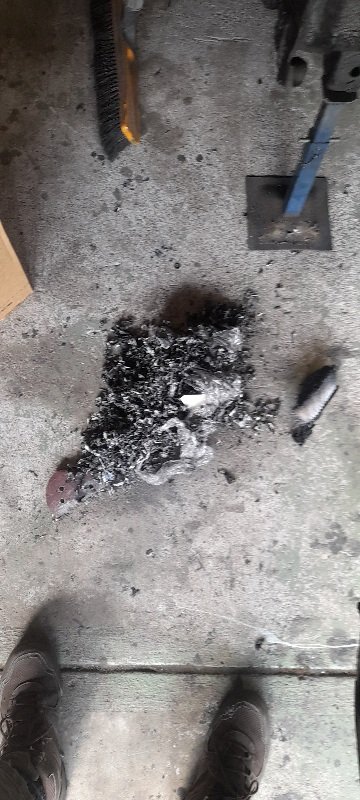
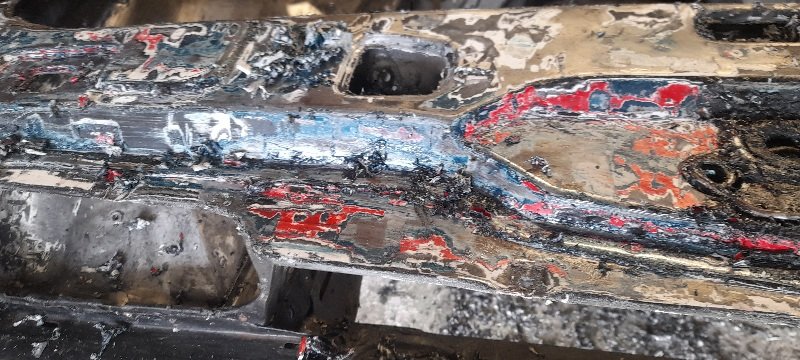
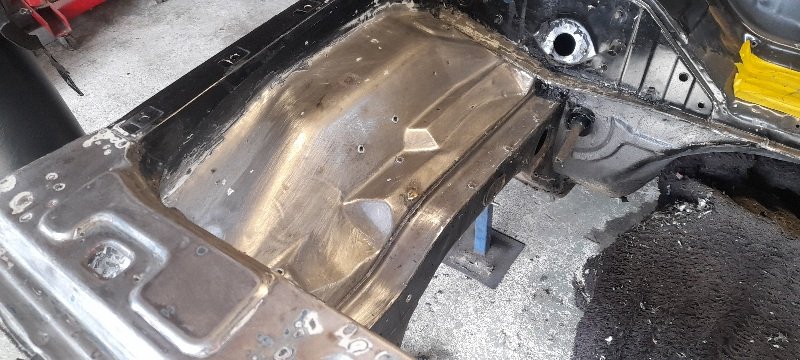
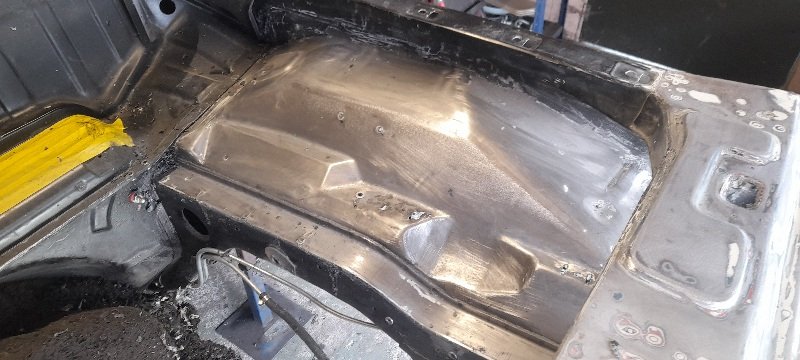
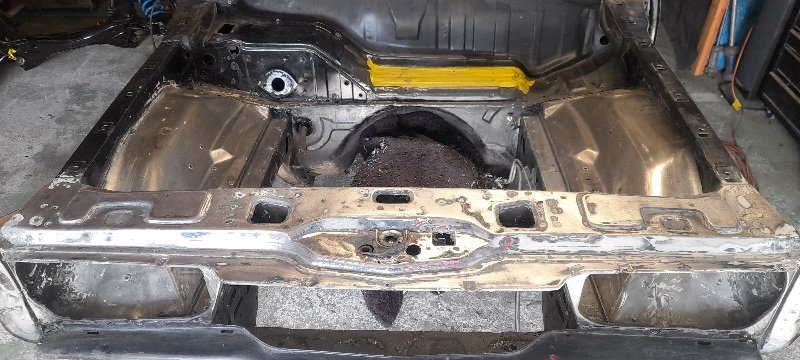
grab a tin of paint stripper yesterday and set to work.. got a spare rocket cover and a cam cover I'll have to modify done. then I started on the engine bay.. there was a few volours on the slam panel.. factory primer ,factory blue ,then red then white primer and finally black.. but not in the engine bay itsself.. I know that it sat in a panel ship for 8 years and they may have done shit as the engine bay was just the white primer and then black... there was some bog over holes..so ill cut some rust out and the go from there but all in all bloody clean... not paint striping the lot as I'm going to spray some areas with underseal.