-
Posts
1254 -
Joined
-
Last visited
Everything posted by ProZac
-

Zac's rotary redux project, because he has too much spare time.
ProZac replied to ProZac's topic in Other Projects
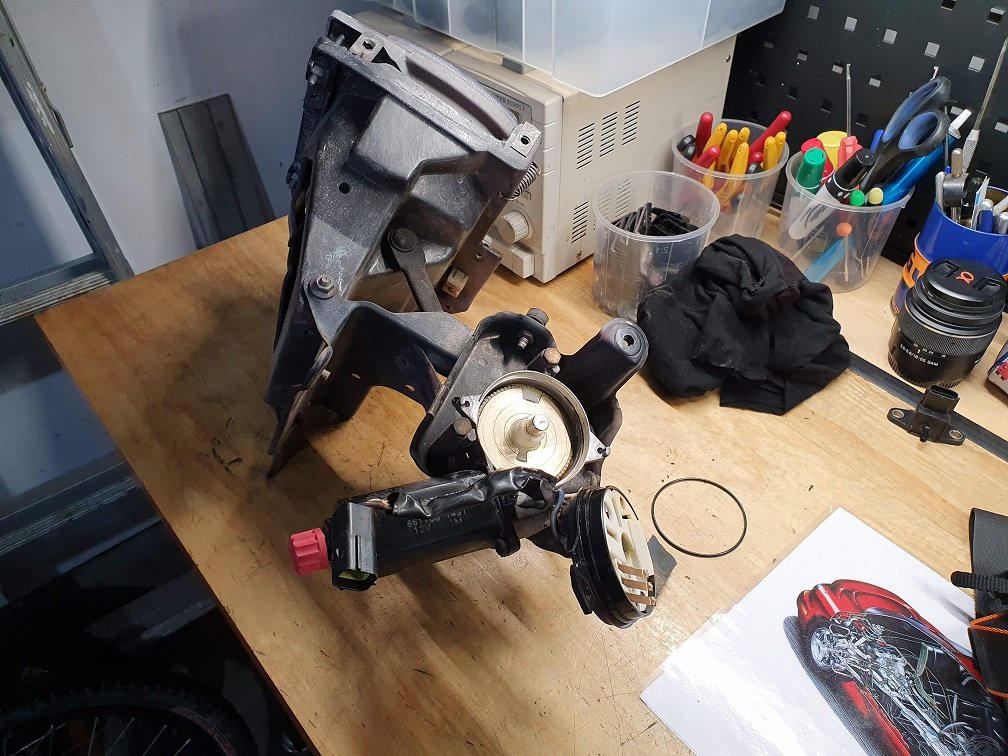
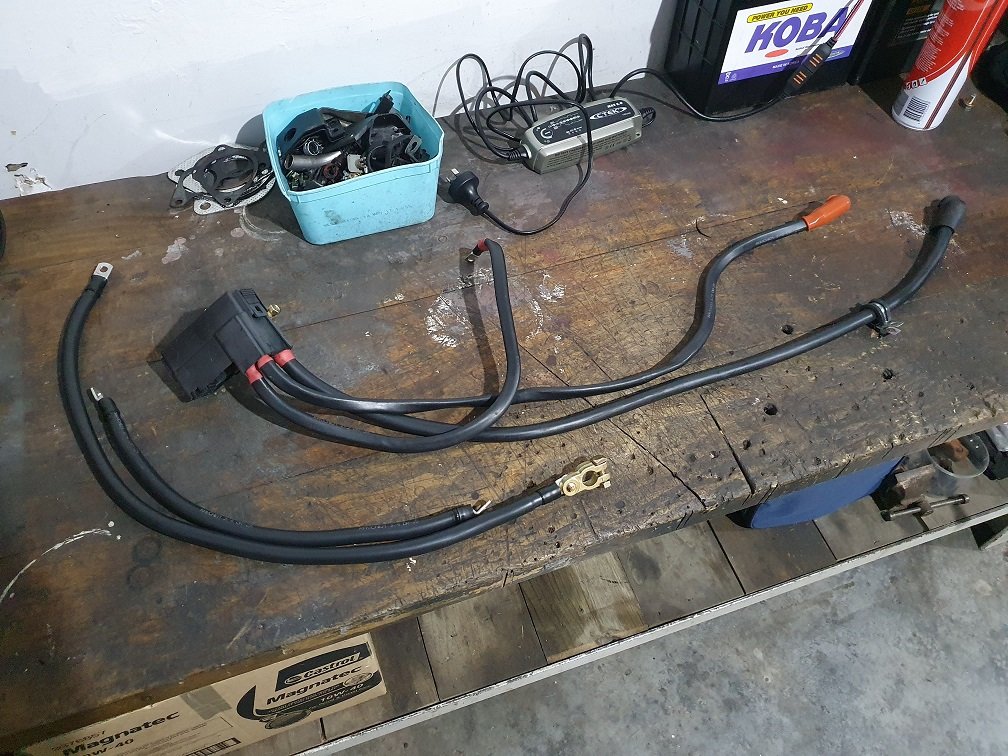
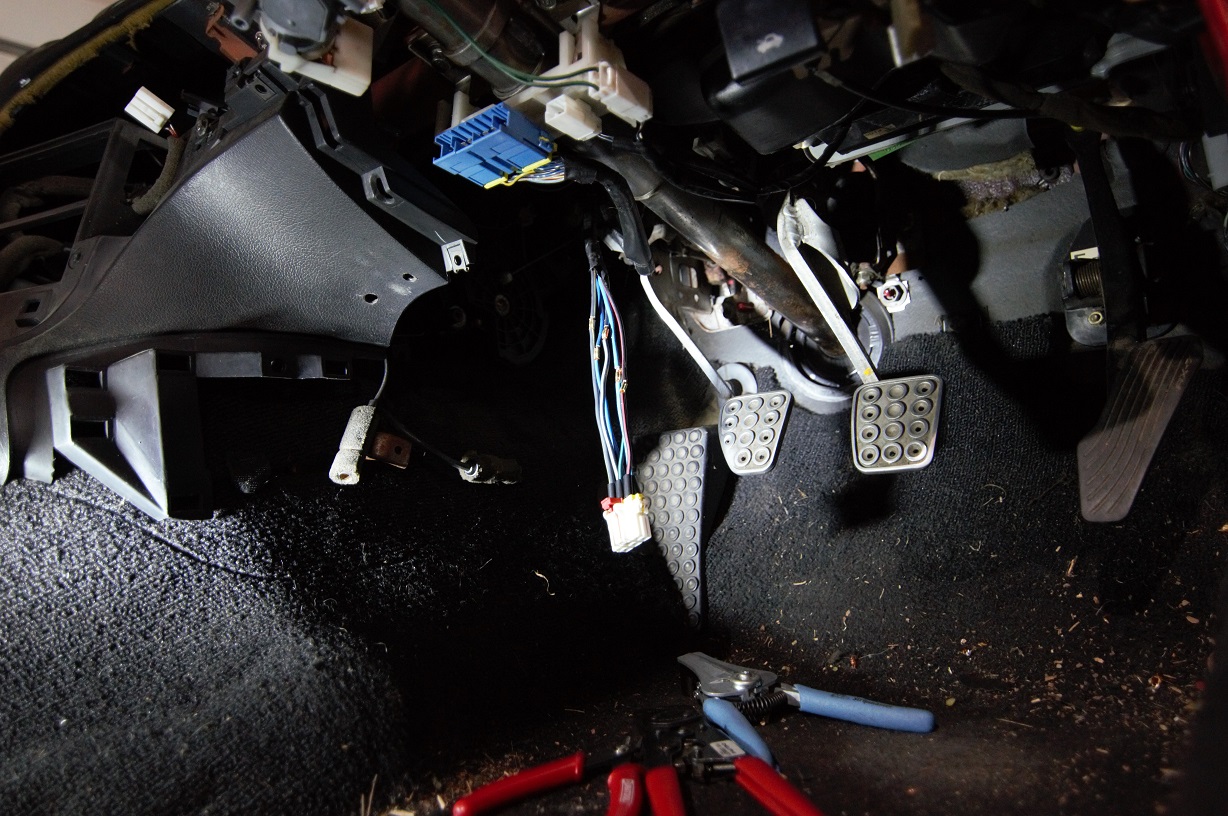
I got sick of waiting for the 'E' harness I bought off yahoo auctions to show up. This harness has all the starting, charging and power supply stuff in it, and not having one meant I couldn't power anything in the car up. I figured I was always going to end up rebuilding this harness, as the OEM ones are all pretty shot by now, but the one from japan was relatively cheap and I was hoping to use it to get things tested initially... I got busy and built the main supply and grounding wires. Everything is a bit larger than OEM (sorry Mazda lightweight engineers) as I wanted to use stuff I mostly already had. Still, nice beefy main battery cables wont hurt. I remember reading a Mazda TSB ages ago about moving the ground locations from the brackets they are originally bolted to, to the body and engine directly, so I built the new wiring to suit this. The positive battery terminal unit is the first power distribution point. There are a couple of connectors that go into the bottom of it that send power to various places via fusible links. There are three cables that bolt to it, one goes directly to the starter, and the others to the alternator output and second power distribution box via the main 120A fusible link. Now I could actually power up all the body stuff. Much to my surprise, most things worked pretty well! Power mirrors aren't giving any response, and the windows are a bit slow to go up and down, but probably just need some lubing. Most annoying was the passengers side headlight. It went up, but would not come down. Looking at the FSM to see how they work I suspected it was the wiper contact on the motor output. Got it out and on the bench and it didn't look too bad... But some attention with some 400grit, cleaning and re-greasing and I now have two pop up up and down headlights. I need to build a bit more of this harness section, as the alternator control wiring, starter signal, and a few other wires go through it. Not a major though. Then I need to build the main 'EM' harness, which is the actual engine control harness, and I should be able to start the thing! Waiting on parts for that, and freight times suck worldwide at the moment... But we're all struggling with that. No rush eh? ;-).- 50 replies
-
- 25
-

-

Zac's rotary redux project, because he has too much spare time.
ProZac replied to ProZac's topic in Other Projects
Except that it would seem your inbox is full, reach out on the faeboes, or electronic mail, or something? Chur :-). -

Zac's rotary redux project, because he has too much spare time.
ProZac replied to ProZac's topic in Other Projects
That would actually be ideal, I'll PM you! :-). -

Zac's rotary redux project, because he has too much spare time.
ProZac replied to ProZac's topic in Other Projects
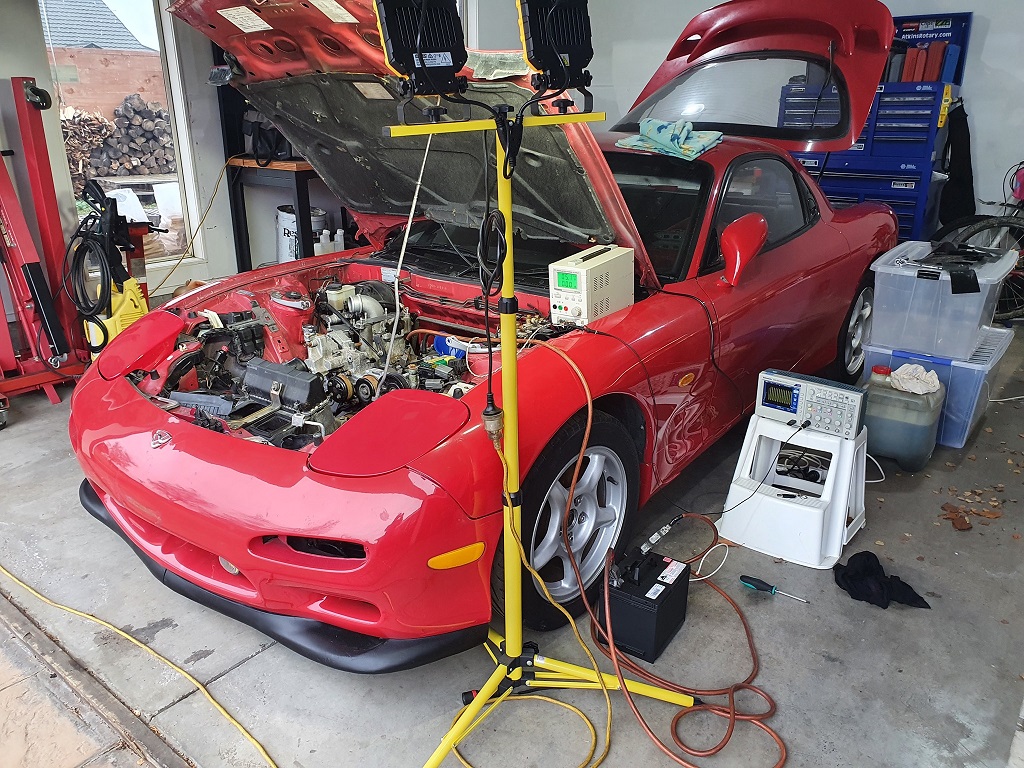
Couldn't wait, needed to know! Chucked a battery on it and jumpered to the starter. Pressure sensor installed in a modified junk spark plug, power supply, oscilloscope... A good hours work for some numbers. Front is around 100 - 105 - 105 (psig) Rear is around 110 - 110 - 105 (psig) Those are cold numbers, so a bit higher than what a hot test will show, but I'm pretty confident off that the motor is fundamentally healthy. A few k's on it for sure, but evenish readings and decent numbers. At the least it means it's worth piecing together the rest of the bay and getting it running before yanking the engine to change the turbos. I can also confirm the oil pump is working, because there is now a not insubstantial amount of oil over the garage floor. Onwards and roundwards :-).- 50 replies
-
- 21
-

-

Zac's rotary redux project, because he has too much spare time.
ProZac replied to ProZac's topic in Other Projects
Lubed it up and span it over by hand and nothing feels weird. Almost feel too free But, there are no plugs in it... Hmmmm. Very smooth, goes choof choof at the right times. Bring on that starting / charging harness, want to compression test!- 50 replies
-
- 14
-

-

Zac's rotary redux project, because he has too much spare time.
ProZac replied to ProZac's topic in Other Projects
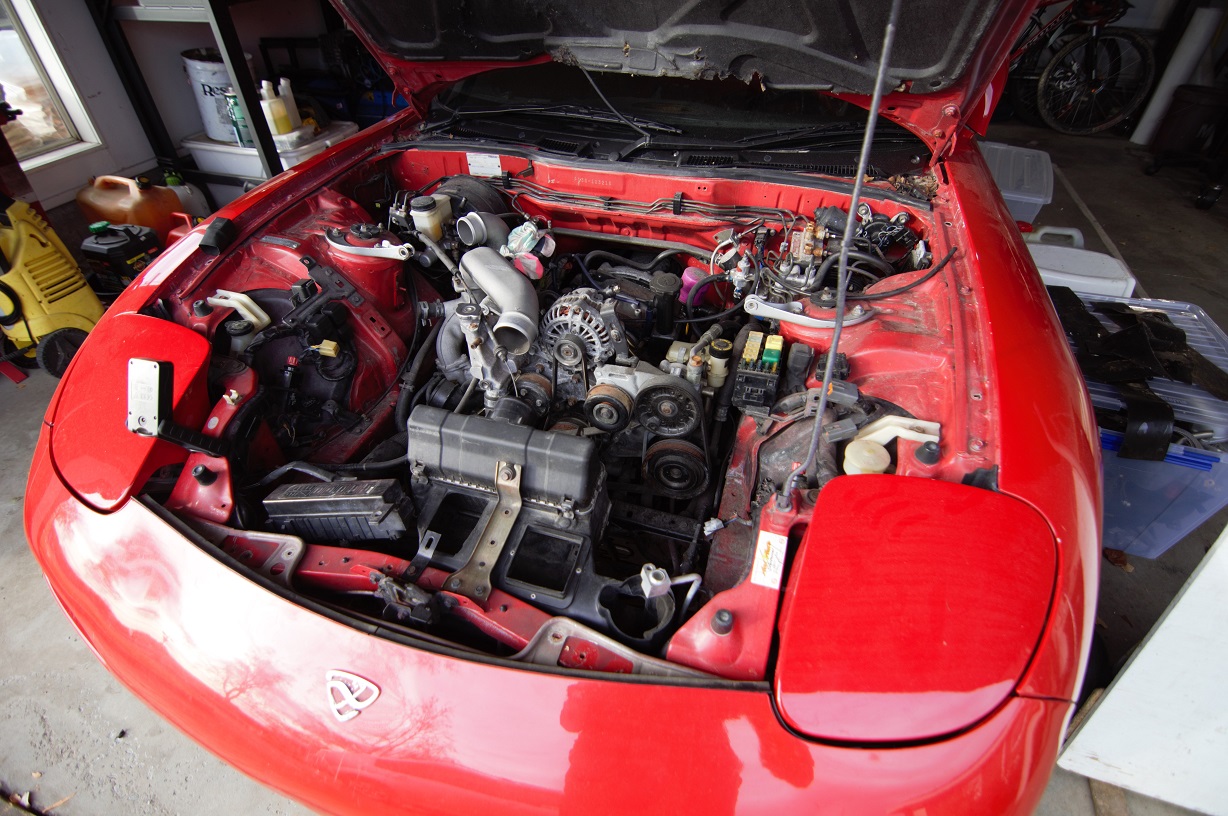
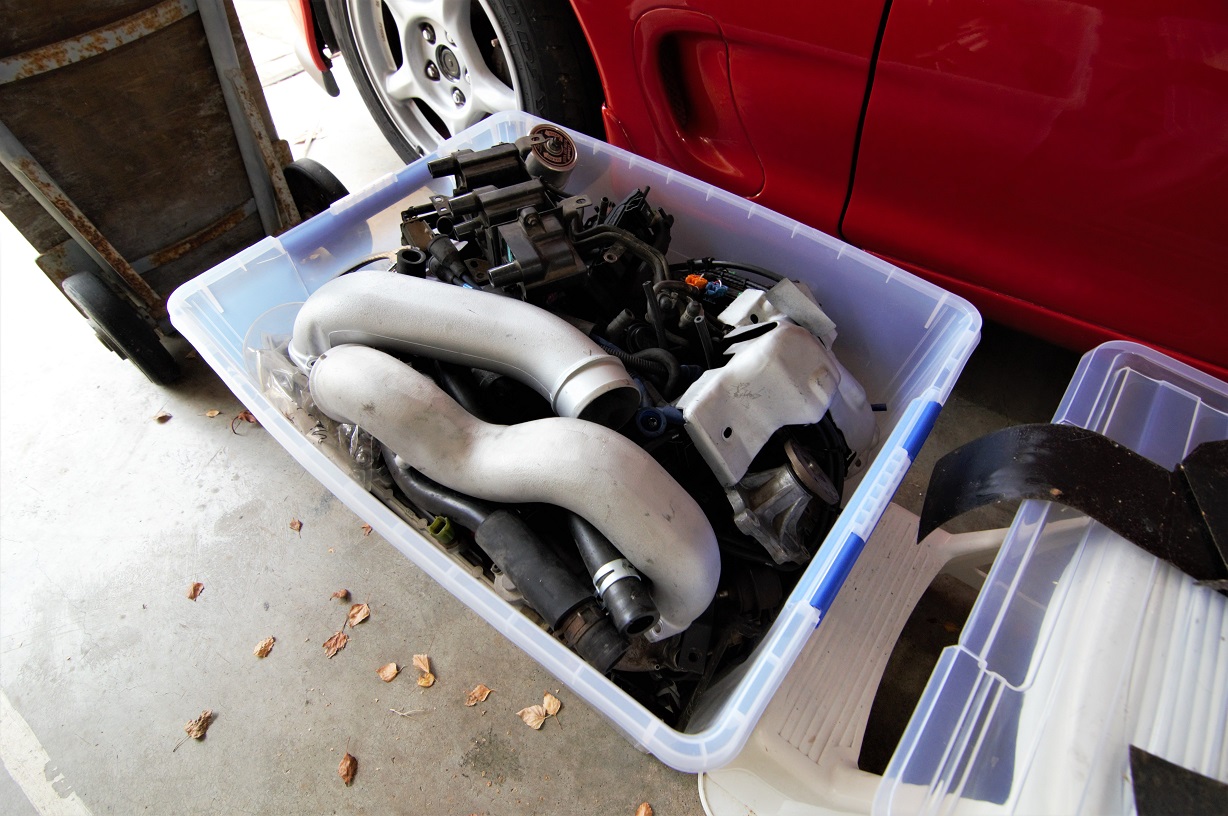
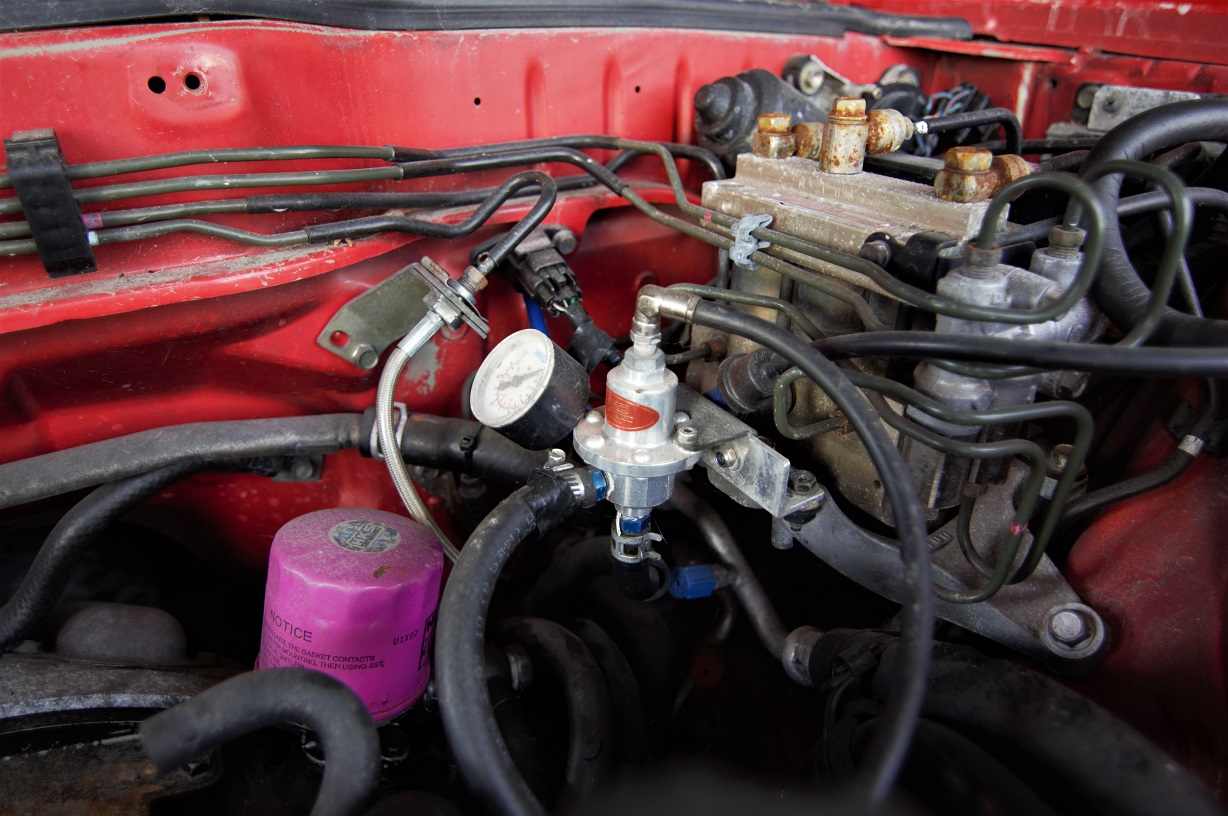
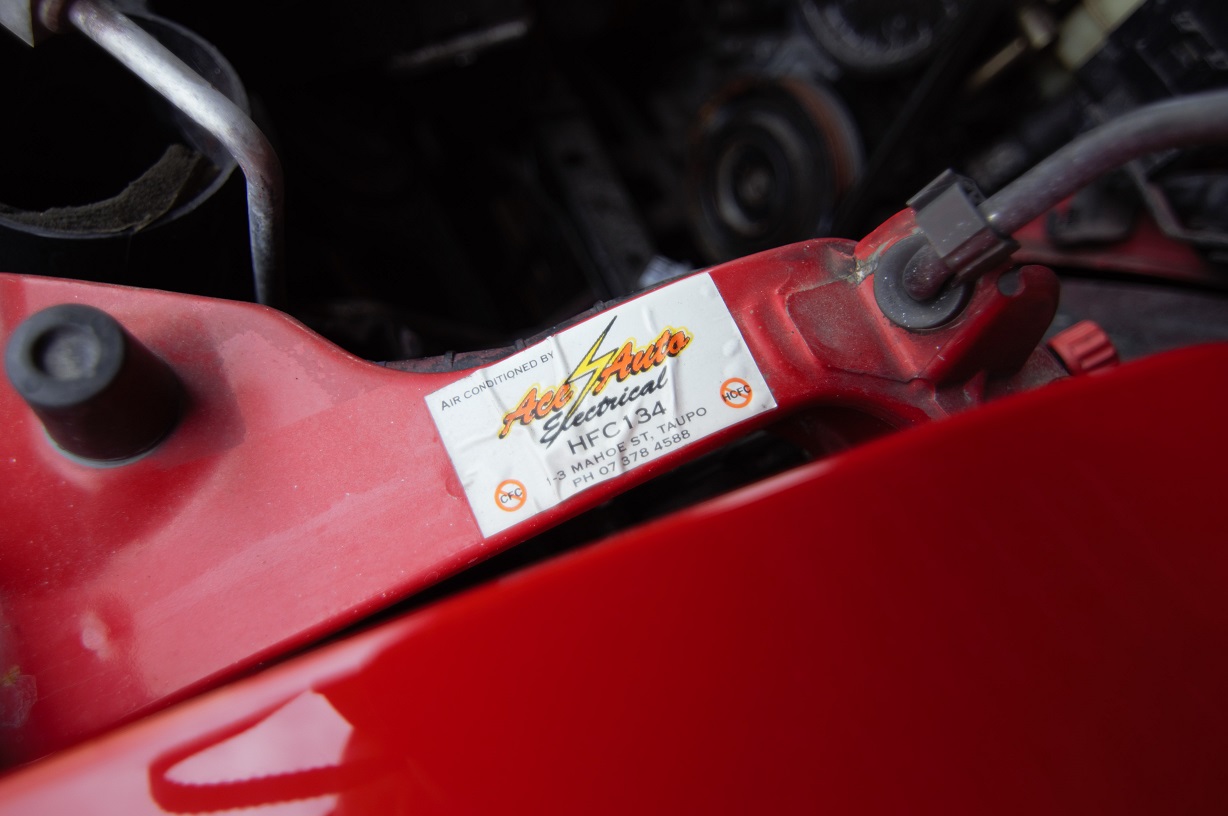
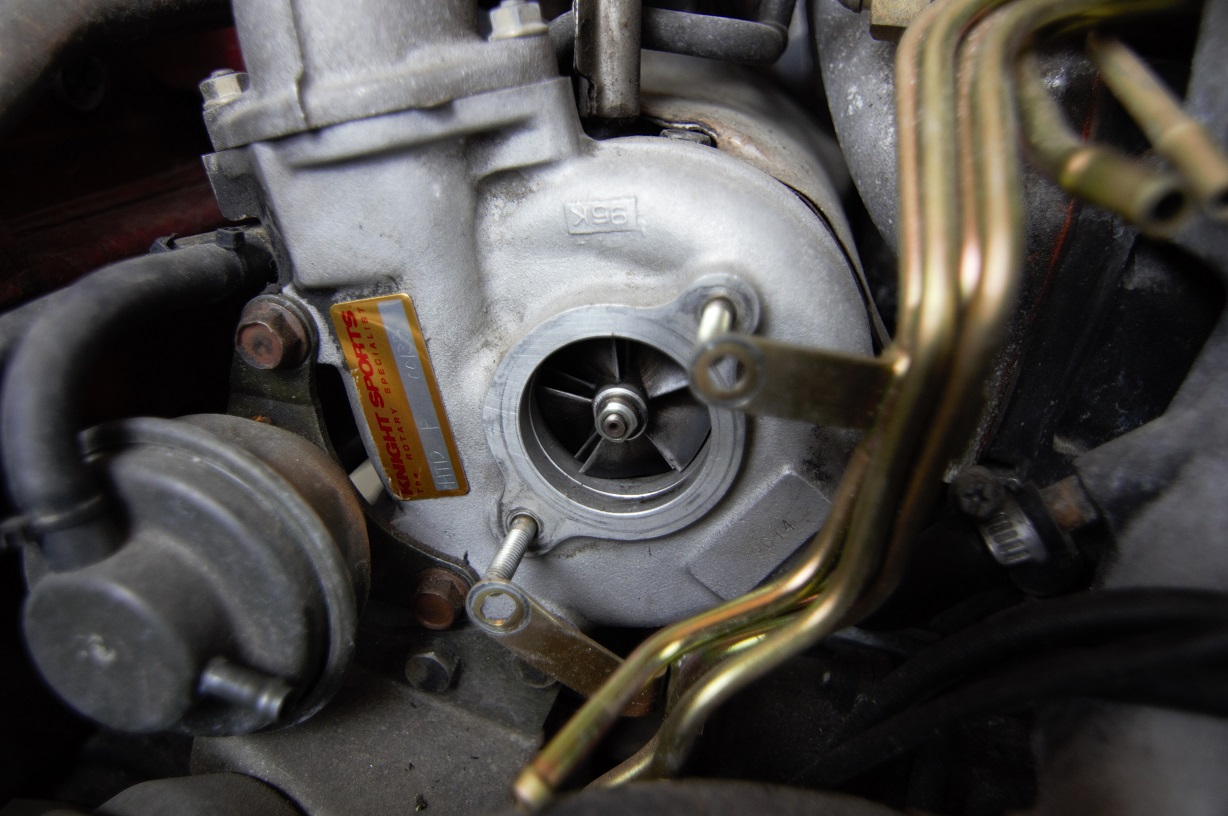
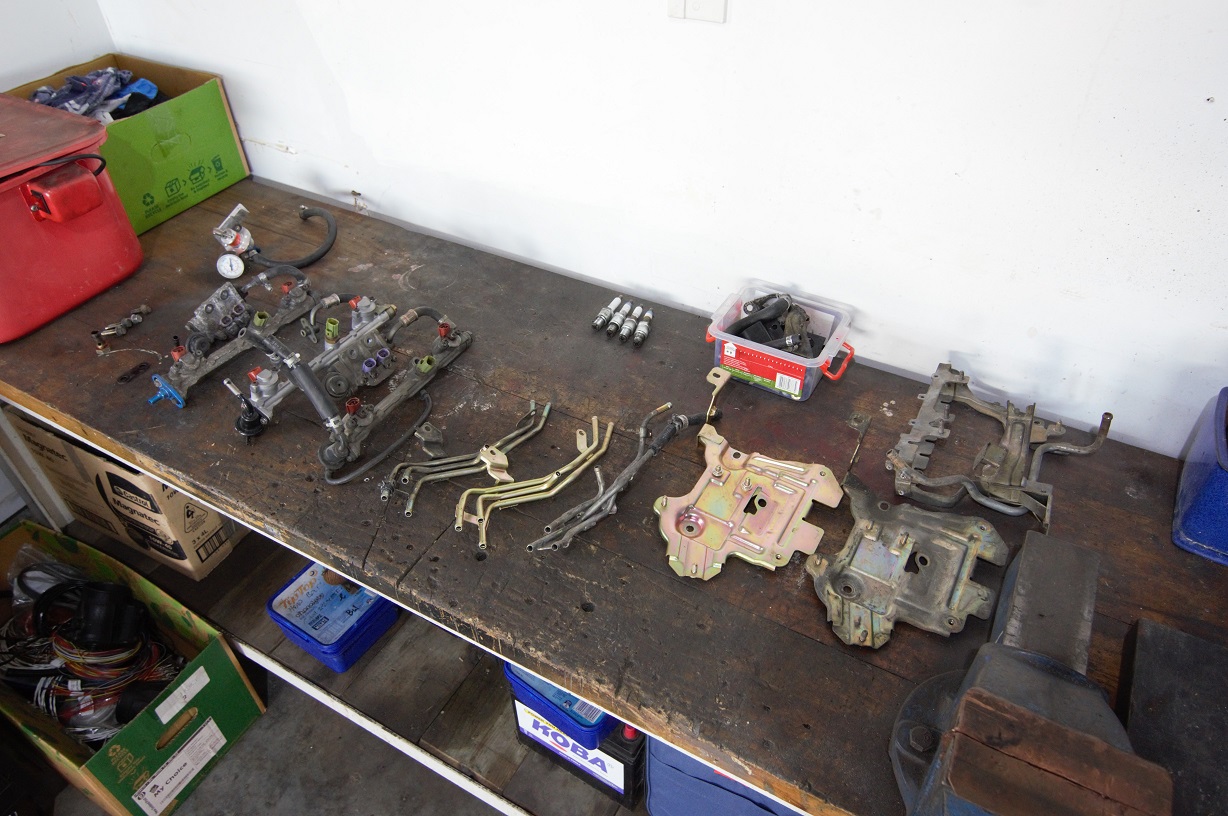
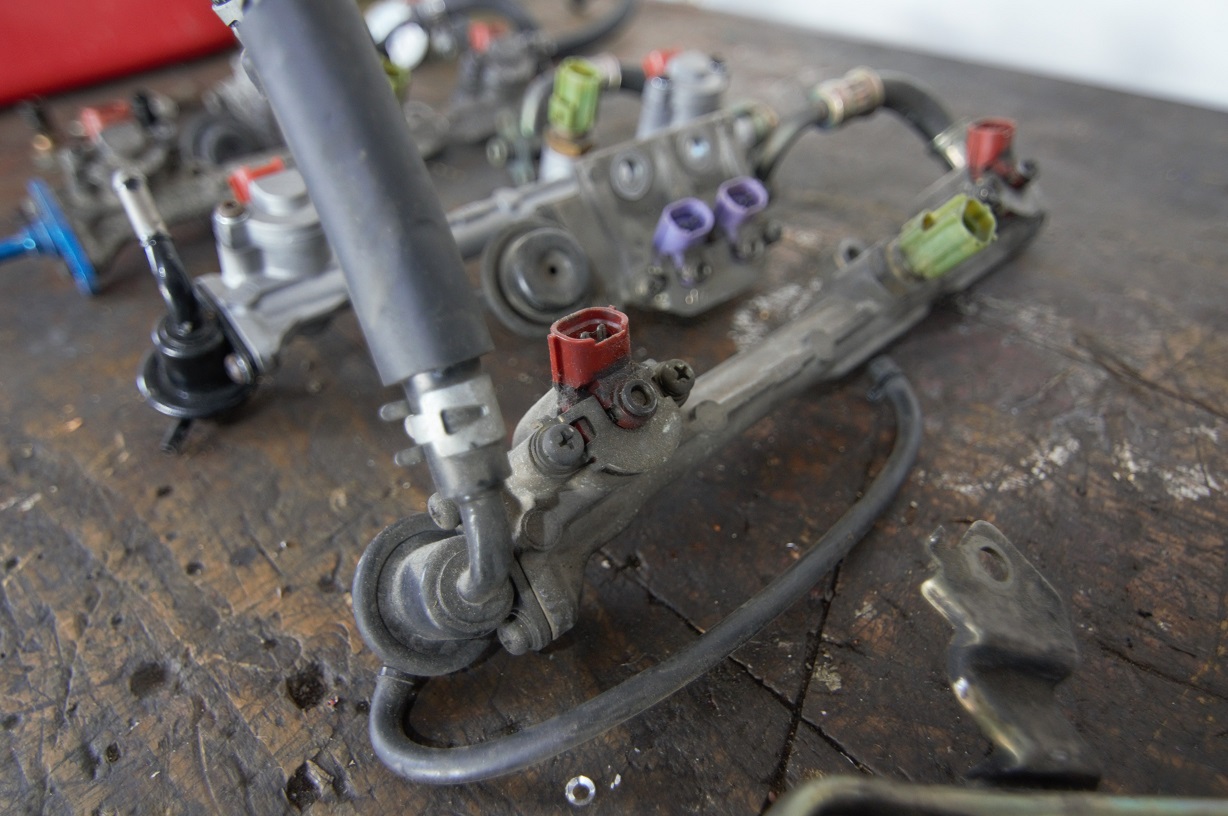
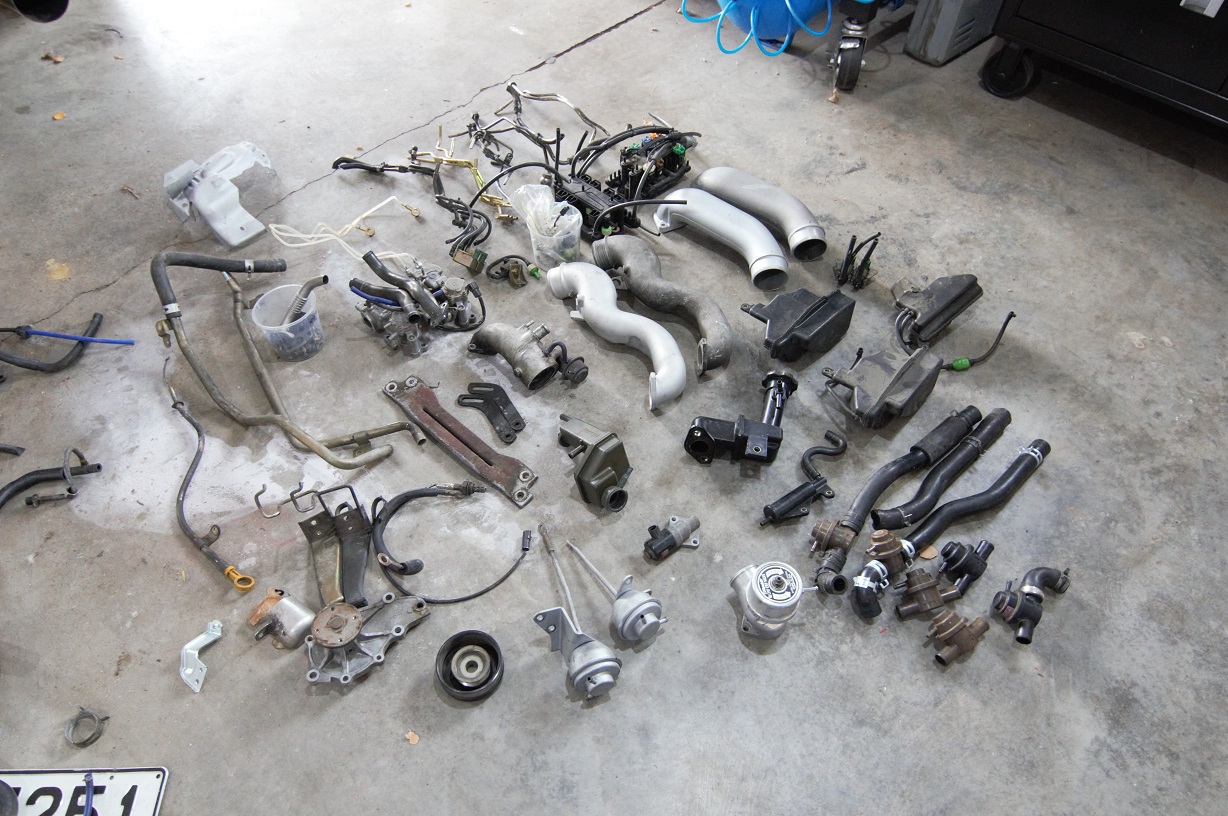
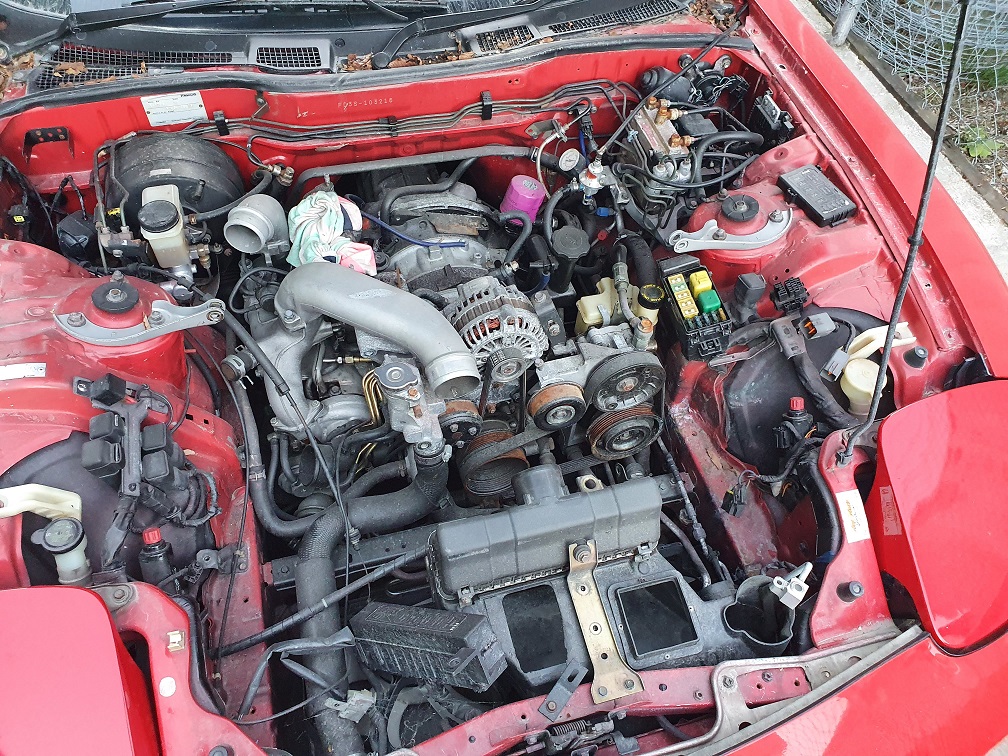
The wife and child are at the ballet today (fuck we're posh, eh?), so I'm spending some time in the garage. Good day for it too, not too cold. With the rear end sorted, and waiting on parts for the rest of the interior, it's time to dive into the bay and see what's what in there. First task was to give everything a good dust / blow down to get rid of all the trash. Plan of action is to: Remove all the aftermarket stuff Spin the thing by hand to make sure it's not locked up and makes no funny noises Source and fit a charging / body harness Crank it on the starter and check the cold compression. If that all checks out, then I'll start finding / refitting the pieces it needs to actually run. Couple of interesting finds when poking around: Sard AF. This car had a S4 single turbo on it at some stage, and this is part of that swap. The MAP sensor in the background is a 3 bar one too... I've got factory versions of both items kicking around, so will put them on for the initial getting it going. But it did come with a power FC, so the higher range MAP sensor might be useful for that.... Or it might make a good package deal if I sell it, hah. Looks like the AC system was converted to R134A at some stage. Being an early model it would have originally had R12. The condensor and dryer aren't with the vehicle alas, but I do plan to get the AC in it running at some stage. Hmmmmmm, interesting, I thought the Knight Sports upgraded turbos had different compressor covers... So it's entirely possible this is just a sticker put on there. When I whip them off I'll have a good look / measure up. I've got a set of turbos I did for my old white car still which I plan to put on this, but these might be interesting. Bit of JDM nostalgia cool if nothing else. A box of bits it came with, sorted through it to pull out all the fuel system components I could find. Looks like a mix of series 6 and 7 parts. Couple of coil and solenoid control boxes from the 7's. A mount for the series 6 stuff, but non of the actual valves. Plenty of goodies though, should be able to piece together a working stock fuel system. I'll order replacement injector o-ring and seal kits, and the diffusers, but will get it running on the ones that are in there at the moment. I dont plan on this thing making massive power, so I shouldn't have to put in bigger injectors, provided there is a good set in the bits here. There is still heaps more stuff in other boxes in the lockup, but this should be enough for now. Factory FPR, nice. I'll test everything while it's out of the car. get it all in place then go find an UIM and throttlebody and sort those out. Hopefully the bits I've got coming from yahoo auctions japan will be here in the next couple of weeks and I'll be able to actually power everything up and see where it leaks smoke / blows fuses ;-).- 50 replies
-
- 12
-

-

Zac's rotary redux project, because he has too much spare time.
ProZac replied to ProZac's topic in Other Projects
Cheers man. One day it'll be 100% minty mint, but I need to dial the OCD cleaning back a bit at the moment and focus on what it really needs.... Tis hard though, I just want to to clean! Weirdly, I don't have the same problem when it comes to the back yard, and the house in general, hah. -

Zac's rotary redux project, because he has too much spare time.
ProZac replied to ProZac's topic in Other Projects
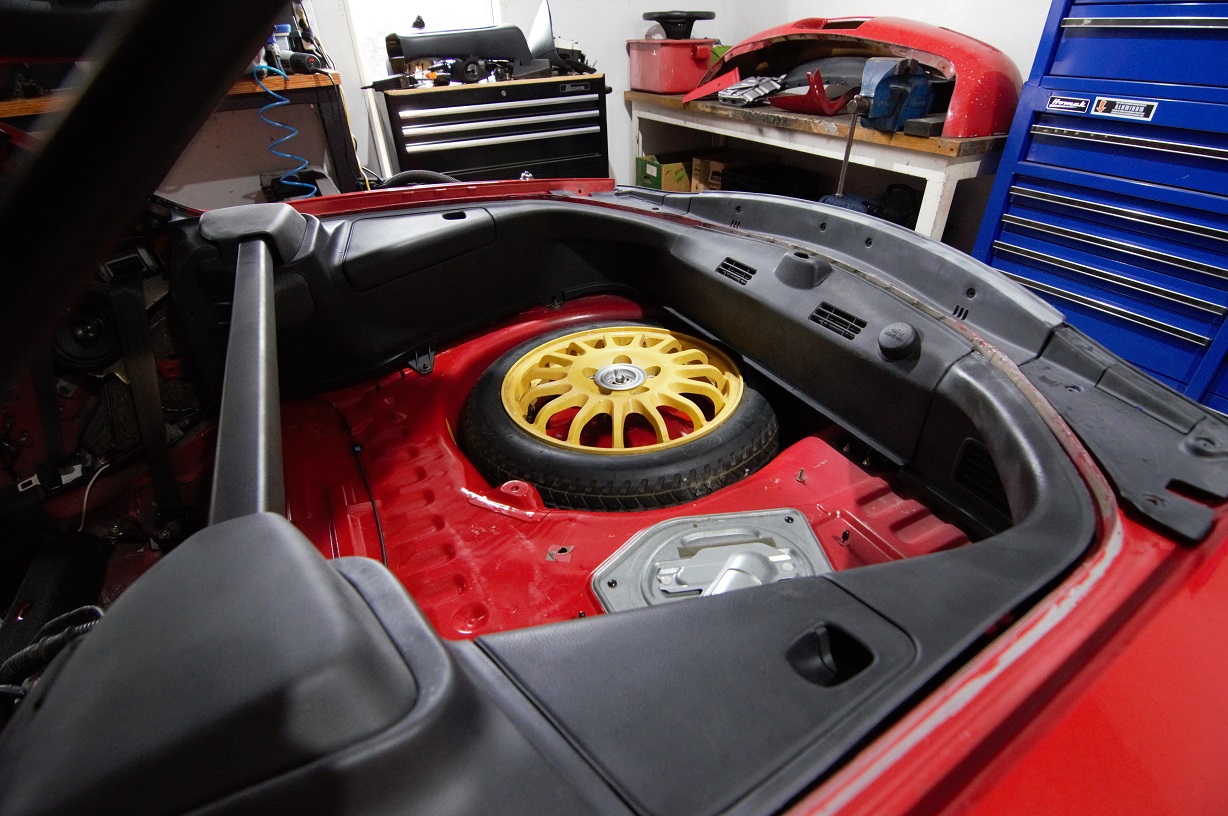
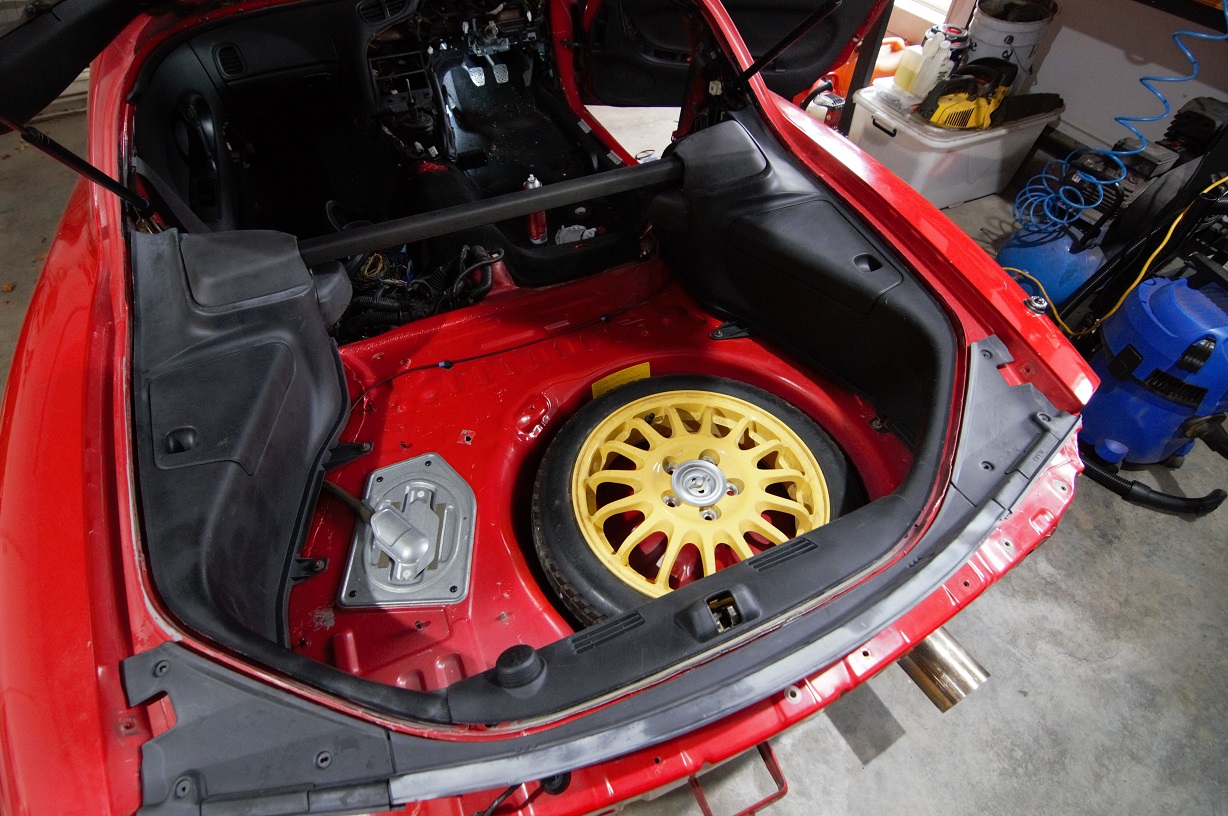
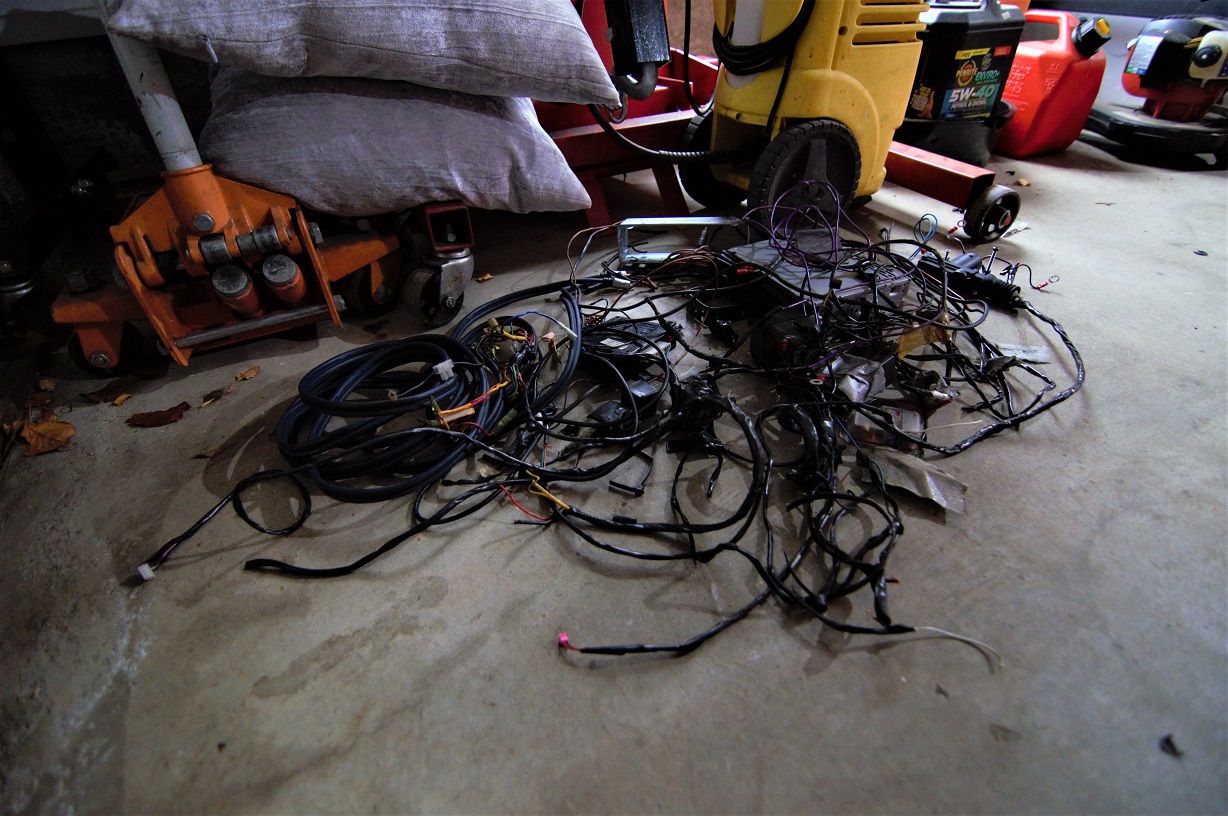
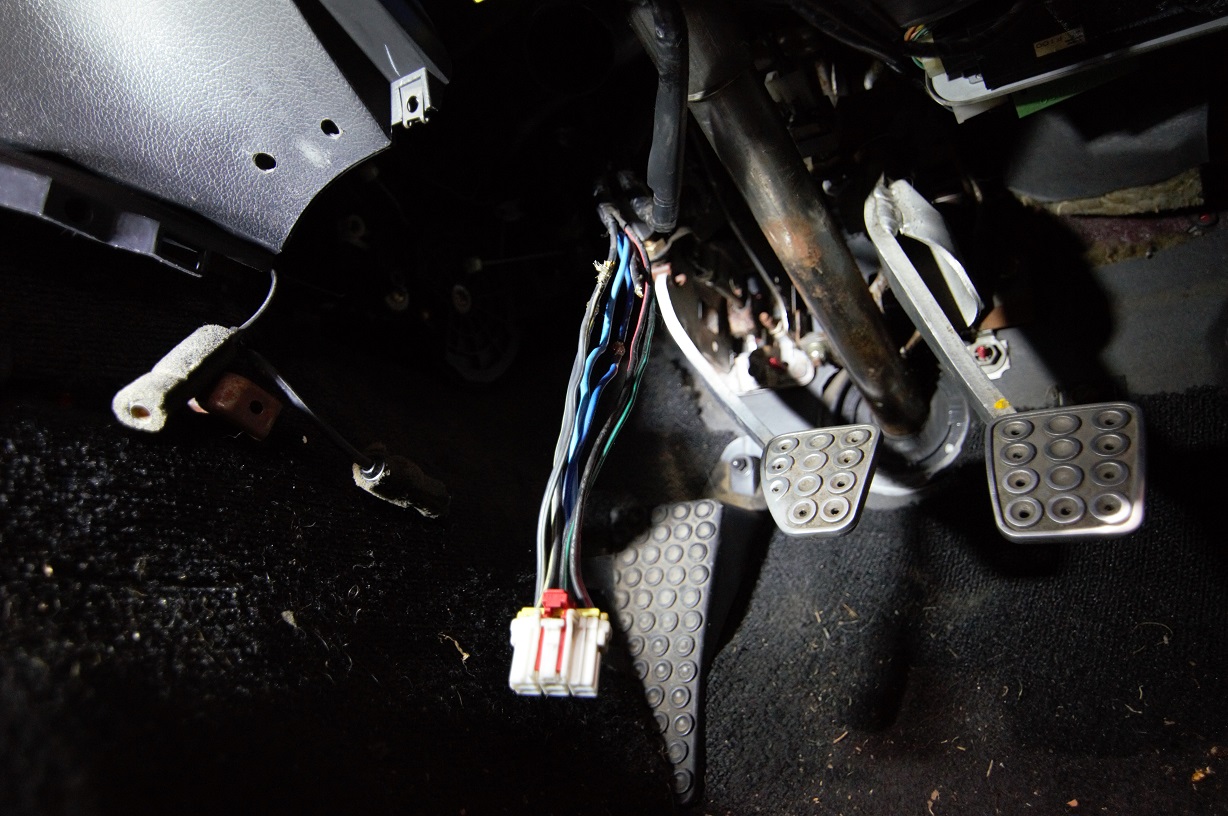
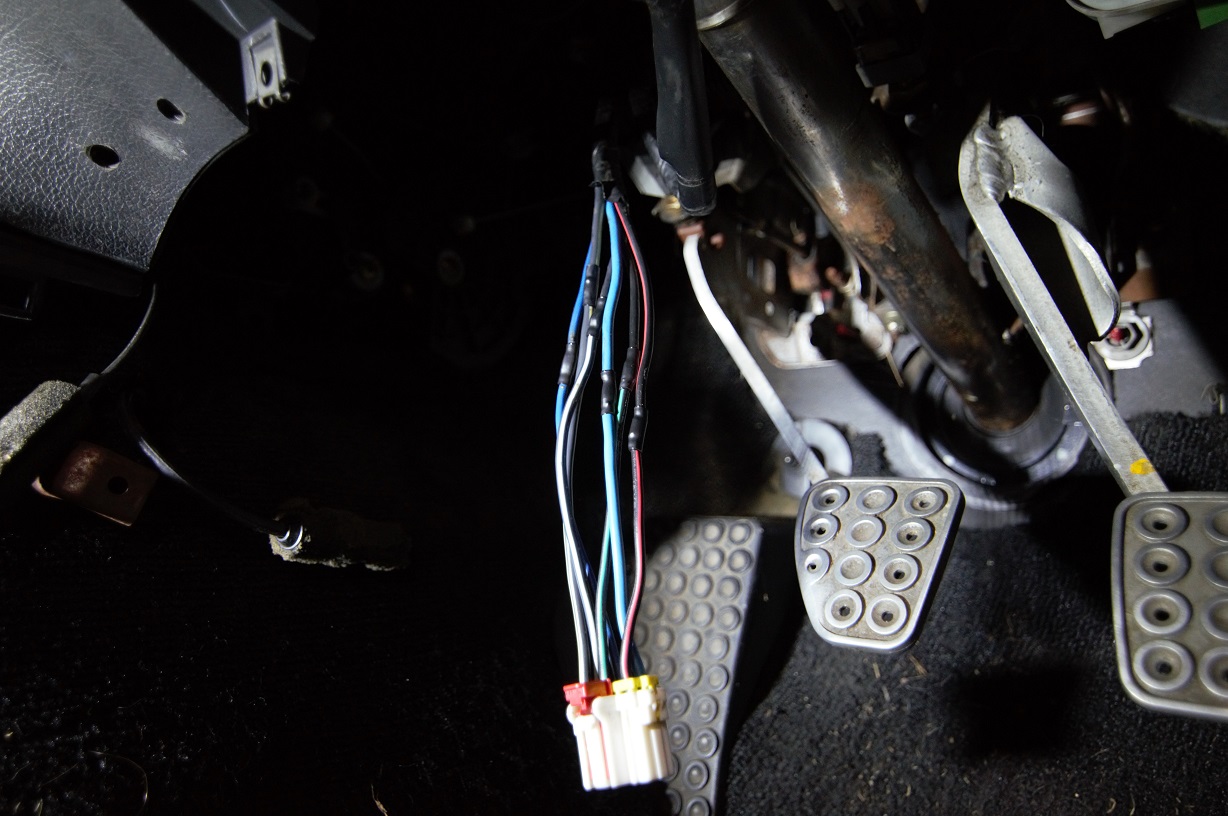
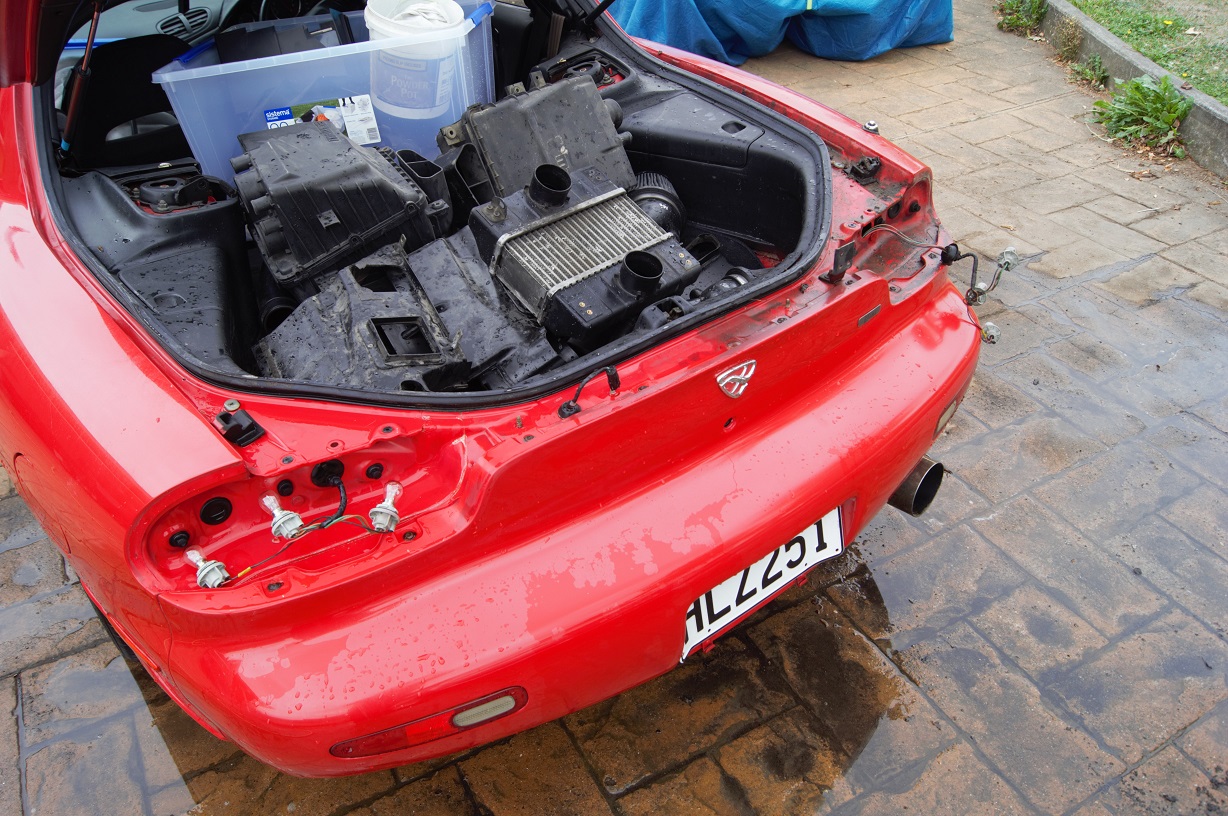
Been beavering away on this when time allows. Much of the job has been sourcing non-broken / missing interior parts... But the boot space is now complete! A lot of time was spent cleaning in here. With all the trim stripped out, I scrubbed everything to within an inch of its like to remove the disgusting scunge and overspray that was everywhere. It not smells lemony fresh :-). Was lucky to find a proper 16" Enkei spare for it and the hold down hardware. Both tool trays are accounted for and complete, as well as the correct aluminium jack and handle, and the wheel chock. So a good score on those OCD detail fronts that don't actually matter, but make me smile anyway. I've cleaned it's bum up good and proper, ready for the bumper to go back on, but I'm waiting on some replacement inner brackets before that can happen, and they're ex-japan, so it'll be a while till that happens. All of the rear lights have been sanded through the grades to remove the cloudyness they get, and then polished. I probably need to do another sand on them with 2000, then polish them again to remove the very last of a few fine sanding marks. Part of cleaning up the rear end was a non-oem-wiring-ectomy... There was a LOT of shit to remove. At some stage there was a water meth injection system in there, and the rear washer bottle had been modified to be the reservoir. I've replaced it with a good condition non-modified one, and removed the tubing, relays and wires. The then turned into a complete wiring cleanup... There have been a few stereos / amps in this thing over the years I'd say, as well as a BEL 615STI-R integrated radar detector, and some cheesy alarm system that had wires tendriling all throughout the car, and some weird home-made vero-board / pcb device on the main radiator fan relay... Possible some sort of delay to keep it going after the car was shut off? All going in the bin. This left some repairs to places where things have been poorly cut and spliced into... In particular, the main harness from the ignition switch was a mess. \ Cut that mess apart and replaced the old twist 'n' dry solder with open barrel crimps The key when doing this is to stagger the location of the joins, keeps the harness from becoming bulky. It's probably arou nd 20mm shorter than it was when I started, but still heaps of length to reach it's attachment point Then seal with some adhesive lined shrink, wrap in cloth tape, and that's a solid repair that will last the life of the car :-). Hopefully I can get it to a point where I can crank the motor over this weekend, and do a compression test, but I also have a new washer and dryer to install and I suspect a clogged downpipe to clear (in the rain, lame)... So it might not happen, we'll see :-). Chipping away at it though. Also, Rangiora Mazda are going to love me. I've sent them a list, quite a long list... Will be a decent bill I'm sure!- 50 replies
-
- 31
-

-
Nah, the passivate turned into a saga I'm yet to solve to be honest.
-

Zac's rotary redux project, because he has too much spare time.
ProZac replied to ProZac's topic in Other Projects
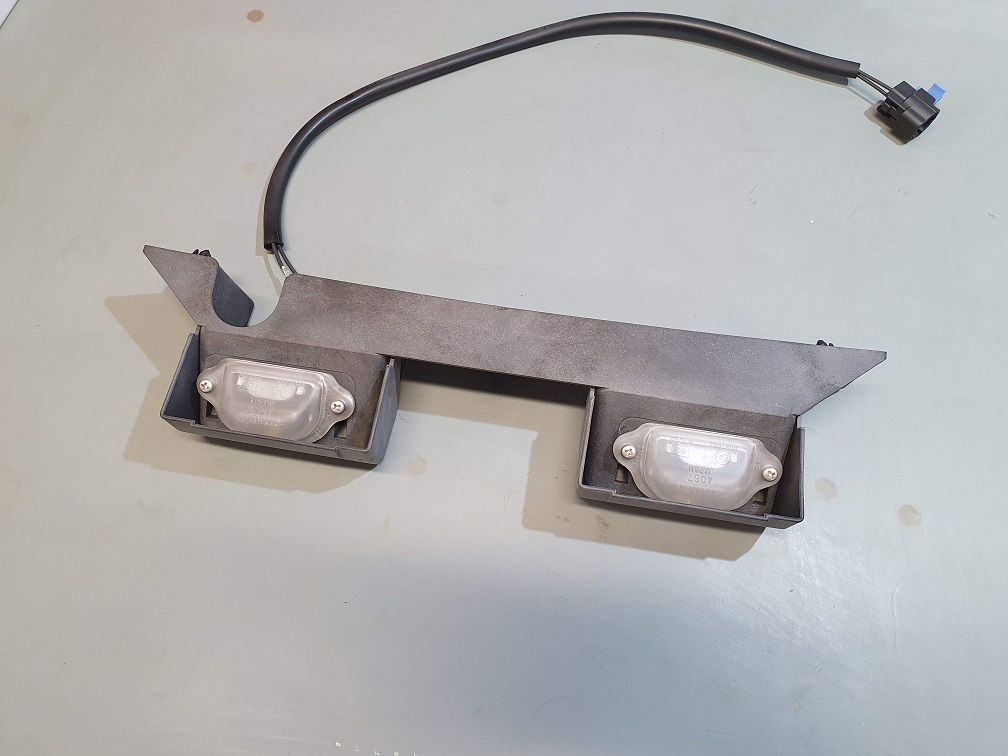
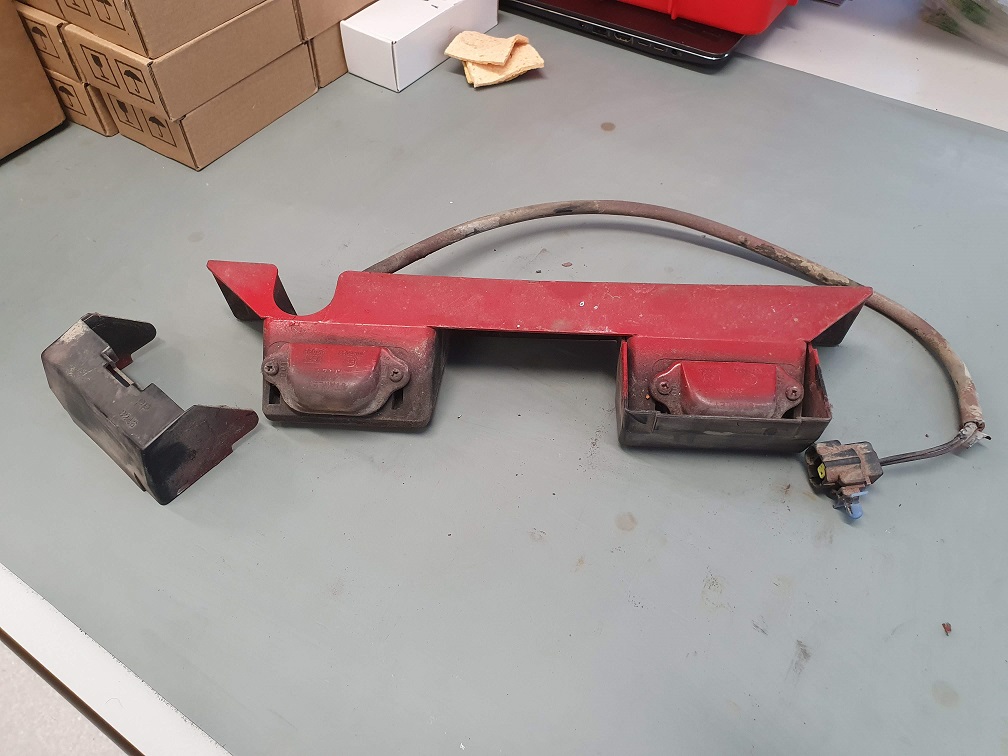
First part restored! Had to come in to work to do some writing, and figured I'd make use of the vapor blaster while I was in here. The numberplate lights were over sprayed to hell and back, definitely not going to put out much light: Dismantled them, set the vaporblaster pressure nice and low and gently cleaned everything. Took about 20 mins all up I'd say. The lenses are now a little cloudy, but I've convinced myself that it means they'll just diffuse the light better. I'll get some LED bulbs for them, as the lenses were a touch melty around the original 5W wedge bulbs. Saved me $130USD on a new set, so happy days.- 50 replies
-
- 26
-

-

Zac's rotary redux project, because he has too much spare time.
ProZac replied to ProZac's topic in Other Projects
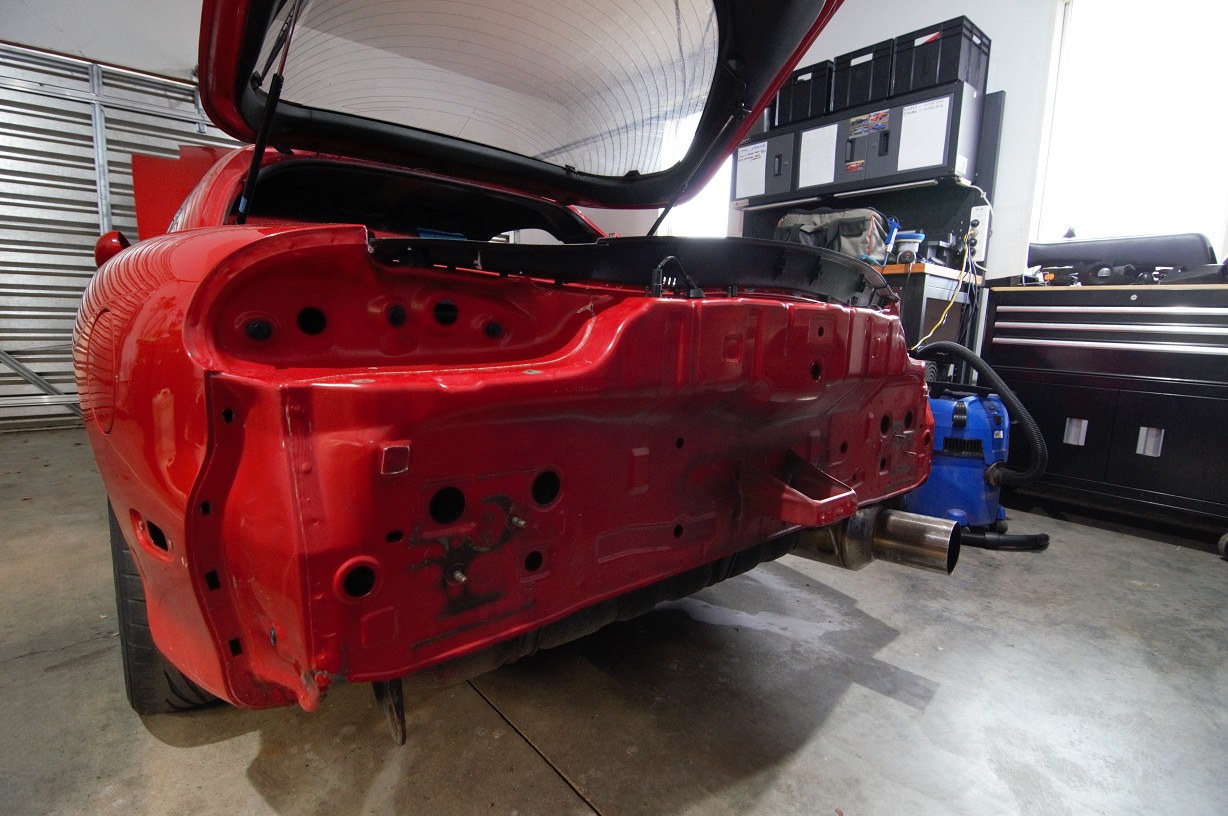
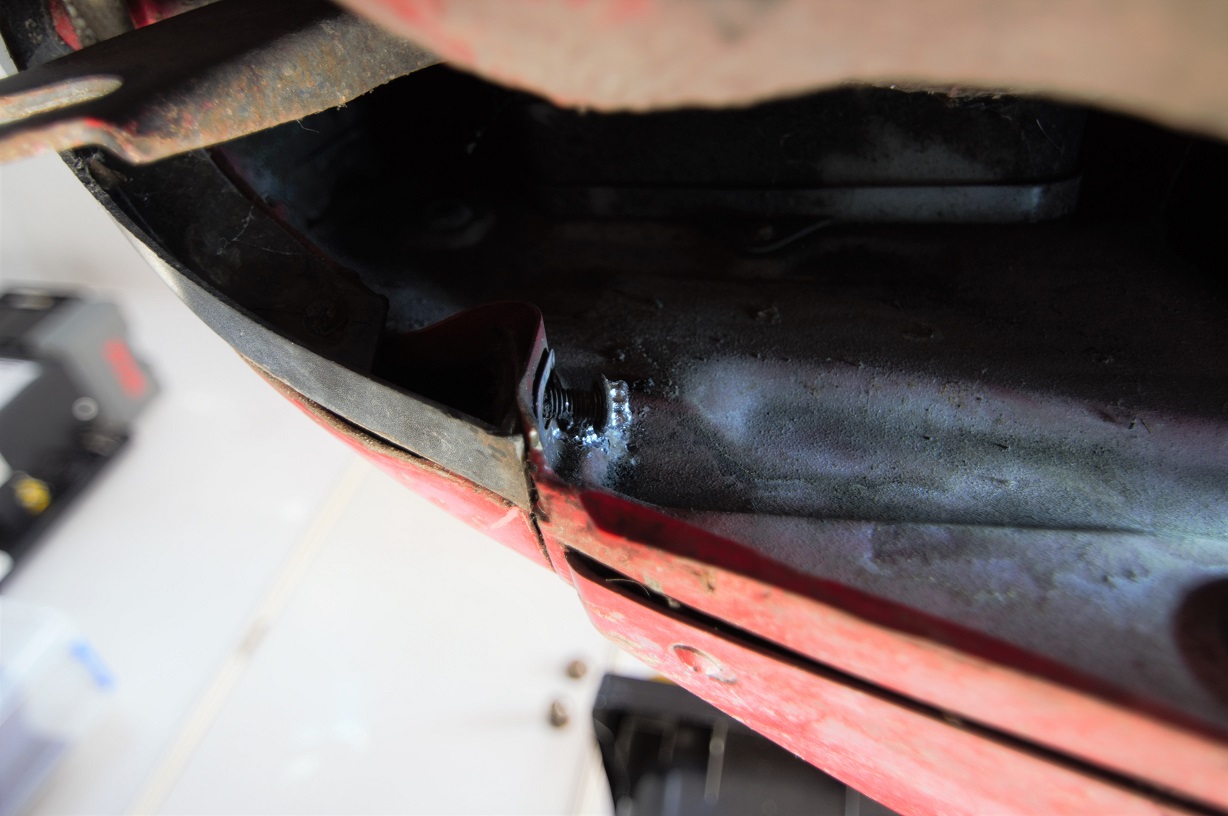
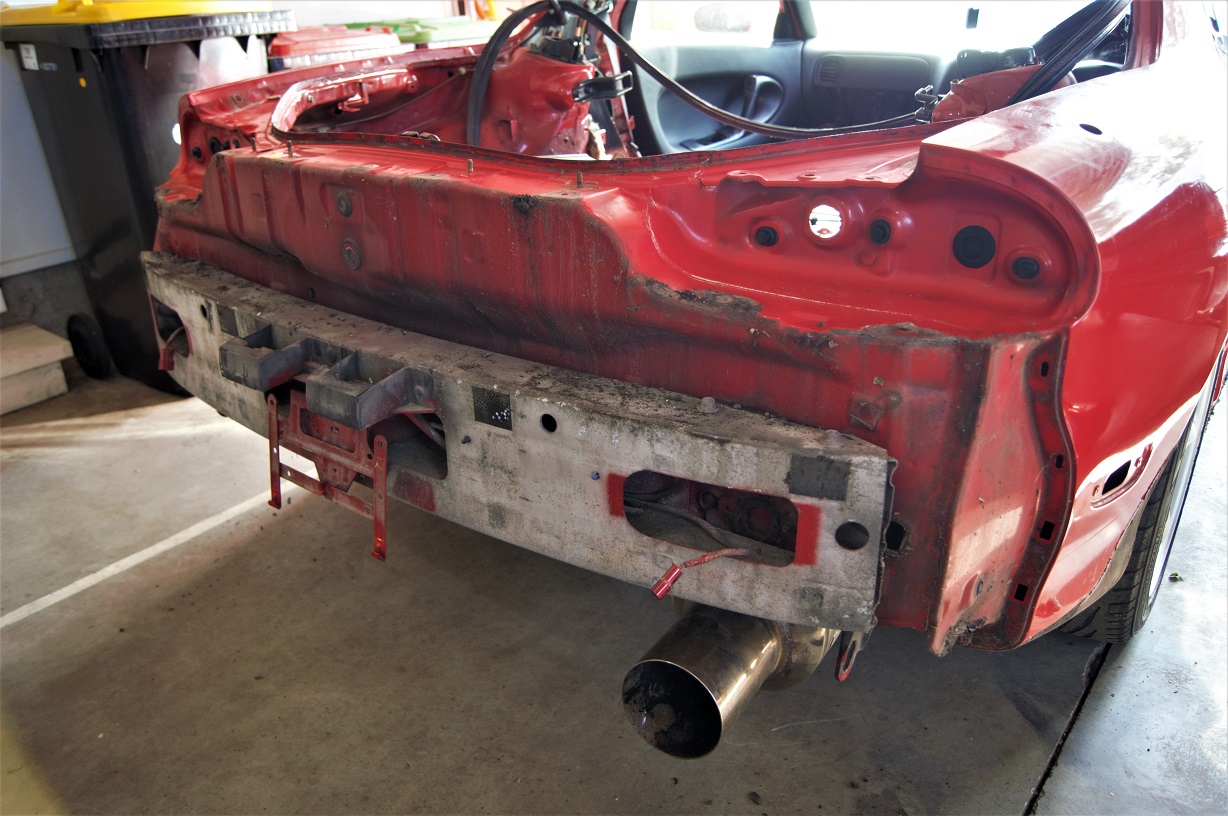
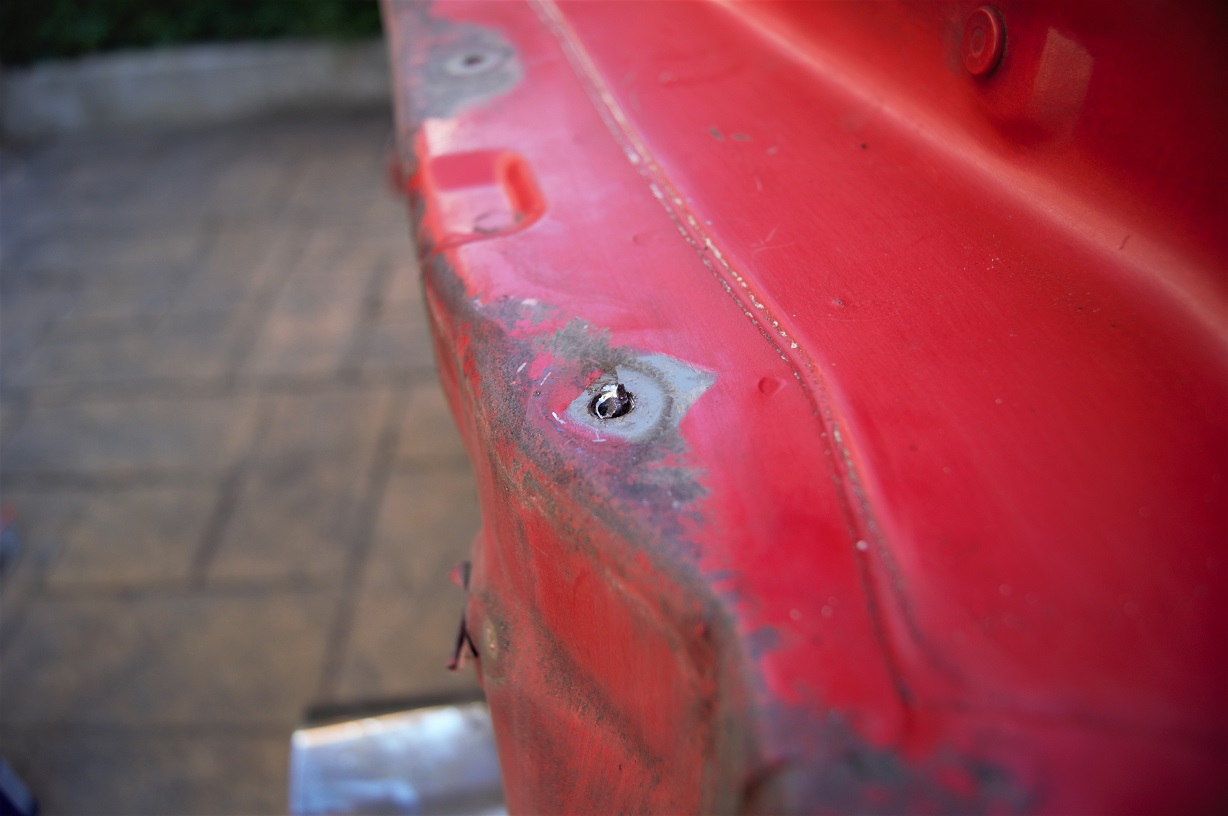
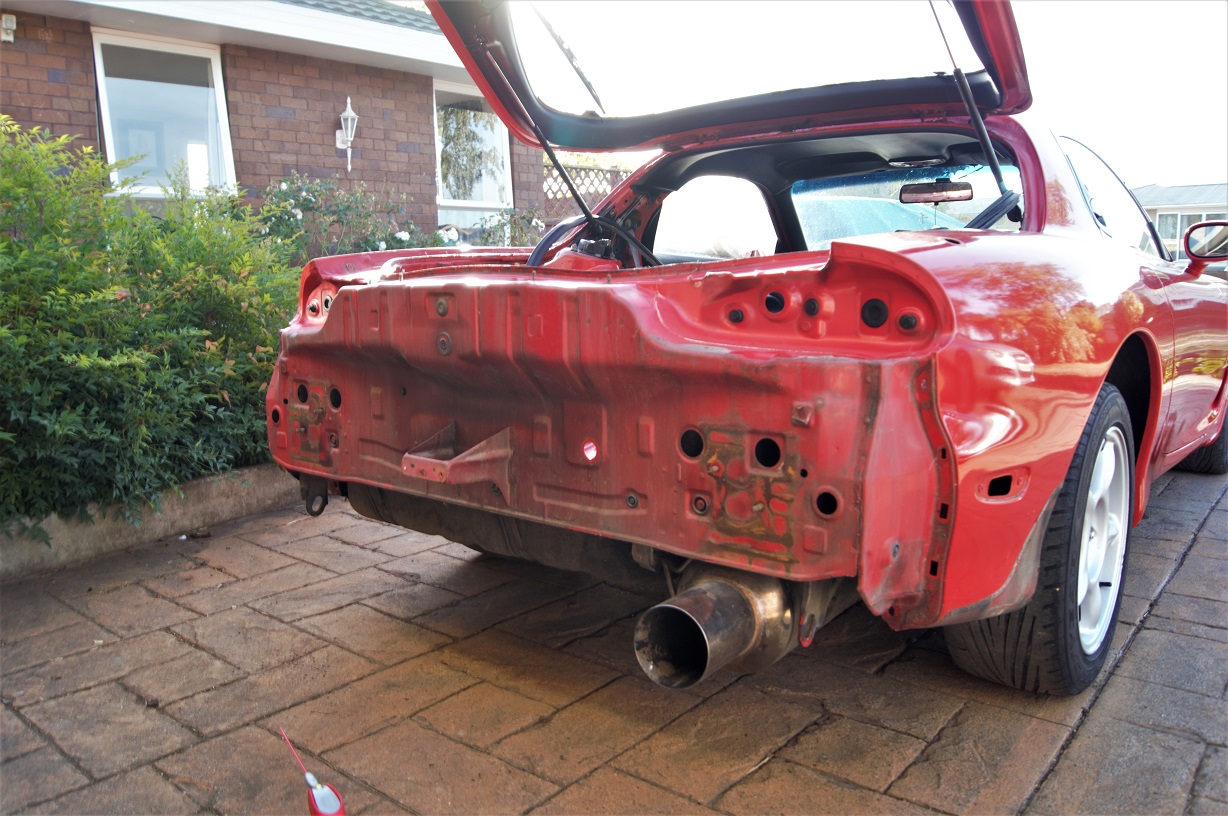
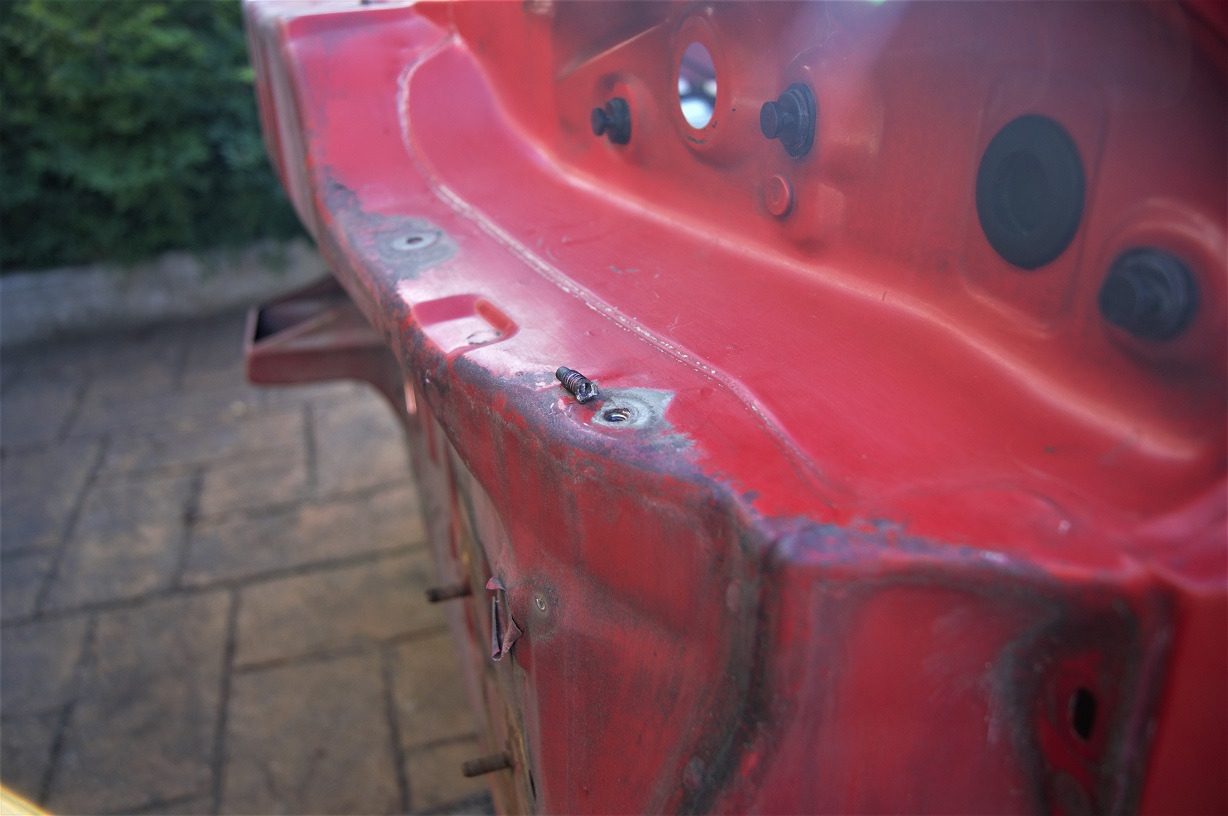
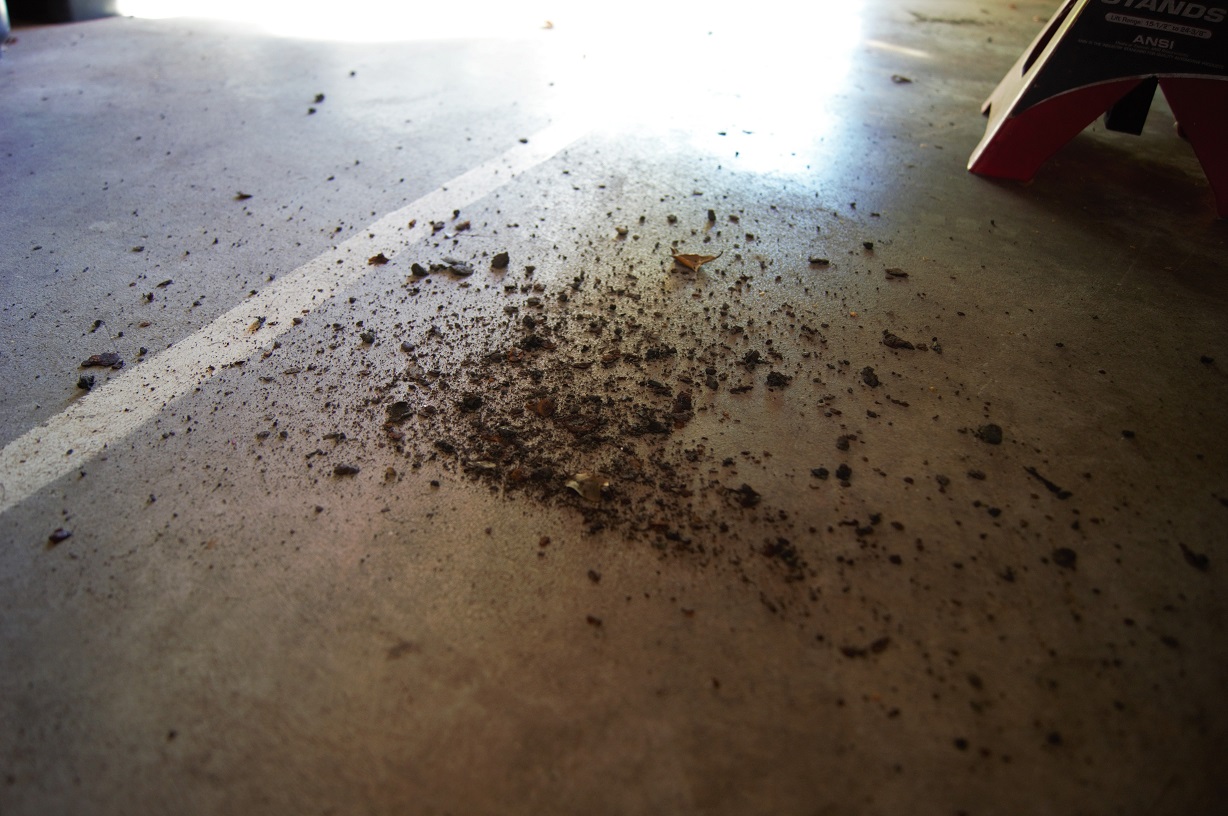
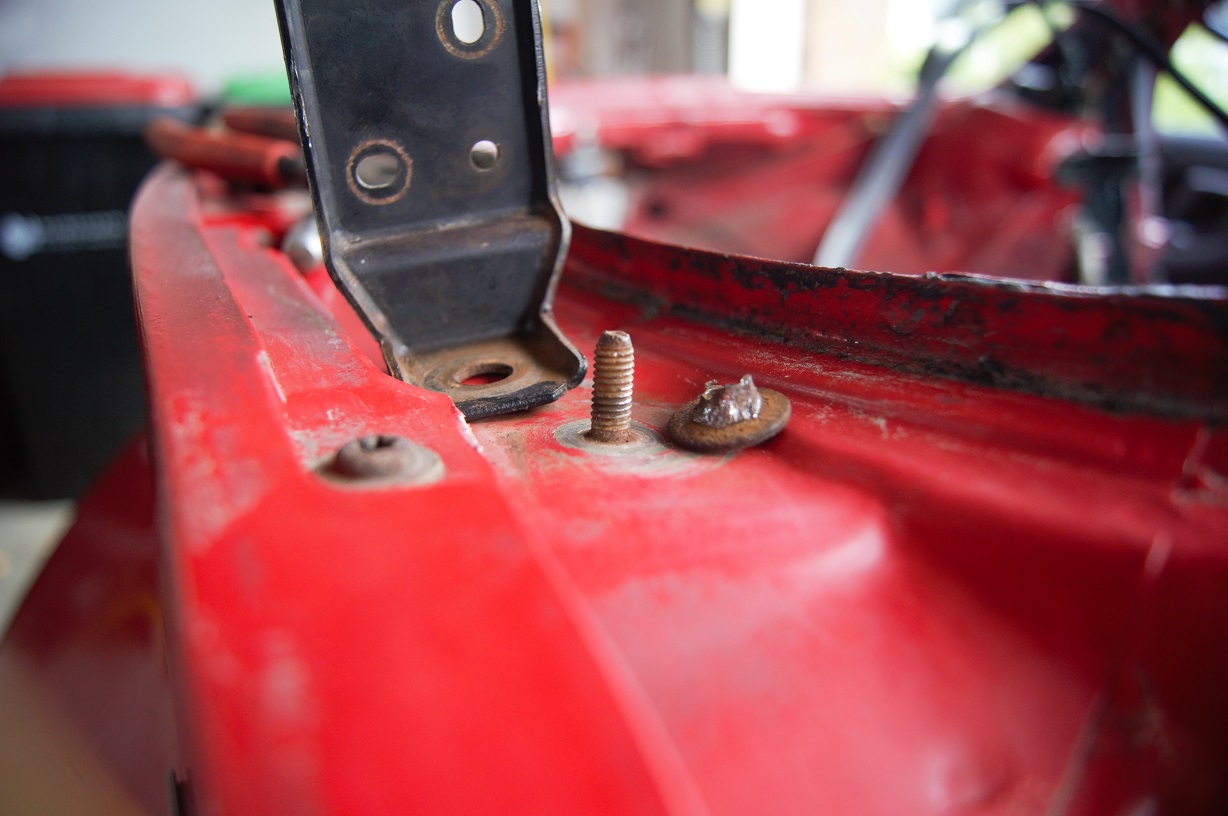
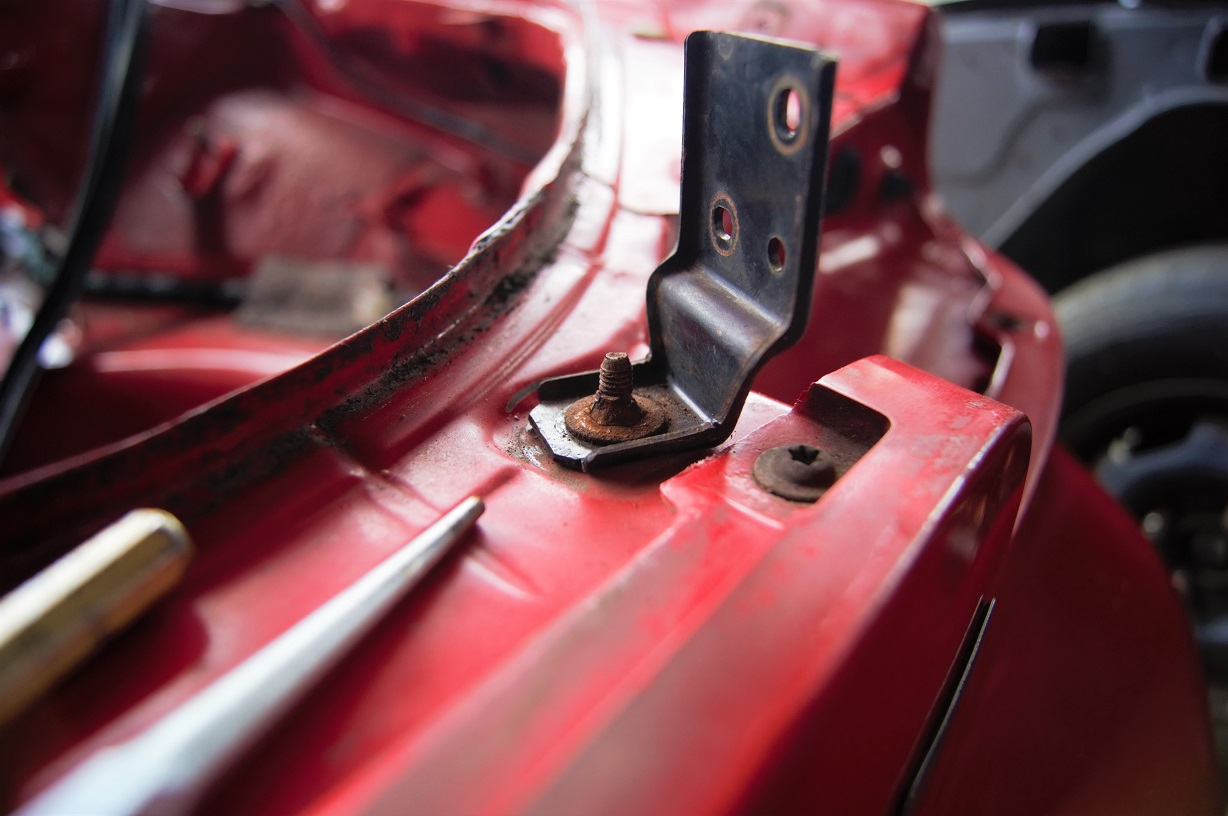
This morning's mission was to get the rear bumper off. What a task! More rusty fasteners. The air chisel got called into action on a couple of them and got them spinning, but this sort of crud kept falling out on floor: Much of that is chunks rust... So I feared the worst :-(. This nut in particular, which is the lower most bumper attachment point was a complete bastard to get out. Had to basically make new flats on it with a chisel, and then use the air hammer to drive it around. Took a good 30 mins, but came out without causing any more damage anywhere else. I was then able to get the bumper off, after fighting with (and marginally munting) the four plastic clips that also hold the bumper in place. That exhaust needs to go... but its a future problem. I'll sort some sort of better flowing, but stock looking twin tip muffler for it. The rest of the system is 3" aftermarket stuff already that looks okay. The cat has been removed, so it'll be pretty rowdy I'd say, but hopefully I can find a muffler that will tame it somewhat :-/. However, its NOT rusty behind there, whoopee! I was really fearing lots of missing metal, but all the chunks of rust were from brackets, fasteners and other bolt on parts. That stuff I can fix far easier than I can the body itself, so excellent. No signs of accident damage either. Overspray fucking EVERYWHERE though. More work with a drill, chisel, punch and hammer to get that chunk of fastener out. Had thread locker on it which didnt help things. Gave everything a good dust off and clean after that. The rusty-ish looking patches are where the rear reo bar mounts bolt on, and those are a little rusty, but the body itself is fine. I'll scotchy everything up nice though, put some rust killer in place, and re-spray this area so it stays nice. I can start cleaning all the bumper bits up now and get them back on, working my way forward slowly :-).- 50 replies
-
- 19
-

-

Zac's rotary redux project, because he has too much spare time.
ProZac replied to ProZac's topic in Other Projects
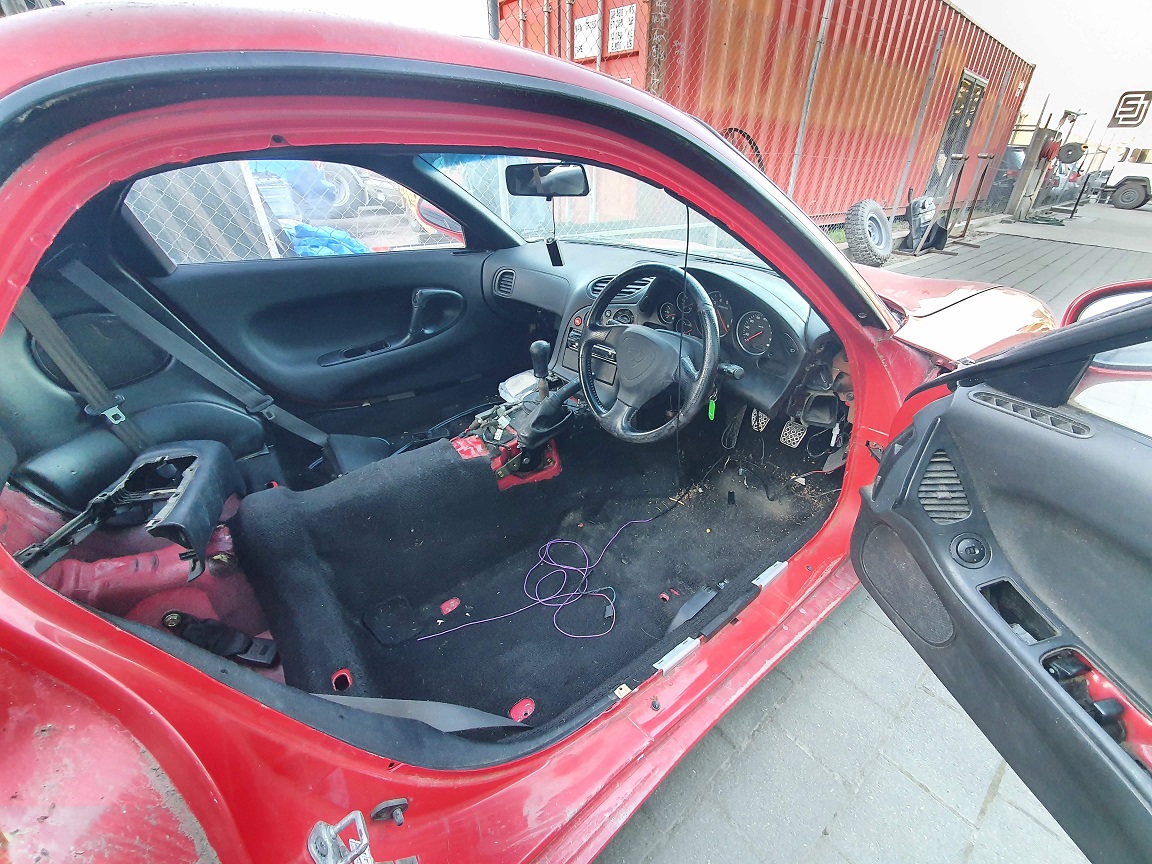
Sticking to the plan and working on this thing from the rear forwards. I have a pretty small 2 car garage, and I'd like to avoid having to put the Starion into storage if possible, so I need to push this out to make enough room to work on it. Still better than not having a garage at all. Rear bumper needs to come off to then be put back on properly, and I'm really paranoid I'm going to find a heap of rust behind it... But we'll see when we see. When I pulled the lights off the other day, one of the bolts holding down the rear garnish was rusted into oblivion.\ With some punches, a chisel and some hammering, I managed to get it off though. Lots of other rusty fasteners alas. Lots of drilling then out today, all went reasonably well. Will get the back bumper off tomorrow and see what lurks behind there. The view forwards at the moment: Such a cool cabin... But really really dirty, will need a complete disassembly level of cleaning I'd say. Fun Fun :-).- 50 replies
-
- 14
-

-

Zac's rotary redux project, because he has too much spare time.
ProZac replied to ProZac's topic in Other Projects
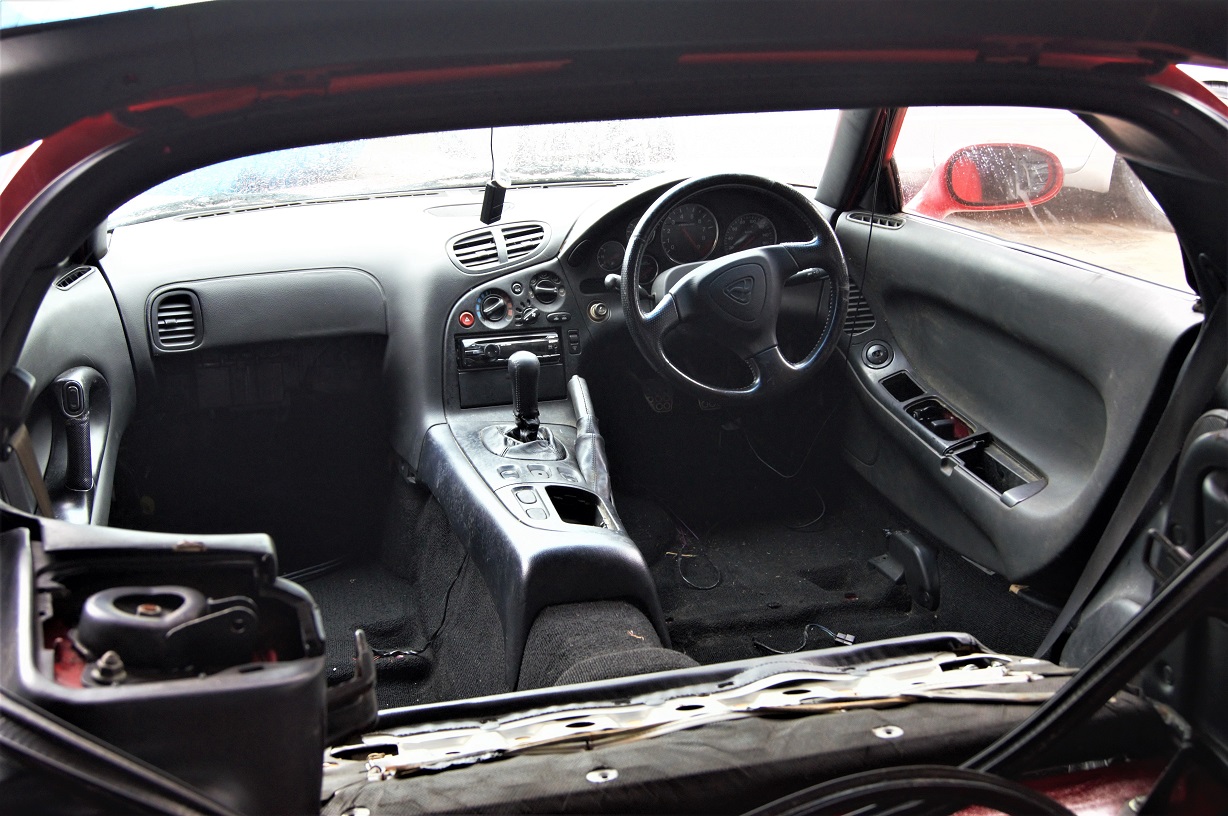
Last day off work today, till I'm back tomorrow, then its Easter break for 5 days. Wow, really didn't think that one through! Still, lots of students want meeting about projects tomorrow, so it should be a pretty fun day. The boot seal area of this car was a complete mess, and I thought I'd give it a bit of a cleanup while I was thinking about how to approach the rest of the project. See if you can guess which side I've done in the below picture: After cleaning it yesterday, I was pretty pleasantly surprised to find the body in good condition. The respray it's had is... not too bad. It was a door-shut affair for sure, and there is overspray and poorly masked edges everywhere that really makes it look shittier than it is. The paint that is on the panels is pretty decent. Overspray I can take care of, the edges I can polish down to lessen the appearance of. The interior is just trashed. everything is super dirty, there is mold, and biohazard levels of yuck in places, so that's also something to sort. I happened upon a complete series 7 interior for sale recently, so I snapped that up and most of those bits are in really good nick, so I should have the majority of pieces I need there. Weirdly, I'm not too worried about the engine / drivetrain side of things. I've heard through the grapevine of a previous, previous owner that the motor was rebuilt not long before HPA got it (lol, standard rotary story, 3000k's on fresh rebuild, bruh!), and it's been stored without water in it... So I should at least be able to get it running and driving on the keg that is in there. Plenty of spares came with it, certainly more than enough to piece together a complete turbo / intake system. The one piece that I hadn't seen was a complete throttle body, but I've sourced one from a GC down in Dunedin. Wiring wise, it's a mess. There is just shit everywhere under the dash, the engine harness is hacked up, and it looks like it's had the whoile catalogue of shitty late 90's alarm systems thrown at it. I'm looking forward to ripping alllllll that shit out. Plan as it stands: Exterior First (I like working on pretty things) Align the panels properly. The doors are pretty good, so I'll work from there forward, get the guards lined up, the bonnet, and the headlights. While doing this, clean all the overspray off. Pull off everything that is bolted to the exterior of the car (bumpers, mudflaps, mirrors, etc) and blend the masking edges / clean overspray. Align properly and refit. Interior Second (I like working in clean spaces) Pull pretty much everything except the dash out, working from the boot forward. Clean the ba-jeebus out of everything. The carpet can't come out as that involved removing the dash, but lift it and check underneath at the very least. While everything out terminate non-factory wiring with extreme prejudice. Refit cleaned / repaired parts from the front back. Engine Third Maybe I should be more worried about this, but I'm really not. The parts are there, I know where they go, I'll probably have to make a wiring harness, but I've got all the info for that sorted. Hell, there are atleast two spare wiring harnesses in the boxes that came with the car. Convert to late model turbo control setup, to go with the late model ECU that is there. Also came with a Power FC, and I've got a Link Fury kicking around, but would need to sort a turbo control system if using that.... This part of the plan is much less clear. Seems odd to focus on the exterior and interior first, rather than getting her running, but those parts of the project are the ones that are hard to find parts for, so I need to get on to it ASAP as parts supply is drying up at an alarming rate! Lastly Skids. Whoa, that was some rambling, but needed to put it down somewhere. For the immediate goal though, I need to take all the spares it came with to the lockup, so I'm off to do that!- 50 replies
-
- 28
-

-

-

Zac's rotary redux project, because he has too much spare time.
ProZac replied to ProZac's topic in Other Projects
Cheers broseph :-). Really looking forward to getting it going. -
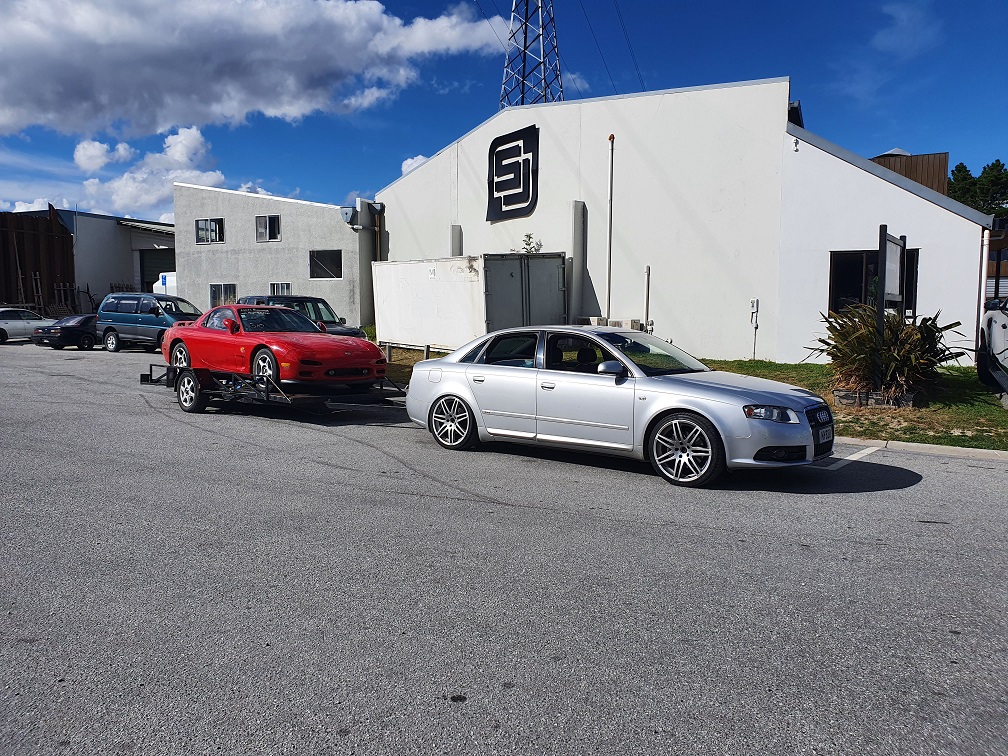
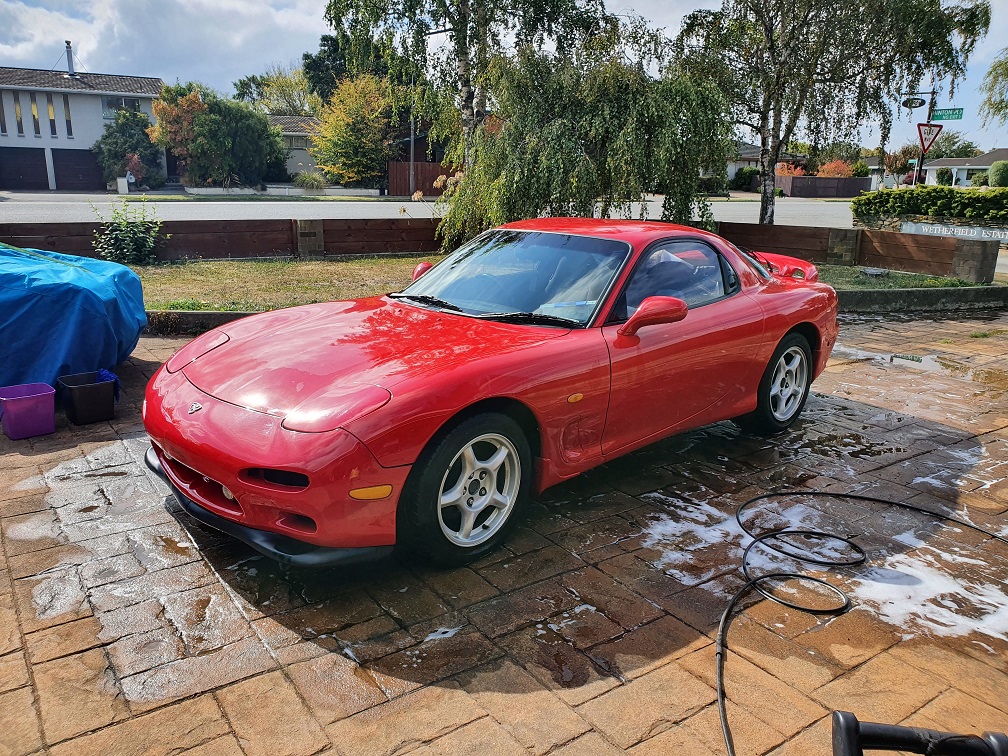
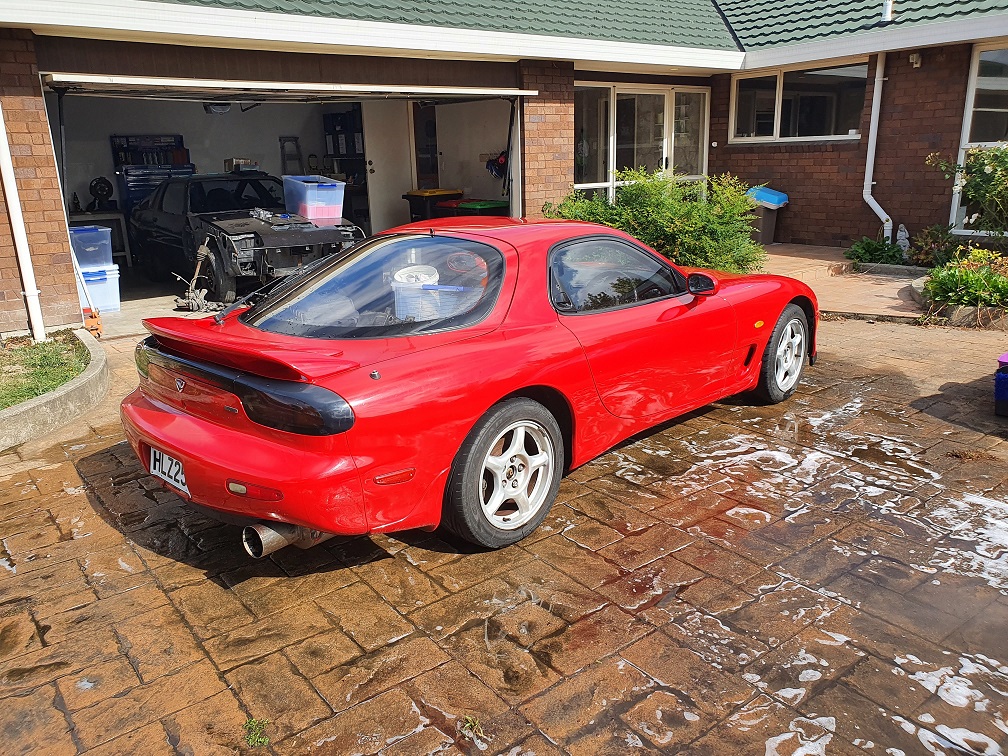
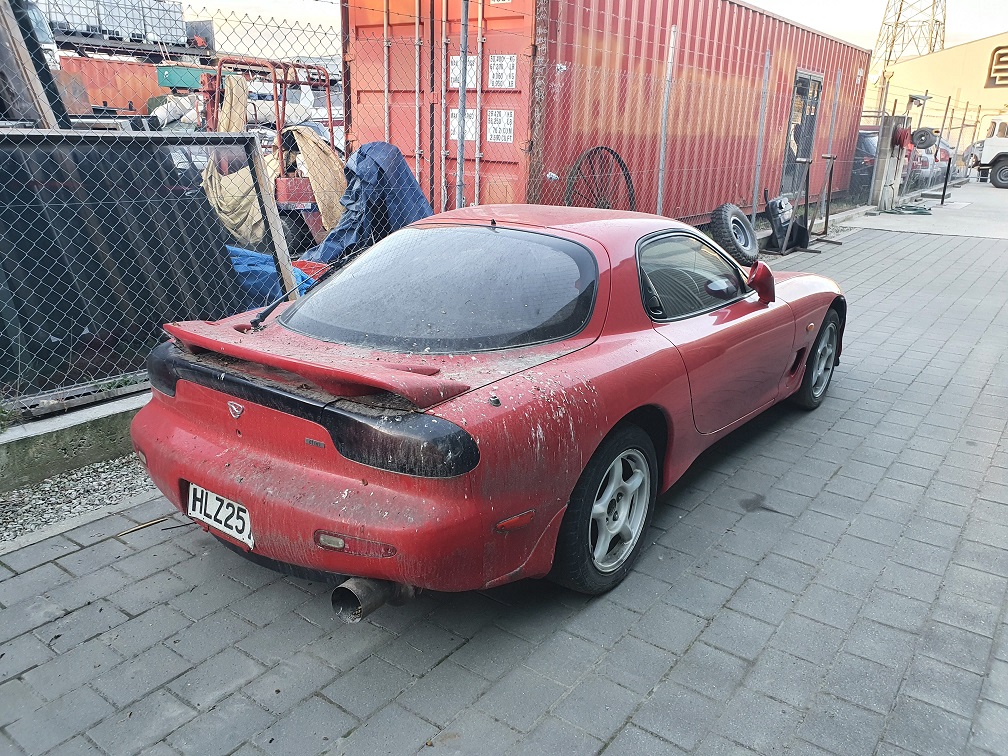
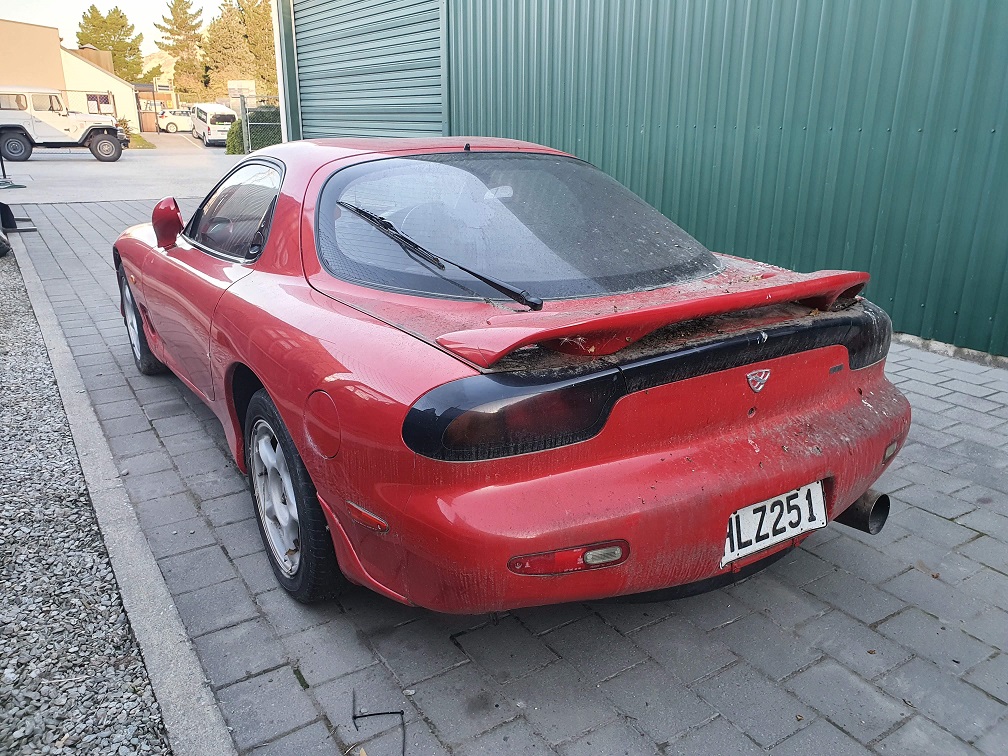
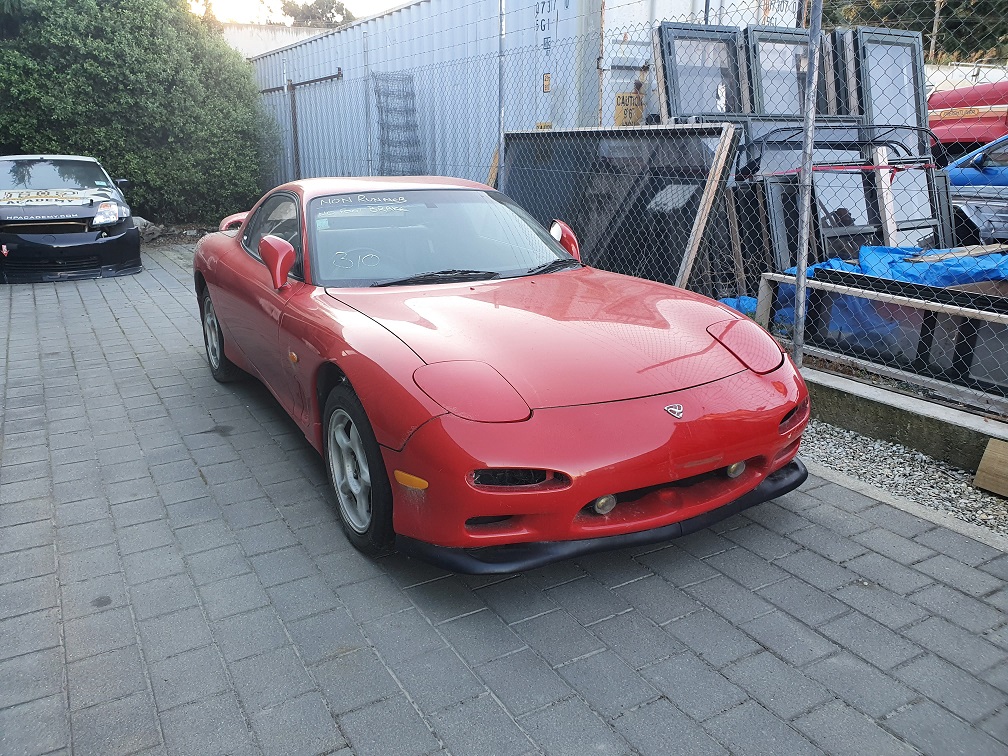
A whiles back I had a nice FD RX7 , and then I sold it, because of reasons. Always thought it was a silly thing to have done, so I have now un-done that decision... Sort of. FD's are in a bit of a bubble at the moment, with asking prices being sky high. It doesn't seem to me that many are actually selling at these inflated prices though... But, you can't argue that the prices on them are going up. I expect the bubble will burst at some stage and prices will fall to something more reasonable, but more than likely still more than I'd be willing to pay. I managed to do a deal with my former employer, High Performance Academy, (whom I still do work for on occasion, they're awesome guys ), to acquire this: They had purchased it to use for their tuning course, as a worked example on a rotary engine, but it just wasn't tidy enough, and would have taken too long to get there for their timeframe. They ended up purchasing the white FD I owned at the time, which was good to go for their needs. Towed it home (Christchurch) from Queenstown last night behind my 3.0TDI A4. Only a little dodgy... But actually towed with no problems. No scrubbing / scraping, and no weird handling, basically didn't know there was anything behind the car, except for the increased fuel usage and lack of usual grunt. Max slam. Spent this afternoon cleaning. So much dirt, bird shit and sap. The cover had blown off the rear corner, and because it was tucked away, no one noticed. Paint is a bit marked (it's had not completely shit re-spray in the original red), but it'll buff out. Plan for this is to tidy it up, replace the interior (most of it is thrashed), and get it going again on some factory(ish) twin turbos. I love the quirkyness of the sequential twins, and I know them inside and out (literally) from my time with my white car, so keeping those is a must. Most of the parts to put it back together are with the car. I'll be doing some hunting and scrounging for sure though. The wiring is roooooooted, but luckily I know a guy. This will probably take priority over the Starion, as it needs much less work, will be good to get it to a nice driver state. HMU if you've got a stash of parts! ;-).
- 50 replies
-
- 49
-

-

Tomble's 1983 Starion GSR-X fumbling / hand-holding / discussion
ProZac replied to tomble's topic in Project Discussion
Yeah, because the distributor is also the trigger system sending RPM info to the ignitor box, you really need to set the timing with a light. -

Tomble's 1983 Starion GSR-X fumbling / hand-holding / discussion
ProZac replied to tomble's topic in Project Discussion
An EV Starion really tickles my pickle. Awesome that you've had her moving mate! For the lack of power, have you set the timing since you put the replacement distributor in place? -
That is, without a doubt, the coolest piece of rear glass I've seen in any car, ever. Hard.
-
Gave the garage a good dung out this afternoon, had to push the car out. Gave it a wash while it was out. Didn't magically reassemble itself unfortunately. Bloody hell it looks sorry for itself. This year is the year ;-). That is all.
- 5 replies
-
- 20
-

-

Tomble's 1983 Starion GSR-X fumbling / hand-holding / discussion
ProZac replied to tomble's topic in Project Discussion
Not that I could recommend it to someone else, because fire, but I'd slice the crimps off, remove the hose, replace with EFI rated hose and clamp with efi style hose clamps. -

Tomble's 1983 Starion GSR-X fumbling / hand-holding / discussion
ProZac replied to tomble's topic in Project Discussion
YUS YUS YUS! Oh hells yes. Genuine smile from ear to ear watching that my man! Sounds really good too! Smooth idle, which is very odd for the TBI injection system. Awesome! That line is threaded one one end where it connects to the hard line under the car, and a banjo at the other from memory? I checked my parts stash but don't have a spare one alas, otherwise I'd send it on up. For making a new line, the banjo end would be a pretty easy solve, it'll be a standard metric size, but NFI what the other end is. But pull it off and take it into a hydraulic hose place and see what they say? Still, that's just excellent. Major mojo boost :-). -

Tomble's 1983 Starion GSR-X fumbling / hand-holding / discussion
ProZac replied to tomble's topic in Project Discussion
Deffo get it going for a quick ride before you strip it apart! Even if you just have the stock fuel pump sucking from and returning to a temporarily mounted 5l jerry can or something. JDM cars had jet valve heads. They're there like little auxiliary intake valves (the head on them is like, maybe 7mm diameter?) that are meant to introduce swirl into the combustion chamber and help with fuel mixture. Lots of debate as to whether they actually do anything, and most often people want the heads that didnt have them as they're less prone to cracking. Means the jet valve heads are easier and cheaper to find tho. -

Tomble's 1983 Starion GSR-X fumbling / hand-holding / discussion
ProZac replied to tomble's topic in Project Discussion
That cranking speed sounds much better! I found a piece of hardened screw extractor in a screwhead on a Bell 412 bulkhead securing screw once. Found it with a drillbit, would not recommend. Countersunk screw, so I had to chisel it out, also would not recommend. Your spark leaking like that... I'm assuming the other end of the lead attached to the coil was floating in midair and not looped back around to the dizzy somehow? Getting spark is good news, that's a bit part of 'getting her started' job sorted! If that motor has been sitting for ages, I wouldn't read too much into the compression test results at the moment. Quite likely the rings are pretty gunged up and sticking in the ringlands. Will need a little bit of running and a couple of heat cycles, then check it again. Nothing in those readings should stop it starting. You've got spark, You've got compression (mostly, lol), how's that fuel lookin? If you remove the intake pipe can you see them spraying? If that head proves to be a real problem, with the sparkplug thread I'm pretty sure I've got a couple of JDM jet valve heads in the storage unit. Much success :-). -
Right in the feels bro :-(. Walk away for a day or two I reckon. That shit sucks, but it wont be as bad as you think it is now, in a couple of days.
-
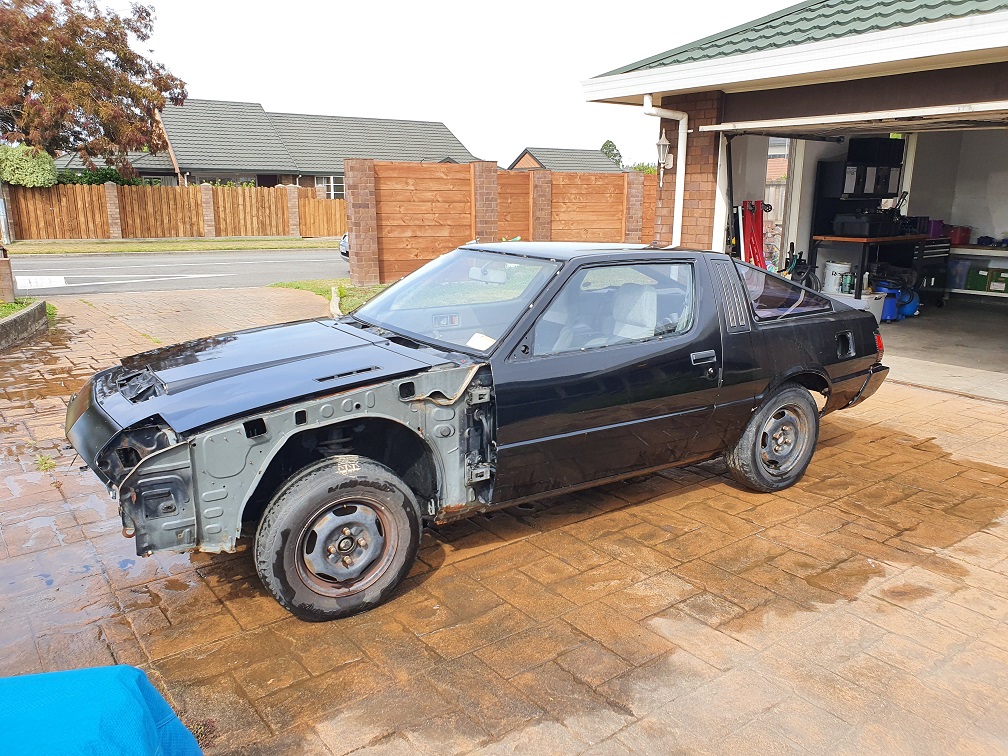
The springs in the parts car I've just picked up are yellow, so they're likely aftermarket ones. I'll see if I can find any deets on them :-).


