Elle L
-
Posts
24 -
Joined
-
Last visited
Everything posted by Elle L
-

- 23 replies
-
- 29
-

-
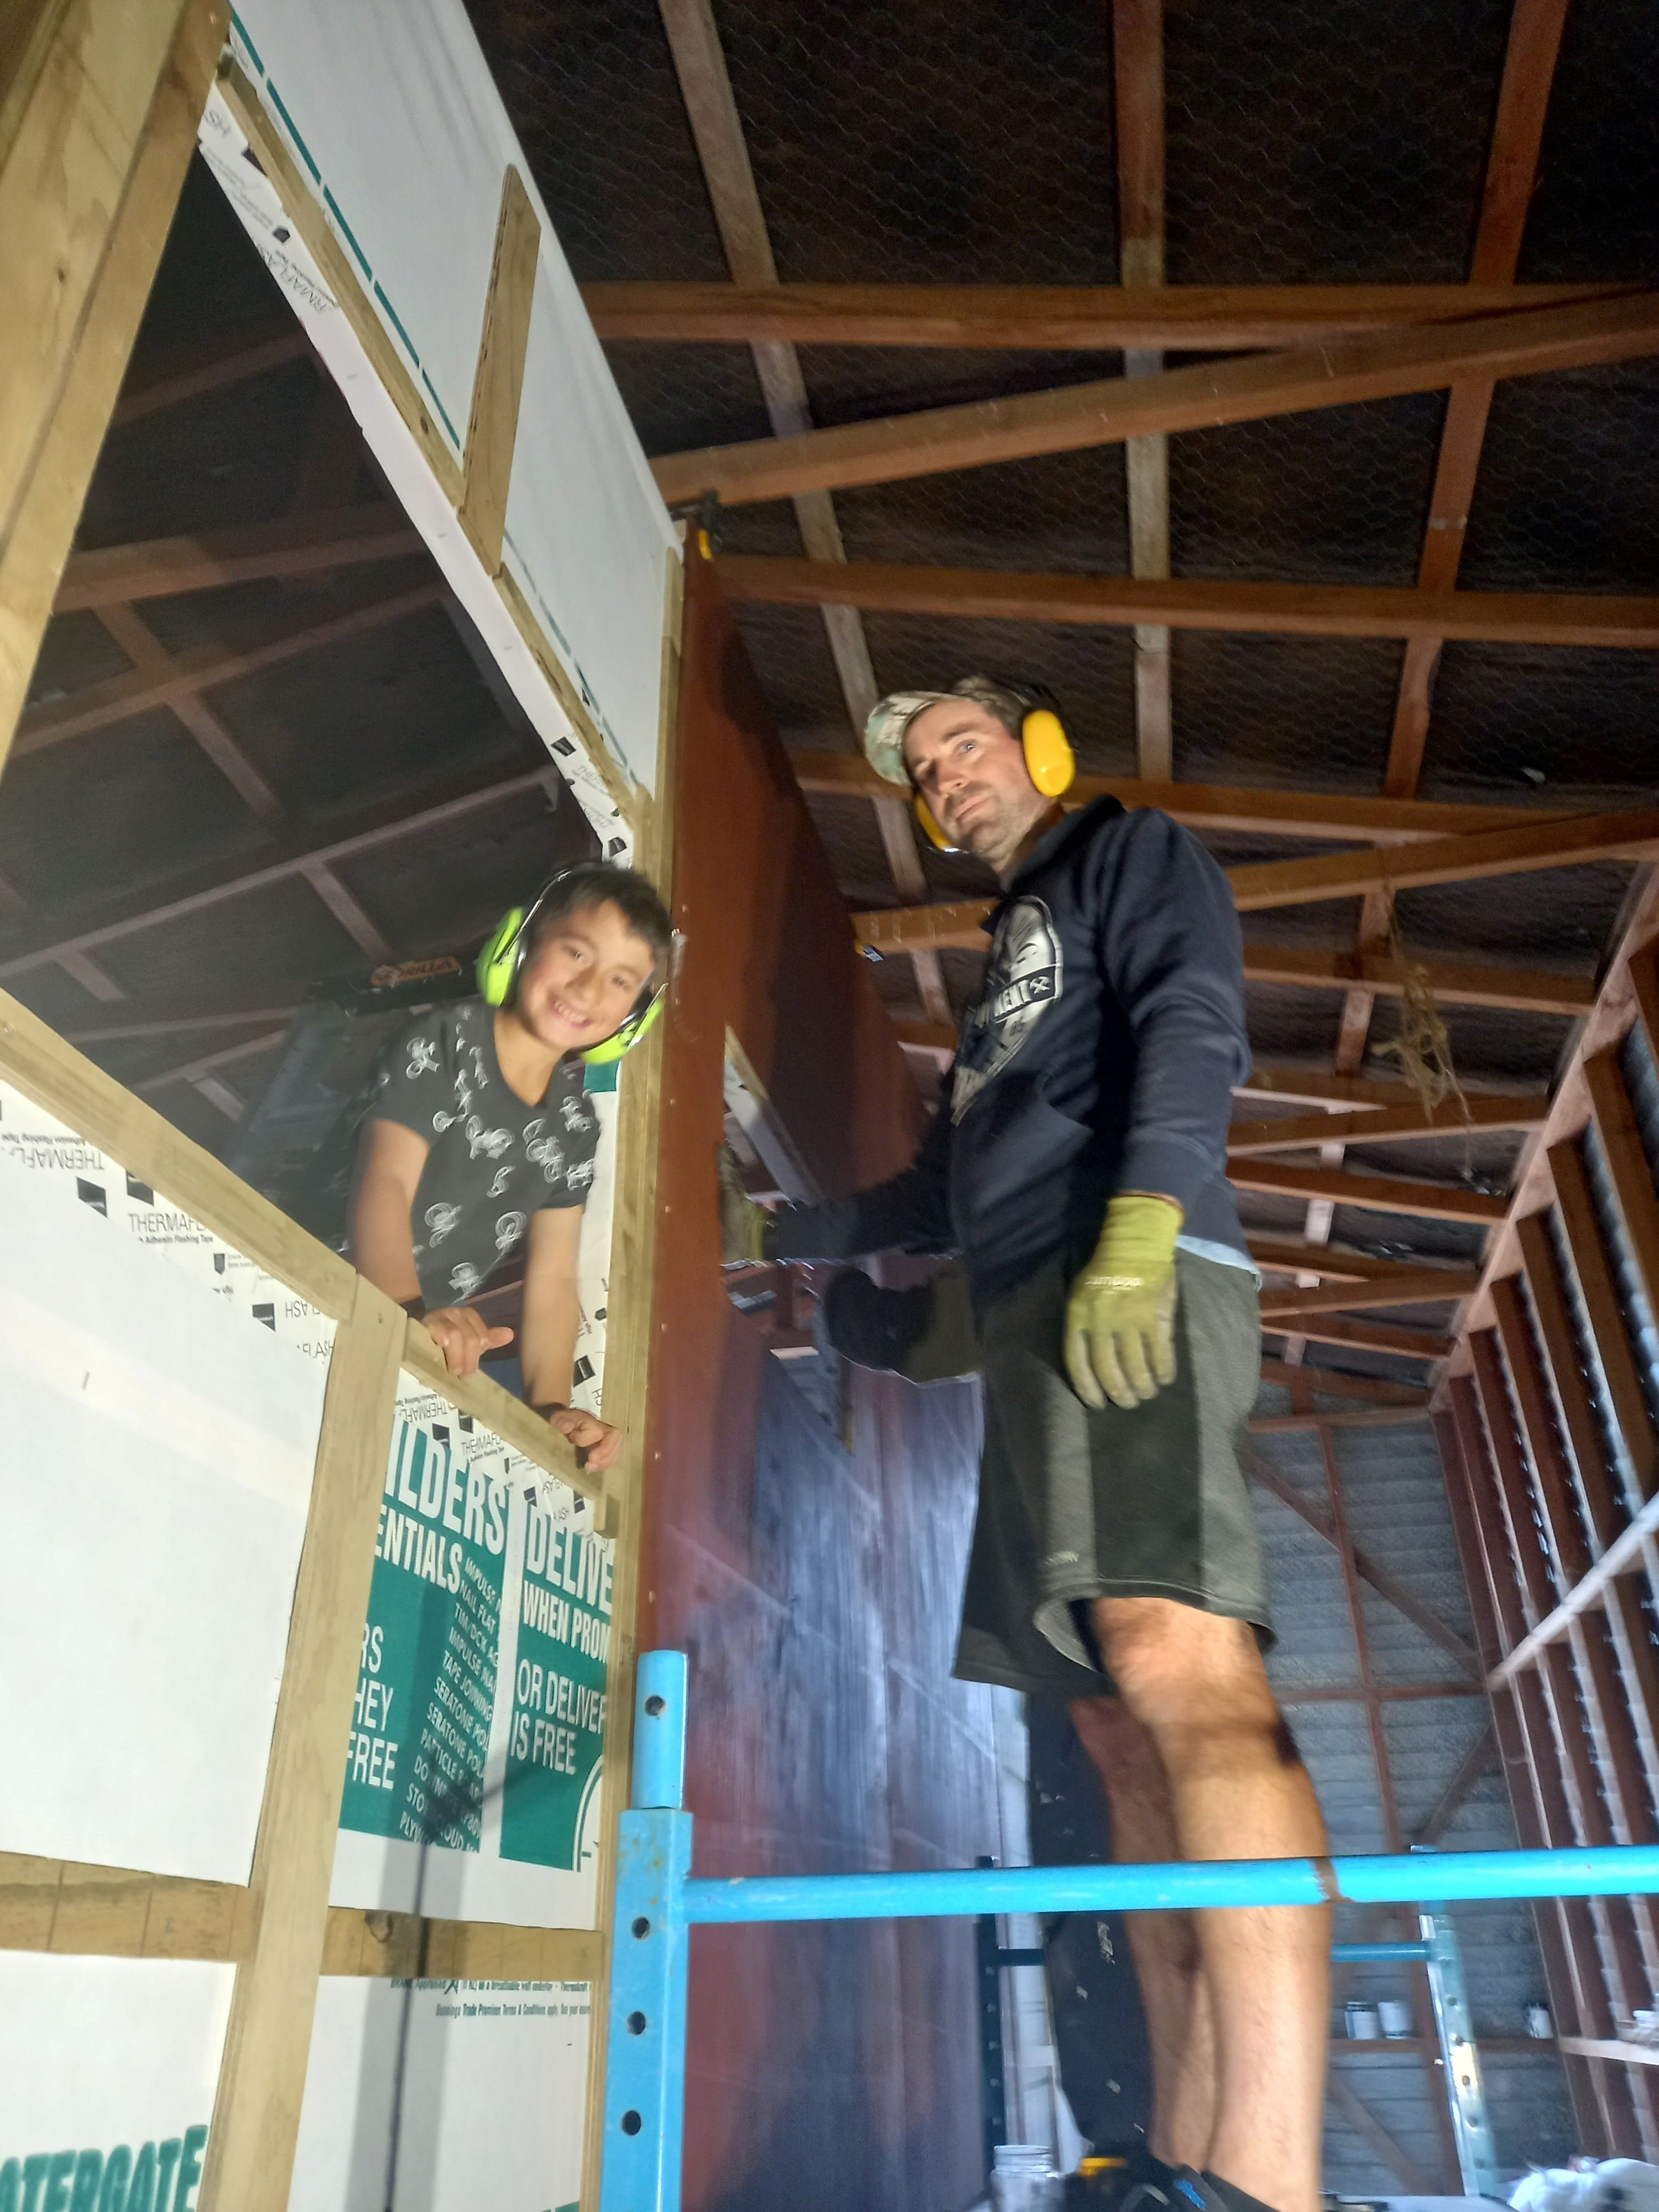
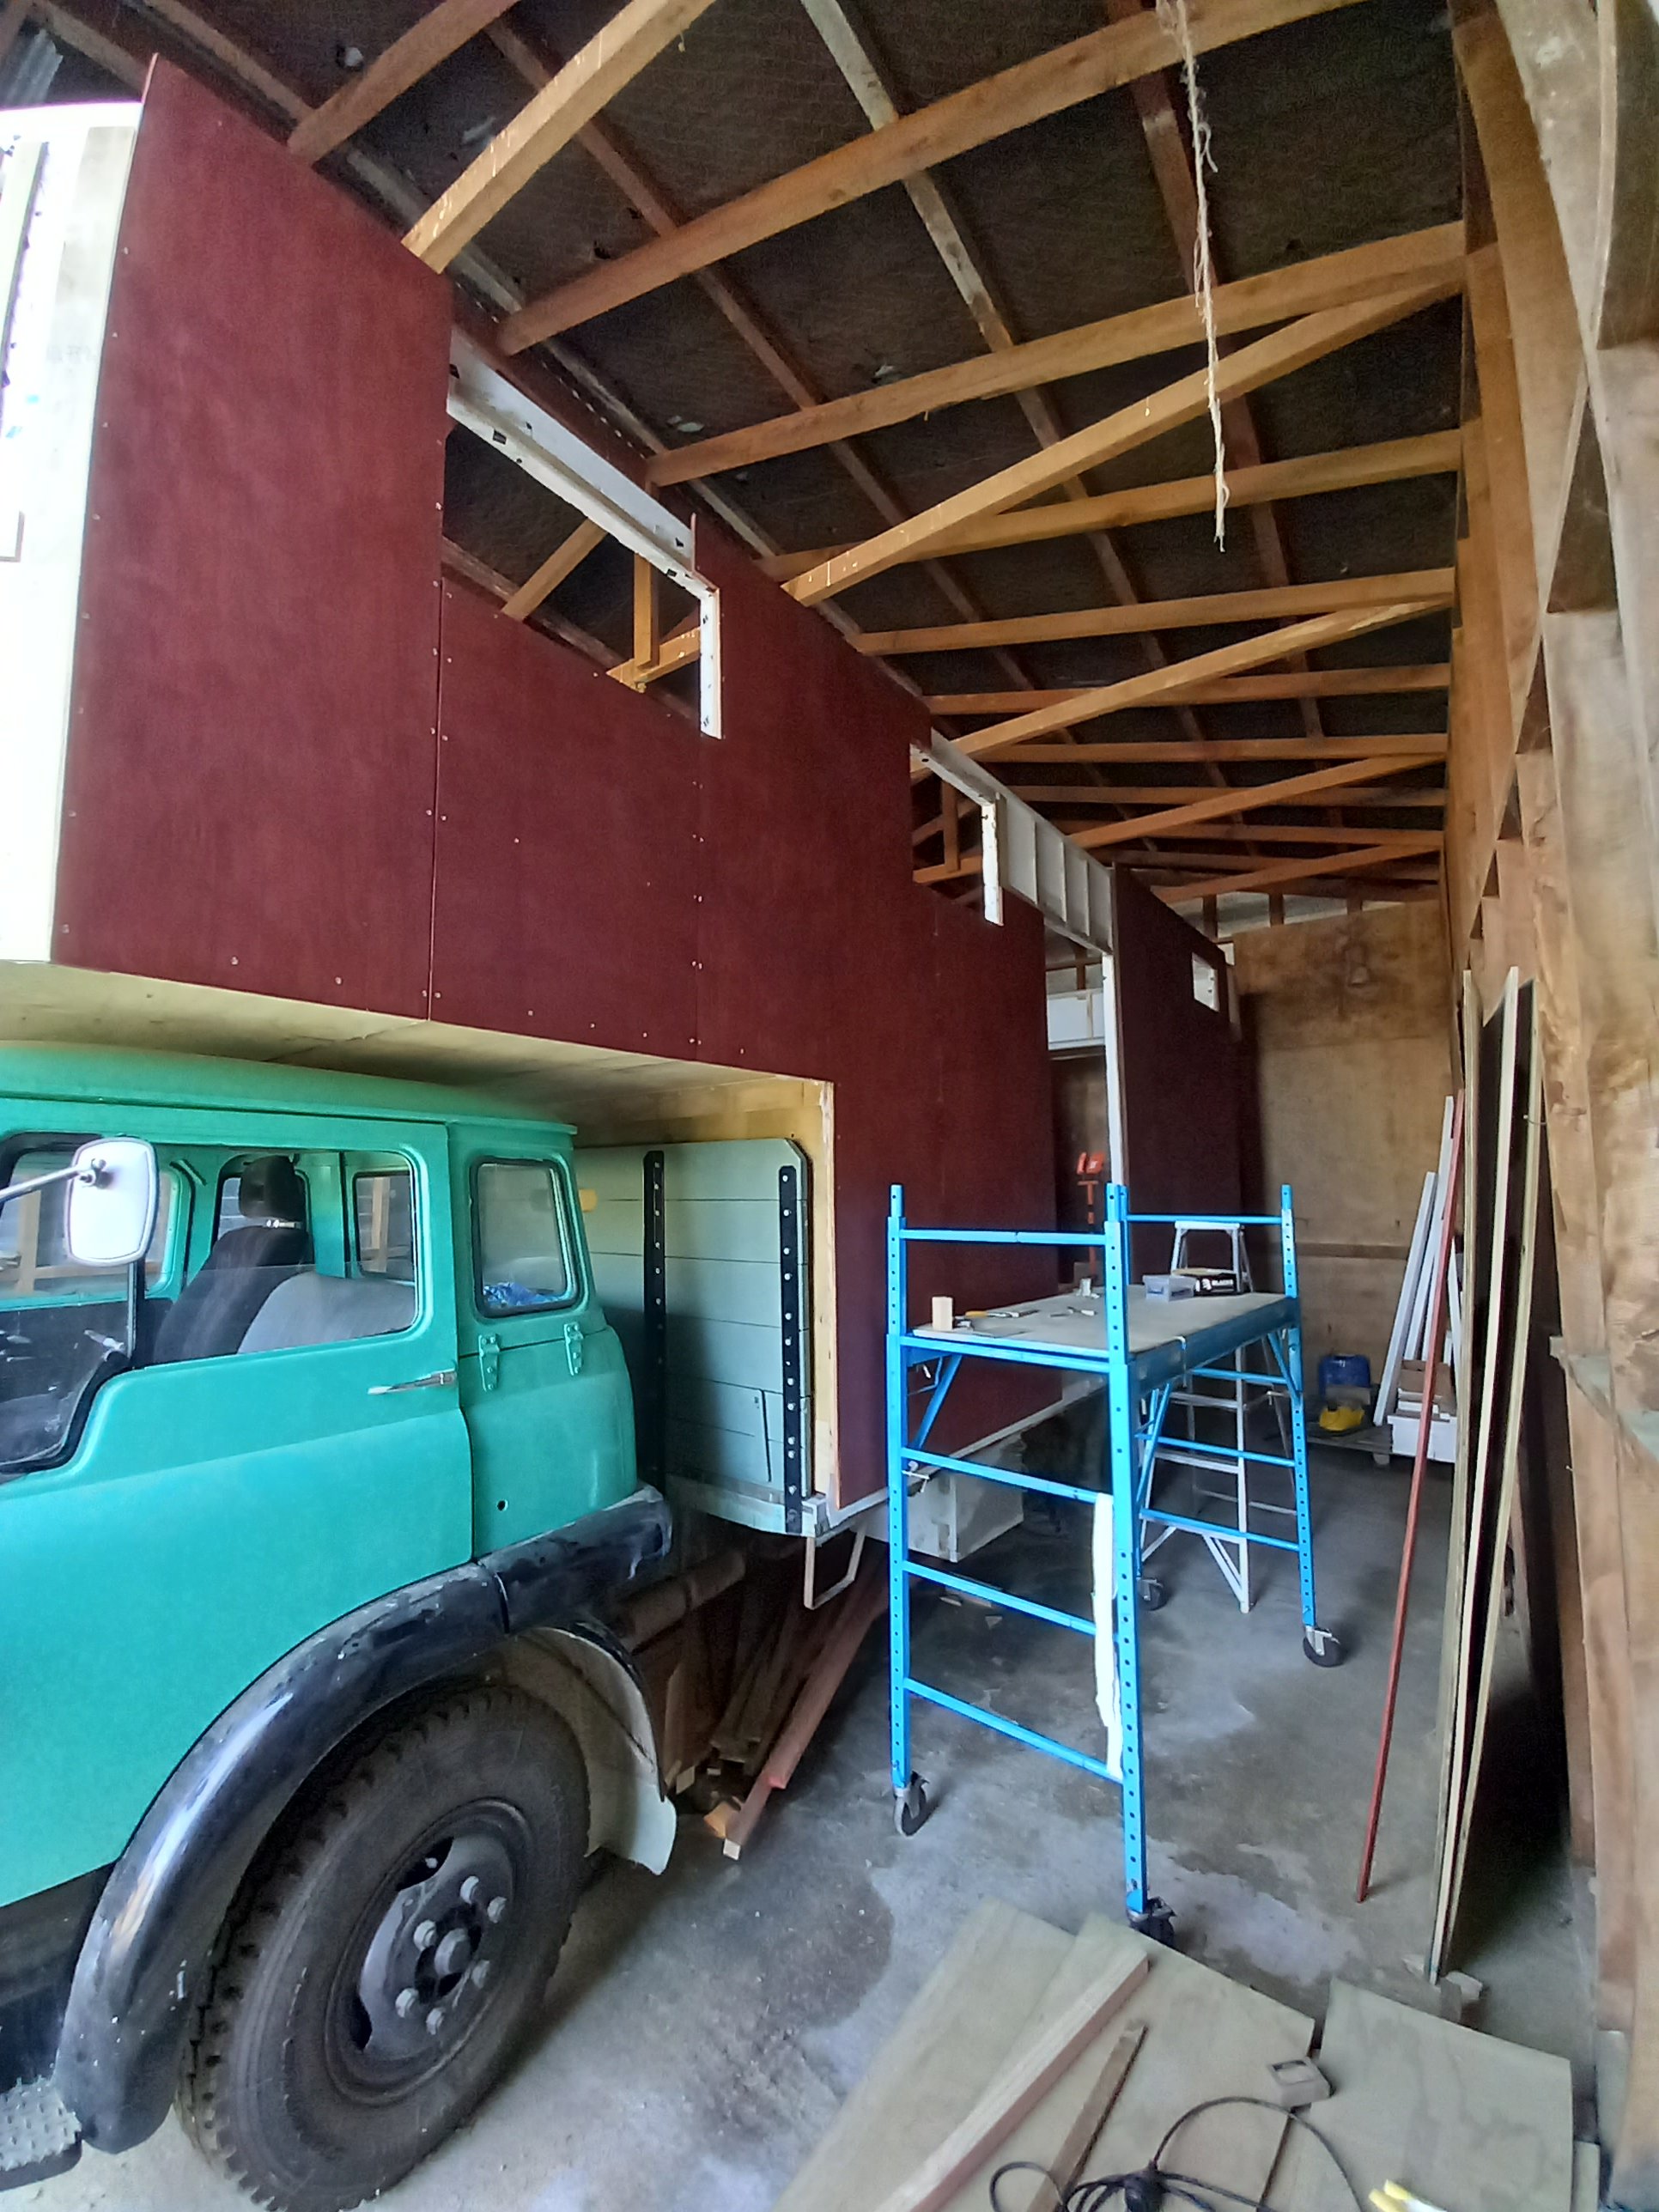
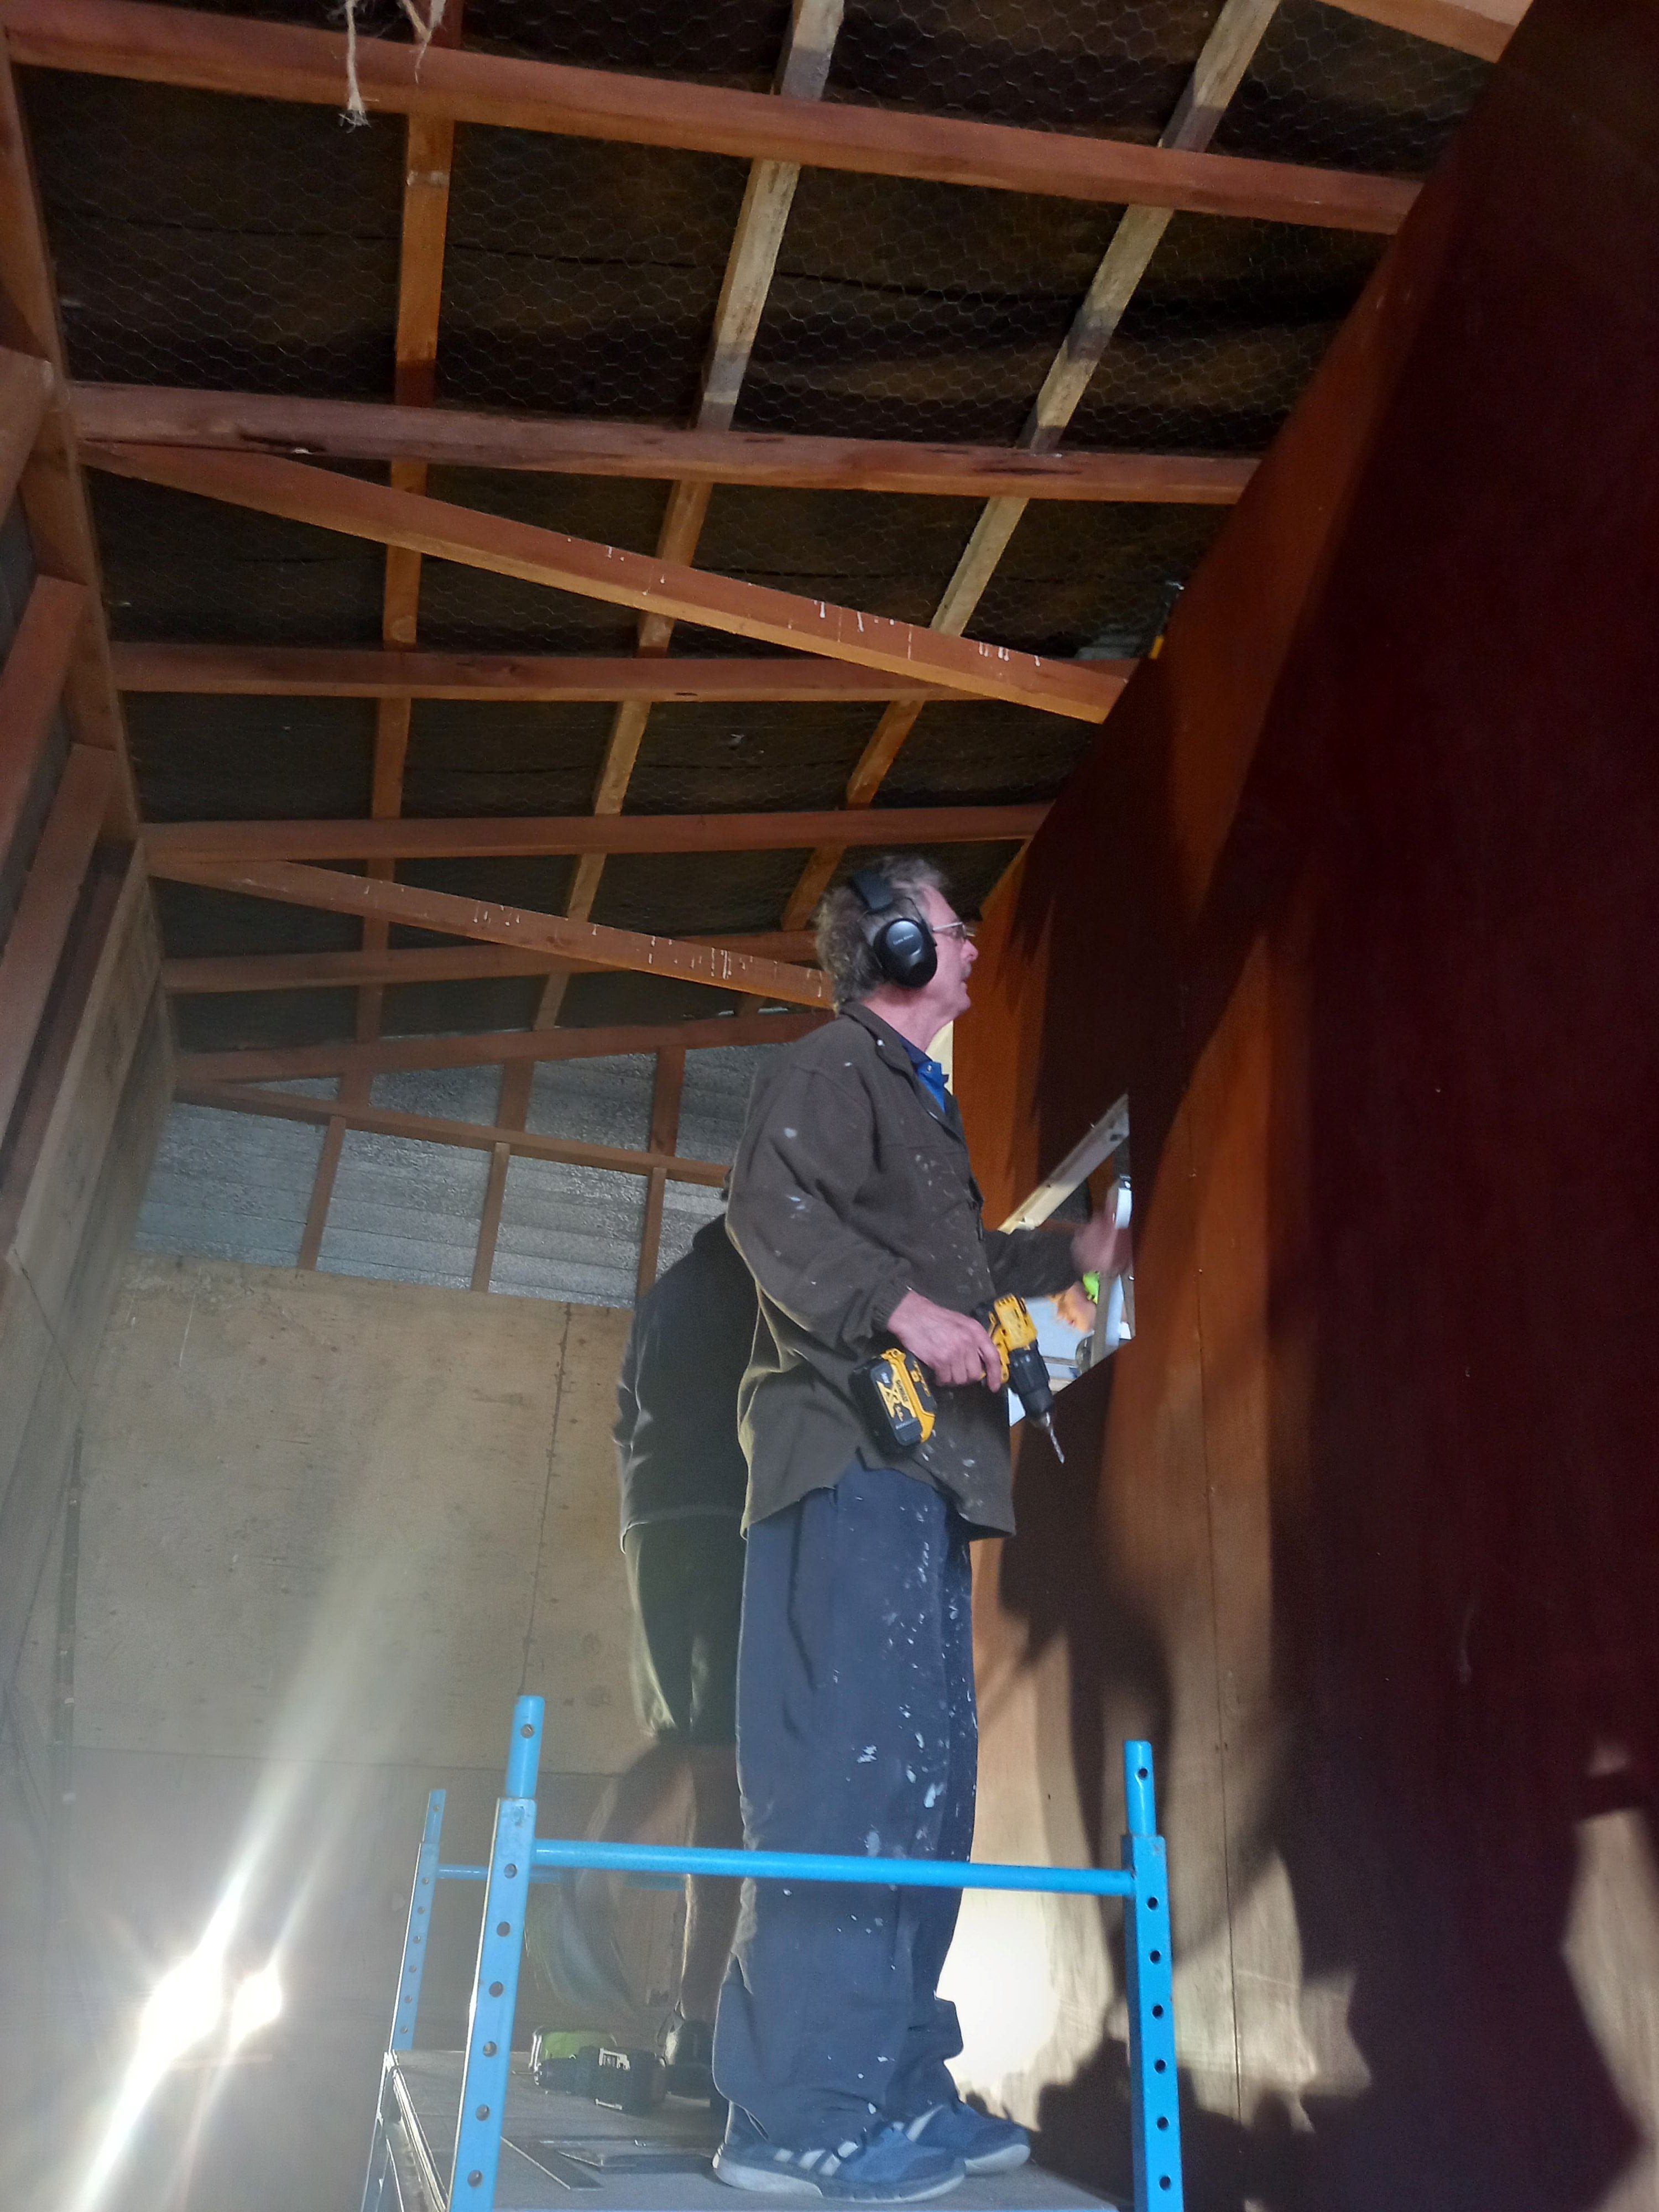
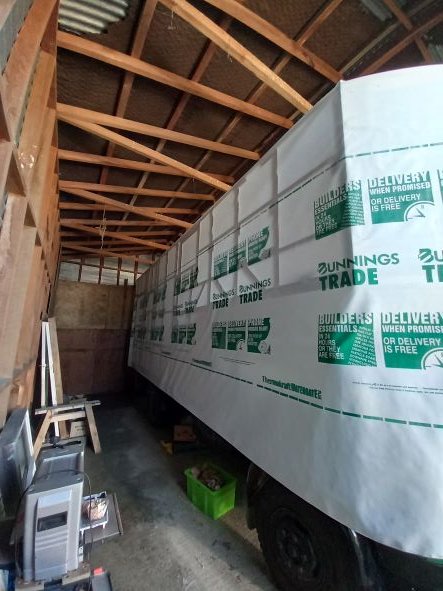
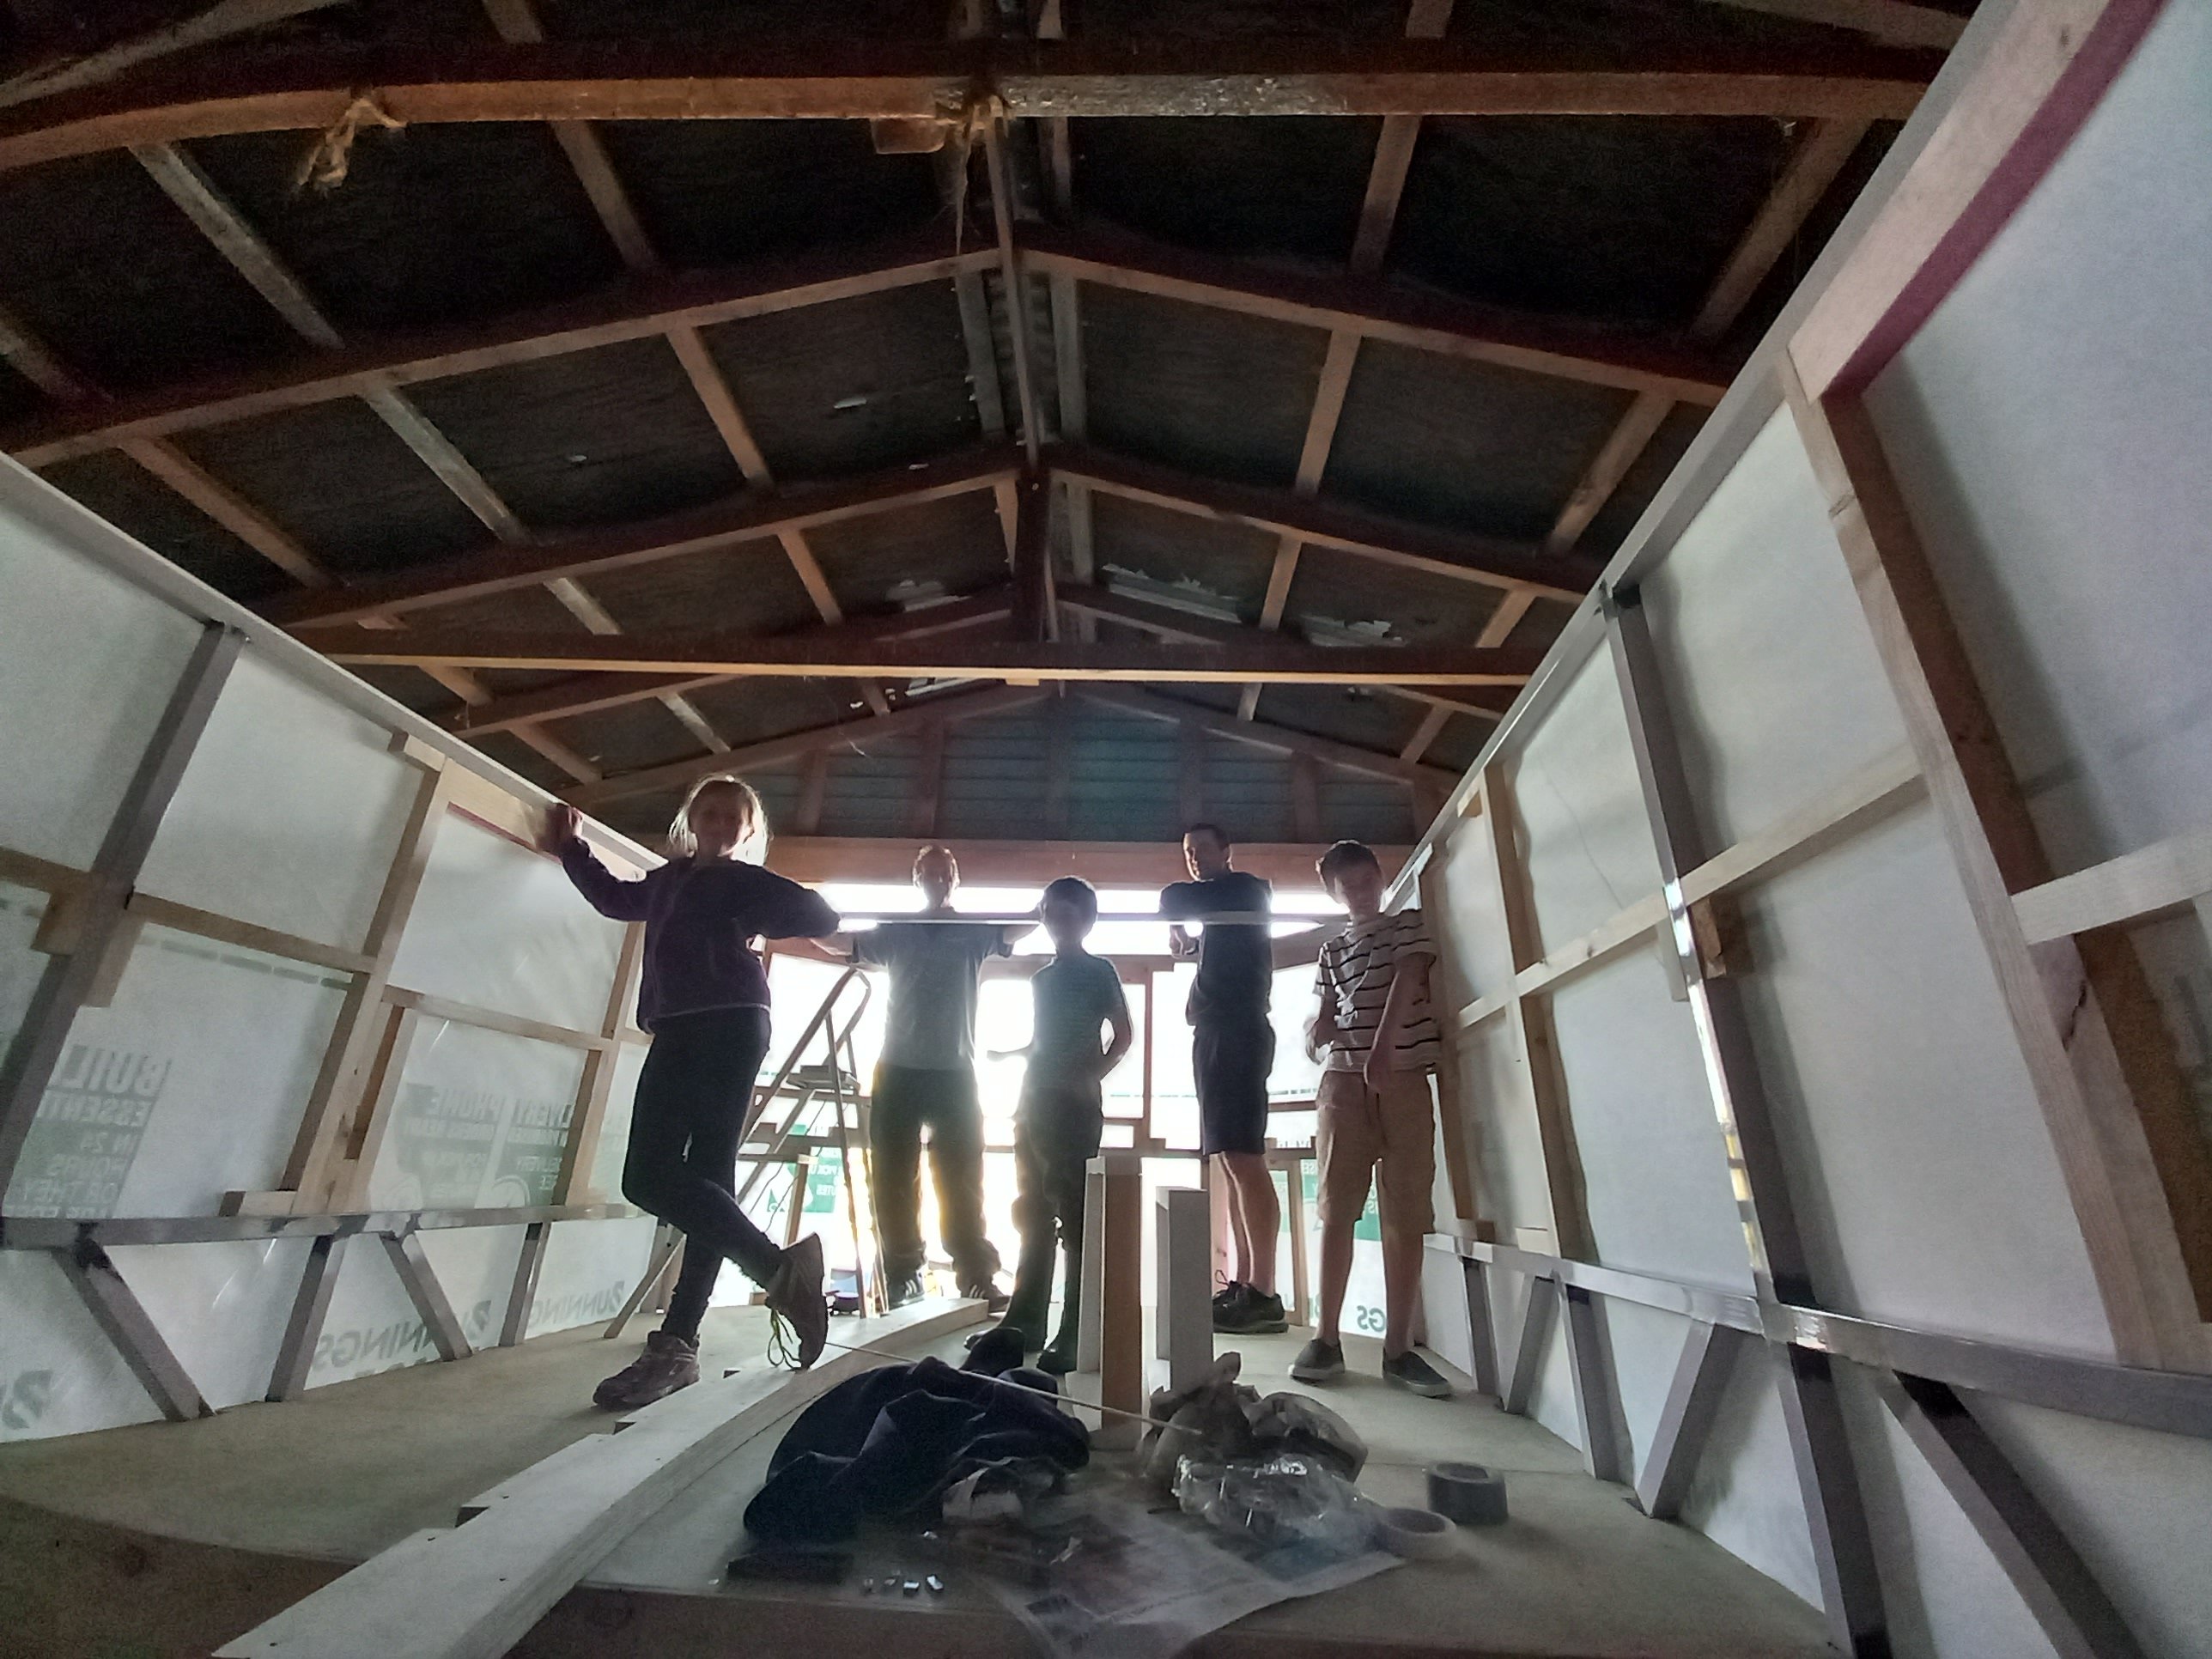
Right, with the troublesome thermal break business taken care of I could now move on to the cladding!! This required some recruiting of extra hands and muscle as it's certainly not a one pair of hands kind of task. Especially with 2.7m ply sections. My dad and brother were amazing spending several days helping to get the bulk of the house clad. I had been looking into scaffolding options to see if I could pick up something second hand or possibly hire some. In the end I decided I might need to just buy some and sell it afterwards. But before I did that I thought of all my friends and if any of them might have something I could borrow. The only person I could think of was Tony who has been a great support to the project and even driven Maddi for me a few times. And guess what, he had some lying under his house just waiting to be put to use again! It has been unbelievably helpful. I'd decided on ply 'board and batten' as my cladding and to stain it with three coats of the 'warm kwila' colour. A number of these were pre done and ready to roll. And I must say I was glad to get these heffalumps attached so I didn't have to move them by hand ever again! It proved to be a pretty straight forward task. There was of course lots of measuring to make sure things were as centered and square as possible, measuring and cutting window holes and lifting them up and down. But we got a good system going and I provided yummy snacks for 'the workers' I did some of the smaller sections in the bedroom by myself which was a little tricky but rewarding to be able to do. Then magically the pile in the corner was no more and the house was 95% clad. There was suddenly a solidness and substance to the structure. The cladding at the front and the back would have to wait for the roof beams to be attached and custom front beam/thermal break sections to be made, but Maddi was that much closer to having a real house on her back
- 23 replies
-
- 15
-
-
Well once again I have left it a considerable amount of time before updating progress! Perhaps it's obvious that I'm not much of a 'poster'. But it is fun to do a little write up and encouraging to have a look at when I'm having a bit of an 'ahhhhh ' moment with the project. Which is exactly what happened when I left off after my last post . . . . . the thermal break . . . . During my research for how to construct my home I'd read a lot about steel framing vs wood, thermal breaks, cavities, what was typically done on a house vs a tiny home on wheels etc. After deciding on what I'd do then getting thoroughly confused again I finally settled on how I'd go about it. Steel and wood framing with a 12mm thermal break that would also act as a small cavity. I'd opted to strip up 12mm treated ply, and I had a handy stash that I'd pre done when I was at an in between stage waiting for materials. So I made a start on the task and it was just somehow such a challenge and confusing for something that was actually rather simple albeit time consuming. I just felt totally stuck. I floundered around for a couple of days and hit a real low point. In the end I asked dad to come and have a look with me and of course with his input I was once again on a (if wobbly) roll. Can't tell you how glad I was when that task was completed! On the plus side it wasn't a heavy task, like the next one.
- 23 replies
-
- 18
-
-
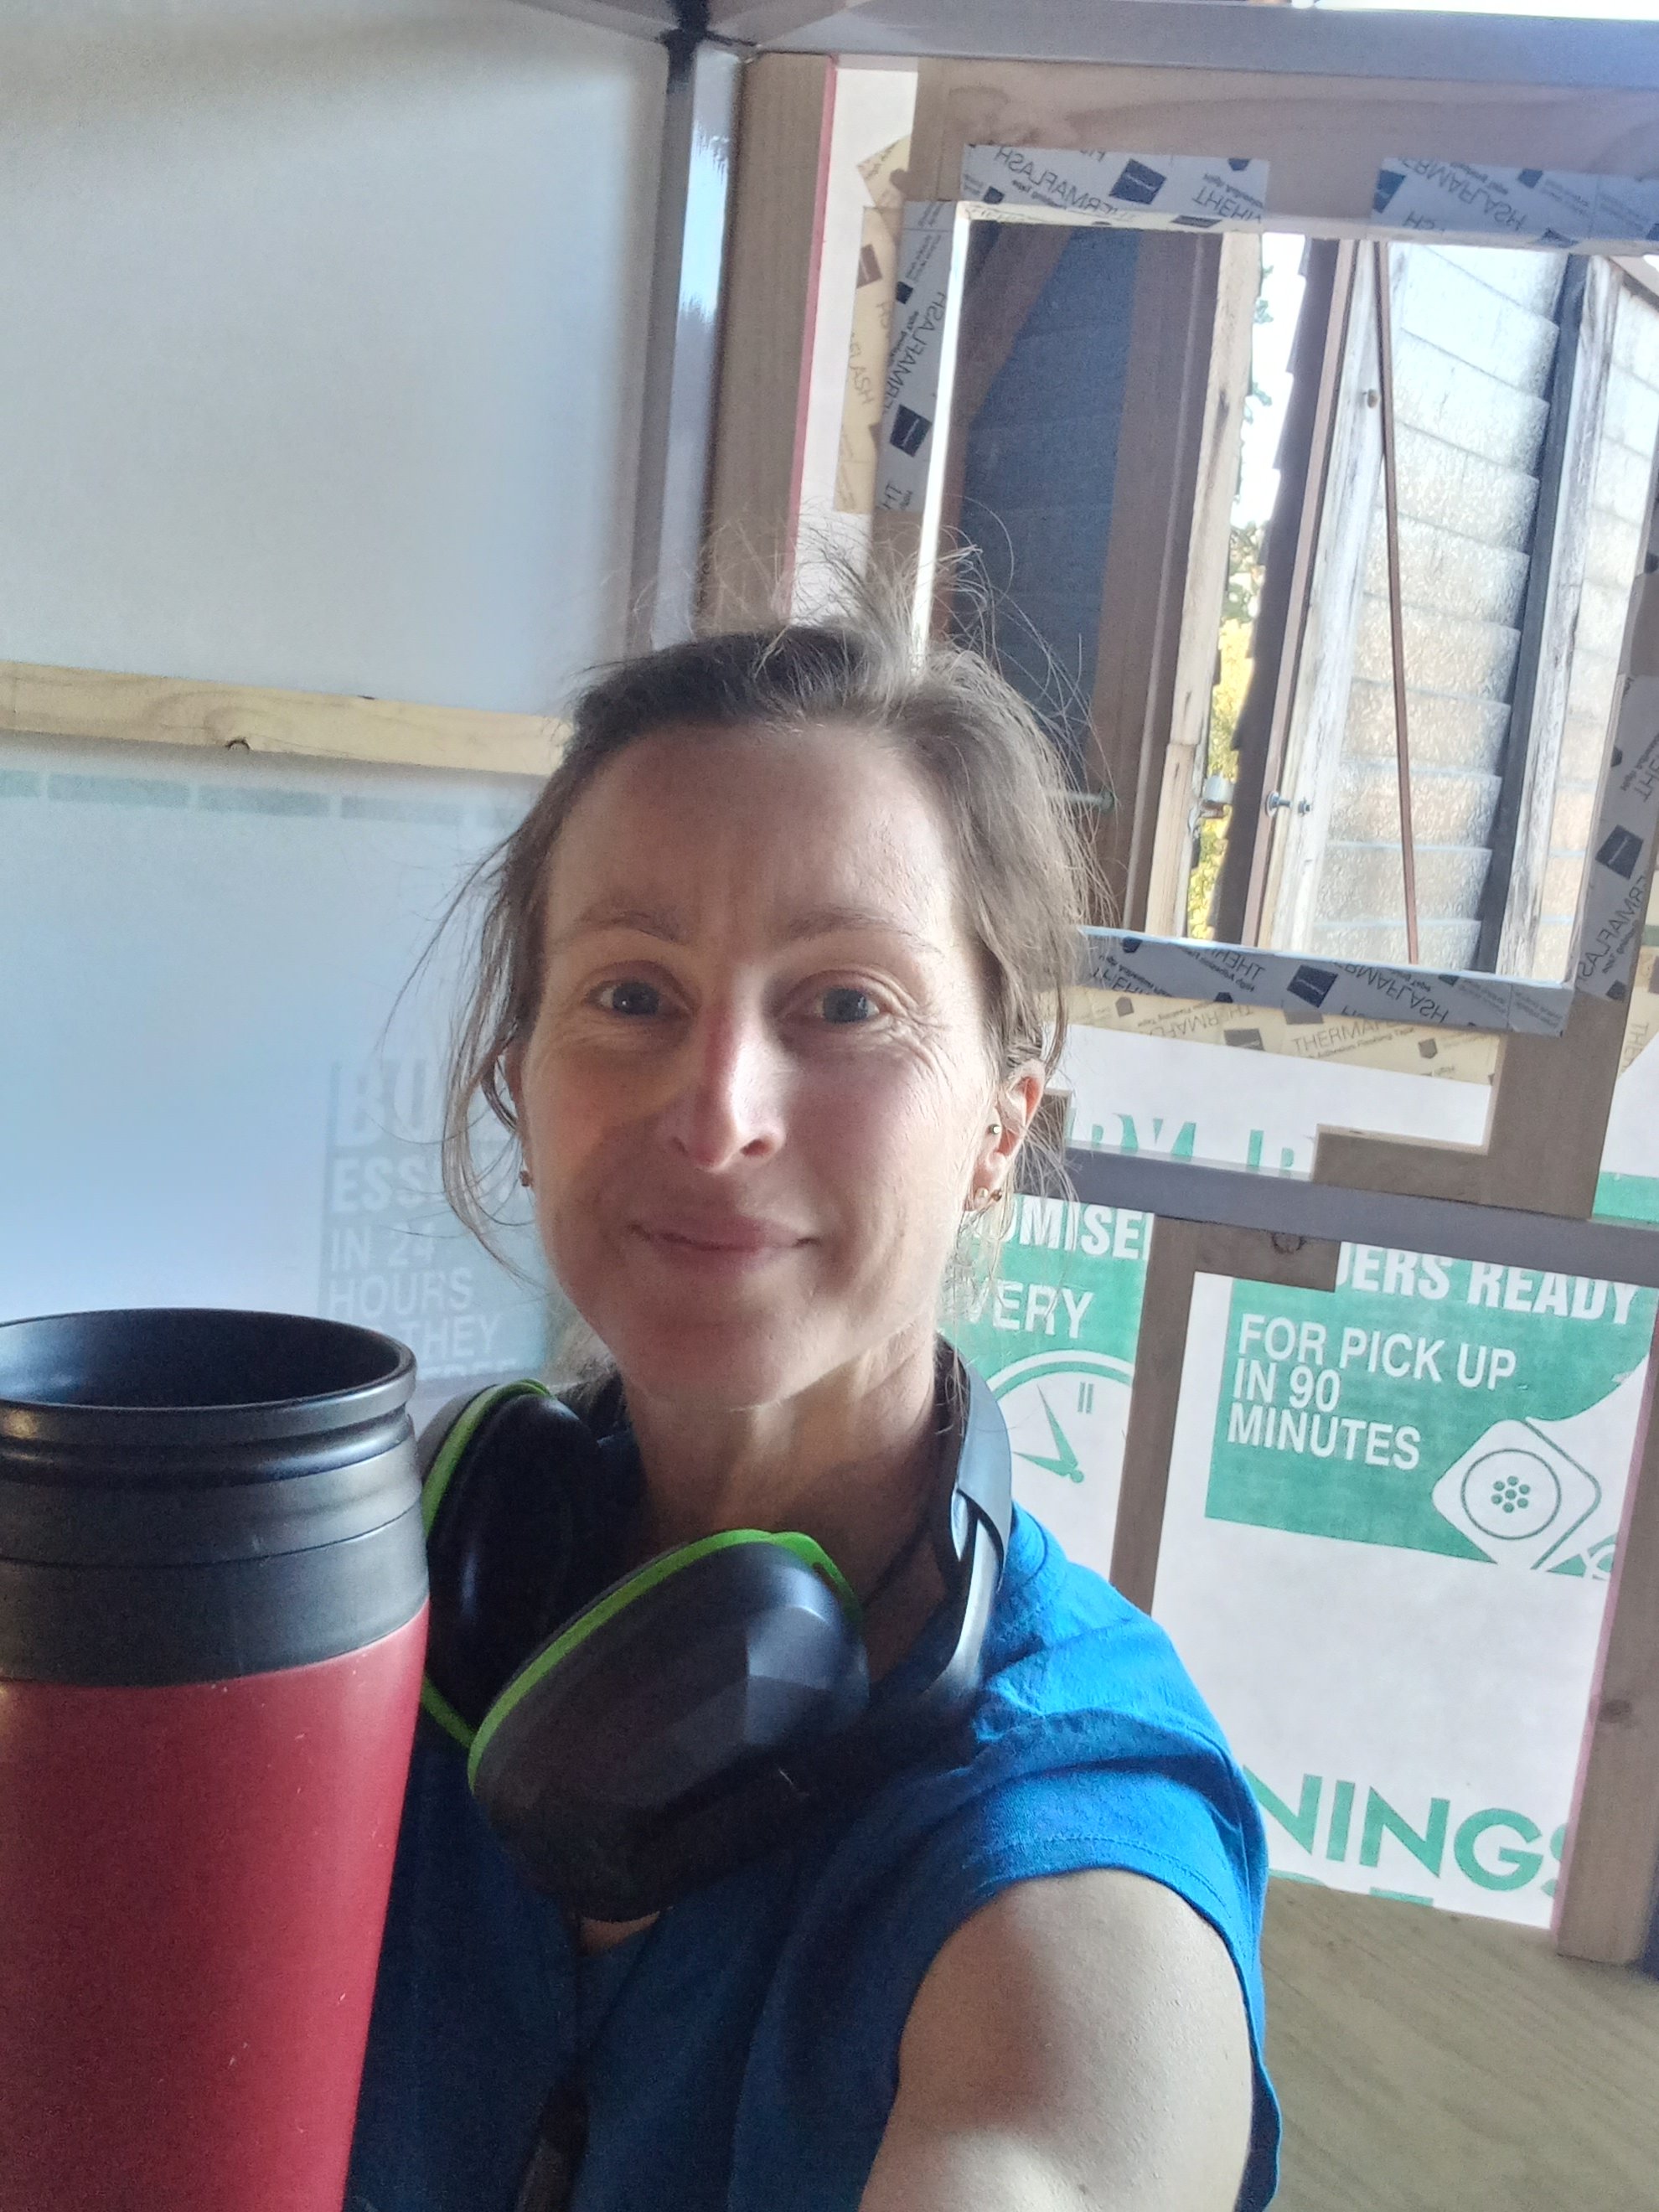
After all of that hard work, it was time to celebrate with a cup of tea in my bedroom to be The next challenge was the thermal break But that's a story for another day, it's time to get to the truck and get things done!
- 23 replies
-
- 21
-
-
I even got some extra visitors
- 23 replies
-
- 19
-
-
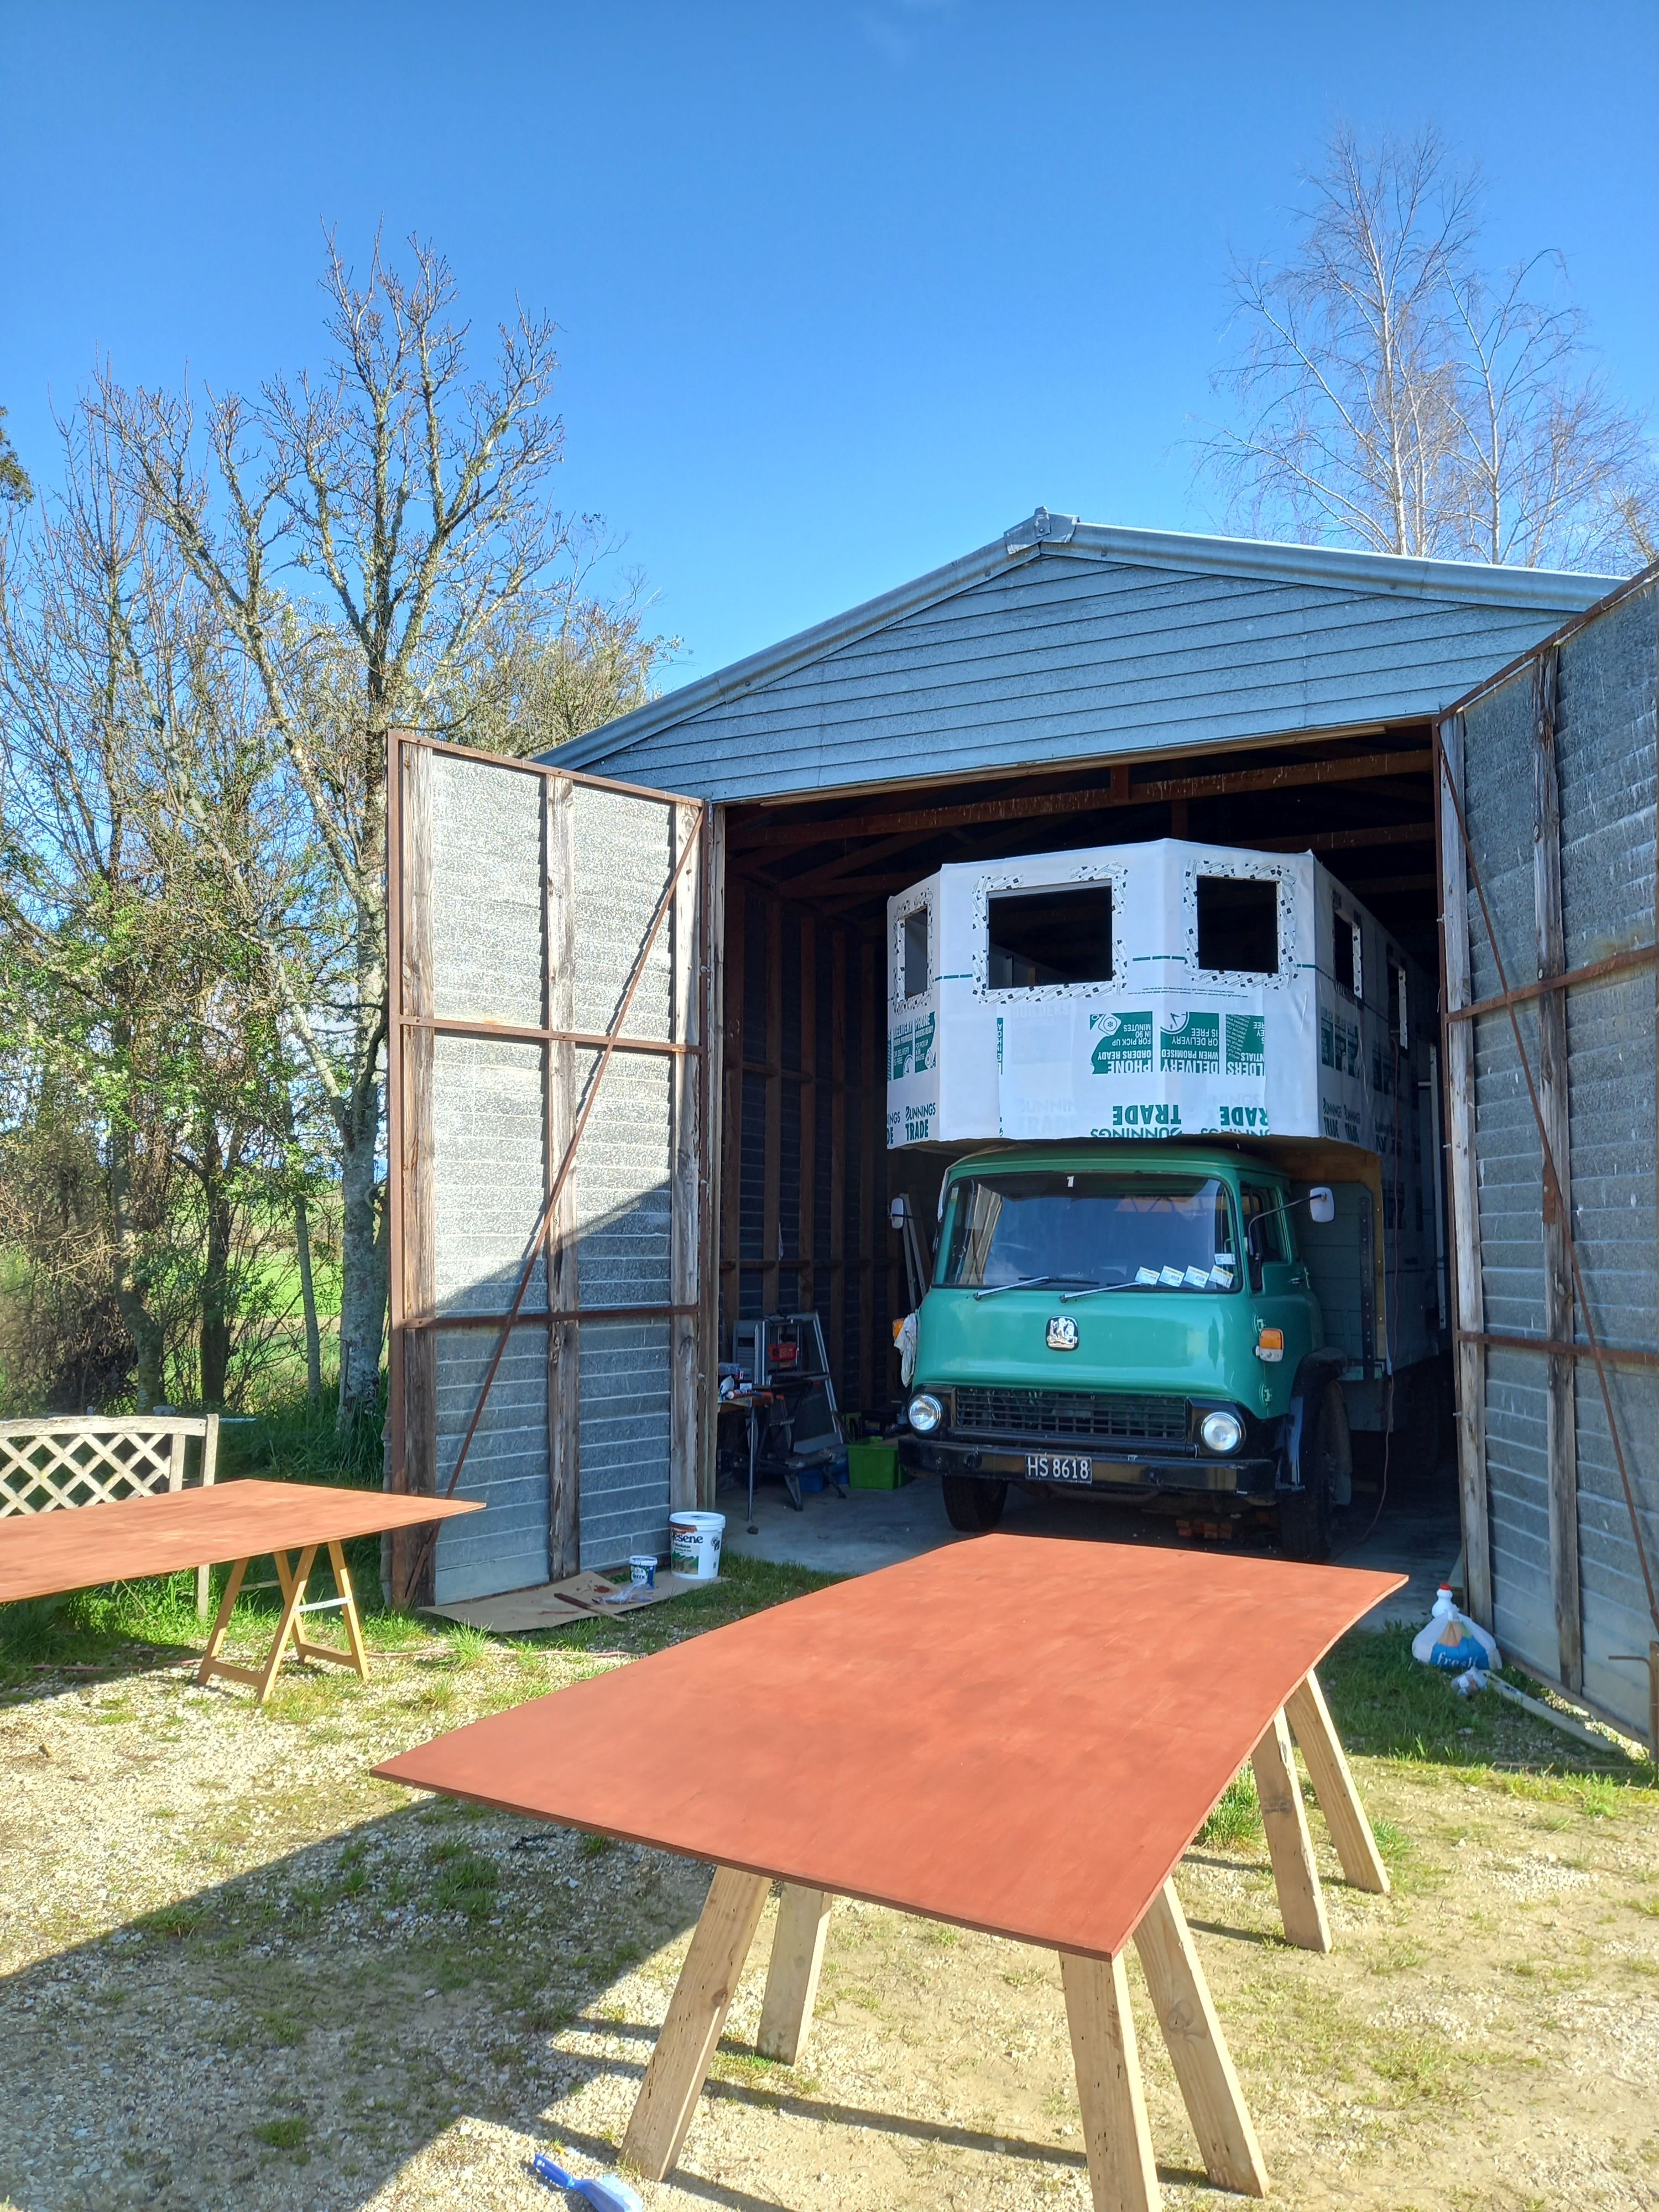
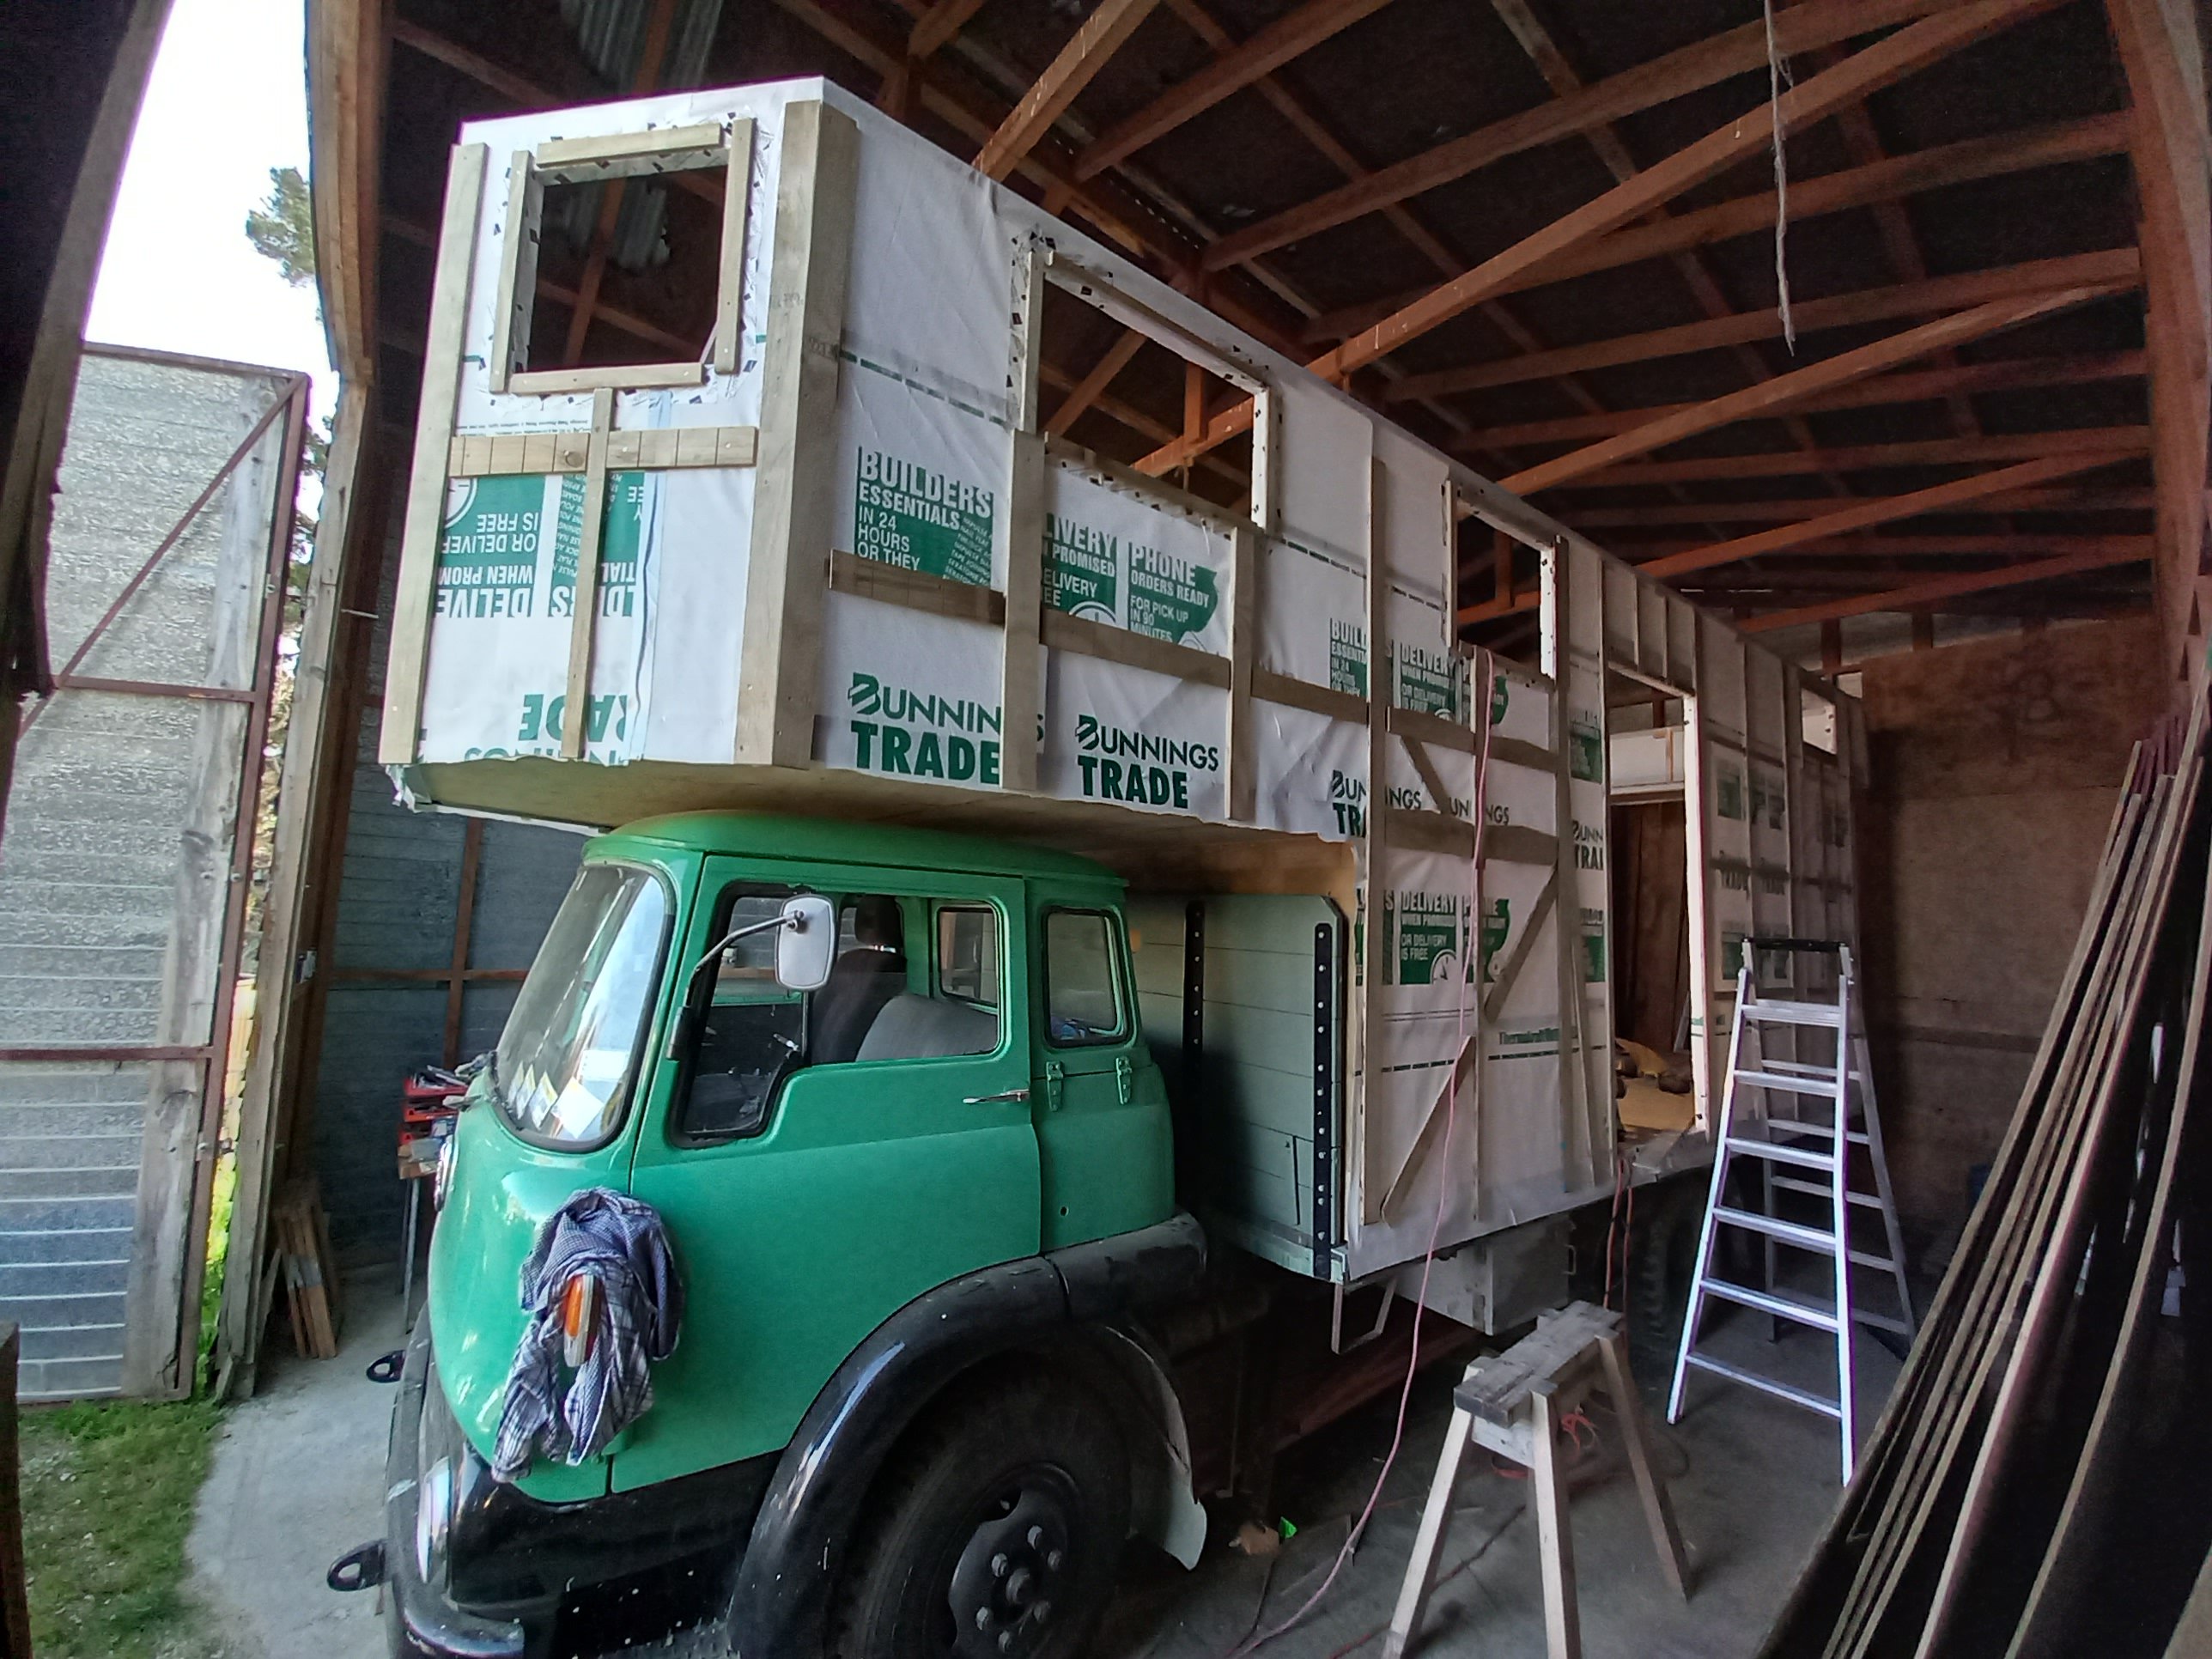
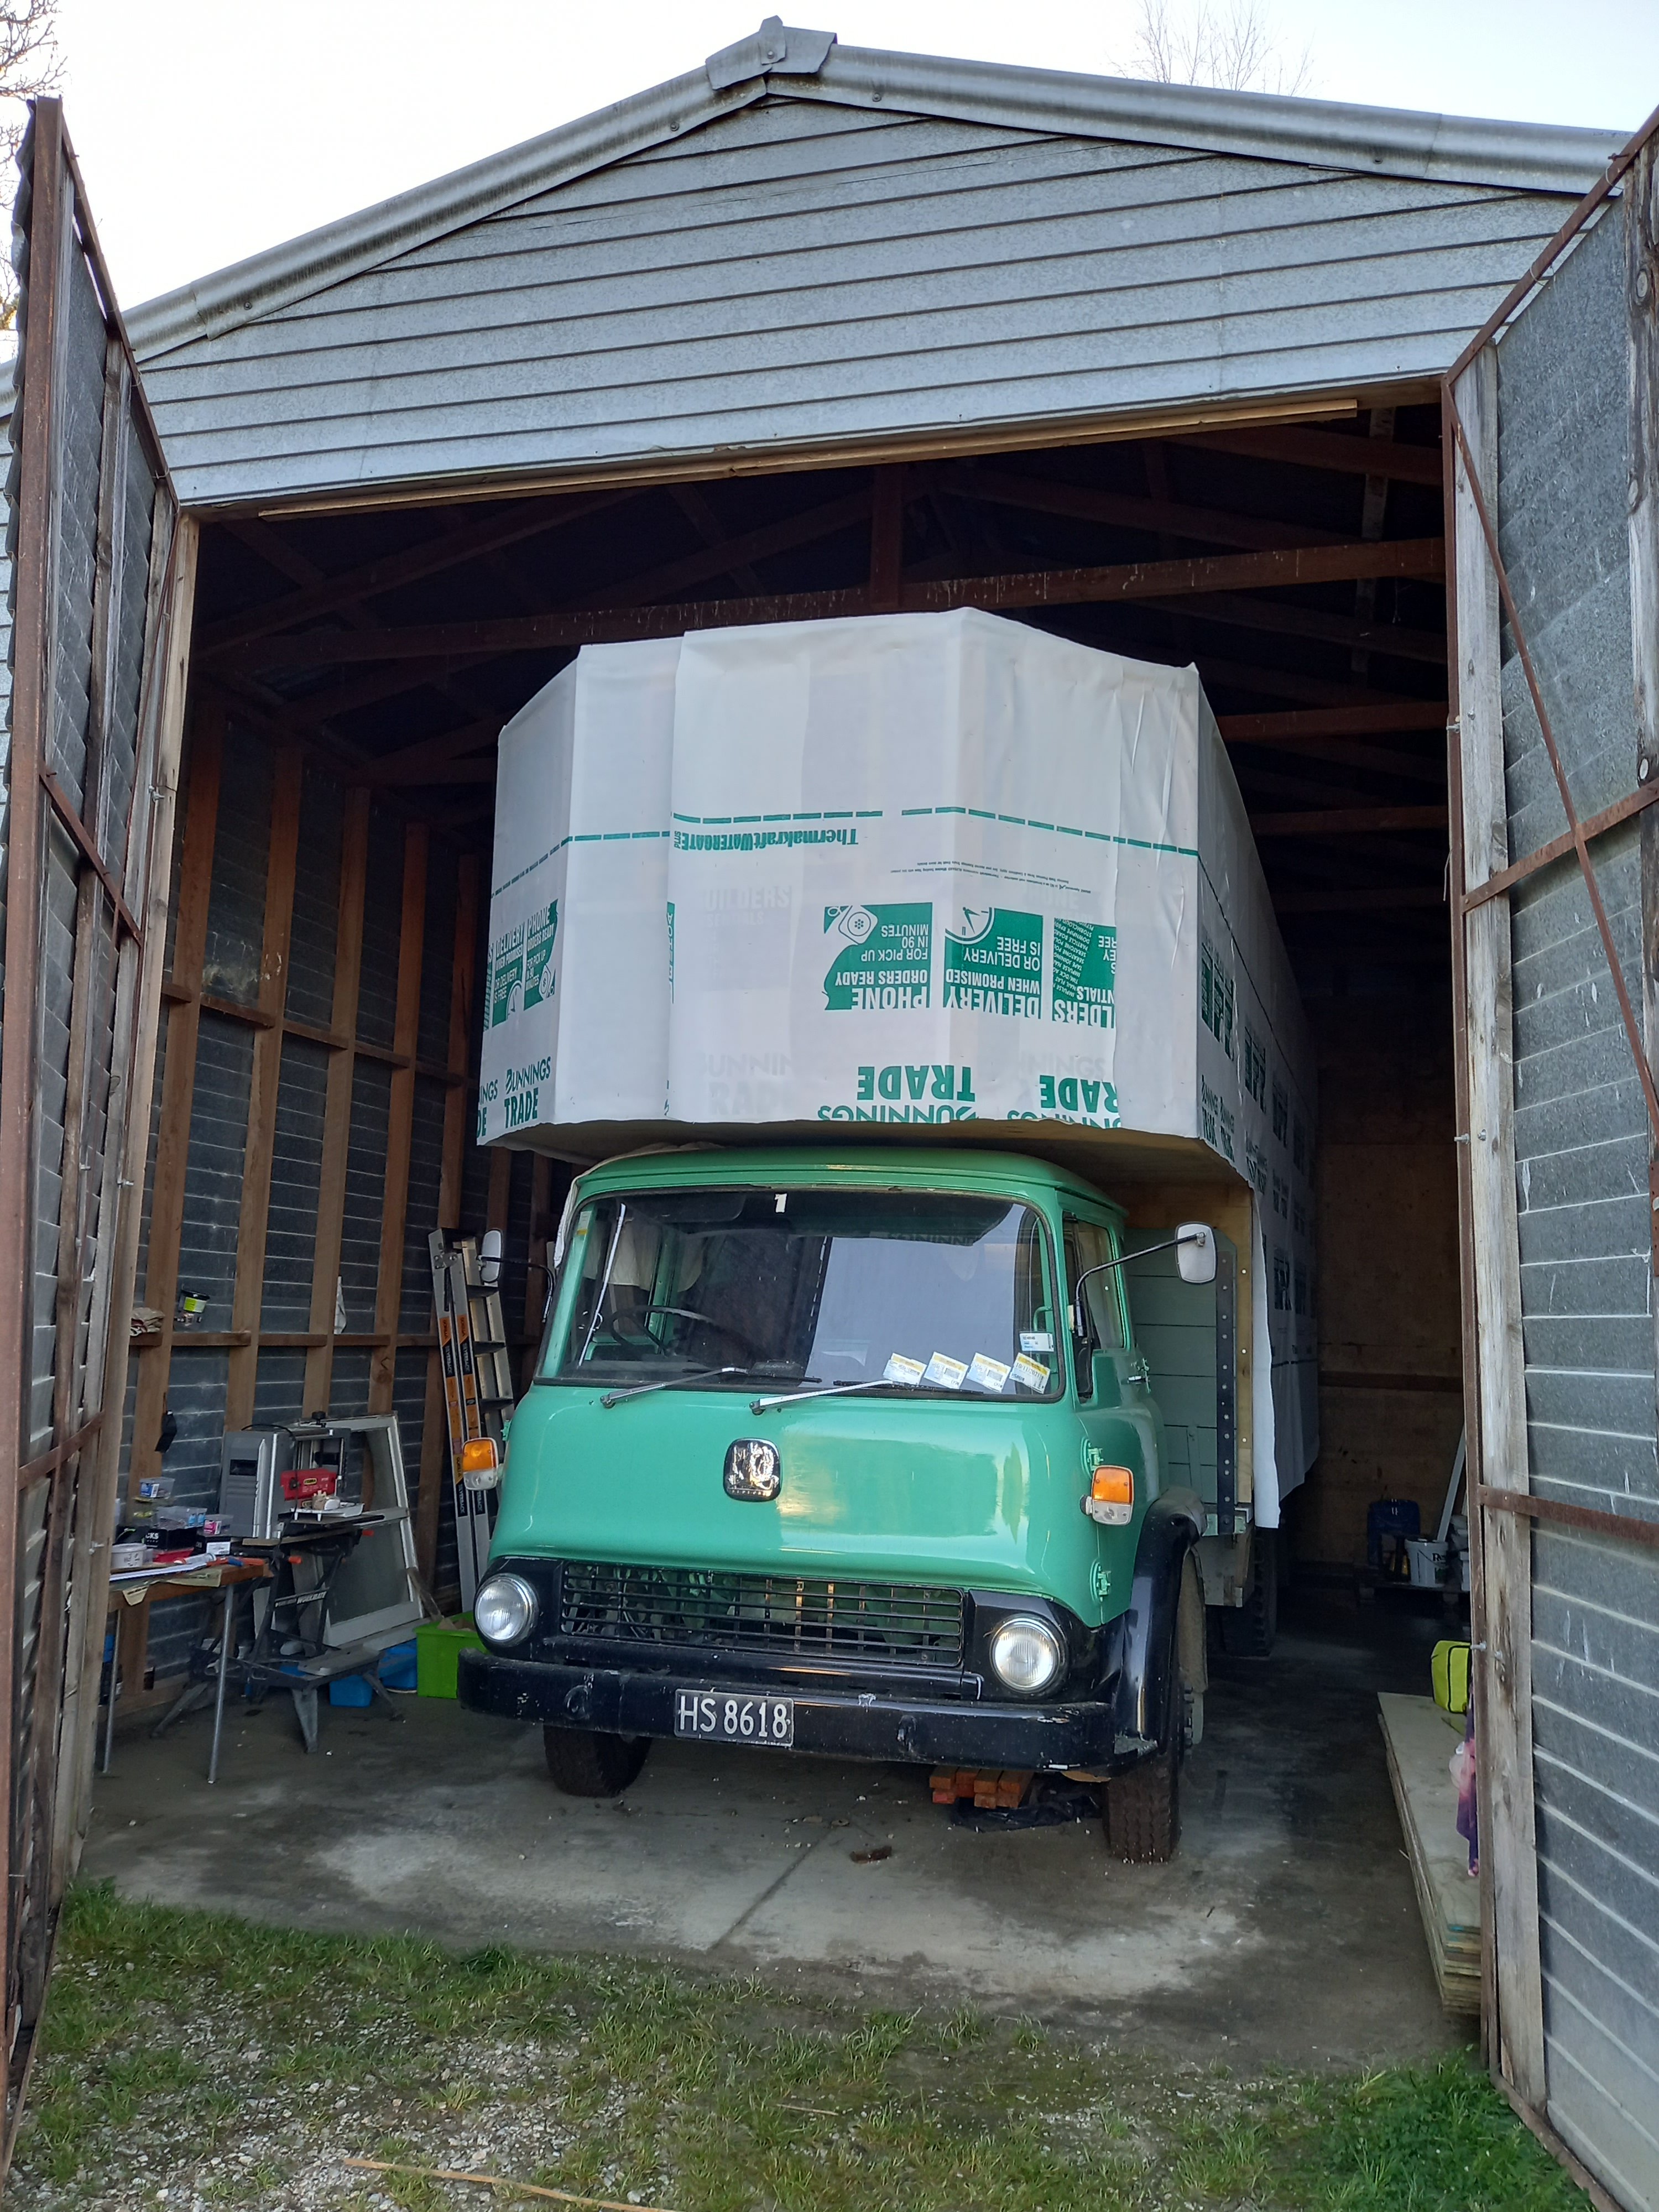
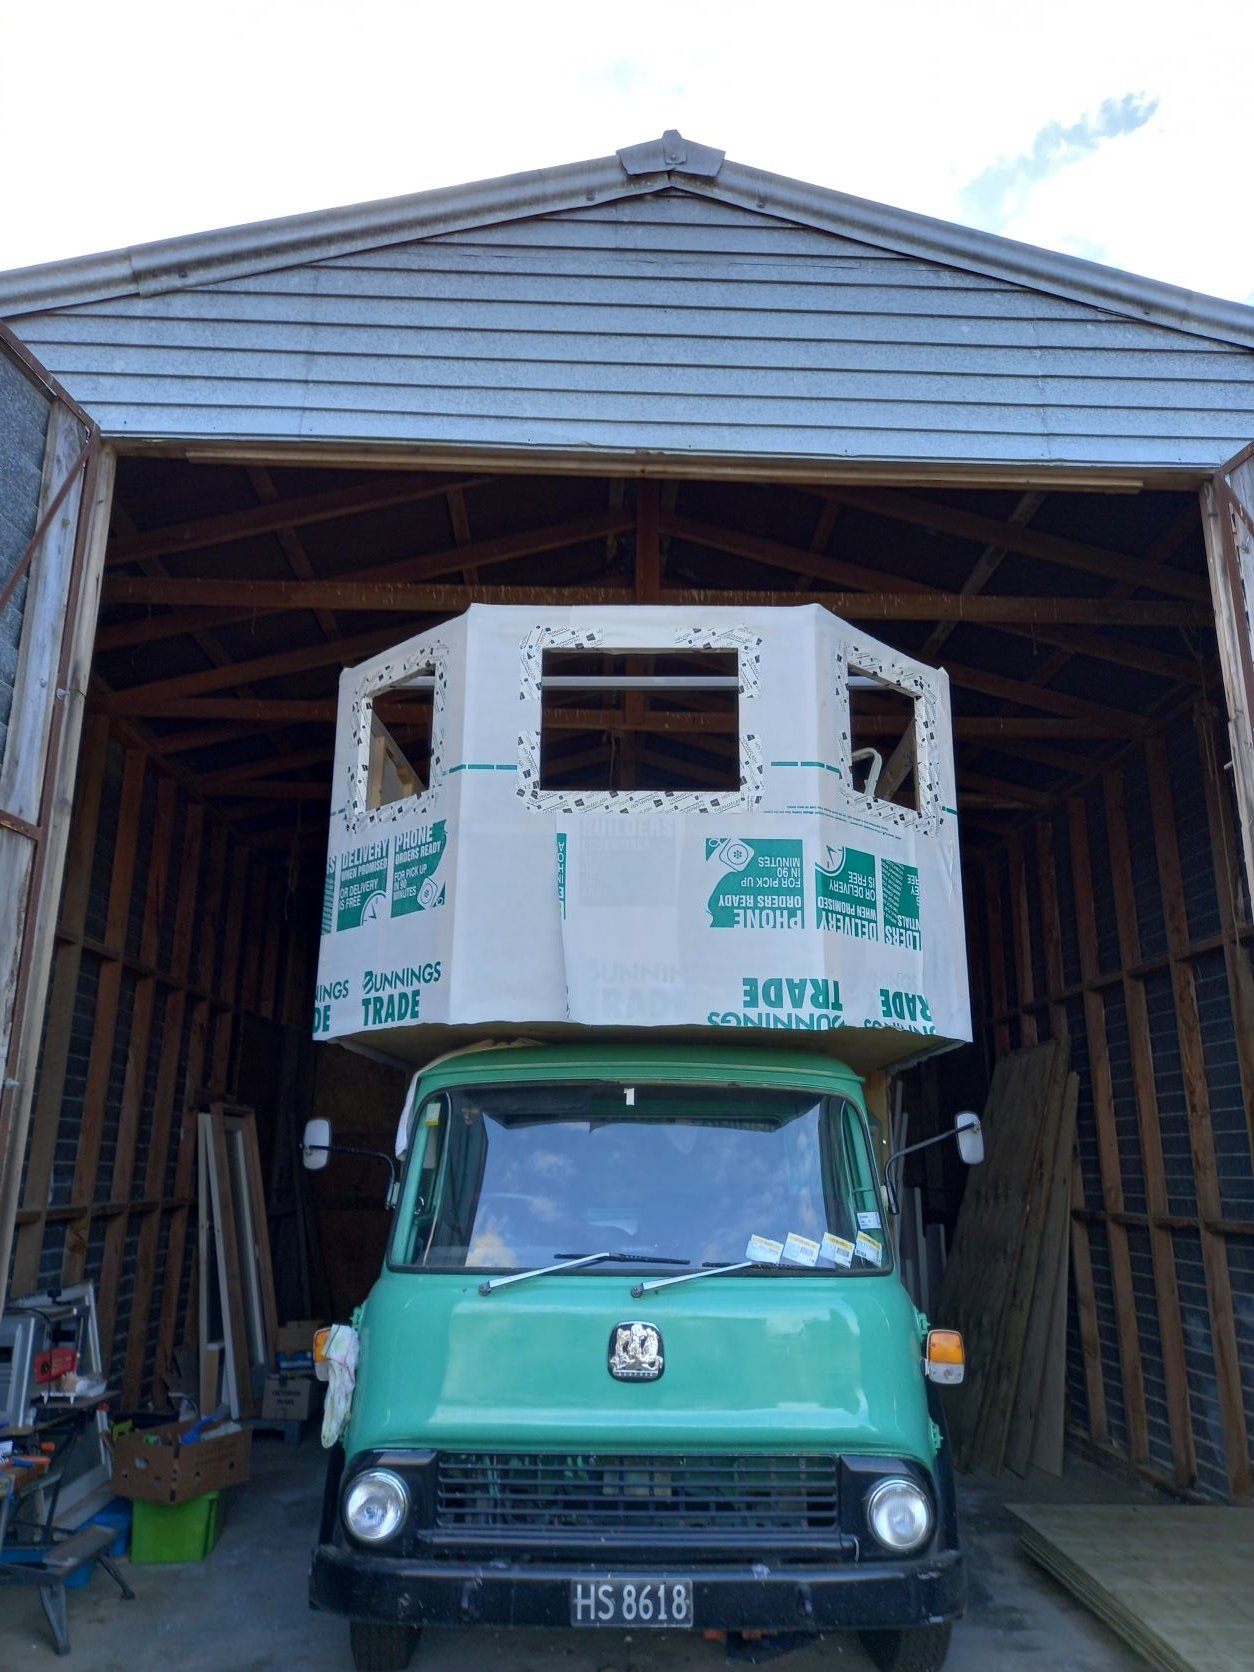
Next was what felt like such a momentous occasion, putting on the building wrap! Now you could really start to get a feel and sense of space of the house to be. This really felt like a milestone.
- 23 replies
-
- 10
-
-
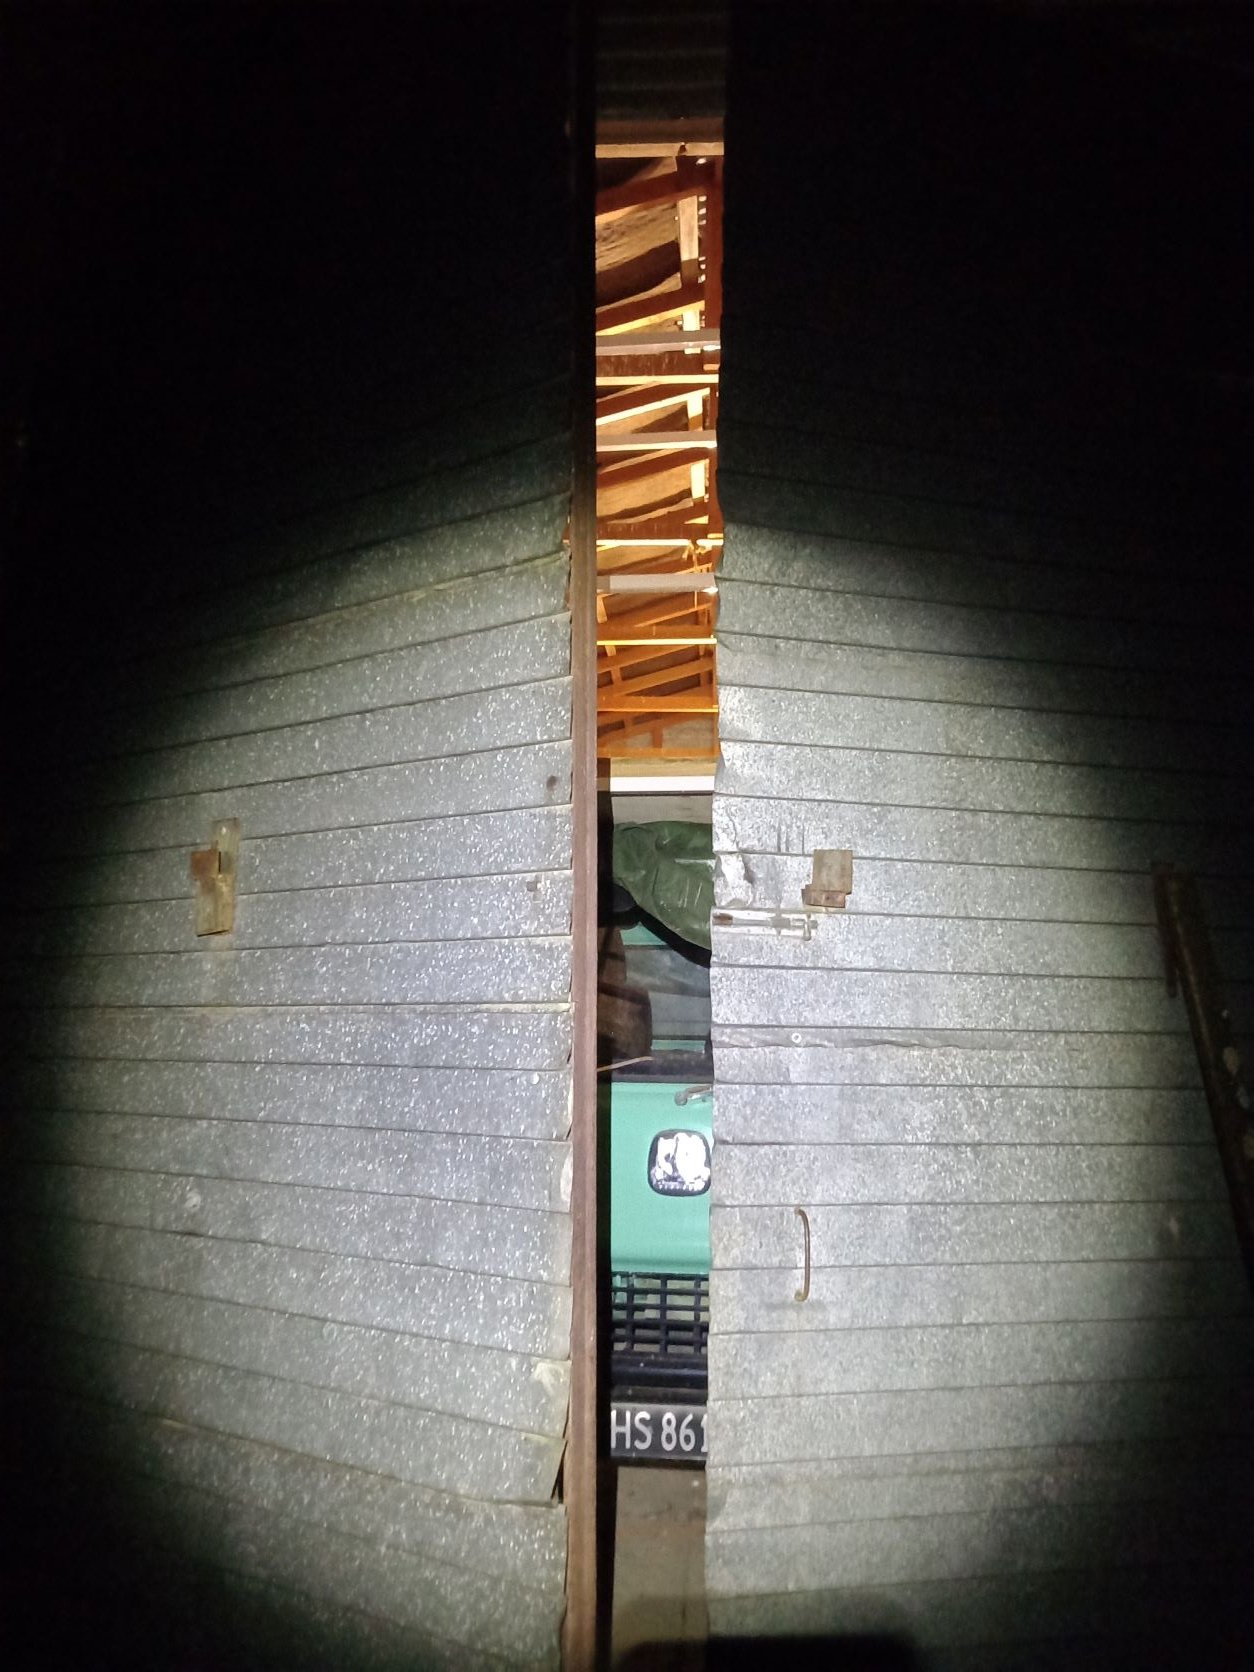
A little hard to photograph, especially with all the shed framing in the background! But you get the idea
- 23 replies
-
- 13
-
-
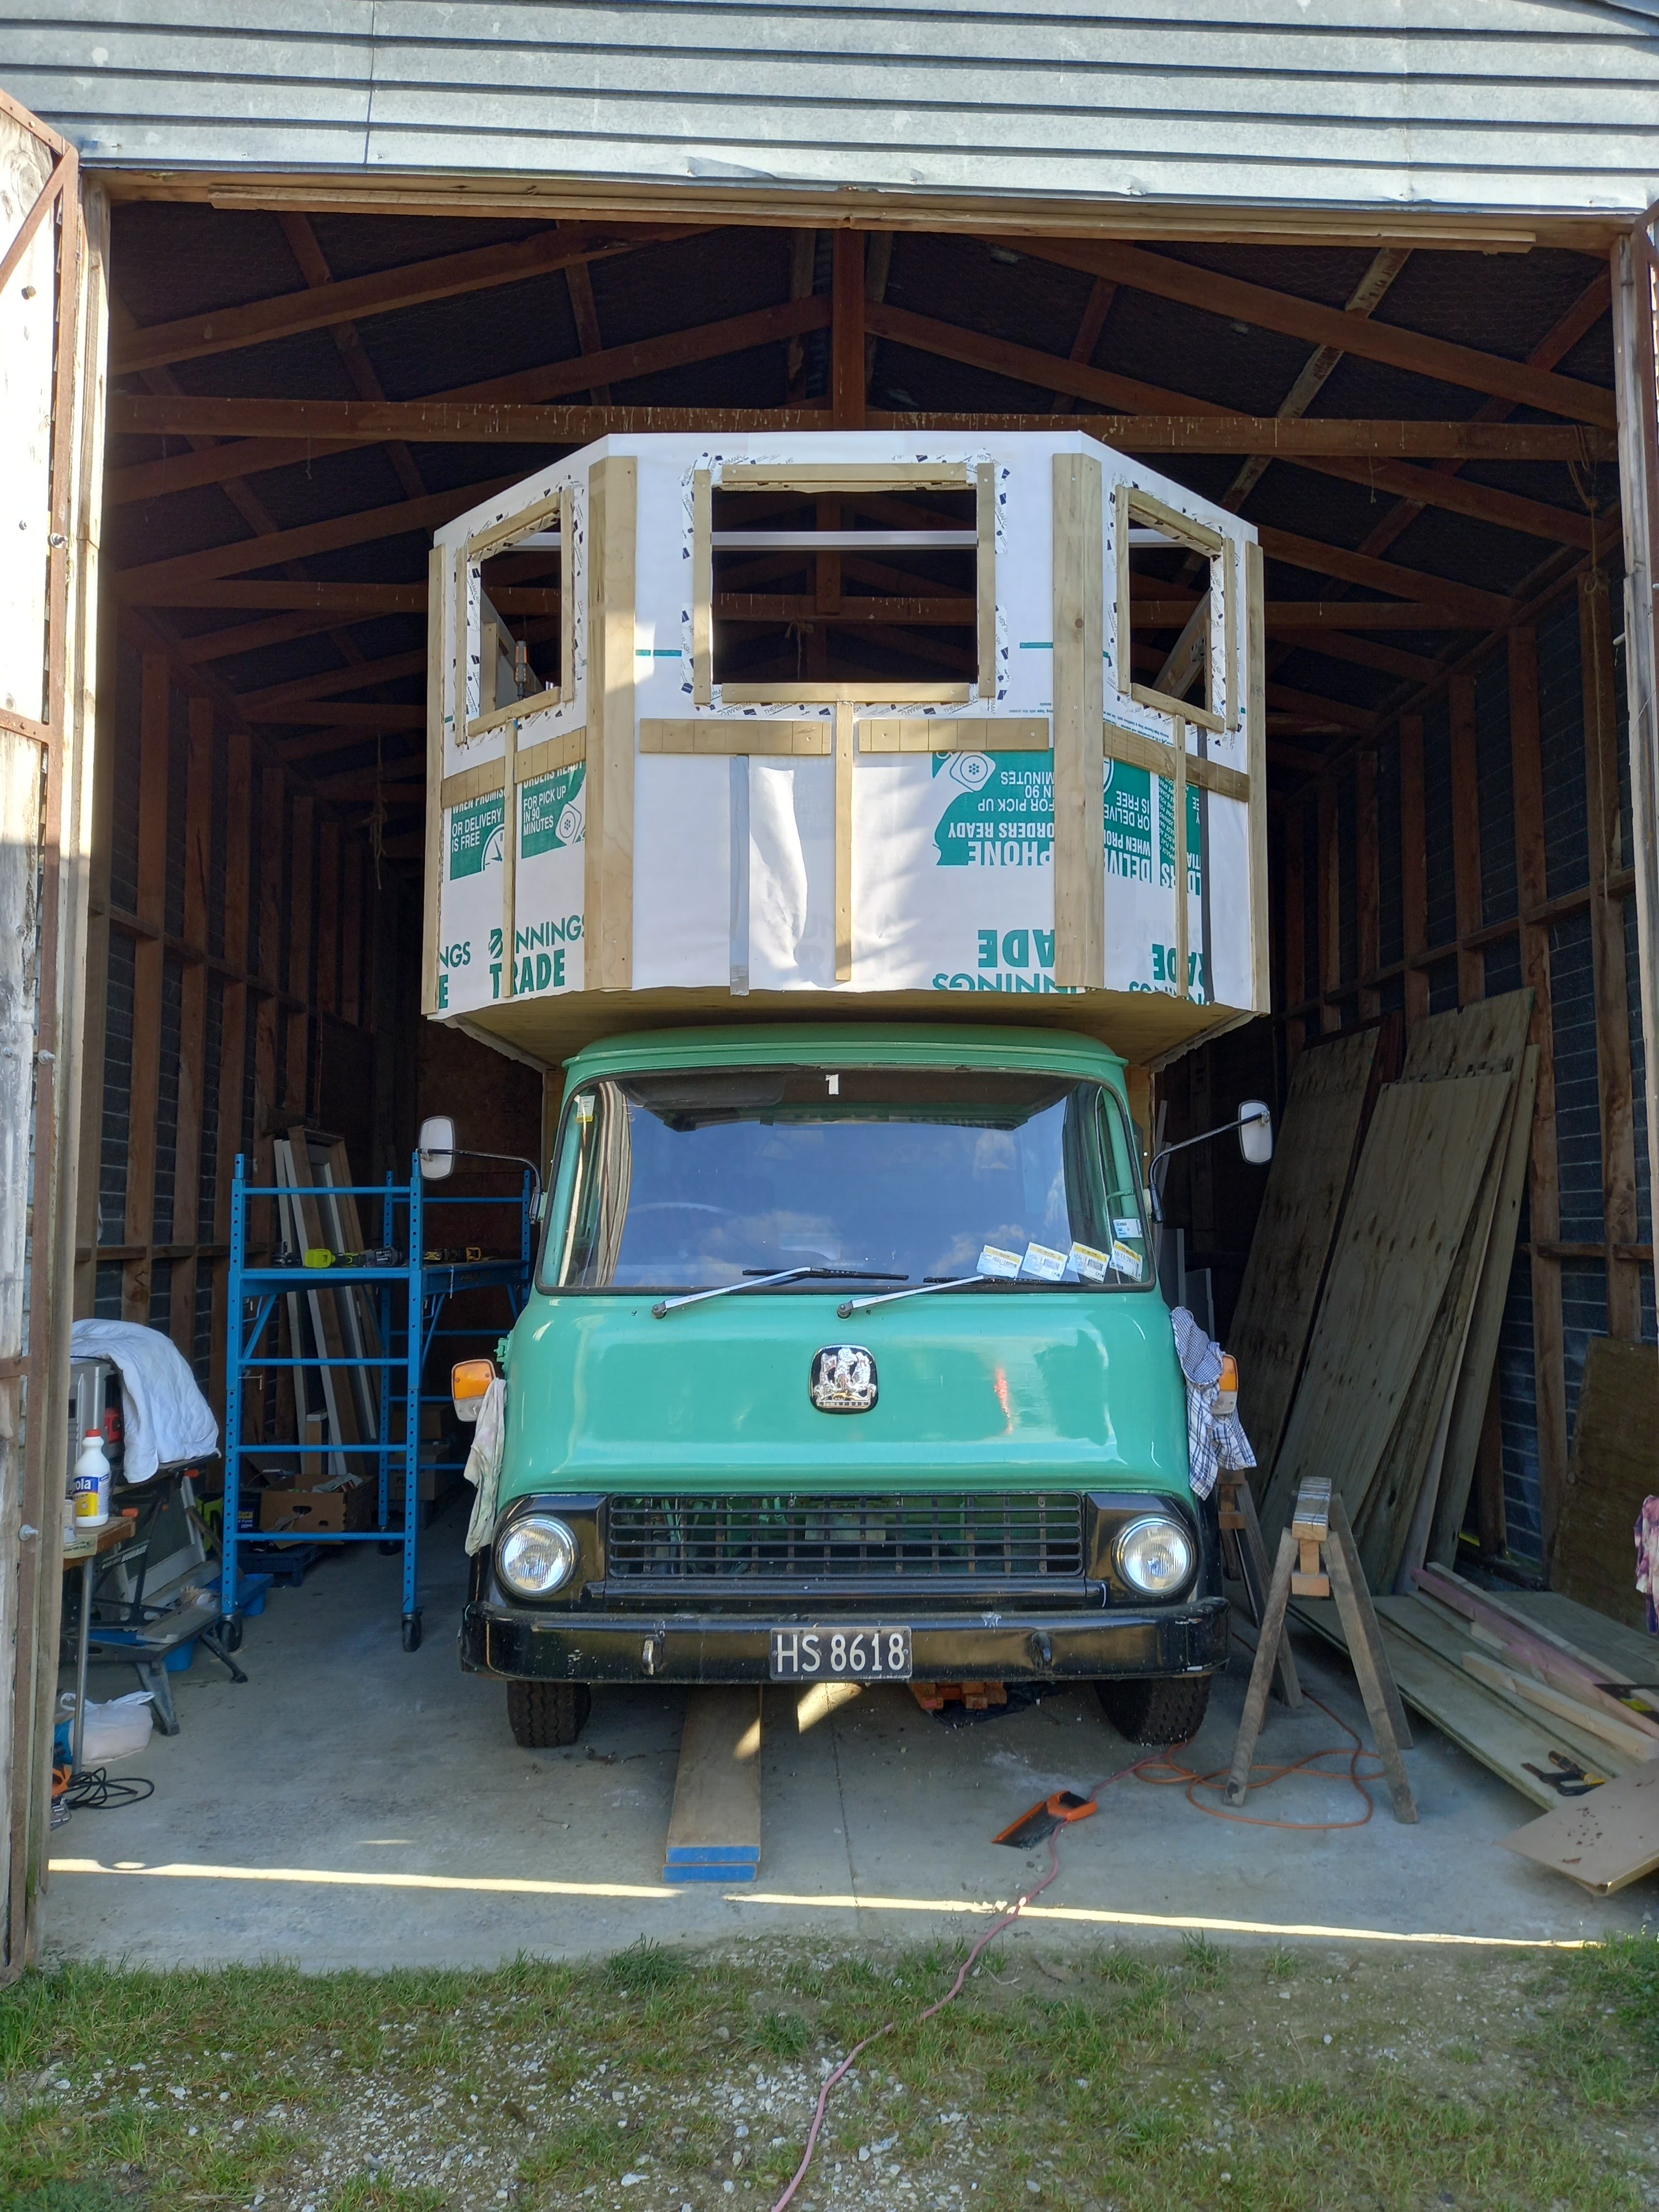
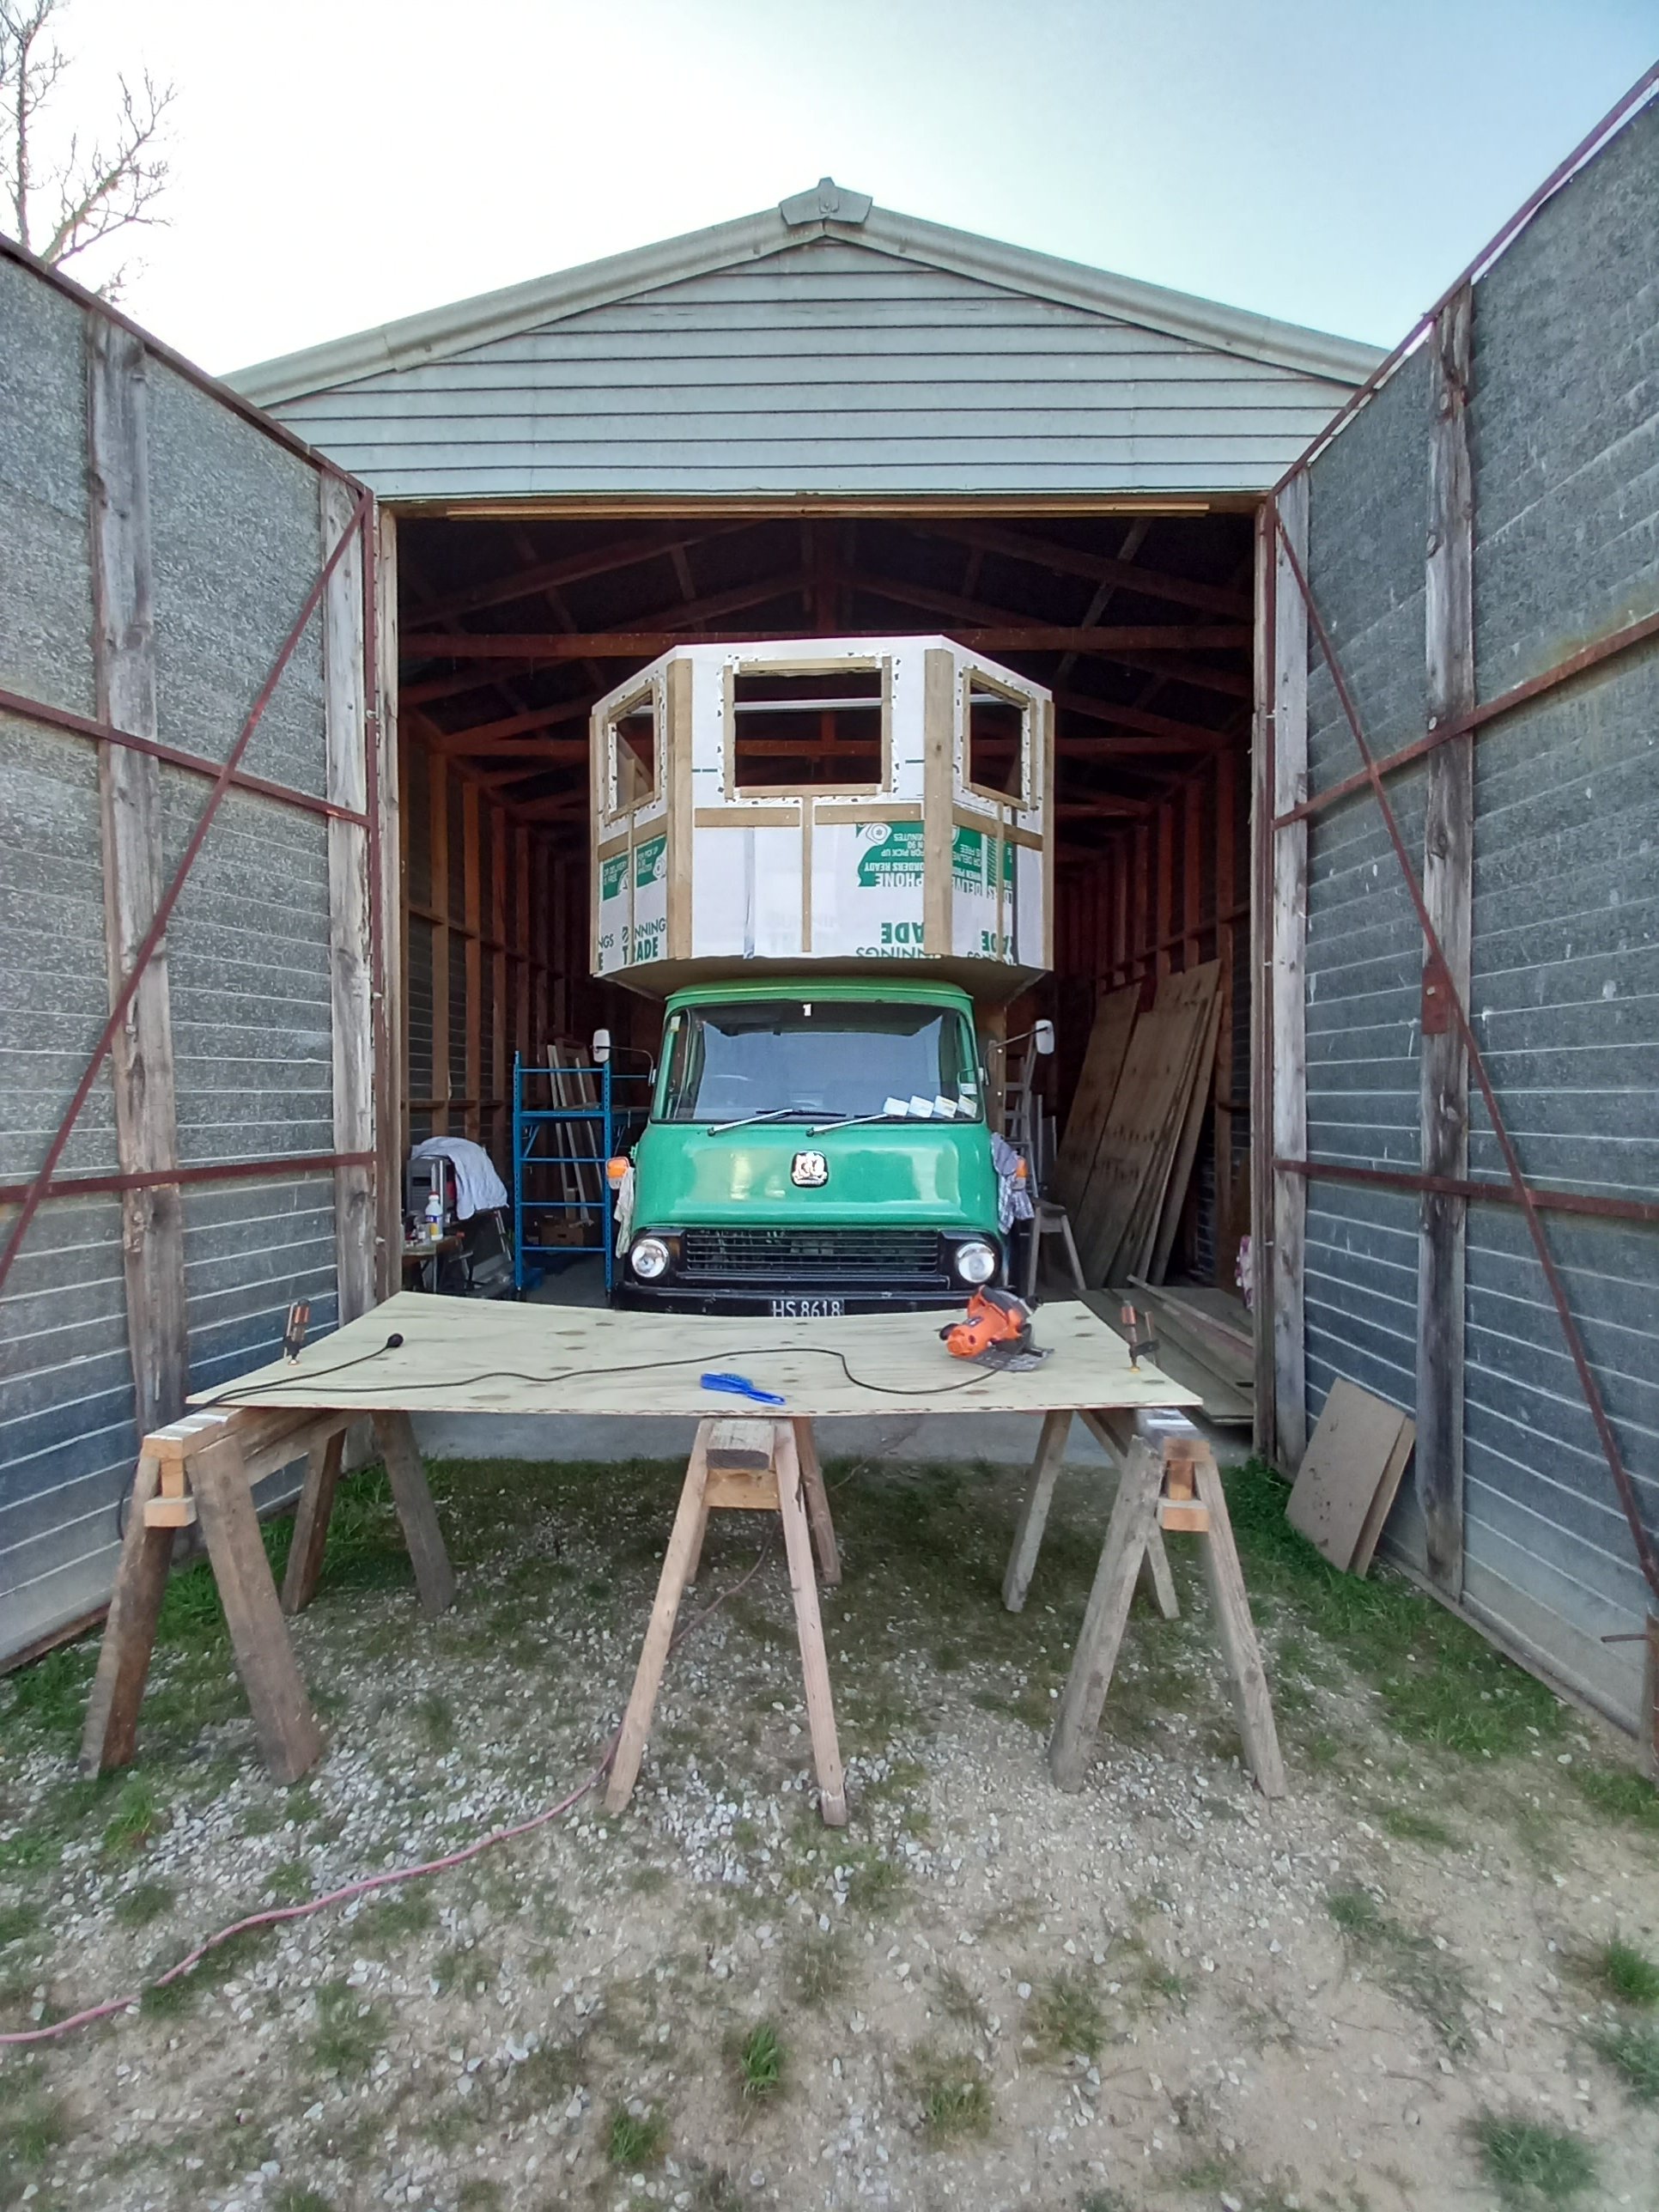
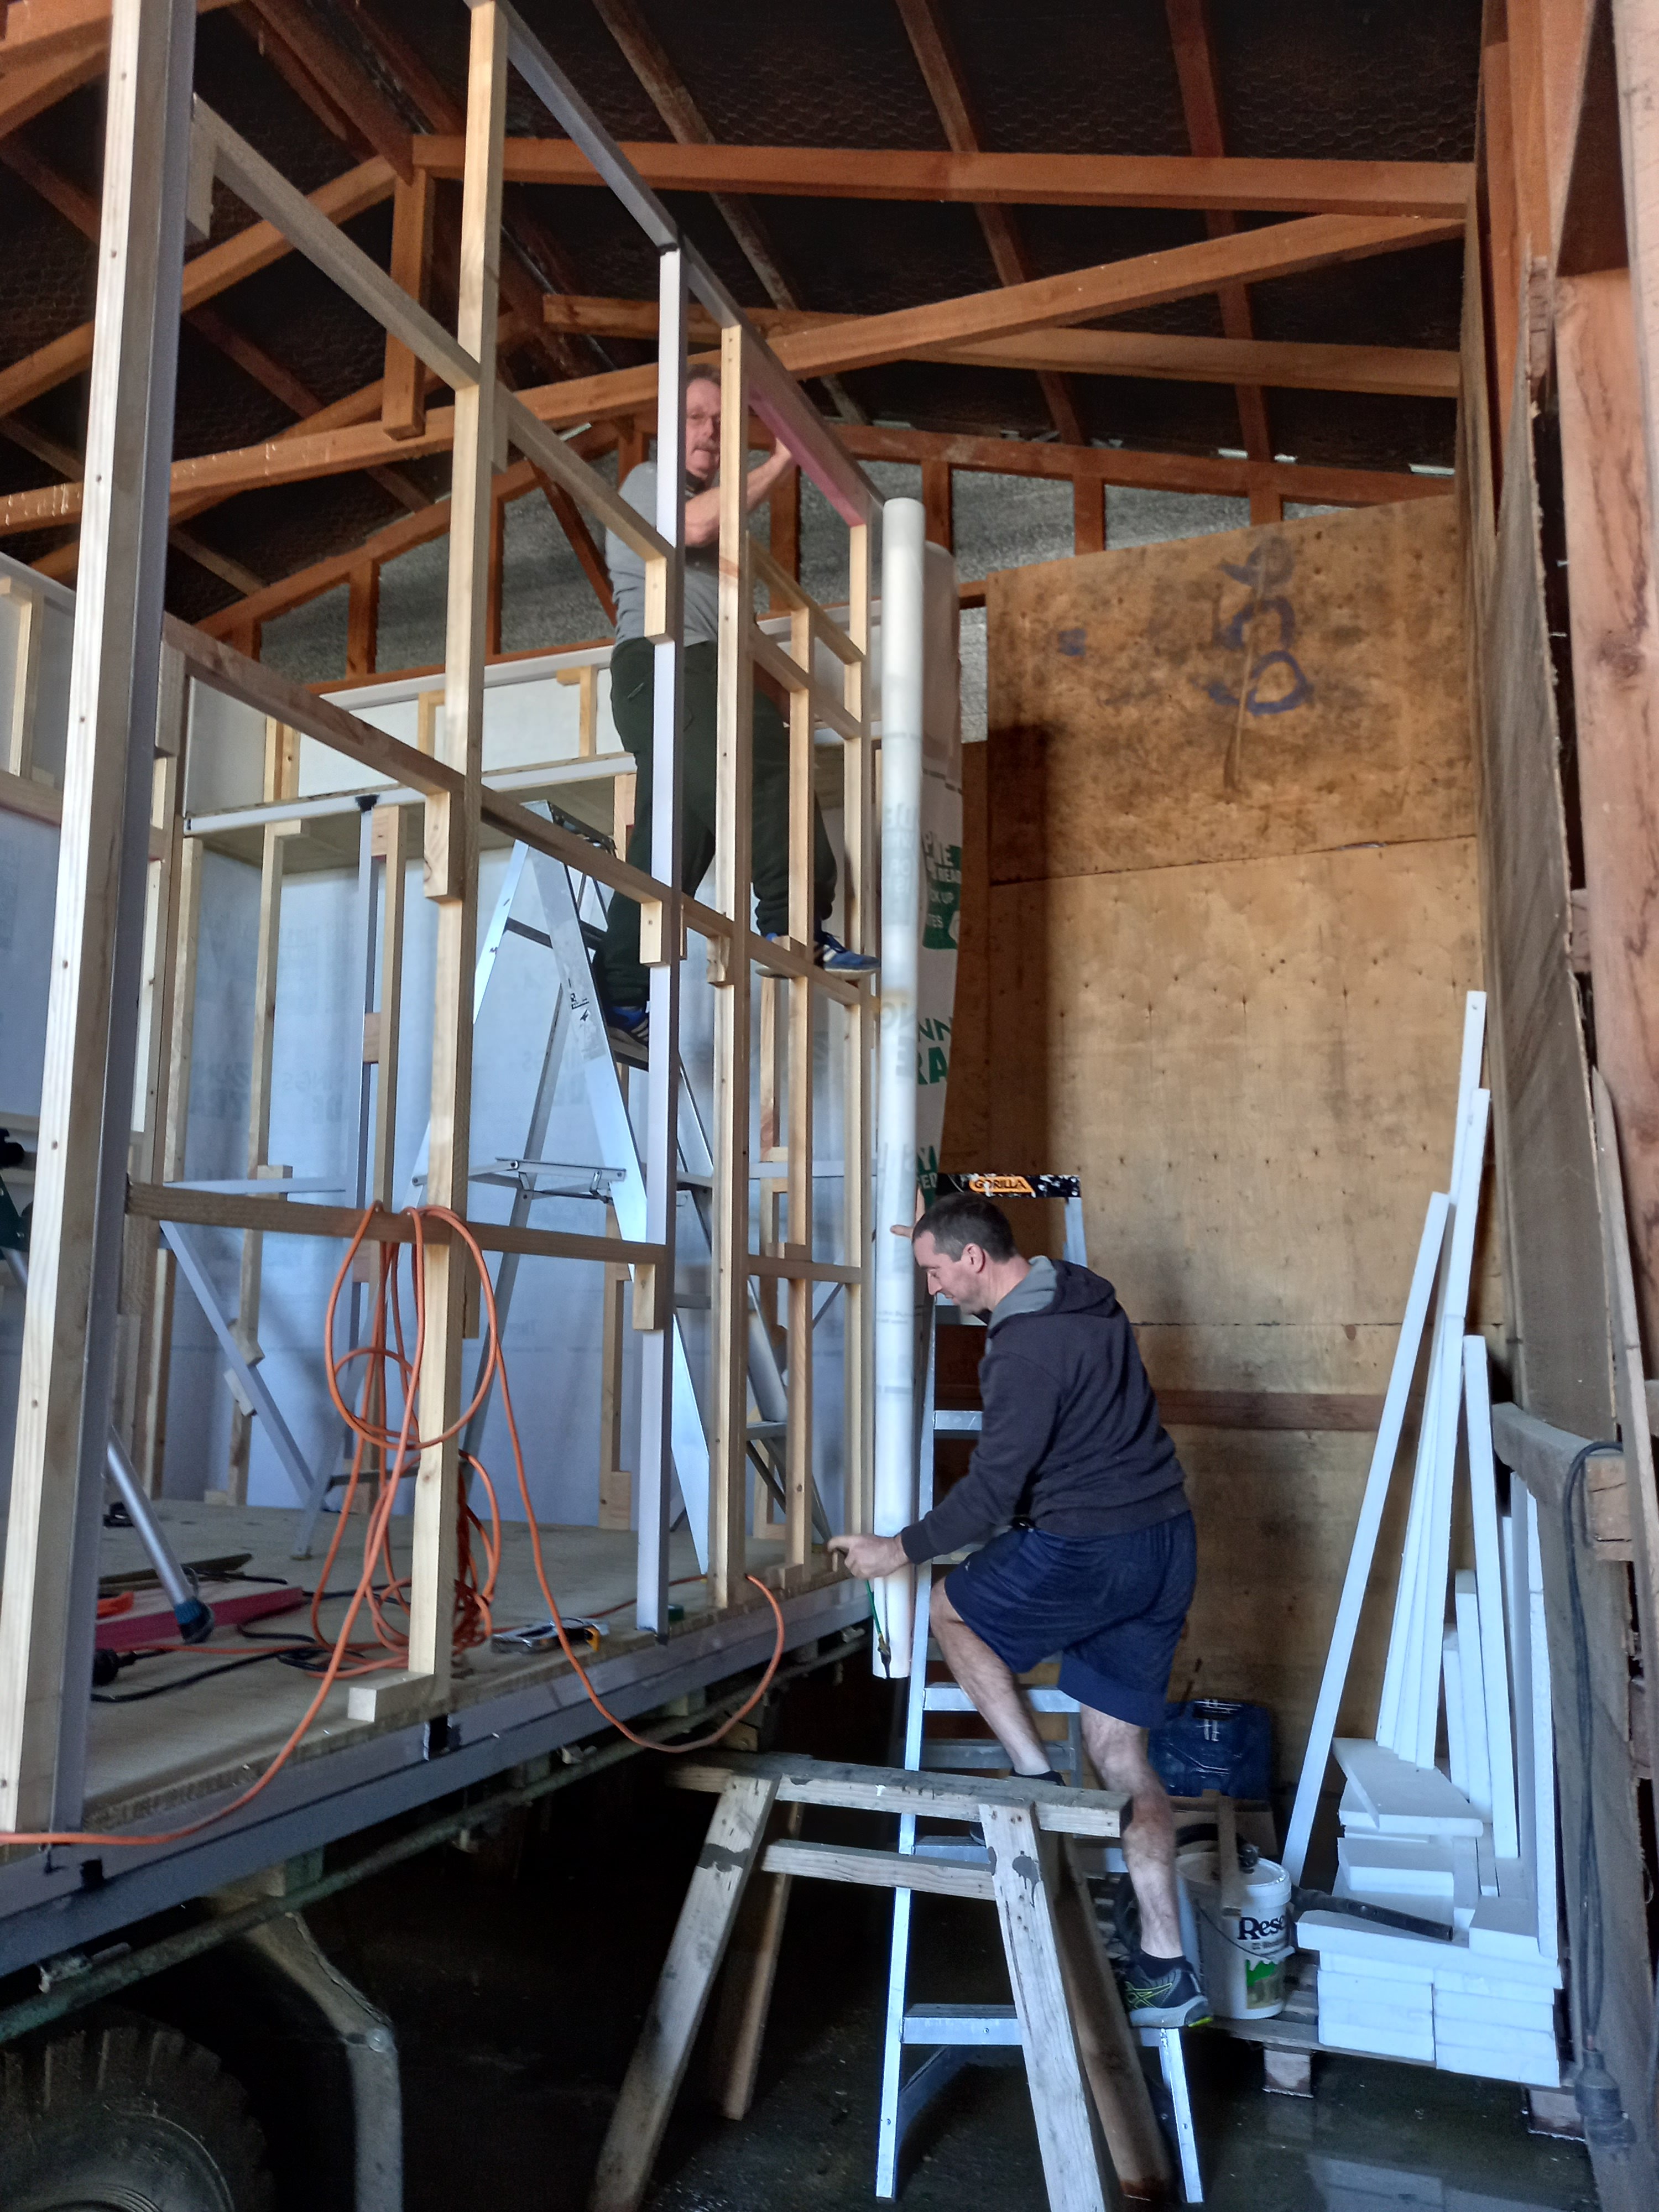
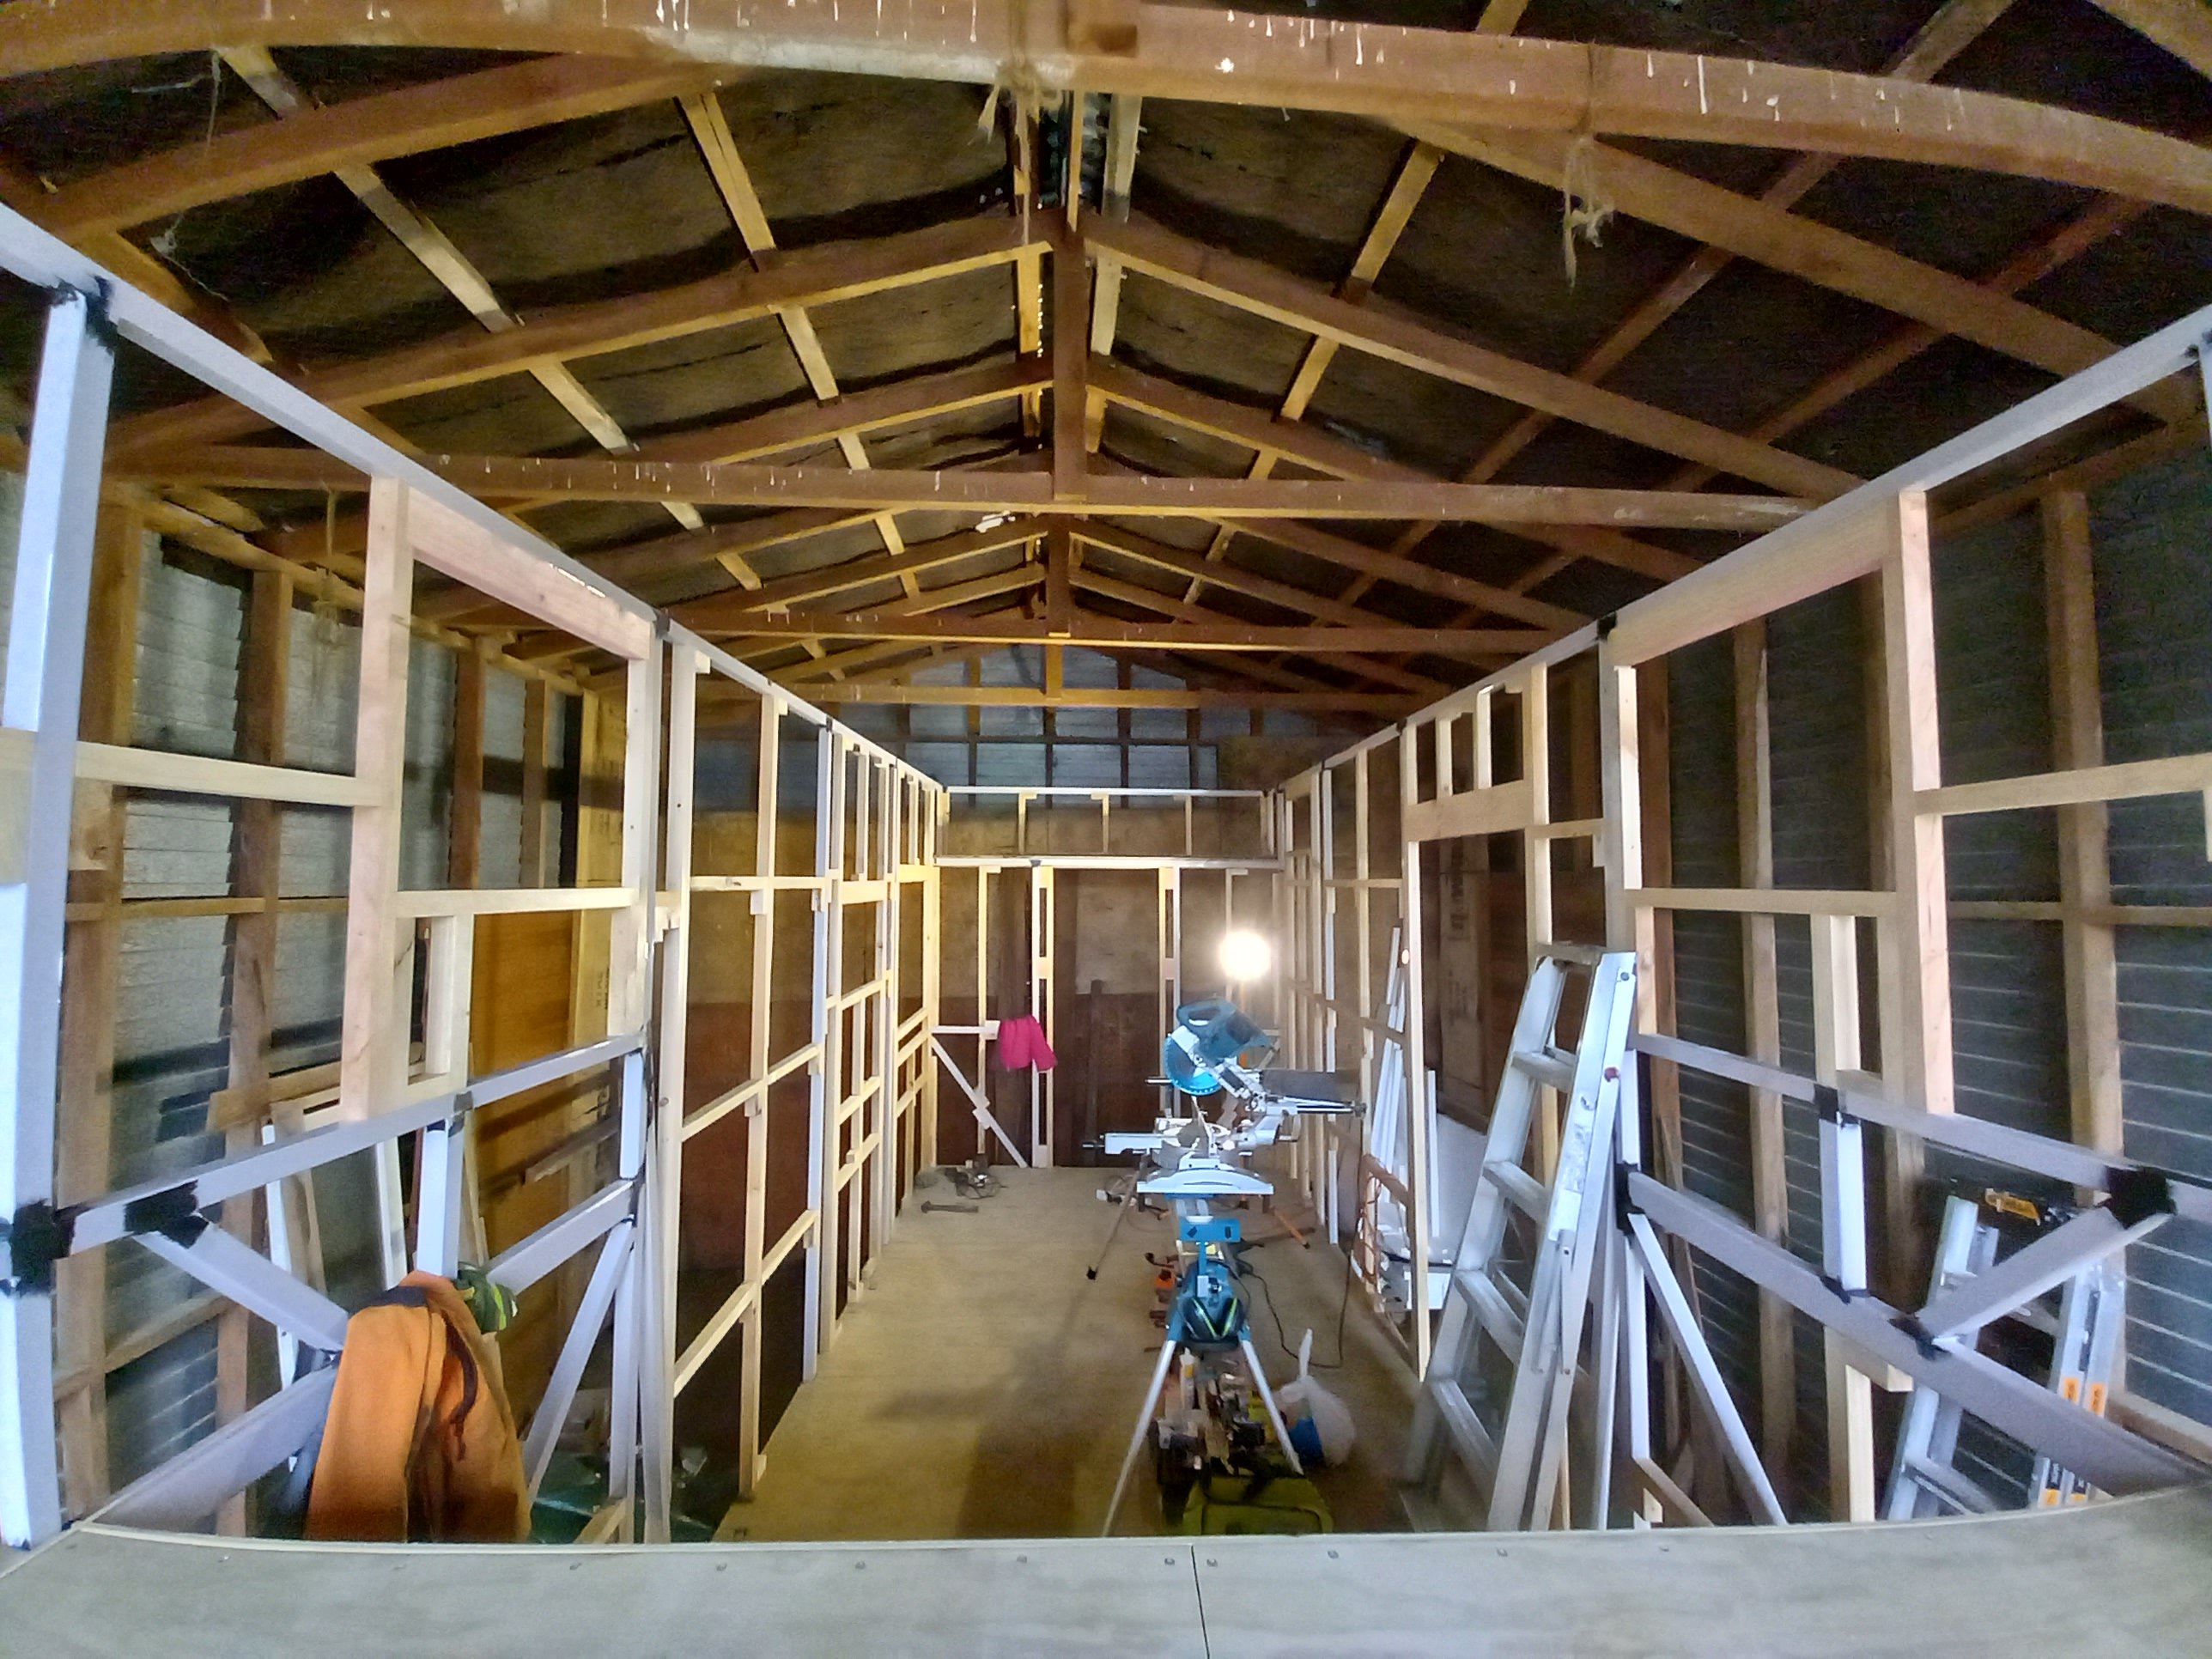
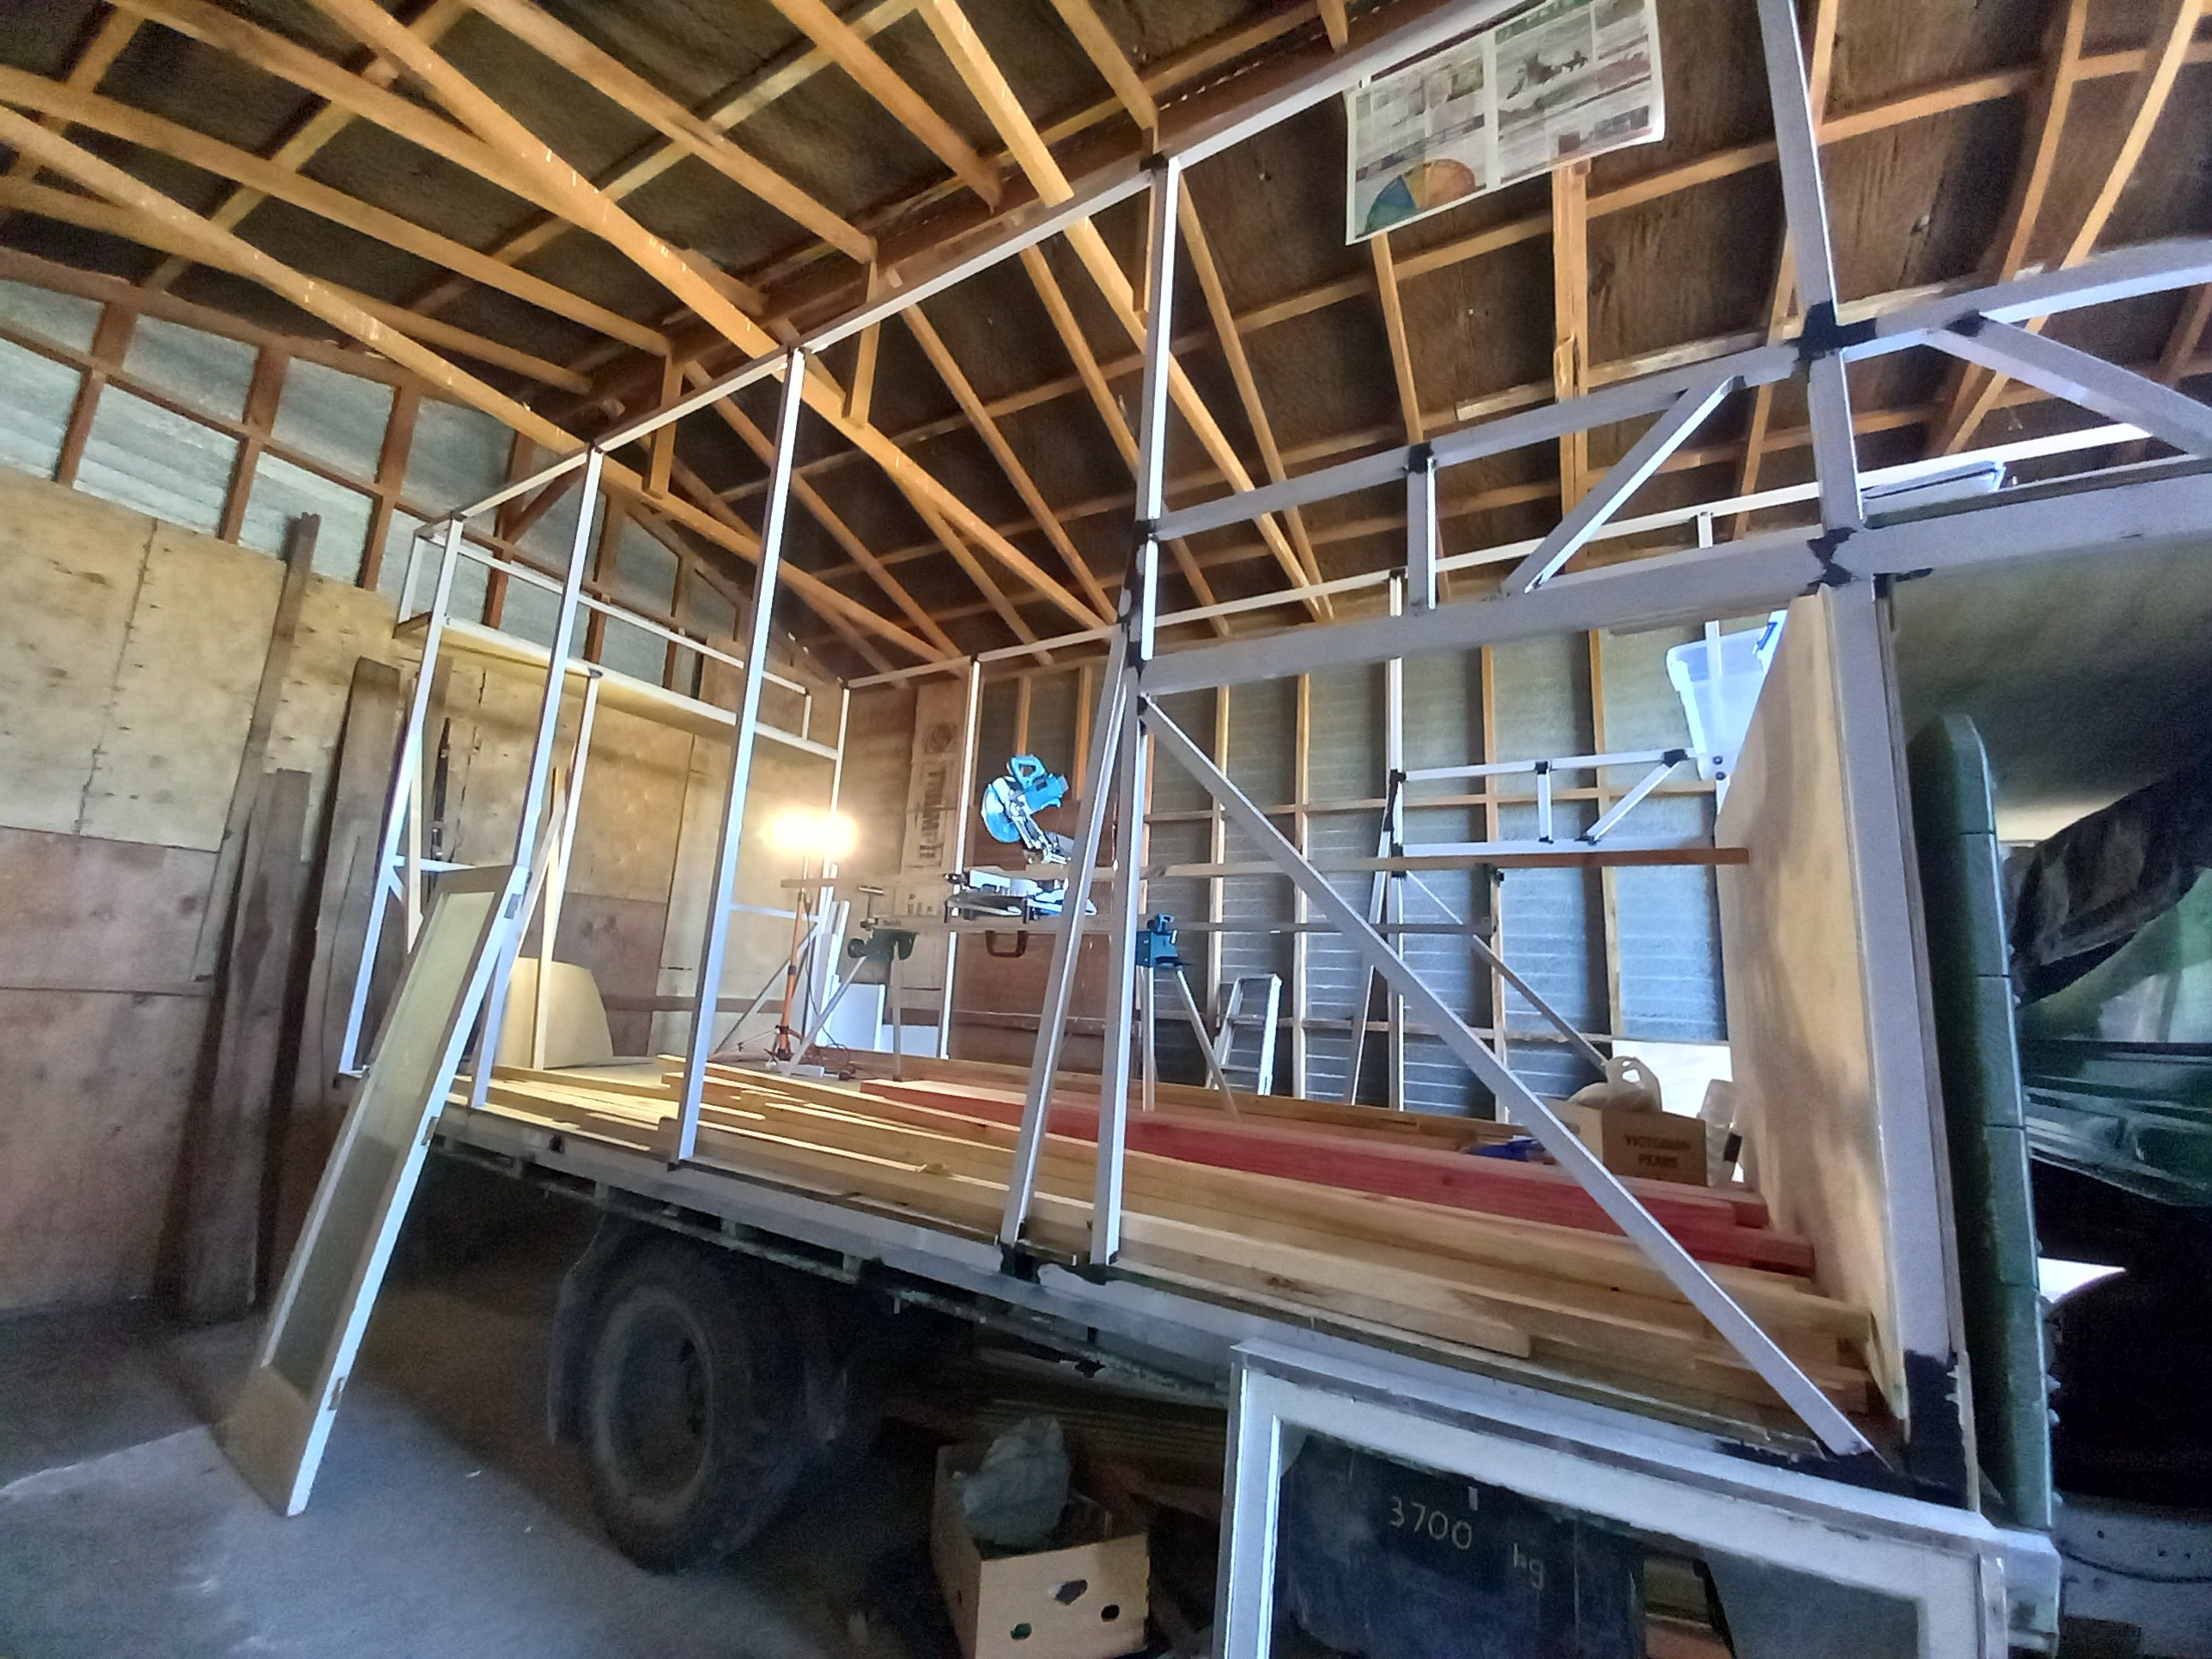
Then I got the call I'd been waiting for, my timber framing was ready for collection! So I attached the trailer and went for a nice drive up the Motueka Valley. With the wood nicely stacked ready and waiting on the truck floor dad then gave me a hand to relocate the compound saw to the shed. I'd done some google research on building wall framing, learning about lintels etc and drew up some diagrams with dad and was then left to it. I must admit I spent a good few hours measuring and psyching myself up to cut the first pieces of wood. I was so nervous to get started for some reason. But once I got into it I was away. I spent the next few weeks measuring and cutting and measuring again and creating sections of wall to lift up and screw in place. It was quite exciting to see the shape really starting to appear, with window holes and everything! I asked dad to come and have a look at progress, just to check I wasn't doing something glaringly wrong, I got the A Ok so kept working away. My brother came out and tested kitchen window height with me. It's always good to get a second opinion on things like this when you're working by yourself. There was of course the inevitable jokes about being short I put in a lot of solid long days to get this task completed, so I couldn't quite believe it when I fitted the last section. I was super chuffed.
- 23 replies
-
- 13
-
-
- 23 replies
-
- 14
-
-
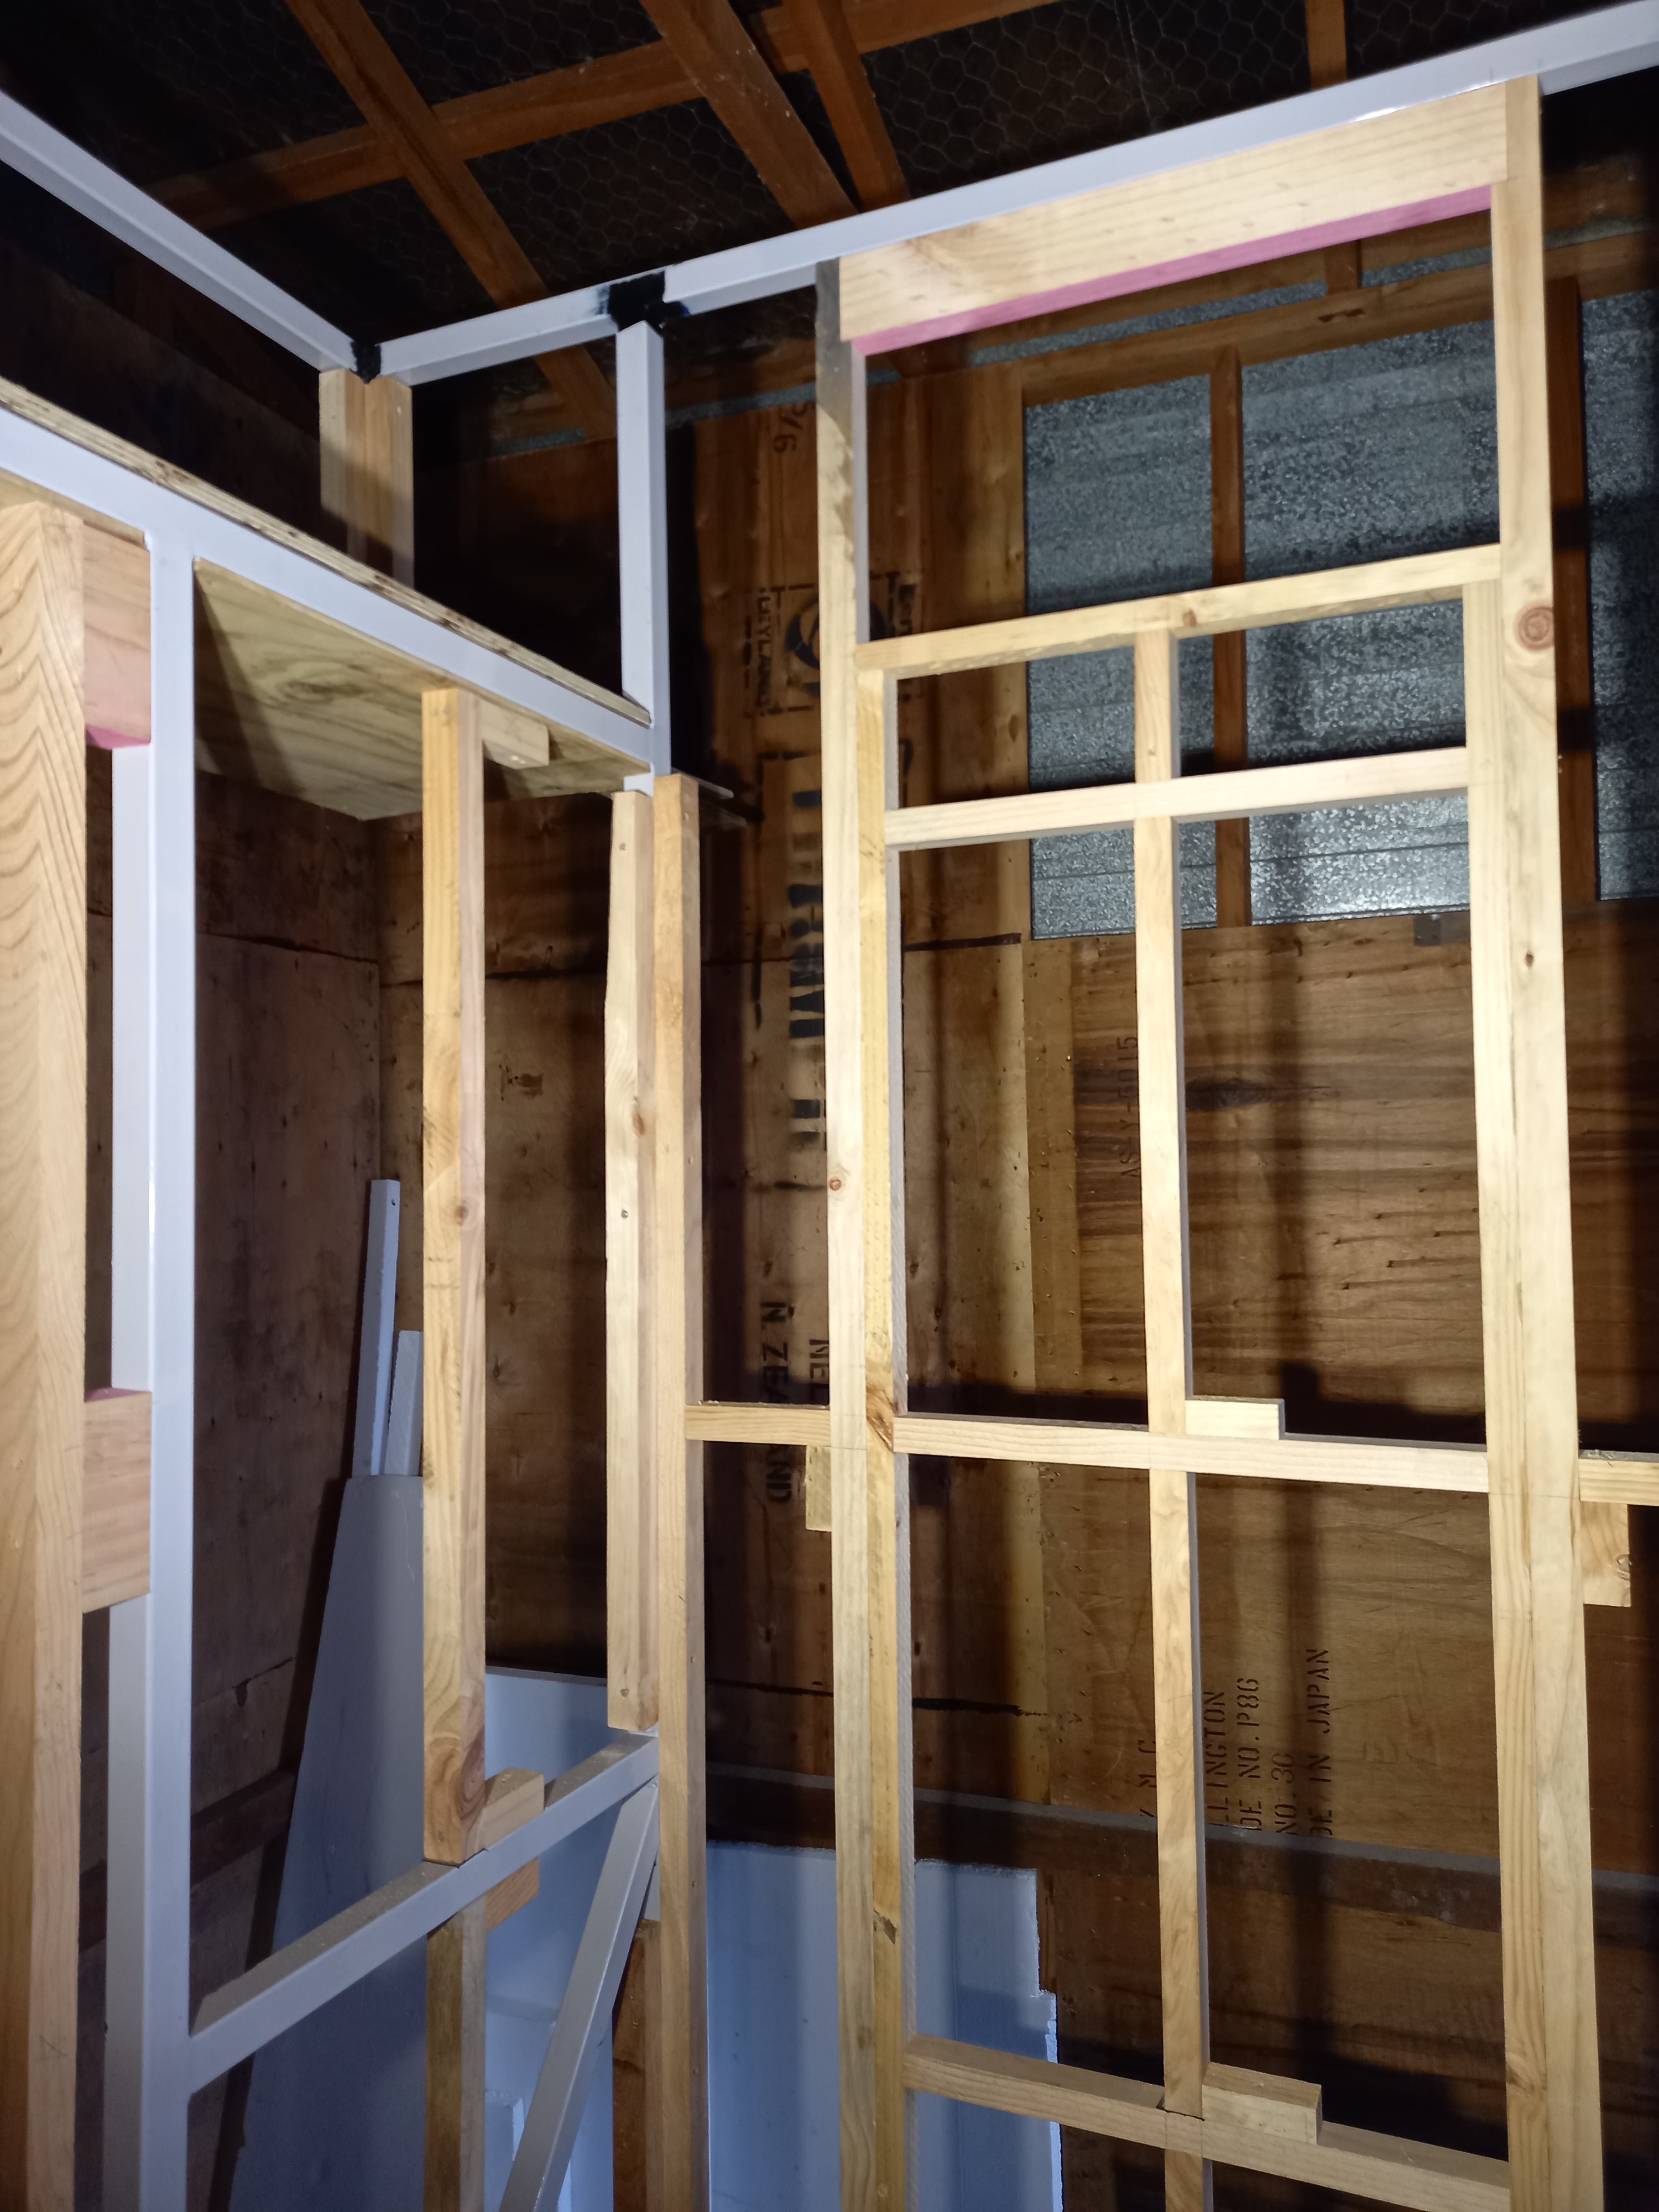
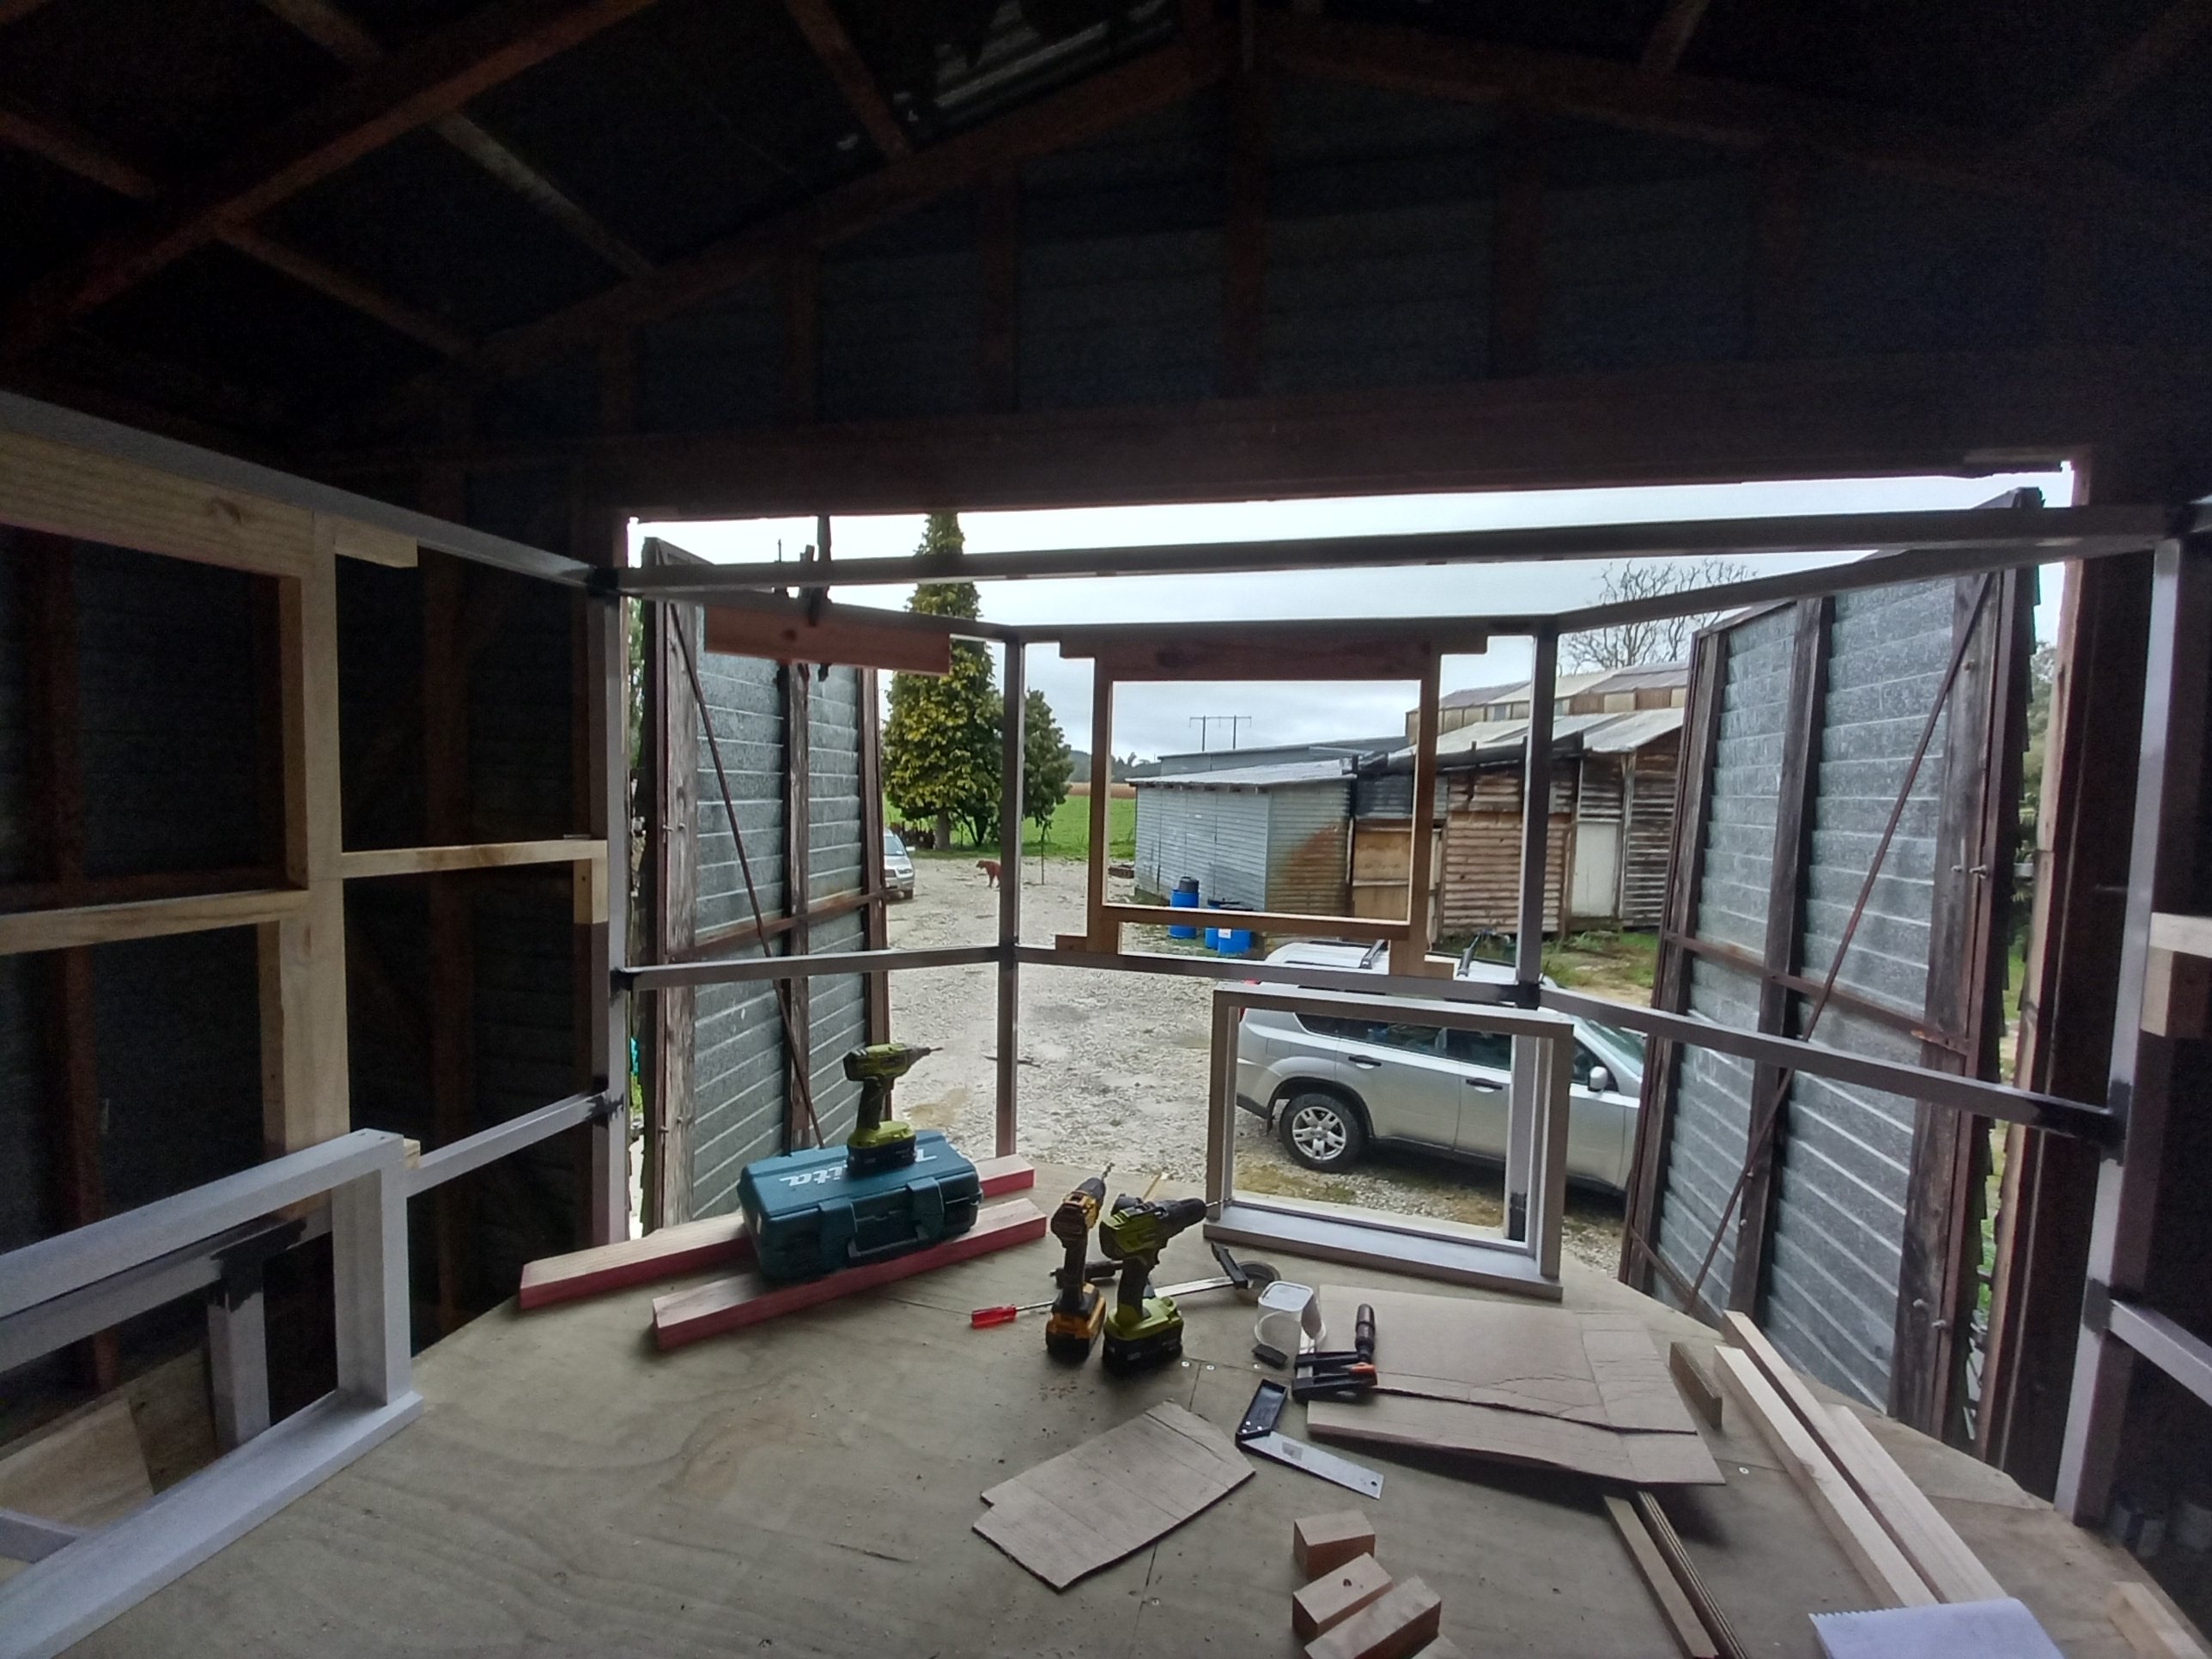
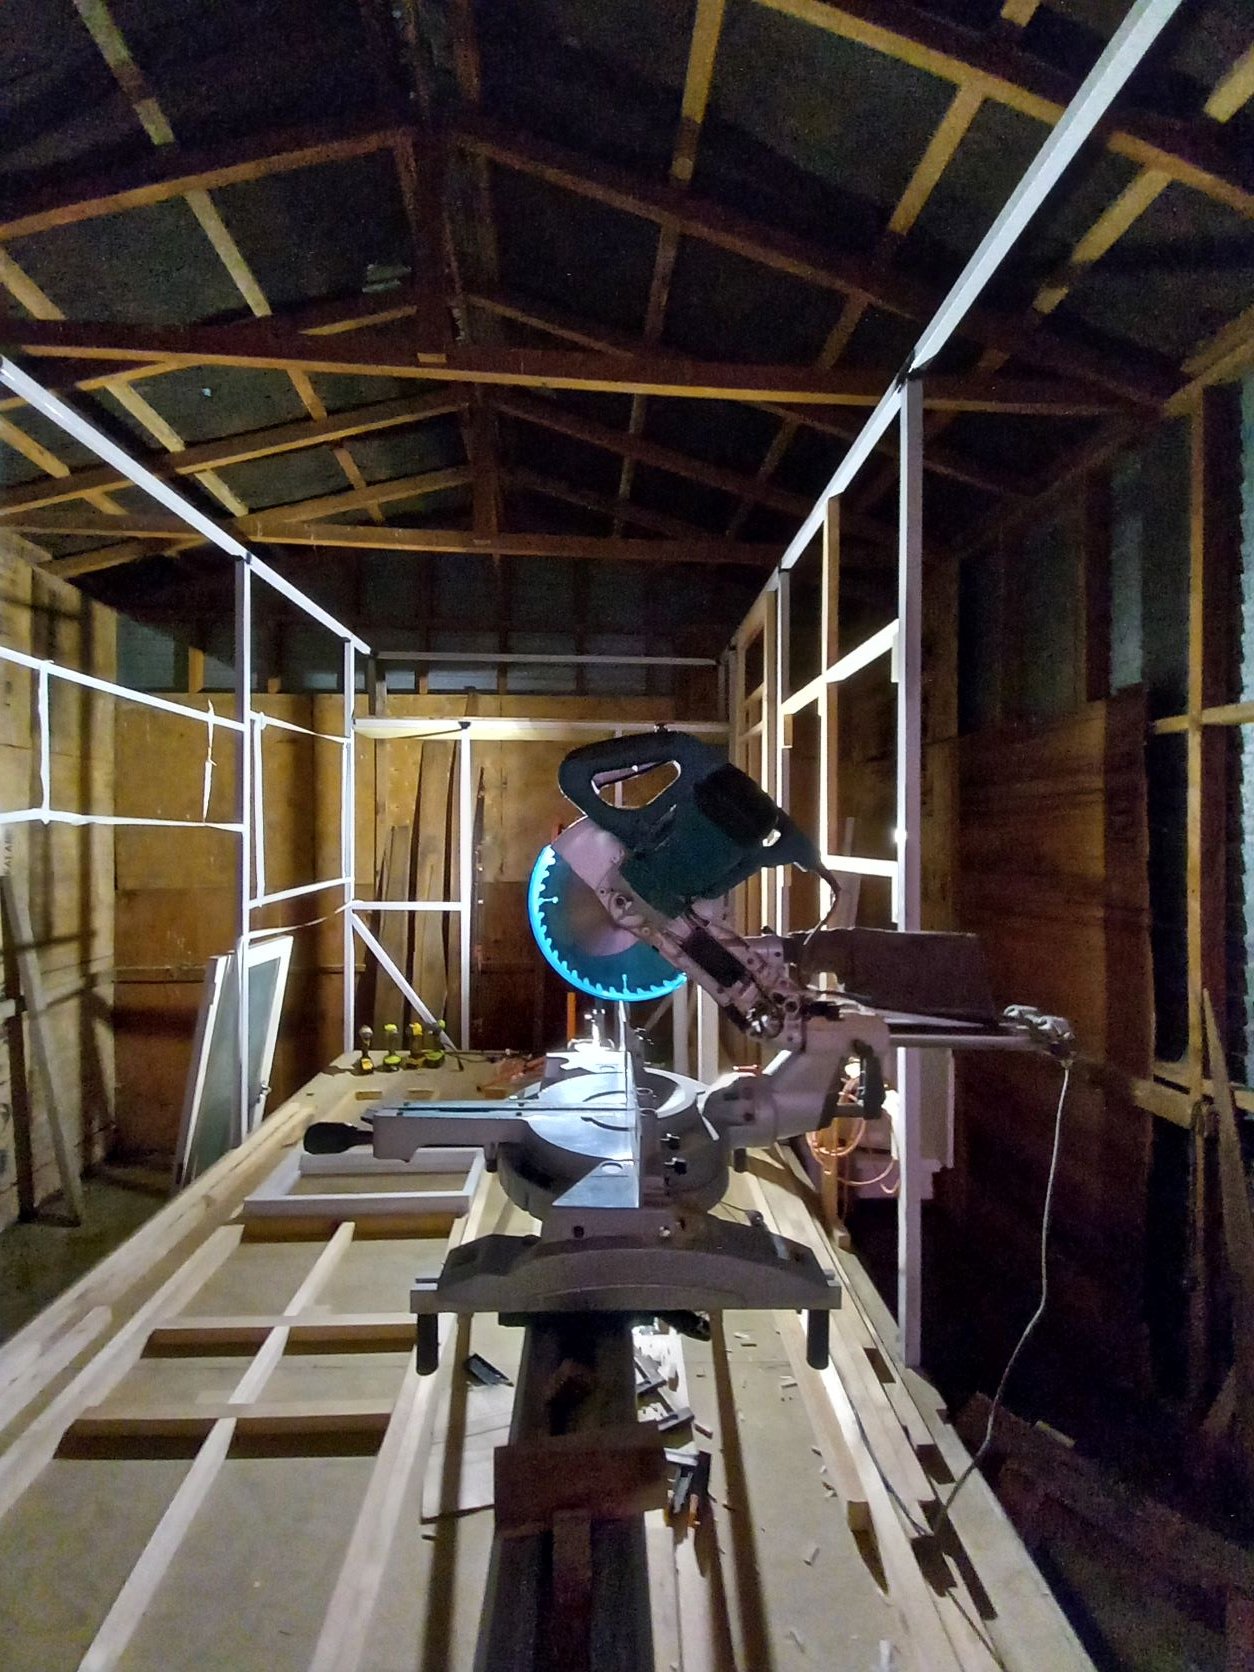
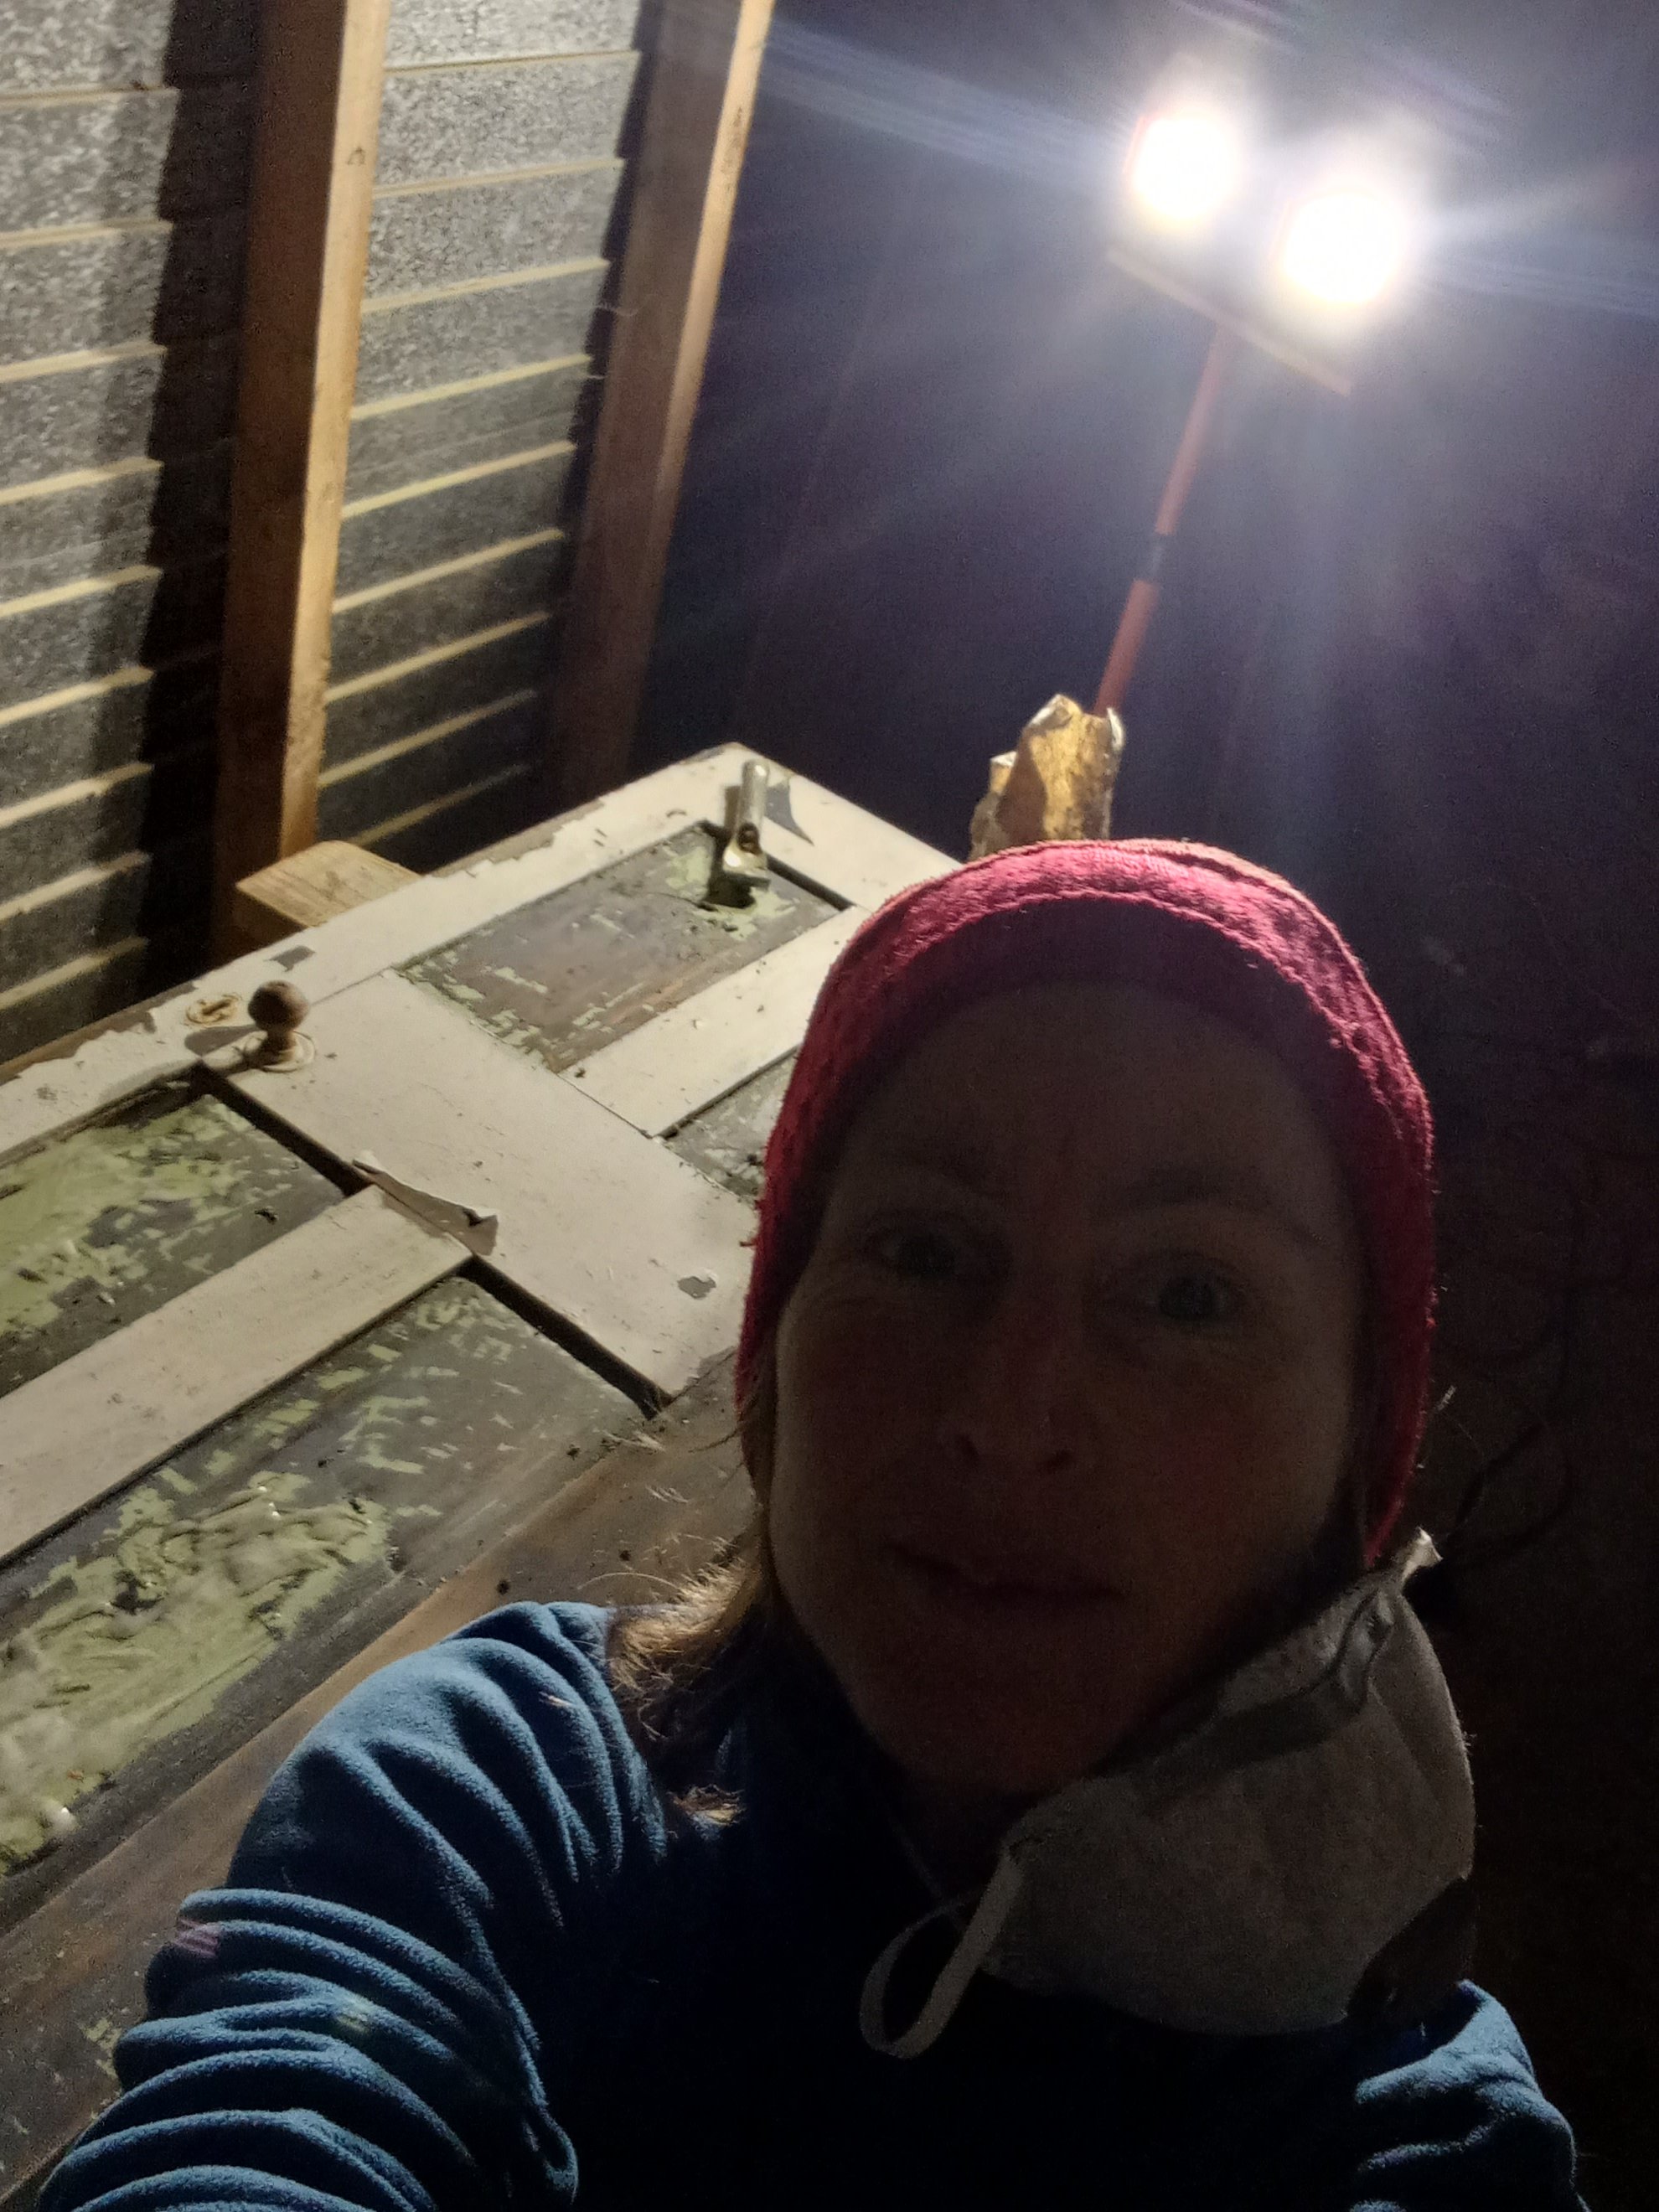
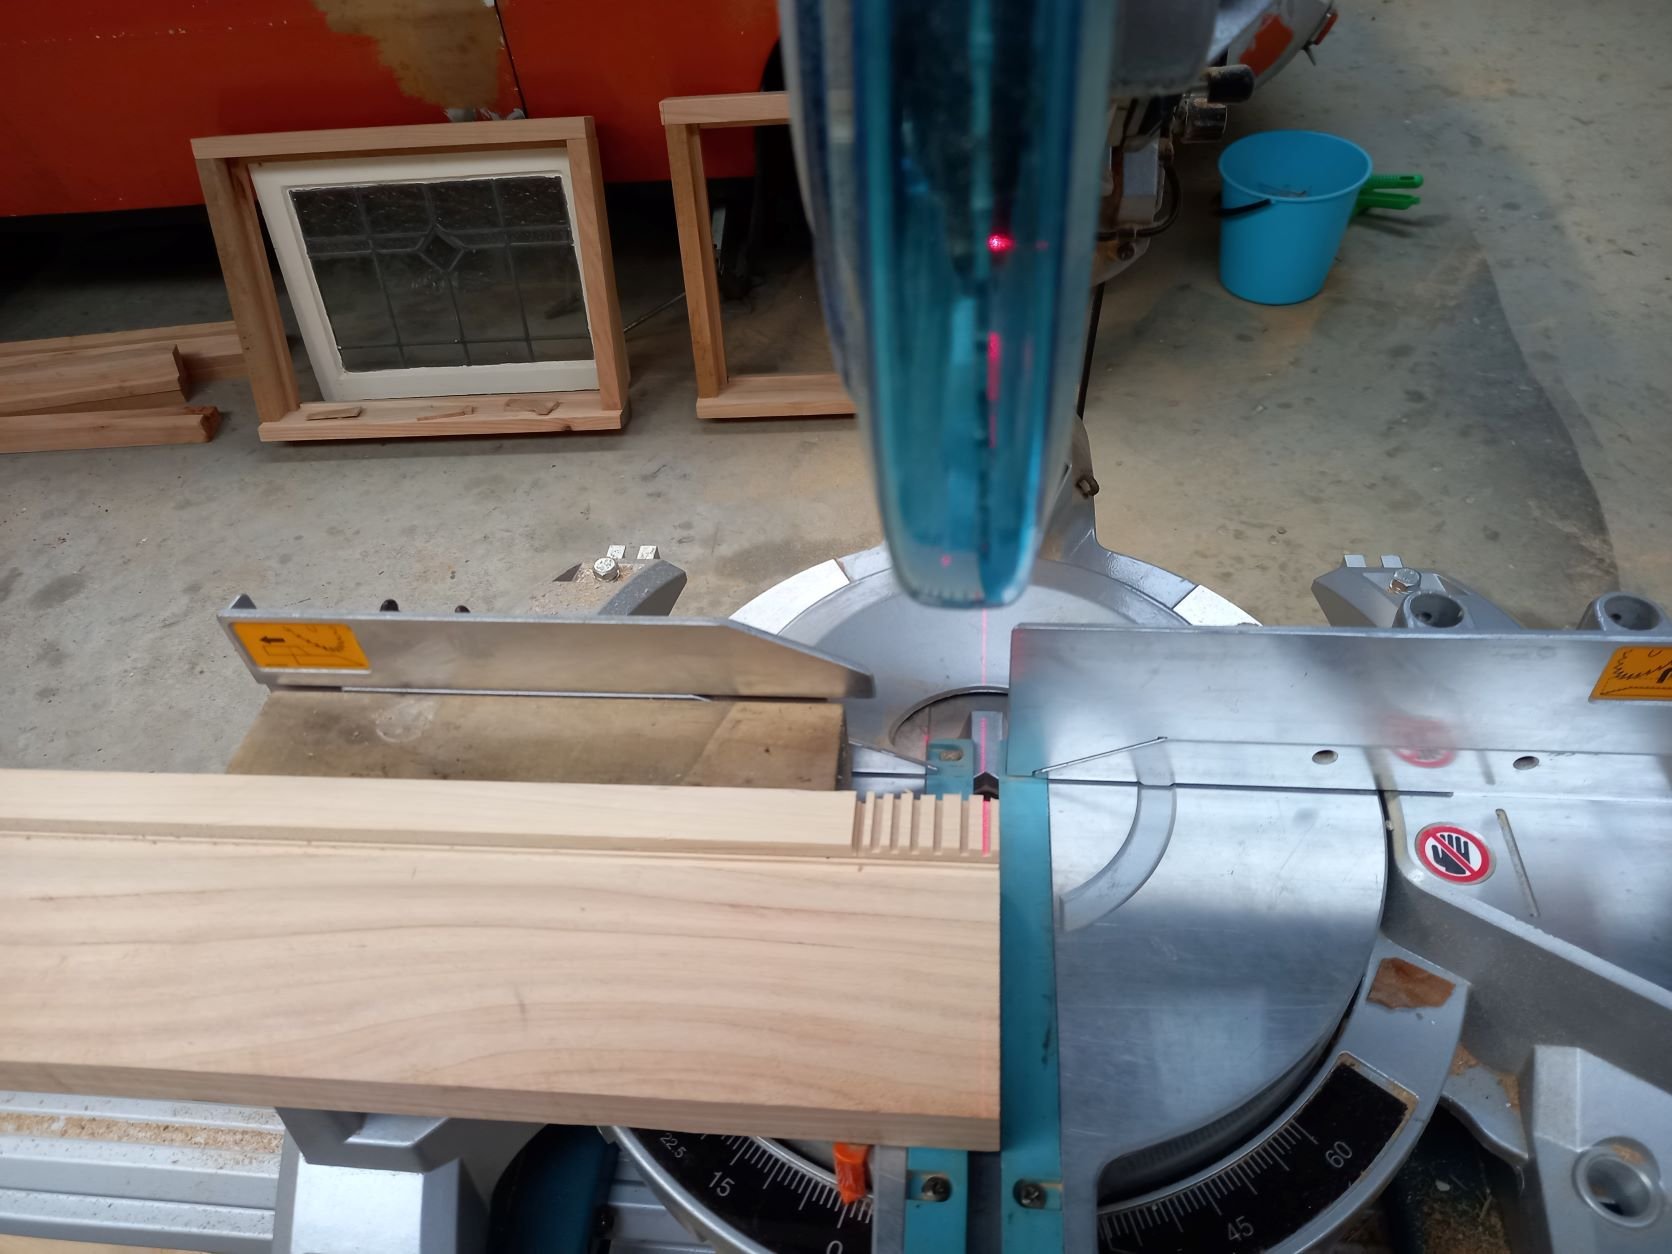
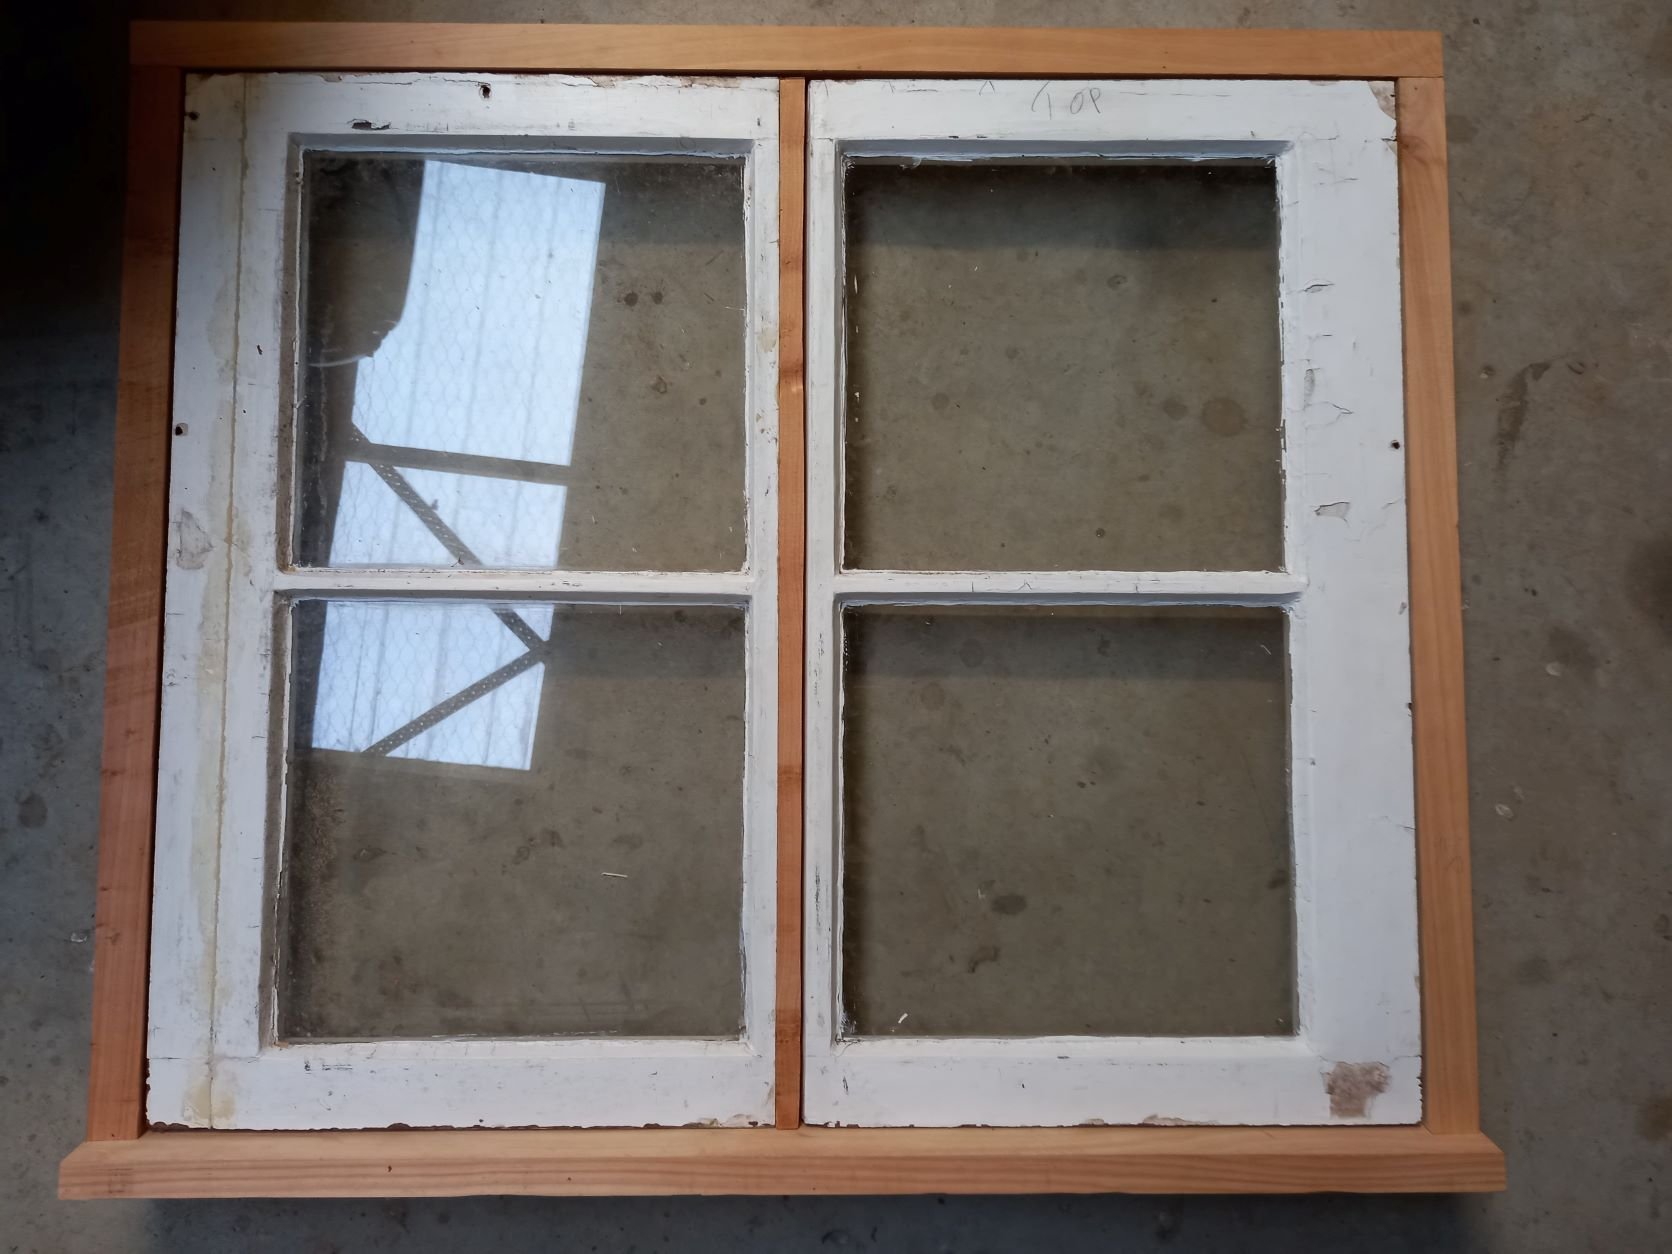
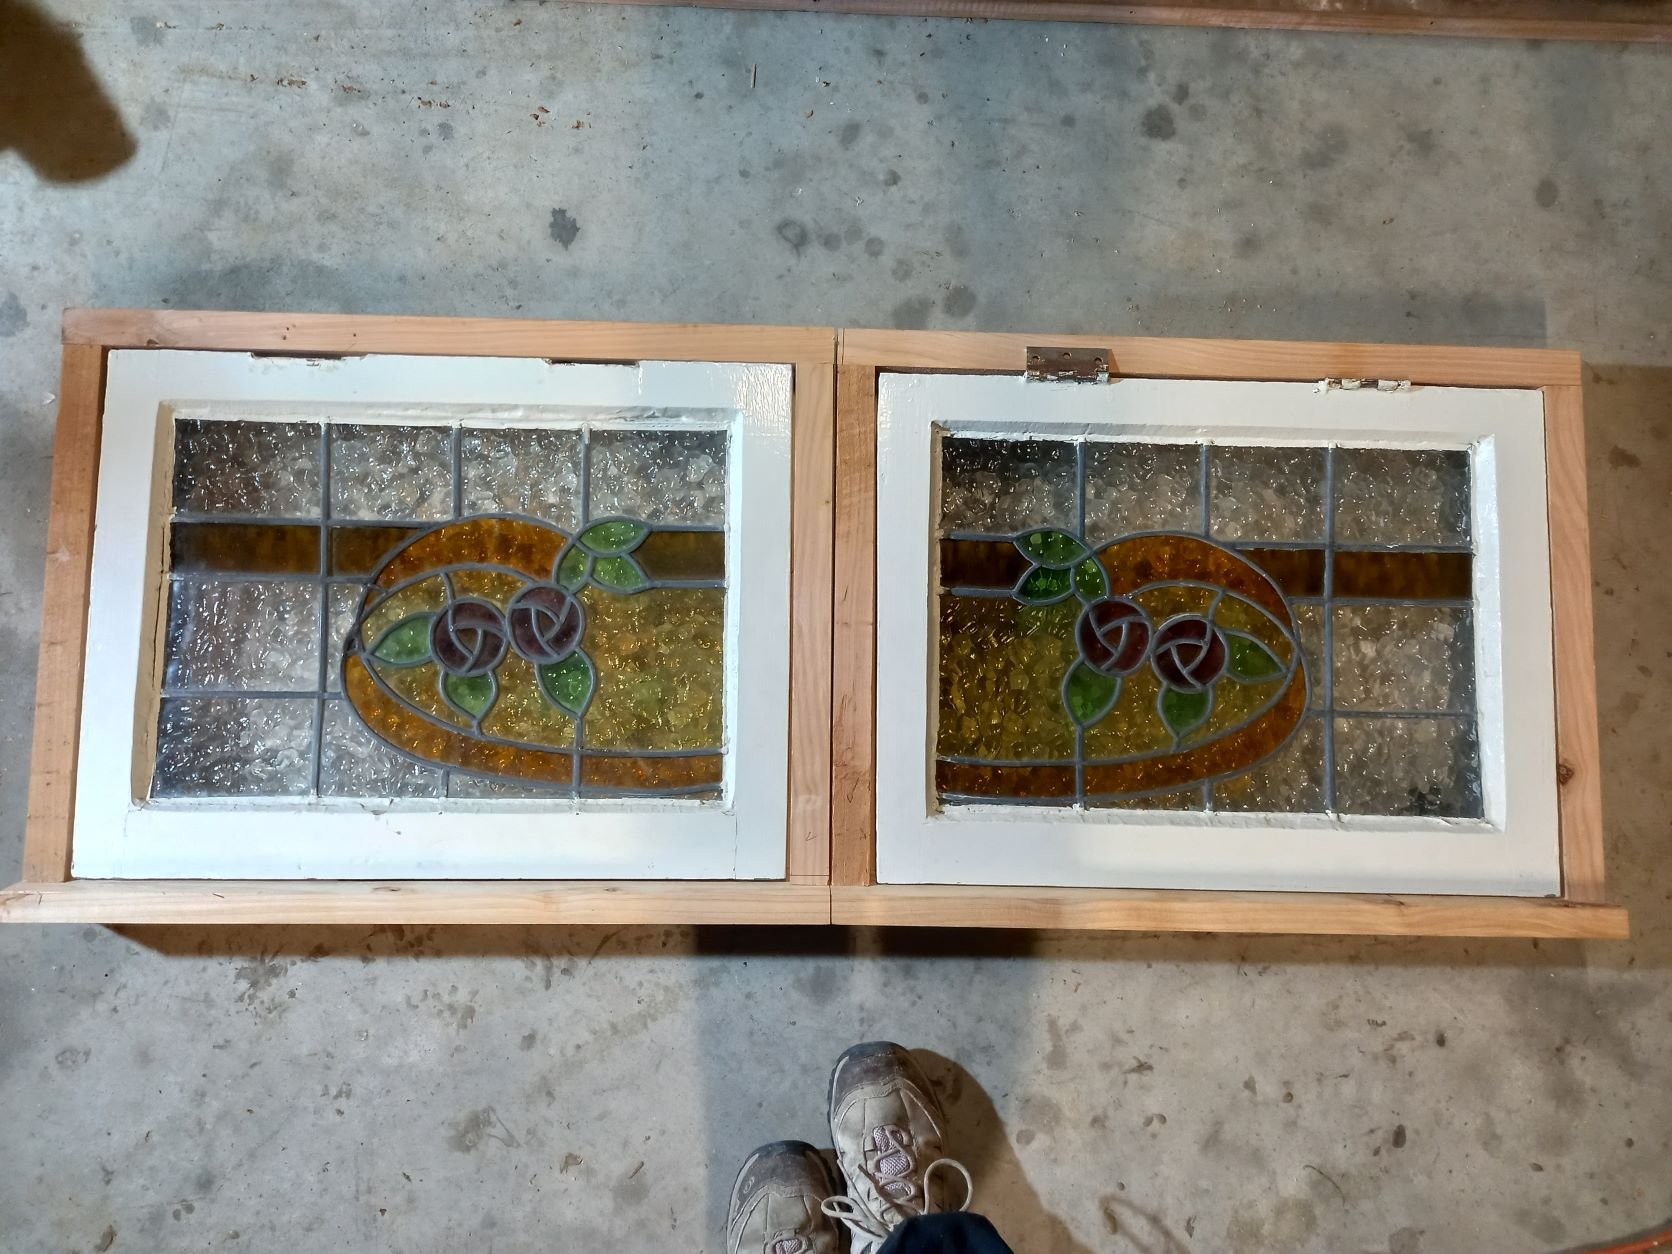
The catch up continues . . . . . . . . The next 'major' task I was keen to get stuck into was my wooden framing to fill in the blanks between my steel frame-work. This of course required final decisions on my windows and doors and making the frames for them all so the holes were the right size! So timber research it was as I needed an odd size because my wall cavity is only 40mm. I looked at lots of different options, various sizes to cut down, prices from different places etc then when I went into Knowles Timber to ask for more window framing I mentioned it to them and they reckoned they could find something to do the trick There was of course a wait on the timber so I busied myself with other smaller tasks, sanding off 'spewed' out glue on the beams, looking at colours, prepping windows etc. Then I got the call that my window frame timber was ready. Man a car full of freshly cut macroparpa smells totally amazing Very luckily for me my parents had recently moved to the area and dad is very generous with his time and his workshop! And his tools, the next to be introduced to being his compound saw. I love this saw, its friendly to use and makes it way easier and more accurate than using a hand saw for window frame making that's for sure. Not to mention learning some tips to make sure the frames are square. Many an hour was spent in the workshop working away on these frames for nine little windows and two doors! All of my windows and doors were second hand collections form tip shops, marketplace and trademe. Even the door frame timber. One of my doors is quite narrow (660mm) and I acquired a free door frame with a beautiful thick rimu sill what has been repurposed to make the sills for both my doors. They all have story of how they came to be collected and put into my house Doesn't make for particularly interesting photos, but here are a few anyway.
-
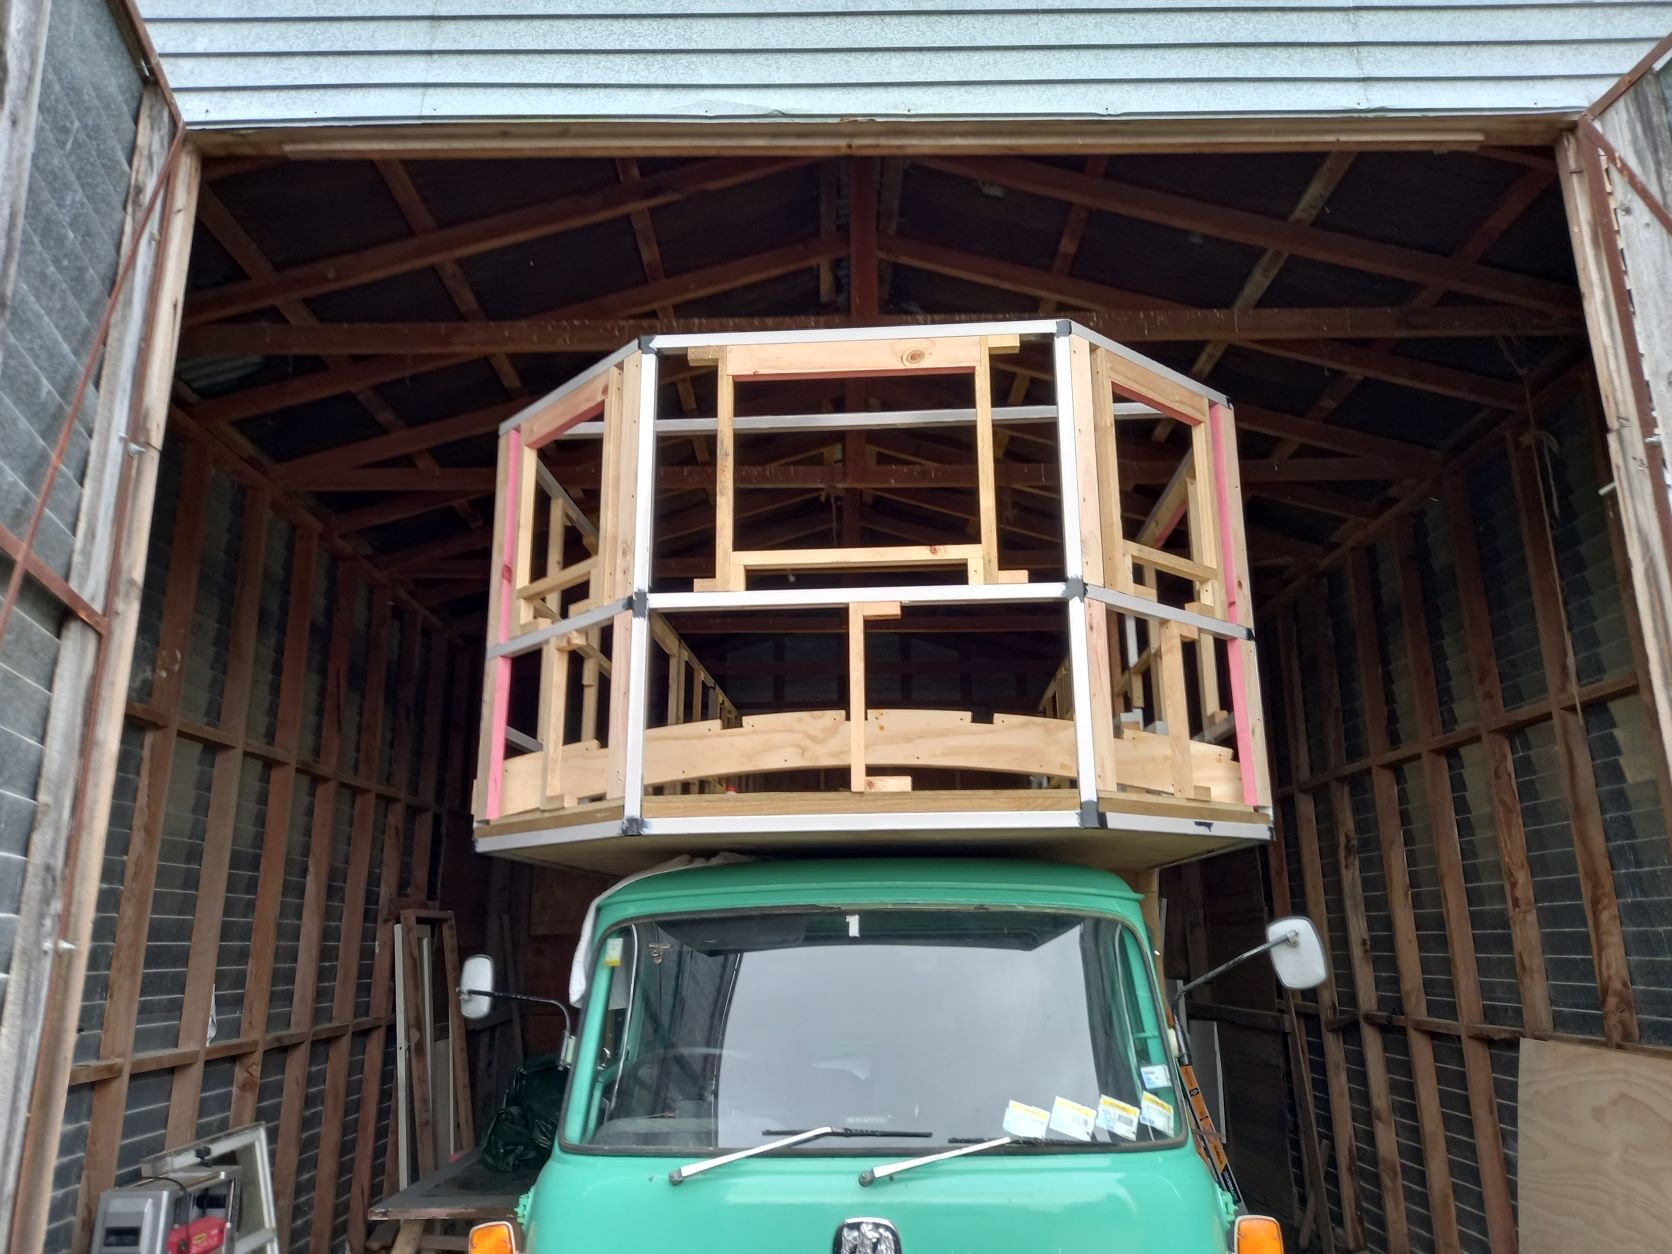
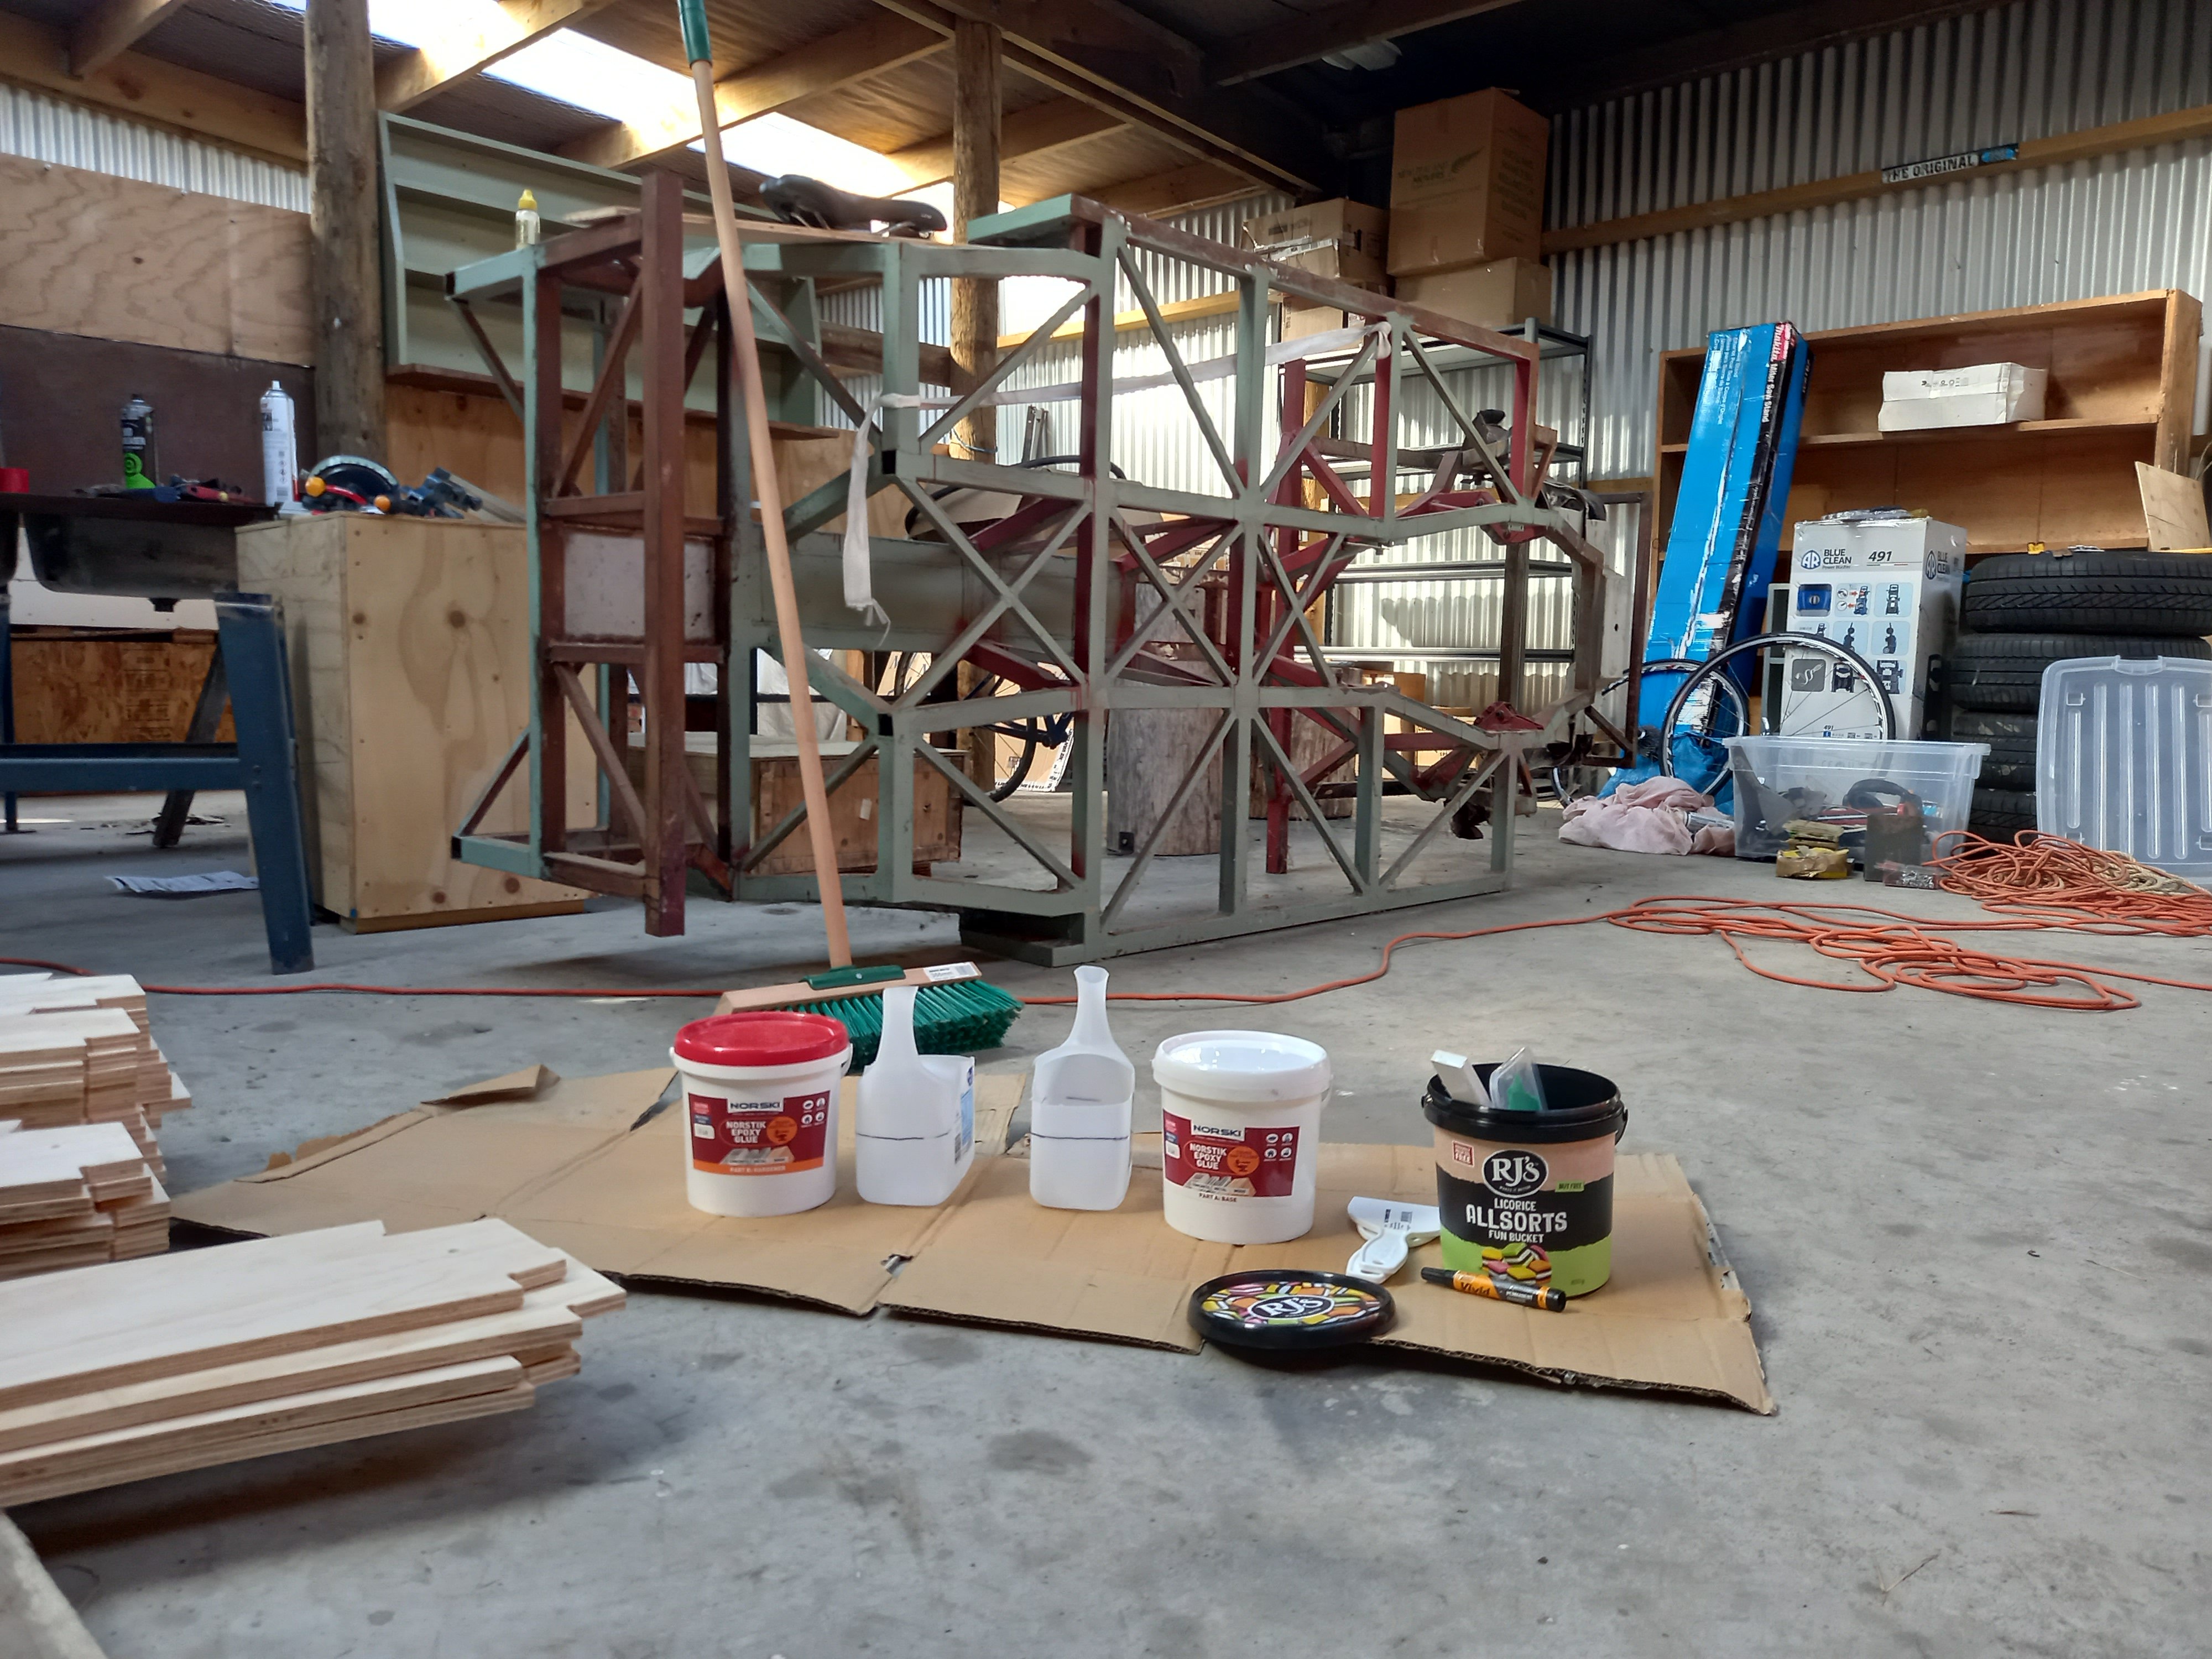
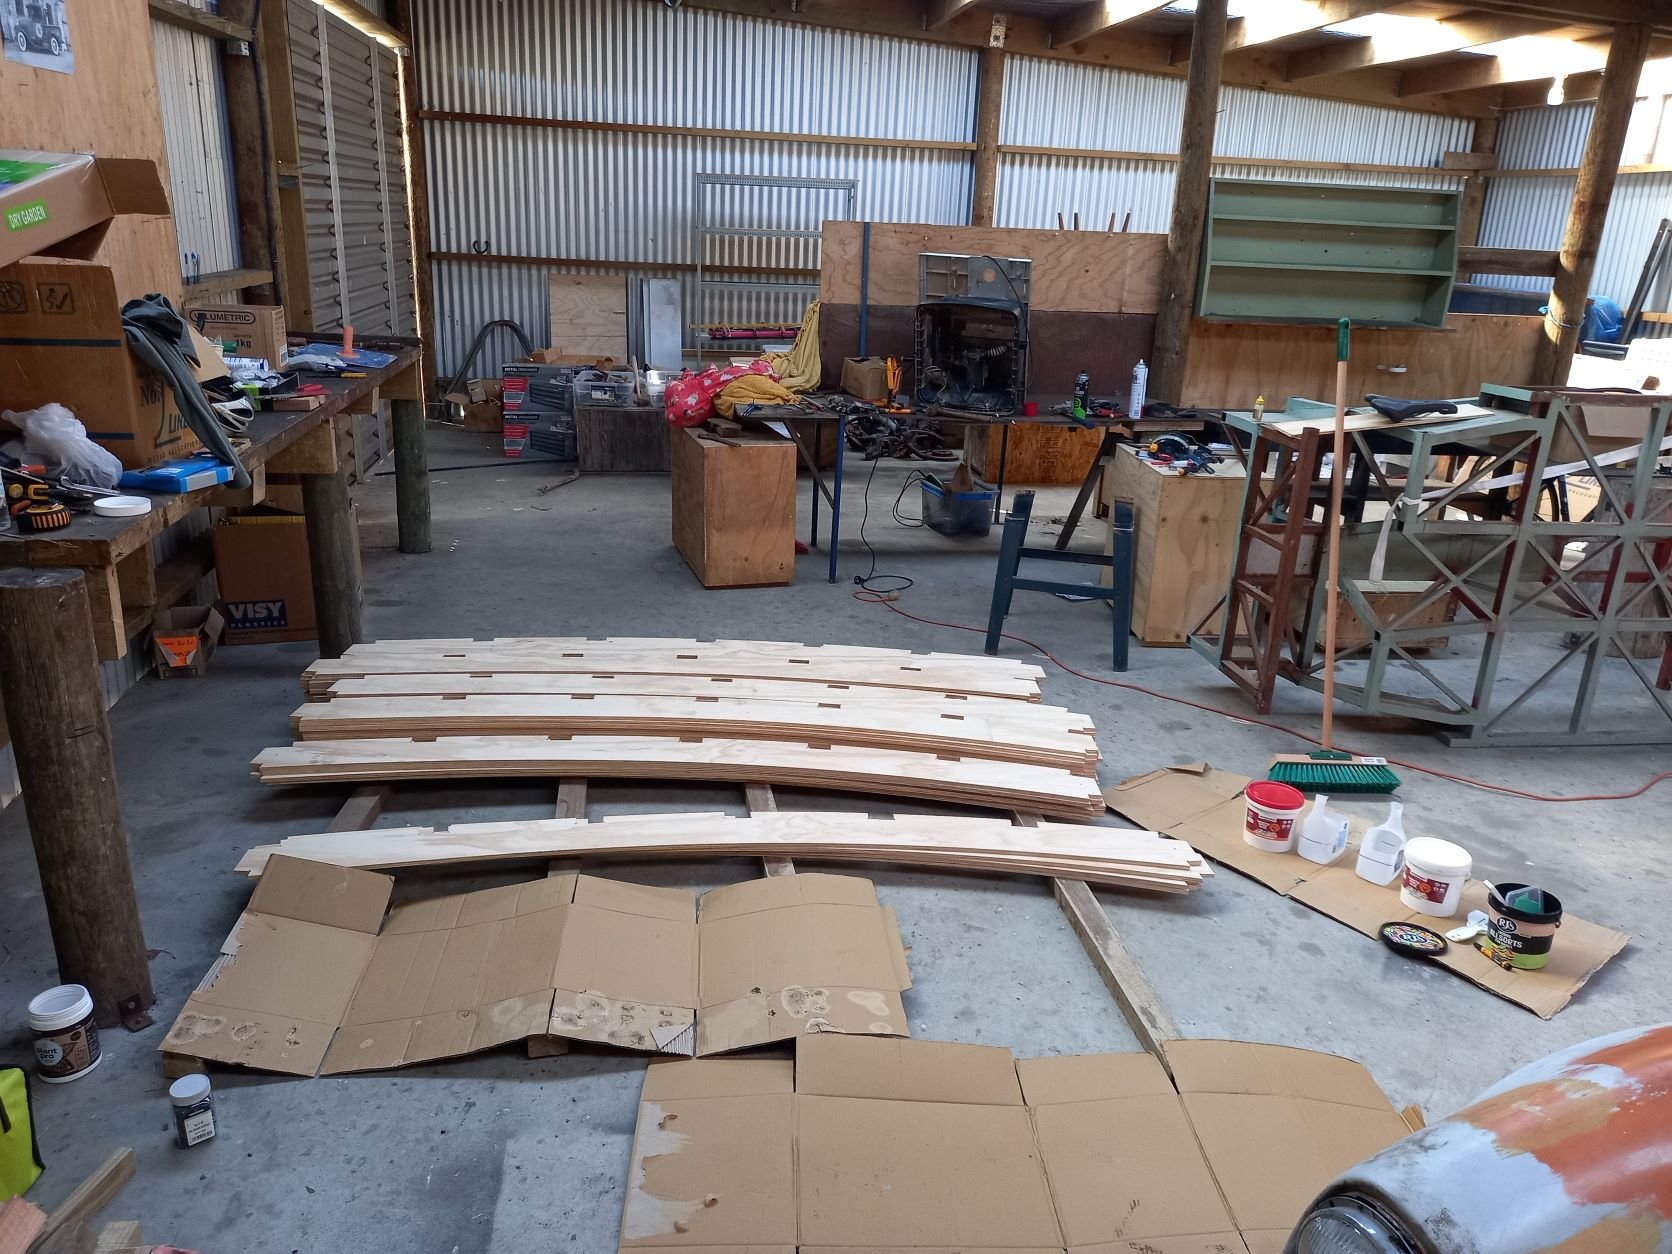
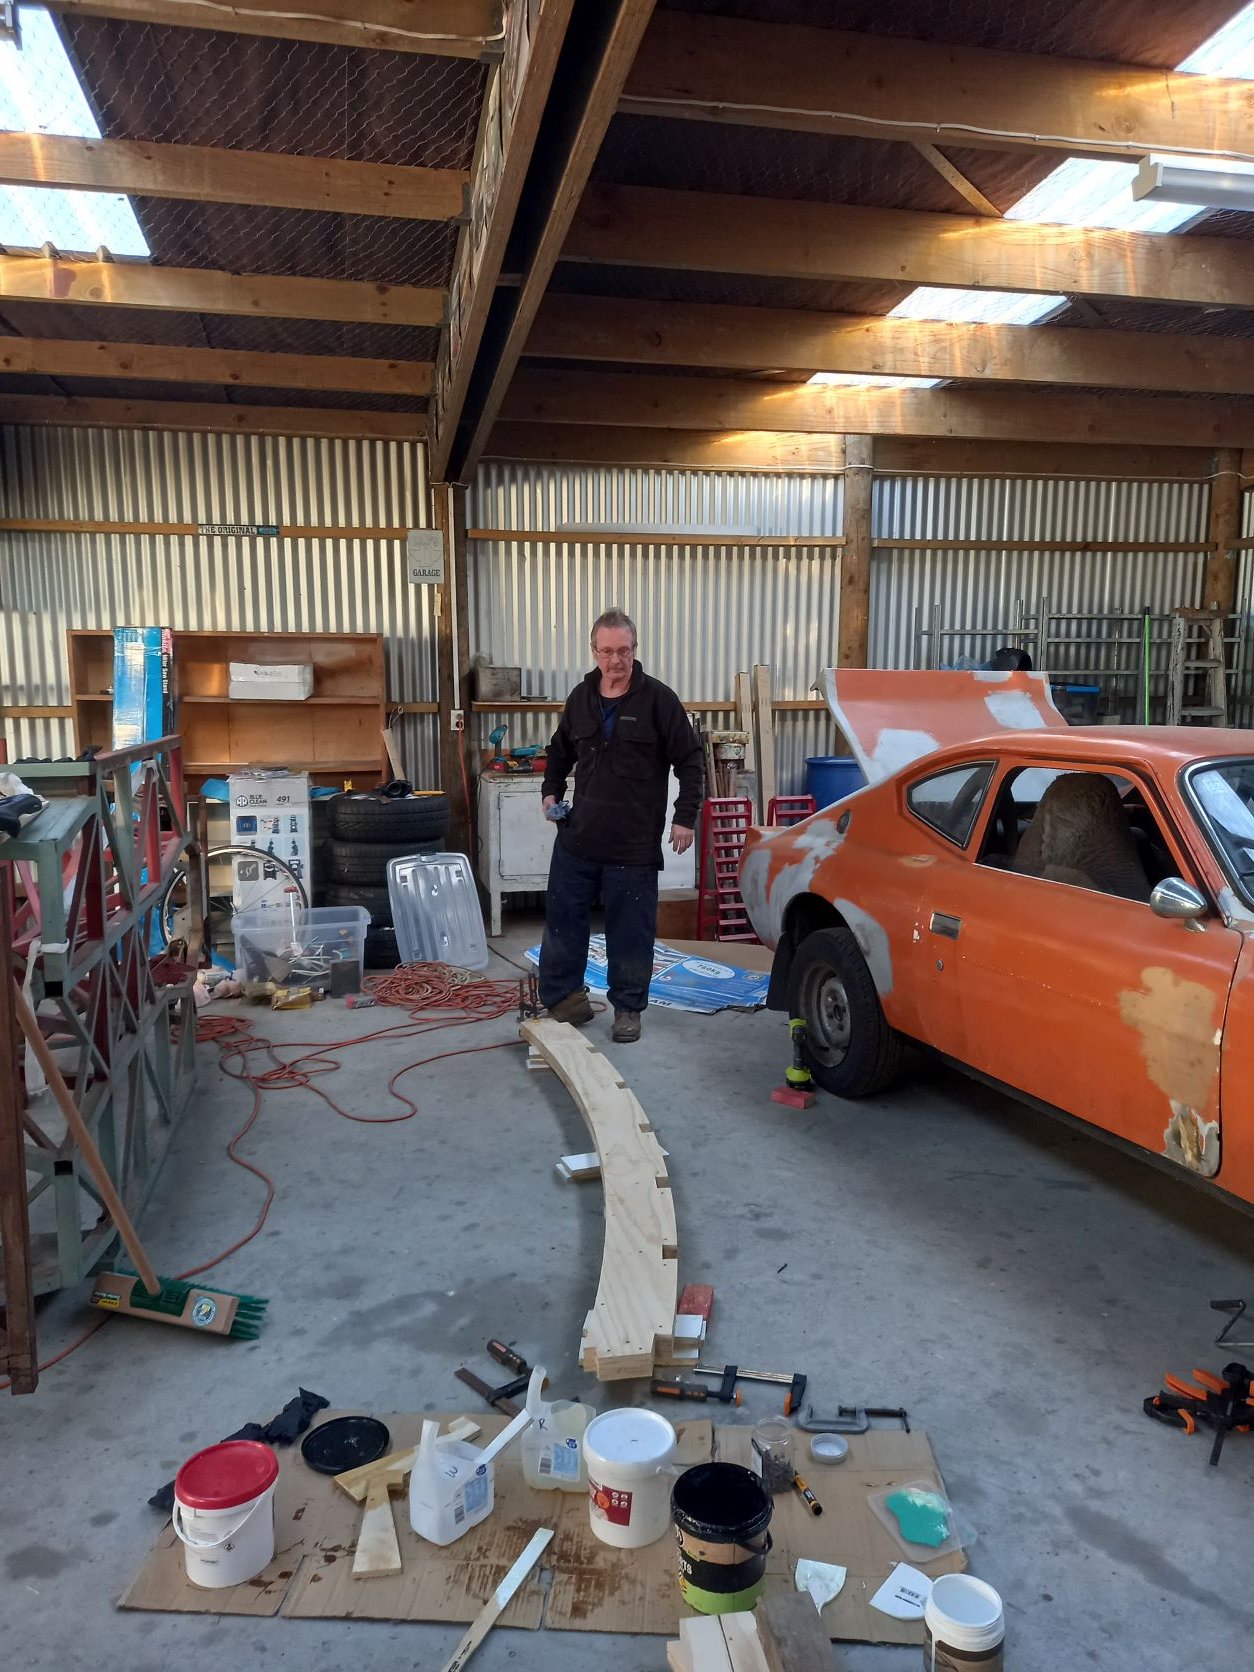
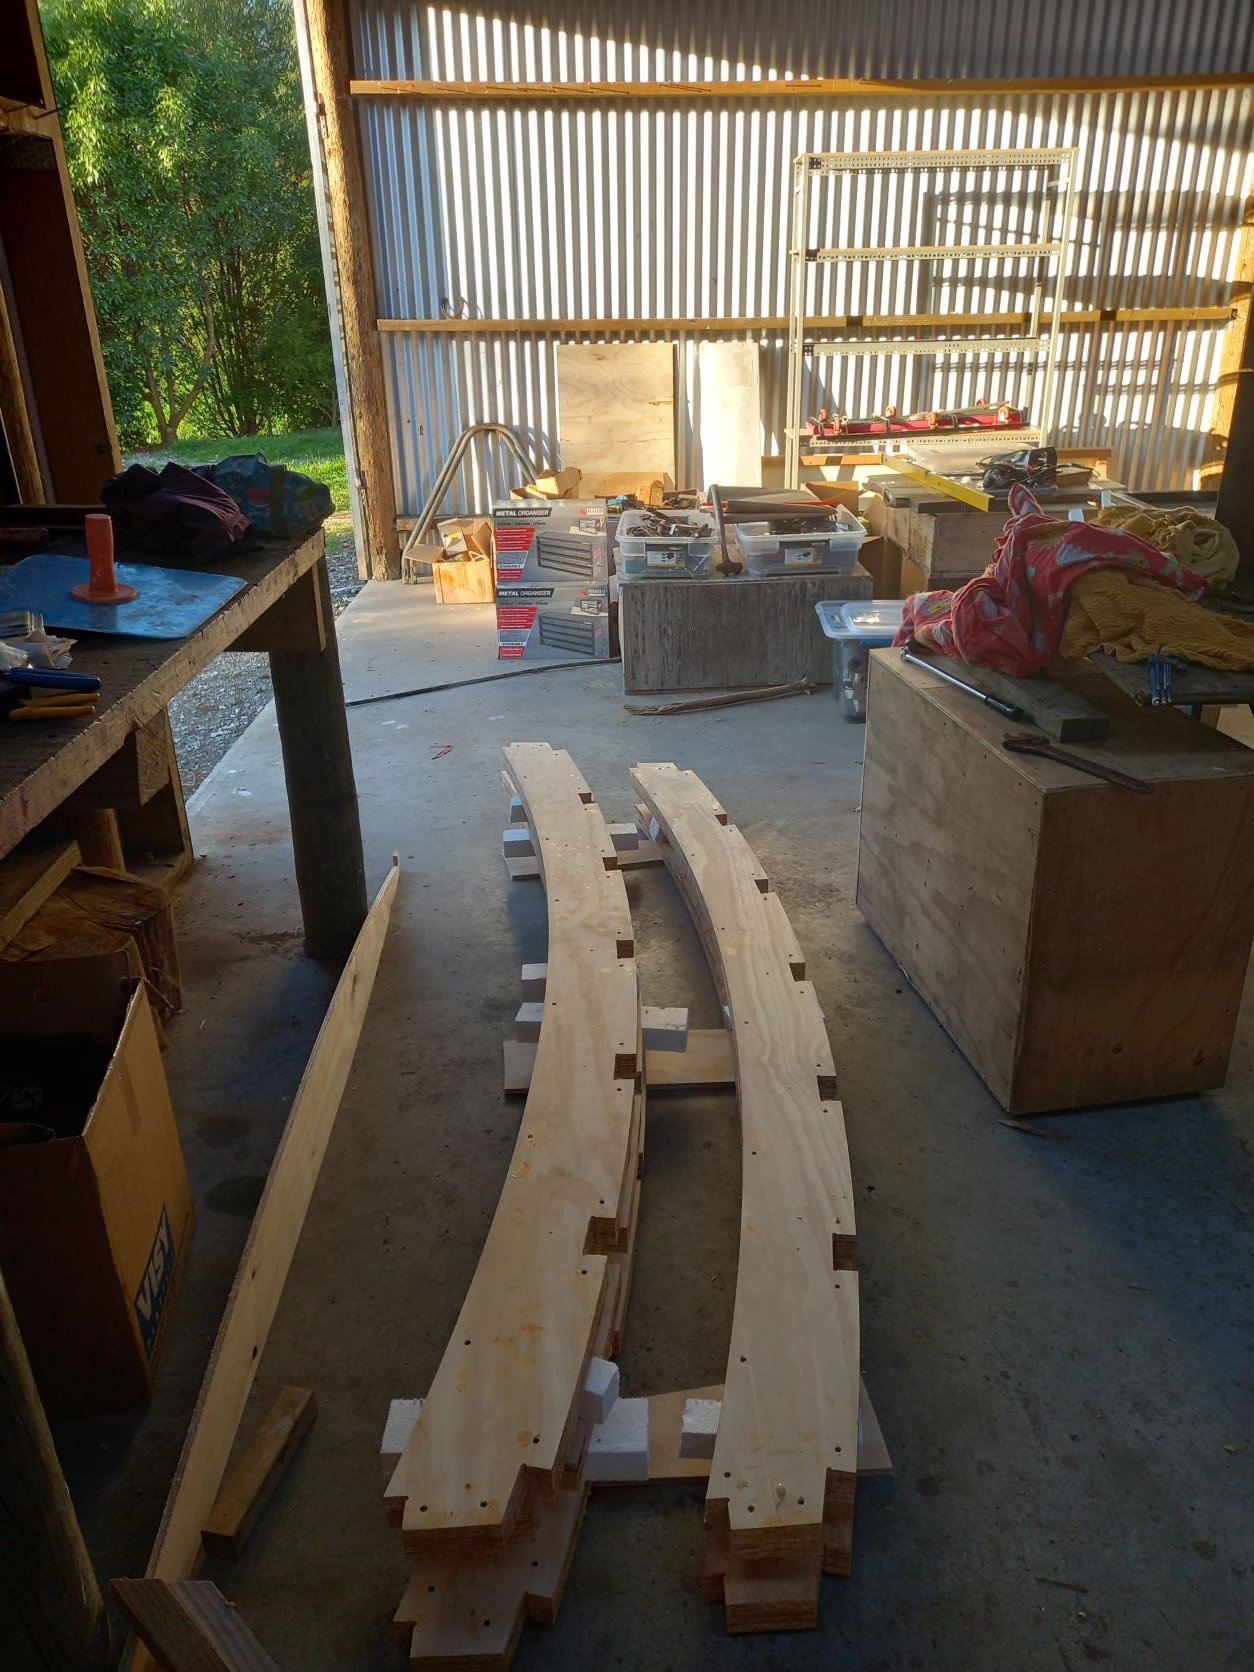
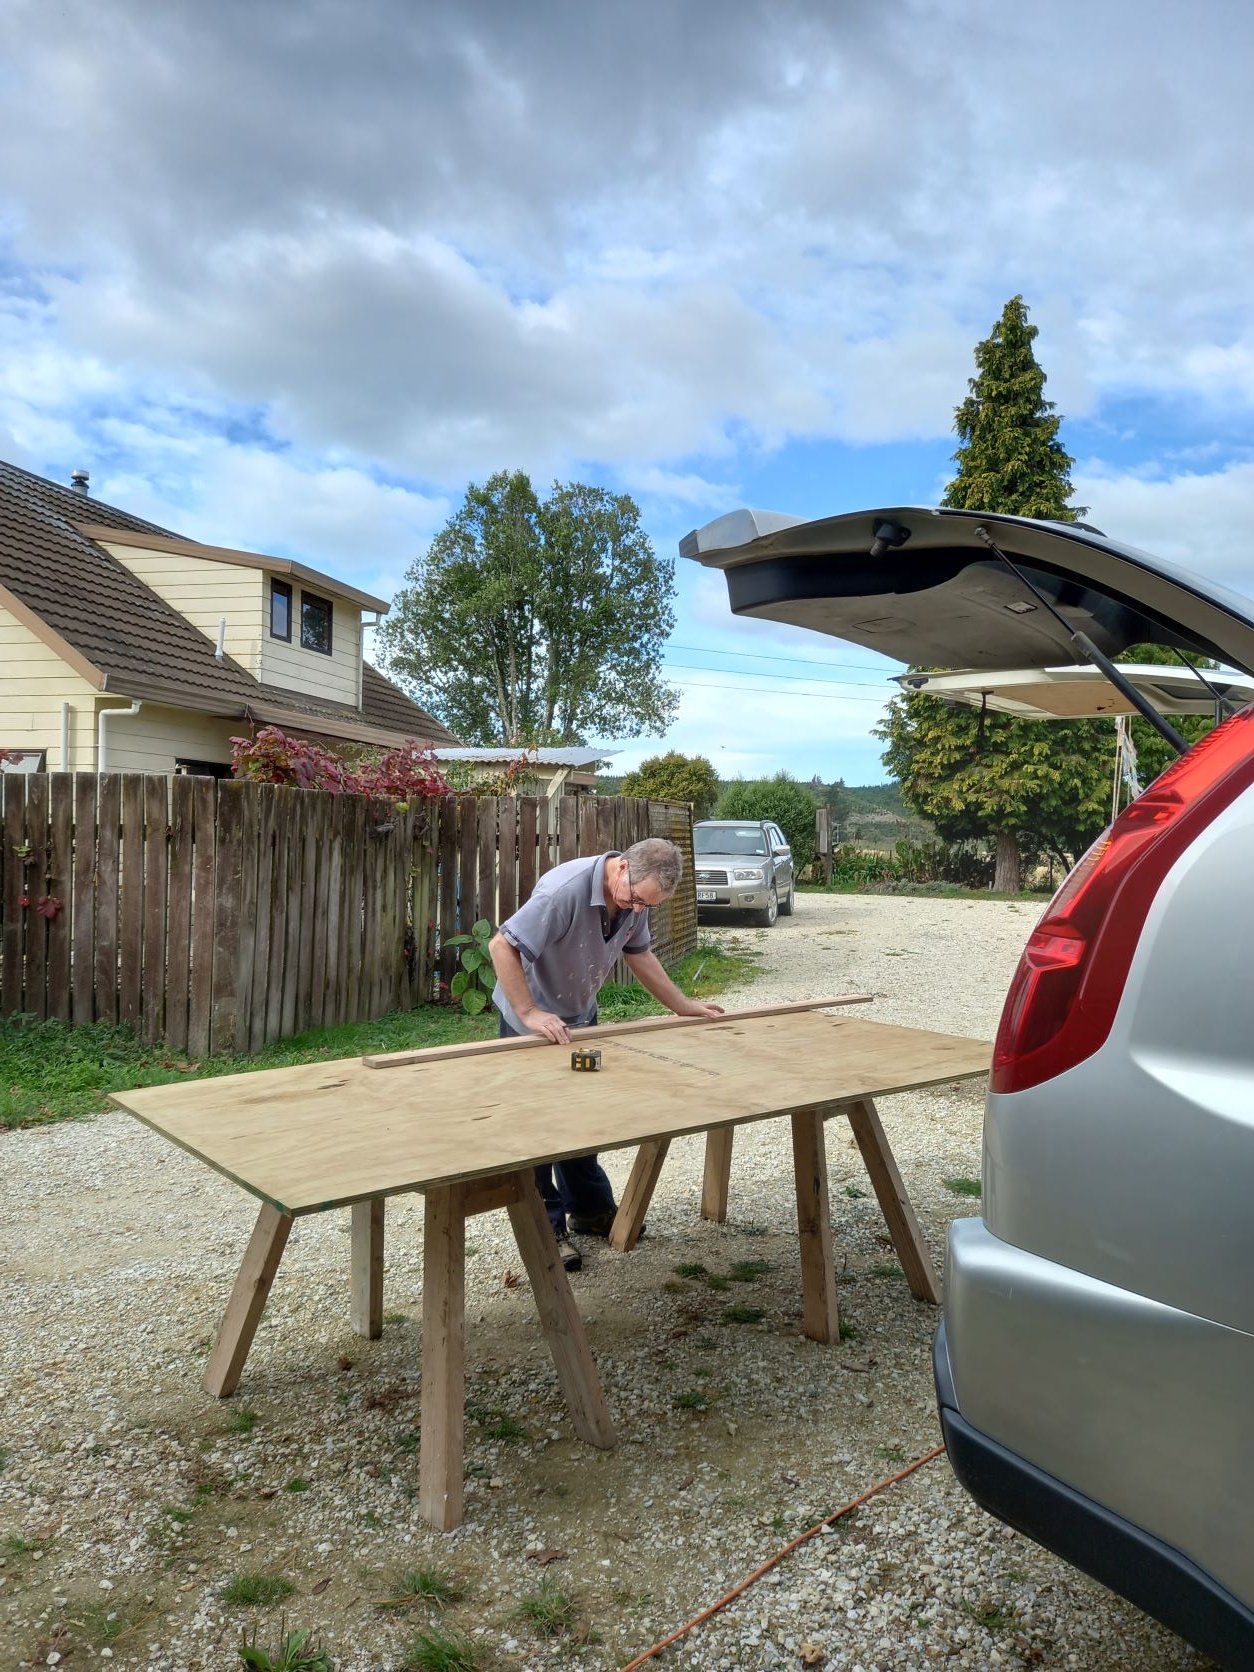
Goodness it's been awhile since I've updated progress!! I partly blame it on my computer breaking and having more interesting things to do (eg working on Maddi) than getting it fixed. But here we are three months later, a rather busy three months as well. So there's a lot to catch up on . . . . . . . . . After May being my 'floor' month and feeling super stoked to have got that down I then worked full time during June. But there was of course still weekends to work away on. My next exciting task that I've briefly mentioned was laminating all my roof beams! The roof line was a big factor when thinking about my design and overall shape of the house. I went through a few different ideas before settling on my original, a gentle curved roof running the same height all the way down the truck. I love curved roofs, I wont lose much space in my bedroom loft and by keeping a continuous line it will be easier construction wise. That decision made I then had to figure out how to execute the idea. Cue my talented dad again After being put in touch with Dylan and his awesome CNC machine I needed to sort out the design of the beam. Dad used his CAD software to help me design them and figure out the roof construction. Dylan came out to check out Maddi and give her a measure up, then a trailer of ply and cake later, plus a lot of work by Dylan and his machine, and I had a bundle of cut ply in the shape of my roof beams! Next was getting acquainted with epoxy glue, and then voila I have roof beams
- 23 replies
-
- 26
-
-
- 23 replies
-
- 31
-
-
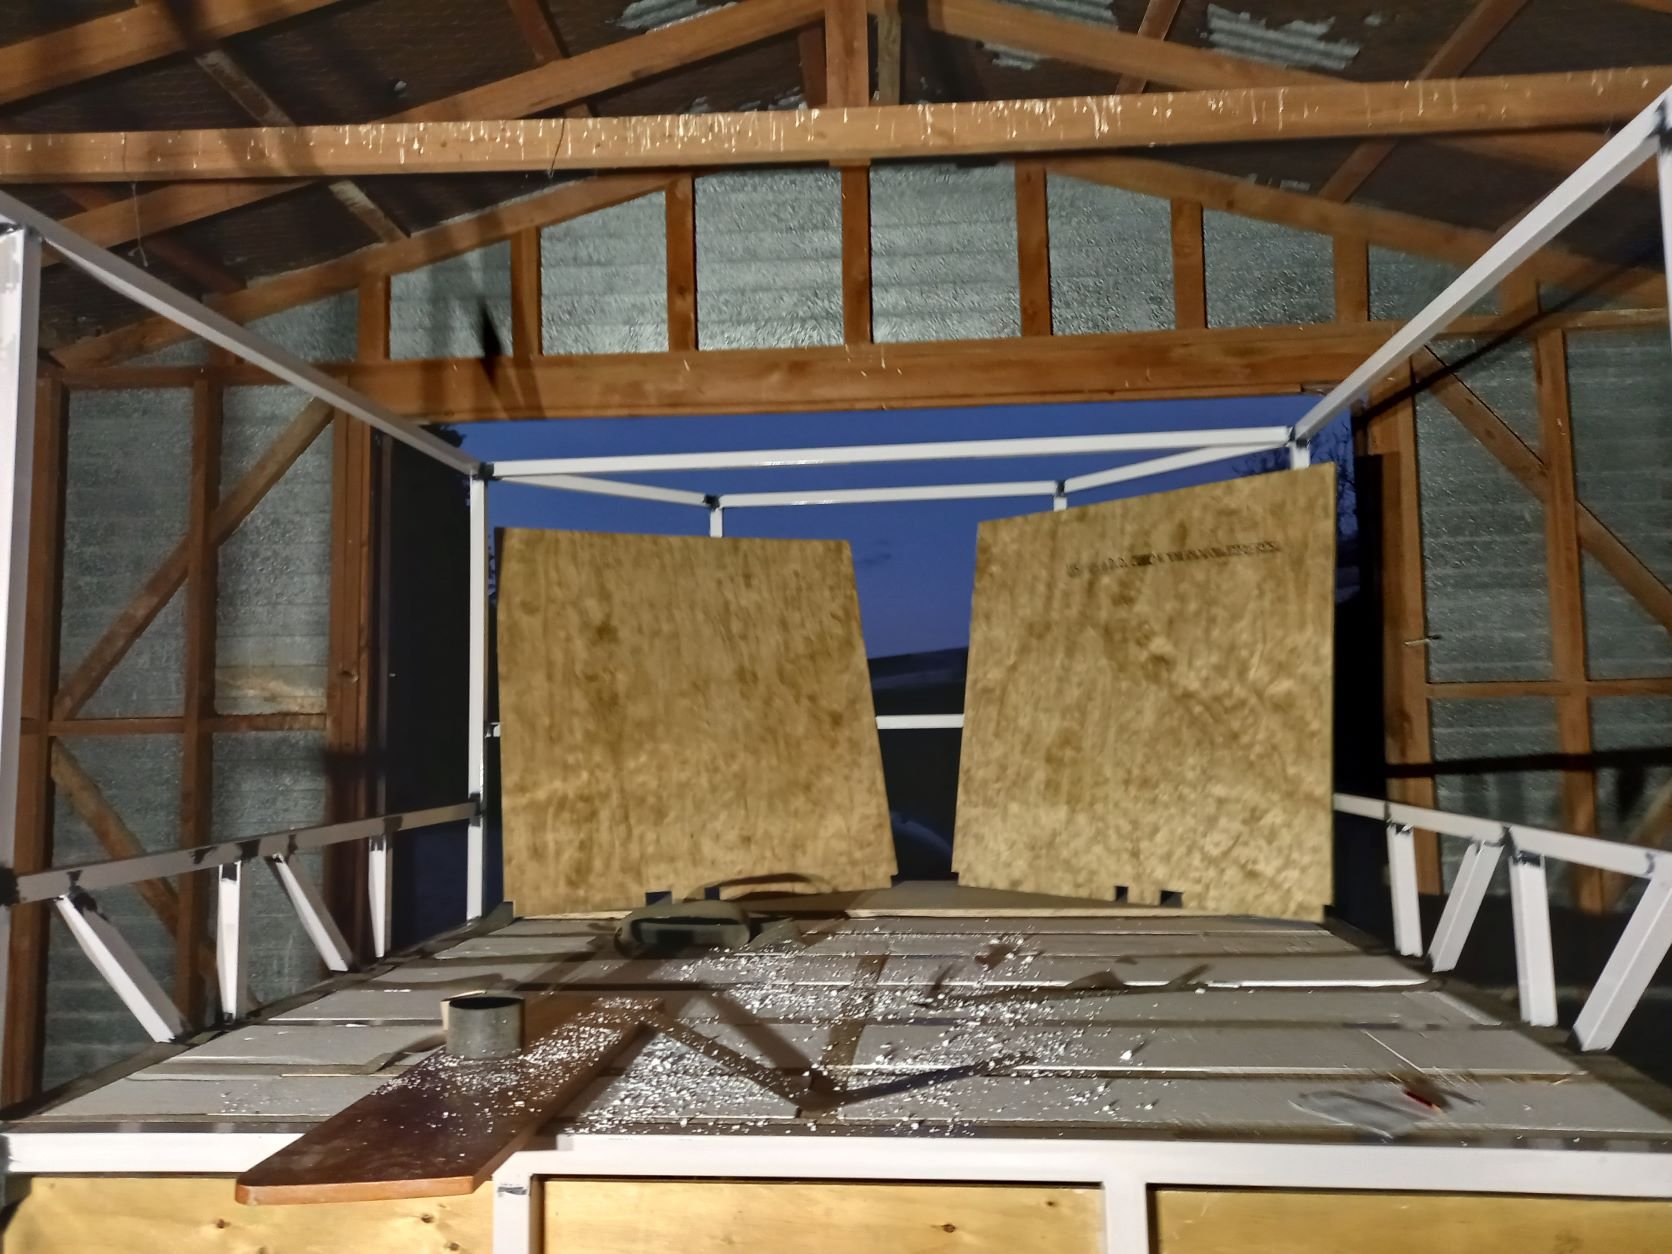
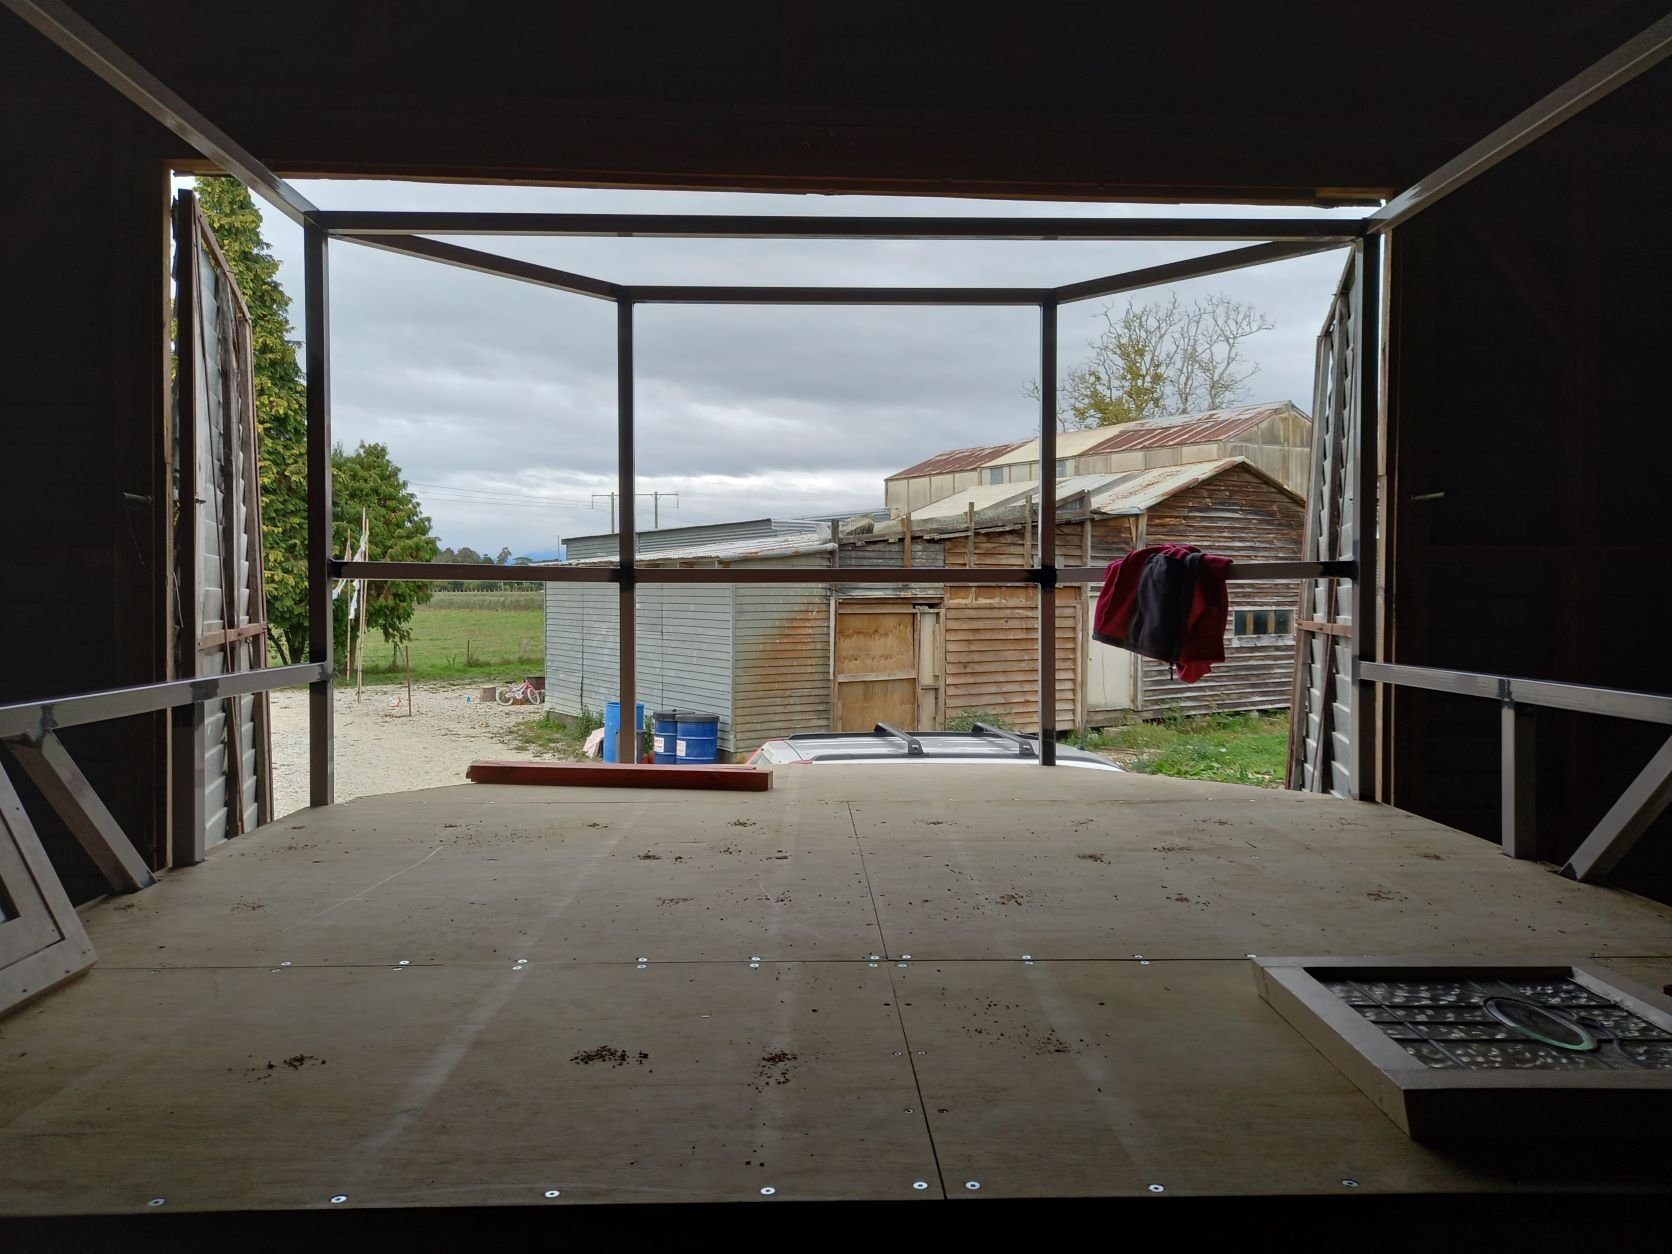
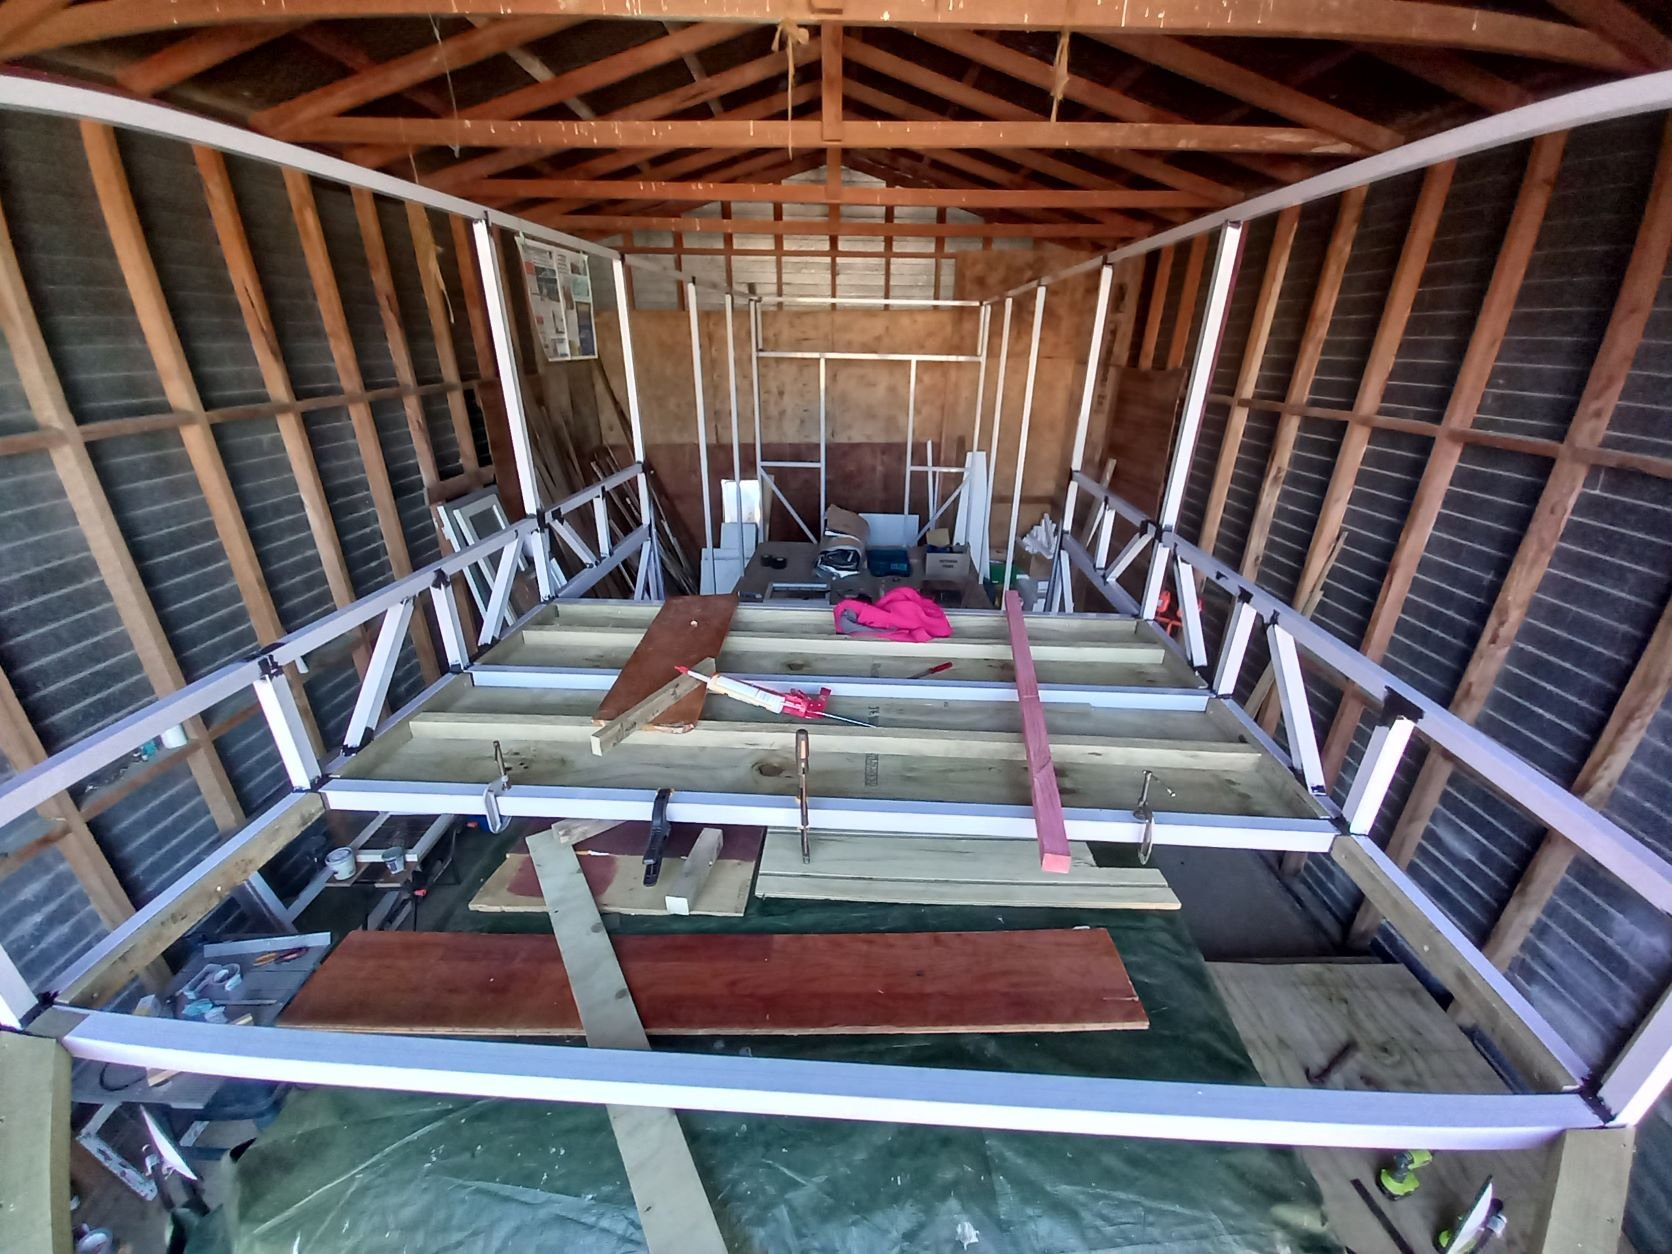
I must say being unemployed this month as made for a productive time working on Maddi If not always appearing fruitful there has been organising and planning as well, trying to think ahead to the next stage. It's been great to finally get stuck in and make some headway! The first mission was to get the floor down. So I got busy with the polystyrene offcuts that had been sitting in waiting, filled in all the gaps then came the fun part; learning how to to drill and screw into steel! It took some practice to get the technique right but with a few handy pointers form Dad and Lance I was away. Getting the 17mm ply sheets onto the tray also required some extra muscle which my brother was also awesome at providing. Next challenge was doing the 'under floor' on my bedroom loft over the cab. That took screwing into steel to new levels with odd angles and above my head! But of course I got there with my brother again helping with the lifting and clamping in place. By that stage putting the floor down in my bedroom seemed like a breeze with all of my 'expert' skills gained so far. And then all of a sudden I had a floor to walk and sit on without risk of falling through a gap, amazing!! The organising, ordering, collecting supplies and getting quotes for timber and roofing always seems time consuming but necessary. The the most exciting thing was getting the ply cut for my curved roof beams! I'll have 12 beams with 4 laminates per beam and as dad wisely said I didn't want to do them all with my jig saw if I wanted a roof before Christmas. As it turned out a friend of a friend has a CNC machine and was happy to help!! What a lucky surprise. And so the list of awesome people I'm meeting along the way grows. Plus I now have a whole bunch of cut outs awaiting the glue I've ordered. Progress
- 23 replies
-
- 17
-
-
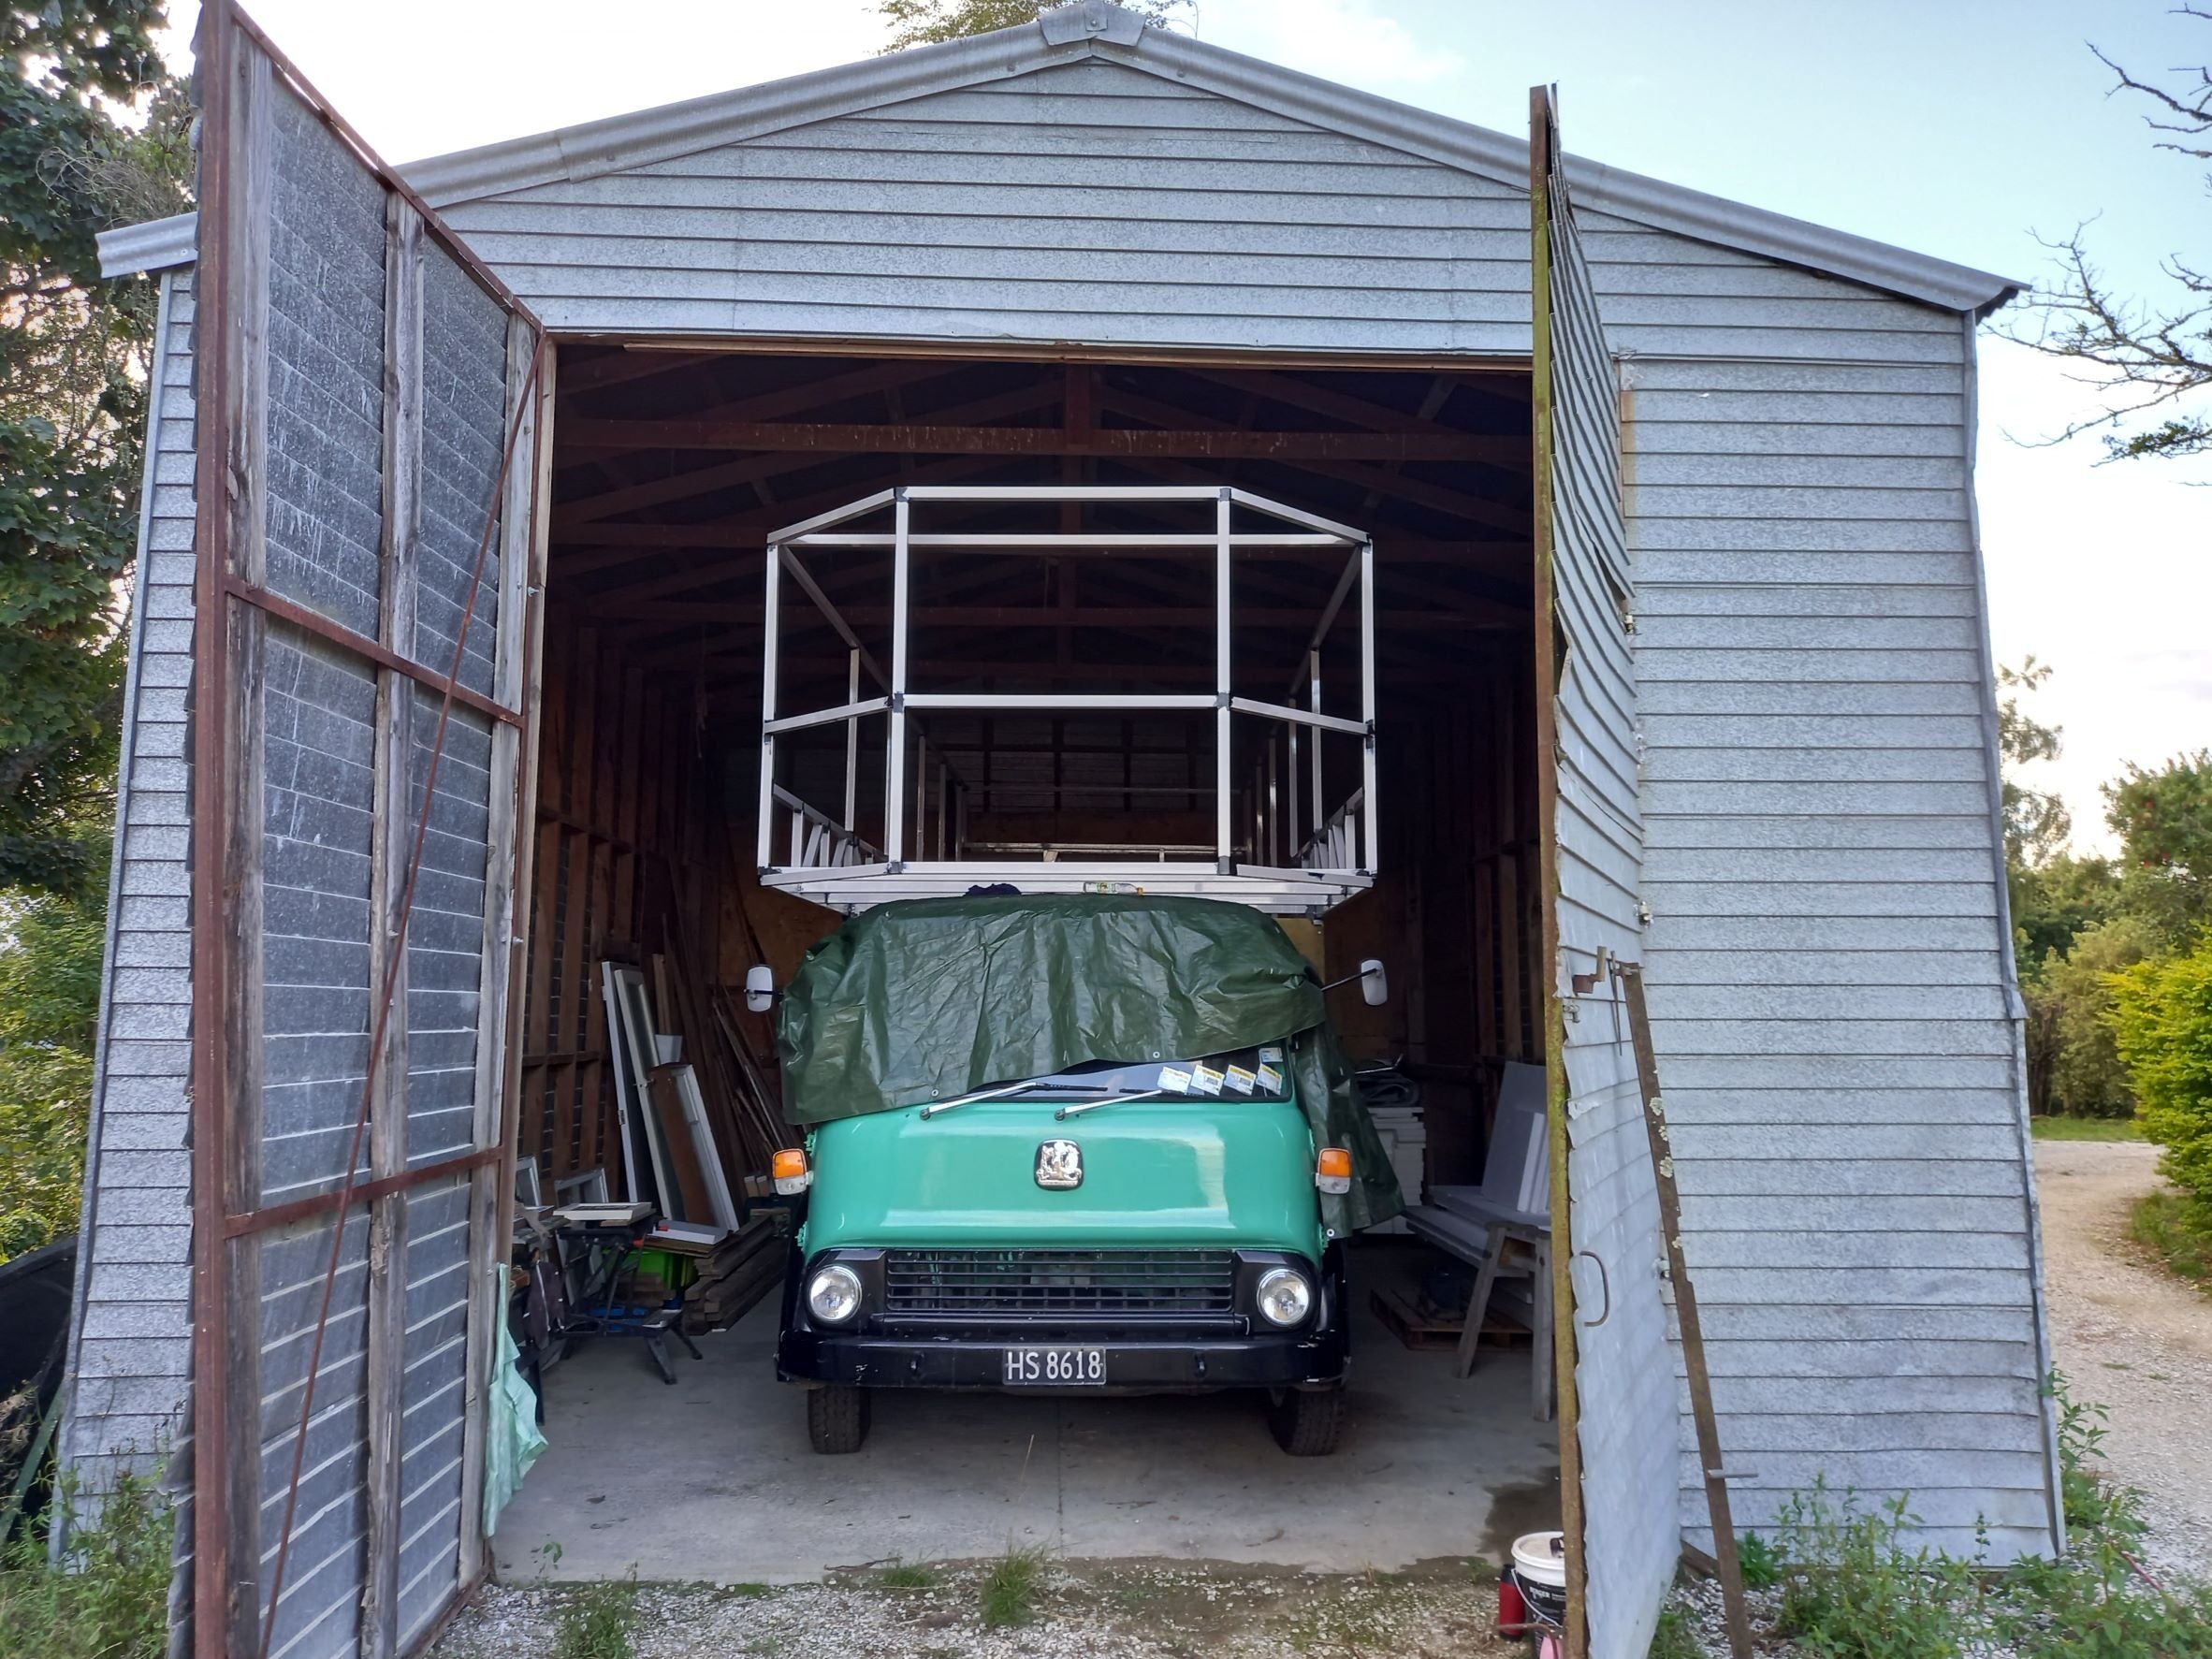
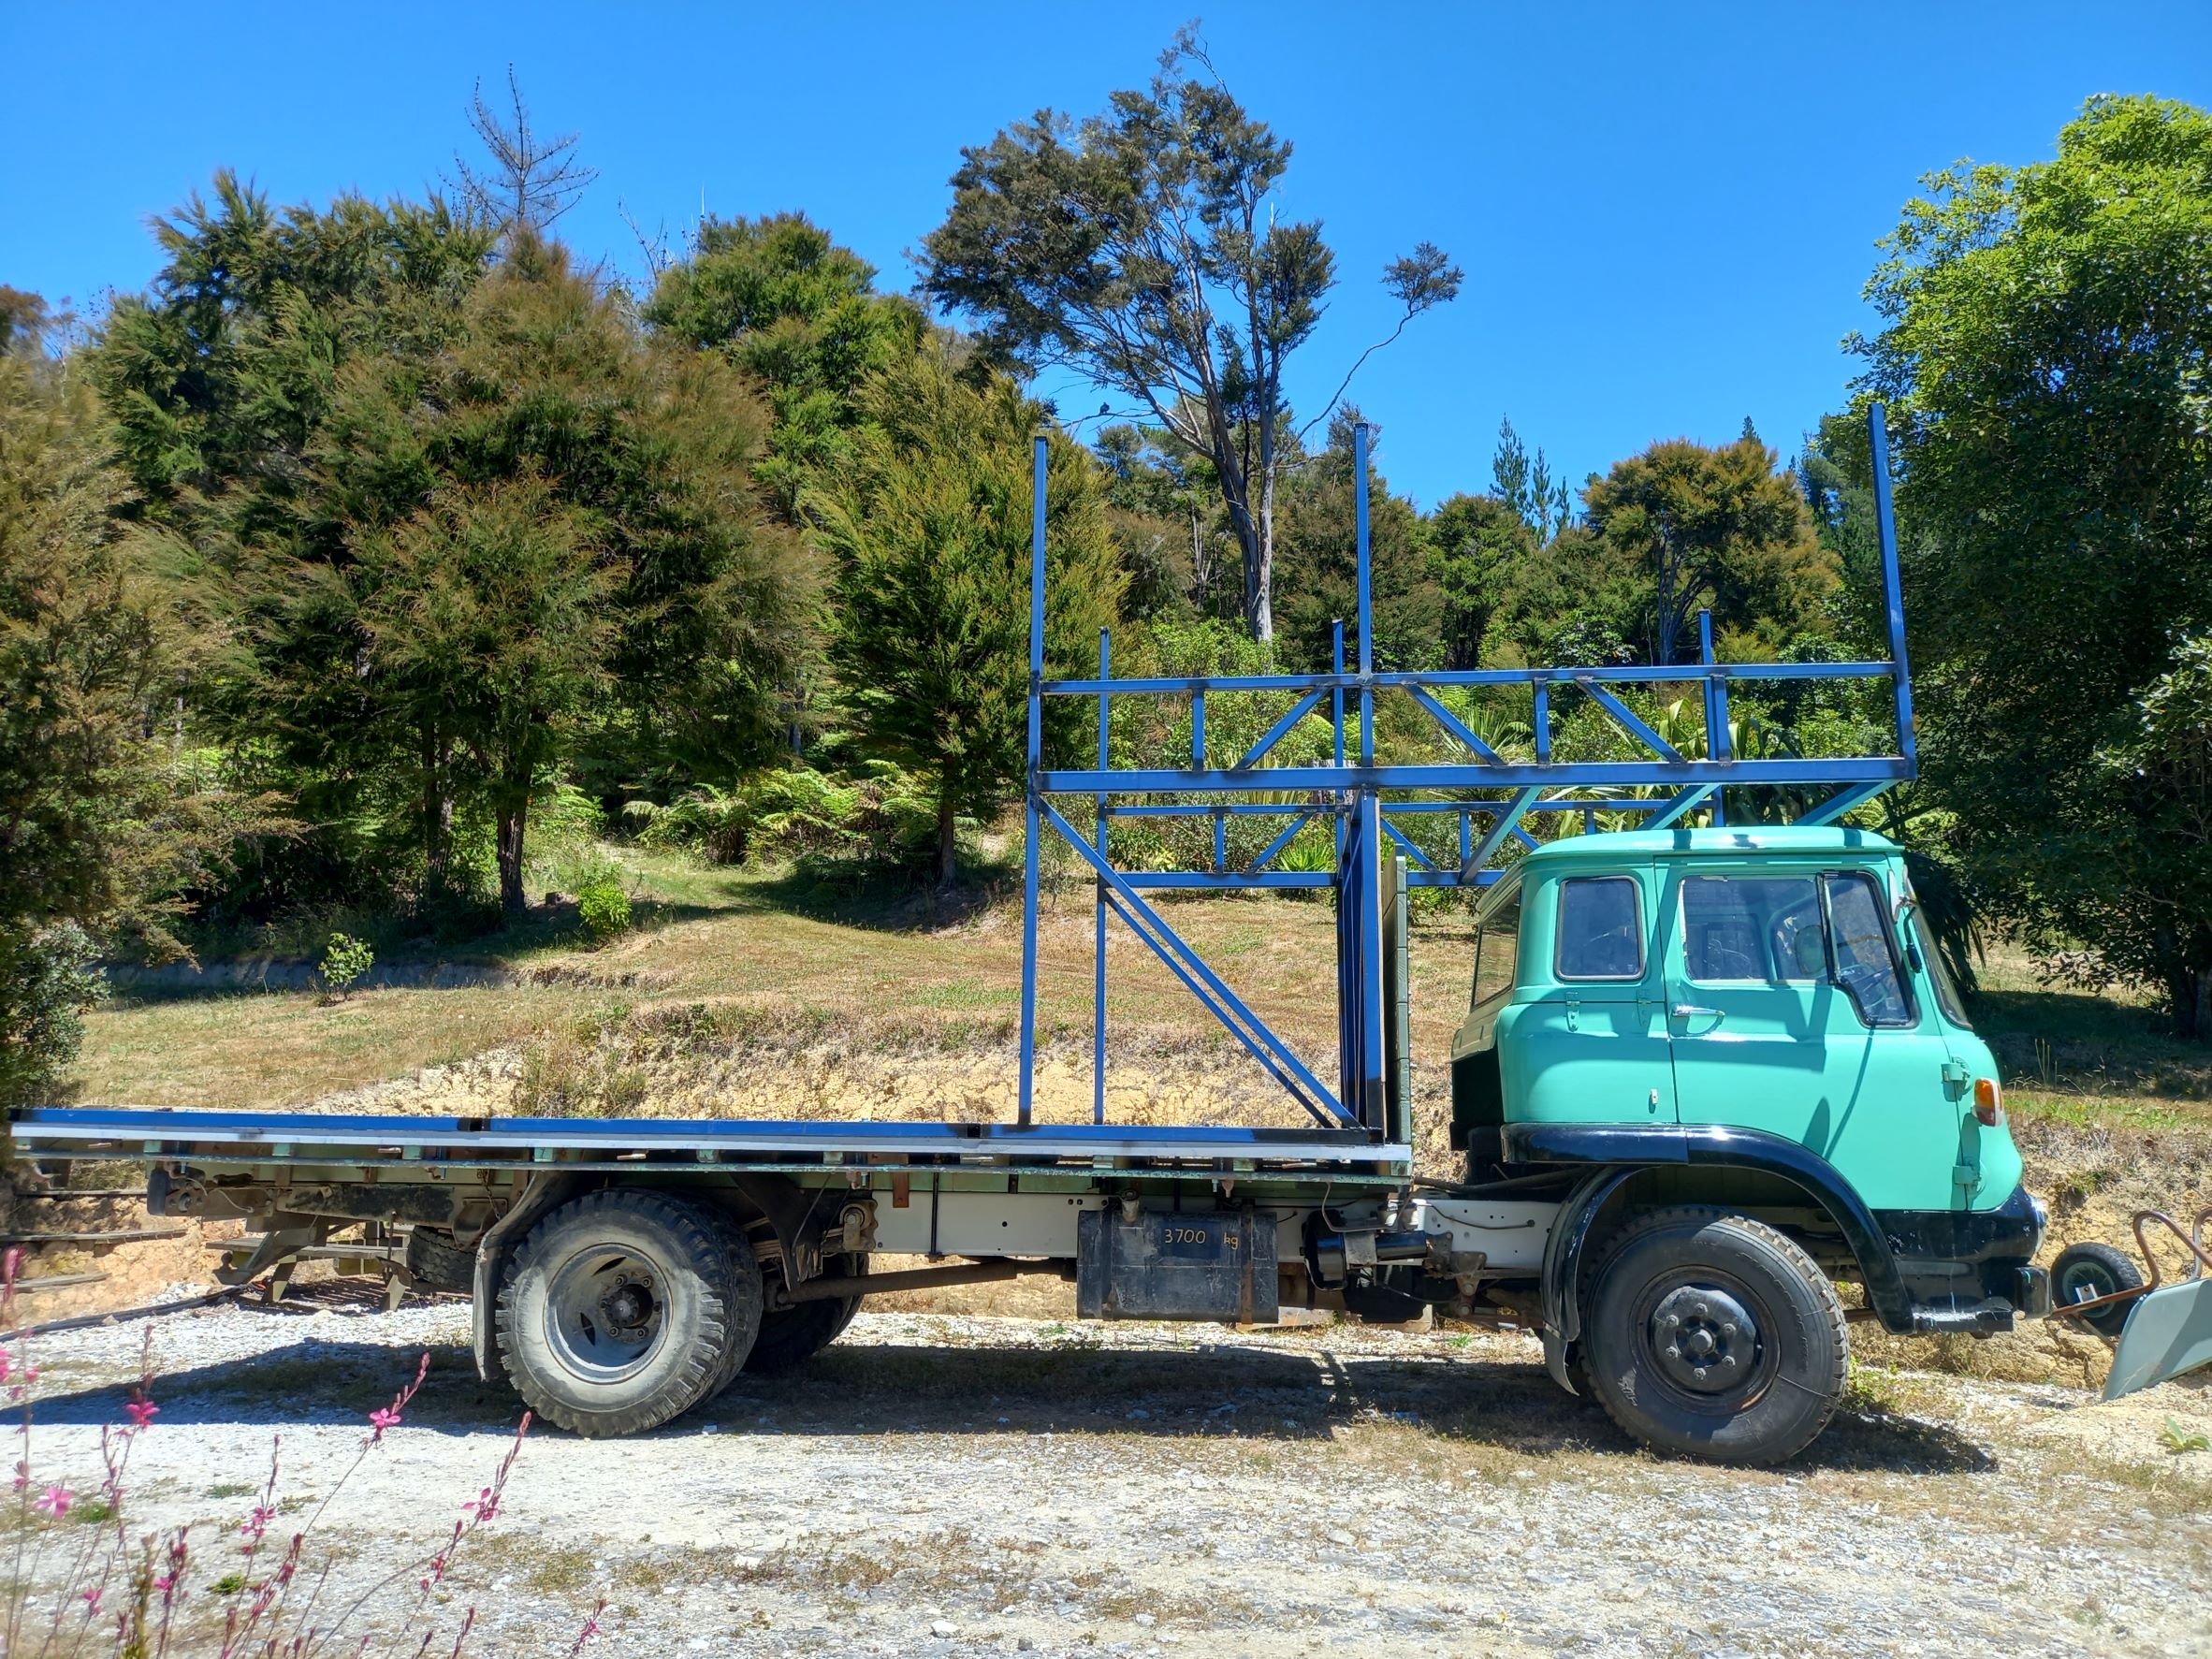
And then something really quite exciting happened . . . . . . . . Maddi got her steel frame work done!! After quite some time thinking and researching I decided to go with and 'outline' of steel framing and 'fill in the blanks' with timber system. I'd met Alex and Hannah who had got in touch with me when I was searching for a shed. Not because they had a shed but because they thought Maddi was cool and liked the project. Firstly they asked me around to have a go with their welder! Now that was a little intimidating but actually rather fun. Although I did decide I didn't need to learn how to do absolutely everything and the framing would be best outsourced. As it turned out Alex and Hannah operate their very own workshop, Yellowhammer Workshop. And very lucky for me they agreed to take on my project. They have done an incredible job! I was just like a kid at Christmas going to see it for the first time Not to mention when we got to take Maddi for a drive, so exciting!
- 23 replies
-
- 36
-
-
- 23 replies
-
- 16
-
-
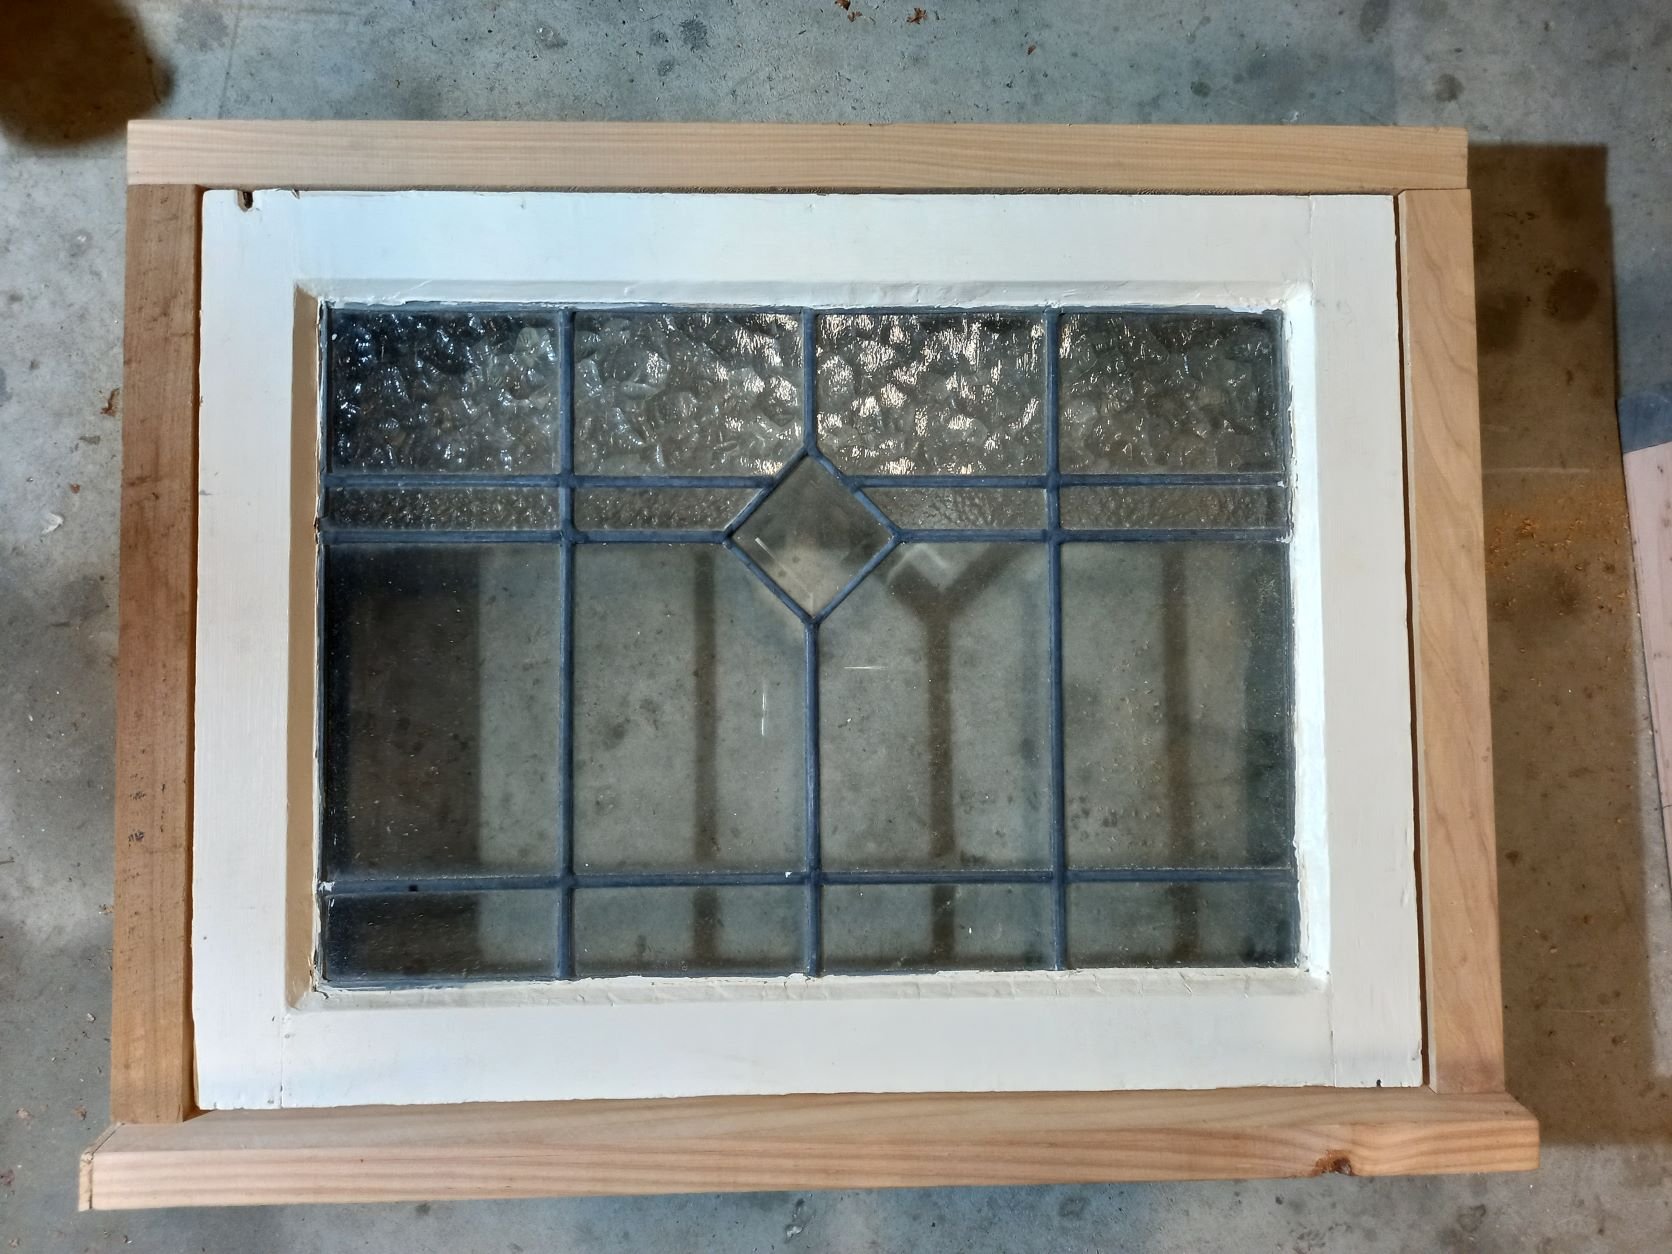
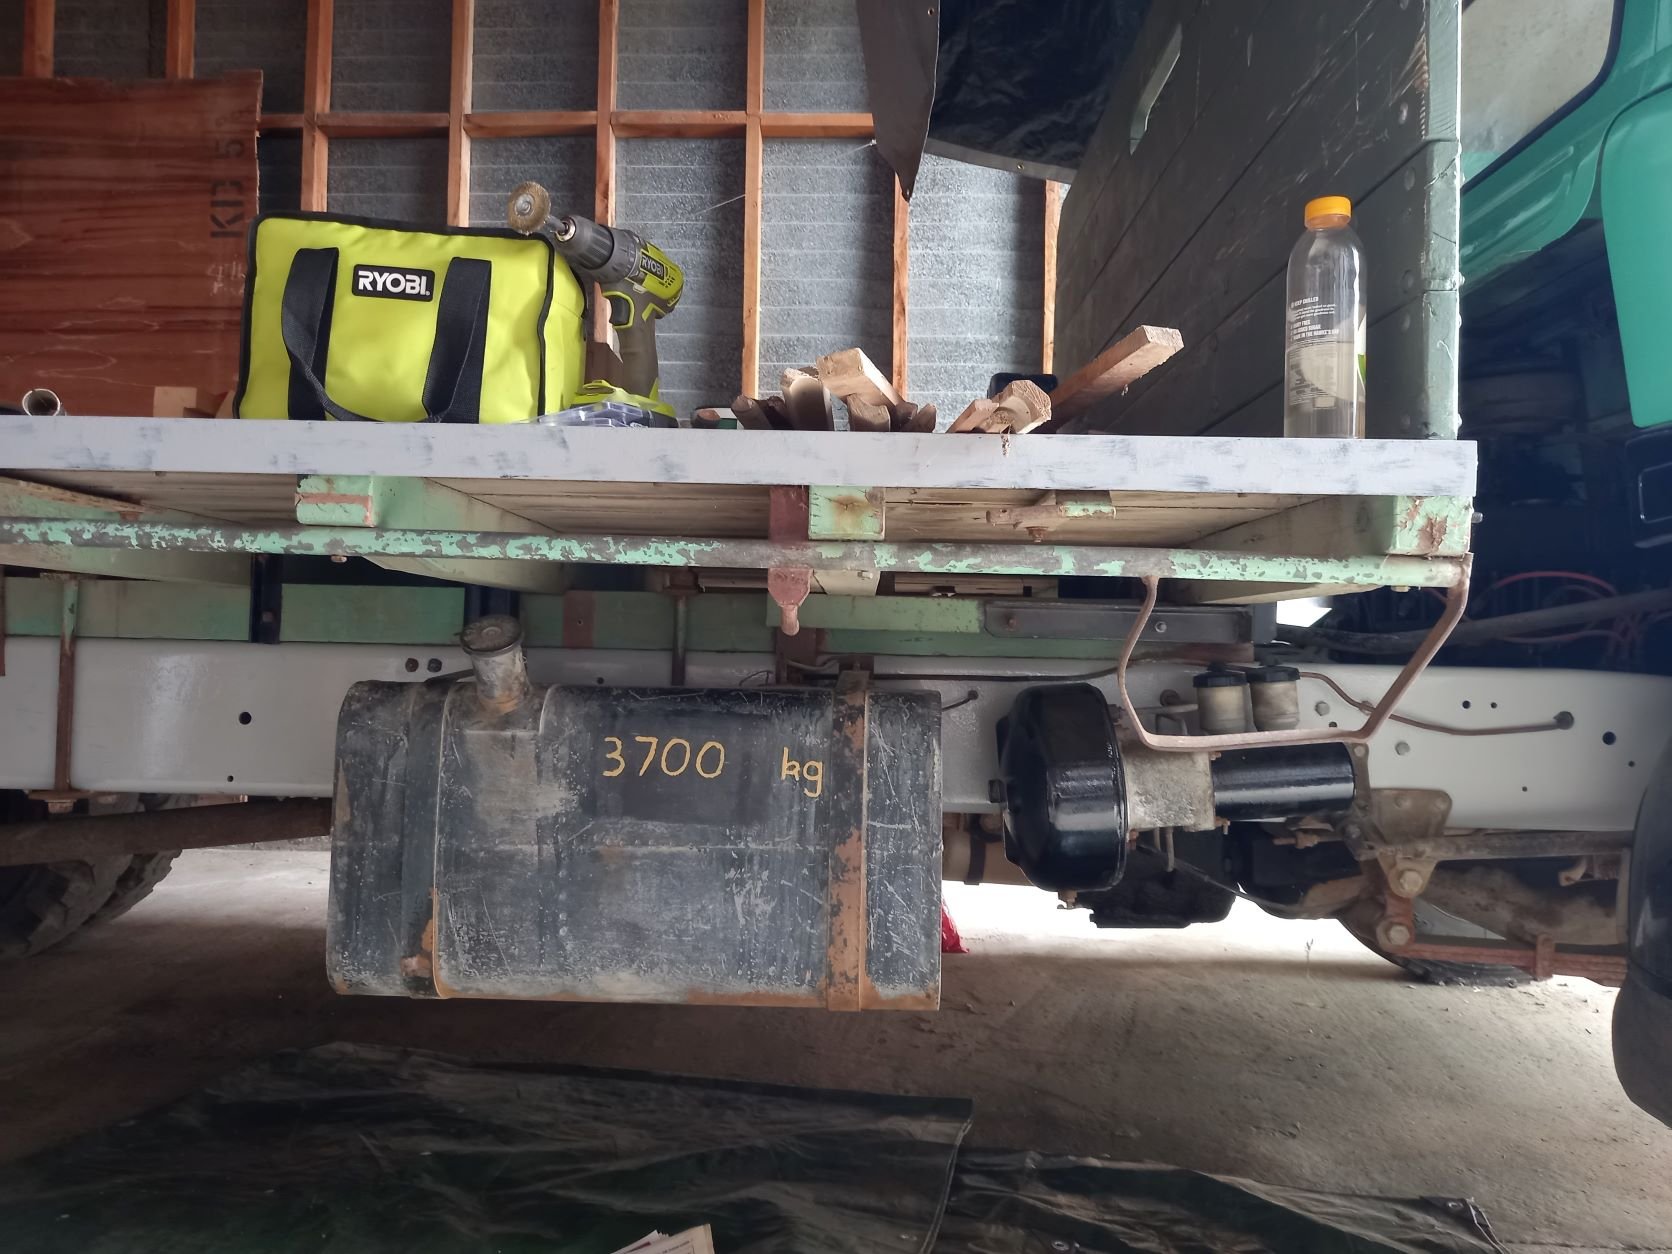
While I continued to work away on the painting when the weather cooperated through winter I also had lots of fun collecting things for the house. And I must admit it got a little obsessive at times! I was looking for windows and doors and a little fire place, timber and such. I became a regular the the local tip shops and spent too much time on marketplace and trademe. But I did score some neat things! I ordered some timber, bought a drill driver set (and learnt what the difference between the two was ) and figured how to put together window frames. I also made a start on tidying up the chassis which proved a grubby and fun job
- 23 replies
-
- 15
-
-
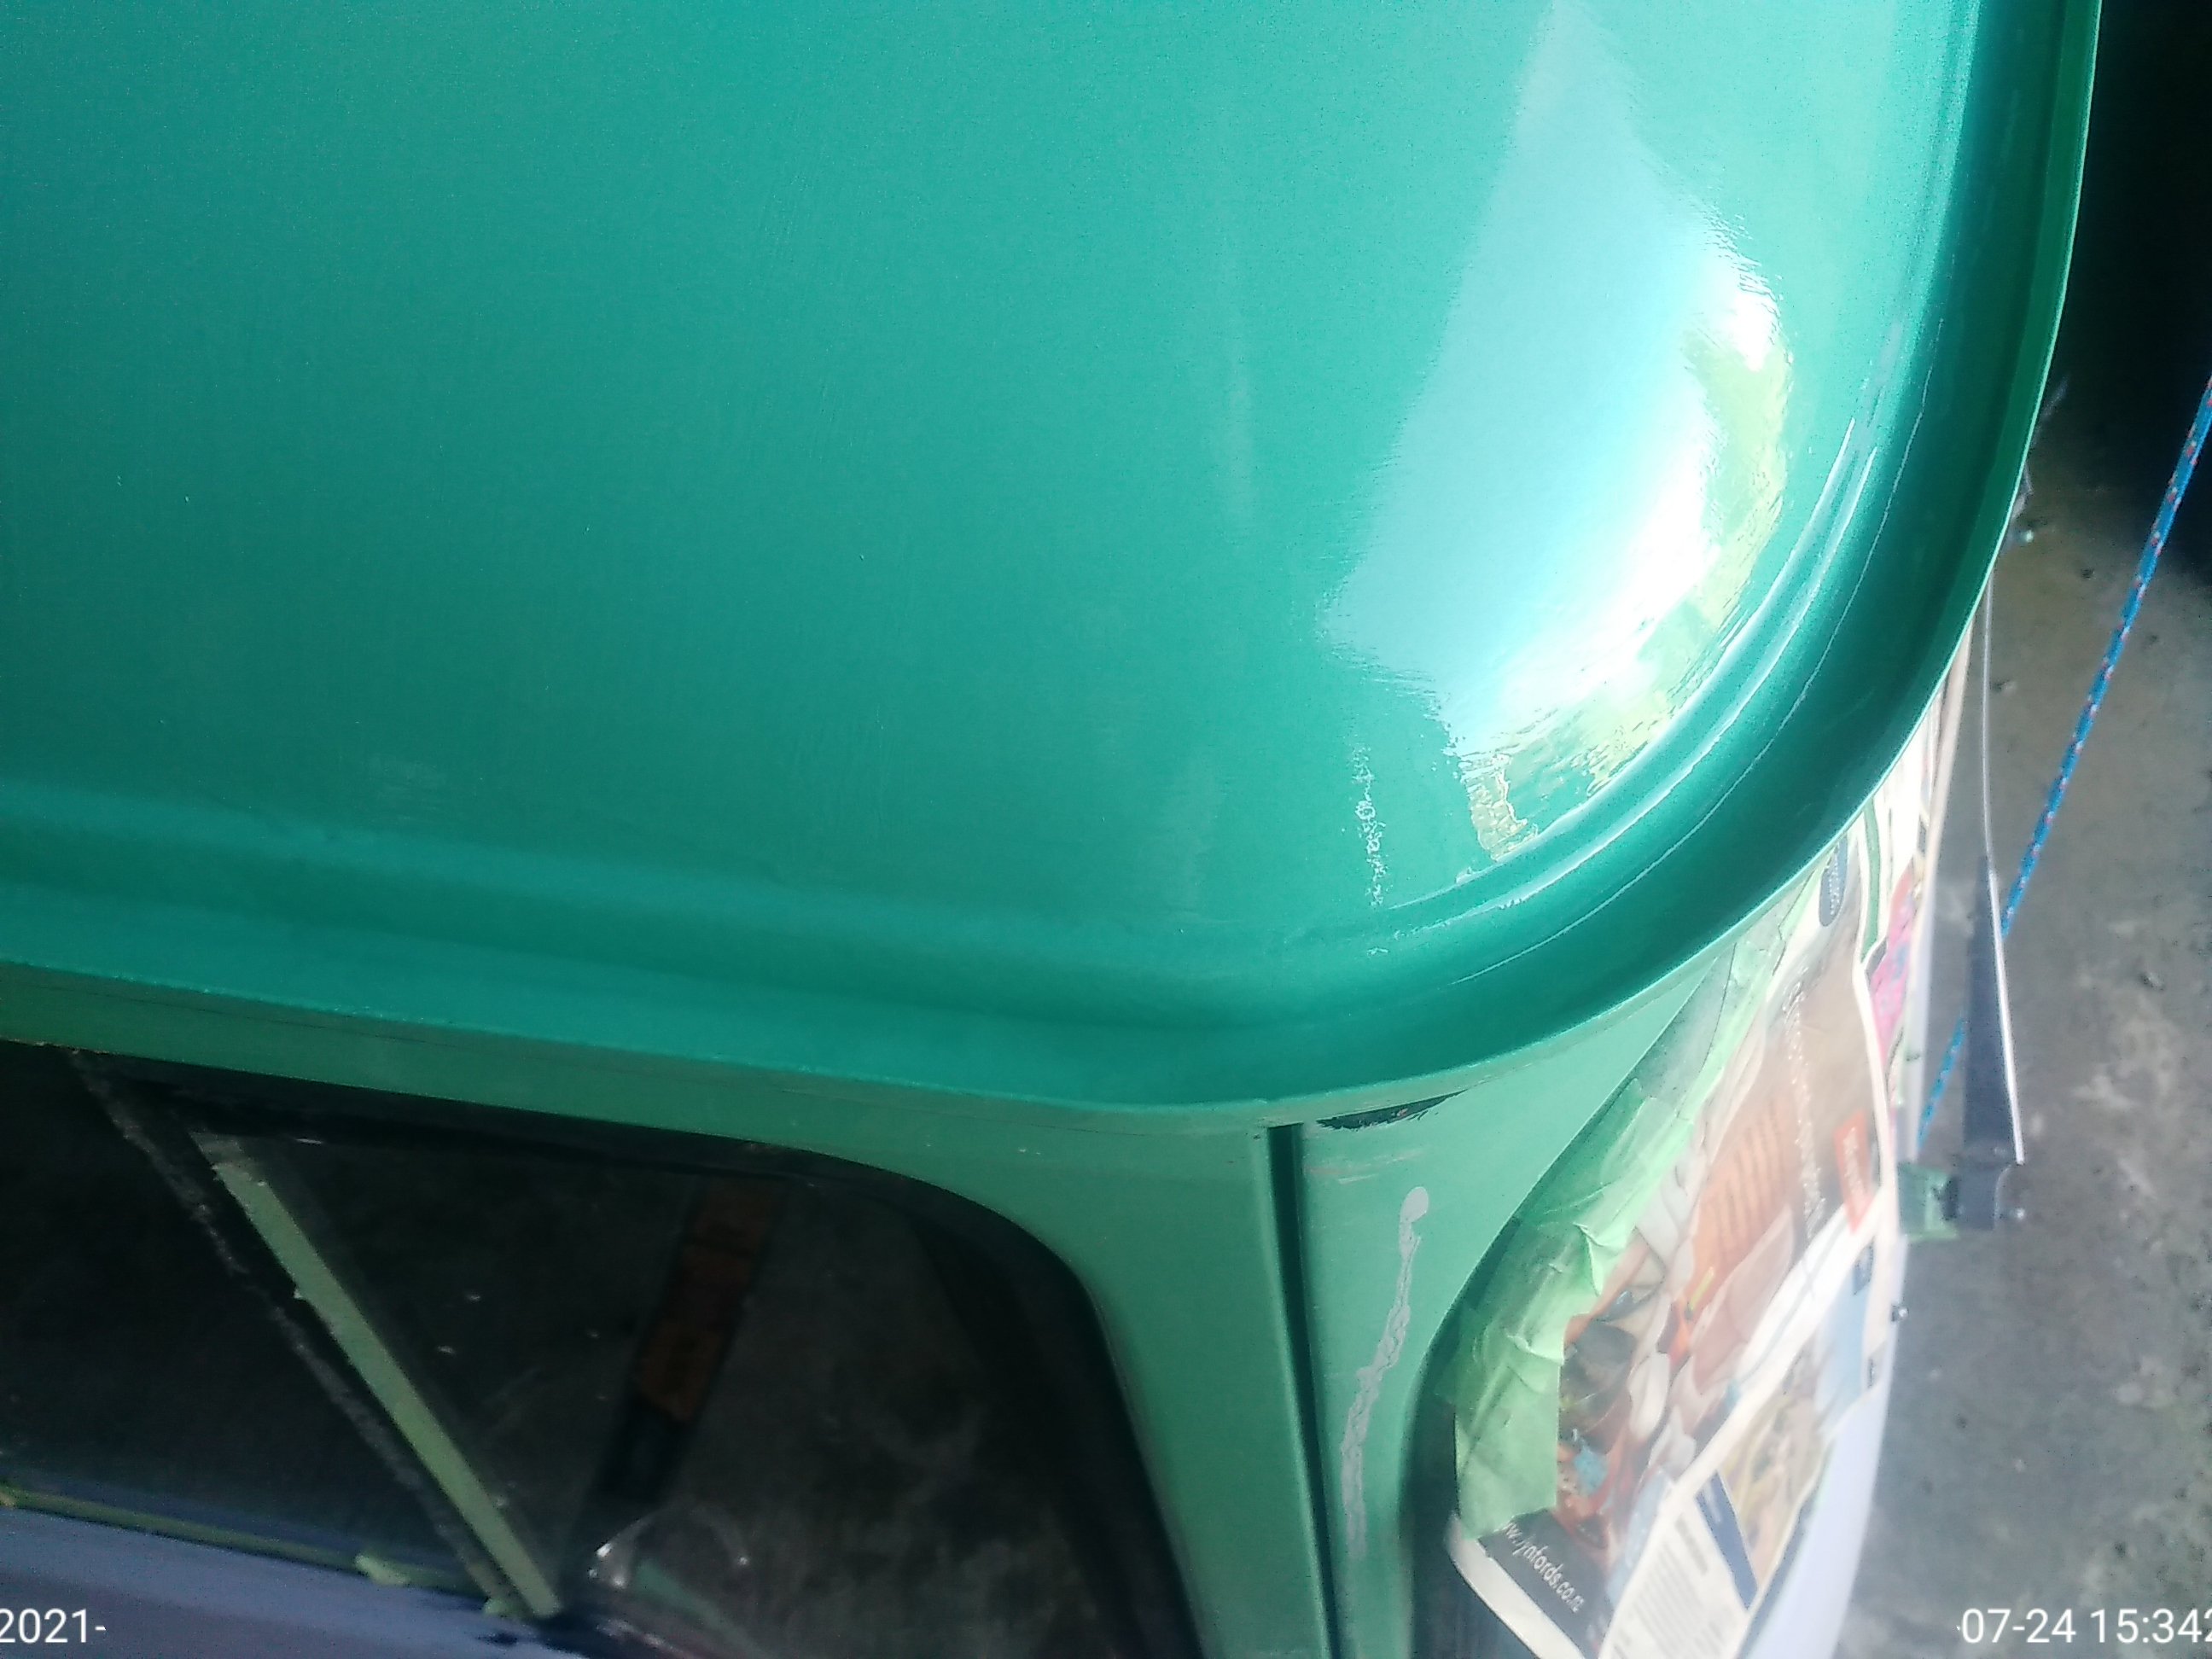
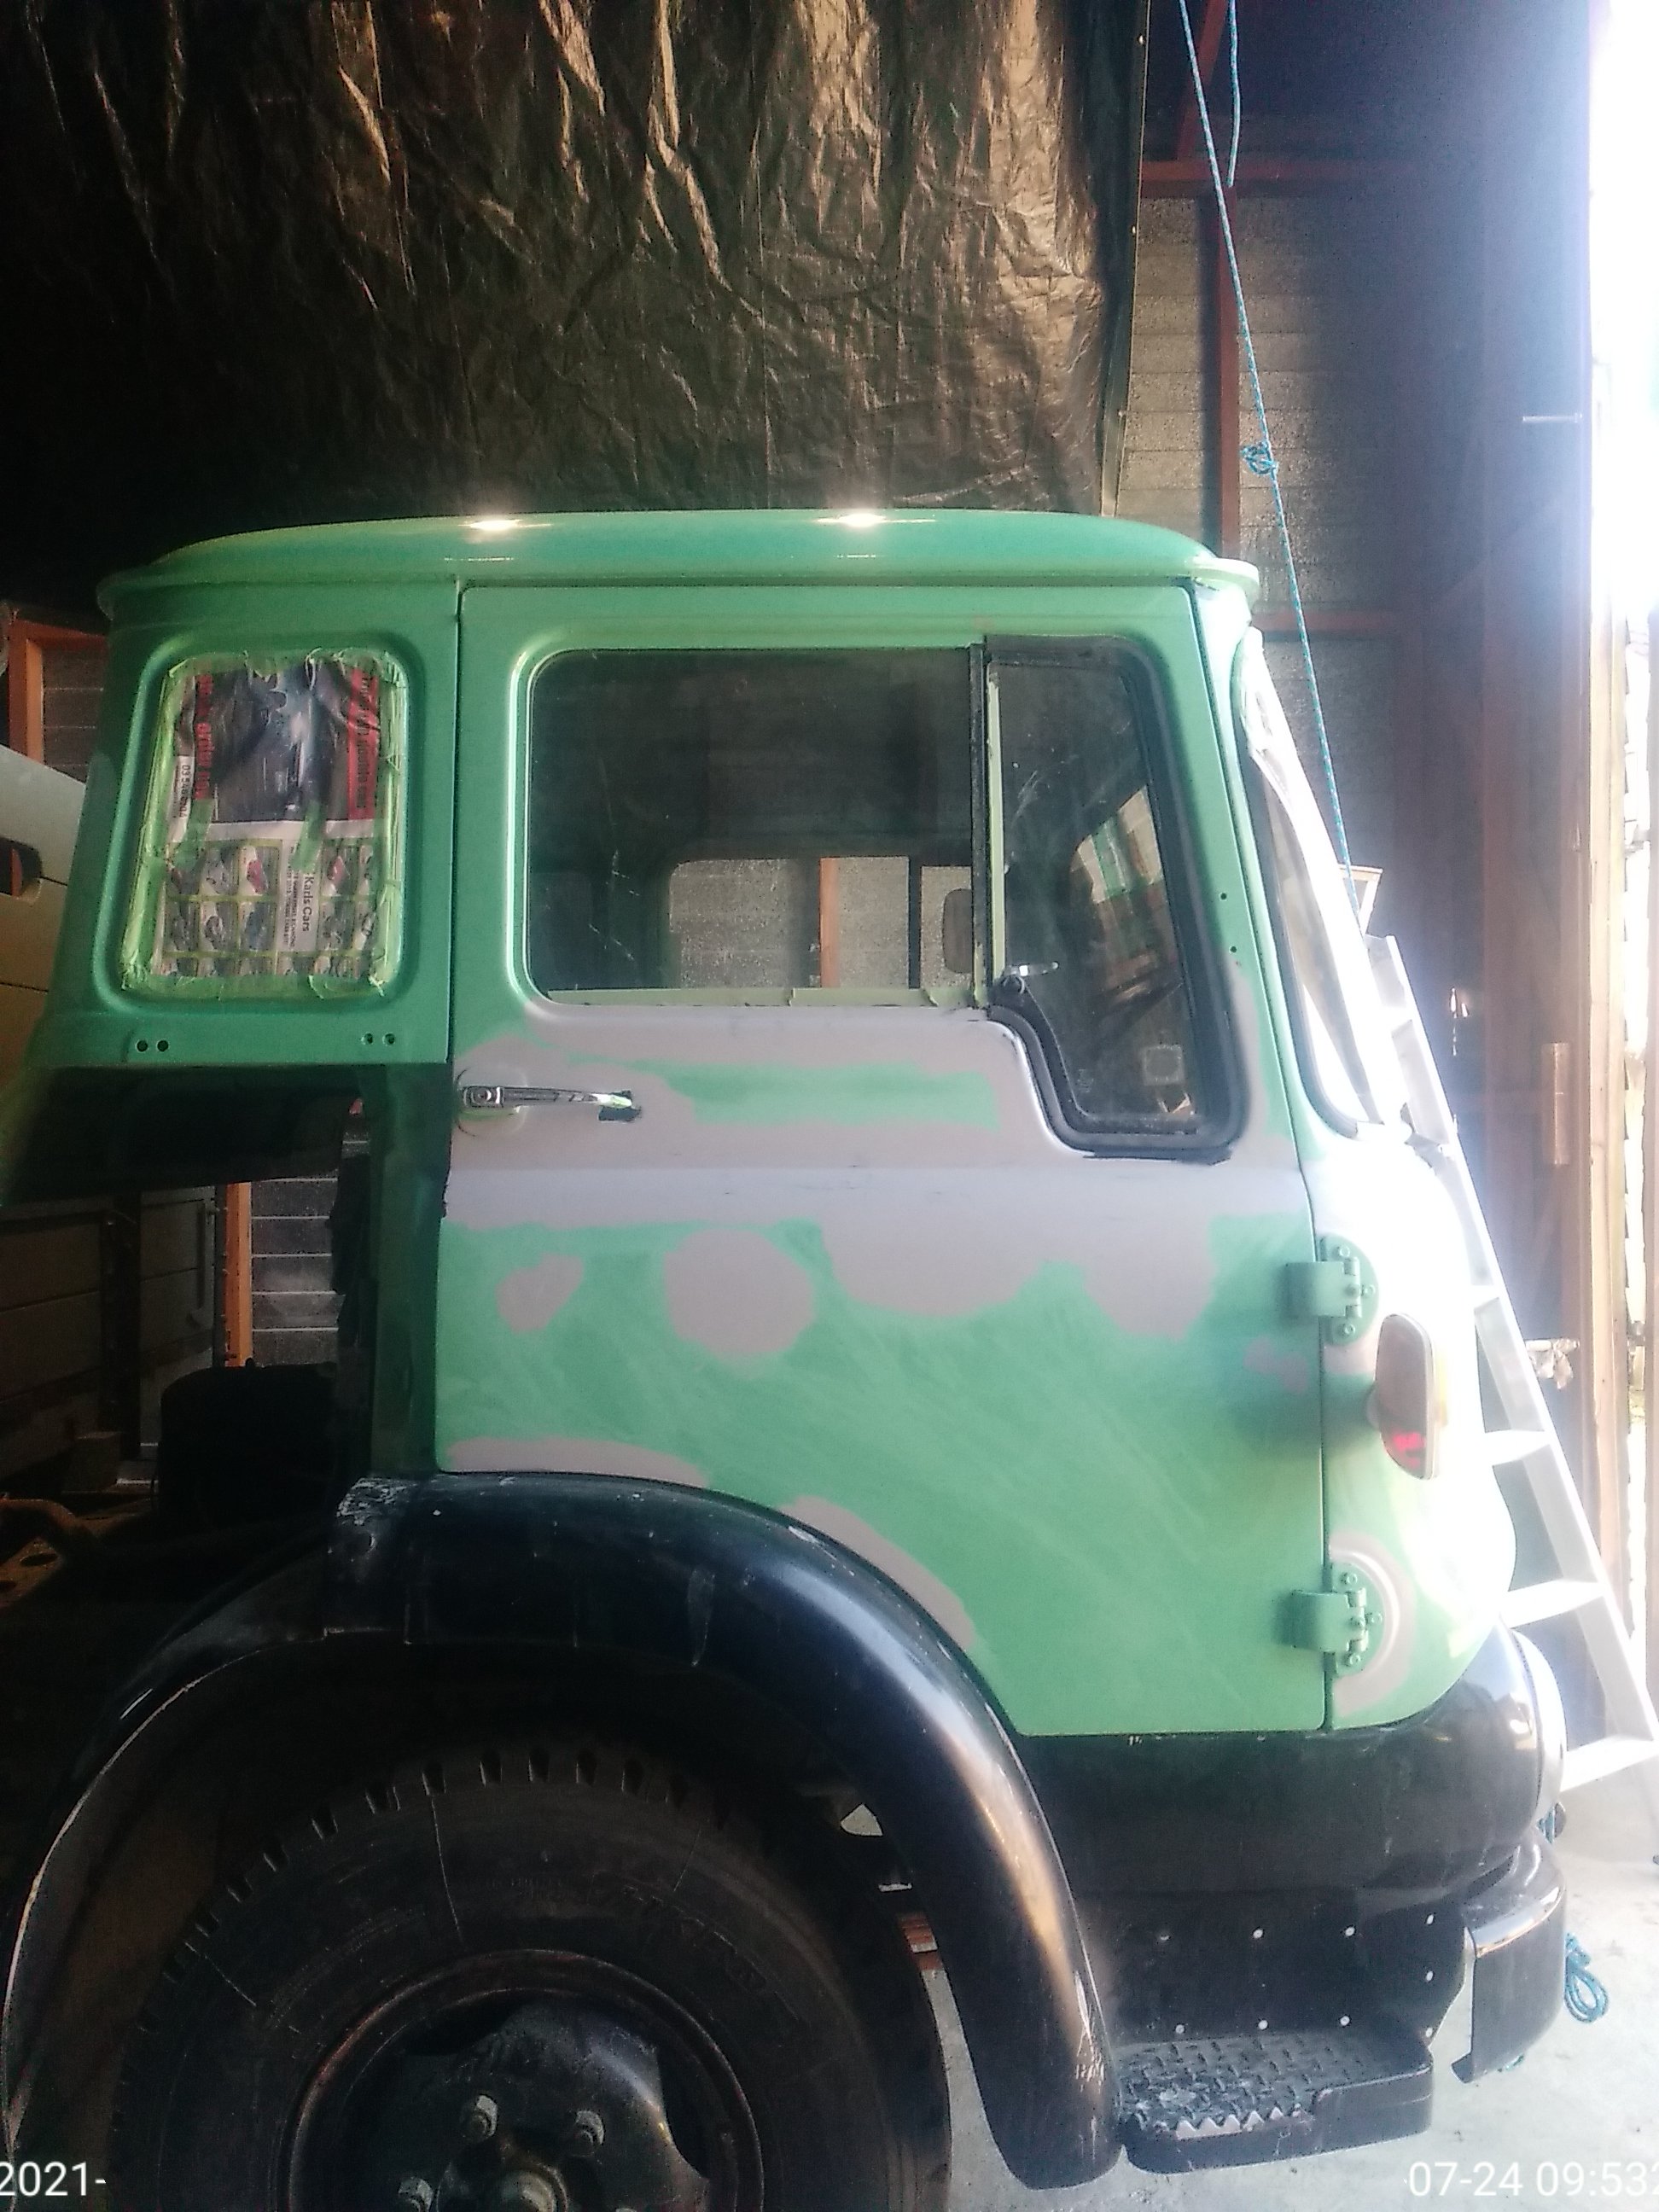
We had six days with dad here, and I must say he was a very dedicated worker! I made lunches and took hot flasks for the coffee and we got stuck in. I had all the supplies we needed, with only a couple of the corners on the roof rim that needed filler, otherwise it was just dedicated sanding. I had taken one of the engine flaps in to a paint store in Nelson for a colour match as I loved the green she came to me in. I was desperate to check out the colour so we got one top coat on the back before dad left, it was perfect. Then it was back to just me and Maddi again. I then had lots of fun with trial an error of how to paint her and have it look half decent. I'd decided to go with hand brushing, partly because I didn't have access to spray gear and partly because I thought if I could do it well enough it would really suit the age and style of the truck. And there was a lot of trial and error! I was also a bit enthusiastic so didn't always wait for the best weather. I tried multiple brushes, sponges, rollers . . . . . . . . . And ended up settling on a combination of a brush and with a roller taped so it didn't actually roll Getting the roof finished felt like a huge achievement!
- 23 replies
-
- 39
-
-
- 23 replies
-
- 21
-
-
And then dad came down for a week to help Not only was it fun working with him, but man it's quicker with two pairs of hands. Not to mention a pair of hands that actually know what they are doing!!
- 23 replies
-
- 17
-
-
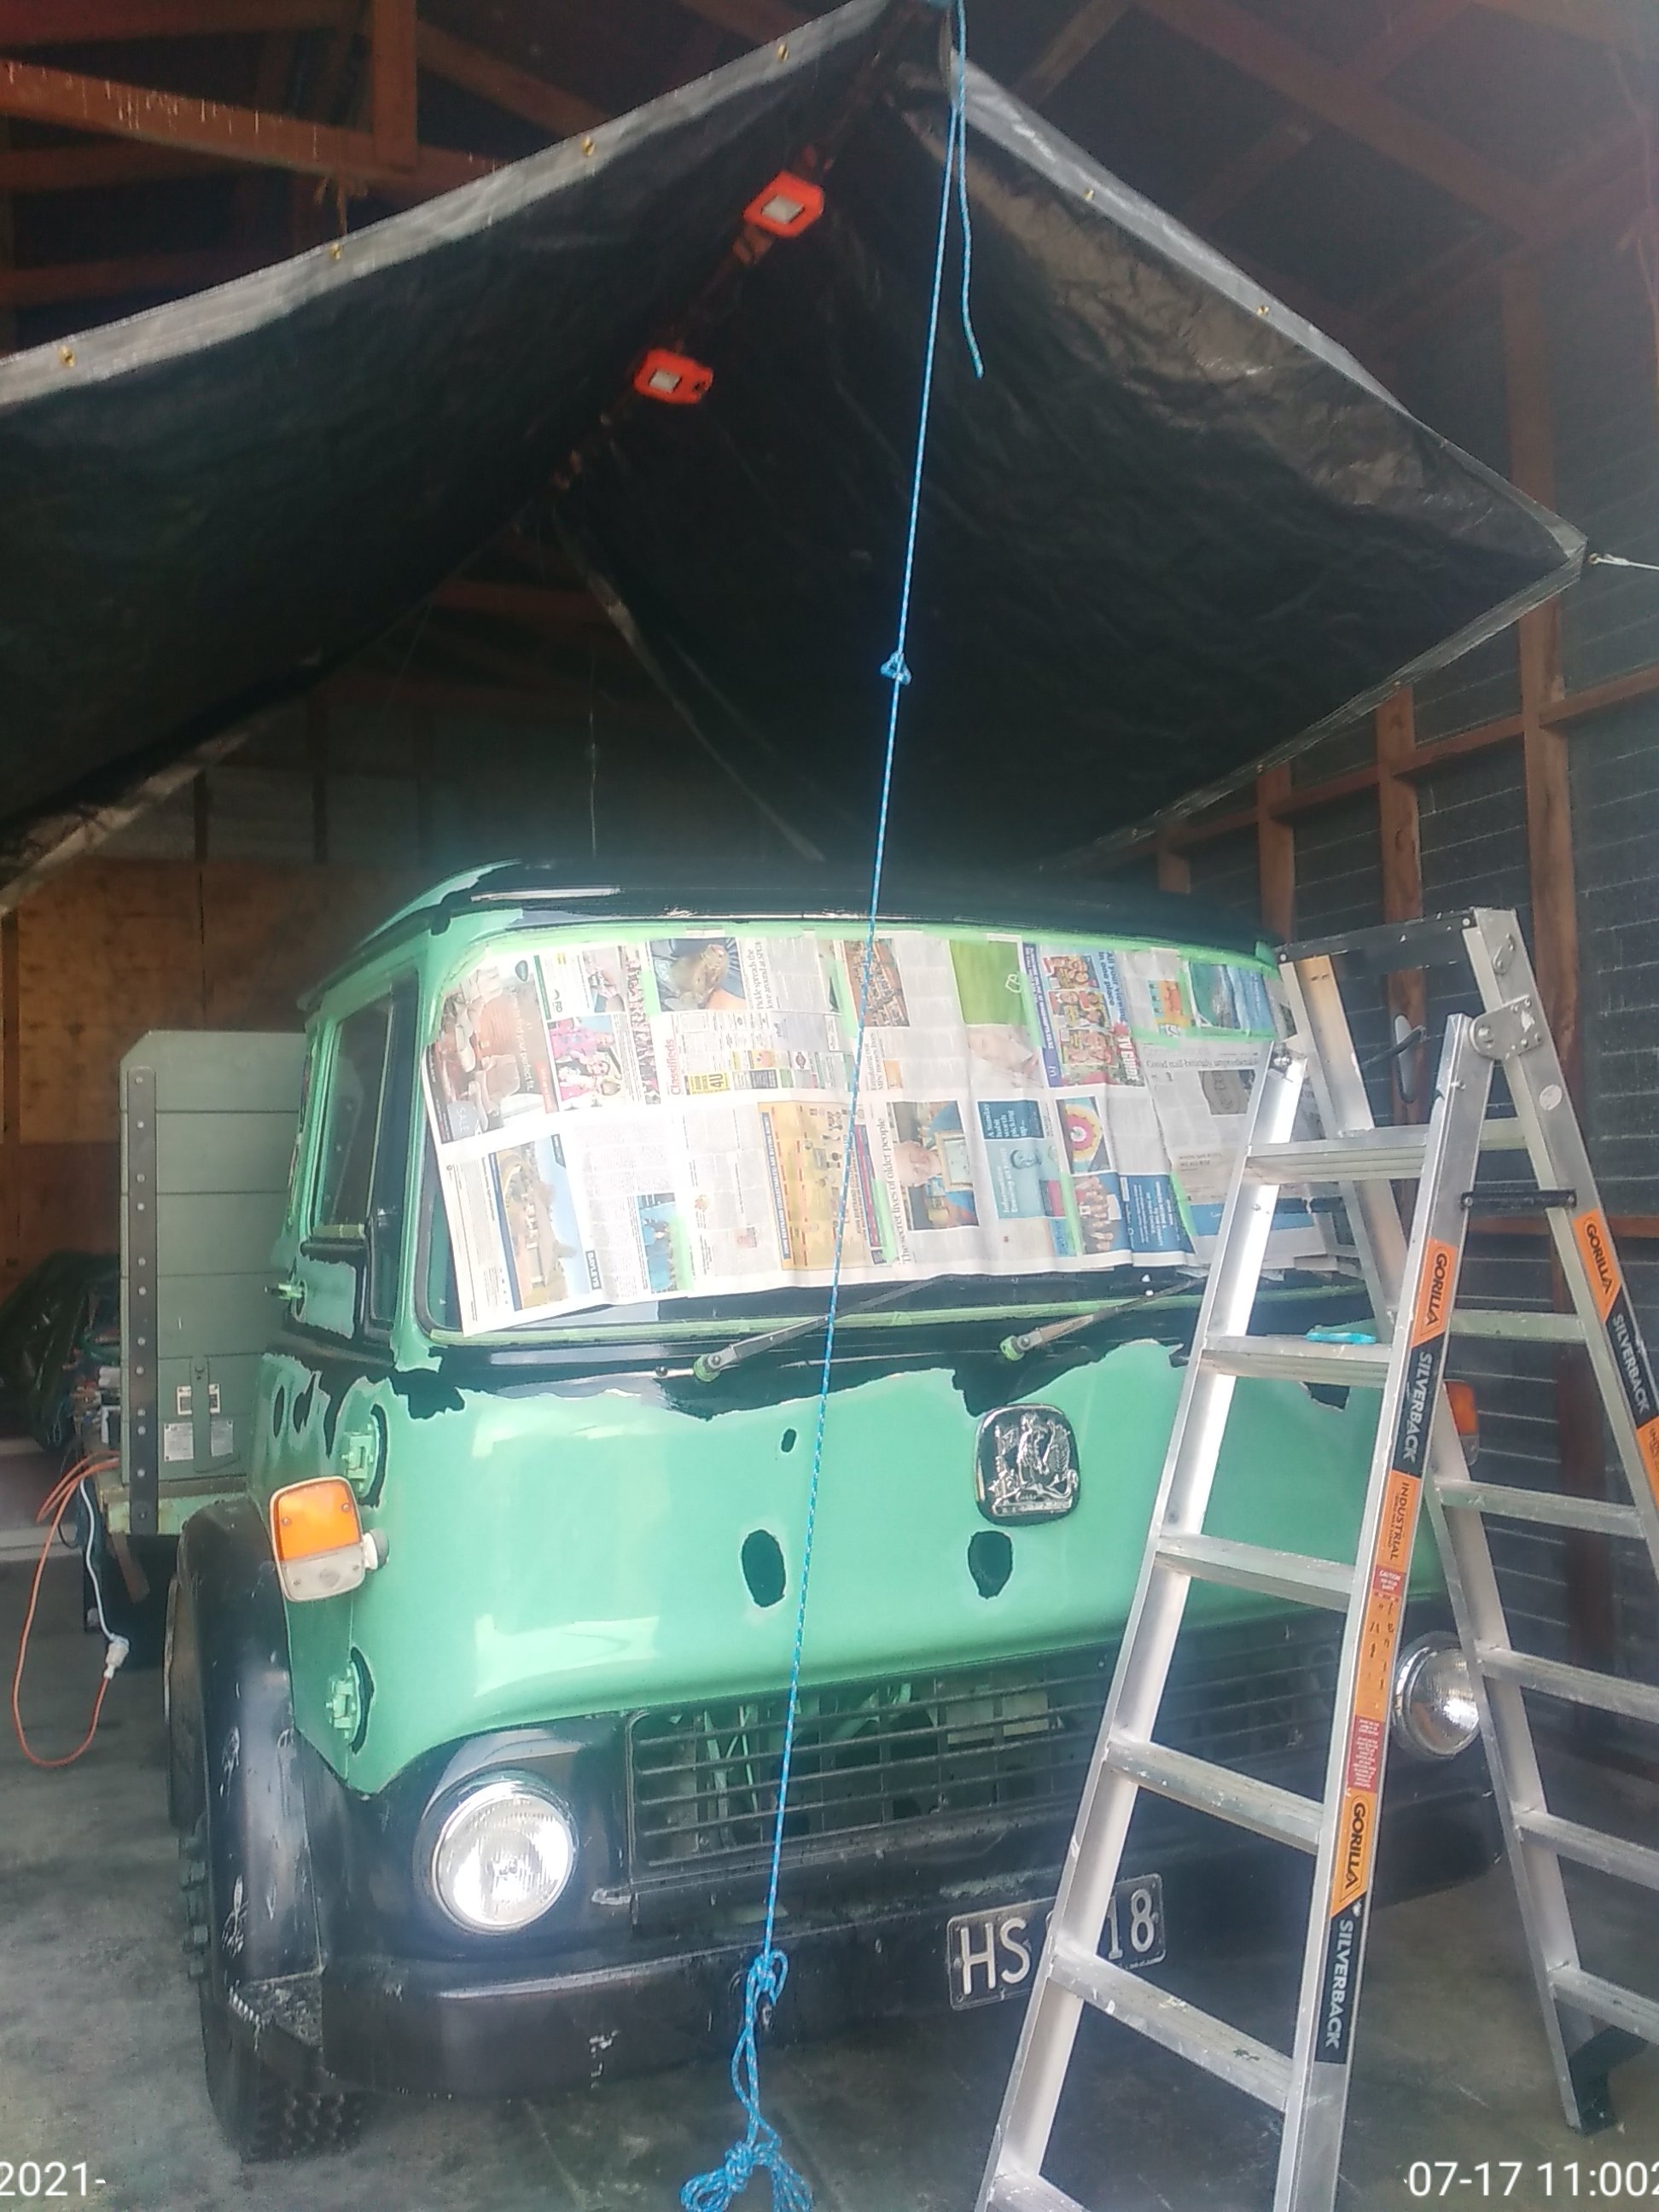
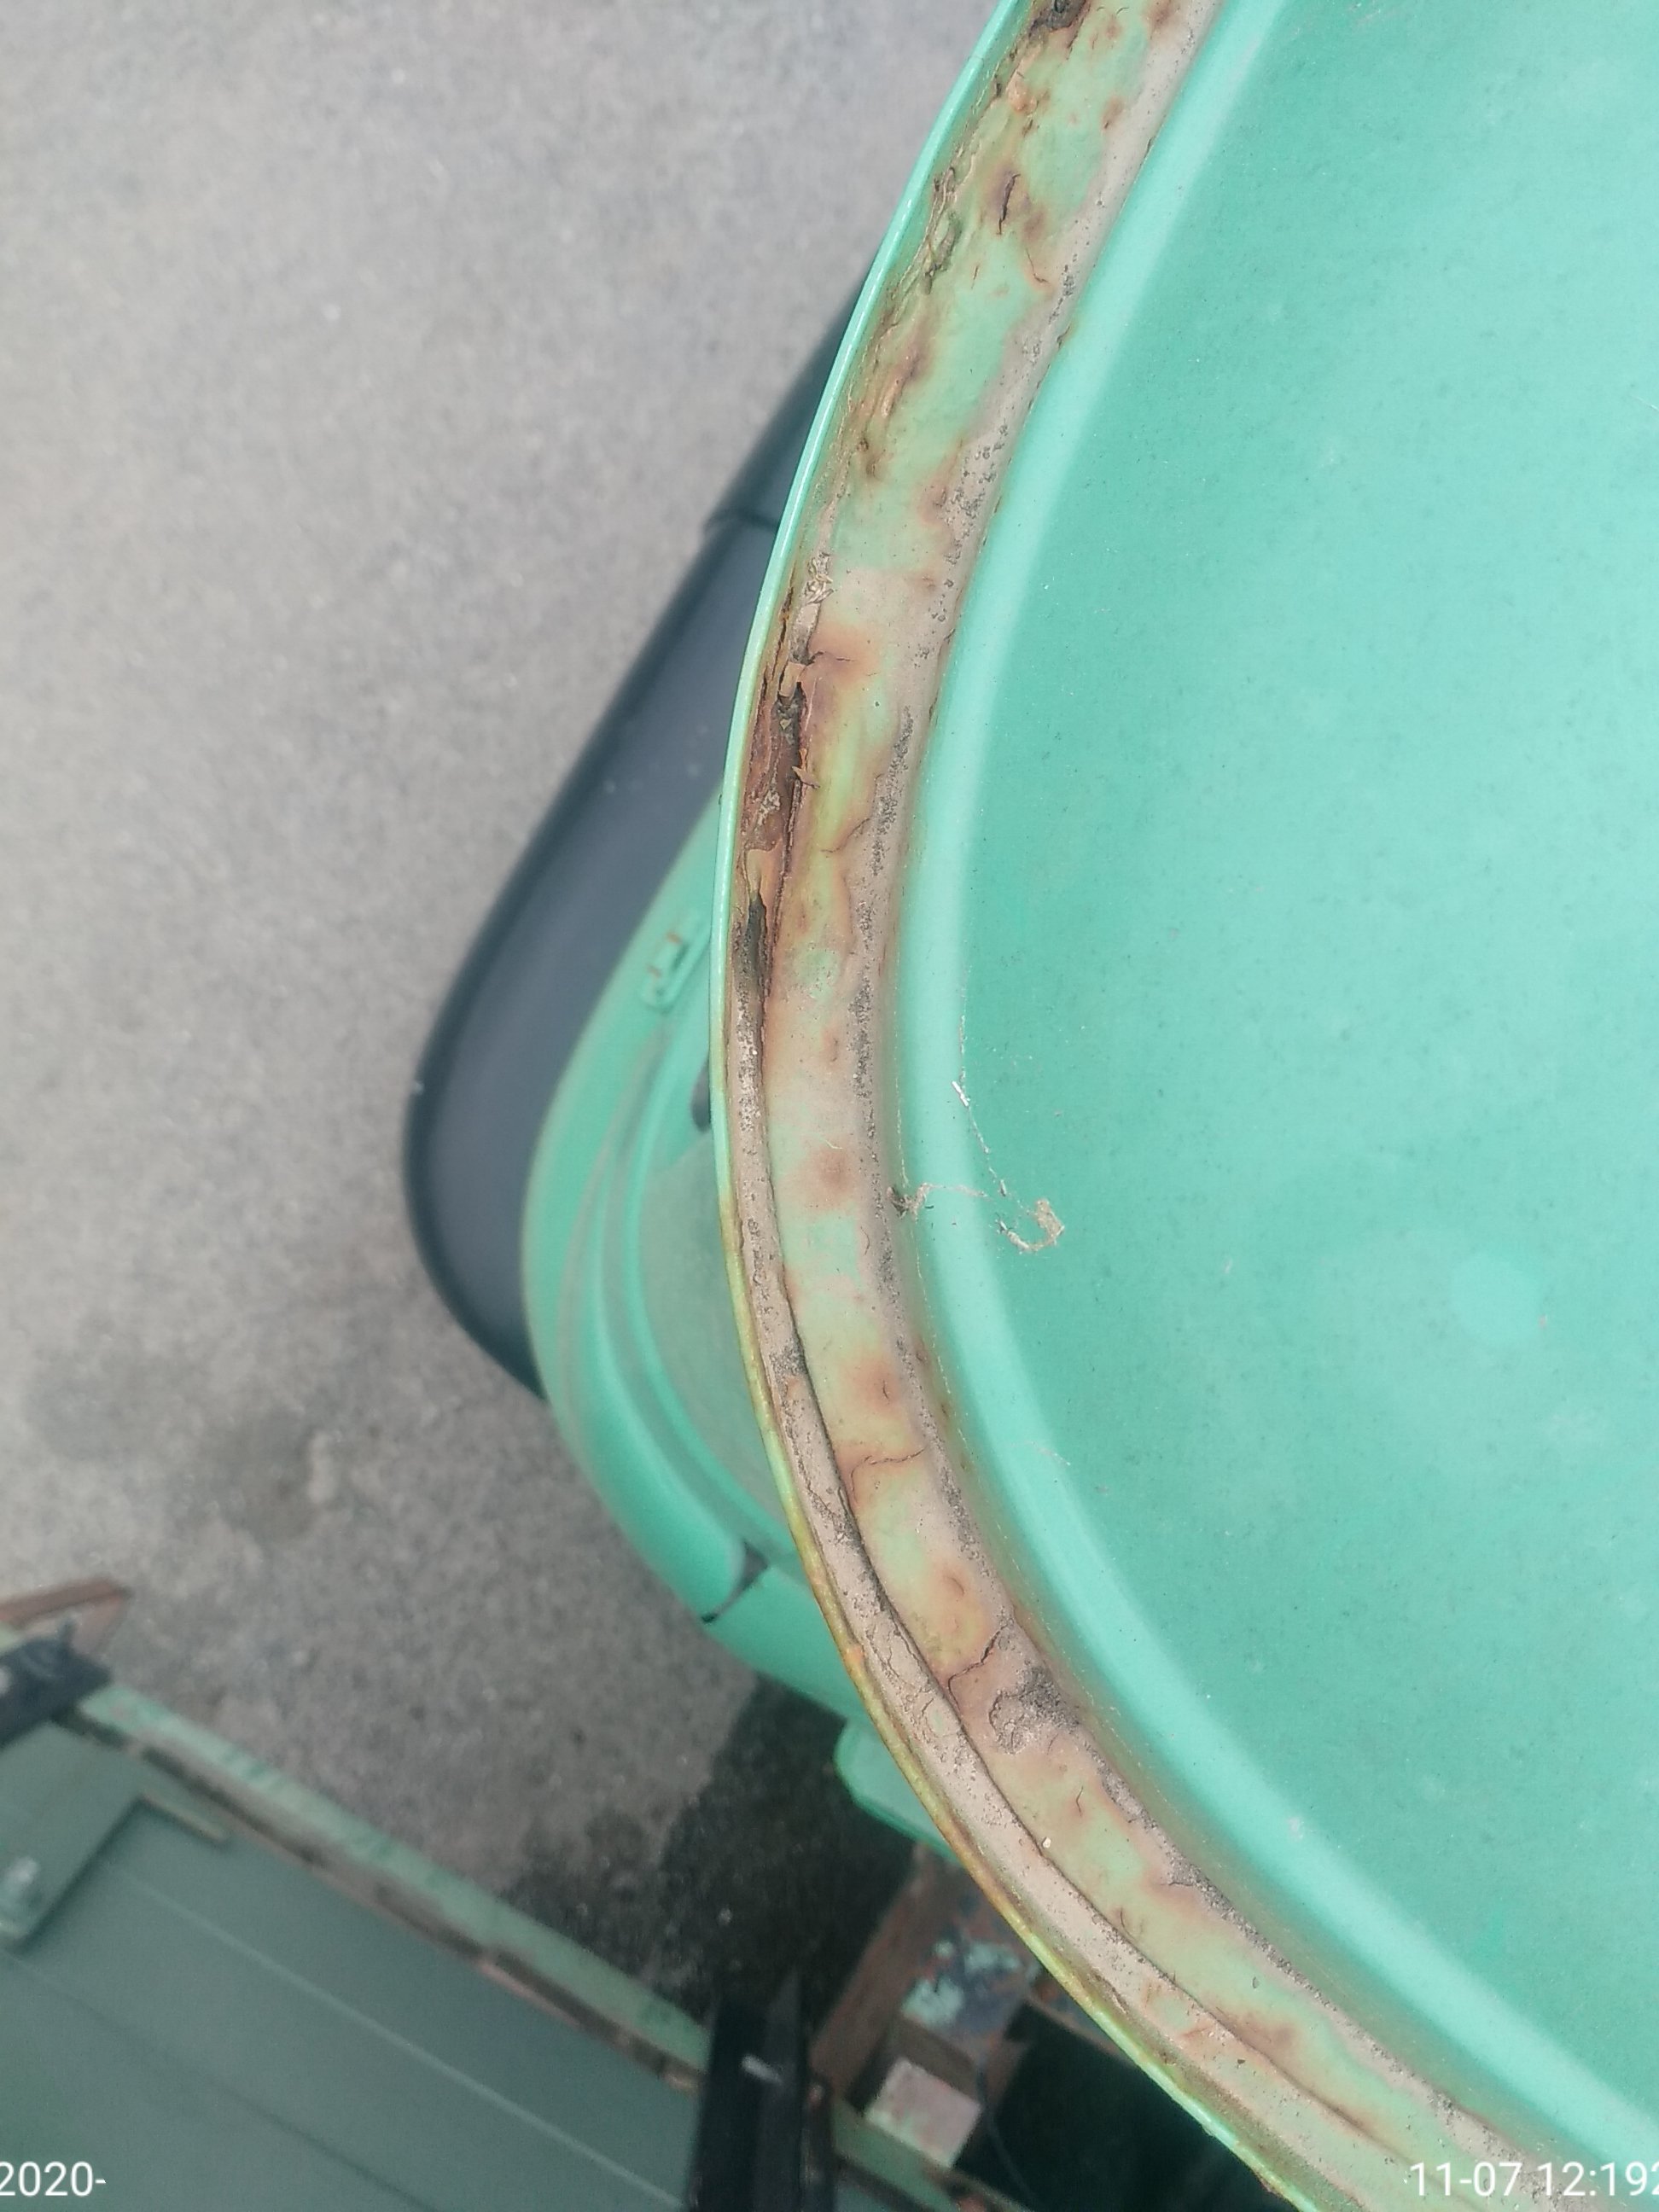
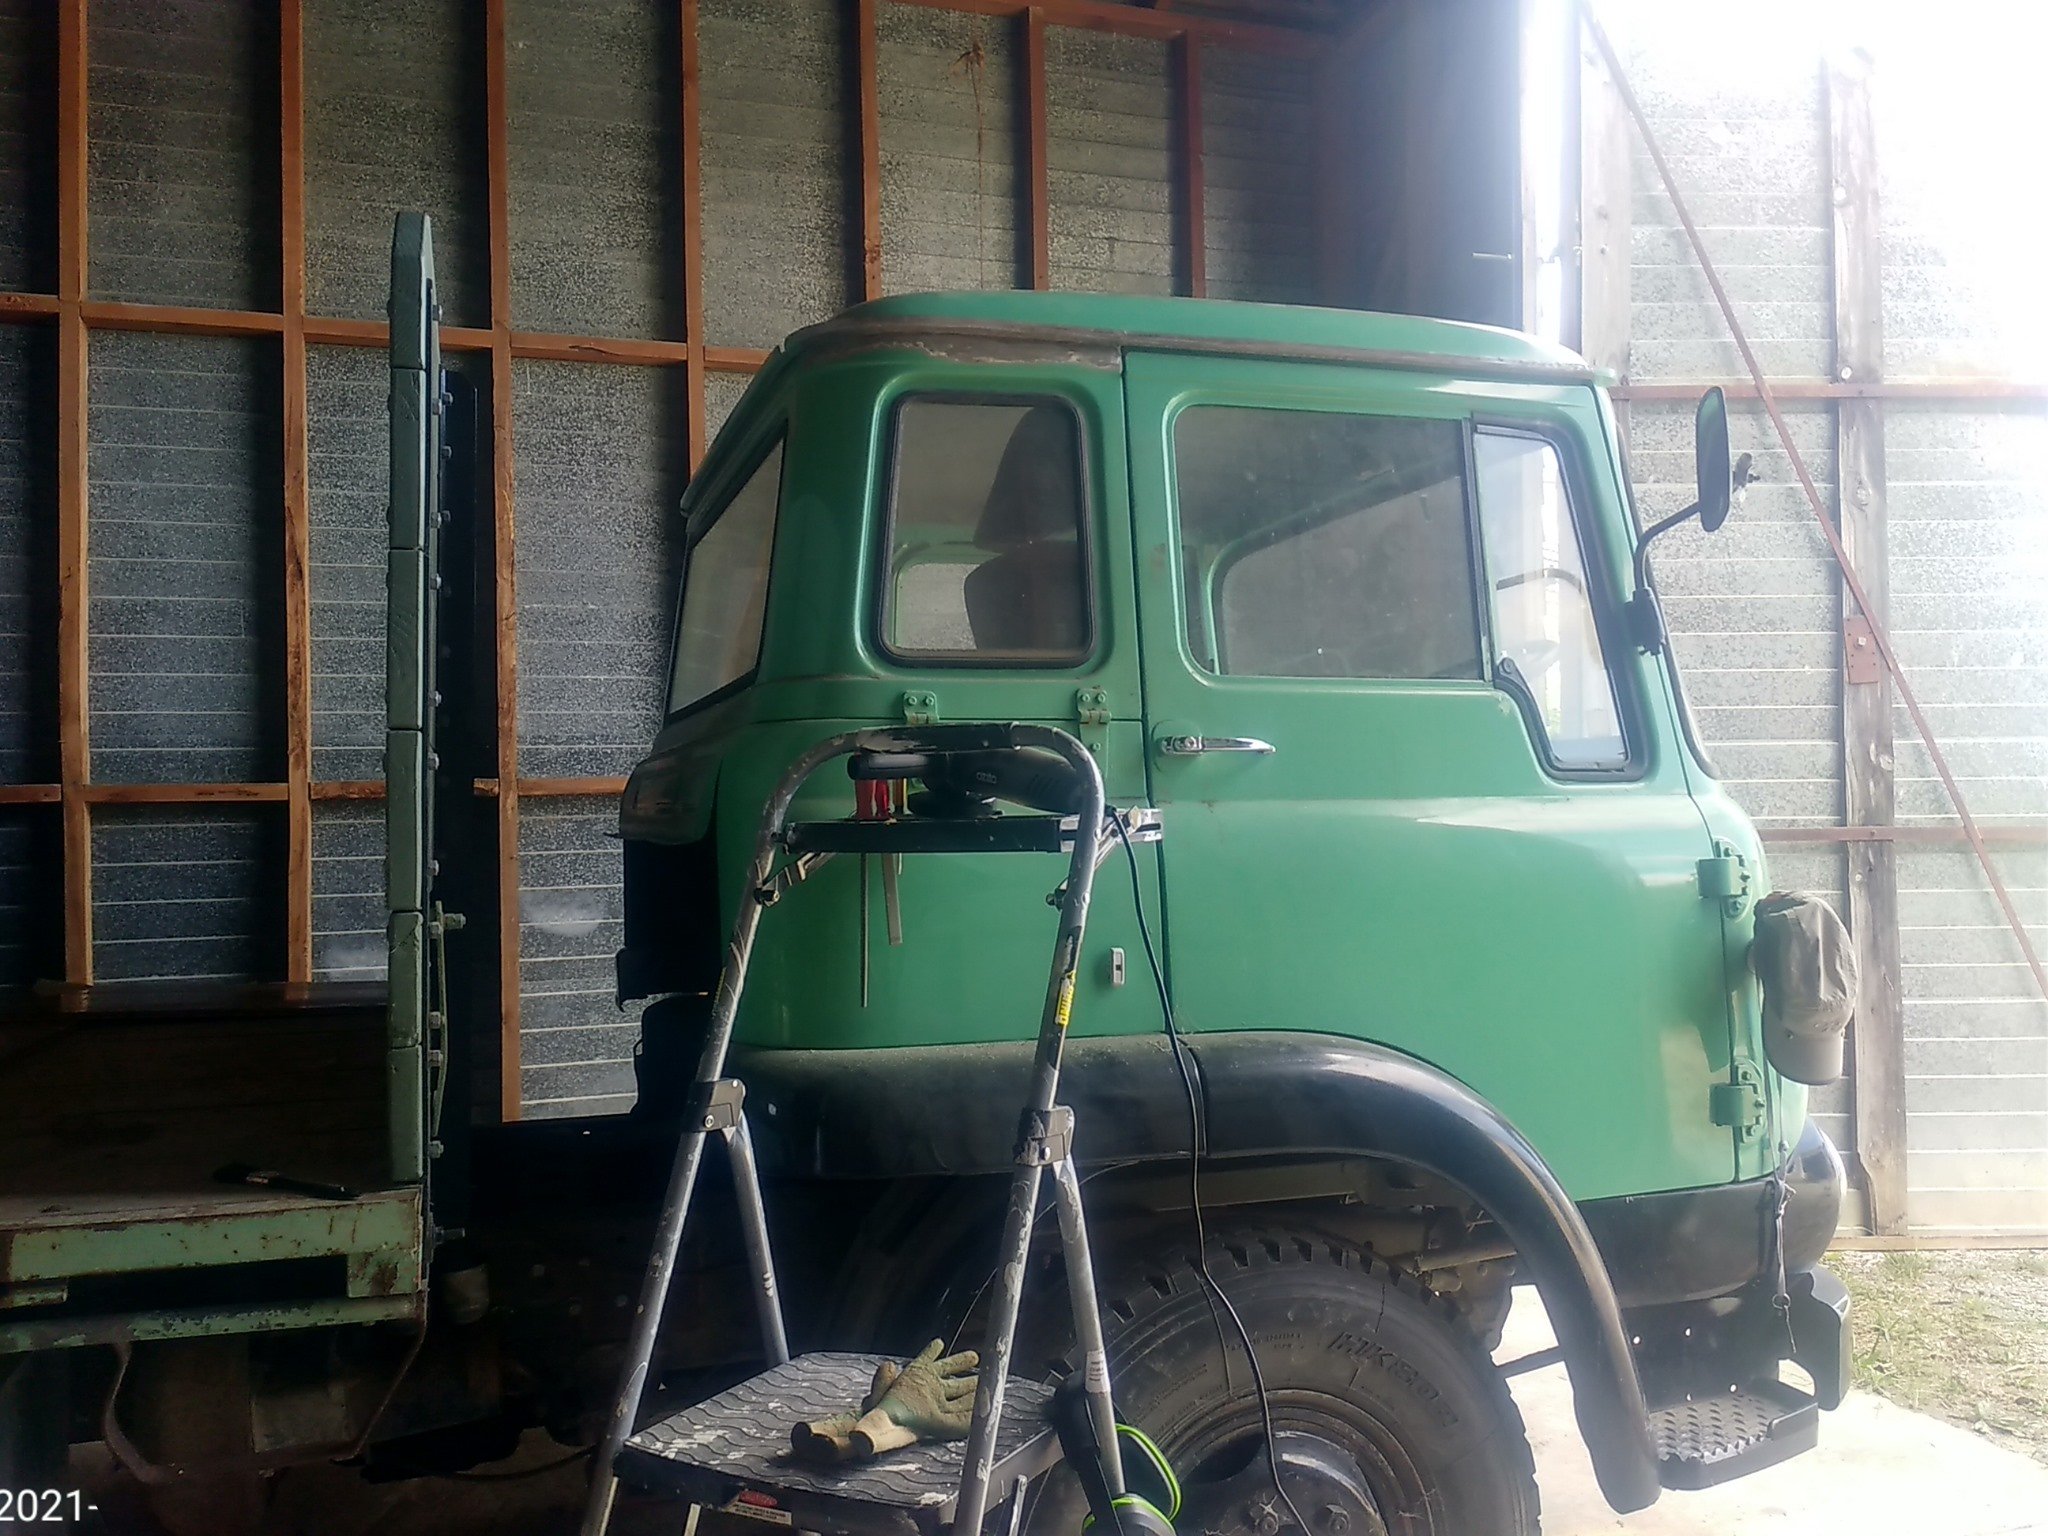
Having now secured a truck and a shed I now needed to figure out what's next! Being totally green with this whole project I spent a good amount of time on the phone to dad asking advice on where to start. Maddi had a fresh COF when I bought her, just needing a couple of minor things and two new tyers. Her cab had a bit of surface rust, with some heavier rust in the lip around the top of the cab. I wanted to get this tidied up, especially the roof and back, before I put my house on. So with several phone calls and photos sent to dad I started learning how to sand/grind back the rust, treat, prime and paint! This was a very slow process, especially as I felt I needed to check every step. Working by yourself whilst not really knowing what you're doing makes for slow, but satisfying, progress! I bought an angle grinder and my most common reply to 'what are you up to this weekend' was now 'going to the shed'
- 23 replies
-
- 14
-
-
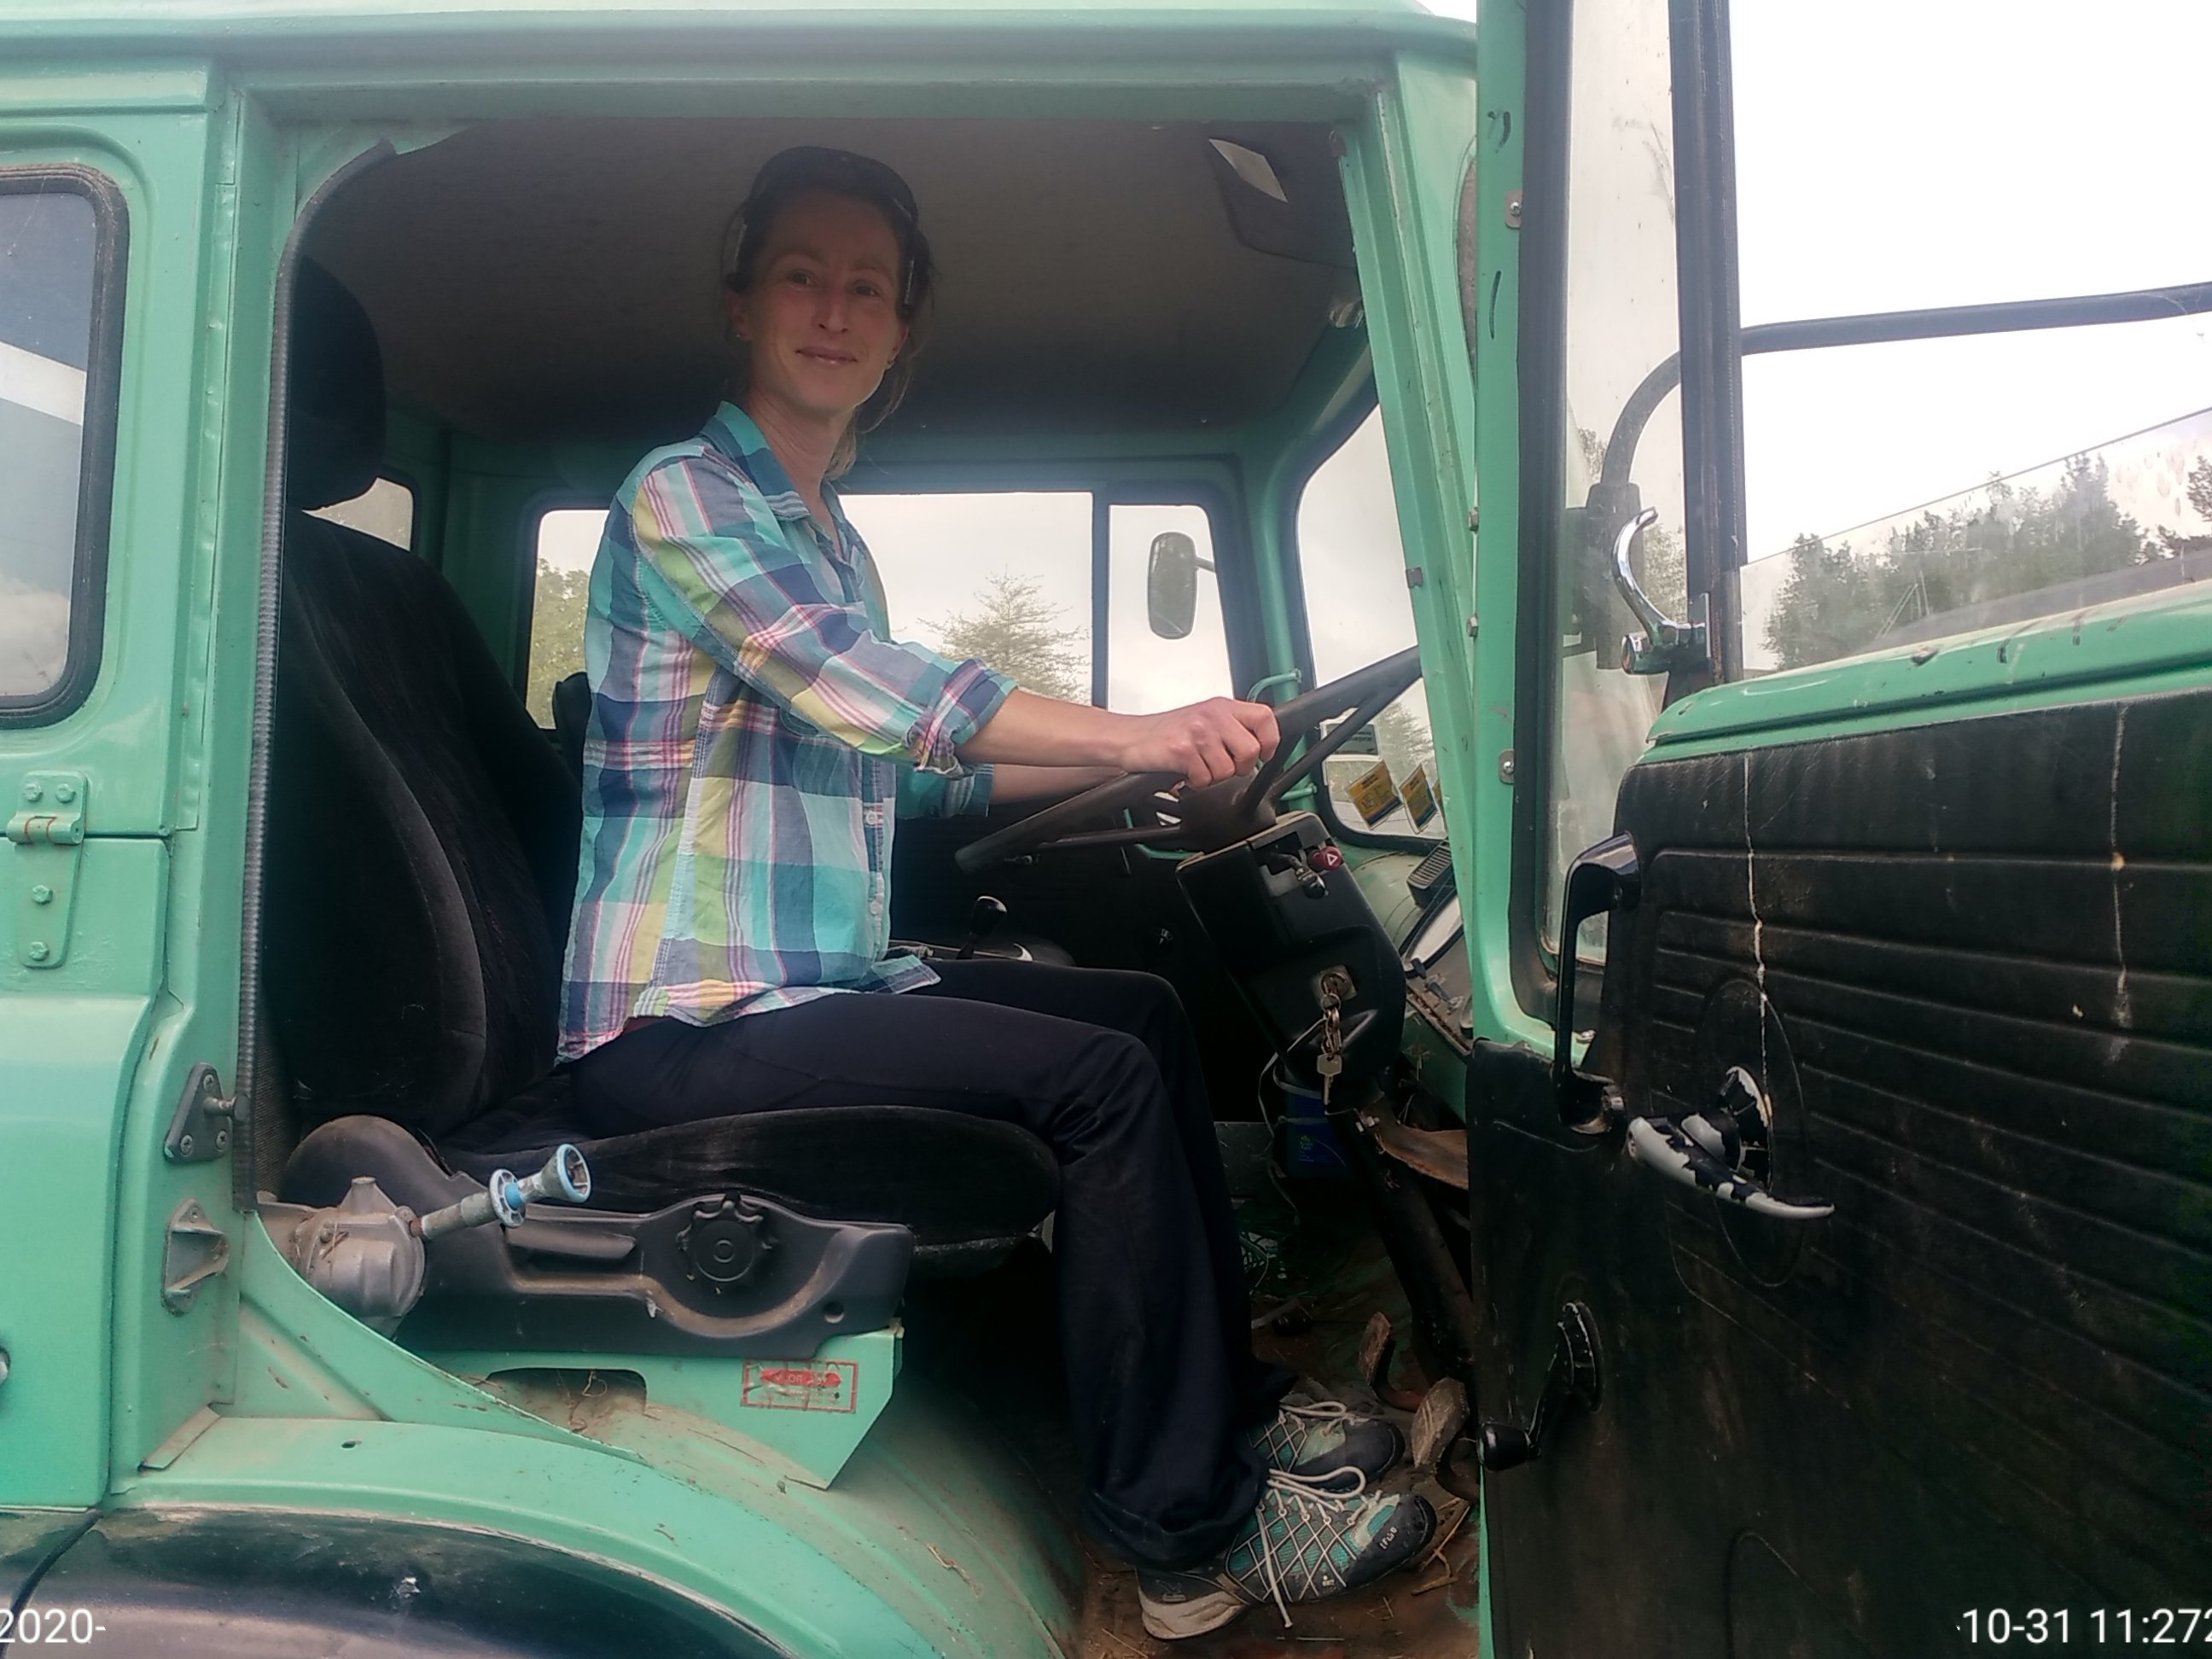
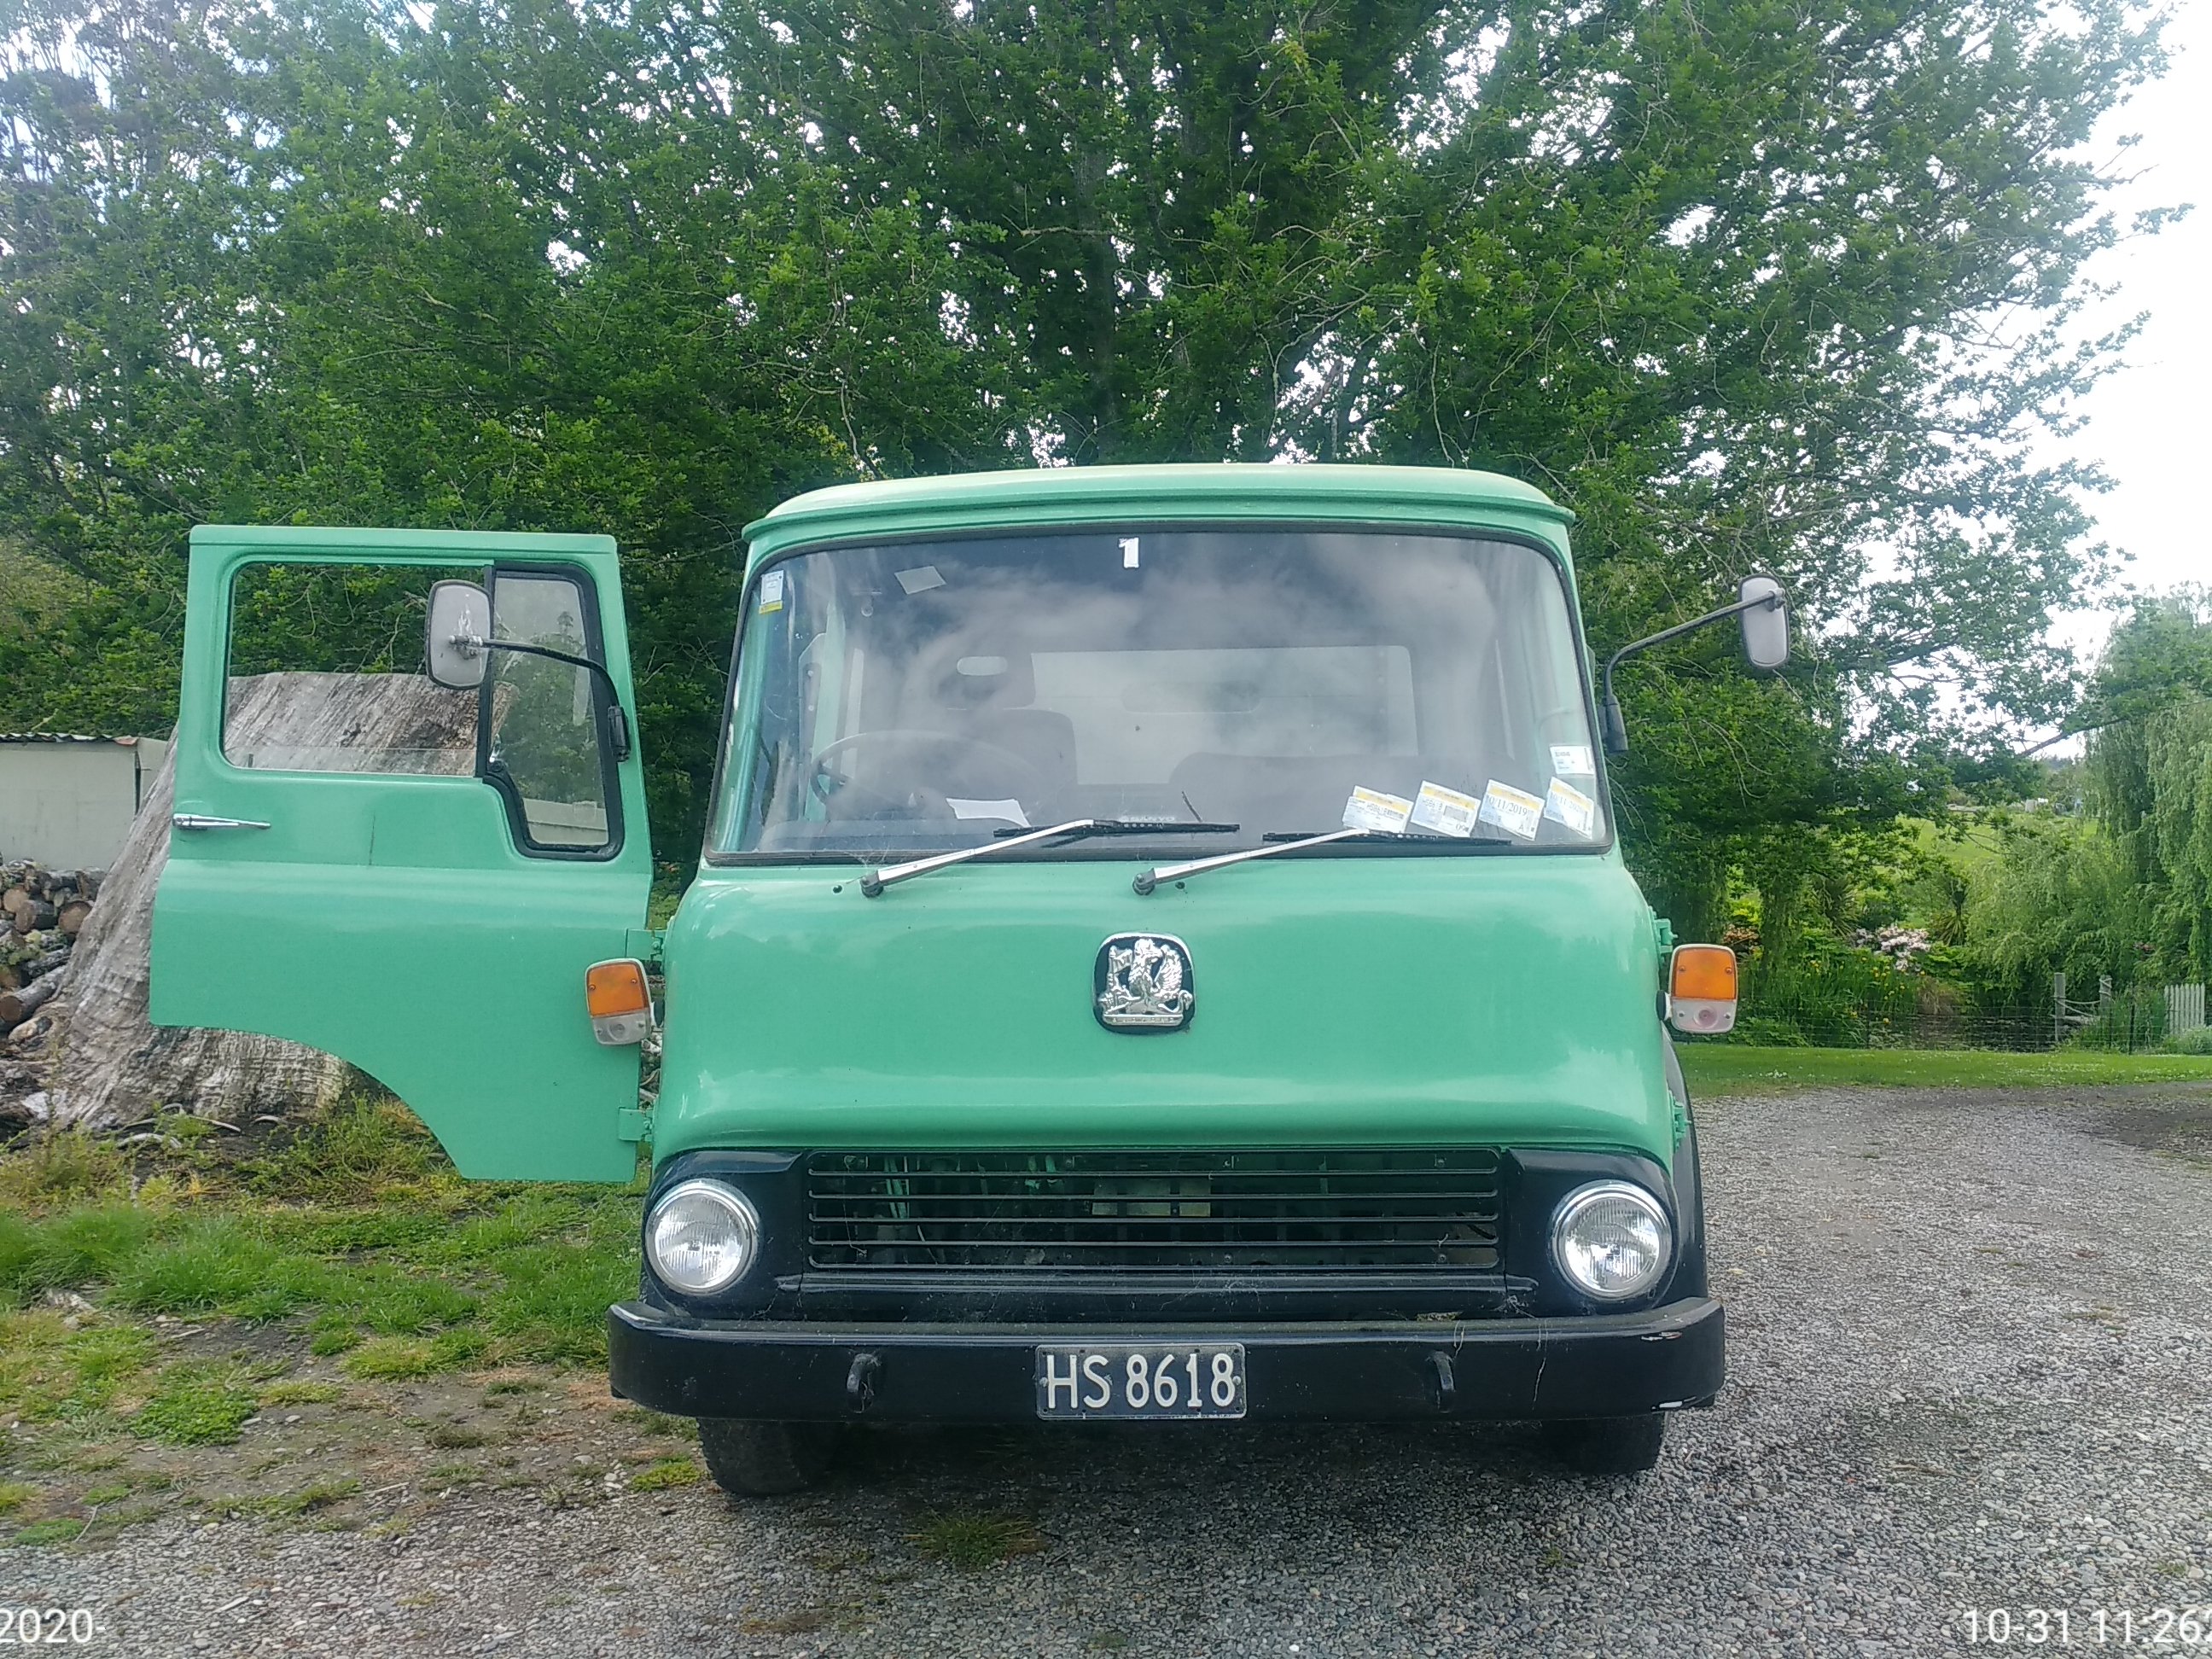
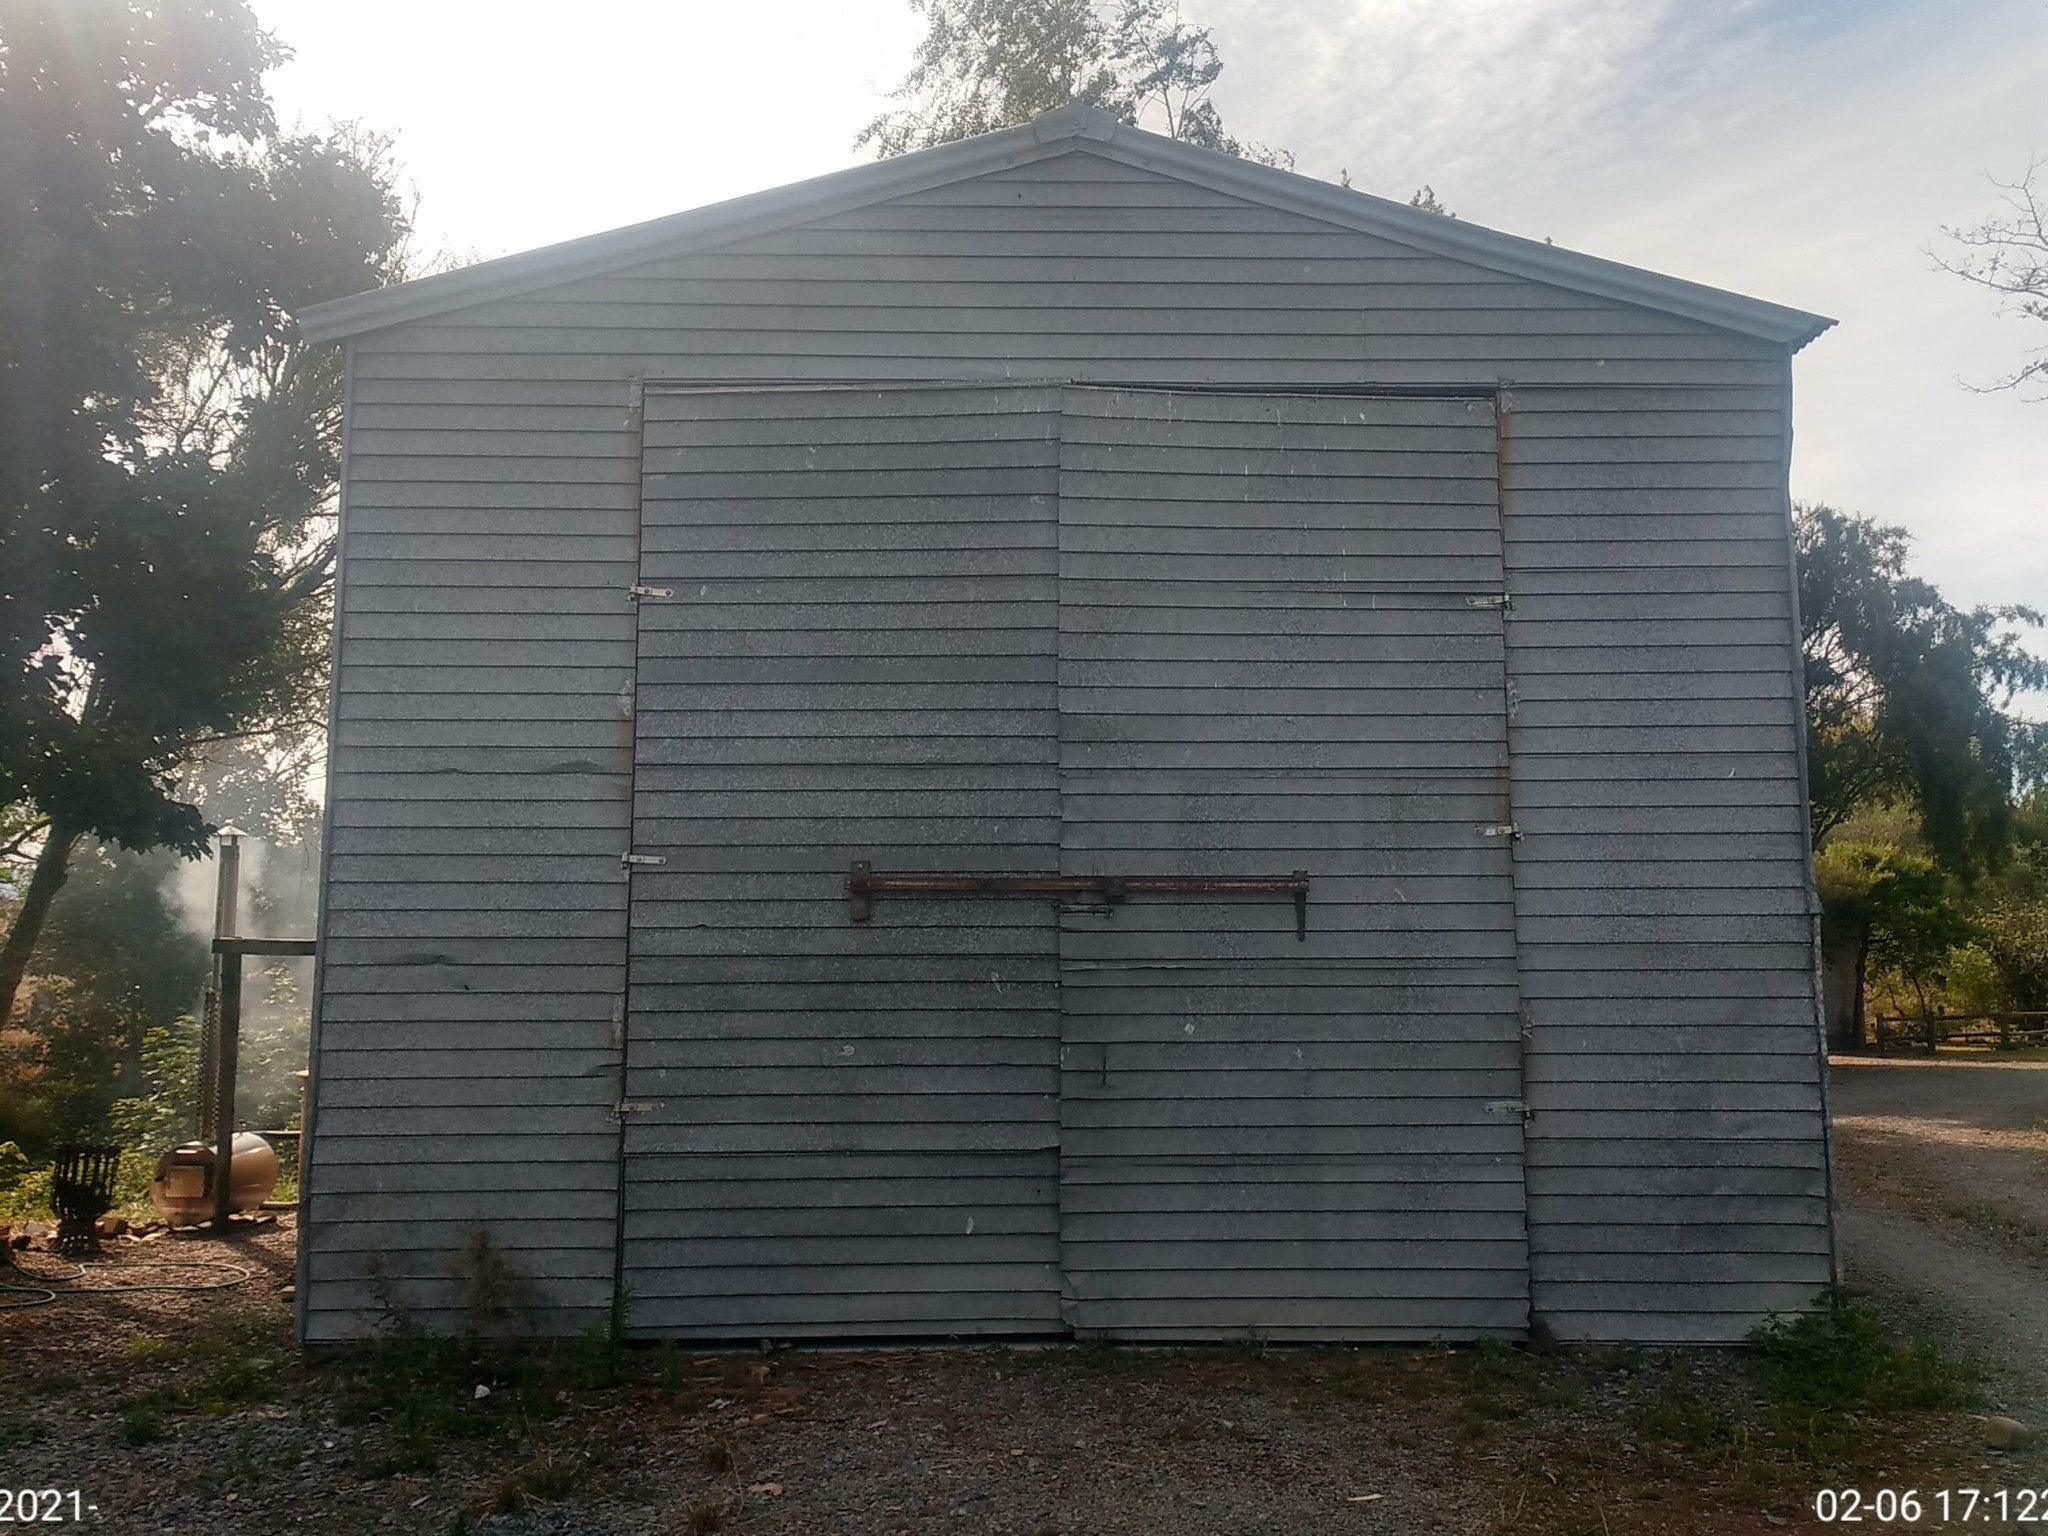
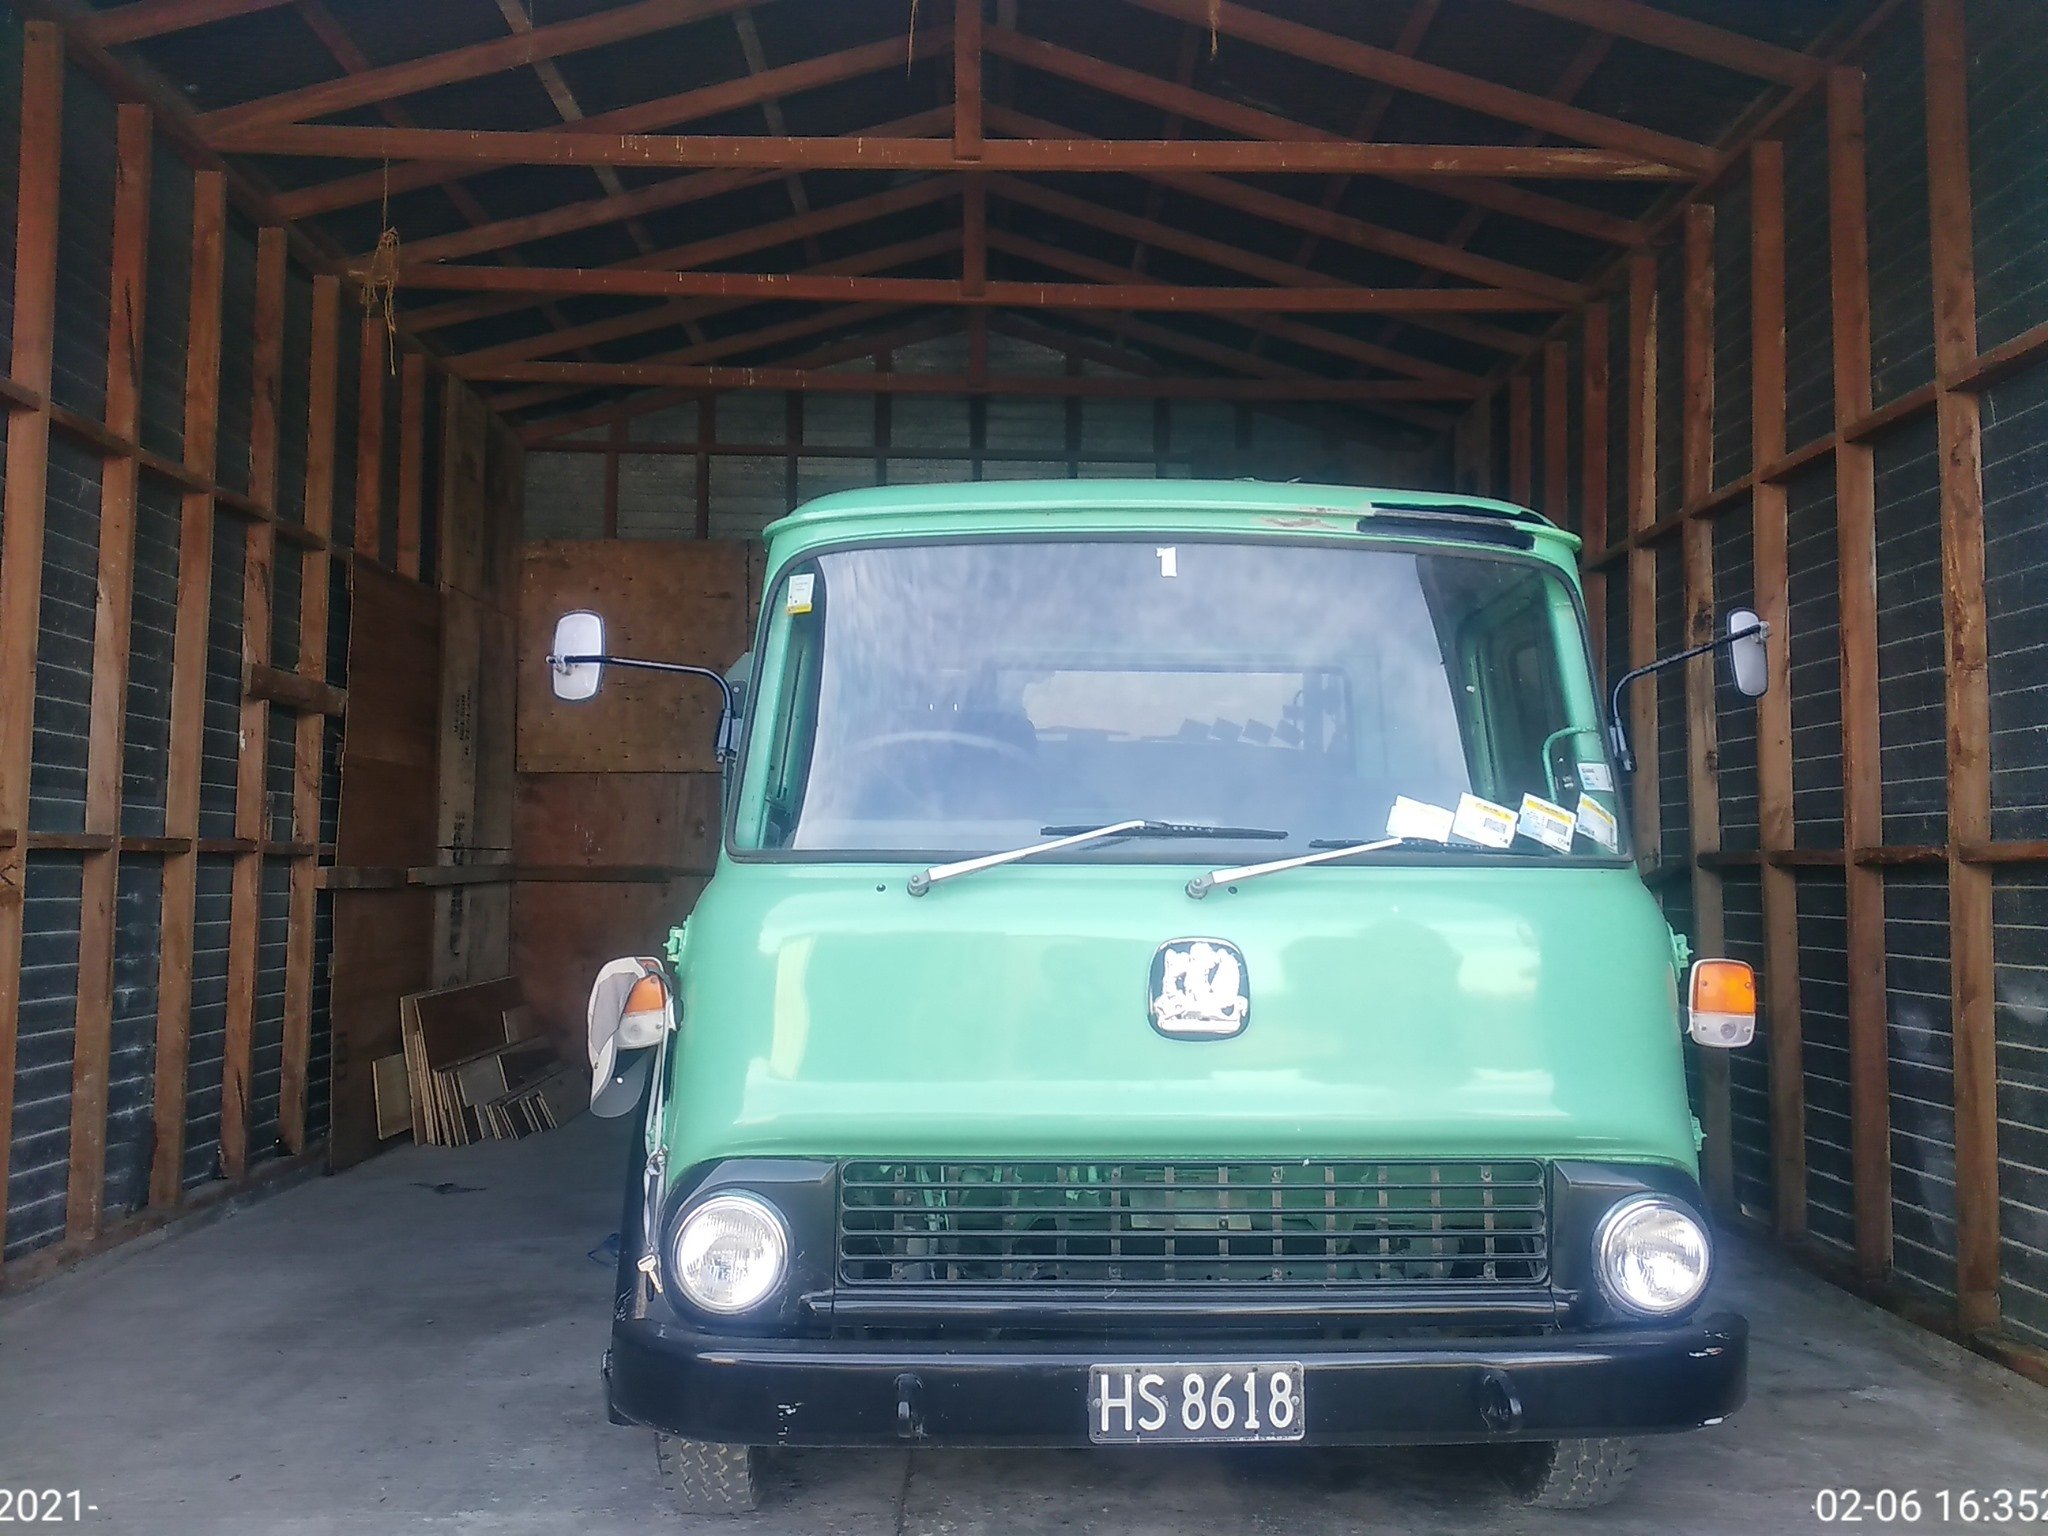
Admittedly I have owned Maddi for just over a year, yikes that went quick. But as they say: 'Good things take time' Just to play a little catch up which where I'm up to now on the whole project journey . . . . . . So after unexpectantly falling in love with the truck I then had a stressful couple of hours wondering whether to buy it or not. Finally my grandma said "If you don't will you regret it?" to which I said a prompt "Yes". And that was that. Except then I owned a truck that I couldn't drive (still working on that) and had no where to store it! The guy I bought it from was great and held on to it for a couple of months, then a lovely couple offered to park it up by their house truck until I found a shed. So I made up little flyers and plastered them on every local notice board, posted on line and even did a letter box drop looking for a shed to rent. Then I got a call from an amazing local family who had just the thing! A large shed with 4m tall doors! Perfect, and not far from home.
- 23 replies
-
- 17
-
-
Thanks for setting up the Discussion thread anglia4 And yes ThePog it was in fact Maddi at @yeoddynz having her frame put on. They did an incredible job!! Once I get the hang of this I'll add some more photos
-
Where to start . . . . . . Probably with my truck, Maddi, that I bought on impulse after the love at first sight viewing when I wasn't even looking for a truck! While a truck wasn't particularly in my plan building a little house has been a dream of mine for quite some time. Spending my childhood with Dad and Popa constantly in the garage working on neat old and home made cars it seems fitting that I have ended up with my very own old school truck So this project is part reviving a neat old truck and part building a house! Hopefully it may be interesting for some of you, and you may even have some tips and tricks to share, as this is one whole new learning process for me Also please bear with me as I figure out how to navigate this forum, thanks!
- 23 replies
-
- 39
-
-