shizzl
-
Posts
5008 -
Joined
-
Last visited
-
Days Won
1
Everything posted by shizzl
-
Yup I could do a spacer for the rear. it will be about 40mm at most by the time I raise the hanger, this will push the shaft in a little more at the same time. that entire hanger crossbeam can disappear in favour of a new one. luckily this sits in behind the cab too
-
That’s only ride height, or just lower than ride height (90mm clearance).
-
I took a pic though. ill be making a new shaft for this one cos it doesn’t go into the box far enough now that I’ve changed a couple of things

-
Lots, I can’t remember, I left the tech drawing pie wrapper on the workbench in the shop
-
Yeah I’ve got the pinion angle at 3 degrees, which matches what the uj is at the hanger bearing, front is around 7 or so
-
Any of you good folk know of an app or whatever that can calculate the correct driveline angles for a 2 piece driveshaft? I need to sort out if the hanger bearing needs relocating and pinion angle. engine sits around 6.5 degrees to sit the carb level. i can’t find any info on standard rx7 driveline angles to start with. from there the first driveshaft is on a 3 degree down slope, then the second hauls arse upwards to ride height. my thinking is the hanger needs lifting up. But lack of good online info has me baffled. Most only go into a single piece set up which is piss easy
-
 I’d +1 for hanmer
 -
If you have a booster on the brakes, disconnect it , plug the hoses and test it. ive had issues with mine dragging, locking on , then pedal goes to the floor. No leaks. I’ve pin pointed it to a valve inside the remote slave jobby. on the list to go in the bin. Just need a flare tool to fit the new unit.
-
I get that every time with the hunter. If they don’t know or can’t find the manufacturers specs for play etc, then they request that you find this info and return. i took a workshop manual with me last time to show steering box play etc. theyr just covering their ass
-
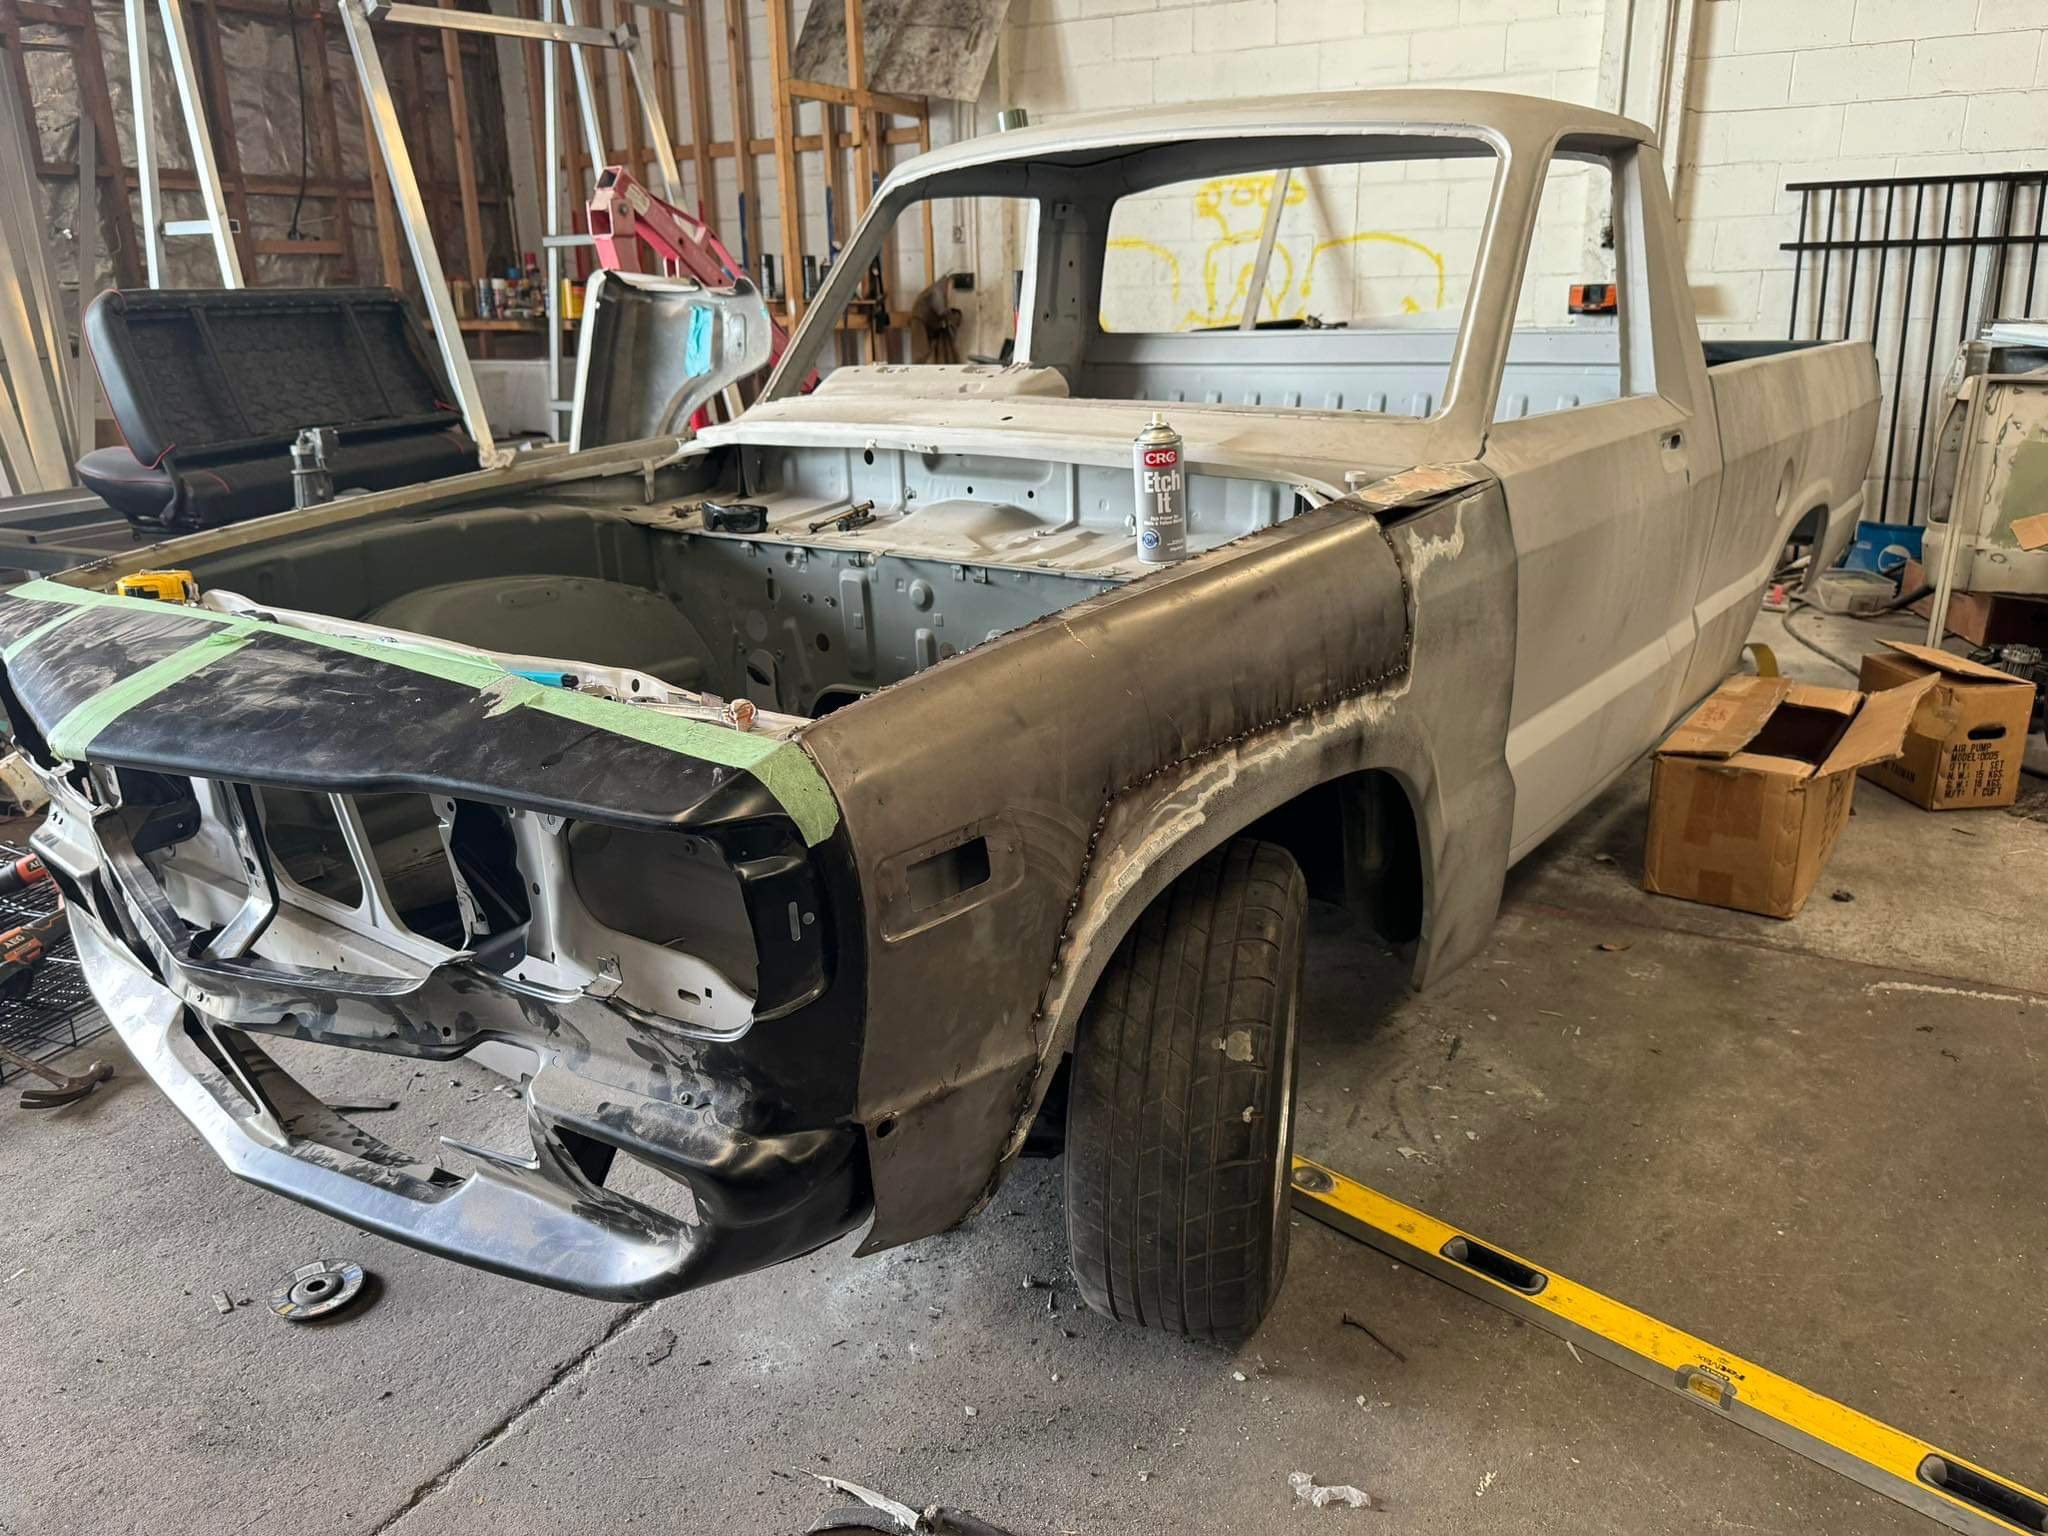
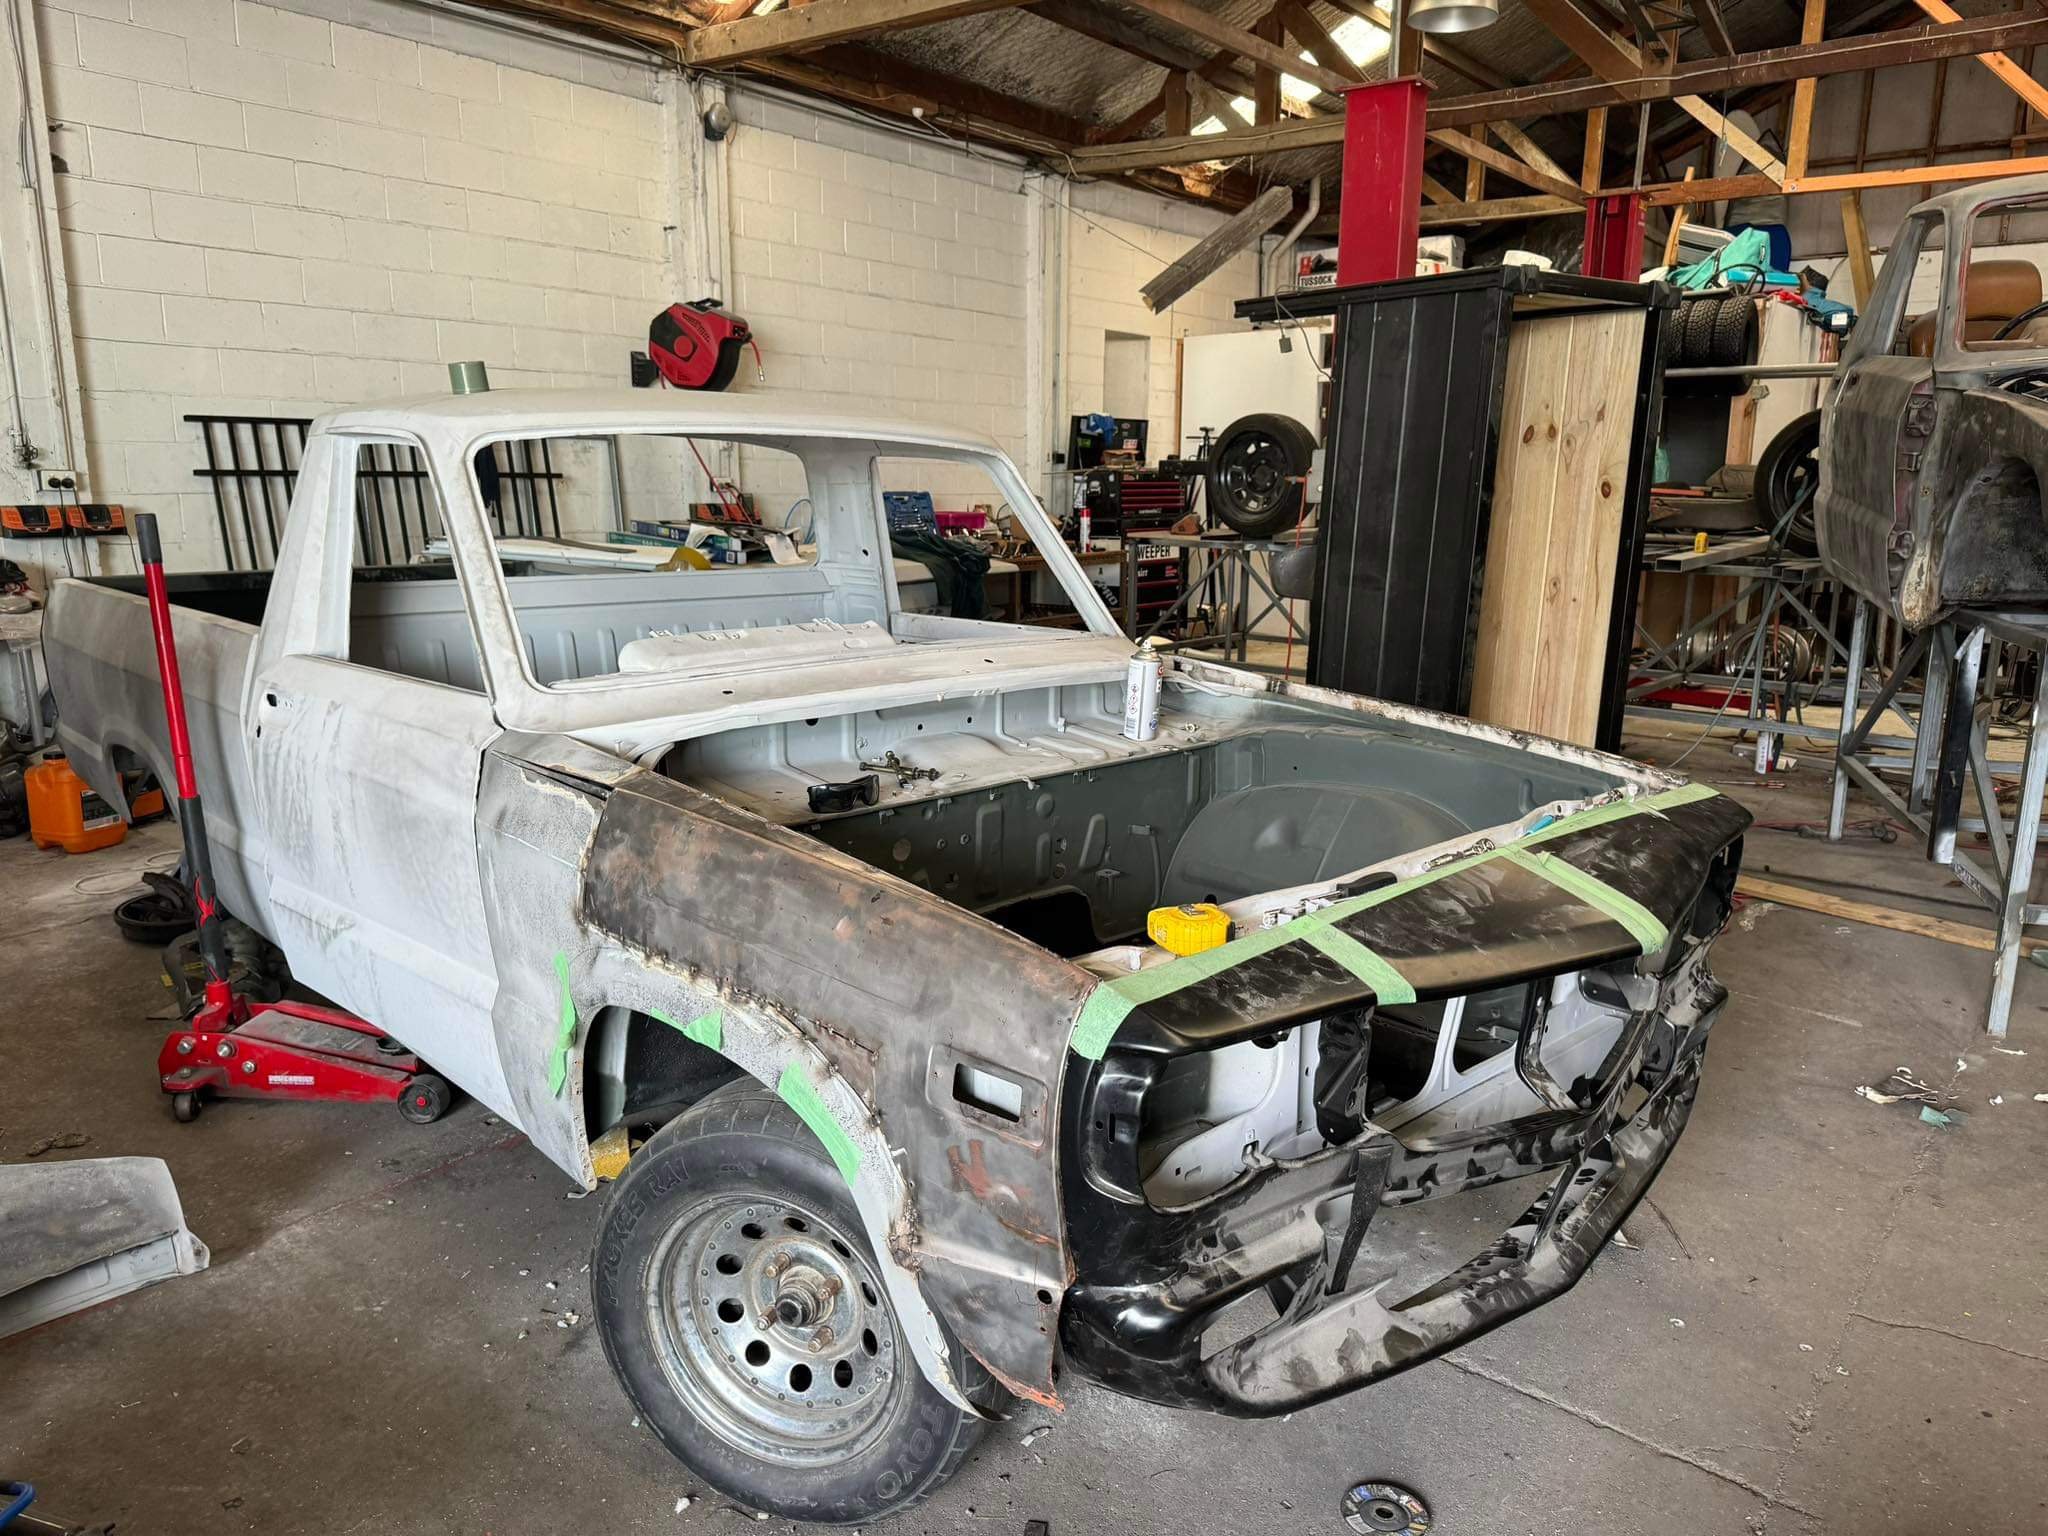
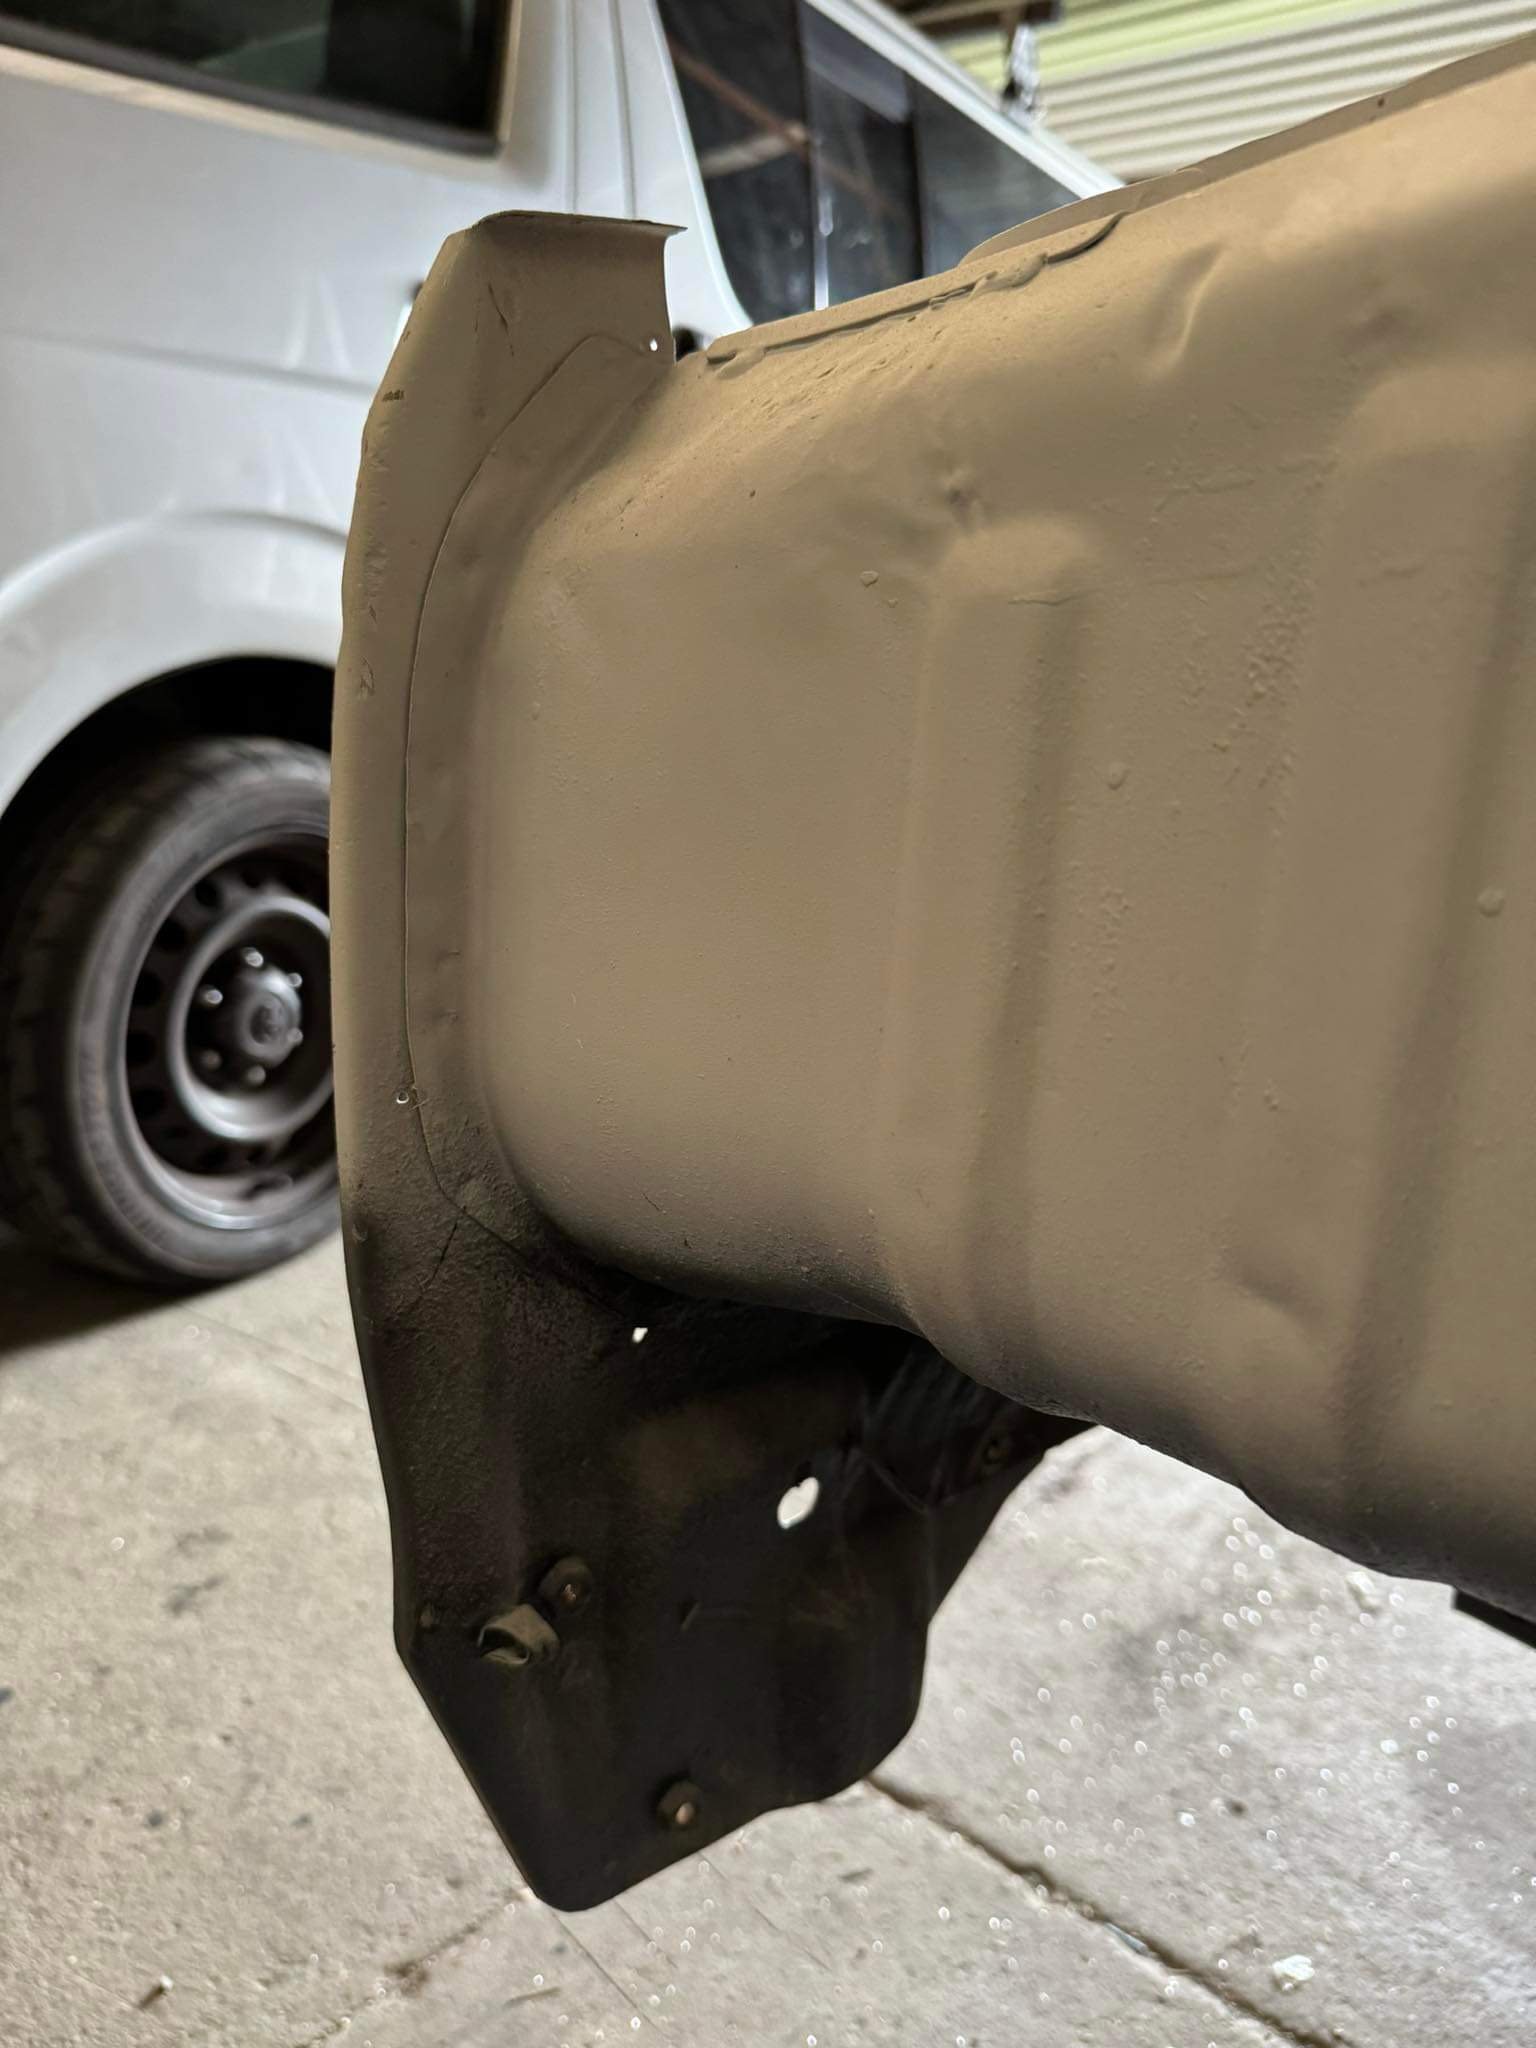
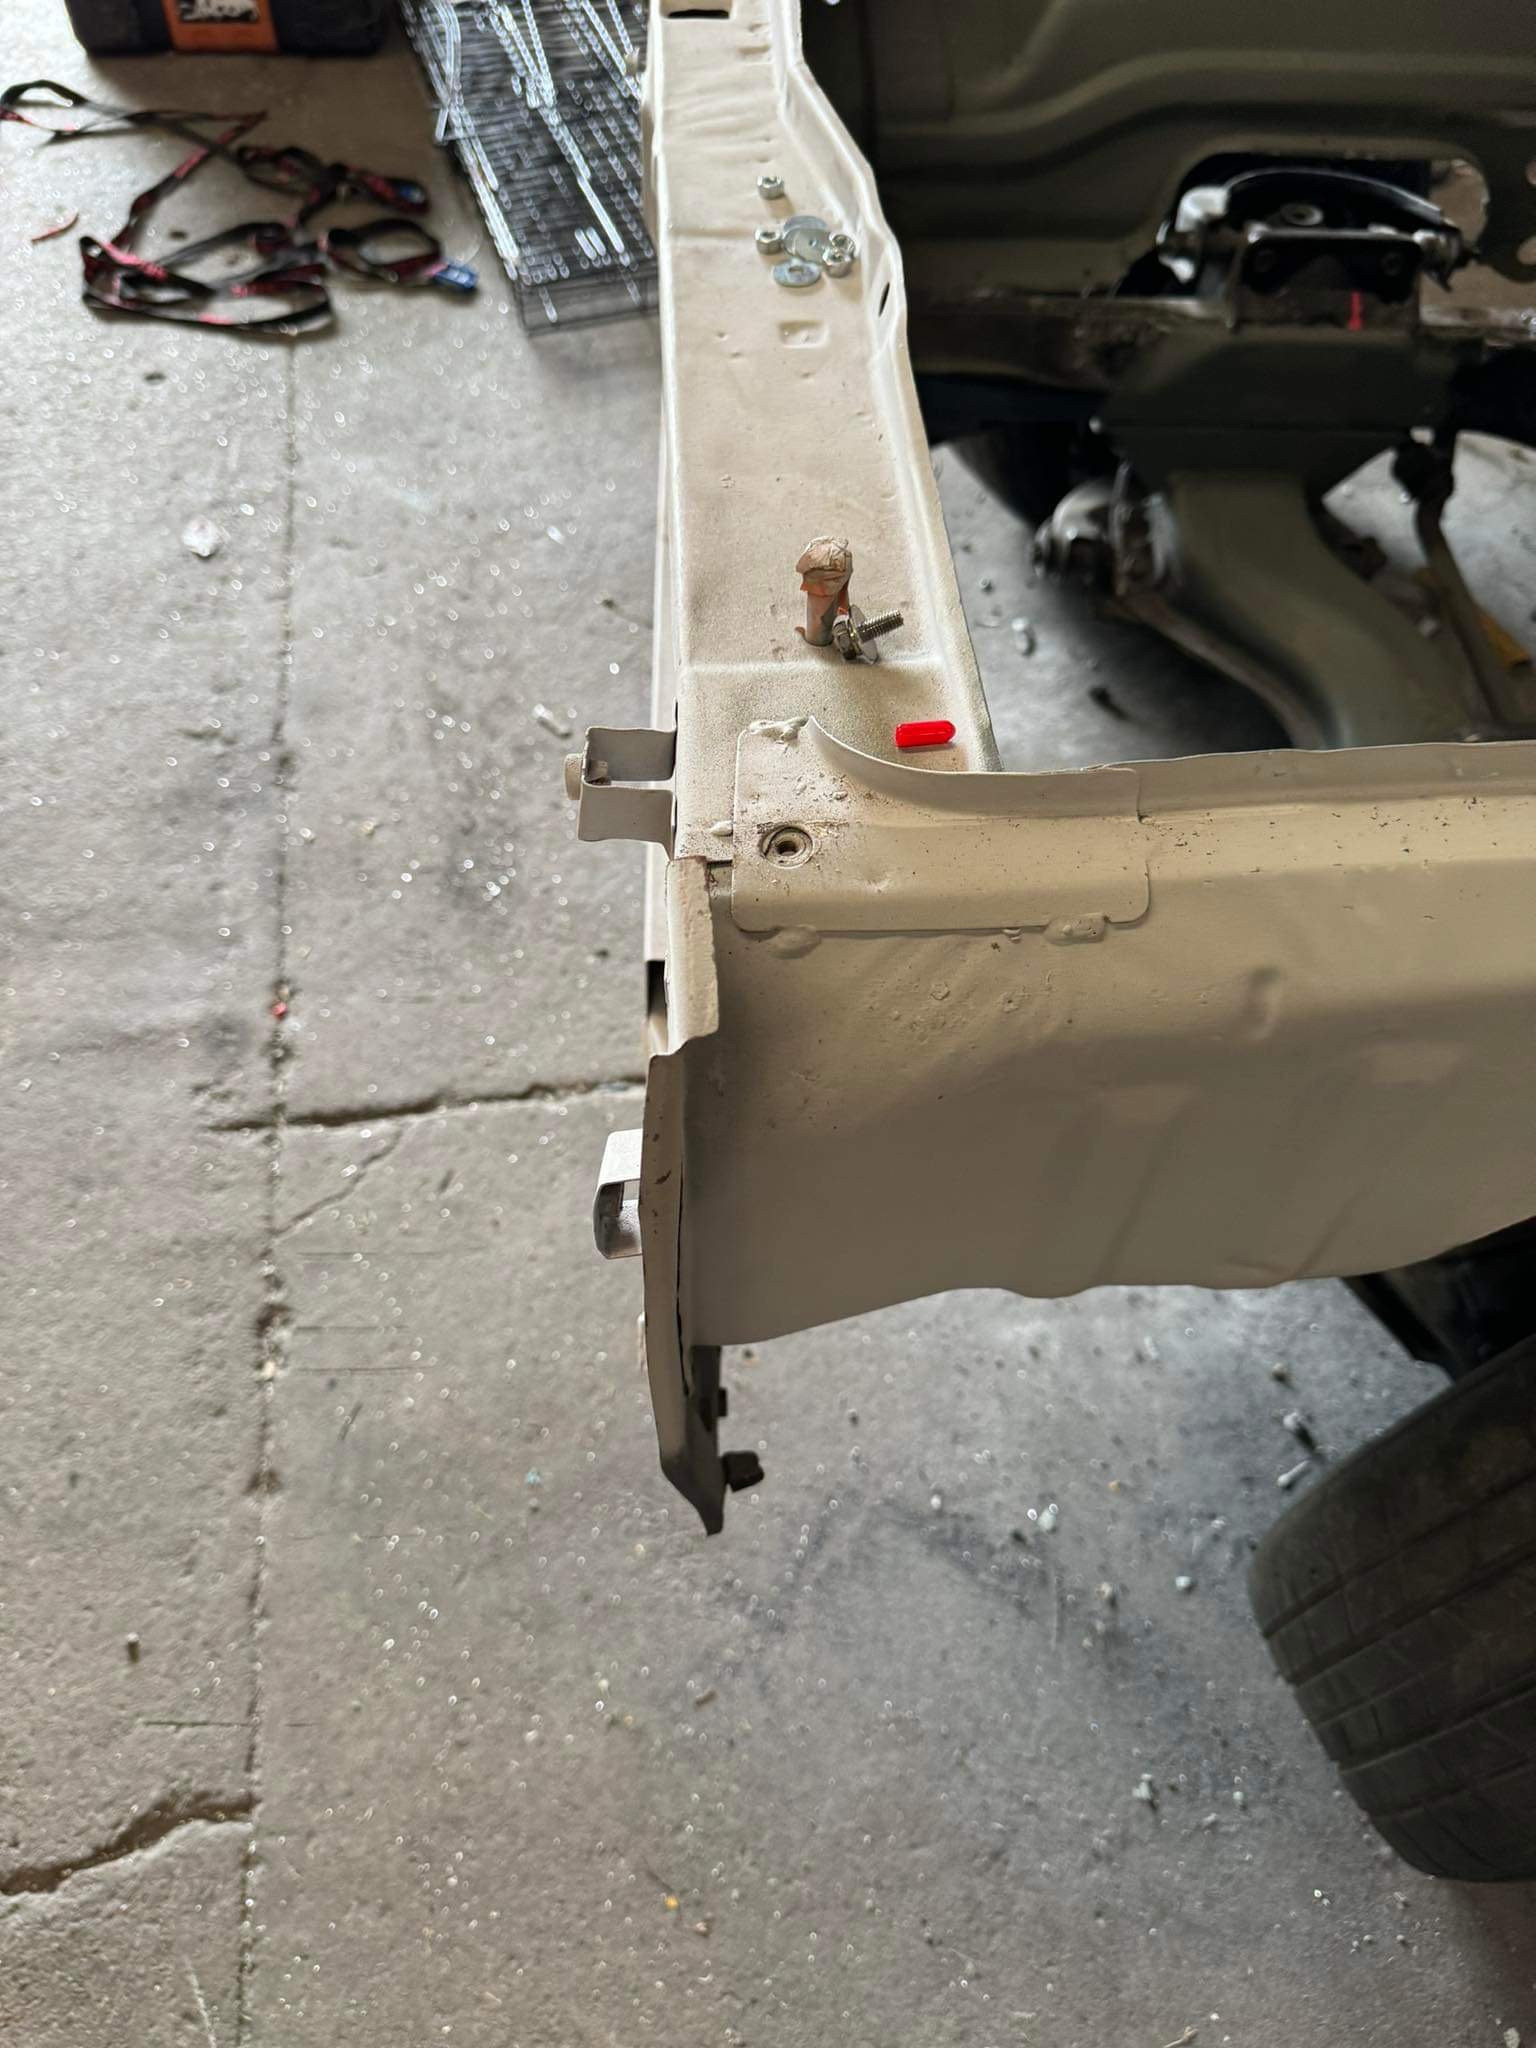
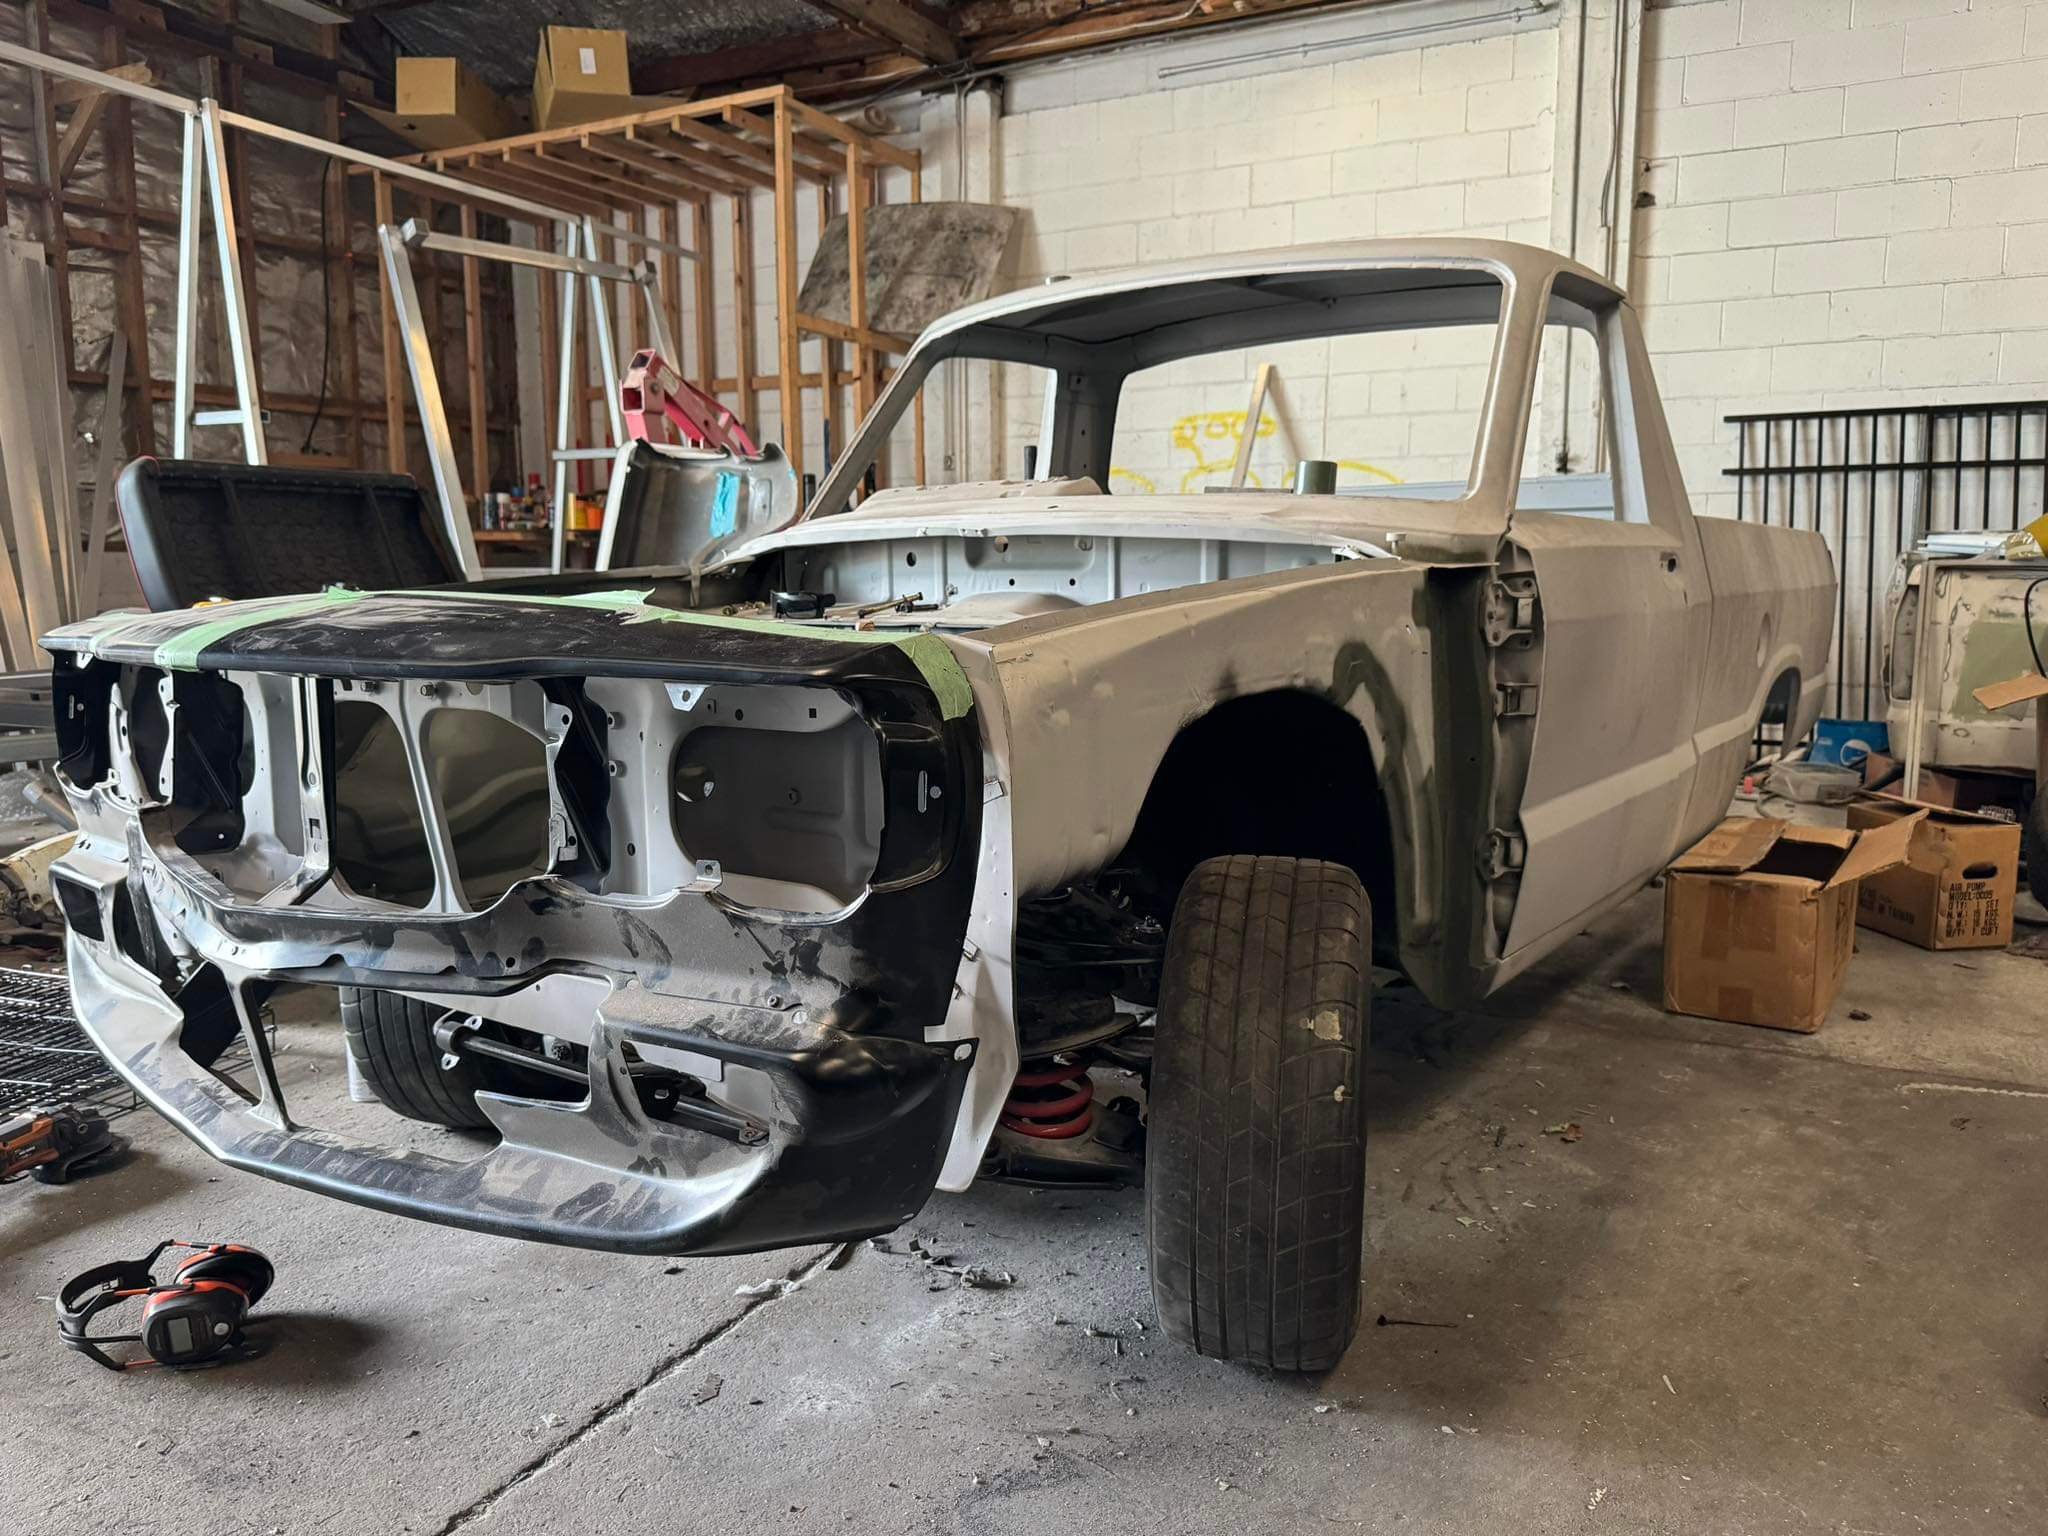
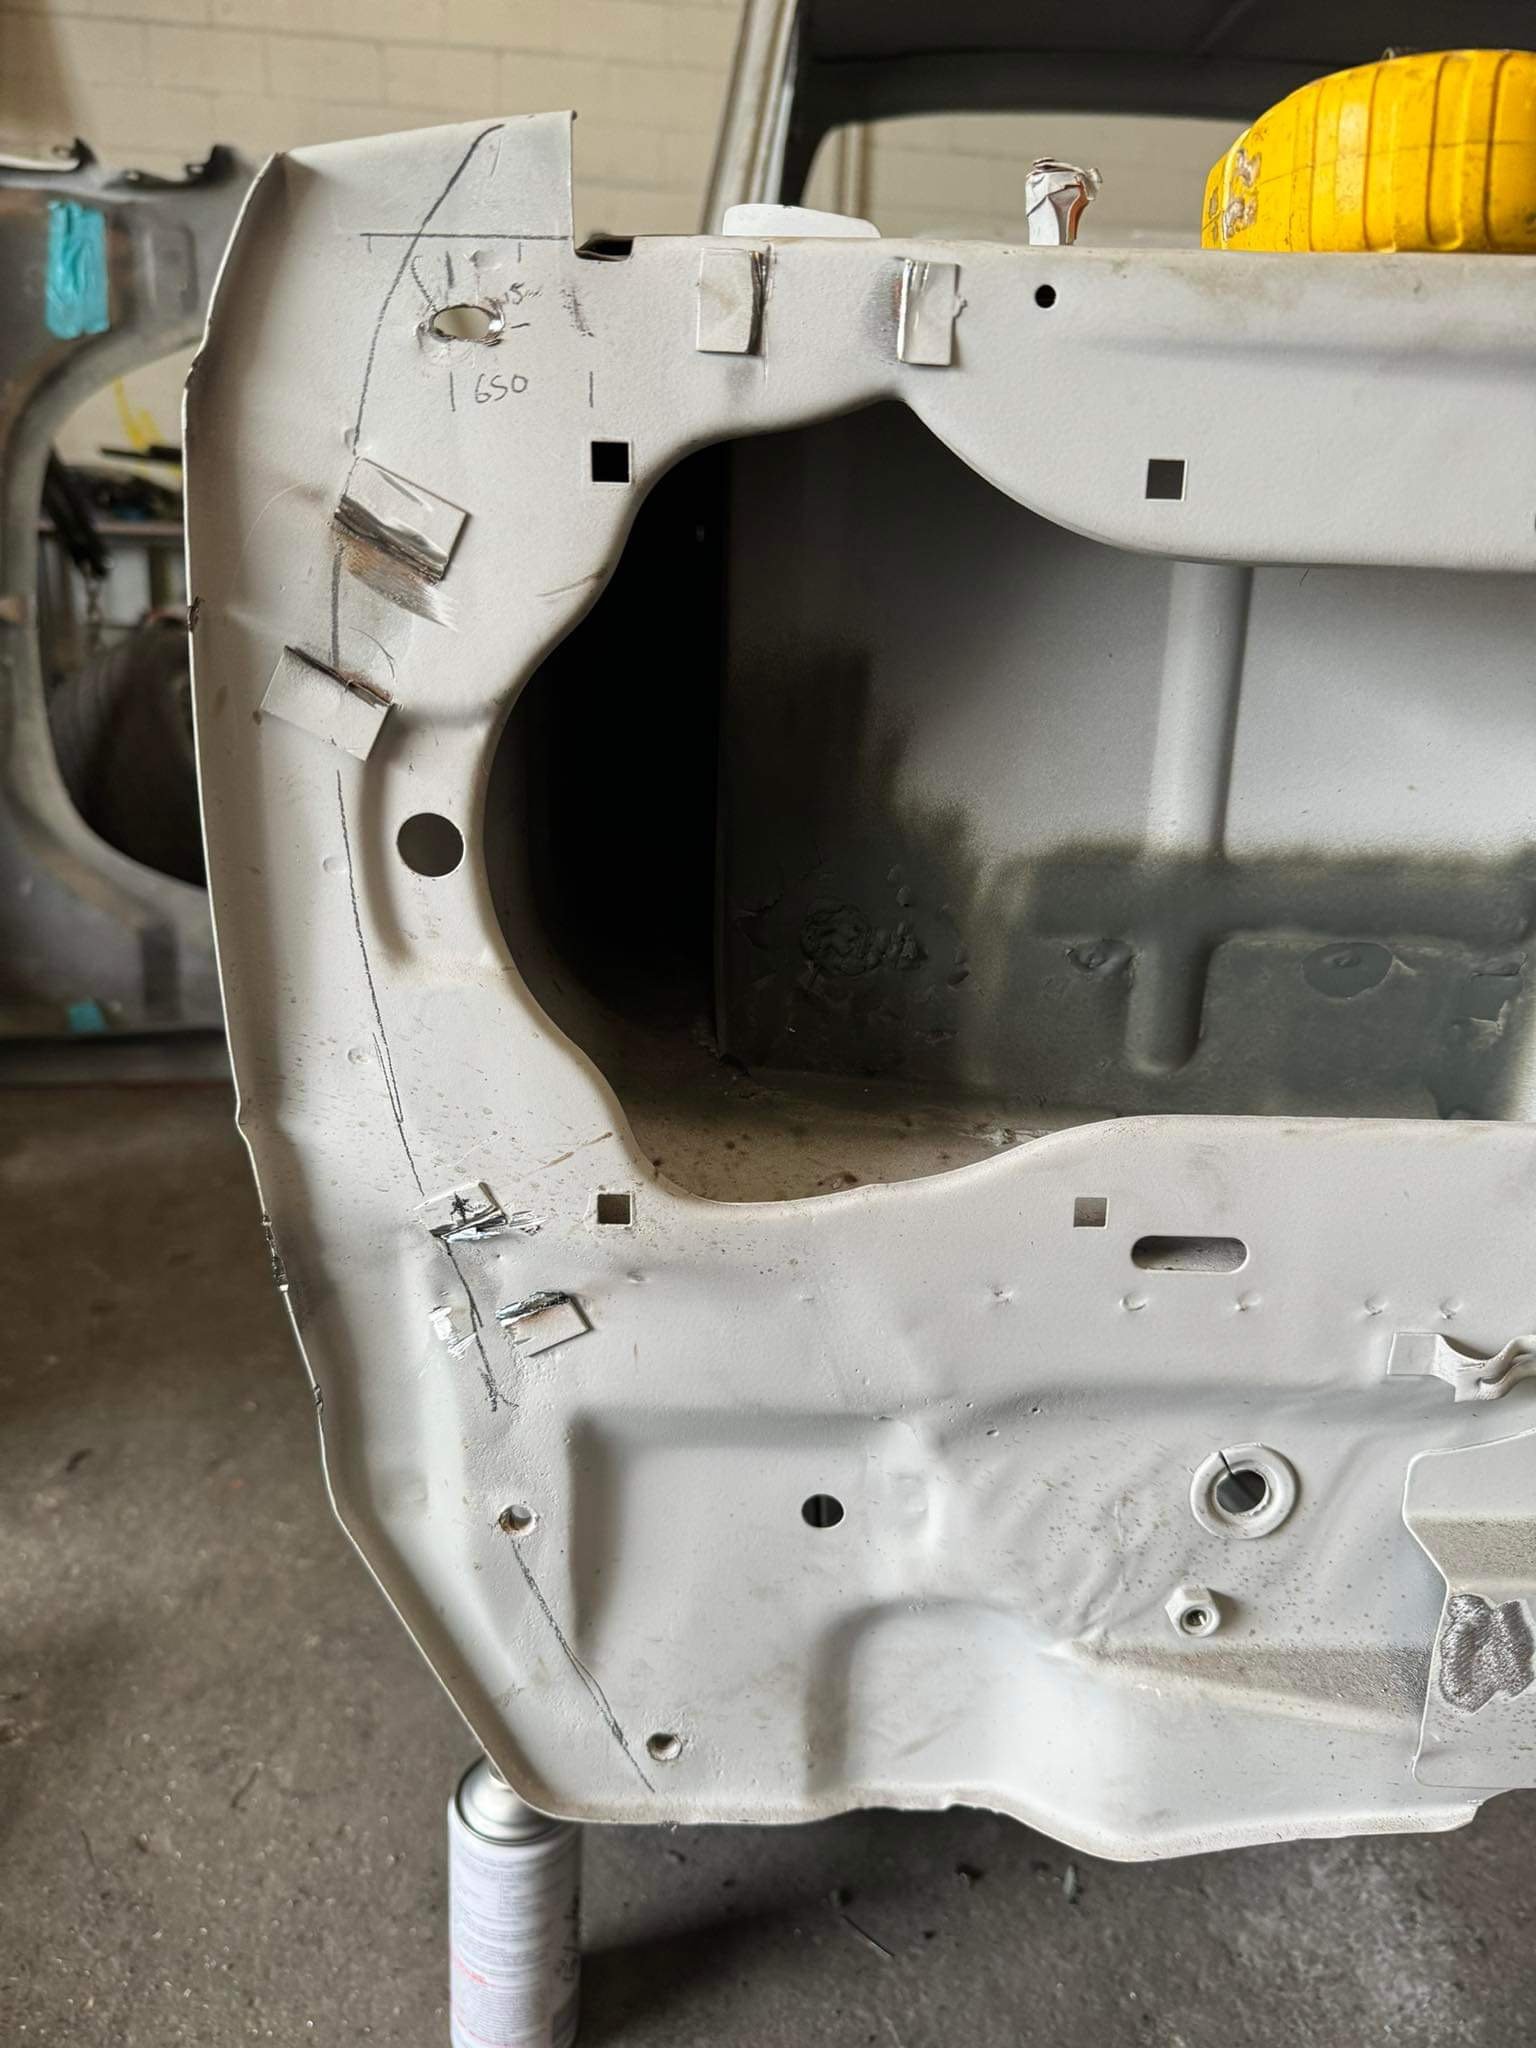
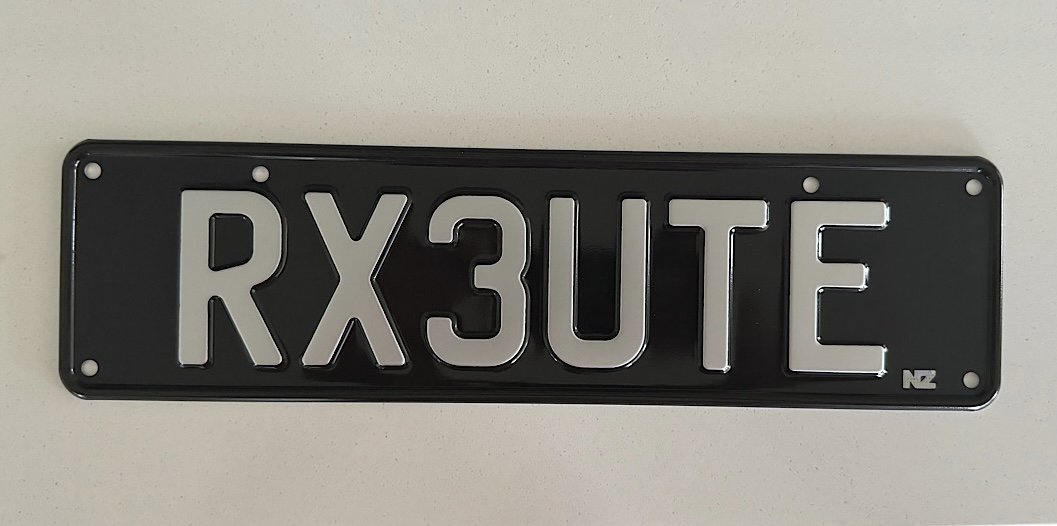
Nosecone is fully mounted, rough guards are on for mock up. this ute seems to be longer than the other ute. Probably built in a different factory as they are 4 years apart from memory.. im glad I chose to use this ute for RX3UTE, it is the same model and spec now.
- 47 replies
-
- 34
-

-
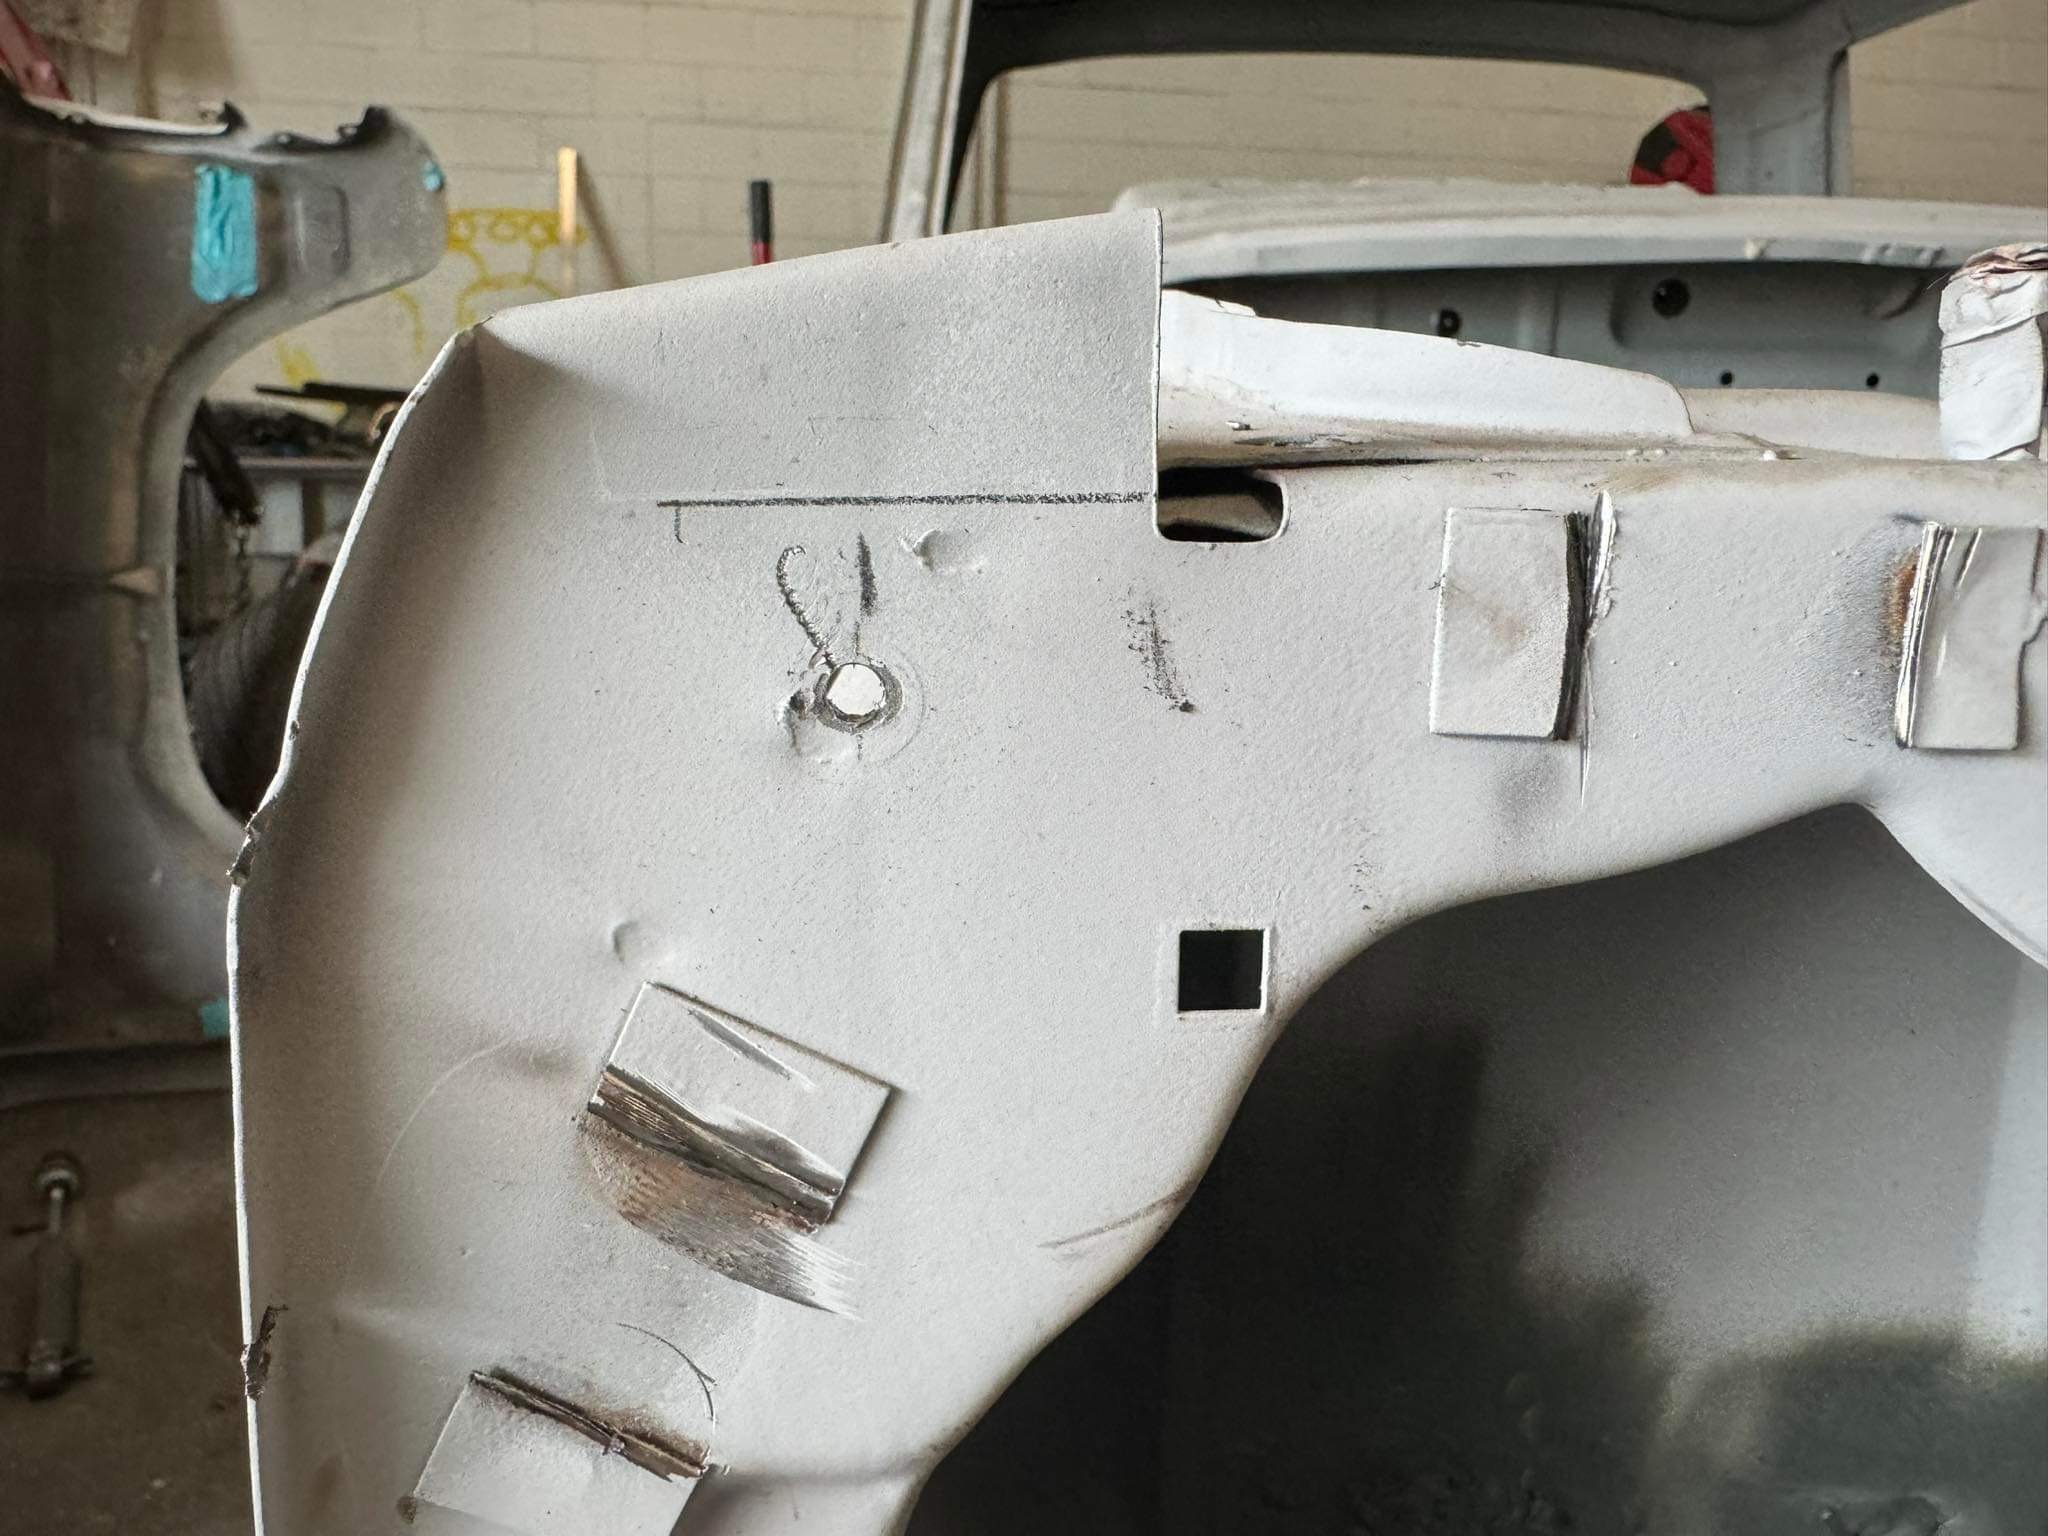
It takes a special kind of idiot to take a perfectly good, freshly panelled car, and chop it to bits. boy I need help Cut all the things!!!!!
- 47 replies
-
- 13
-
-
Is it normal for a 4 link kit to taper in 20mm each side? each arm is angled off at one end of the arm where it connects to the bushing. would’ve thought that they would be all straight.
-
Got home from Low Key Nats to find a nice package had arrived.
- 47 replies
-
- 19
-
-
77Magnum13hundy's 4age+t Magnum discussion
shizzl replied to 77magnum13hundy's topic in Project Discussion
The more I read these info snippets, the more I realise that I must be close to death already. Bogging, sanding, painting, grinding alloy , galvanic poisoning about 20 times. Yup way to look after myself. she’ll be right *sigh* -
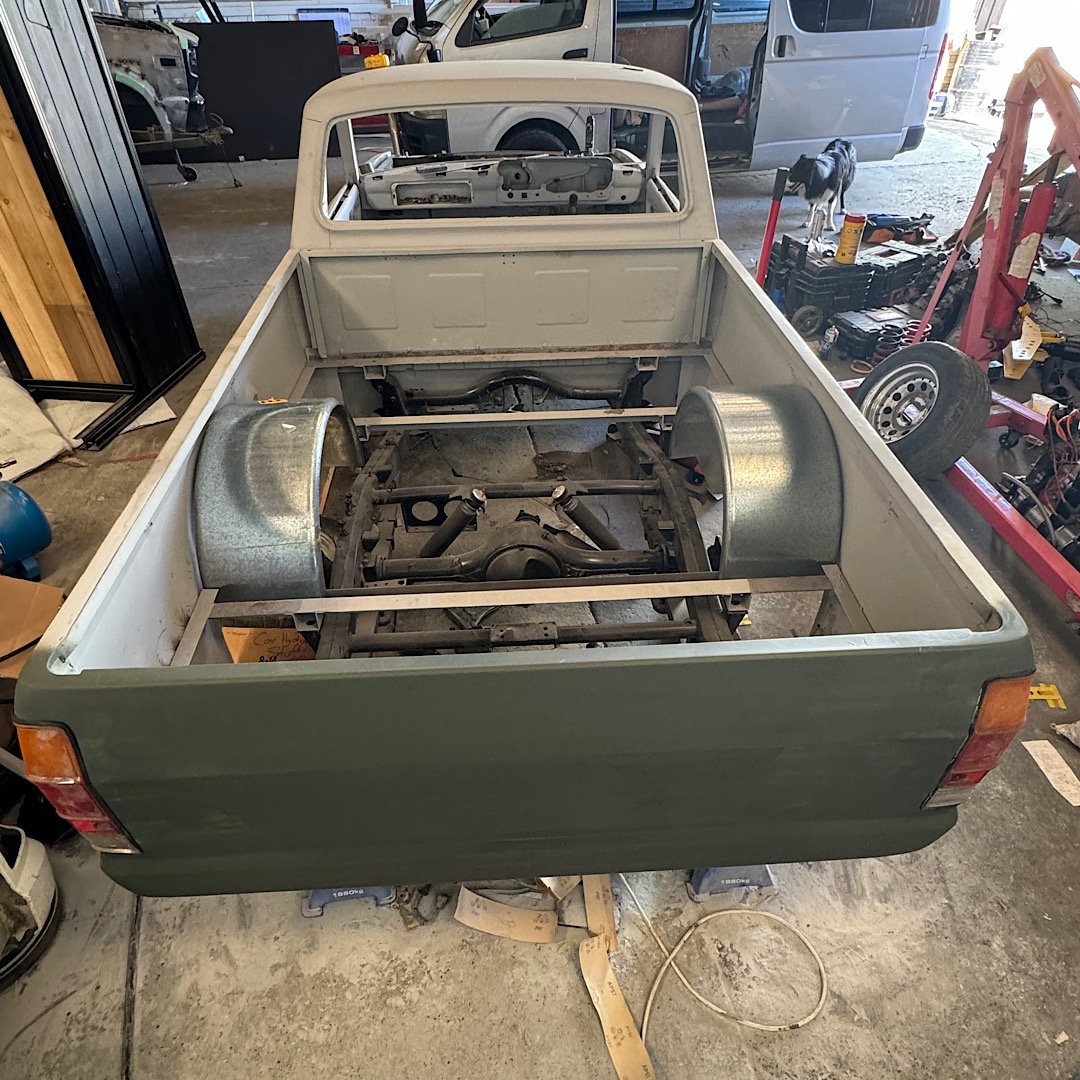
Picked up a pair of trailer guards, aka wheel tubs from a solid GC today. just sat them in place where I think they’ll end up, or there abouts. stood back and admired the look, quite like it. still need to trim to fit snug once it’s all decided.
- 47 replies
-
- 29
-
-
Got back from Japan with my little UP Garage purchase. fitted it as soon as I got to the shop this morning. Dayyyyyyyyyyyyyyyymmmmmmmm
- 133 replies
-
- 23
-
-
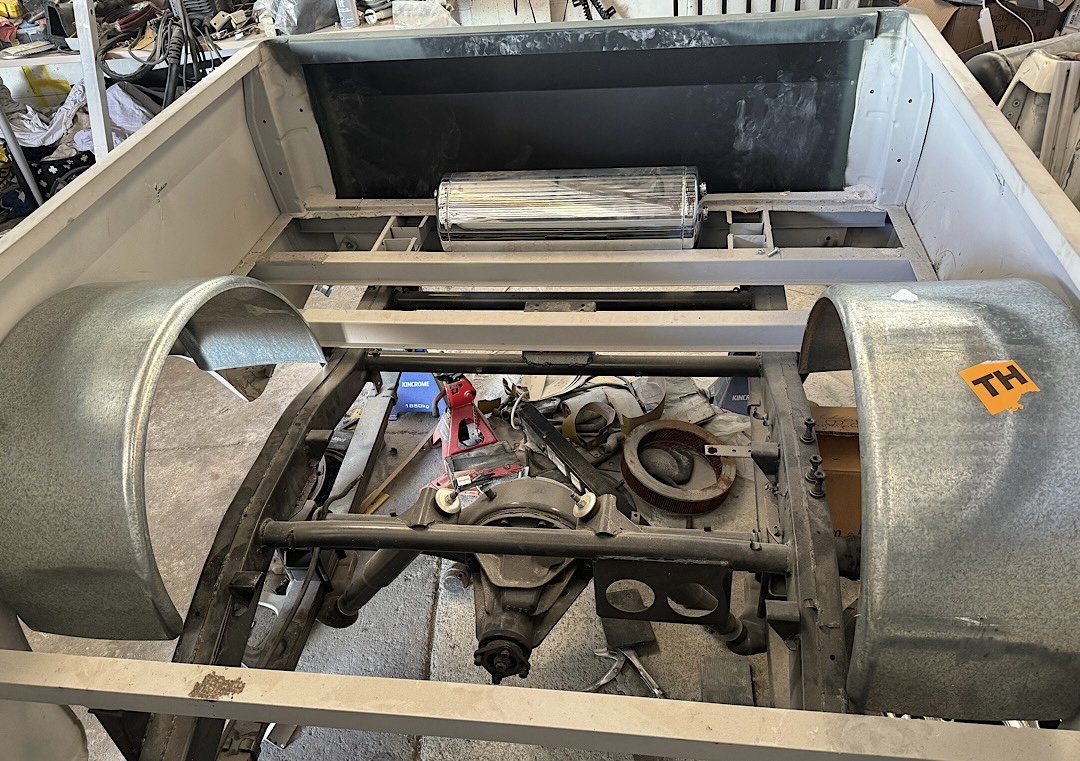
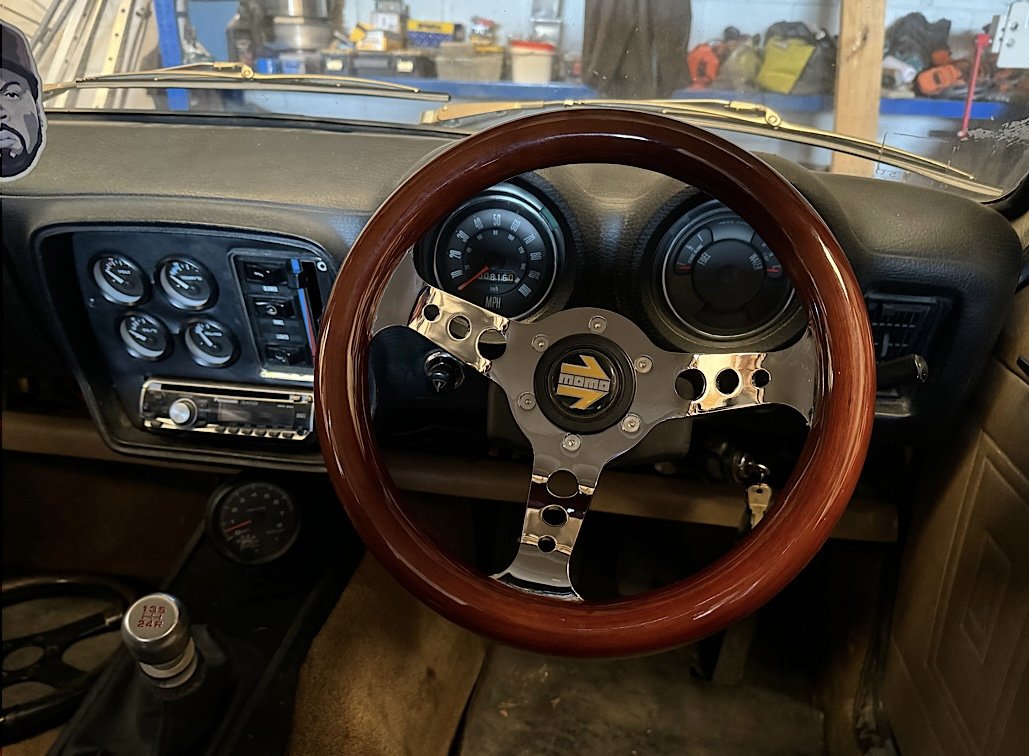
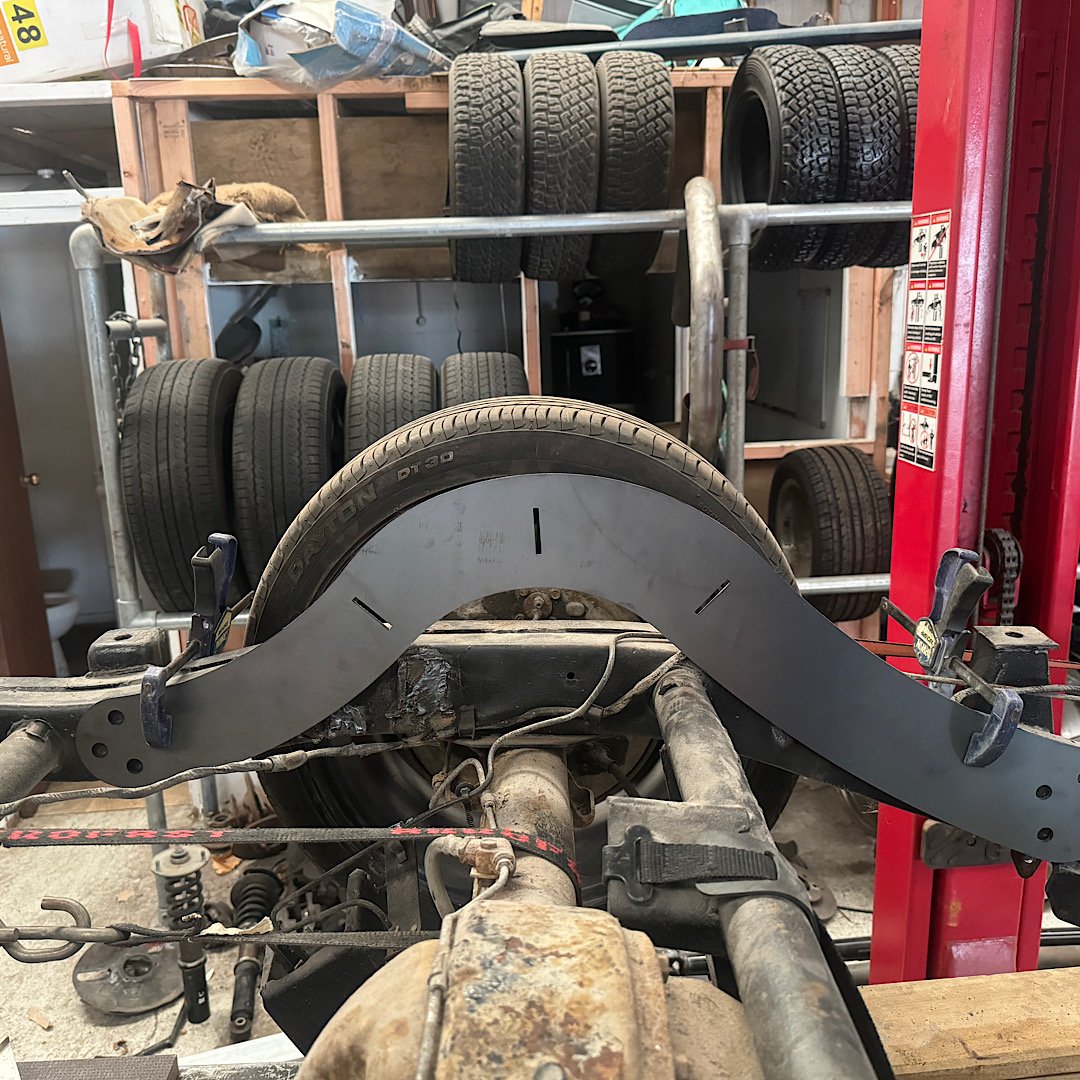
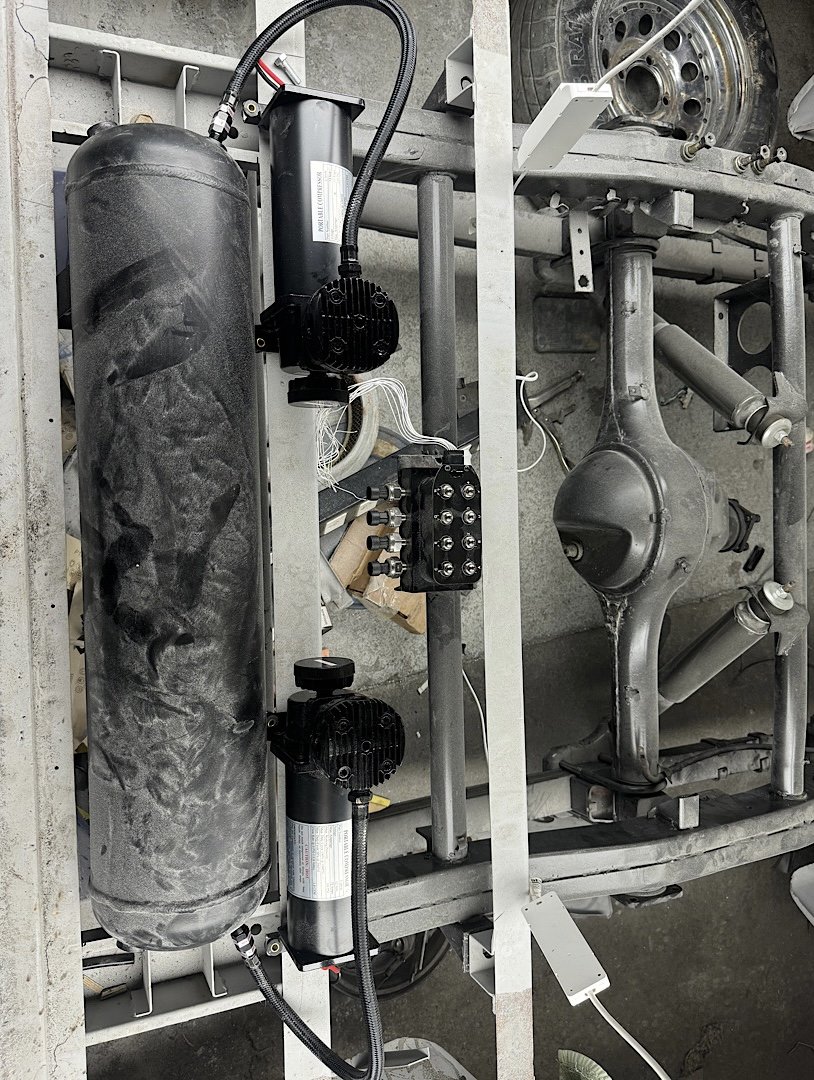
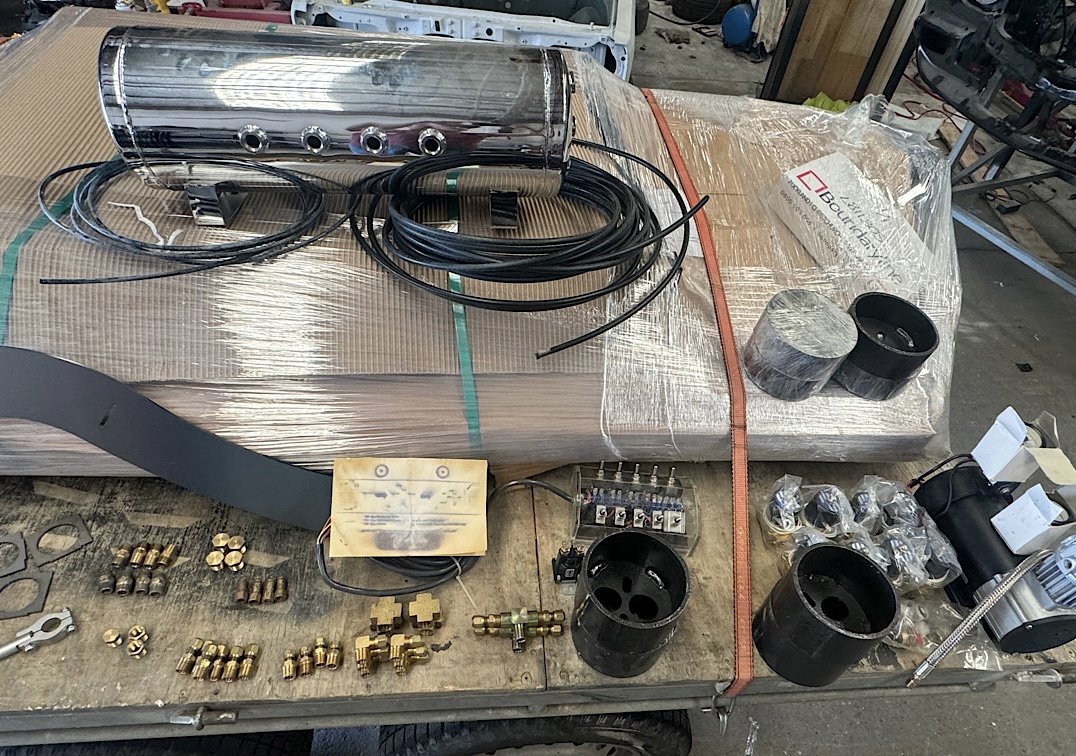
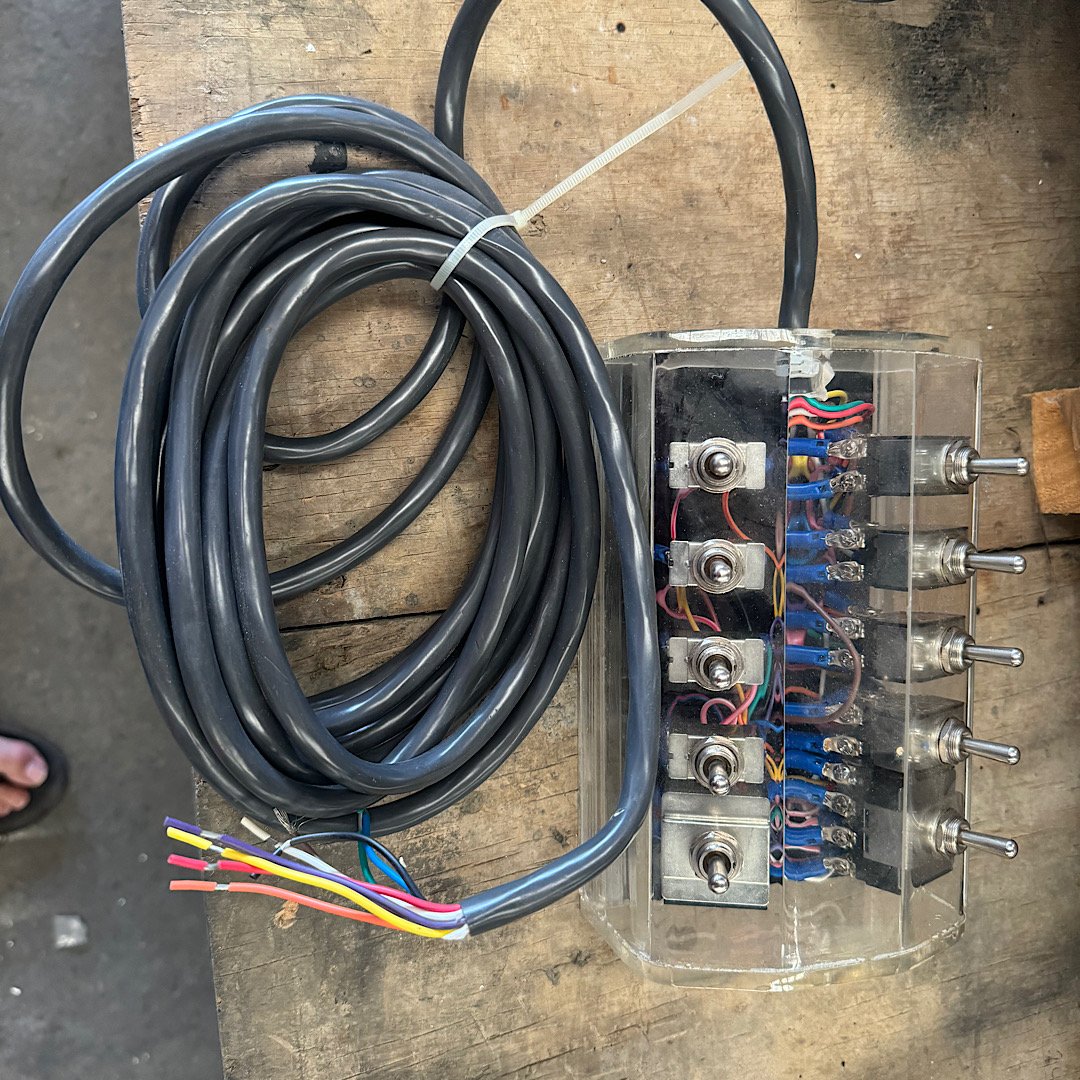
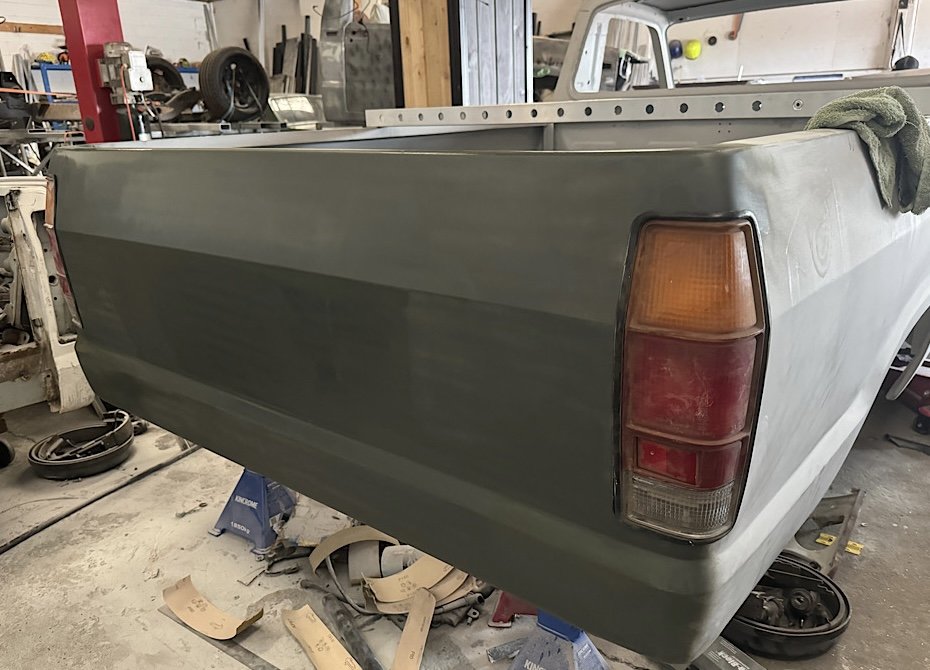
Not much of an update really. i ended up ordering a set of air ride nz’s notch kit that he had in stock. Listed as an 8” notch. i roughly sat one side in place, I figure it allows for a 70/80mm bump stop on the diff in this position. Had a play around with the air system layout on the other ute. It will all sit below the deck floor. And each compressor will have a water trap before the tank. the valve block can mount to the factory spare wheel mount. Looks quite good like that however, a deal came up on marketplace that I thought was pretty good. A “showtime” bag fitting kit for $250. this included everything in the photo below. Chrome 9 port tank, pressure switch, compressor, 2 gauges, solenoid, 10 switch controller, 3/8” and 1/4” air line, 8 x 3/8” bag solenoids, a bunch of air line fittings and a full set of bag mounts (cup type). I will use these solenoids, fittings, airline and tank. i won’t use the switch block and compressor, gauges and upper bag cups. this means my valve block, switch panel will be redundant ( this is a full kit minus bags). I can potentially buy 4 more bags to make another full kit (single pump). the air management system I will use is an air command air8000 system that has 8 presets with a digital display. i only need to figure out a way to lock out the system while it’s driving. maybe a wheel speed sensor somehow, this will be wired through the air8000 alarm circuit which locks the system when set/armed. I’m sure that will work. i slapped the tail lights in the tray for max visual, so stoked. Just need to finalise that concave line now. i fly out to Japan in 4 days, so nothing else will happen until after nats. i would like to hunt down a nice steering wheel while im over there.
- 47 replies
-
- 18
-
-
I have done some testing. I packed out the balljoint by 10 degrees, eased the binding but is very close to maxing out. so with the spare set of arms I pie cut them to 15 degrees. At ride height the balljoint sits neutral, and max lift and lower it doesn’t max out. i have noticed that the balljoint has an angle on it from factory of around 6/7 degree by eye. finding a flatted/neutral balljoint would be the ideal solution though.
-
Slap a stamp on it and give it the big send
-
When I took my Hunter for a cert, it was pinged on too much camber ever after an alignment. it now sits at 1• neg. following this thing made me cringe at the camber of the front, rear suspension looks static. also, just flap disc it and send it bruh Is rather cool but I’d paint it atleast
-
I had some 15 year old Kelly budgets on my RS legacy that was rwd, make for fun commutes. i have the re003’s on my Hiace, massive overkill running 245s, theyr super sticky. hard to see how these could harden given the compound.
-
Pokeno, technically north Waikato. Get labelled Auckland .
-
What is cjc?
-
I’ve tried organising a casual cruise day. No one showed interest. left it.
-
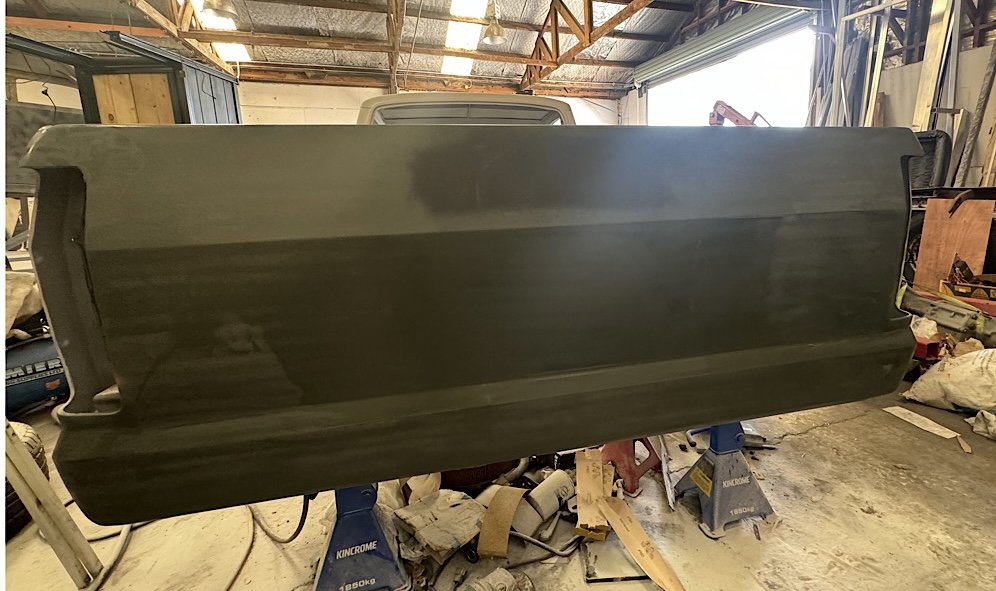
Tailgate 99% done. only have some minor fiddling to do on the concave fold line. Might need to make a shaped sanding block for it. then sand out the 80g scratches ready for a filler primer. i also played with spacing the balljoint to achieve a better angle. tried a 9 degree wedge (achieved by washers). this got the crossmember to 20mm clearance. id be happy with that, but still don’t like the idea of the bj being close to maxed out. so I decided to pie cut a set of arms (I have a spare set on the parts ute). cut it to gain a 10 degree change. balljoint sits neutral at ride height and very nice at full lift and full slam. crossmember is on its tits. Now it’s time for some c notch action. with the frame currently sitting at 90mm with the diff on the frame, a 6” notch should be sweet. I will set bumpstops to max out to the legal scrub line or whatever it’s called. think it still equates to 50mm clearance “legally”. doesn’t need to be smashing the frame into the ground. I needed to get the body into final prep before I head to Japan next week. So pretty stoked so far.
- 47 replies
-
- 23
-