Ashkellybarr
-
Posts
512 -
Joined
-
Last visited
Everything posted by Ashkellybarr
-
Could make a small recertifier circuit to smooth out the pwm
-
Odometer question: i understand you need an odometer, but wonder what the rules are? ive had a car where it broke, had to change the cluster and get a mechanic to write out a thing for it. if I was to use a motor cycle one what would I need to do? changing gearbox Witch means changing from mech cable to electronic. Was thinking of feeding it to the link ecu then feeding a motorcycle cluster from the ecu using pwm outputs. And set it up on the bench to get it to read the same as the factory one? https://s.click.aliexpress.com/e/rFngrF84
-

-
Someone just told me they changed to rules on welded coil overs for fixed spindals? and that the weld needs to be above 1.5x the tube diameter?? is this correct?
-
3Y is rear sump. Want me to get some photos to see if their the same?
-
I’ve got a 3Y motor sitting here if the pick up and sump are the same? Might be good parts to mess around with to save yours should I not work out??
-
Nah agreed! I just don’t have that kind of money atm and have most of the gear to do it. ive already got load of DP40 and 2K Black so would only need to get stuff for inside the rail. That and being a 4wd I don’t care to much what it looks like so will just spray outside on the lawn on a sunny day haha
-
A lot of labour in that quote. I’ve got a sand blasting gun and paint guns so will do it my self and put up how long it takes and material costs
-
Yeah nah
-
Ash’s 85 Toyonda crumpy “Barry’s revenge”
Ashkellybarr replied to Ashkellybarr's topic in Projects and Build Ups
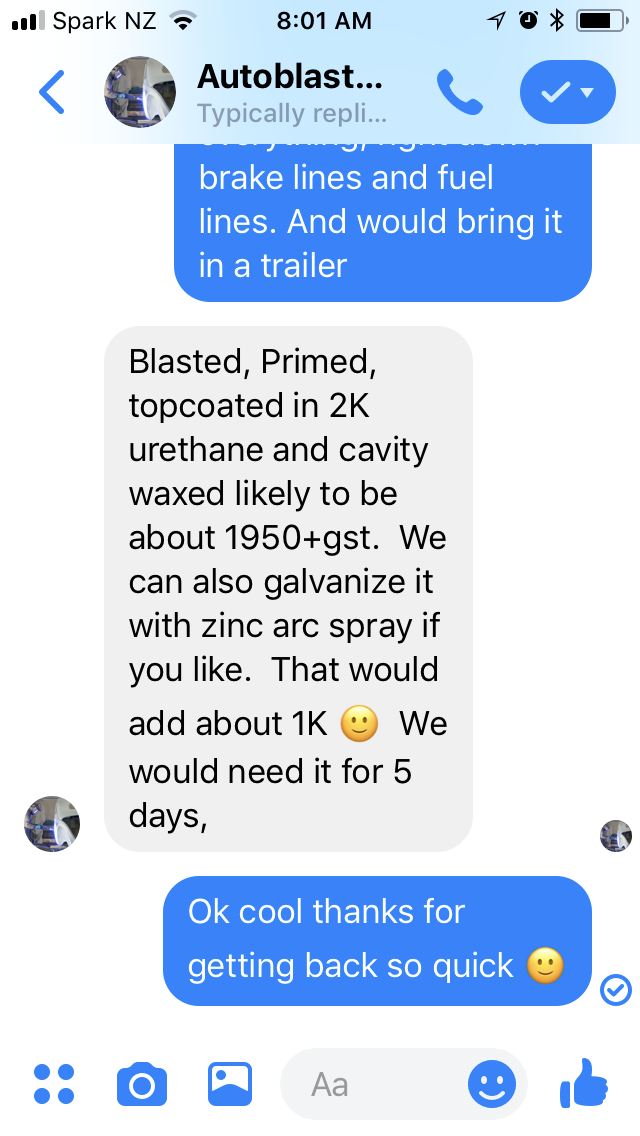
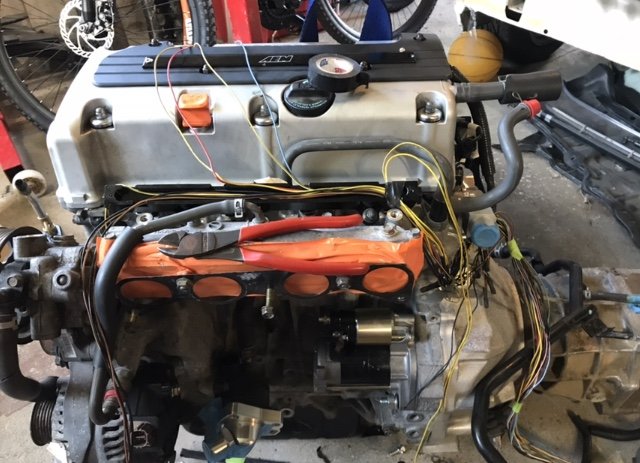
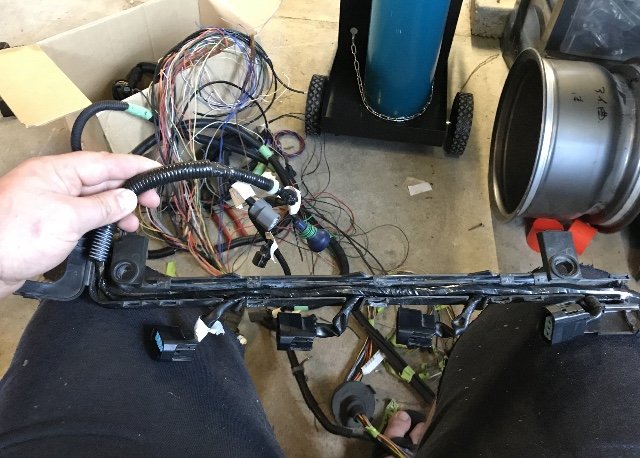
Sorted the loom out for all the sensors, coils and injections. really liking the fuel rail cable support! starting on power harness witch is a bit more tricky without it being in the hole. going to move the battery to the intake side. Witch should also free up room on the turbo side. Try find a large OEM filter box that fits in there nicely. maybe something off a later model 4wd with snorkel and large panel filter
- 61 replies
-
- 9
-

-
- toyota hilux ute
- k24
- (and 2 more)
-
Ash’s 85 Toyonda crumpy “Barry’s revenge”
Ashkellybarr replied to Ashkellybarr's topic in Projects and Build Ups
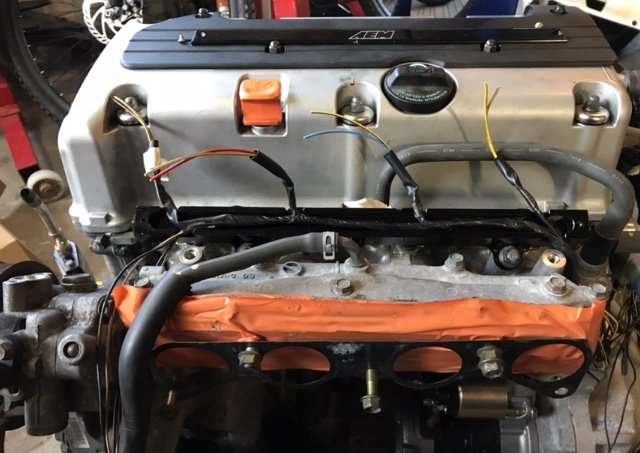
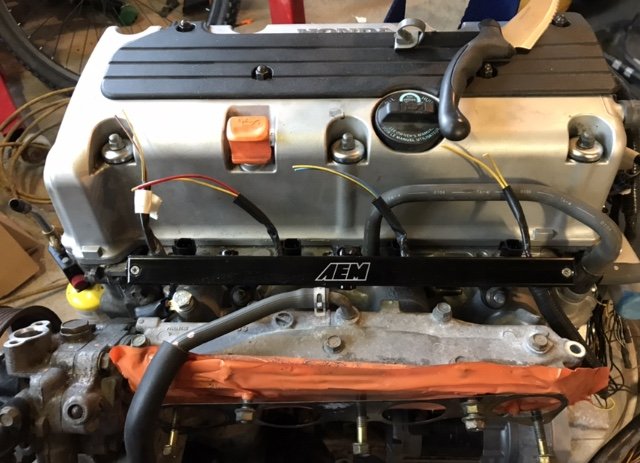
Injectors and rail in clutch back on welded a nut to some plate to check the clutch is disengaging and it’s all working mint! So stoked with that need to change one of a heater hard lines. Then spend some time doing the loom and changing injection plugs
- 61 replies
-
- 5
-
-

-
- toyota hilux ute
- k24
- (and 2 more)
-
Ash’s 85 Toyonda crumpy “Barry’s revenge”
Ashkellybarr replied to Ashkellybarr's topic in Projects and Build Ups
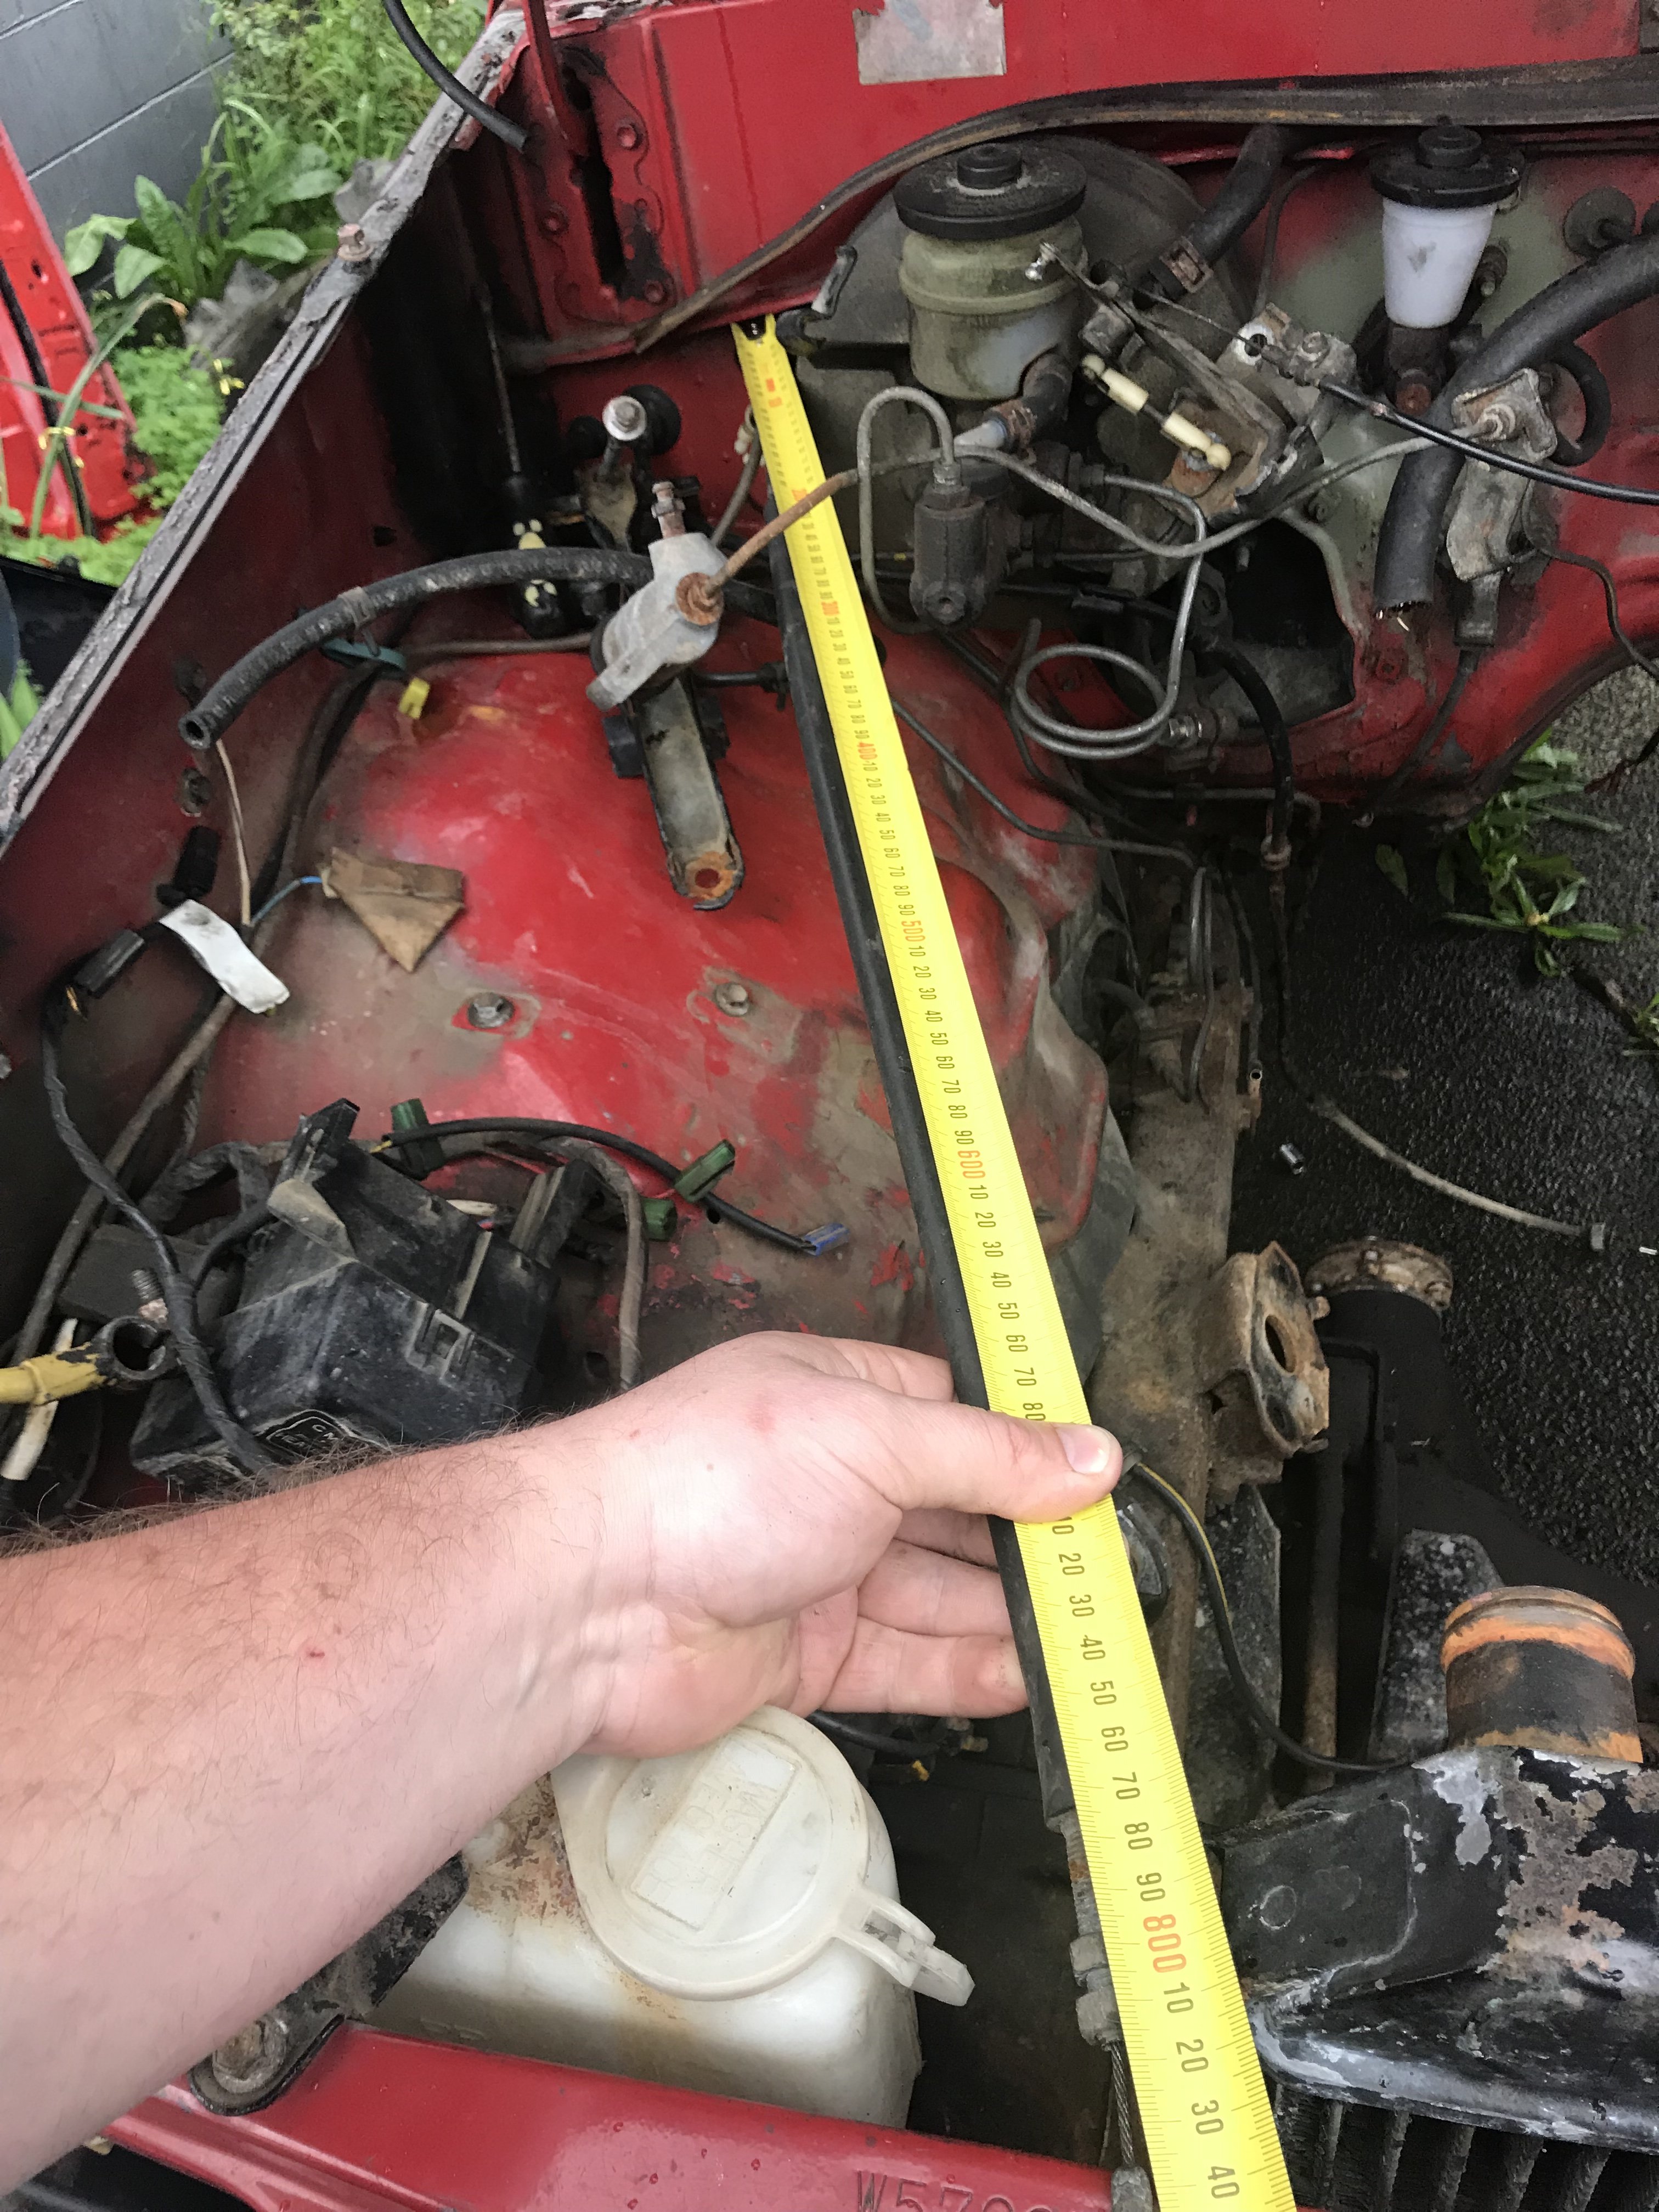
Spent some time unbolting things. plan is to remove the tray, then the cab and strip everything off the chassis. my idea is to get two massive saw horses either side of the cab. Jack the cab up and slide some 6x2’s between the two. Then roll the frame out still on its wheels. bit of a major so if anyone has any other ideas let me know.
- 61 replies
-
- 2
-
-
- toyota hilux ute
- k24
- (and 2 more)
-
Ash's 82 AA60 rina of rustic glory
Ashkellybarr replied to Ashkellybarr's topic in Projects and Build Ups
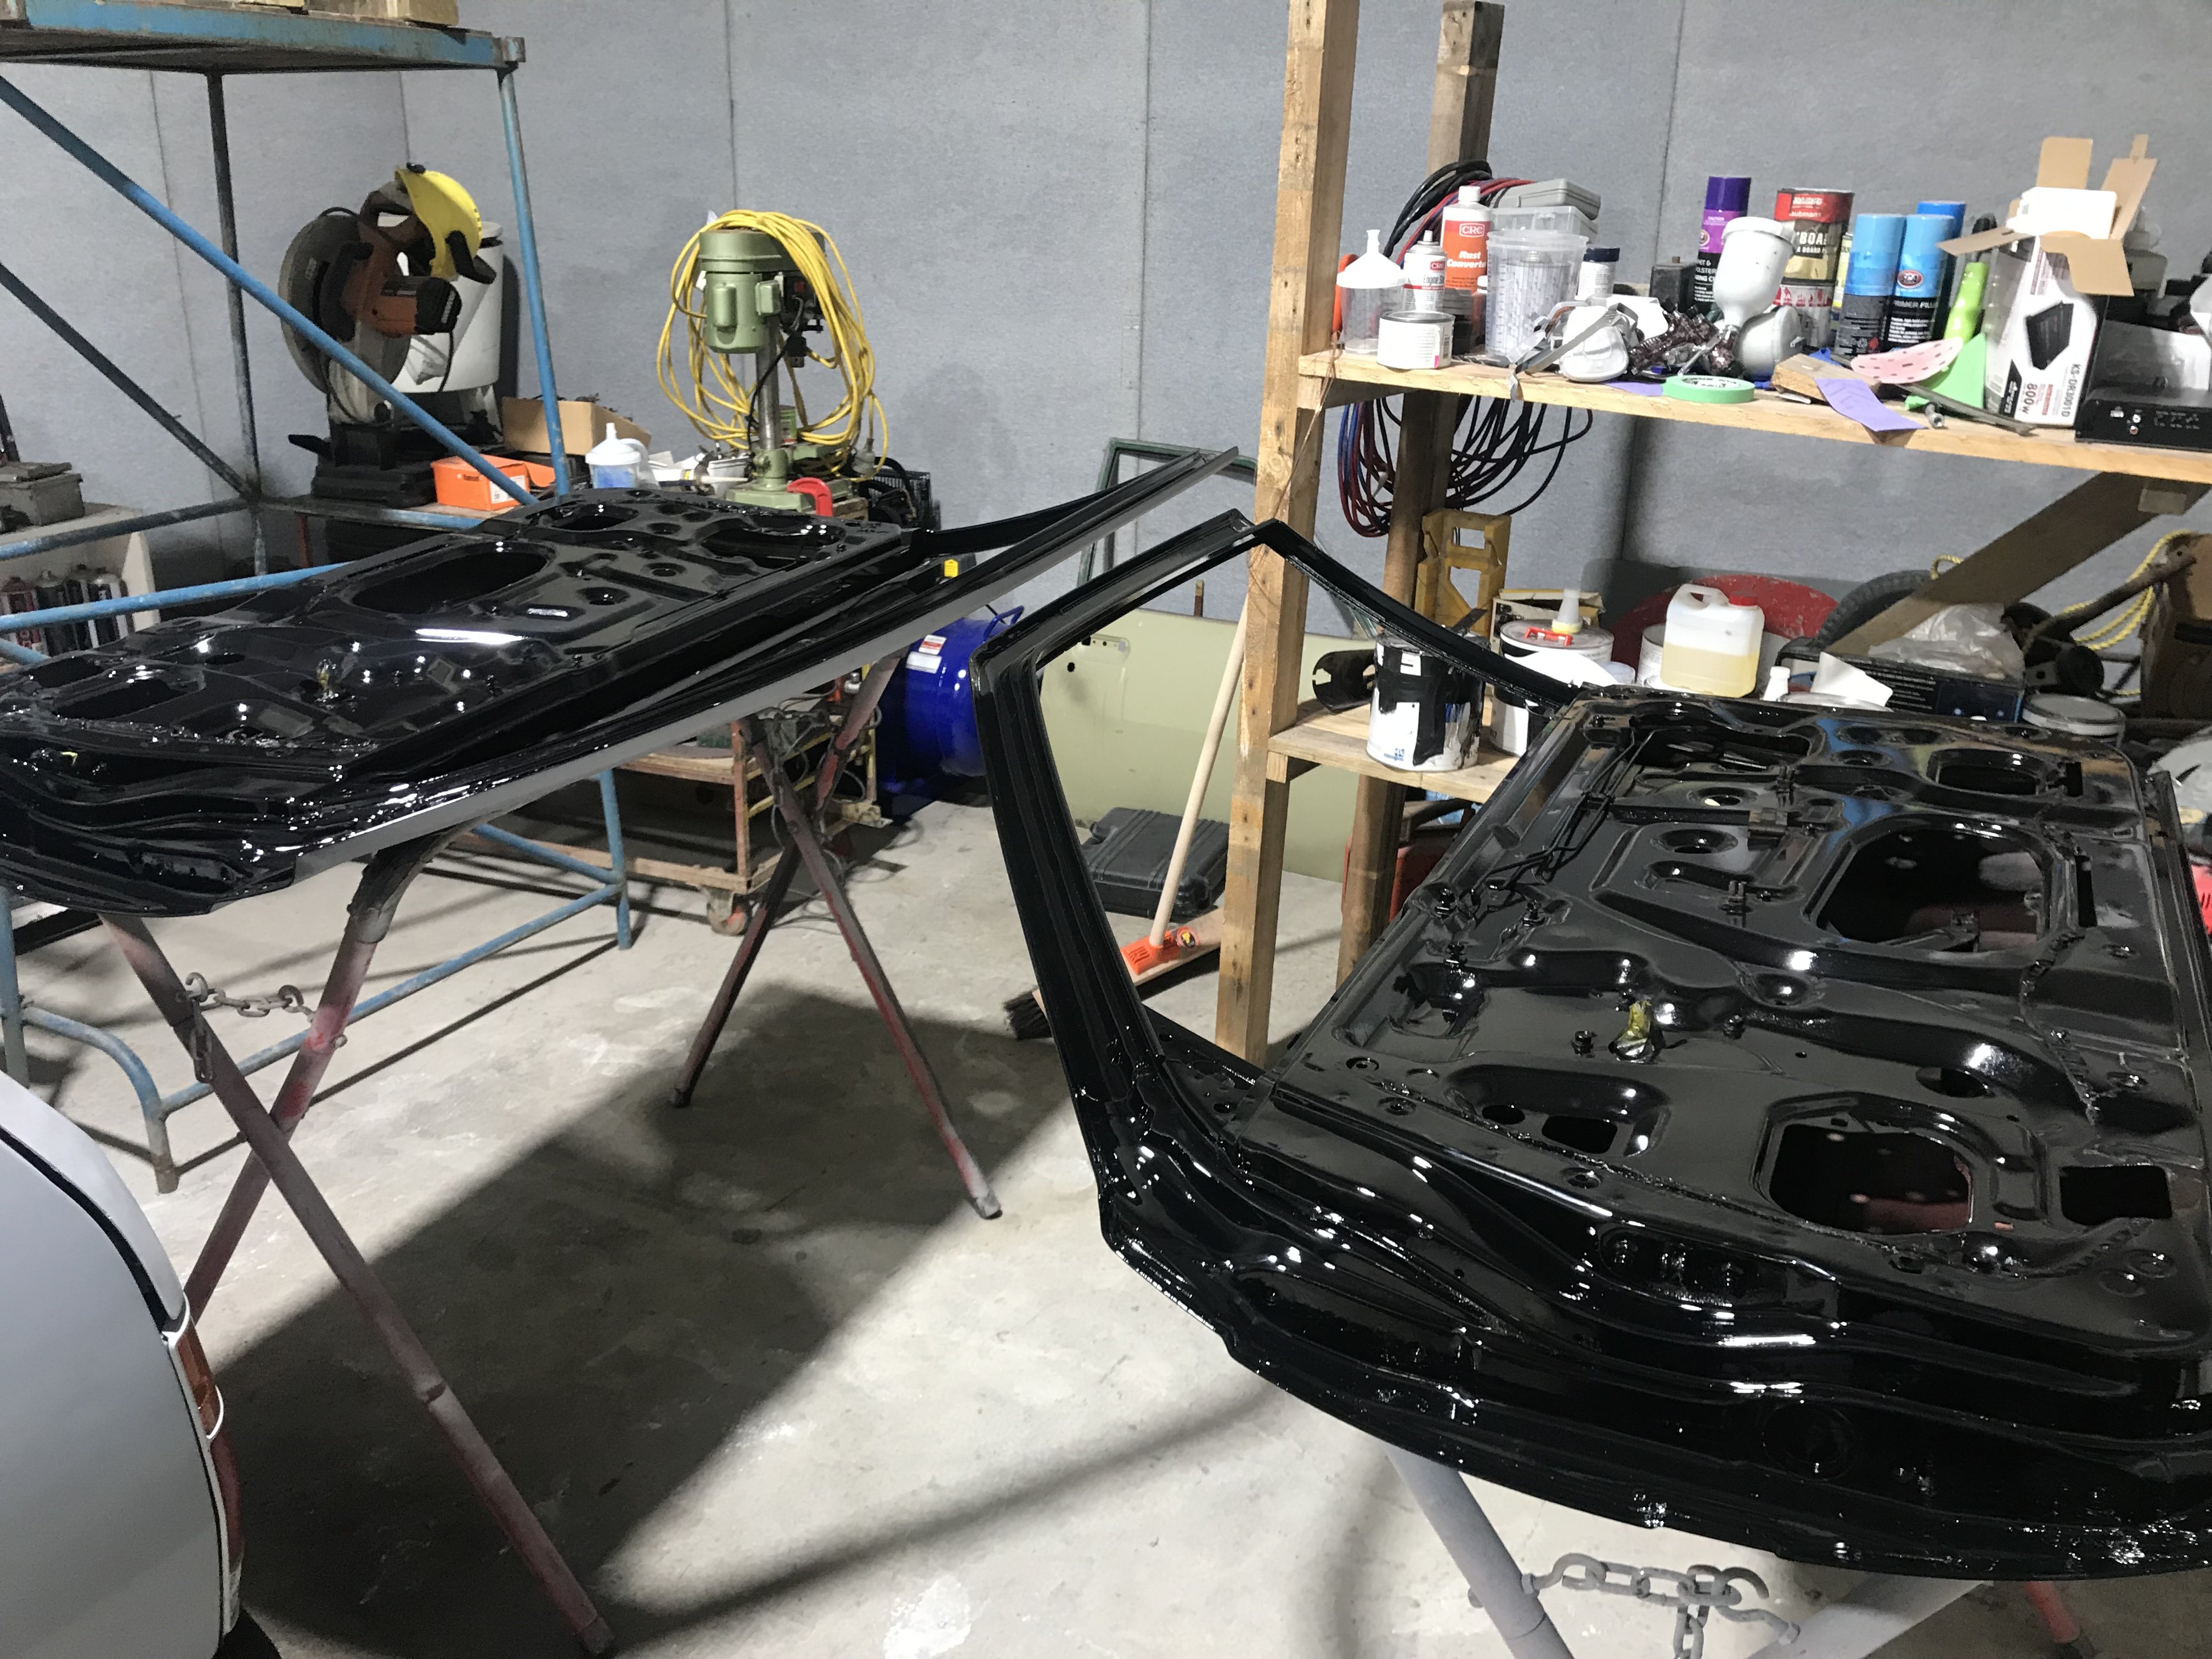
Slowly getting less rustic 2k black for the door jams Plan is 1k black base, 1k colour then a hardened clear over the top
-
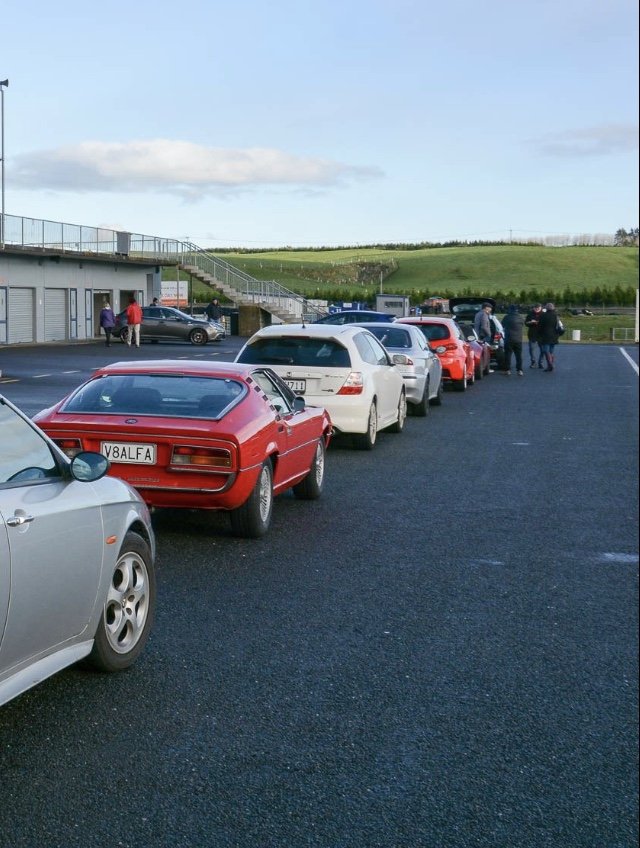
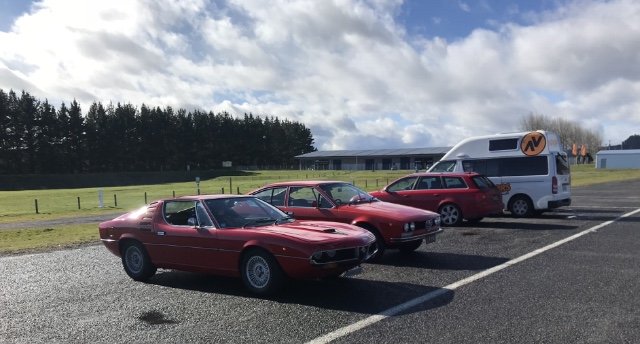
Update installed full “road/race” suspension package from classicalfa.com, incl bushes, shocks and springs. along with braided front brake lines, 4pot fronts and new rears. that sorted we hit a practice day at Taupo over the weekend run by the AROCNZ on Saturday. The result, far better handling and braking! The top trailing arm bushes were toast and now has no side to side knock and body roll is far less. Still has a bit of roll but it’s a classic car and it isn’t intended as a race car so we think it’s pretty well balanced now. new ride height has eliminated the rear tire gap and it looks far better. i drove it down from Auckland, on the track, and back again with very little issues. Now being slight exhaust knock due to ride height, a clutch that is on its way out (all though we knew this prior), and a small knock at take off and low speed. granted it’s had all new bushes, we’ll check the U joints and diff play. that, aside from much needed head room with a helmet on it ran really well! the LSD really hooks up, and even with the softish suspension you can throttle and stear it out to the outer boundary quite predictably, and ride 2nd gear out just passed 7k past the flag box. great day all round, and some small things to add to the white board ill add some track photos when the event photographers put them up
- 3 replies
-
- 17
-
-
-
Yeah that’s pretty good! Mine will be bare frame and that’s it so might be even cheaper. Thanks for the input
-
What did the place in puke sting ya?
-
Yes please!
-
Hi guys. Looking for recommendations on how to tackle the chassis frame. ive got two options for stripping either acid dip the whole frame Or wire wheel and two options for sealing either paint, epoxi dp40 the 2K Black it. Or, powder coat it black its a 4wd and gets abused, I haven’t done something like this before so want to “do it right, do it once” and make sure it lasts for years. all pro’s and cons welcome, thanks in advance for help and ideas
-
Been helping a mate all weekend. RD28 in small sea faring vessel, Huge hollset and plenty of boost.
- 474 replies
-
- 10
-
-
Ash’s 85 Toyonda crumpy “Barry’s revenge”
Ashkellybarr replied to Ashkellybarr's topic in Projects and Build Ups
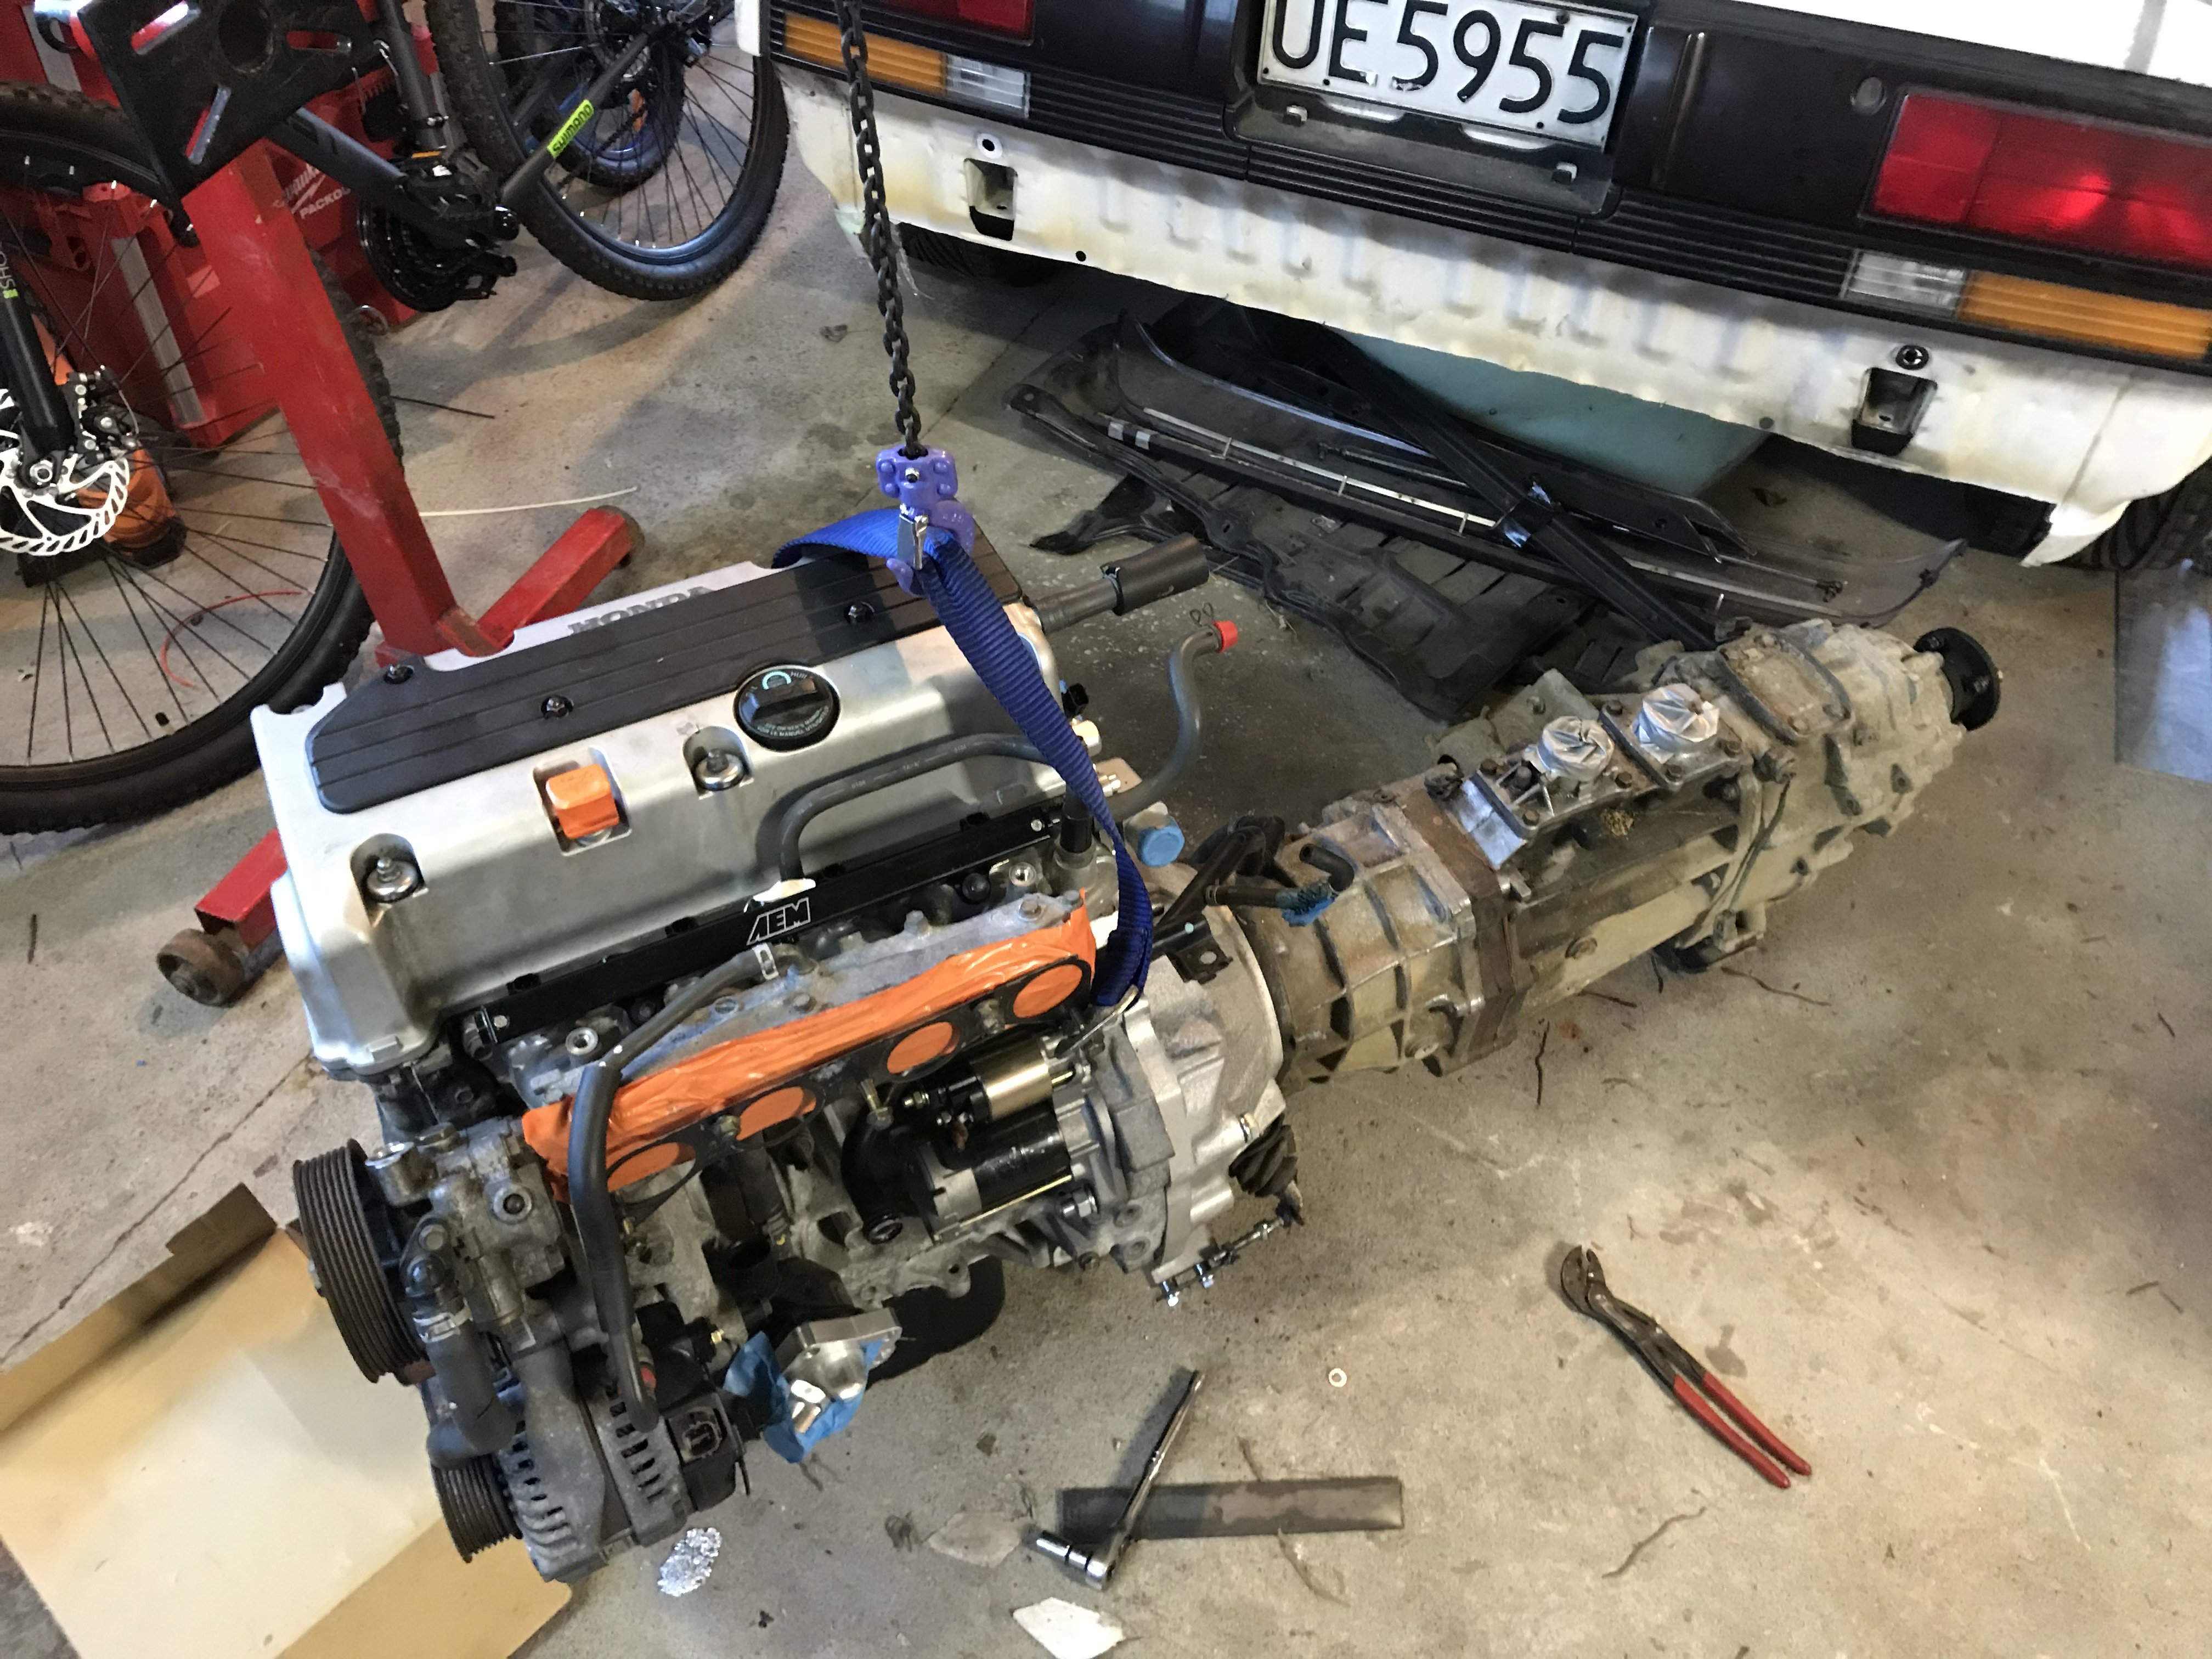
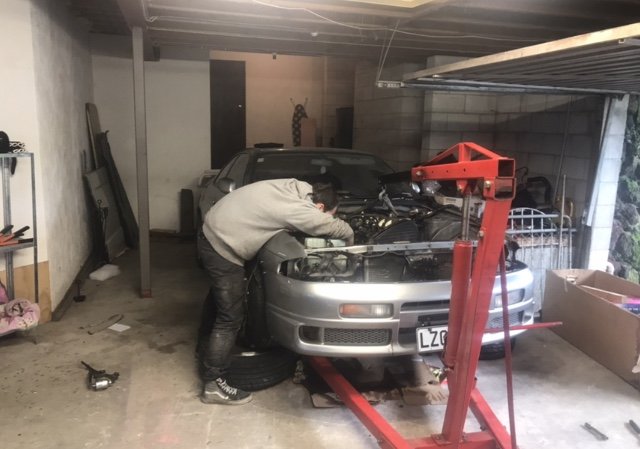
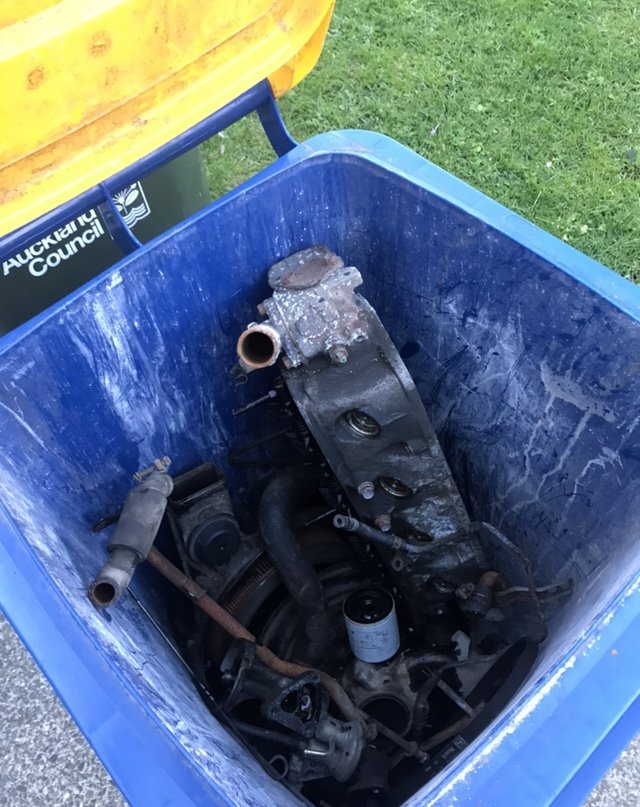
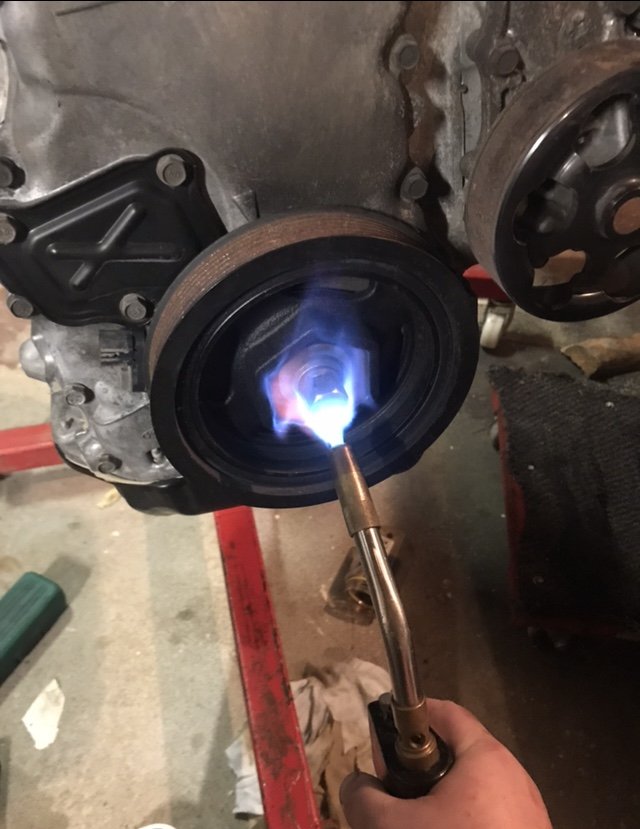
Tried another carb. No luck, given up and moving forward with motor swap. mate 4 doors down had a Crain so walked it up the rd with beers in hand this evening. 34 years and multiple beach missions the motor had pretty much welded it self to the gearbox. Couple screw drivers and a dog bar later she’s out. I’ll need to wait till next week to get rid of the block as the head and bolts ons have already filled the bin. plan.. bolt motor to box on garage floor to test clutch release before putting it in. finish engine loom and change body wiring to suit, then take it from there, hopefully get some better weather so I can deal to the frame and under body
- 61 replies
-
- 7
-
-
- toyota hilux ute
- k24
- (and 2 more)
-
Ash’s 85 Toyonda crumpy “Barry’s revenge”
Ashkellybarr replied to Ashkellybarr's topic in Projects and Build Ups
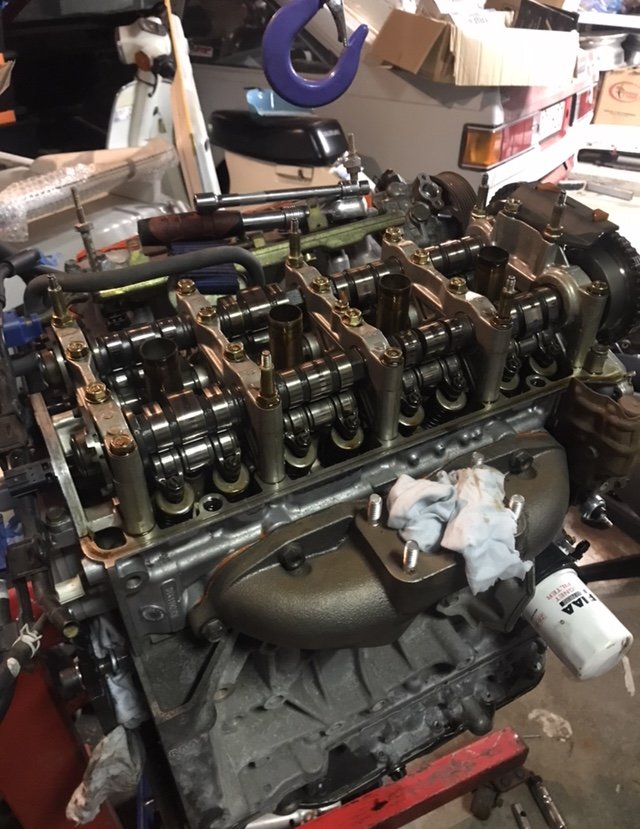
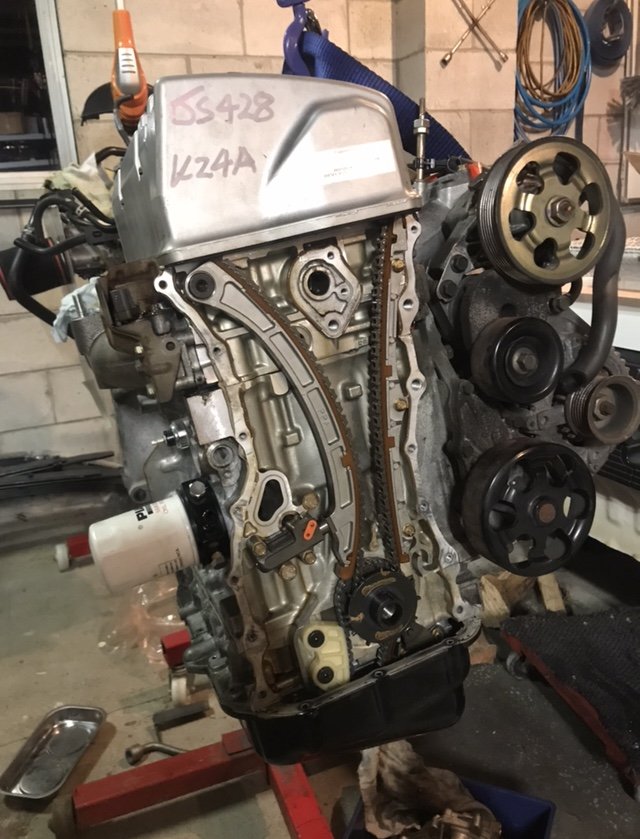
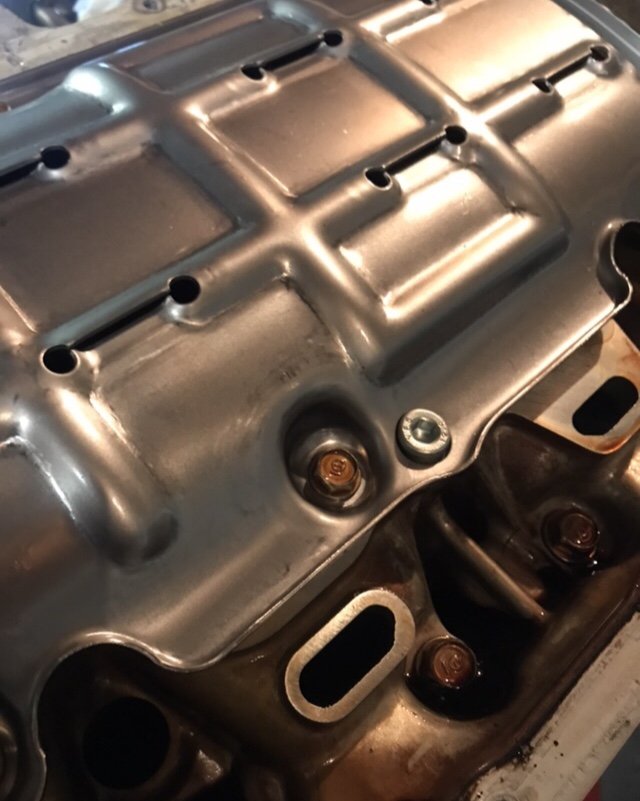
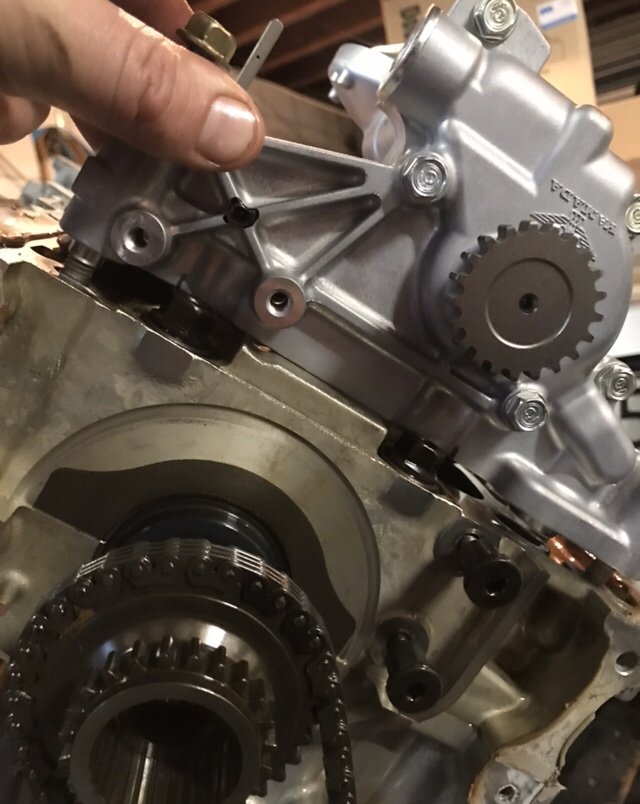
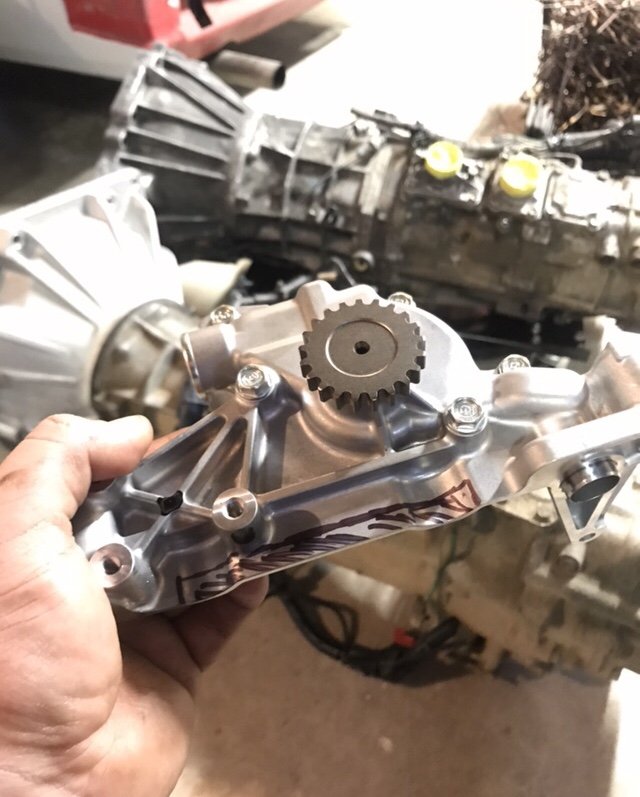
Mint! All timed and torqued up just need to scrap the goo off and goo the cover and sump back on. gona get a replacement water pump too as that doesn’t feel to flash. And ditch the oil feed sandwich plate for an oil cooler one. Then take the turbo feed off a T where the pressure sender is. Plan was to run a remote pressure sensor anyway
- 61 replies
-
- 3
-
-
- toyota hilux ute
- k24
- (and 2 more)
-
Ash’s 85 Toyonda crumpy “Barry’s revenge”
Ashkellybarr replied to Ashkellybarr's topic in Projects and Build Ups
Actually needed to take more off then I marked up. got everything loosely in place and put the cover and sump back on for the night. hopefully find my torque wrench then set timing and final tighten up this weekend... if I can find time to my self..
- 61 replies
-
- 3
-
-
- toyota hilux ute
- k24
- (and 2 more)
-
Ash’s 85 Toyonda crumpy “Barry’s revenge”
Ashkellybarr replied to Ashkellybarr's topic in Projects and Build Ups
- 61 replies
-
- 1
-
-
- toyota hilux ute
- k24
- (and 2 more)
-
Ash’s 85 Toyonda crumpy “Barry’s revenge”
Ashkellybarr replied to Ashkellybarr's topic in Projects and Build Ups
- 61 replies
-
- 3
-
-
- toyota hilux ute
- k24
- (and 2 more)
-
Commercial kitchen oven and plate steel?